As the '57 El Camino made it’s way into the display cabinet, I trawled through the “Started” list on my Scalemates profile to decide on the next victim in my “Great 2023 War on WIP” and landed on this one.
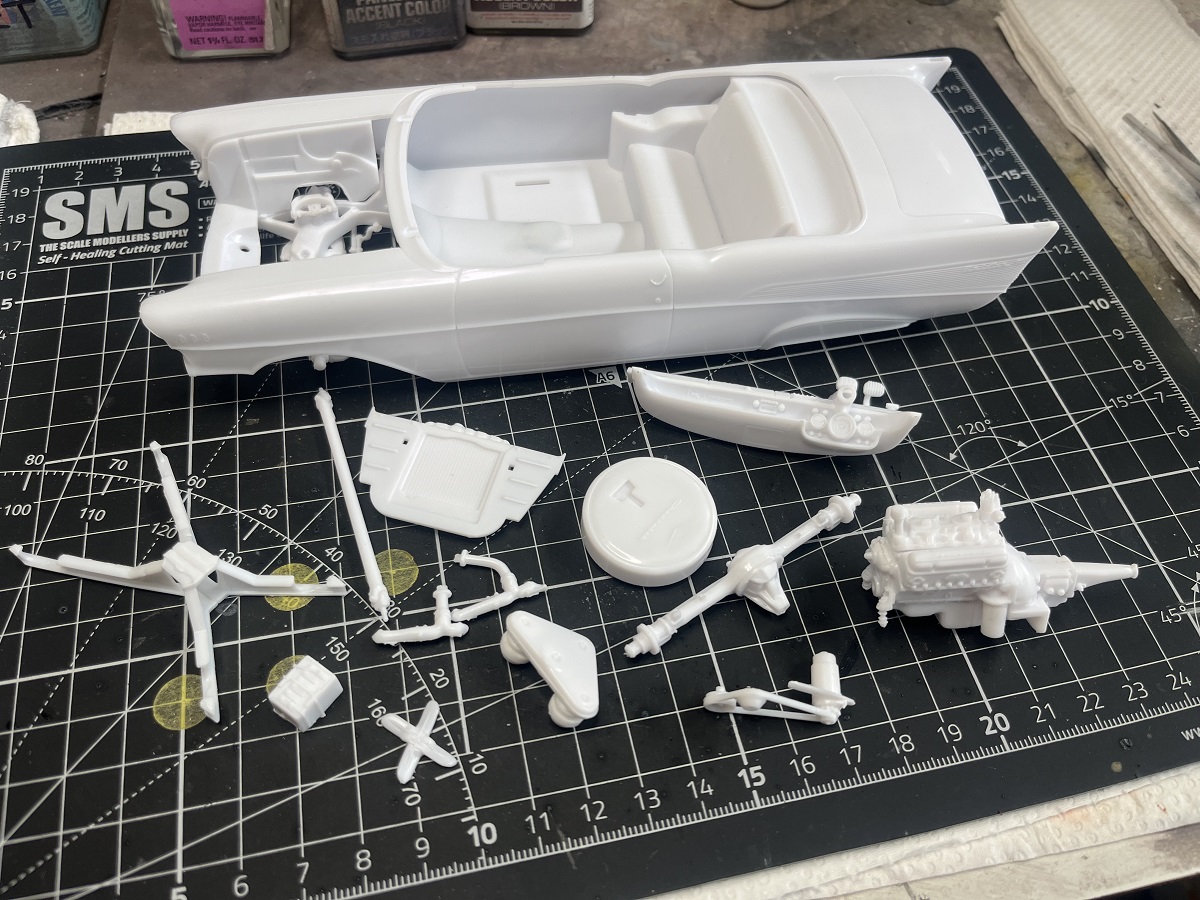
I performed the customary stocktake on the box contents and found a bit of work already done on smaller sub assemblies, the spats fitted to the body, and the front seat completely missing Oh well, not like there’s a shortage of 1/25 '57 Chevies in my stash to pilfer a replacement from
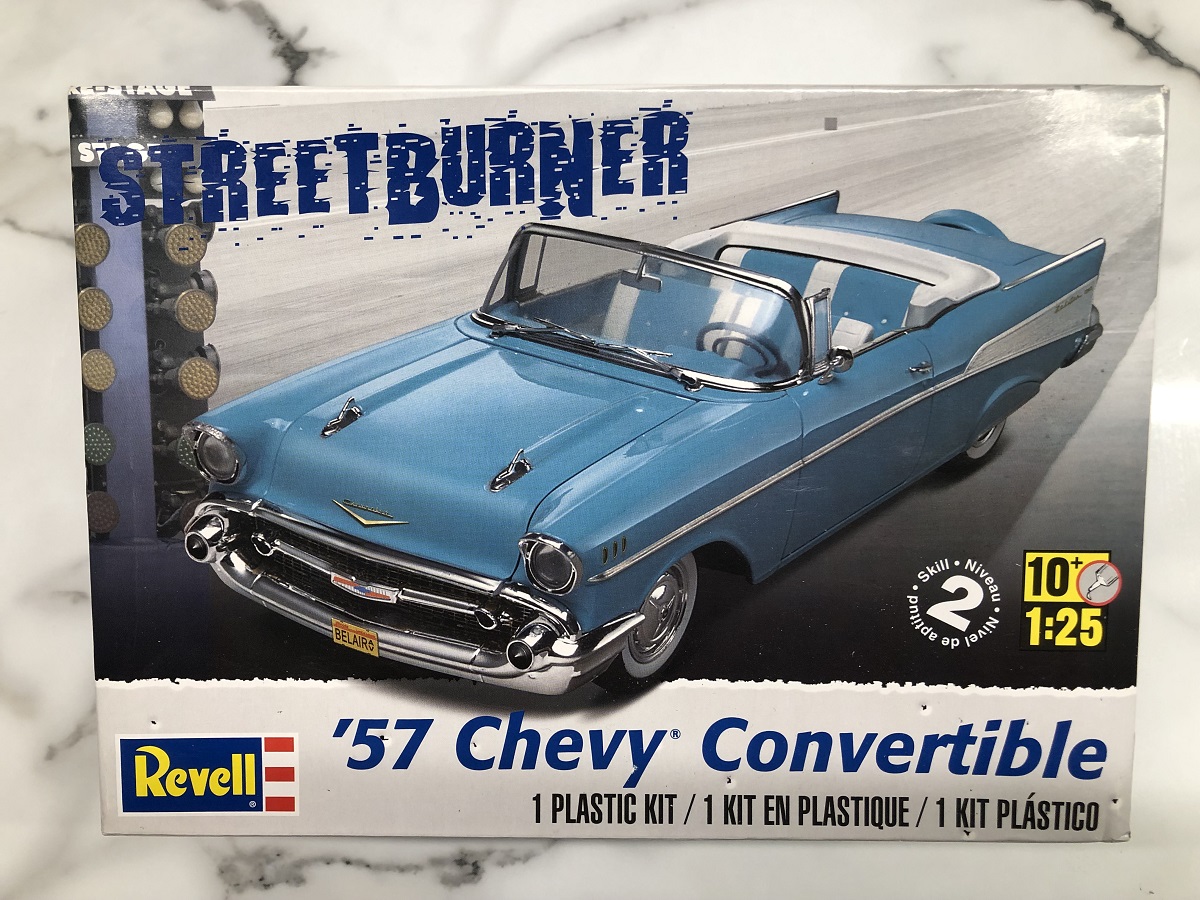
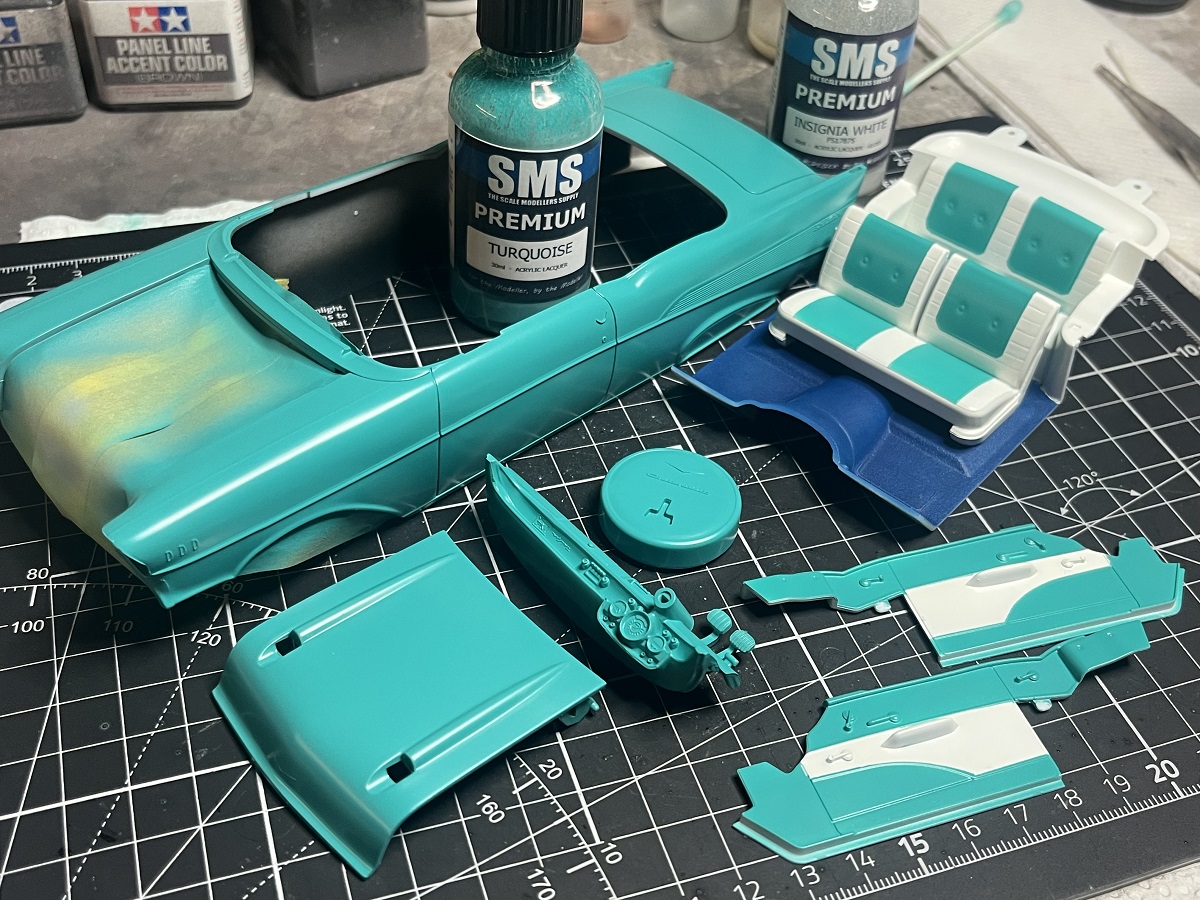
I’m planning to go with the box-art scheme, I love the colour and it came up nicely on the '56 Corvette I built recently using the SMS Turquoise paint.
D,
Looking forward to following another one of your Chevy Adventures. Love the color and two tone interior of the box art. Are you going to do that interior as well?
joel
Definitely going with the matching interior, it’s just super cool! The kit comes with decals for the seat inserts but I will mask and paint them then flat coat them to get a better match to the body paint.
D,
This is a 1st for me. Never heard of decals for the seats before. Looking forward to your next update.
Sorry that you’re stuck in winter. Here summer is right around the corner but the temps just won’t cooperate yet.
joel
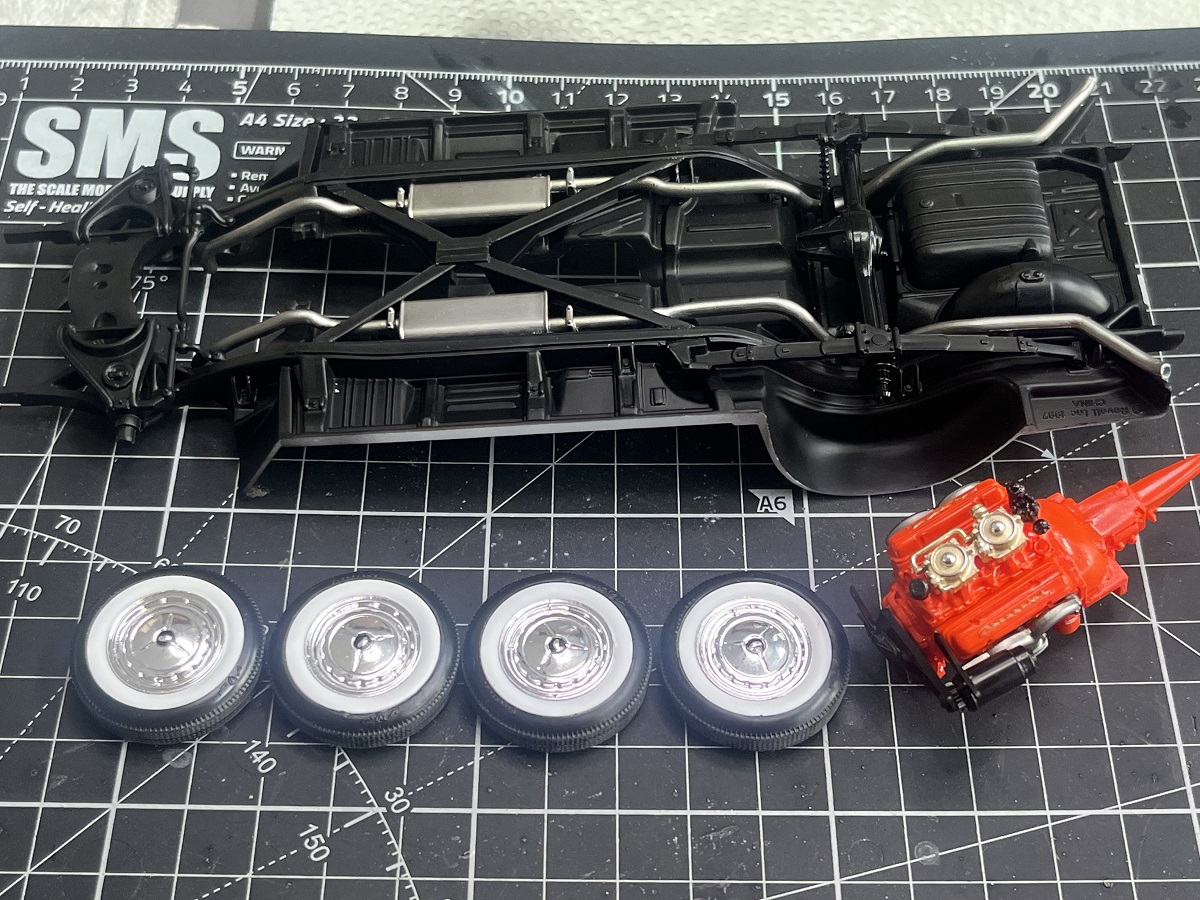
SMS Black Surfacer then some variations of SMS Black top coats on the underside, drive train and engine bay stuff. Also, my home brew Chevy Engine Orange/Red.
I forgot to mention, as keen eyes would see the front seat turned up! I went through every '57 kit in my stash and couldn’t find one to match the rear seat. The insert and stitching patterns are very different from the others and I was beginning to wonder if I should box this one back up. A long memory and a touch of OCD helped out here. Once I finish a car kit I bag up and label the spares in Ziplock bags and keep them in a storage drawer. When I thought back to the time I started this kit and what else I was working on back then, the only kit that came to mind was the '67 Charger I did in Metallic Blue, so I dug through the spares drawer and found the bag and there it was! I have no idea why I would have had this seat in with the Charger parts, maybe just a consequence of multiple builds on the bench.
A little side adventure, but very relieved to have matching seats especially in a ragtop!
D,
Always great to have a happy ending. Now if it was me, I can most certainly assure one and all that I’d never find the missing part till the build was finished or re-boxed and I’m deep into the next build. Then What-a- you know, the part just magically appears. Actually, that happens to me every once in a while.
joel
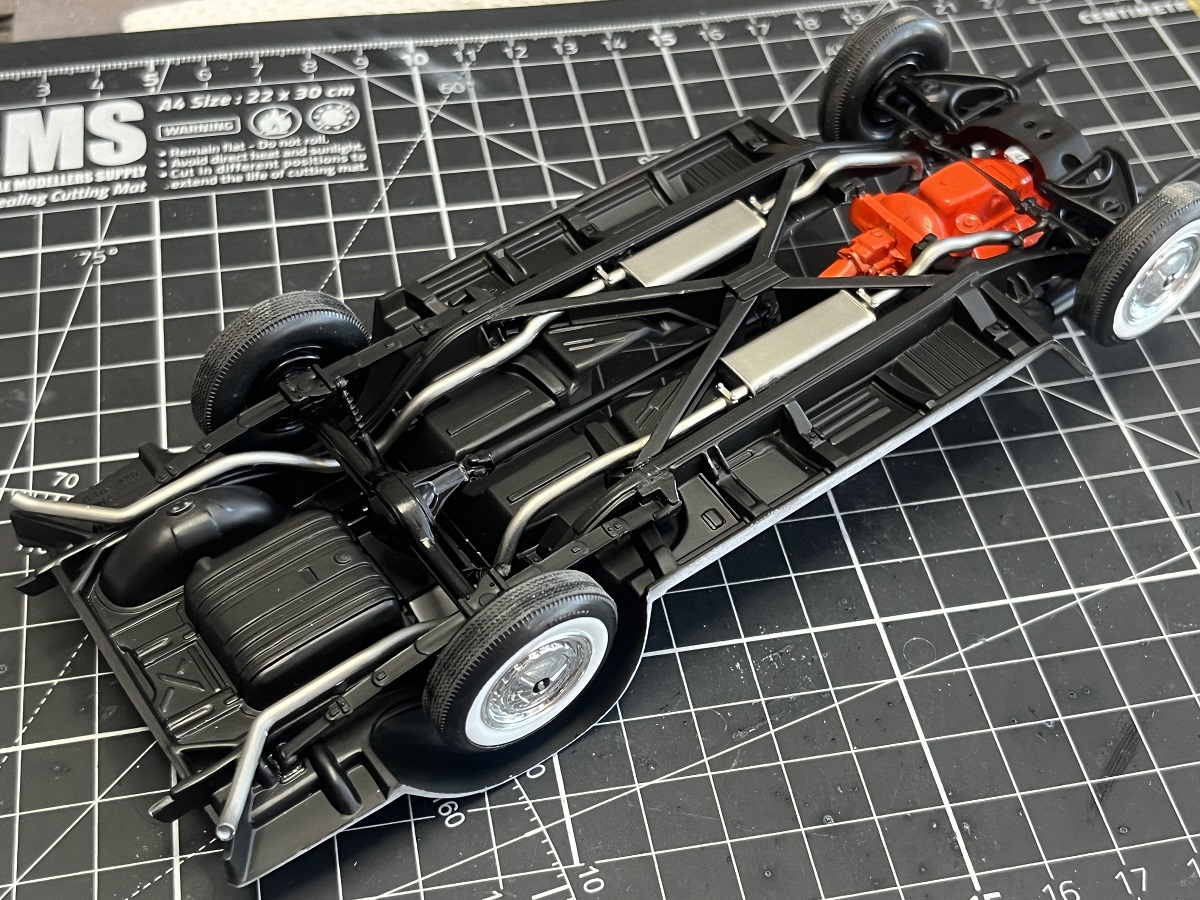
Time to get some more assembly done. I painted the whitewalls Insignia White and gave them a shot of Dullcote. The underside got the exhausts, cross-brace, springs, diff and shocks all fitted in place. The engine parts were all added ready for a light clear coat, and once that’s cured a light pin wash. The carbs were brushed with Tamiya Titanium Gold enamel straight over the kit chrome. The kit provides gold “Chevrolet” decals to drop over the raised detail on the rocker covers, they might need another shot of softener yet to settle fully before the clear coat goes on.
D,
Looking real good as you’re making excellent progress. Boy does those white walls bring back memories as my father and grandfather’s cars had white walls as that was the big thing in tires back in the 50’s. The duel exhausts really stand out and help pop that under carriage.
joel
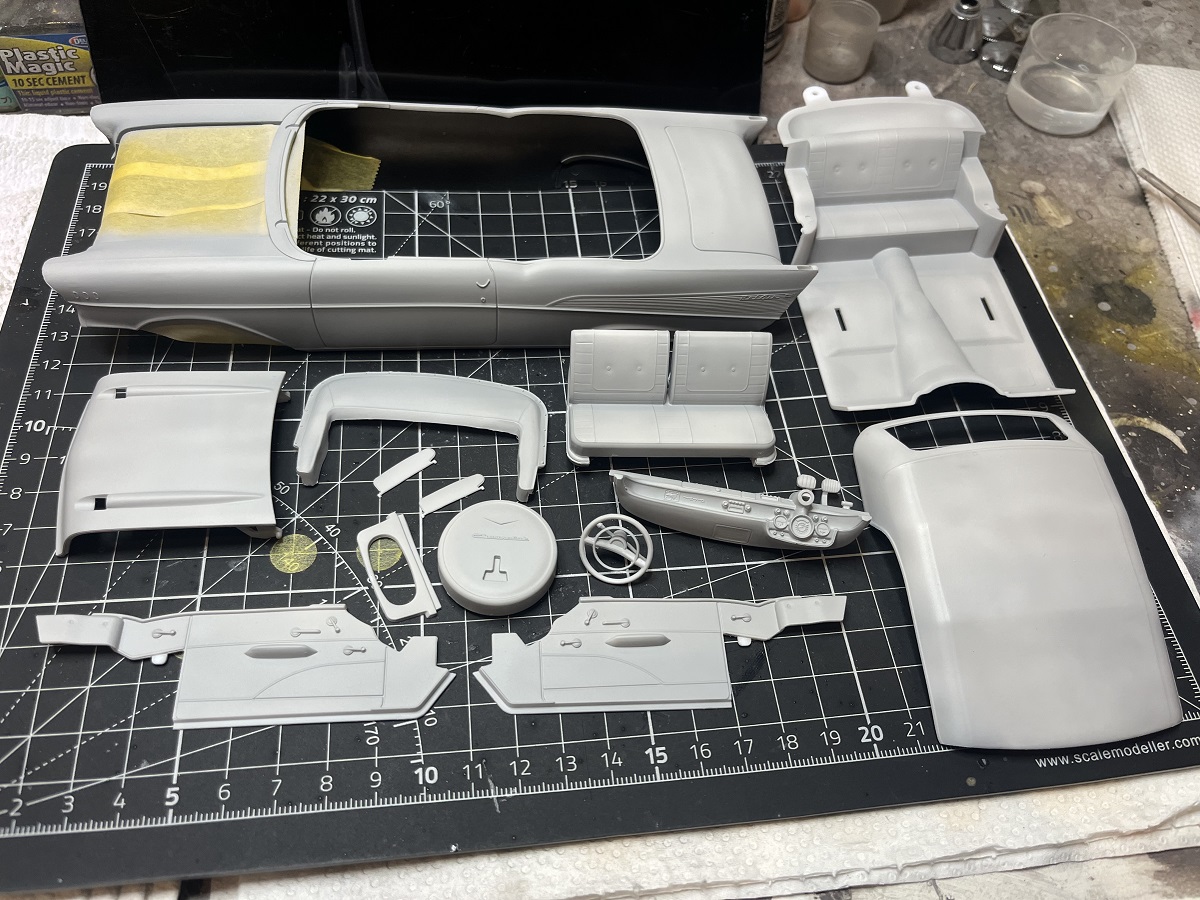
The carpet is Tamiya Blue X-4 thinned with Mr Color Rapid Thinner, then finished off with Dullcote to knock down any shine. The seats and door cards were shot with SMS Insignia White, then masked and the panels shot with SMS Turquoise followed by Dullcote, then unmasked so there is a difference in sheen between the Insignia White and Tuquoise.
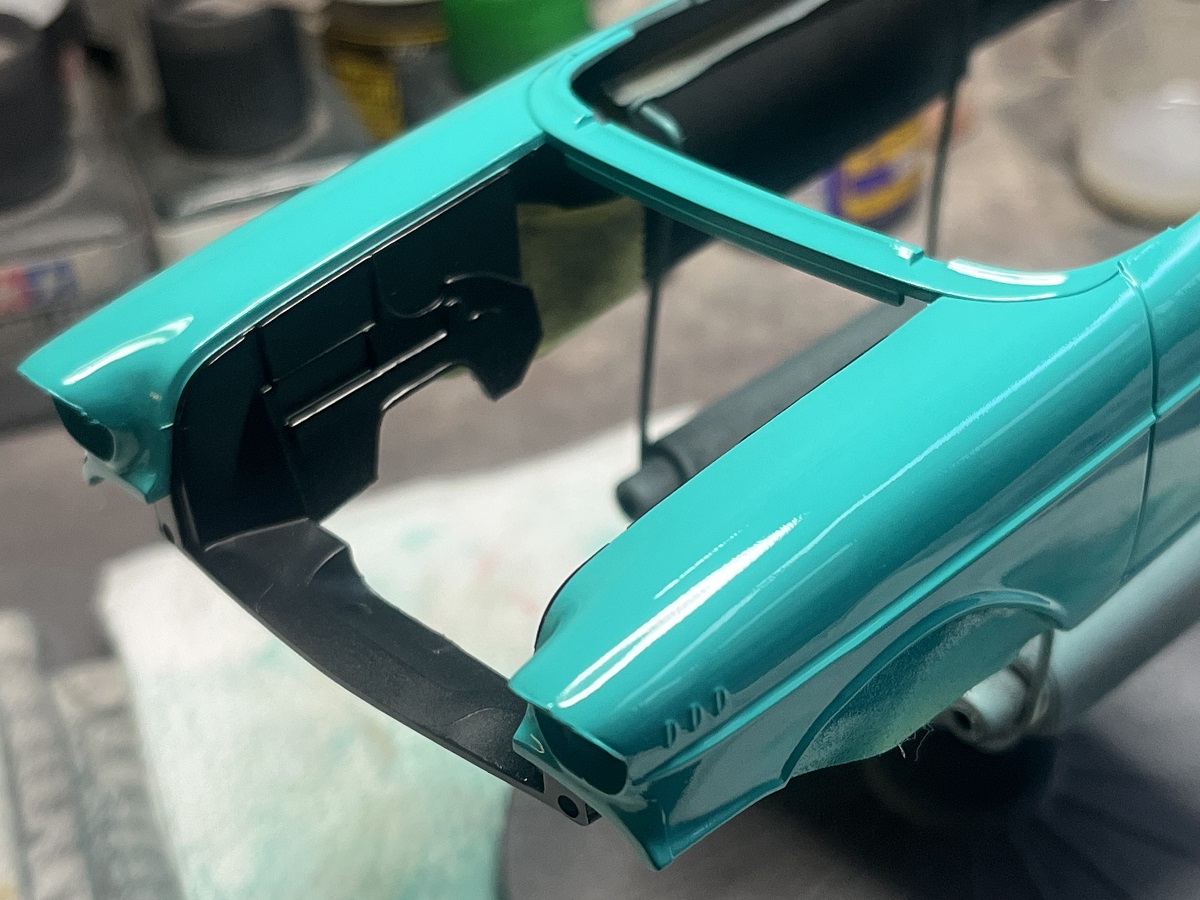
The body has had 2 coats of Turquoise followed by a barely wet coat of MLT and will get a fine wet sand and another colour coat once I get rid of some dust specks.
D,
Great progress for sure. All the interior parks really look quite good in their two tone schemes, as does the body paint job.
At the rate you turn out Chevy builds, GM should put you on their payroll
joel
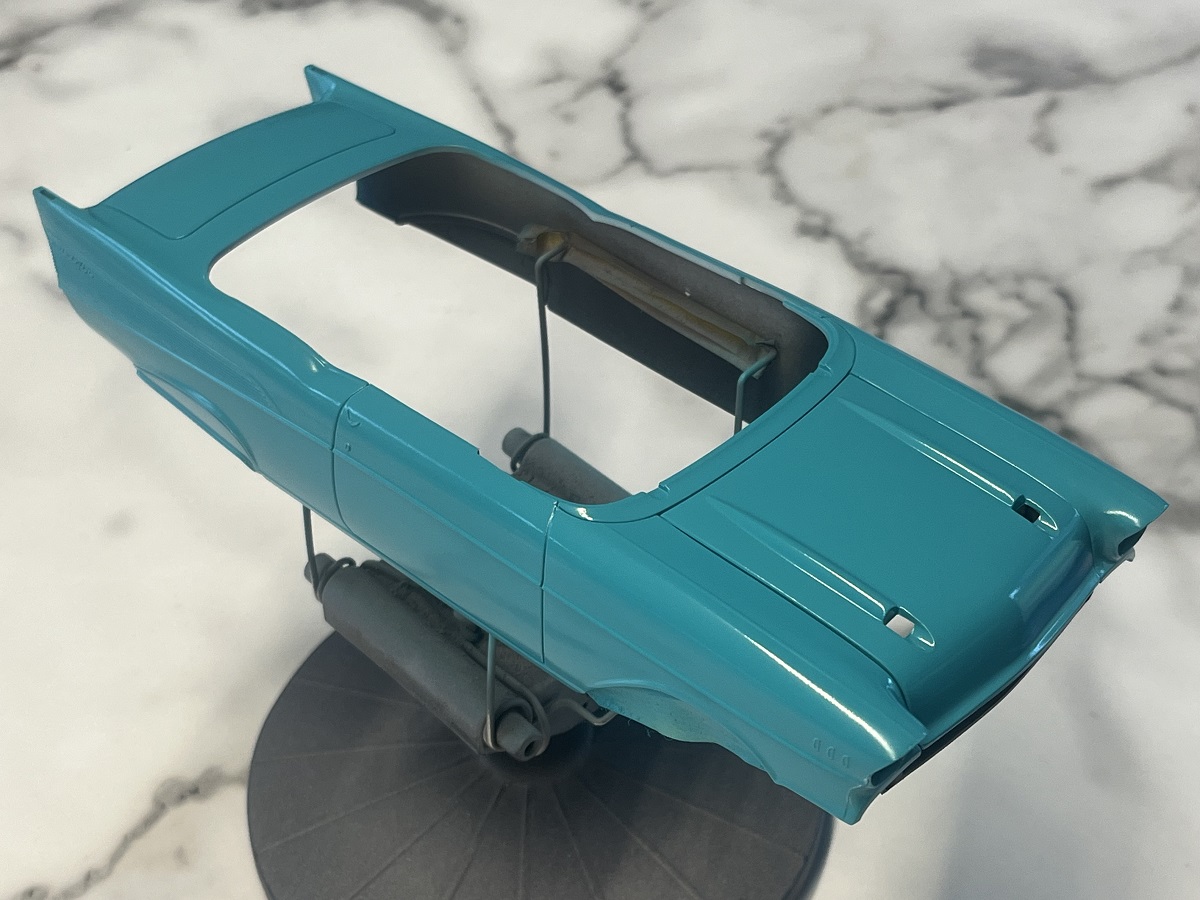
After a light wet sand with a fine sanding sponge to get rid of some dust specks, I gave the body another shot of Turquoise then a “barely wet” shot of neat levelling thinner straight after. I love how it settles the final colour coat down.
Well, being me I got impatient and shot the SMS Super Clear this afternoon, and I’ve gotta say this is the best clear finish I’ve achieved to date! Same technique, a light mist coat, 2 heavier coats, just enough to give the wet look but not heavy enough to slump or run, then a shot of neat MLT pretty much straight after and once again wet but not wet enough to cause runs.