That is a proper car paint finish … Painting and finishing like that is a whole new learning curve … One that i wont be going into lol … way beyond me ![]()
1 Like
D,
I’m more then impressed with that gloss finish. To me the finish is what breaks or makes a model build, as the overall presentation to the viewer is what they will judge the entire on.
Every gloss showroom finish you posted over the last few years has consistently gotten better and better, and this one tops the list for sure. I can only imagine just how much deeper the gloss finish will be after polish and wax. You’ll need to put a disclaimer in your post that caution needs to be taken when looking at the finished model. ![]()
joel
1 Like
sorry if this a stupid question … these are polished like you would a normal car to get an even deeper shine and finish ??
1 Like
Johnny,
Basically yes, but the process for a model uses a 2 or 3 step polishing system. Tamiya’s is 3 compounds, Gravity it 3 compounds, MCW is 2 compounds. Polishes are basically a finer grit then 12,000 and up. Course, Fine, and finish. The finish step gives you a super shine. The final step is a high quality car wax. Tamiya and Gravity have their own paste wax as well. Using commercial products like from Mothers, or Meguiar’s is just as effective or better, and the price makes using them a no brainer.
joel
2 Likes
As Joel said, the final steps for a lot of car modelers is the super fine polish and wax to get more depth to the clear finish. I haven’t gone this far yet but planning to on future builds, especially larger scale (1/12) cars. At this stage I have just primed, painted and clear coated this build. I will give the clear coat a polish up with a soft cloth and see how it looks after that.
Cheers, D
1 Like
It looks great Damian but as Joel says, if you go that extra step with the polishes and wax you will see a noticeable difference.
cheers
Michael
1 Like
Michael, that would take patience and self discipline at levels that I don’t possess . . . . yet! Maybe one day when I grow up ![]()
![]()
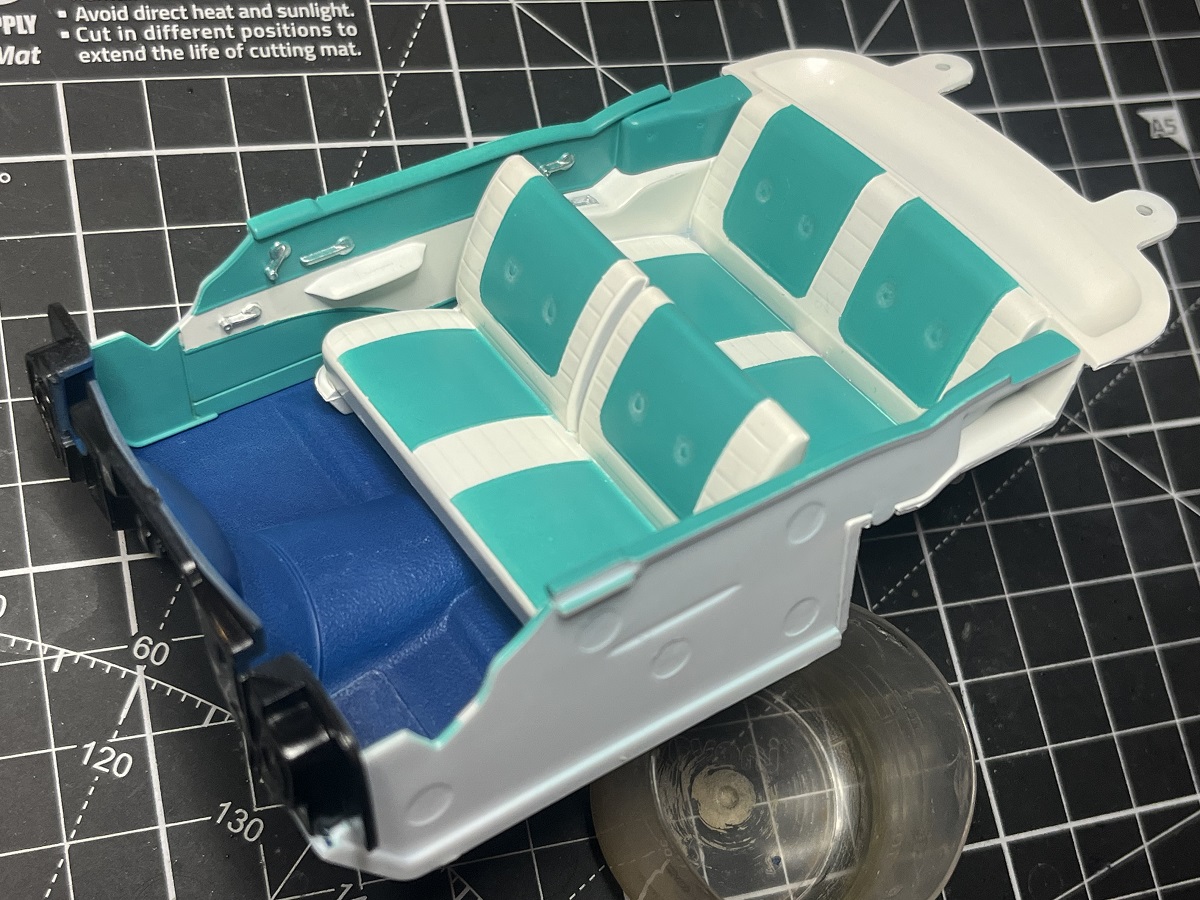
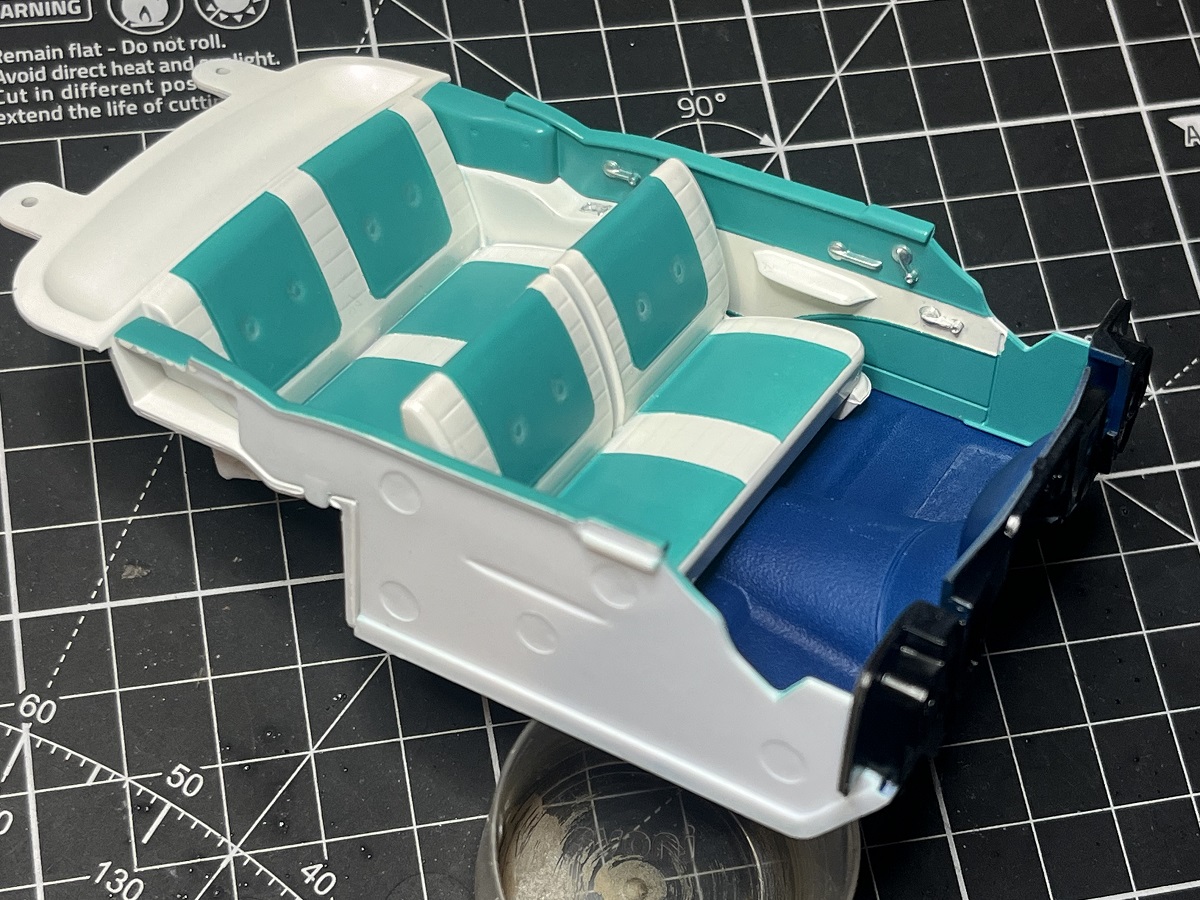
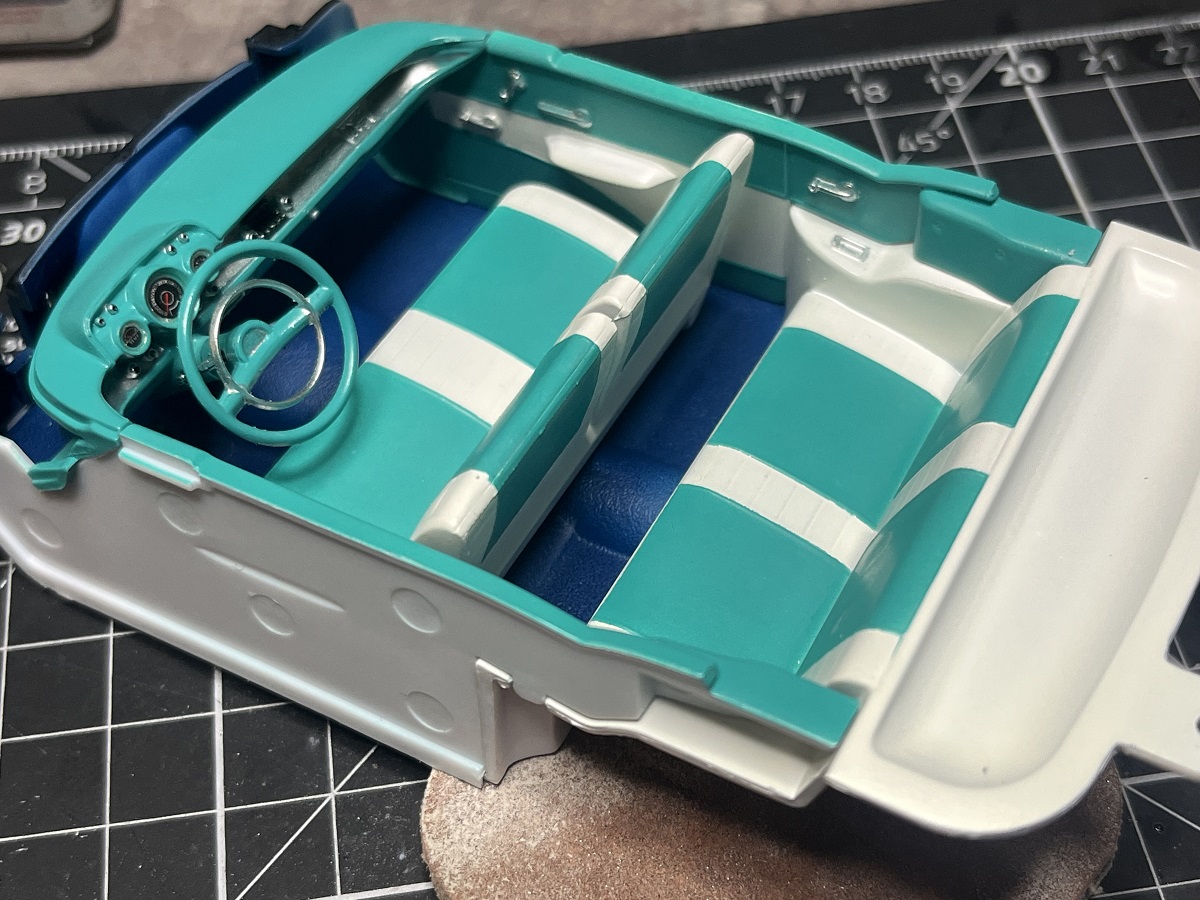
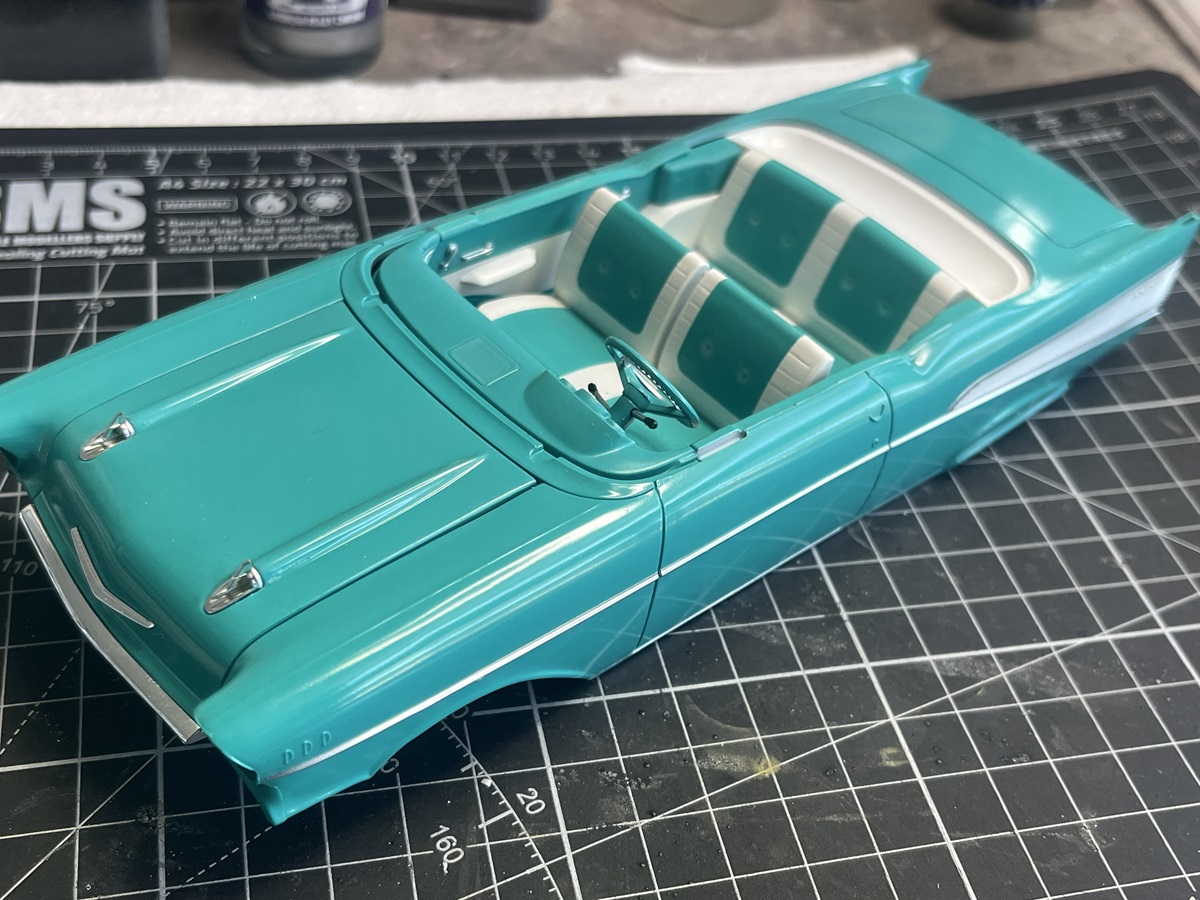
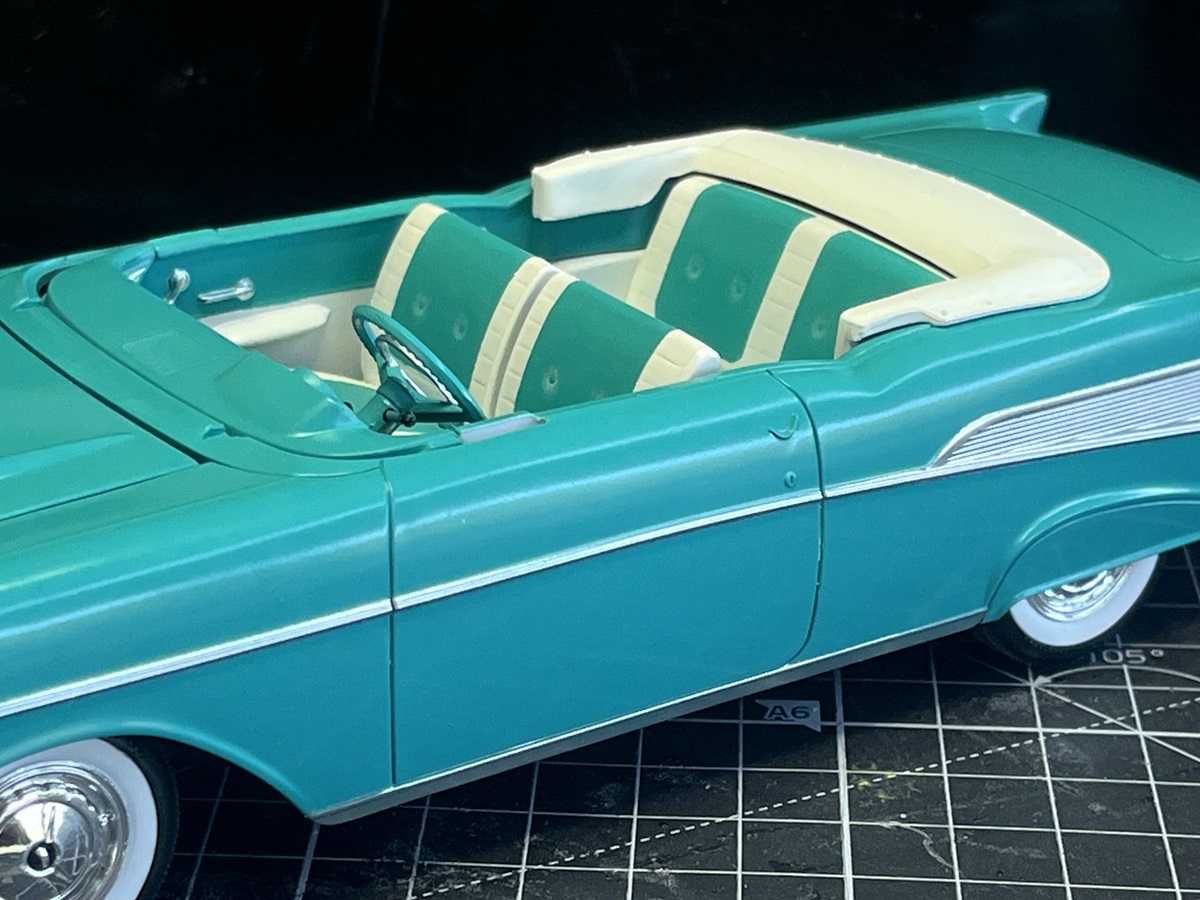
I gave the seats a light wash with a very thin Grey/Dust oil paint mix to highlight the details a bit, painted the door handles and assembled the interior tub.
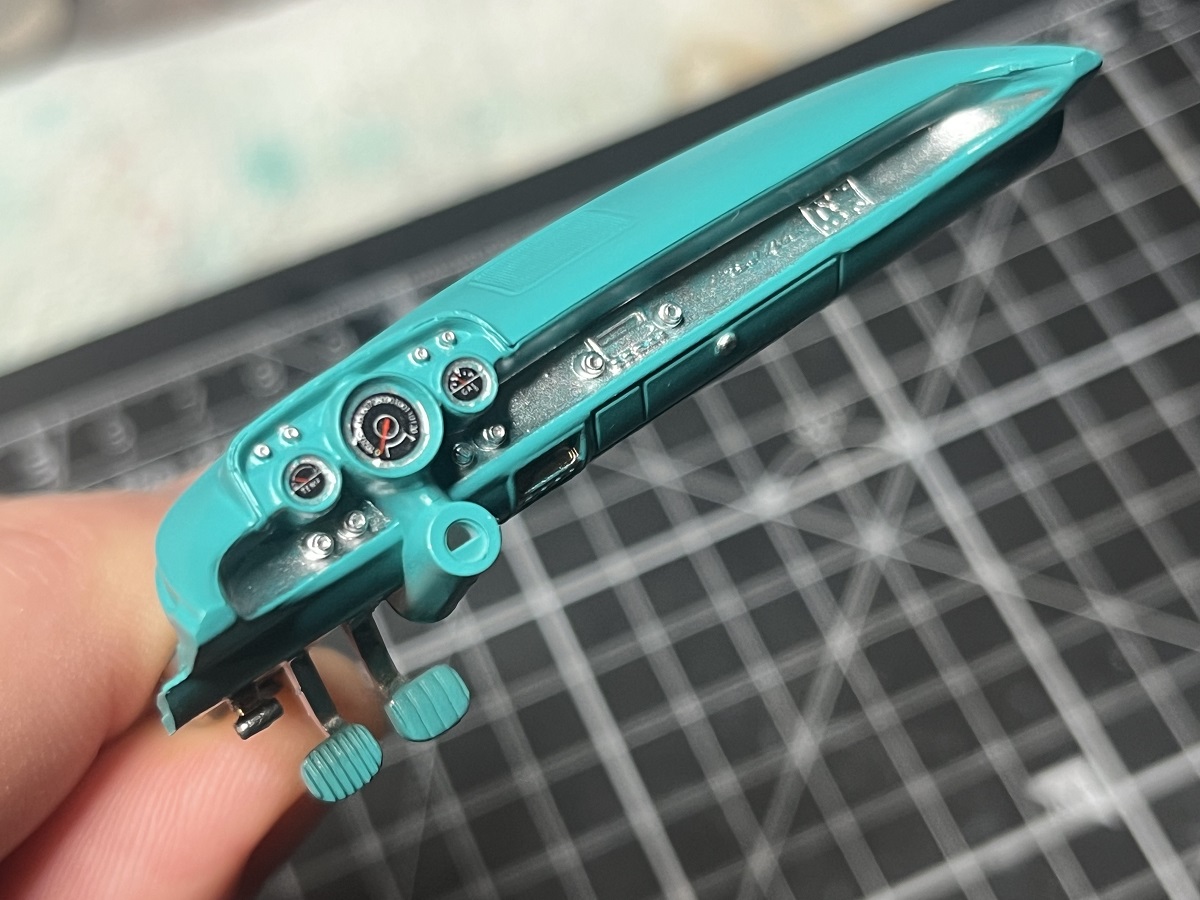
I also hand-painted the chrome on the dash and placed the dial decals. Still more painting to do before I fit the dash to the tub.
Cheers, D
7 Likes
Really digging the colours. So vibrant and brilliant contrasts … you can imagine this cruising into the drive-in on a Saturday night …
1 Like
Indeed. As much as I admire the car and D’s work on it I prefer to imagine who is sitting by my side at said drive in … ![]()
3 Likes
Thanks for checking in guys!
@RDT1953 , fair call, I’m not offended at all mate!
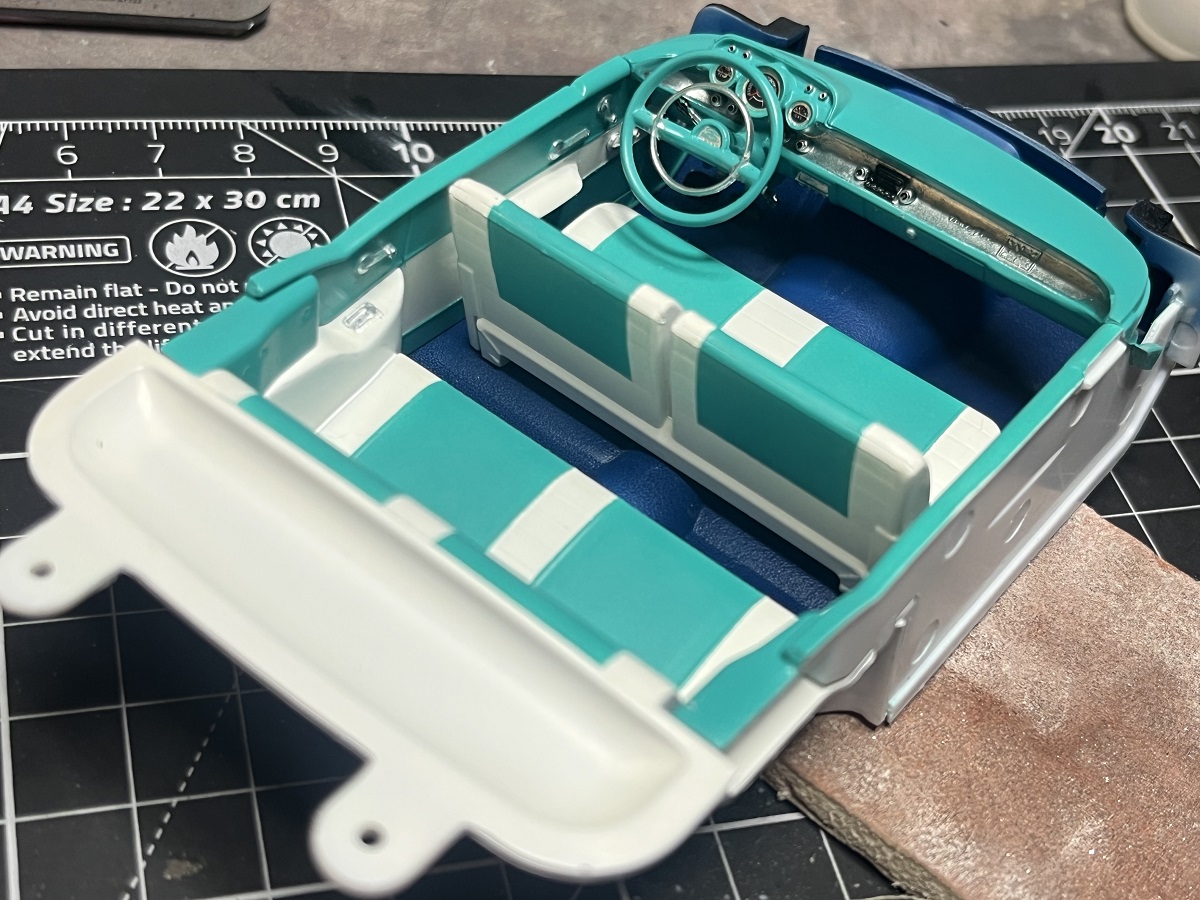
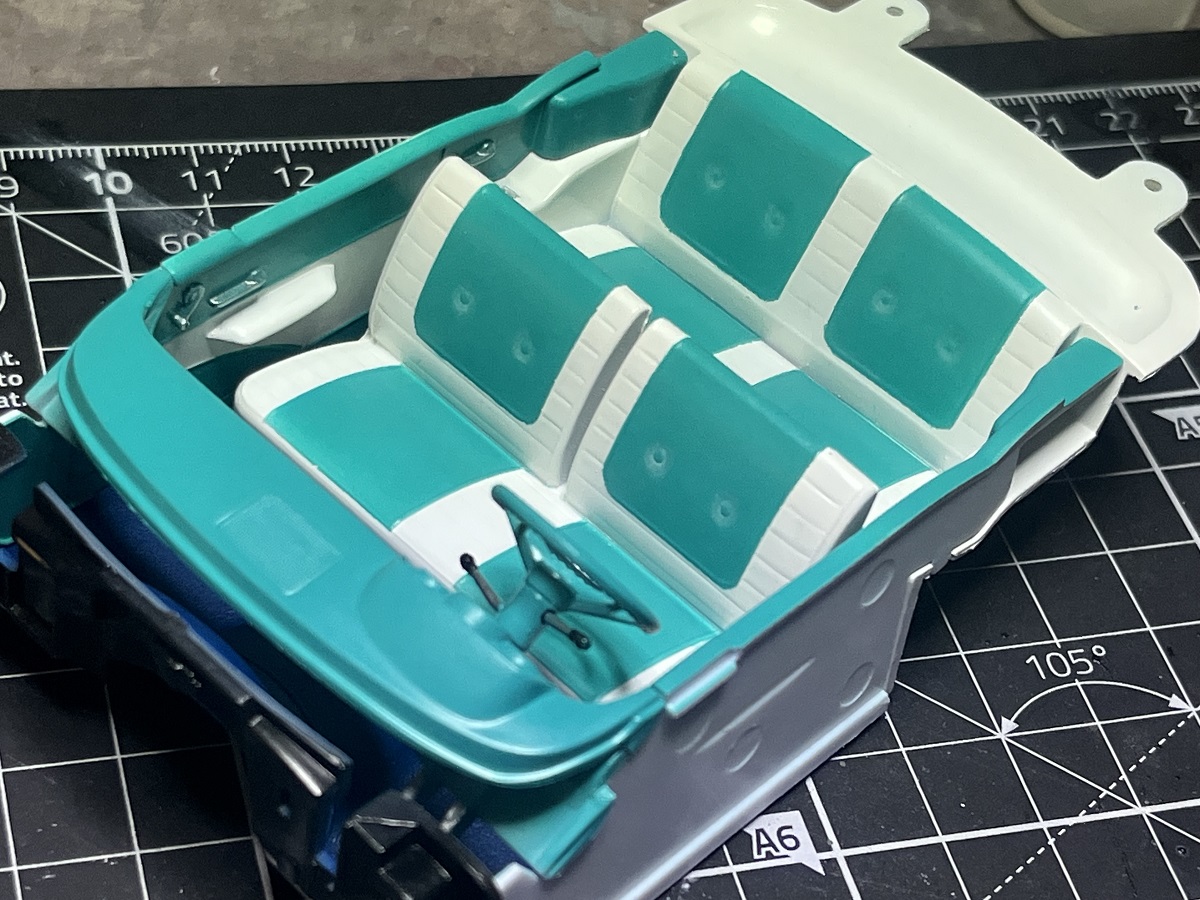
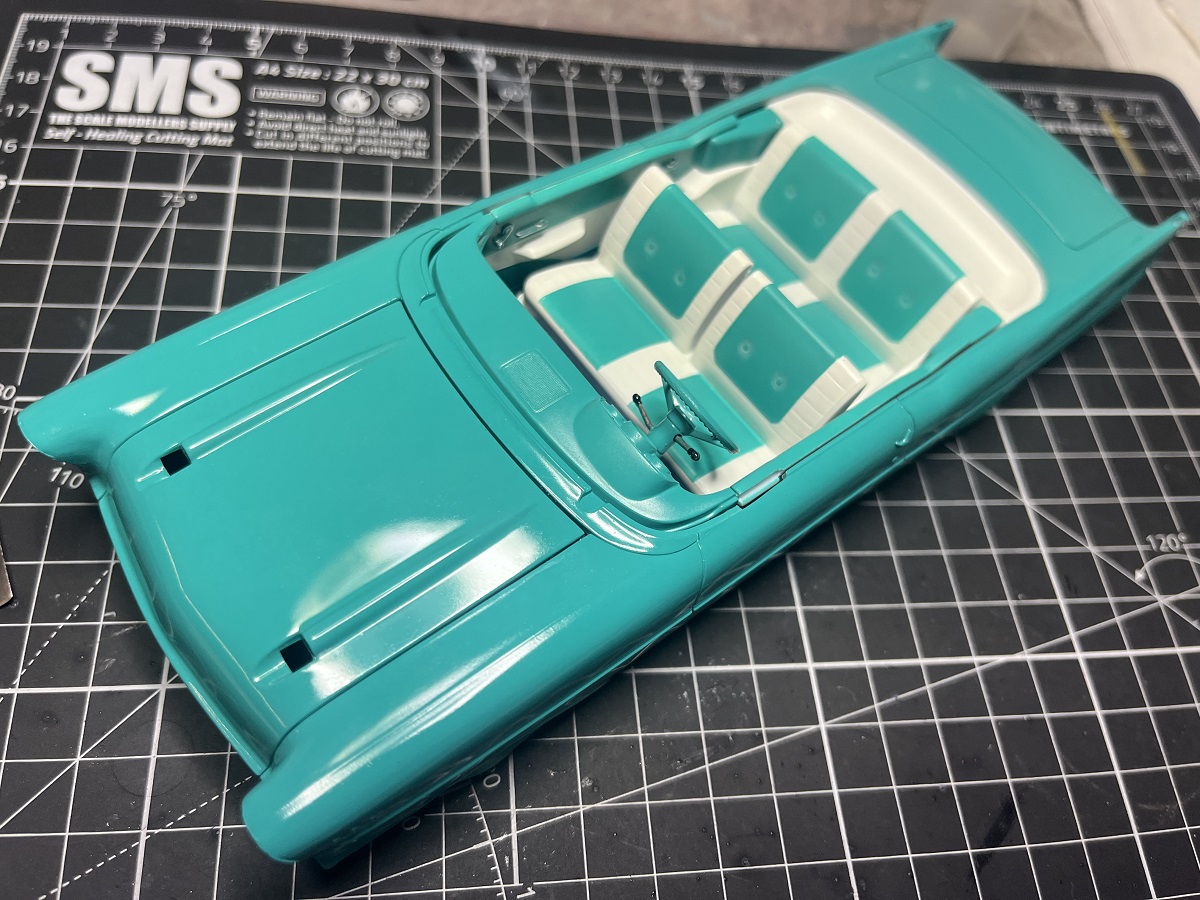
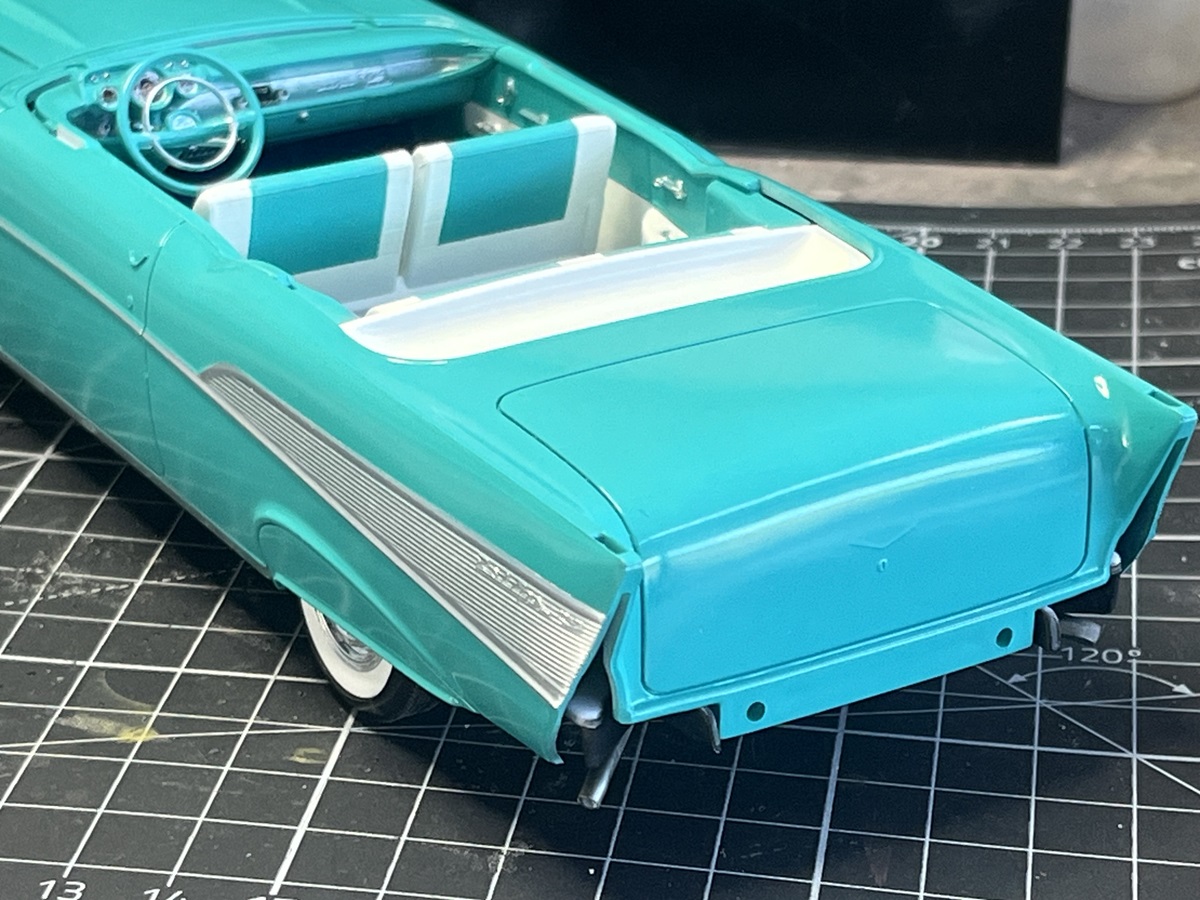
Interior tub assembled and test fitted to the shell to see how it all works together.
Cheers, D
6 Likes
Awww that just looks wicked cool Damien! Umm, that is masking tape on the floor right?
Cajun ![]()
Edit: Oh and the gauges look Fabulosos!
1 Like
D,
Interior looking way cool. Just don’t forget to buy a pair of dice to hang from the rear view mirror.
joel
2 Likes
Love the turquoise and the star trail. ![]()
1 Like
@md72 thanks mate!
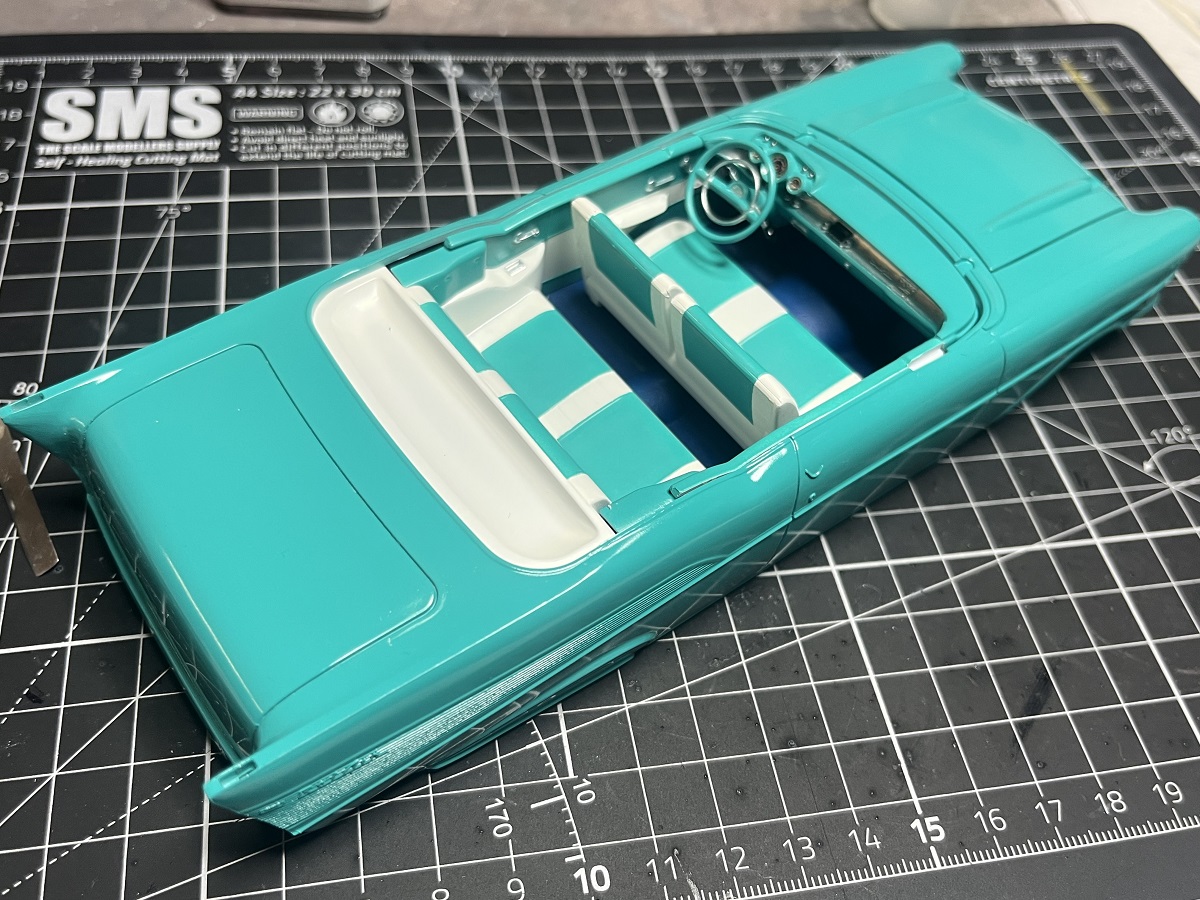
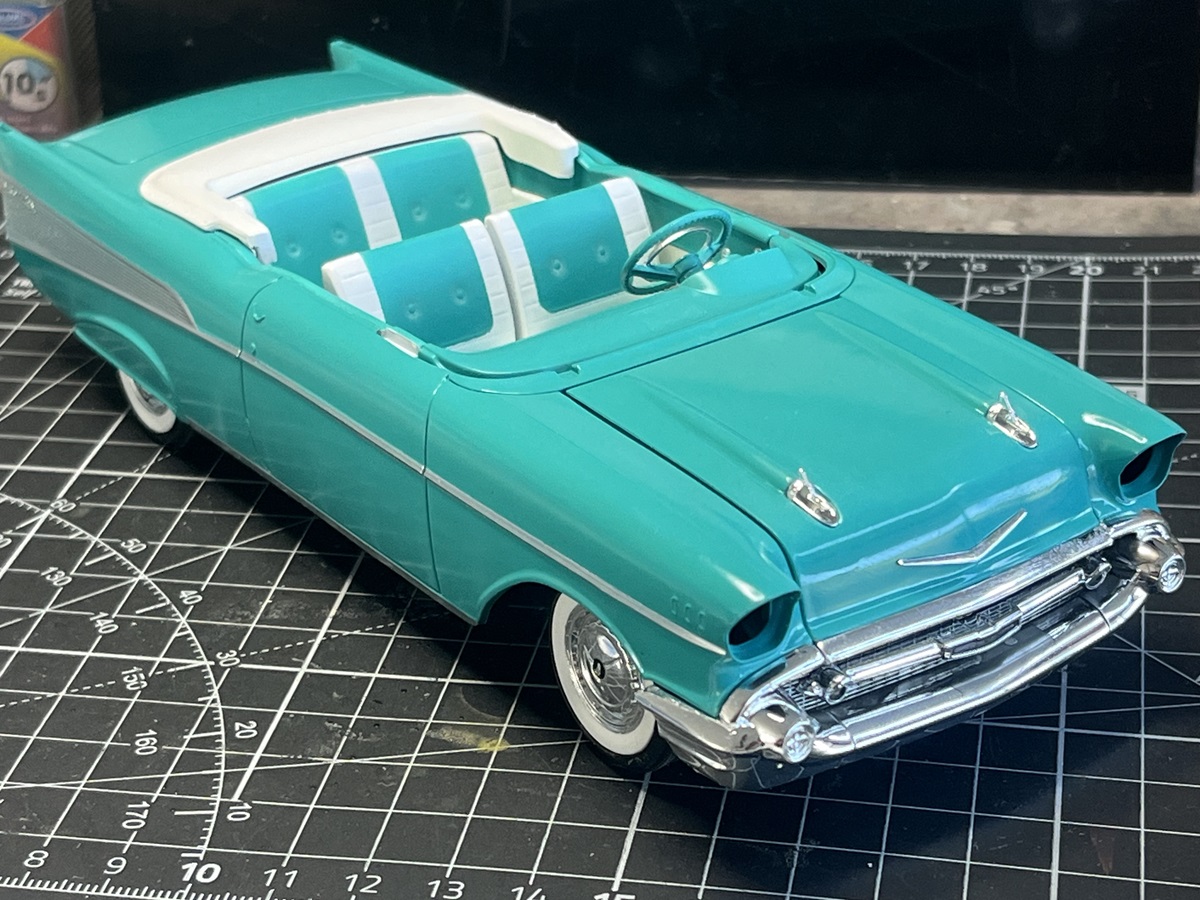
This morning I installed the interior tub and started on some of the chrome trim parts with the bullets, “V” and nose on the hood.
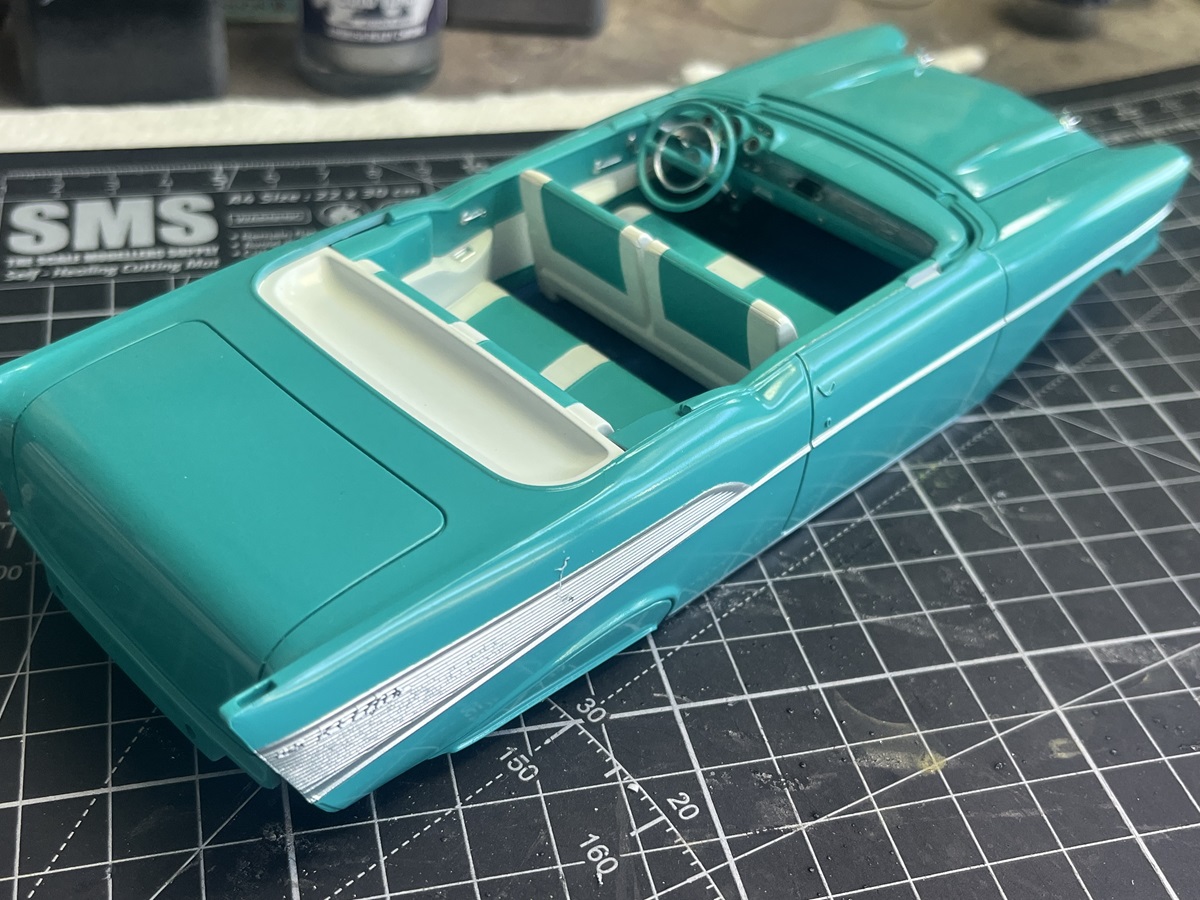
Definitely getting that '57 feel about it now.
Cheers, D
5 Likes
My gosh, you car guys are incredible! Woof!
2 Likes
@PolishBrigade12, thanks Steve, definitely appreciate the feedback! Feel free to come join the shiny side of this wonderful hobby mate, it makes a nice distraction from the flat Olive Drab, chipping and mud ![]()
Cheers, D
3 Likes
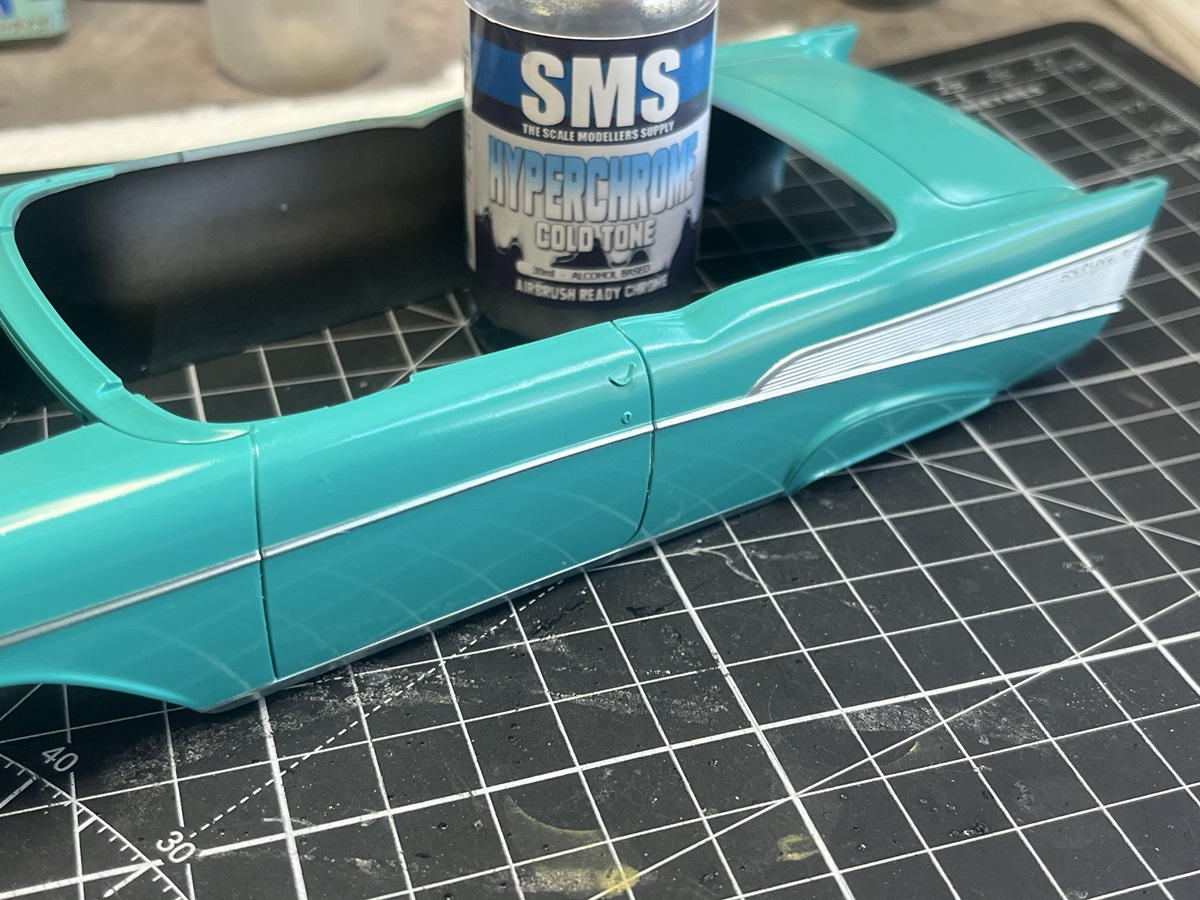
That turquoise looks amazing… The shine really makes it pop …
2 Likes
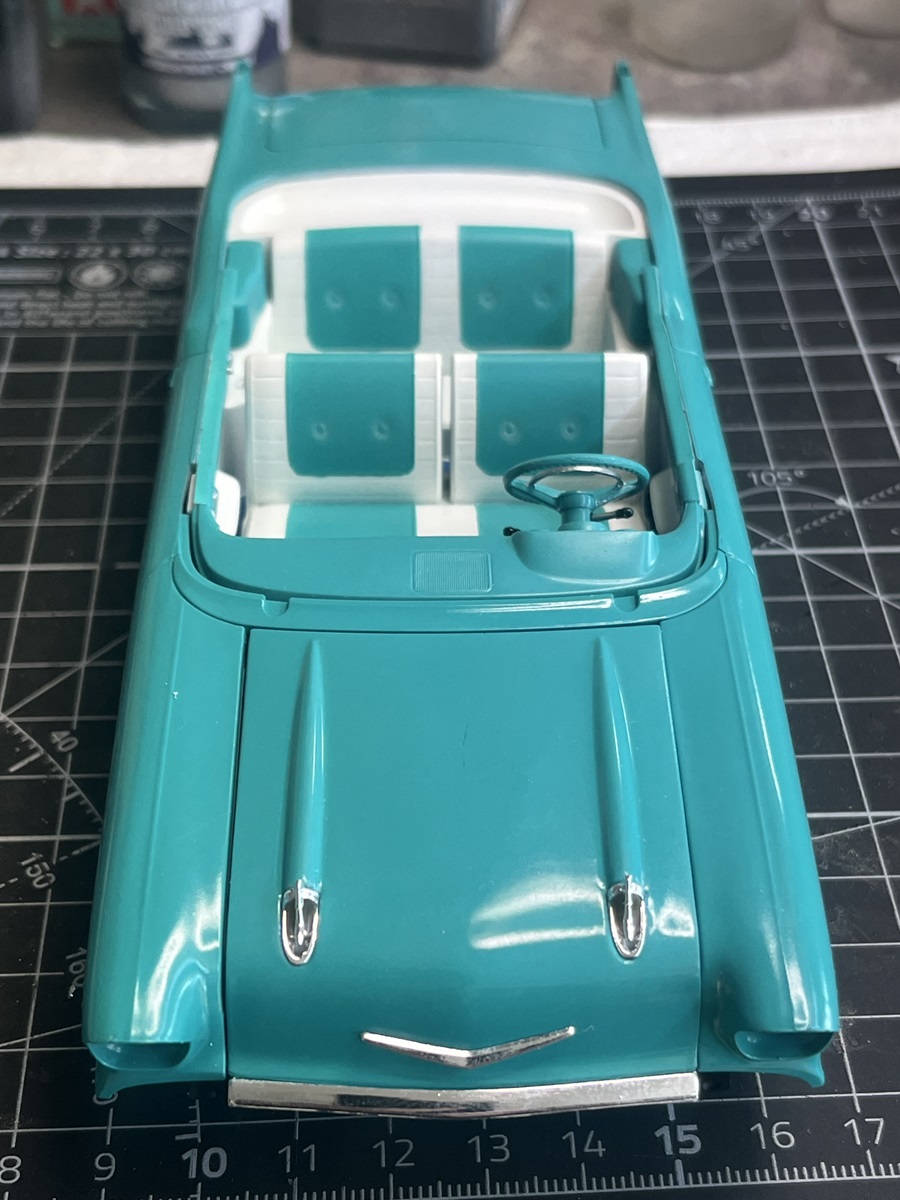
Some more assembly last night, we are up on our feet now with that beautiful big Chevy grin ![]()

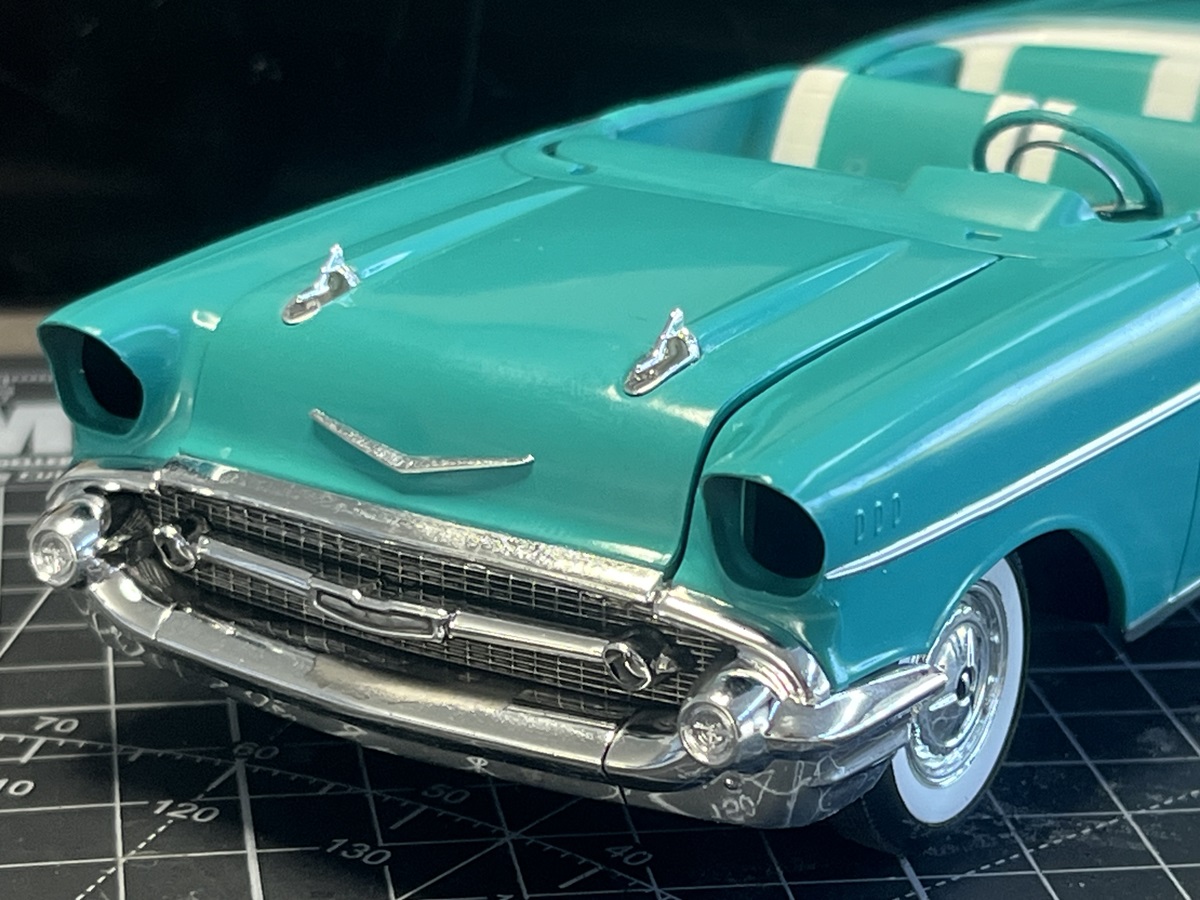
I also fitted out the engine bay over an accompanying drop of Bourbon ![]()
![]()

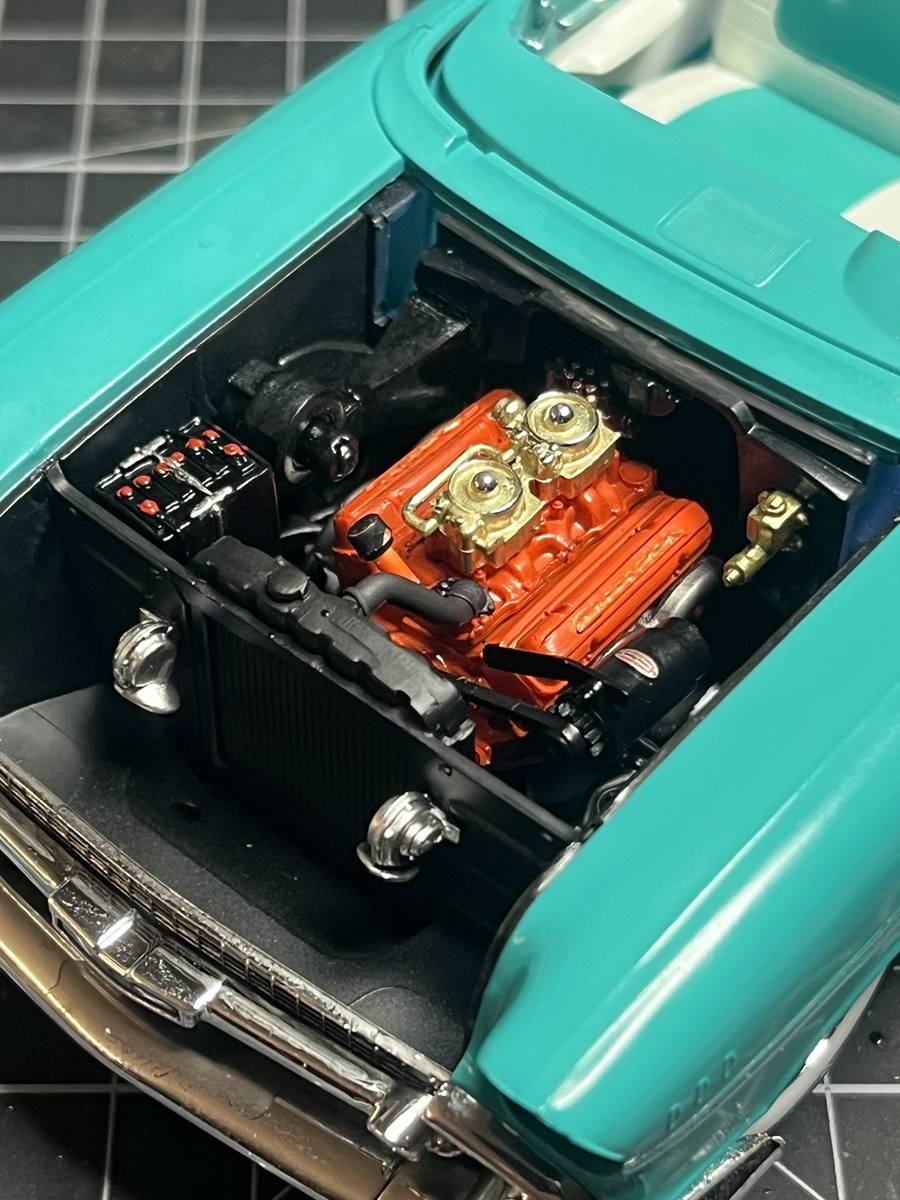
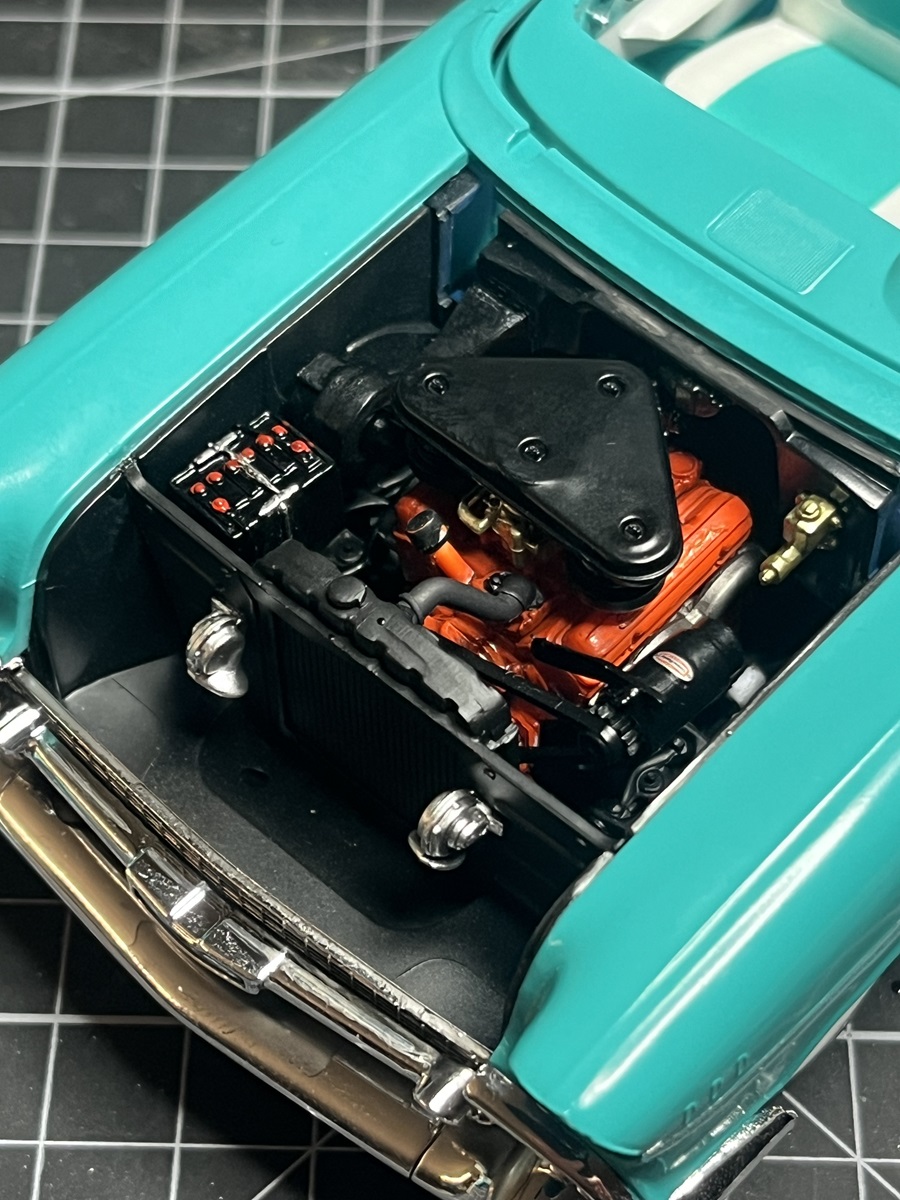
Cheers, D
6 Likes
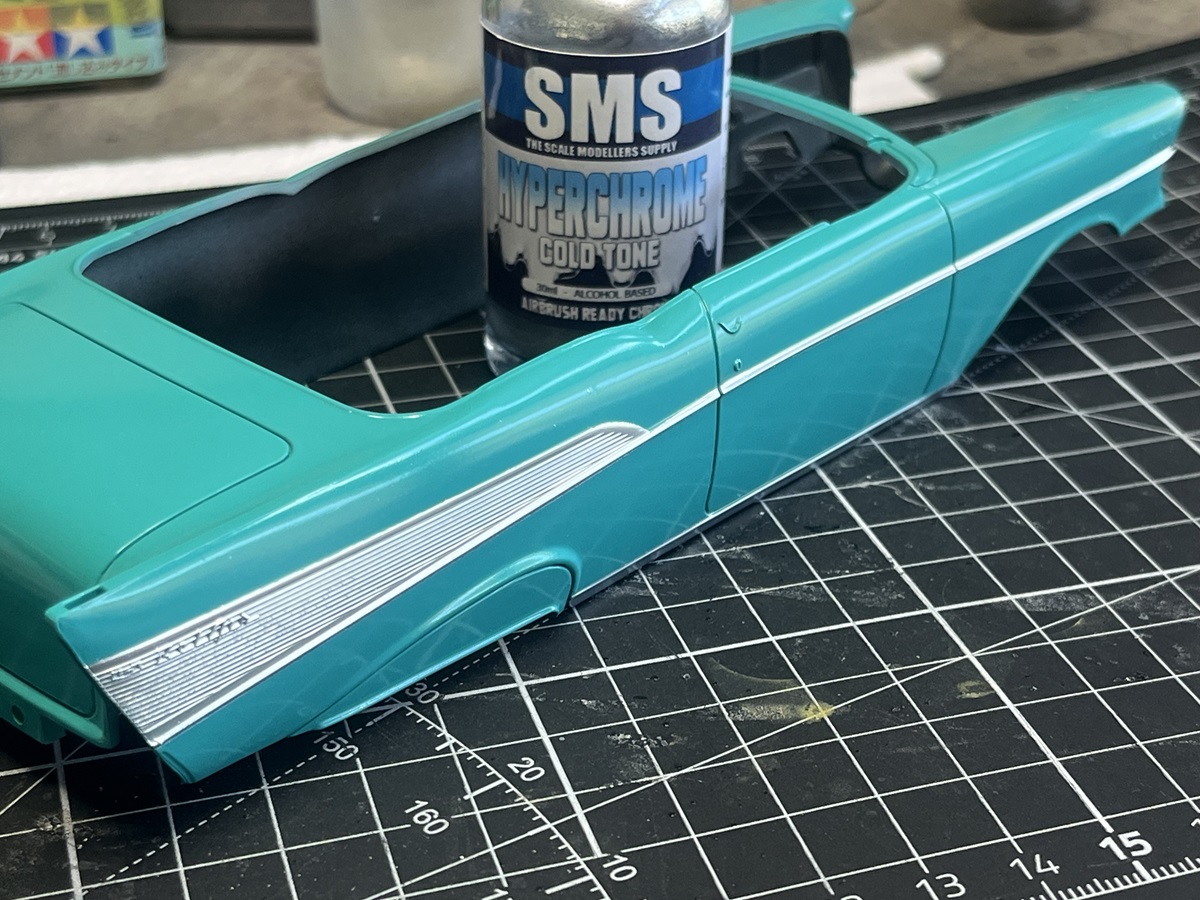
Great work so far, D! ![]() That turqoise paint (Türkis in german) looks super cool!
That turqoise paint (Türkis in german) looks super cool!
1 Like