Time to get another Chevy project started! I got dragged in to a Tri-5 Group build on a Facebook page where I have been a member for a year or so. The focus of this group is heavily modified custom cars with themed Group Builds, and I have managed to resist joining in until now. Of course, it was my suggestion that led to the current Group Build being a Tri-5 Chevy focus, so how could I not take part?
The Nomad kits to be carved up are from the Revell-Monogram 1:24 “Highway Scenes” series which come with a cardboard diorama backdrop. I have had one unstarted kit in the stash for a while, along with one glue-bomb that I picked up cheap along the journey somewhere.
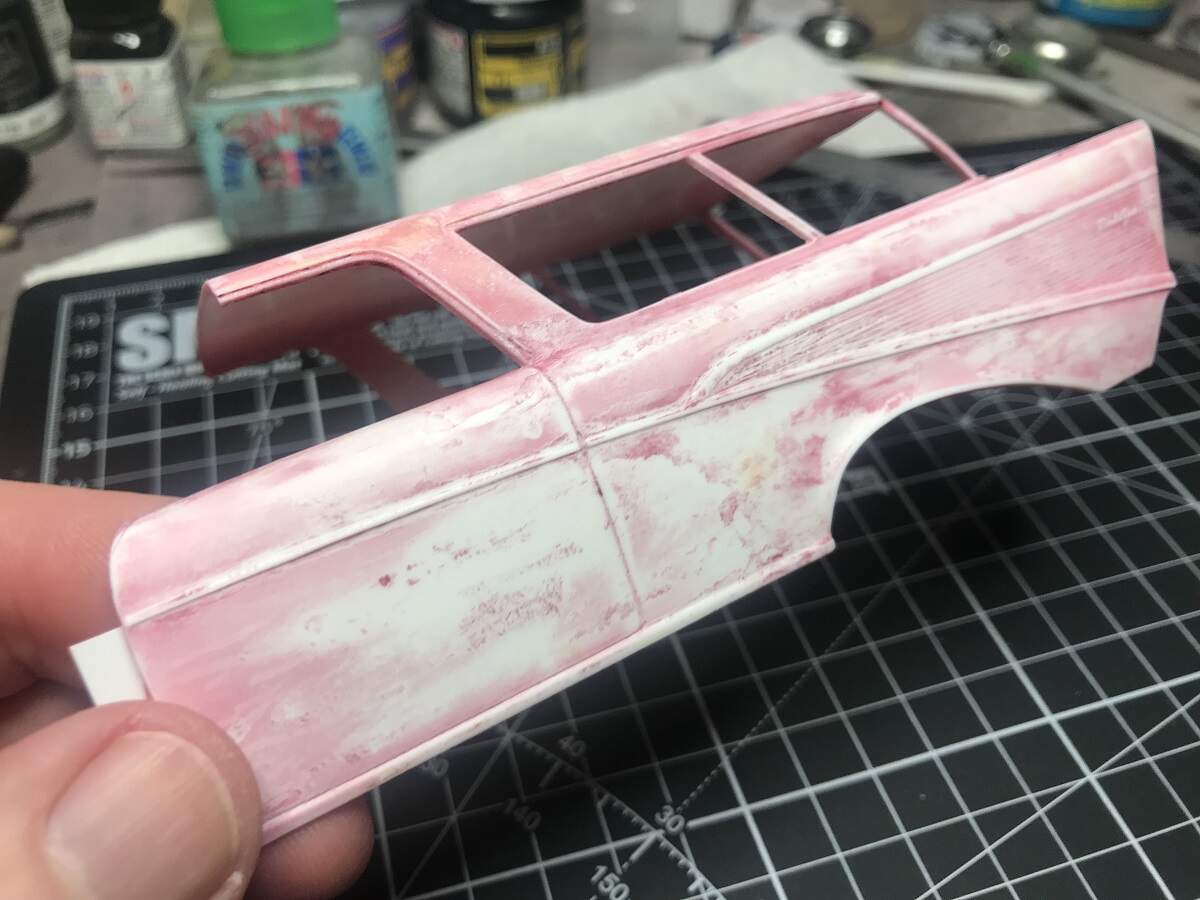
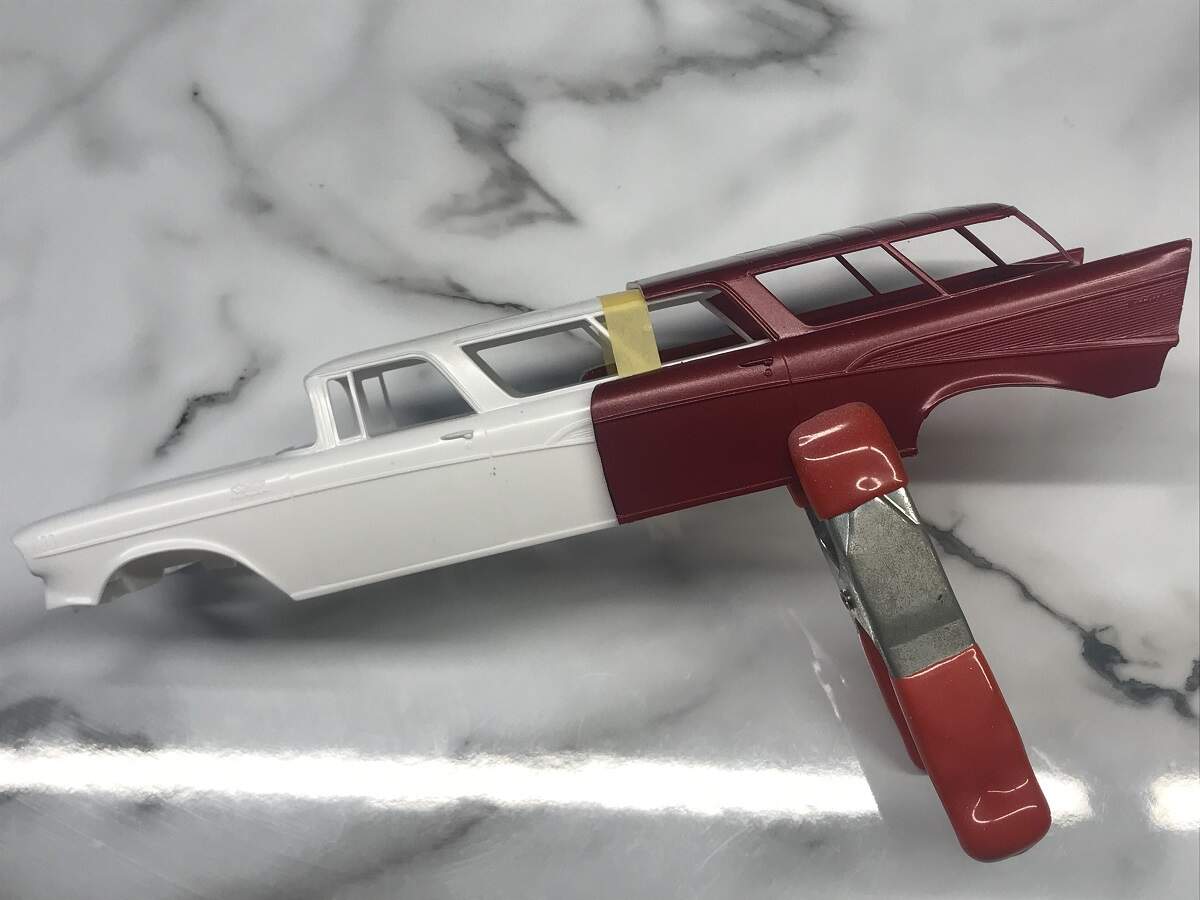
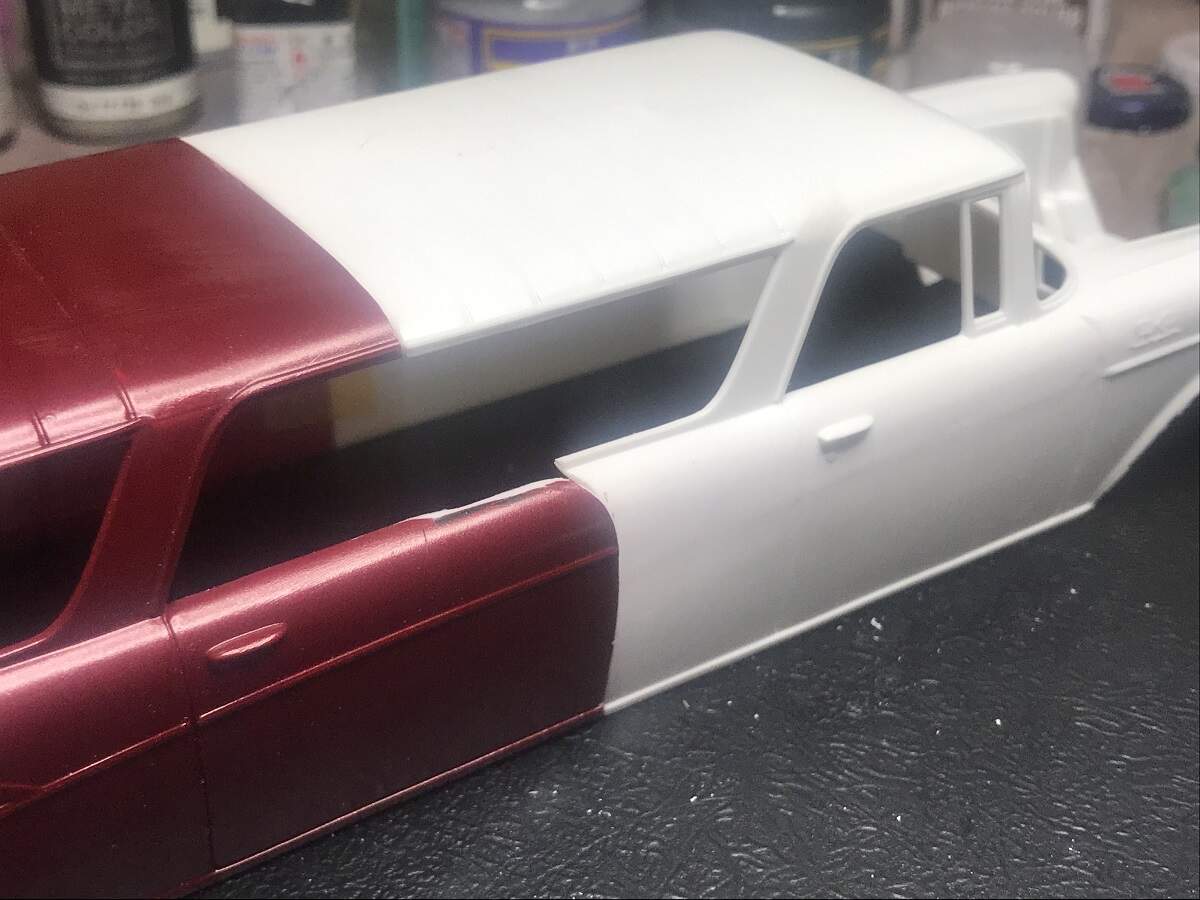
My plan is to cut the fresh body along the tape line, and the red body across the roof in line with the quarter window frame then down the front line of the door, then the body contour lines will be consistent. The front of the door line will be slightly forward of the wheel arch on the fresh body, so I won’t need to fill and blend such a big area.
Another glue bomb I collected at some time is a '55 Chevy Cameo which I was planning to convert into a tray truck, so as part of this project the '55 Cameo tub will be converted into a trailer painted to match the Limo.
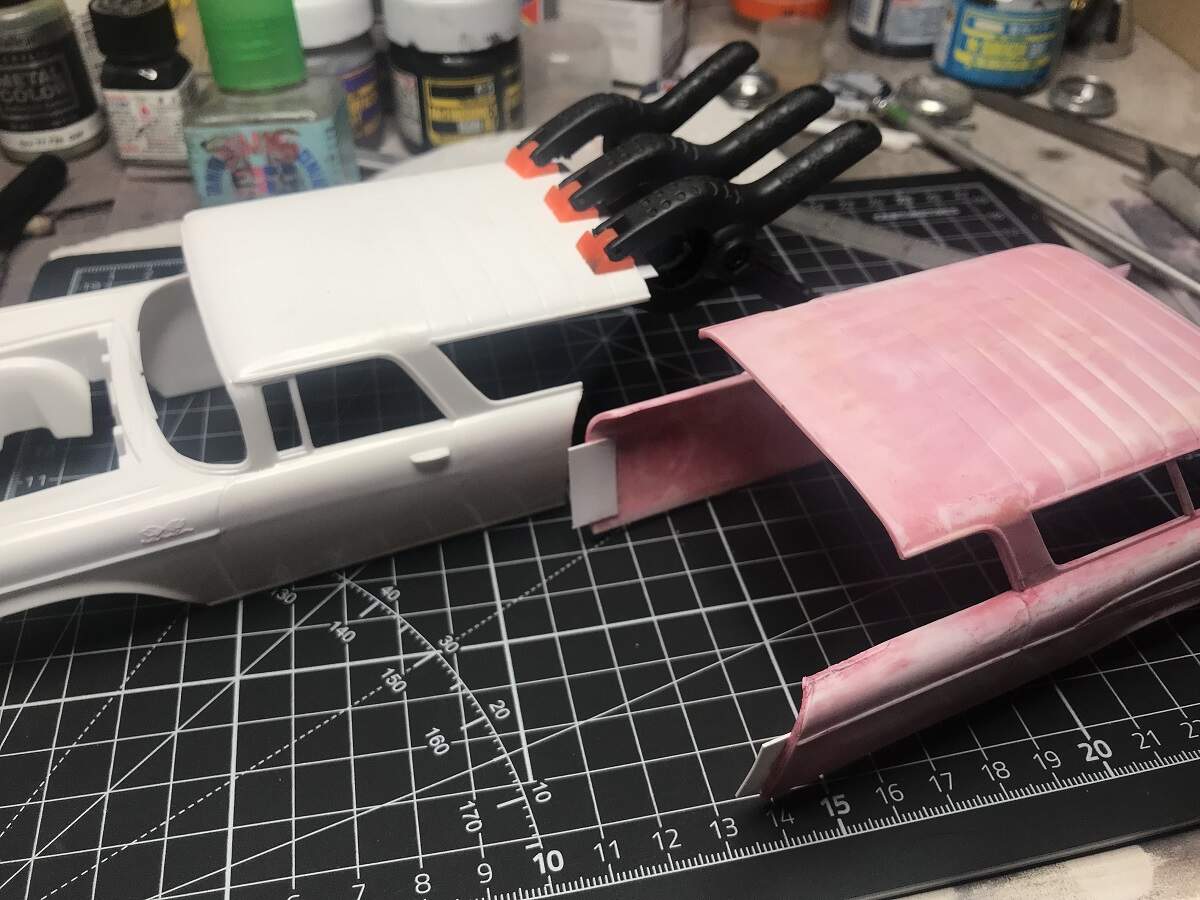
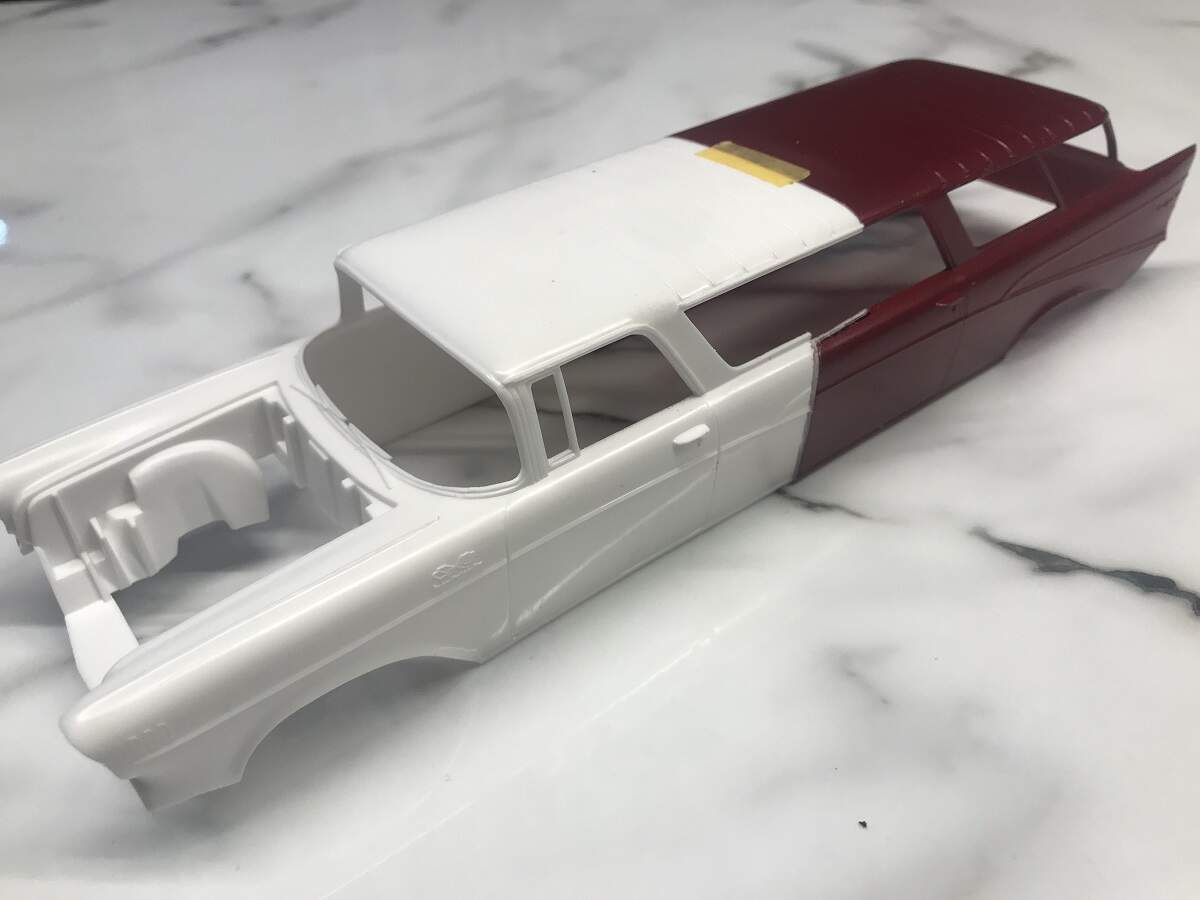
Tonight (after a fortifying glass of Shiraz) carvery has commenced! It took about 15 minutes with Xacto blades and razor saws to scribe and cut the front end off the body that will be the back end of the Limo.
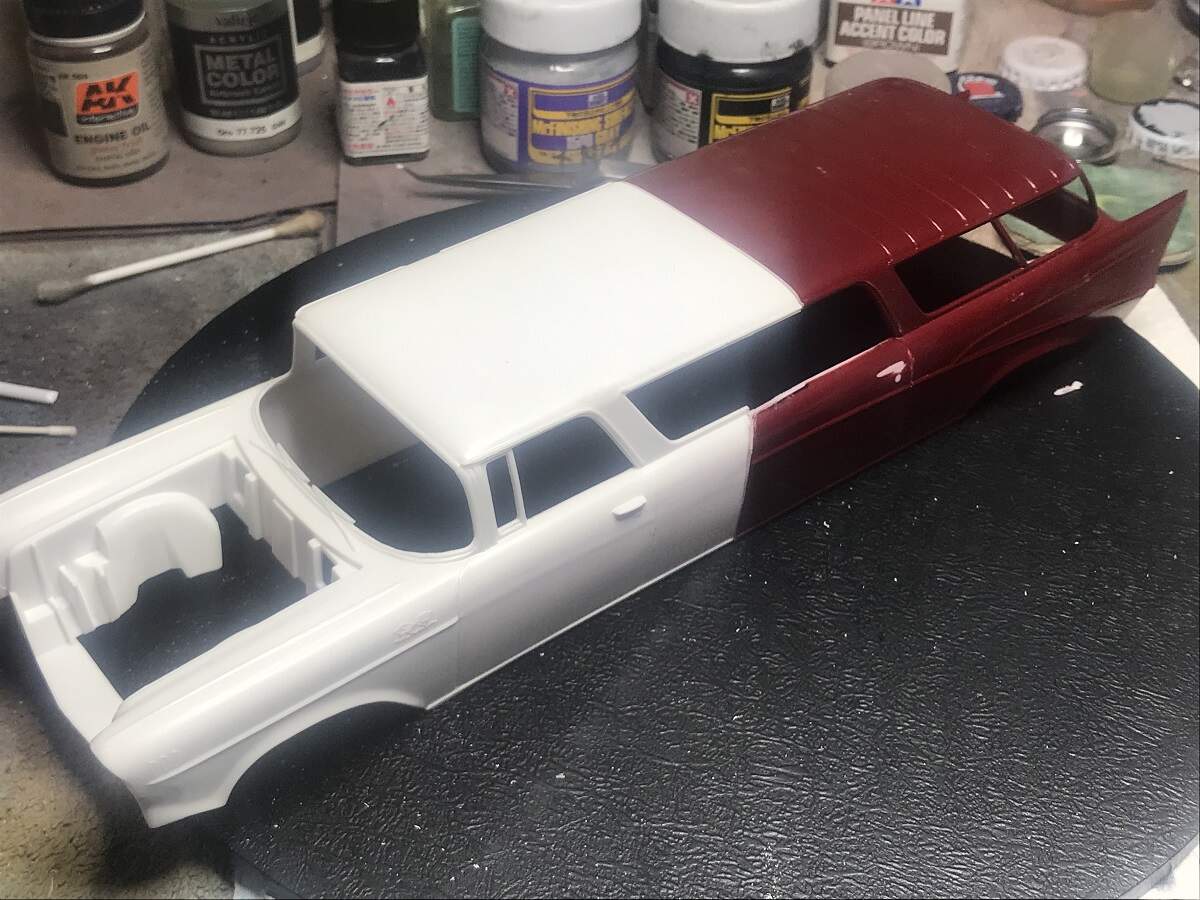
Quick mockup to see how the proportions look. I’m thinking that I will remove the first small frame (where the masking tape is) and fill that opening with solid sheet then keep tinted glass at the back end.
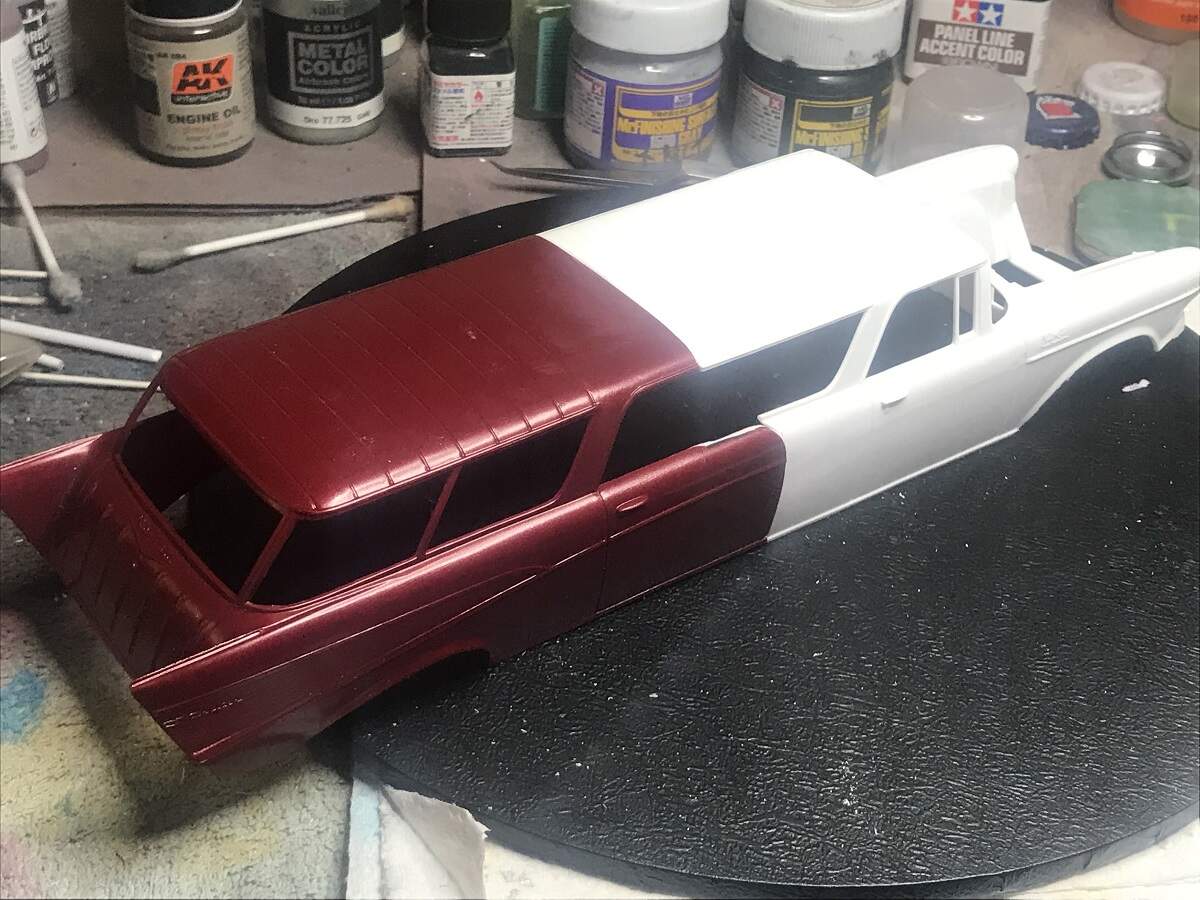
I’m liking the proportions on this! There will be a bit of work to strengthen the body join and clean up the cut lines, but that’s all part of the fun!
The second drivers side door will be removed. I will sand off the trim and handle and fill the door lines, and the opening will be filled with either a solid panel or tinted glass. I will check out some reference pictures and see what I prefer.
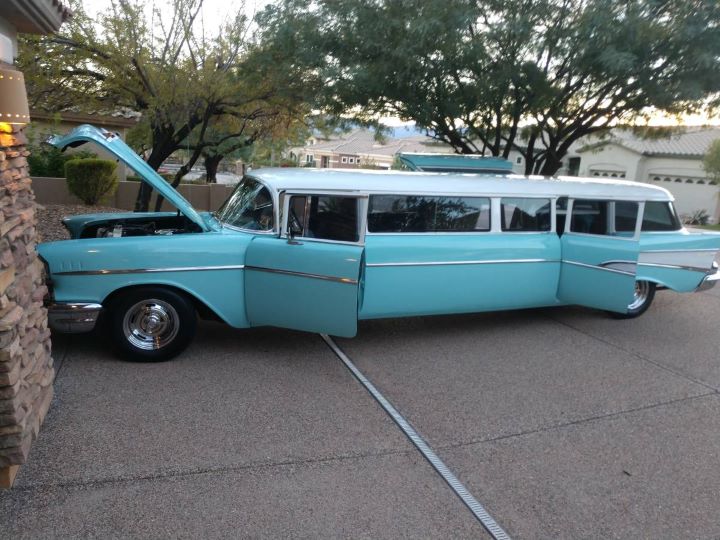
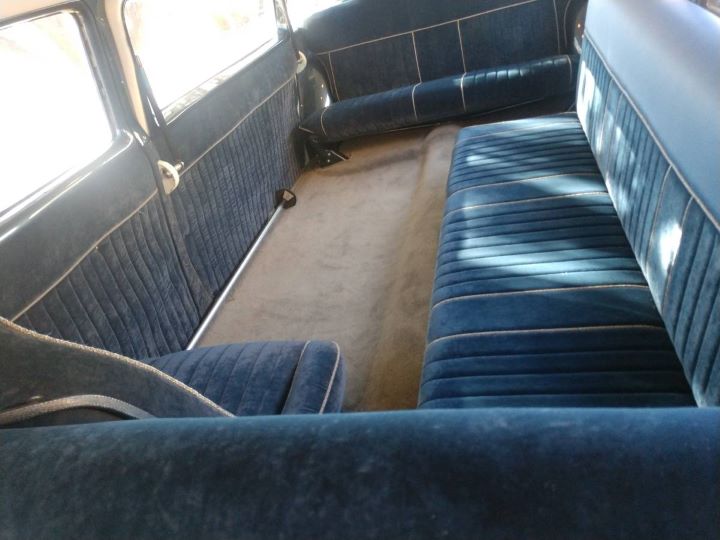
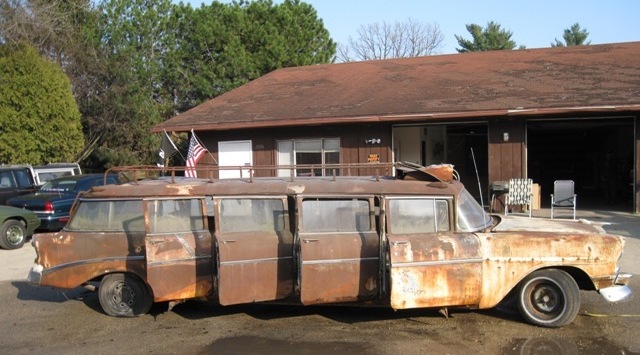
What a massive conversion of a classic West coast Nomad into a stretch Limo that just could in reality exist. I’ve seen more makes and models from Lincoln to Cady, to Chrysler, to Mercedes, to BMW, to Bentley, to Rolls Royce, to even a Hummer, but your is one for the books.
Solid panels and blackened glass will hide the interior as that would be a super major effort as the few limos I’ve been in over the years are more like party rooms, or have custom seats and sofas for more business or family needs.
The basic conversion looks solid and most doable for sure.
Looking forward to following your adventures as this one surely is one for the AutoModeler books.
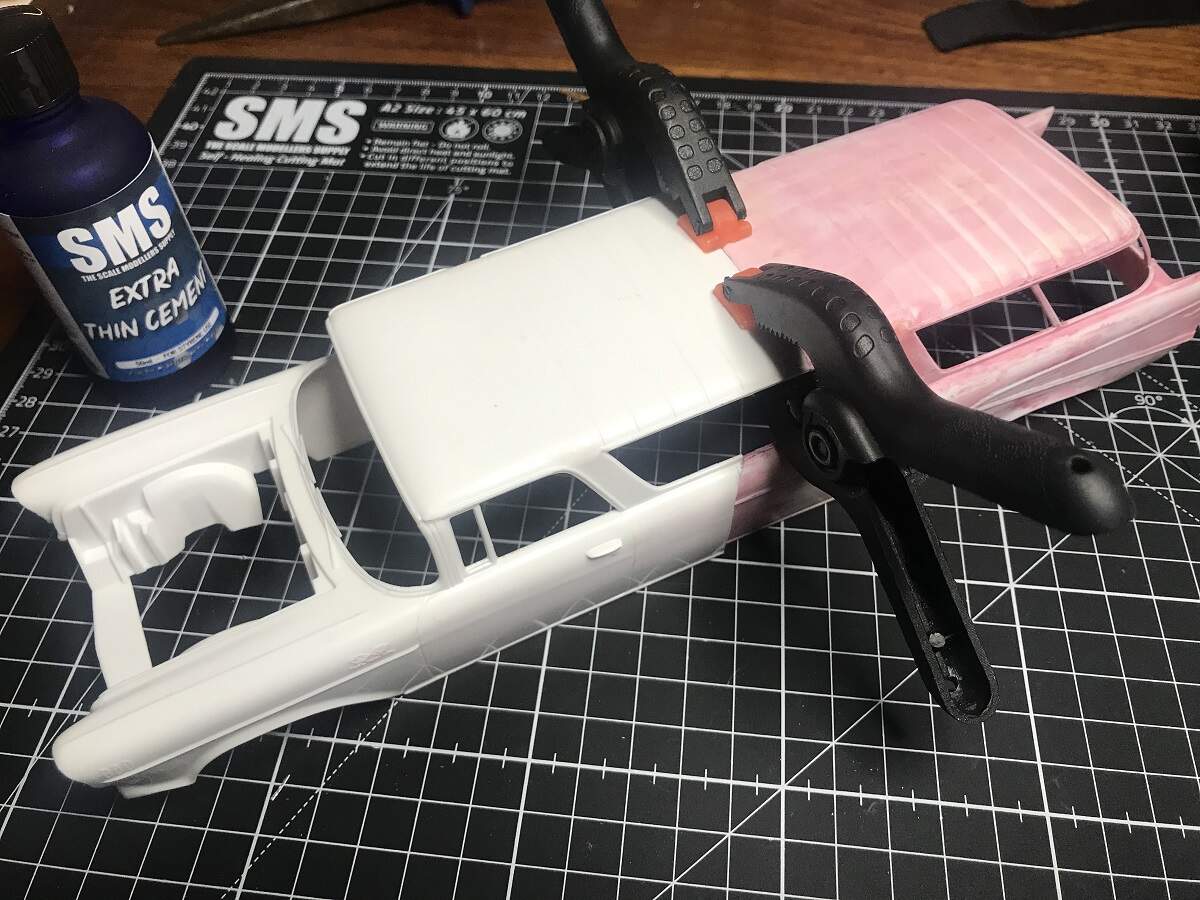
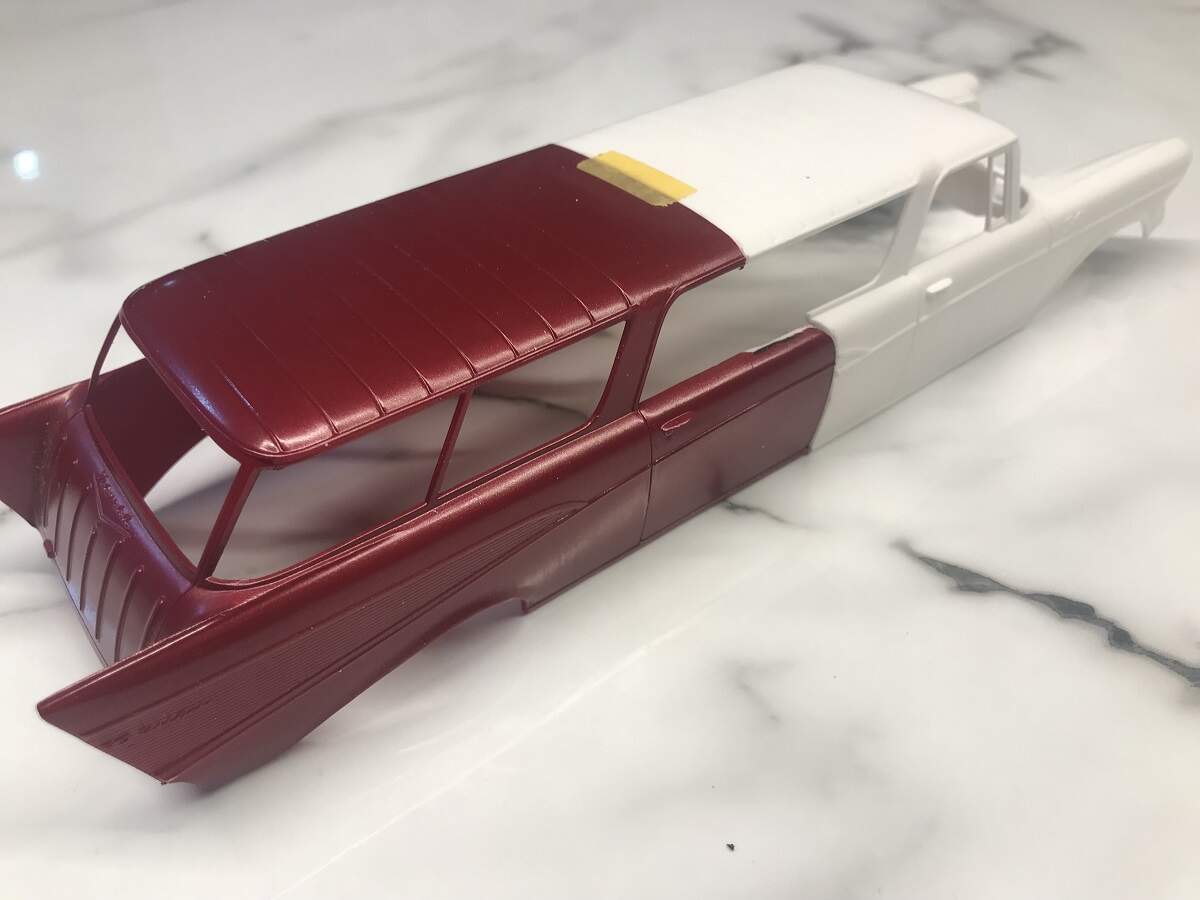
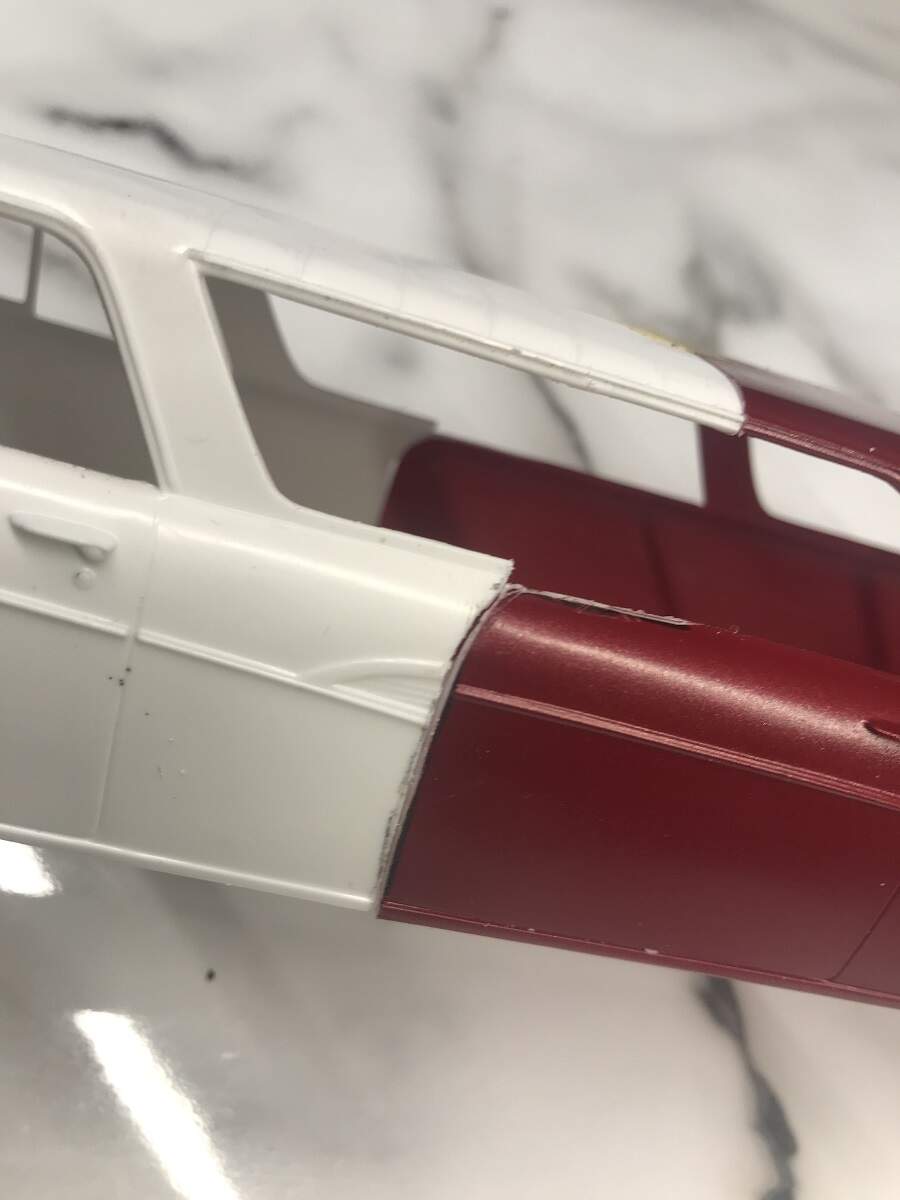
Spent an hour or so tonight working on the joins. I used a rigid sanding stick to straighten the roof join line so that would be my reference point, then used the Dremel drum sander to shape out the door lines to match up a bit better.
As always, if you spot anything that need attention, don’t hesitate to call it out. This is my first attempt at this type of major modification so it’s a learning project!
The outer skin either side of the join lines up nicely along the whole length of the joint, so once it’s all locked up and cured I will be able to do some work on the inside face of the top lip. I hope that makes sense, it’s hard to explain. I will try to clamp one side together and show what I mean.
One of the other members of the Group Build came up with a great name for this one, "2-Mad" !!! I will see if I can source some custom decals for the plates and maybe even something special for the side.
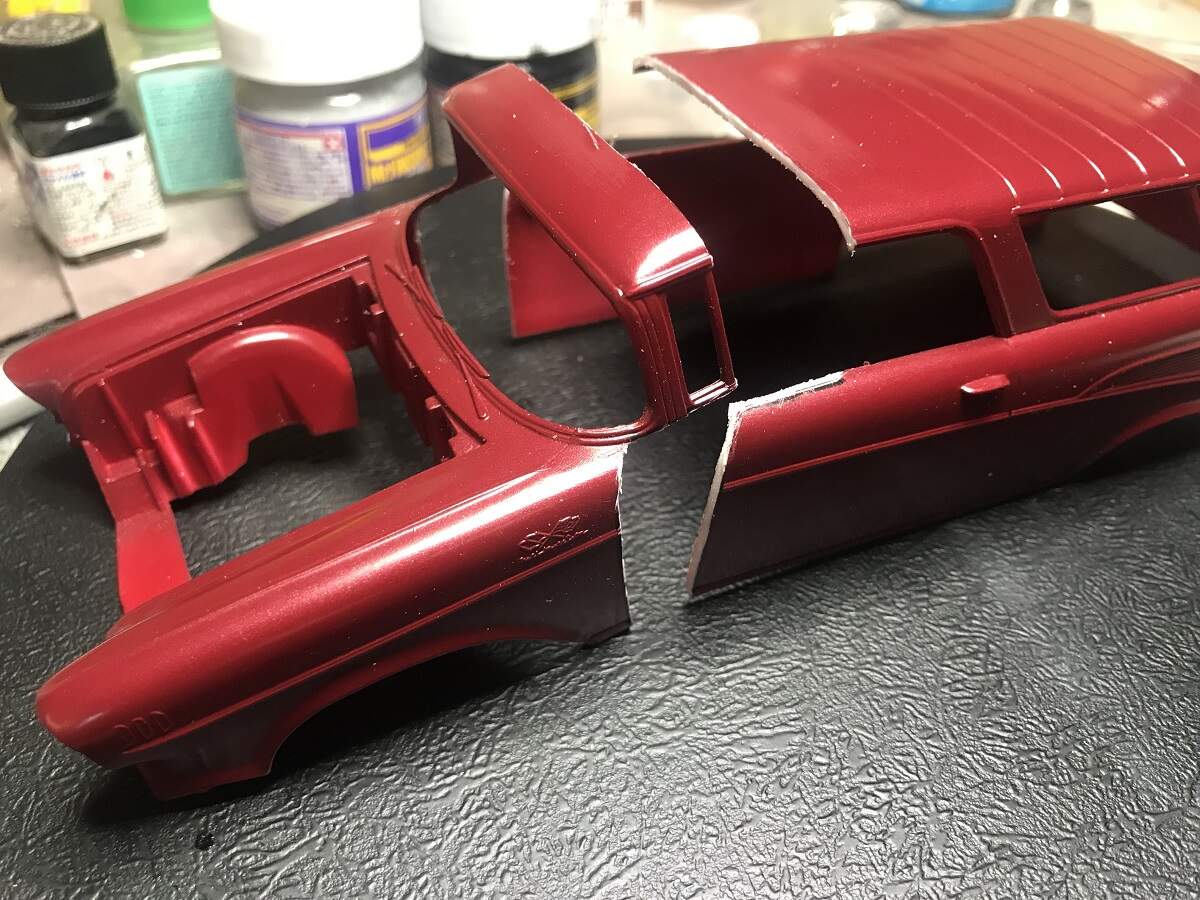
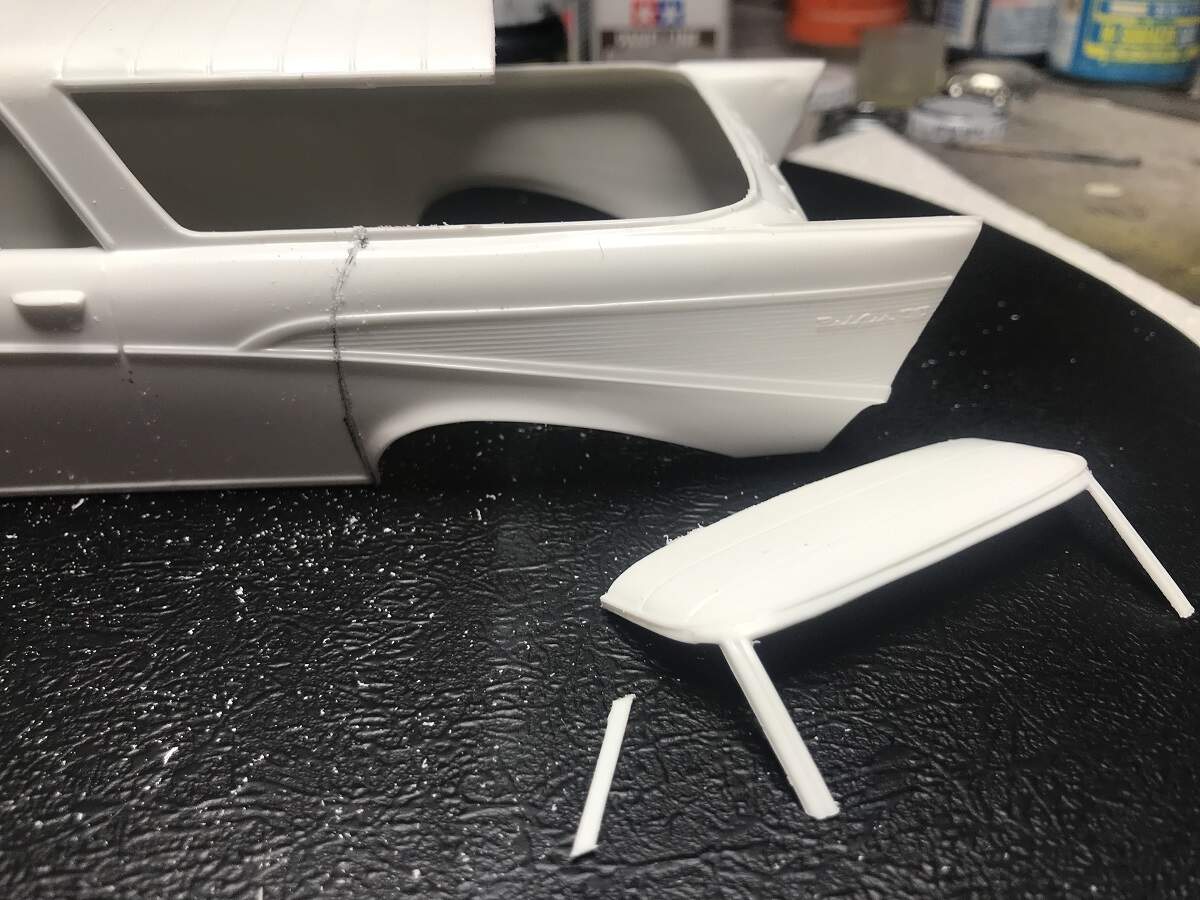
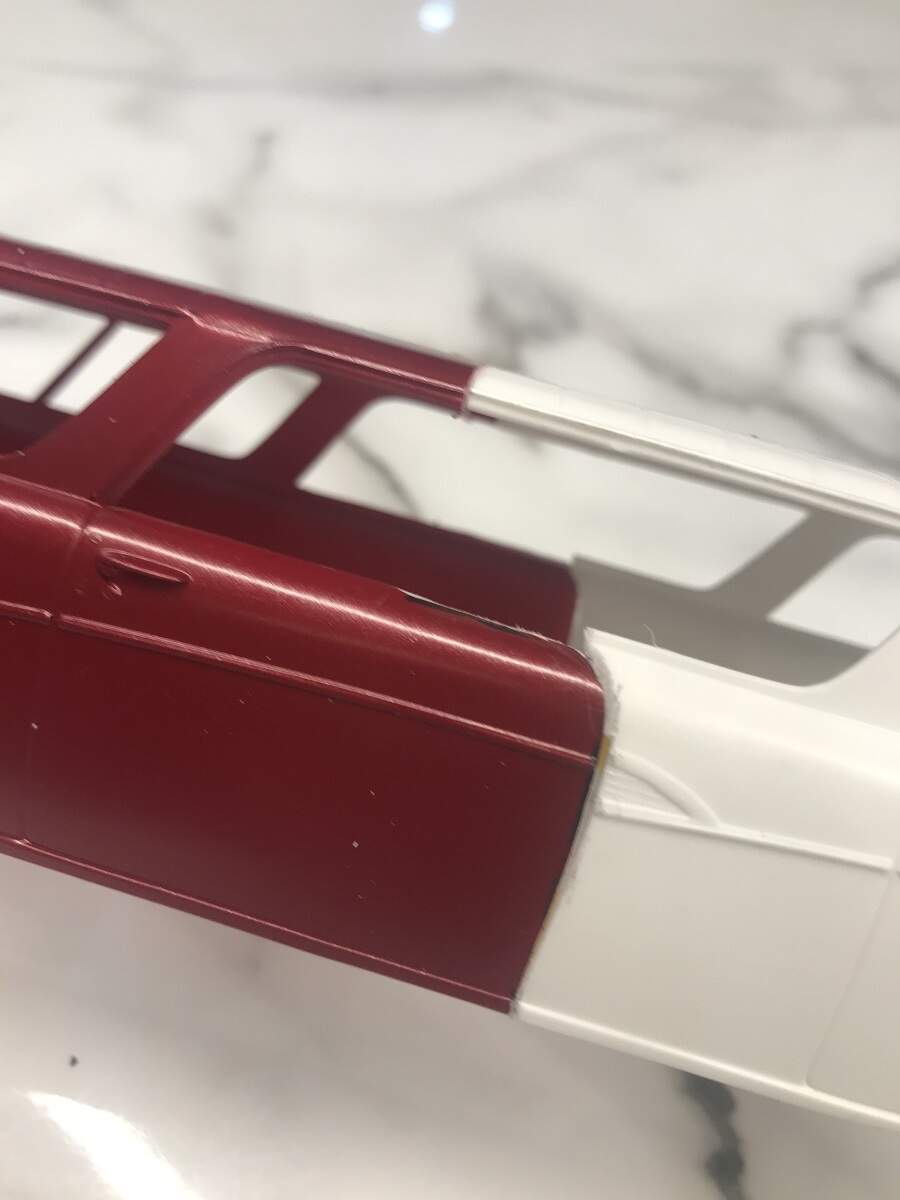
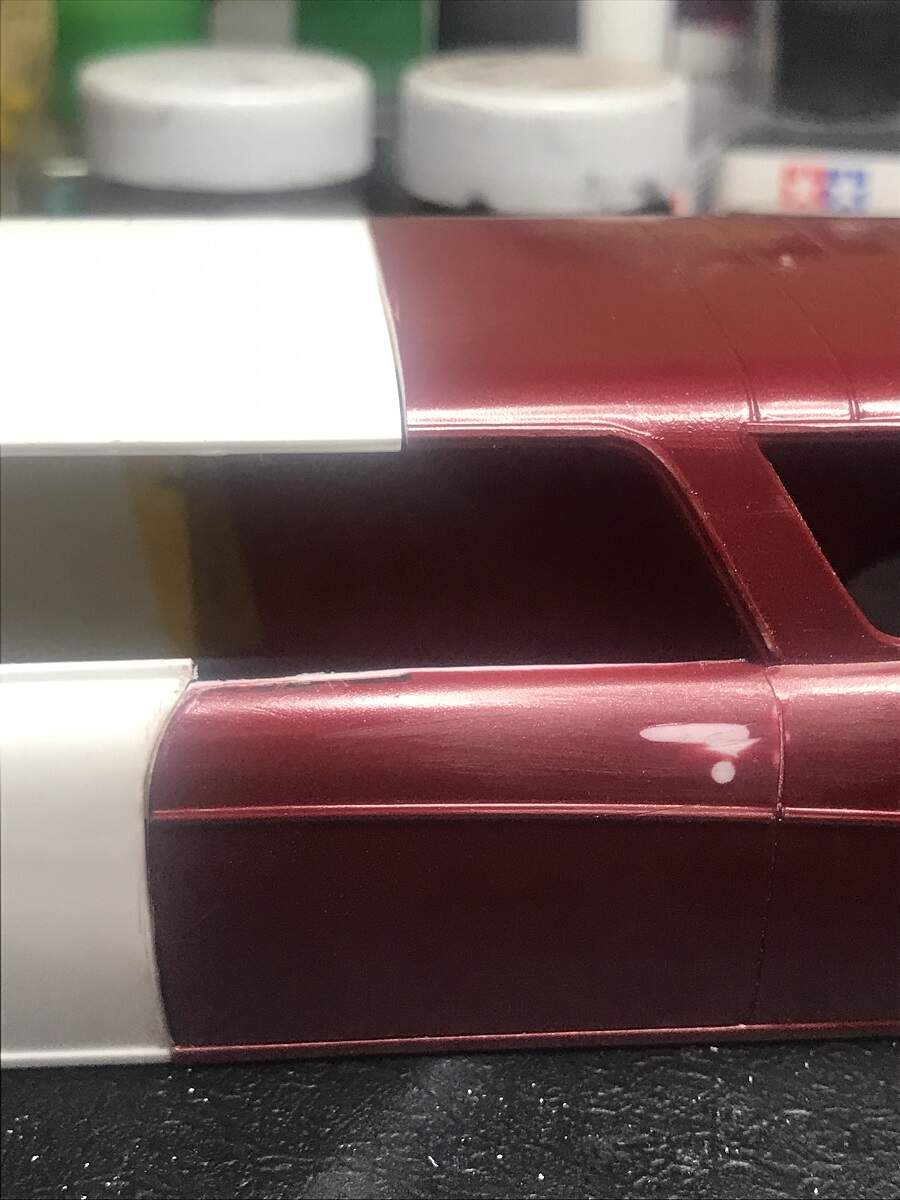
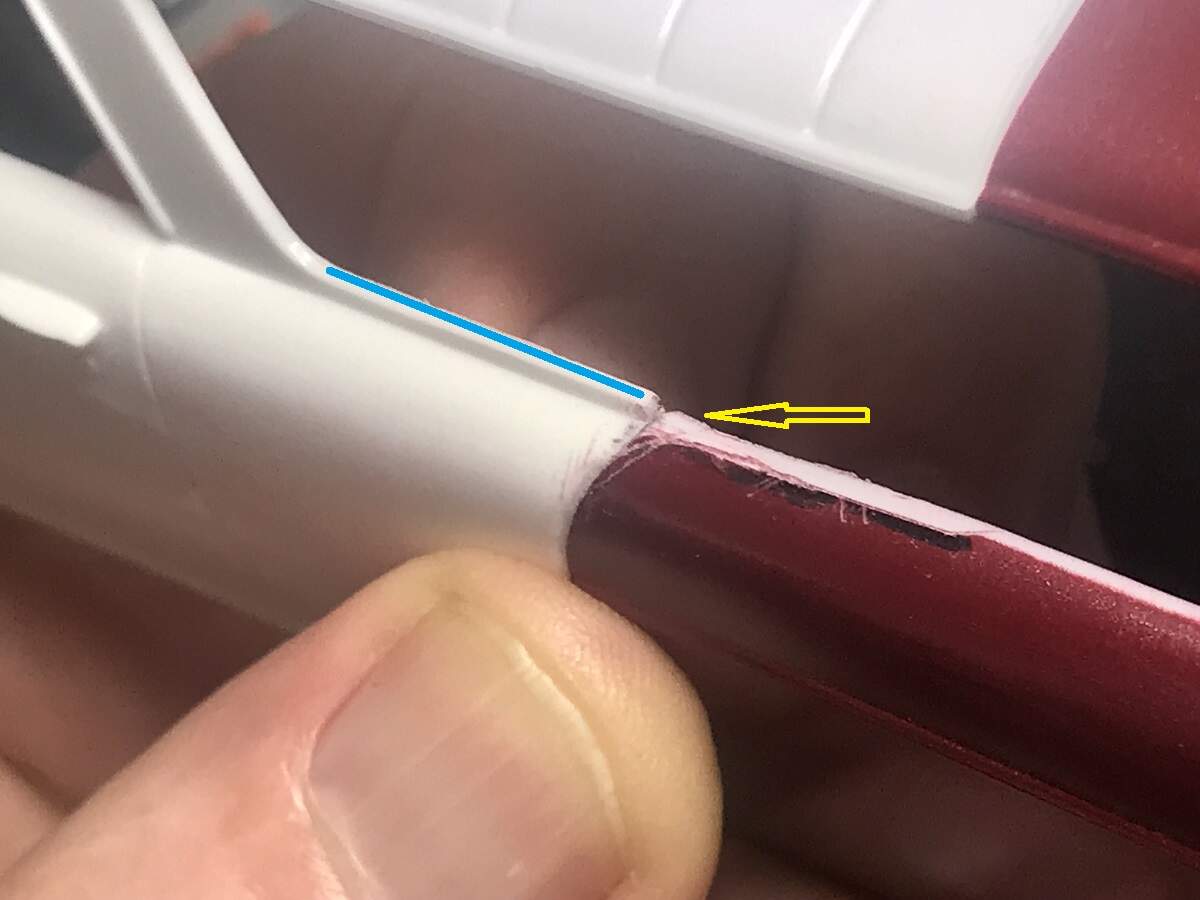
Ok, here’s a closer look at the intersection of the front and rear bodies at the top of the side wall, which will probably be the most difficult to get a clean join.
The very front of the red body has thicker material than the back end of the white body, so if I line the outer skin up the red body sits proud on the inside (yellow arrow), This will be much easier to clean up and hide than the outer face. It also means that I can carefully sand flat the top edge and extend the small frame (blue line) back to the next pillar. I’m considering carving off the existing frame so that I can just add in a single length without needing to blend a join in the middle.
Both sides are pretty much the same.
The red body is in an IPA bath to get rid of the paint then I can get to gluing things together. I will be using some thin sheet behind the joins for strength and support.
D,
when I saw the first photos I thought “How cruel is that? He’s a killer!”. But now I say “how cool is that!” Interesting project, I’ll follow for sure.
Well I have no idea what paint was on the rear section, but it didn’t want to come unstuck! I soaked it for a total of 4 days in IPA and some large flakes bubbled up and fell off the roof, but the sides and tailgate were immune! I gave it a swim in Dettol for 2 days and it softened enough for me to scrub it off with a toothbrush but it was still sticky and it took some work. There was no primer under the paint and it stained the plastic, so hopefully a couple of good coats of primer will bring the whole lot together.
D this is looking really good and you are making great progress, regarding the paint I wonder if the previous owner used actual automotive paint.
On a side note seeing that bottle of SMS extra thin cement, I found a source here in Blighty for the SMS paint until I checked the postage as they don’t combine so it’s £5 postage per bottle! I’ll have to see if anyone has them at a show now they are starting to happen again as there are some interesting colours and effects.
D,
I feel your frustration about the paint removal. Next time try Denatured Alcohol, it even removes Lacquer primer. Soak and then work with a toothbrush and 90% comes off ASAP, the rest a little more soaking a little more toothbrush action.
Excellent idea about the support tabs. They will prevent any twisting and cracking down the road.
Thanks Luciano, much appreciated. The paint was quite thick and quite possibly auto paint.
I believe that the only UK distributor of SMS is Frome Model Centre, but it’s hard to justify at that type of shipping cost!


 A massive undertaking, which I’m sure you’ll nail.
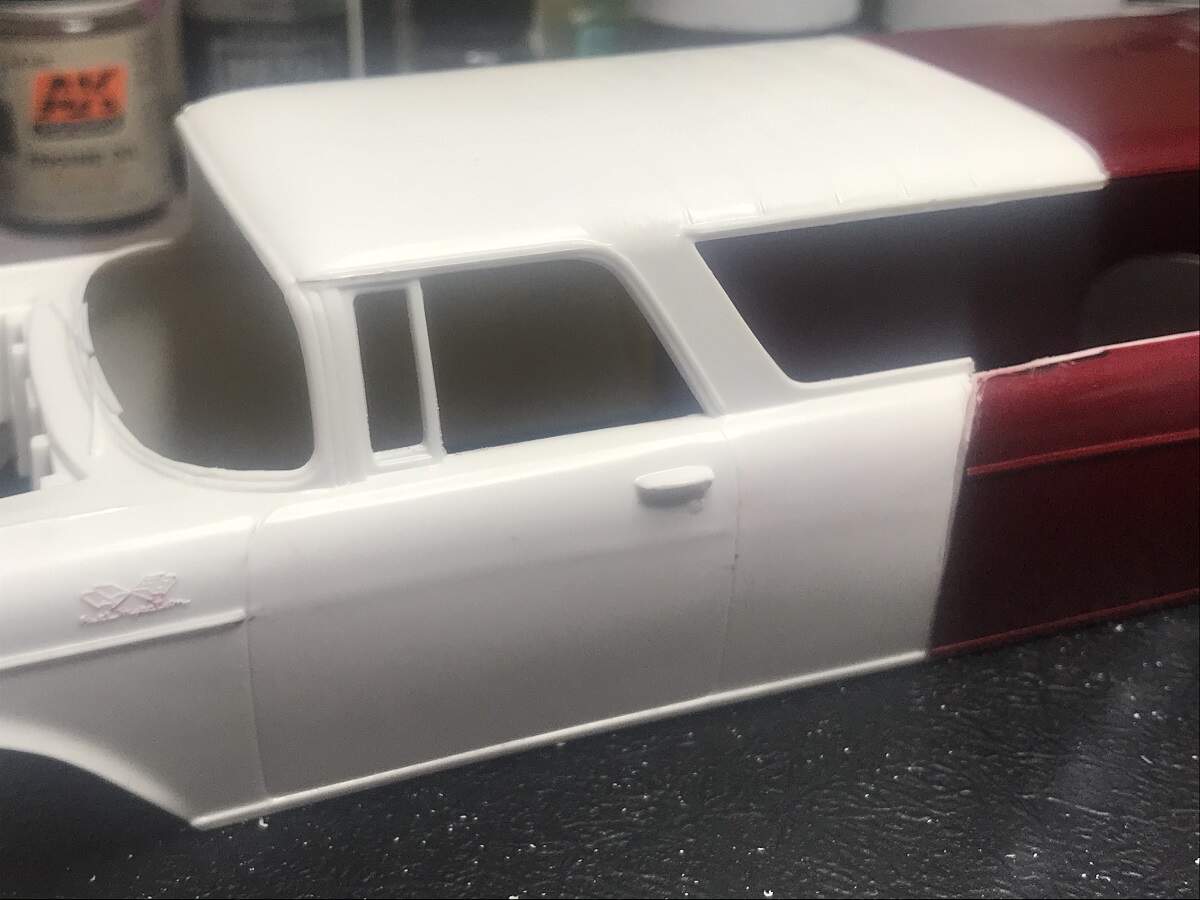


")