Thanks as always for checking in Joel, much appreciated. I will try to find some denatured alcohol locally and give it a try, I still need to strip the paint off the Cameo tub for the trailer on this project, and I’m planning to cut up the “offcuts” of these two bodies to make some body parts for diorama add-ins.
Been following this conversion build and I have to say you’re a brave soul Damian @AussieReg! The body chop looks to have mated nicely and I’m sure you’ll get the contours merged with hardly a blemish but the interior and windows . . . well, I can’t wait to see how you pull that off, exciting stuff to be sure. Thinking of the actual 1:1 build, that’s gonna be a lonnnng drive shaft to the rear diff. Have you considered taking the engine/tranny/front drive unit from an early Eldorado to make this a front wheel drive?, you would eliminate the hump in your floor pan if you could get that to work. Or you may be planning to tint the windows with dark limo tint, hmmm. I’m intrigued. Can’t wait to see more.
Great to have you on board Terry, thanks for your kind words! I’m still undecided on the interior, leaning towards dark tinted windows and nothing inside at this stage as it’s for a group build with a time limit and I have a fair bit of body work to do (along with several other Group Builds !). I will dress out the drivers compartment and leave the front windows down, and scratch build a wall across behind the front seats.
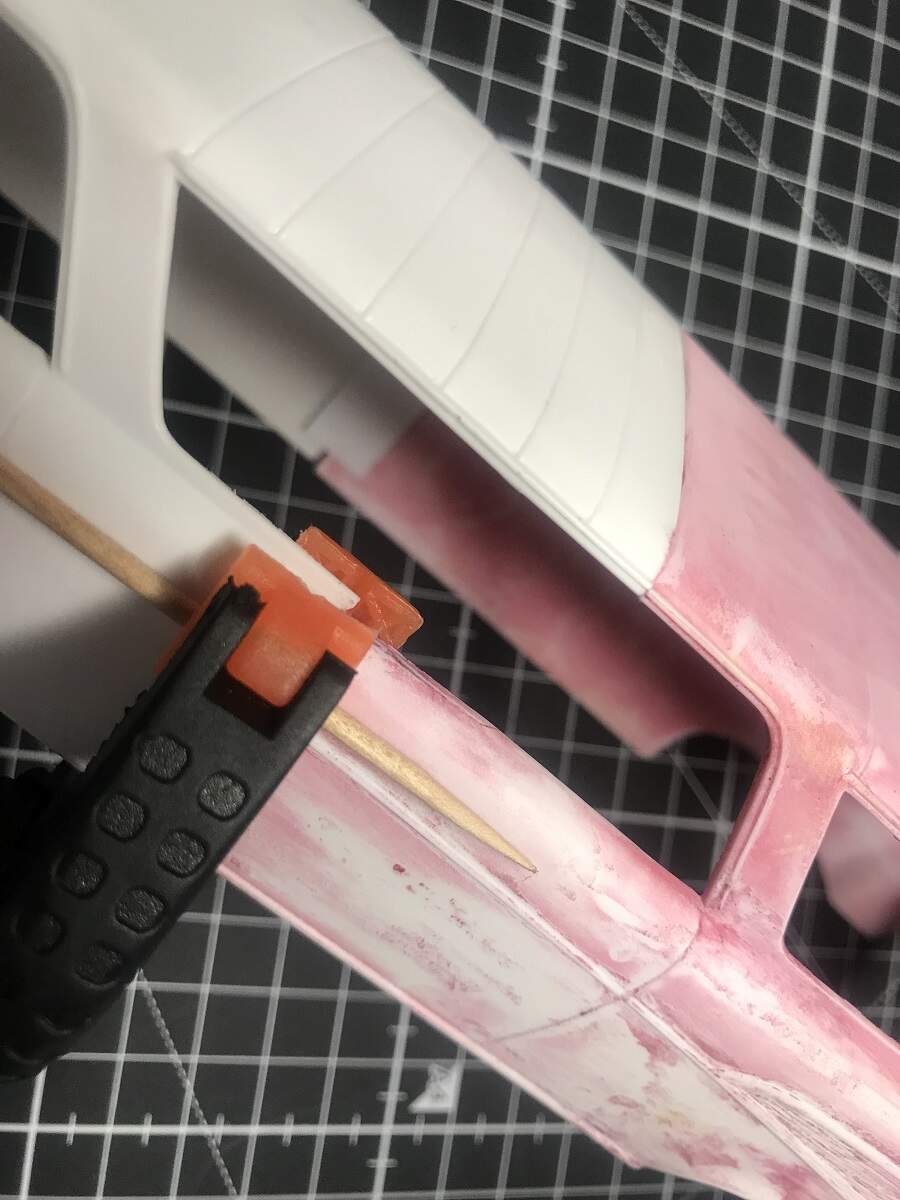
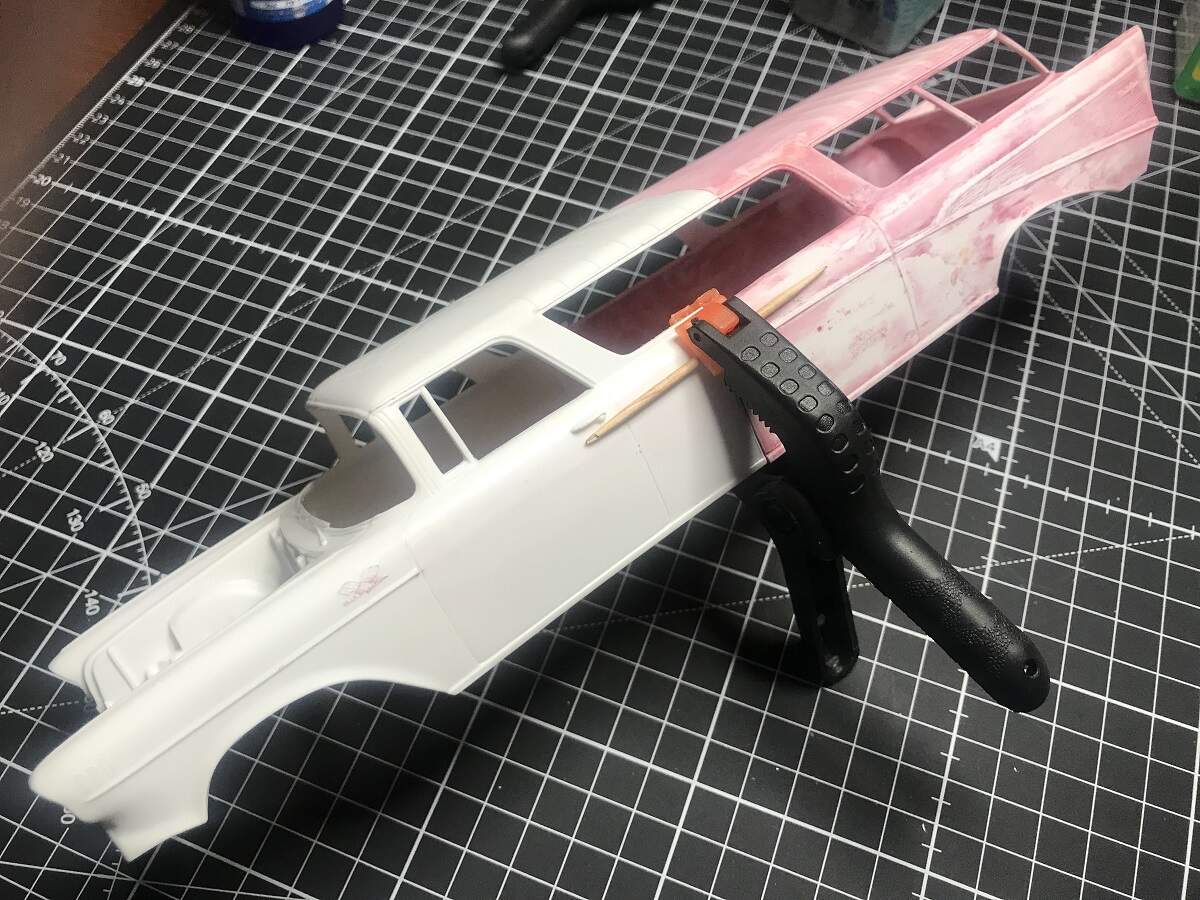
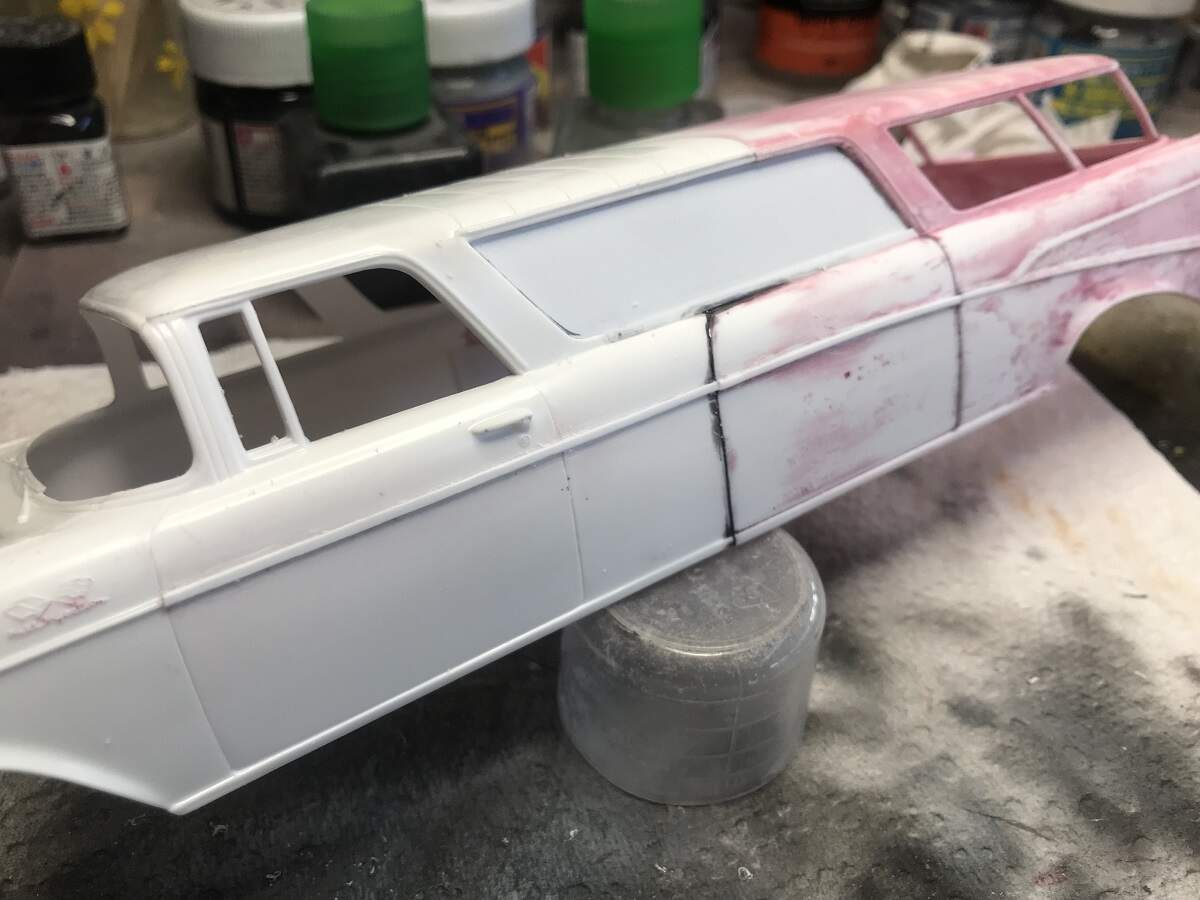
The roof line came up nicely, a little sanding required there to even it out and then scribe some more of the roof panel lines. The LHS body join is cemented and clamped, the toothpick under the clamp is keeping the outer panels flush to minimise any step between front and rear sections as it cures.
D,
The joint for the hinged body panels came out great, not to mention that they line up darn close to perfect.
the drive shaft will be an issue. You could always have a bracket and universal joint halfway to join the two driveshafts into one long one. No need to worry about flex or tensile strength as i doubt that you’ll ever get around to driving it.
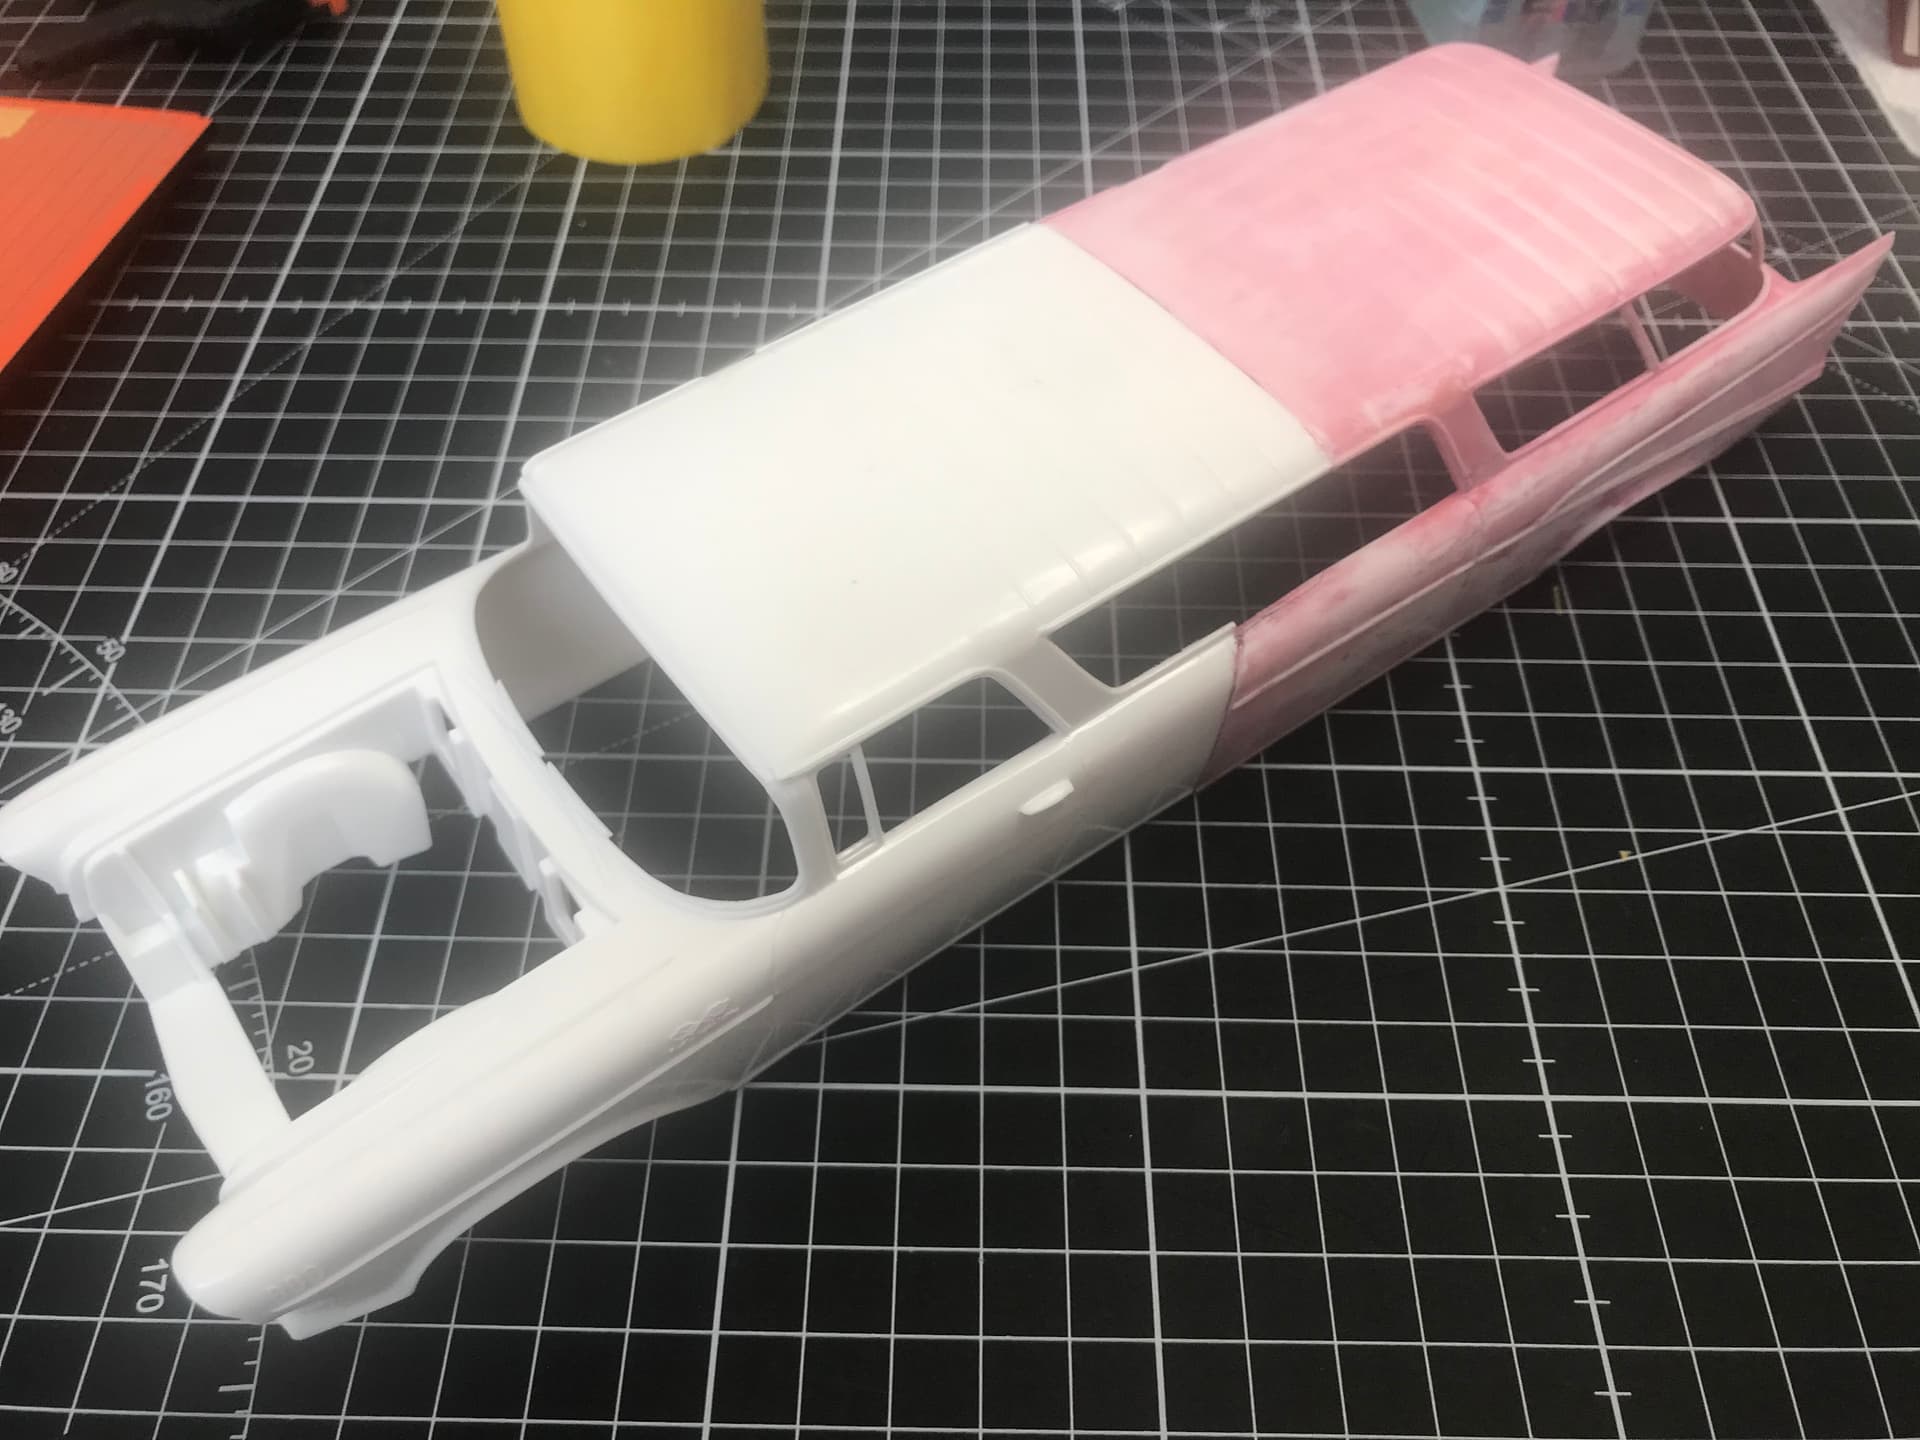
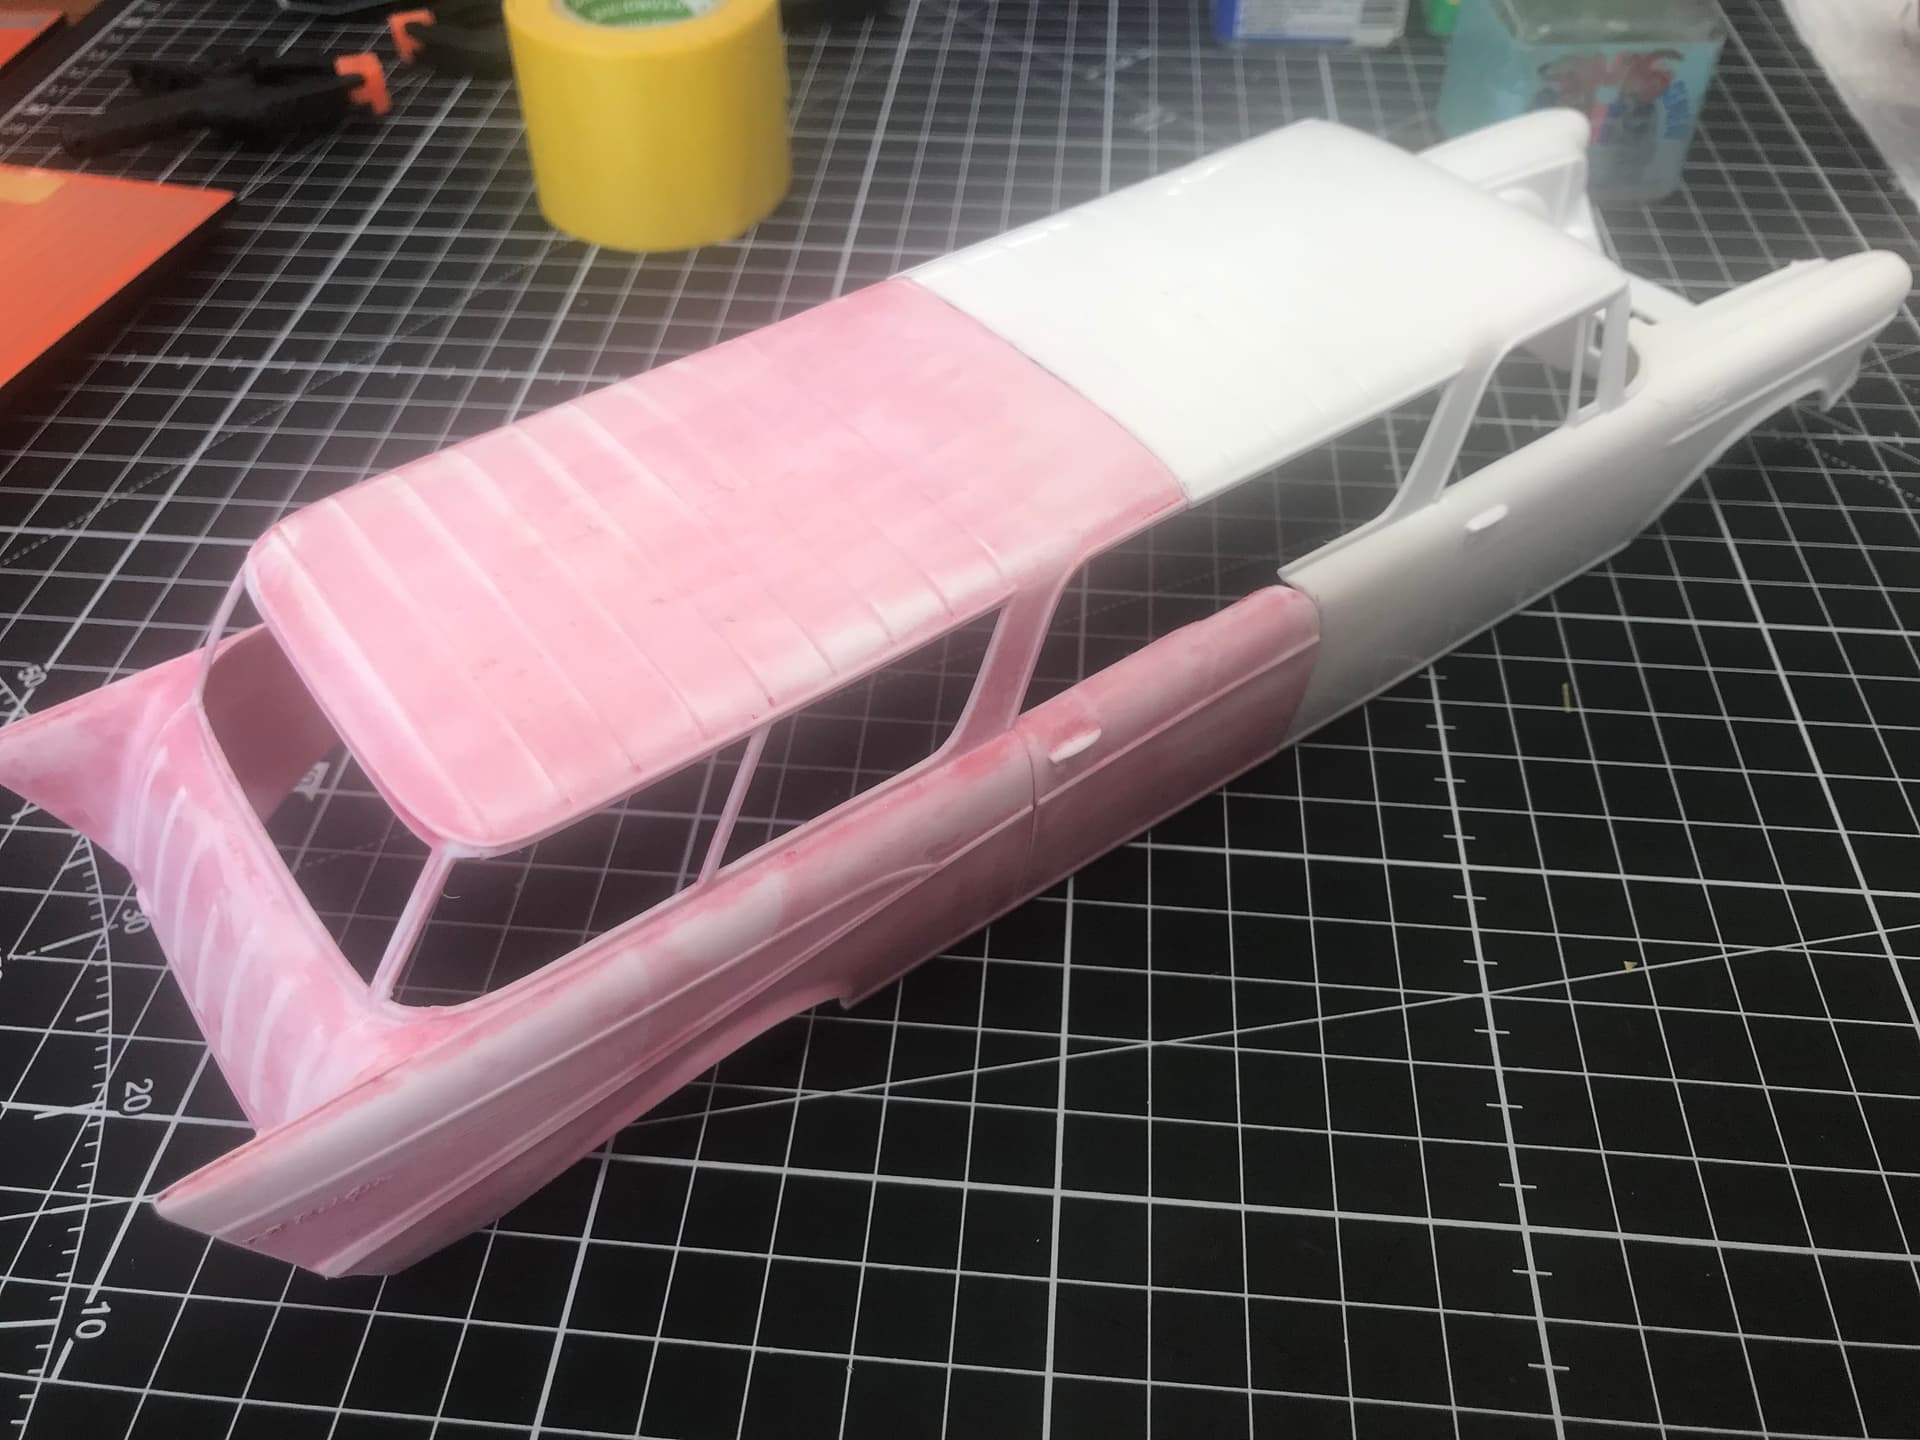
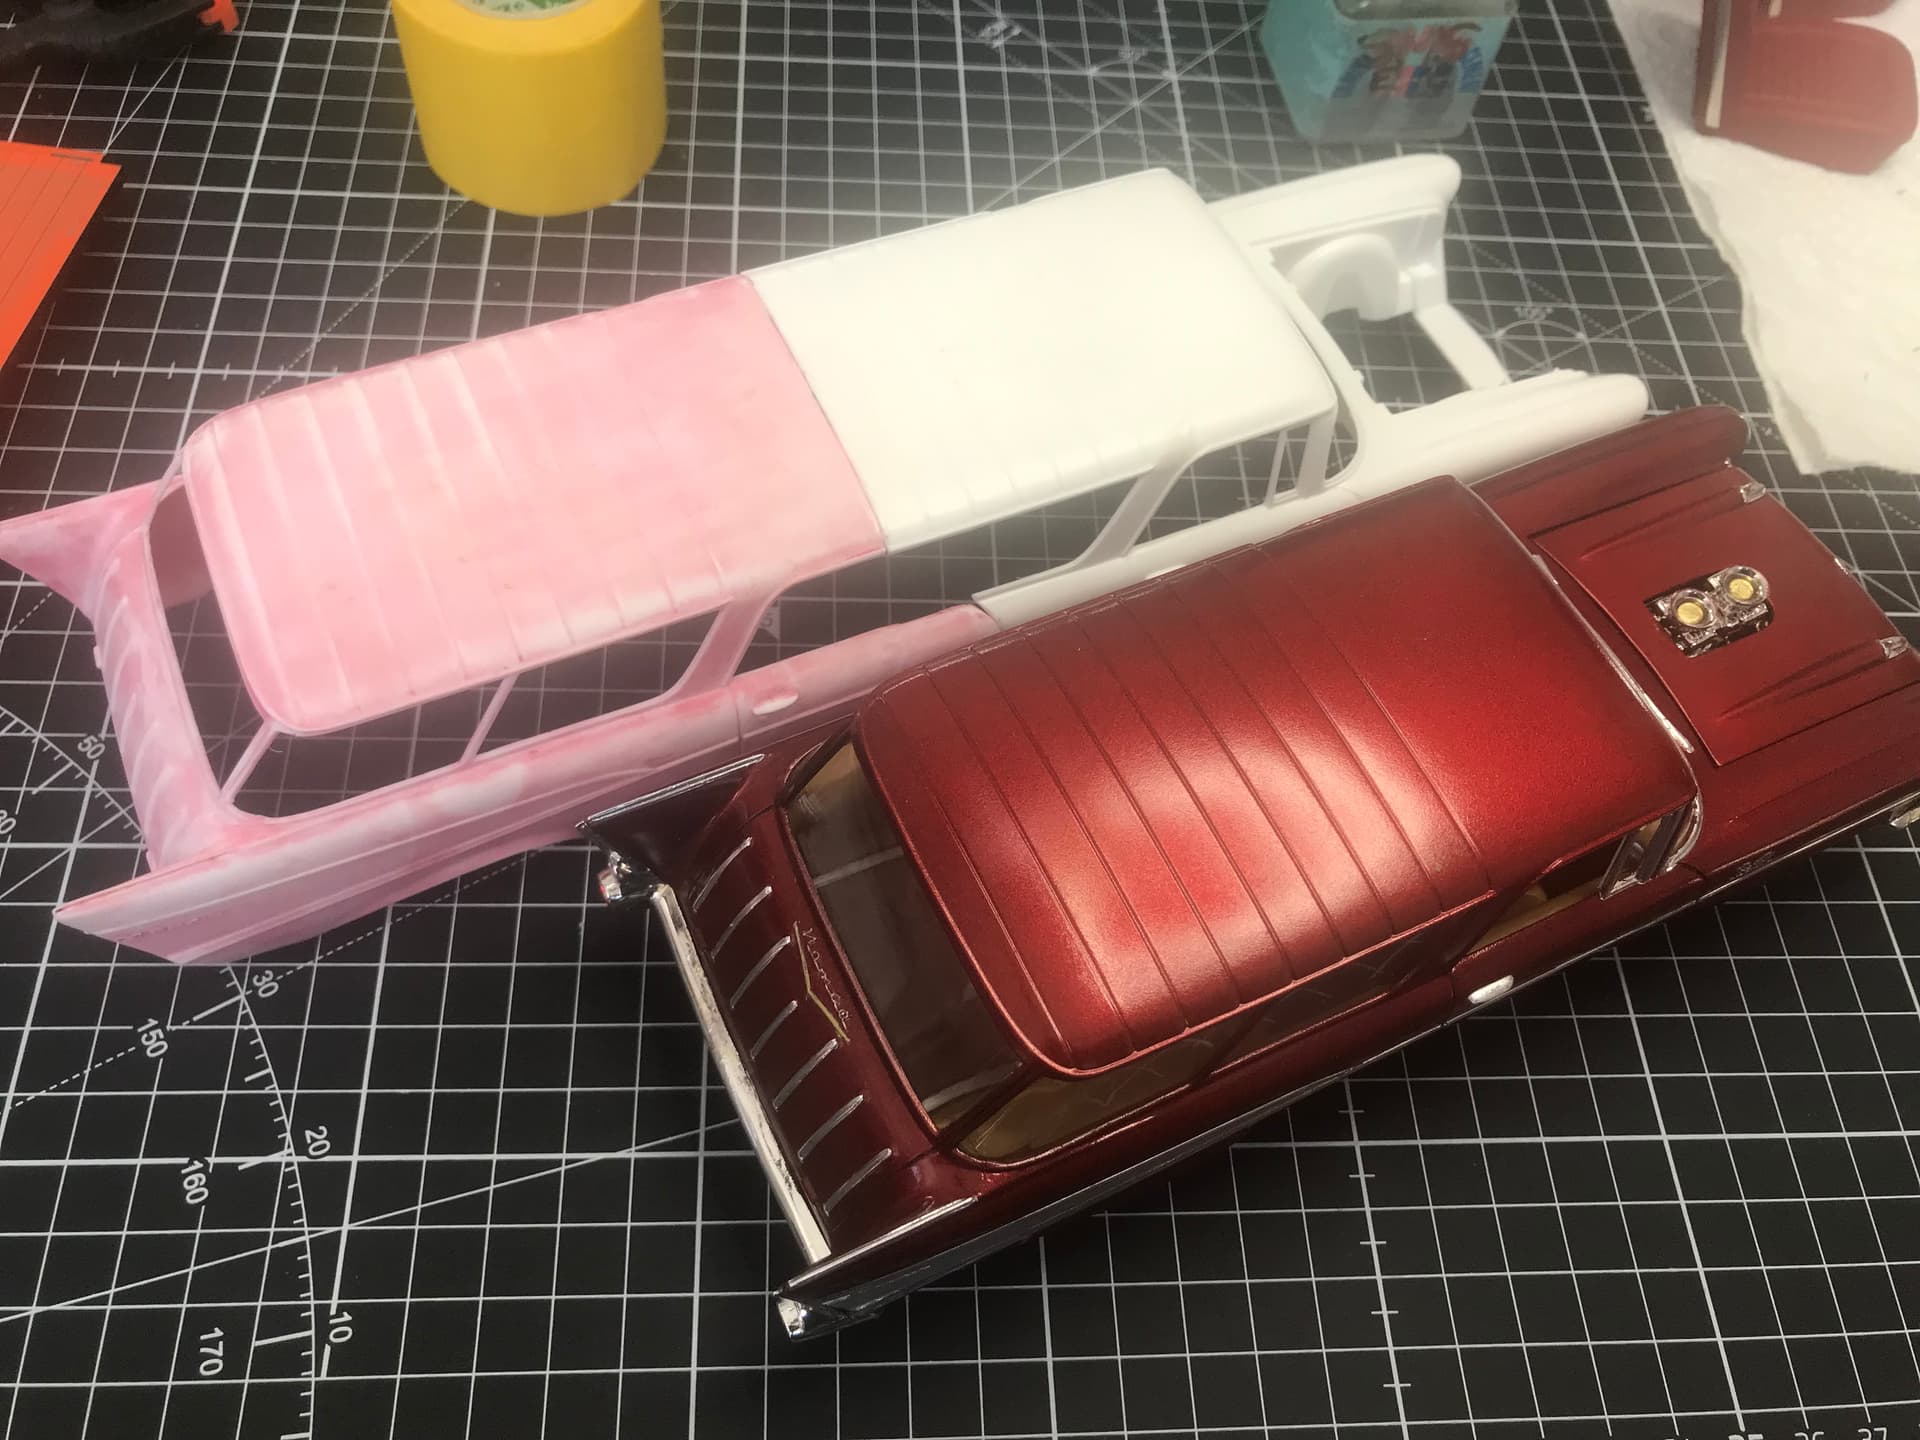
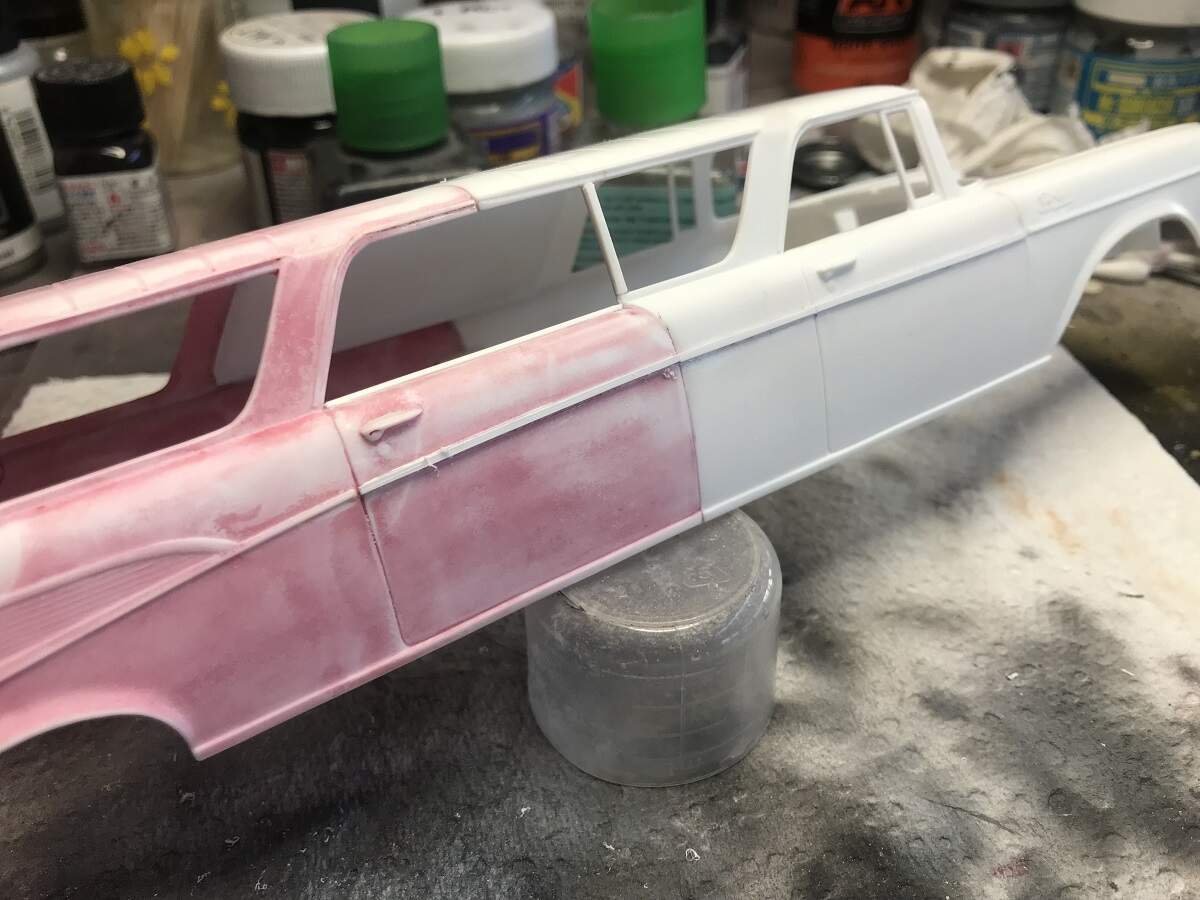
Major surgery on 2-Mad body is complete, some clean-up of the joins required and scribe some more lines across the roof. A couple of side-by-sides with my recently built Nomad to show the stretch!
That was my plan Joel. I haven’t even started to think about the work required on the chassis and floor pan yet, I just wanted to get the body sorted out to make sure it was going to come together ok.
G’day from Gulag Sydney Damo, great progress & clearly you laugh in the face of a challenge! Yeah that rattle-canners anthem clip gets better & better the longer you watch it eh? Your 12 rounds with the old paintwork made me wonder if there’s a rarefied market for a miniaturised sand-jet-blaster paint remover - don’t think it would make me a third billion but someone ought to try it. Uh the finish on that Nomad - what are you ON??
D,
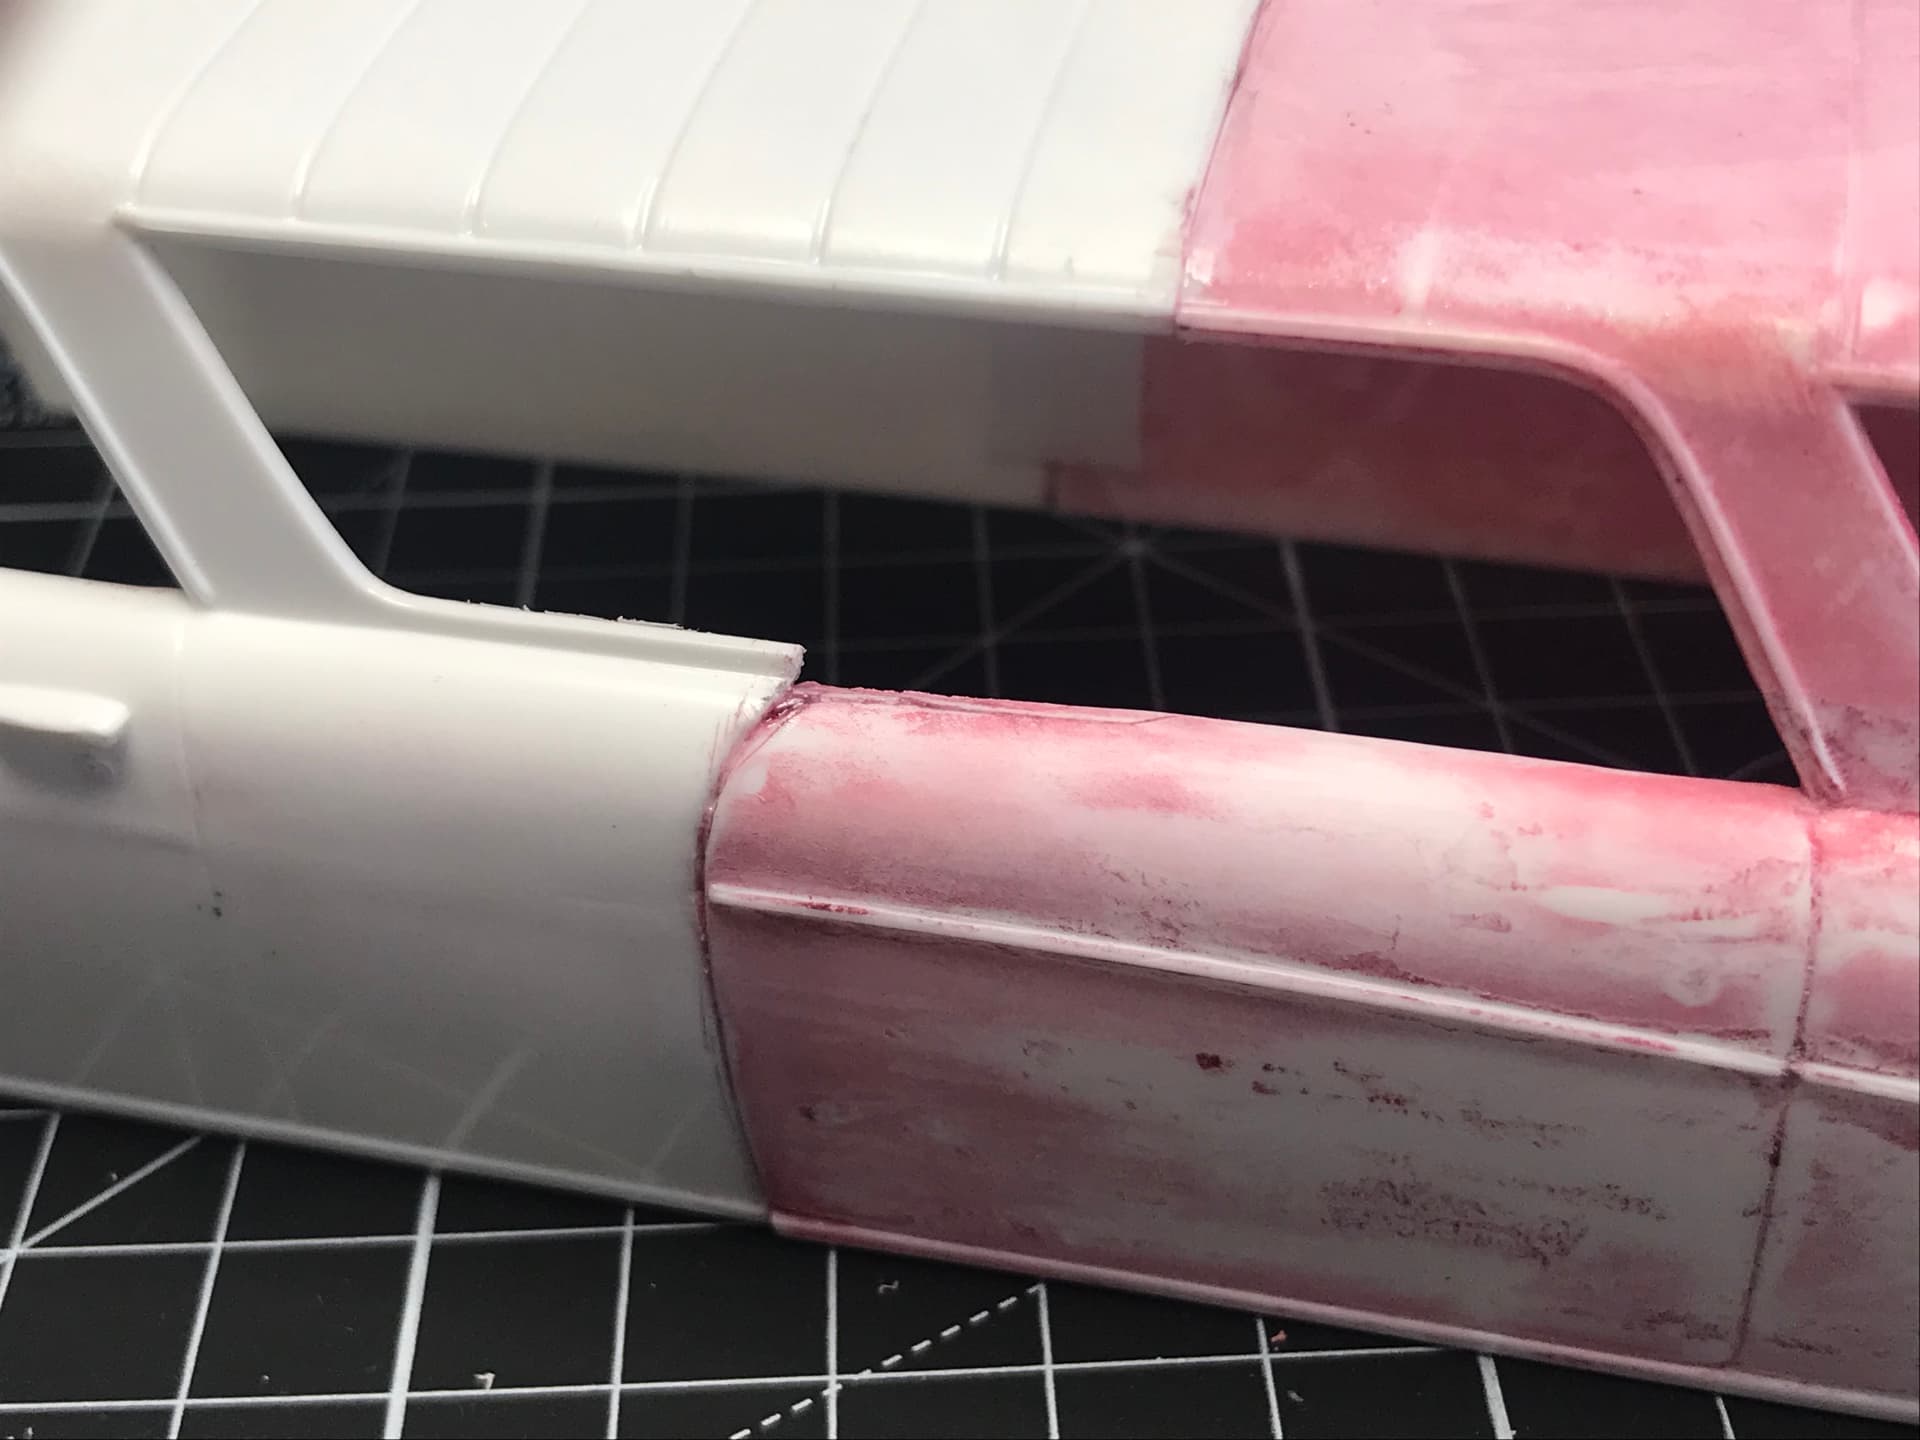
Just one question as the conversion really looks solid and you’re certainly over the hump. Where the two shells meet, the lower window frame that’s on the front section doesn’t have a matching one on the rear section. What’s your plan for this as it’s the last major issue I can see on the exterior.
Different plans for the drivers side and passenger side.
On the drivers side I will cut the lower window frame off forward of the door line, tidy up the full length of that lower opening, and replace with a full lower frame. The whole opening on the drivers side will be filled with a panel rather than glass, and the door lines will be filled.
On the passenger side I will be retaining the door, so I will need to fit a thin vertical frame at the forward door line and just clean up the top edge of the door itself.
D,
Glad to read that you have already worked out a super detailed plan for dealing with both sides and one door. looking forward to following your plan.
Many thanks Jesper, glad you like it! I’m enjoying the challenge, although I’m sure it won’t be a contest winning work of art. Some of the wilder custom builds in the Group Build are just amazing. I will borrow some images of the progress shots.
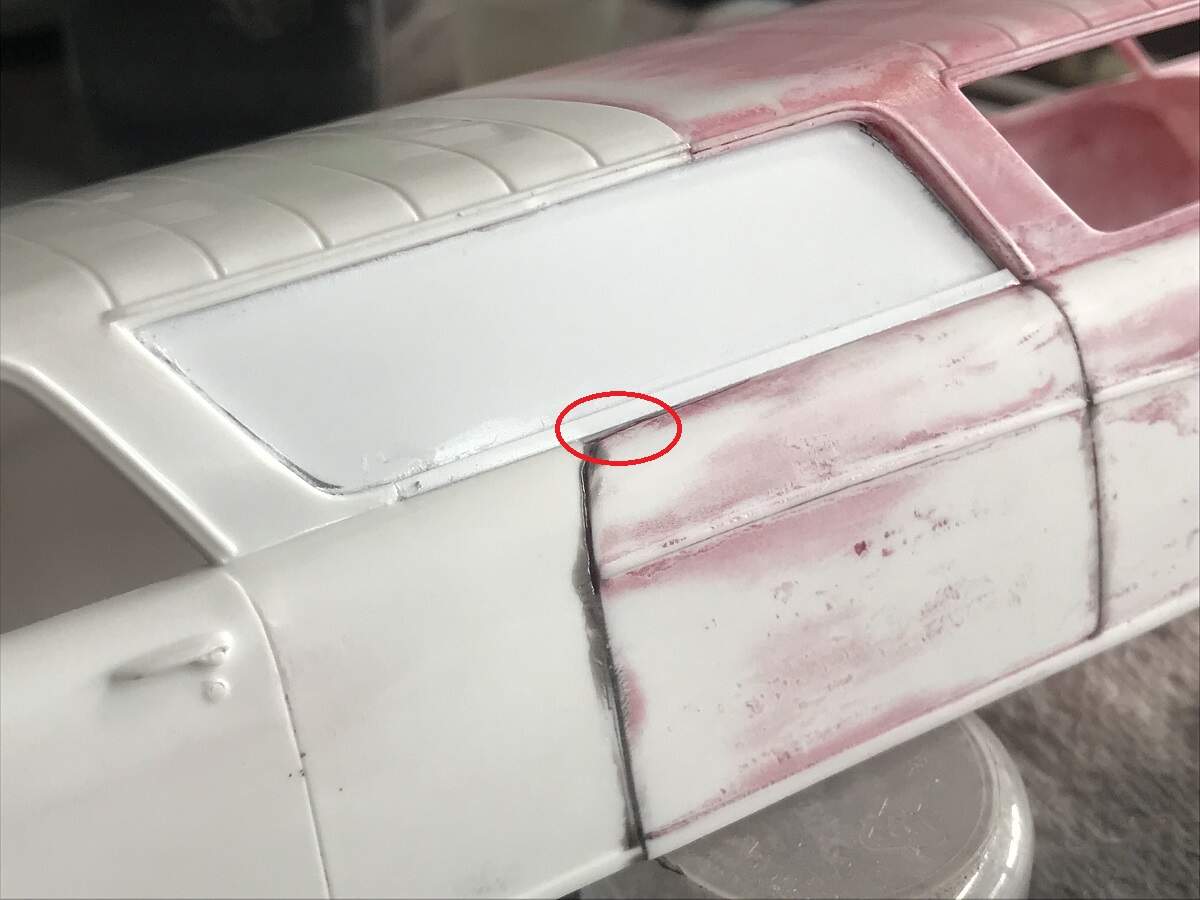
The body join lines have been tidied up and I have fitted the panel behind the driver’s door and bottom trim on that opening. I have also started to build up the low spot (circled red) under the trim with Sprue Goo.
@Dioramartin - many thanks for checking in from lockdown central mate, I trust that you are staying safe and well! Your feedback is greatly appreciated, as is the musical interlude.
I have often thought about a mini sandblaster, maybe crank up the compressor and shoot fine sand through the airbrush?
The red Nomad I’m very happy with, SMS paints doing their thing as always!
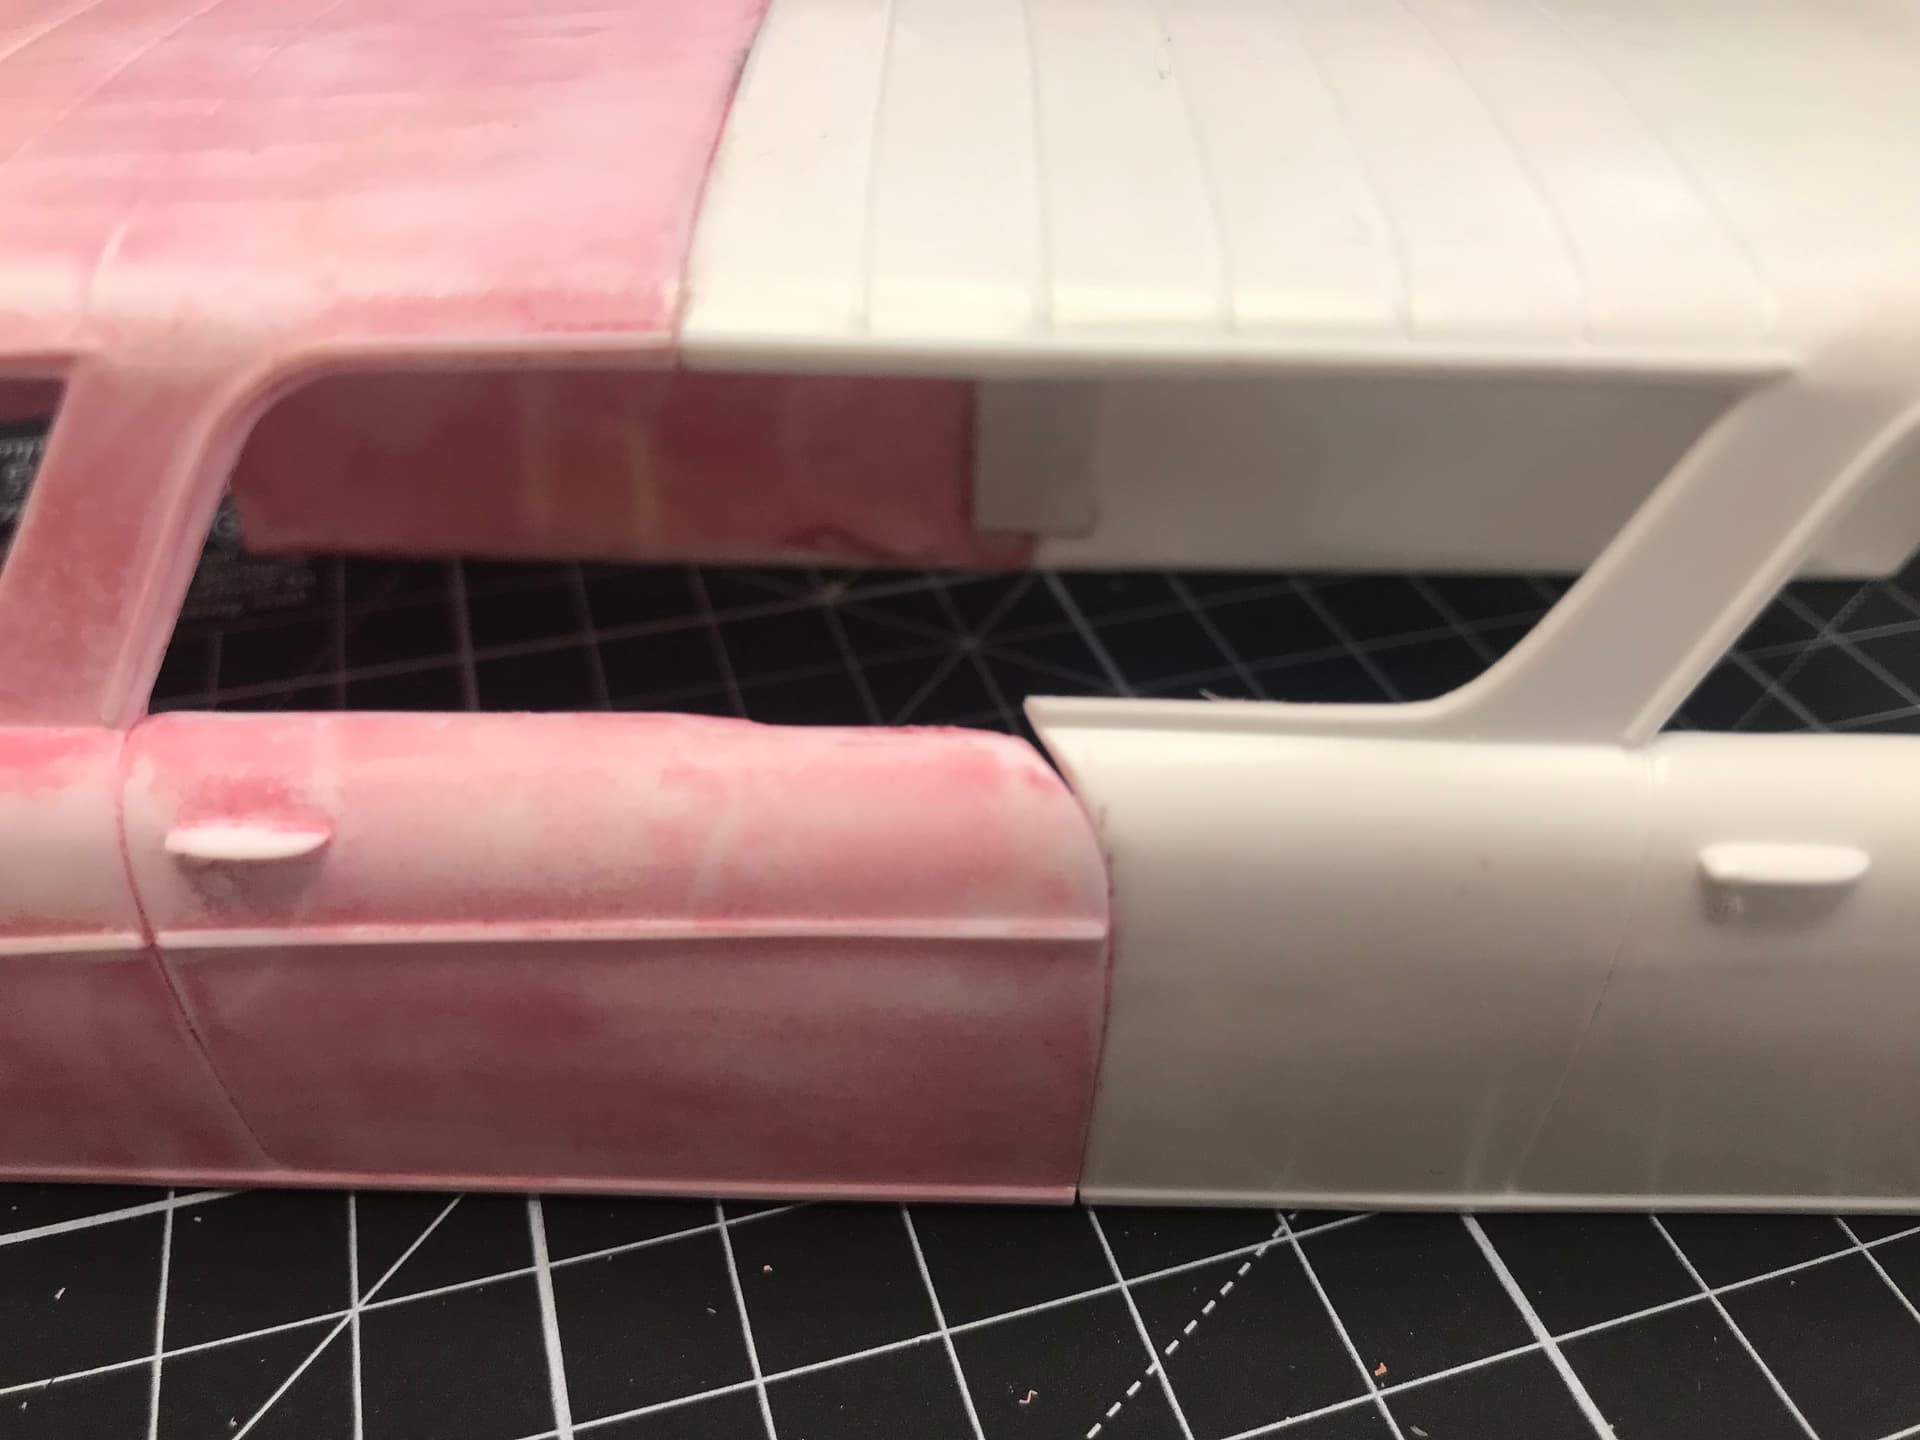
Along with continuing clean-up work, I’ve reinstated the side trim with some slightly oversized square strip. Now I just need to reduce and reshape it a bit!