Hi all
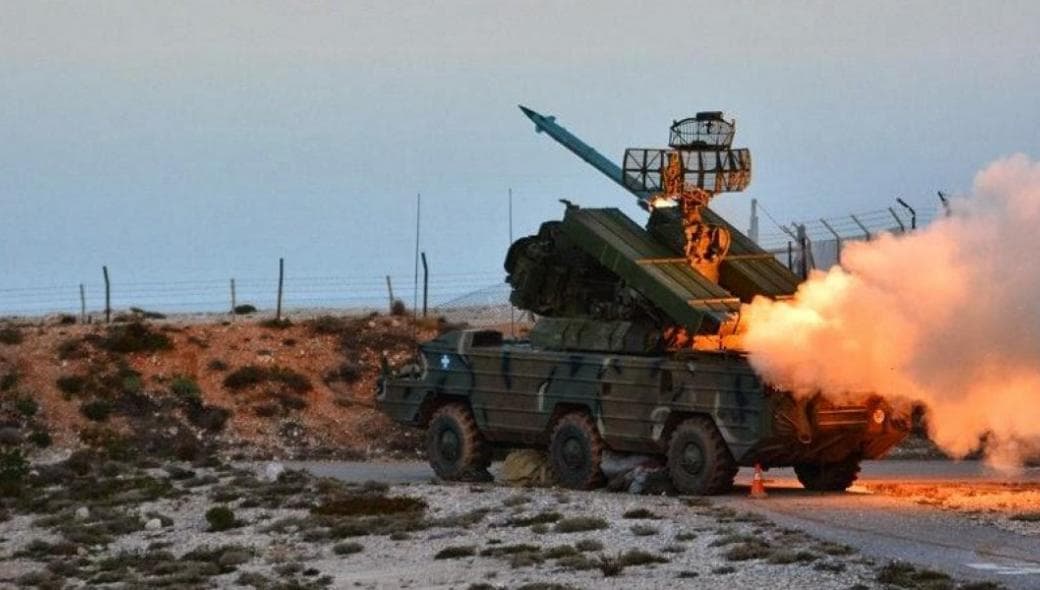
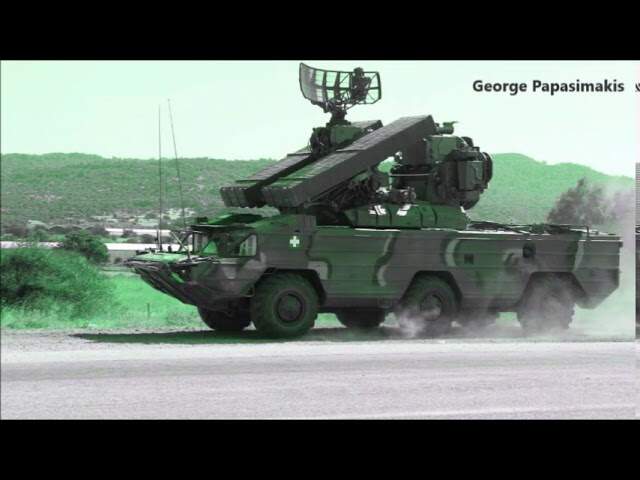
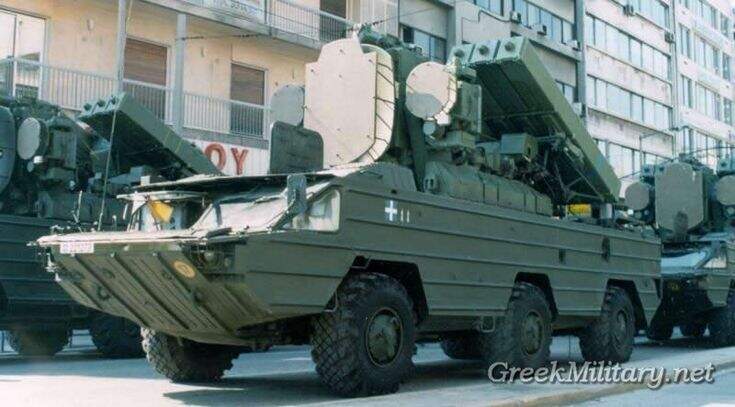
I’ve just started to build this Soviet/Russian short range low altitude air defense system. The kit includes more than 350 parts (plastic and PE) and countless decals for the comprehensive interior.
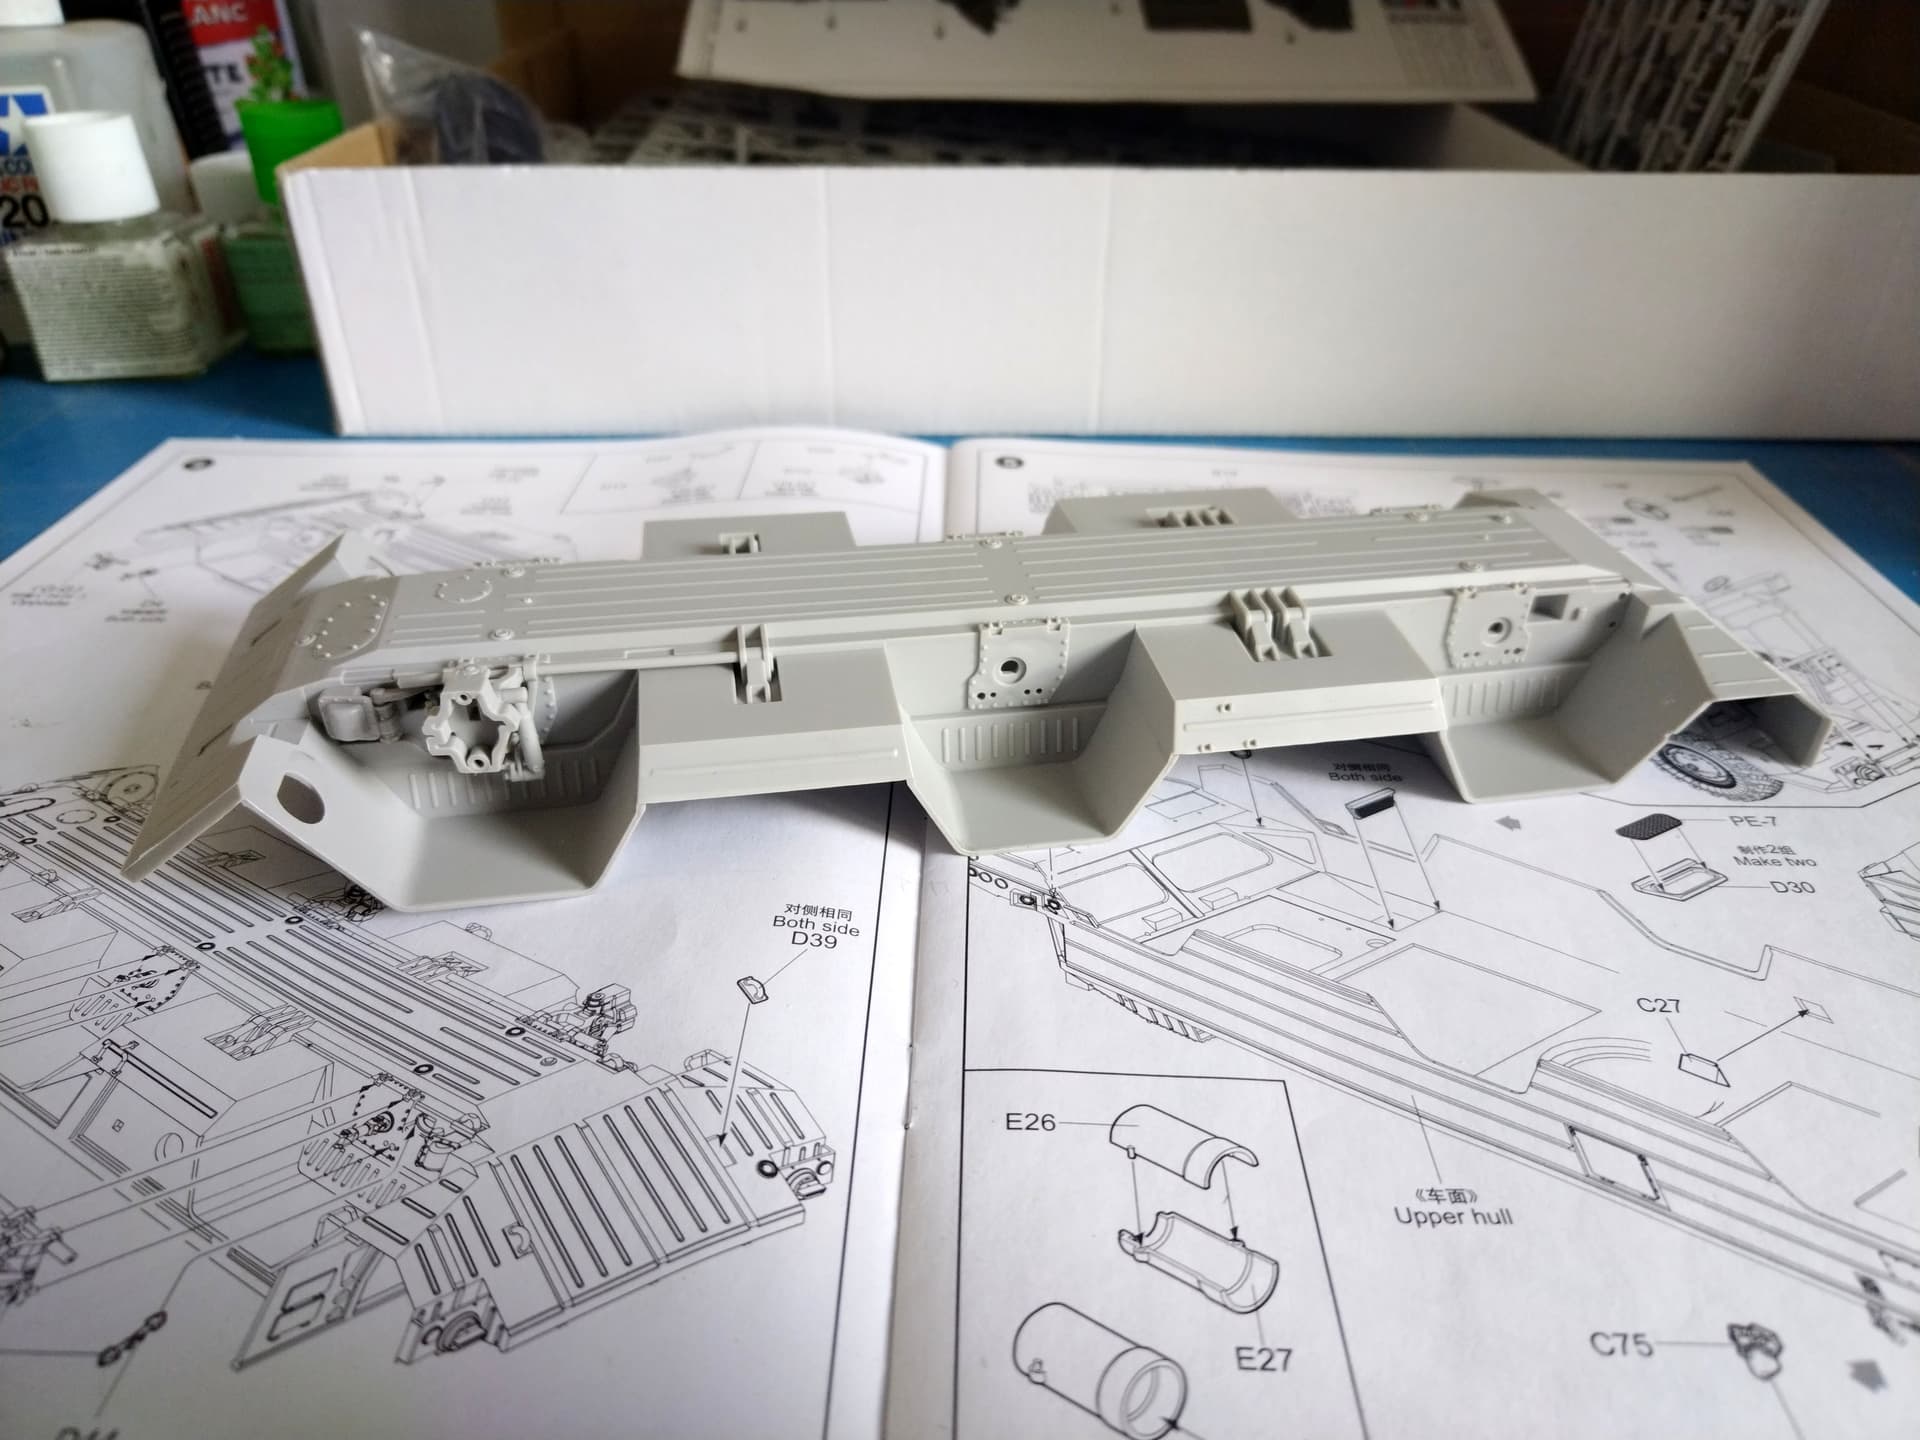
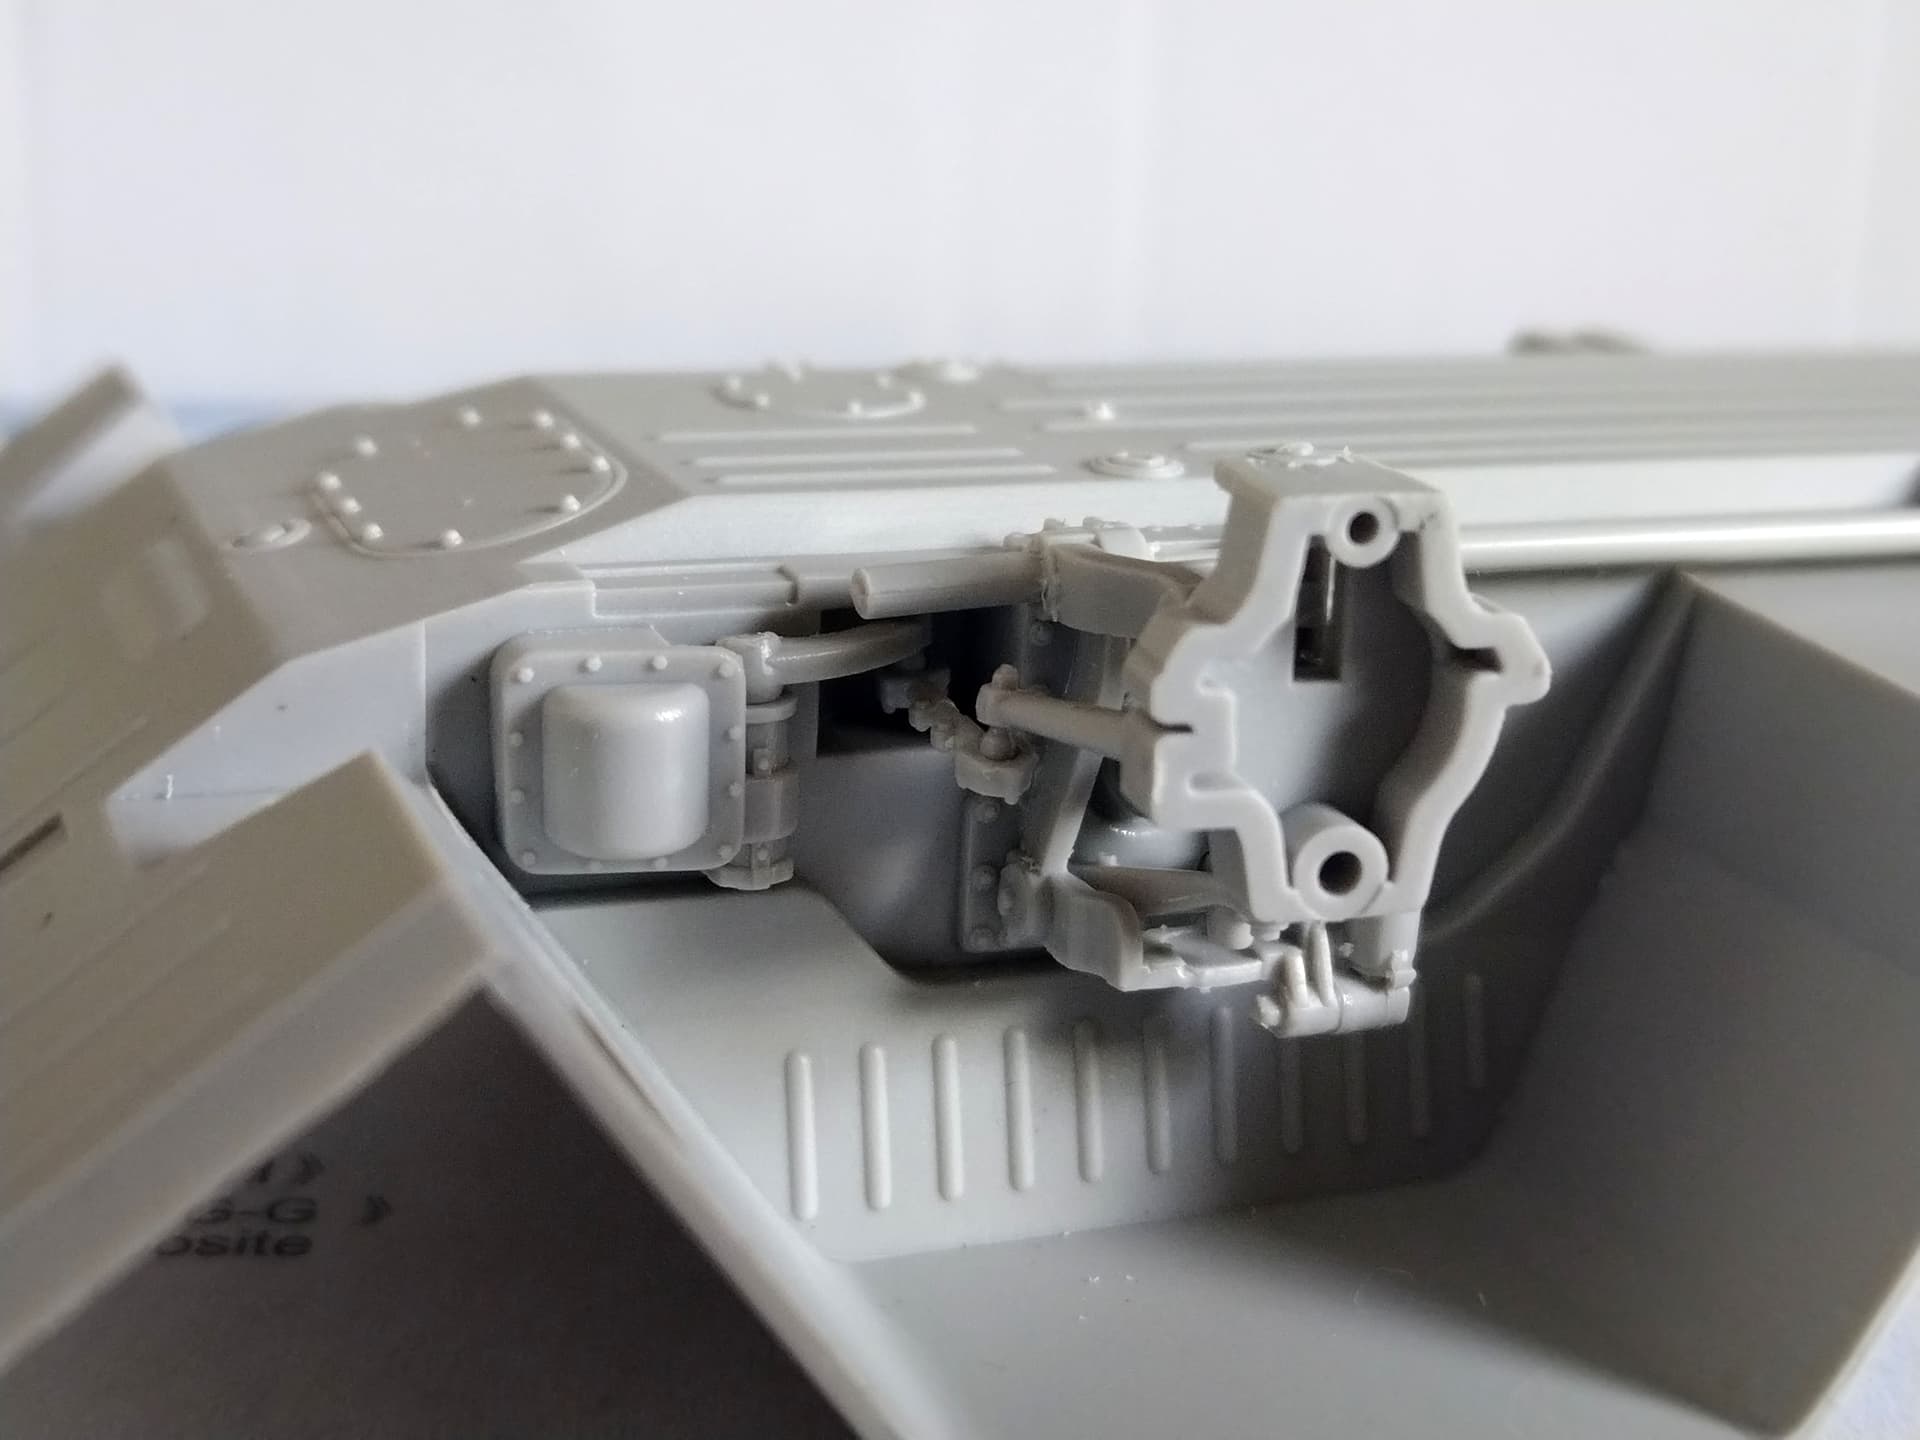
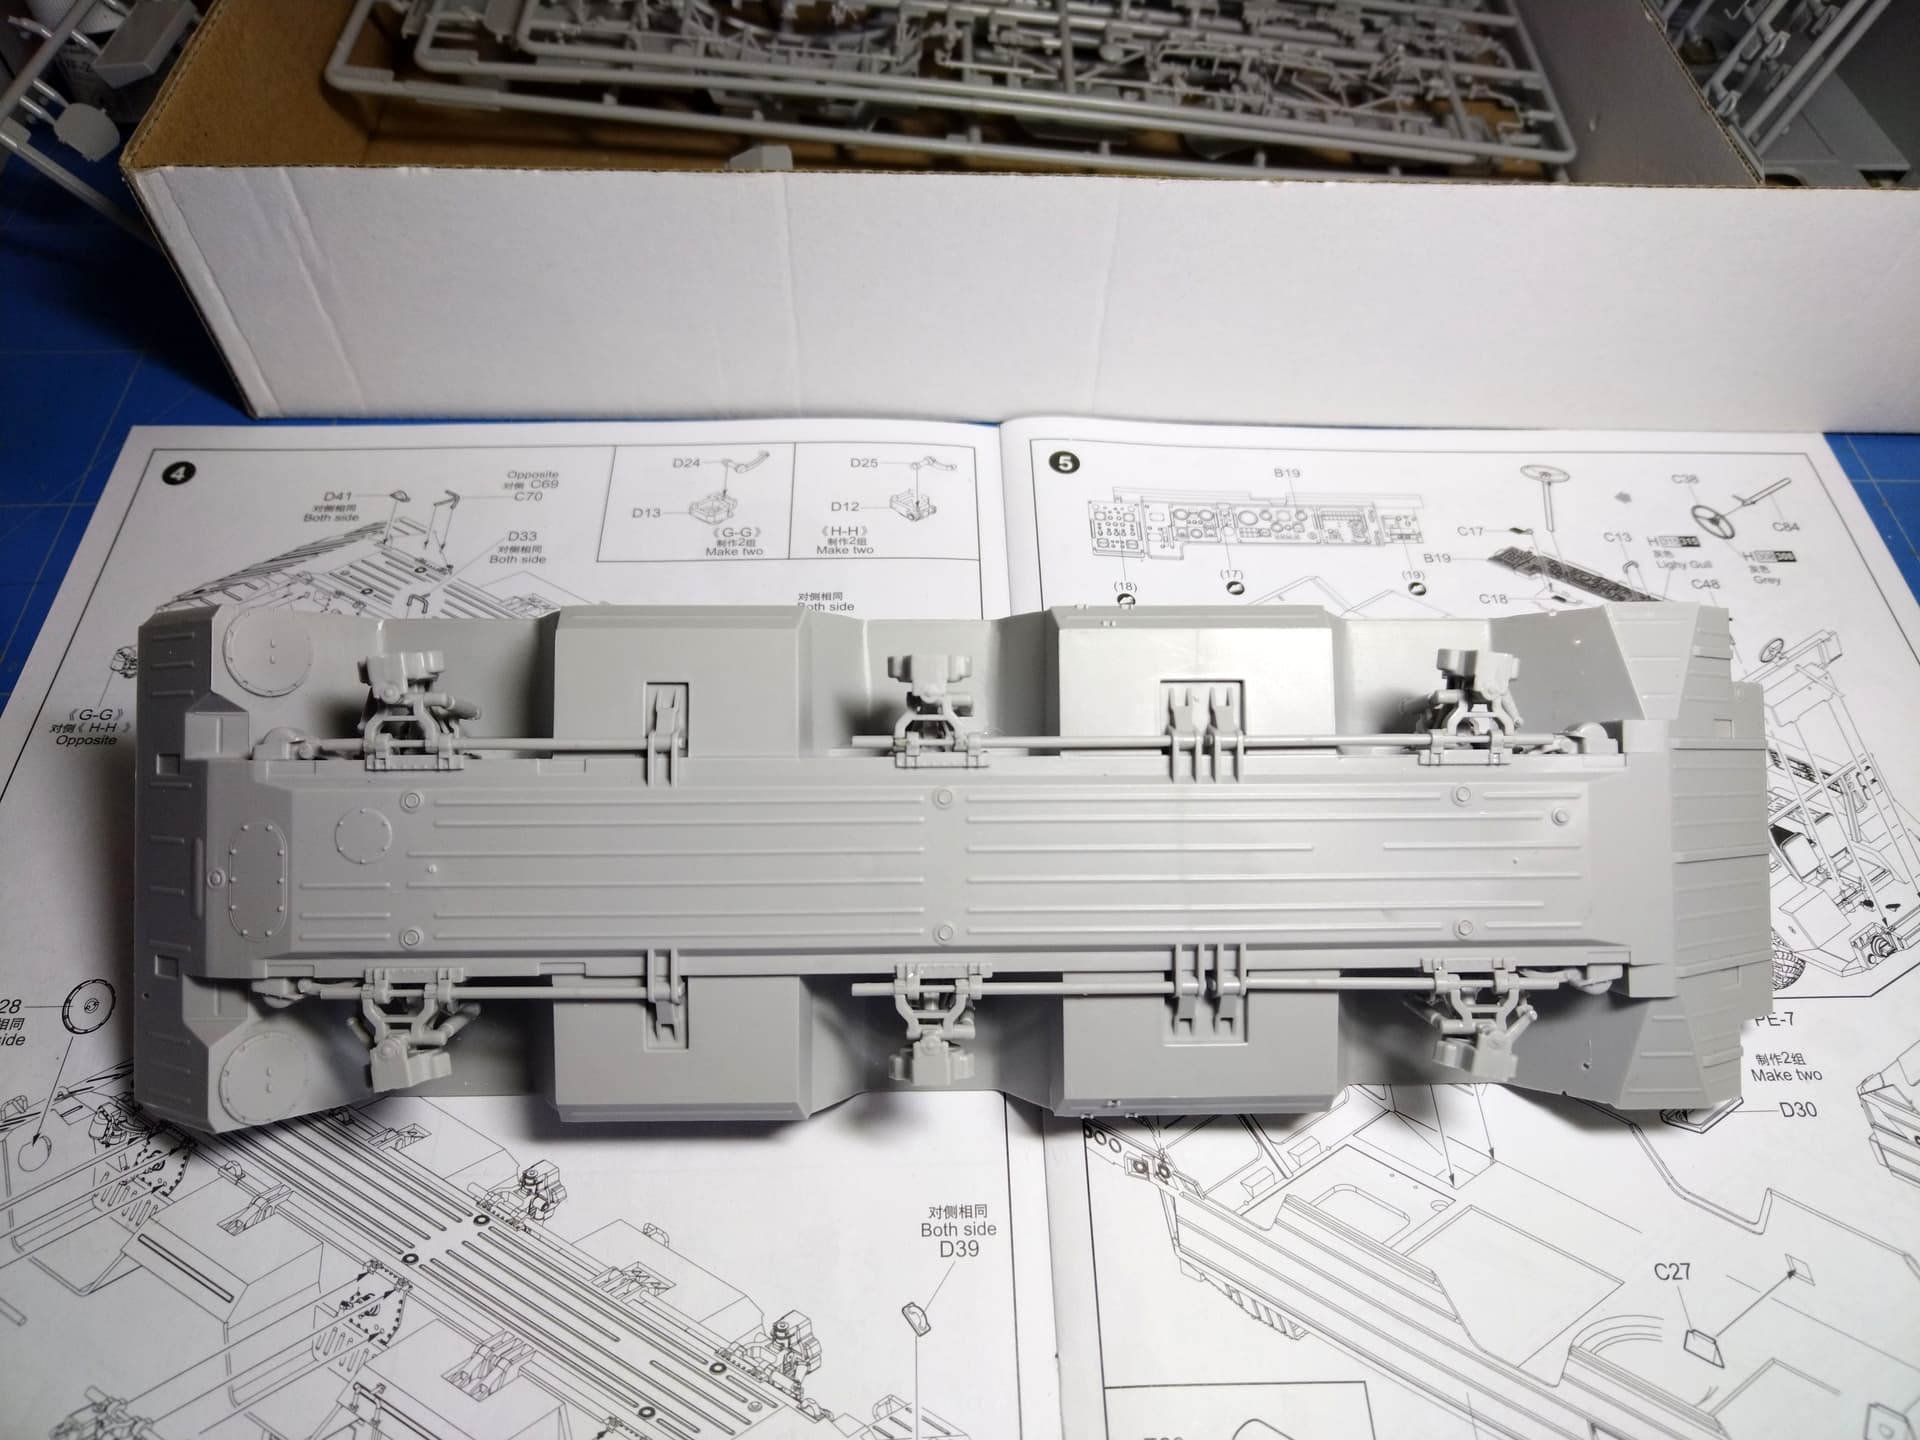
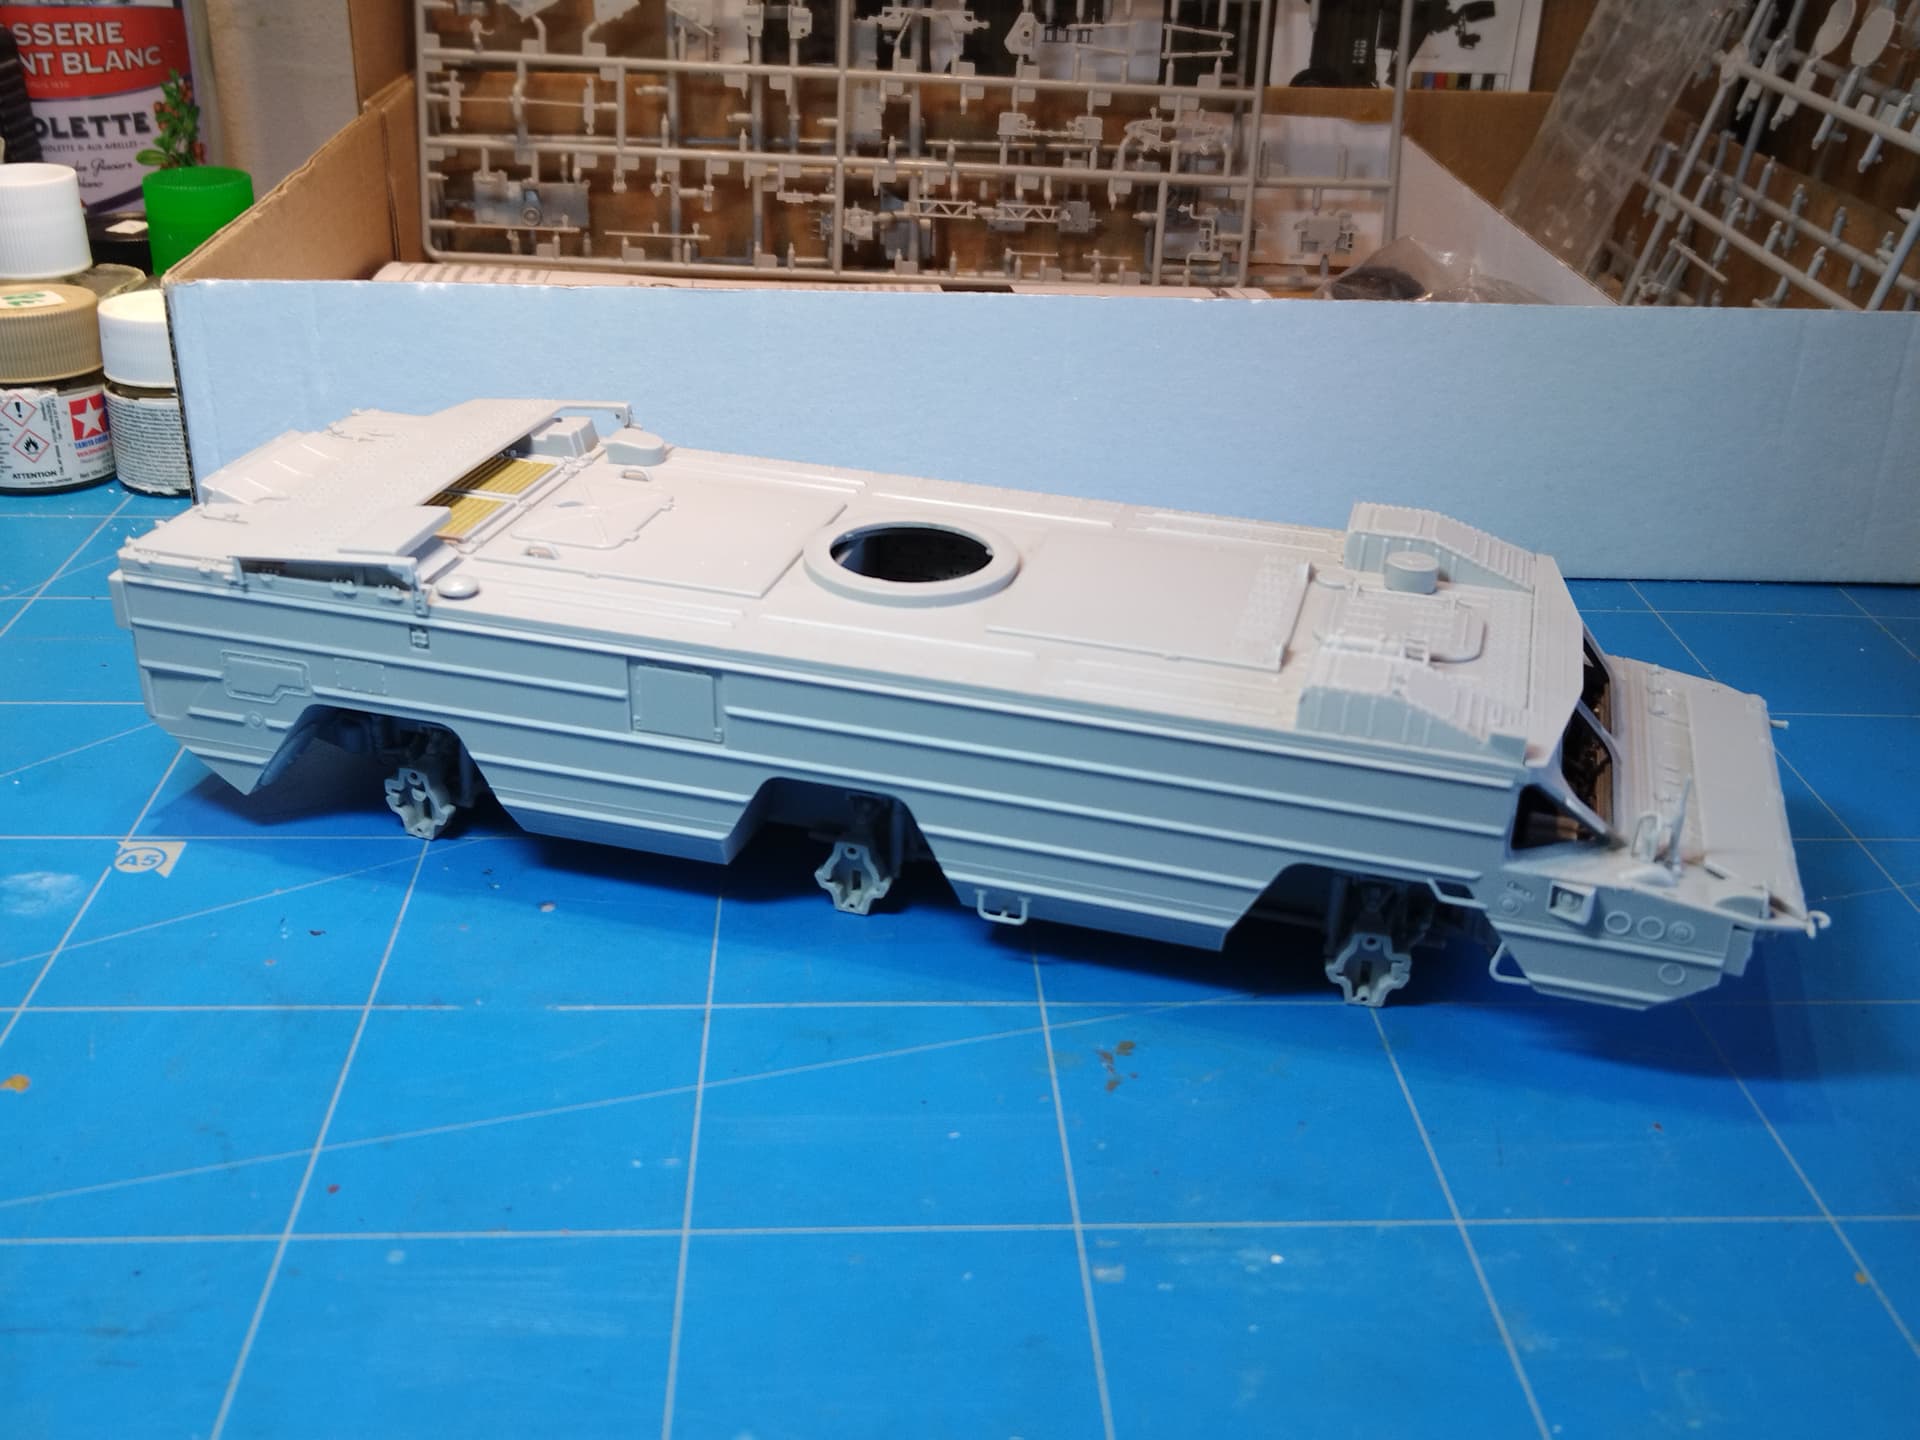
Trumpeter have you start by the interior which you need to paint and decal. As I began the kit at yesterday night club session I decided to tackle the suspension and the steering system first.
Just after assembling the very first suspension sub-assembly I decided not to follow the instructions. If you do so you’ll get into trouble at the end of the process and you might have wheel alignment issues. Moreover if you don’t go the Trumpeter way you can build the front and rear wheels steered with a minimal effort.
I really don’t know if I can finish this build this year. Early November I’ll start to work in my new home and have a lot to do before we can move there.
my thanks! ill have to do some research as the resin kit needs some details redone. I likedoing hellenci subjects, my dad was a tank commander in the hellenic army.
Hi all
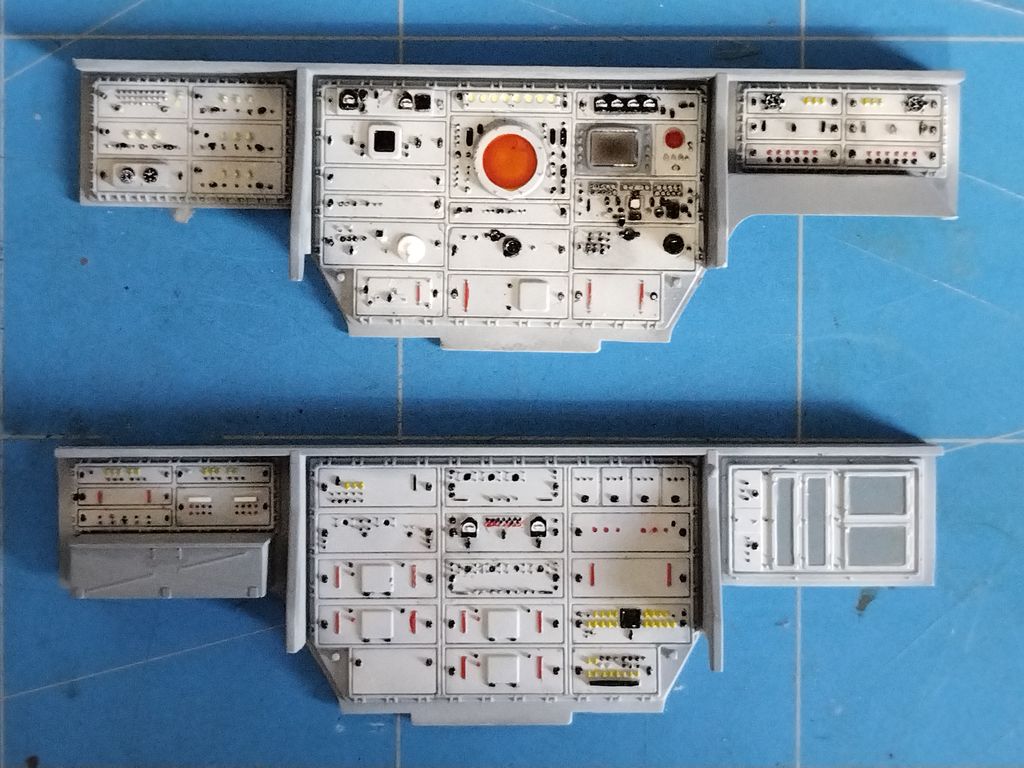
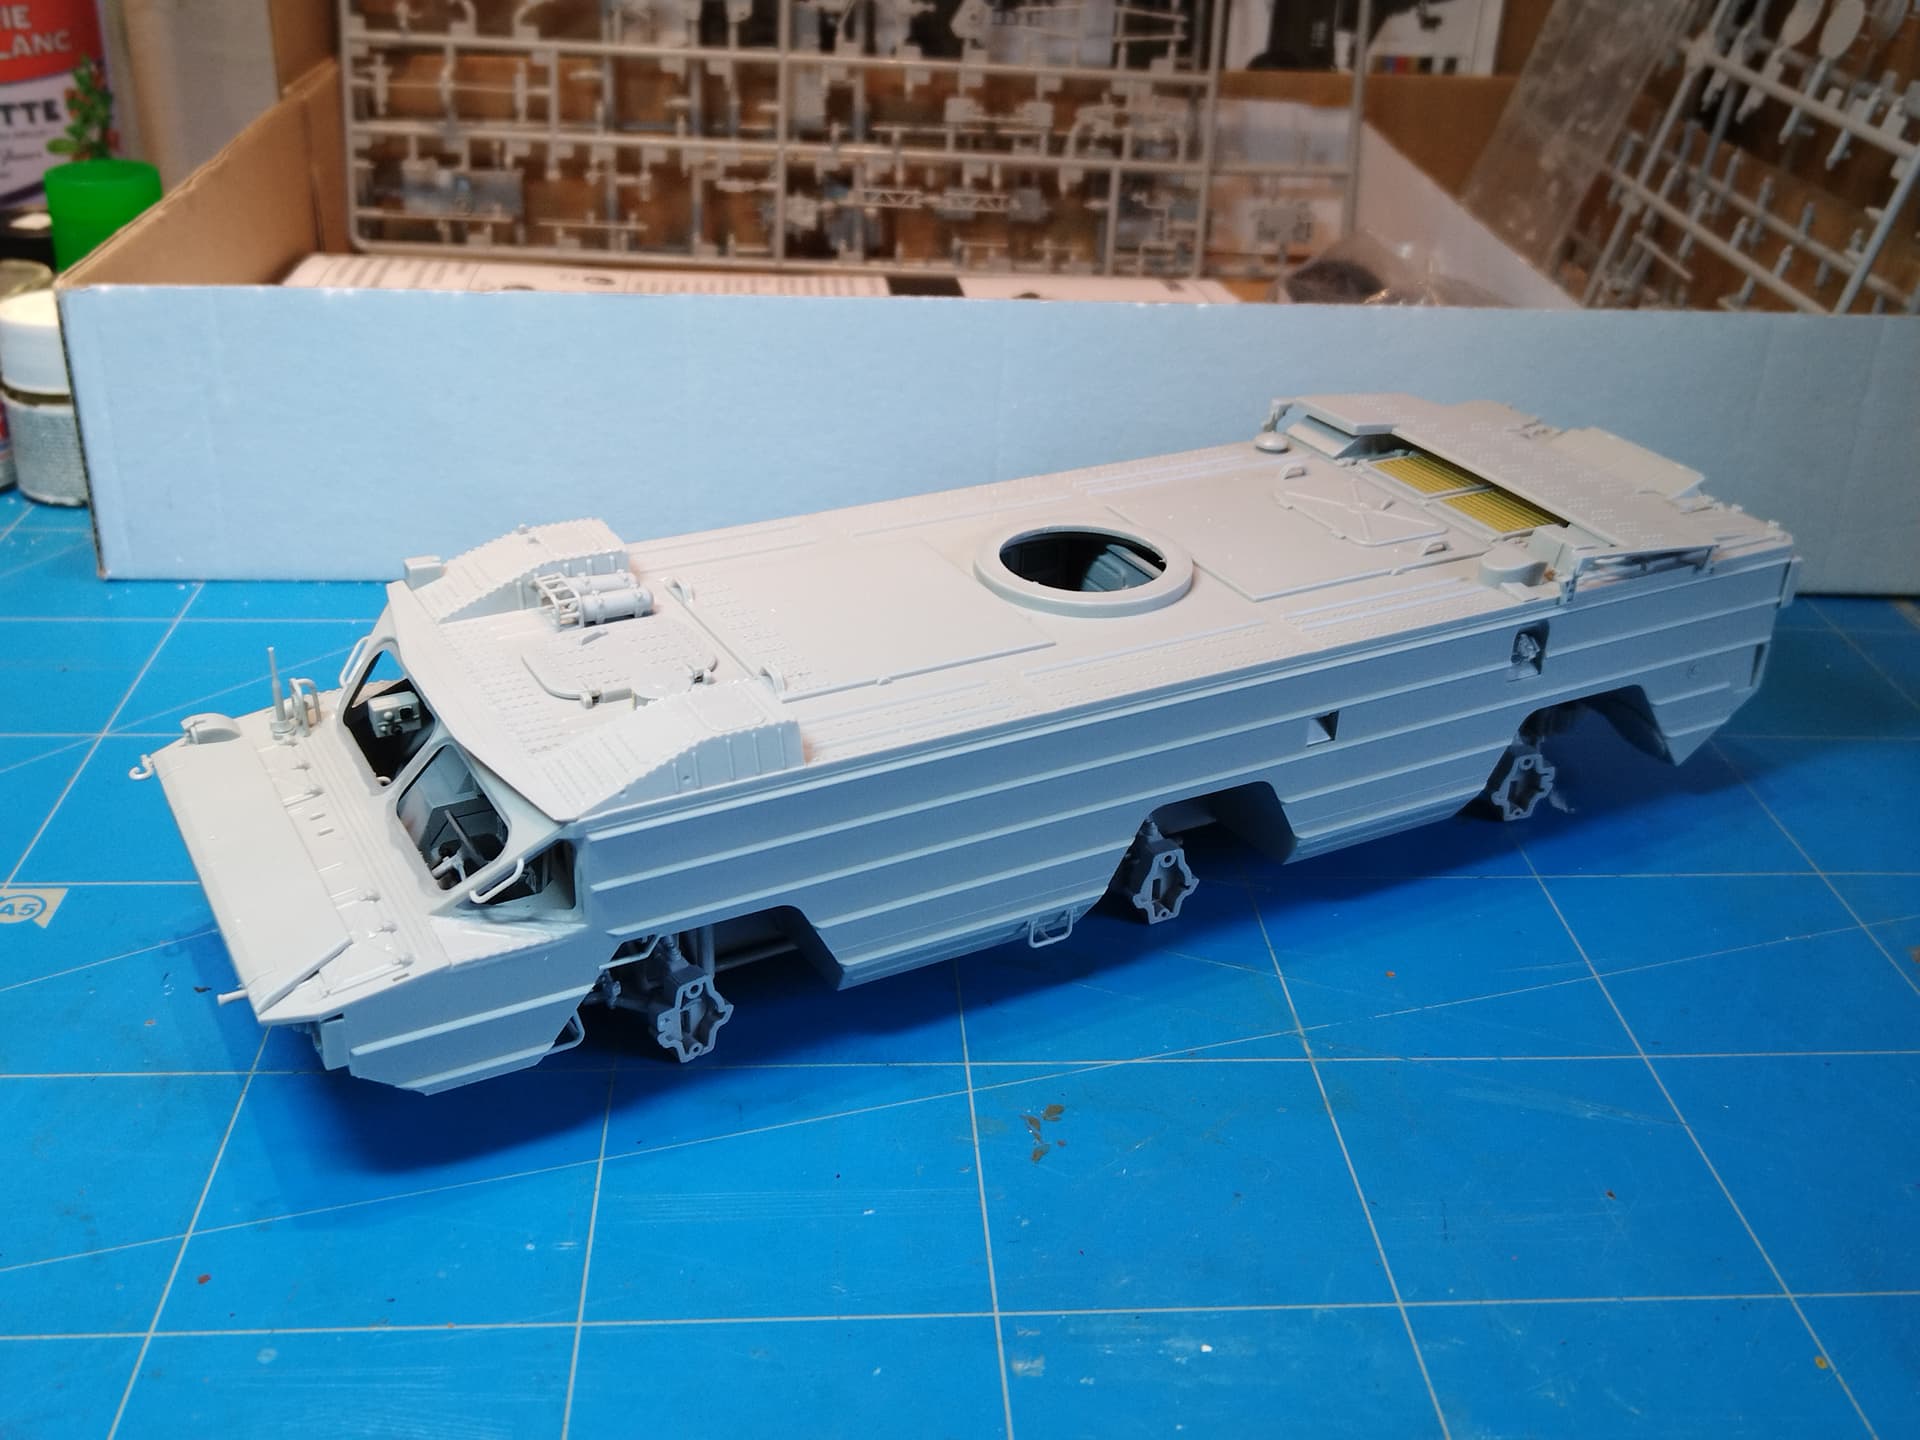
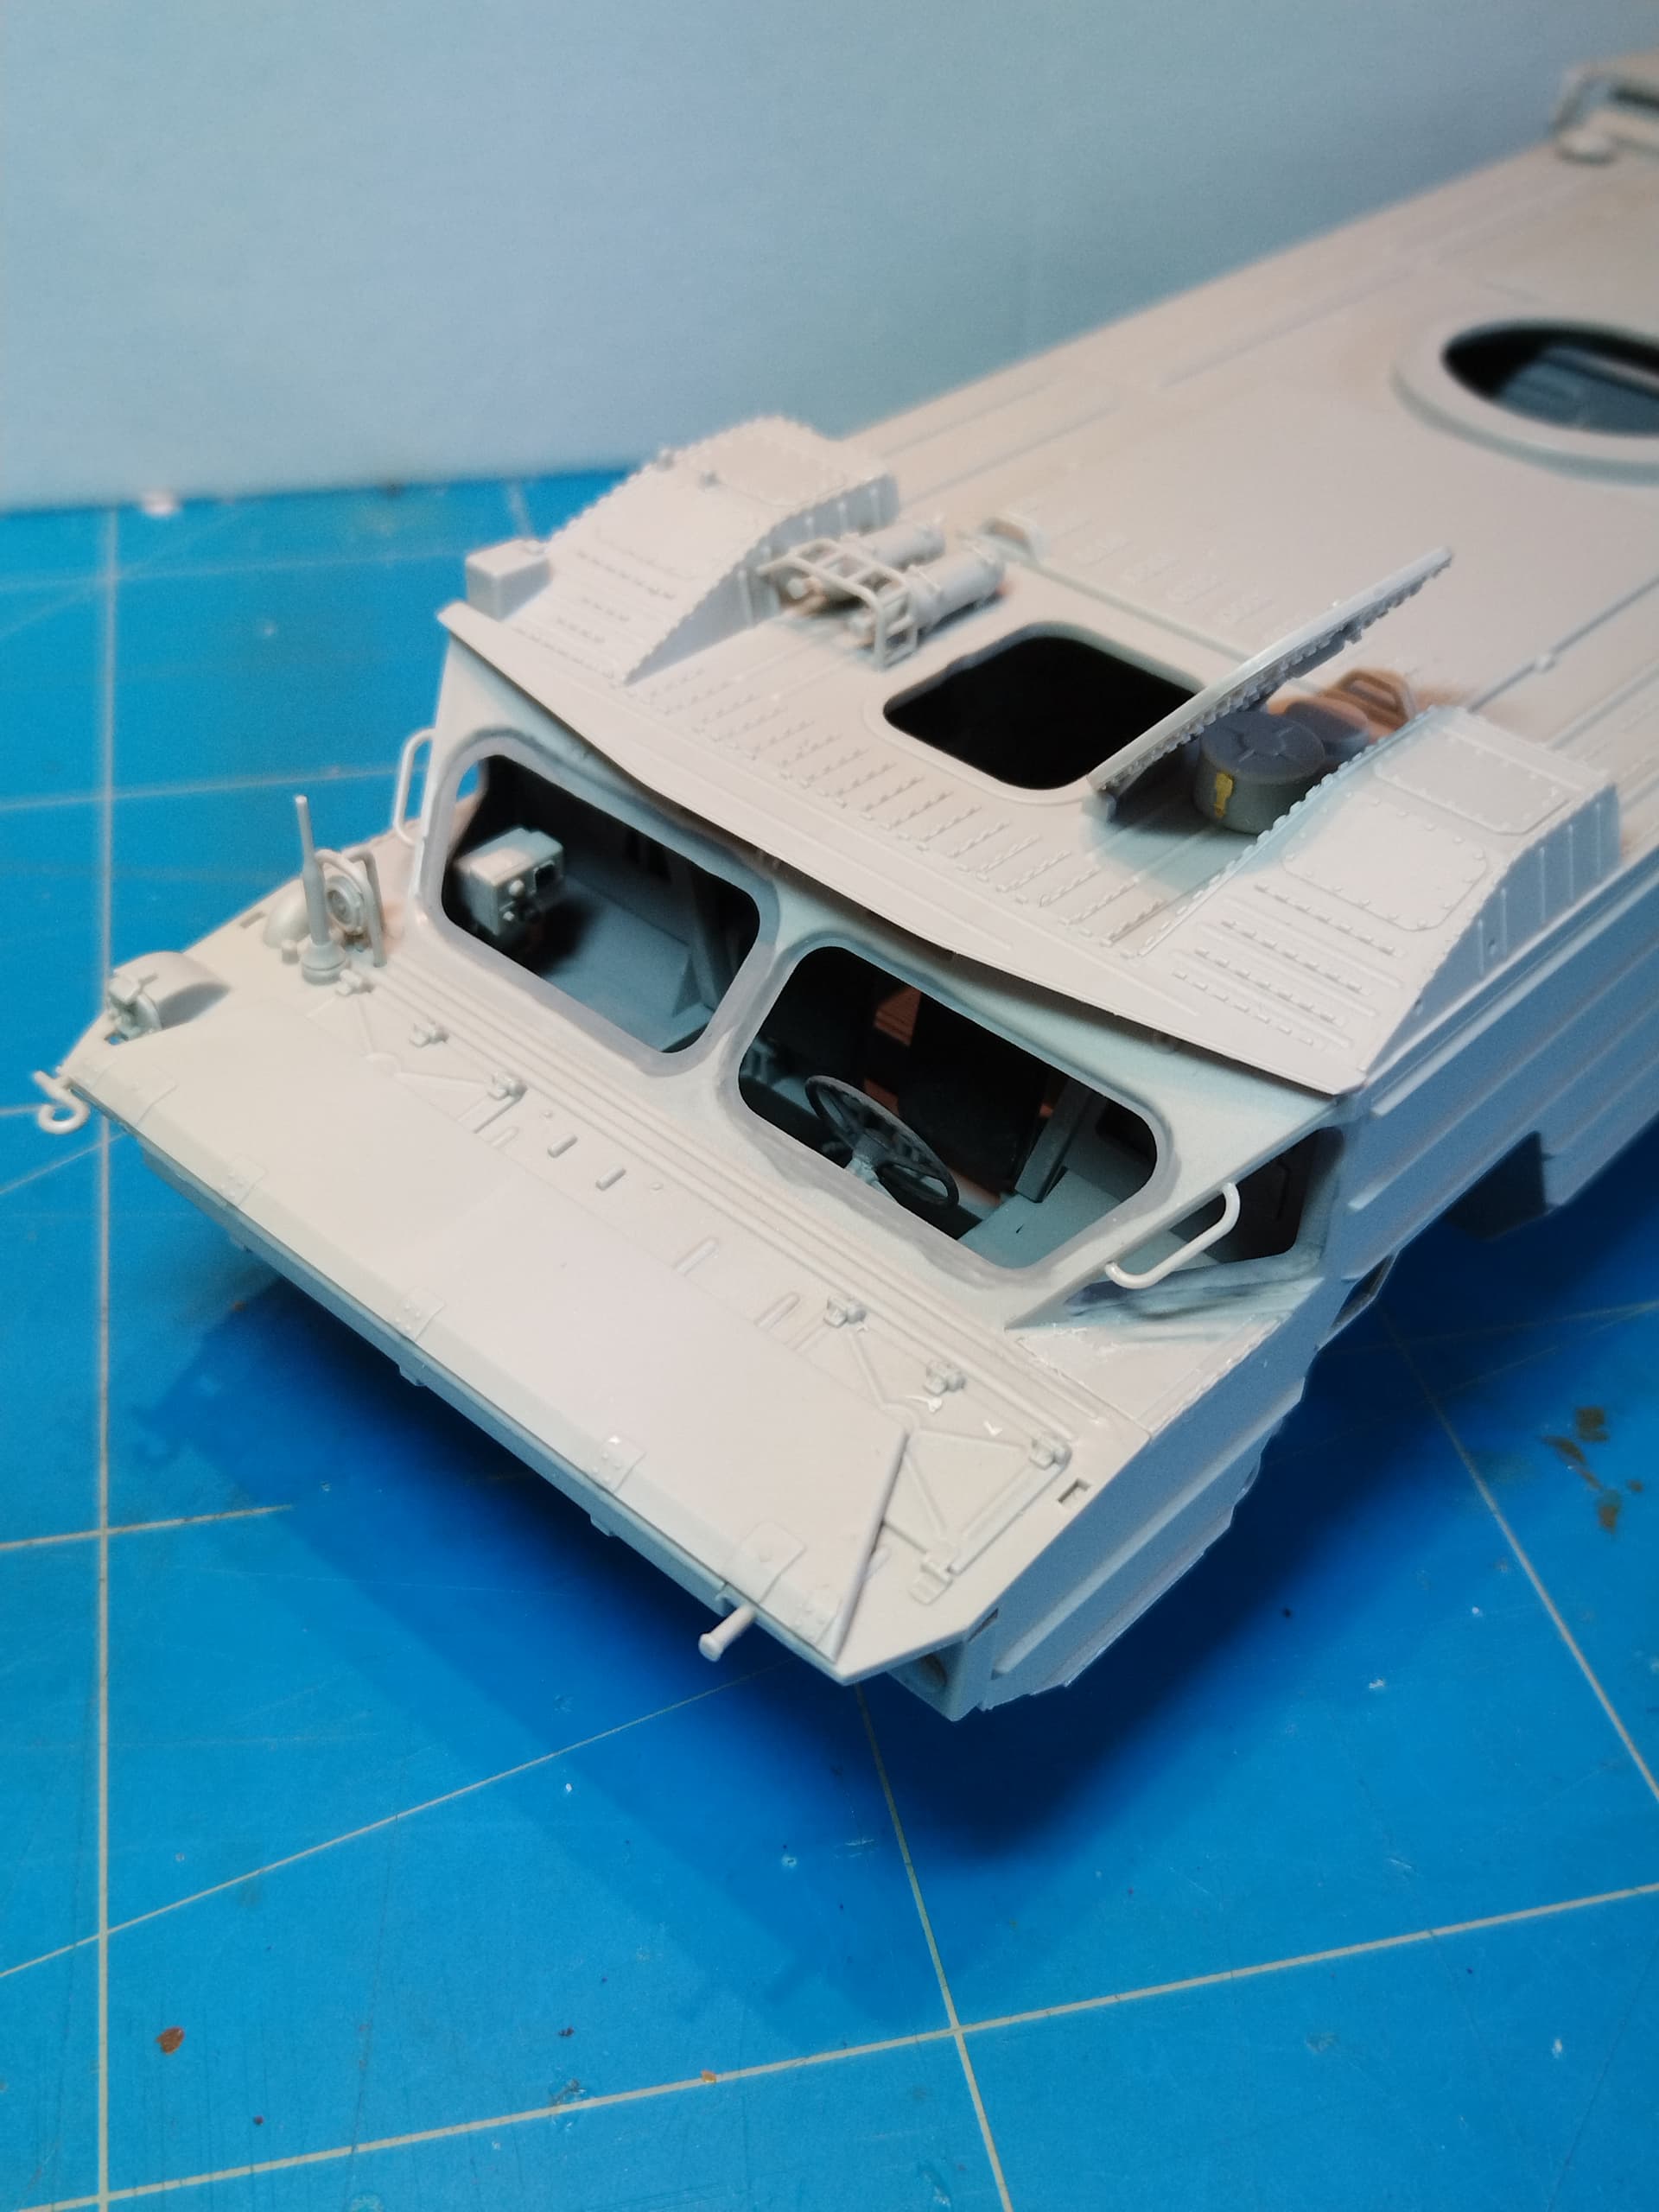
I recently worked on the interior so I can close the hull.
Trumpeter give you plenty of decals to represent the buttons, dials and handles on the technical compartments. Unfortunately most of the parts present a relief which does not allow a perfect fit of the decals. So I shifted to the hand painting first with acrylic paints which proved wrong. I then used oils and managed to get an acceptable result considering that only 2.5% will remain visible when the upper hull is fitted.
Thank you for the comments.
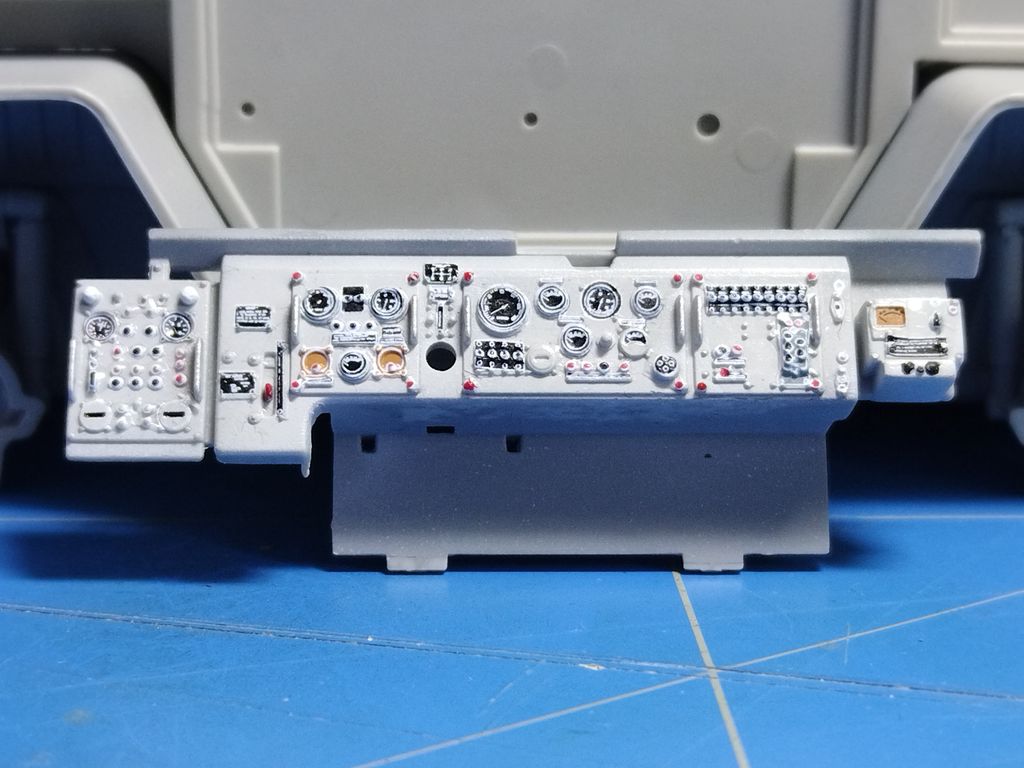
Today I managed to apply the decals onto the dashboard. However I first cut the large decals into small pieces I could insert between the numerous handles molded solid by Trumpeter.
The result is quite convincing.
Thank you Rick. Trumpeter did a nice job first. When you cut the decals it’s far easier to apply them. I don’t know why there are that large on the sheet. Anyway you can achieve a nice result with a minimal effort.
I built this during one of our many lockdowns last year & it’s a very nice kit.
Added all the decals to the control panels using copious amounts of microsol & gently popping air pockets around the raised detail & eventually they conformed well. Cannot see them very well even with the hatch open but I know they are there.
I did mine as a Polish version.
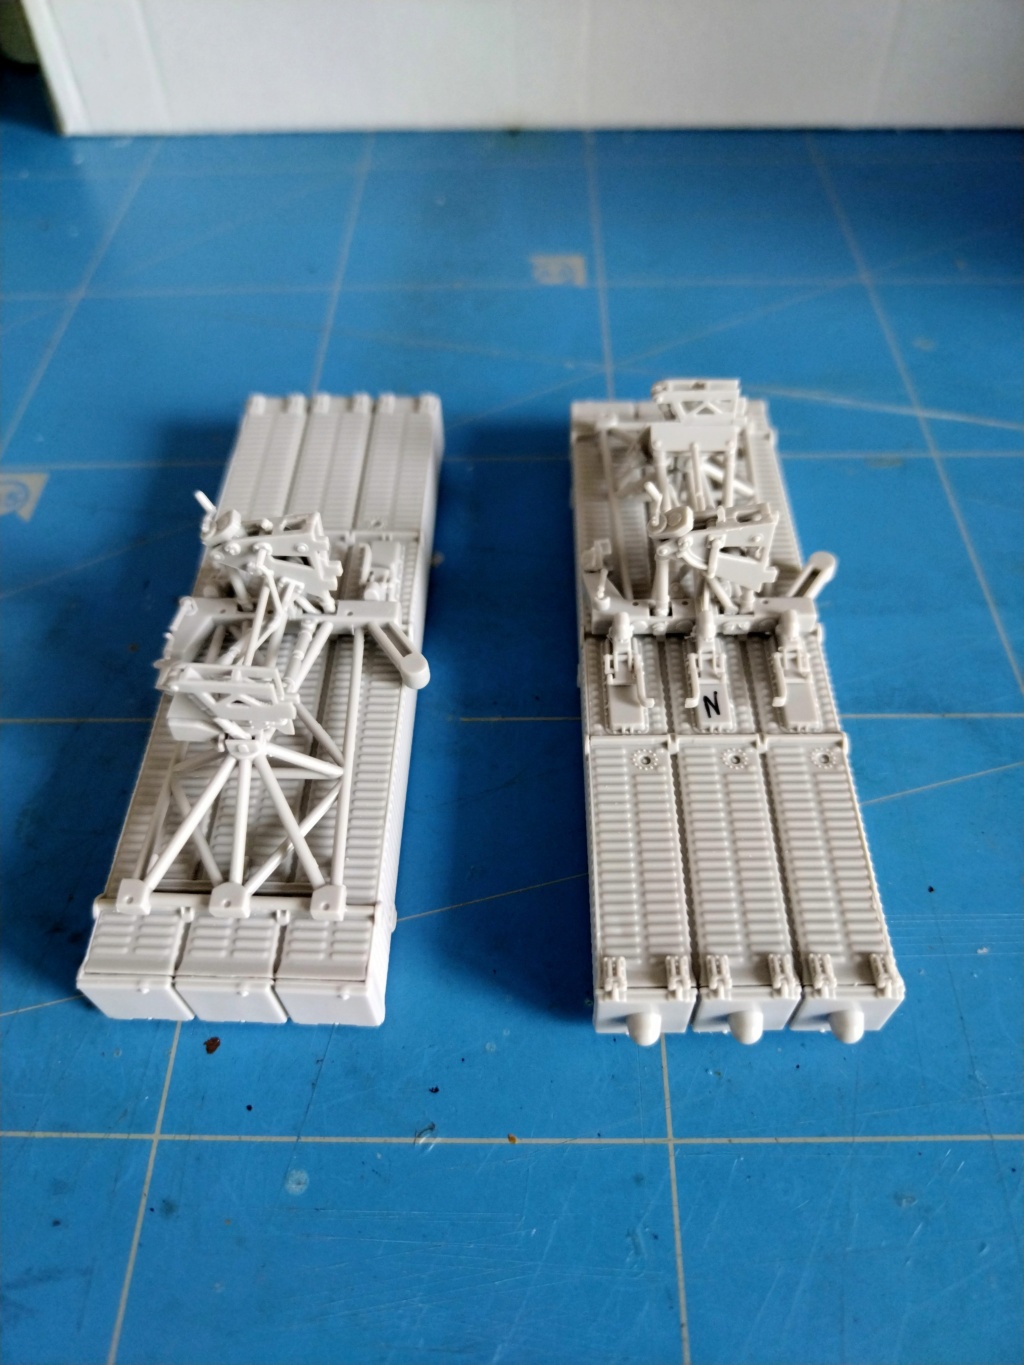
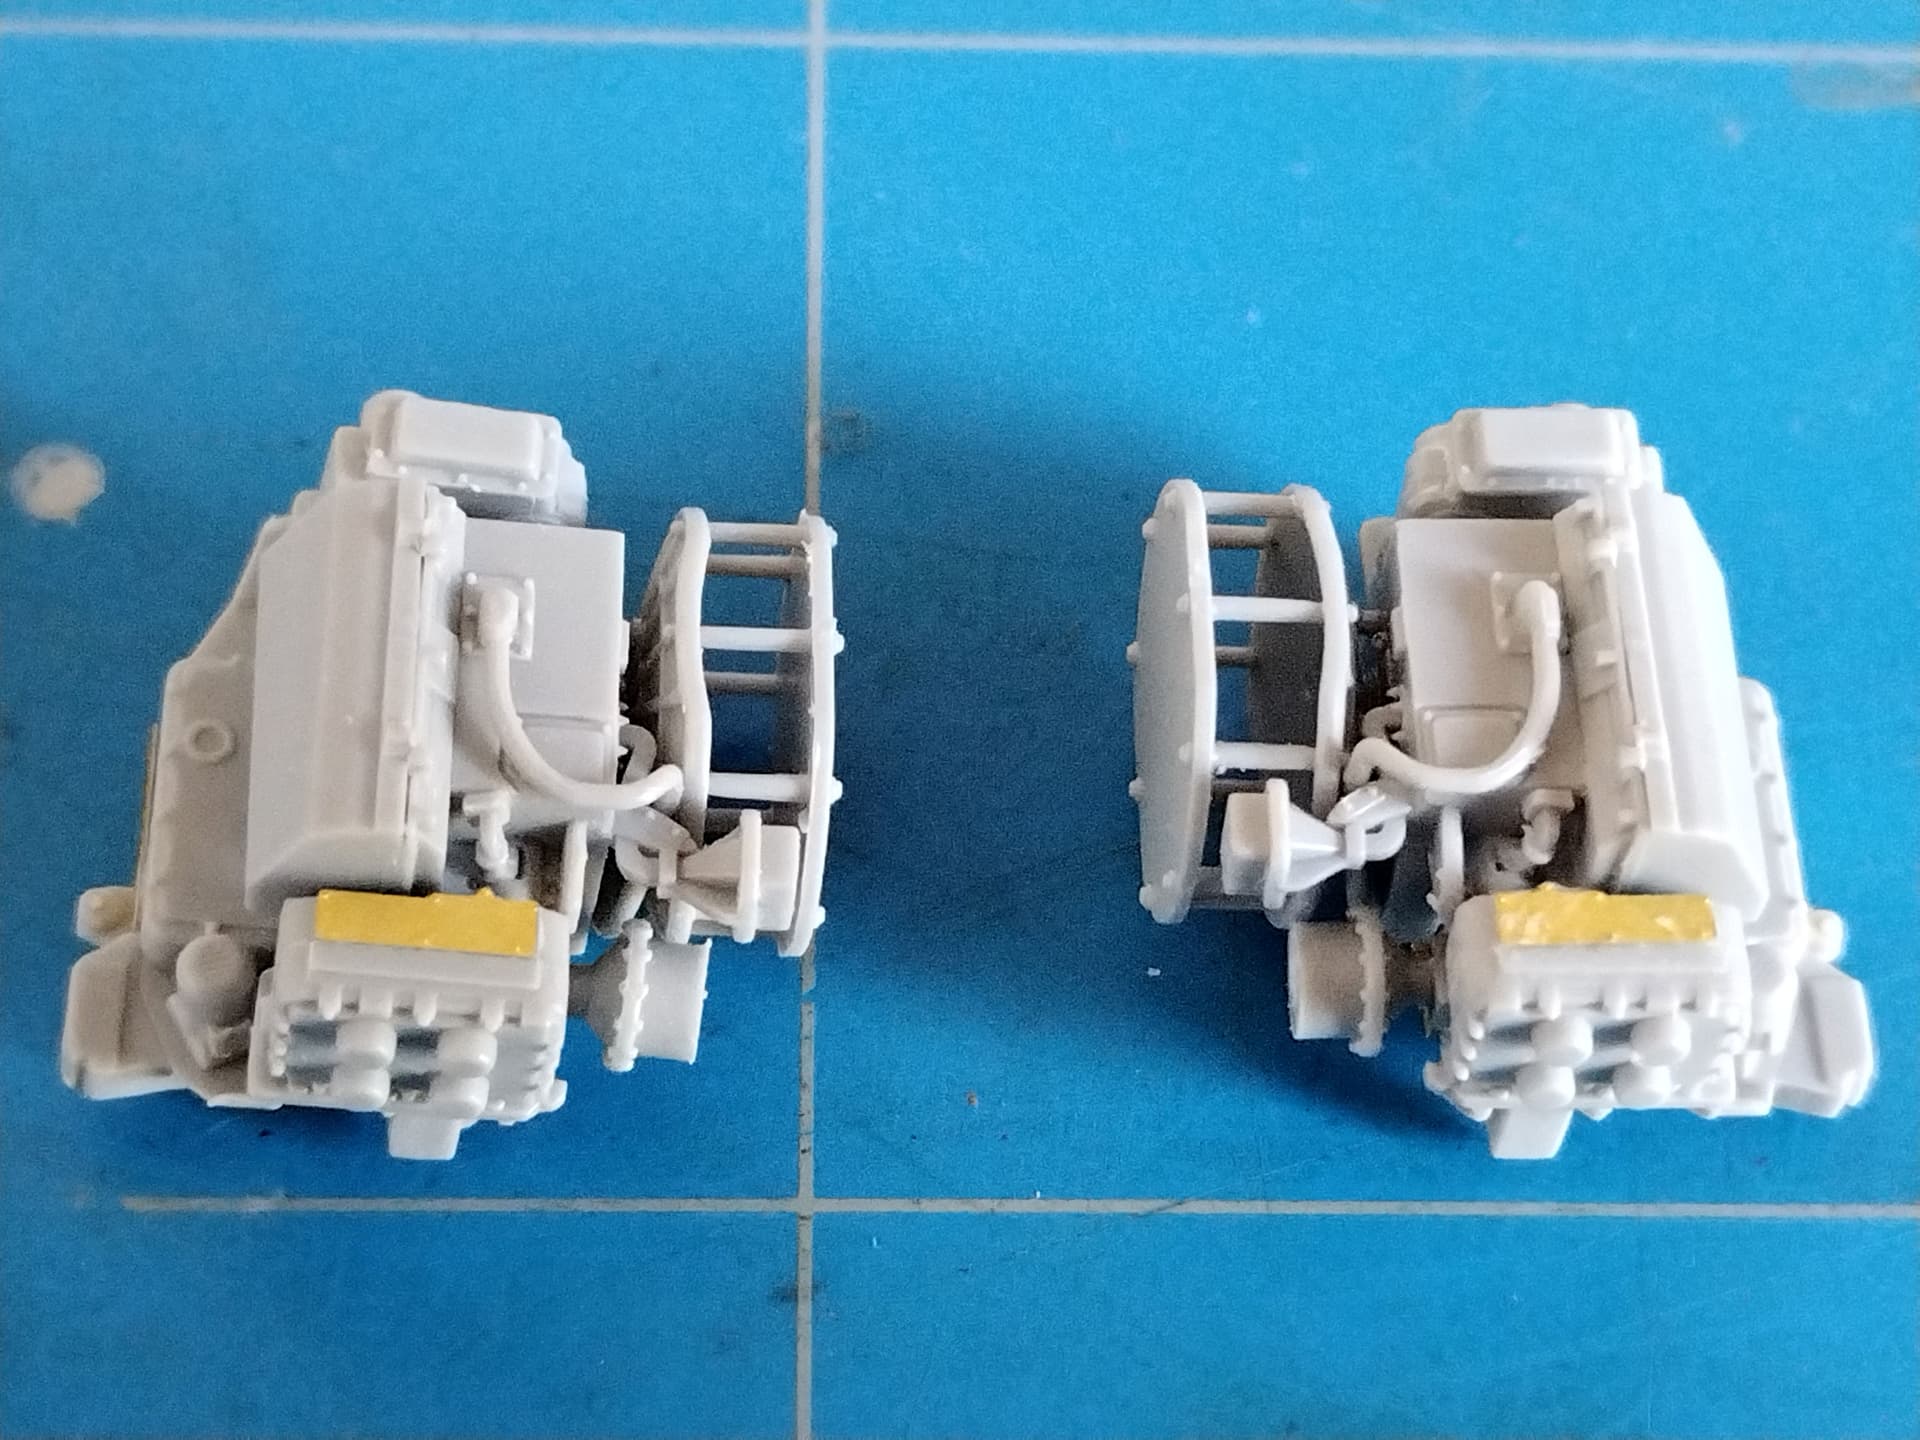
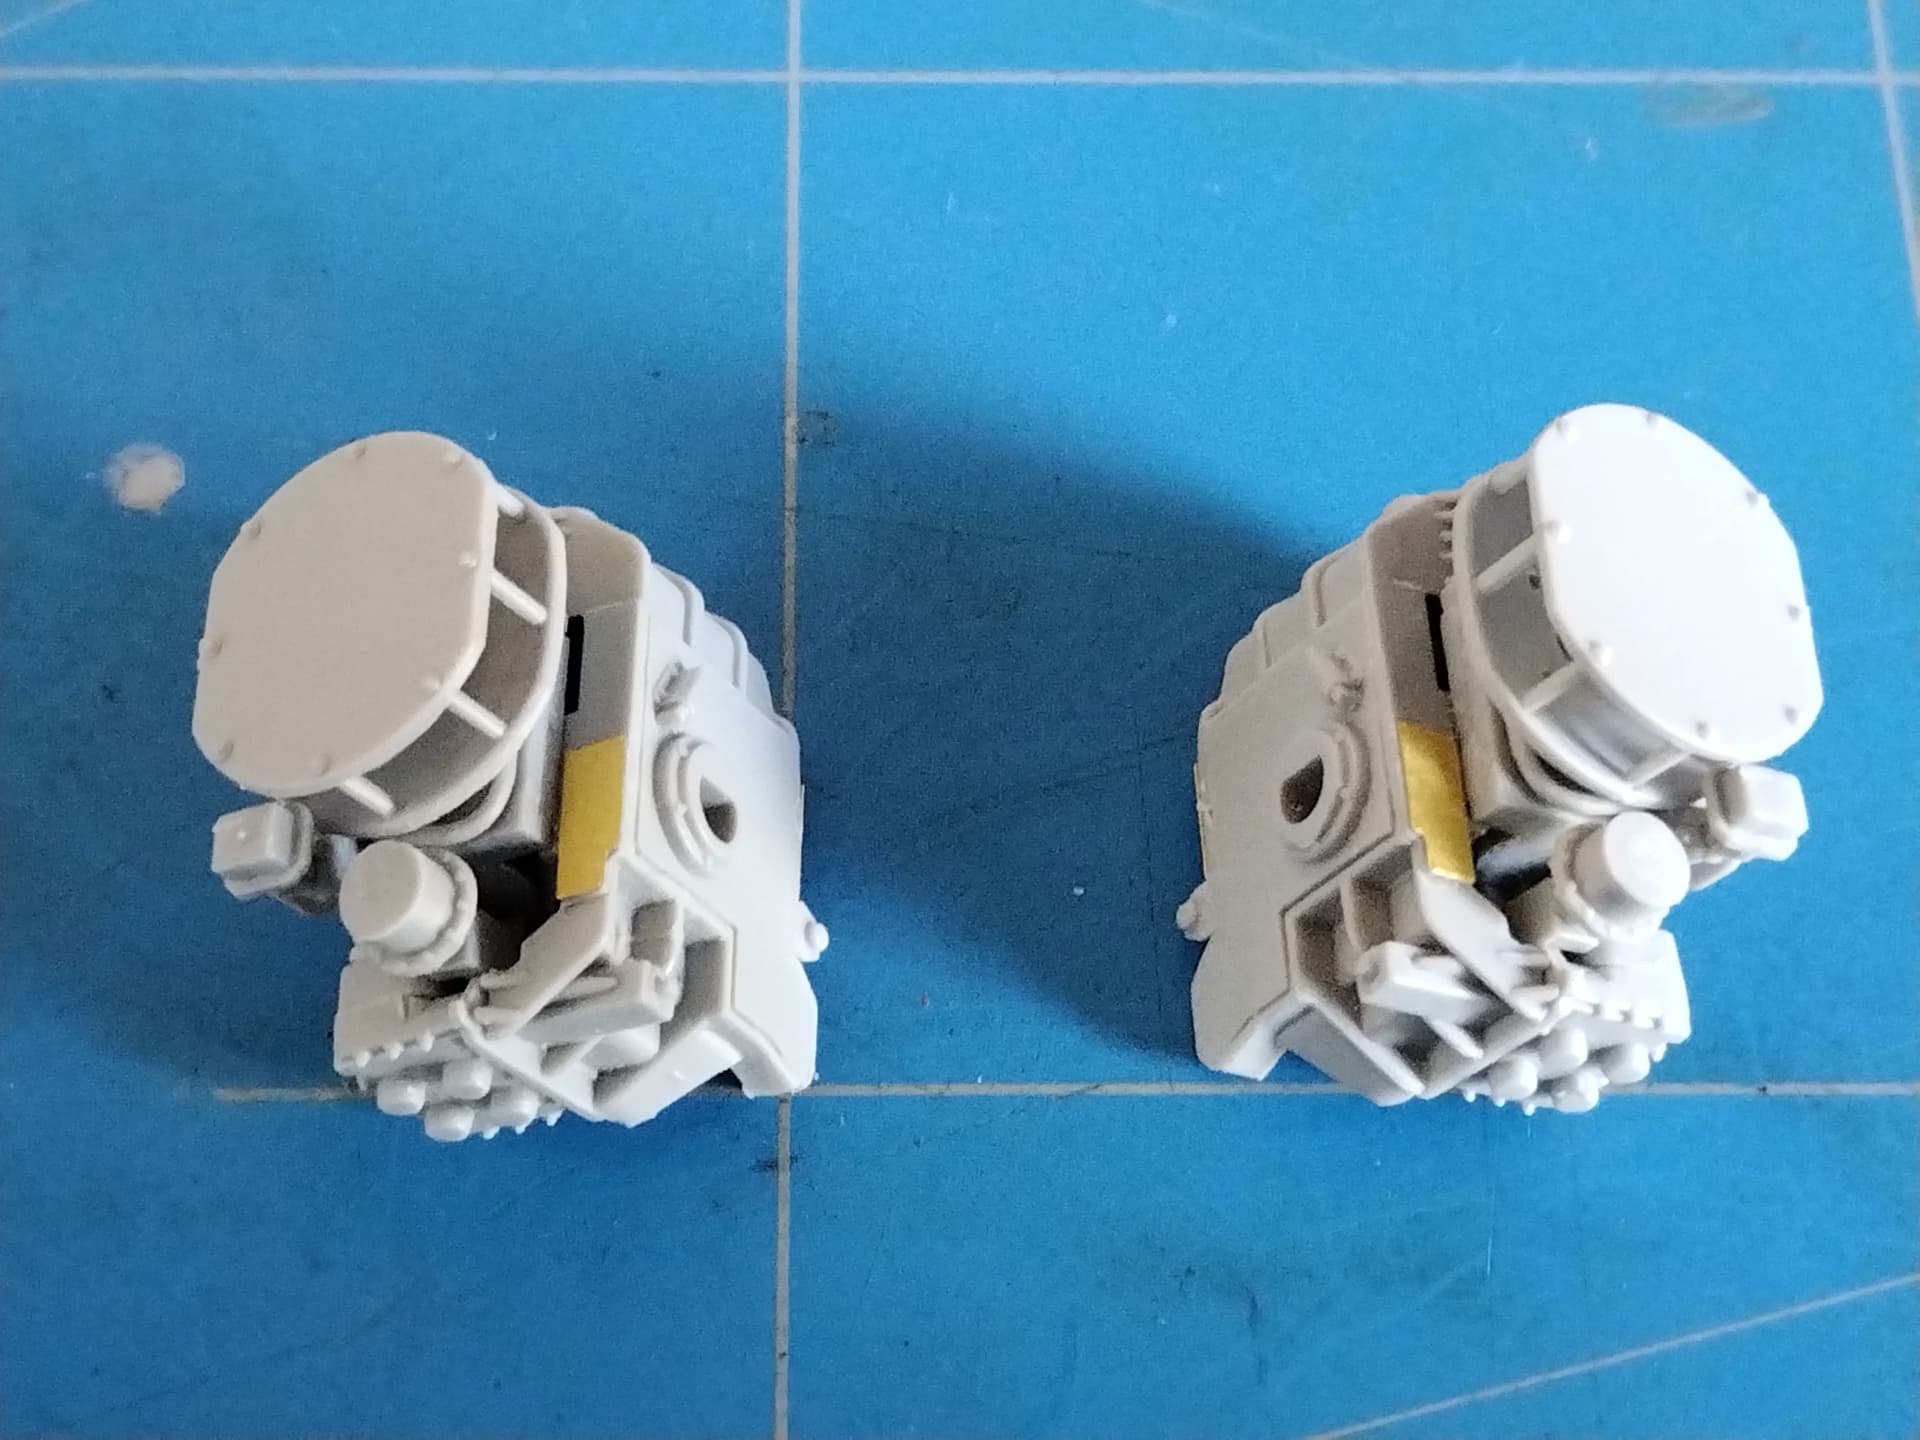
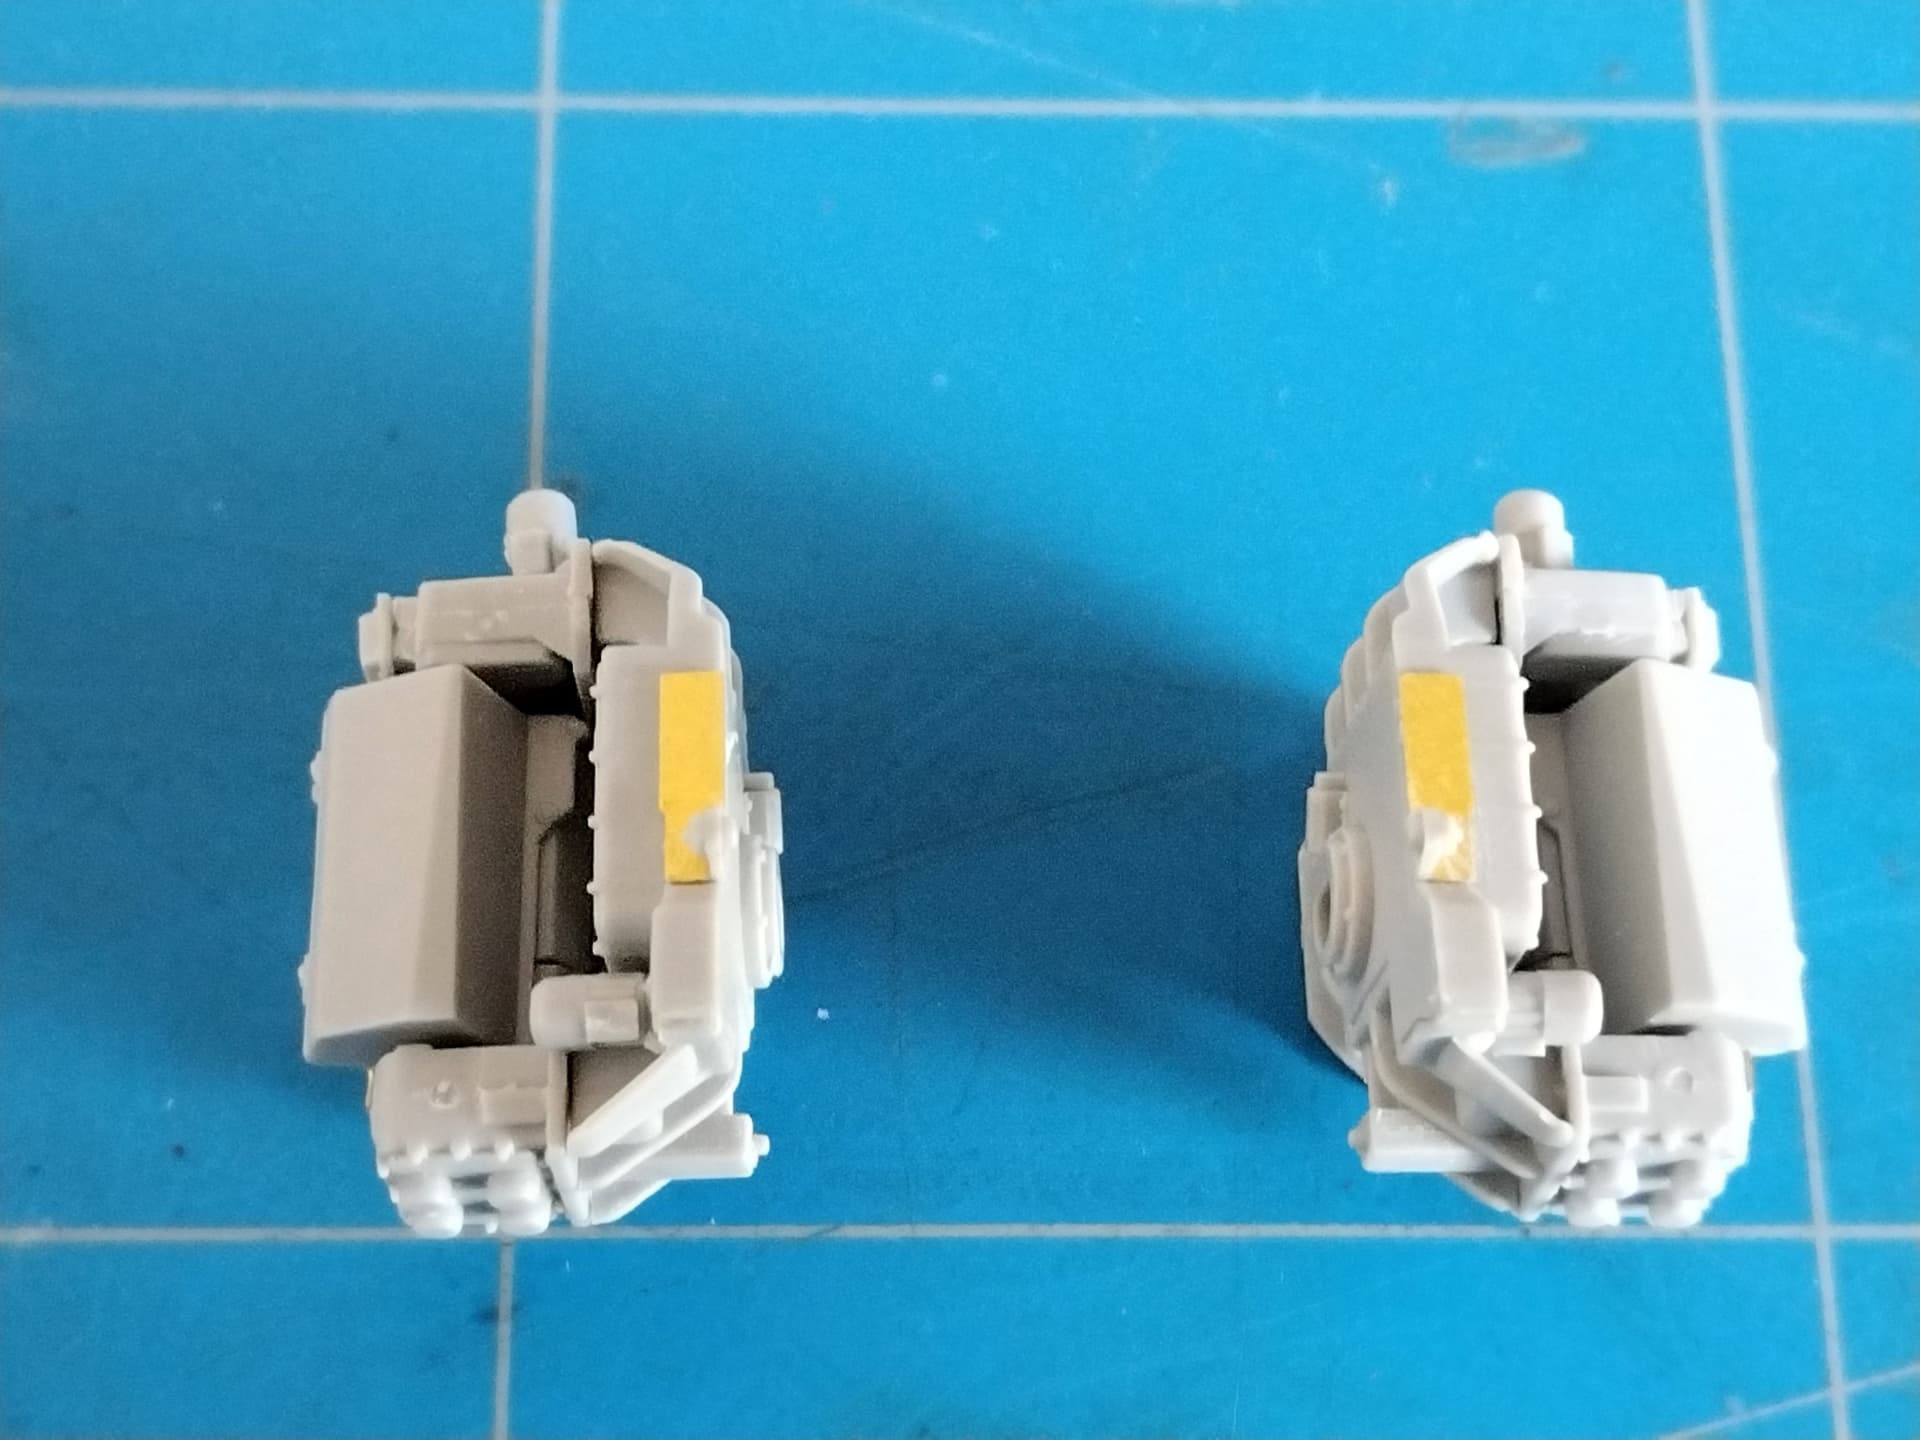
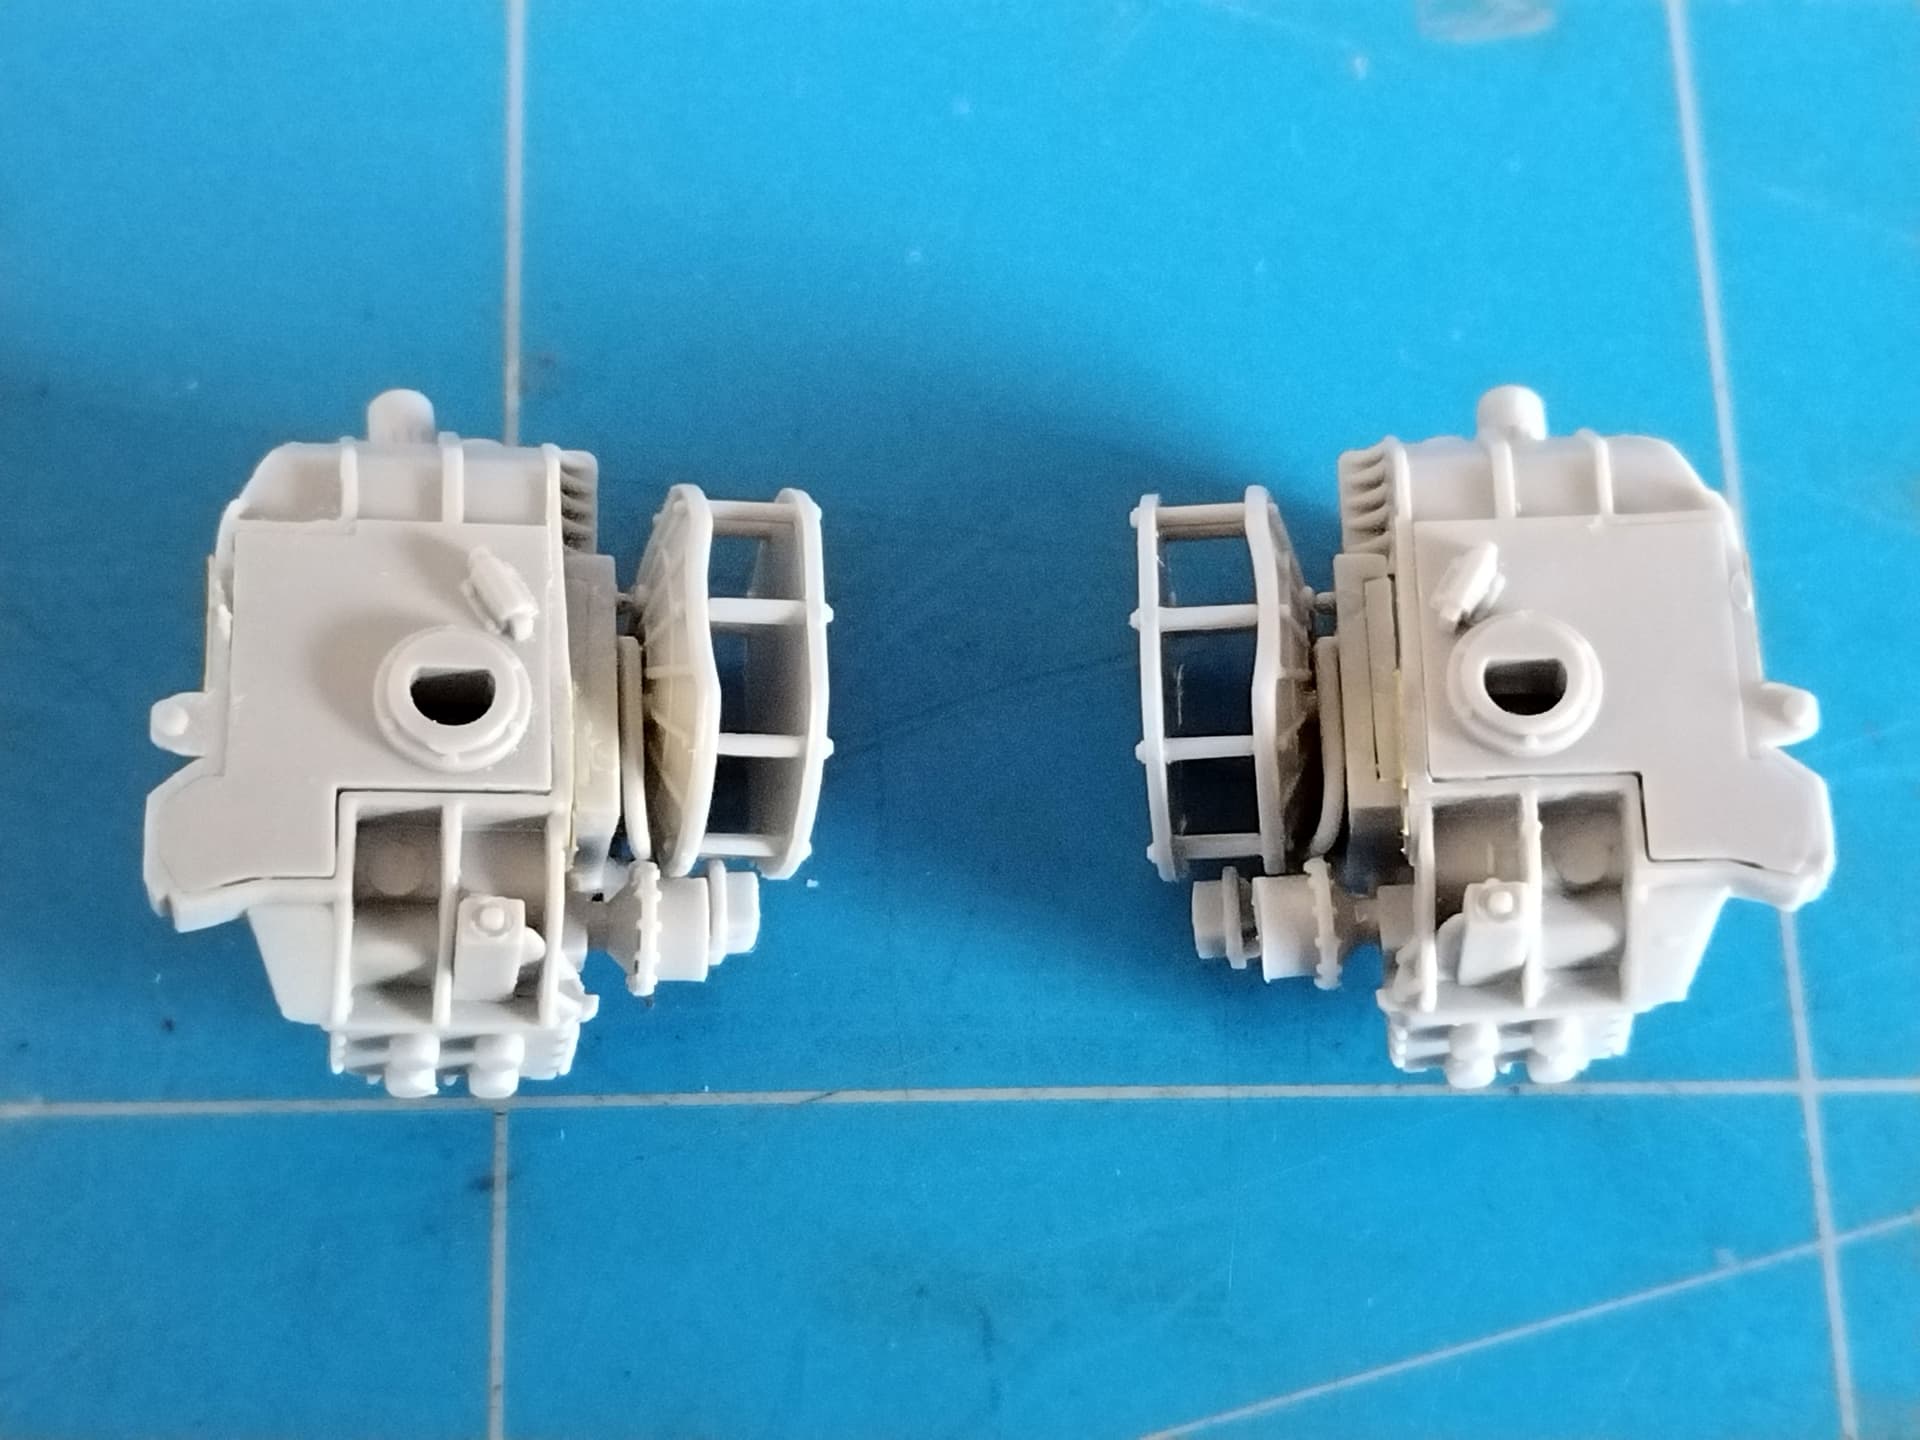
Today I started the sub-assemblies of the launch module.
I first assembled the missiles containers supports. Be aware that Trumpeter omitted to mold alignment pegs on one of the major part. Consequently when I dry fitted the first support to the module the containers were angled. I think I’ve found the part concerned and on the second support I’ve been more careful so the second attempt was successful.
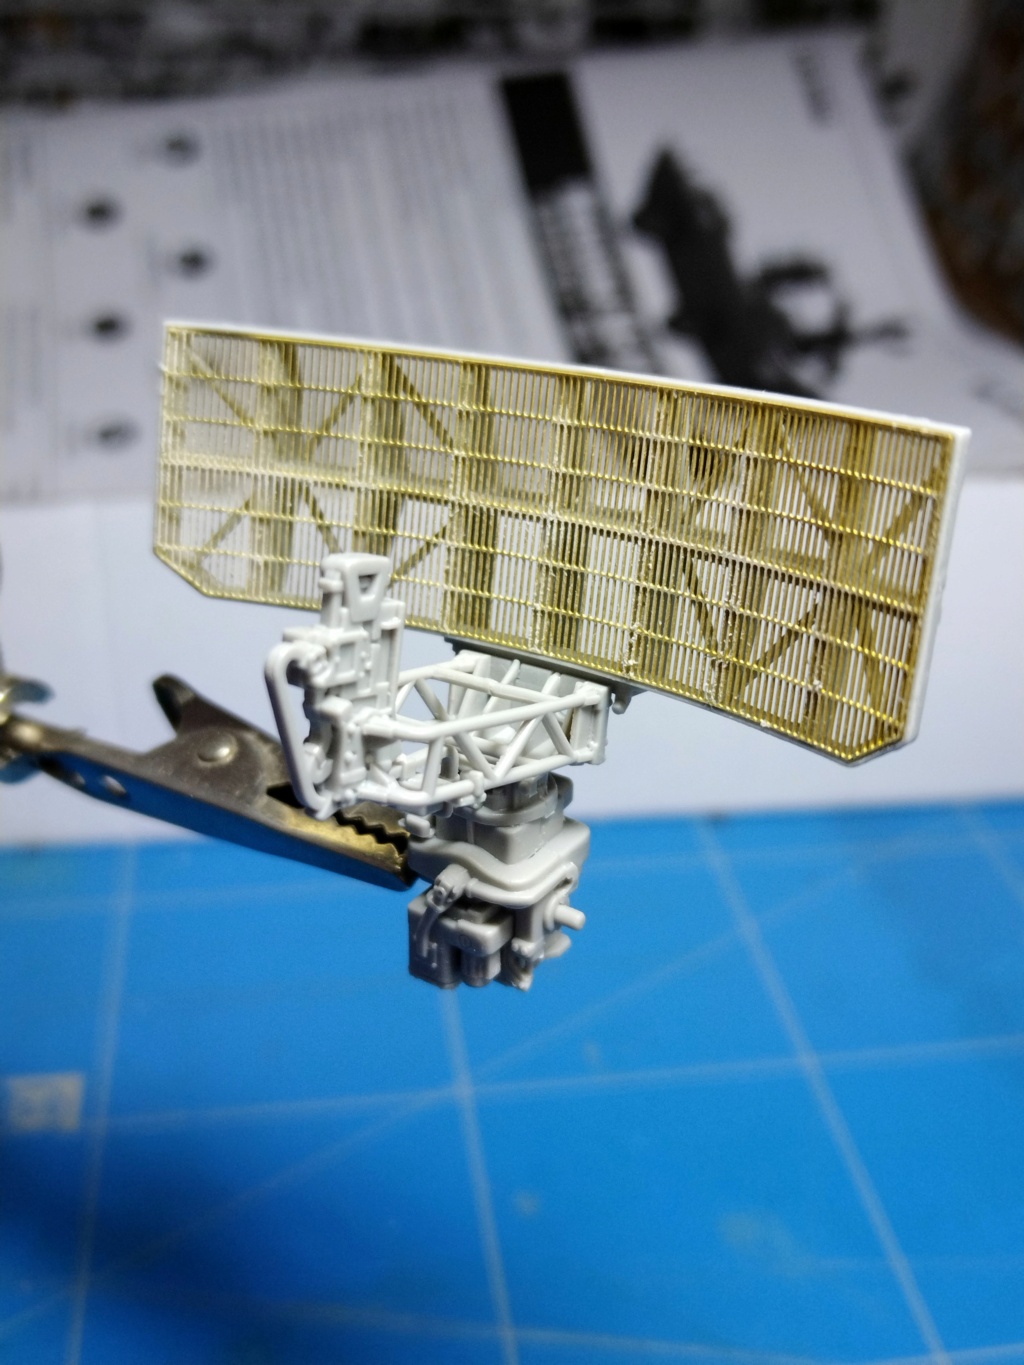
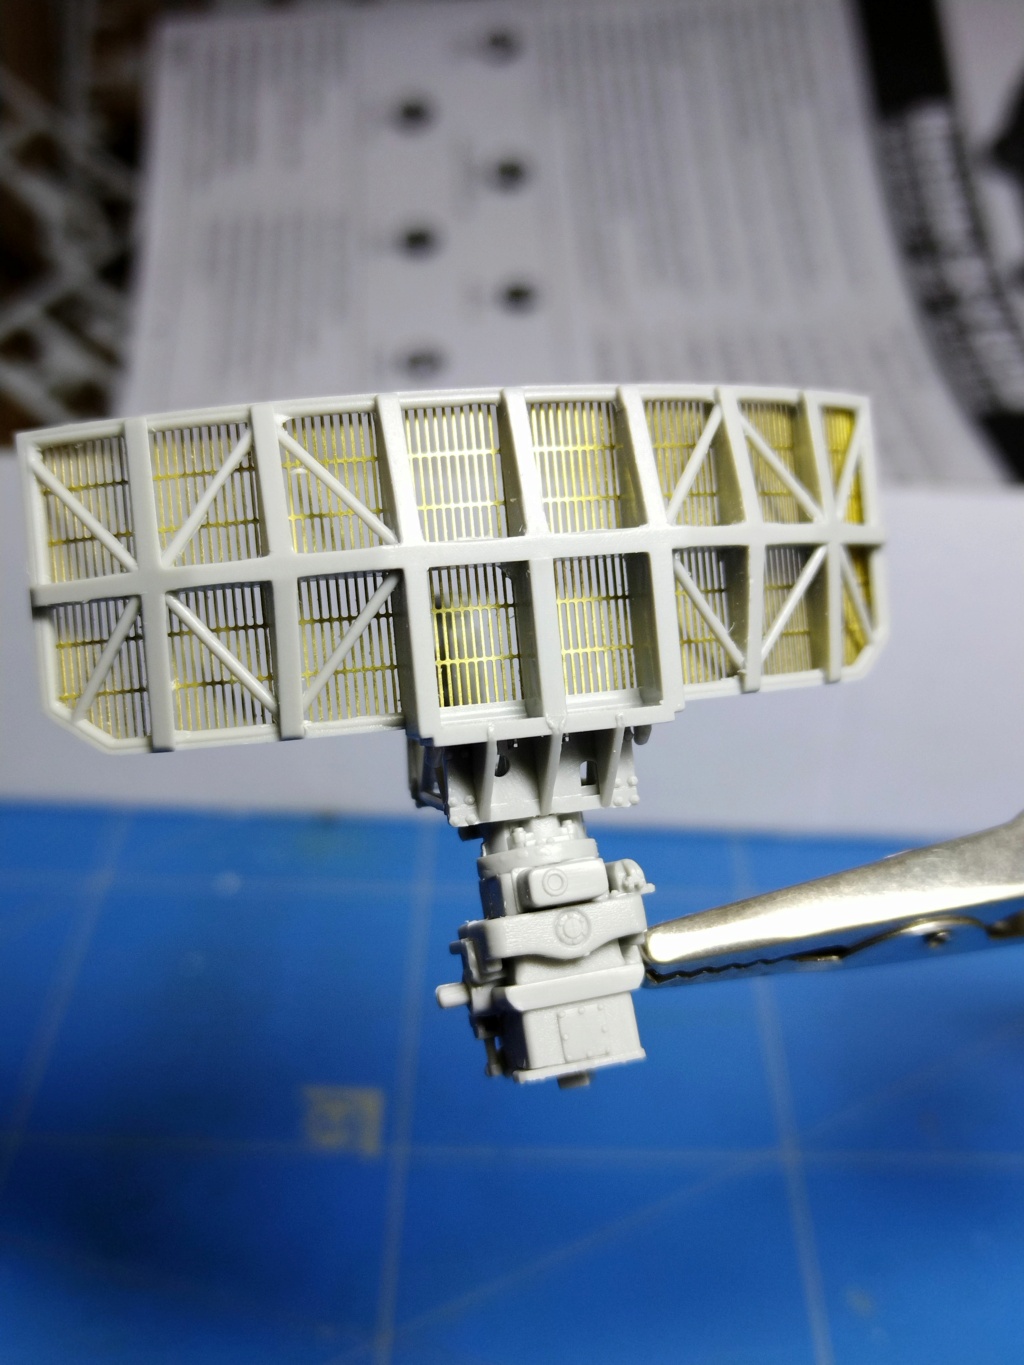
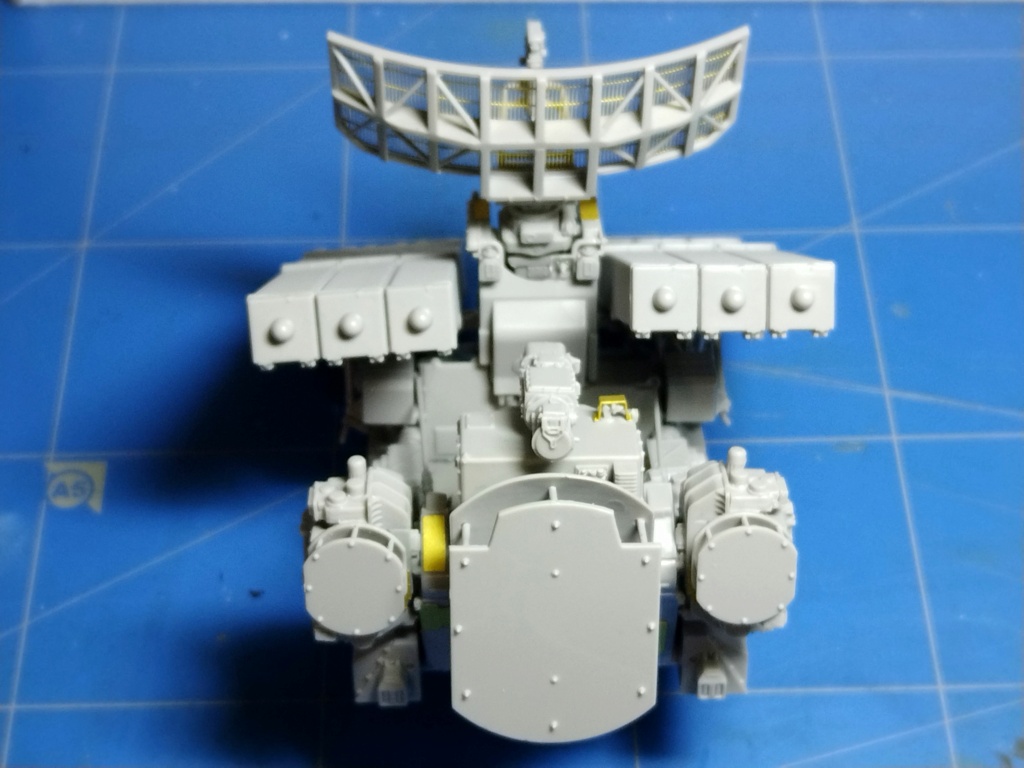
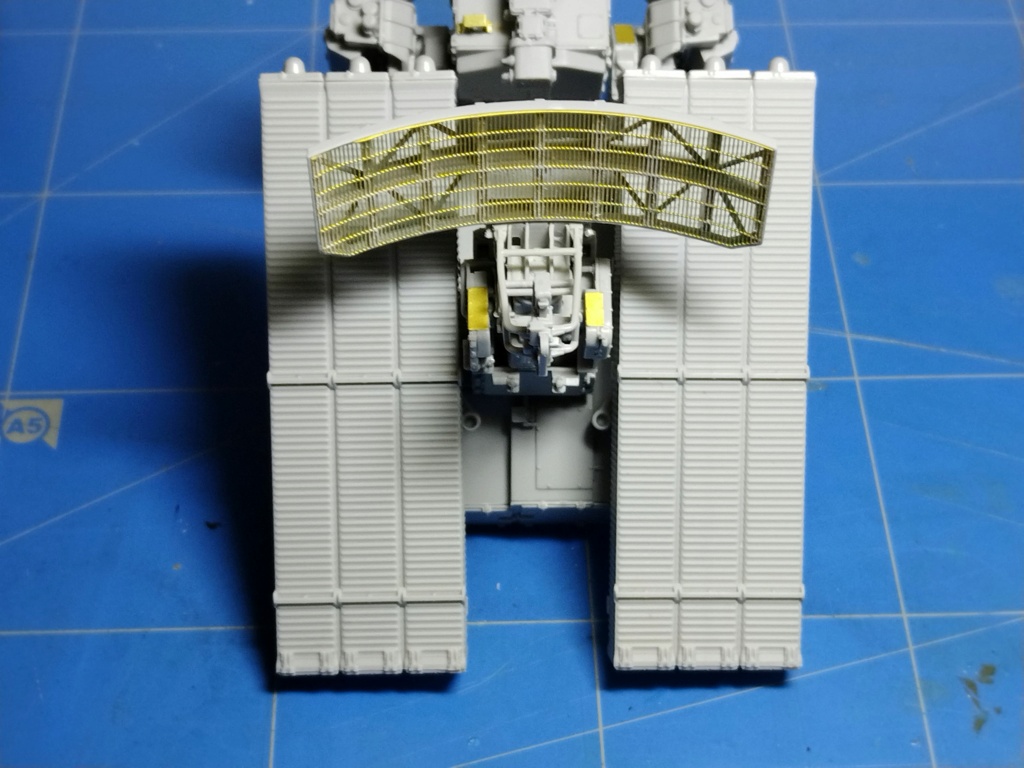
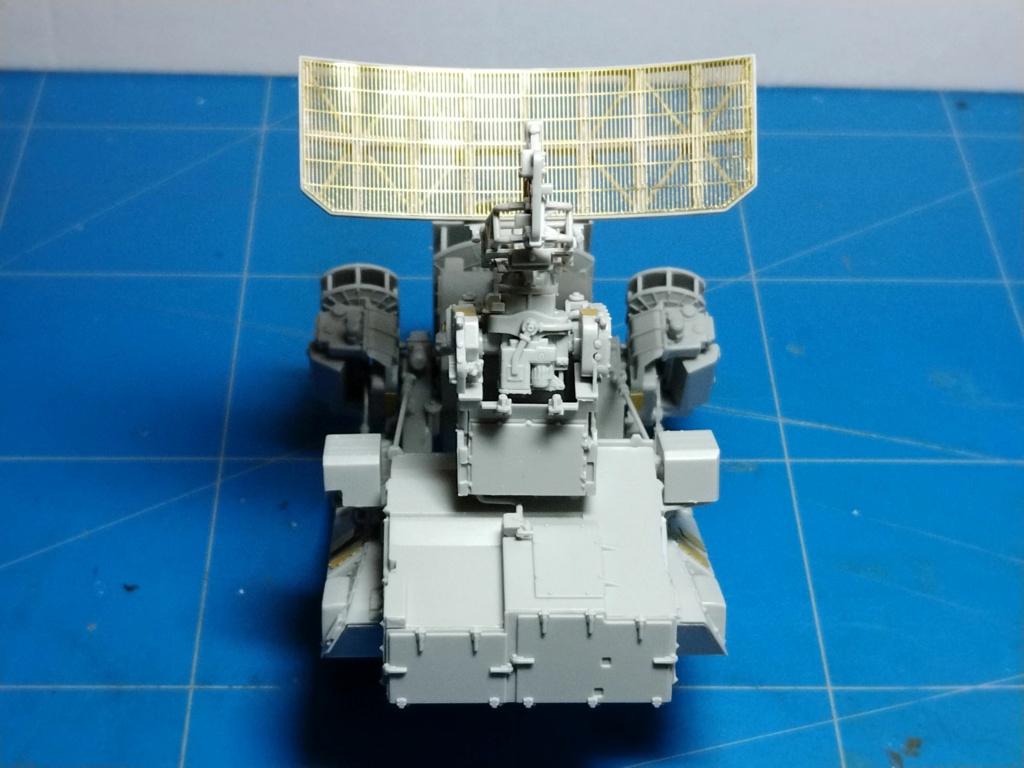
Then I started to build the detection radar antenna block. The details look good however the mold lines are tedious to remove and there are some gaps to fill in the base.
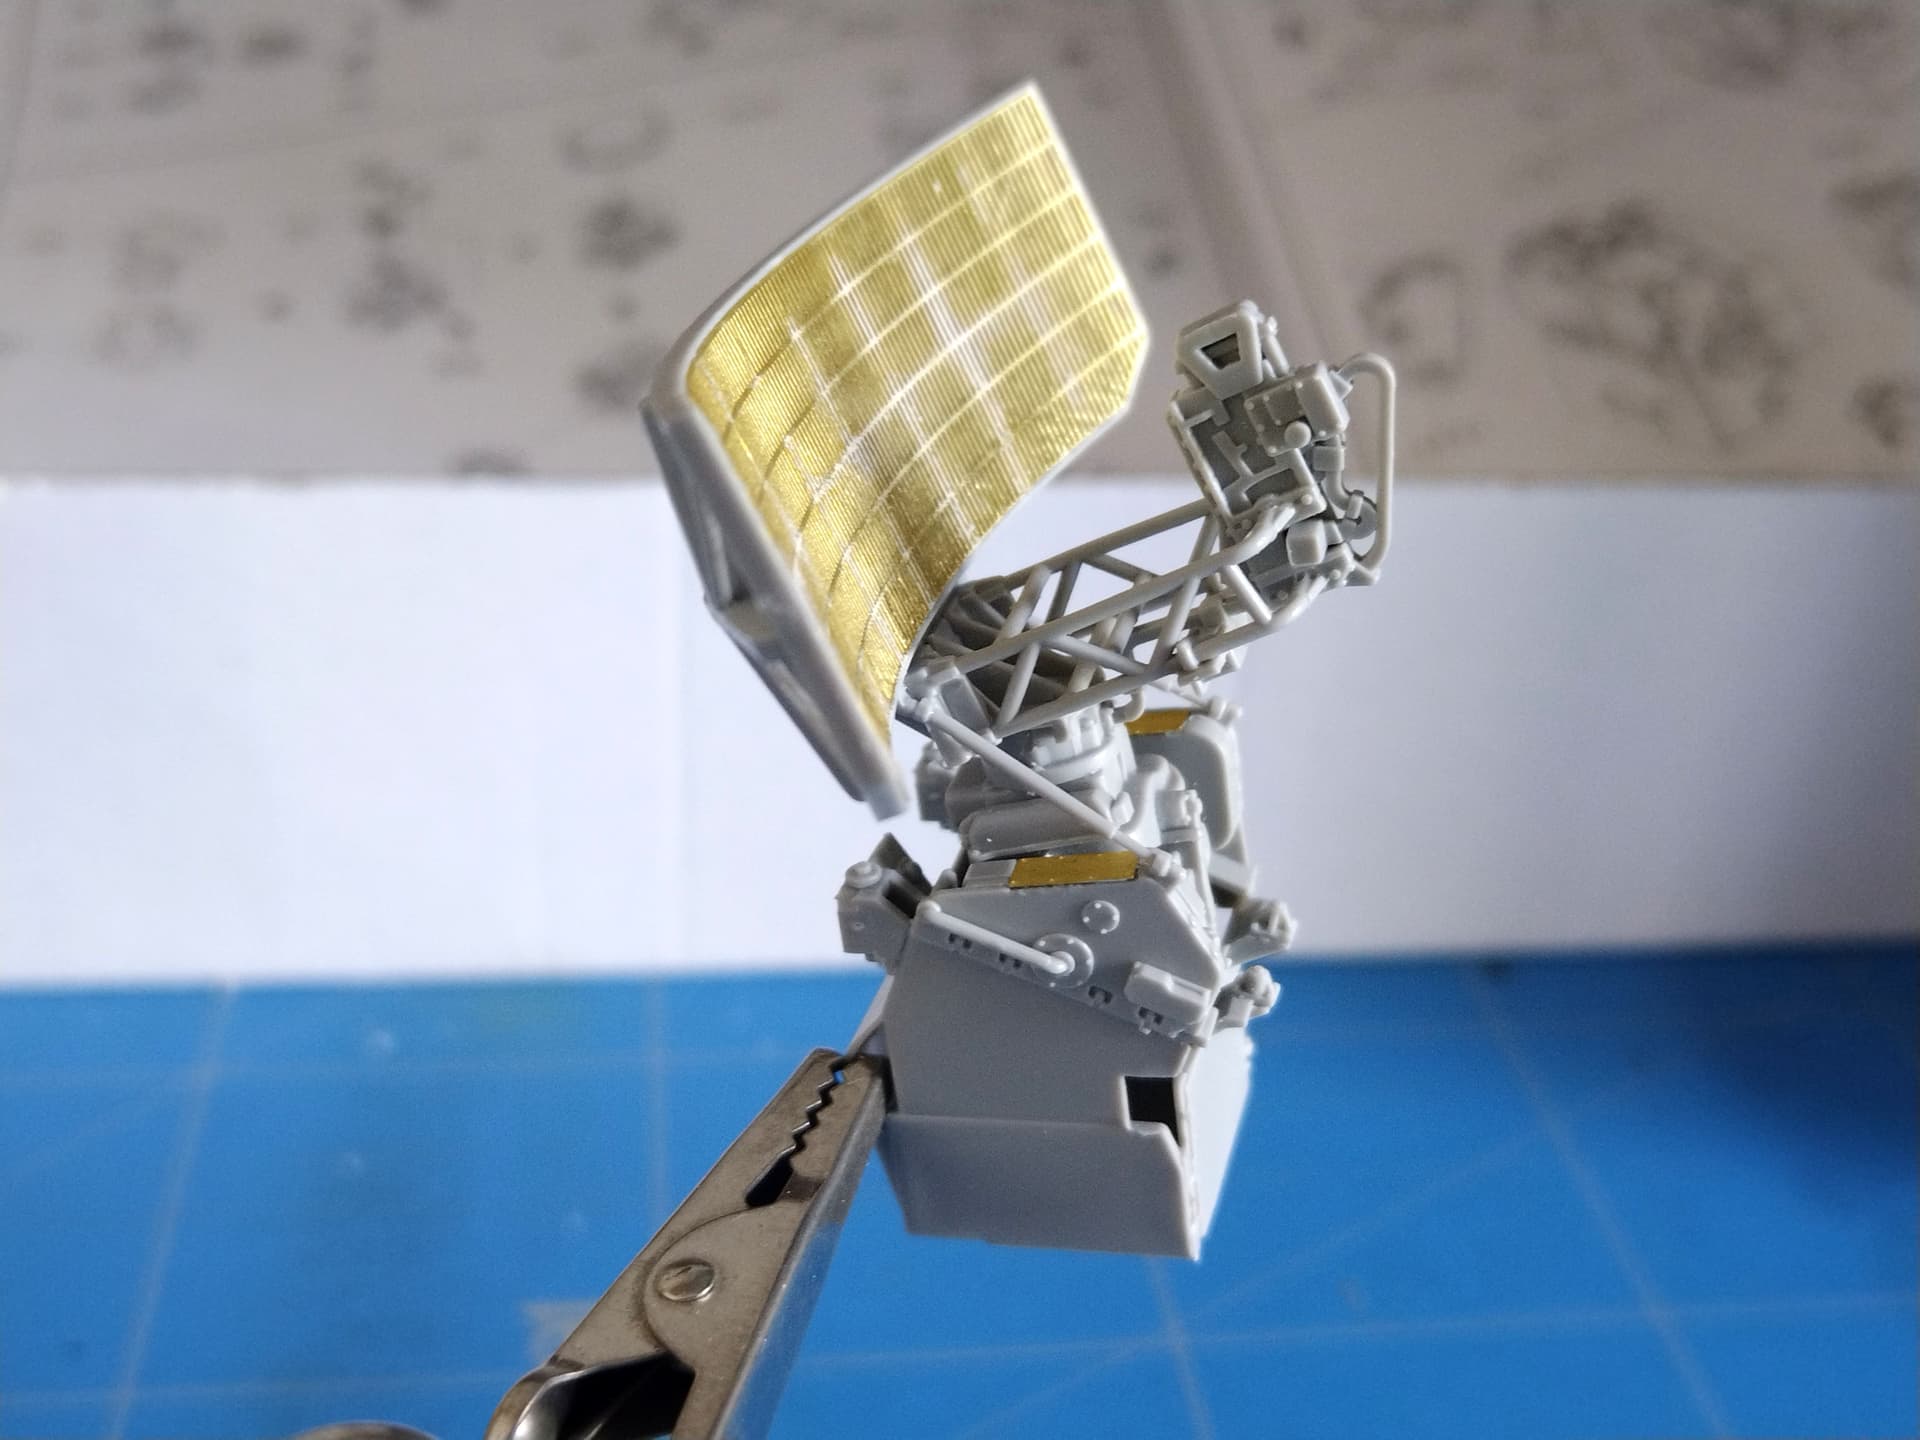
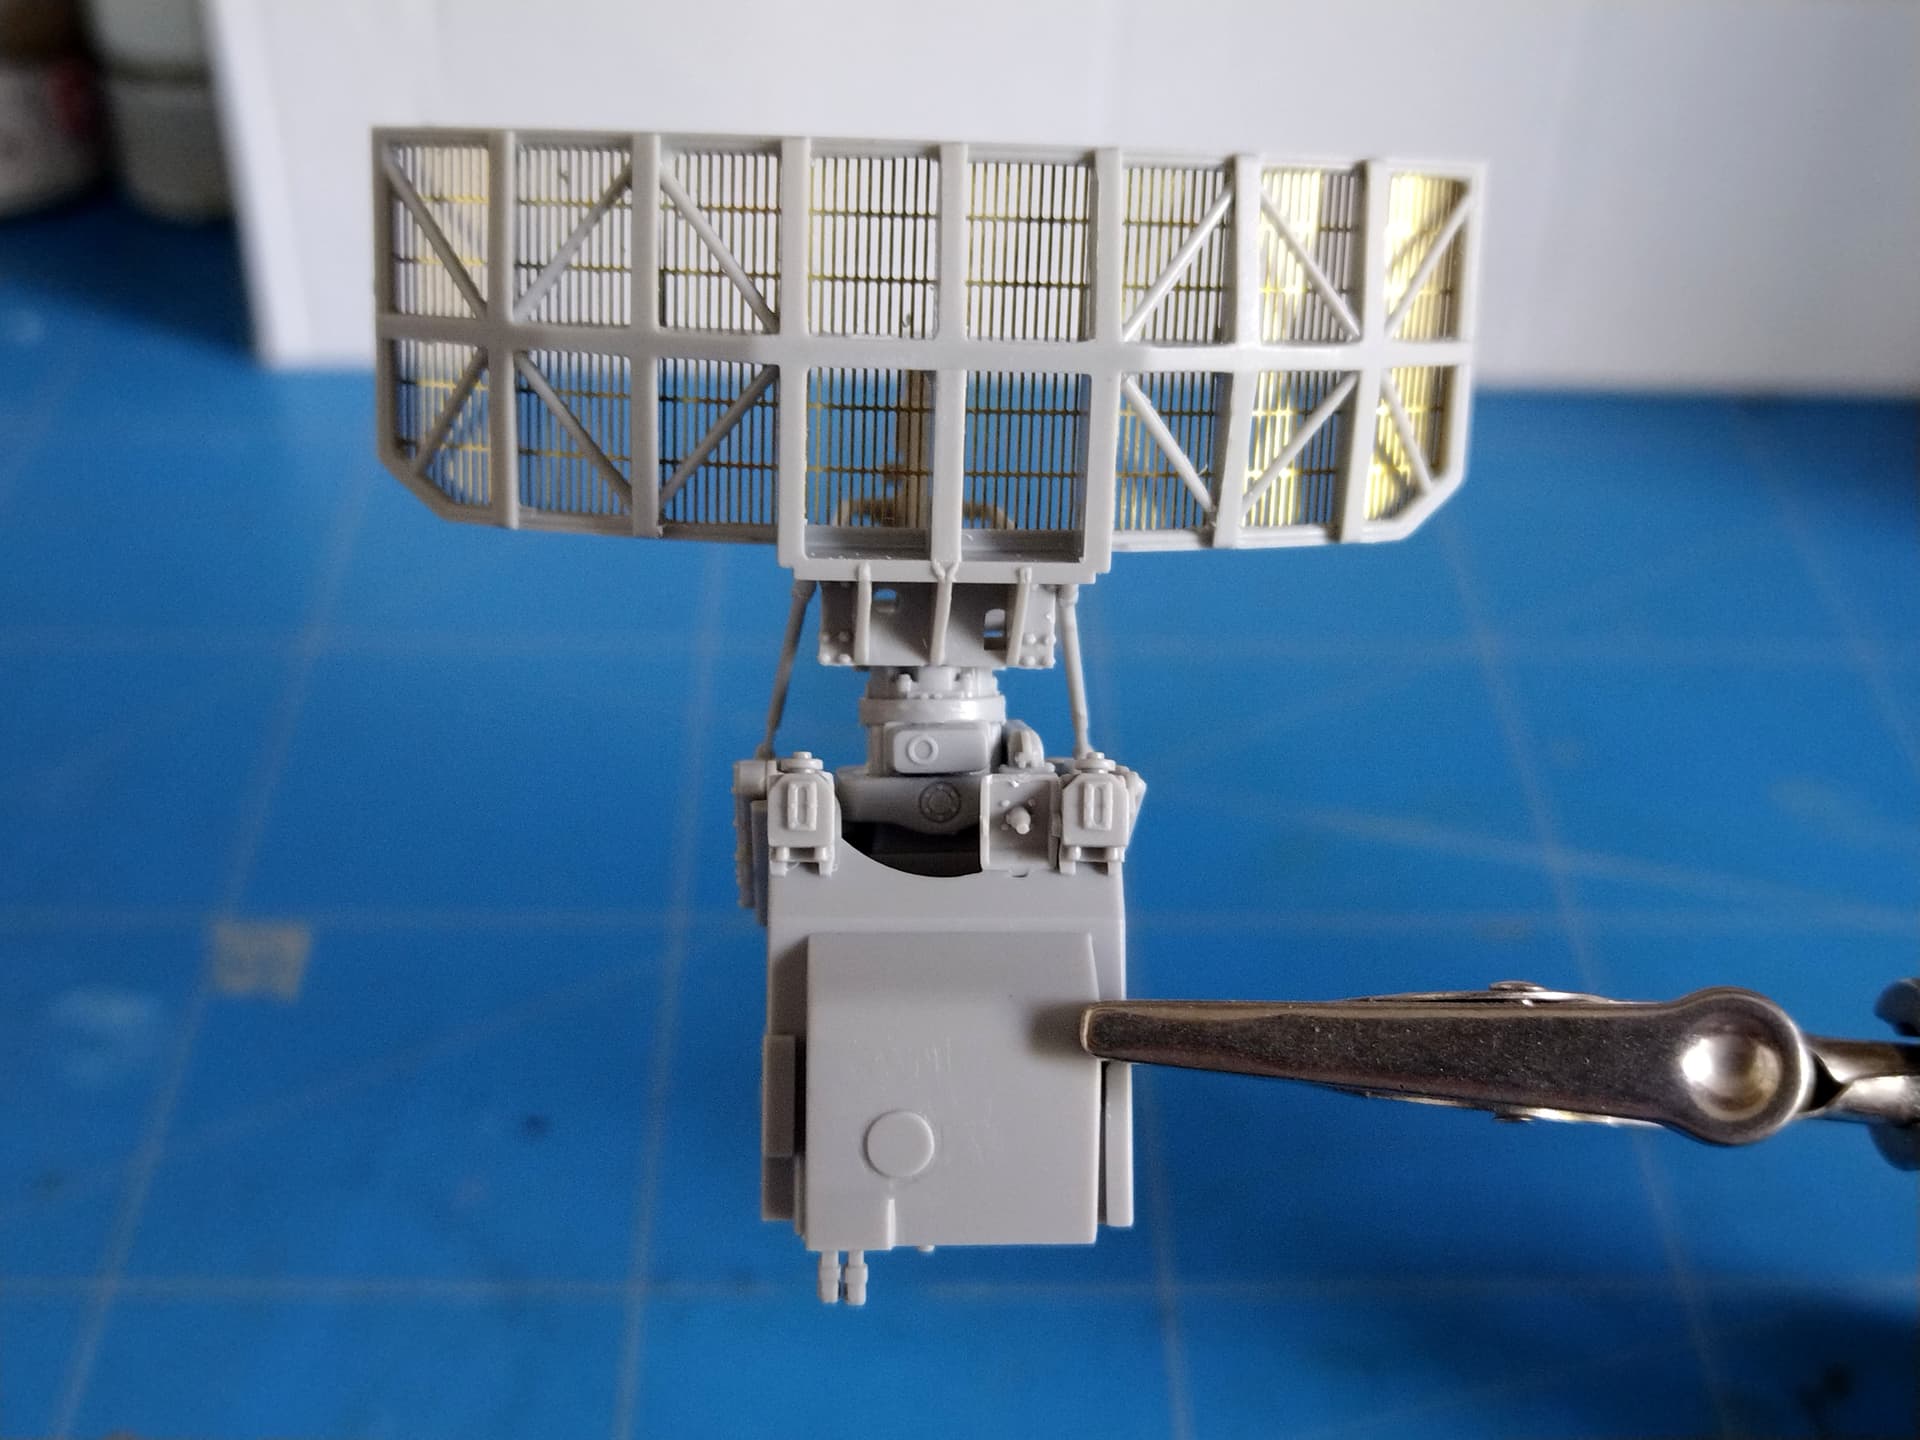
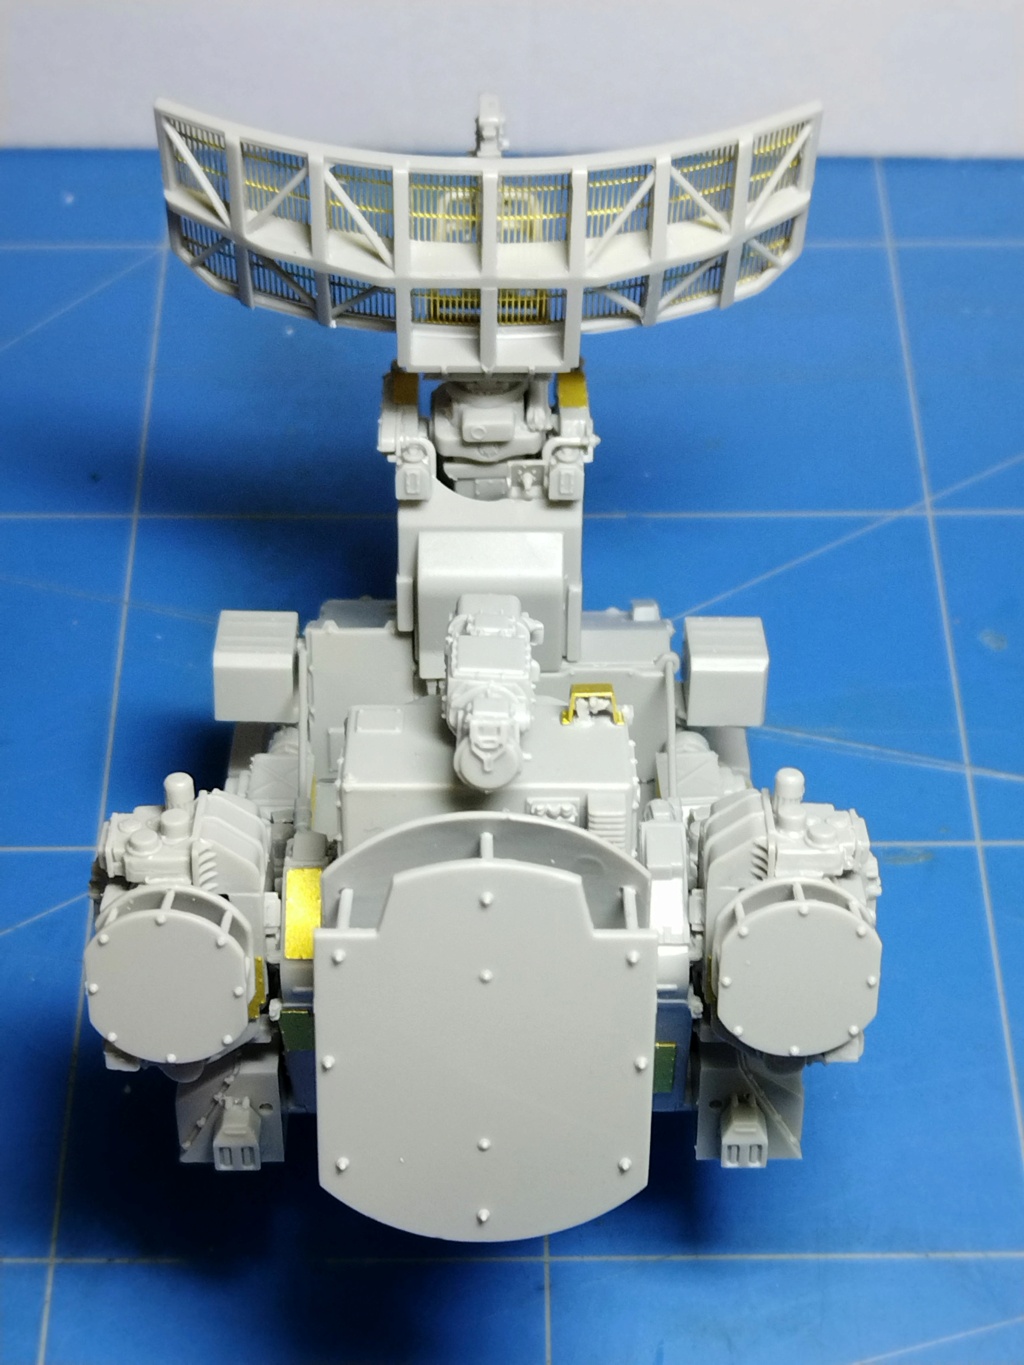
The building of the various antennas is close to the end. The main antenna assembly is over. Trumpeter gives you two options: travel or search mode. I chose the search mode. I advise you not to glue the antenna to its both “axis”. It allows the antenna to be mobile until you definitely glue it with the two tiny jacks on the sides. Considering the size of the jacks and to secure the assembly I also glued the axis.
Weirdly Trumpeter only allows you to represent the antenna facing rearward.
I then shifted to the side antennas which can move toward the outside of the vehicle if you don’t glue the antennas to their axis. That way they will remain mobile, like with the main antenna.
And it will be easier to align all the parts with the main support.
Thank you Bert!
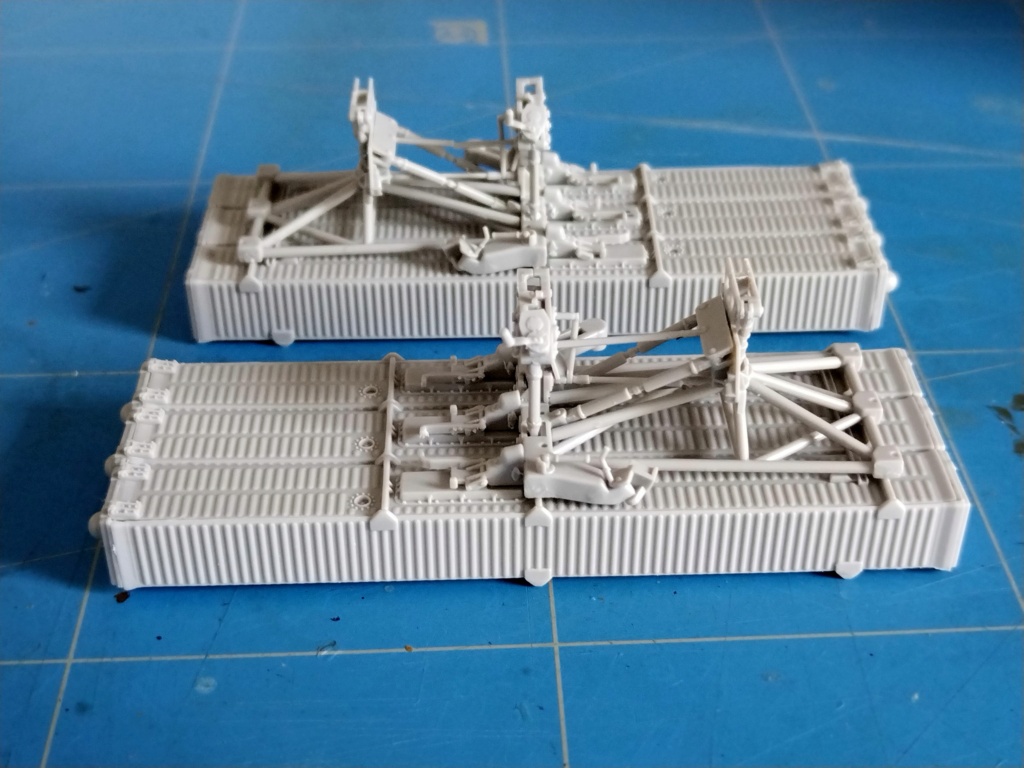
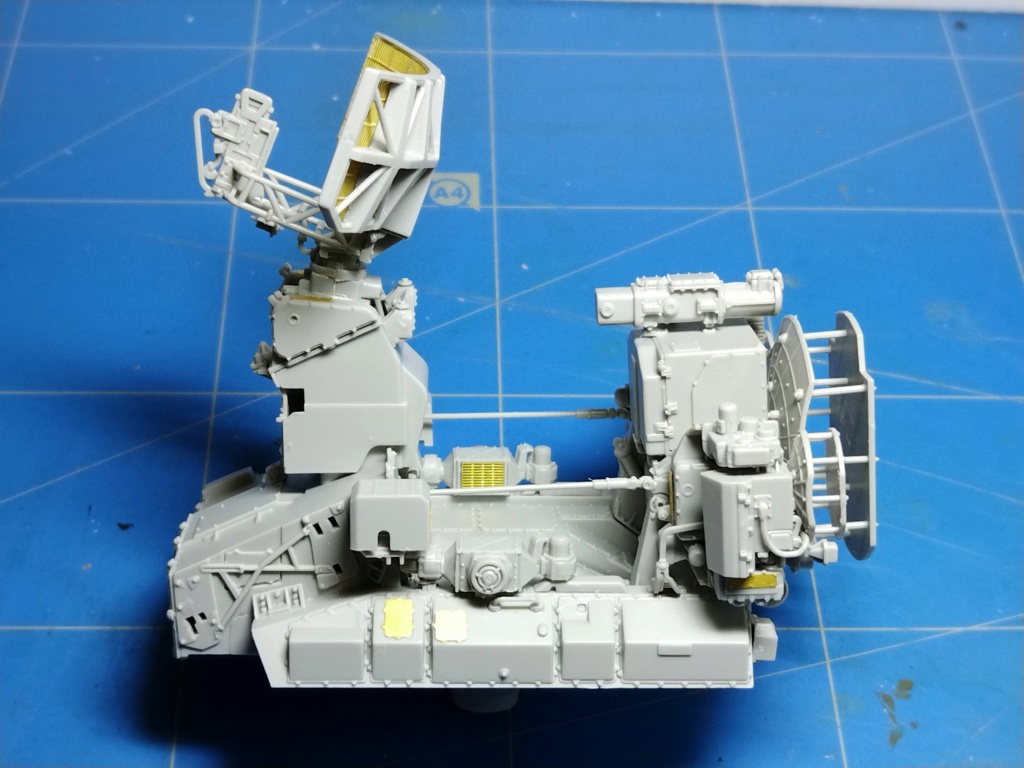
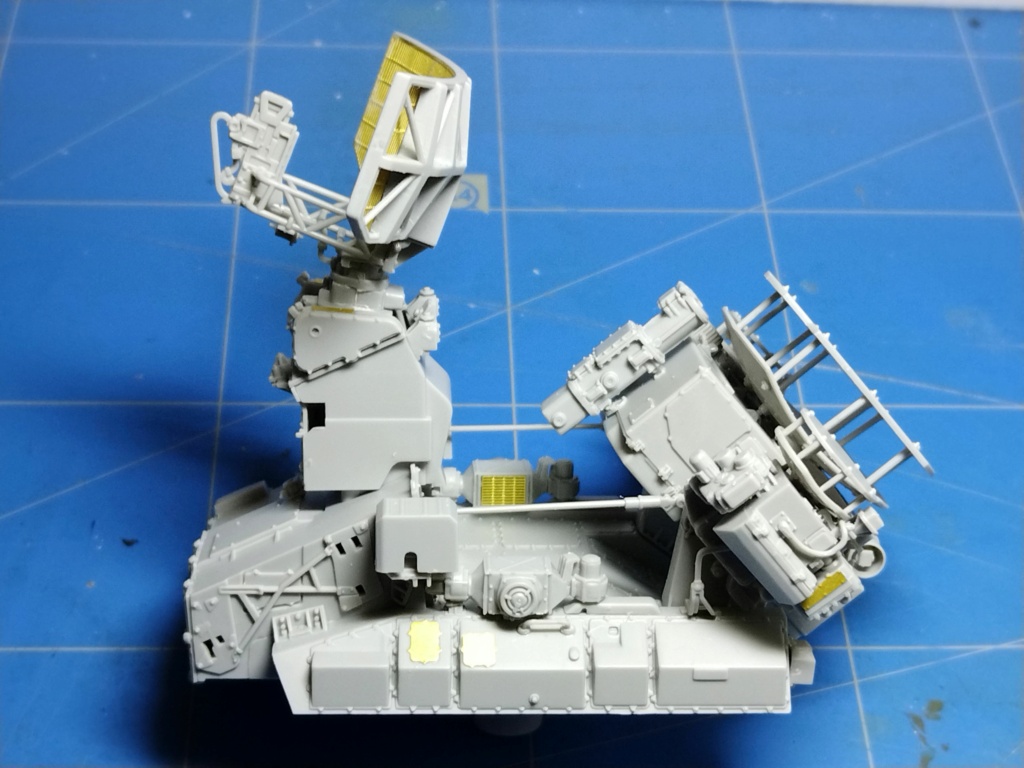
Today I had a very bad surprise. I test fitted the missiles supports to the launch module and they are not well aligned at all. They should be horizontal and parallel to the axis of the module.
I don’t understand where I goofed.
The module assembly went well even though it is not advised for those who are a bit stressed.
As I intended to keep mobile as many parts as possible it was quite tricky to get the anticipated result all the more if you follow the instructions.
You may notice that I deleted the jacks under the main antenna. I haven’t seen them on any pictures I could check.
You did not goof, it is a common mishap owed to the kit engineering and the way the rocket mounts are designed to fit/mount on the main superstructure. Even the guy assembling the kit for Trumpeter’s website had the same issue.
Looking good, you might manage to align the parts correctly by adjusting the mounting assemblies underneath the rocket pods.
Surely you jest, kind sir. I refuse to accept that the Great Carneau has goofed! I have been admiring your modeling skills for years and it must be the kit.