Interesting concept. One crewman out side of the tank and two inside. I guess, the TC rides outside or maybe the gunner? If the Gunner is outside, is the TC in the radio mans position?
Communication would be tricky between the inside and the outside people knowing the reliability of the intercom.
5 Likes
Finally did something on the Bougainville Stuart.
Interior done, tank closed, tracks on… and some detailpainting.
15 Likes
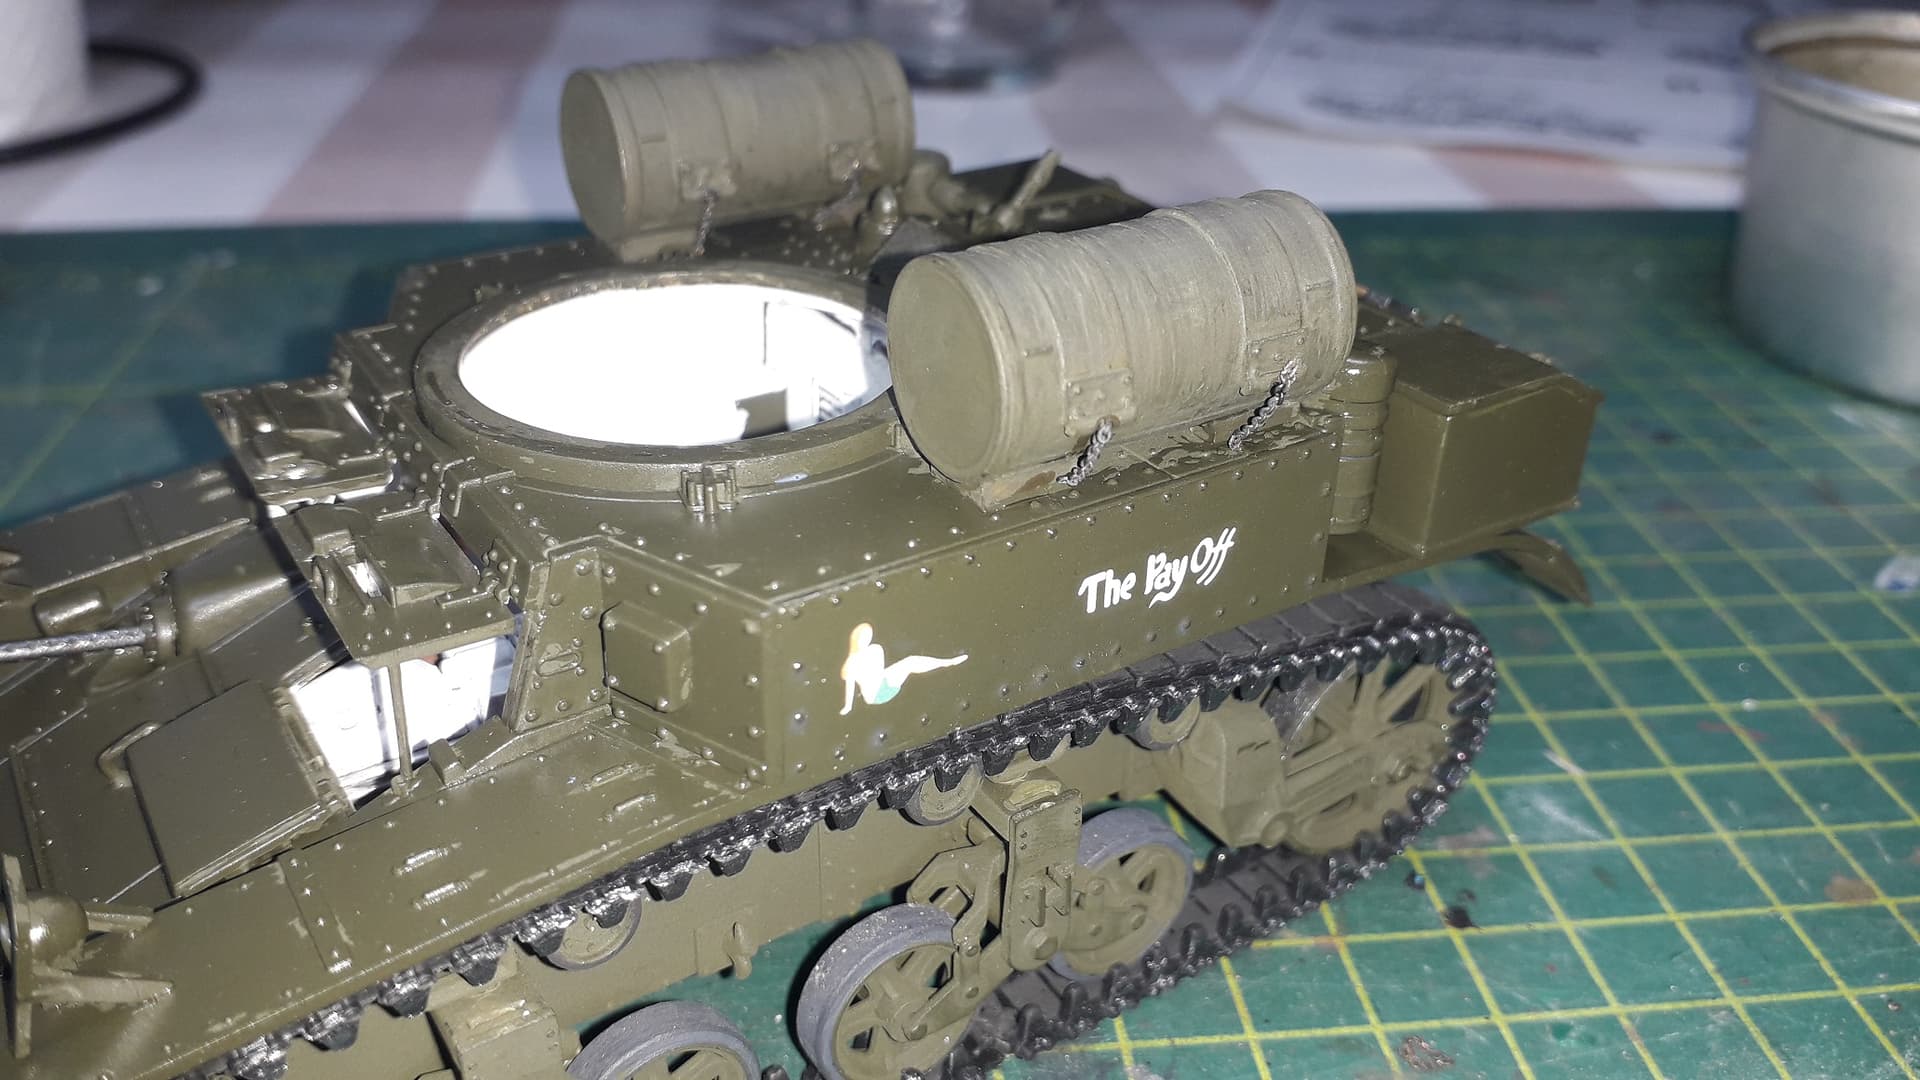
With other projects disappearing from the table, I can turn my attention to this long running one again.
I added clear coat, decals and some very fine chains to the external fuel tanks. In hindsight that was not correct, but it looks kinda cool.

8 Likes
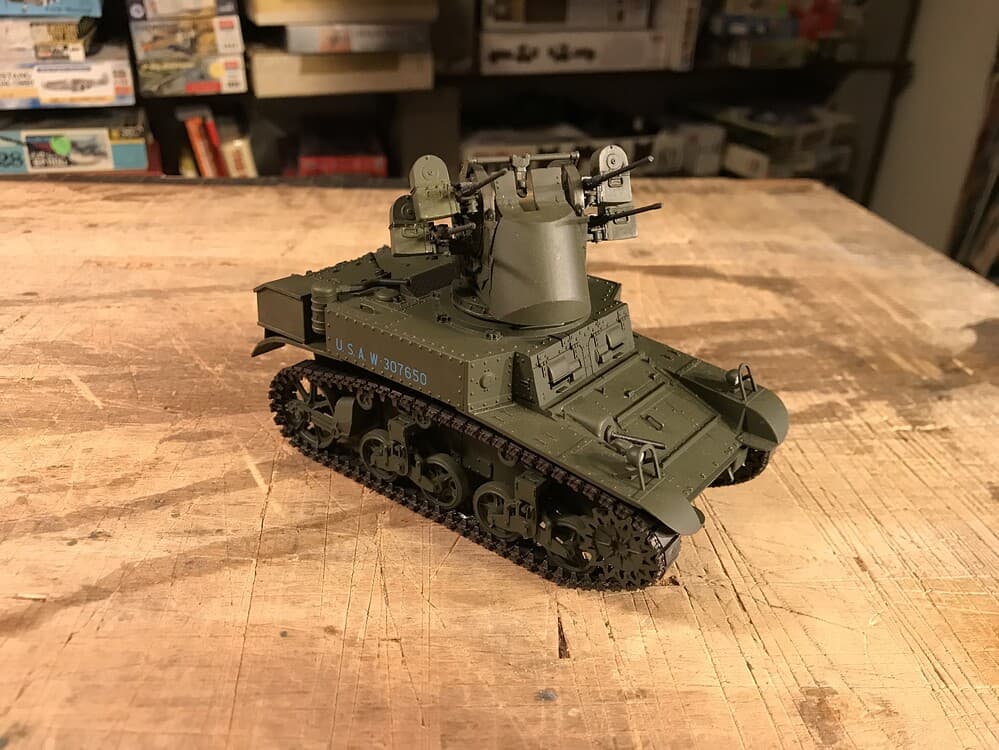
And then the Bougainville M3A1 was done as well.
Initially I wanted to use it together with an M32, lifting its turret, but I finished it as a standalone for the timebeing.

17 Likes
Many a project has come in between, but now it is time to pick this one up again!
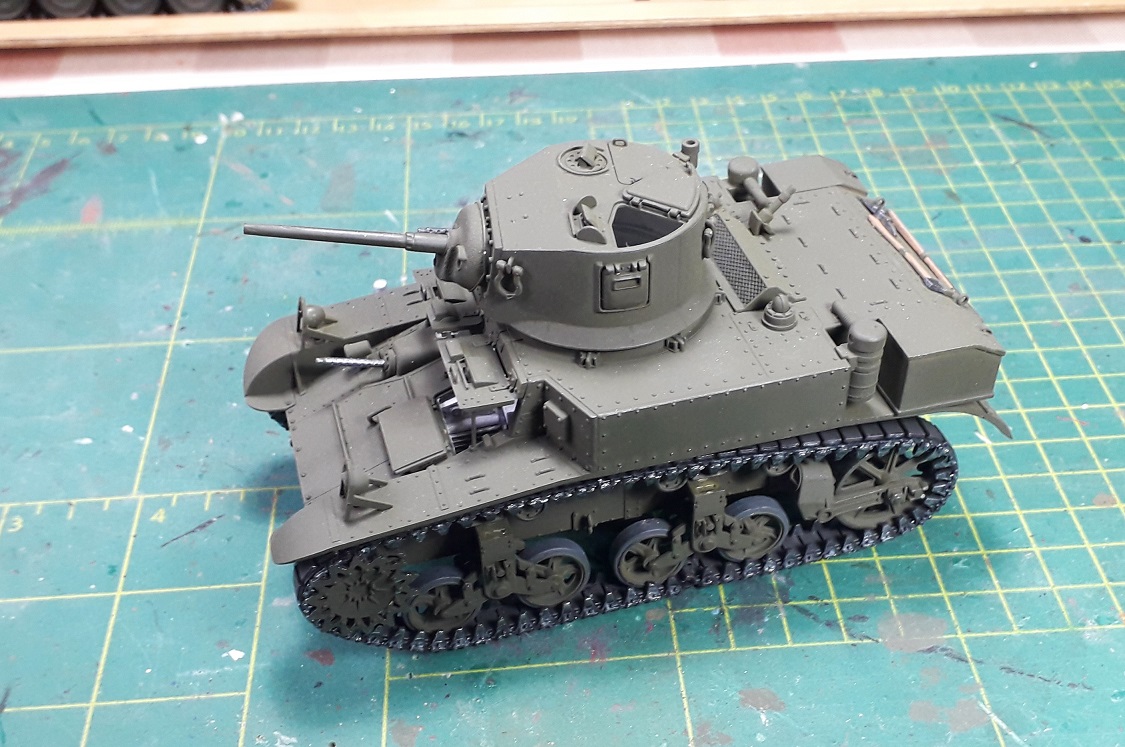
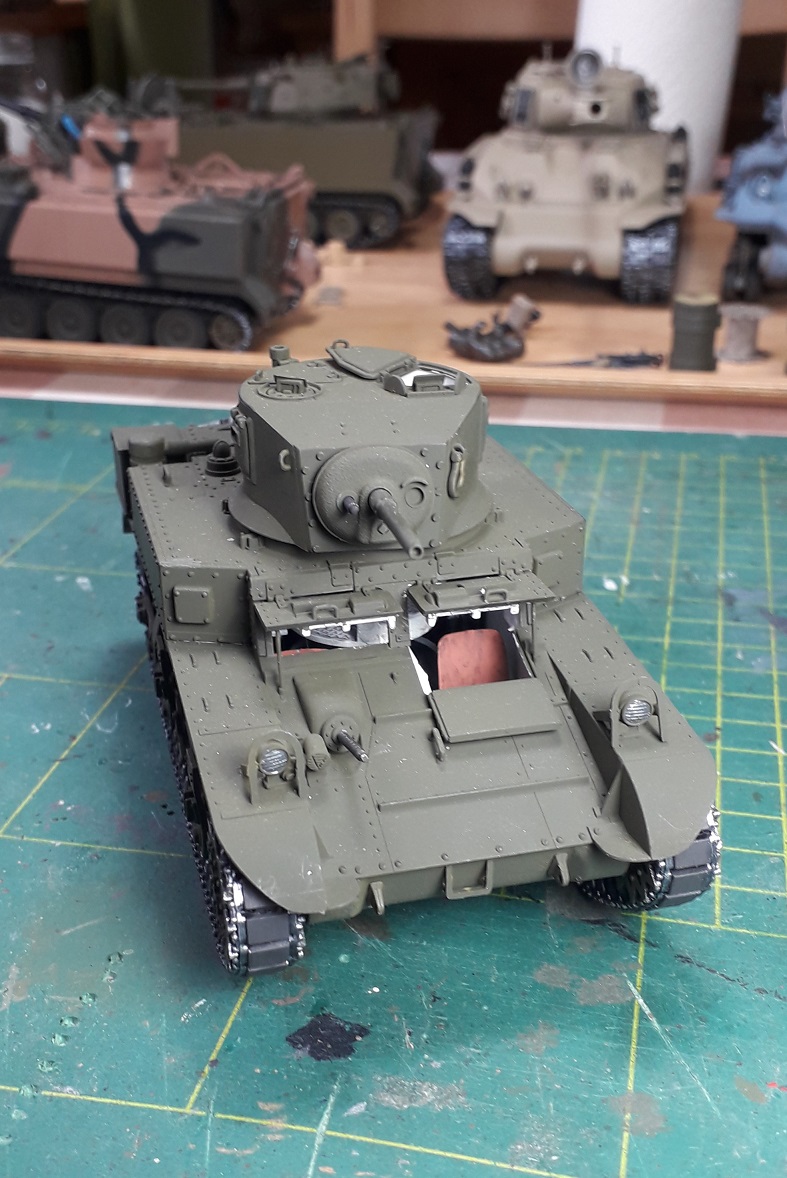
And it will be with a fixxerupper of an AFV M5A1, depicted as one from the 761st Tank battalion in 1944/45.
What I had:

A while ago I managed to score a Blast-set for less than sek100 ($10), because I wanted the rear stowagebin. There are also several pieces of stowage, which brought to light another issue: the grousers of this kit are missing! And the stowage is attached to those… I have to figure out how to fix that.
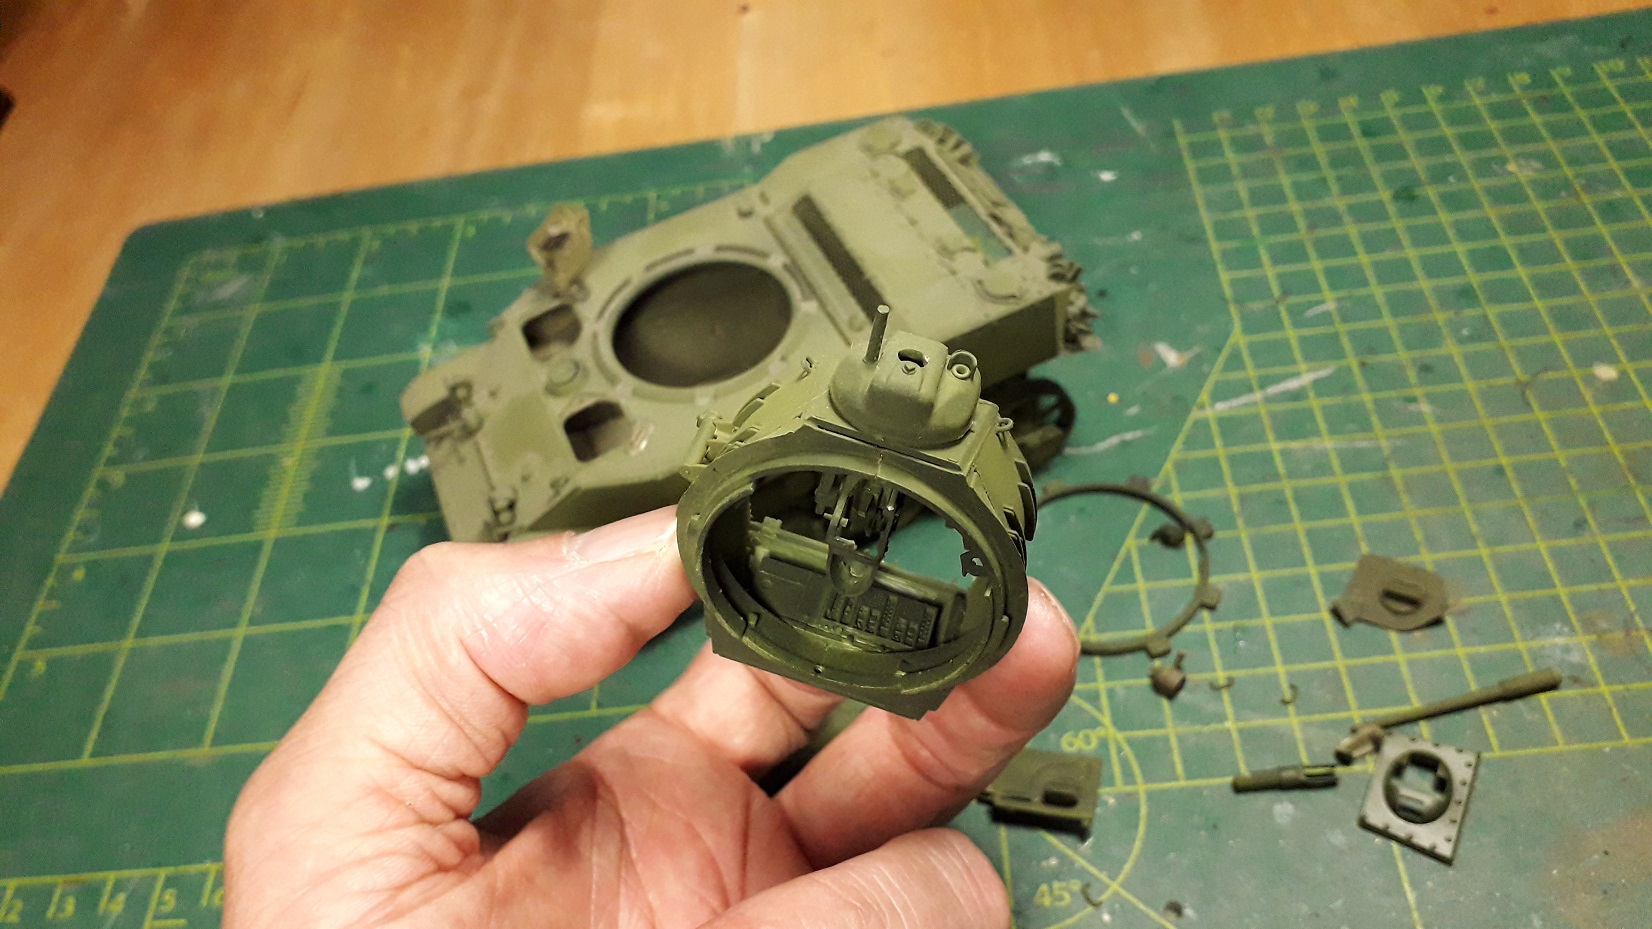
And progress so far:

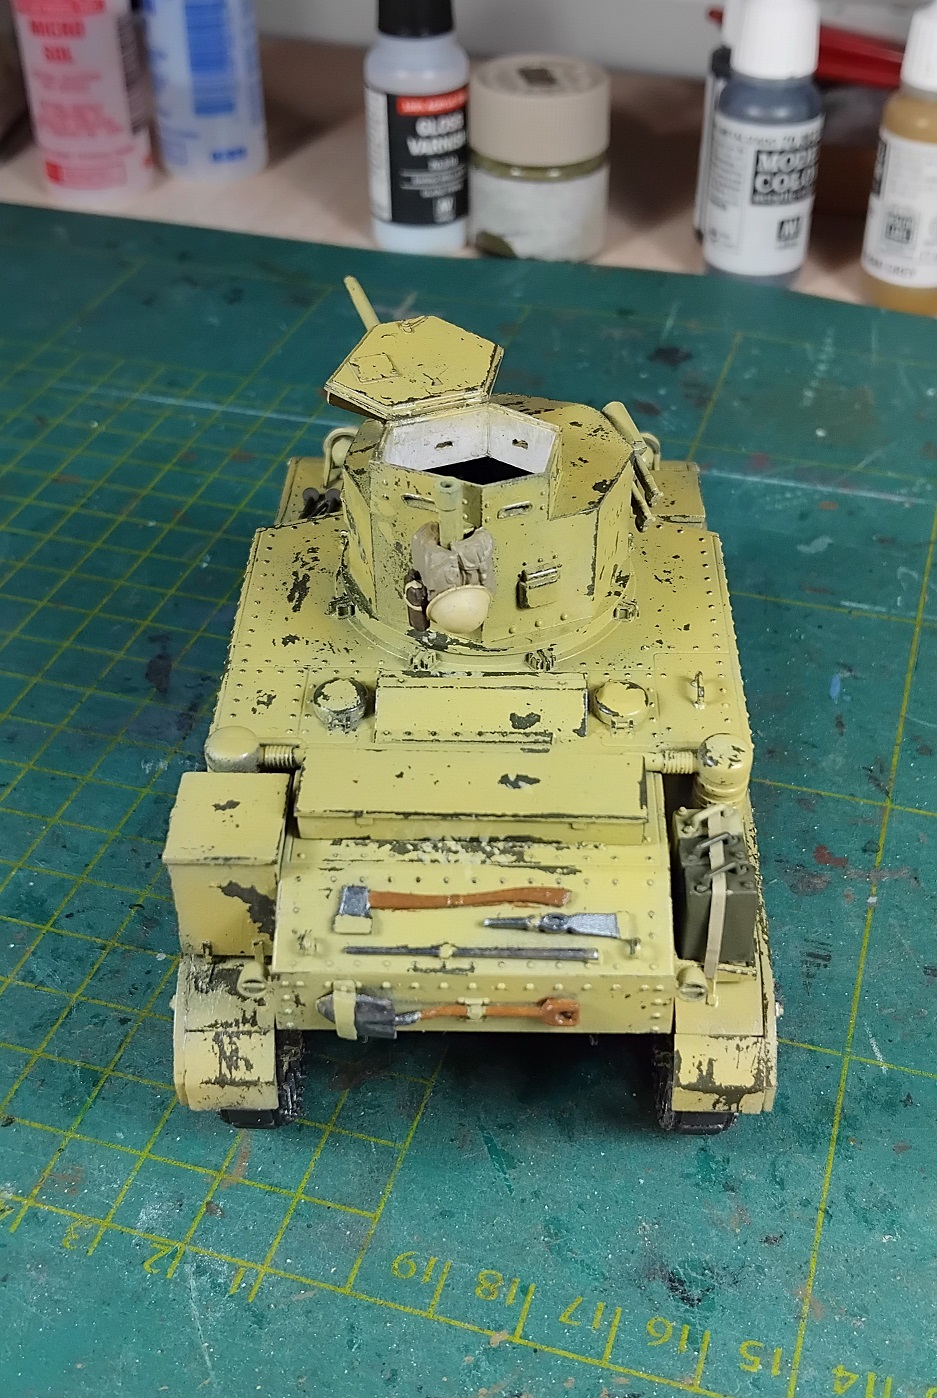
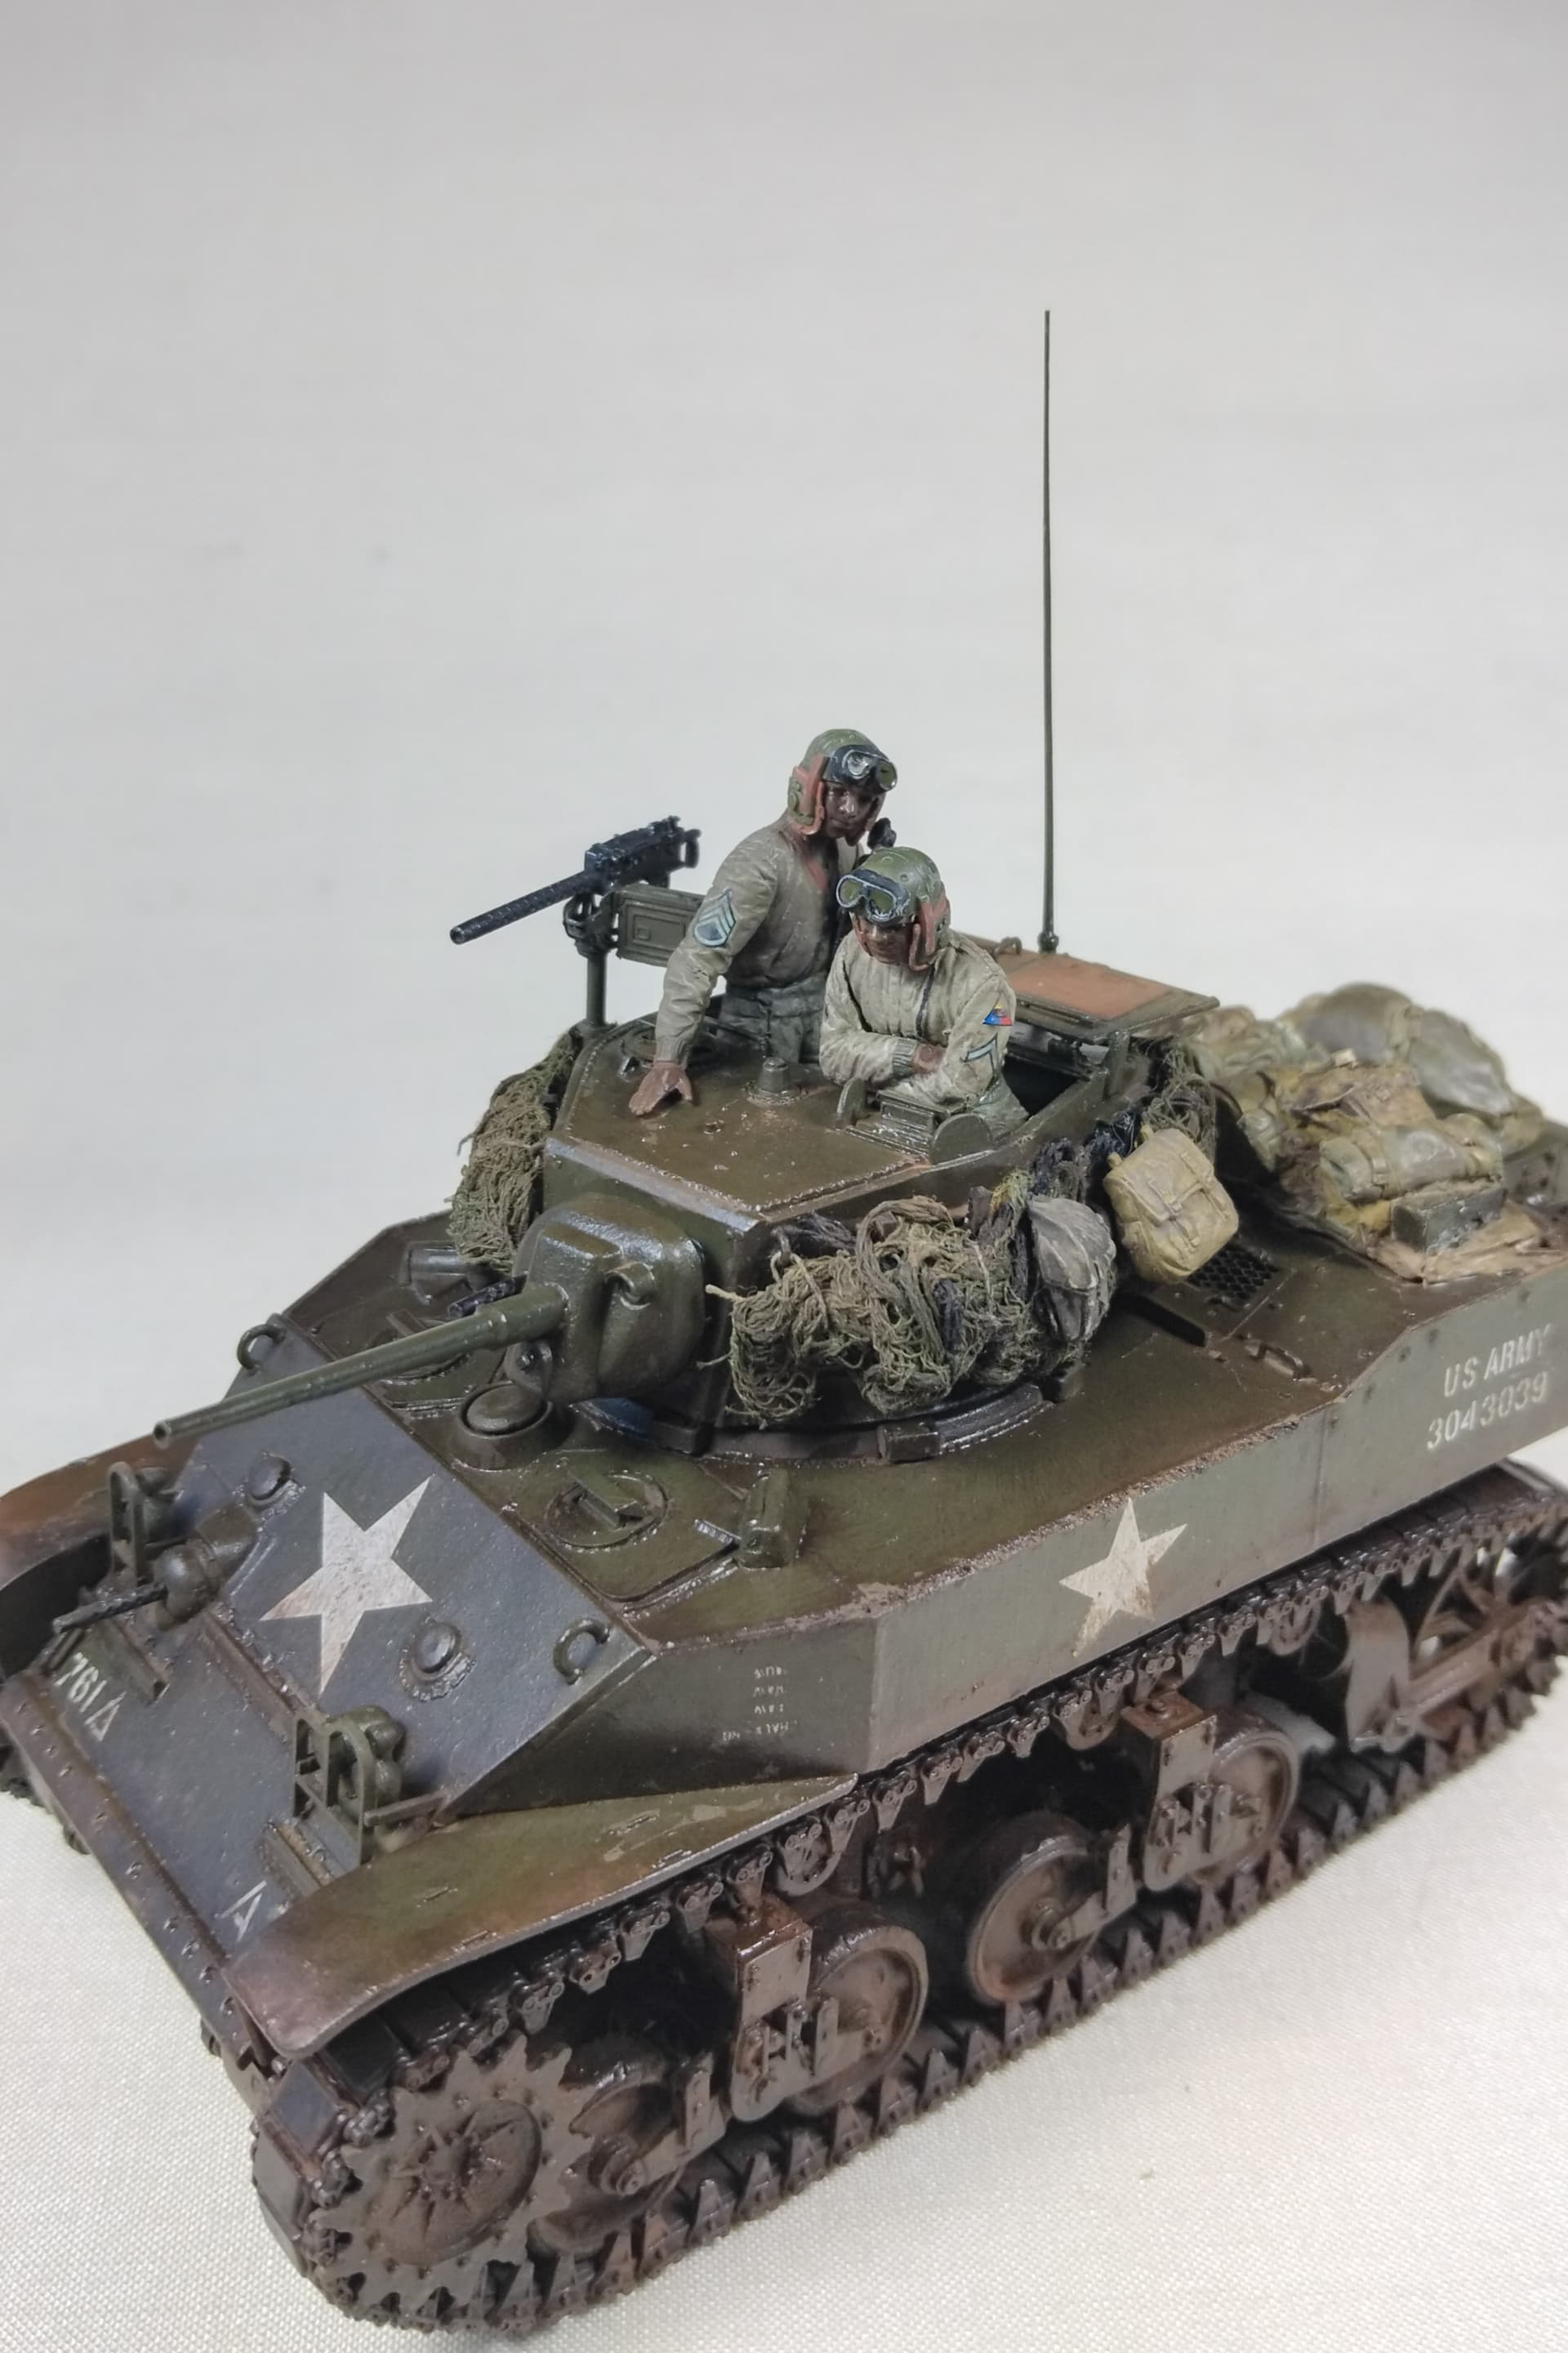
Since I will have a crew with hatches open, I needed to add the quite prominent inner edge with rubber seals and divider.
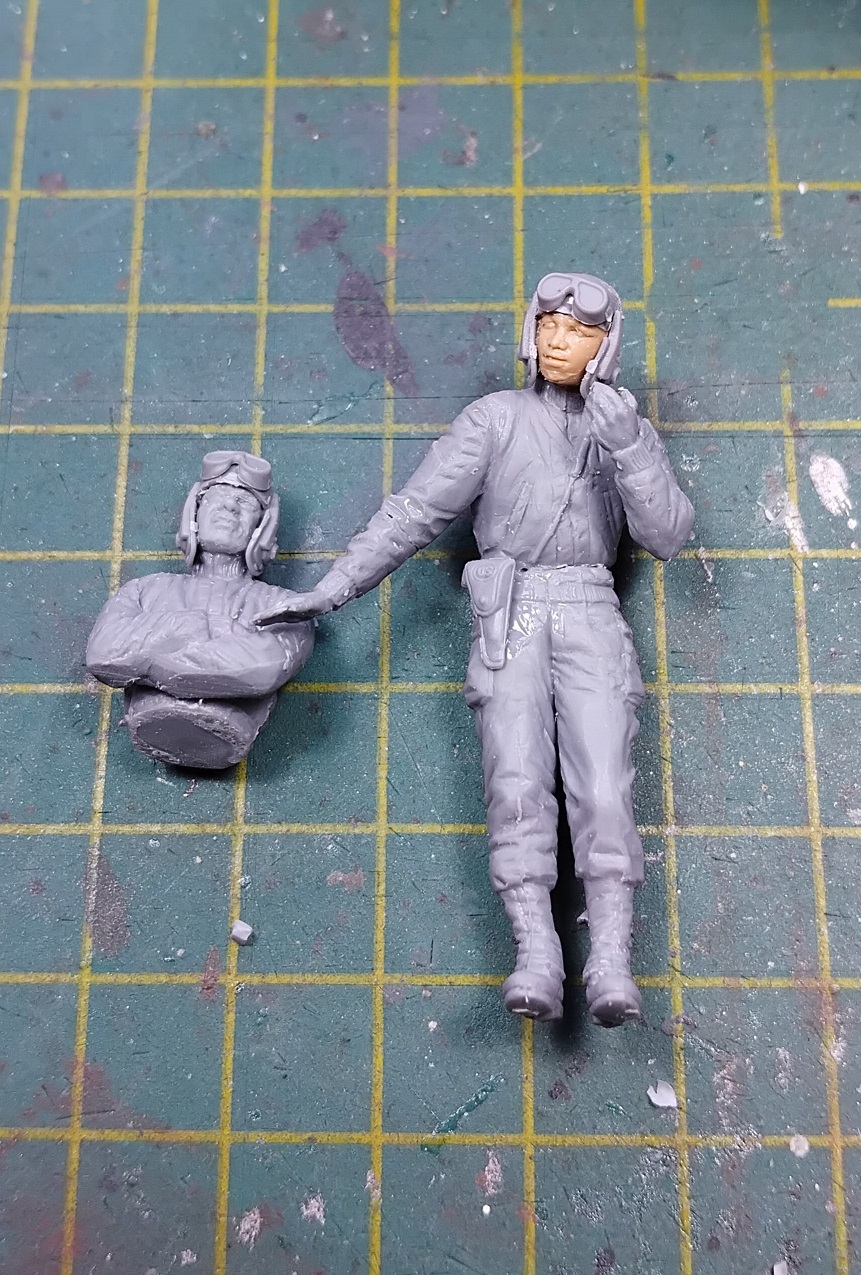
I also need a black crew, so made 2 of those with Miniart’s “U.S. Tank crew” with heads from Masterbox’ “Allied forces” and Tamiya’s “Modern soldiers”.
I had to alter their poses slightly, since these obviously are not meant to fit into a Stuart, but are meant for Shermans.

9 Likes
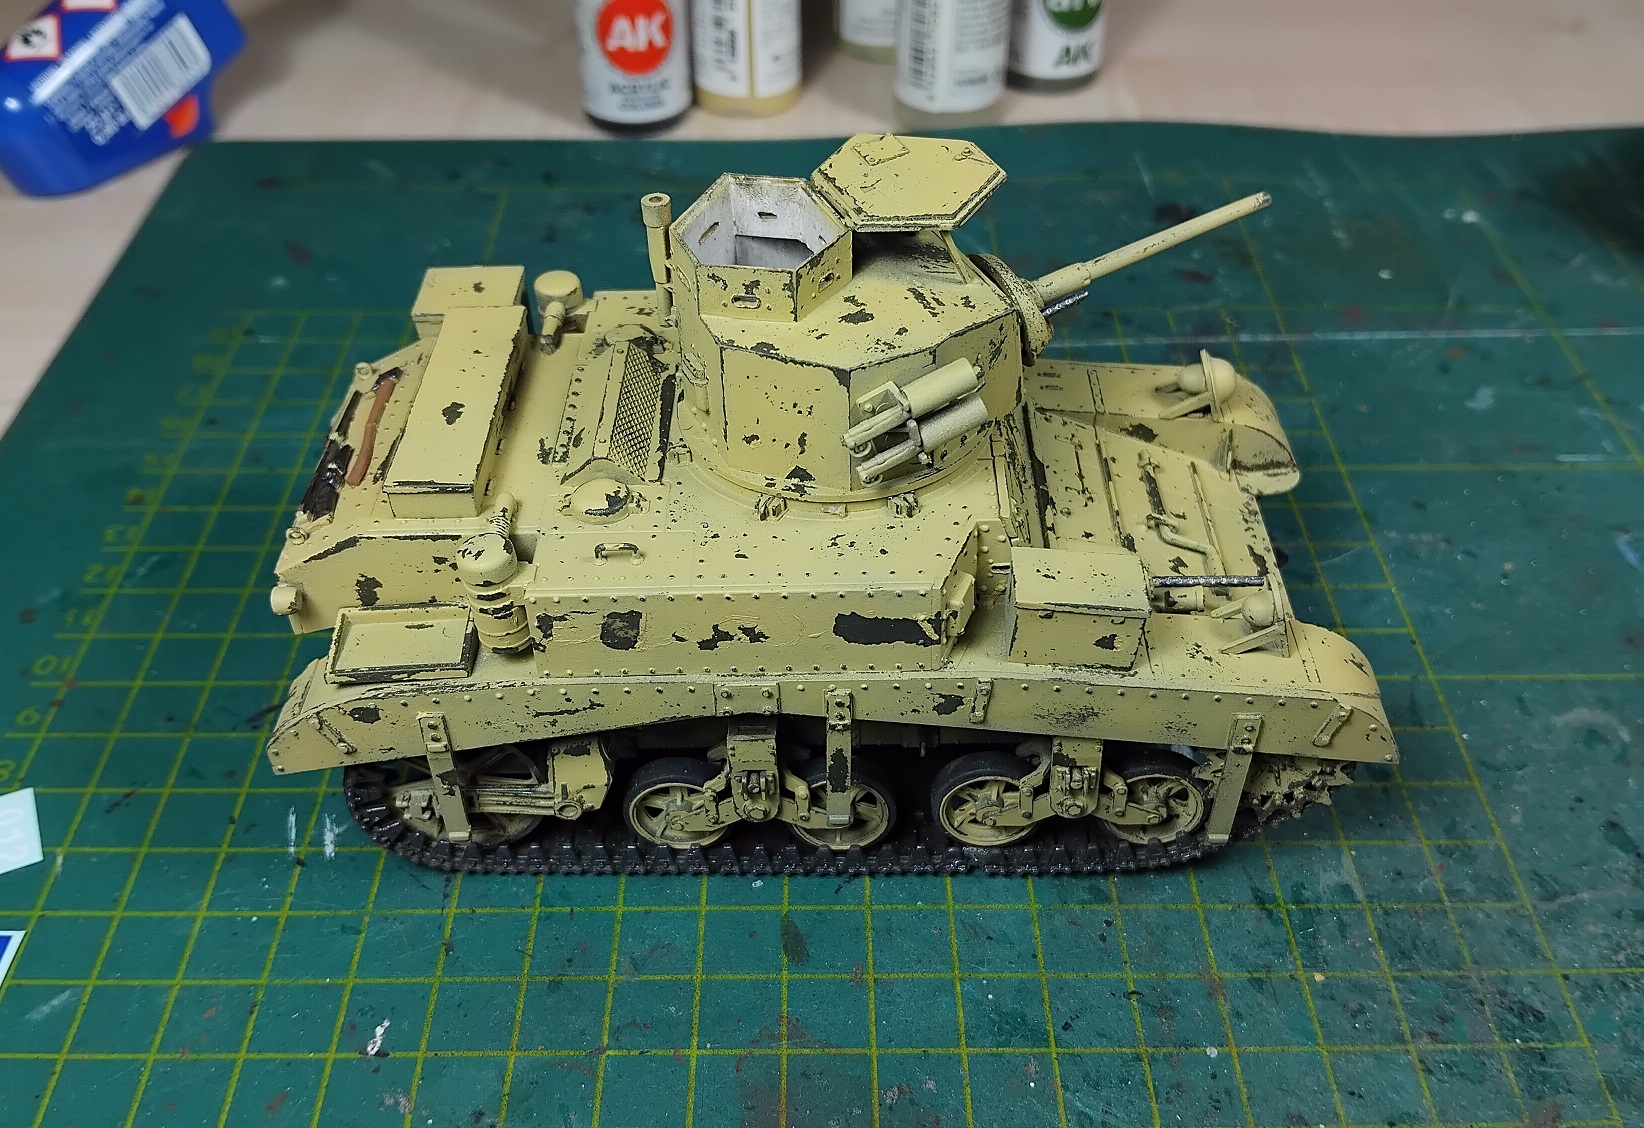
It’s been a whilesince I worked on this project and while painting the Morris I picked up the Honey too. Initially I had planned to do the Honey in Caunter, but masking the Morris was a lot easier, so the Honey got a “plan B”.
That plan B is light stone over a remnant of mixed Tamiya OD to simulate worn desertpaint over the original paint,using the hairspraymethod. I messed up a bit though,since I applied the hairspray over the OD….. but forgot toadd a layer of varnish first! SoI got alot of lighter spots in the OD. But I figured it would not matter all that much in the end. So I added a layer of varnish and another layer of hairspray.
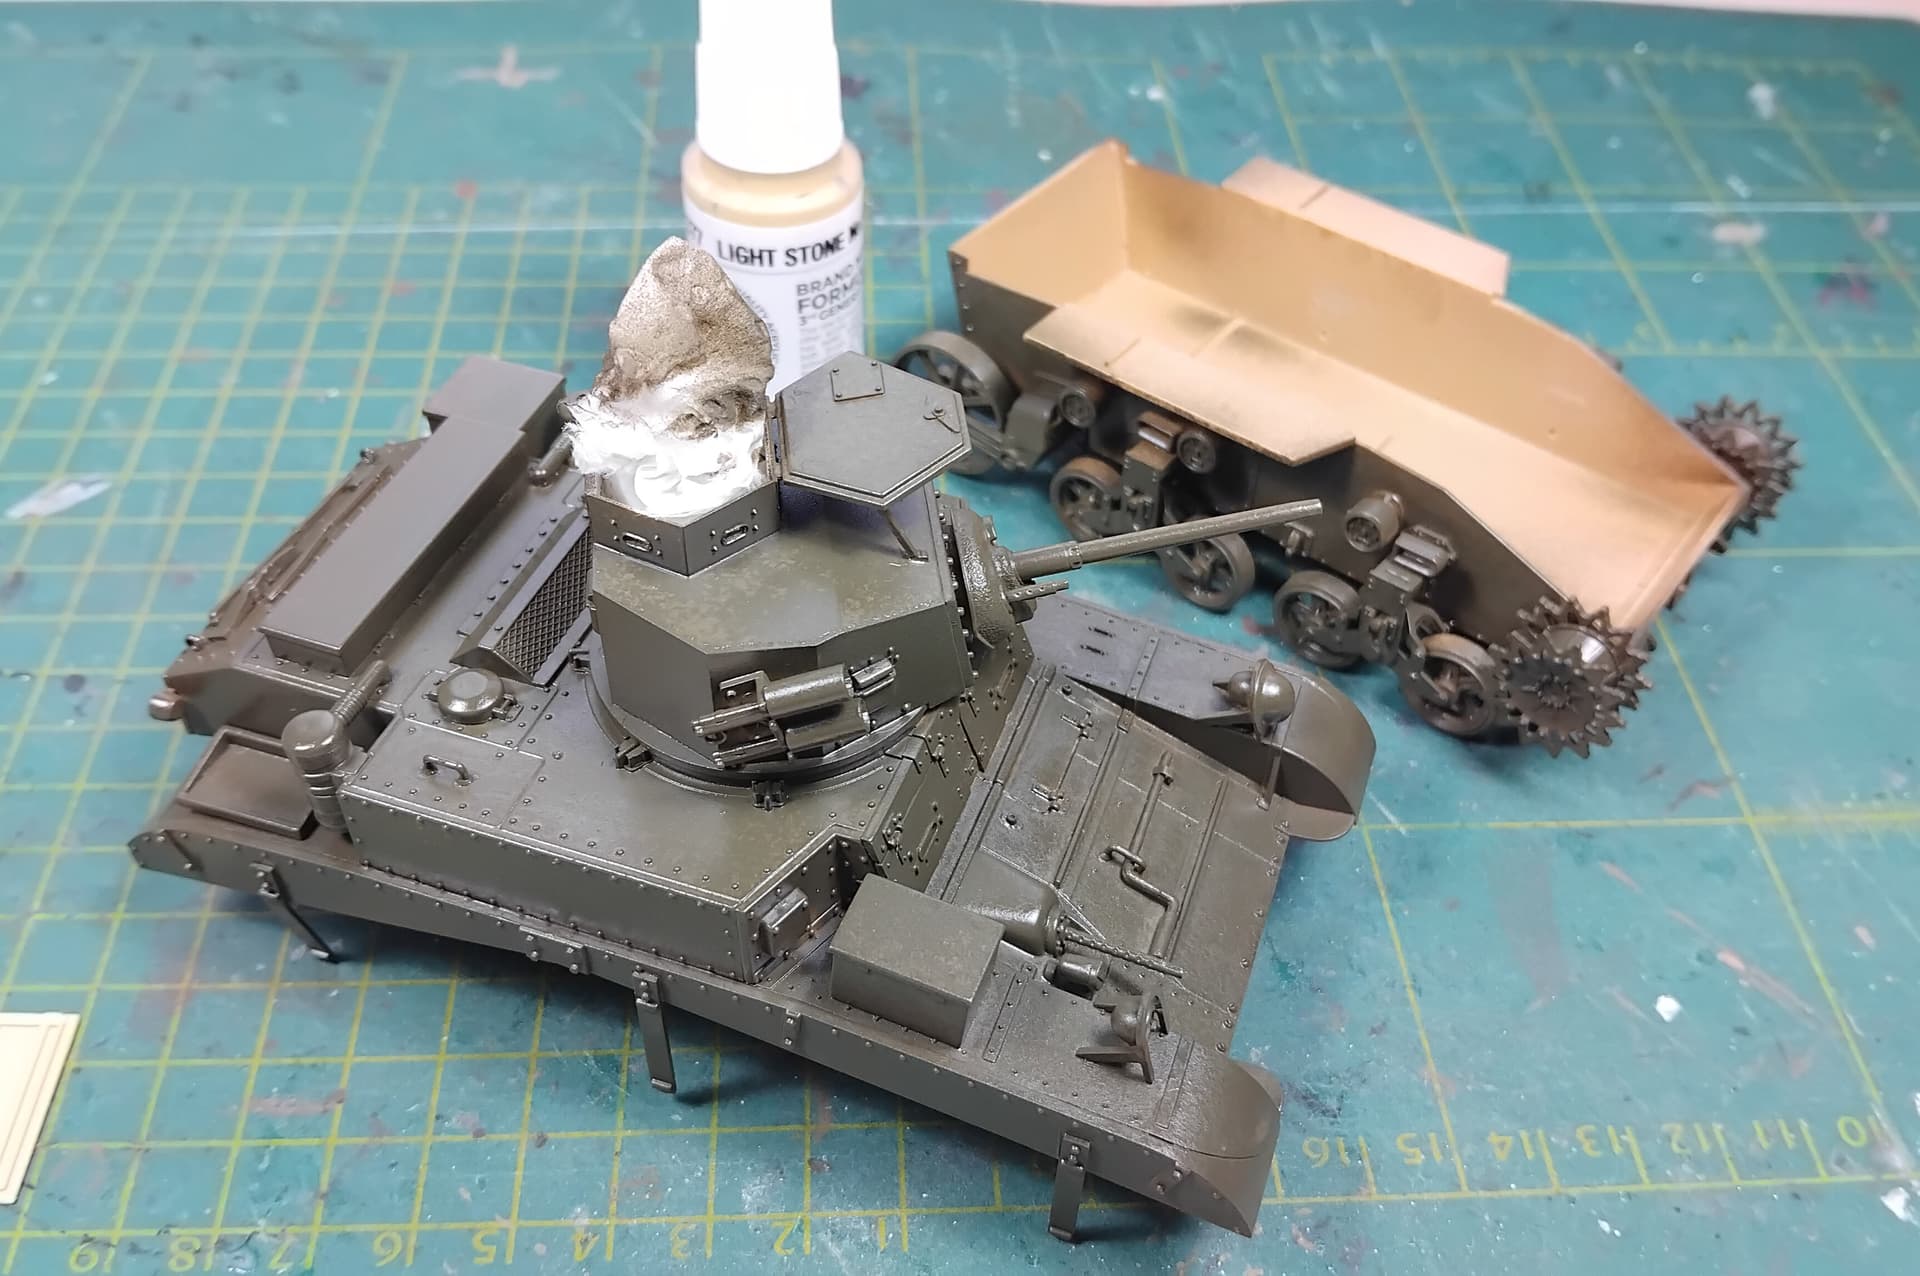
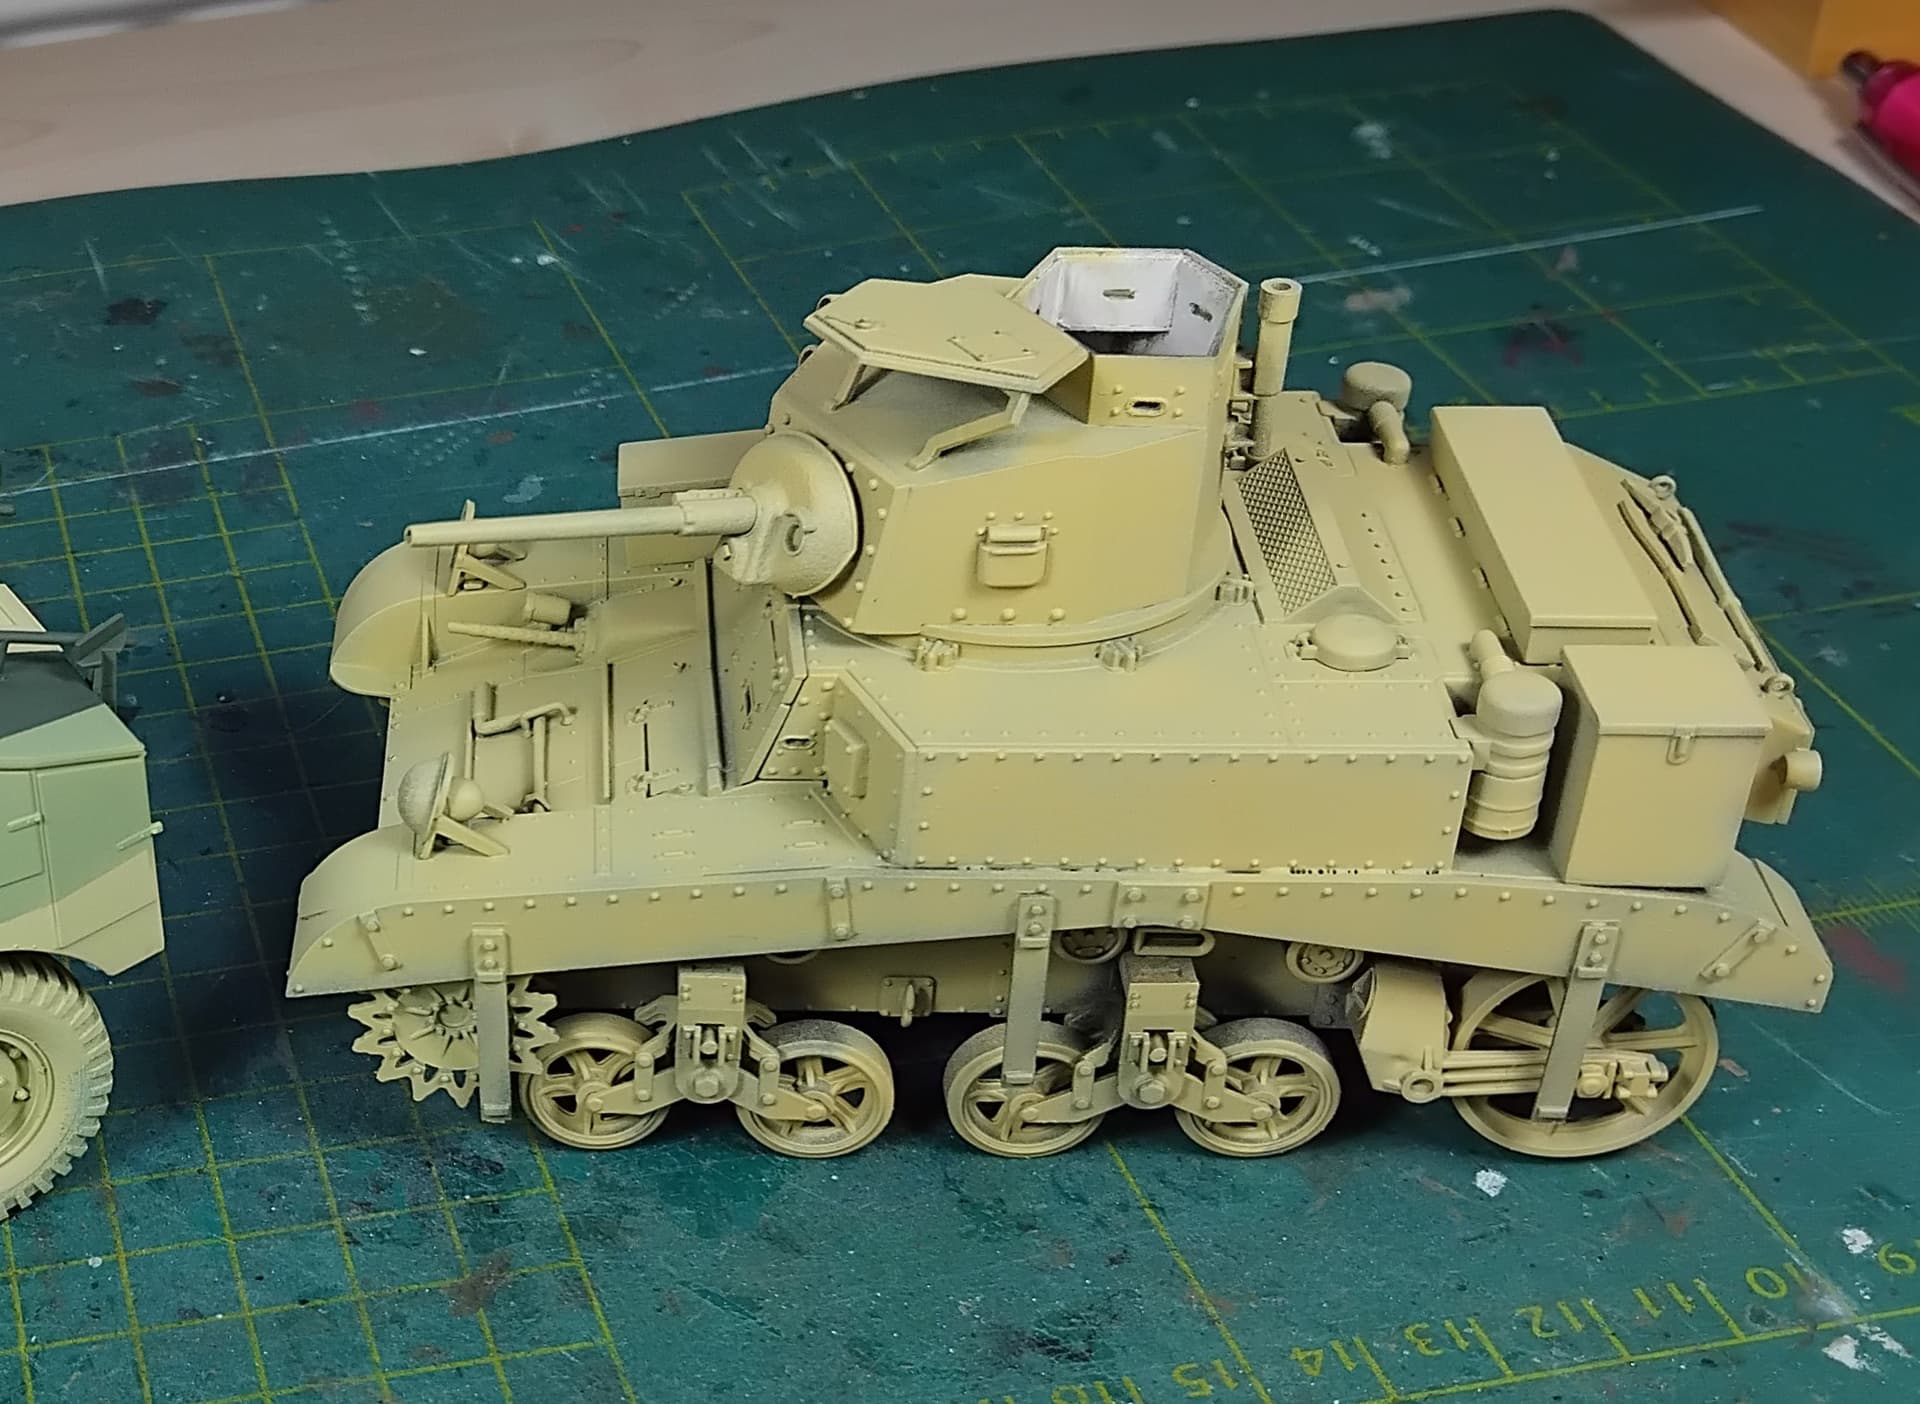
When all that had cured for a day I hit the Stuart with the light stone from AK’s Caunter-set. The not complete covering of the paint is done deliberately. Might help with the worn look later.
6 Likes
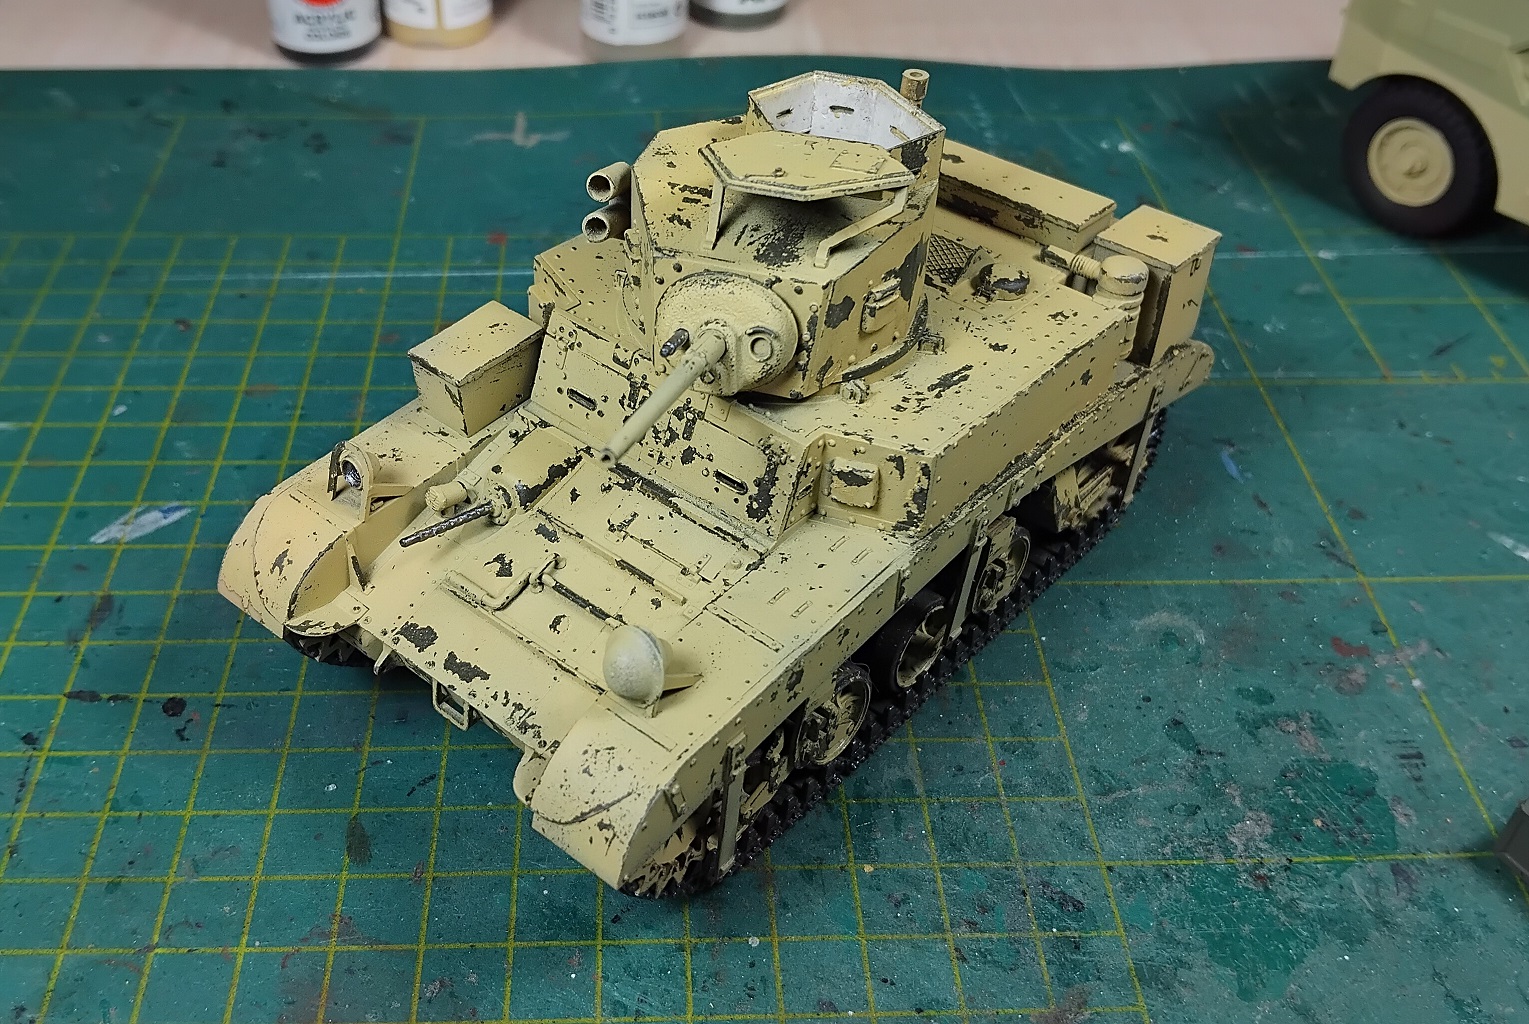
The hairspray-method, or mess up thereof, did not go as planned. Some areas chipped (peeled) away way to easy. Some parts even reacted as if I had used paint remover with all the paint starting to wrinkle!
I need to touch up quite a bit before I seal it all with varnish.
6 Likes
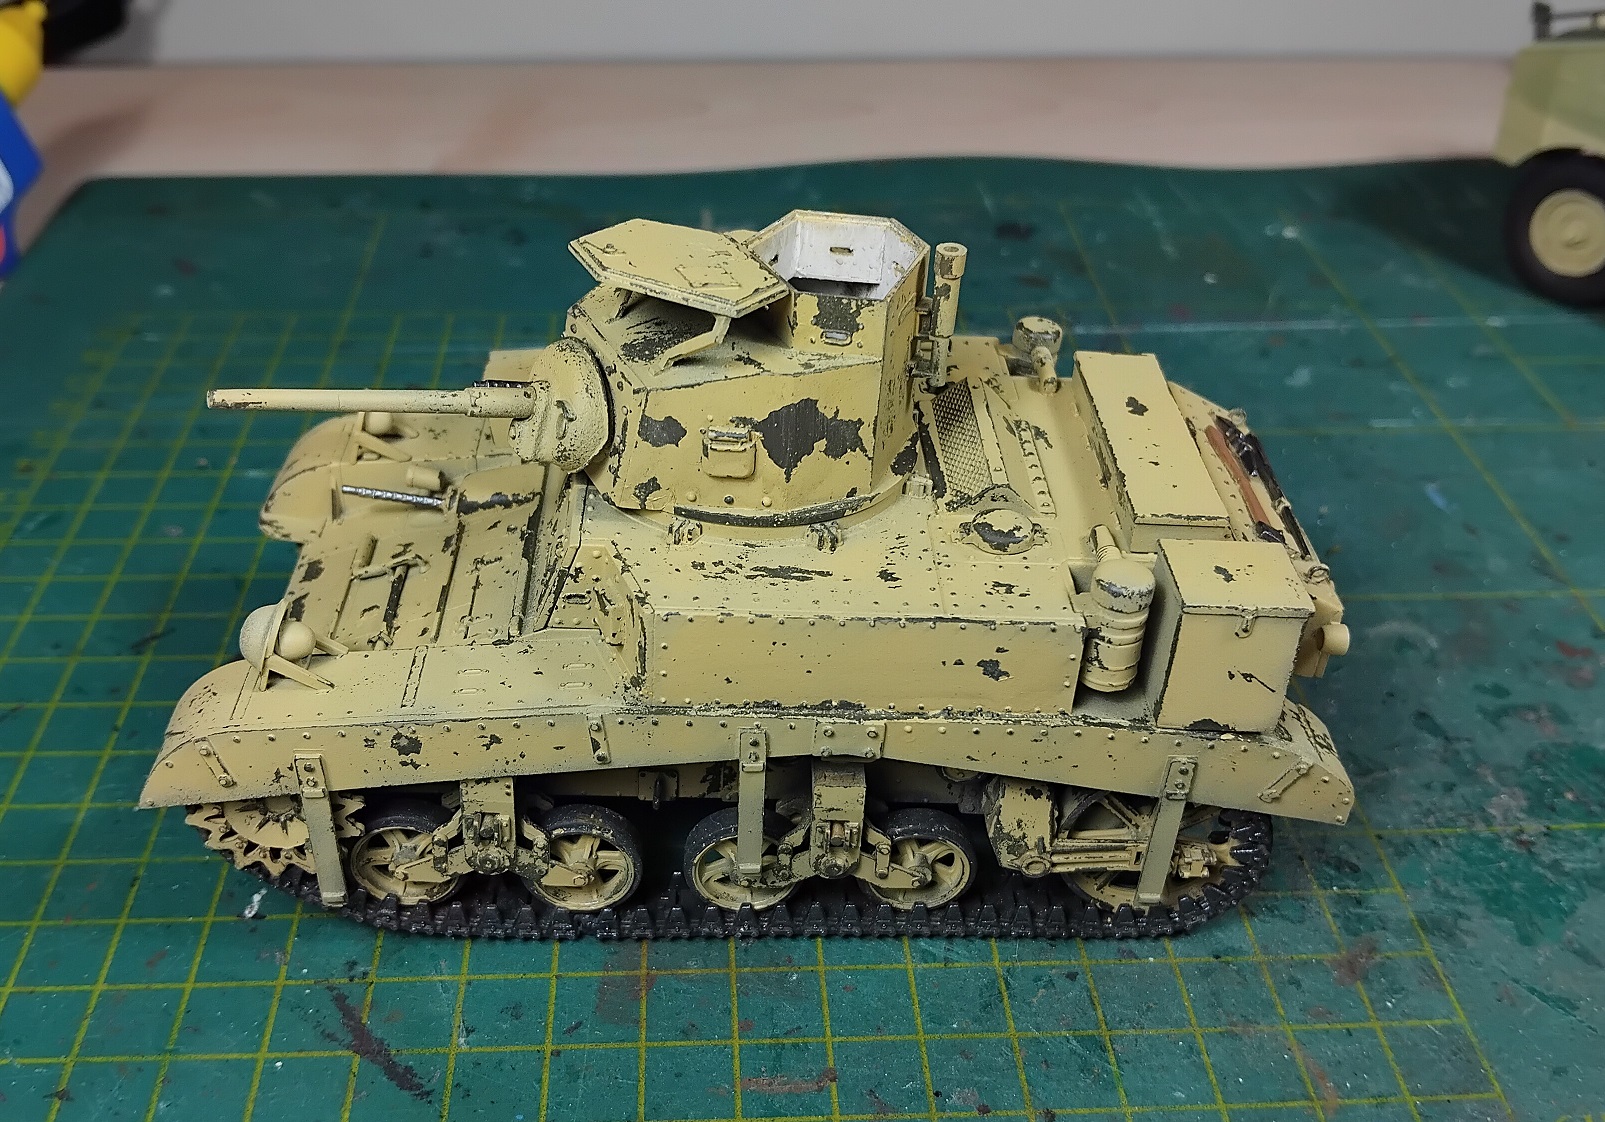
Corrected some of the mishaps, added a few decals and started dressing up this Stuart.
When the varnish has hardened properly I’ll start adding washes and more accesories.


10 Likes
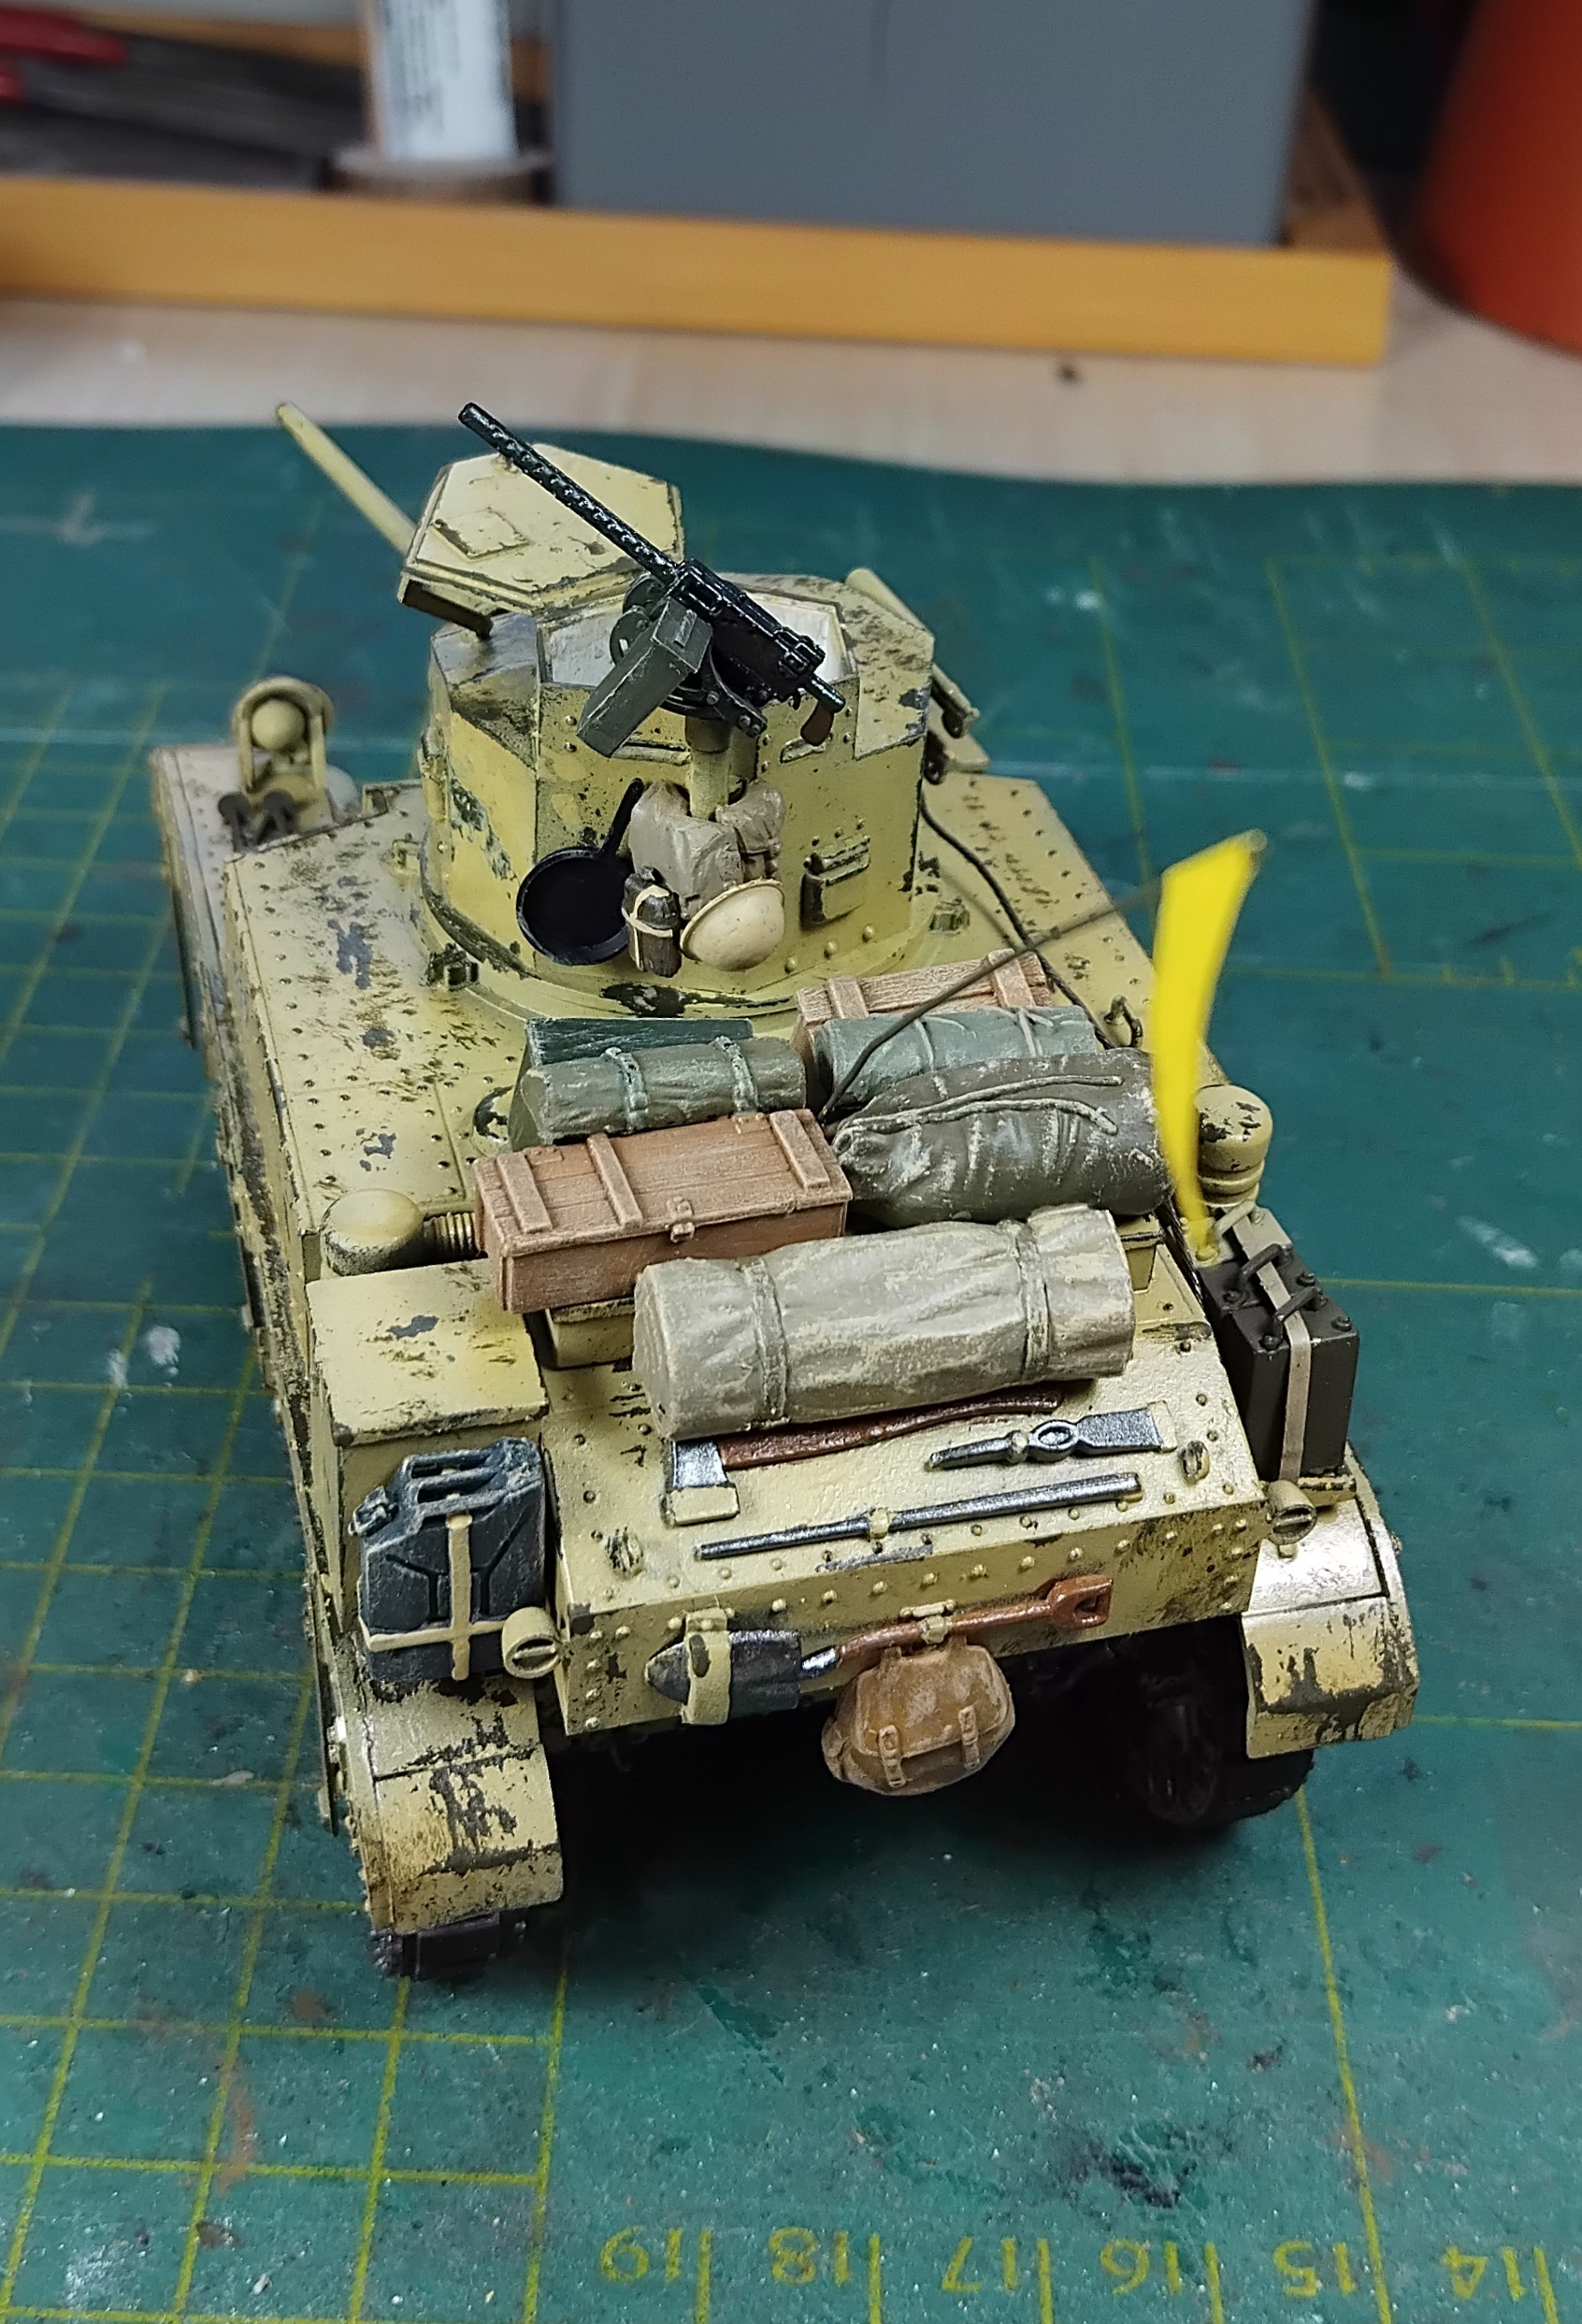
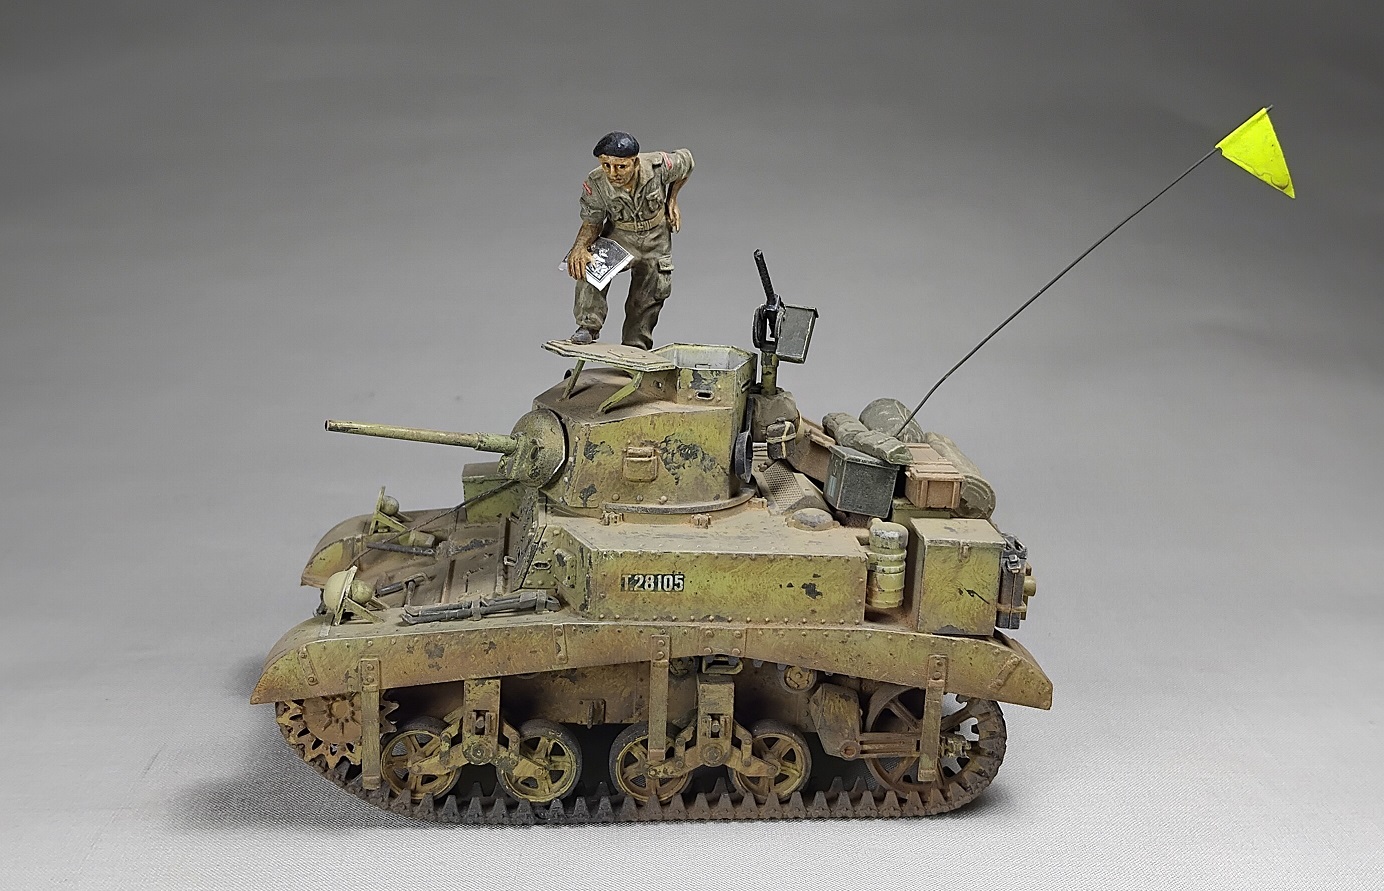
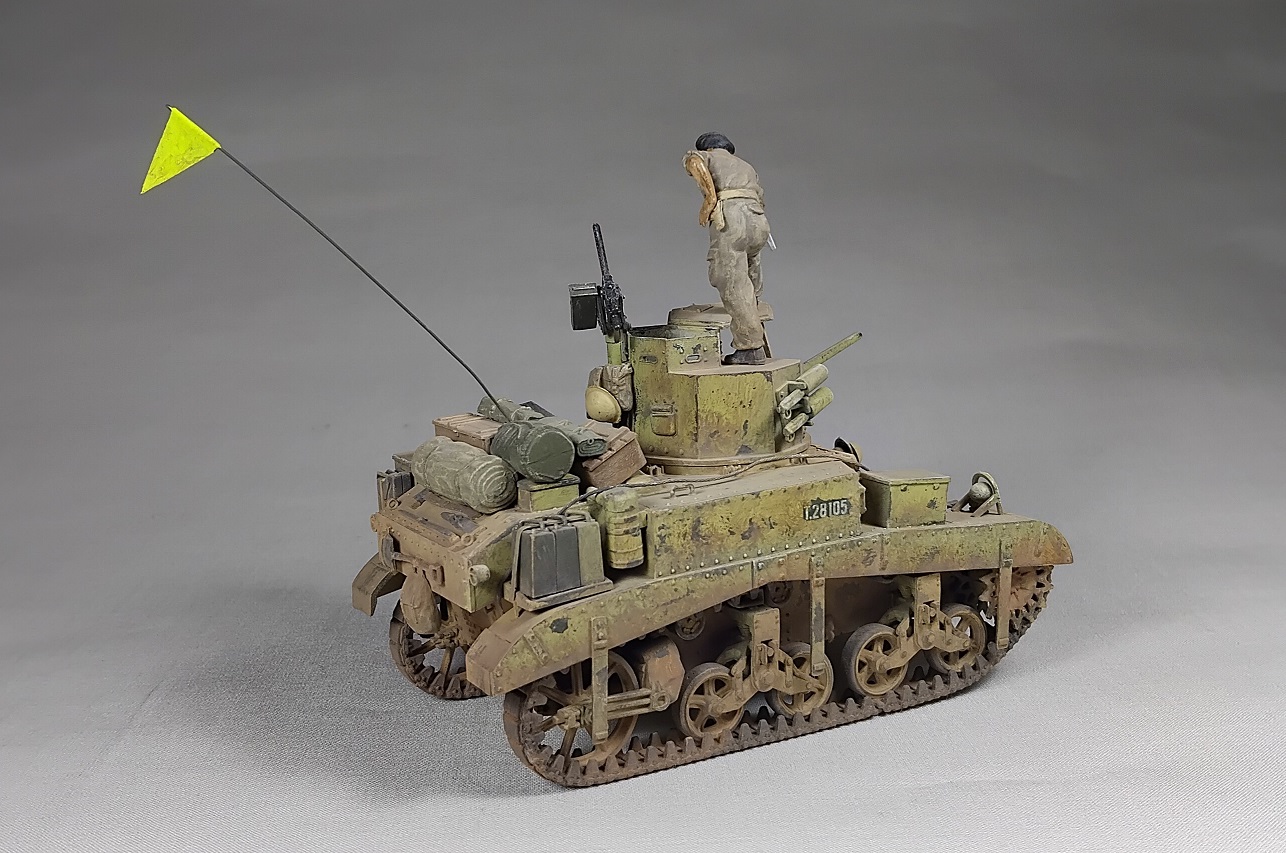
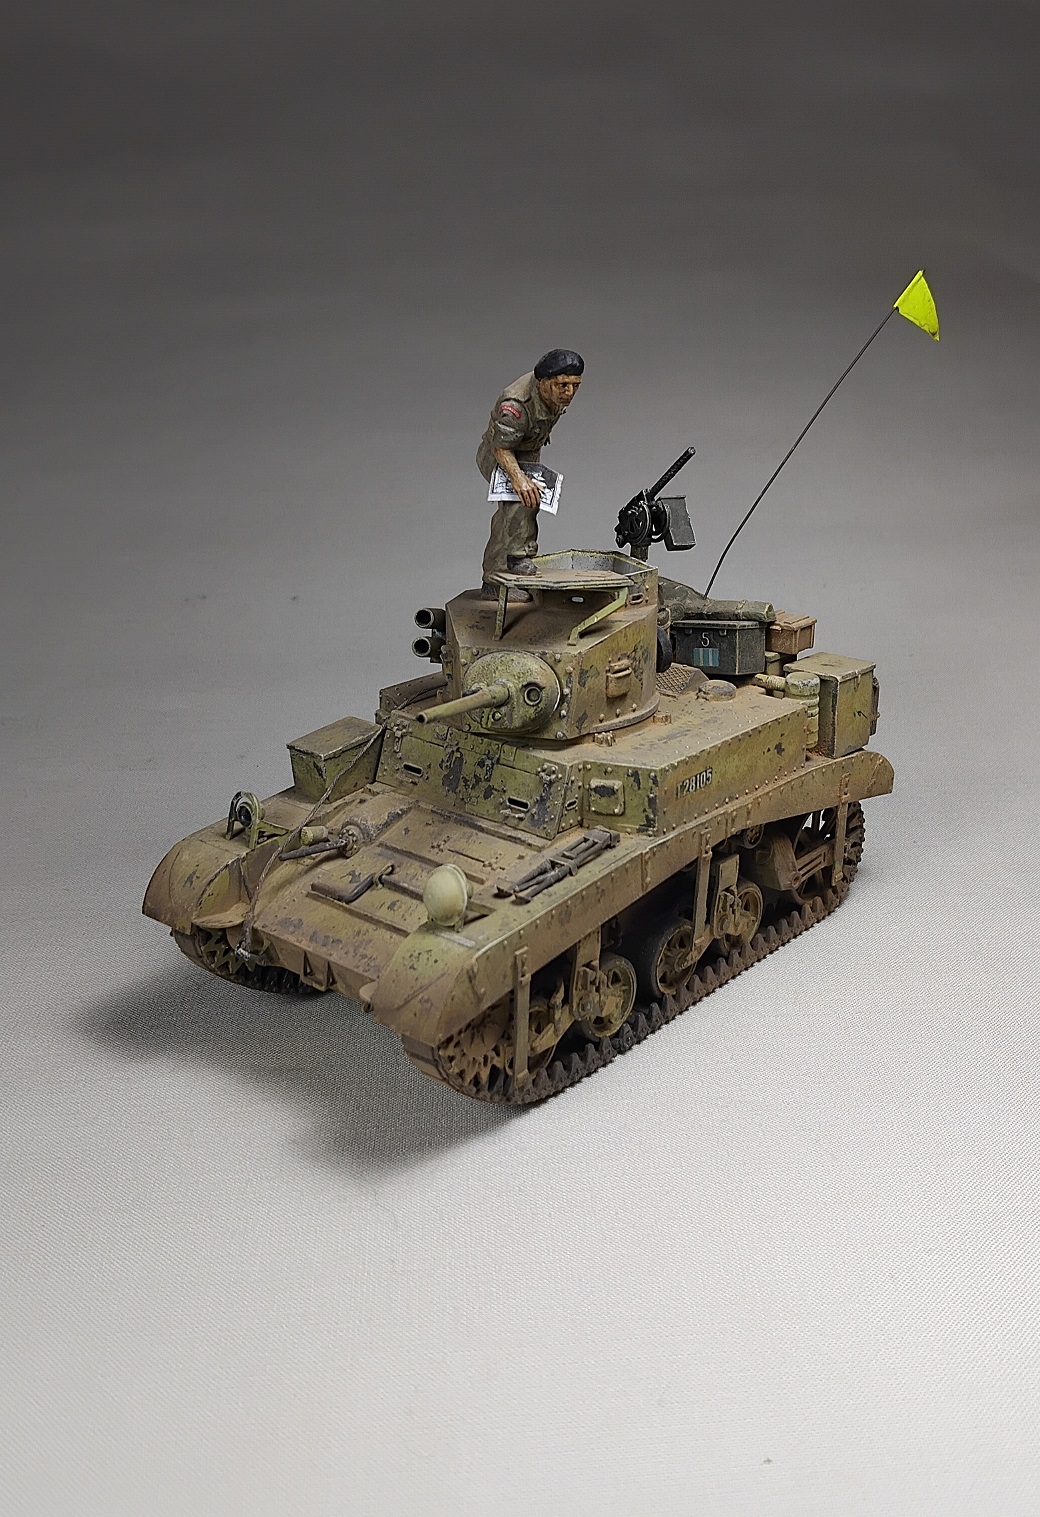
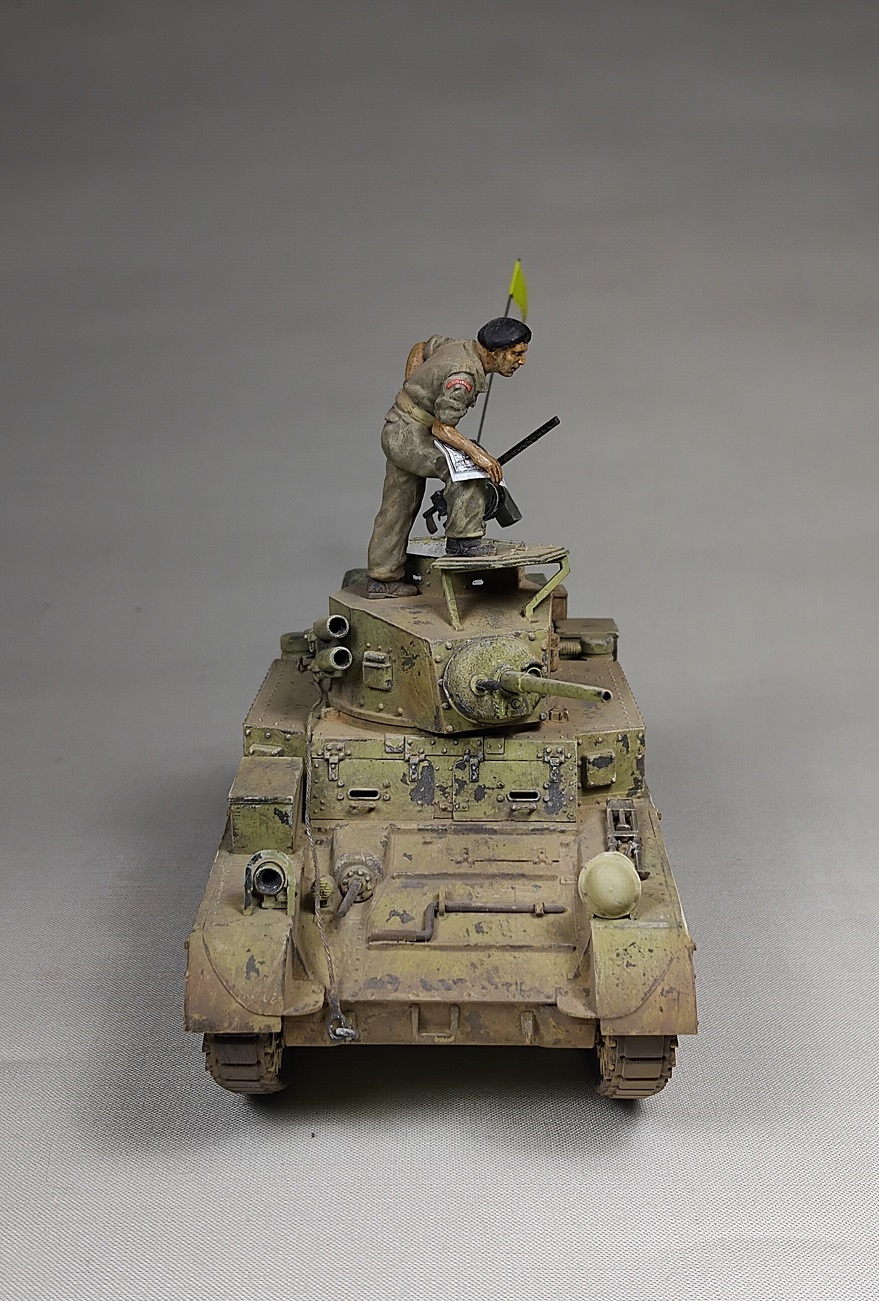
I added a bunch of stowage, a .30 with homemade ammobox and a towing cable. This is a real steel one and when I was done twisting, bending and glueing it, I found out the brits used…. rope. The pennant comes from the sparesbox.
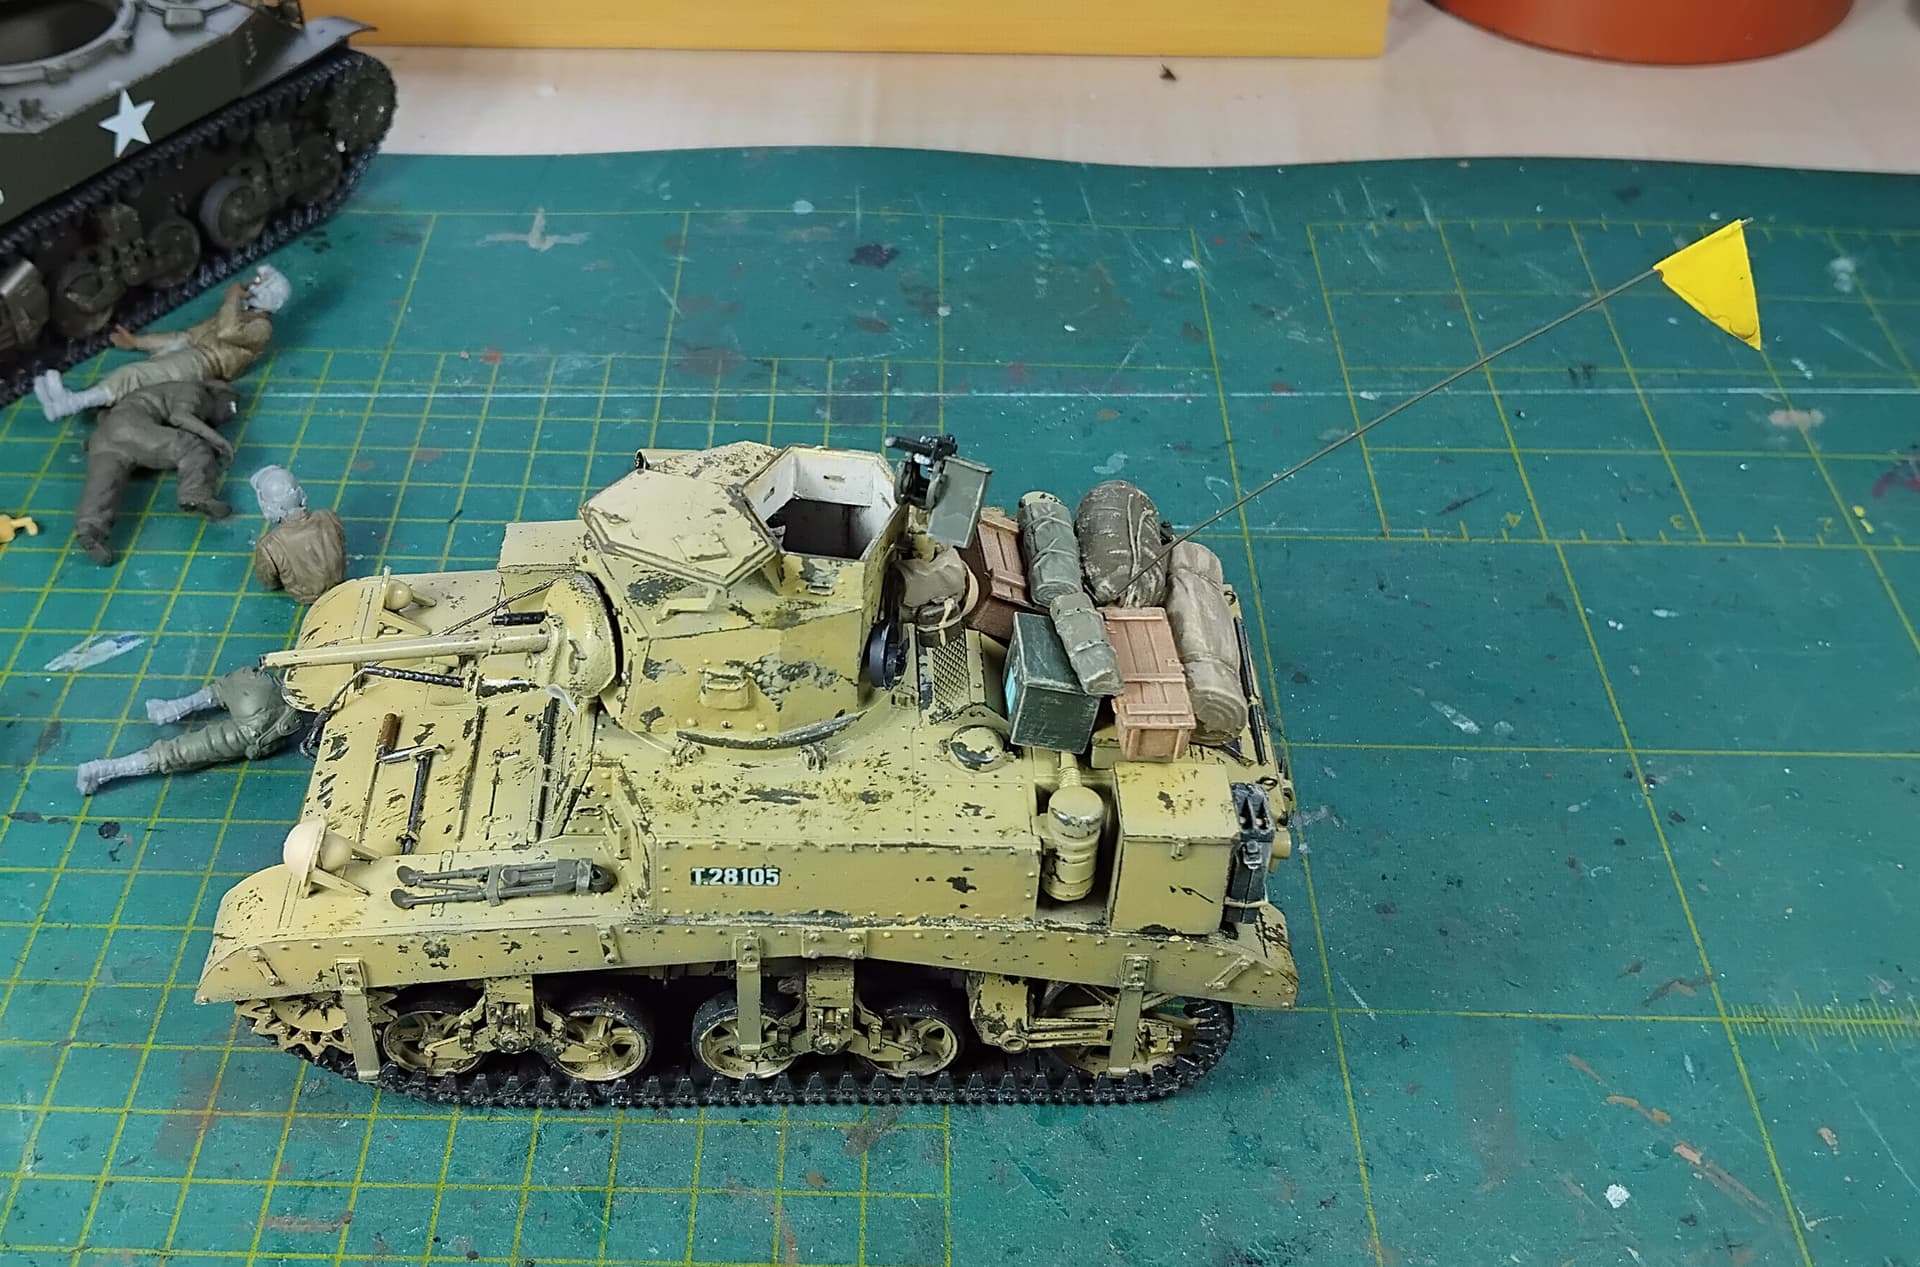
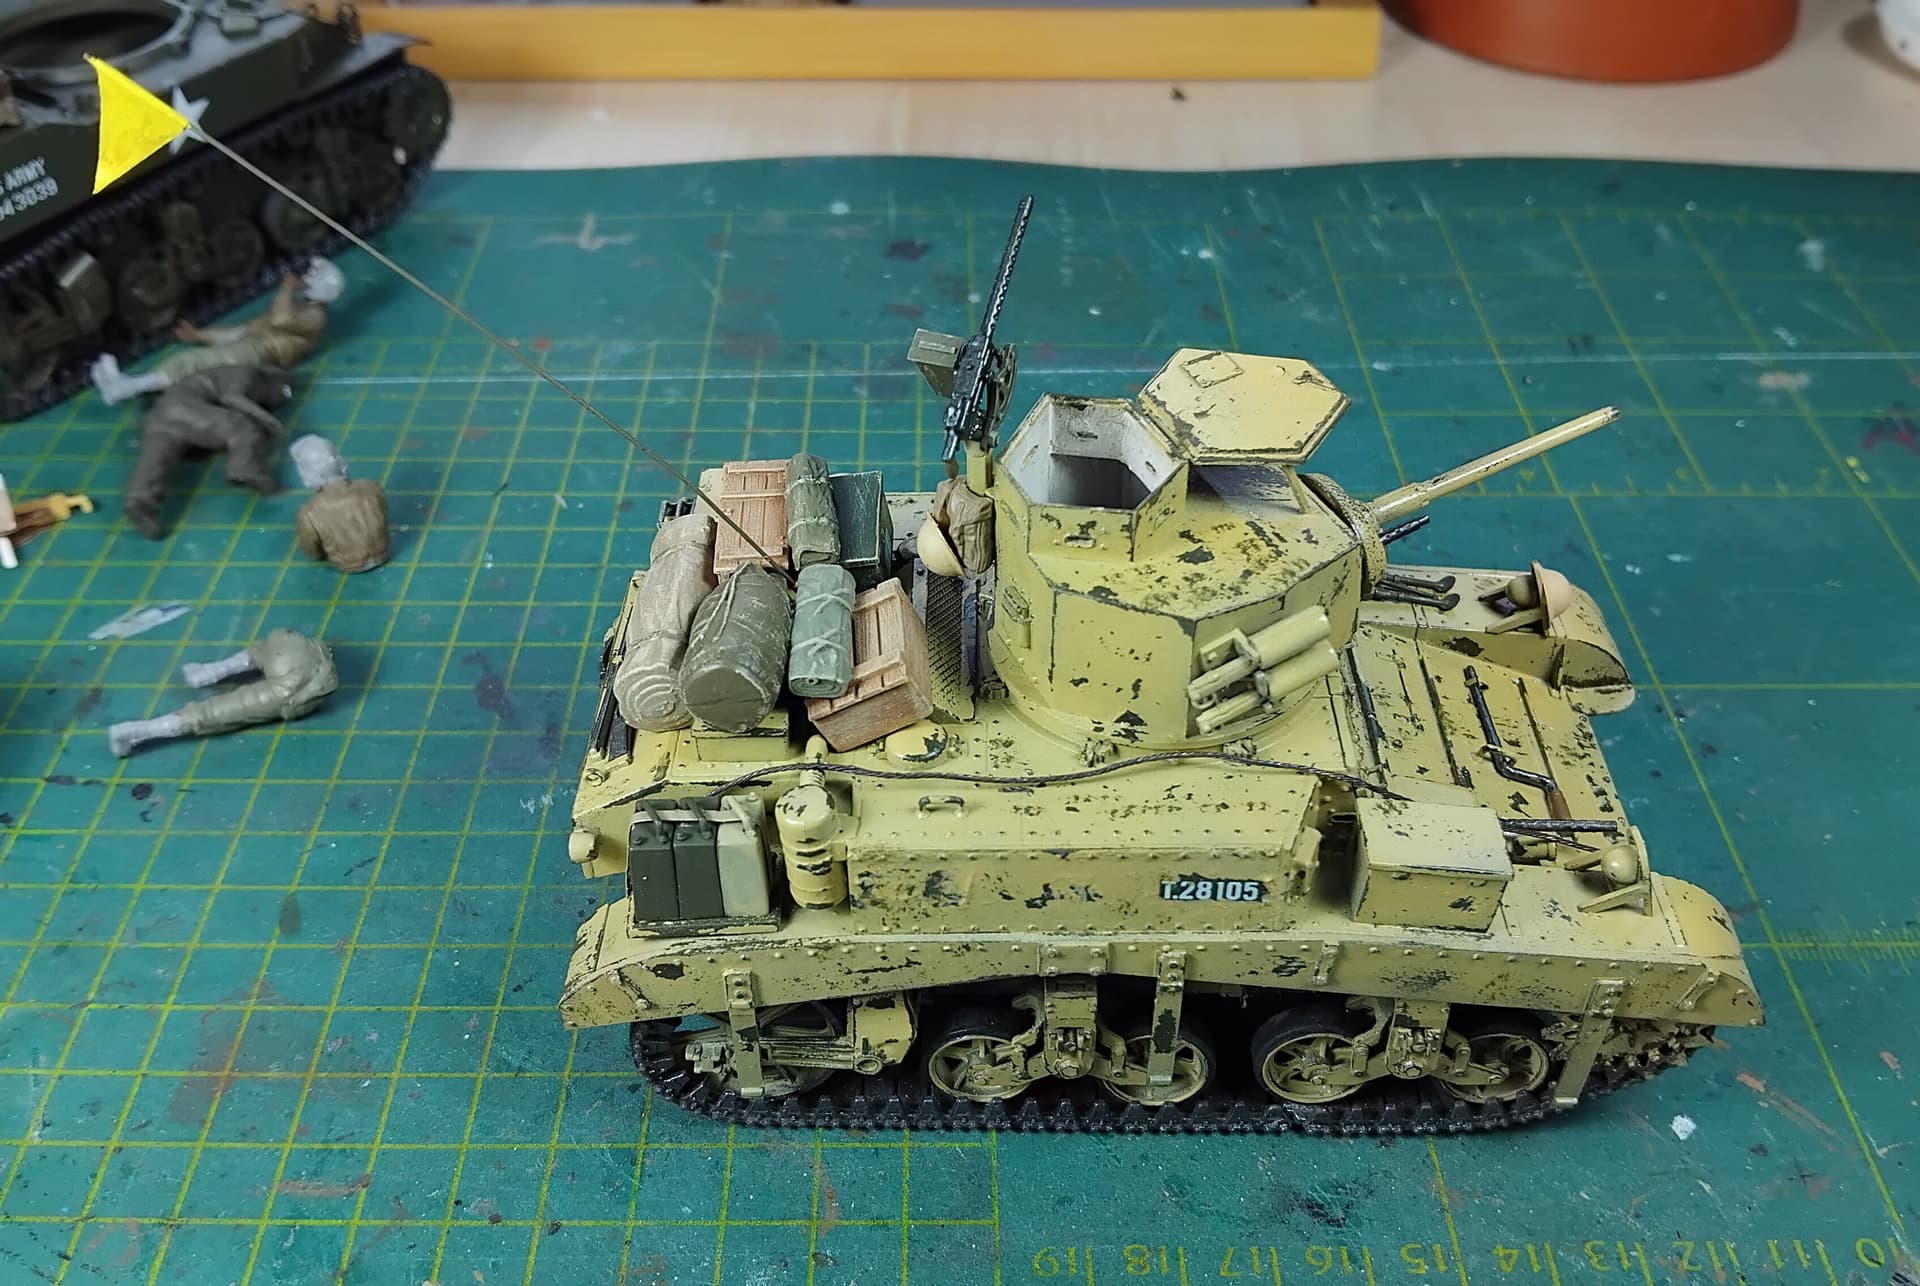
11 Likes
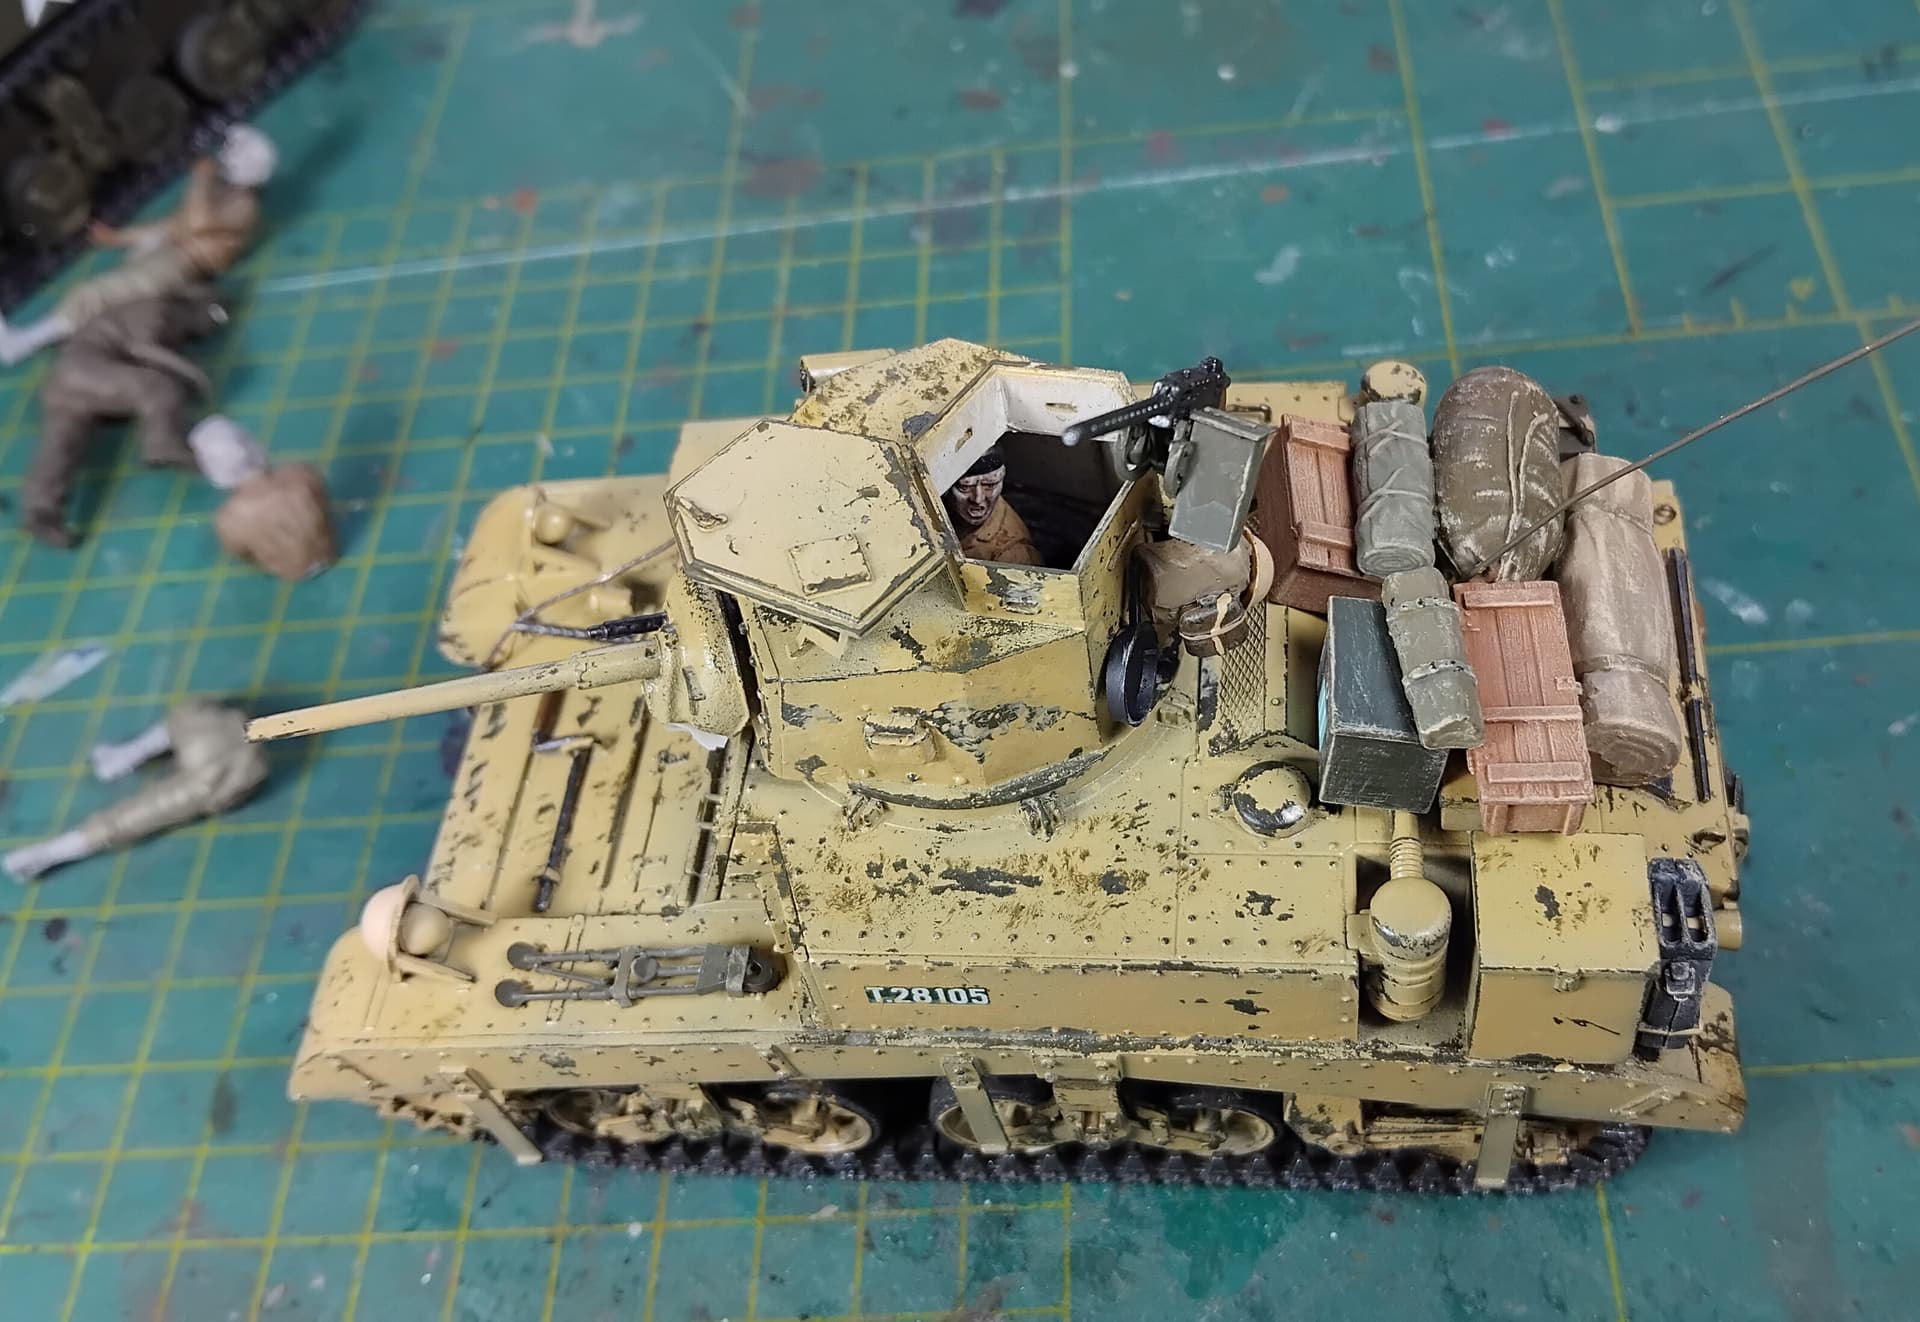
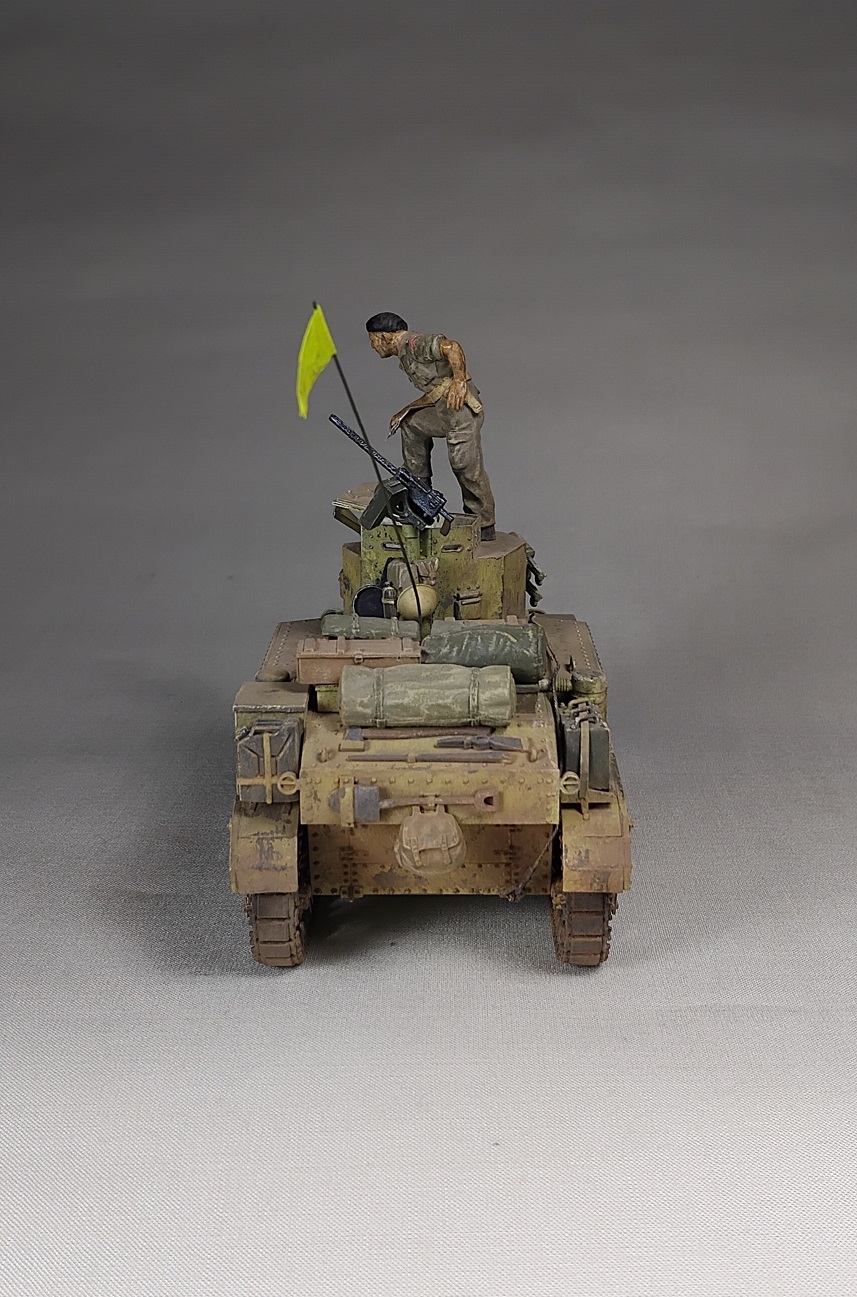
And now I consider the Honey done.
I added a commander figure, an ancient Tamiya one and if painting figures isn’t enough of a challenge, doing these ancient ones is even worse. All the detail is soft and flowing. I added some shoulderinsignia from an equally ancient Airfix multipose set, just as a colourful detail.
The Honey was done with a new brand of pastelchalks. These are a little more fatty, less dry and have deeper, darker colours.

10 Likes
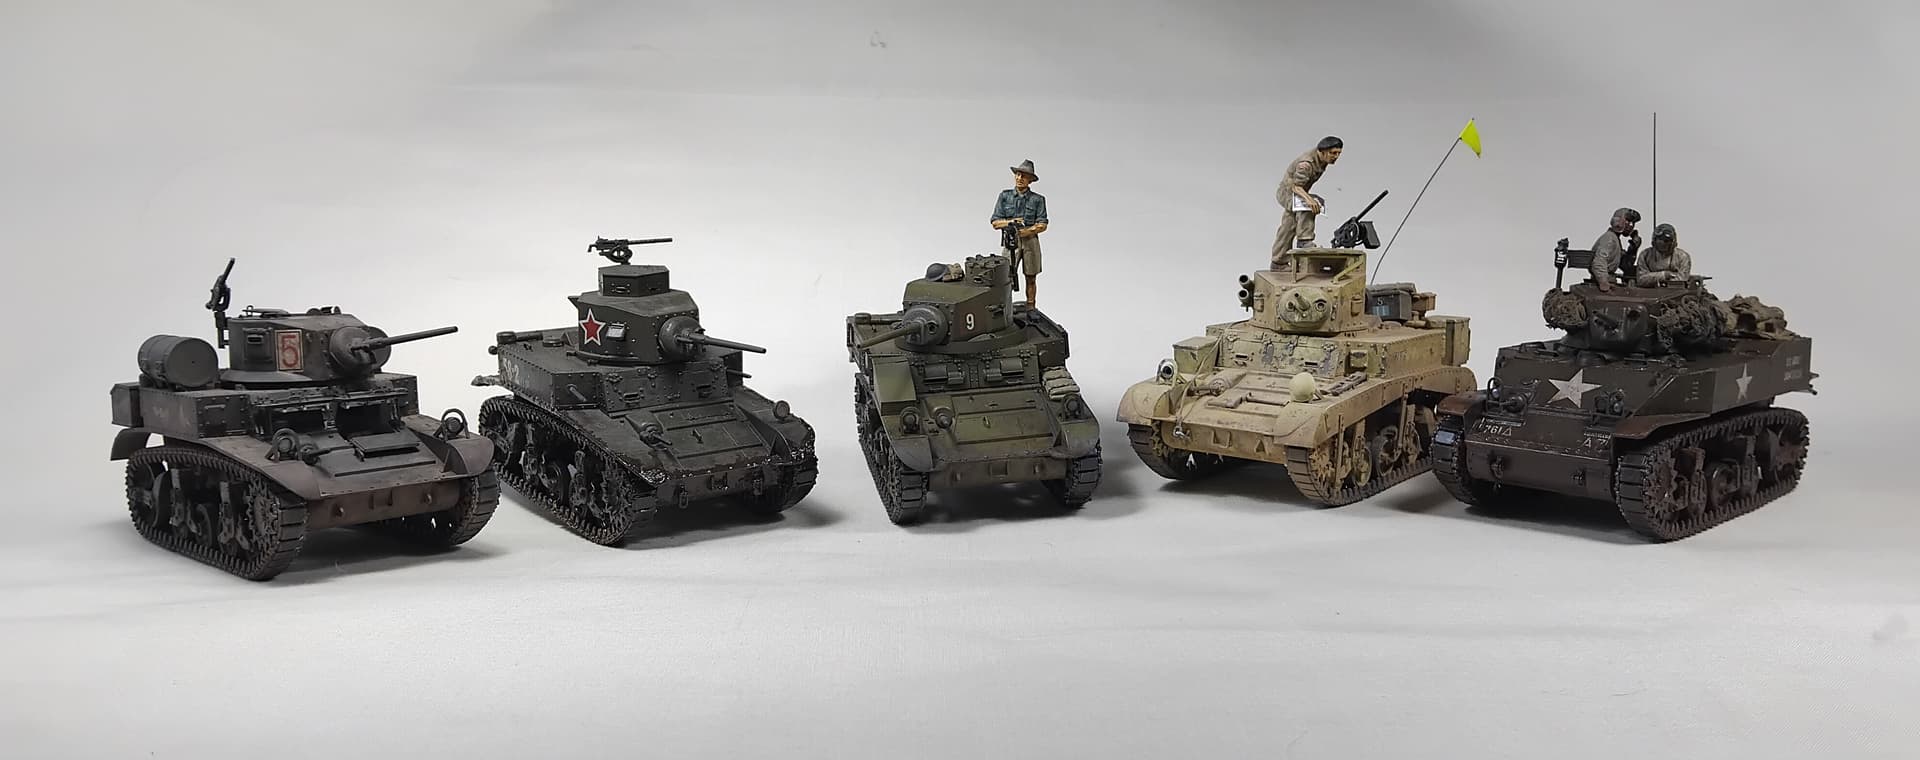
Really appreciate your kit comparisons. I have the goal of a dedicated shelf area for each armor type, iteration. Thanks for the inspiration!!
2 Likes
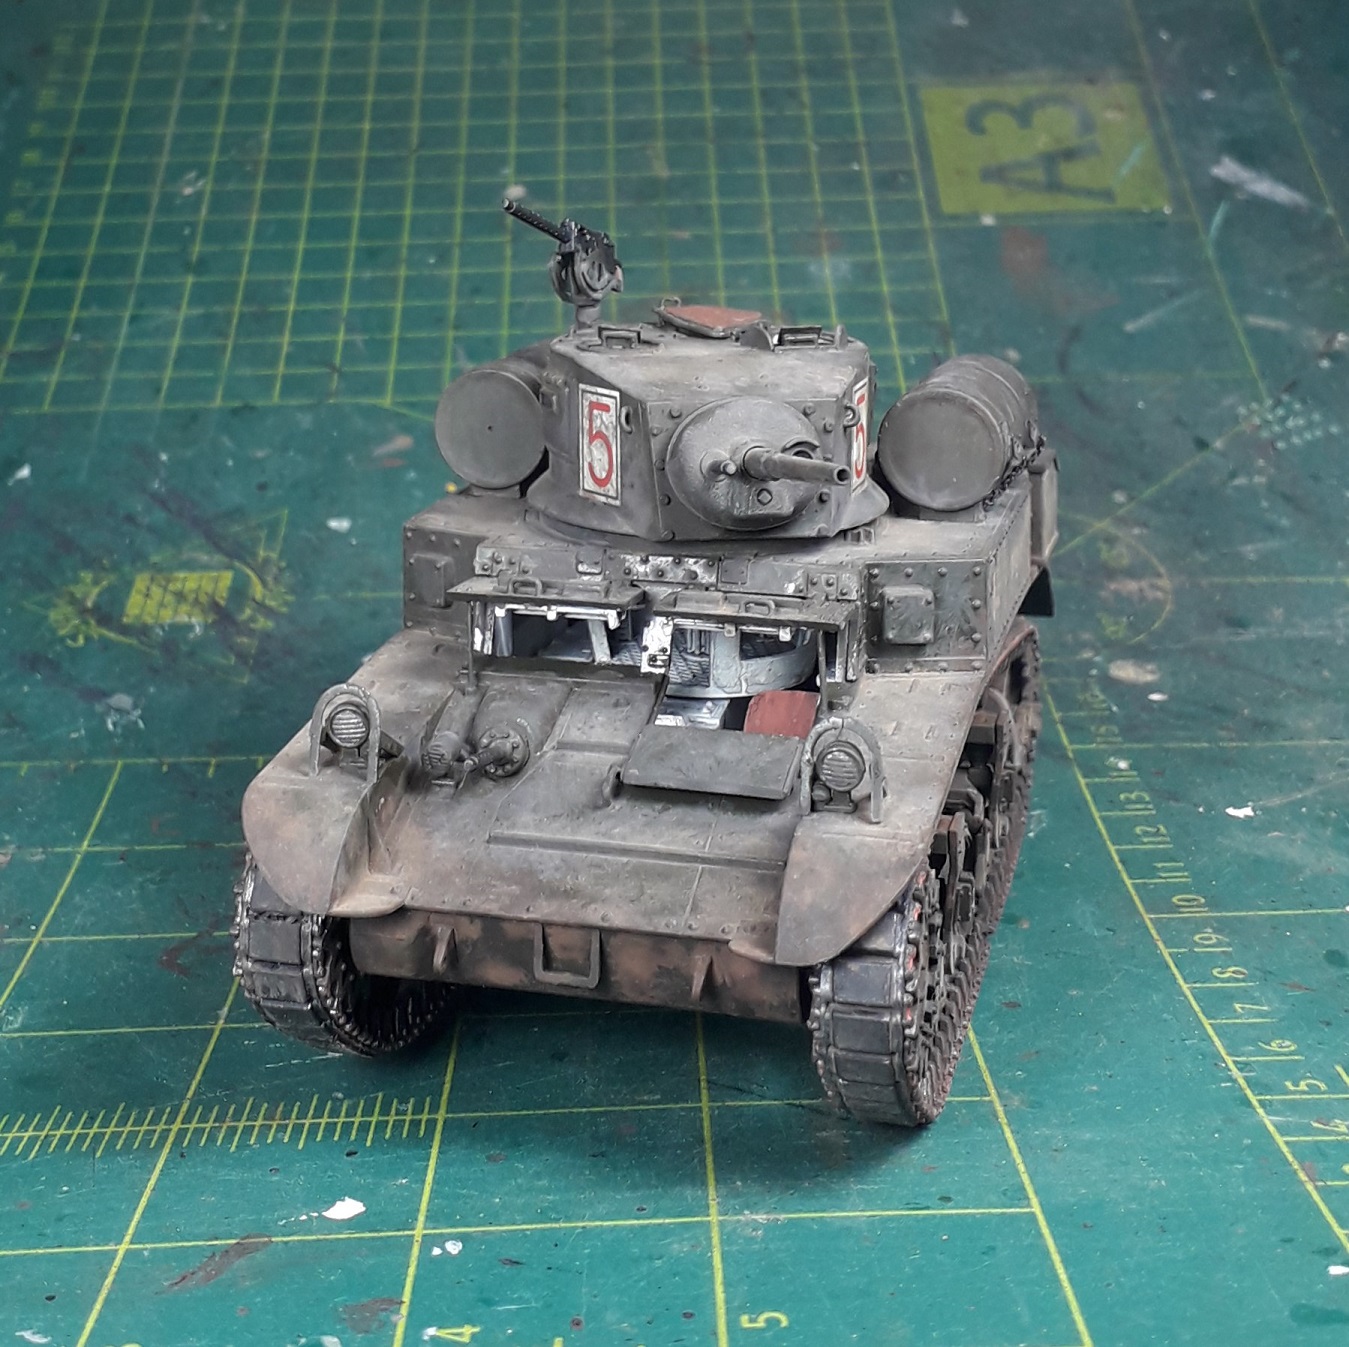
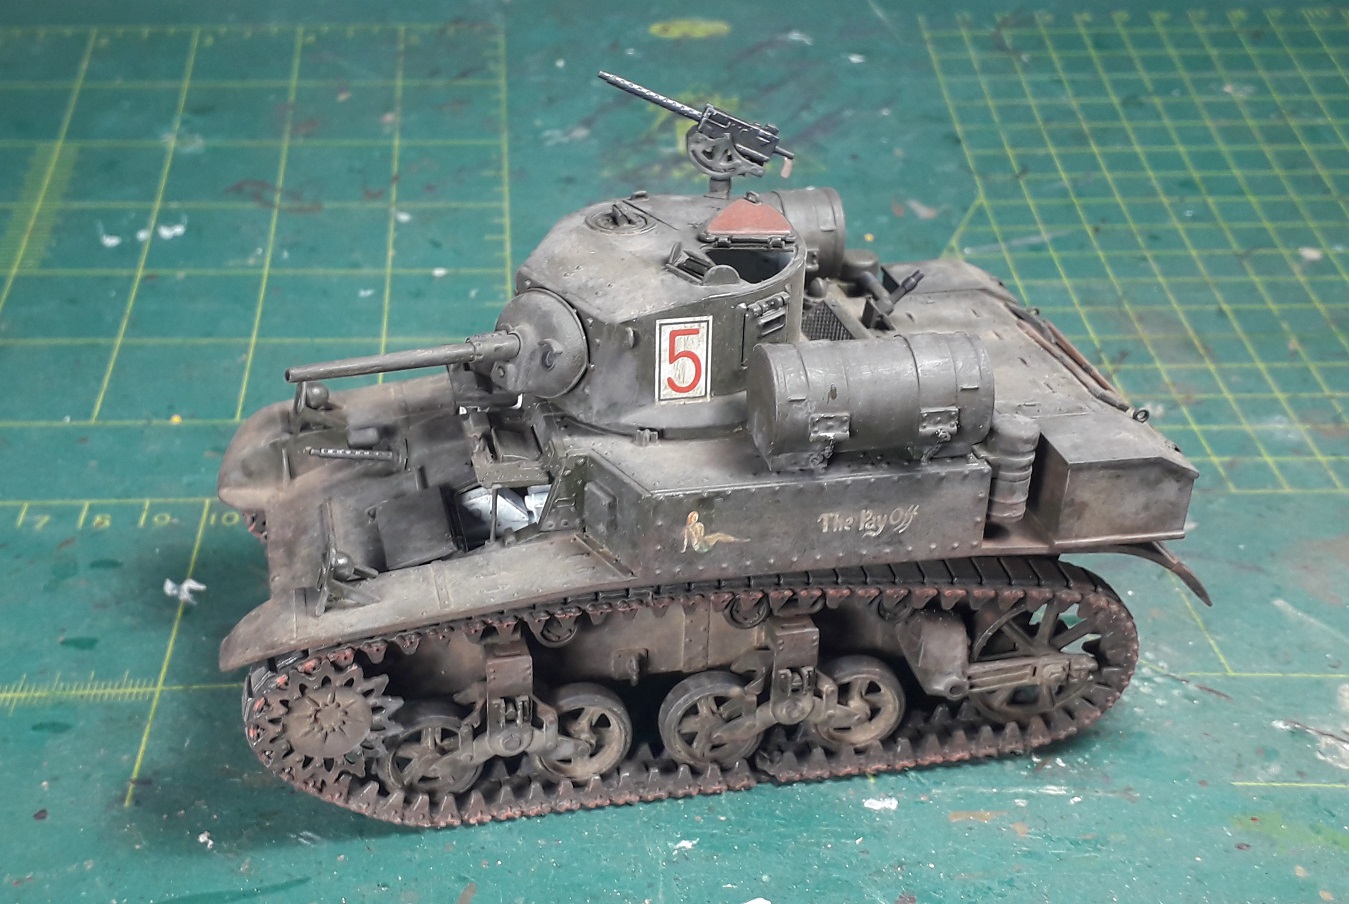
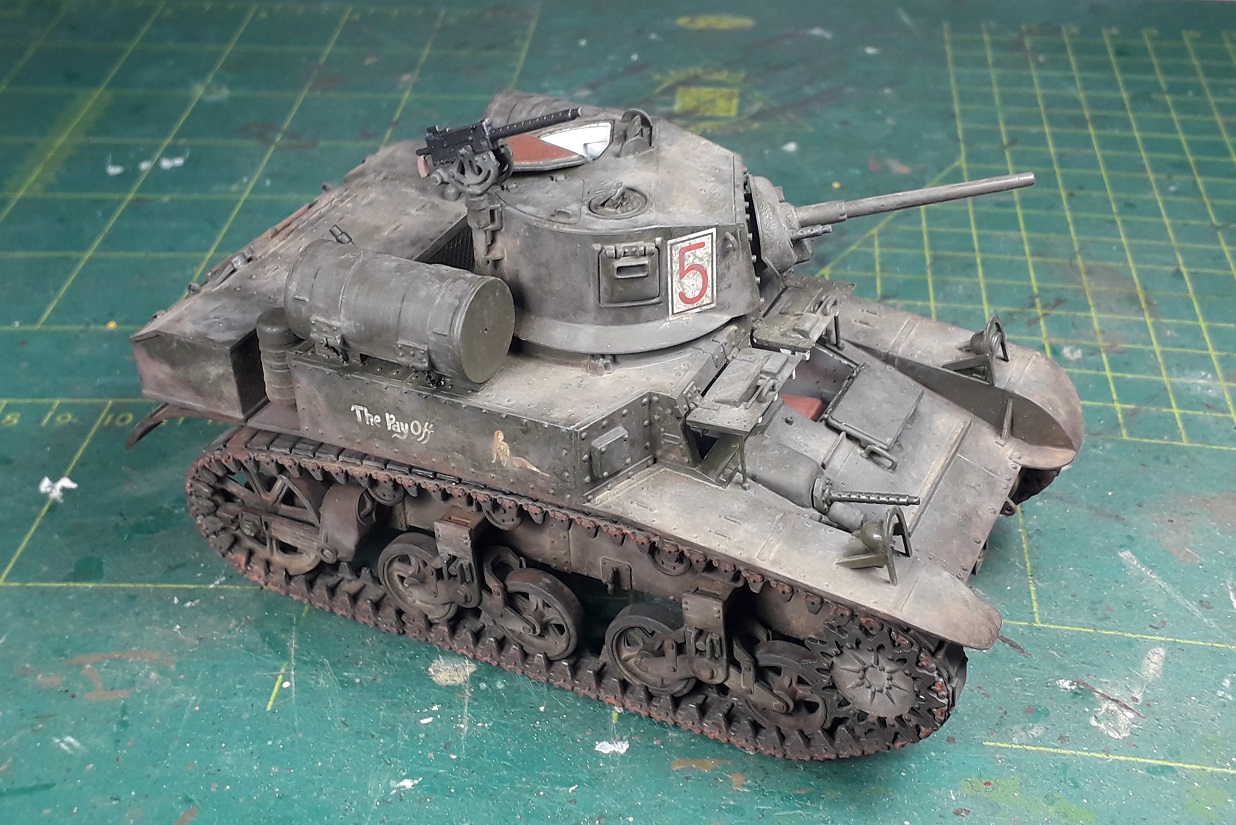
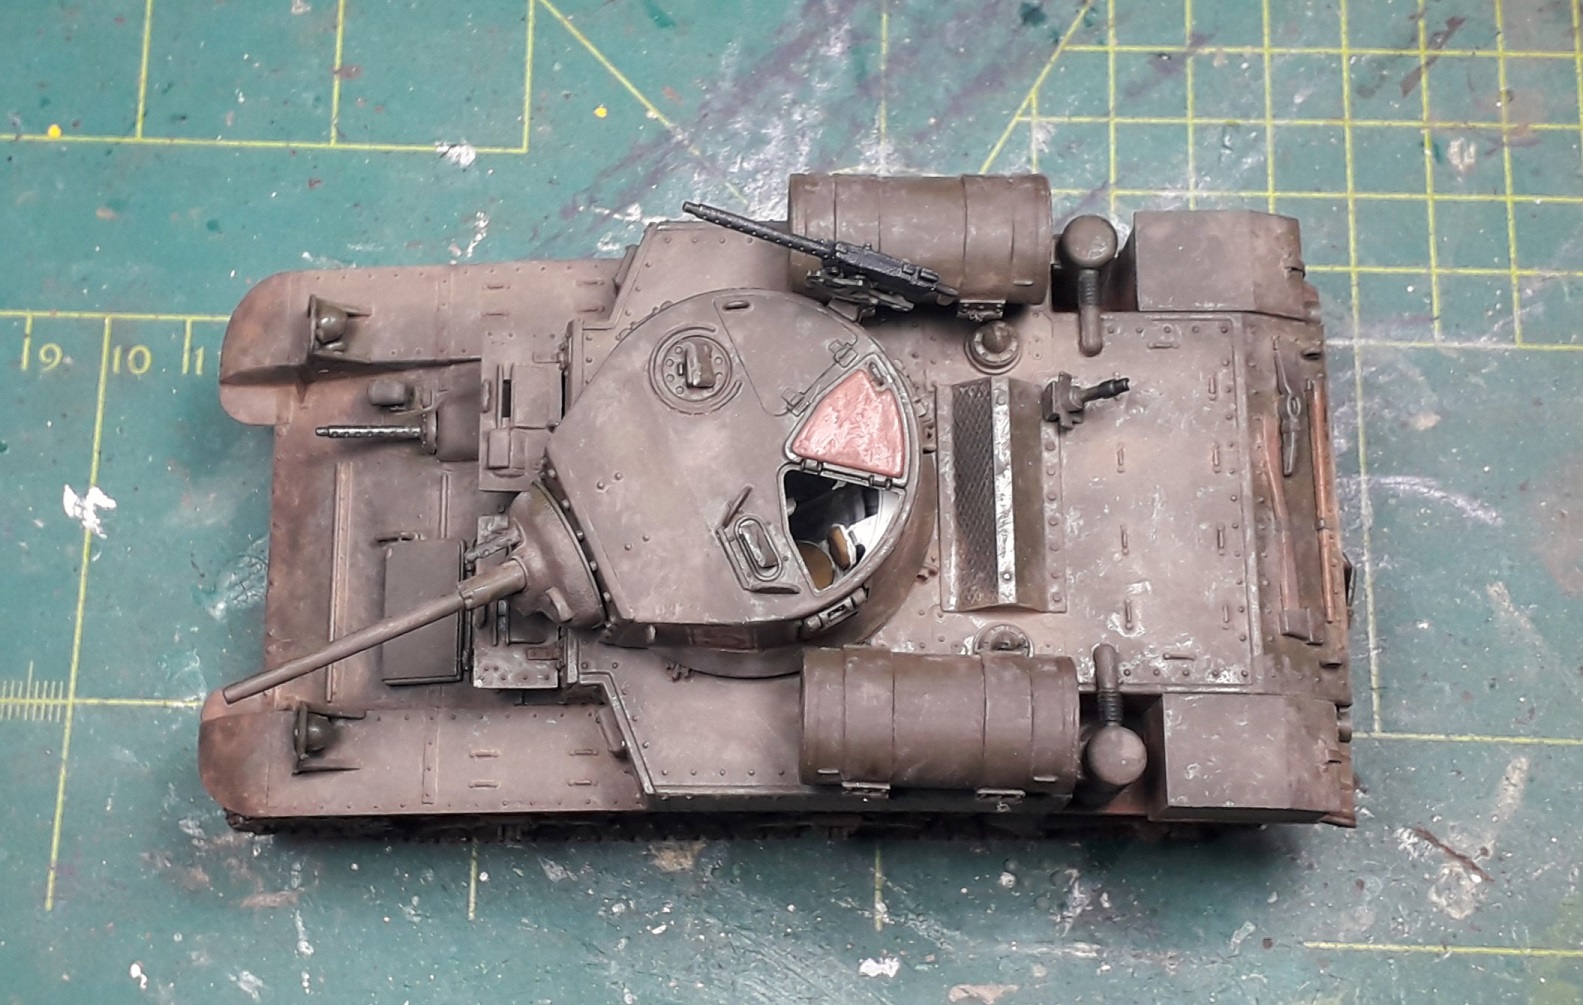
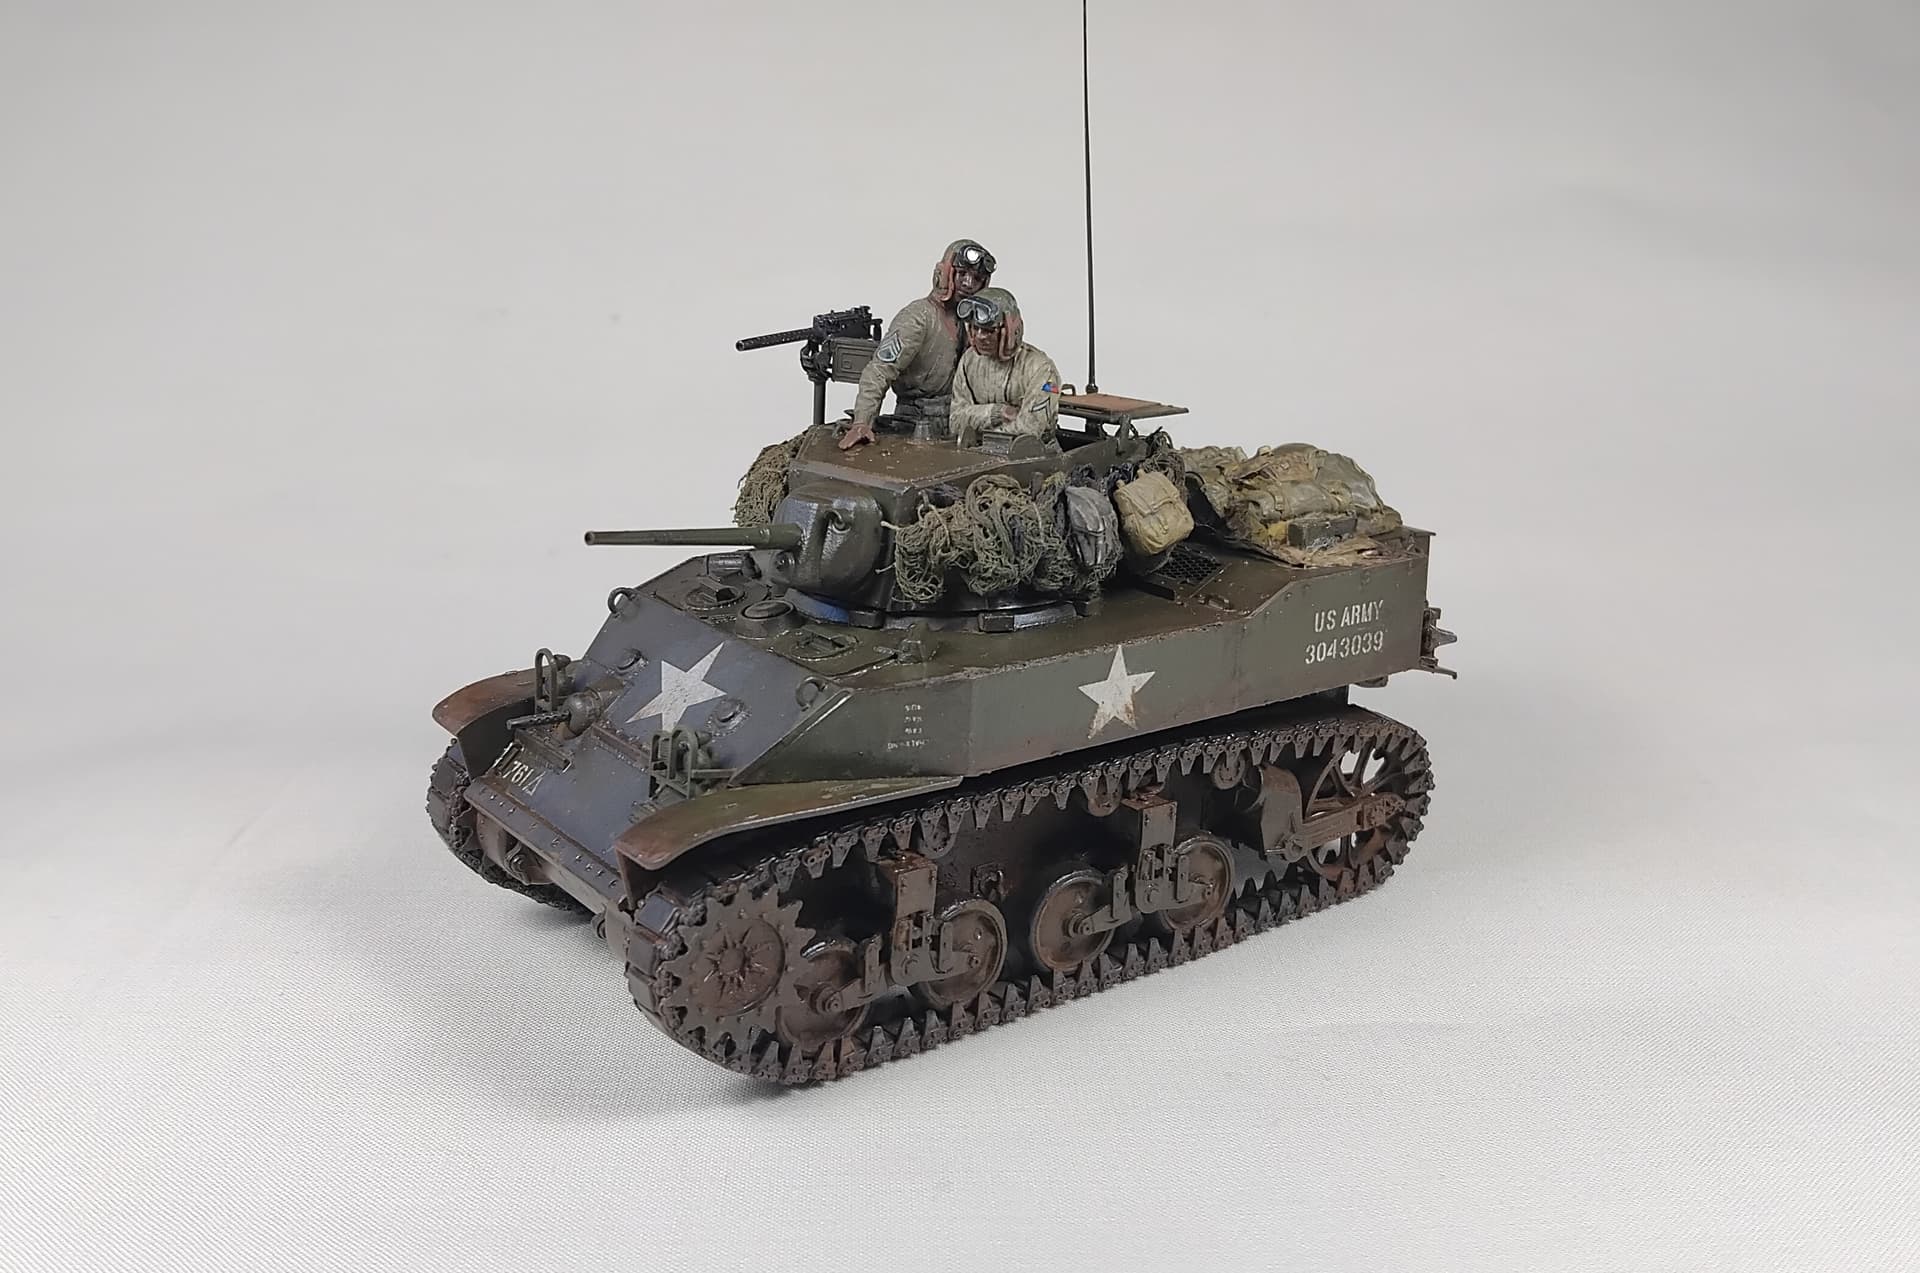
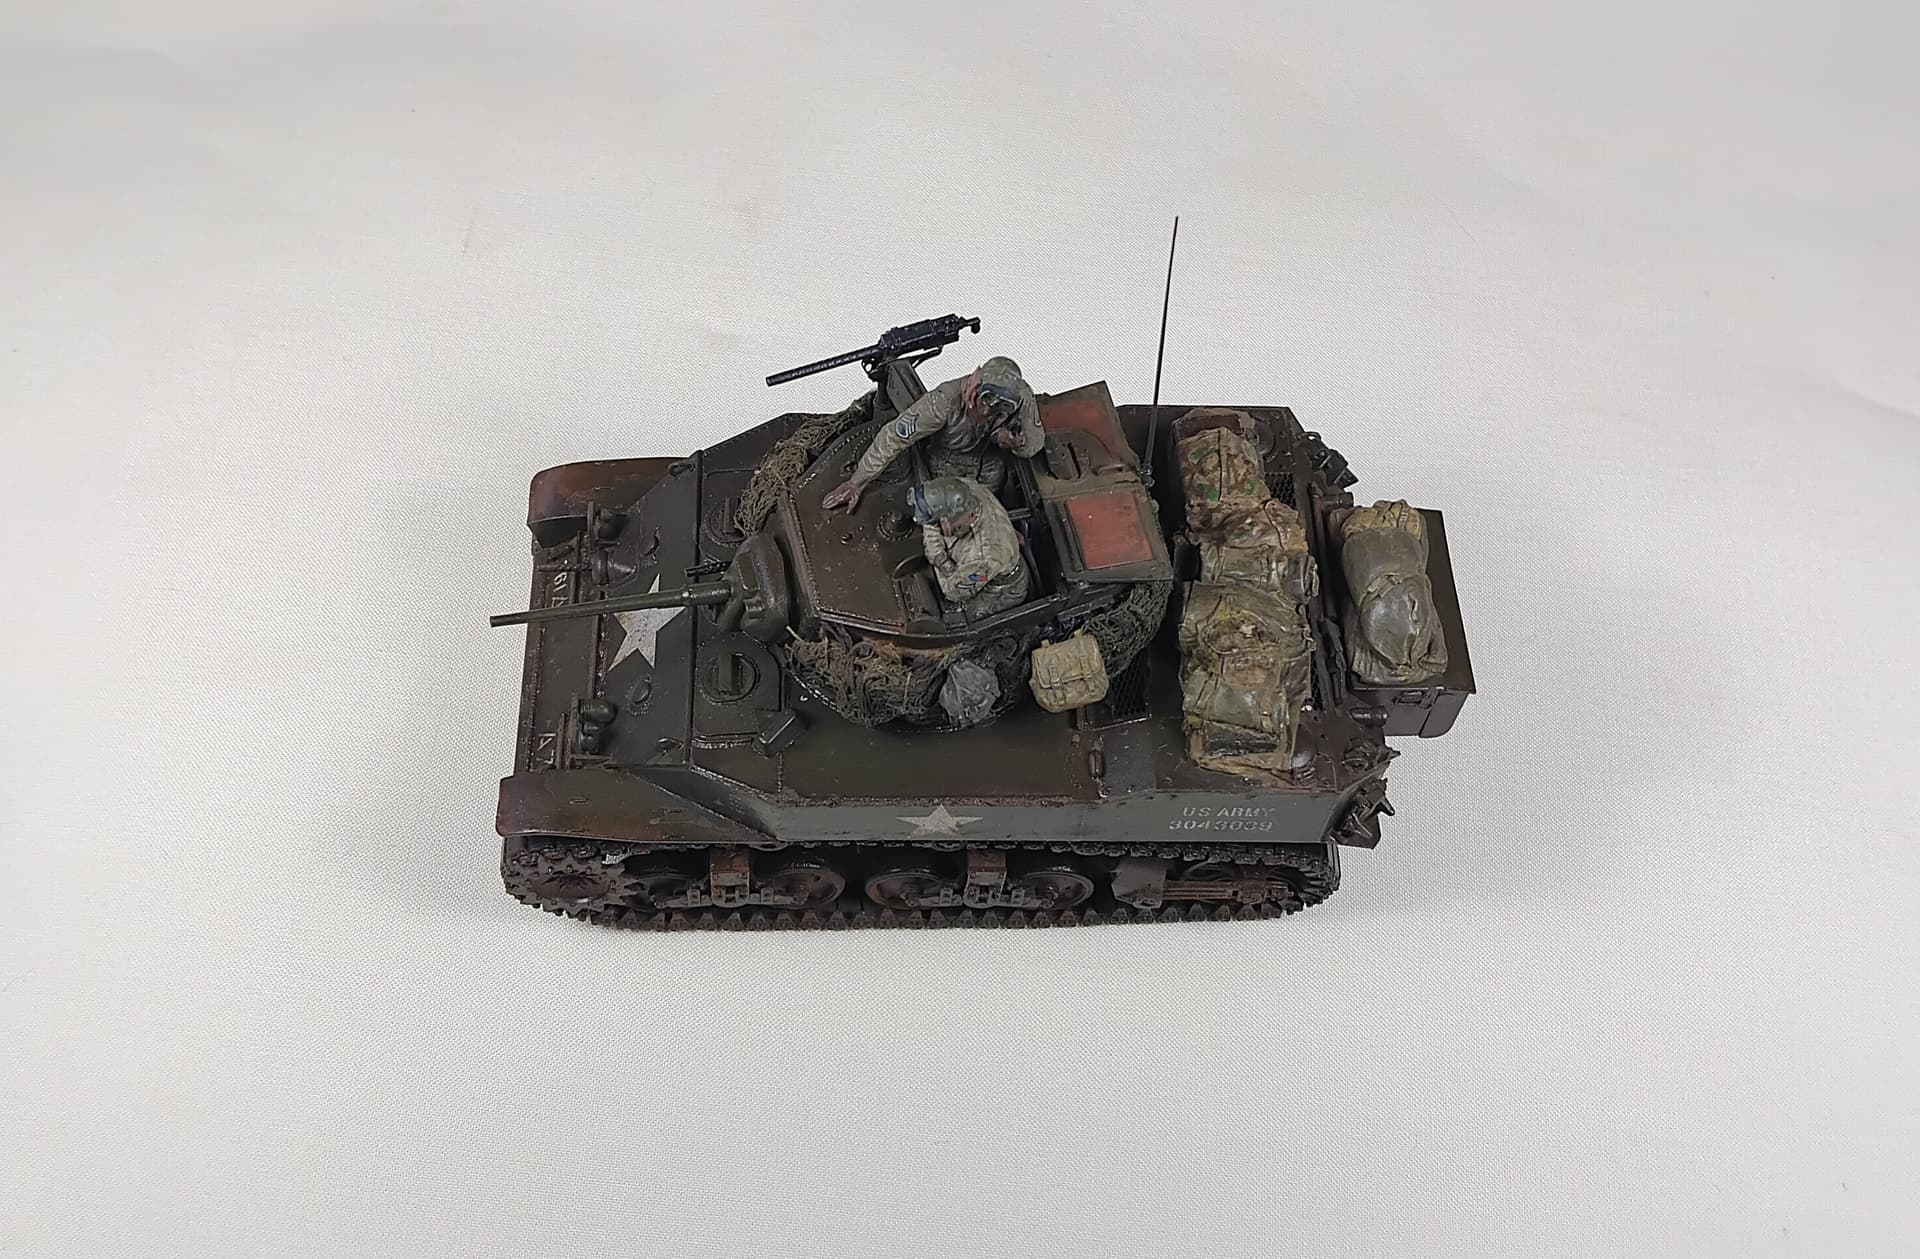
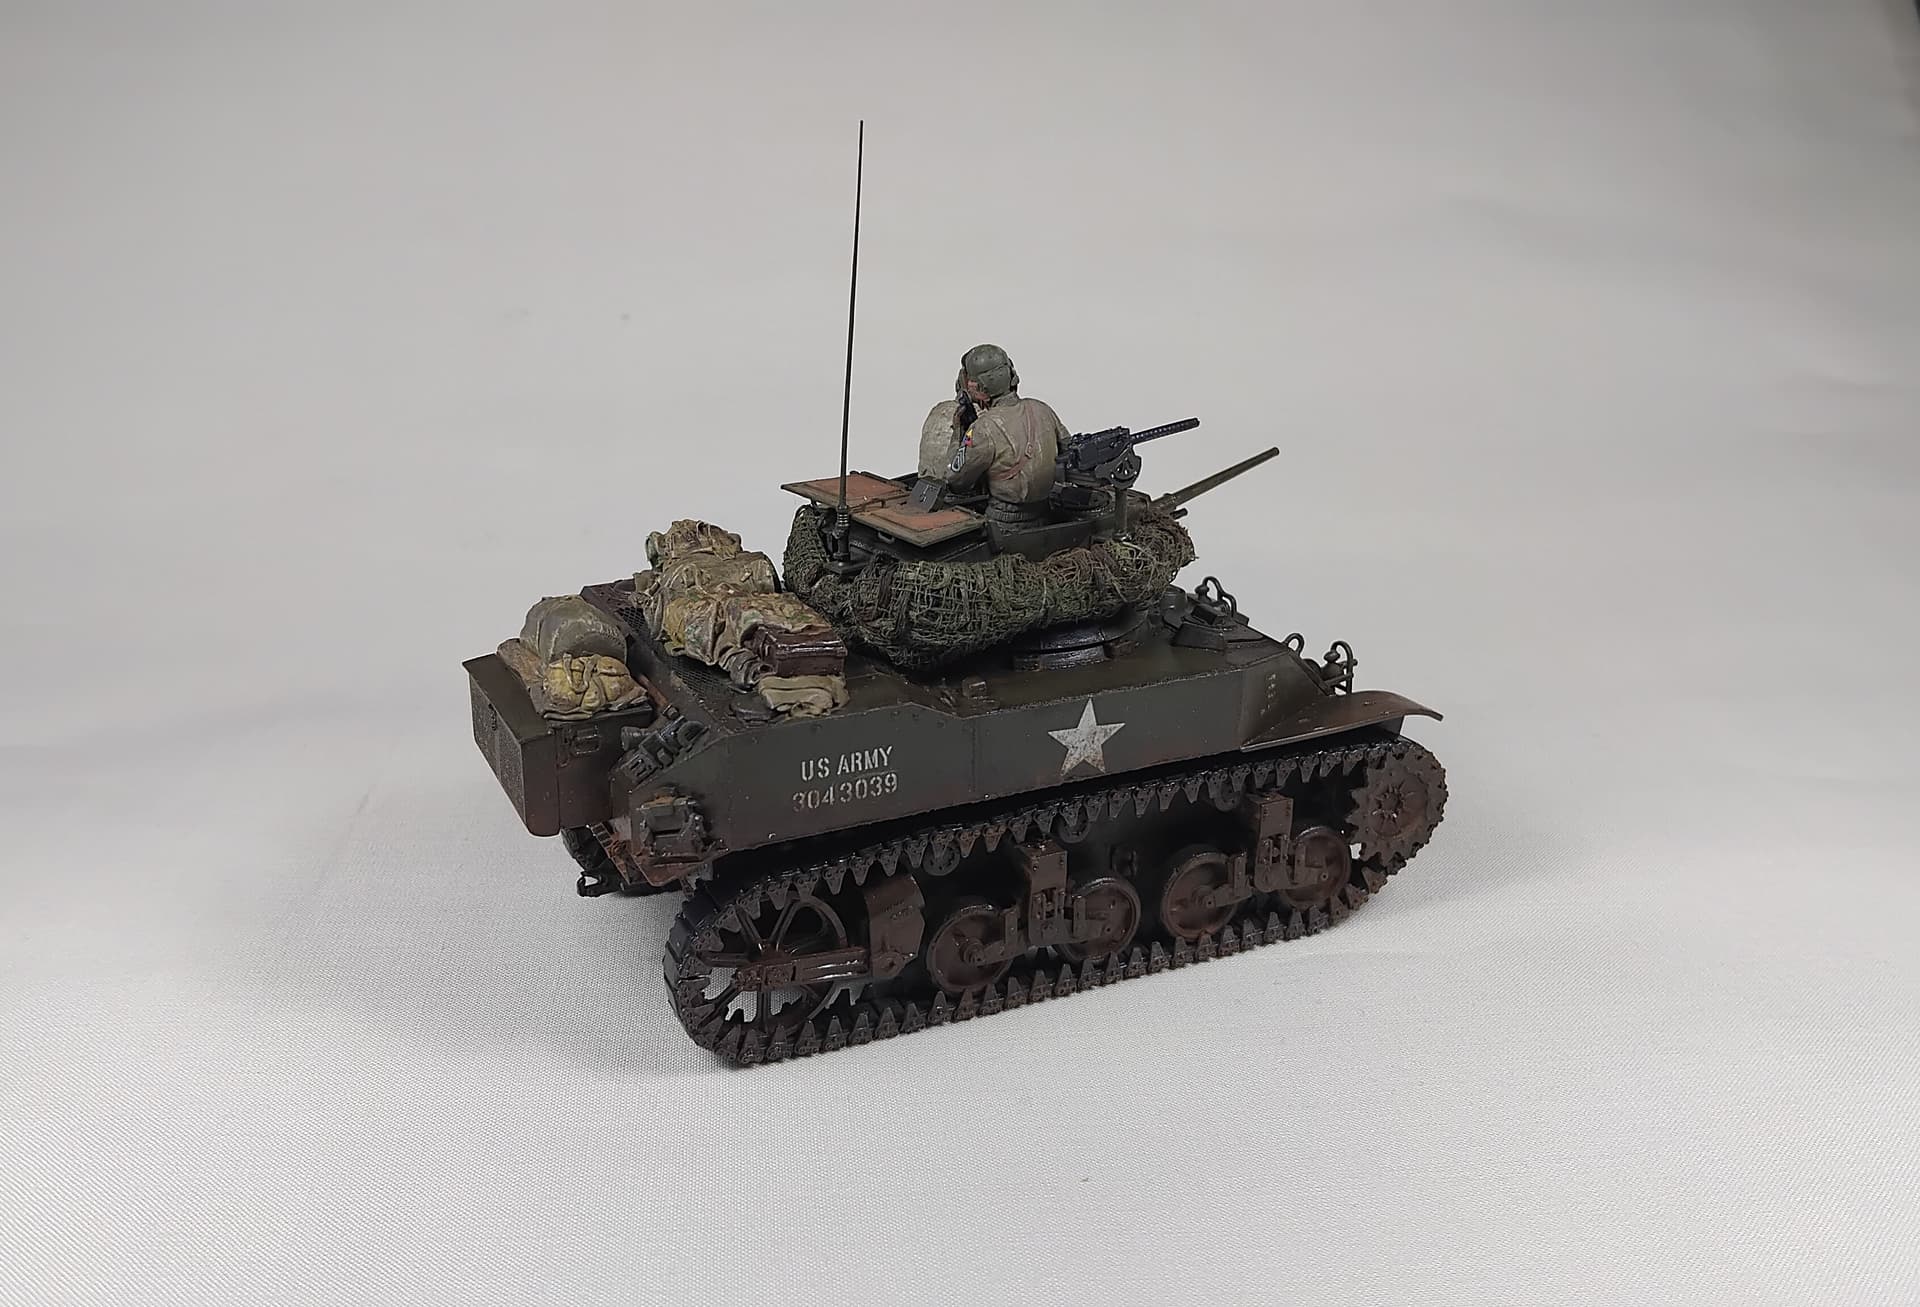
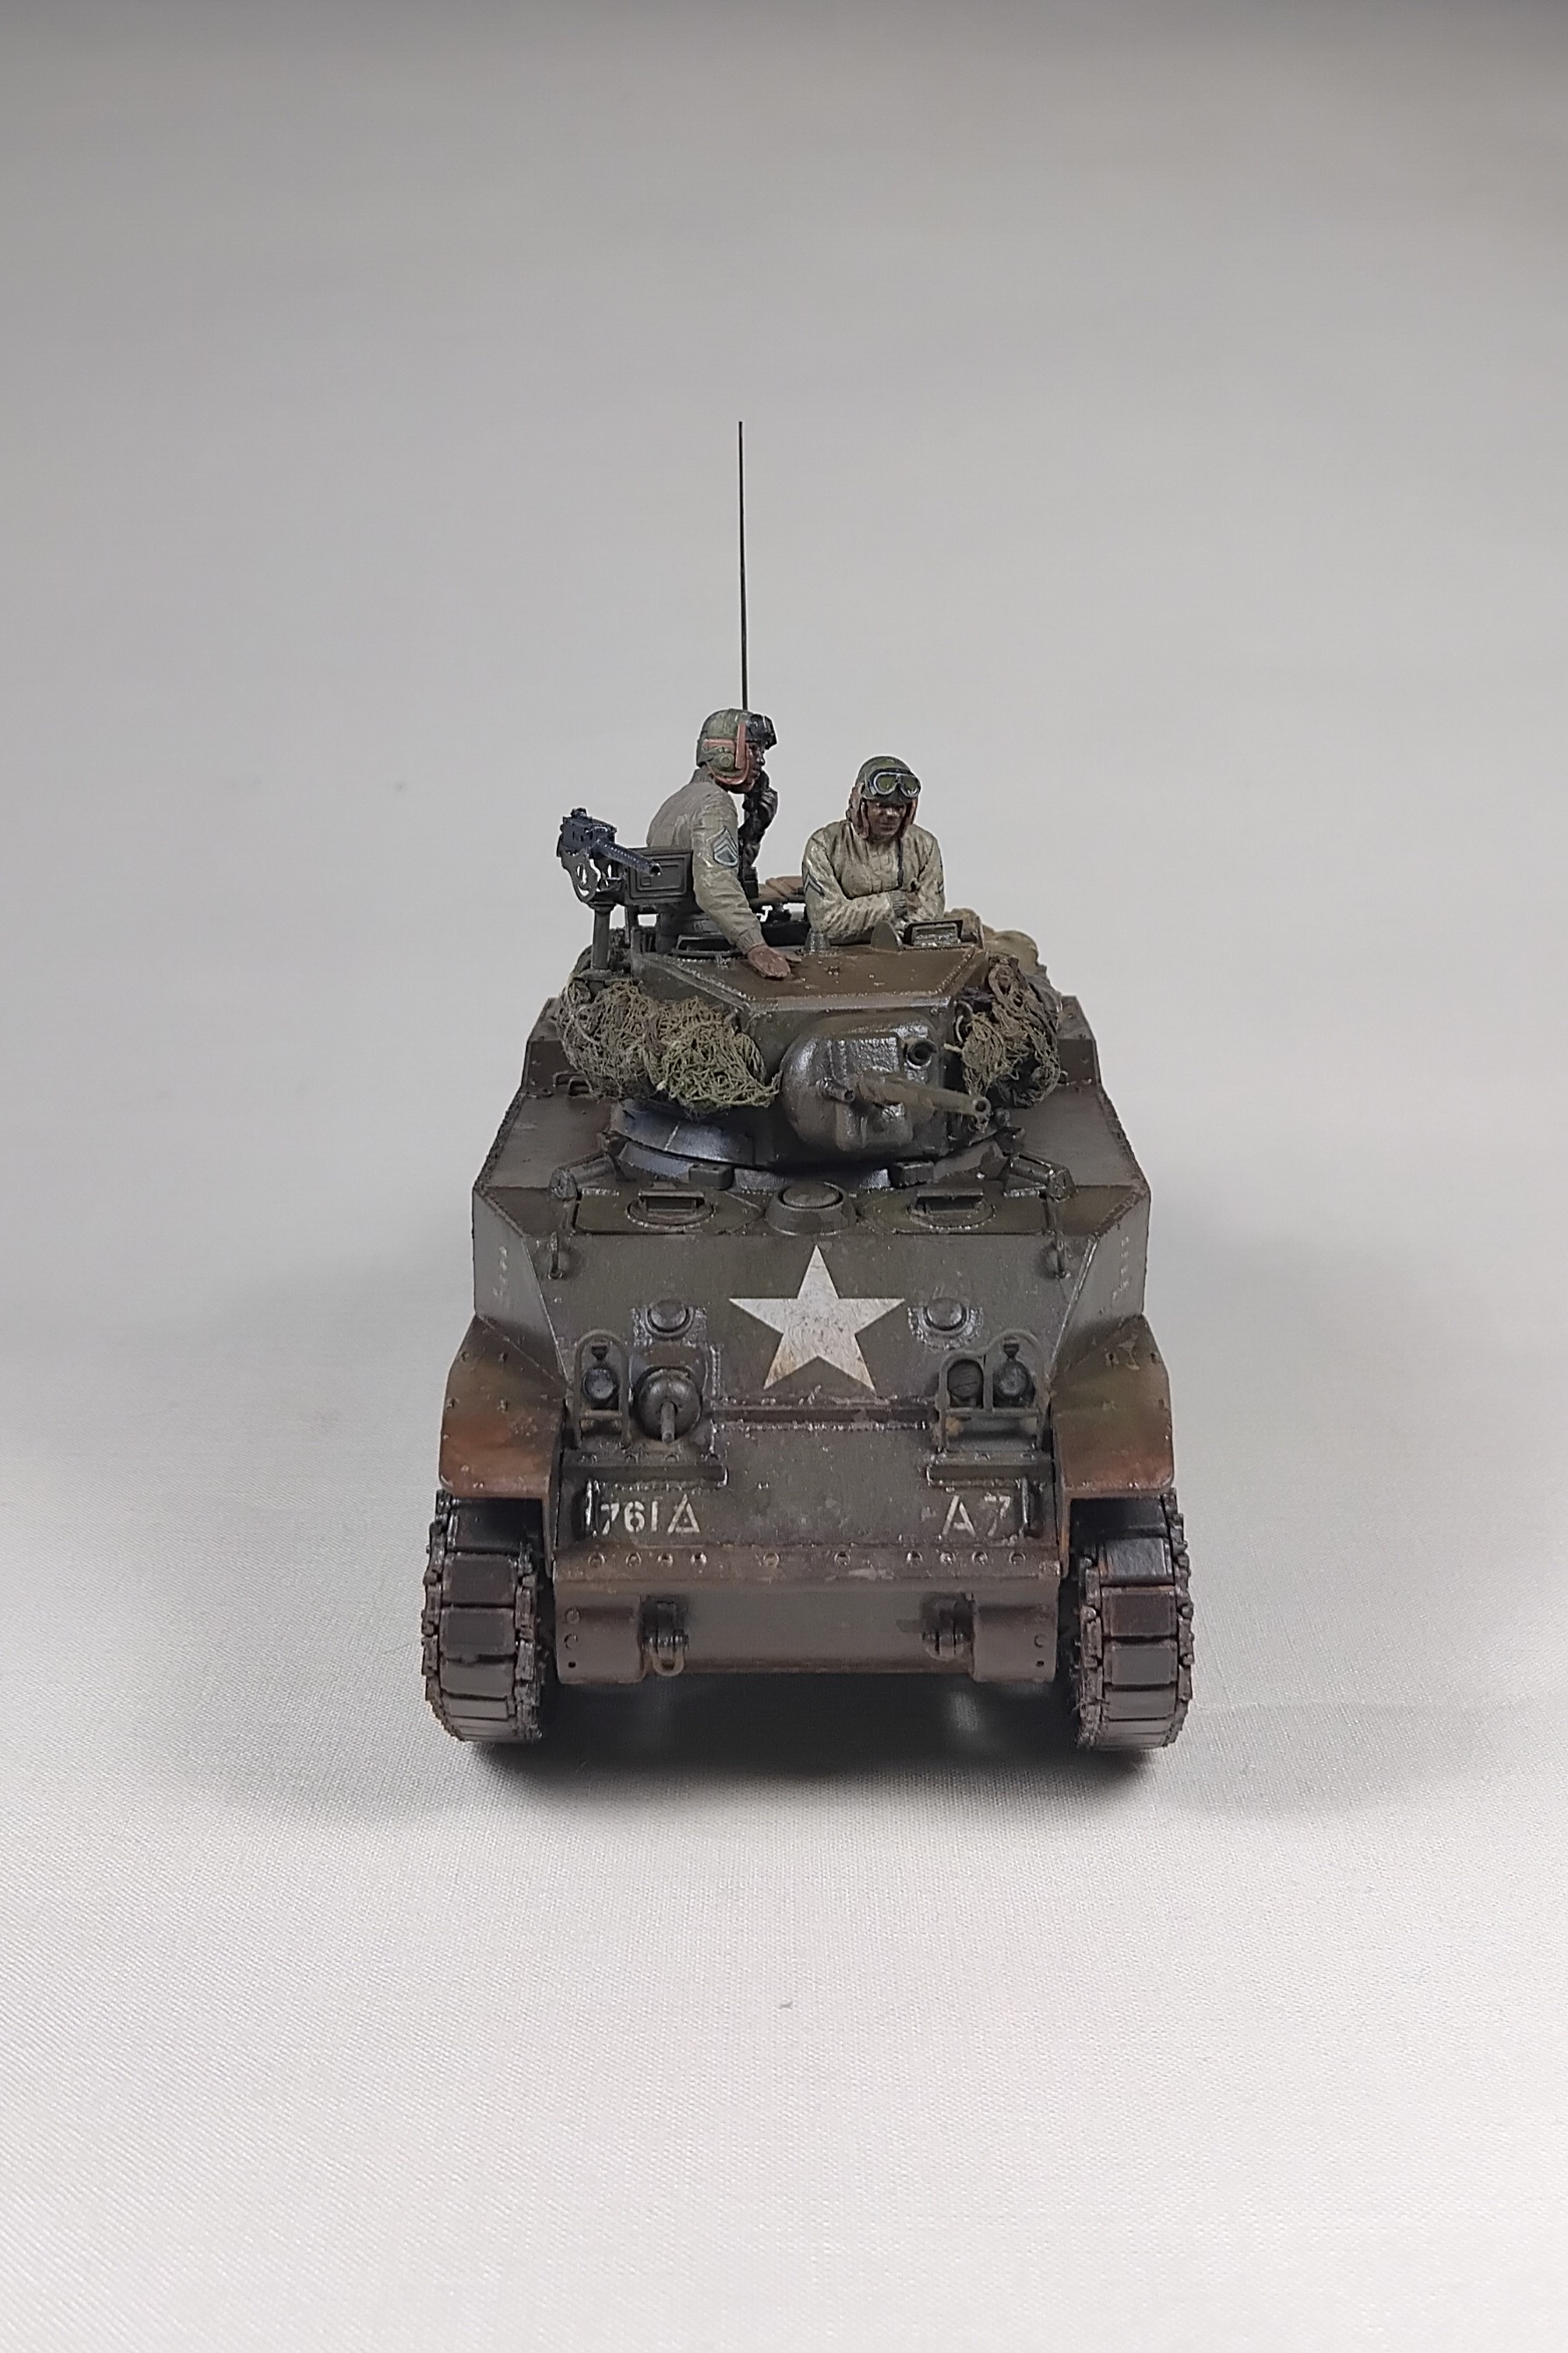
And, finally, the 5th Stuart is done as well!
The 761st have been added to the handful. Painting dark skinstones is not easy and I ended up using German chocolate brown as a base. The rankinsignia came with the figures are were thick and stiff. I had to use copious amount of microset and sol in order for them to properly shape and stick.
The weathering is done to represent early winter in Europe with a dark wash and wet pastels, done with water and satin varnish.
15 Likes
Ron: just a suggestion - maybe add more front light to your model photography.
2 Likes
You might also try cutting a lens sized hole in a large piece of white cardboard, mount that on the front of your lens and use it as a reflector to bounce some of the light put out by the two side lights back onto your subject.
Just a suggestion. Please know that I have faced some of the very same challenges in my model photography.
2 Likes
Thank you for the suggestions! They are most welcome. I’ll give the cardboard idea a try, but will have to adapt it, since I use my cellphone for pictures.
I only have 2 adjustable overhead lamps and a narrow desk to work with, so it is a bit of a challenge.
2 Likes