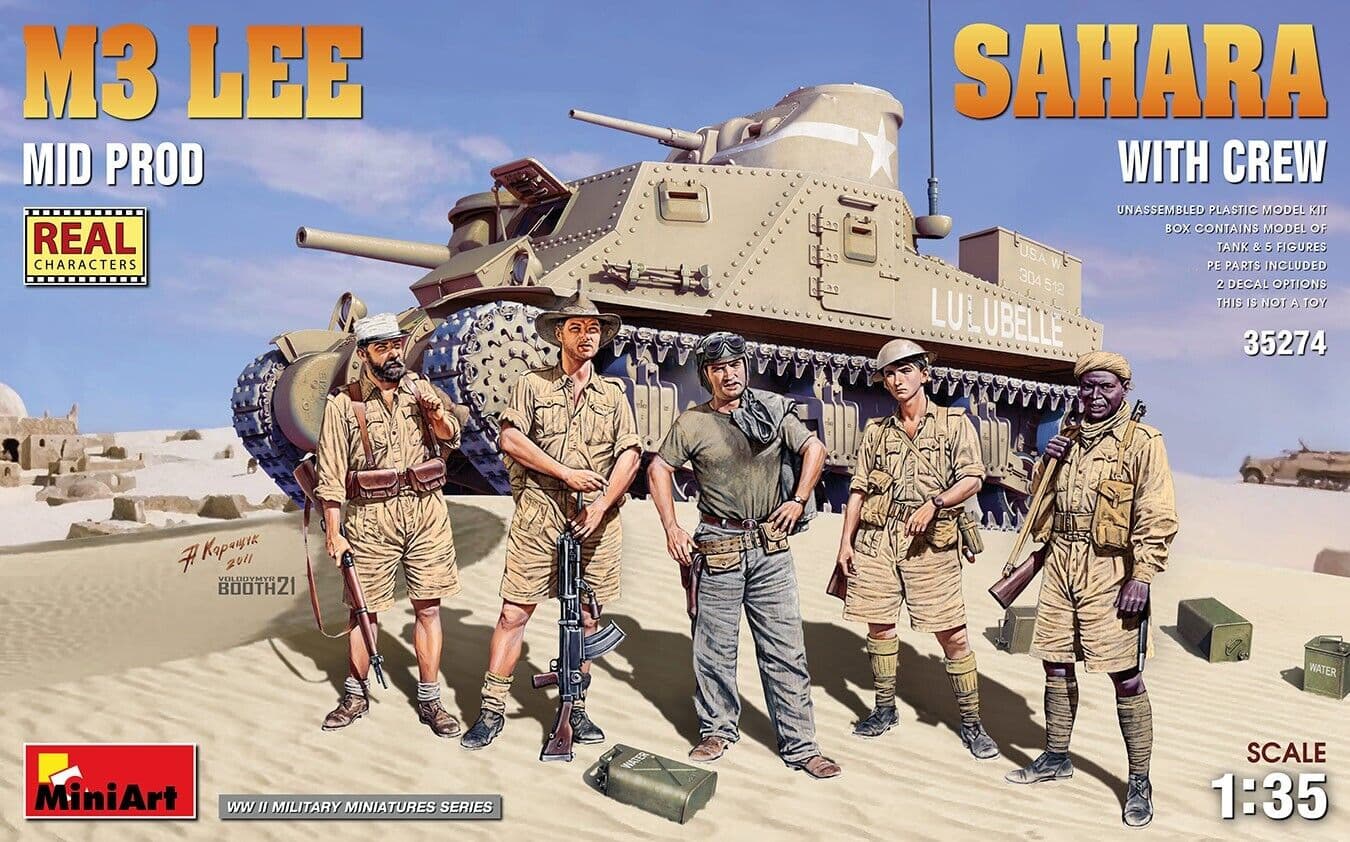
That’s pretty much the entire cast from the 1995 “Sahara” movie with James Belushi. Al you’d need is an M3 Lee tank to make diorama from the movie. ![]()
5 Likes
In fact; Miniart made a special release of their Mid Production M3 Lee WITH this figure set as well…
4 Likes
Nope, not going there. But the resemblence is striking! Even in this scale.
The tanker (with different head) will end up with the planned M32B1, the Brit with the Alamein M7 priest and the head from the Sudanese as one of the crew of the 761st.
4 Likes
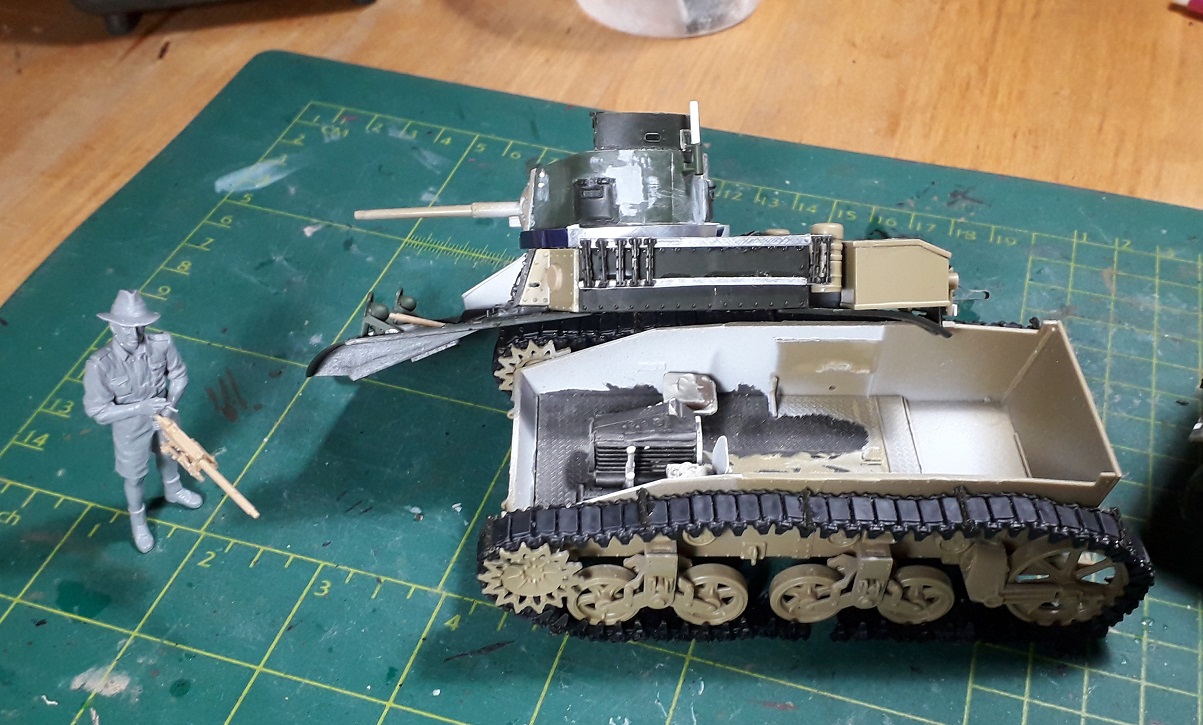
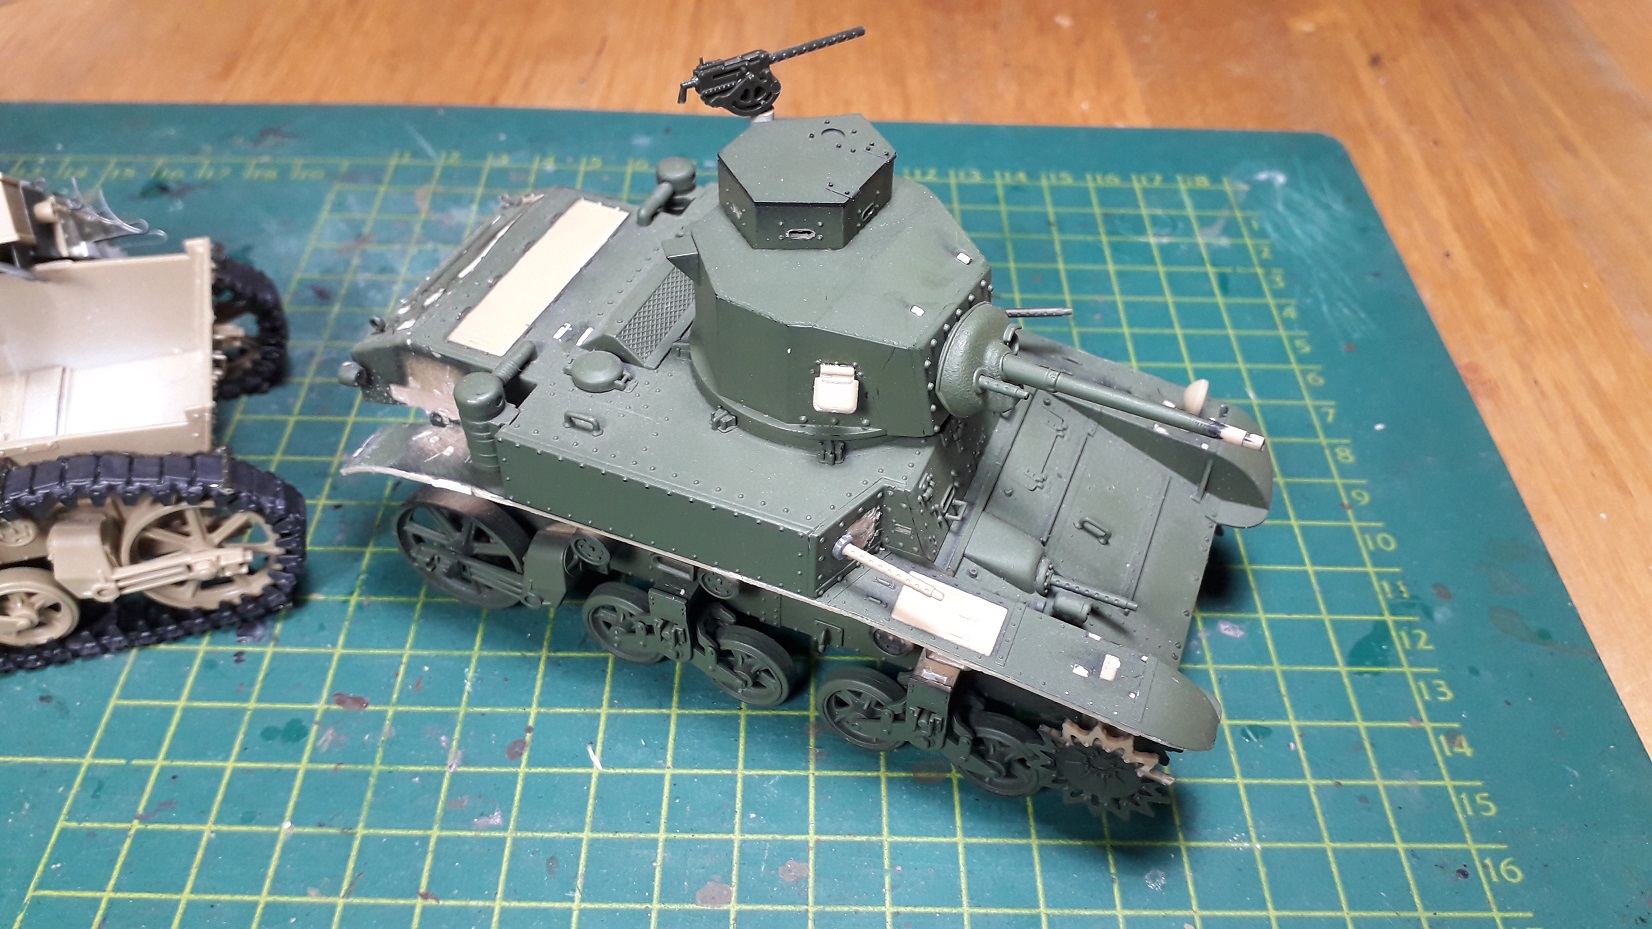
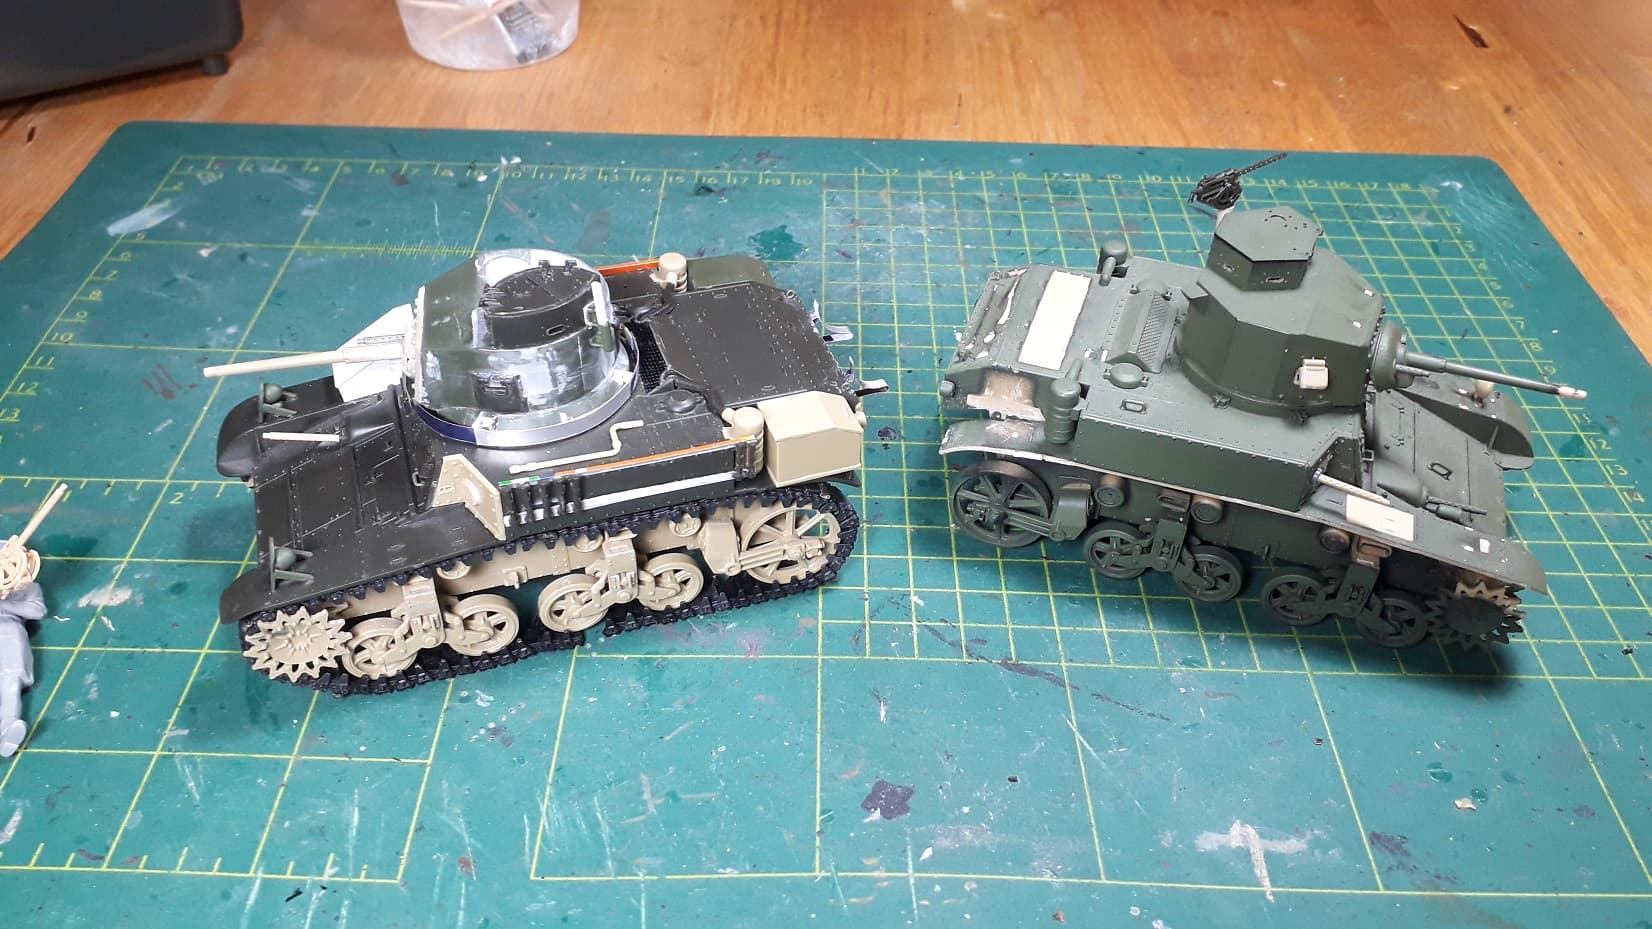
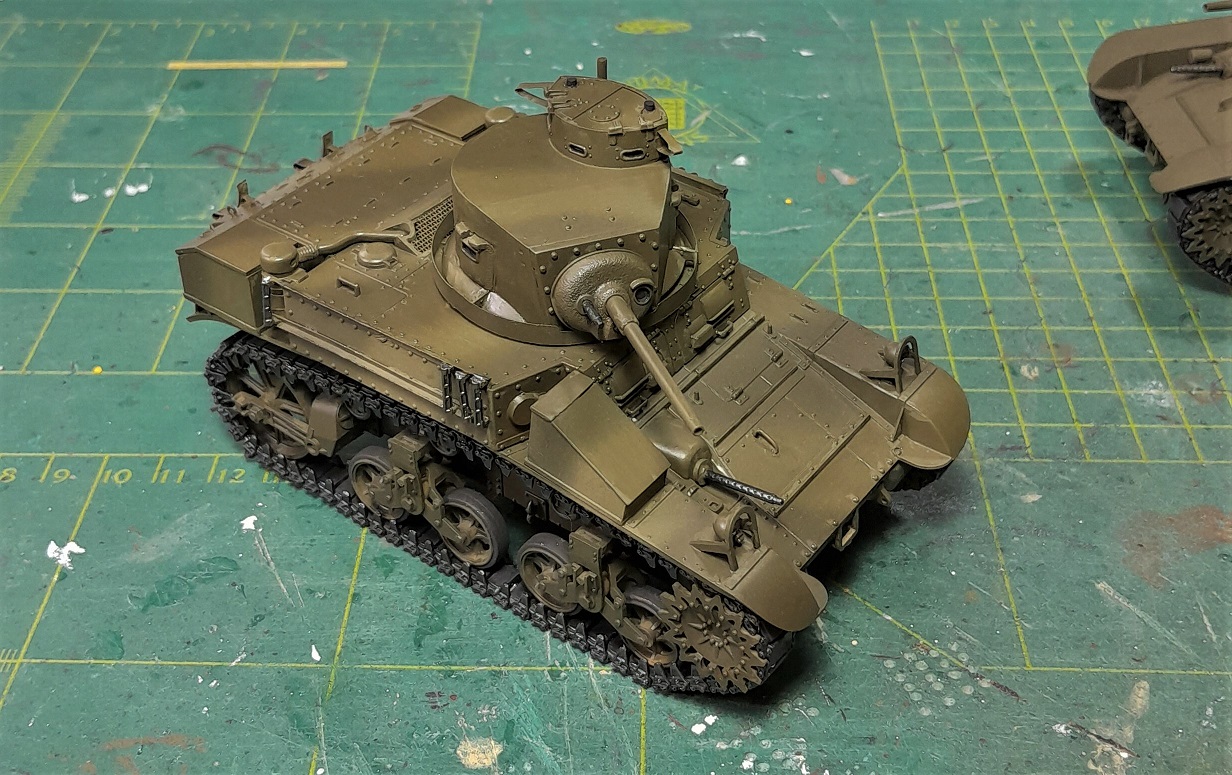
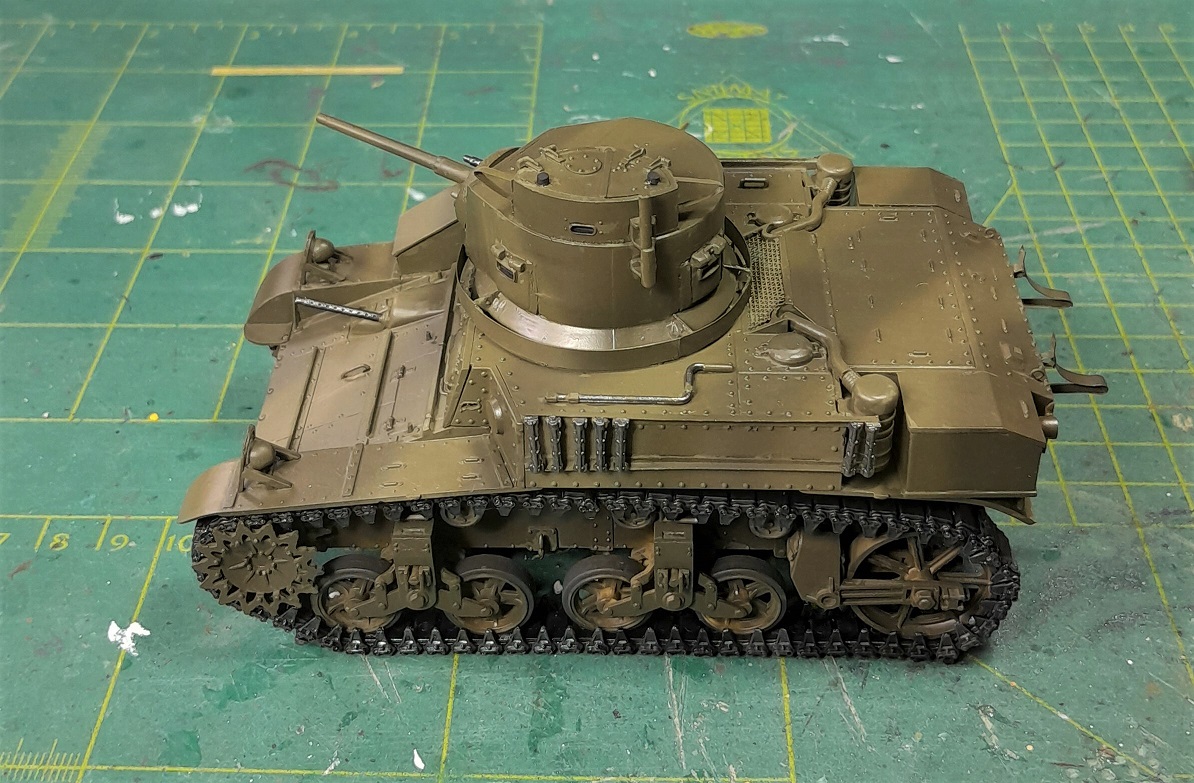
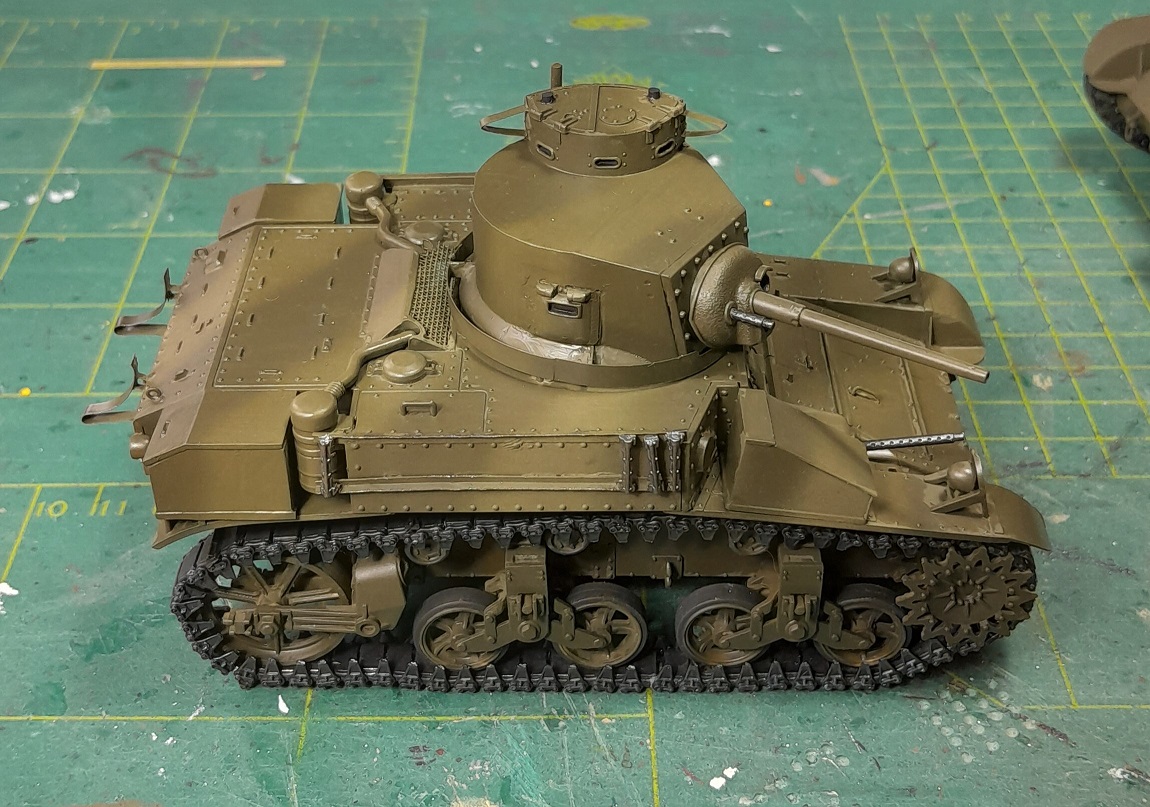
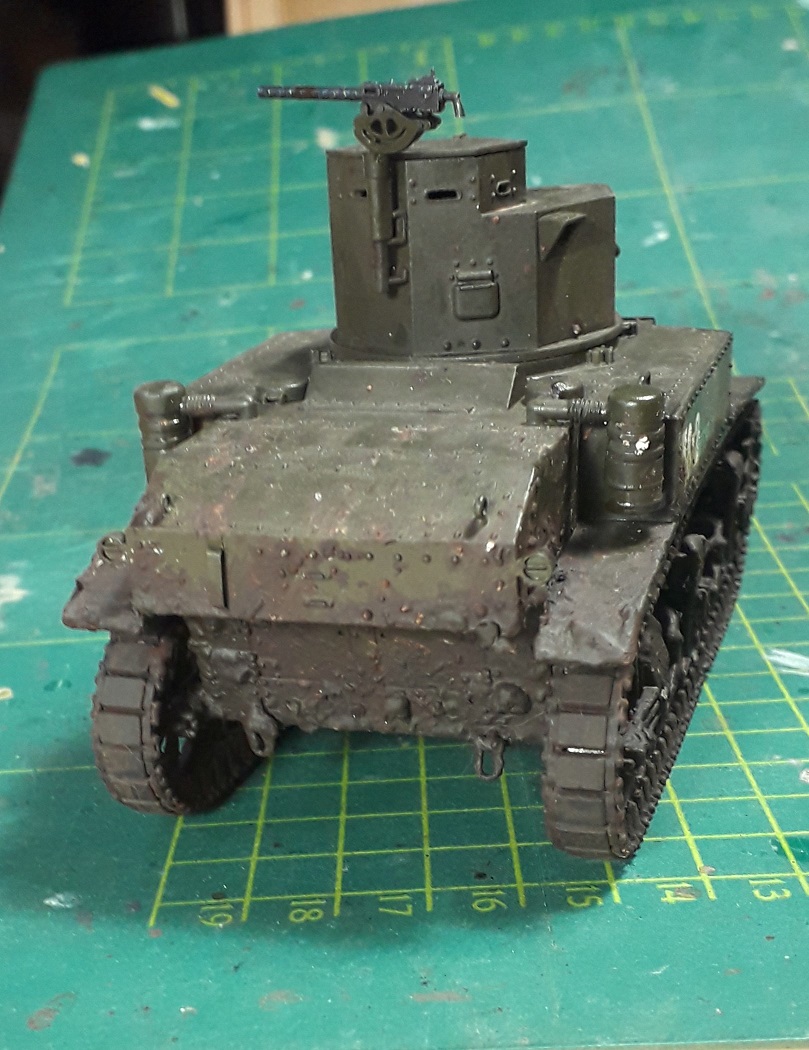
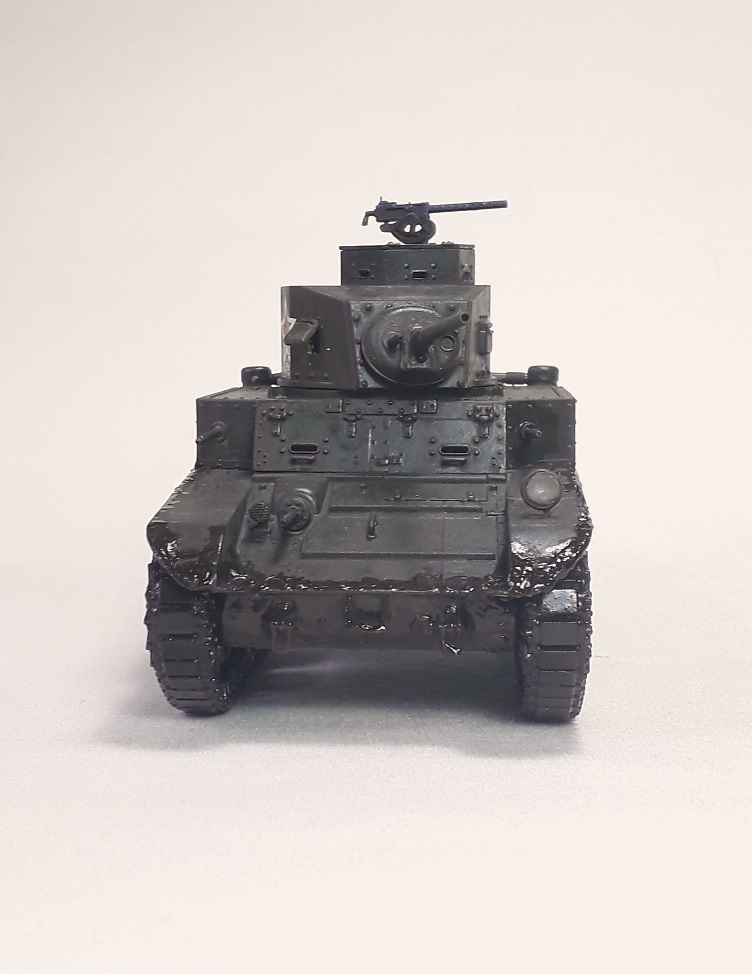
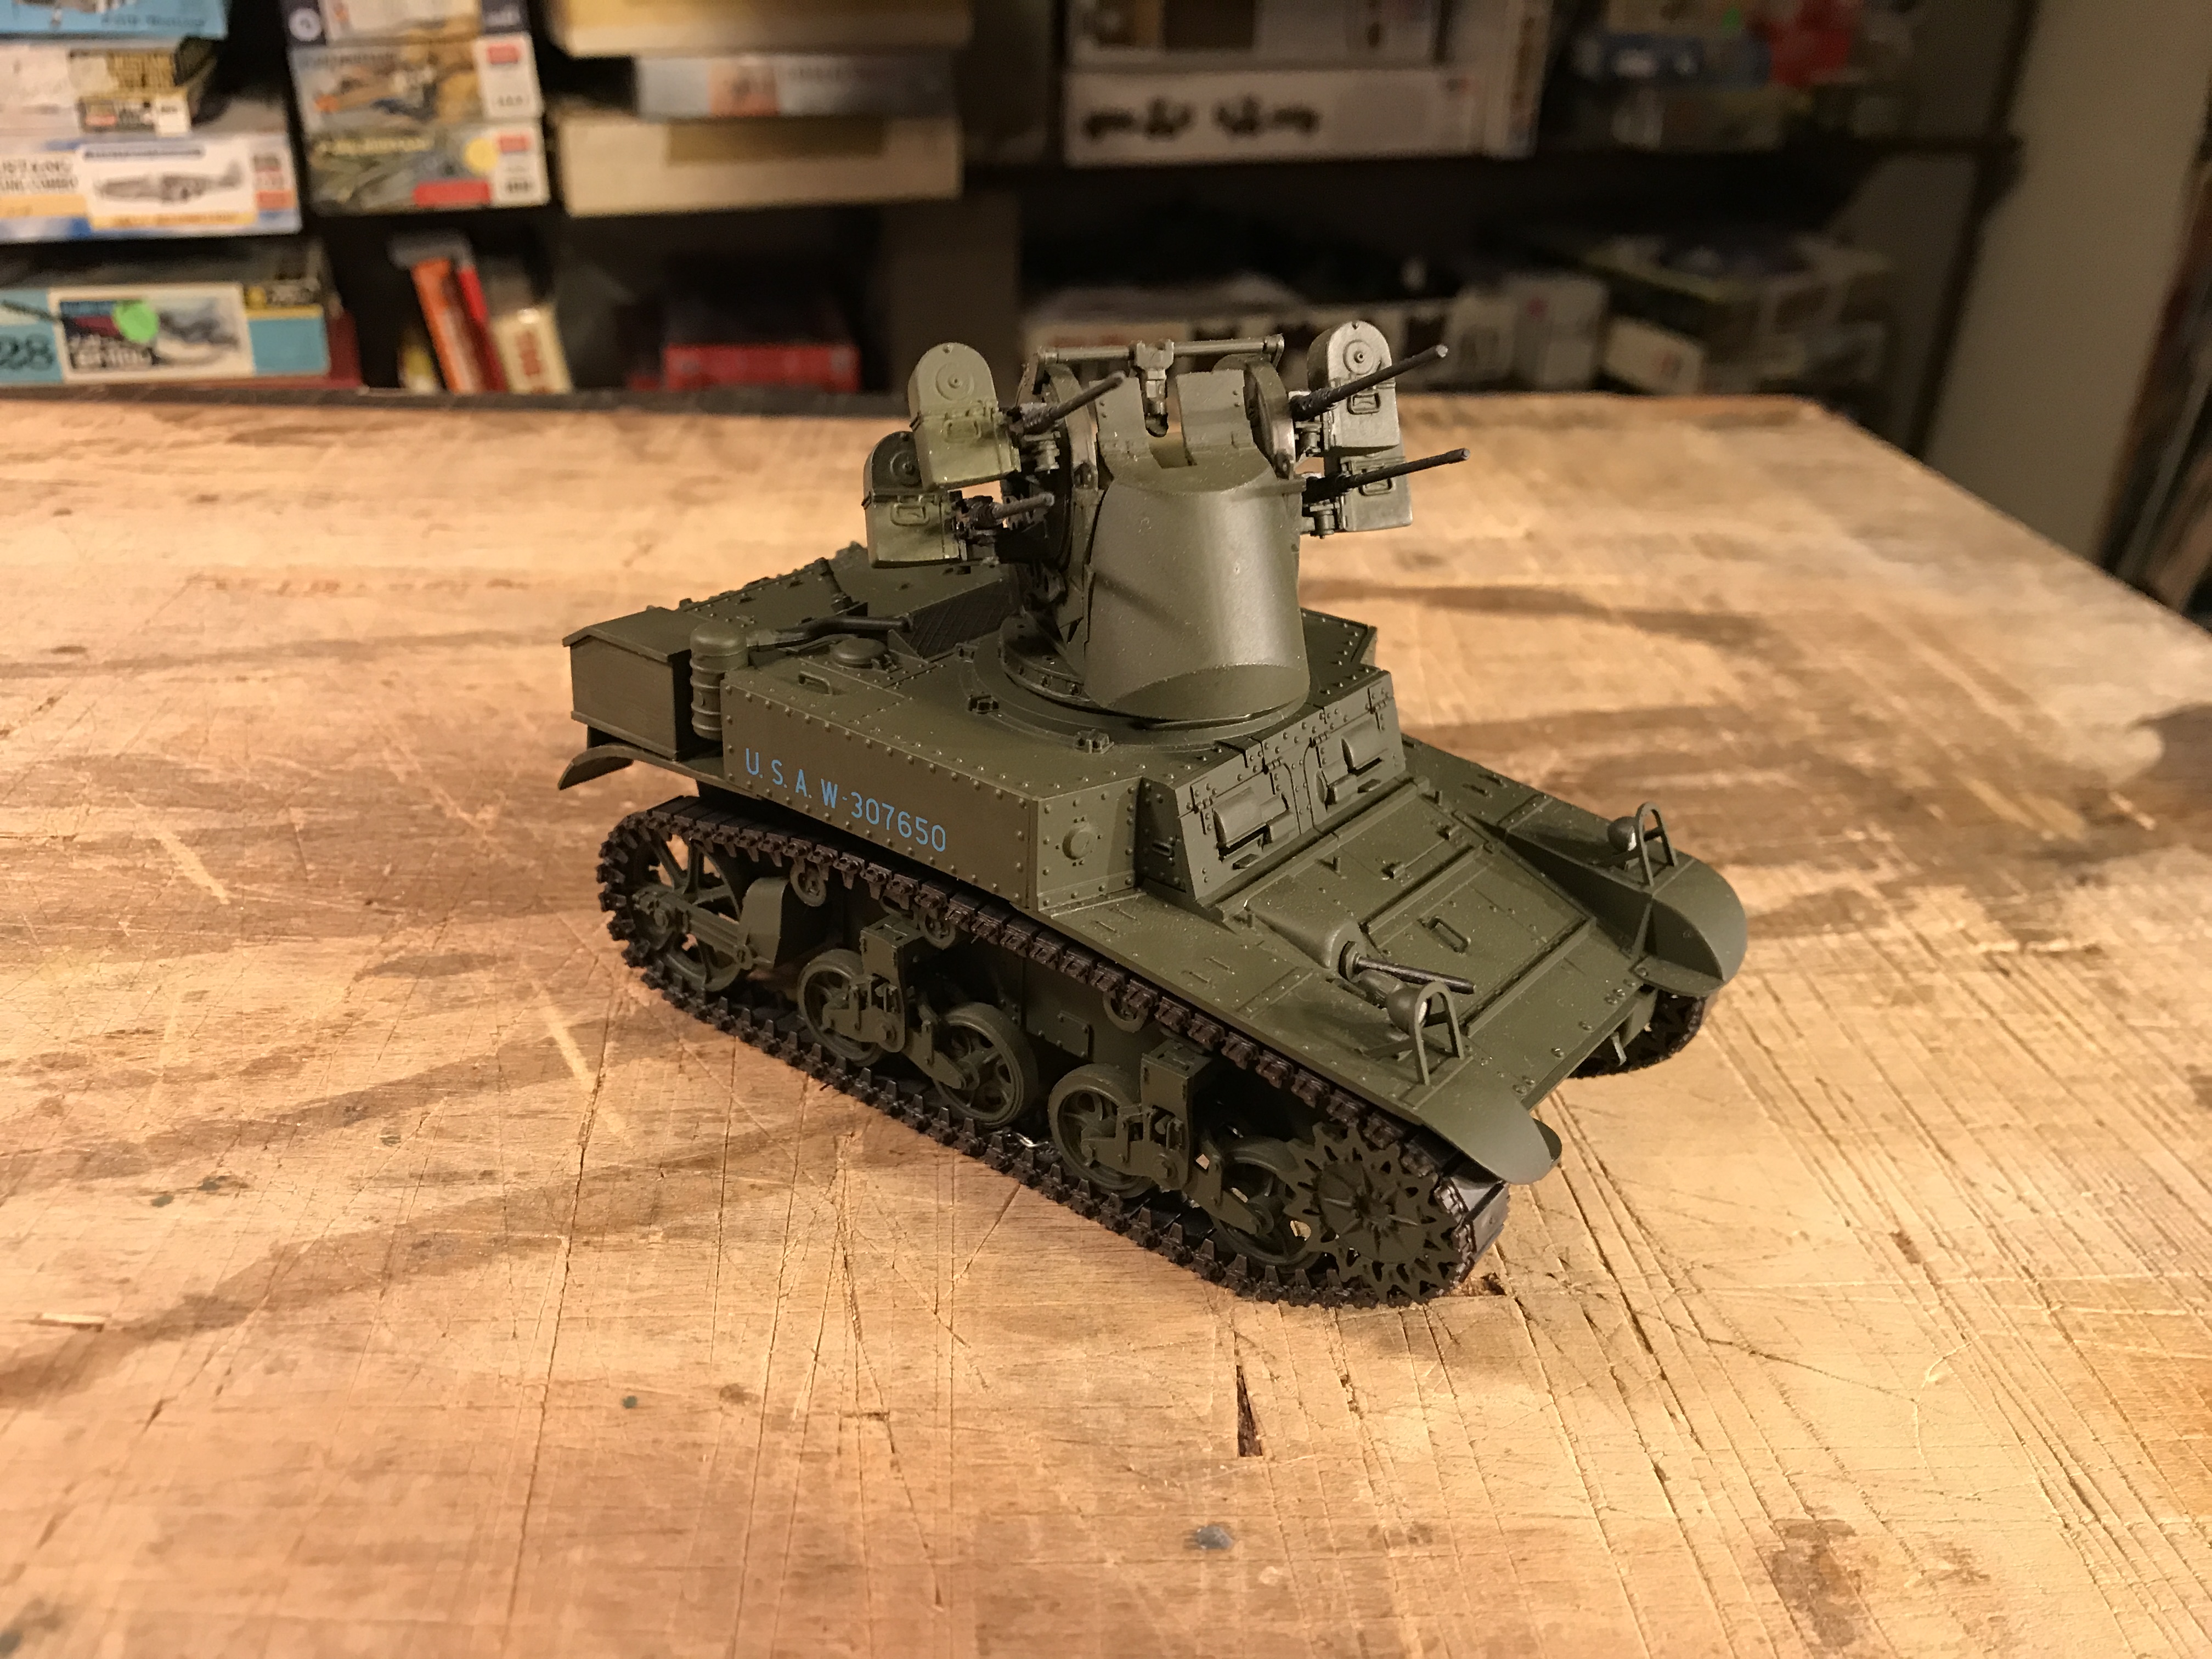
Decided to trim the fenders off my M5A1 Stuart abs remove the turret flare.
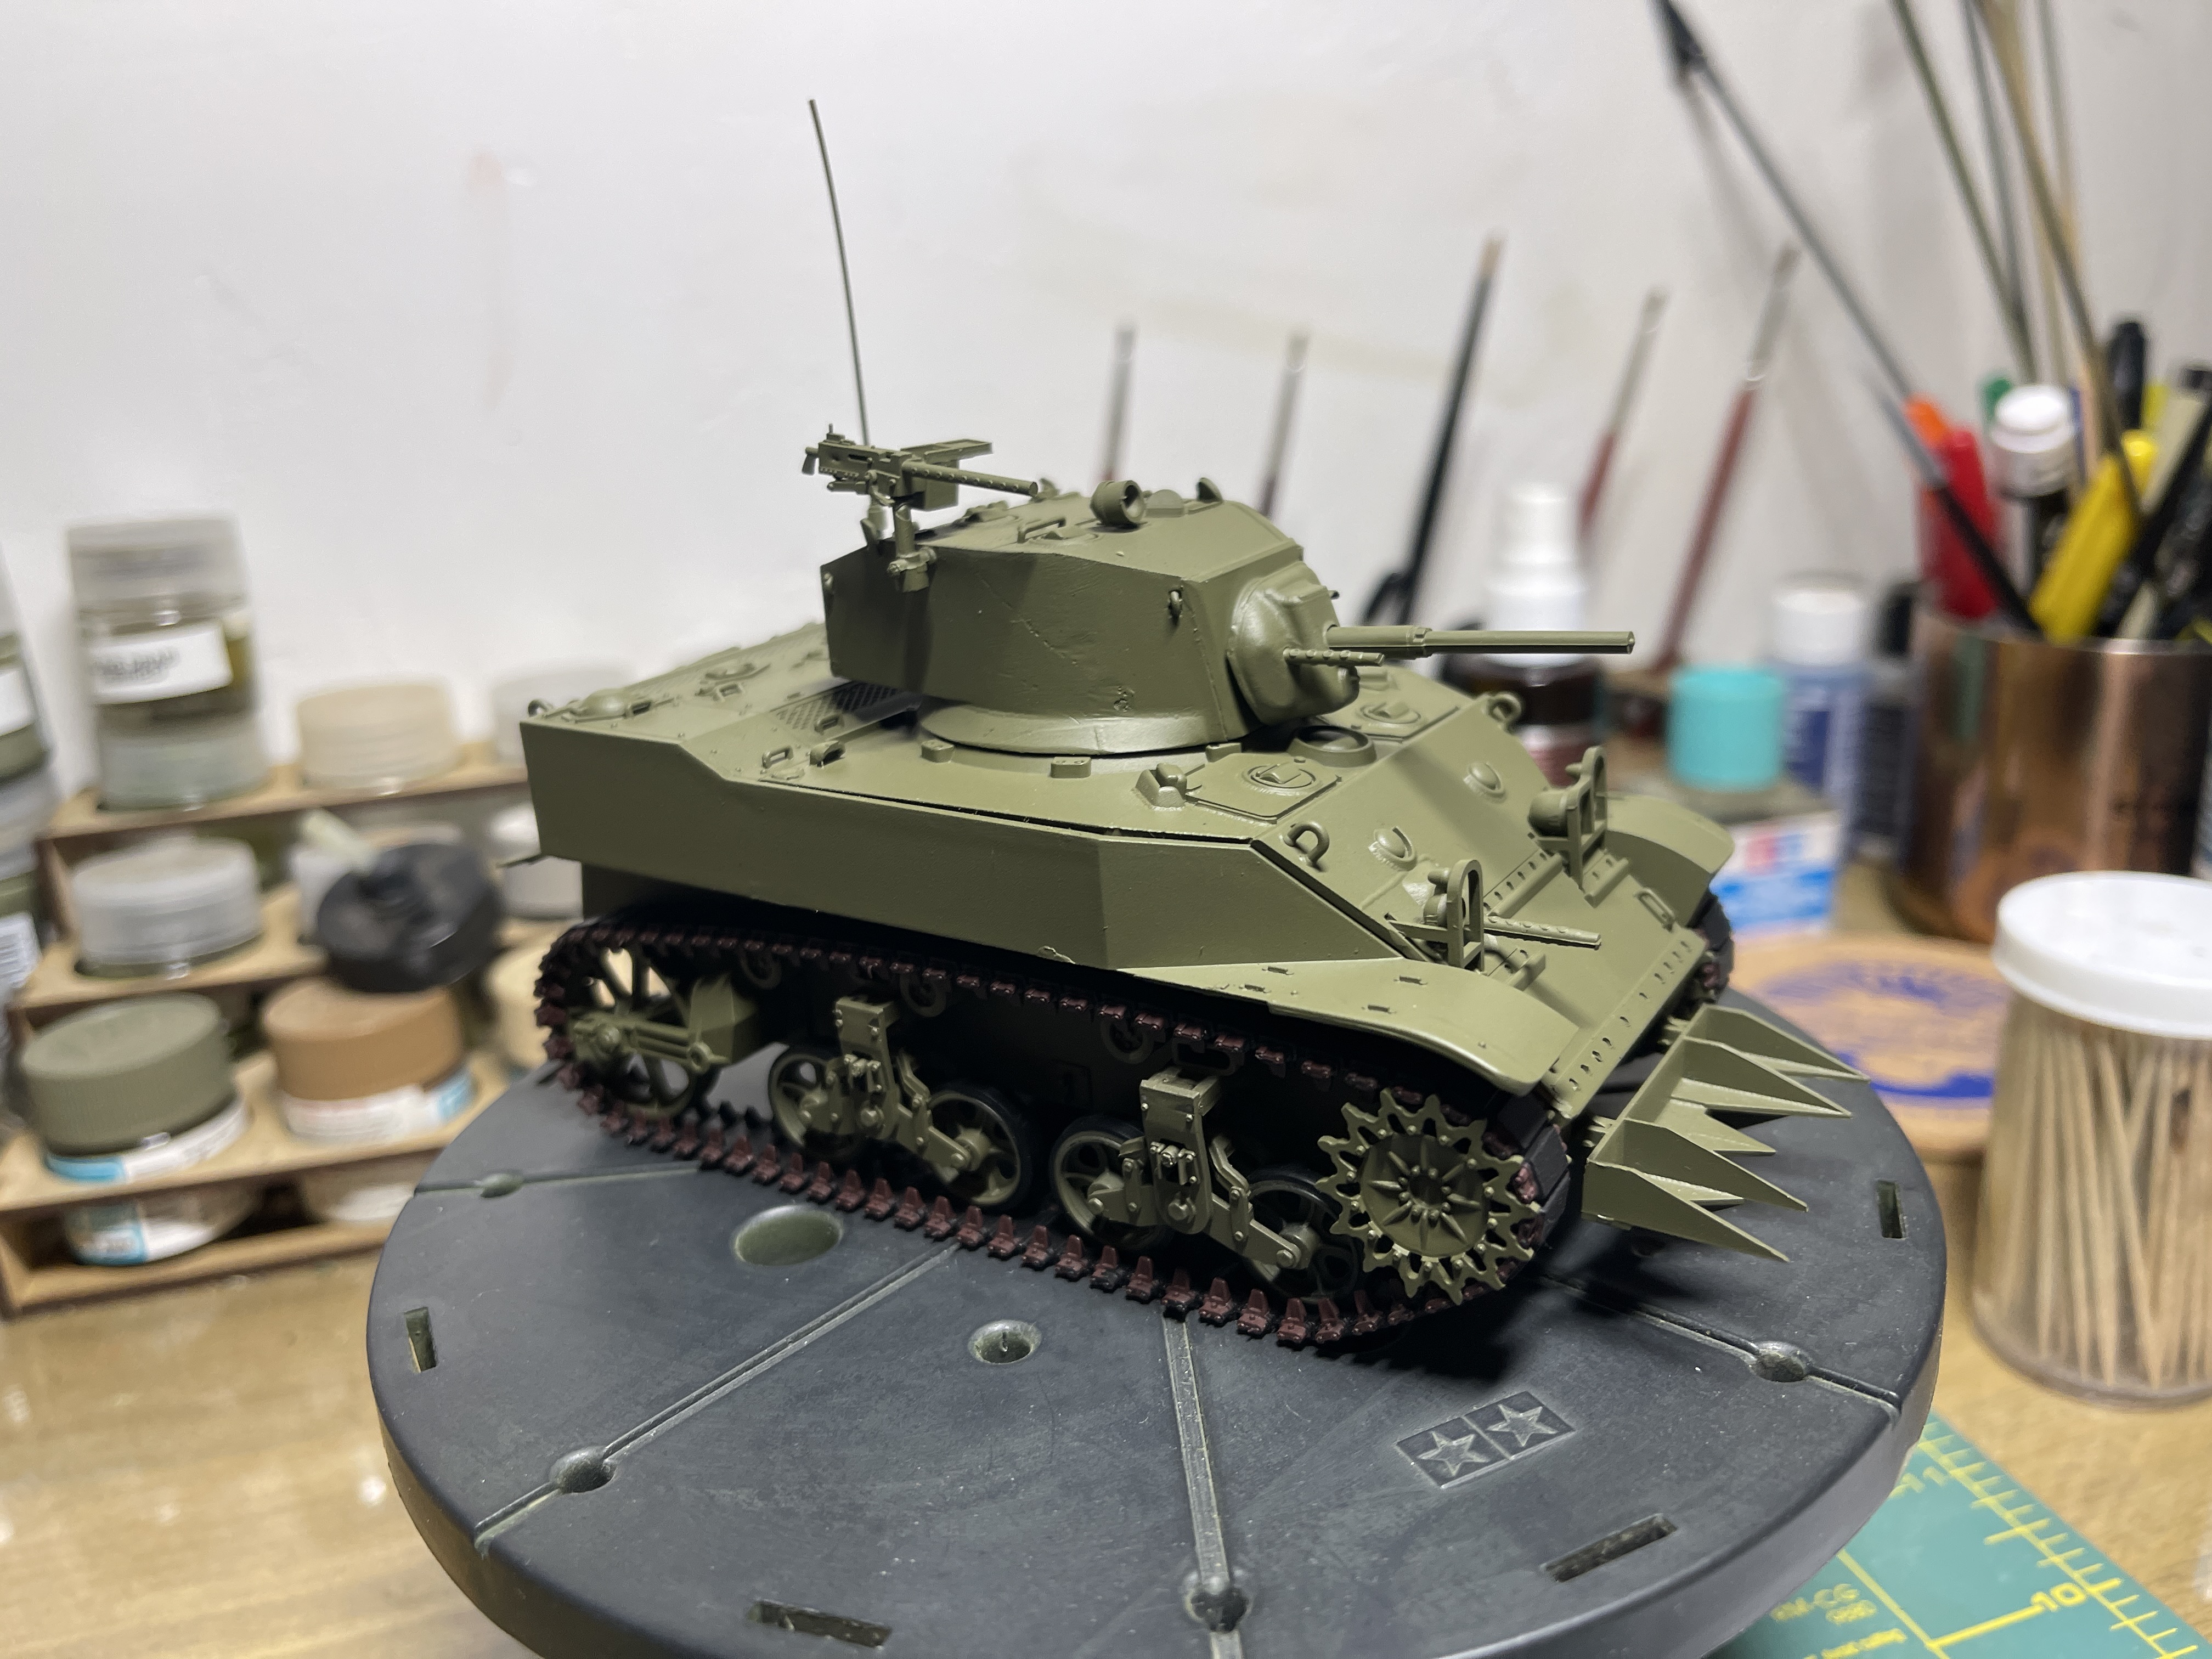
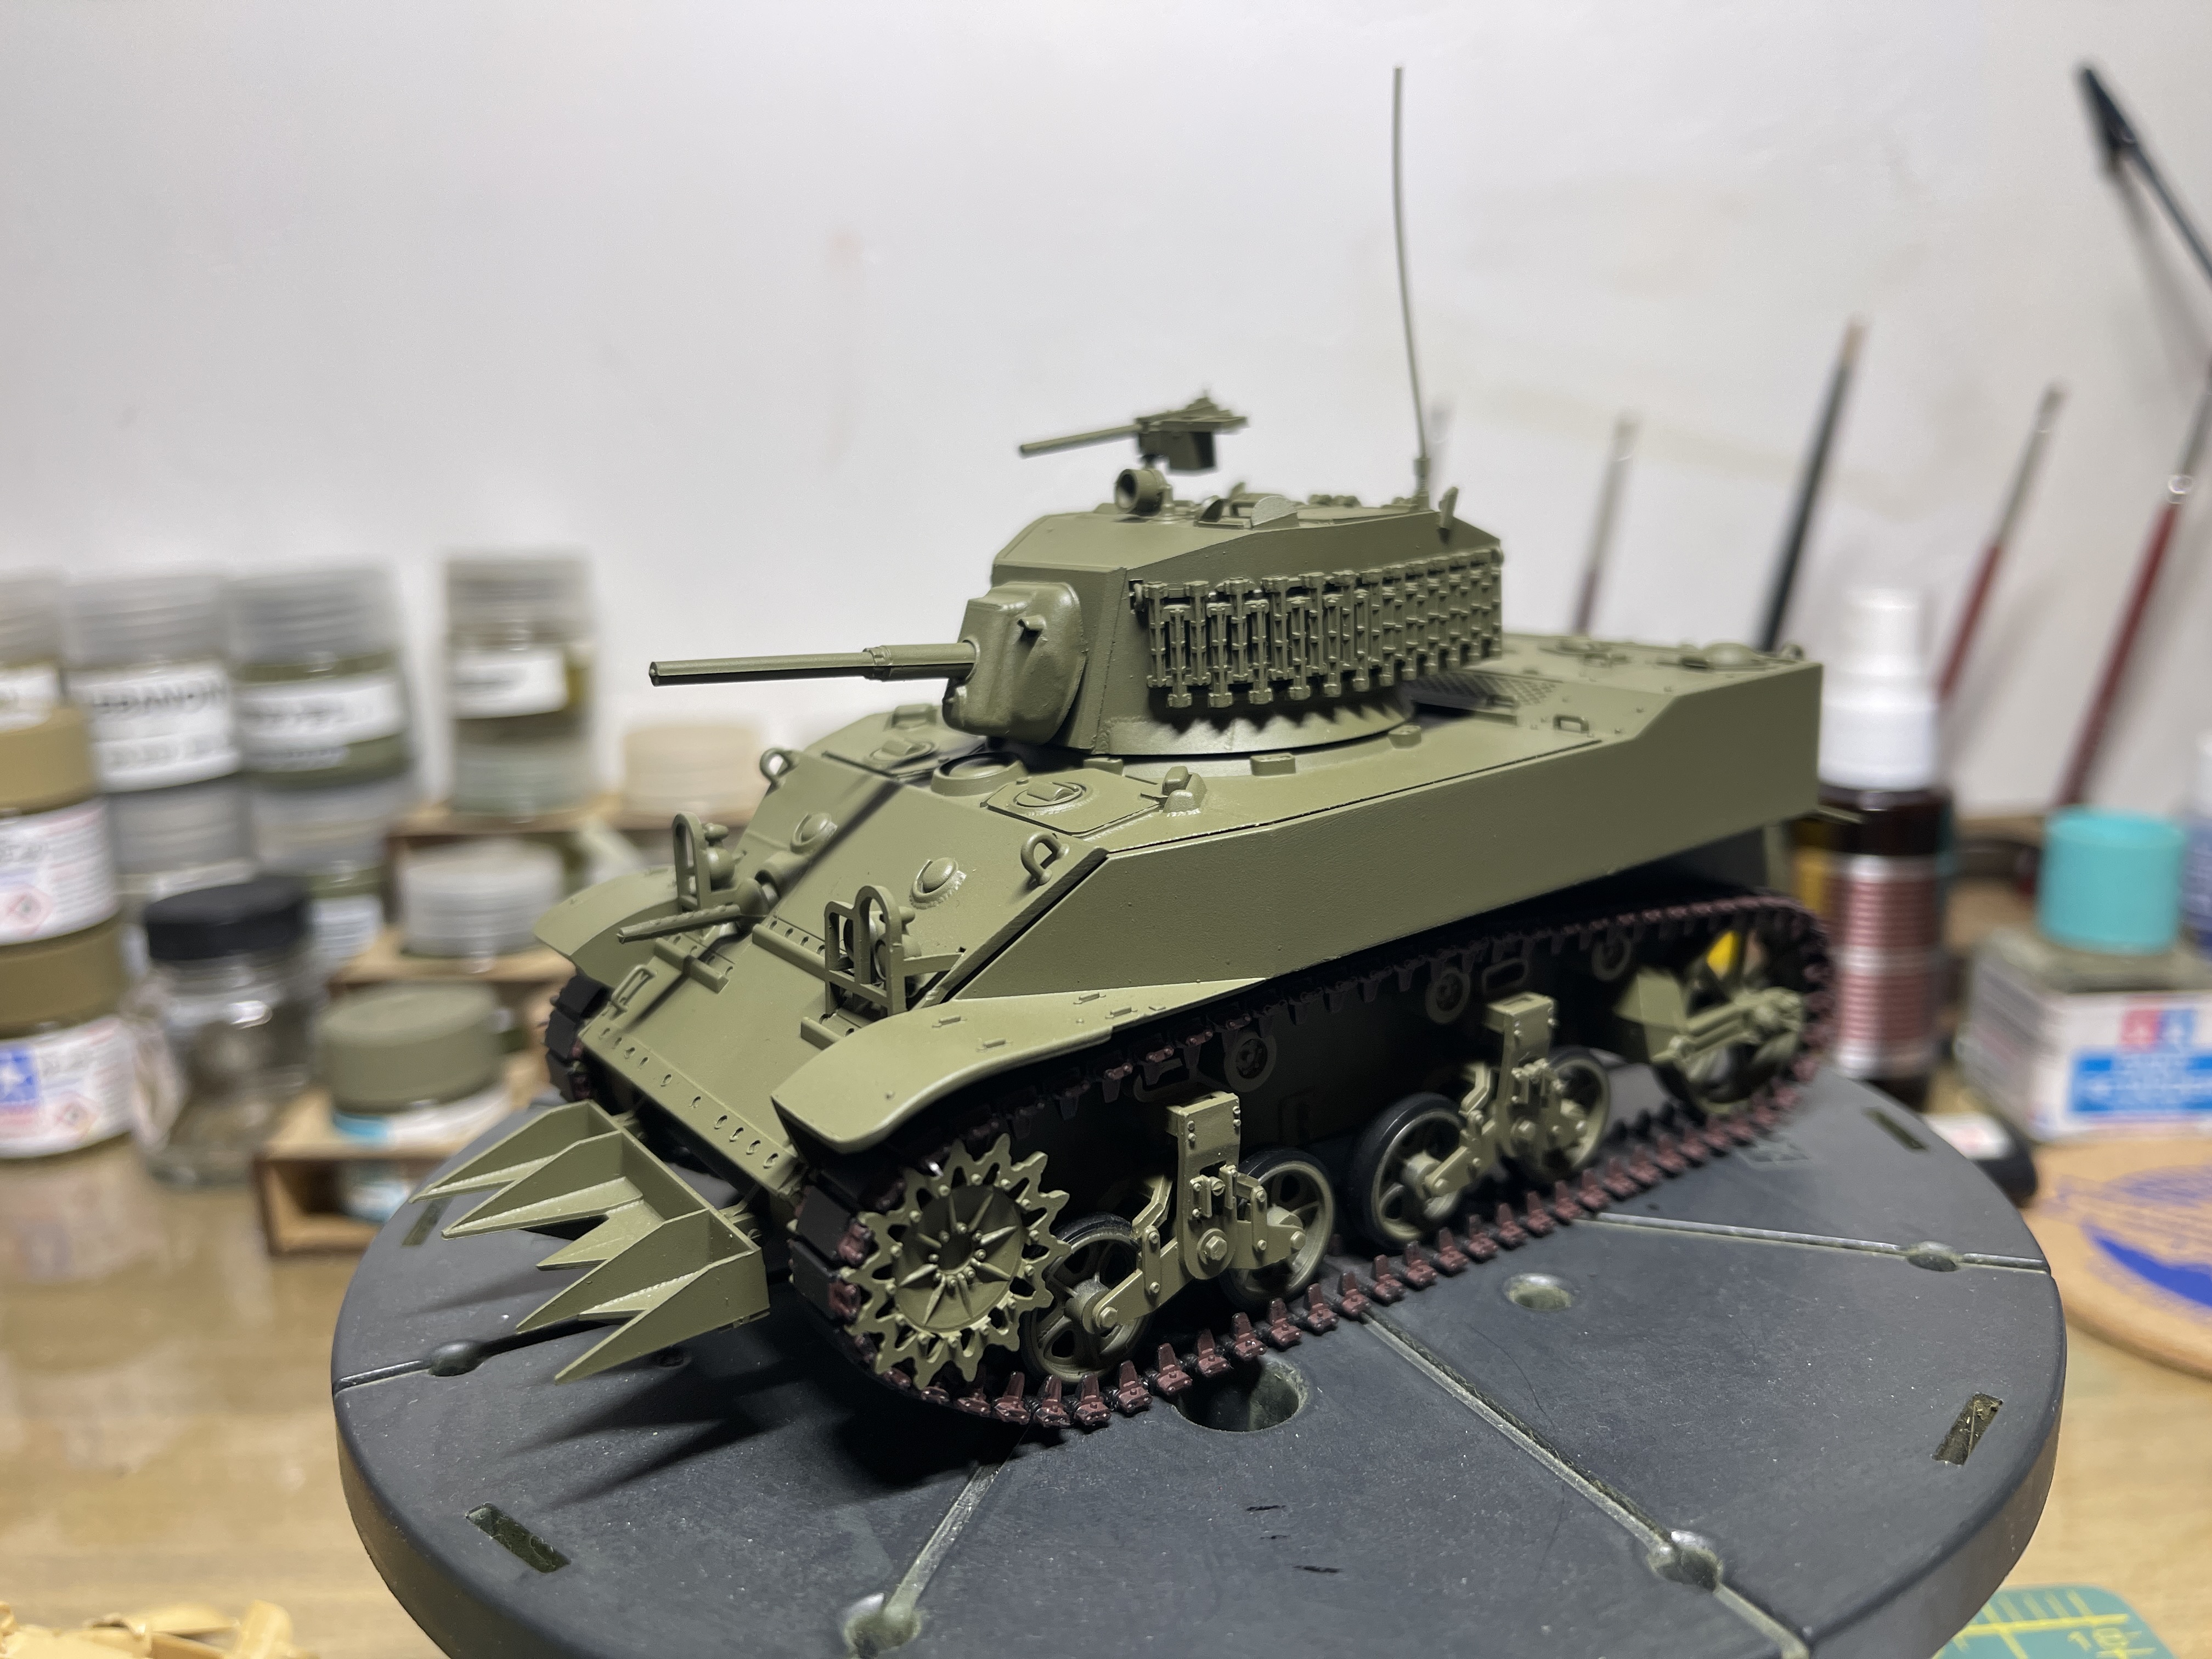
Did the same to my M8 HMC and liked it so much… Well? You see.
8 Likes
Terrific work it all looks spot on.
2 Likes
Question: Does anyone do a resin or 3D gun breach for the old Tamiya M5A1?
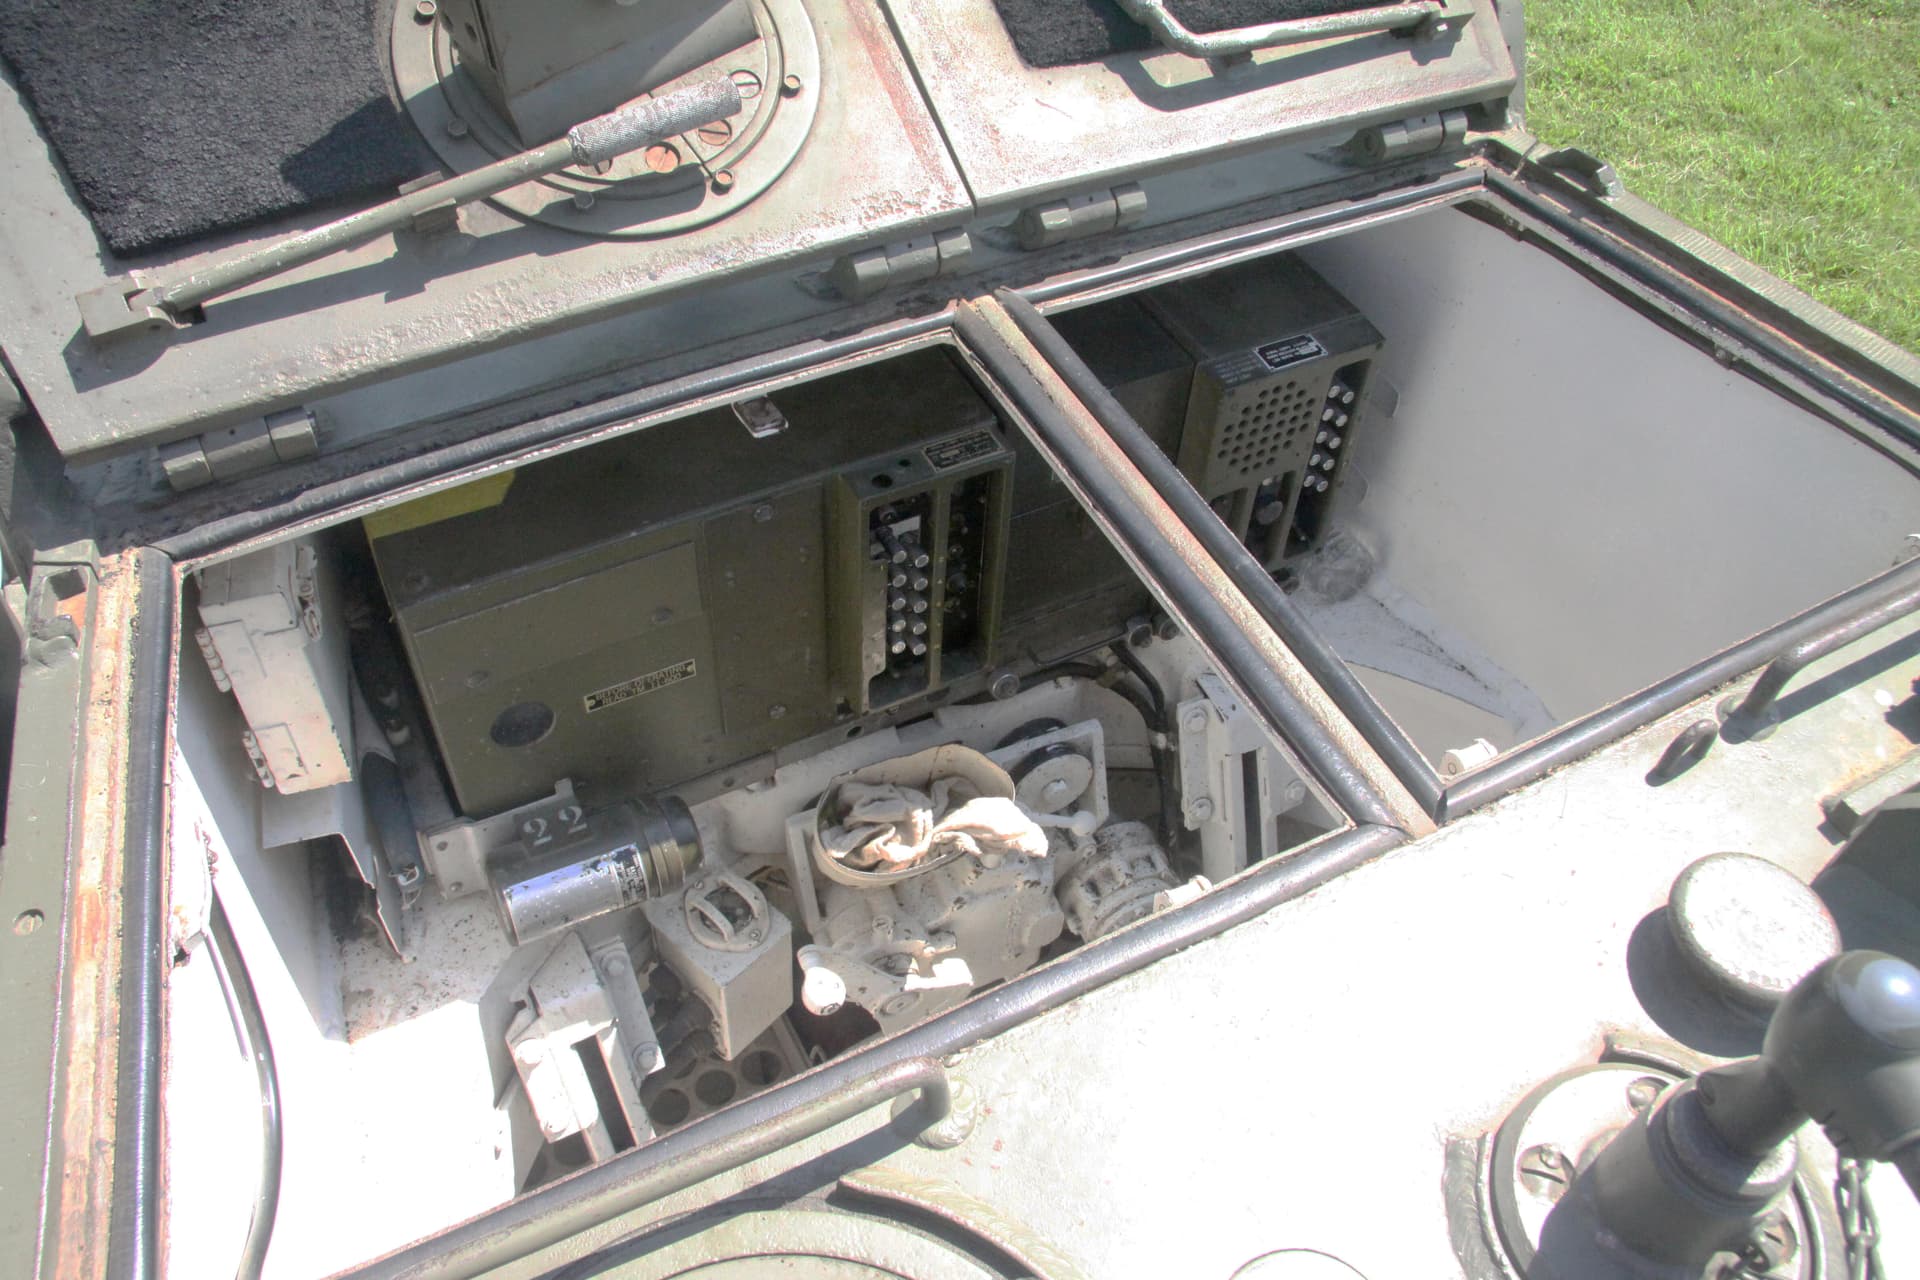
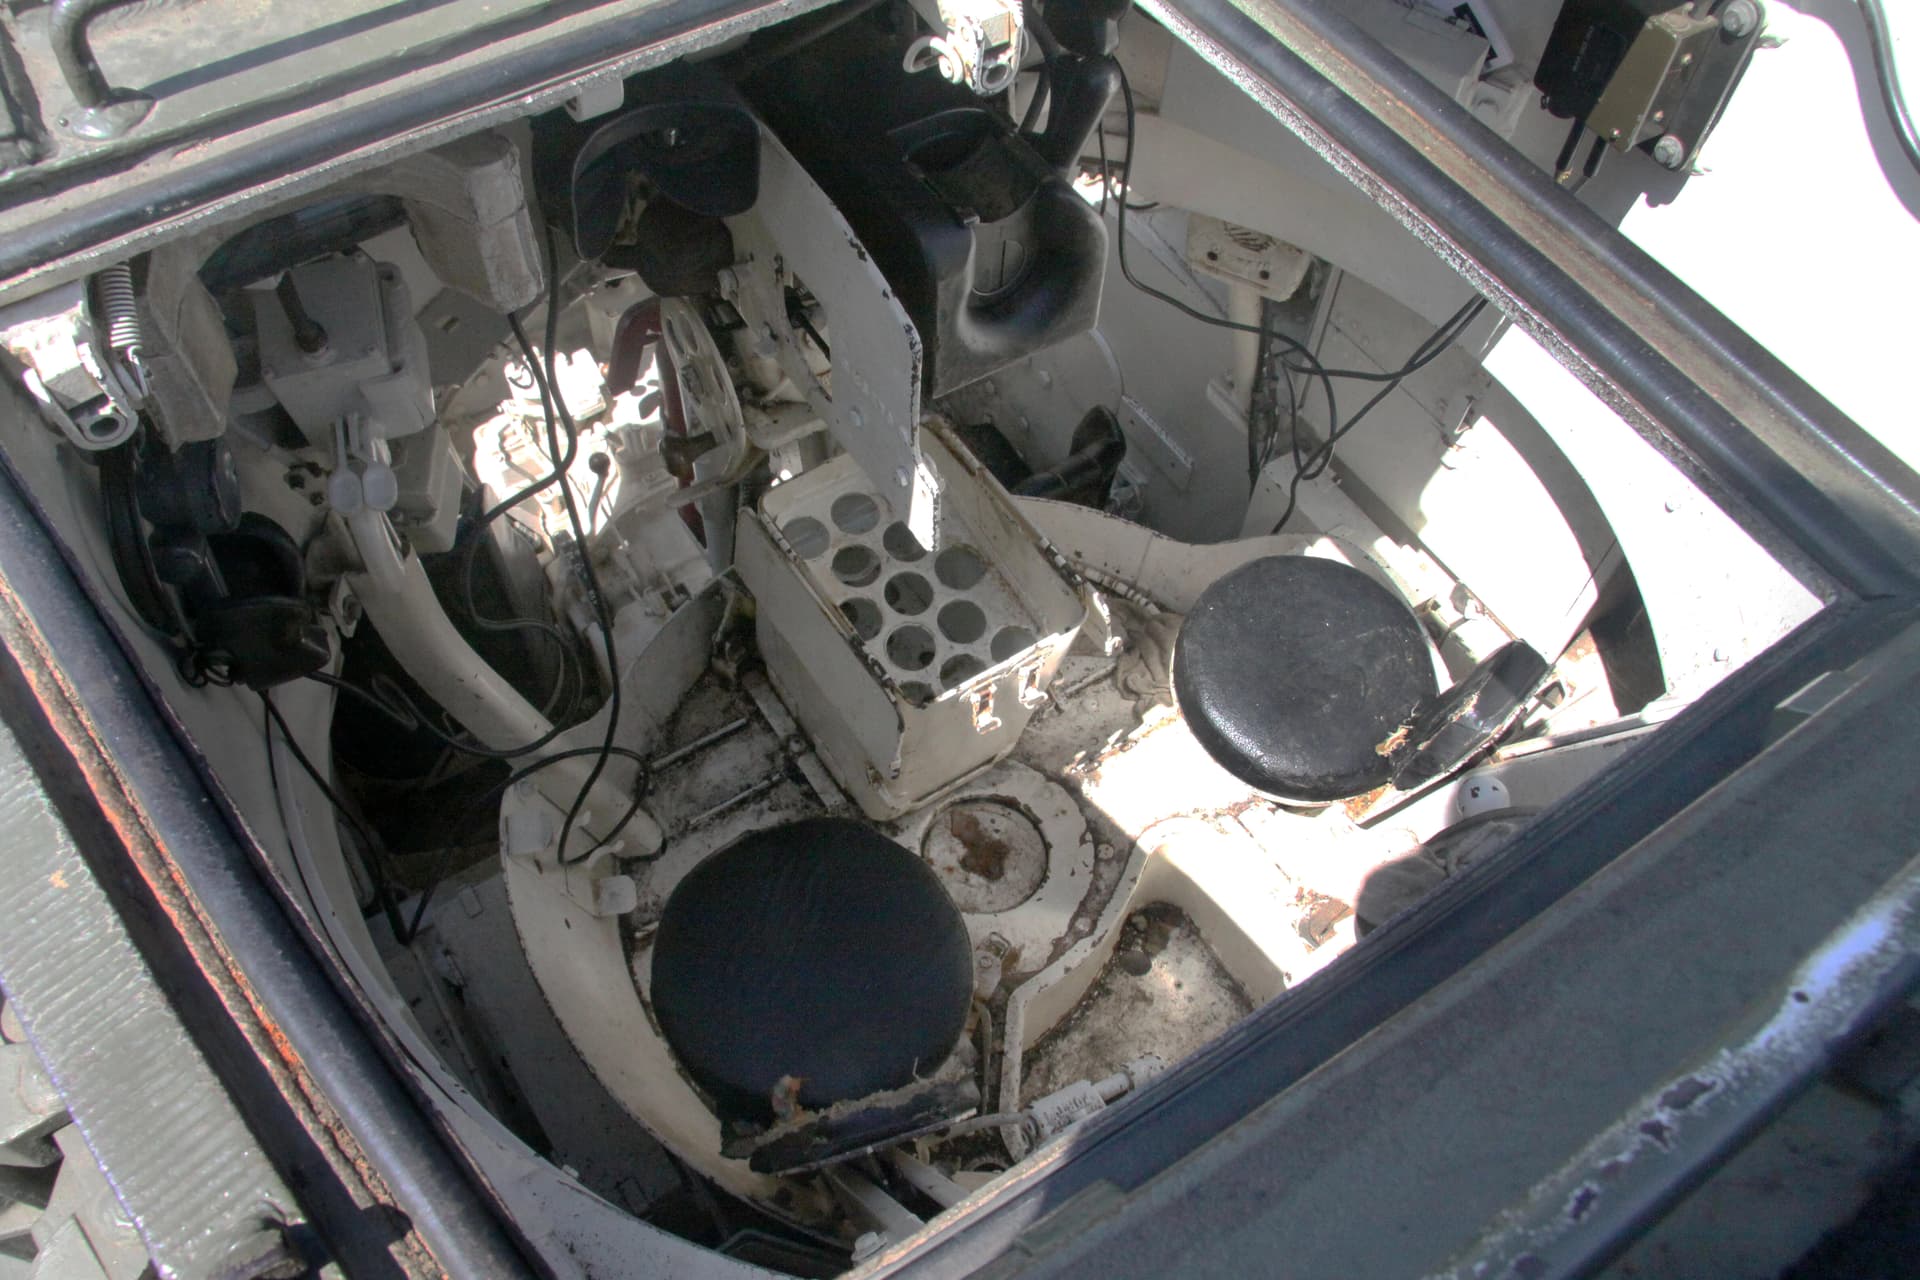
A friend just happened to give me an old Tamiya M5A1 kit. (Still with the battery and switch holes in the bottom.) And I thought I might try to get the model juices flowing again by building this fairly simple kit. However I love to show things with hatches open, figures inside and at least a hint of an interior. Given the big turret hatches on the M5 it is kinda hard to have them open without a gun breach and a radio showing.
The radios I got but the breach not so much.
1 Like
Bronco makes a towed version, the breach is basically the same.
Ken
I really appreciate you sharing these pictures here!
I sure will use those for my Black Panther-build. But I think I will mostly obscure the view inside with 2 figures in the hatches and give the hint of an interior by reusing parts as basic shapes from previous Stuart builds.
1 Like
I can attest to the fact that things get tight in a Stuart. Makes a Sherman feel absolutely roomy.
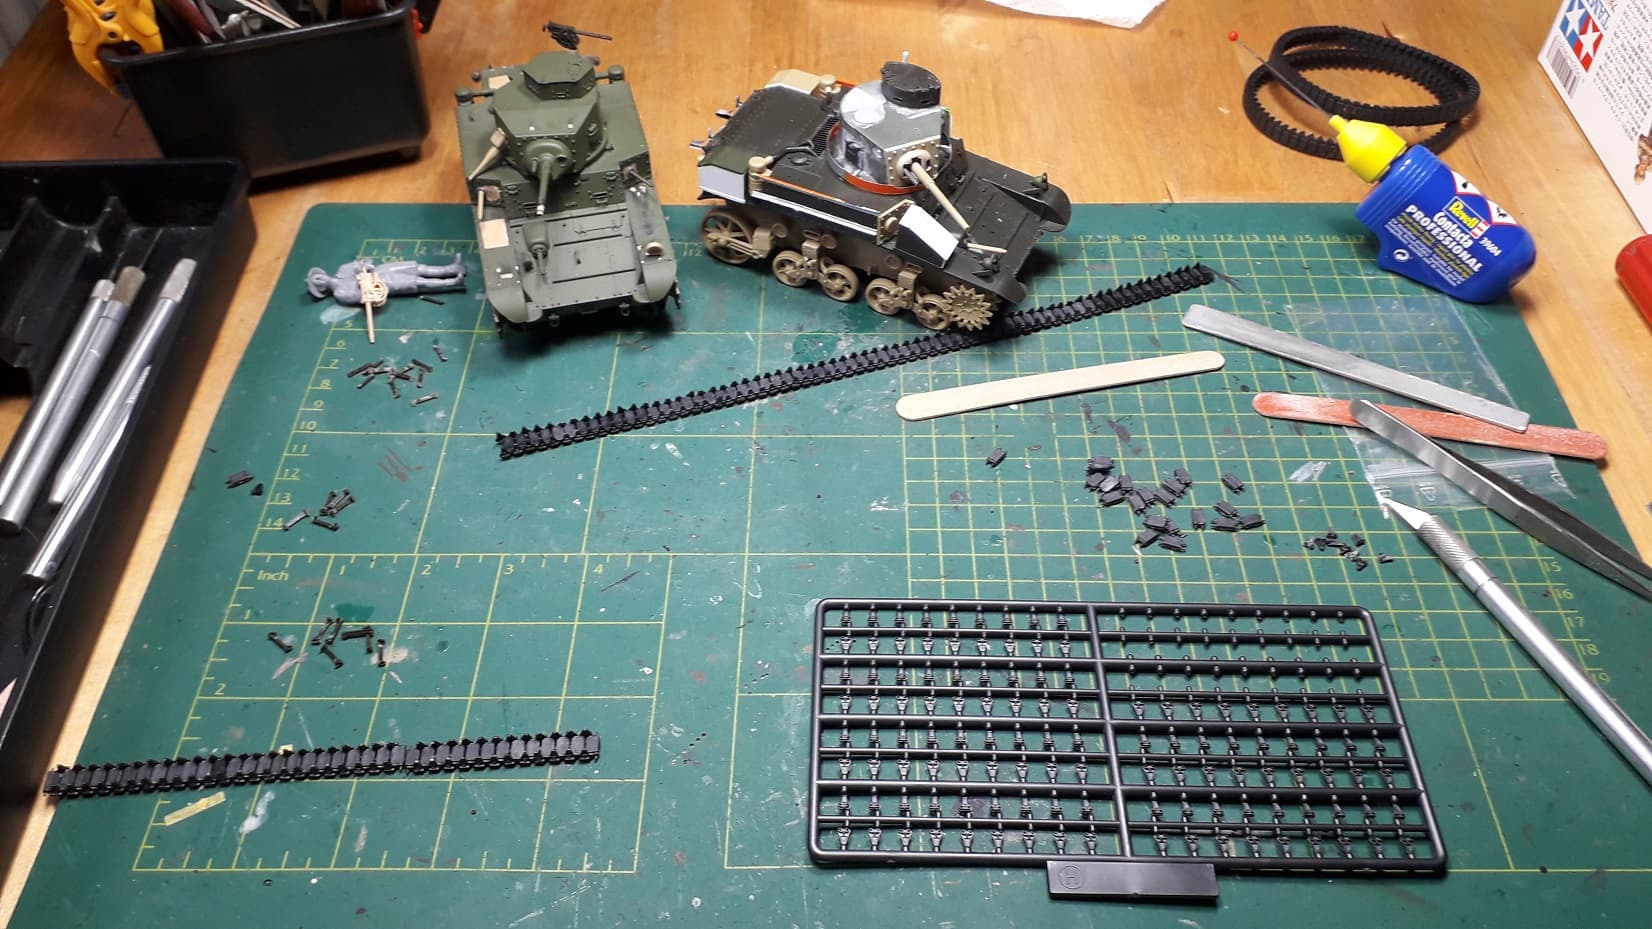
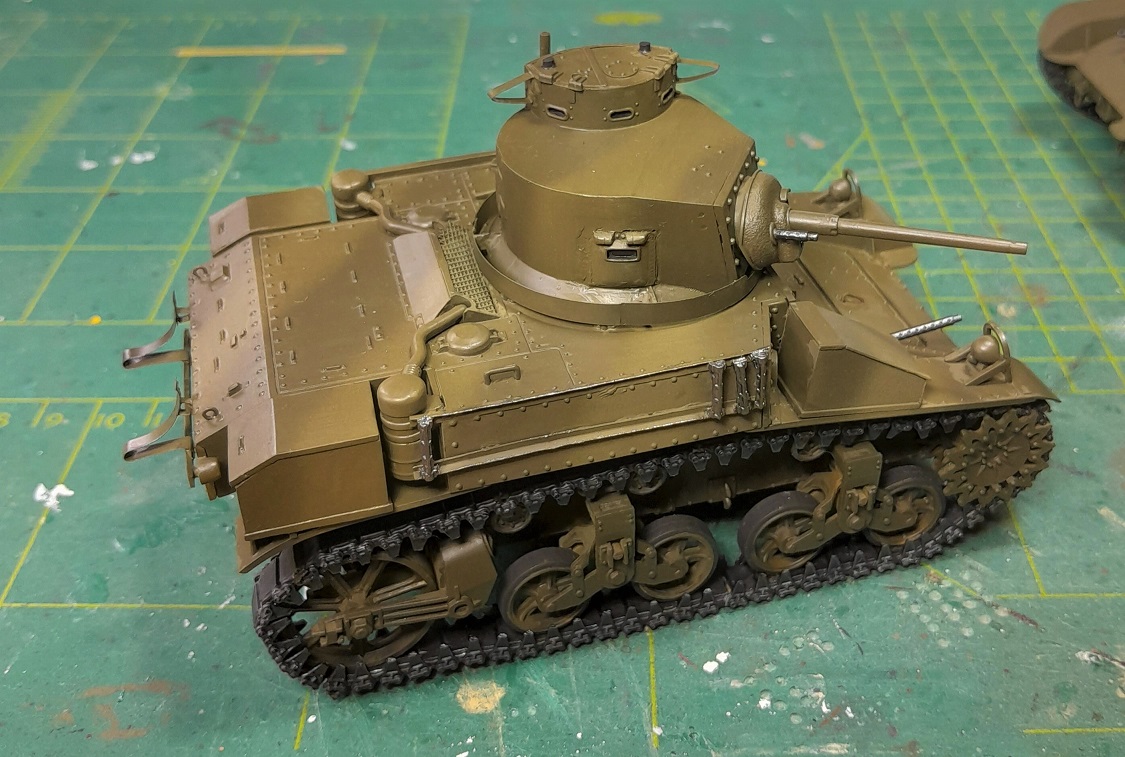
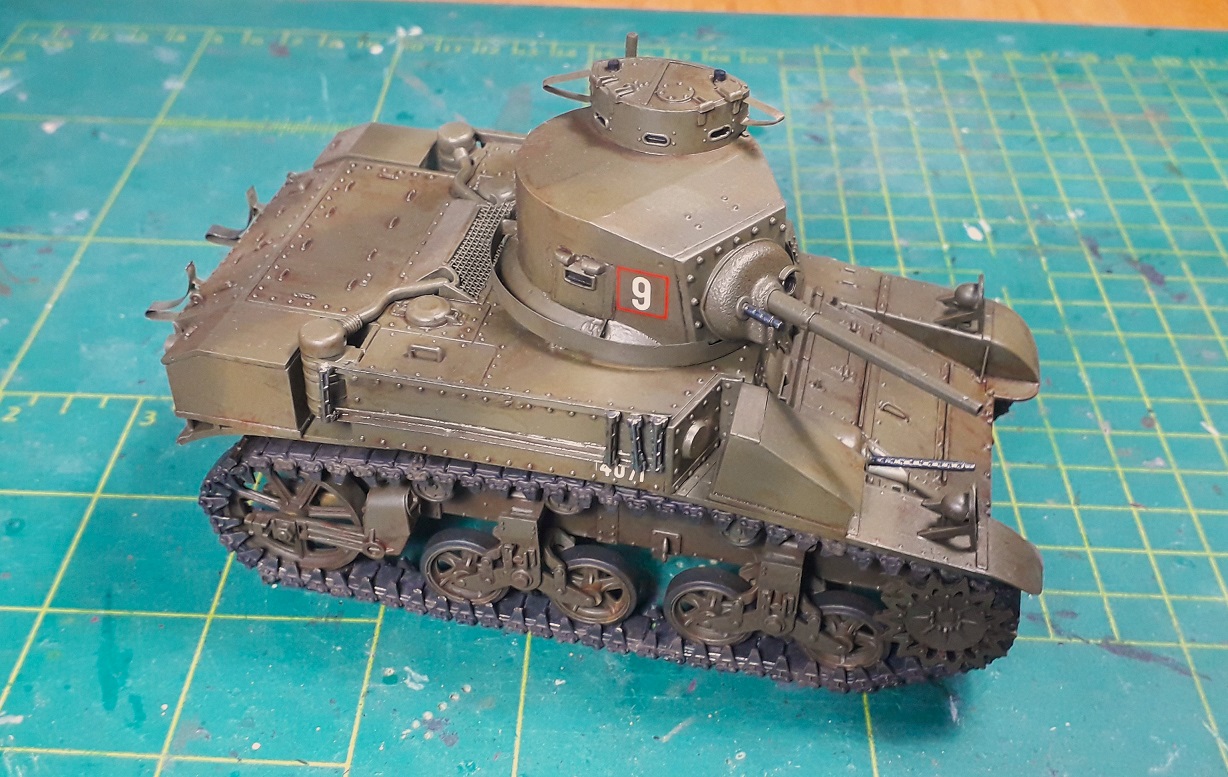
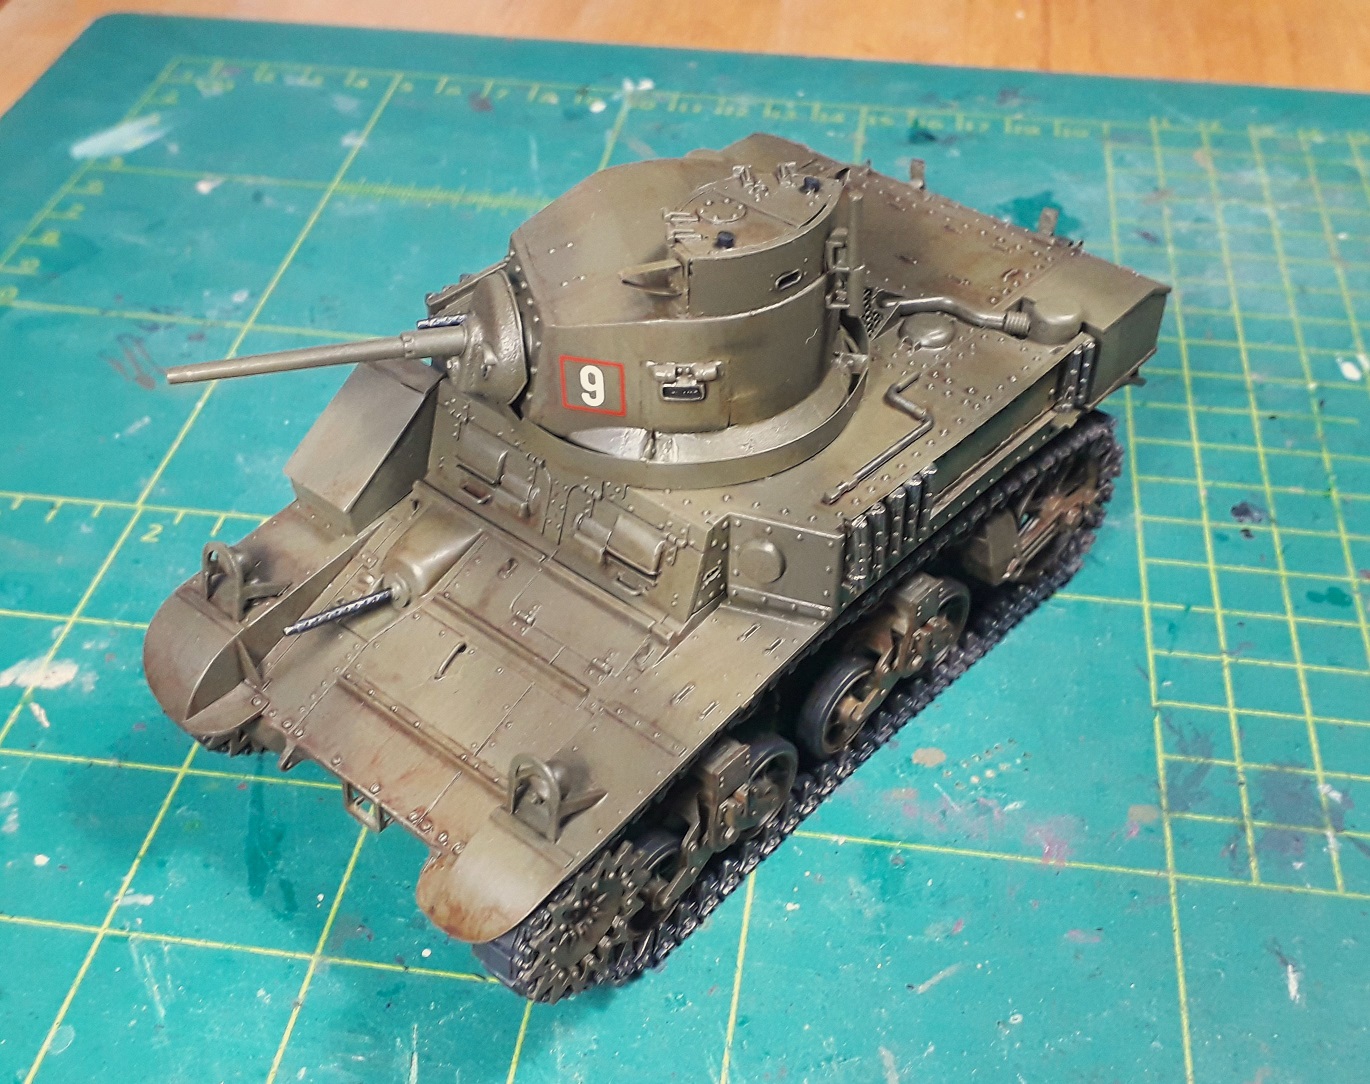
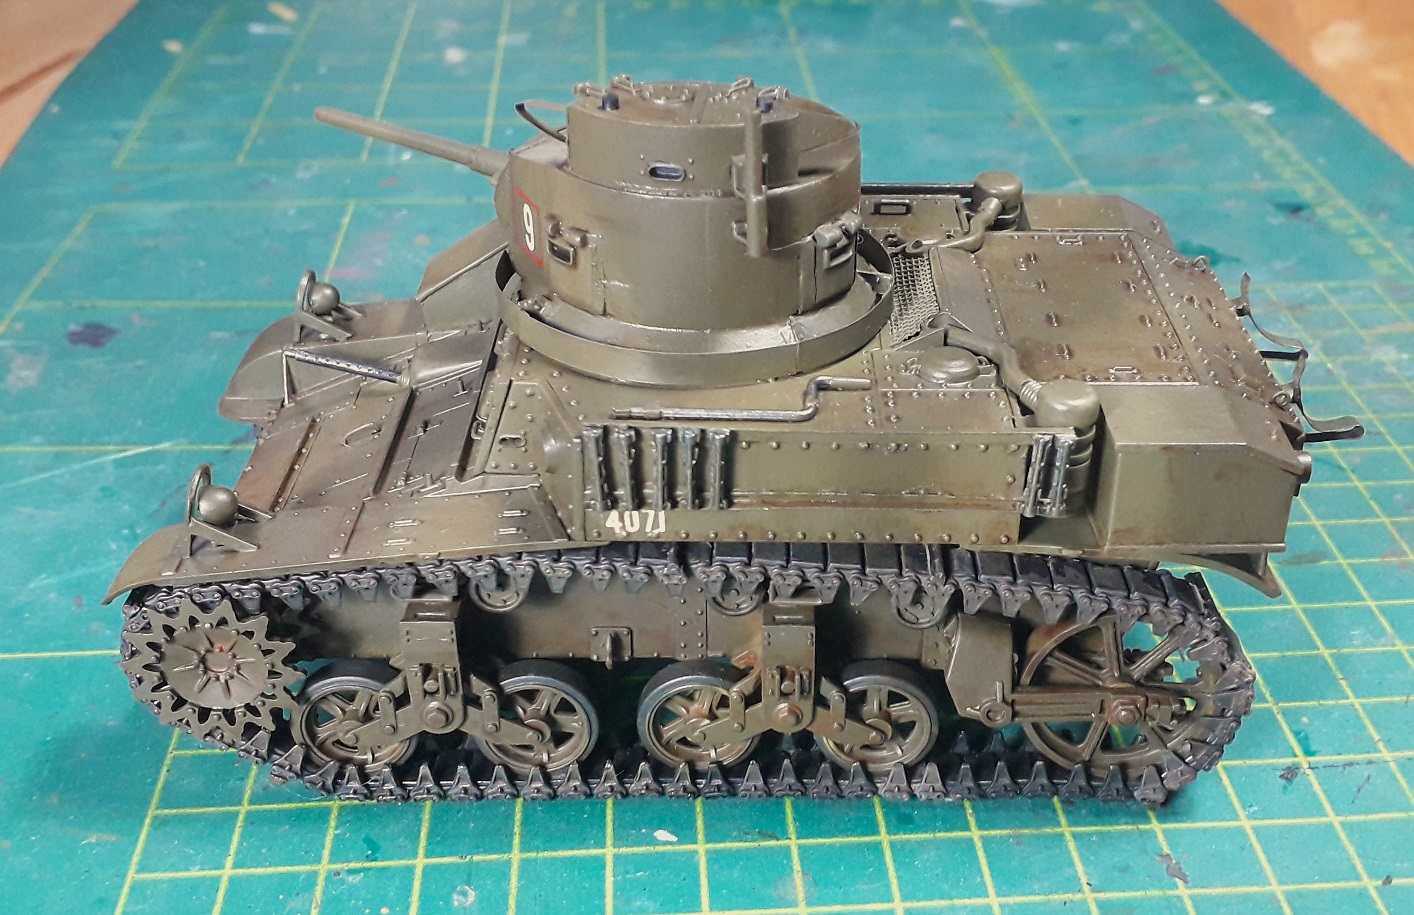
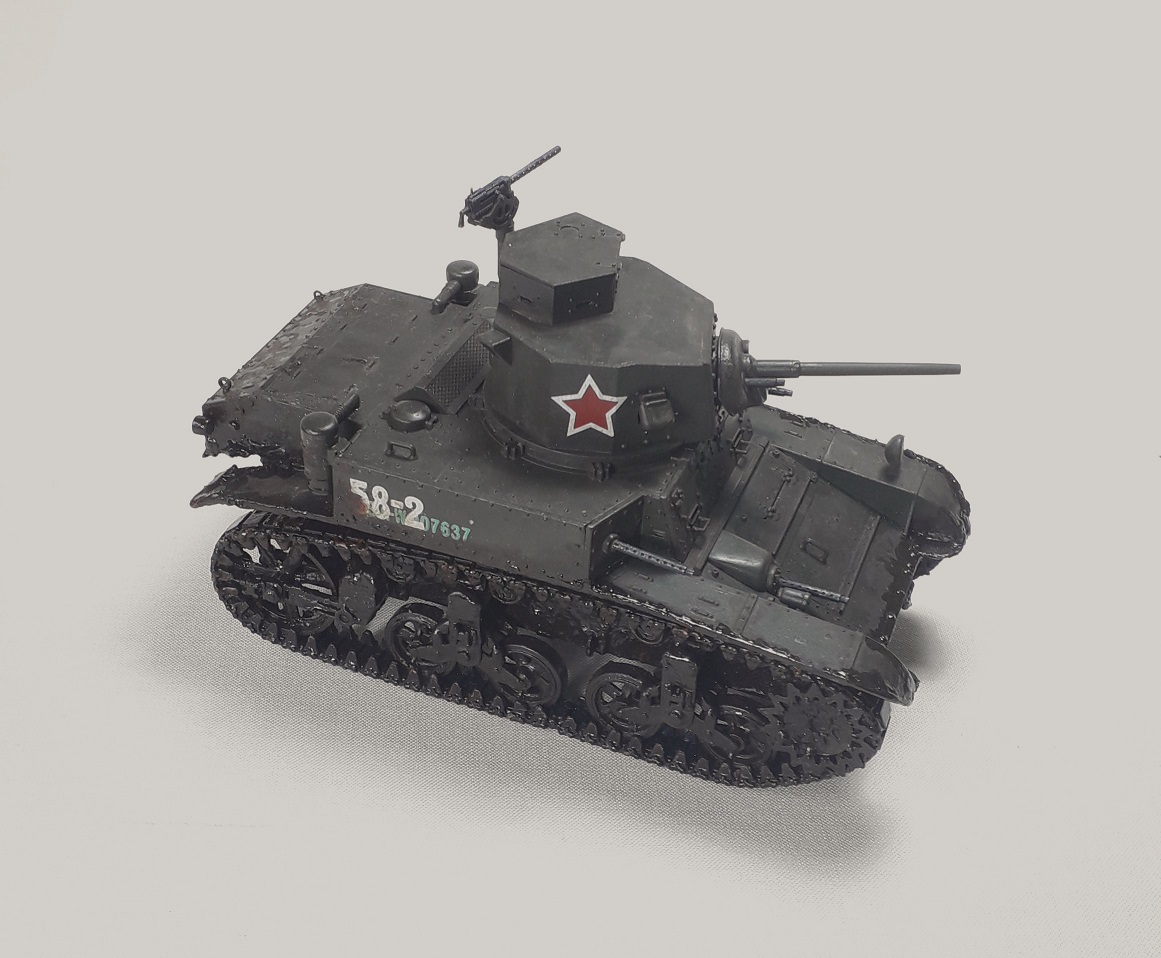
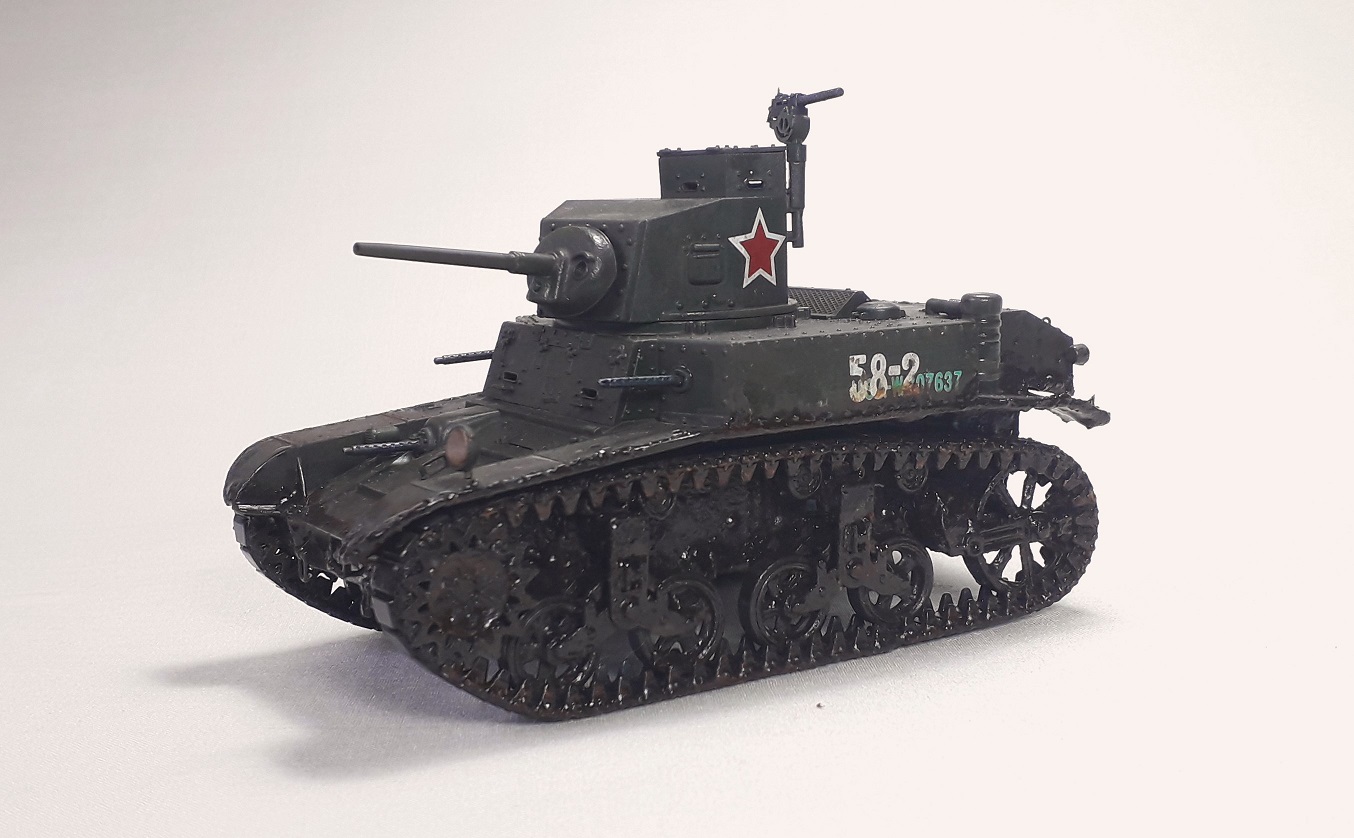
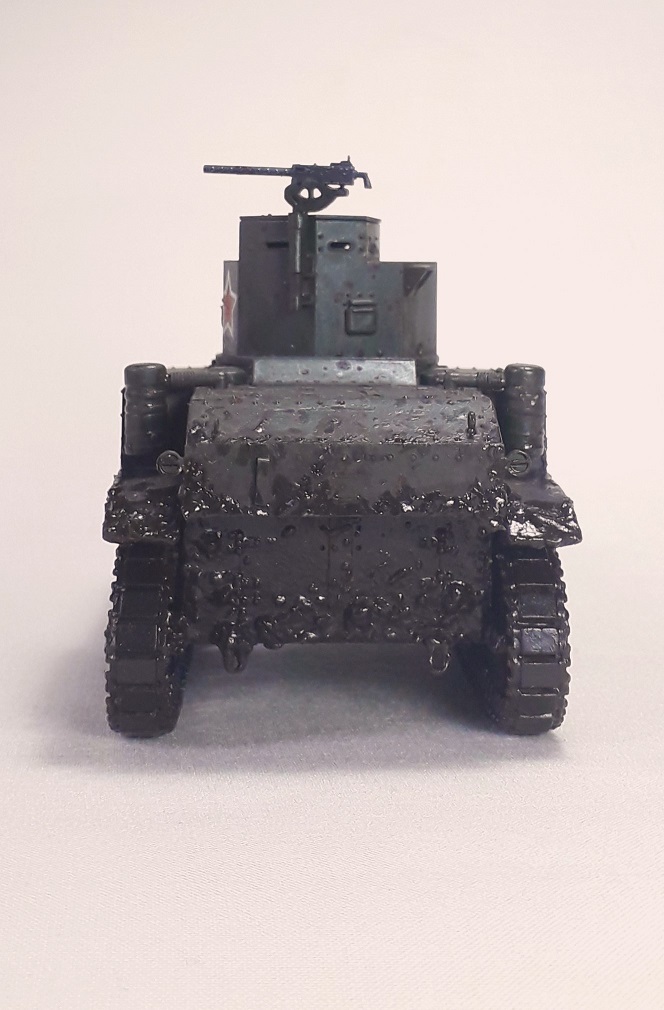
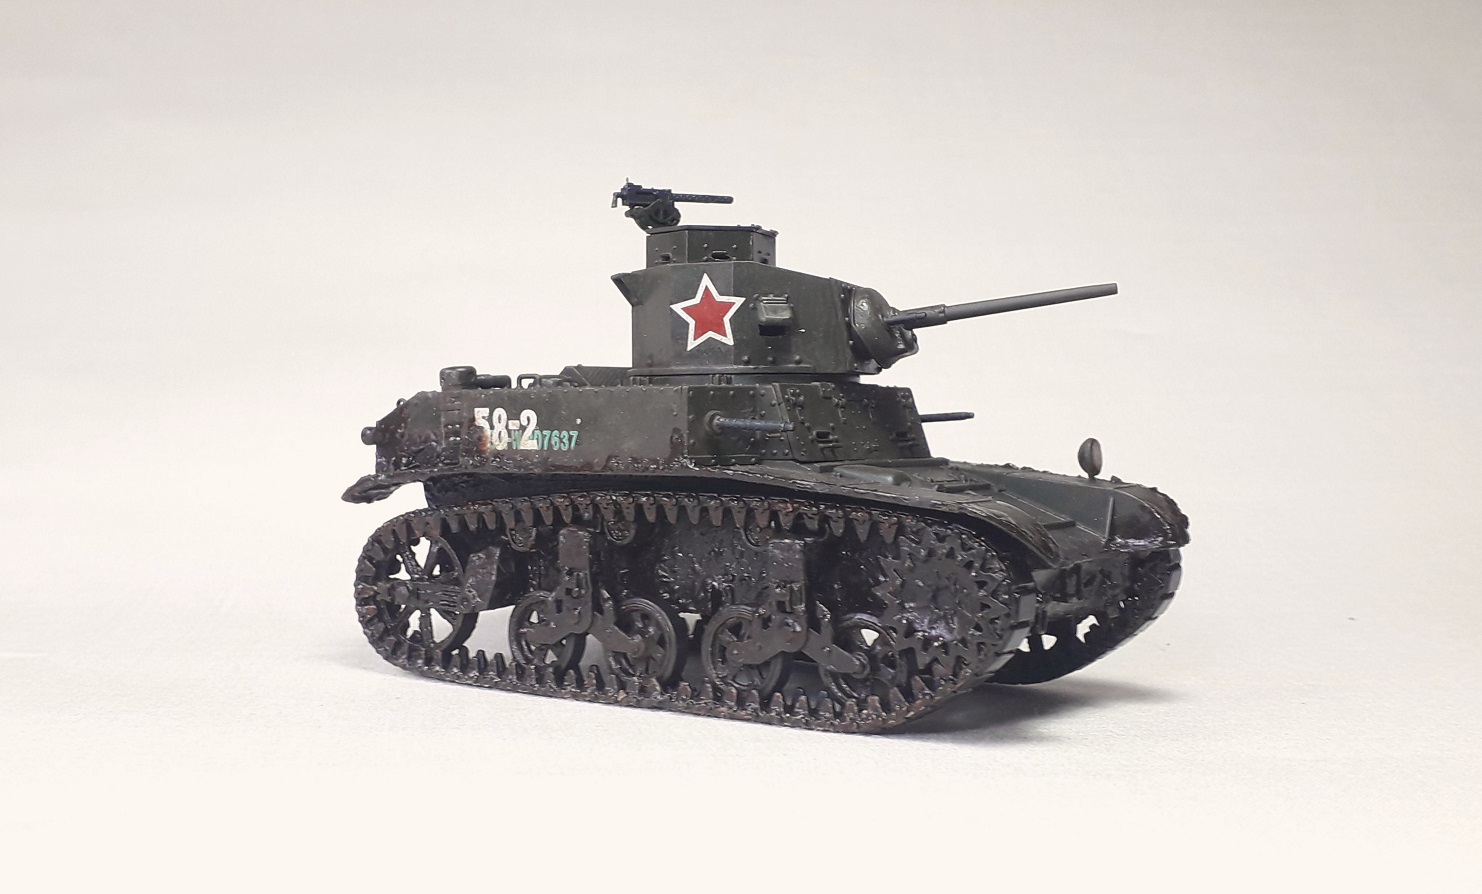
Next to all the M60-Heavy Metal I managed to get both the Aussie M3 and the scrapbox LendLease Russian ready for paint!
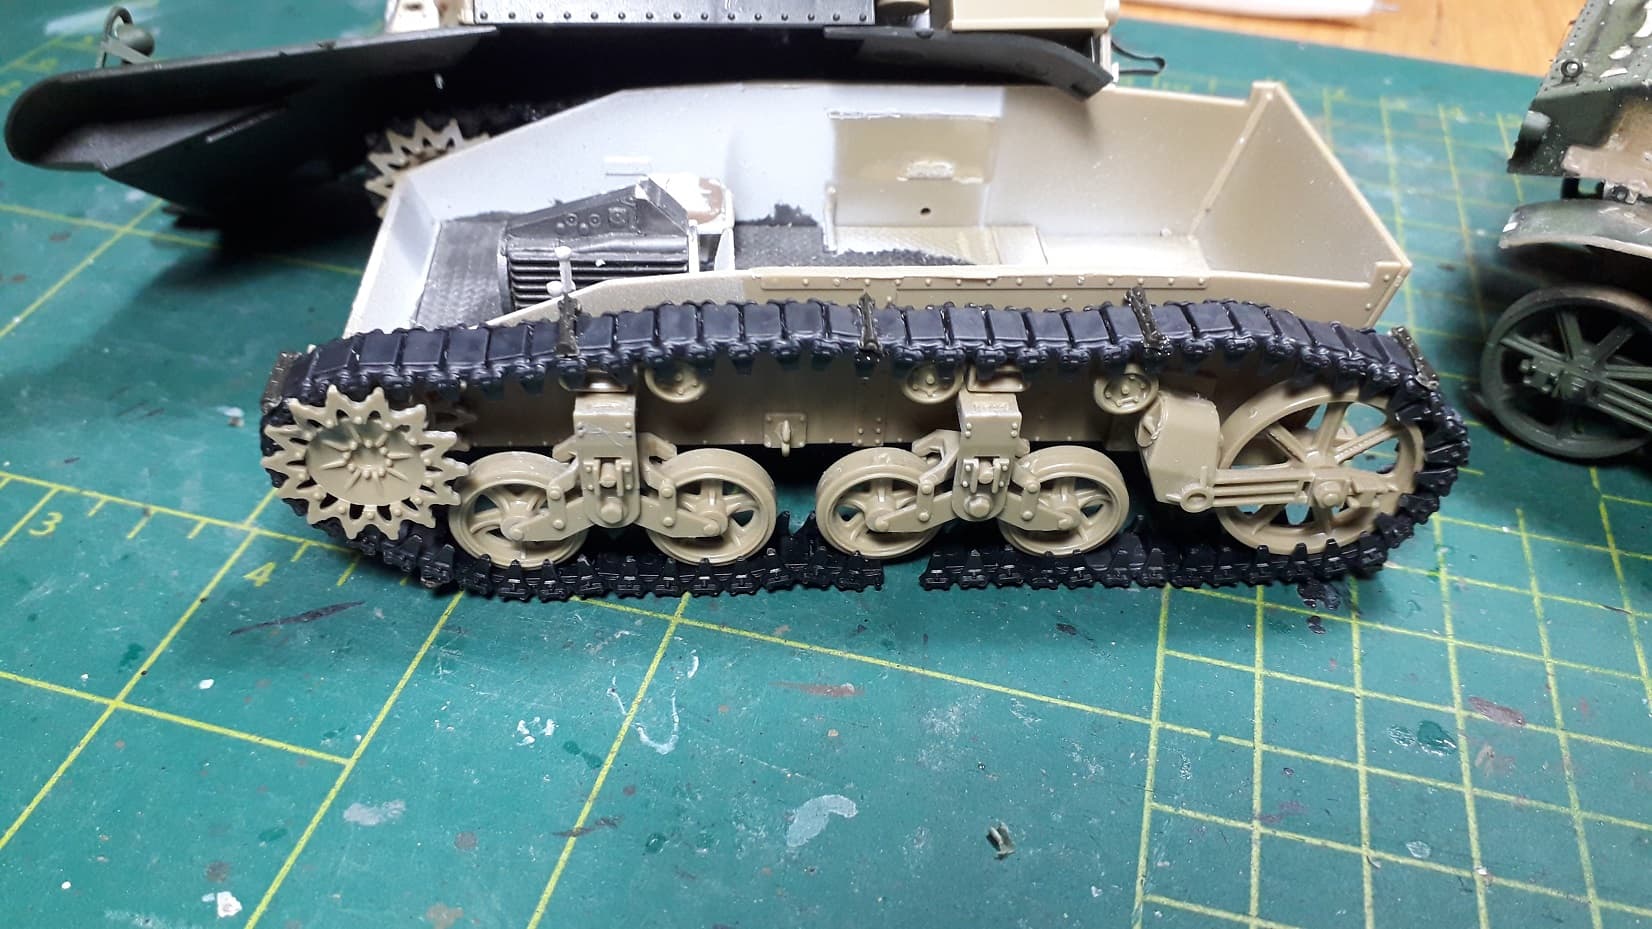
A fellow modeller was so kind to donate a handful of Tamiya grousers, which had to be prepared in order to be fitted. This did not yield the best results, since a part of the connectors got lost in the sanding, they are just a tad too narrow and have to be placed between trackblocks.
But they do fit nicely in the typical sideracks.
On to the spraybooth!
The Russian will receive standard olivdrab, the Aussie paint… is an entire study in and of itself!
7 Likes
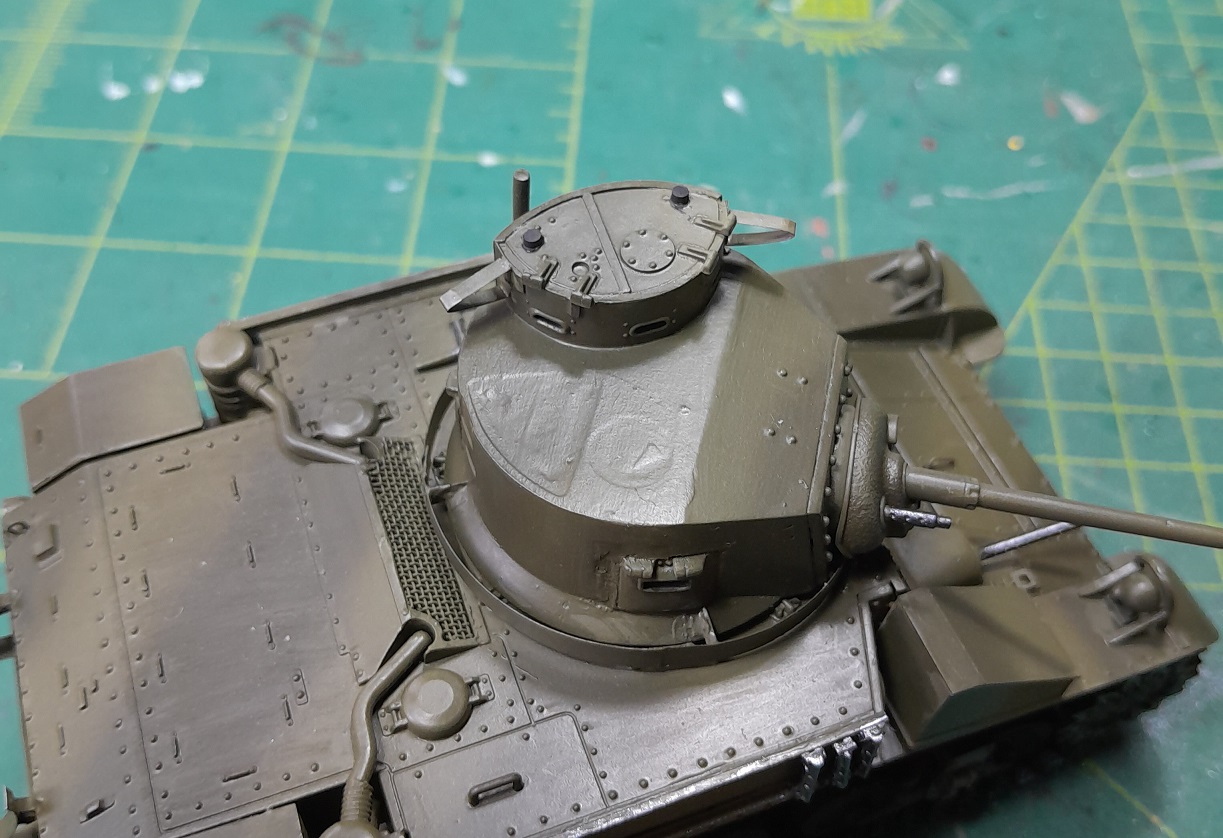
These 2 Stuarts have their main colours.
The Russian, as said, plain Tamiya olivdrab. The Aussie… well…

The Australian paint-story.
The base is the British khaki green no.3-mix by Mike Starmer; 3x XF-62 oliv drab and 2x XF-59 desert yellow. British, because of the Lend Lease to Britain origin of the M3.
The period pictures show tanks not dark enough to have the Australian khaki green No.3, which appears to be much darker.
I wanted to have a two tone camouflage and the most likely colour I figured would be light bronze green, given the contrast in pictures. I mixed that 1:1 XF-52 olivdrab, which is more yellow, and XF-59. Looked just about right when I tested it… with a brush. When spraypainted however it all but vanished! It was just vaguely less dark then the first colour! So I added an amount of XF-60 dark yellow in roughly 2:2:1. That lightened the colour enough to make it visible, but it should have been brighter still.
Putting on the tracks was another major headache. Getting them on tight and in one (!!) piece proved to be a real challenge.
Also the paint and subsequent satin gloss brought other issues “to light”… which did not show previously.
8 Likes
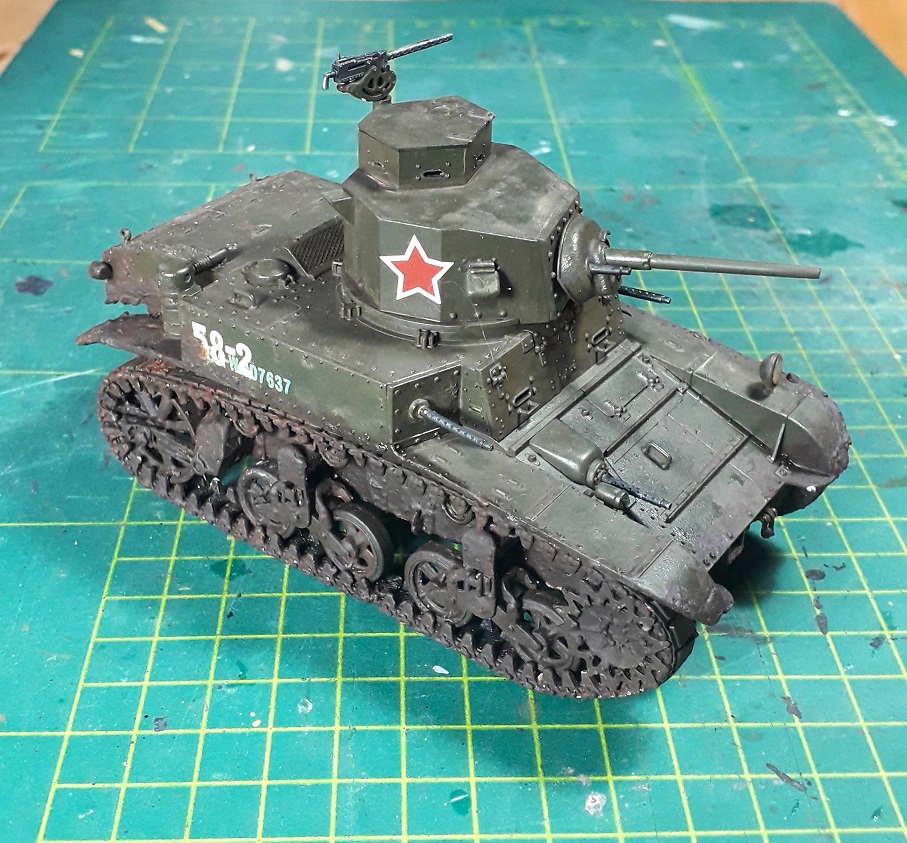
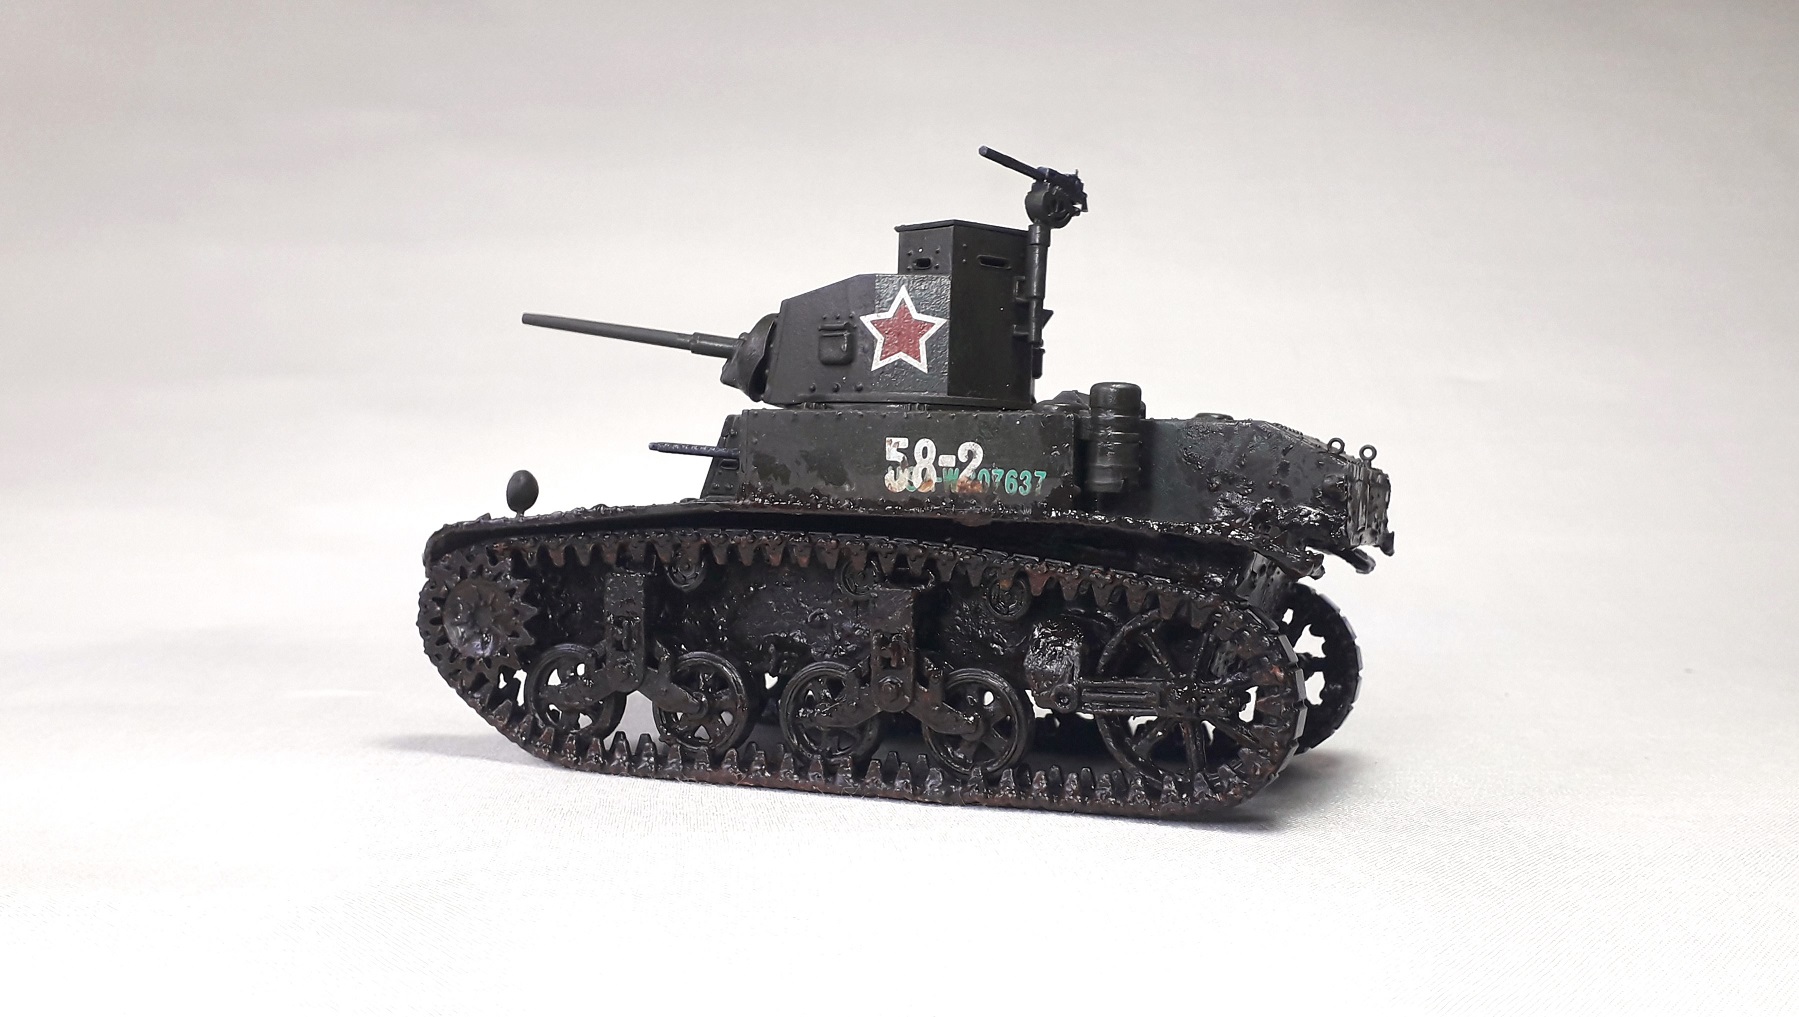
Dirt time!
I wanted to try something new, so instead of a relatively clean look, I went for dirty! At least for the Russian. I wanted to show that peaty, boggy mud that I have read about a number of time, so slick, dark and wet.
I used oils this time. Never have before, so it was trial and error. The mud is gipsum. The advantage is that one clearly sees where to paint. The disadvantage is that one clearly sees where to paint, still…
And whatever paint I had left, I thinned out more and used on the Aussie. Have not yet decided how much weathering that one will get.
8 Likes
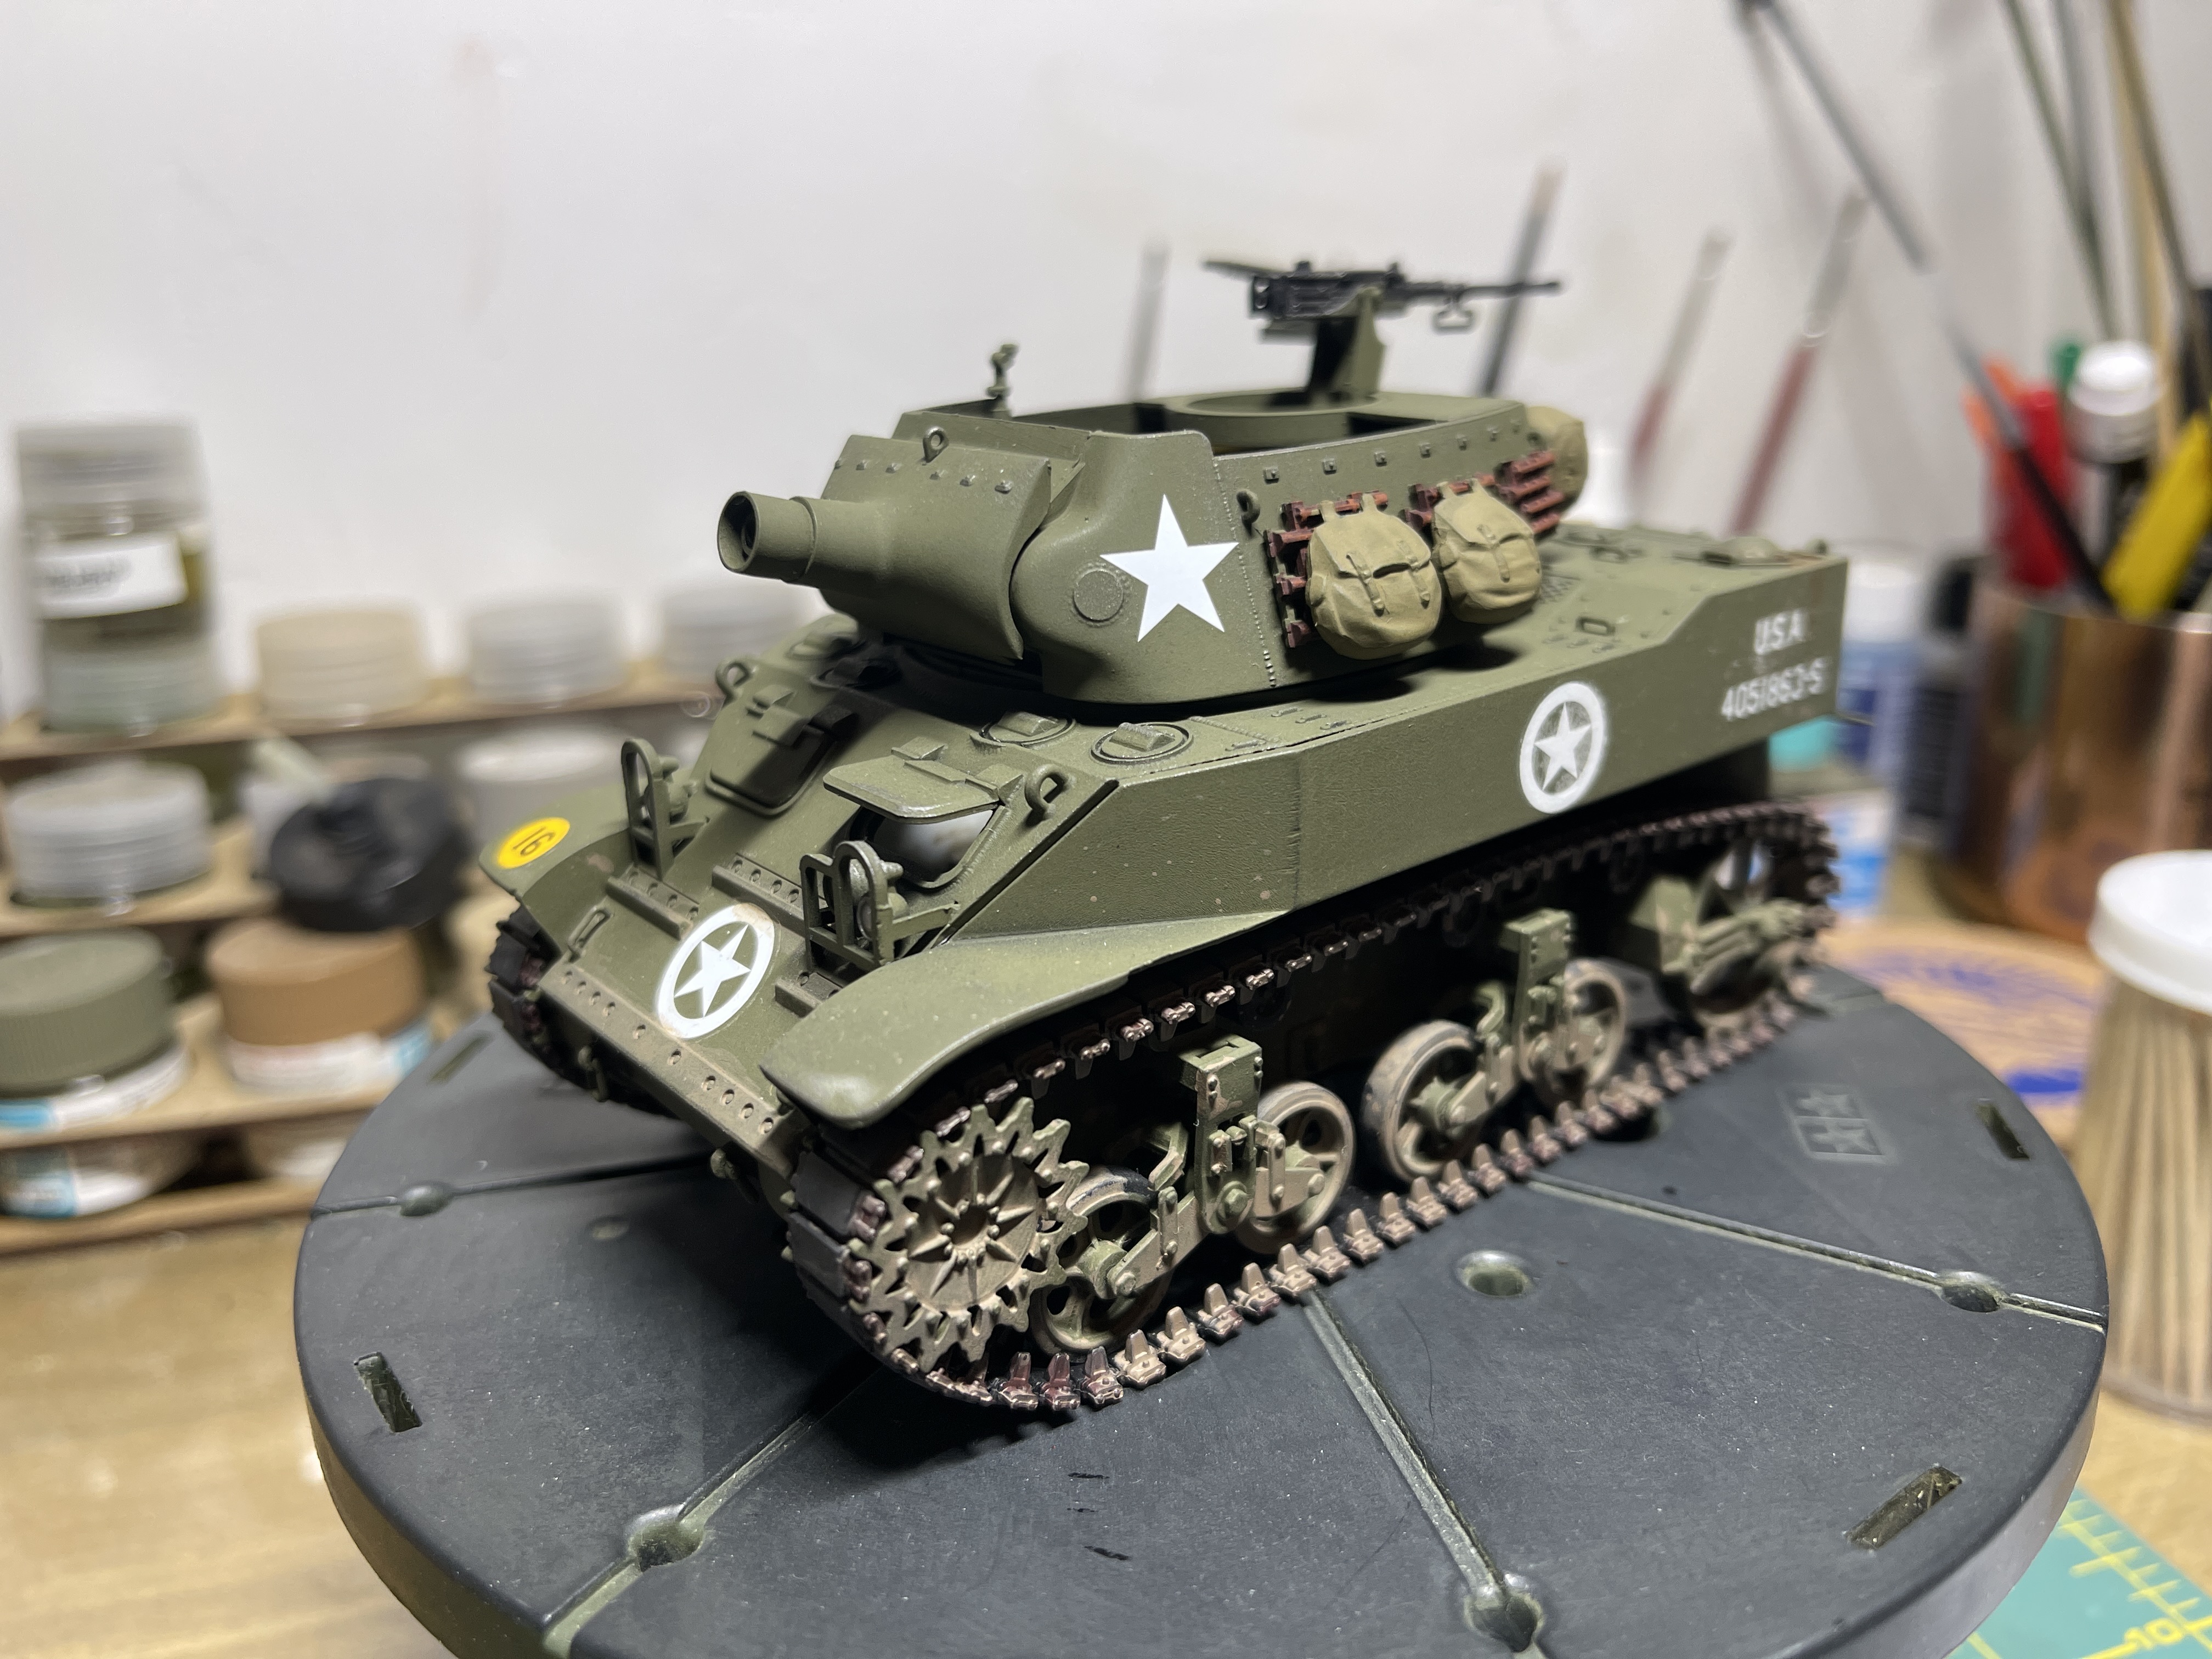
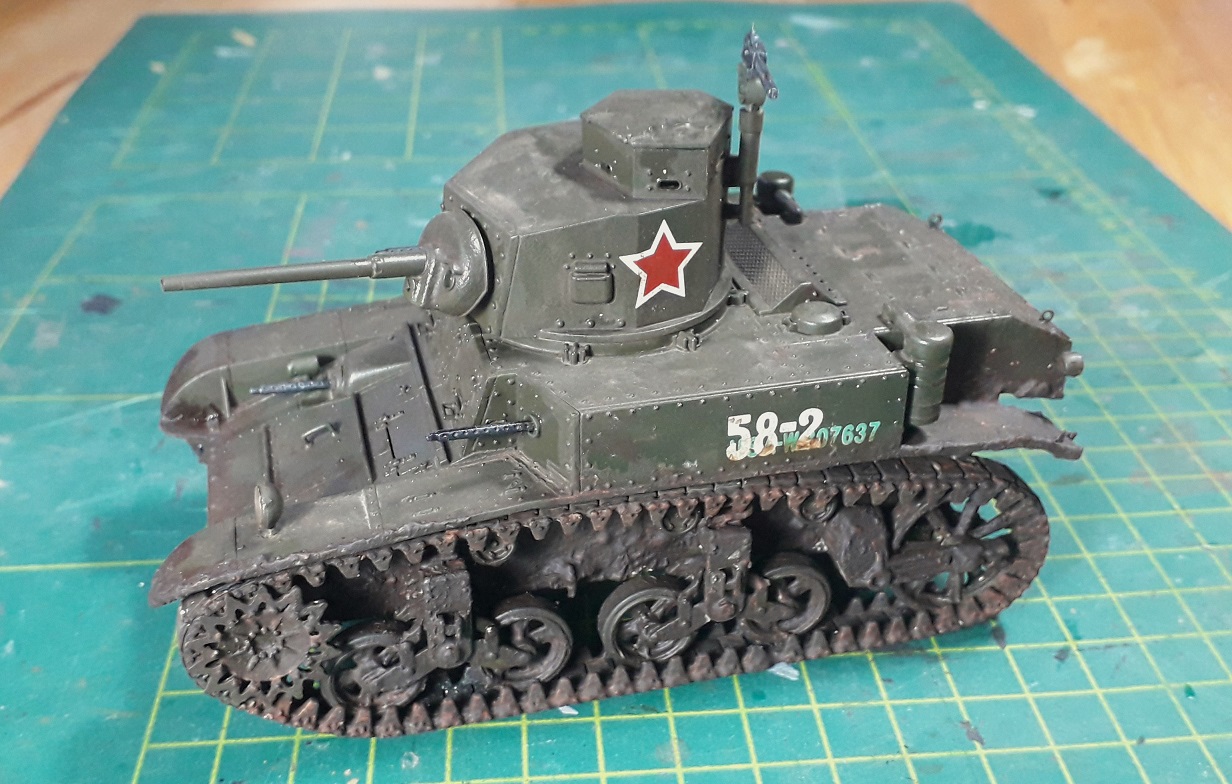
The first 2 in this batch of Stuarts are done!
I present one “Muddy Russian” and one “Digger on guard”;
7 Likes
I added a 1943 Australian penny. I have come to like to add something relevant or related to my builds.
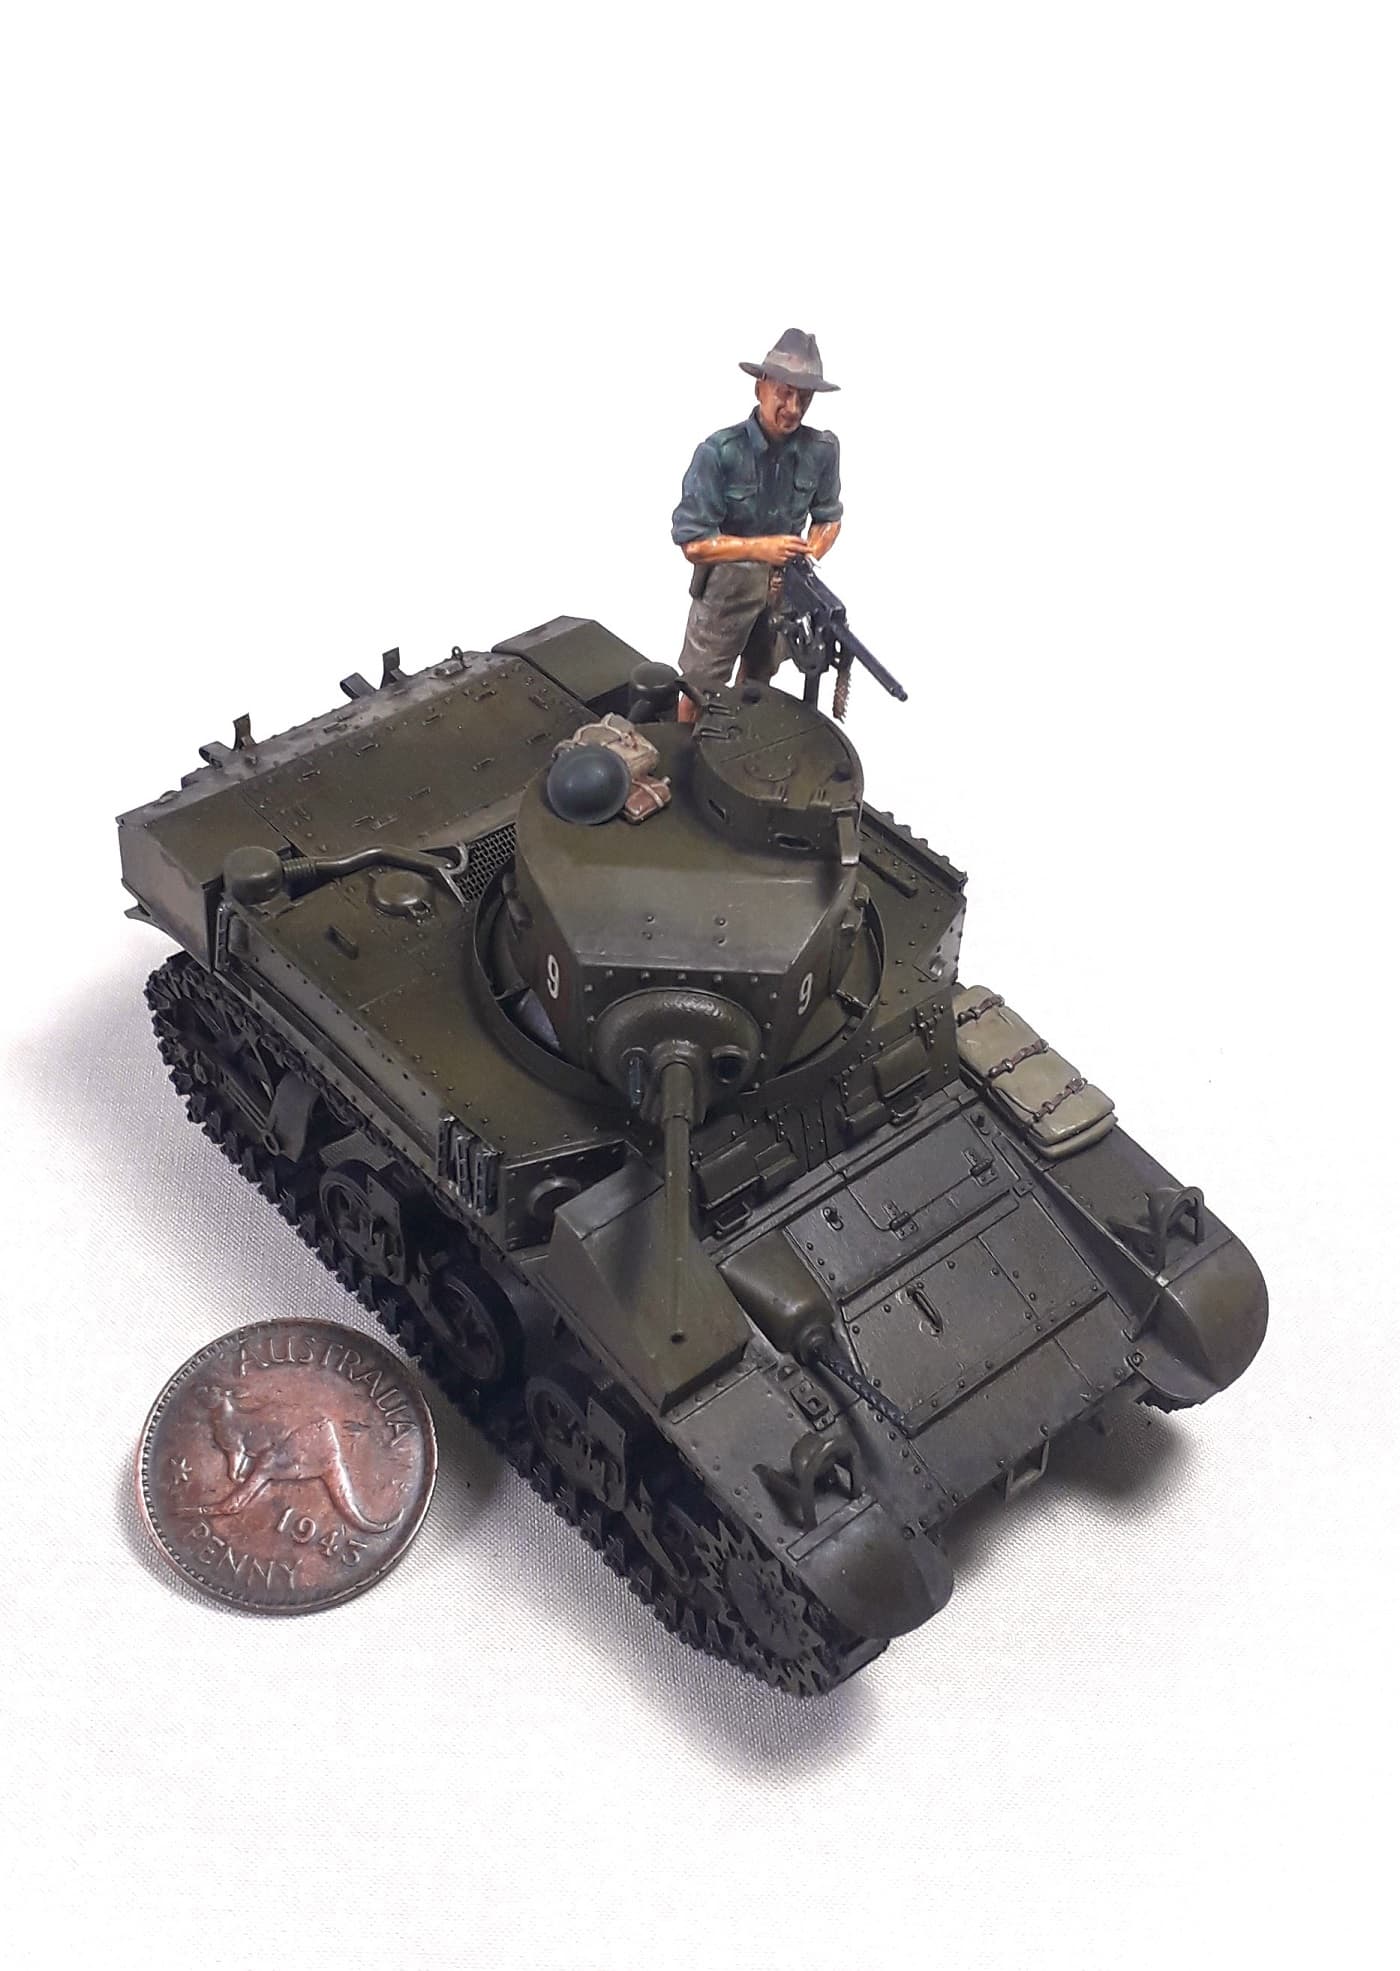
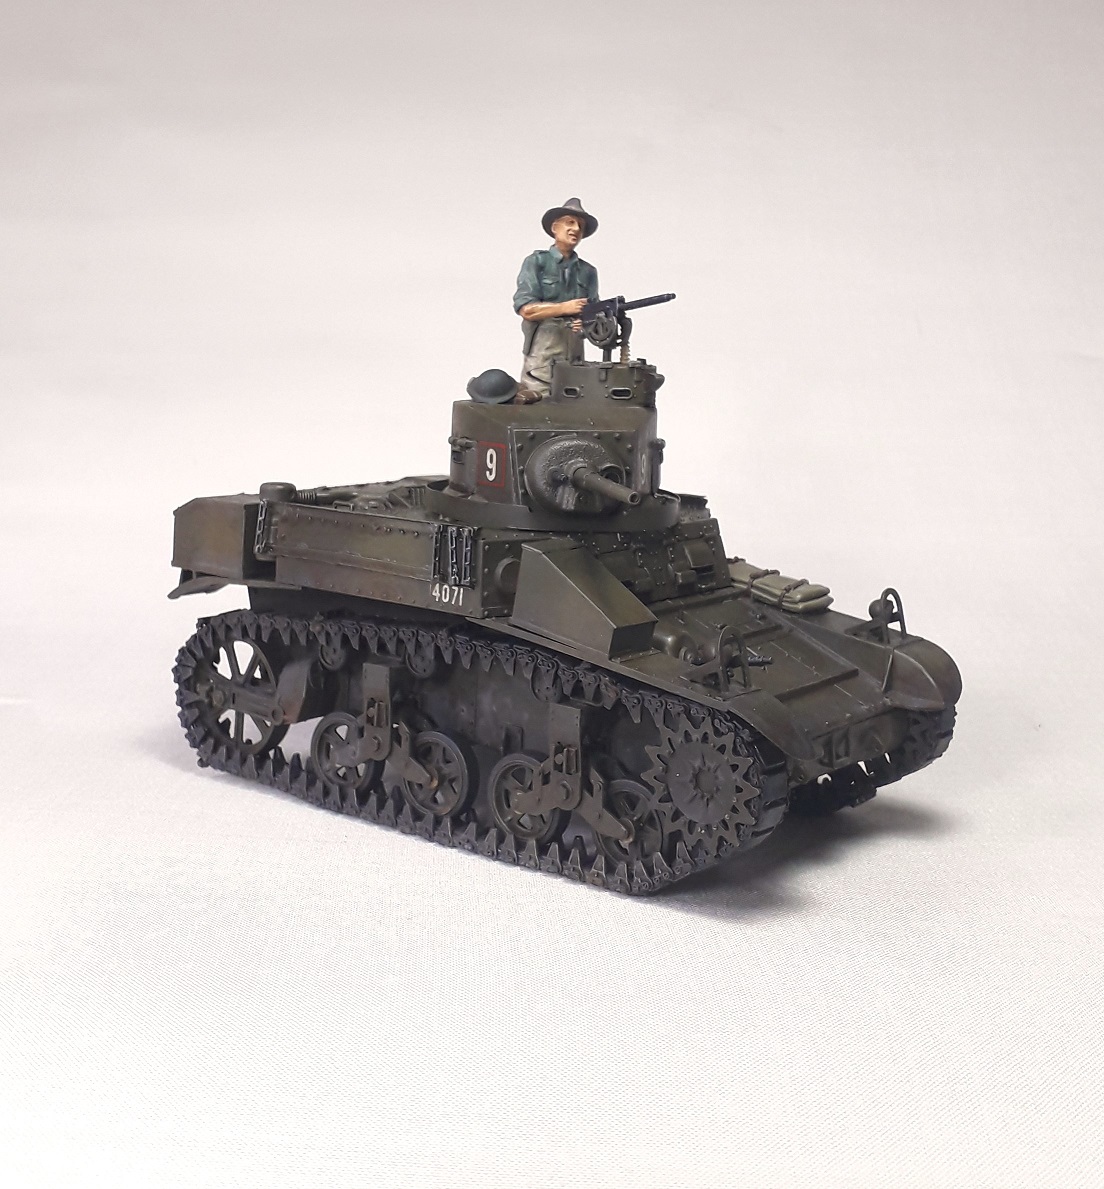

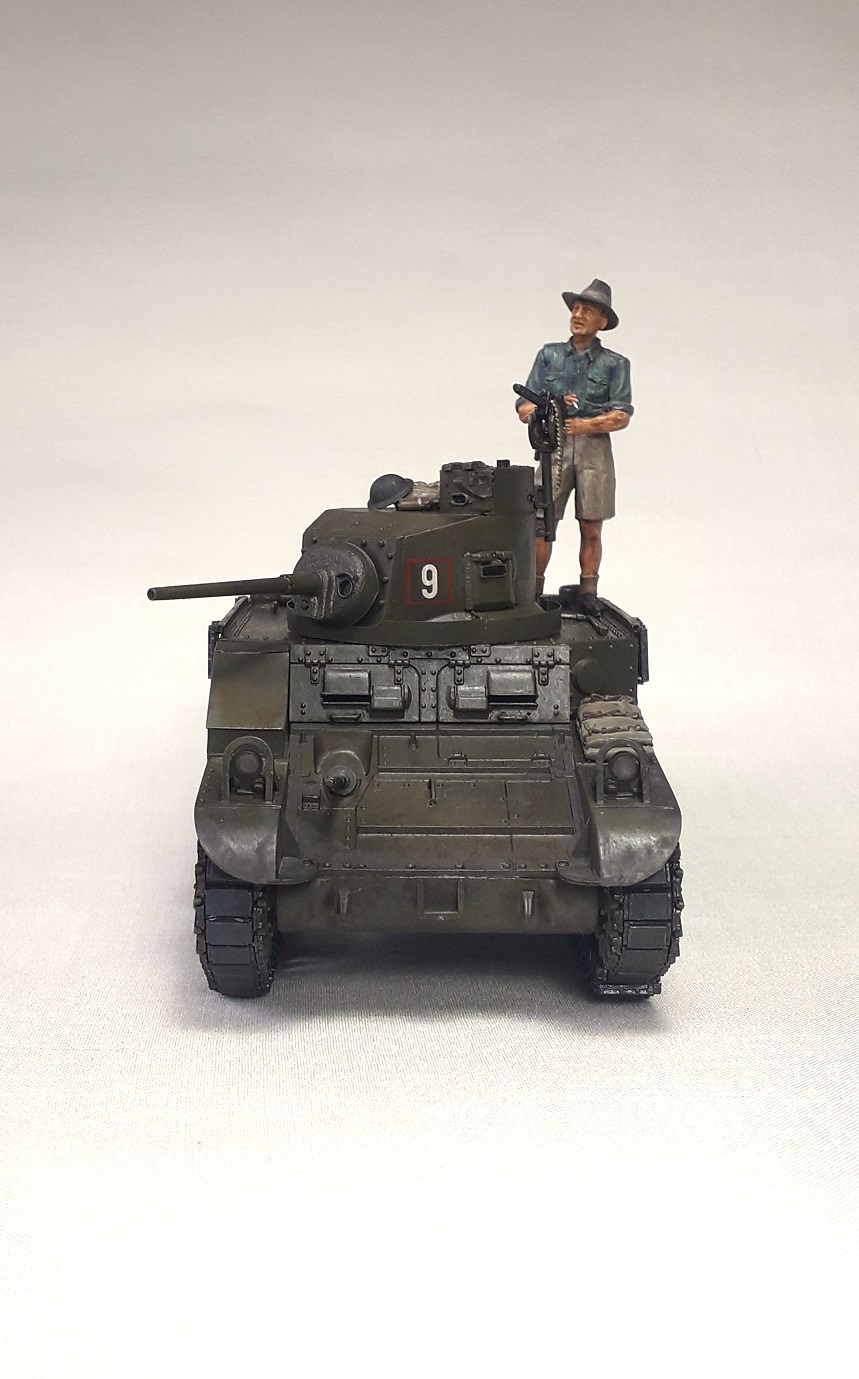
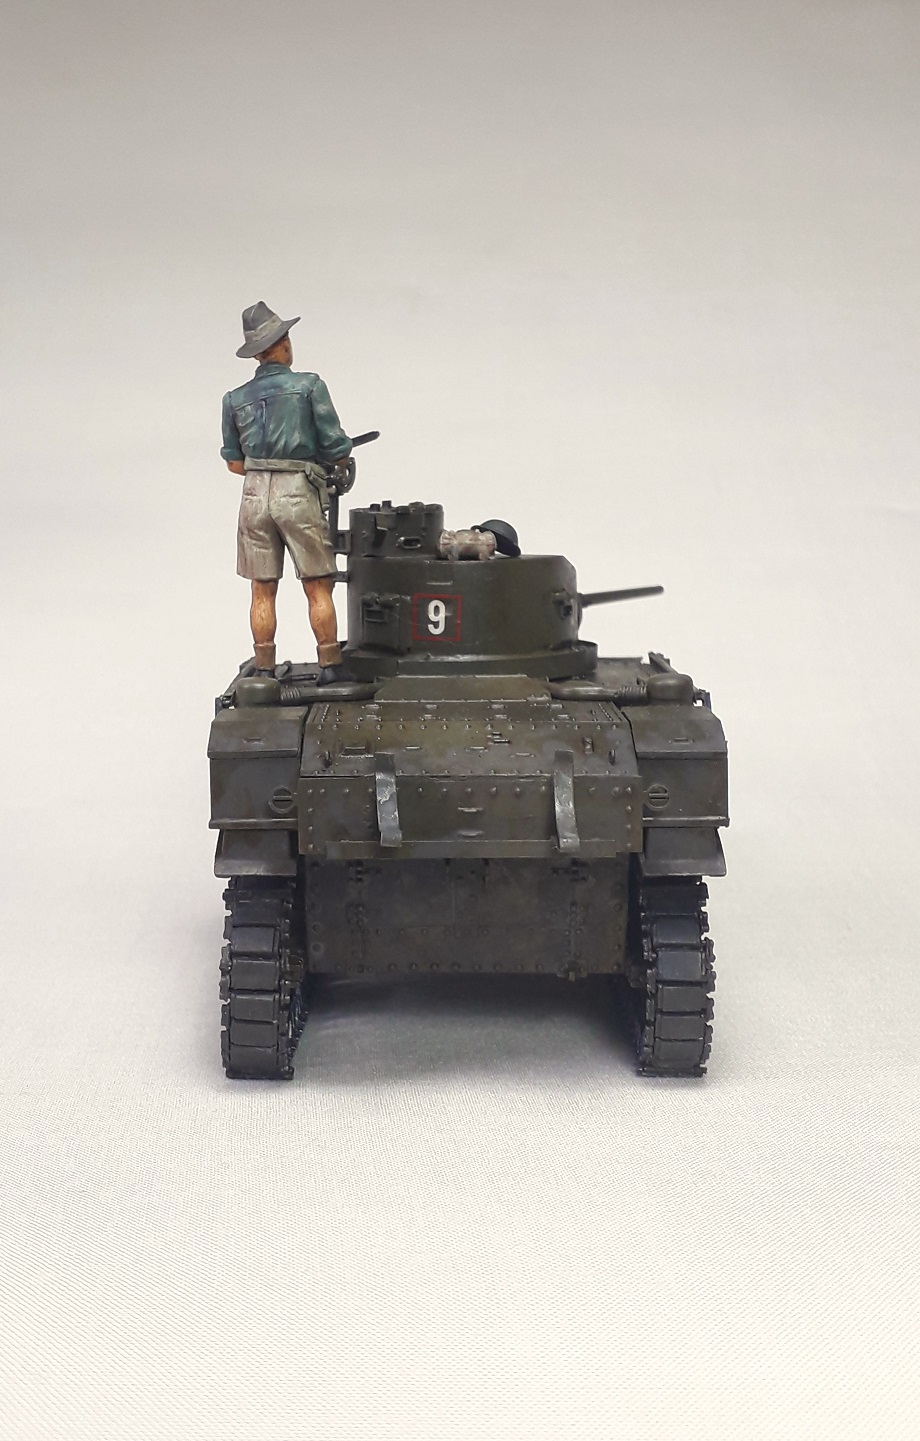
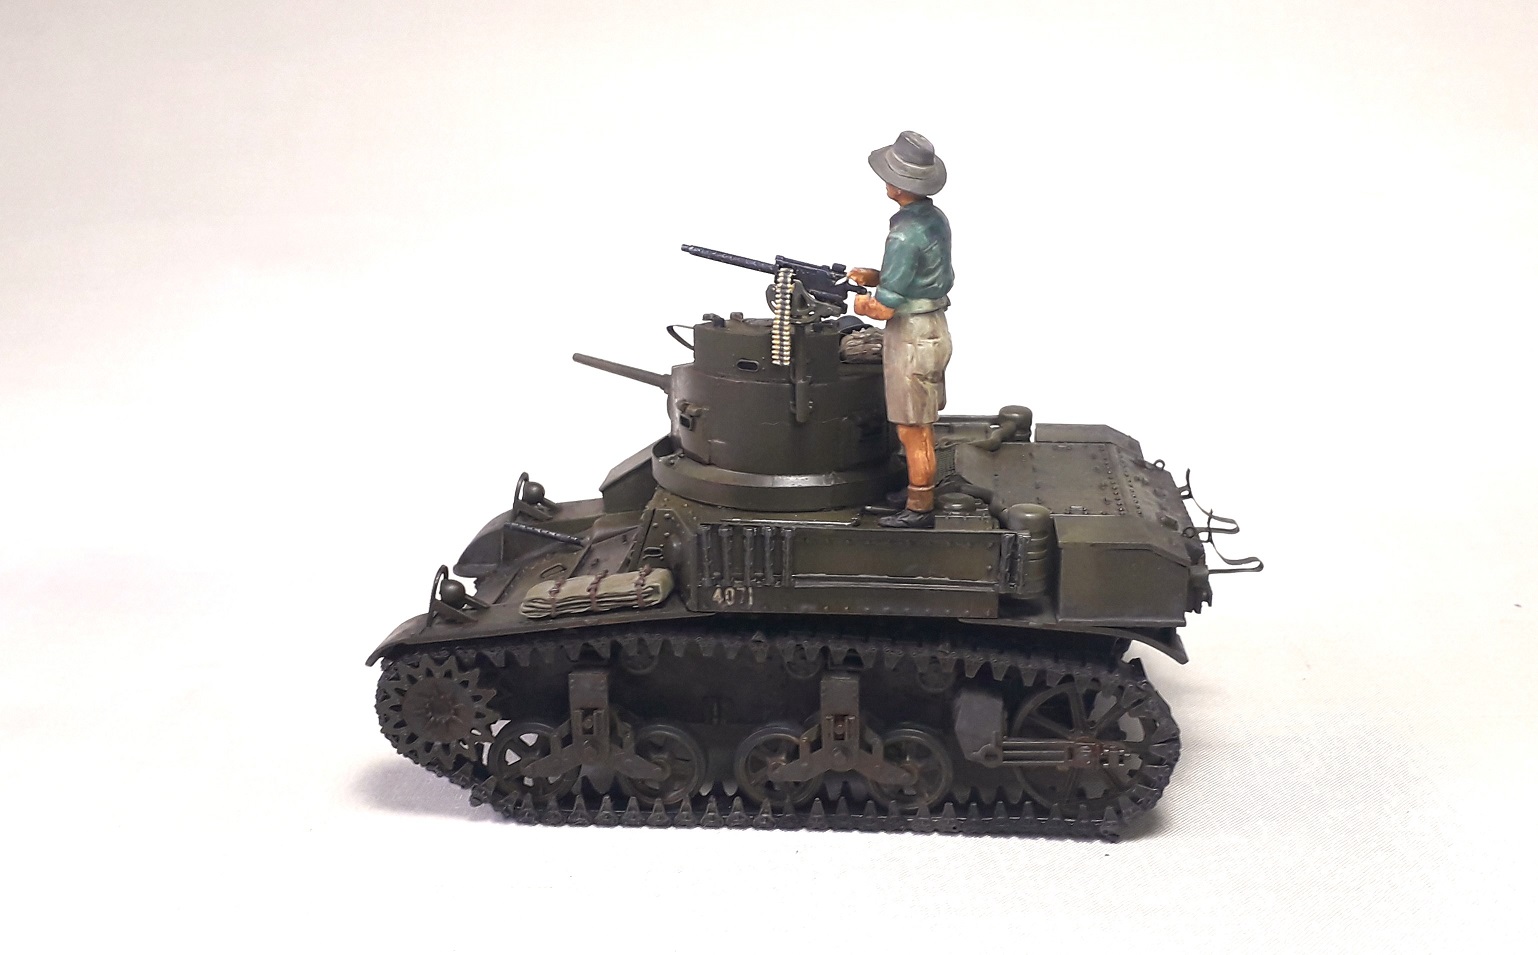
And added personal gear to camouflage the misshap with the filling of the original openings.
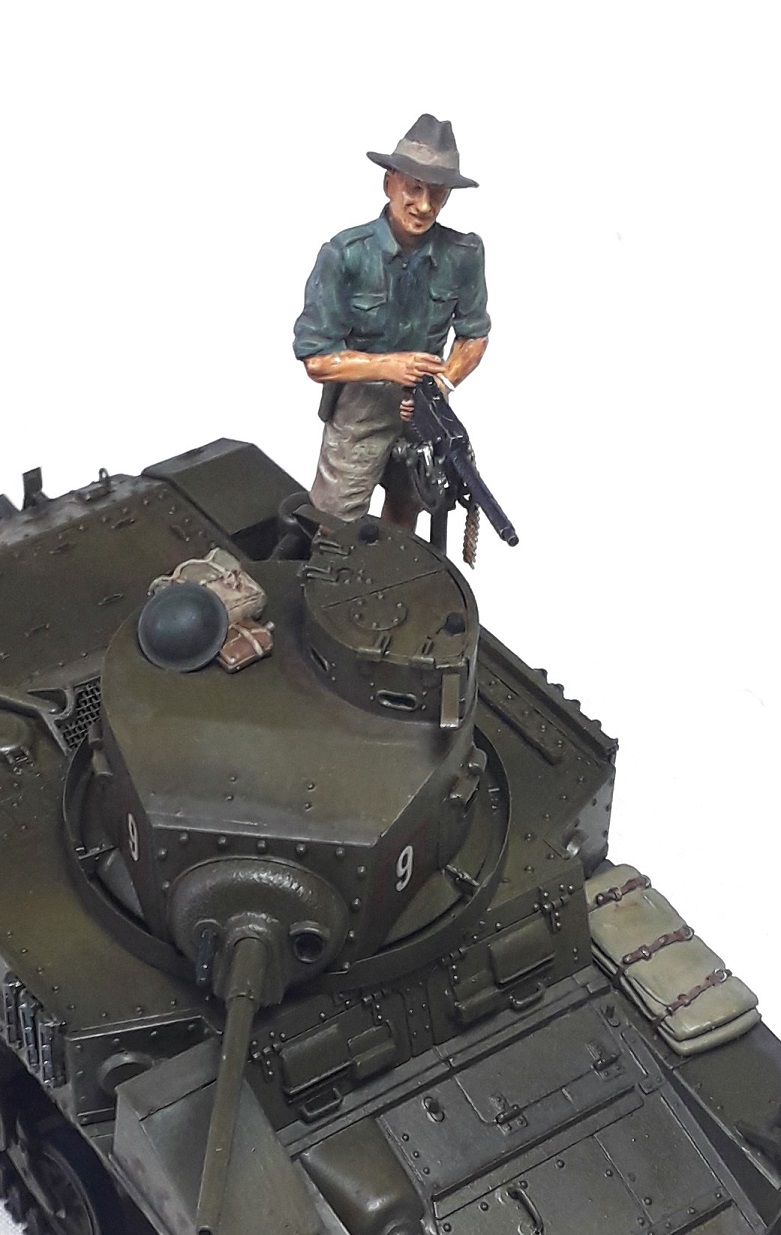
14 Likes
I think both Stuart’s look great. ![]()
![]()
4 Likes
Nice save on the turret top Ron! They both look fantastic!
1 Like


Nice!
I should be receiving the paint for the caunterscheme this week, so I hope to get some painting done again.
1 Like
Could someone set me straight on this question?
I am currently in the process of building one of the old, OLD Tamiya M5A1 Stuarts kits with the hedge row cutter. (Just for fun) I noticed that in this kit at least, the cutter seems to just hang/pivot on the two lifting points on the front of the vehicle. I have always assumed the cutters were rigidly welded to the transmission housing???
Shermans used these towing eyes to hang their hedgerowcutters, so I guess Stuarts would too.