Well guys…the Mustang build, as much as I hate to say it, had to come to an end. I’ve gotta say that I really enjoyed that build alot. I had been doing alot of pondering about what was next up on the bench and had it all narrowed down to three but couldn’t make my mind up on what I wanted to build out of the three. It was really a source of frustration in a small way because I just couldn’t make a decision. So…to end that I decided not to do ANY of those but to build something that I’ve been wanting to build for a very long time… A 1970 Camaro with a big block in it and a Z-28 side by side. These kits are said to be a very difficult ones to work with but we’ll see what happens. I’m up for the challenge…
These cars hold great interest to me because #1…The Baldwin offering has a big block in it and #2 The 1970 Z-28 was almost my first car…till dad stopped it. Smart guy because I probably would’ve been a grease stain on the highway at an early age.
Now on the bench:
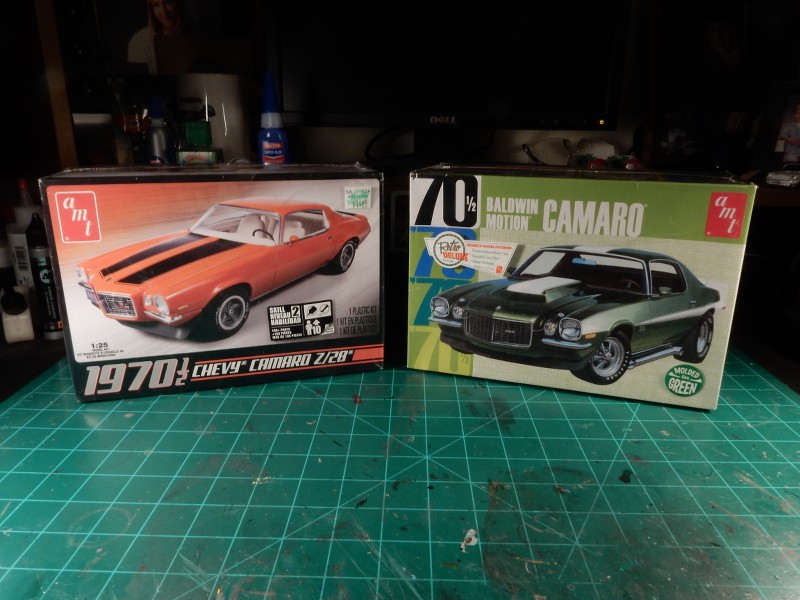
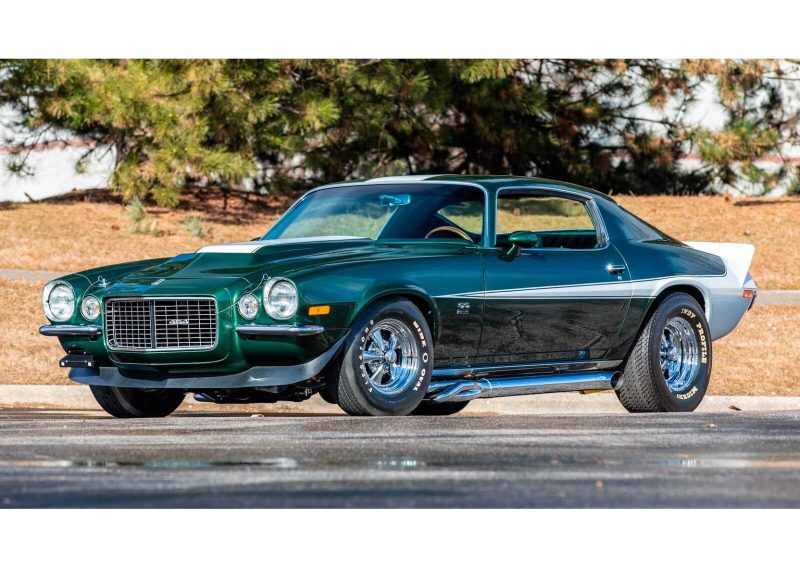
Baldwin Camaros are just evil …sporting a 500+ hp 454 and covering the 1/4 mile in the 11 second range. I’ve already got the MCW Forest Green paint for this car.
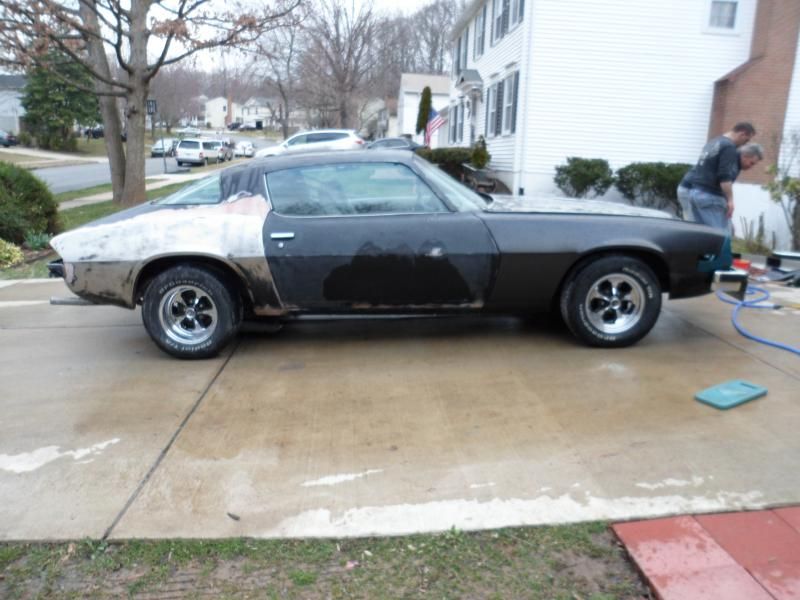
The real thing:
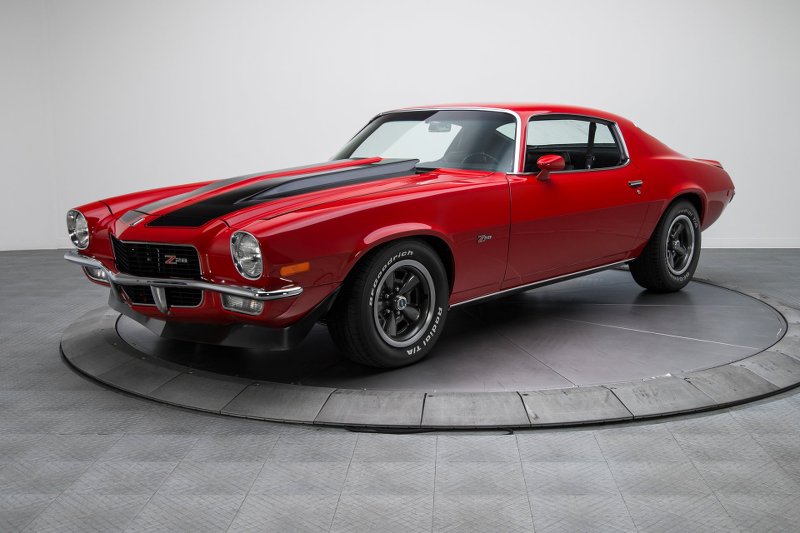
The Z-28 is a beautiful car as well sporting a 350 small block. Not as nasty as the Baldwin Camaro but still packs a decent wallop. I’ll be going with Cranberry Red for this one and will be turning to MCW for the color.
Stay tuned gang…
8 Likes
A Chevy dual build, what’s not to love?
Strapped in for the wild ride here, really looking forward to the build progress reports.
Cheers, D
1 Like
Great choice of subject.
Two quite different takes, on the same car, cool.
1 Like
Joeseph,
Oh NO!! Not one but two Chevy Camaros built to your skill level should make the Bow Tie fan club with President D beam with pride as he pounds his chest. And here I thought that you were solidly in the Ford camp for better or worse. Oh well, live and learn once again has snuck up on this old guy.
But being a huge Joeph fan, I’m more then confident that both builds will exceed IPMS and NNL contest standards by a mile. I’ll be setting up my rocker and keep the hot unbuttered Popcorn bowl full as I enjoy every update to your double build.
joel
2 Likes
All of em have their good ones Joel. lol
I am a Mustang fan through and through ol’ buddy.
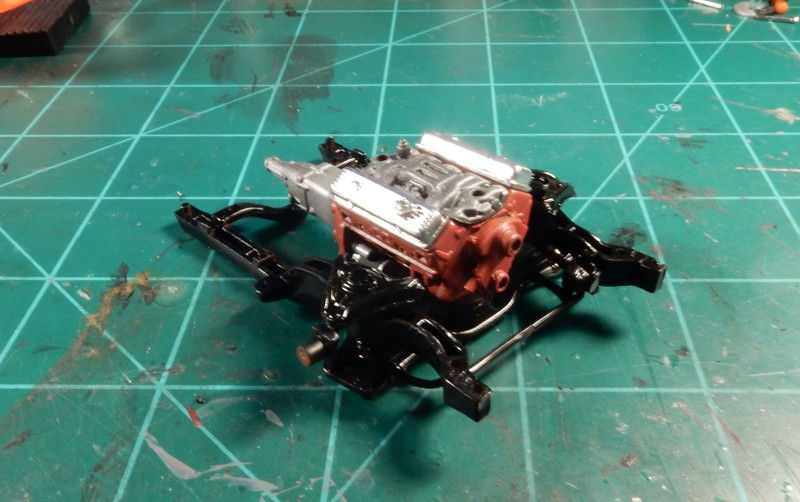
Starting on the engine build for the Z-28. Here’s the base engine completed. I’ll be going with a MAD pre-wired distributor on this to cut down on time spent drilling the distributor and putting the wires in and will be ordering that tomorrow when I get paid.
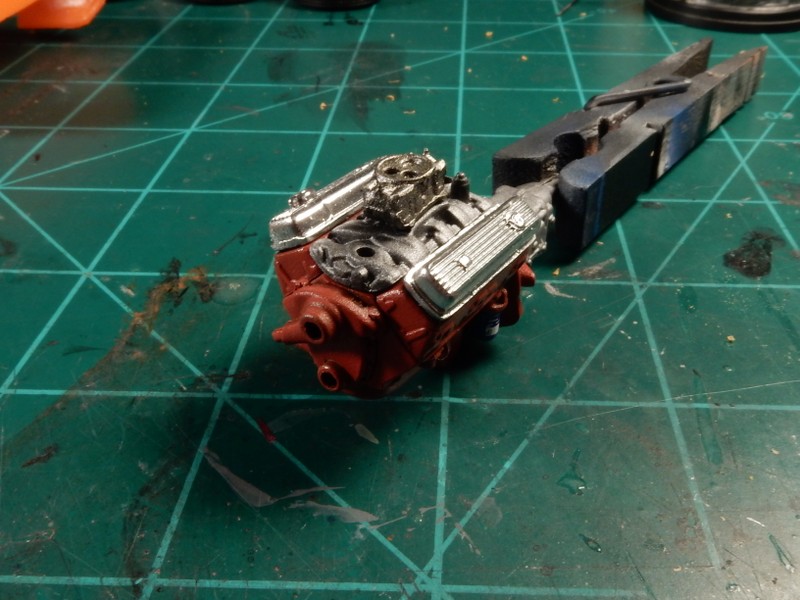
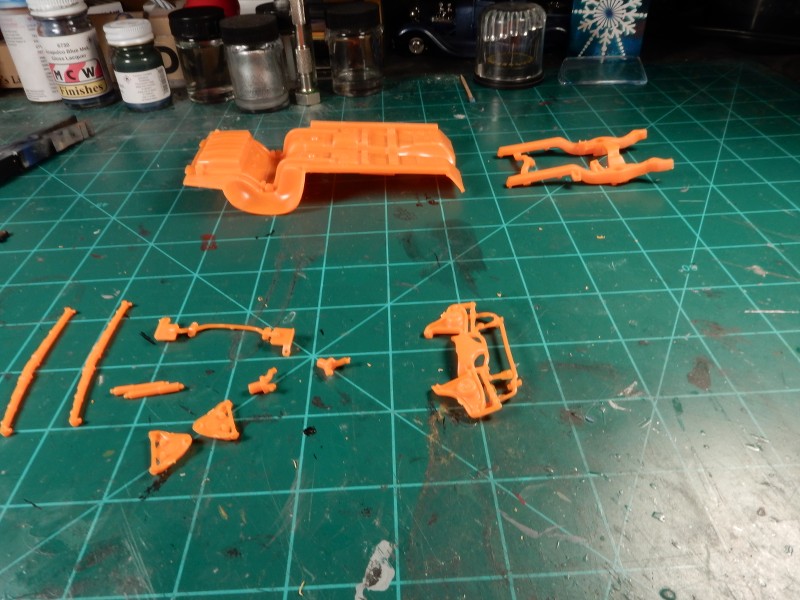
Base chassis all laid out ready for painting. Actually this aint a bad chassis having quite a number of parts. Per some of the reviews that I’ve read on these kits , I’ll be attaching the front subframe assy at a later stage in the build for ease of assembly.
4 Likes
Love the look of that smallblock.
1 Like
Looking good so far. This is a pretty nice kit and should come out really nicely.
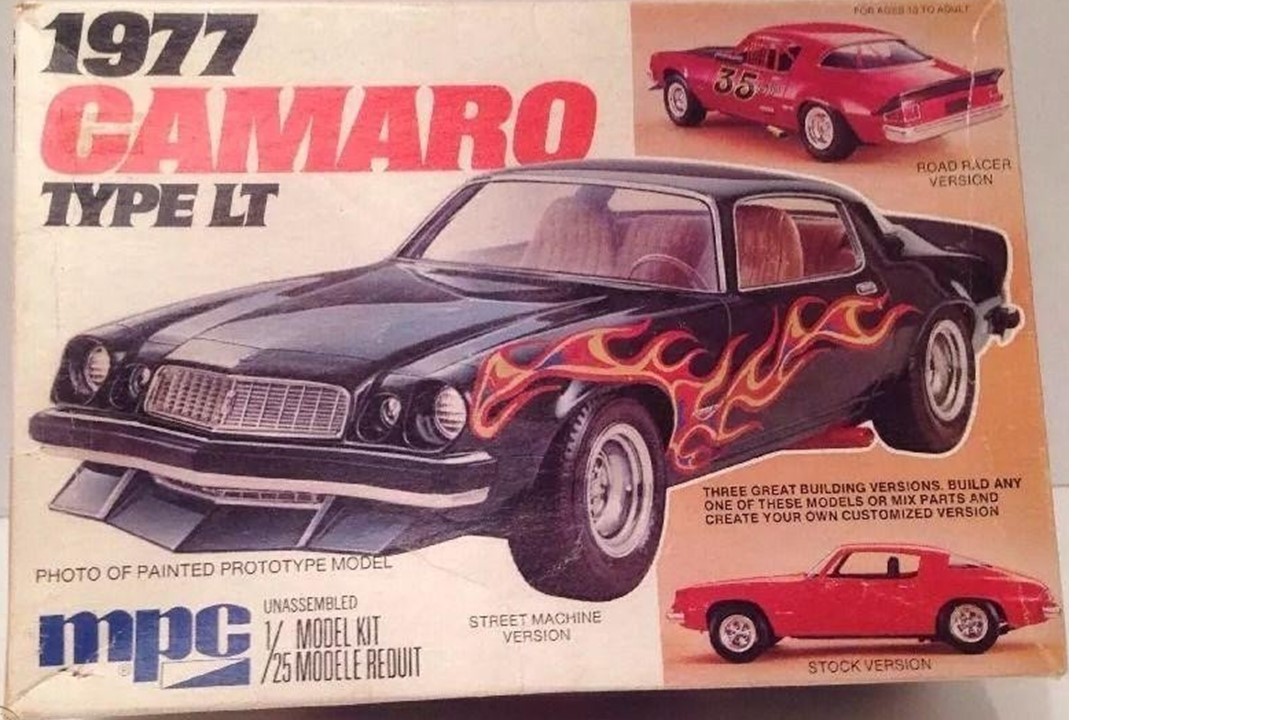
I used some of the interior, front frame, and inner fenders/engine compartment of this kit along with the outer shell of the old (and very basic) MPC '77 Camaro kit. I also added a couple PE/resin sets for the finer details…
To get this…
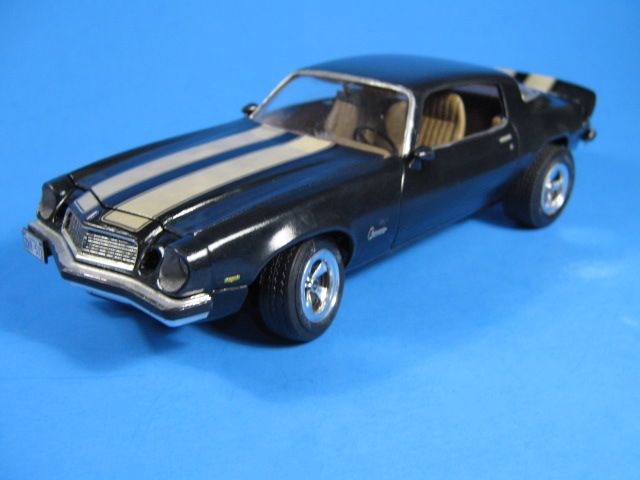
With fully detailed and plumbed engine compartment as well.

More pics of the model here: Photobucket | Make your memories fun!
It is a scale model of my daughter’s 1:1 version.
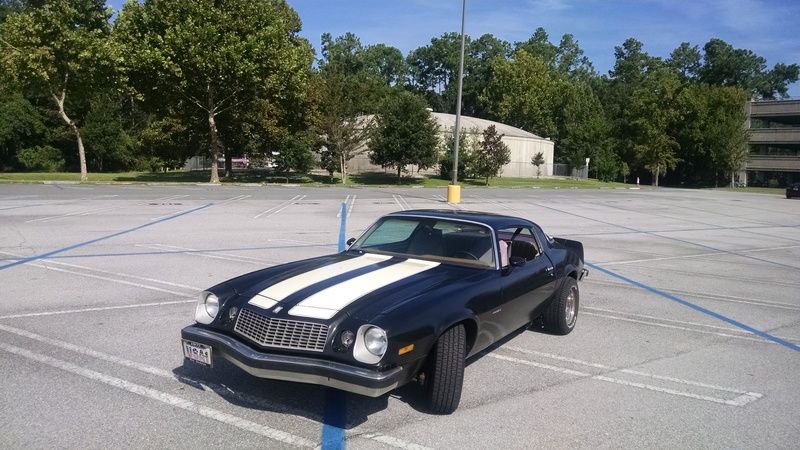
That also went through a few mods (OK, a complete rebuild) along the way.
2 Likes
Thanks Jesper!! I’m just waiting on my distributors in the mail now to finish the engine up.
Gino: Love that Camaro man. I love my 1:1 scale projects just as much as the scale versions. The good thing about the 1:1 is that you can do more than just look at 'em. lol
The rear part of the chassis is about 70% finished. Still have to install the rear sway bar, shock mounts and shocks but we’re getting there. I had to take a break in the progress and narrow the rear end and arch the springs just a tad to achieve the stance I was looking for in the rear. I merely cut off the axle ends, shaved each end of the axle back about 3/16" , drilled holes in the axle and in the axle mounting ends and pinned them back to the axle. I’ve already done a test run and the wheel/ tire assemblies are right where I want em now.

2 Likes
Joseph,
The chassis is looking real good. I love how you changed the radius of the rear leaf springs. I do use pinning more and more these days for all sorts of detail corrections. Usually even works like a charm for me.
joel
1 Like
Now, that’s a clever way to change the stance. This is something I have to try.
1 Like
Thanks Joel and Jesper! I’ve done a few pro street vehicles and the pinning method has always helped me out in terms of strength and locating.
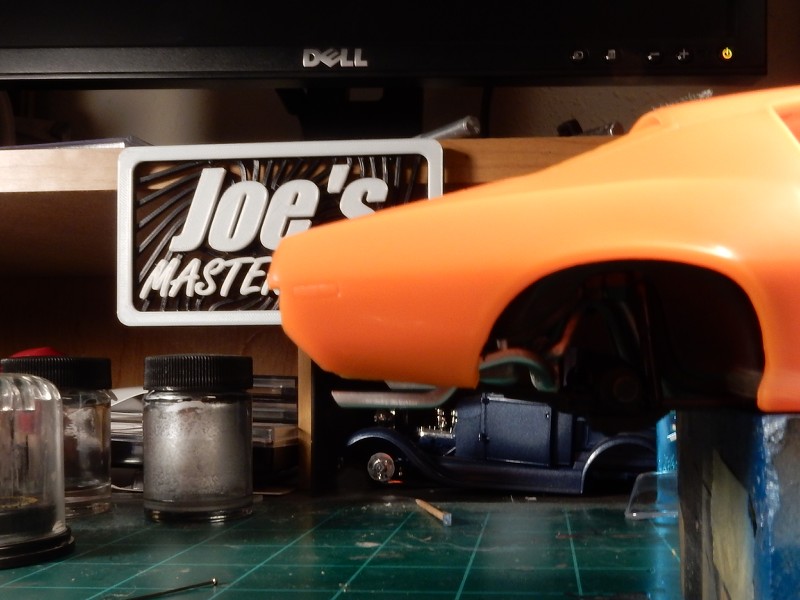
One of the biggest shortcomings of this kit is in the exhaust area. First off, there’s LOTS of clean up to do, more so on this kit than most any other of the models I’ve built in the past.
After that is the issue of the position of the tail pipe when it’s all installed onto the vehicle and the fact that I’m not a big fan of square cut exhaust pipes exiting any give car.
OOB exhaust: (Note: the tires will be re-positioned in the wheel opening so I’m still working on that) This crazy right??
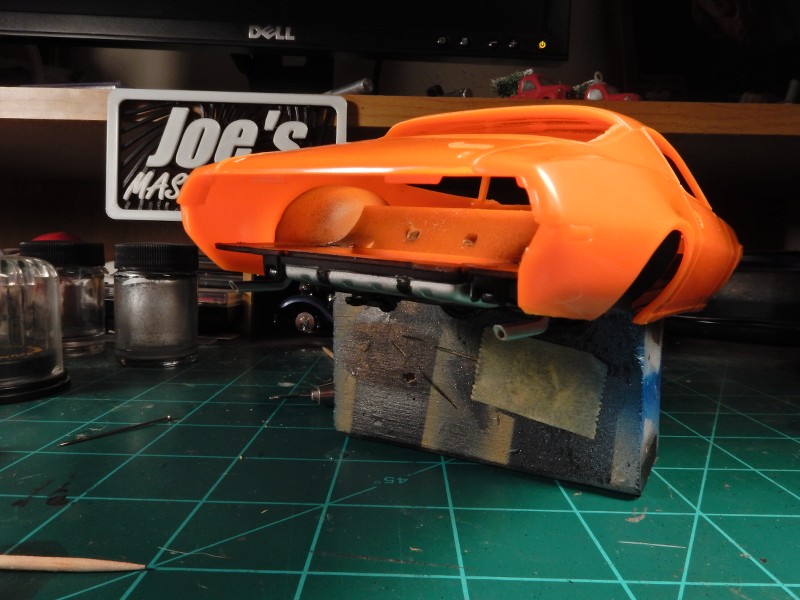
After tweaking the exhaust mounting points and bending the pipes to where I wanted them to exit the car (and adding my bevel cuts to the tail pipes and hollowing them out). That’s MUCH better.
I still have some adjustments I’ll make later on in regards to the final locations of each pipe but this is the preliminary result:
2 Likes
Joseph,
Nice job on relocating and reshaping those twin exhausts. The kit ones look weird. The rear tire looks like it actually is rubbing up against the front of the wheel well. You’d think that they would get that tire placement right in these kits.
joel
1 Like
Moving right along beautifully Joseph, I love the attention to detail in the stance and locating the exhausts. These things all pay handsomely in the final product!
Cheers, D
2 Likes
Thanks Joel. That wheel is pretty much just resting in place right now. It’ll be finalized some time in the near completed process. LOTS of work between now and then. lol… LOTS.
Thanks Damian!! I appreciate the good word.
1 Like
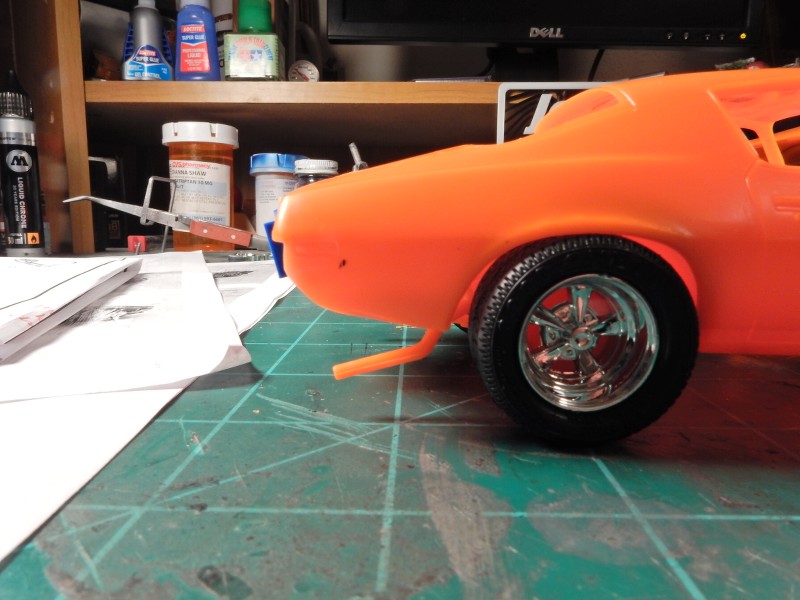
To expand a little in the tire placement, the rears are not OOB so I had to make adjustments to put the tire back under the fender.
I always like my front stances to be low and aggressive looking to there always seems to be some work involved in getting that area of a car to my liking.
The Mustang that I just built was exceptionally difficult to work with because it seemed like everything was off up front. This one here was a little easier to work with
Joseph,
Appreciate the detailed explanation as now it not only explains the work you’re doing, but why, and the current stance in the pictures.
joel
1 Like
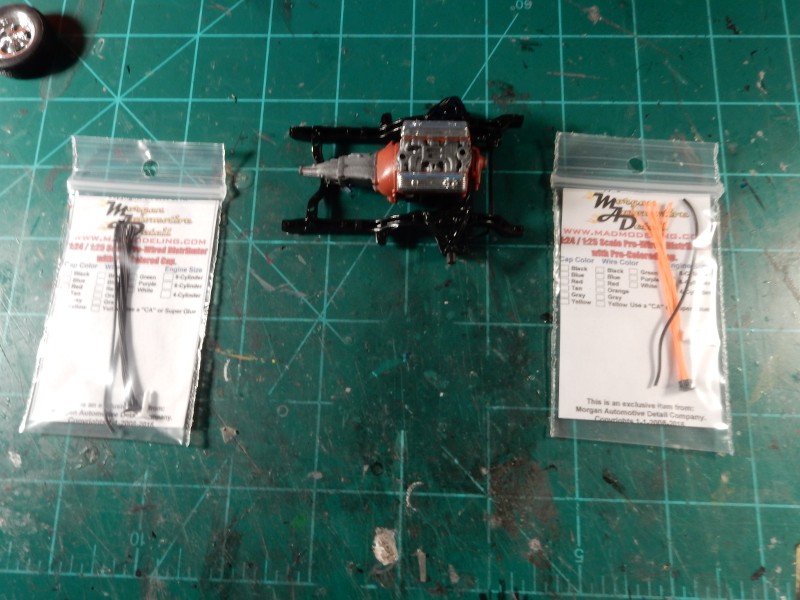
Completed subframe with modified spindles to drop the front end a little bit along with the mostly completed bare engine:
I purchased my first two MAD prewired distributors. I’ve gotta say that I am definitely impressed. This cut my time in like 1/10th of the time from drilling the OOB distributors and inserting the ignition wire myself. They come in all kinds of cap and wire colors.
2 Likes
Joseph,
That super glossy frame/suspension sure makes it hard to really see those spindles, and honestly, I wouldn’t be able to tell if they were modified not being familiar with them. But the engine sure does look sweet just sitting in the frame. Looking forward to seeing you work your detailing magic.
I’ve also bought a few AM distributors that were pre-wired. Like you, it’s one of the best time savers for detailing, and they look perfect. Lets me kind of use a little modeler’s license and change the colors of the ignition wires so that they pop.
joel
1 Like