A Russian snack - AER GAZ-67 1/35

The Ron-show with the silk sow ear purses continues!!

This truly is a testing kit… All the metal that was needed to keep the body in place and shape… sort’a…

Playing around with the figure setup. It’ll be a propaganda vignette.

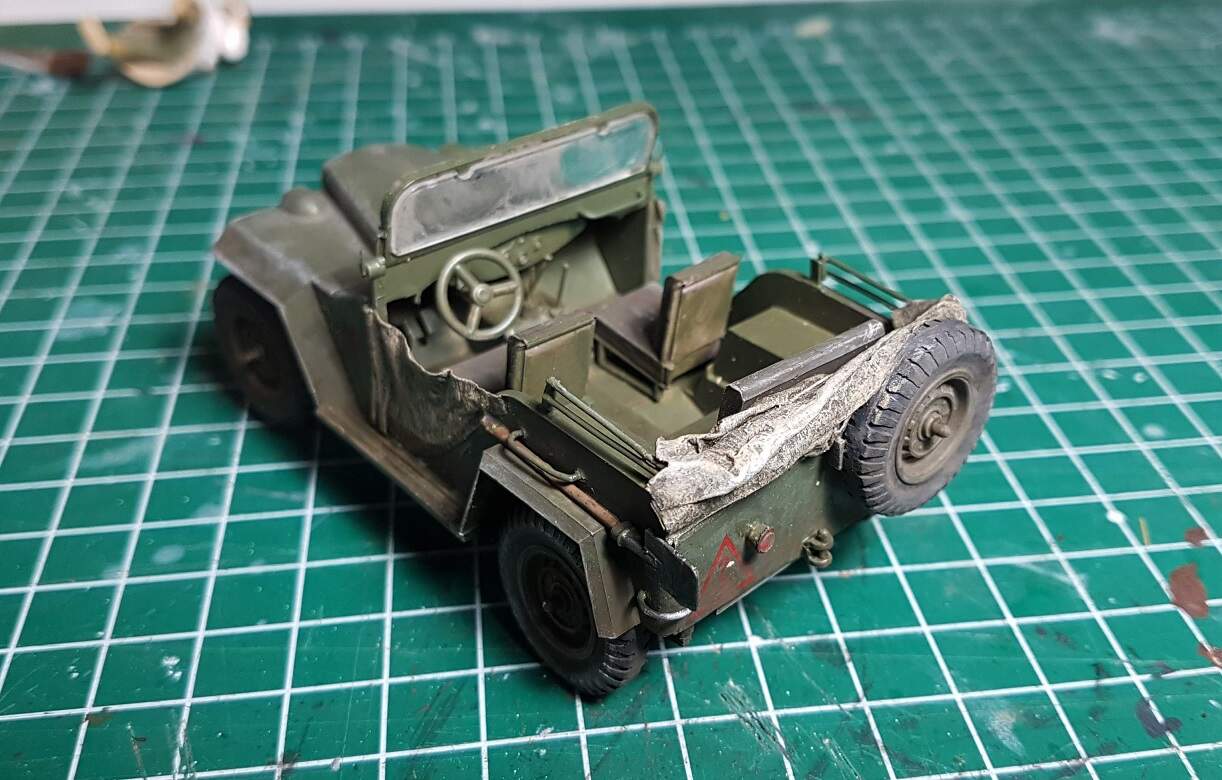
One thing that is pretty bad with this kit is that it not only lacks cover and doors, but that the layout of the roof bars is incorrect, sitting next to each other instead of on top. I remedied that somewhat.
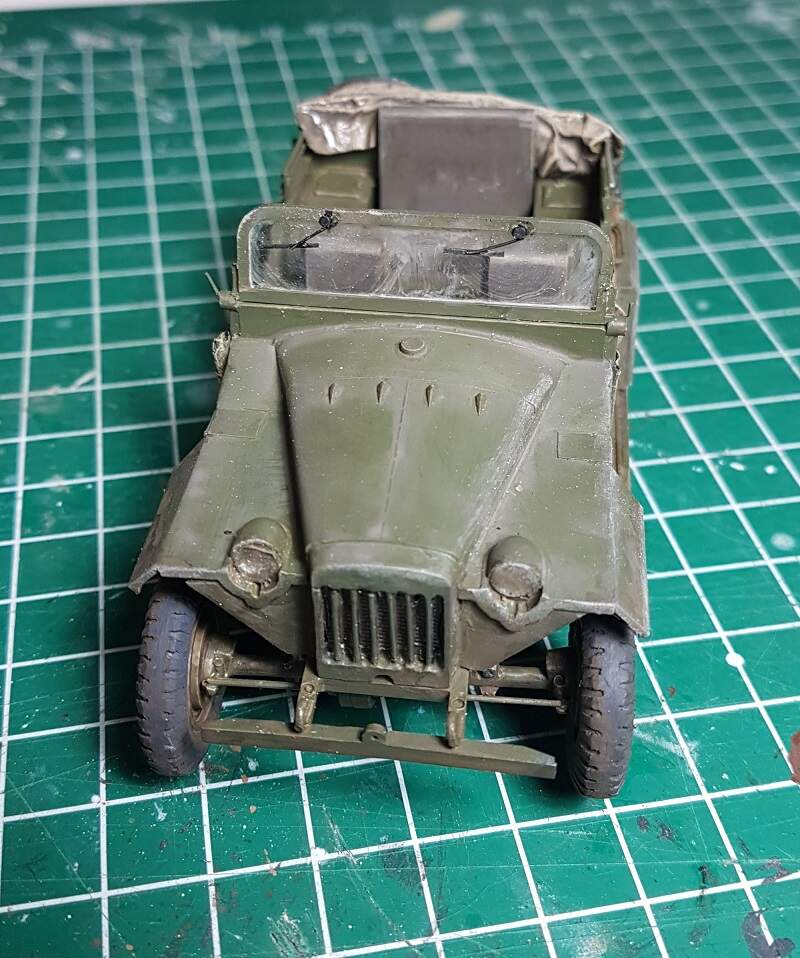
I carved away the flat cast-on rearlight and license plate. I guess they used a civilian postwar car as startoff point?


The kit has no windscreenwhipers and the headlights should have been slightly raised.

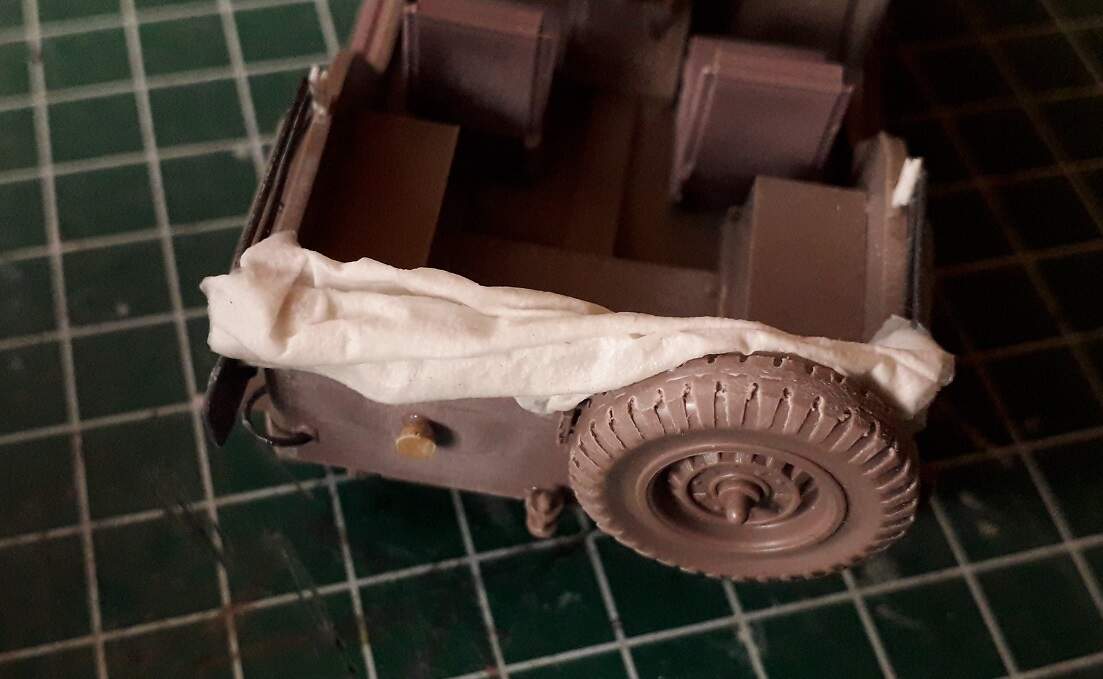
And here we see another glaring mistake; the fenderarrangement!
The horizontal parts is to long! The results in the sloping part to be at an angle that is too steep, leaving no room to add the stowagebox on top, which was omitted completely.
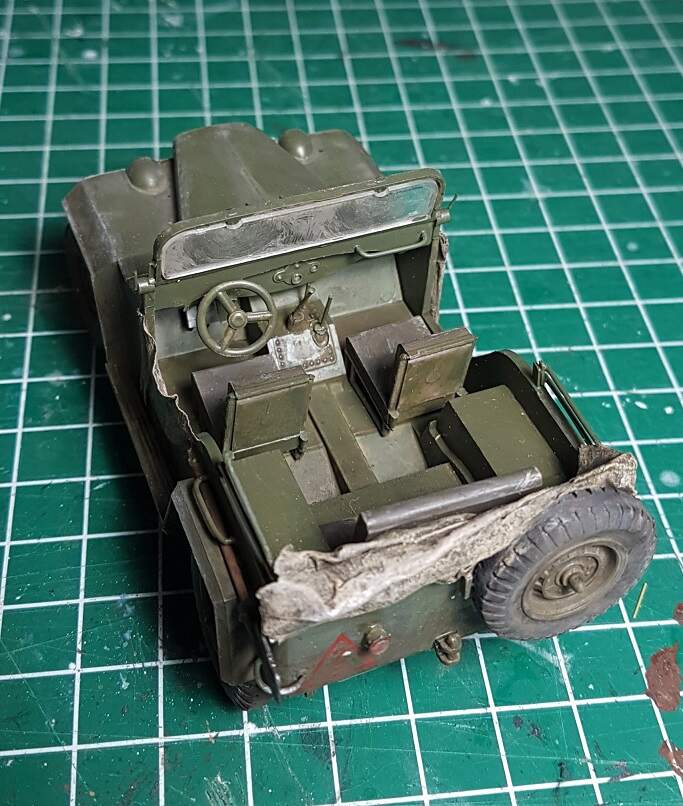
And I need to fix that handle too.
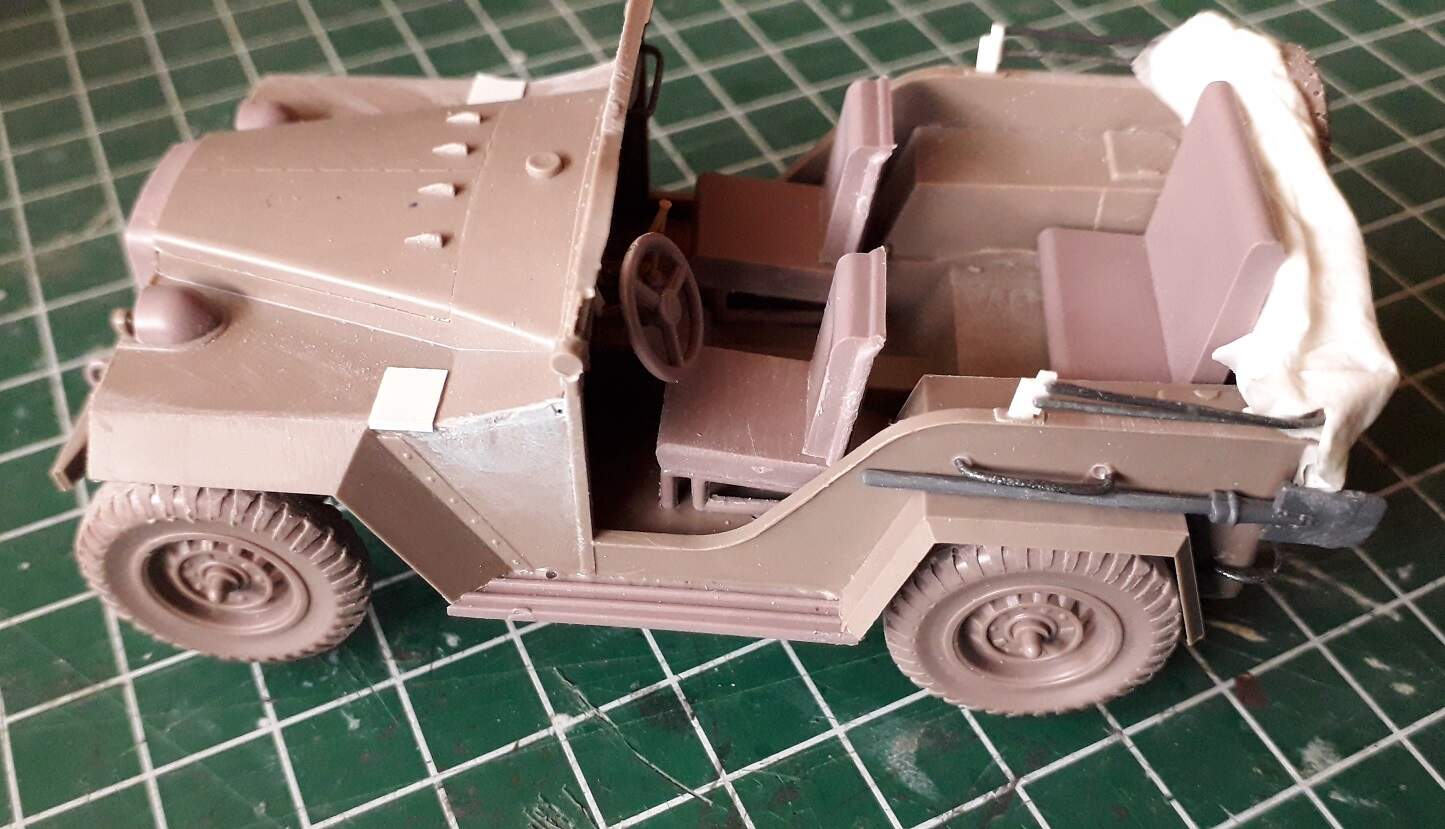
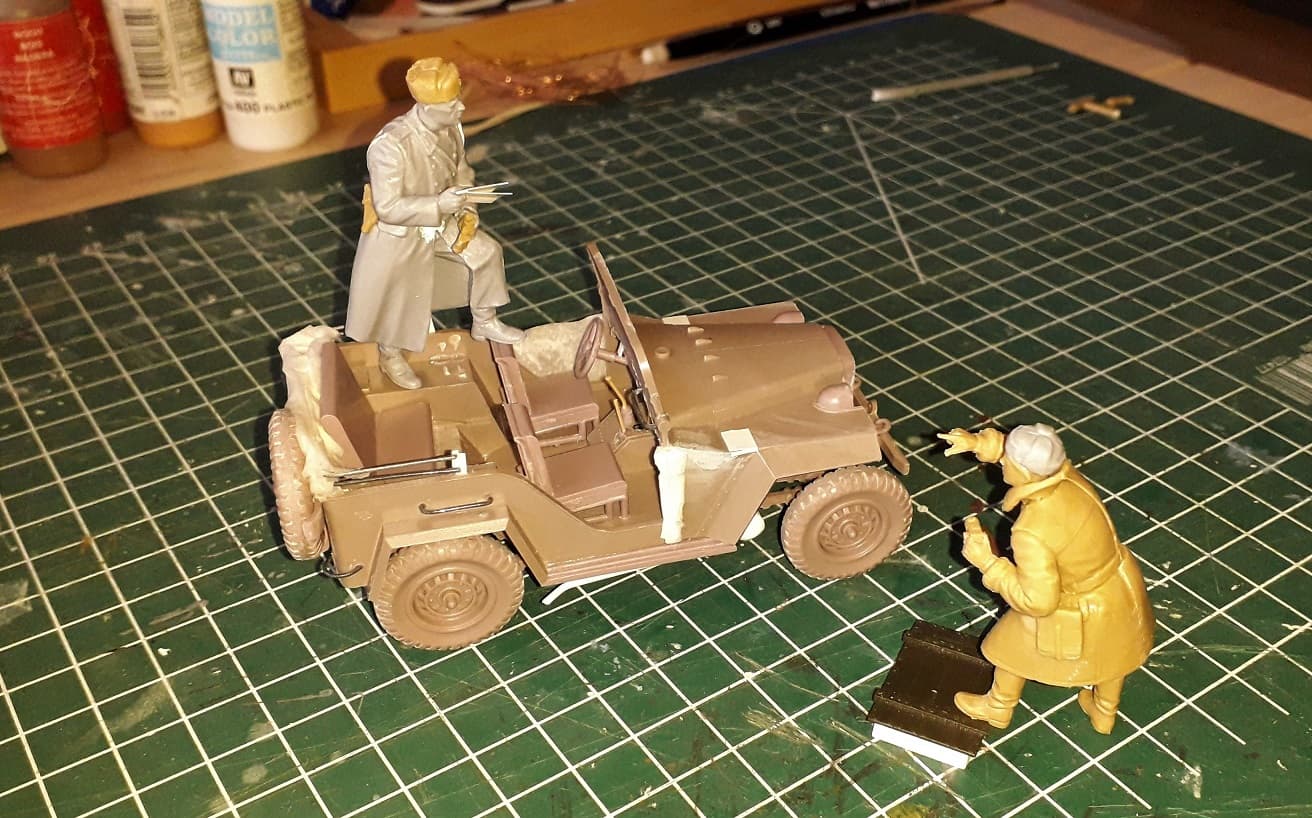
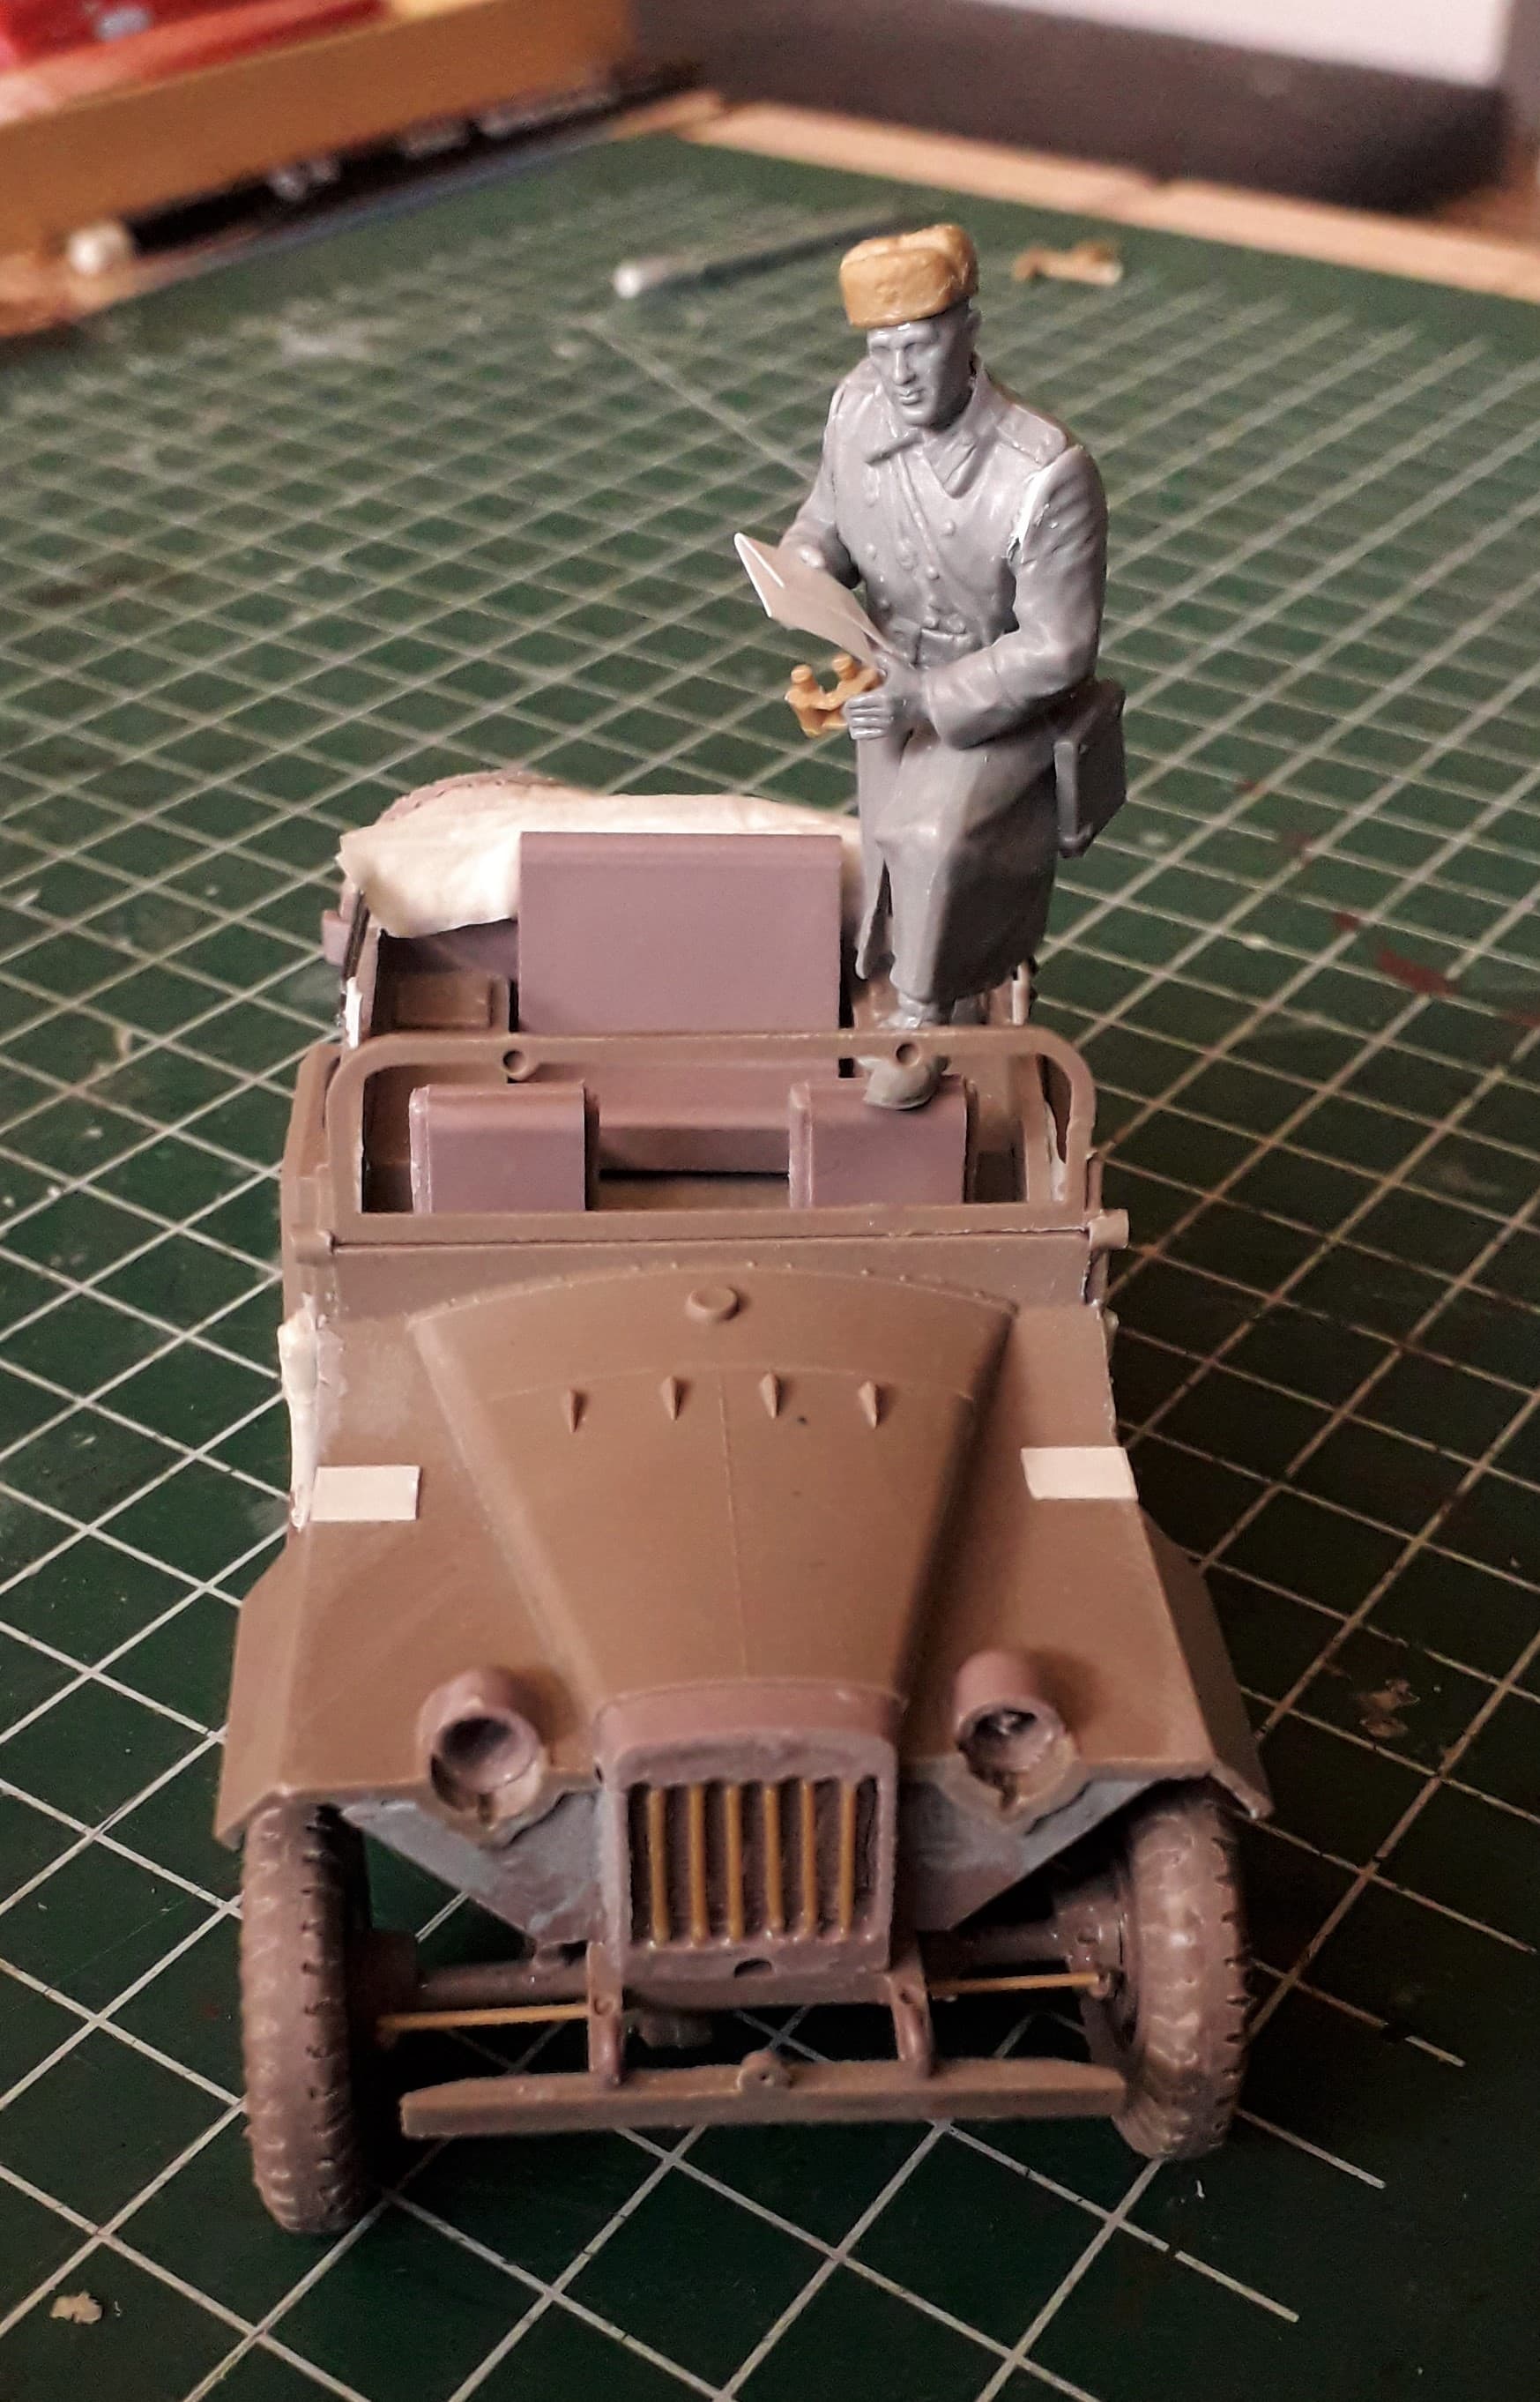
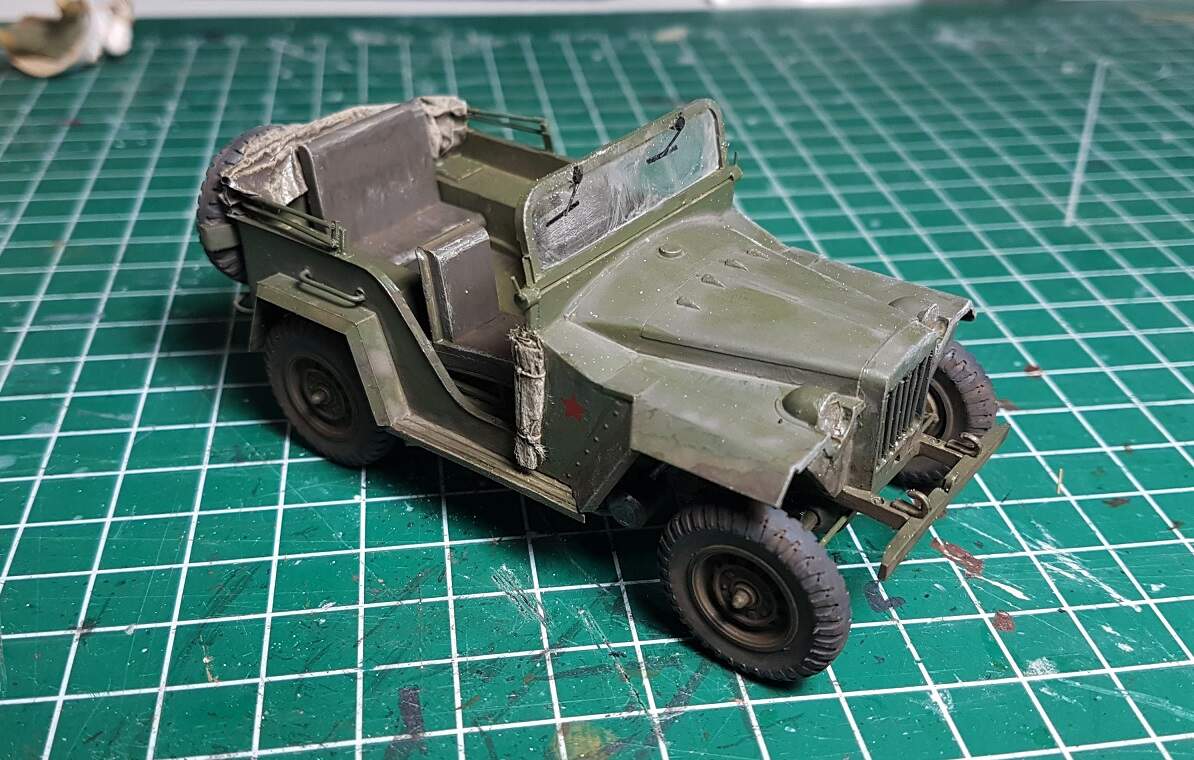
Added a shovel to make it more visually interesting.

3 Likes

Coming along very nice Ron. Can’t wait to see it with paint on it.

Loving your clamp-work & that’s a great idea for the vignette. What did you decide about the muffler or shouldn’t I ask? :shushing_face: :tumbler_glass:

I consider this GAZ done, buildingwise.
@Dioramartin and that includes a new exhaust…

The new setup for the figures

and new doors plus some minor details

The commander, “leading” the charge into Nazi-Germany!!

5 Likes

Oh man Ron, you gave that GAZ way more love than it deserved! Really, really nice save! Awesome detailing skills.

2 Likes

I agree with Matt.

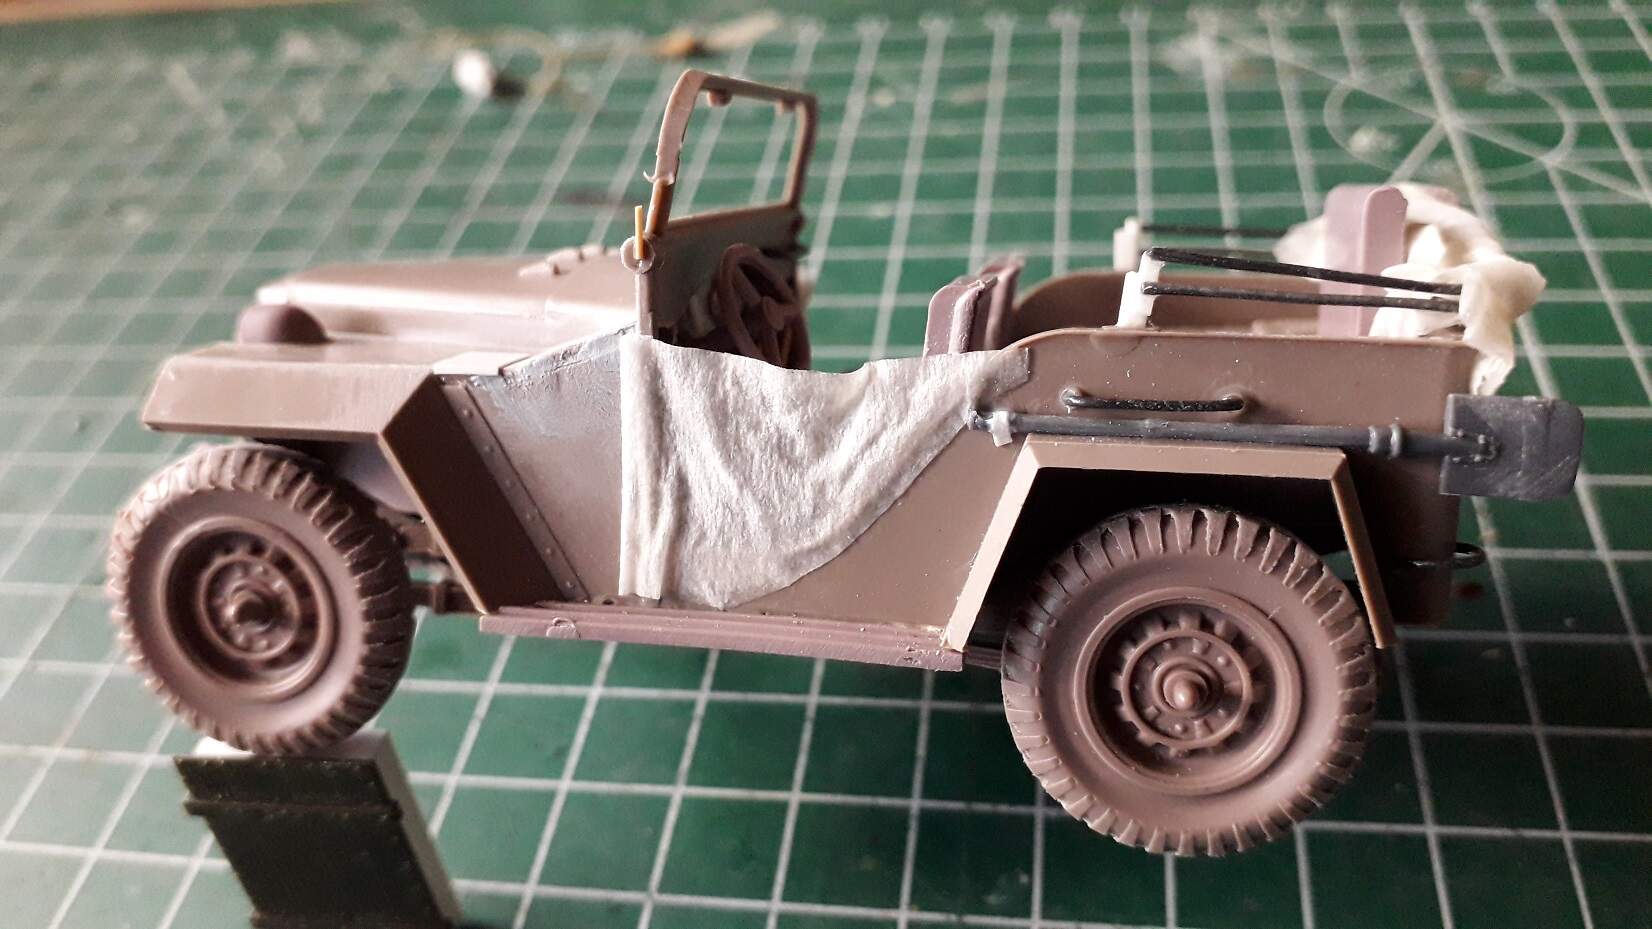
Like the new exhaust too but I think it needs a bracket or two along the pipe under the passenger otherwise it will go missing on the next mound of dirt.

1 Like

5 Likes

Excellent job Ron

1 Like

Well shut my mouth, you go on with your bad self. :+1:

1 Like

I thought it was peculiar as well, but I simply could not find anything else?

If it works go with it. I would recommend printing off the pic if you take the diorama to a show to help avoid any confusion and marked off points.

There is a bracket on the muffler and a bracket on the tailpipe right in front of the tire, where it turns outward. You can barely see them in the photo.

Bracket? I only see the differential behind the pipe. A bracket would be visible around the pipe, right? Unless it was welded to its back… But I will use artistic license and make one anyway, since the pipe is kind of easy to break off on the model.

1 Like

Yes, they are welded to the top of the pipe. Look carefully at the photo and you can see them.

At the exit of the tail pipe bend it looks like a giant staple welded on. Mistook that for snow falling at first. Good eye.

1 Like

Blimey! Indeed!!
You guys have good eyes!

And it has been corrected…

2 Likes

Great progress with your Gaz. The figures’ posing is amazing, too. I am sure your vignette will be great!

Tamás

1 Like

Awesome detailing work Ron!

1 Like

Slowly but surely the GAZ is turning into something recognizable.
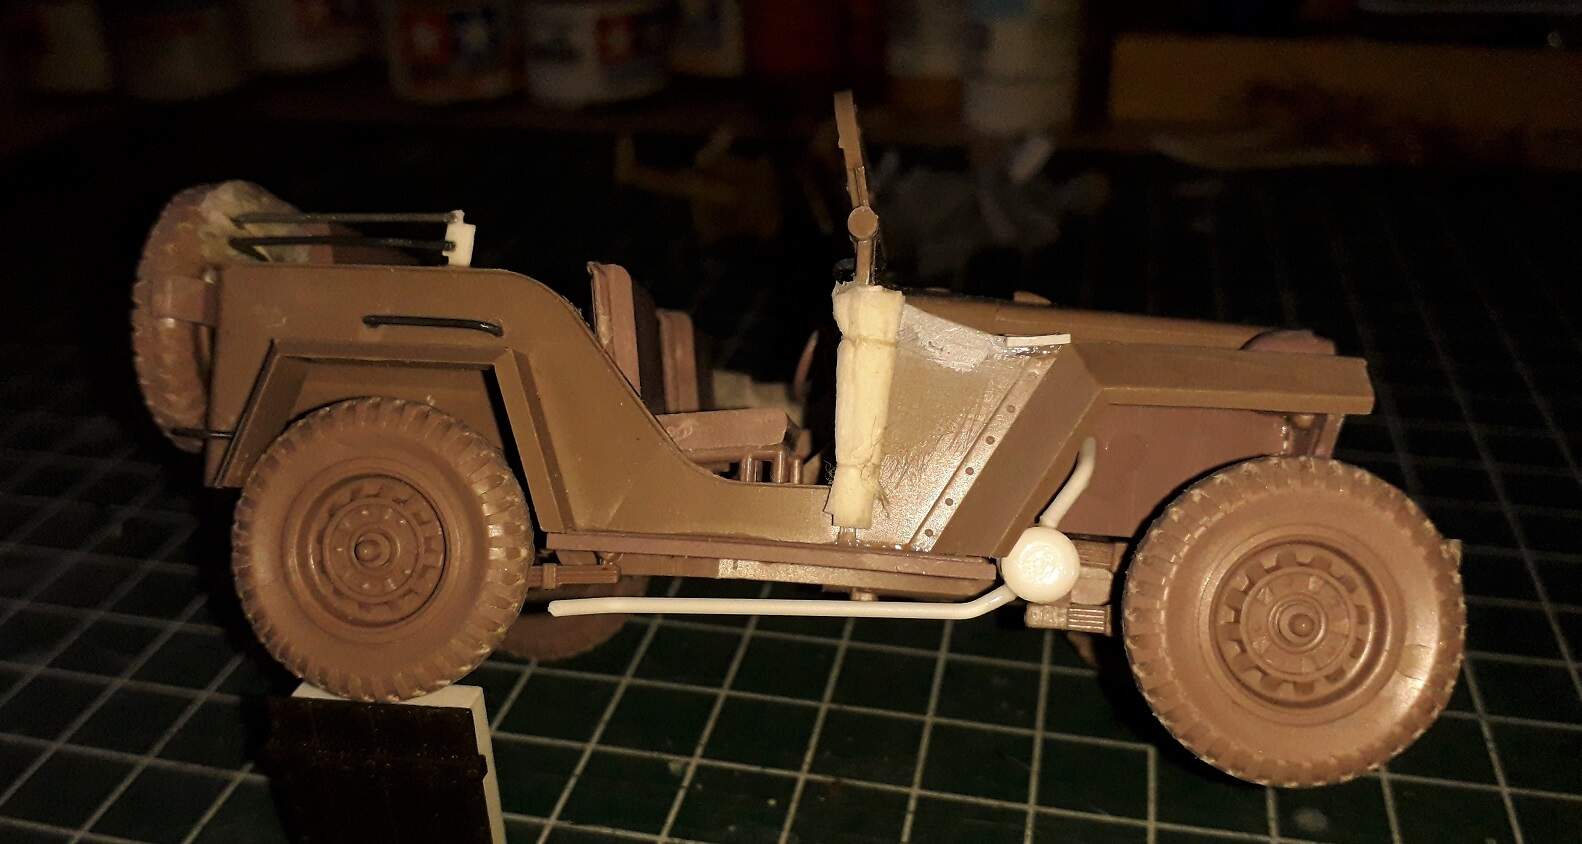
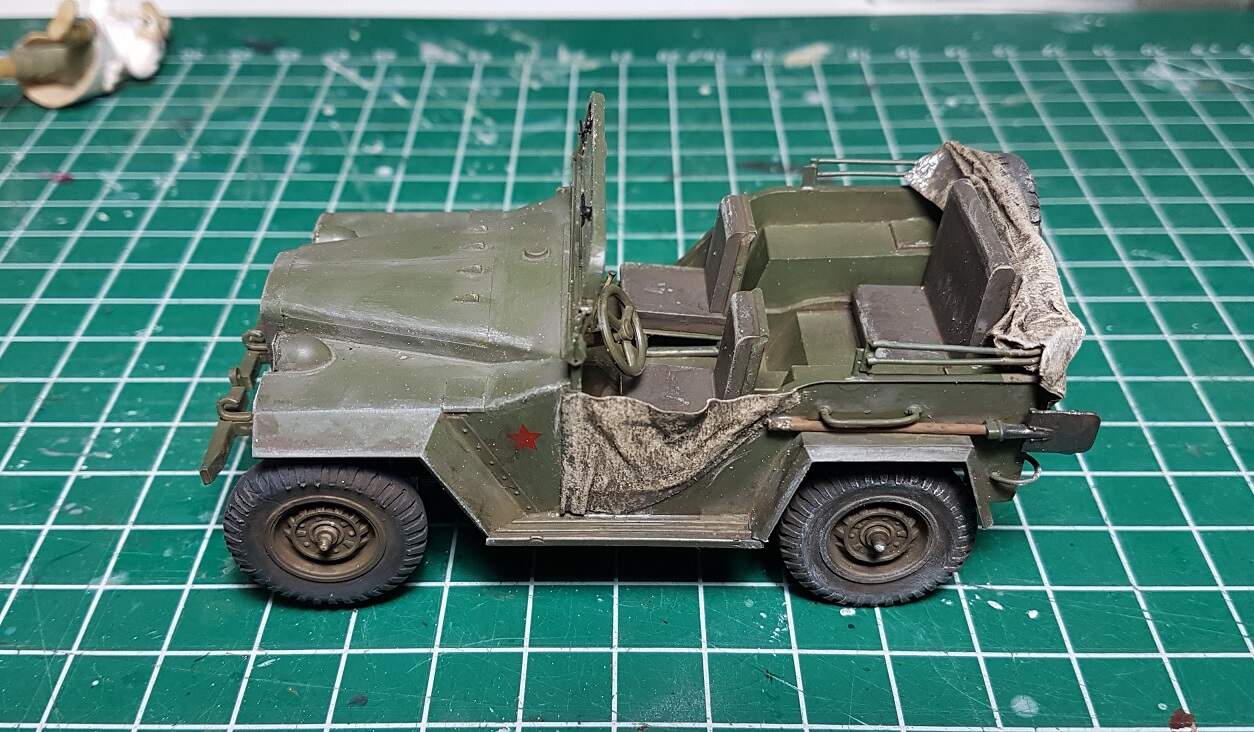
I made some headlightglasses and windscreenwipers. Those were still missing. Unfortunately the fabricstructure of the tissues became very apparant due to washes and drysbrushes.
The first series of weatheringtechniques were applied as well, just some washes and drybrushing here too.

5 Likes

If you can still take out the window glass, paint around its perimeter with a black felt-tipped marker to imitate the gasket and remove the reflexion.
Peter

1 Like