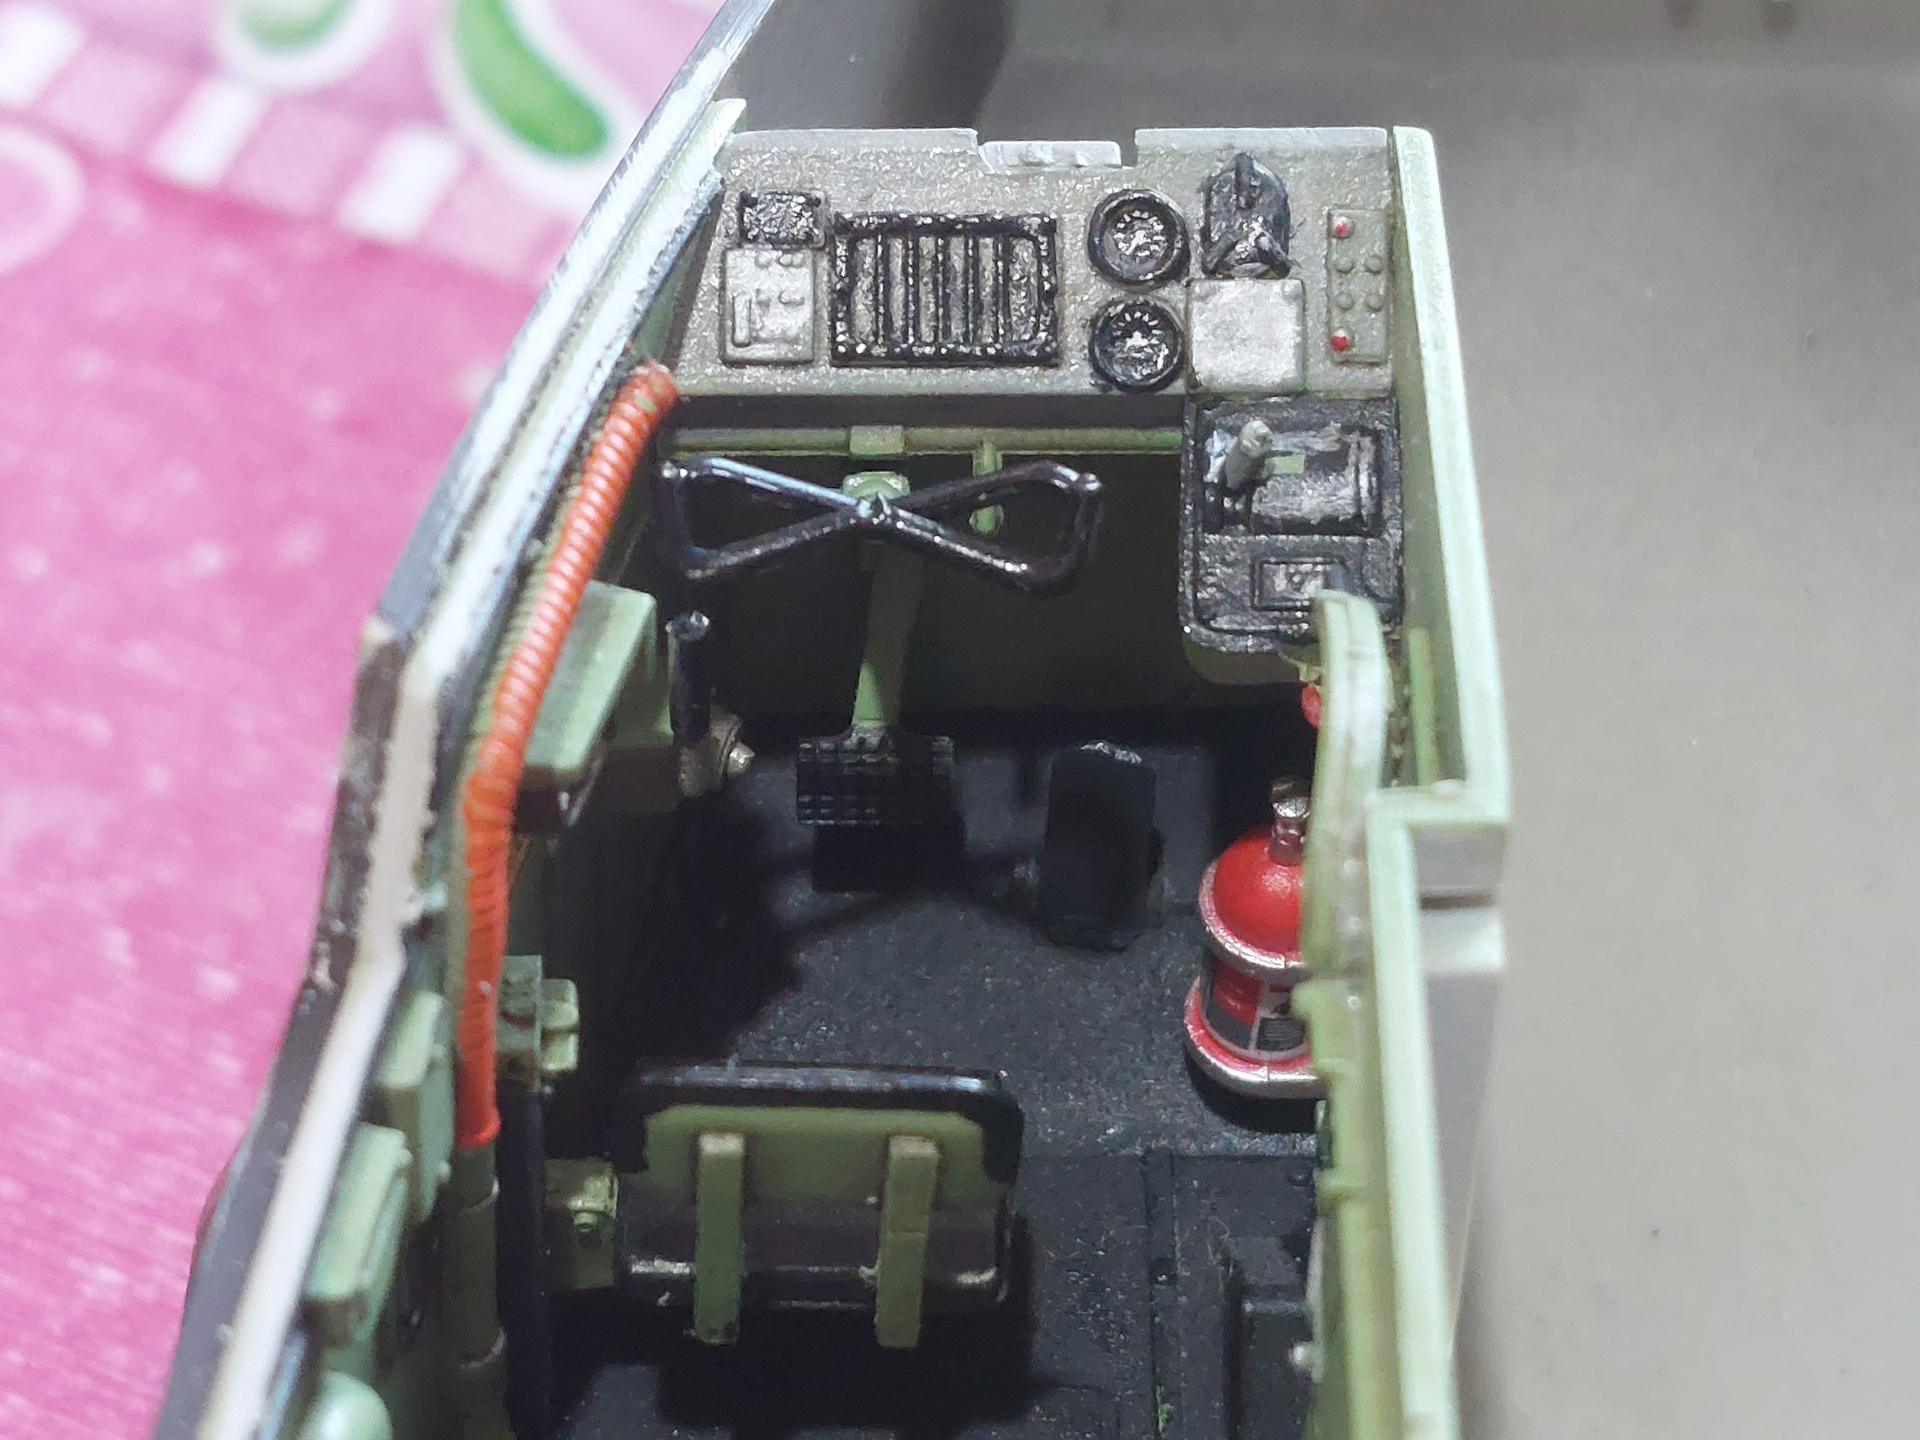
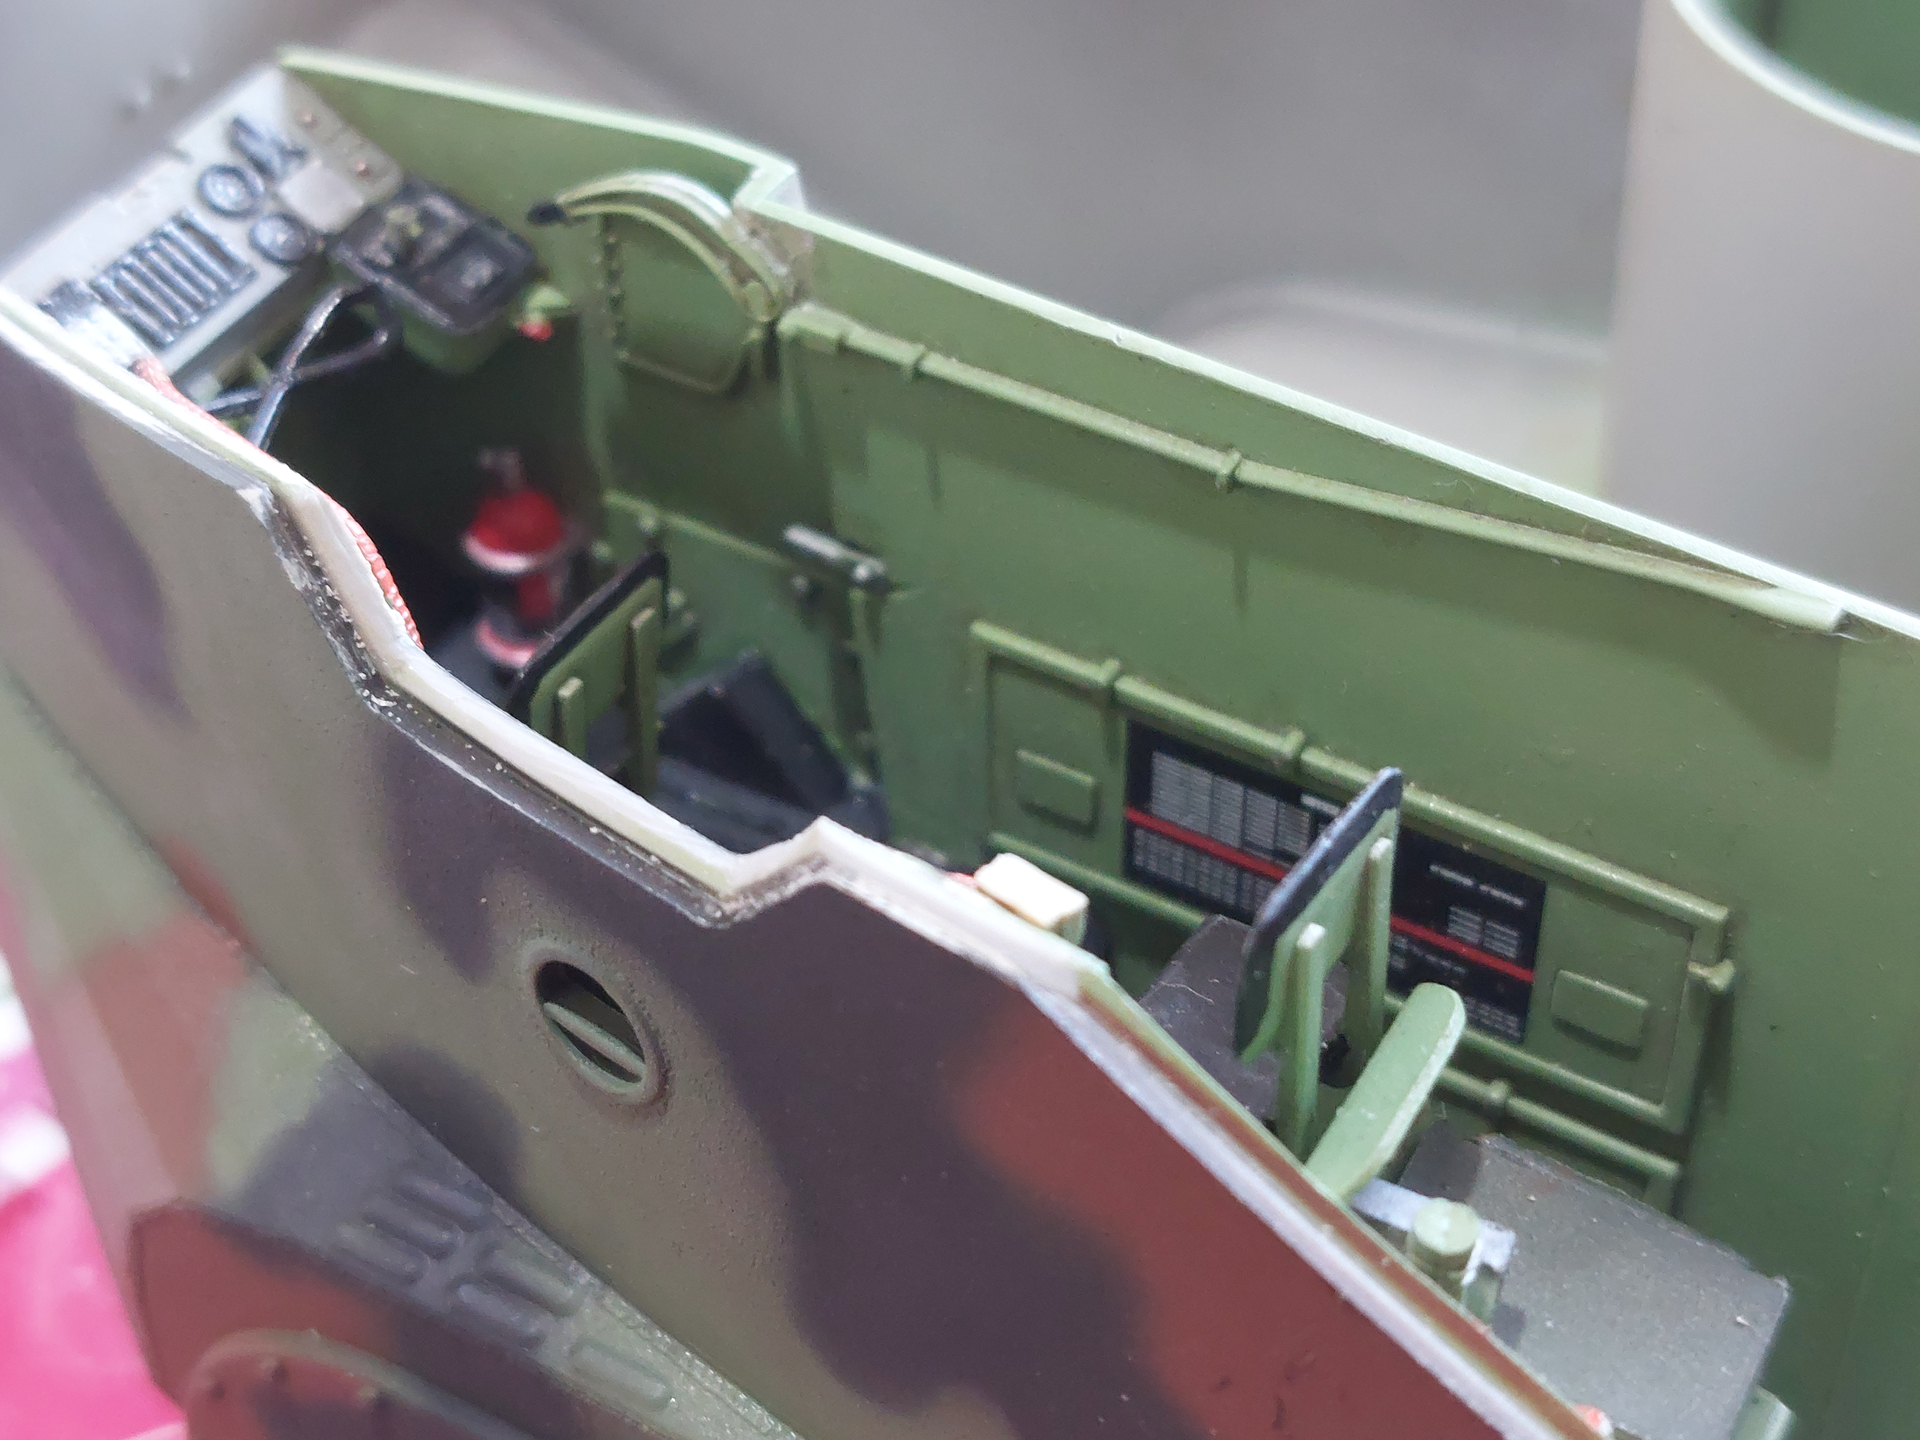
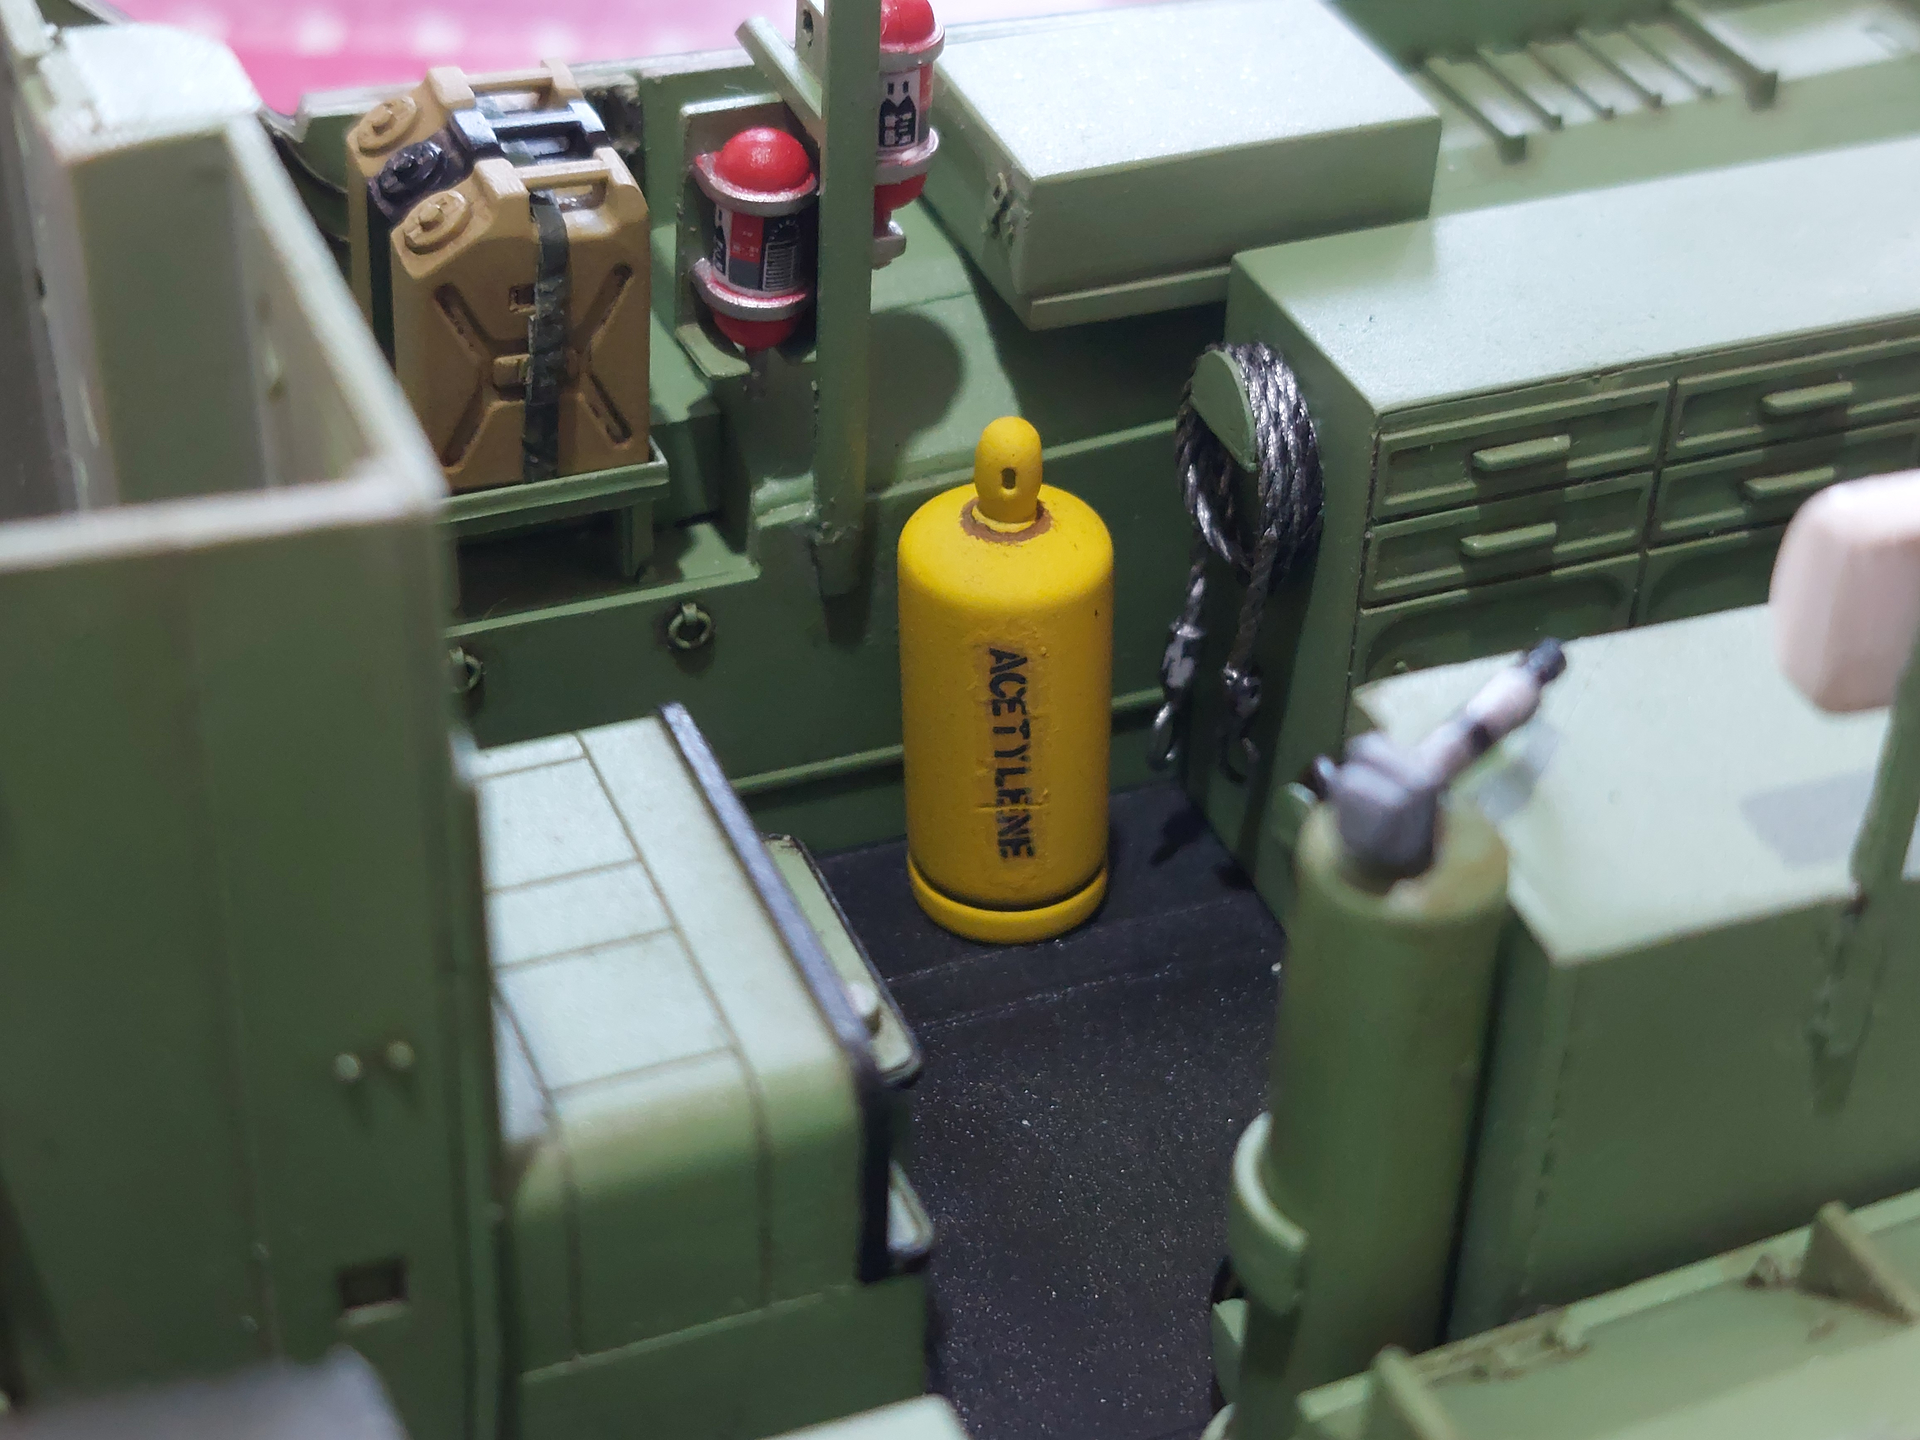
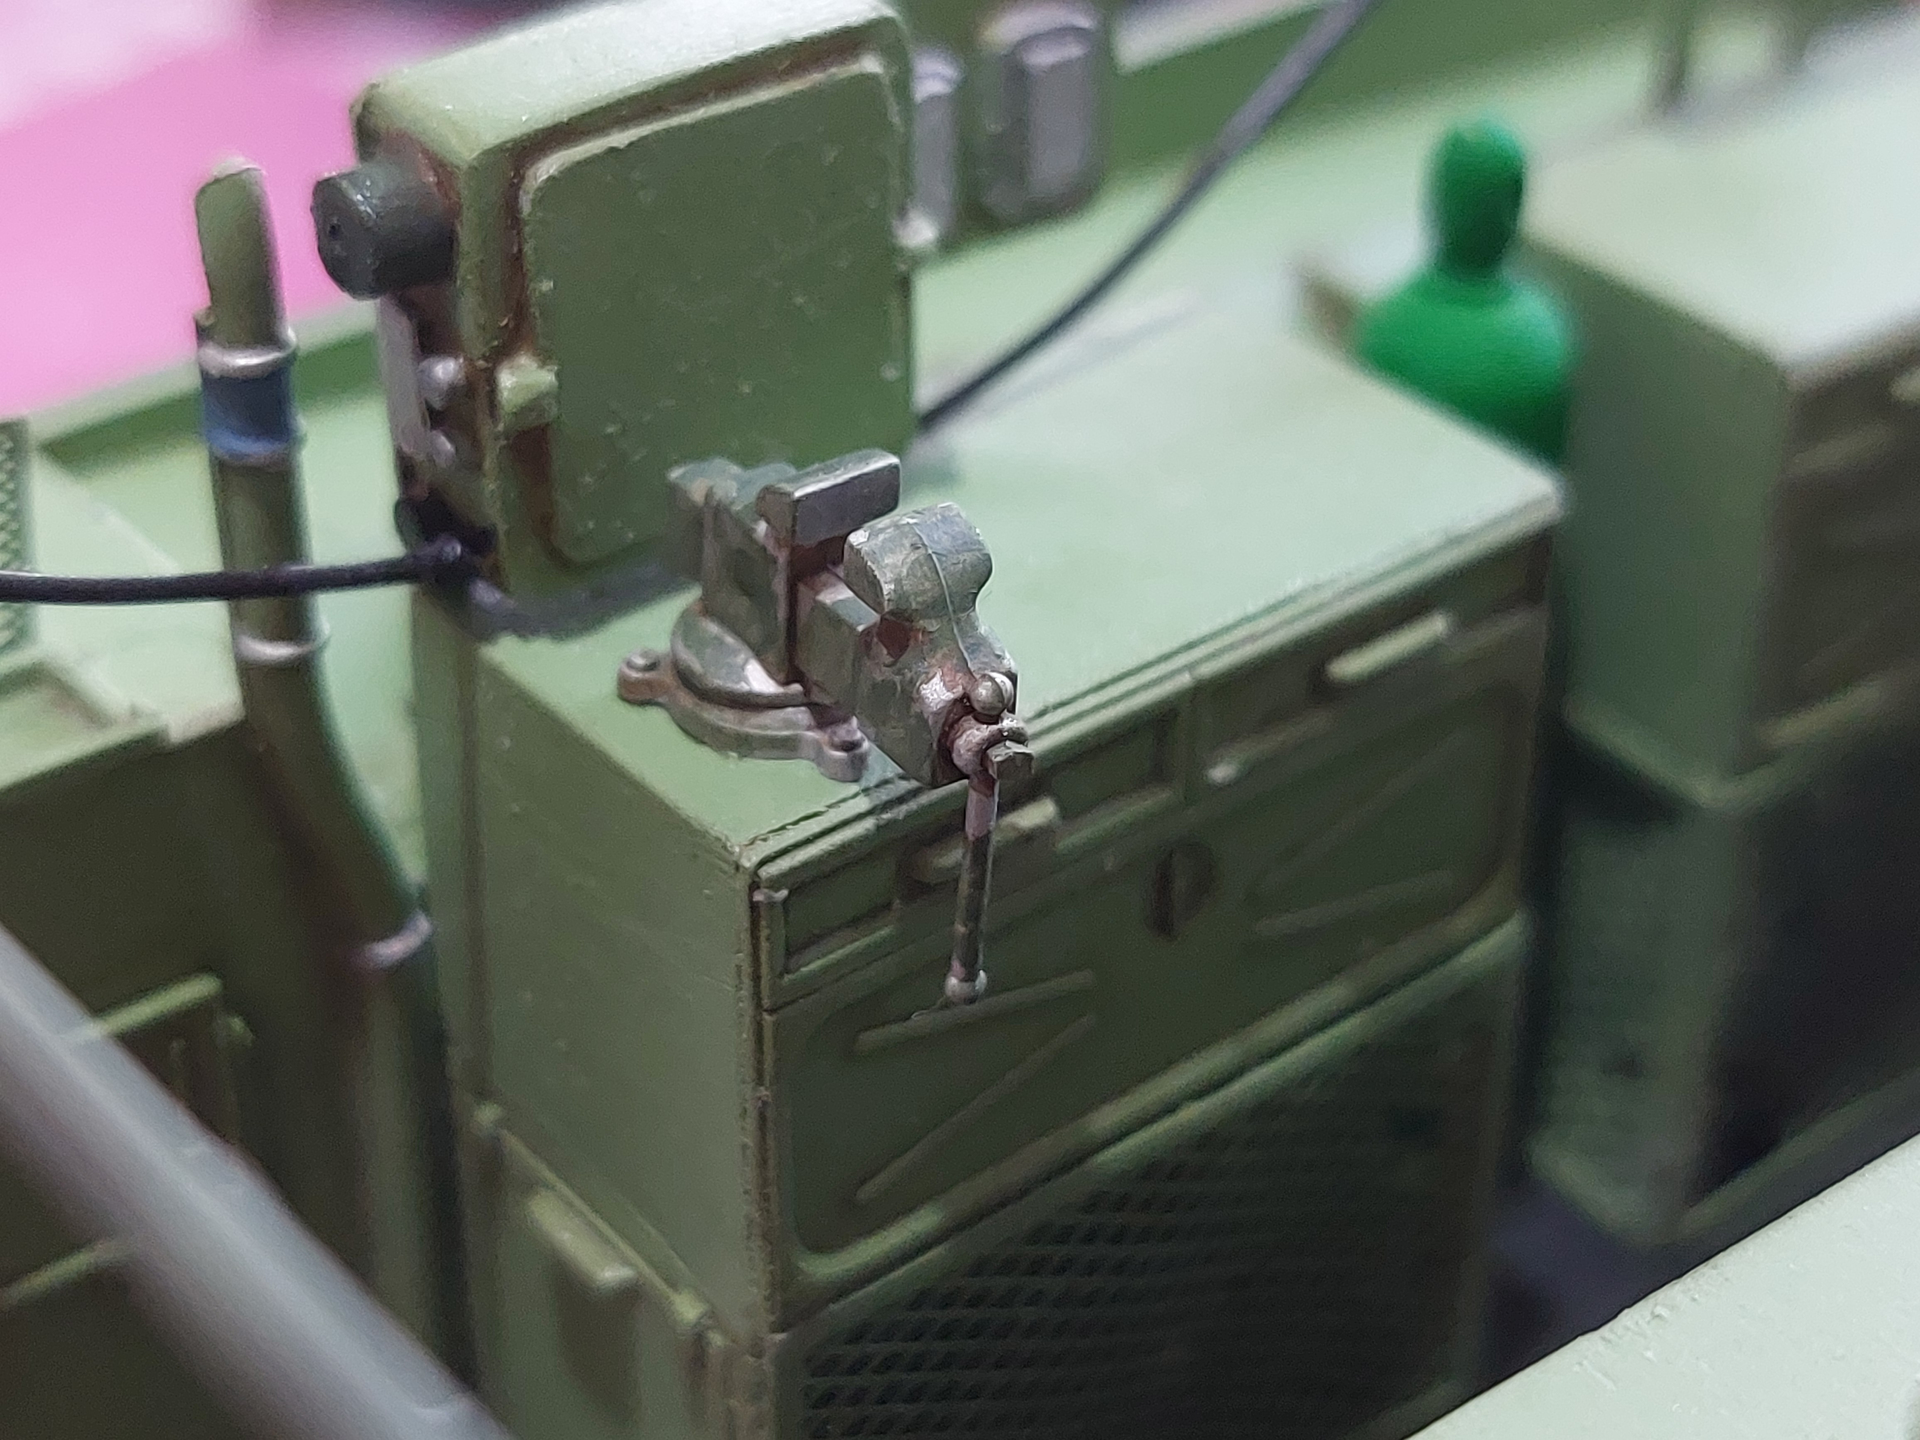
Good day! Another Hobbyboss kit in 1/35 scale and the build starts with the interior parts.


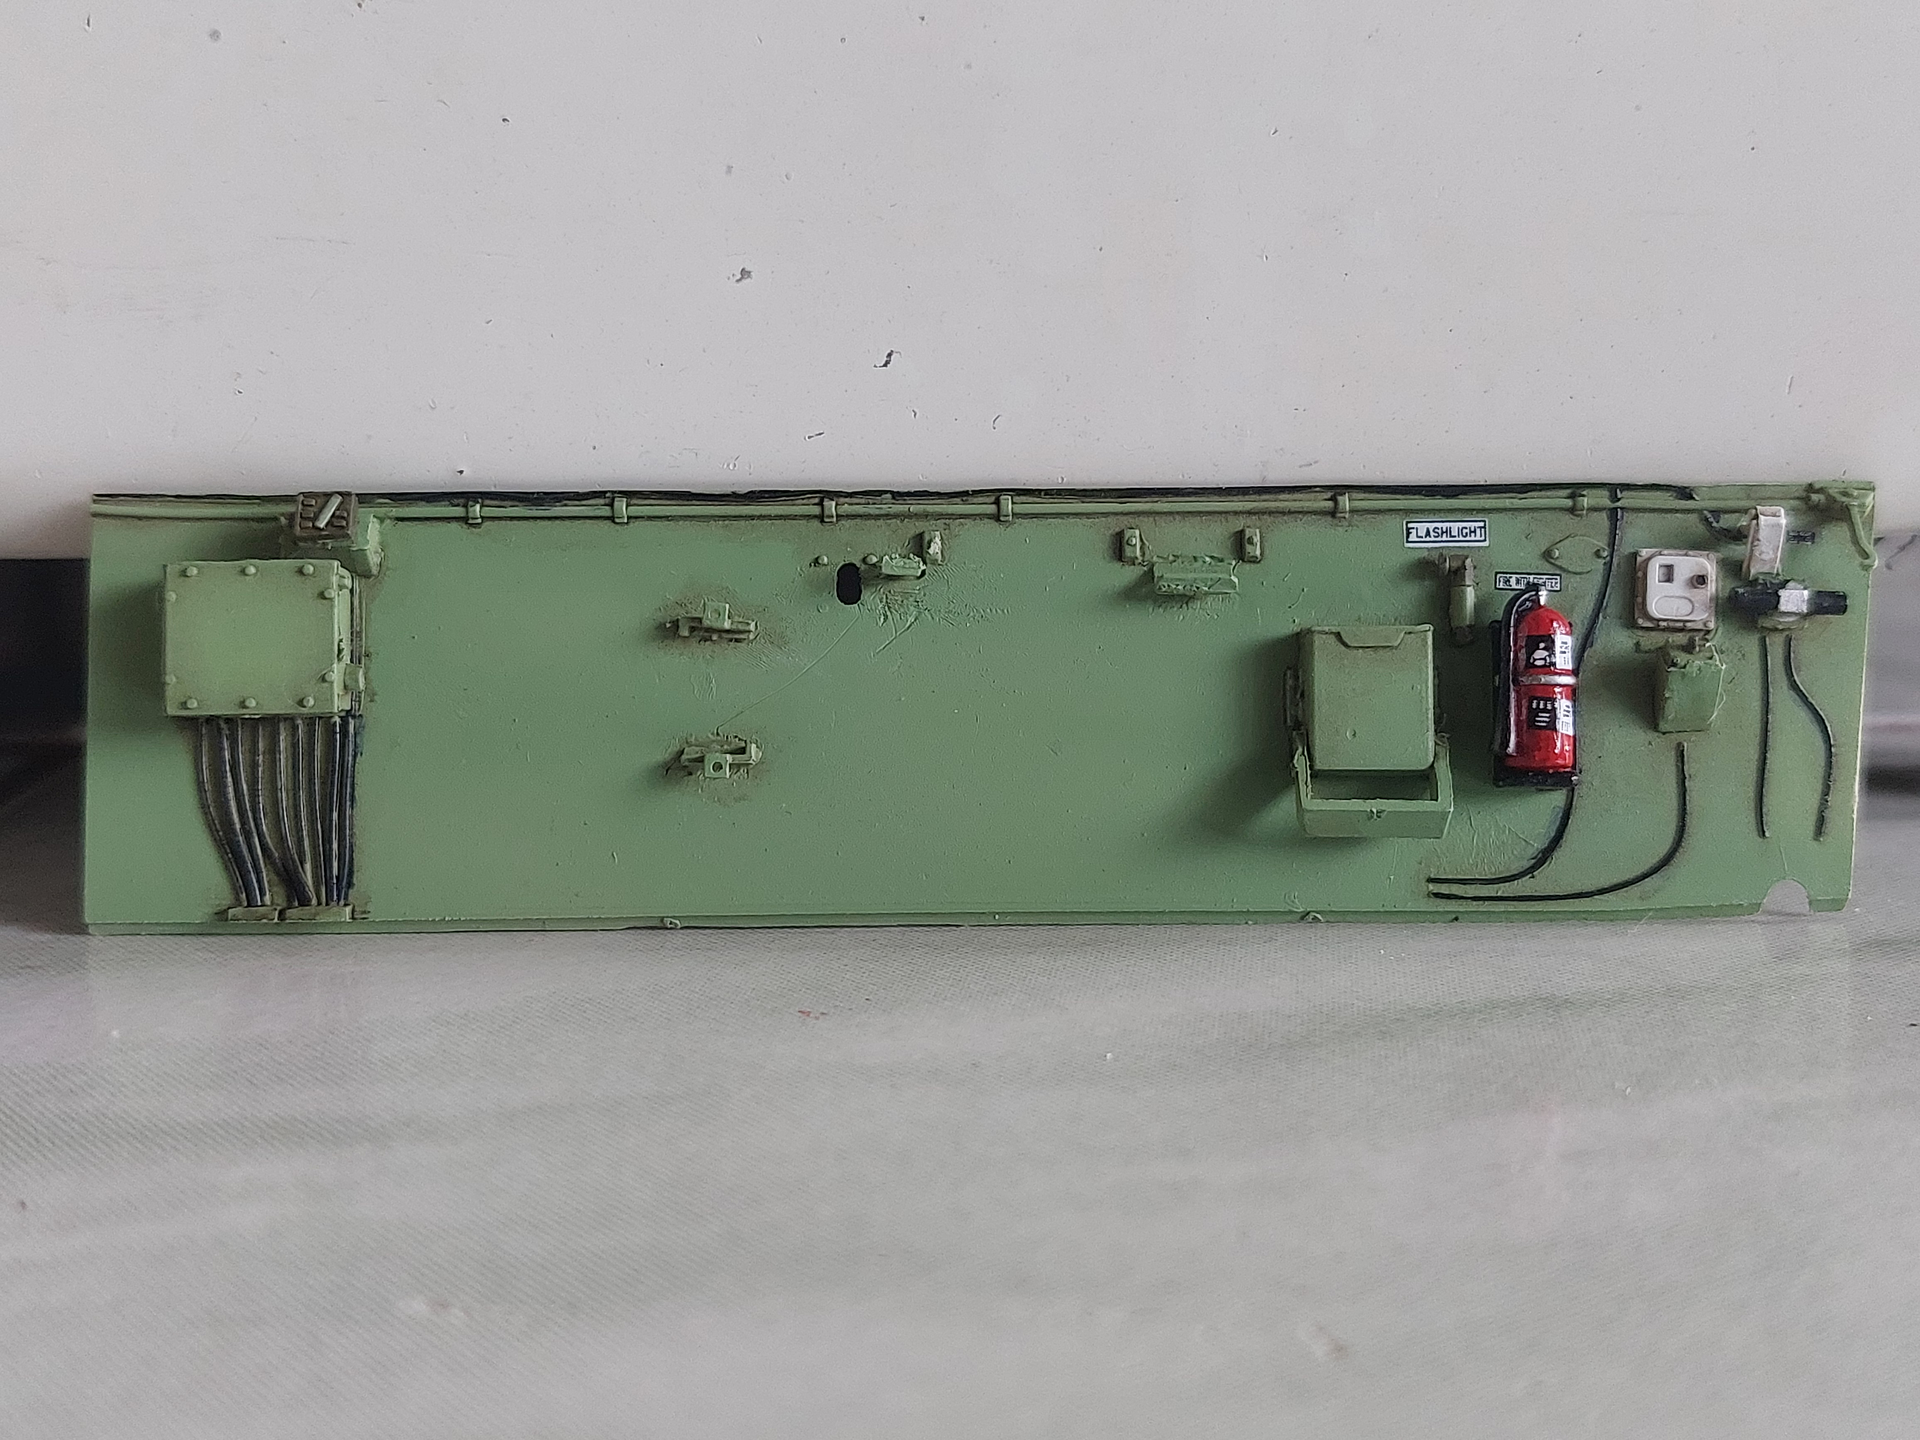


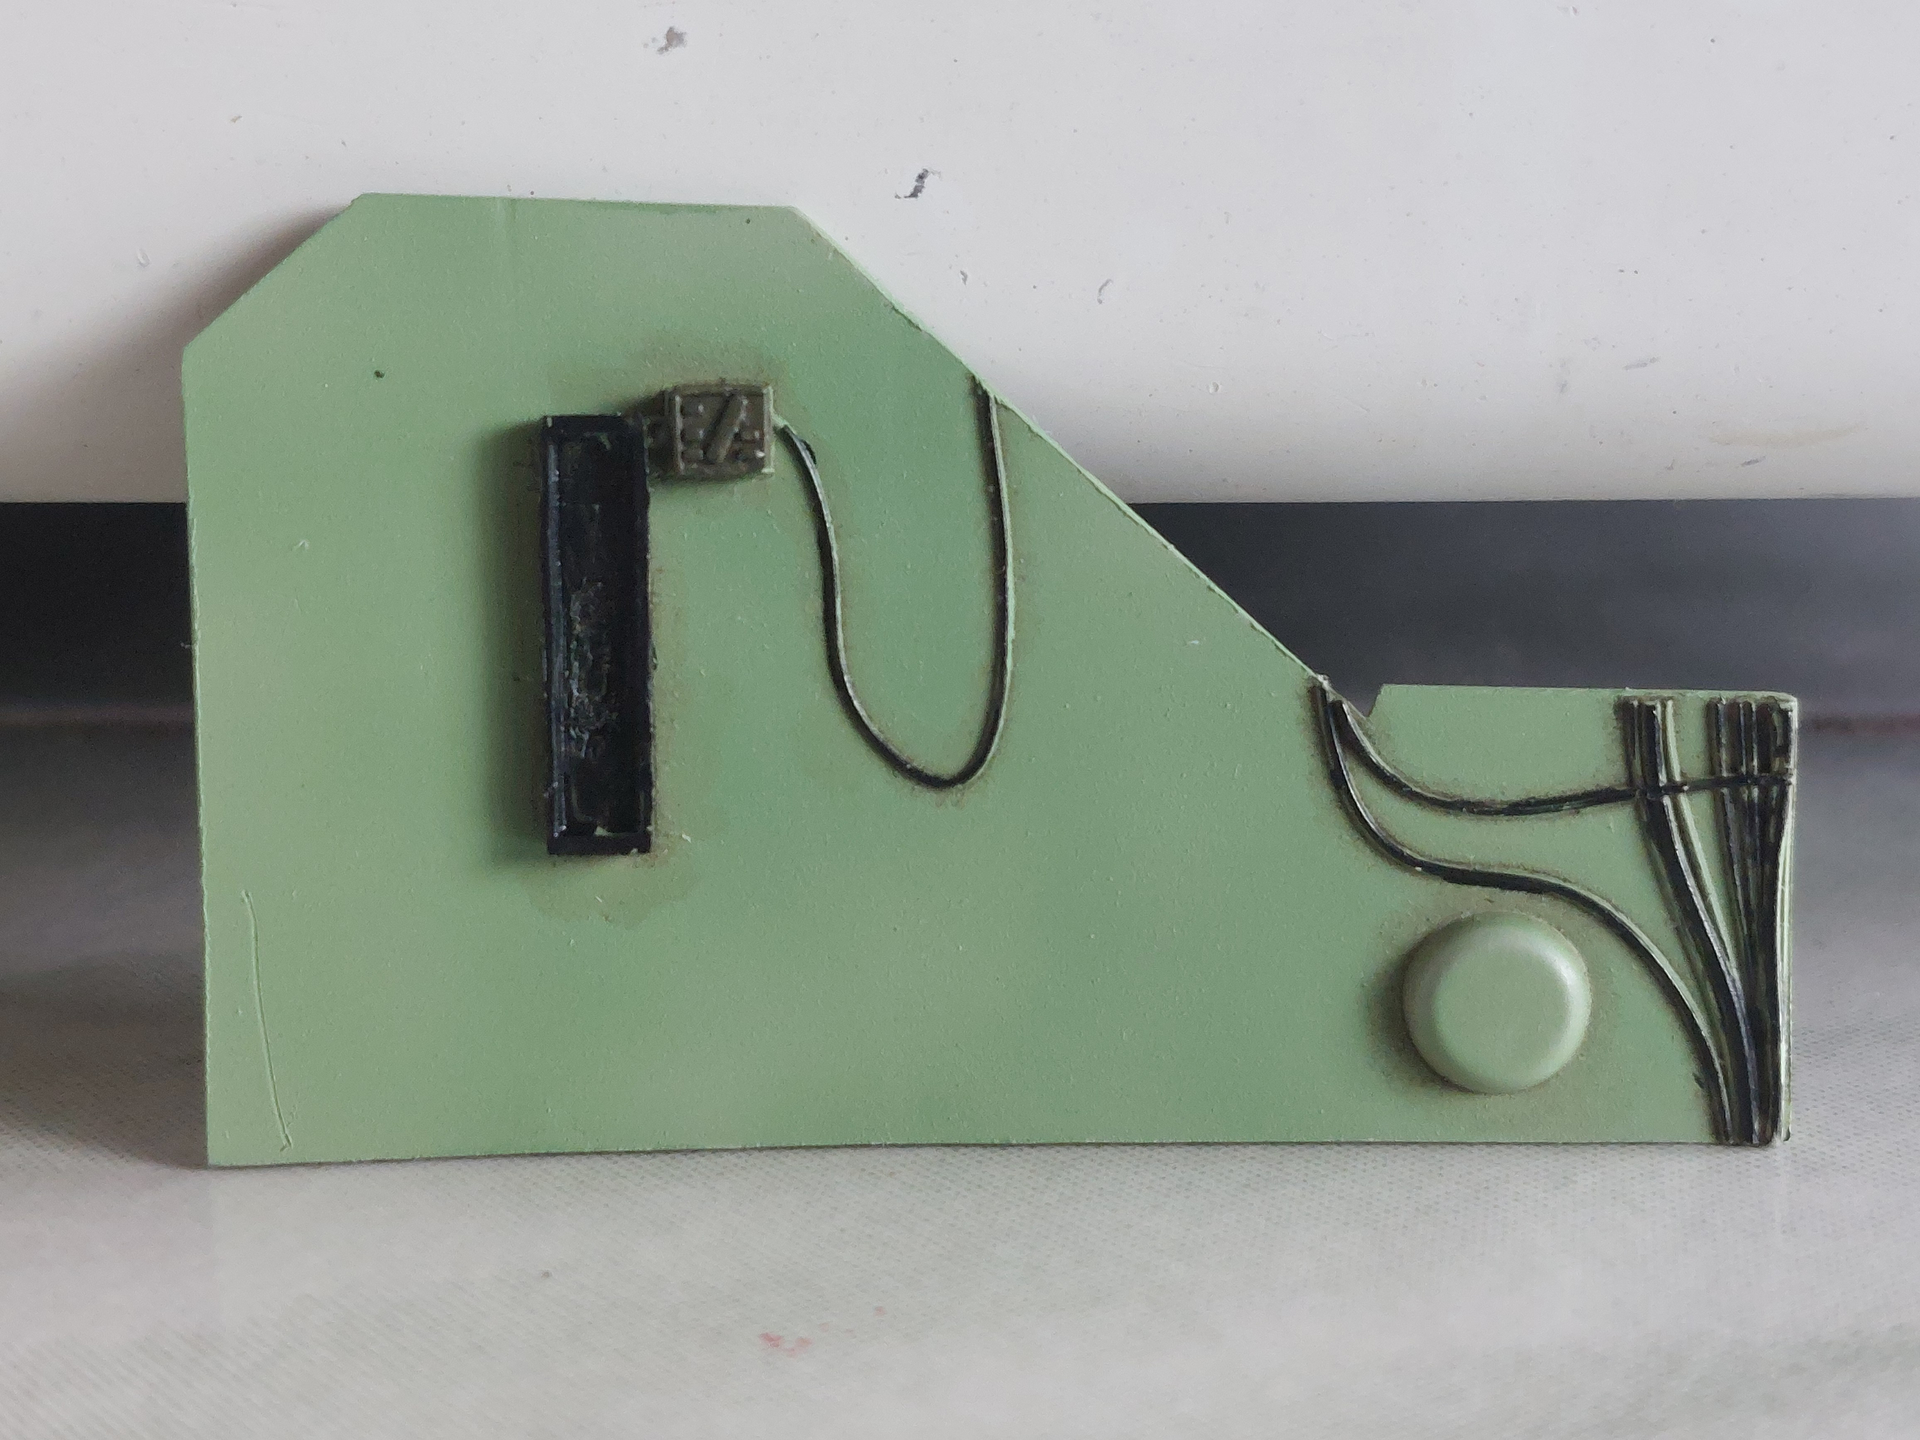
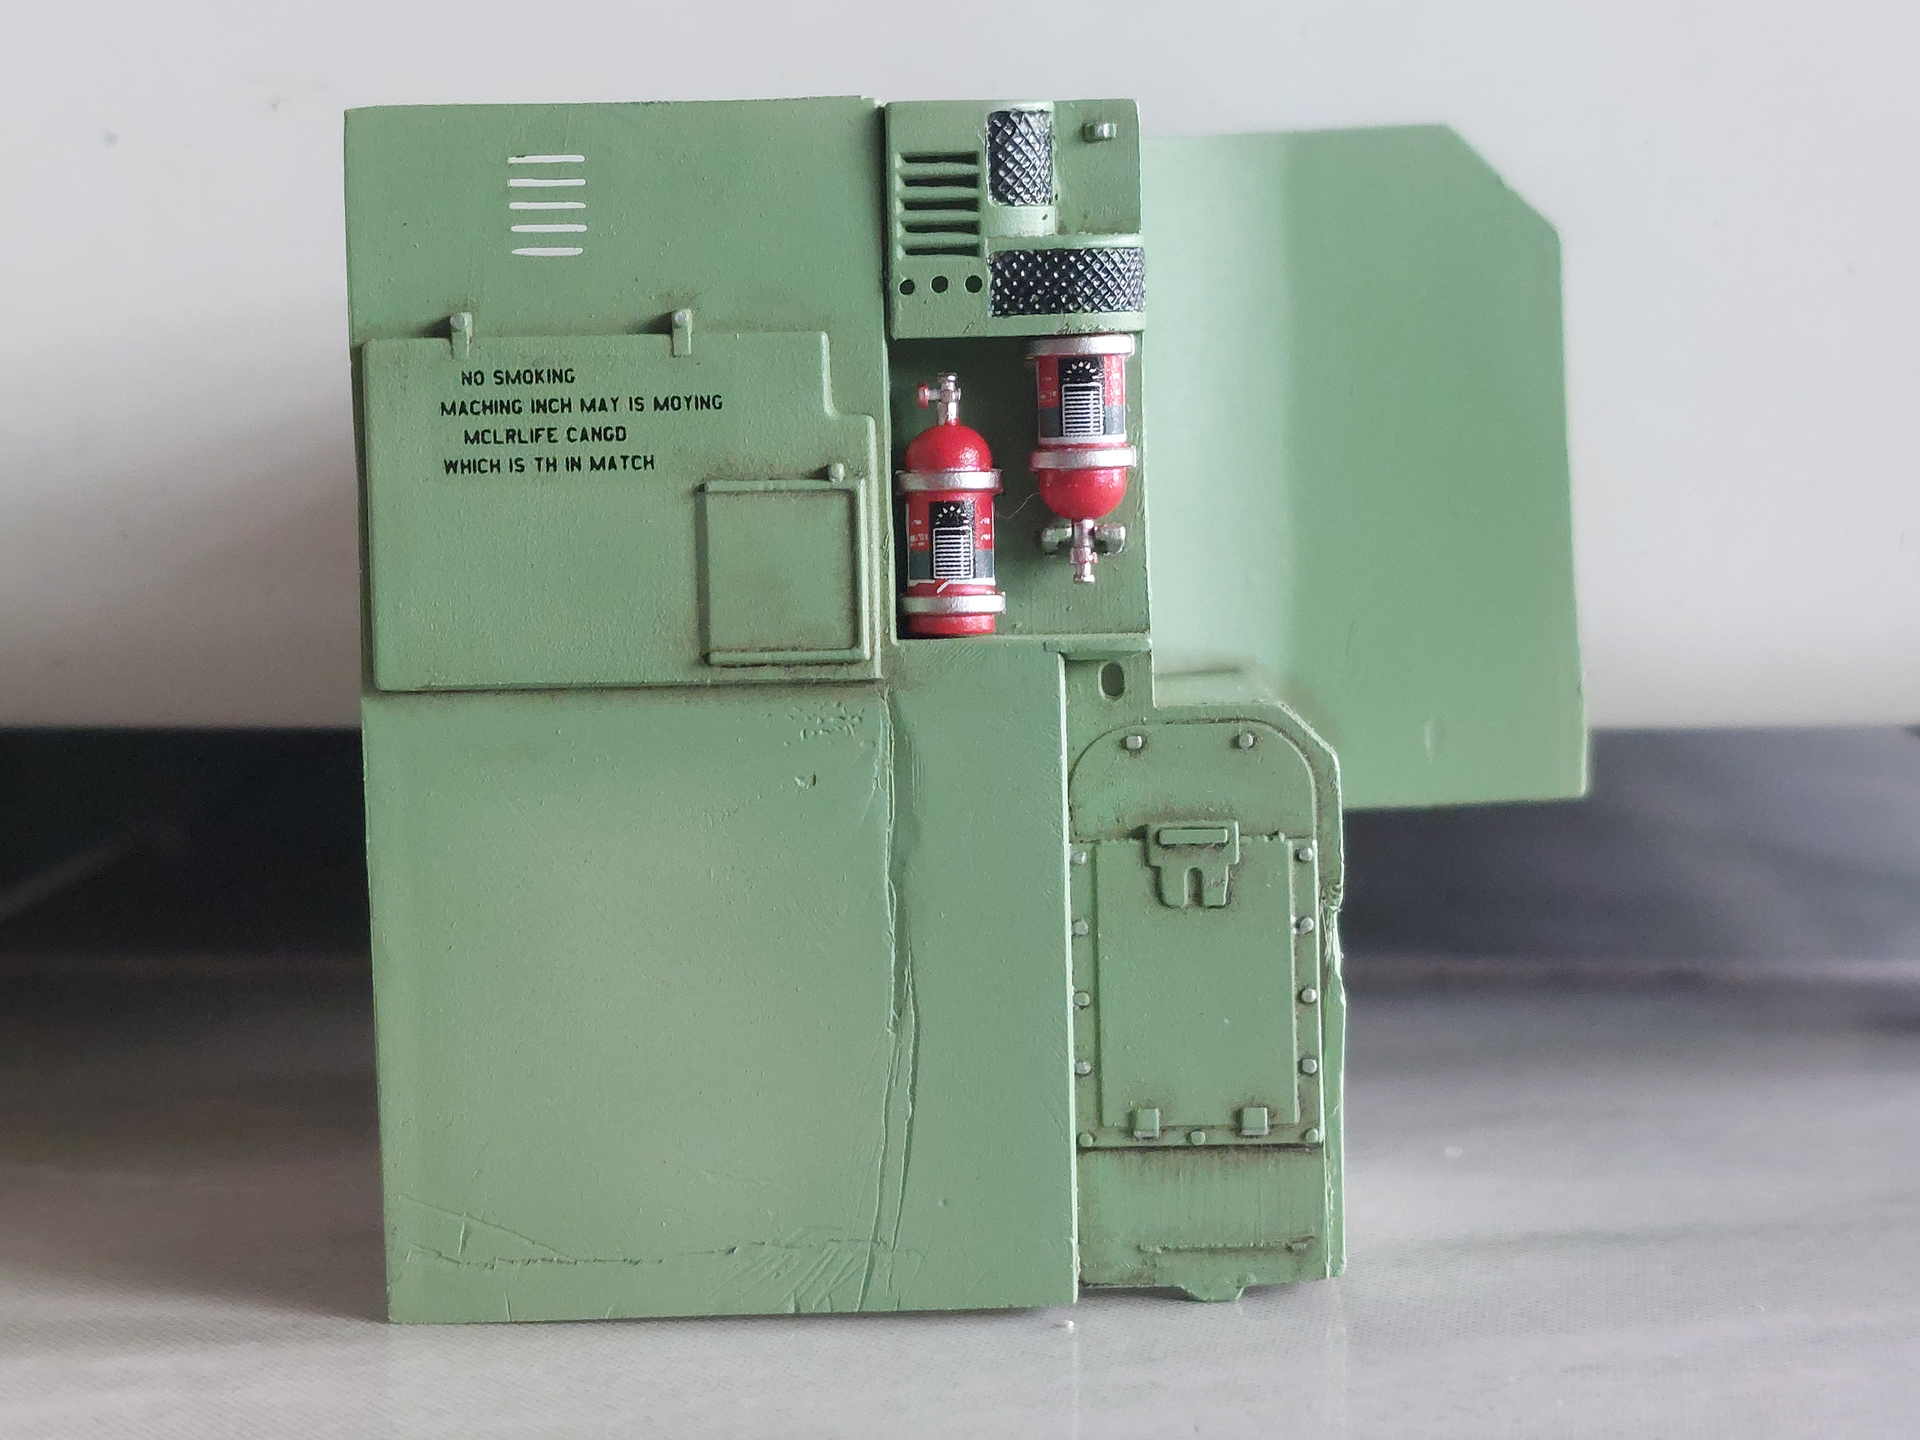
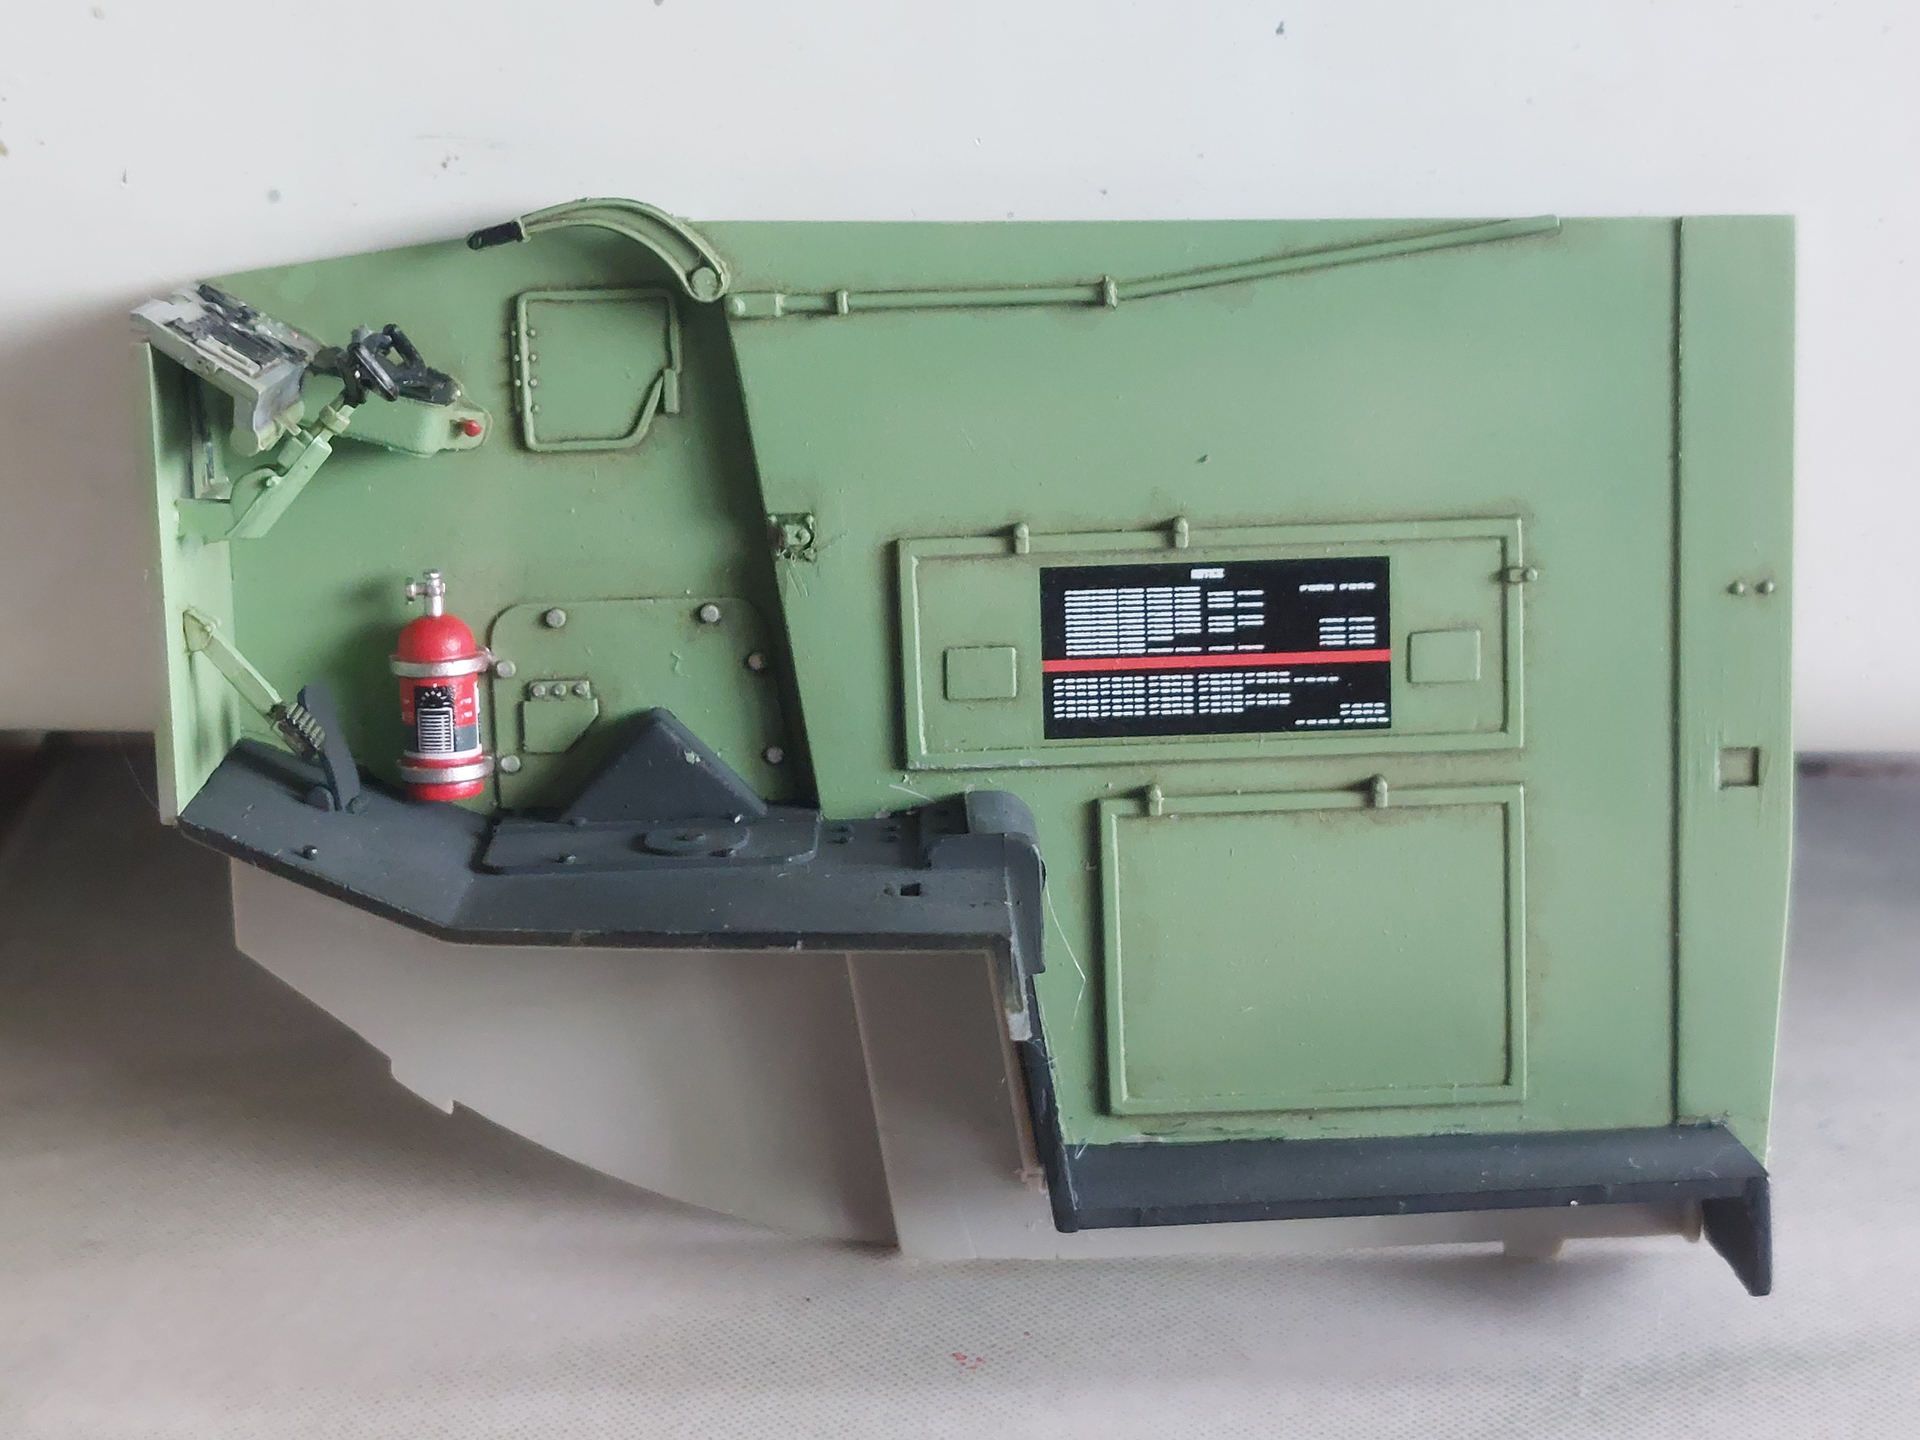
Continued…
Good day! Another Hobbyboss kit in 1/35 scale and the build starts with the interior parts.
Continued…
Continuing…
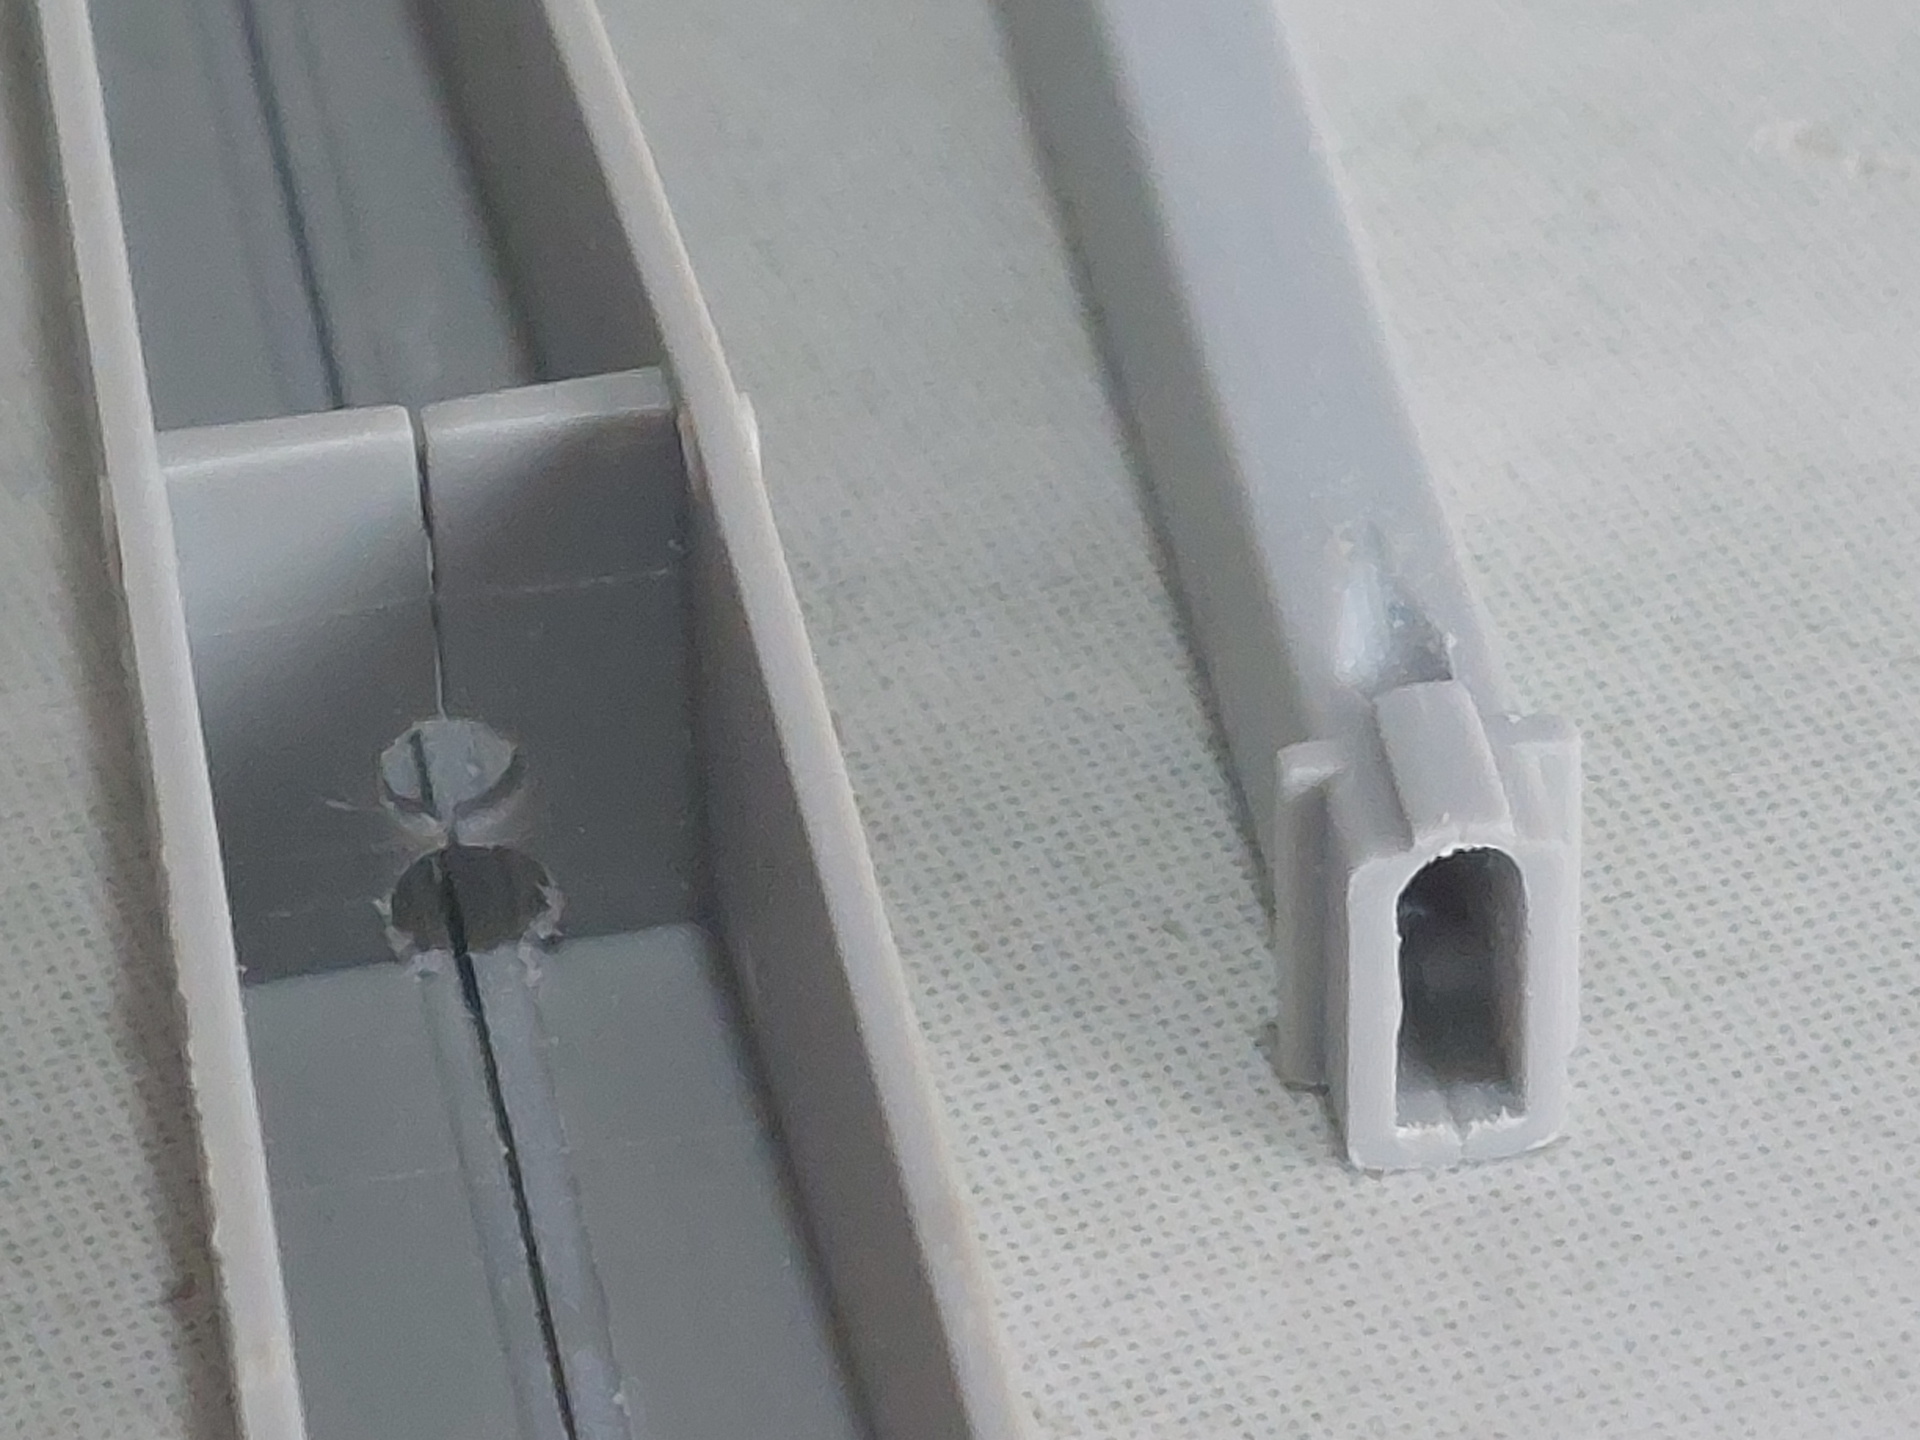
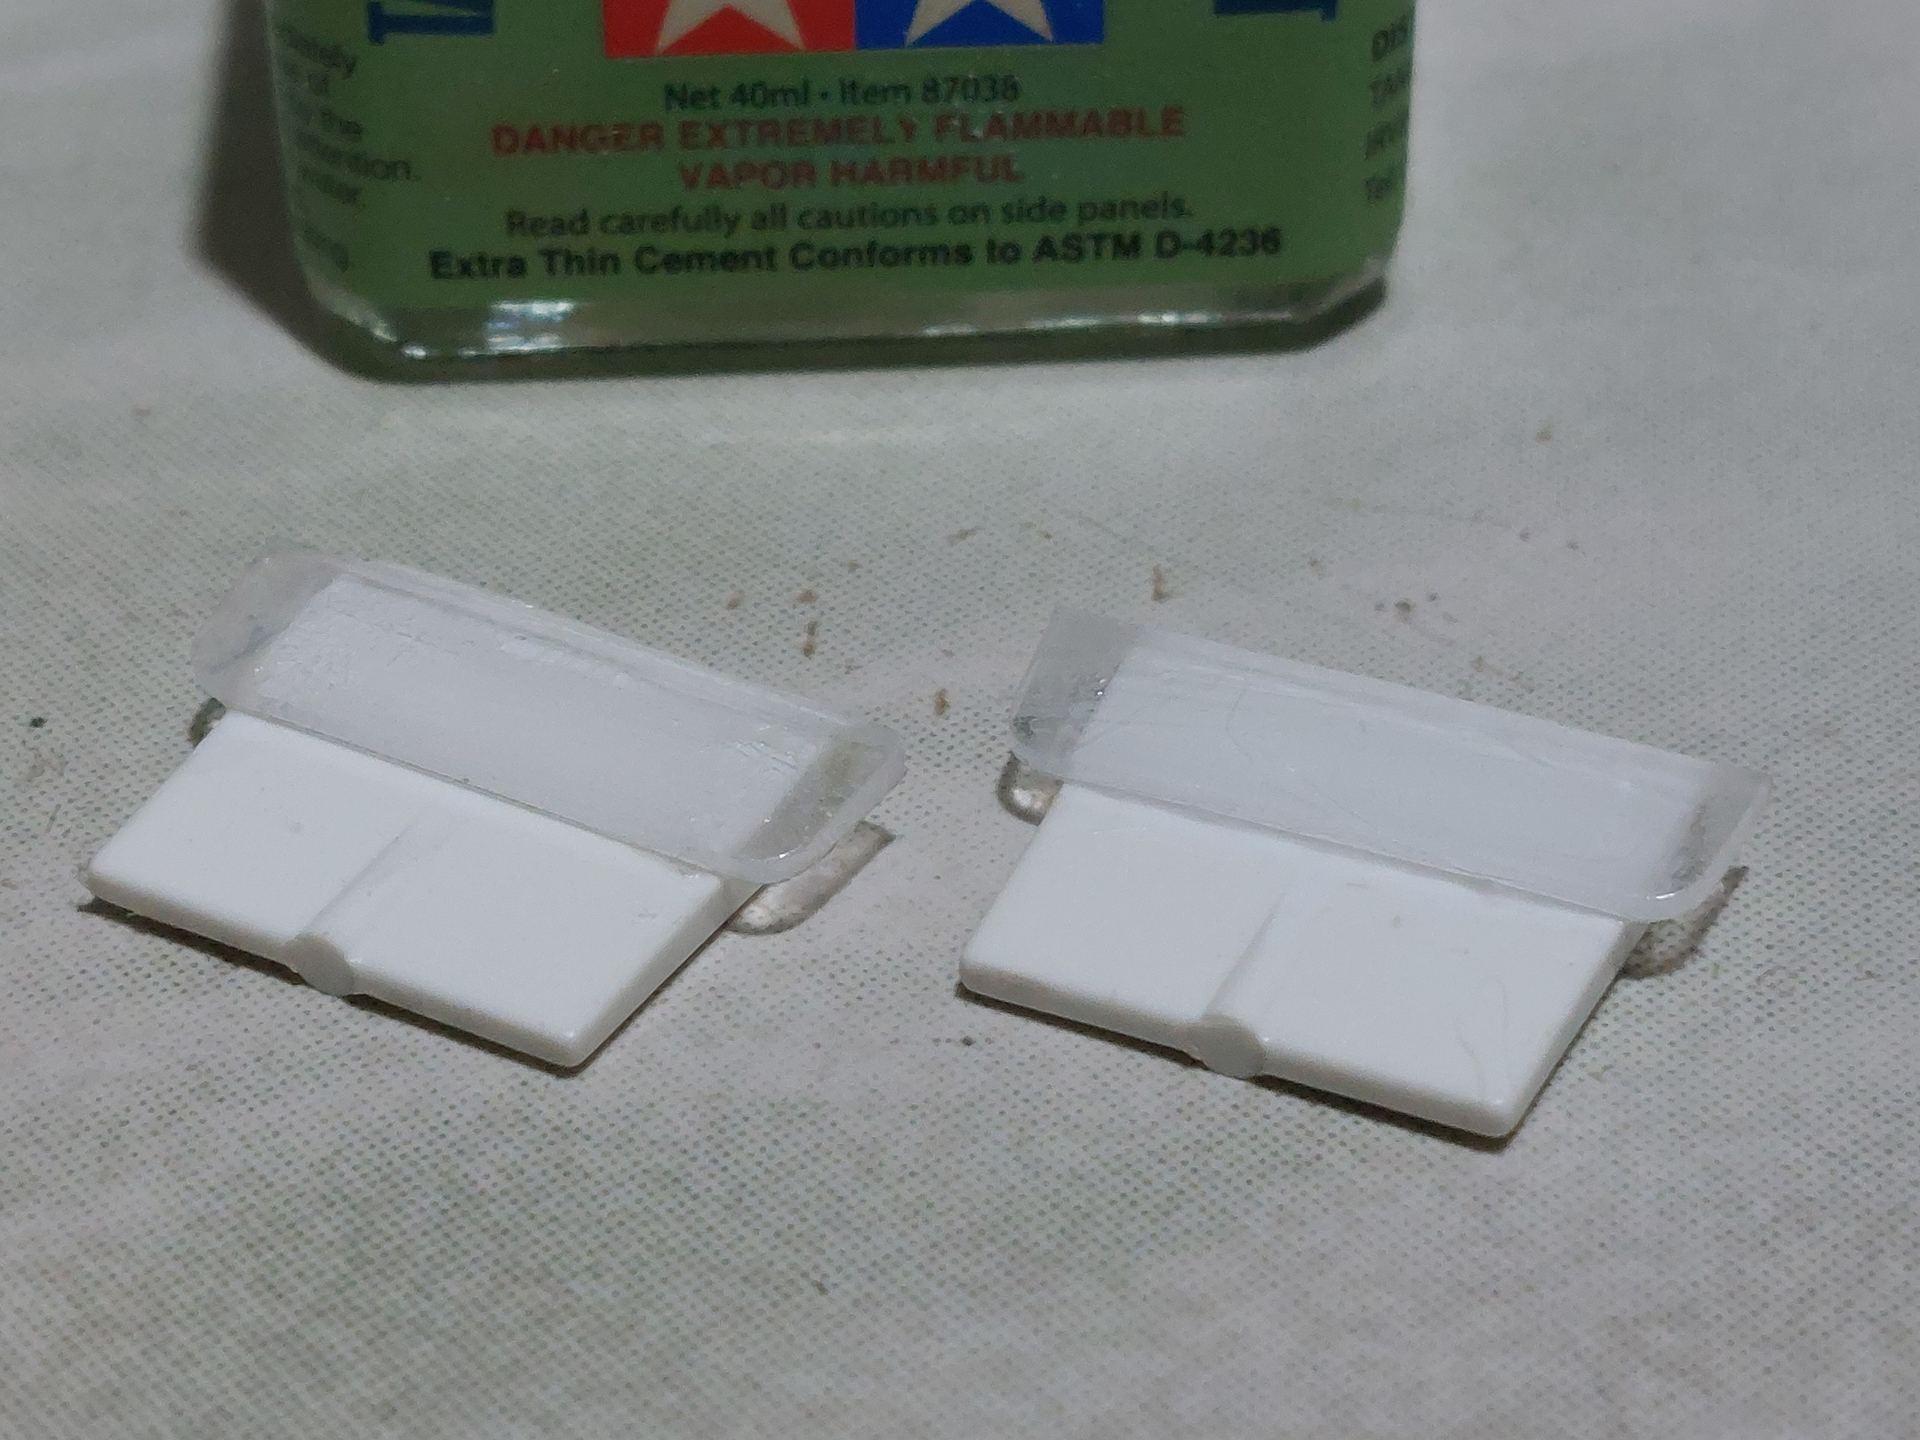
Most of the cover hinges were broken and replaced with styrene.
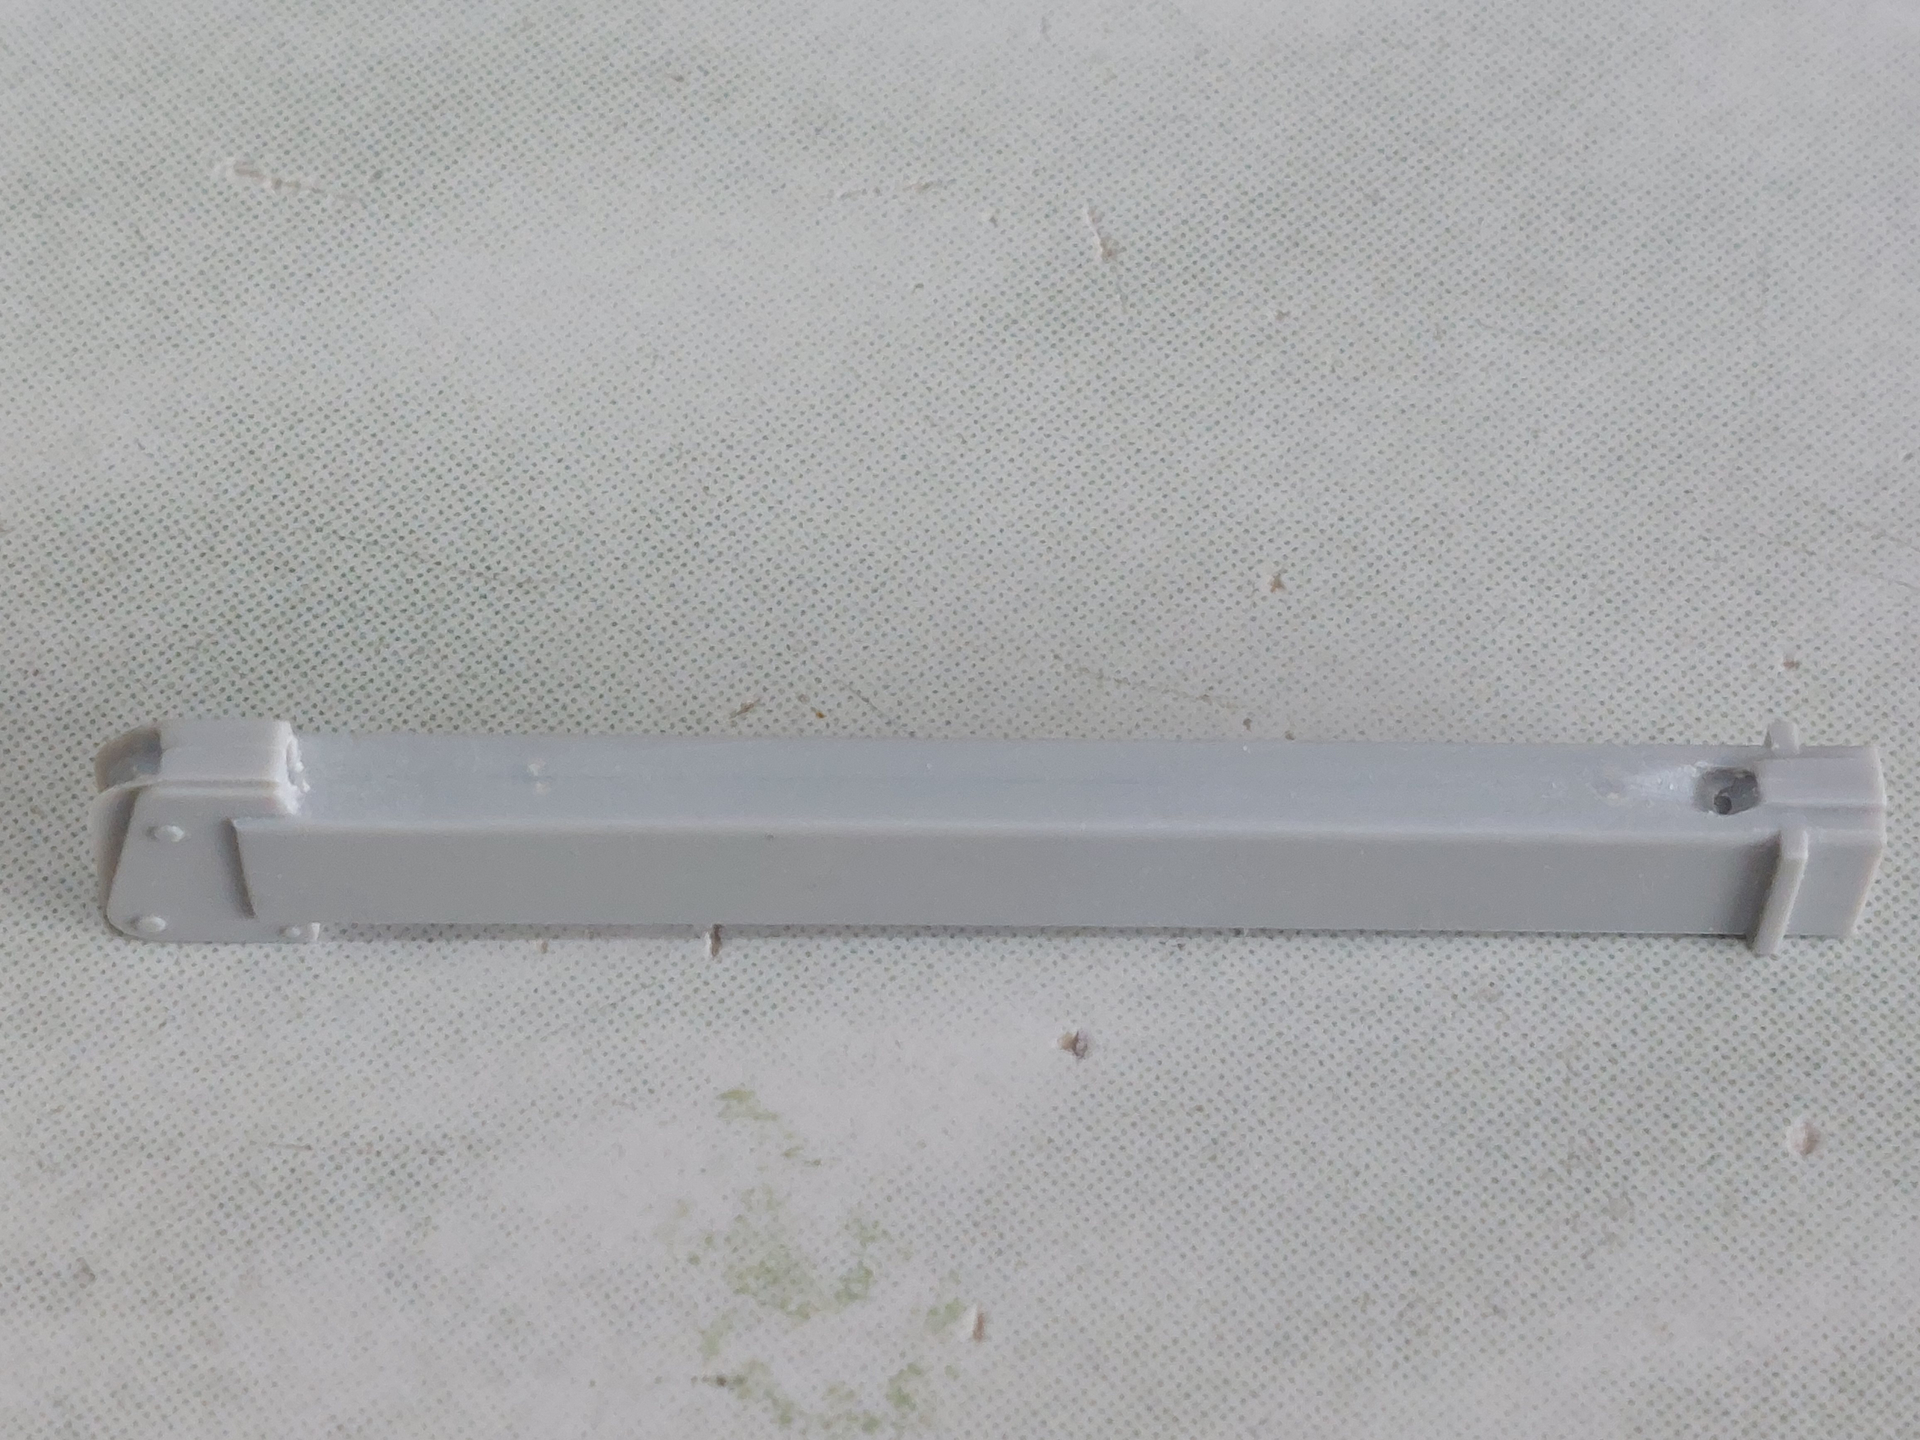
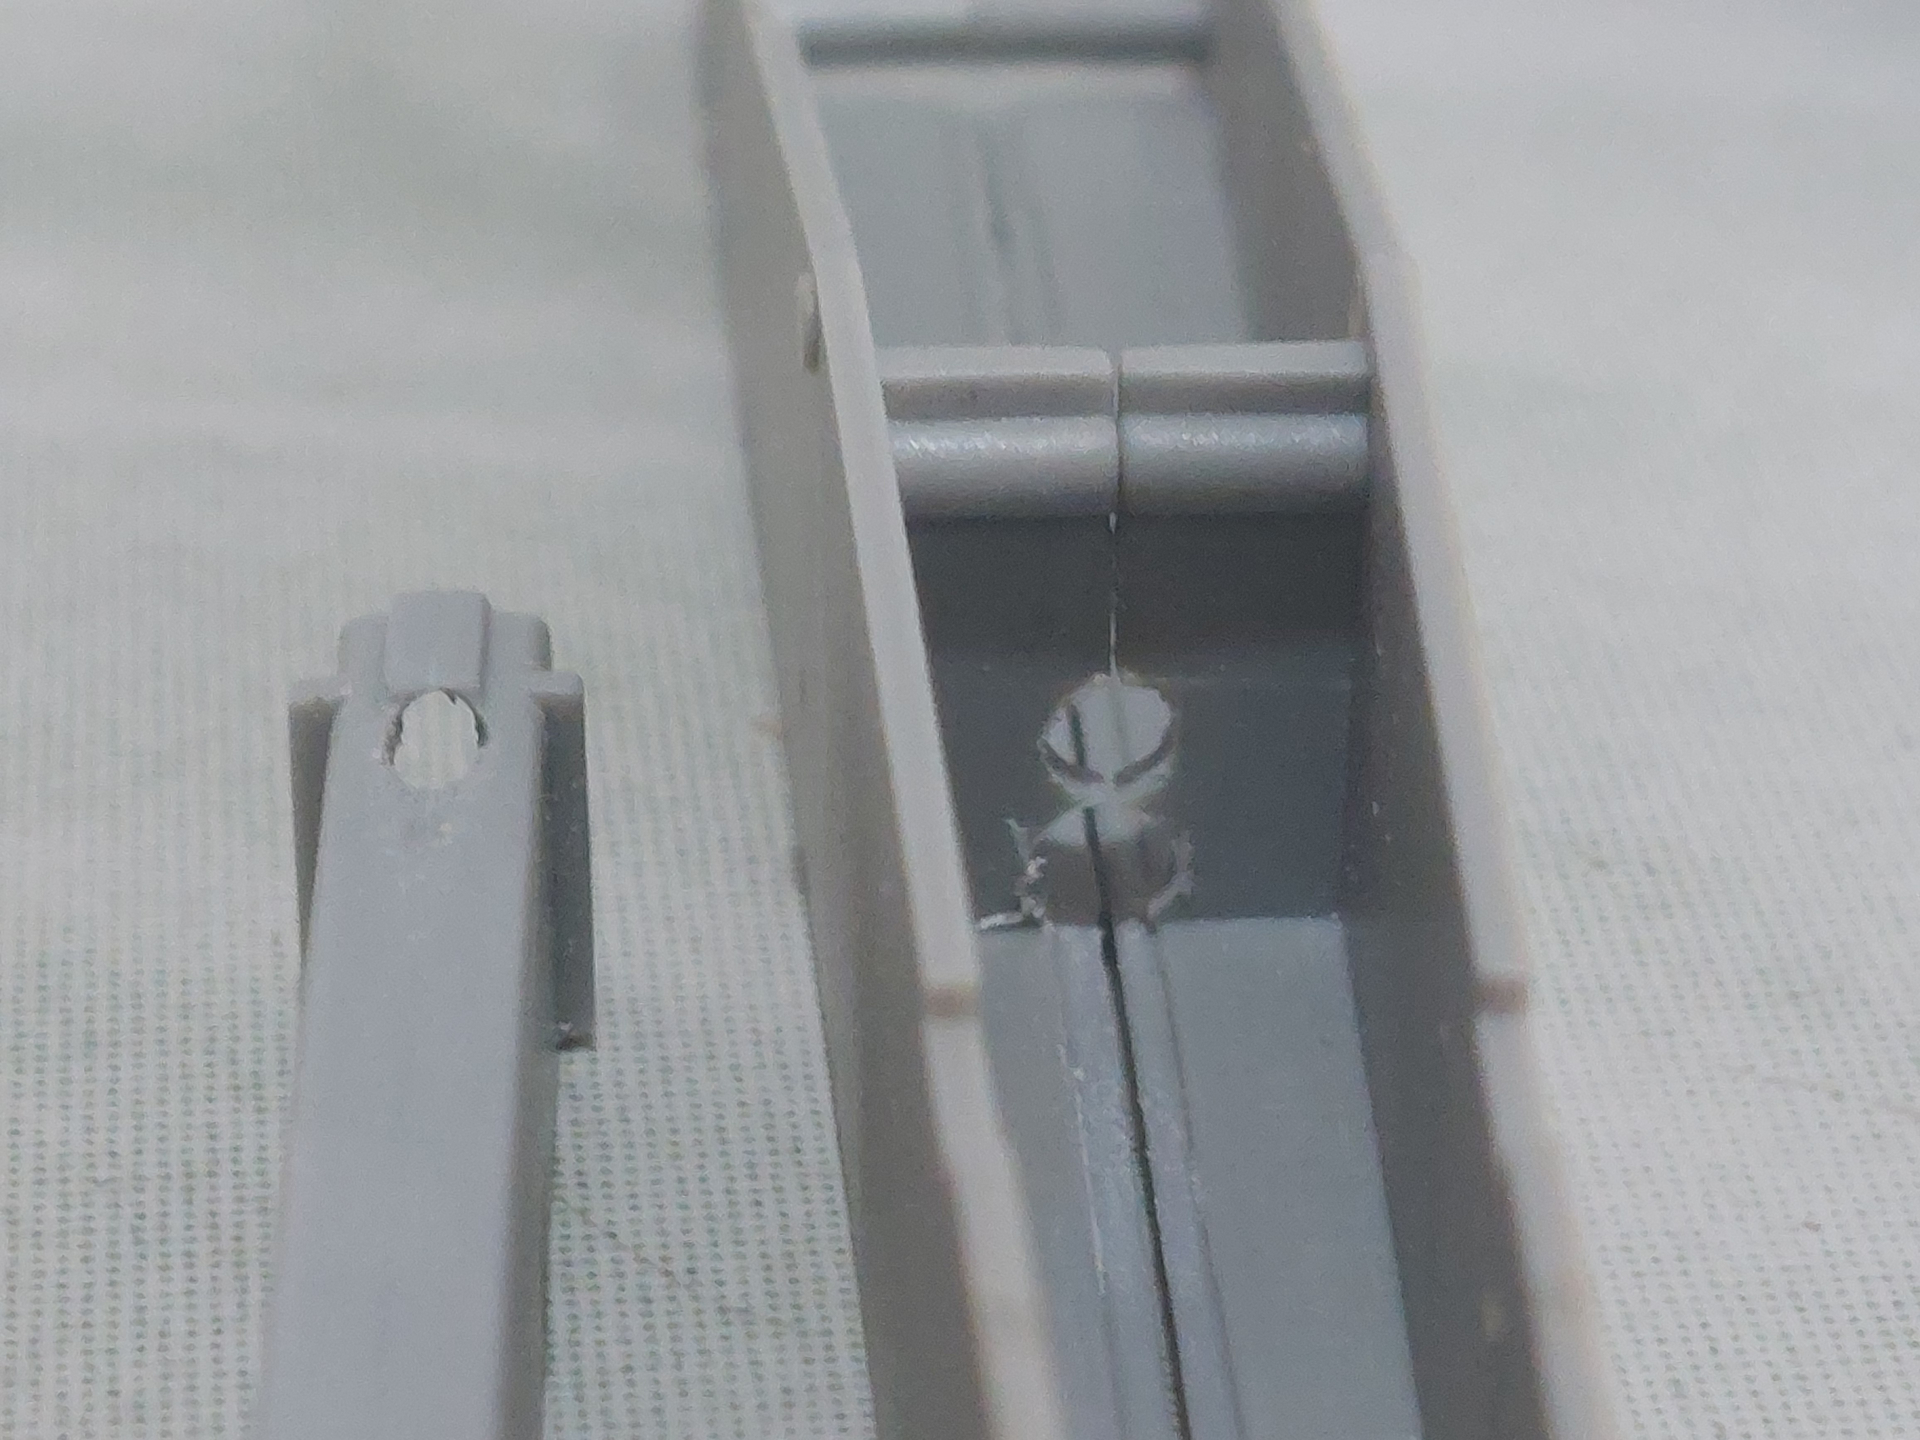
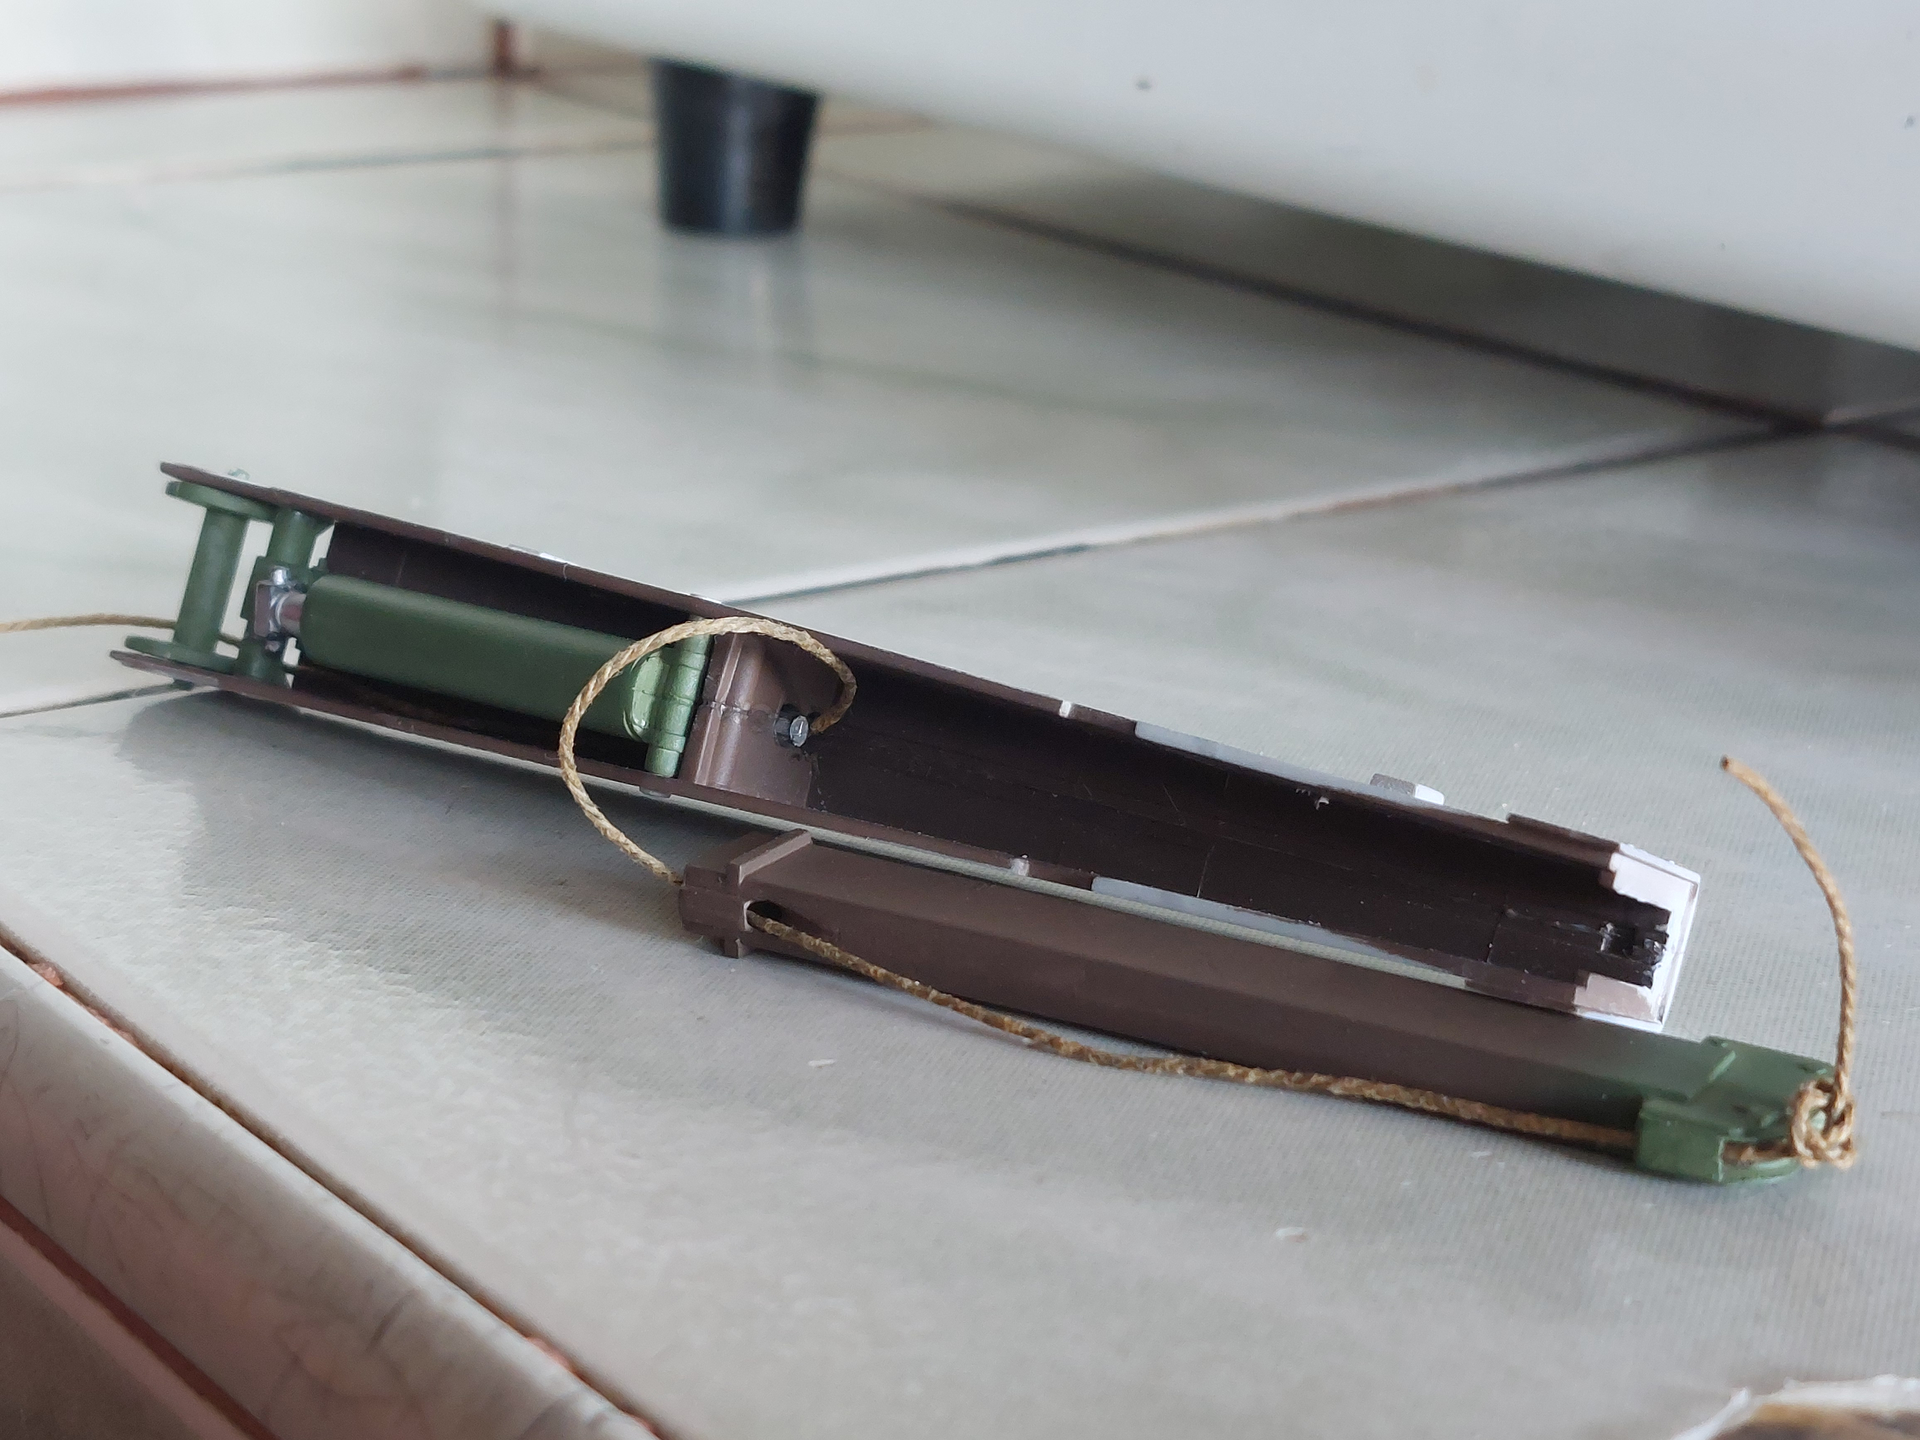
On the crane interior, holes were drilled on where the thread will pass through.
For the winch, I have replaced the center peg which holds the spell to make it rotate freely.
More build pics to come.
Great start. 
Good looking project with your modifications.
The decal on the driver’s wall when I built the kit for an AMPS review just had one word repeated over and over again “FORD” I couldn’t see if it’s still the same decal.. it’s a fun kit
@Robert_Goldman Never saw that before when im doing the interior. And Yes it still says FORD 2x on the right side of the decal. 
Thanks @Tank_1812 and @KoSprueone ! The interior was built last September 2004.
Only thing I didn’t like about that series of kits was the track pads.. my god the time they took I could’ve built four other kits 
I agree from assembly, to forming the bit of sag and lastly painting.
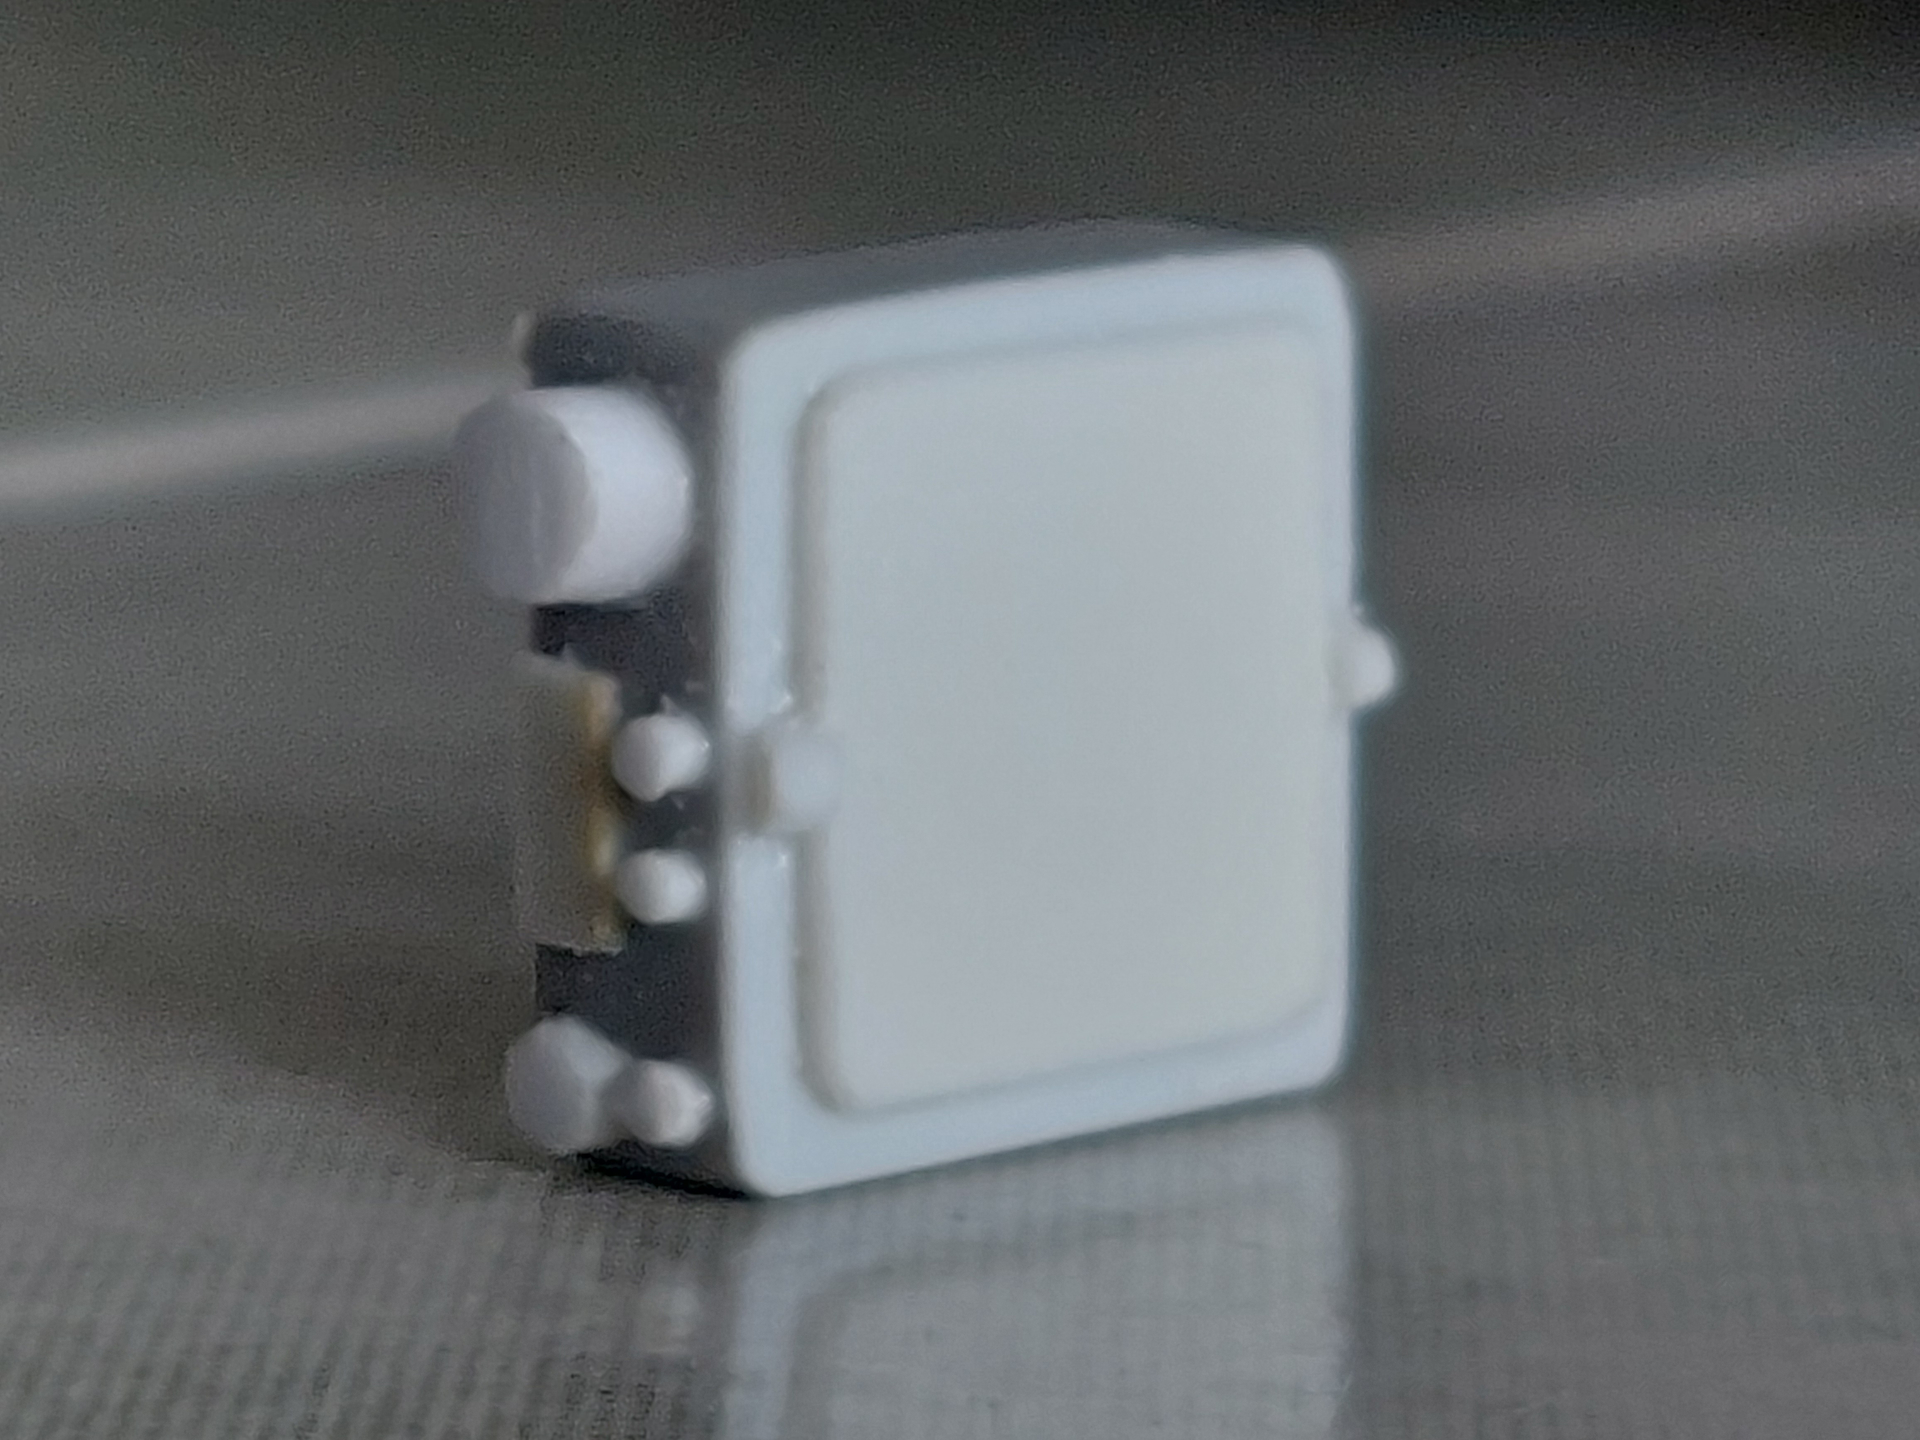
Continuing with the build, I scratch built the fluorescent lamps on both side of the compartment.
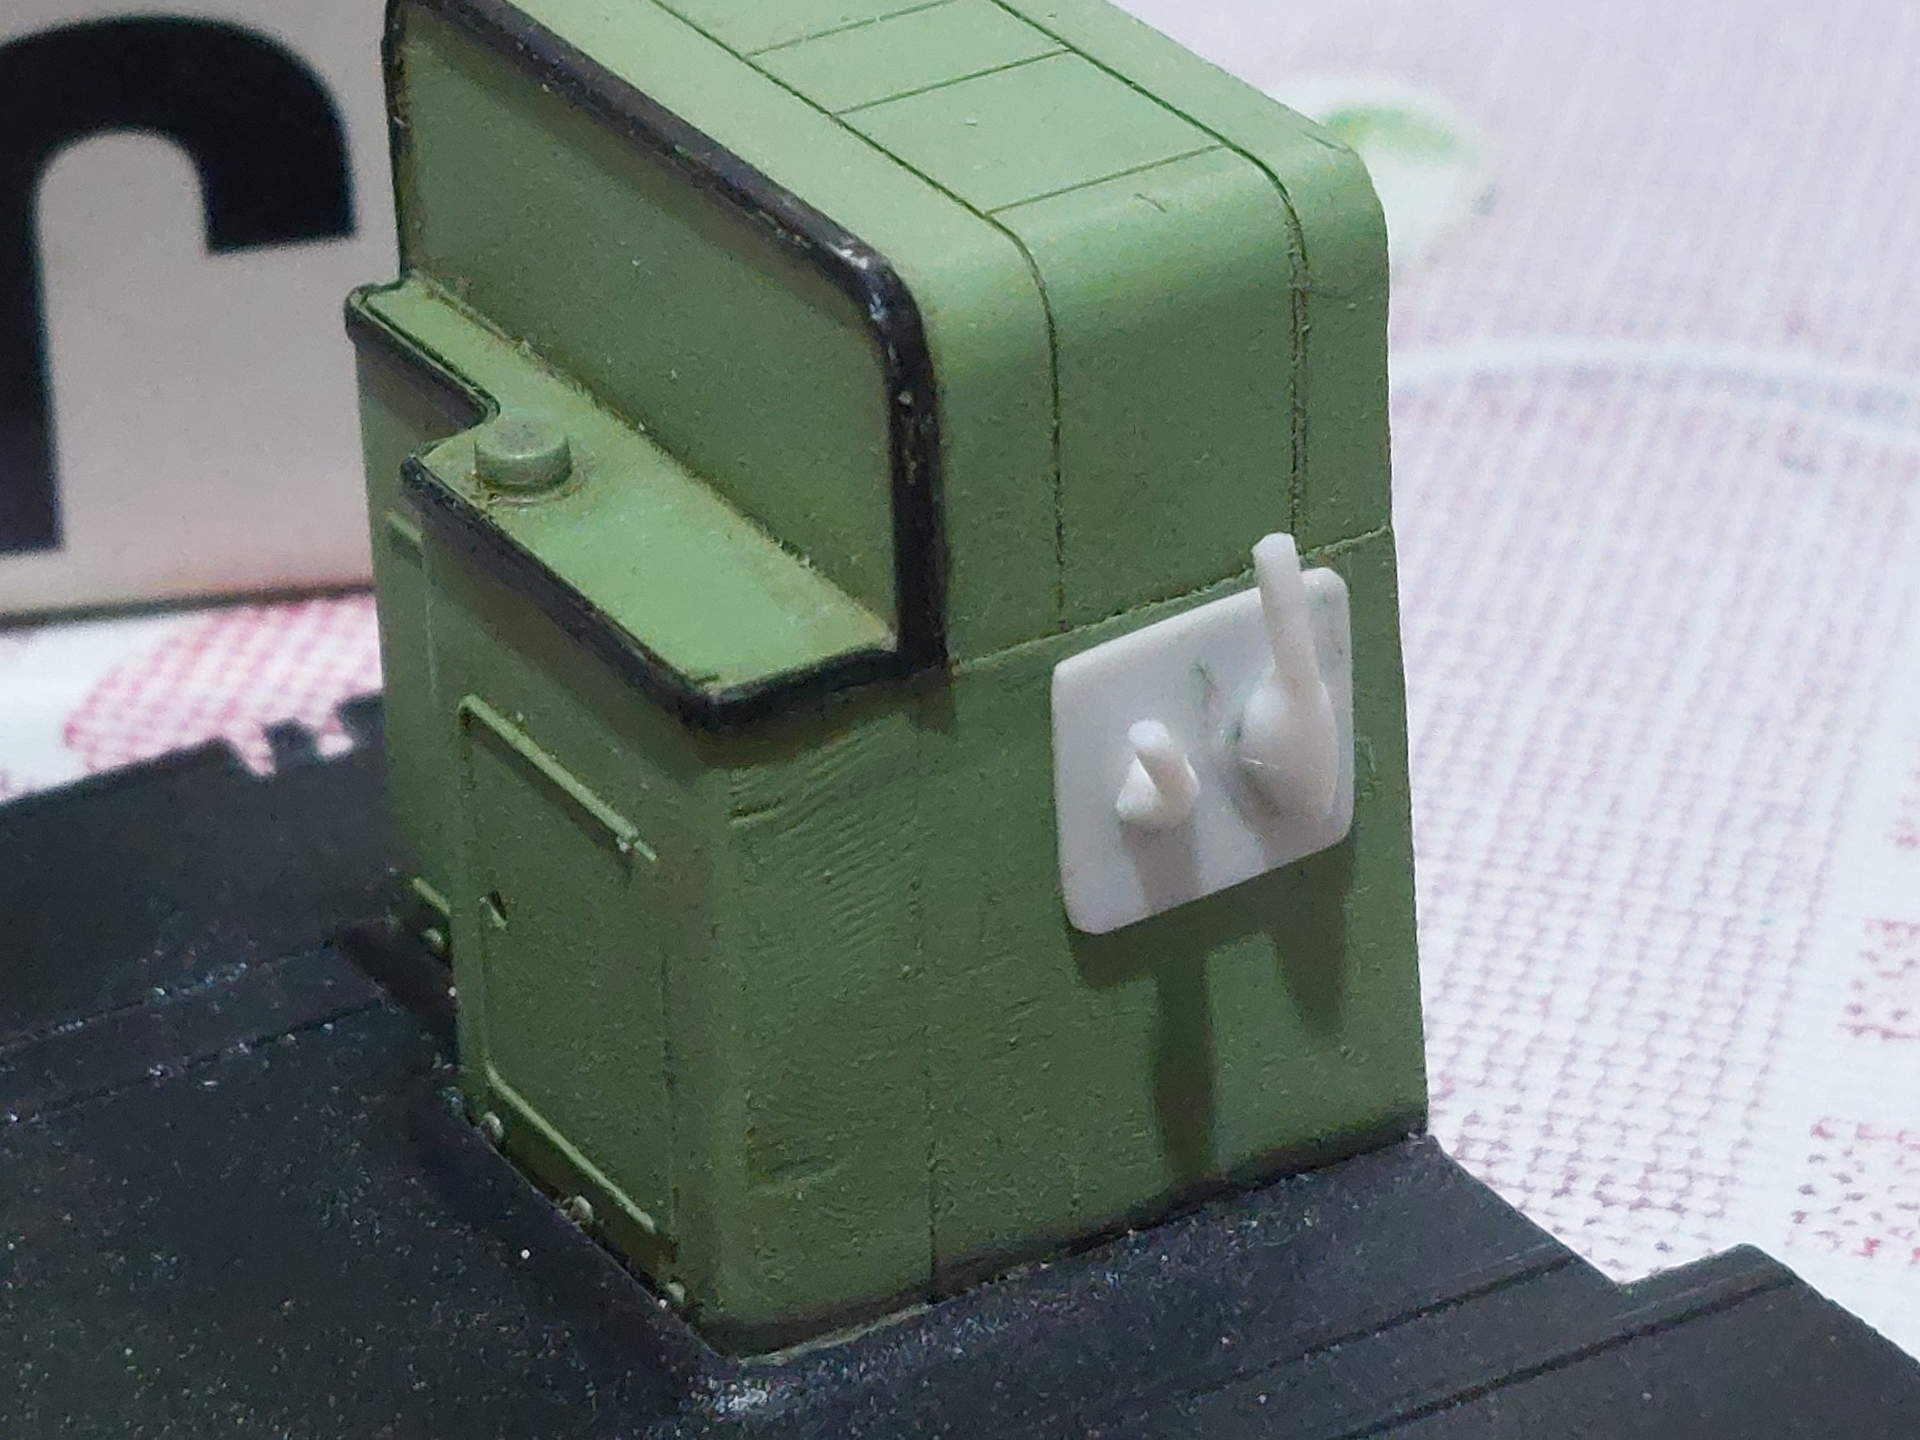
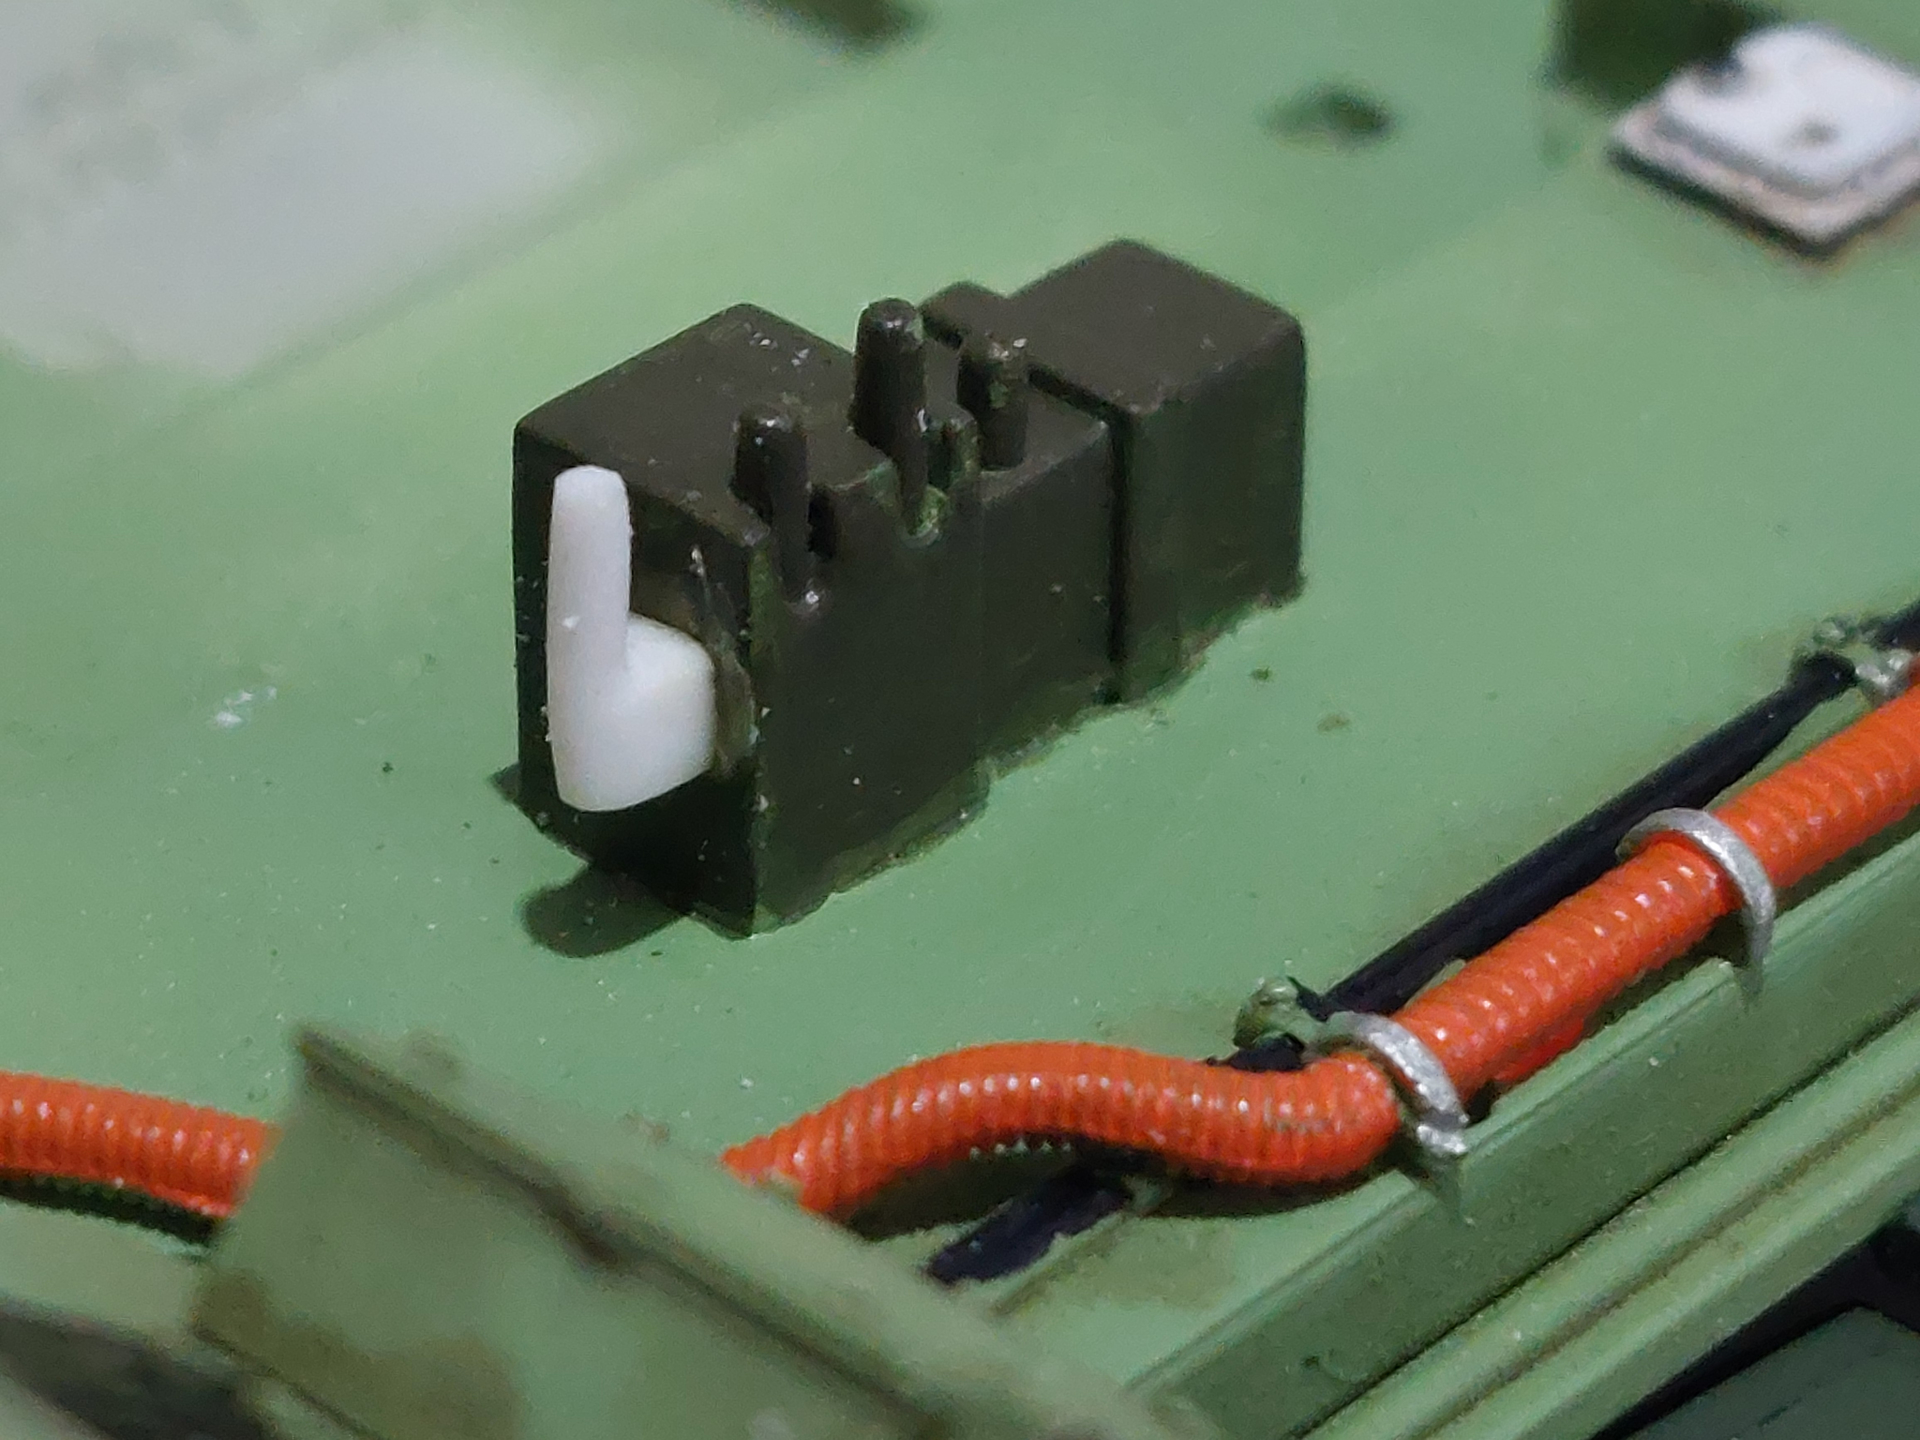
The junction box on the upper port side visible from the rear wee also scratch built.
The finished lamps and ready for installation.
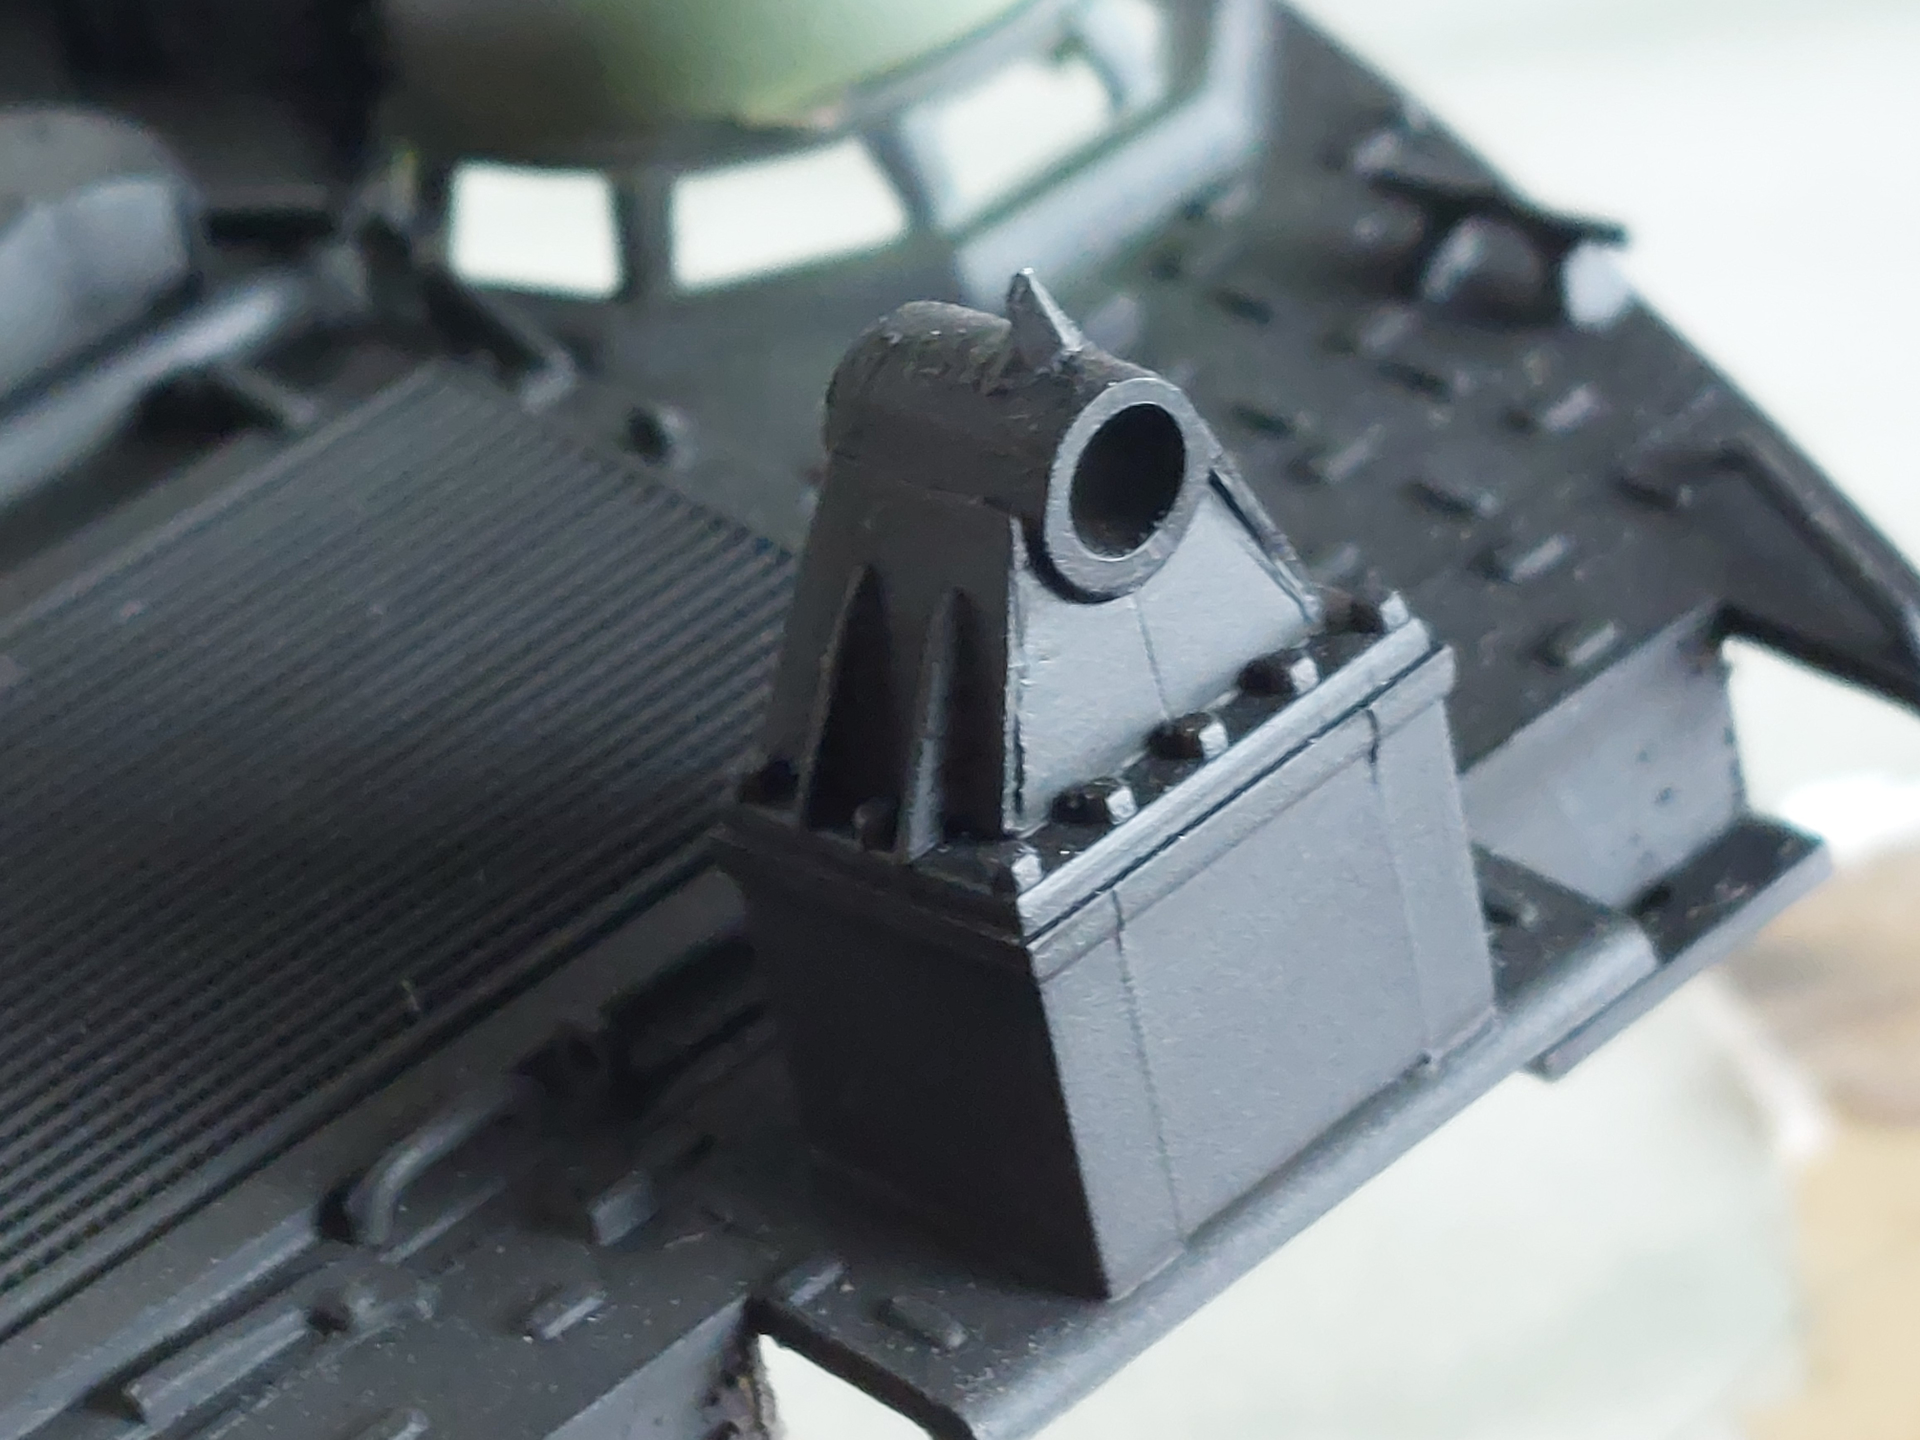
I lost this pyramid part of the winch so I scratch built a new one.
The SINCGARS with just 1 set on the right will be installed in this model.
Added connection points for the hydraulic hoses in the Interior of the recovery vehicle.
Lastly, the cables are attached to the winch before closing the compartment underneath the boom.
Stay tuned, folks. More to come. 
The detail is looking great.
The level of detail on the interior panels is amazing.
Nice job on the side panels and interior parts. The Hobby Boss kits are pretty complete. Just a few bits to add here and there to really detail them.
Your painting of the interior really gives life to the model.
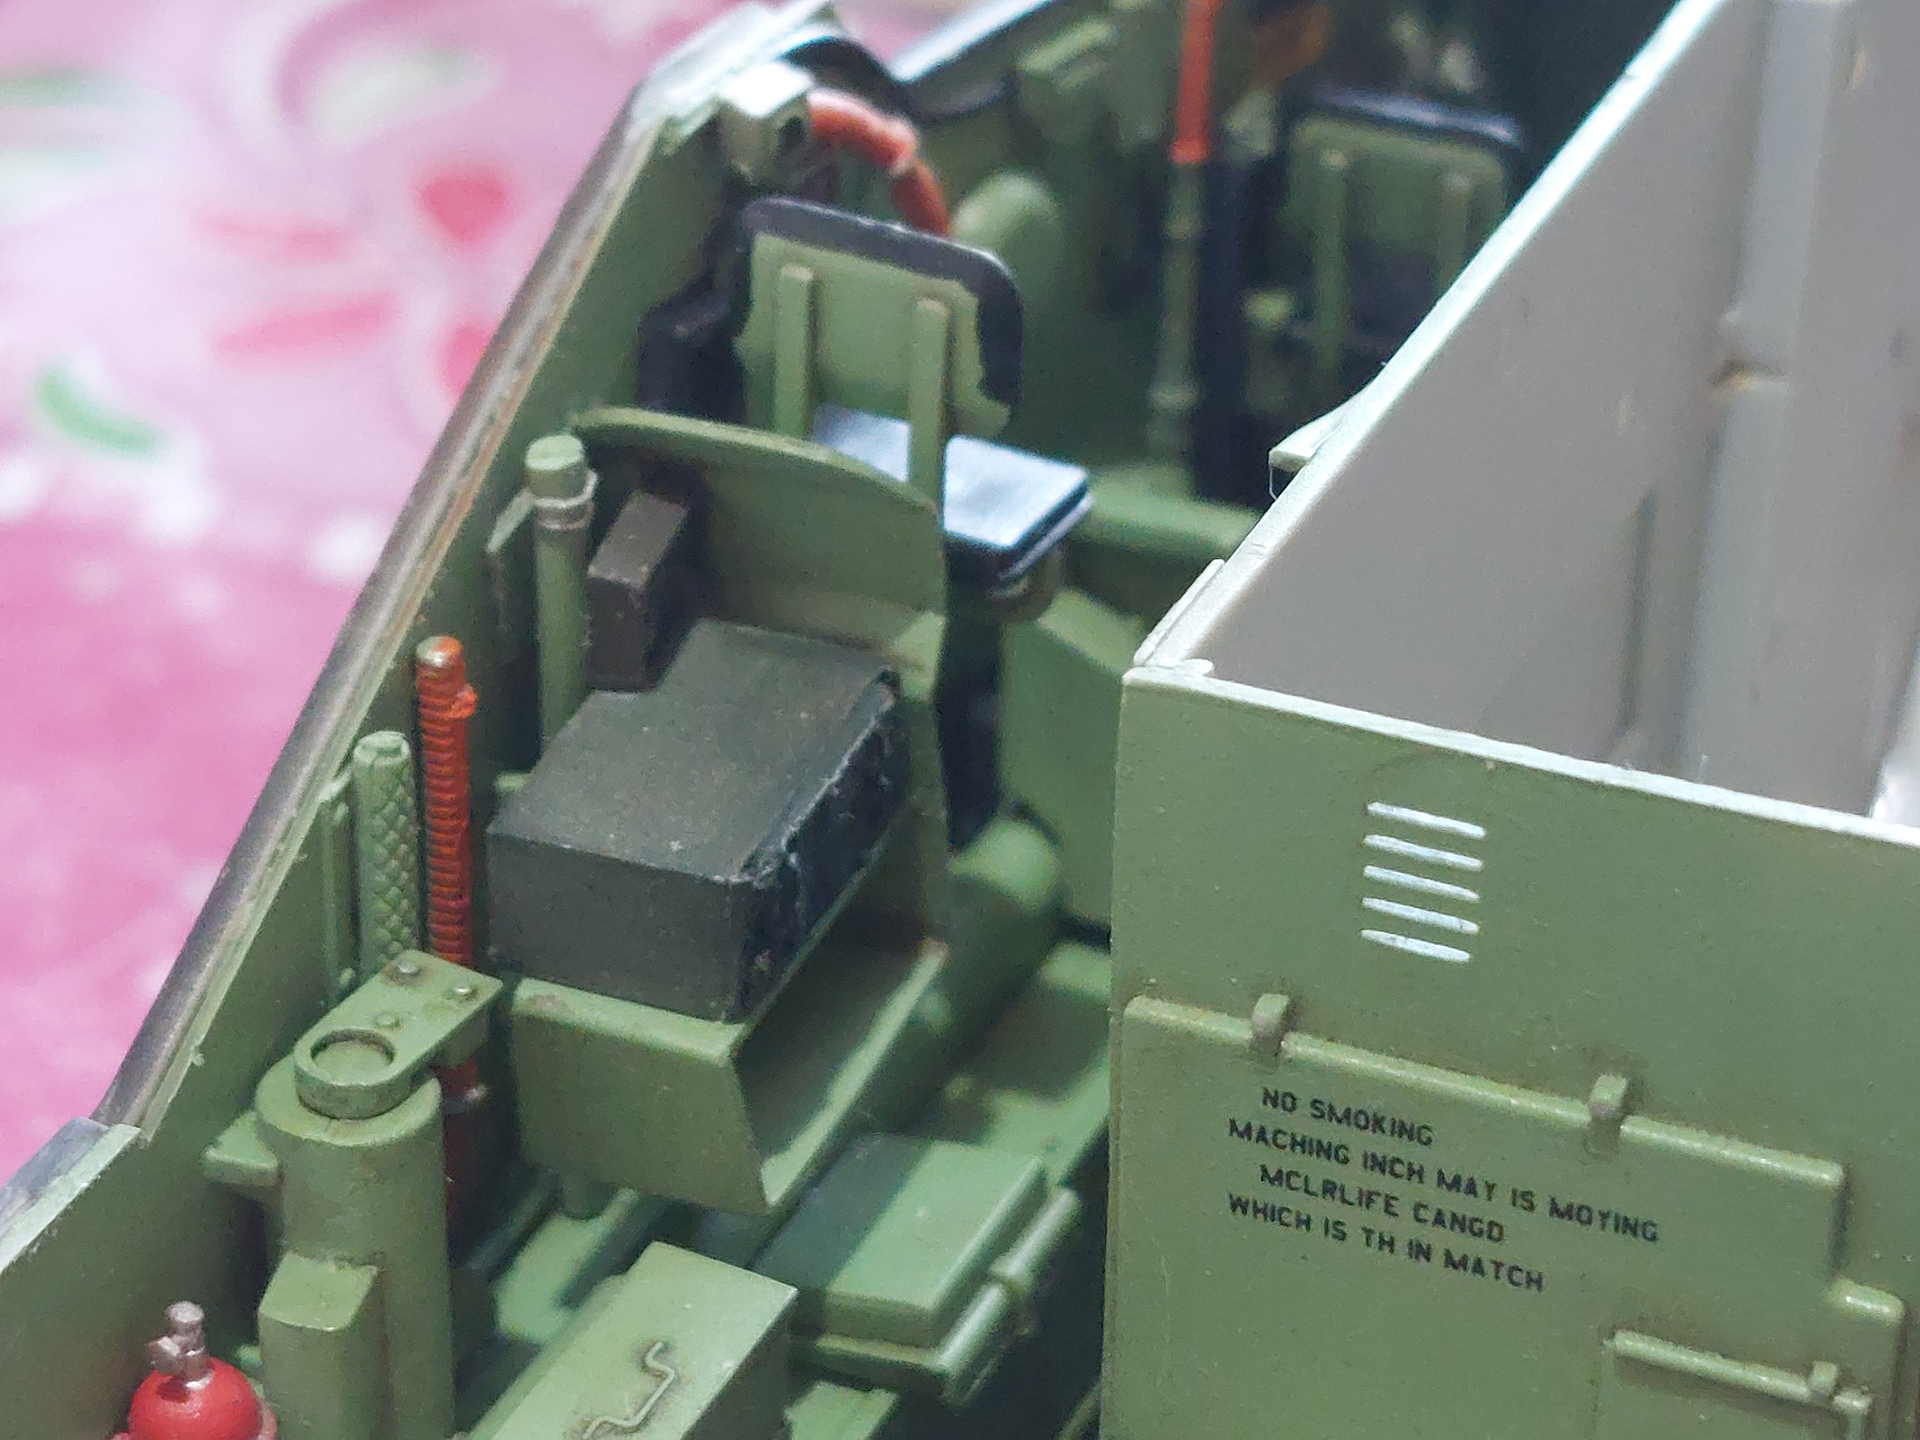
Hobby Boss are used to give silly stencils. Obviously the designers do not master English language.
Olivier
Thanks for the compliments guys.
@Bison126 yes never saw the decals were like that
As @HeavyArty mentioned before, here are the the added details.
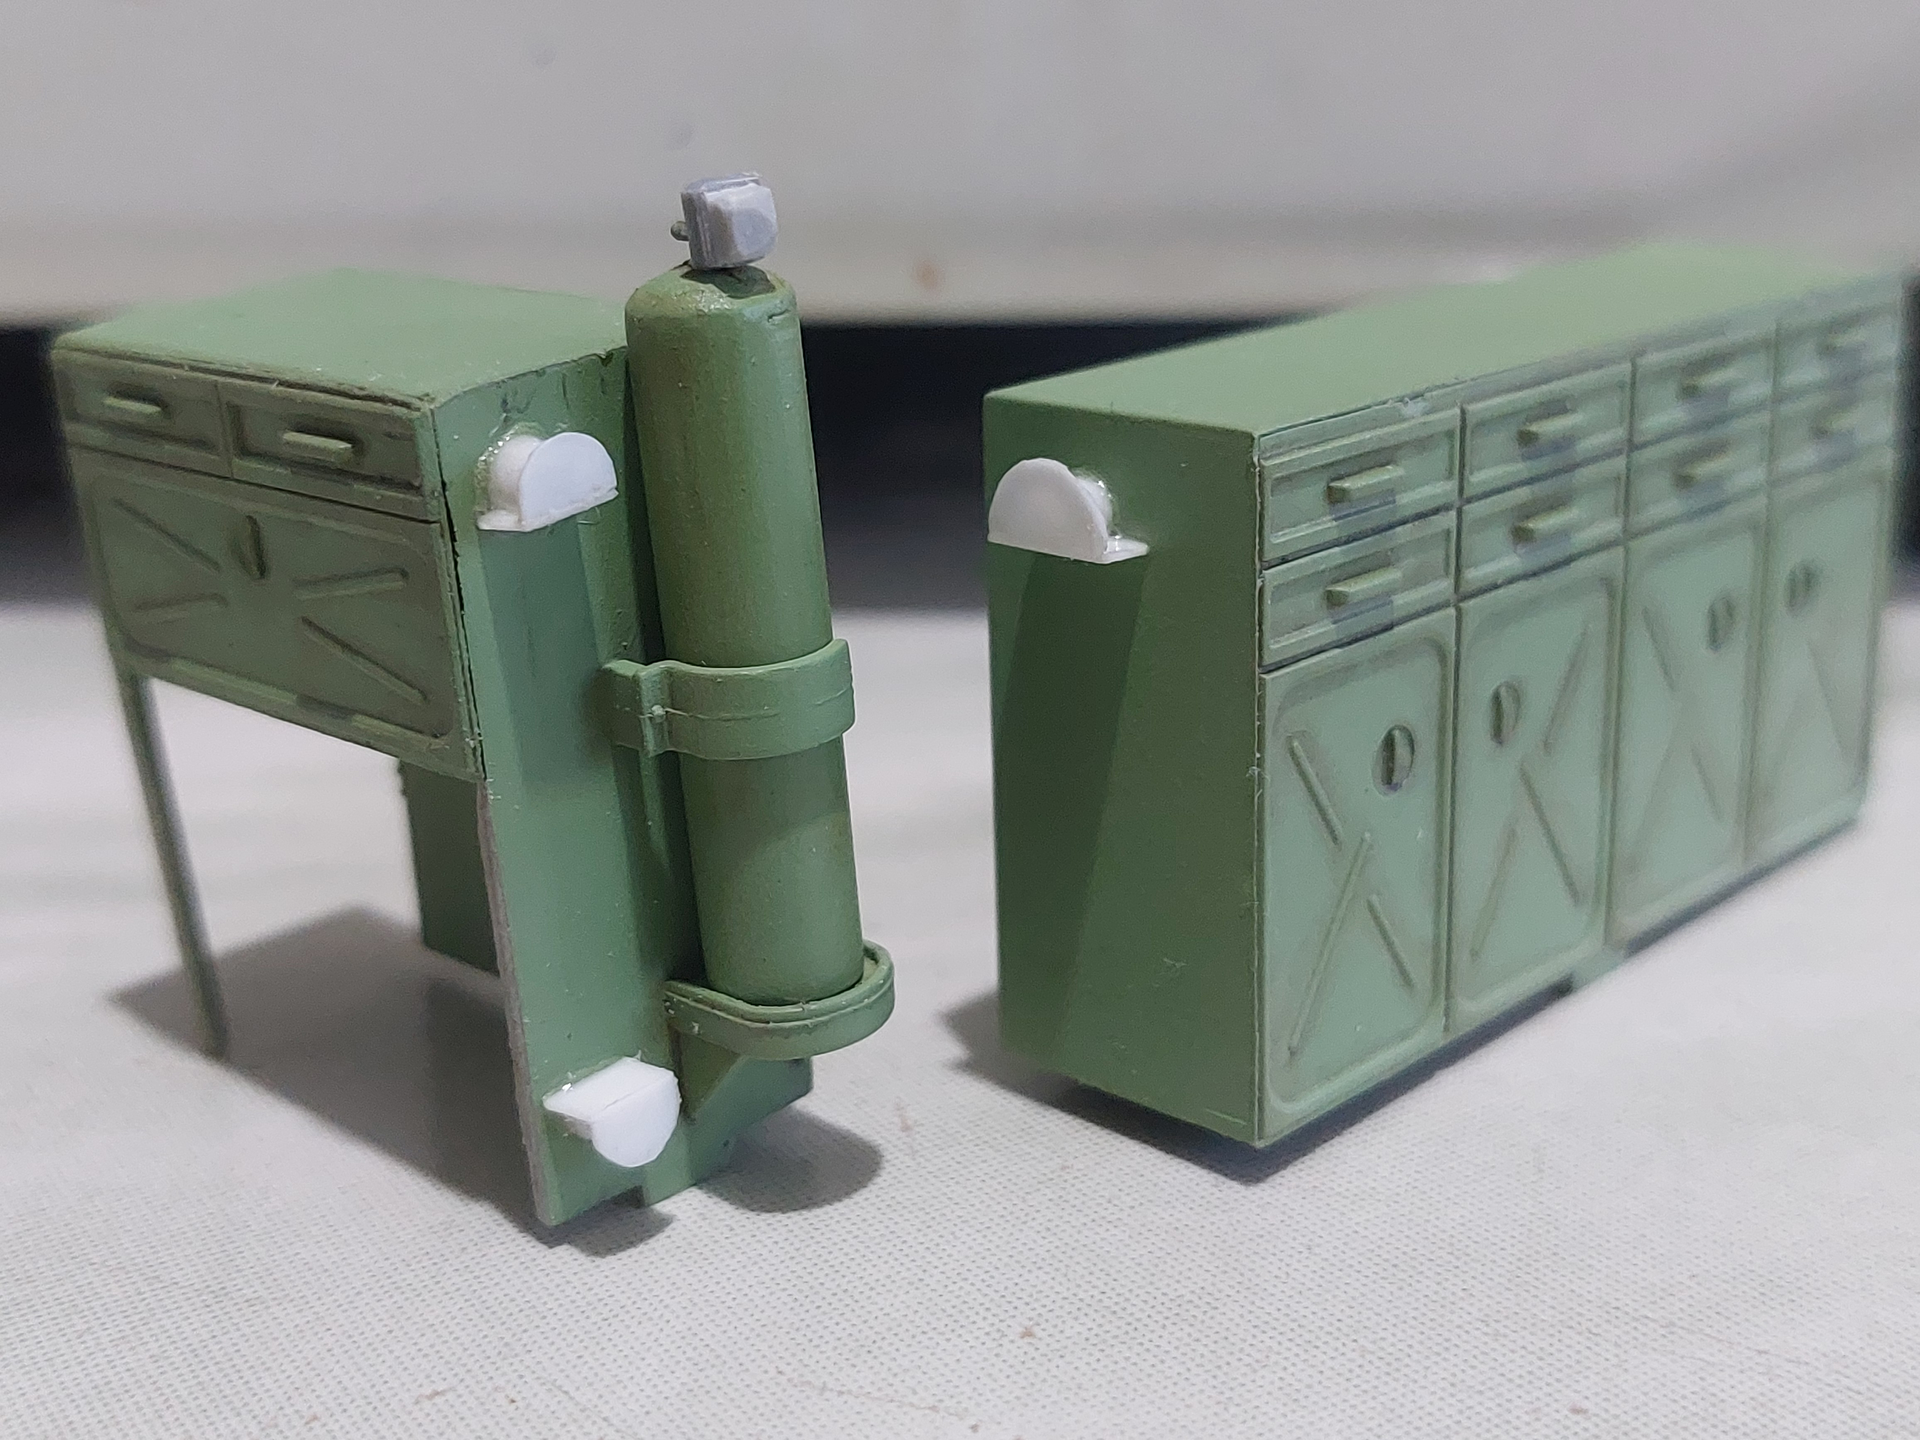
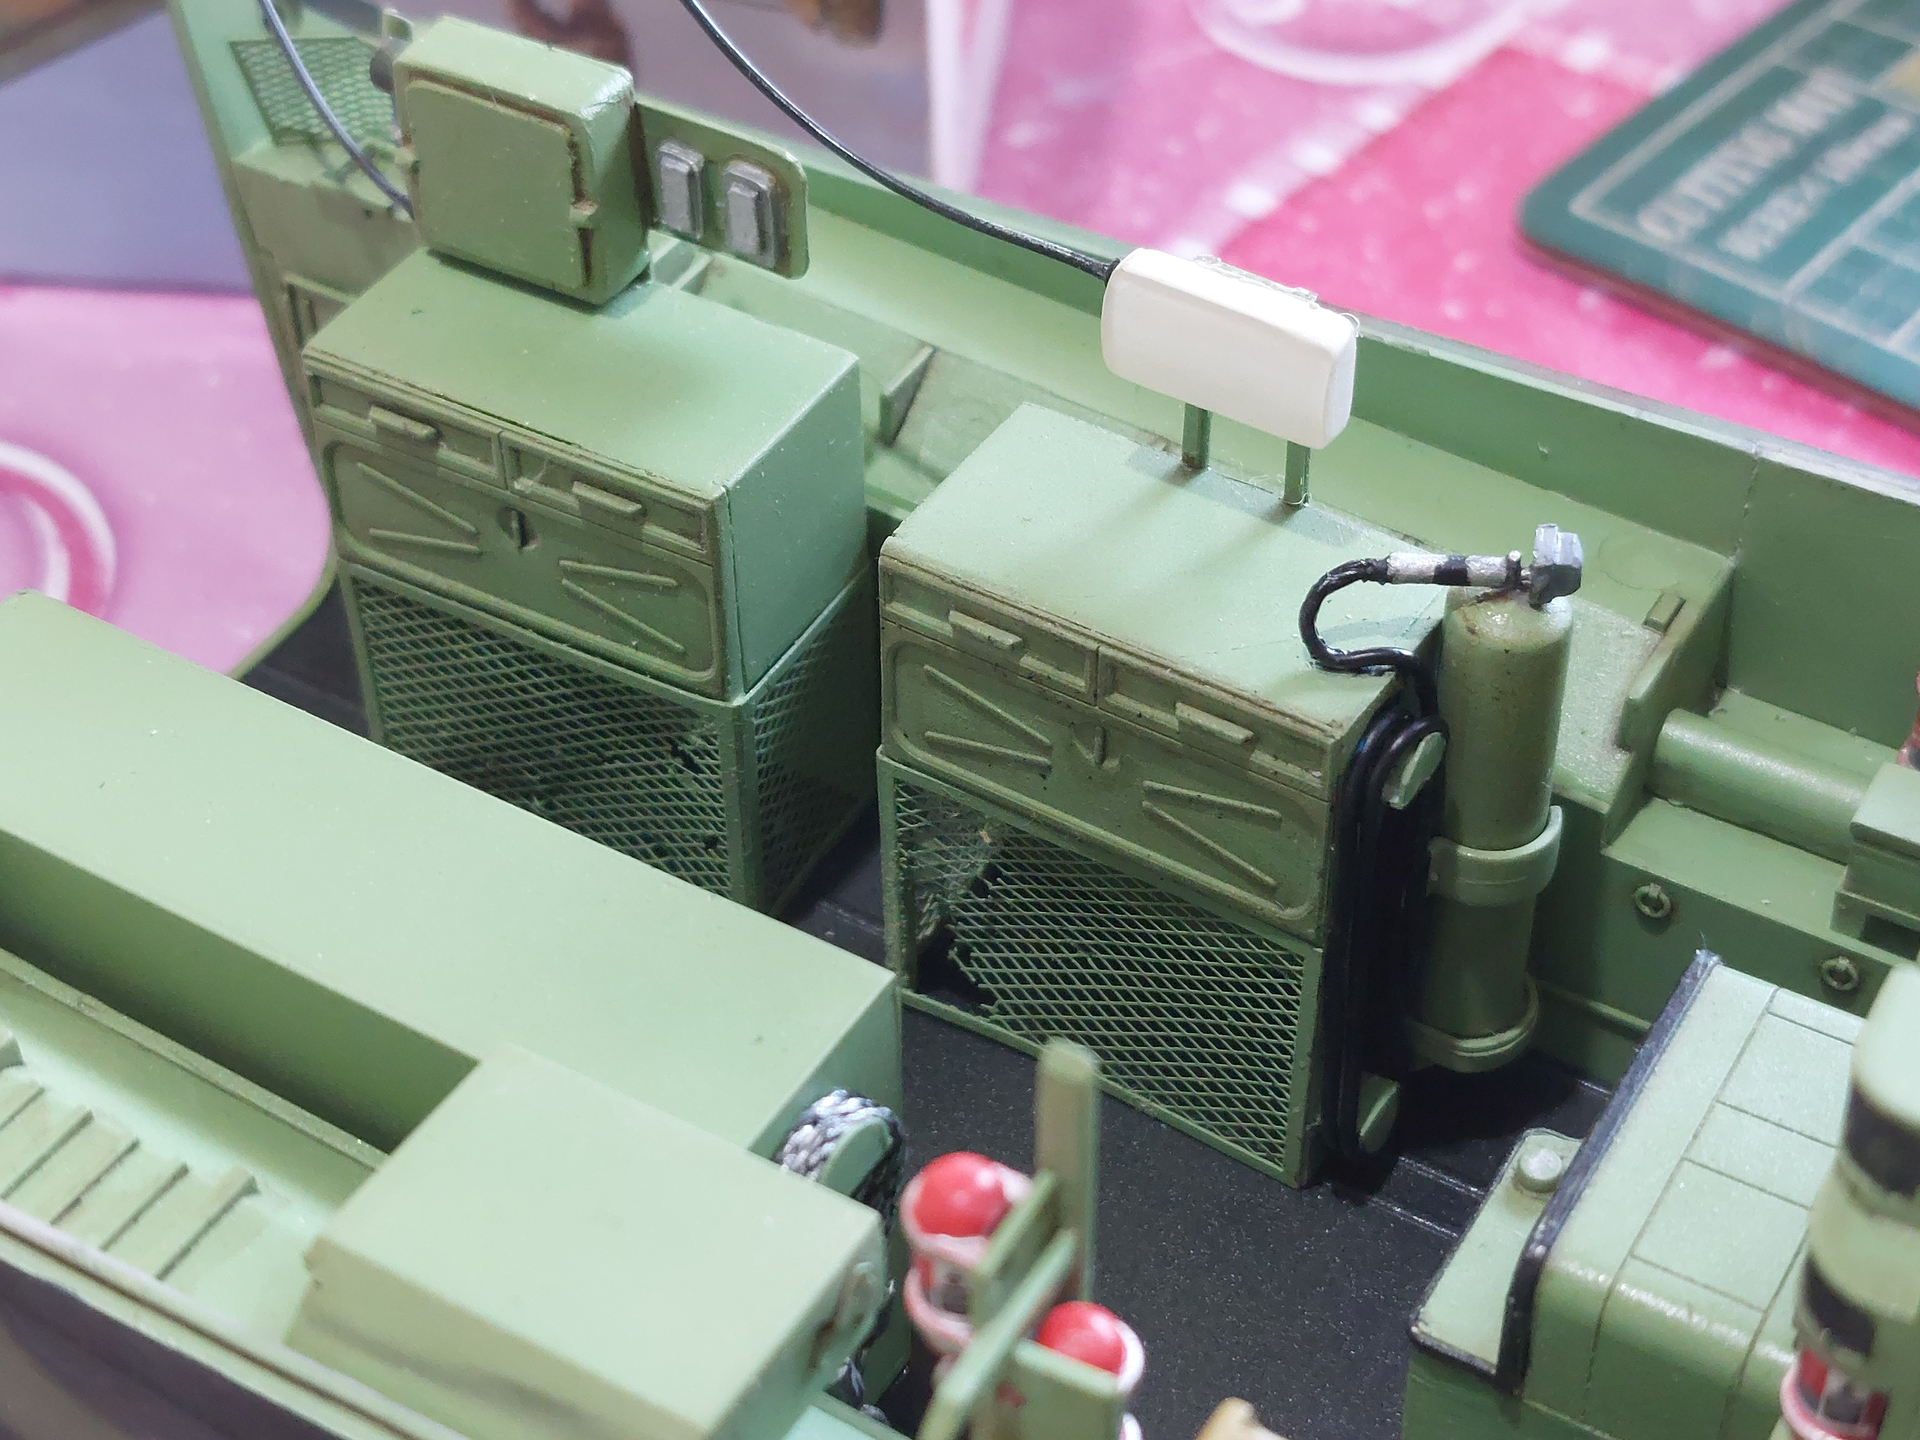
Cable and hose brackets plus the square air pressure thing above the air tank.
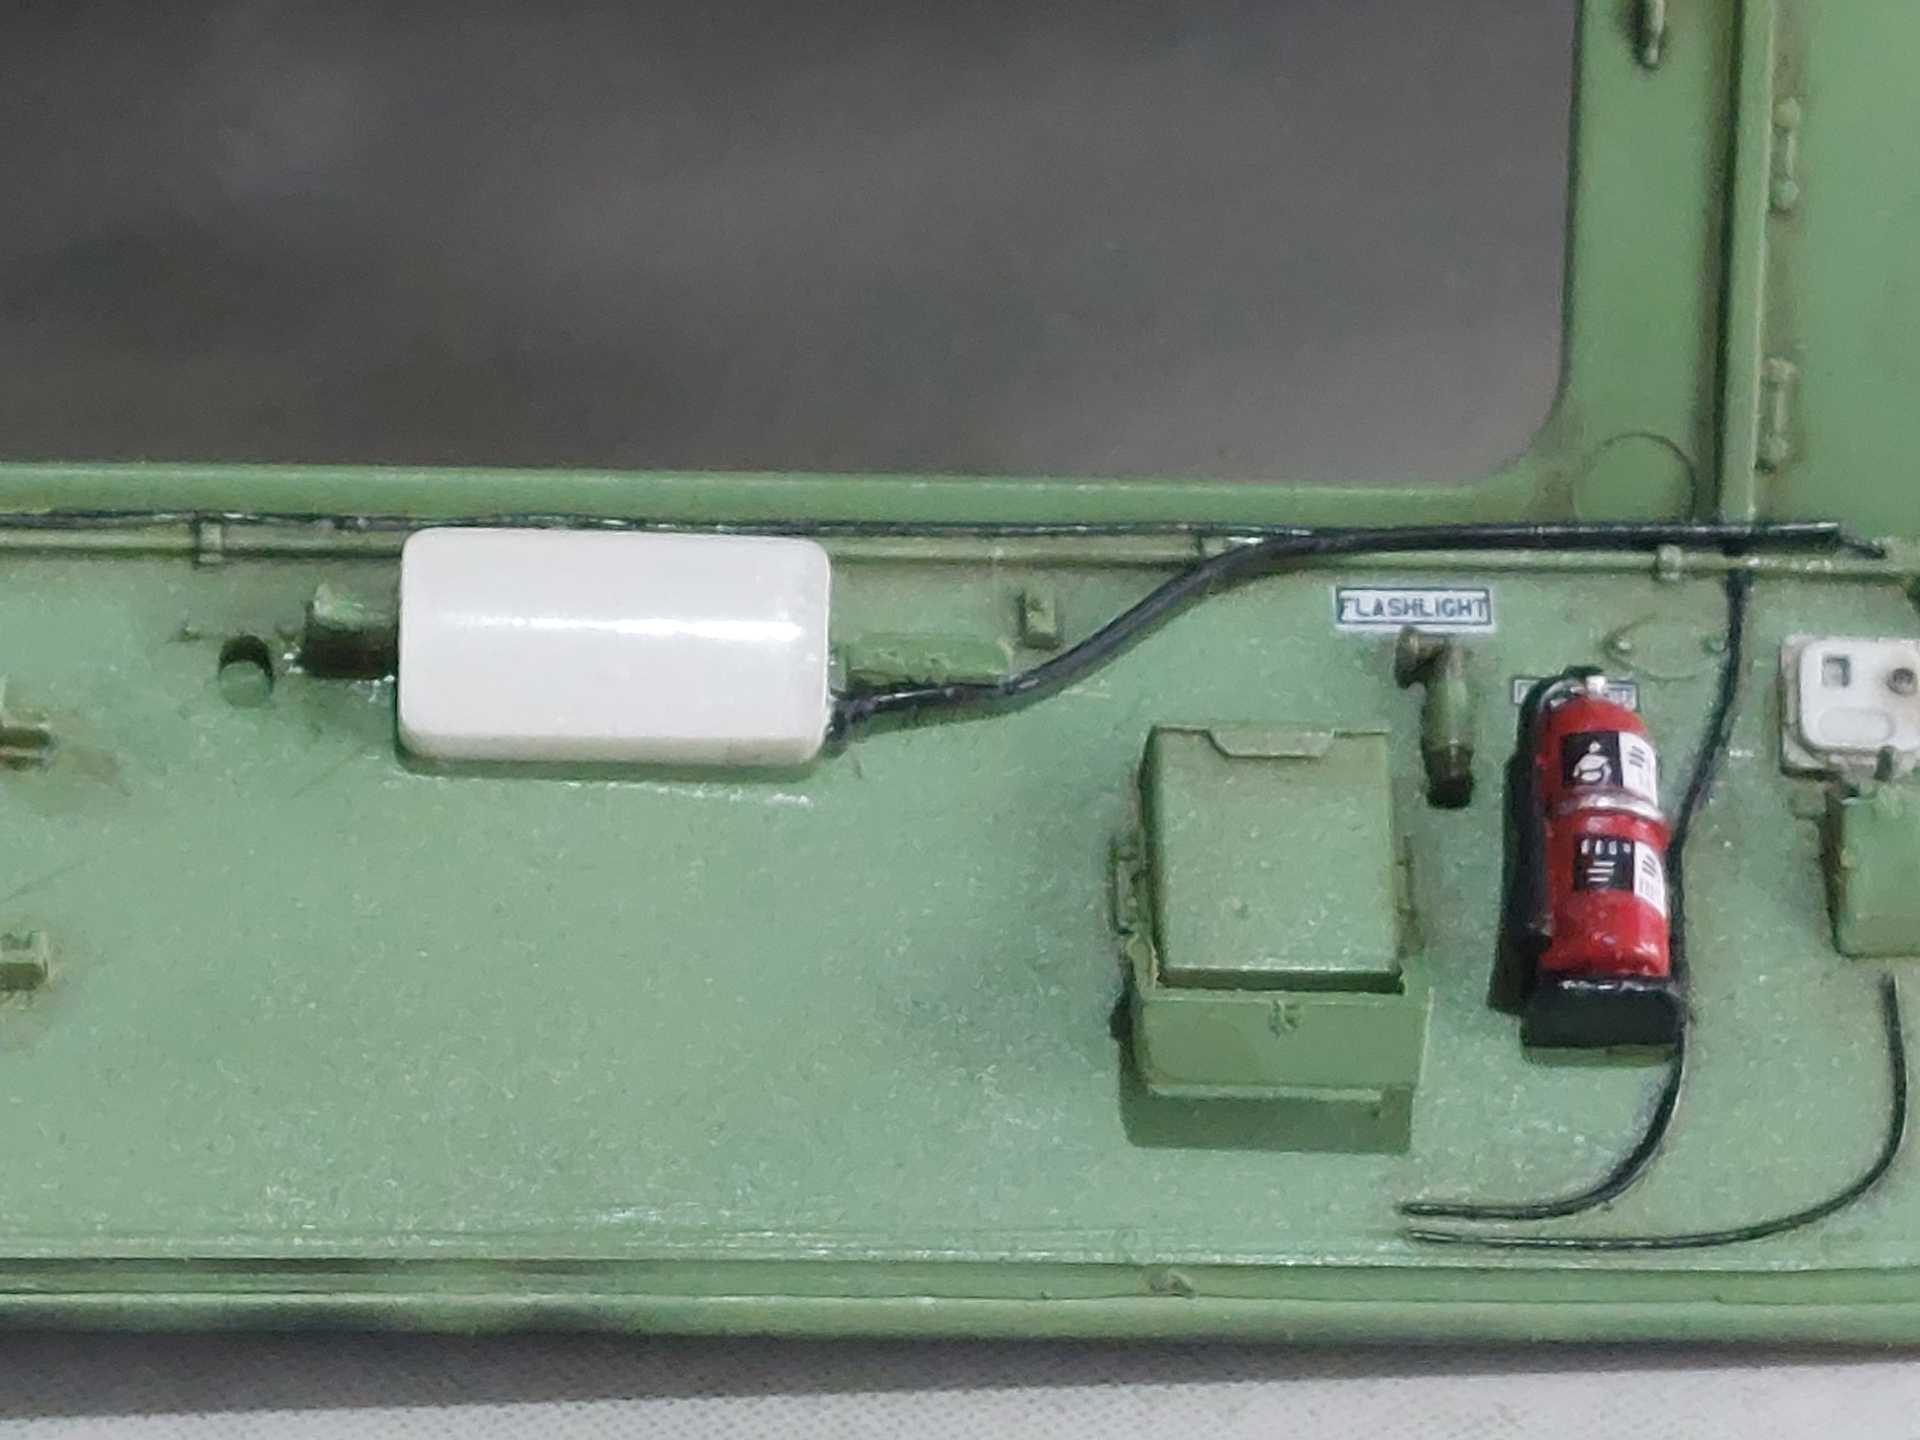
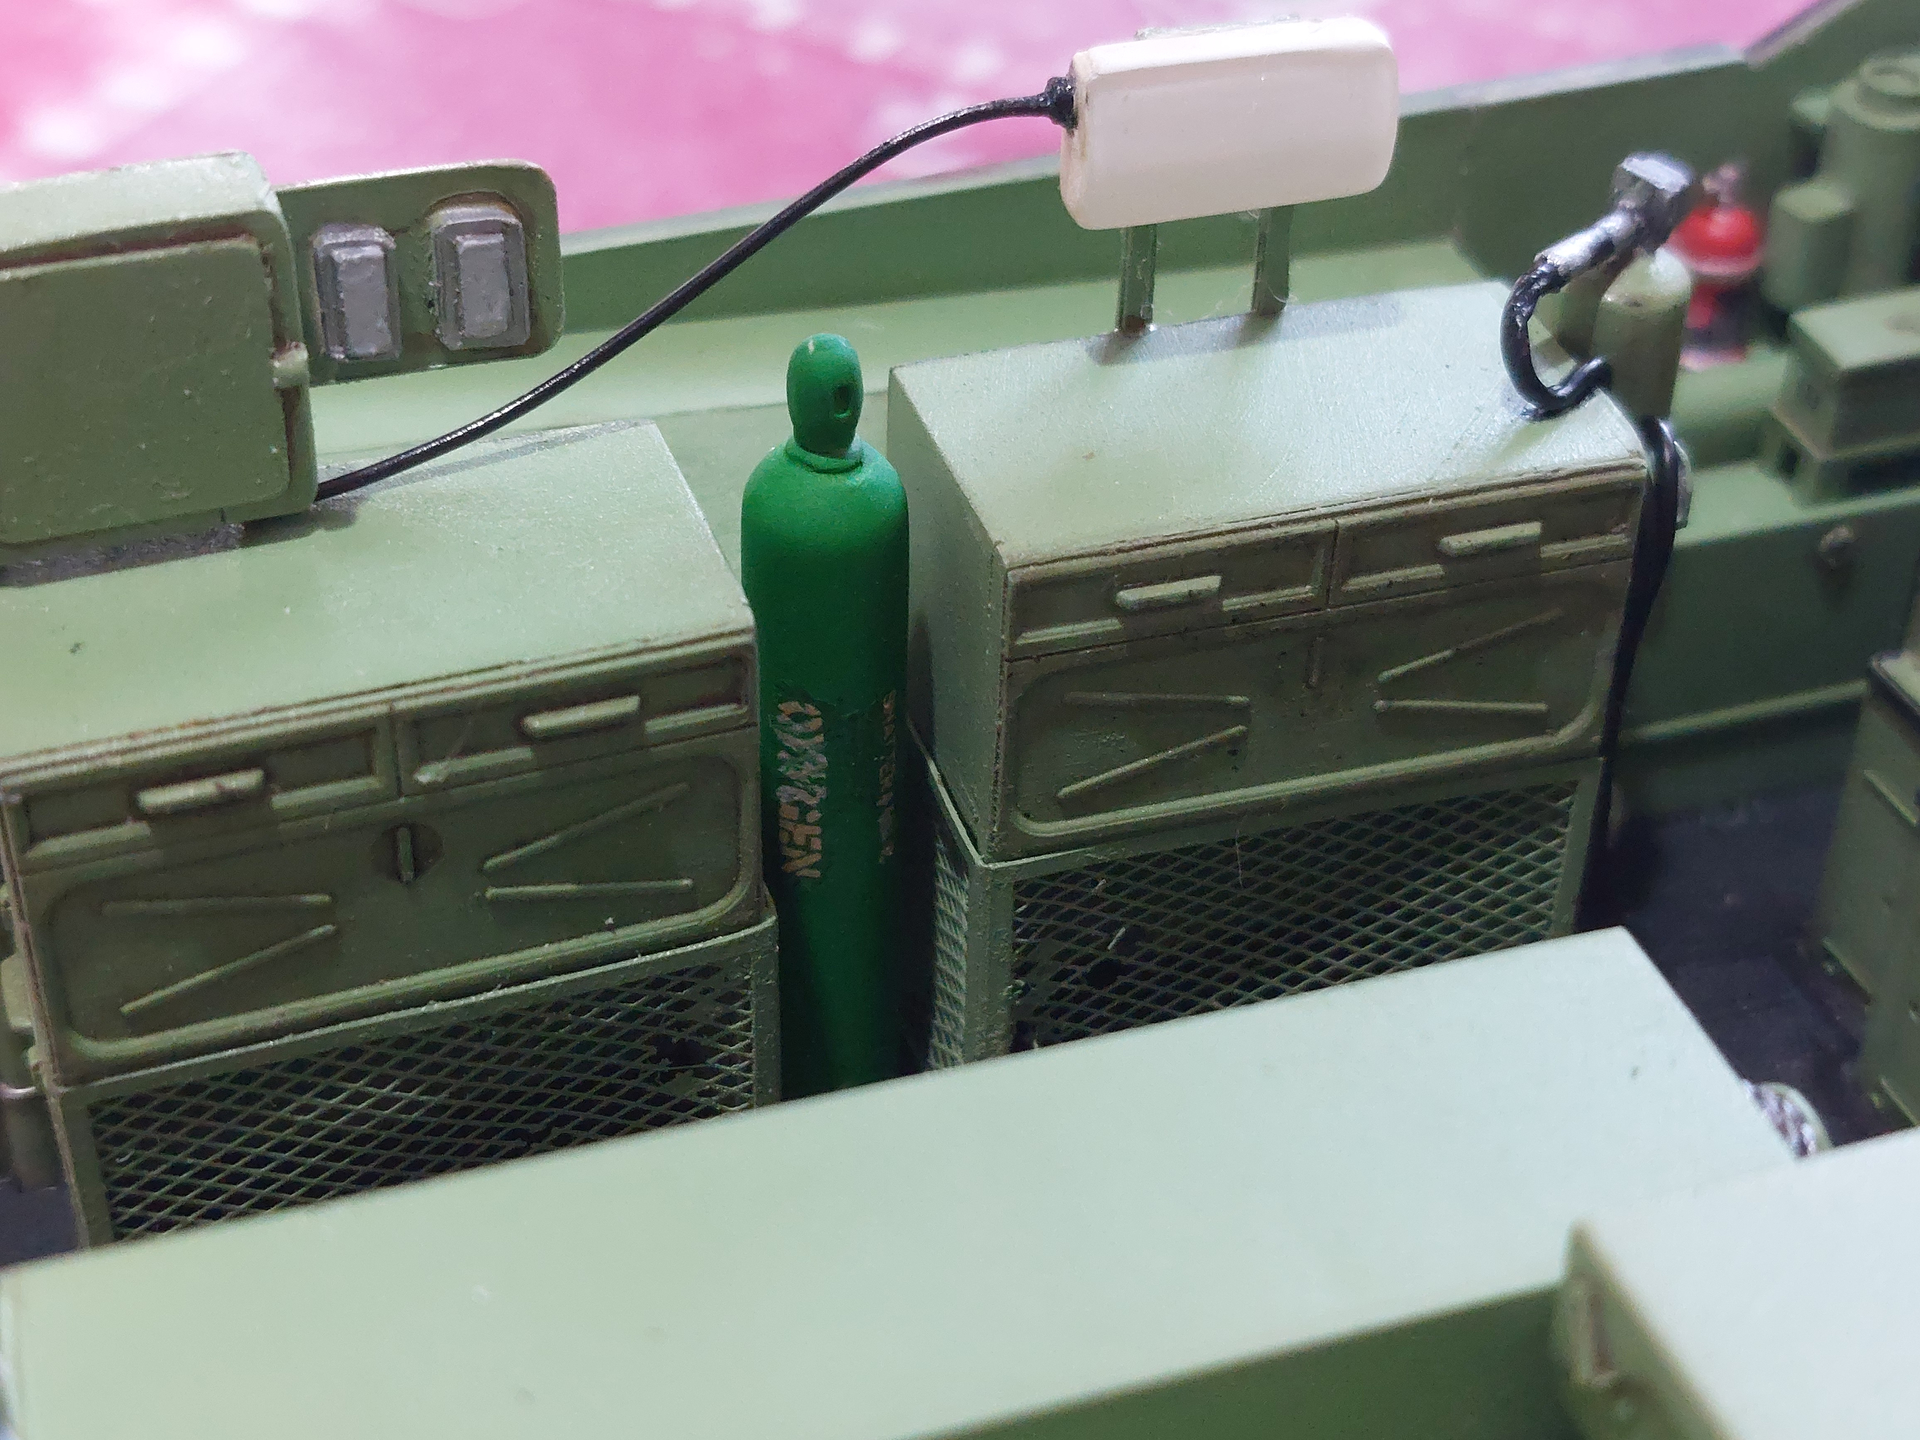
Two fluorescent lamp housings and their wiring and brackets. Junction box on the leftmost or rear of port side panels on the second picture.
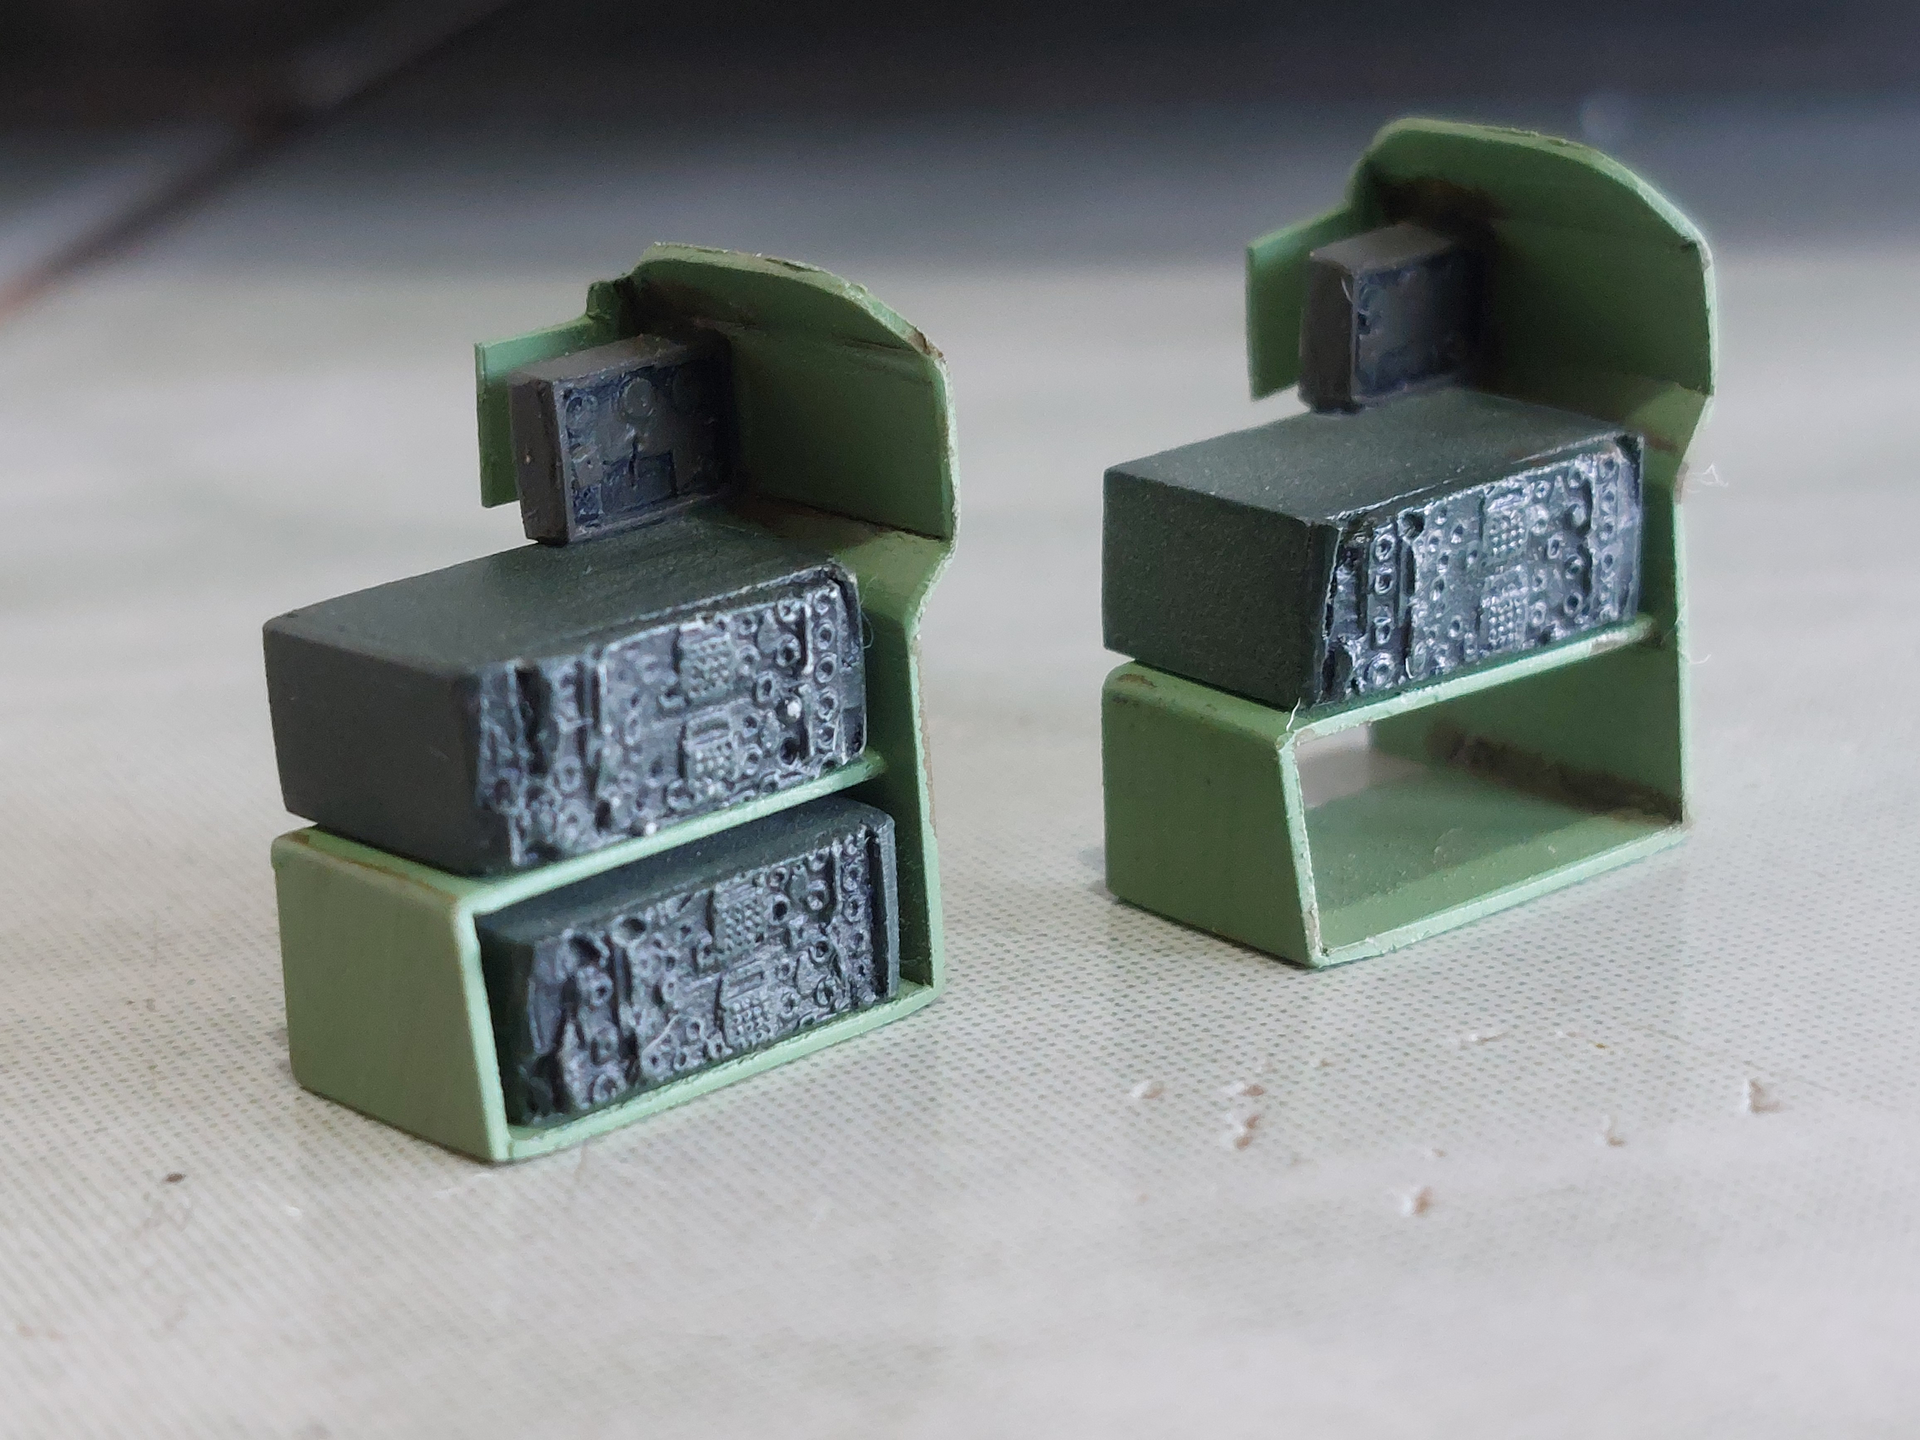
The hard to notice SINCGARS radios and AN/VIC-1when hull is closed.
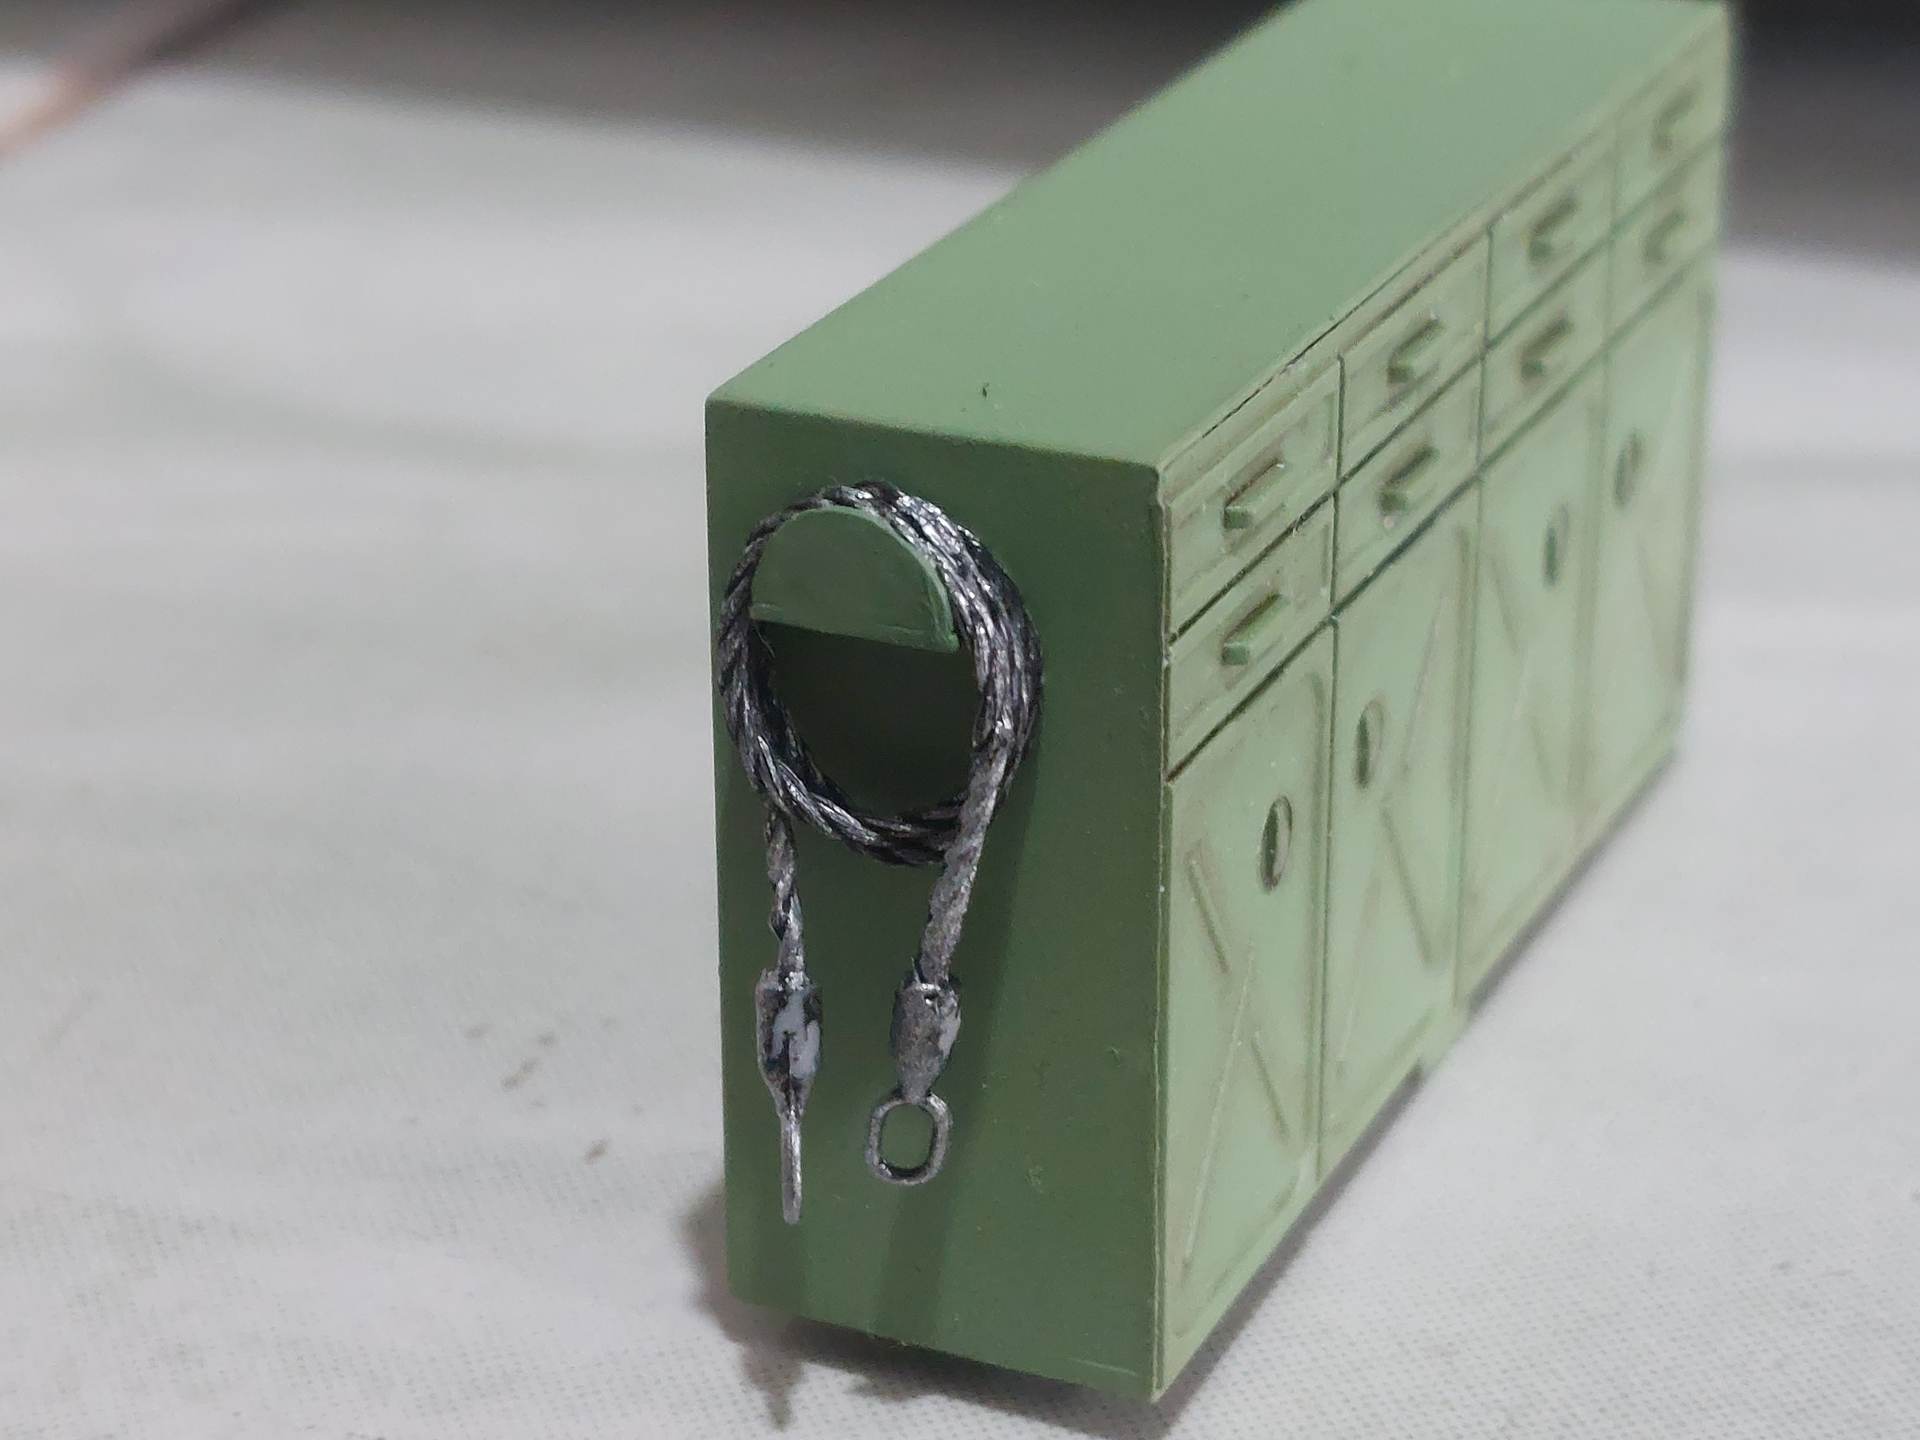
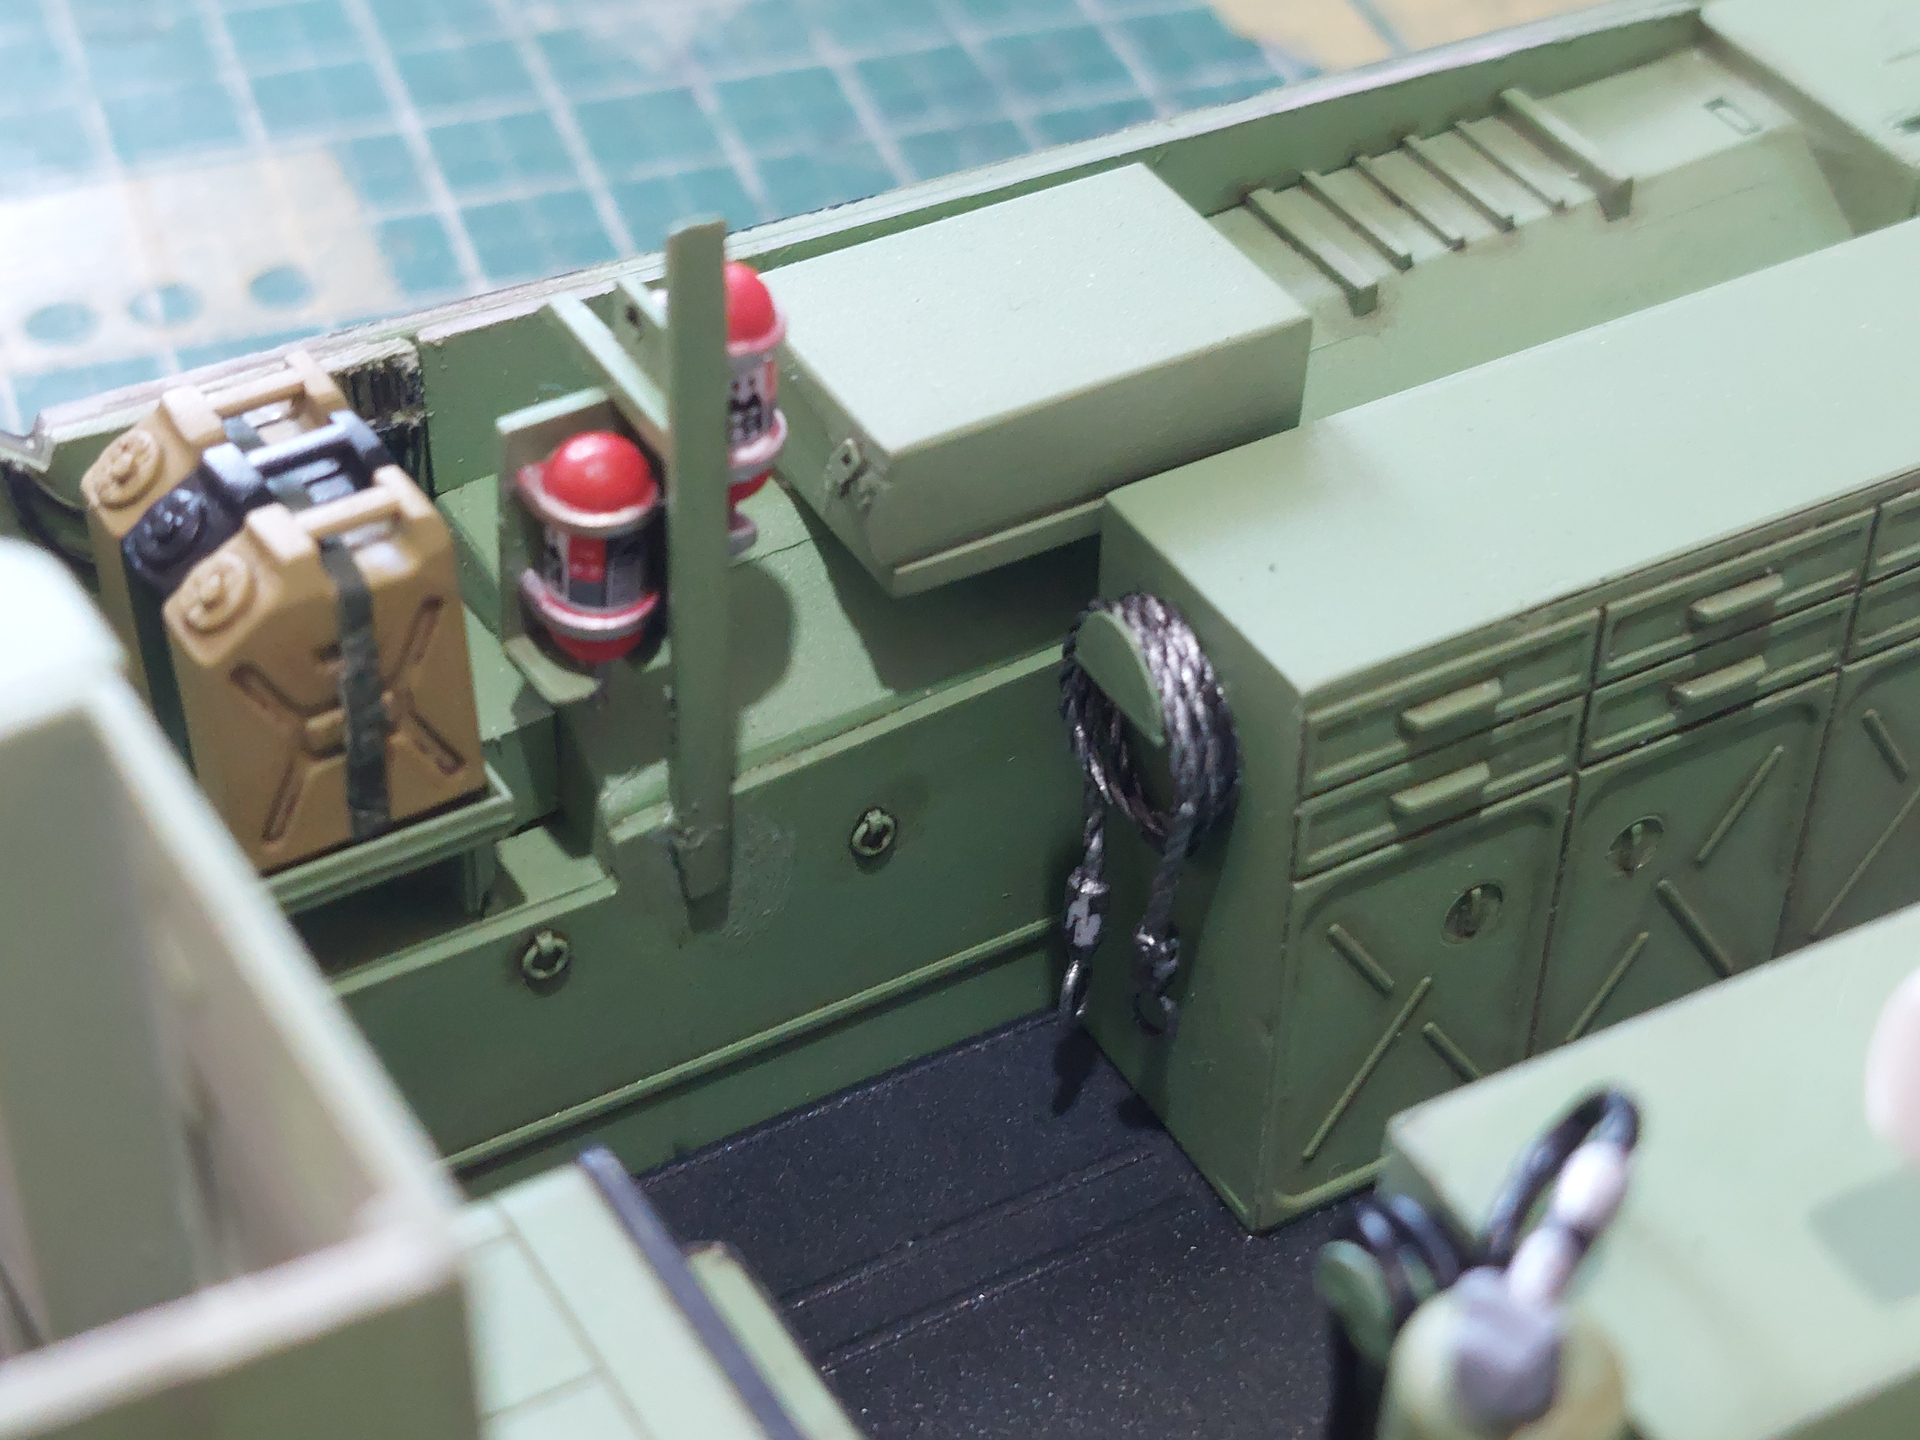
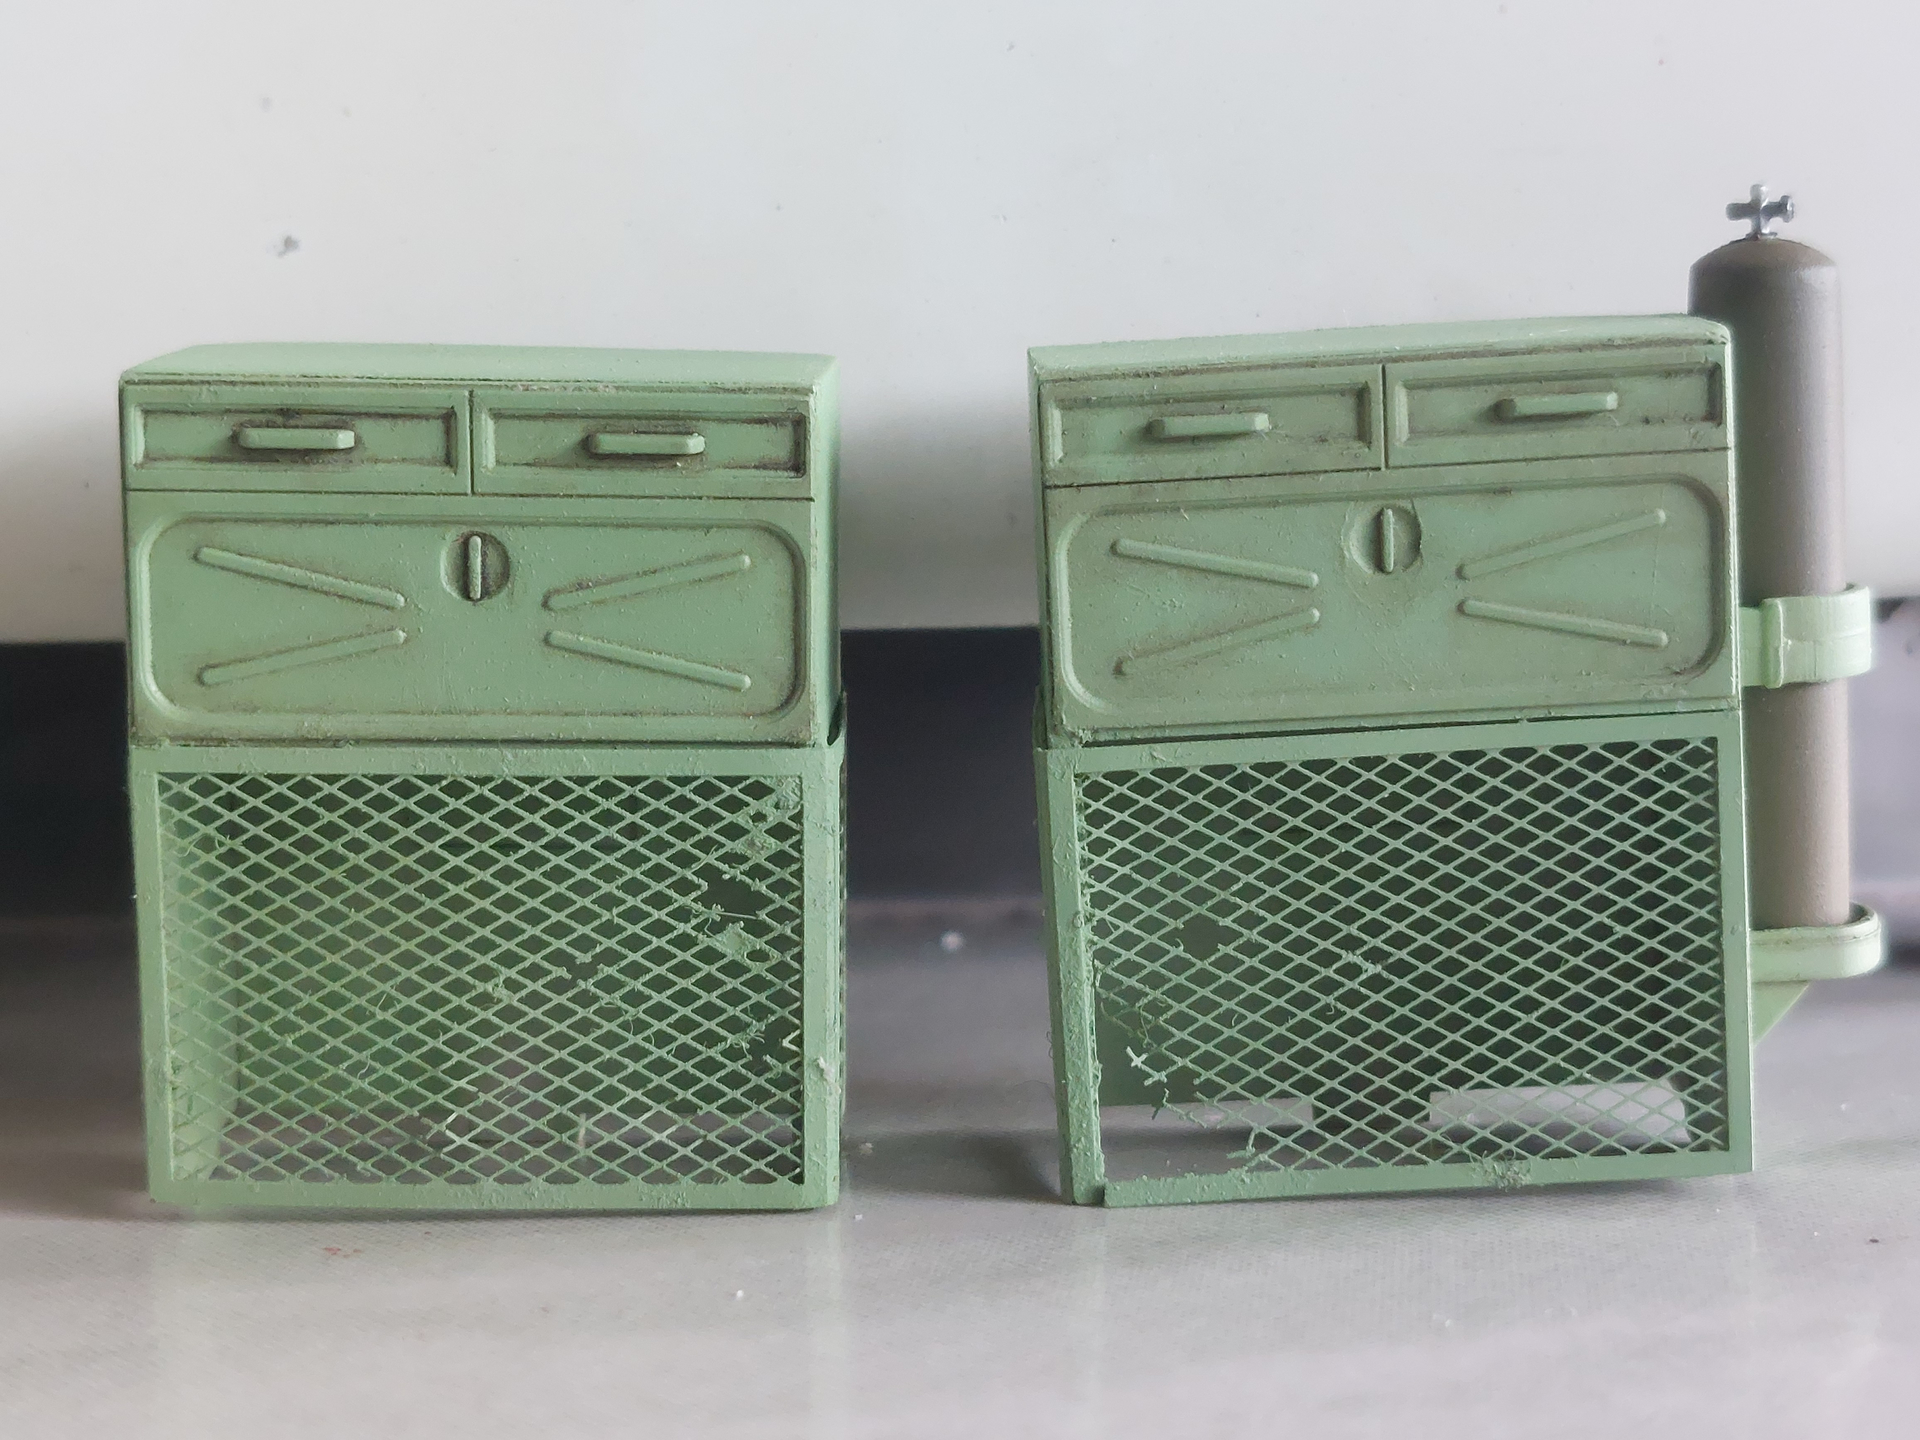
Tow cable on the starboard side cabinet.
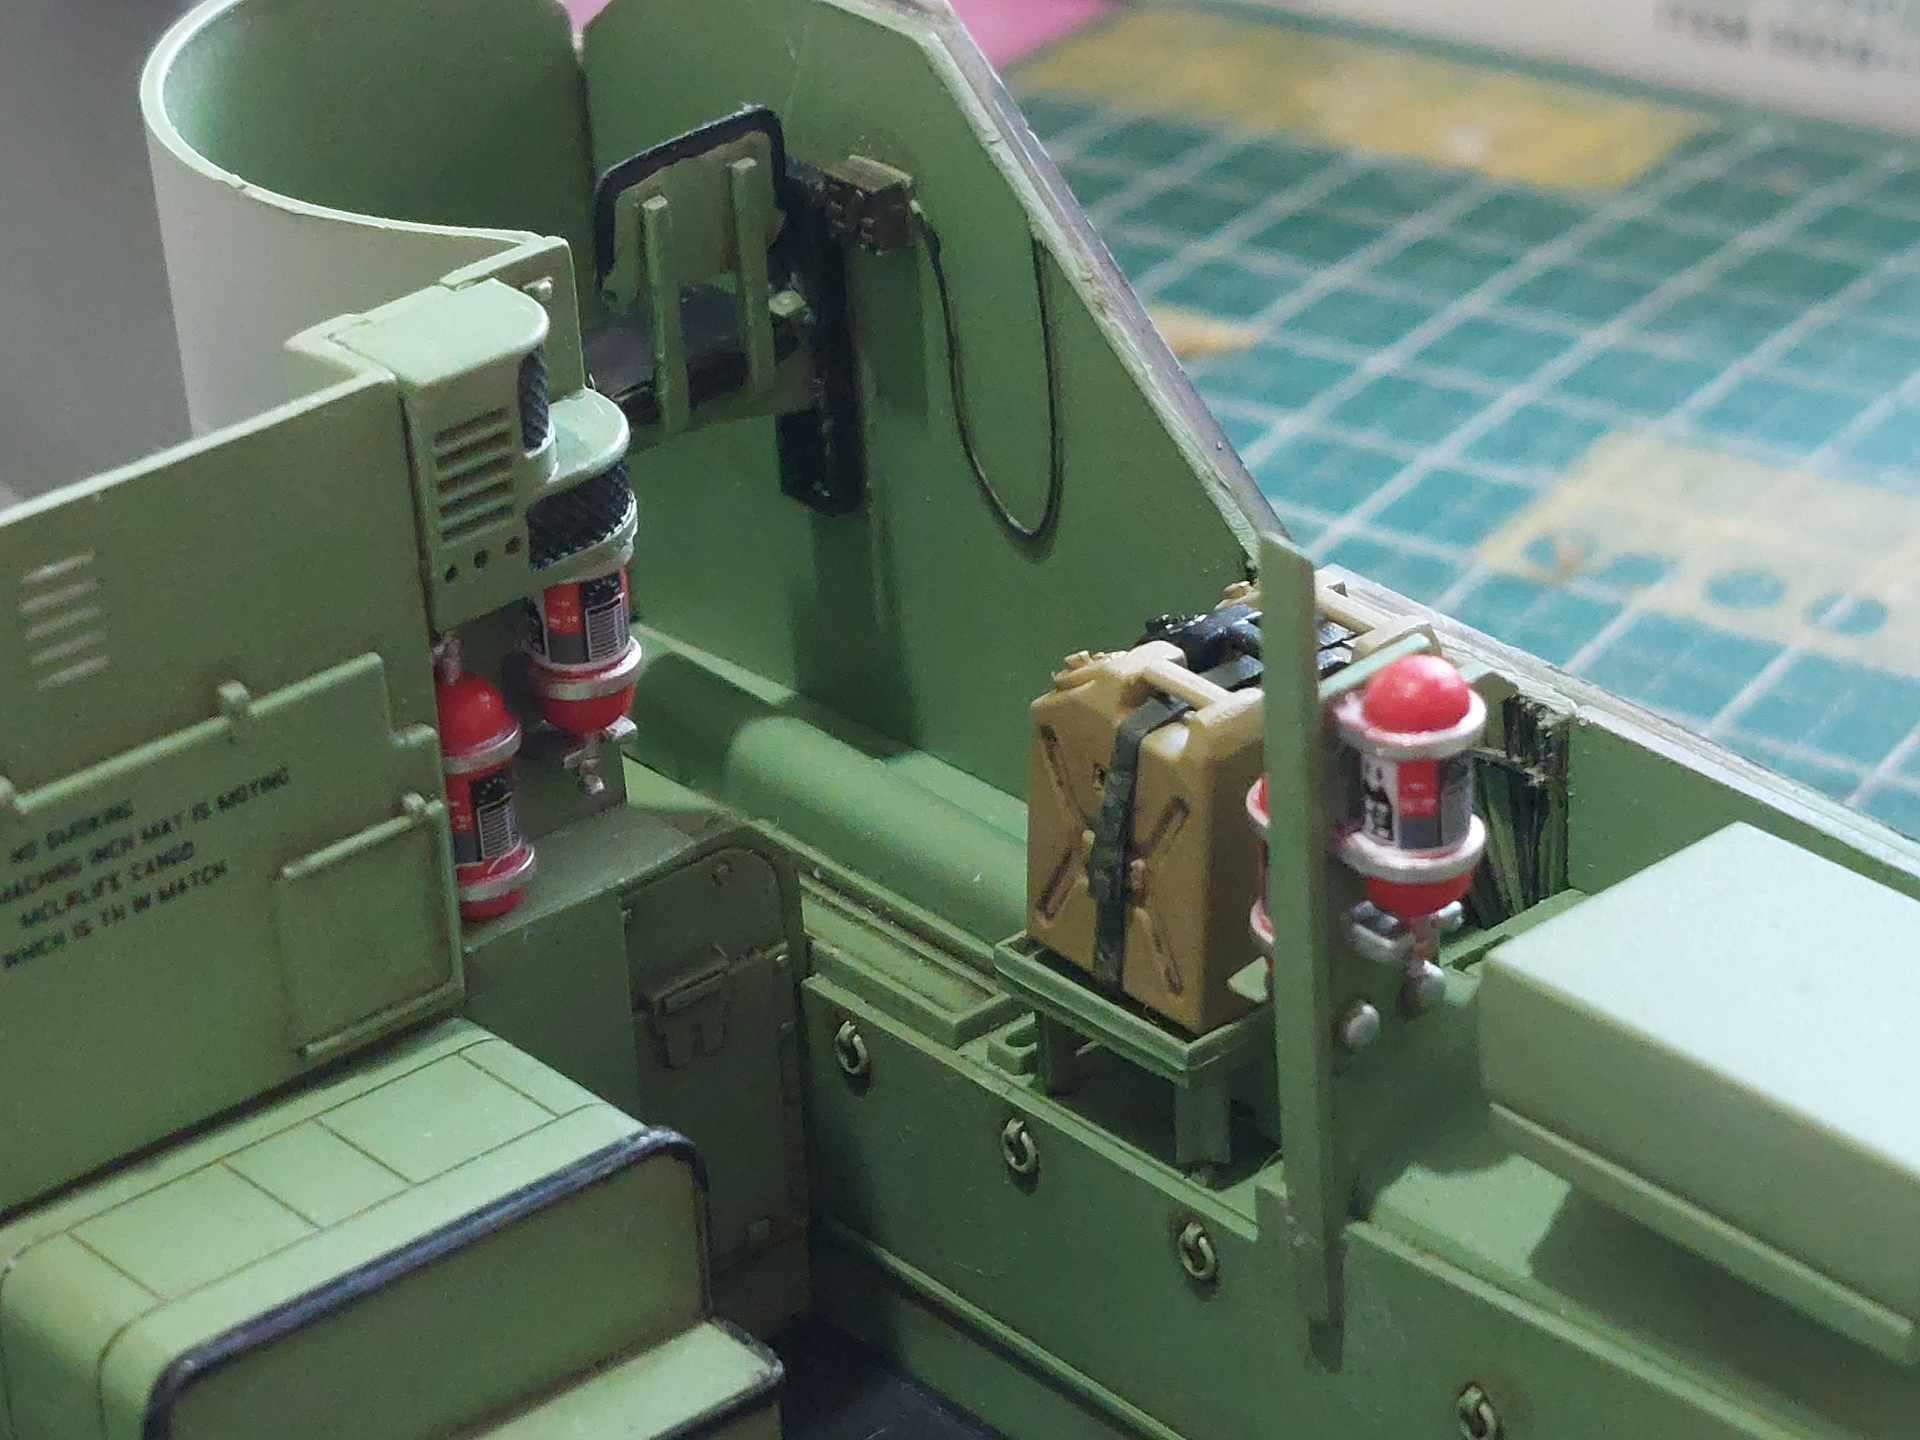
Junction box and other stuff, fluorescent light and the air tank with stowed hose.
Radio rack and the fuel and water jerry cans.
The driver and commander’s station
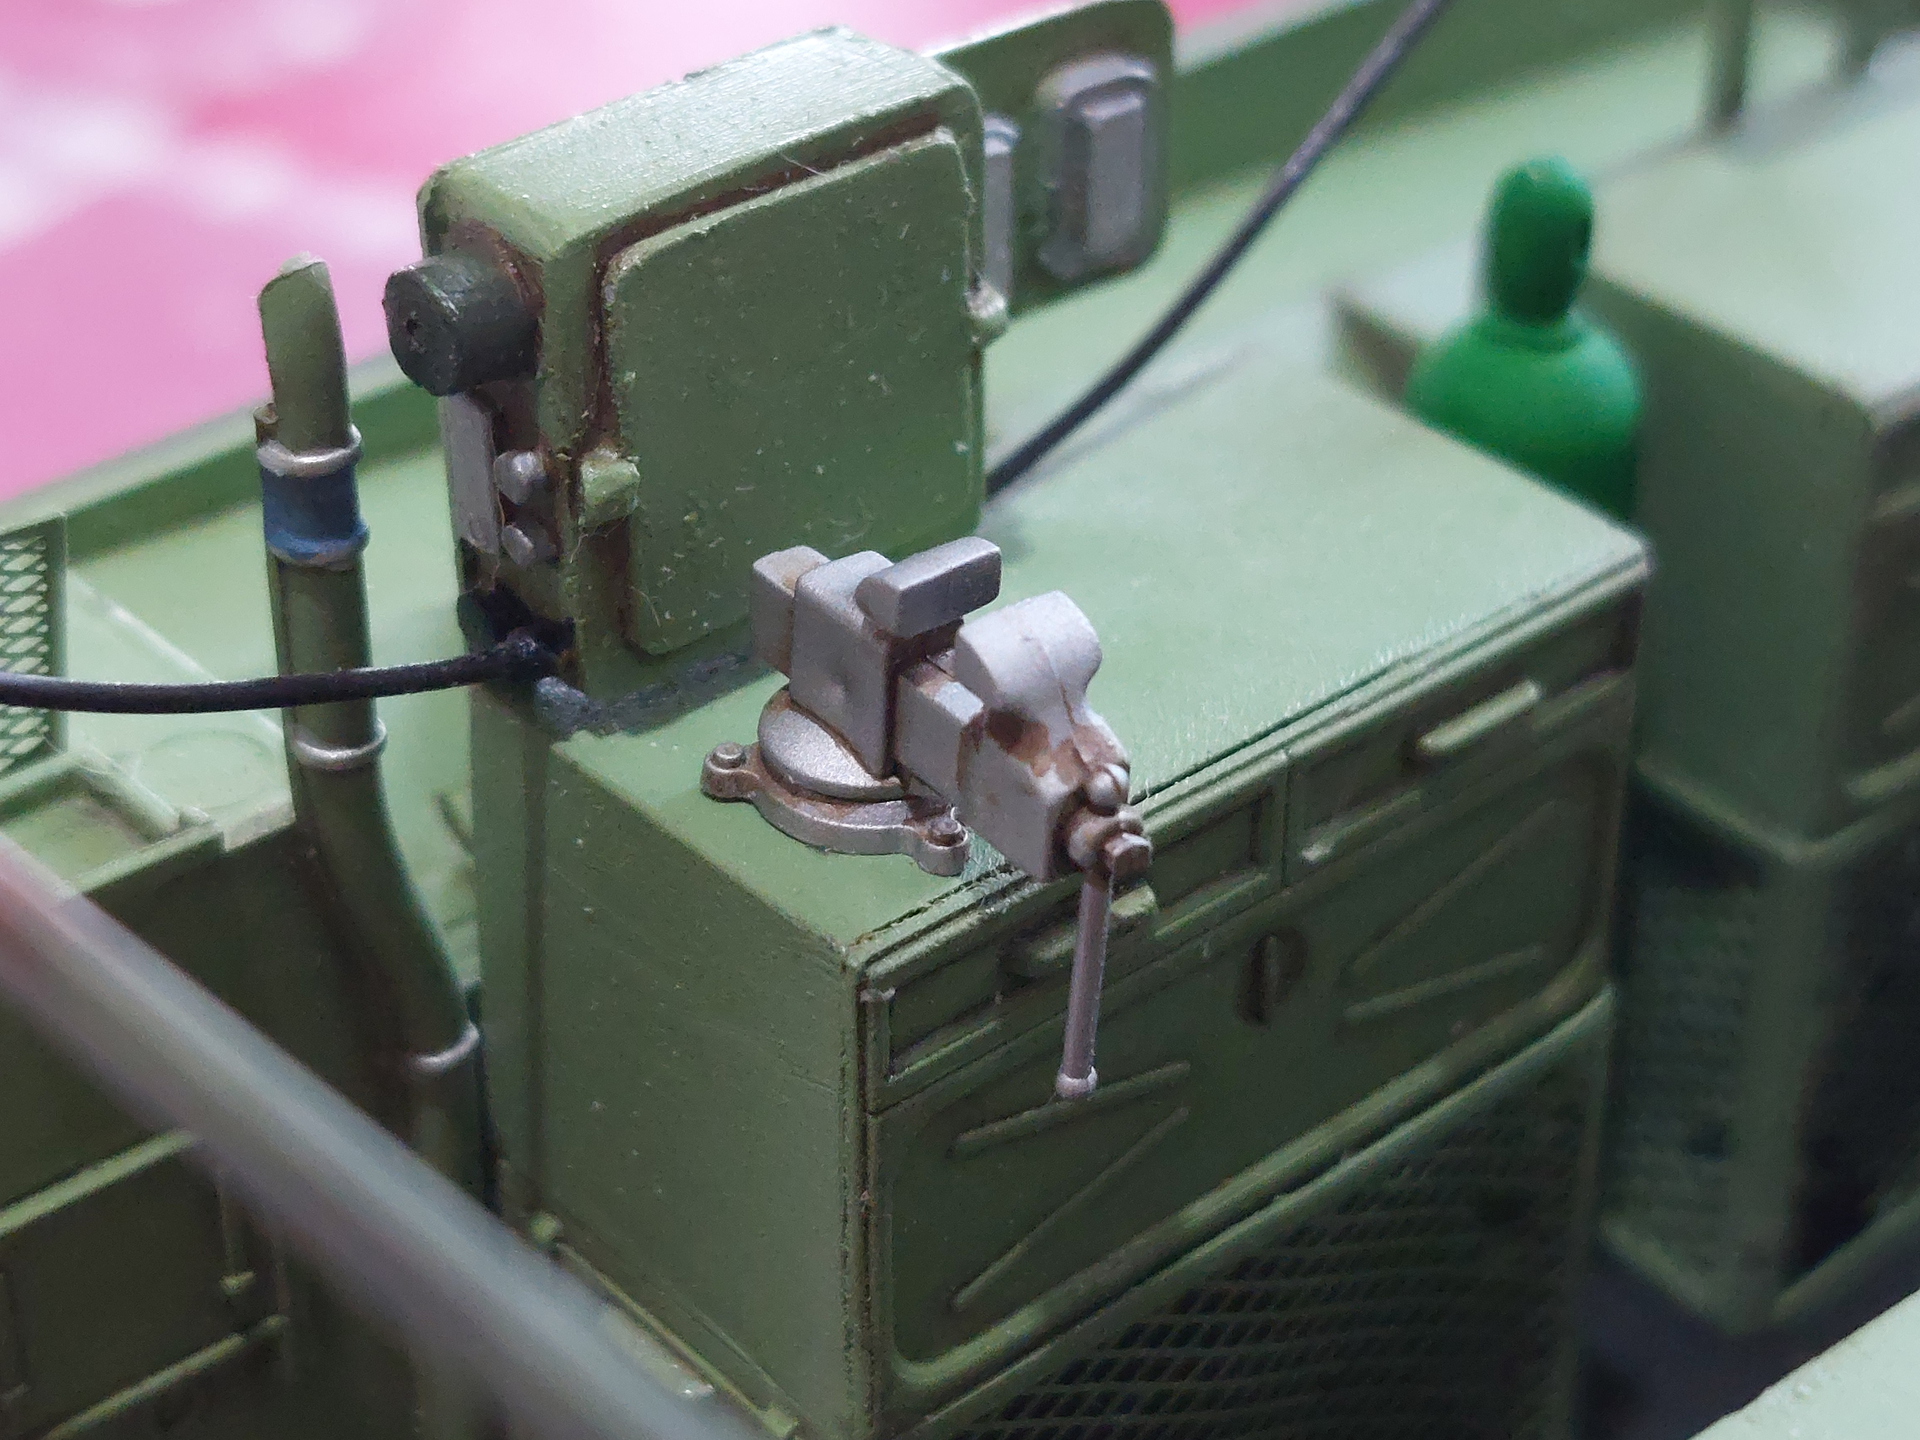
Added acetylene and oxygen tanks and bench vice.
A close up of the junction box on the rear.
Continued…
Continuing…
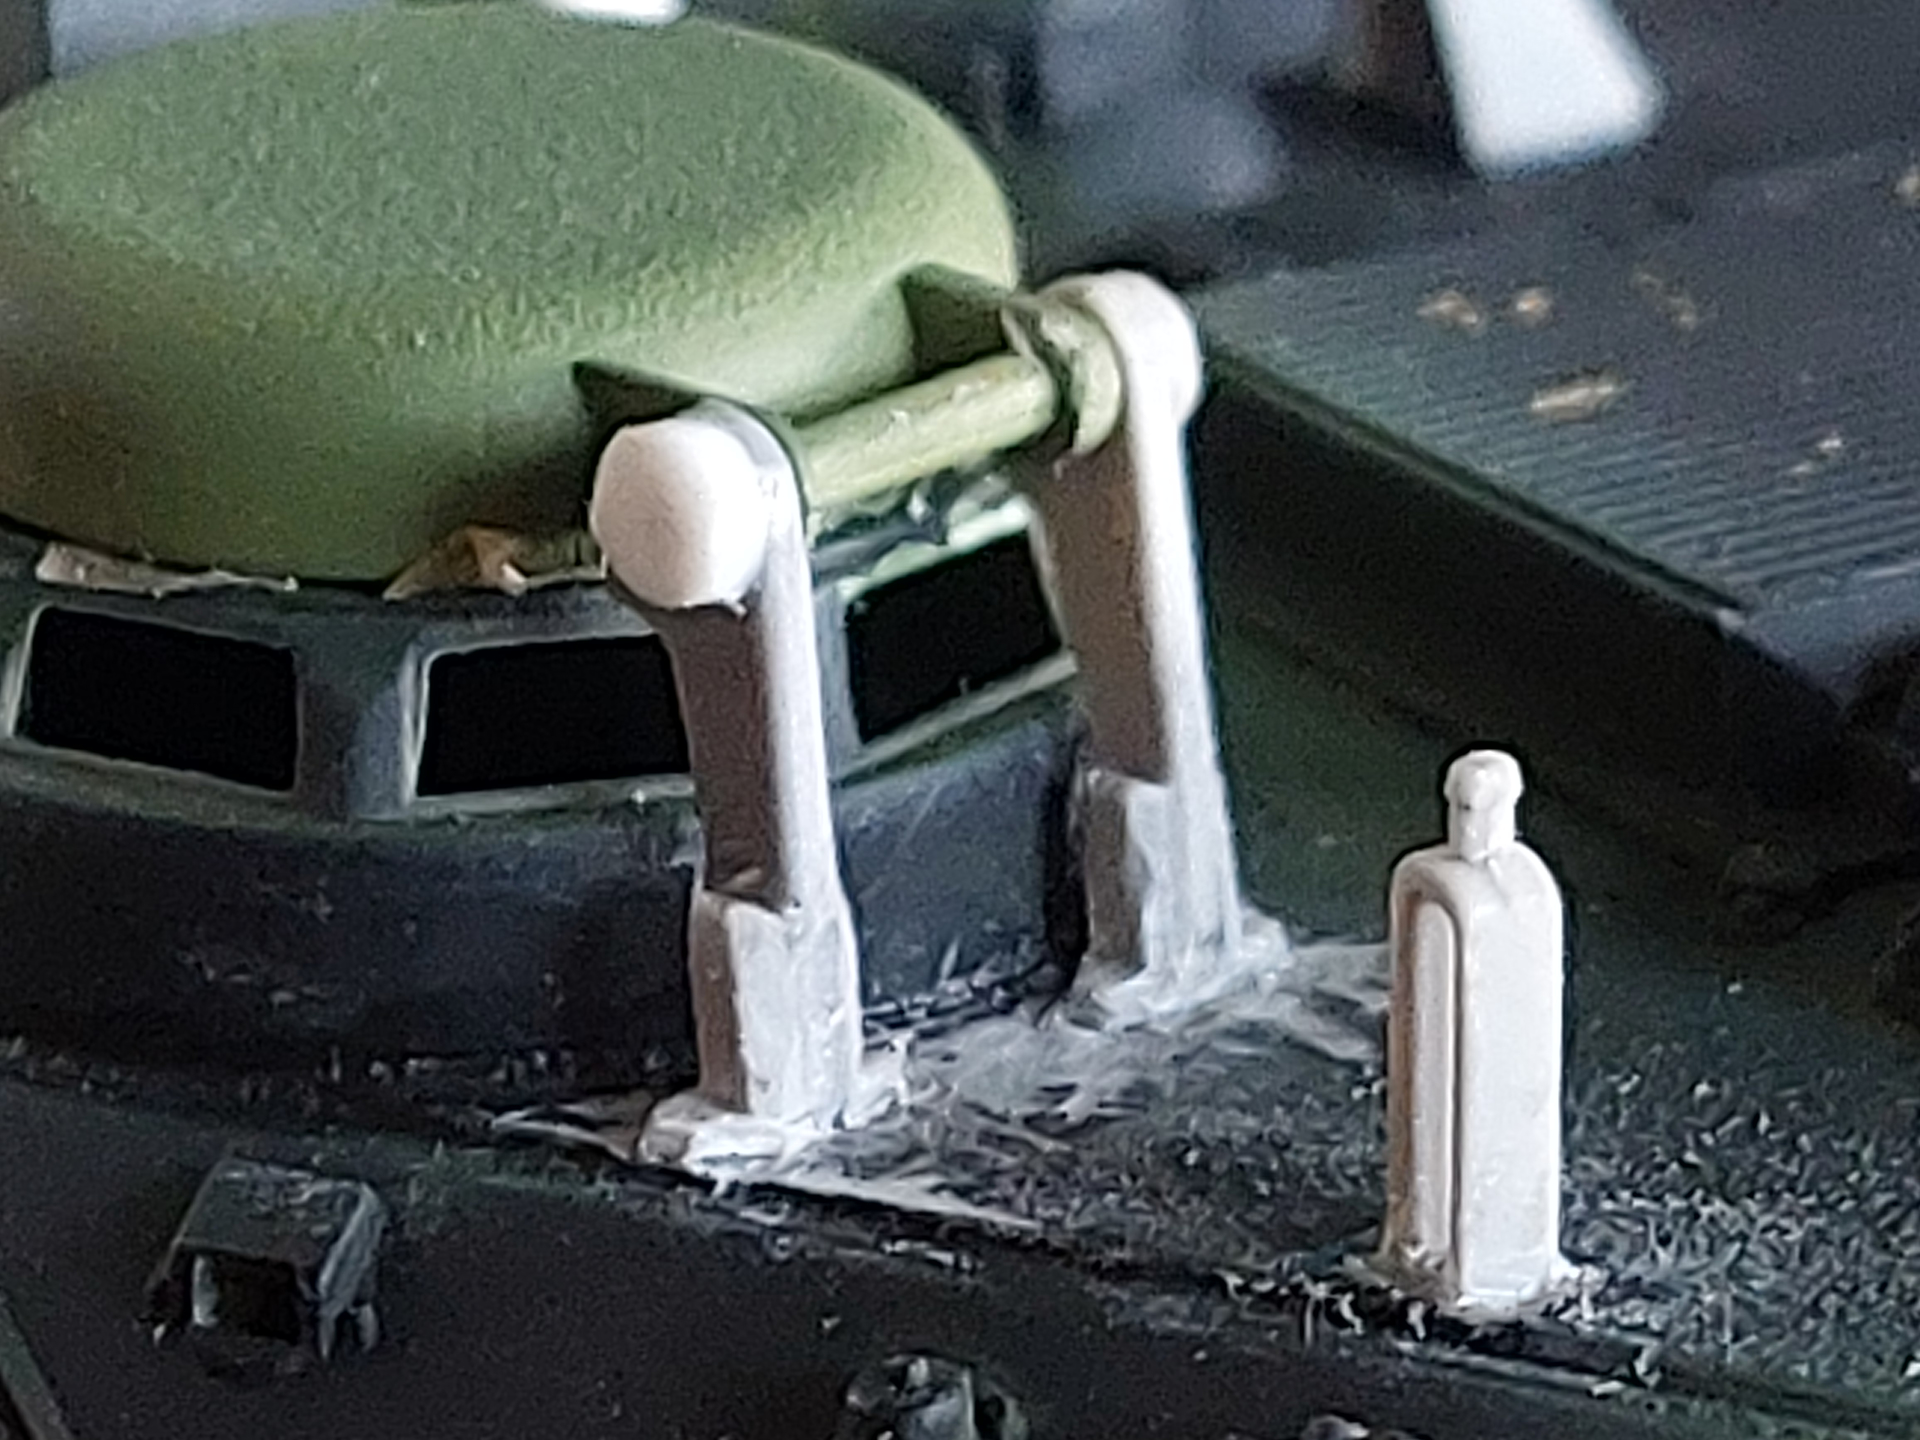
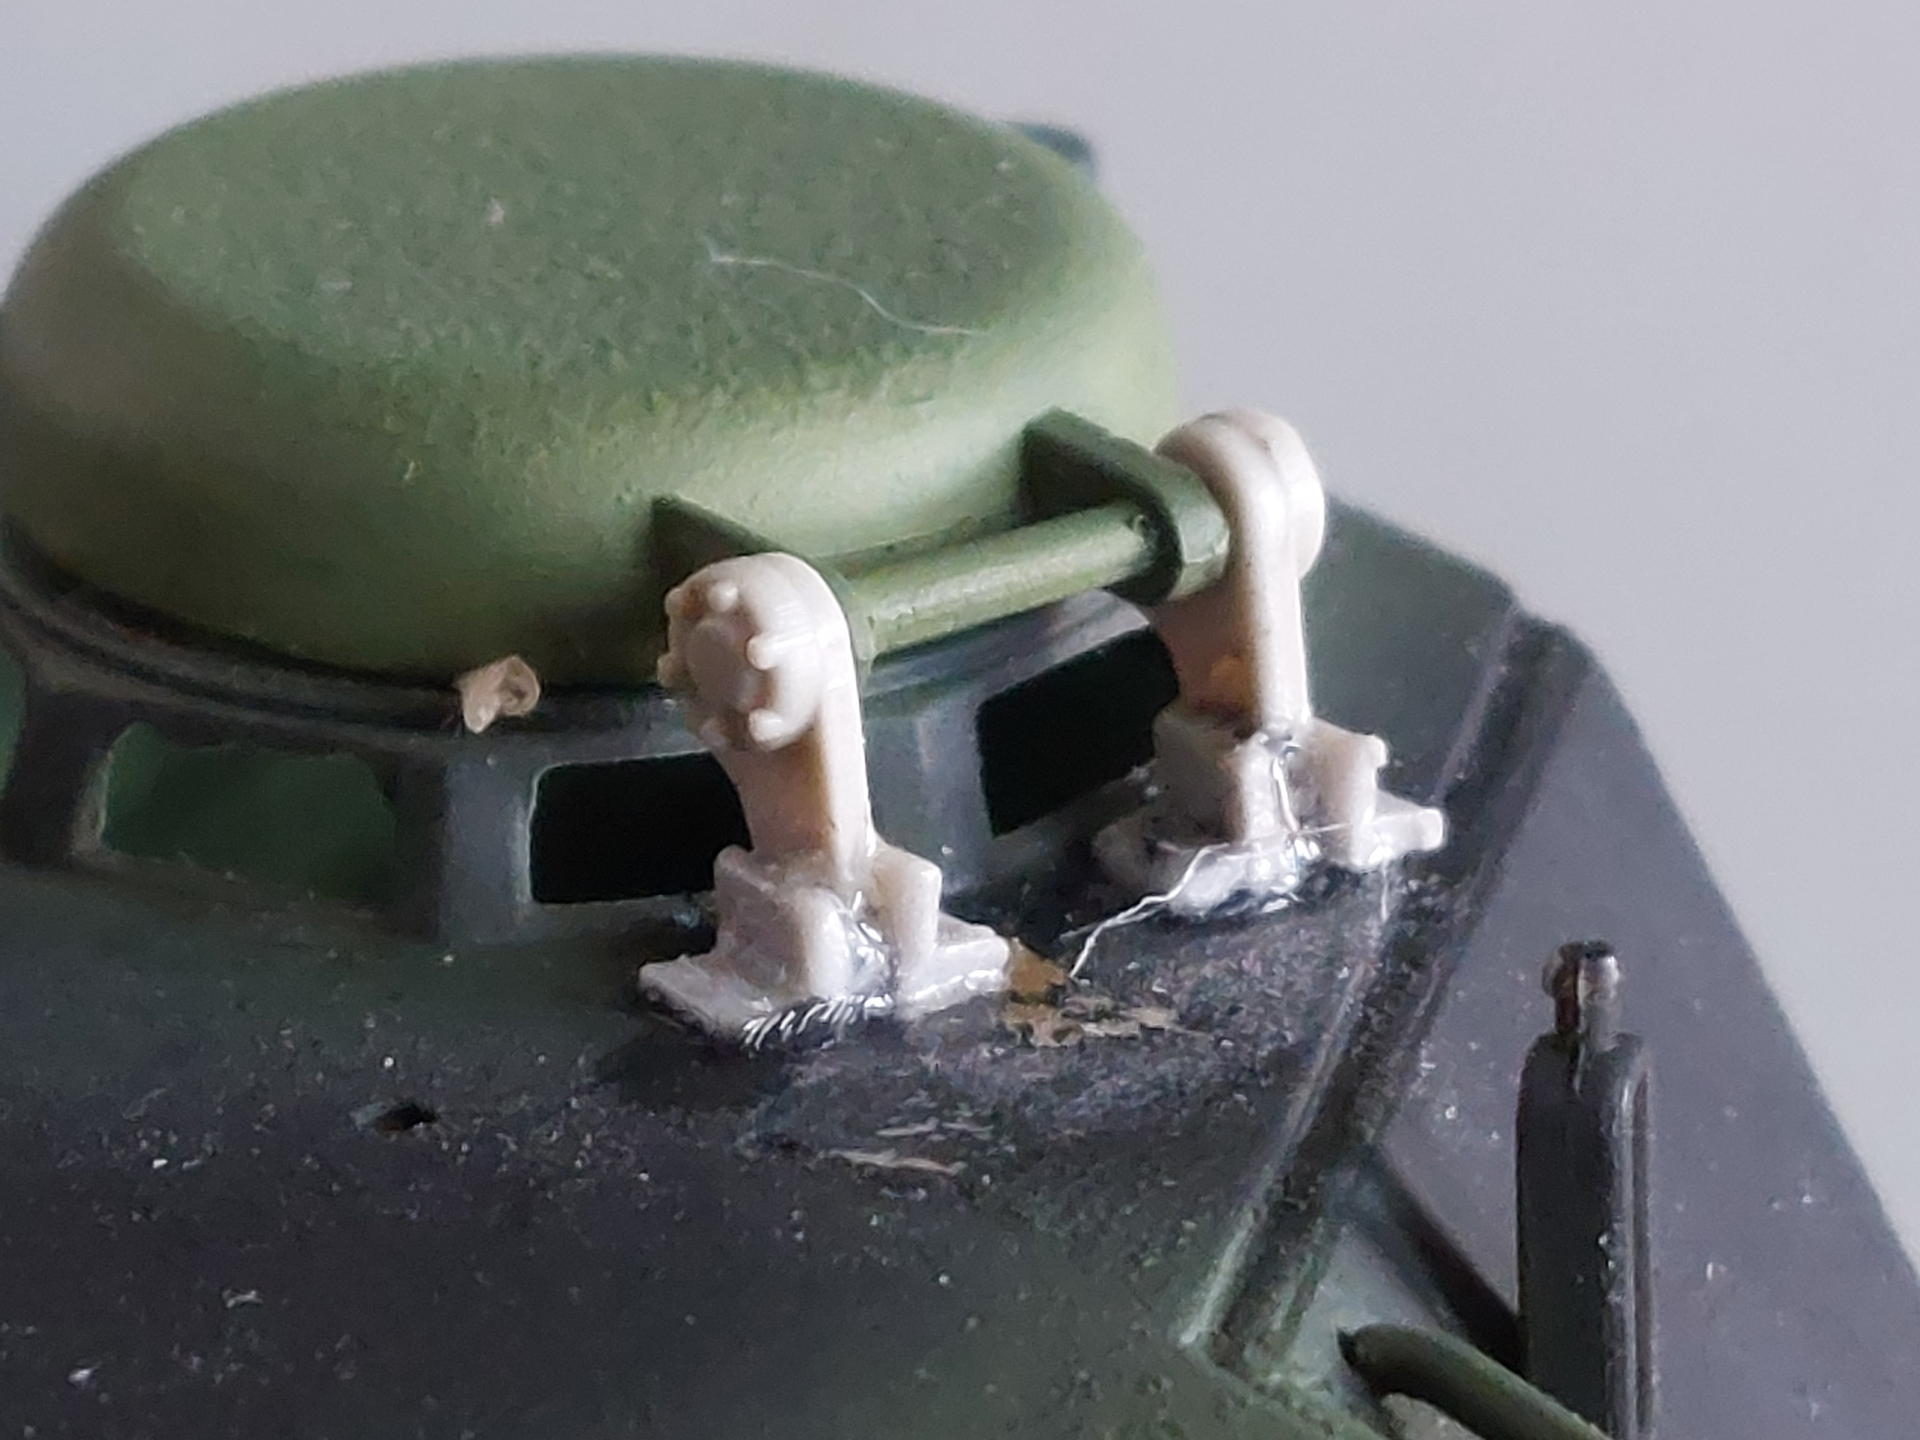
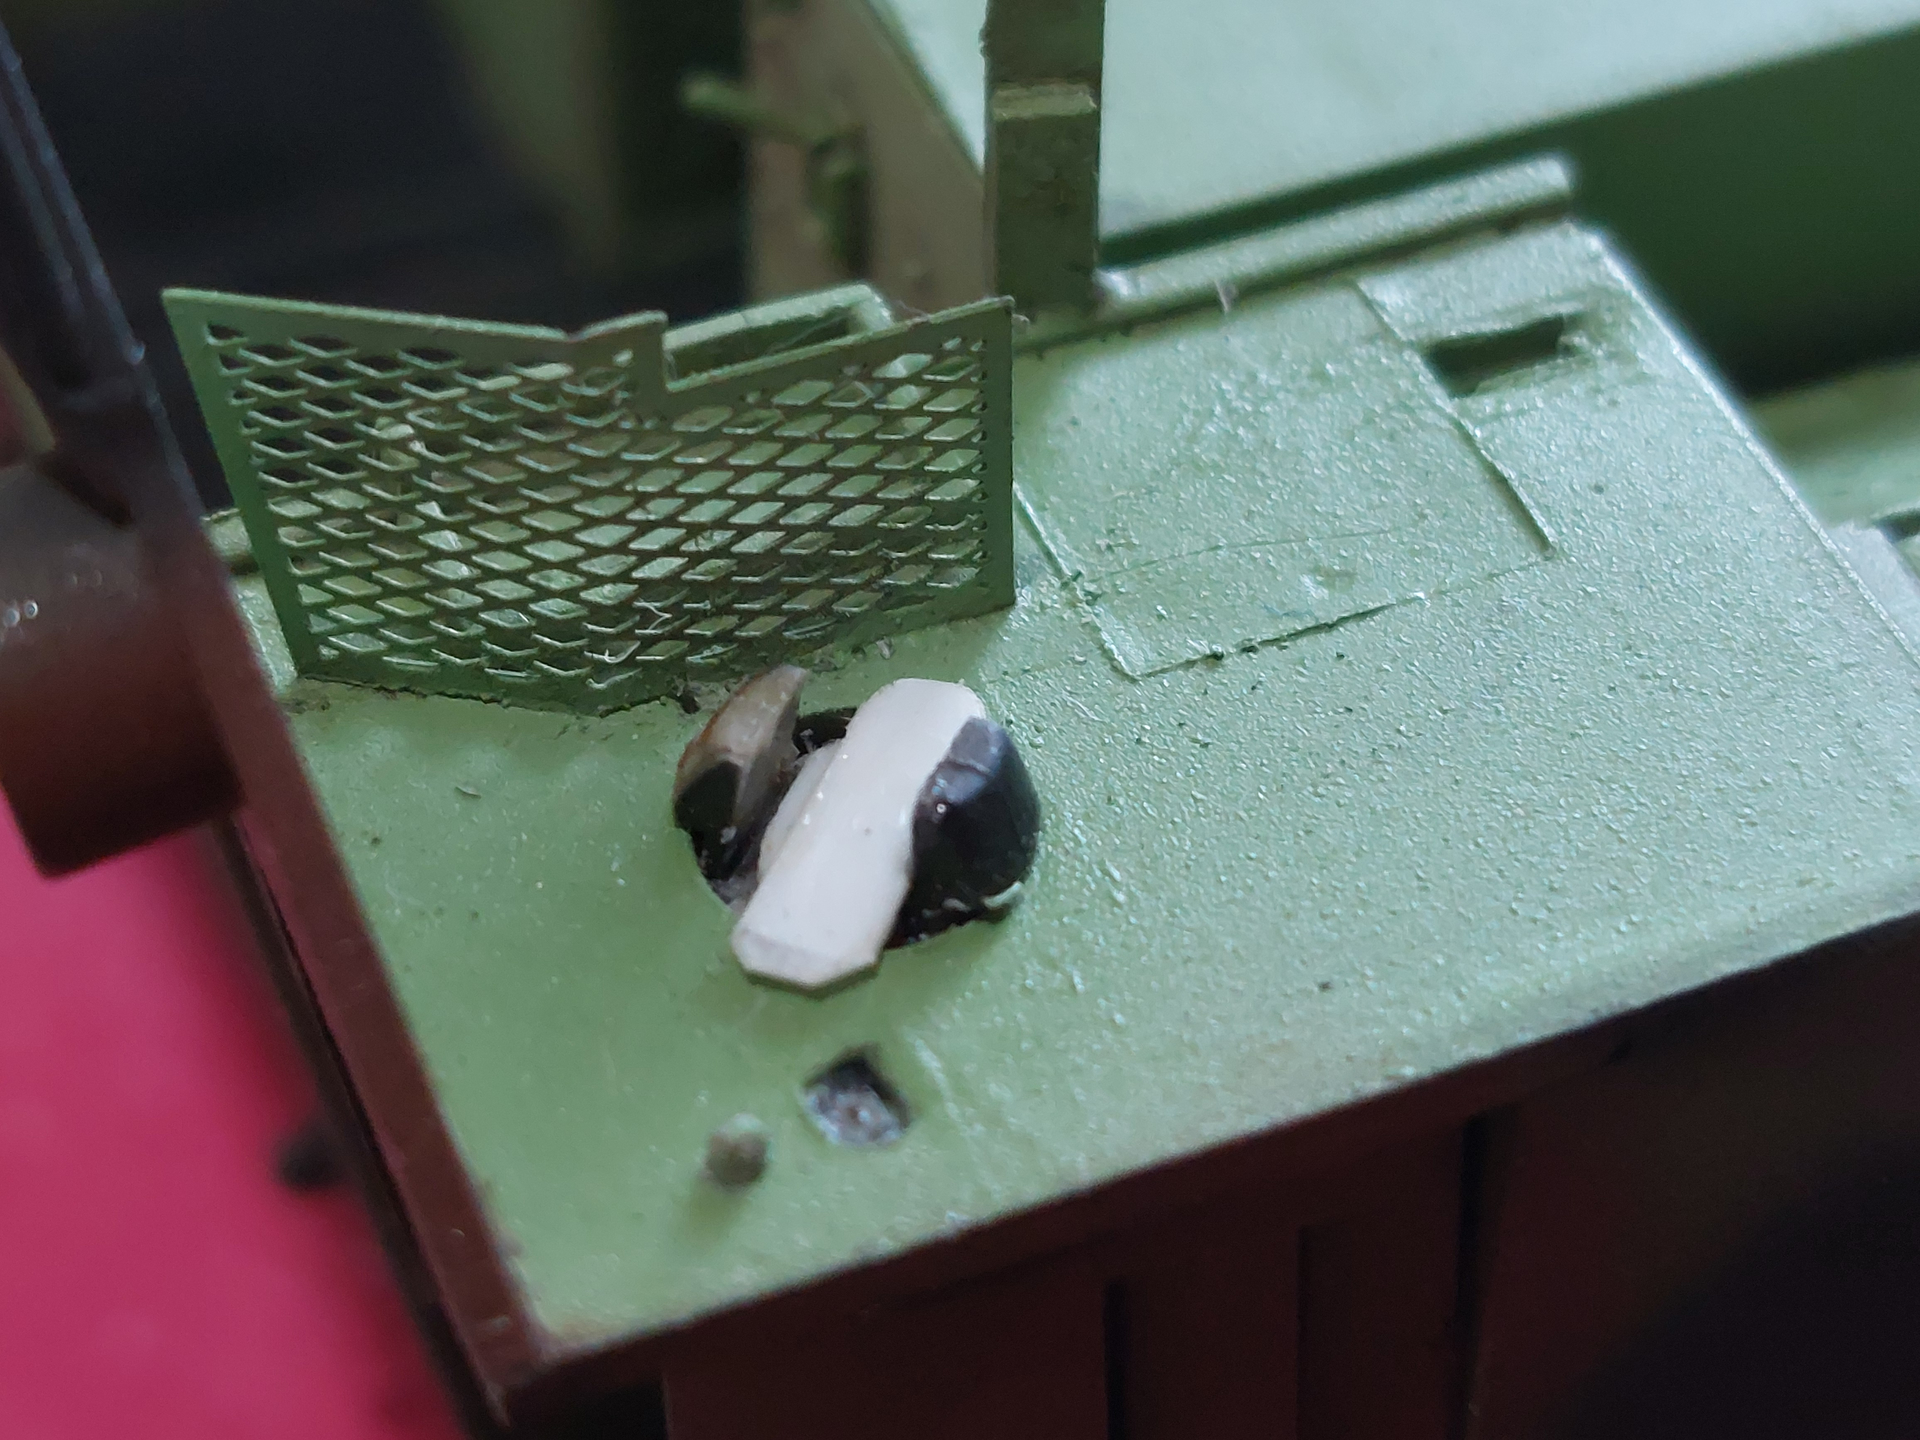
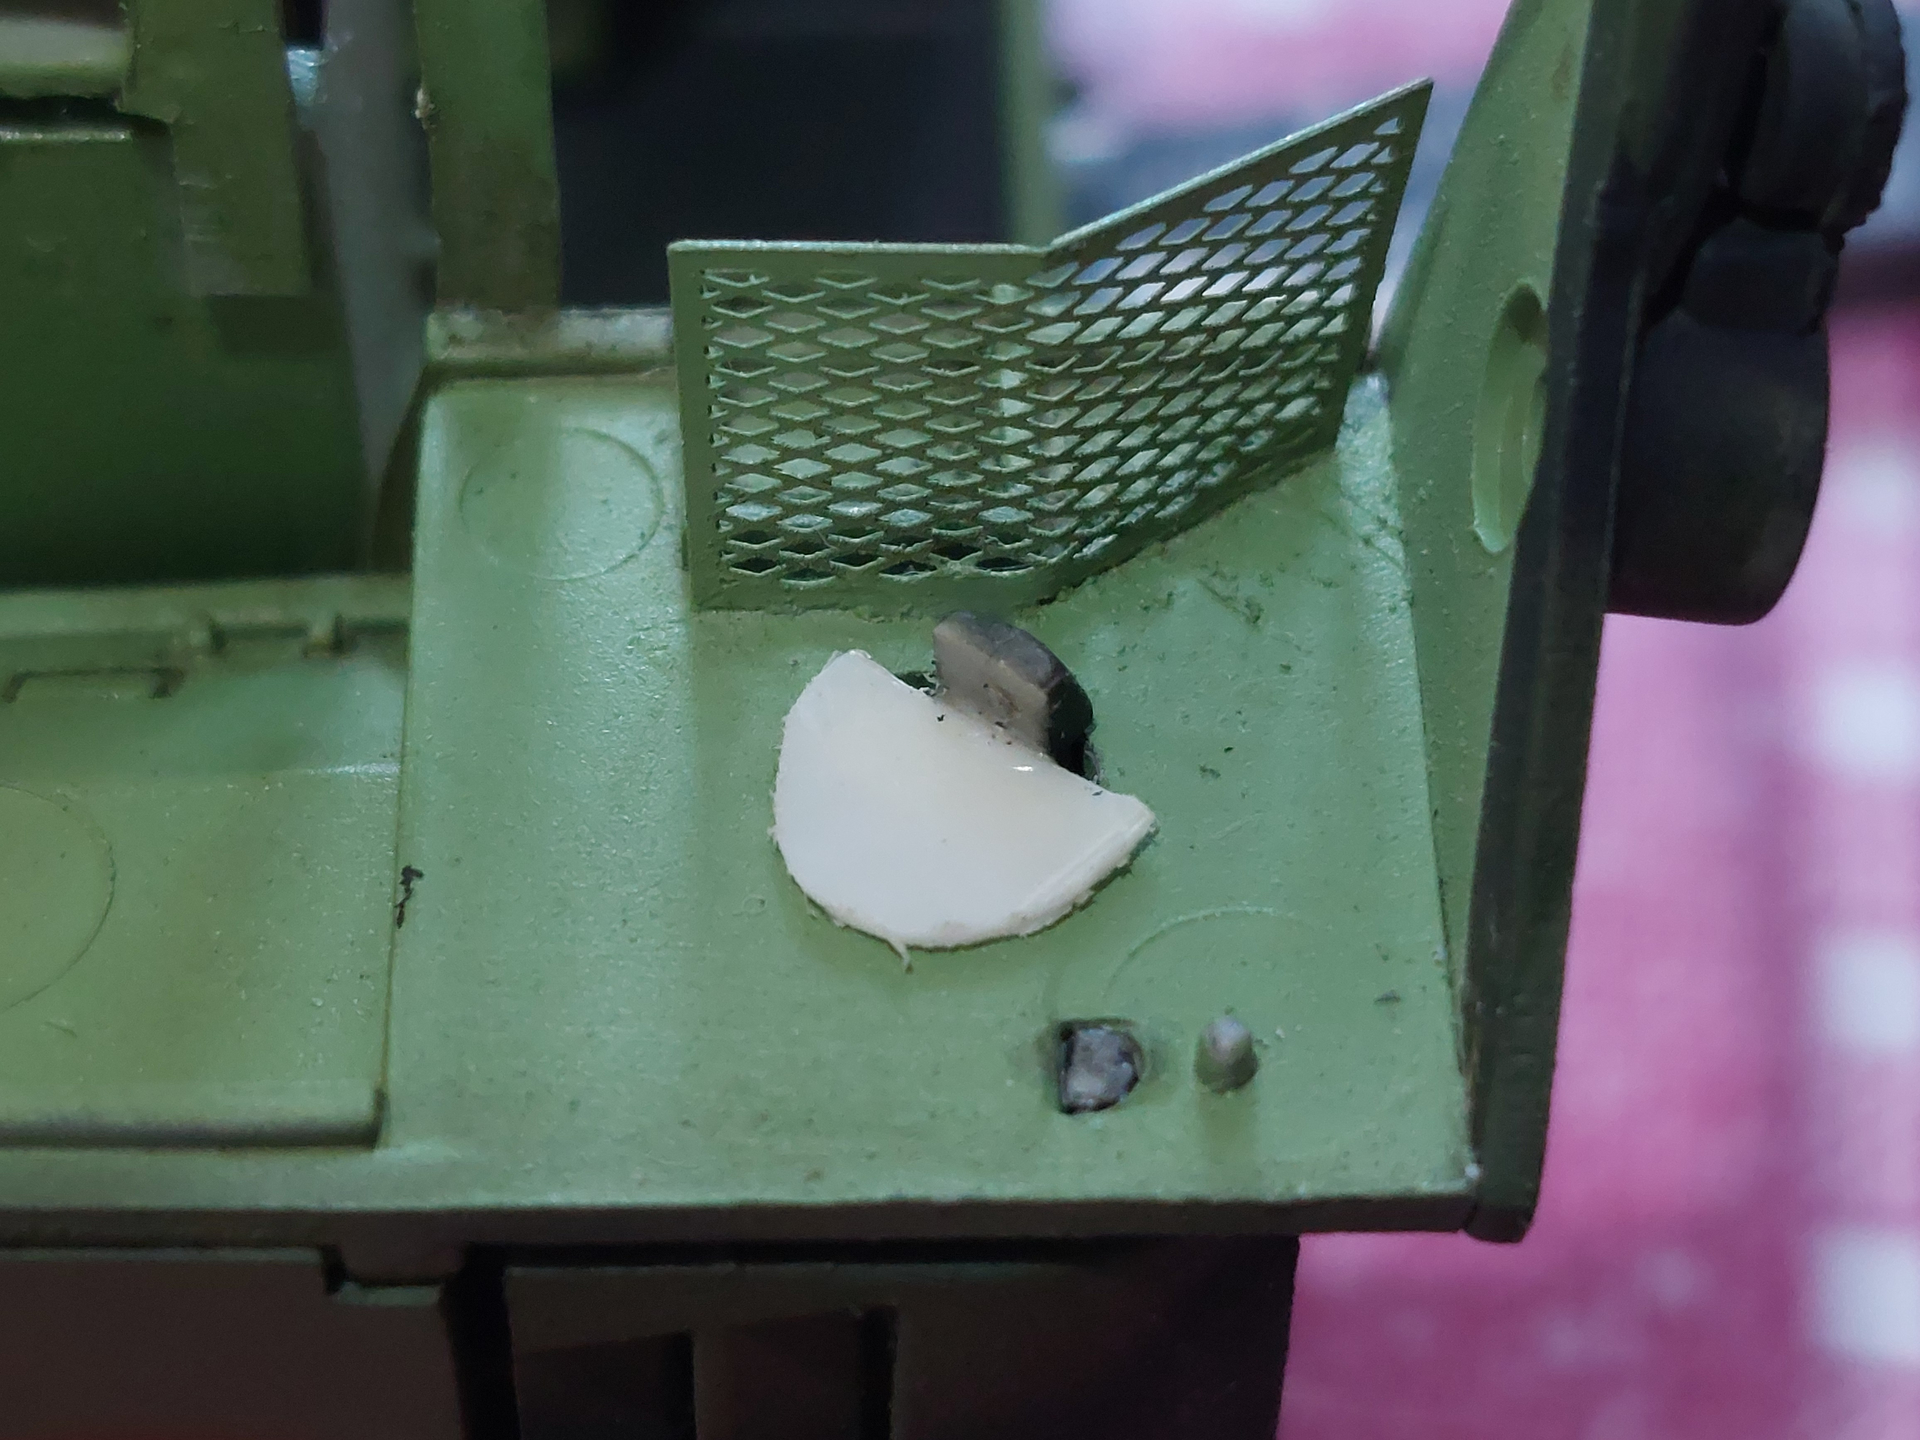
Rear jet propulsion shutters: Repaired a broken peg and reinforced the other.
Glued and putted… now all of those added in the Interior can hardly be seen 
As of now still doing more a bit changes here and there.
Good day to all!
Hang on … you paint the outside and then you putty the join between the hull sides and the top? Why? 
Yes. Paint then putty. I thought the hull will fit snuggly to the roof. Thus, the putty 
What my question was really asking was: What is the reason for painting the outside before putting the roof on? It seems to me like a good way to make things difficult for yourself, not just because it might not fit well and need putty, like here, but even if it does fit well, also to make the camouflage scheme line up.