Hi everyone.
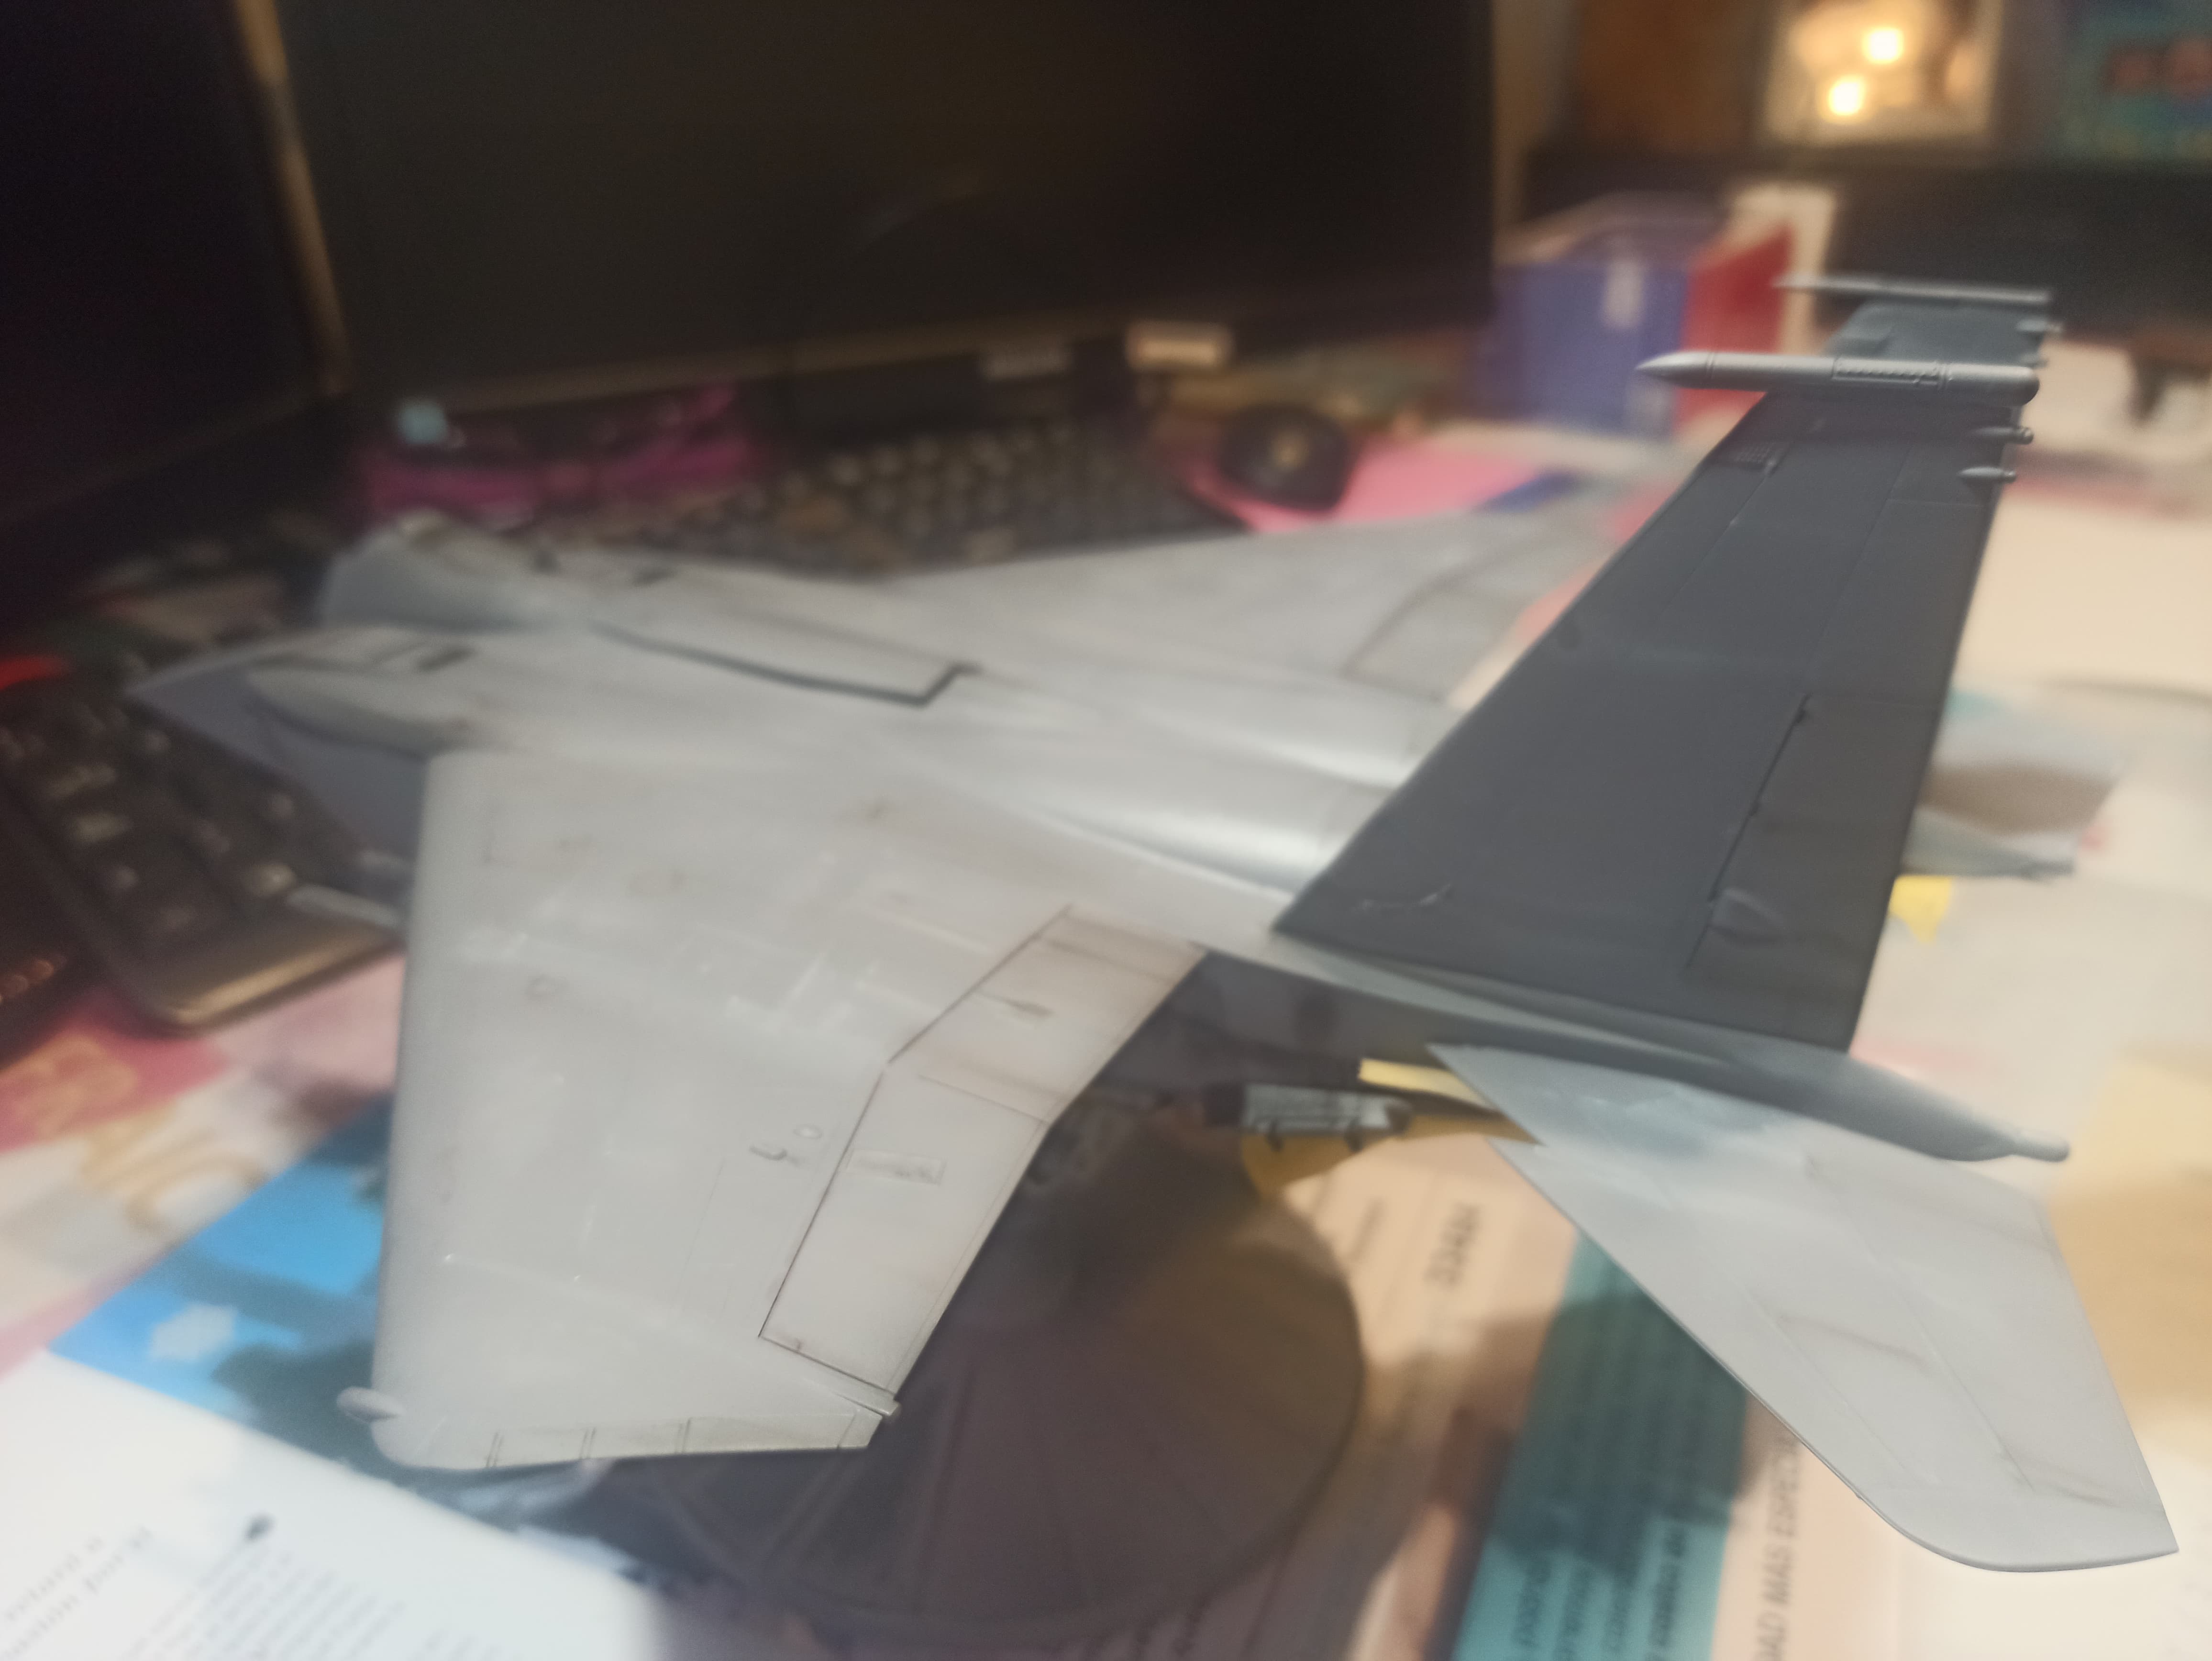
I have stopped for now one diorama I was woirking on. But took an F-15E from the shelf and started with her. It’s the F-15E from Academy with the Seymour Johnson AFB decals, but I also have the Maximun Effort decals set for the Lakenheath designs, so I’ll go with these. The kit is just this:
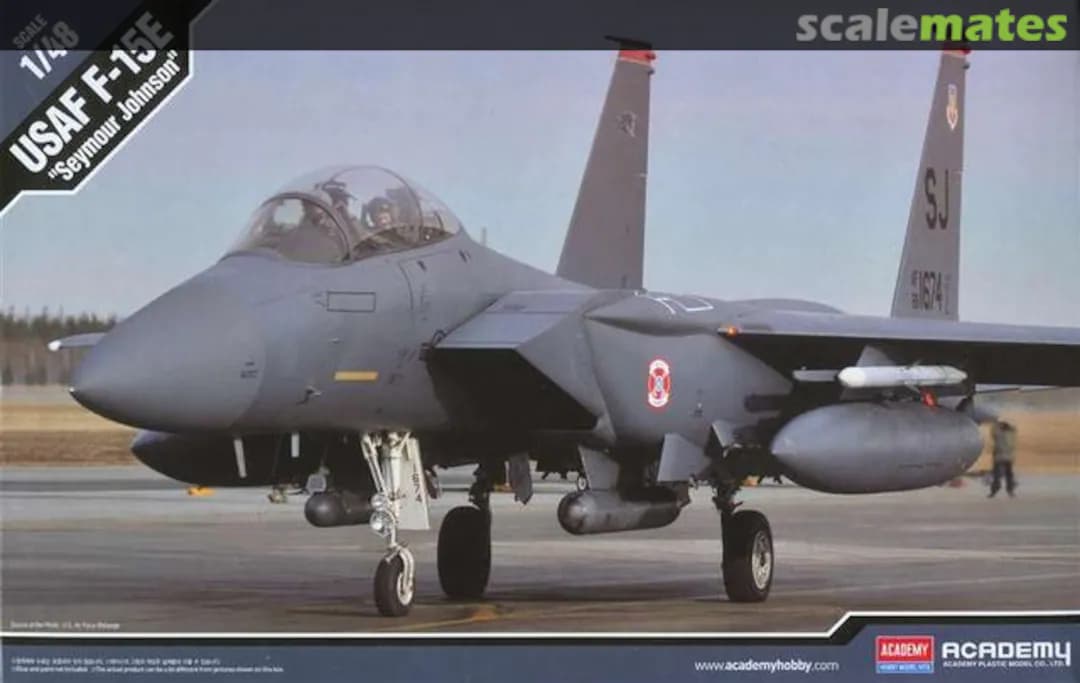
I also have the cockpit and cabin PE set from Eduard. Actually I have already made the cockpit an closed the nose, and I’m working on the main fuselage. Some pics of the beast.
This was a shoot I made to get an idea of her size
I’ll keep posting as I make more advances.
Regards!
13 Likes
Very good start … and its going to be big !!!
2 Likes
Hi everyone!
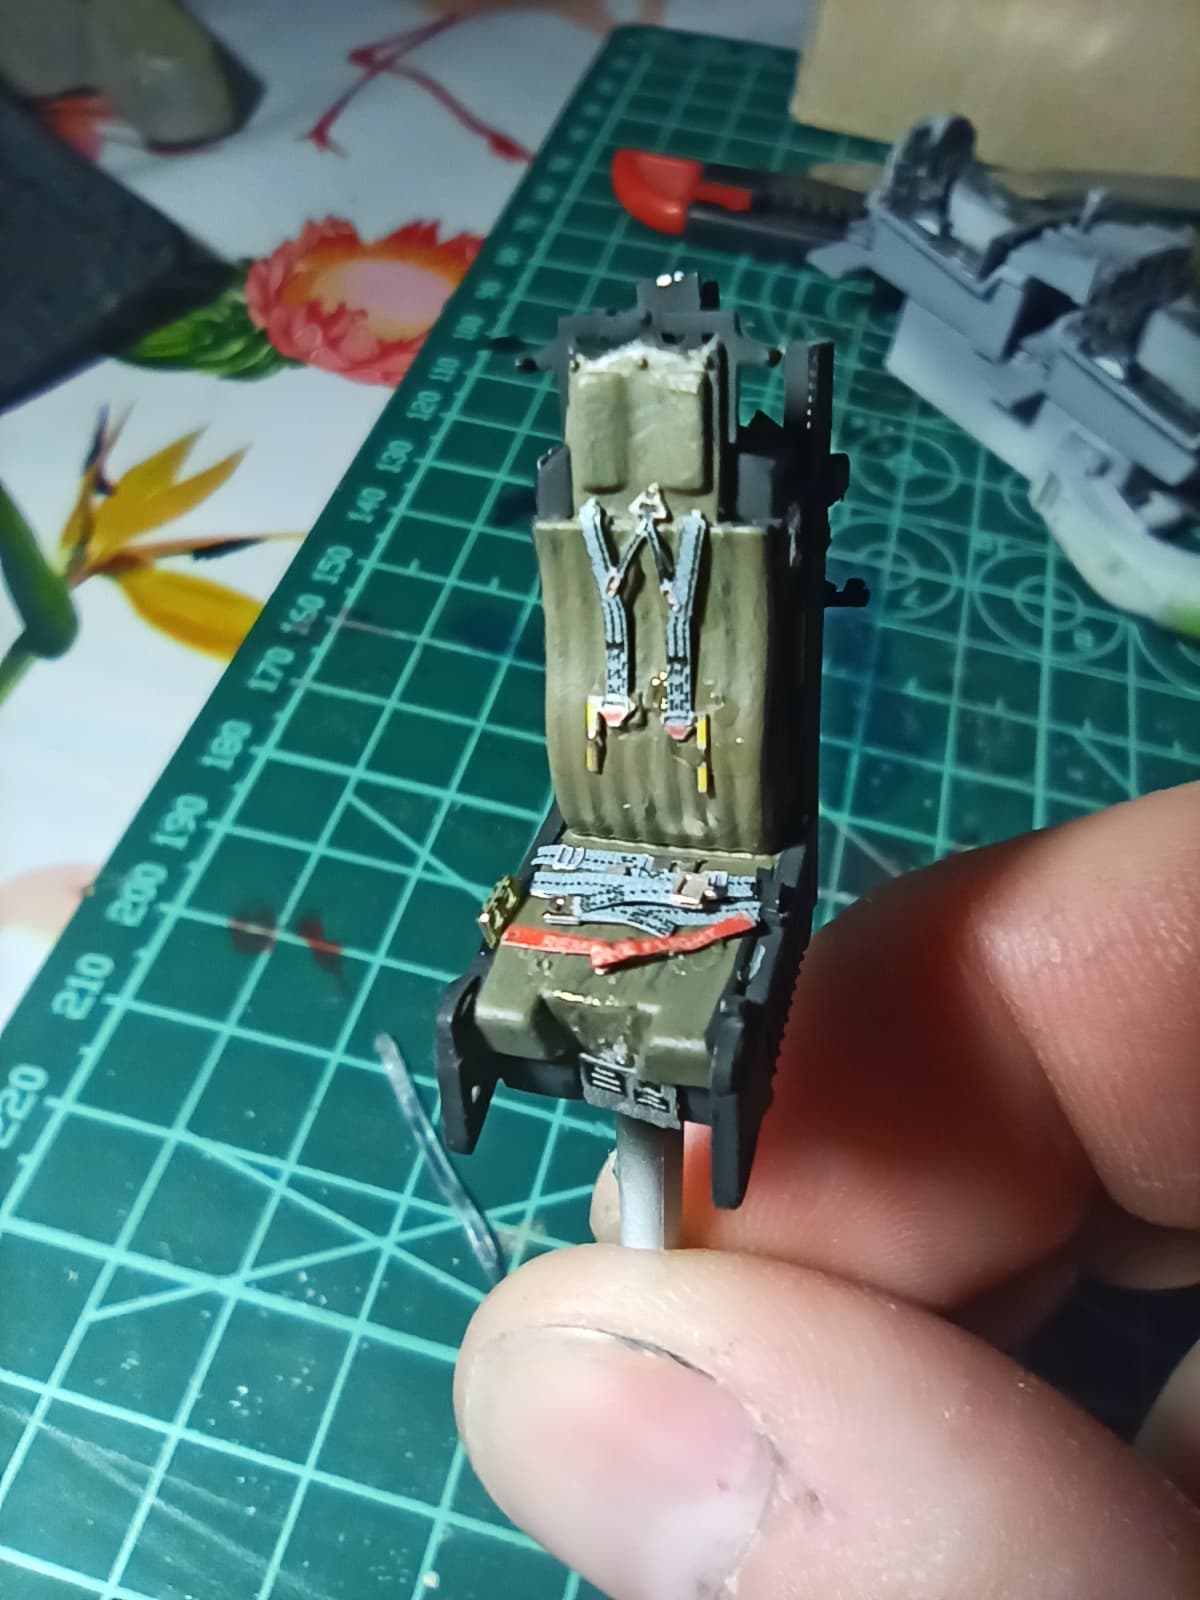
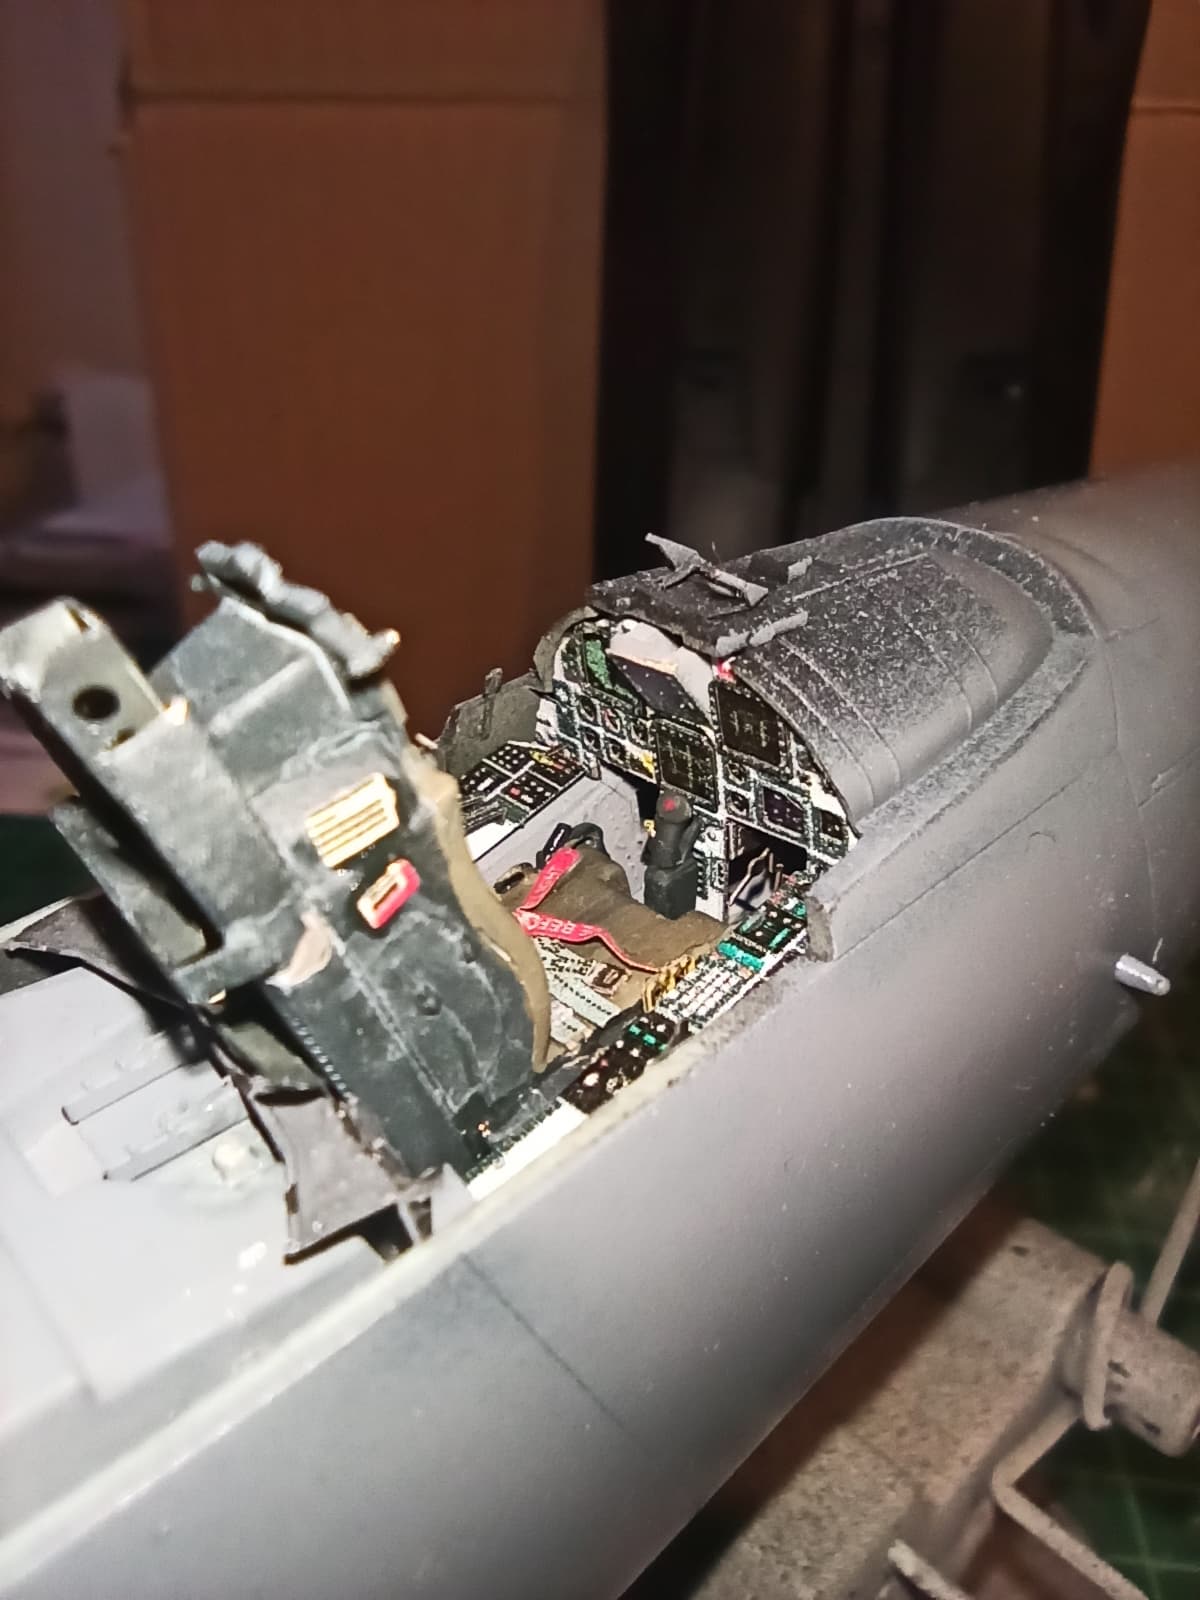
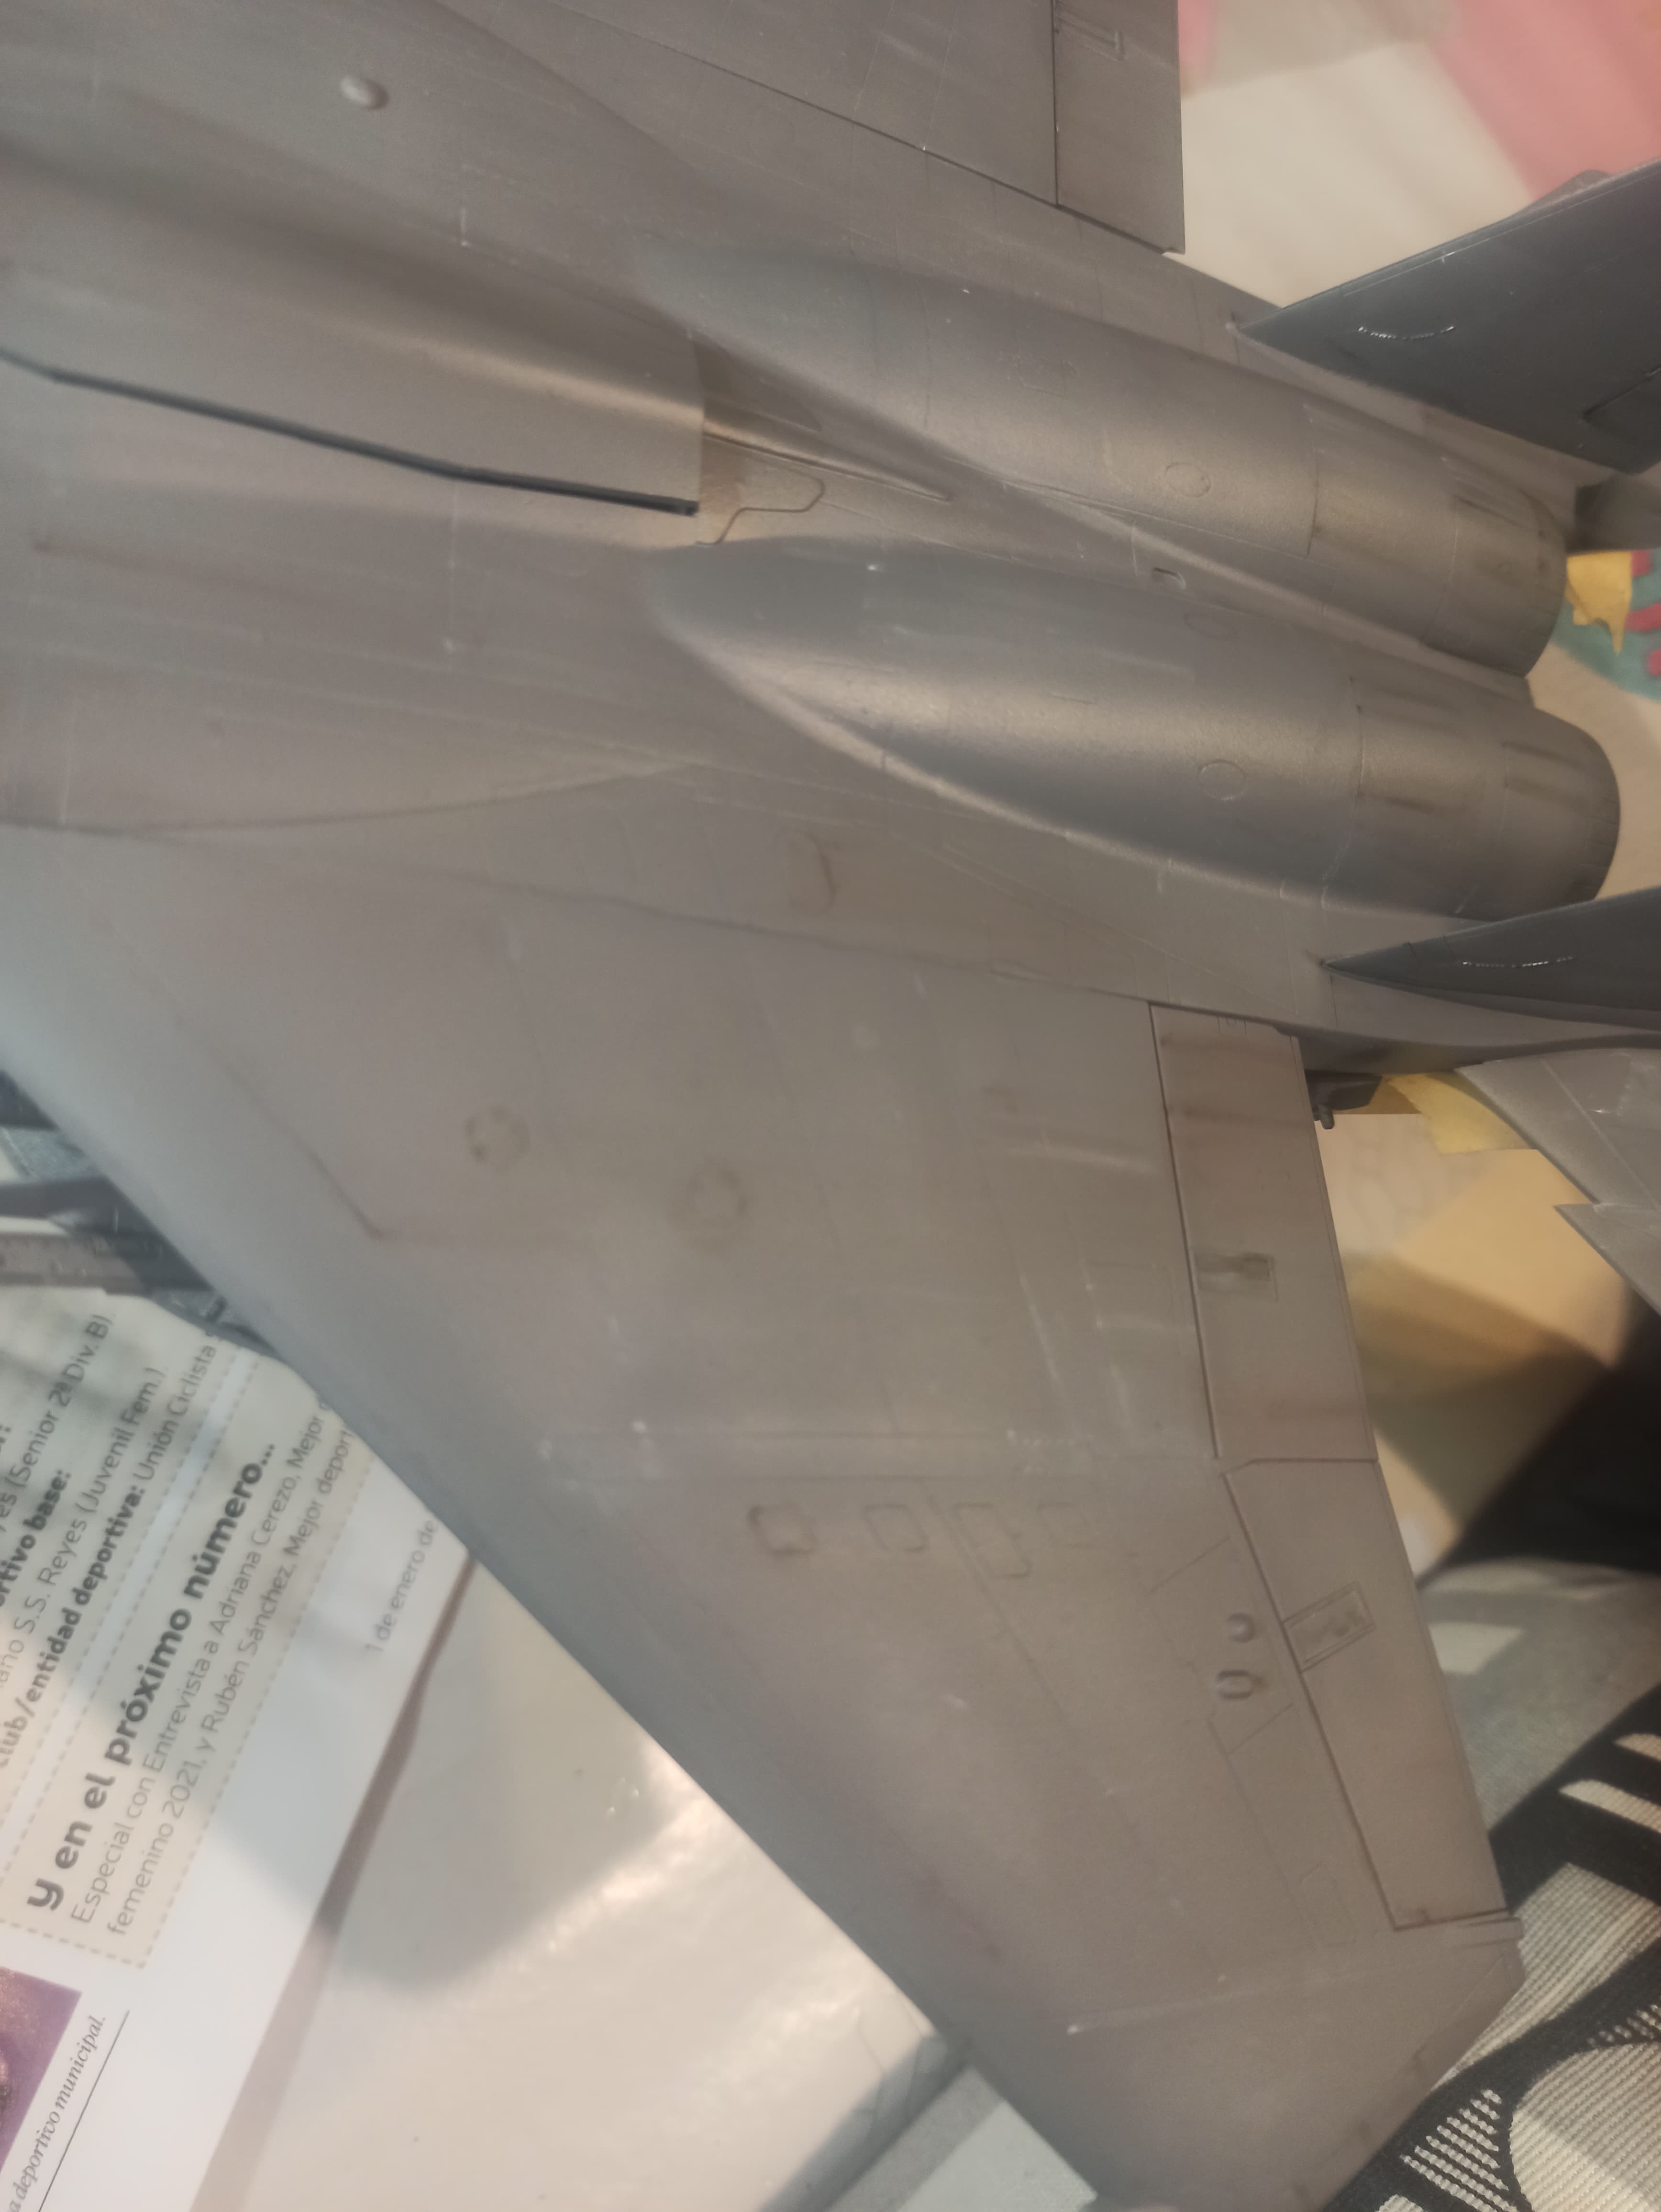
I took a more detailed pictures of the cockpit fixed into the aircraft’s nose.
The nose is preshaded and is glossy varnished until I fix it in the main fuselage. So for now it’s protected against any scratch it could get.
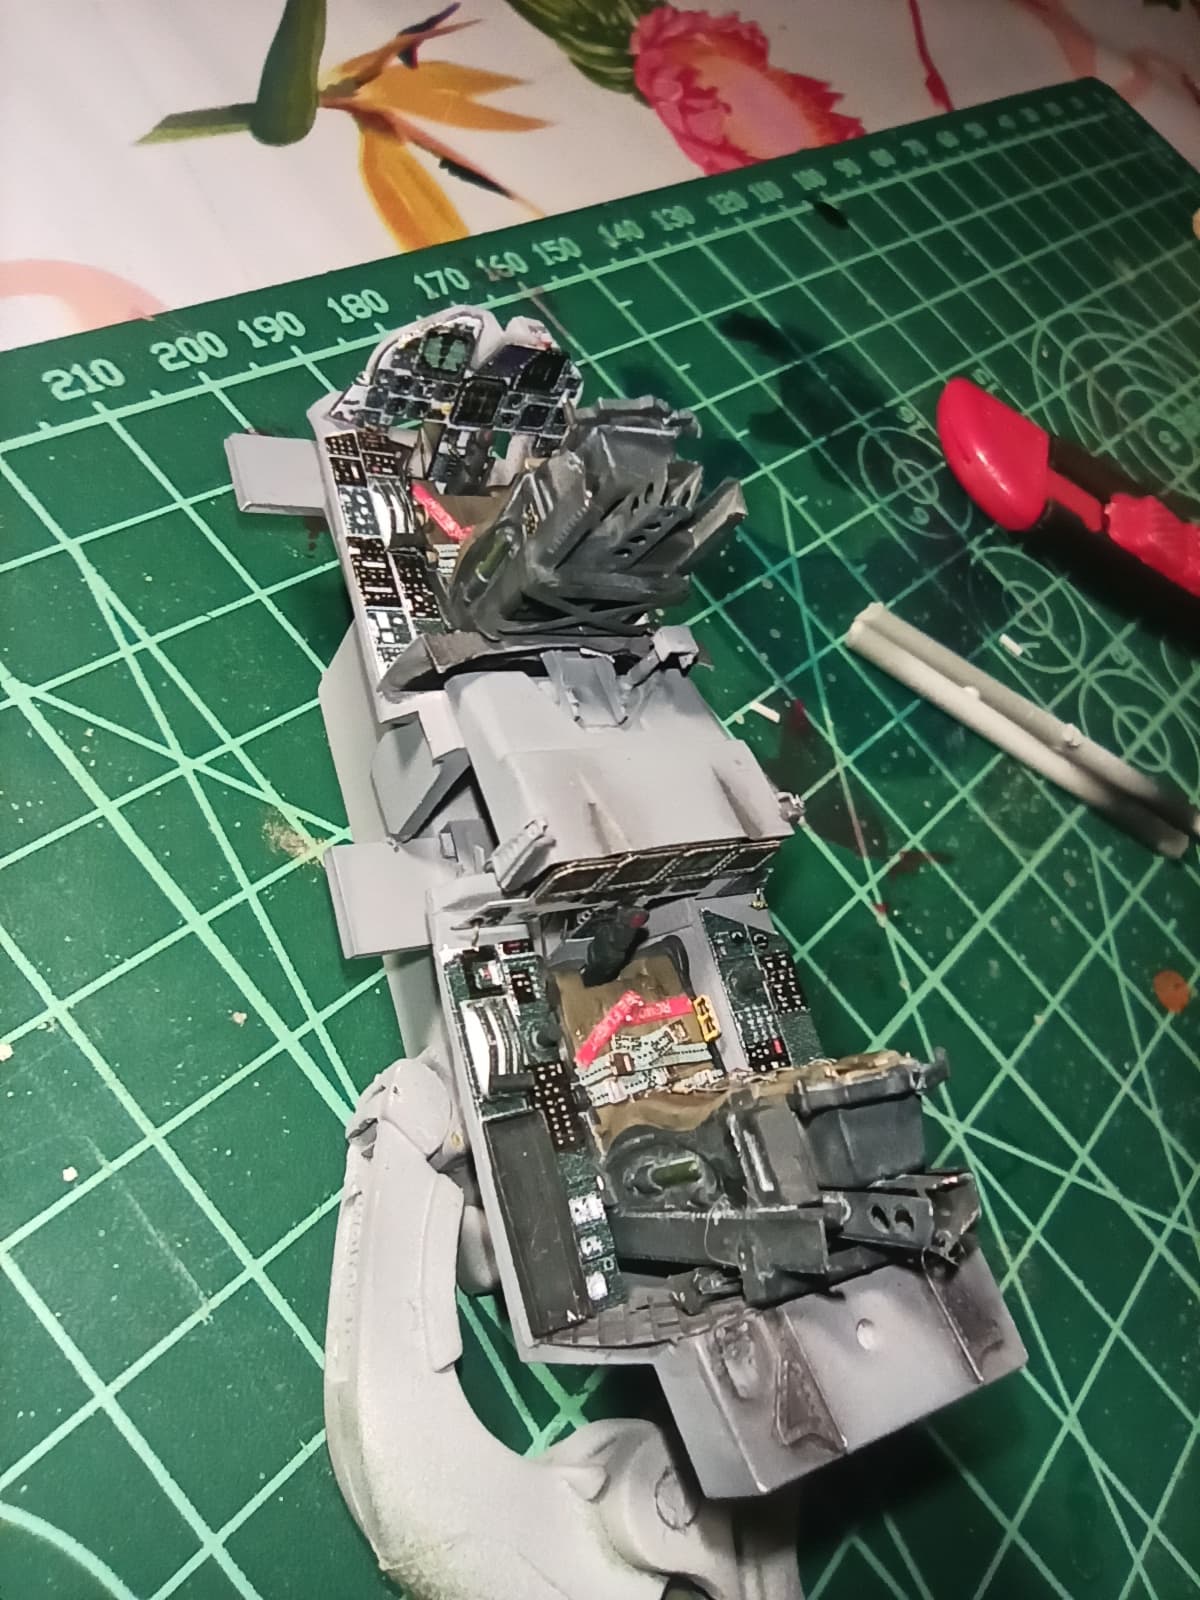
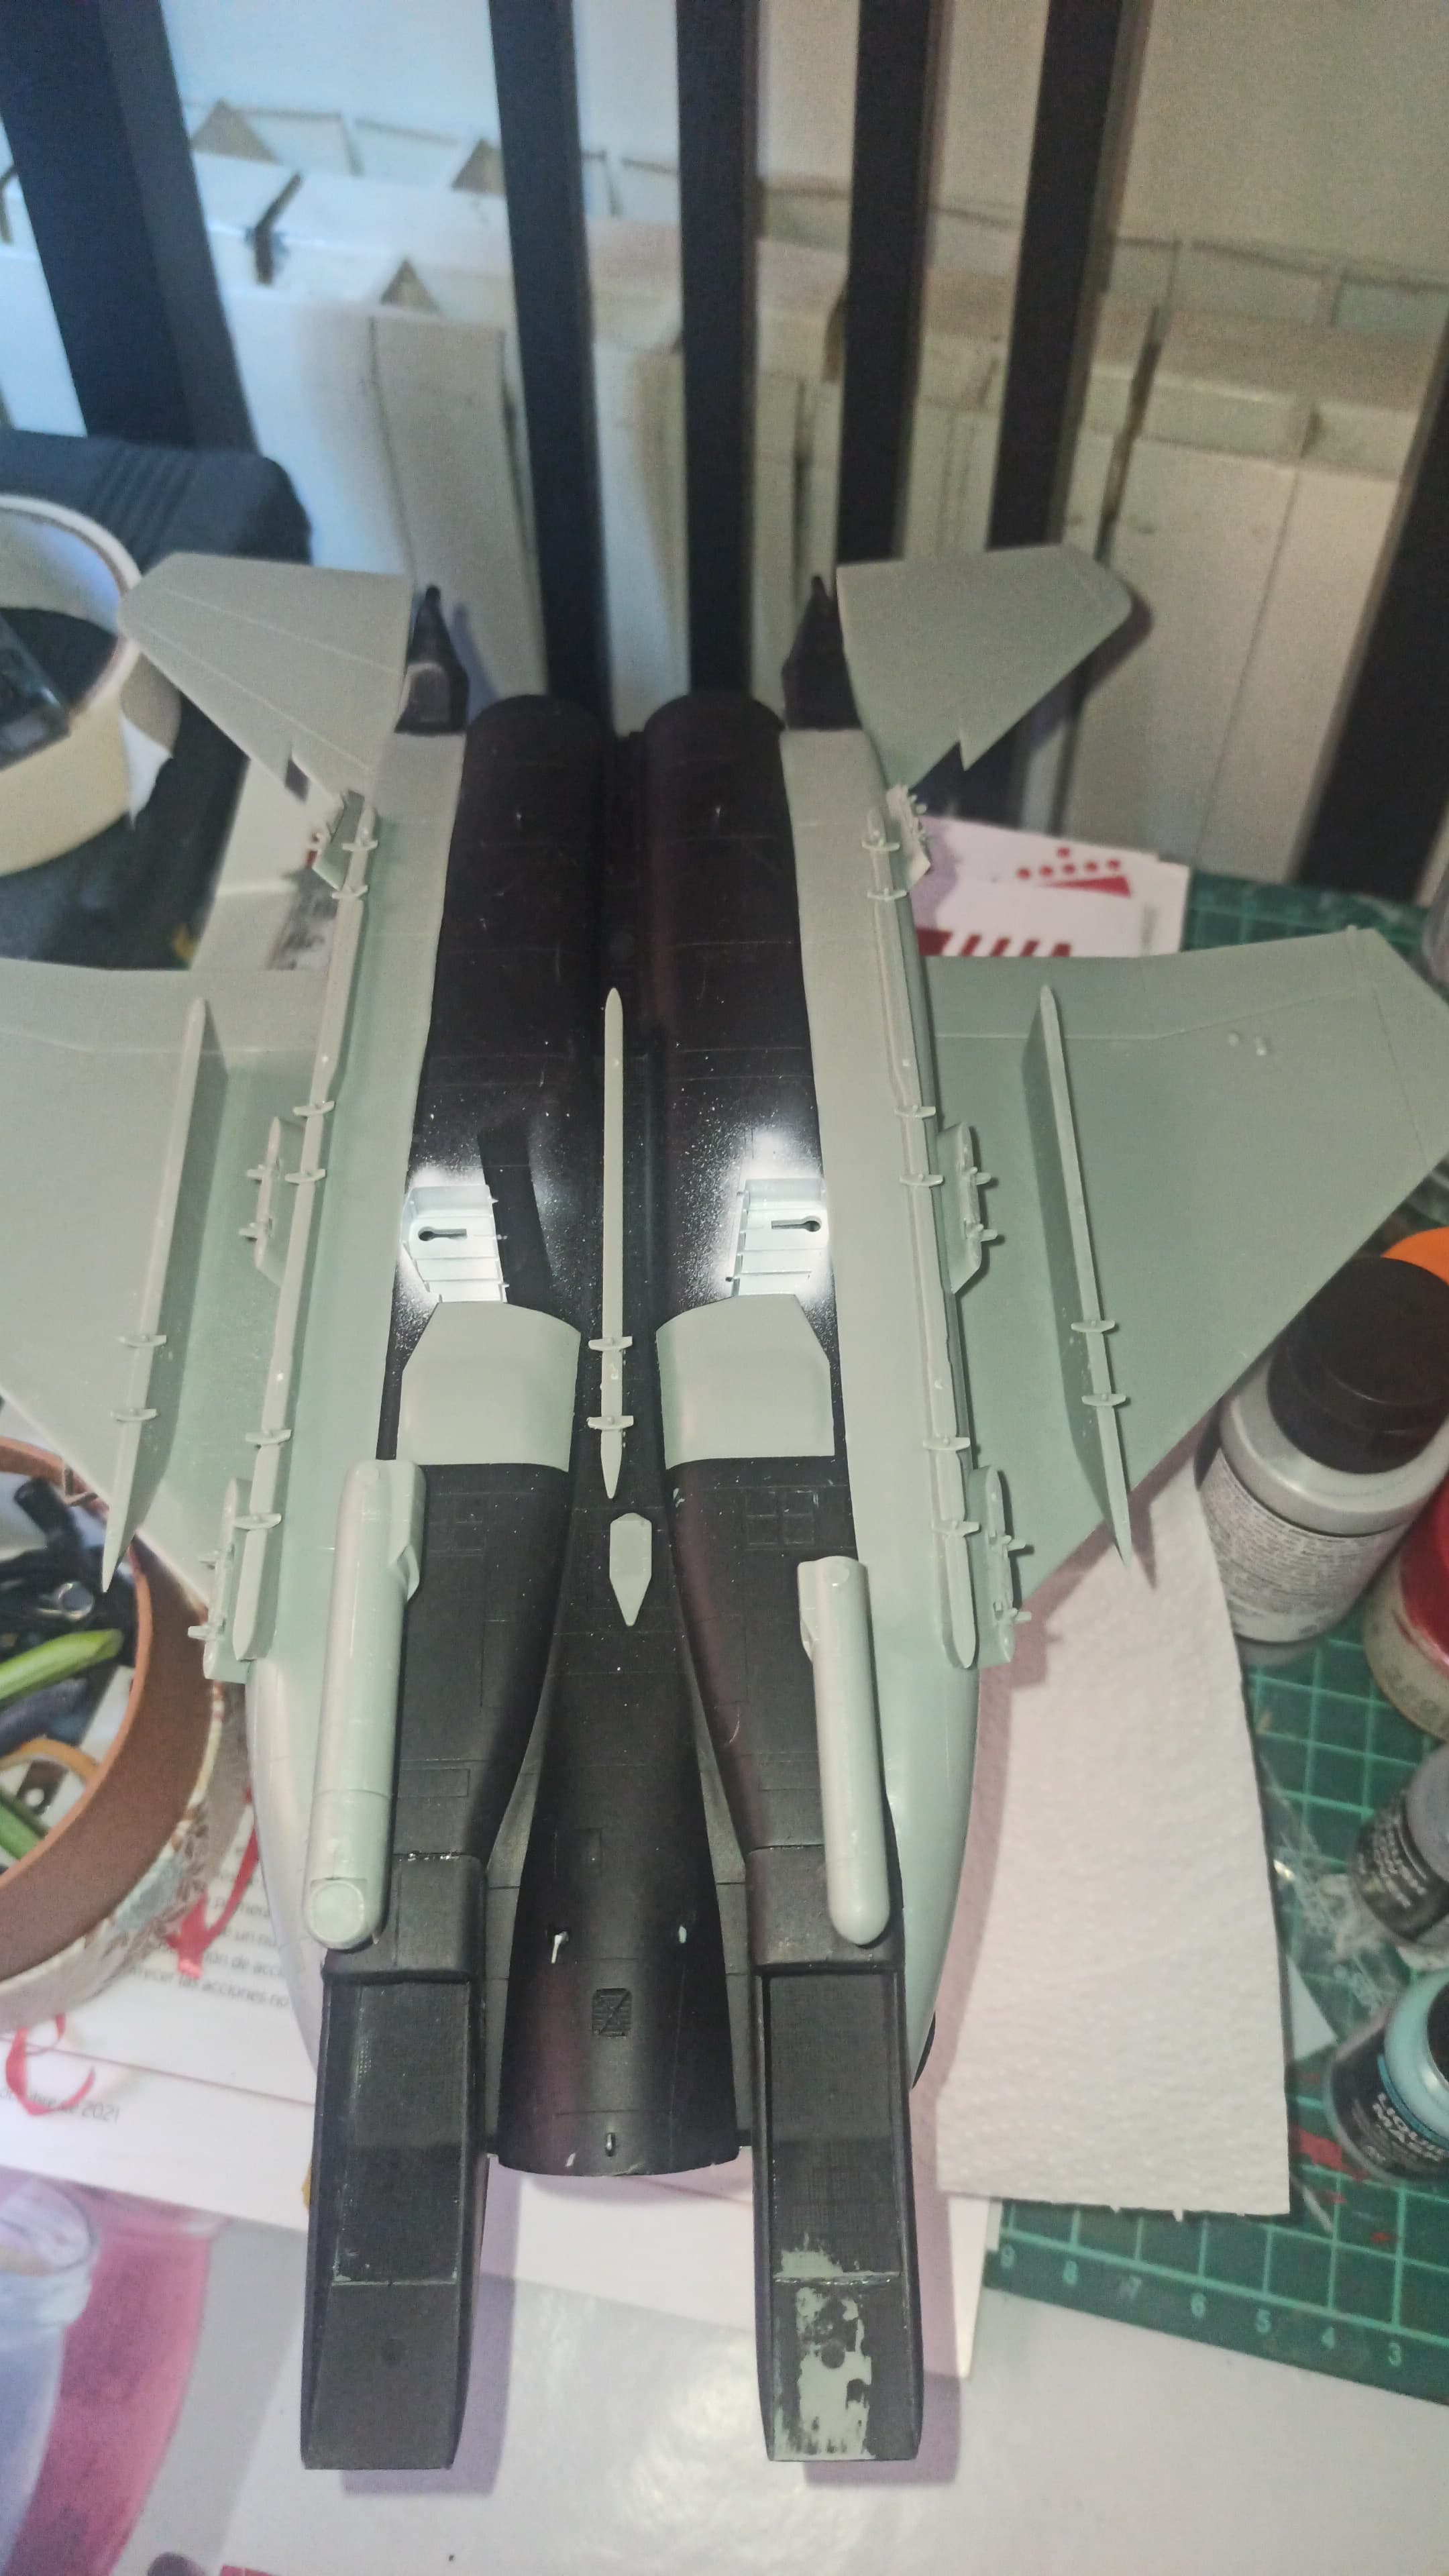
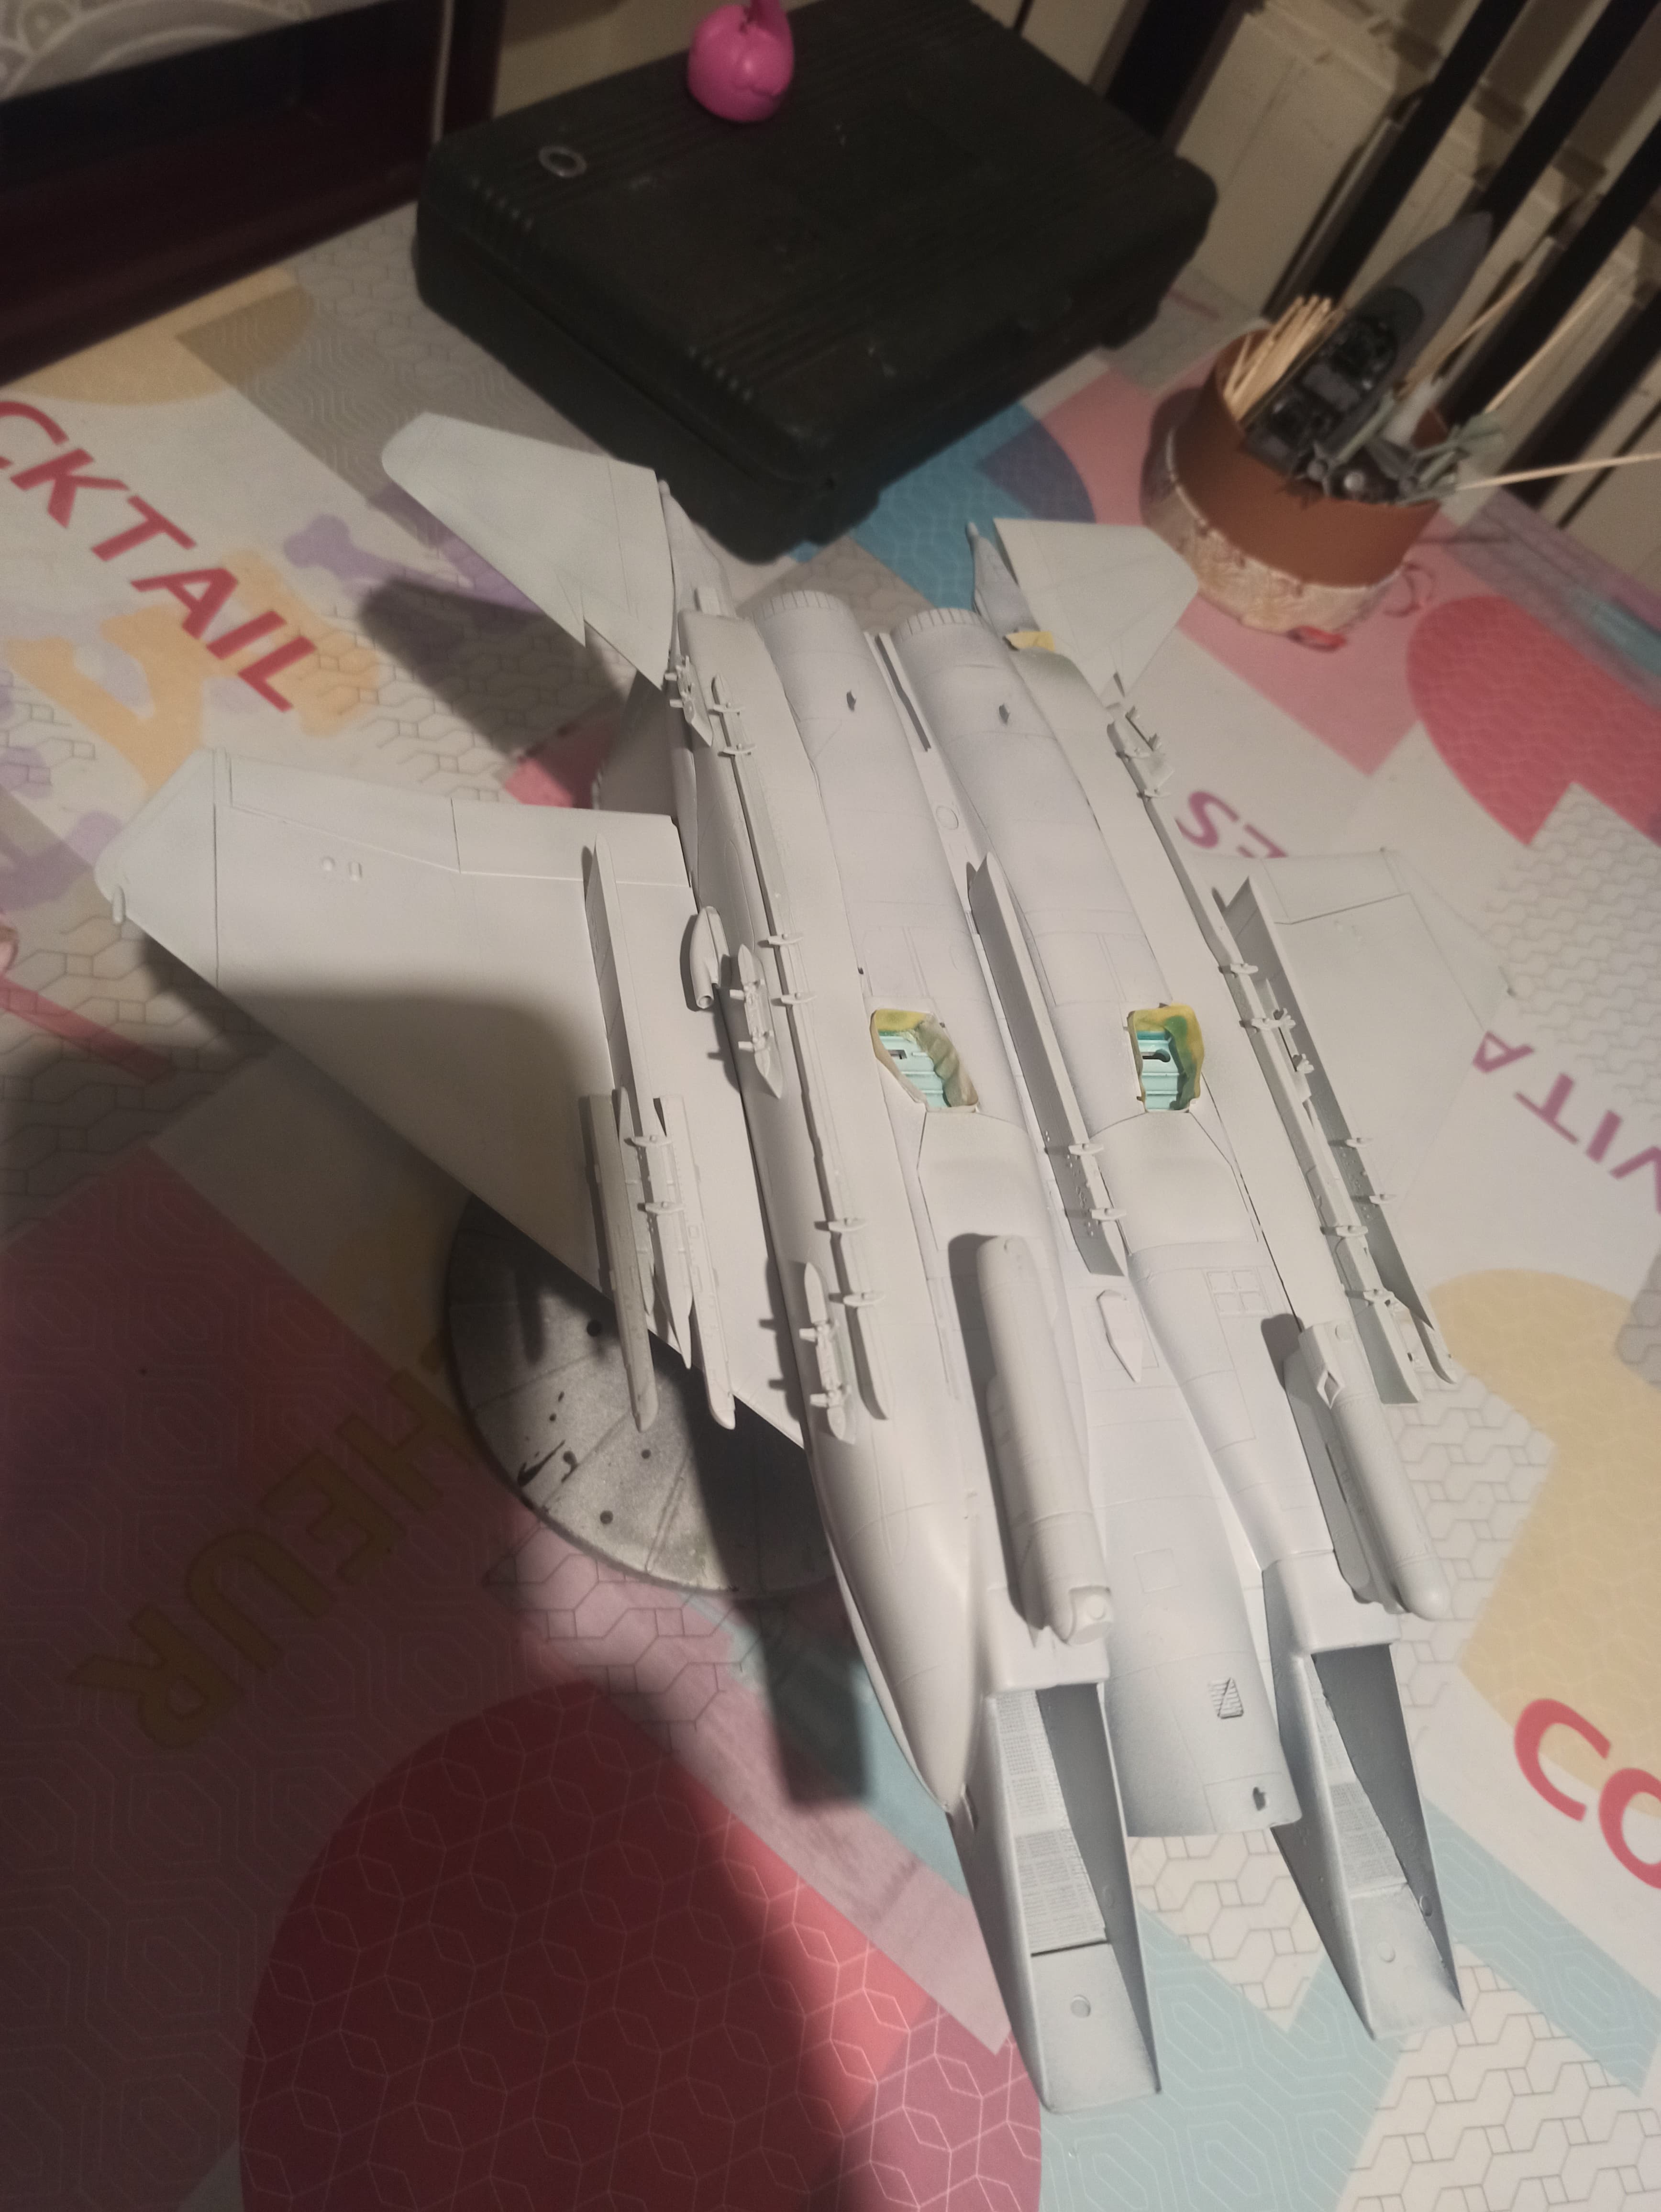
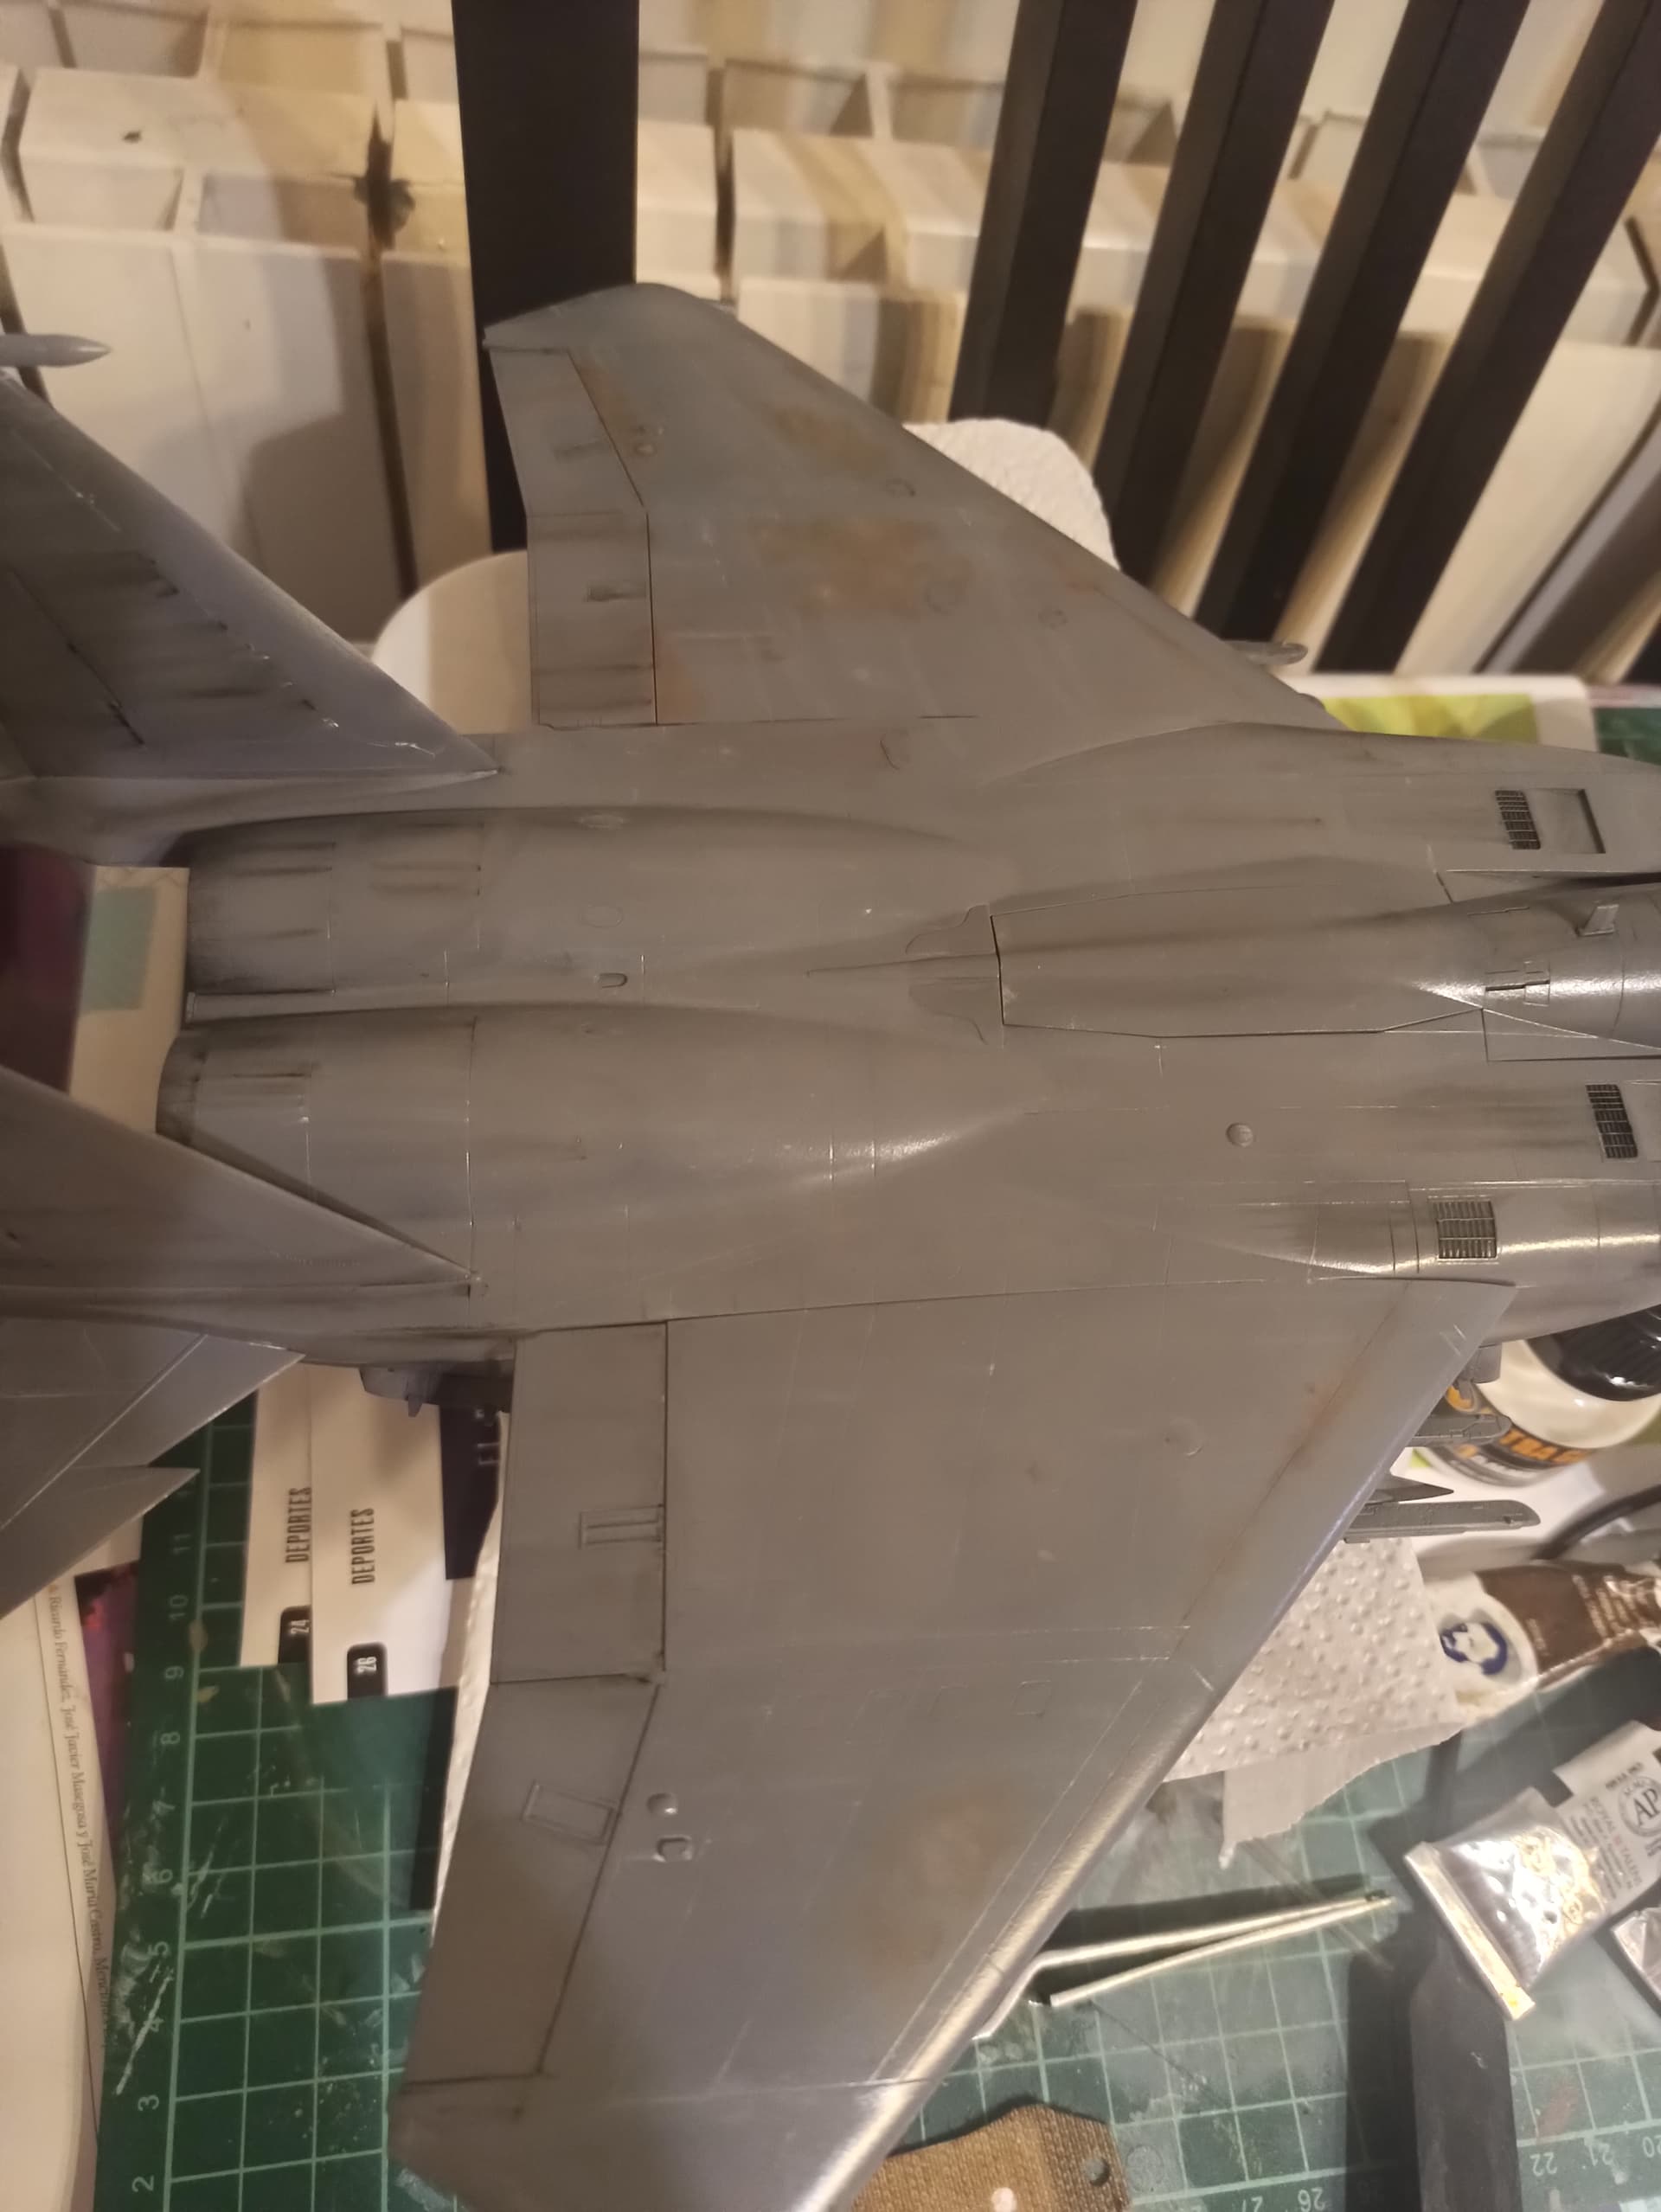
Today I’m sandind the 2 main fuselage pieces as they are glued together already.
It’s also primmed to highlight more mistakes.
Have a good weekend!
9 Likes
Hi!
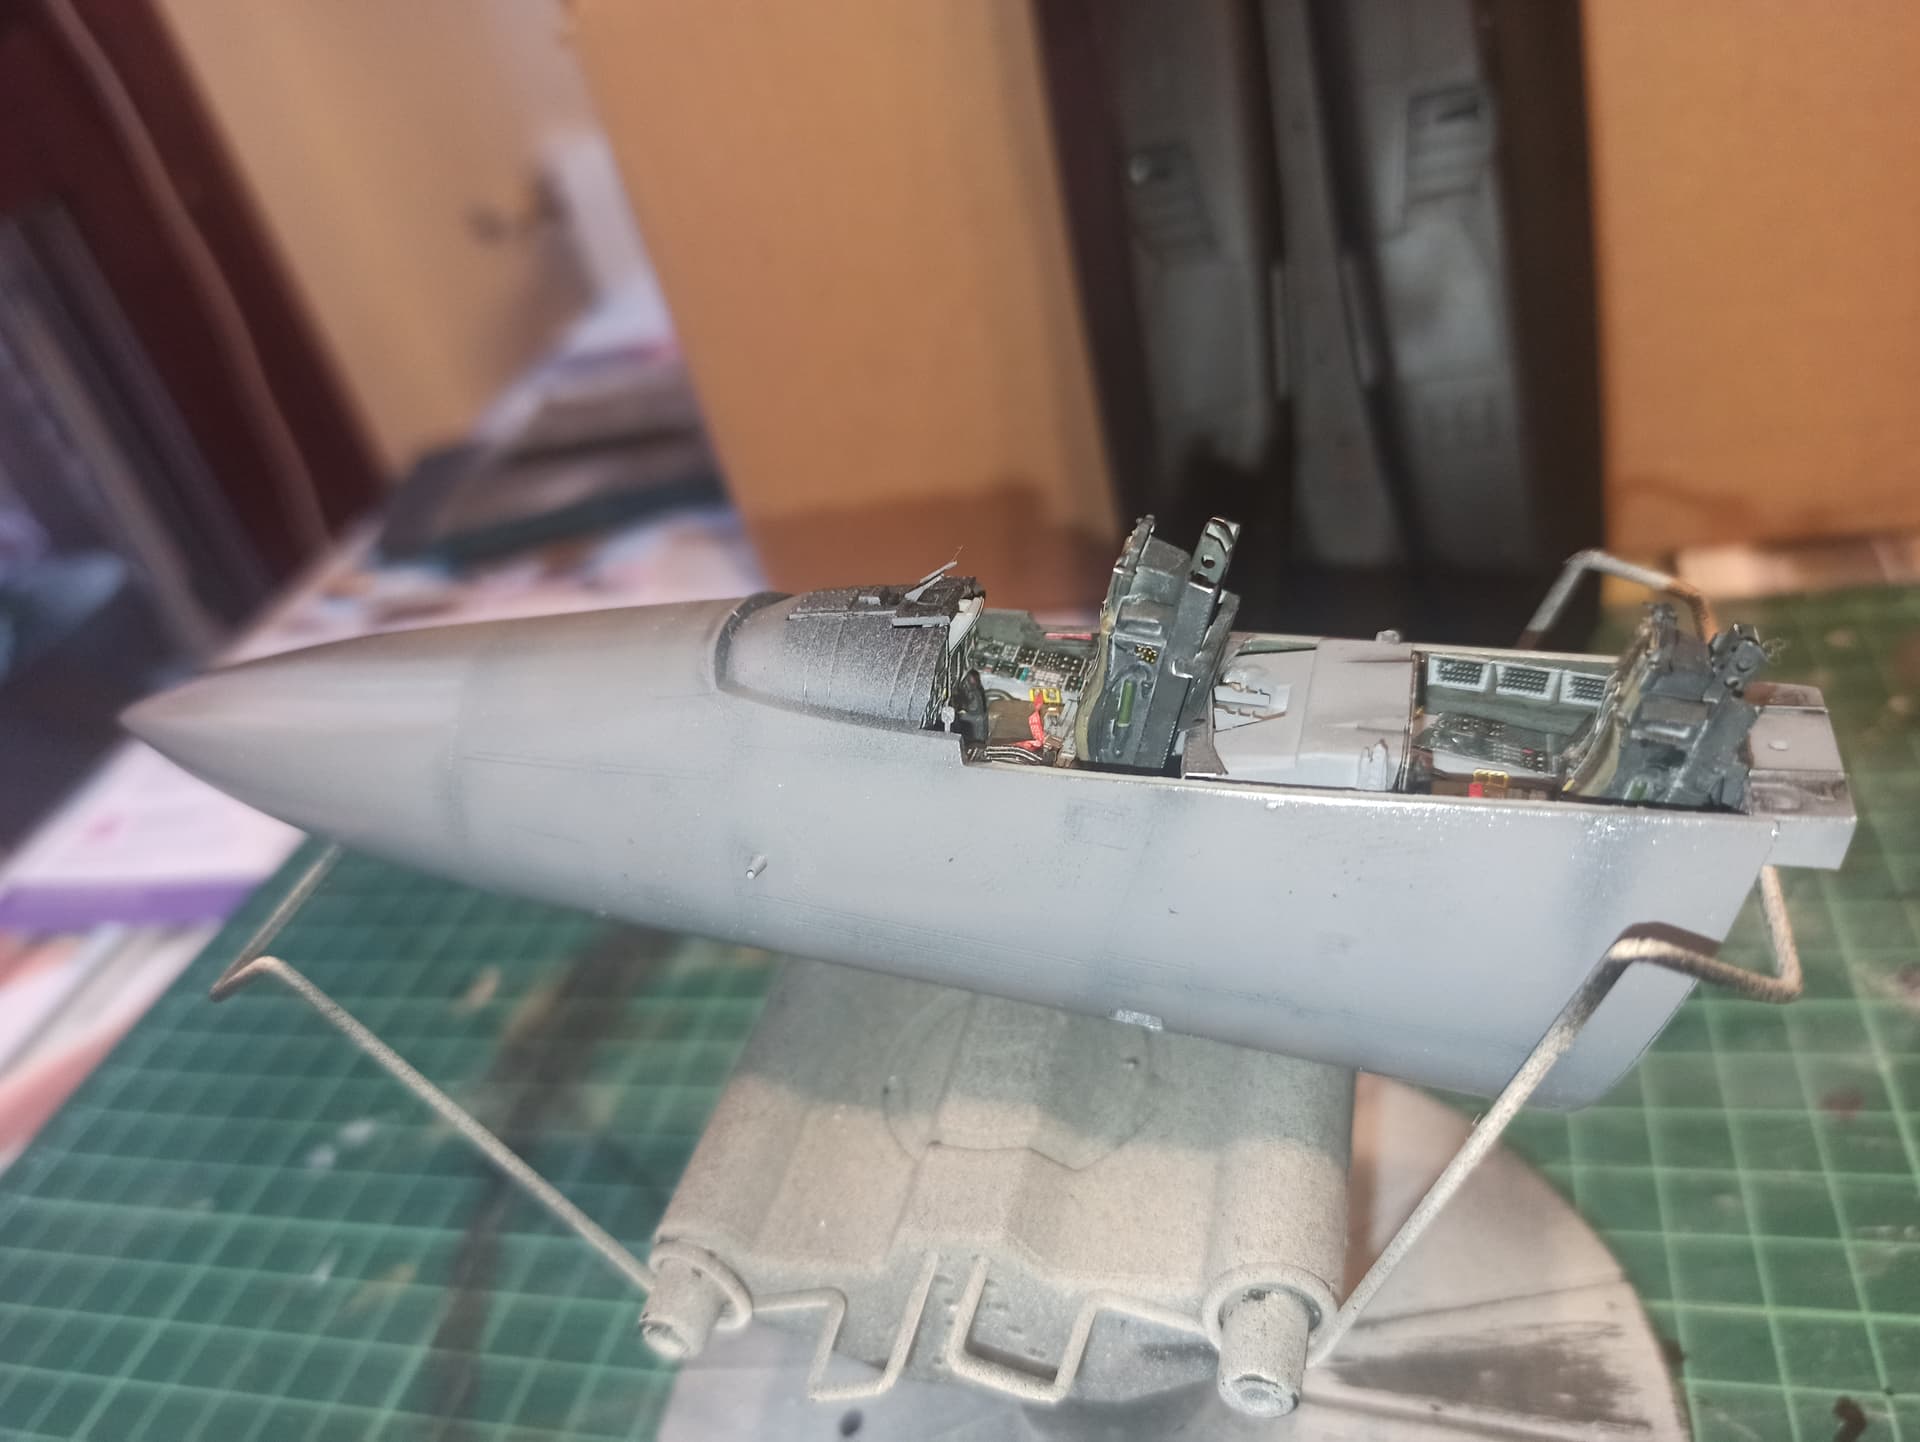
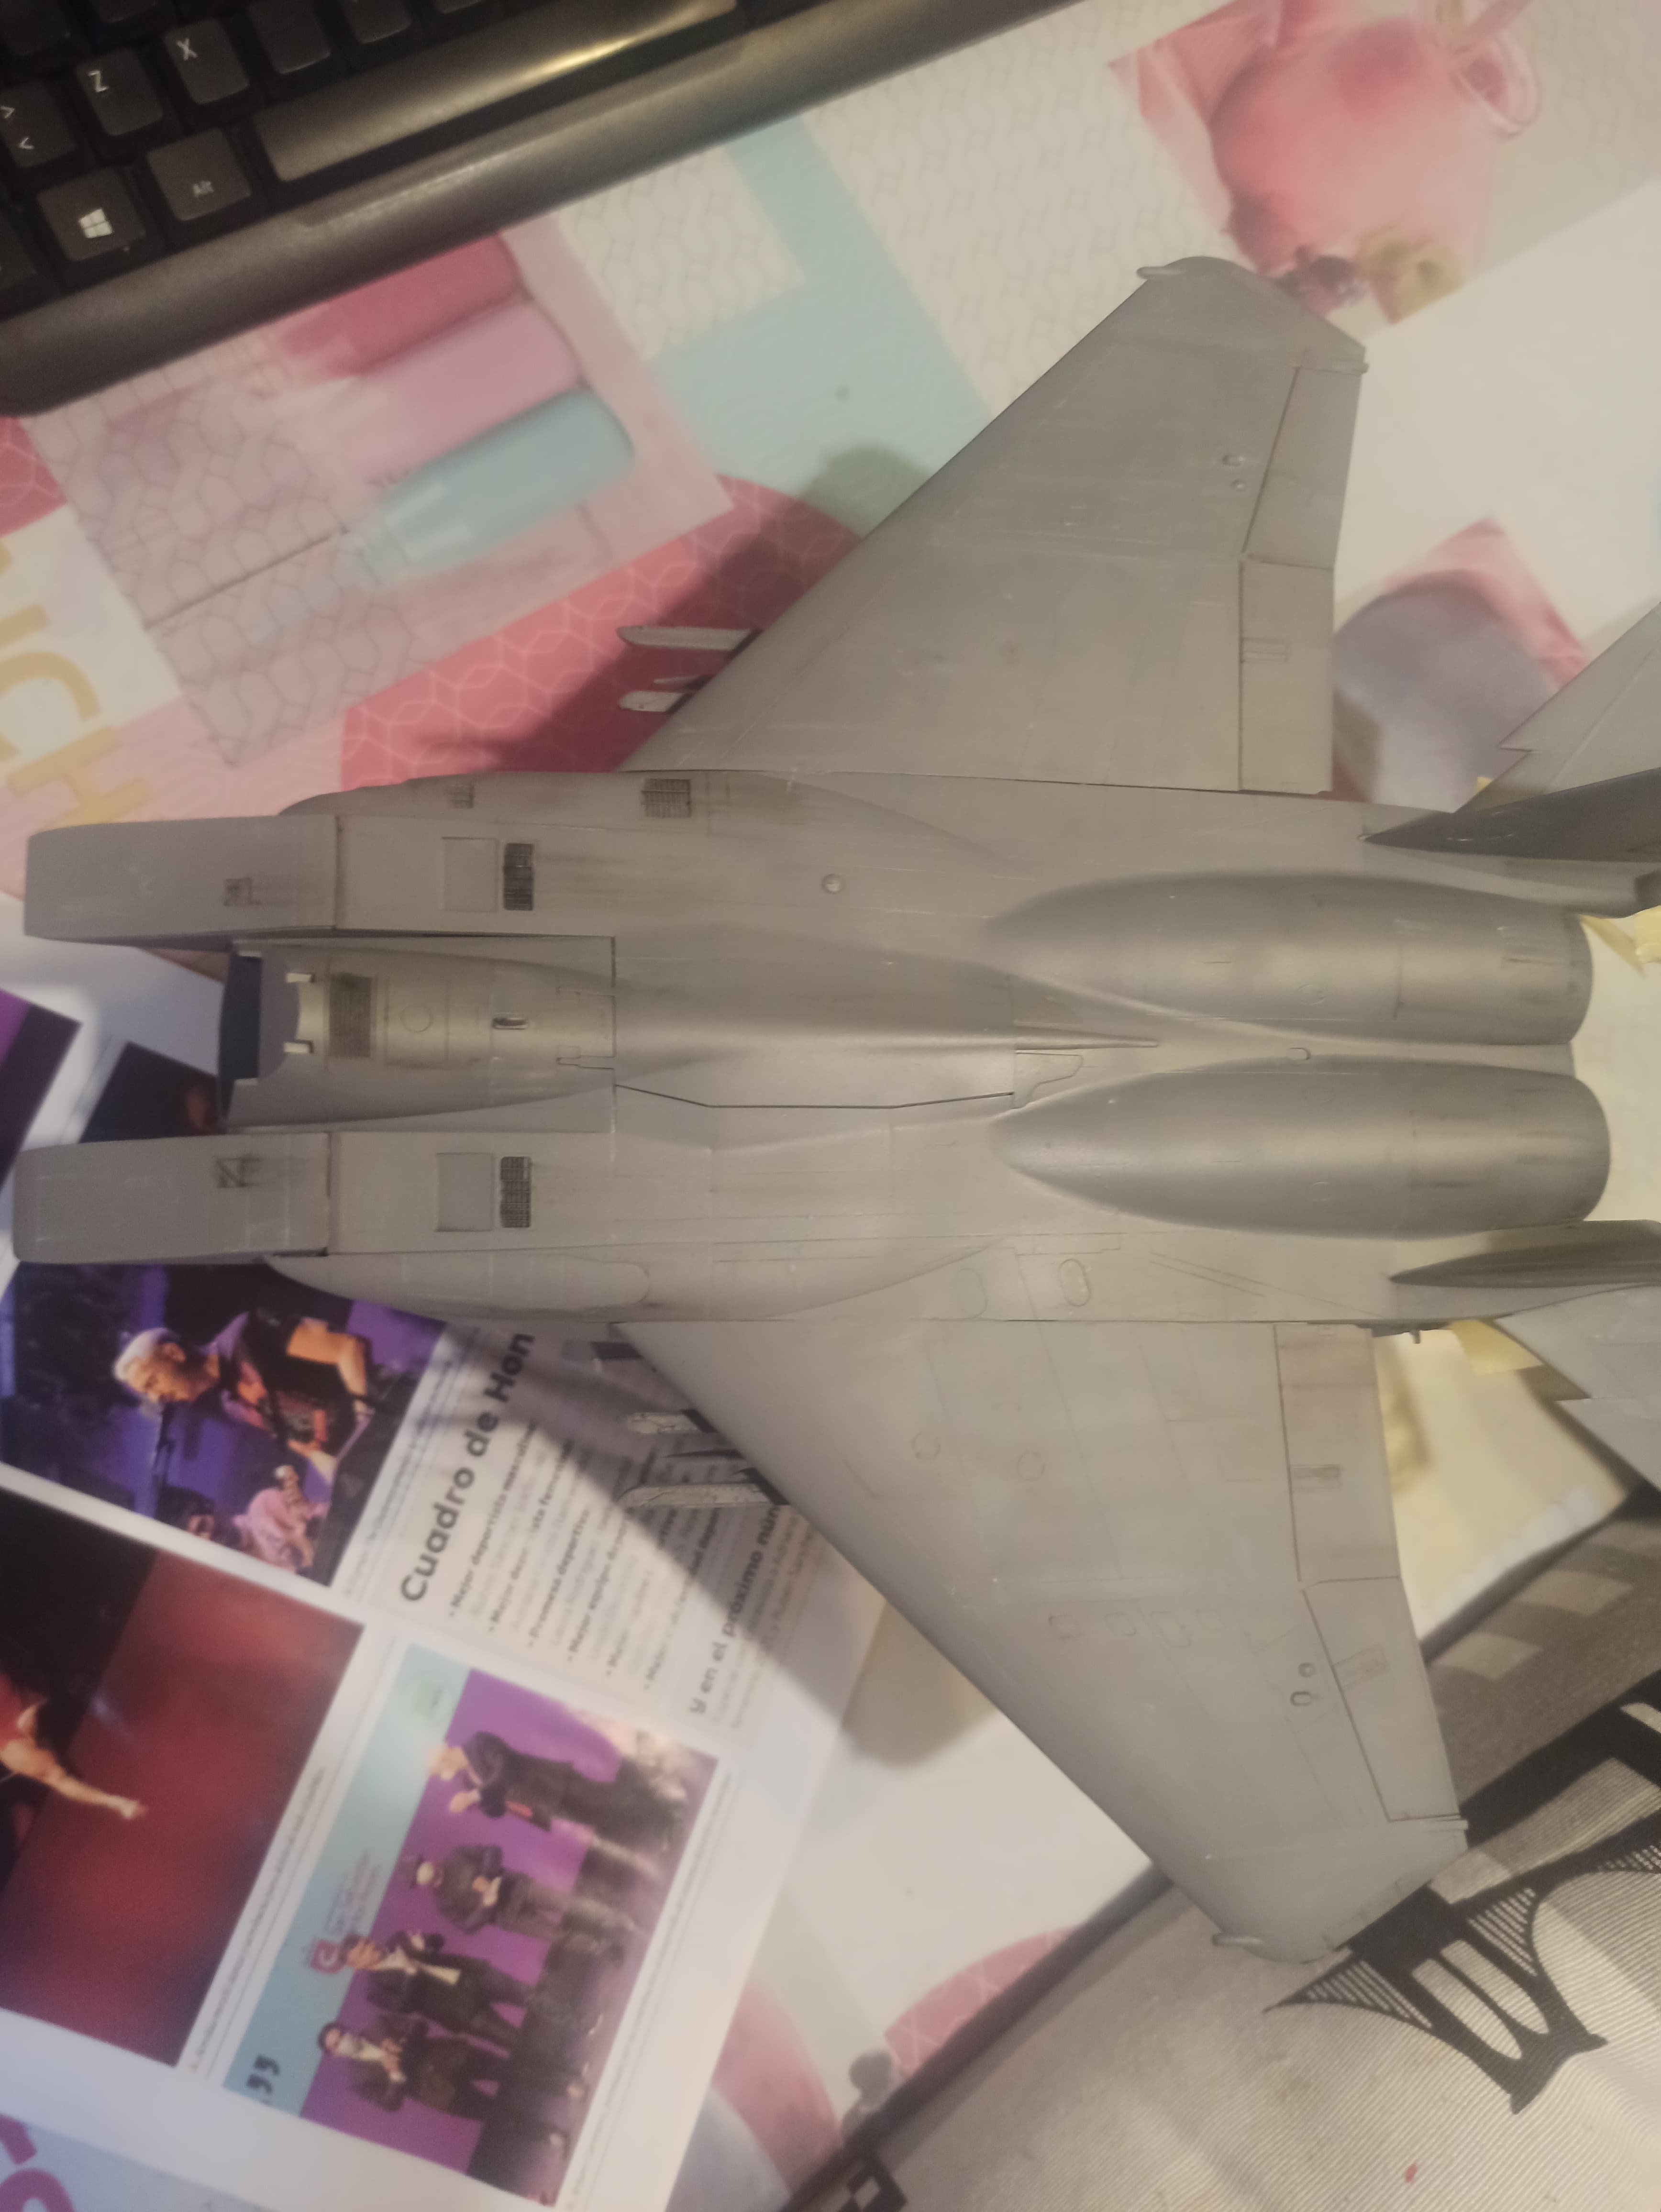
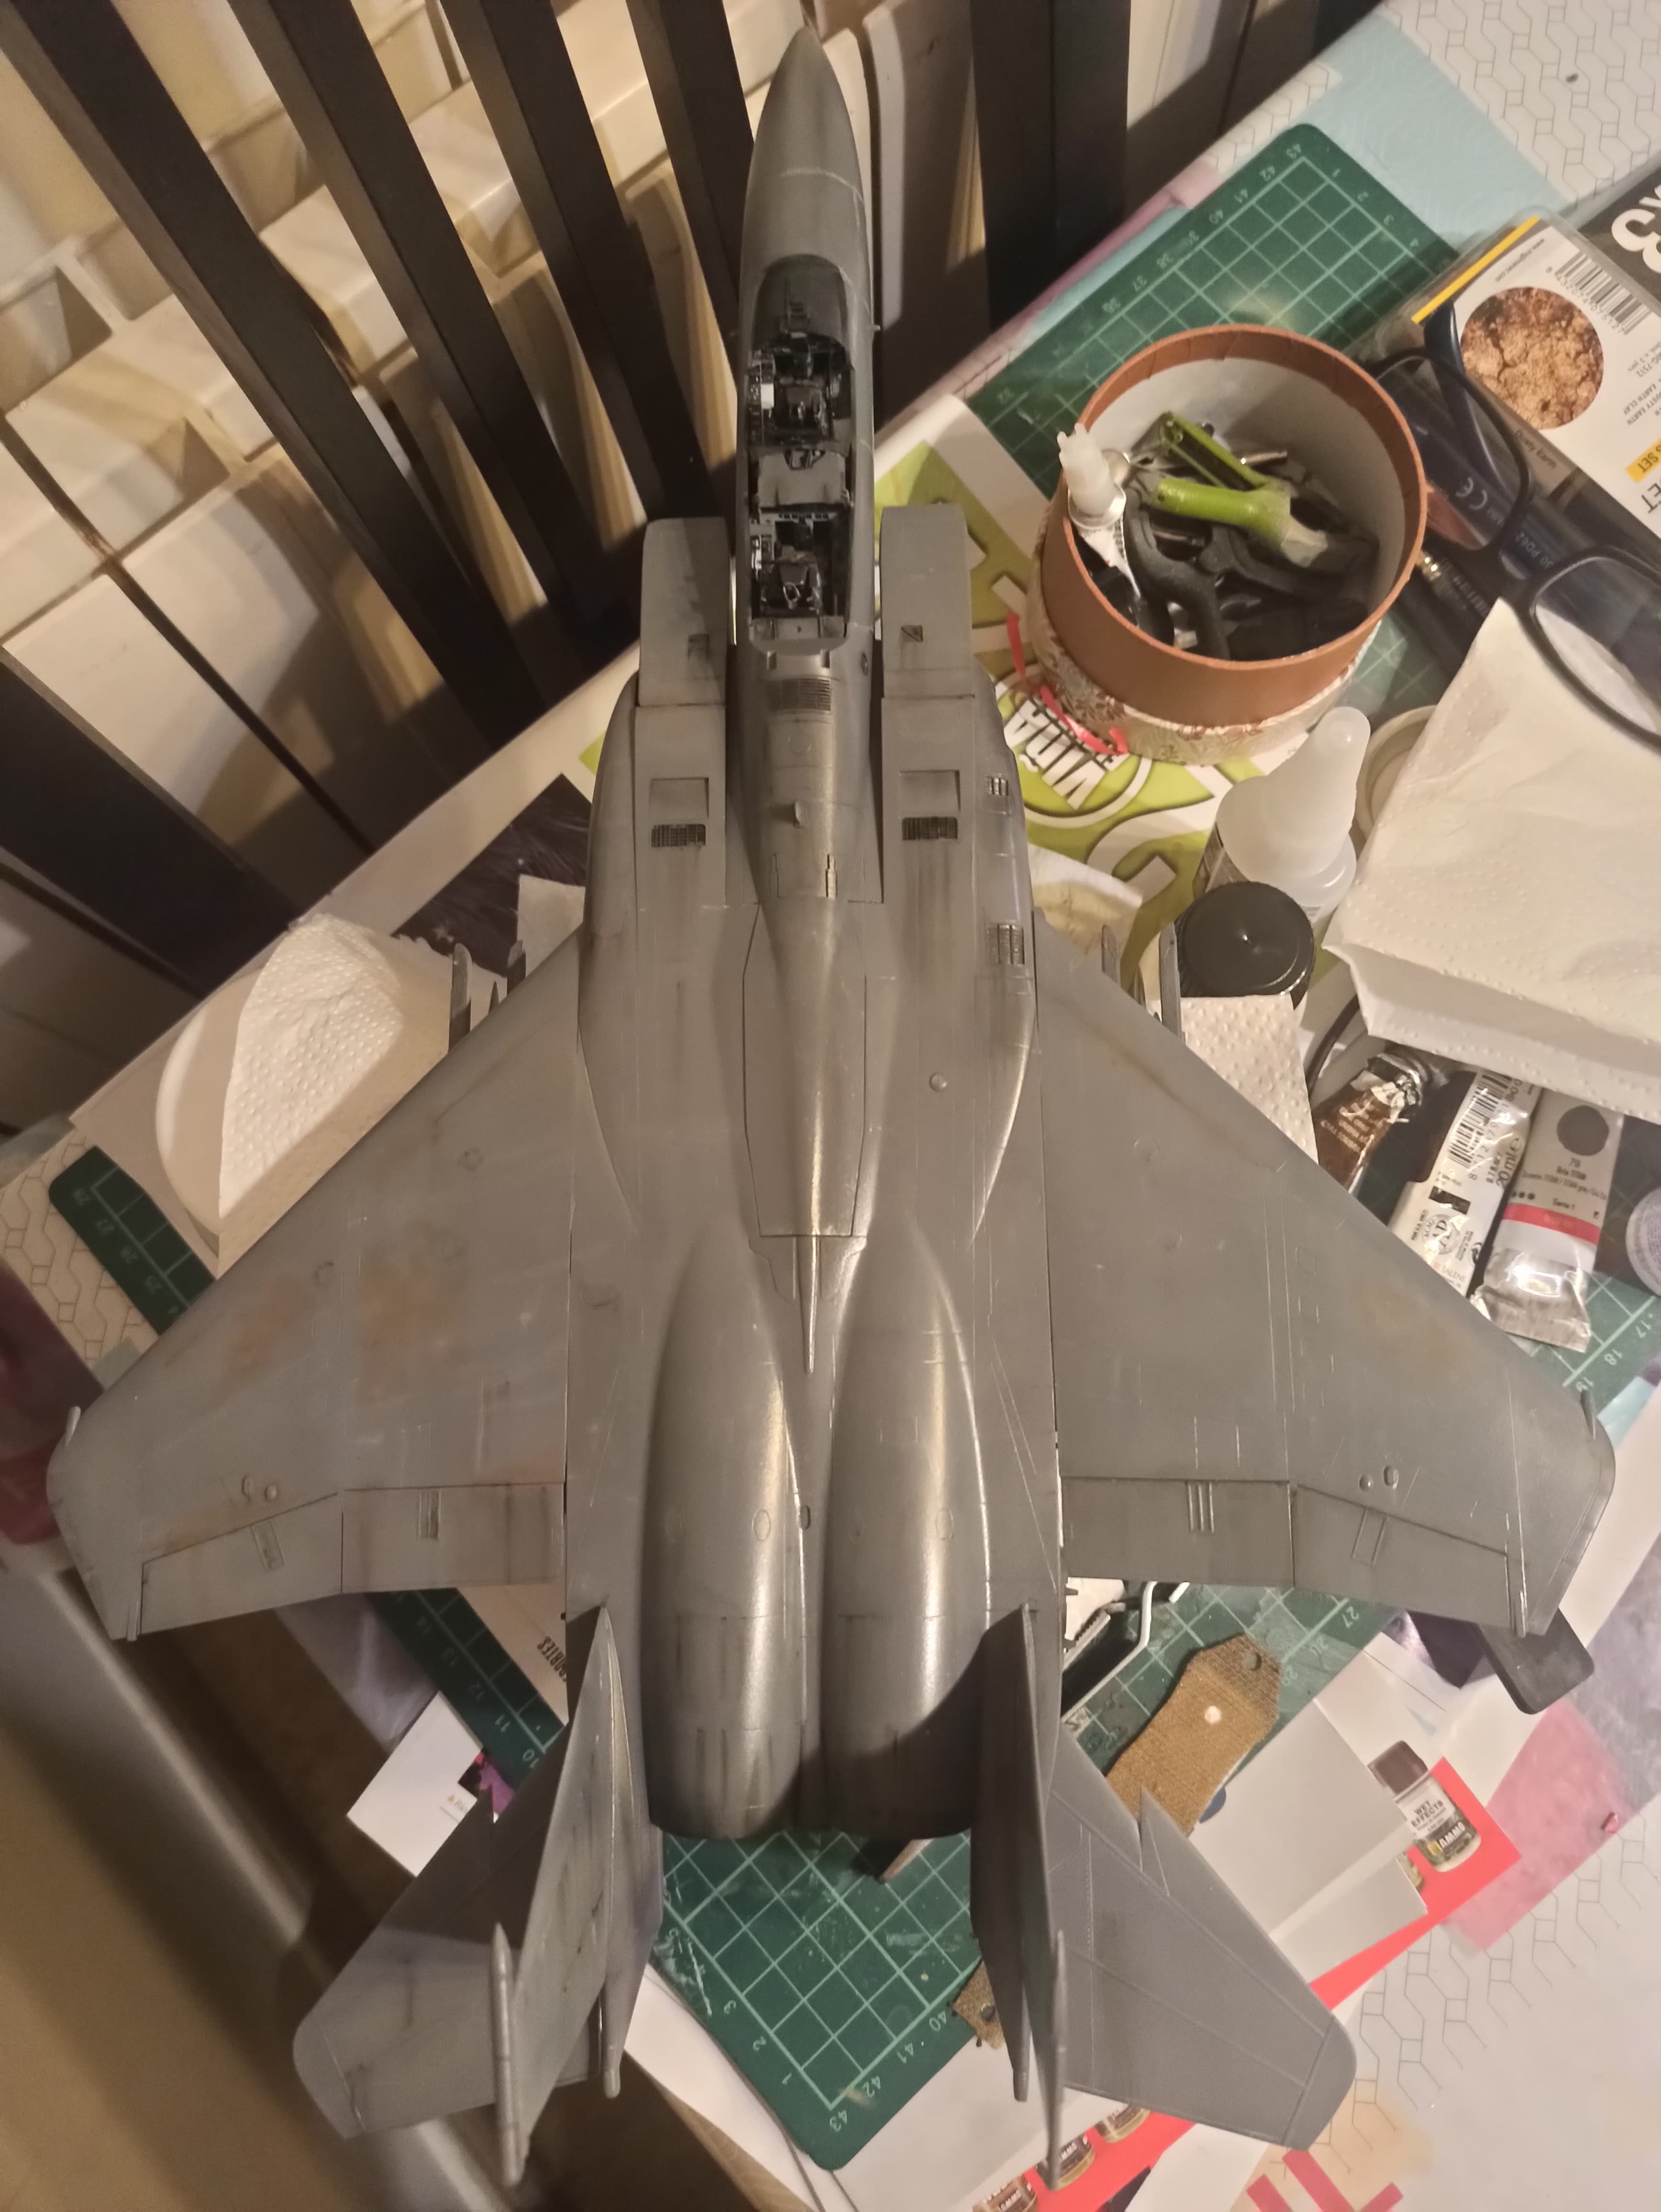
I could make some advances on the Eagle. But still too much work to do.
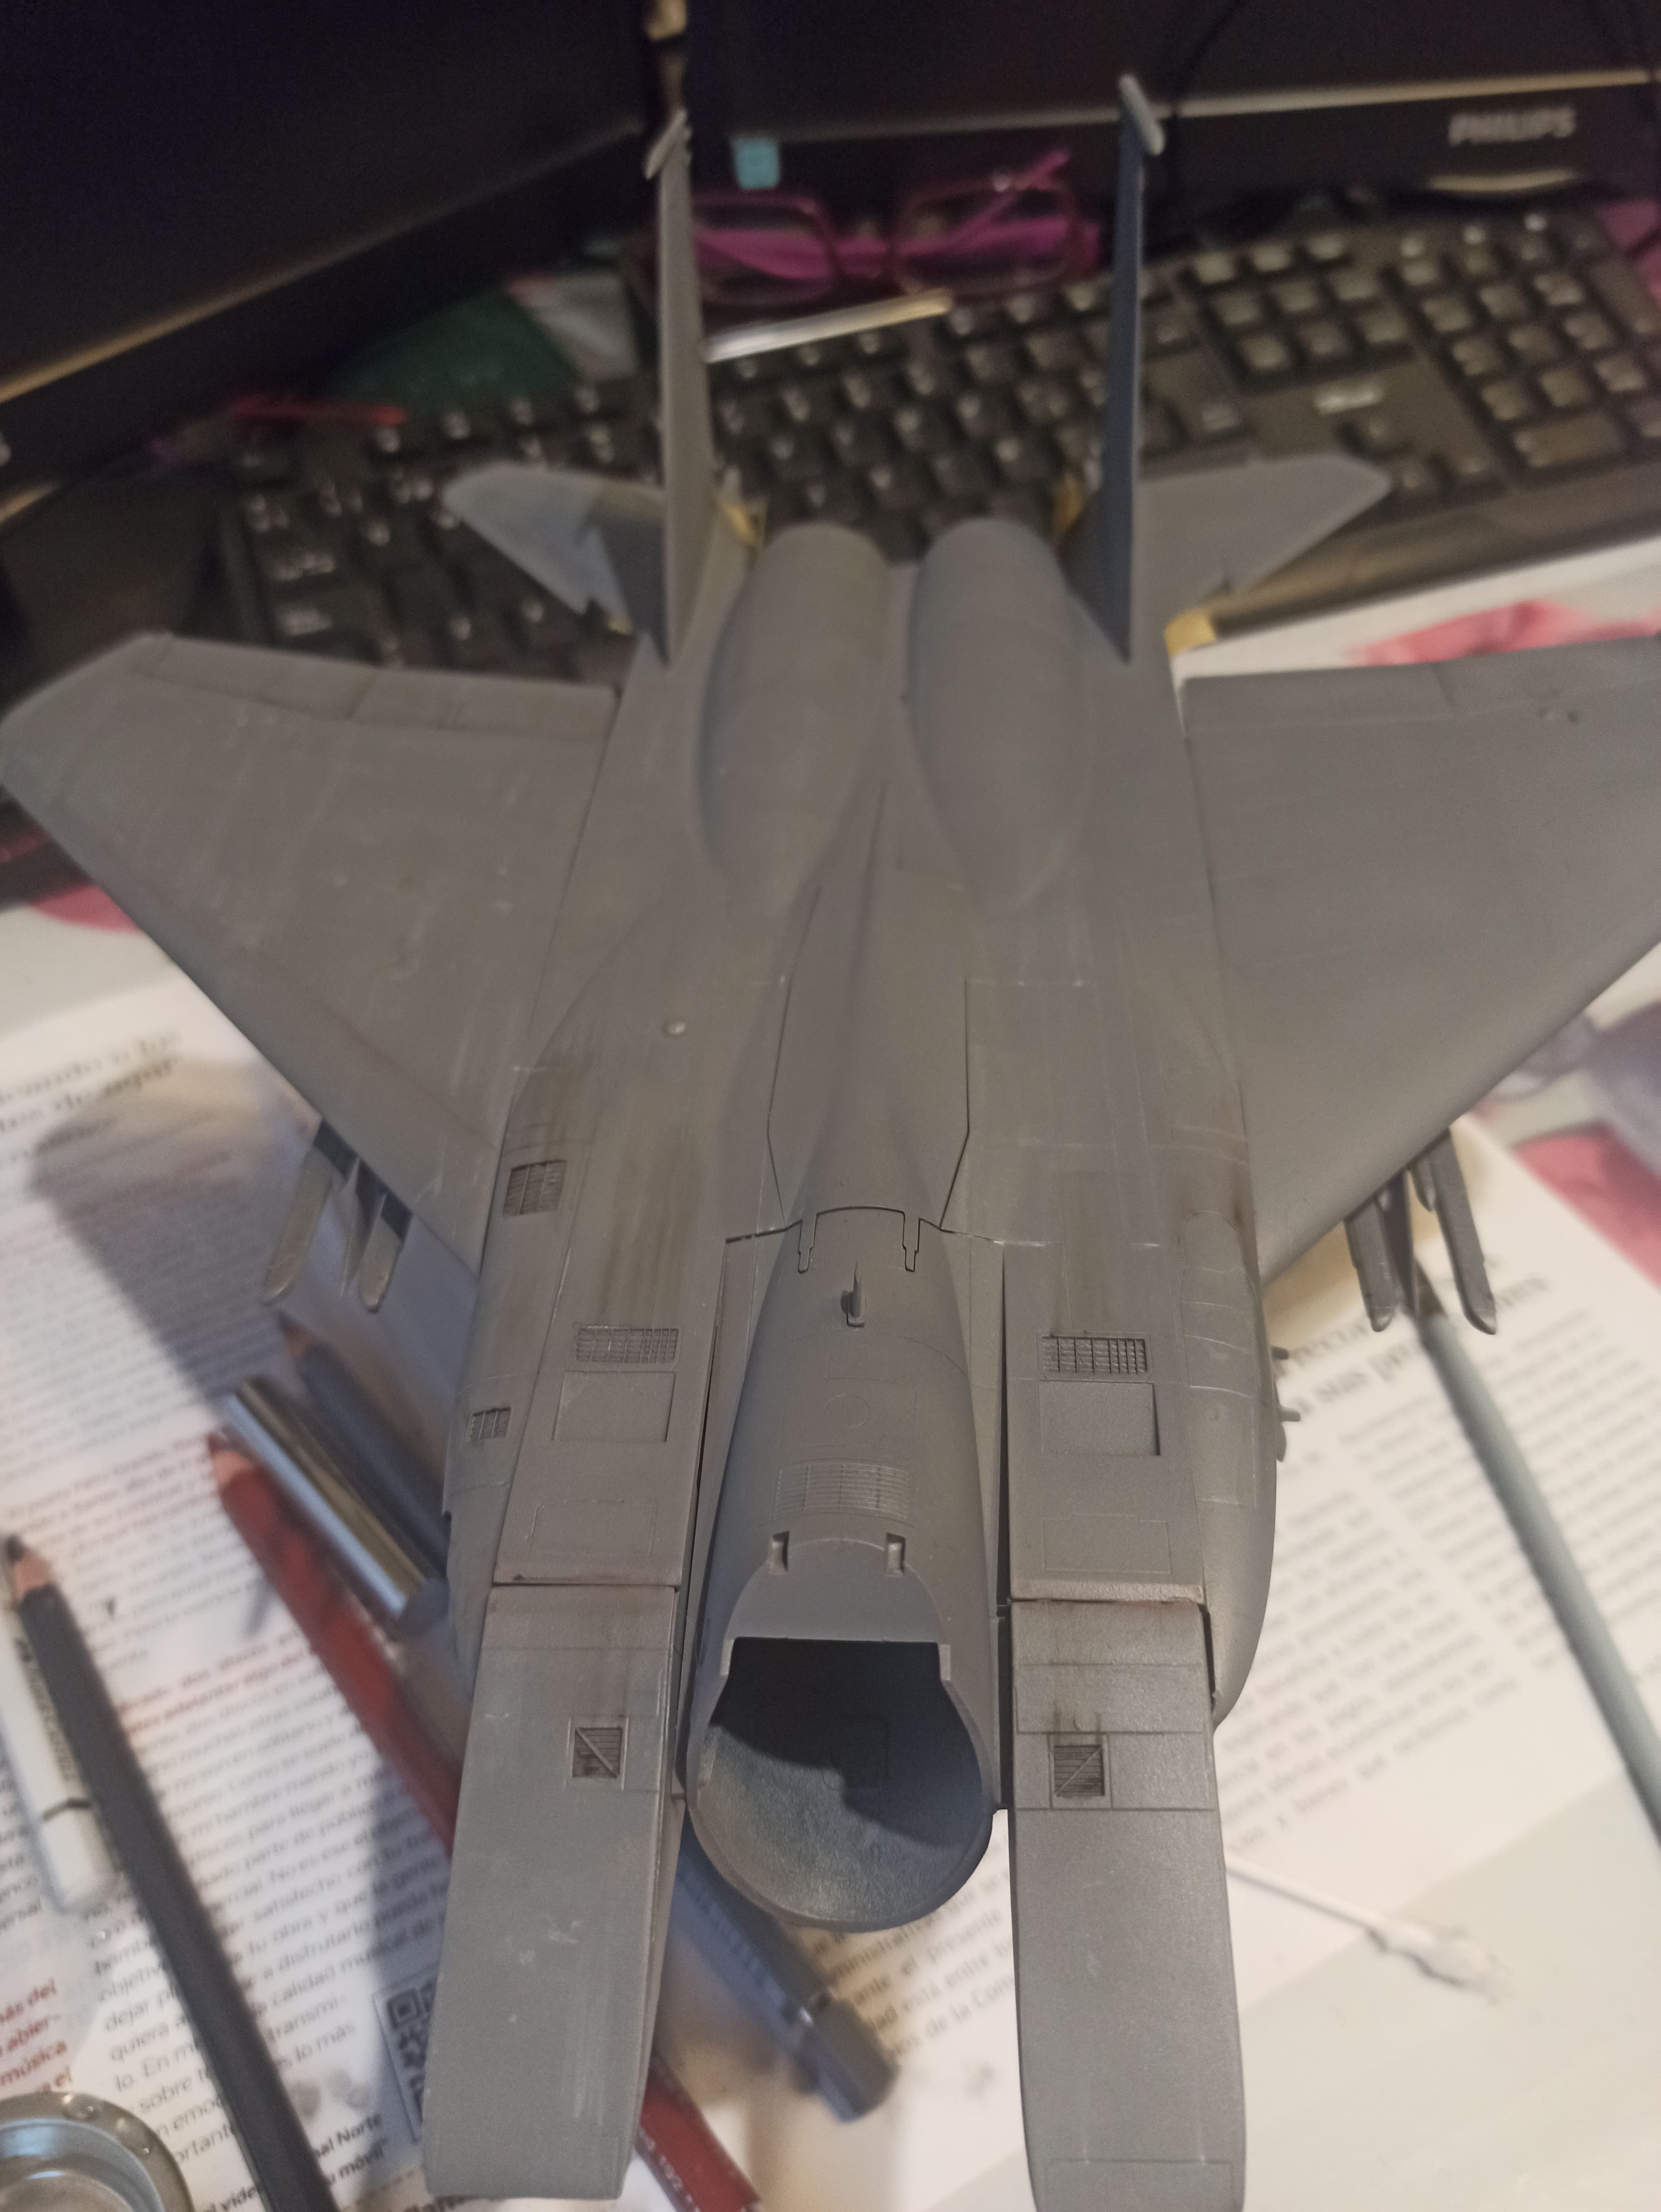
This is the actual status
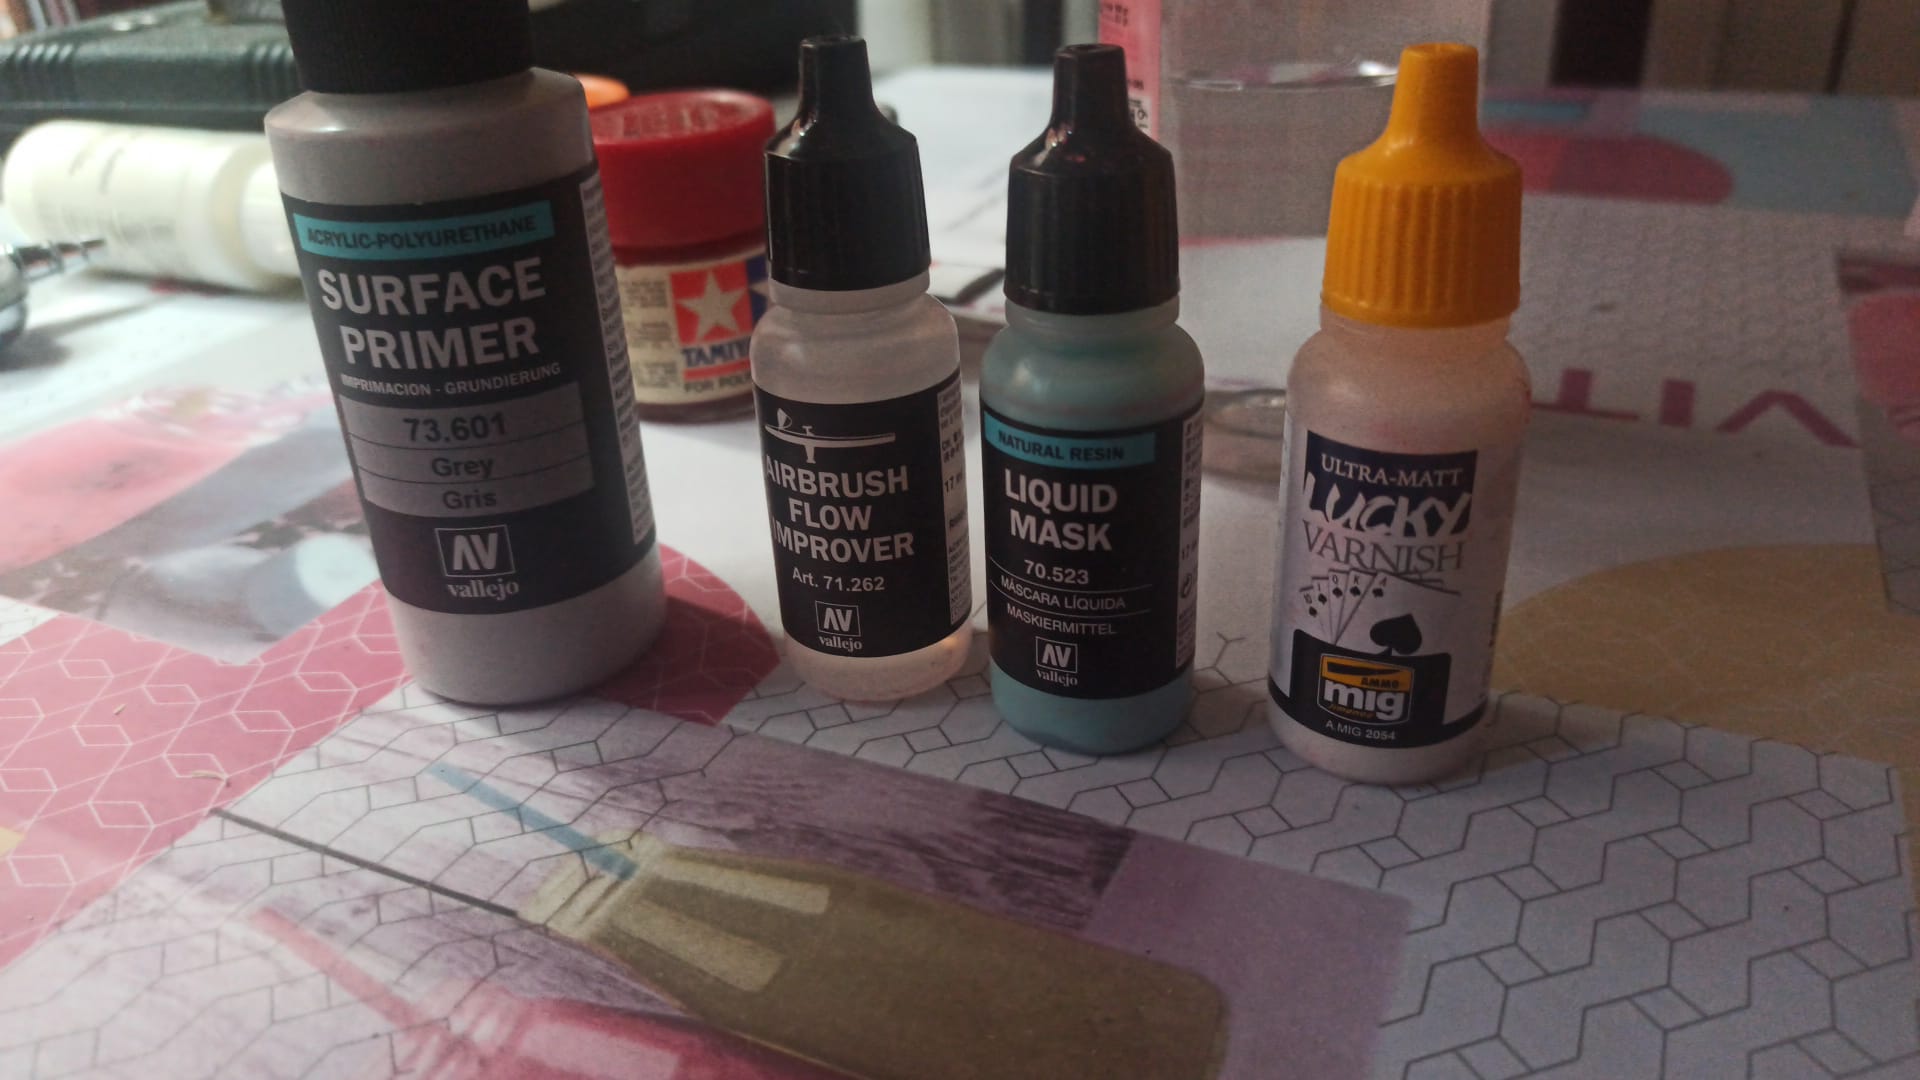
I also got some stuff for the kit. I’ll try the ammo ultra matt varnish.
Do you know where can I get a complete guide of the weapons than can load an actual Strike Eagle?? I’d like to display all the weapons available in front of the aircraft, plus the wingload. I’ve an old sets (B&C) from Hasewaga weapons, but maybe it’s better the D set. I’m also looking for the A. If some of you have any… I’m open for a trade.
Regards!!
3 Likes
Looks super solid so far Sir.
1 Like
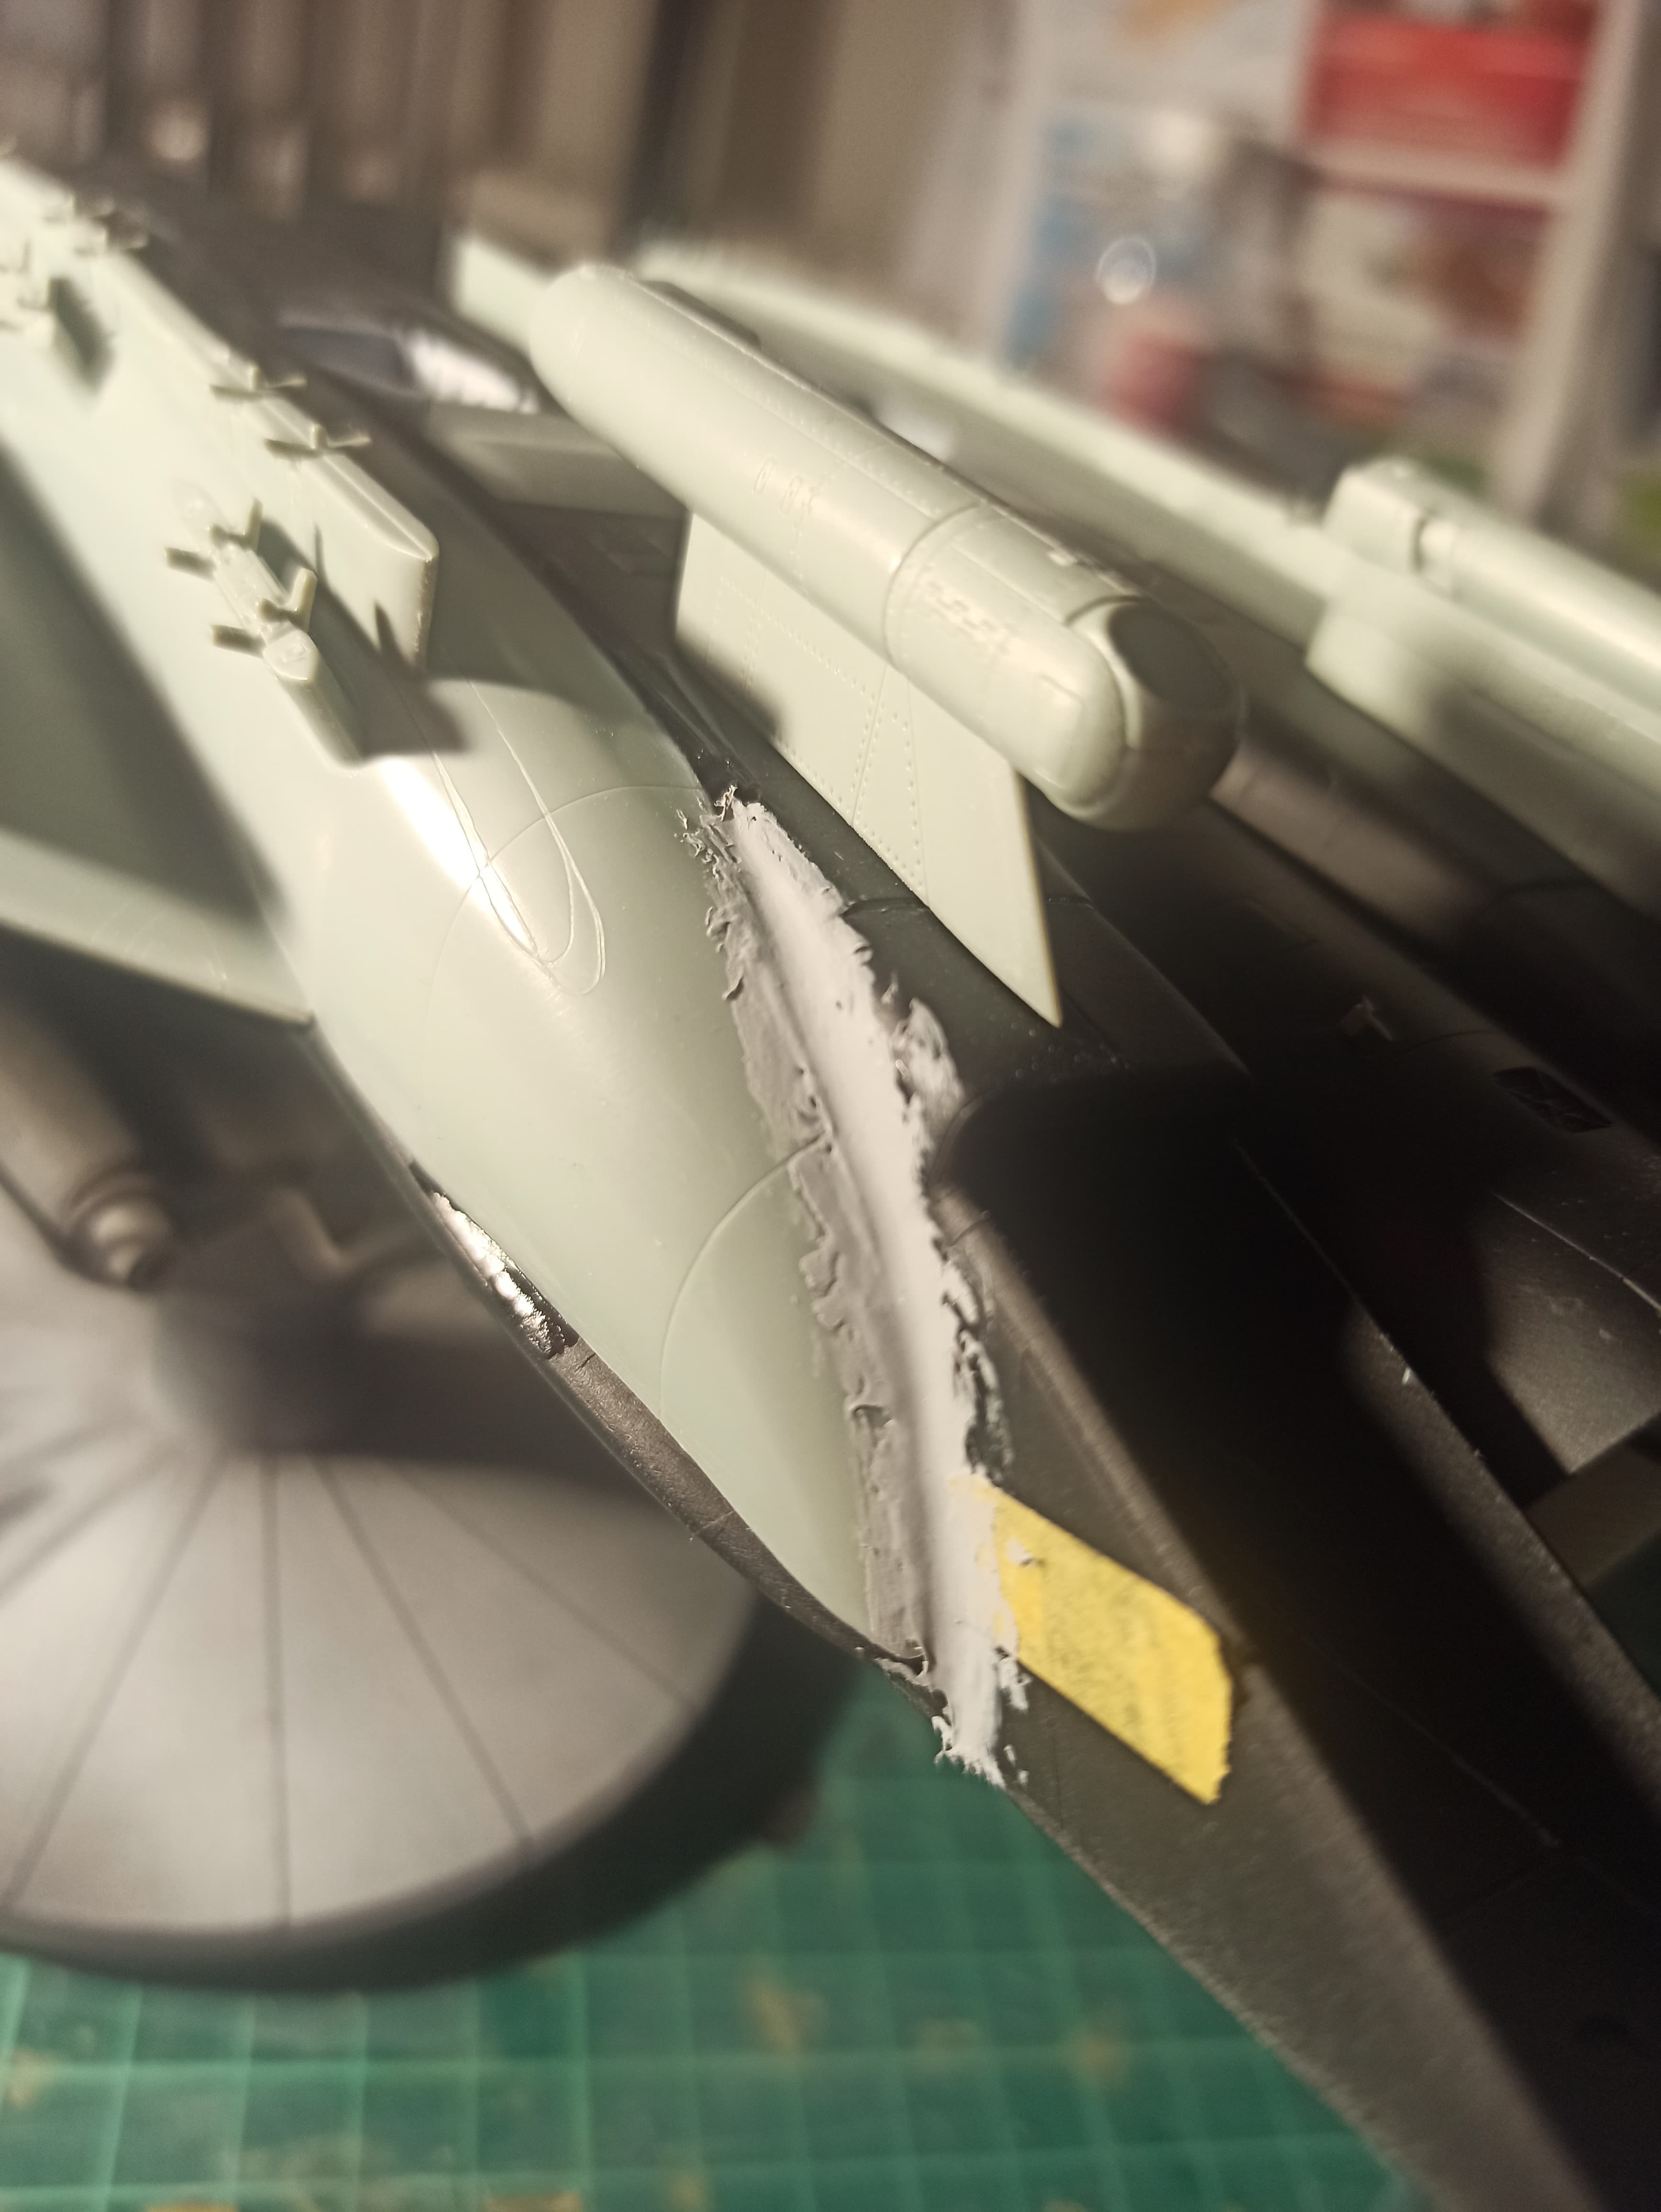
Few advances in the beast. It took some putty to fill a gap between one CFT and the main fuselage.
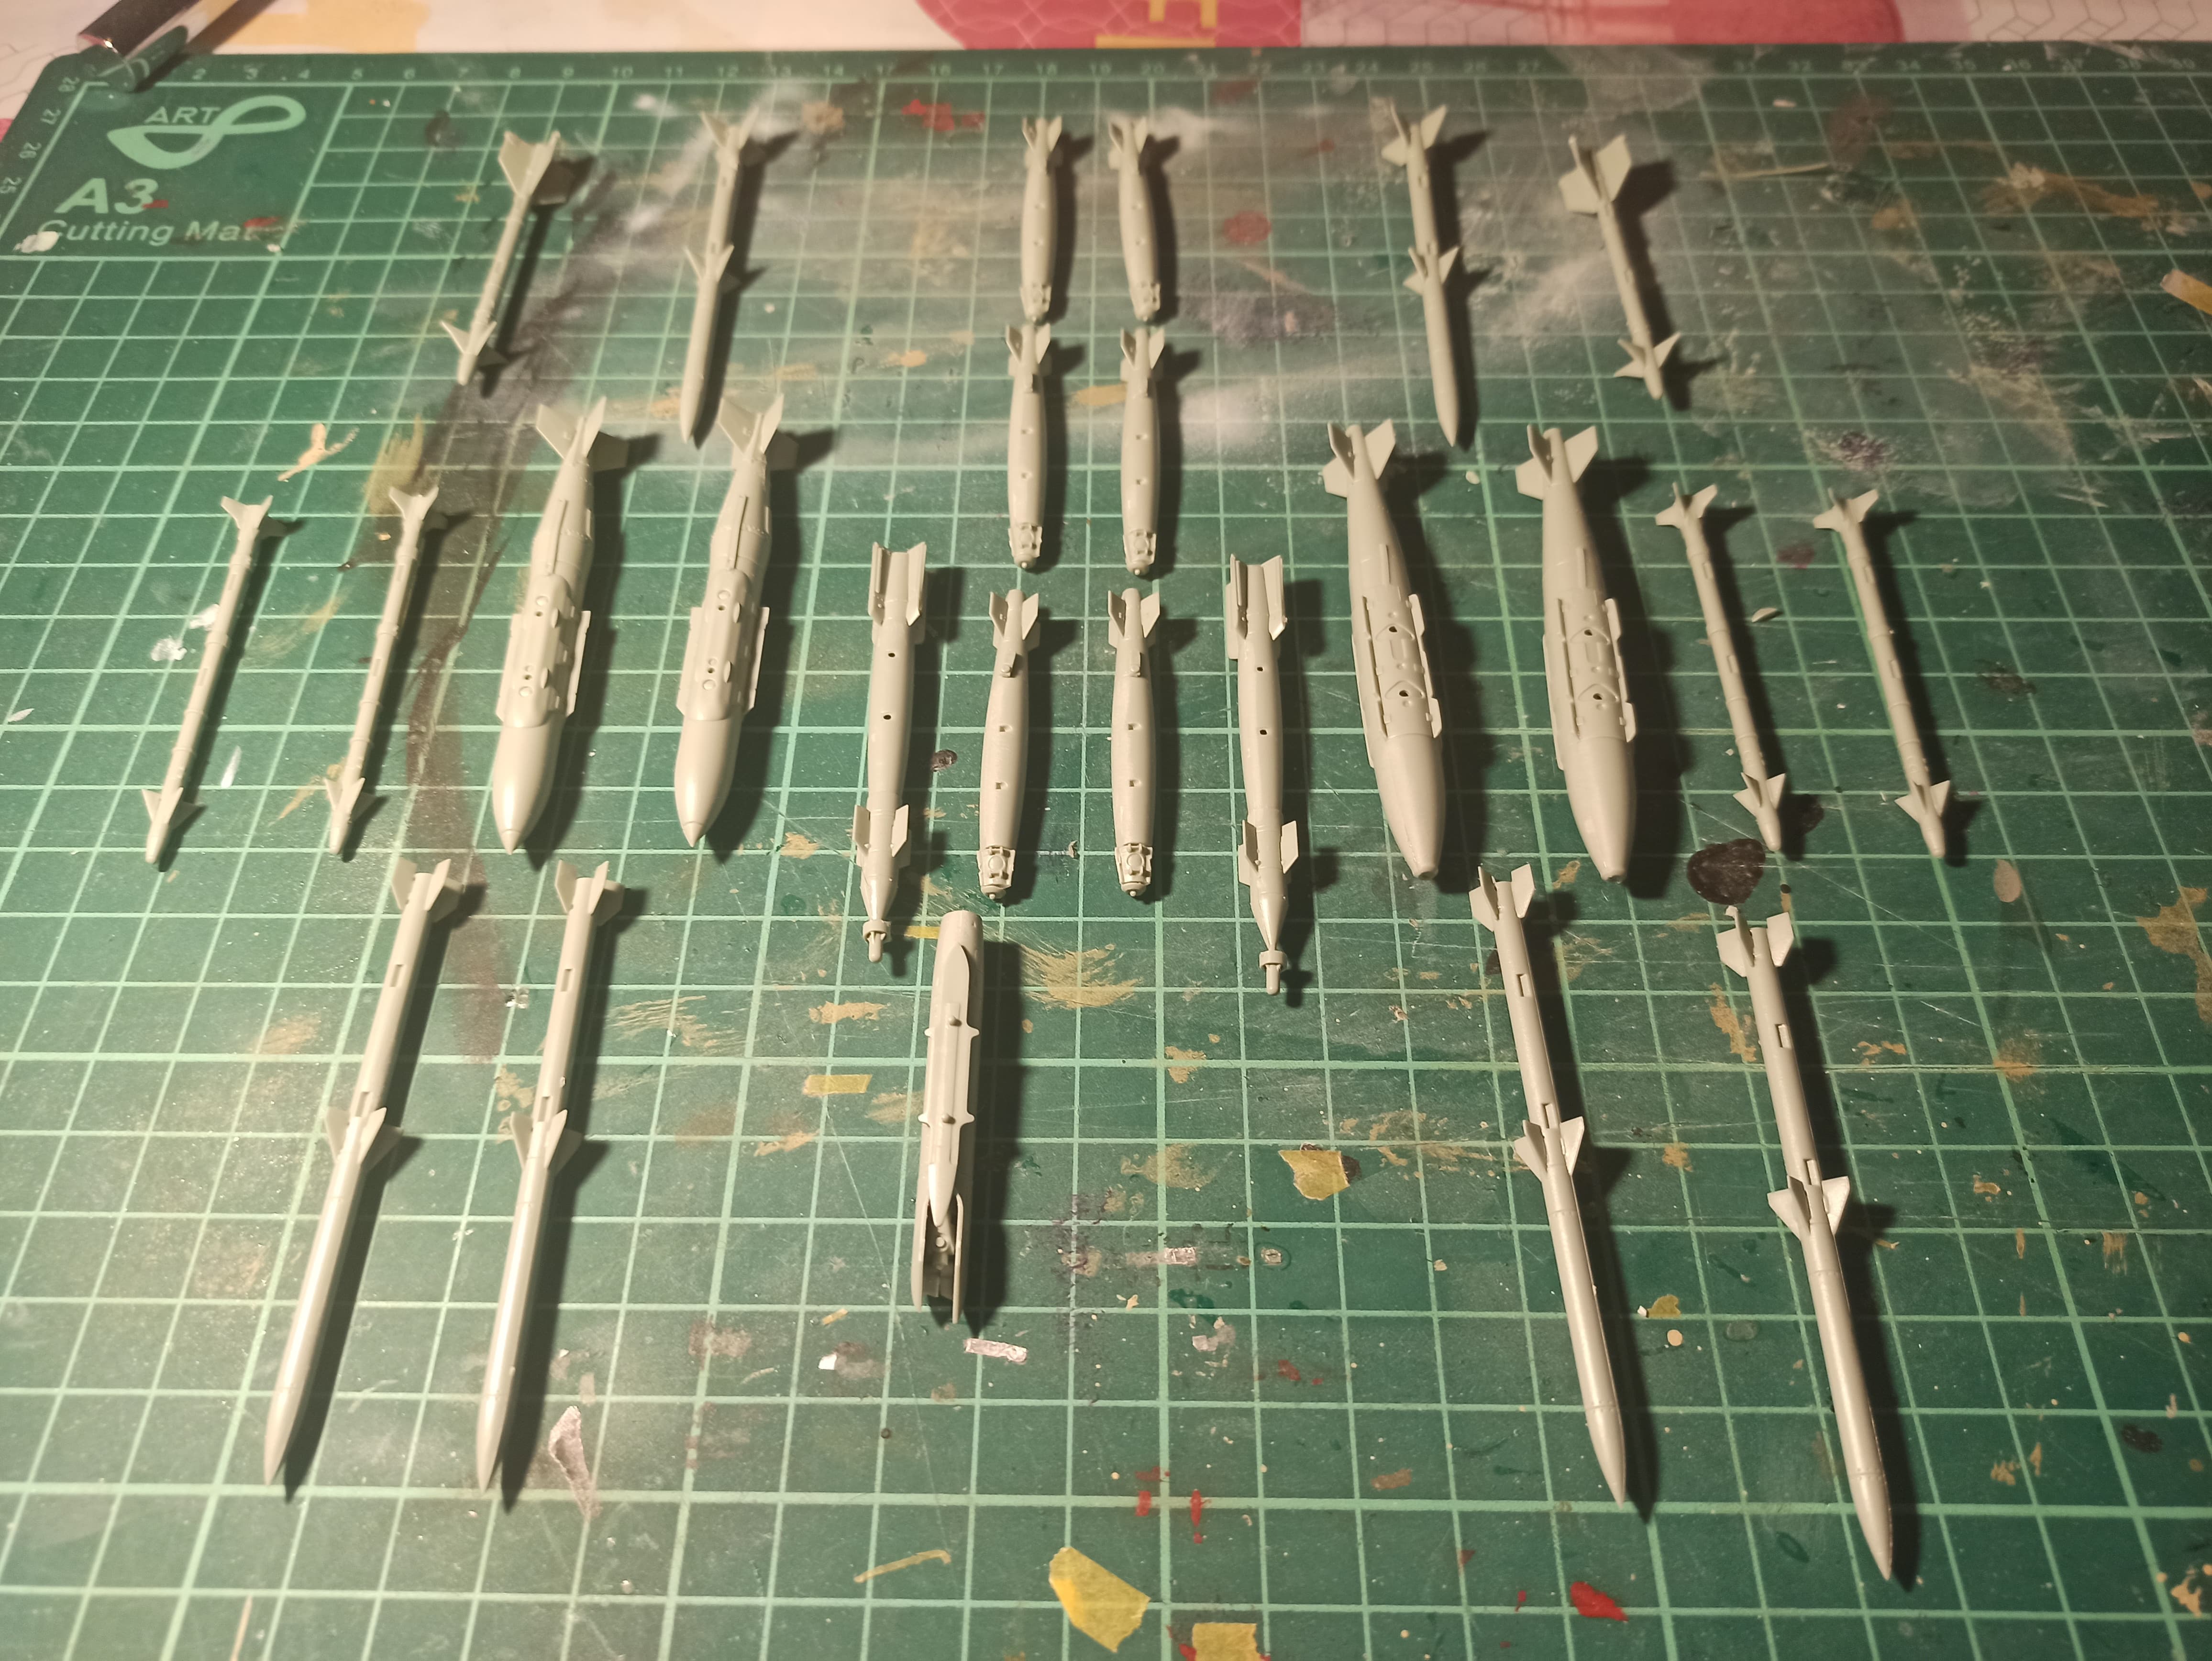
As the putty got dry, I started to build some weapons and I couldn’t stop!!! These are some of the weapons I want to display.
Some AIM120s, some AIM9s, some GBUs, pods…
And finally I airbrushed white primer in the lower side, and I could see some faults from the putty.
That’s all for now.
Regards!
3 Likes
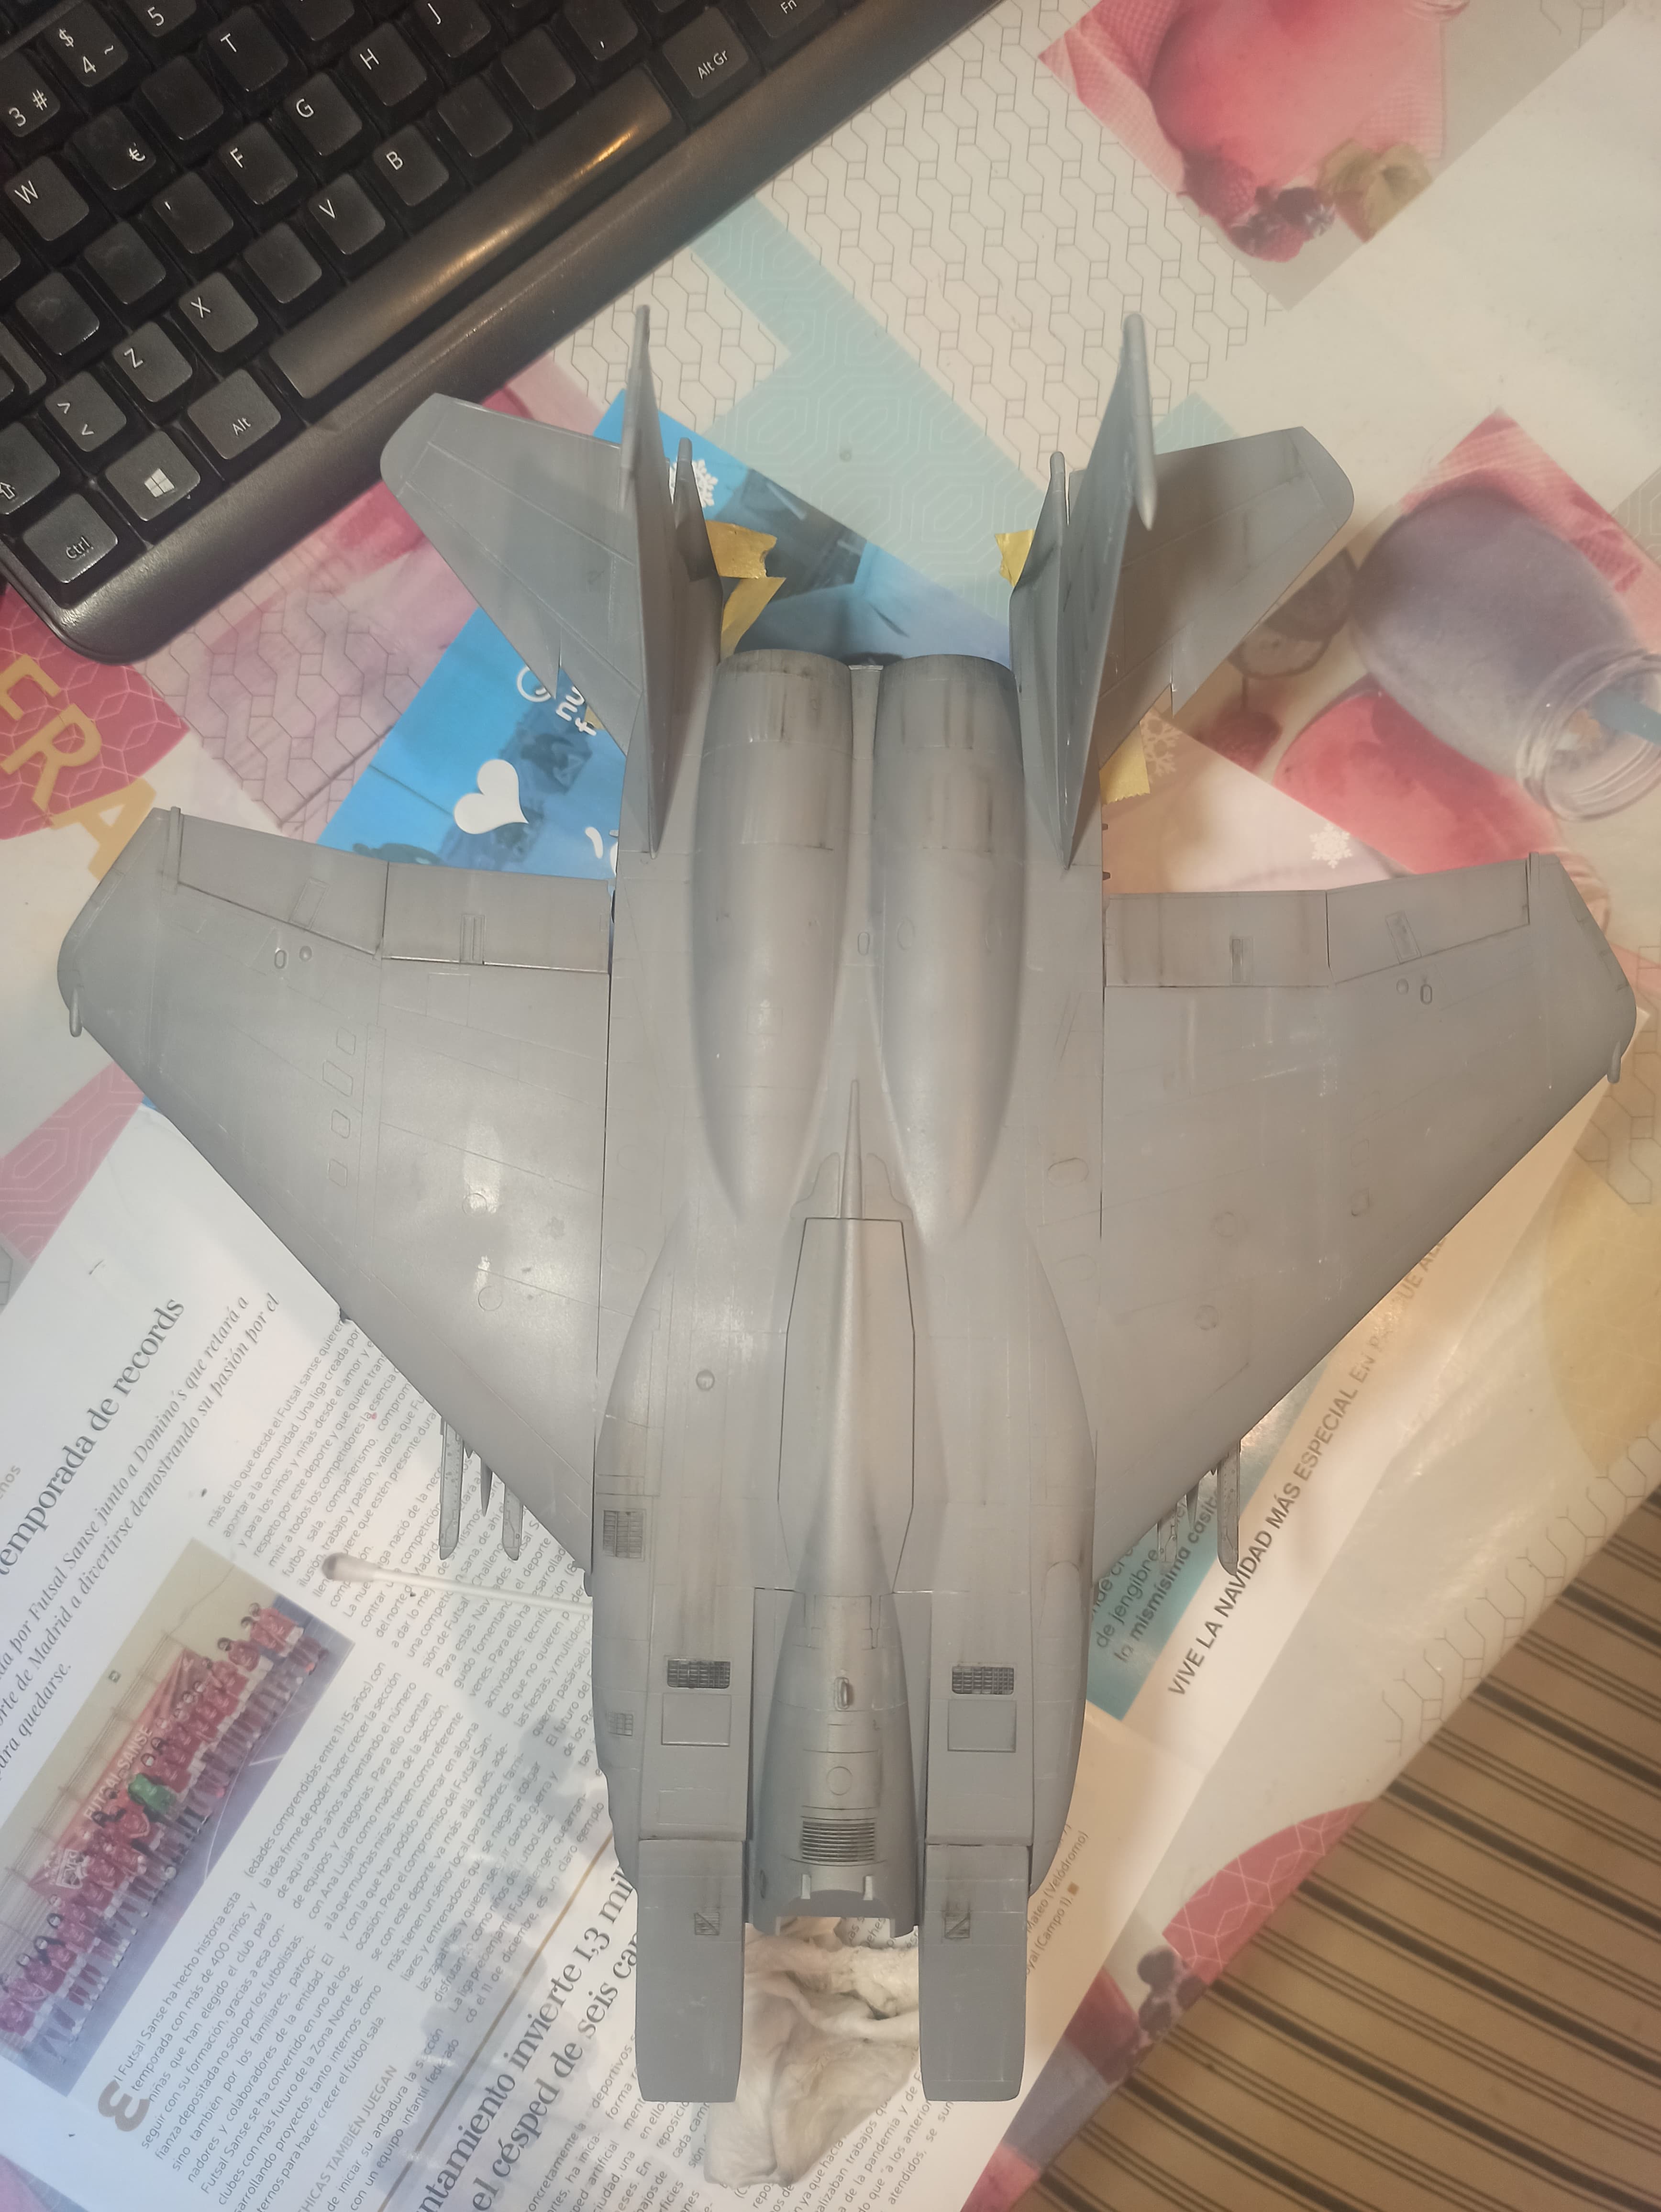
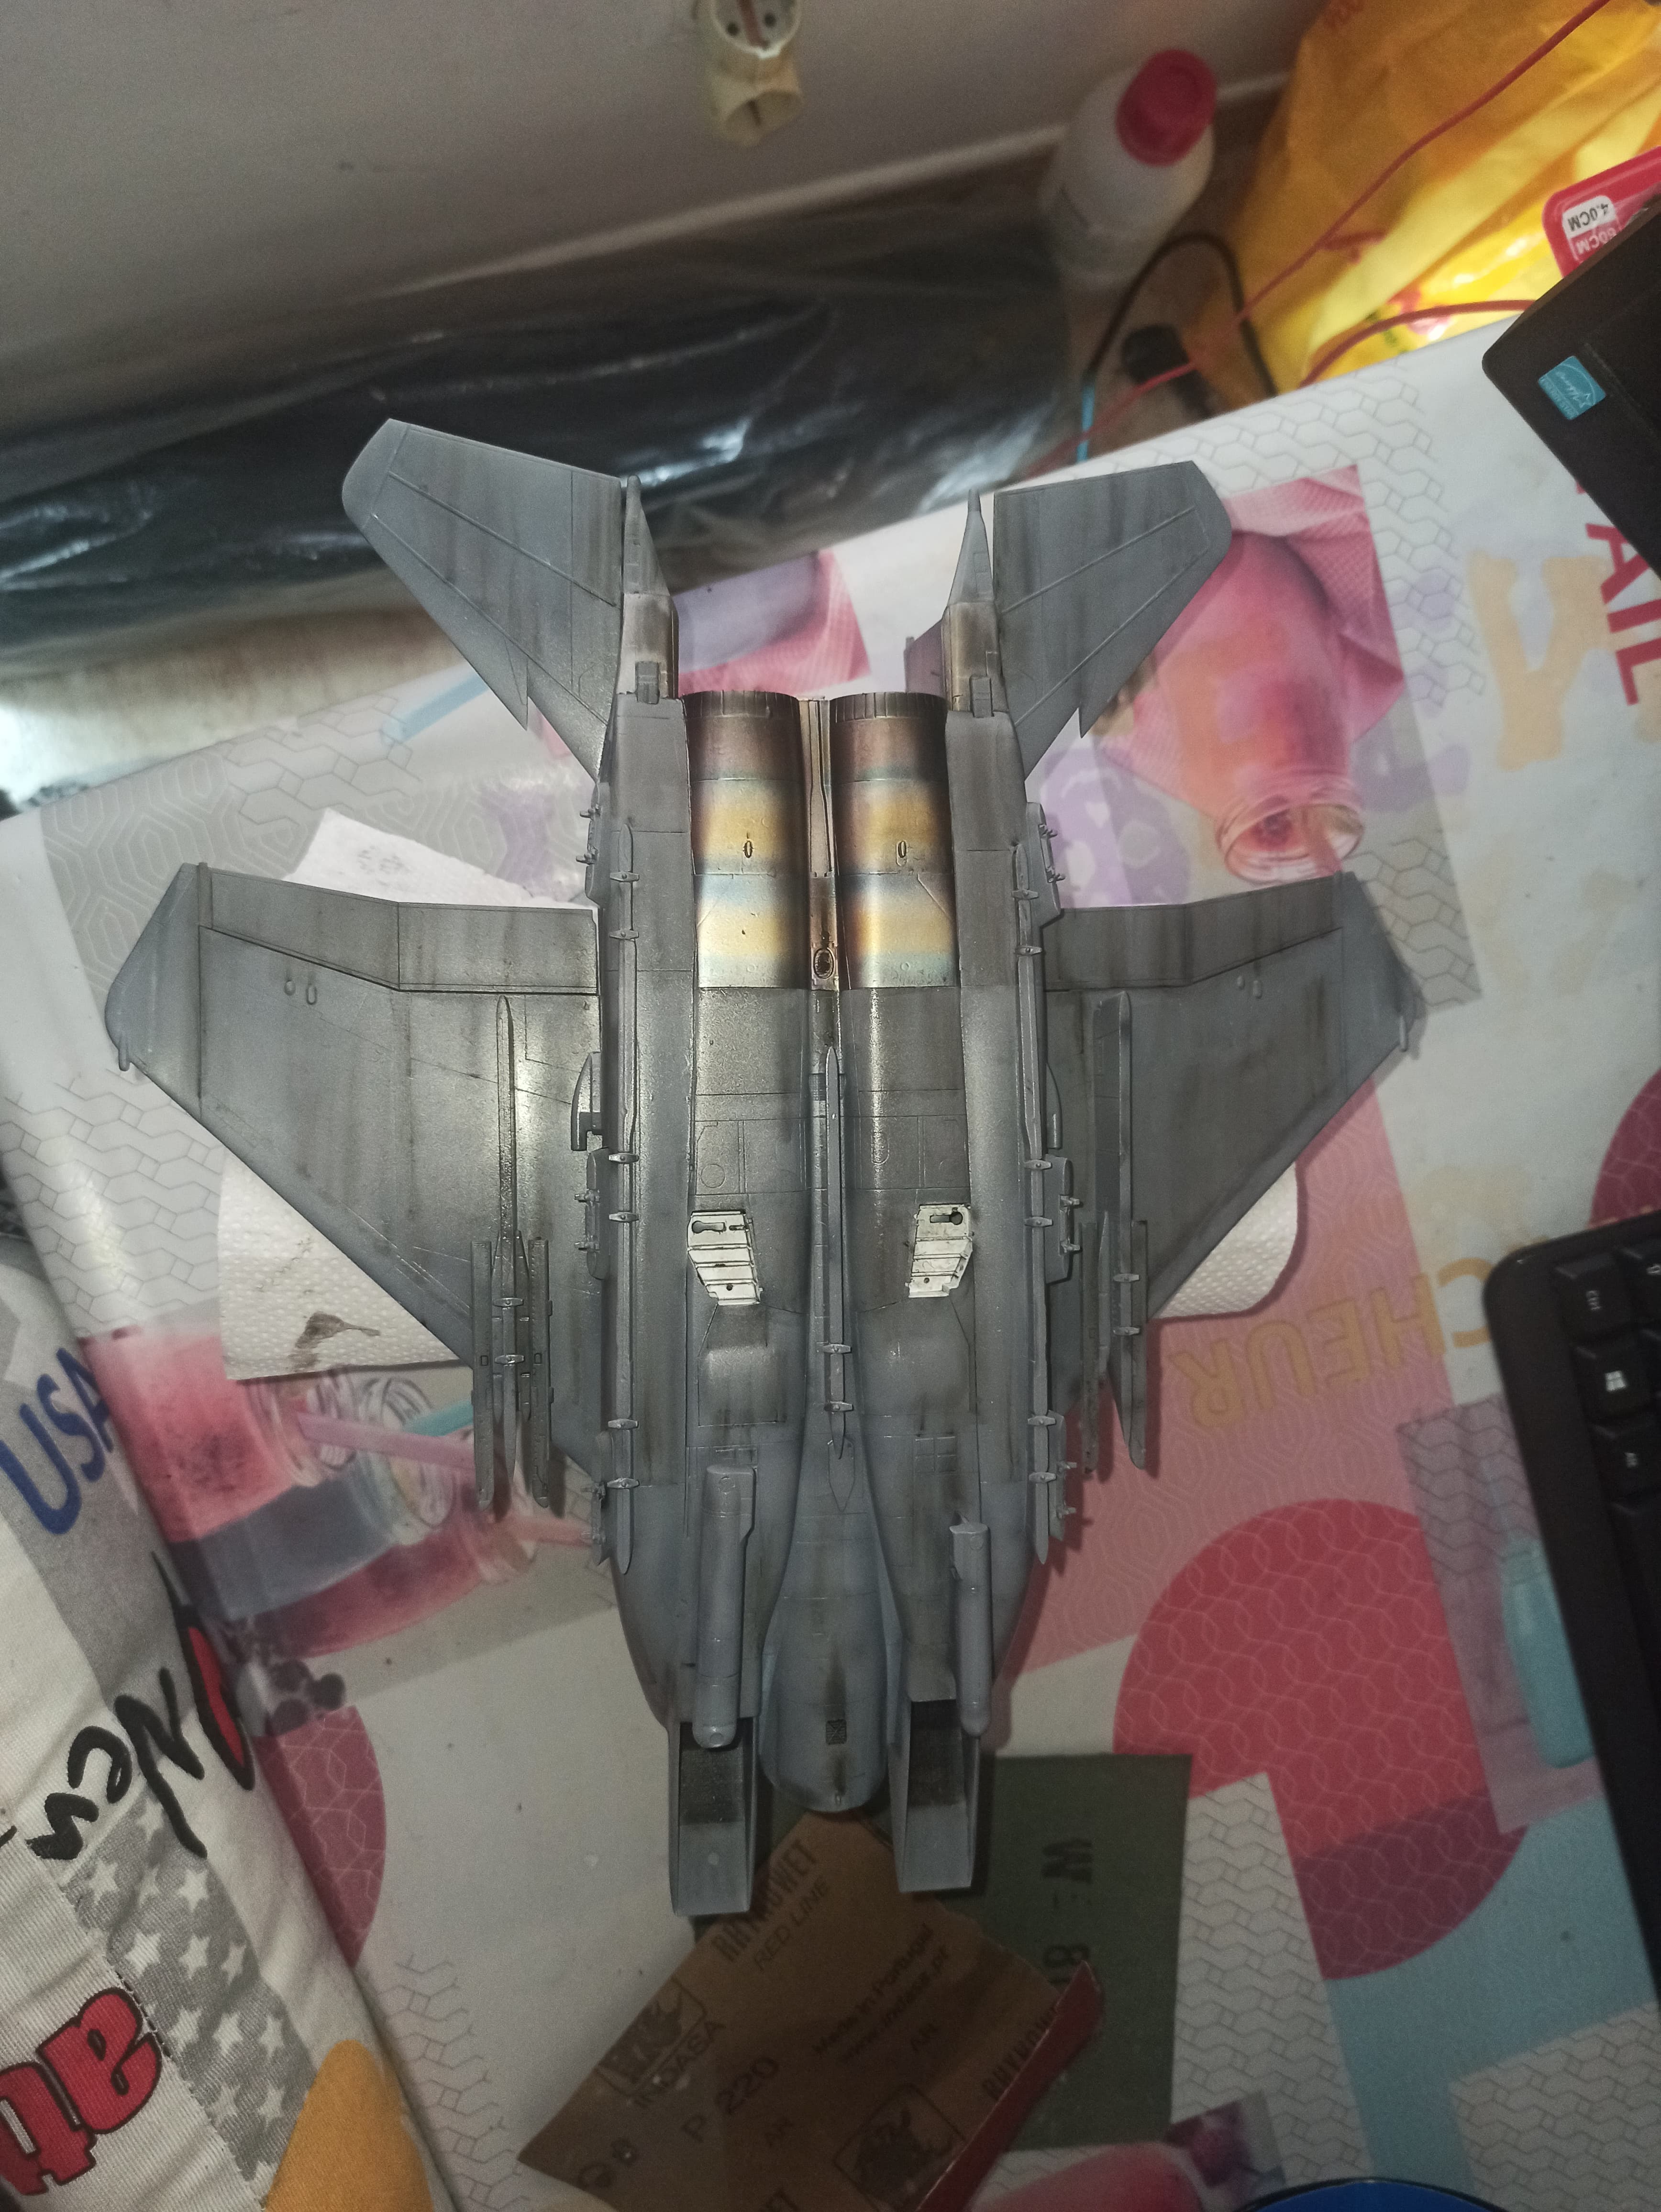
Some advances for the weekend. I finally finished with the primer and sand. So I airbrushed the first coat of FS36118 and preshaded with black. Then, second coat and finally, some lights with FS36118 mixed with a lighter grey.
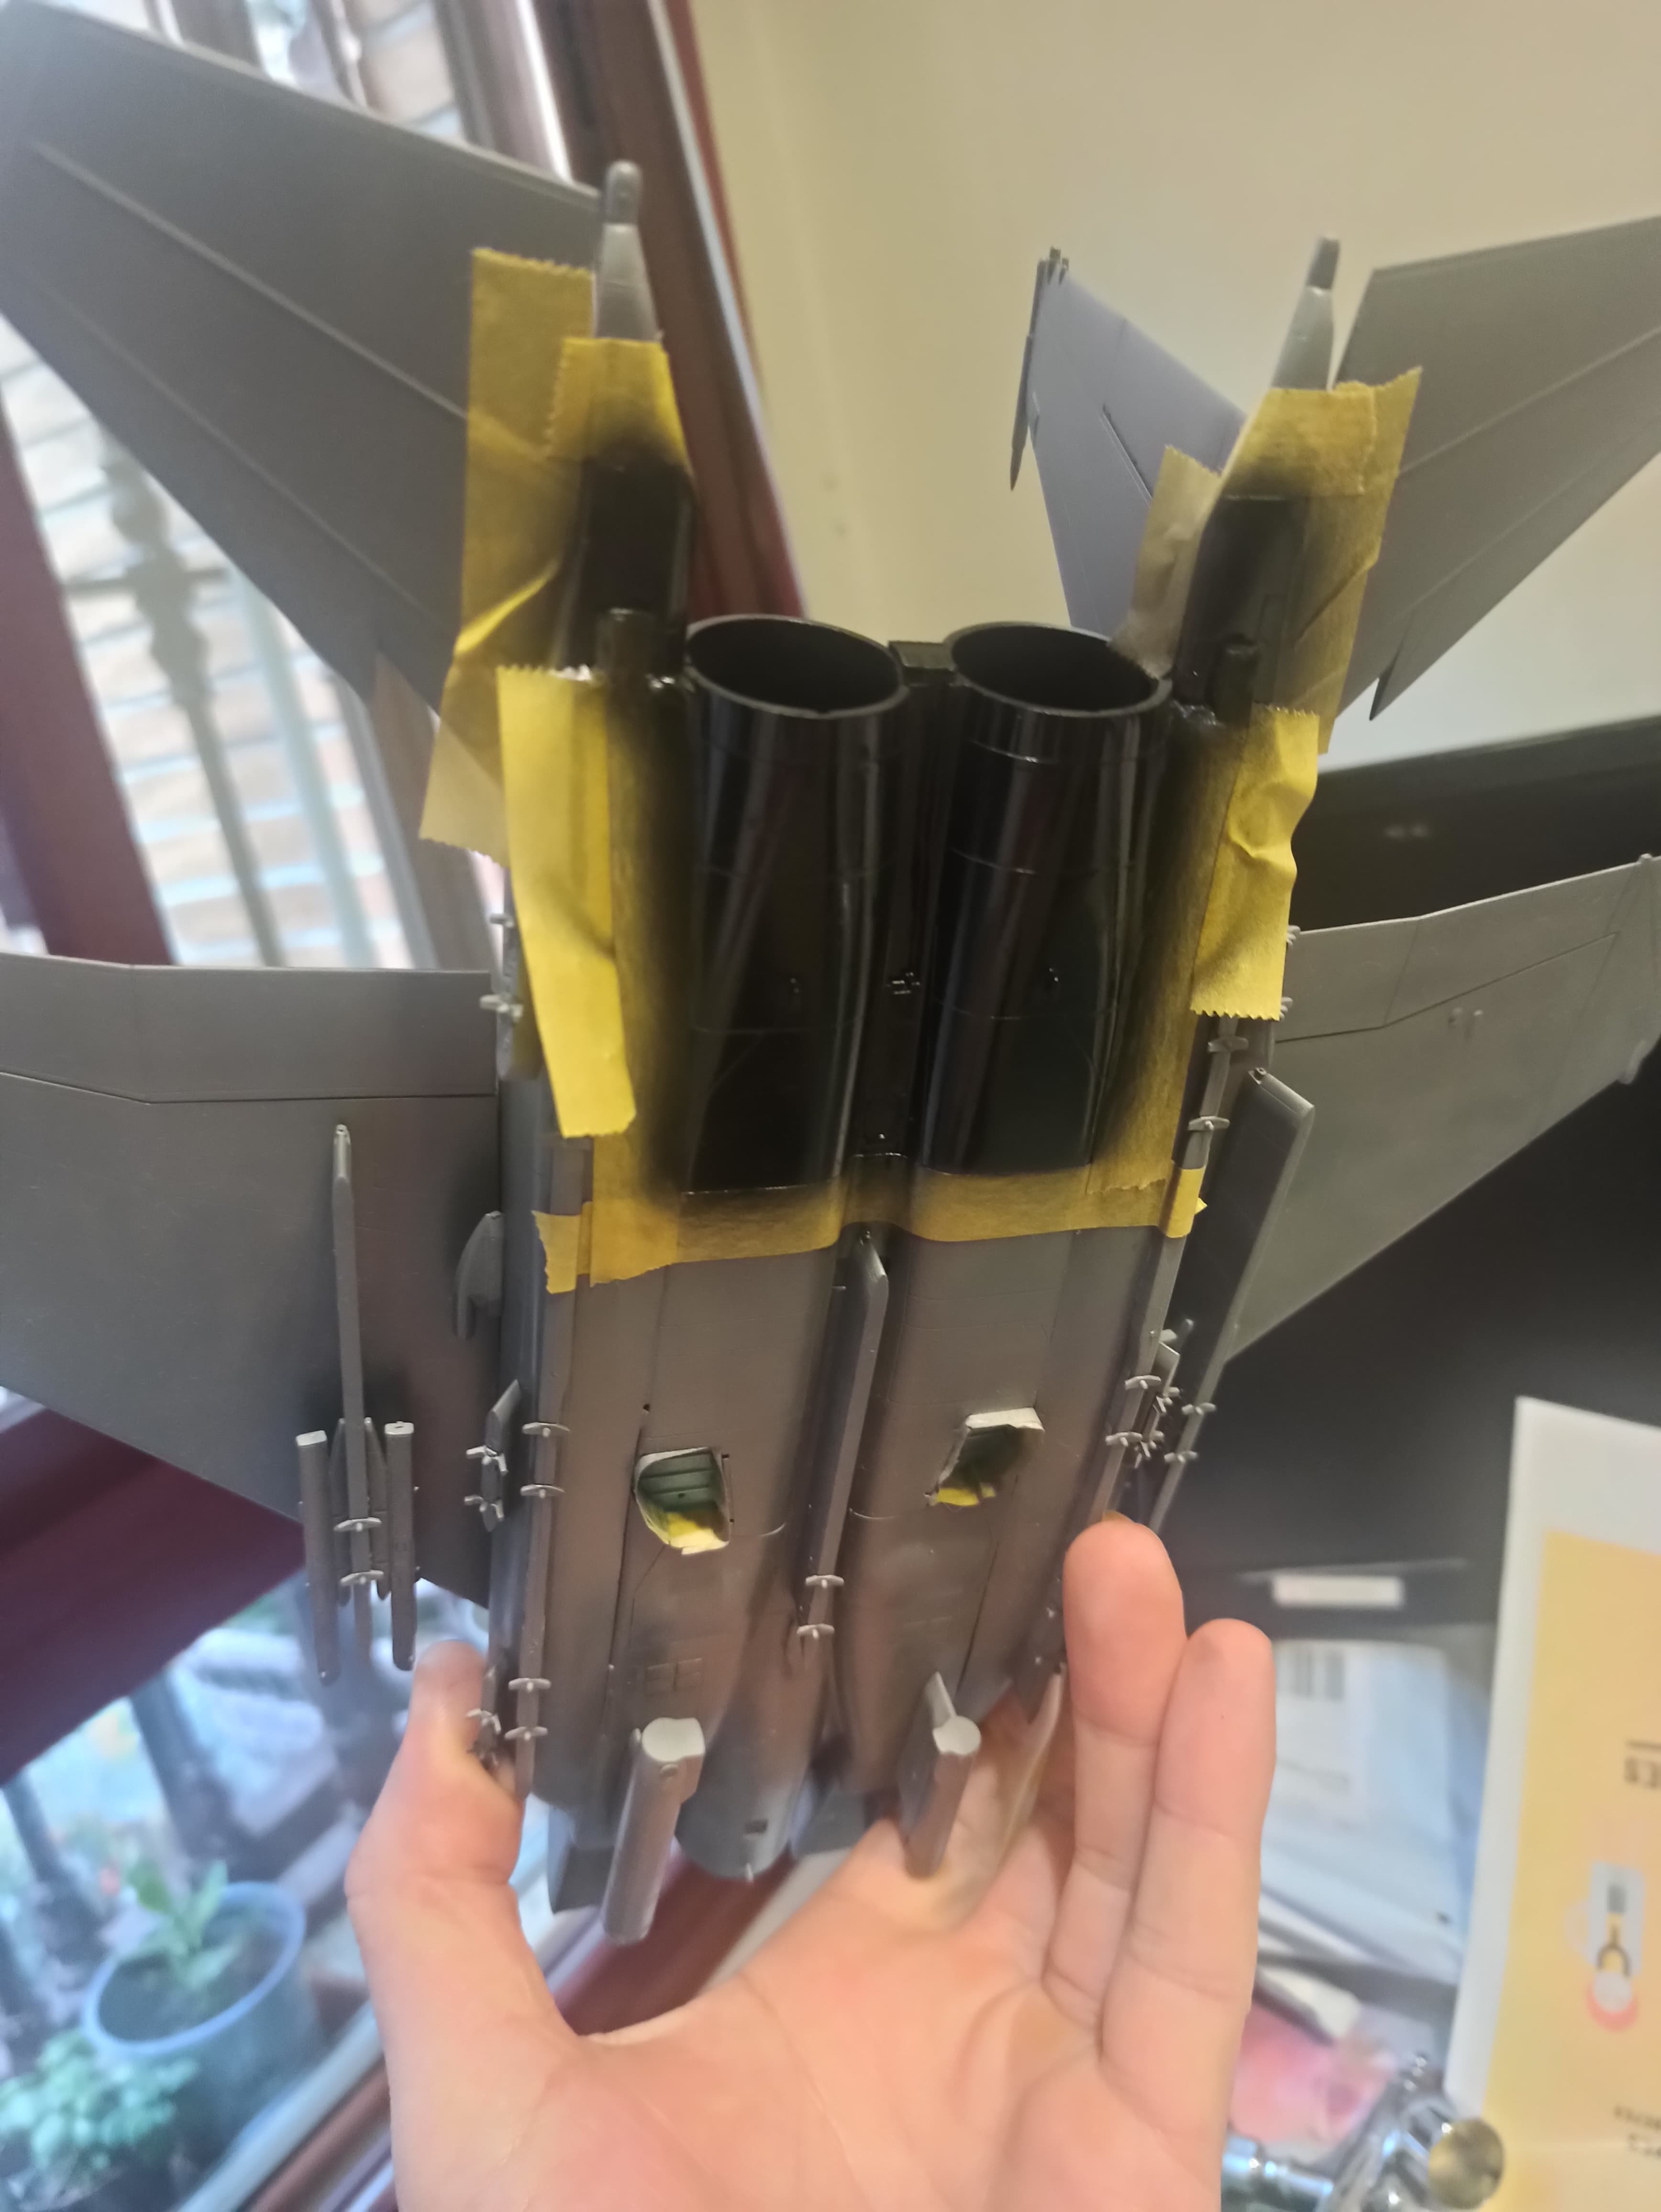
The lower side is already preshaded (not in the picture) as the upper, but without second coat yet. Also the engine covers are primed with Alclad Black primer.
And finally, the engine covers finished. I used Alclad magnesium, Alclad purple exhaust and Tamiya’s clear red and blue.
My next step is panelling the upper side. I’m going to try a new (at least for me) technique using color pencils. The good thing is that I can erase the effects if I don’t like it.
Happy holidays!!
8 Likes
Hi there!!
As I’m on holidays this week, I could try the watercolor pencils for weathering. It was easier than I thought and the results looks fine.
I couldn’t get a good light for the pictures, but I hope you can see what I got.
Not much to see on this picture.
The wing before apply the brush.
And some tryings with different lights.
I’ll begin with the lower side next. But before I’ll varnish the upper side with glossy varnish and let it ready for decals.
Cheers!!
5 Likes
Quick update.
Weathering done. Glossy coat applied and ready for decals.
I’m waiting for the Ammo Slow dry cyano to fix the nose. Meanwhile, I’ll apply the upper and lower main fuselage decals.
Regards!
4 Likes
Wow! Great work on the exhaust and realistic belly filth.
1 Like
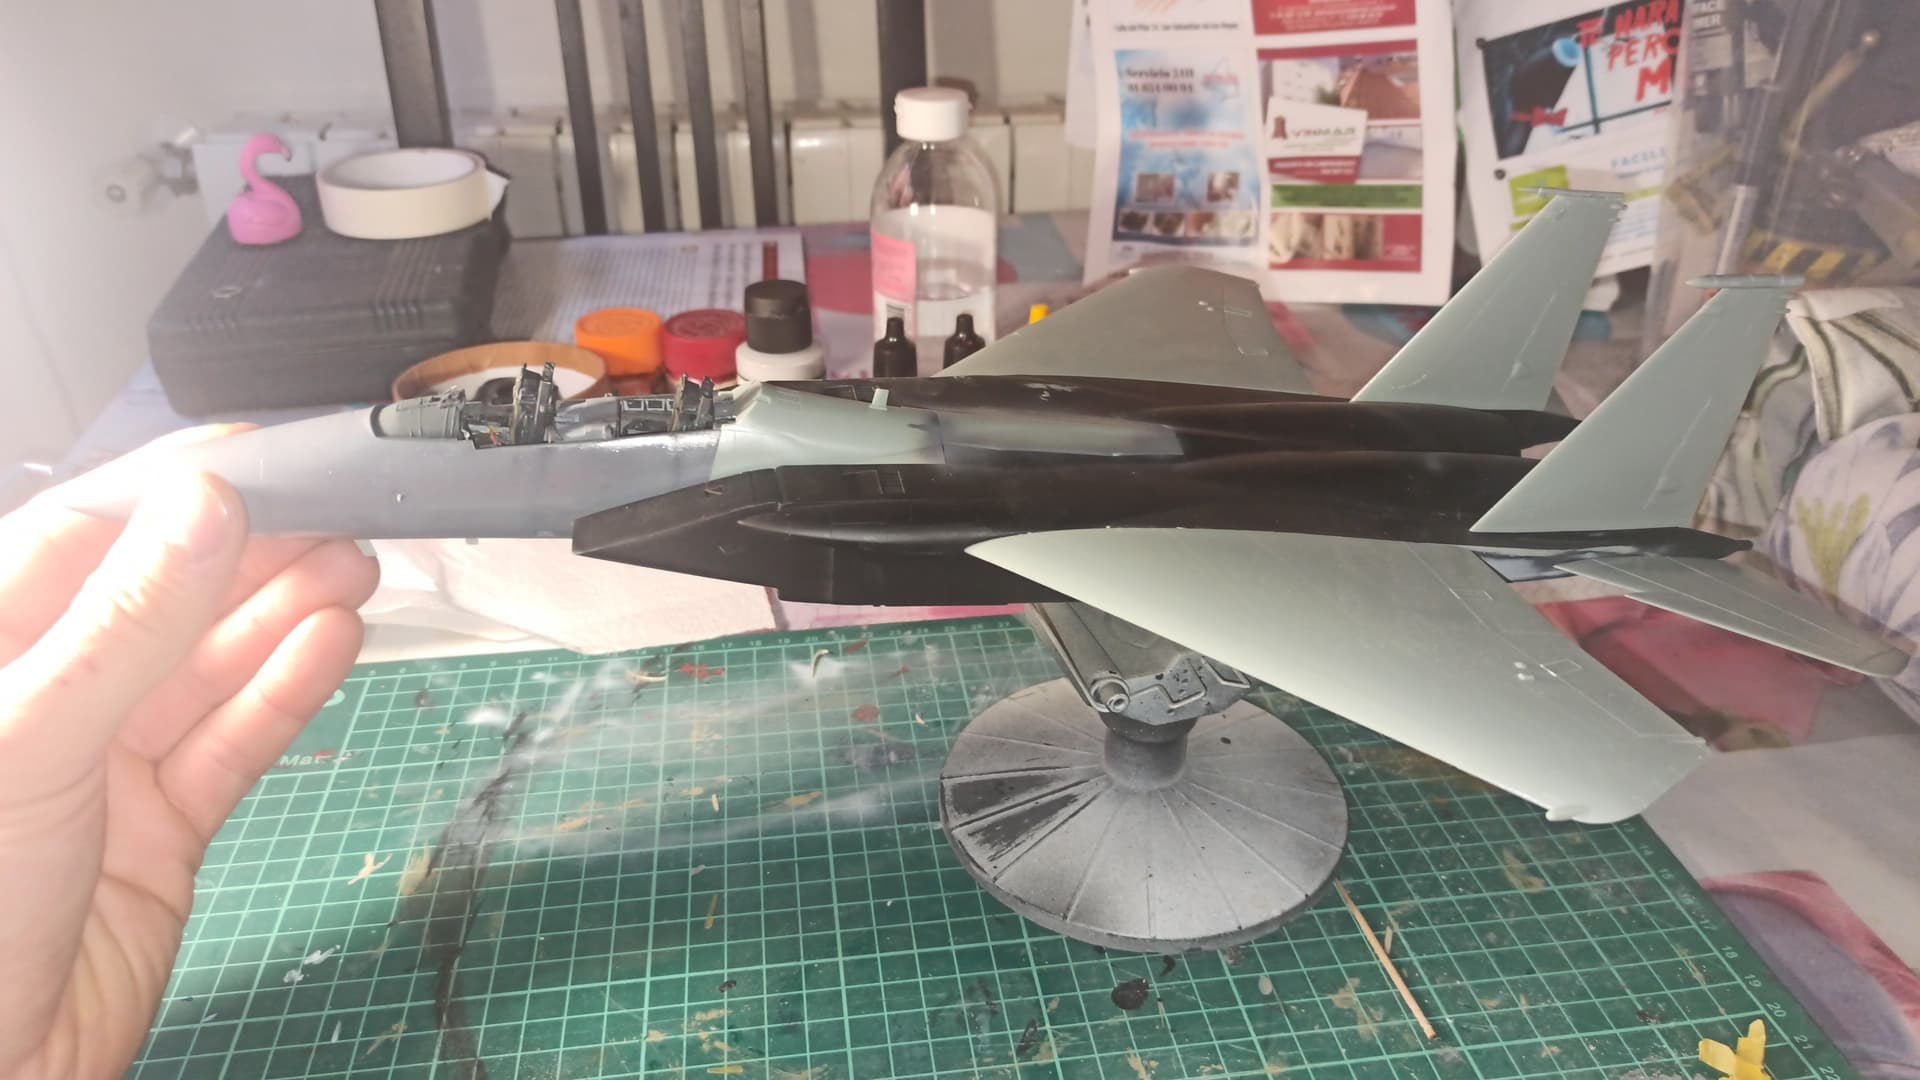
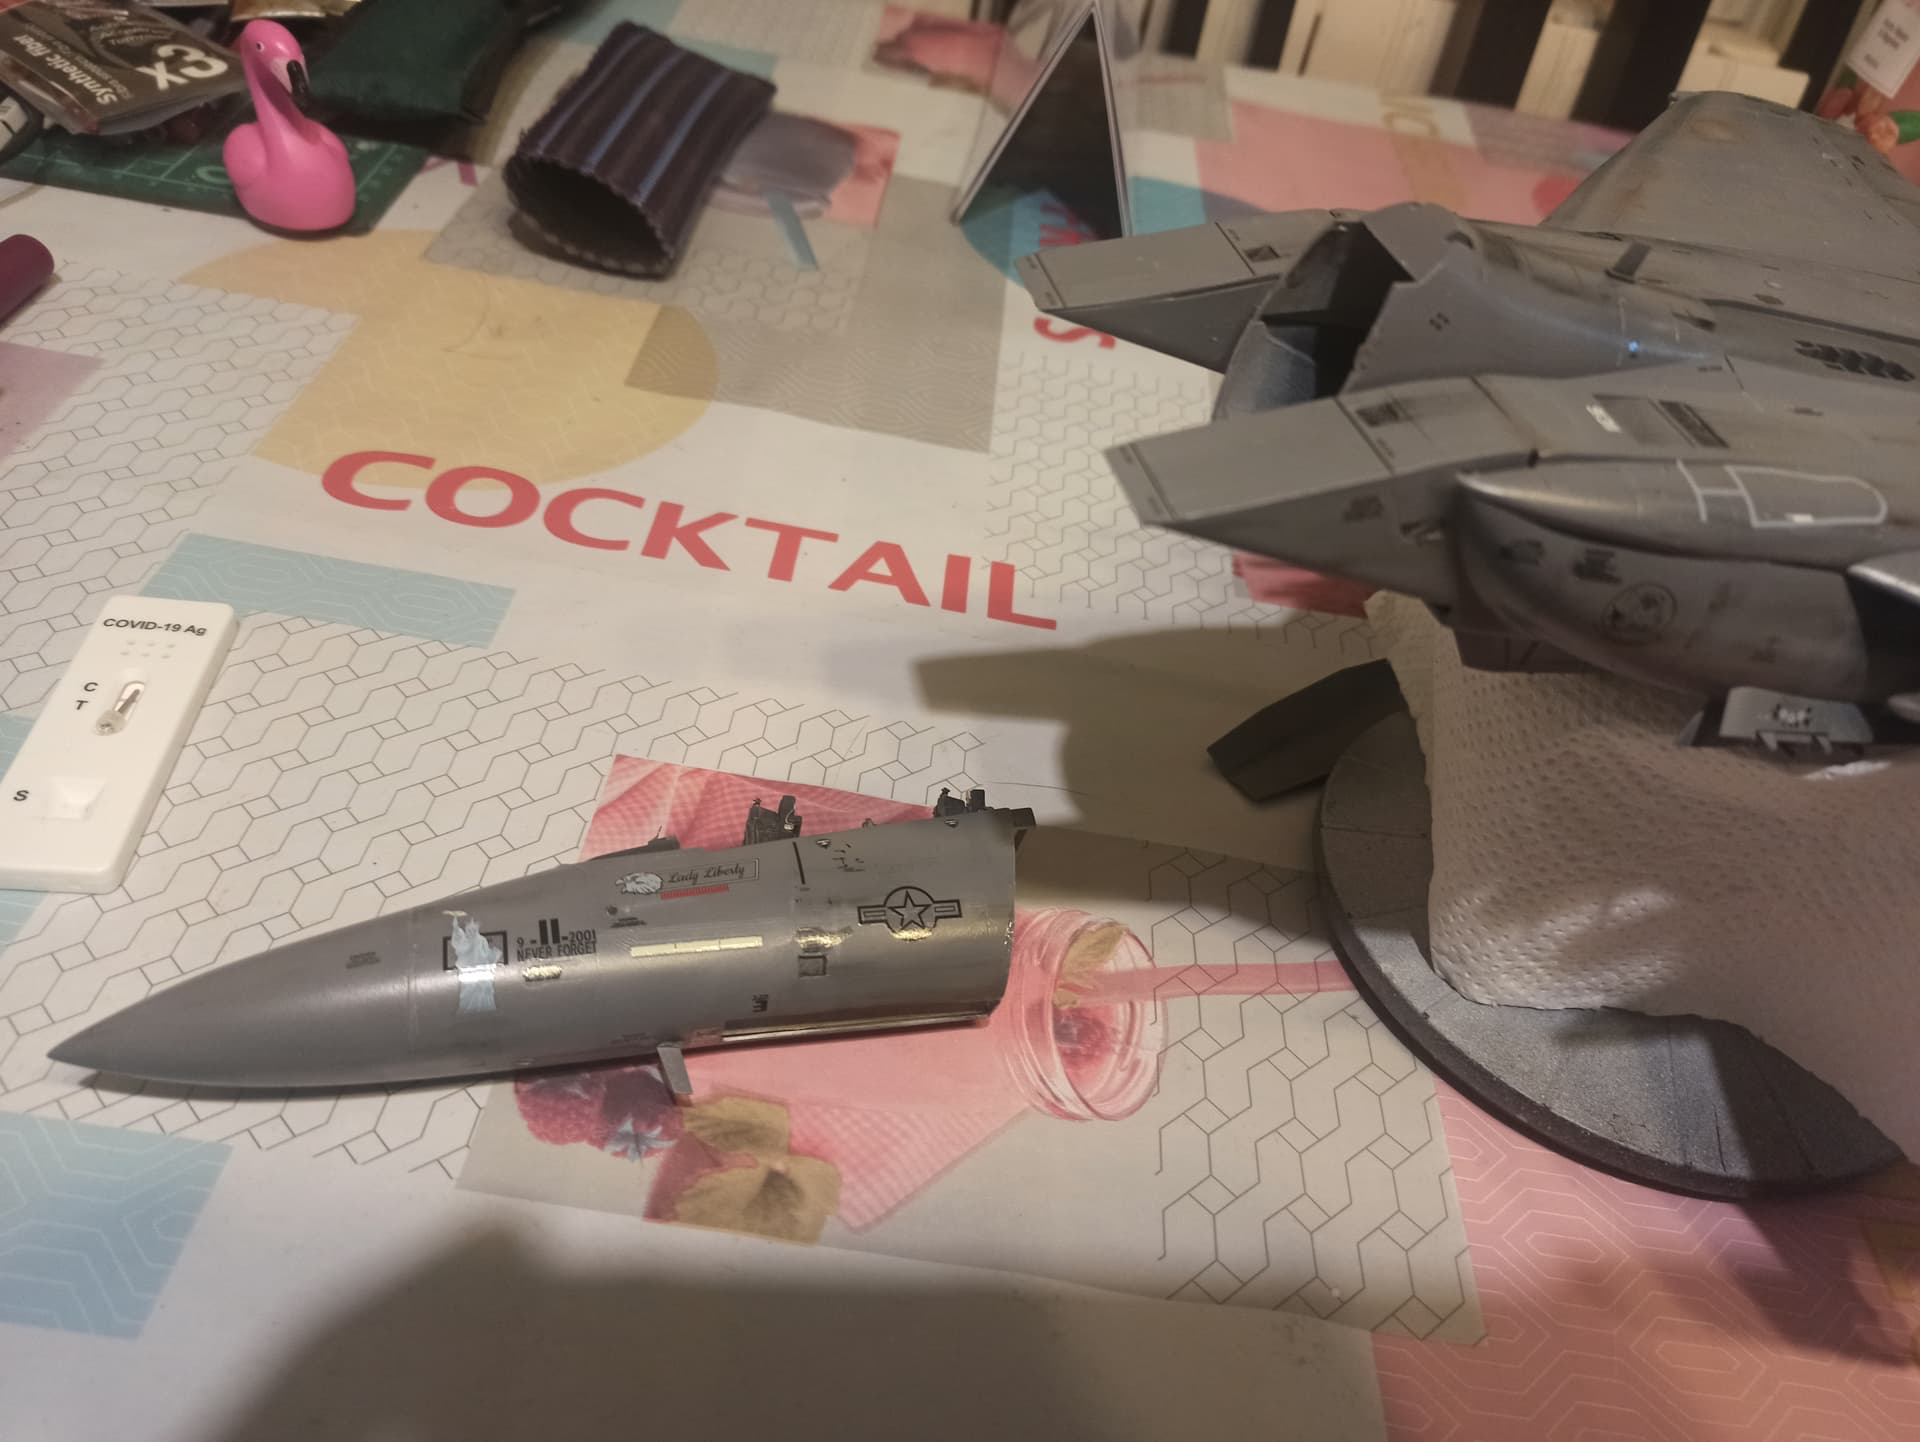
I could shot two pictures a bit better than the previous.
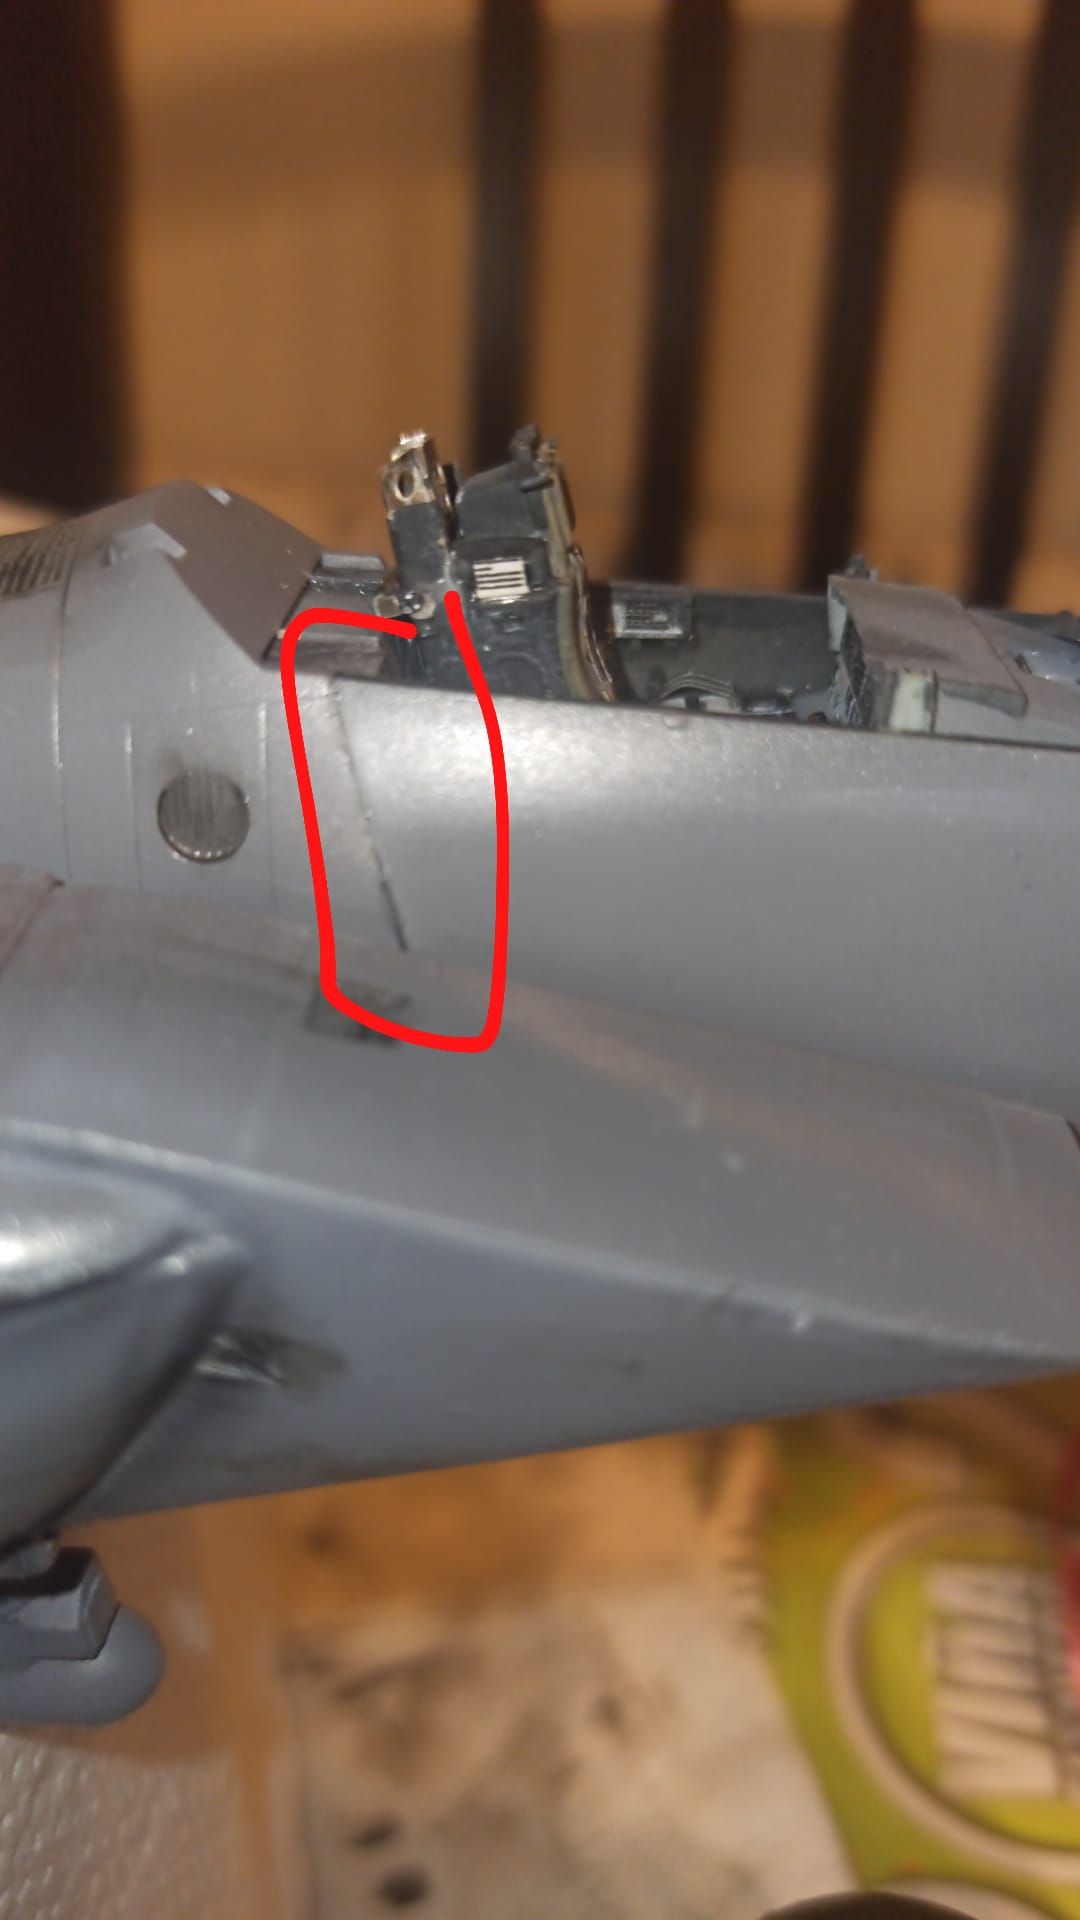
The nose cone is already fixed. Now I have to apply some filters more to match with the main fuselage weathering. Also I have to fix this joint as I could.
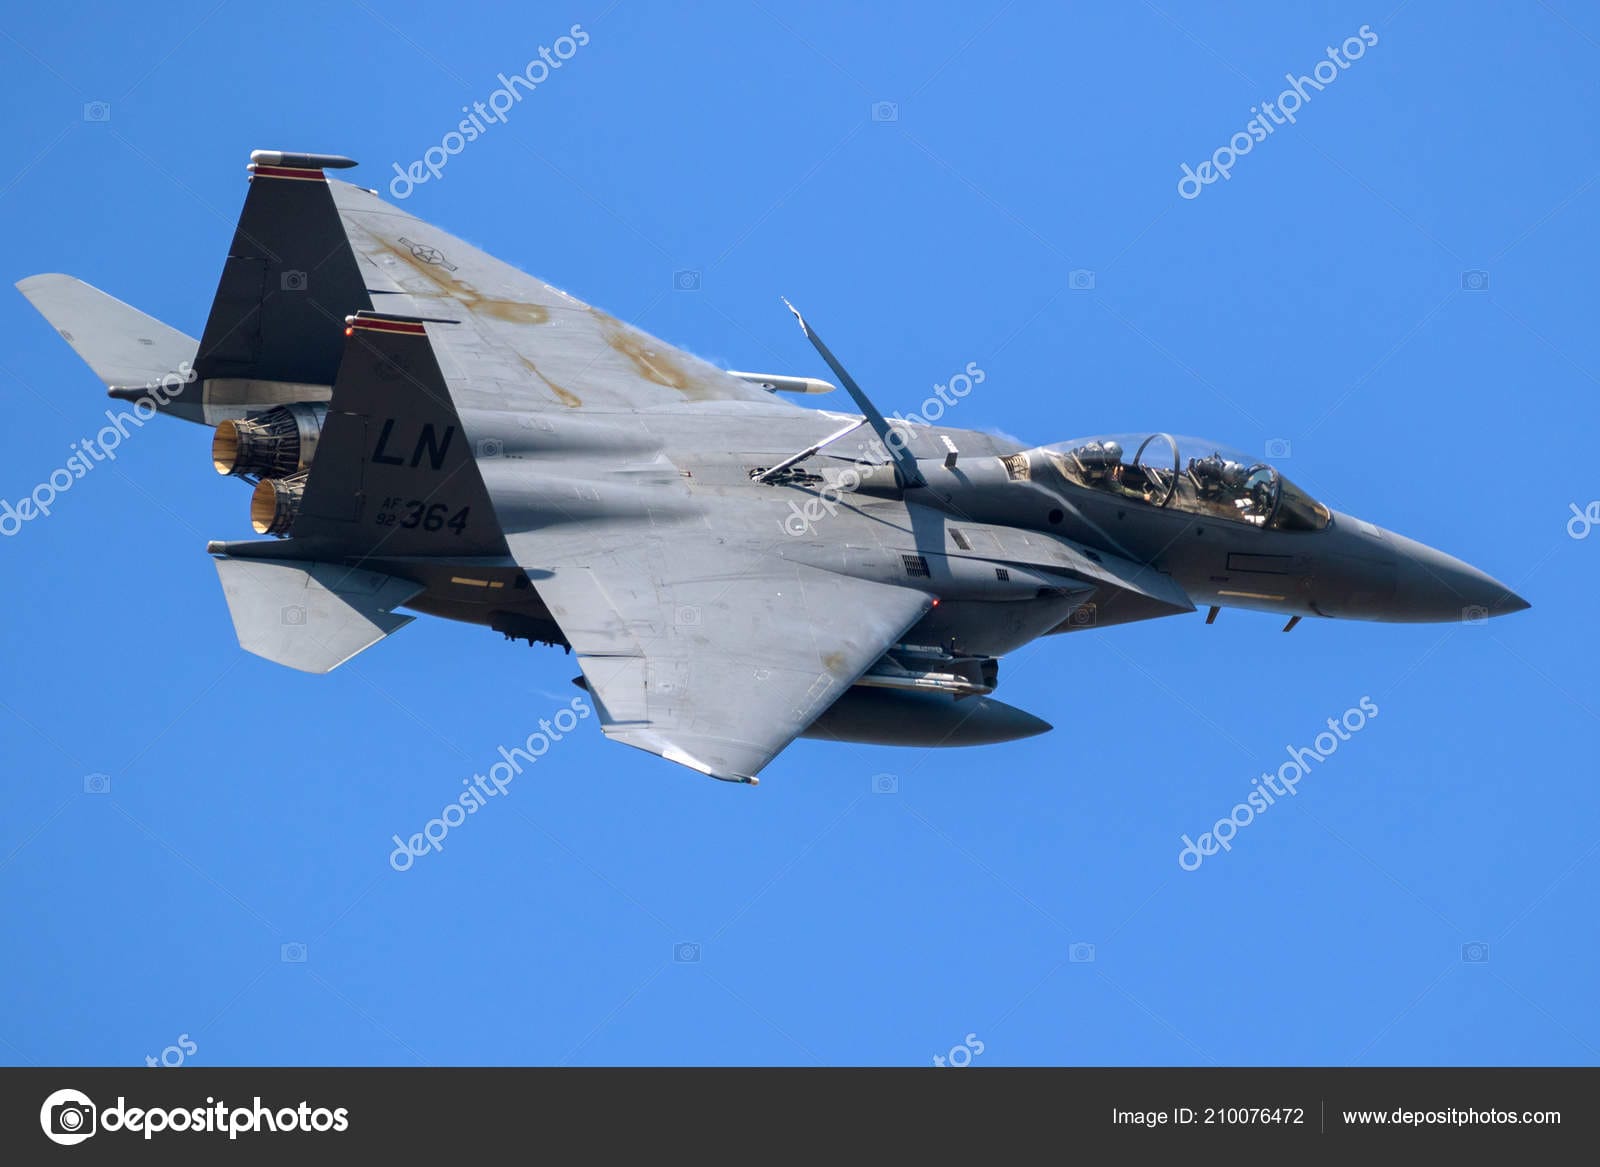
And this is one of the pictures I used as refpic:
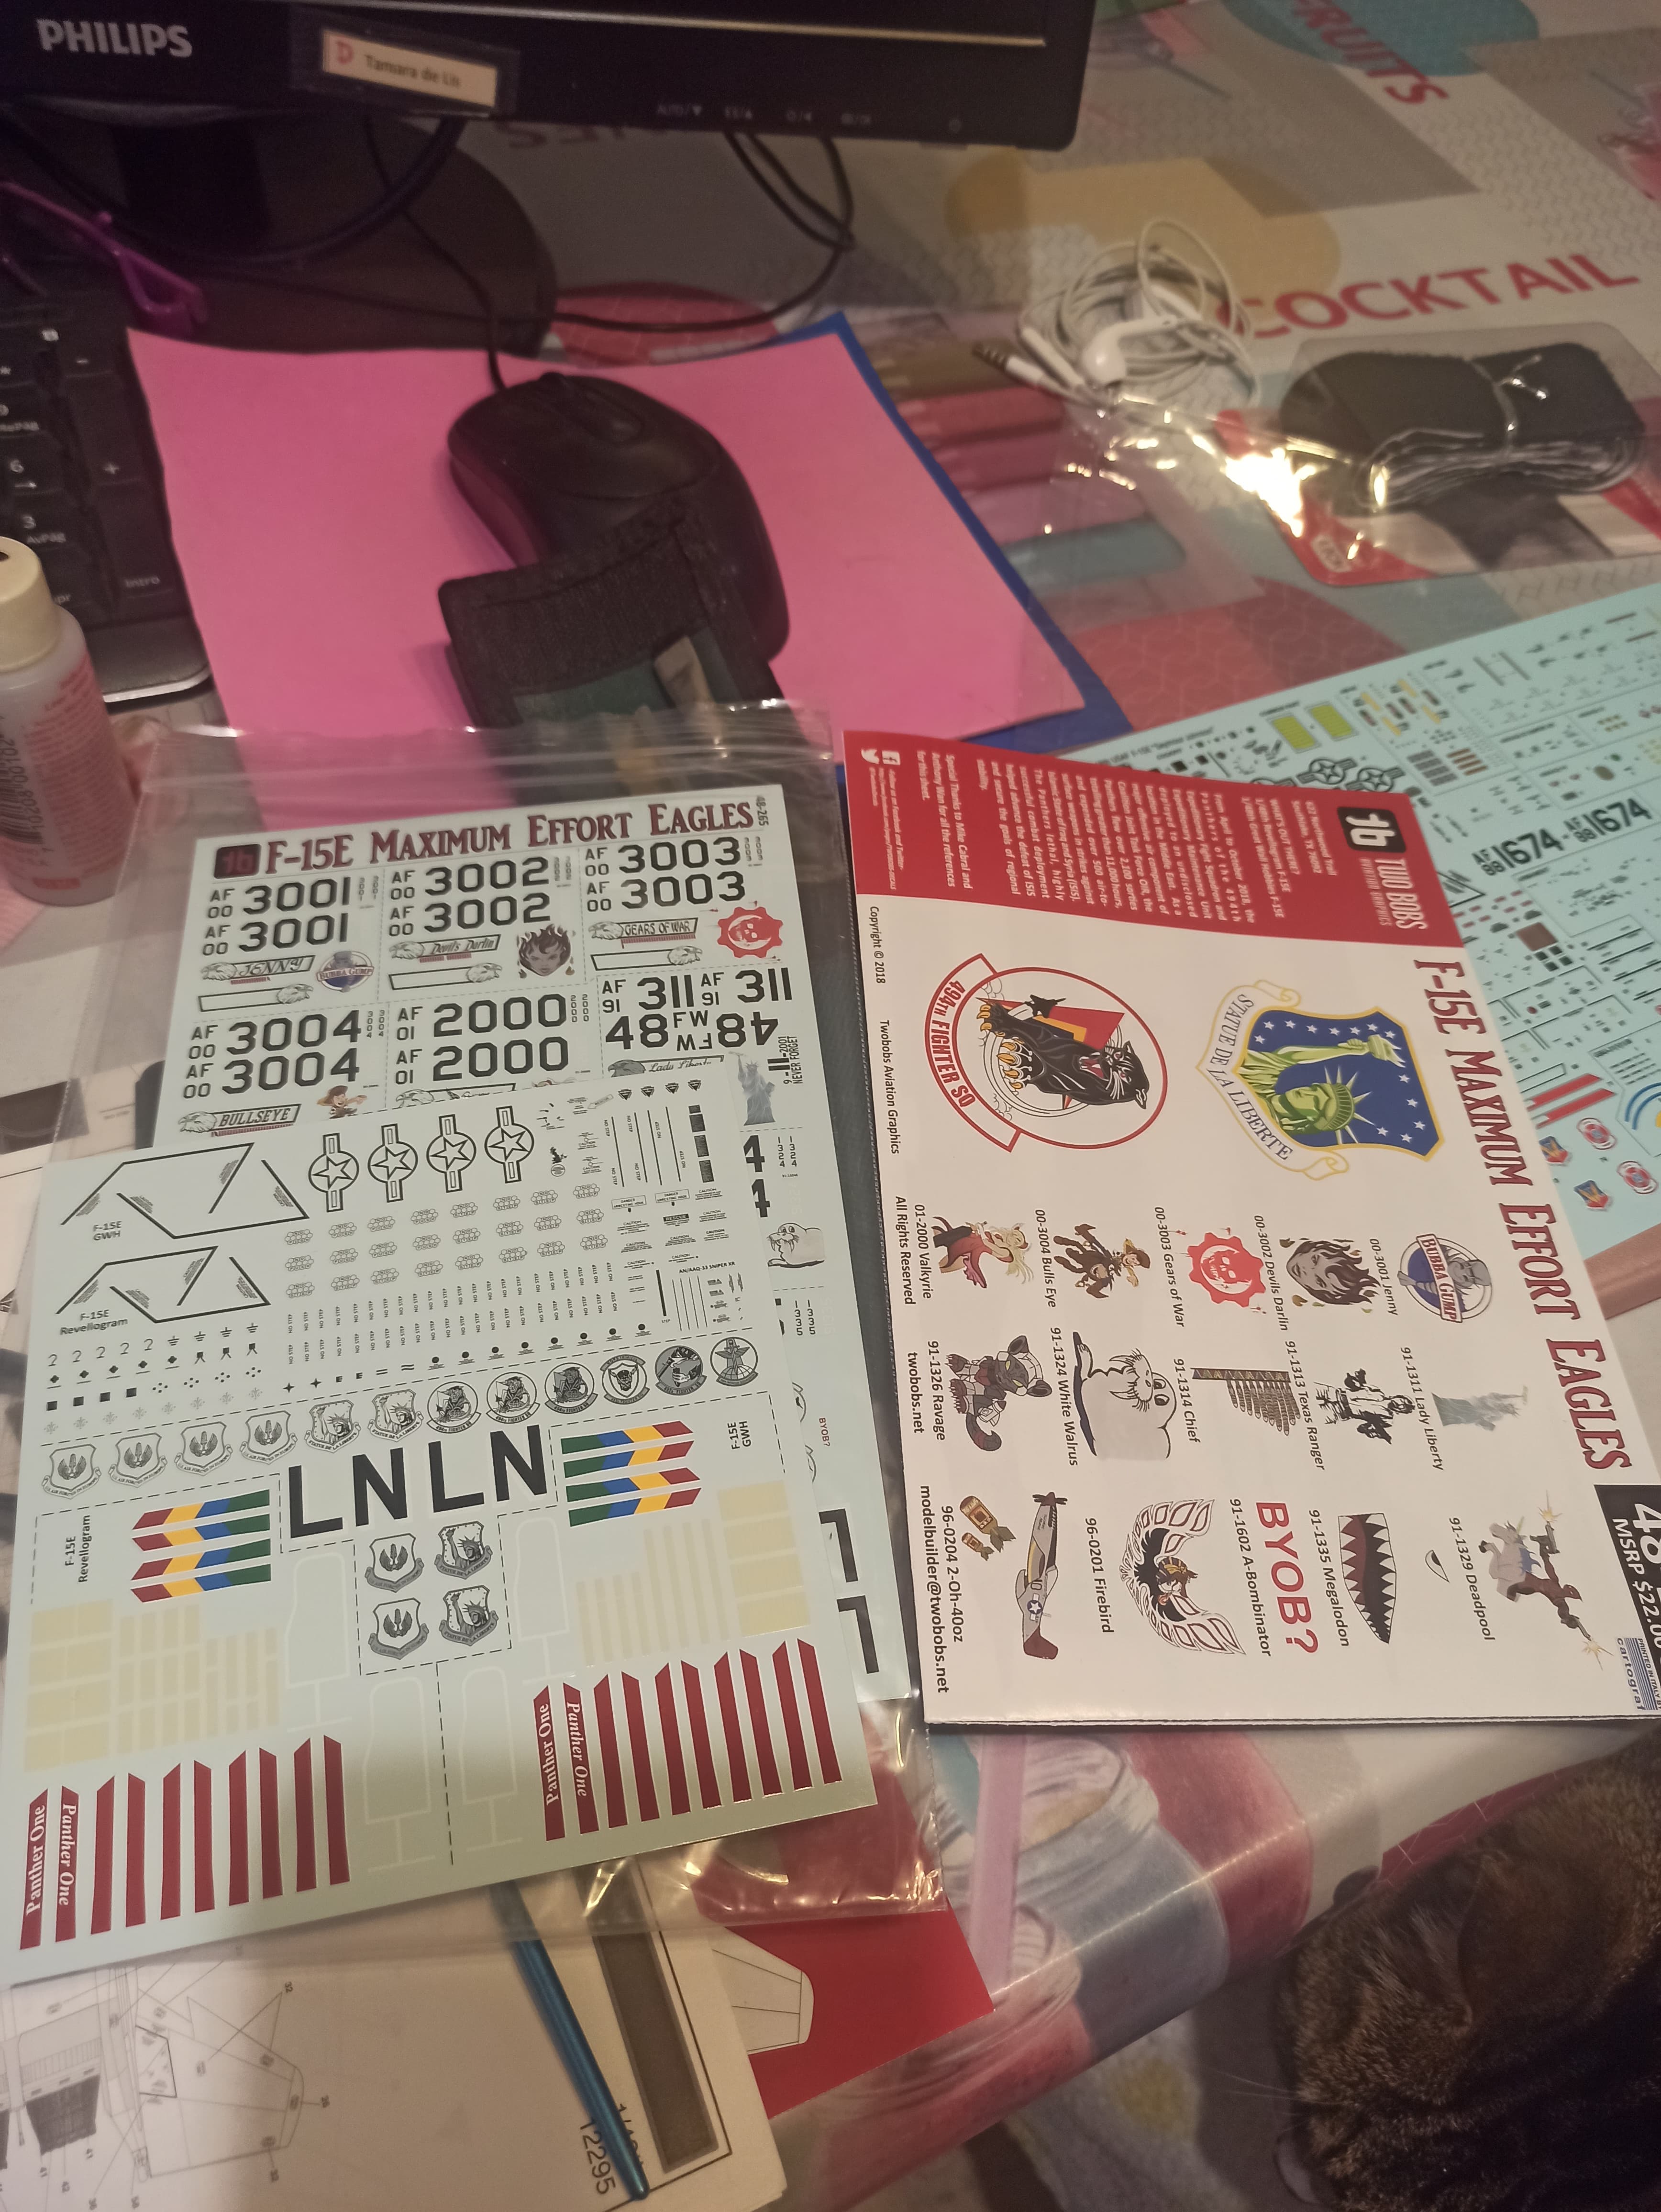
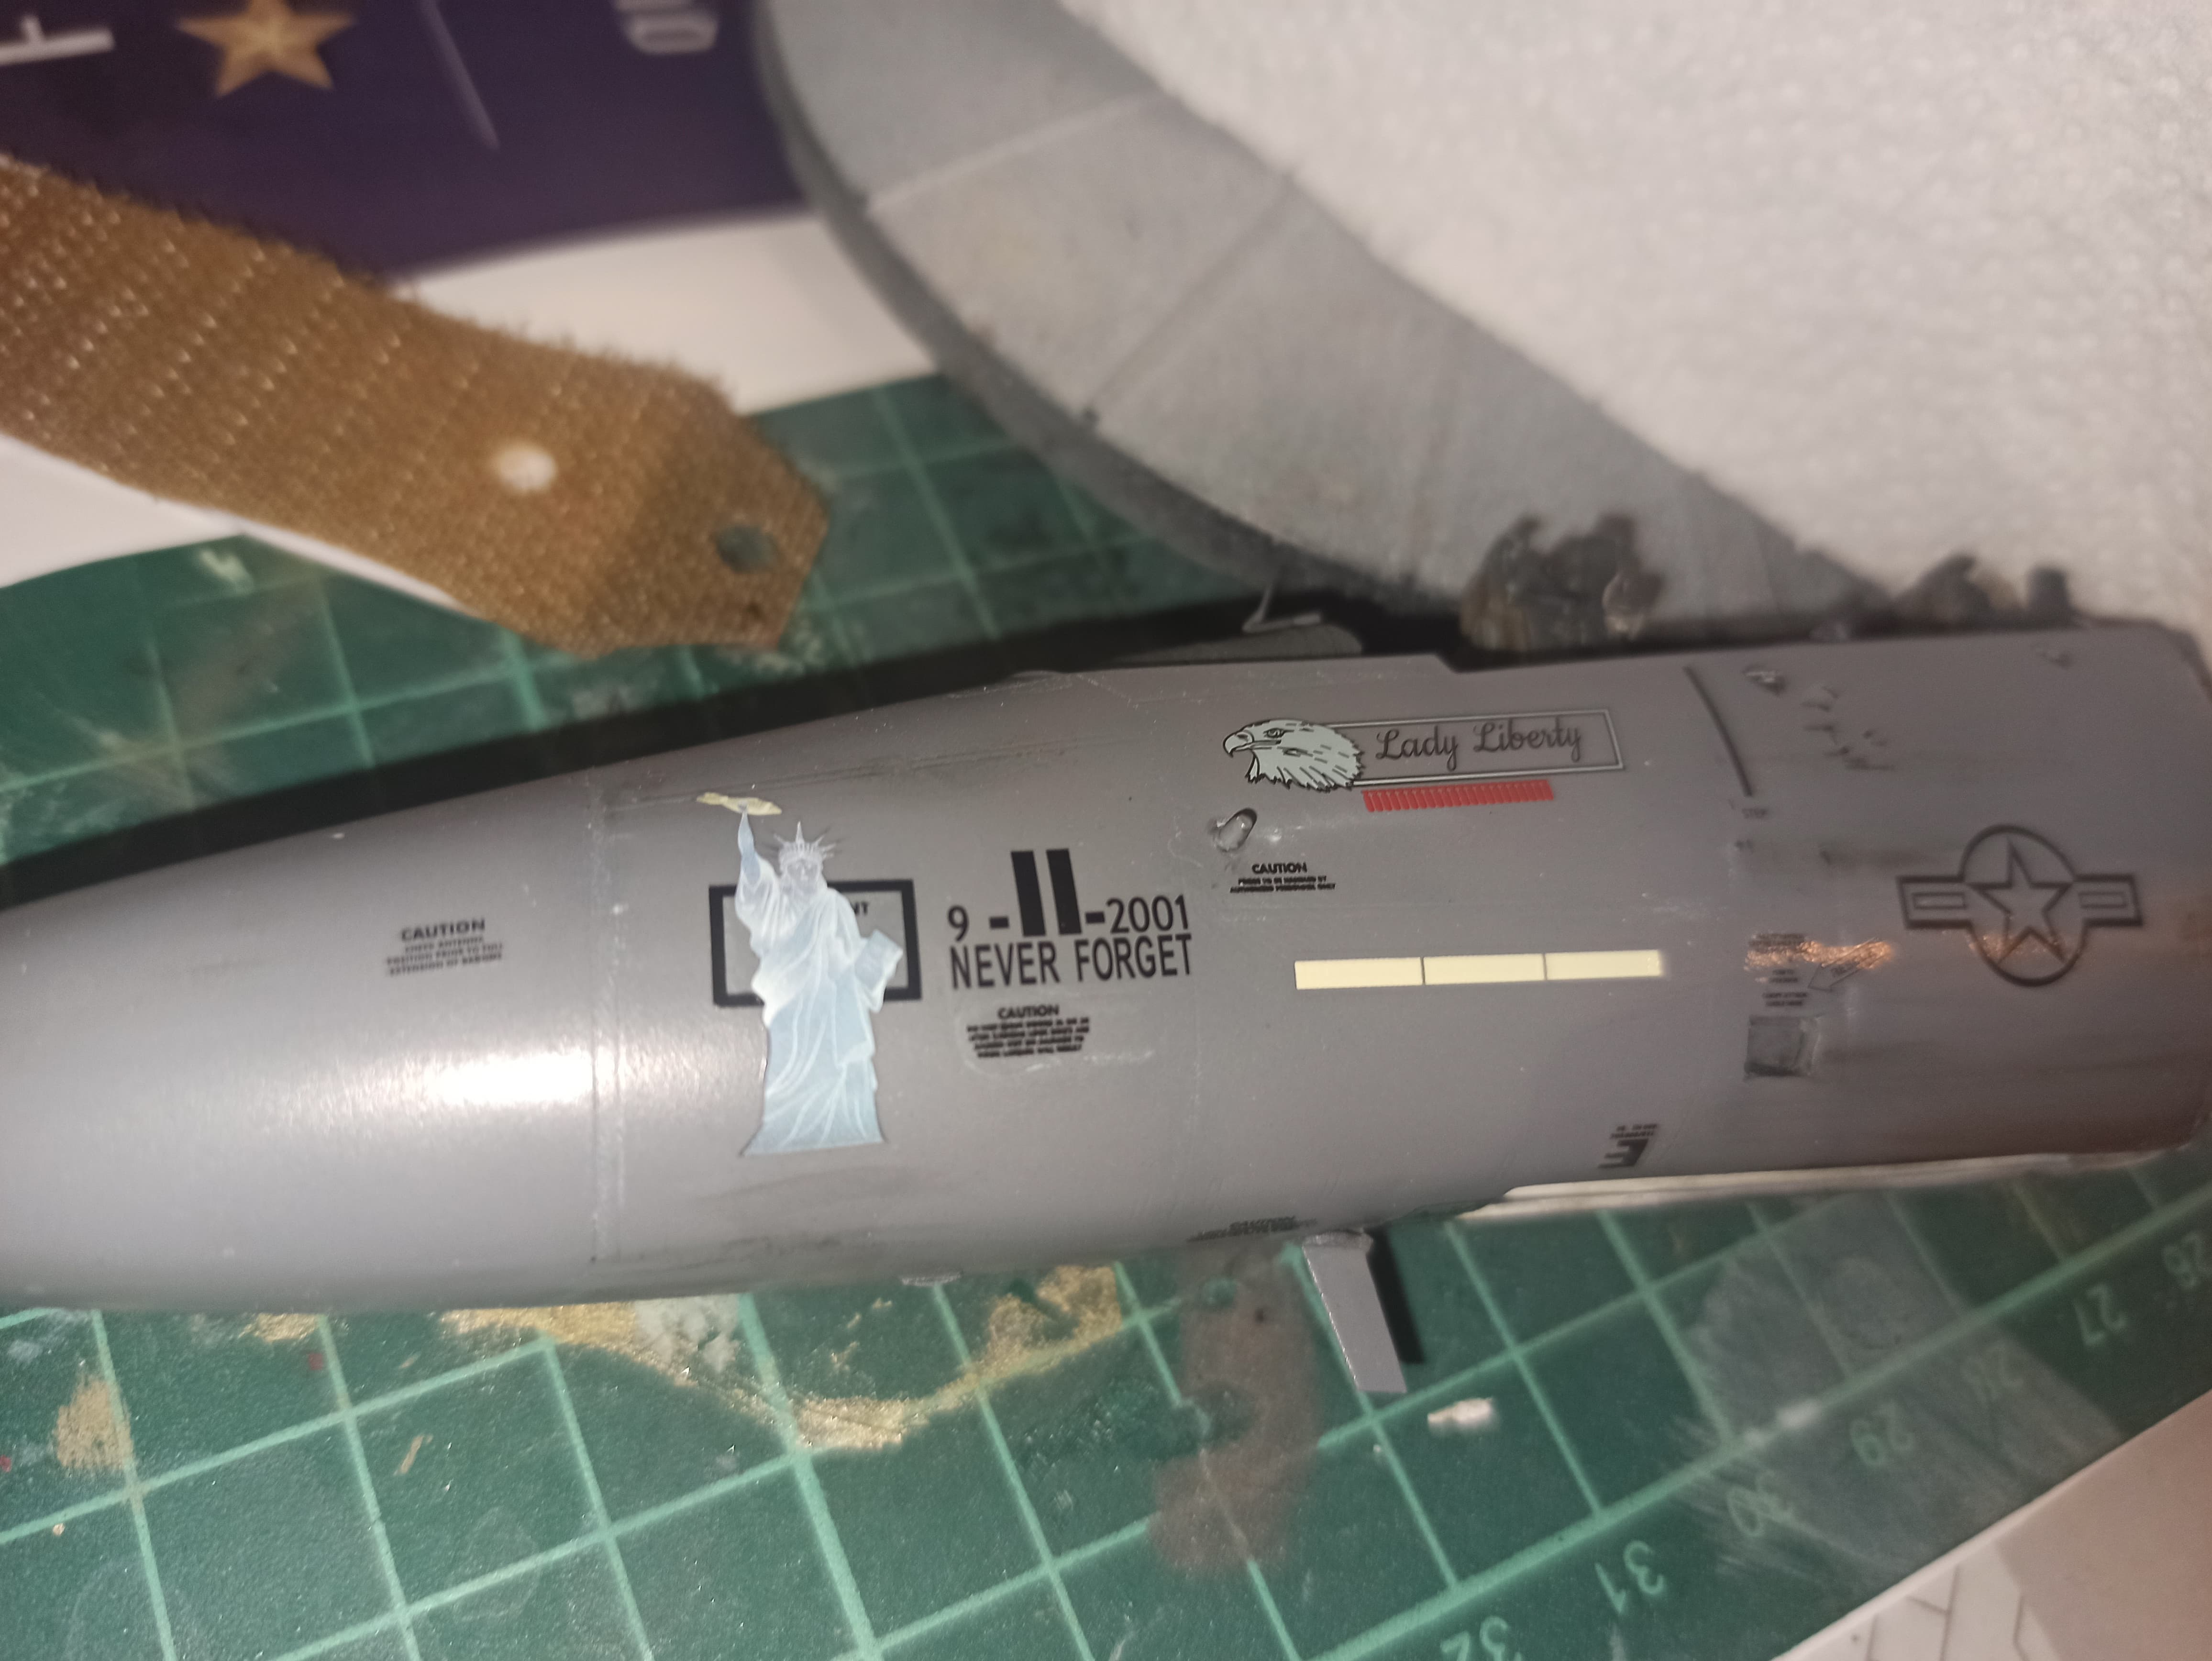
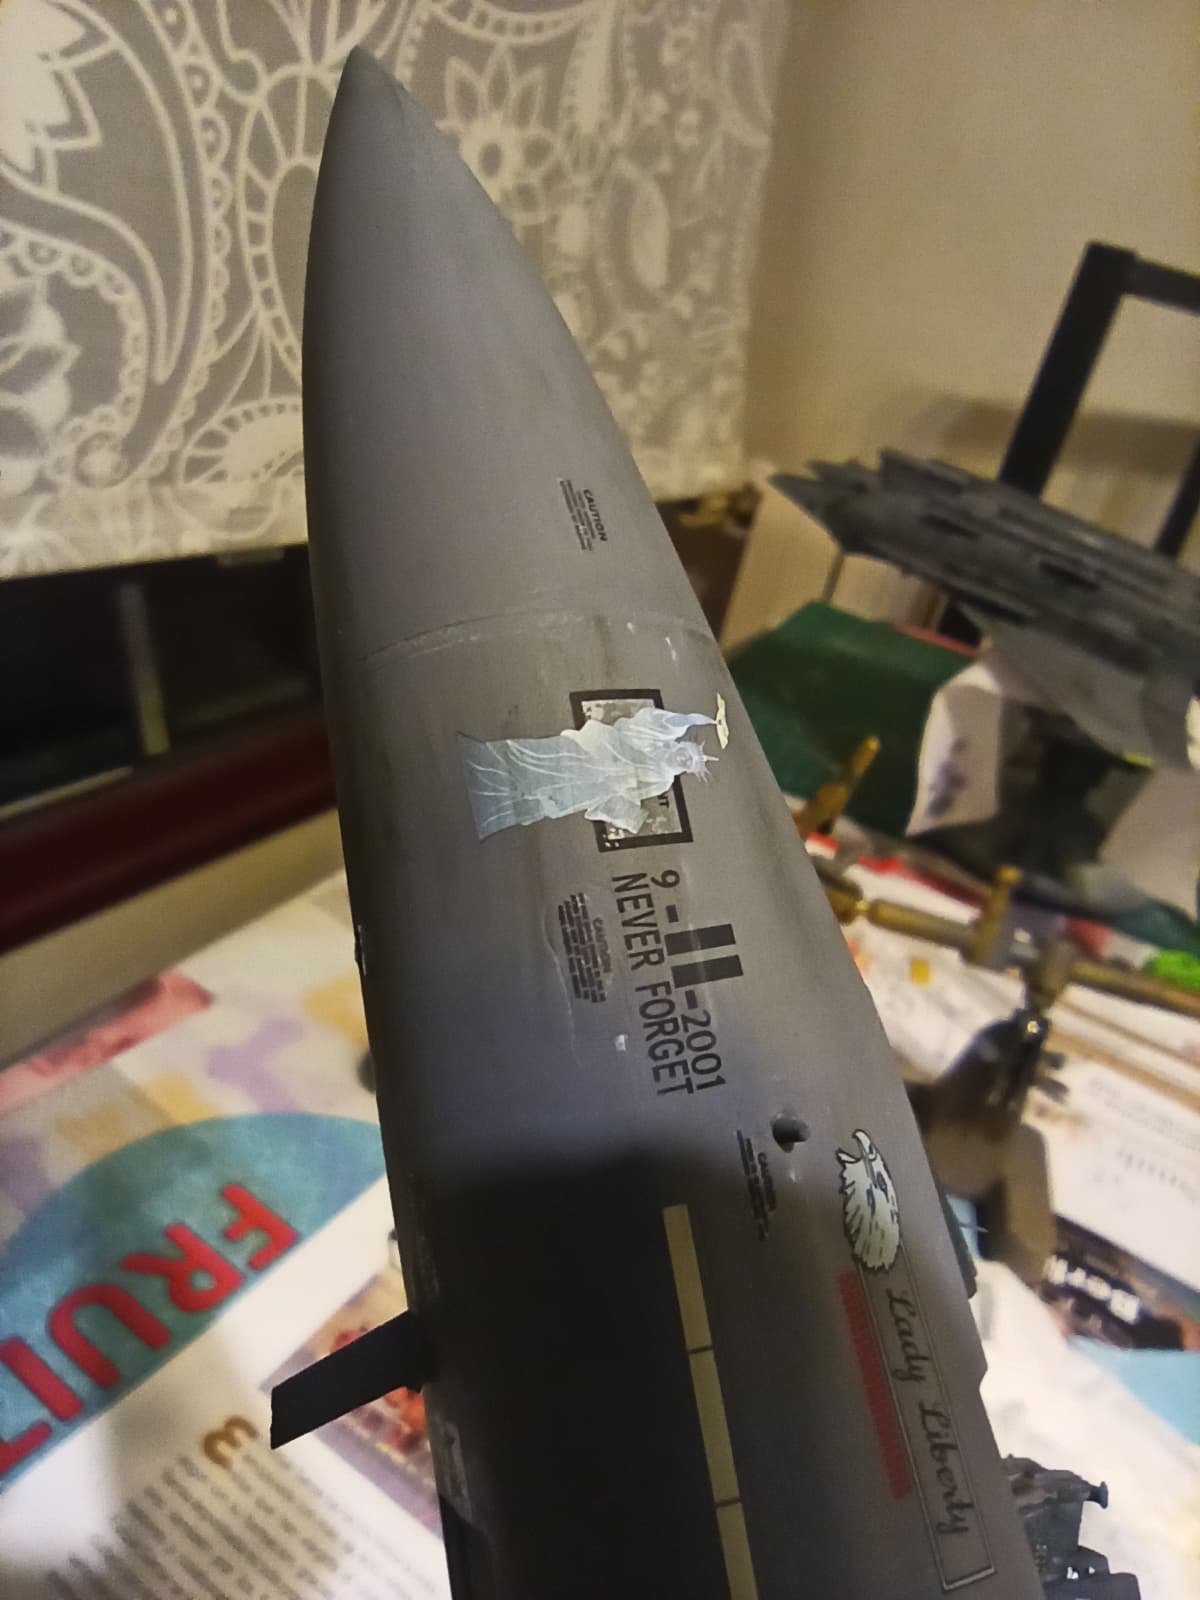
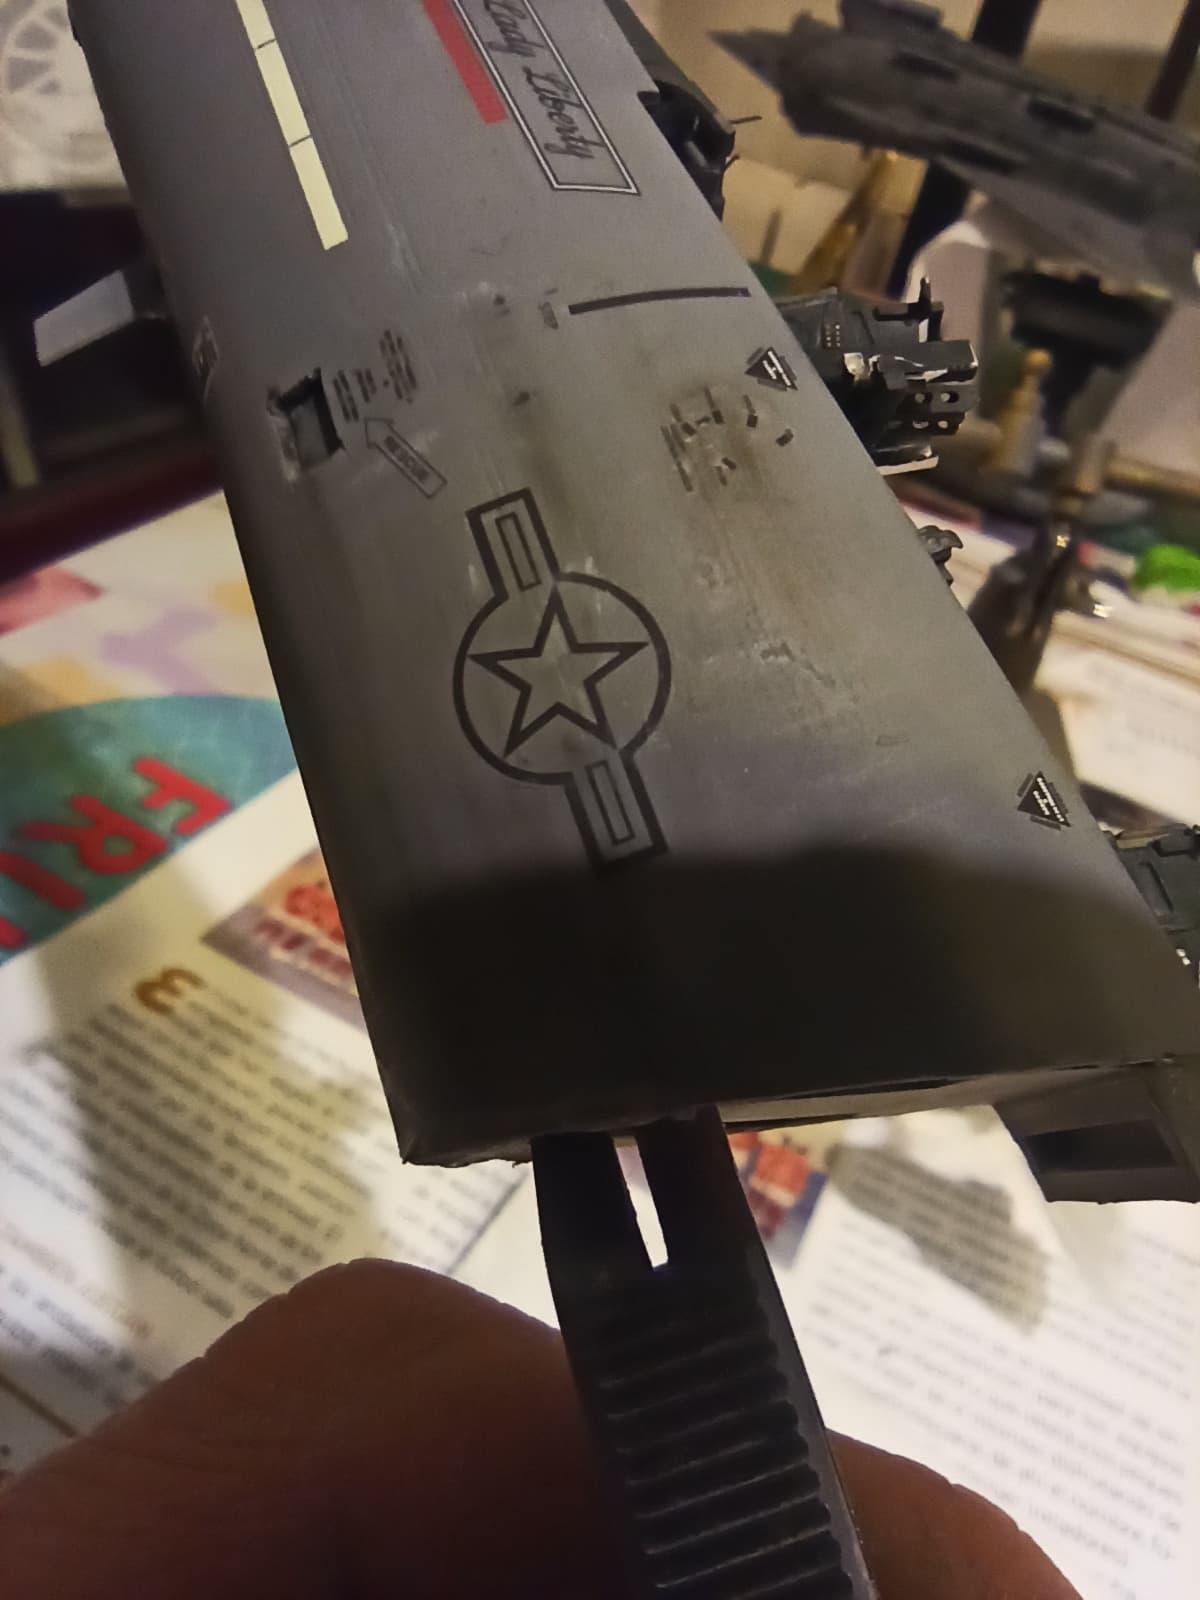
Now, I’m already working on the decals (you can see some in the lower side picture). The Two Bobs kit is this. I’ll go with the Lady Liberty livery.
That’s all for now.
Regards!
3 Likes
Sh*t happens.
When I have almost all the decals done…
Now, I have to sand again both pieces and glue them again.
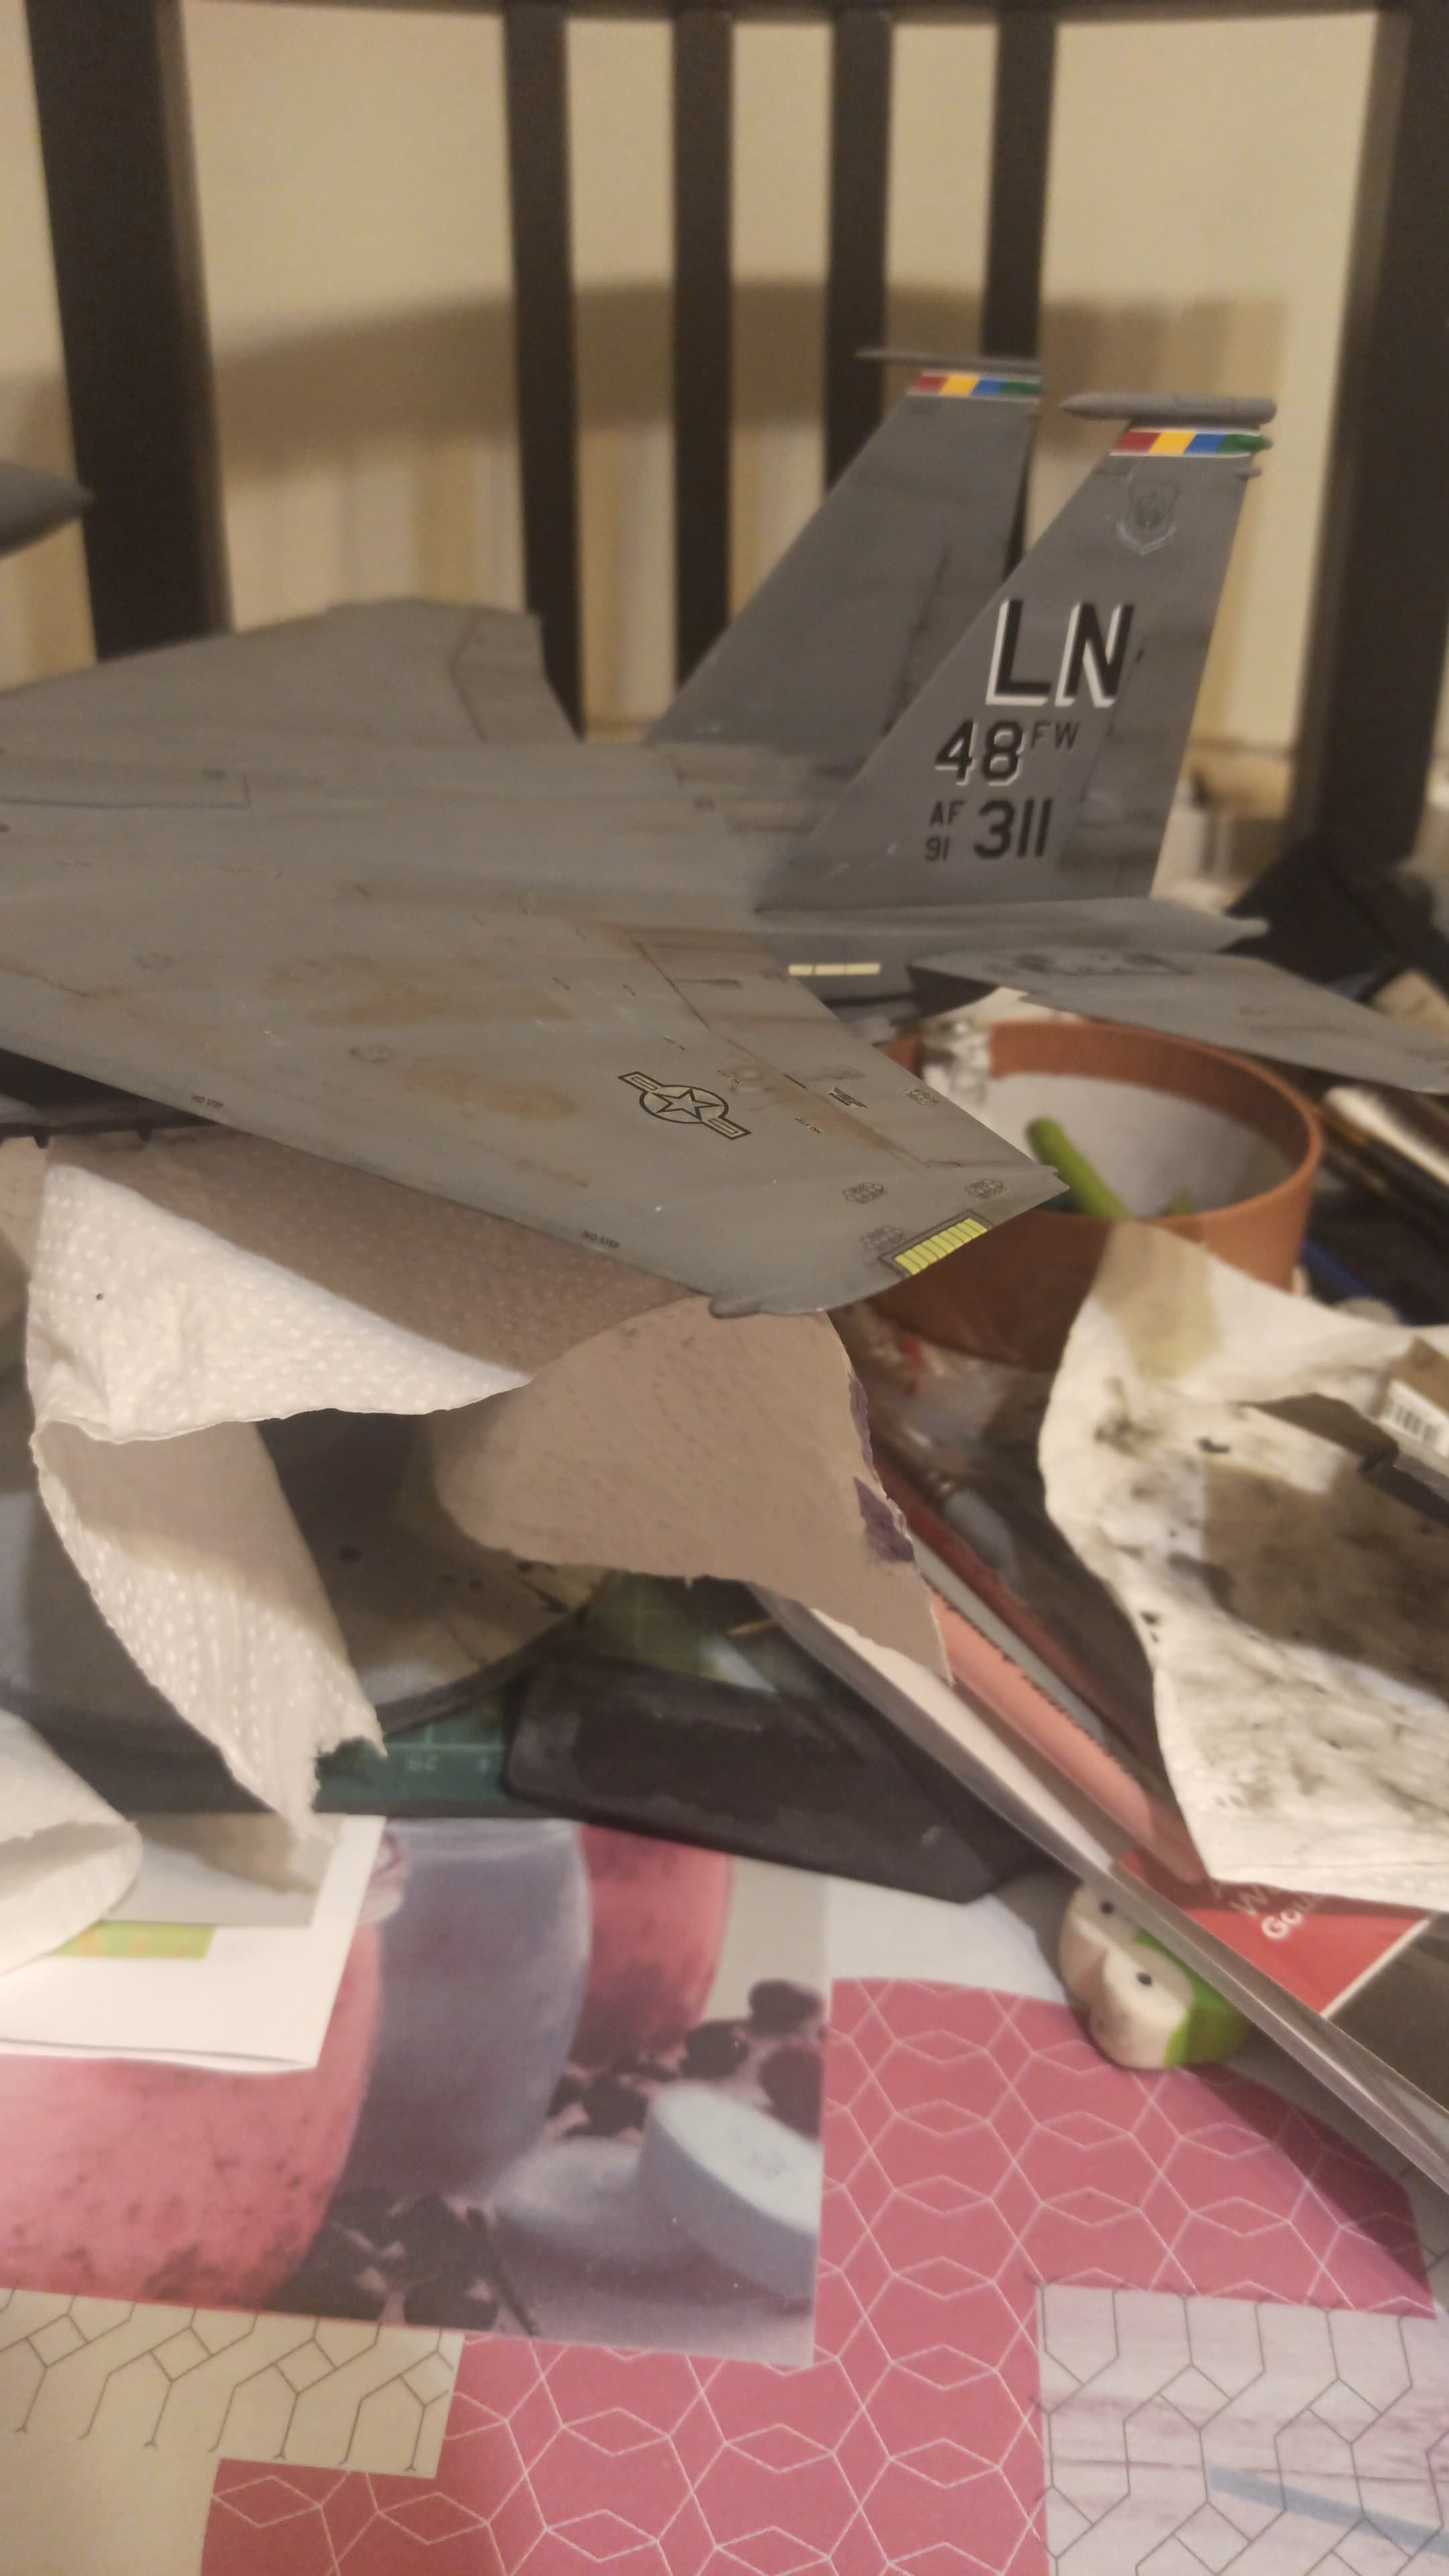
This is how she looks now.
Regards
8 Likes
Mine too!!!
This is the 5th or 6th try I made. The previous ended up in the trash due to painting issues, fallings, cats… Hope to finish this one finally.
Thanks for your comment.
1 Like
Looks good, I have the Great Wall Hobby F-15E.
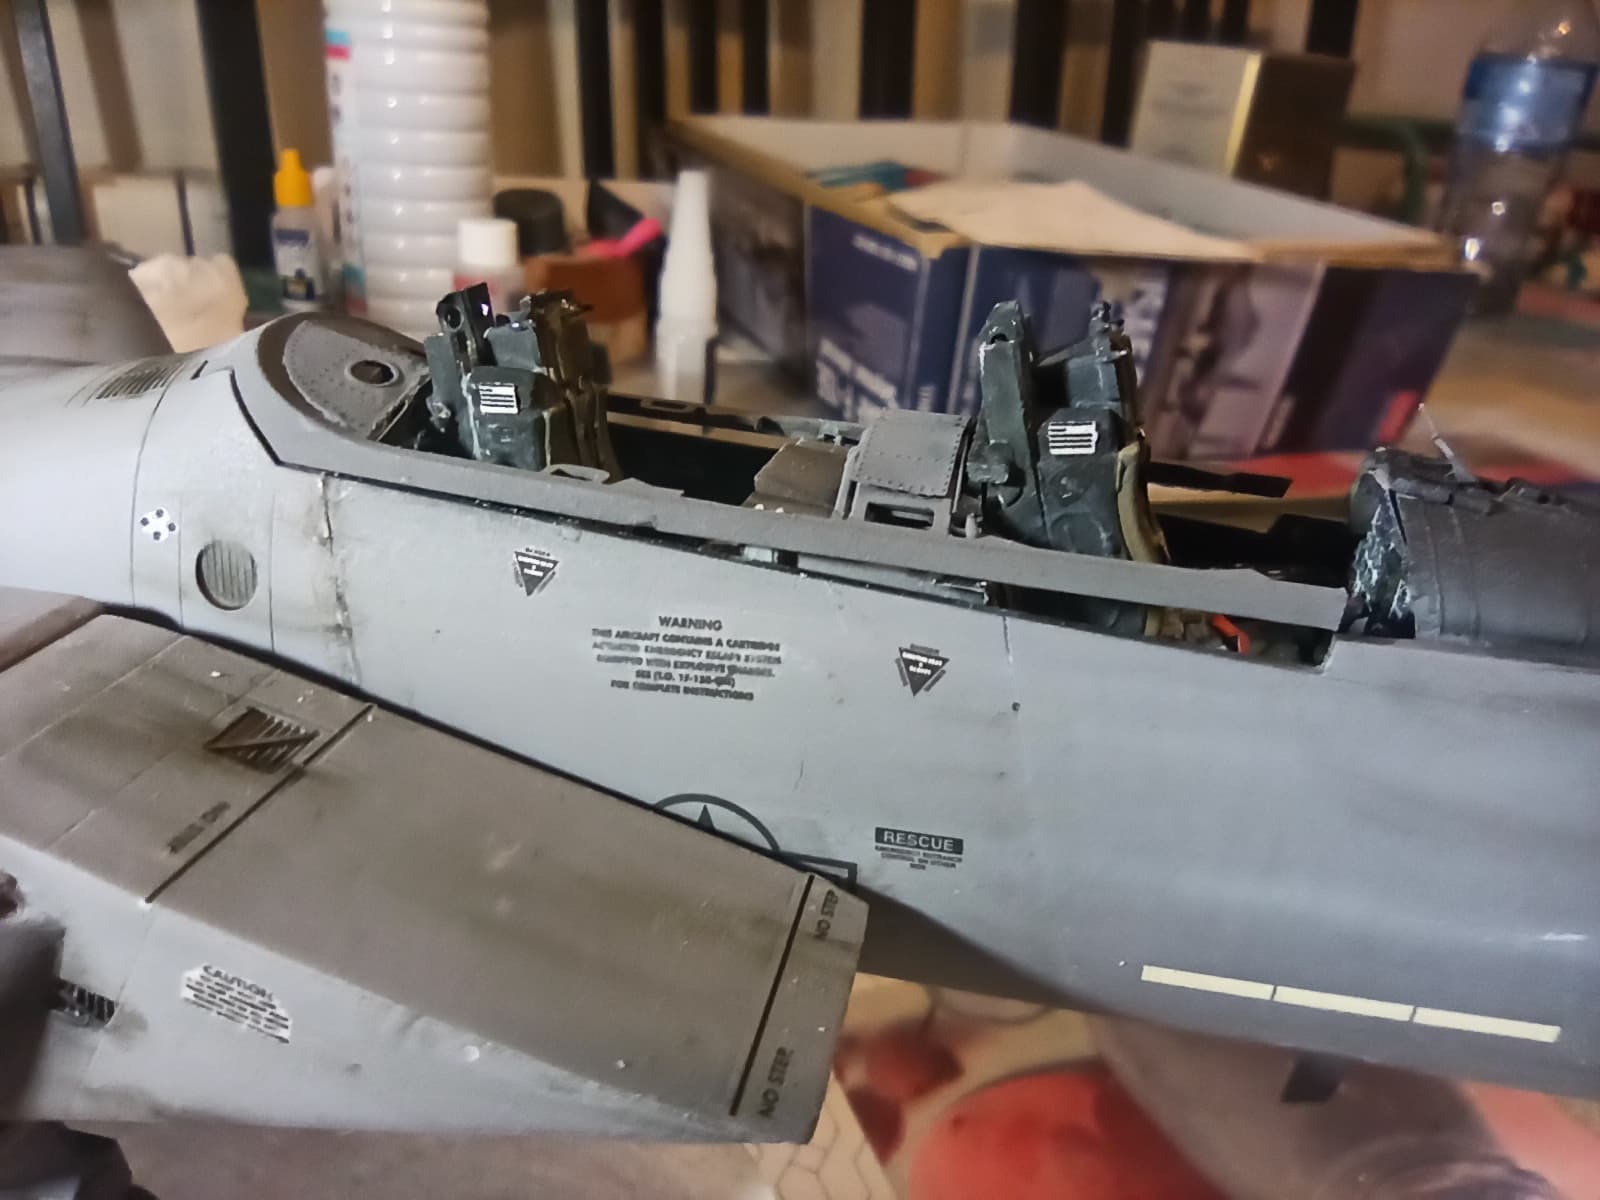
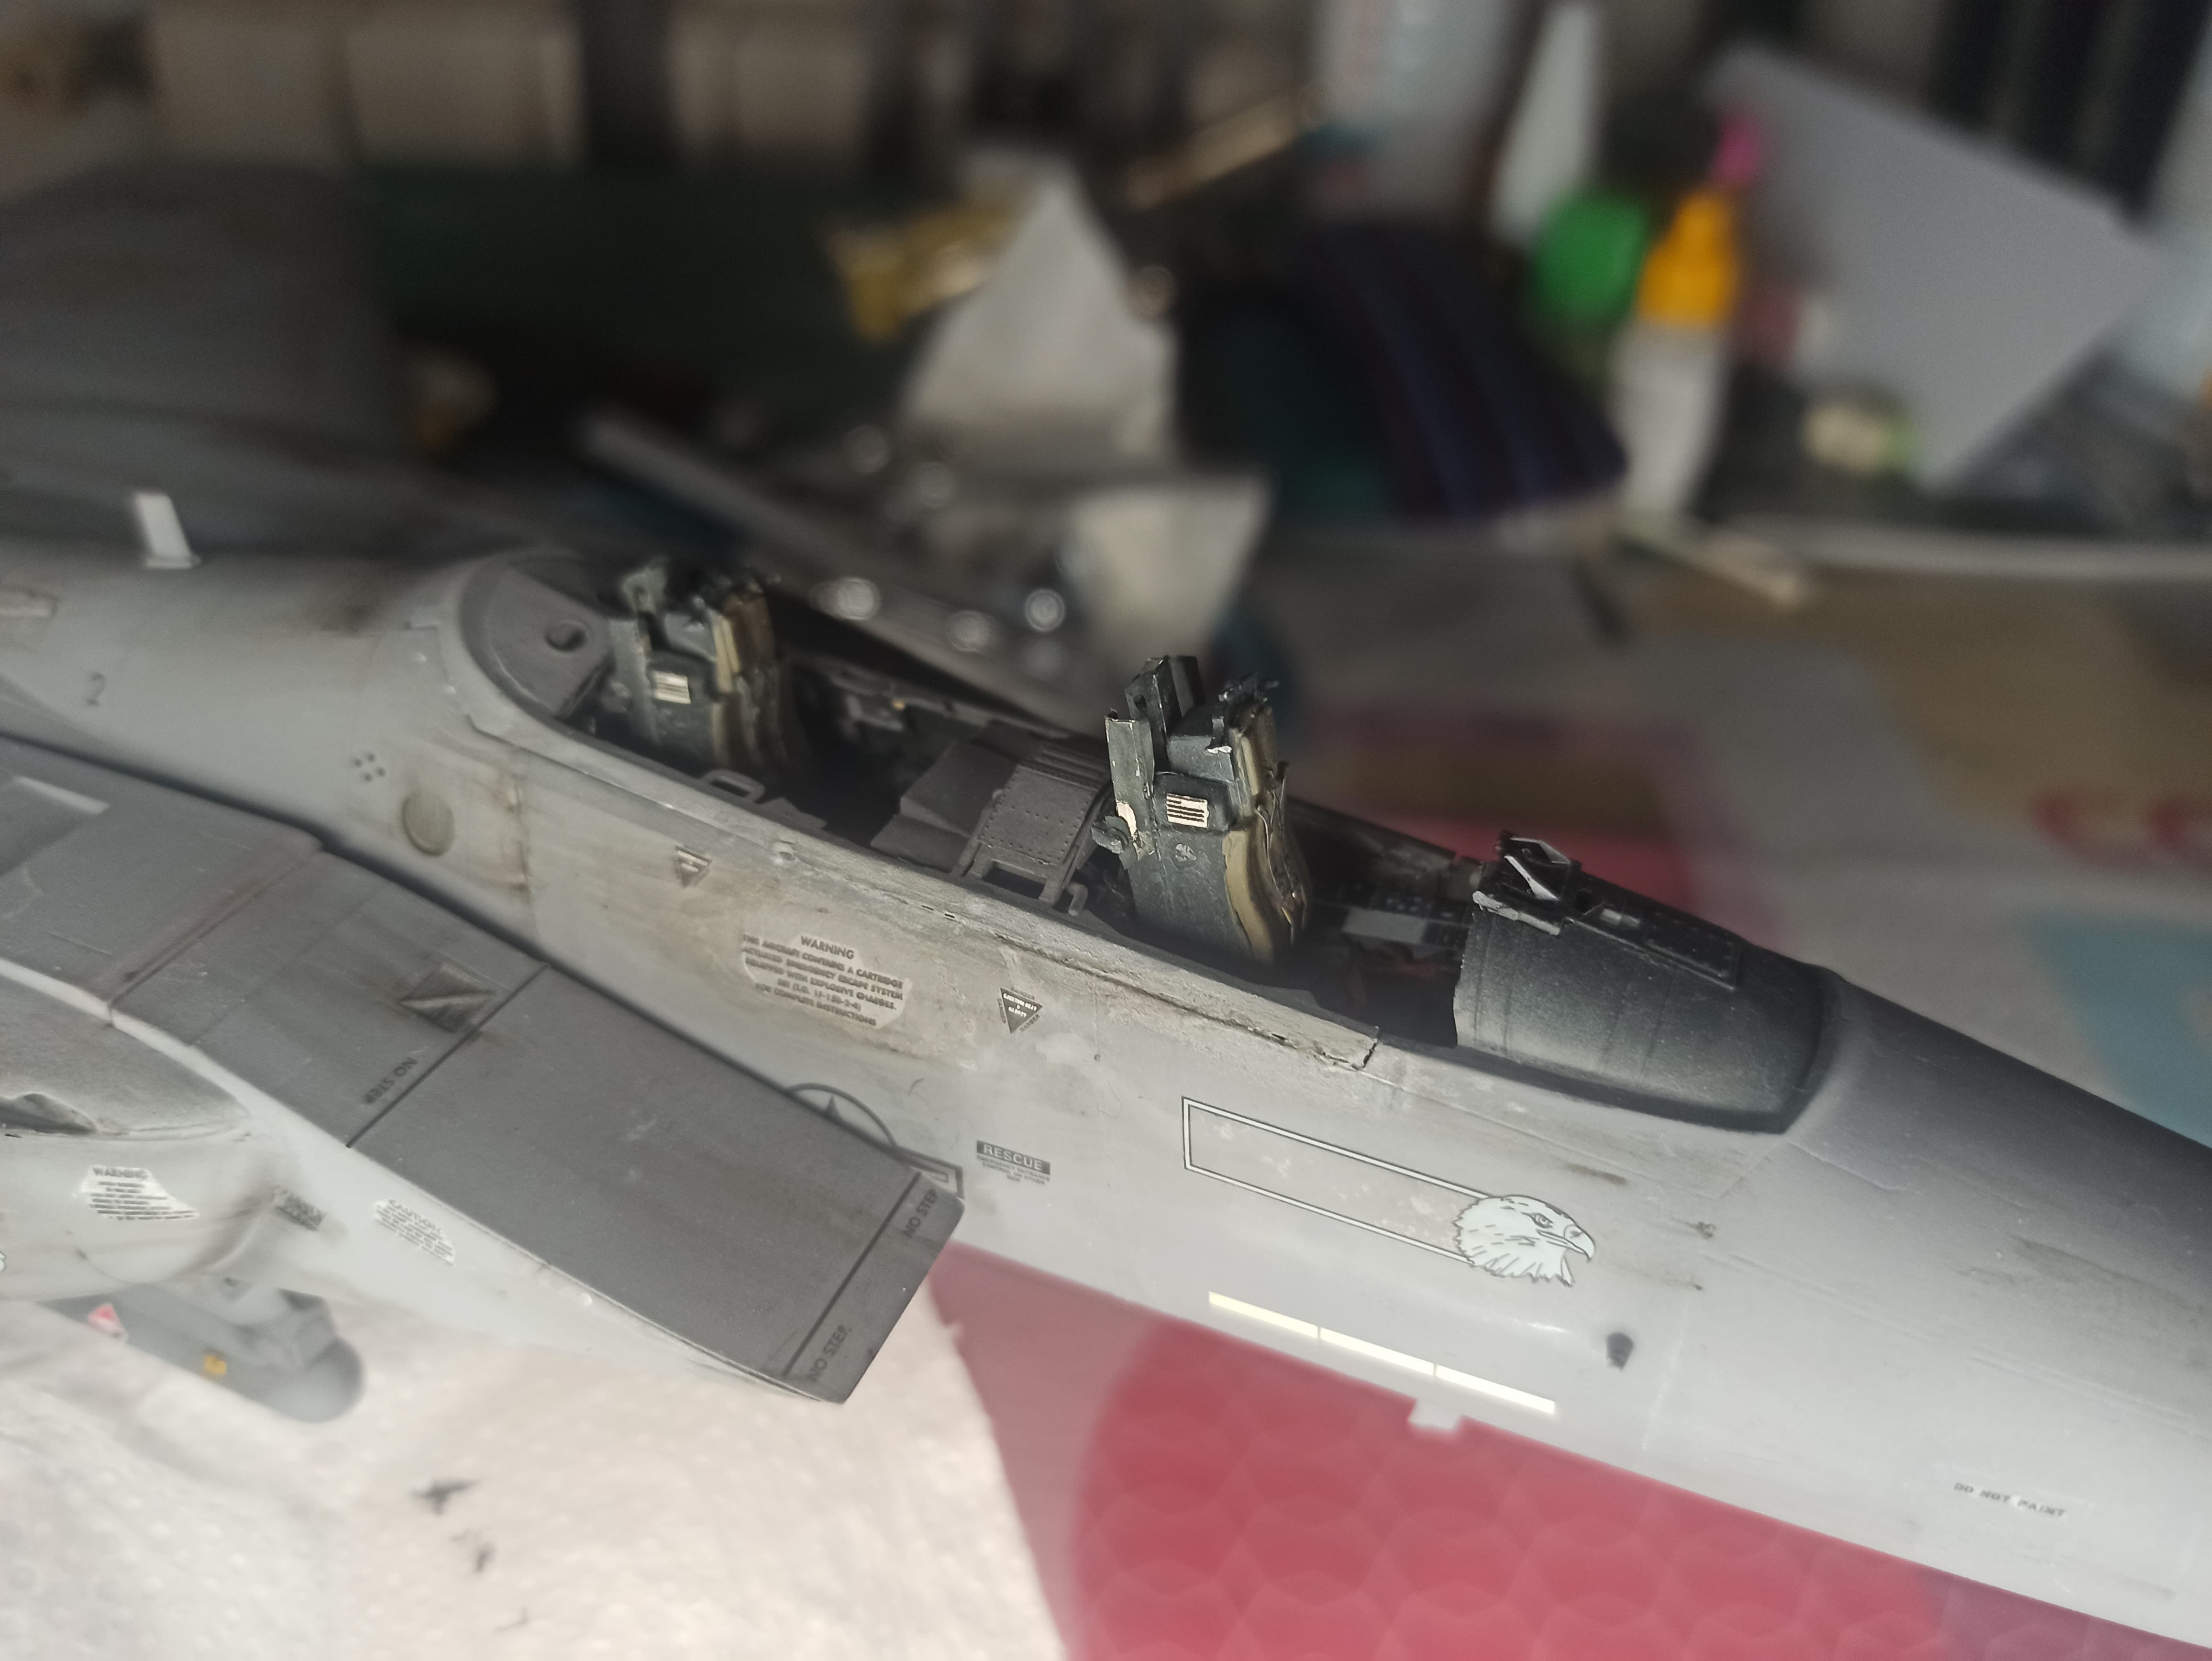
Finally, I could fix again the nose. Fitting is not as good as I would like, but I have learnt many things about building aircrafts and what not to do.
One of the things I learned is that I don’t have to weather the aircraft before applying decals, so I had to apply some dirty over the decals to blend them into the aircraft.
Also got some silvering with the decals although I applied them over gloss coat.
After this, I went with the canopy frame. Another lesson learned: don’t fix the canopy frame for the last.
It doesn’t fit.
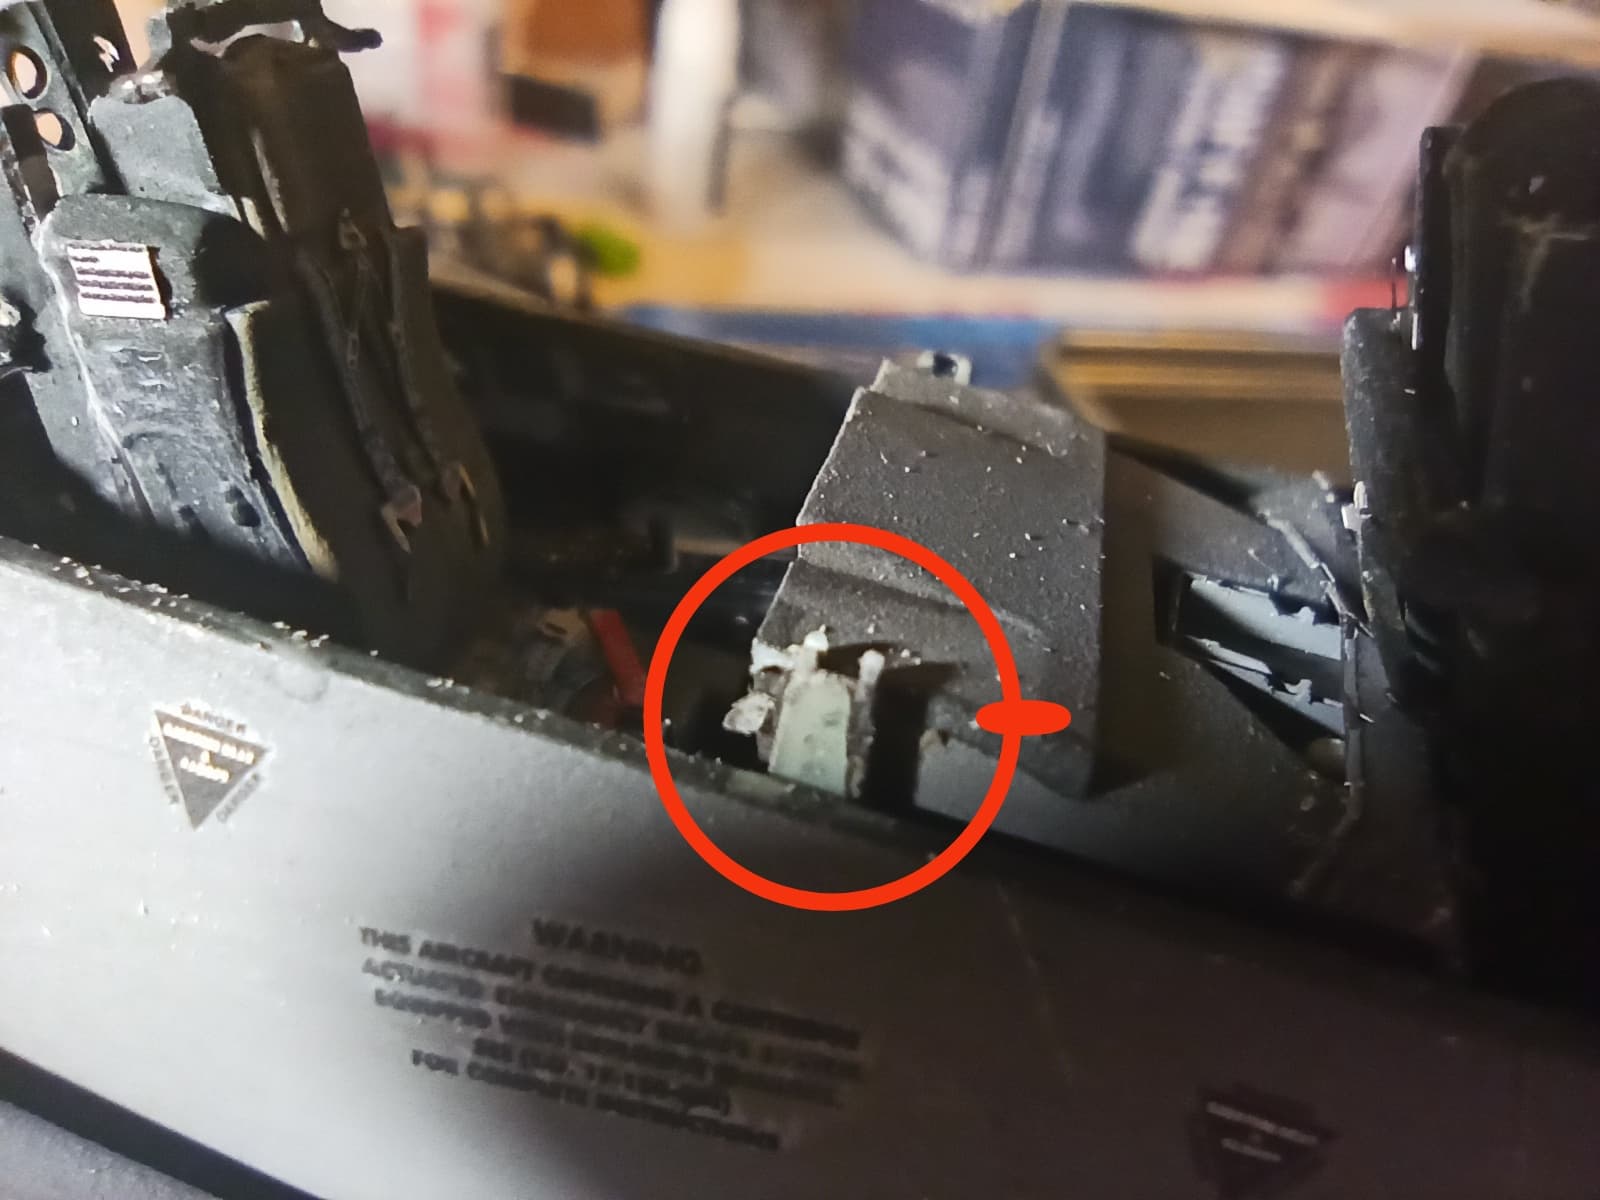
What to do?? Dremmel time. I had to remove this piece from both sides.
I could finally ‘fit’ the canopy frame. I mean fit between quotation marks because I don’t like how it fitted (will post pictures later). Besides that, some matt varnish got spoiled and ruined some decals (pics later too). I could manage to fix all the disaster the best I could.
My next mission is remove the cast line of the canopy. A straight line on top of it from front to back.
These are all my adventures by now. Keep you informed 
Regards!
5 Likes
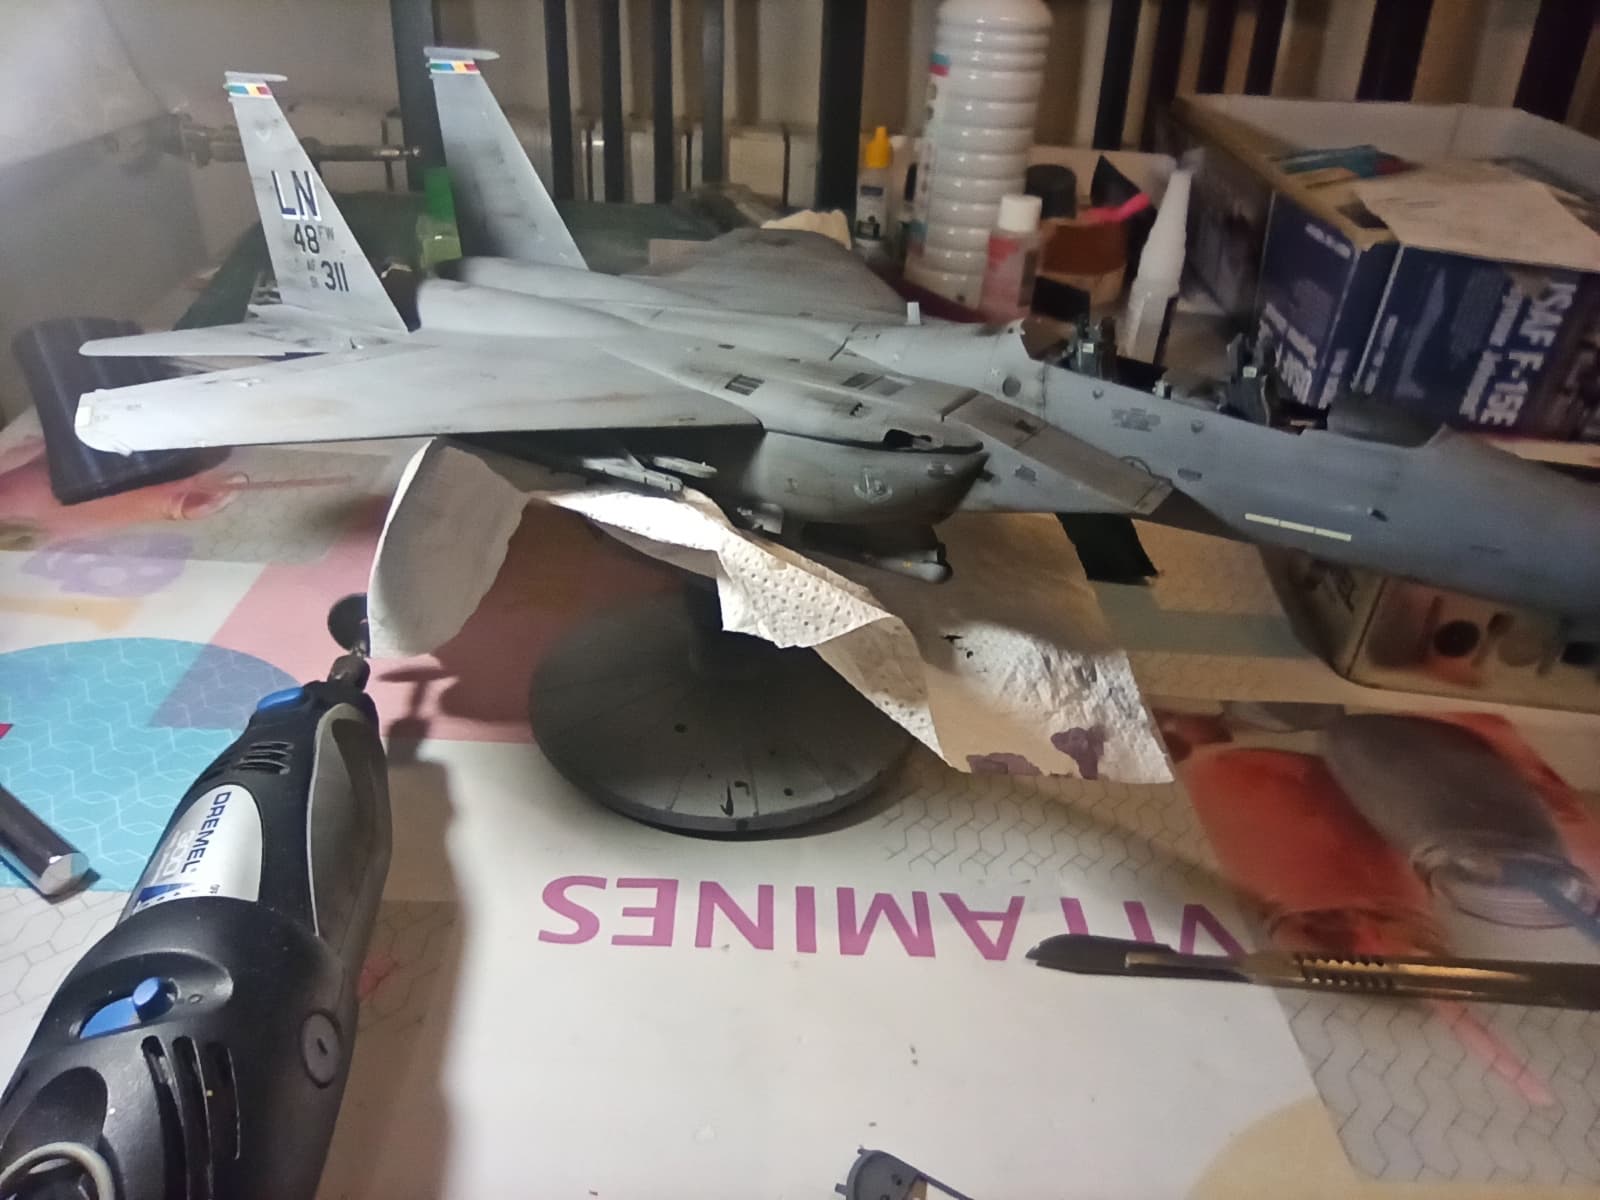
Previous disasters’ pictures
As you can see, the frame doesn’t fit smoothly, but this is the best I could make. You can also see the spoiled varnish, despite I tried to conceal the most I could.
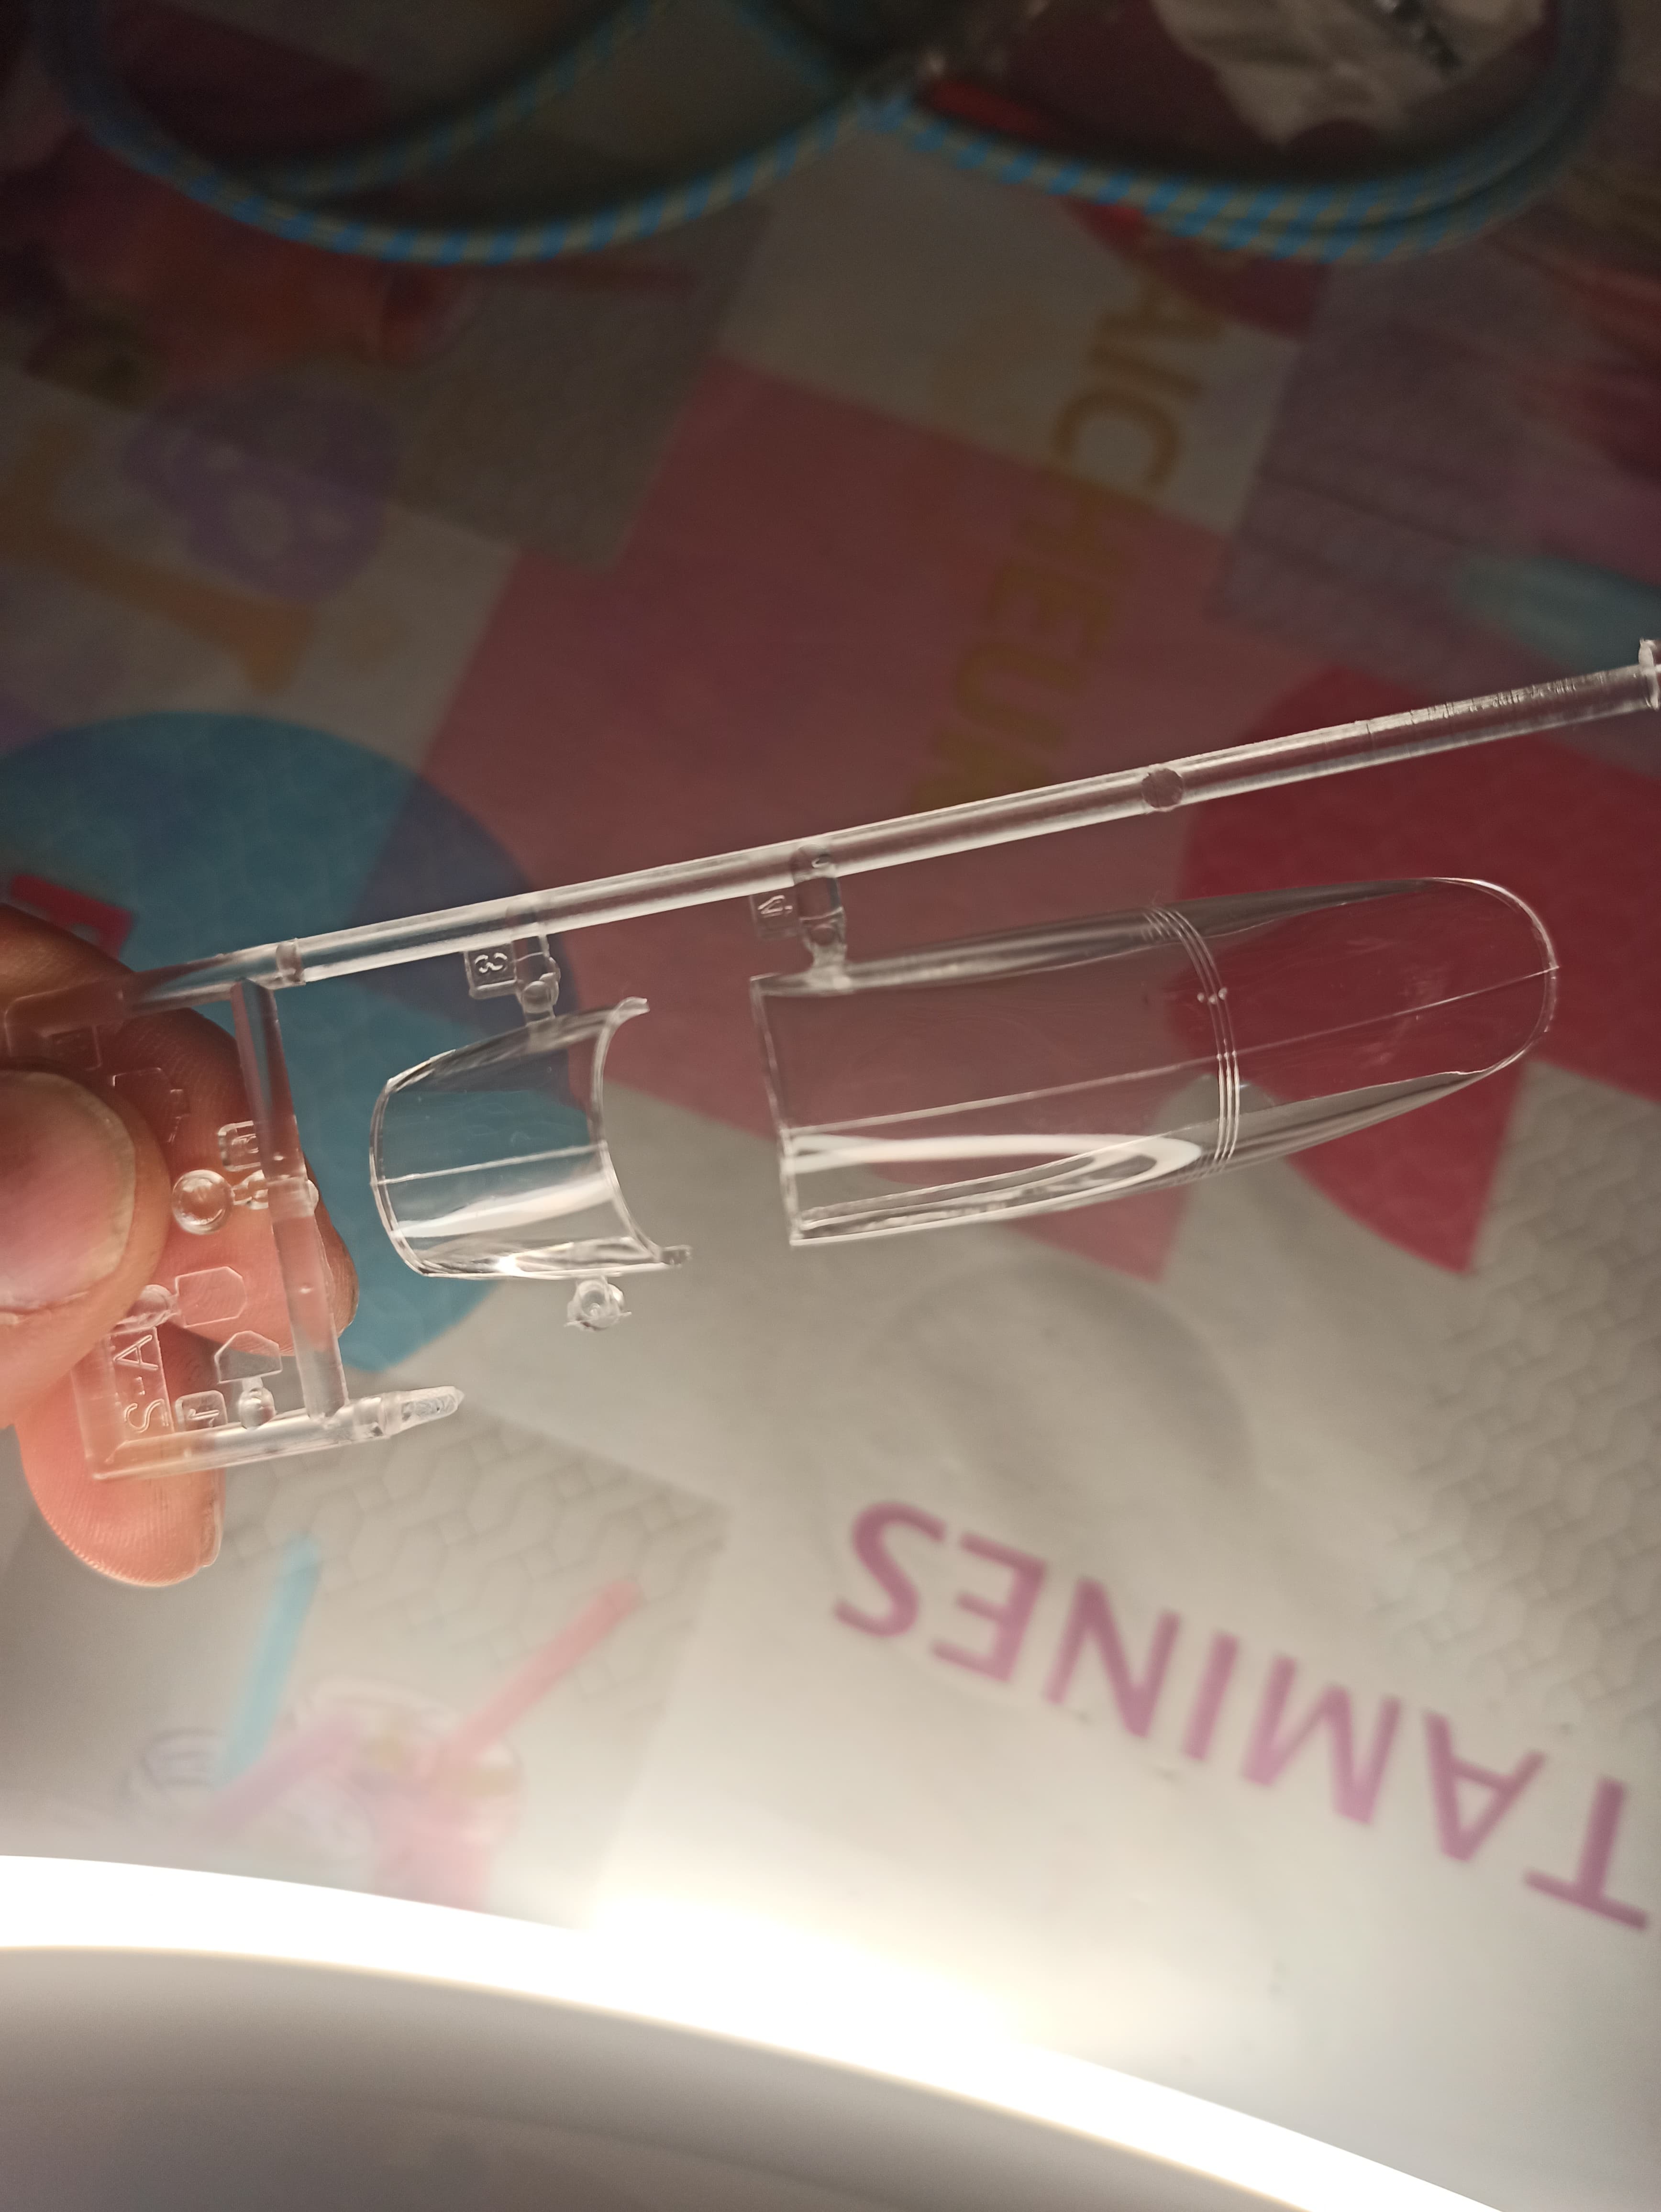
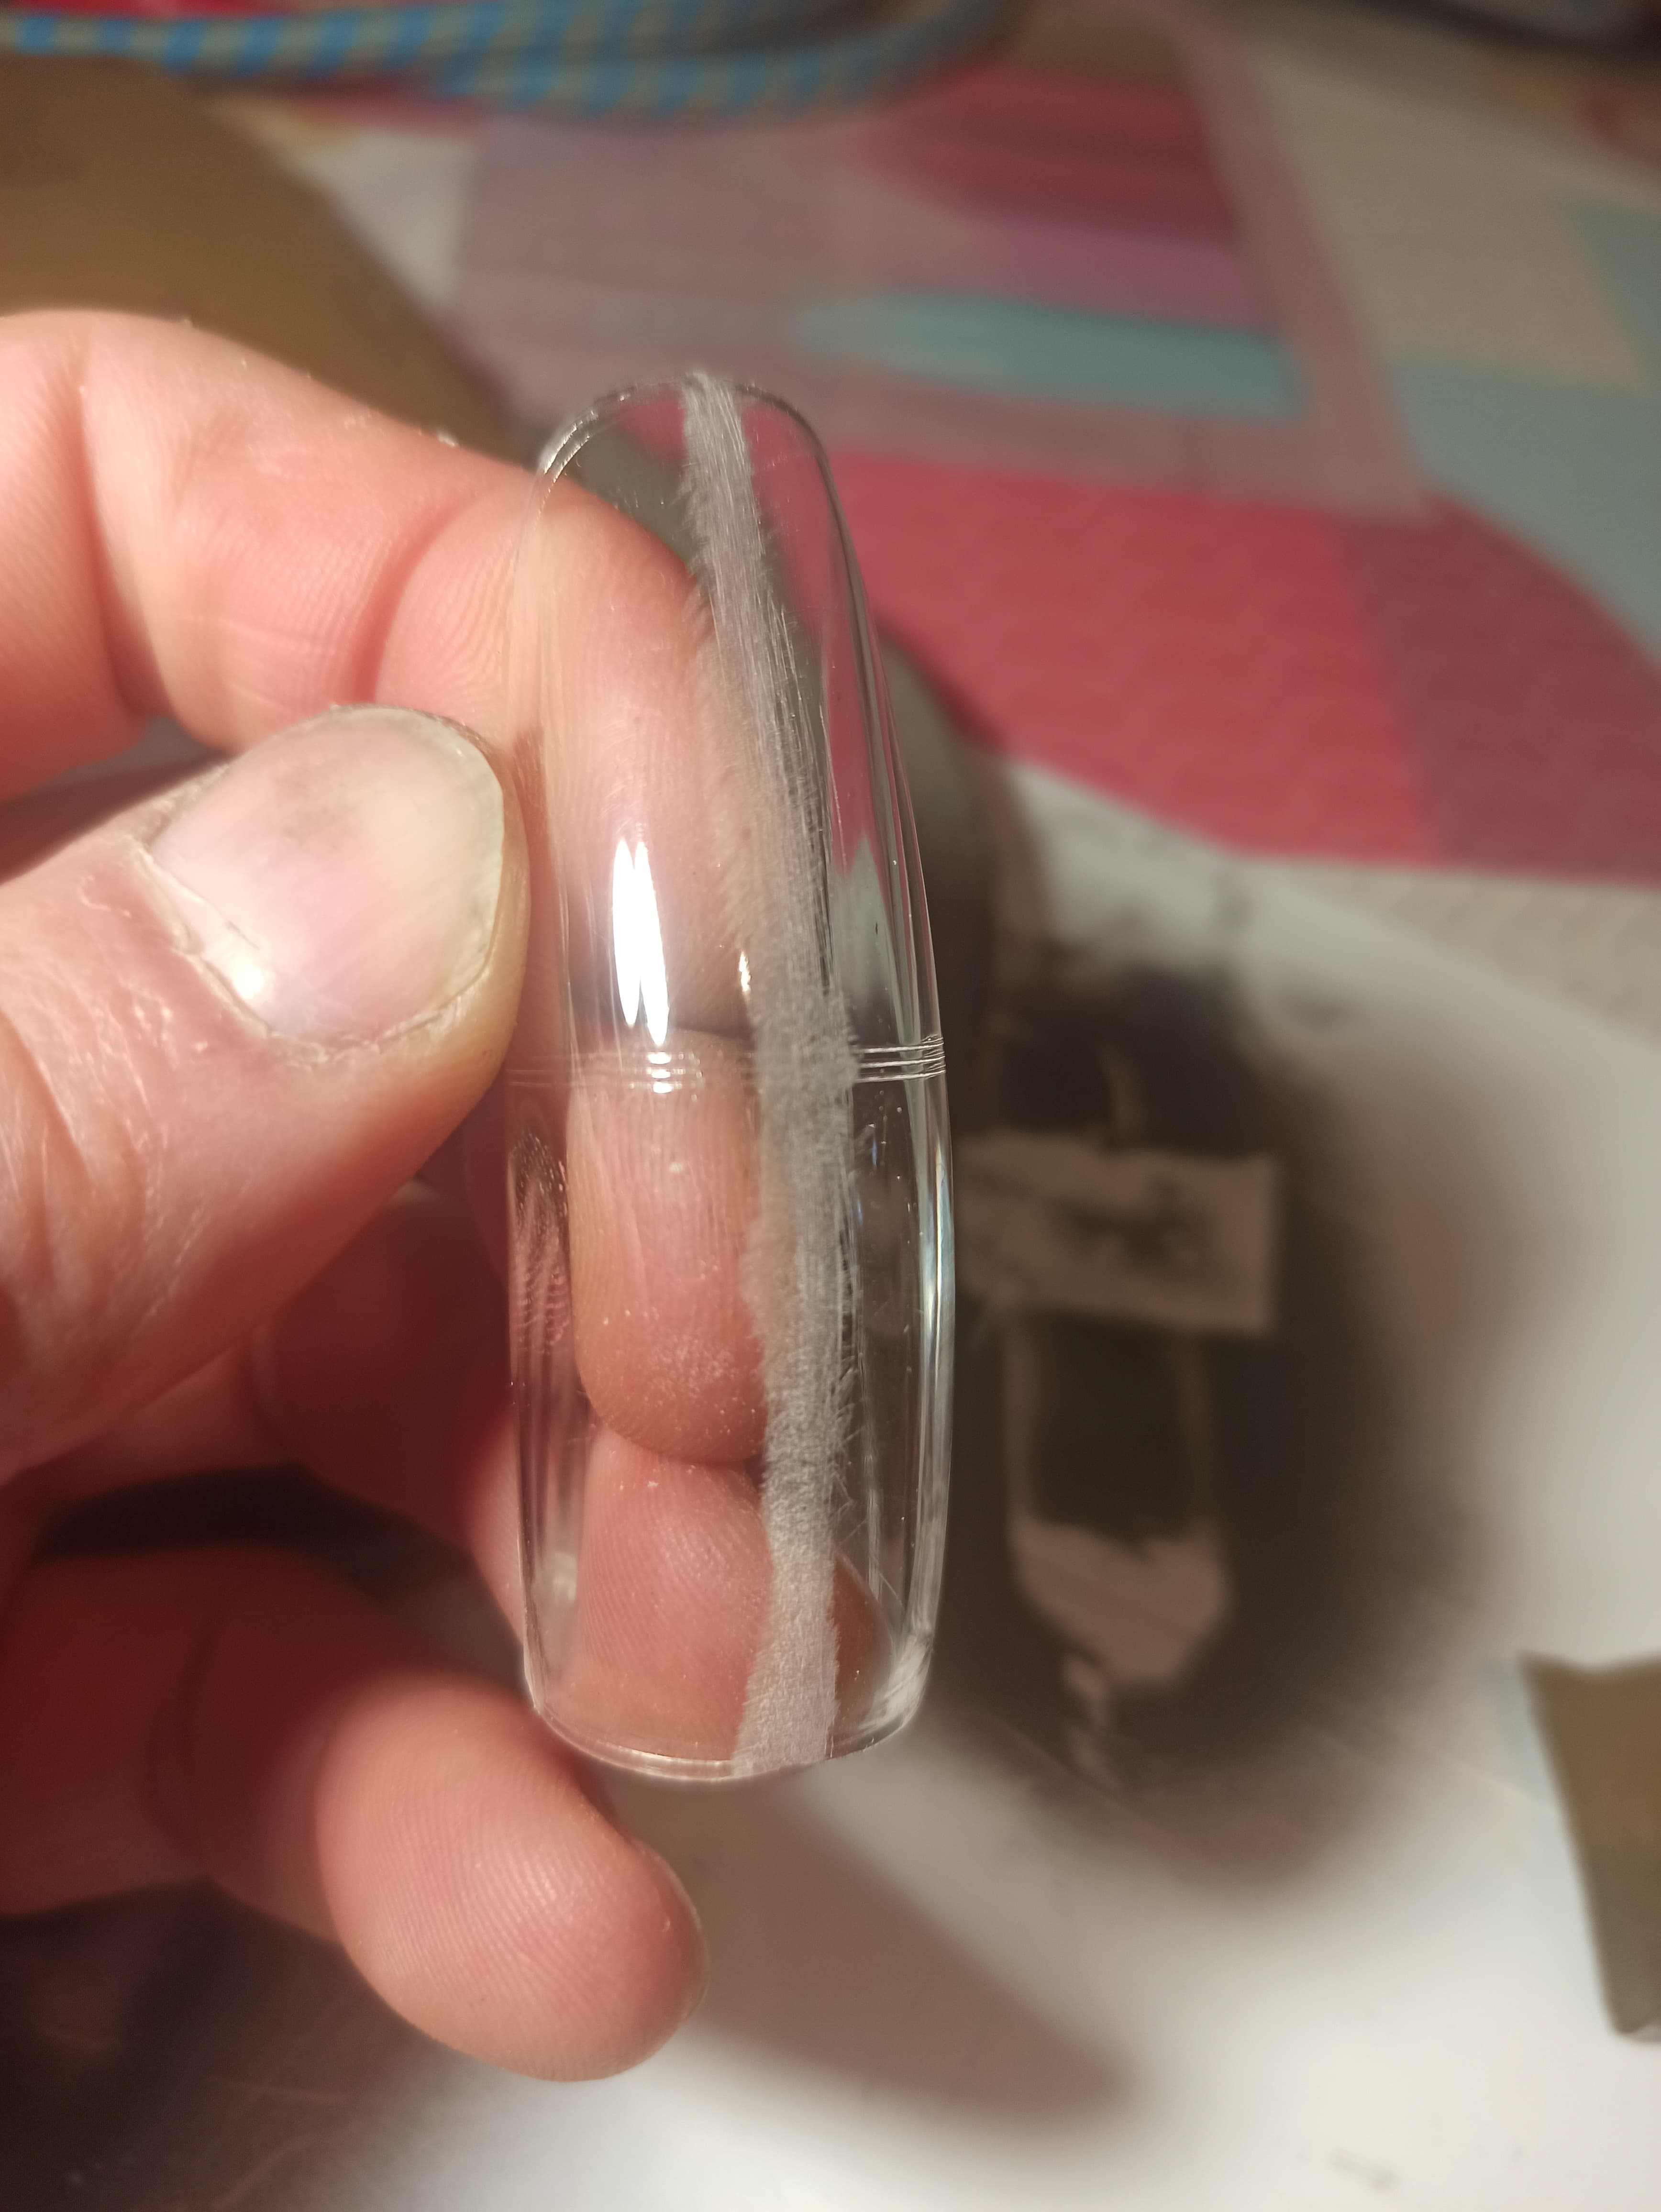
I also started with the canopy. That’s the piece right out of the plastic bag
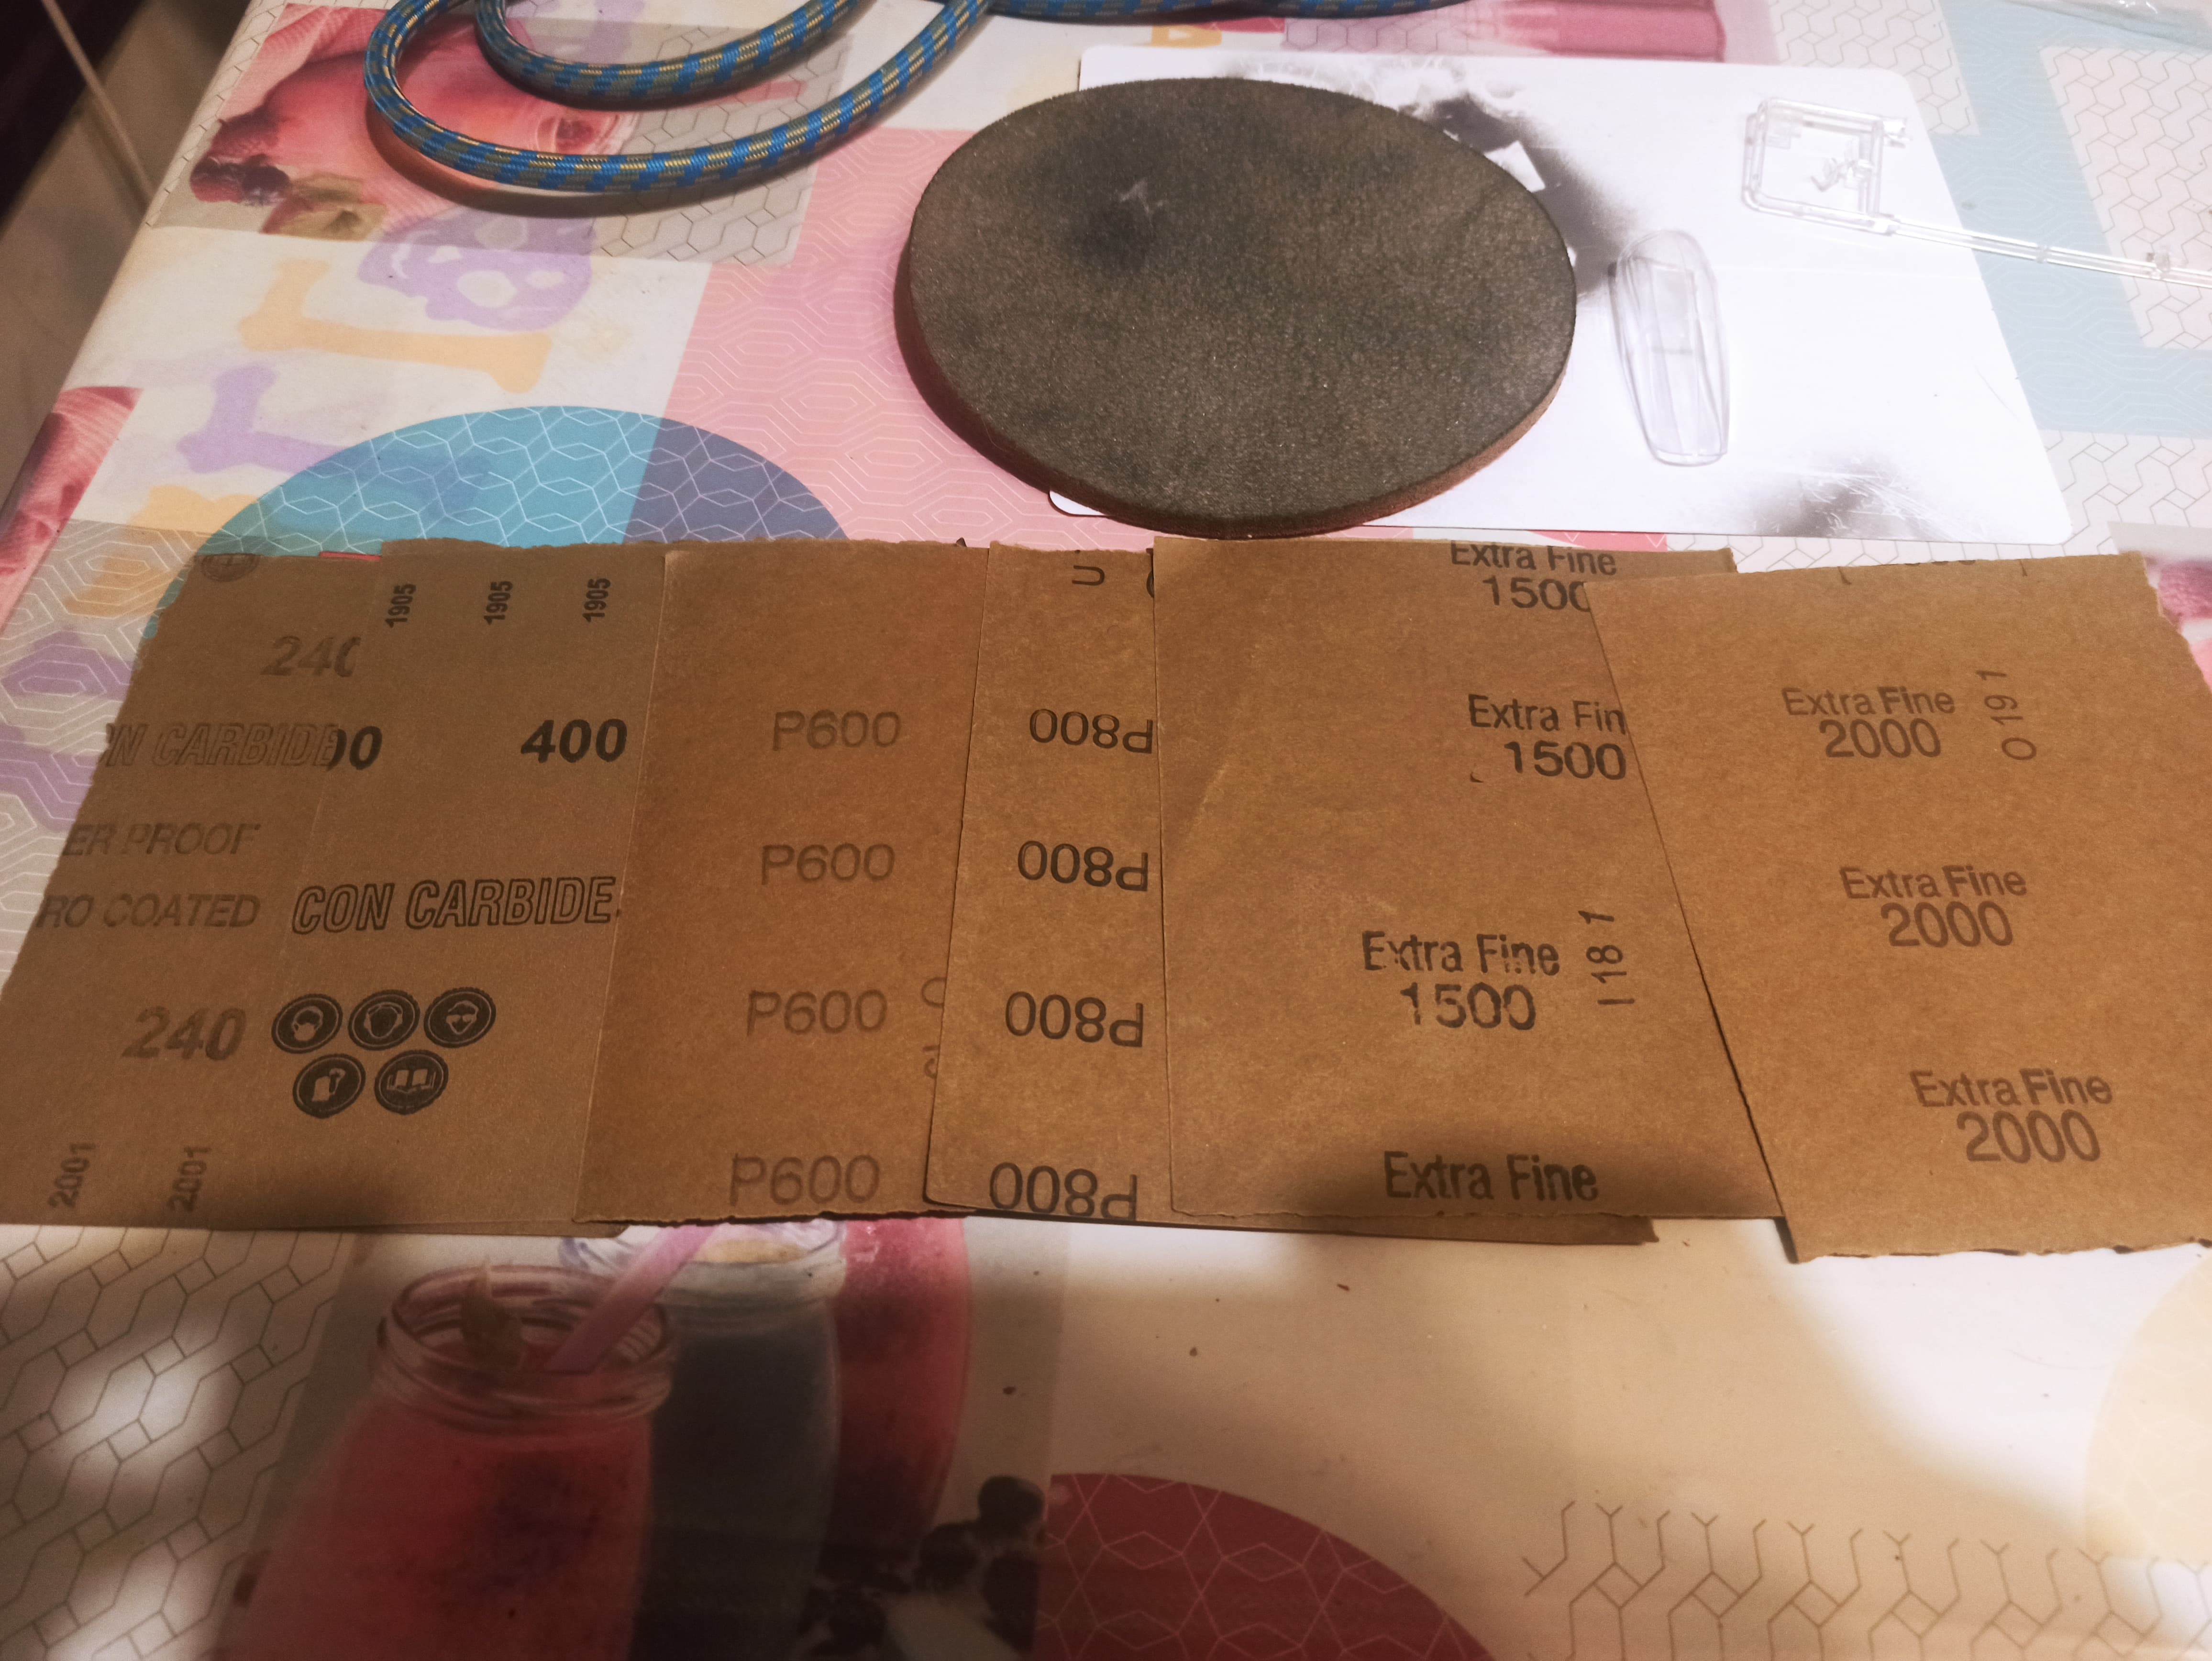
So, what to do now?? Sanding time!!
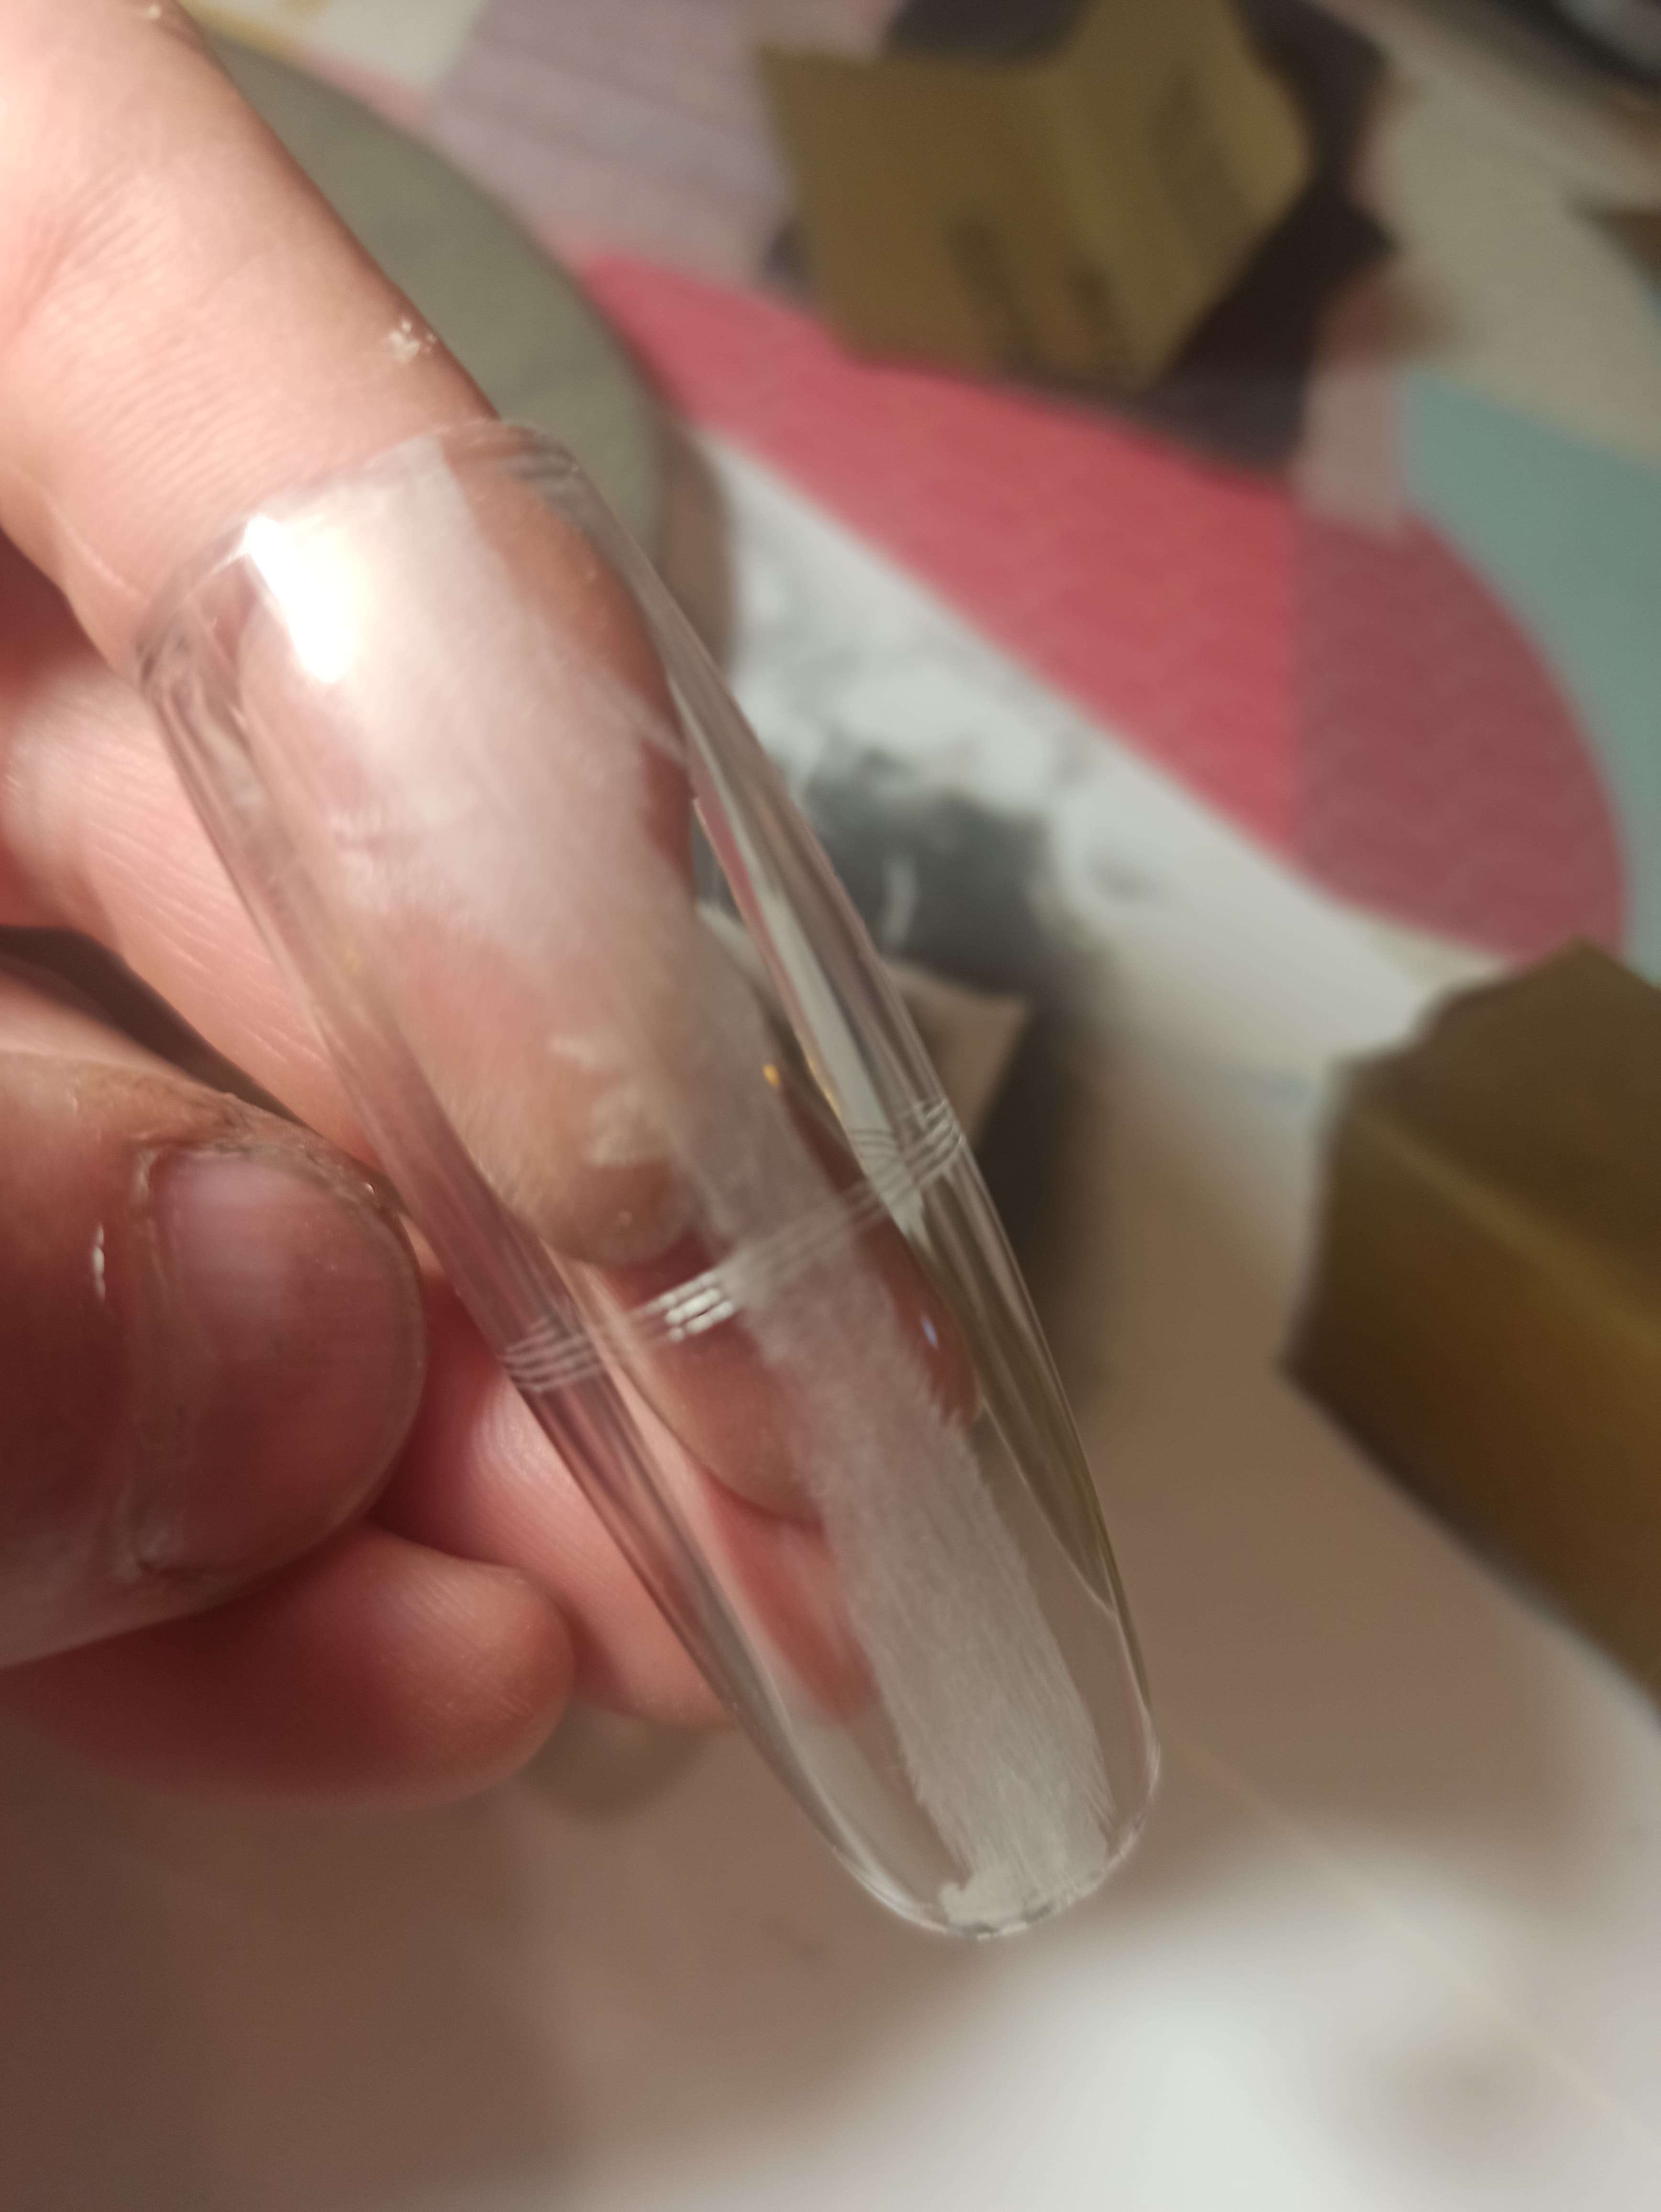
I started with a 240 grain and finished with a 2000 grain and a polishing sponge
After 240 sanding
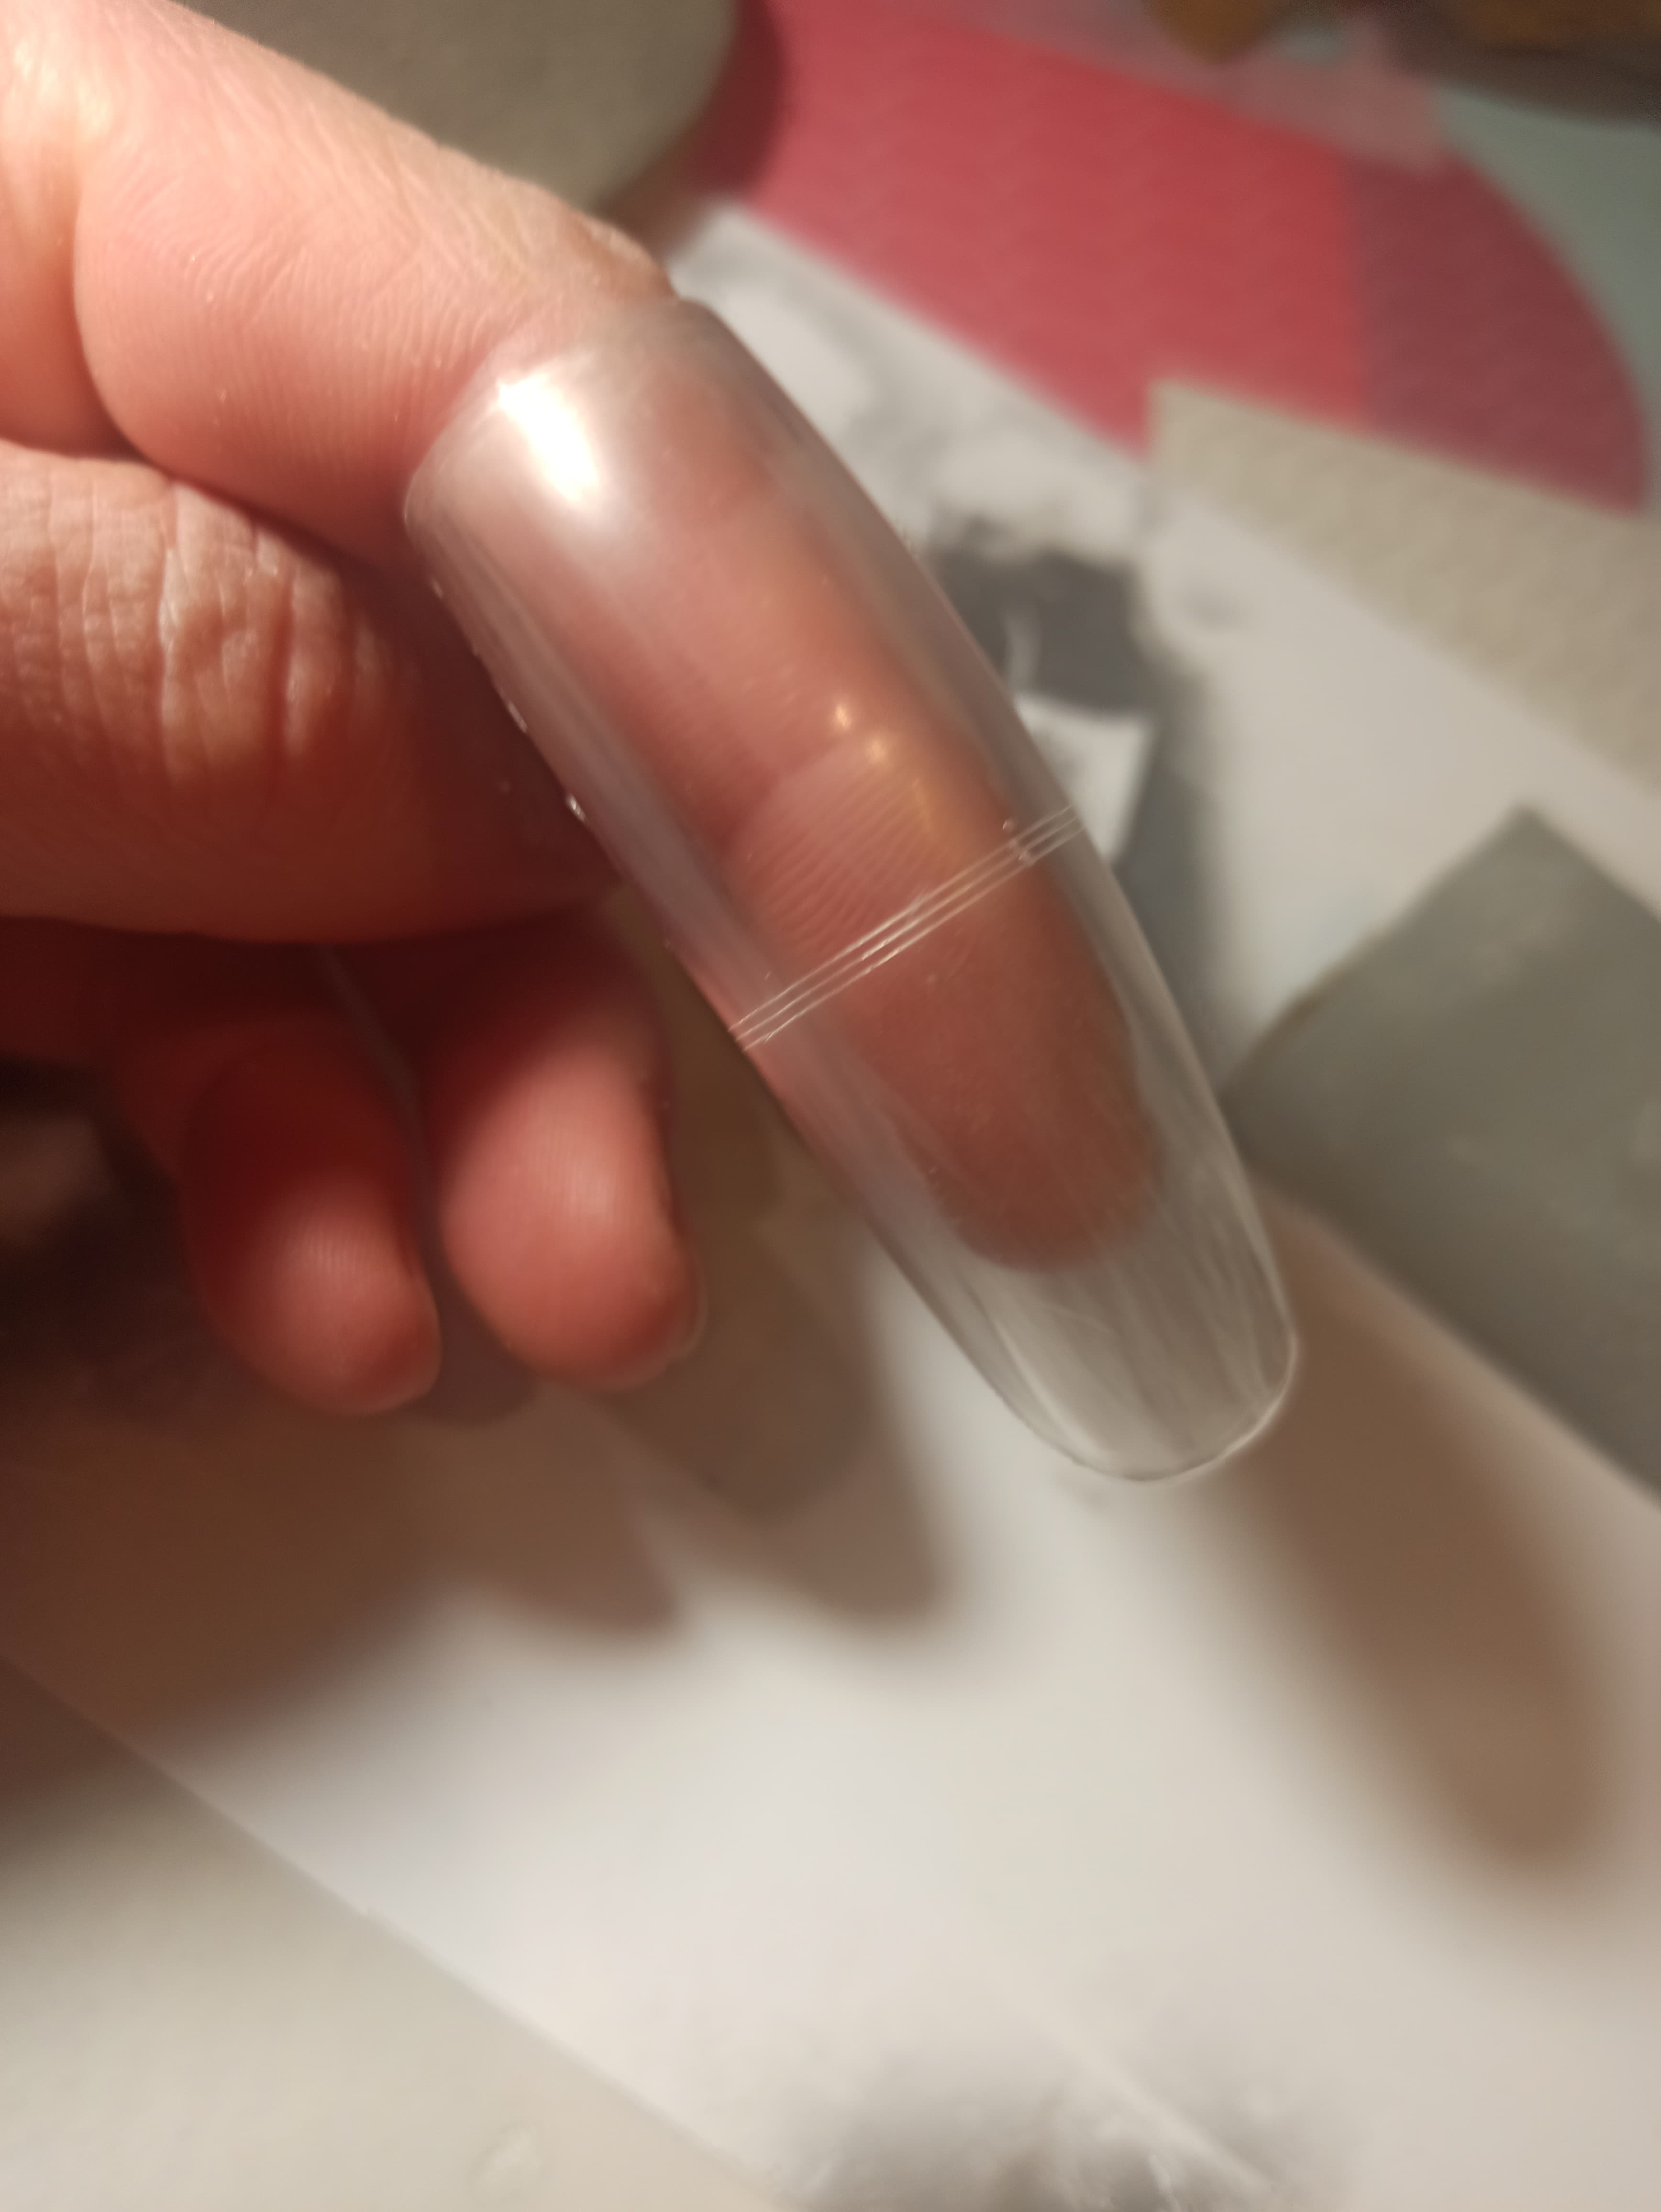
After 400&600
After 800&1500&2000
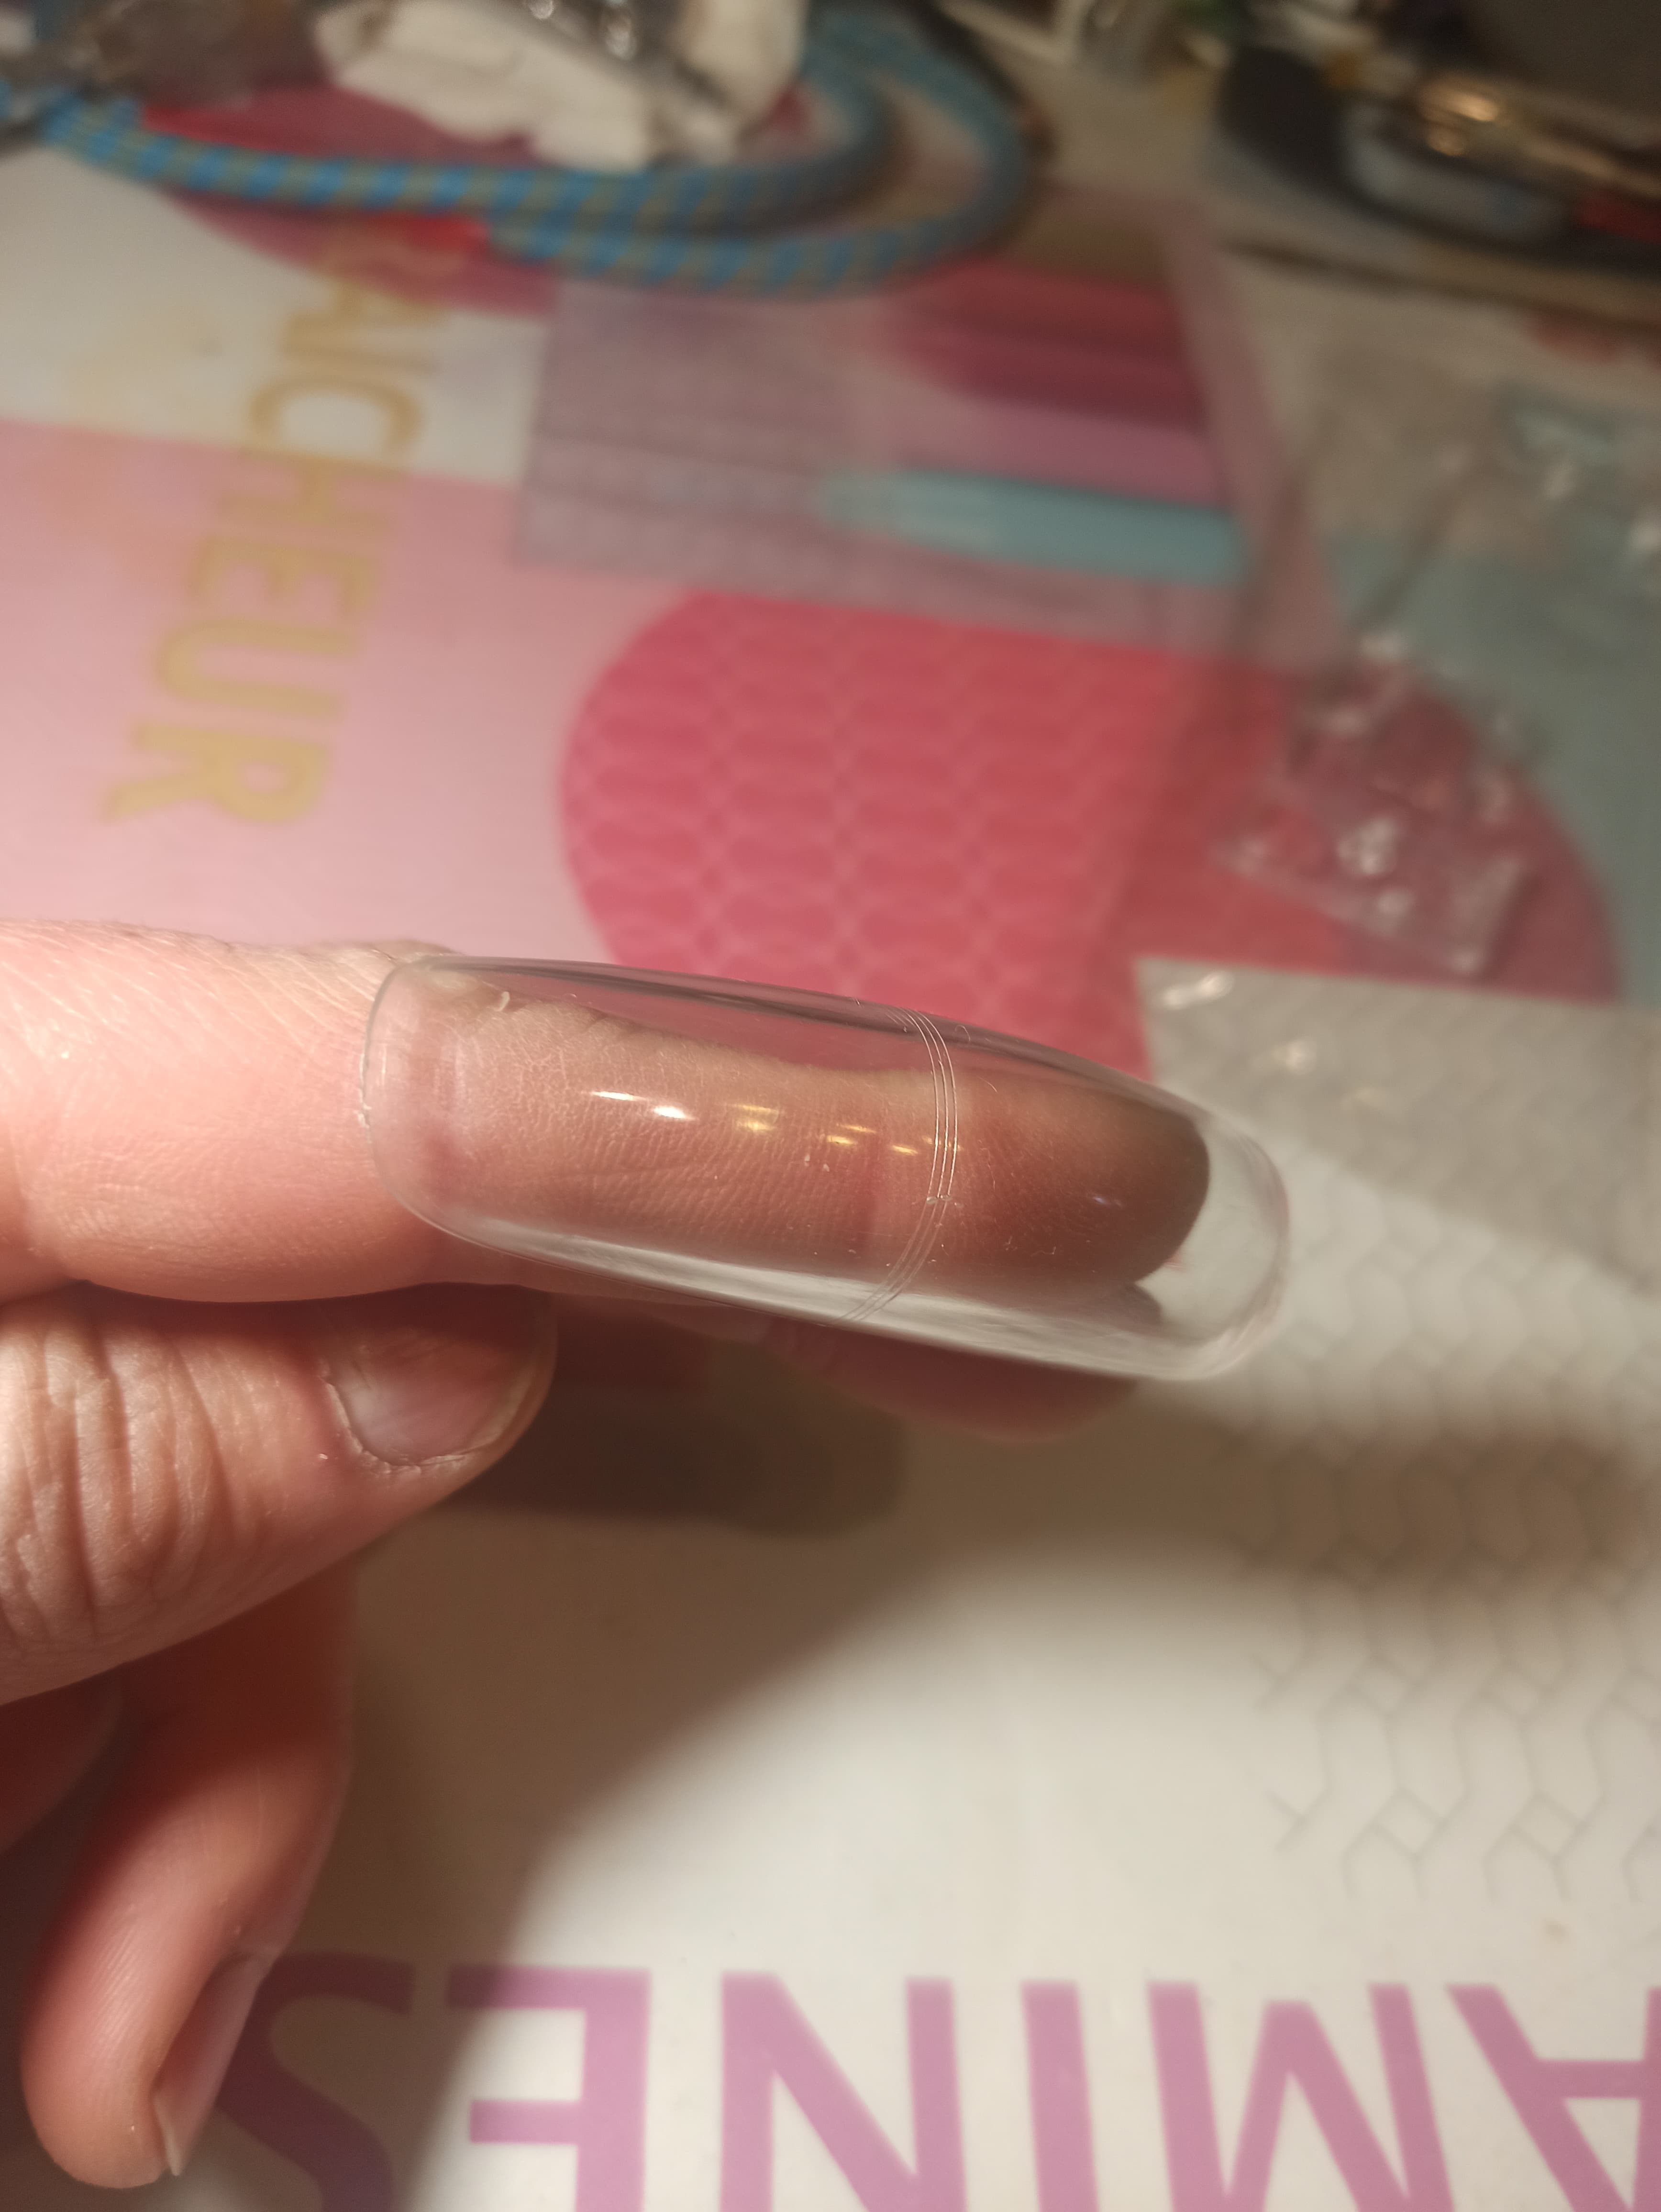
And finally, after the polish sponge
I didn’t use any polish cream to finish, so it looks a bit ‘used look’. Today I’ll make the same on the front canopy shield.
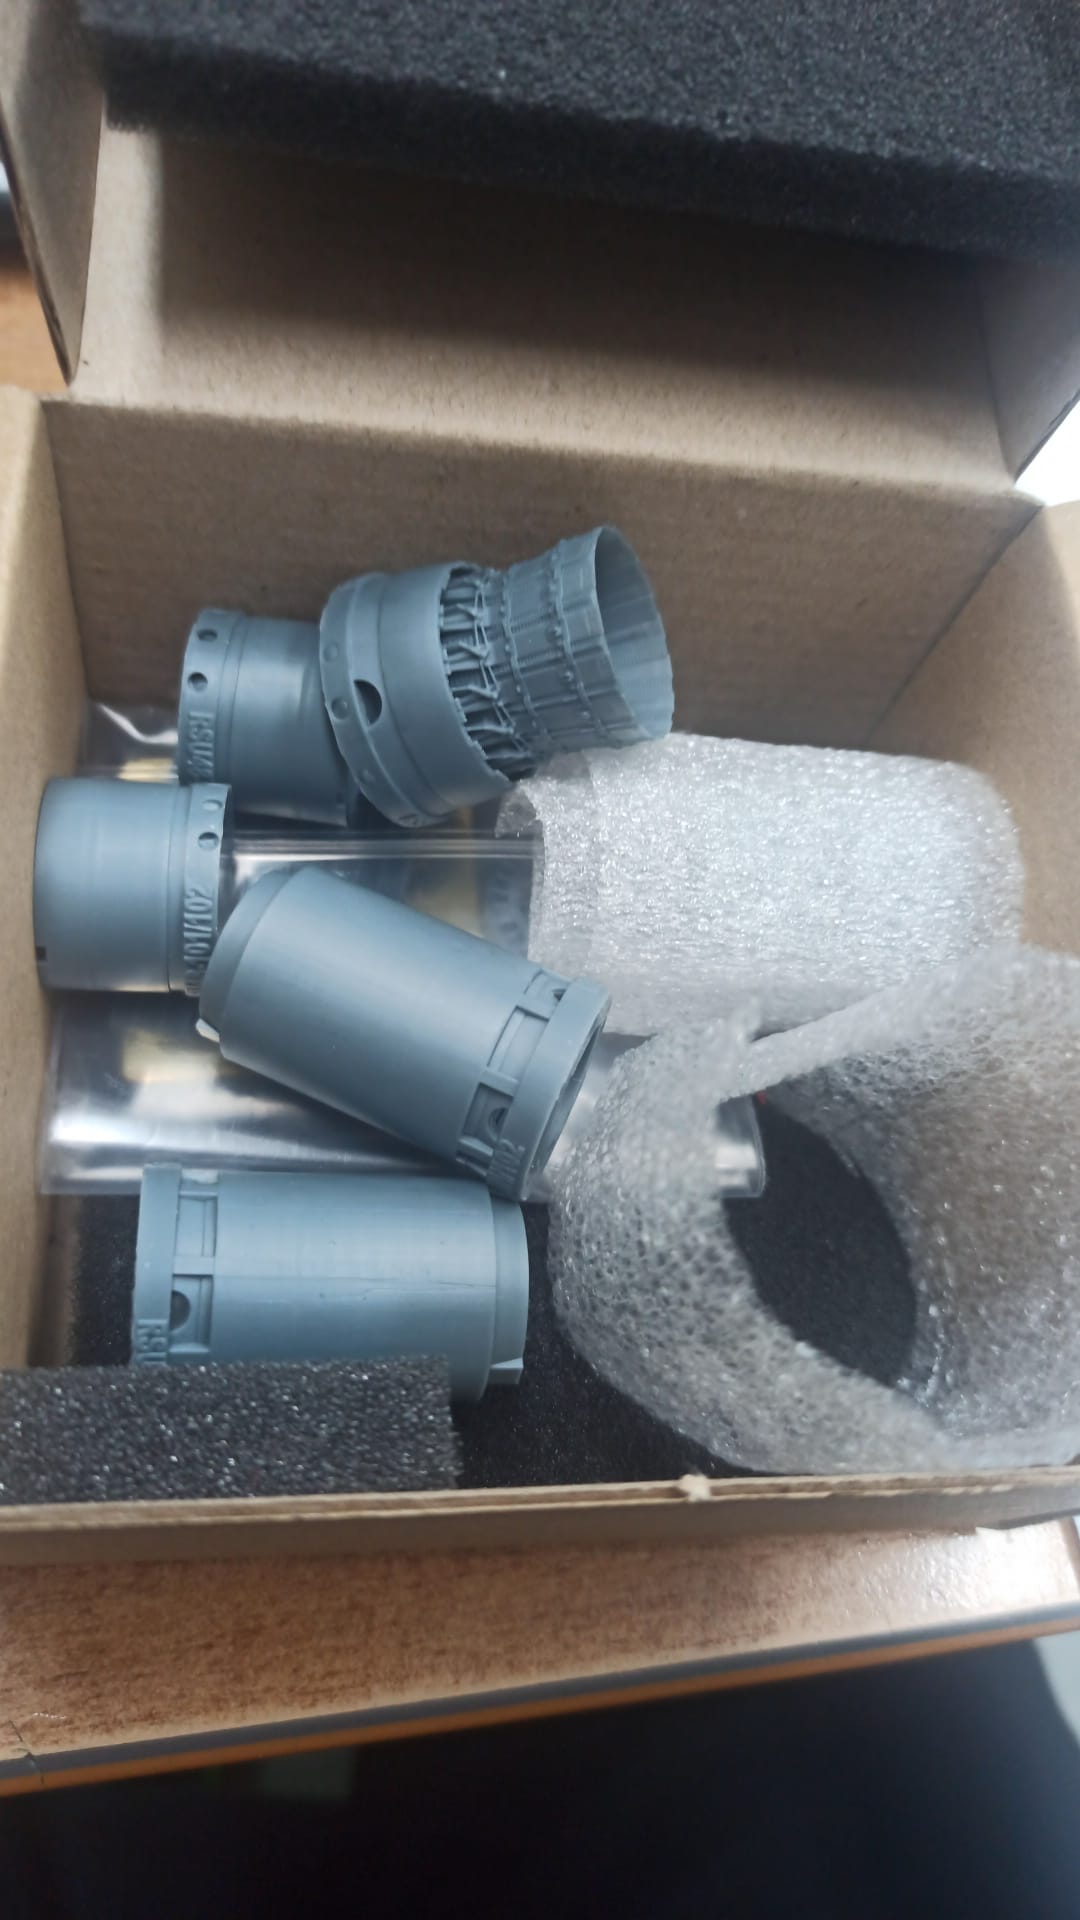
Another stuff received, a resin exhaust nozzles. The ones with the kit didn’t like me very much and they are difficult to assembly.
That’s all for now. Regards!!
6 Likes