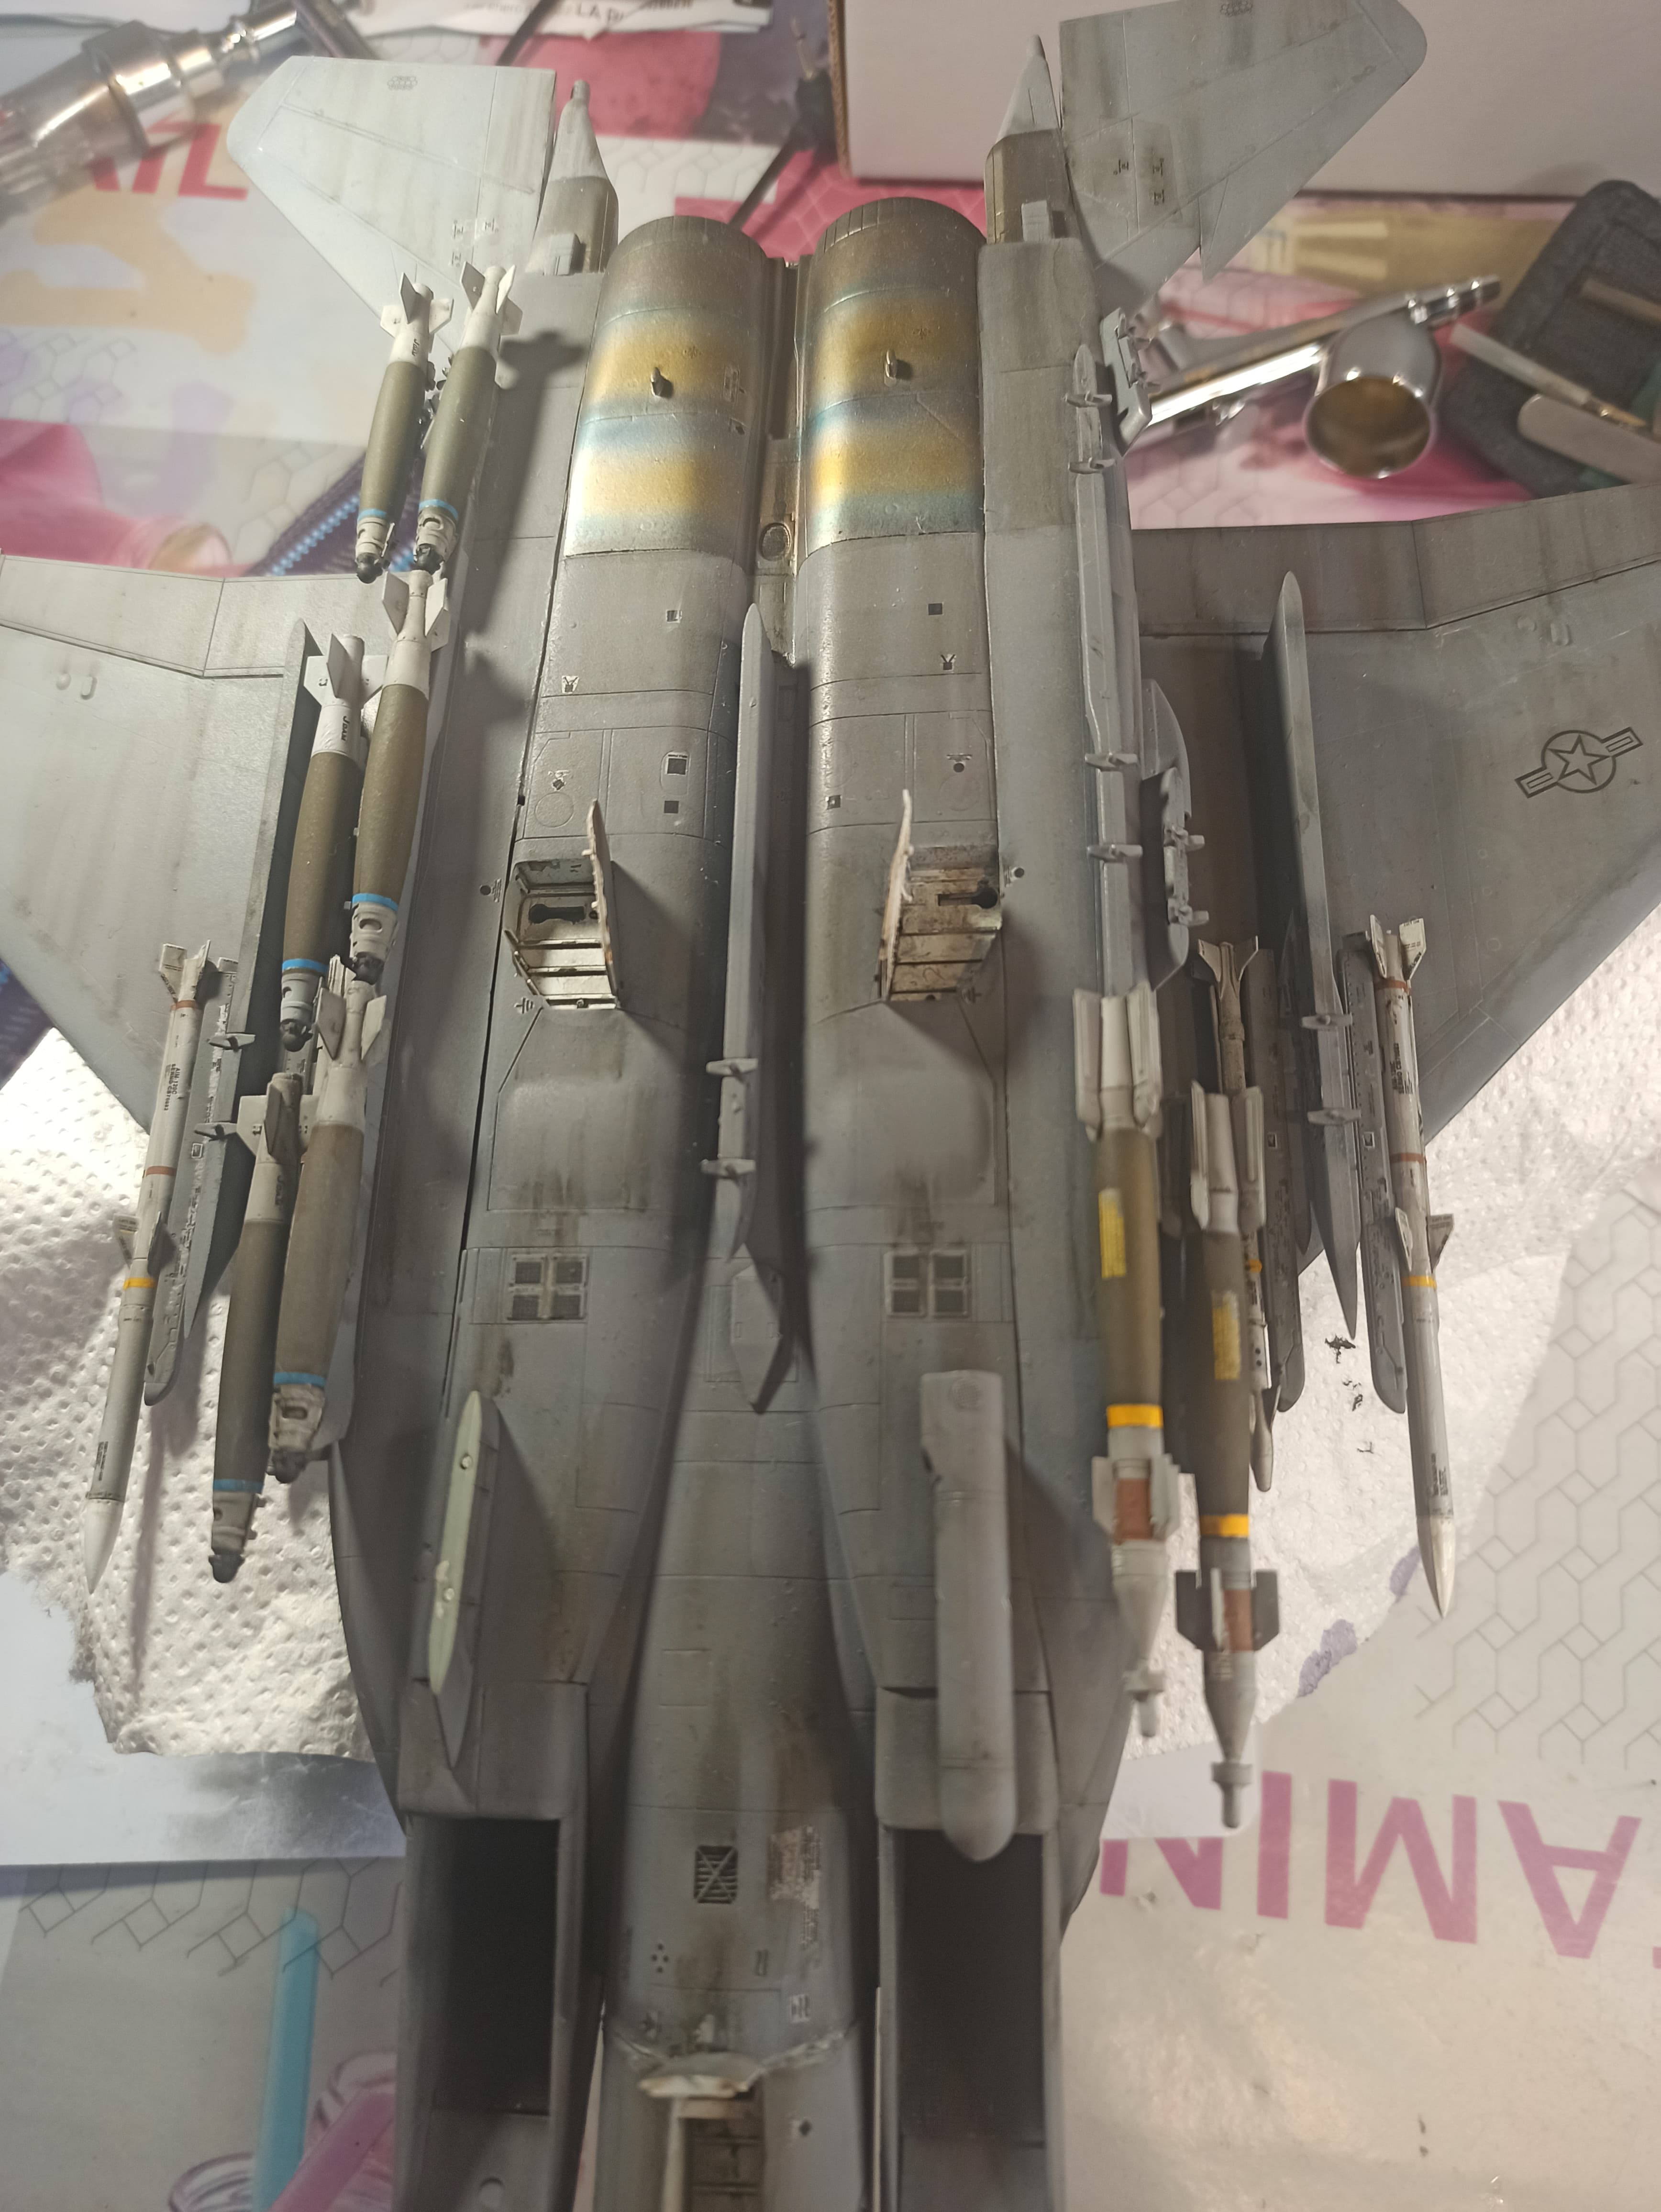
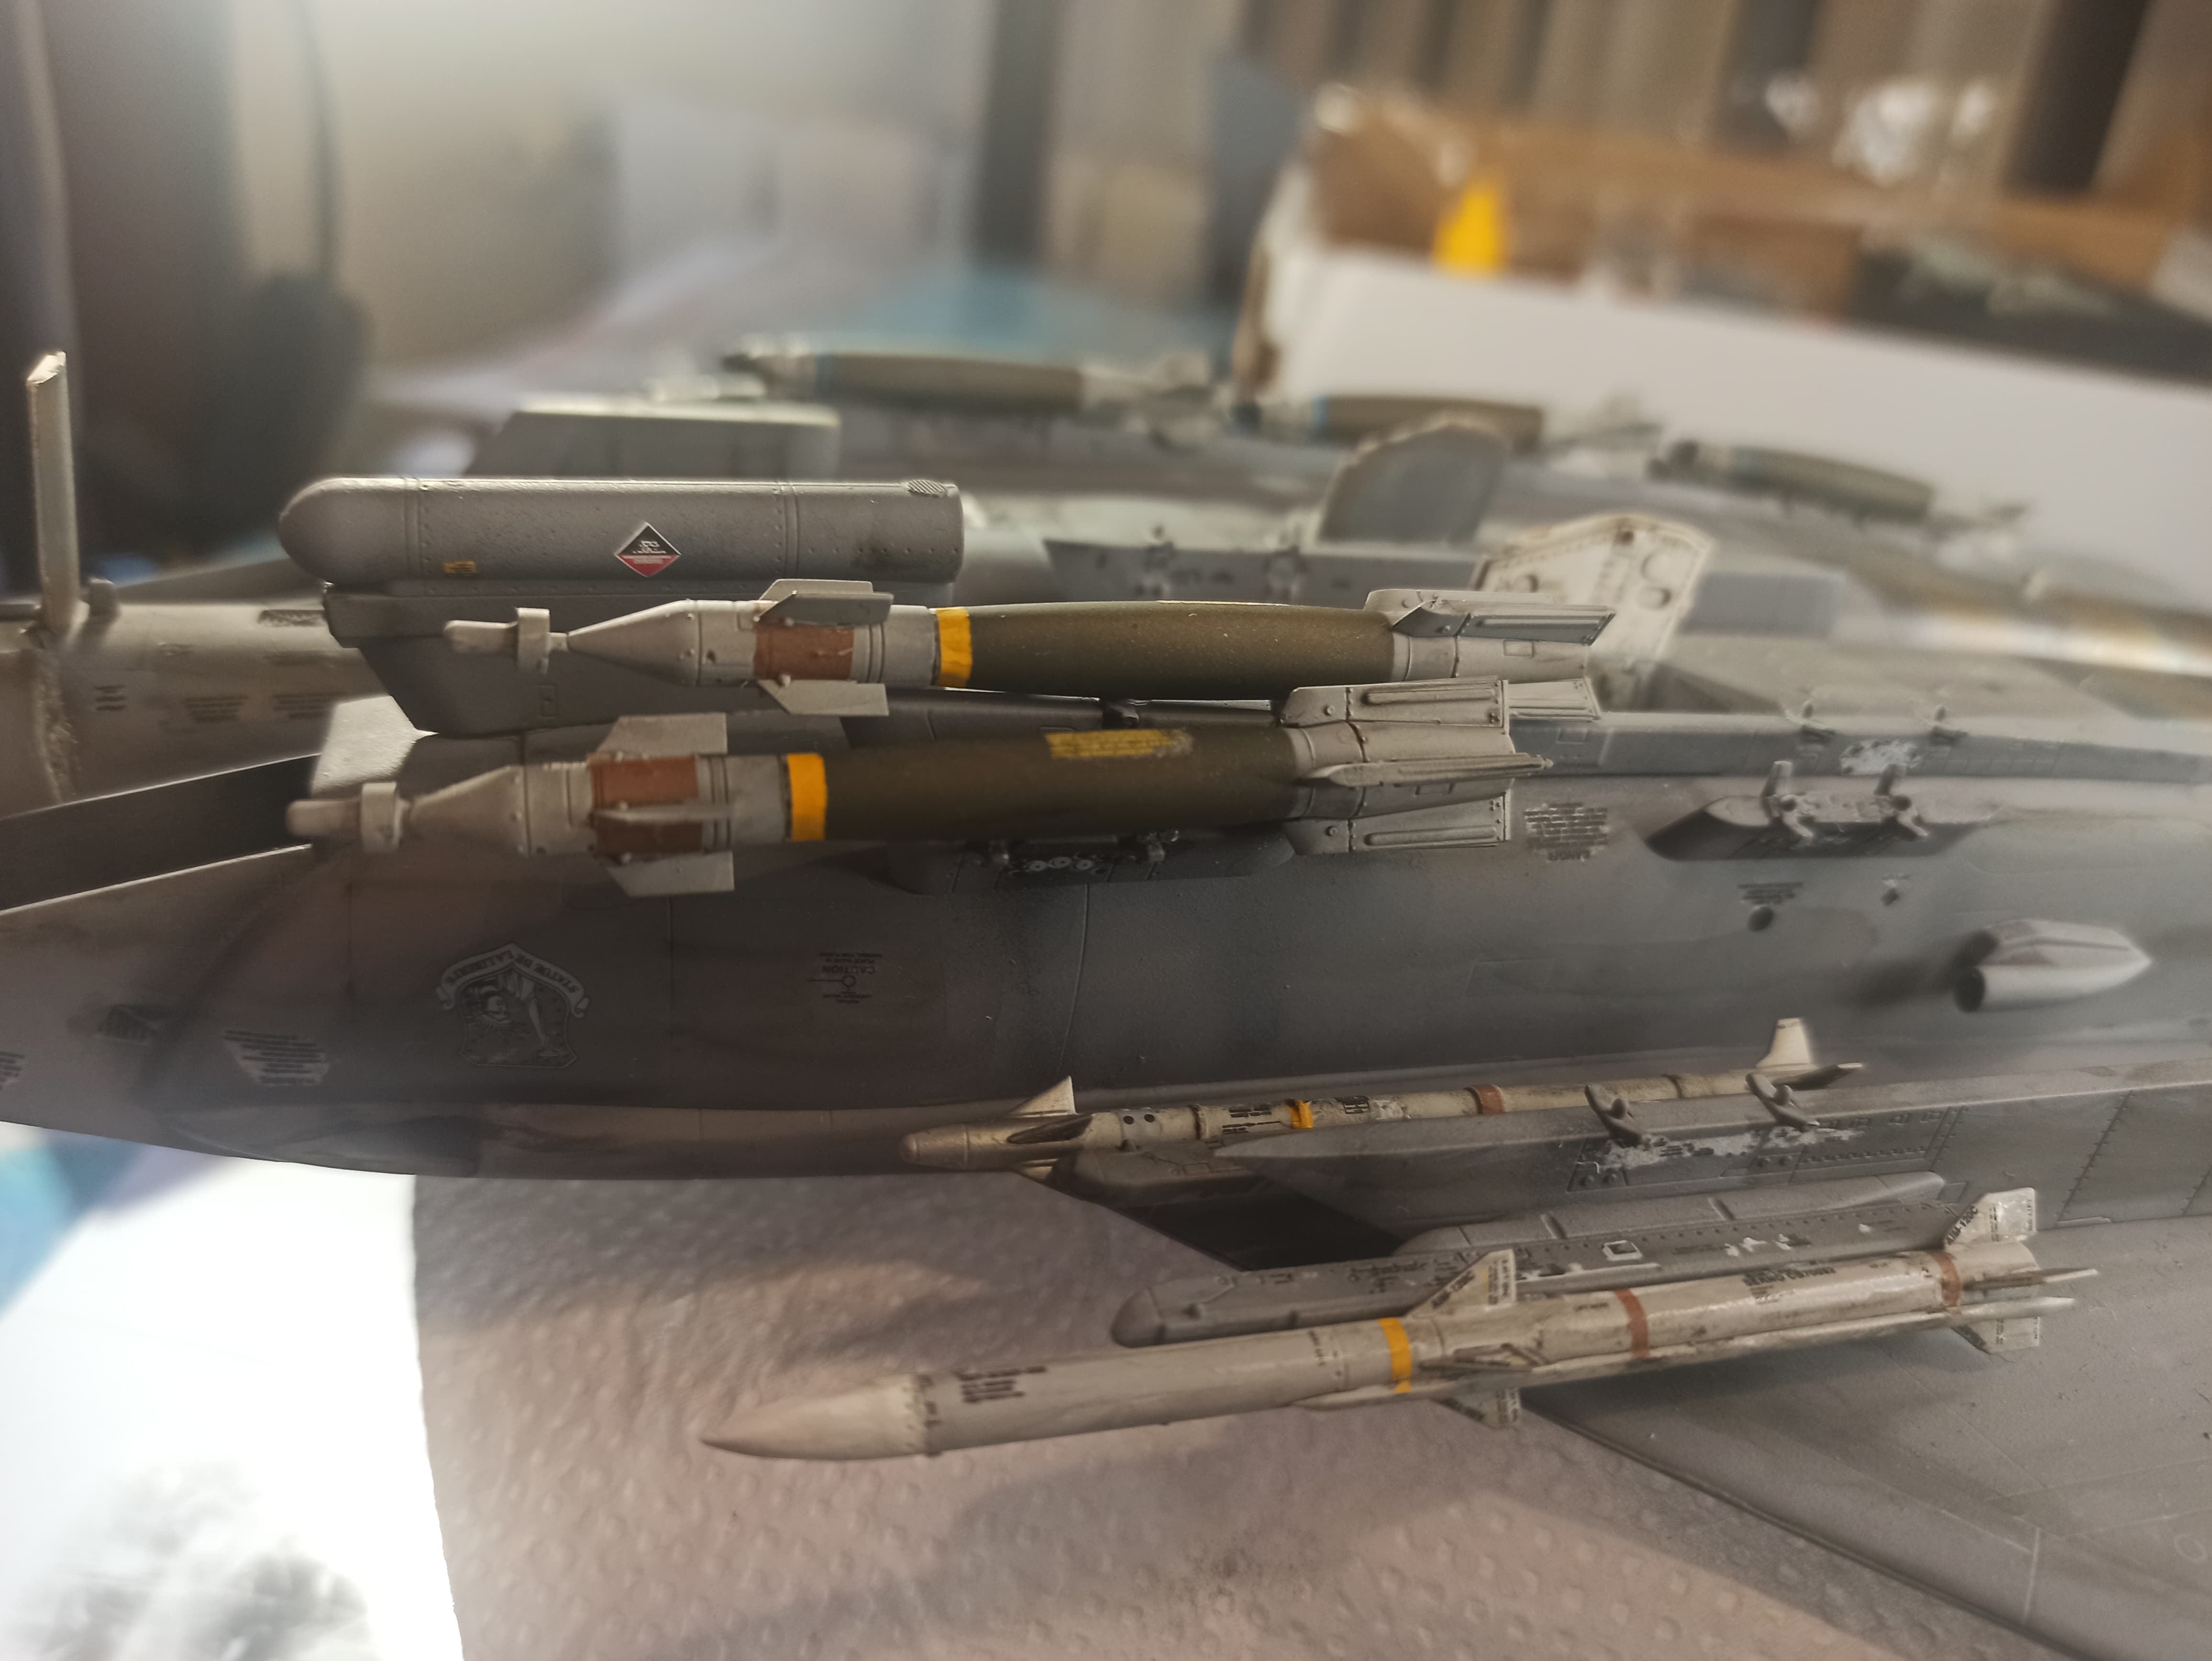
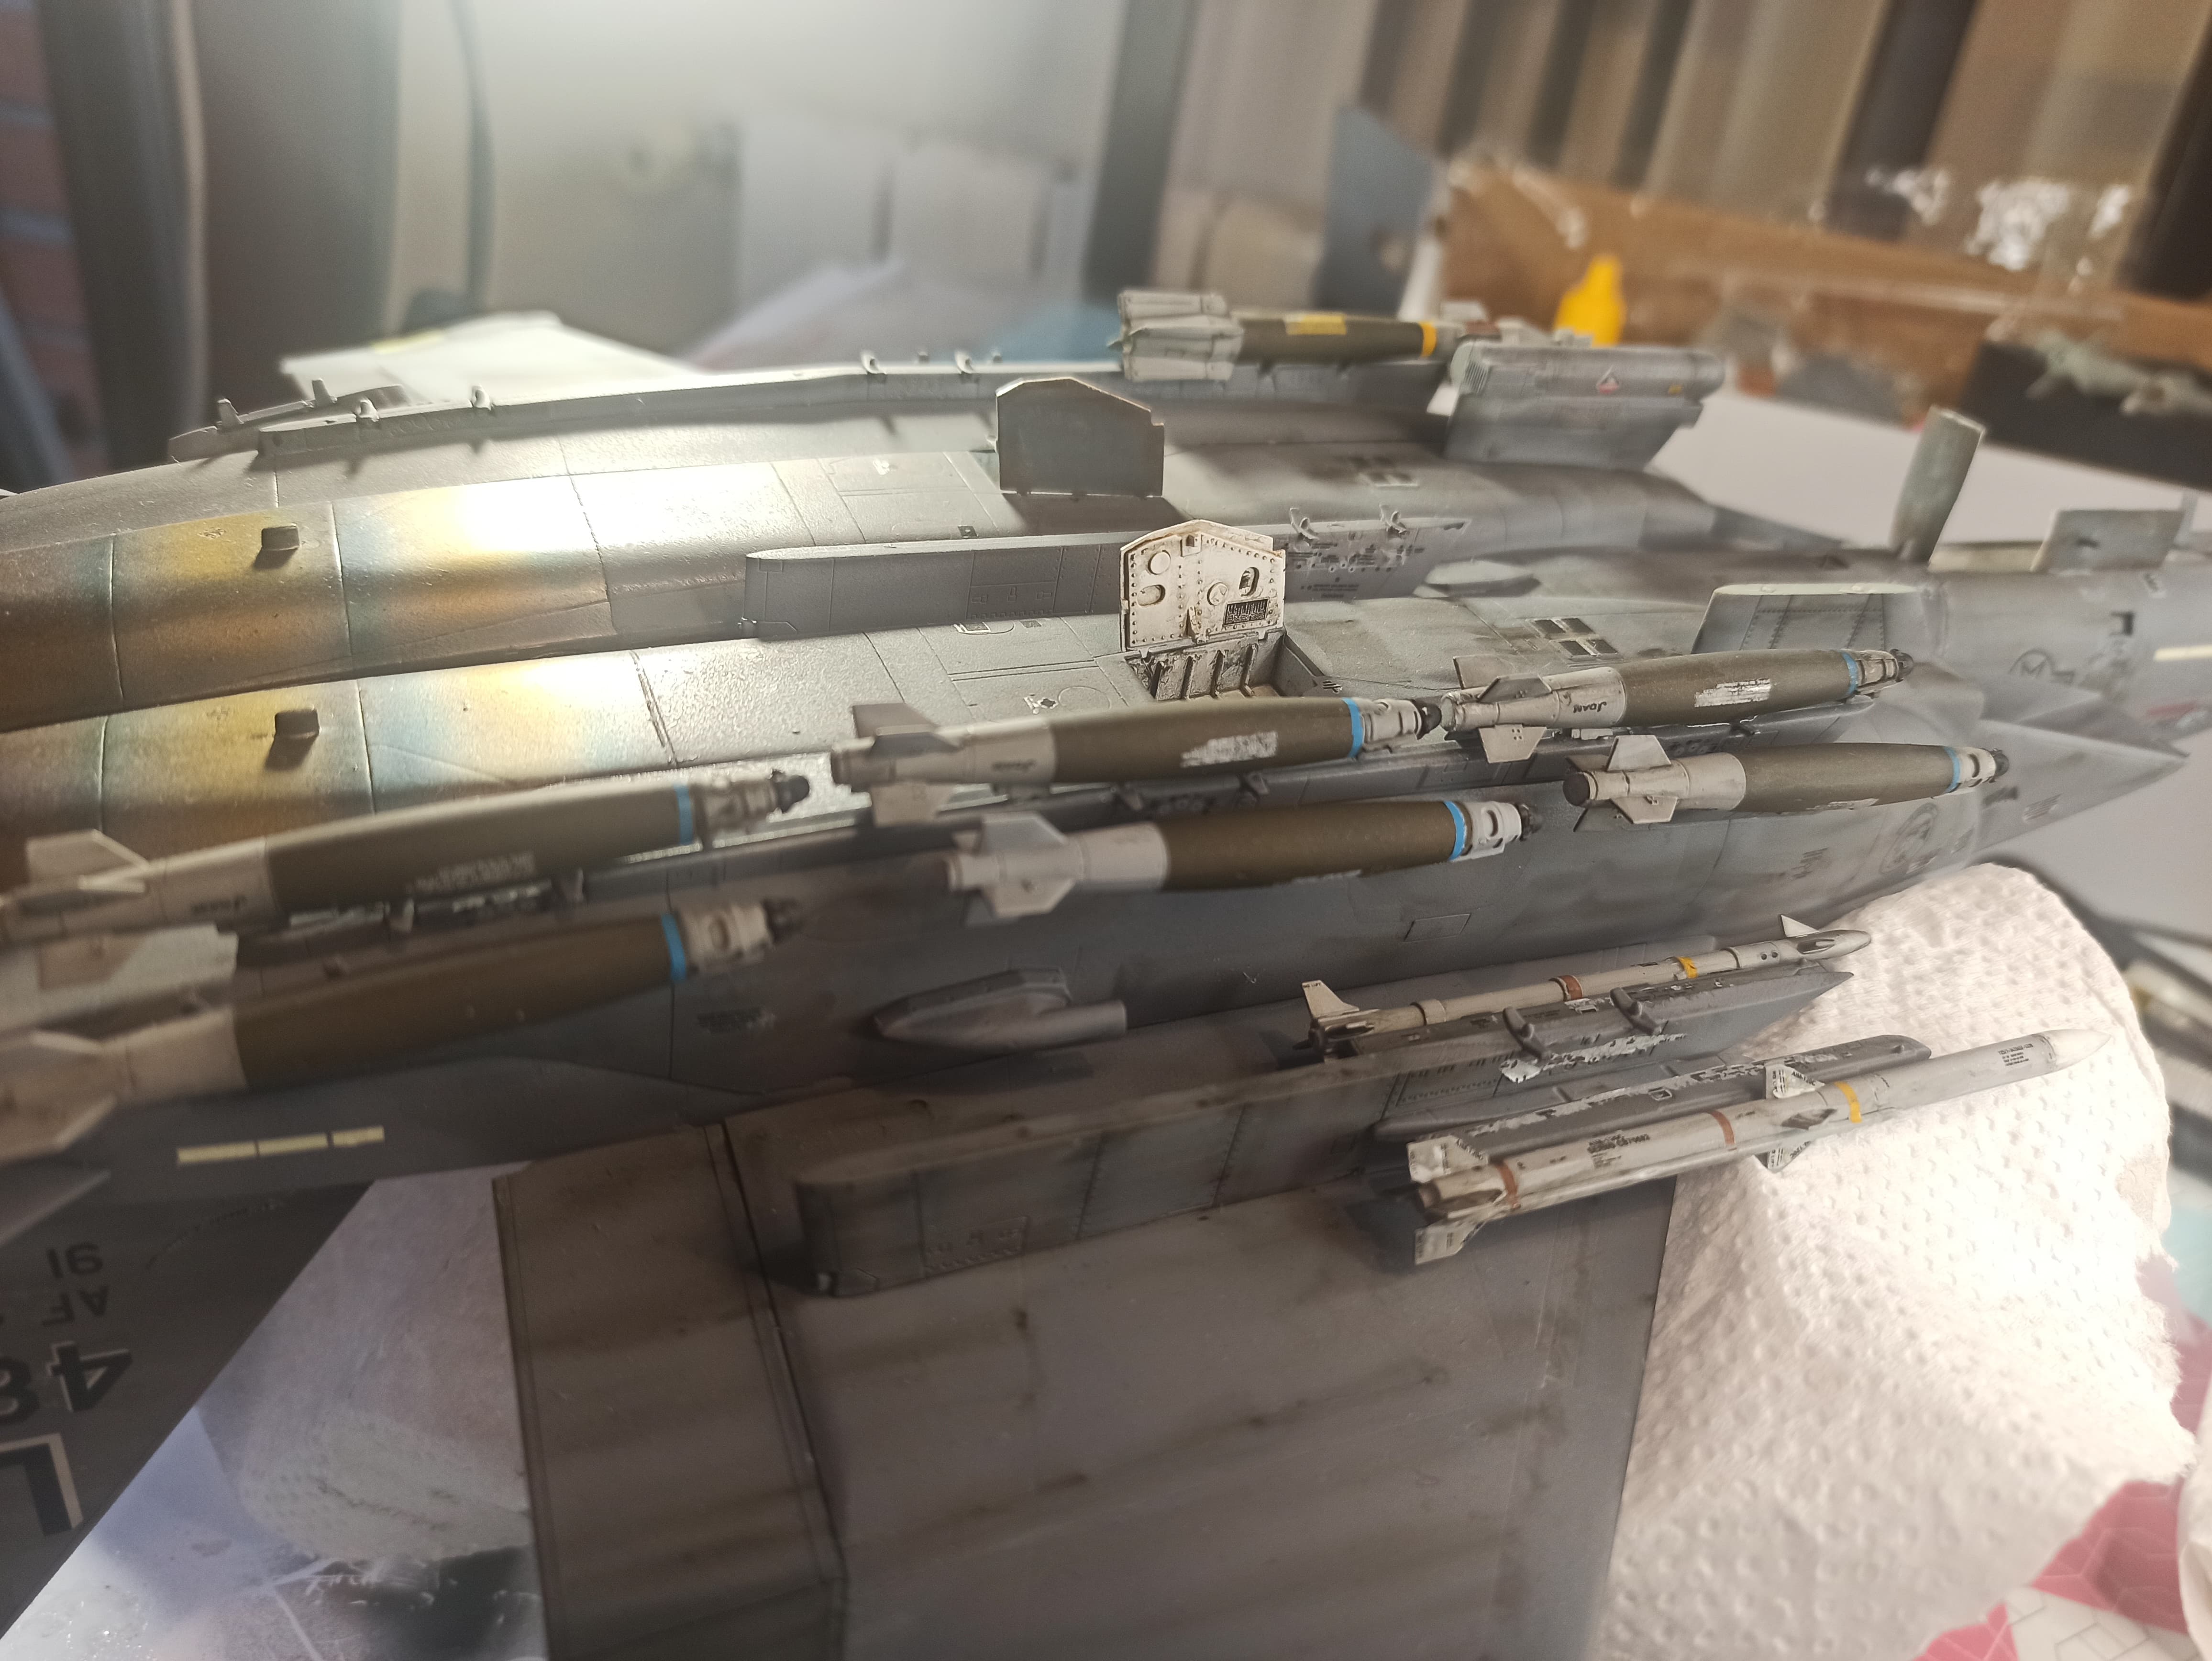
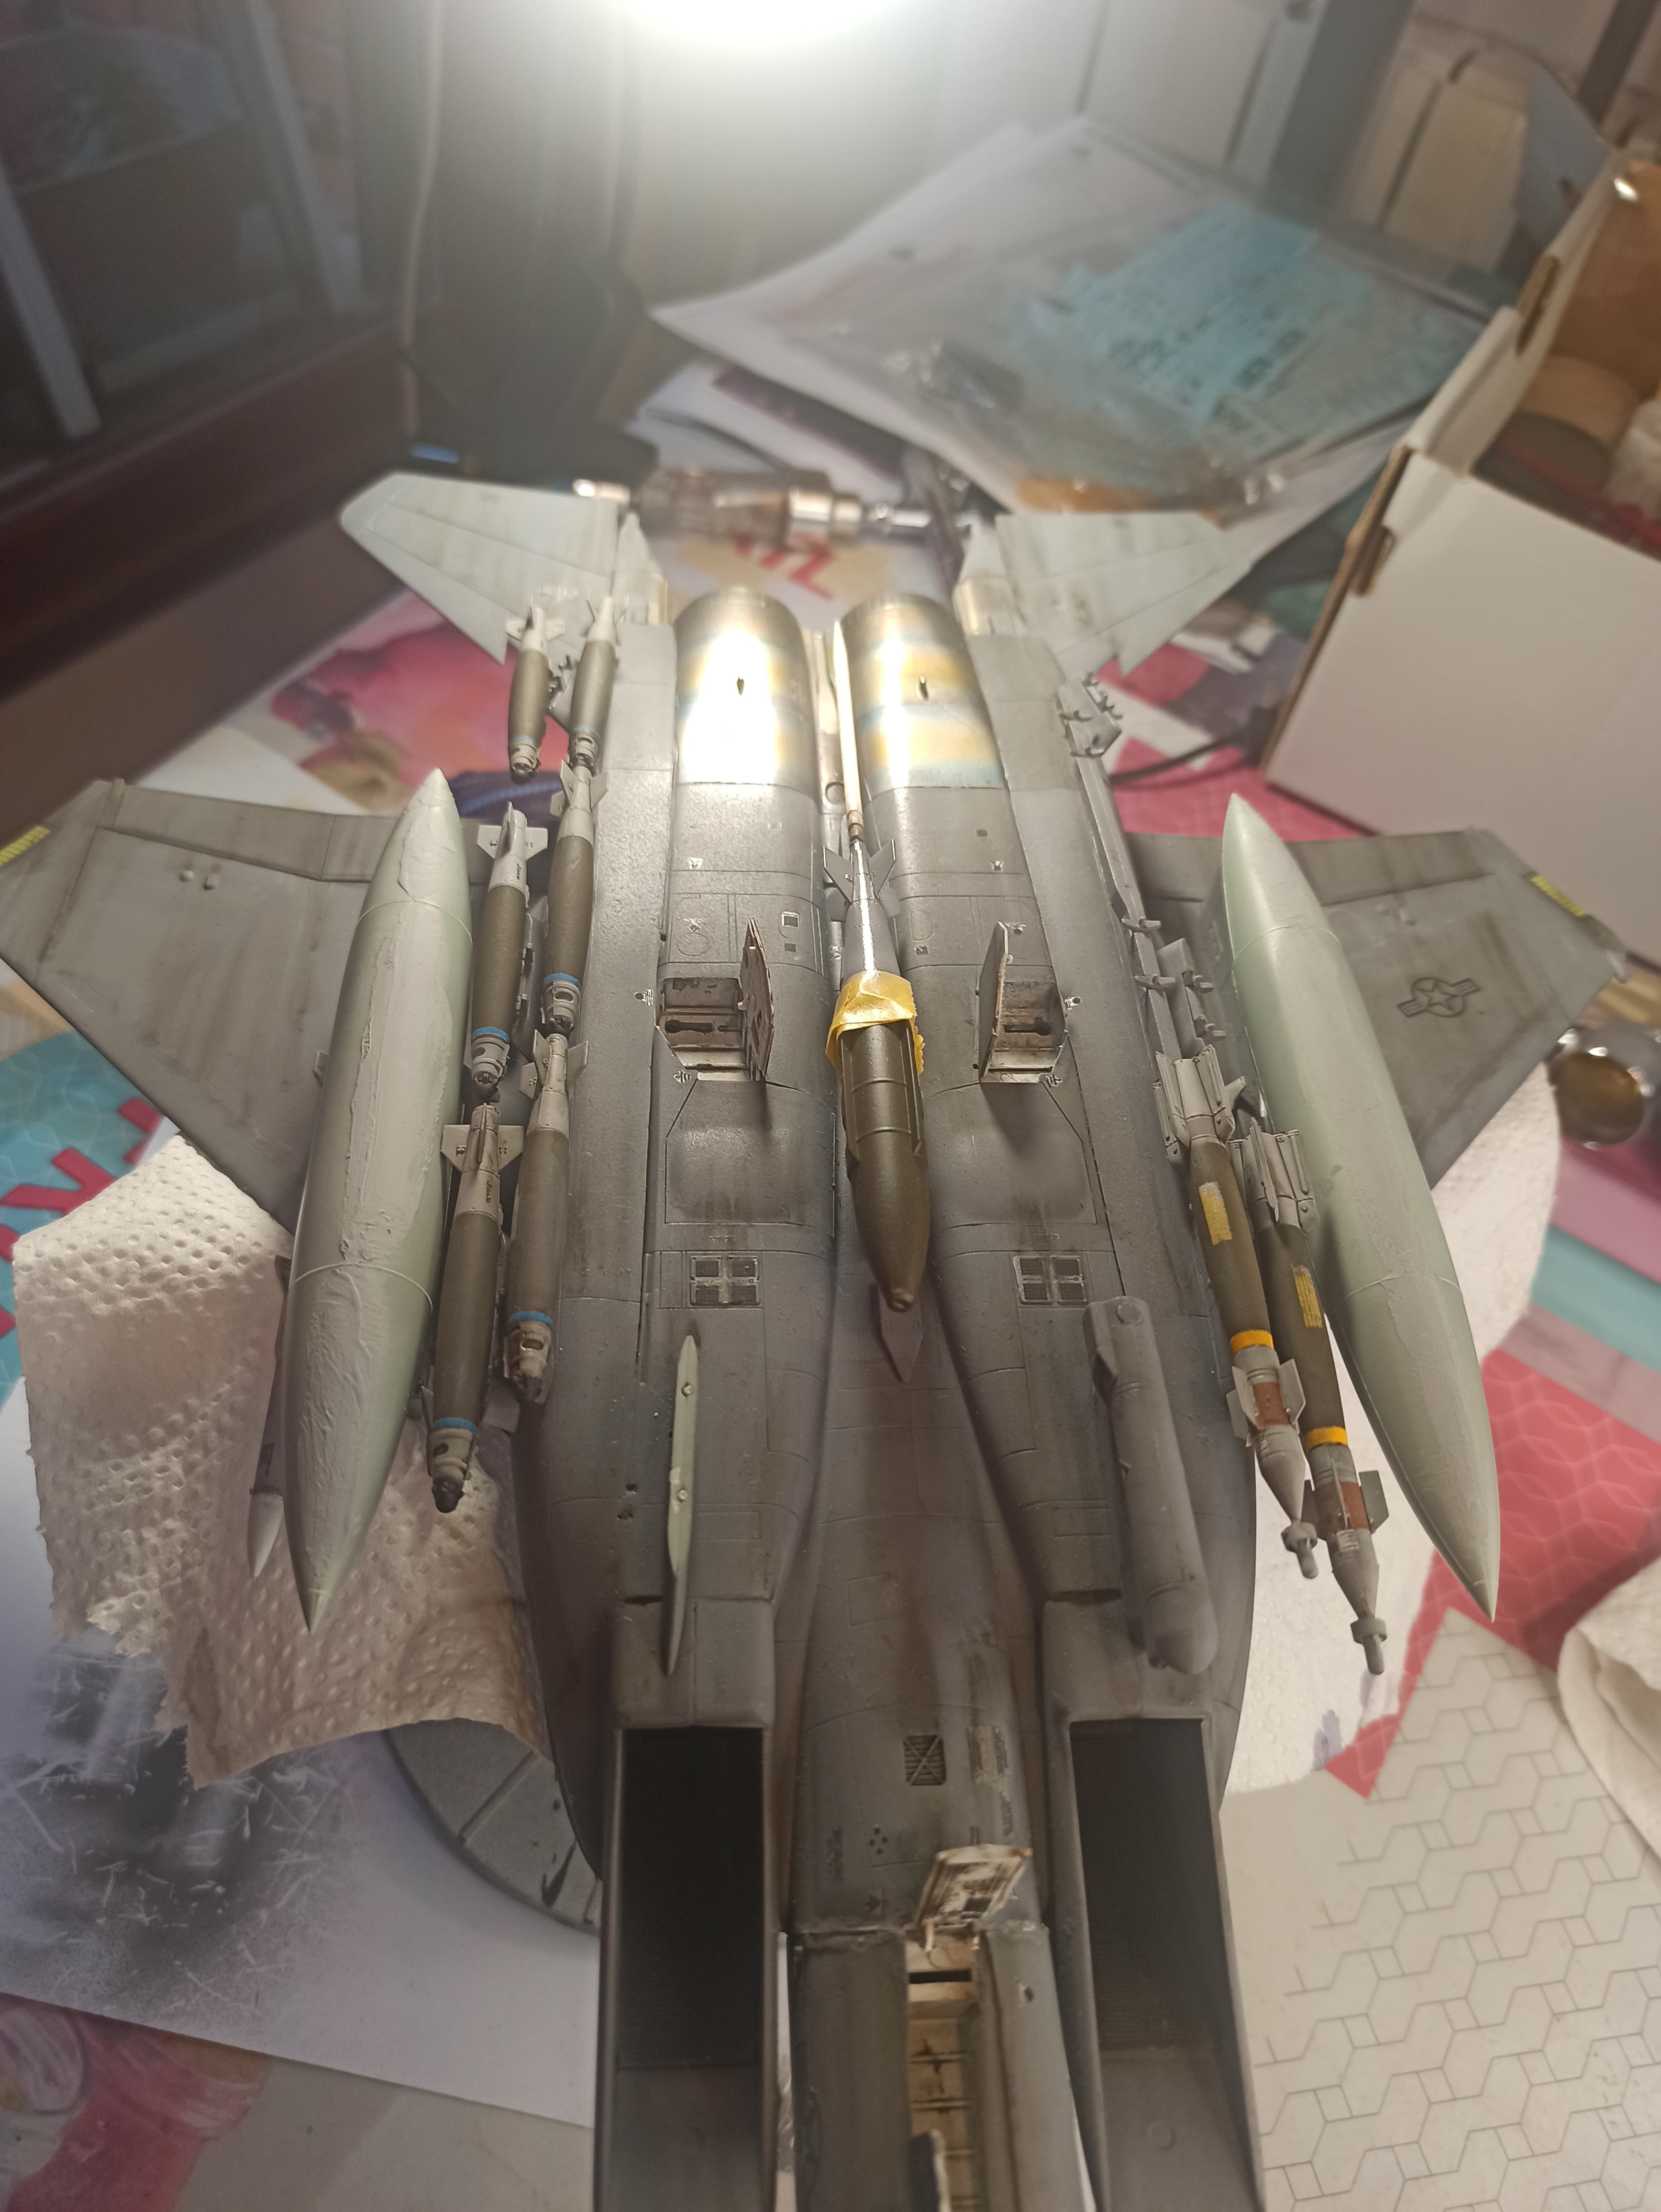
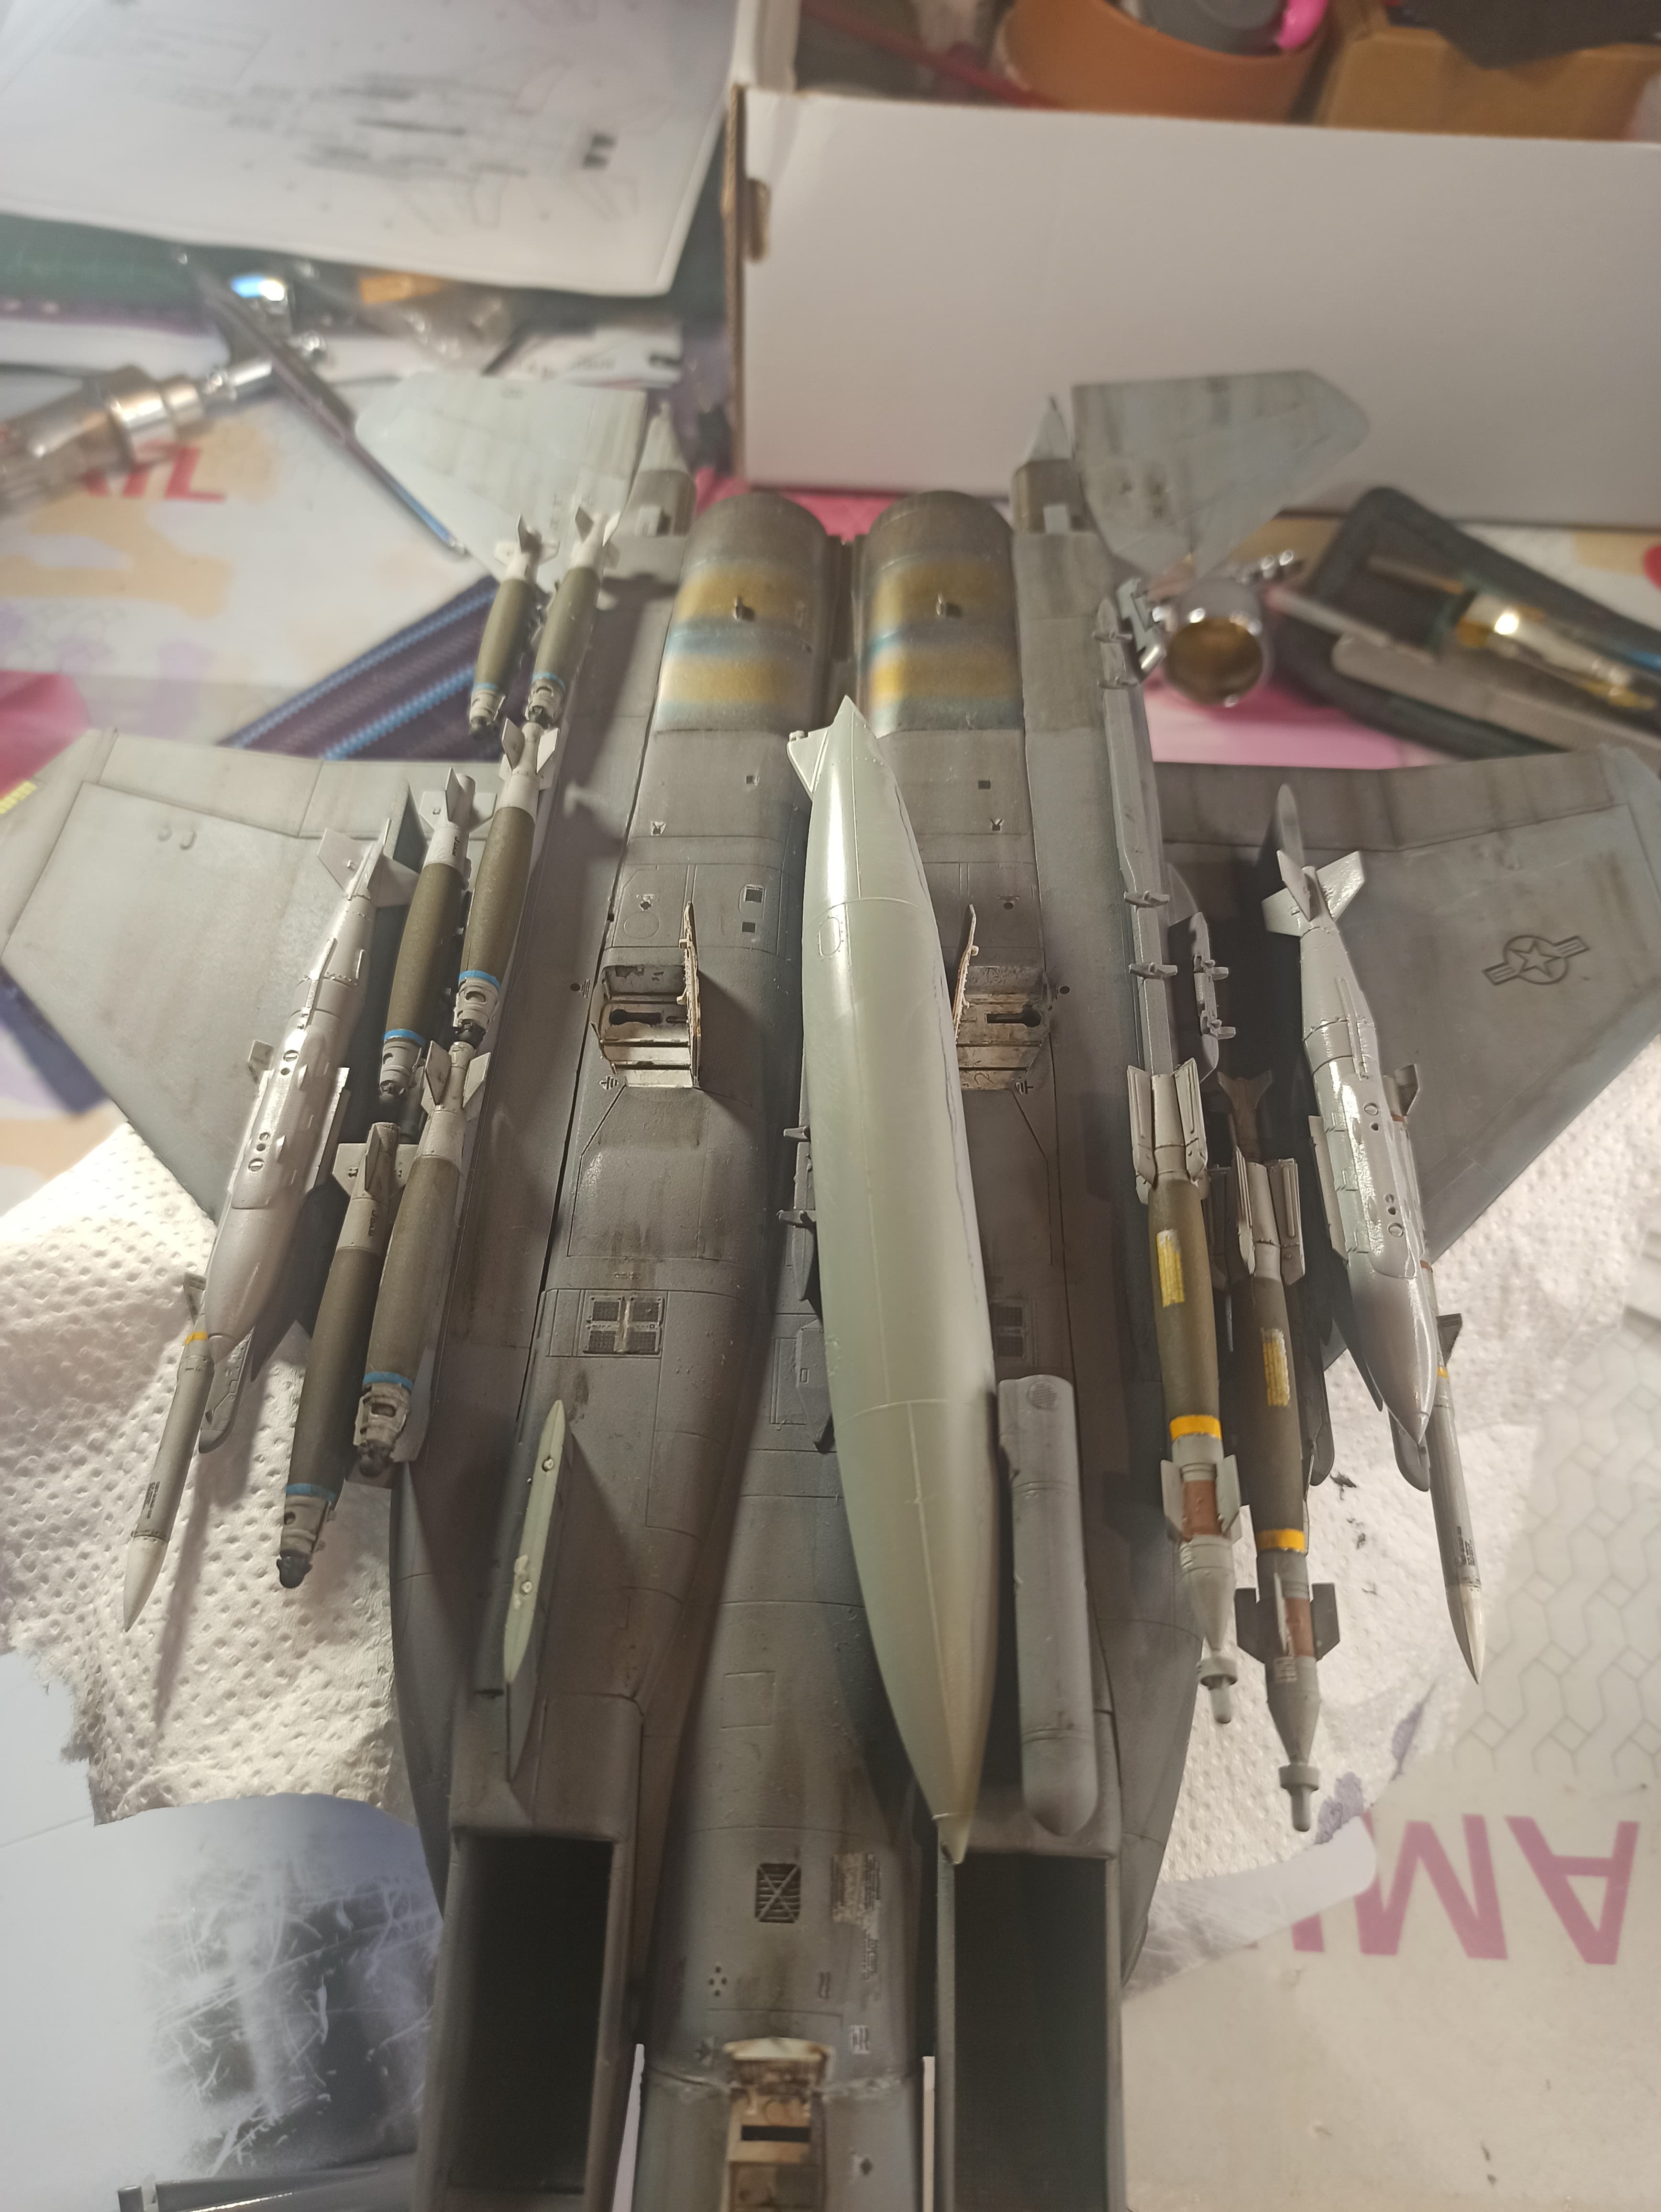
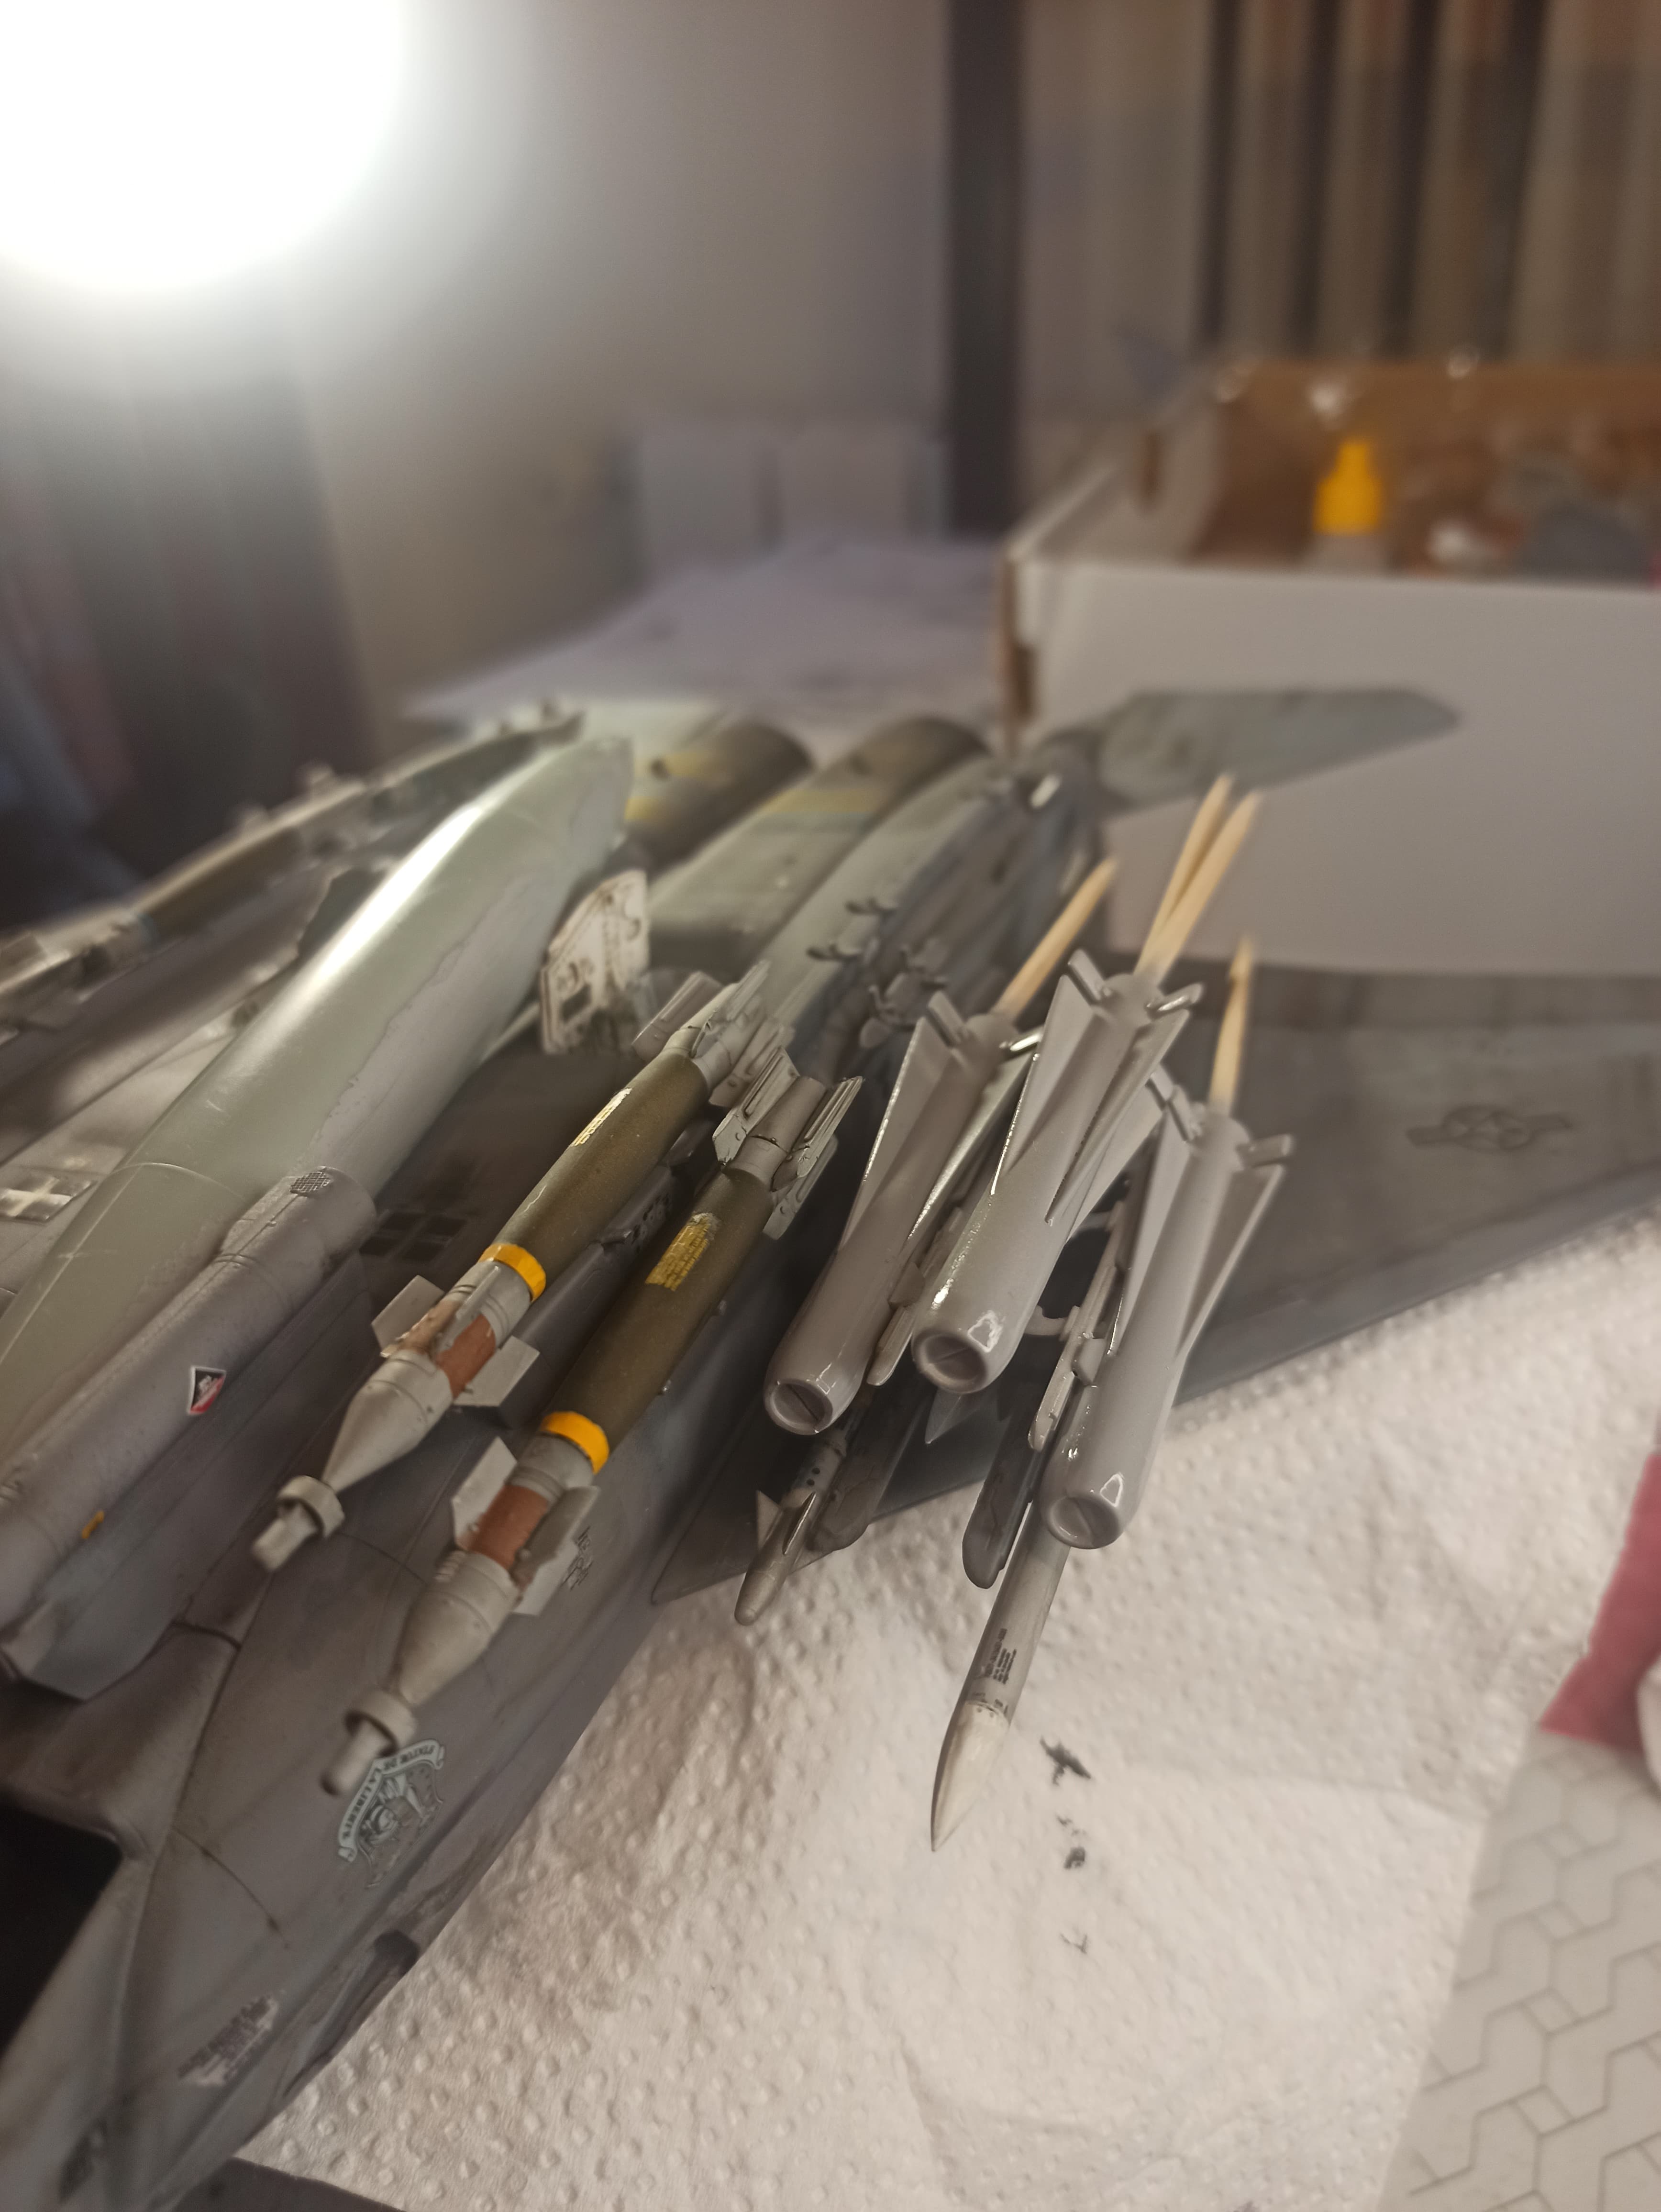
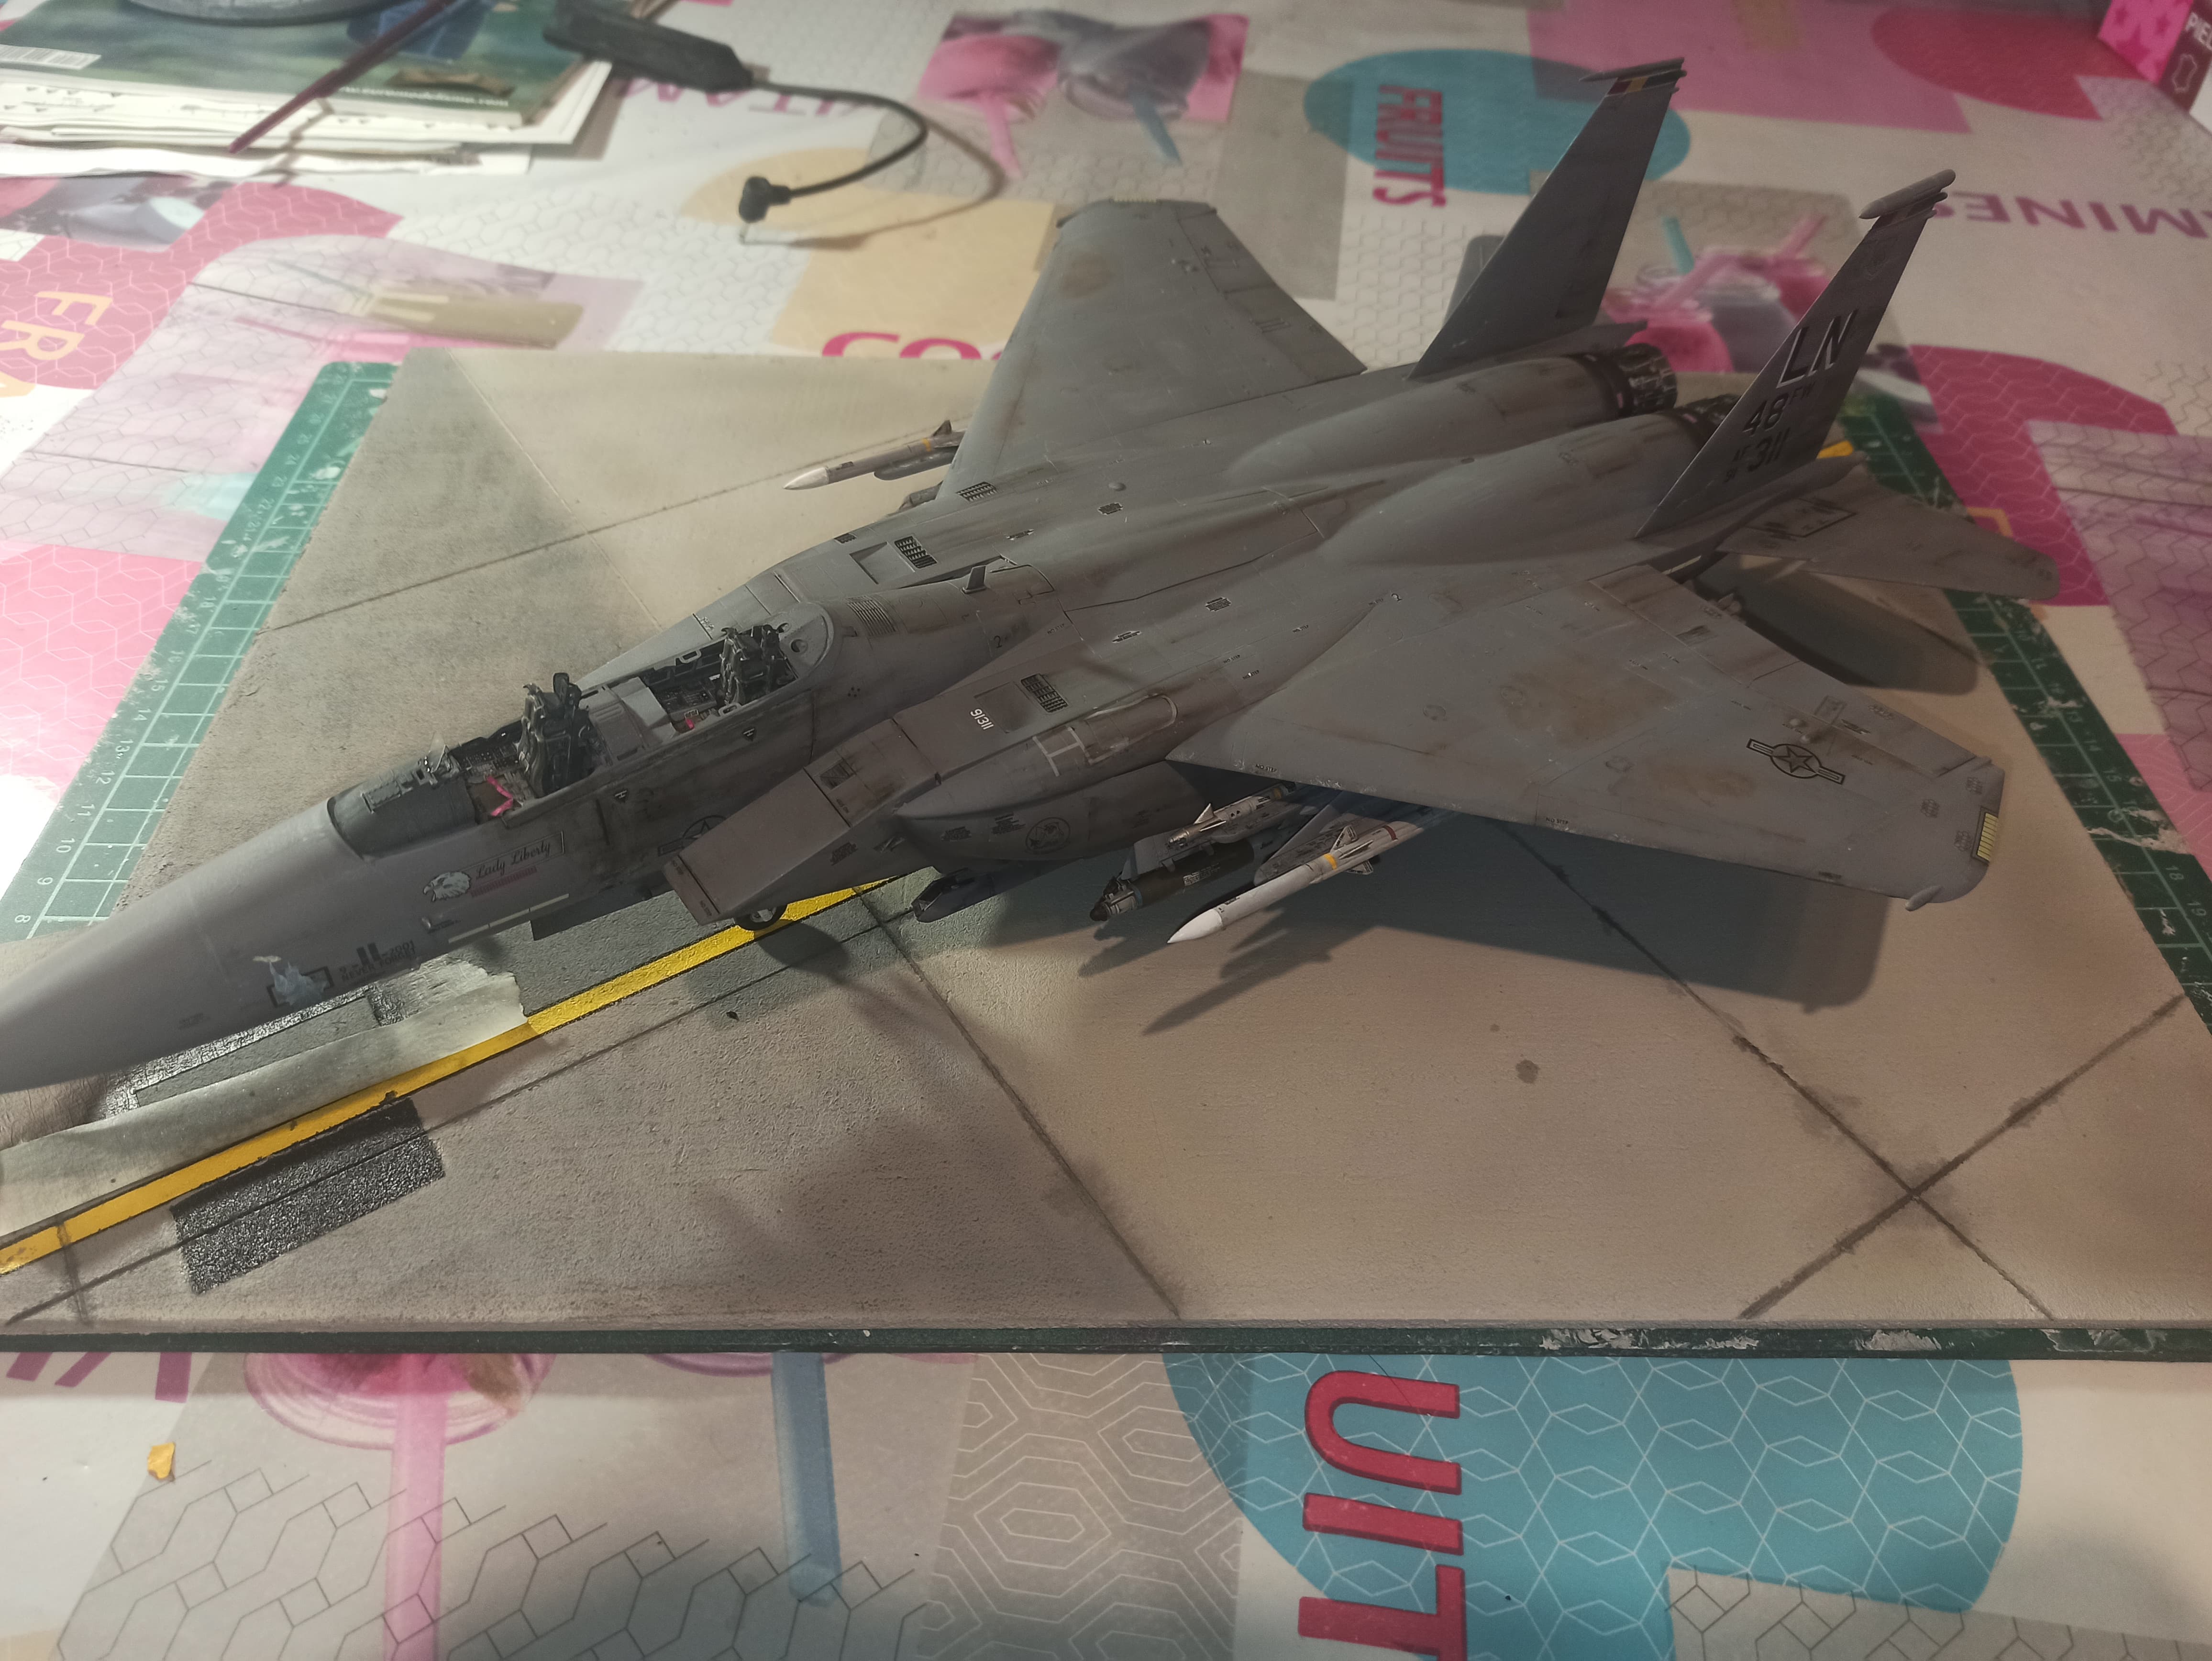
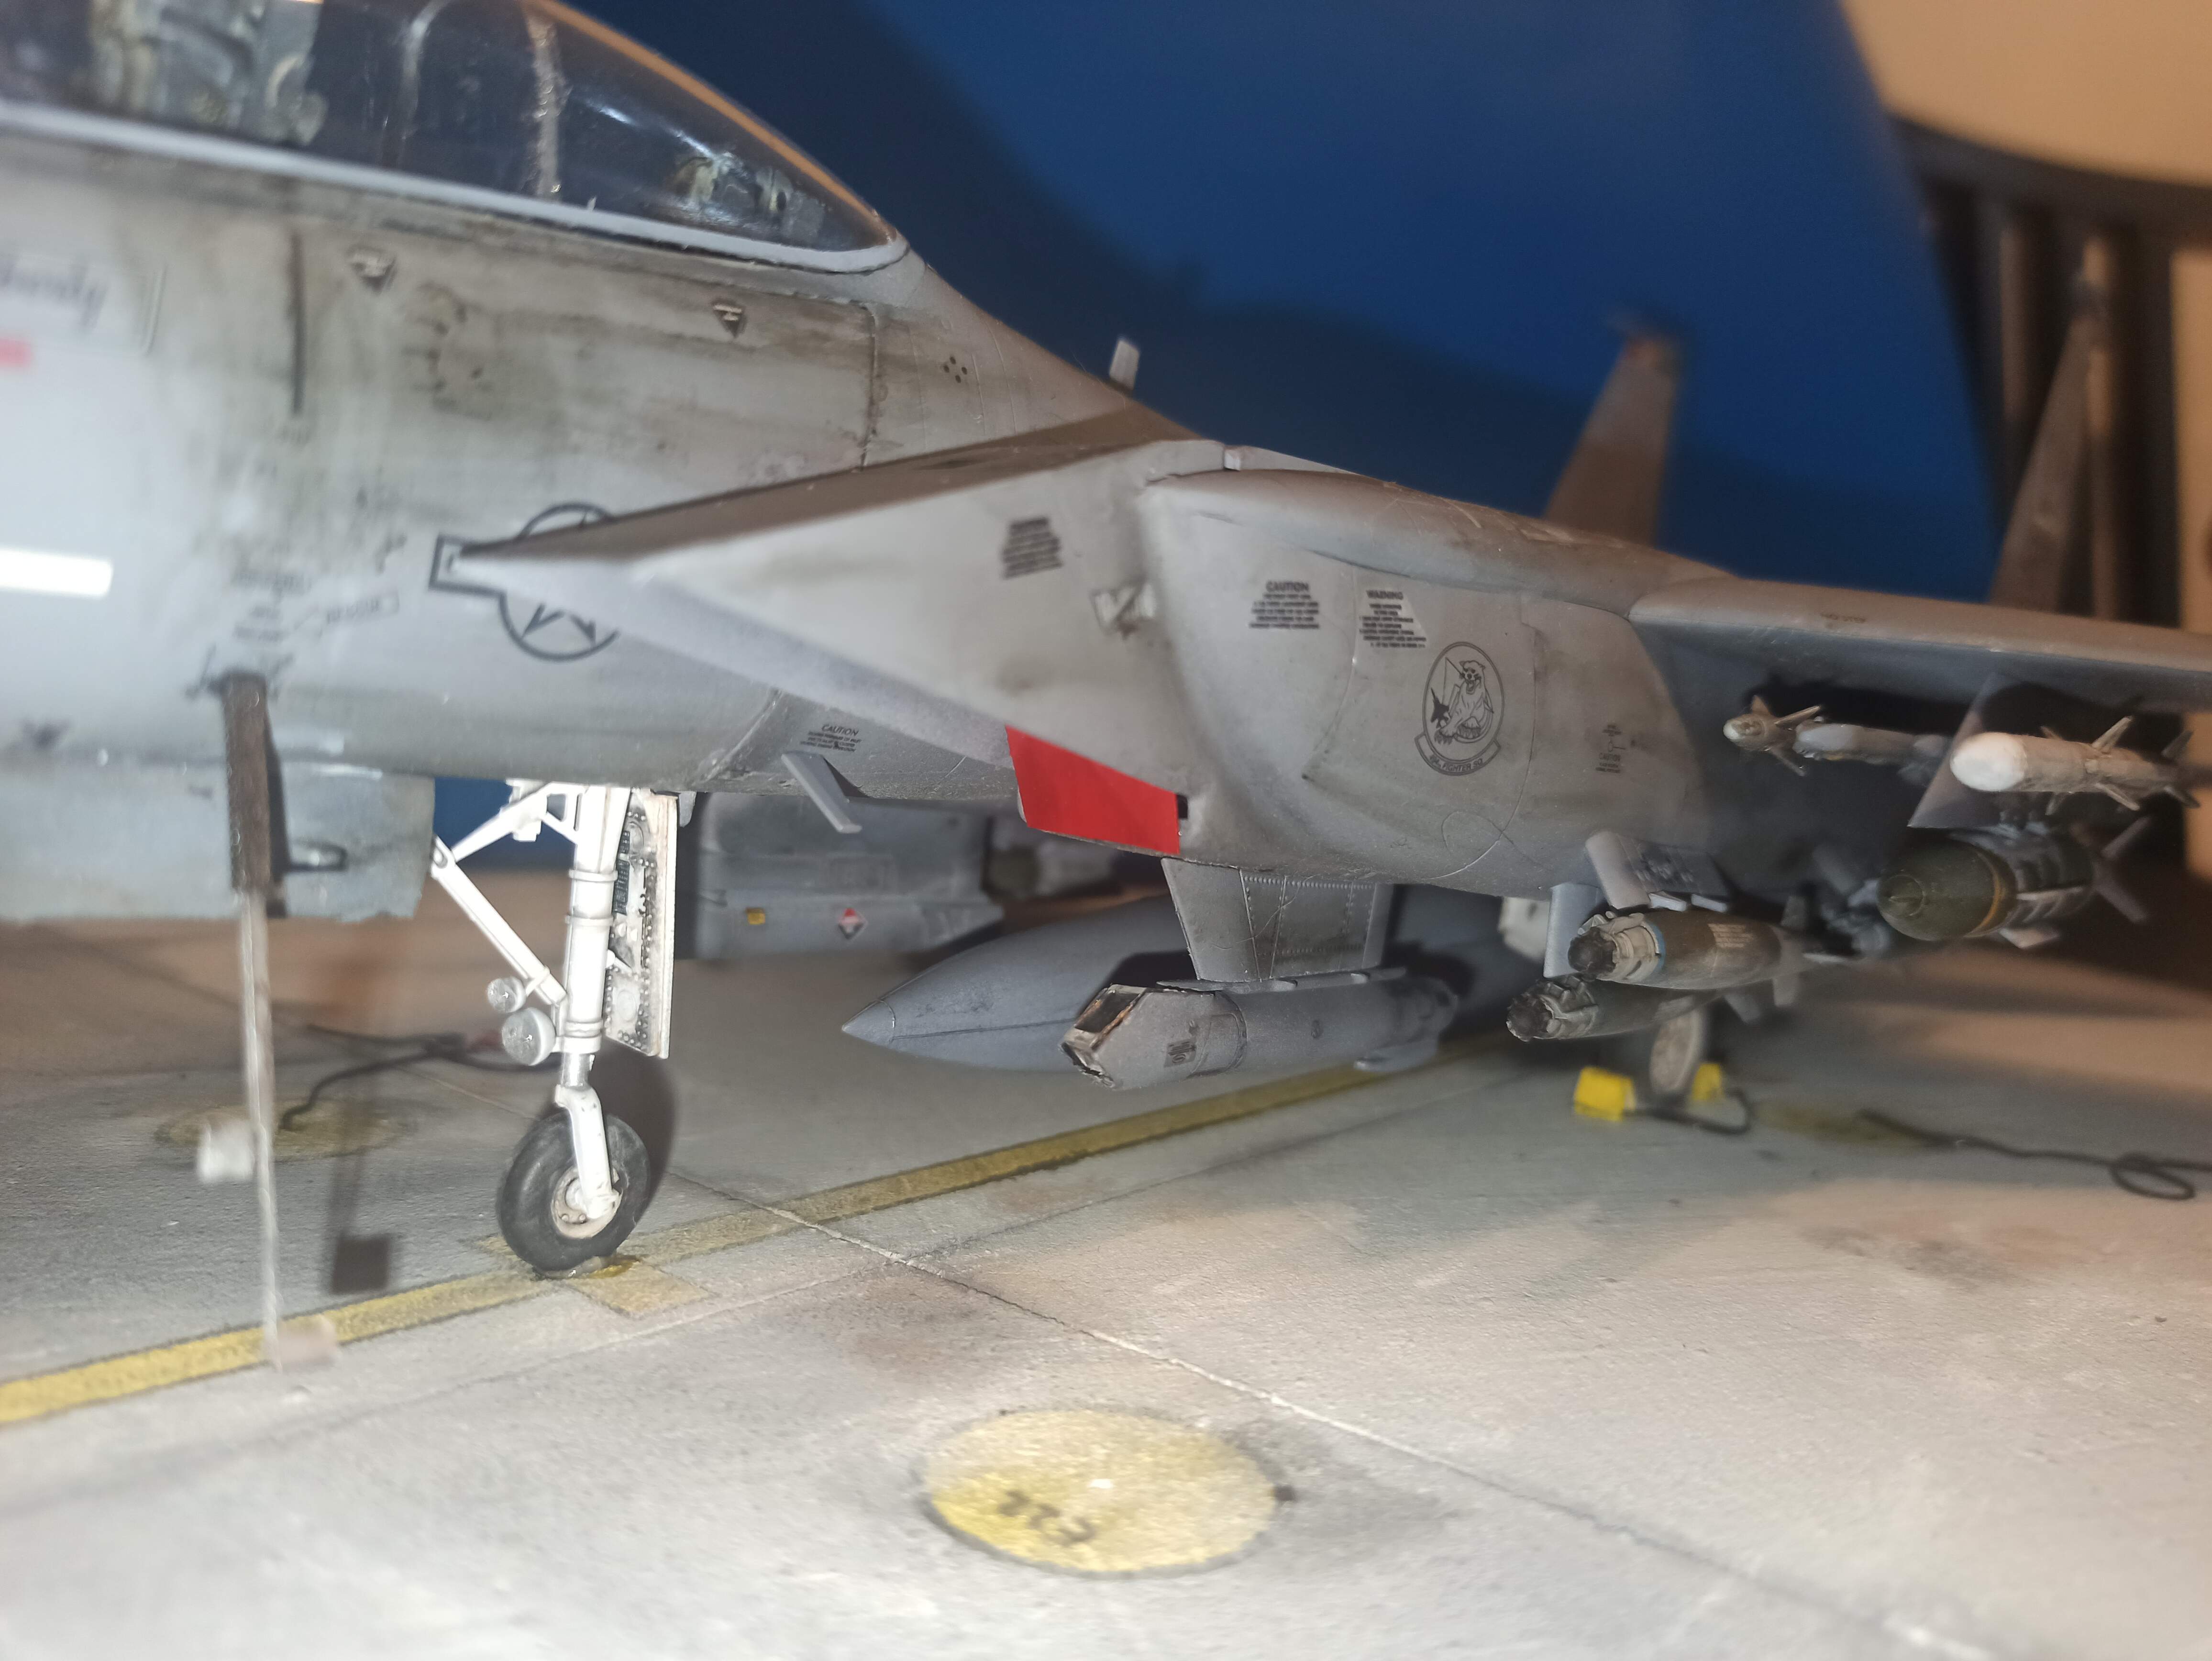
Time for weapons. As I was recovering for the Covid vaccine 3rd dose, I made the weapons, painting and some weathering. I set the typical loadout displayed in the Two Bobs decals’ instructions, but a bit modified as I have not all the bombs needed. So I mixed them a bit. This is the main setup: 2xAIM9x, 2xAIM120C, 6xGBU38, 2xGBU12.
To finish the loadout, I request your help. The most accurate setup would be with 2 fuel tanks under the wings and one GBU31v3 in the central phylon. Like this:
But I can make these other configs:
Fuel tank on the belly and 2 GBU31v1 under the wings
Same as previous but with GBU12
Or this one, with 2 racks of Mavericks under the wings, despite I read that the Mavs are not in use with the 15’s since mid 90’s.
So, please, let me know what config would you choose to complete the loadout.
Thanks!!
7 Likes
Well, I already have the definitive loadout. I’m working on it now. I will add two GBU31v3 under the wings and the fuel tank in the belly.
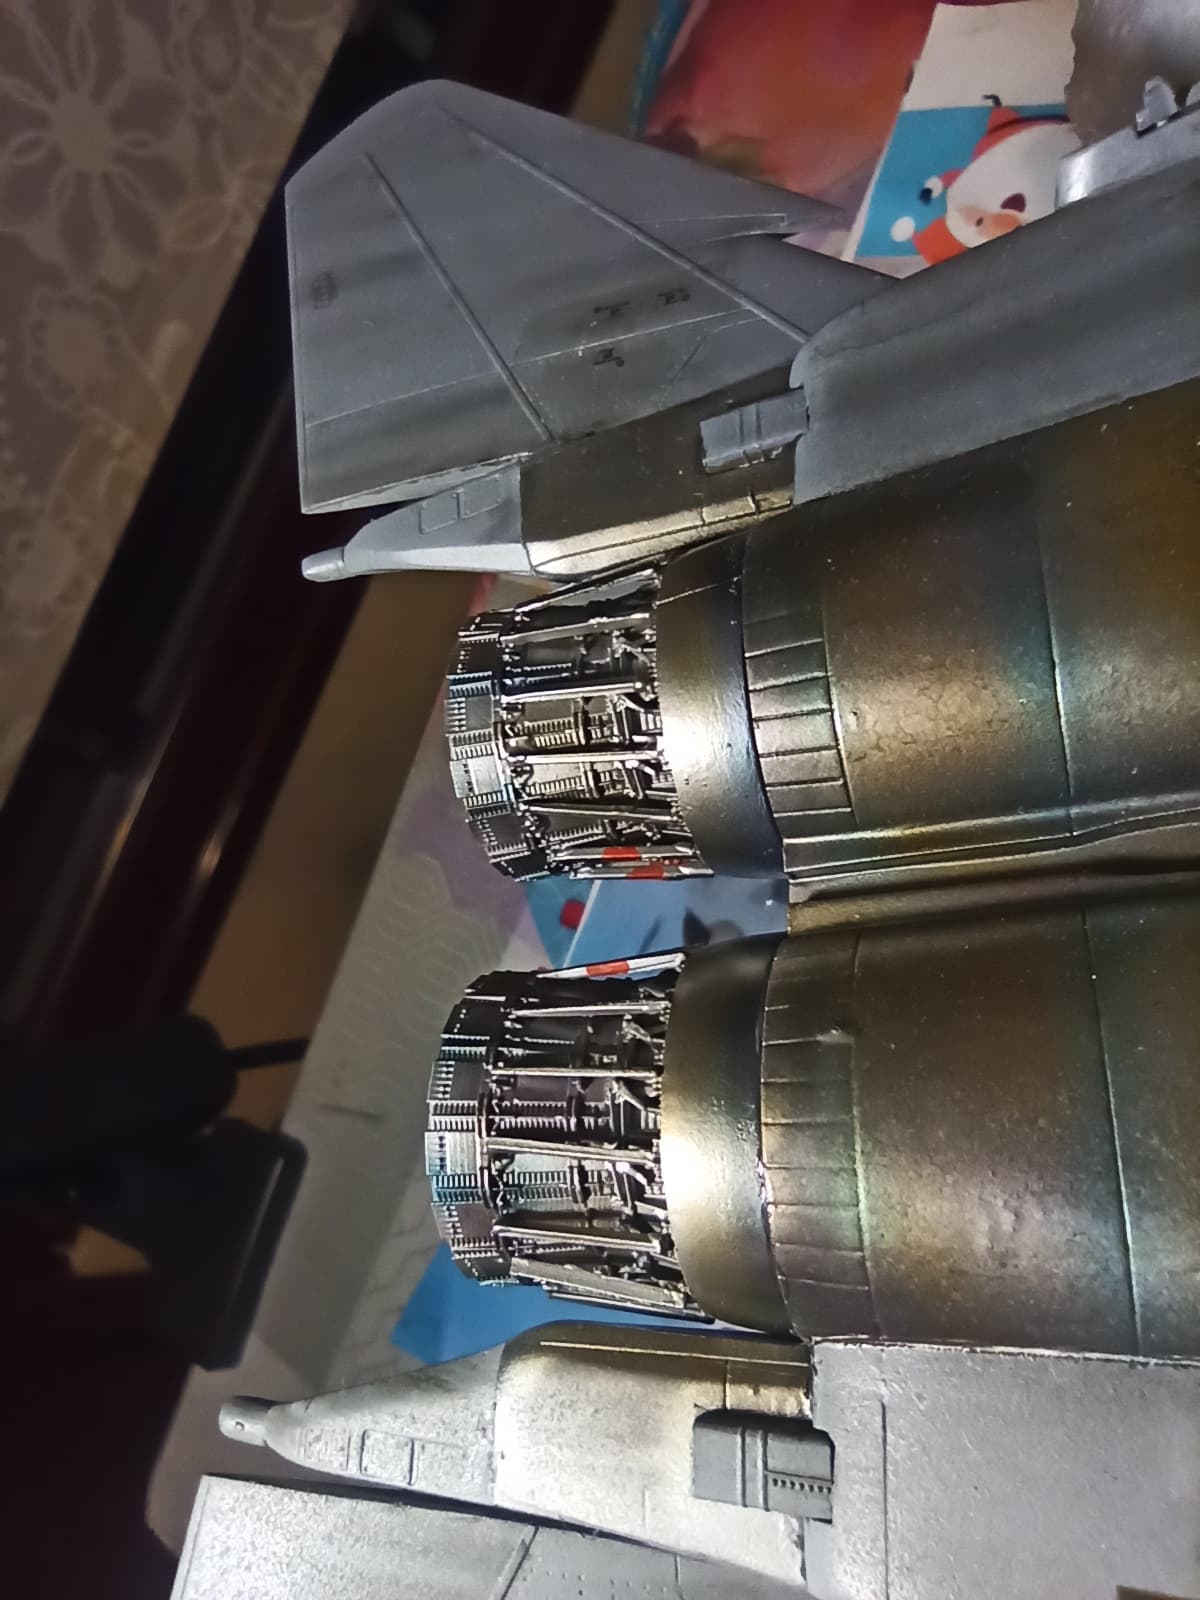
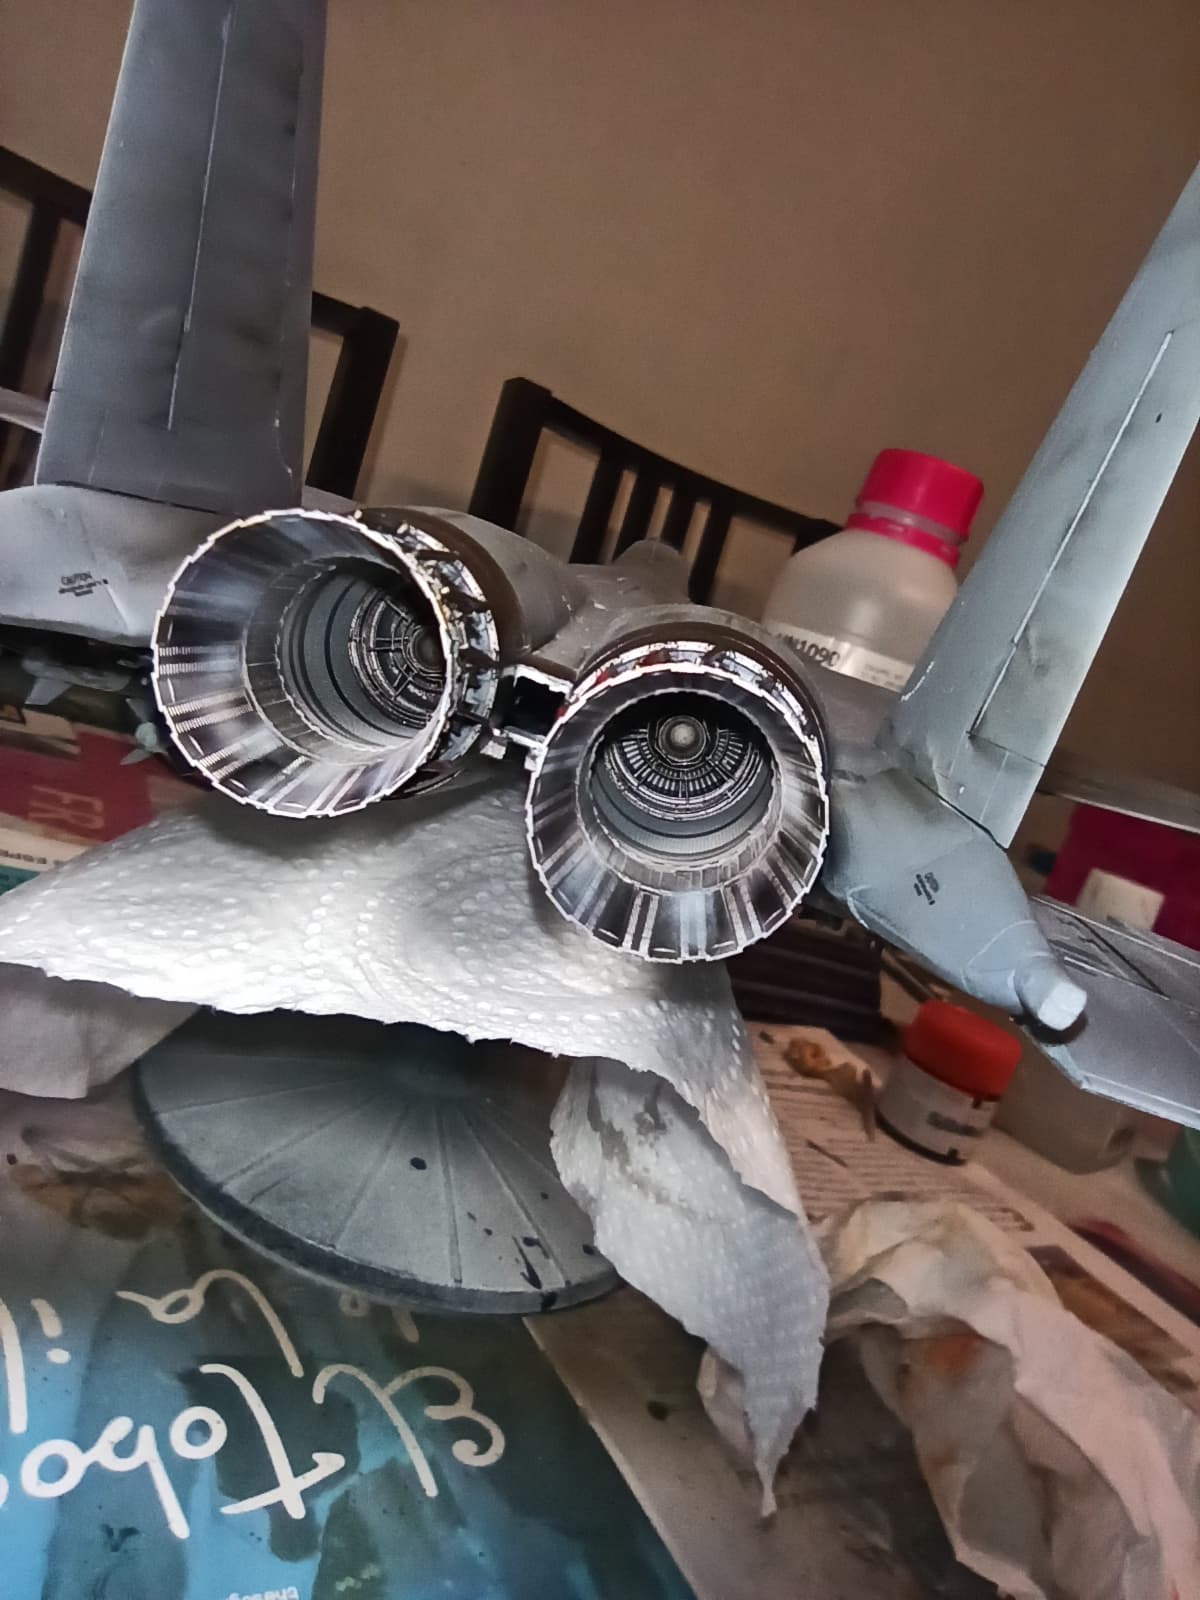
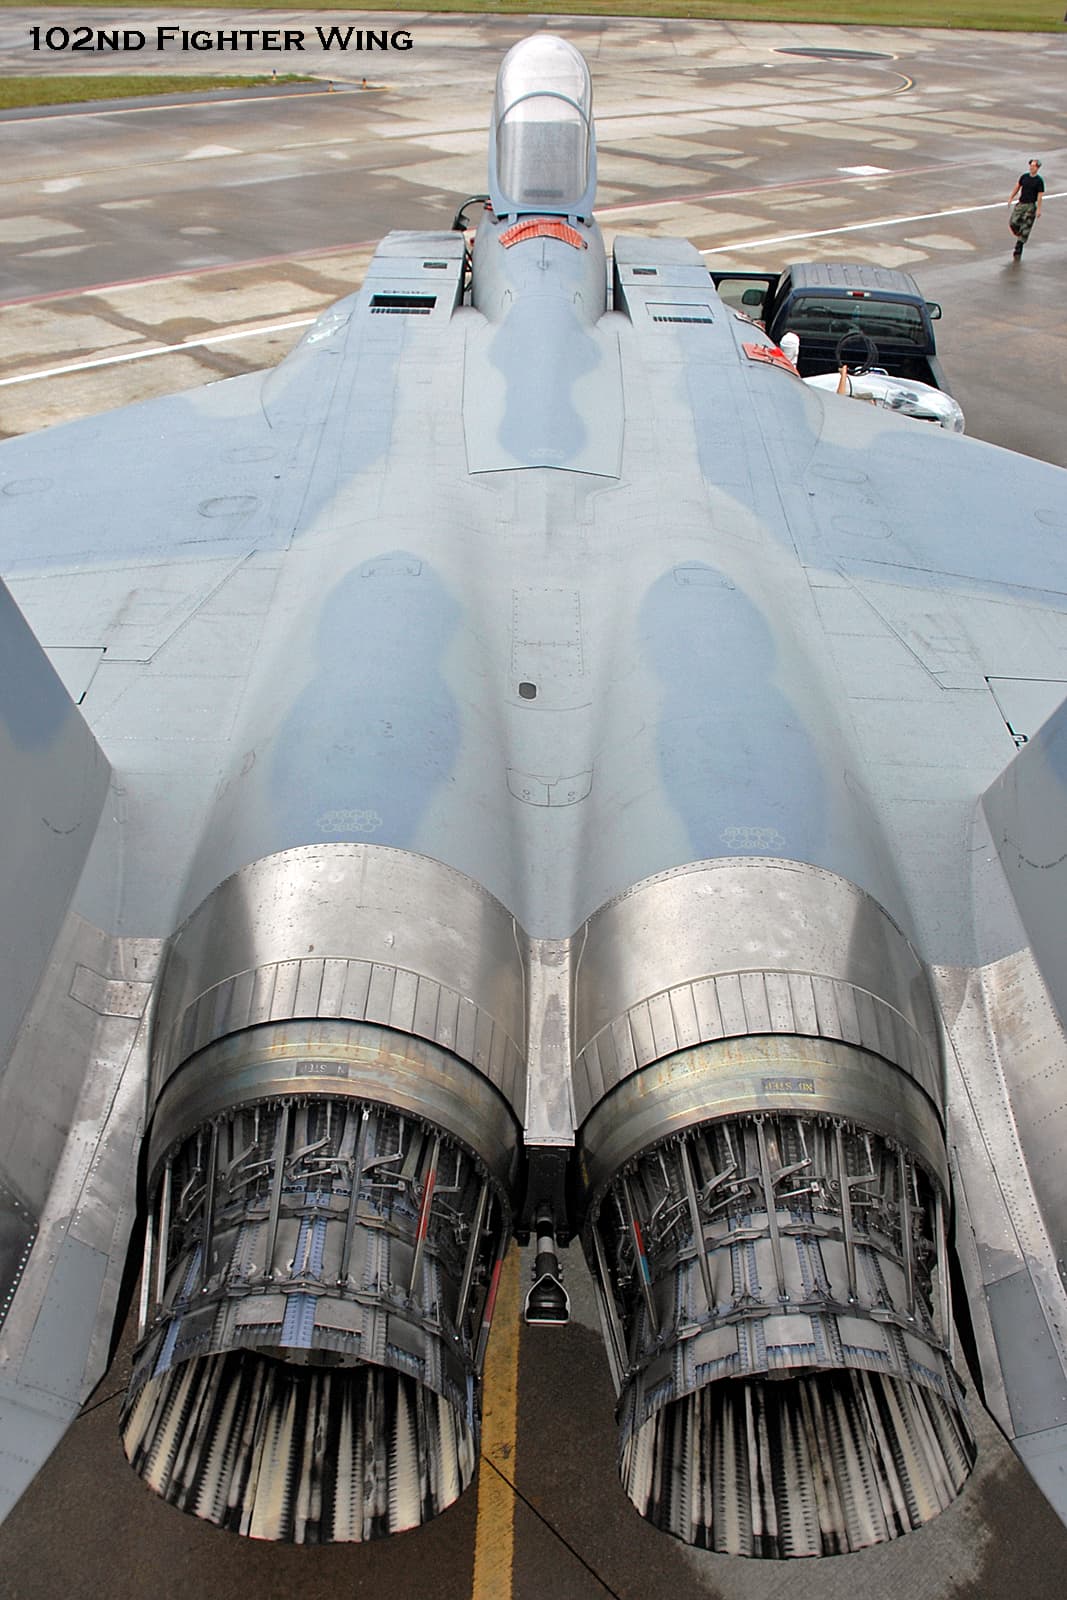
Meanwhile, I made the nozzles from Red Kit. I didn’t like how are made the molds, very difficult to remove the useless resin parts. But I have to be positive!! This is the result.
Lower side
Upper
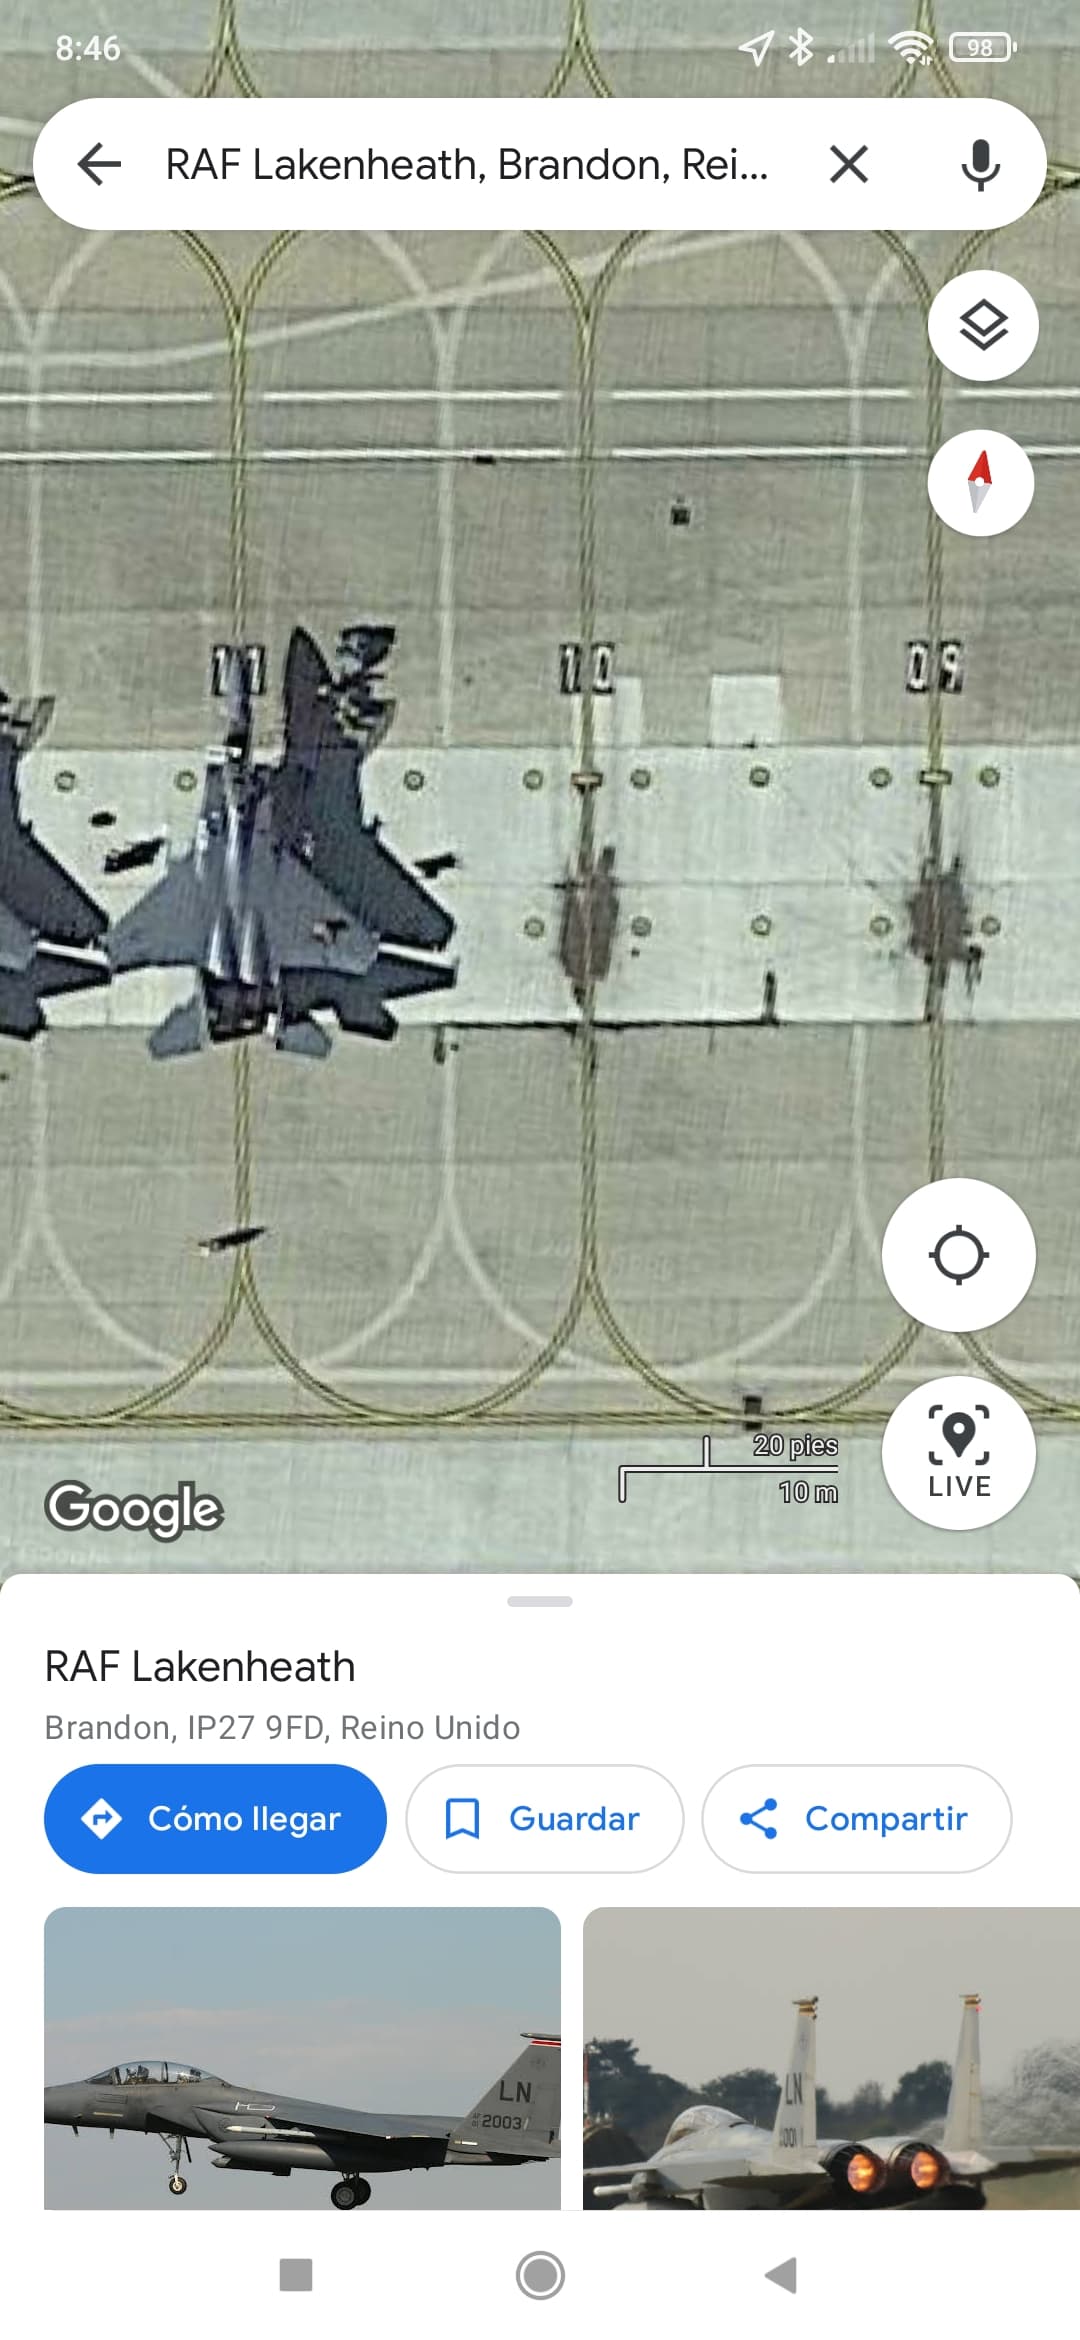
The picture I used for inspiration
More to come soon.
Regards!
7 Likes
This is a fantastic build Nacho. The addition of the aftermarket nozzles really makes a difference. Great shading of the heated metal panels 
1 Like
Thanks a lot! These nozzles change the look of the bird, indeed.
Thanks for your comment!!
1 Like
That’s a gorgeous set of tail pipes, right there! 
1 Like
Thanks for your words, @Russelle !! Very appreciated.
2 Likes
Weekend’s work
I started to make the base where the F-15 will be displayed. I’ll try to make a piece of tarmac using the Ammo Concrete texture over a 40x30cms base. My first try with that product
After applying the texture with a palette, the result is not very good with some scratches as the product has some sandy texture.
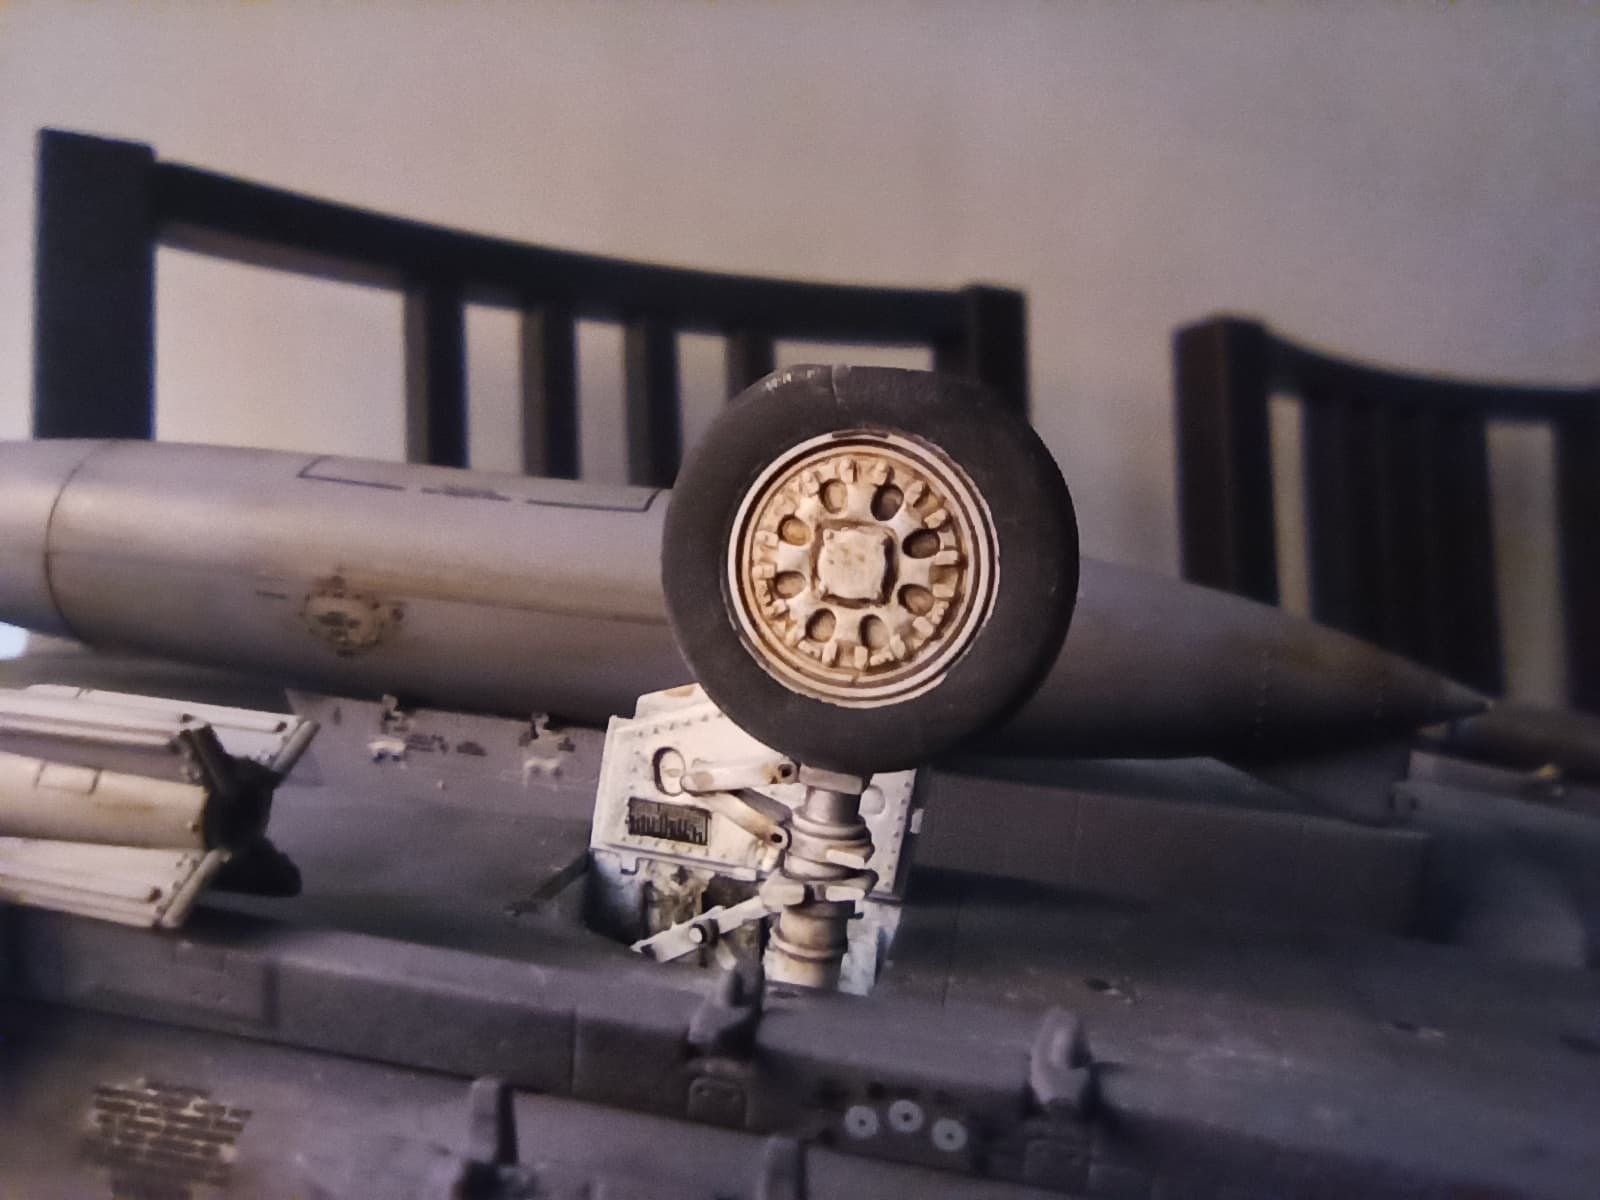
Meanwhile it dries, I finished the fuel tank and made some weathering on the wheels.
Using a UV glue that my wife has, I made these glass looking landing lights. This glue only dries (and very fast) under a UV light.
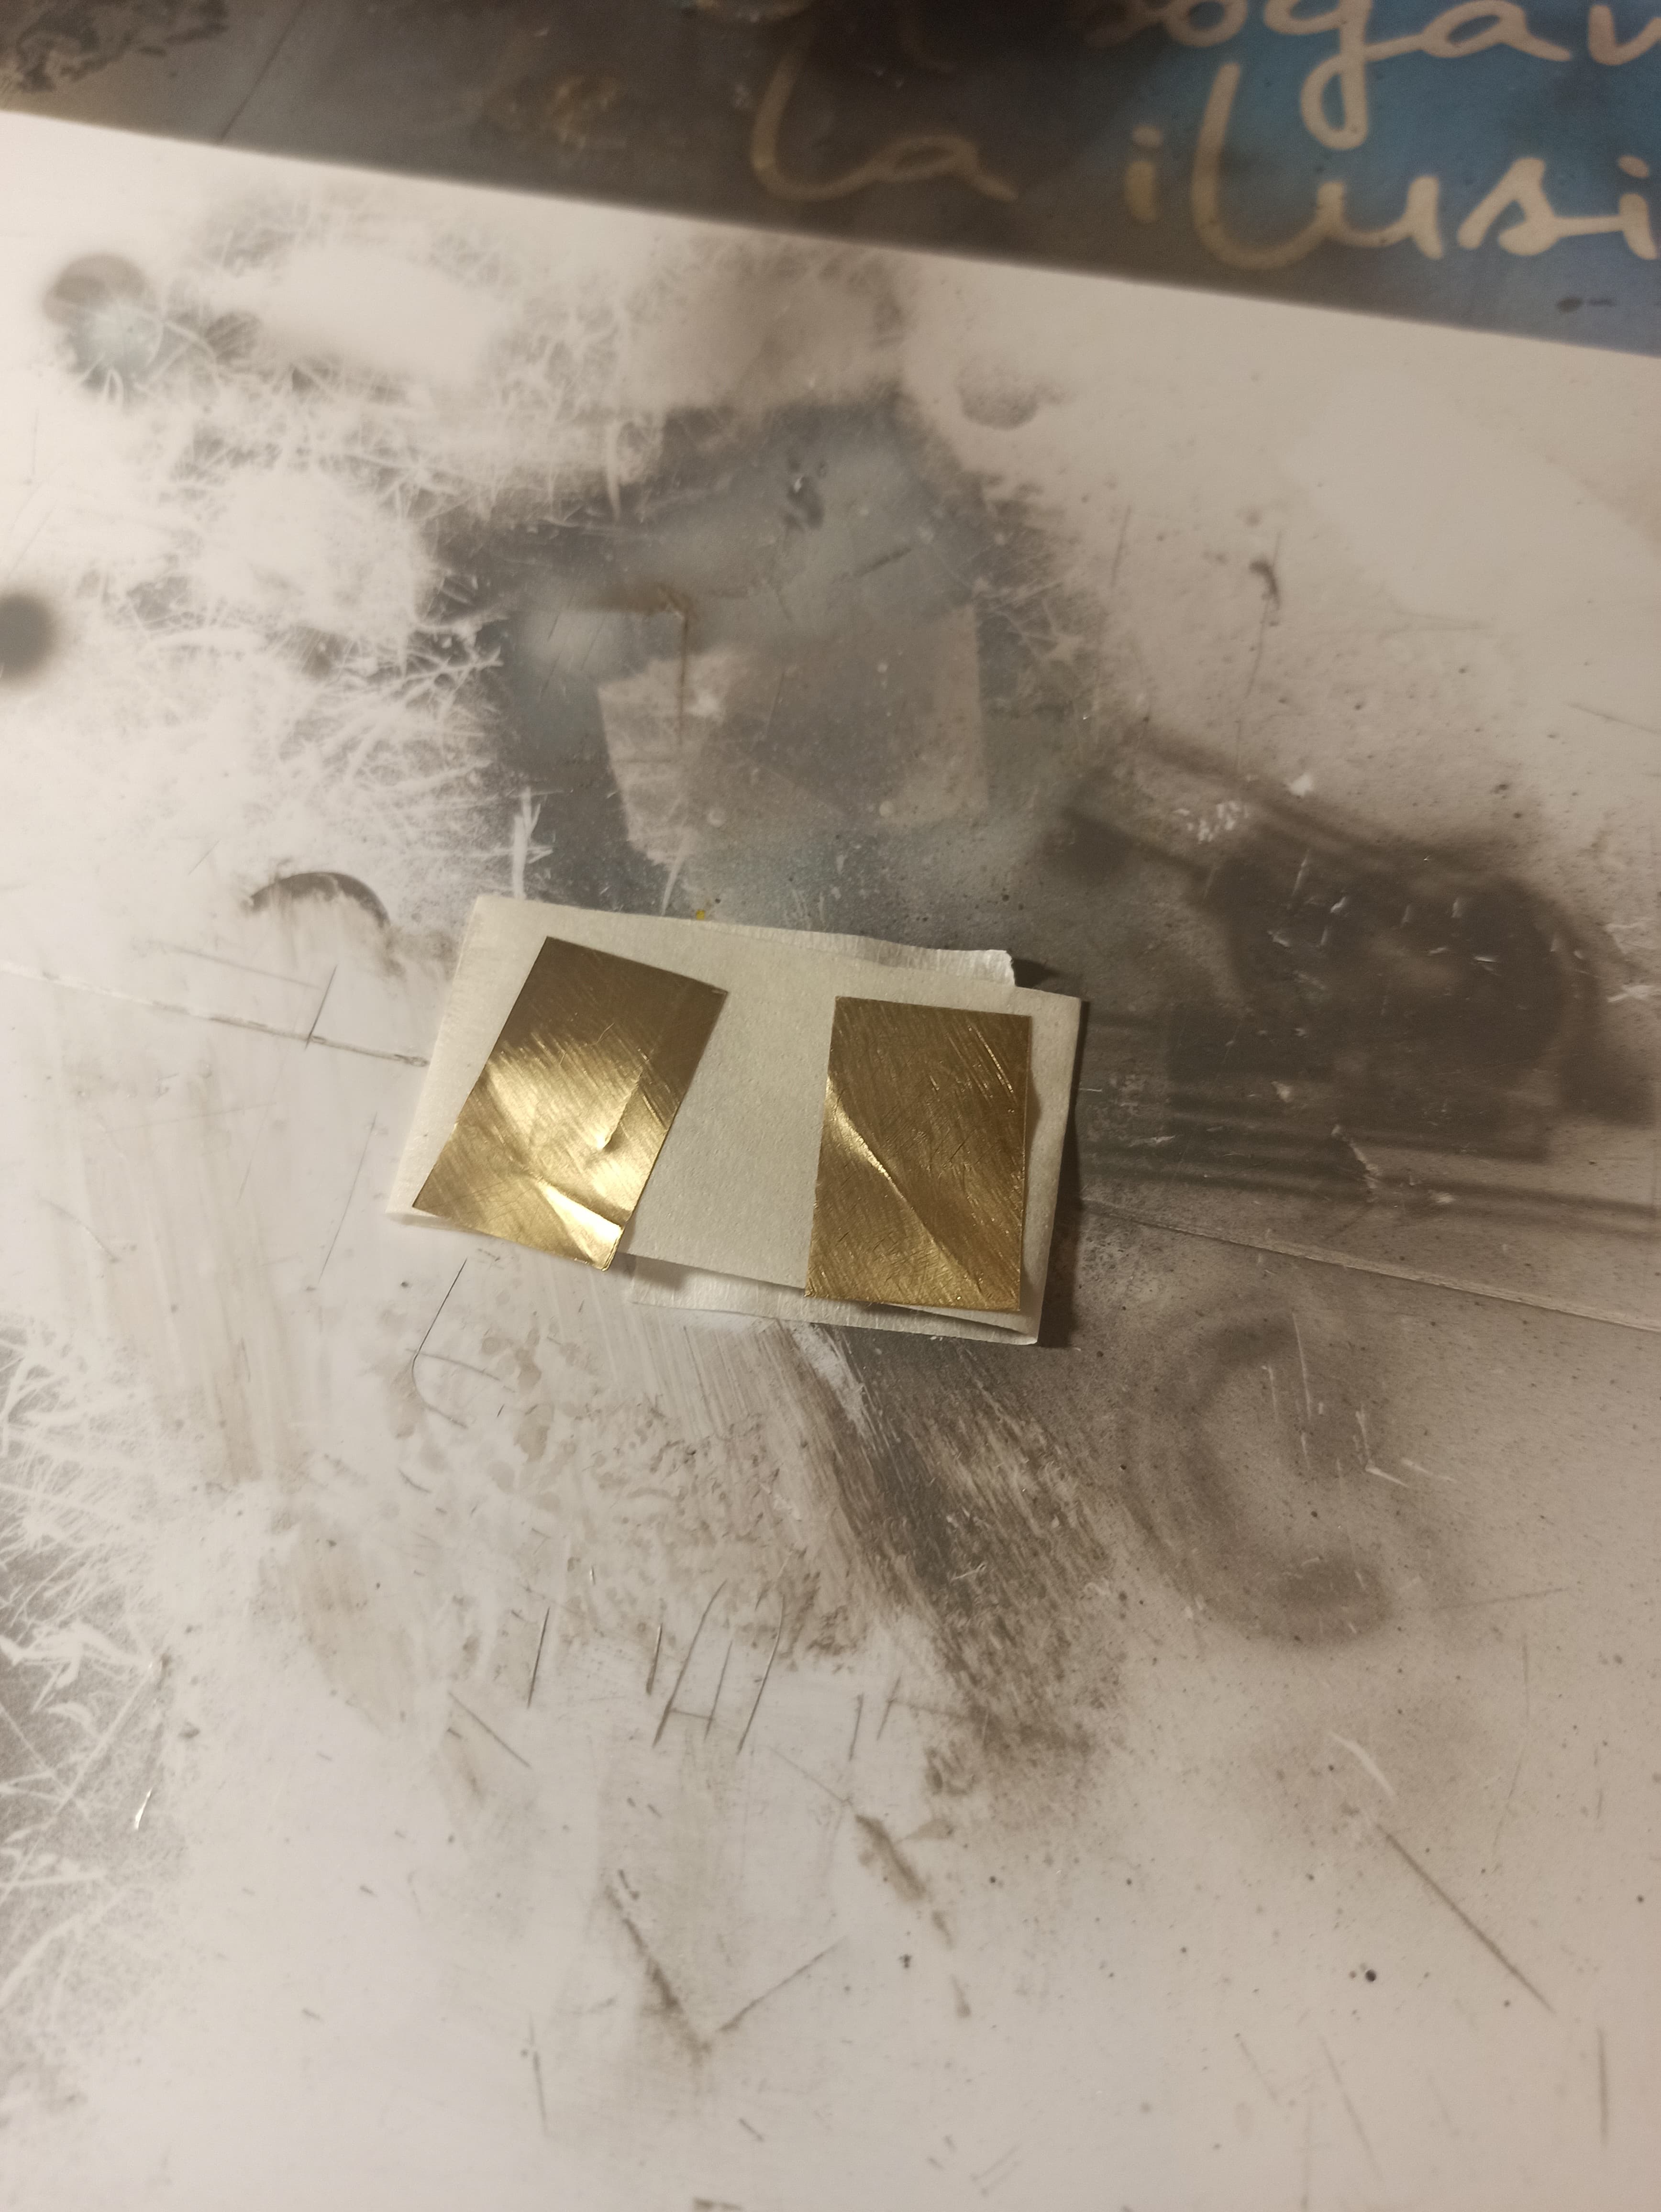
And I also began to make an intake covers for the engines as I could see in one picture. I took a brass sheet I have over there, red paint, squadron decals and glossy finish.
Going on the base, once it dried, I try to sand the surface but I went wrong, I didn’t improve anything, so I applied another coat. This time, I used water to make the surface smoother. And that’s it.
The aircraft is almost finished, just the canopy (I’m lazy about it) and any minor detail to improve. Meanwhile, I’ll go on the base. But during the week.
Regards!
7 Likes
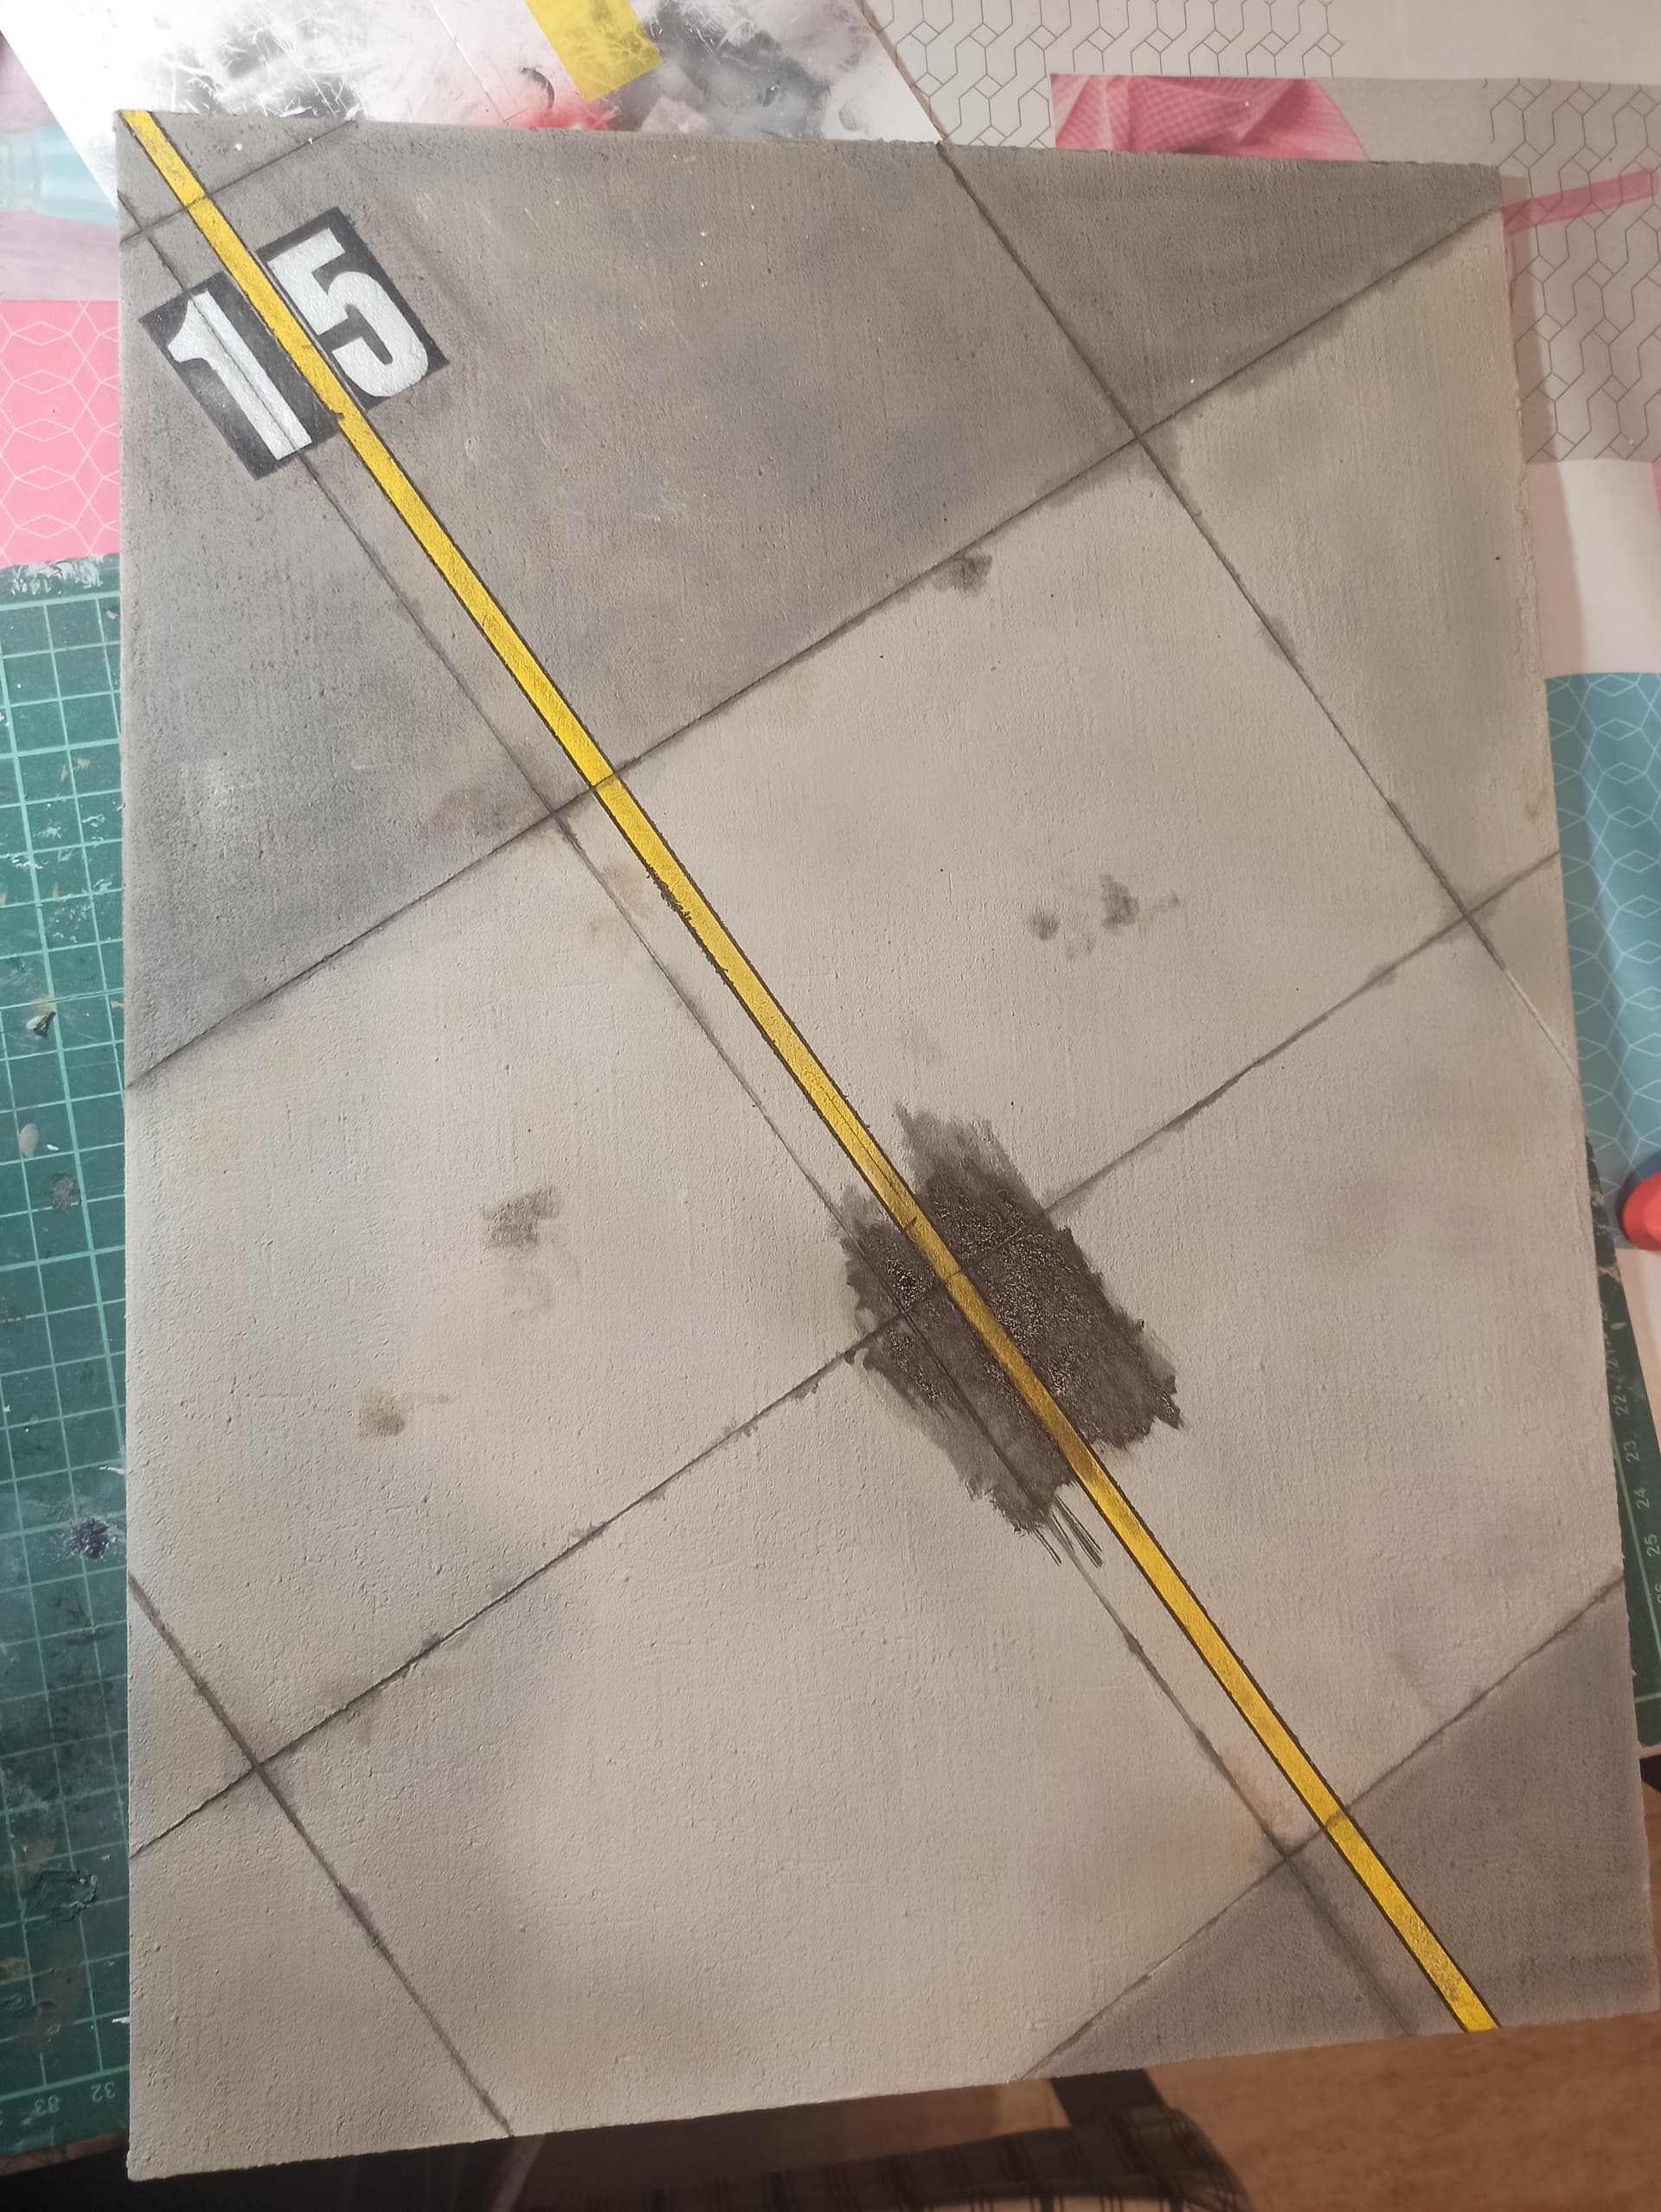
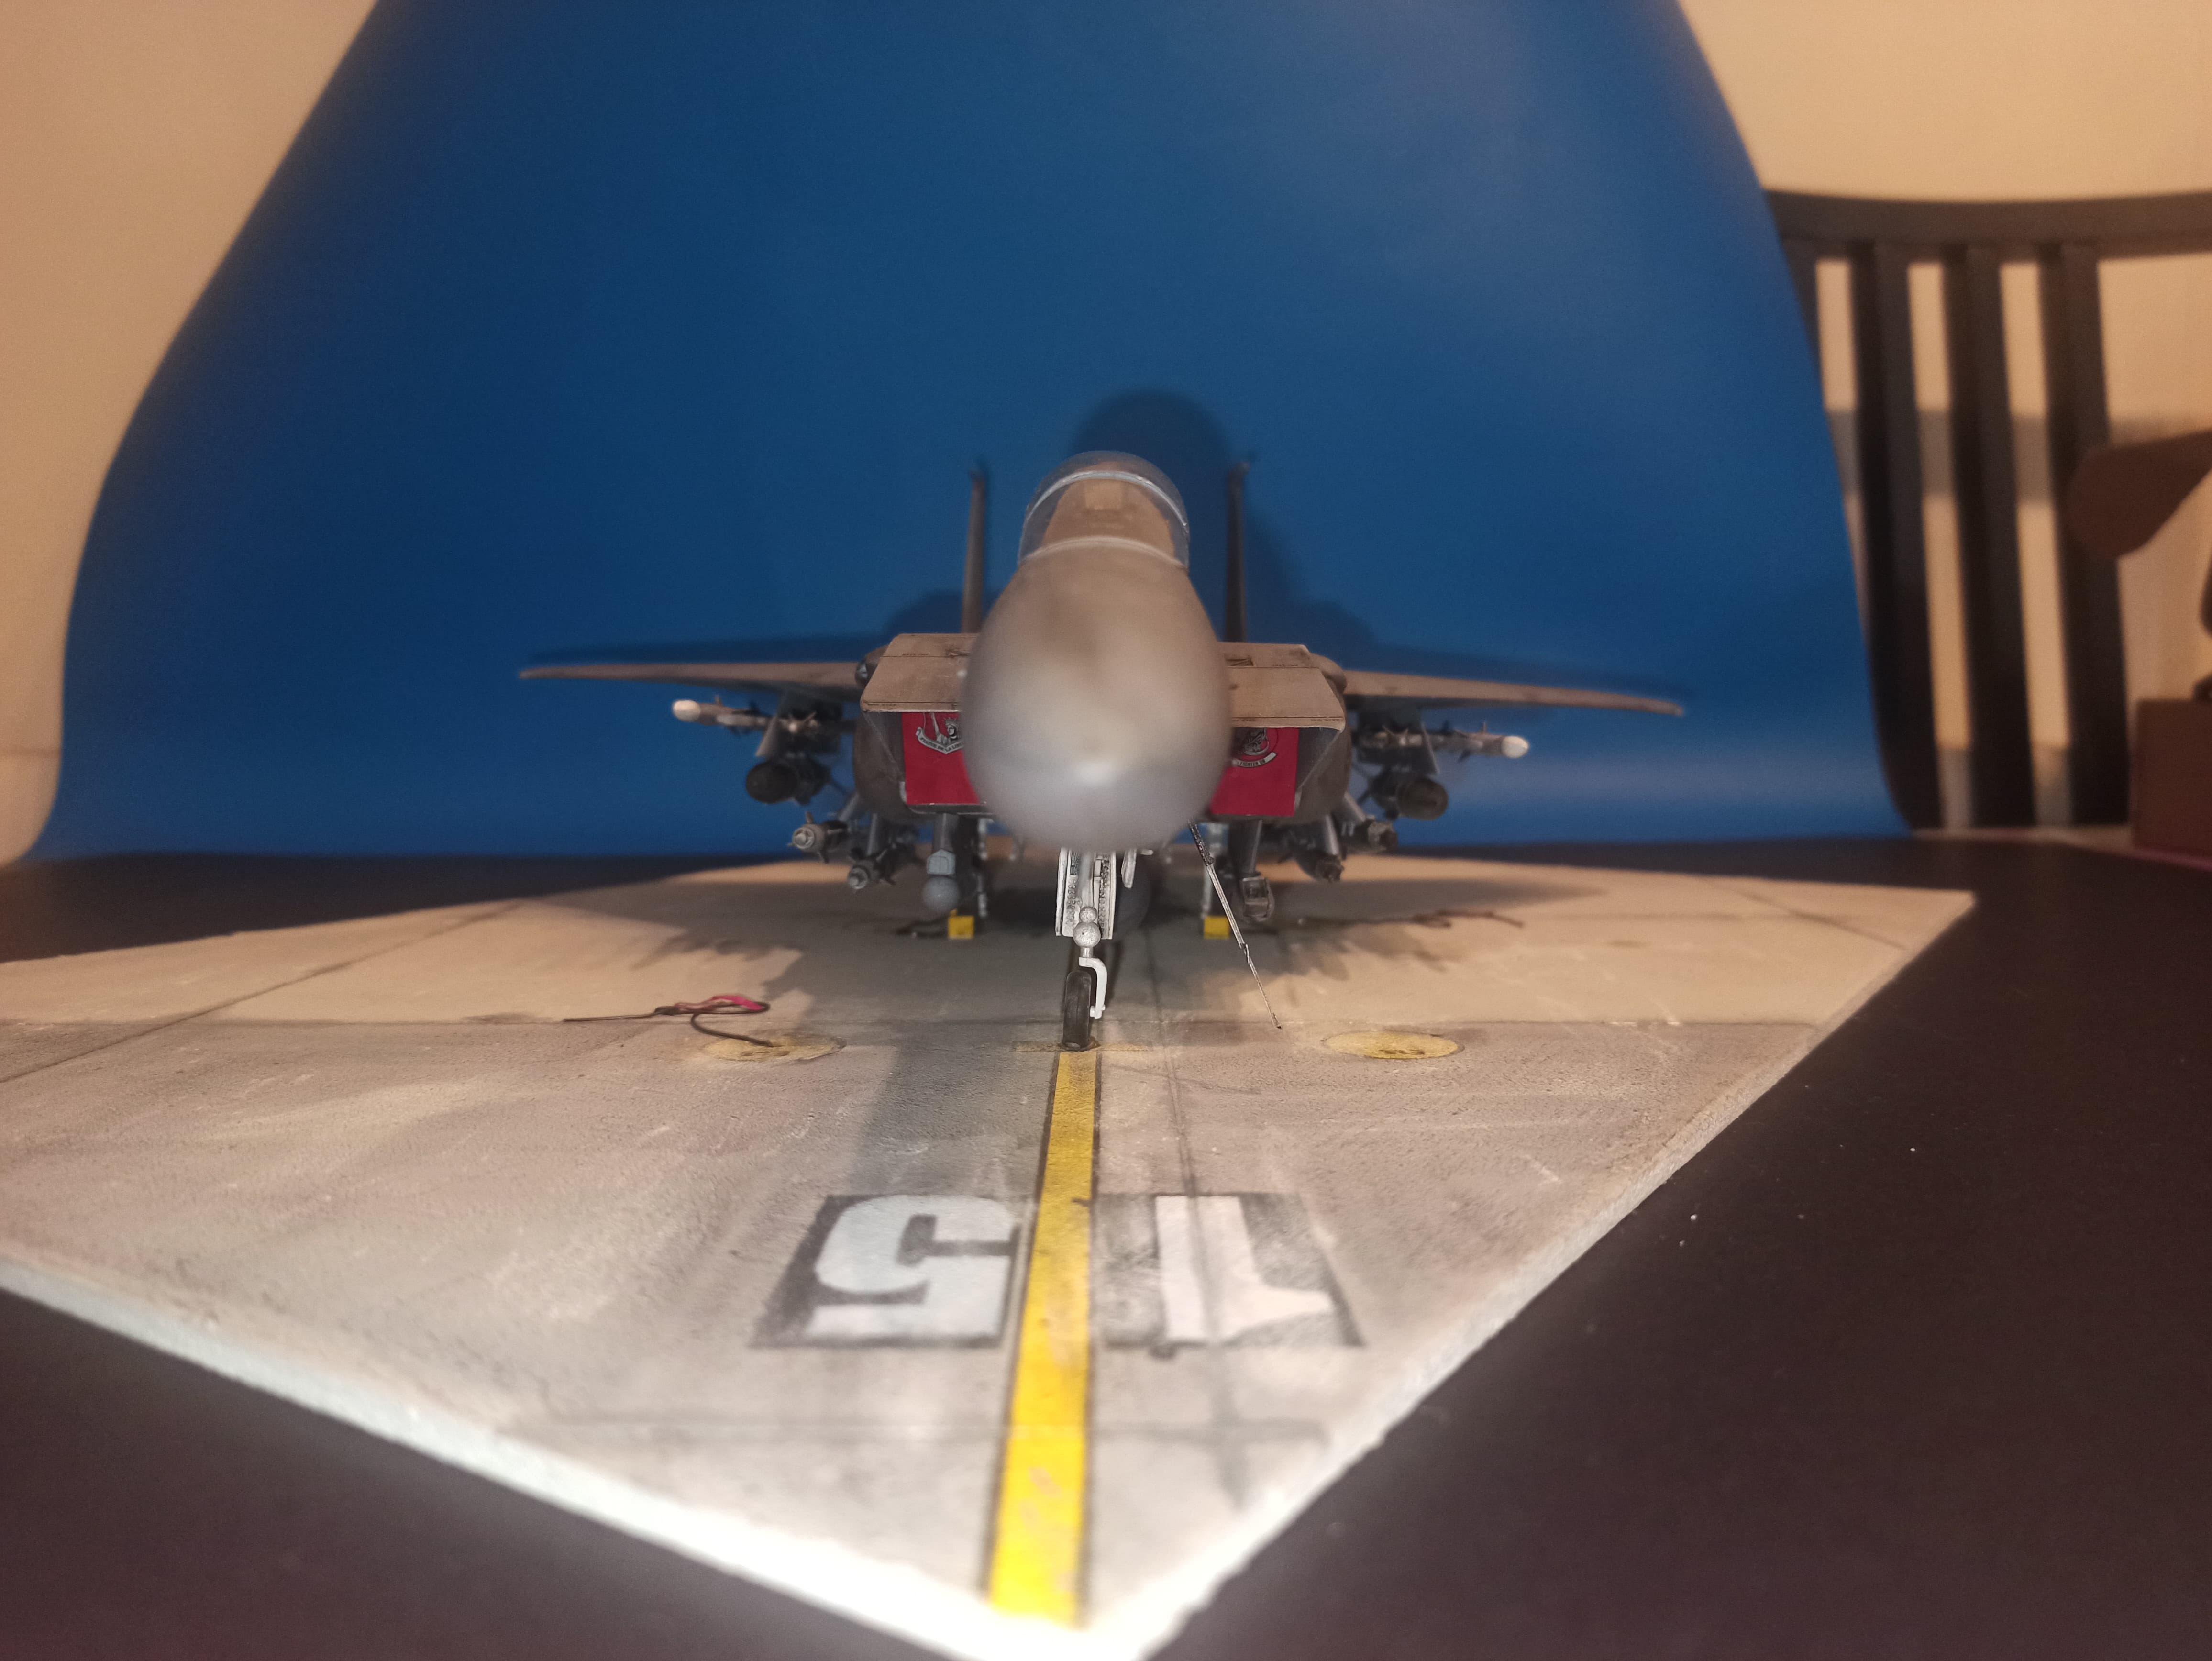
First steps on the base. After retrieve some info of how paints use for the tarmac, I started following these advices and adding some other touchs from my mind.
As I mentioned in the previous post, the base is made with Ammo concrete texture. After it dries, it looks very greyish for a real tarmac. I applied a first coat of Tamiya Deck tan, very light, just to hide the texture’s grey. Then, I mixed the deck tan with medium grey to shade the previous coat. For the dark slabs, I added (the first grey I have on hand) the same dark grey of the aircraft.
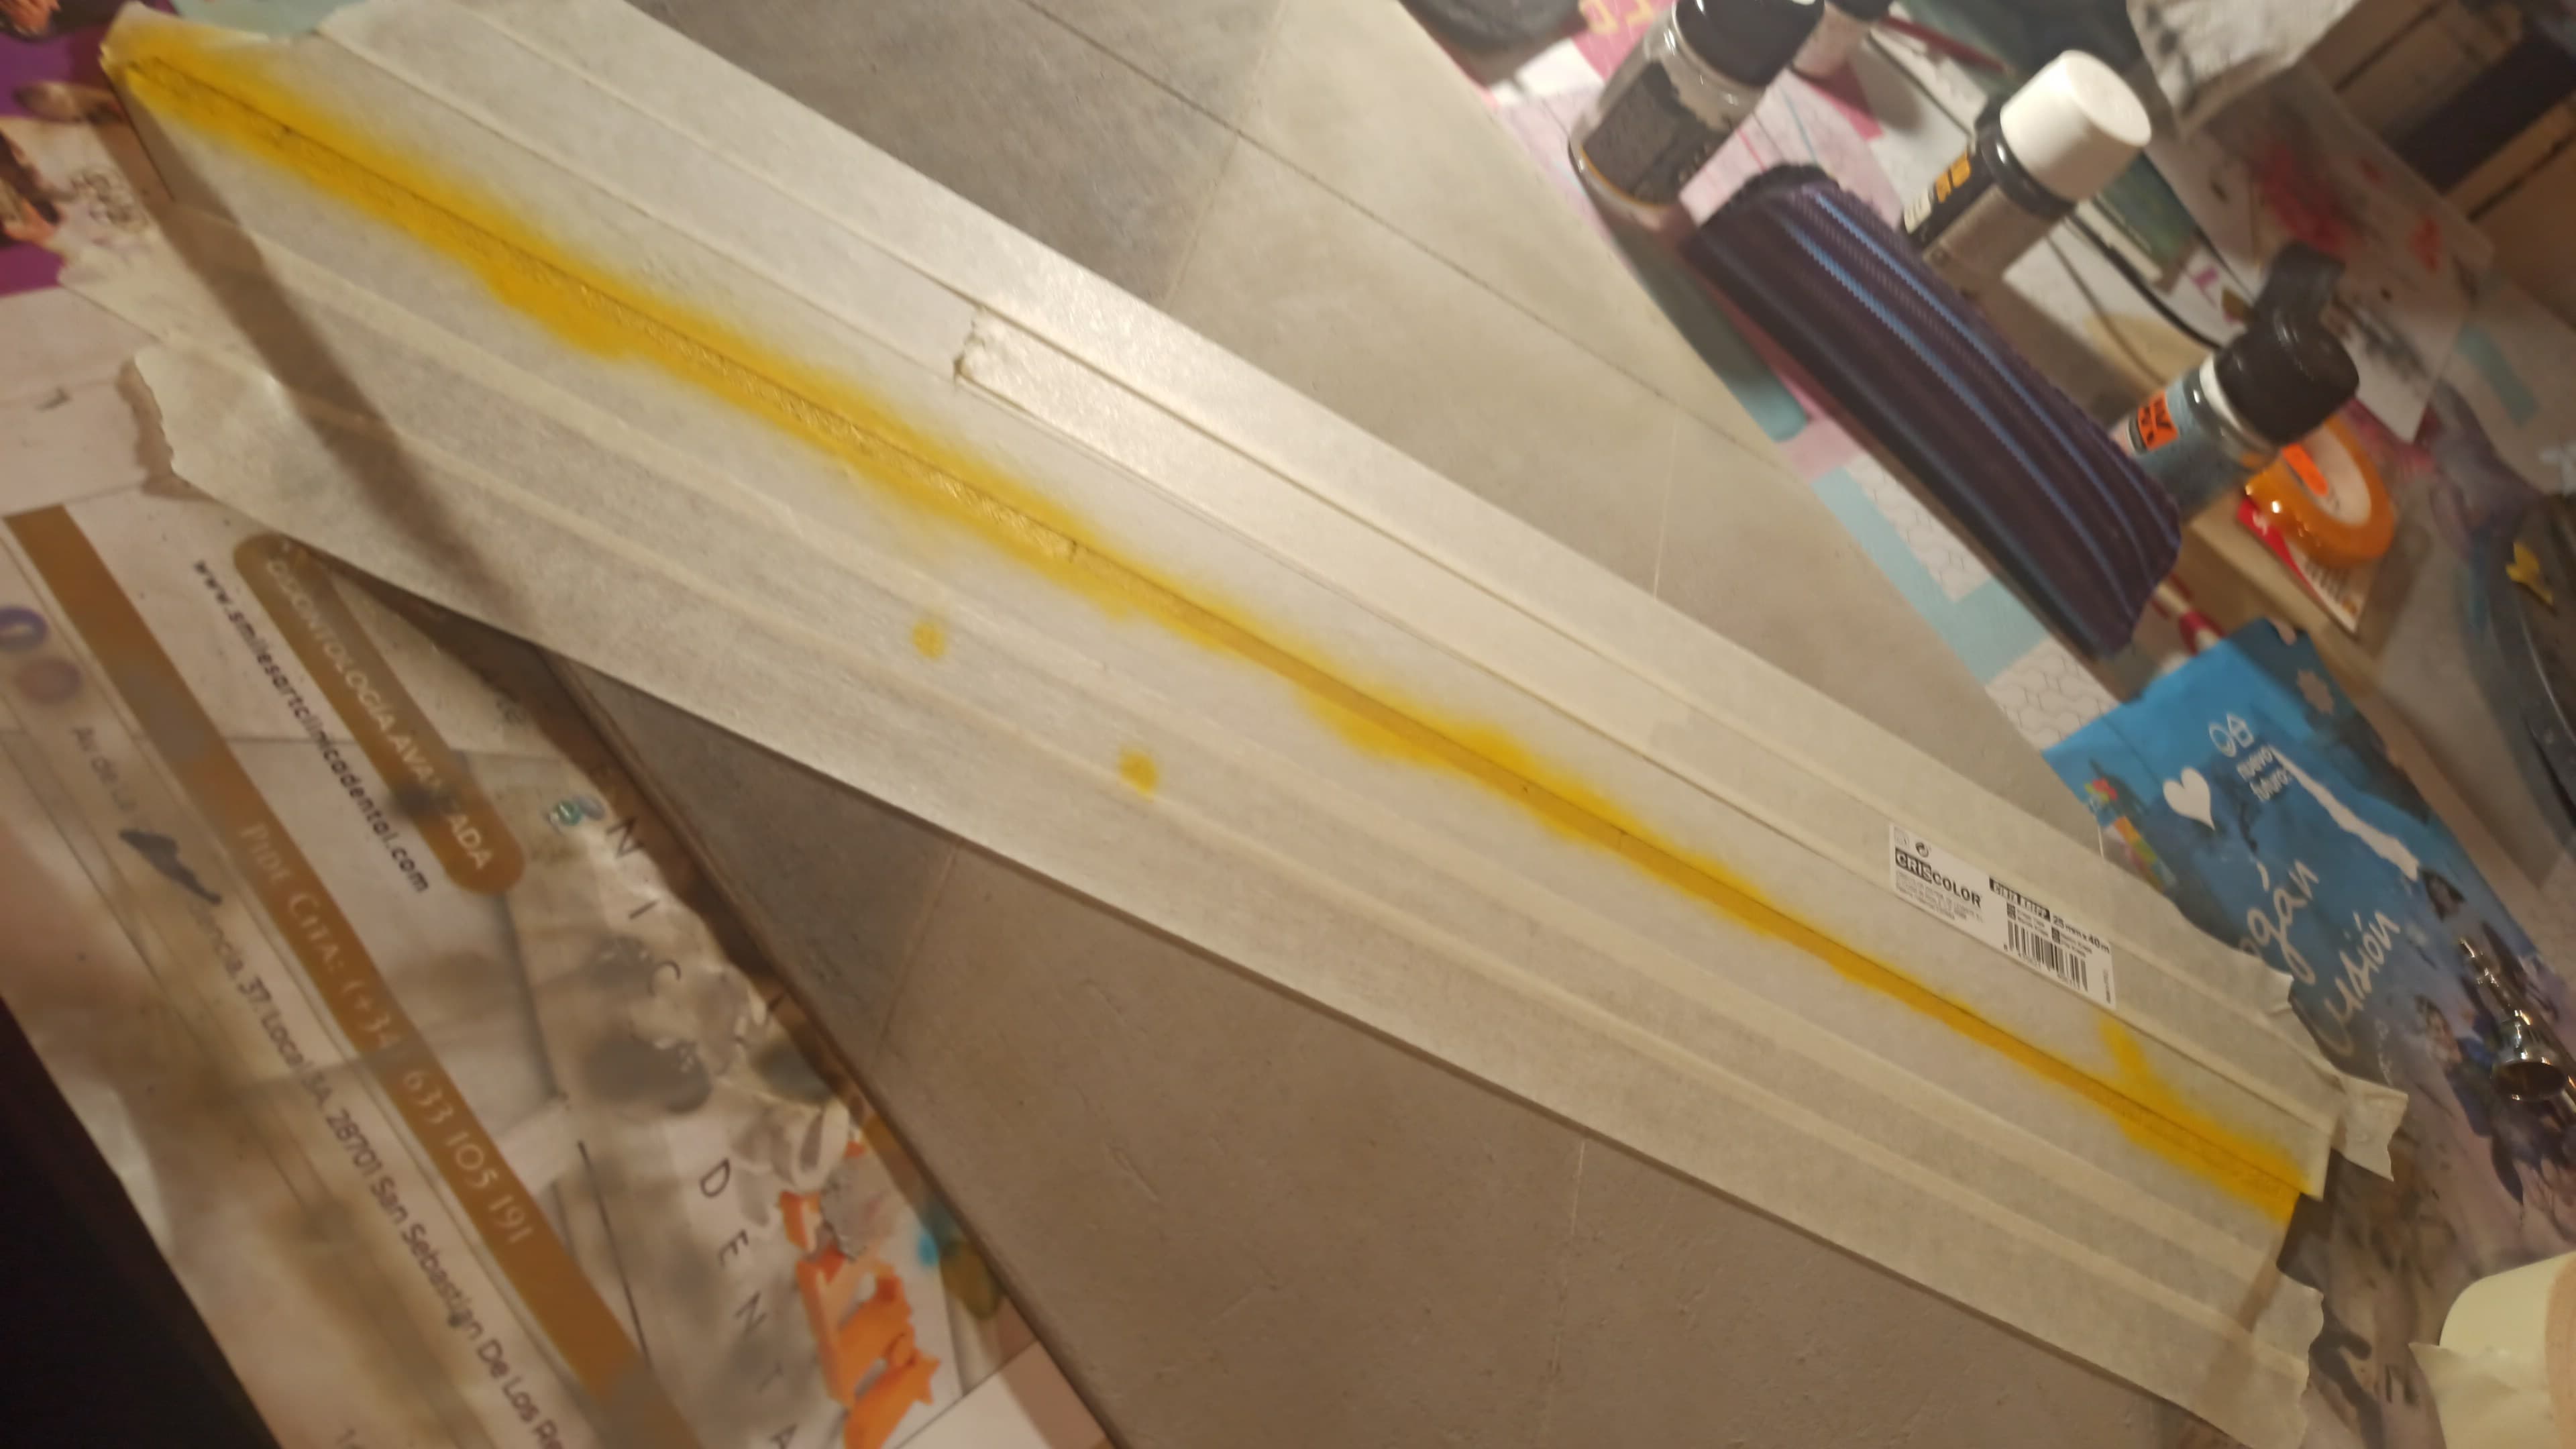
Then, masking time to paint the center line.
Before airbrushing the yellow, I applied chipping fluid to make some scratches in the line but, I guess that the base texture soaks the liquid up, this is all I got
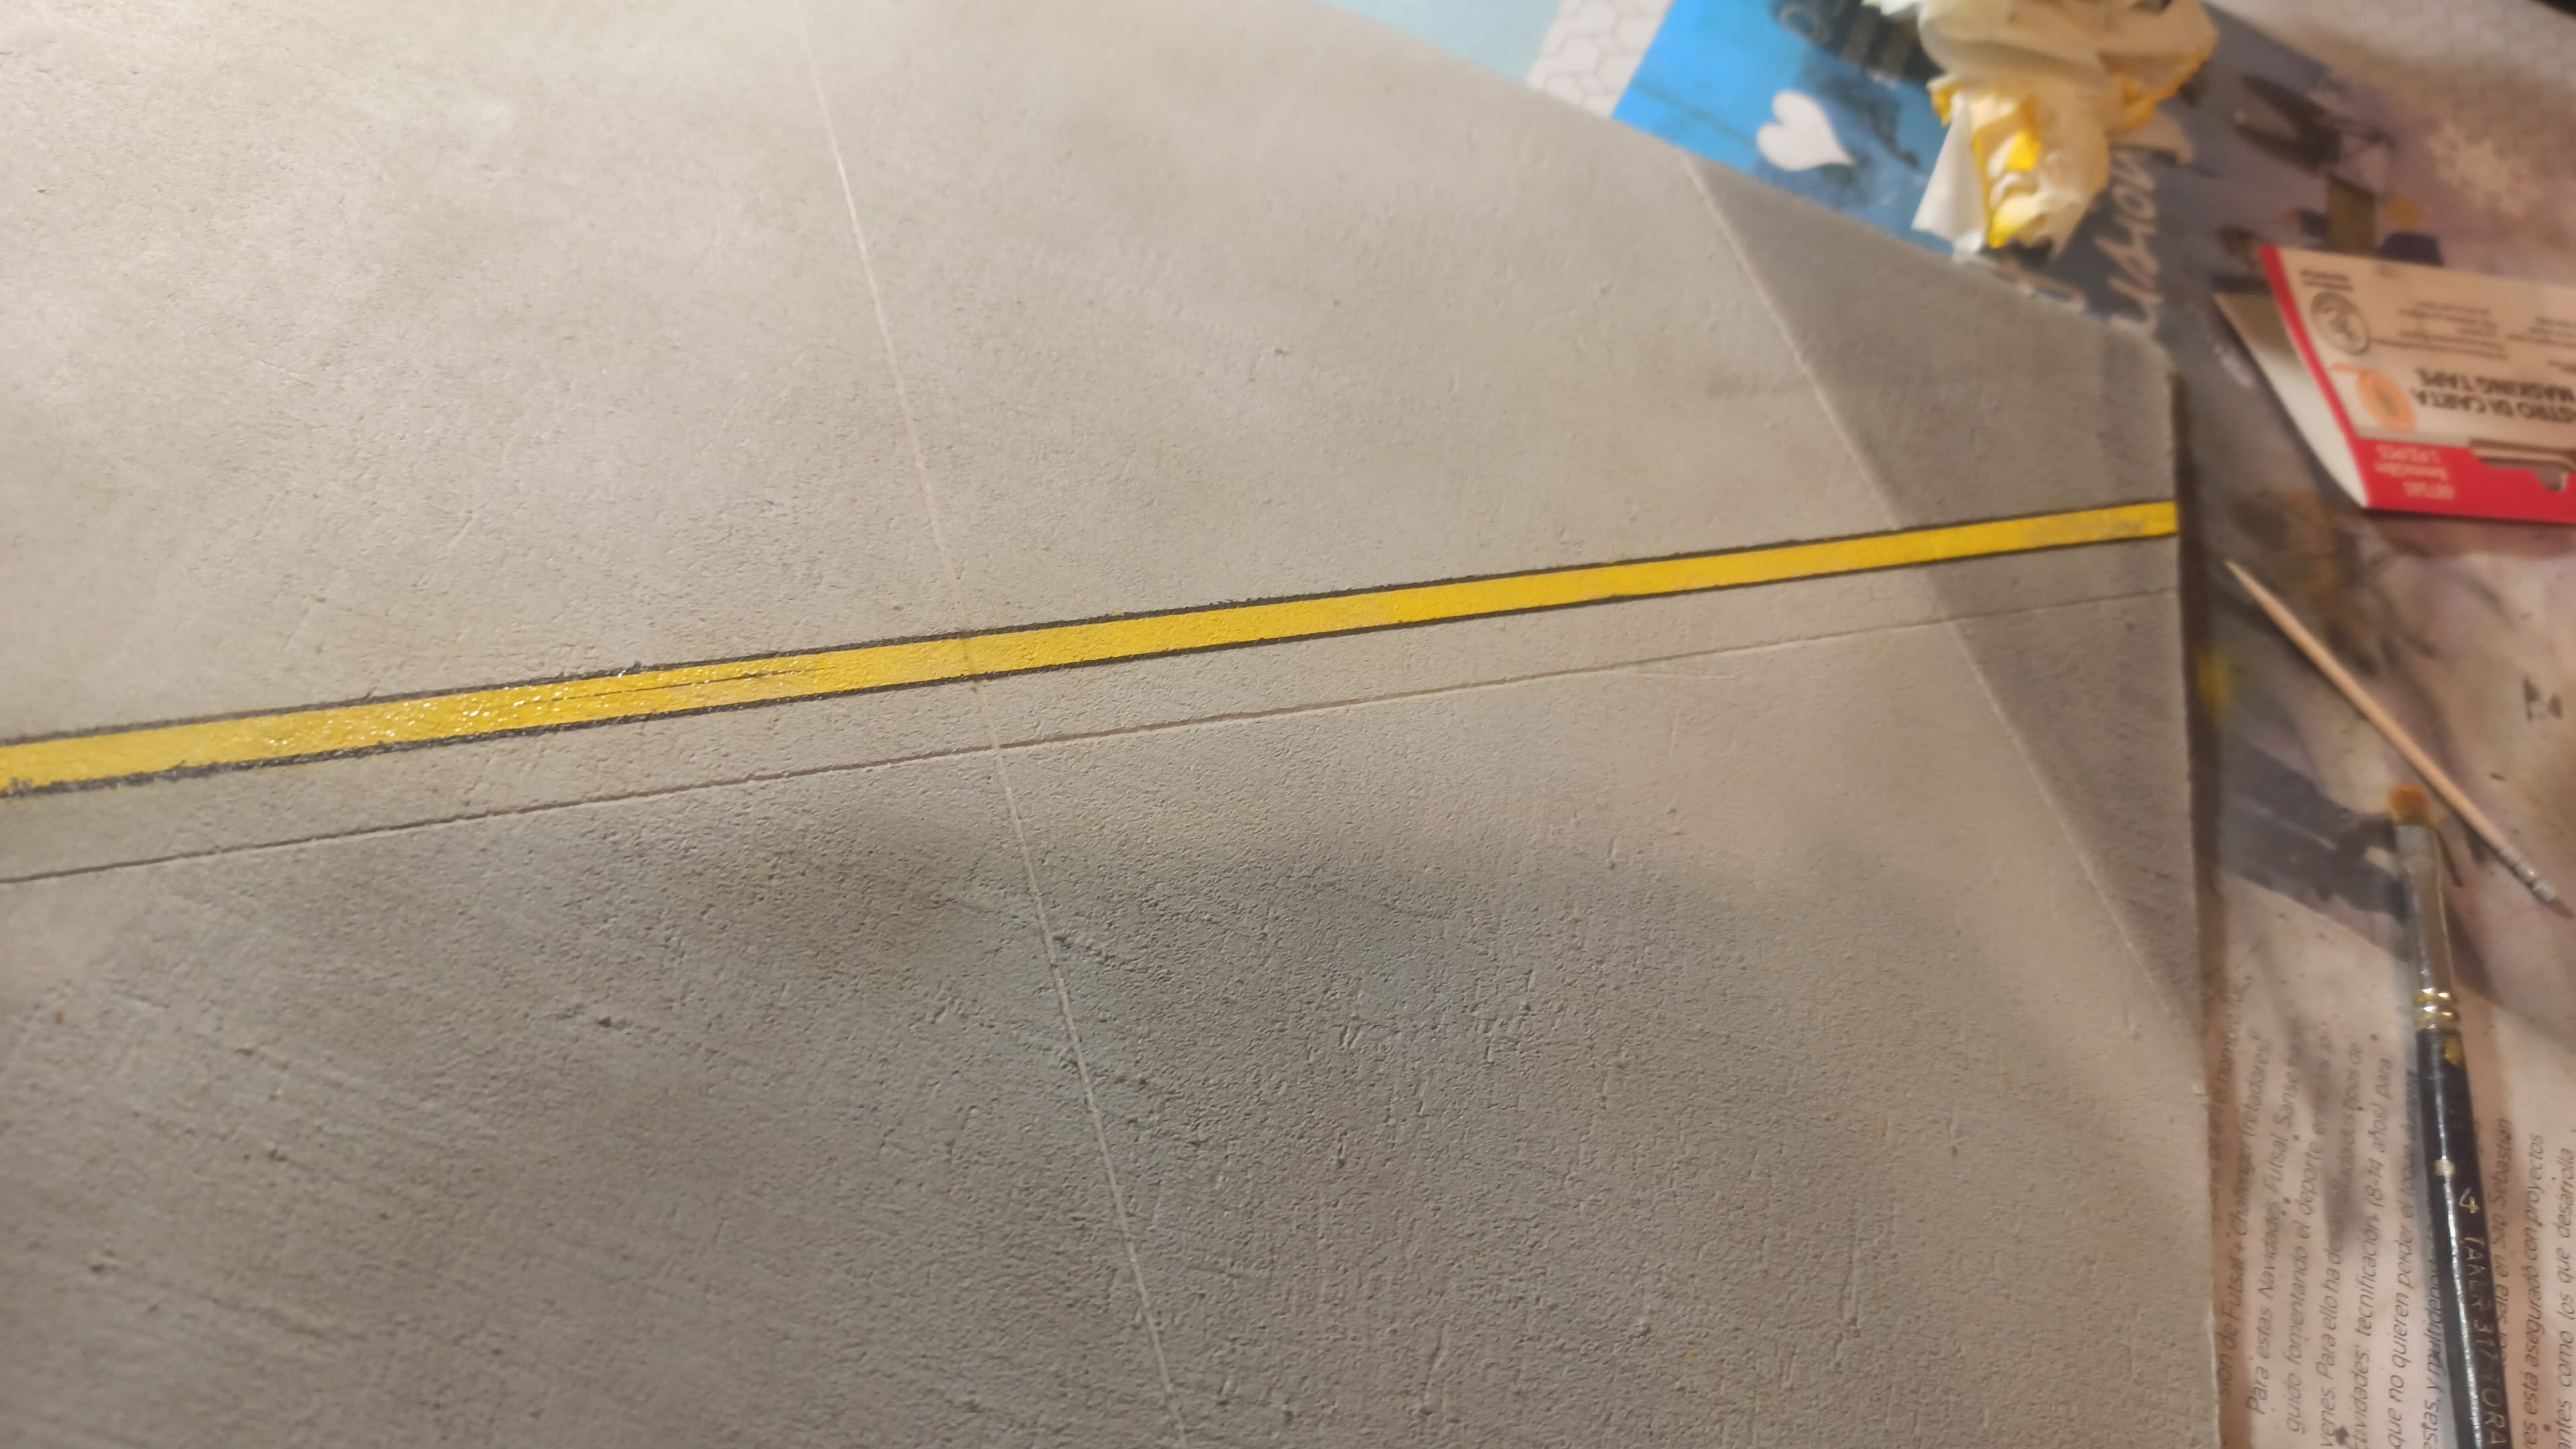
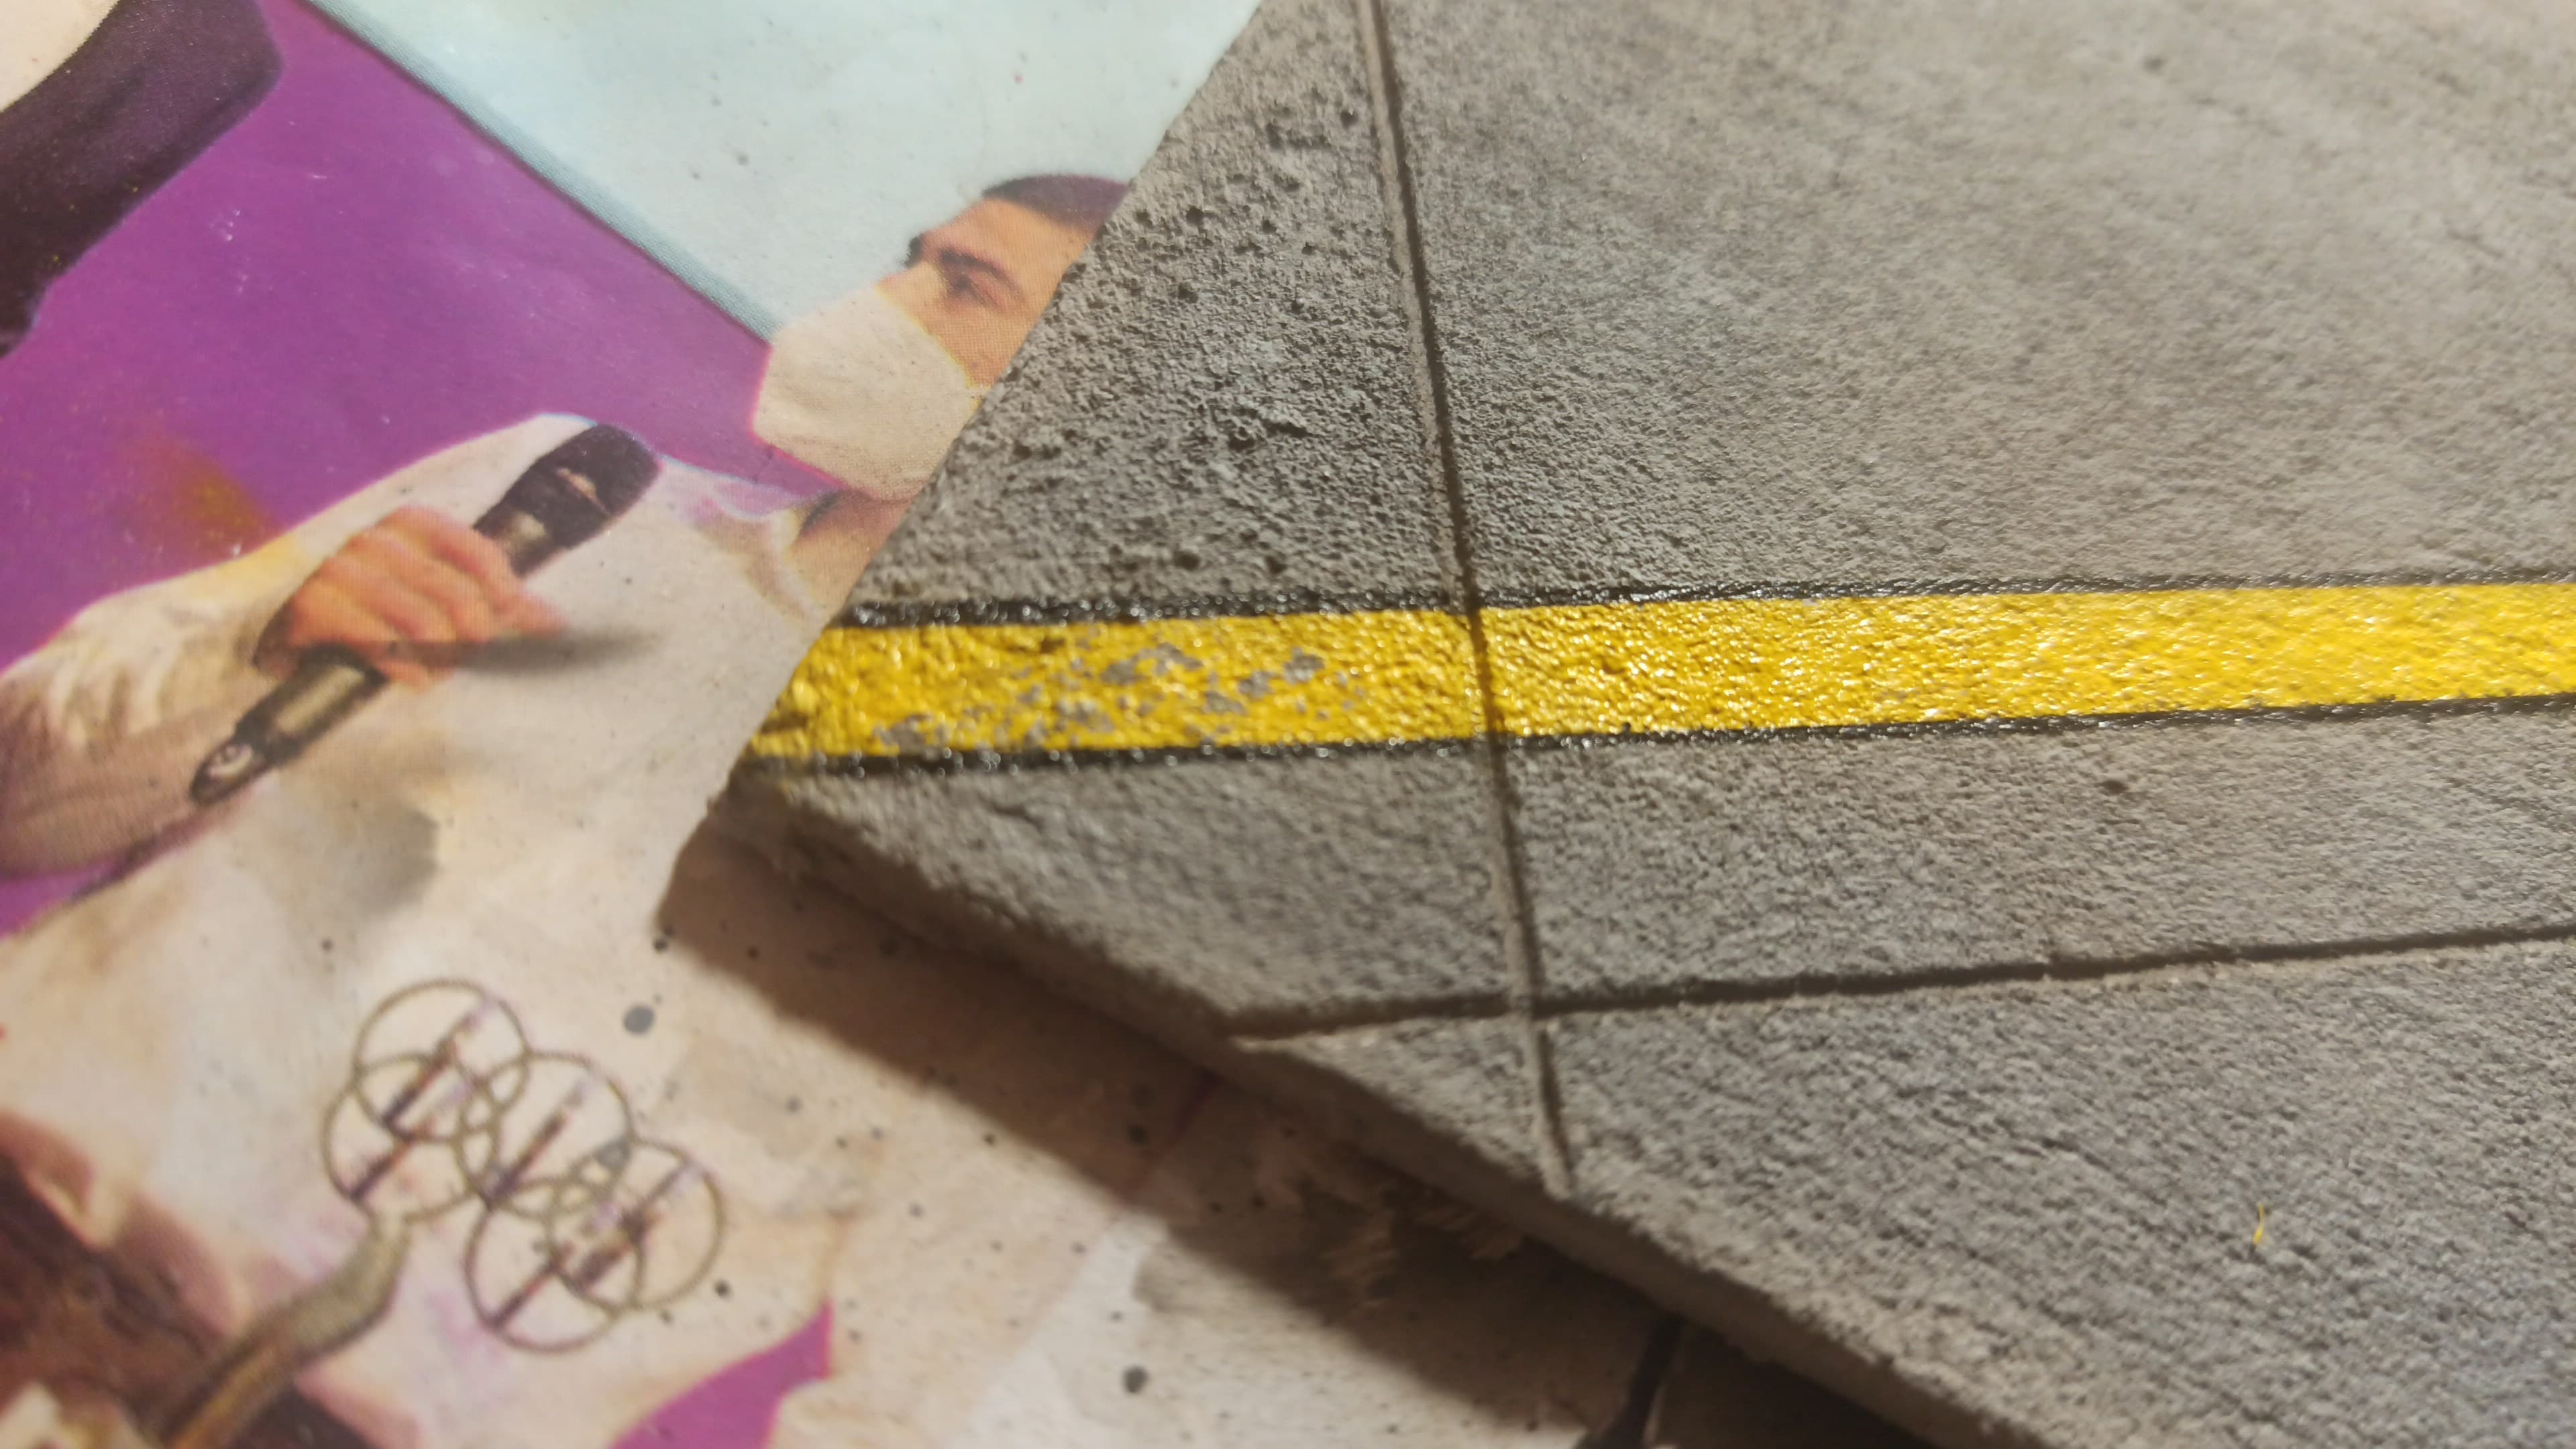
Then, some oils (panel liner by now) to make some efects. I used the grey and black panel liners. But I made just one half
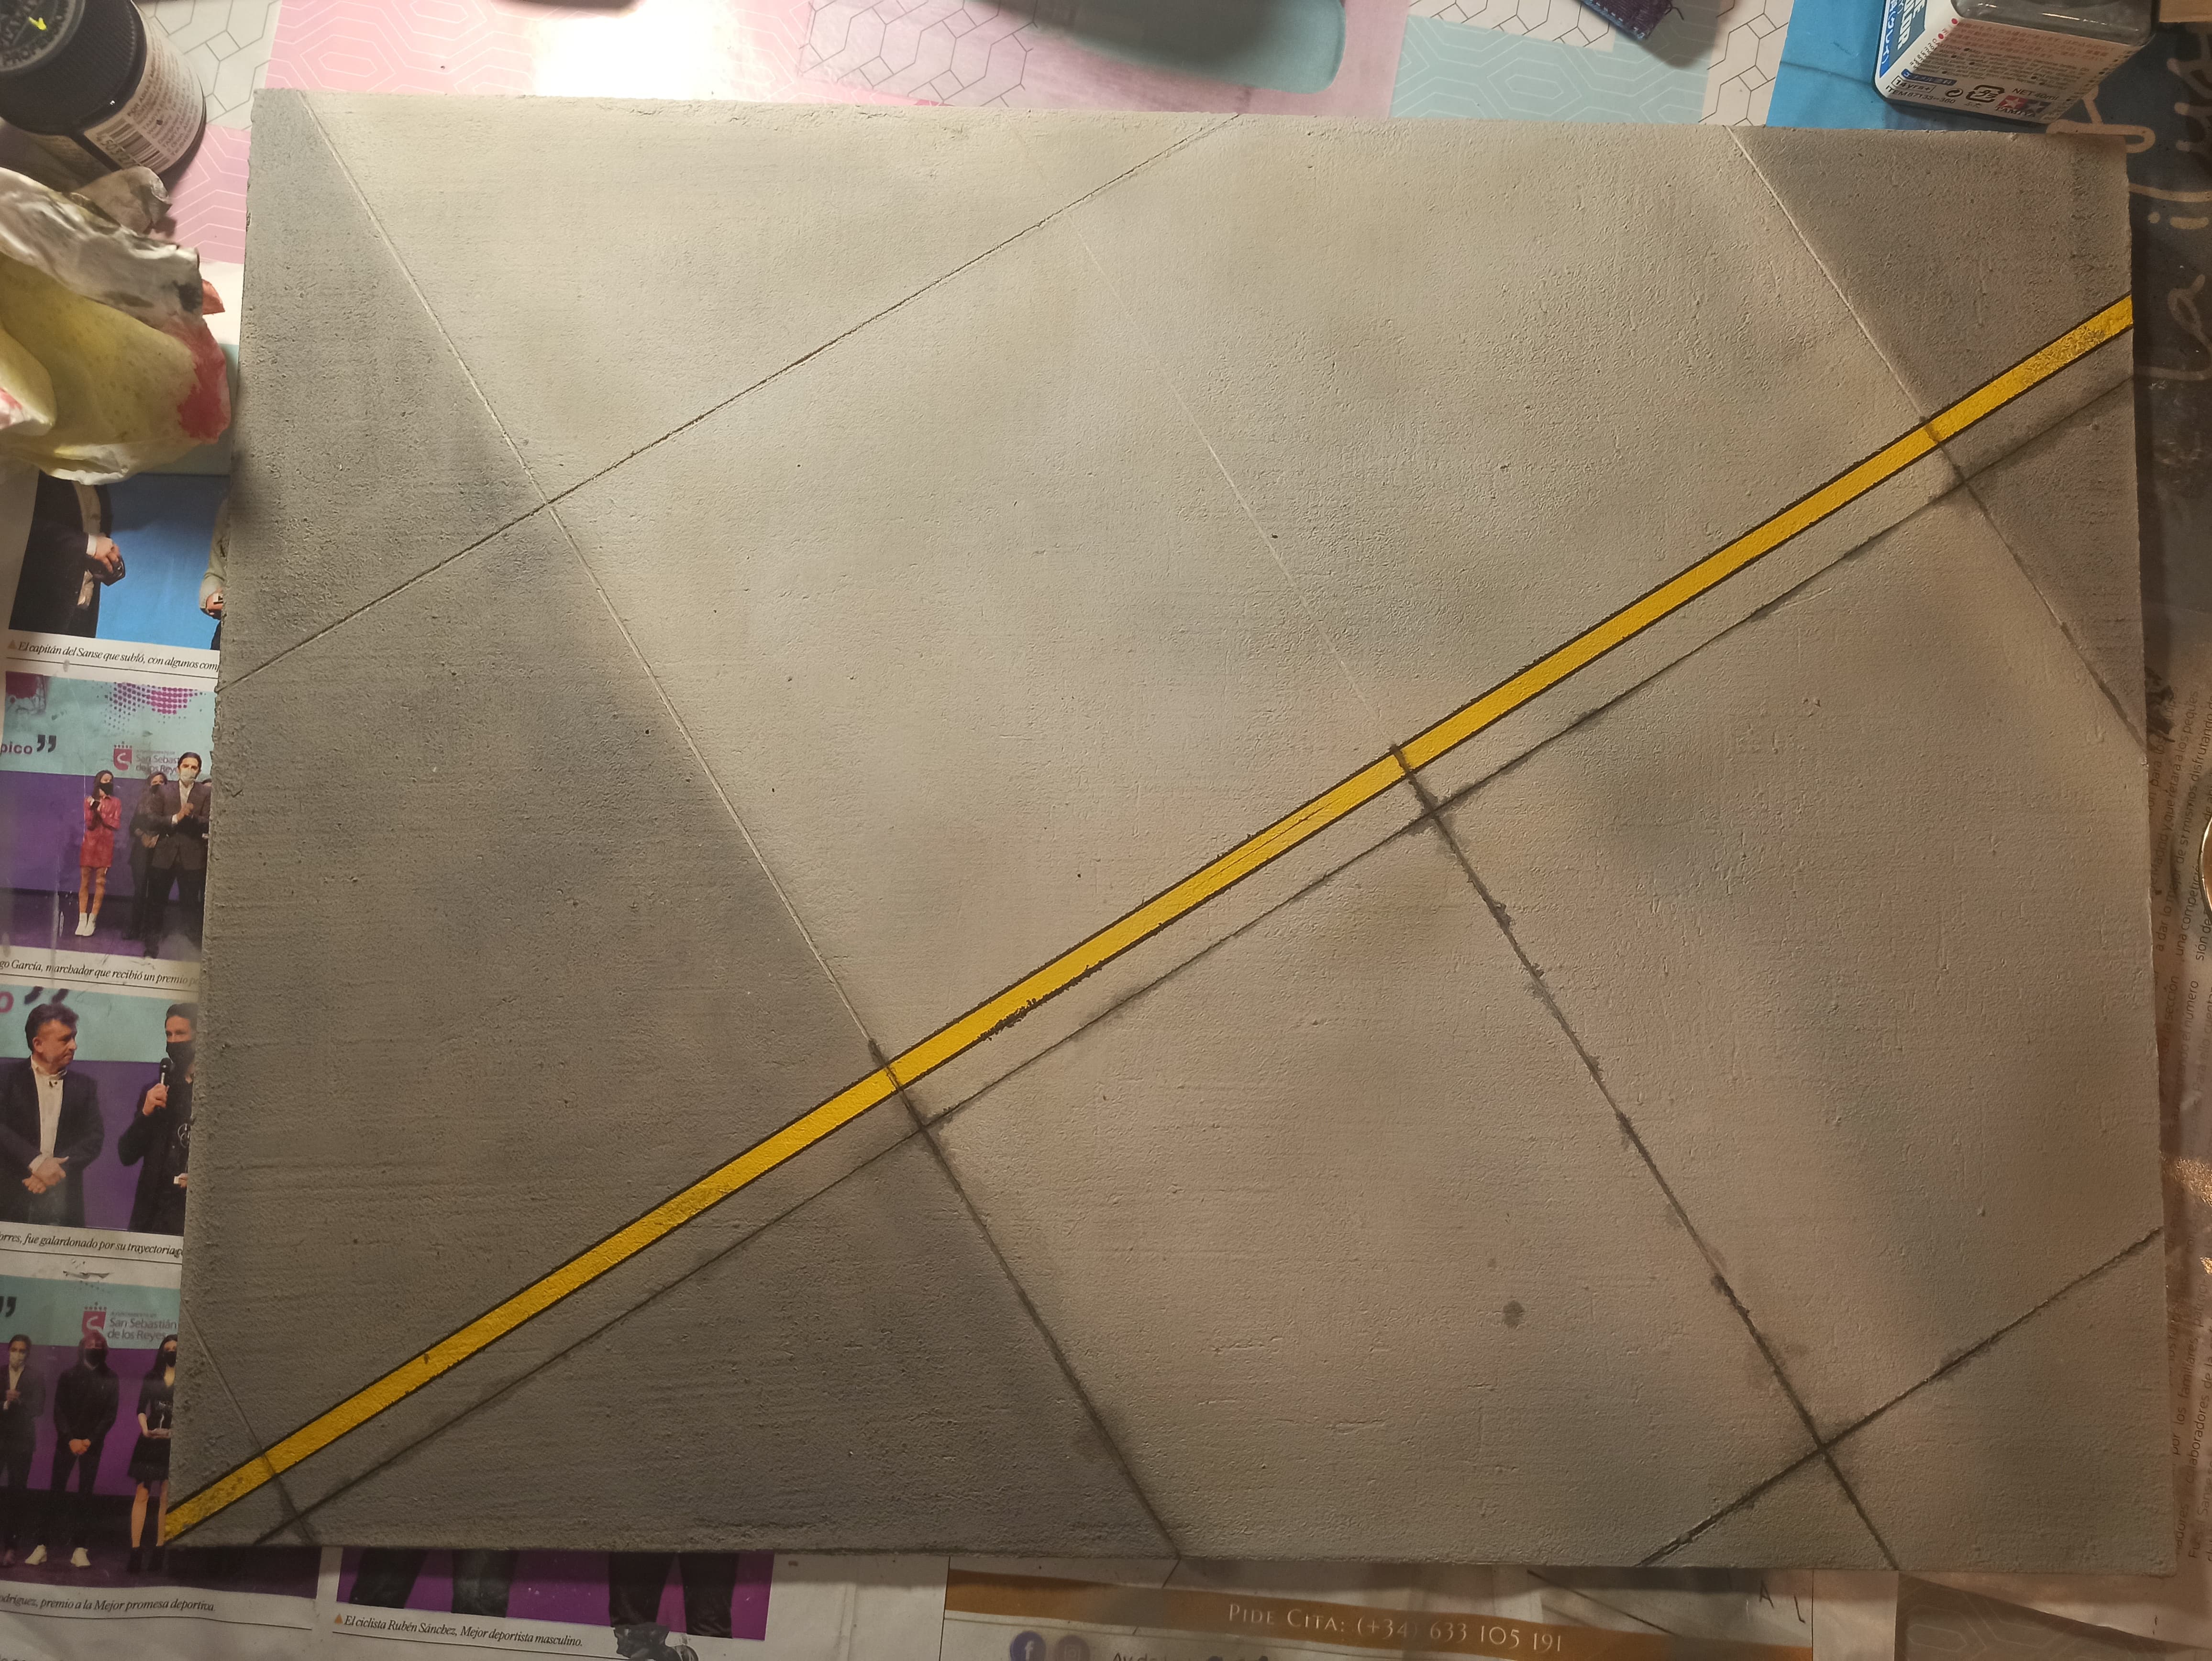
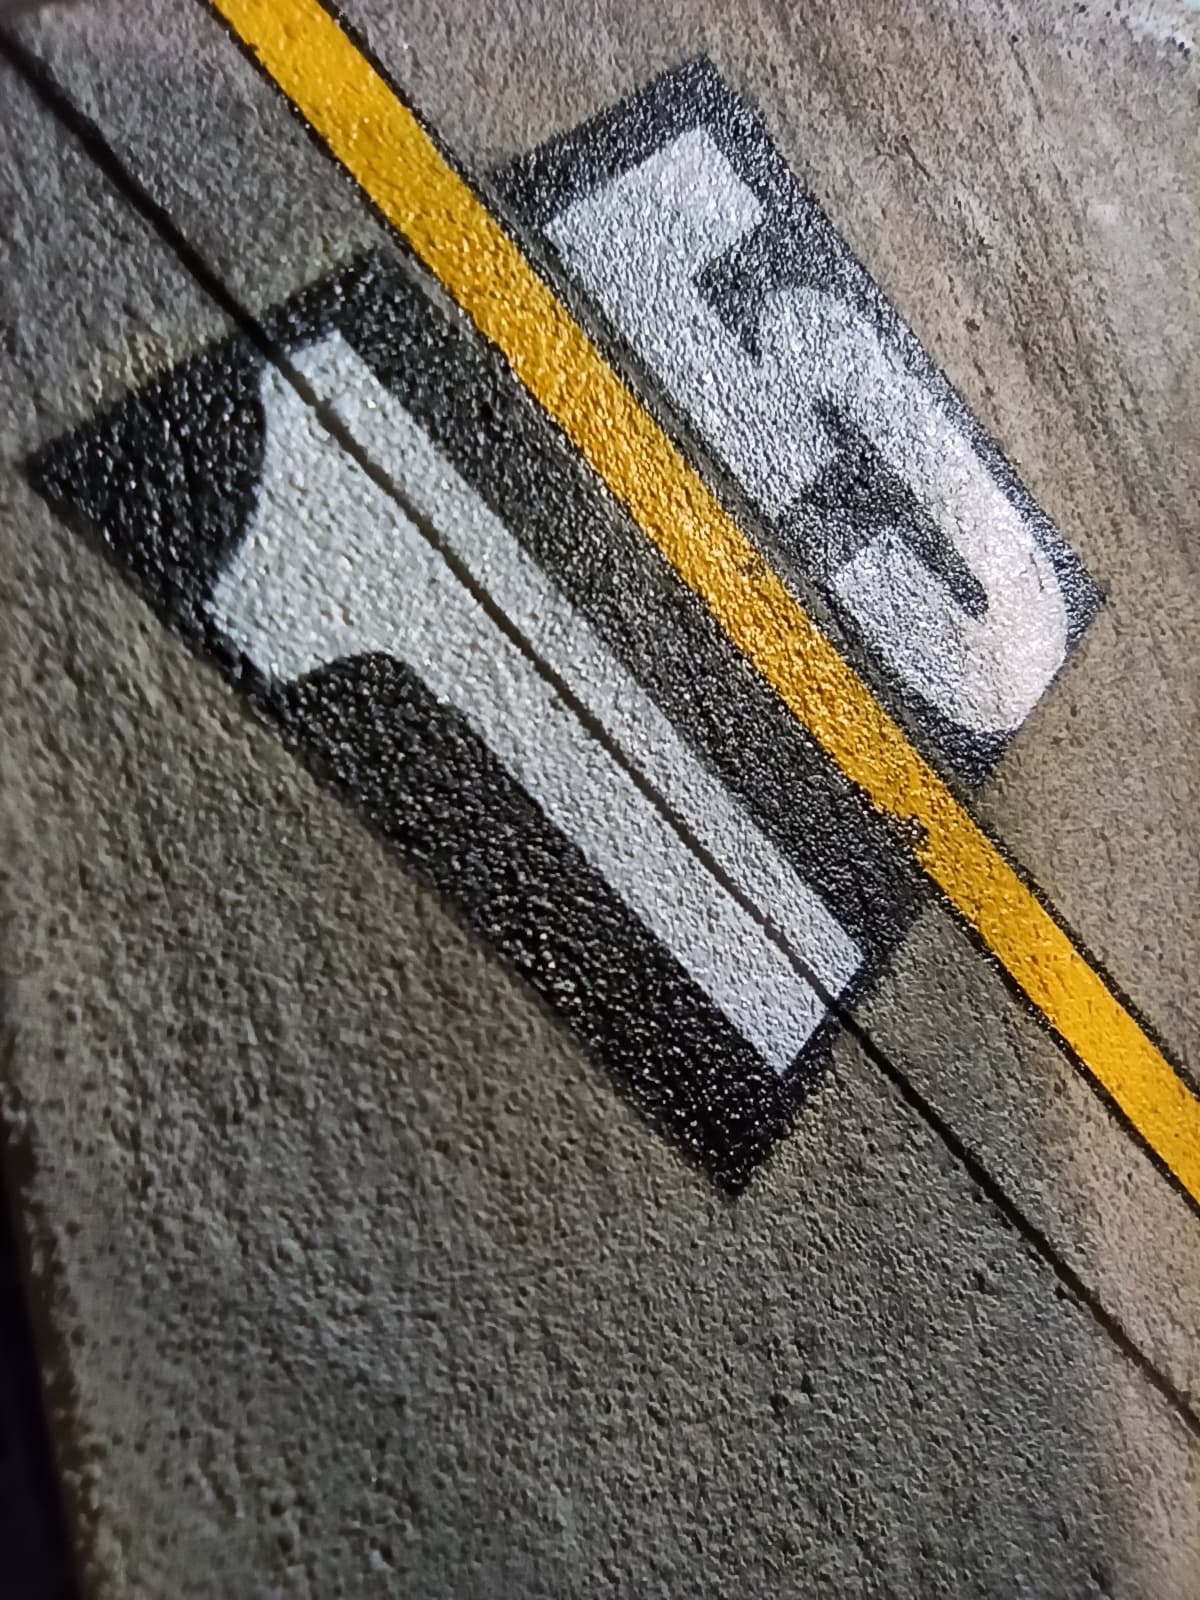
And one image with the Eagle. Note that I’m making the black rectangles for the parking number. I’m expected to paint it today.
That’s all for now. Hope you like it, this is my first tarmac base.
Thanks for watching/reading!!! 
7 Likes
Kit and the base look great. The staining and yellow line really adds to it and gives a nice sense of realism.
One thing I would do is carry on with the lining on all the concrete panels. Im sure it would be a uniform all over as its outside and would suffer the same wear and tear all over it. Great job 
2 Likes
The Eagle and the base look superb. Don’t generally think about bases for displaying my models. I think you have changed my opinion
3 Likes
@Johnnych01 , thanks for your kind words, mate!!!
I have only made that lining in the half of the base for now. But I have in mind to make all the lining and stains all over the base. Just made that lining as a test to see how it looks.
Thanks again!
2 Likes
Tim, I’m glad about changing your mind  . Happy to hear you like both.
Thanks a lot!!
1 Like
Also, forgot to really mention the Eagle last time lol… I really really love it.
Its refreshing to see a modern aircraft finished in a real dirty, worn and well used way. The finish and weathering to the paint look great and I imagine its harder to get a genuine realistic well worn look than doing a nice clean sparkly clean one. Great finish on it
1 Like
Thanks again, @Johnnych01 !! Very appreciated. I guess that the pilot and the WO won’t be happy with their maintenance crew, but I do like to make models worn.
2 Likes
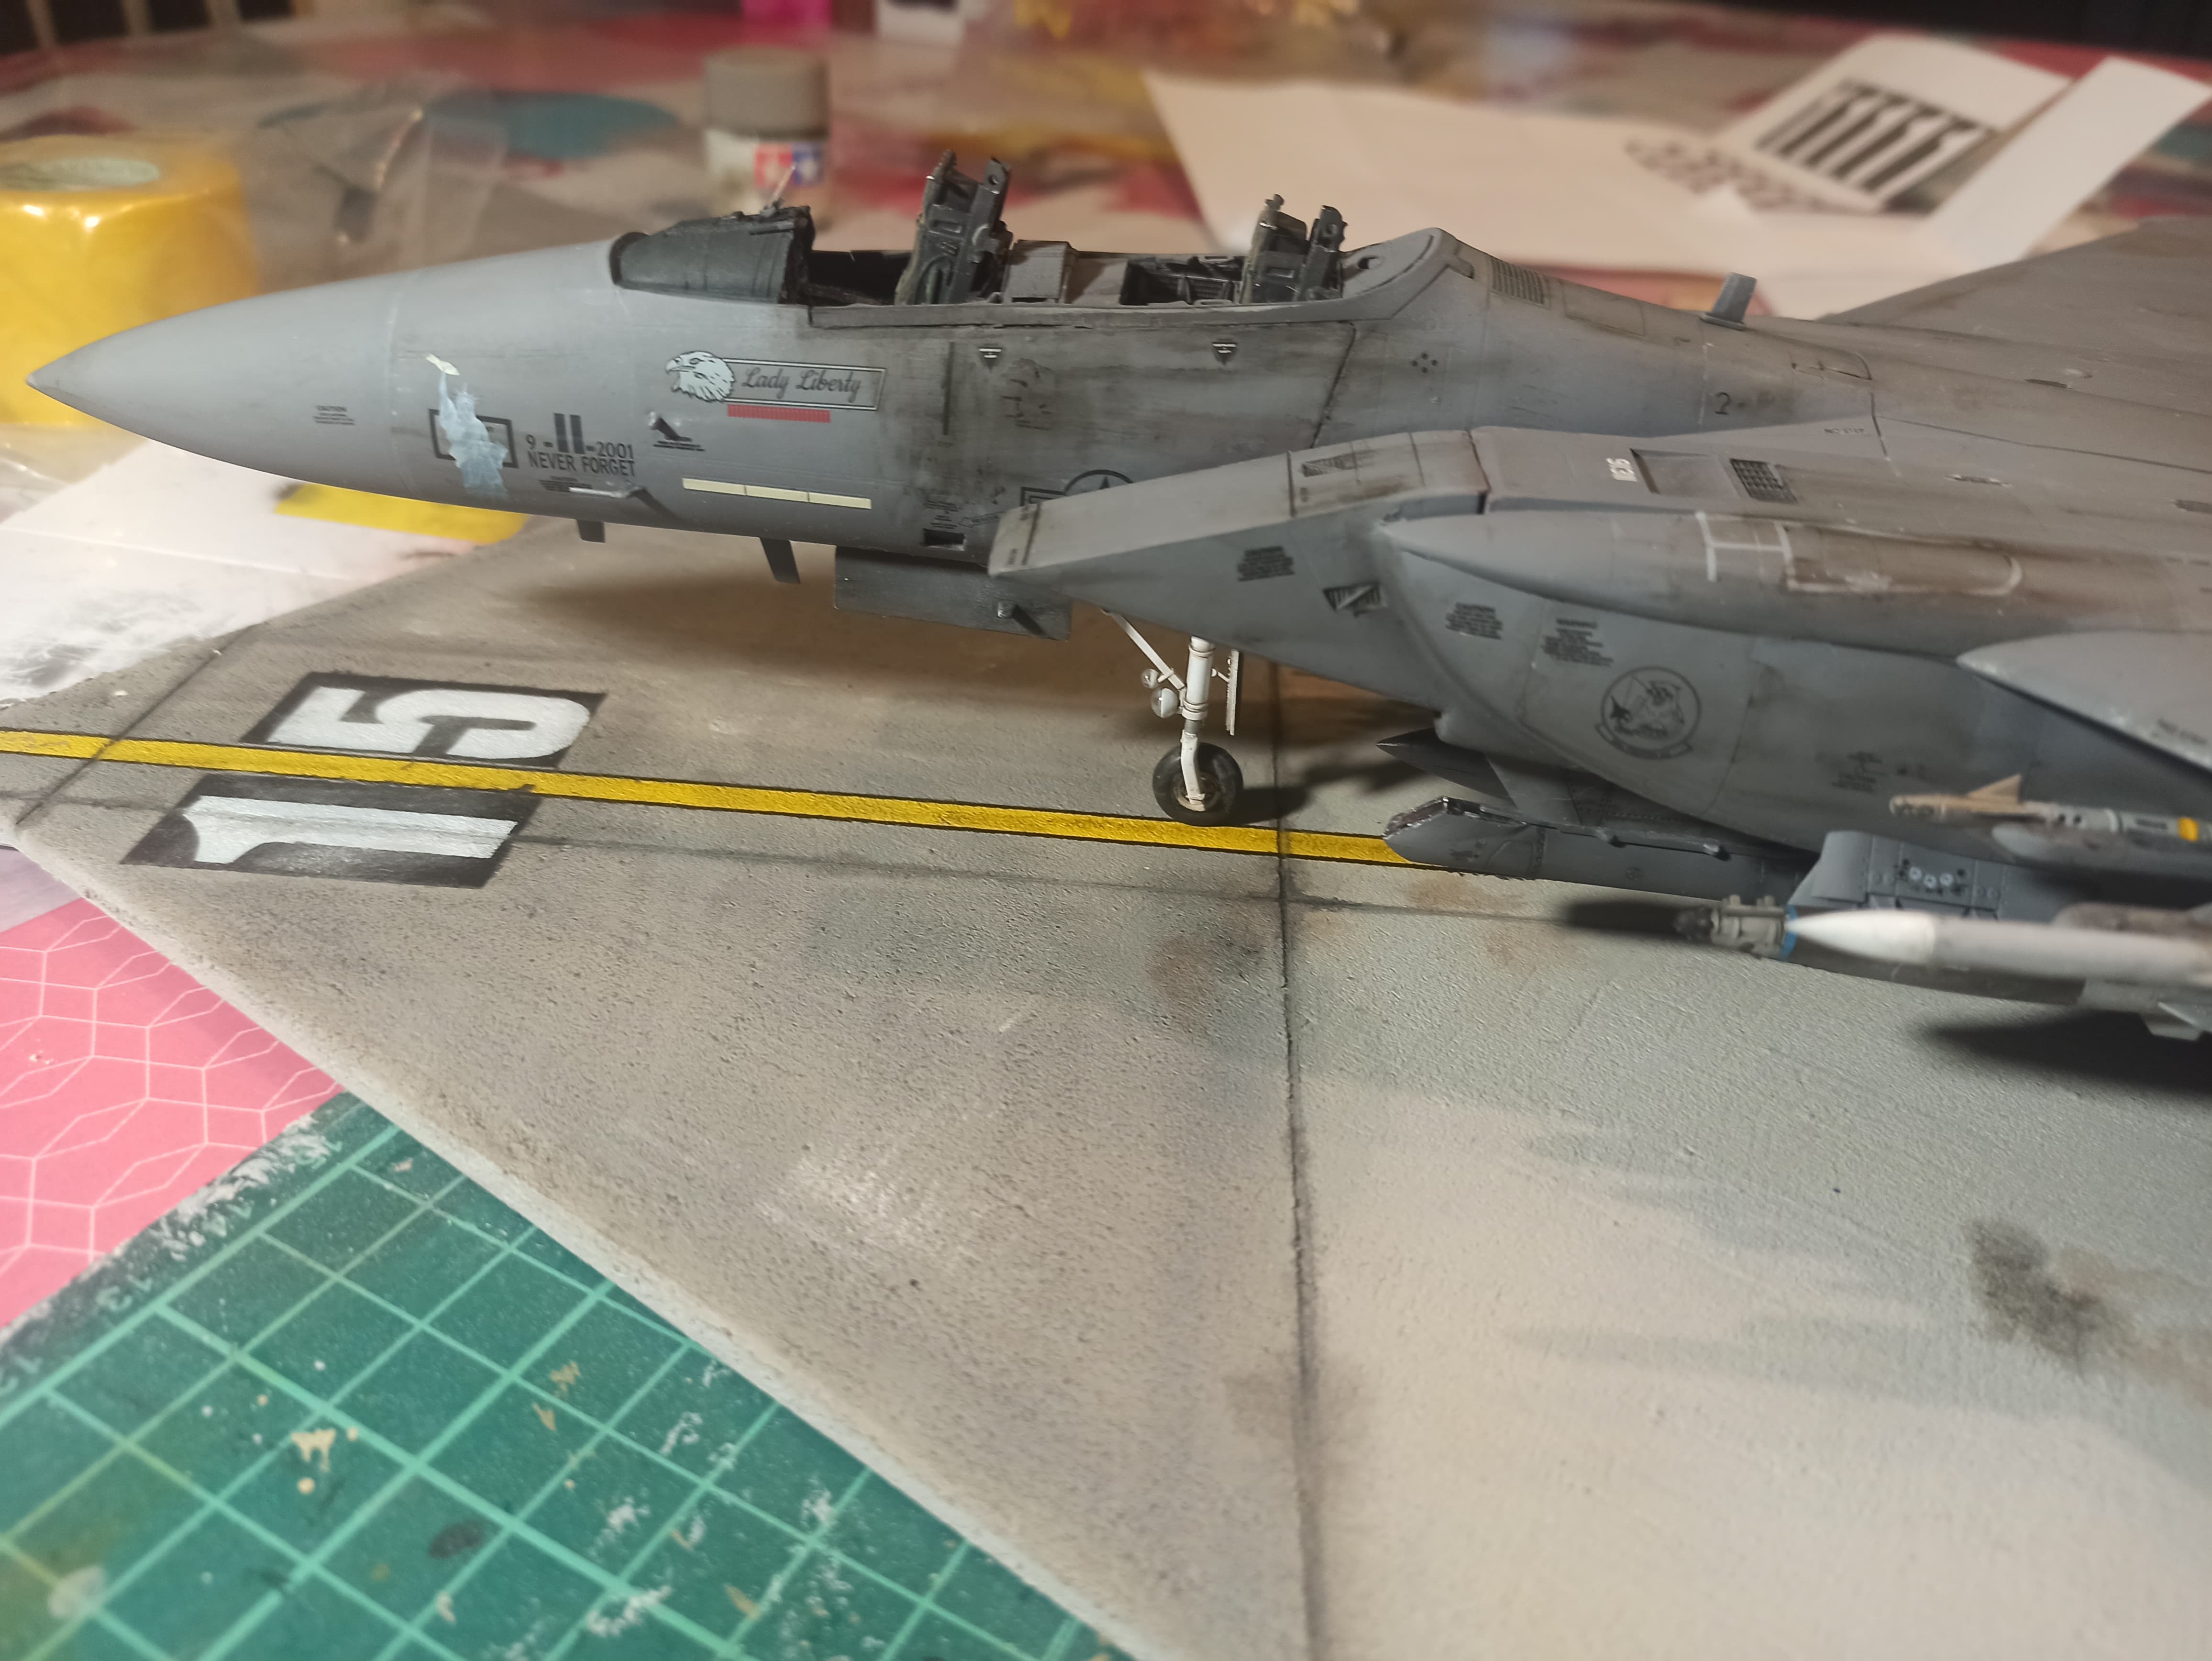
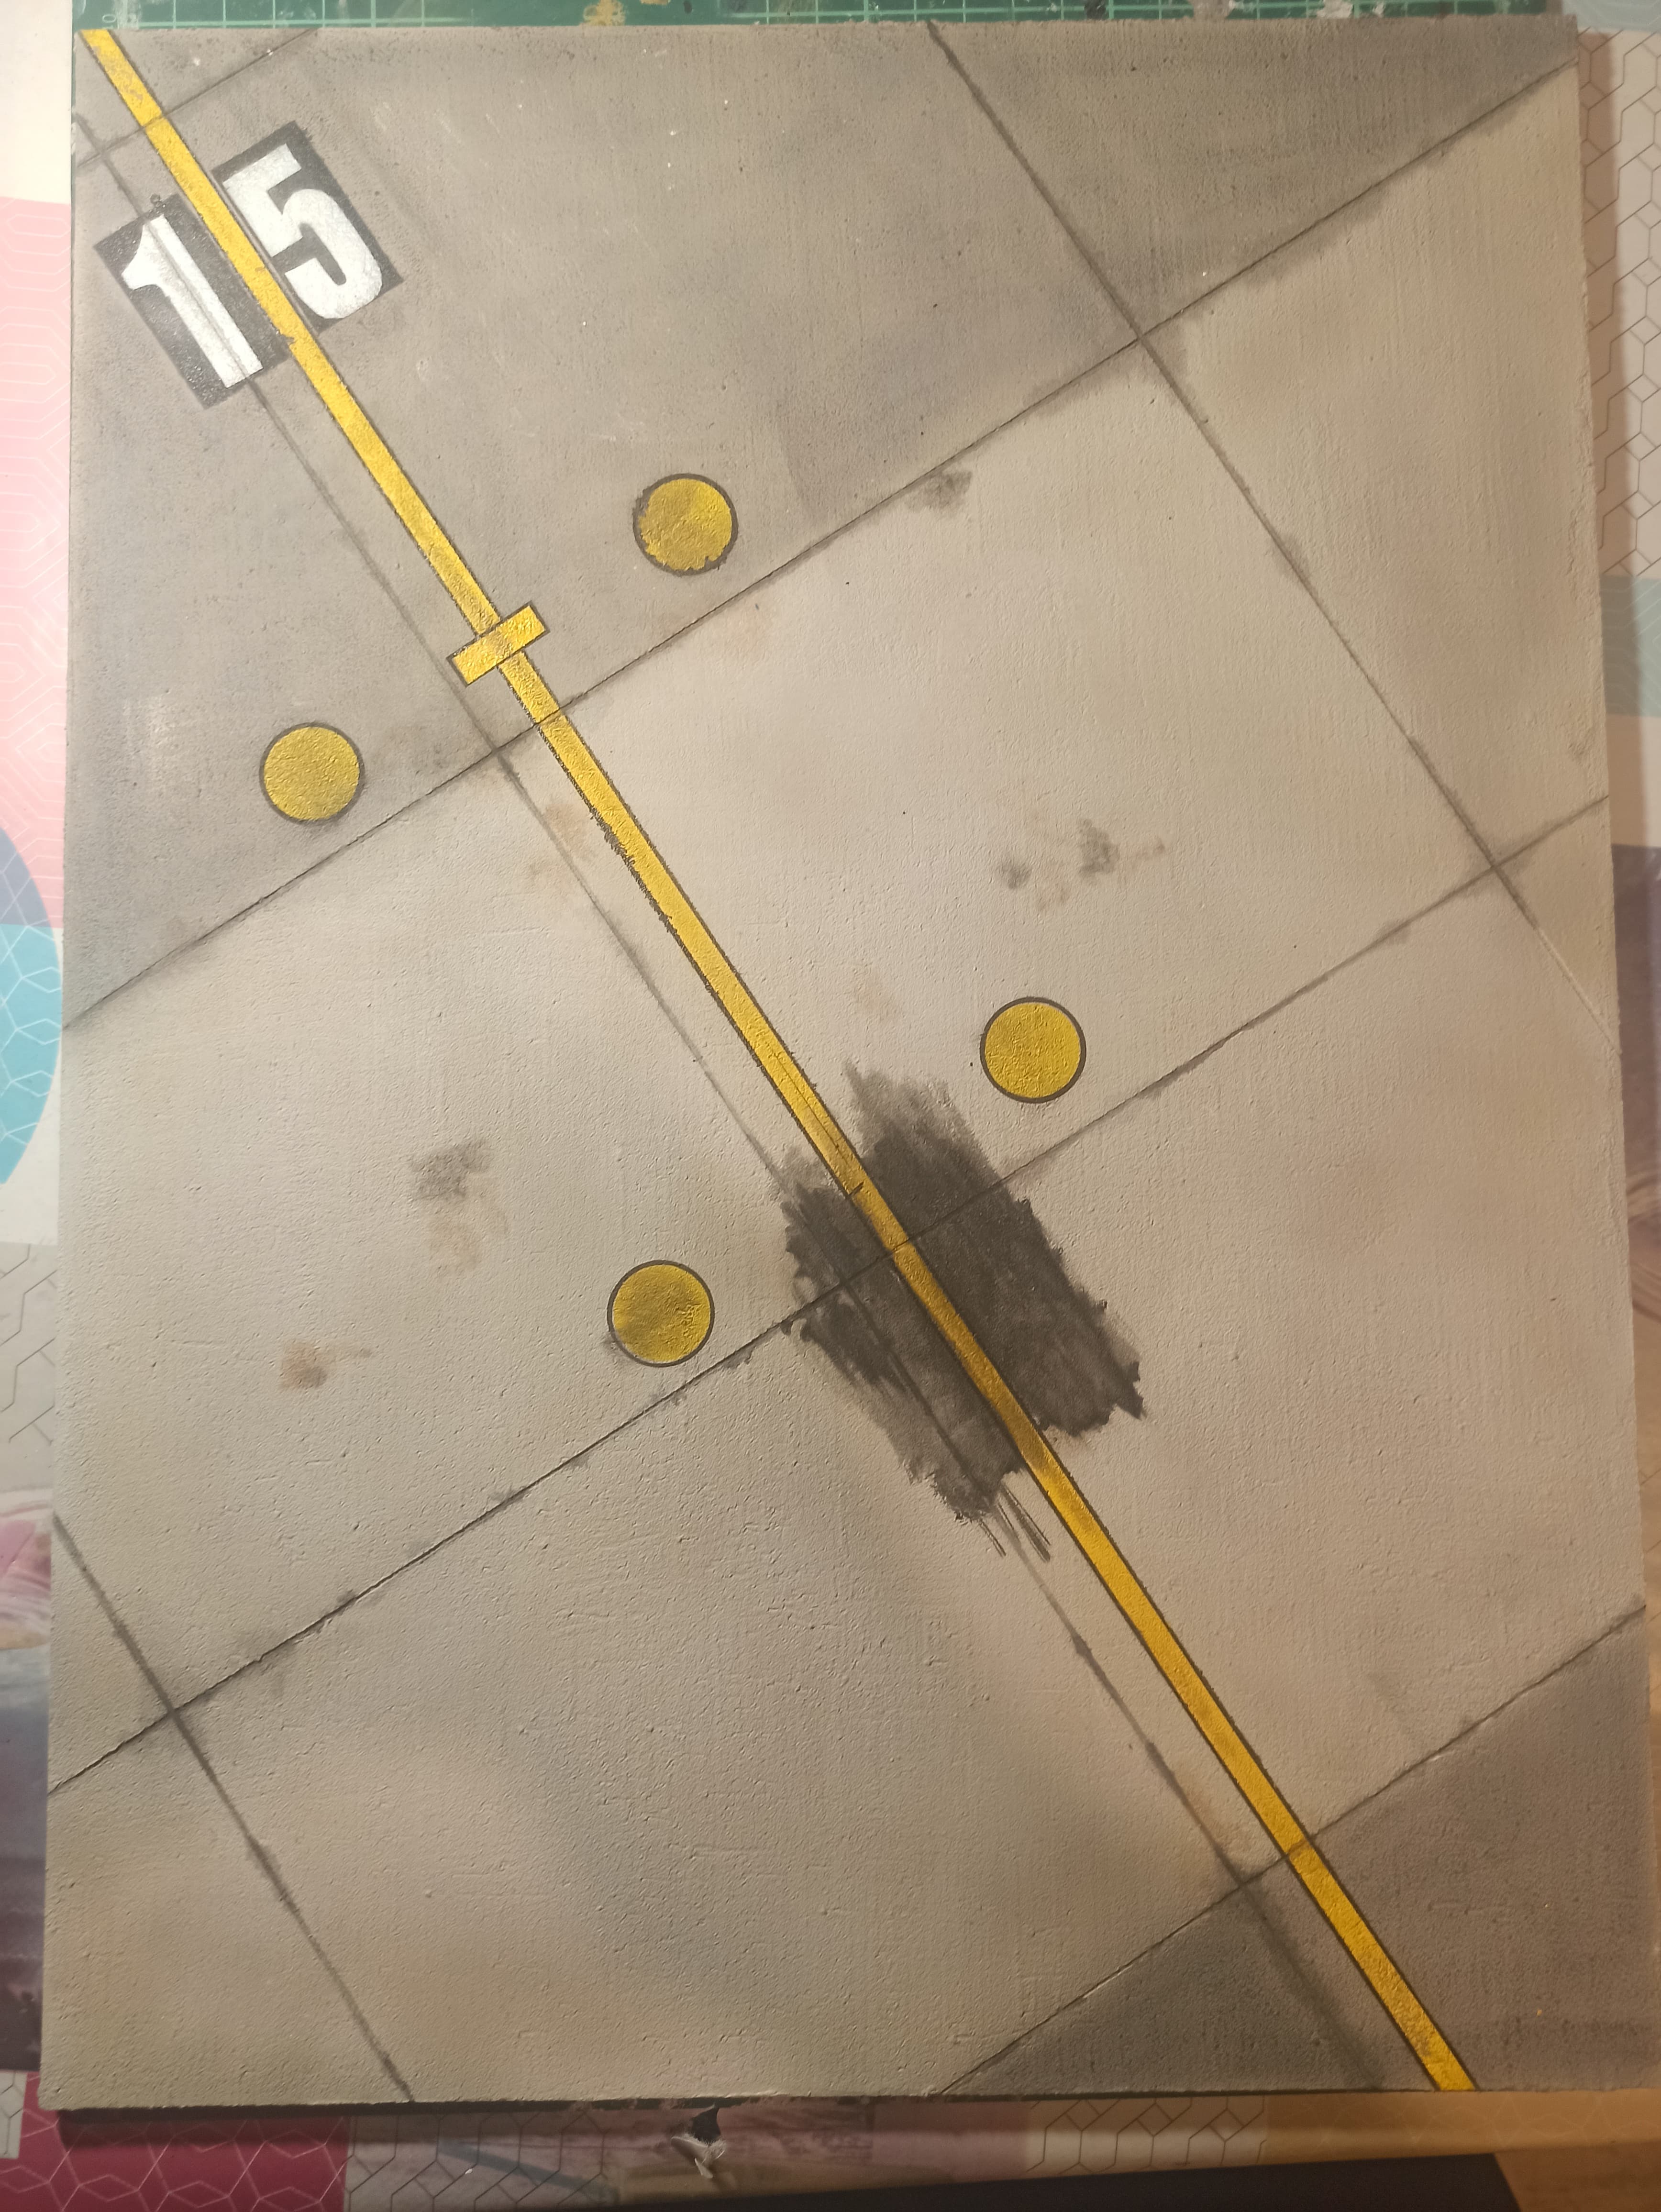
Almost done. Just to paint the rounded shapes you can see in this picture and the stripe for the front wheel. This is the refpic I used to make the base
And this is how it looks now. I hope to finish the base this weekend.
Regards!
8 Likes
That is looking great now with the added ground detail and line numbers added. Really nice work here
2 Likes
Looks great! Very realistic!!! 
2 Likes
@Johnnych01 @Russelle , thank you for your comments. I’m glad you like it. I’m quite happy with the look it’s taking.
Thanks again!
4 Likes
Well, this is over.
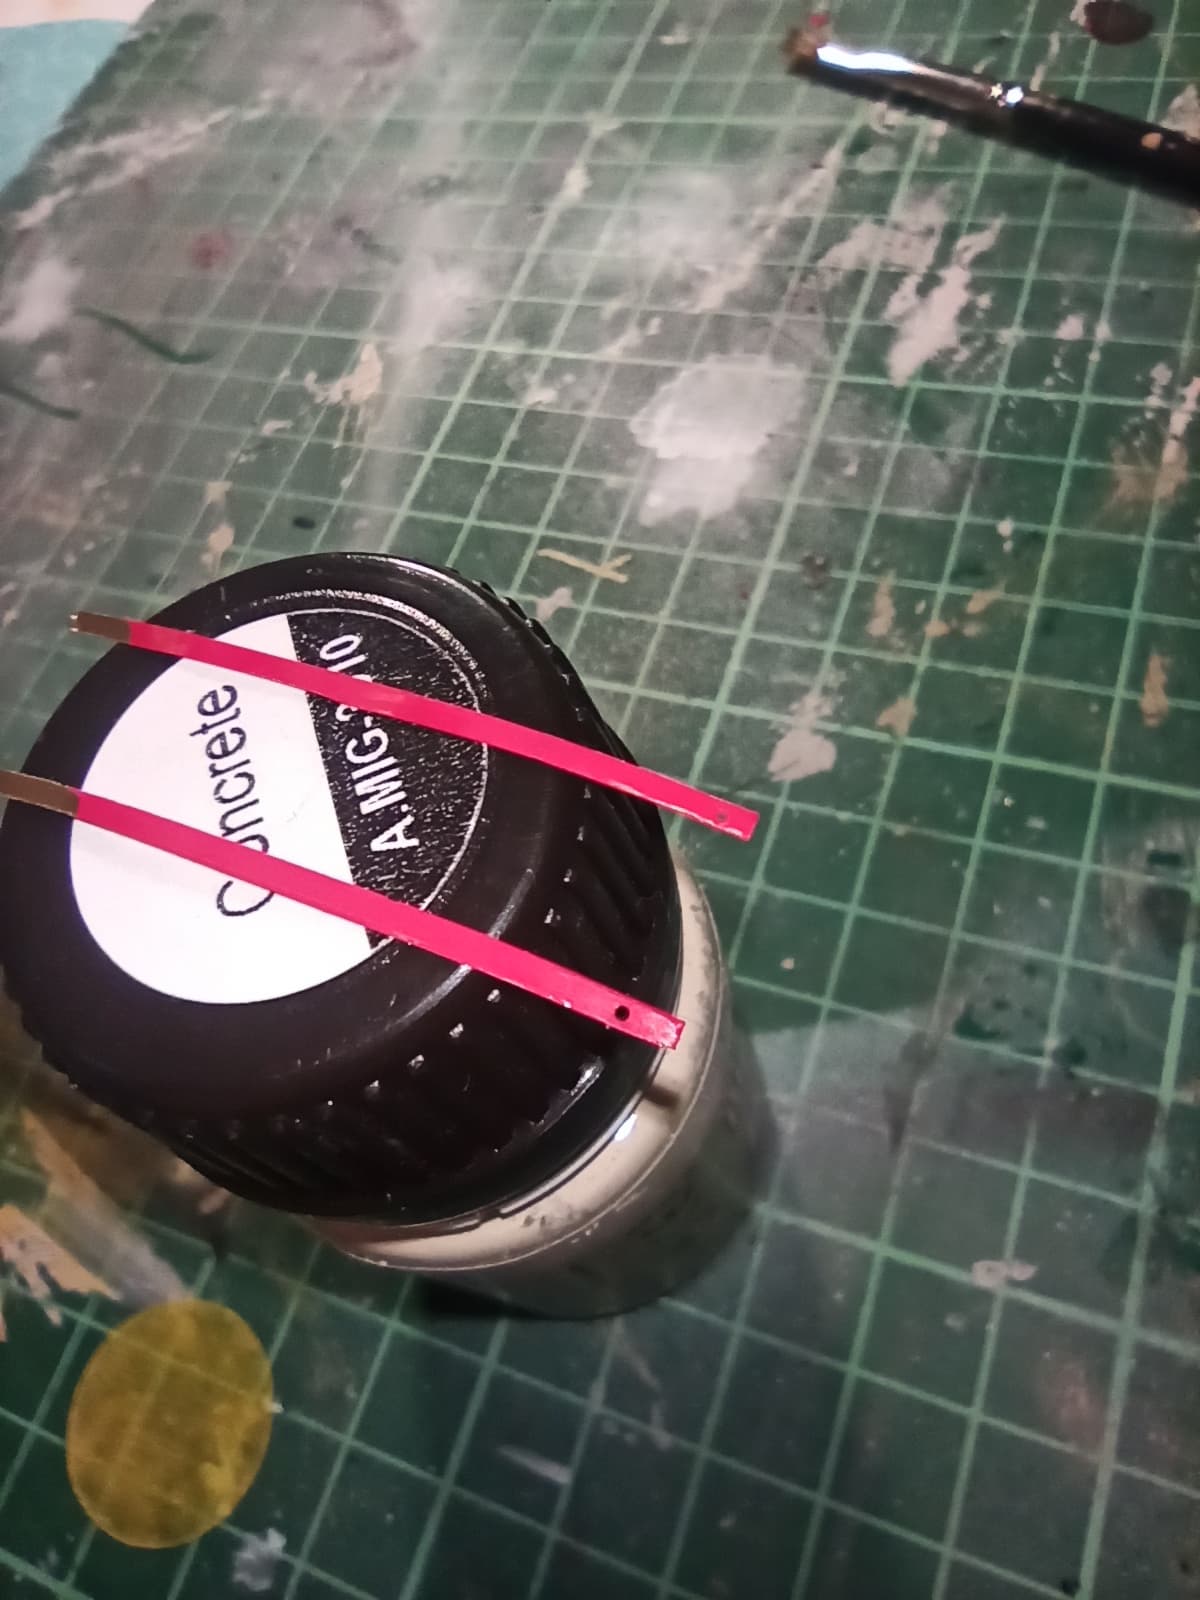
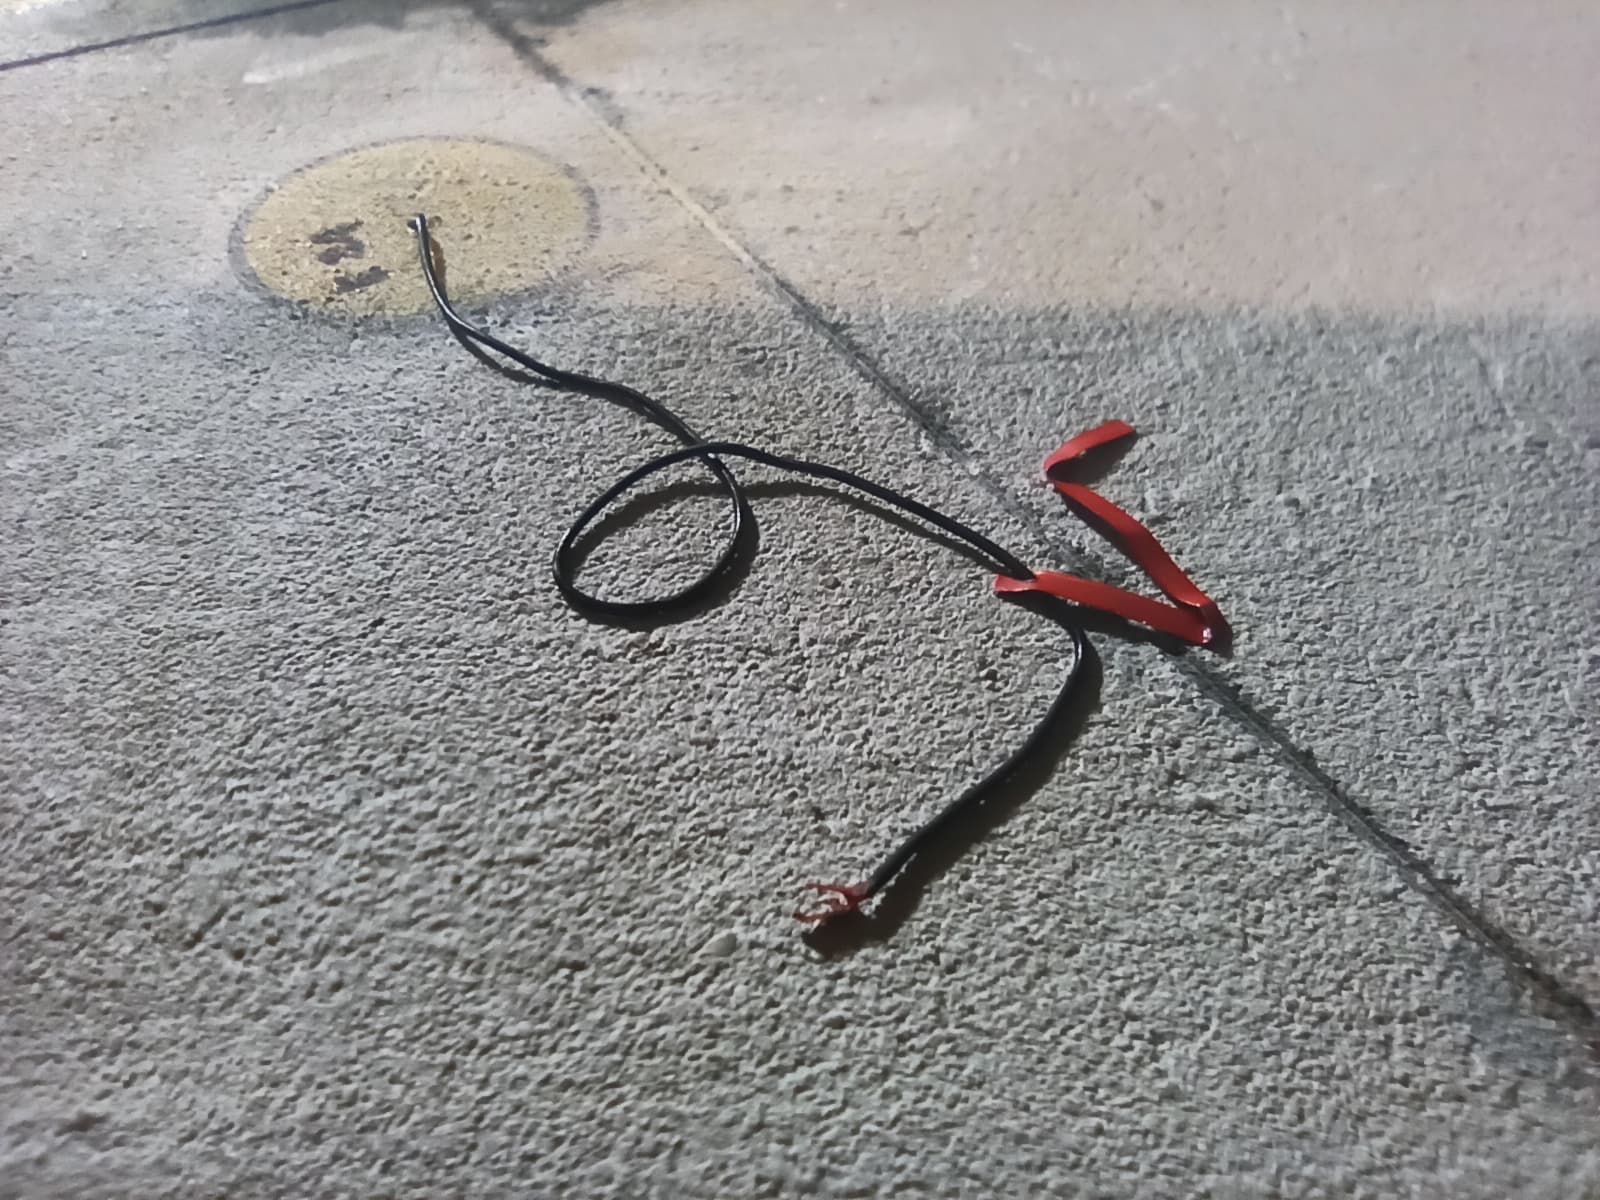
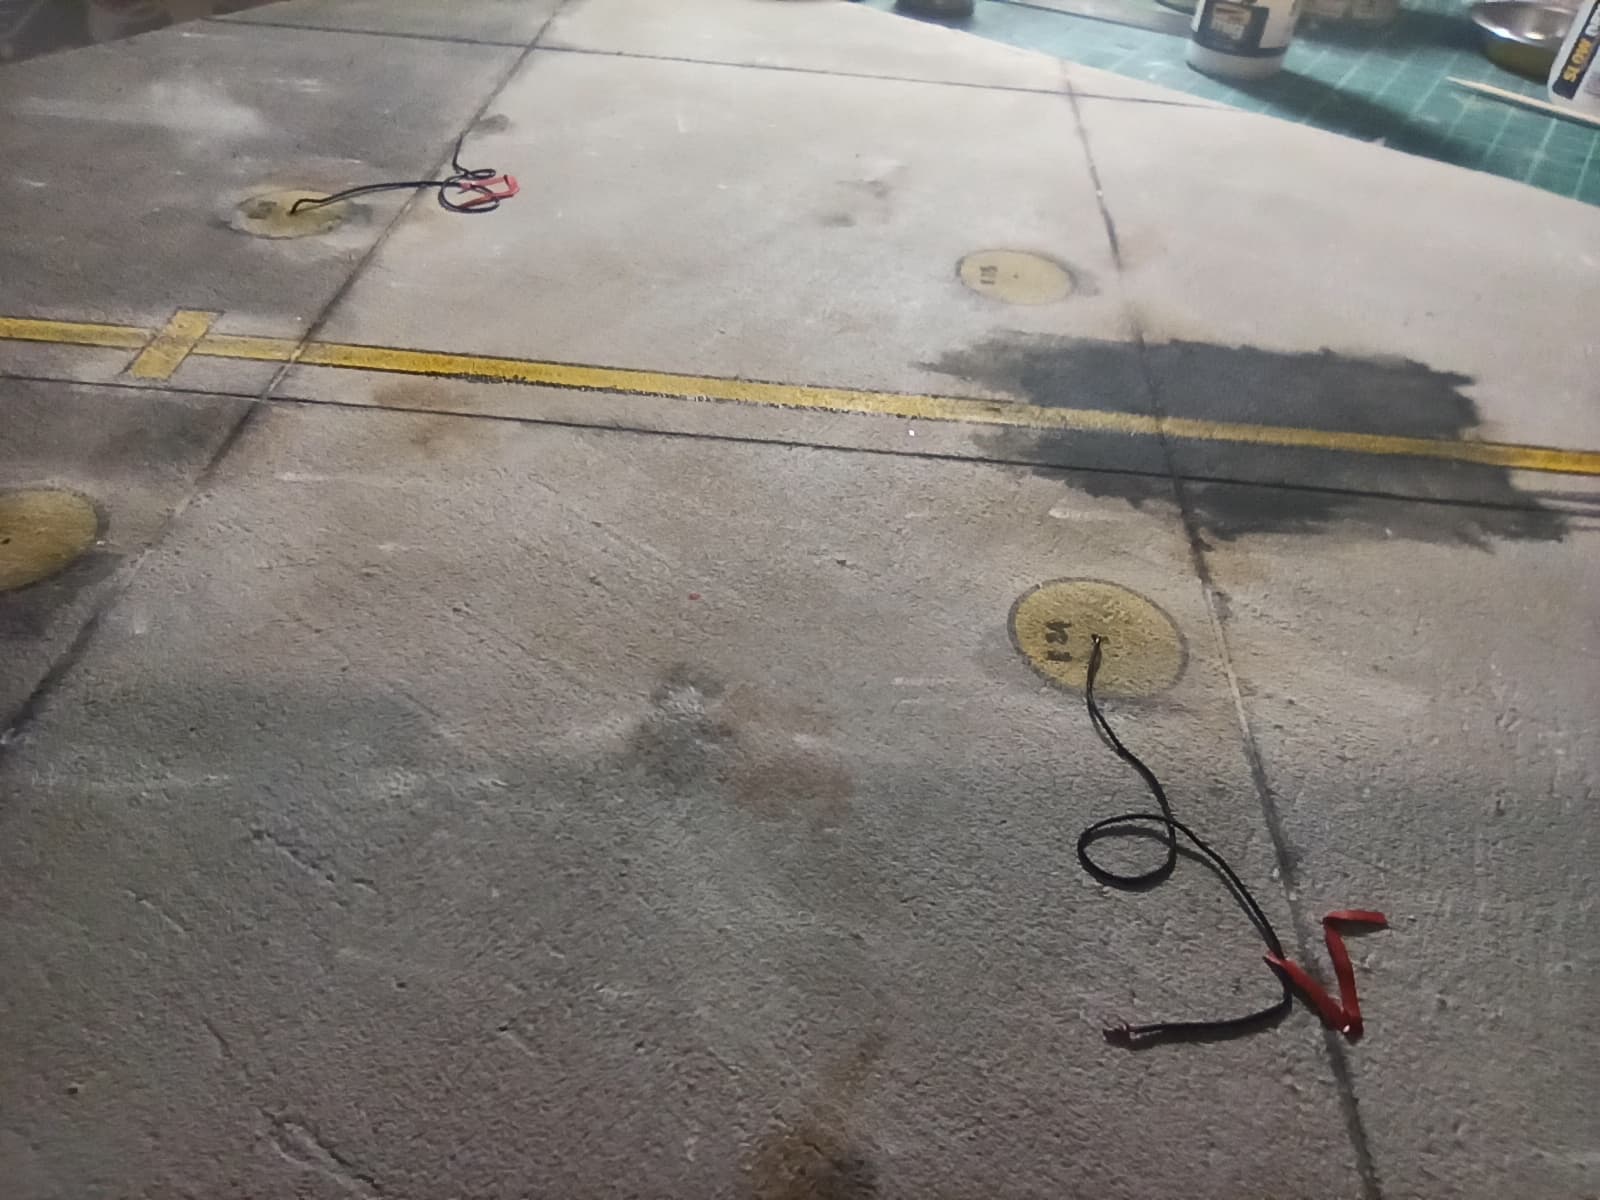
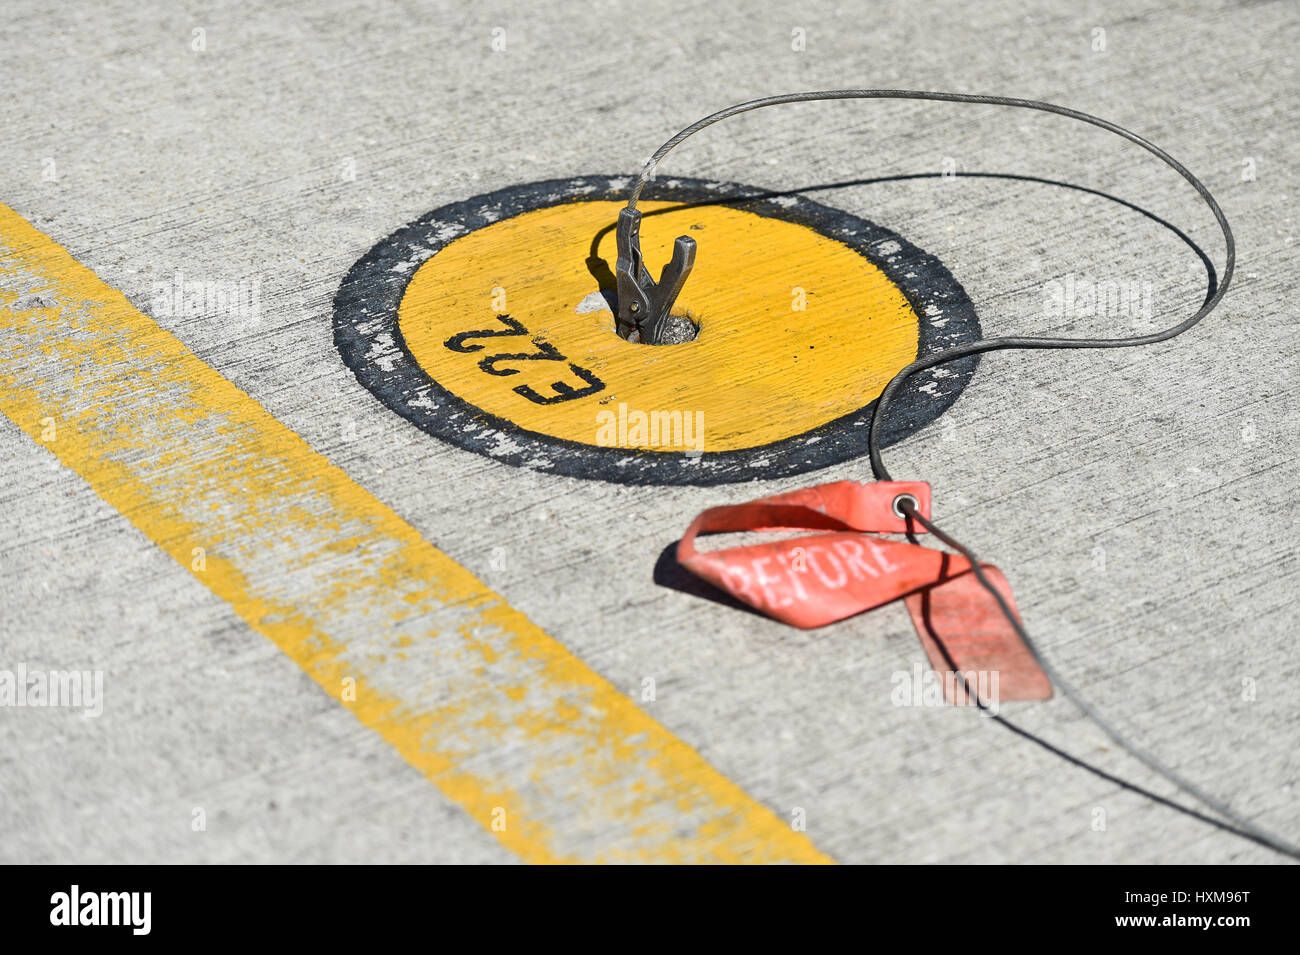
I finished the base with some paintings missed and I had to investigate what those yellow circles are. And they’re (I don’t know if you call it in that way) grounding wiring (to avoid static when the aircraft is parked). So I made a wires with a clips and the Remove Before Flight signs (without text)
This is the real thing
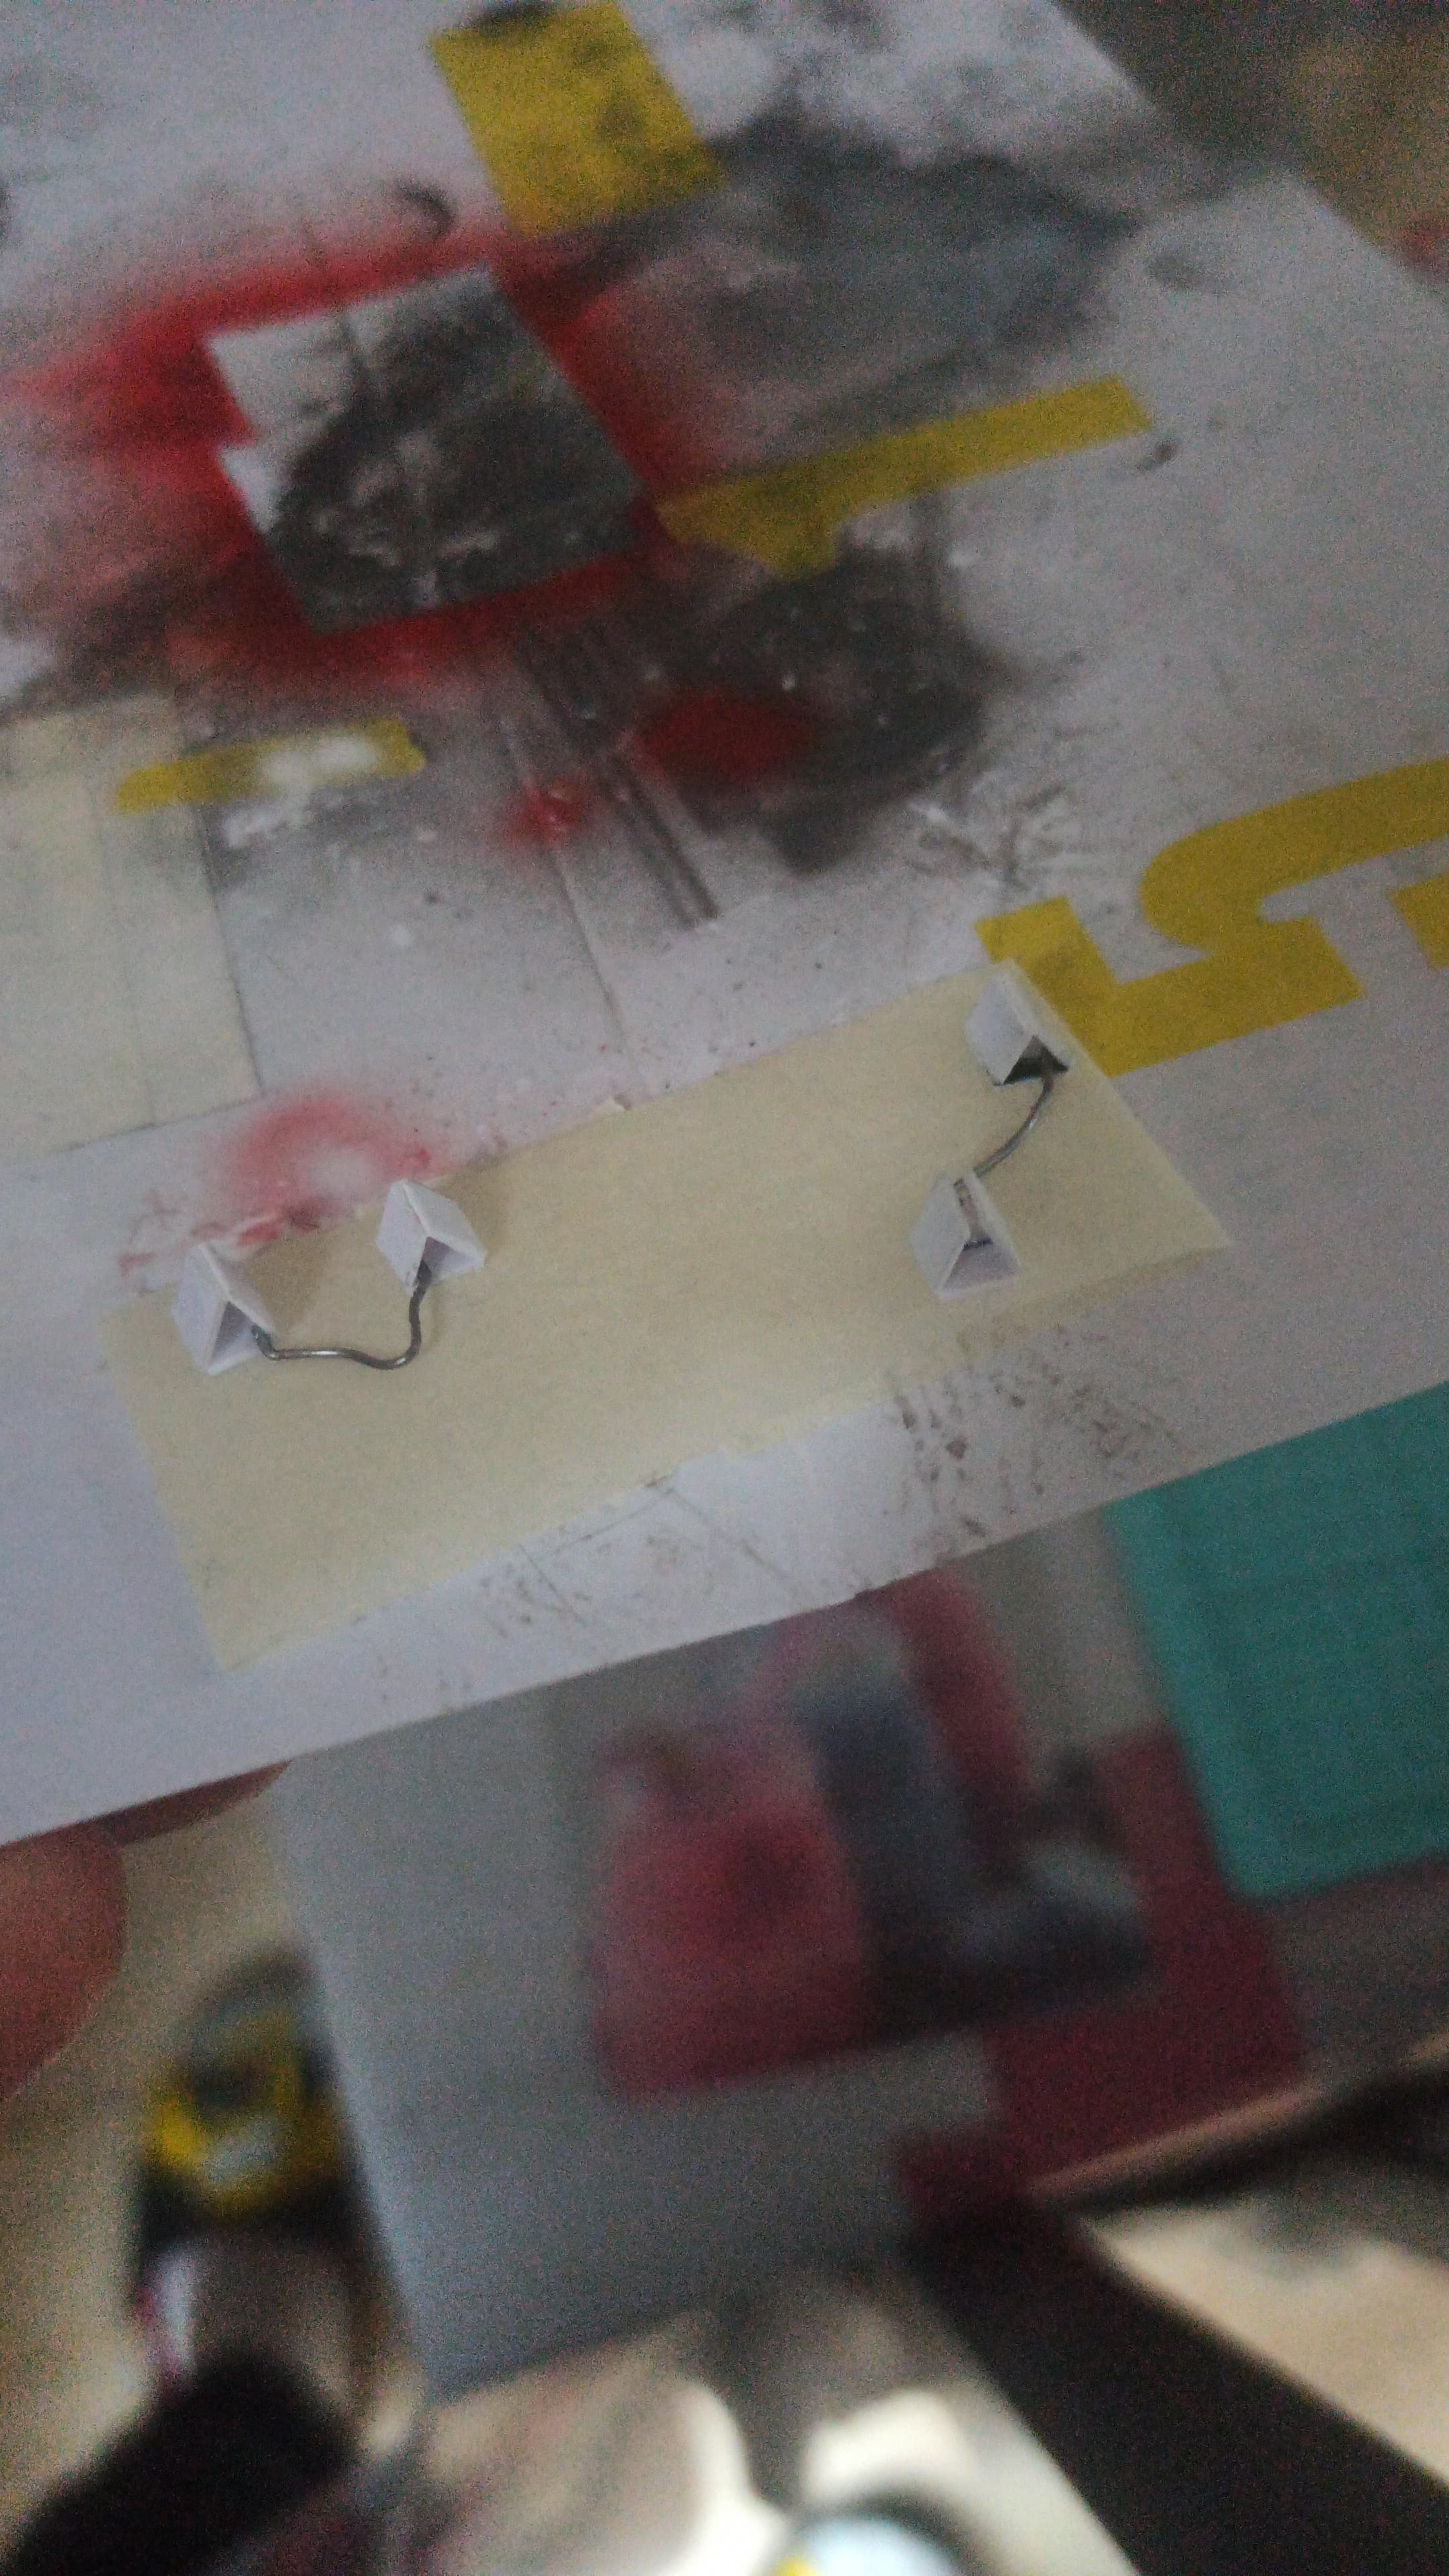
I also made a pair of chocks?? for the wheels
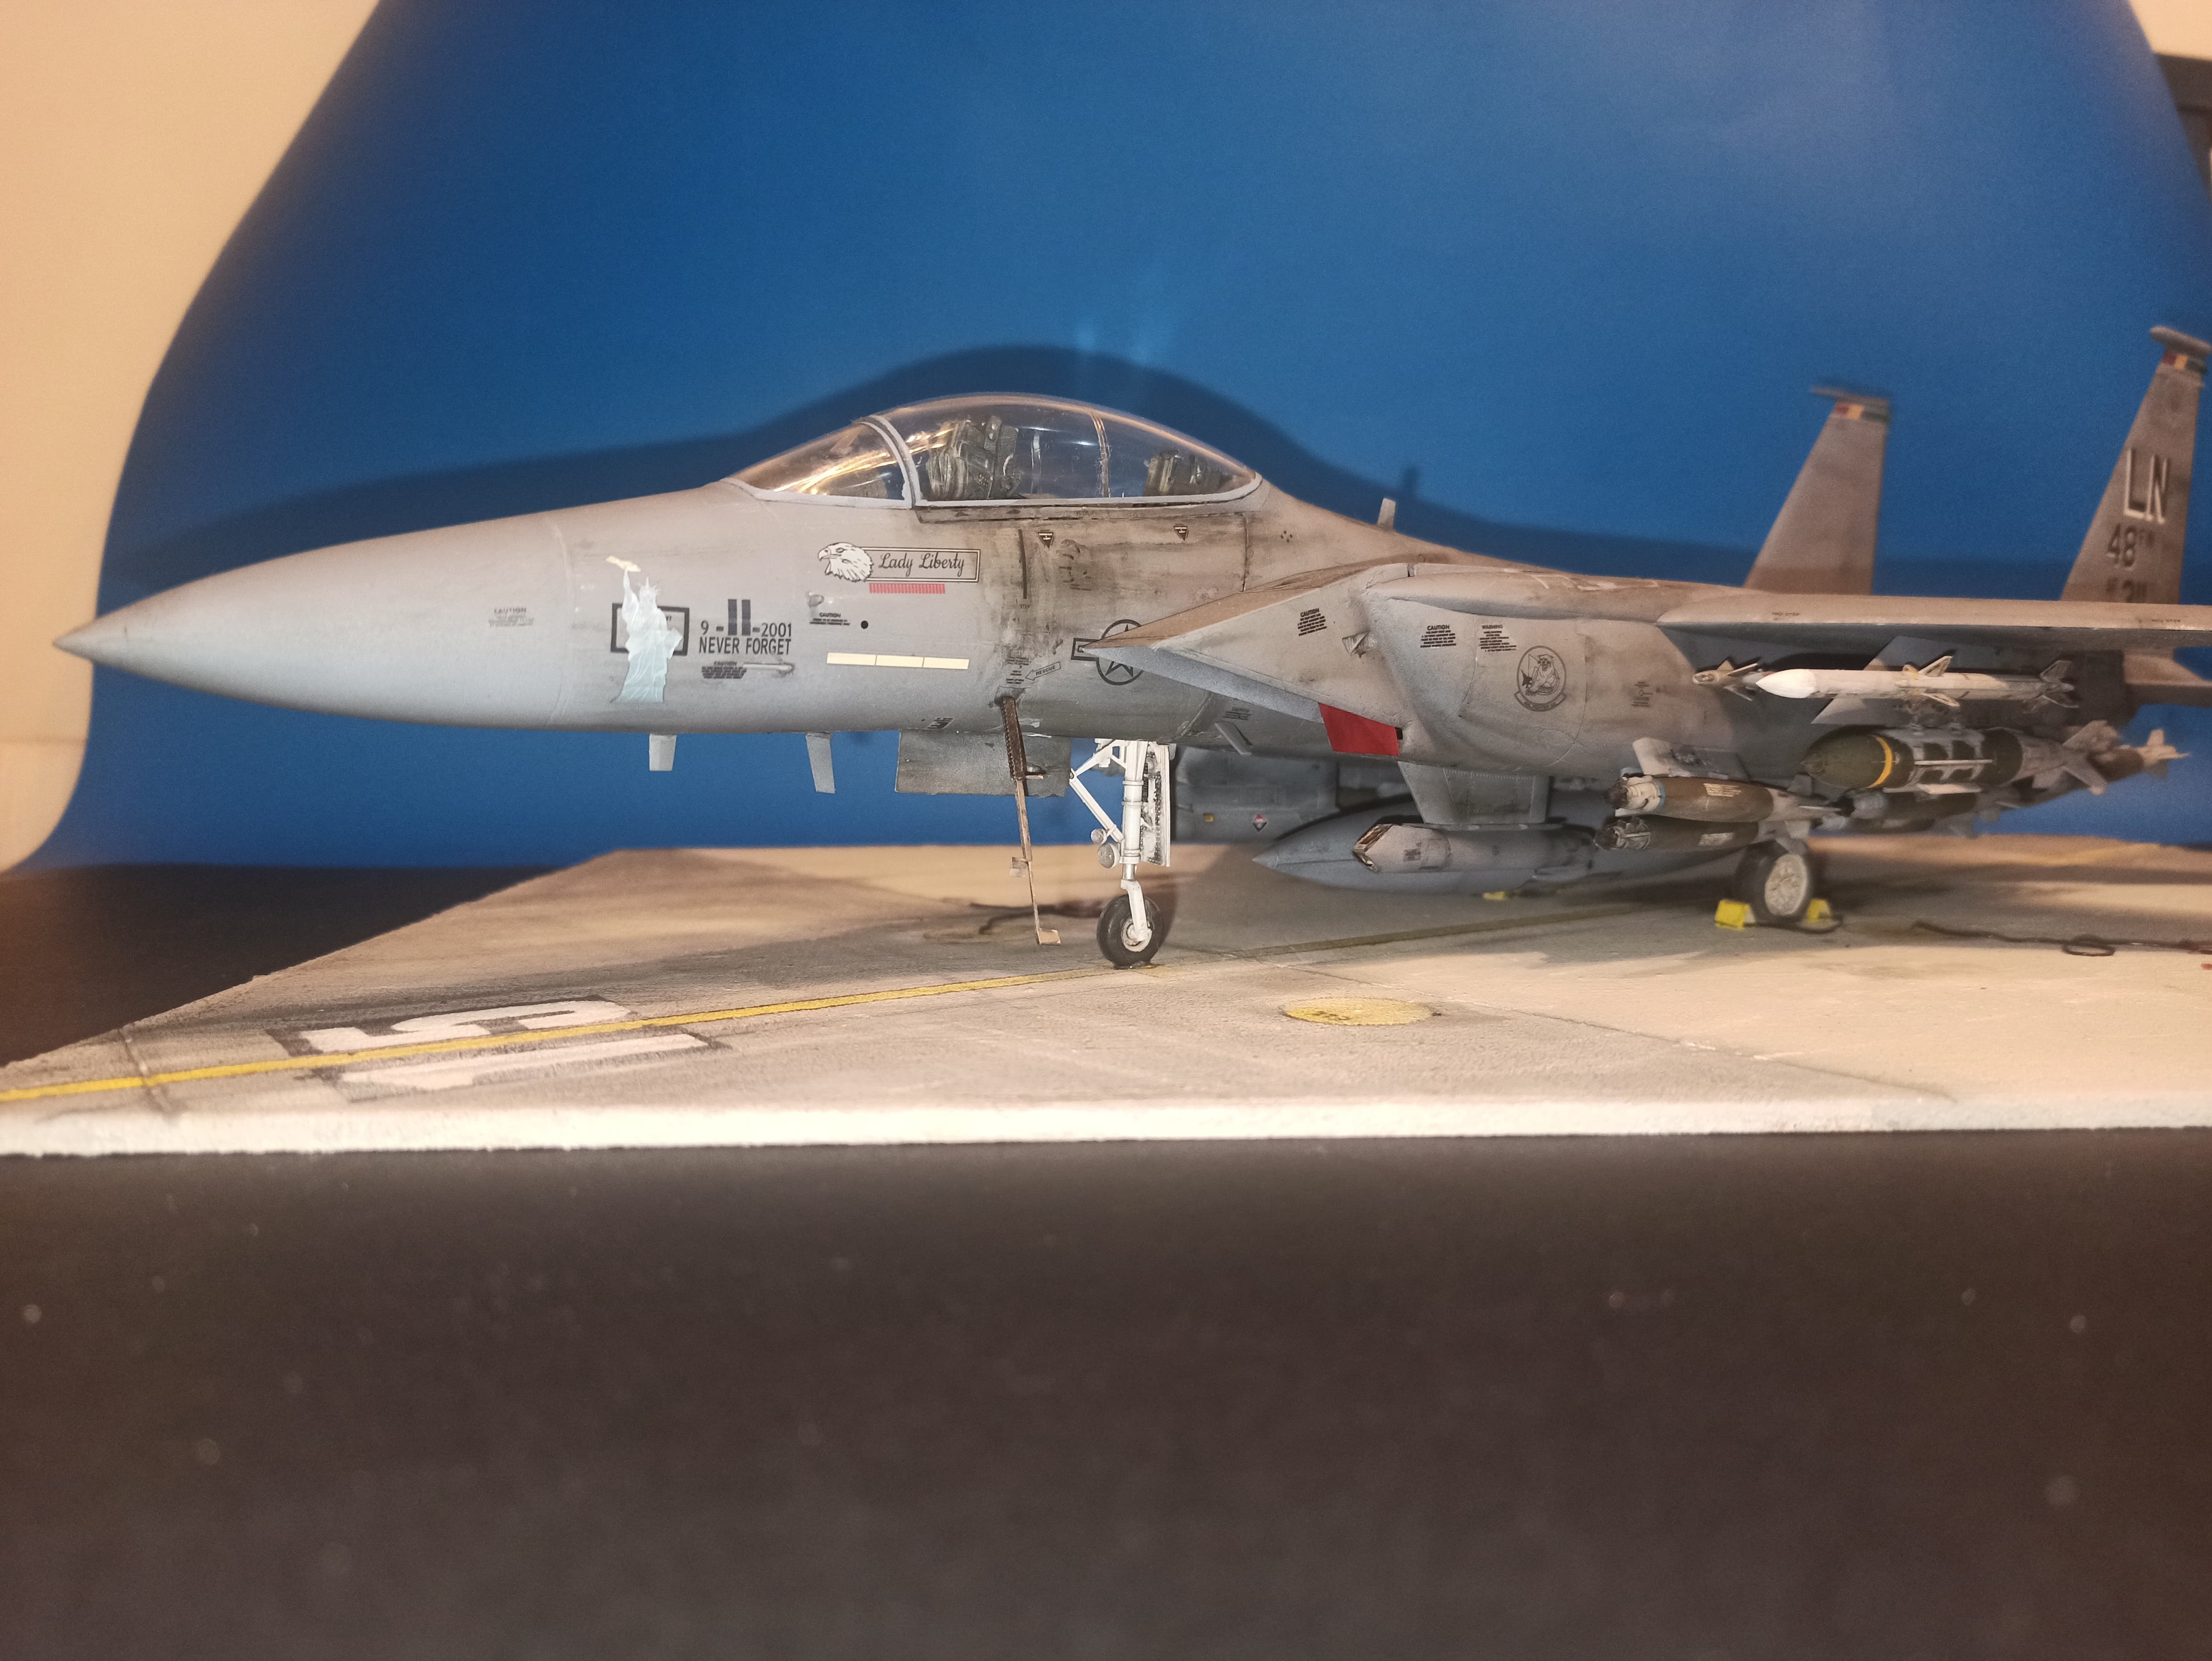
So, the chocks, finish the ladder and the arresting hook and finished.
I will shoot better pictures with daylight soon. But finally I call it done. Except for the canopy, I’m quite satisfied with the work.
Regards!
10 Likes