Academy HMS Warspite 1942 1/350 Build

When I decided to take up model building, my first kit I purchased was the Academy HMS Warspite Premium kit.

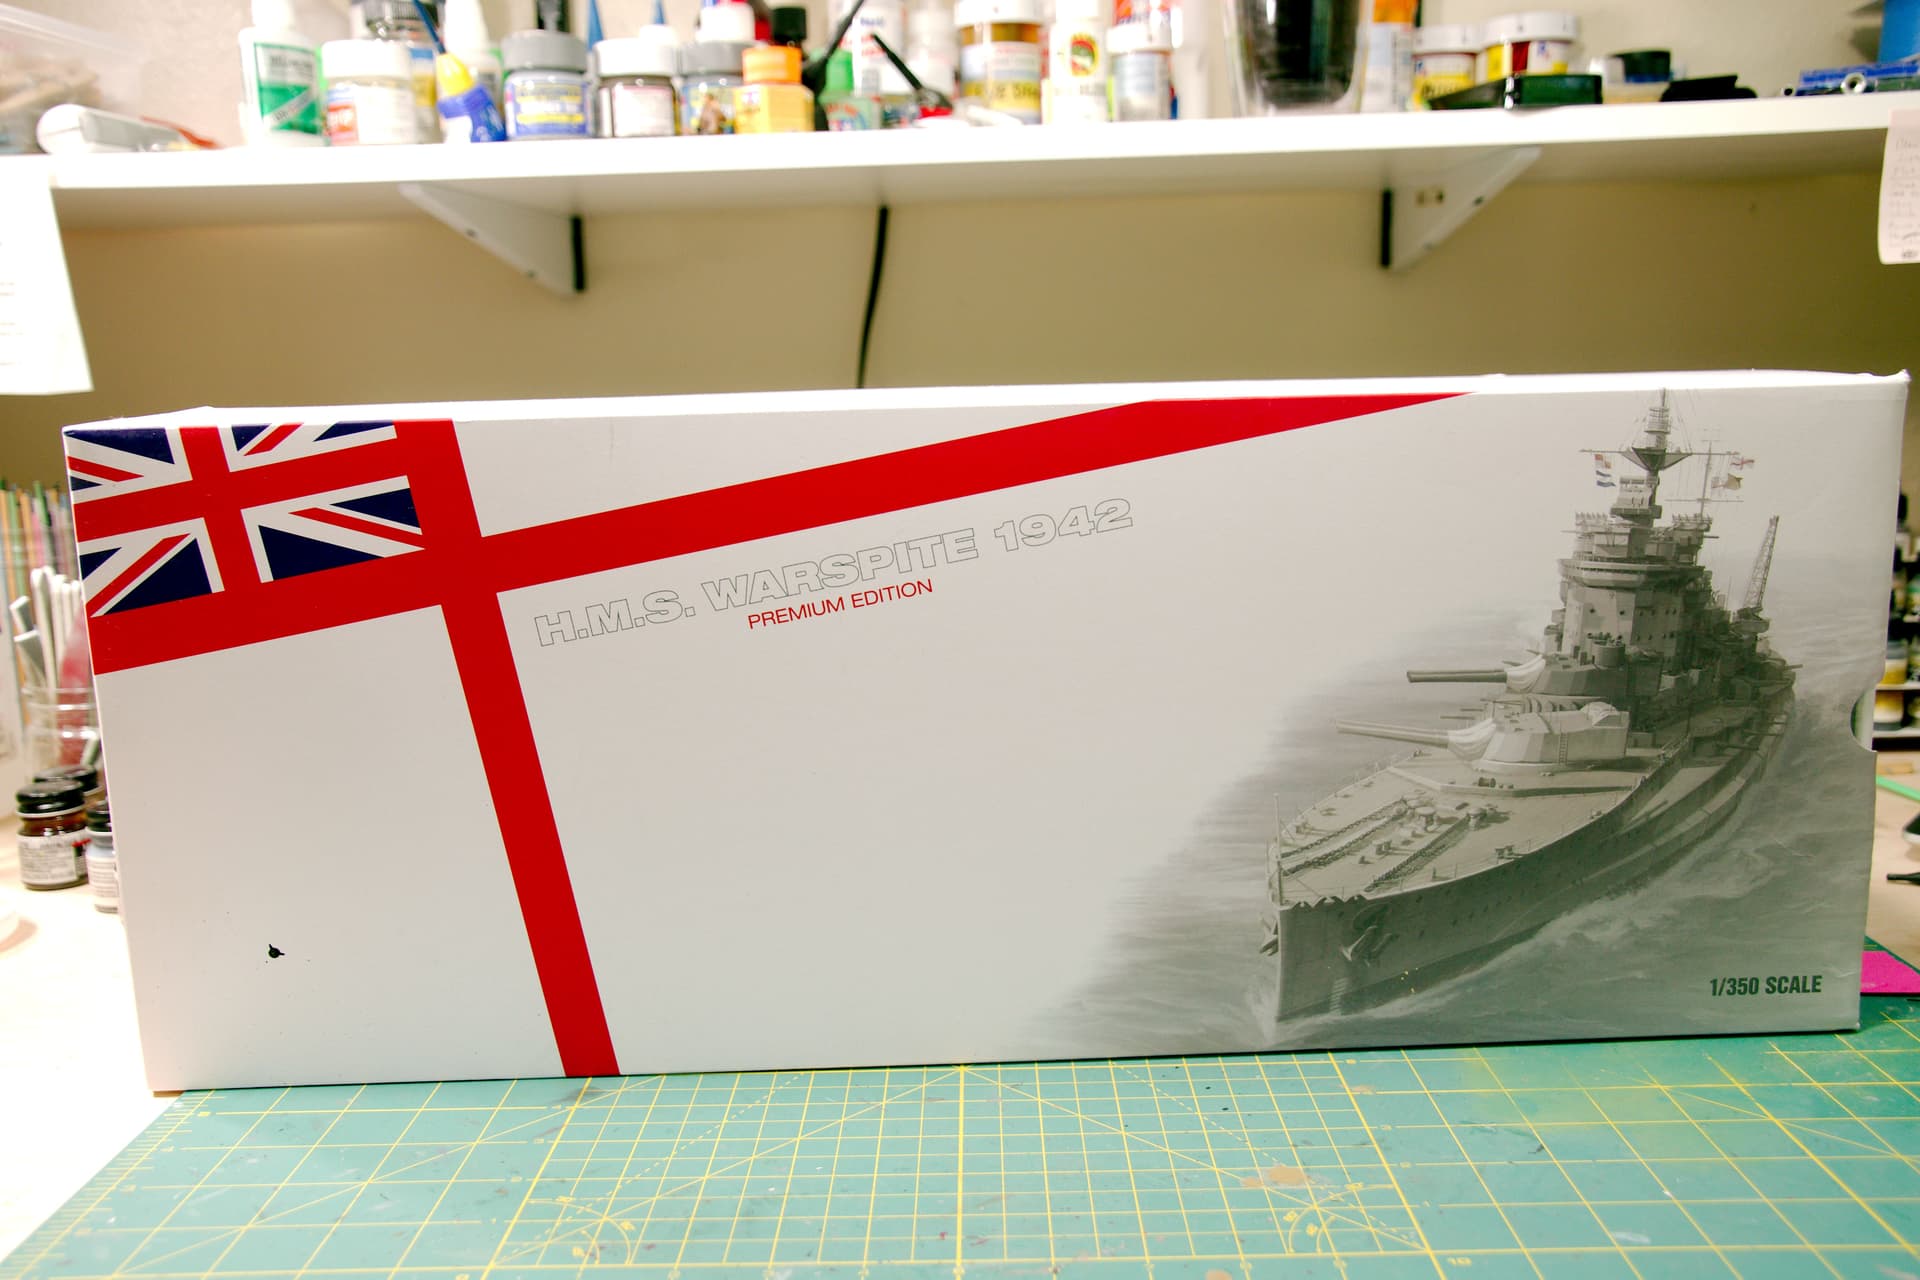
I knew I didn’t have the skills to take this kit on at the time, but after numerous armor and other ships builds, I think I am as ready as I will ever be.

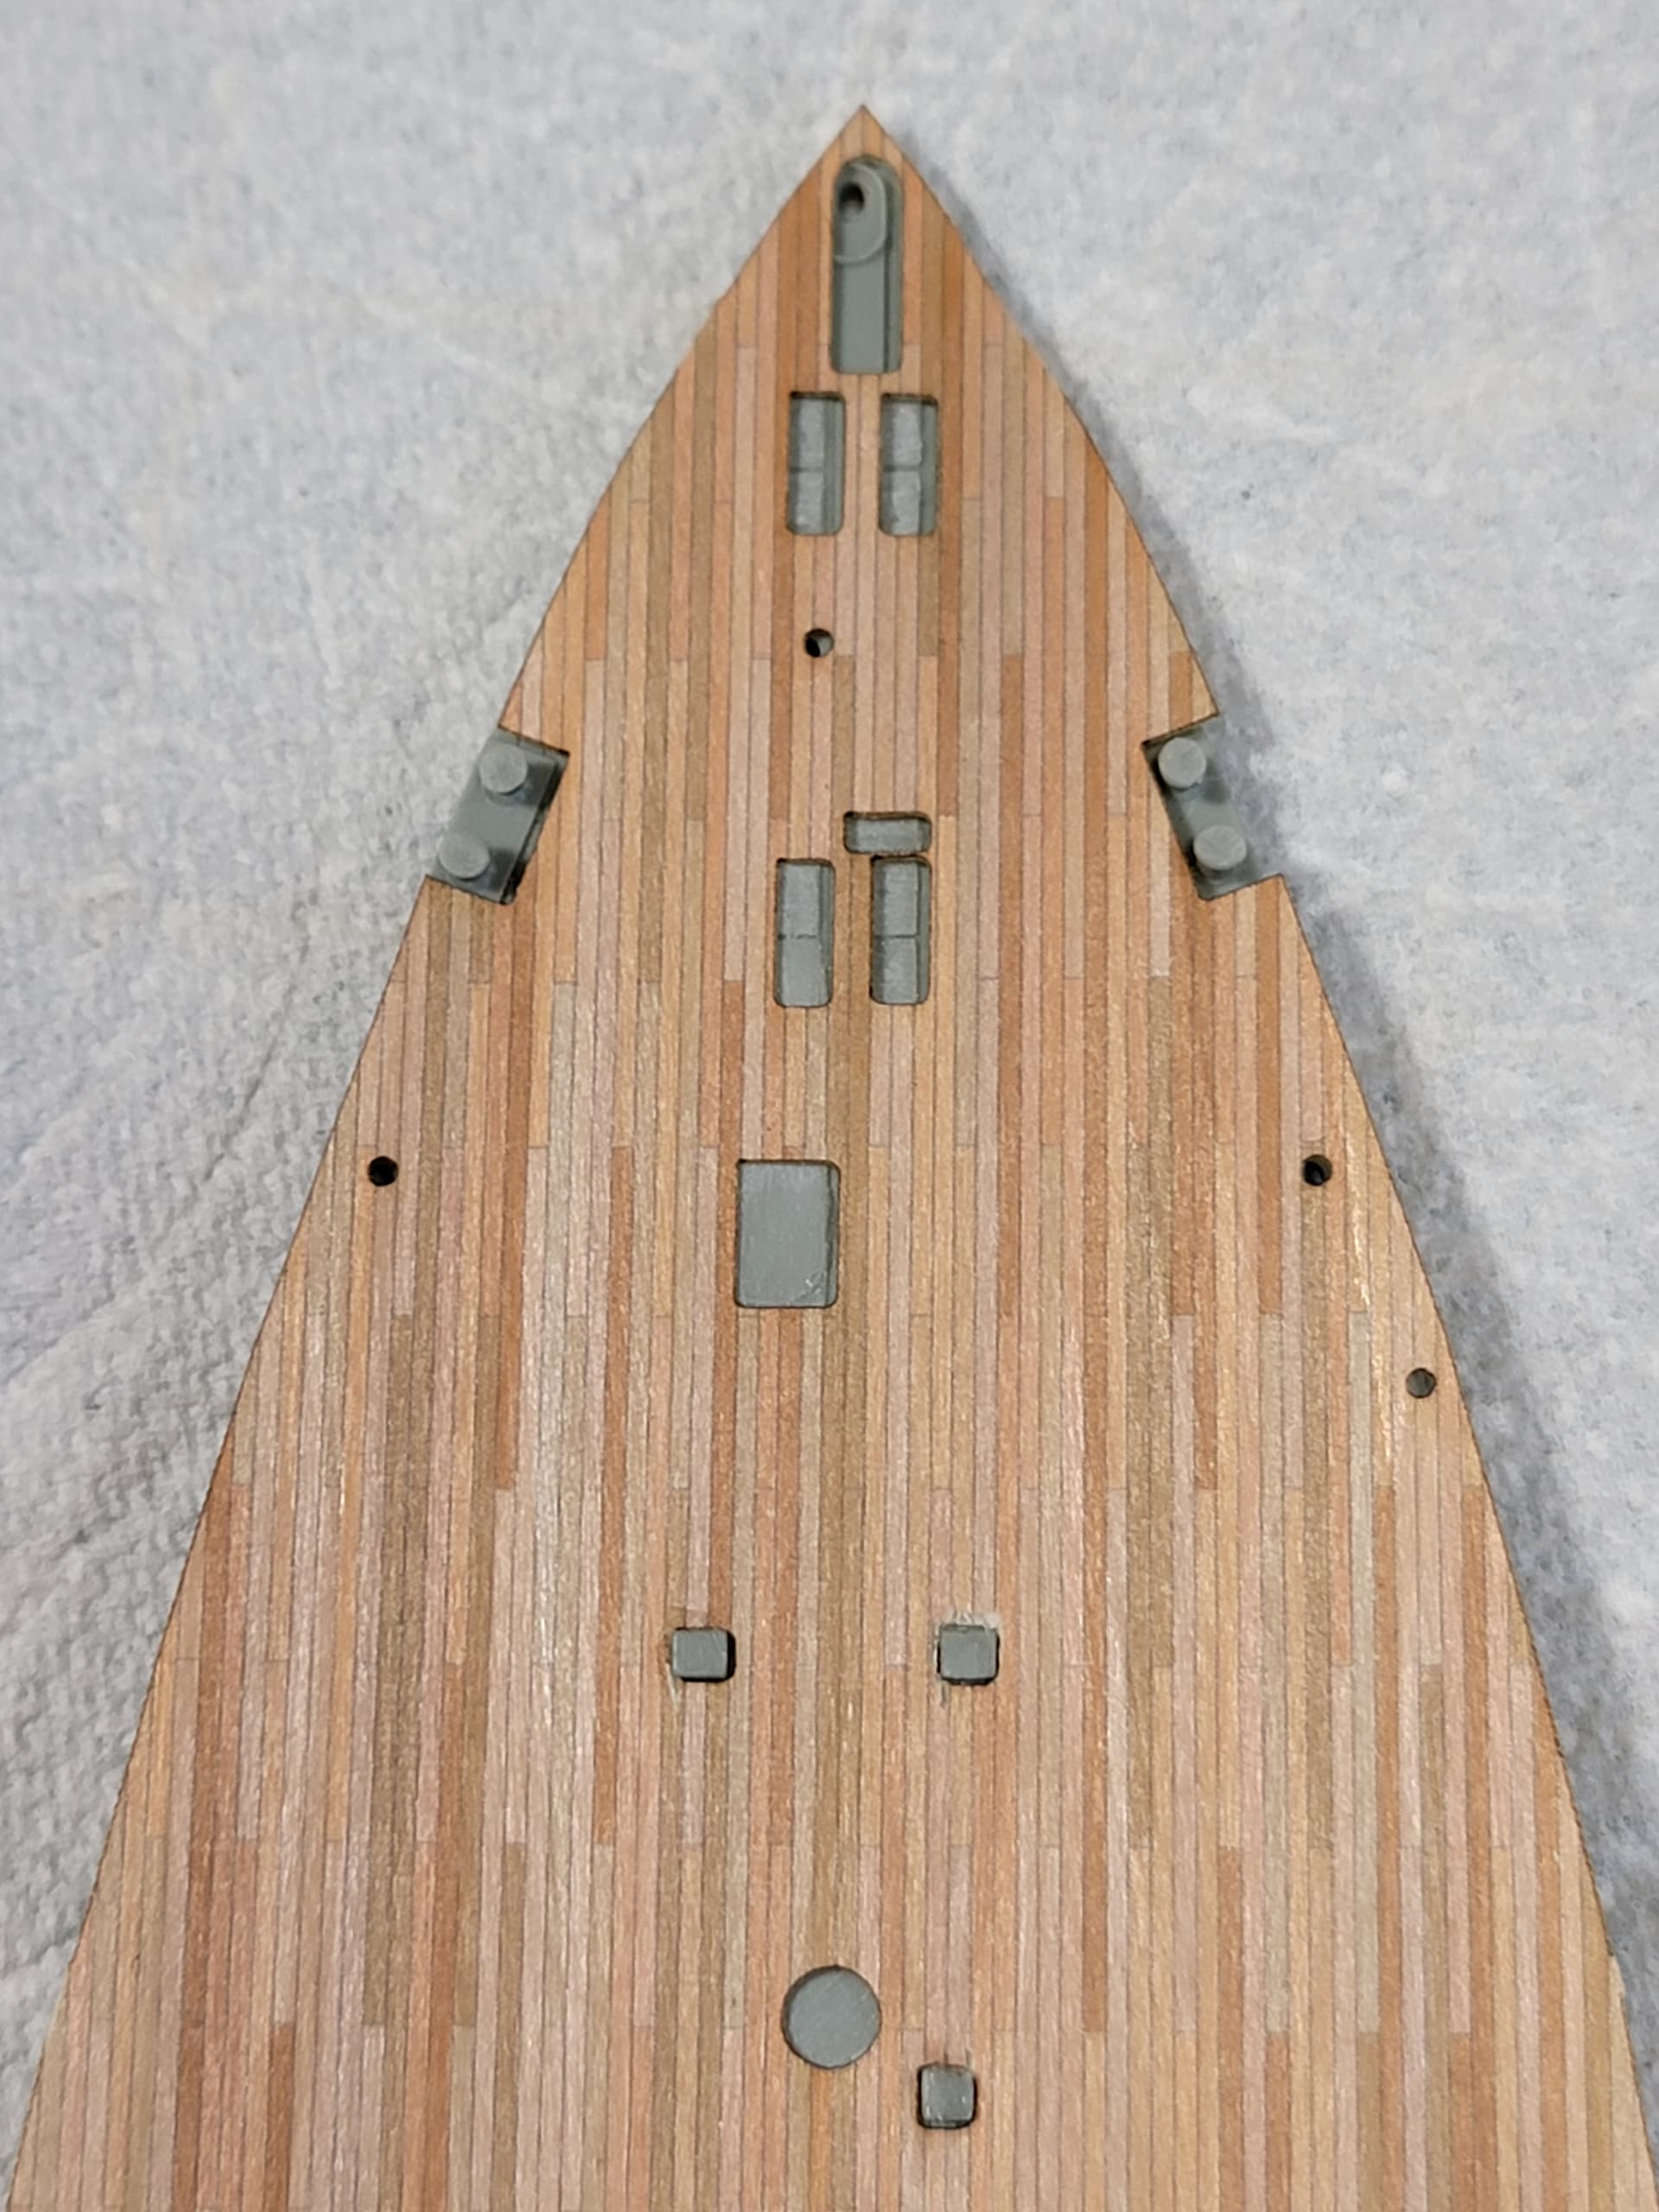
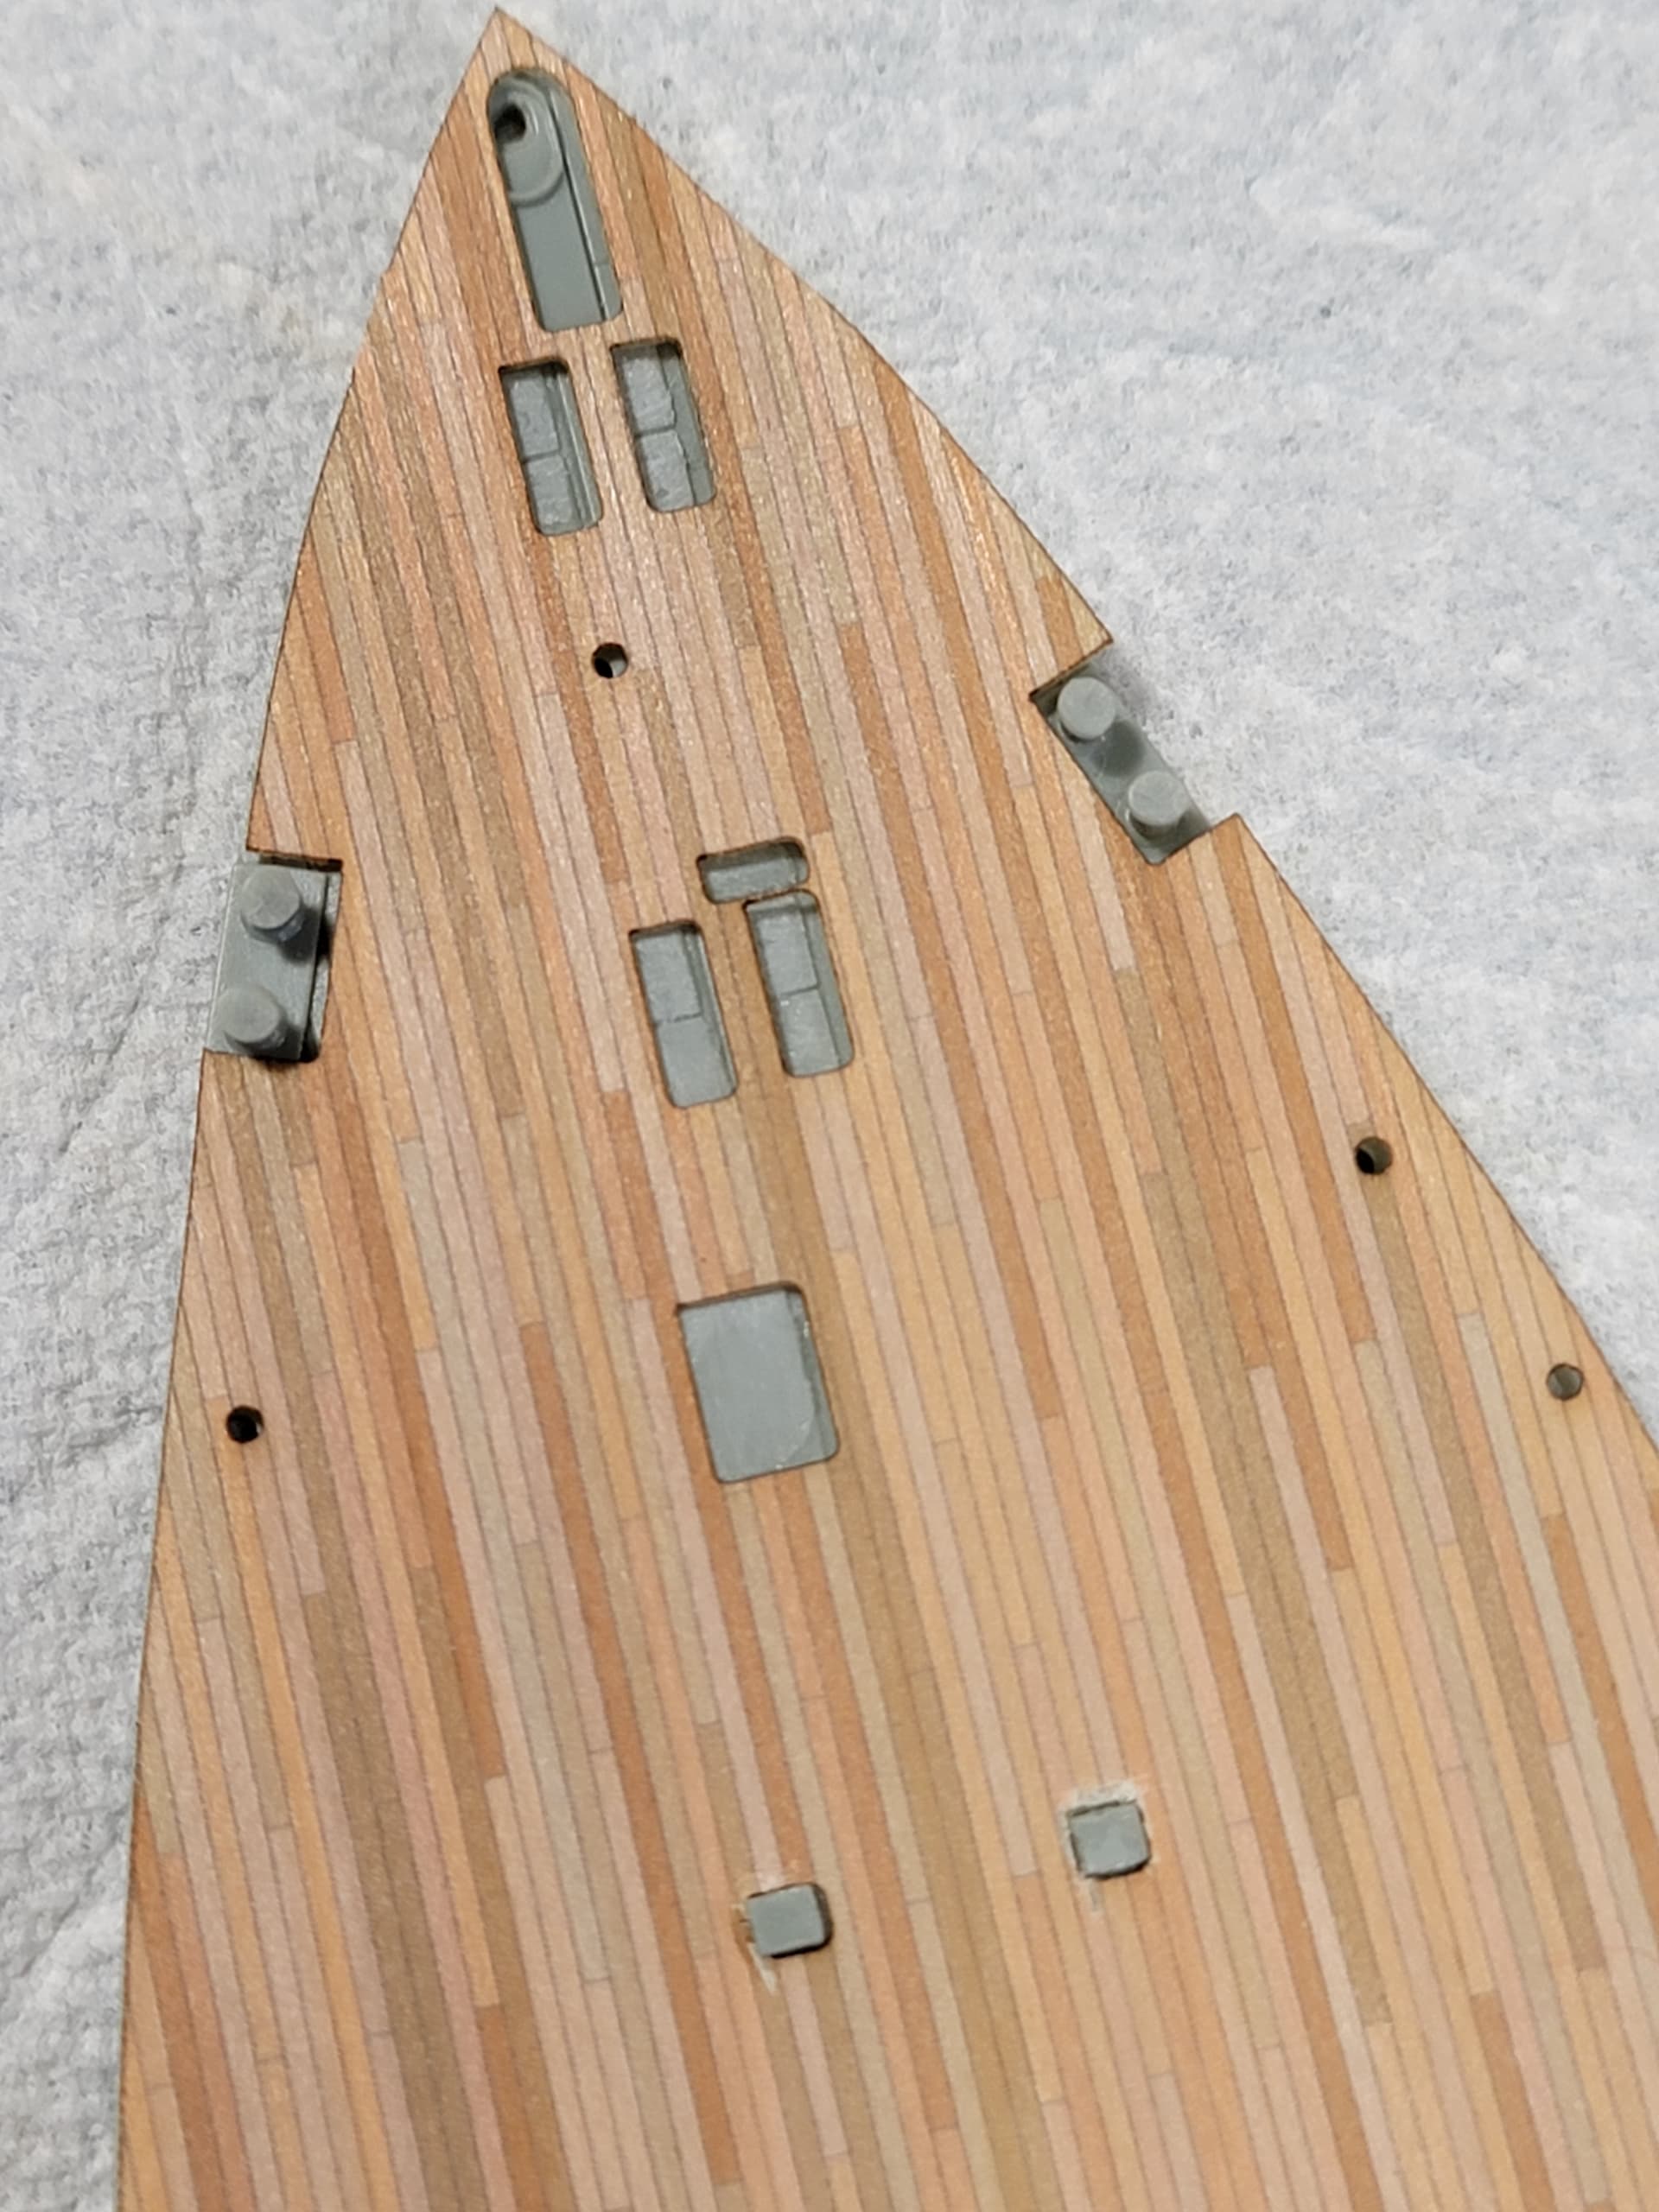
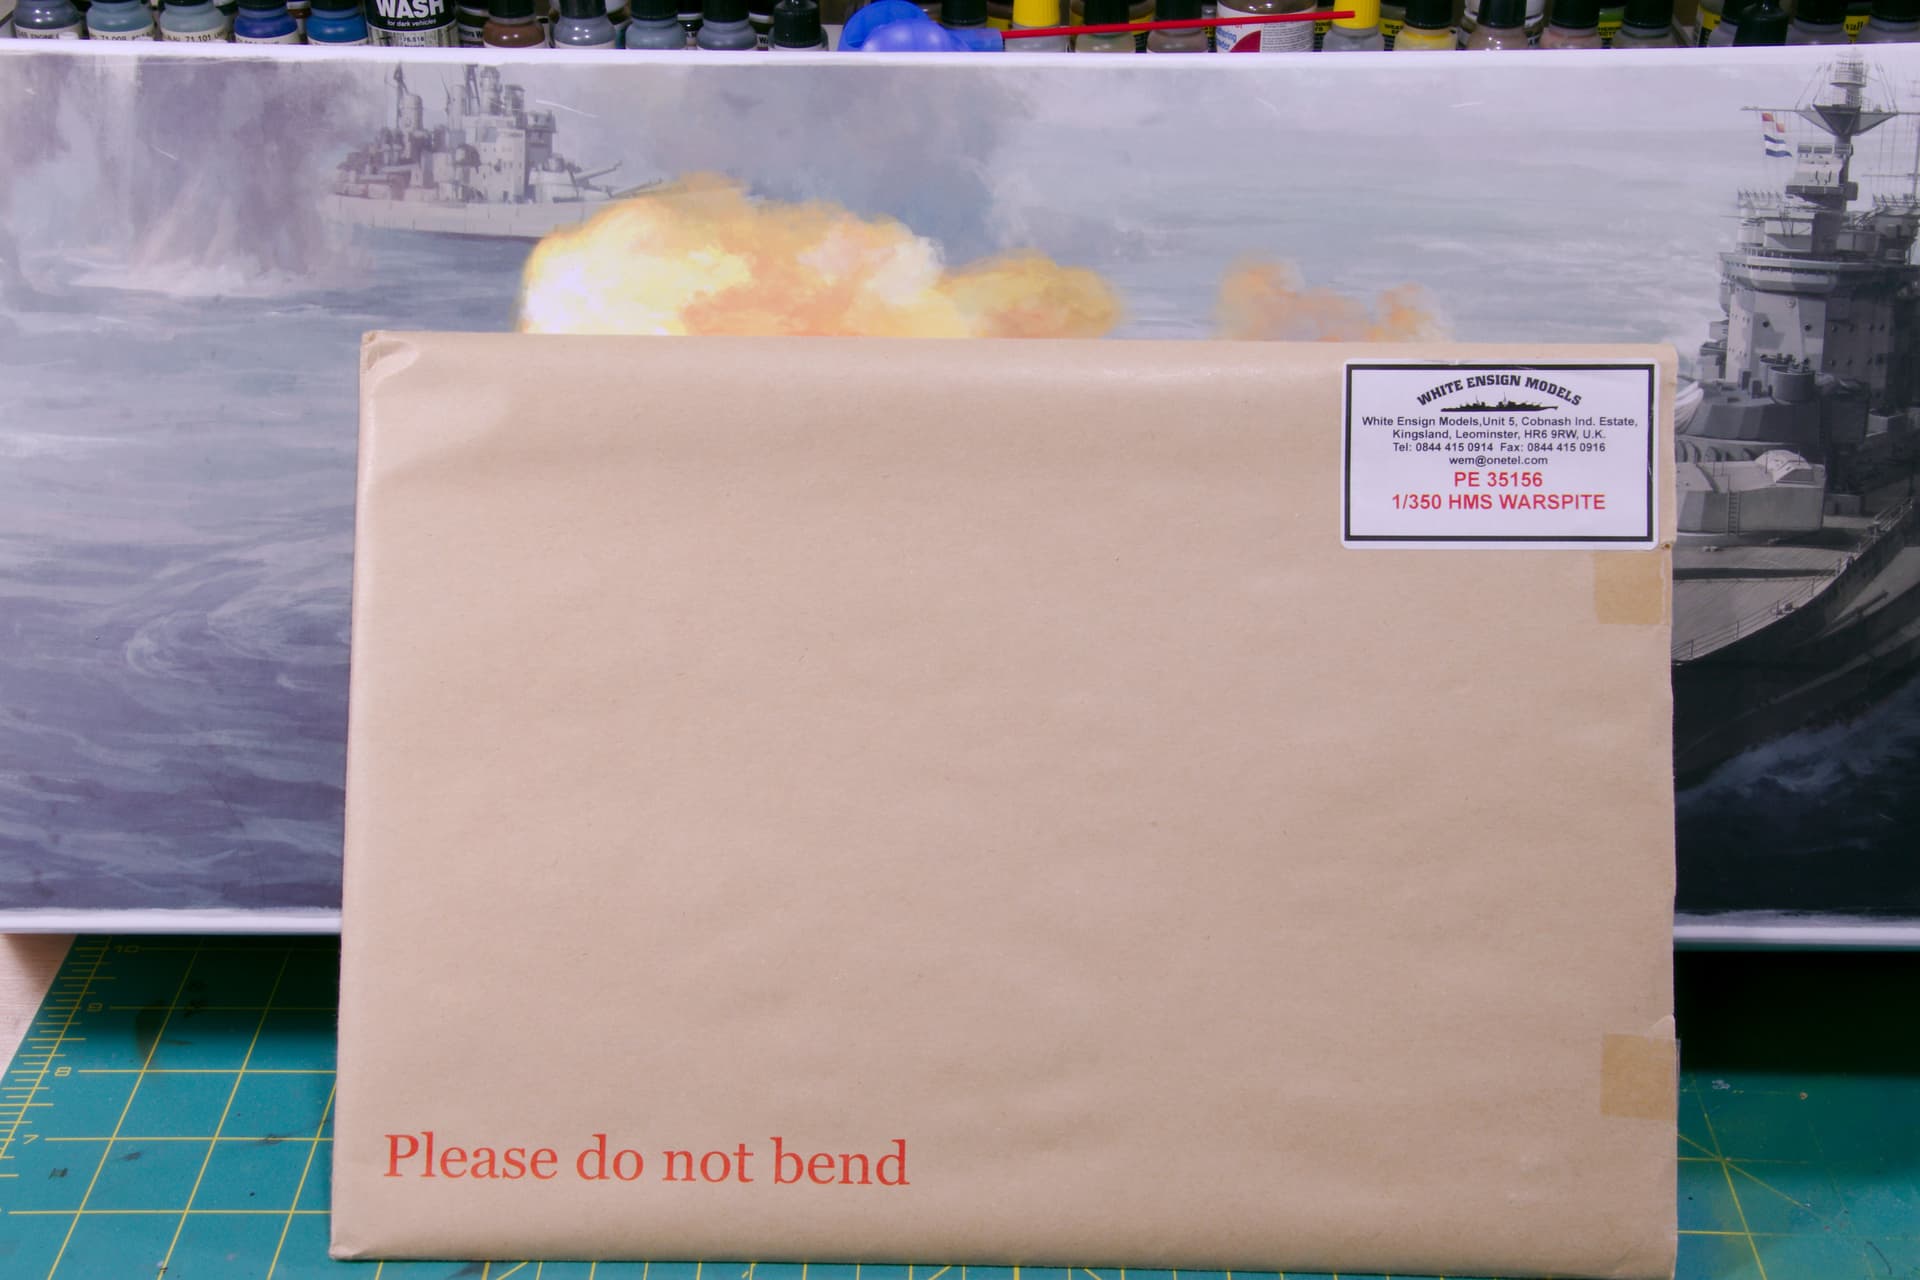
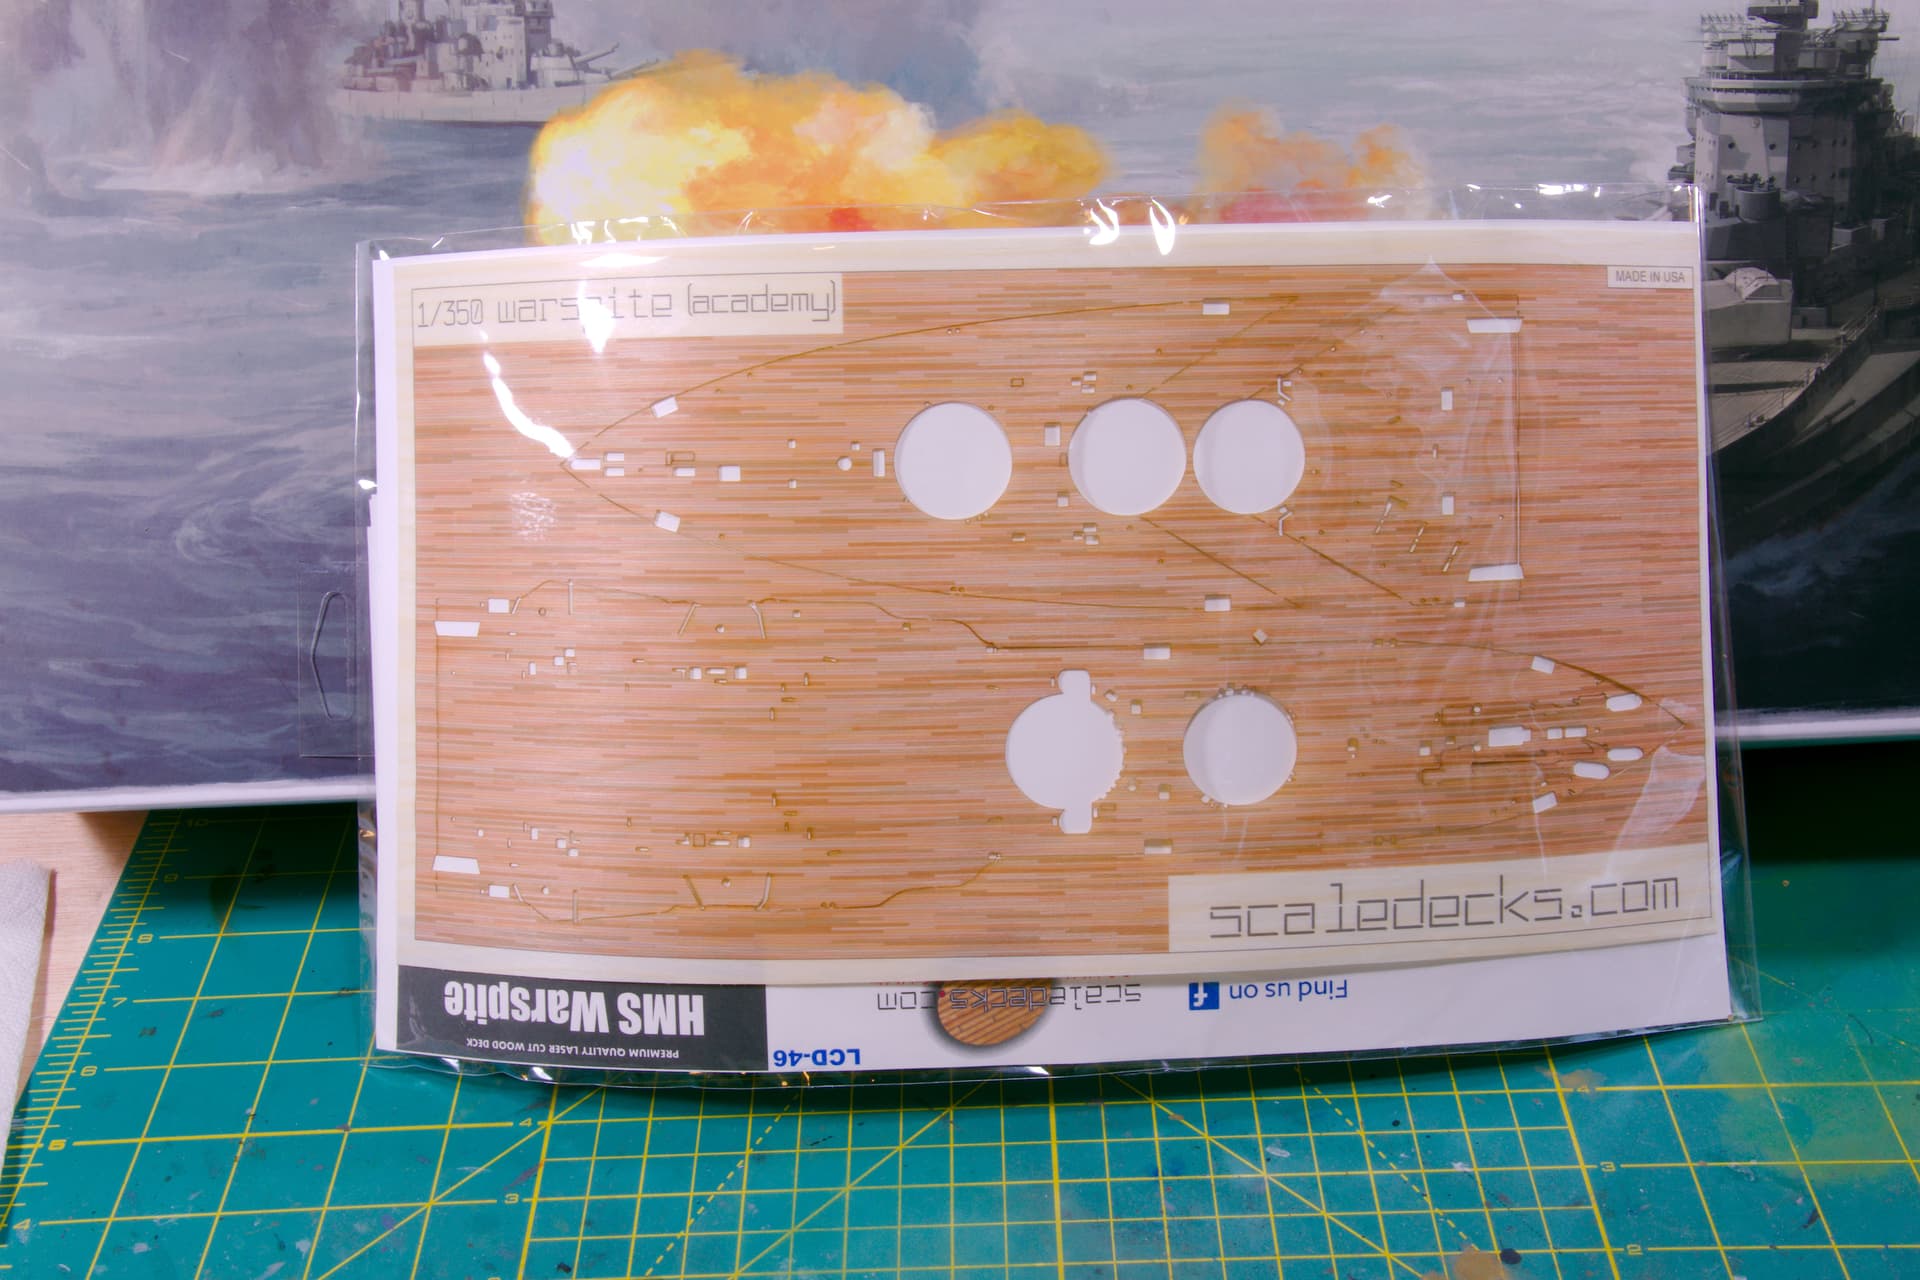
This kit came loaded with PE, bass barrels, masts, yardarms, and wood decking. I did pick up the White Ensigns PE for the Warspite at a very discounted price at a show and Scaledecks wood deck after seeing the detail compared to the one in the kit. Over the years I built up a stash of after market items for Royal Navy ships which as needed will be added to the build.

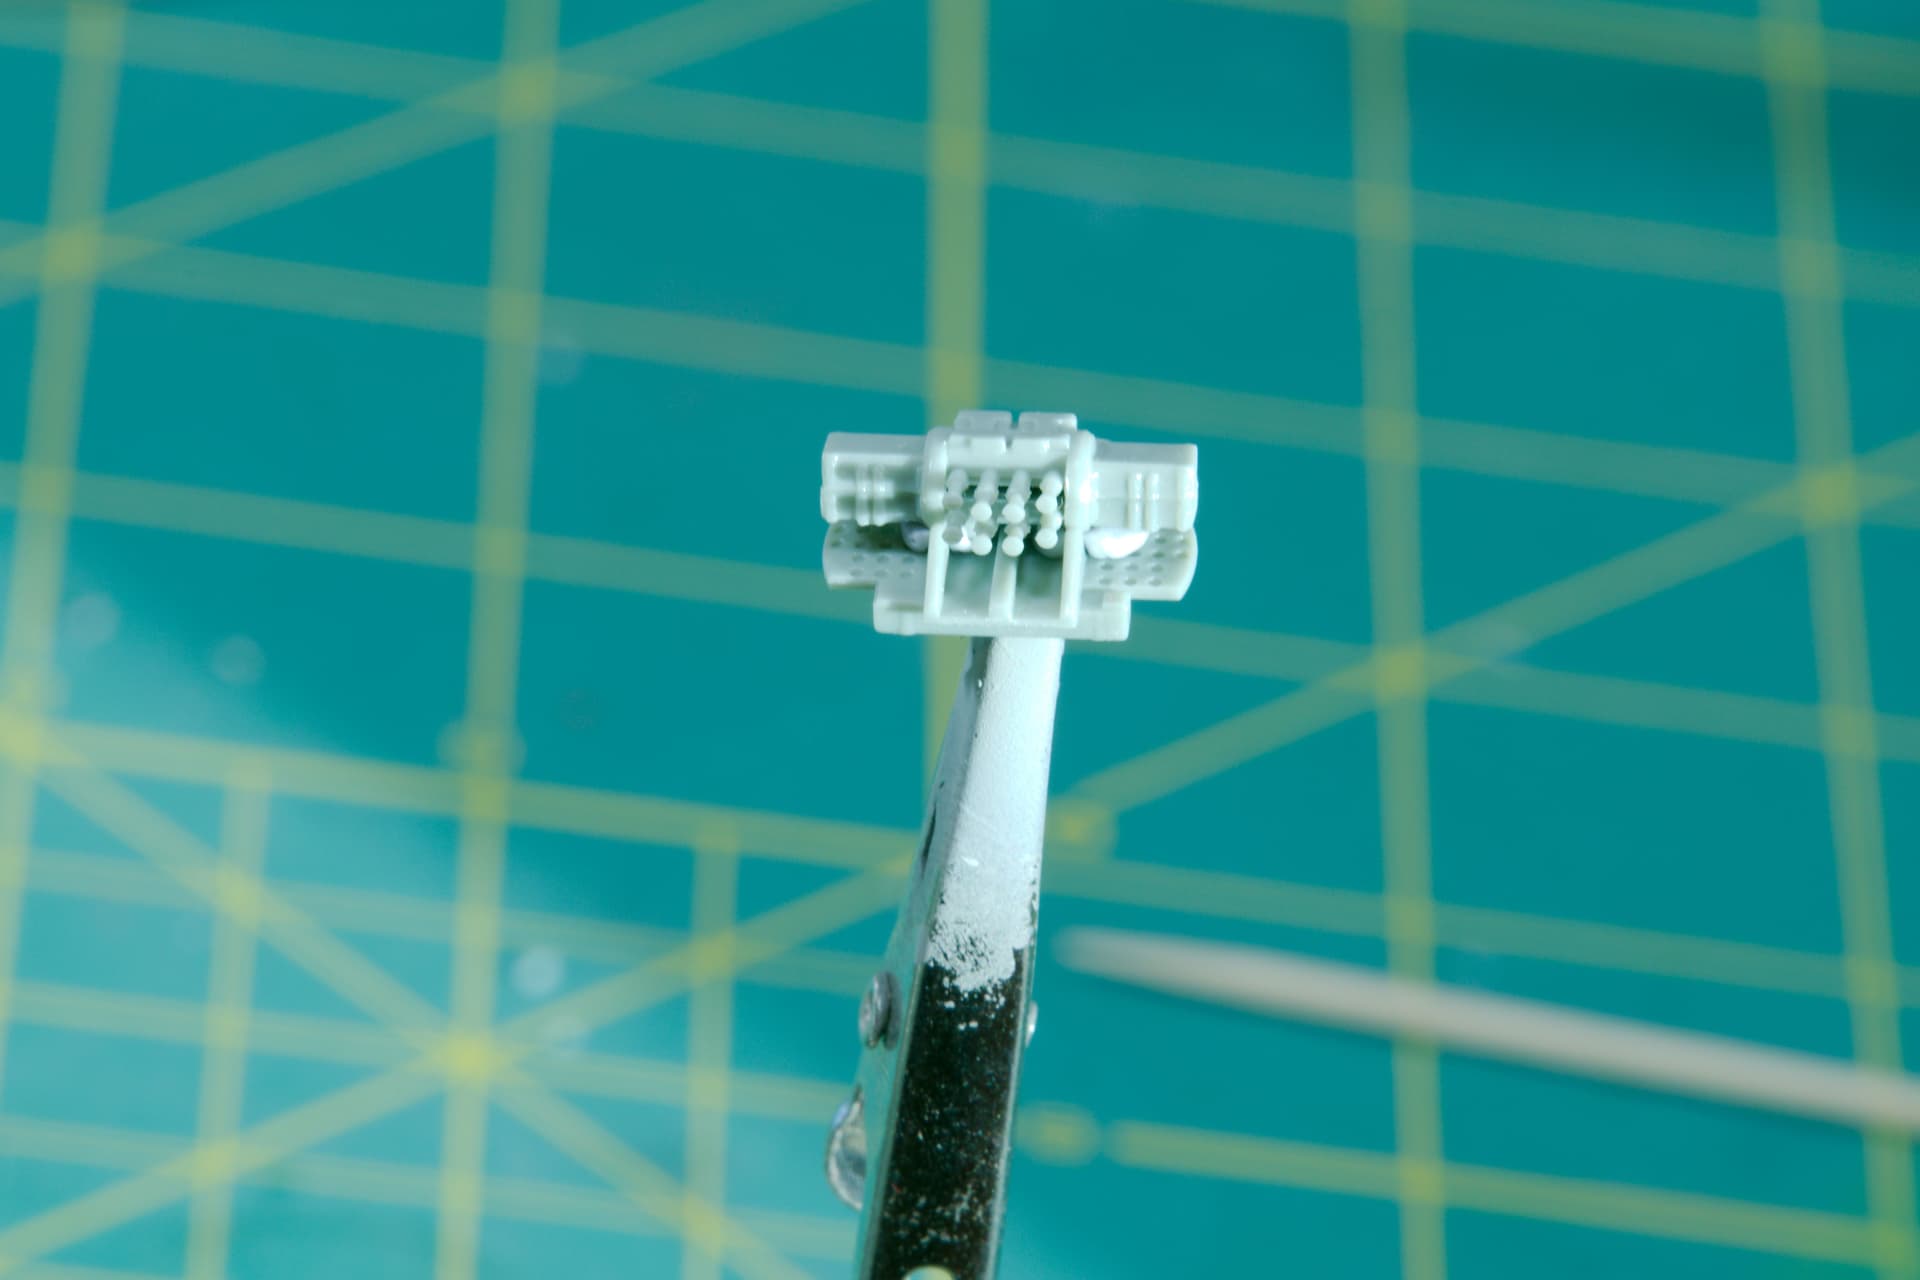
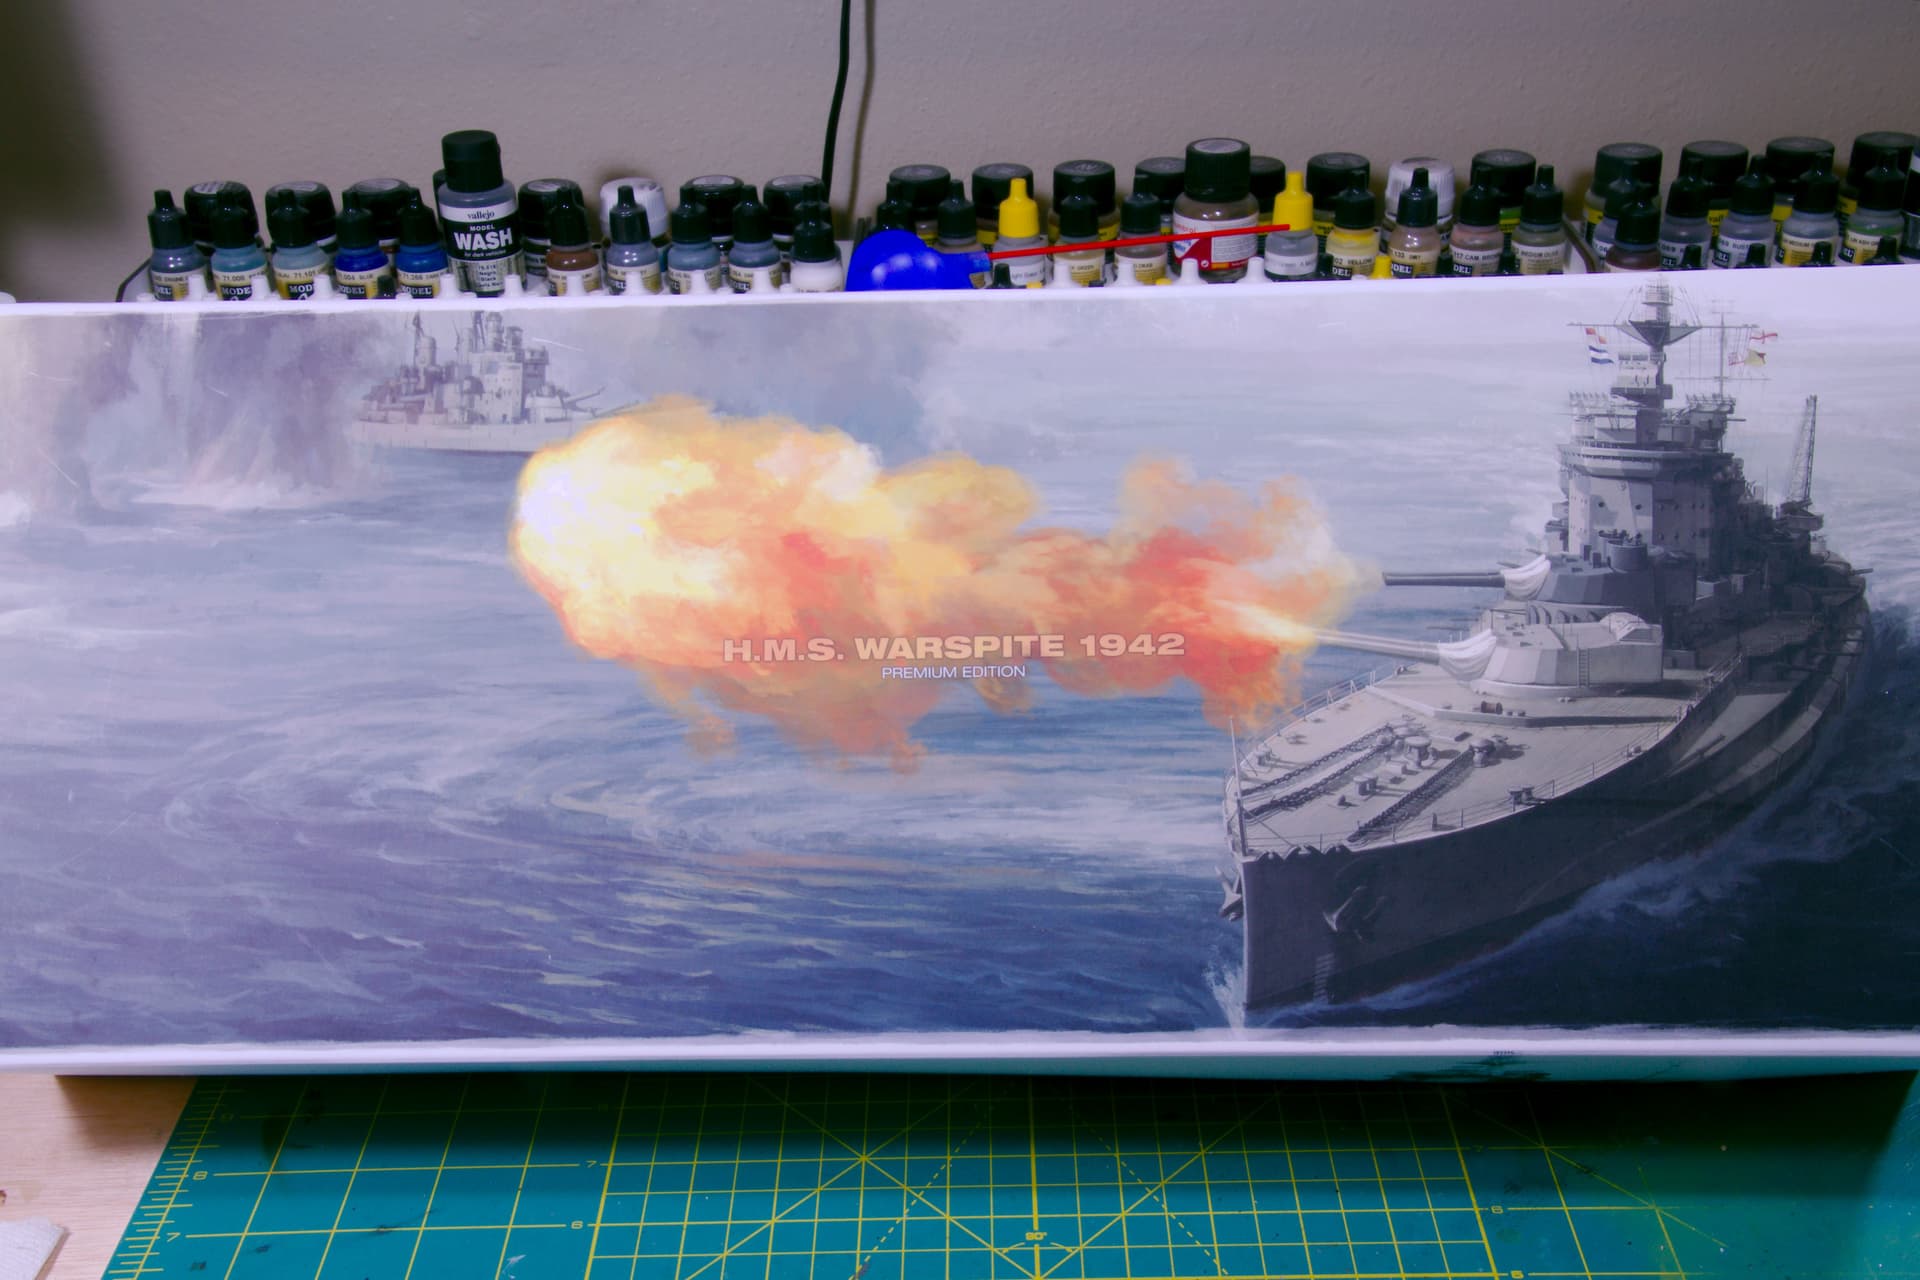
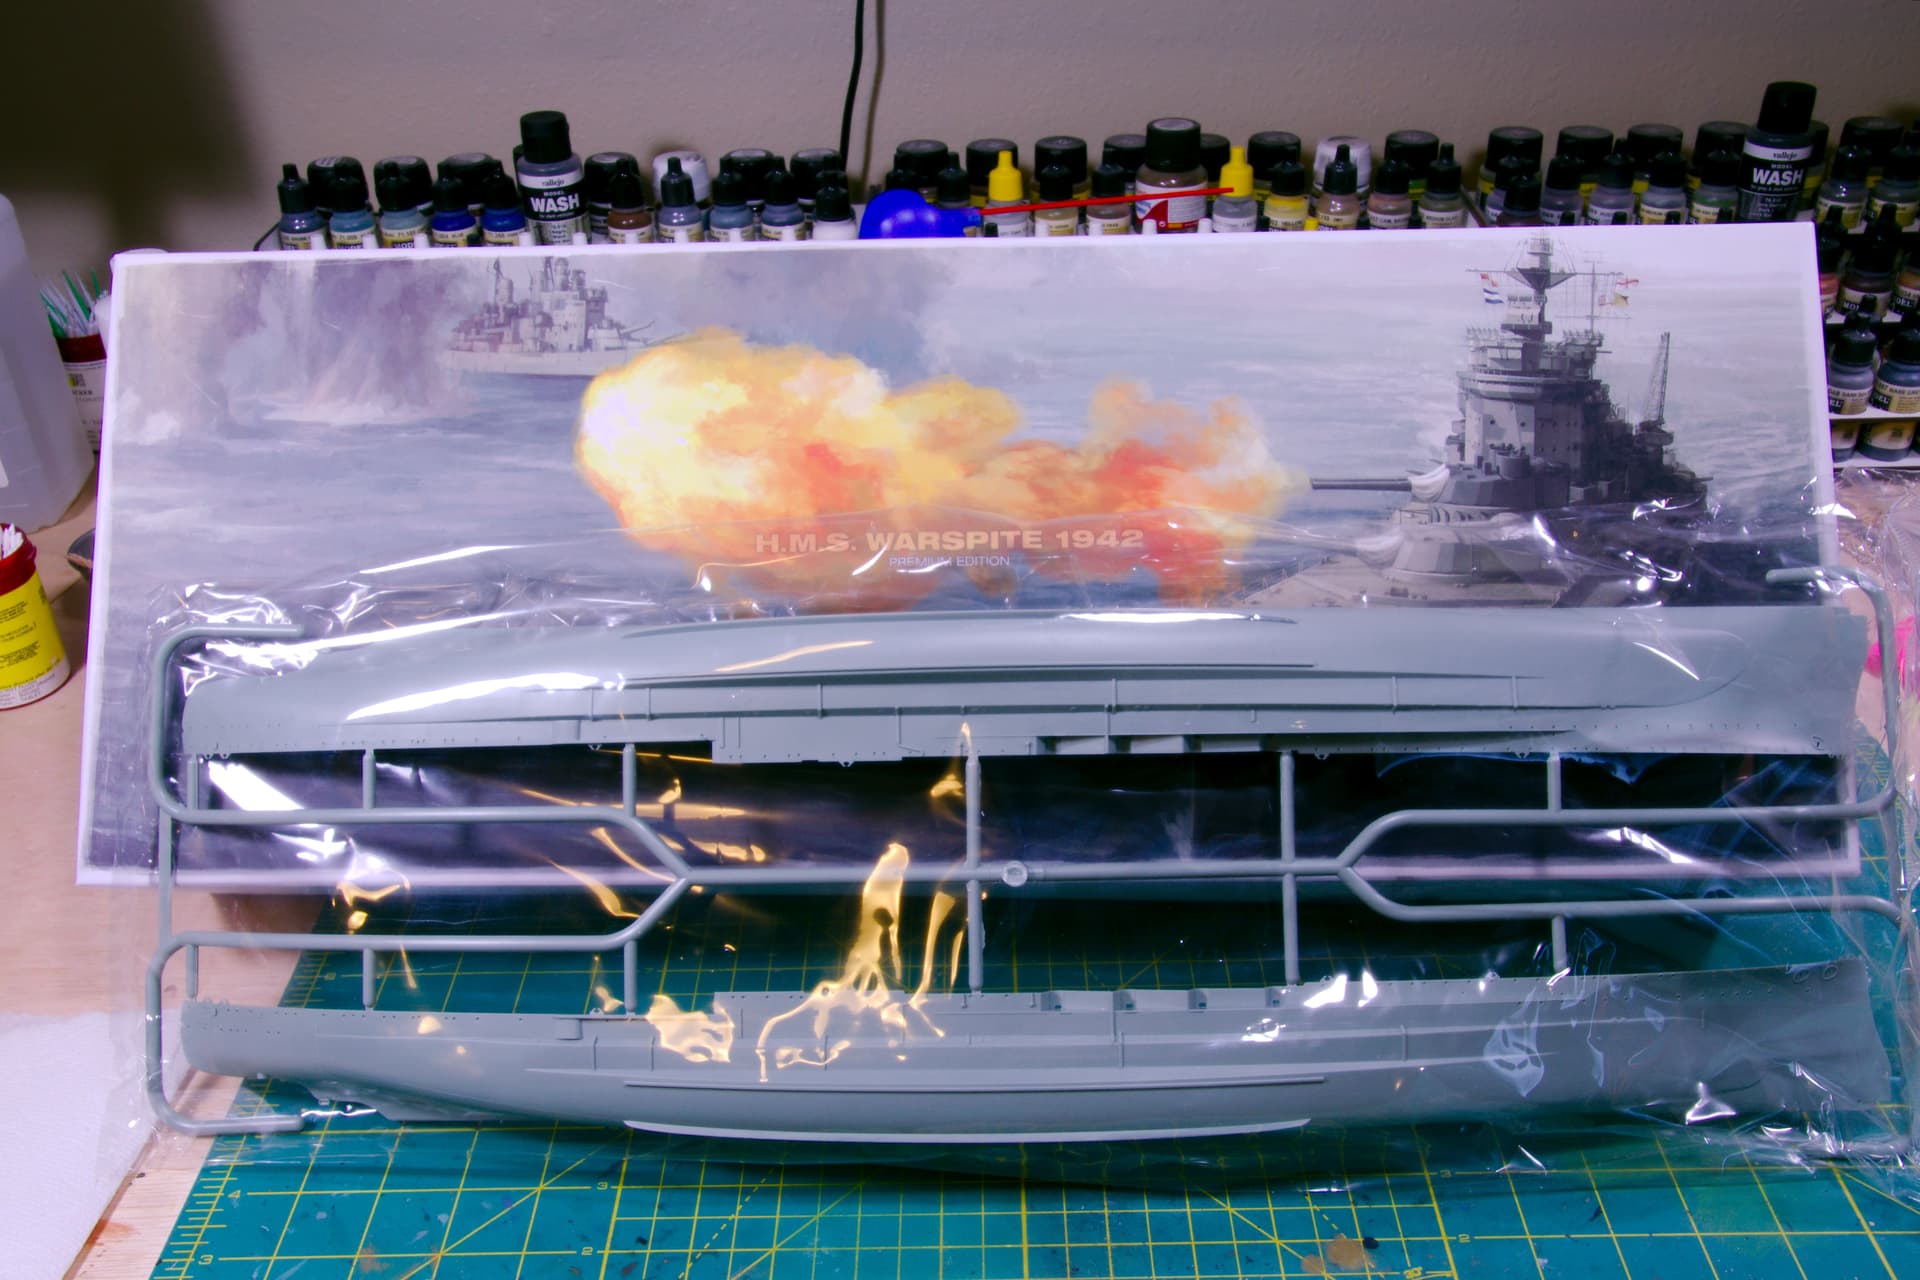
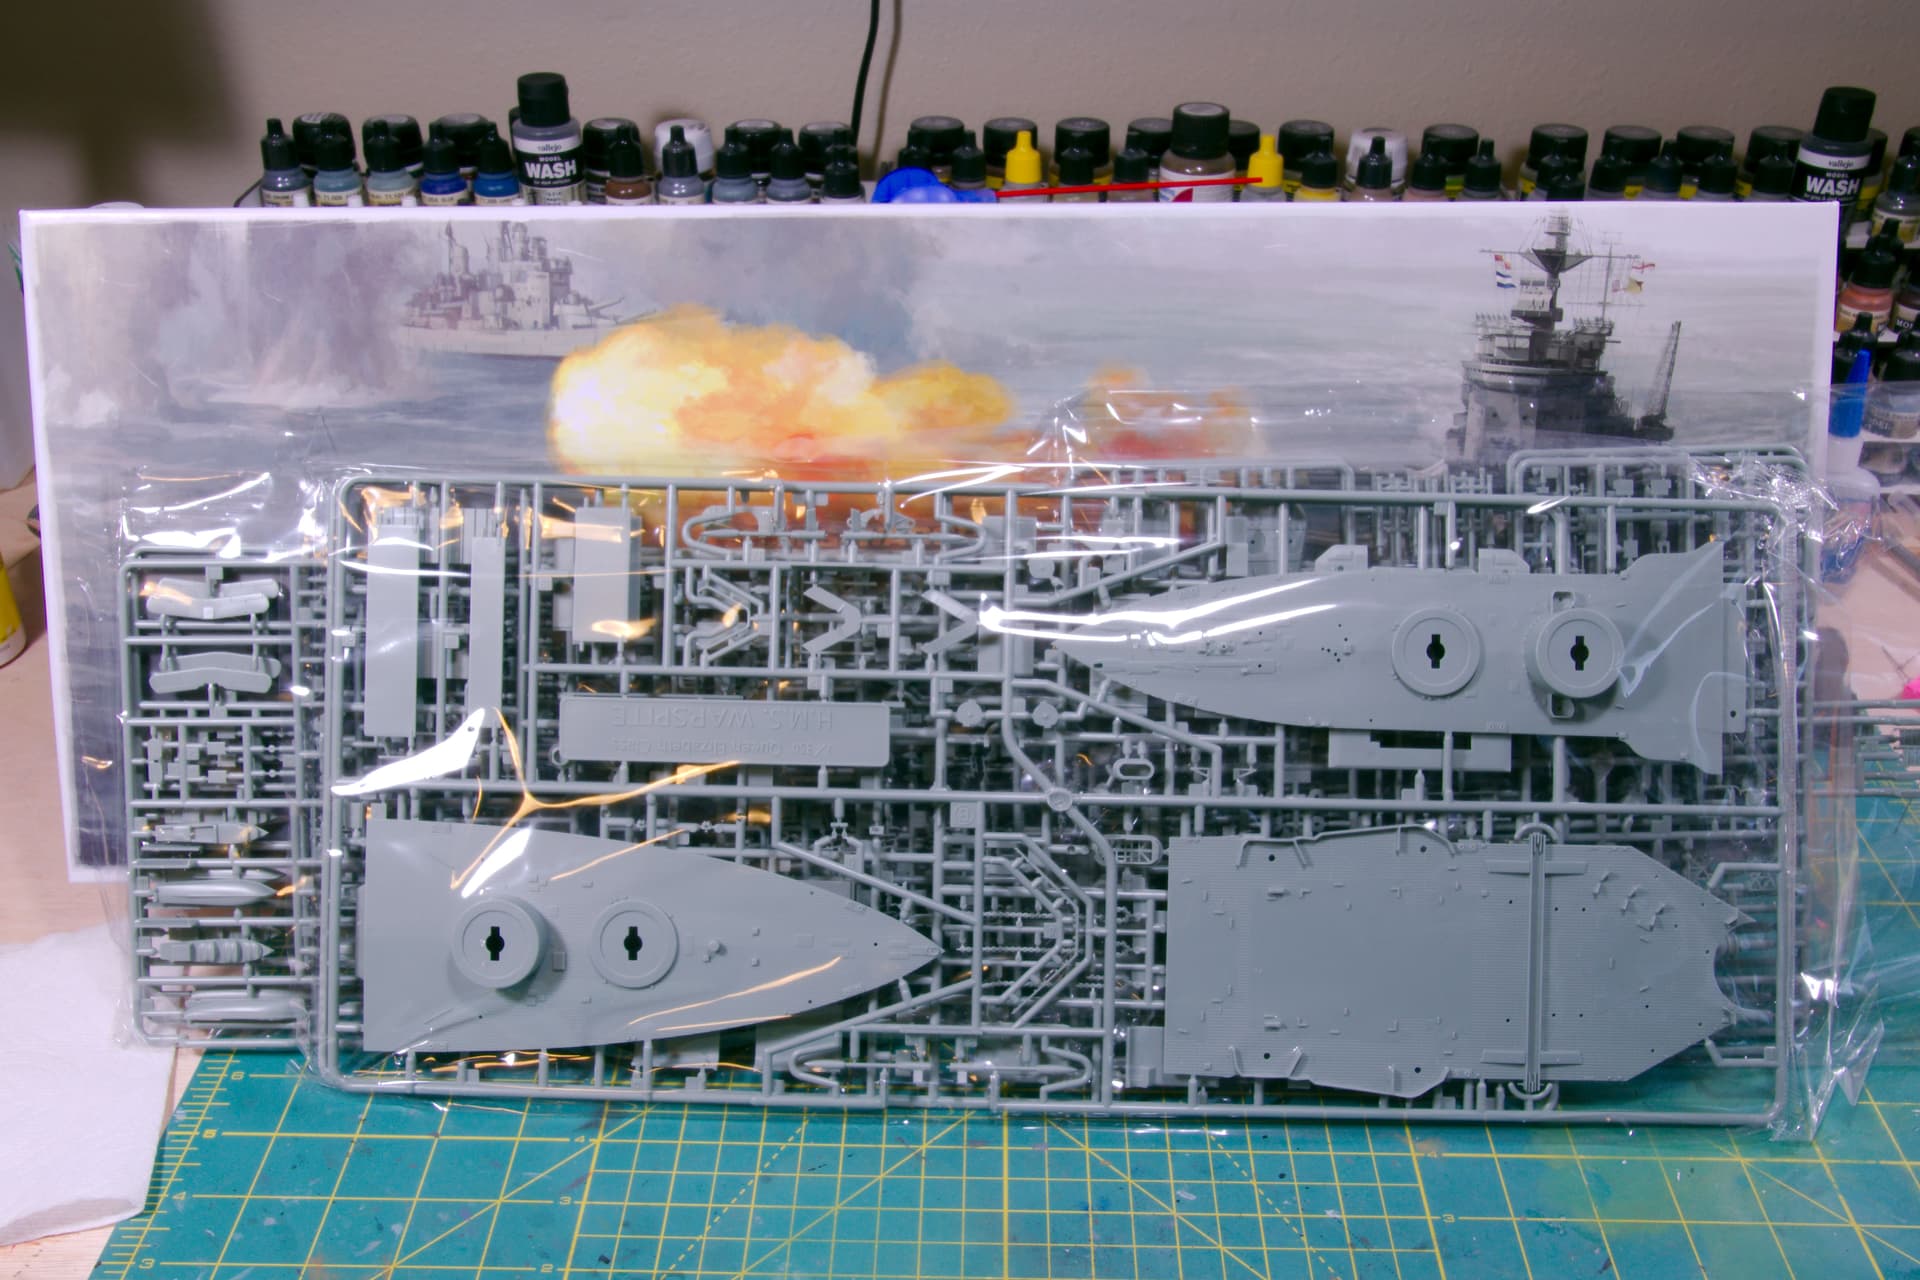
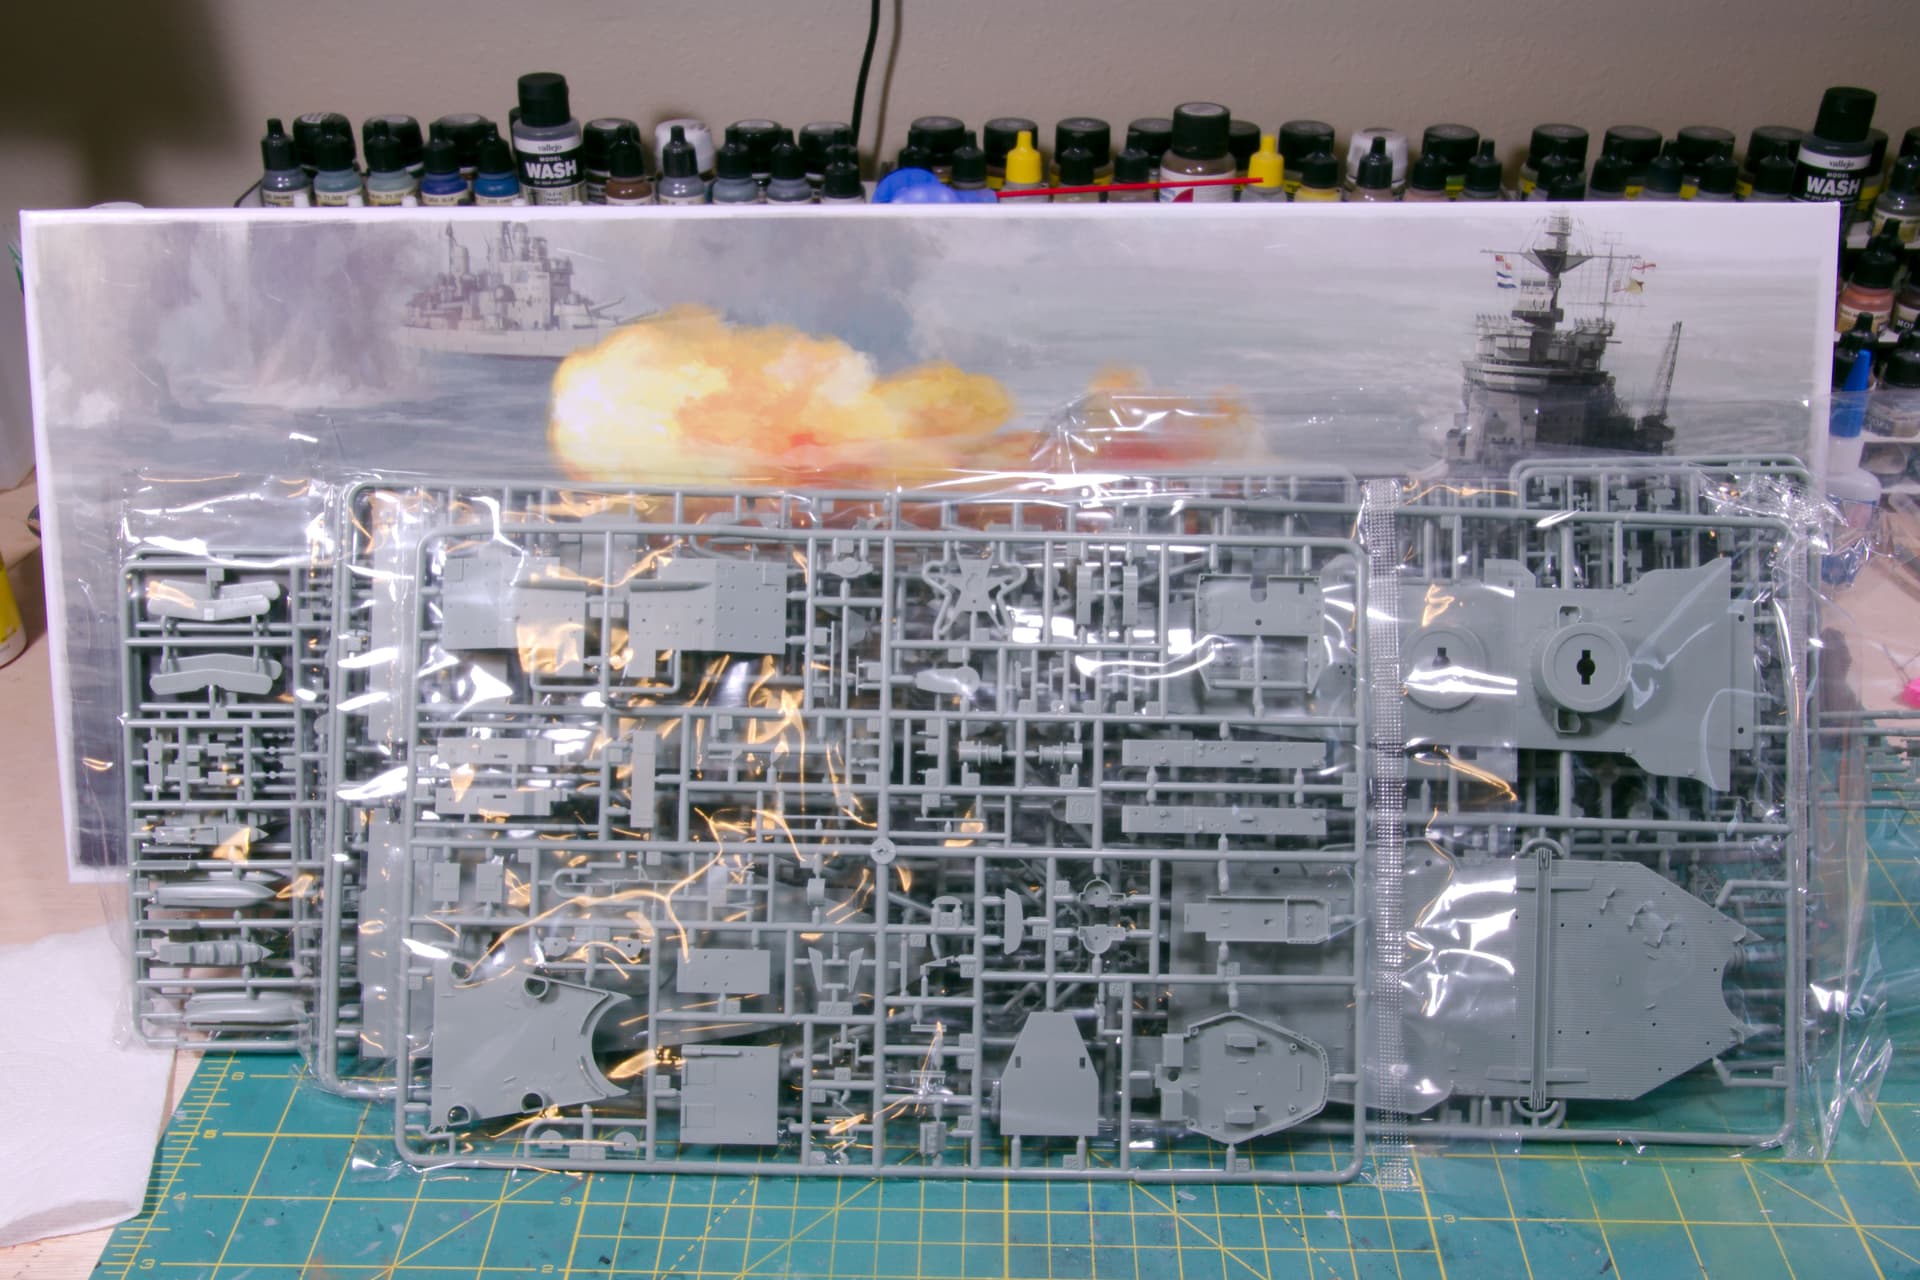
Not to bore you but here is the kit items, and some after market items.

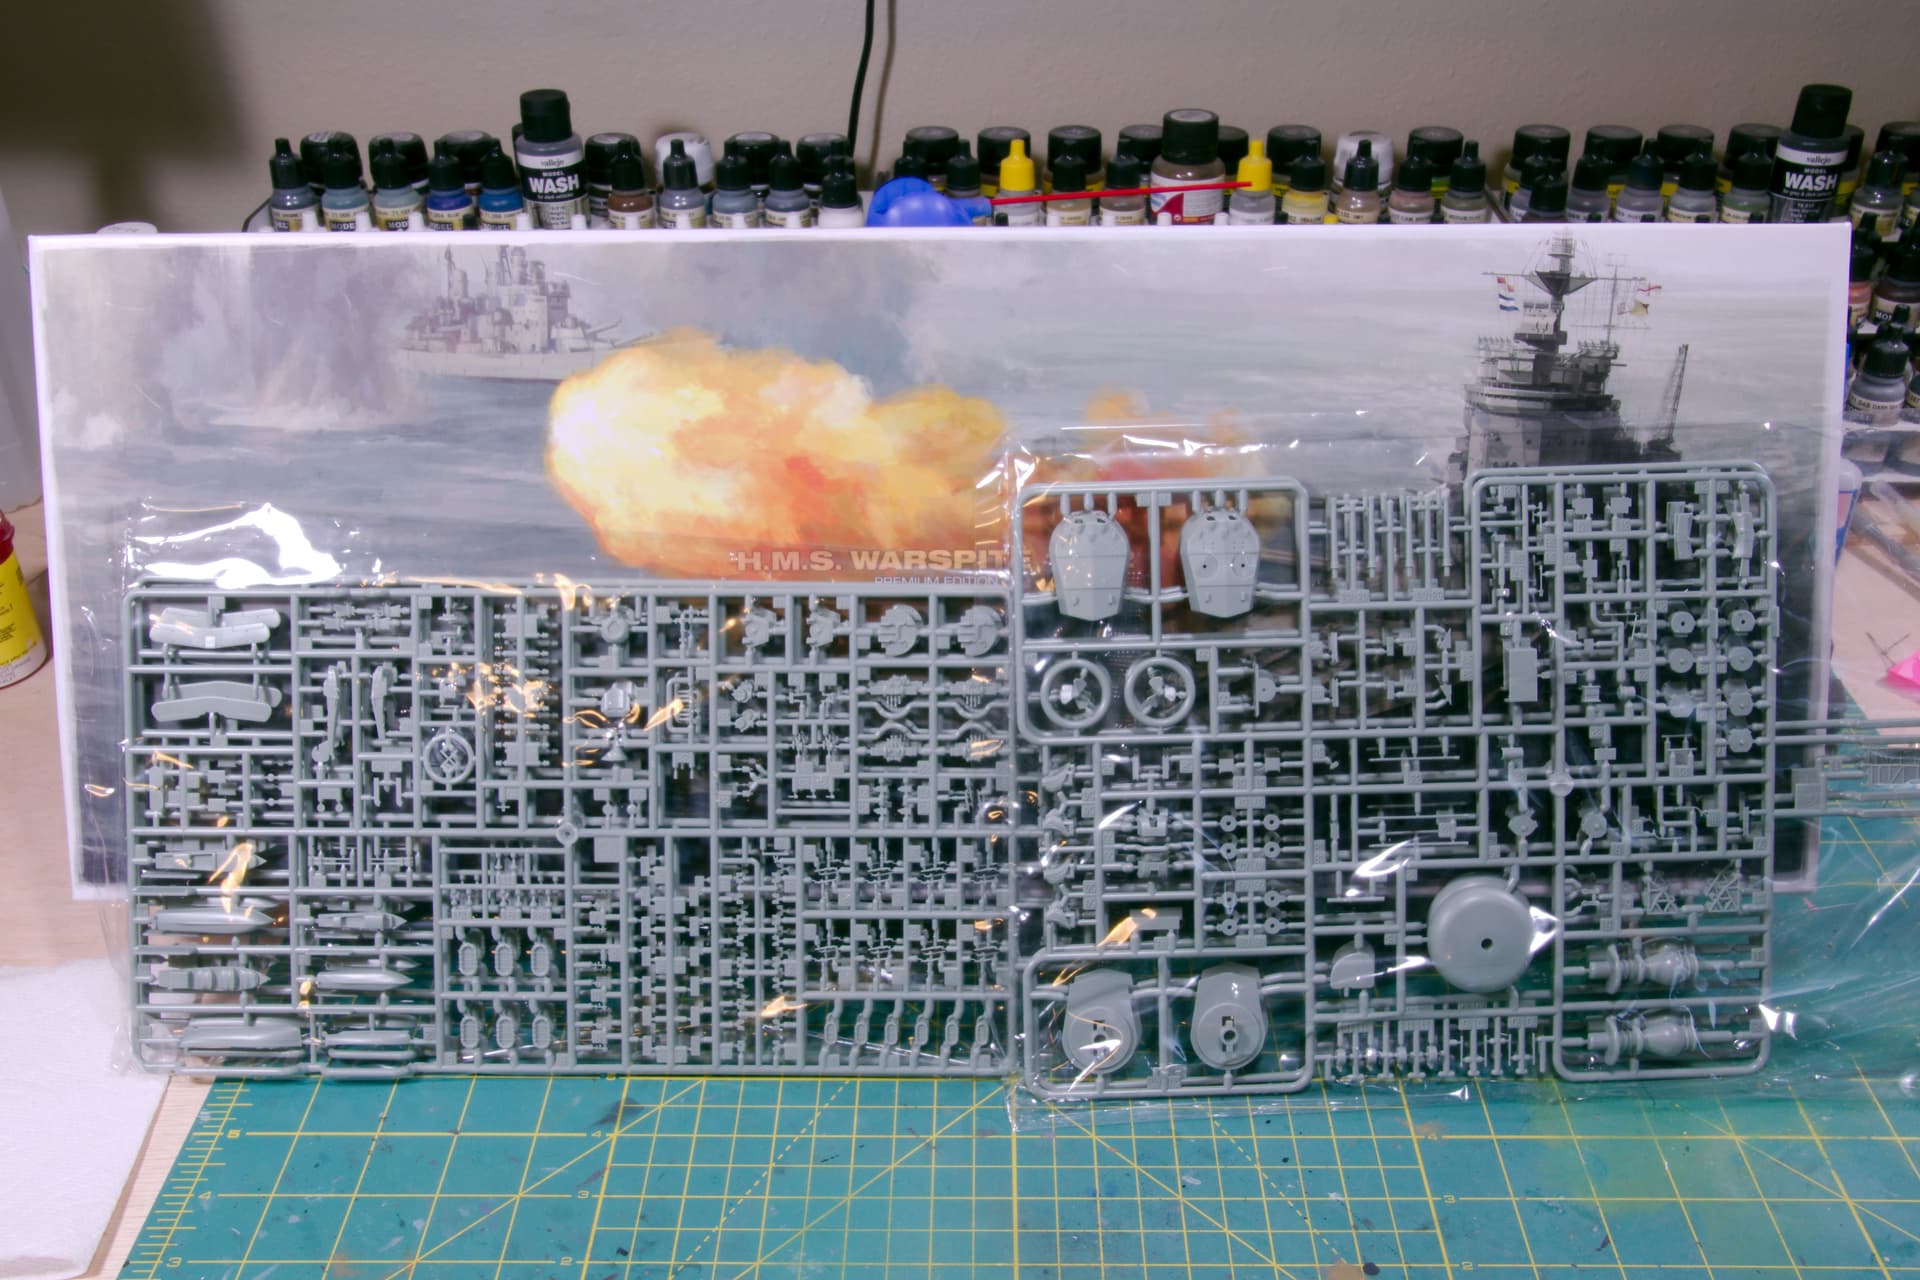
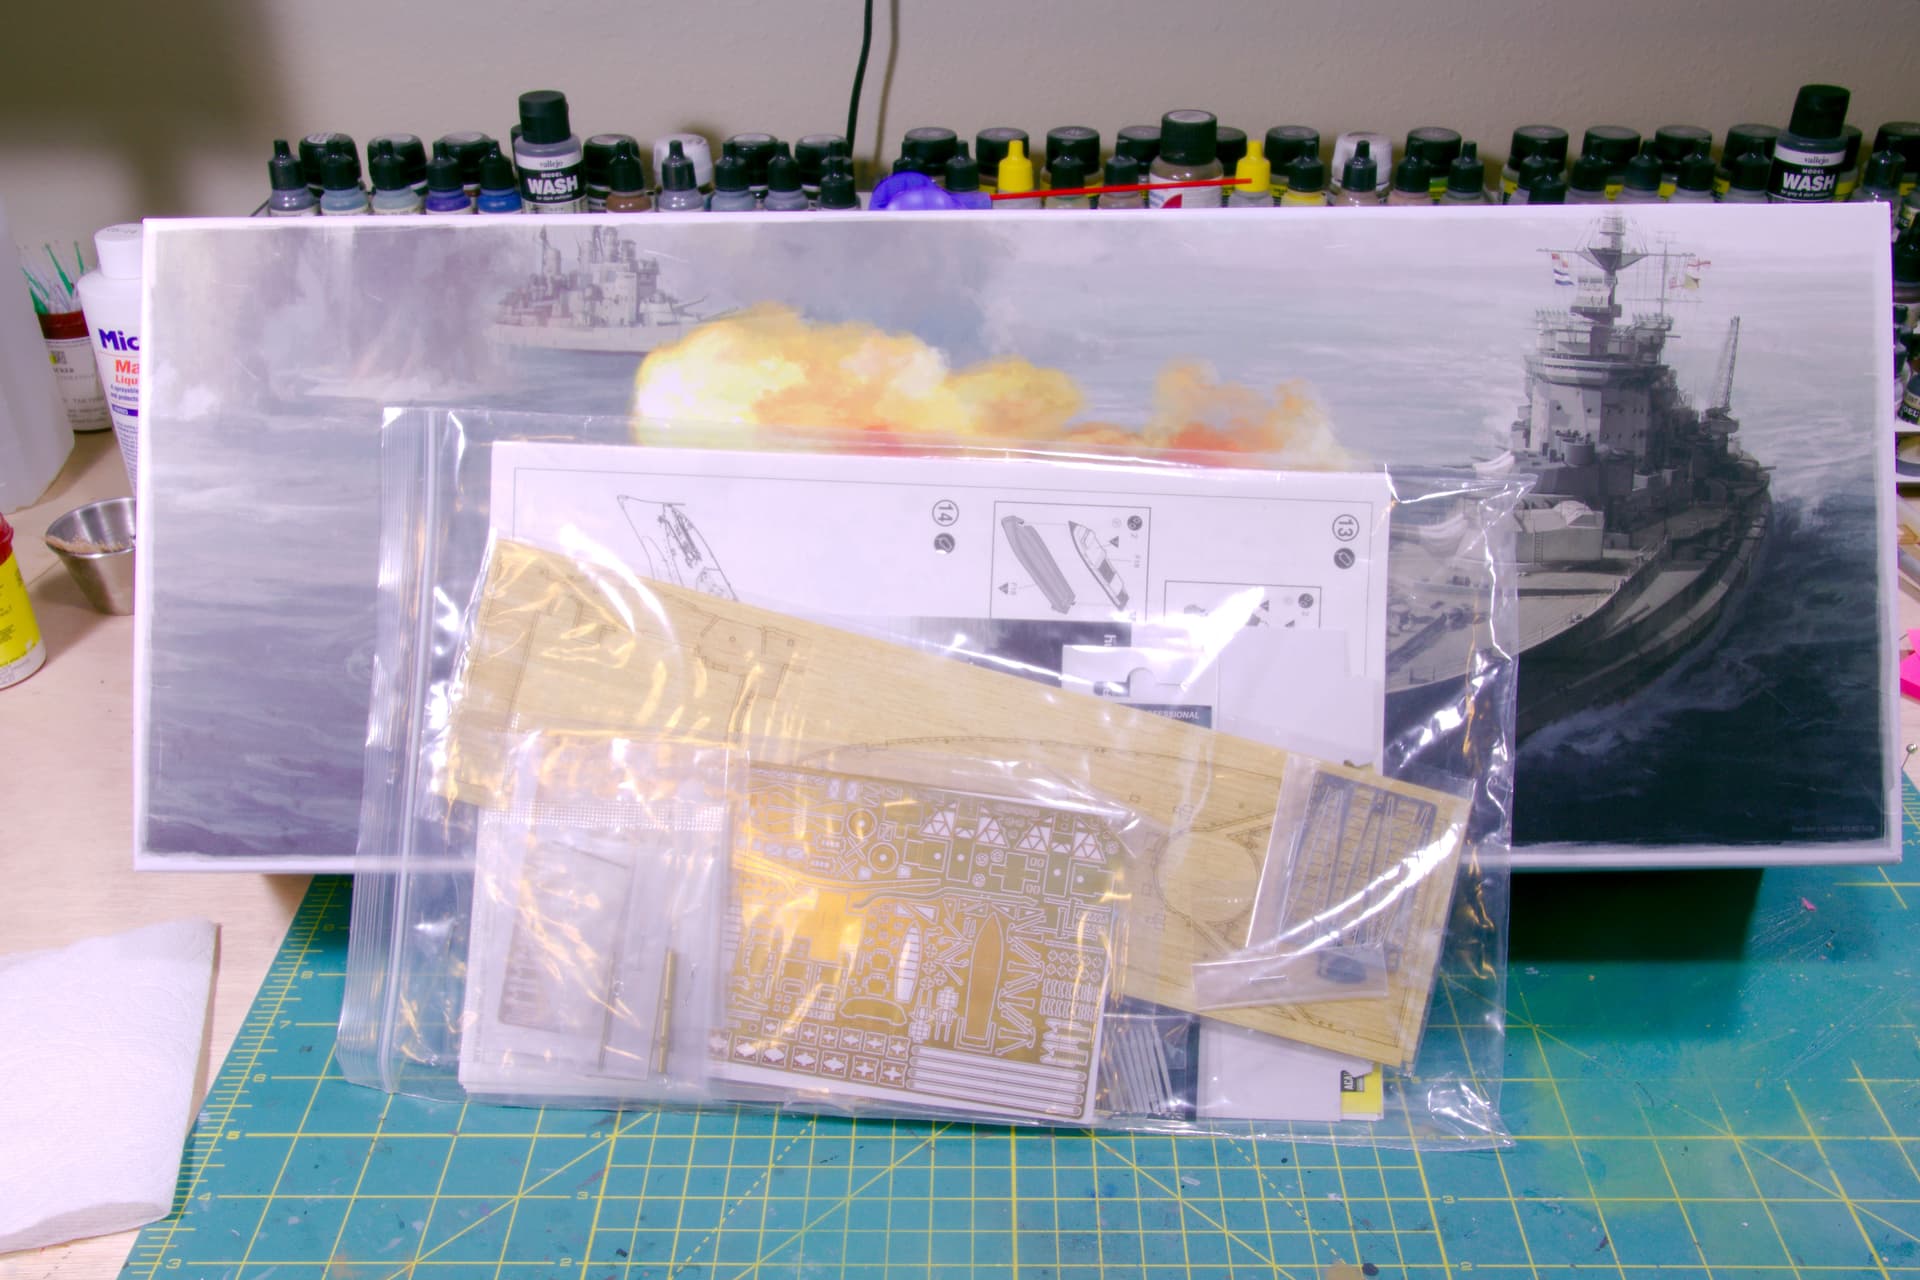
And now some aftermarket items.

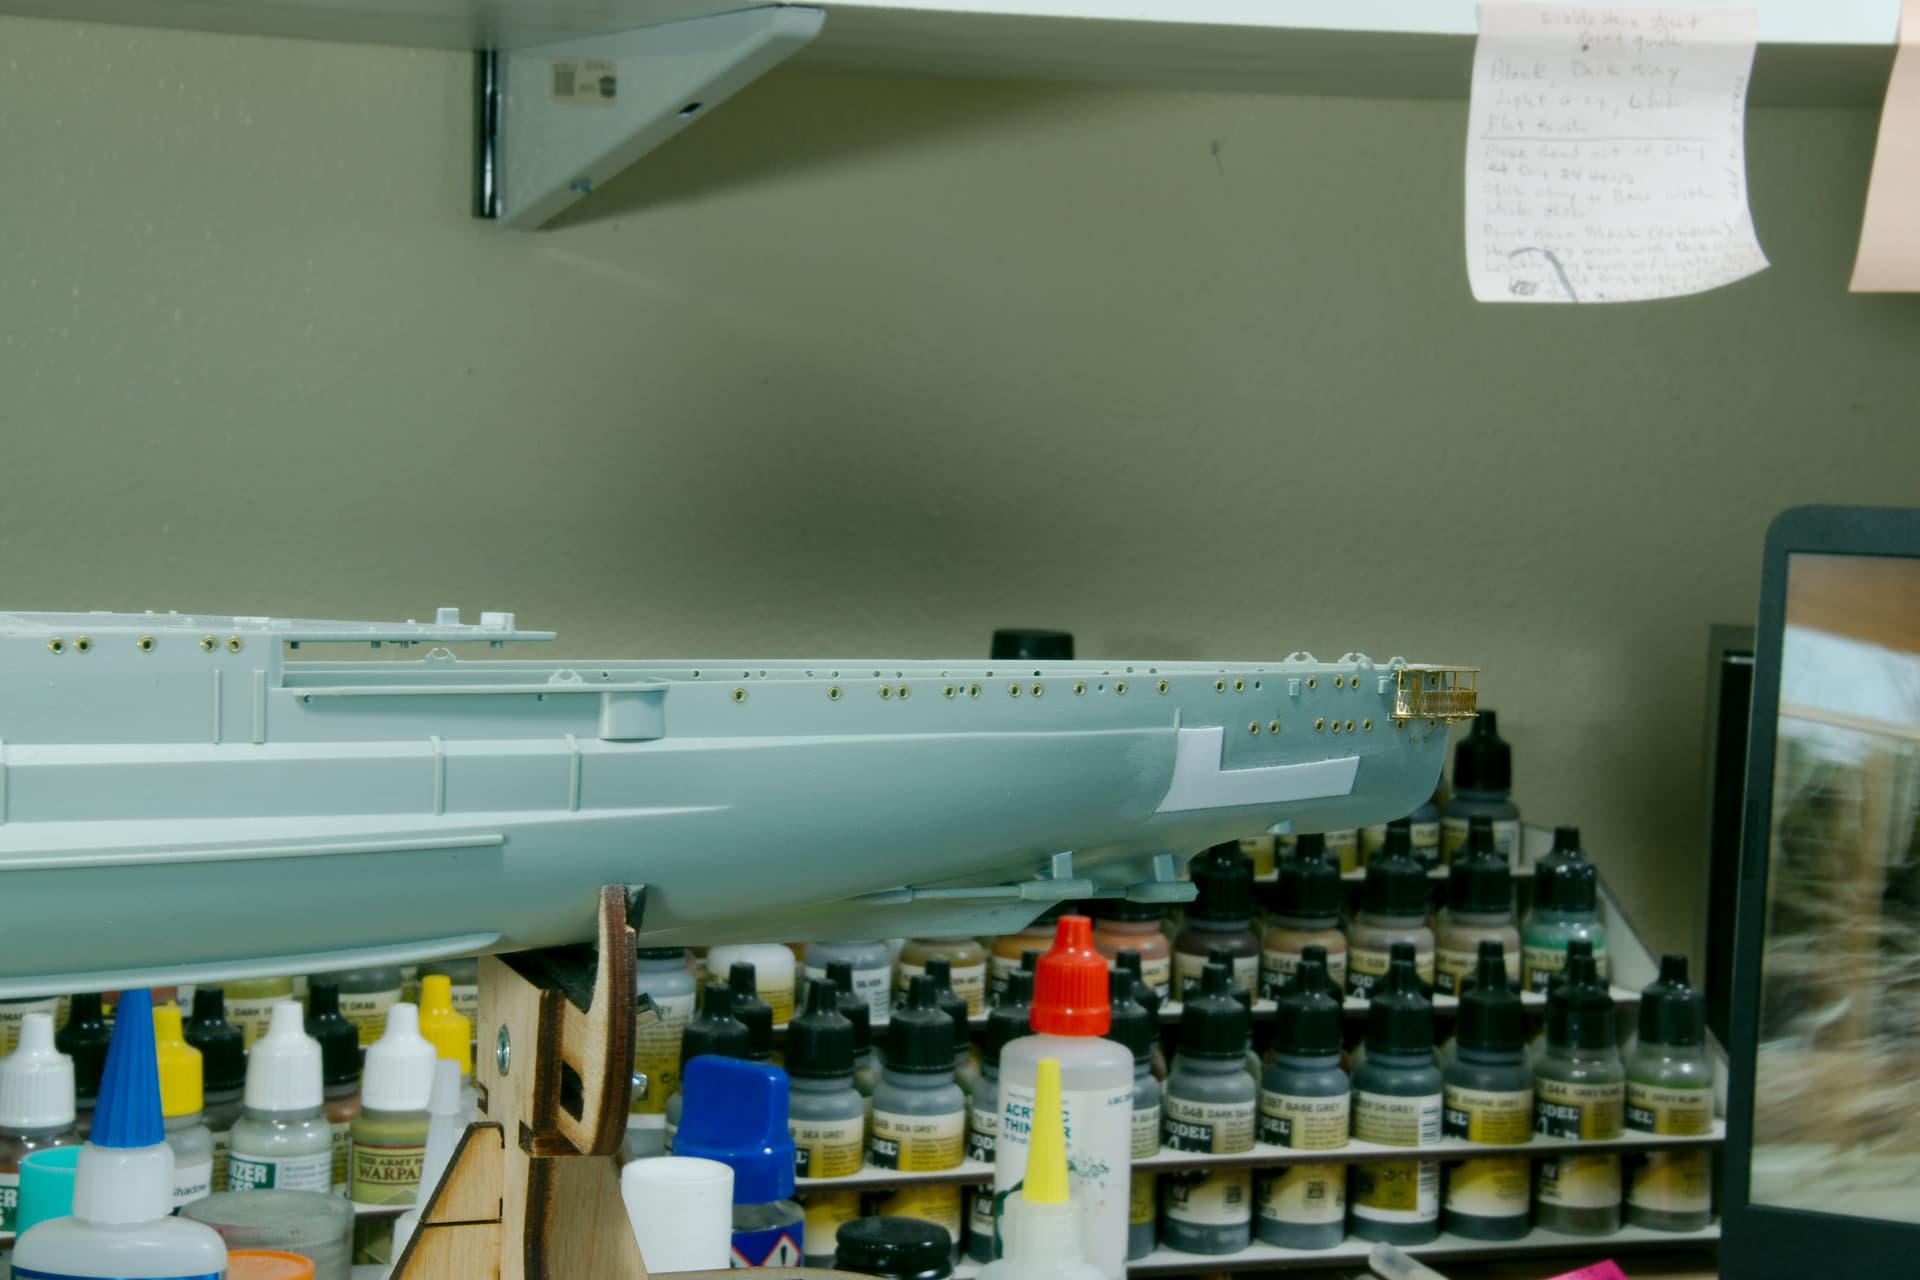
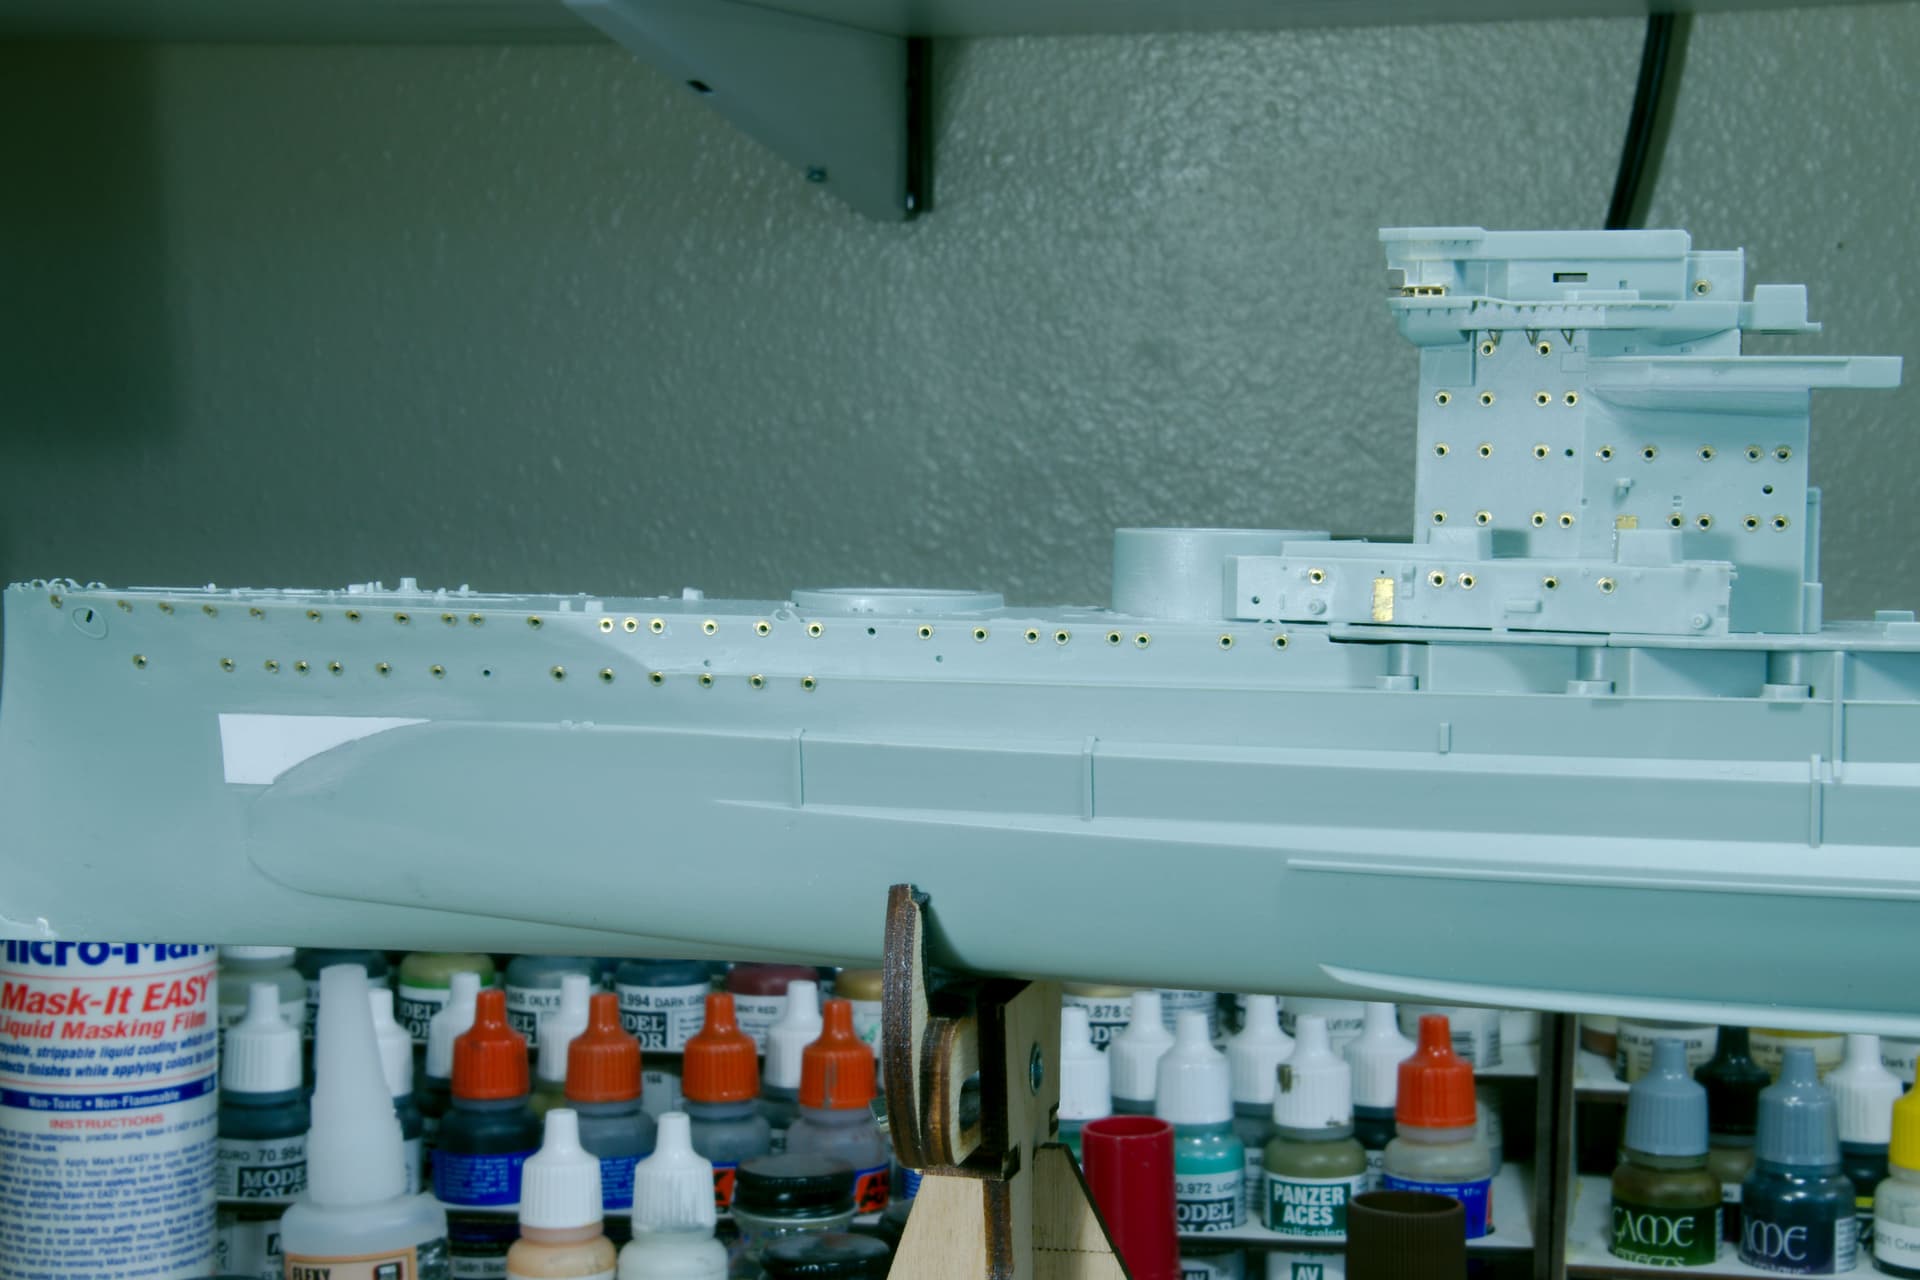
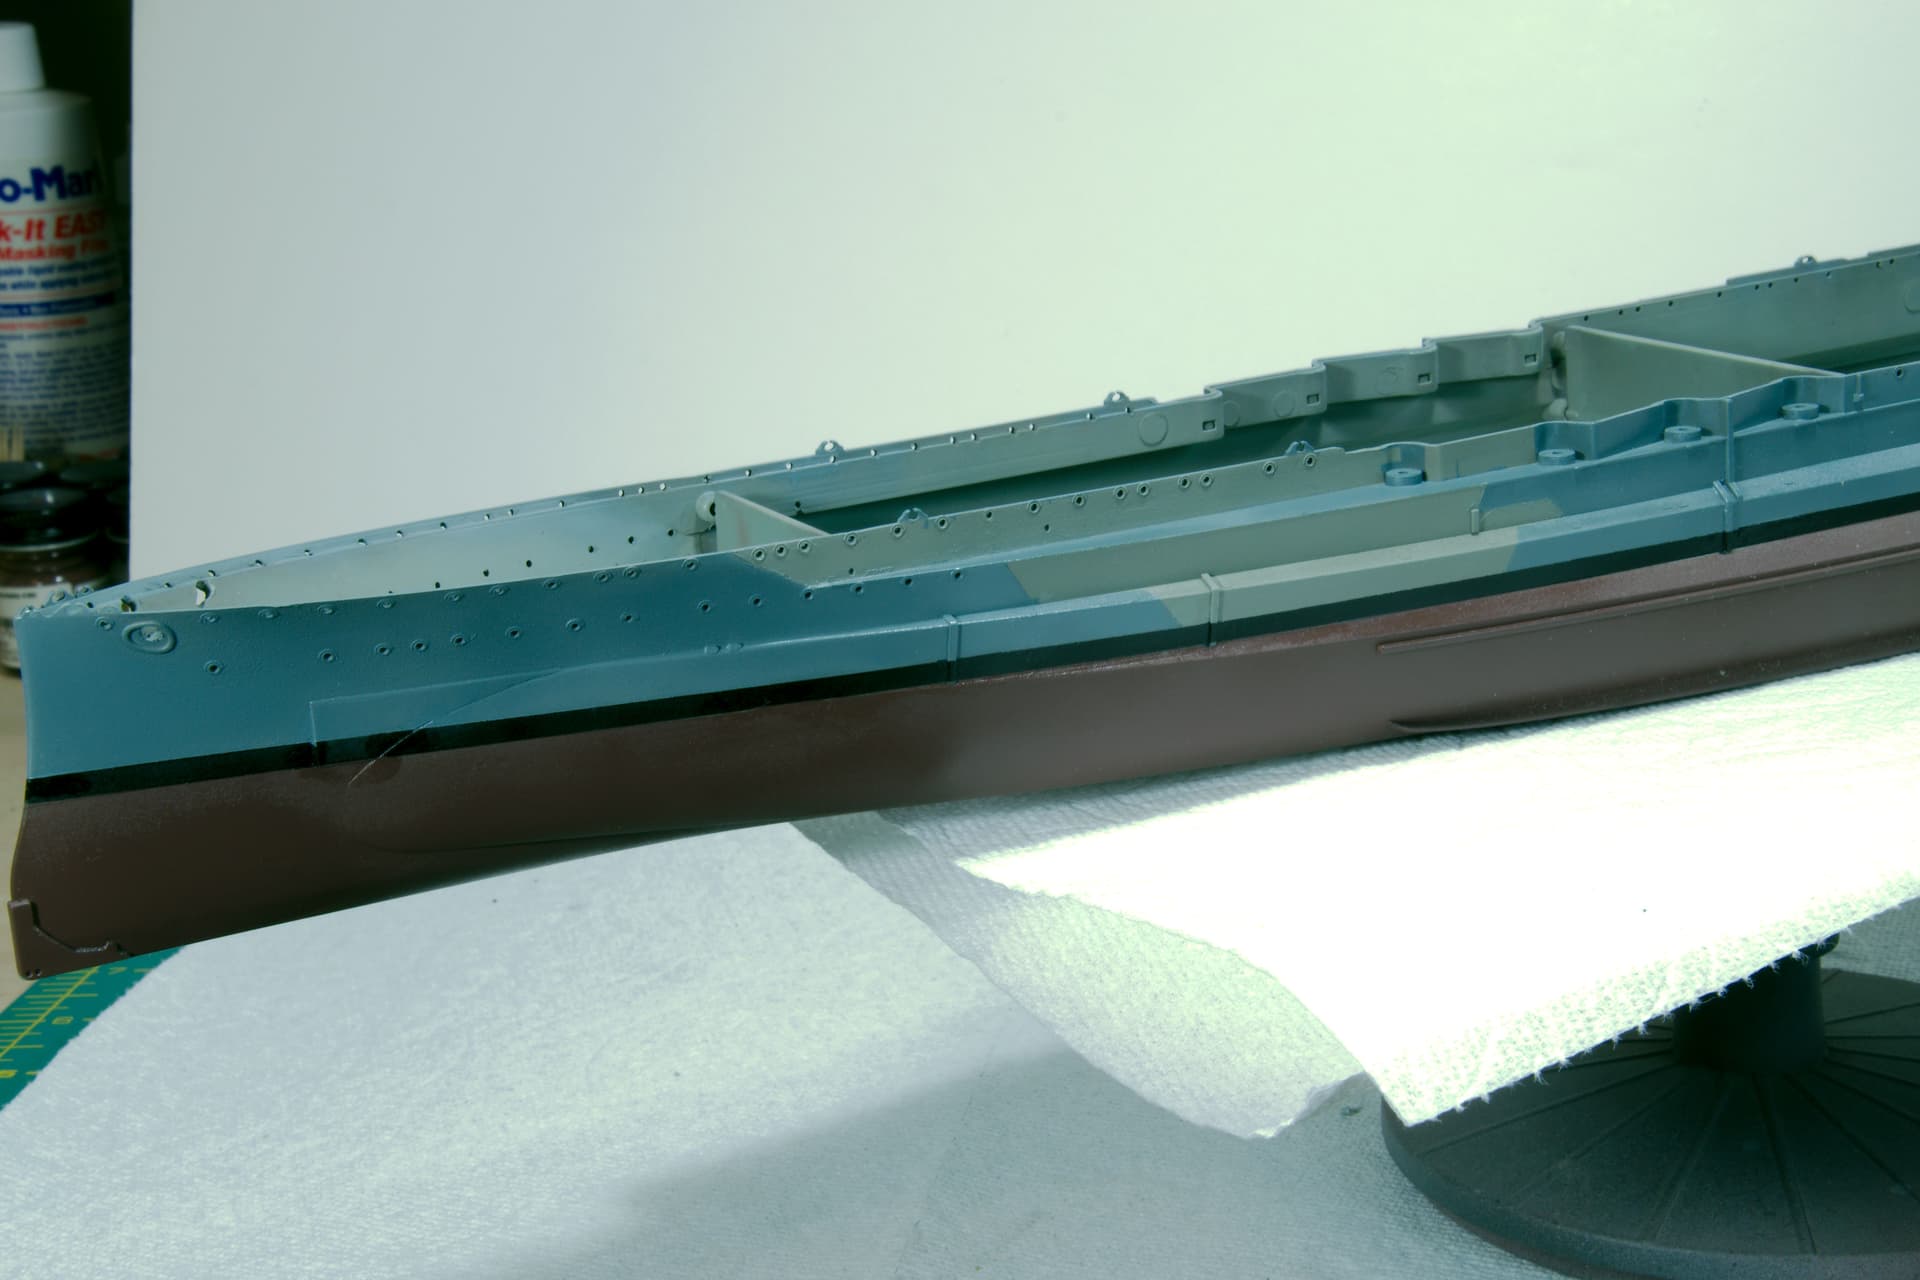
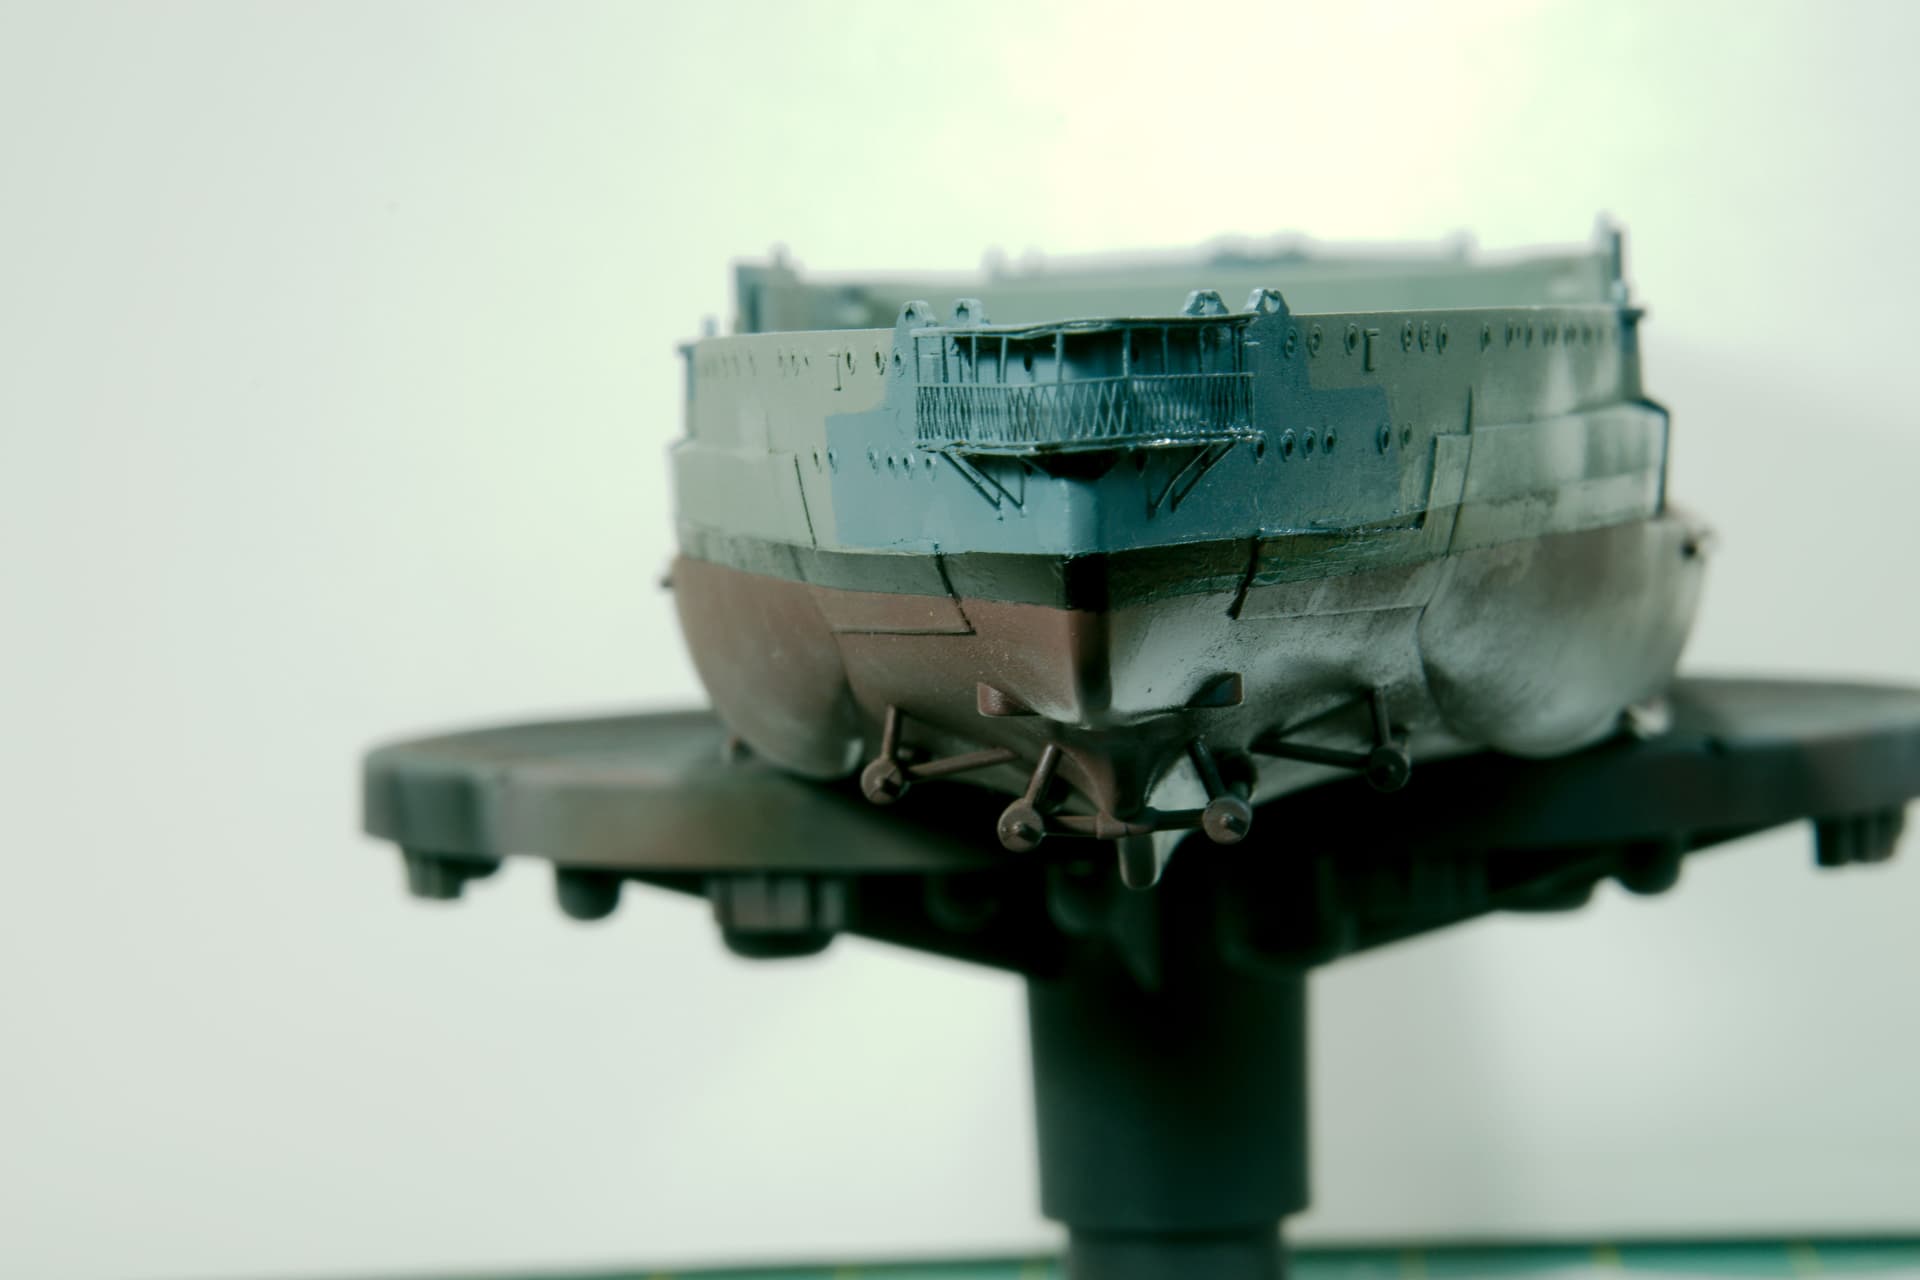
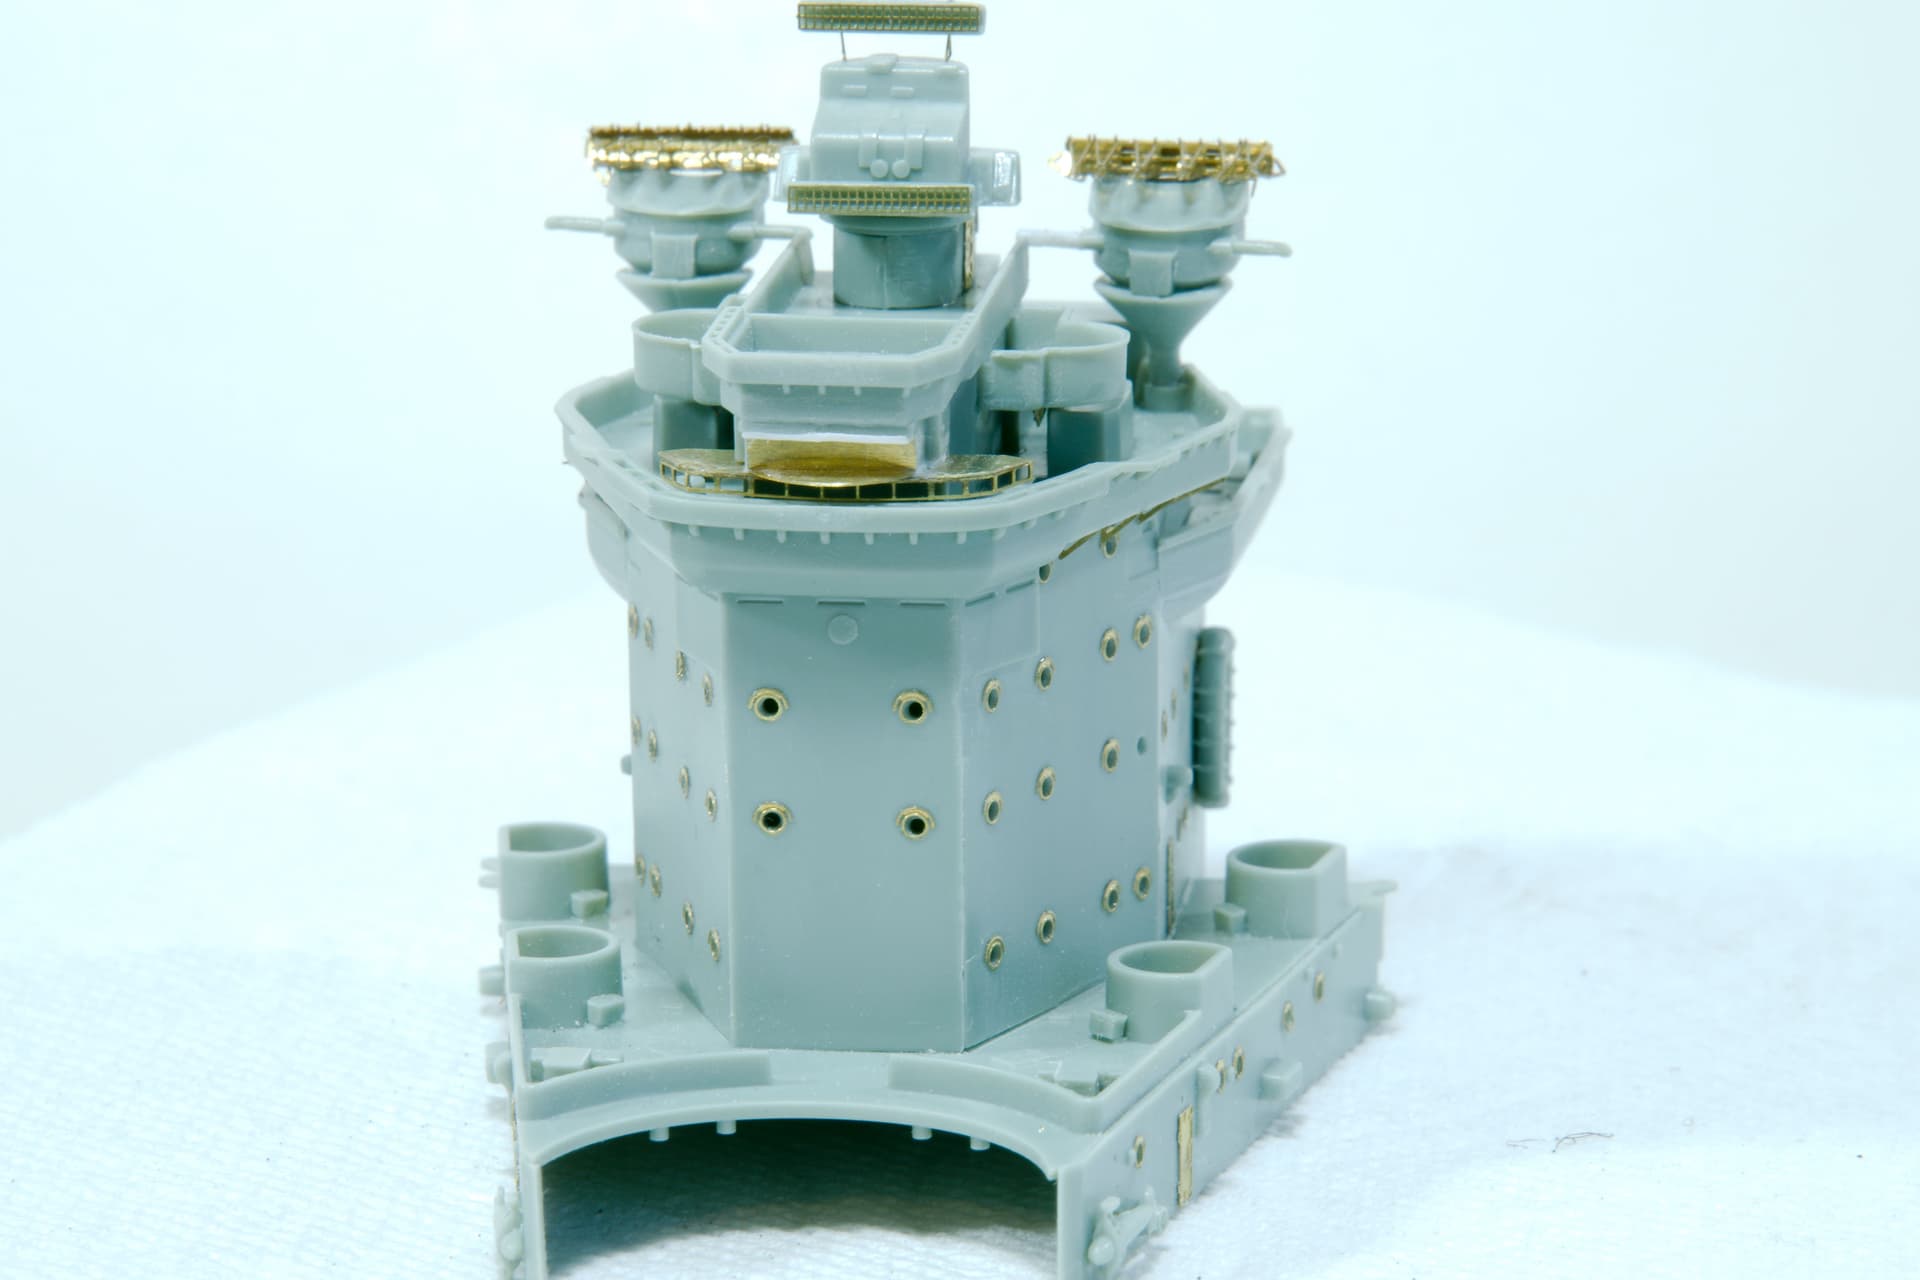
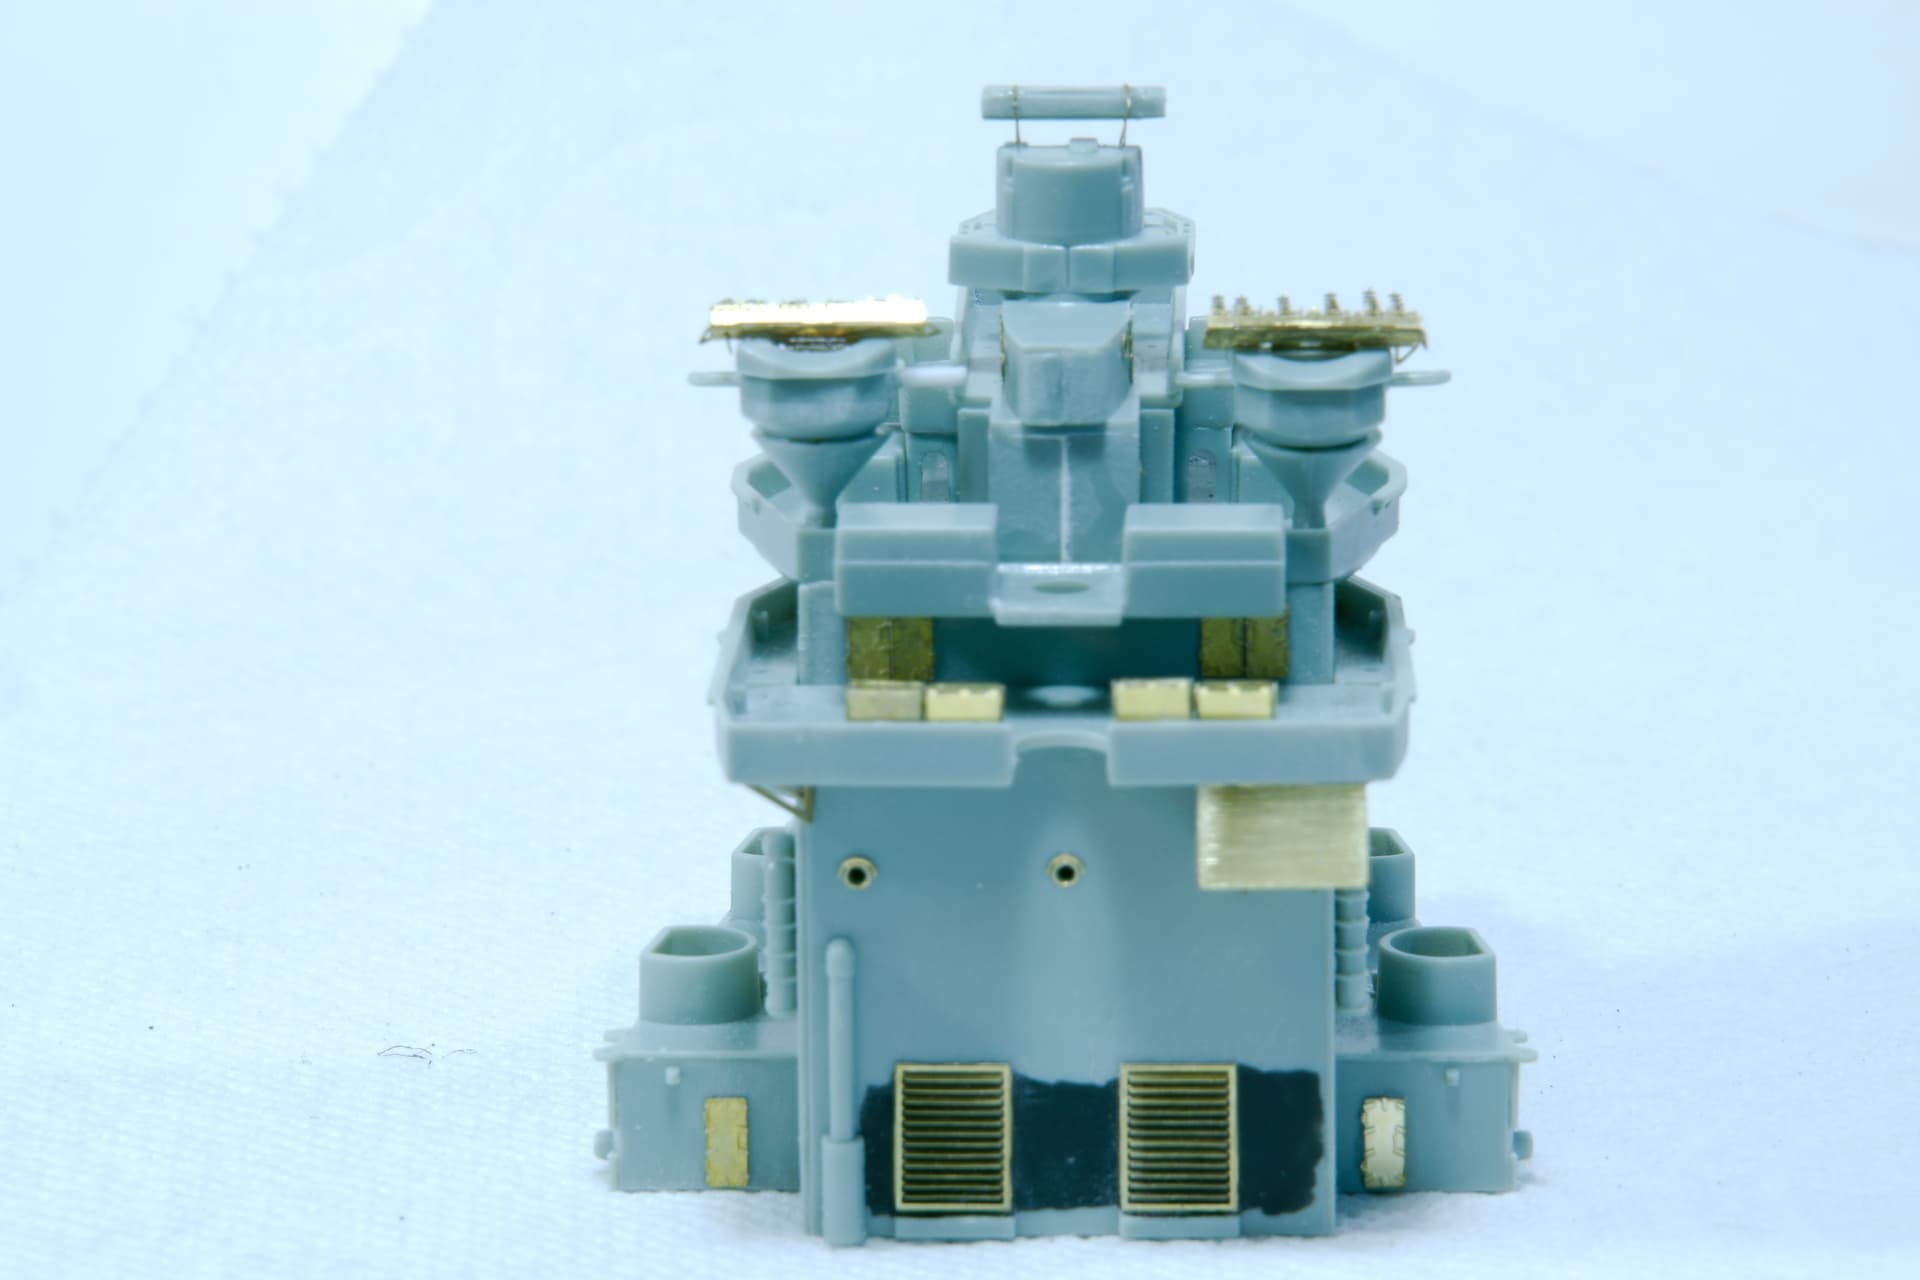
So far the hull is assembled and ready for painting. I drilled out the portholes on the hull and all superstructure assemblies, and removed their visors and replace the visors with North Star Model porthole w/visors for Royal Navy ships. Scraped off all the molded on doors and replace them with White Ensign Model doors for RN ships and replaced the molded on ventilators with W.E. PE replacement.

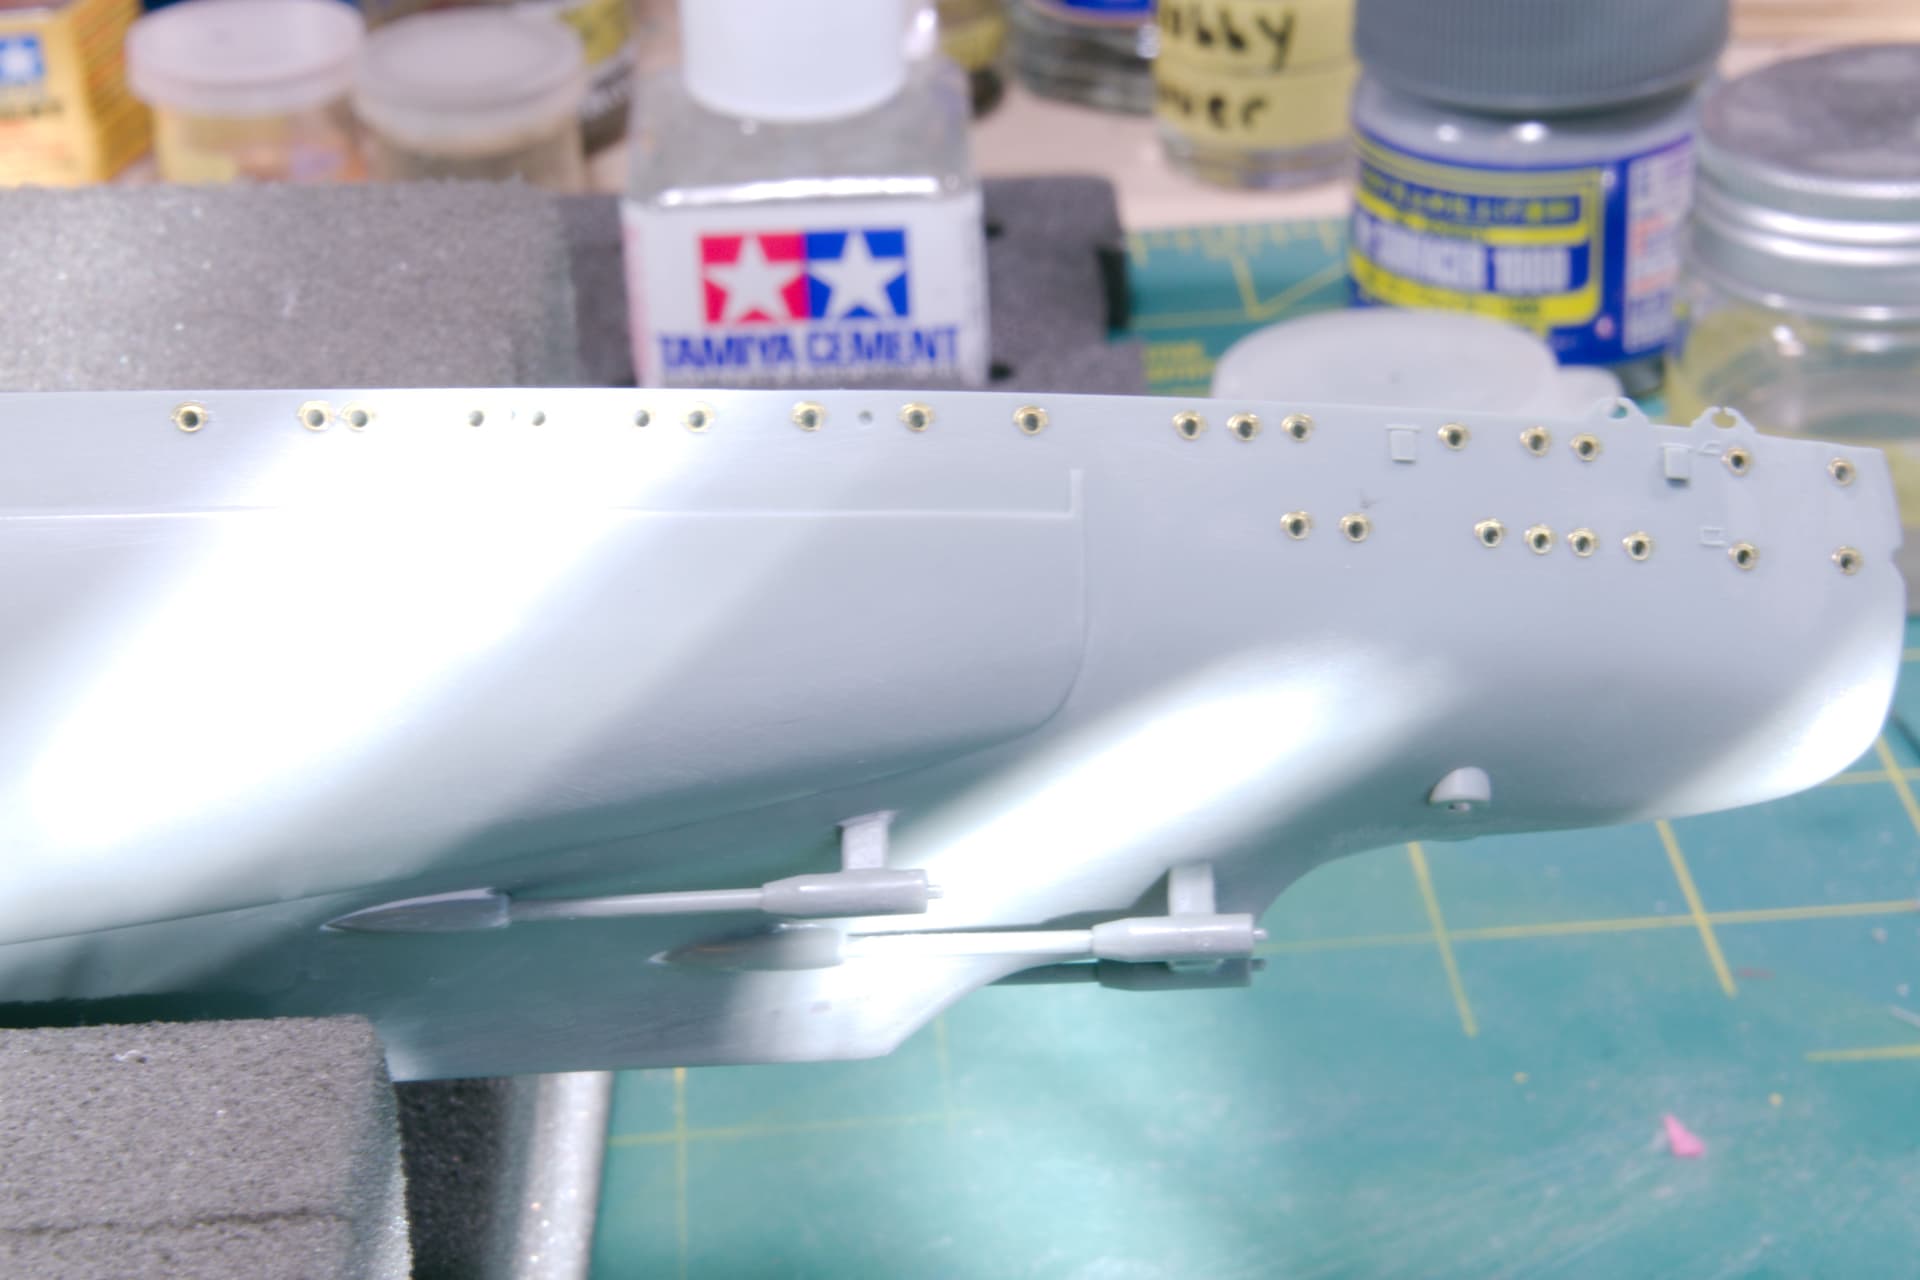
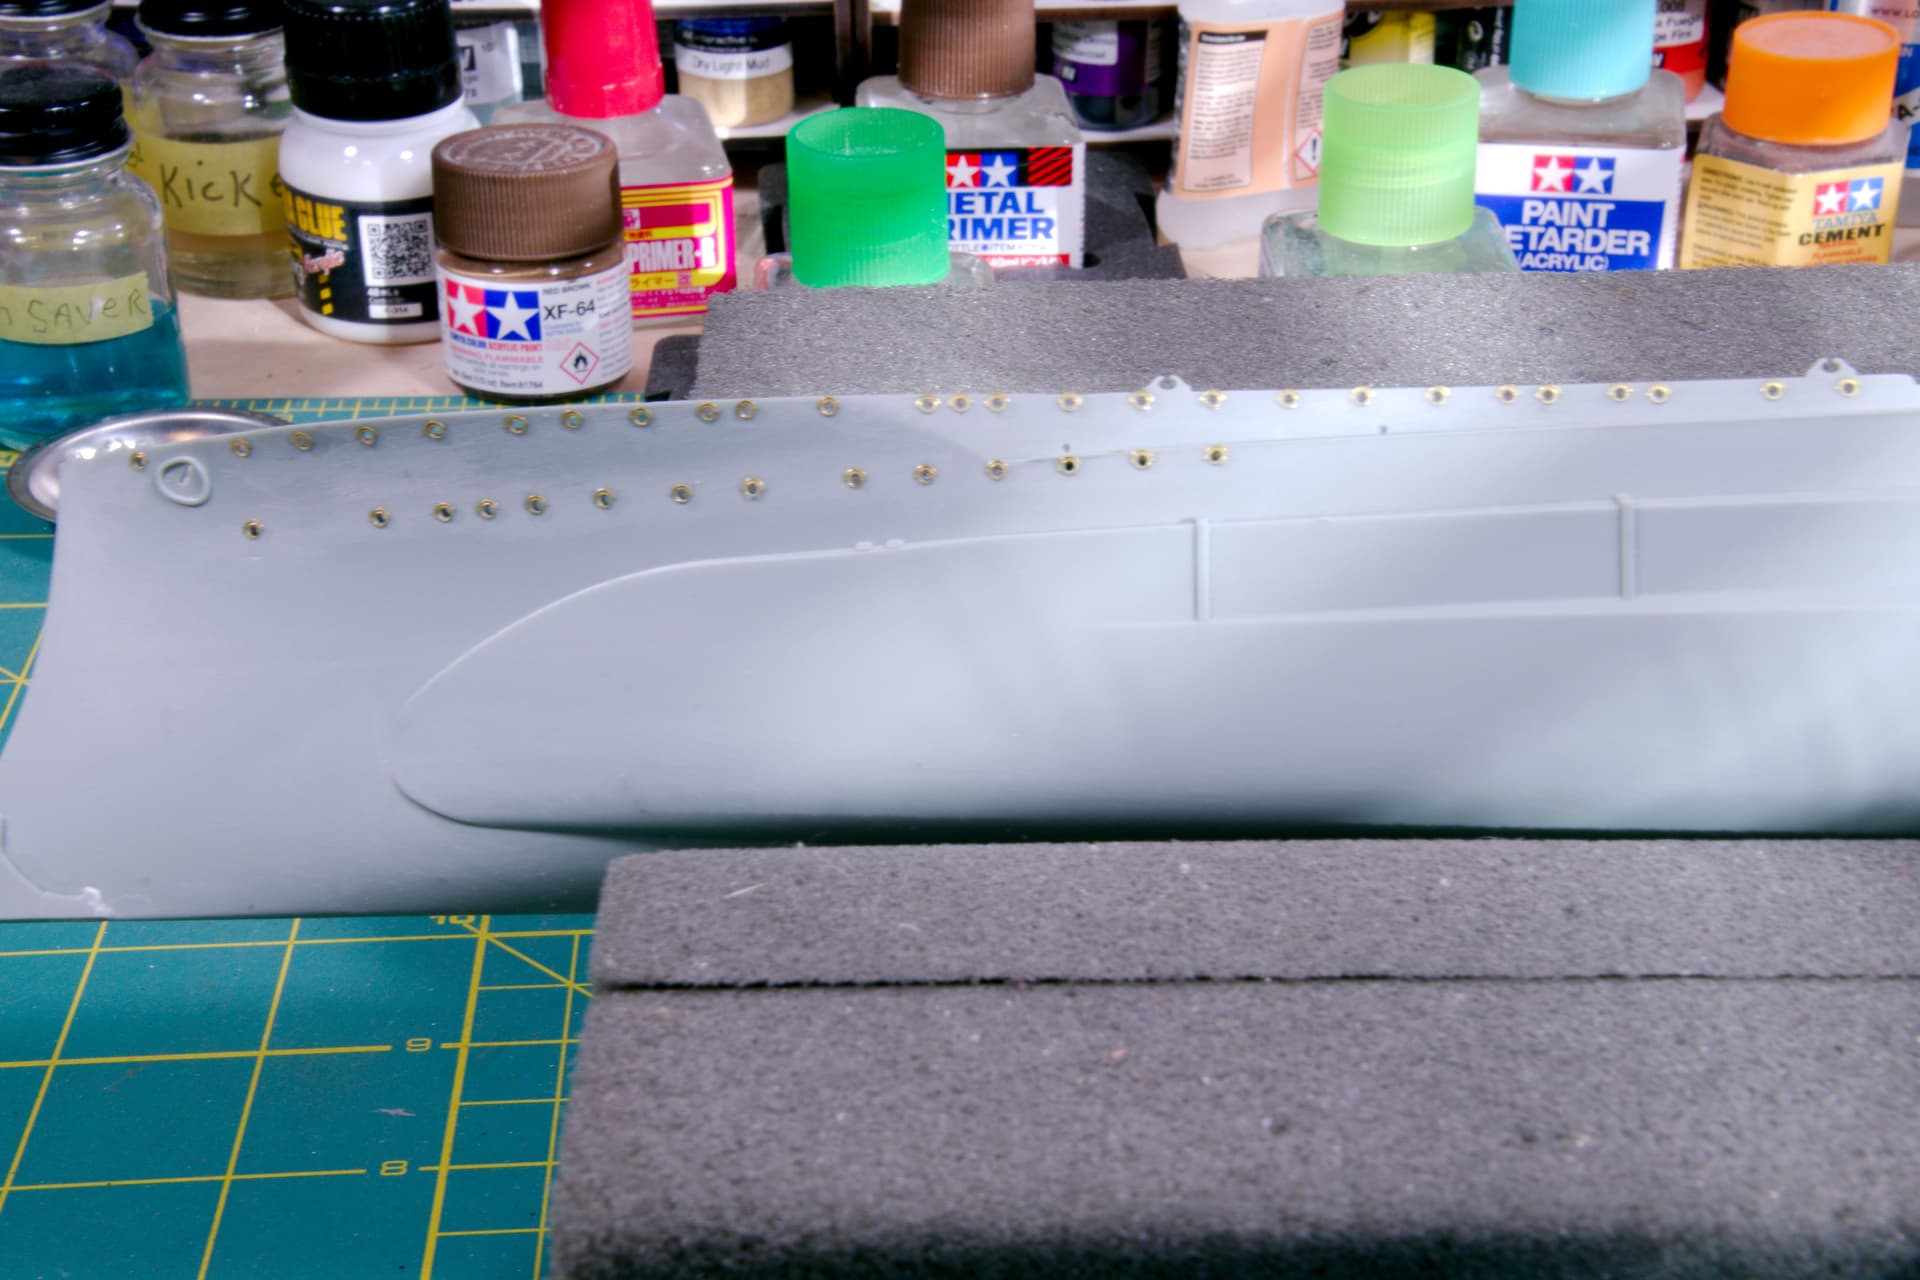
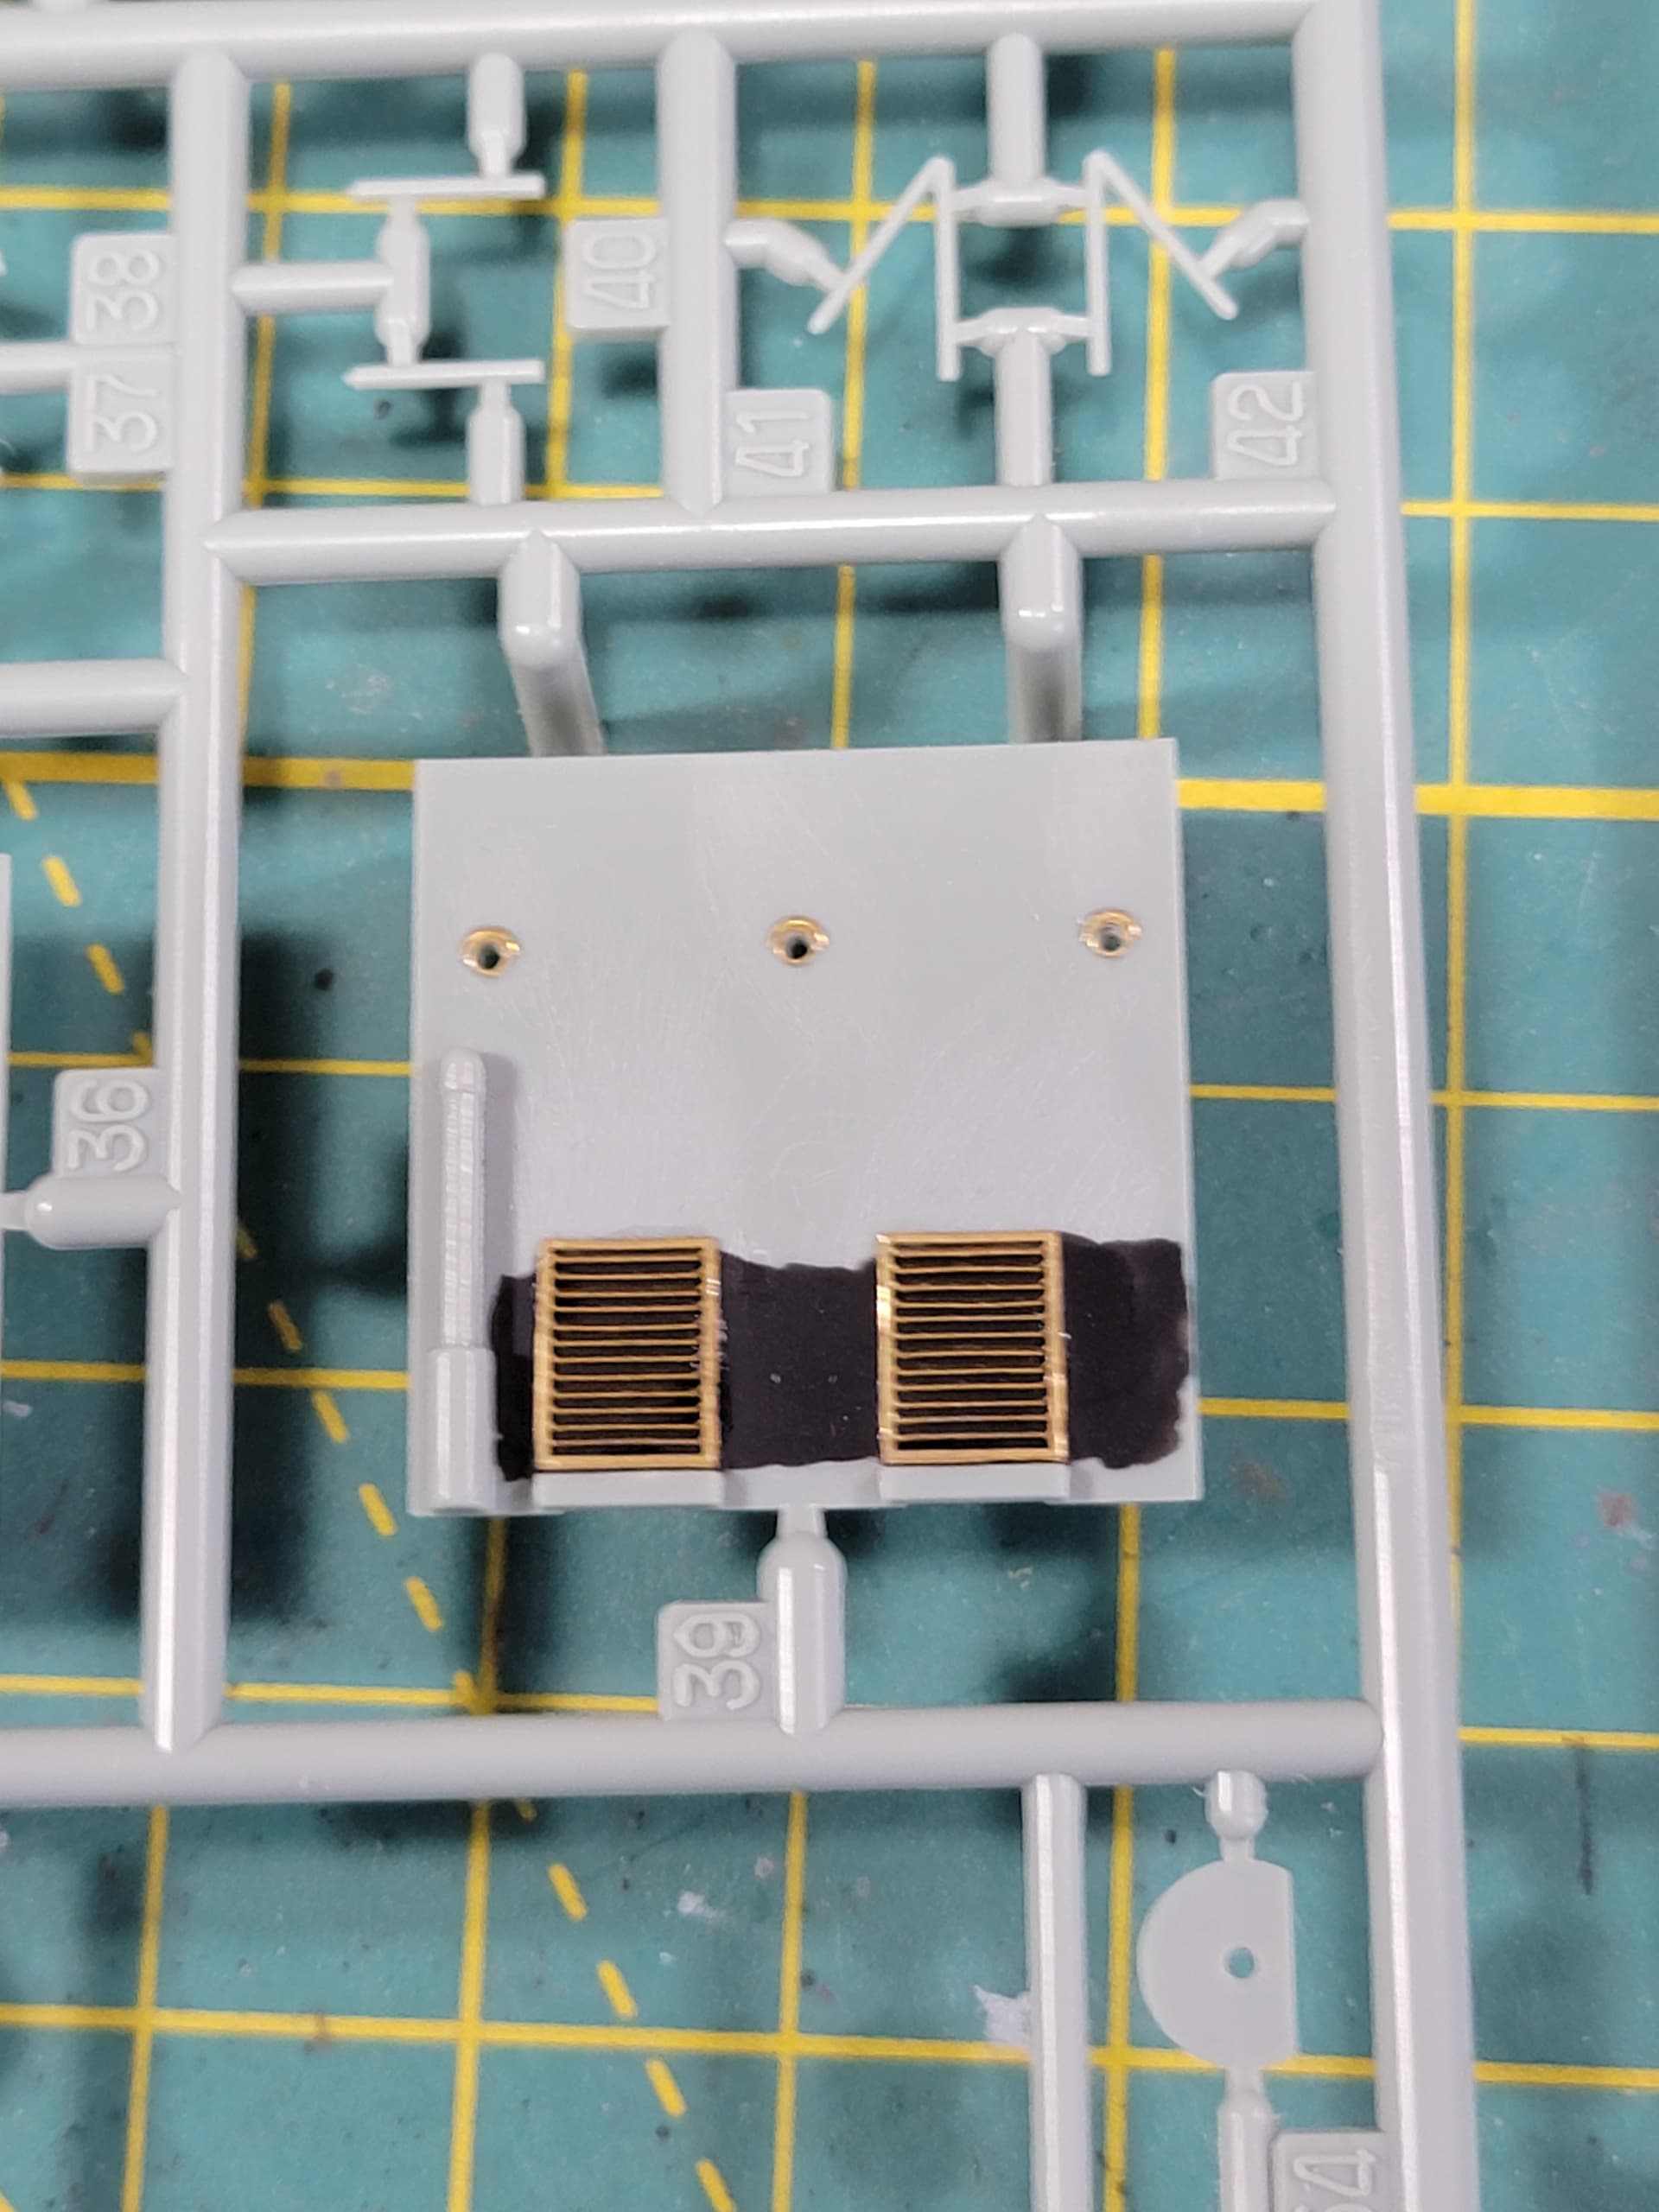
It doesn’t seem like much was done, but it took quite a long time to remove and replace those portholes and doors.

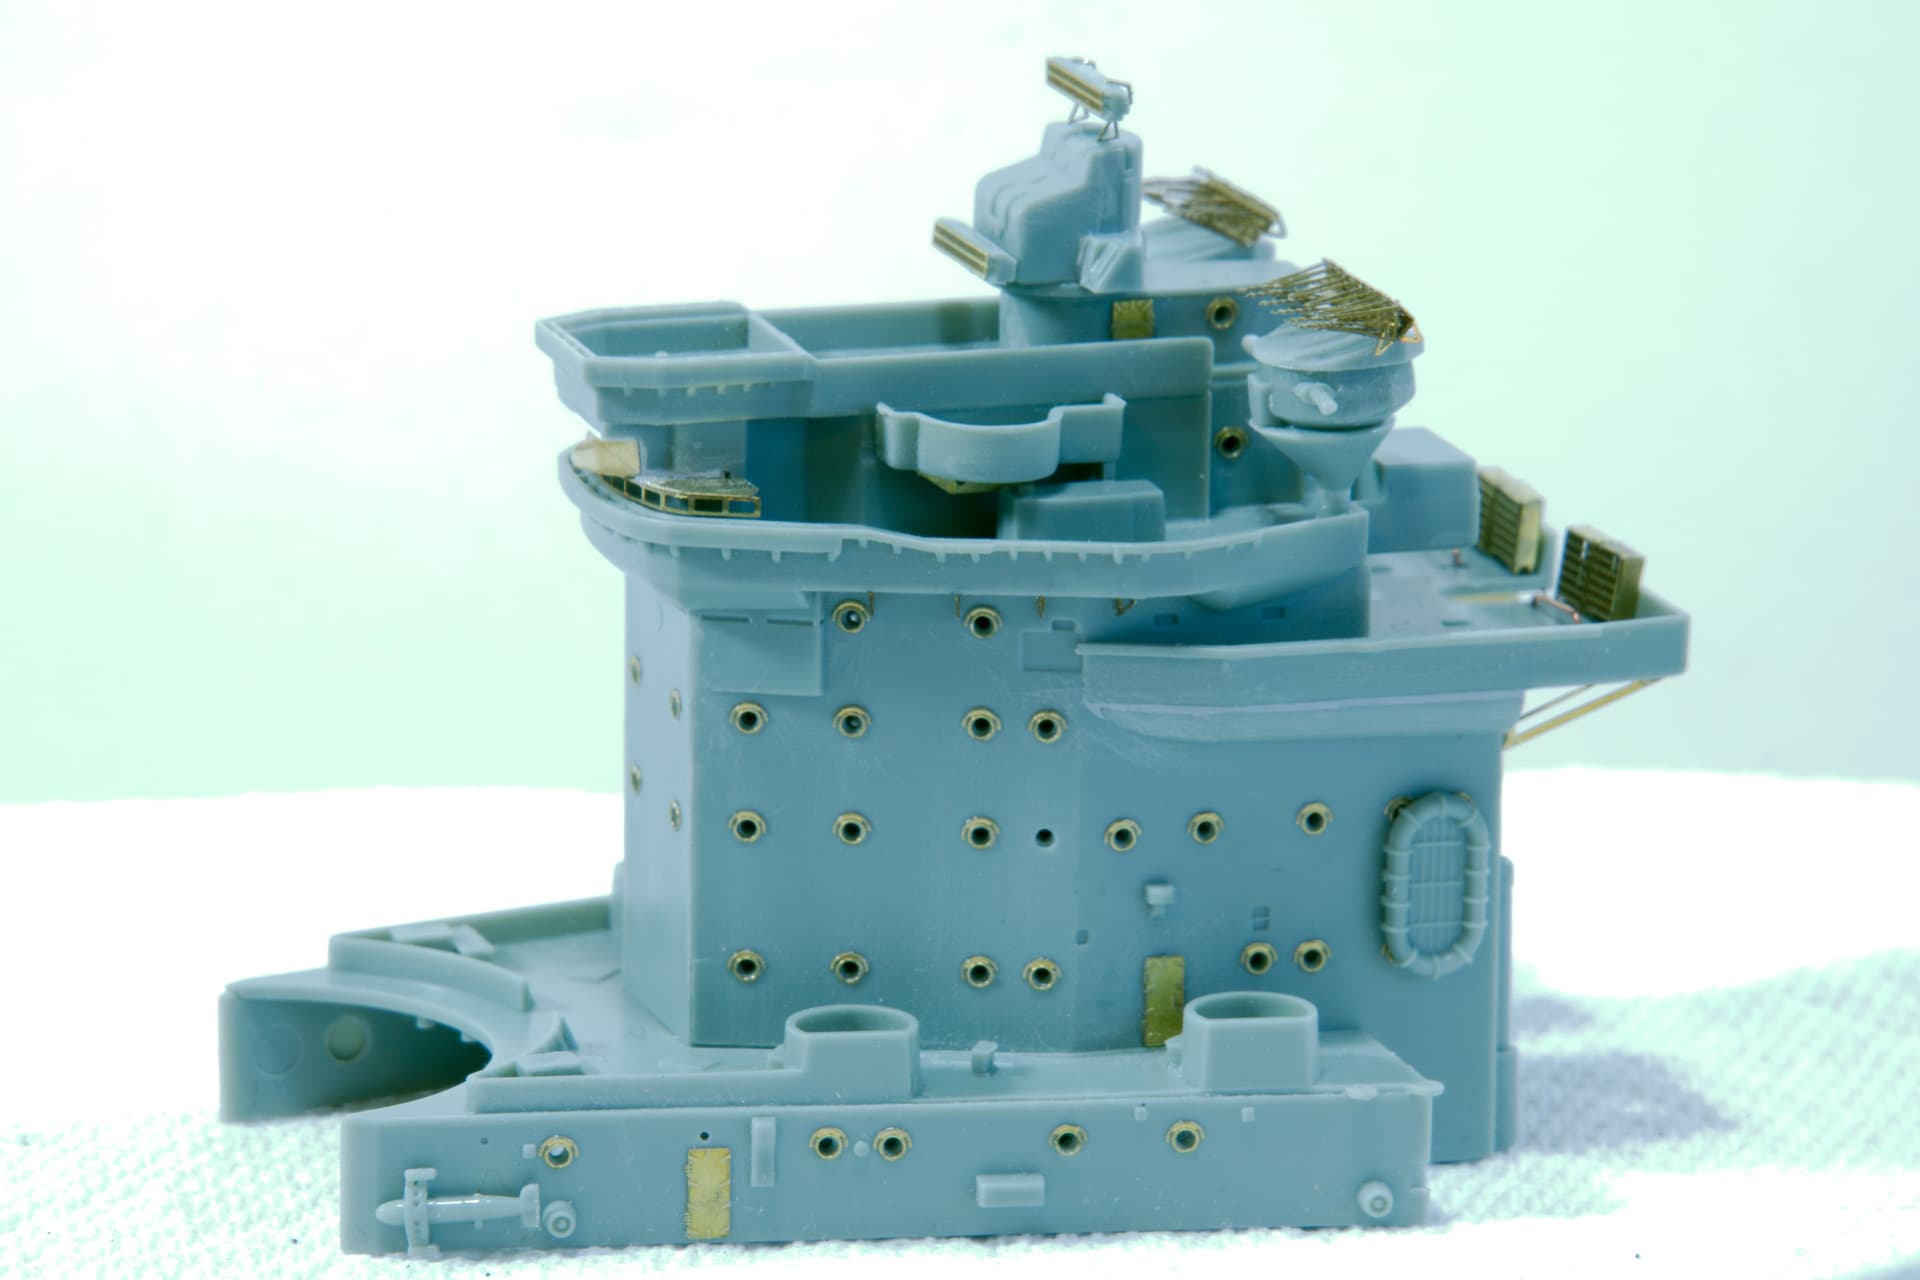
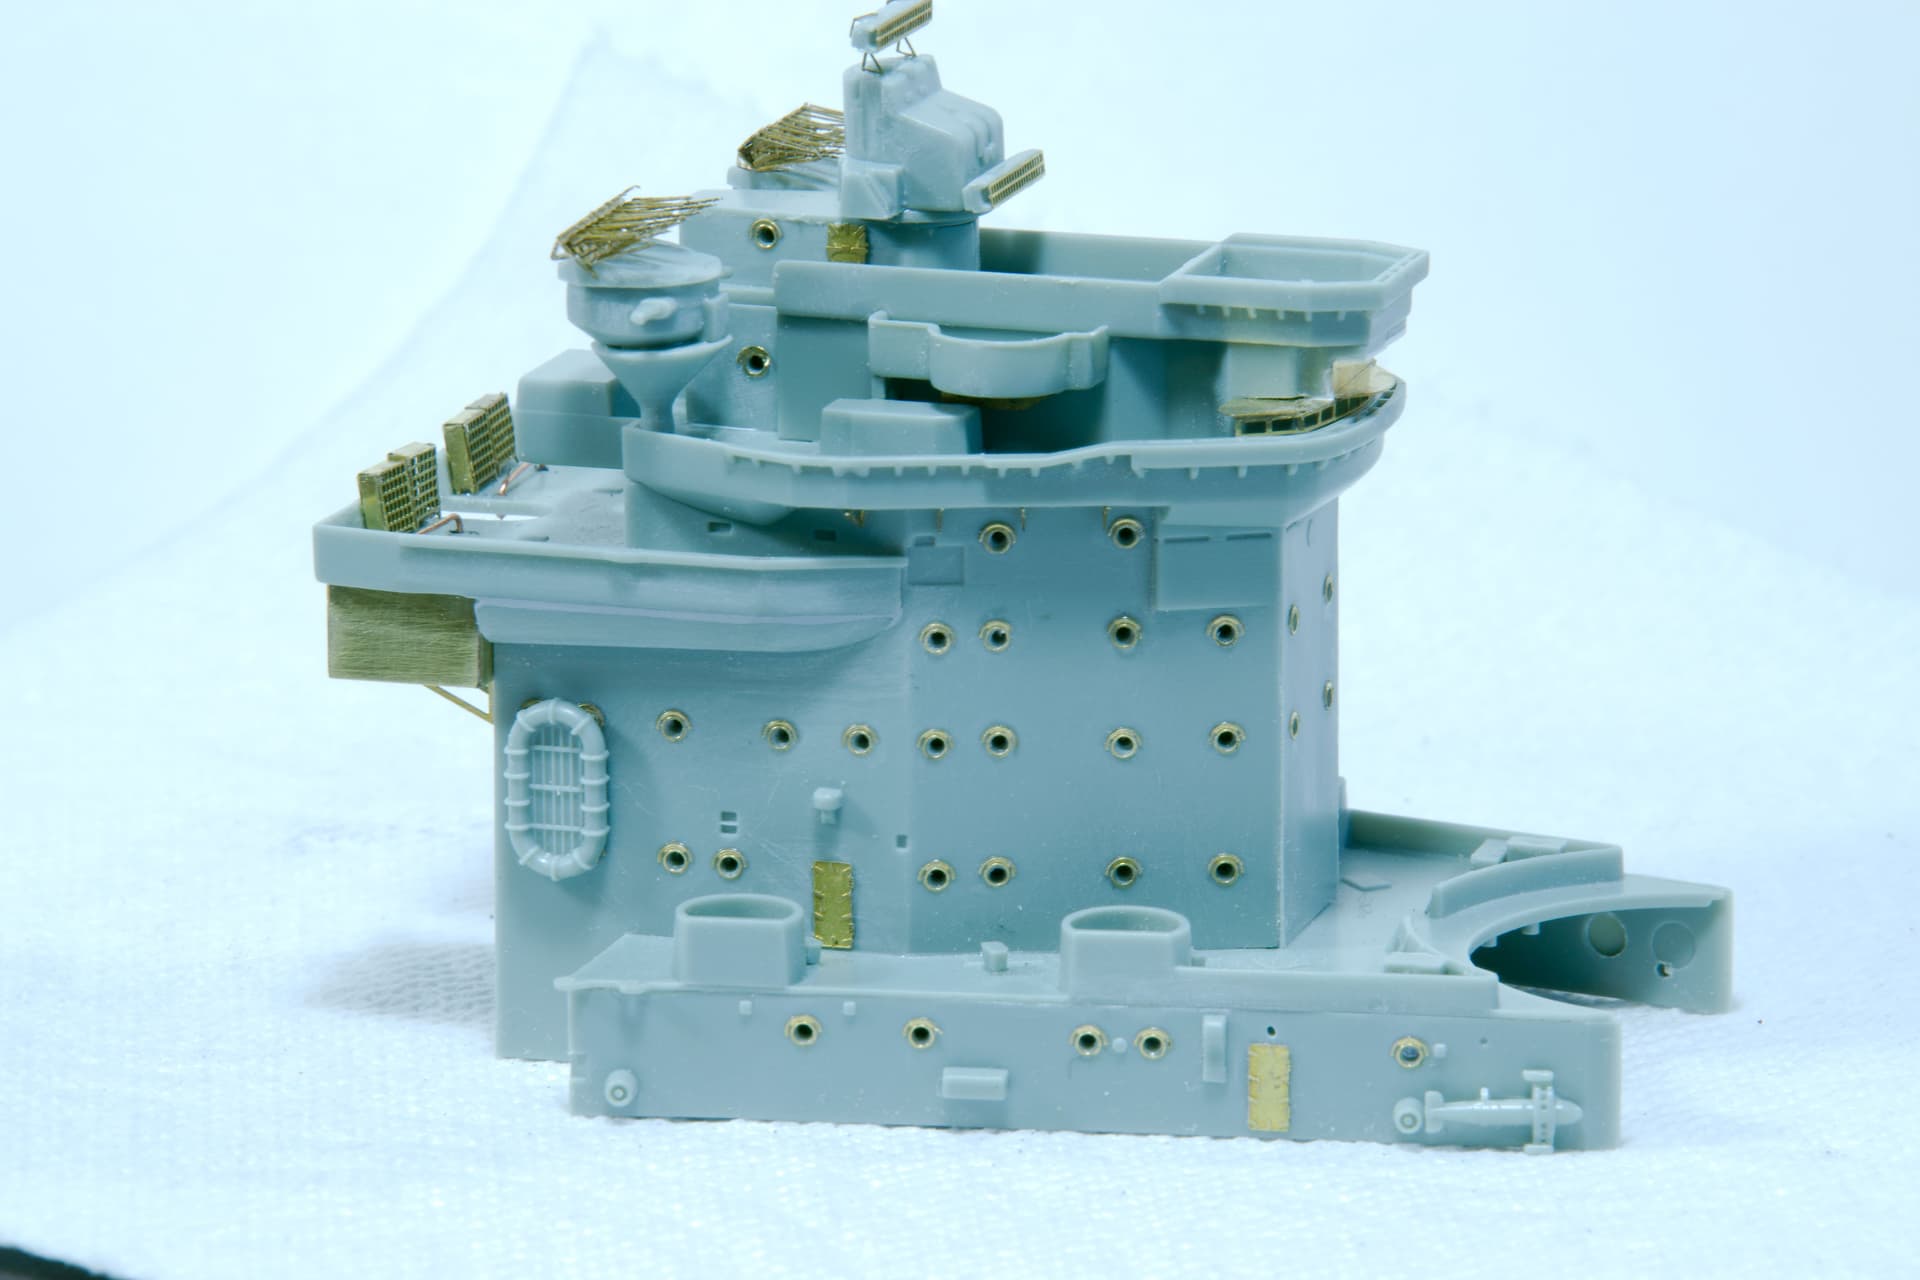
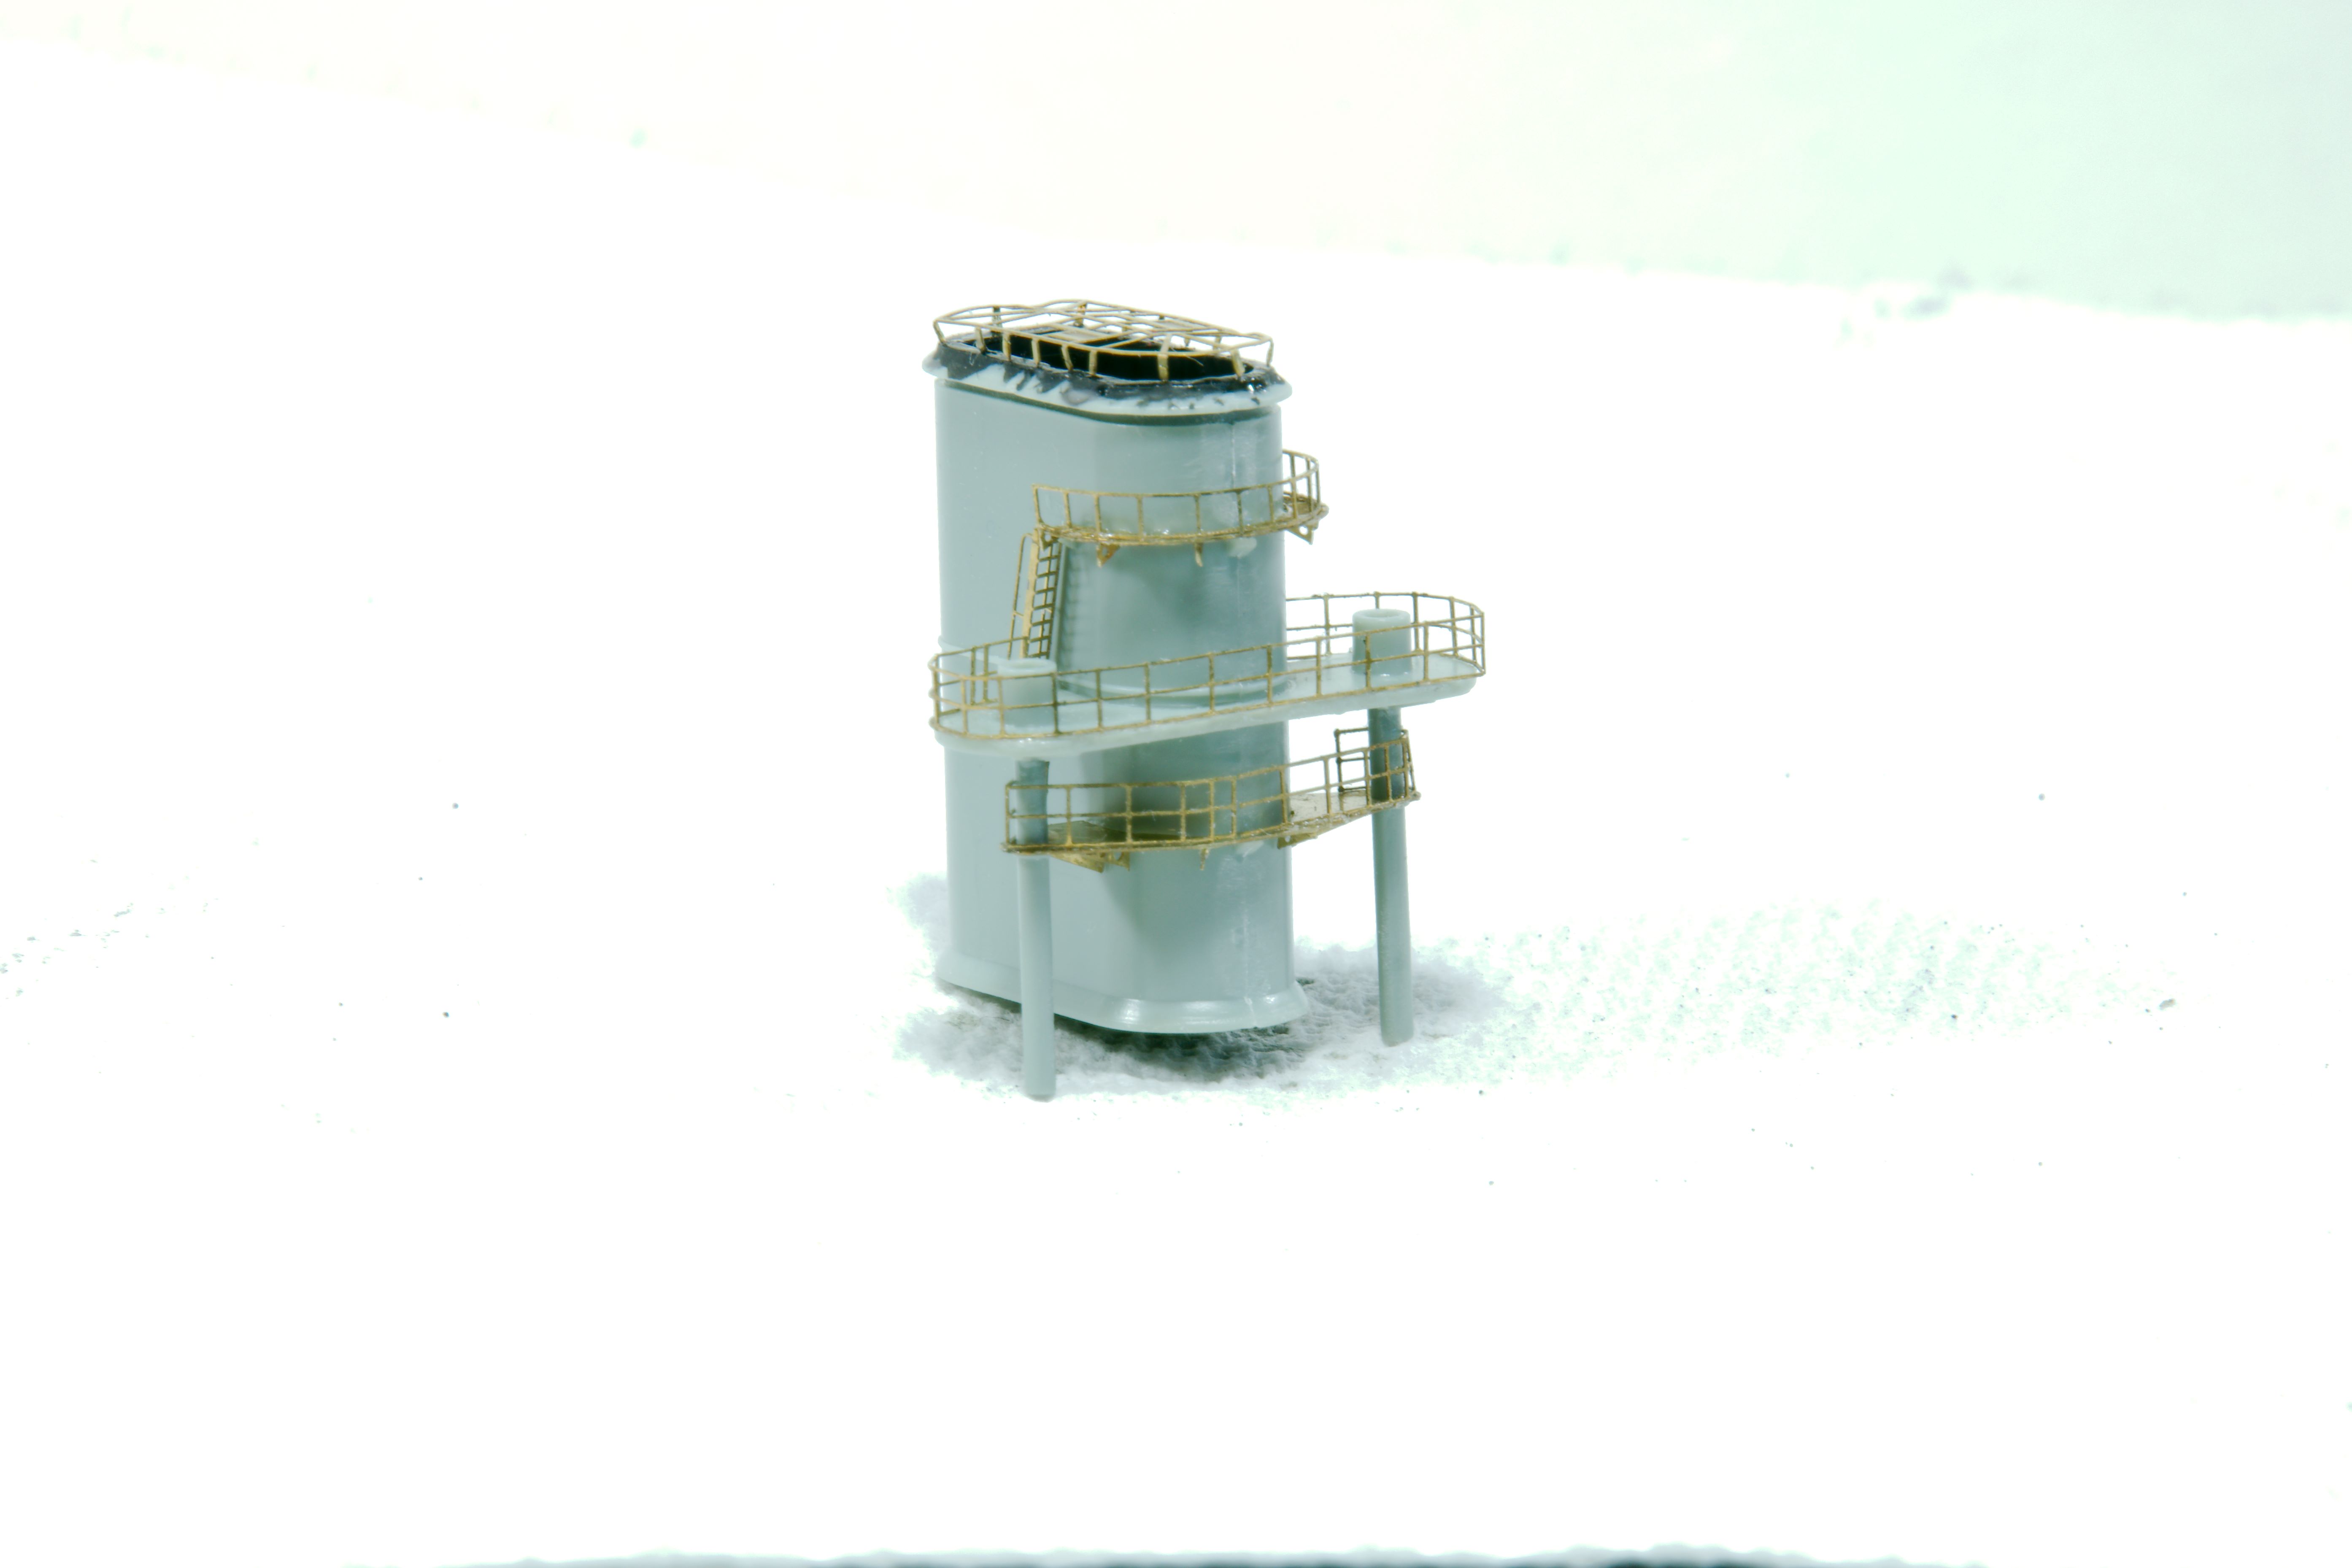
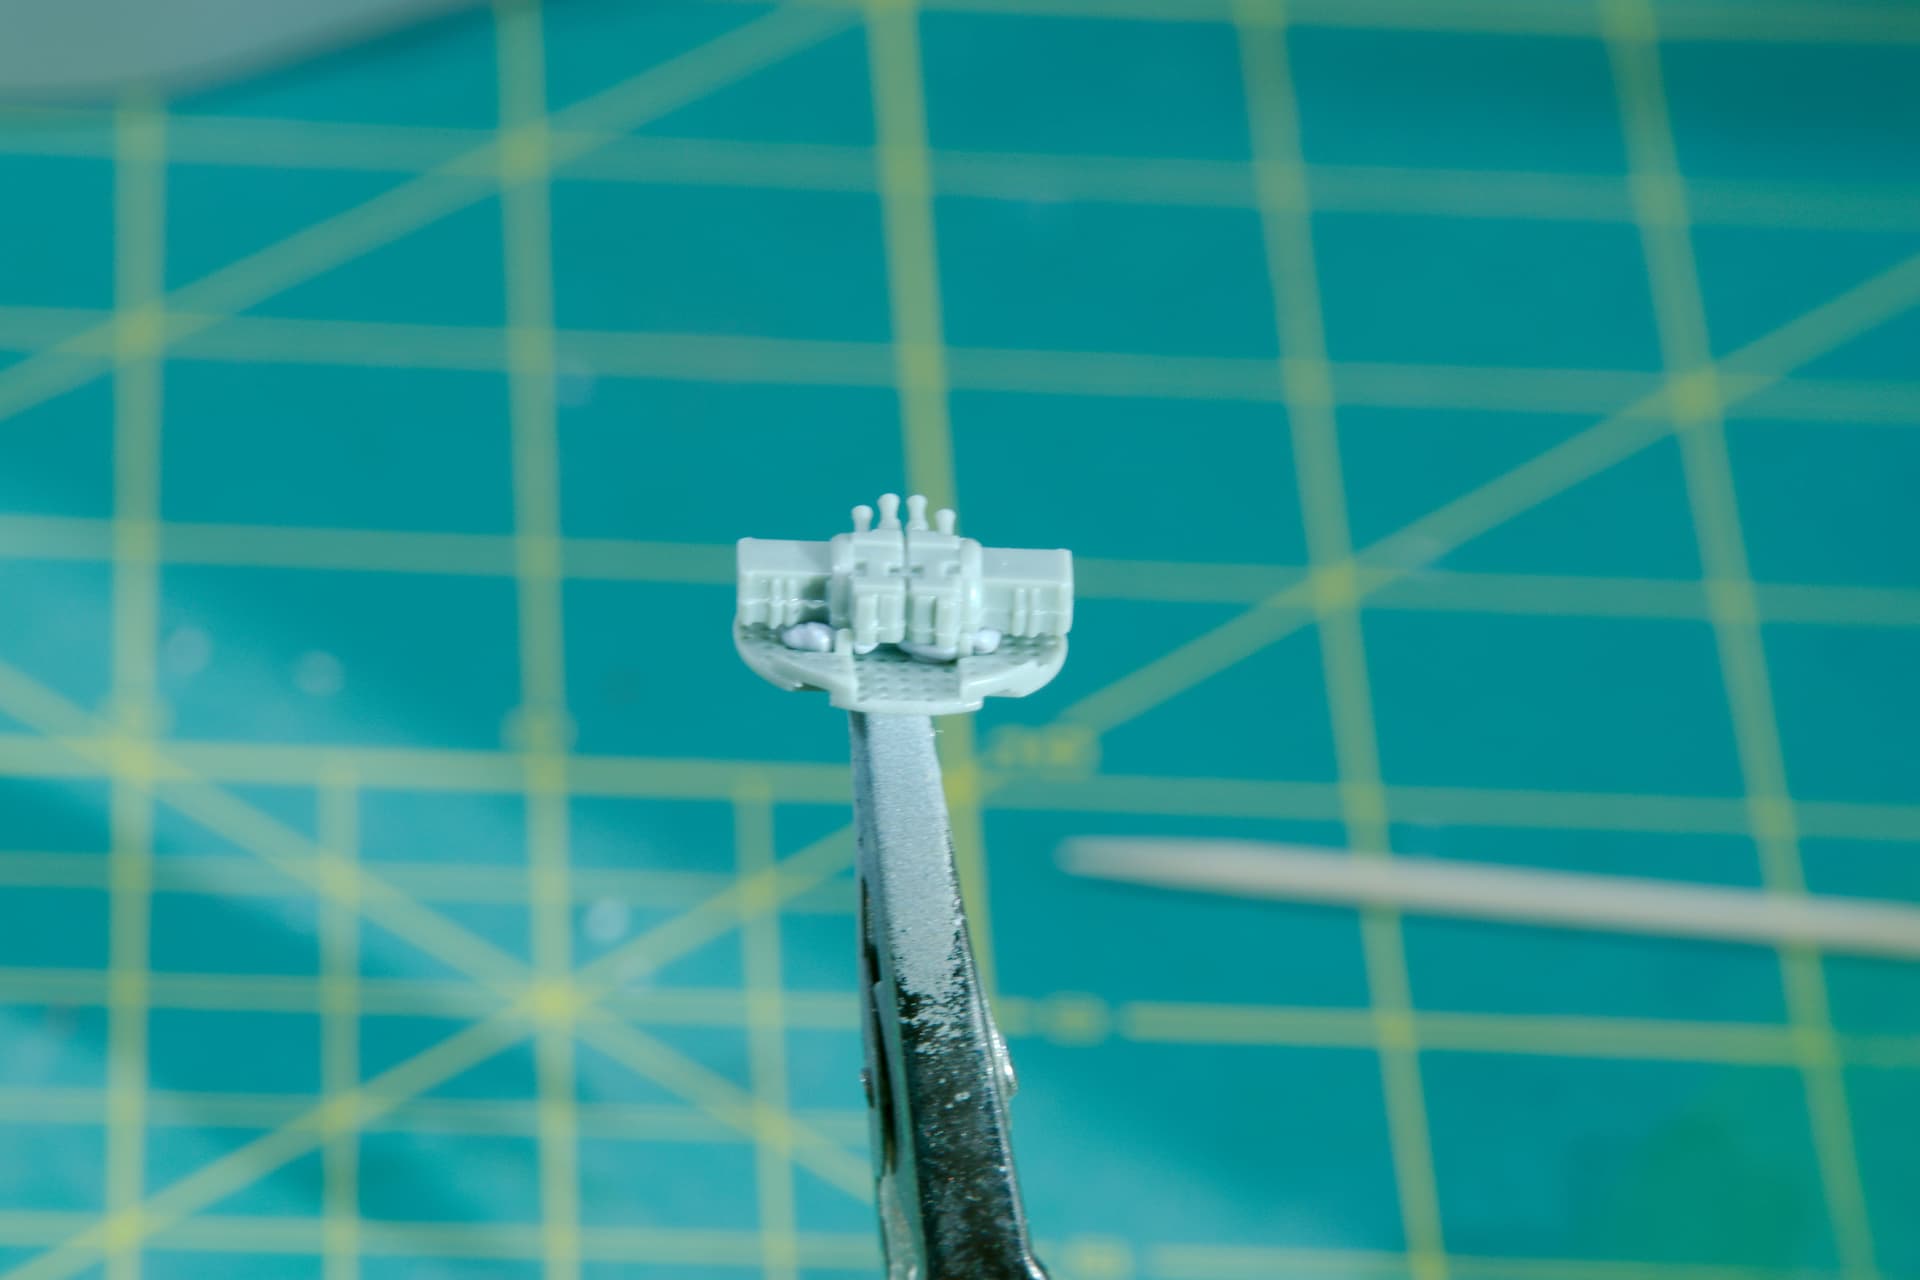
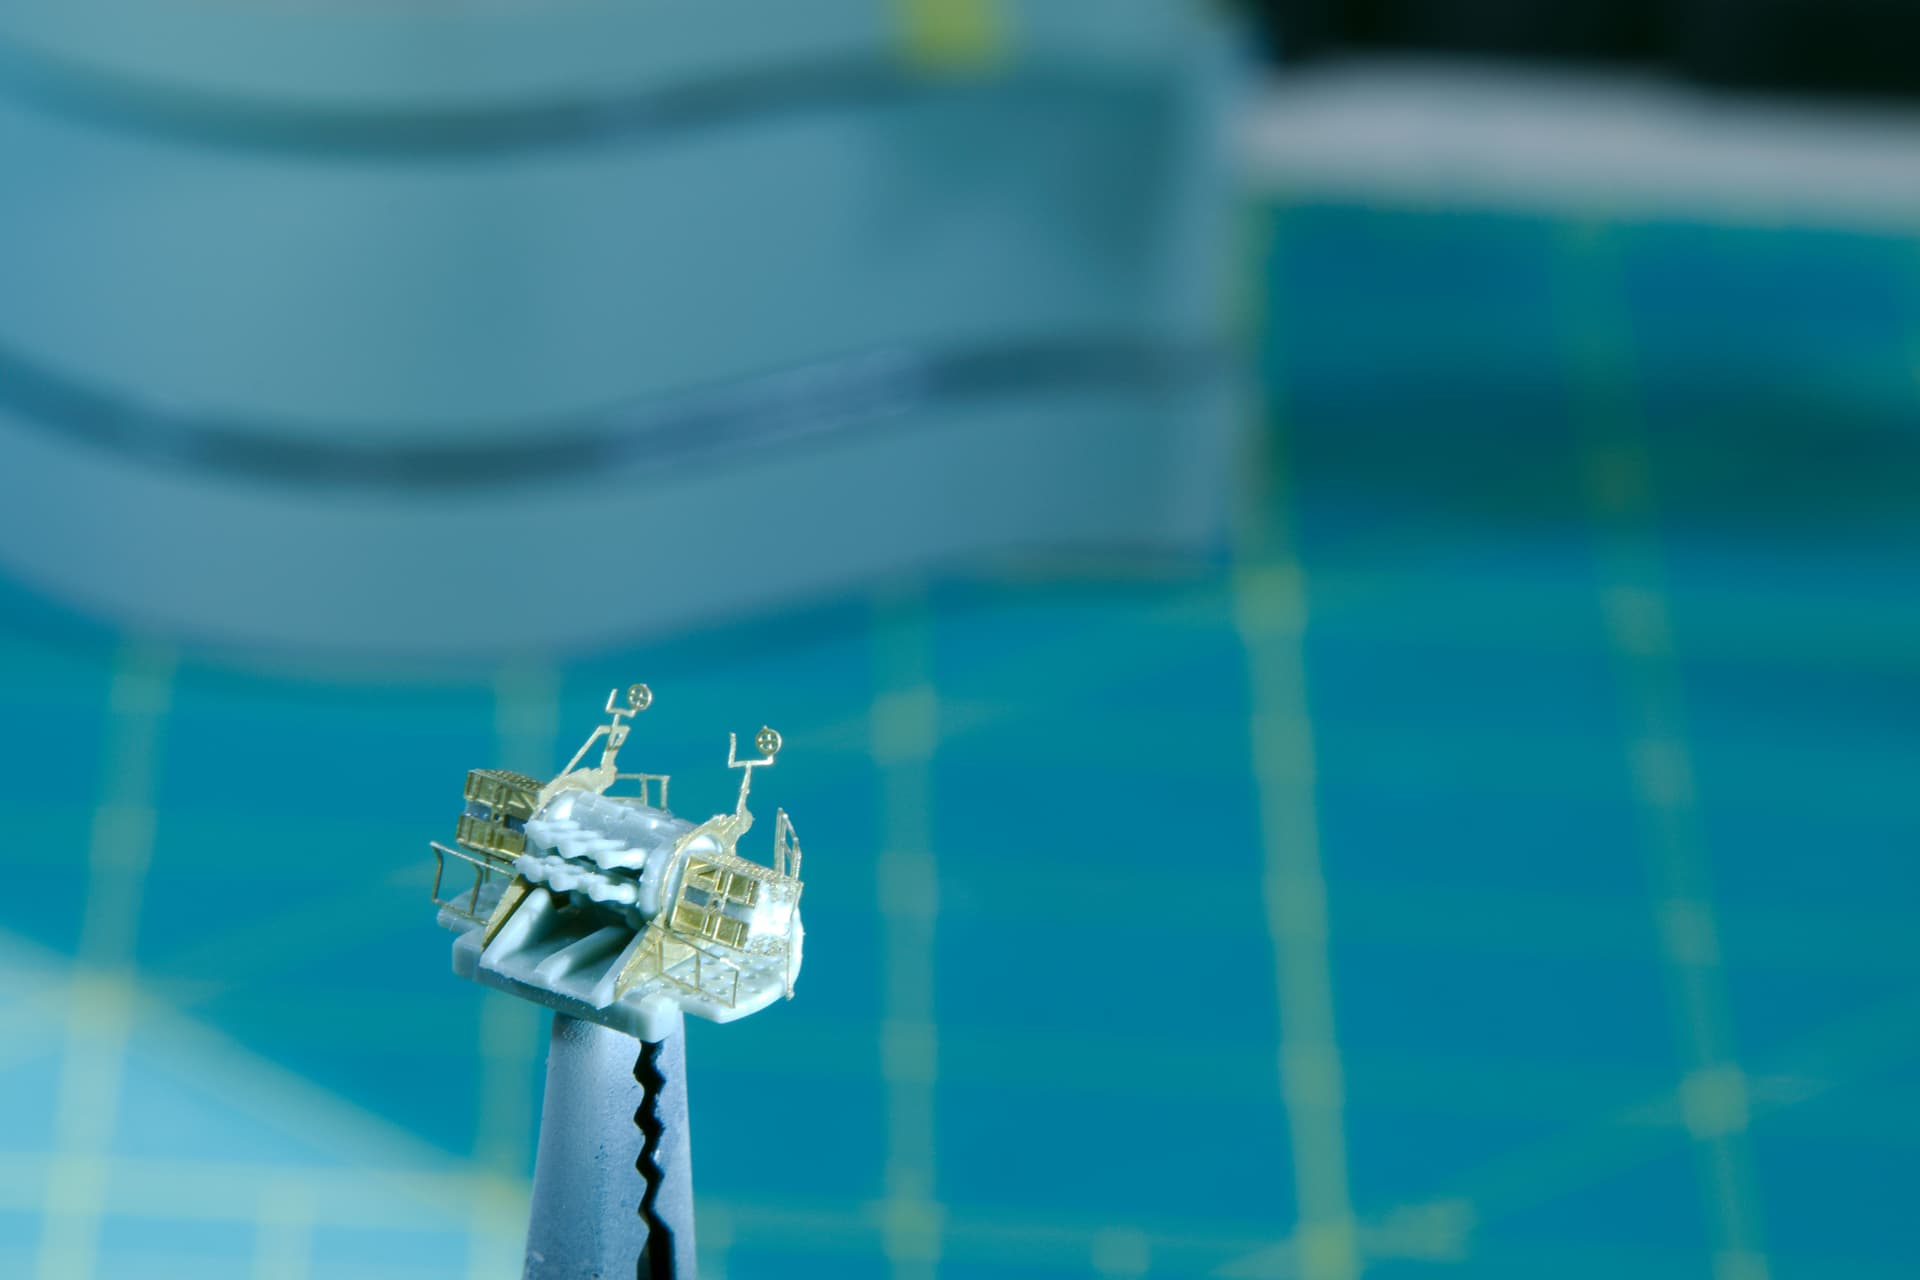
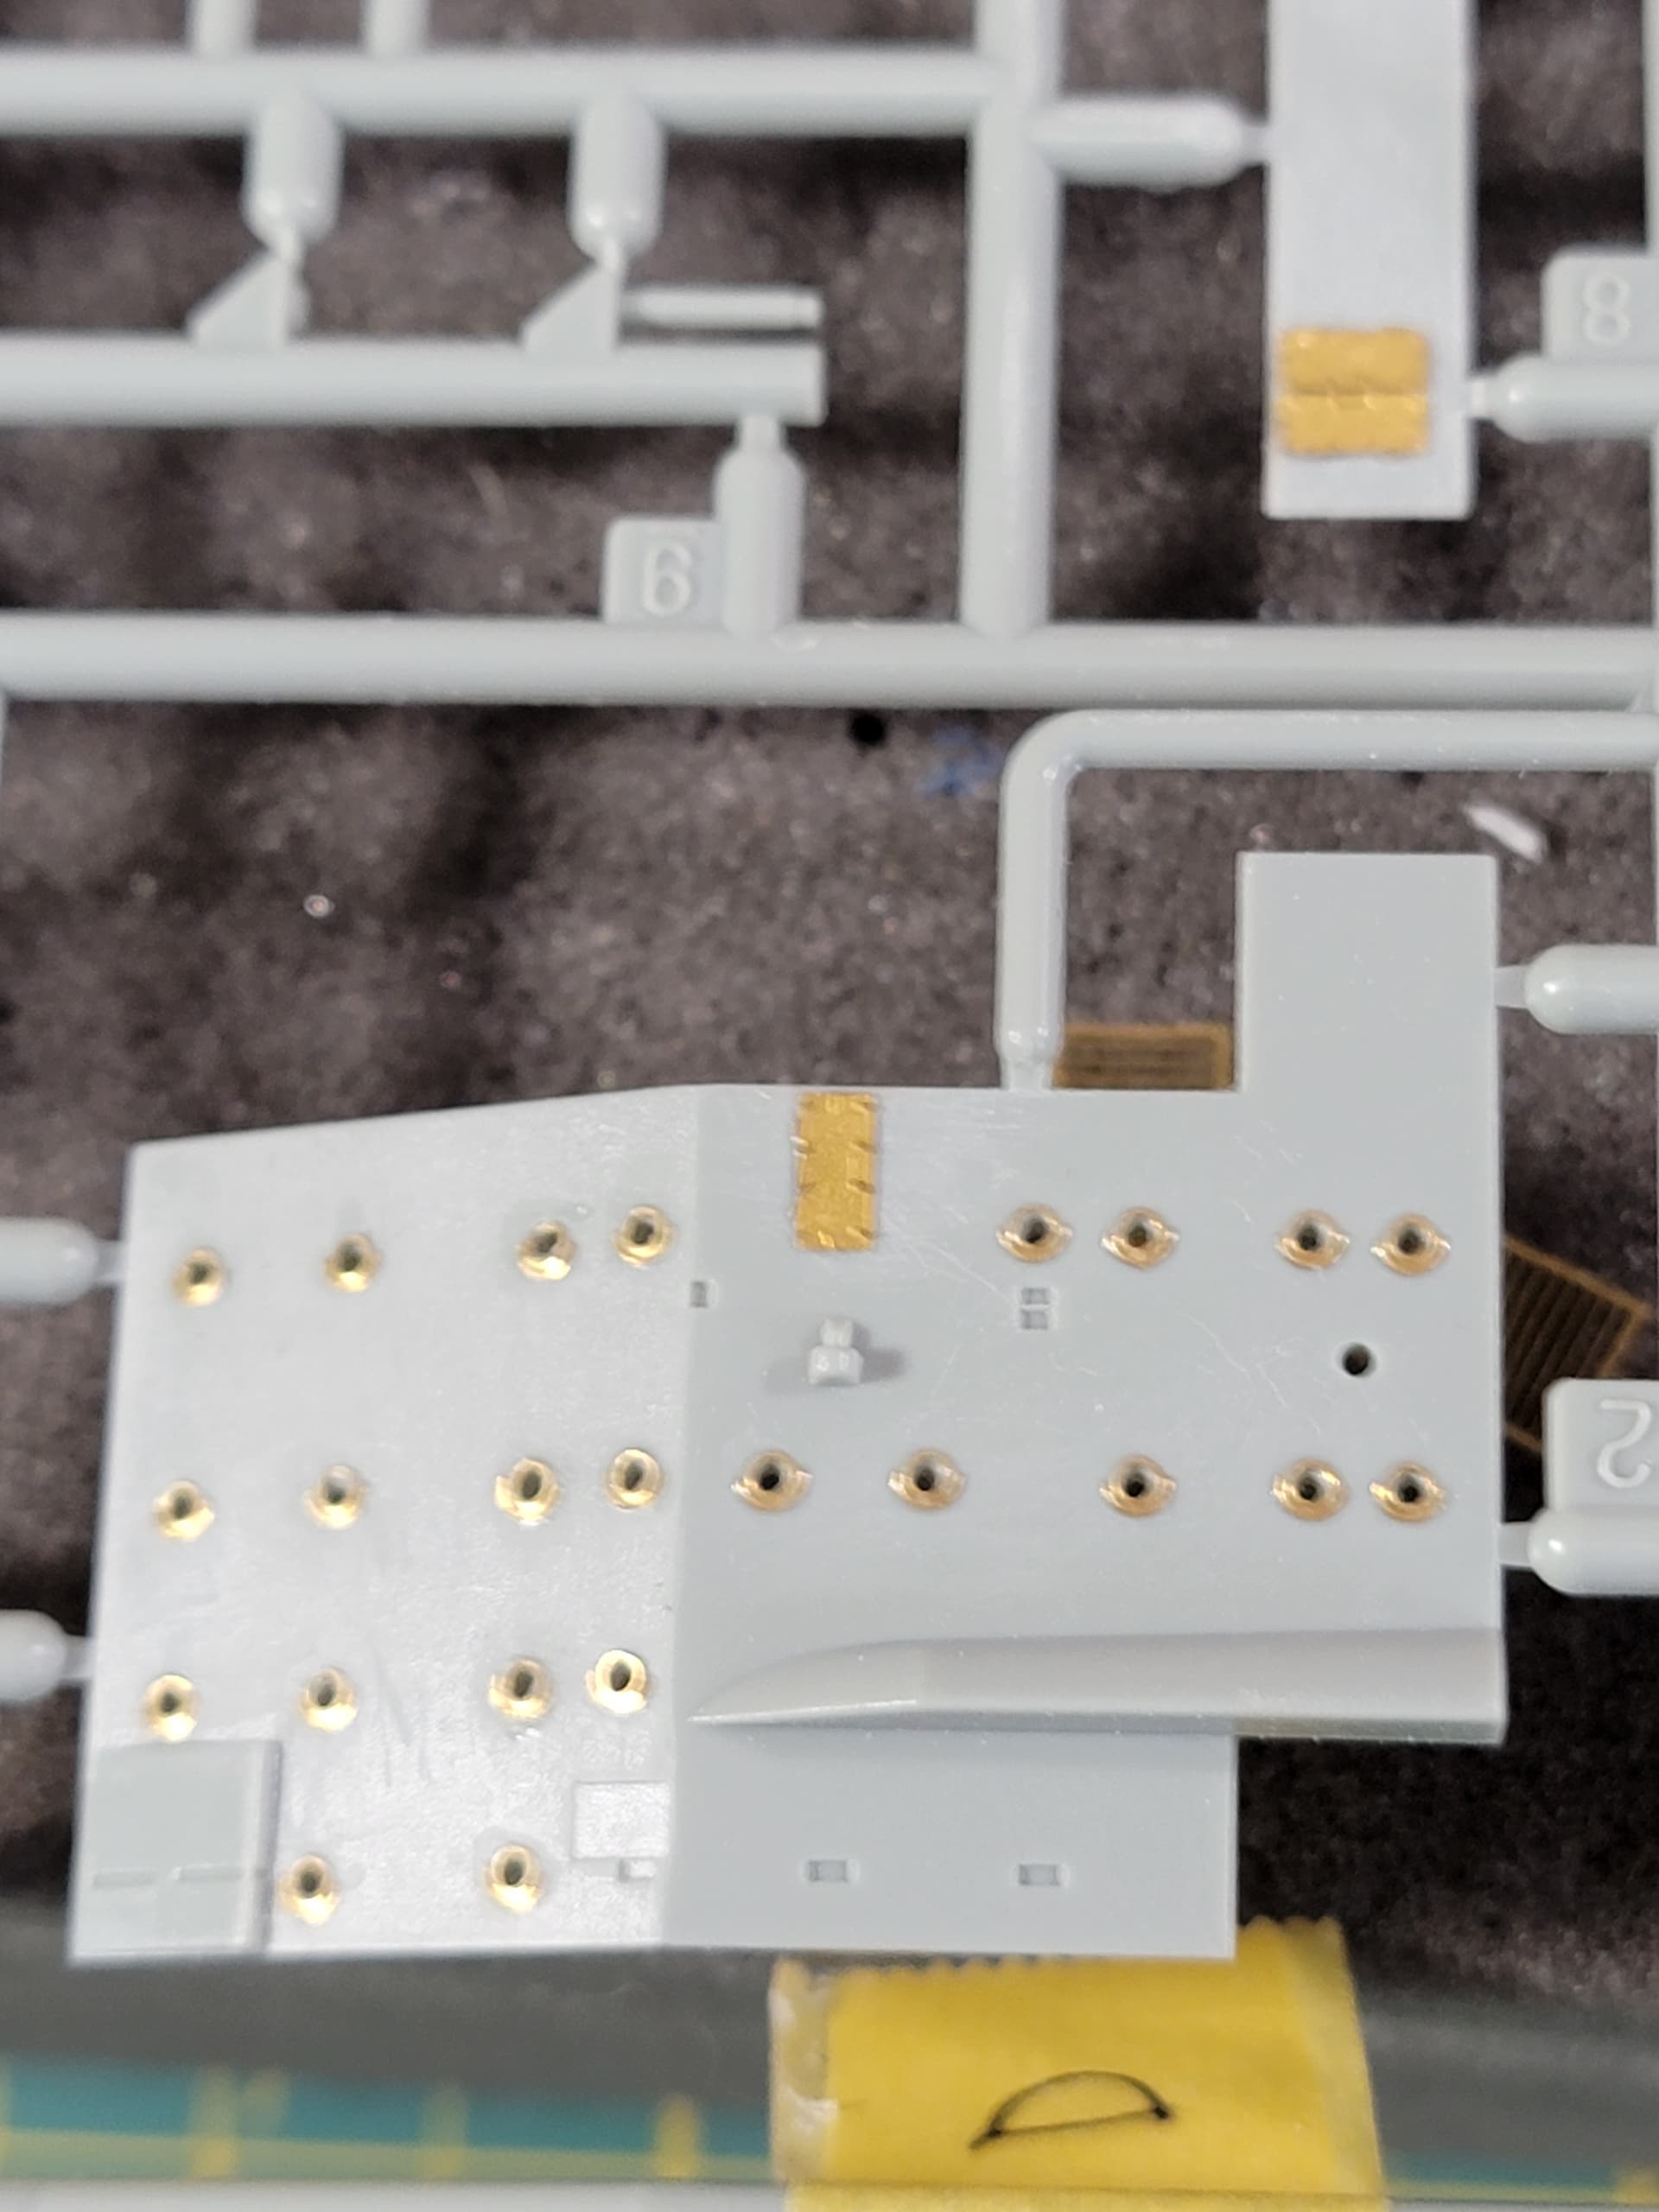
I have started building the superstructure assemblies, but there are many modifications that will need to be done to fit all the PE that Academy and White Ensign has created for them.

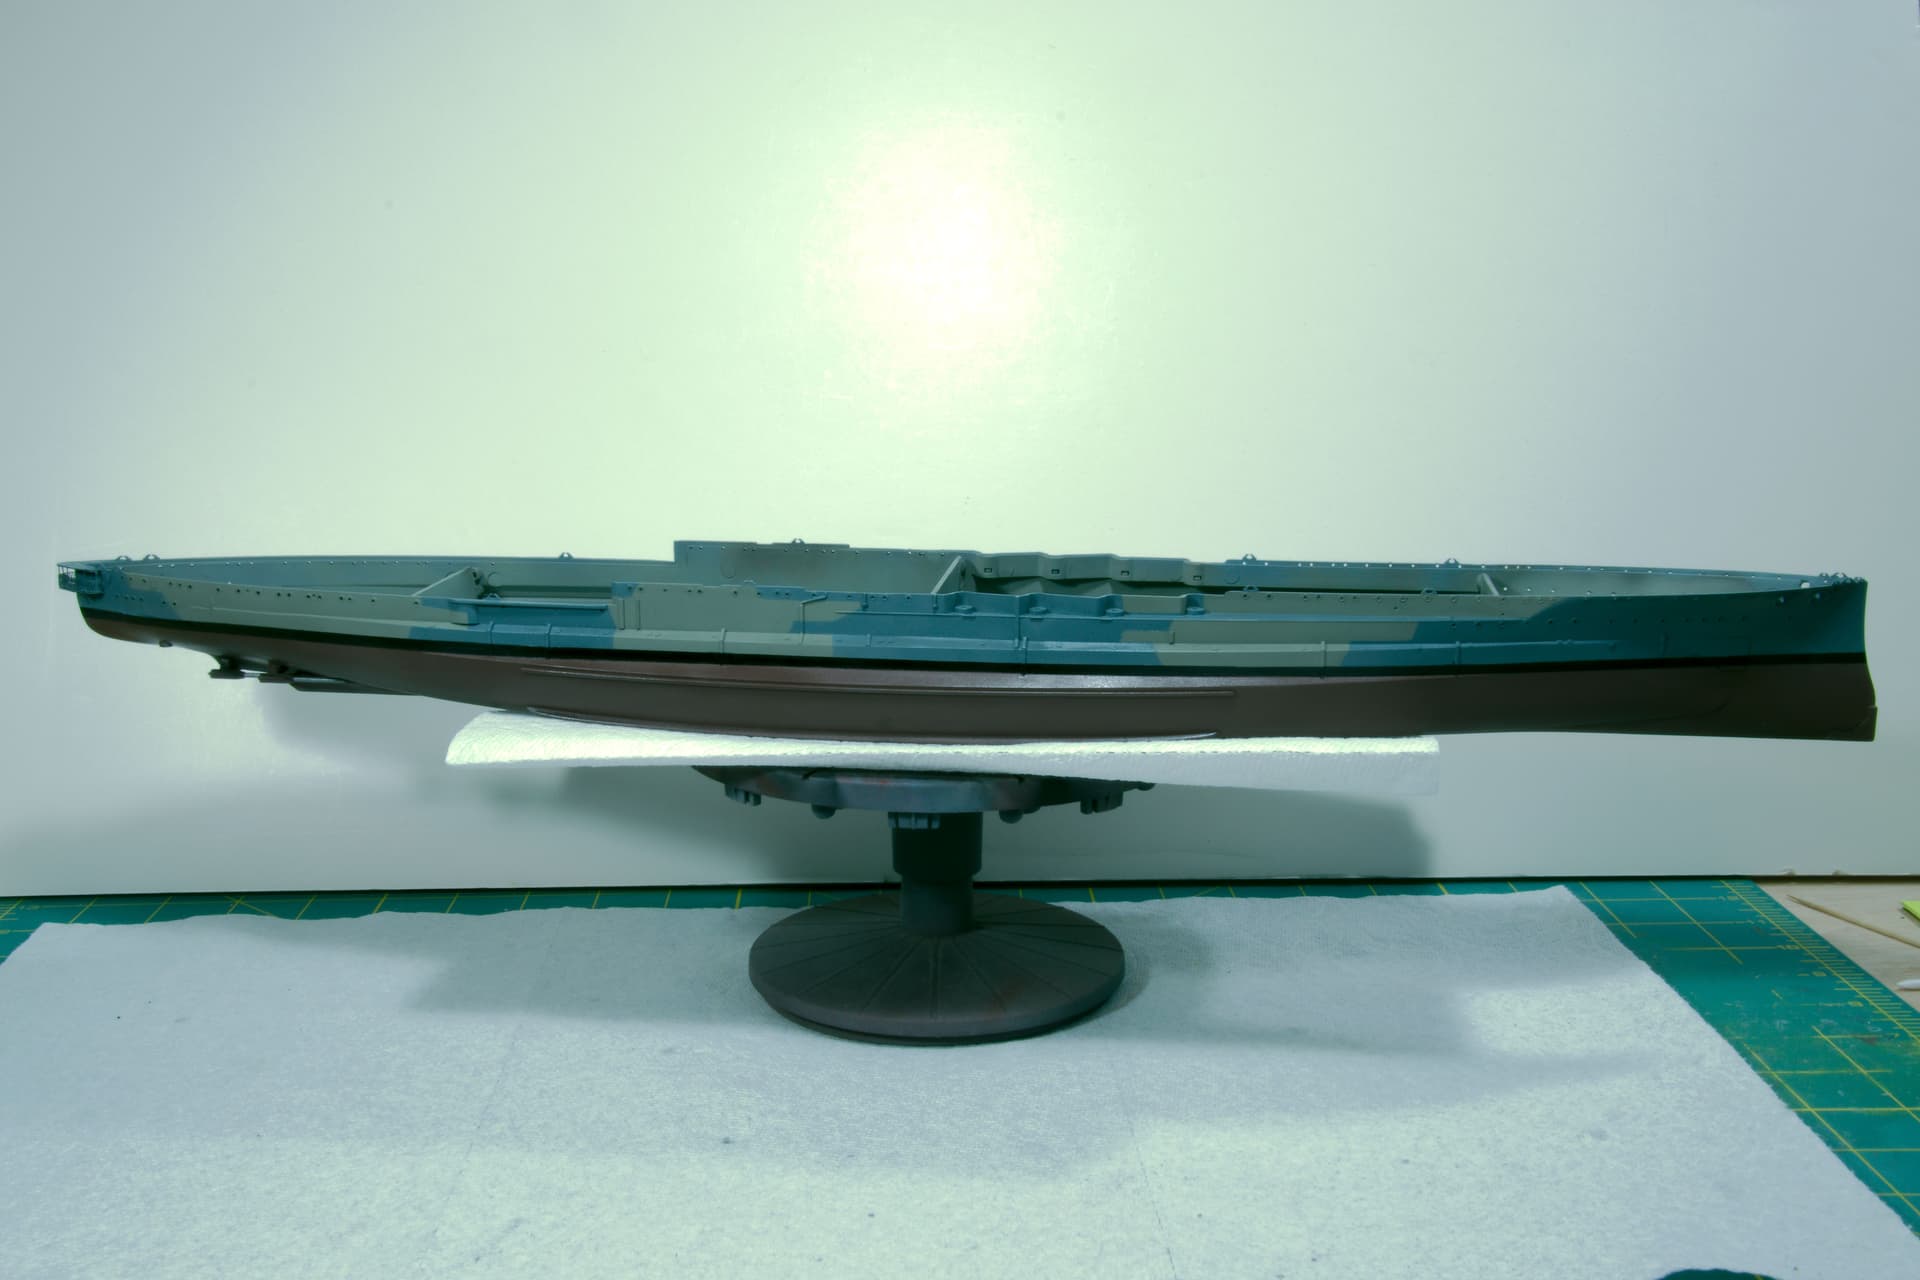
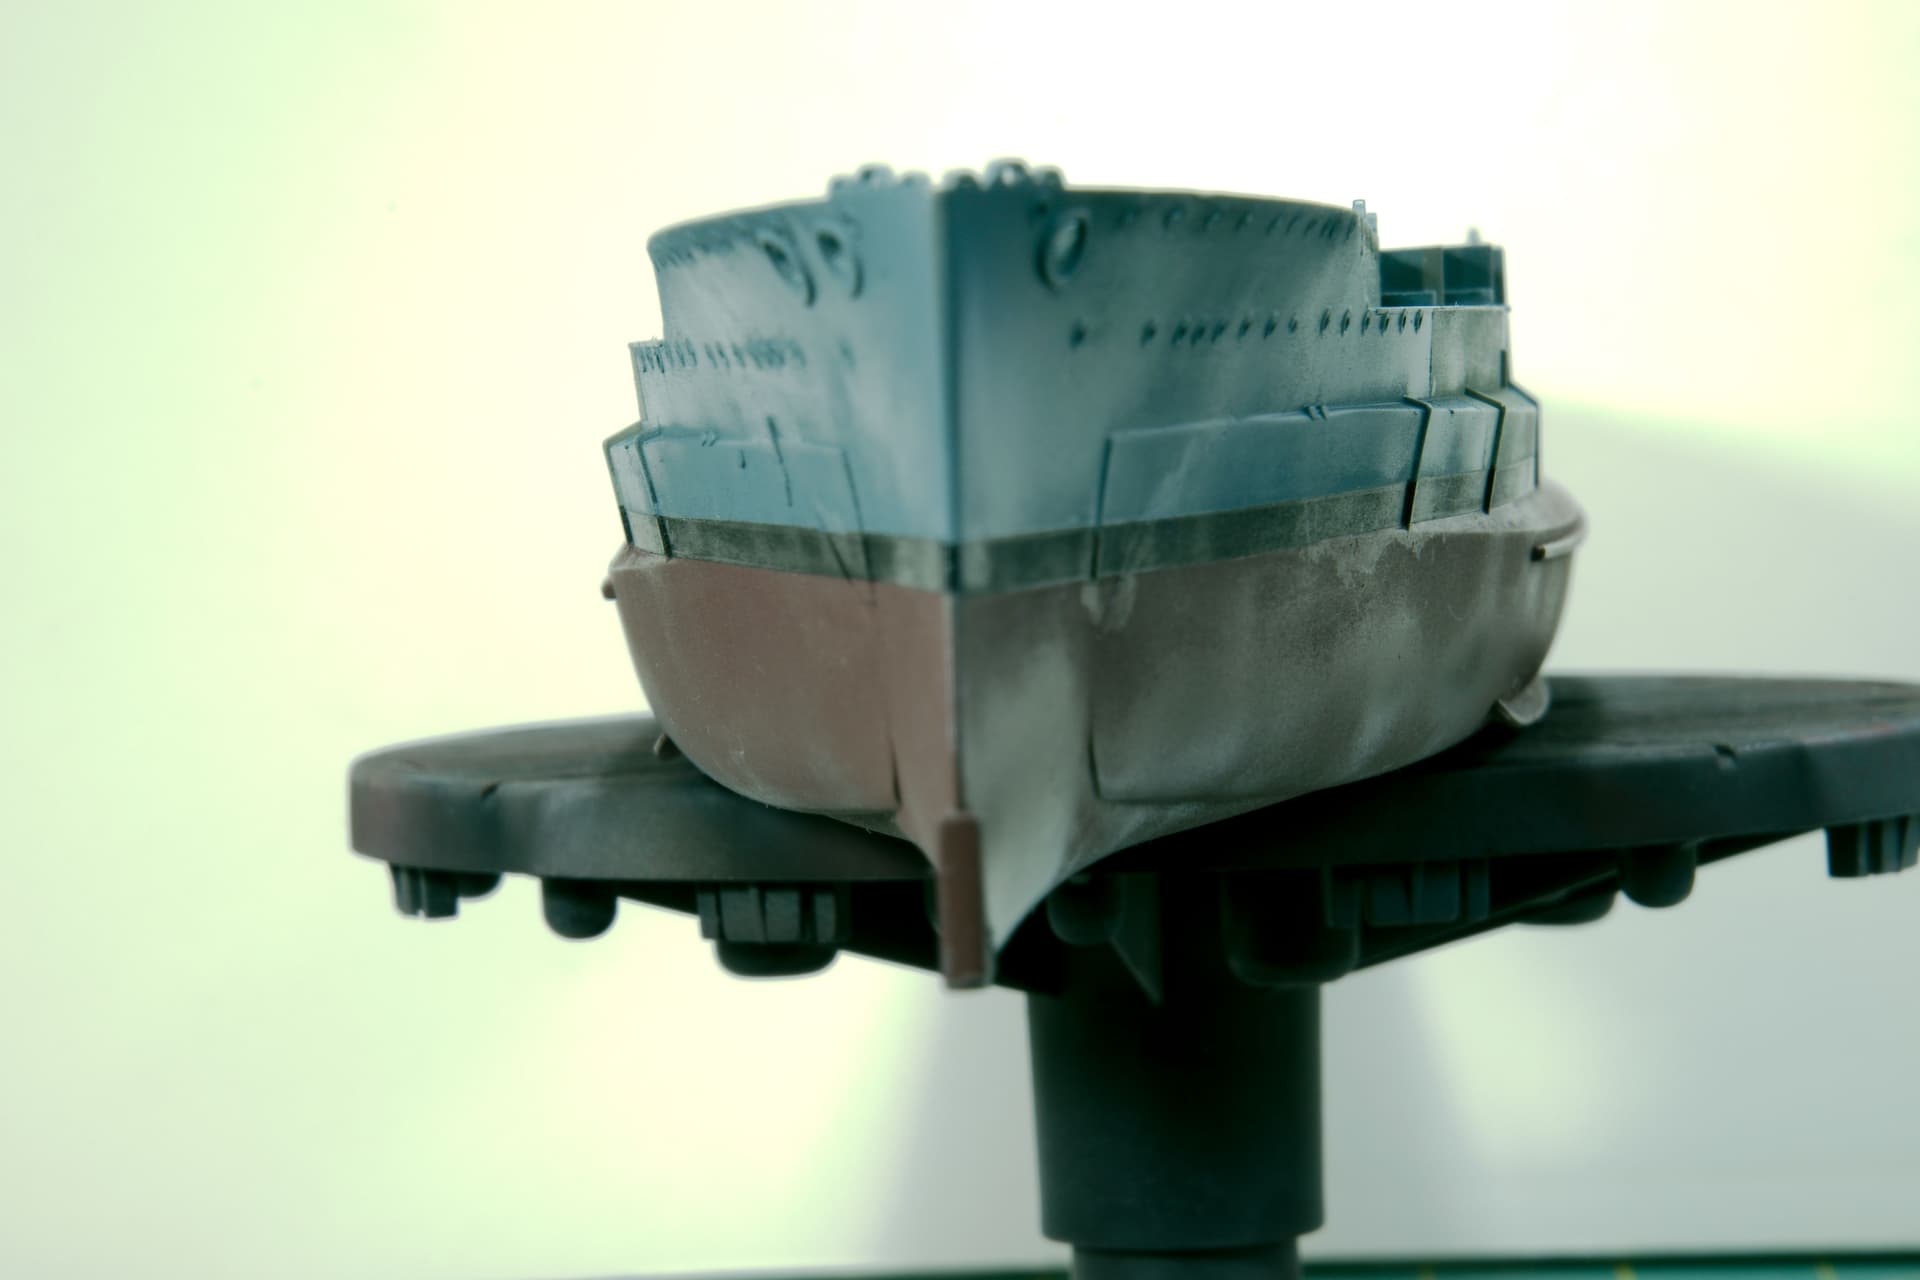
After looking through the reference books, I am debating on adding the armor that sticks out beyond the torpedo blister. I am concern on how to match it up with the blister, so the blister looks like it is sitting on top of the armor and not behind it.

Anyway, will post again as soon as I have more to show. I would appreciate if anyone that has built this kit has some advice to pass on, please do so.

Mark :beer:

12 Likes

Wohoo interesting choice Mark, will watch it :smiley:

Looks amazing, but way too much work for me. I’ll take single link tracks anyday. Looking forward to the rest of the build. I can appreciate good work even if I can’t do it myself. Jack

Hi Mark,
The grand old lady, is looking really great,I have booked marked the build & will follow with interest!!
Mike

Excellent work so far on those little details…looking forward to seeing more!
Cheers,

Subscribed & along for the ride.
Outstanding!

Thank you everyone. I have been making progress and will post some new photos in a few days.

Mark :beer:

Hi Mark,

Will be along for the ride too.

Cheers

Si

Well, I finally have some photos on my progress with the Warspite. I have a lot of sub assemblies completed. No pictures of them as they are covered in black primer and wouldn’t photographic well, but will post after I put on their base coat.

Finally, completed painting the hull and put on a coat of Pledge floor polish to protect the paint. Looking through my references, Academy did not add the armor at the bow and stern, which extended pass the torpedo bulkhead. So I thought easy enough to do, just upscale your 1/400 drawing to 1/350 and make a template. Nah, the hull is larger than 1/350, so I had to keep adjusting the drawing on the printer until it matched the Academy hull.

The armor at the stern is a little off, but I can live with it. Just stand back 3 feet, and it looks spot on…LOL.

Of course, I had to drill out of the porthole, but I didn’t stop there, oh no. Removed all of molded on rain shields and add RN portholes by Northstar. Then there were the molded on doors and vents that had to go. The doors and hatches are from White Ensign.

After all that, I was able to start on the subassemblies.

The Pom-Poms that come with the kit are almost without detail.

So I built on using the White Ensign PE upgrade.

Really not happy with that outcome, so off to Black Cat Models for replacement. Hope to have them this week.

So that’s all I have for now. Should have more pictures in a few days, as I have those other sub-assemblies ready for painting.

Mark :beer:

11 Likes

Looking fantastic to me! A++

Very clean work so far mate, I like it a lot :+1:

Armor_Buff, Black_sheep,

Thank you.

Mark :beer:

Started to add the decking yesterday, but ran into a problem with the Scale Deck wood decking on the quarter deck. The wood deck cutouts don’t align with the molded pieces at the stern.

No matter what I tried, I couldn’t get the decking to align with the deck. I have email photos to Scale Deck showing my problem and asking for advice or solution. If this can’t be resolved, I do have the wood deck that came with kit as a backup. I prefer to use the Scale Deck as it looks better and is thinner than the other deck.

Mark :beer:

7 Likes

Not sure how I missed this, Mark, but following along now…

Good progress so far! :slightly_smiling_face:

Hope you can resolve the issue with the deck!

Russelle, thanks for looking in. The photos I posted were dry fitting before I installed the quarterdeck. After I glued the deck to the hull, the wood decking now fits, but very tightly. I believe I can make do.

Sorry for not posting anything for a while. I received my first commission, to build a WWII Willies Jeep. The client wanted it as cheap as possible, so I built him the Tamiya 1994 kit. I am also trying to finish up a M4 Sherman build that’s been hogging space in the paint booth. I have a lot of pieces finished, but need paint time.

Mark :beer:

1 Like

I know that feeling: got a plane already to go but no time to paint :crazy_face:

Warspite was always a favorite of mine. She contributed effectively in WWI. She contributed spectacularly in WWII. It’s too bad that she wasn’t preserved.

Your model is doing her justice.

Bill

2 Likes

Mark, just found this myself - nice work, I’m now along for the ride.

David

HI Mark,

Nice work, the pompoms are look a lot better with the etch, I do like the black cat 8 barrel units, I have a pair either for the Kent or the Cornwall.

Cheers

Si

Si, I also have the black cat units, and they do look better than the kit pompoms with etch. It may come down to a flip of a coin as to use them or save them for another kit.

Mark :beer: