I have started this kit at a recent club session and worked on it while my VBL weathering was drying.
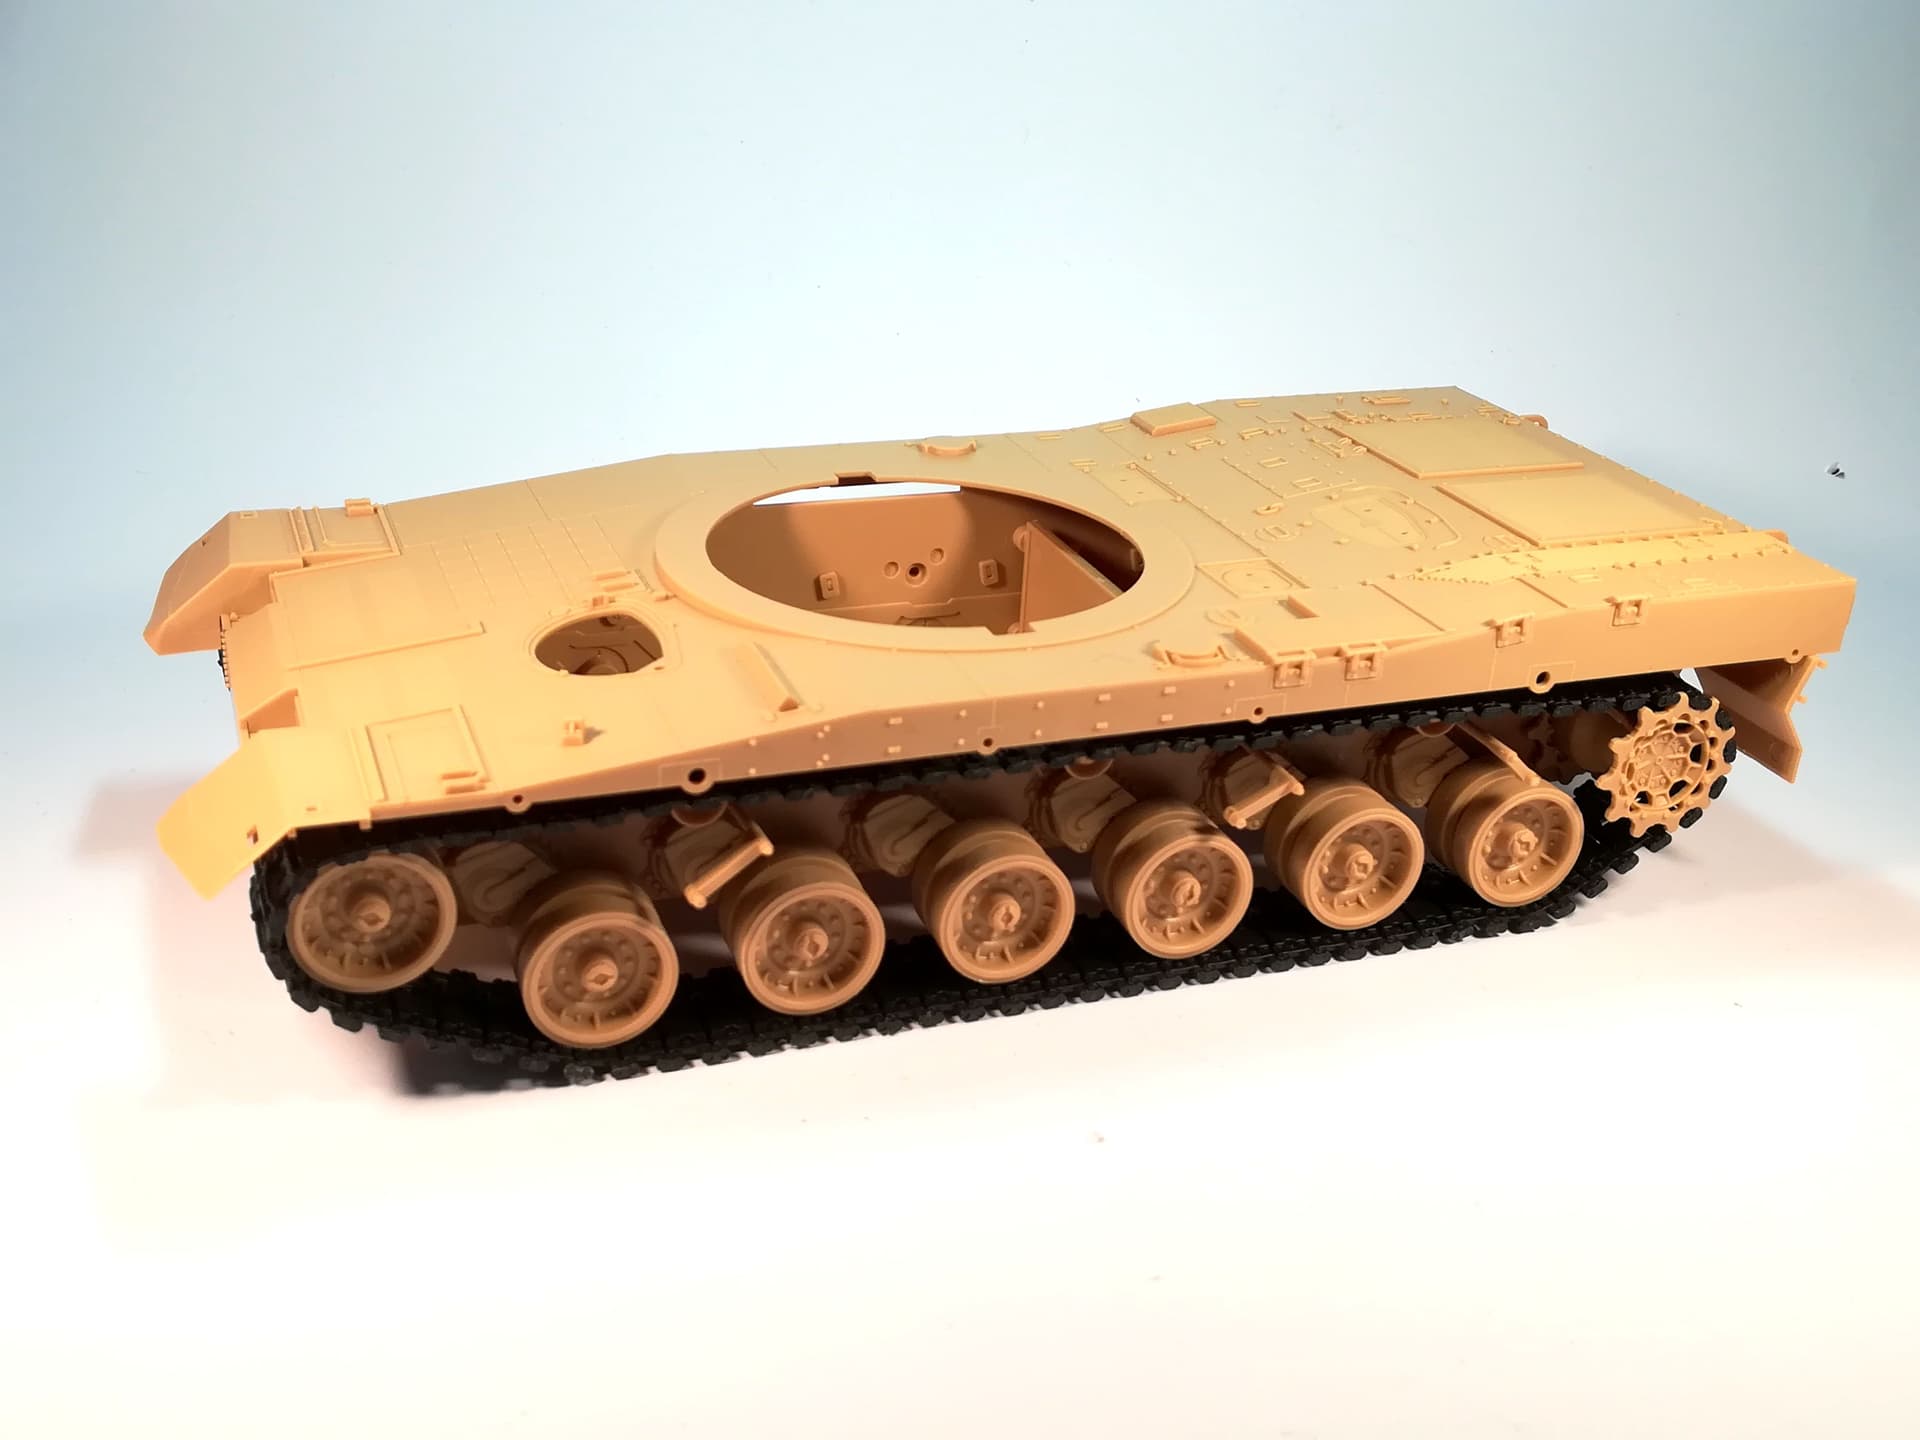
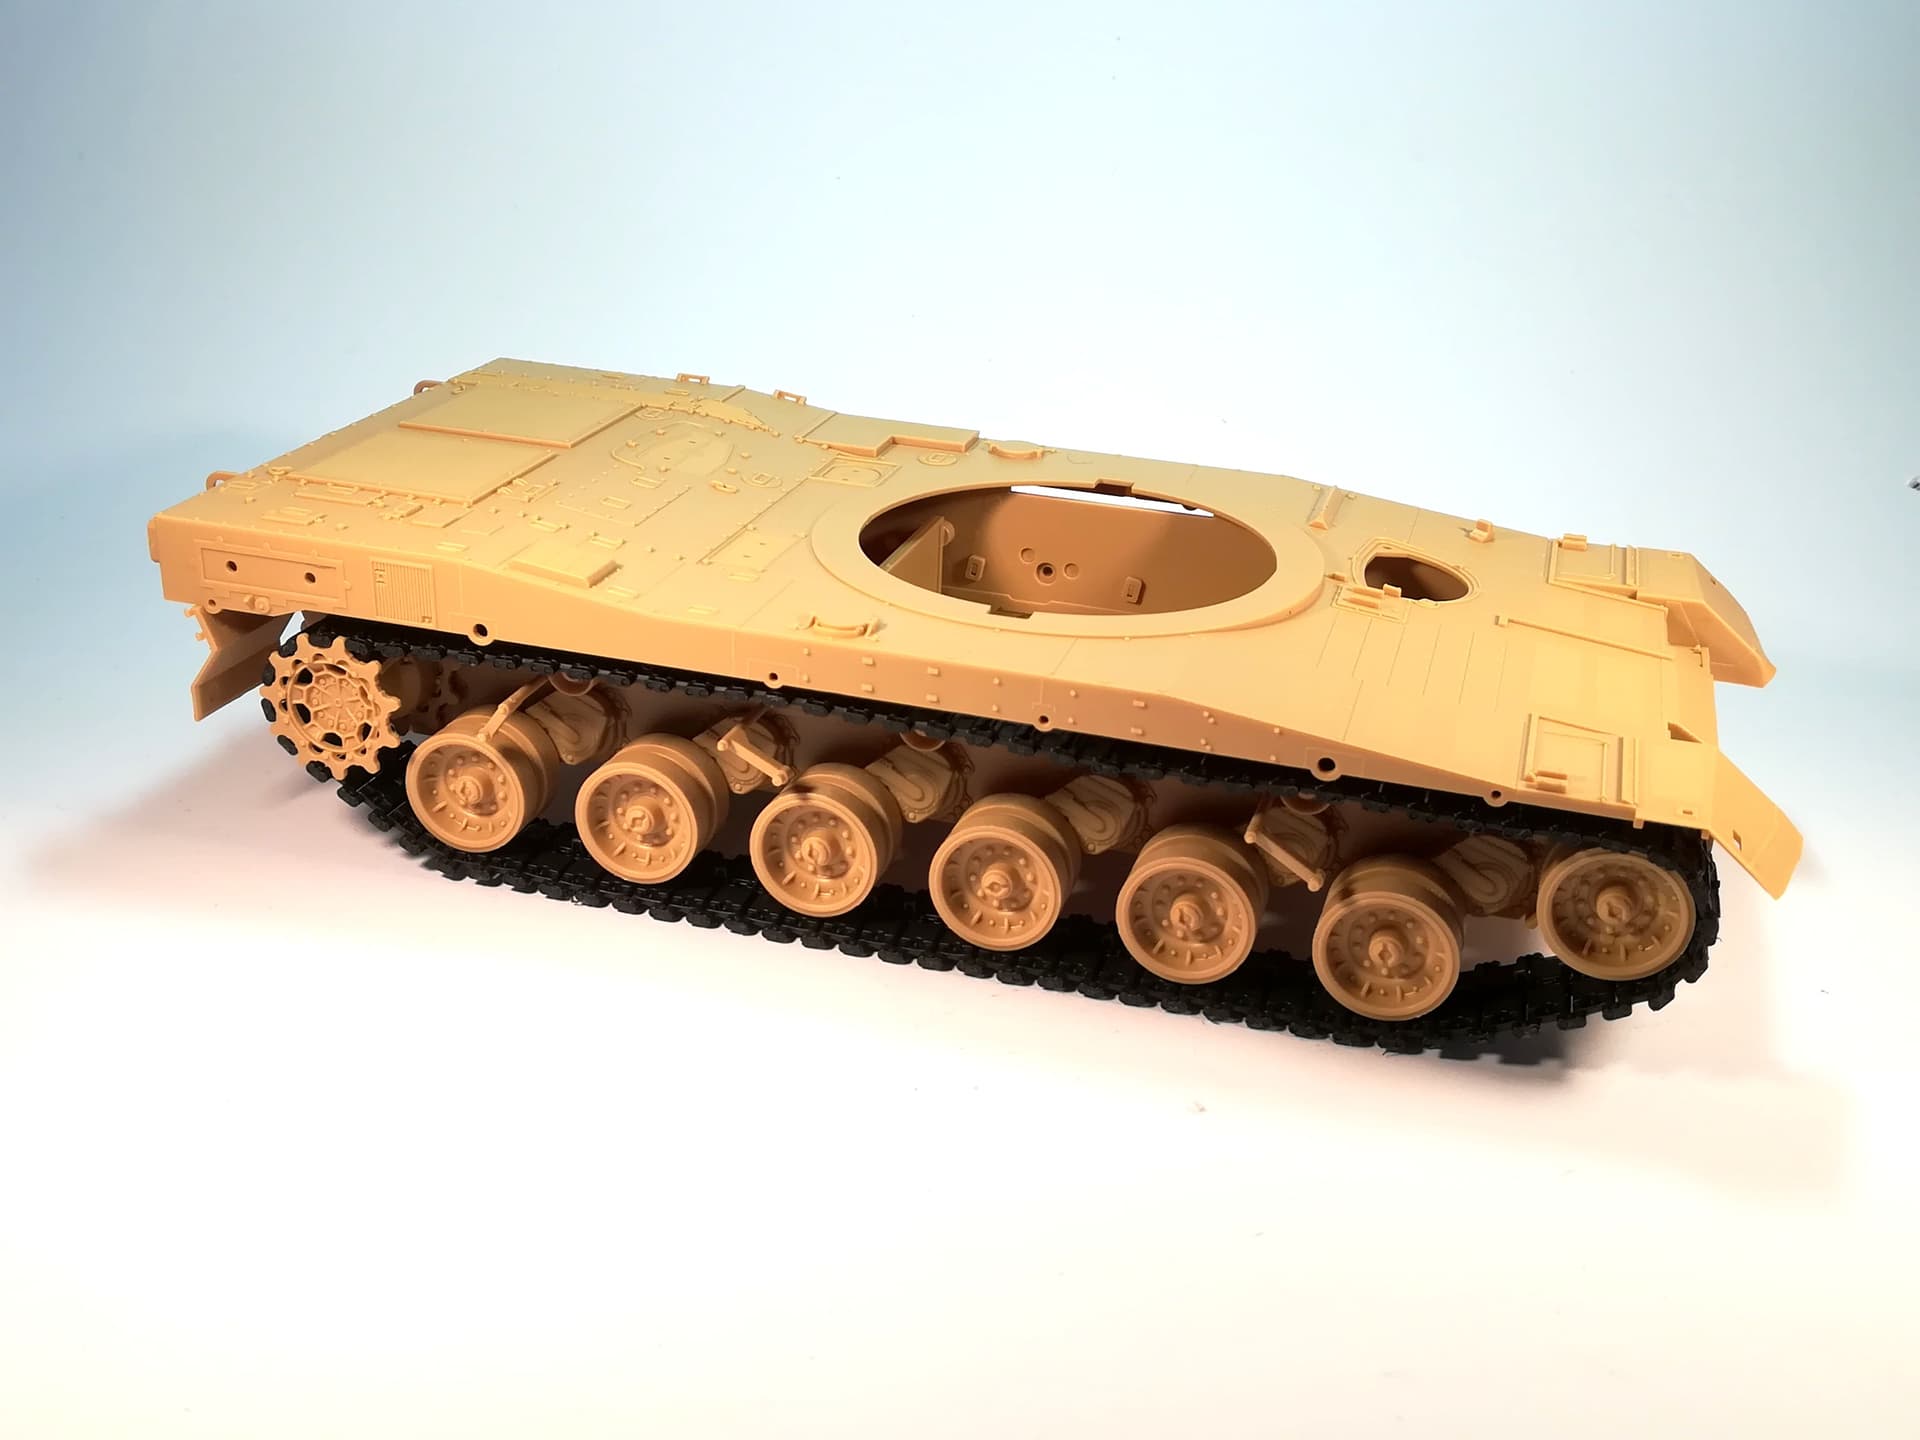
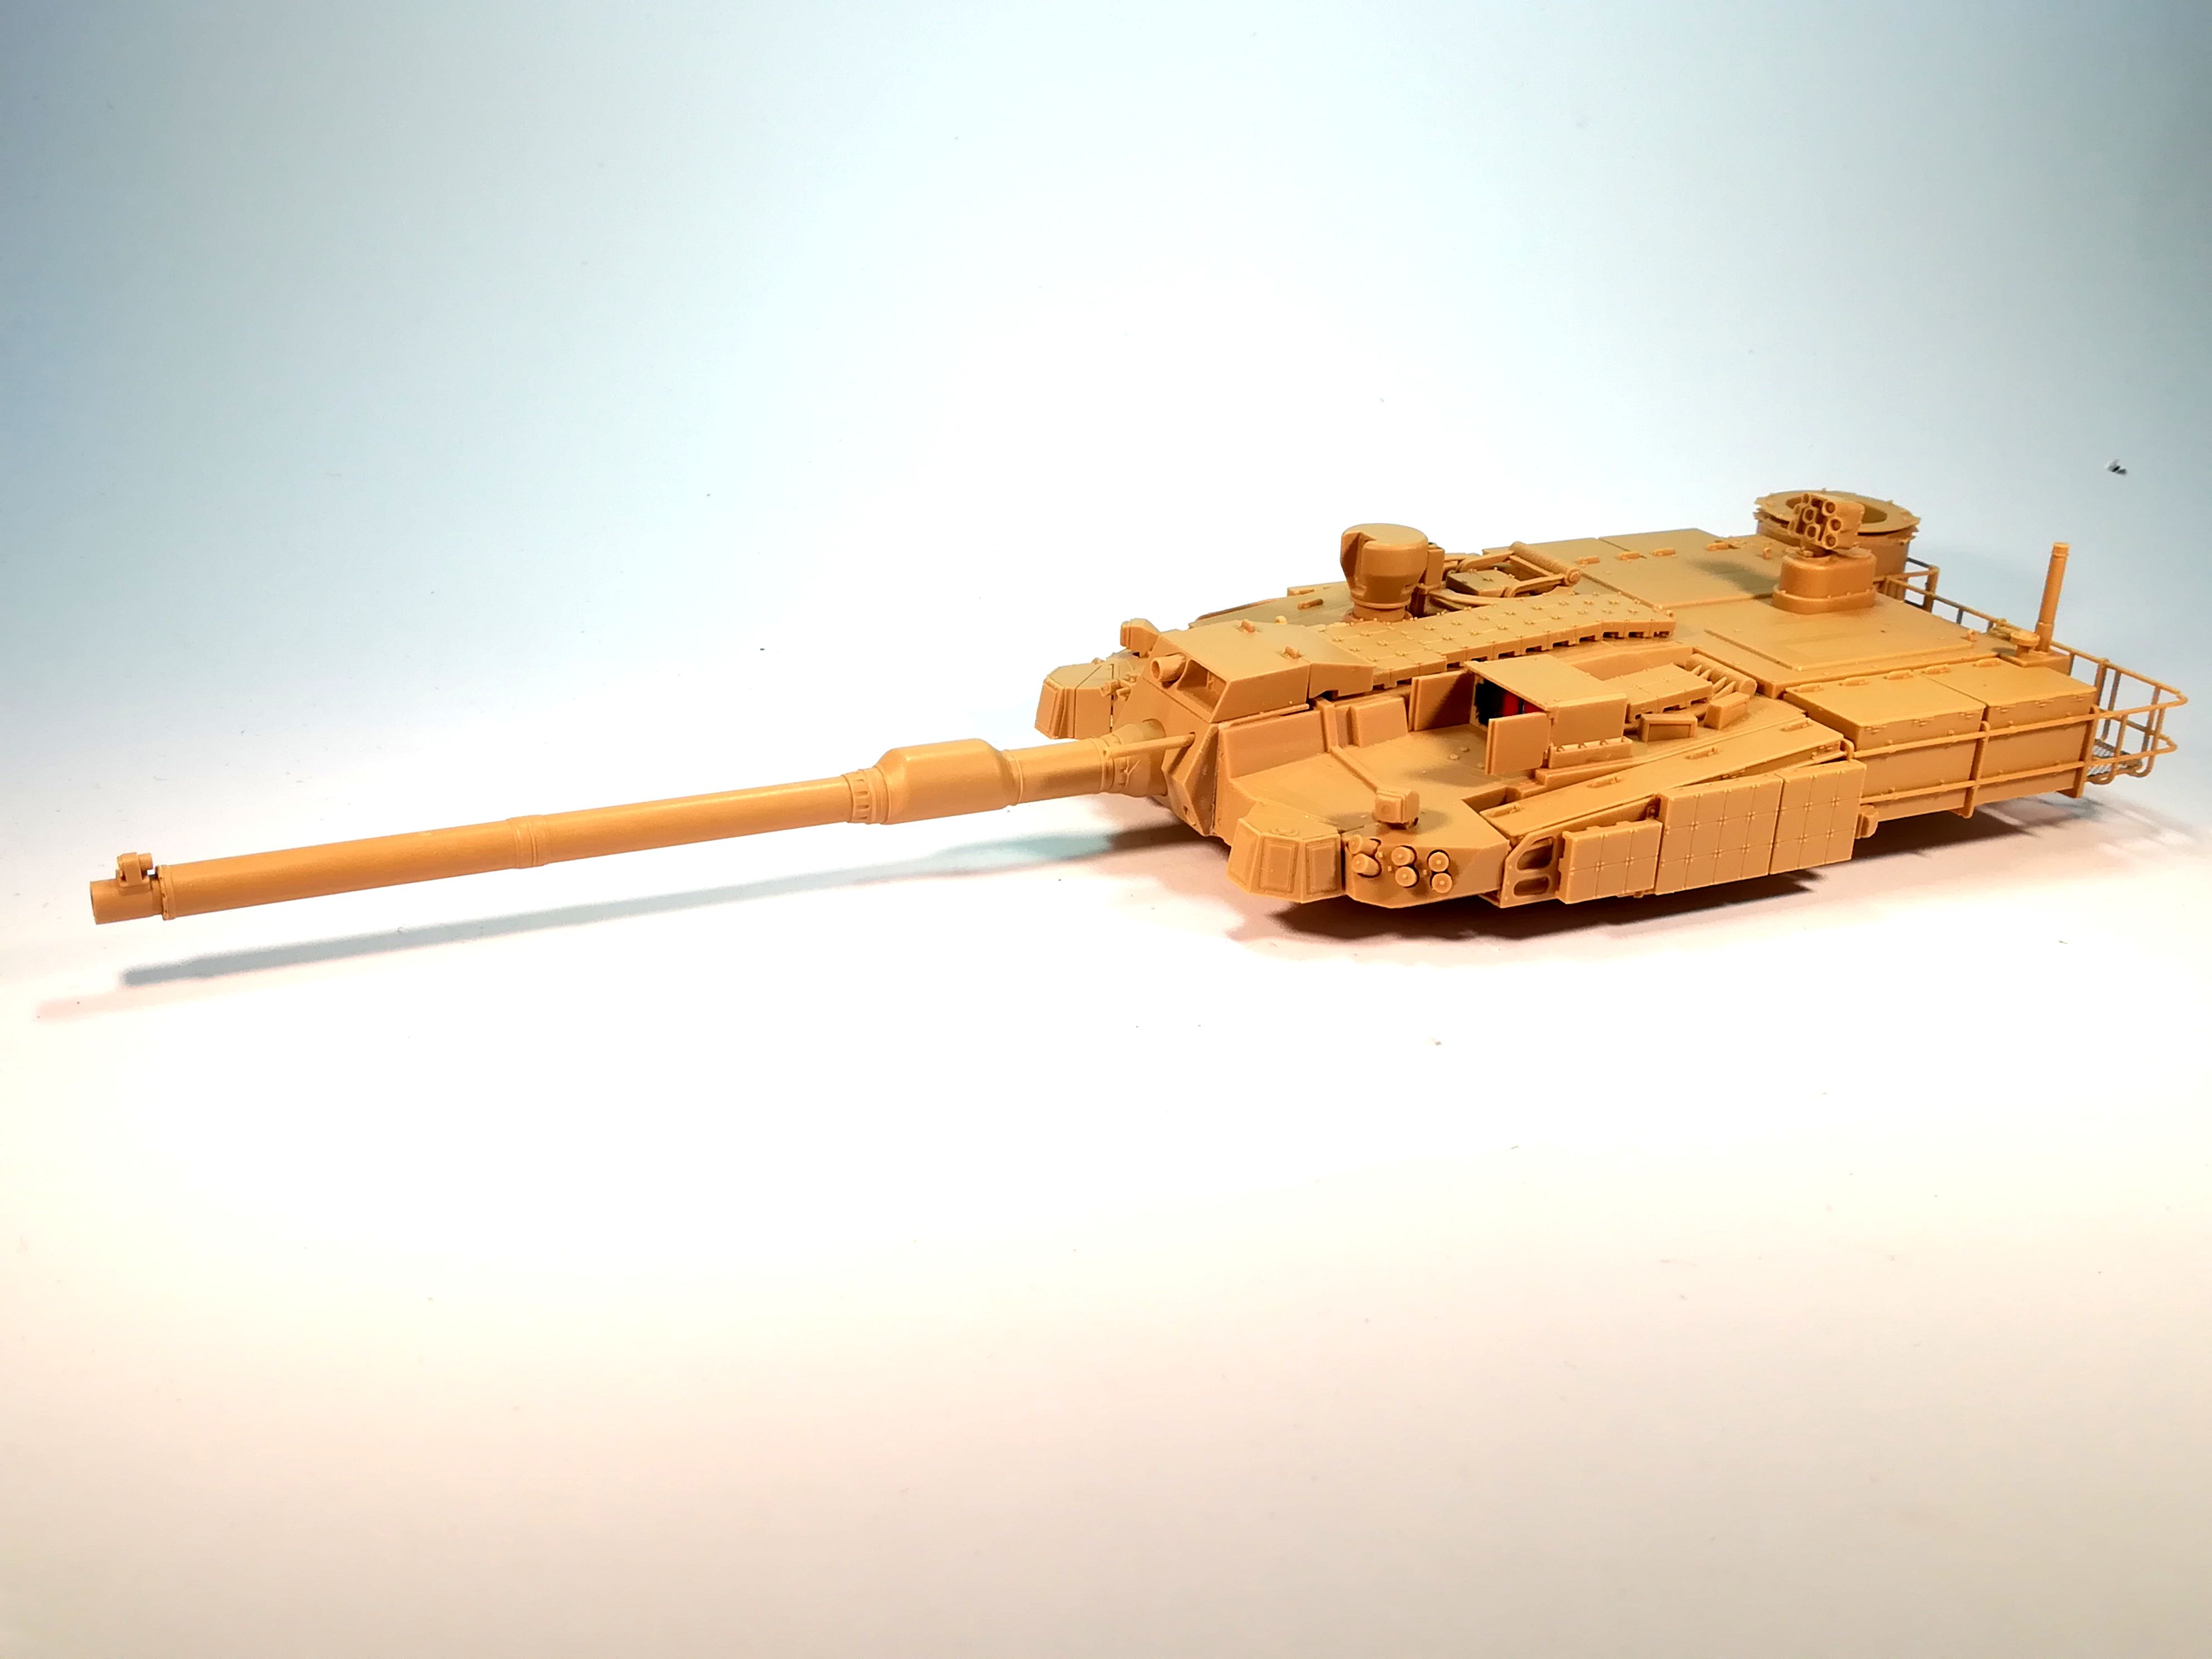
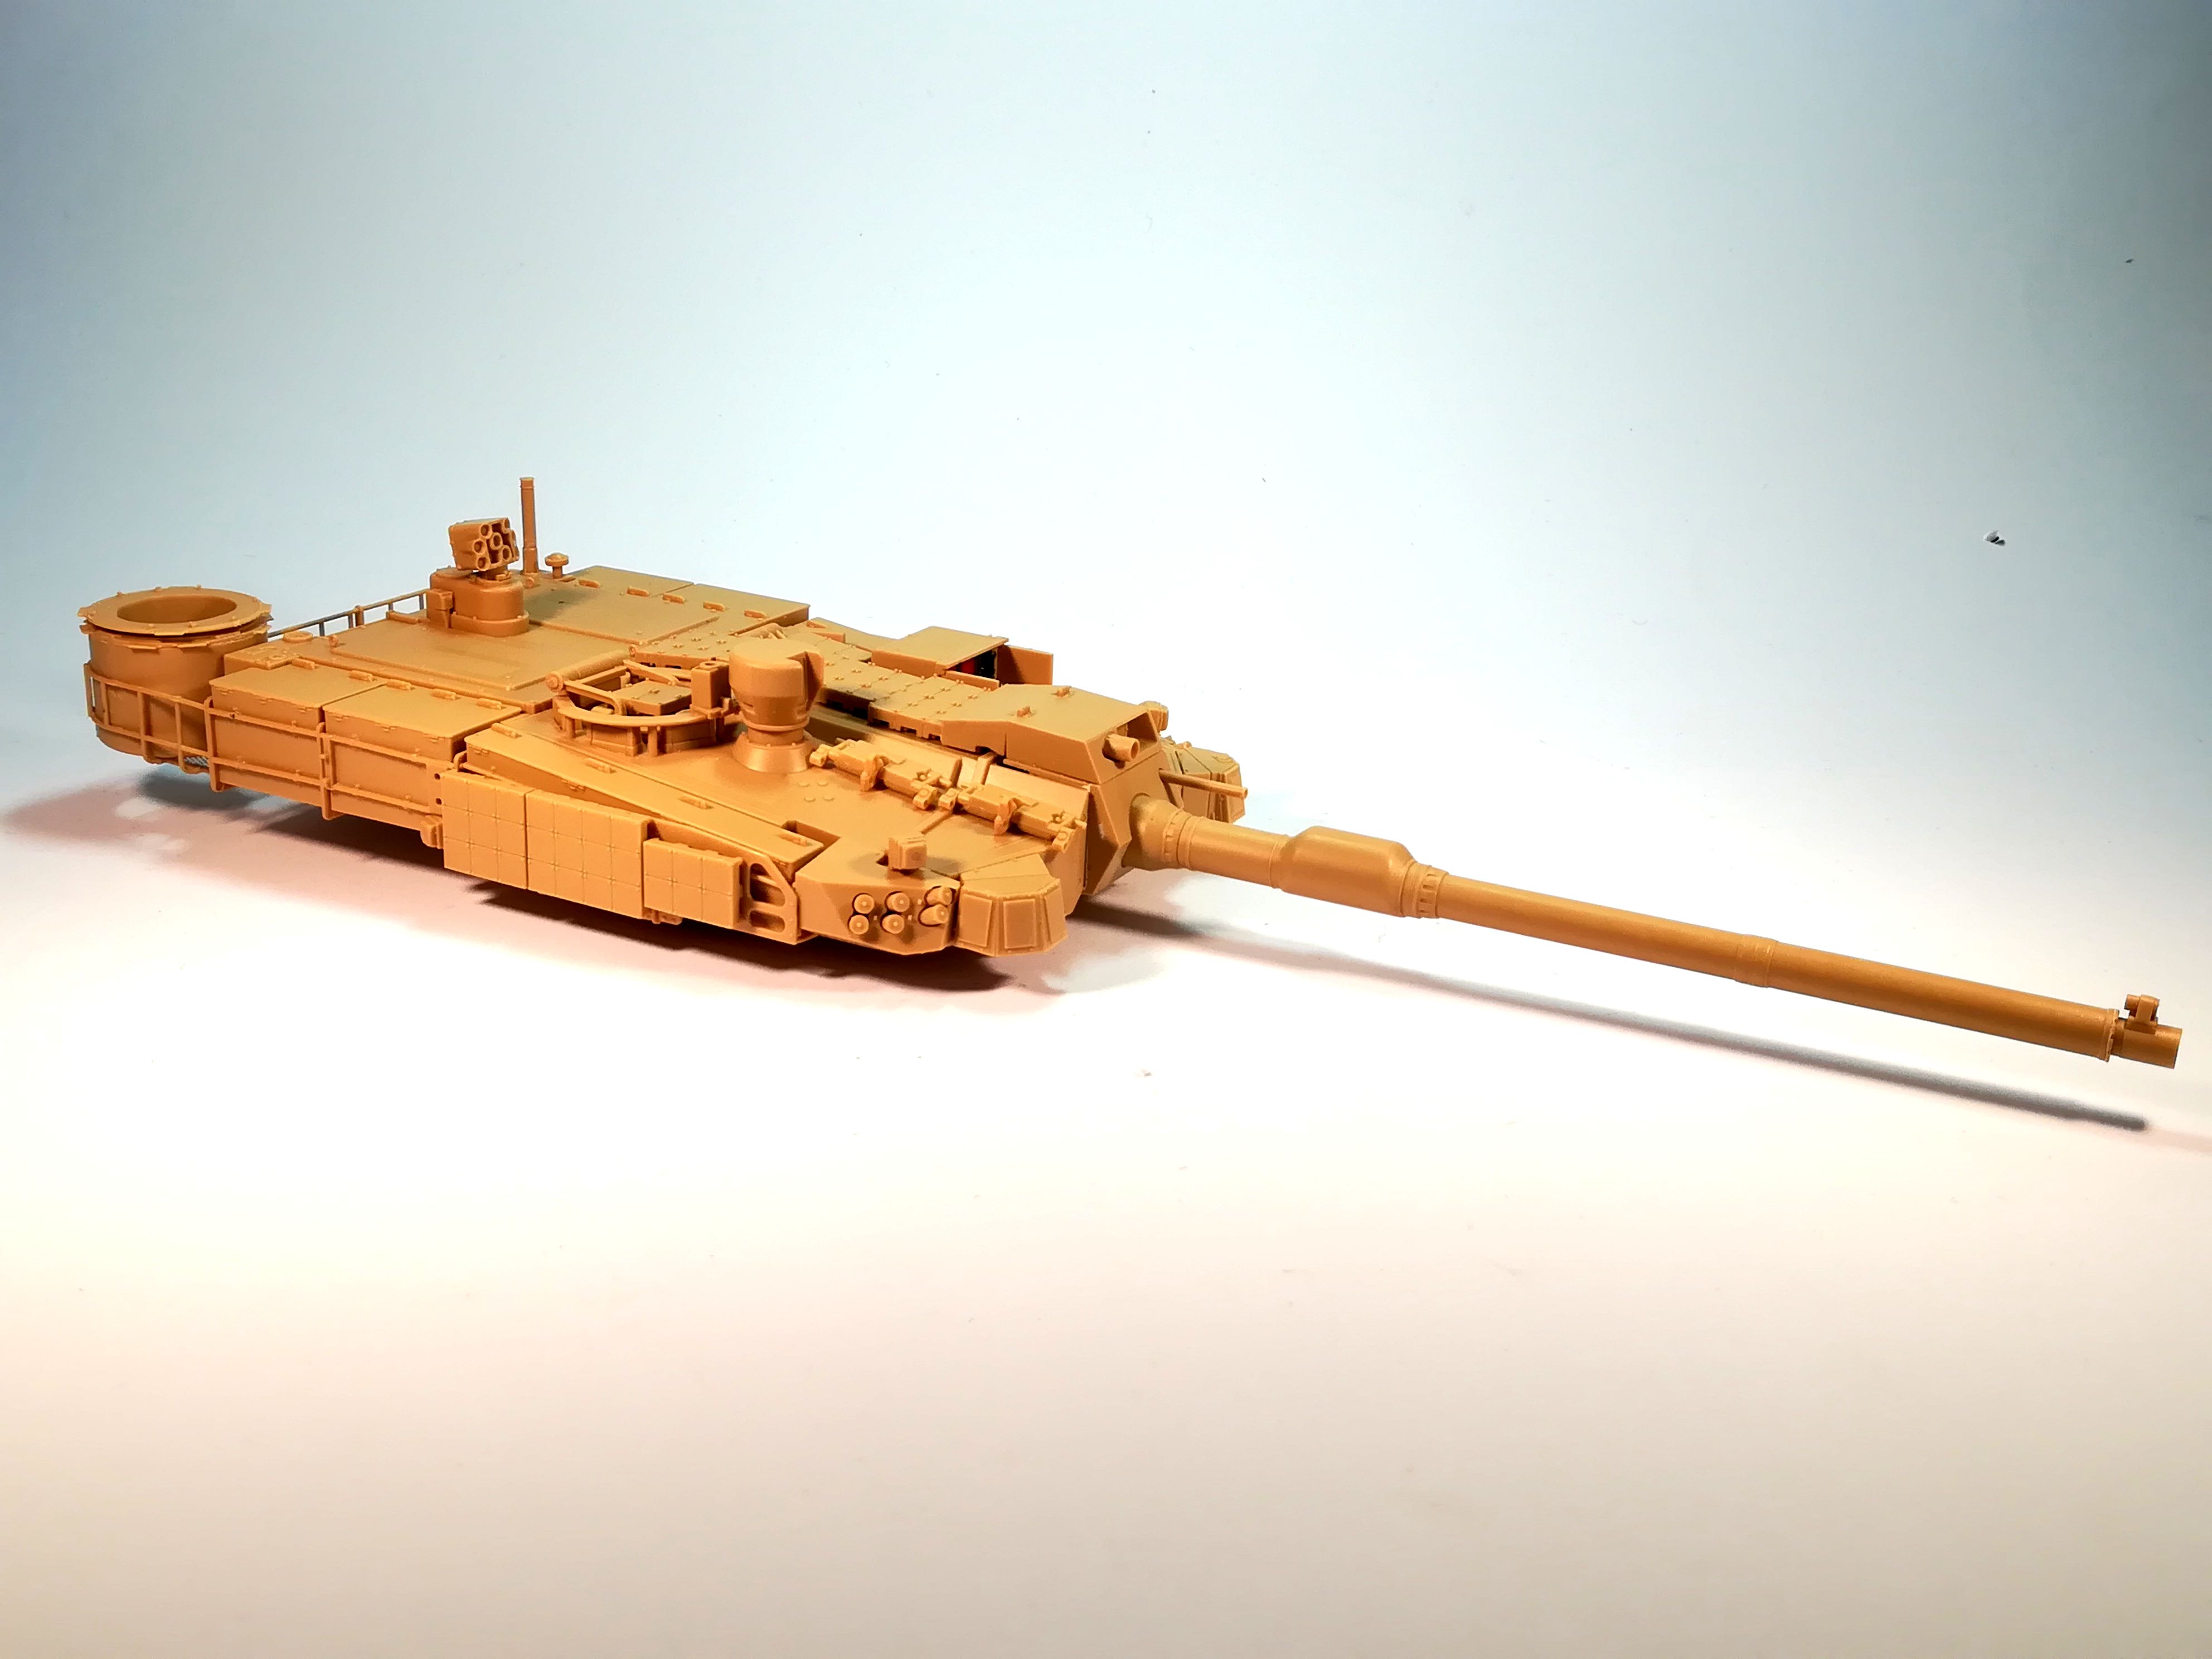
The build is straightforward with excellent fit. You only have to enlarge some positioning holes here and there but nothing more. The steel PE parts are a bit stiff. The gun is molded in three parts: the base including the fume extractor, the barrel main part and the muzzle. The fit is perfect and you just have to remove a tiny mold line.
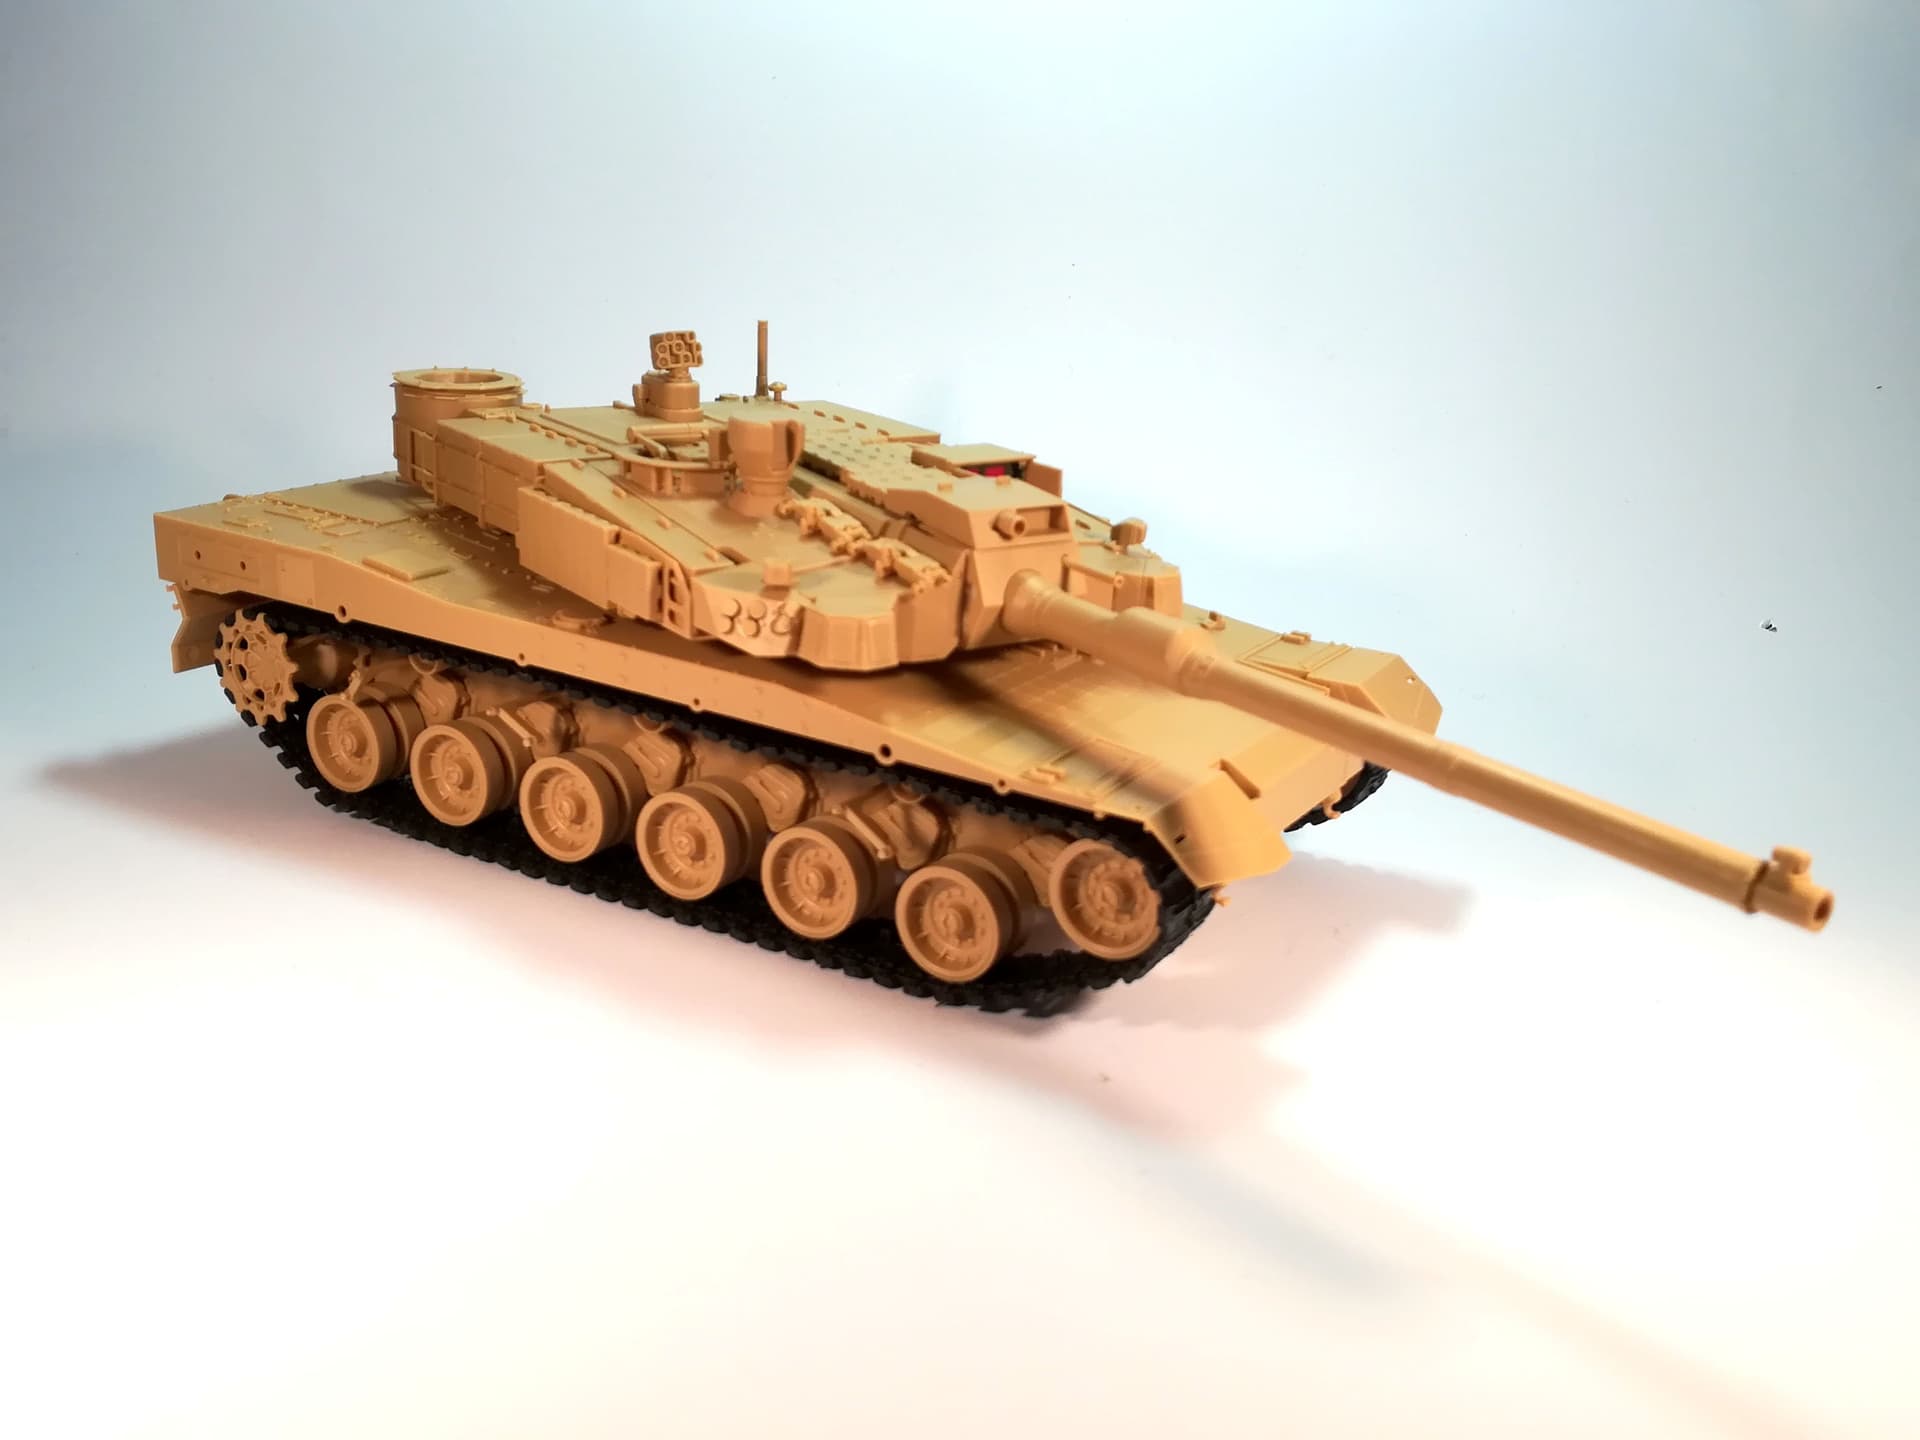
The tracks are individual link type with the link, the guide teeth, the end connectors and the rubber pads. Academy tell you to assemble 78 links per tracks while 75 are enough. The tracks are “mobile”.
The side skirts are not glued yet pending the painting of the running gear.
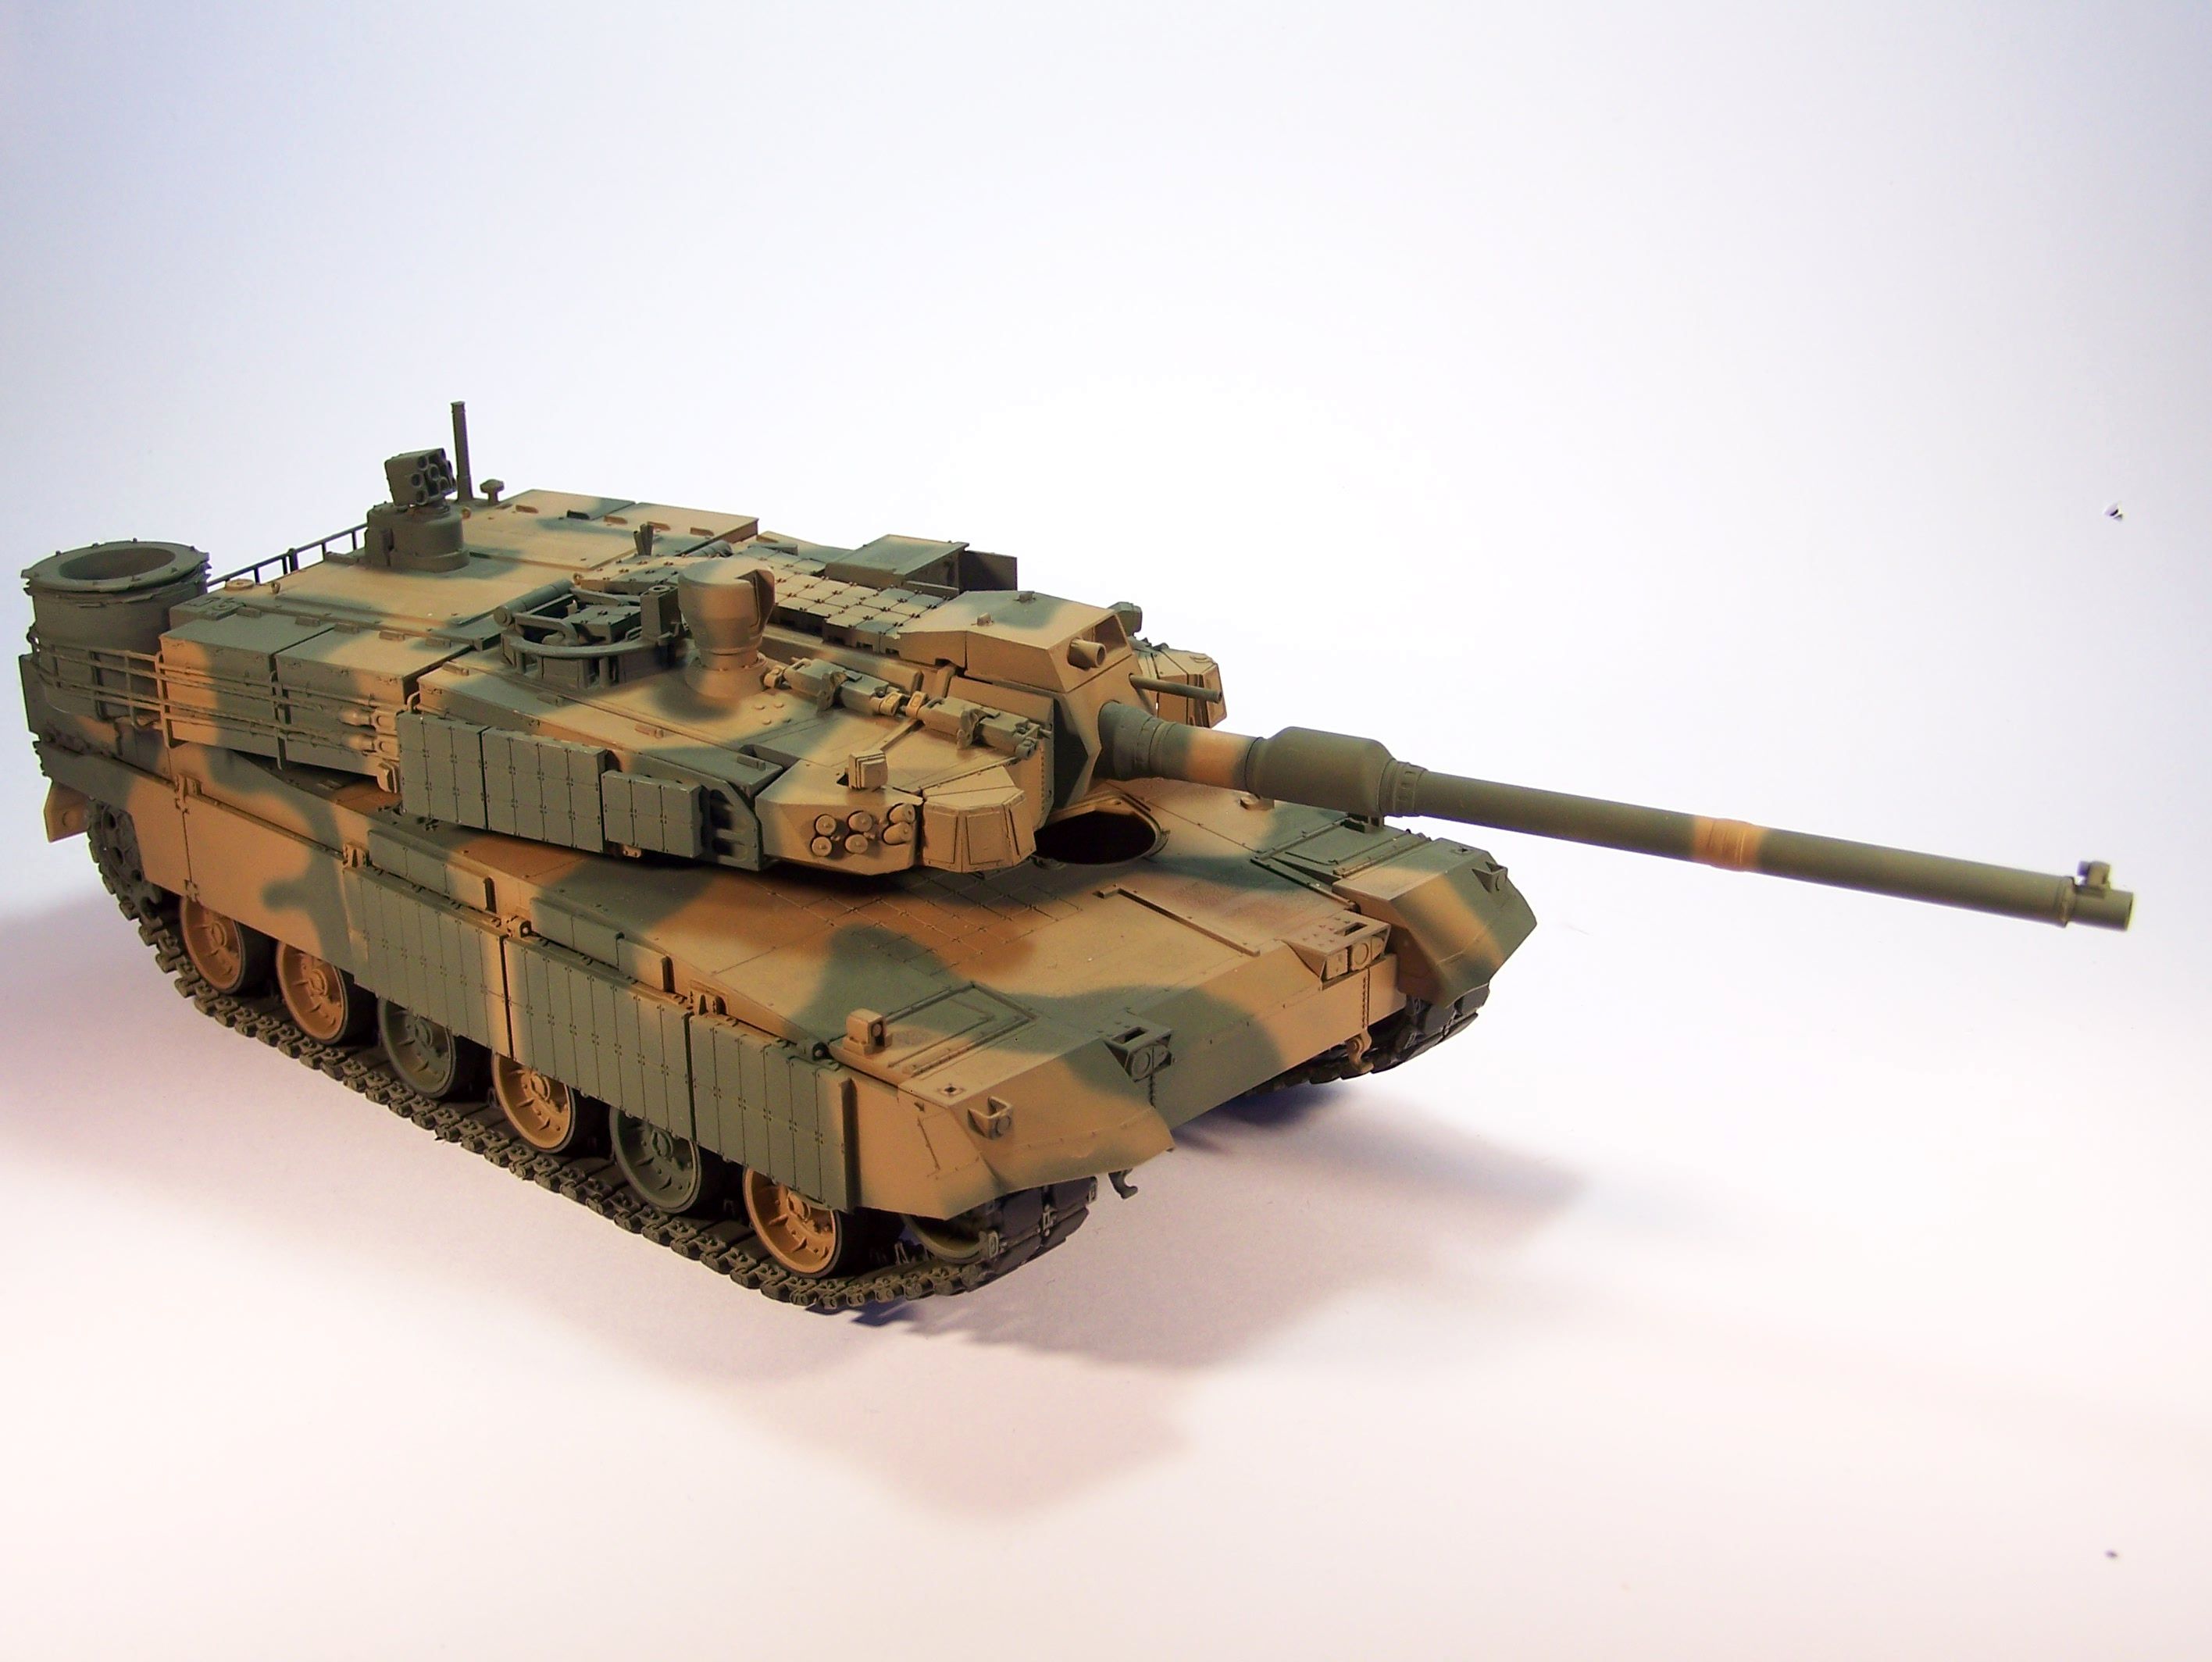
Looks like a good kit. The low turret gives it a very cool sci-fi look.
I know nothing about this tank either. Is it a completely original design or based on an existing chassis?
I think it is a new design even though the Korean designers got inspired by some Western tanks. Some components are the same as those used in the K1A2 with improvement of course. The engine is Korean while the transmission is German because the locally produced one didn’t meet the ROK army requirements. The gun is the same as the one fitted to the Leopard 2A6 and produced in Korea under license.
Indeed a nice build and I too would love to see paint on it. On the old site I made a few comments on the kit that I will reiterate here.
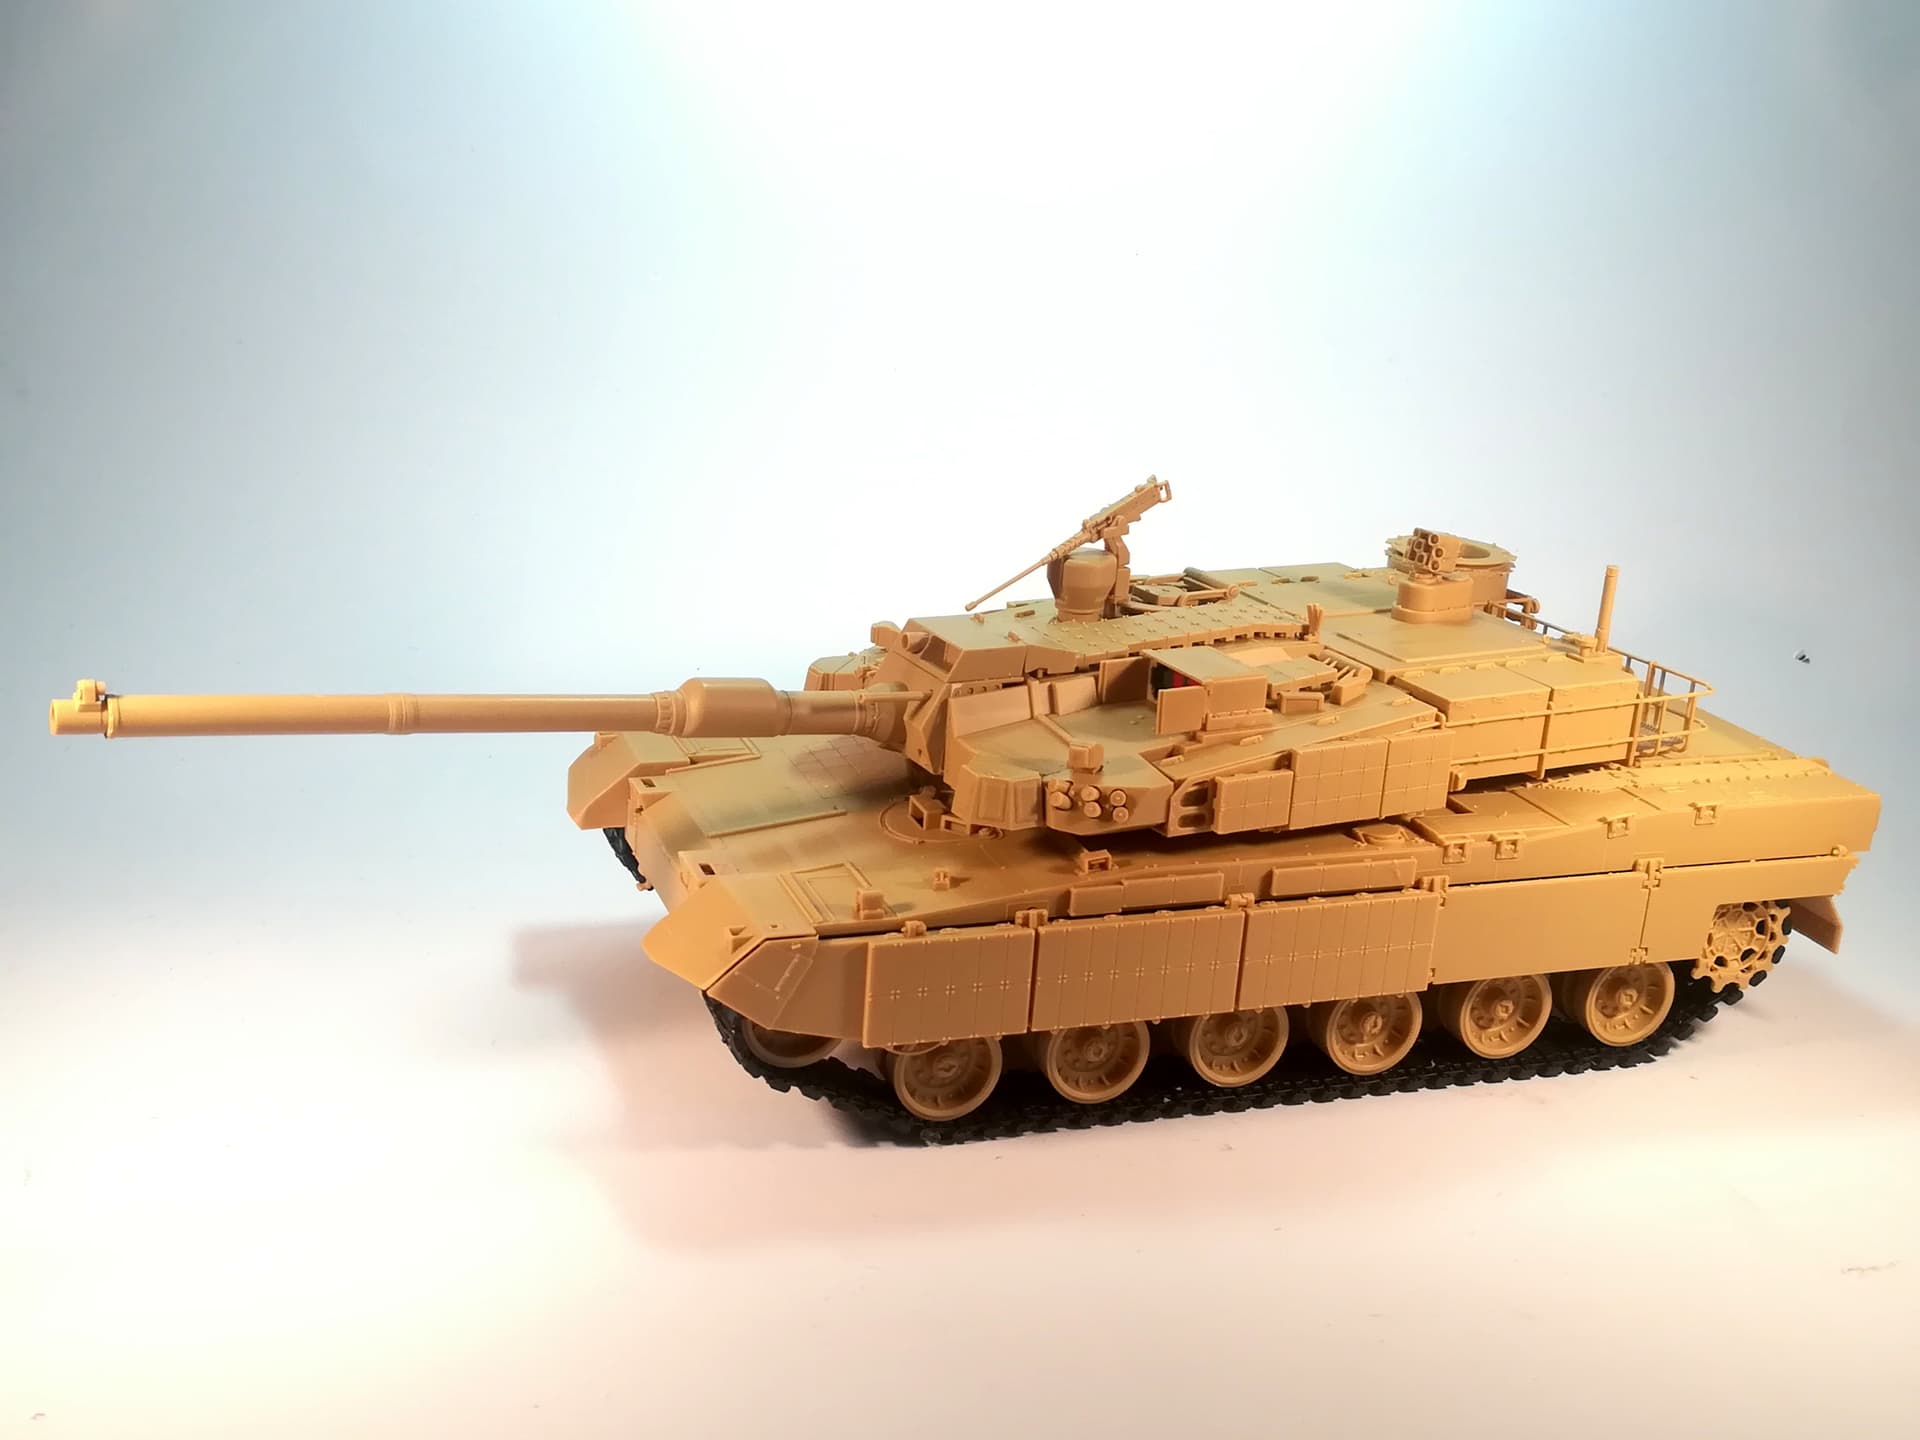
I feel it’s a step backward from Academy’s K1A1 kit. On the kit the latches on the turret stowage bins were separate pieces. Not so on the K2 kit - they are molded on. I had to bogart those from a Legend M60 upgrade set.
Similarly the detail on the snorkel tower was disappointing - the footman loops and handles need to be shaved off and replaced.
The other thing to note is that available photos show the ERA blocks in a lighter shade of green. That’s because they are actually from a demonstrator tank and made out of wood, as are training photos. The actual blocks that would be used in combat would be the same green as the cammo. So paint it according to what you want to portray.
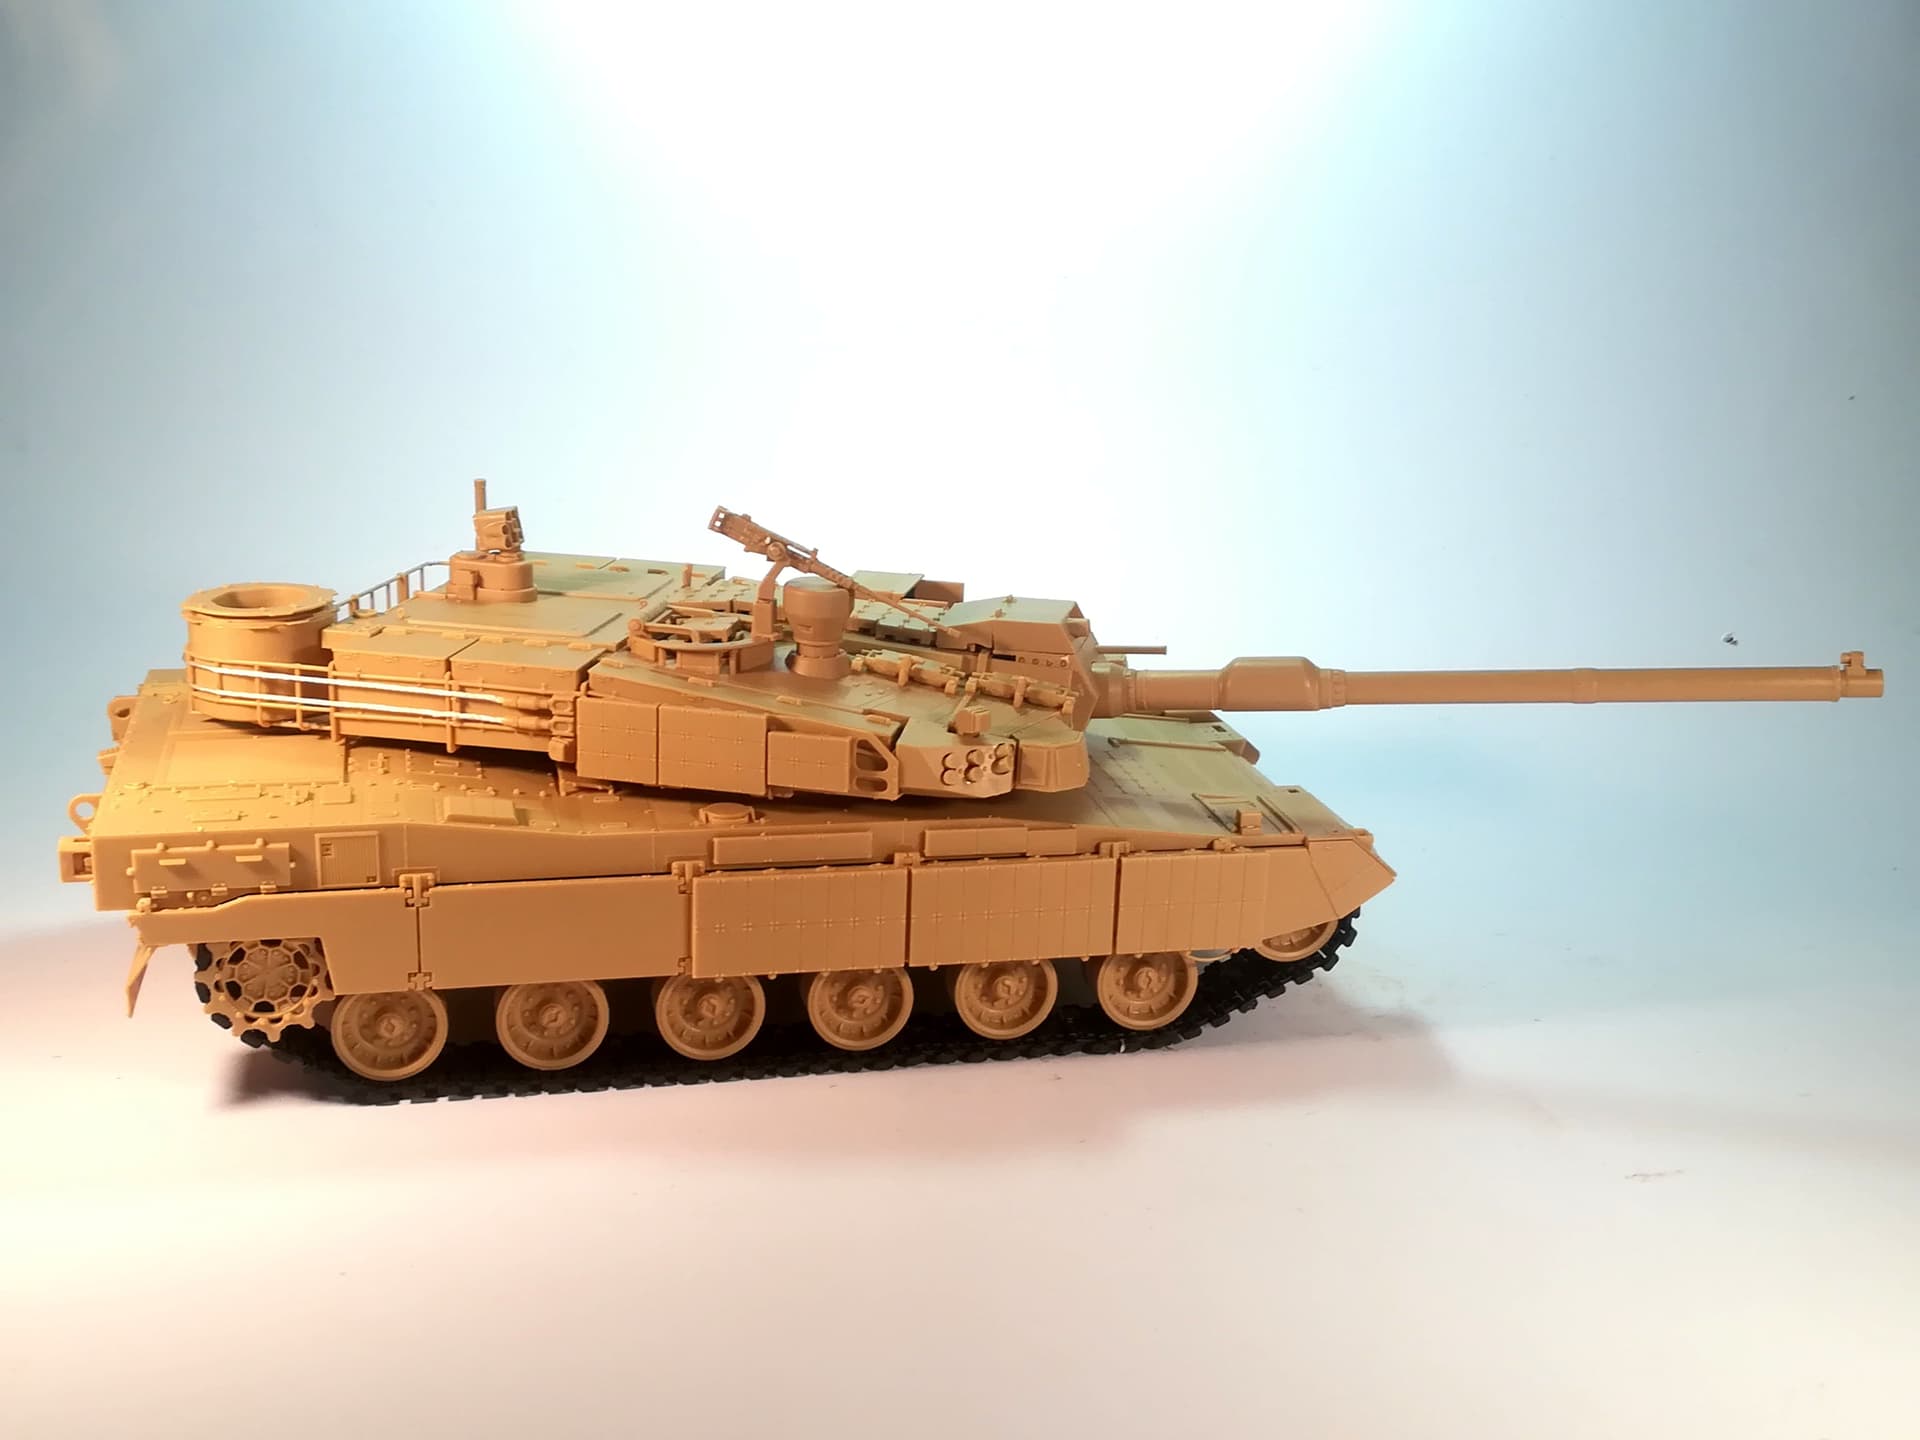
Finally, I don’t know if it’s been mentioned, but what sets this tank apart from any others is that it is currently the only tank on service just has indirect fire capability through it’s unique suspension system.
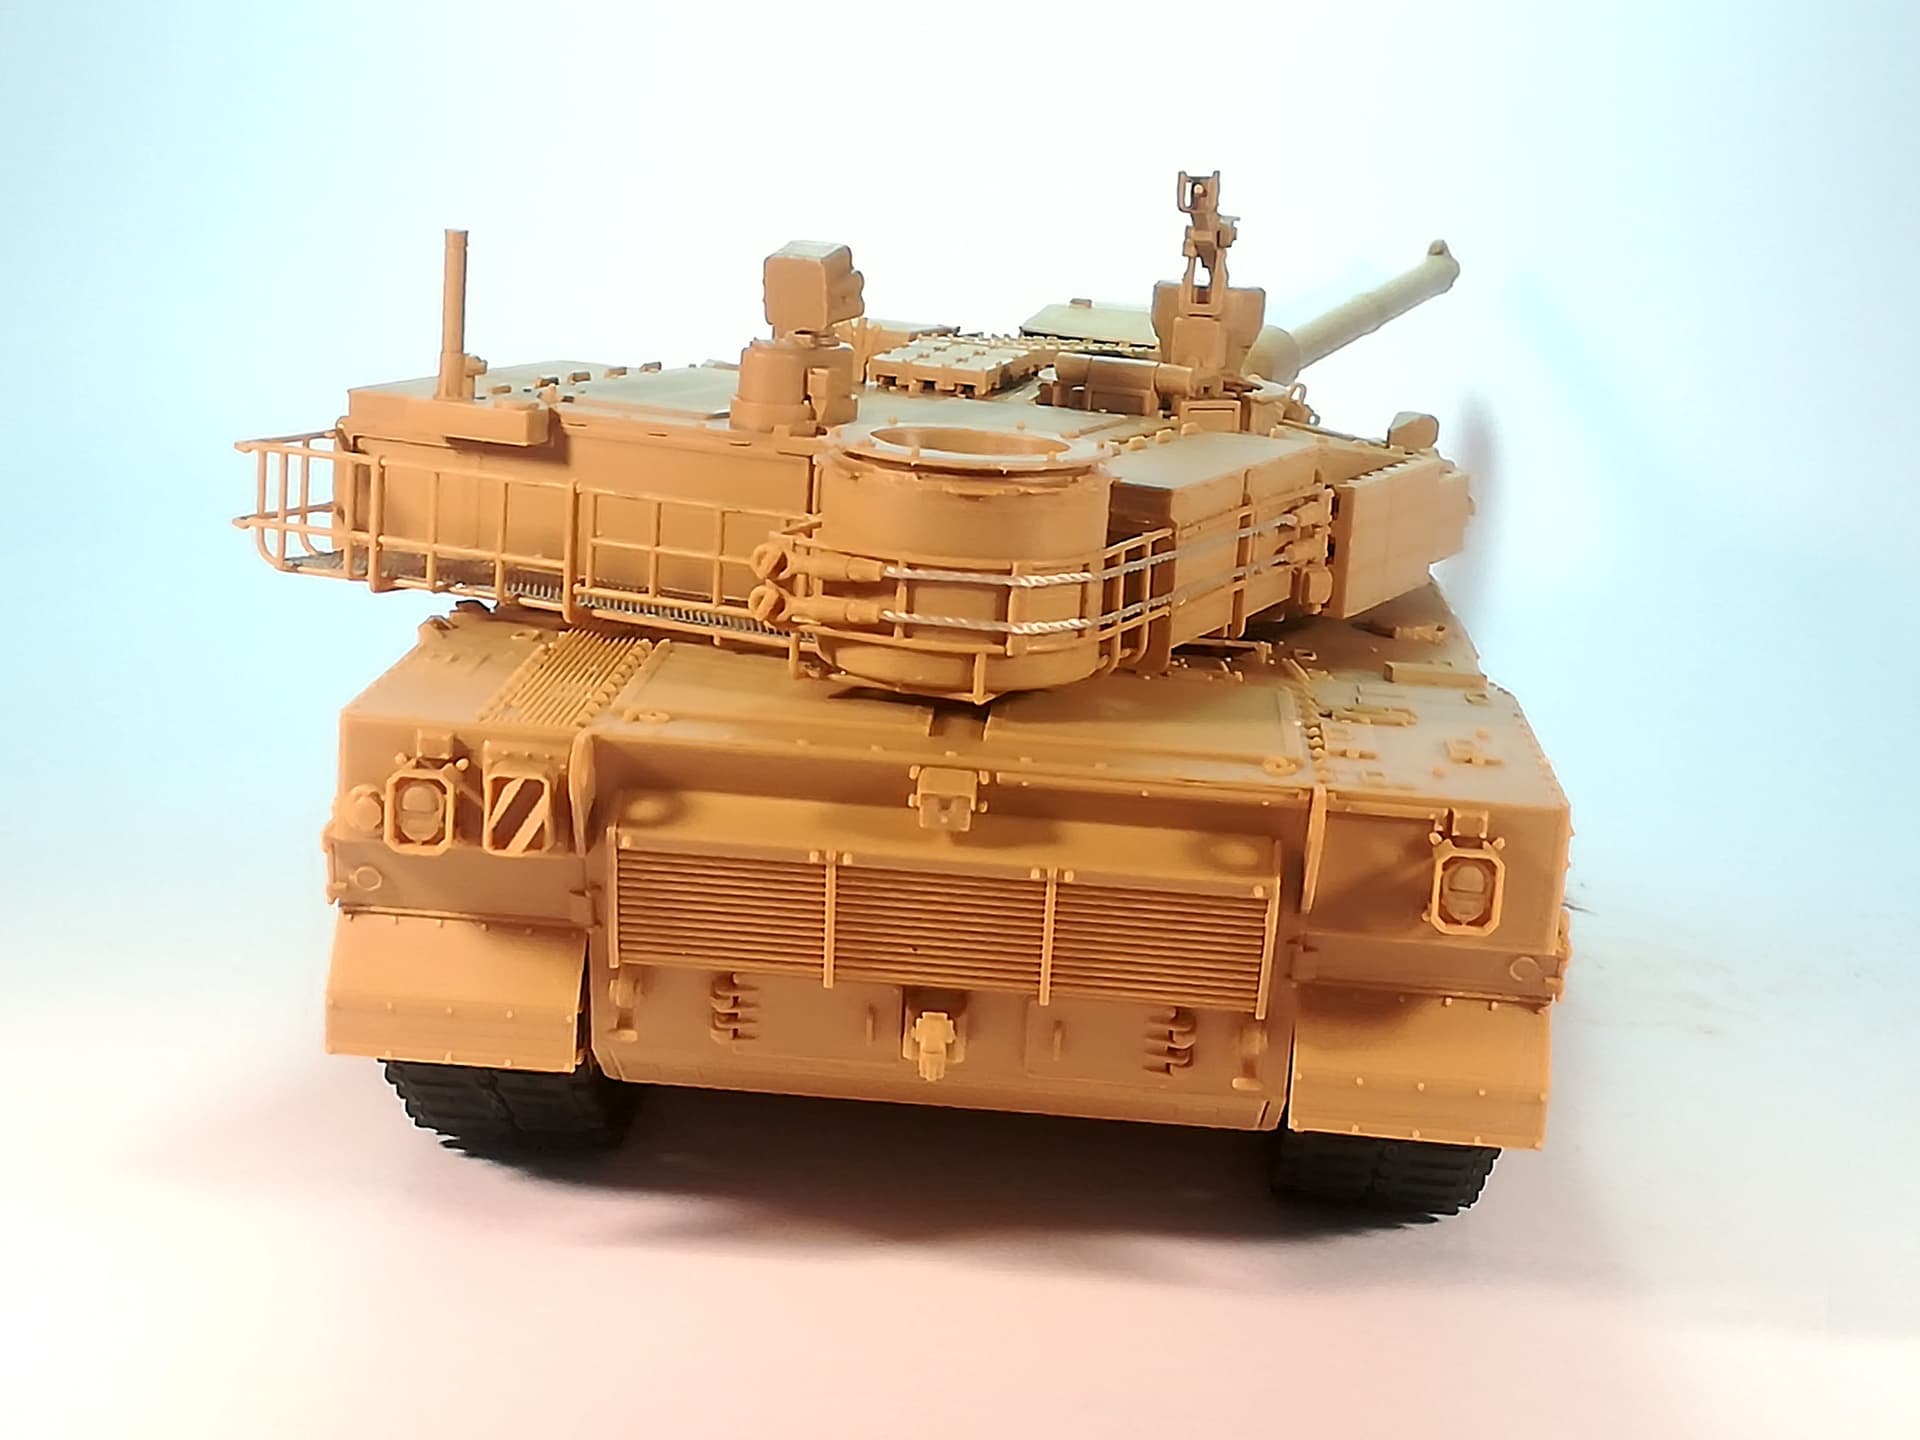
The two base colors have been sprayed. The tracks have been fitted so I could glue the side skirts.
I’ll post pictures tomorrow when the light is better to get decent photos.
As I said in my previous post, I sprayed the base colors. The green is XF-65 Field Grey and the brown is US Tan Vietnam (Prince August). I think I’m not too far from the real colors.
The hardest part is to come that is the black and sand curvy lines. @18bravo advised to make scale masks from the painting instructions and apply them to the model and spray. This would work in most of the areas. However in some instances this will not be possible so I’m still undecided about the method I’ll use: mask, freehand spraying or paintbrush.
It was an easy tackle for you Olivier as it looks close match to the Leclerc you have built a while ago (and on top of my reference build list).
Congratulations, a nice choice and perfect build again as you always do.


 … good luck with that