That is a real labor saver, especially when doing link to link which will be glued hard. Remember,no real slack on M60 series track.
It’s nice to see the Academy Kit ^^
I’m looking forward to your great work.
Absolutely no slack to be shown, I’m using Takom tracks. The kit tracks have tons of pin marks and very shallow chevrons. I’ll be consigning them to the “box where stuff goes that I’ll never use”.
I like it.
Hi Russel… You do fantastic work on all the models that you build.
Cheers,
Ralph
1 Like
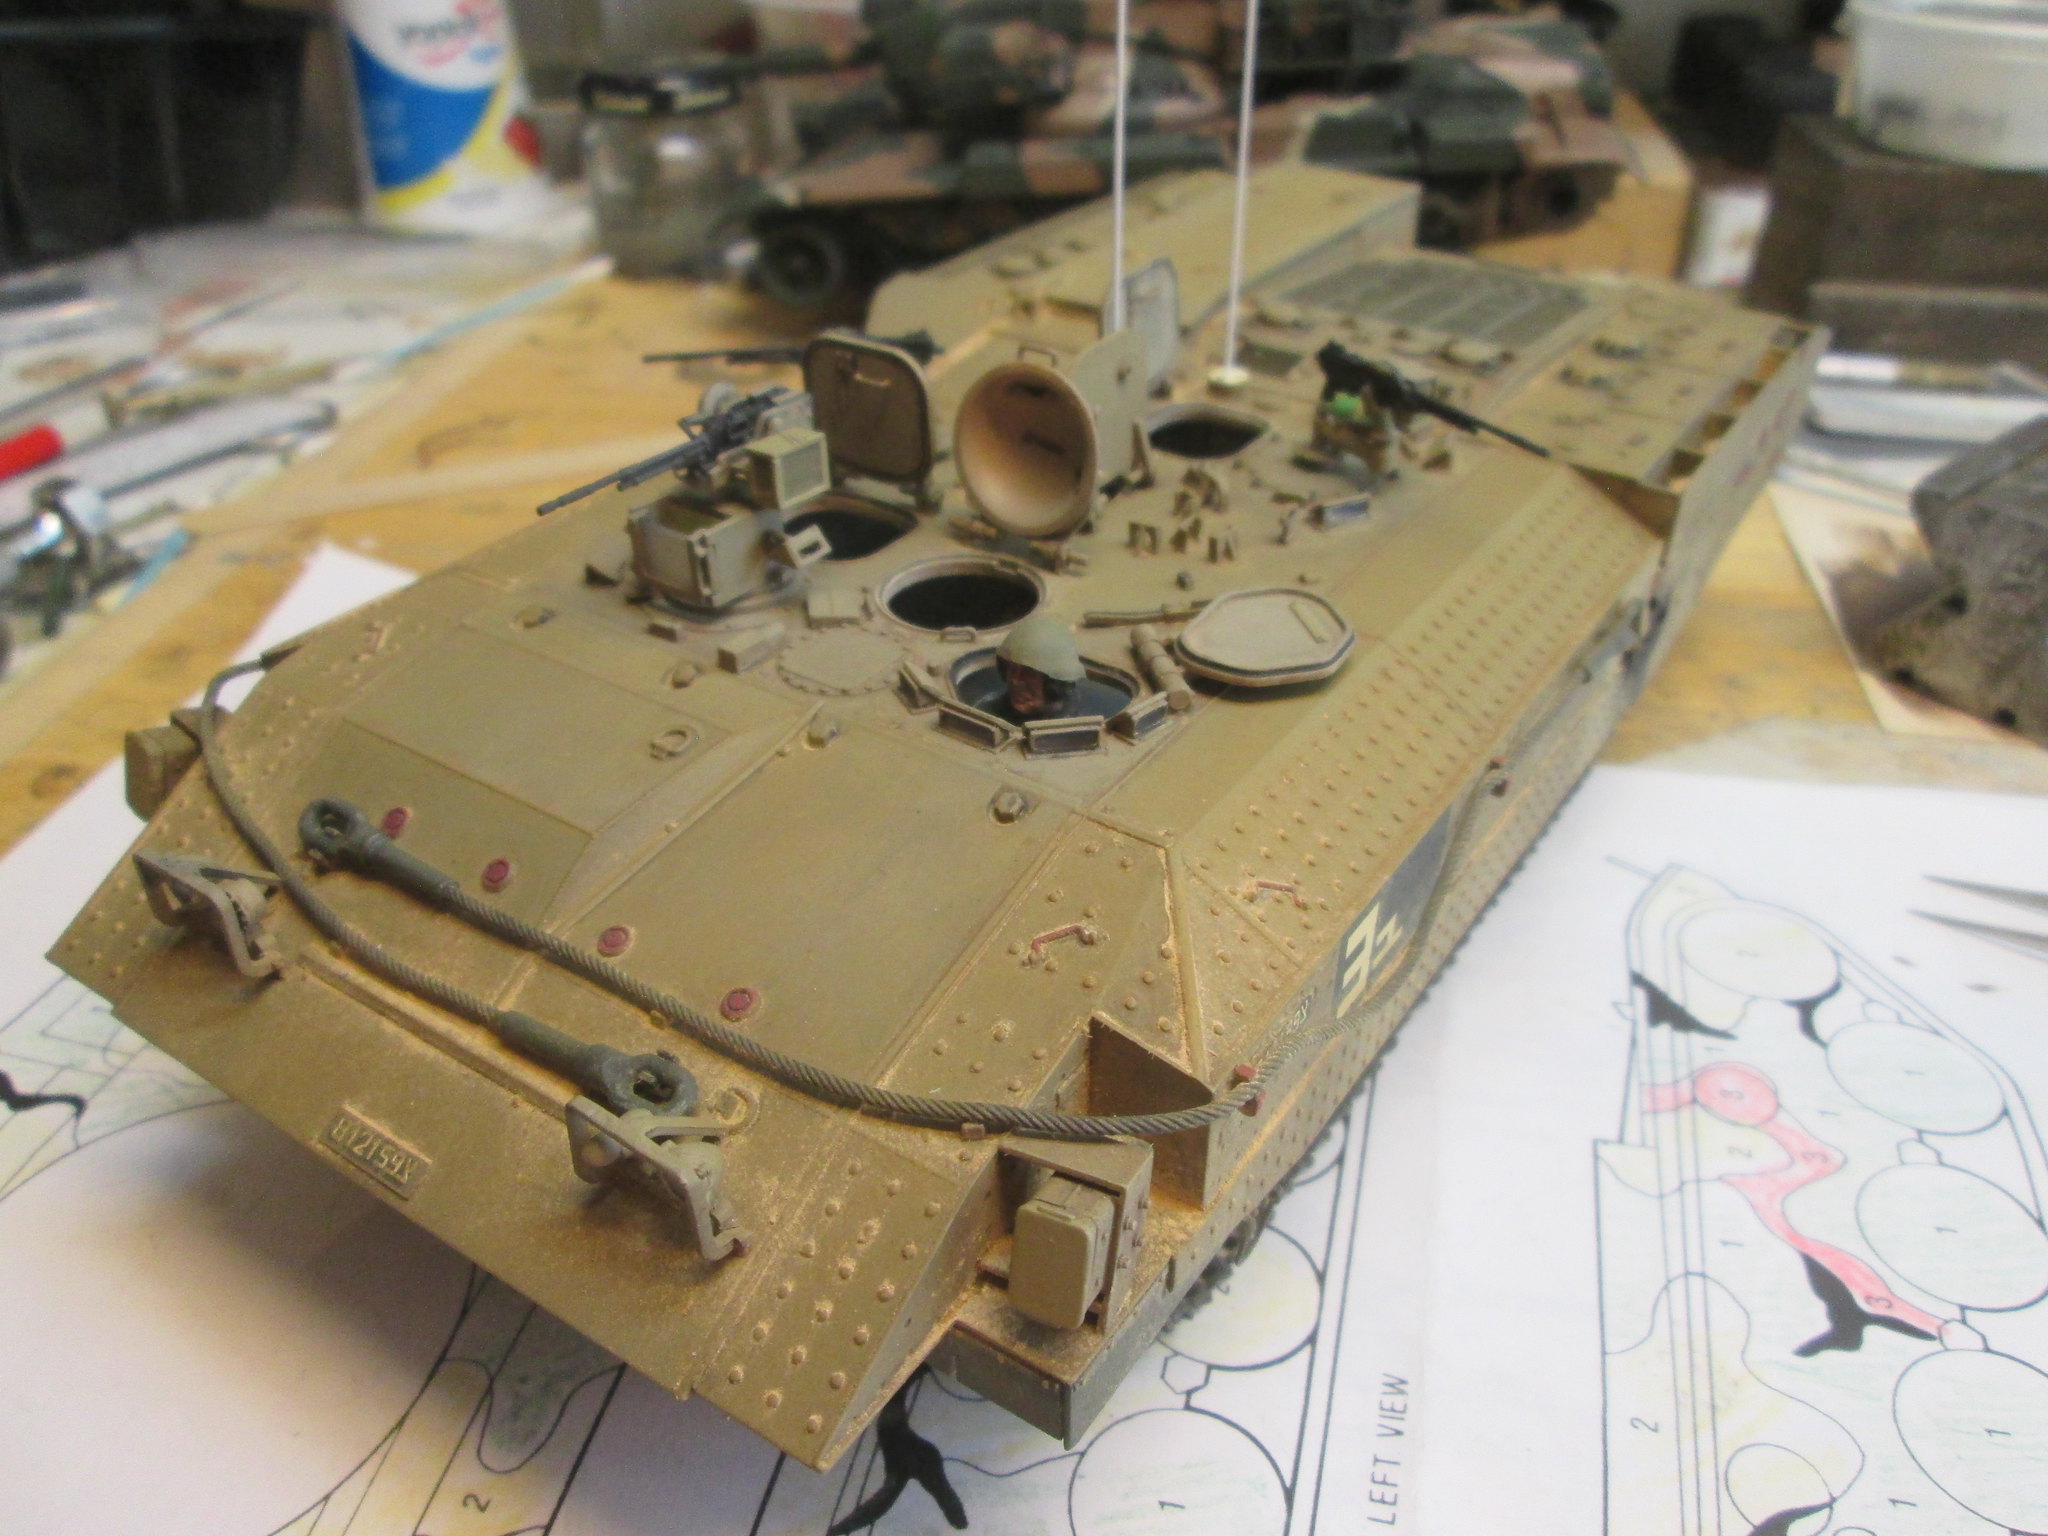
I found a full-sized (1/35 scale actual) diagram I’d printed up a long time ago, so I figured I had no real excuse not to…
 IMG_1477 by Russel Baer, on Flickr
It’s slow work.
5 Likes
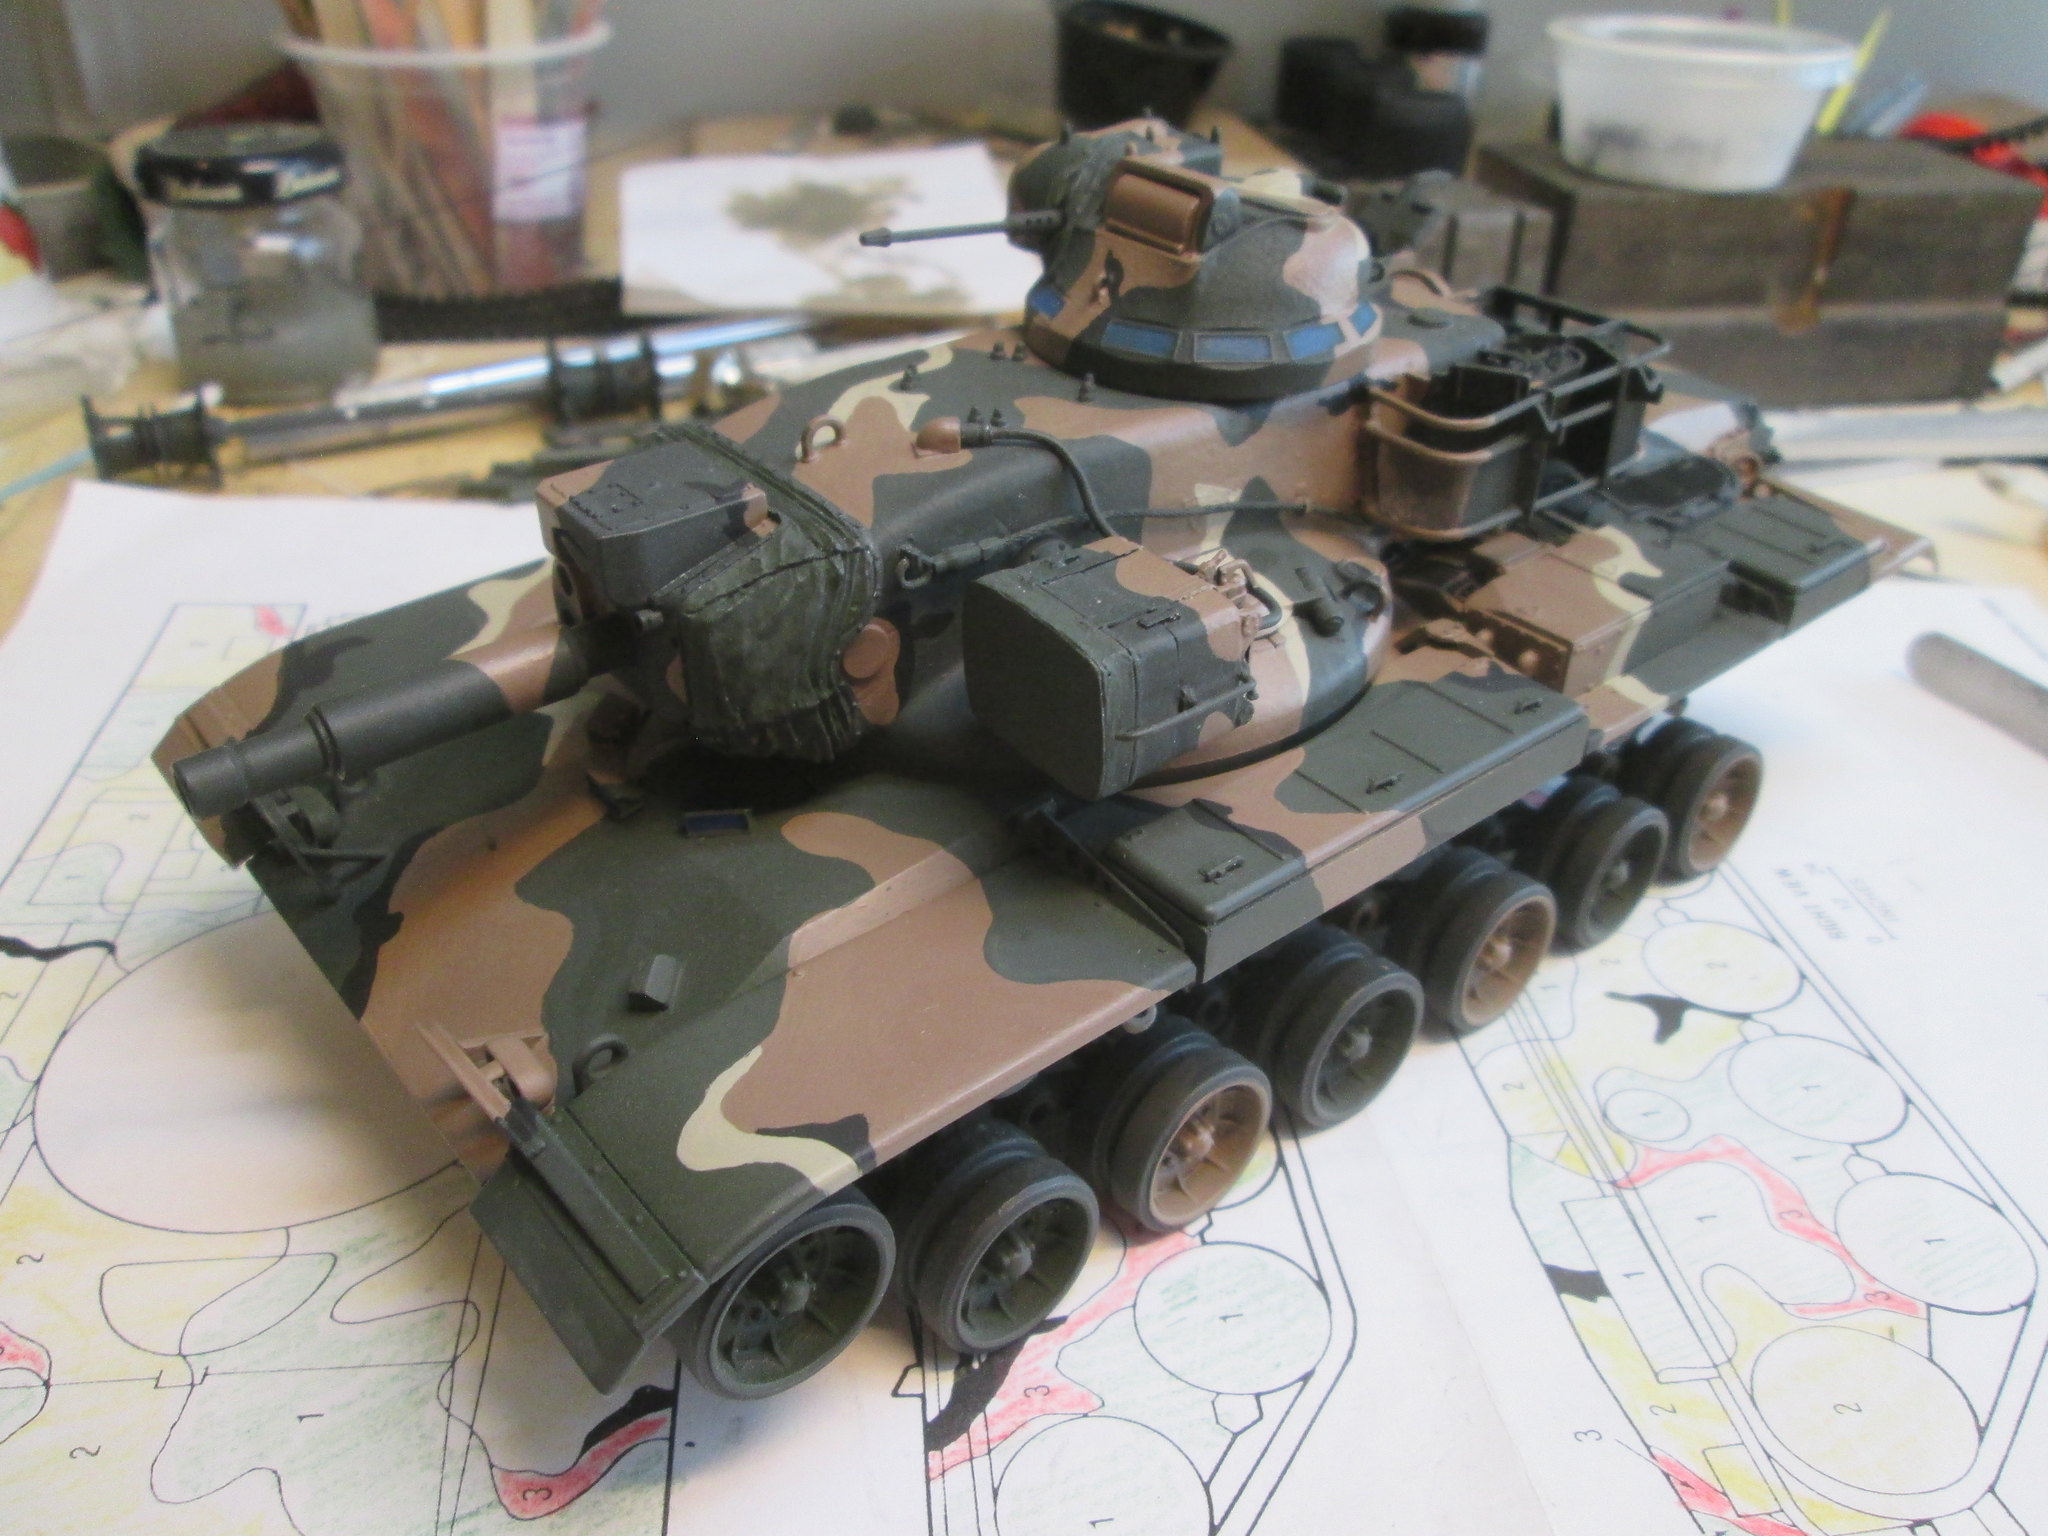
All four colors on, may need some touch-up before clear coating.
 IMG_1659 by Russel Baer, on Flickr
 IMG_1660 by Russel Baer, on Flickr
It’s slow work…
7 Likes
The MERDC scheme is looking great. Keep up the good work.
Keep it up Russ!! Good to see you over here!
Very nice paint job.
Olivier
I love this camo. This was the reason I bought the Panda M1 kit.
Very nice paint job, I am looking for the next posts!
Tamás
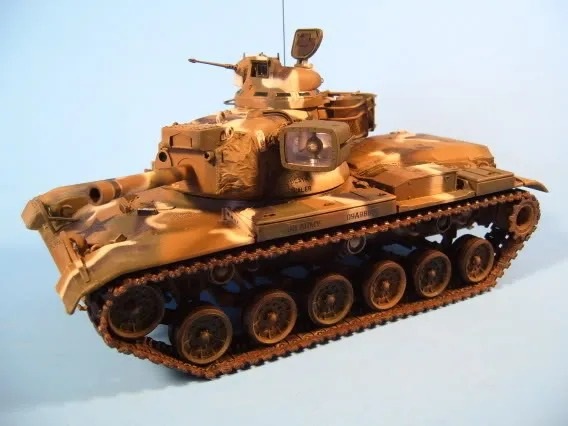
Here’s some rushed pics, excuse the lousy background. All I think I have left is the headlight lenses and main sight lenses. In order to be ready for Centex AMPS this Saturday, I’m not doing stowage, and did only very light weathering. Opinions and suggestions are very welcomed.
 IMG_1781 by Russel Baer, on Flickr
 IMG_1782 by Russel Baer, on Flickr
 IMG_1783 by Russel Baer, on Flickr
 IMG_1784 by Russel Baer, on Flickr
My concern at this point is how “dark” it appears, even given that it’s cloudy now, and I’m wondering if I should try and lighten up the top surfaces.
3 Likes
It looks really good to me. I think the “darkness” of it is mainly the photography and lighting conditions. It may be how the colors are contrasting w/the green poster board as well. I always prefer a light blue poster board background as it seems to present the truest colors.
Lighting makes a big difference. For example, these are the same vehicle on the same background. The same camera was used as well.
The first pic is with a more yellow incandescent light. It tends to make the pic more muddled and yellow overall.
This one is with a more natural white LED light, and now my preferred light setup.
Overall, it looks like a dirty/dusty, well used tank to me. Good job.
3 Likes
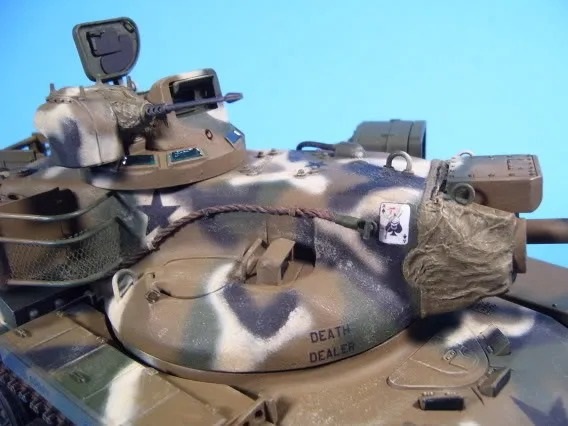
Great job Russel. Especially the camo job, very nicely done and I do like the light weathering
That’s a huge difference, Gino. I’ll take another look at mine in the morning in good light. Which kit did you use?
metalhead, thank you. Light weathering has been my preference of late, unless I’m actually building from a photo of something that’s actually nasty. I finished Meng’s Achzarit recently, and that’s one I laid it on, lots of dust accumulation. It’s hard to see here, but it’s there.
 IMG_1665 by Russel Baer, on Flickr
Fun kit by the way.
1 Like
Hi Russel, Great work there. When many including myself shy away from older kits, You took the challenge and did a great job with it…I like it as it is.
Agree with Gino, It may be the lighting as well. When I had similar issue, in an attempt to lighten a model I attempted a mist coat over all. But it took away the contrast and created a flat effect.
If you really, really want to make it APEAR a bit bright, try to increase the contrast a bit…
I used oils a bit lighter than the camo colors… just dabbed it at Centre of the camo streaks…Dry brushing of same lighter colors also does the trick. I use lacquers, so the under layers were not affected much…
But it is very easy to over do it… so take your time… As I said earlier. I like it as it is now  Keep up the good work…
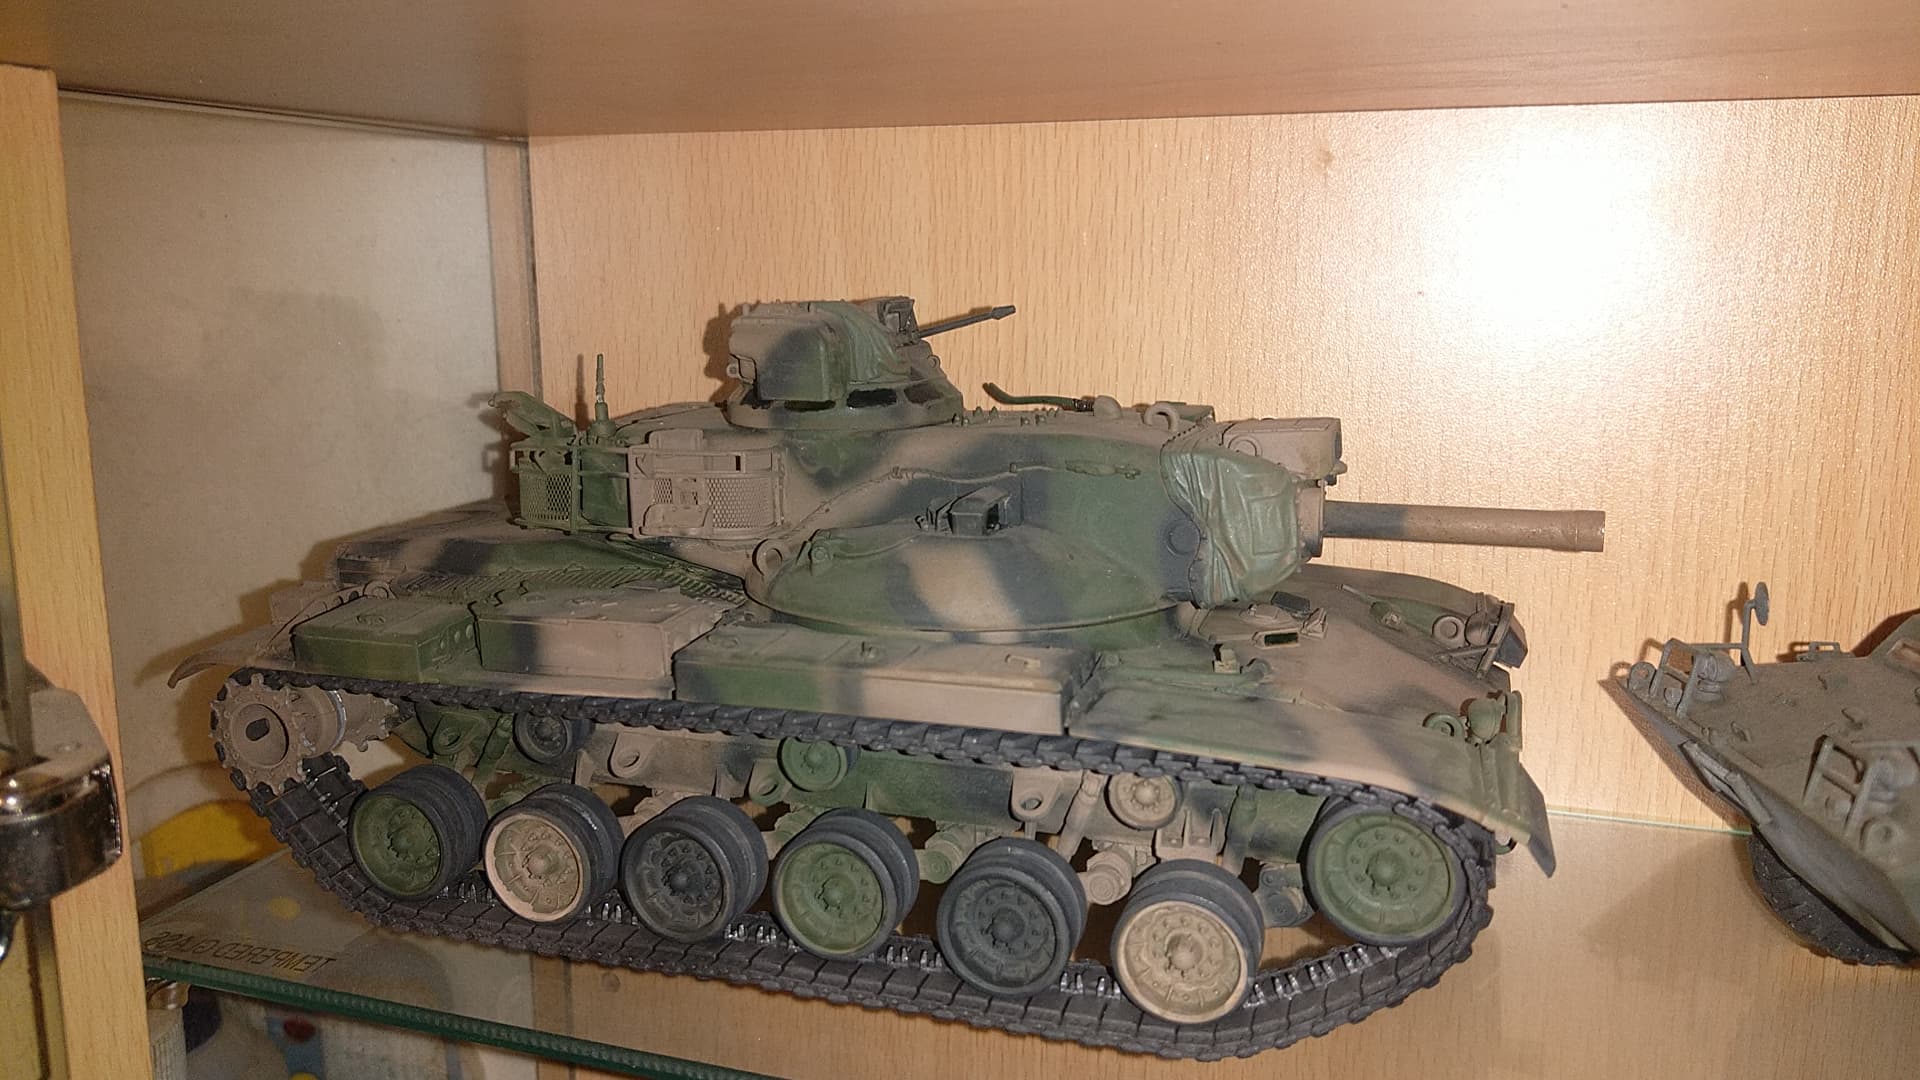
Mine is a Franken-Starship. I did it back in Nov '05 before there were options. It is a Tamiya turret, Esci hull, AFV Club tracks, and lots of scratch.

4 Likes
Nice job, looks great.
The Spaceship one of my Al Time Favorite AFV’s. Just looks cool…

I would do the periscopes with a smoke color. Too many manufacturers, especially Tamiya, tell you to paint them blue which just looks wrong (my big pet peeve). Some smoke will darken them up and also provide some depth to them.
Ken