What technique is recommended for adding anti-slip coating to scratch built 1/35 AFVs?
Also, QQ, the anti-slip surface on the Leopard 2 seems to be in small rectangular patches rather than coat entire upper surfaces like on US AFVs. Are the Germans using some kind of stickers instead of a coating?
Two basic methods, Rustoluem rattle can or AK anti skid paste.
HTH
1 Like
Nikos has another method which looks good which is a brush over of Mr Surfacer then fine aquarium sand sprinkled over that. He showed it on the IDF group build. I use the Rustoleum method on my antiskid.
1 Like
There are a couple of VMS products for that as well:
The problem is that there are several different types of texture, each requiring its own method.
Earlier Merkavas looked like they had texture sprinkled onto the surface and then painted. So that’s how I modeled early Merkavas - a very thin layer of thinned white glue or paint, fine sand, and then paint. It’s the best way to replicate sparse and unevenly applied texture.
This old M109A5 I chiefed had panels of no slip, much like skate board tape only much larger panels. I replicated it as best I could with wet/dry sandpaper. However, it was a little thick.
Texture on many early Paladins was also made from stick on panels, but they were much thinner. So to replicate that look I used sanding film. The texture isn’t very visible, but then it wouldn’t be if actually viewing the real thing from that distance.

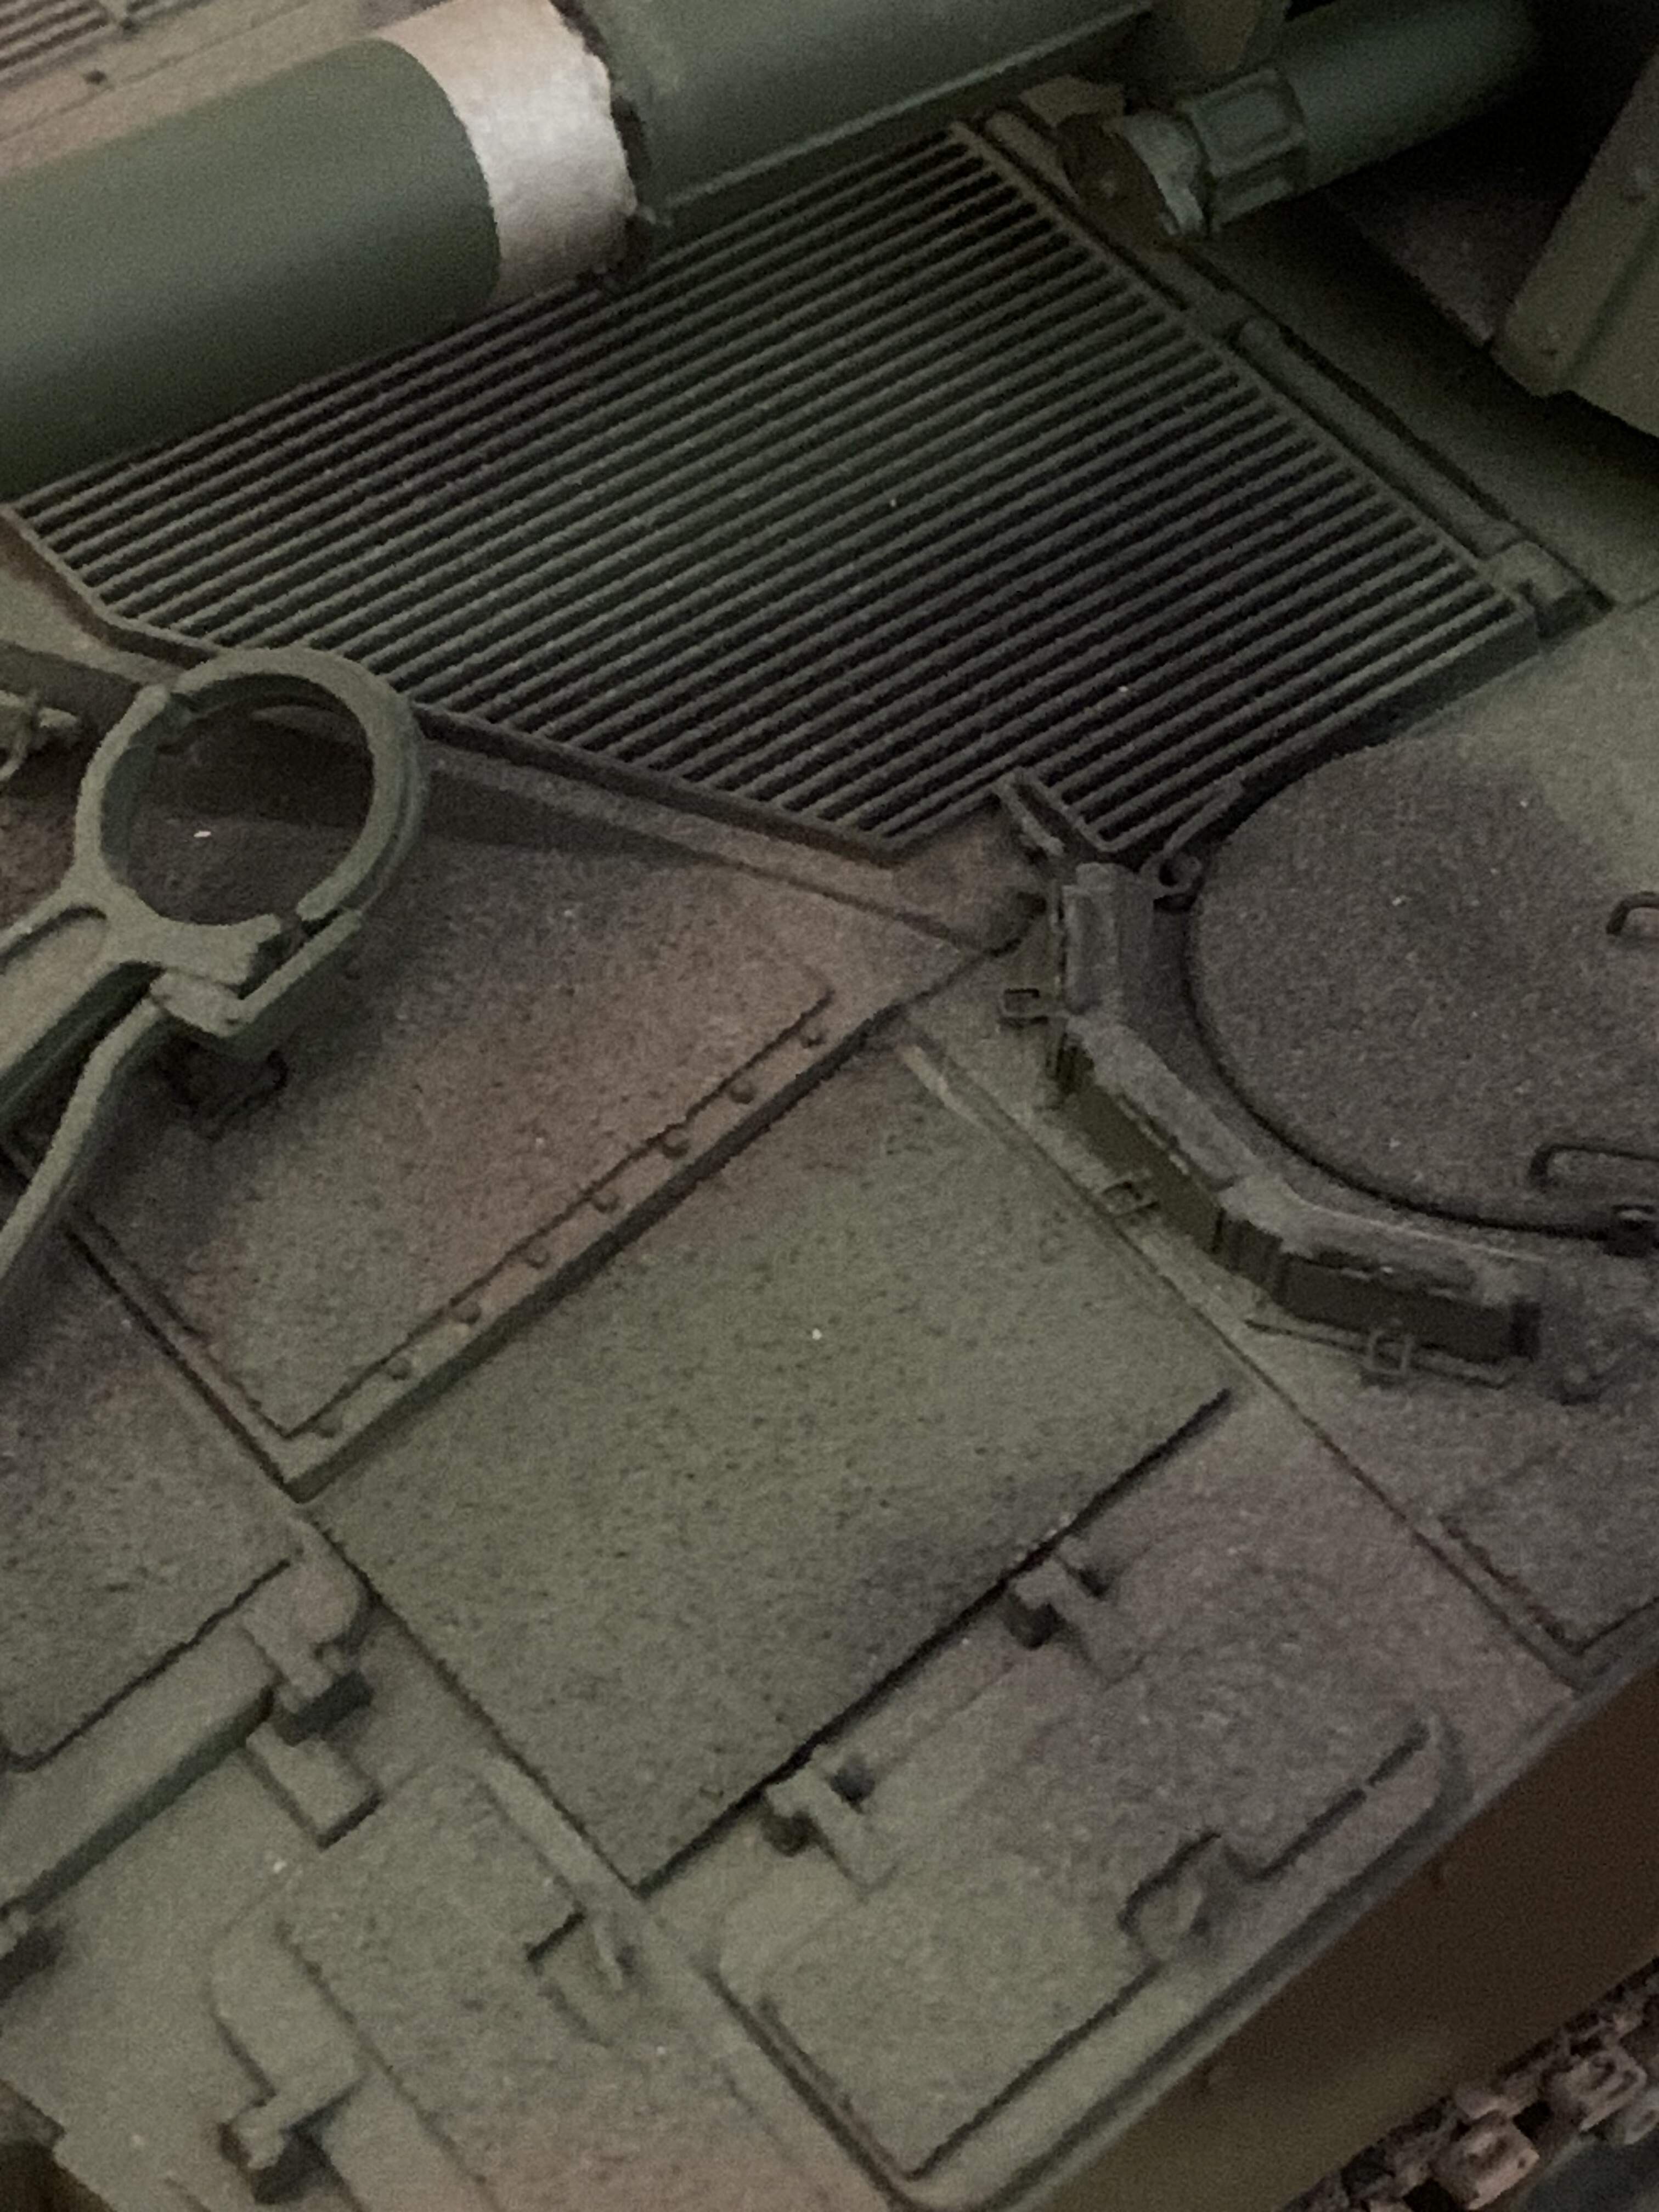
Of course there’s there’s the spray can method, which I also use. It only works on vehicles that have a very even texture:
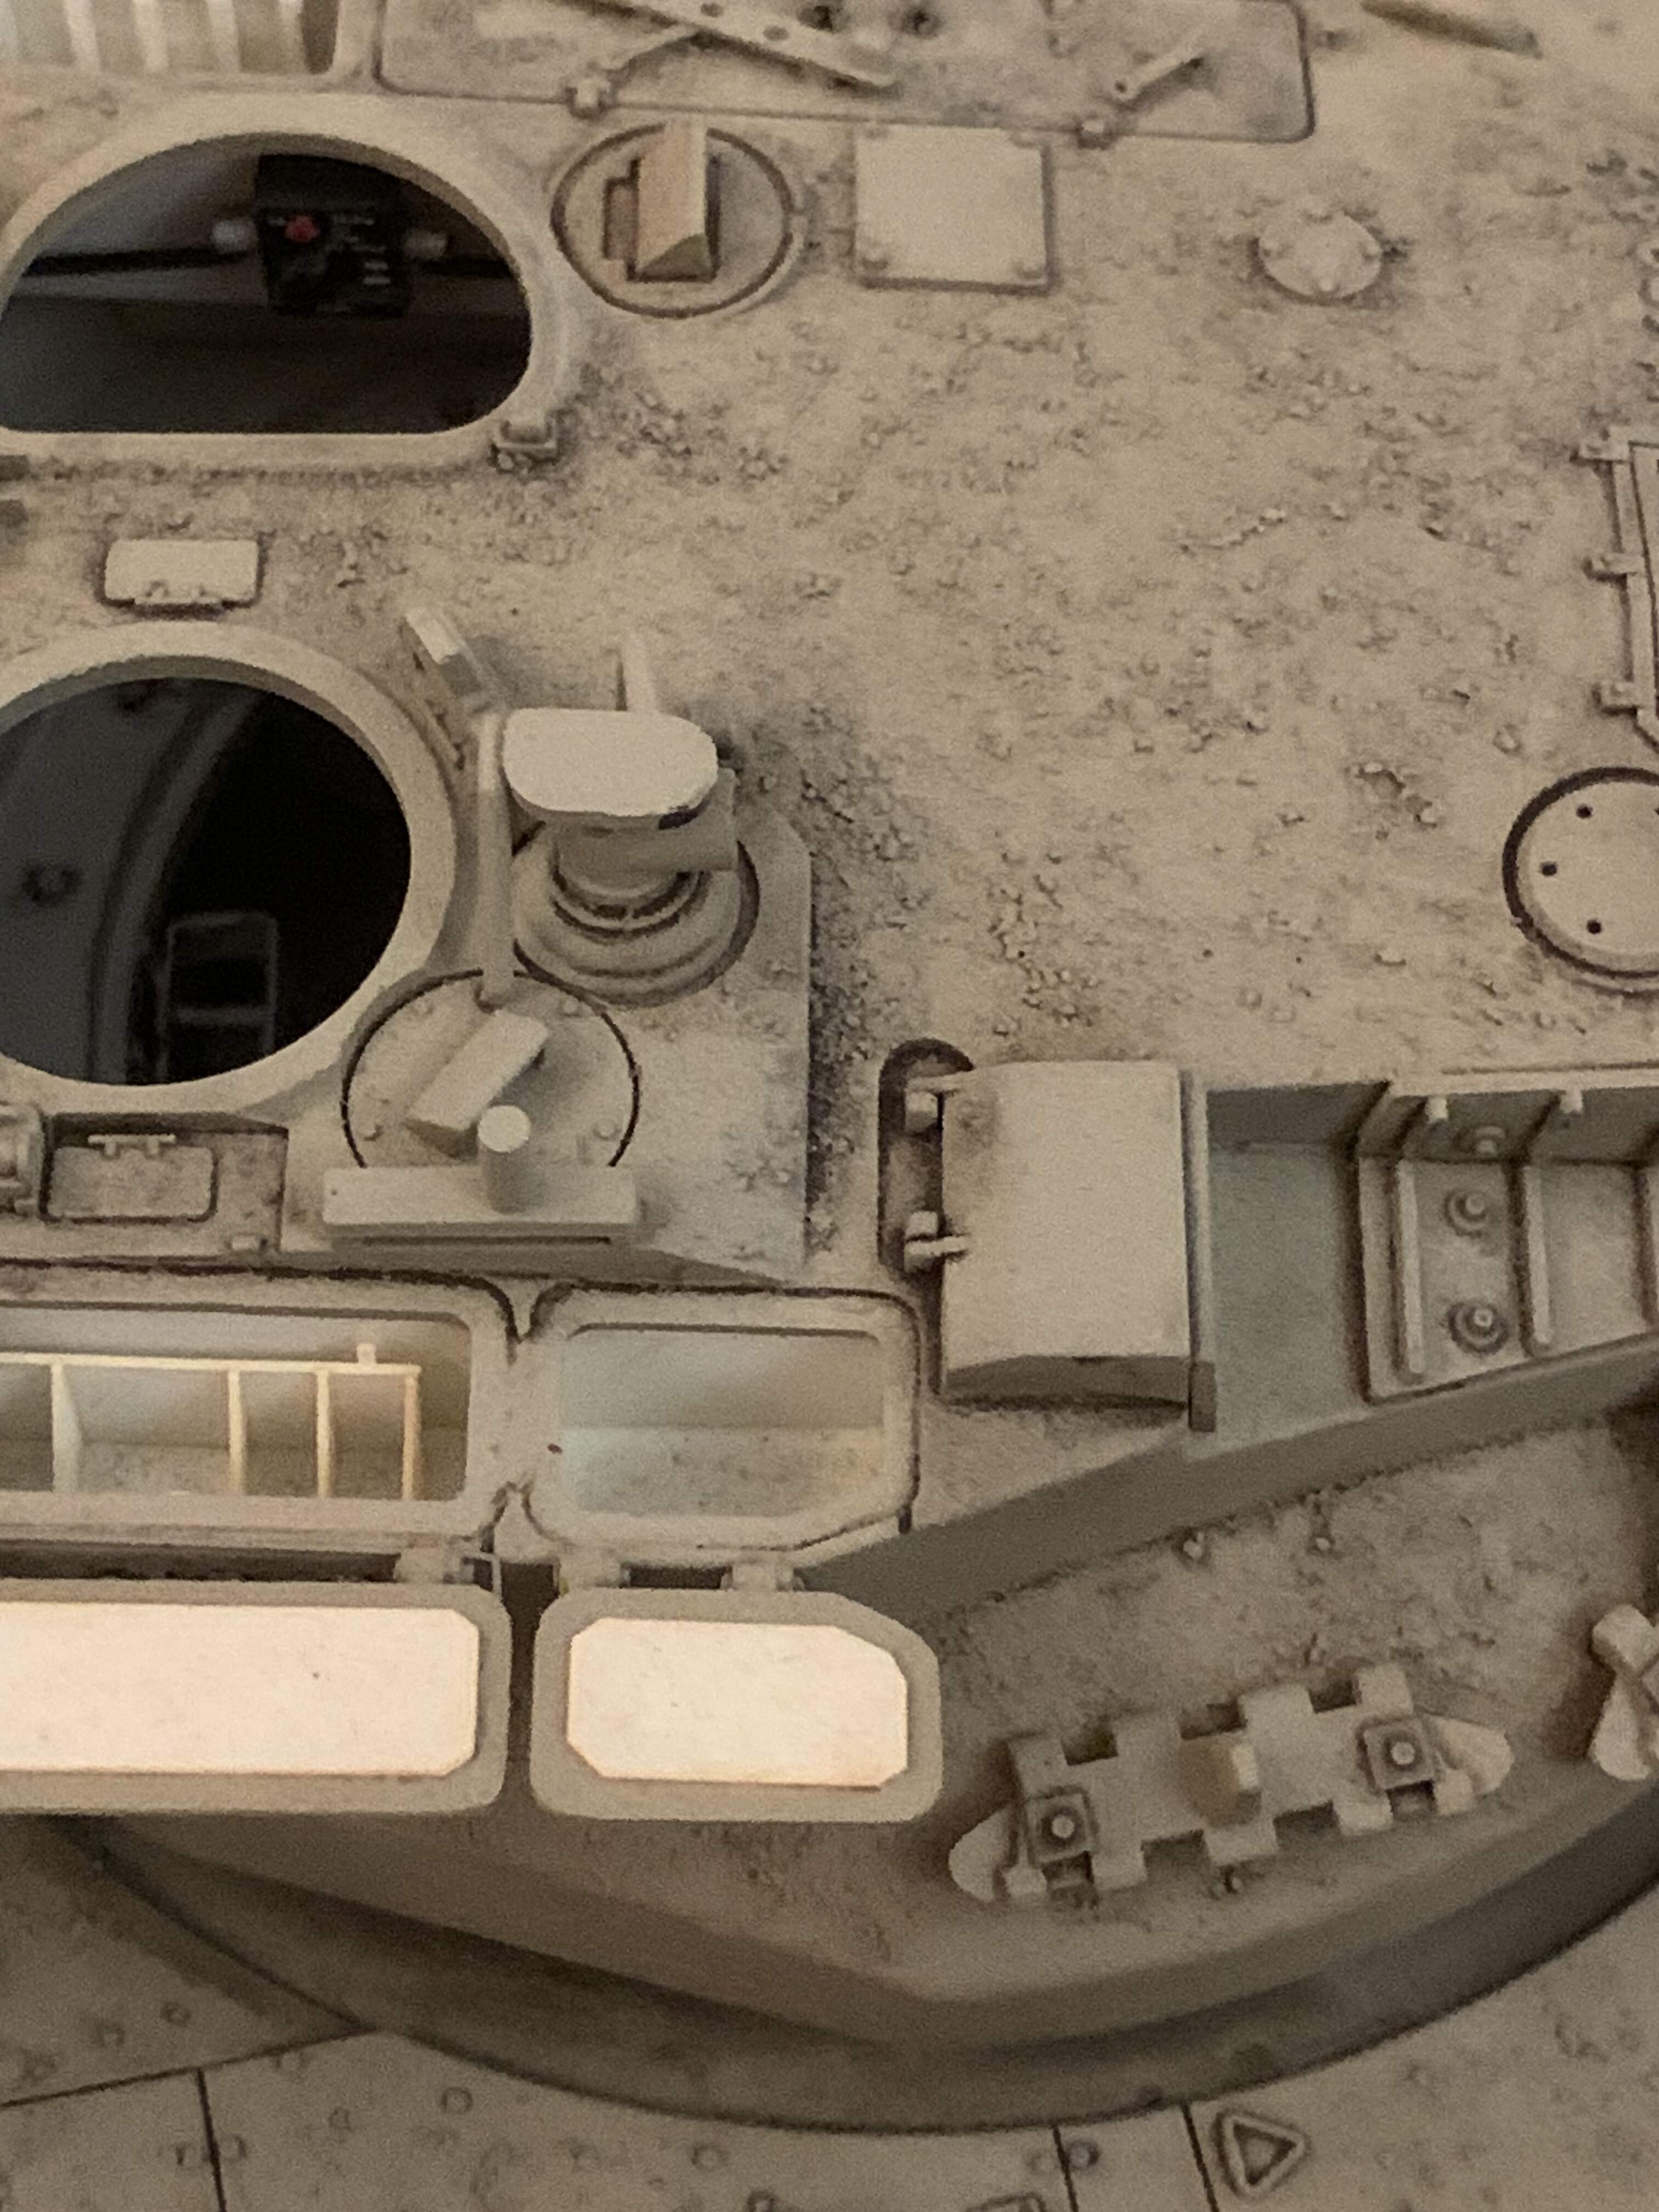
And finally there’s this that appears on many modern vehicles.
It can’t really be sprayed, not realistically. You have to apply a thin layer of putty, add “brush strokes” and then then texture.

I no longer have an example of it I’ve done myself, although it did turn out pretty well.
5 Likes
I’ve used Gunze Sangyo Aqueous (Mr Hobby) H346 Rough Sand (matt (weathering) for walkways on 1/48 birds. Good stuff…
Bryan
1 Like
There’s always the Old Skool method of painting the patch with liquid poly and stippling with a stiff brush! I’ve made some Leopard patches with a rectangle of 0.005" Evergreen laminated on to create thickness & then stippled.
I use Mr. surfacer 1000. Then use an old short bristle brush and stipple it a bit- you want to show a change in the texture from smooth.
1 Like
As the Rustoleum Terracotta seems to have disappeared from store shelves in my area. I picked up the Ammo by Mig Anti-Slip Paste A.MIG-2035, and their Fine Anti-Slip paste A.MIG-2034. Both are easy to use and look great. The regular 2035 looks just right for the 1990’s era US vehicles.
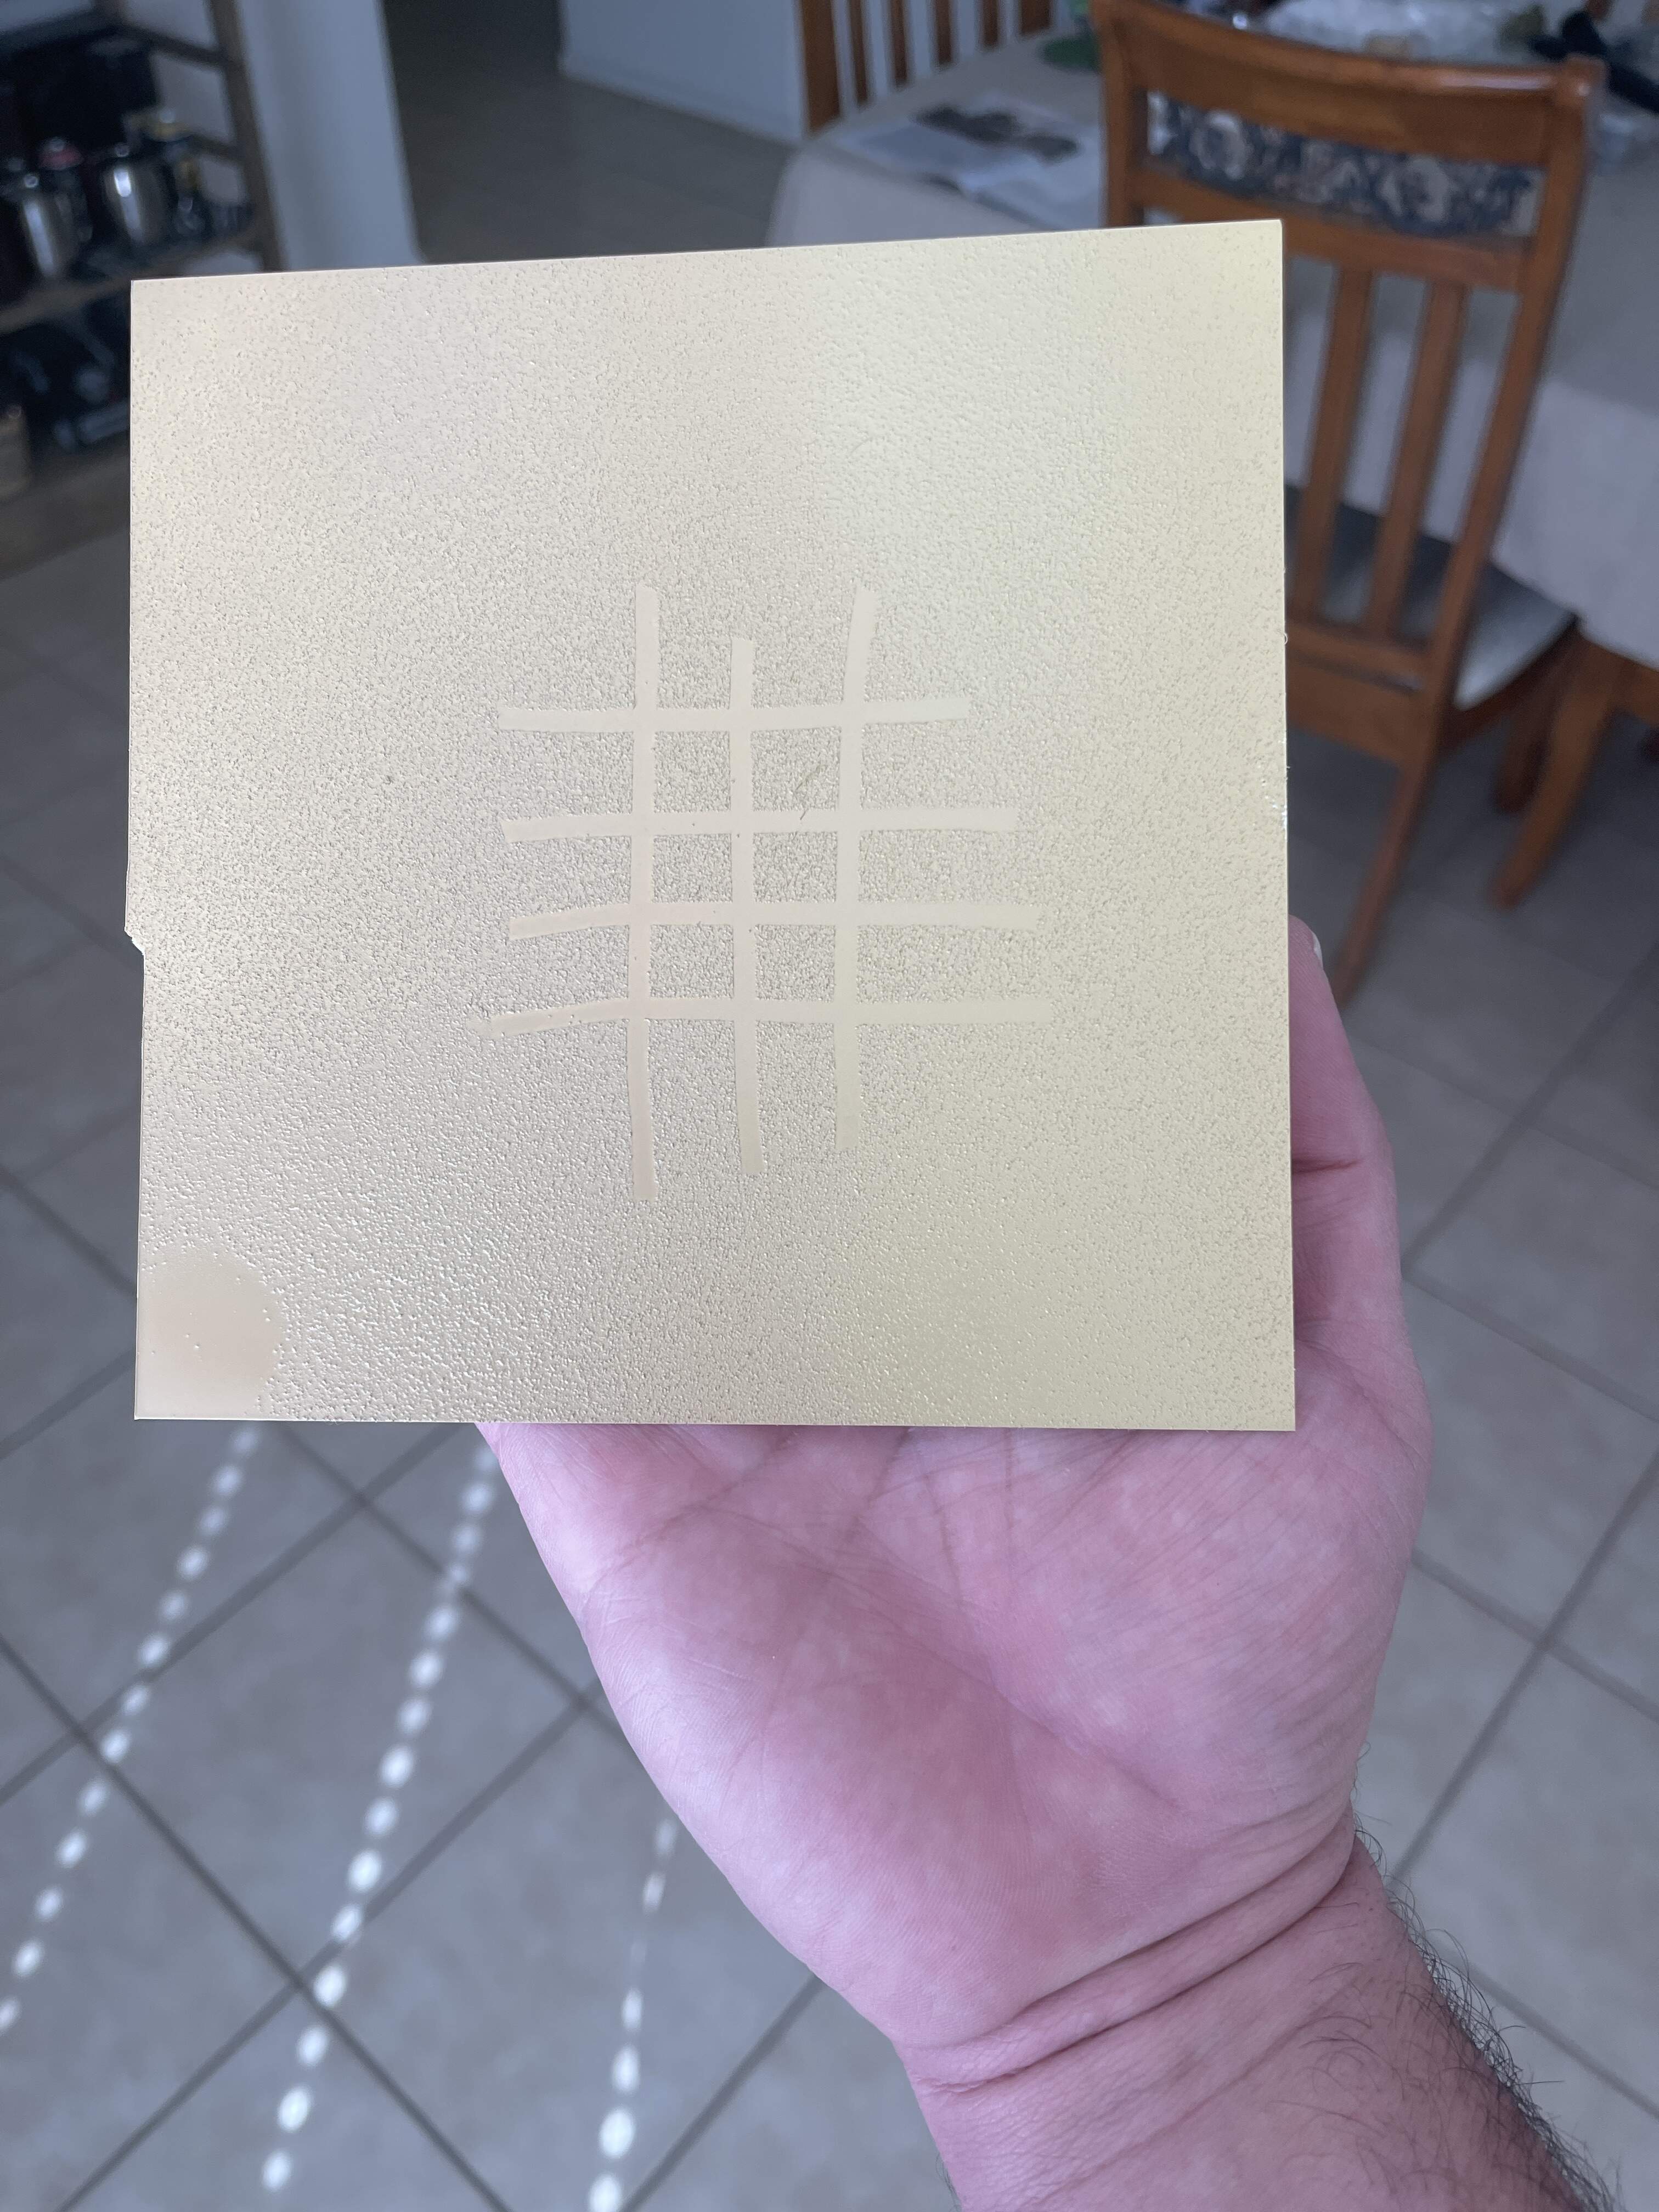
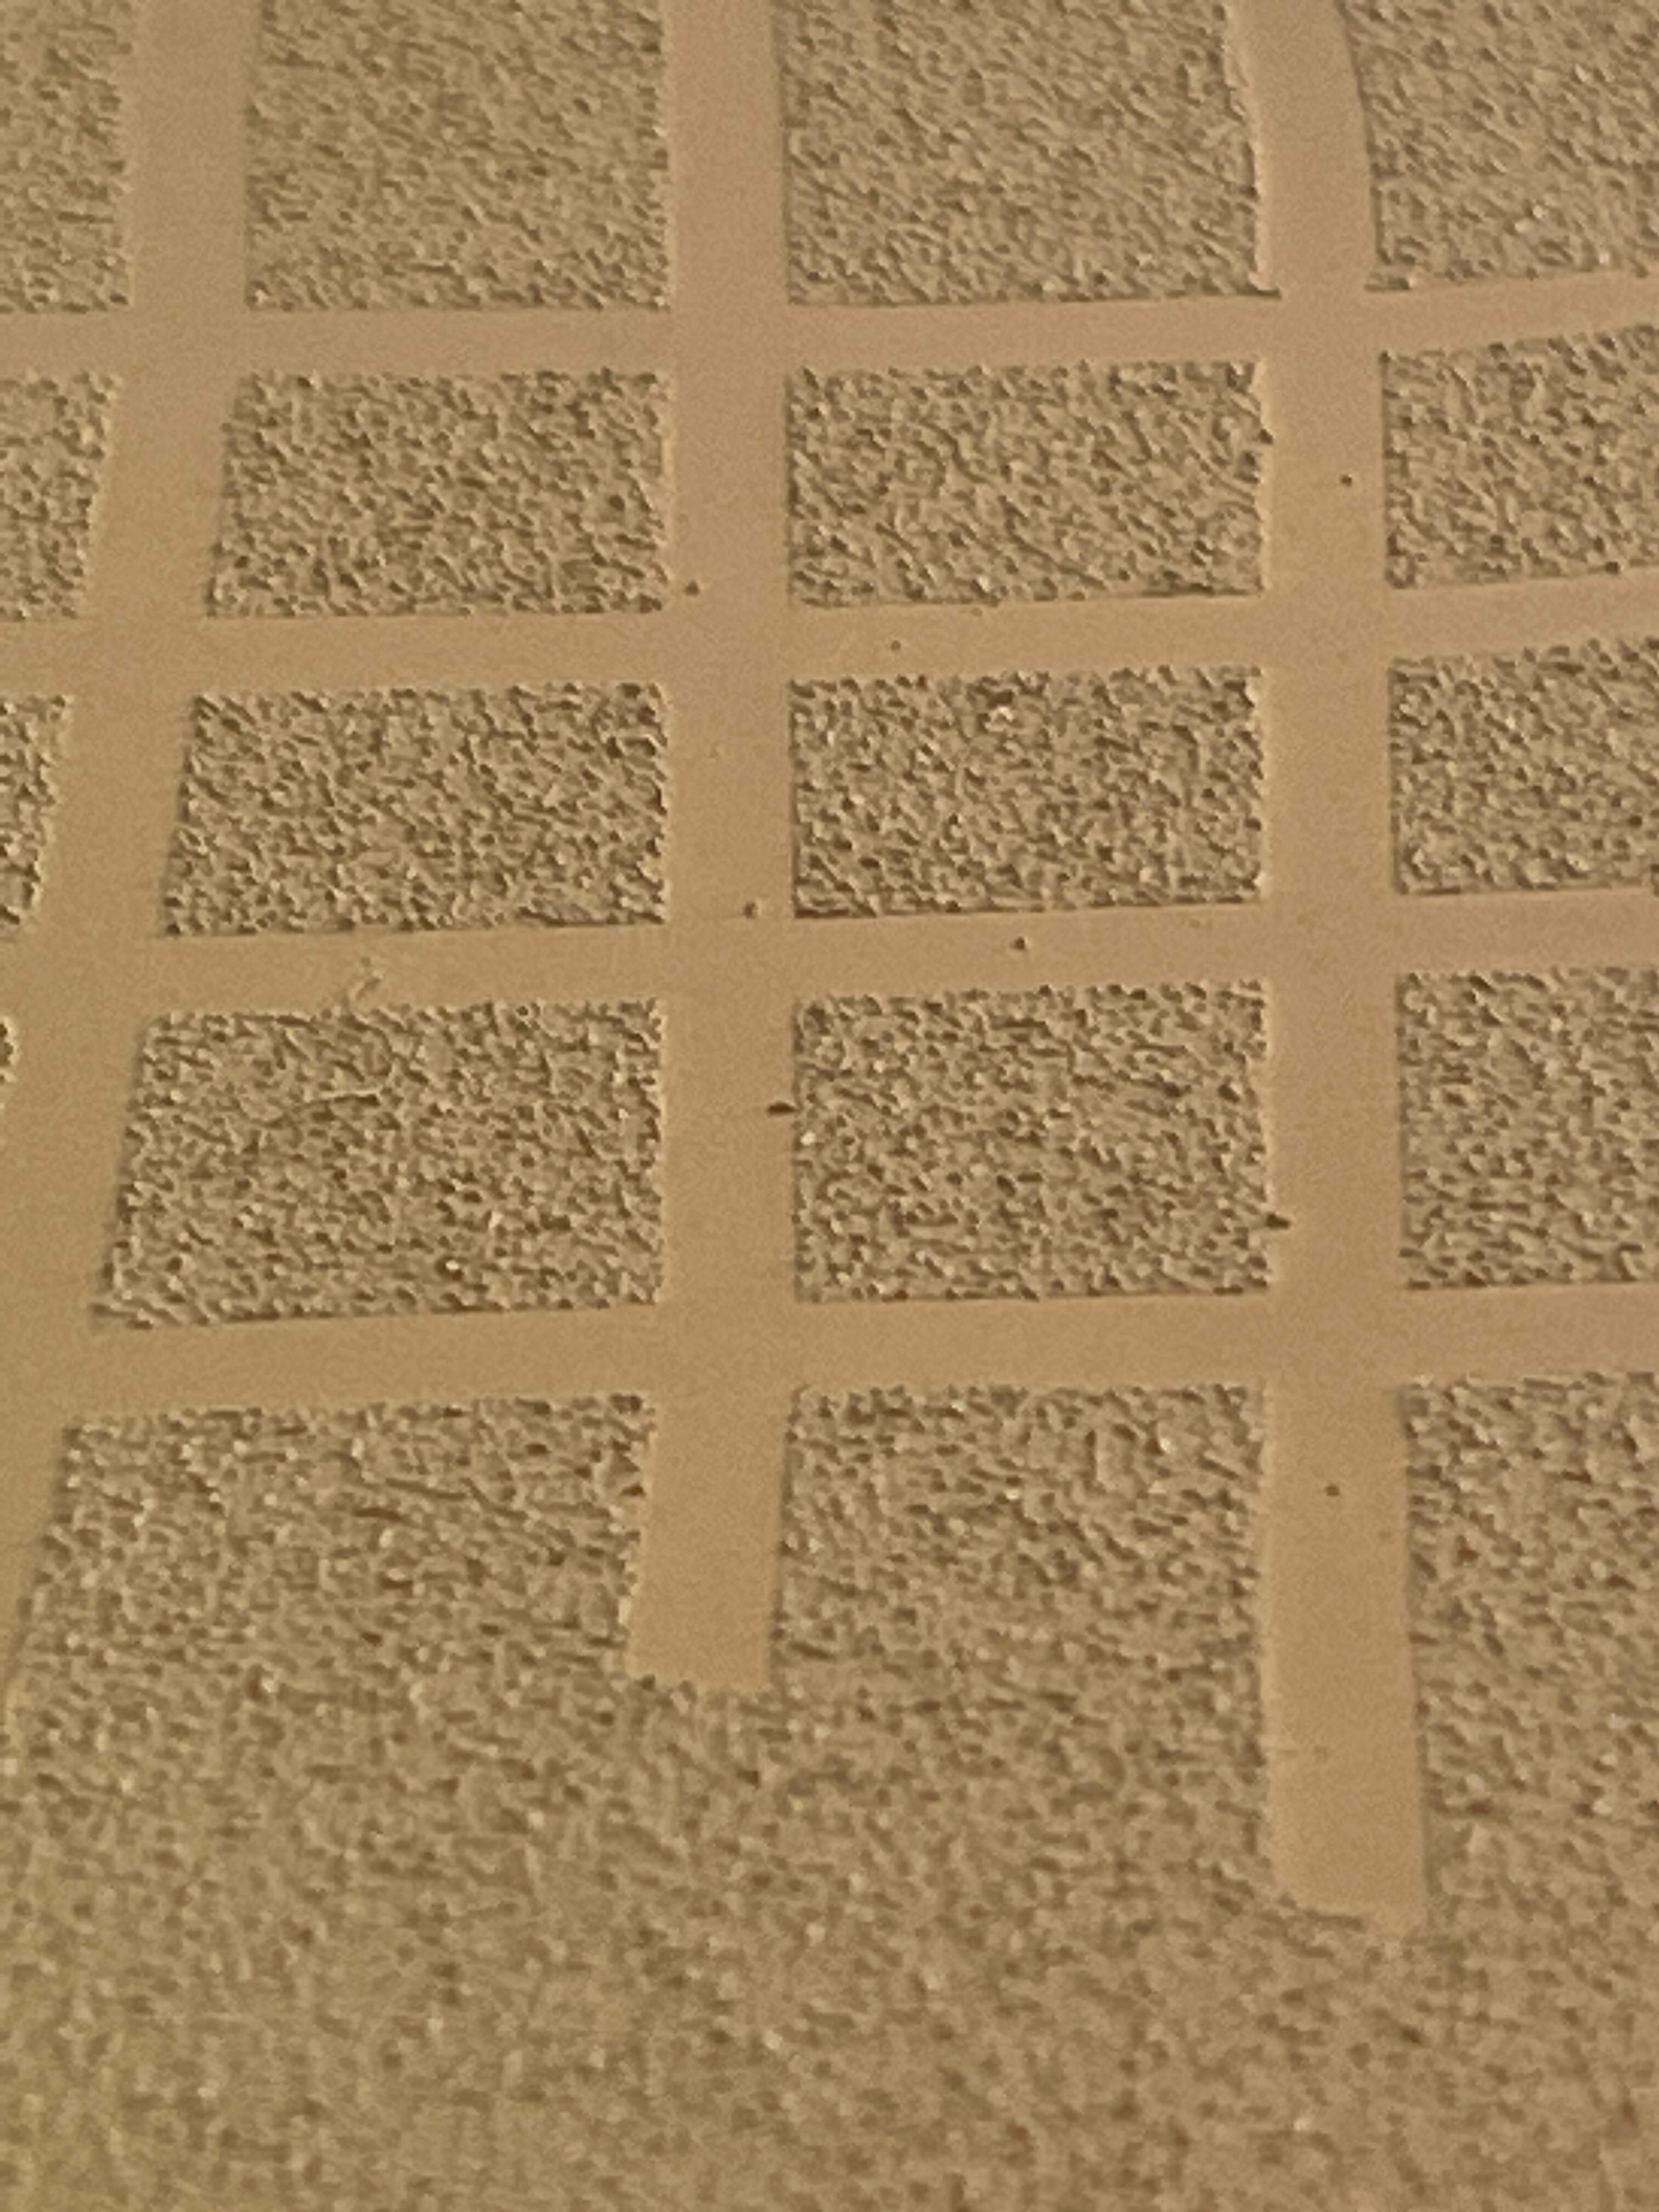
I’m a little OCD about certain things. When i bought my house almost 23 years ago I had some in a sand color (similar to what I’ve posted previously) and used it to hide those unsightly switch and socket plates in my kitchen. I’ve probably been using that since the nineties but I don’t know if it was Rustoleum or some craft brand from Michael’s.
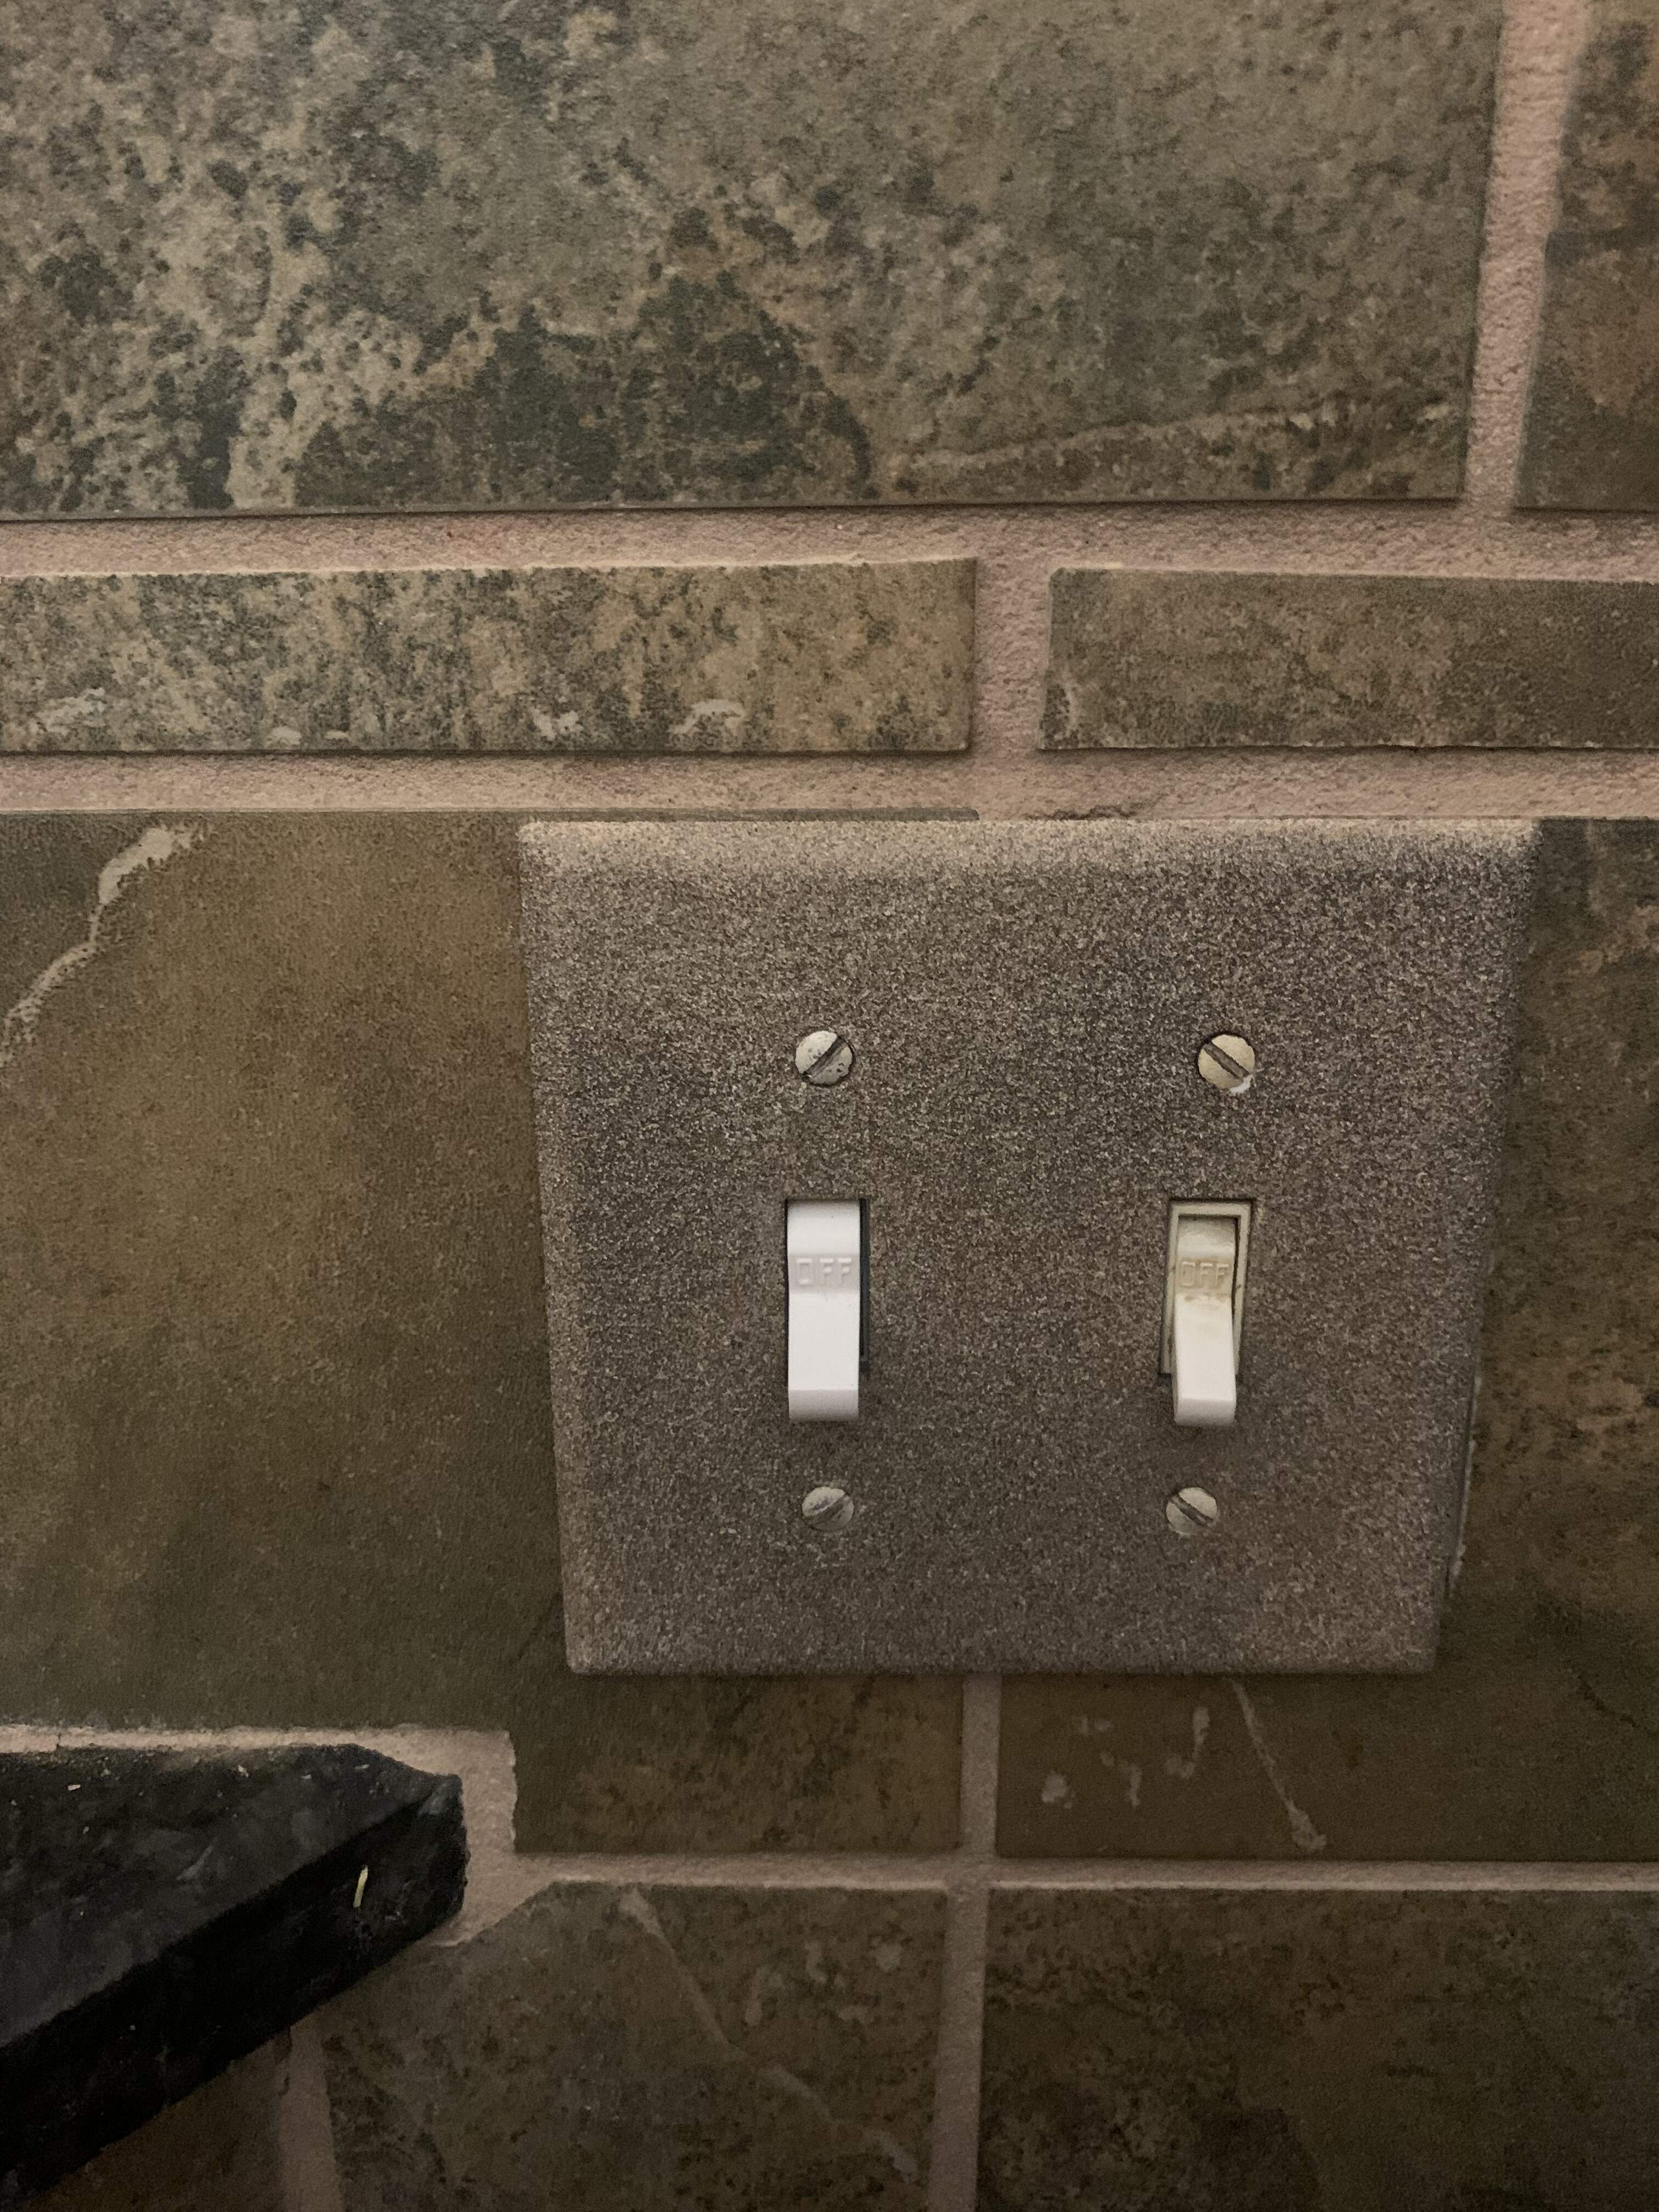
It’s not nearly as dark as in the photo.
I use the Rustoleum desert bisque… It’s a nice sandy colour
1 Like
Rob, not OCD enough. You missed the switches, screws, and the tan grout line. ![]()
1 Like
I actually considered the grout line, and have often thought about doing it. I don’t want my wife to think I have too much time on my hands.
I figure painting the switches will only lead to having to repaint them every few months so I let them go.
I did paint the screws when I wall papered the bathroom plates though:
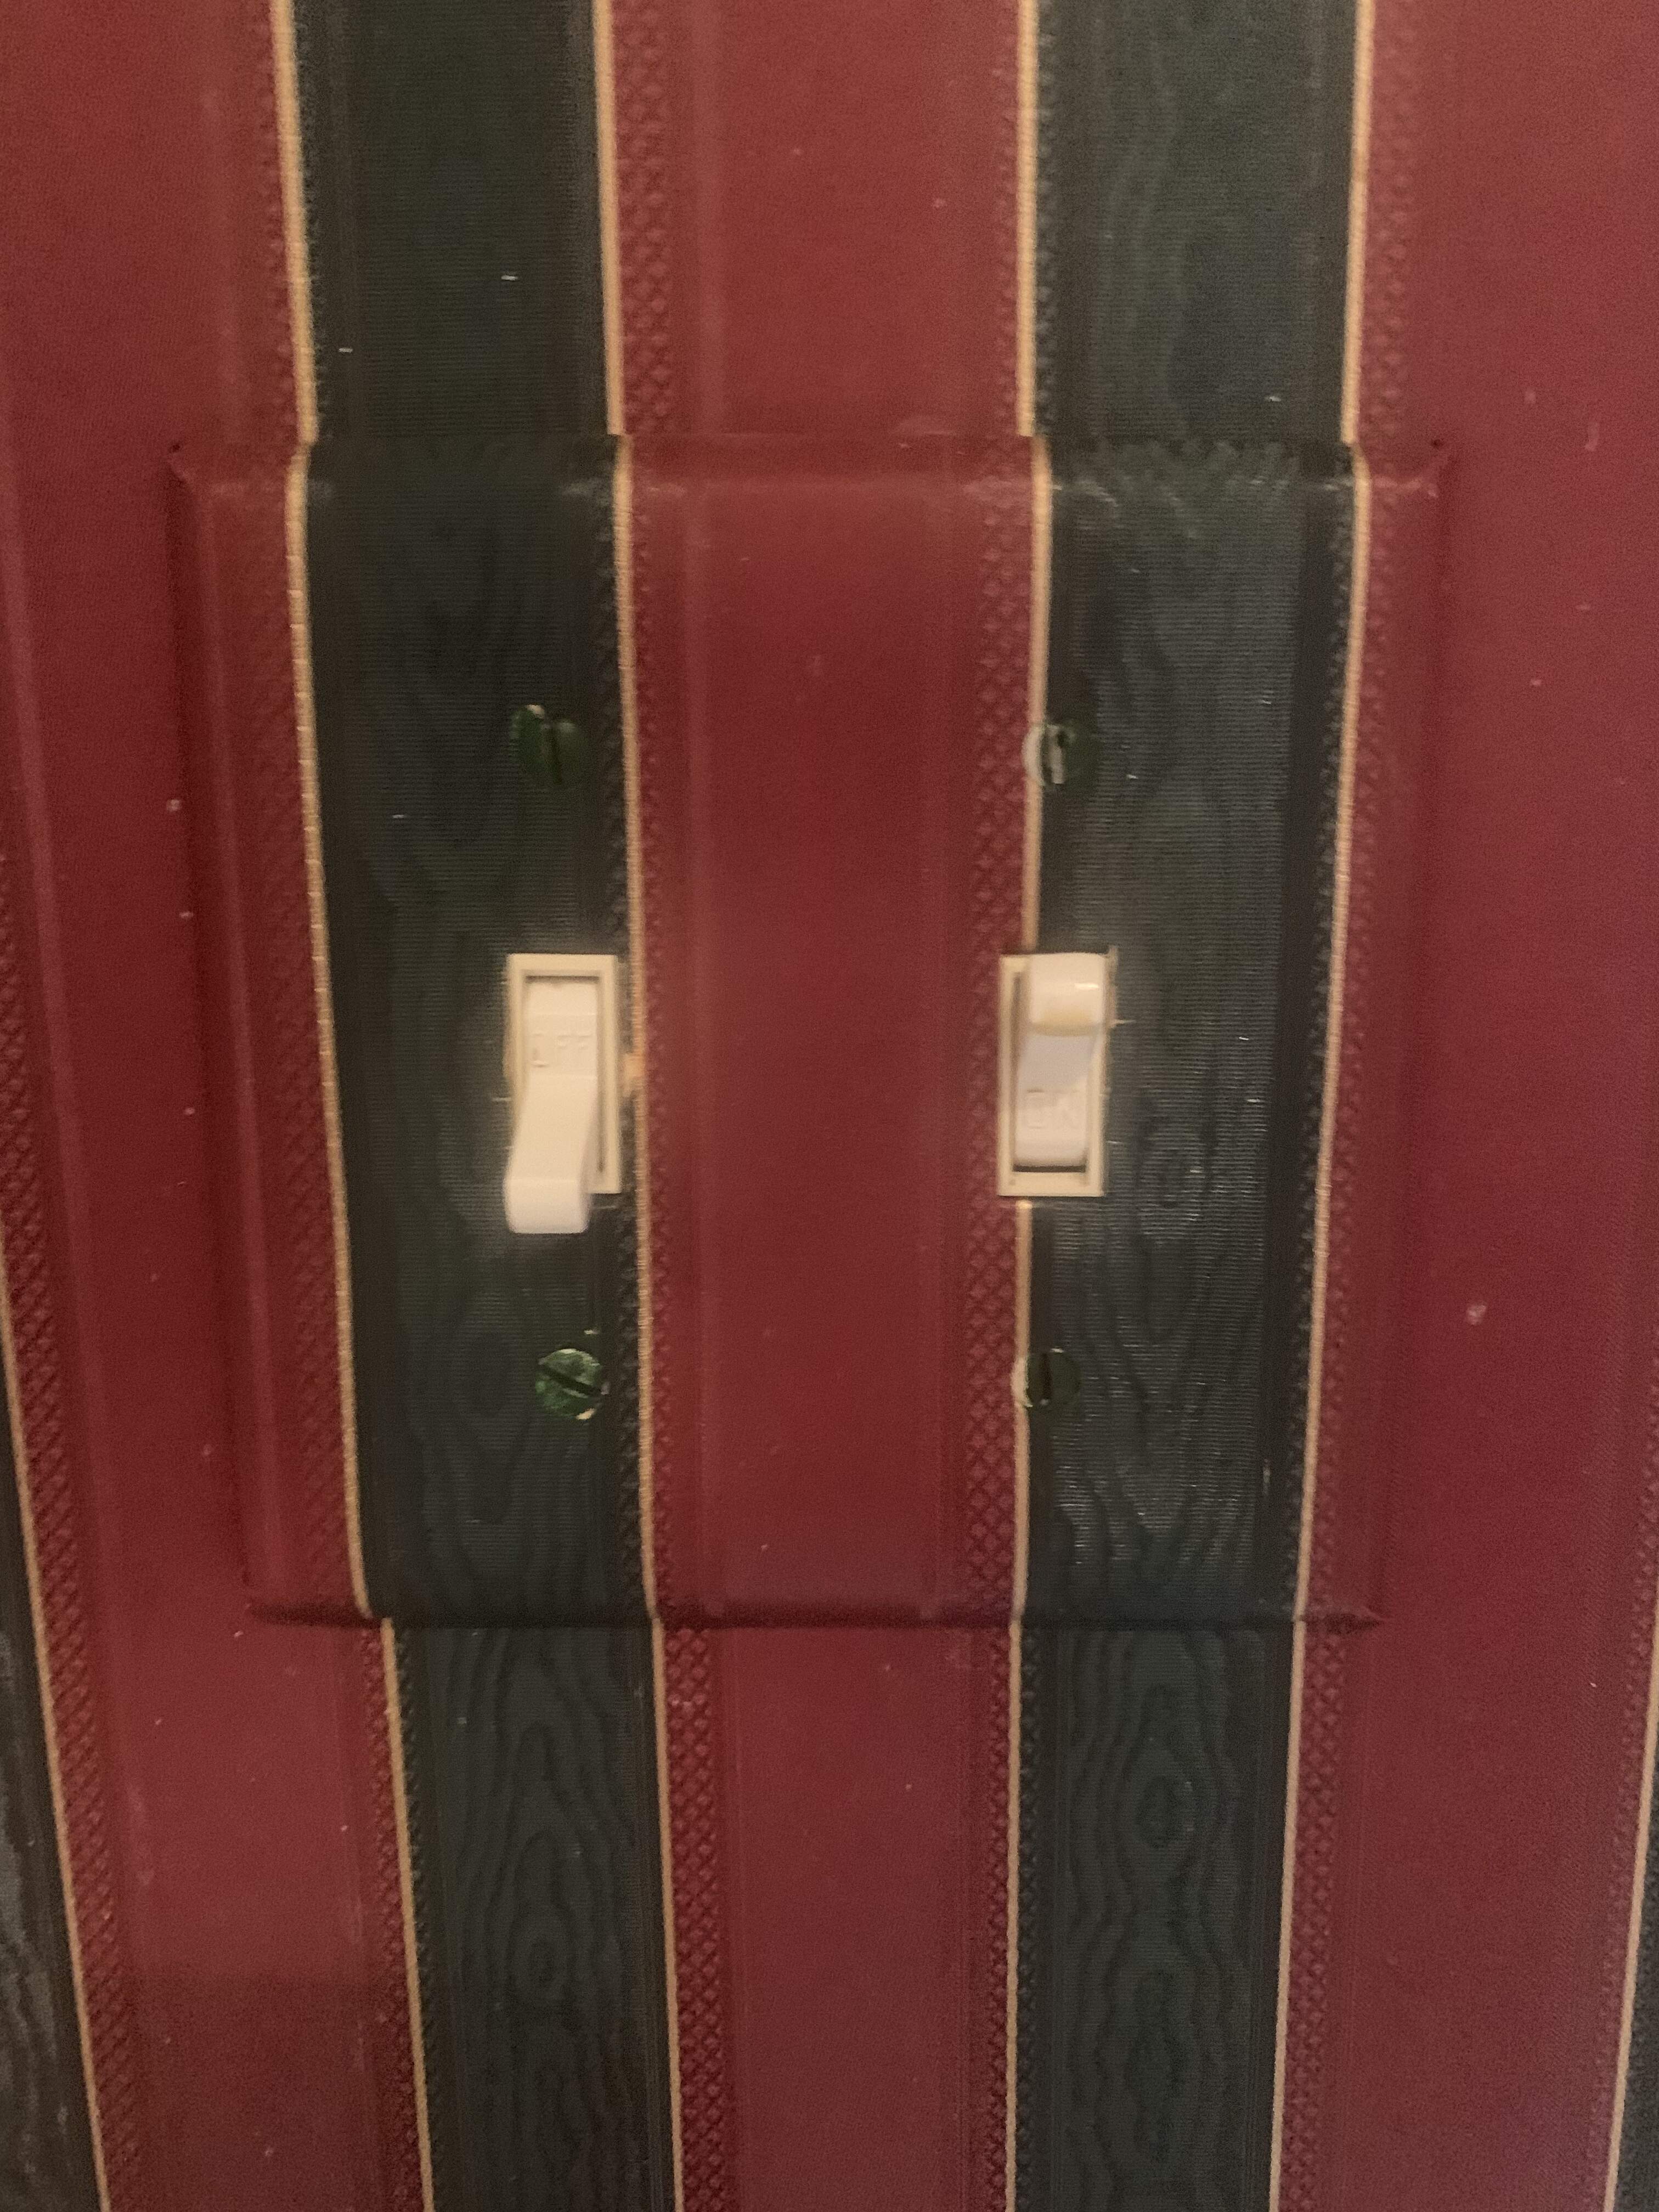

As you can see I even painted the stripe on the screws.
3 Likes
Just my 0.02$
The method one chose’s should be based on the way he likes to paint, weather and generally apply layers of paint, varnish etc on his model.
If you do not do that then most of the times you will end up with either too coarse or too shallow detail.
I use lots of layers on my models (primer, base color, varnish, fading, filter, varnish, pinwash, varnish, dust) so I always go for more coarse/rough textures than usual.
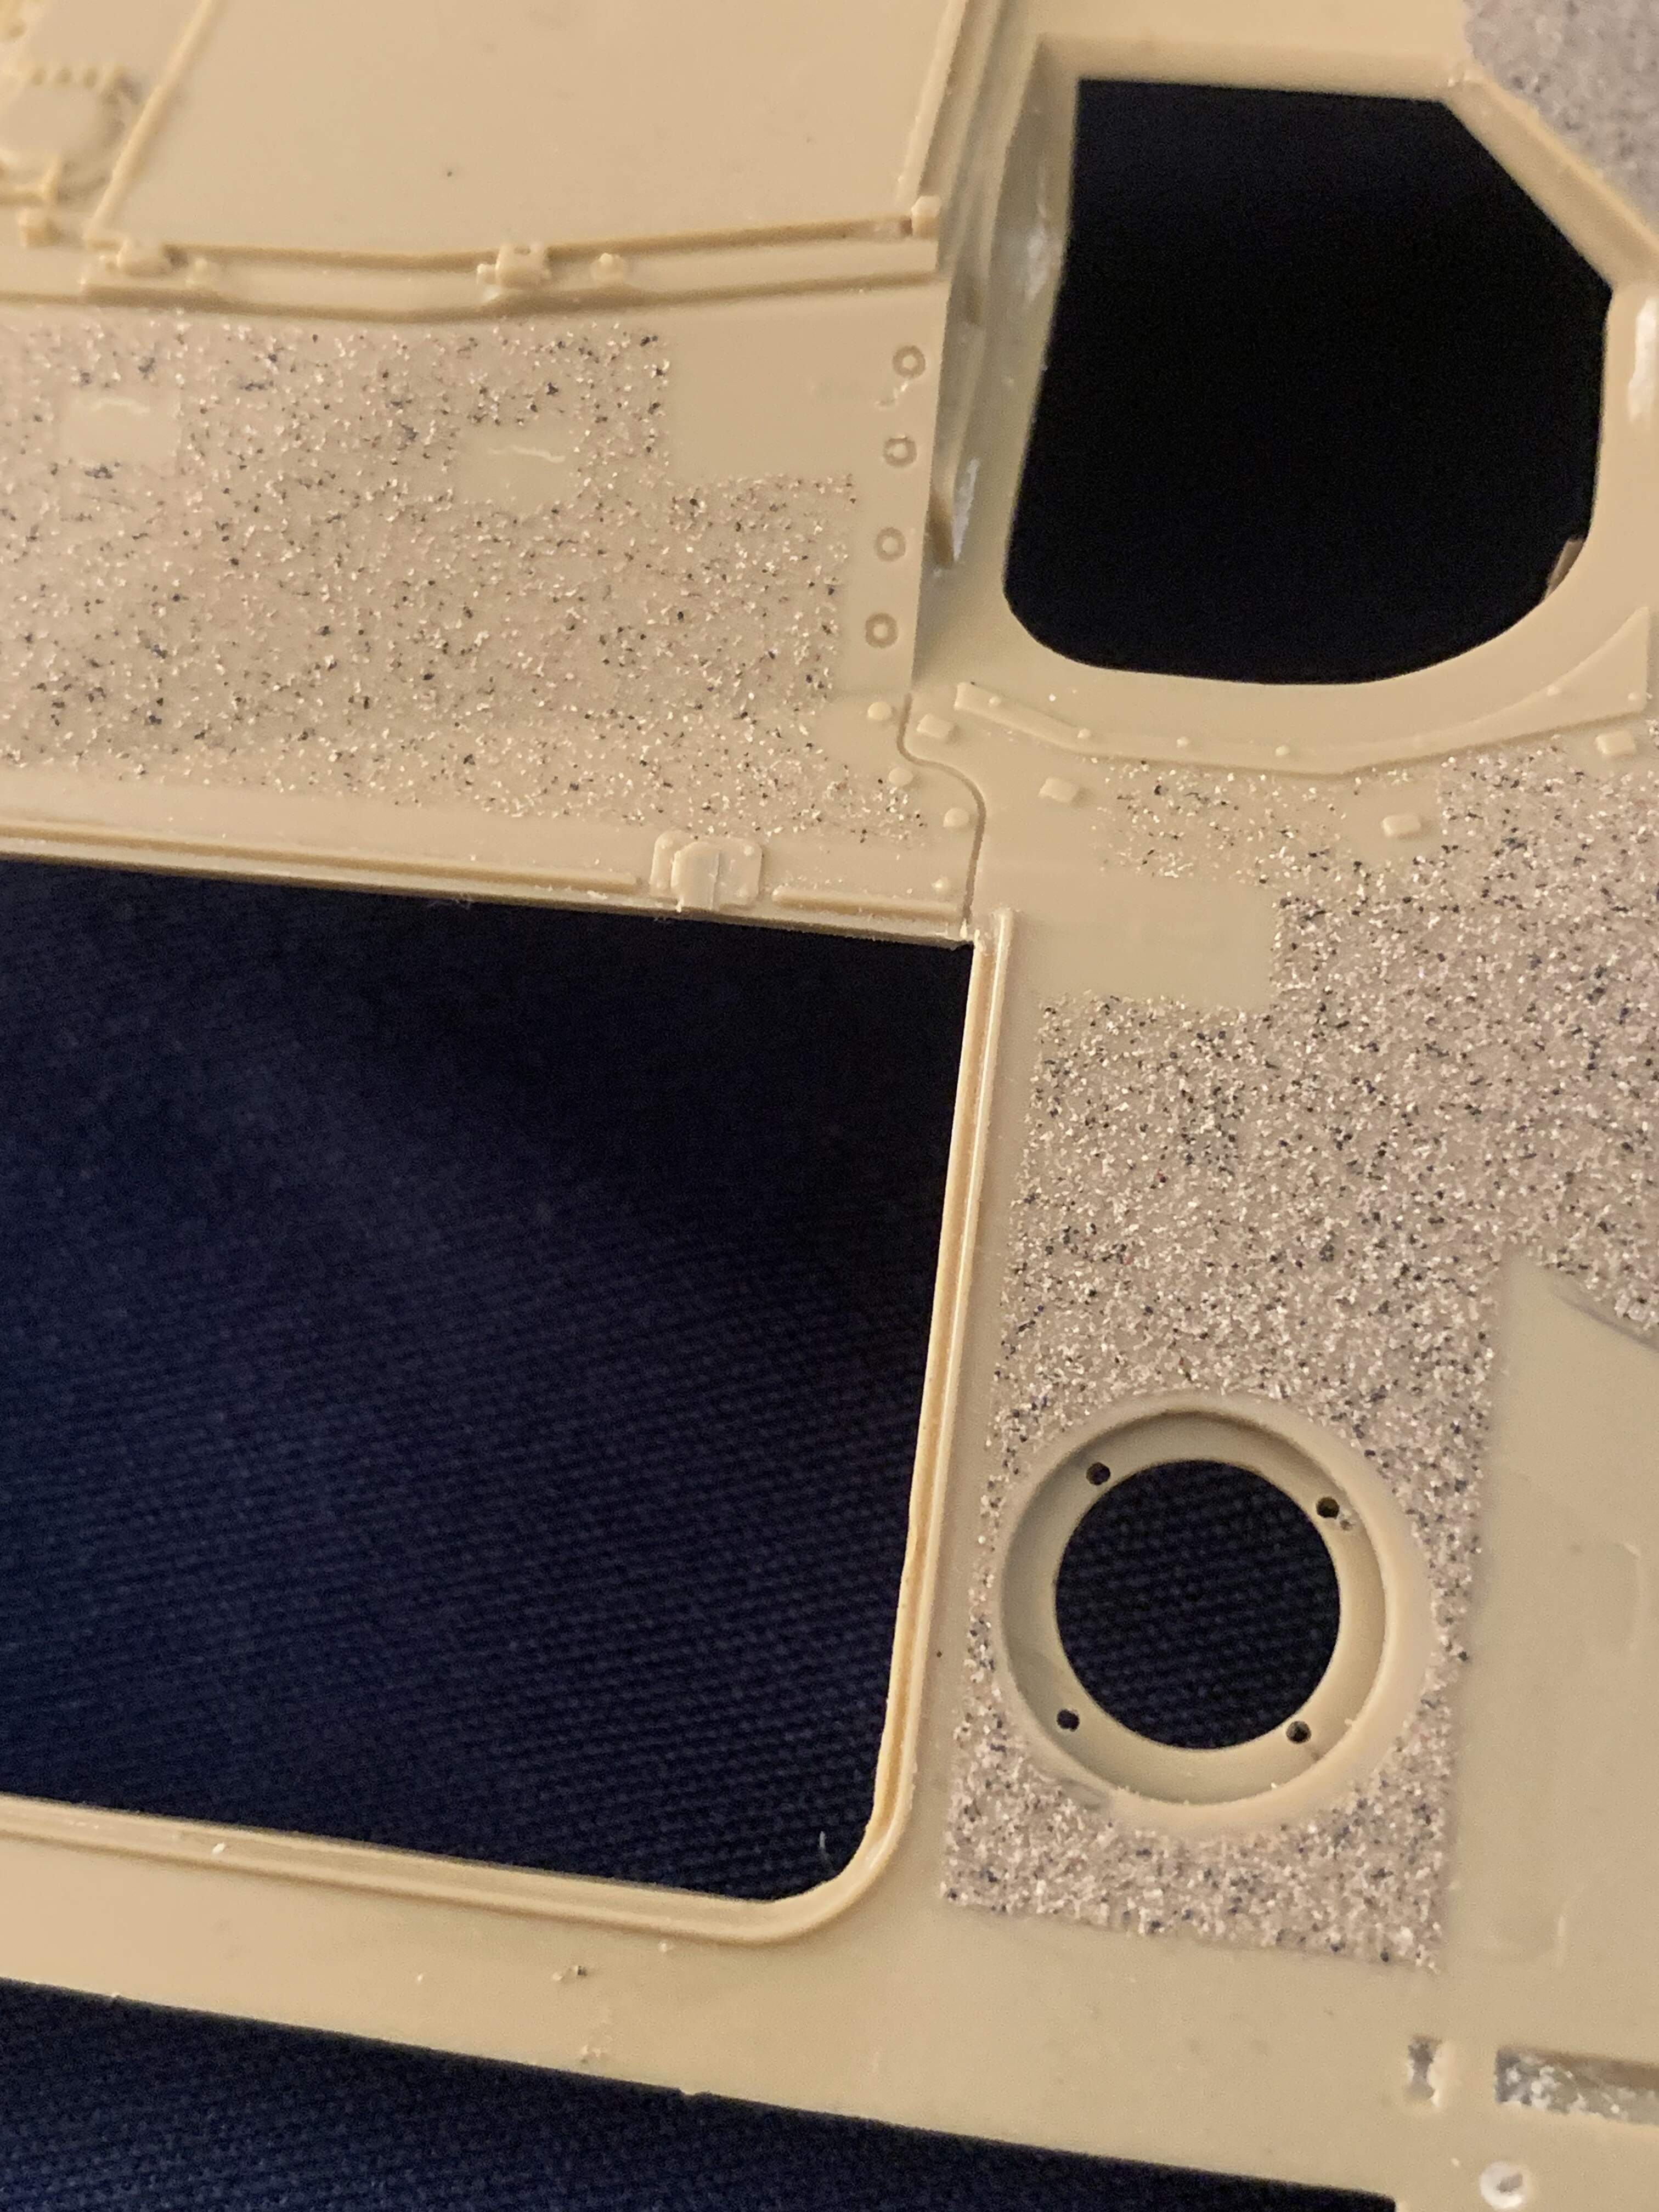
For IDF antiskid which is coarse I use fine aquarium sand sprinkled over mrsurfacer and then sealed with primer.
For the antiskid seen vehicles like the Leopard I use Paasche air eraser compound sprinkled over mr surfacer. This stuff:
And for the later style of antiskid I use the method written before, bristling MrSurfacer 1000. I have also tried tapping the surface with a hard brush after applying mr surfacer but cannot control the result as well as with bristling.
The point is there are many degrees/styles of anti slip. To achieve what you need, you will need good photo’s for correct placement and texture appearance. Then experiment until you find a technique and materials that replicate what you see in the photo’s. Prime and paint your experiments before you decide on the best application. The layer of paint and primer will influence the final texture. Then cinch up the old courage belt and start applying it on your kit. Make sure your masking is burnished correctly.
2 Likes
Ok, you win. You have a bad case of OCD ![]()
2 Likes
No… He has CDO. It’s just like OCD, except the letters are in alphabetical order. AS THEY SHOULD BE.
5 Likes
Couldn’t find the Terra Cotta spray, so I went with this.
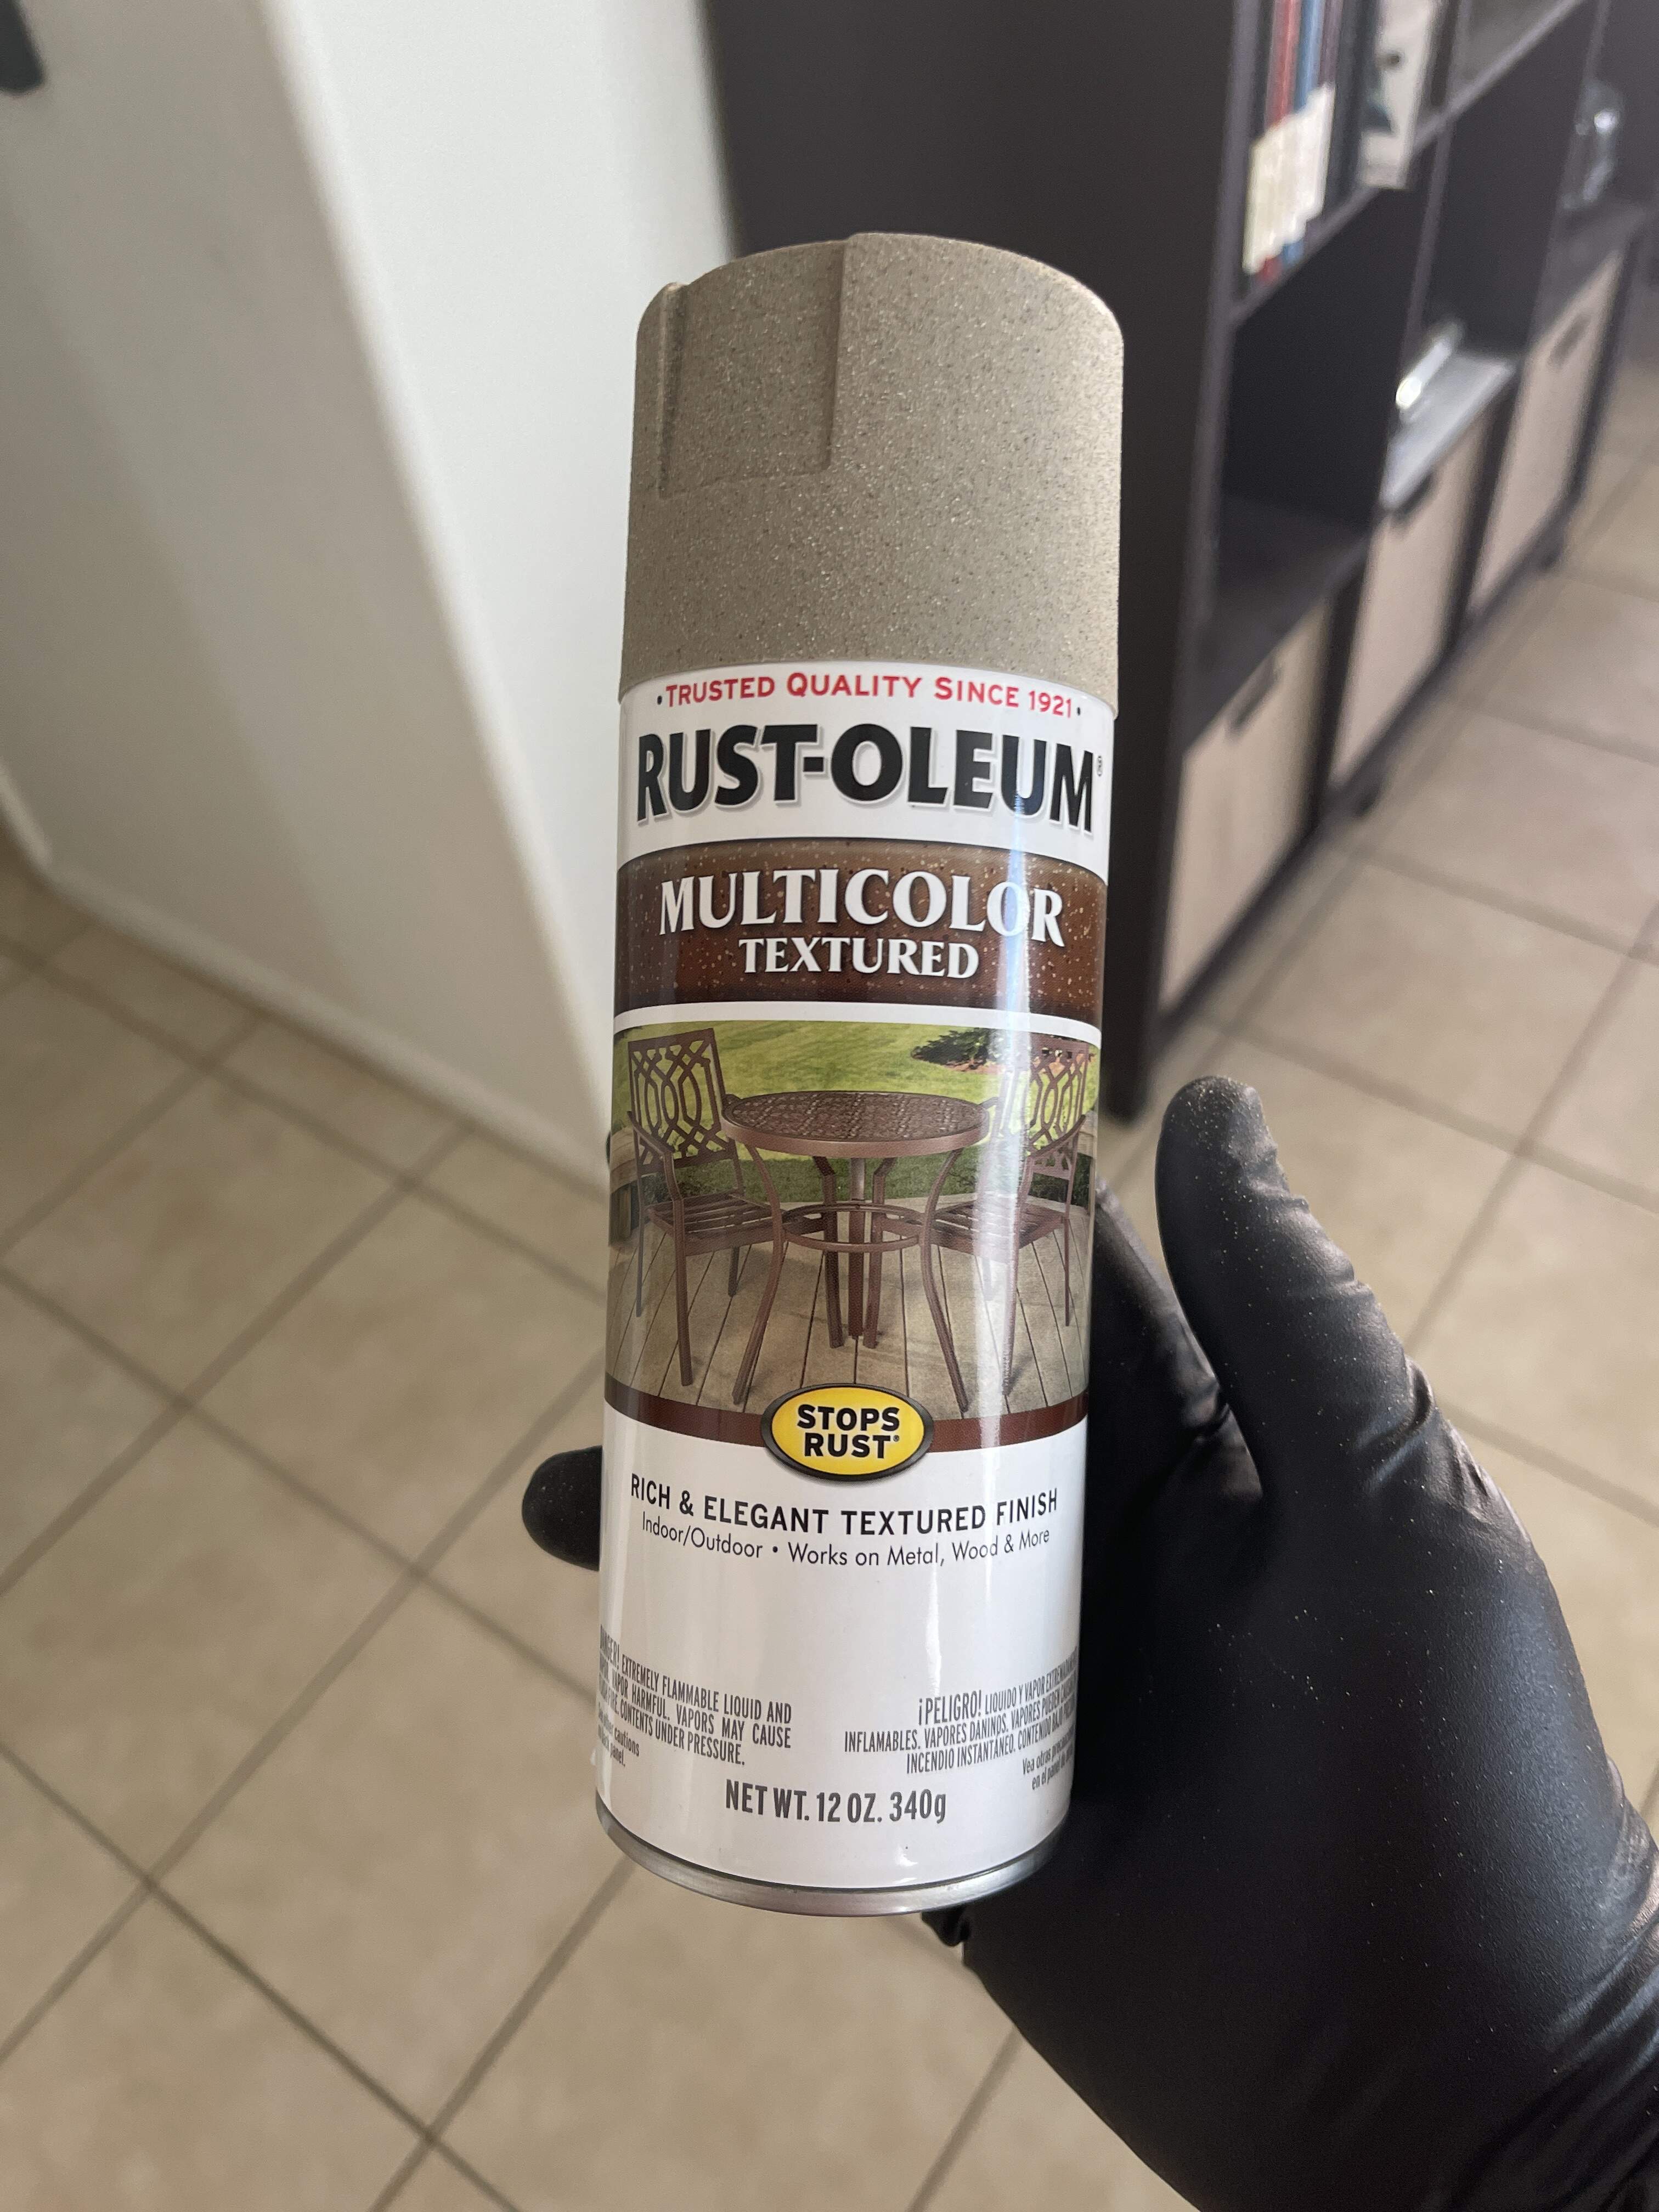
I think it’ll go a bit coarser than the Terra Cotta spray, but I’ll try this out.
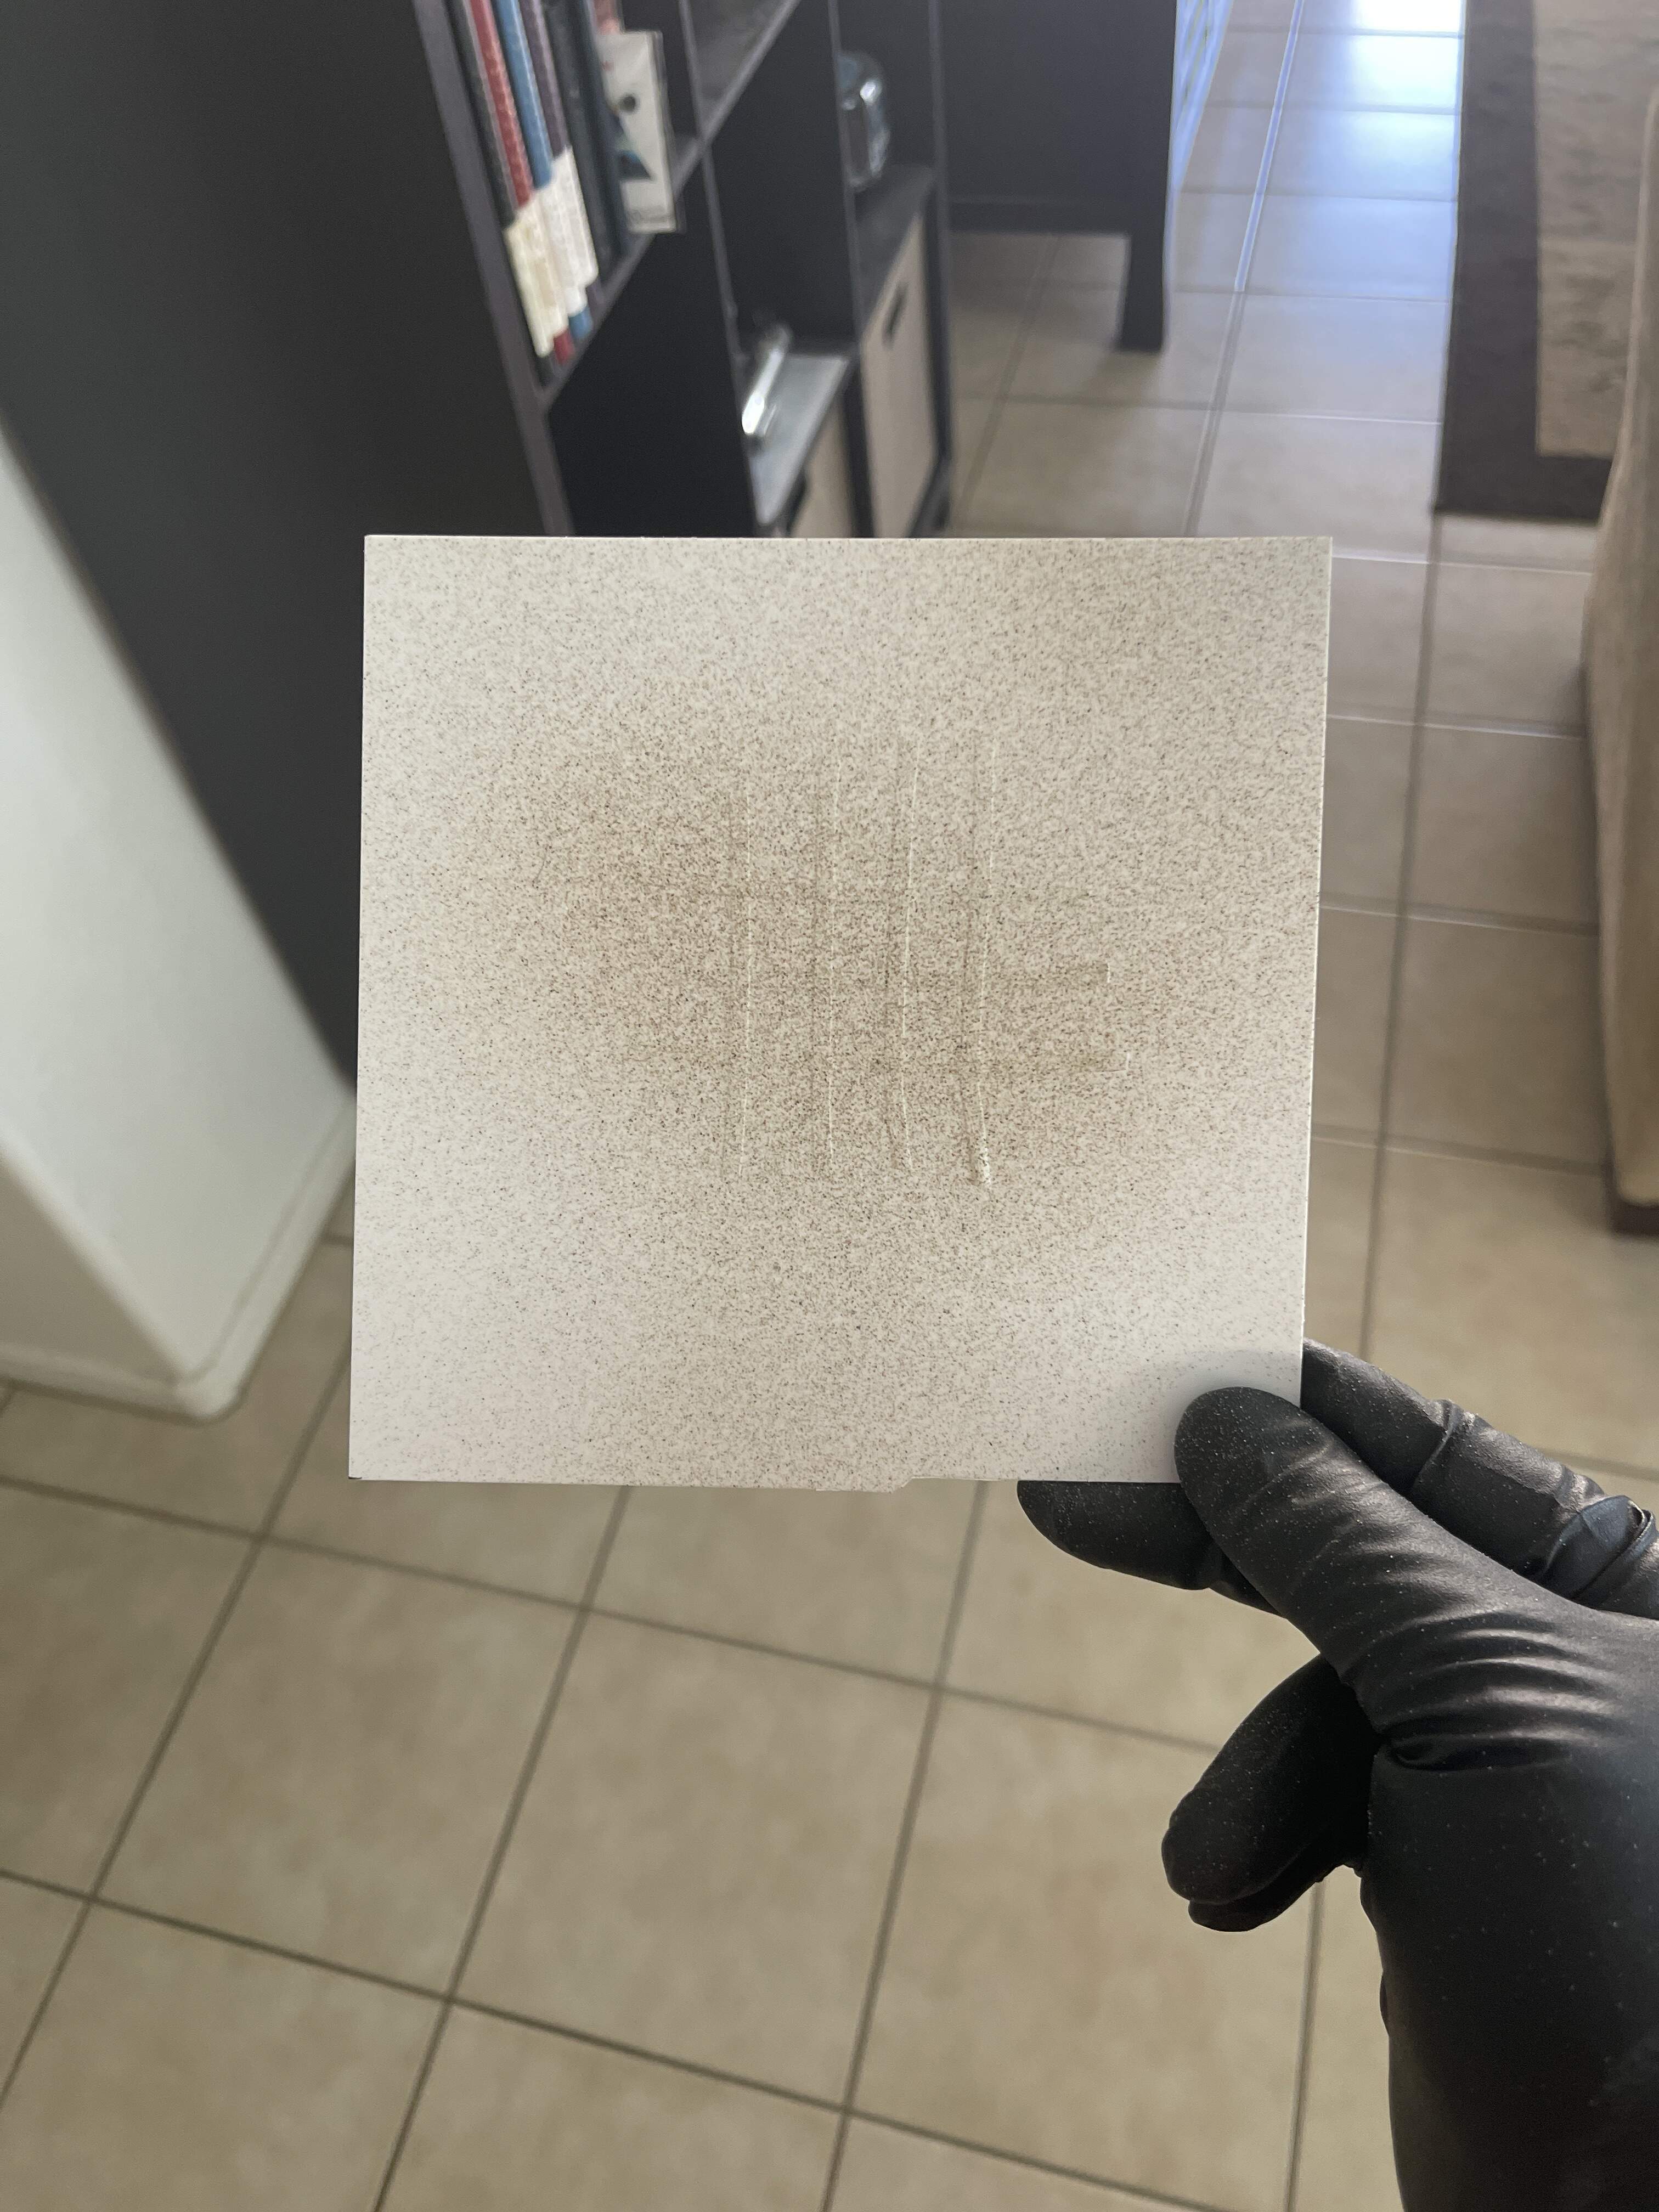
Sprayed a very thin layer on some styrene with masking tape on it. I’ll let it dry before I throw a coat of both Tamiya and AK Interactive spray paint to see how it comes out.
2 Likes