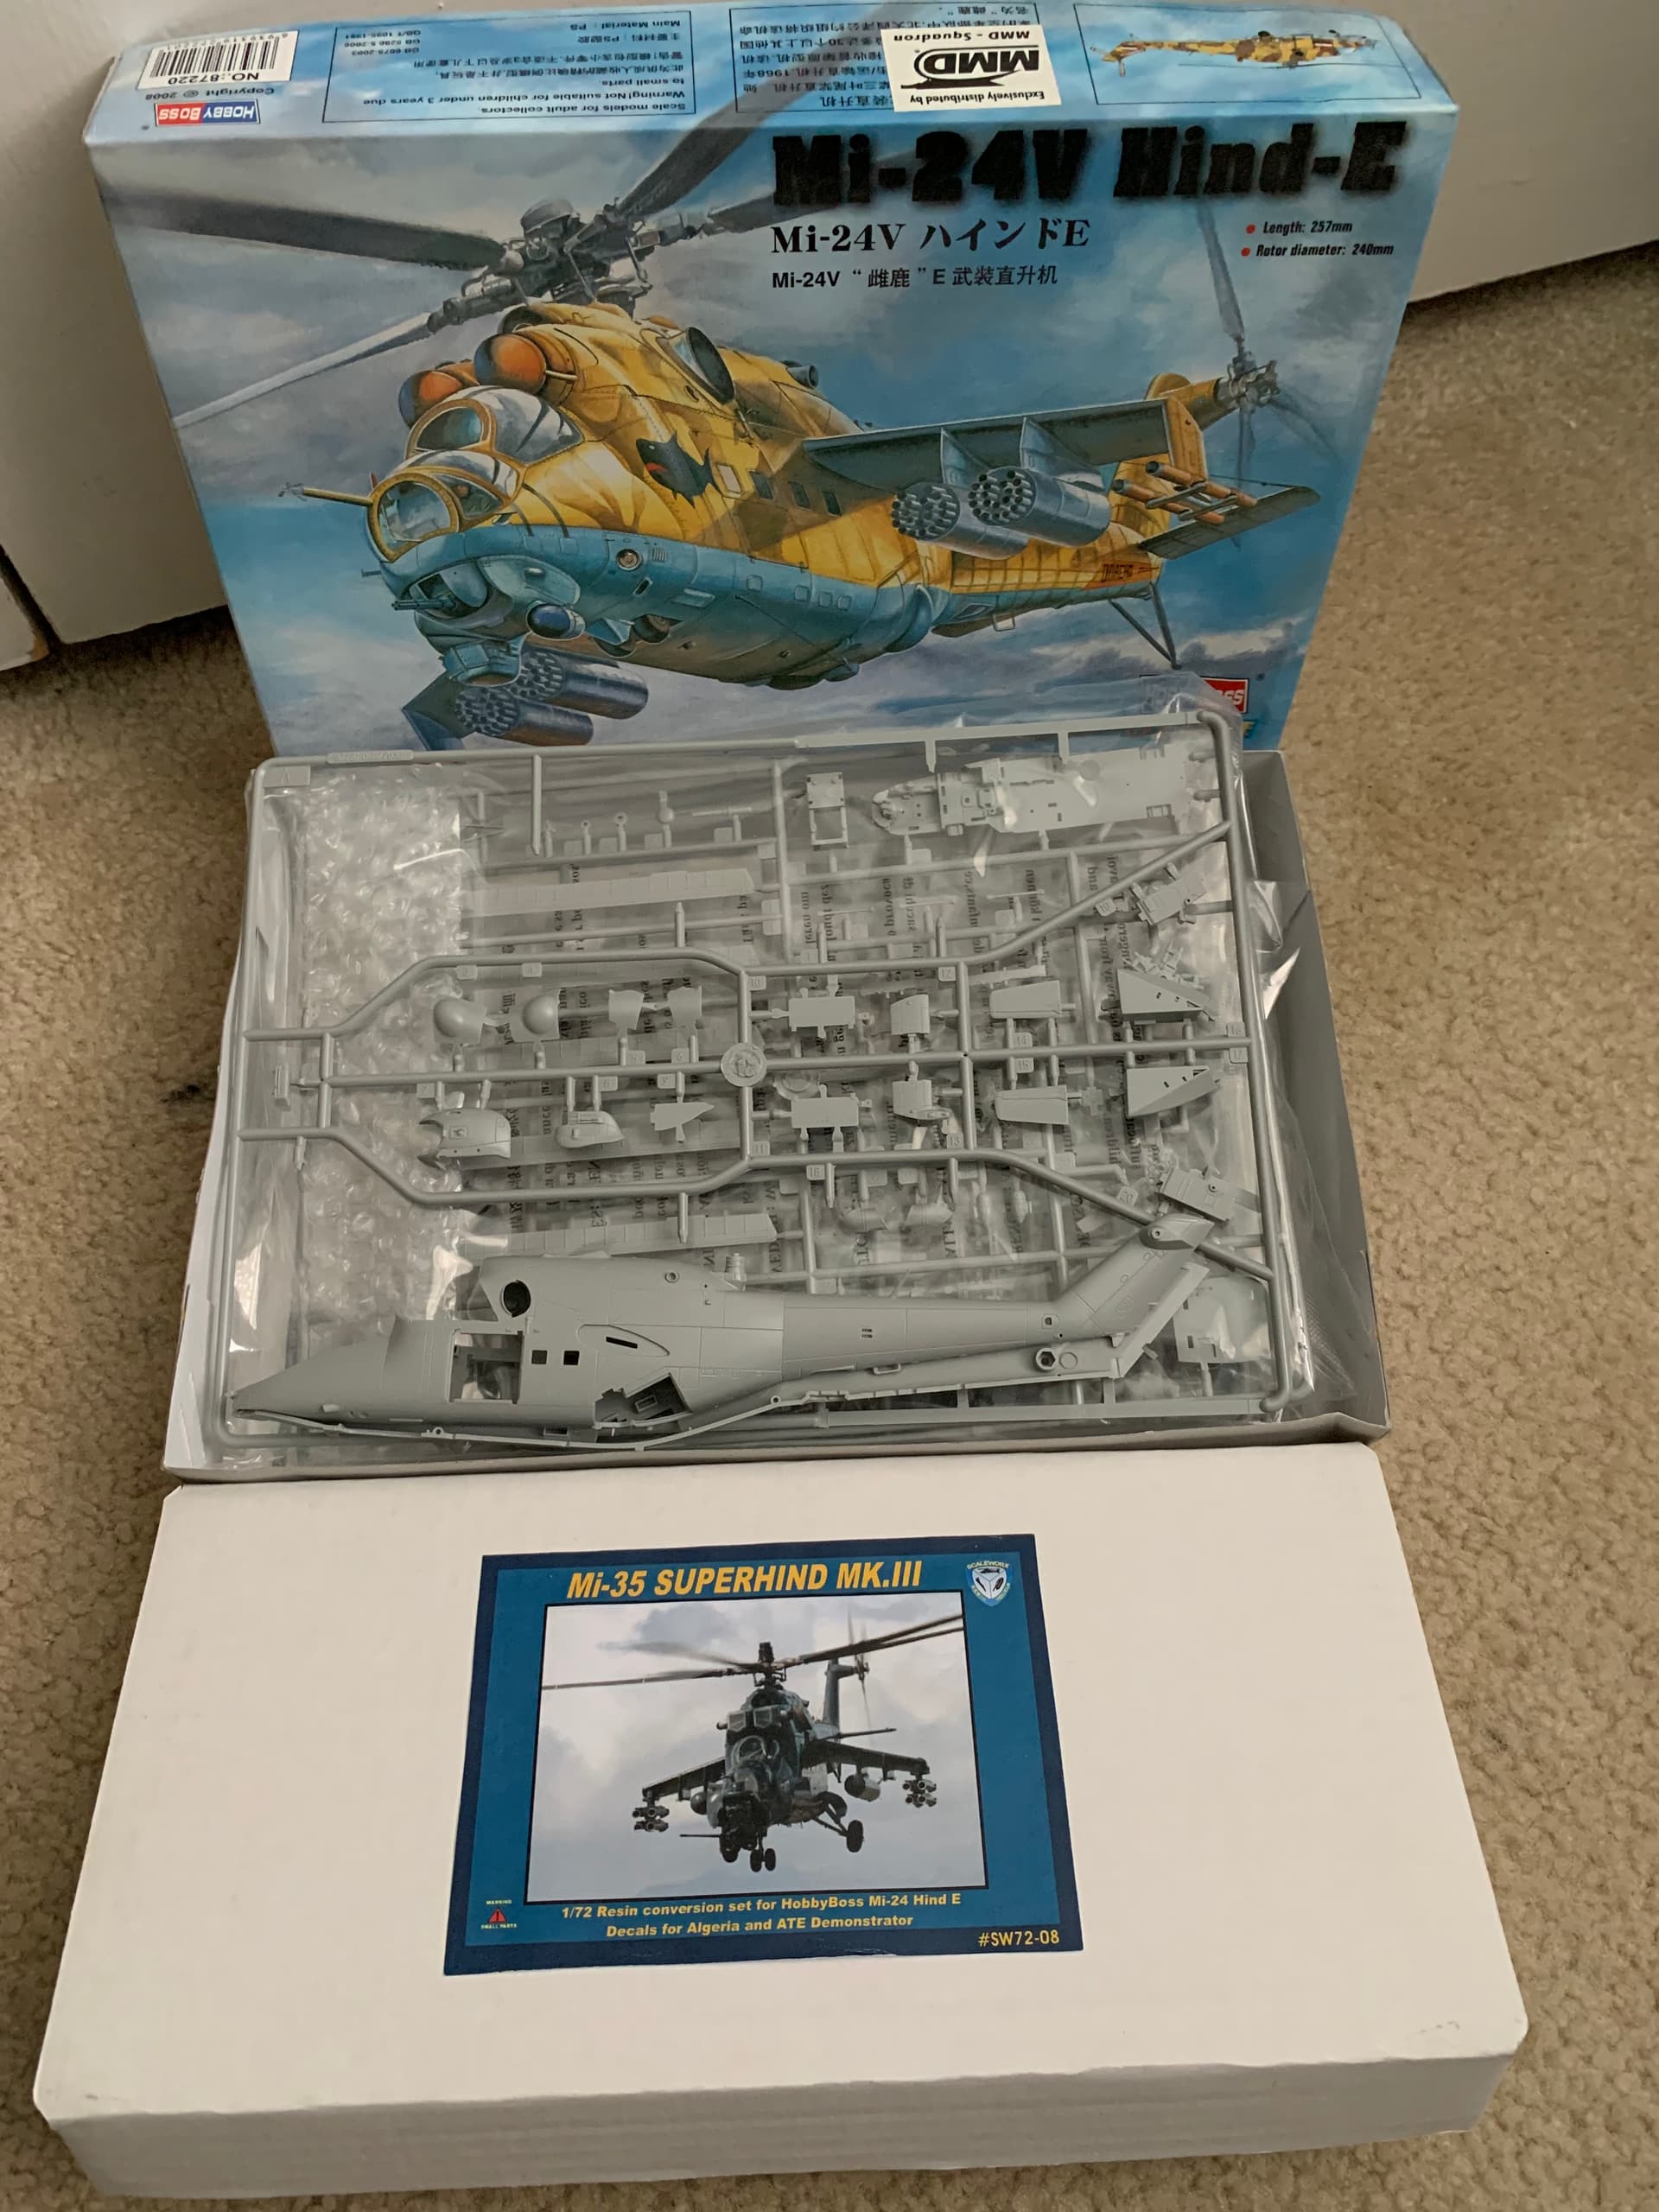
Sadly, my idea of doing a Carthaginian Quinquereme has not come to fruition so I will be doing a modern ‘war elephant’ 
Looks to be somewhat less complex than the Mini Art T-55 I just completed so I am looking forward to building it.
Sadly, my idea of doing a Carthaginian Quinquereme has not come to fruition so I will be doing a modern ‘war elephant’
Looks to be somewhat less complex than the Mini Art T-55 I just completed so I am looking forward to building it.
Very good choice Rory which could have been mine too.
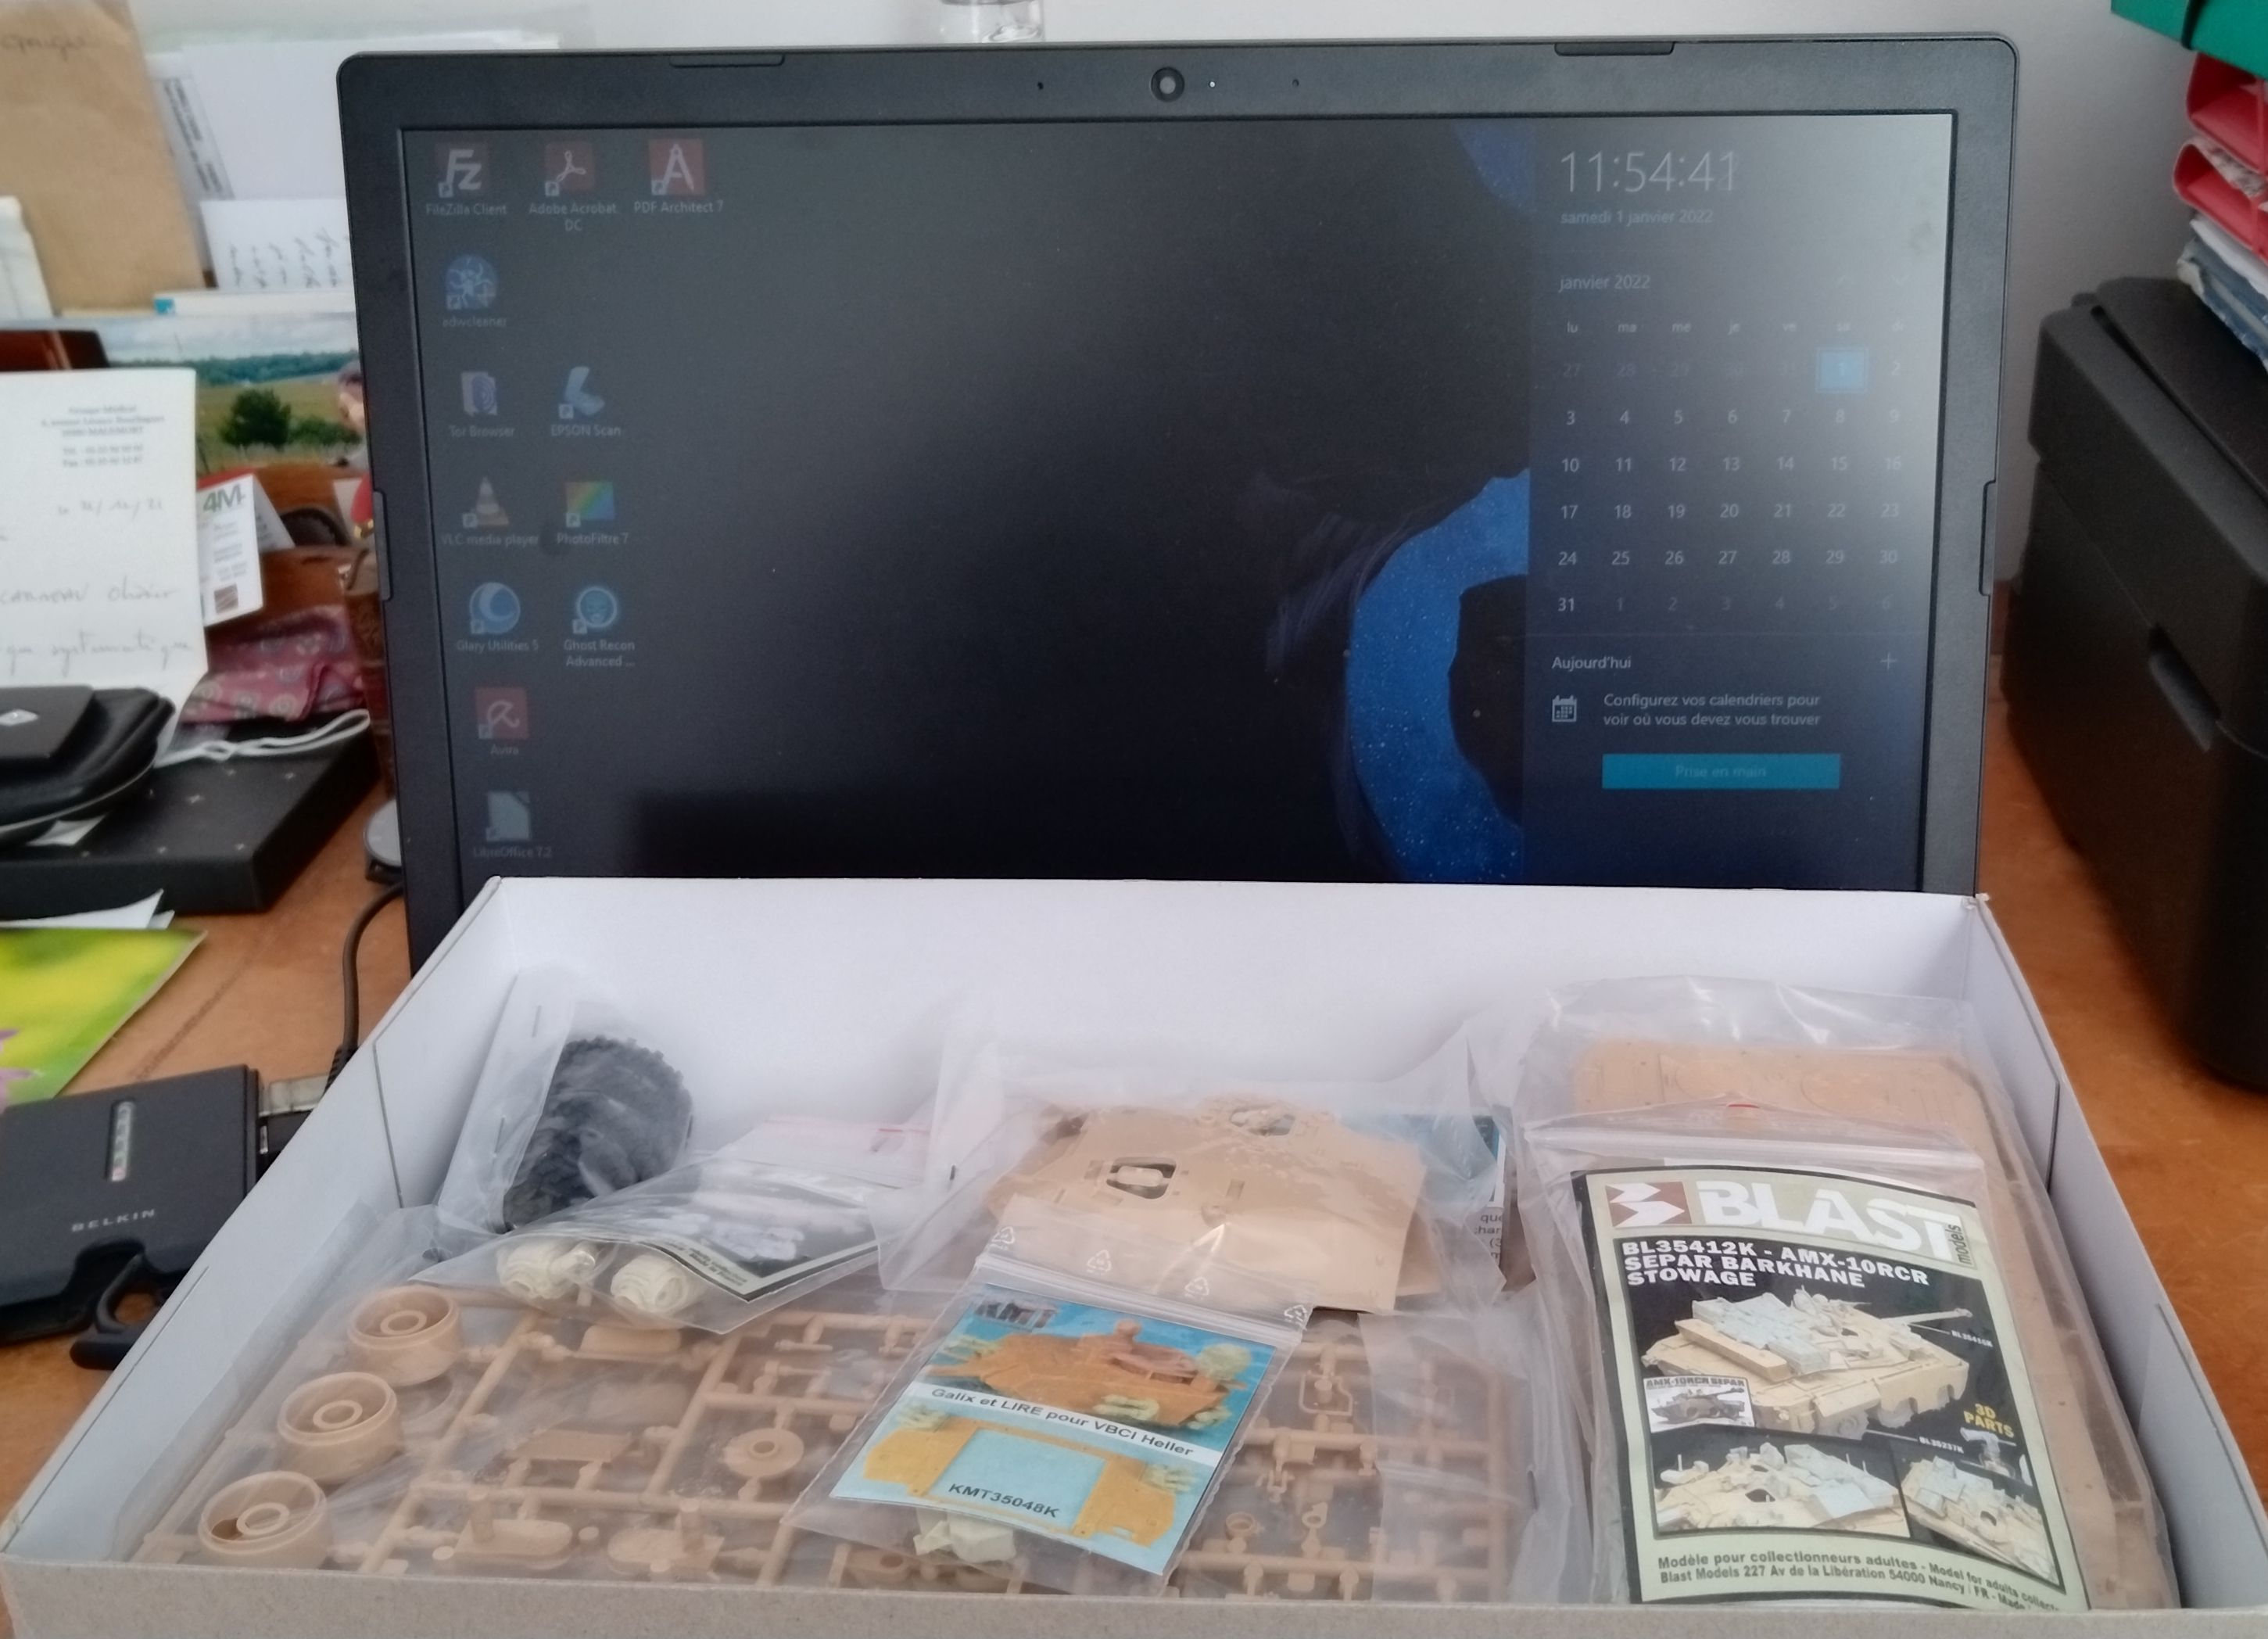
However I decided to go with an AMX 10RCR SEPAR which has been in my stash longer than the Olifant.
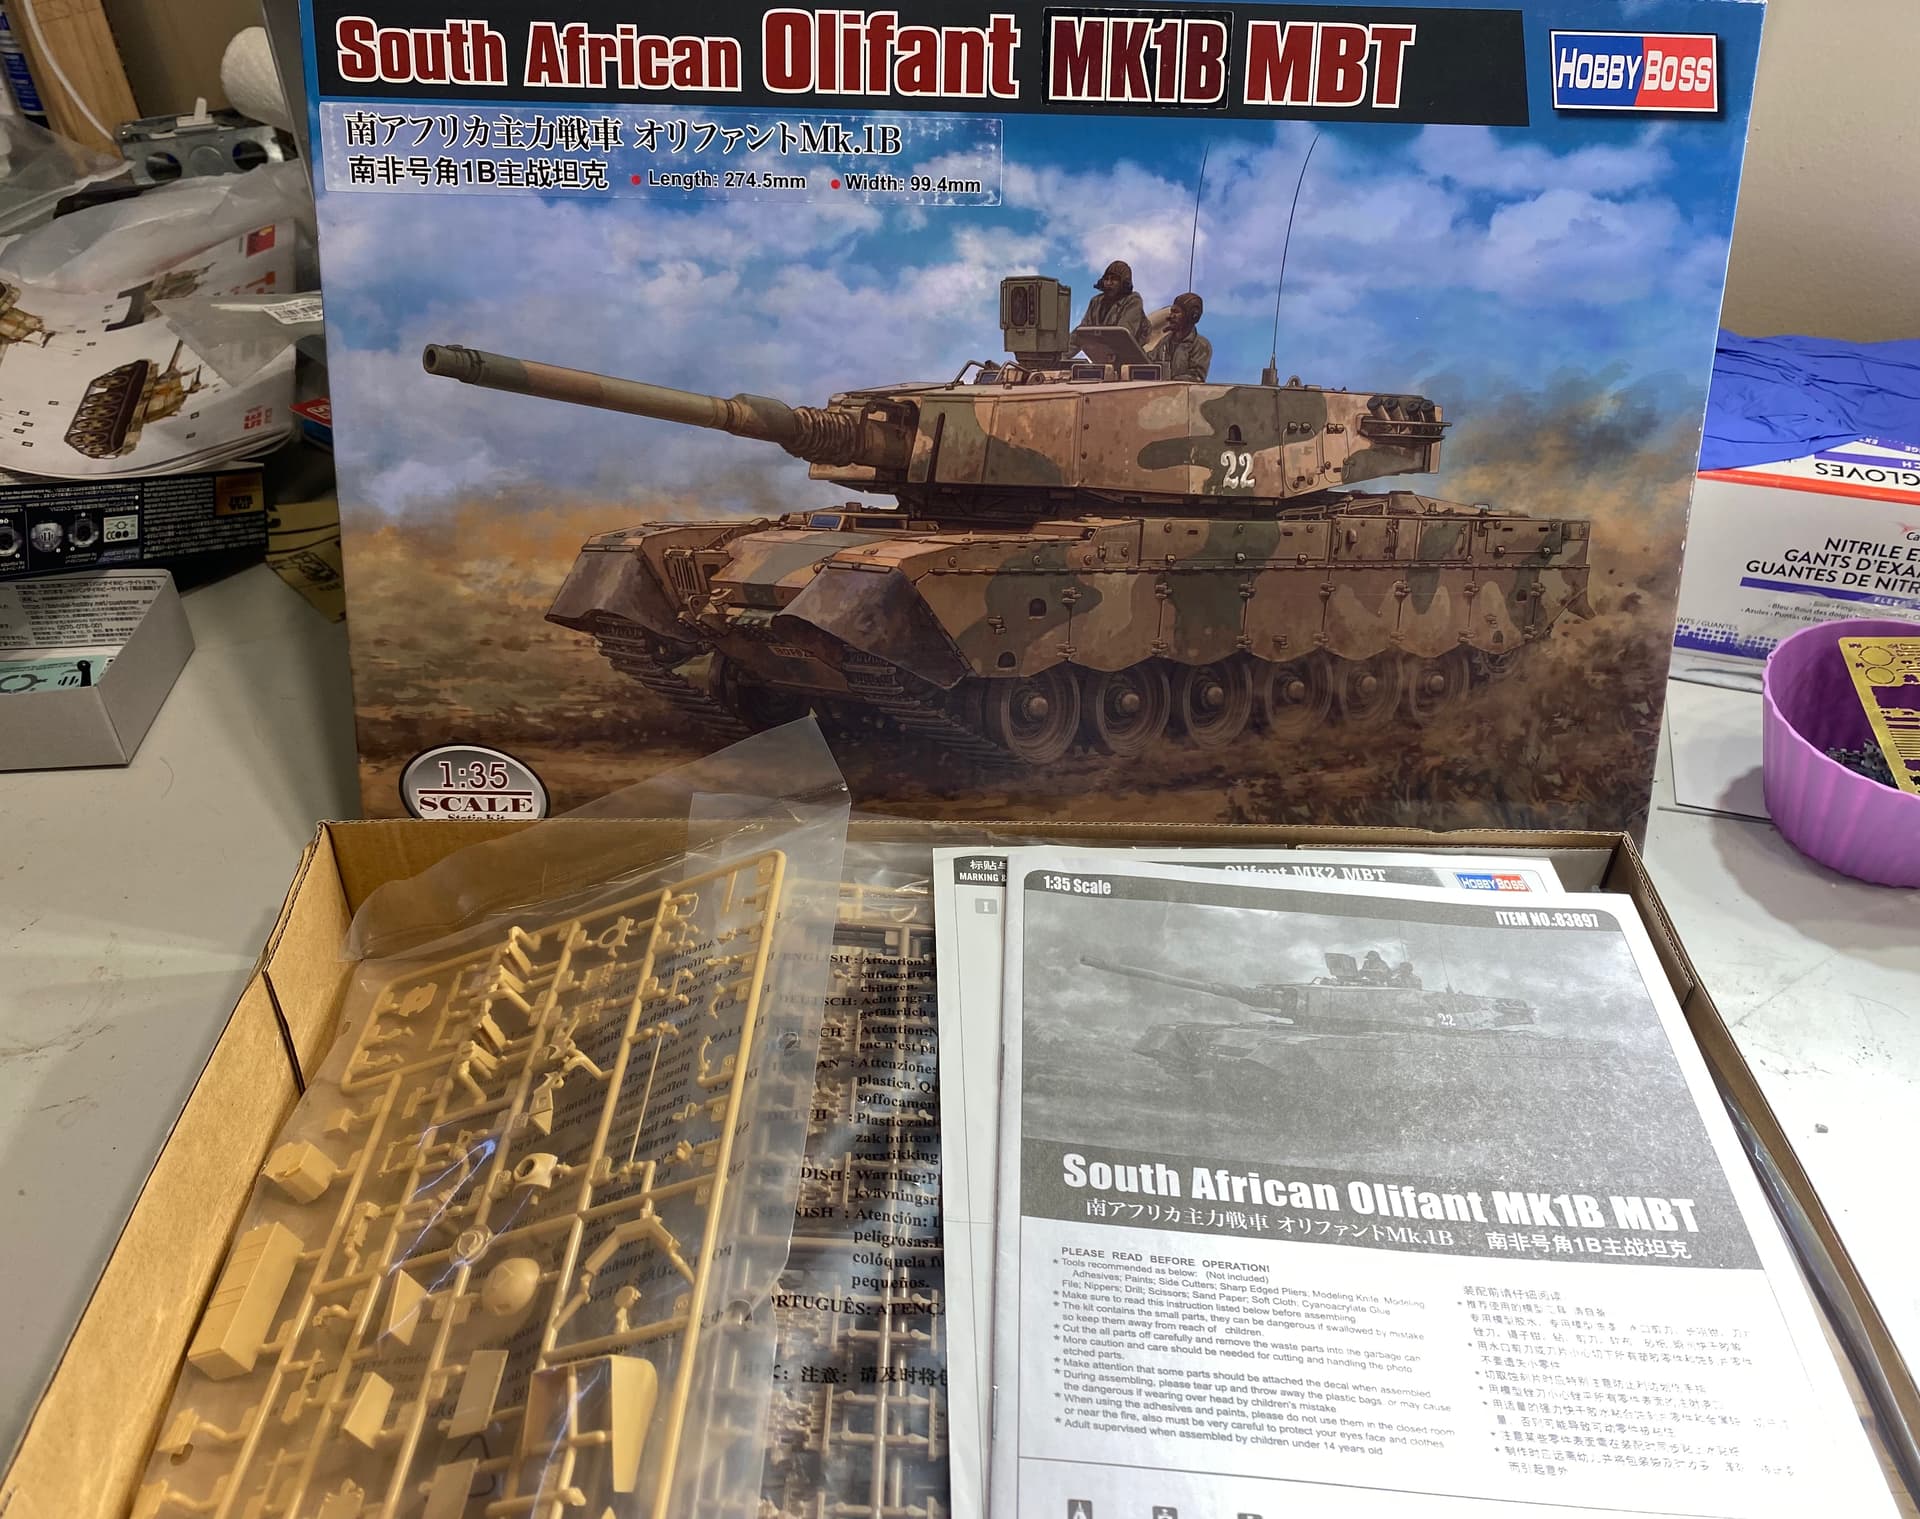
Here are some pictures of the box content.
The box with all the sprues and add-ons.
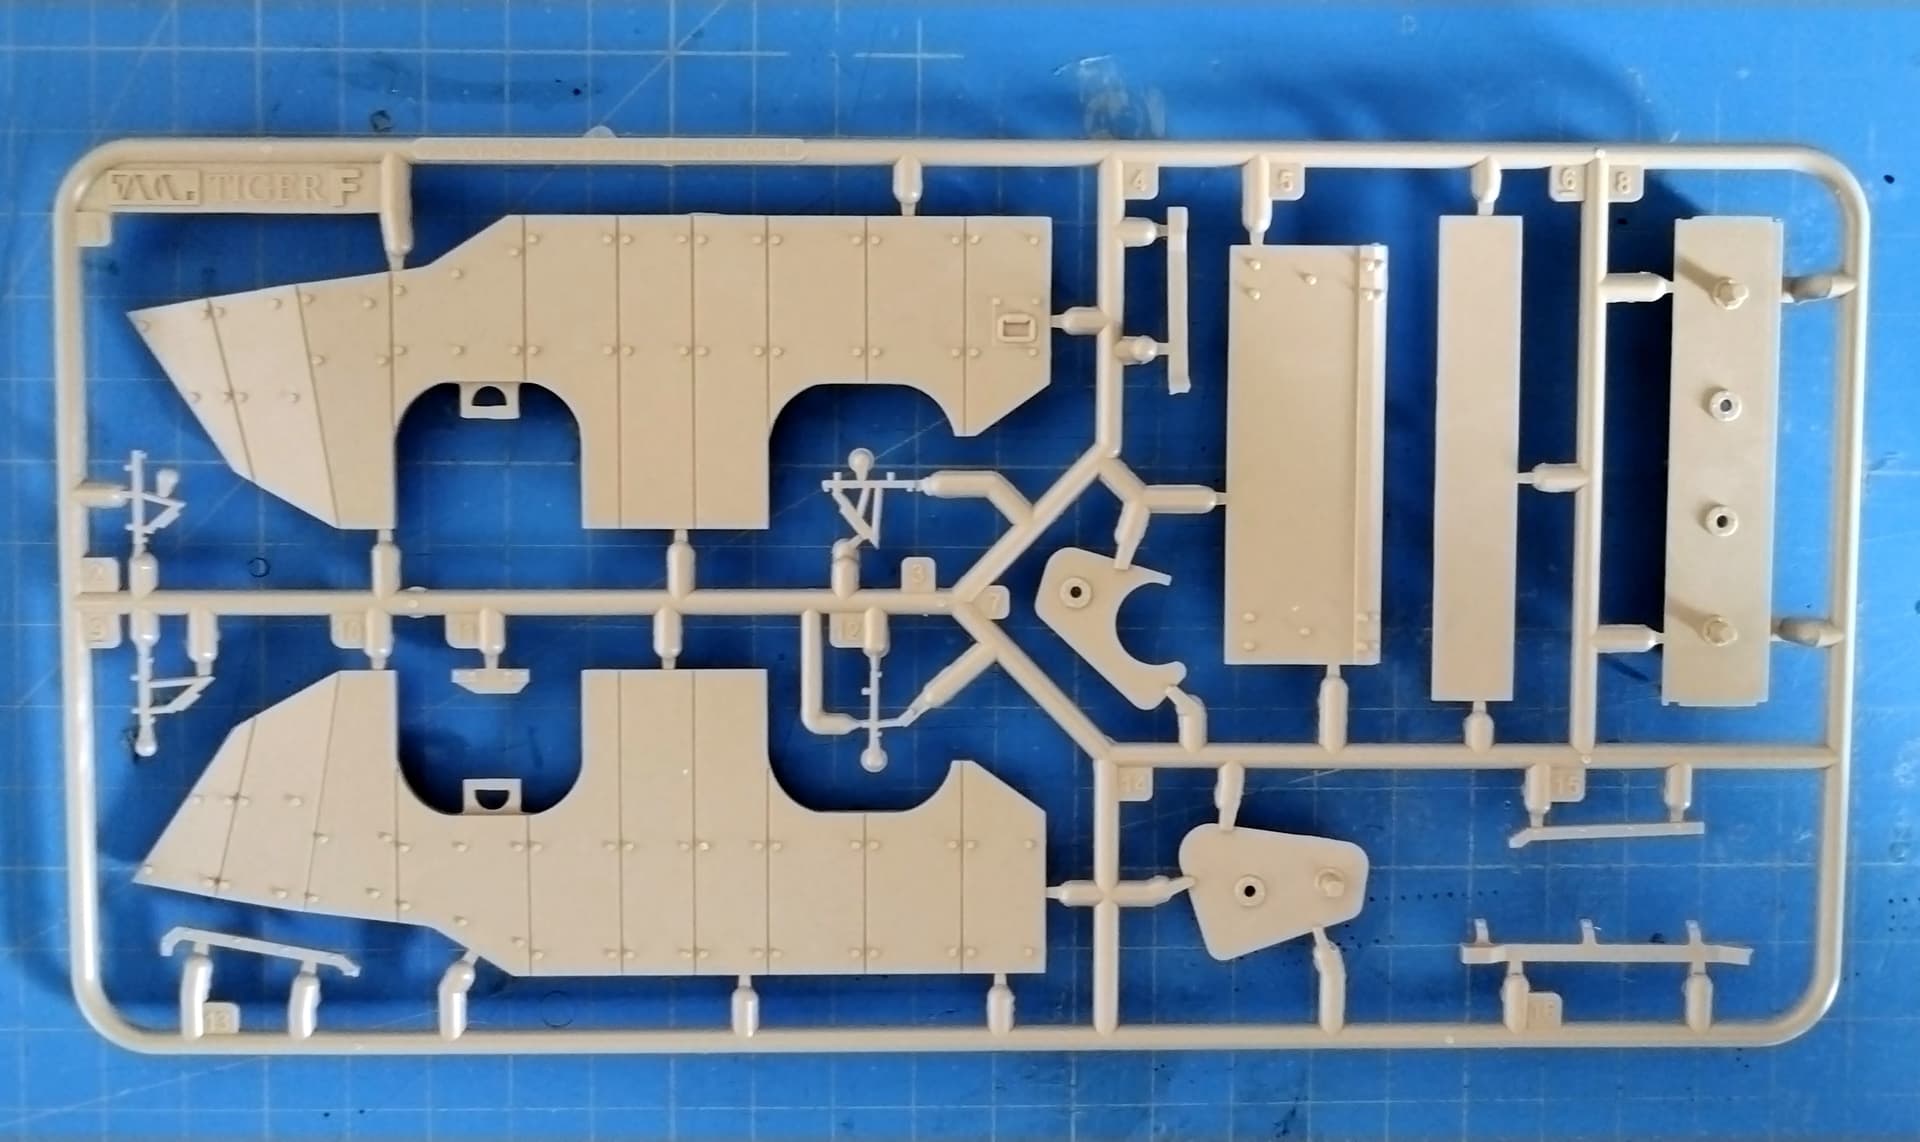
The specific sprue for the additional SEPAR parts.
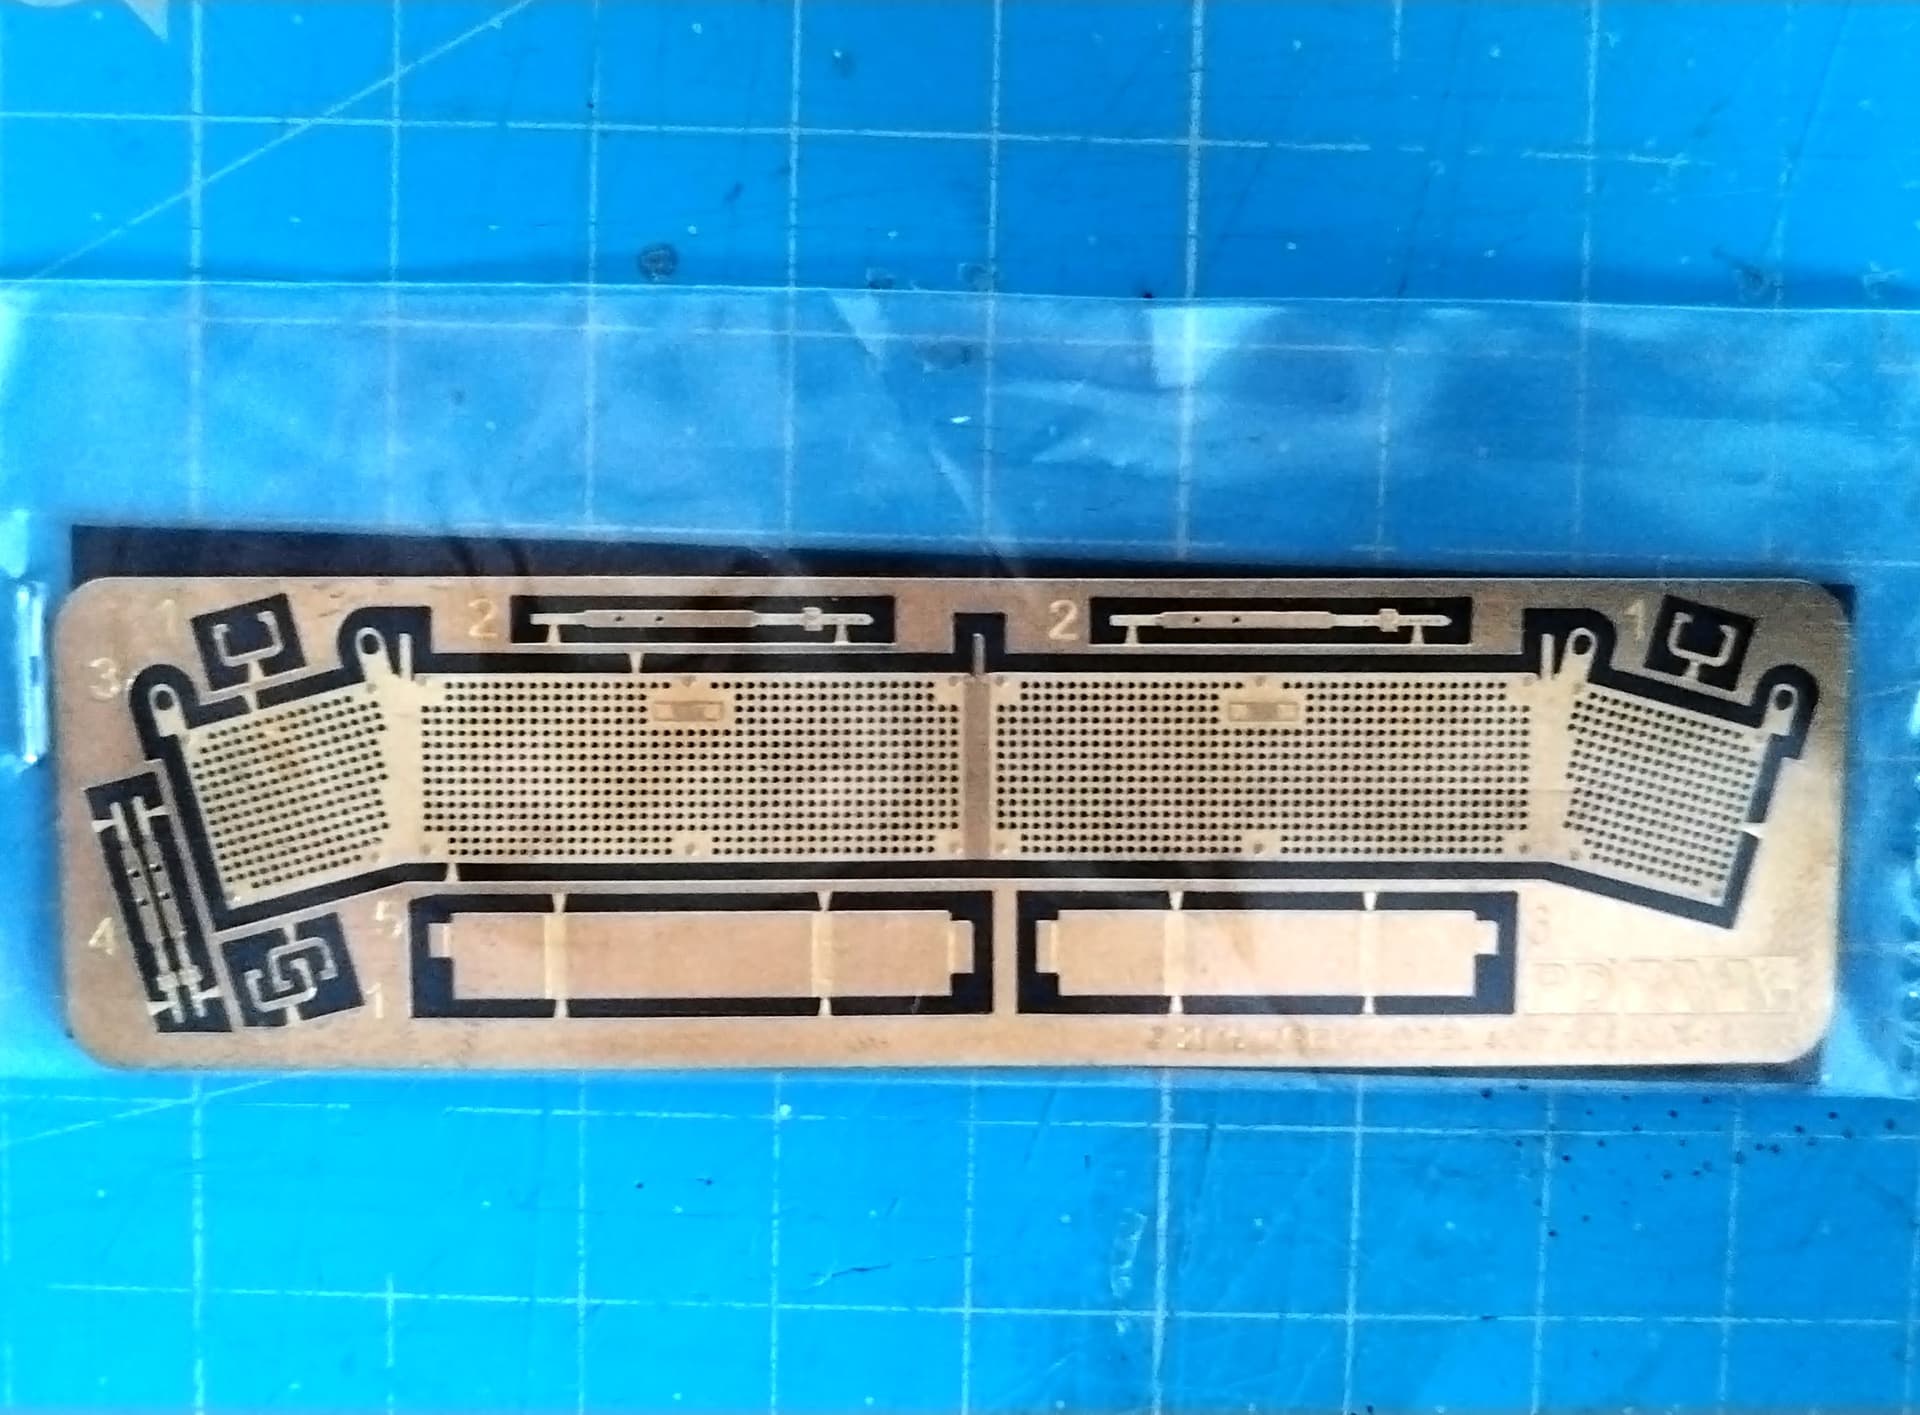
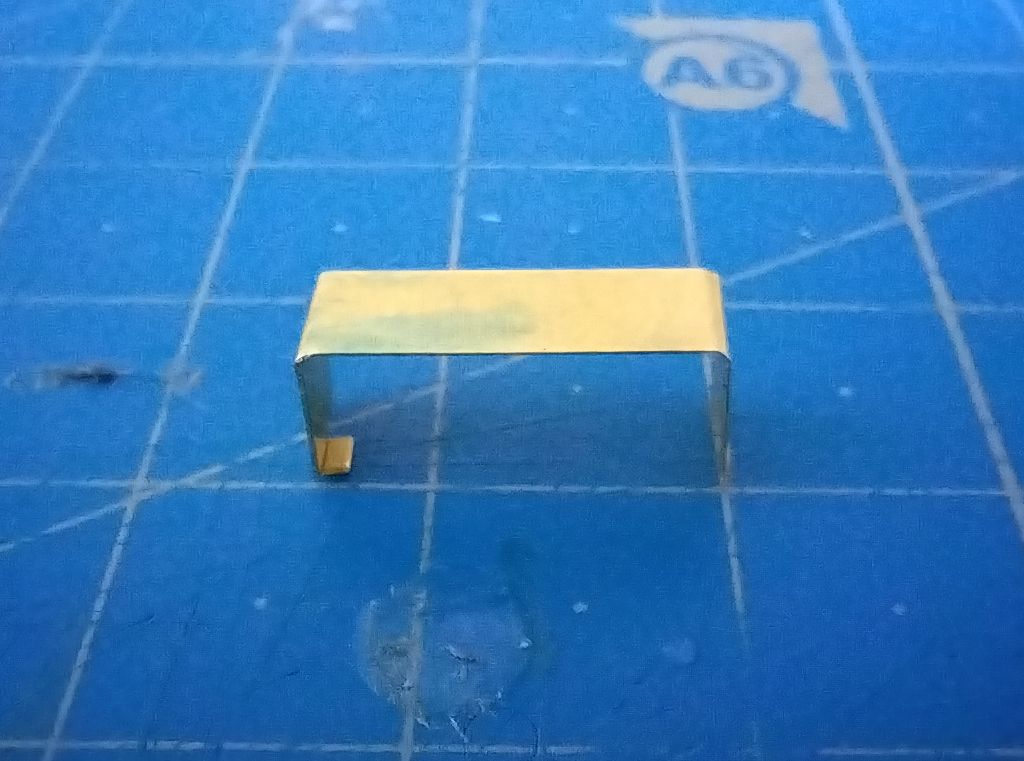
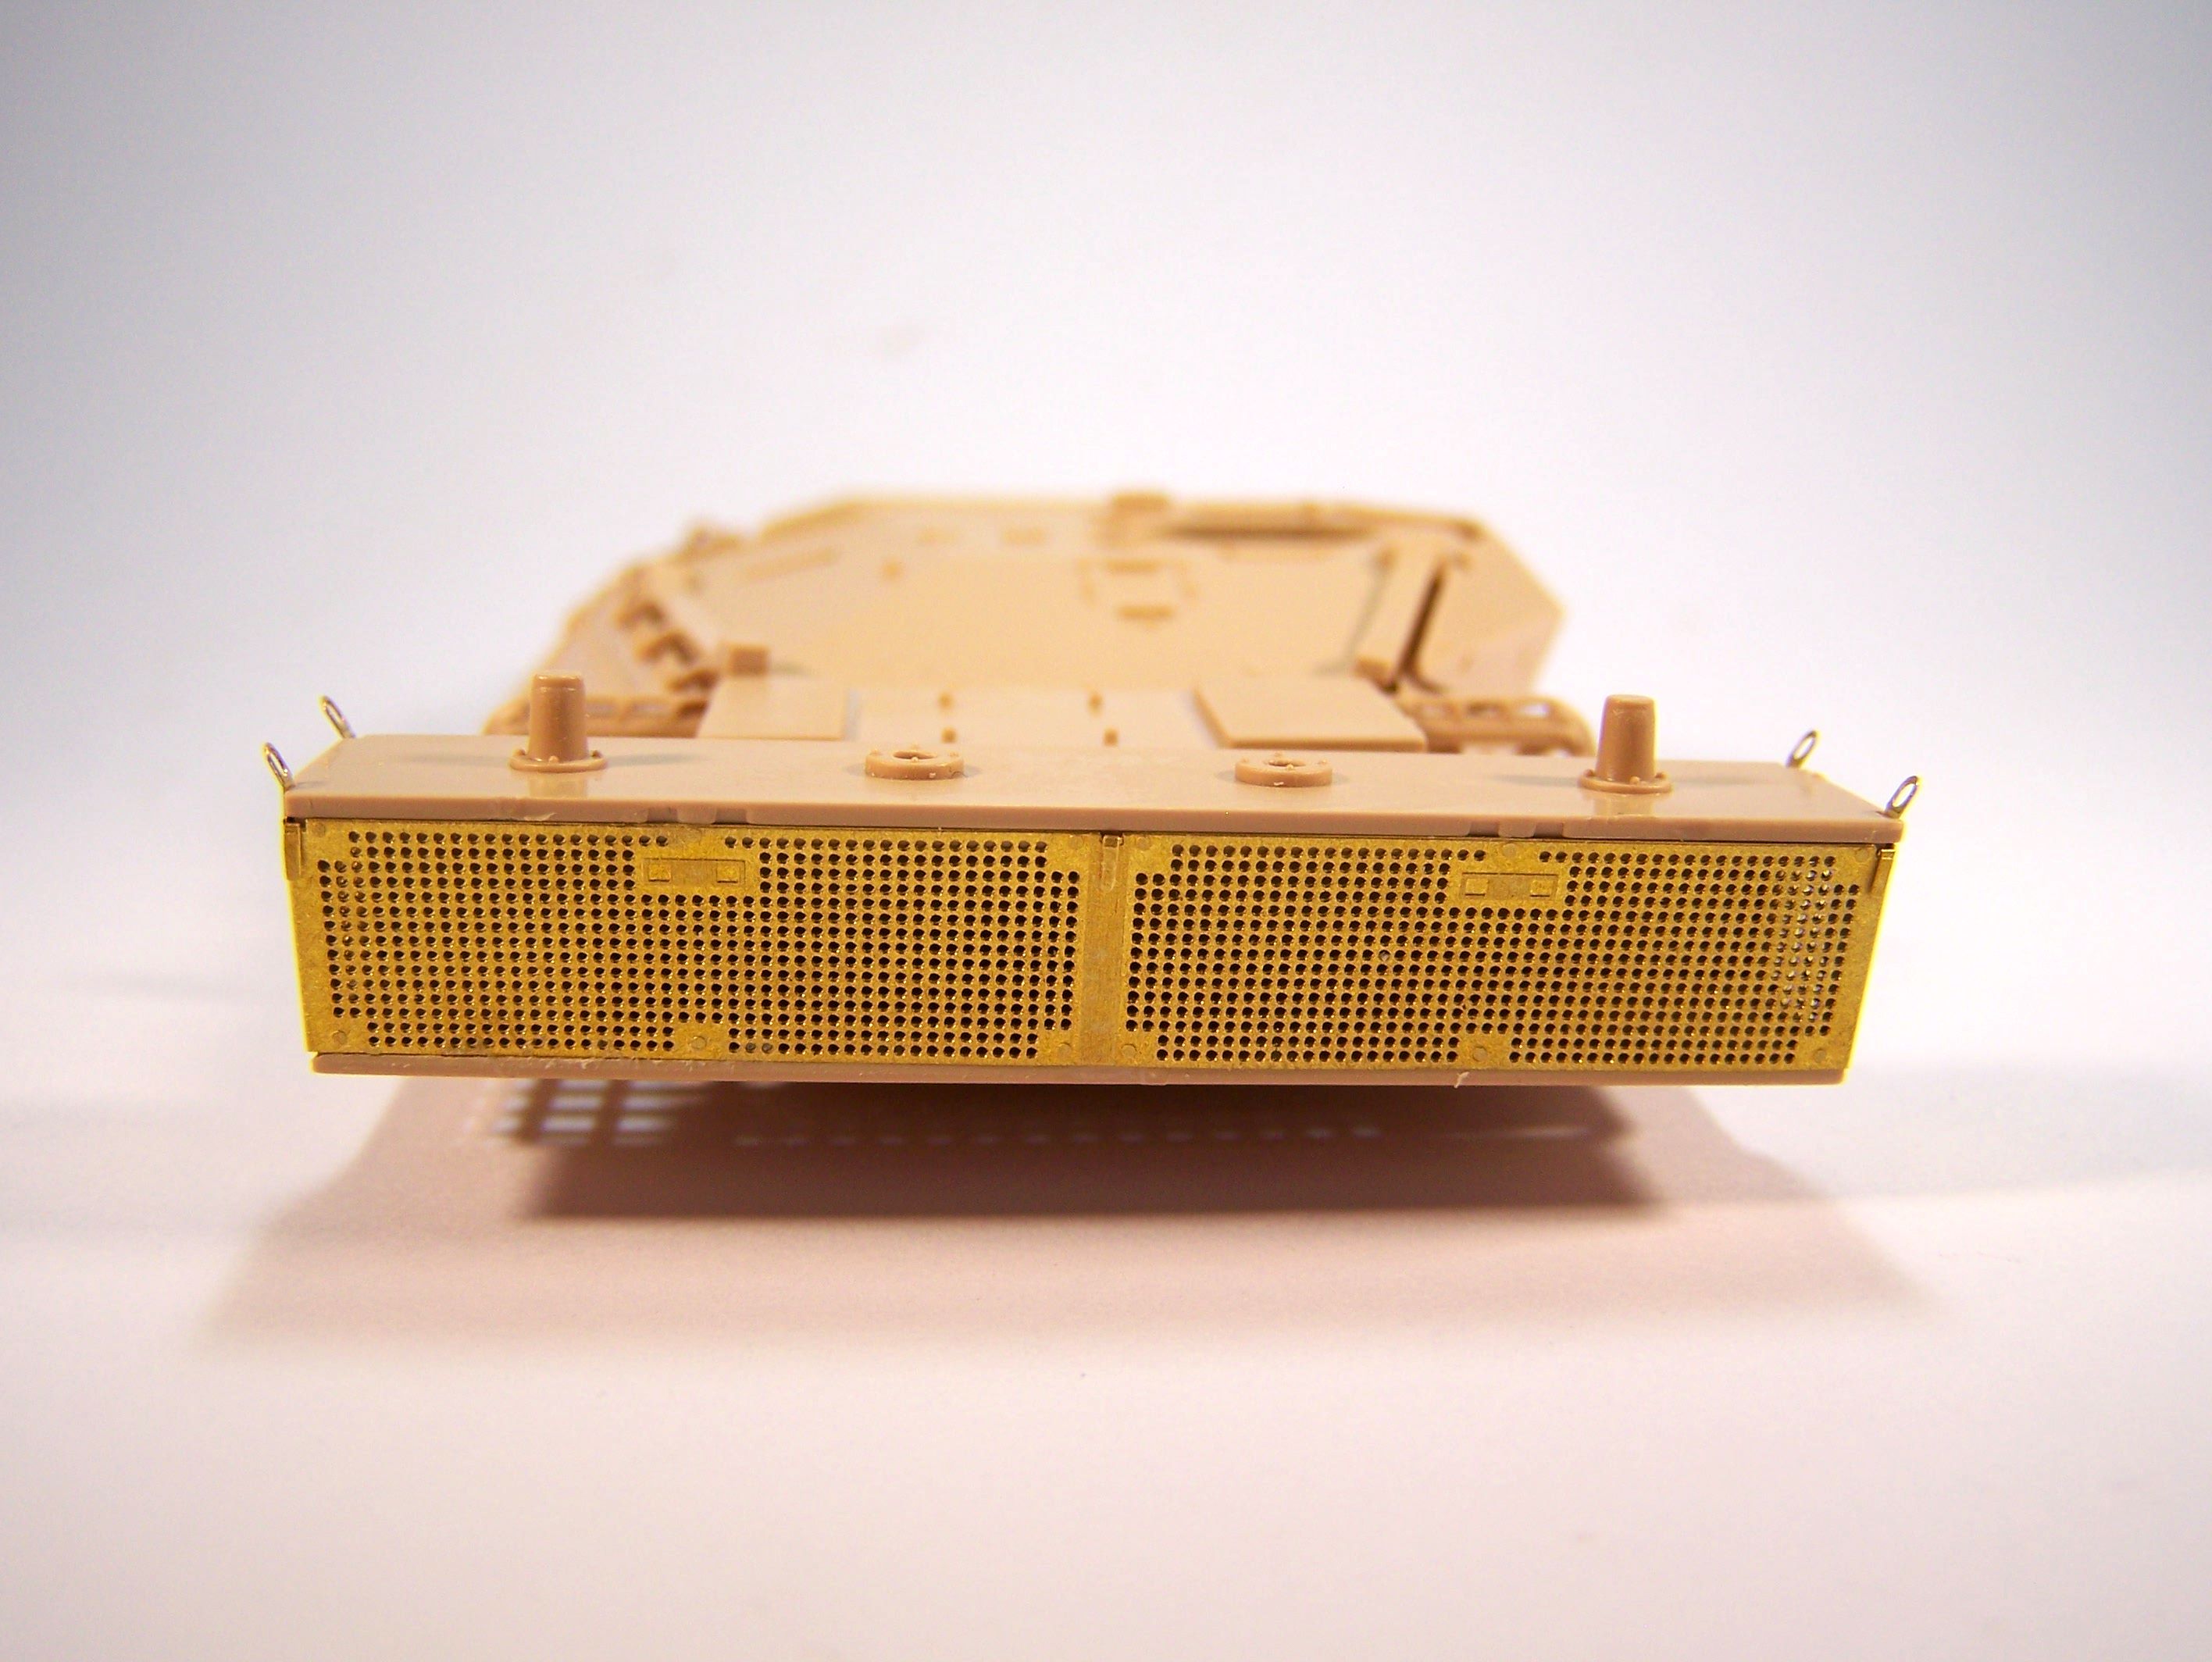
The specific PE plate for the SEPAR additional bustle basket.
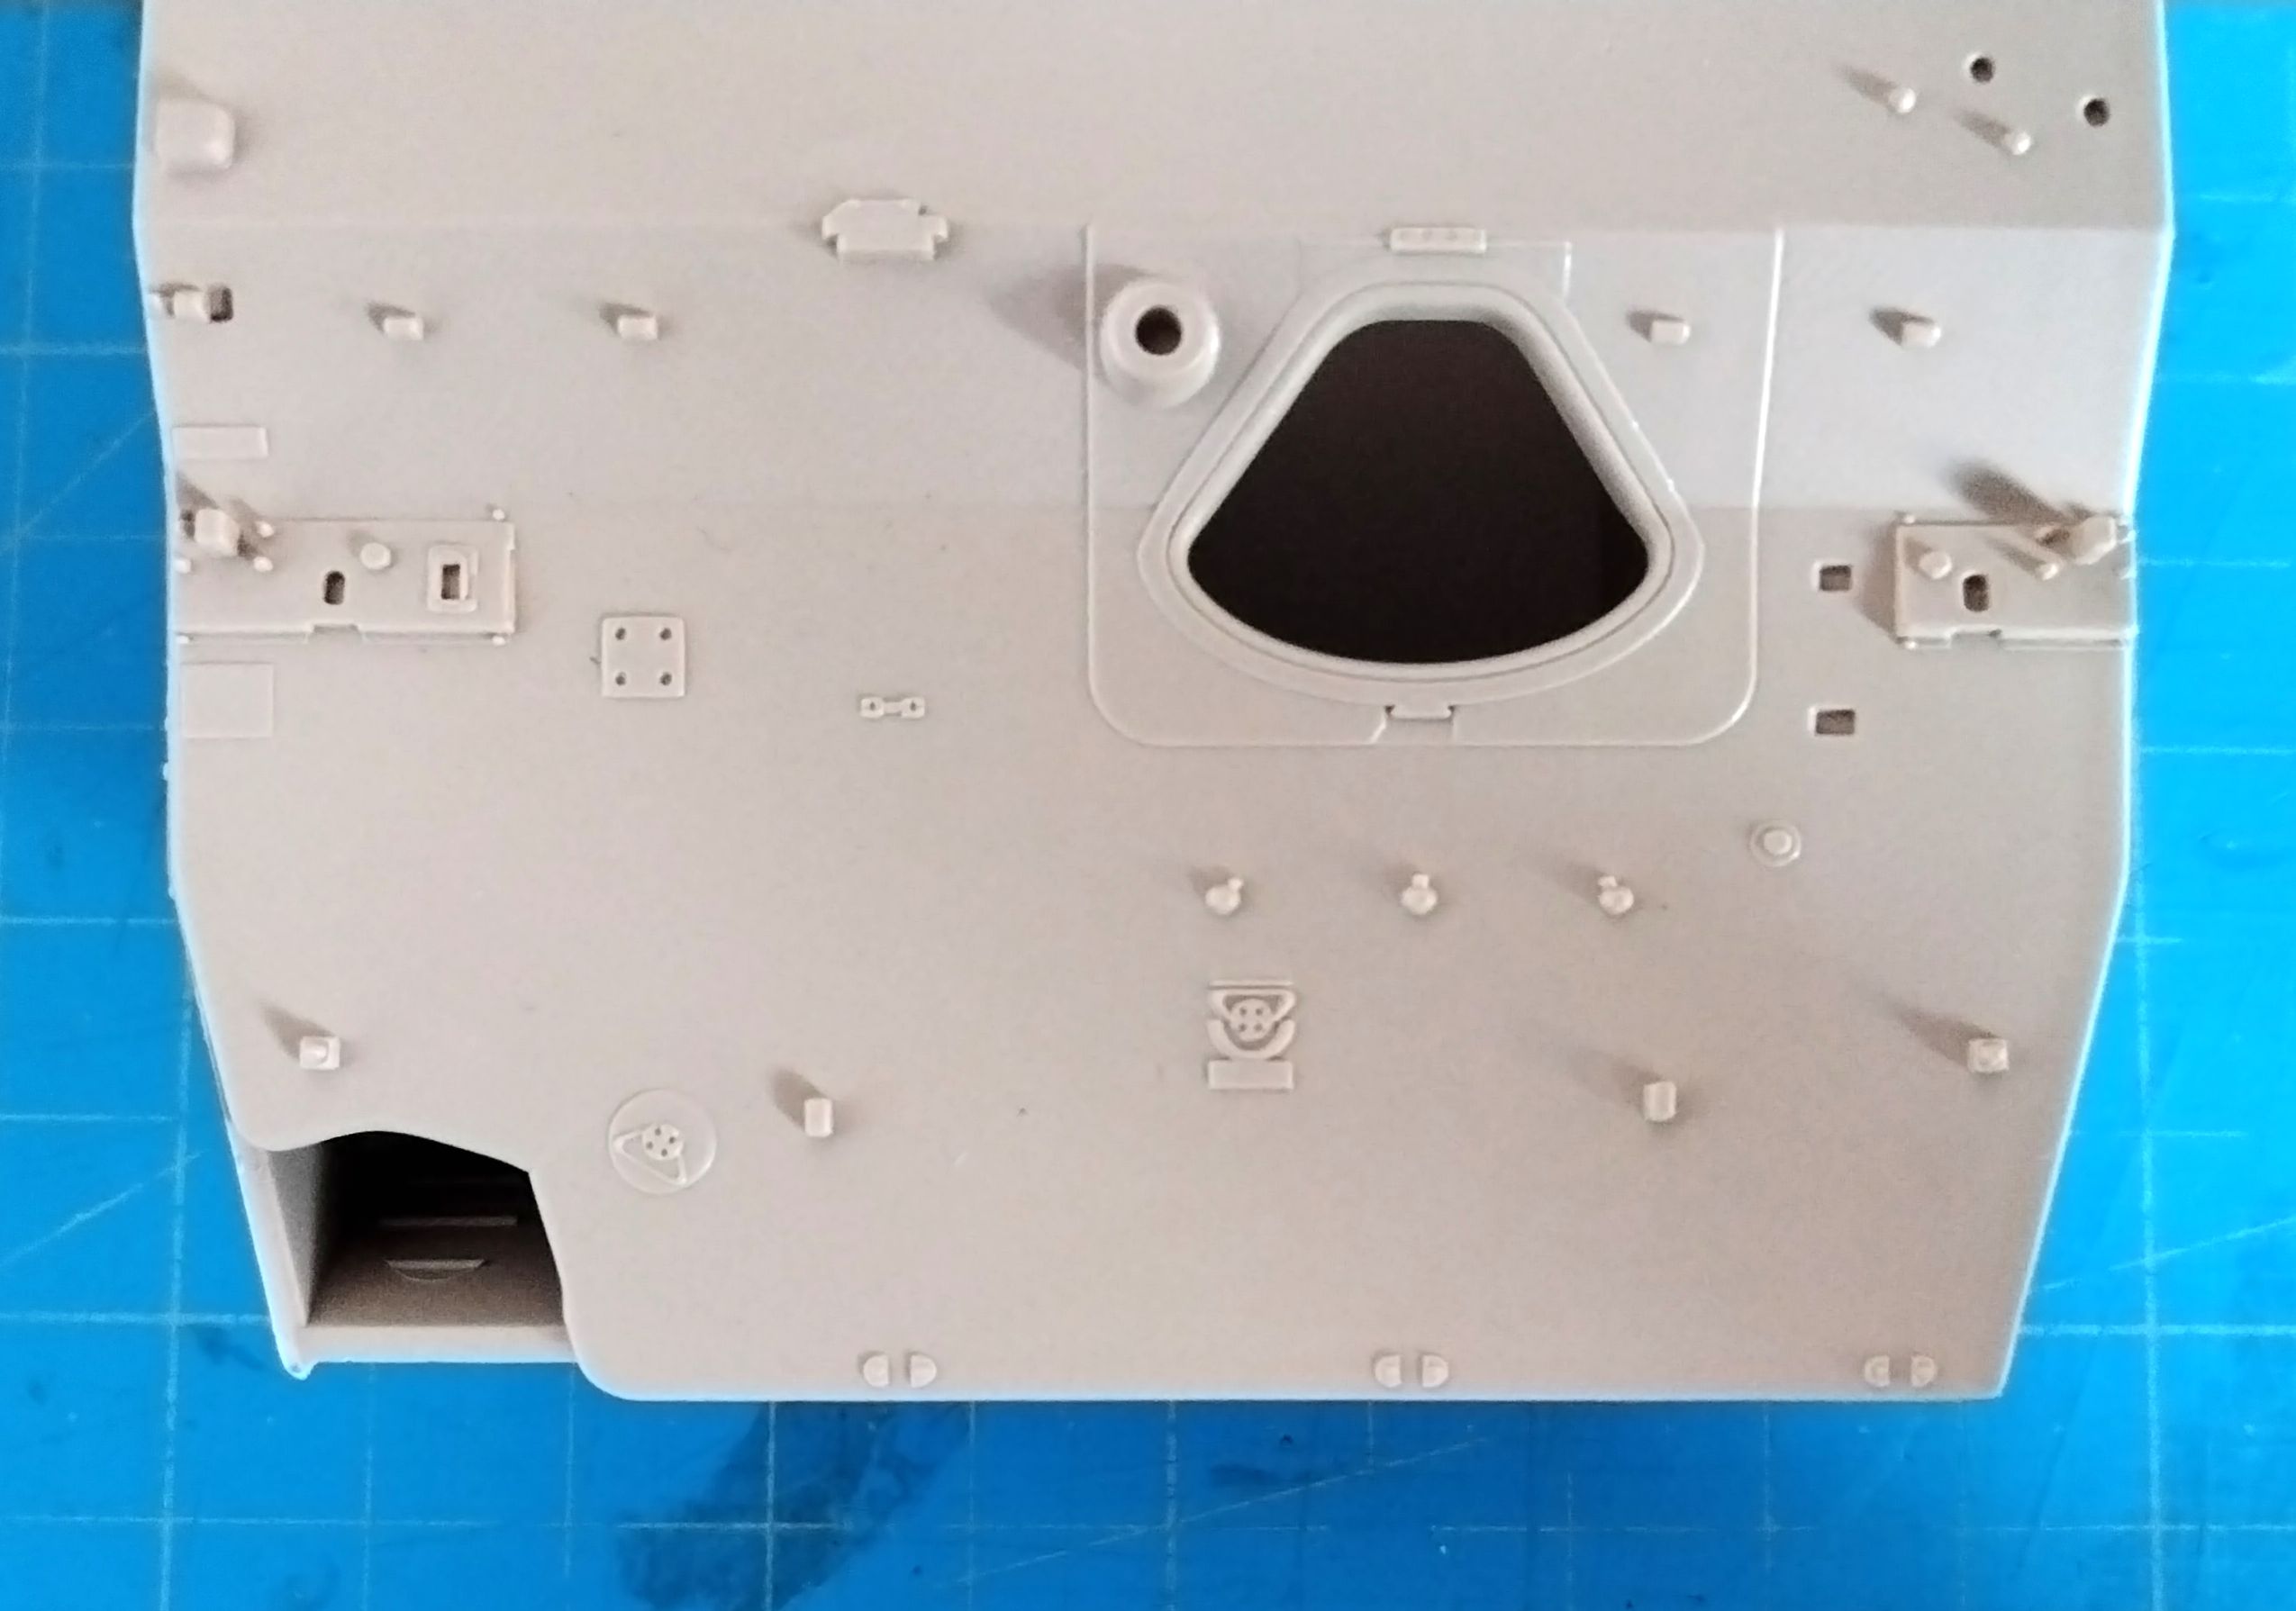
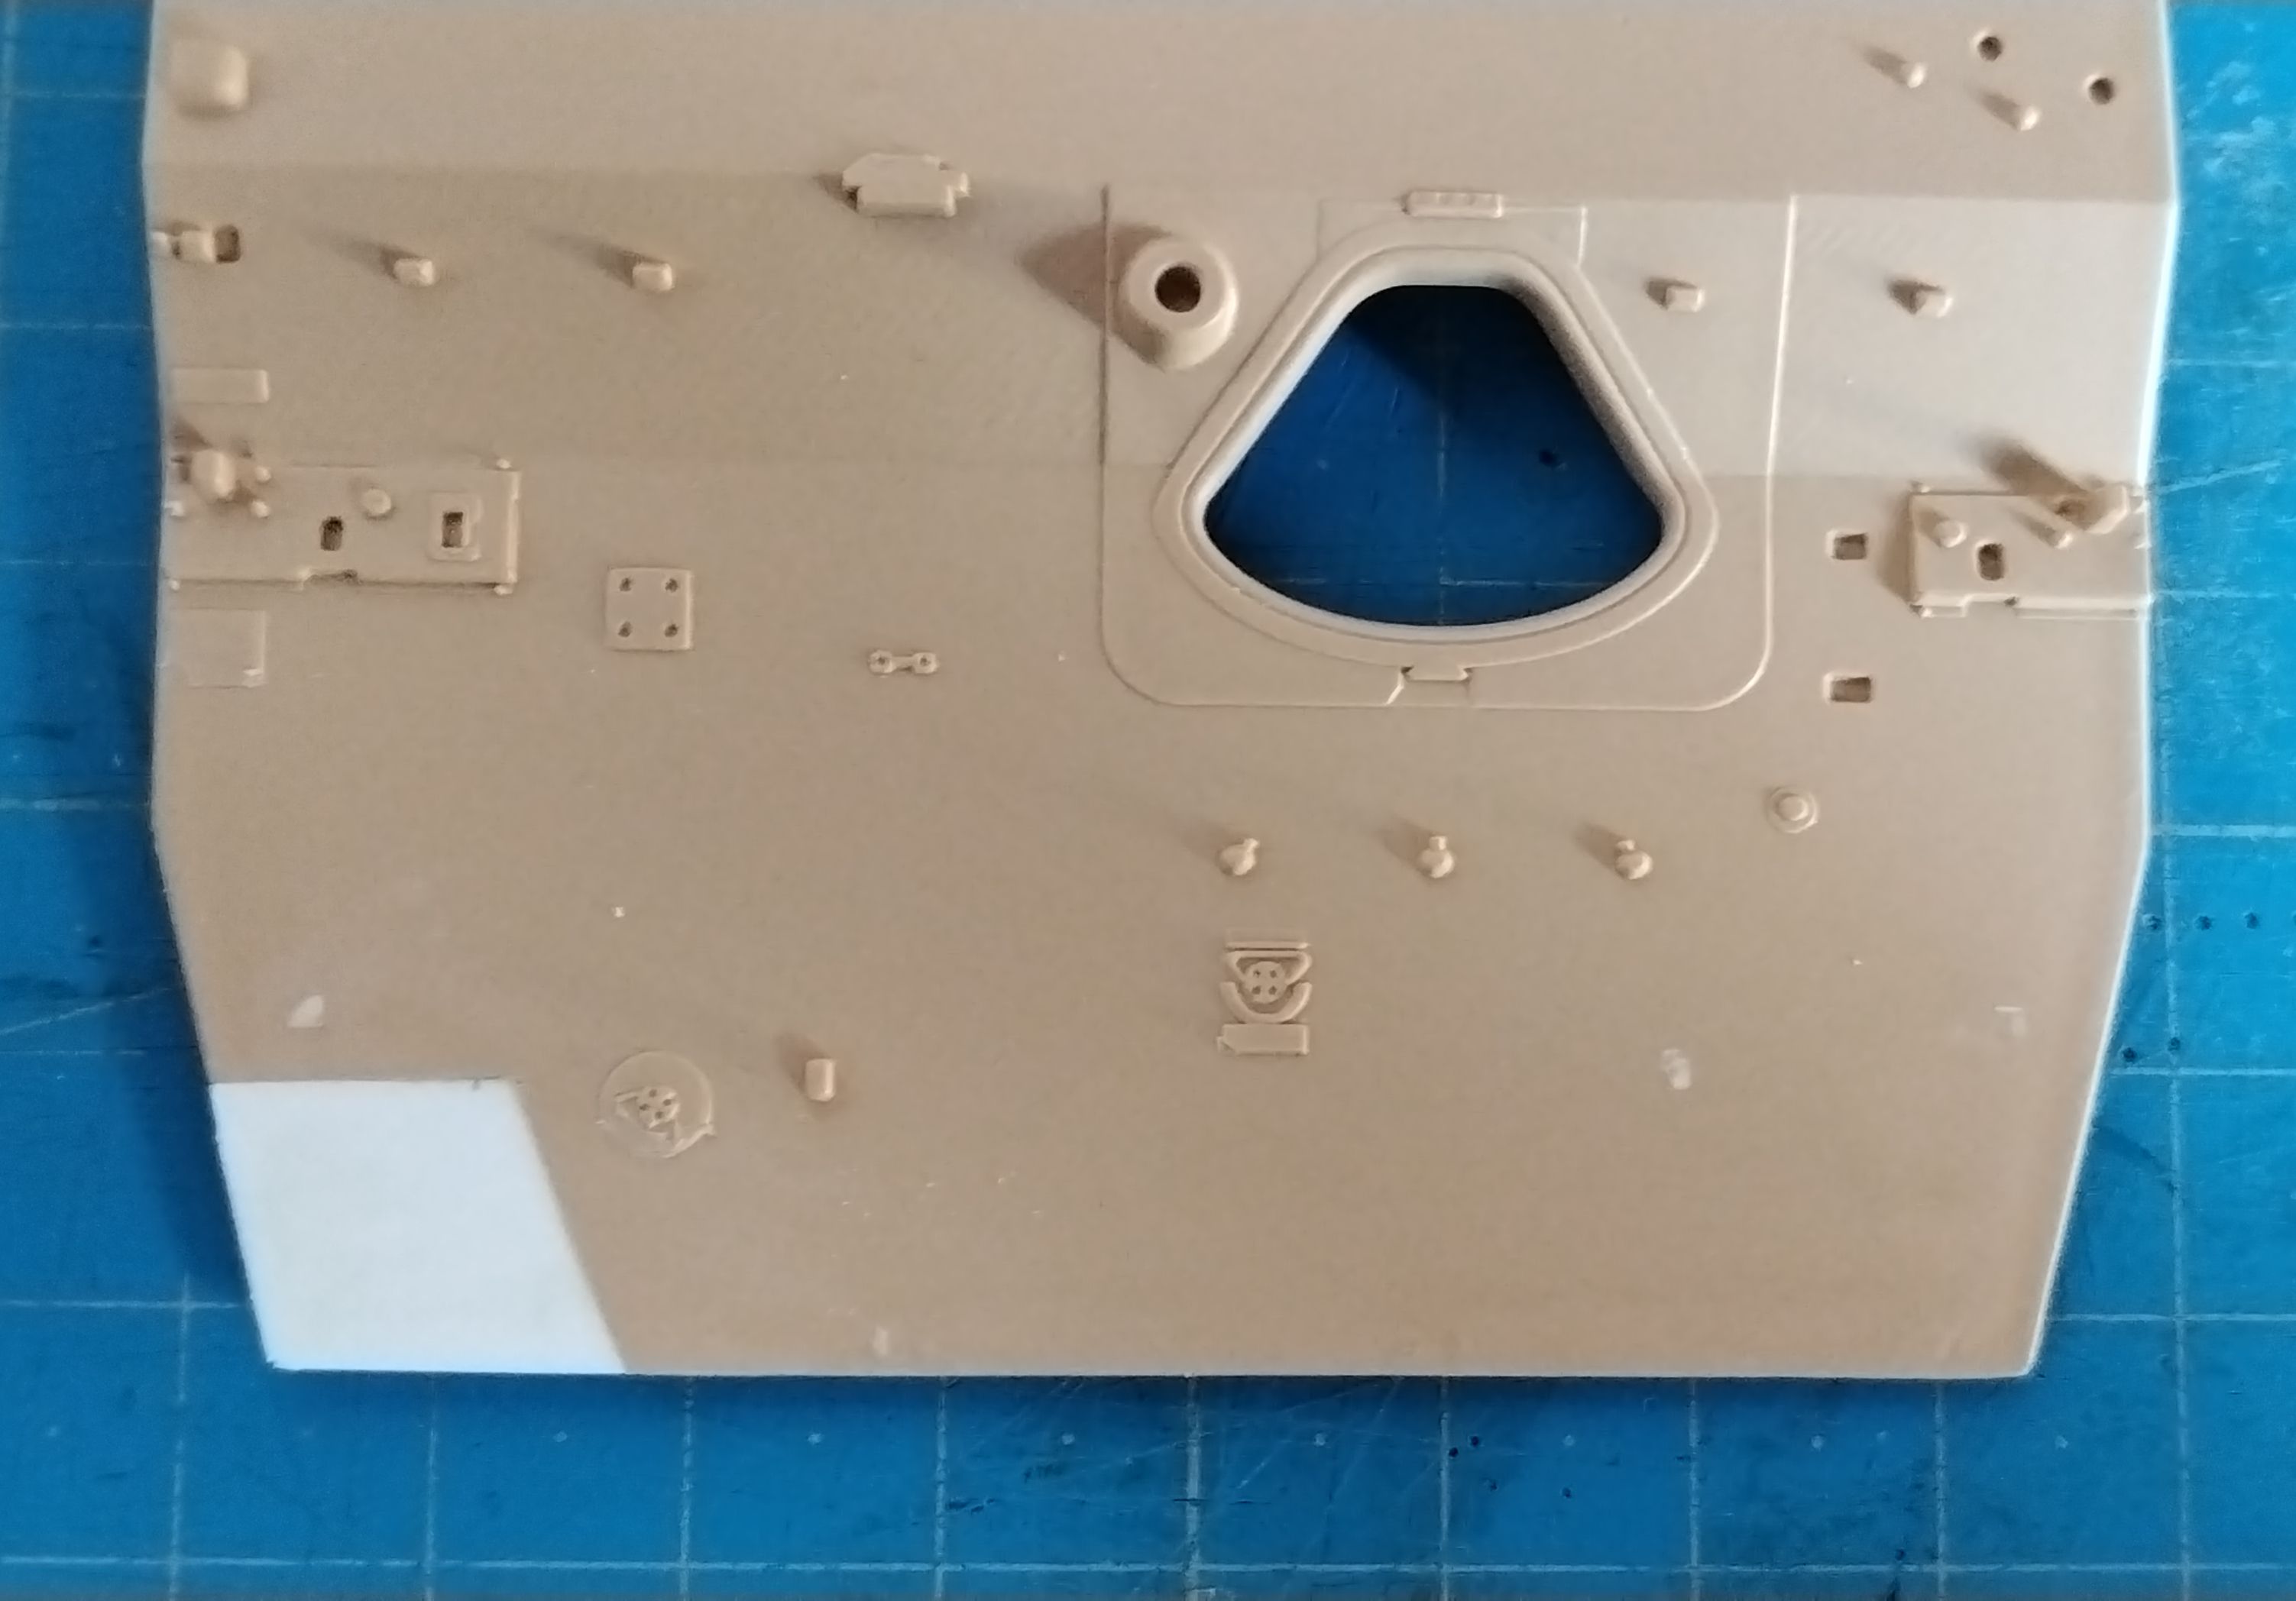
The bad surprise with the upper hull plate.
Fortunately the shape and the missing details should be an easy fix. The antislip will hide any discrepancy. The last time I had such a bad cast issue was with an old Heller AMX 13.
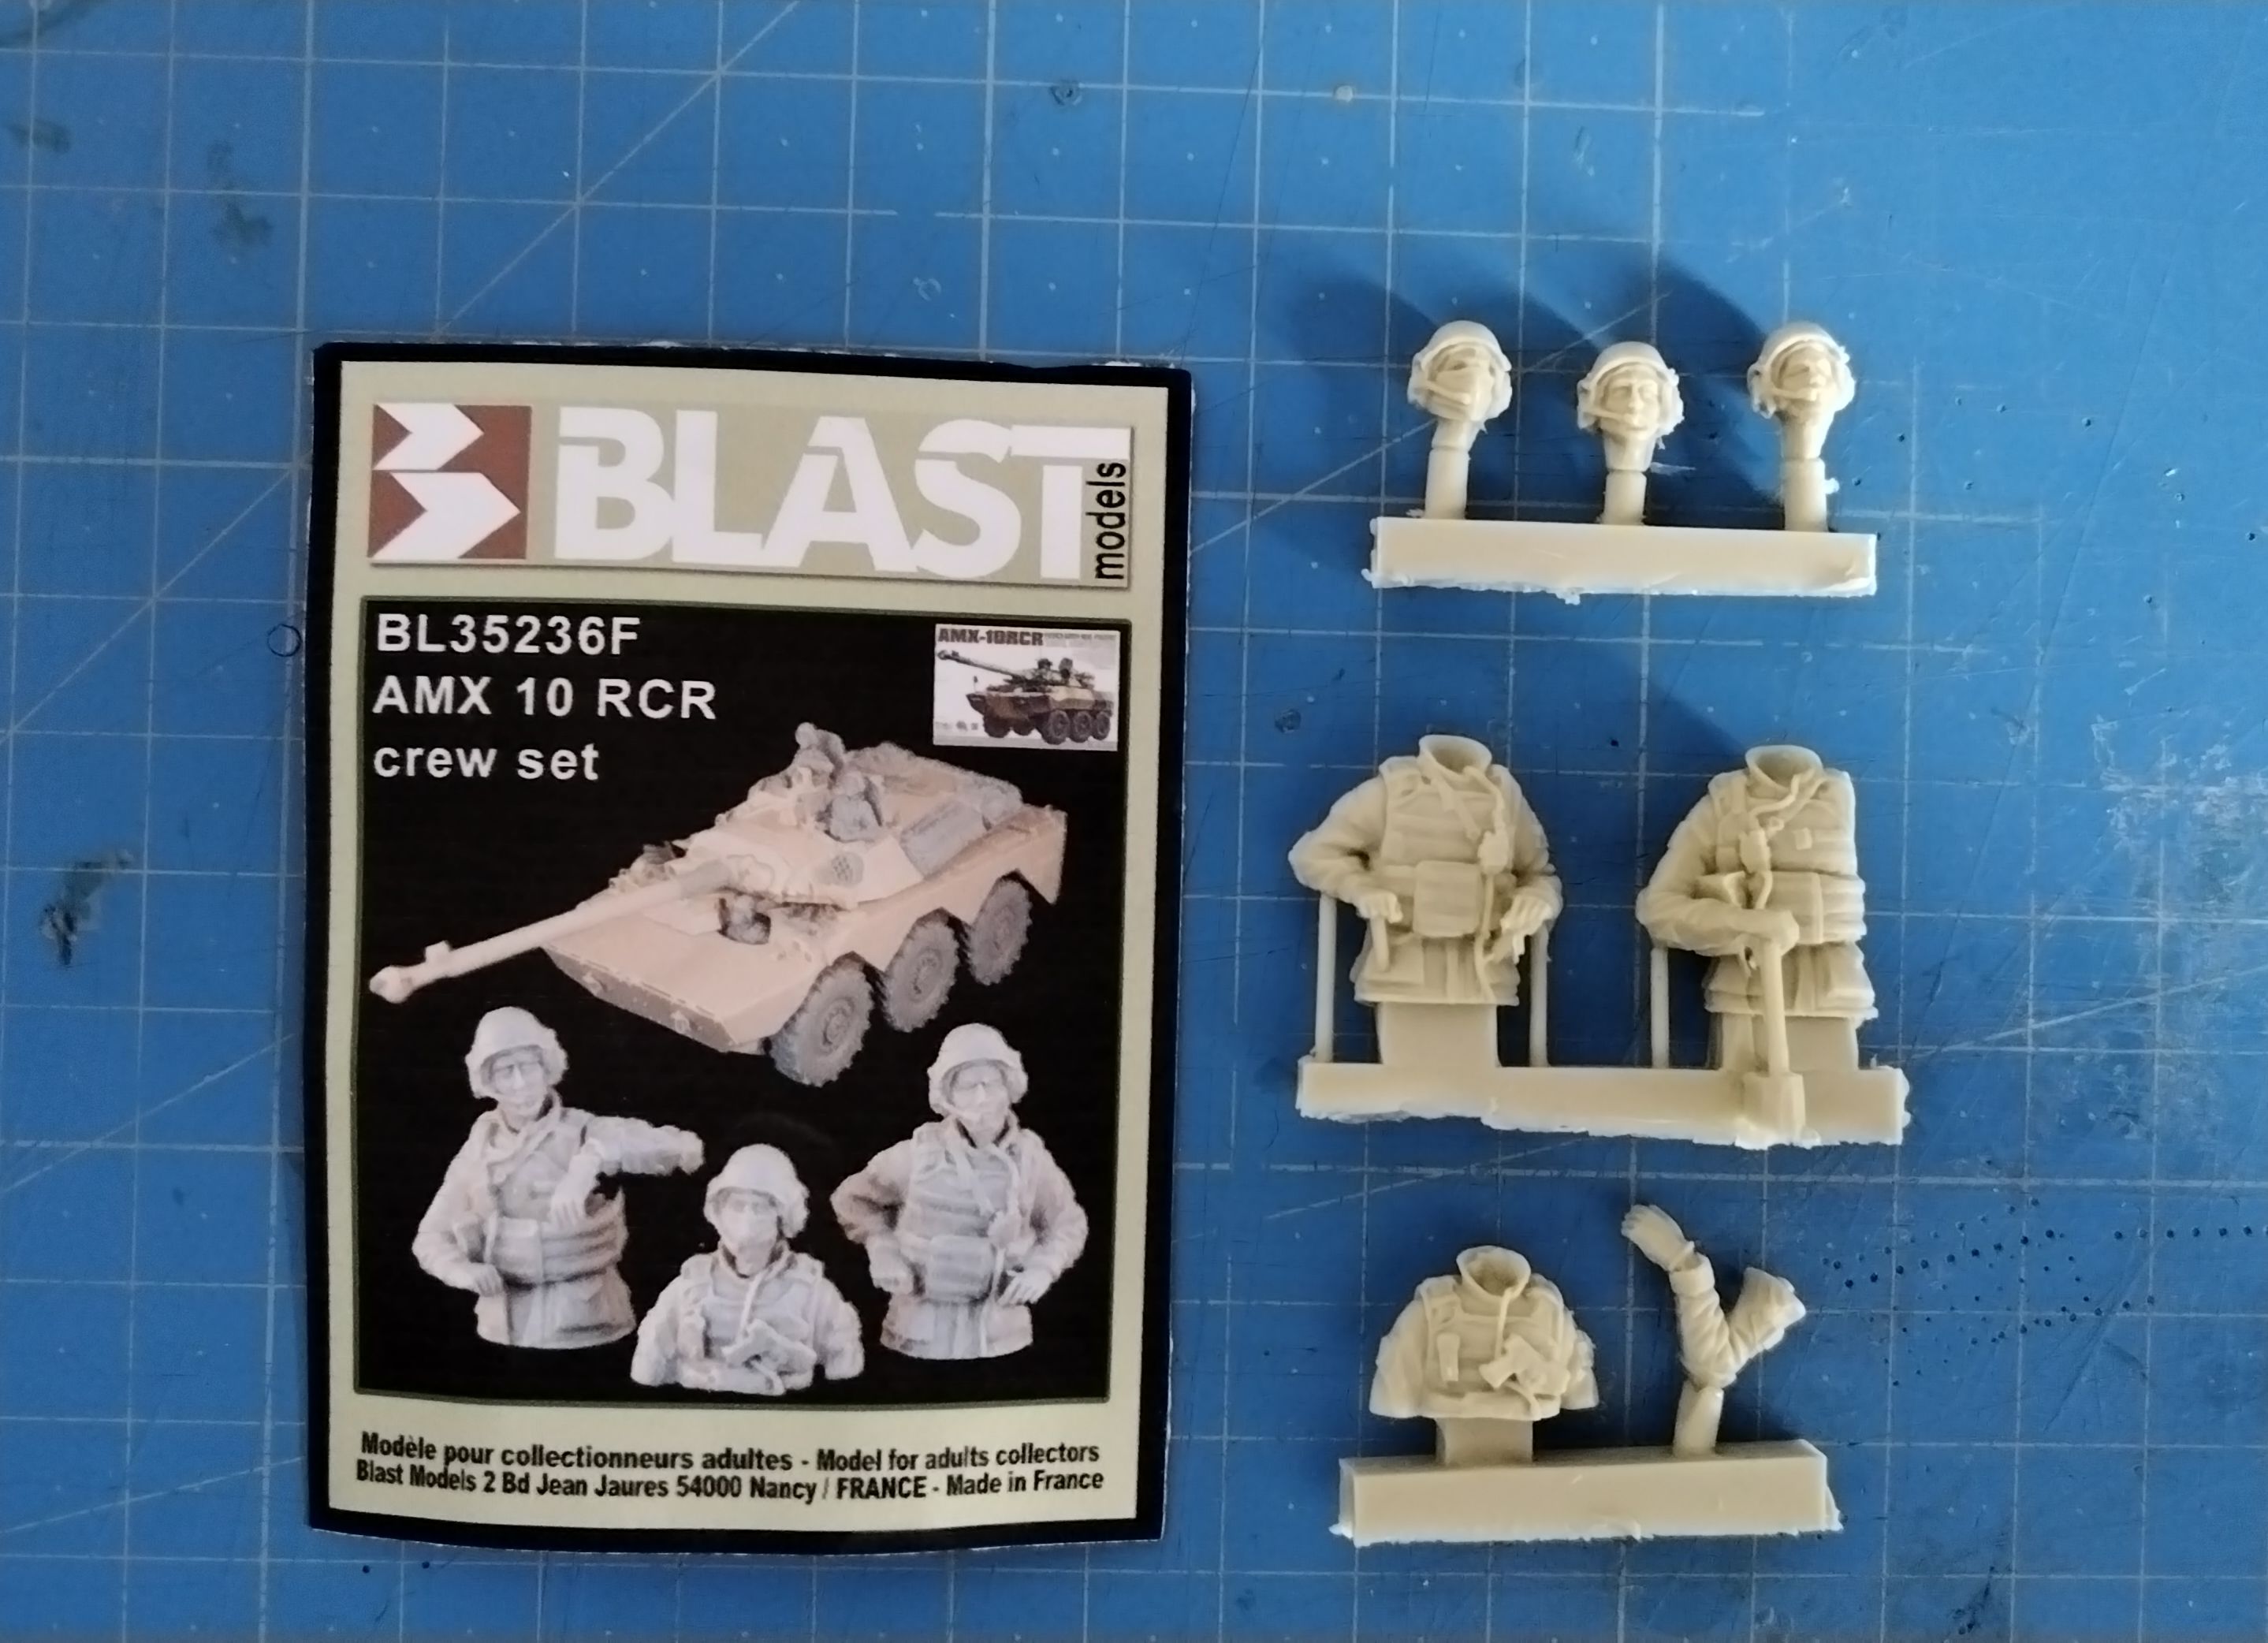
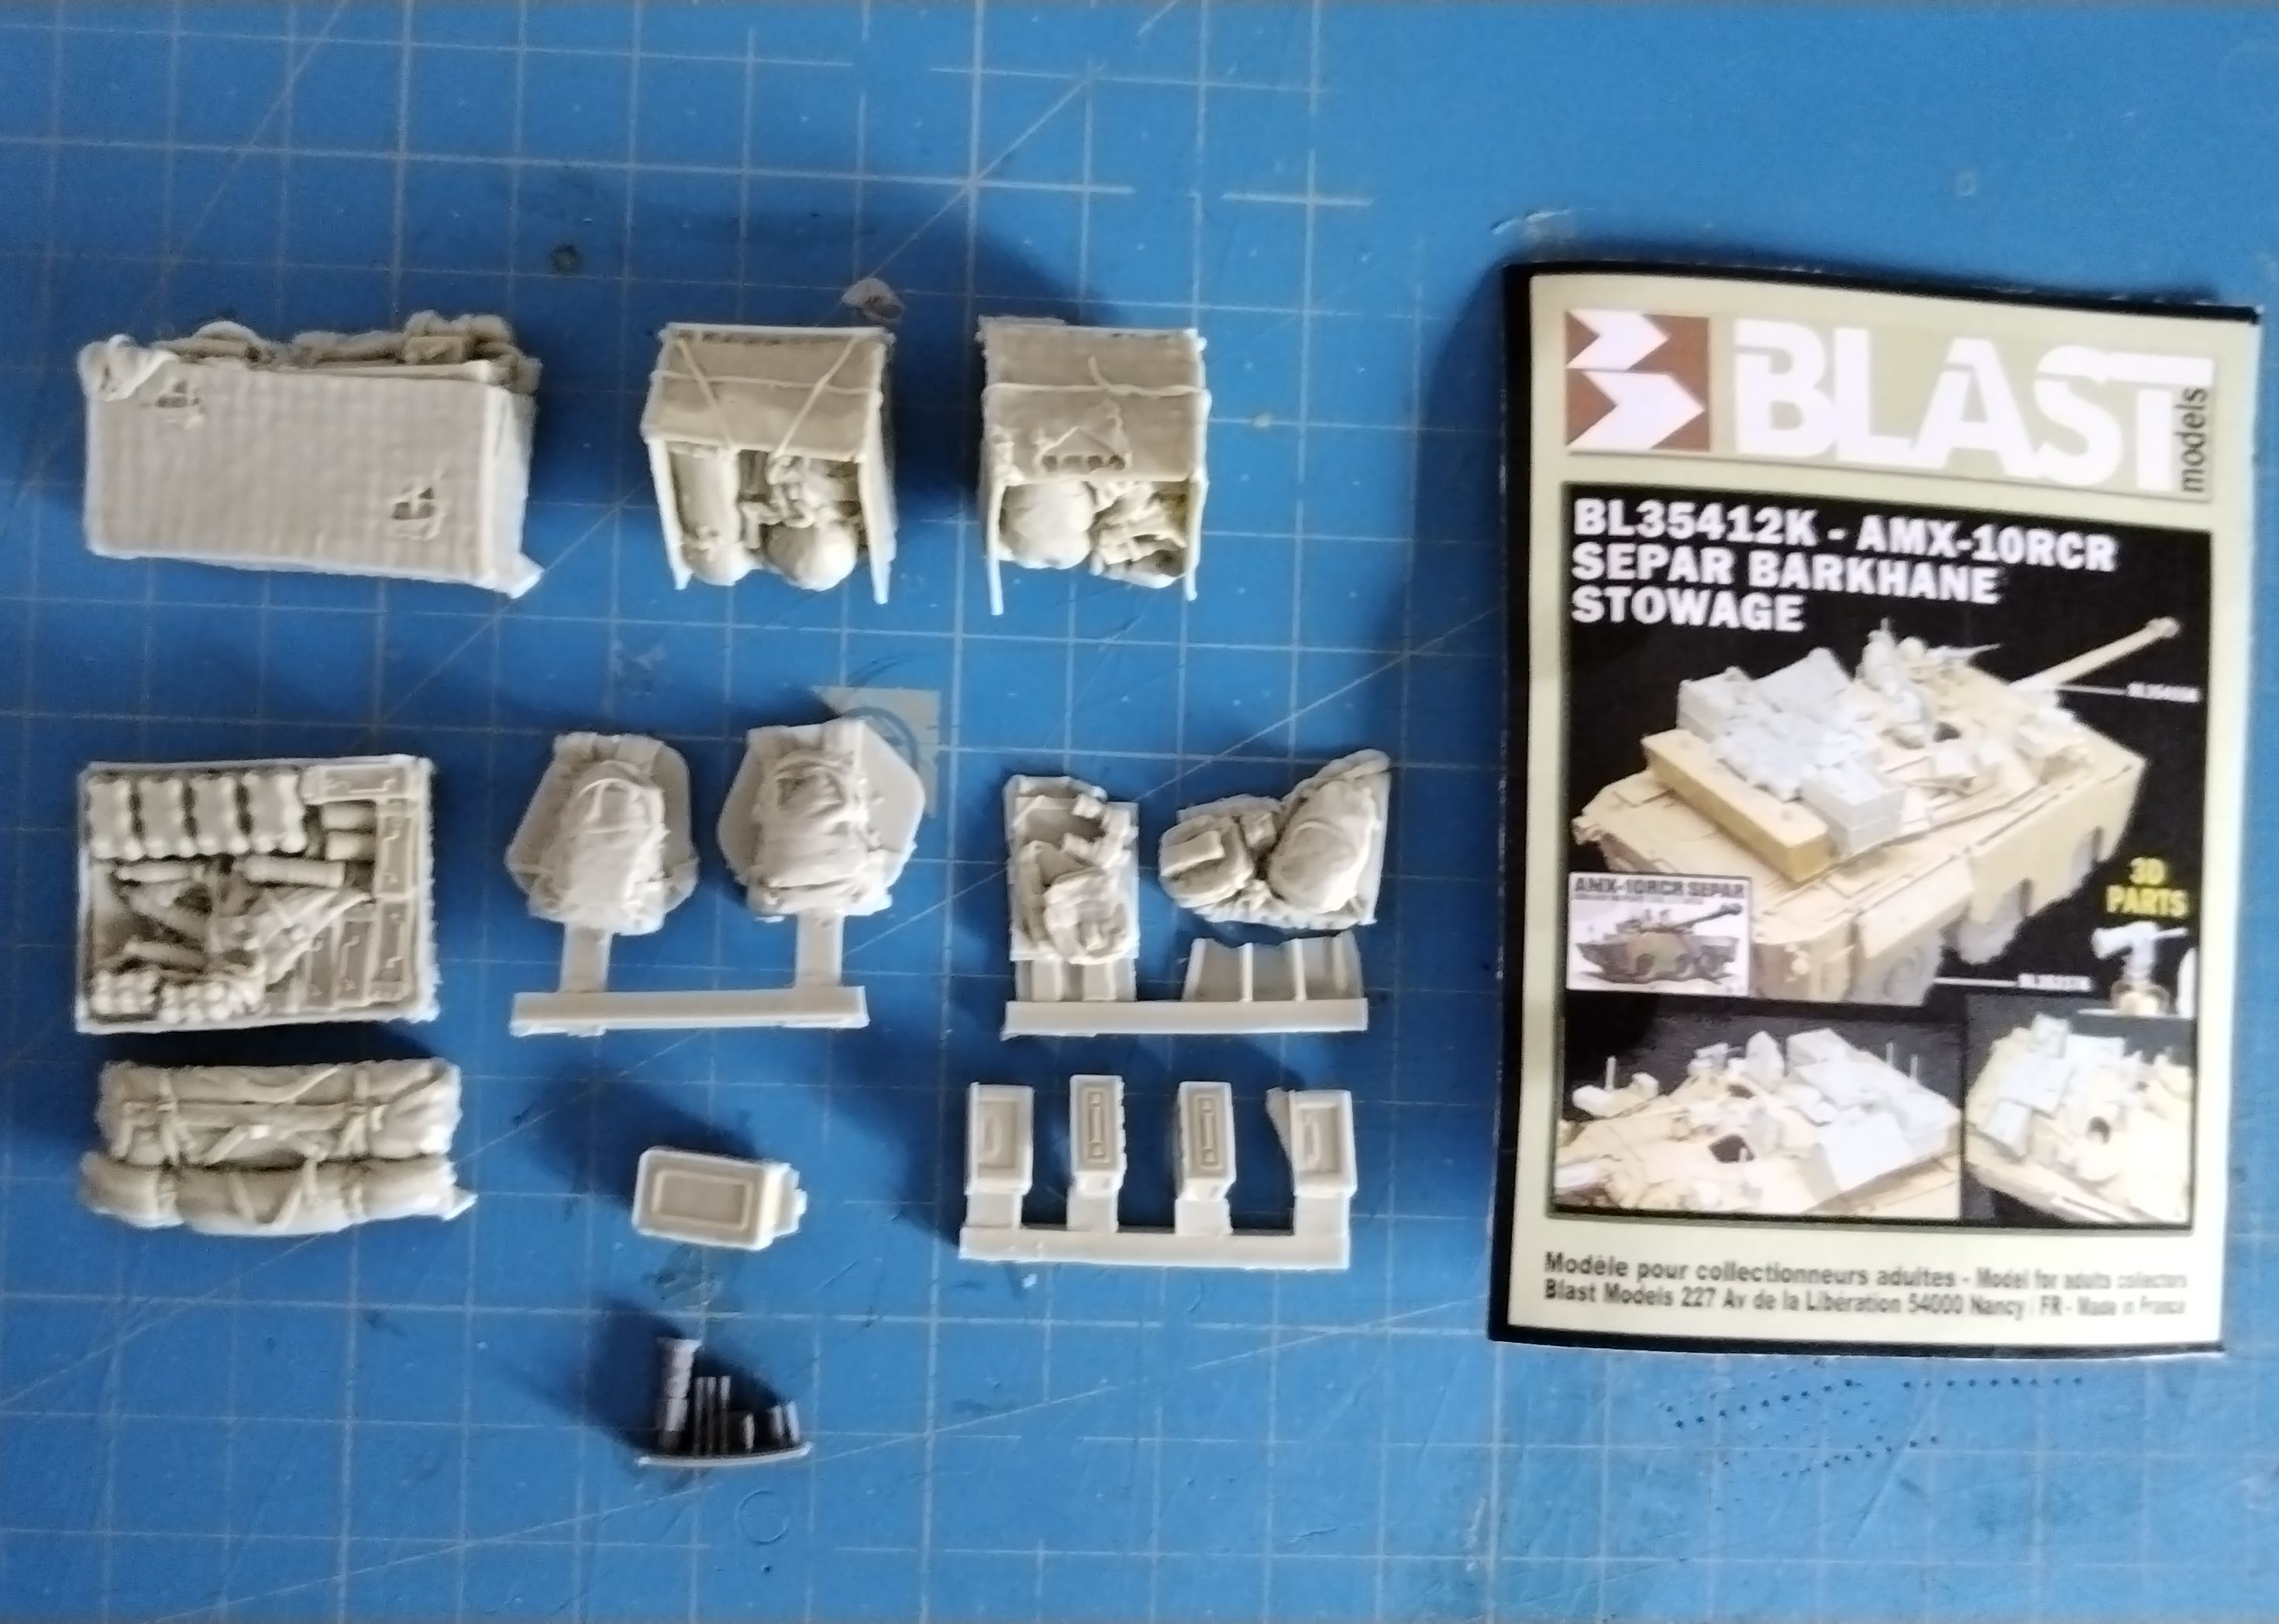
To the kit I’ll add a crew from Blast as well as some stowage from the same brand.
If I had time enough, I’ll probably start the build tomorrow.
Olivier
Mmmmm. I’d like to see that T-54 finished. I don’t think we had a status of build requirement? Maybe I should have put one, but I didn’t.
I don’t really know what to say about the Canary Islands - they are pretty close to Africa, so I don’t see why not? Anyone have a different view on that?
So I’ll go with the T-54 in multicolor camouflage. Do you remember the box art of the old ESCI T-55? Something like this. Still en vogue back then in Africa.
…
As for the spanish AF: This is the Buchon version of the 109, used until 1965 for COIN operations over spanish colonial territories in North Africa.
Regards
Geographically and politically I’d say the Canaries aren’t African. Wiki actually lists them as being part of Macronesia which along with the Canaries includes Cape Verde, the Azores and Madeira.
However, given that the aircraft were used on operations in Africa proper, I’d say they qualify.
This is your show though @phil2015, so final word is yours.
No need to worry about the Buchon. I’ll go with the T-54 of the Somalian Army.
How it begun:
This is Miniarts T-54 kit. Forgot which one. But I hate the multipart hull concept (and really love the hull tubs provided by other manufacturers). There is always something misaligned that will spoil the whole build. Also is the parts count of Miniart kits waaaaay over top: This one has around 800 parts without beeing an interior kit! Crazy! And building this kit feels like you are building the real tank with all that details needed to be added elsewhere. Trust me, I’ve tinkered with the real thing too…
Early progress:
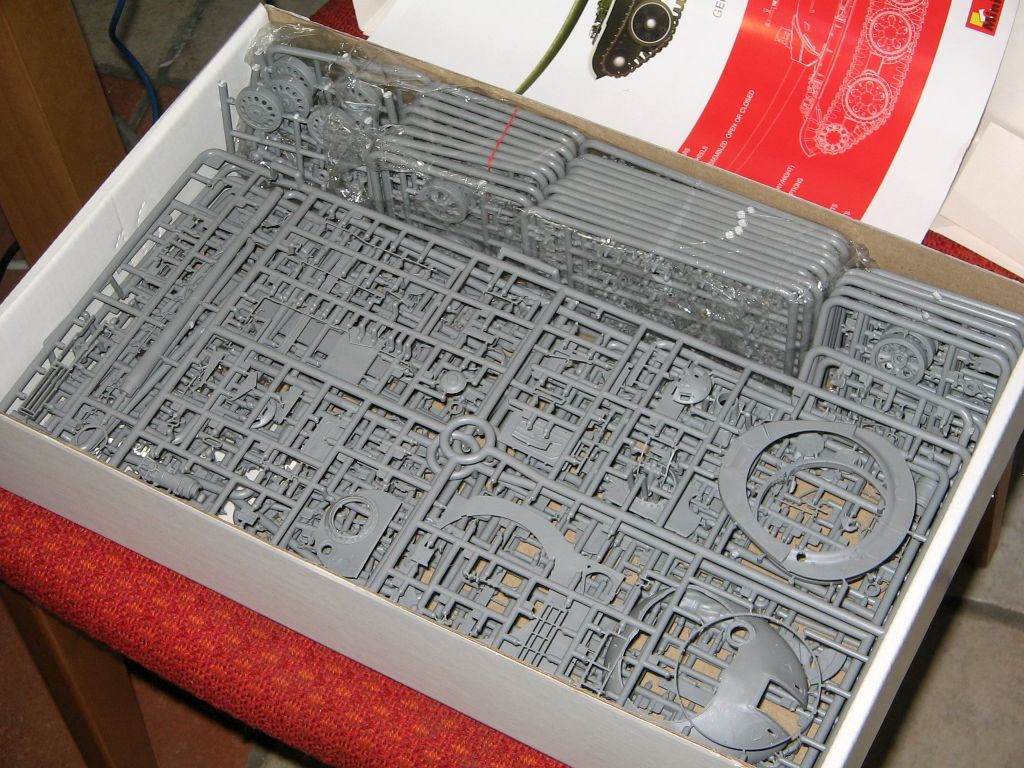
Still a plethora of parts in the box:
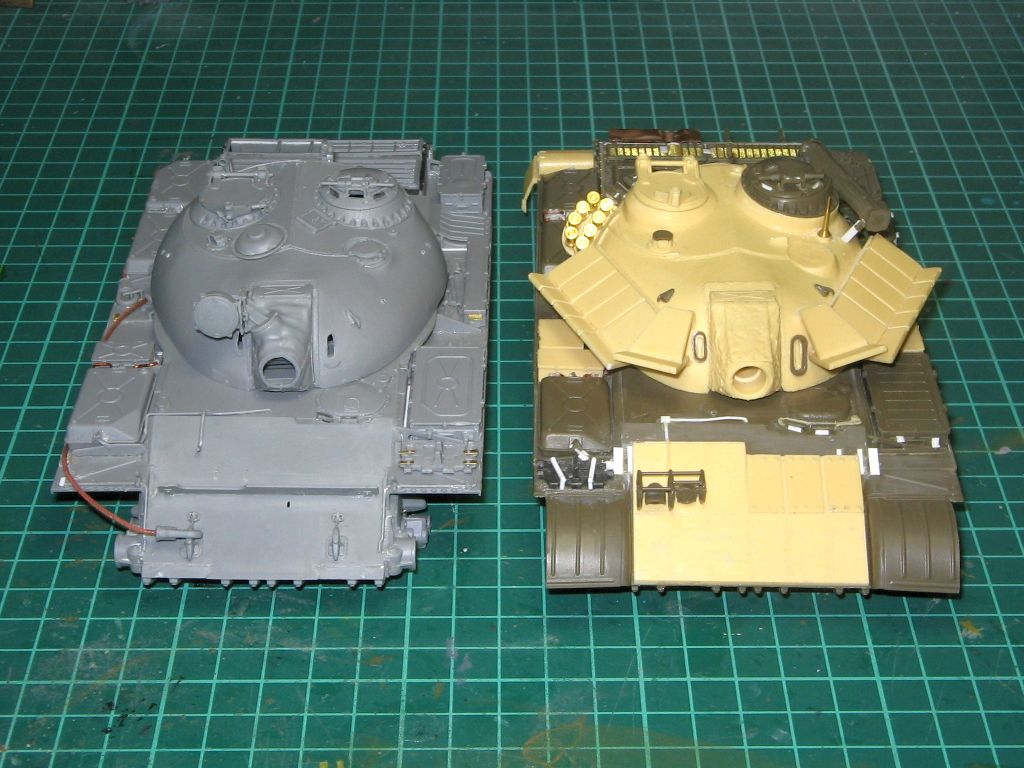
Compared to a Tamiya kit with an aftermarket conversion kit:
Still a long way to go. BTW, this is a factory modernized T-54 A(M) version, so it features details from both the T-54 A and B version, as well as some (M) stuff.
Markings are provided by Bison decals no. 35197 - African Wars #1. Camouflage was sand, yellow and green with blck borders over the russian green base. Pretty colourful, indeed.
Enjoy!
I will be doing an Egyptian T34/122 by RFM. If it is as nice as their Syrian T-34/D-30 it should be a good build.
Some great choices already in this campaign. It will be great to follow.
I am considering the original ESCI 1/35 T-55 in the colorful box camouflage. However, not decided yet as there are also some Egyptian tanks to consider. Decisions decisions 
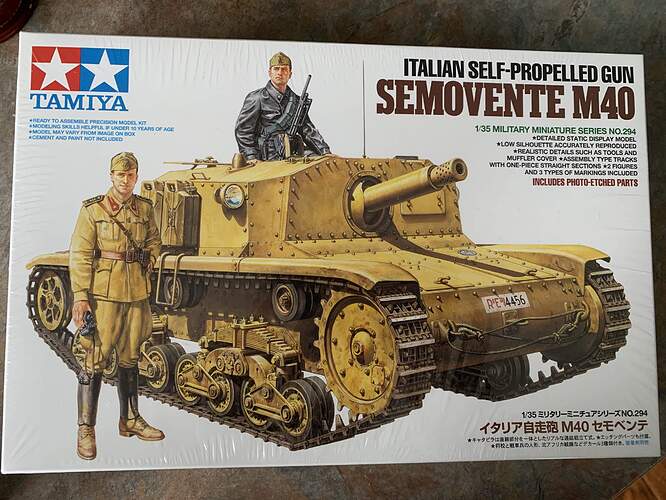
Gonna be some cool builds in this campaign. I’ve settled on Tamiya M40 Semovente. Was leaning towards the Dragon Panzer II F but I need a simple build to cleanse my palate a bit.
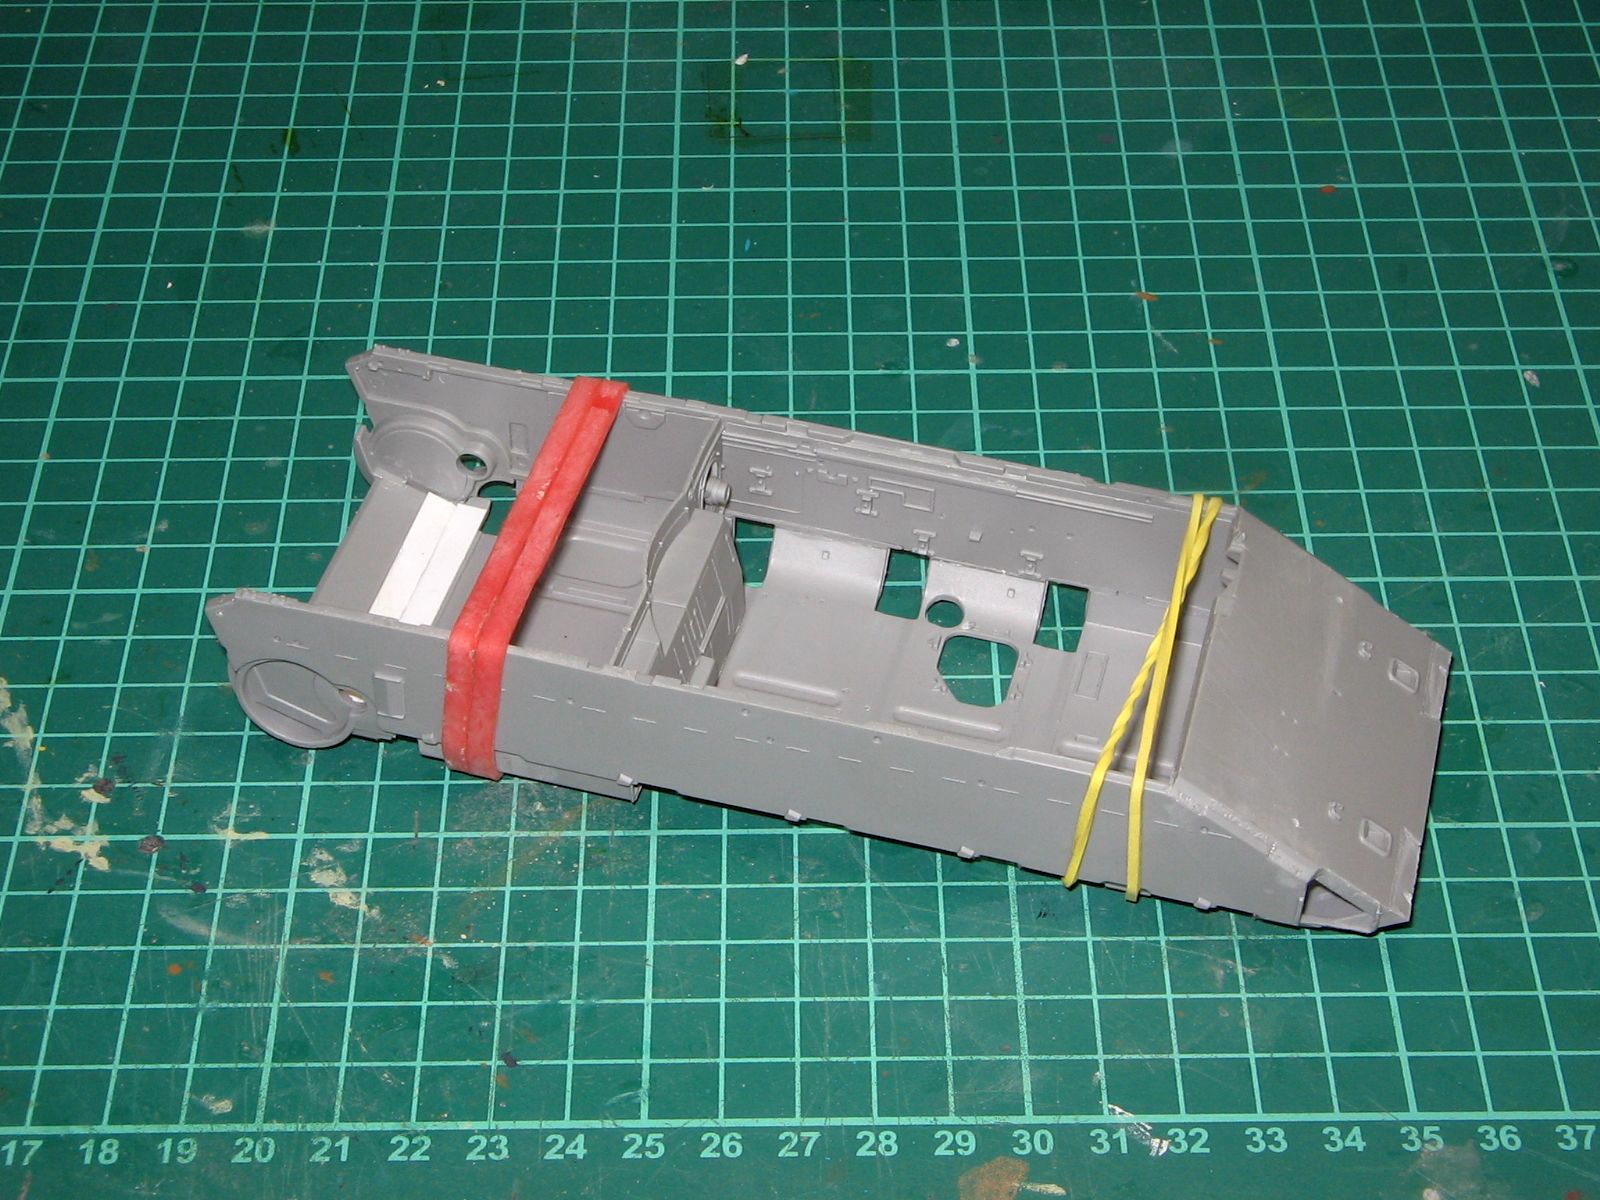
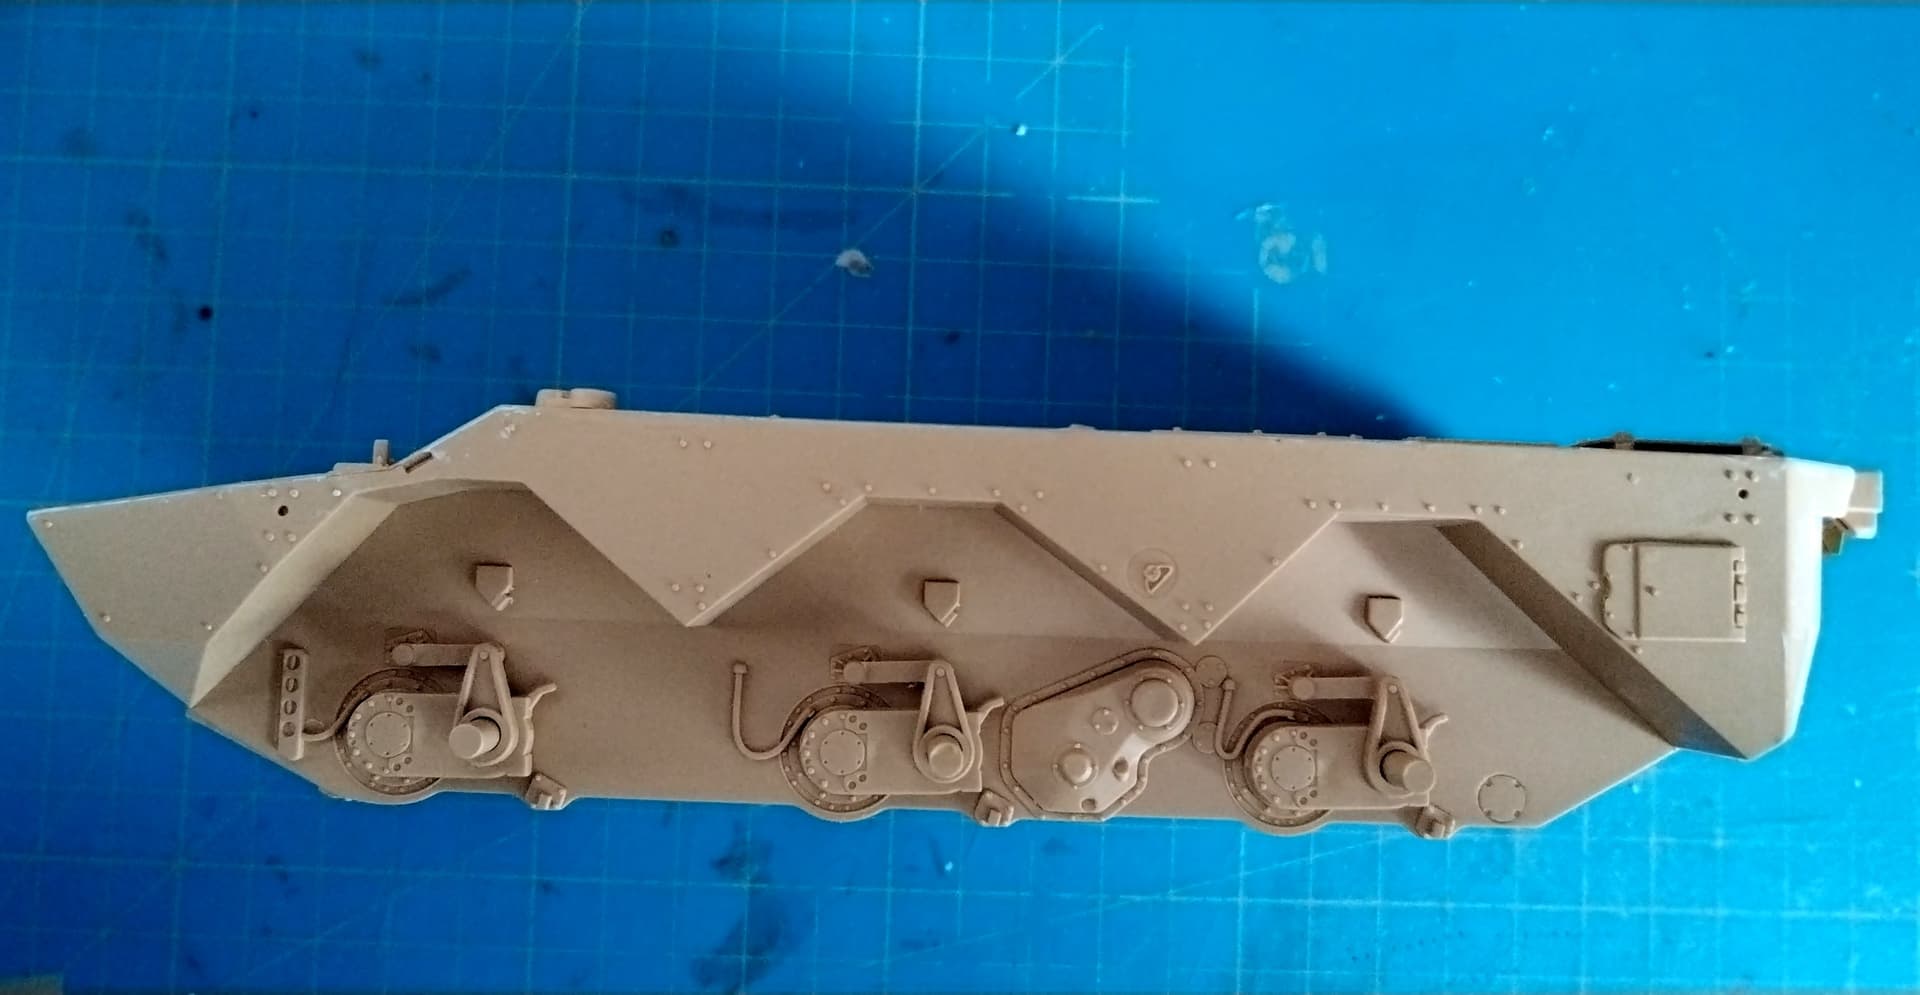
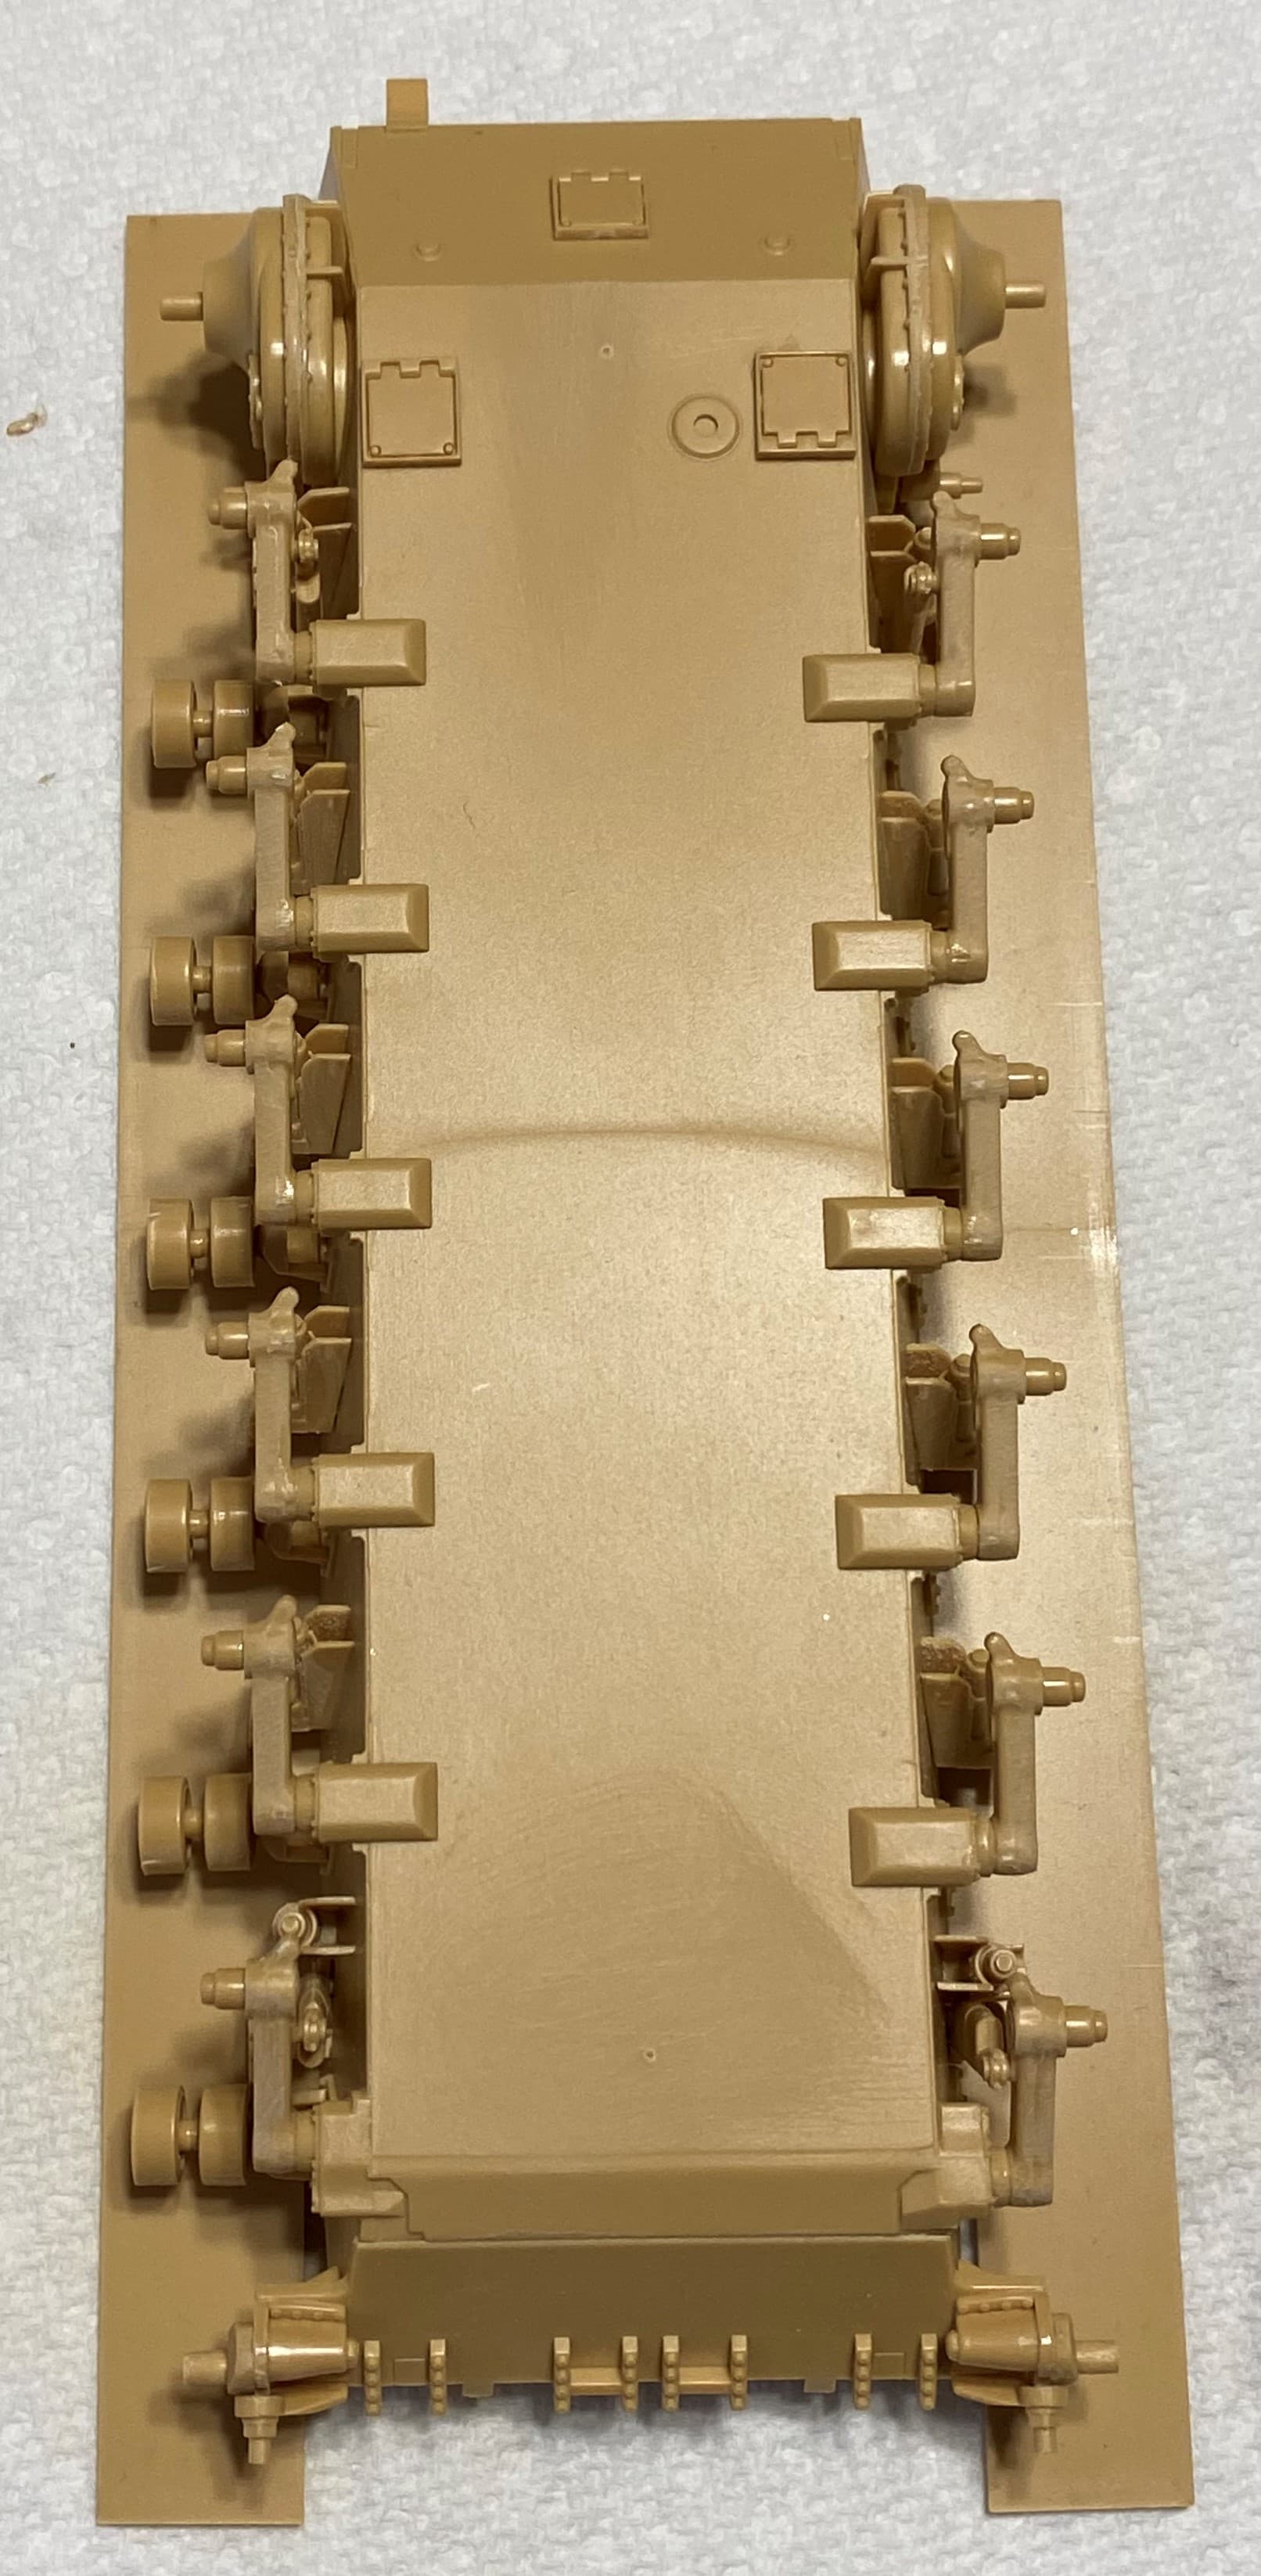
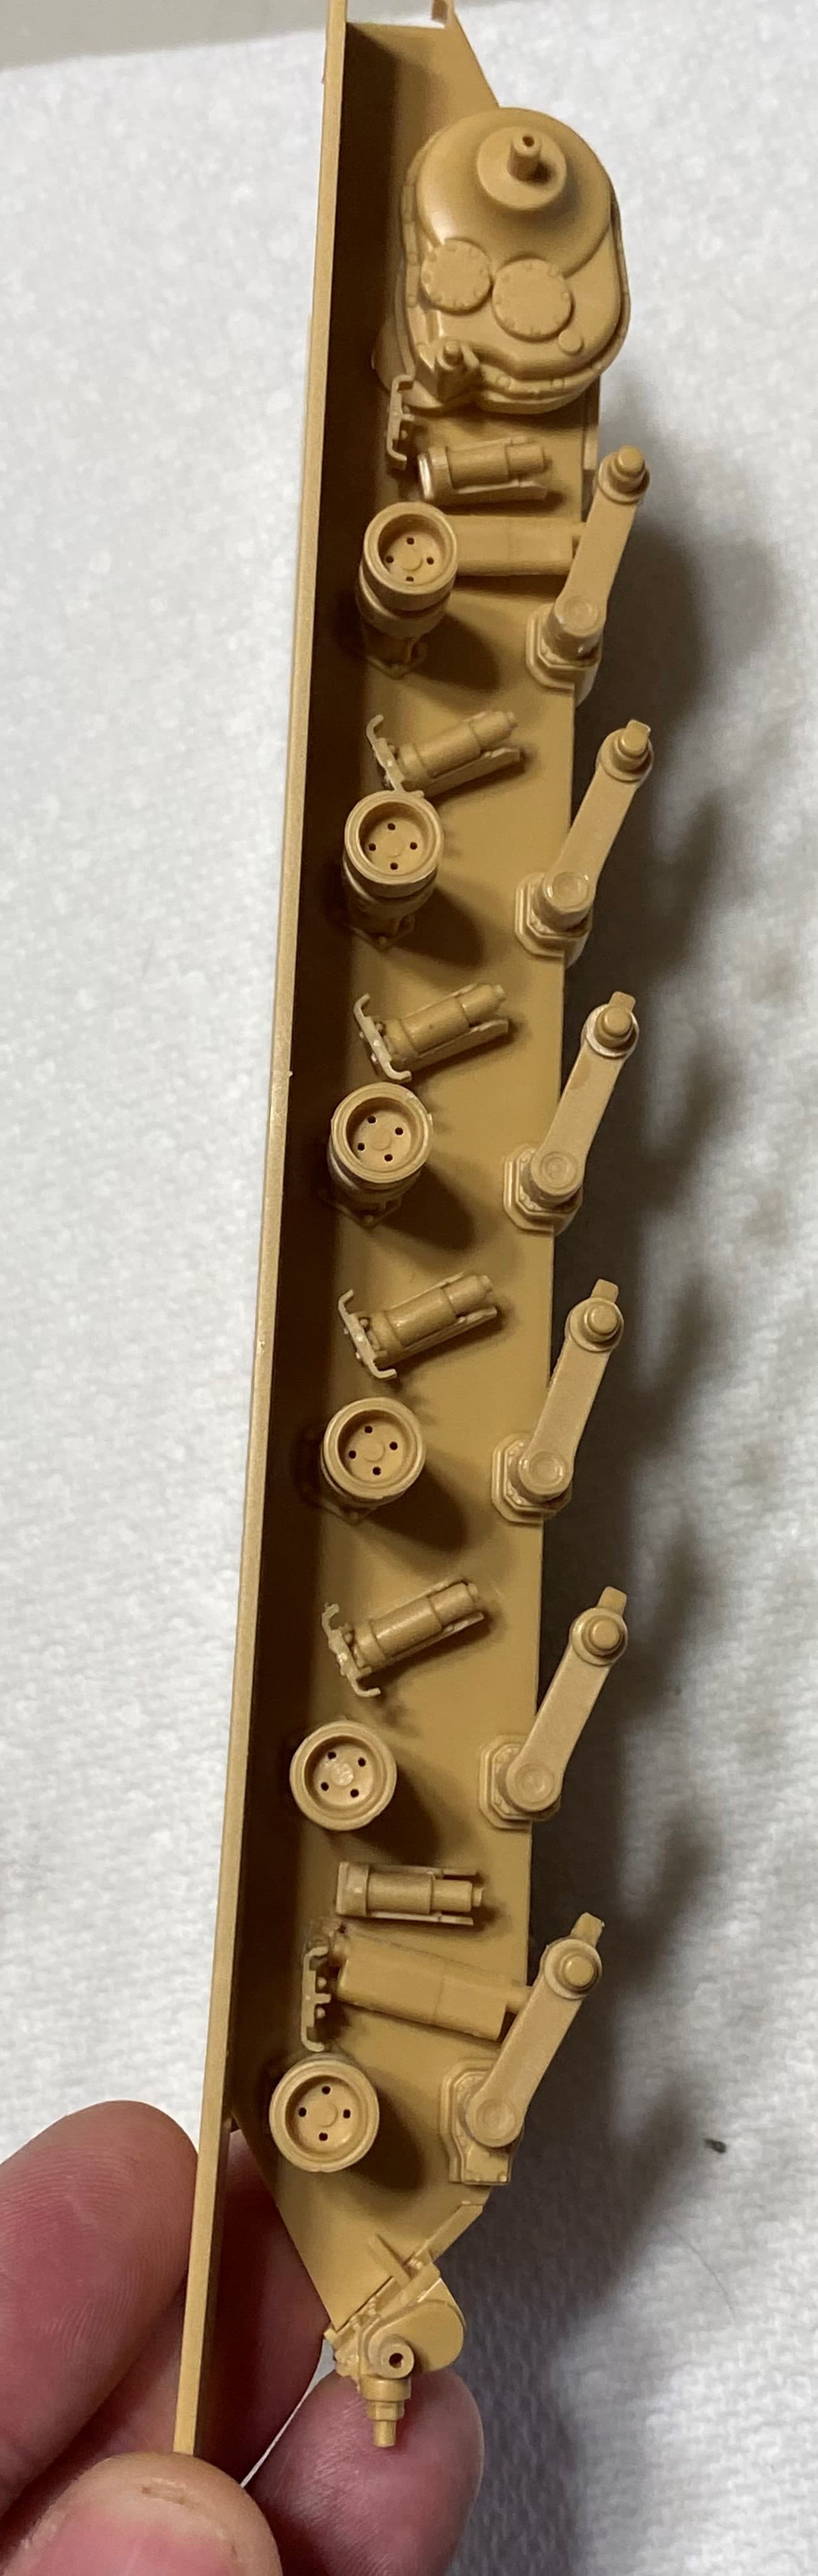
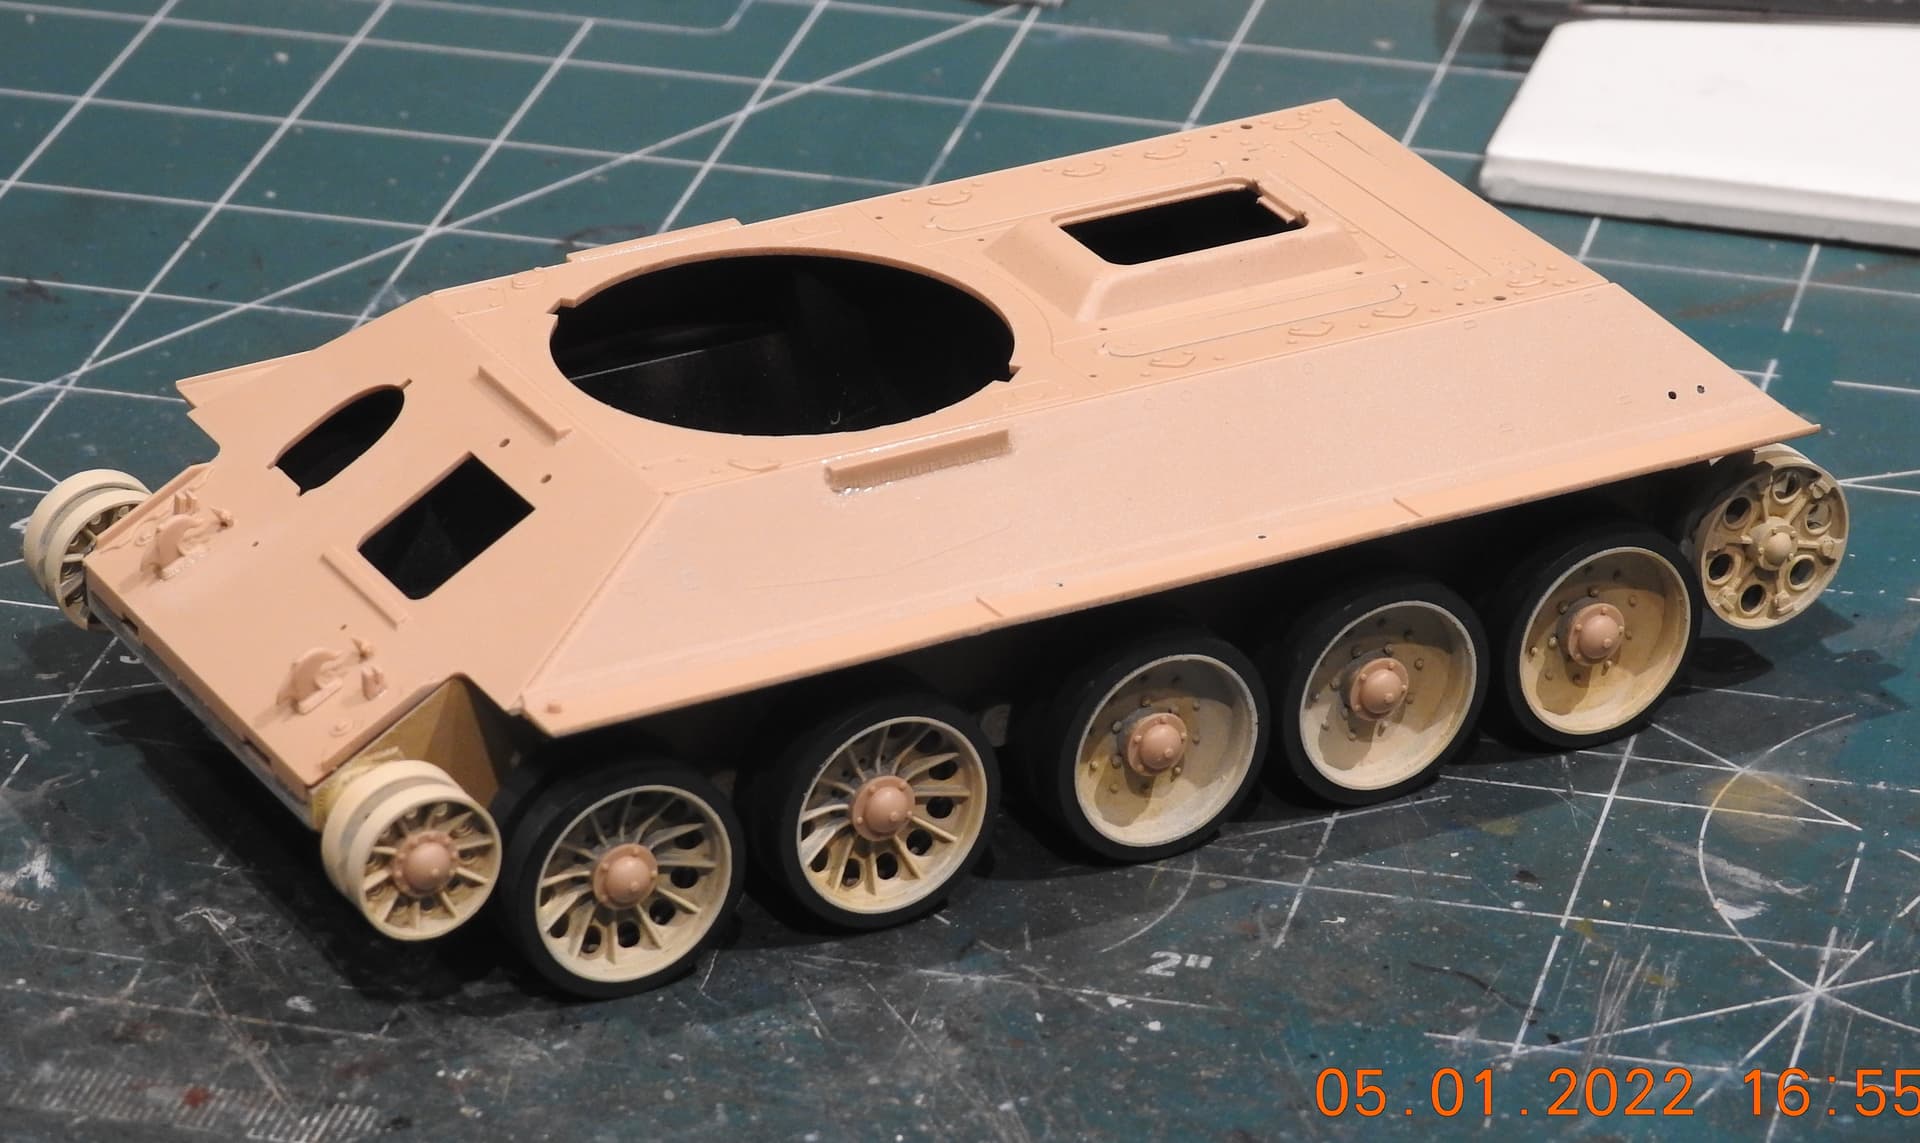
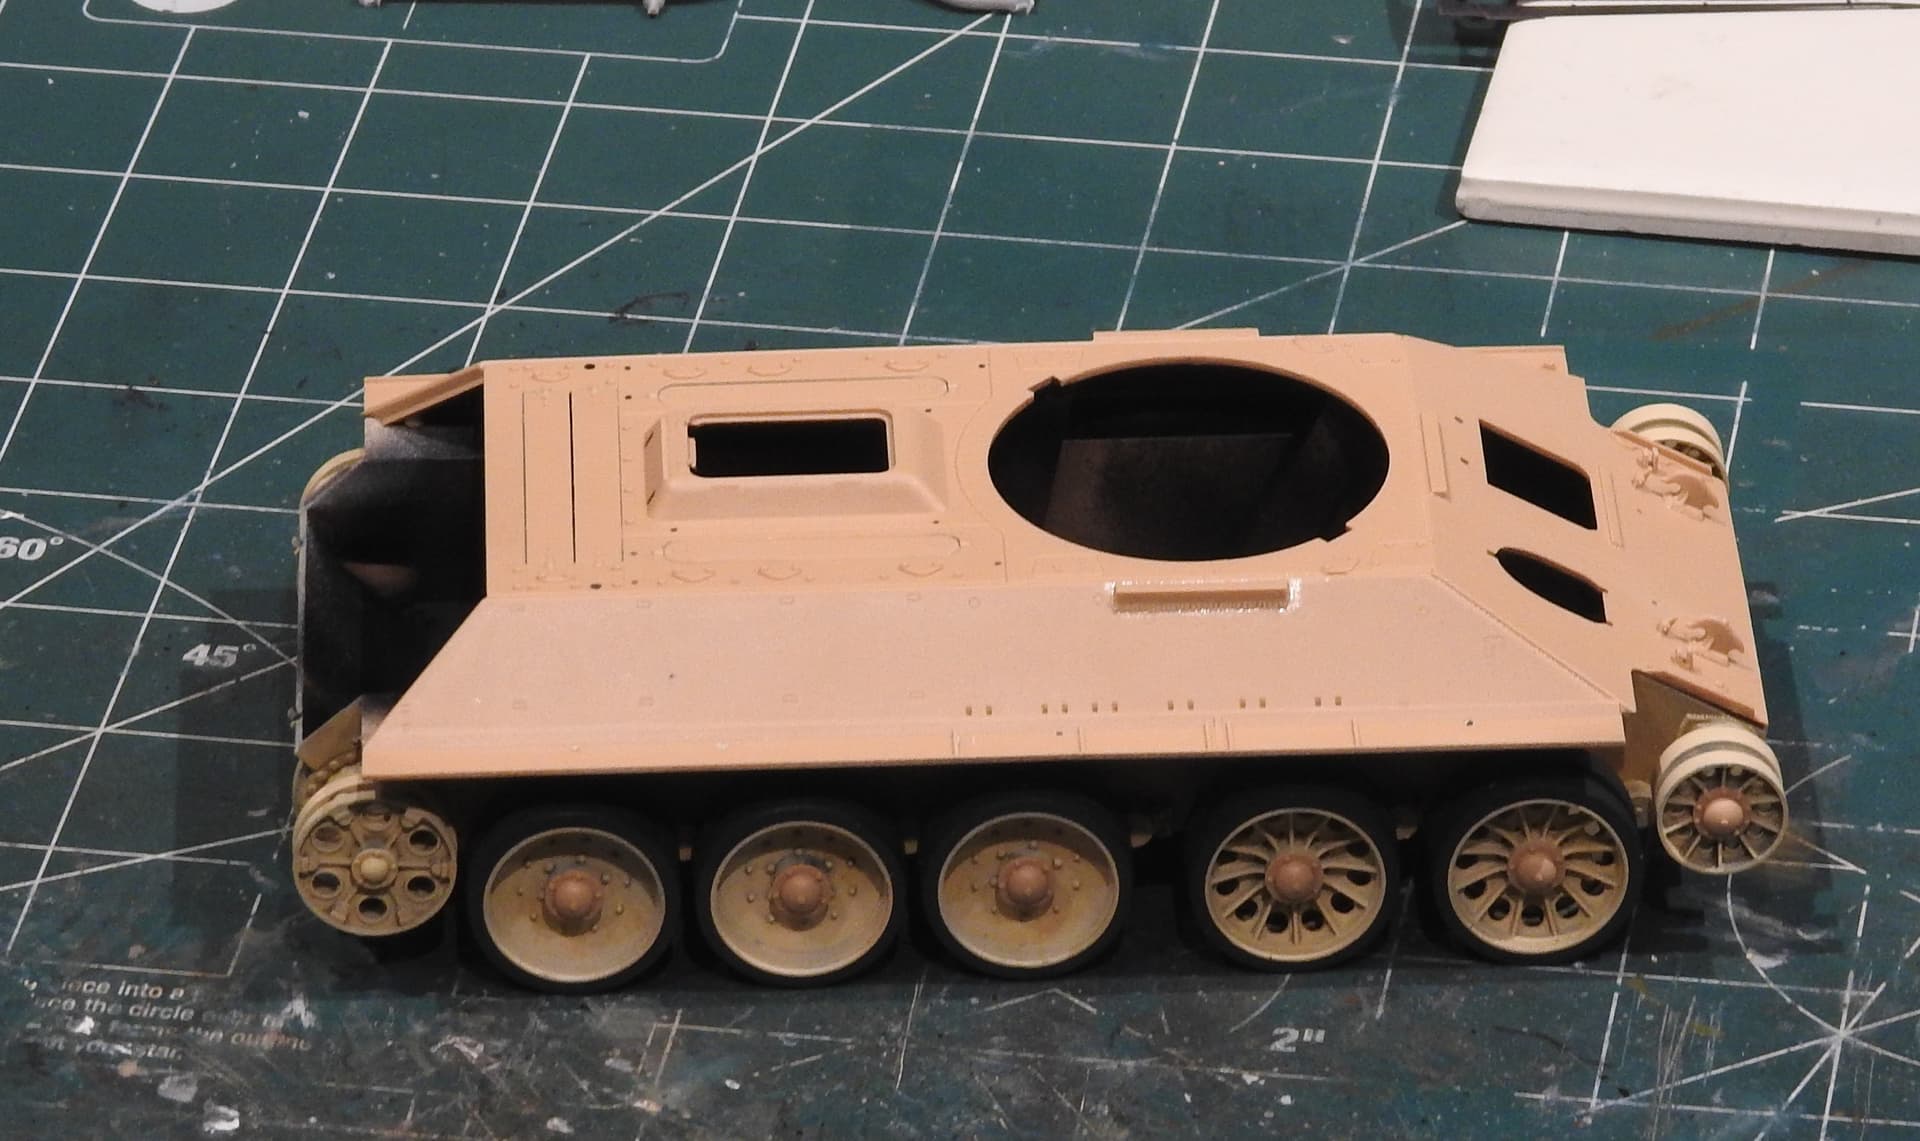
I’ve had some time for modeling today so I tackled the hull and the suspension which is static. Most of it will be hidden behind the wheels and the side skirts.
Olivier
Did some work on the Olifant and got the majority of the suspension completed. Its been a pleasure to work with. Instructions are clear, parts have very easy and well placed placement points and the plastic itself is a great consistency. Clips very nicely off the sprue and cleans up well.
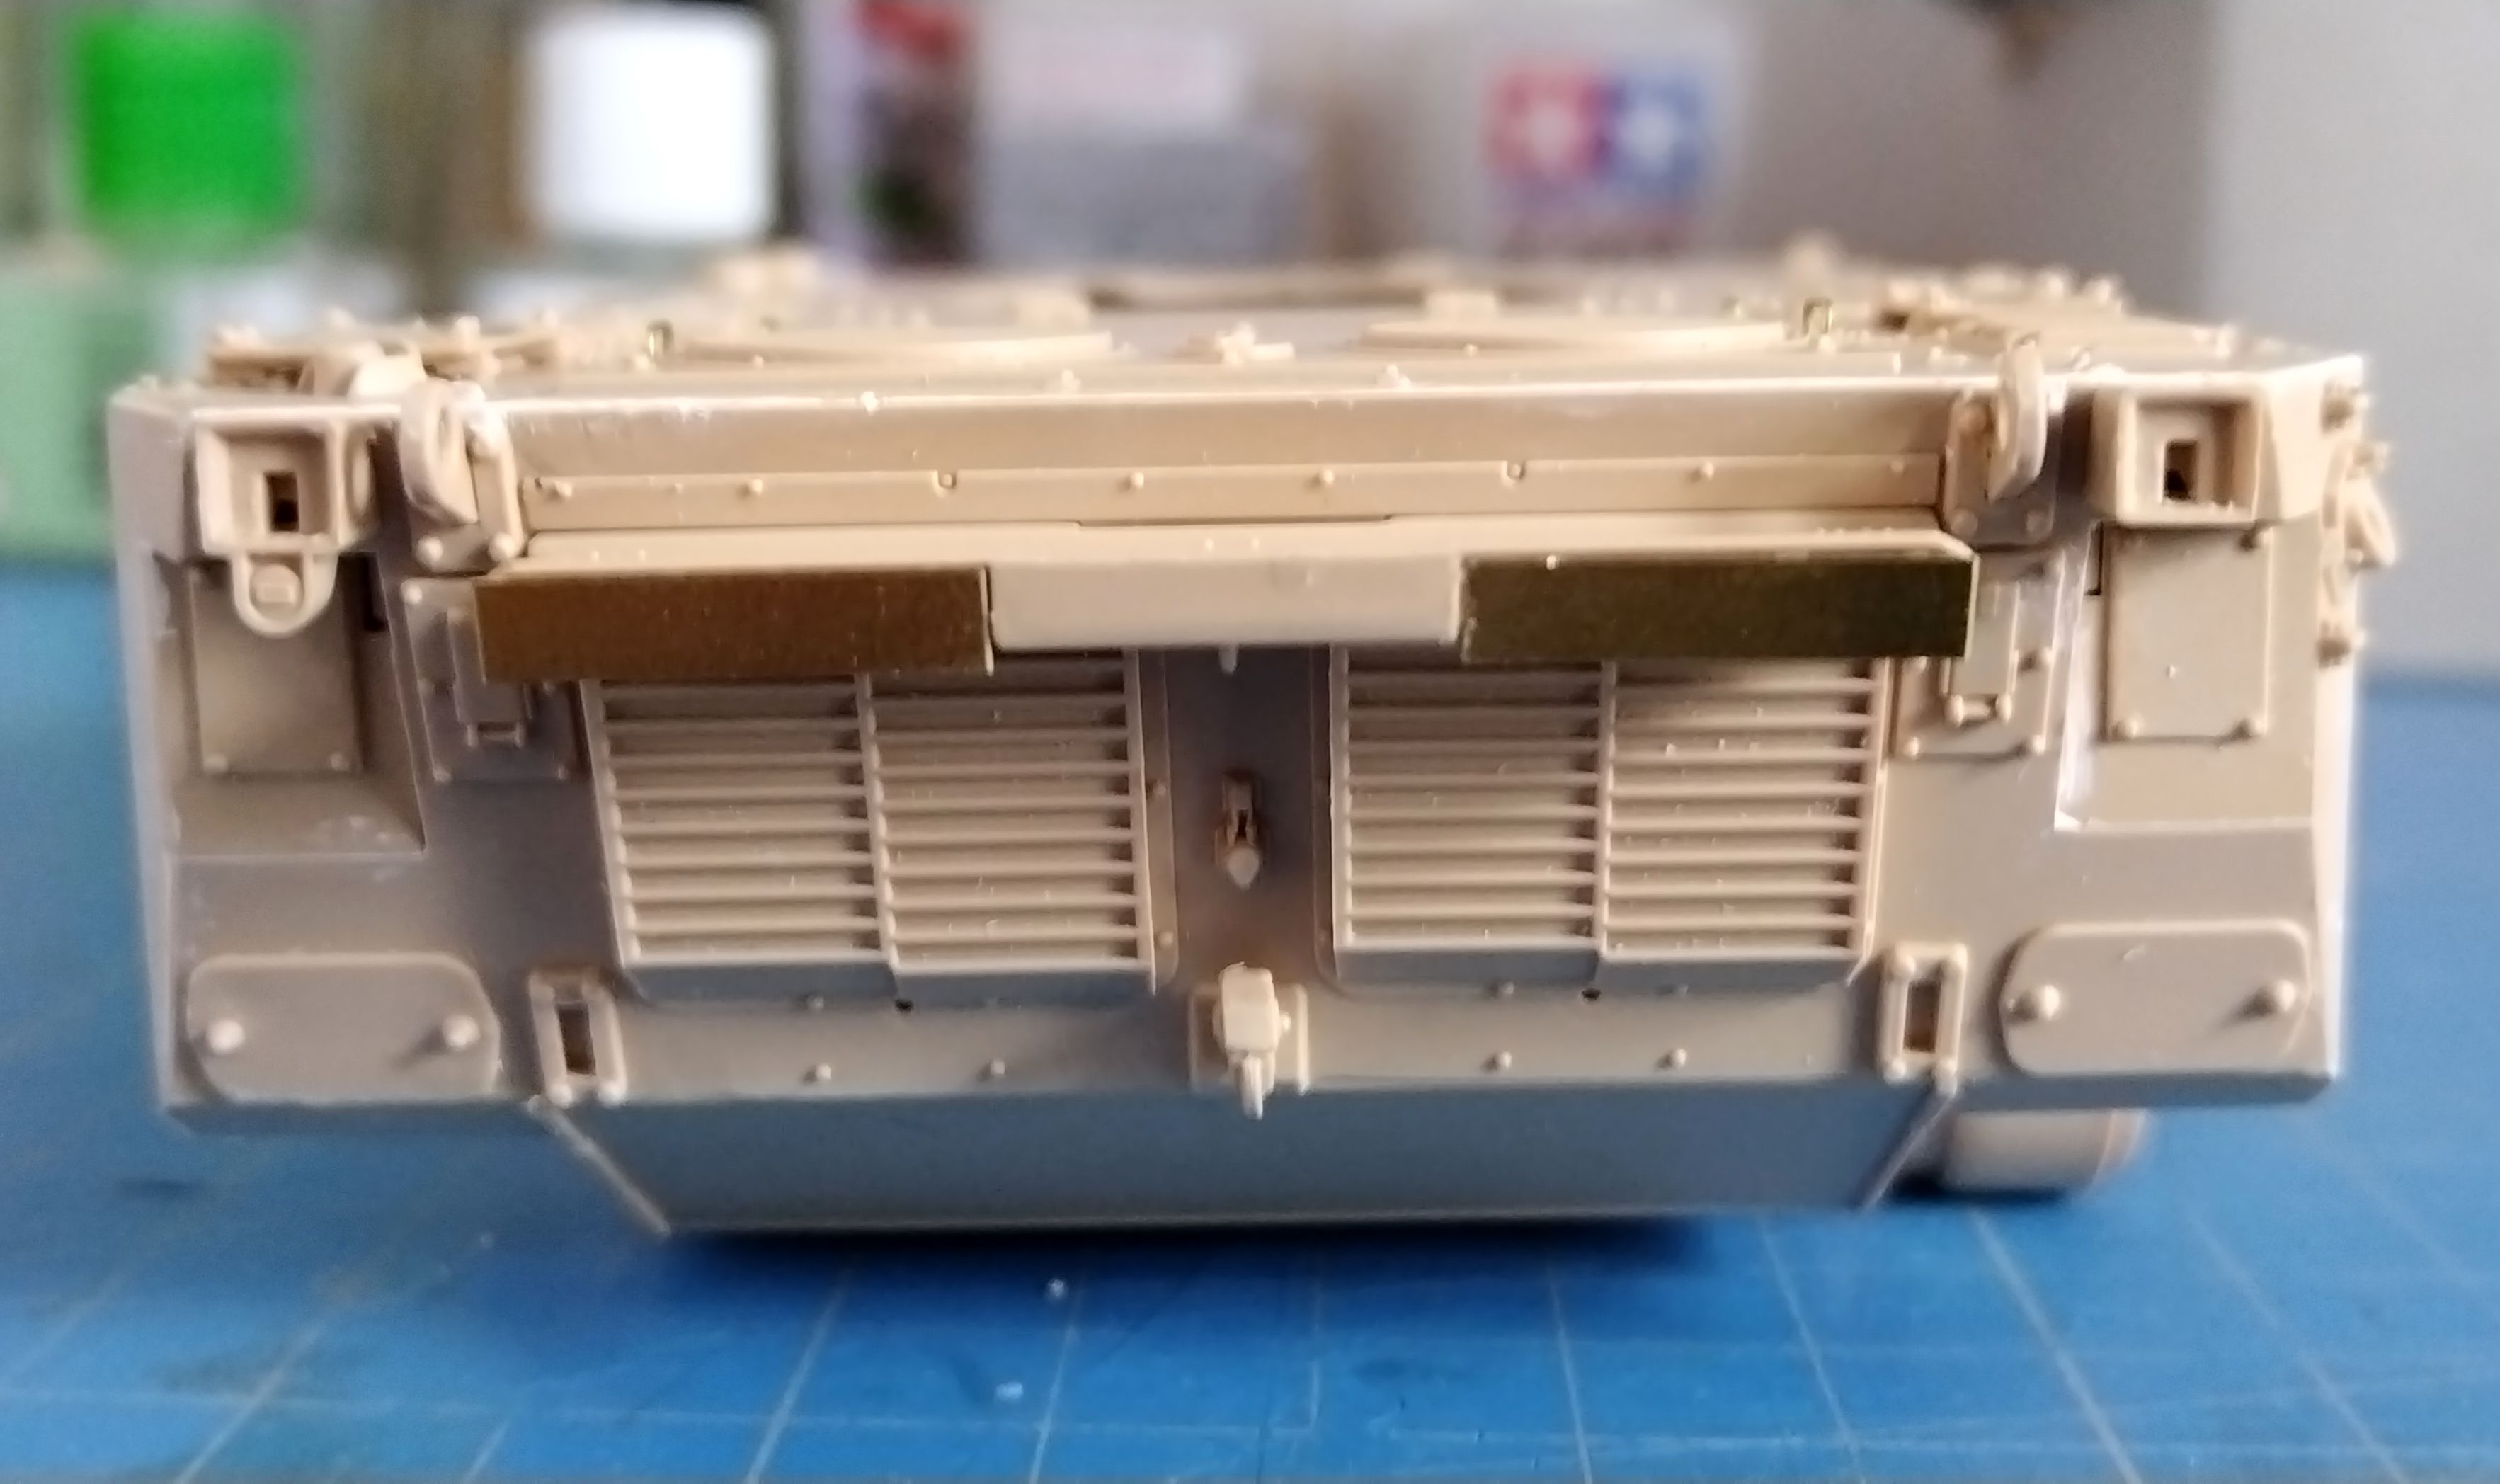
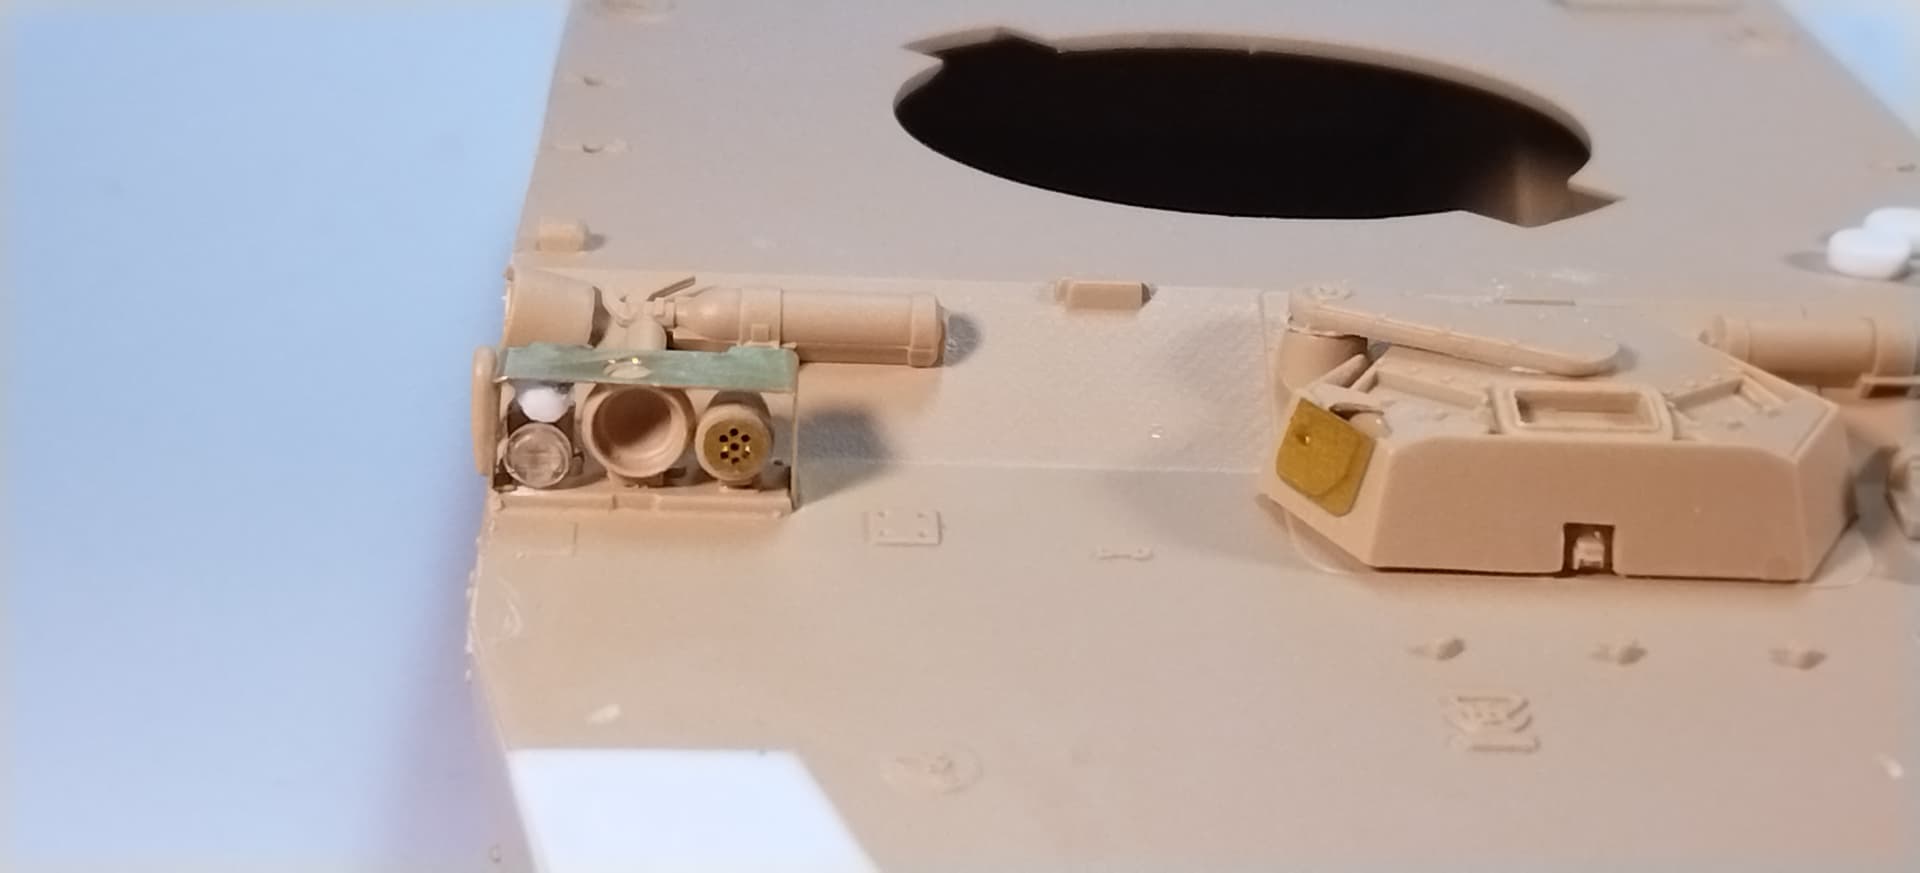
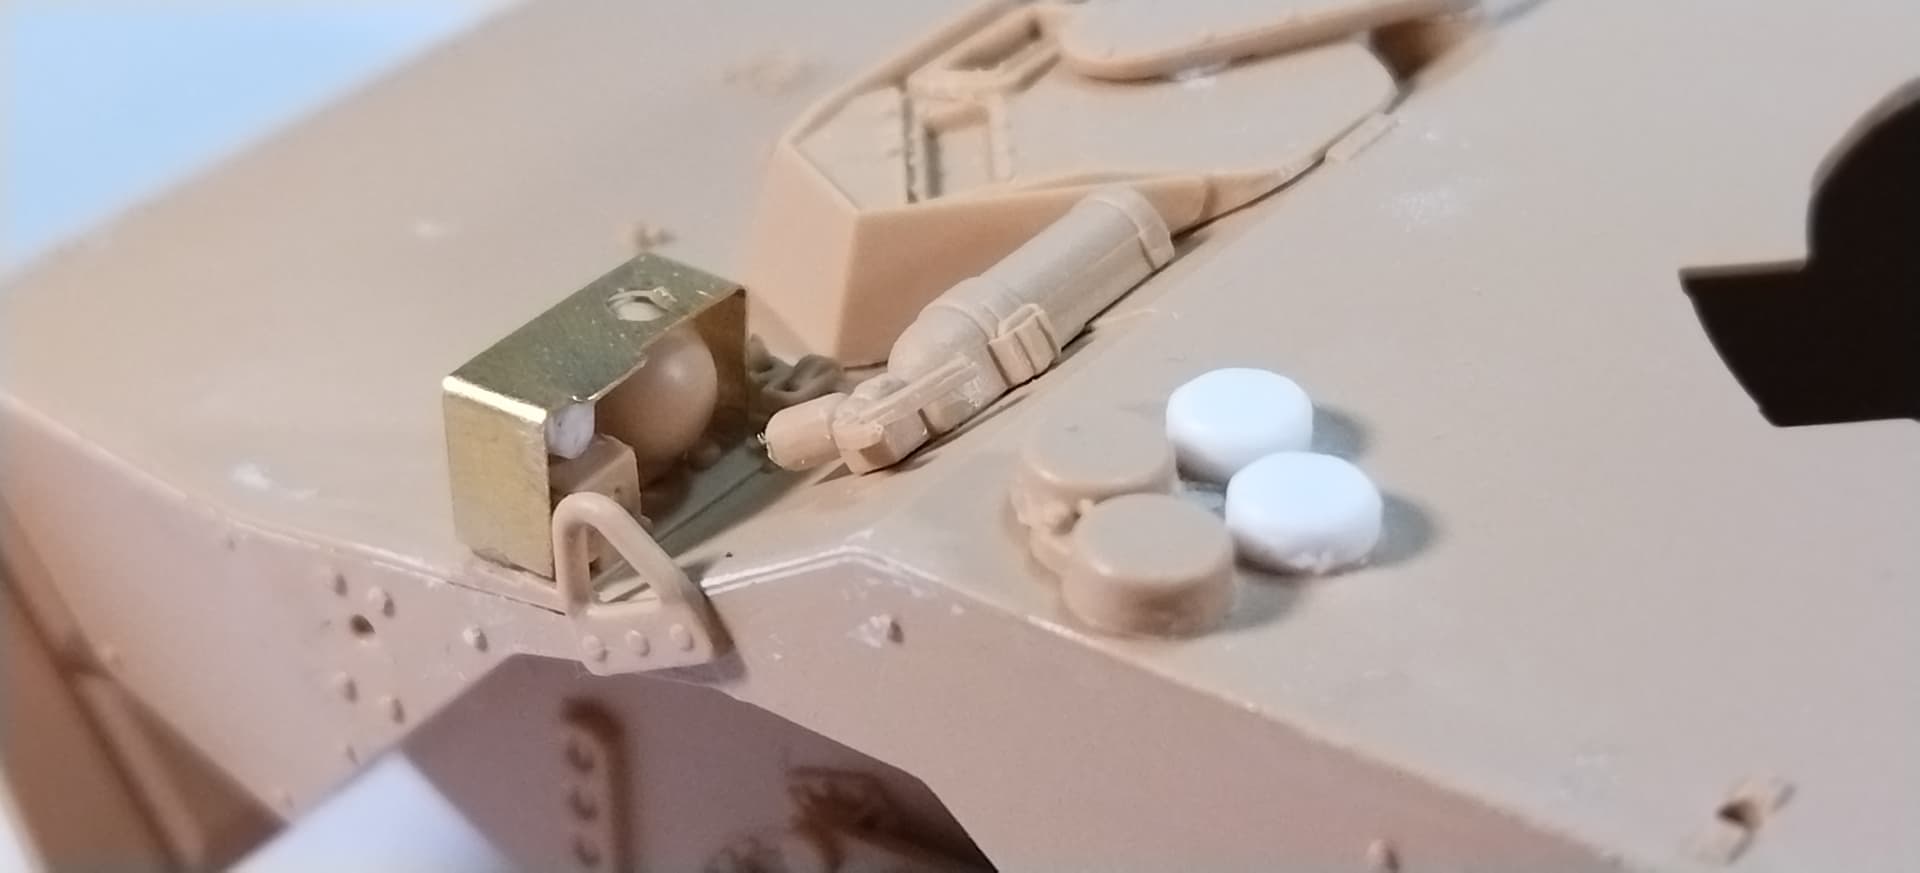
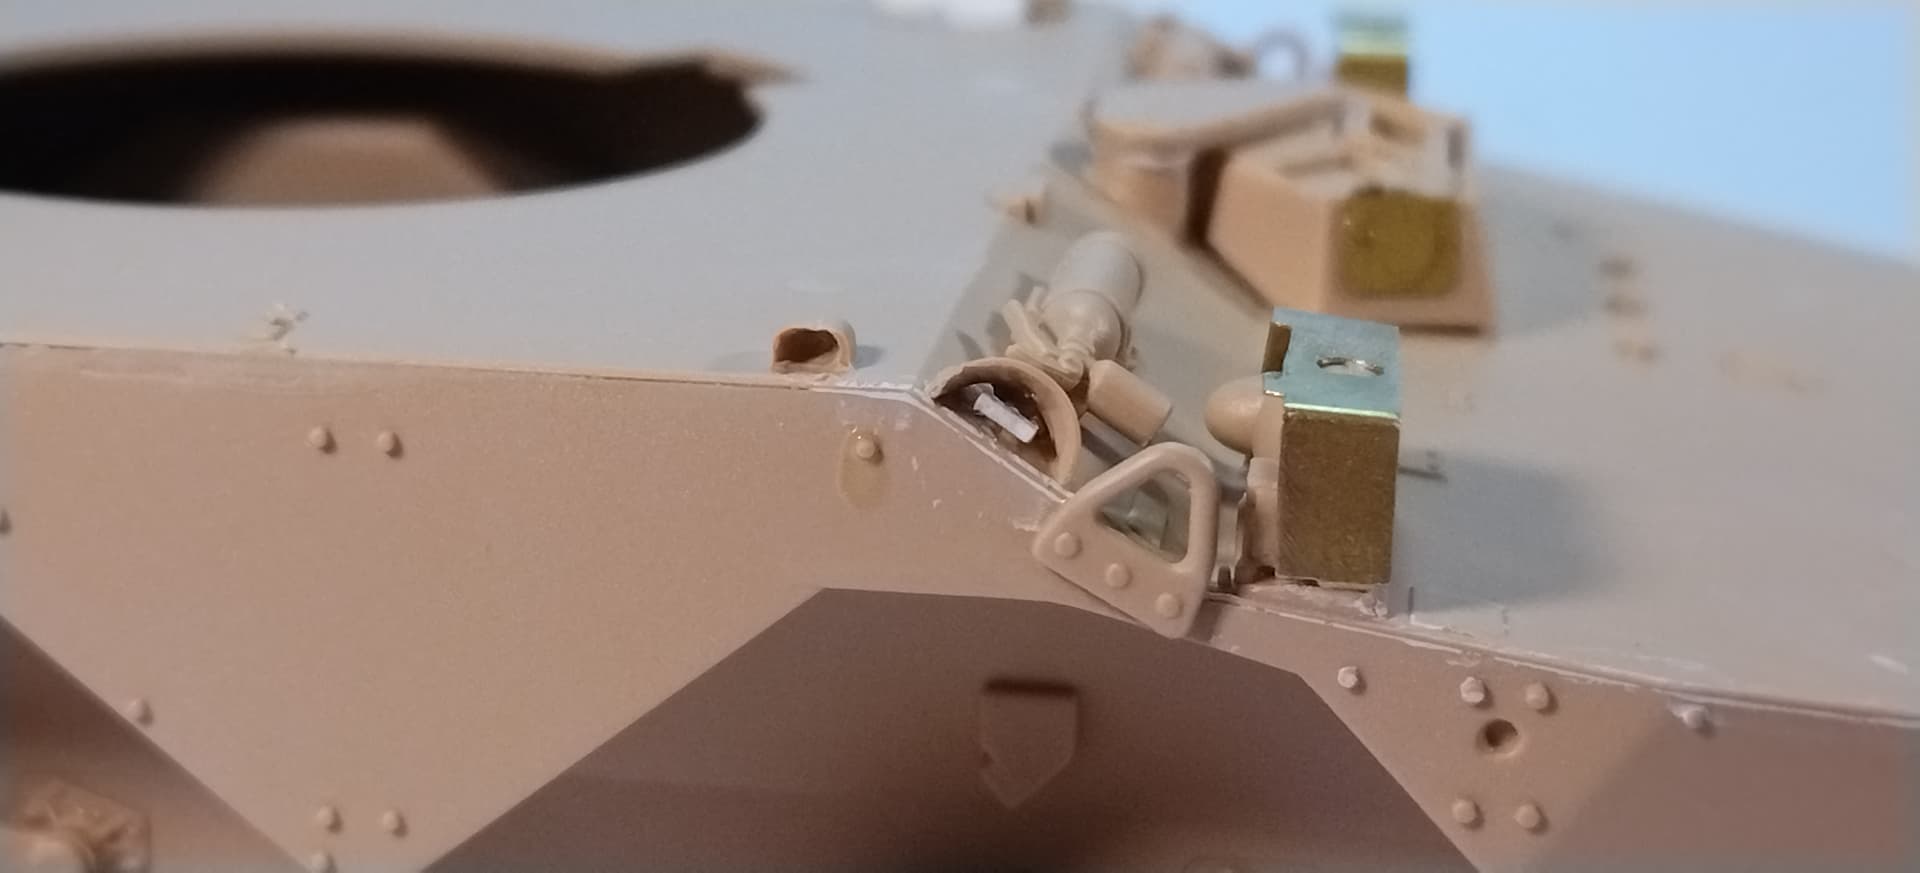
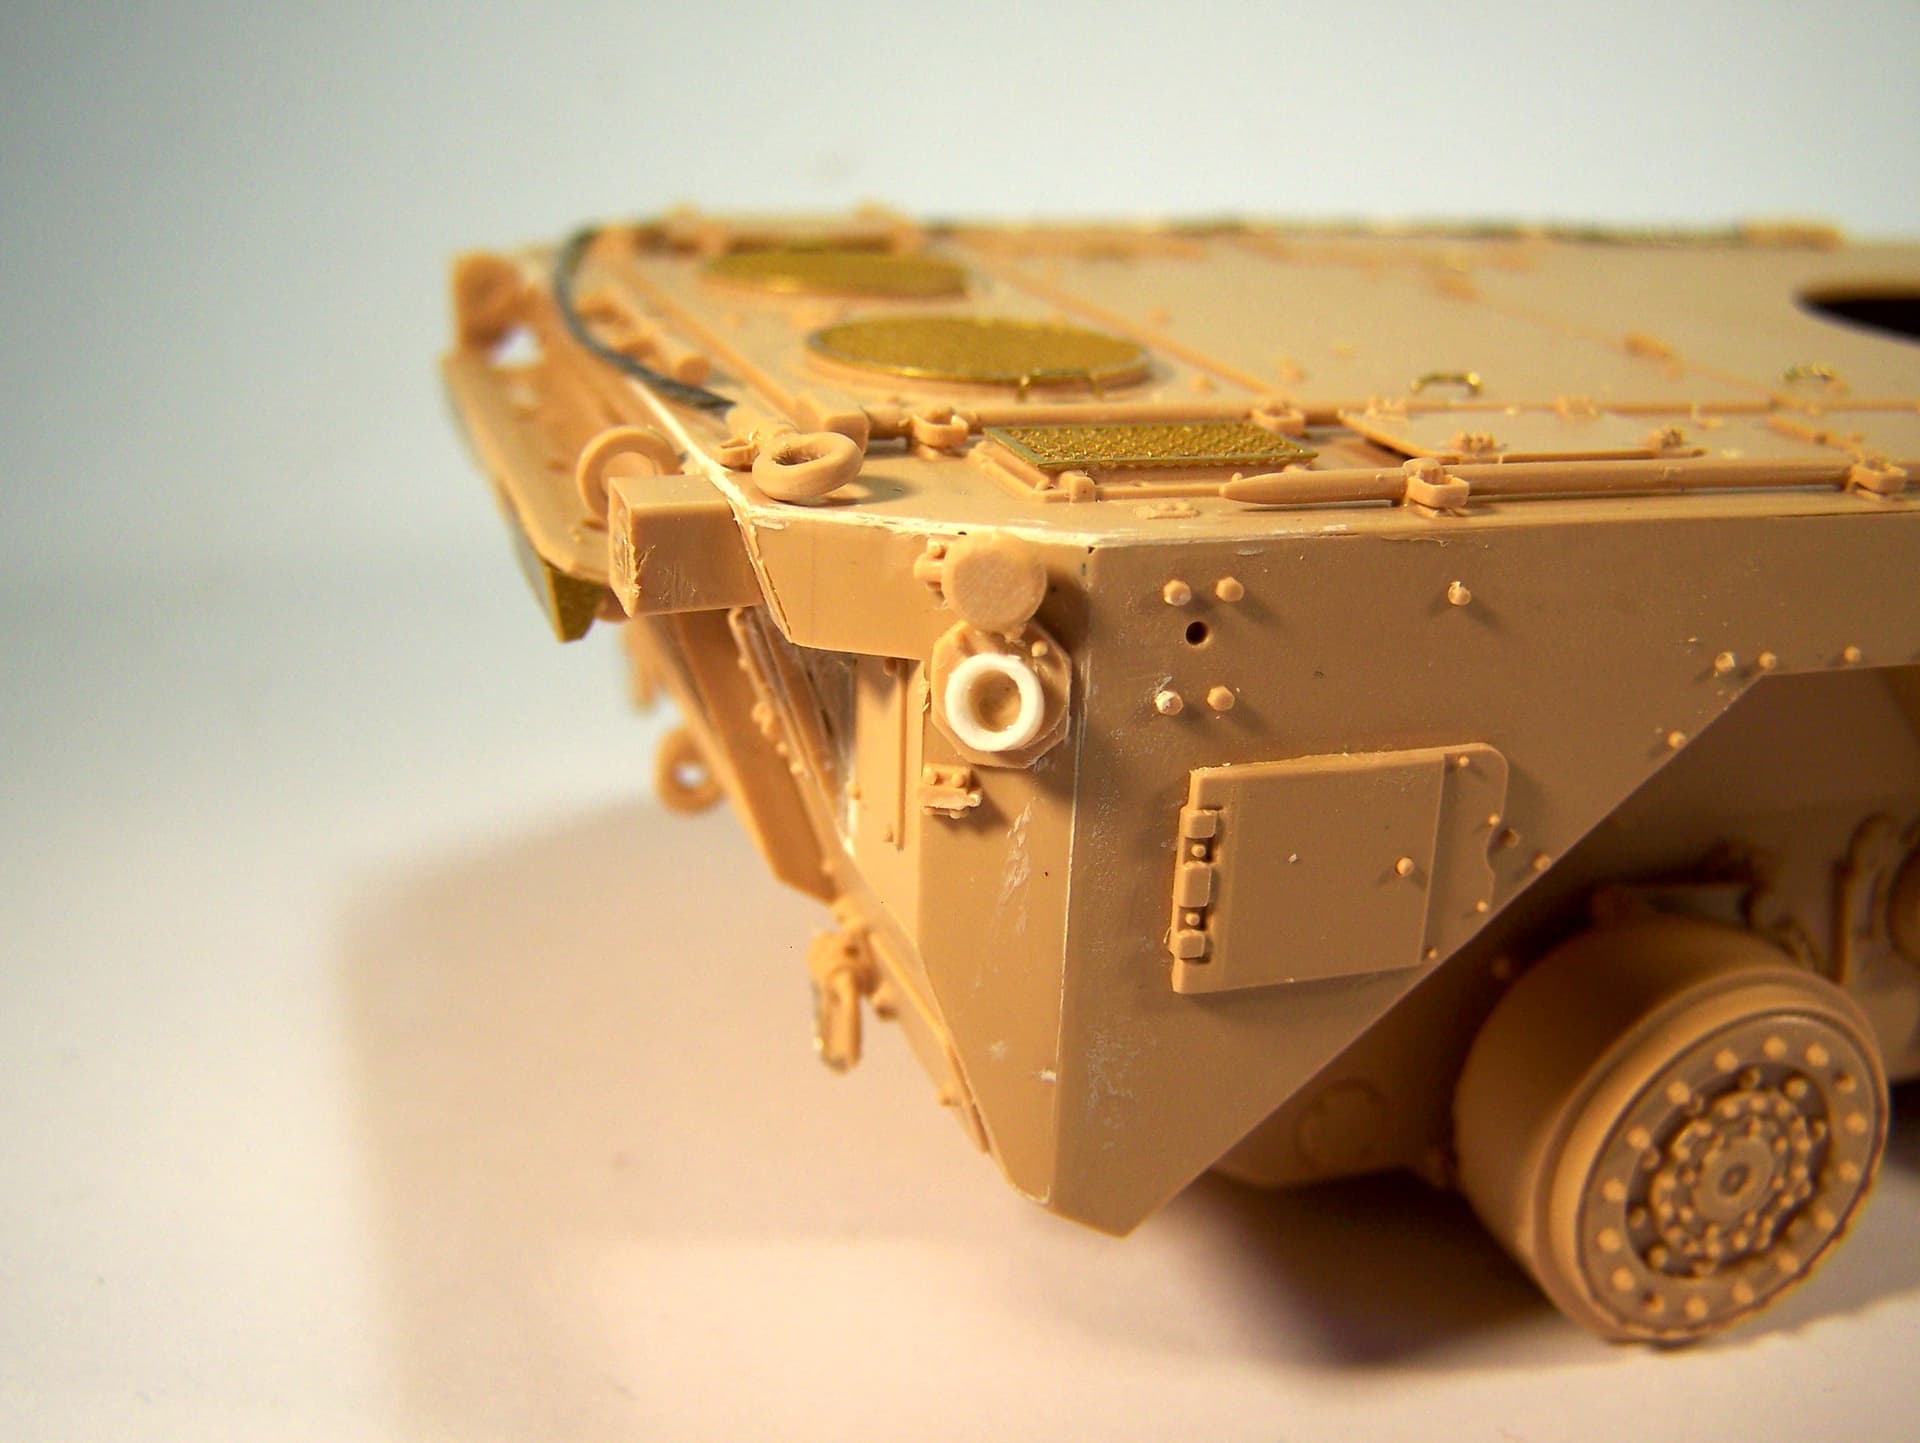
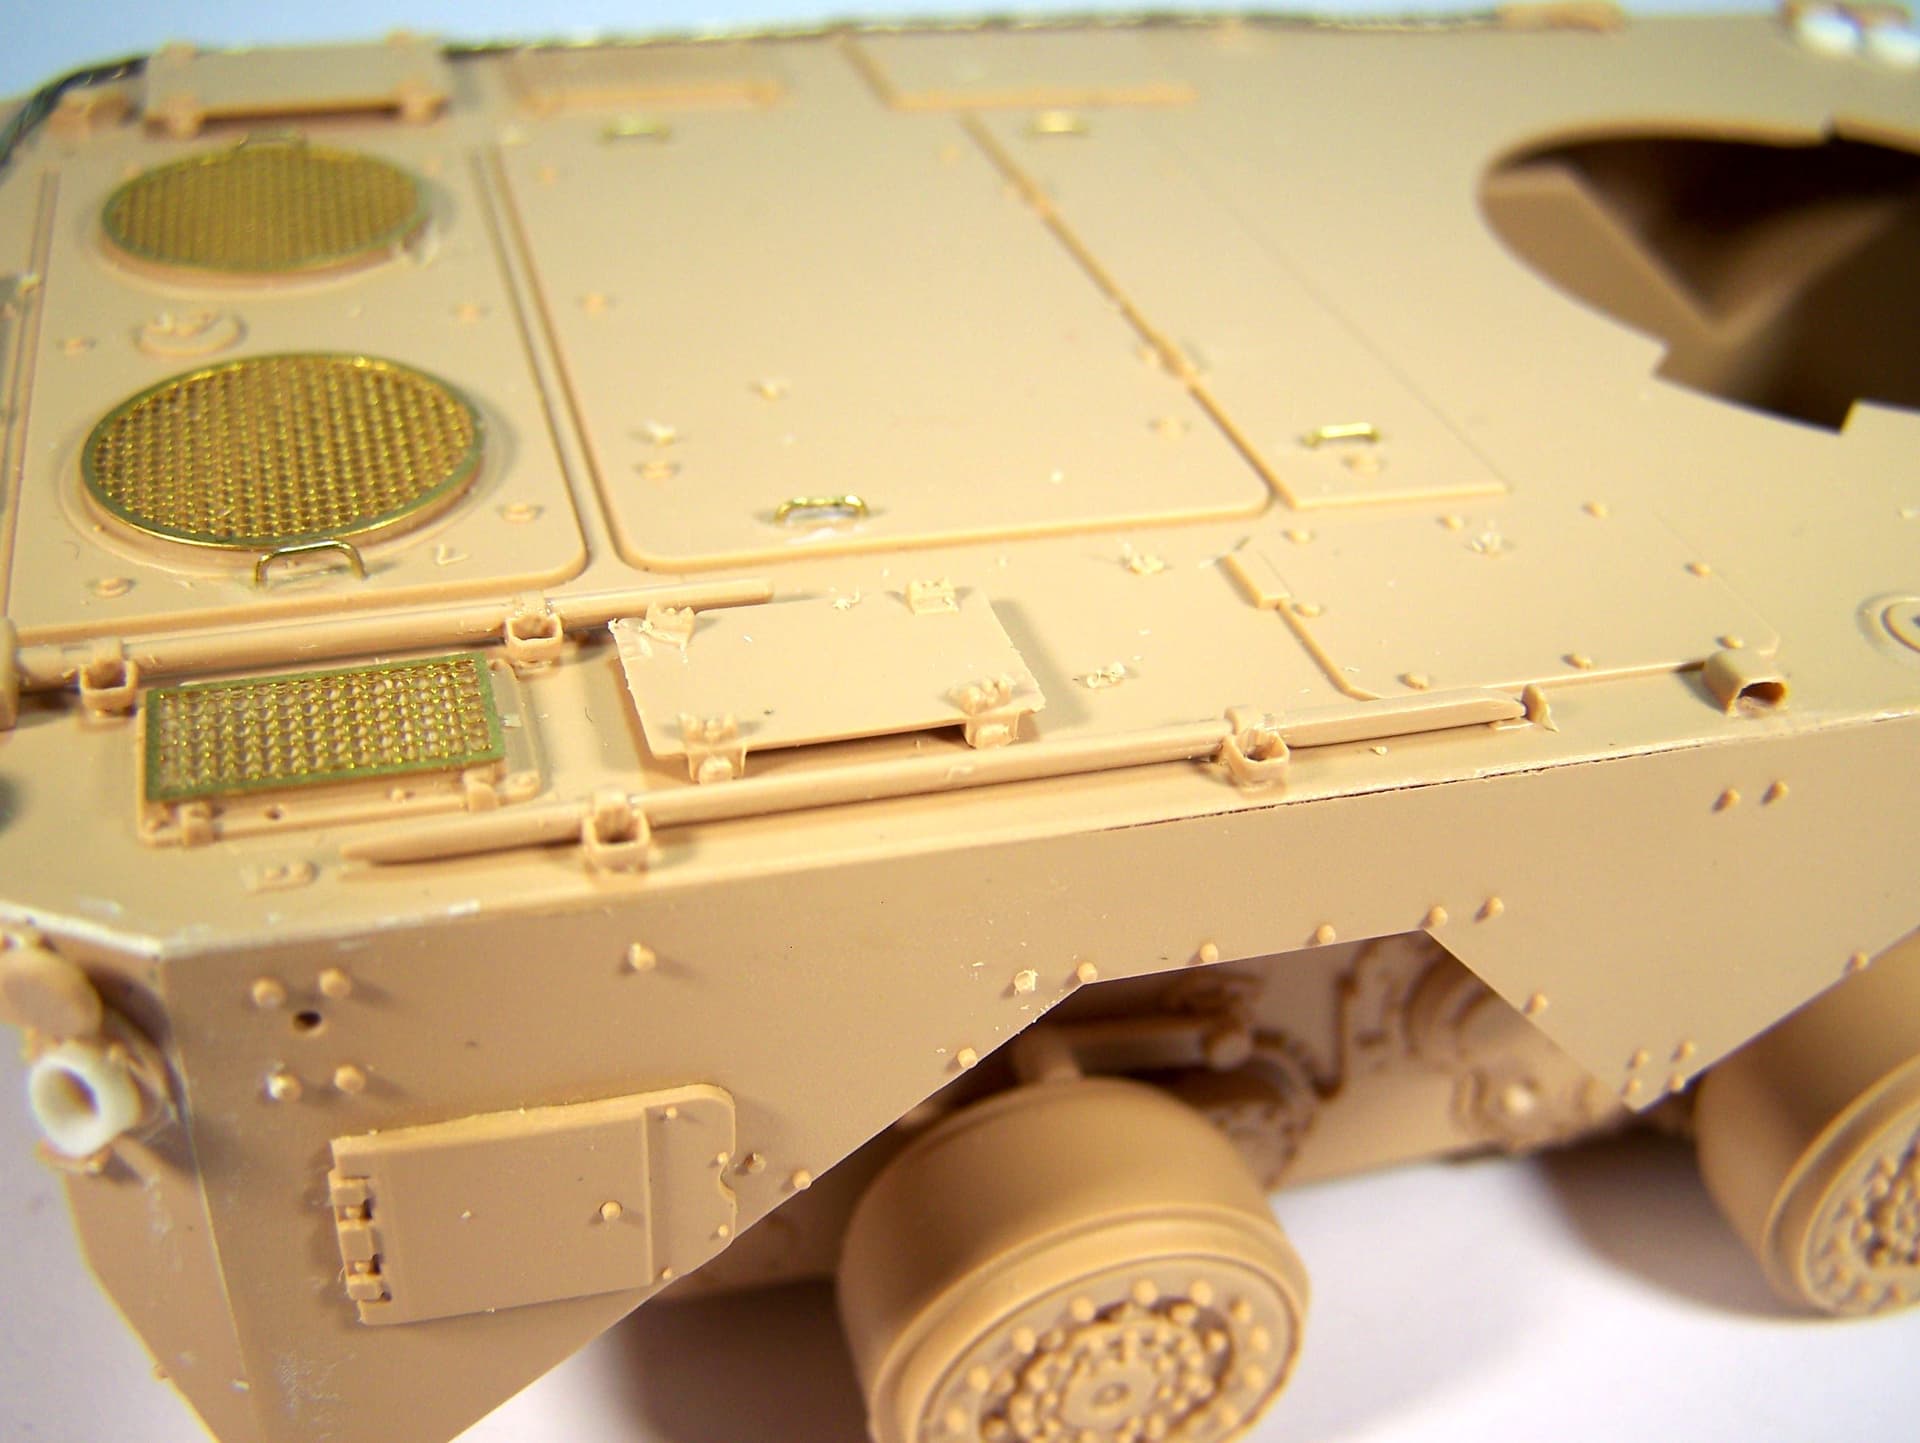
Today I decided to improve some details of the hull front.
I first modified the headlight guards which are quite basic. Even if I didn’t make fully accurate parts they are better than Tiger PE parts. I also added the IR light which was omitted by Tiger.
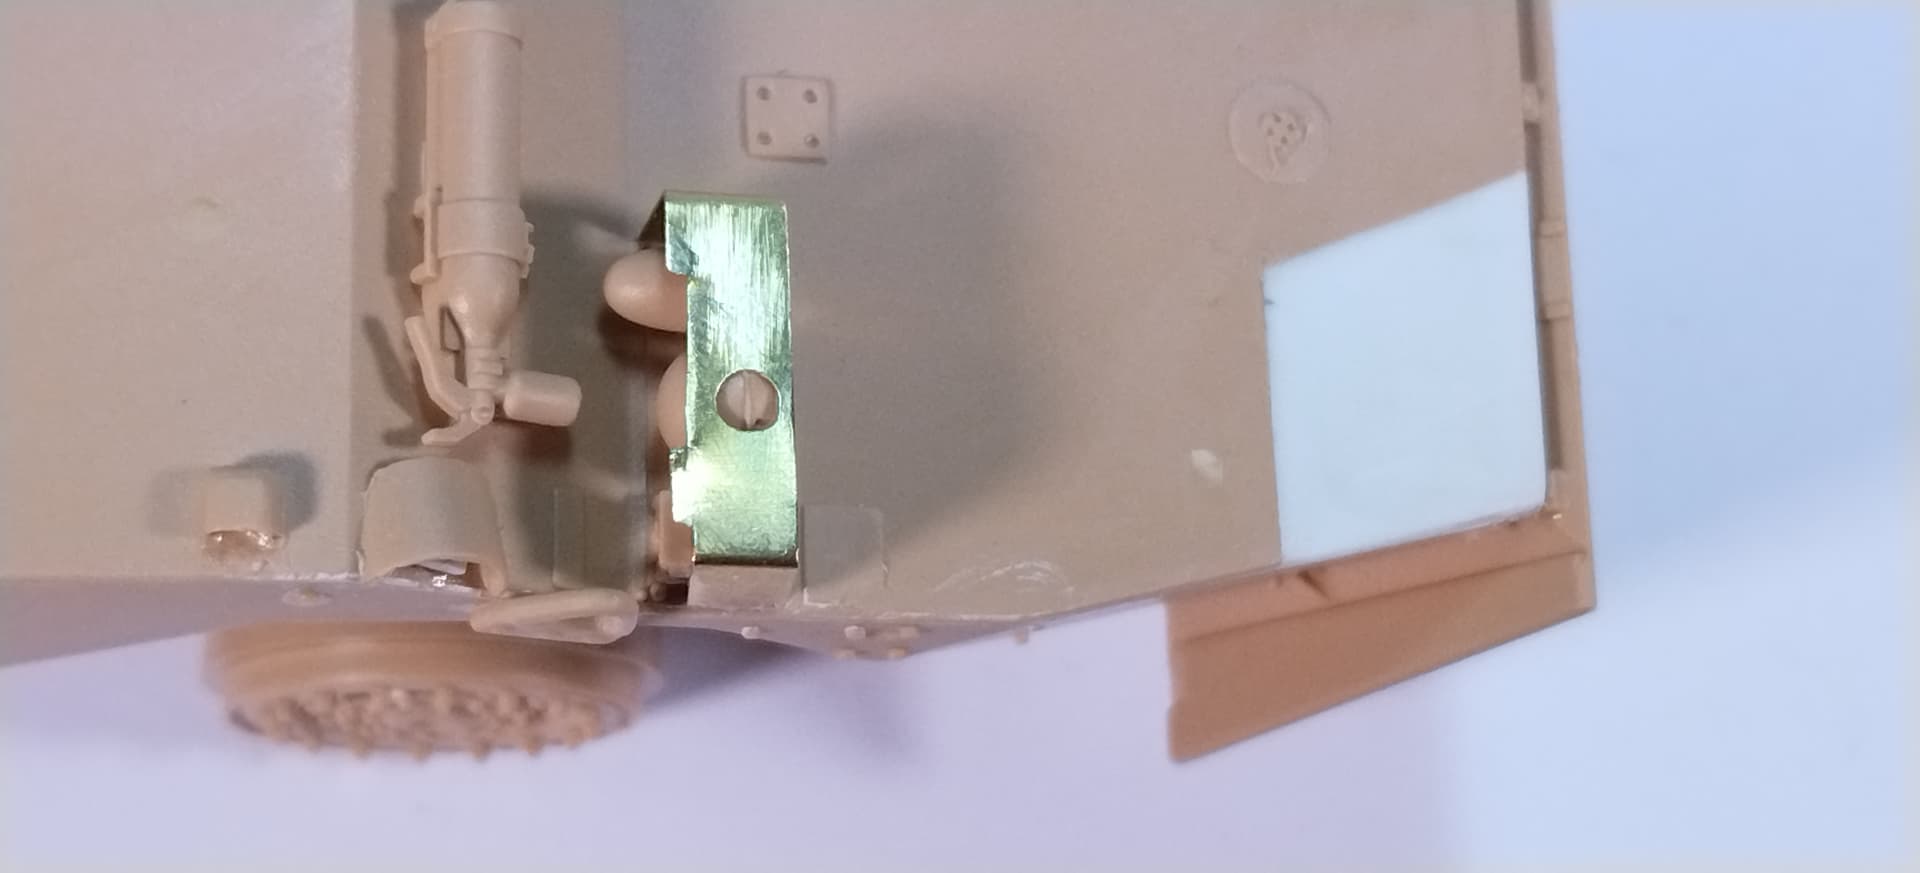
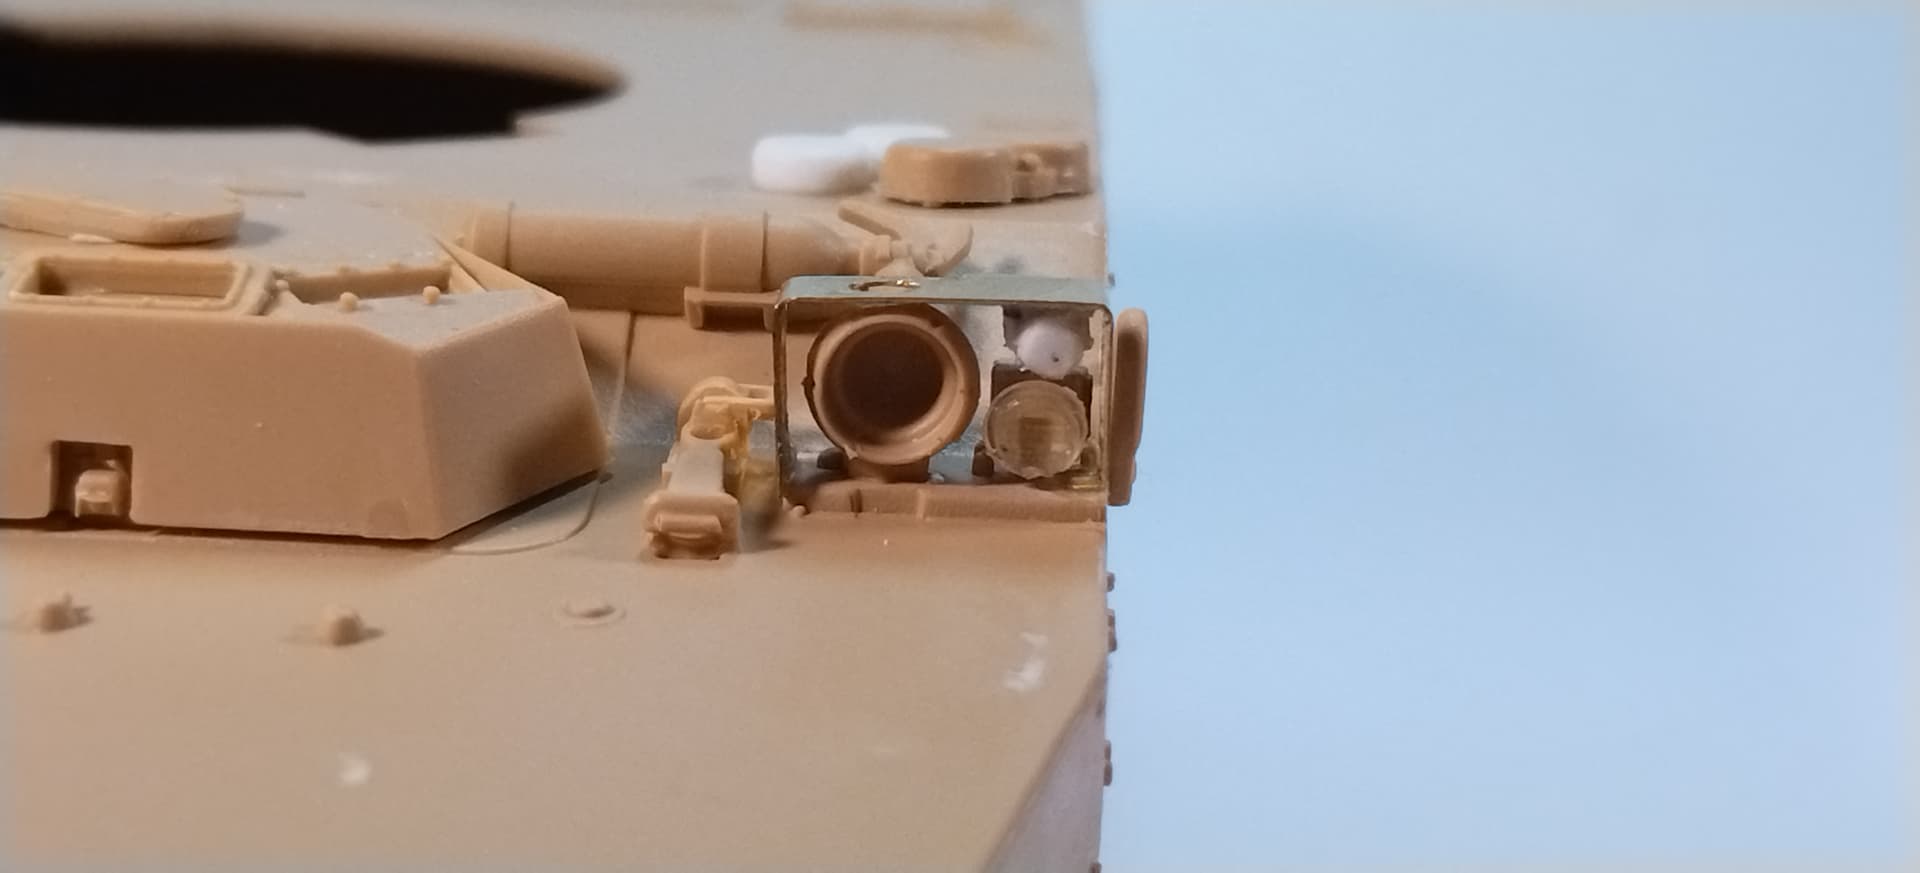
The right side original part
In place after modifications
The left one after modifications
Some details refined. The left part has been hollowed (still need to thin one side). The engine stop handle was basic in the kit. So I cut the solid molded part and made a new one.
The hull front just needs the antislip and it will be complete.
Olivier
The detail looks great Olivier. Love your attention to detail.
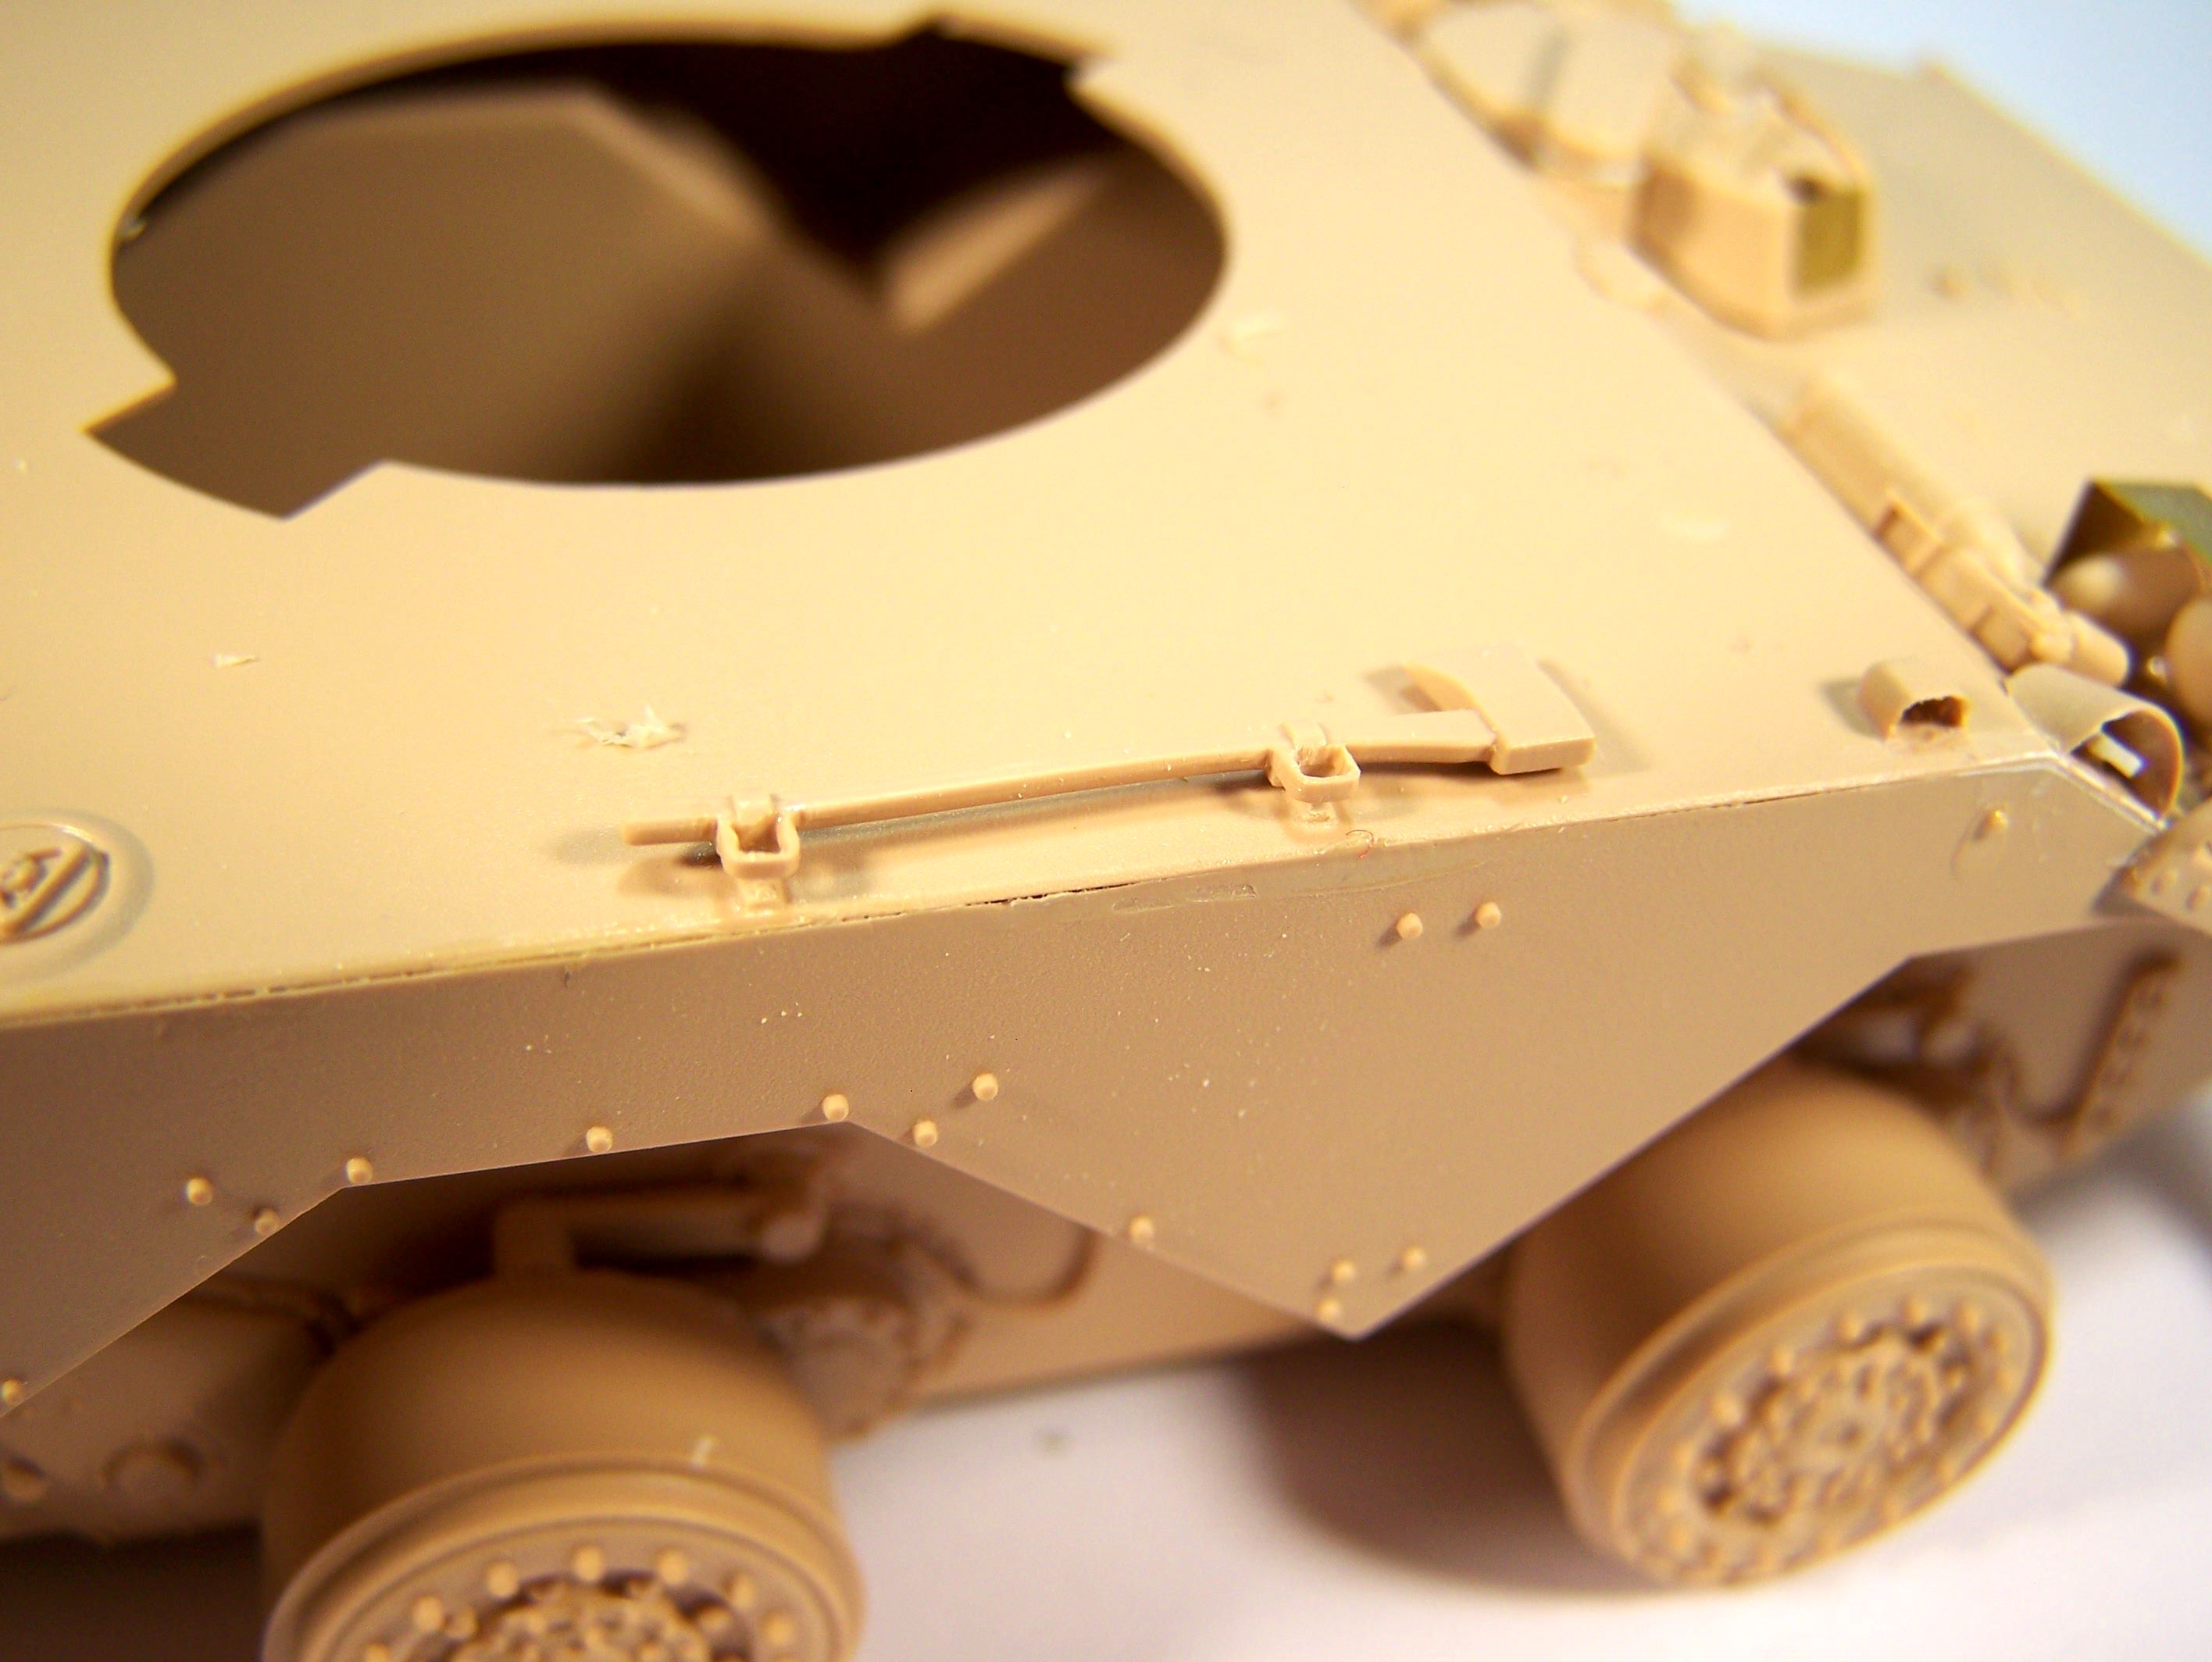
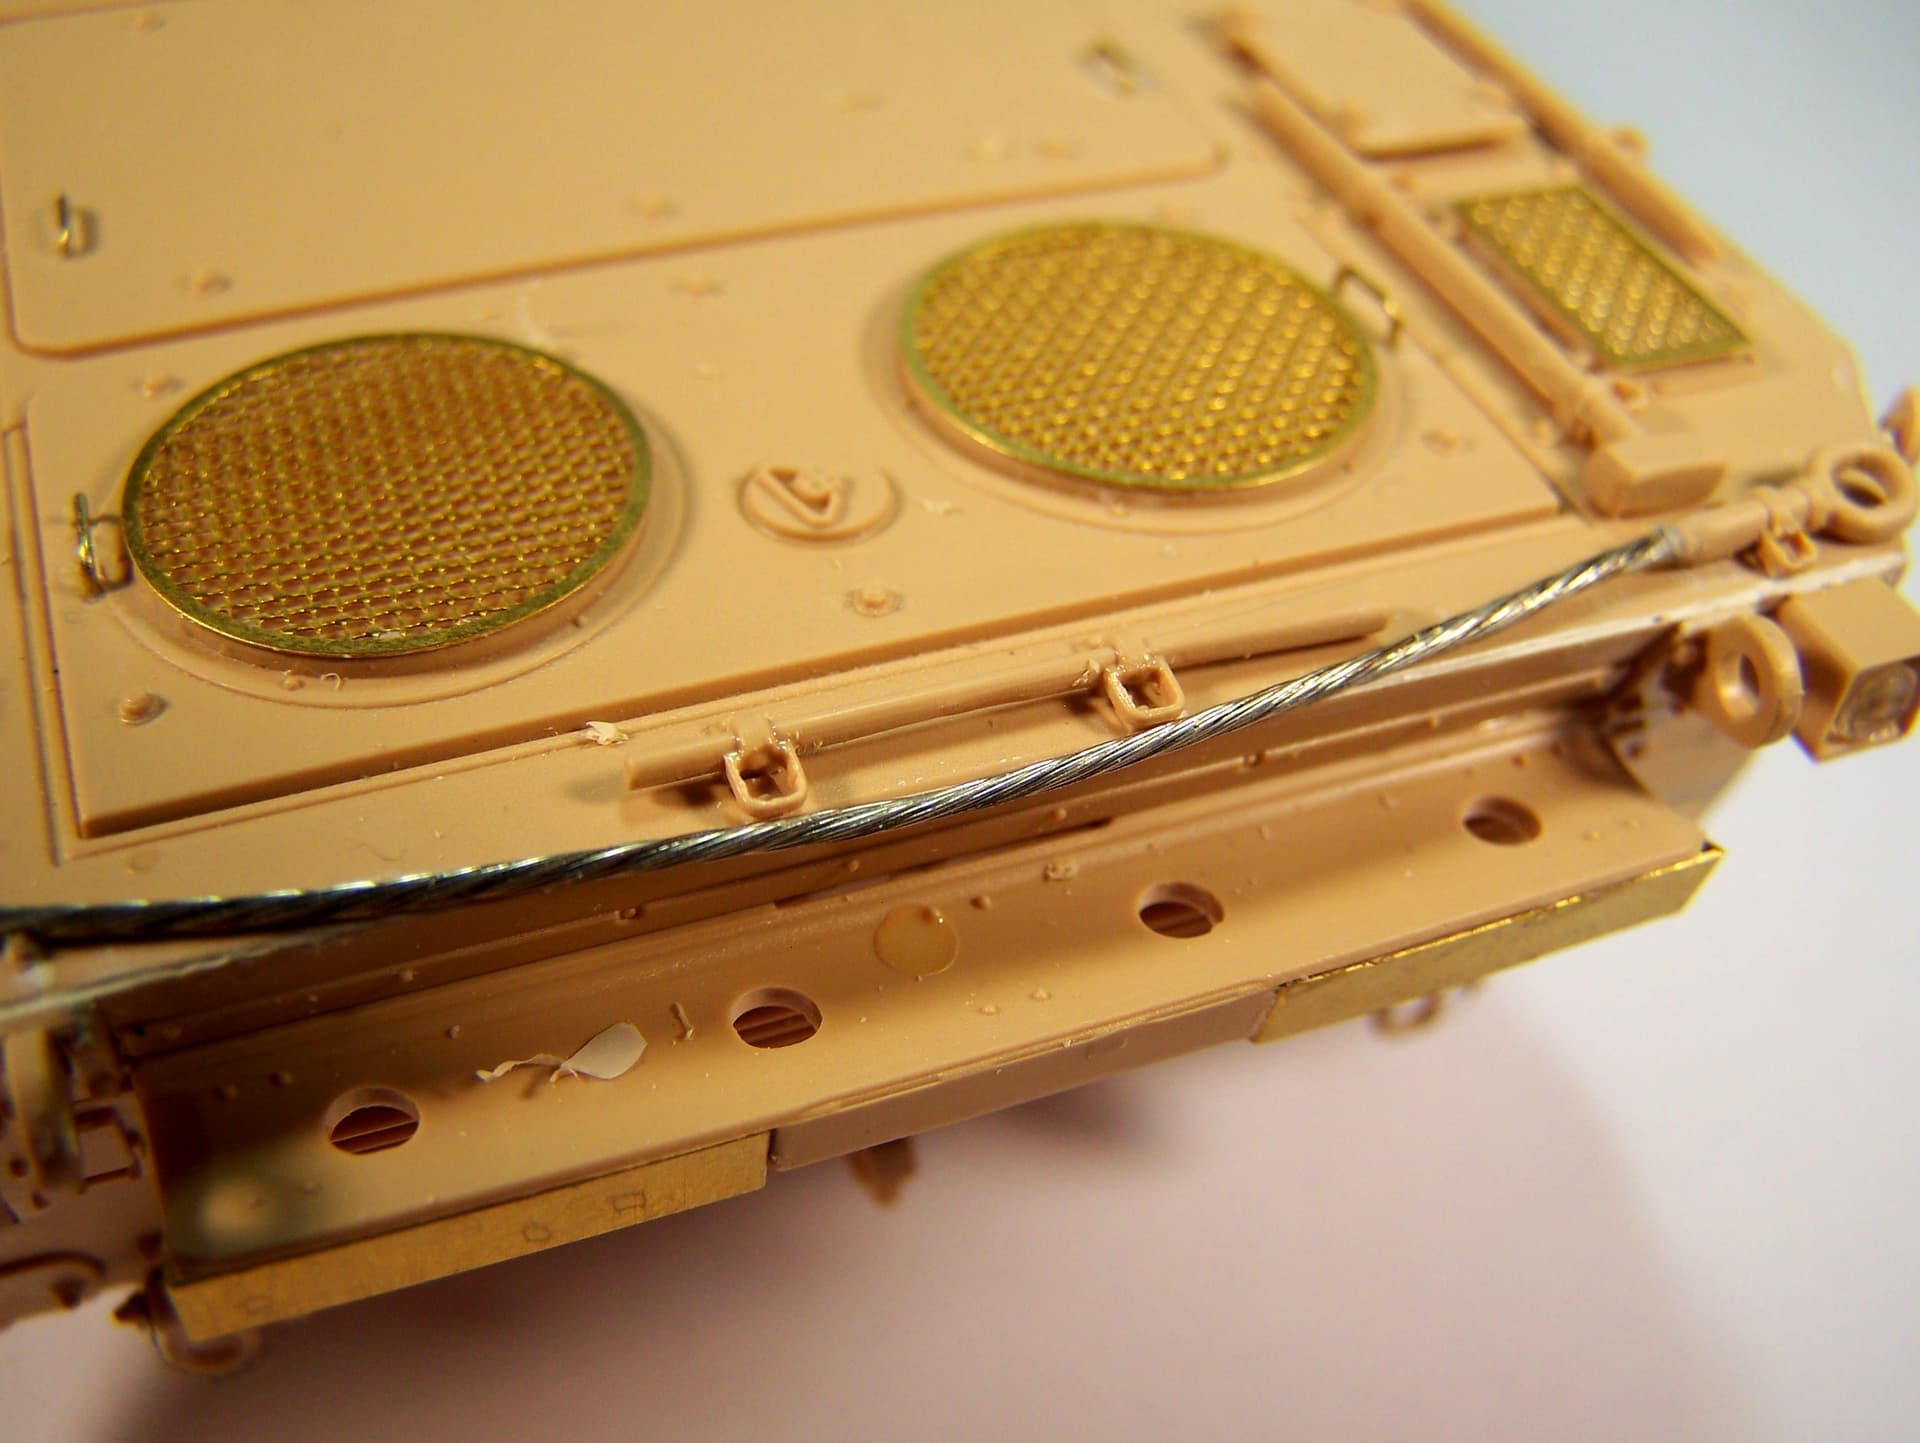
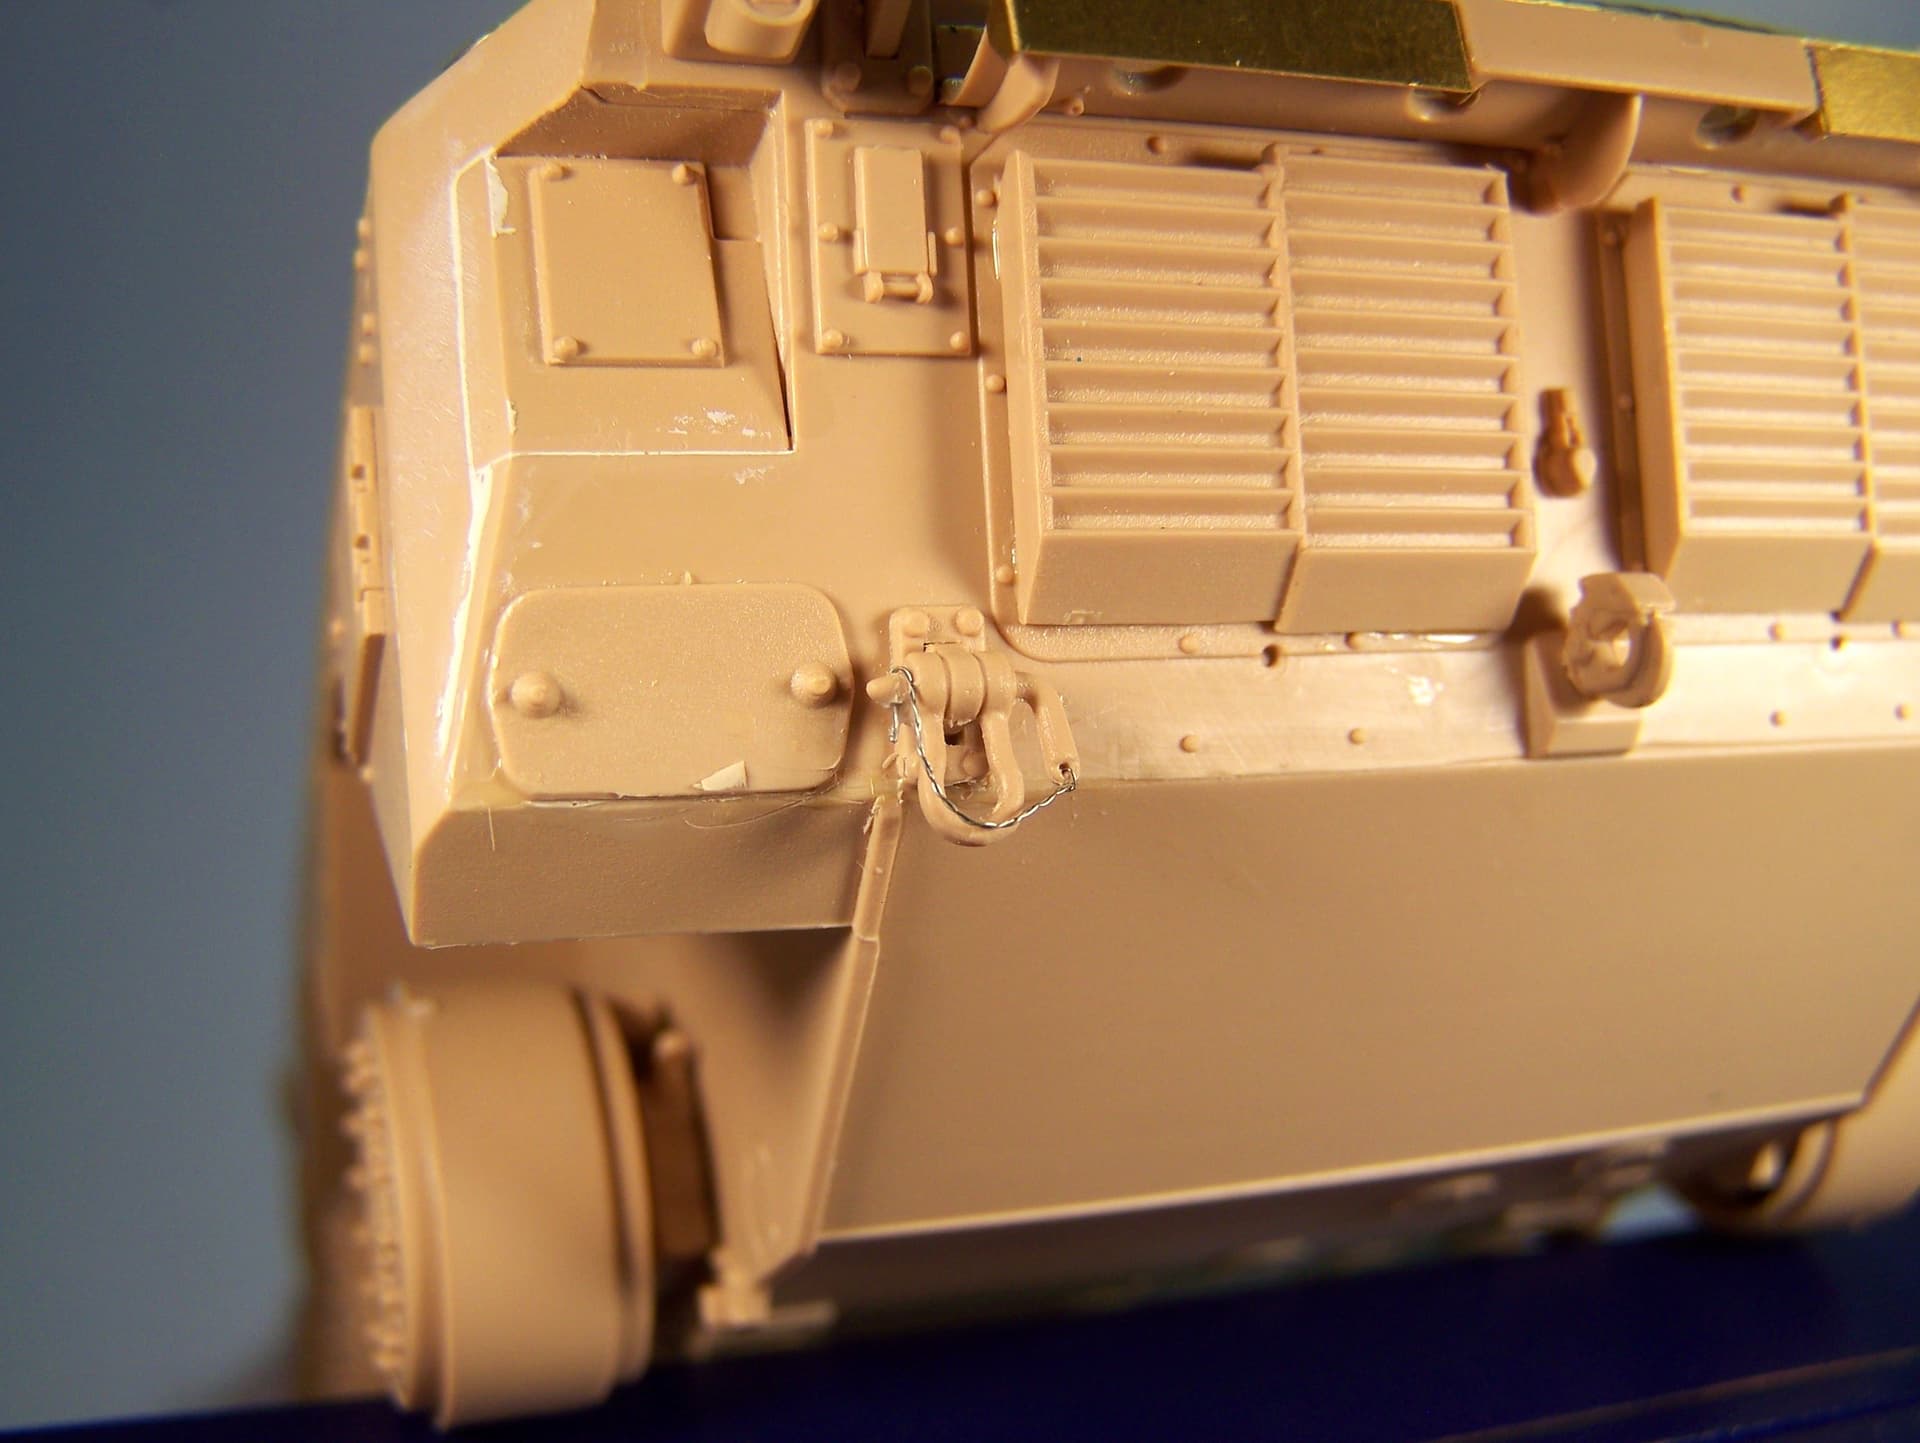
I have worked on the tools latches (which were pretty thick) and the tow shackles (to add the retaining chain) today No pictures yet as the light conditions are poor.
Except from the antislip coating the hull is complete.
Olivier
I managed to get the suspension done with no problems. The only thing that I did was grind out the insides of the wheel hub covers so it was easier to get the wheels to turn. I recently acquired a Master Tools track assembly jig that I got to use for the first time. It works great but allows the tracks to be put together more tightly that I would do them by hand. The tracks came out too short and if it was a German vehicle I would have added one track link but with the T-34 having sets of two links I had to move the front spindle backwards to get them to fit. I did not have that problem on the T-34 D30 that I did.
Very nice and clean build Cam. Fortunately you managed to fix the tracks issue. I always wonder why the Russians designed those tracks with “double links”.
Olivier
Yesterday I decided to work on the hull details. First I modified the exhaust as Tiger Model have you putting the flap in the closed position (only used during fording operation or when the vehicle is parked). So I cut the plastic part, added a bit of tubing and thin the flap inner face.
Then I thinned the tools latches. In the end I told to myself that using PE leftovers would have been quicker. 
I also made the chains for the shackles.
Then I shifted to the turret. No big issues as I have already built one AMX 10 RCR. I knew there were some gaps after assembling the three parts. Fortunately most of them are hidden behind the add-on armor panels. I also added the stowage bin and the jammers bin to the bustle. Note the PE part perfectly fits the plastic frame.
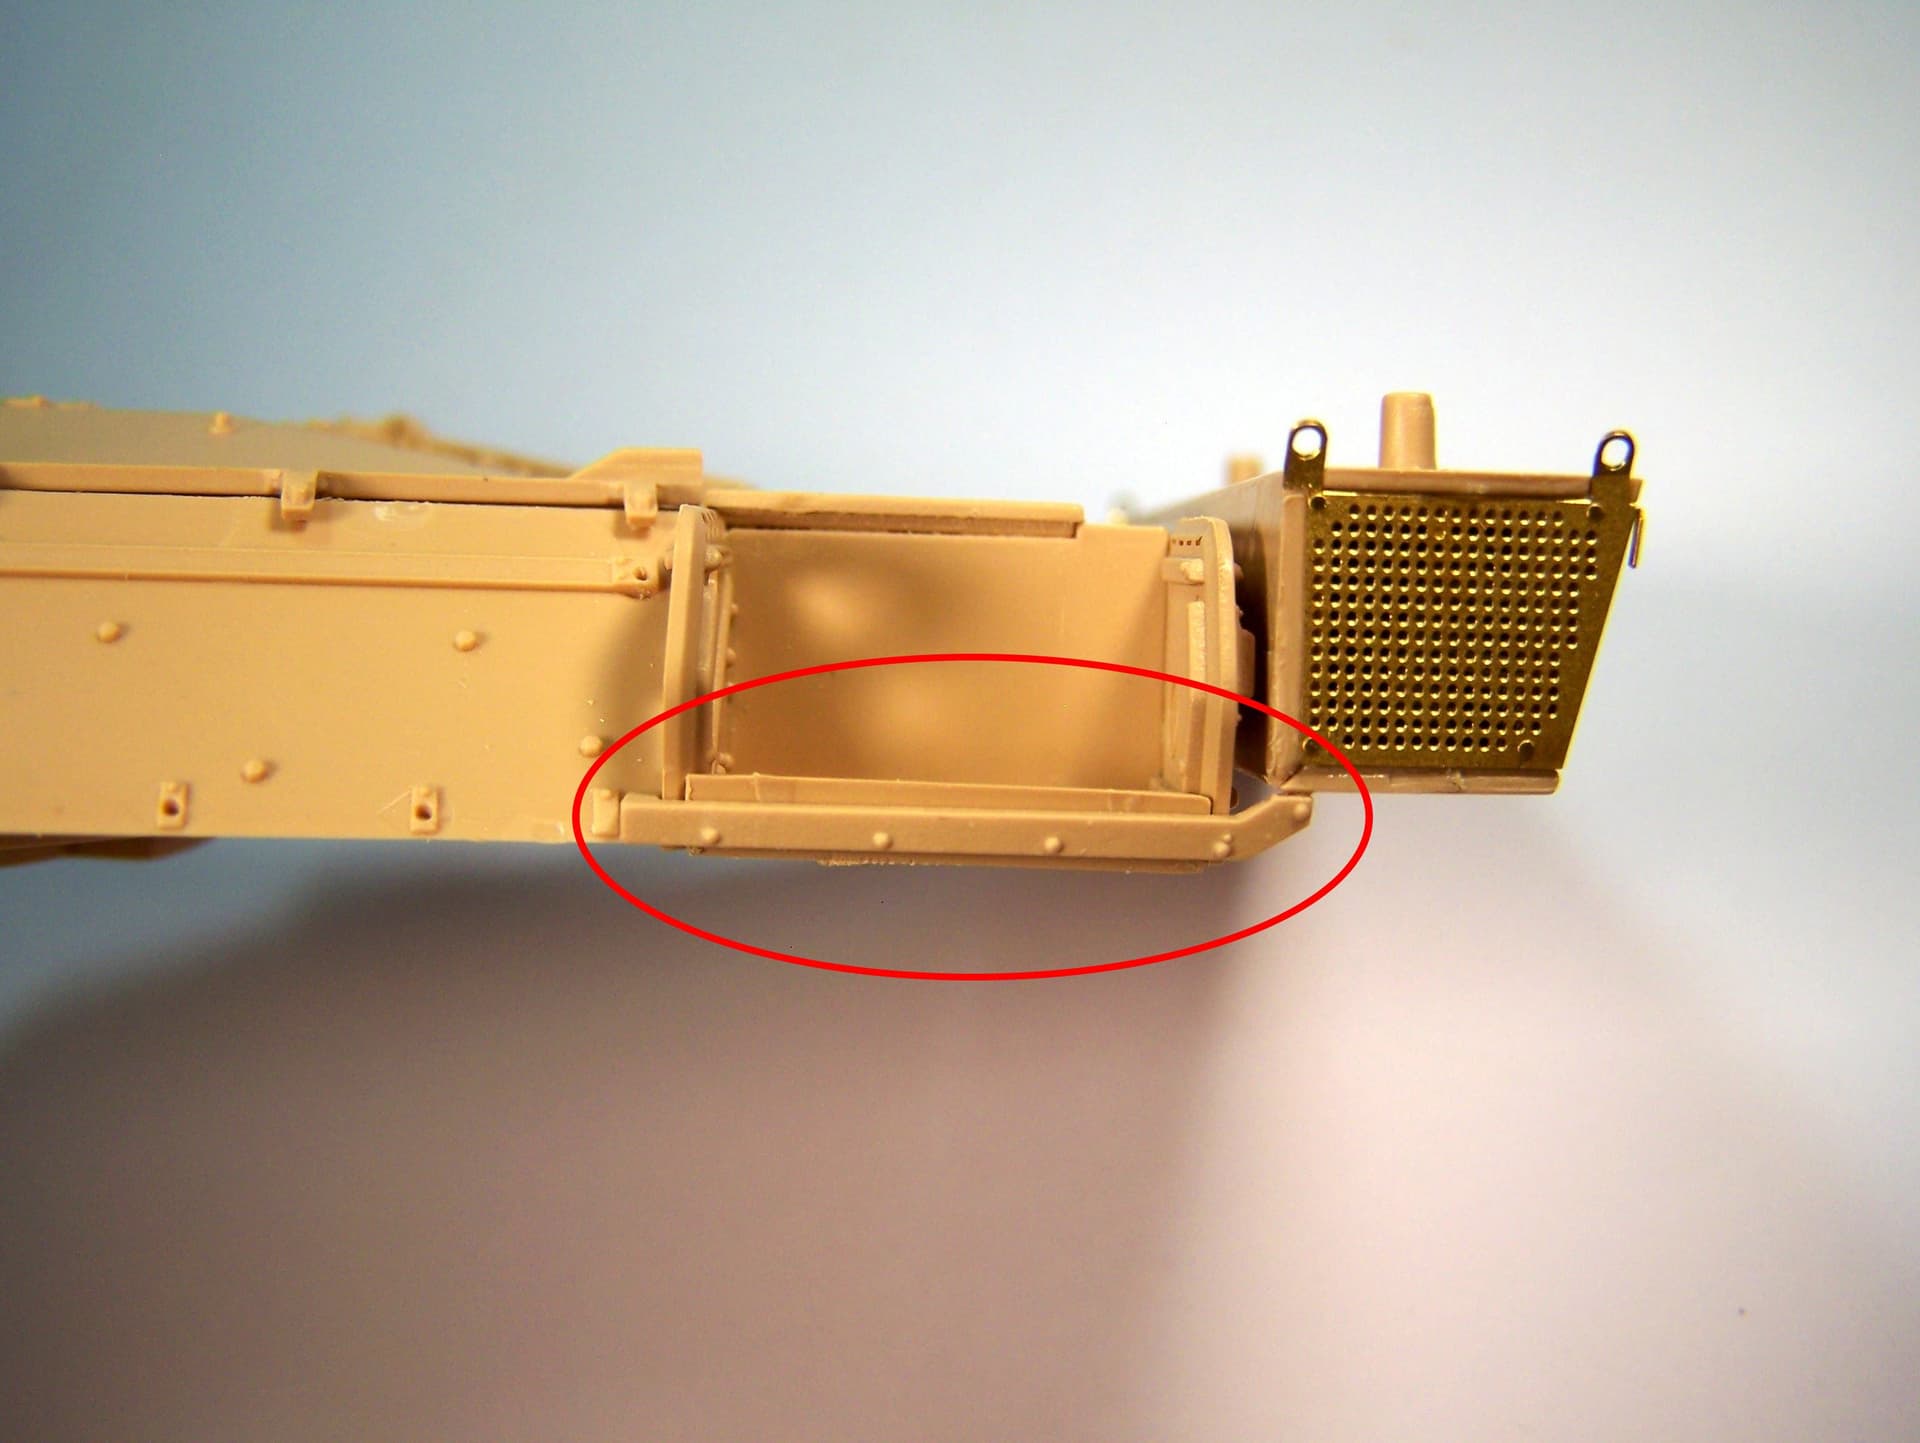
Then I discovered 2 parts on the F sprue without any mention in the instructions. The F sprue being the one dedicated to this version, they should have been used. After a close inspection of the instructions I finally found one of the parts on the last drawing but with no instructions. Those parts F13 and F15 are the covers for the cables running from the turret to the jammers bin. Here are pictures of them in place.
F13 on the right
F15 on the left
Olivier
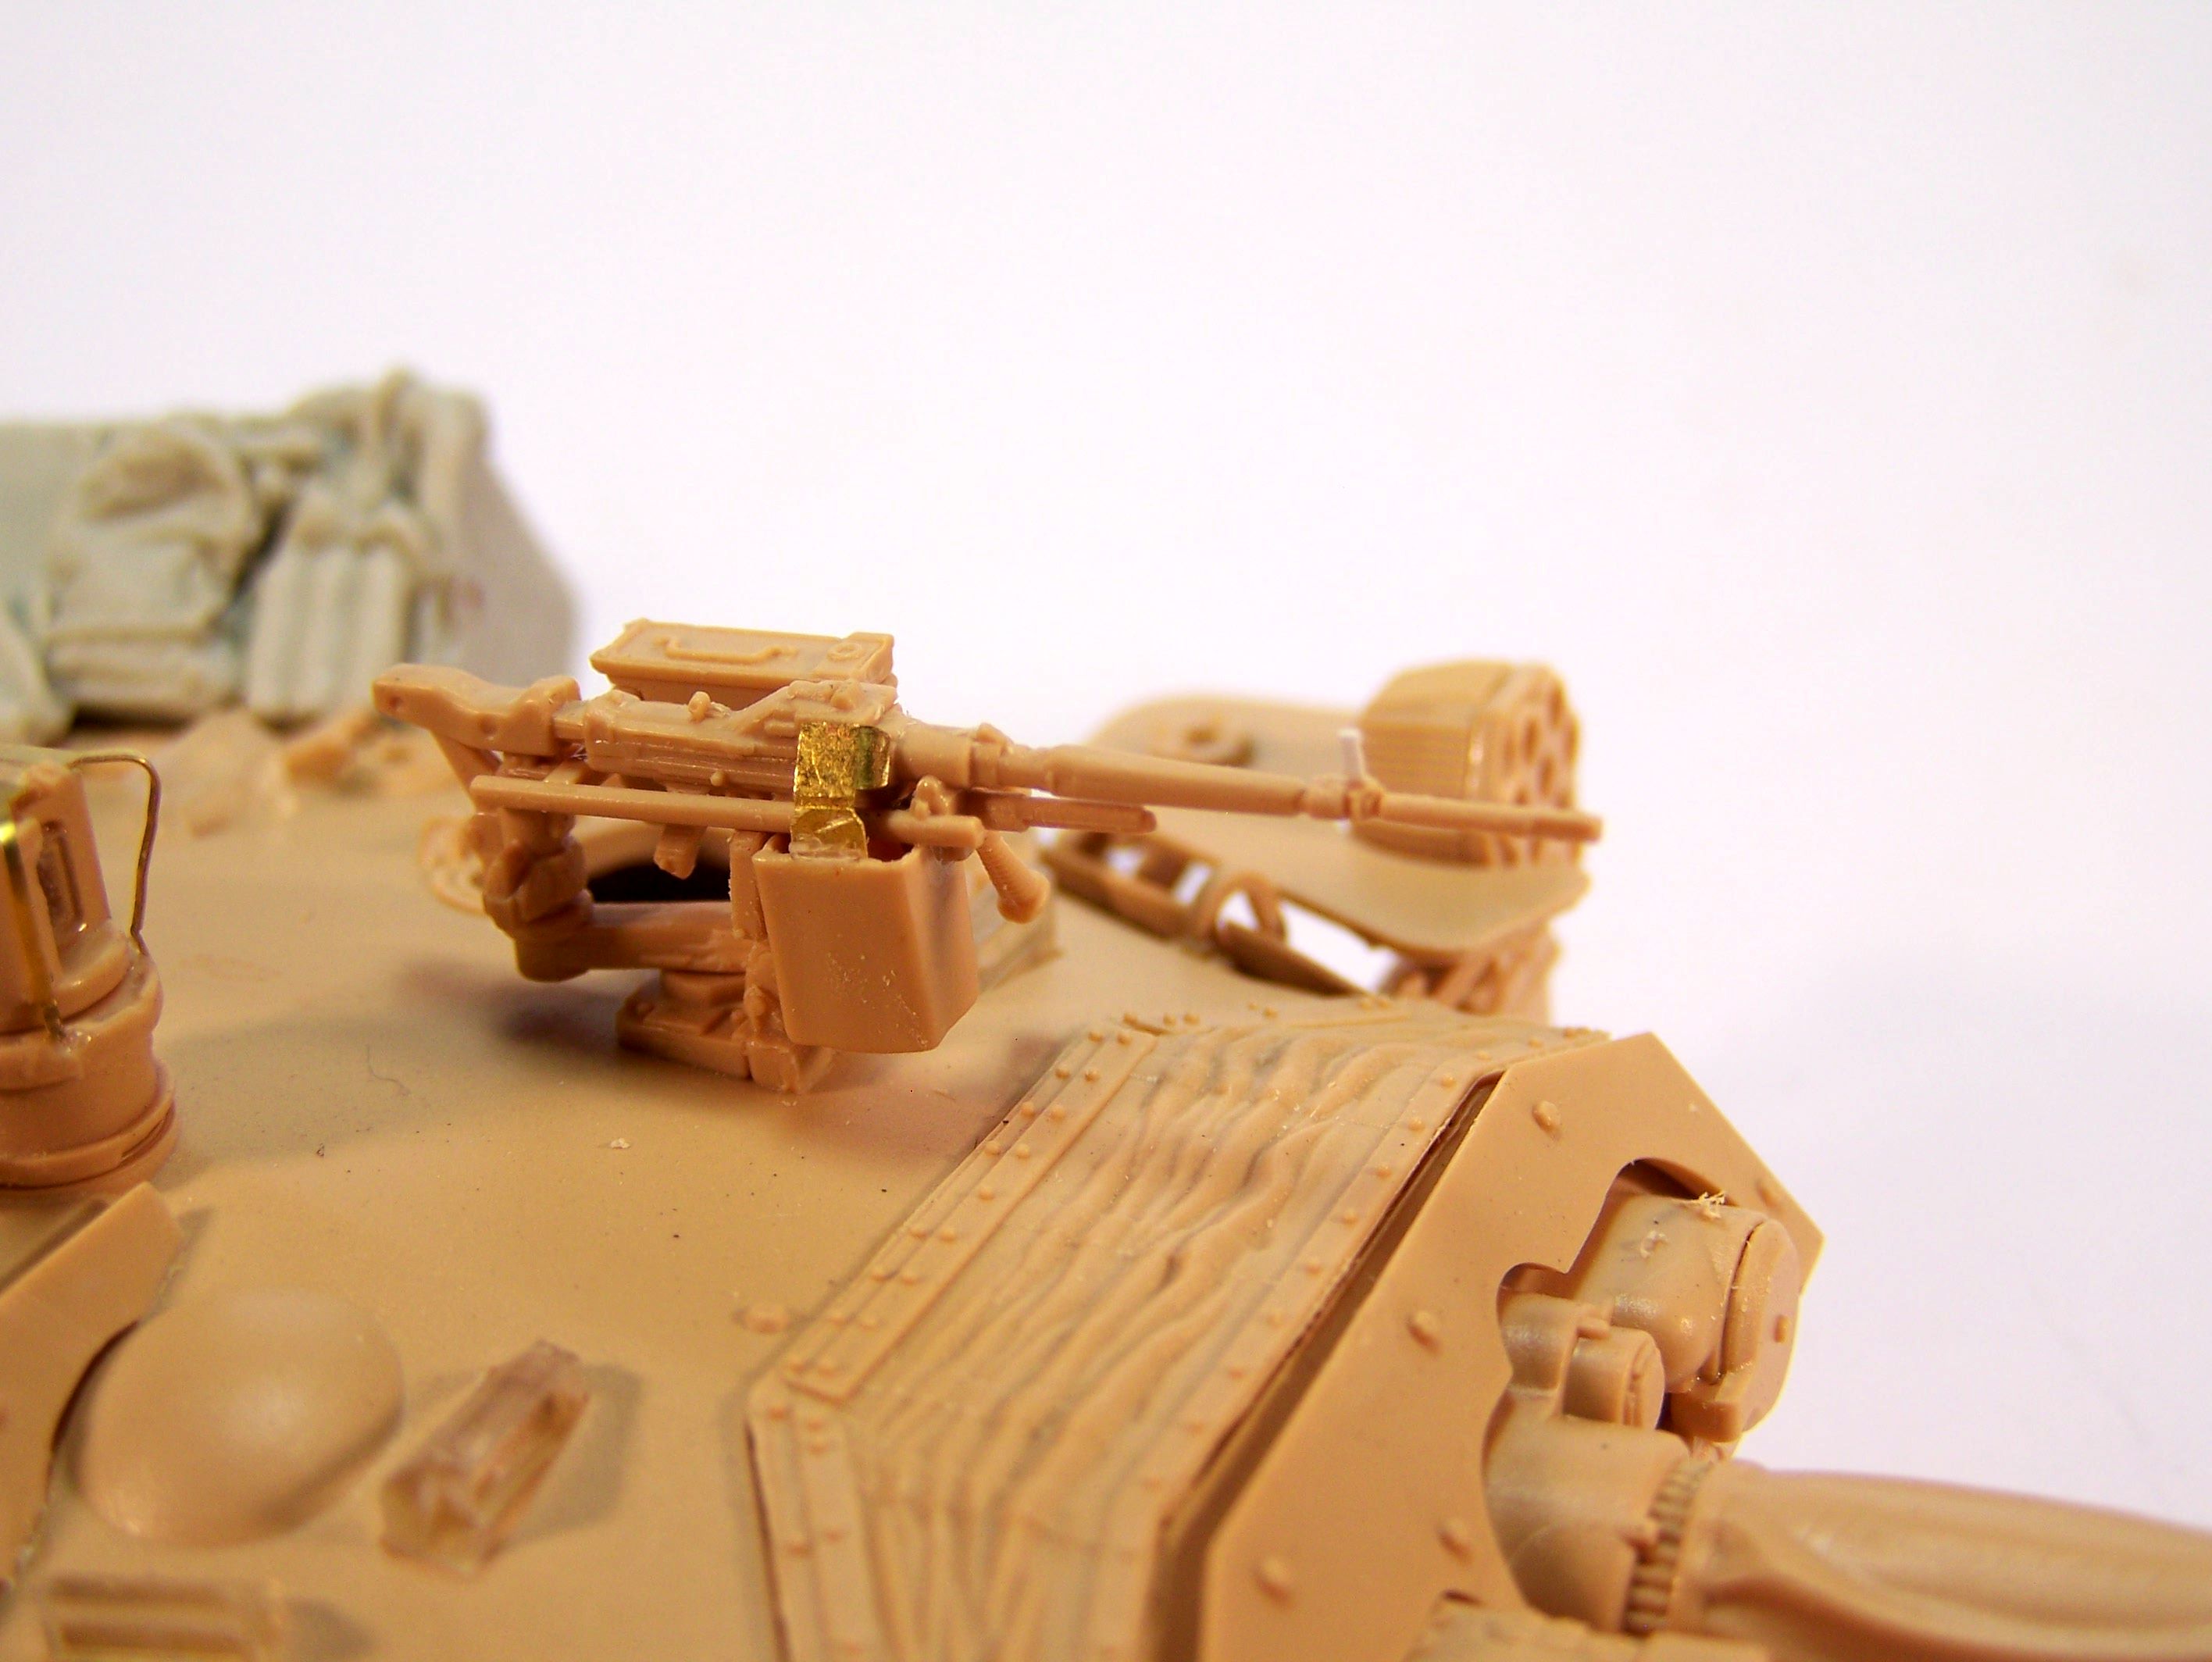
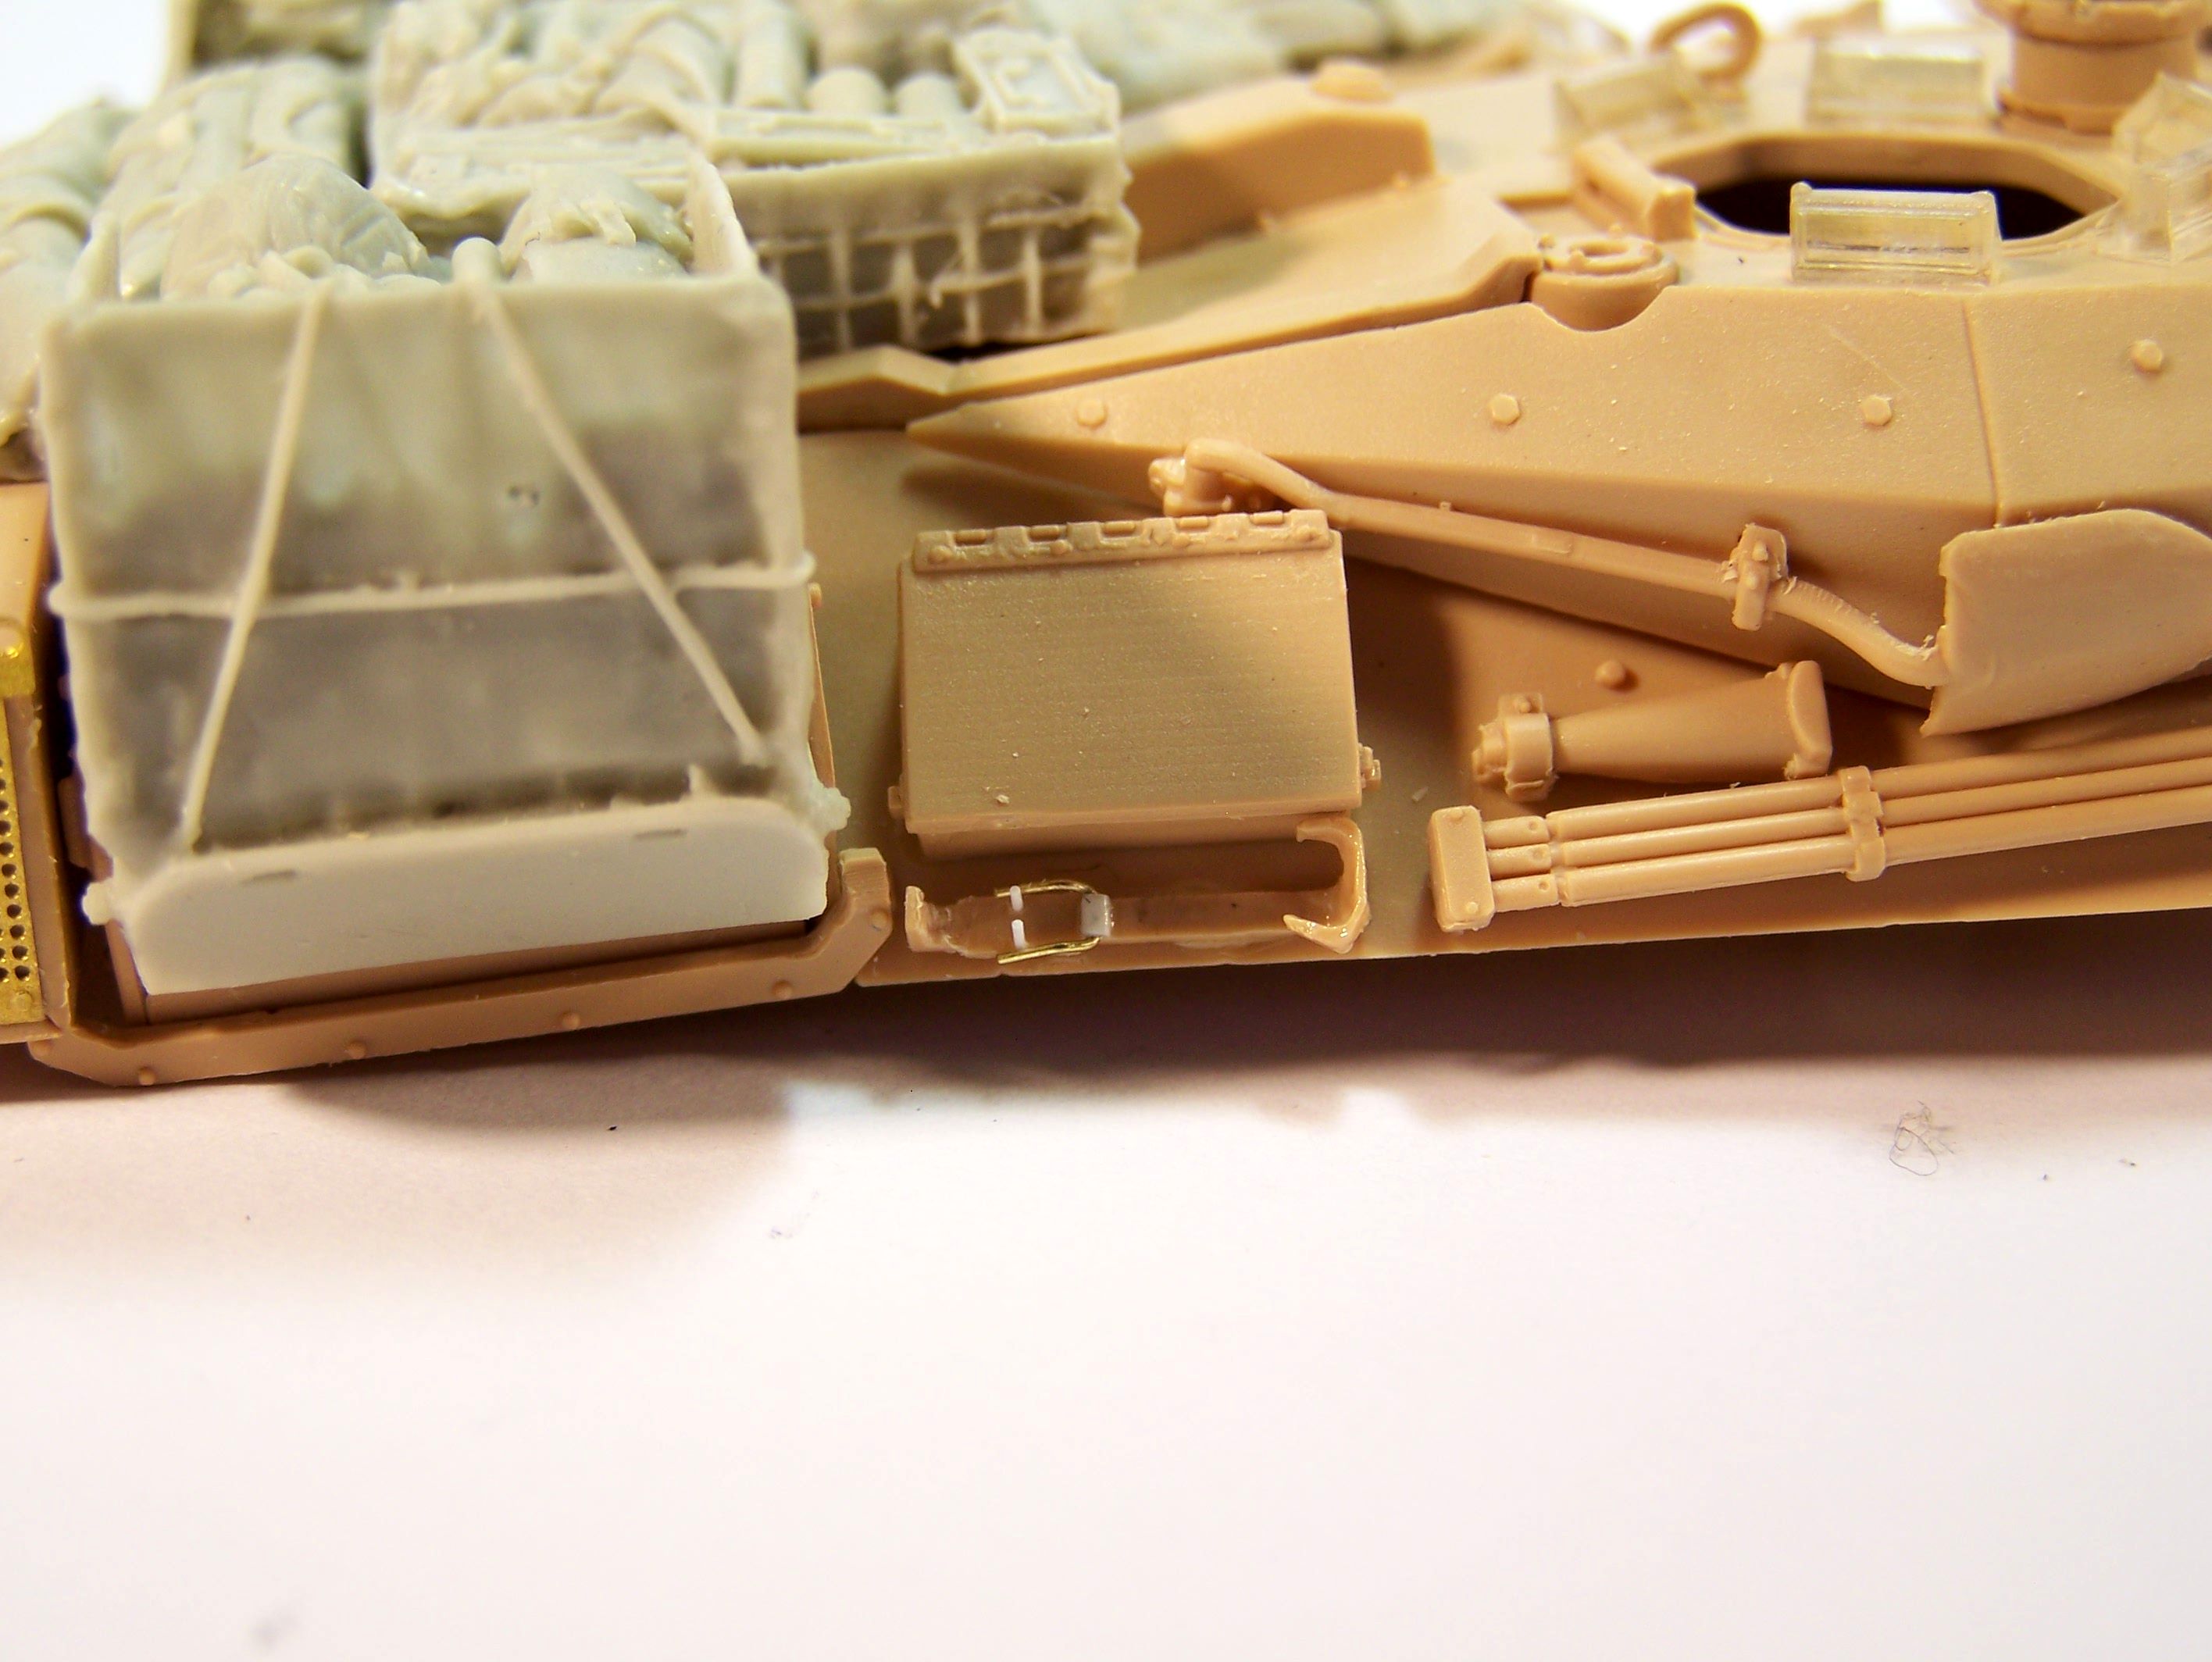
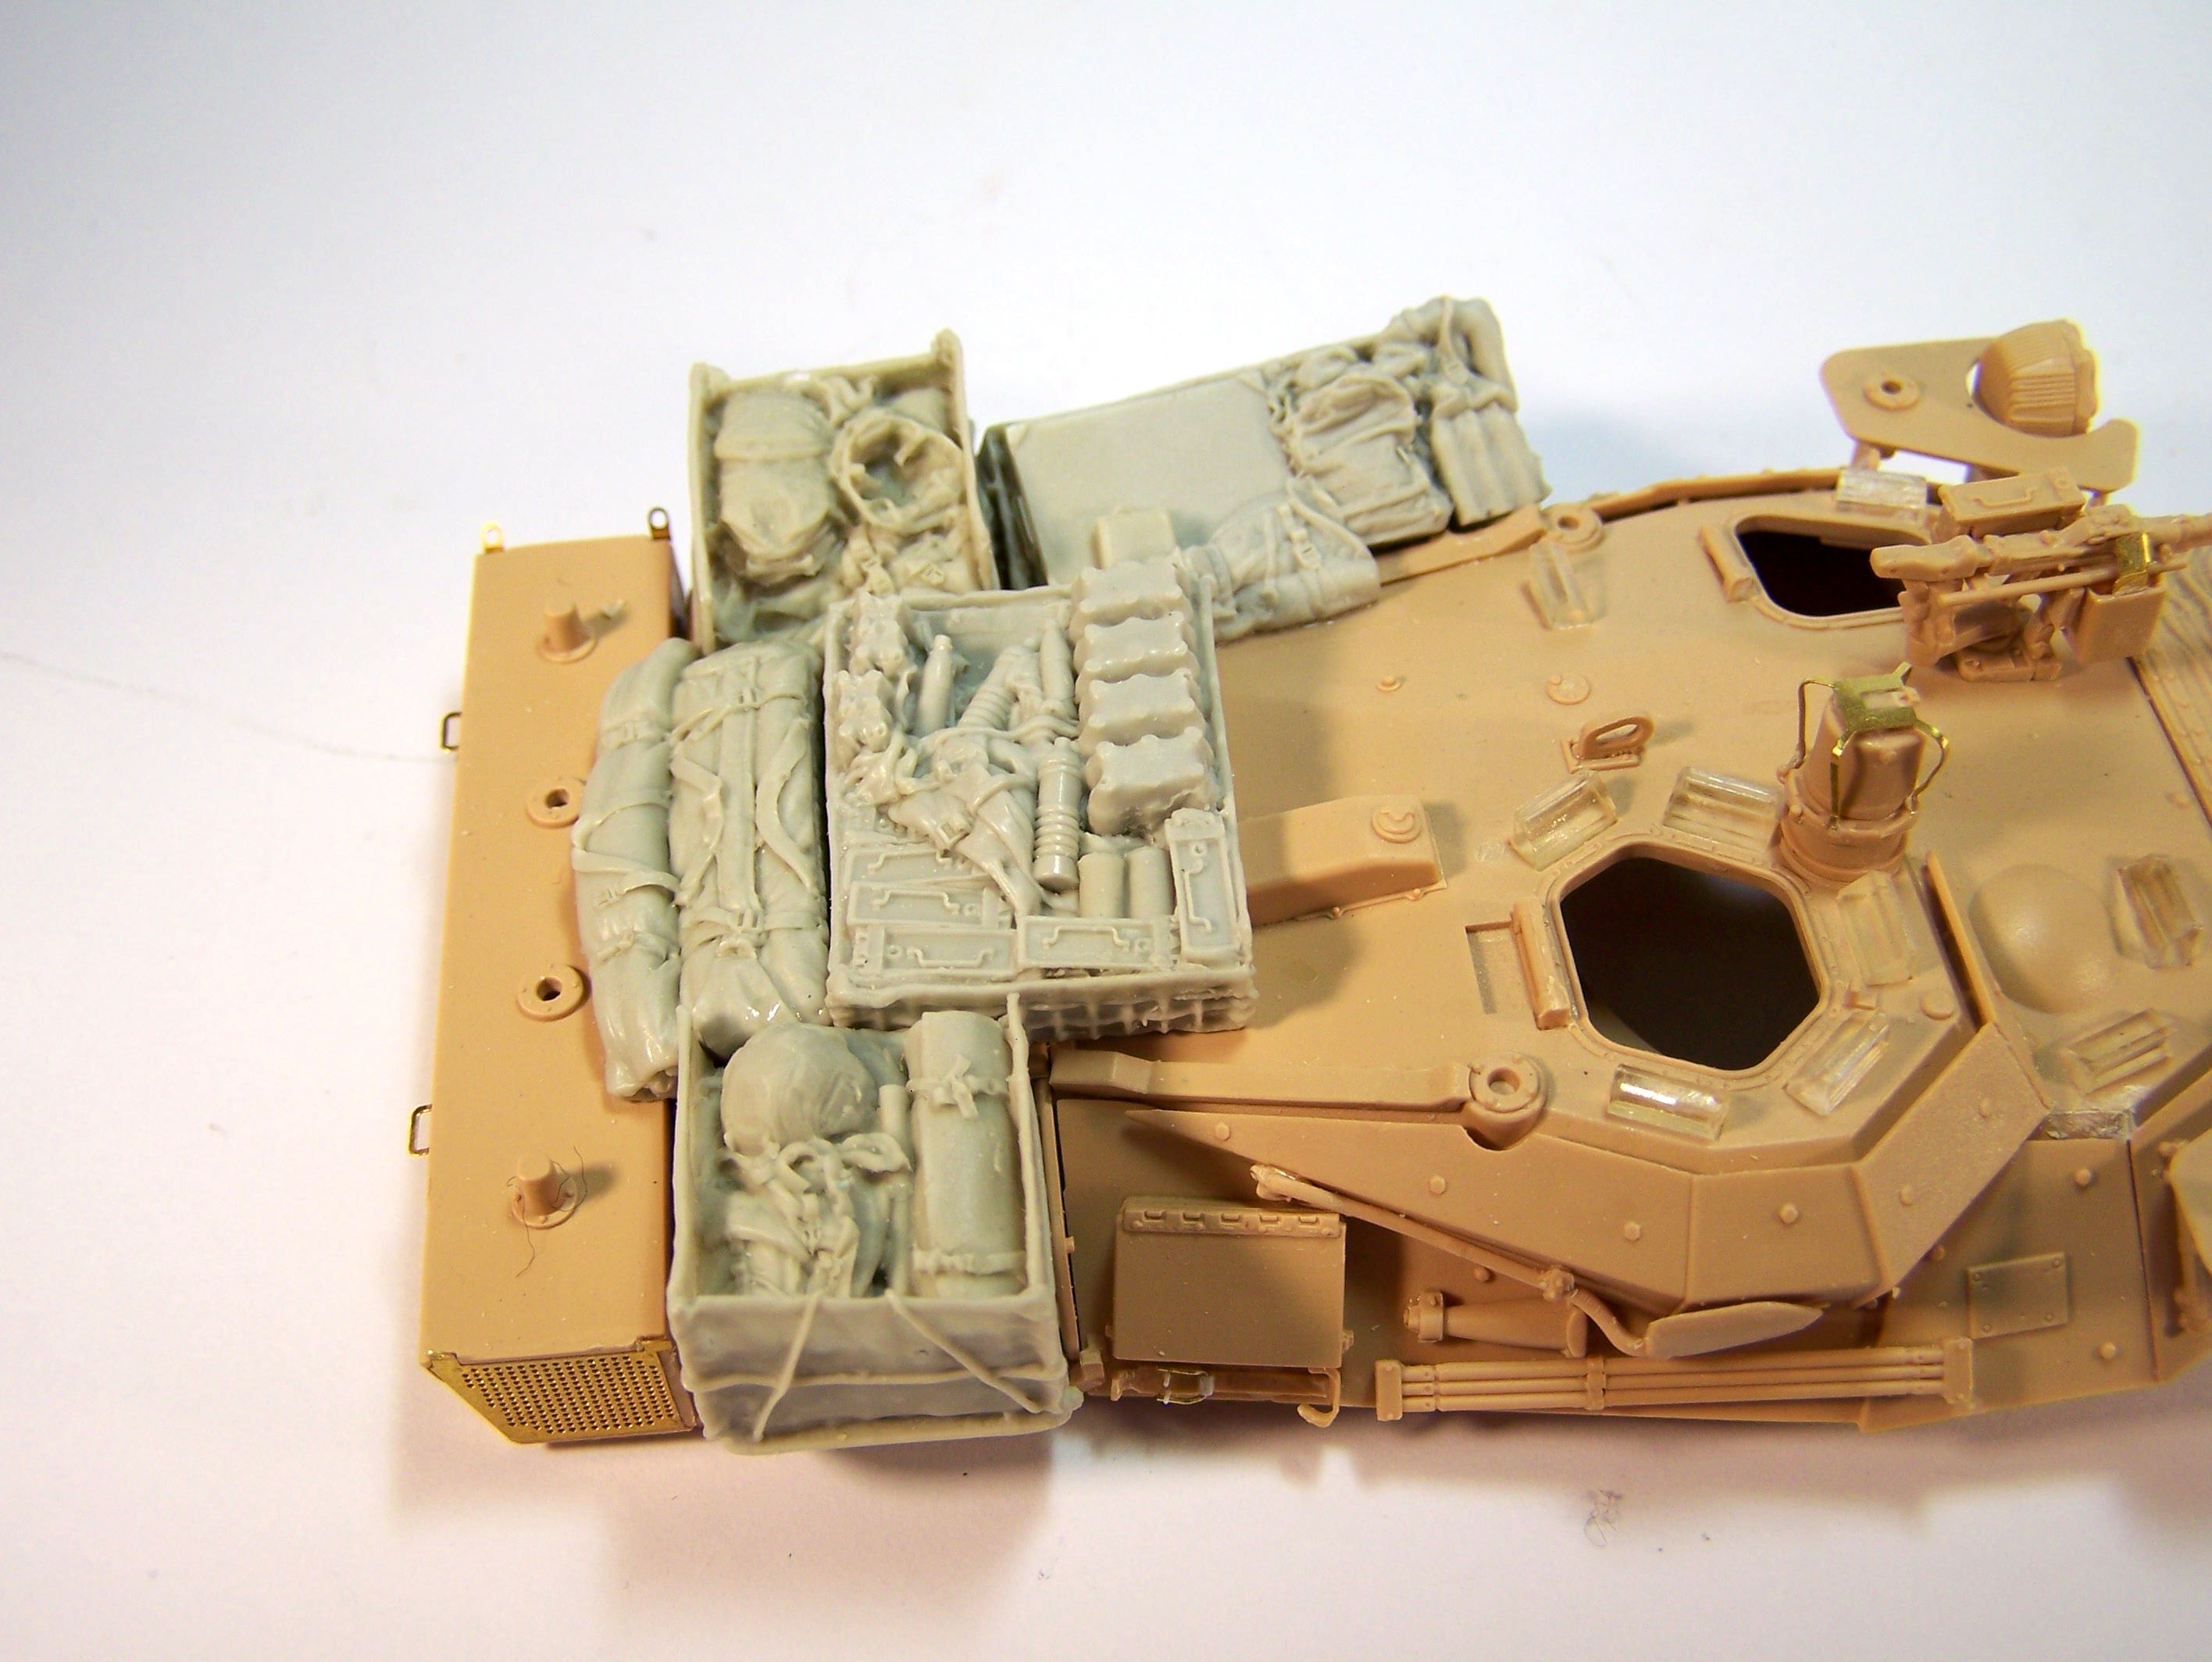
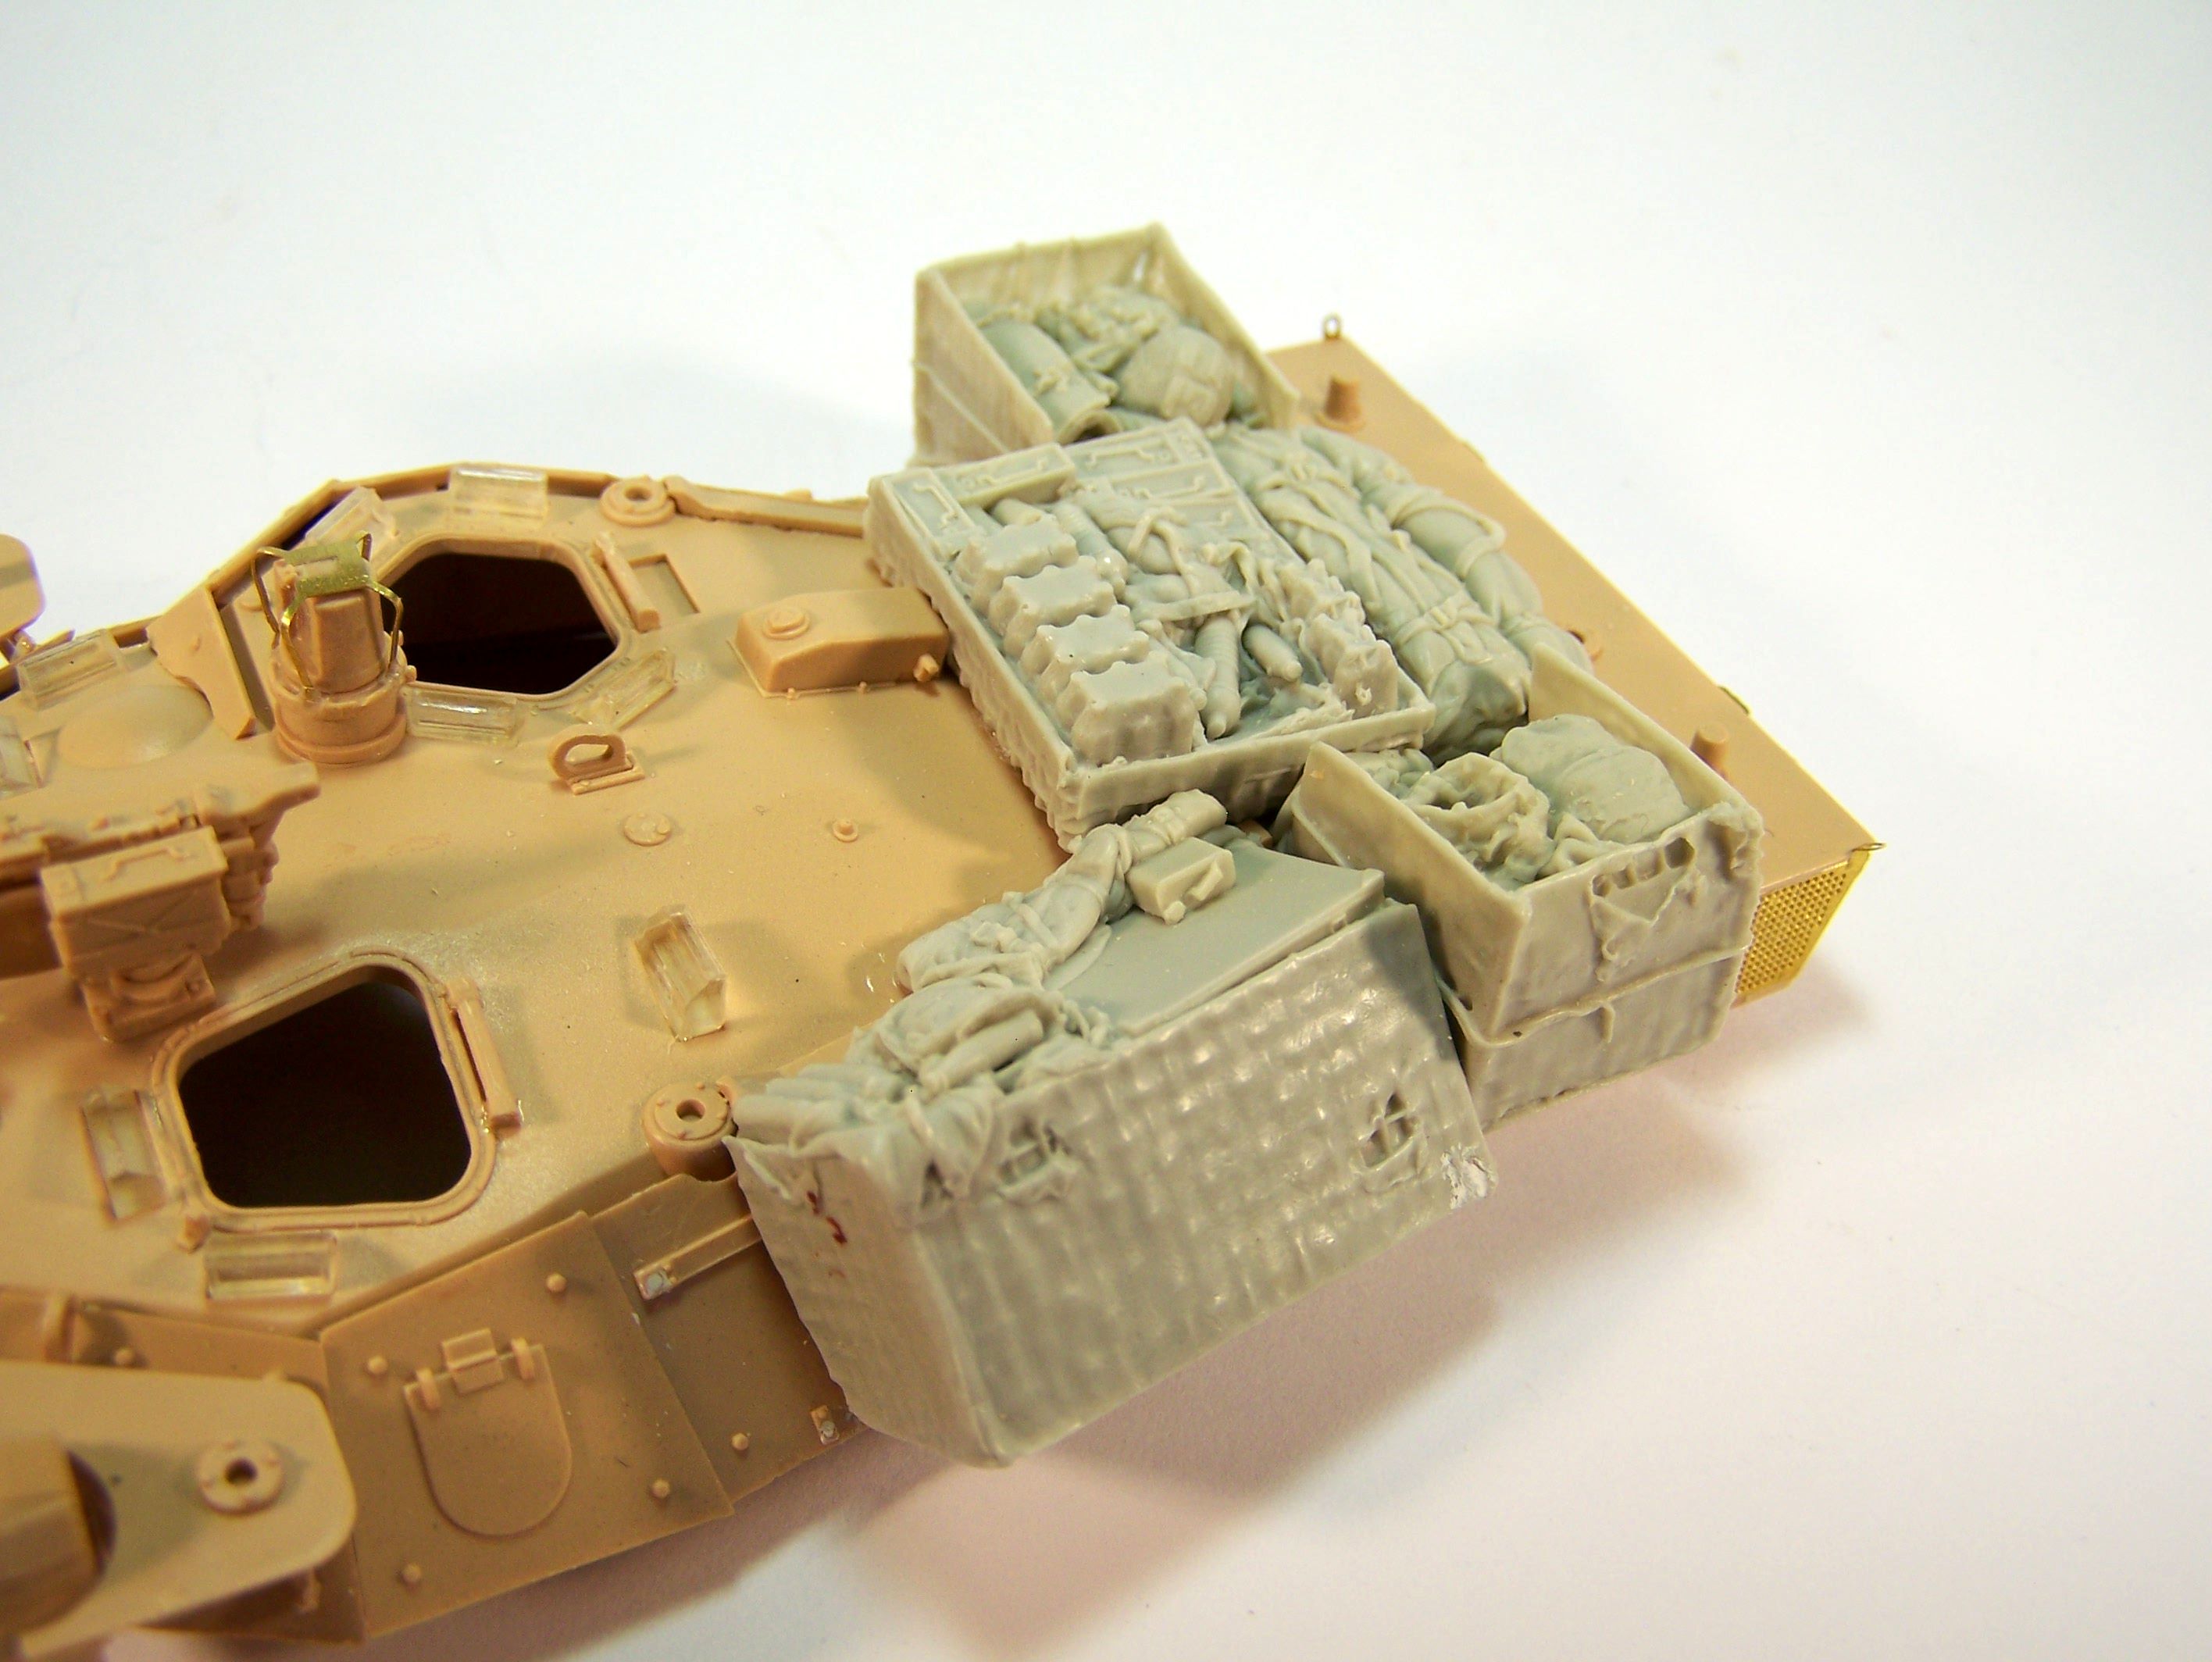
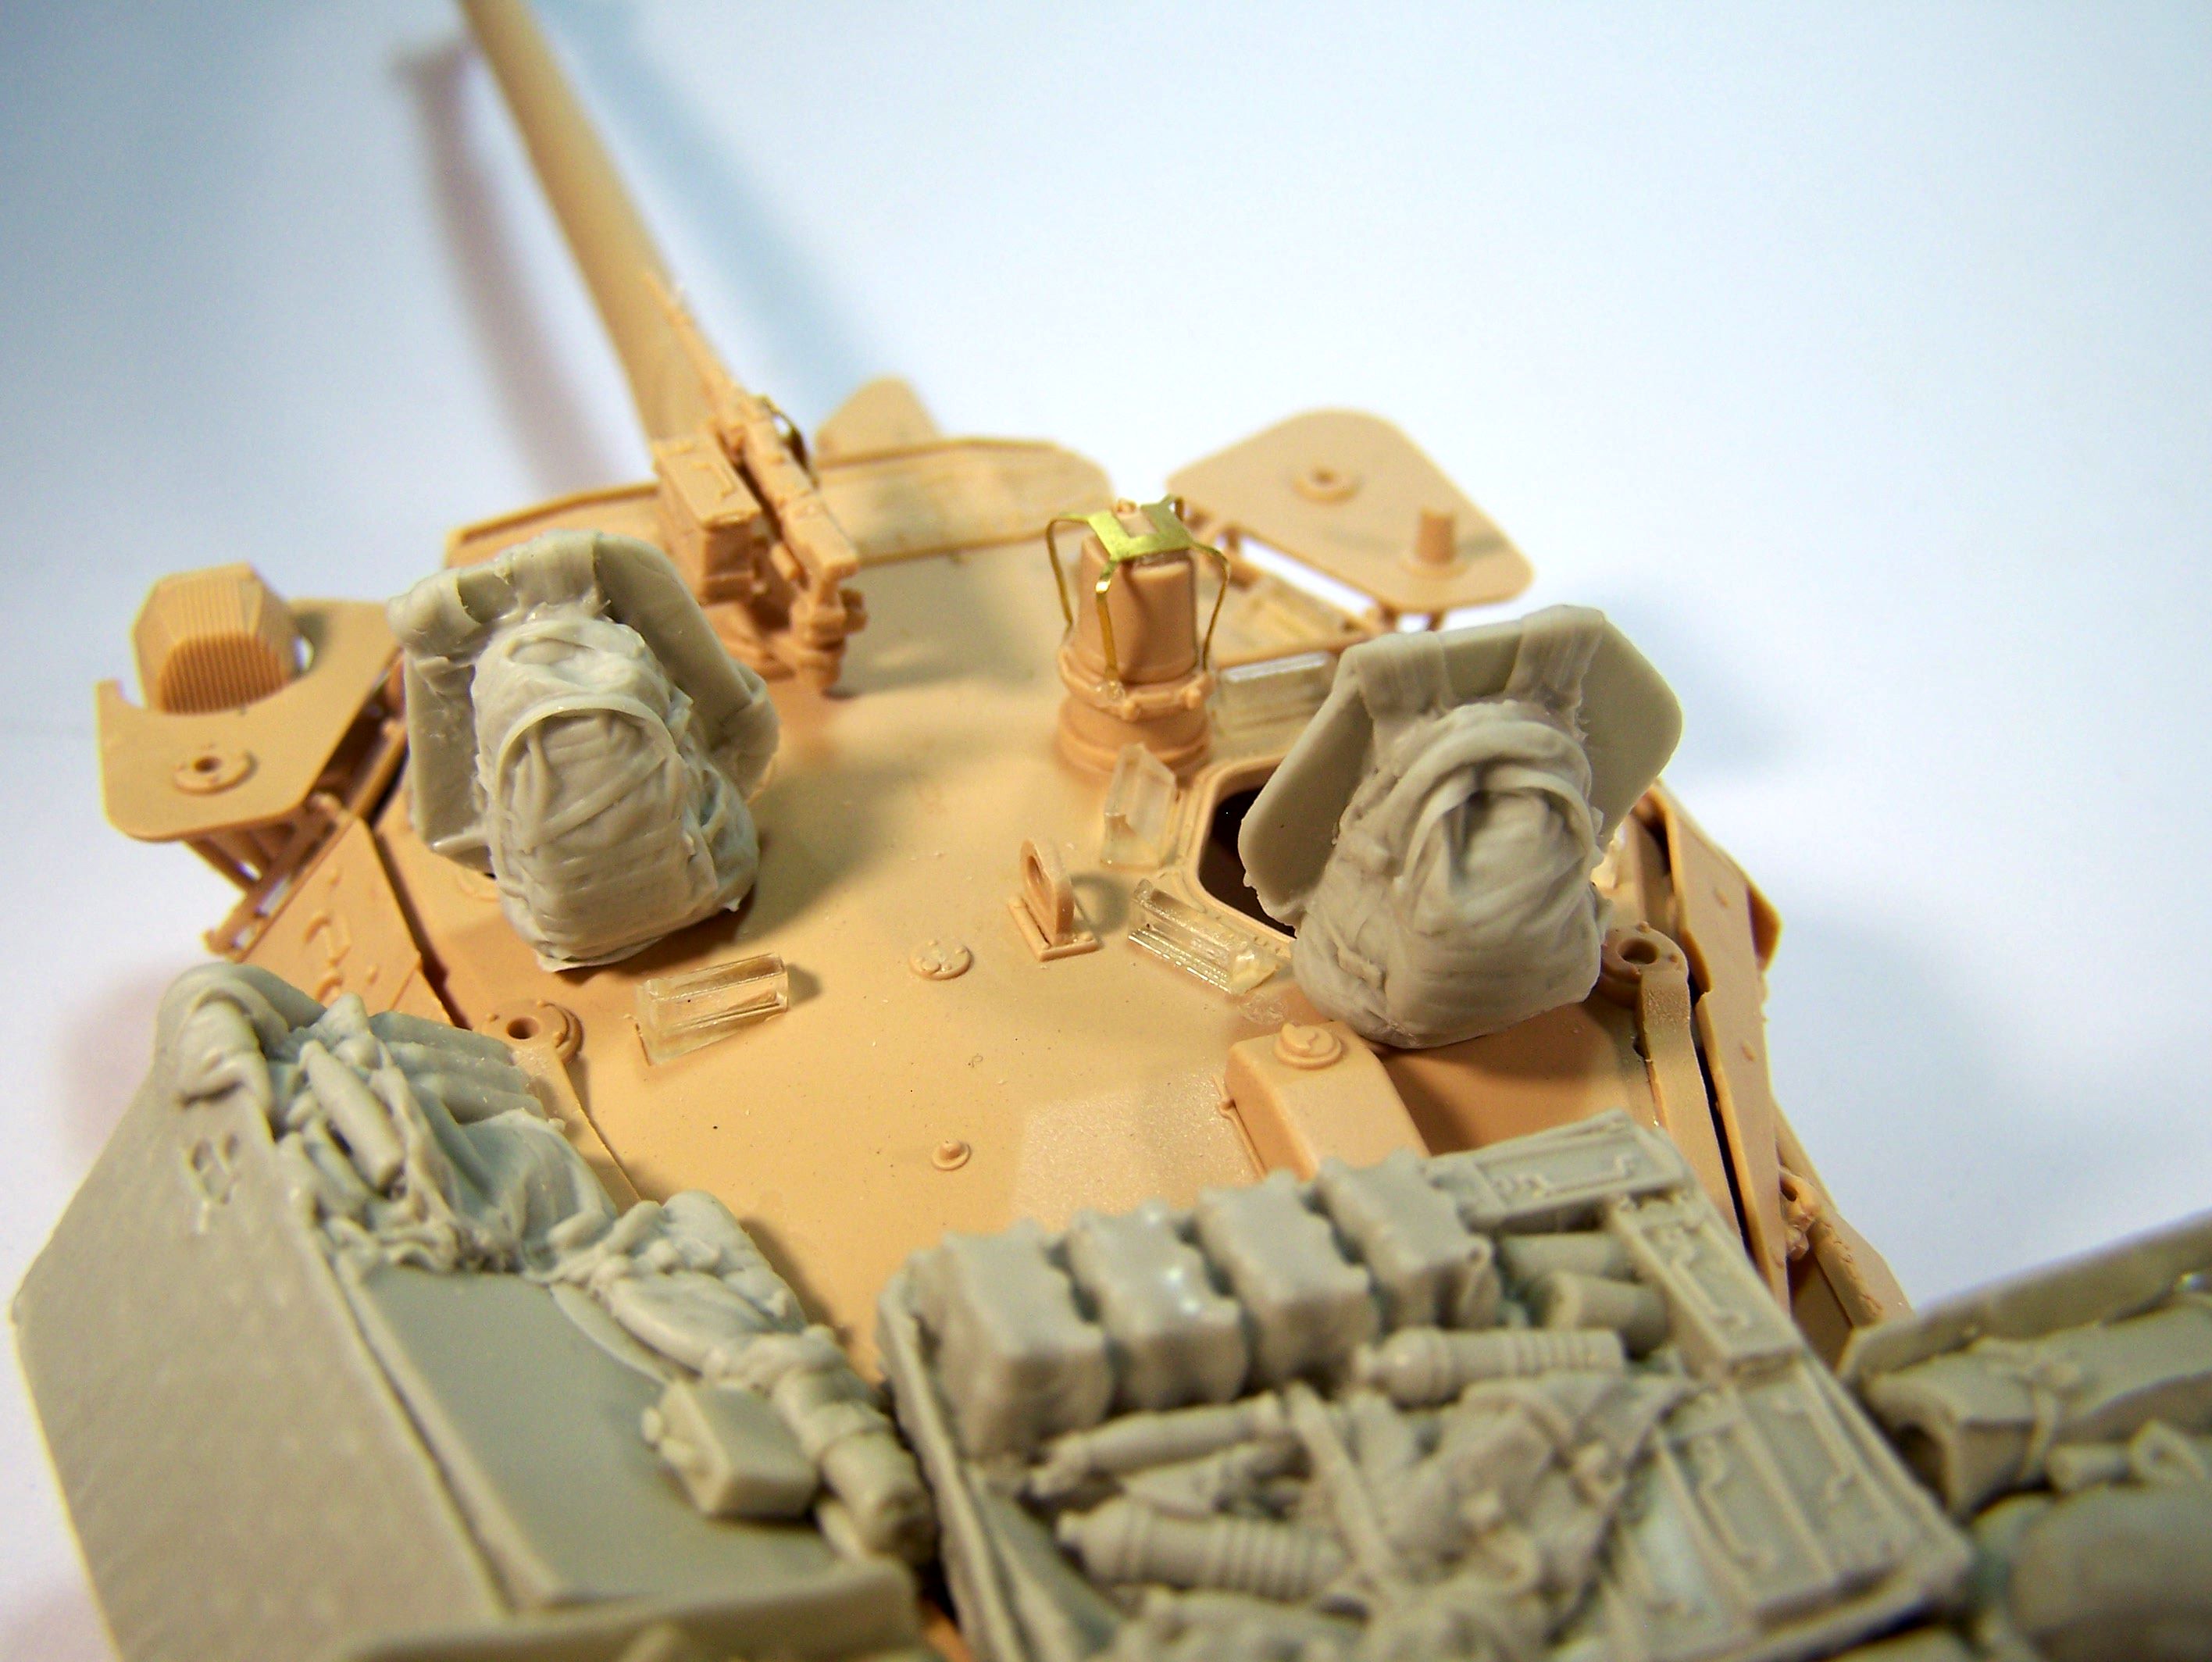
I continued working on the turret yesterday night and this morning. Most of the resin stowage elements are in place. The fit was a bit tricky so I decided to glue them before painting which I rarely do.
The hatches are not glued yet. They will painted before being glued. It will be easier especially for the backpacks.
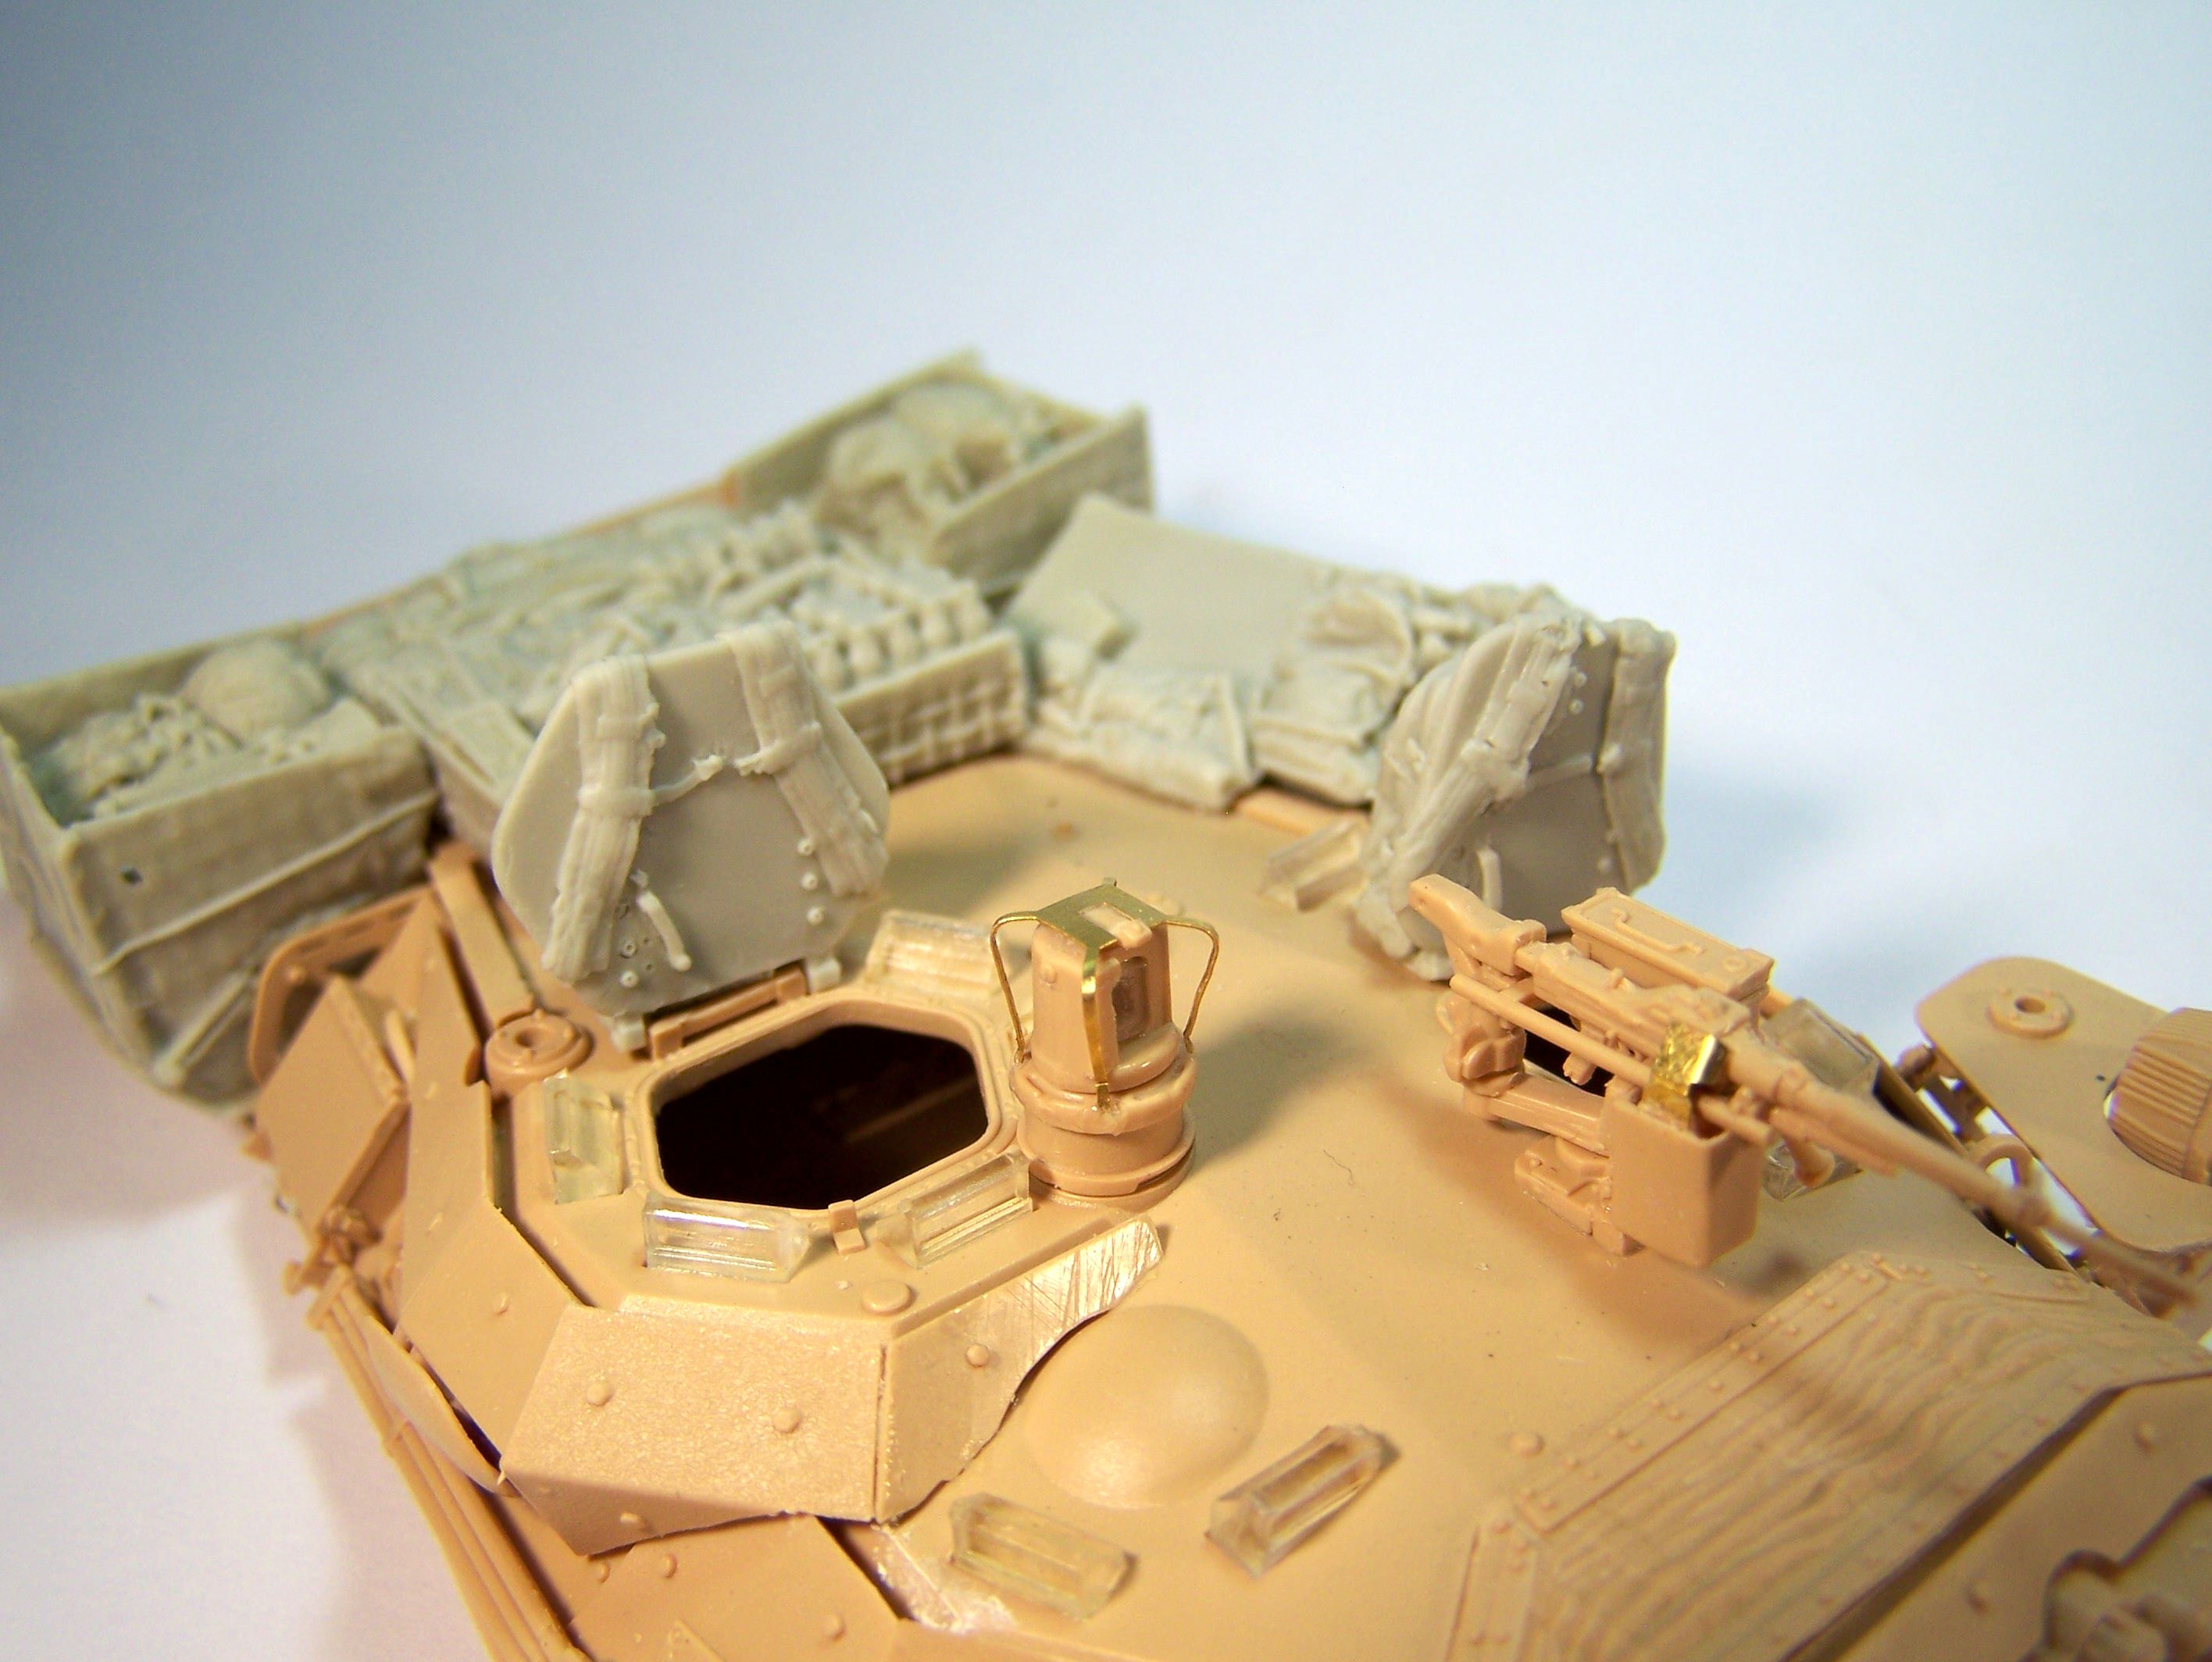
I added the sight on the MG and deleted the decontamination bottle which is nearly never seen on reference pictures. So I had to add some details to the support.
I have no idea how to paint the numerous water bottle and packs. So I’ll probably cover them with a piece of cloth or a tarp.
Olivier