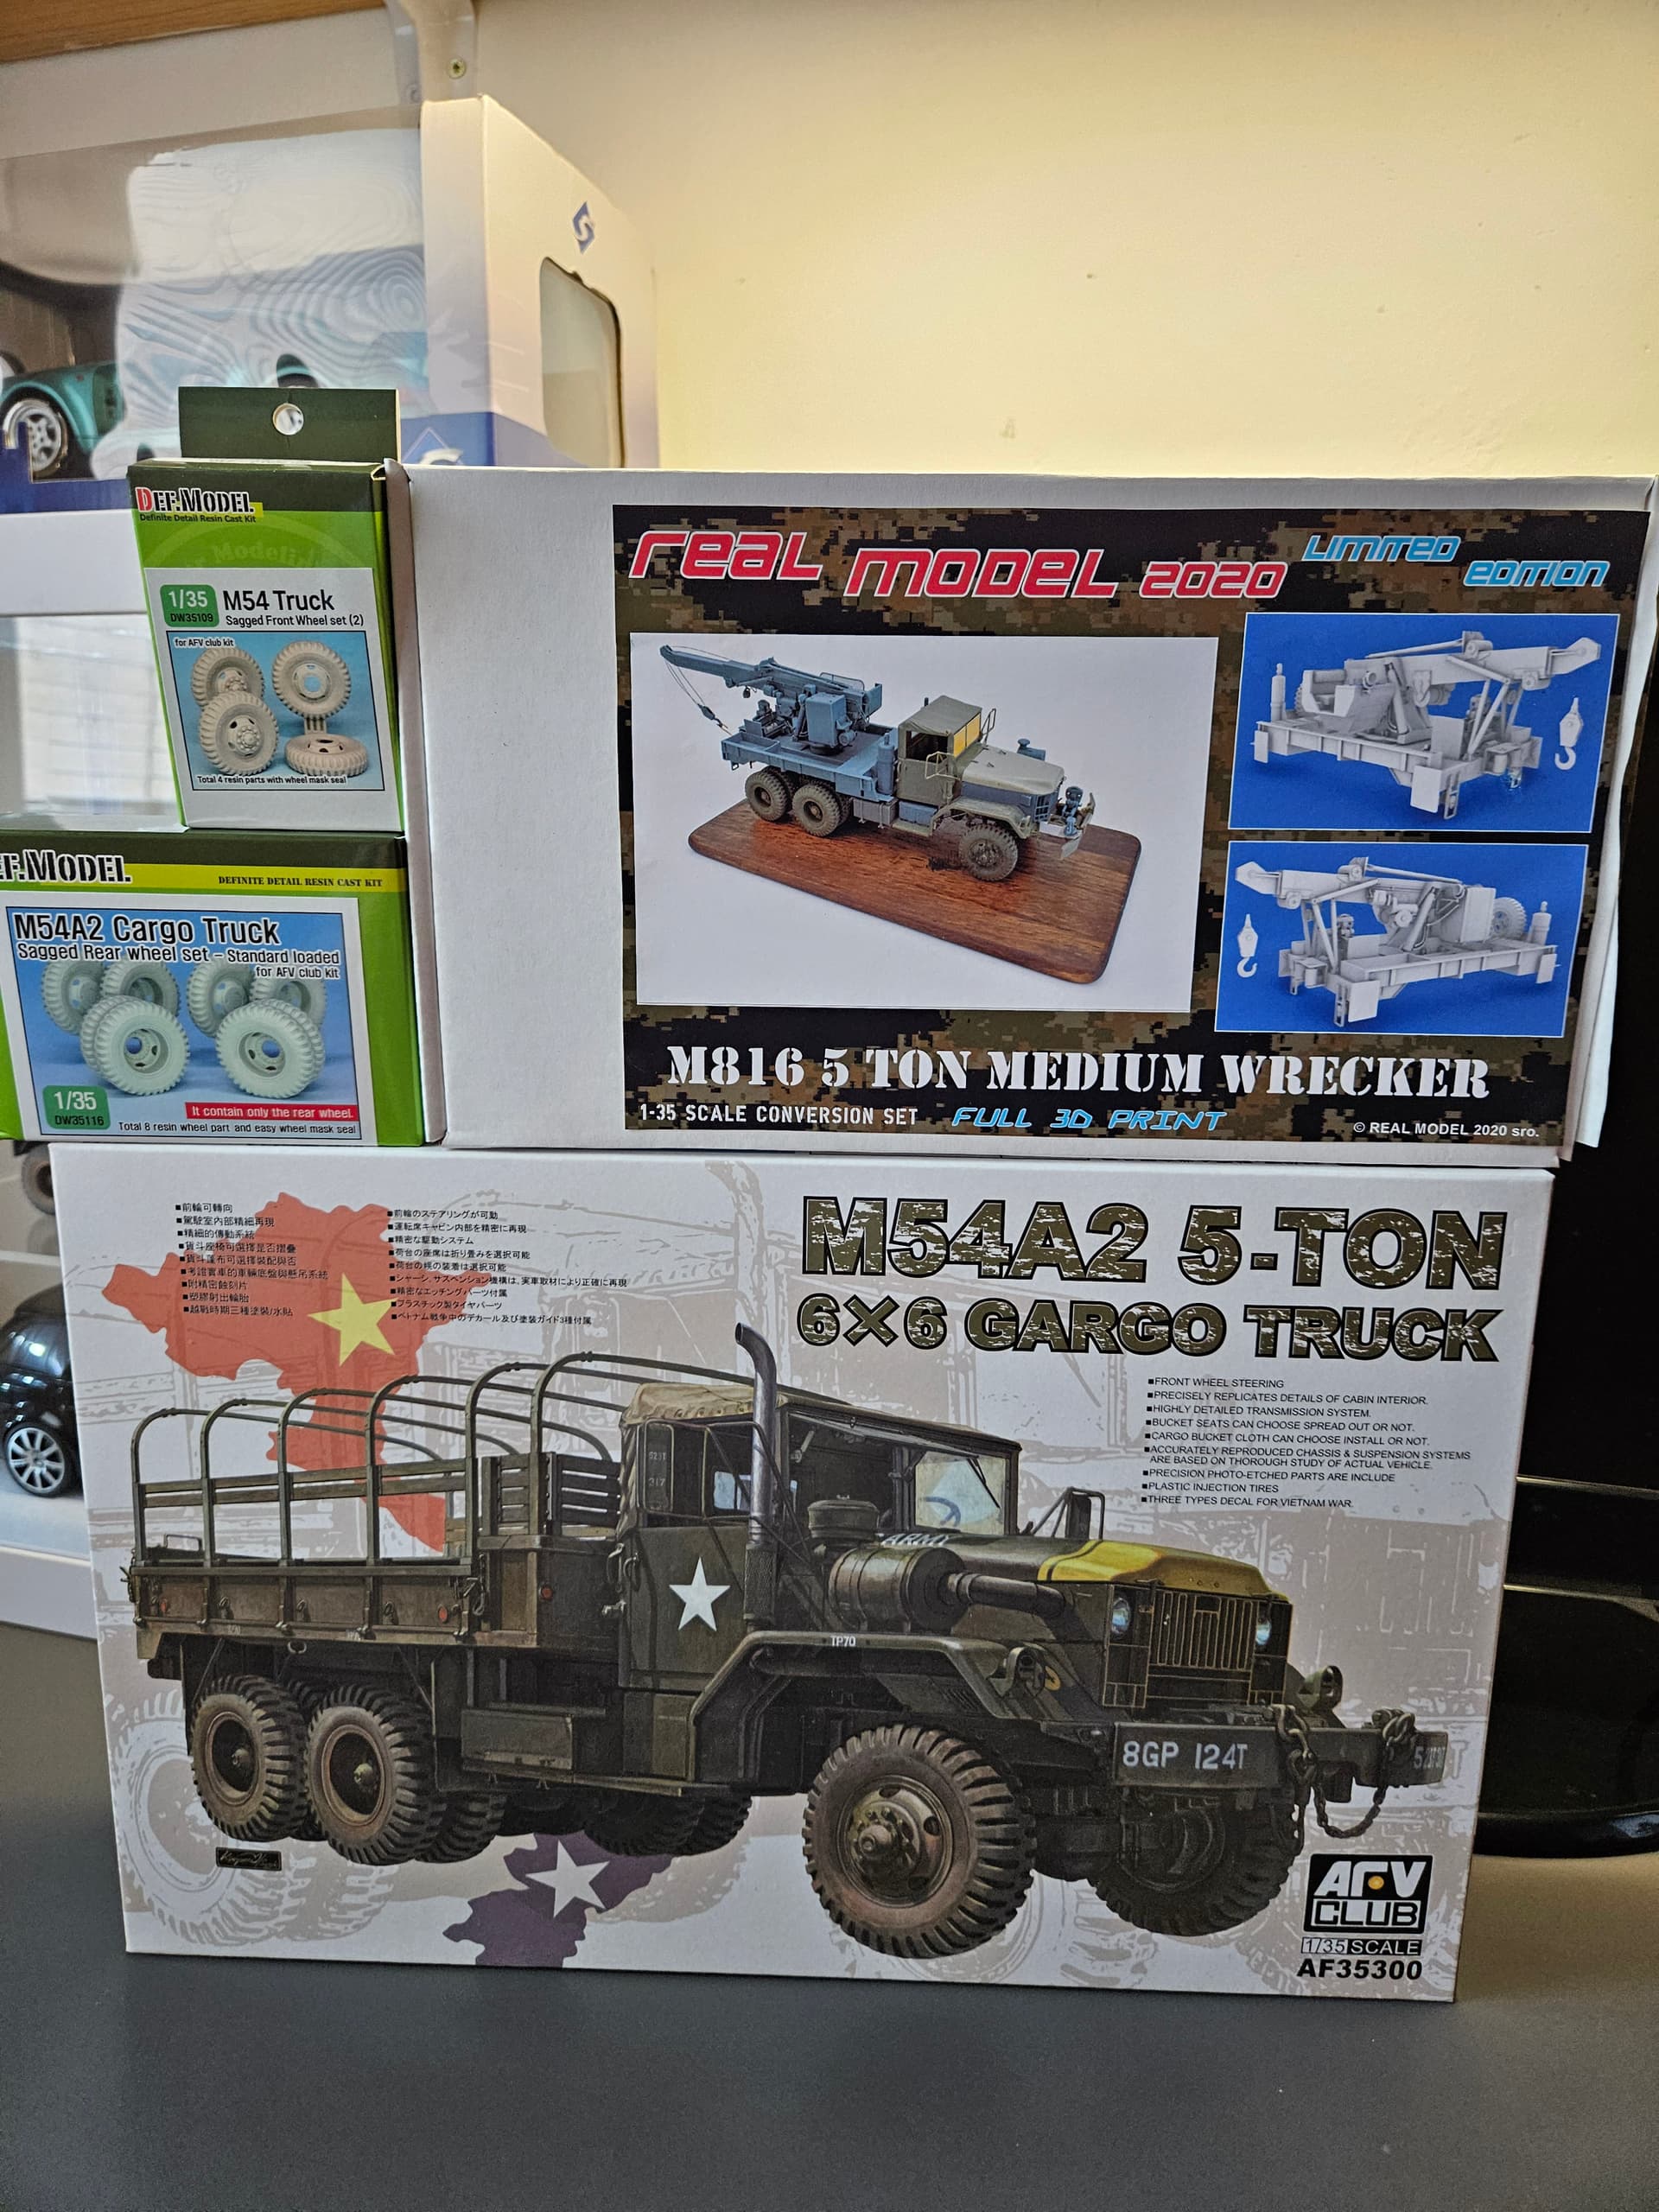
After about 2 years break I am going back to my favorite hobby and to the construction I chose a quality and proven kit M54A2 from AFV Club. And to make sure it wasn’t just an ordinary construction I bought a conversion set M816 wrecker from Real Model and set of resin wheels from Def Models which give the right look than wheels from the kit. The camouflage I don’t have yet thought out which one I will choose, but I know for sure that it won’t be a simple green color.
As soon as I start the construction I will provide a photo report and important knowledge.
Welcome George! Great base for an M54 or M39-based truck.
If you want, also take a look at HobbyLink Vietnam’s stuff. They do some excellent newer-generation 3D conversion sets for the AFV Club M54, including an M39 cab set, two wreckers, a bridge truck, two semi-tractors and a dump truck.
Welcome to the forum. As those who know me will say, it’s no surprise that my vote is for MASSTER. One reason is I was in Germany when it was implemented and actually went to the motor pool, chalked off vehicles and did the paint by number.
But another reason for choosing MASSTER is a bit more practical. MERDC vehicles were almost always painted at a Depot and were spray painted and very professional looking.
Because MASSTER was nearly 100% done by soldiers in the motor pool, and more often than not was applied by hand, you can hand paint the scheme on your model and the rough looking finish with some extra paint in odd places IS a much more accurate representation of how the vehicles actually were.
If you’re interested, you may want to take a look at the series I did from vehicles in my old unit.
Maybe move this thread to Cold War? MASSTER and MERDC are schemes from that date range more than Modern. Jus’ sayin’. And I’ll be following, as there is something sexyyyyy about tactical wreckers.
Today I took a moment of time and started to clean parts from the conversion set.
Let me add some insights to the Real Model conversion kit…
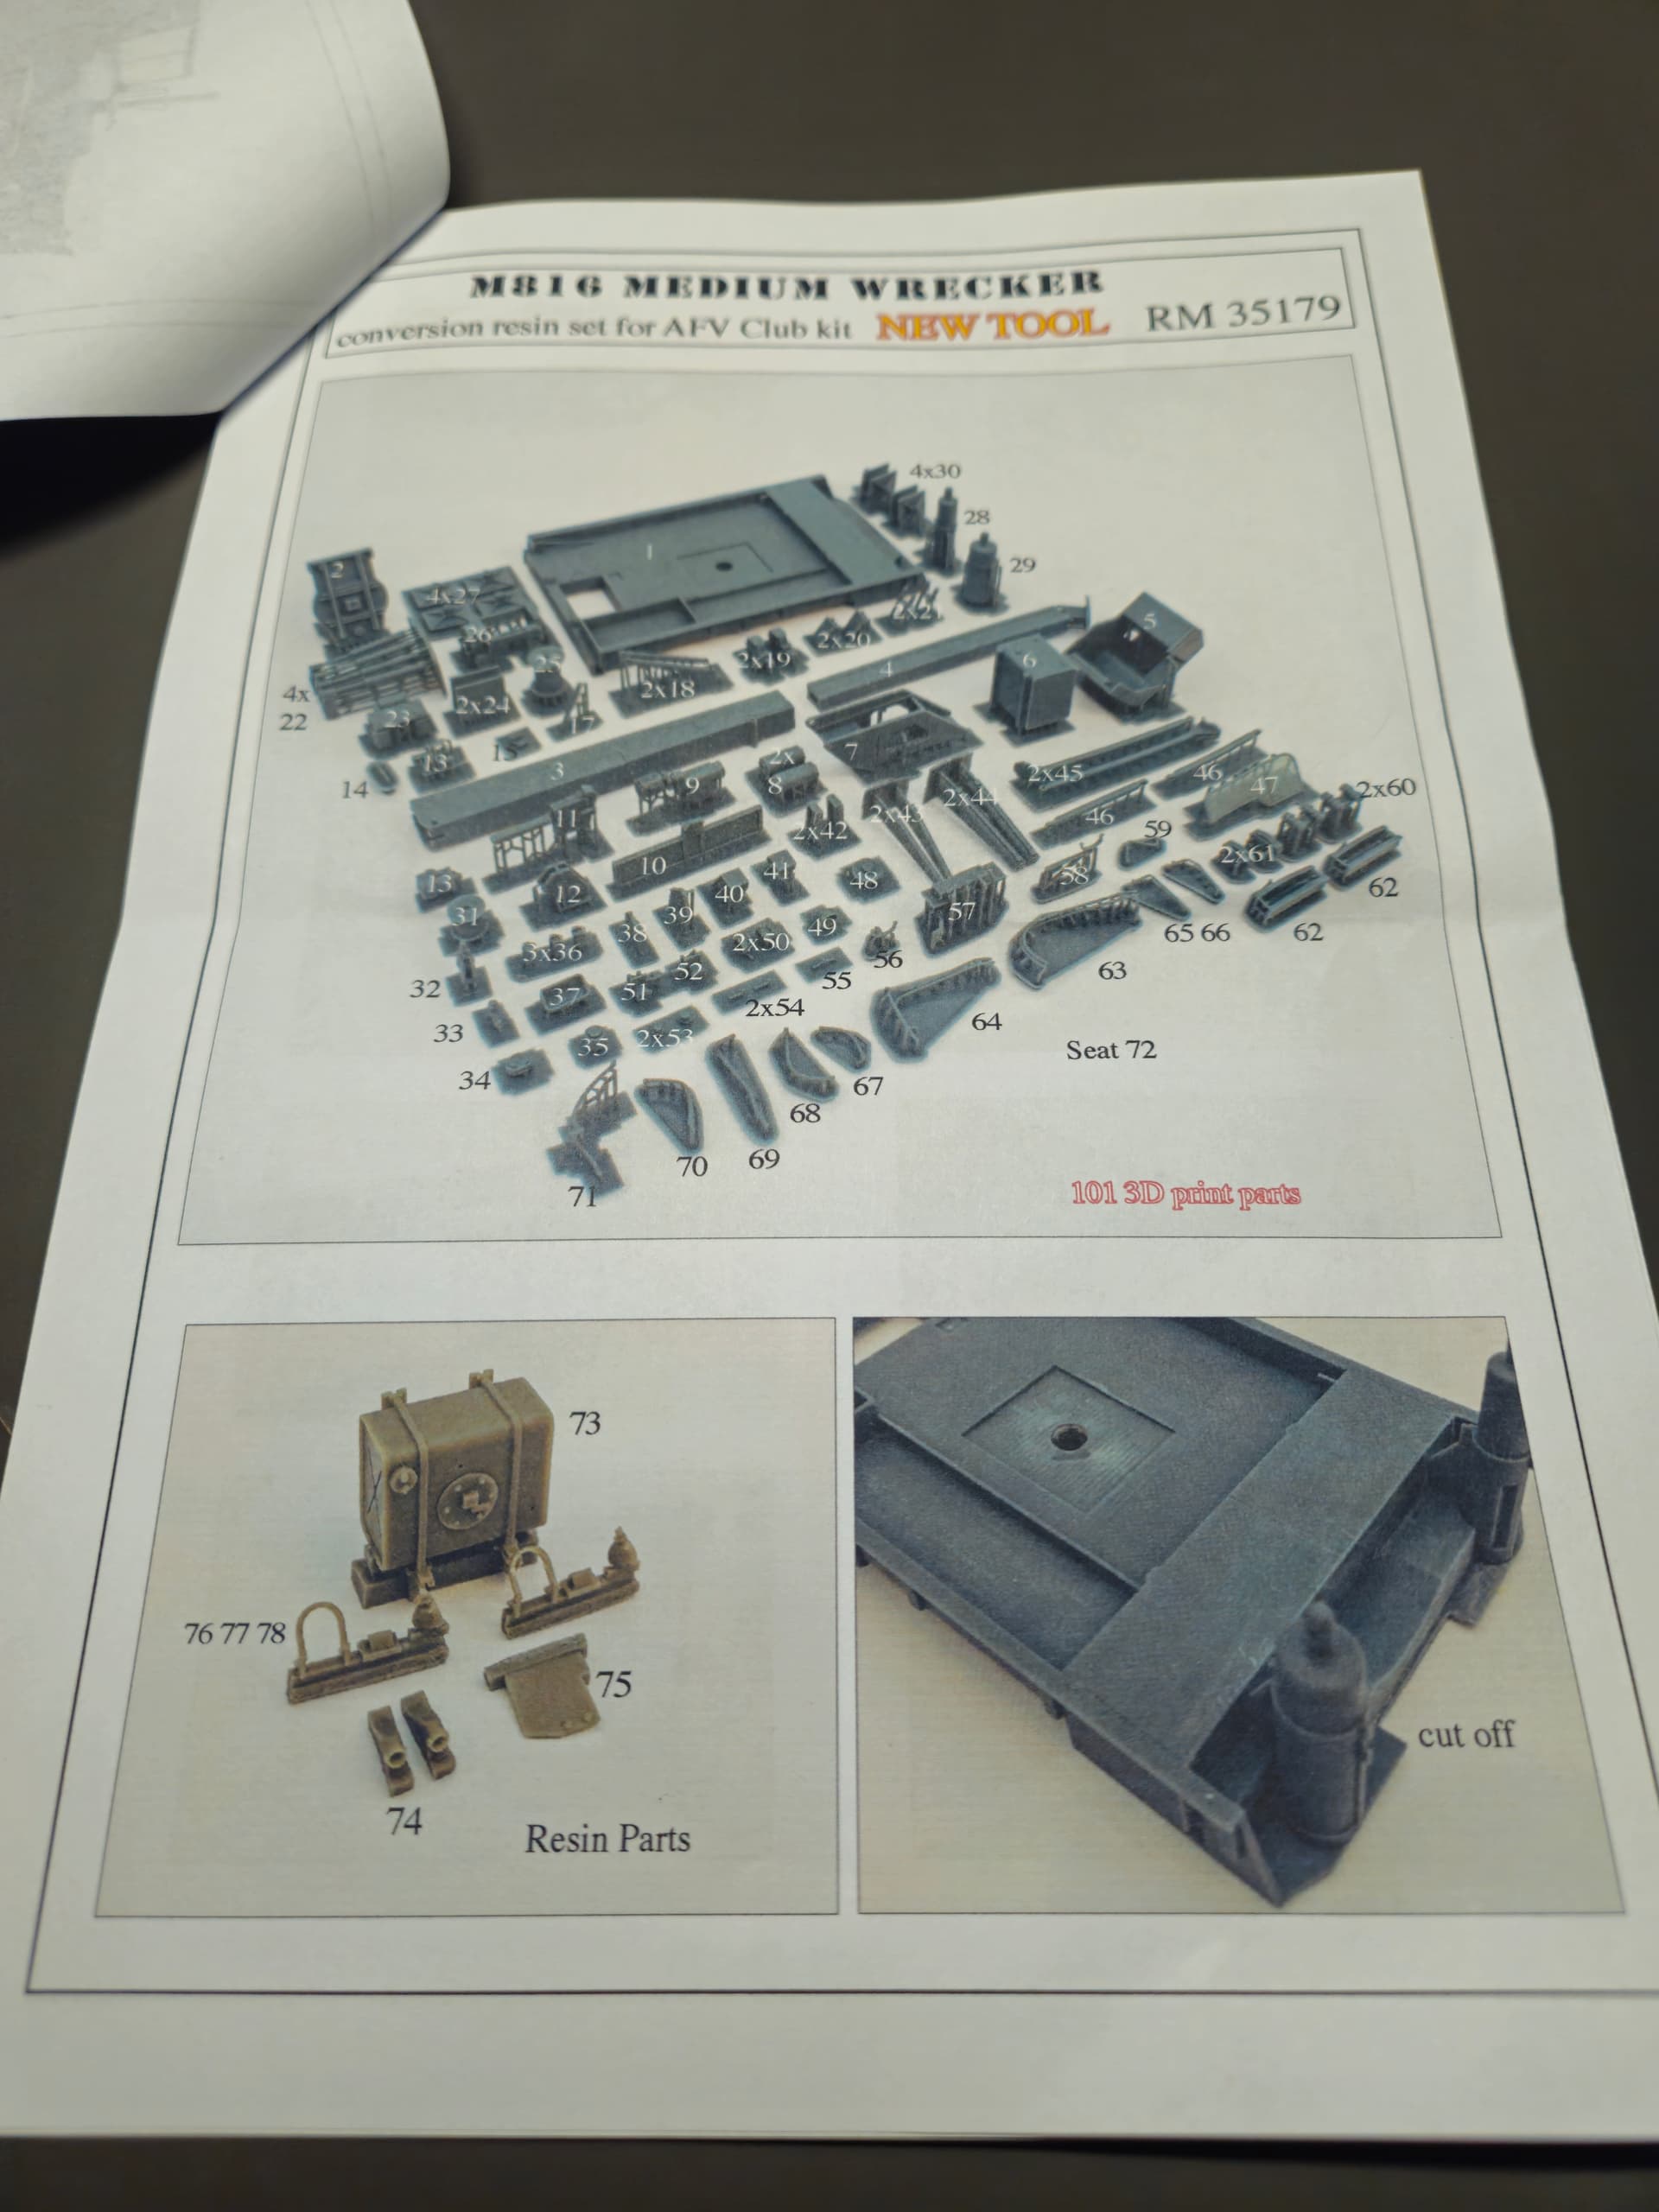
In terms of 3d printing quality, it’s really high level. There are no layers after printing.
All the parts are beautifully sharp, detailed… except for a few parts like the hydraulic hoses, which are so fine that I keep them on supports so they don’t get damaged. I’m thinking of eventually replacing them with vinyl wire or lead wire.
The base plate of the superstructure is printed in one piece, again it abounds in beautiful details but unfortunately my piece is slightly bent and I hope and pray that it can be flattened using hot water and a bit of violence.
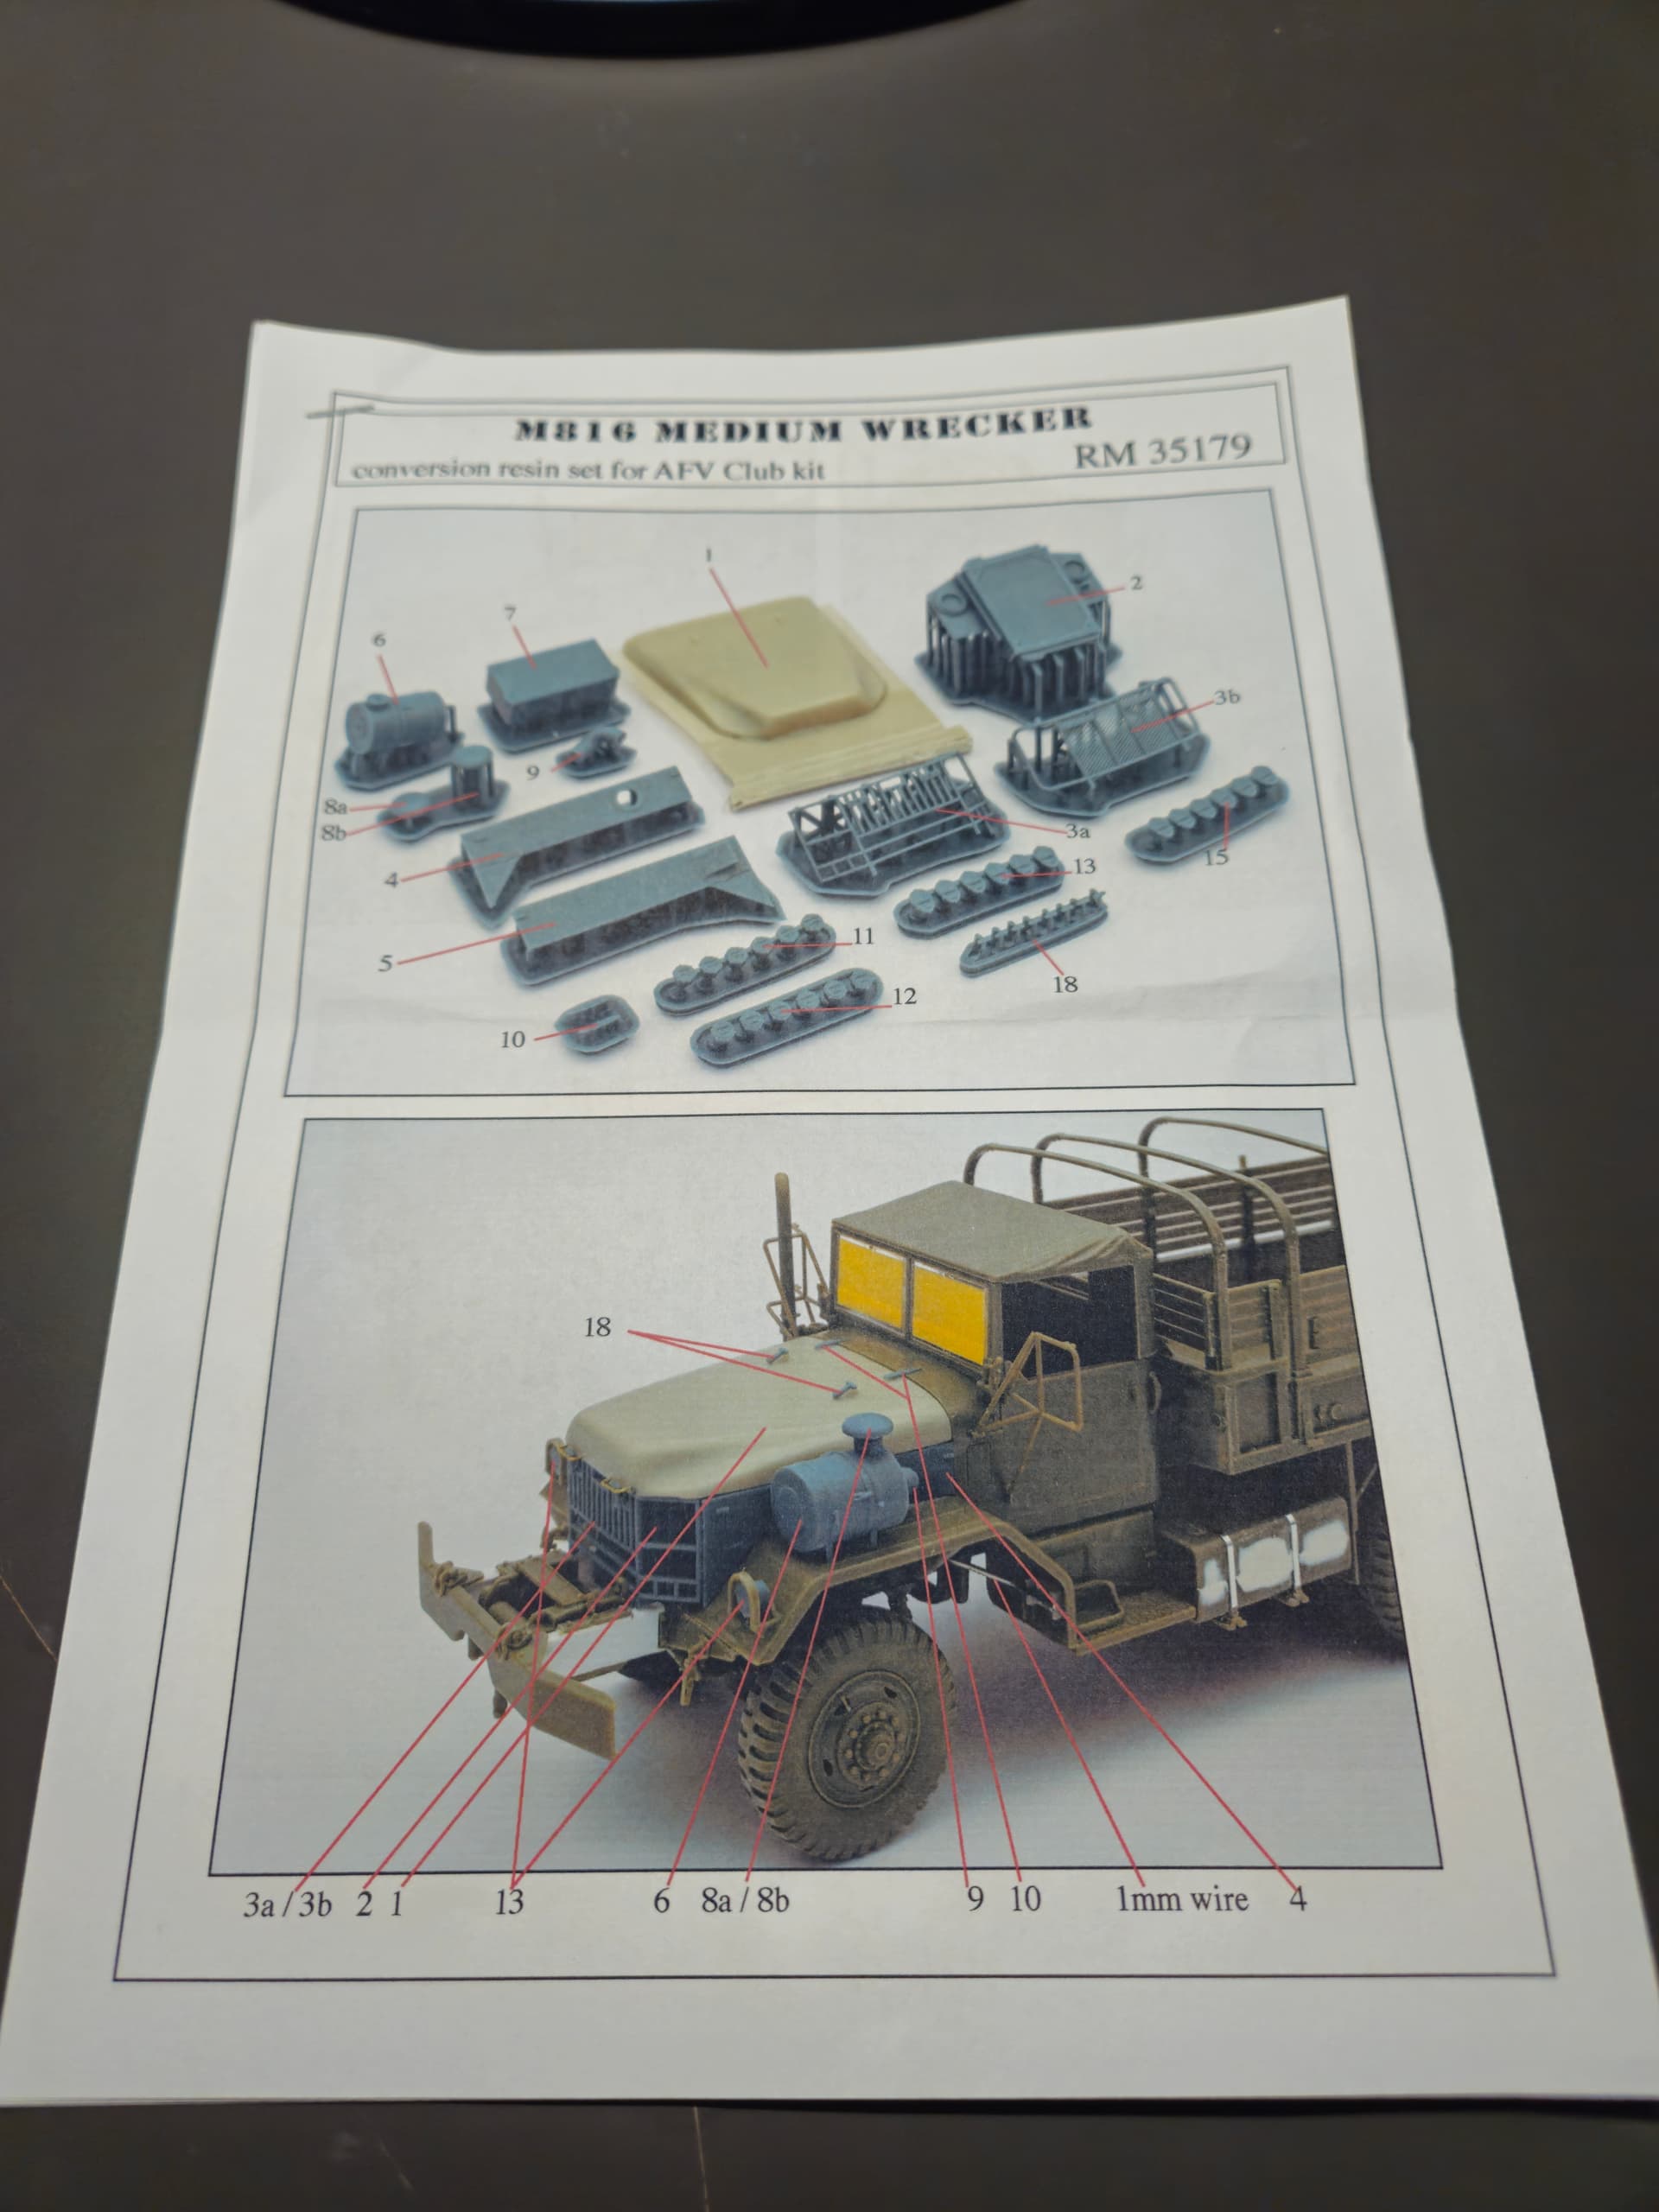
As for the instructions, it is printed on an ordinary color table printer and contains a general drawing of parts for both the extrusion superstructure and the kit for conversion from M54 to M800 series nose. For a while I wondered which parts are which because from the instructions it is not quite obvious and the plot of some parts is completely missing and one has to wonder where the part actually belongs, I eventually managed to locate all parts where they belong. Walkaround is actually the obligation for this model.
Unfortunately, I’m a little disappointed about the conversion for the M800 series nose.
There is no indication of how much the front of the frame has to be extended and there are no parts for the right and left side under the fenders. The M800 version has these parts quite differently than the M54. What I found so the conversion from Hobby Link contains these parts.
So I’ll try to suggest to the creator - Real Model - Mr Hrabaň whether he would like to create these parts in the future so that his conversion is flawless.
I started with the construction when I first assembled the rough frame and I started with the conversion to the M800 series front.
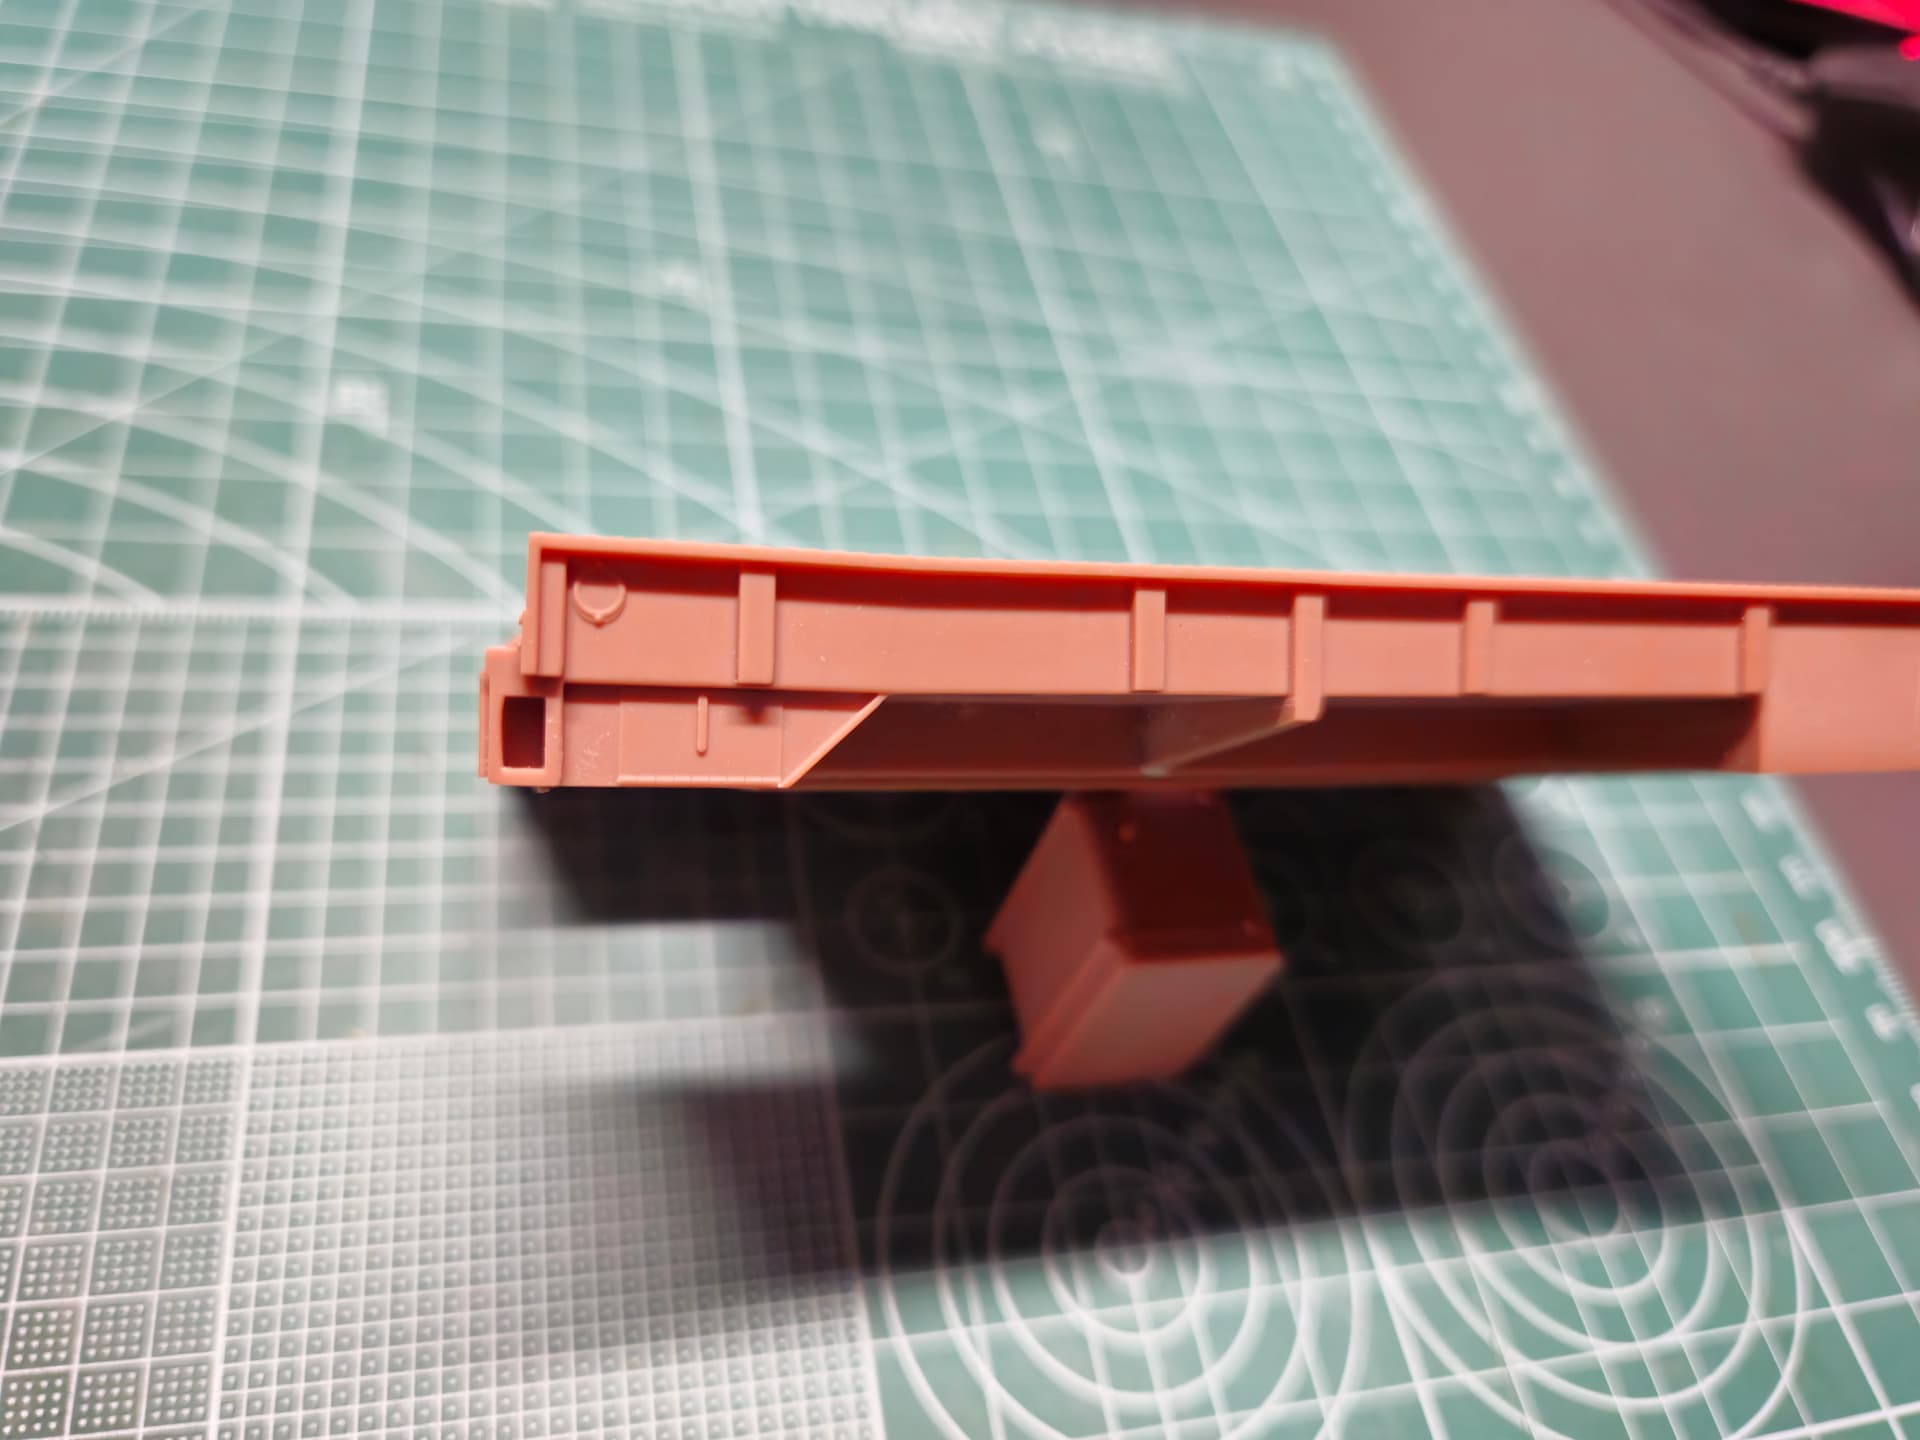
The hood is not 3D printing but classic cast resin. Unfortunately, the hood is quite out of shape. The part by the firewall is quite bent, 1.5mm wider and the bottom edges would have to be adjusted by 0.5mm plastic profiles to fit perfectly on the sidewalls.
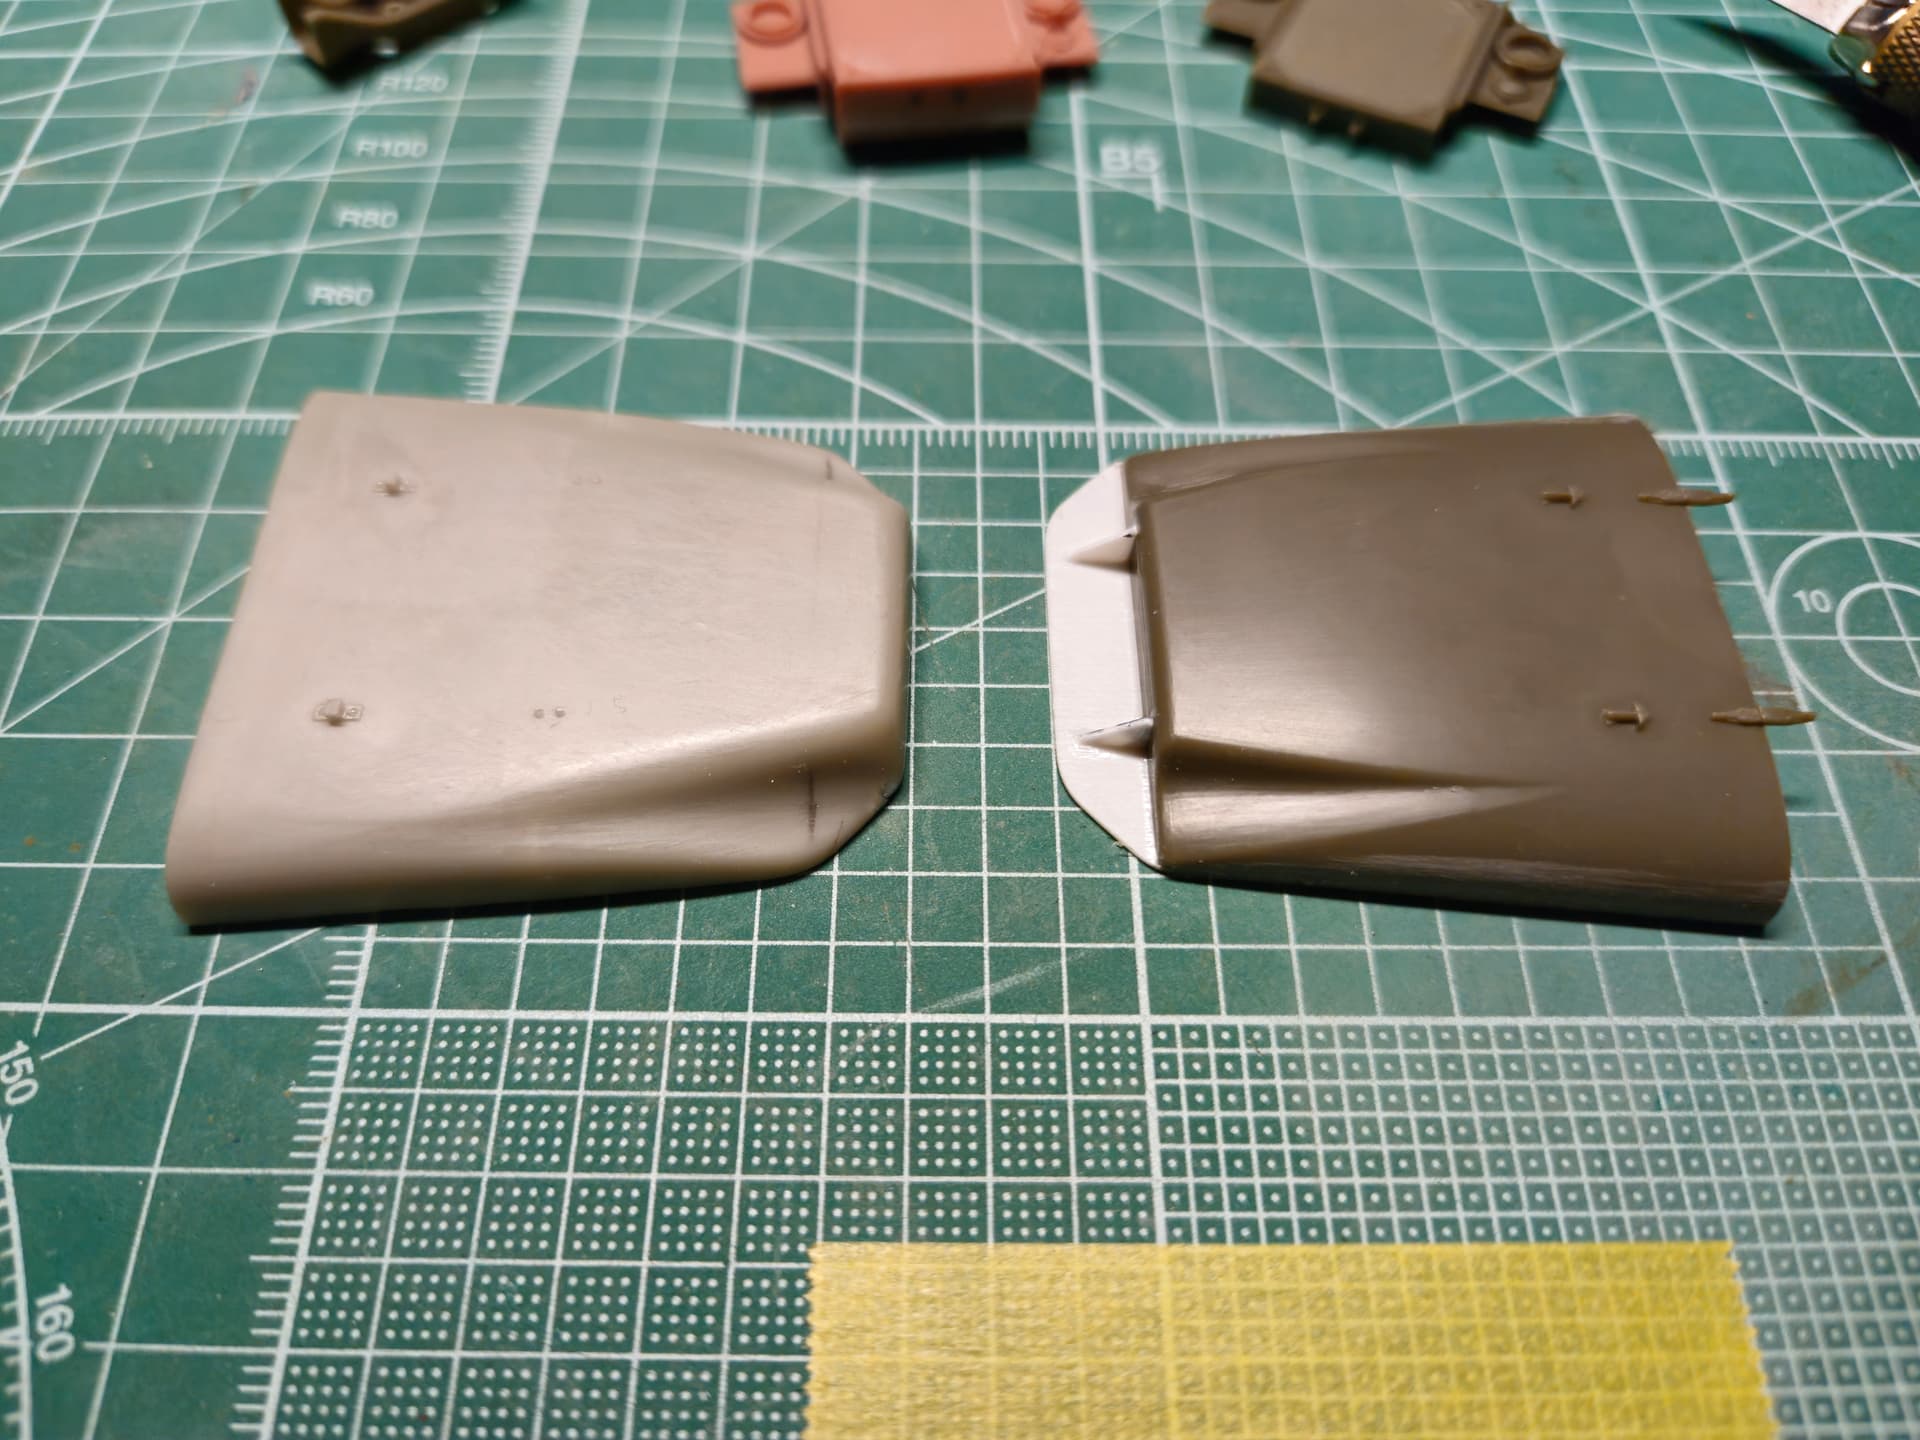
Now what to do… after comparing the basic dimensions of the M54 bonnet from the kit and the M800 bonnet from Real Model I had the idea to make my bonnet!!!
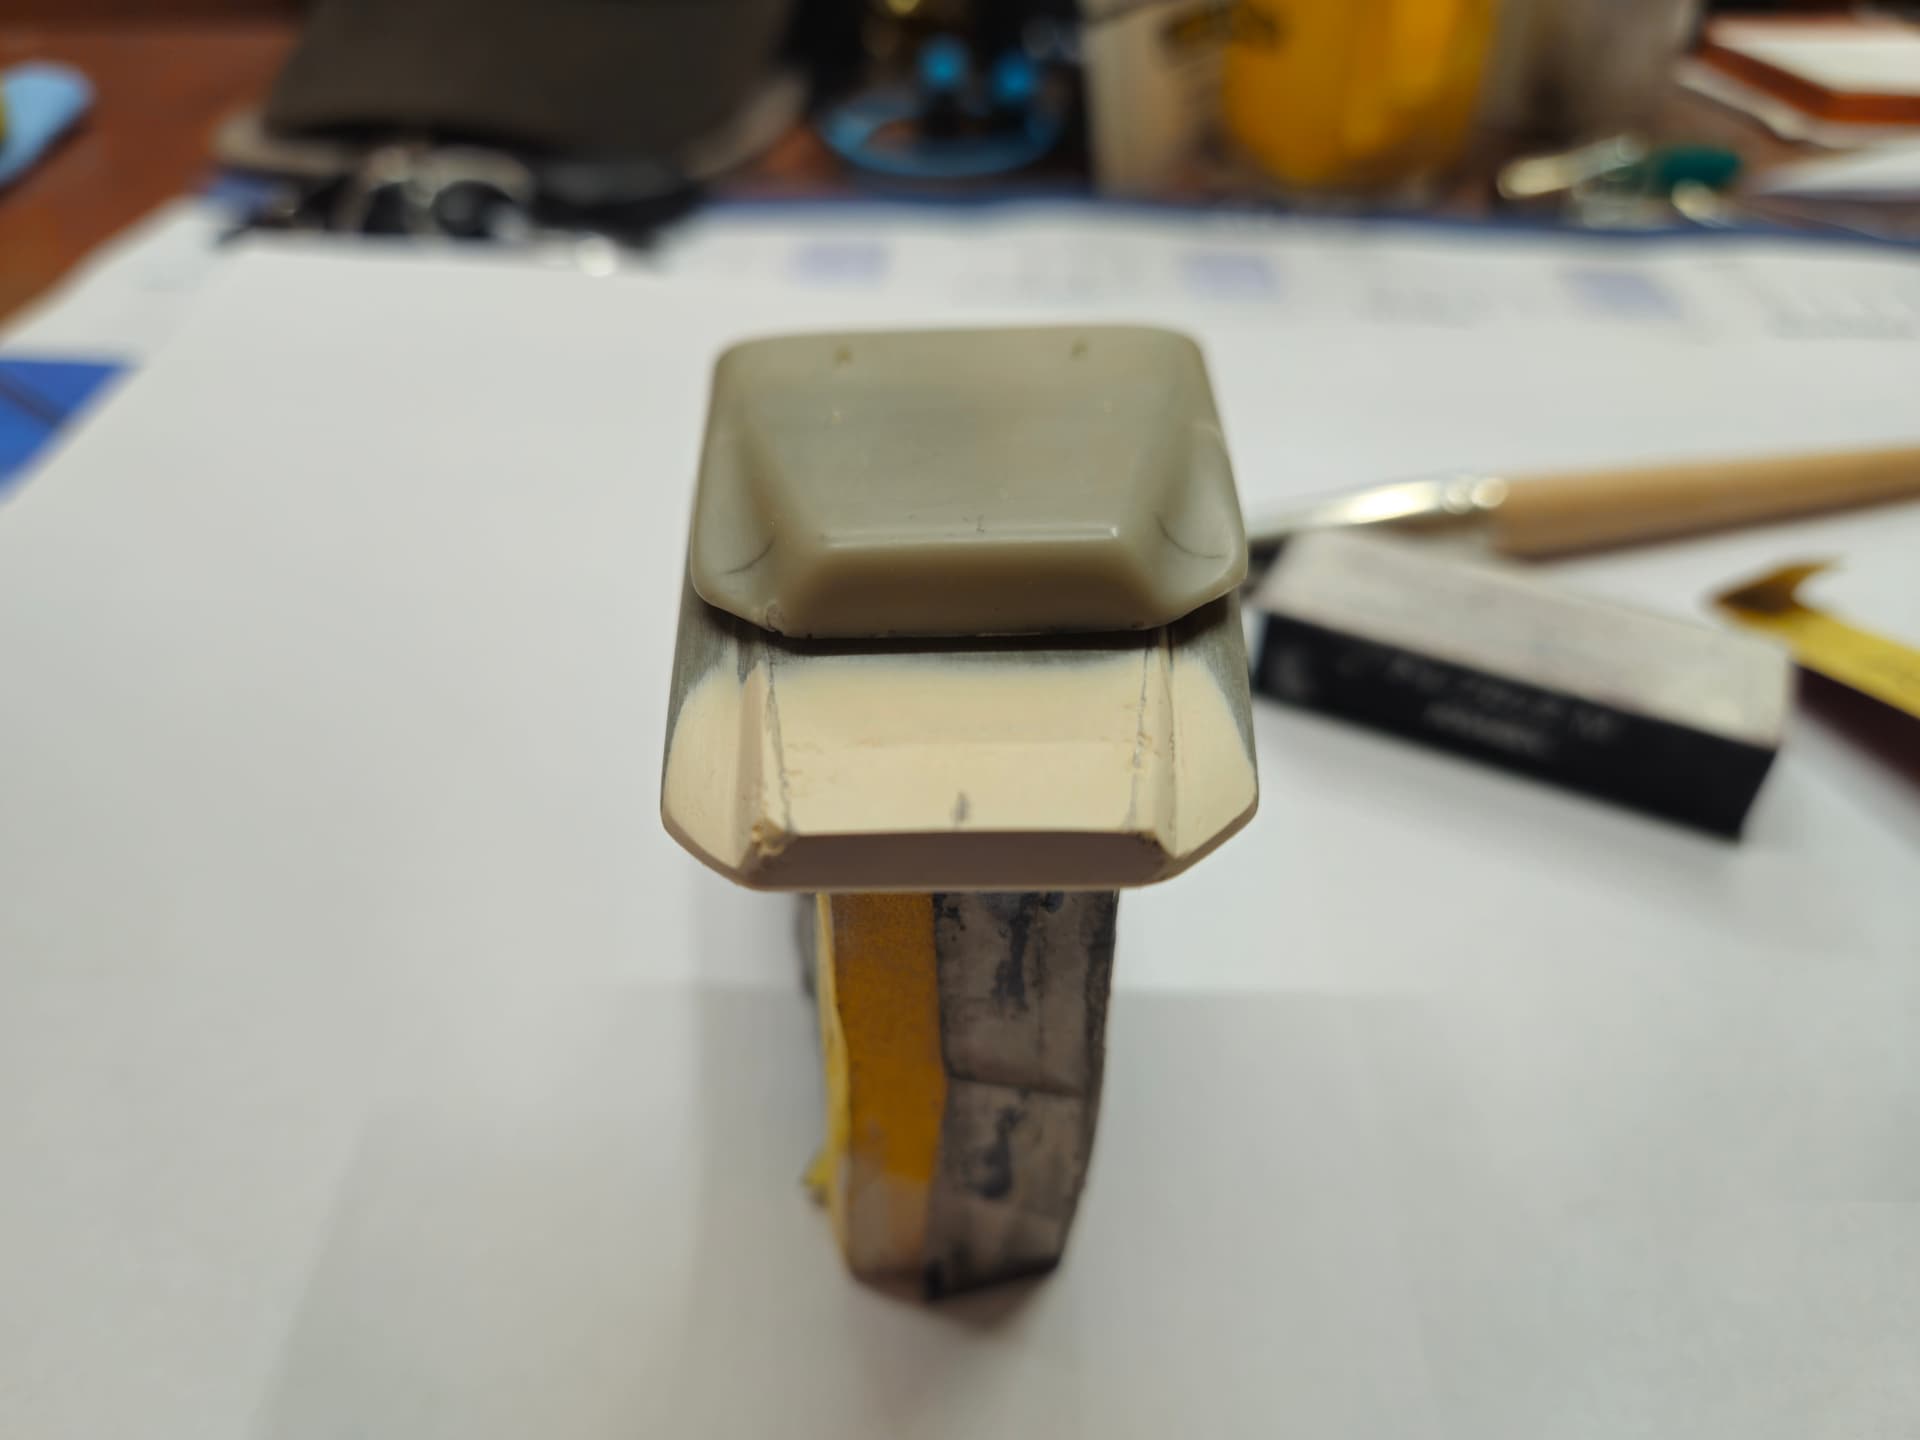
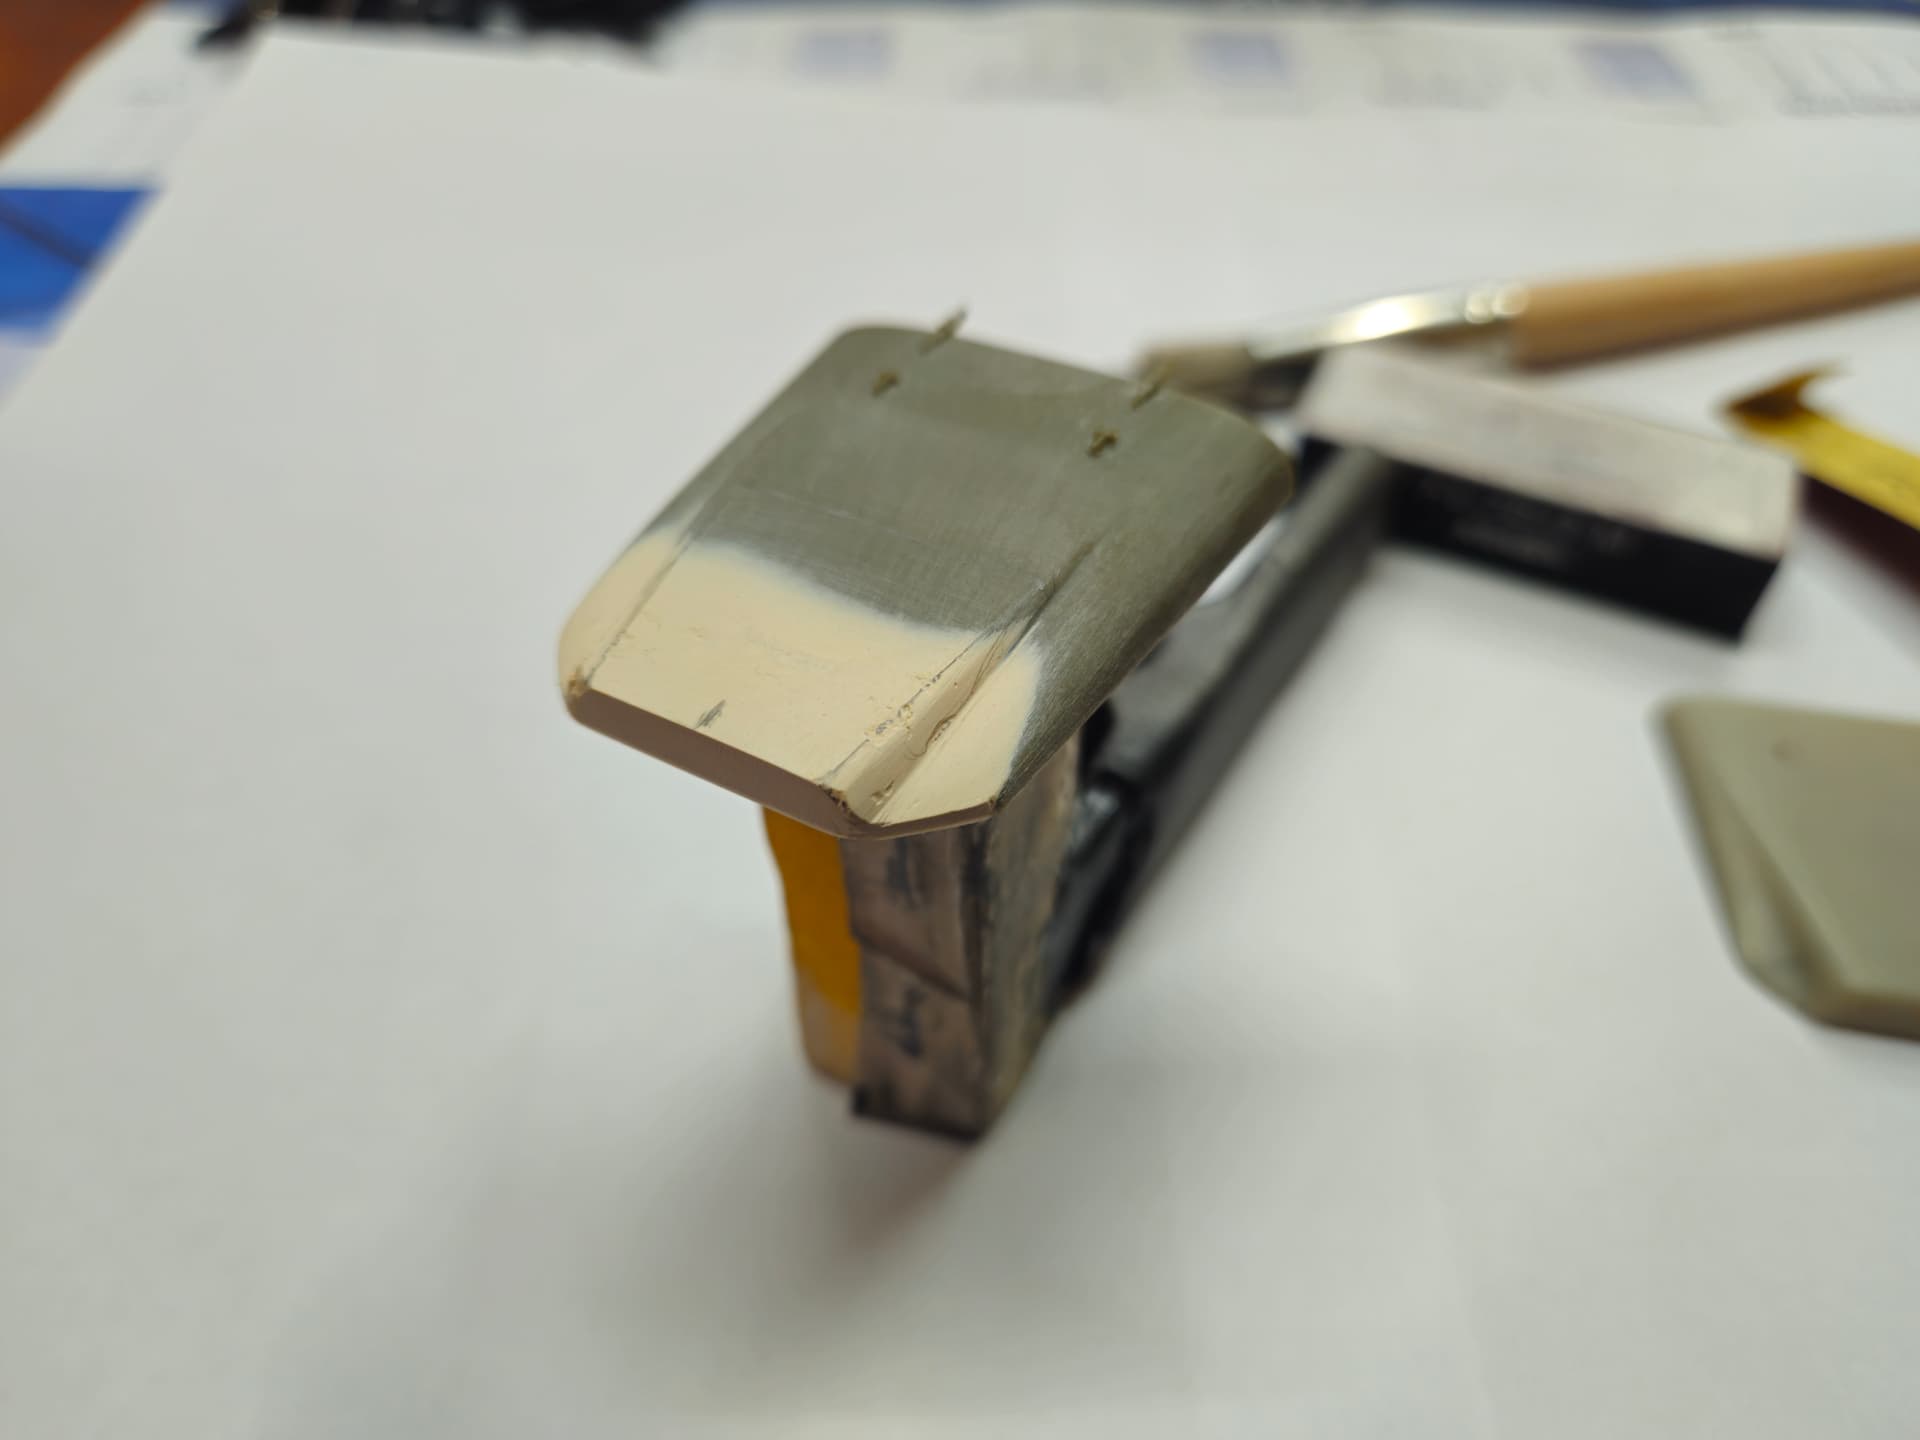
On the M54 bonnet from the kit I glued a piece of 1mm plastic plate, two small ribs for reinforcement and I sharpened the front radius. Then I used 2K polyester putty for plastic parts (thank God for my work - car painter )
And now it will be just sanding, puttying, sanding and checking the basic shape of the bonnet
The Real Model conversion isn’t bad when it comes to the salvage superstructure so it’s brilliantly executed. But unfortunately the conversion from the M54 to the M800 front is such a half-hearted one.
Hobby link conversion includes parts for M800 lower parts under mudguards that Real Model does not contain.
Since the kit from Real Model was not cheap and delivery was in a matter of days as it is a domestic manufacturer (czech republic) so I will finish it in some way.
For the next time I will be looking for a set from Hobby Link, because 5 tons of M800 series is never too little and I have a few other conversions in my head that I would like to implement.
Your English is fine George! Apart from HL ( before it really) we had a 3D designer on this site called Mikeybugs. He produced some excellent M800 cab sets which I’ve used to build a 5-ton troop/cargo and a pod-type refueling truck. Don’t think he’s producing nowadays but his work ( (I still have a couple of sets to use) was excellent.
Incidentally, dont know if you saw but HL has just announced a double pod, pump and reel set for the 5-tonners. I know PSM in Germany still make one but, if you’re a fan of 3D it might be worth a look.
He’s also making individual pods as a separate item.