You are making some magic happen here Mal. The cockpit looks superb… So much great detail that is easily visible. Fantastic work and the compass is exceptional mate … well done Sir !!
1 Like
Amazing work Mal ![]()
![]()
![]()
That cockpit looks just like the real thing ![]()
2 Likes
Mal the added detail you are doing is just outstanding ! The added scratch built harness release , xtra piping , just keeps making the Spitfire look even better .
I haven’t started mine yet , kinda struggling with the paint colors . Compairing Model Air to Mig some colors seem to light or to dark .
Then I think about canning both of them and just go with Humbrol colors . The only problem with Humbrol is that it’s (Hot Paint) Enamel requiring Enamel thinner and the fumes could be a issue with me . I lost 1/2 my right lung August 1st of 2022 to Cancer .
I just want this build to be as realistic looking as possible .
Again Mal you are doing a Awesome Job to a Iconic Air Craft that played a major role in the War !
2 Likes
@Johnnych01 Thanks, I’ve been procrastinating over the Tamiya Mk IX because I want to do it justice. This build is giving me the inspiration to go and get it built. ![]()
@Russelle Thanks, I’m not sure about it looking like the real thing but I like that you think that. I do like all the detail though. ![]()
@Phantom13 Yes, adding those little details does make a difference, I’ve not added any piping though? I don’t use any other paint than MR.P for the main painting but for detail painting, I tend to use Humbrol. I’ve tried acrylics and they are not as bright and seem to get rubbed off in which places with even the slightest handling so I’ve had to re-paint those areas!
1 Like
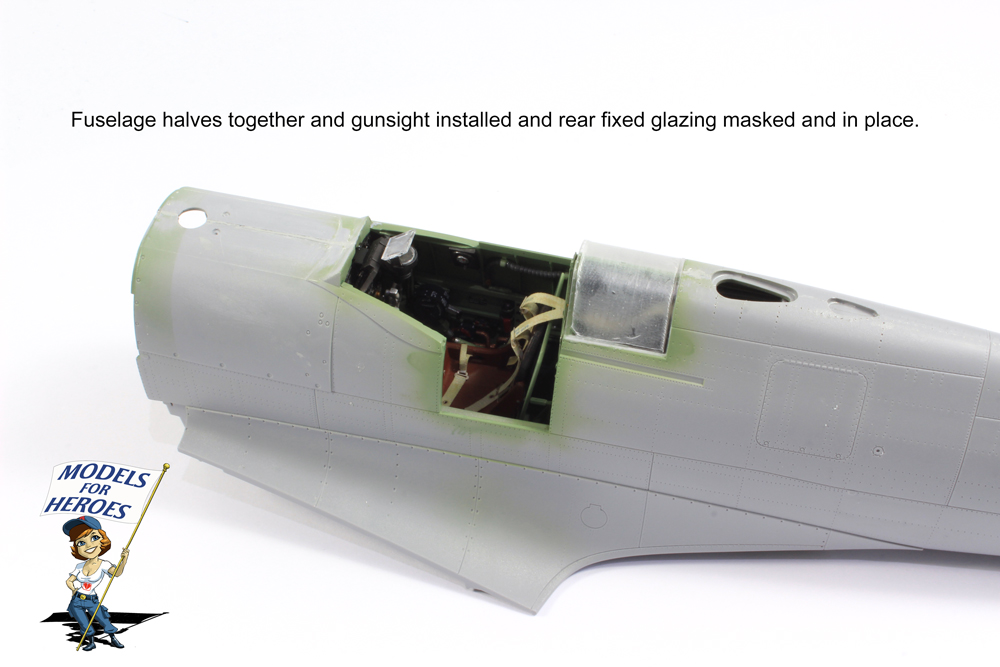
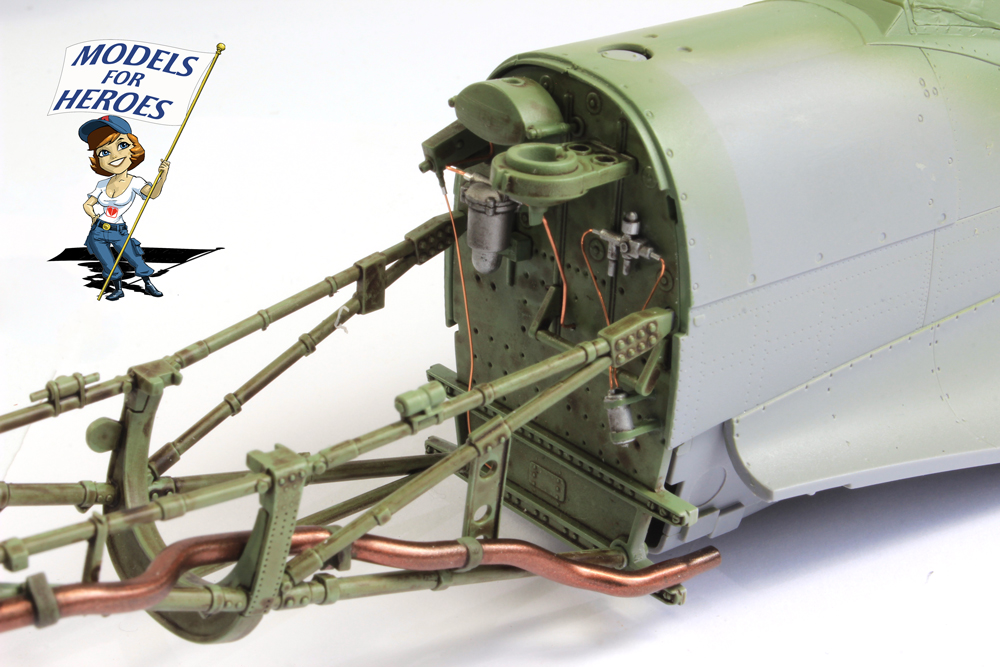
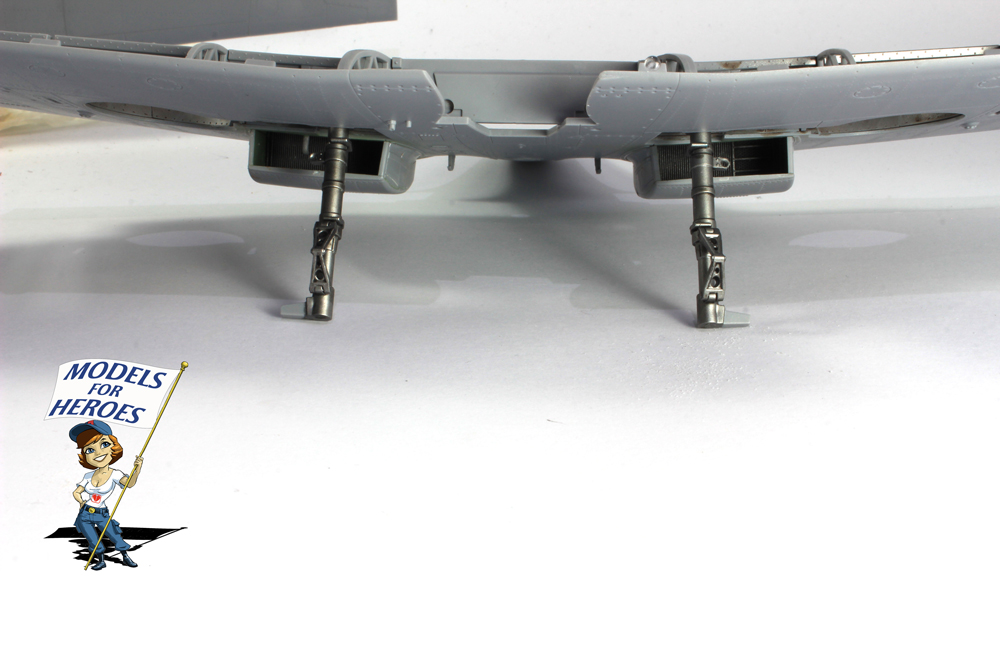
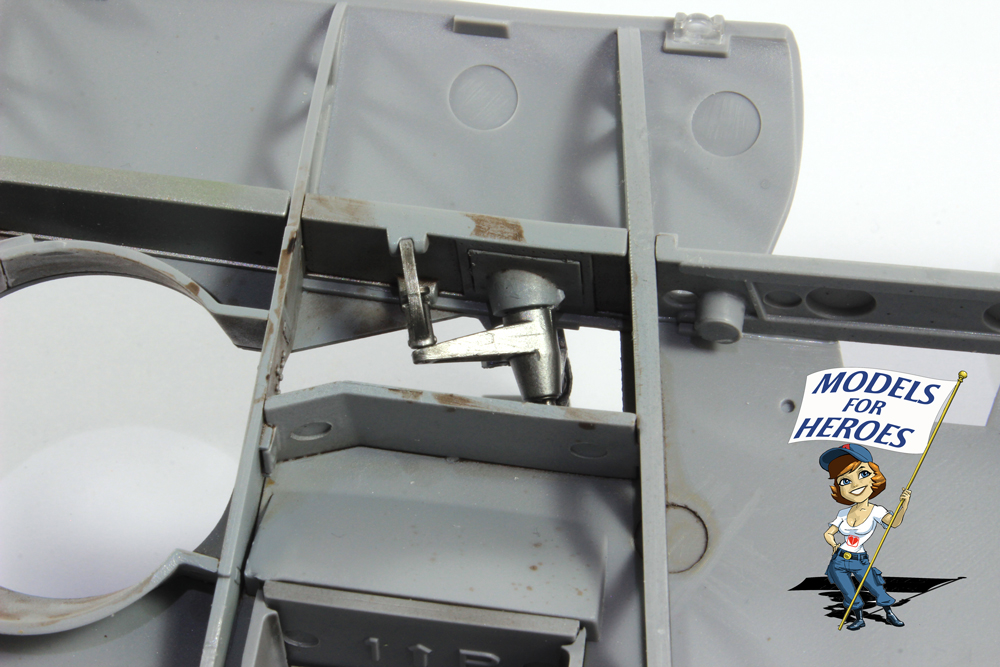
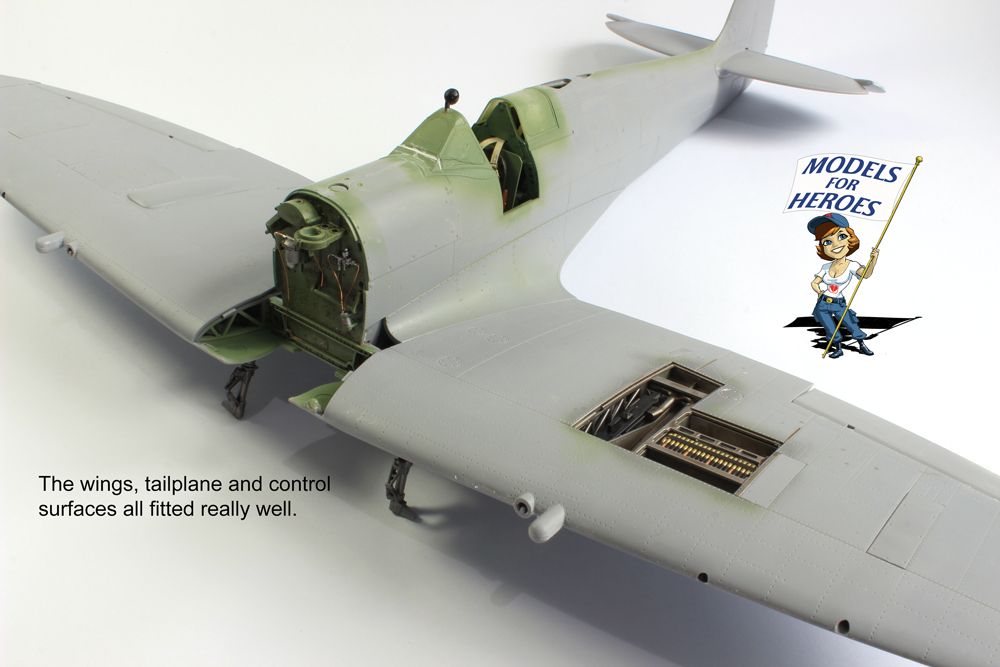
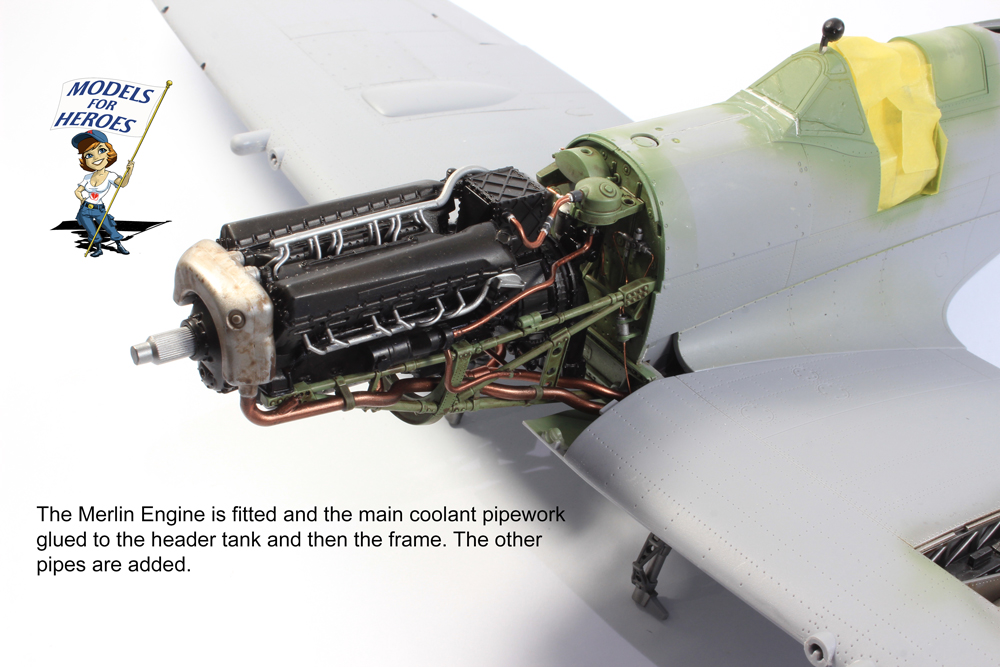
It’s been a while since I last posted but I have been working on the big Spit. Most of the delay was trying to find references for the pipe runs from the ancillary items on the engine firewall. I never did find a definitive answer so, in the end, I went with what I could find out and gizmology. In the end with the engine in place, you don’t really see most of it anyway. The wings and control surfaces are on and I’m now procrastinating about fitting the engine bearers, engine and panel framework so that I can temporarily fit the cowling panels to be able to paint them accurately.


6 Likes
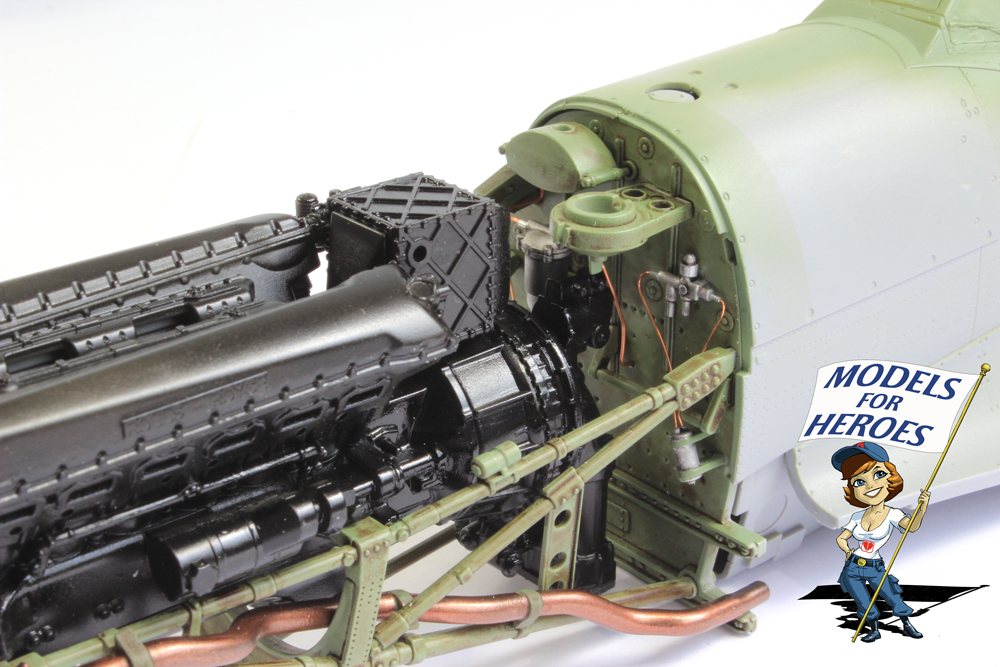
That is coming along great Mal. Really like like the engine mounting frame and the copper wire/piping. That s looks brilliant and a nice vivid contrast. Will you keep the engine cowls removable ? The fit as a whole looks pretty good from those pics you posted …
1 Like
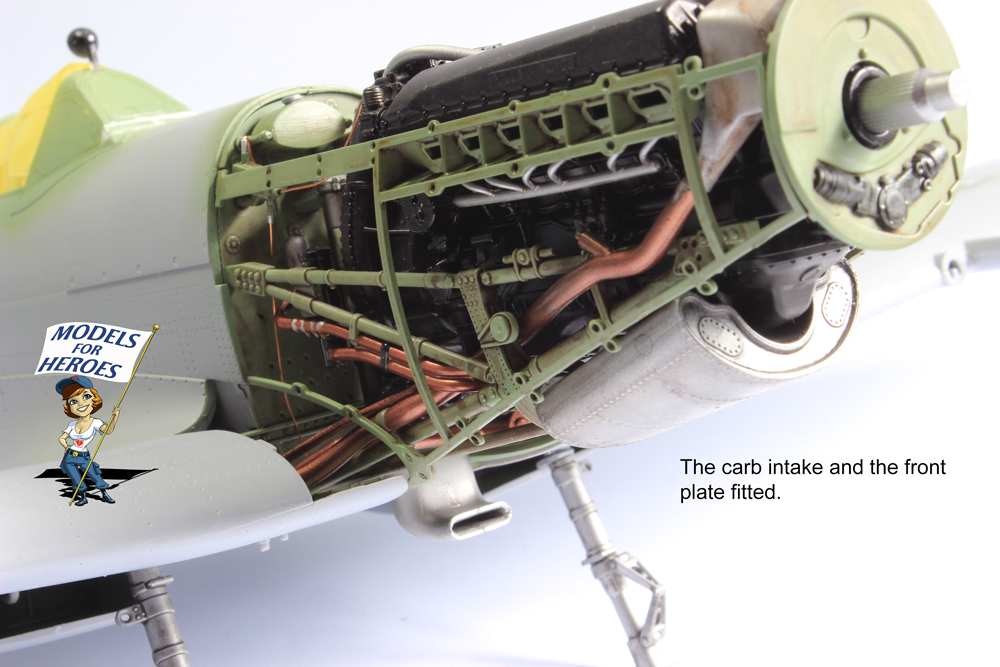
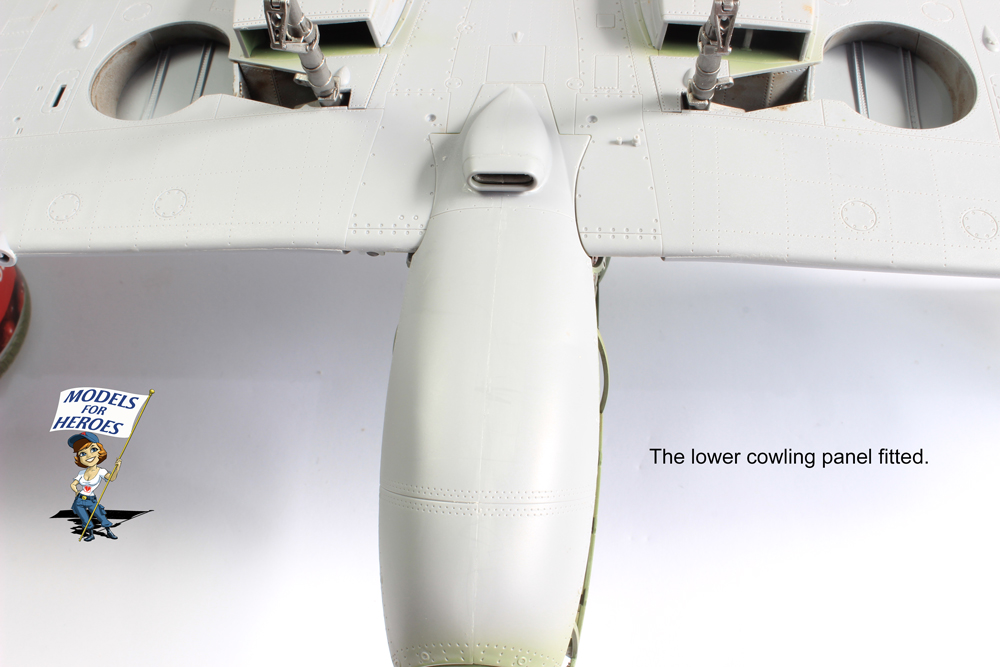
Yes, I’m pleased with how it’s going and yes, the fit is good. I will have the engine panels off but I want to temporarily fit them for painting. I am also intrigued as to how well the panels fit. With the 1/24 Typhoon many builders complained that the engine panels didn’t fit but mine did fit well. So that must have been down to something and I reckon that it was about getting the engine framework fitted correctly and therefore ensuring nothing fouled. So I have test fitting the engine and bearer framework several times. But to test fit the cowling panels I need to fit the panel support framework and to do that I need to actually fit the engine bearers and engine. So, when I have painted the panel framework that’s what I’ll be doing then I can start painting the camo. So I am procrastinating figuring out what I’ve not done!
3 Likes
Its all about the planning to achieve the required goal …
1 Like
Looks great, Mal! ![]()
Good to see this one progressing again ![]()
3 Likes
I like models in that big scale, will follow your progress✌
1 Like

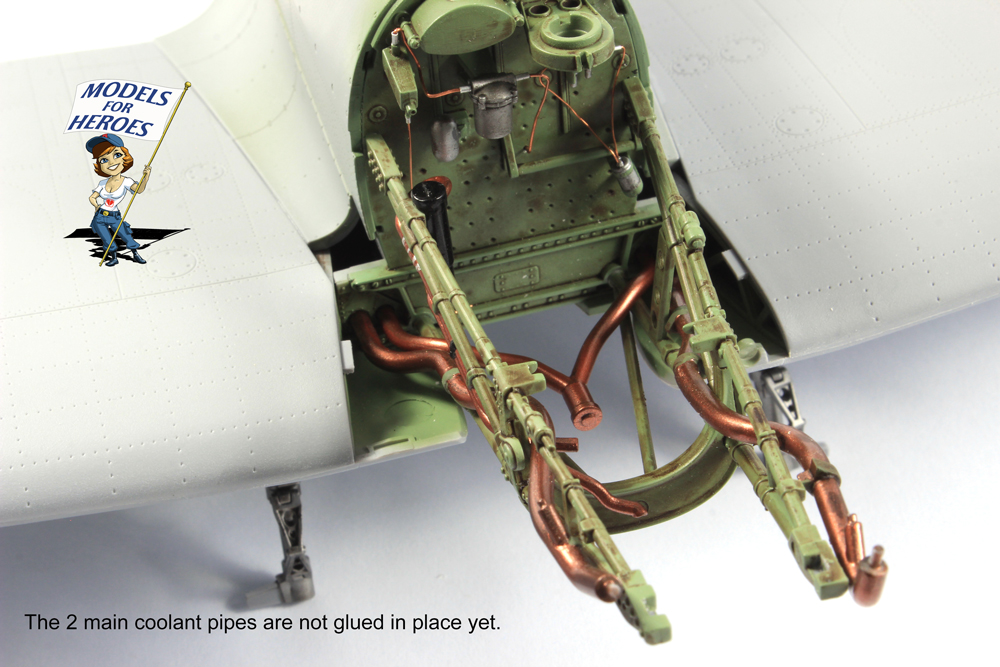


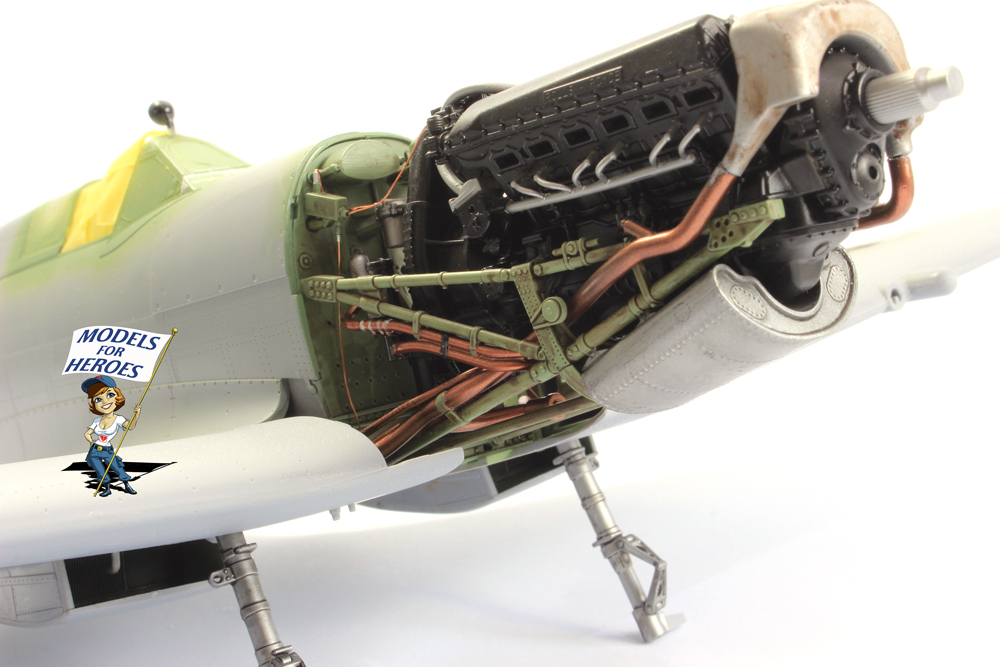


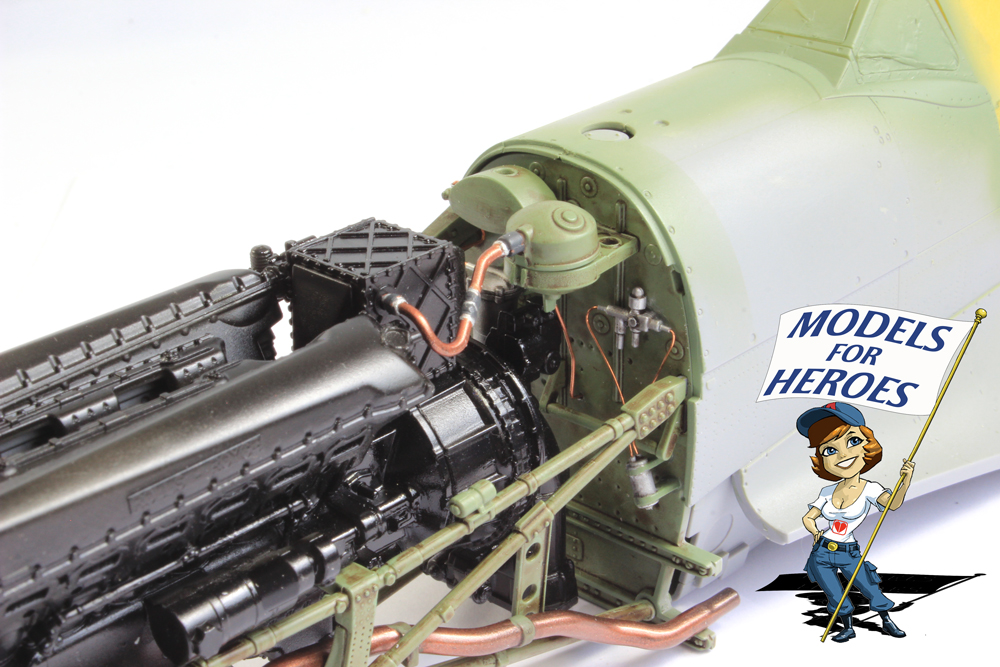
That is looking exceptional Mal…the engine is looking nothing short of superb mate … The copper piping under the engine twisting through the frame, is that just kit plastic sprayed or actual piping you’ve fabricated ?
3 Likes
Thanks. The engine and 99.9% of the piping are from the kit. I’ve only added some small stuff to the firewall. The main pipe from the coolant header tank on the port side is nicely convoluted and takes some thought to weave it around the bearer frame. Many have resorted to cutting it in half but I trusted Airfix and worked it out ![]() e rest is simple and straightforward. The whole thing goes together very well.
e rest is simple and straightforward. The whole thing goes together very well.
2 Likes
Good thing you didn’t mind the Negative Nancy’s. That instrument panel is superb!
One way a visiting team silences the raucous home crowd is to knock one out of the park.
3 Likes
Negative Nancy’s? I don’t listen to anyone else I just get on with it. ![]()
3 Likes
Looking really good Mal !!! The Engine is a work of art in it’s self .
Are you going to paint the Rolls - Royce on the Rocers Covers Red ![]() ?
?
1 Like
@Holdfast Beautiful work Mal, I am not sure that I would have been able to hang in there with all this detail, I tend to loose interest when the process gets too long and then the model is stuck and rarely gets finished.
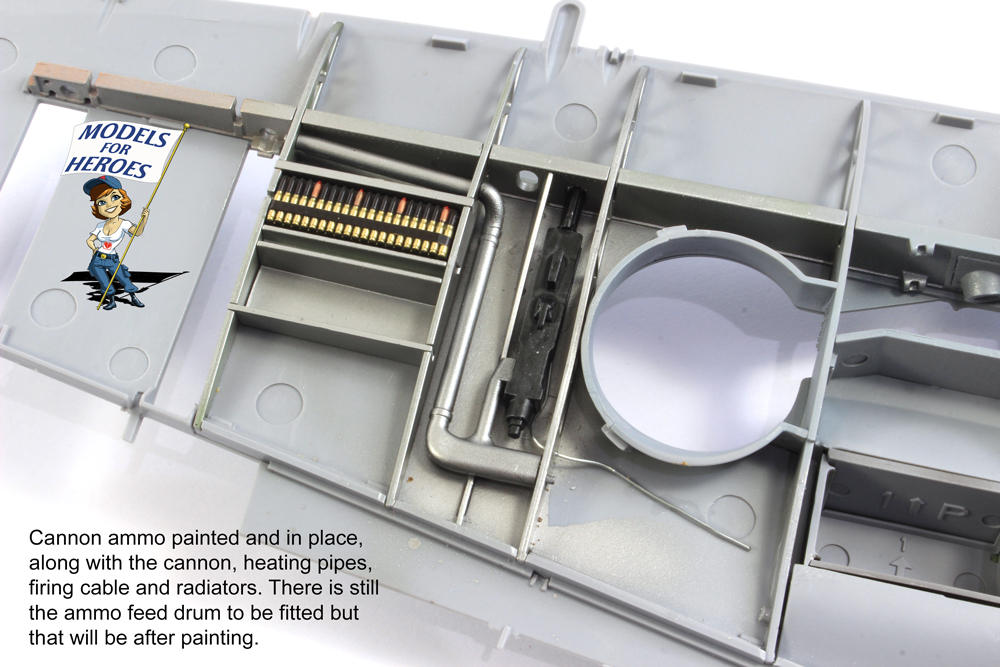
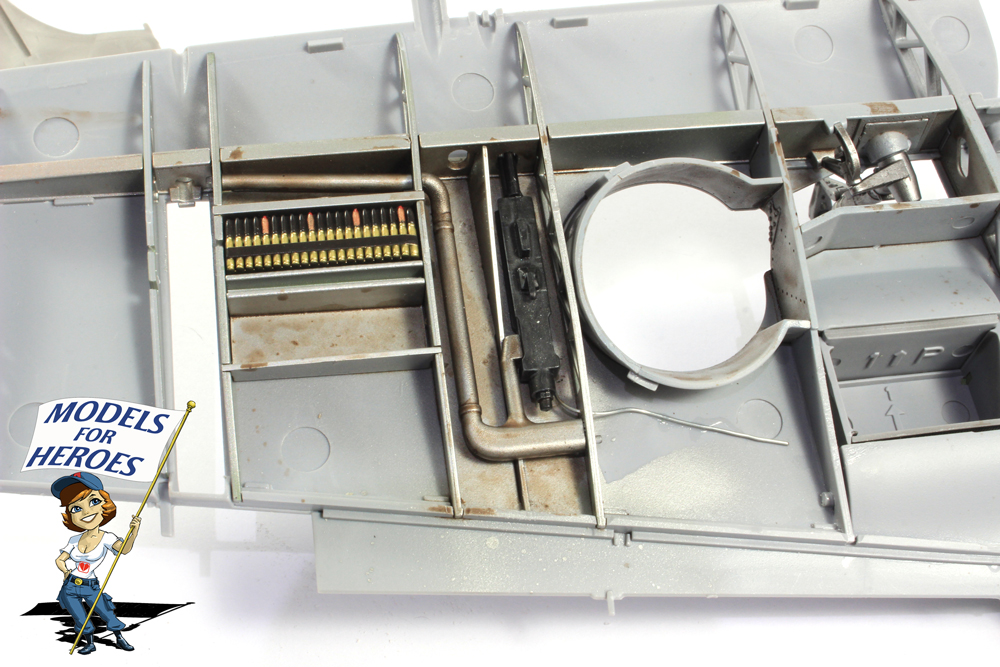
I see that you like your ammo belts with every fifth bullet a tracer. Have you ever tried every sixth, that’s my favourite ![]() ?
?
![]()
Magnus
1 Like
Tracers come preloaded in a belt. It would be a huge pain for the crew to change up the sequence for every belt, and for no added benefit that I can think of.
Of course, my info is for modern .50 ammo.

2 Likes
Amazing, Mal ![]()
1 Like
Thanks, yes the kit certainly delivers. Why would I paint the Roles Royce logo red?