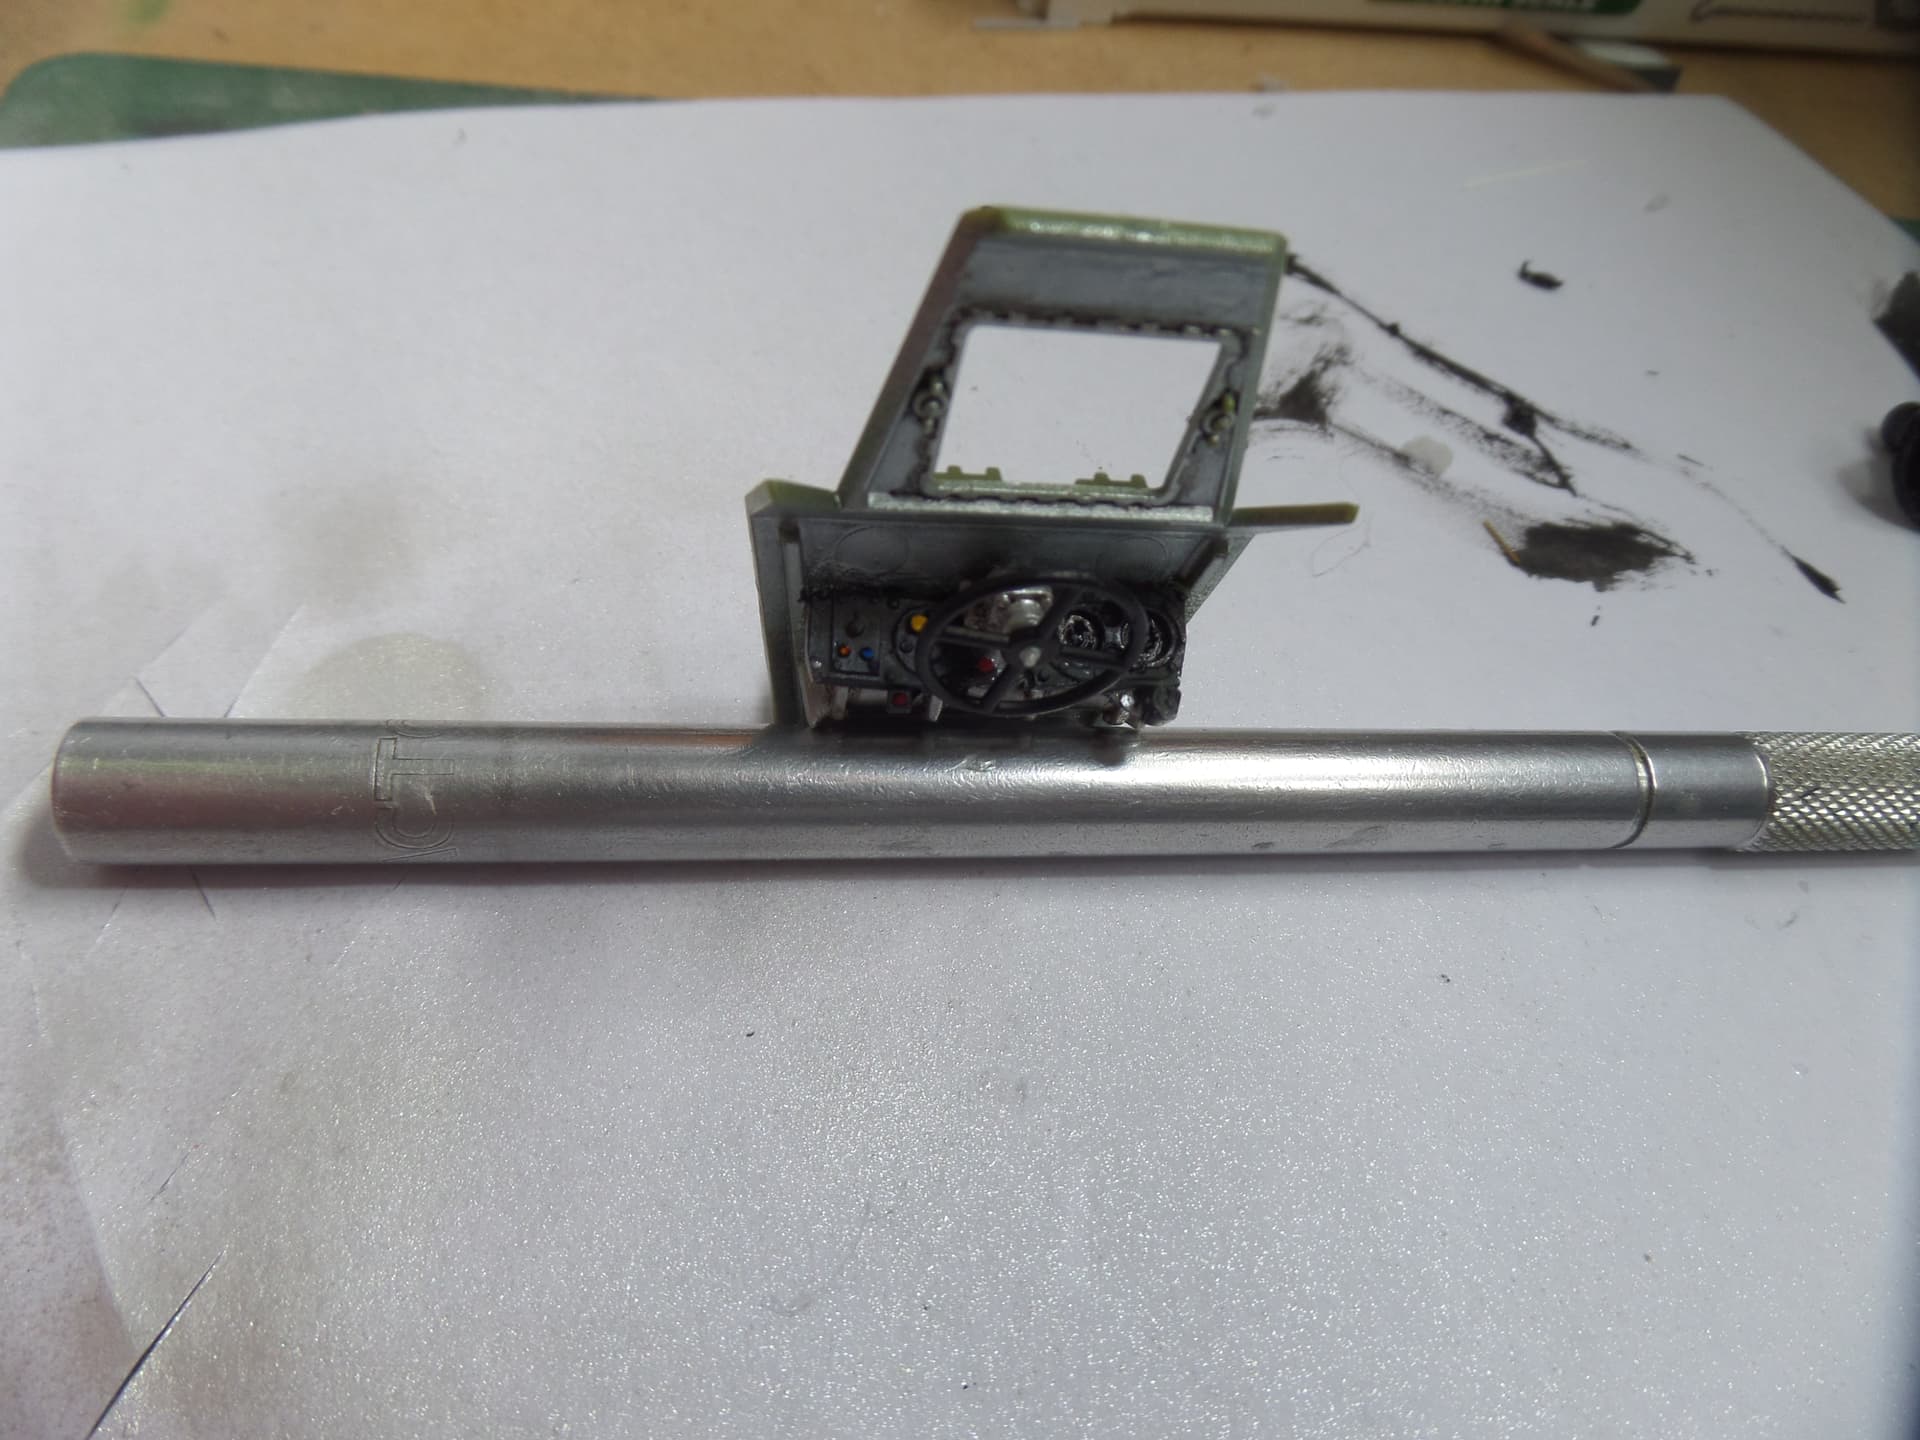
Not in the set no, the Airfix kit itself is wrong as it gives a very simplistic gearbox cover. The SMM update depicts this correctly and the seat sits on rails on the gearbox cover. I decided to build the crew compartment first and realised later I may have an issue with the drivers instrument and electrical panel. If I do then I’ll sort it at that time.
2 Likes
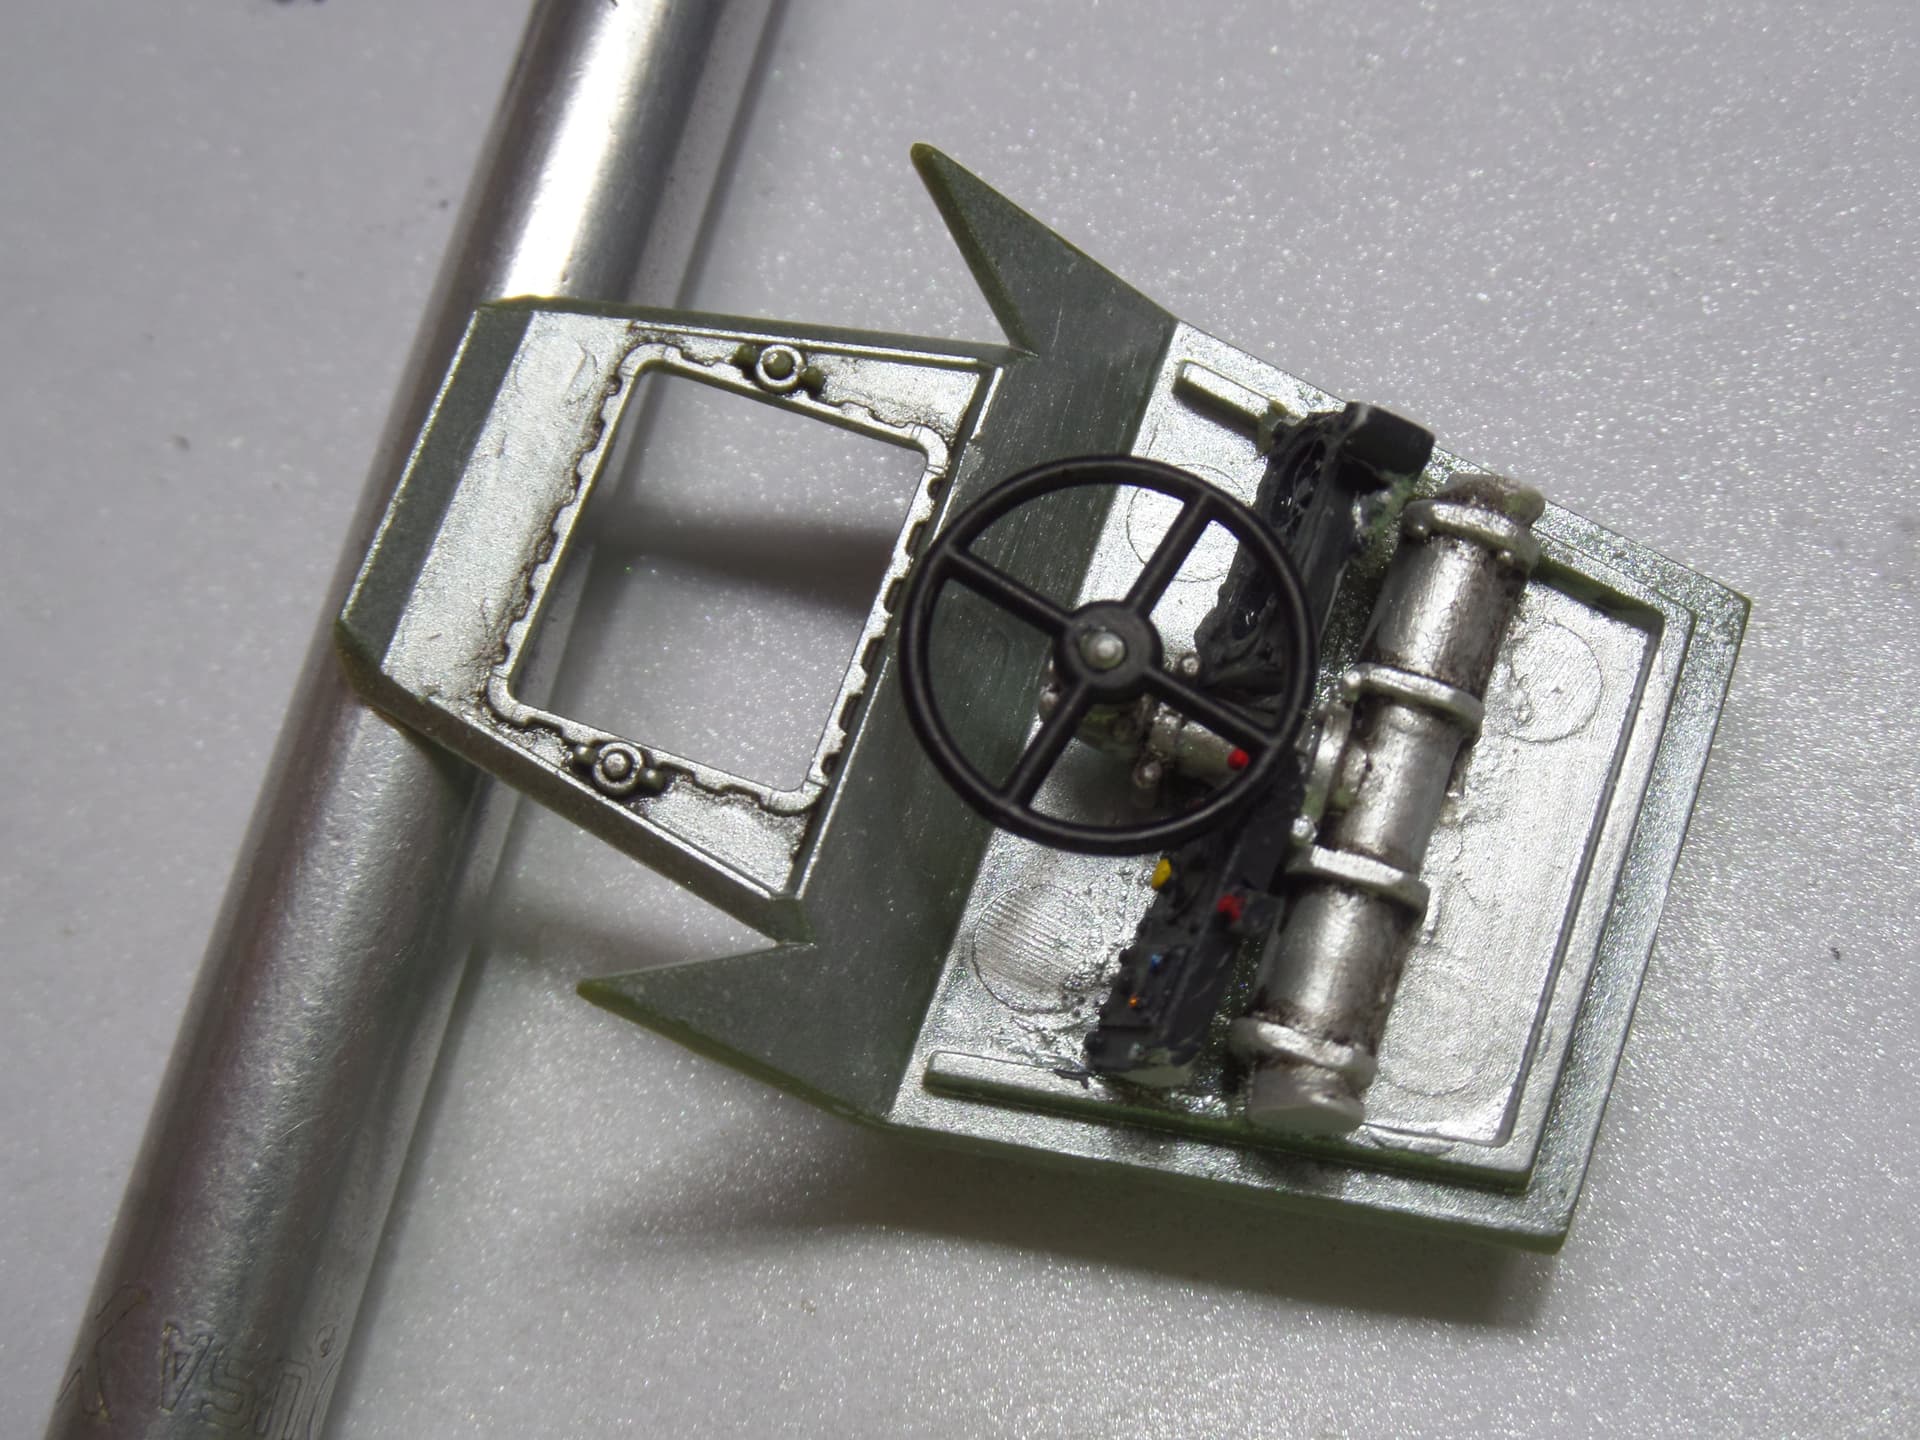
Continuing with the glacis plate and interior. The front fits fine with a little sanding of the instrument and electrical panels. The dials are from an Archer decal set meant for a Krupp Protze. They won’t really be visible but I’ll know they are there.
A quick pic showing the plate flat. Didn’t bother with the knock out marks as they aren’t visible once fitted.
8 Likes
Very nice
3 Likes
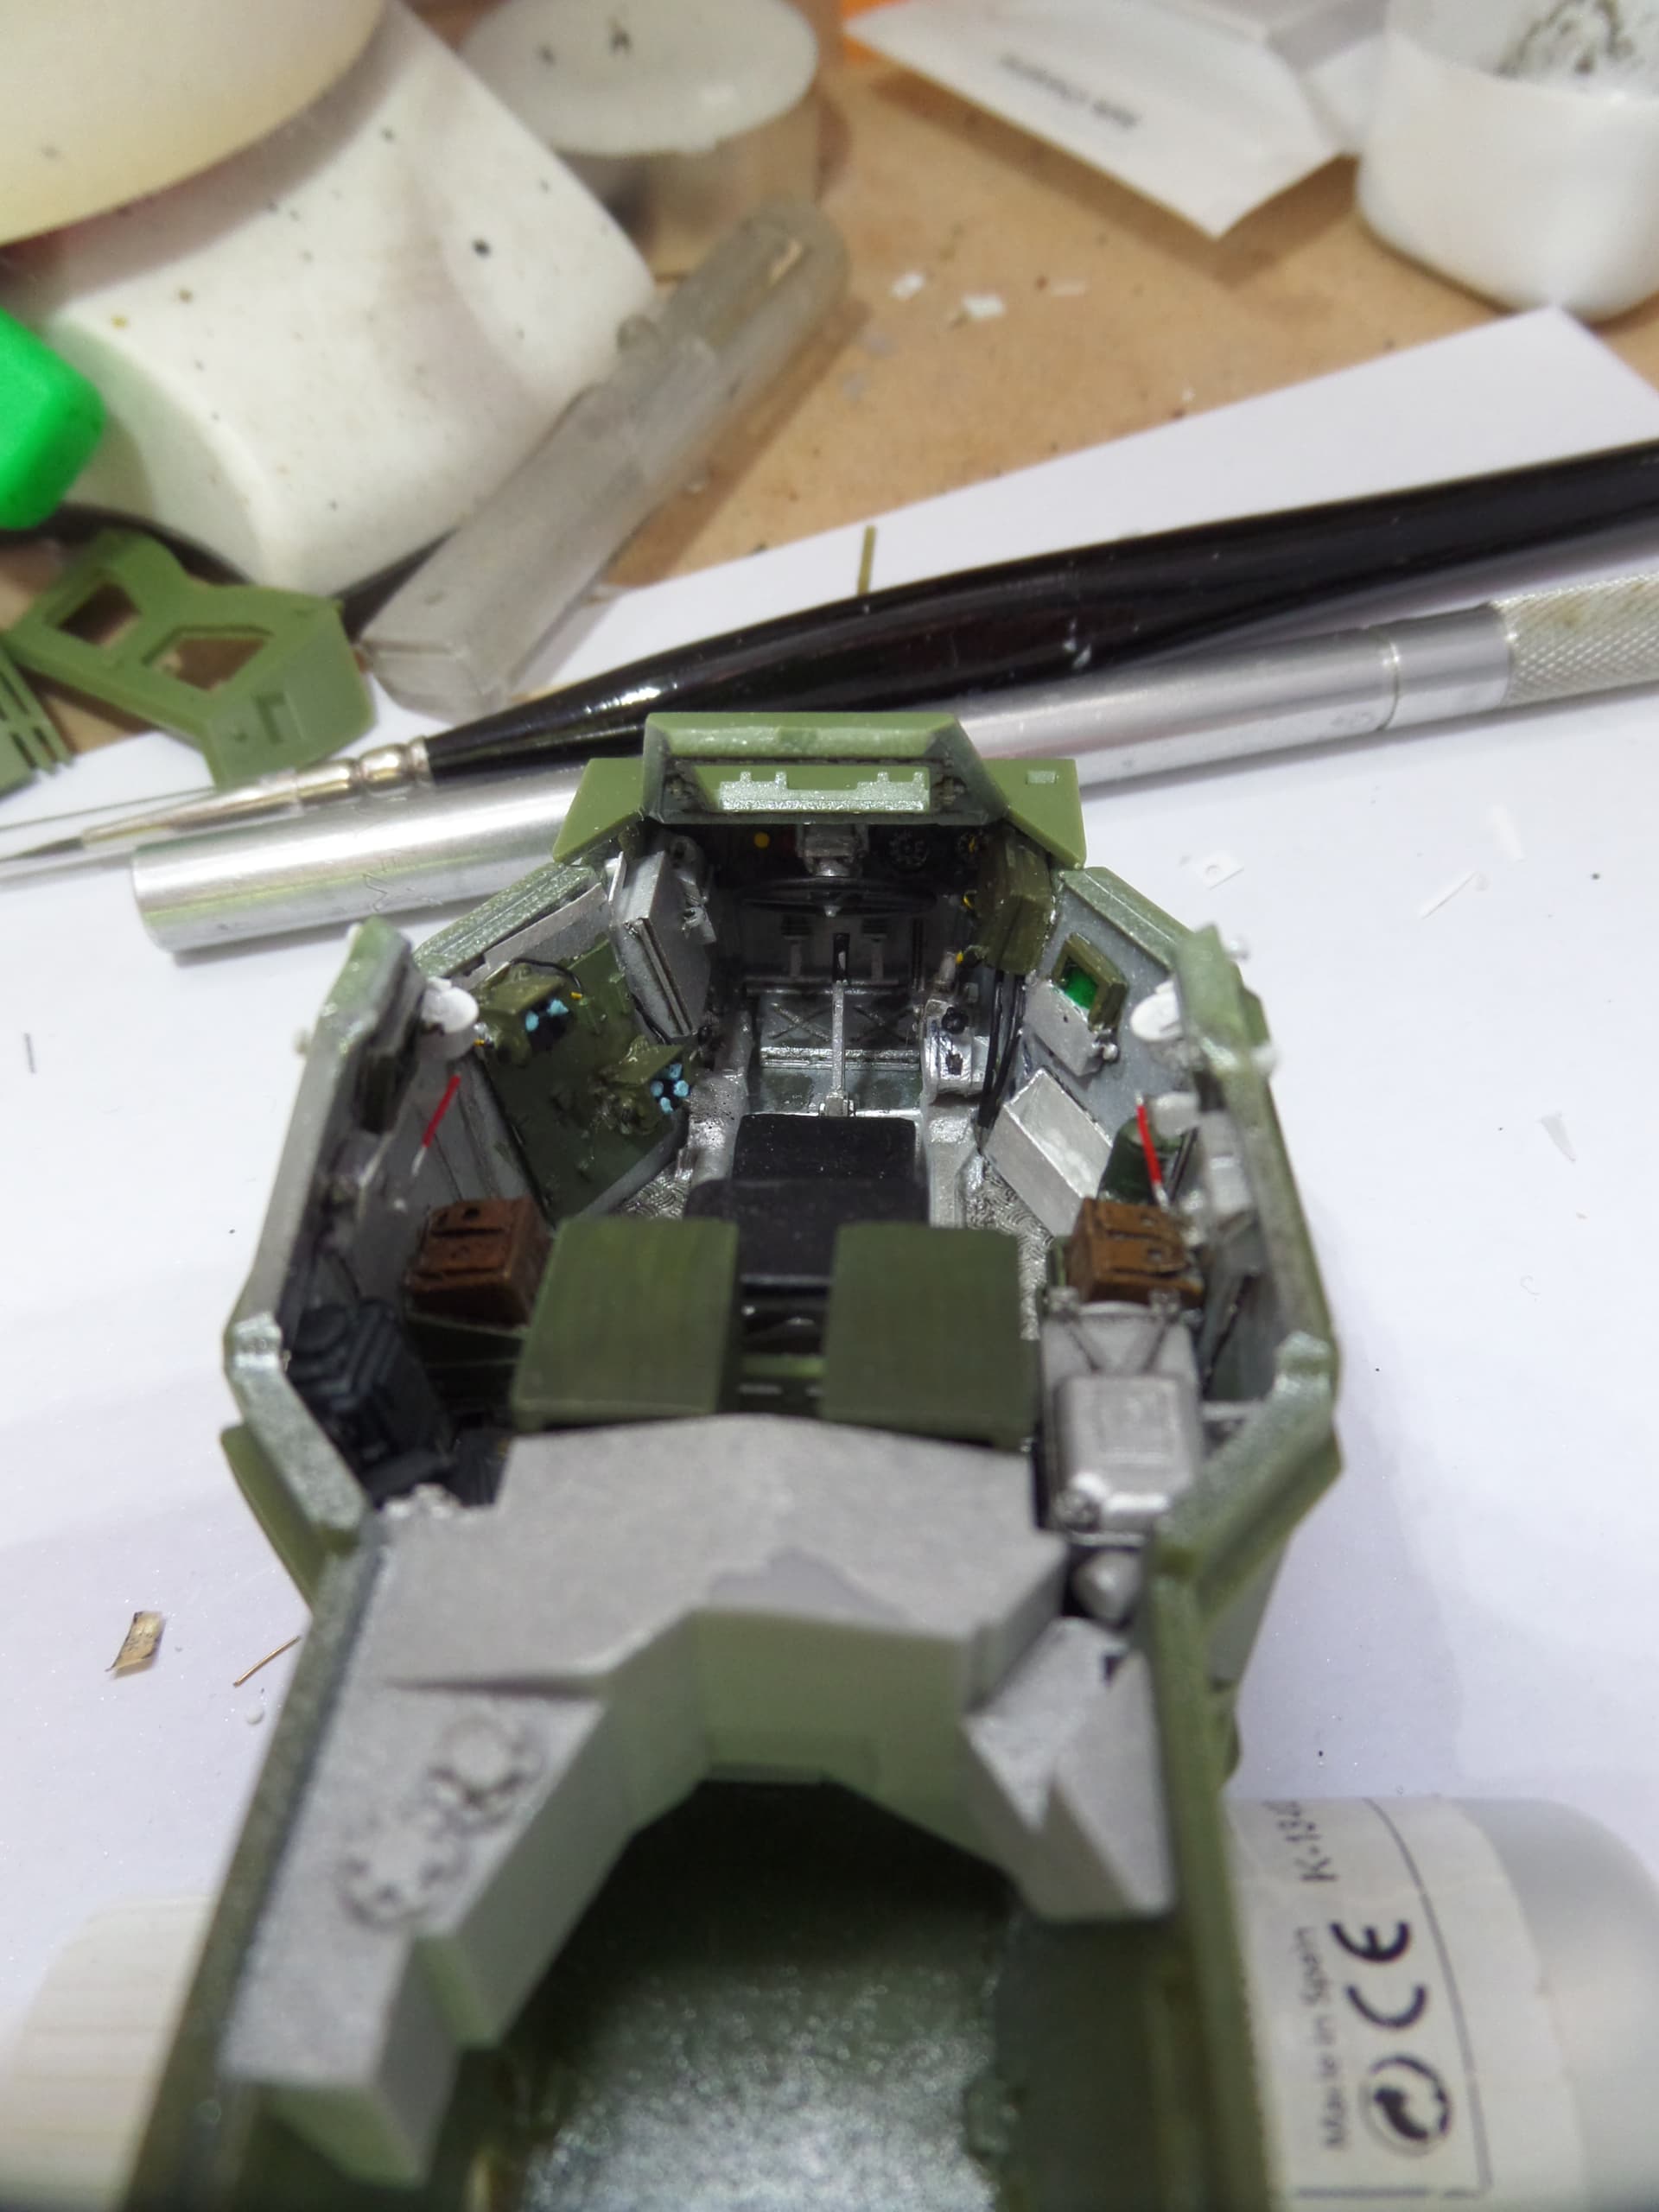
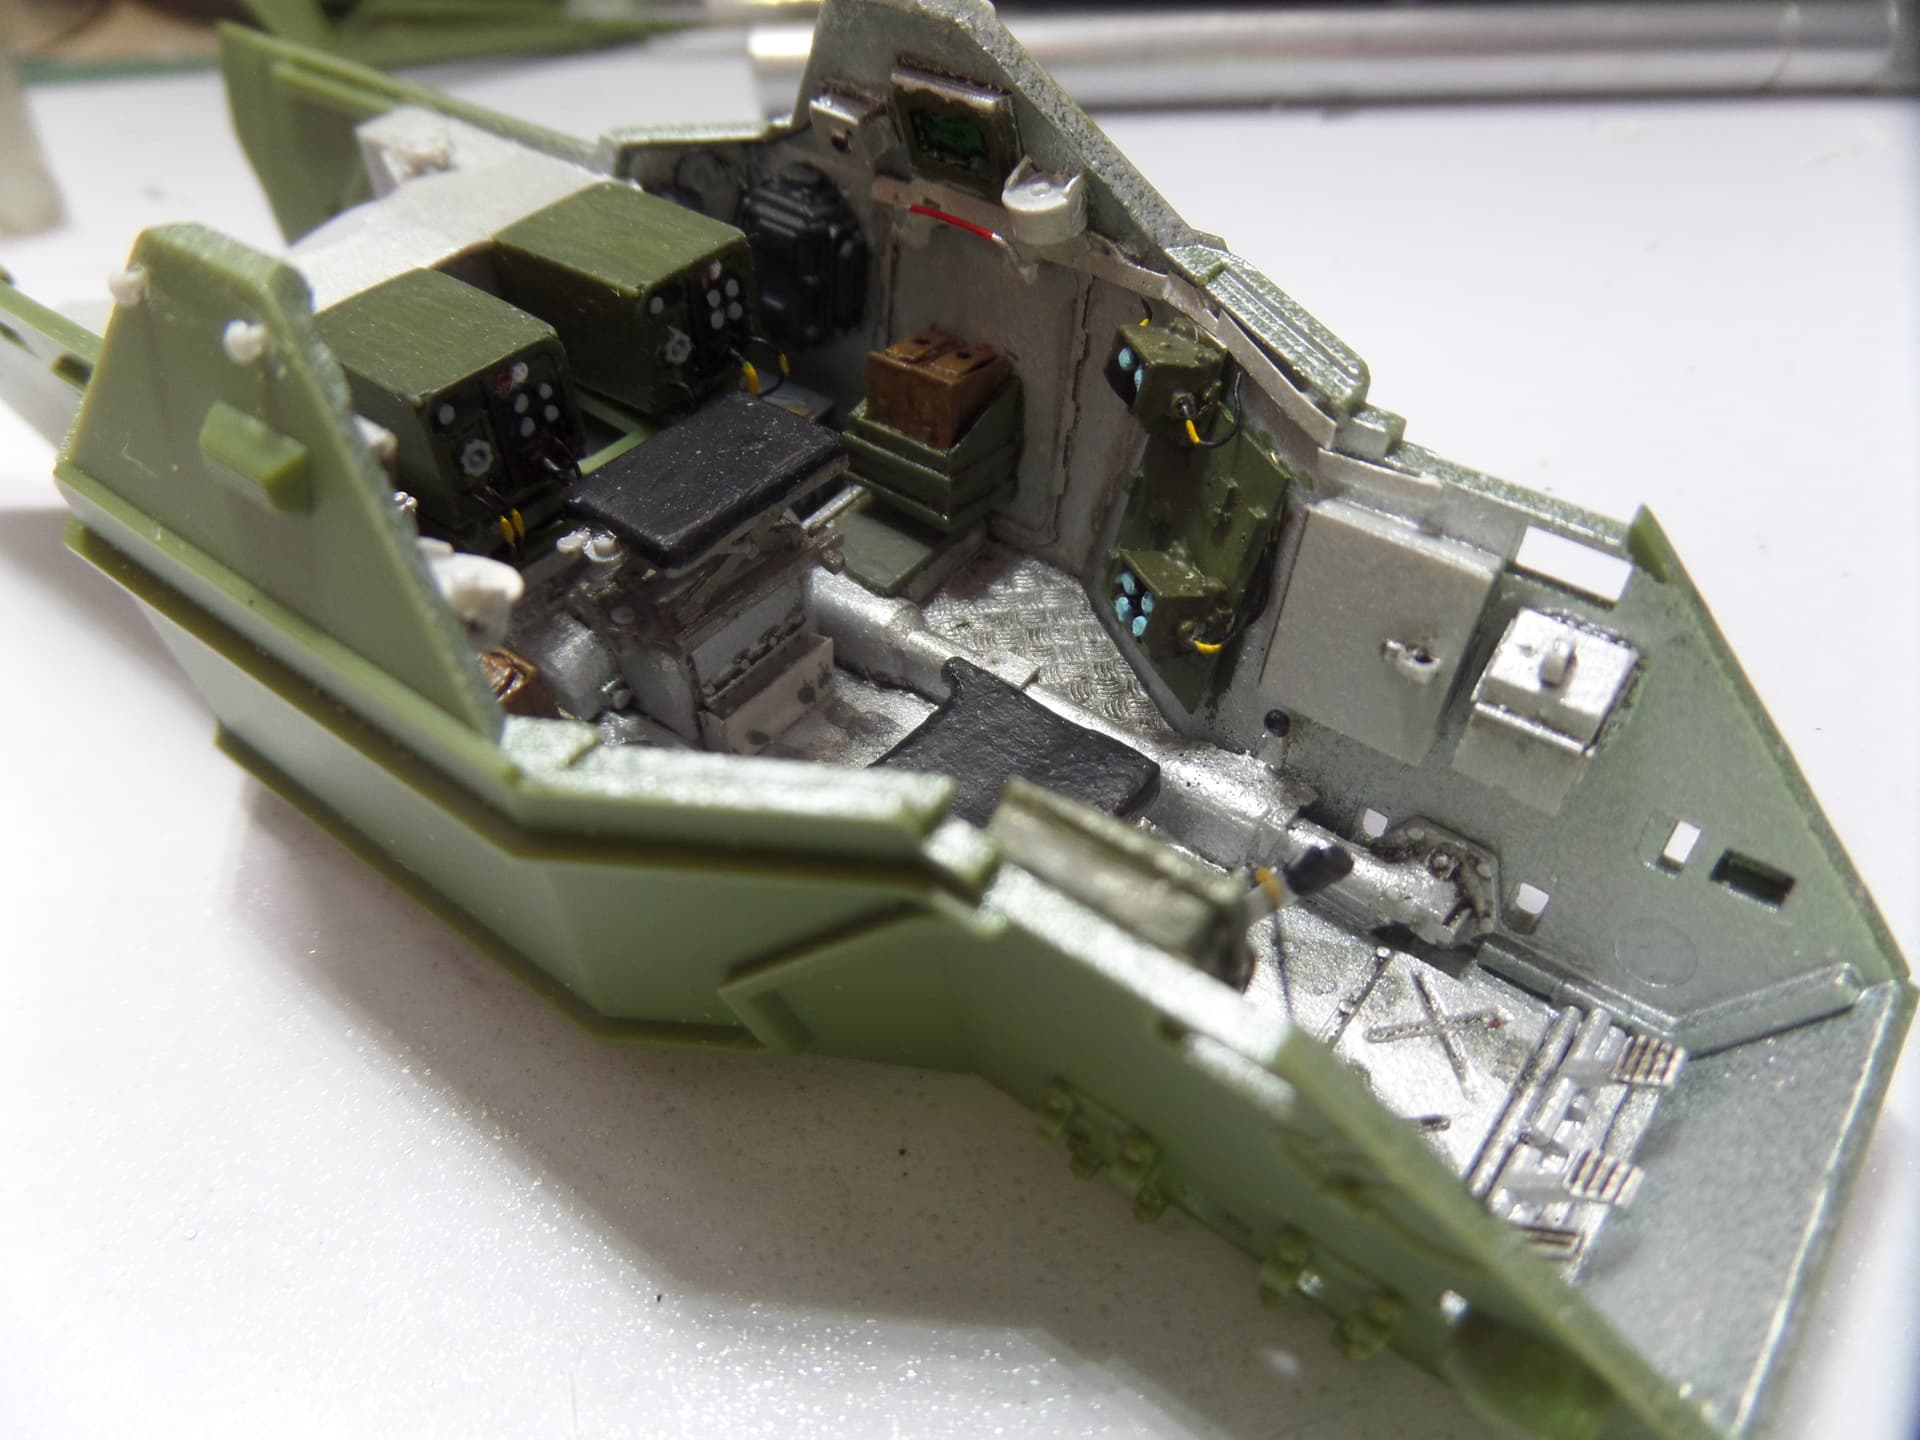
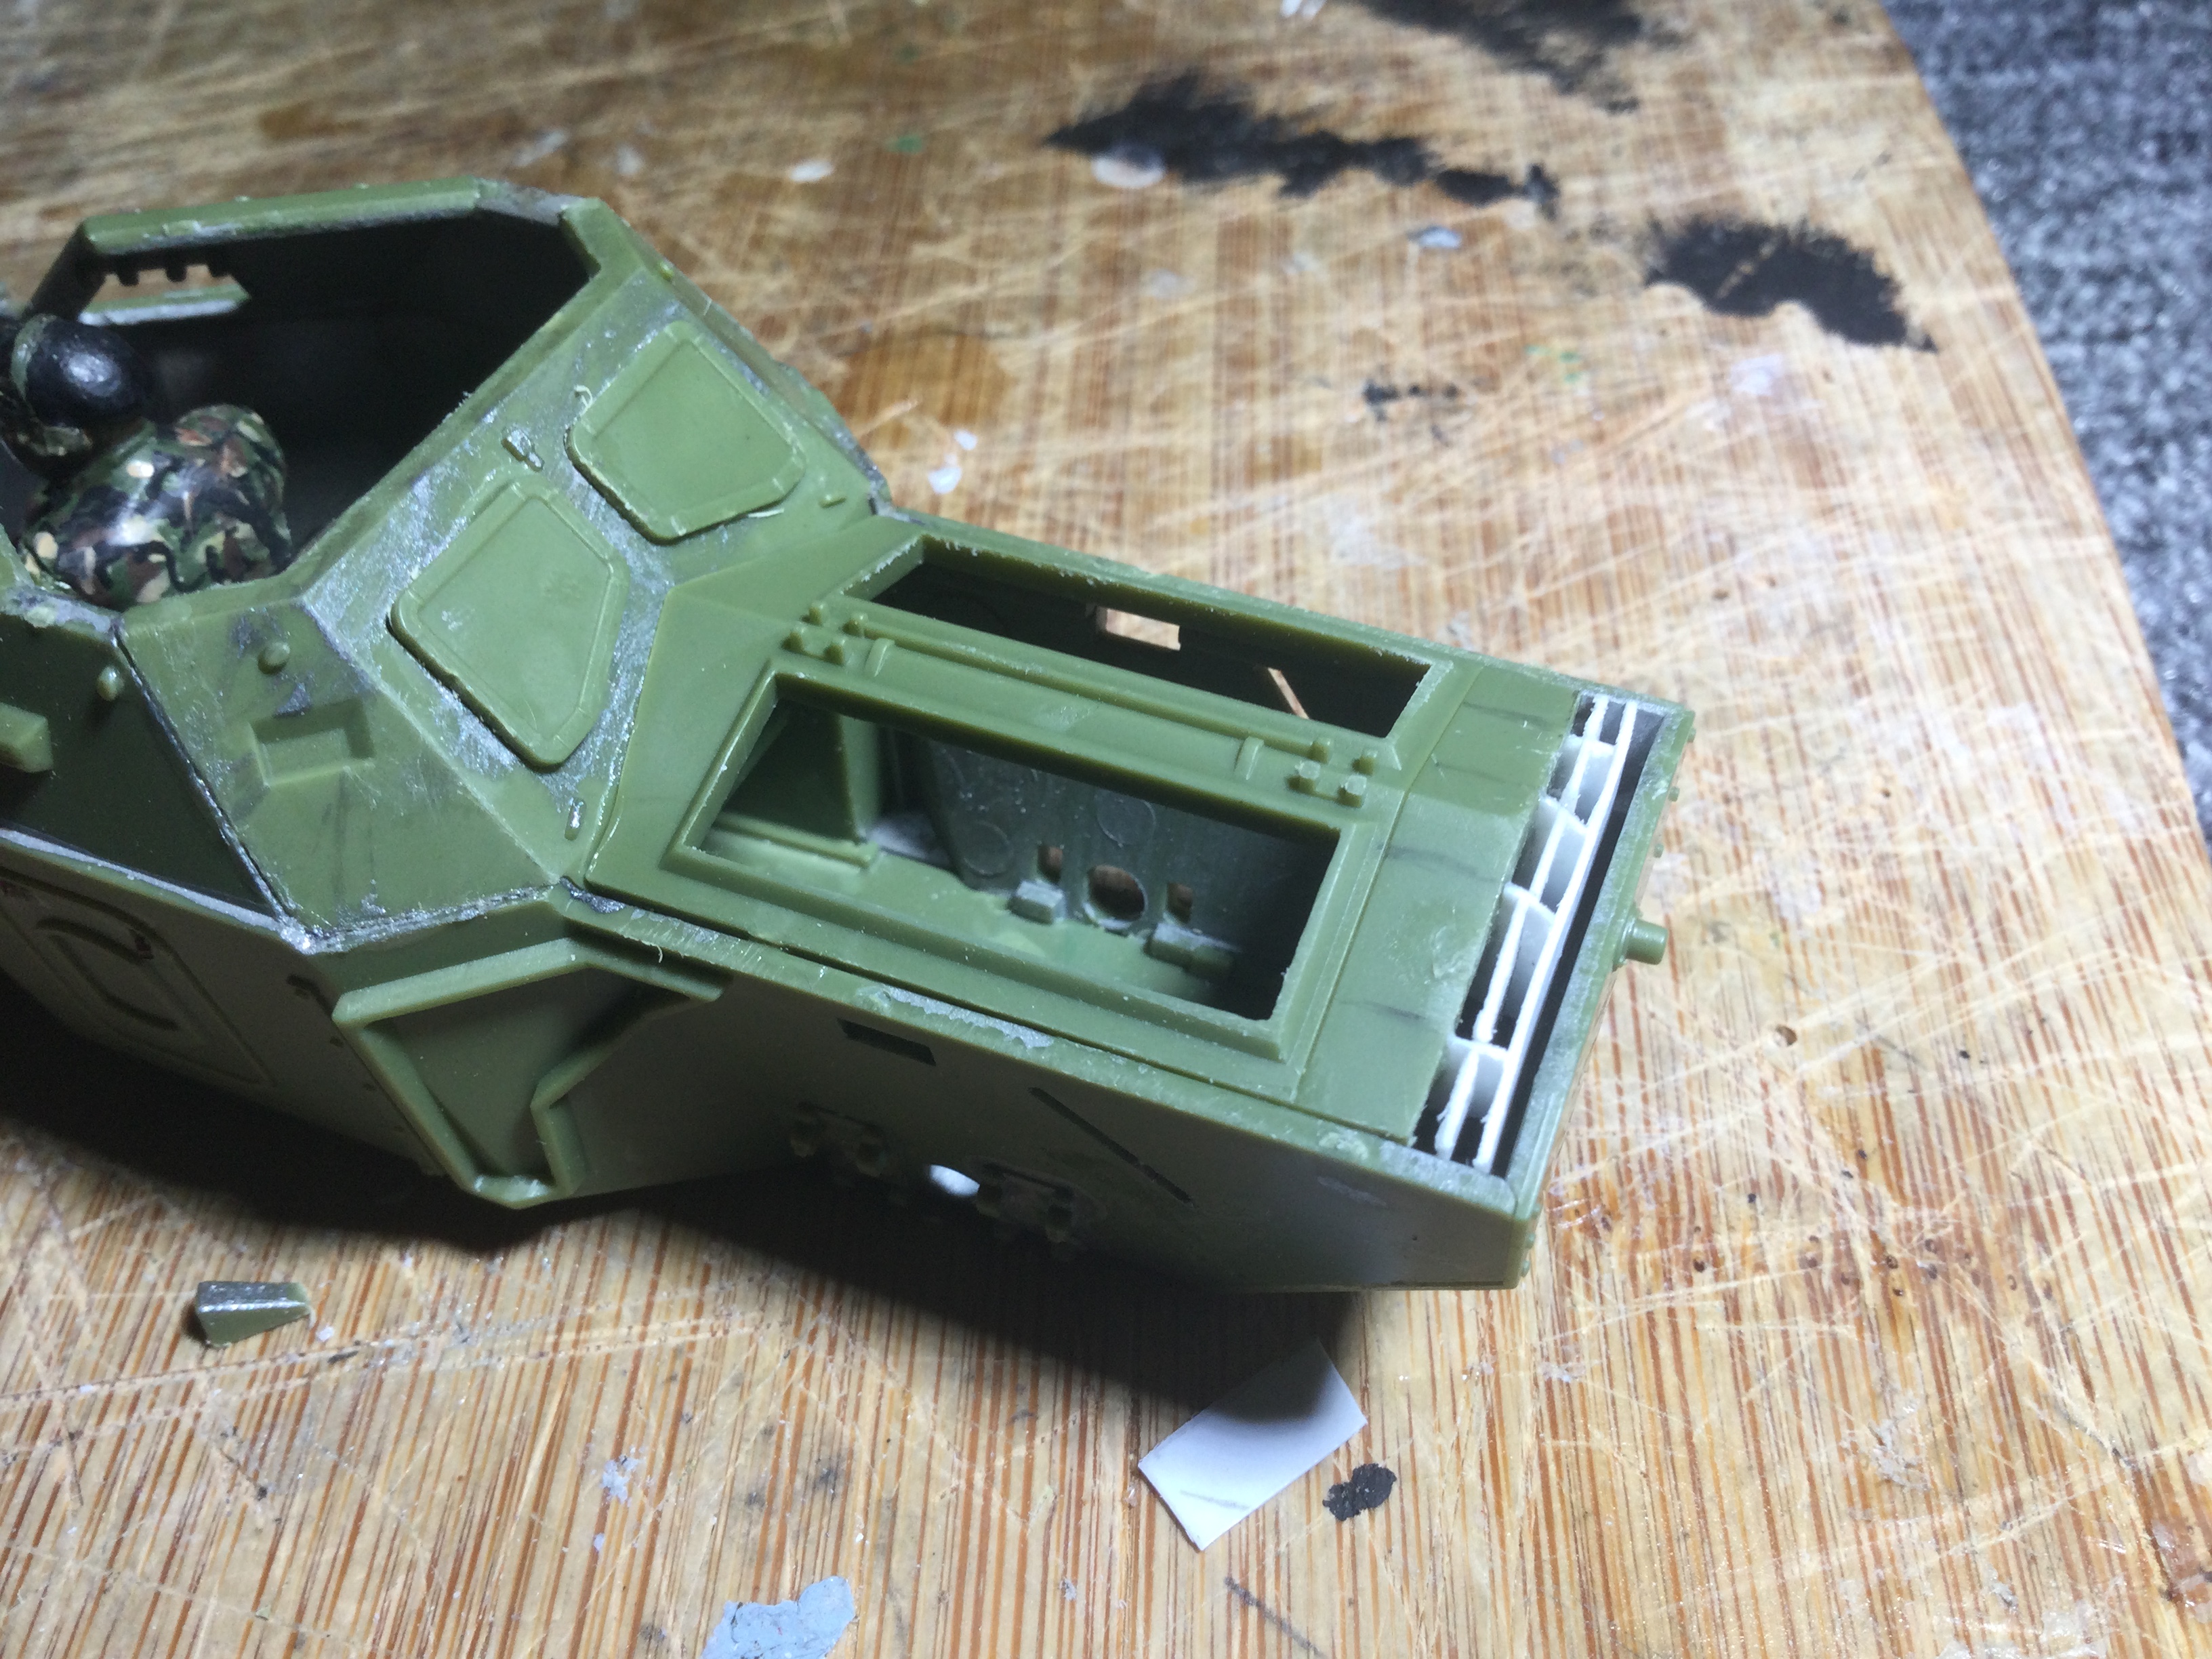
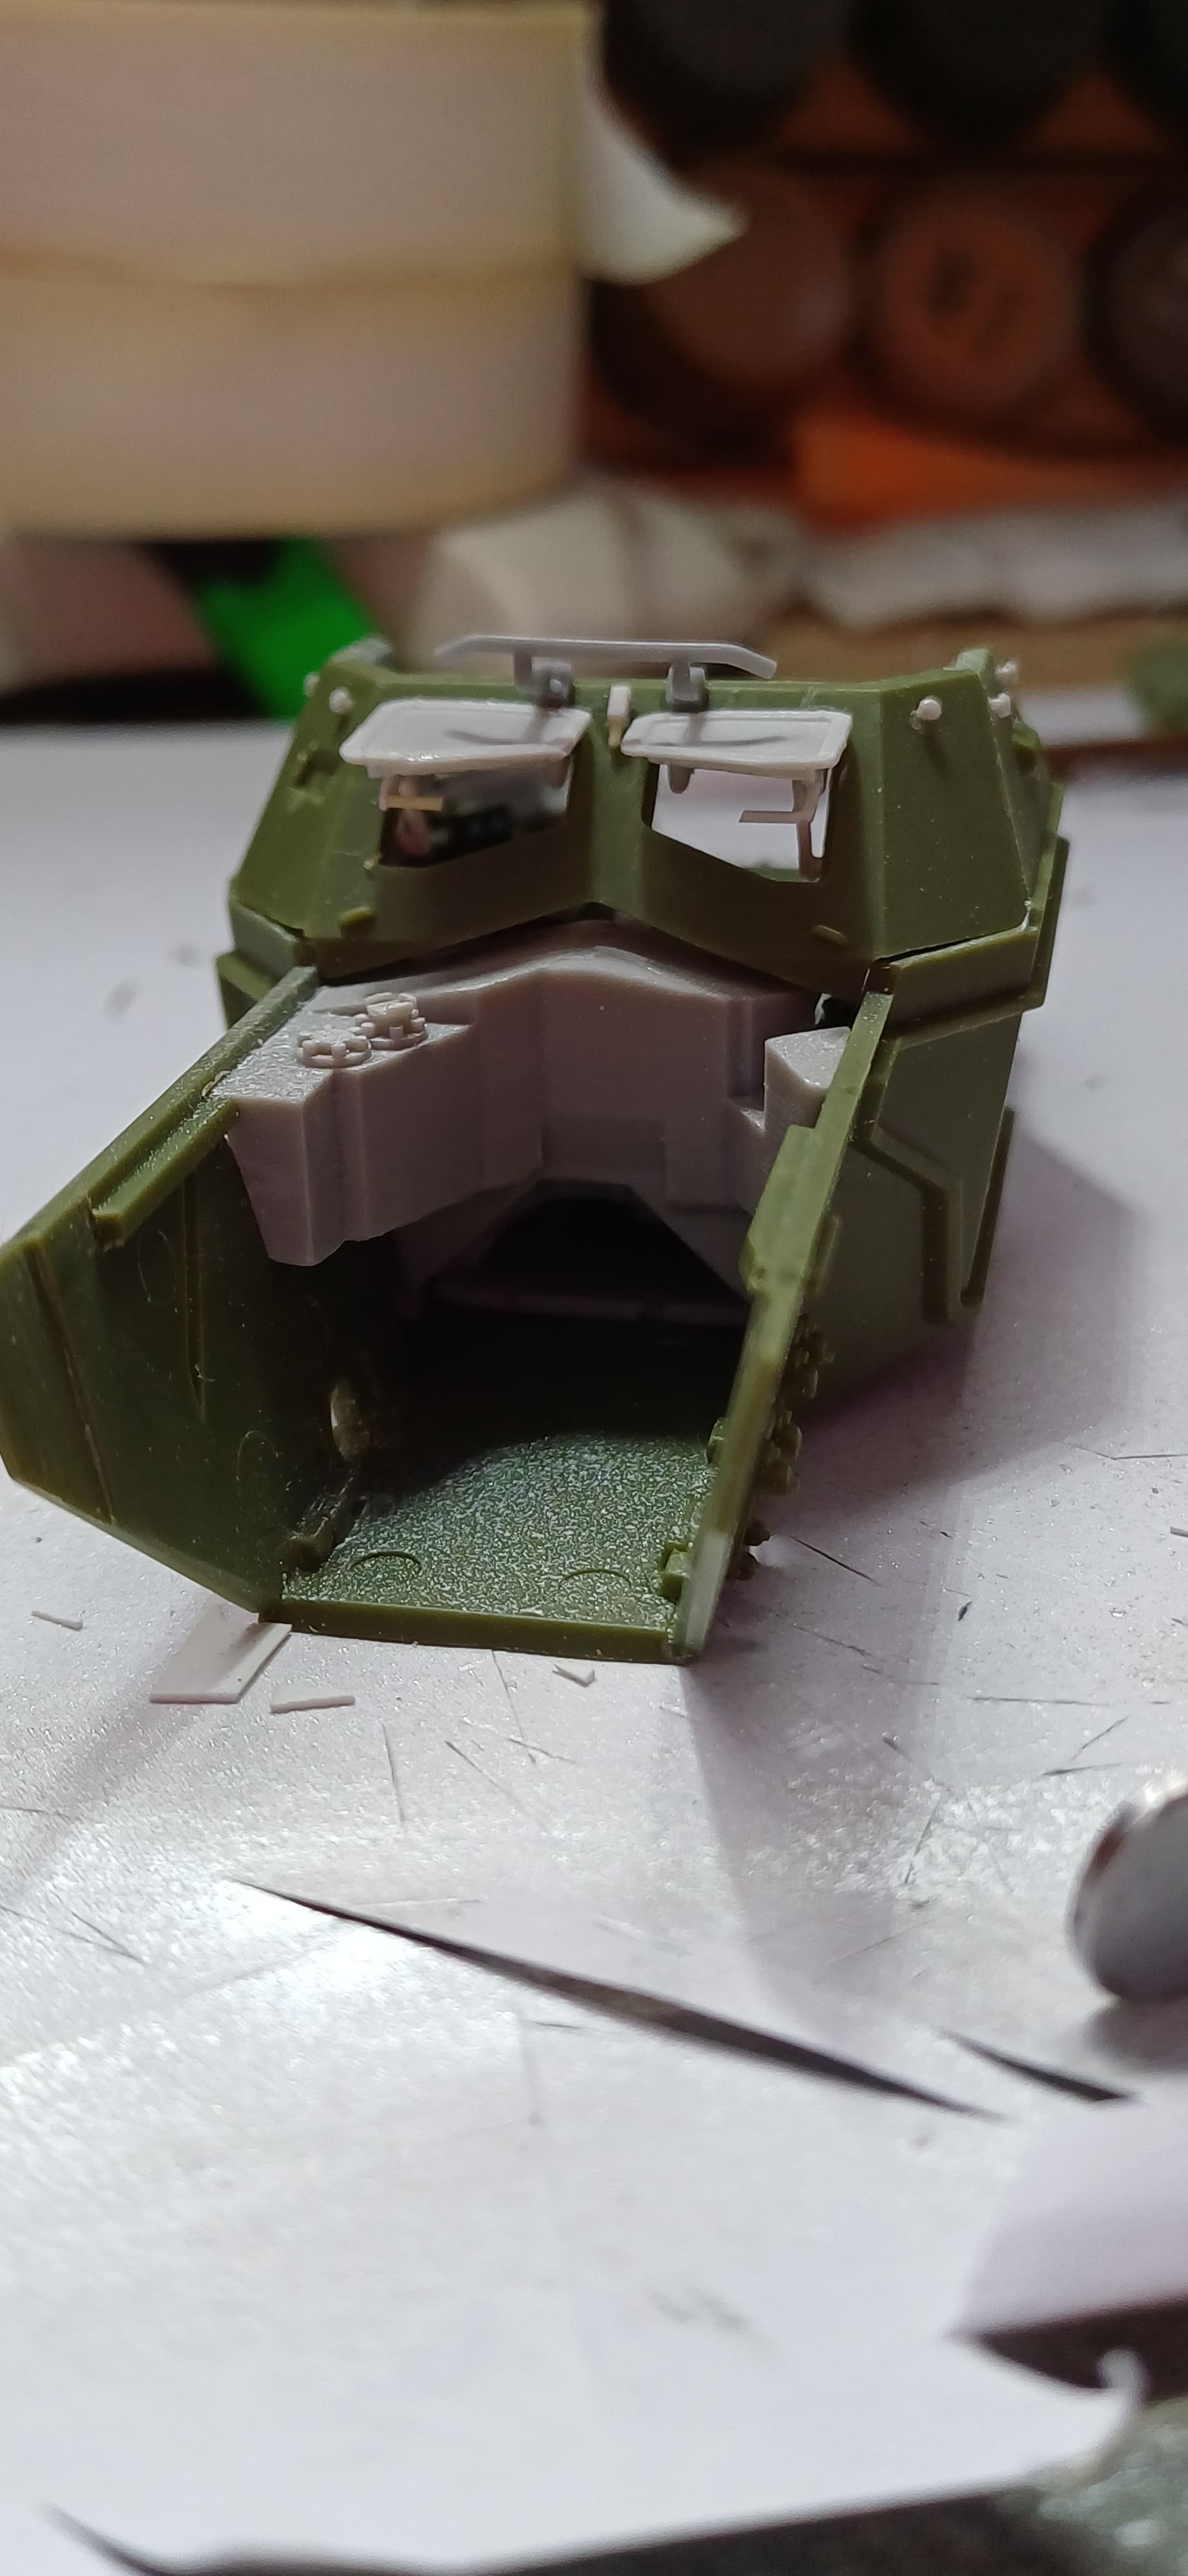
And on we go, everything is in the hull now and the two sides are fitted to the belly pan. The picture with the glacis plate fitted is just to show how tight everything is in there. I’ll not be permanently fitting it until the drivers side plates and hatches are done and fitted as there are a few more bits and pieces to fit onto those. I couldn’t for the life of me find the brake master cylinder which is in front of the gear selector lever so I had to scratch it and I also fitted the speedo and rev counter drive cables which are to the right of the driver.

12 Likes
Very nice mate. That detailing is making it totally real
2 Likes
My next task I think will be to sort out the engine vents at the rear. The Airfix kit has the hull sides and rear plate over scale. I’ve thinned down the sides at the rear and also the rear plate at the top to show a more in scale thickness. It won’t be exact but will look better. I’ll then fill the existing panel line at the engine deck/hull join and re-scribe it to match what has been removed from the rear of the hull sides (see the red line on pic one). The vents themselves will be cut off and scratched from thin plastic card, whichever I feel looks the best at the time. At the moment everything is dry fitted to see how things will line up.


5 Likes
That interior really brings back some chilly and wet memories ![]()
I redone my vents with 0.5 card and this is how that turned out.
5 Likes
That’s exactly what I have in mind. I have 0.13mm and 0.4mm card, just depends which might look better. The 0.13mm is almost like plastic paper it is that thin. I drove mine in Cyprus which was lovely in the summer but really bad in winter as it rains a lot and gets quite cold. In fact there is a ski resort in the Troodos Mountains.
2 Likes
from about Jan when we got there as UN Scout Car Sqn, we used to go up to the Troodos and Ski in the morning, then drive back via the UN corridor and go straight to Ayia Napa and swim or dive … did that until the ski runs closed in late March time …
2 Likes
We had to go up and do security patrols of RAF Troodos, going up wasn’t an issue but coming down without killing your brakes was a challenge. 8 Coldstream Guards were killed in 1989 when their Bedford went over the side due to brake fade and failure.
2 Likes
Wow that’s a lot of detail packed in there. I have the Airfix kit but not sure what sets I will order from SMM yet. Great tutorial on this build !
1 Like
Oh how the other half live😂 sunny Tidworth with a Mk 4 and two NI tours with Mk 2s was my lot😳
Any way that’s a very good build you have going on there ![]()
2 Likes
Were you UN or SBA ? Im sure you’ve told me in the past … the joy of being UN was the Monkeys had no control of us as we came under UN Mil Police who never patrolled up there … we use to properly take the P*** out the RMPs up there trying to control the ski slopes lol
1 Like
SBA Armoured Recce Squadron, I was there just under 2 years based in Episkopi. We used to do a 2 week rotation to Ay Nik then 6 in Epi then 2 weeks in Pergamos and so on and so forth. It was quite possibly the best posting of my Army career. 18 years old and posted 12 miles from the largest tourist resort in Cyprus.
4 Likes
Cyprus was a screamingly brilliant place … all those Brandy sours up at Rita on the Rocks … a 2 year scout car Sqn tour would of been the best ever … shame it was only 6 months … i was smart and volunteered for advance party and rear party close down…
2 Likes
The SMM sets make this a worthwhile build, but it’s still a surprising amount of work. The exterior will need more work to sort panel lines, vents and brake lines etc.
Thanks for the vote of confidence, it’s a labour of love 'cos these were fantastic little wagons.
Just a quick question, does anybody have any recommendations on a good panel line scriber?
1 Like
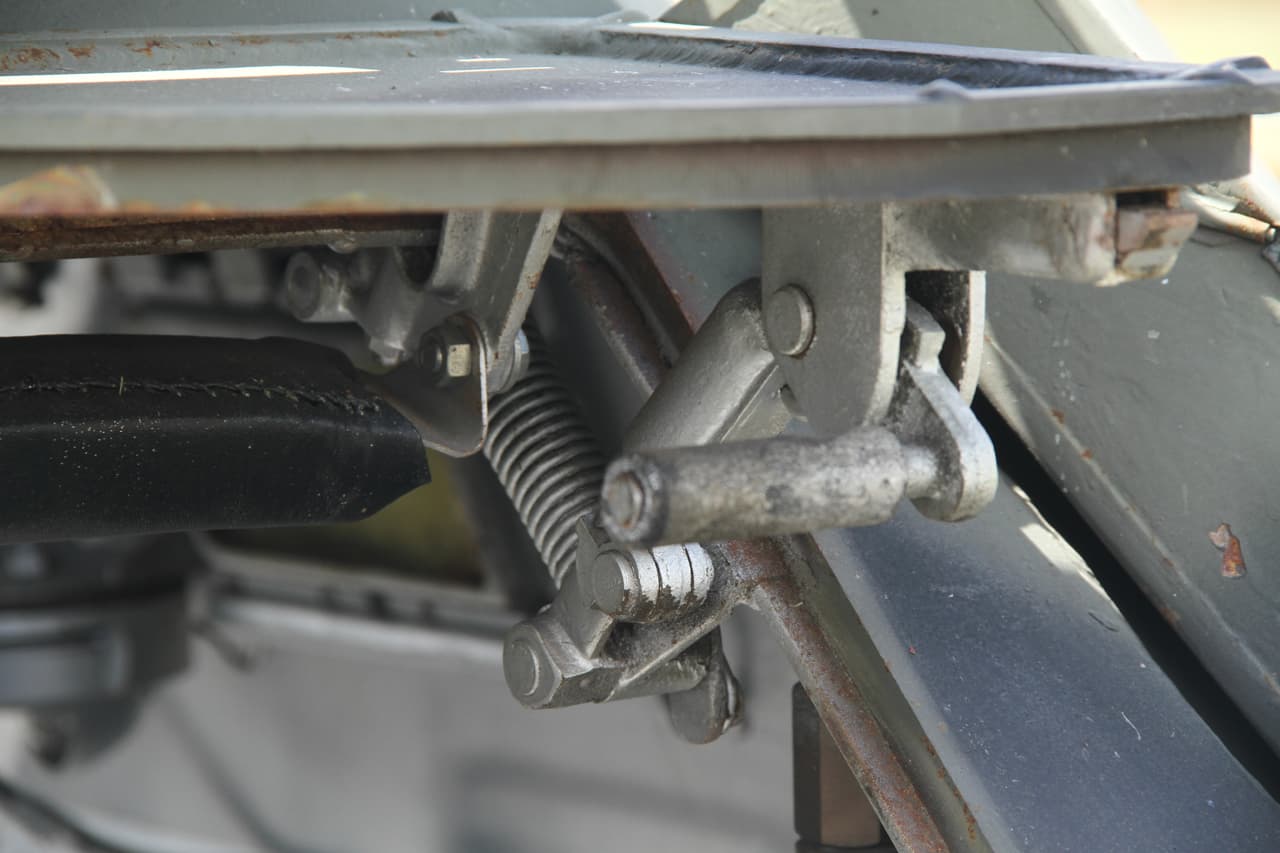
A brief update, I imagine because of casting limitations the SMM replacement visors have the handles moulded flush. I’ve shaved these off and added them from card and rod. It’s a very small upgrade but I think it makes a big difference. I’ll be adding the visor stay bar and spring also.
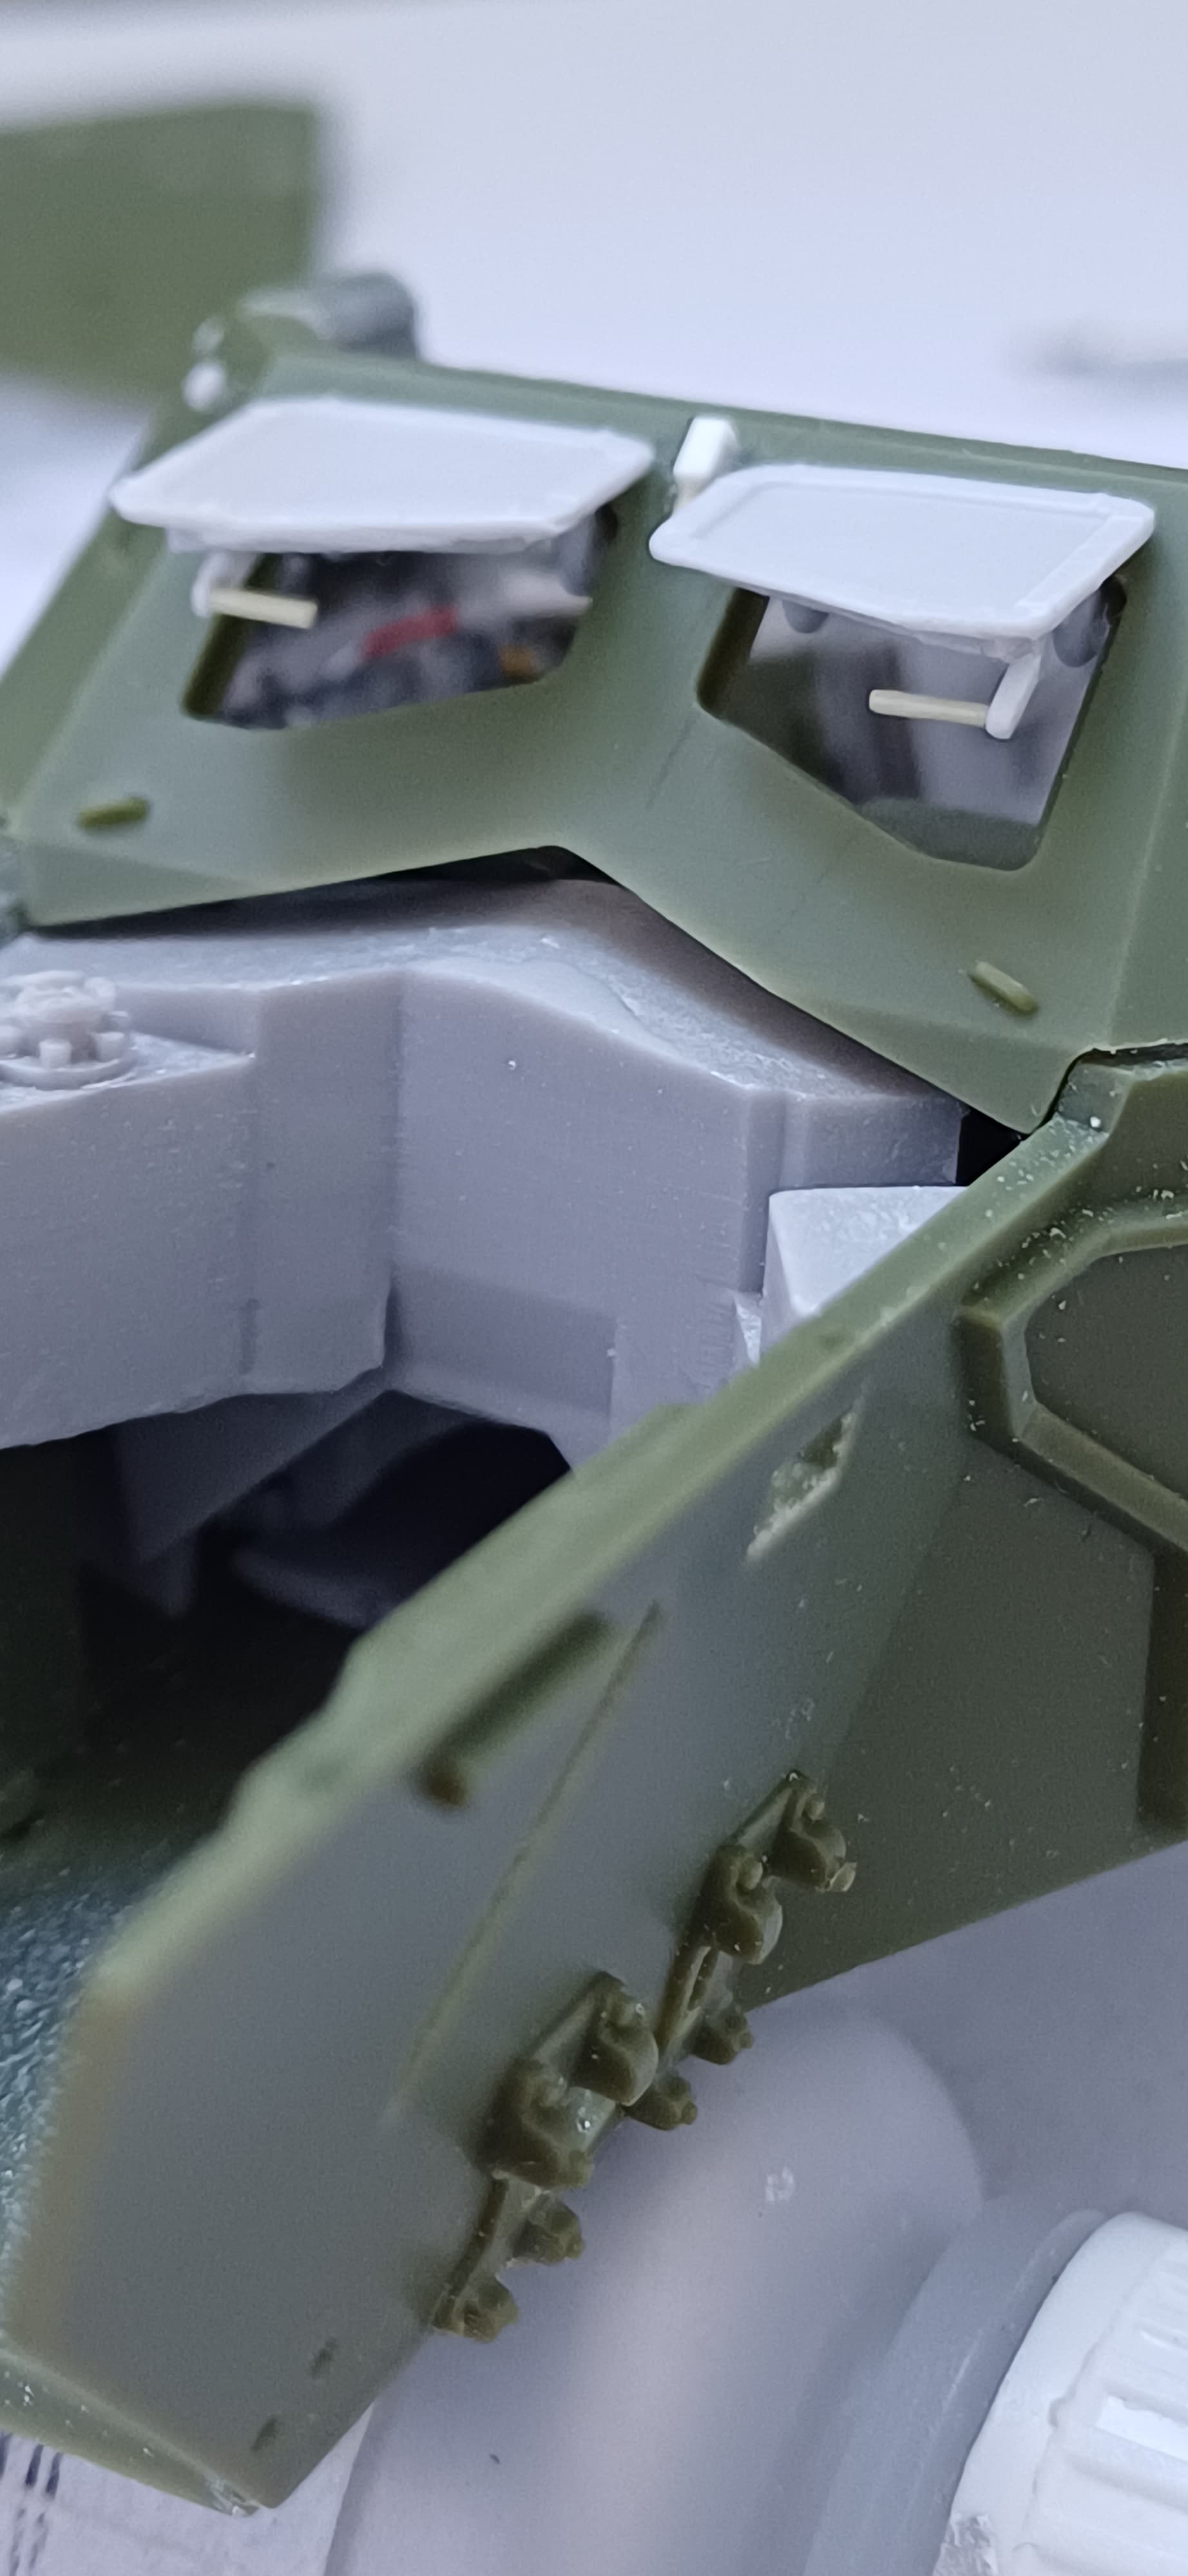
Although this is a drivers side visor the stay bar and spring are the same for the rear visors.
9 Likes
Coming along really nicely mate …love the attention to detail
1 Like
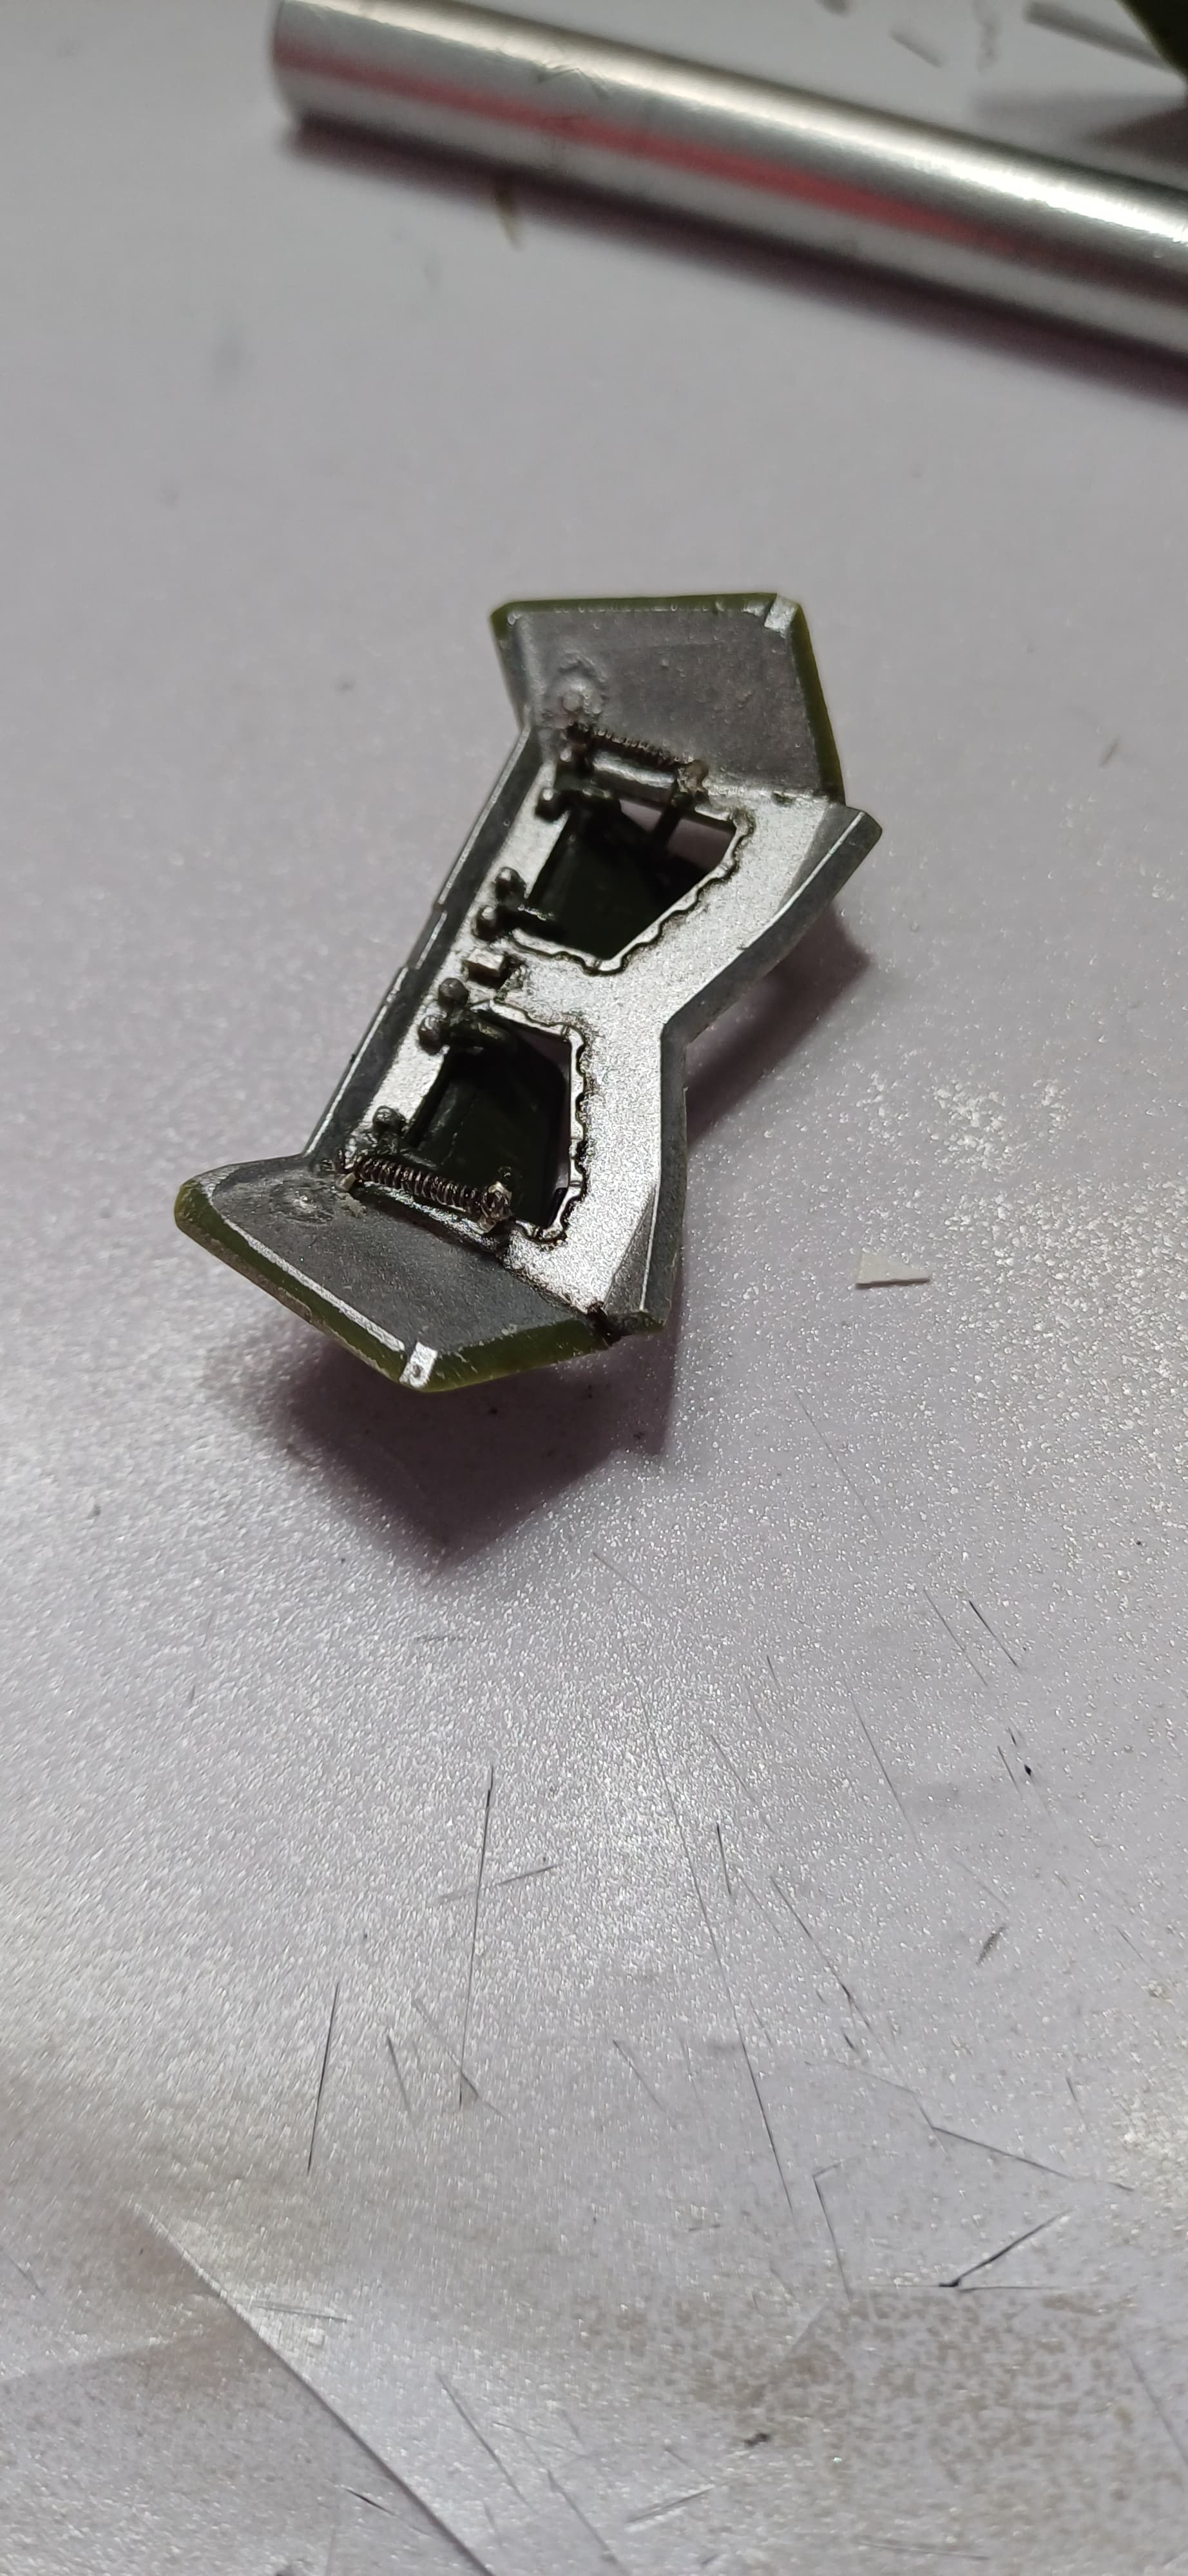
Continuing with the rear visors. Added the stay bars and springs as best I could. Miniscule work like this is definitely not my forte. Placed the 3d printed bar onto the rear plate. It looks like it’s out of position, possibly too high however ref pics show it does sit proud of the hull roof slightly.
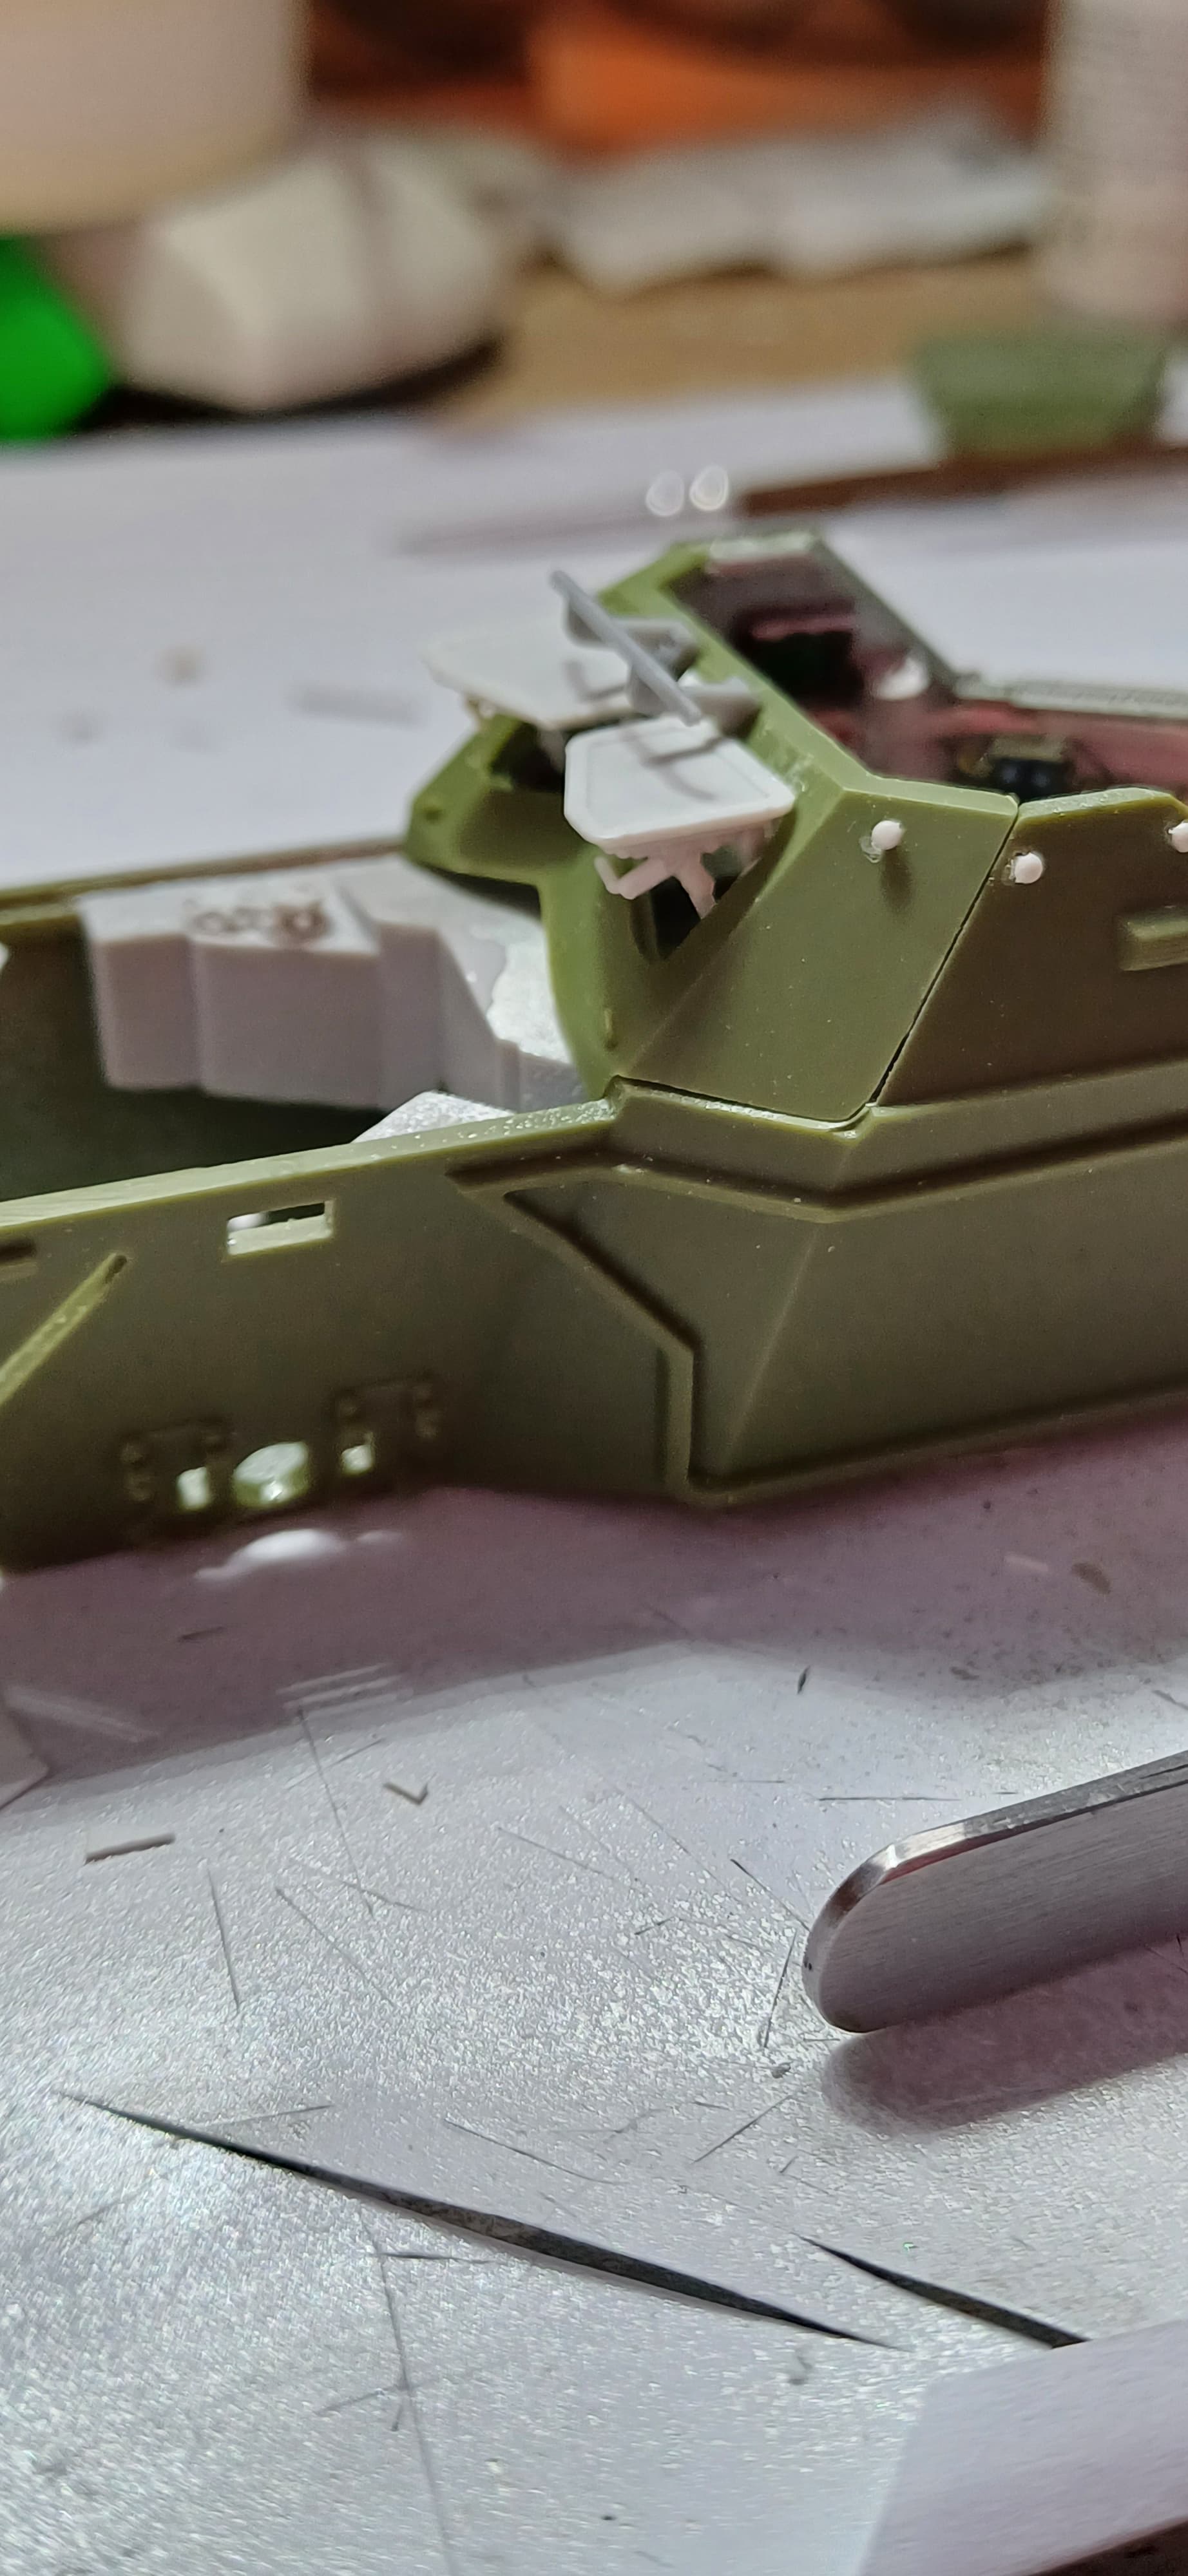
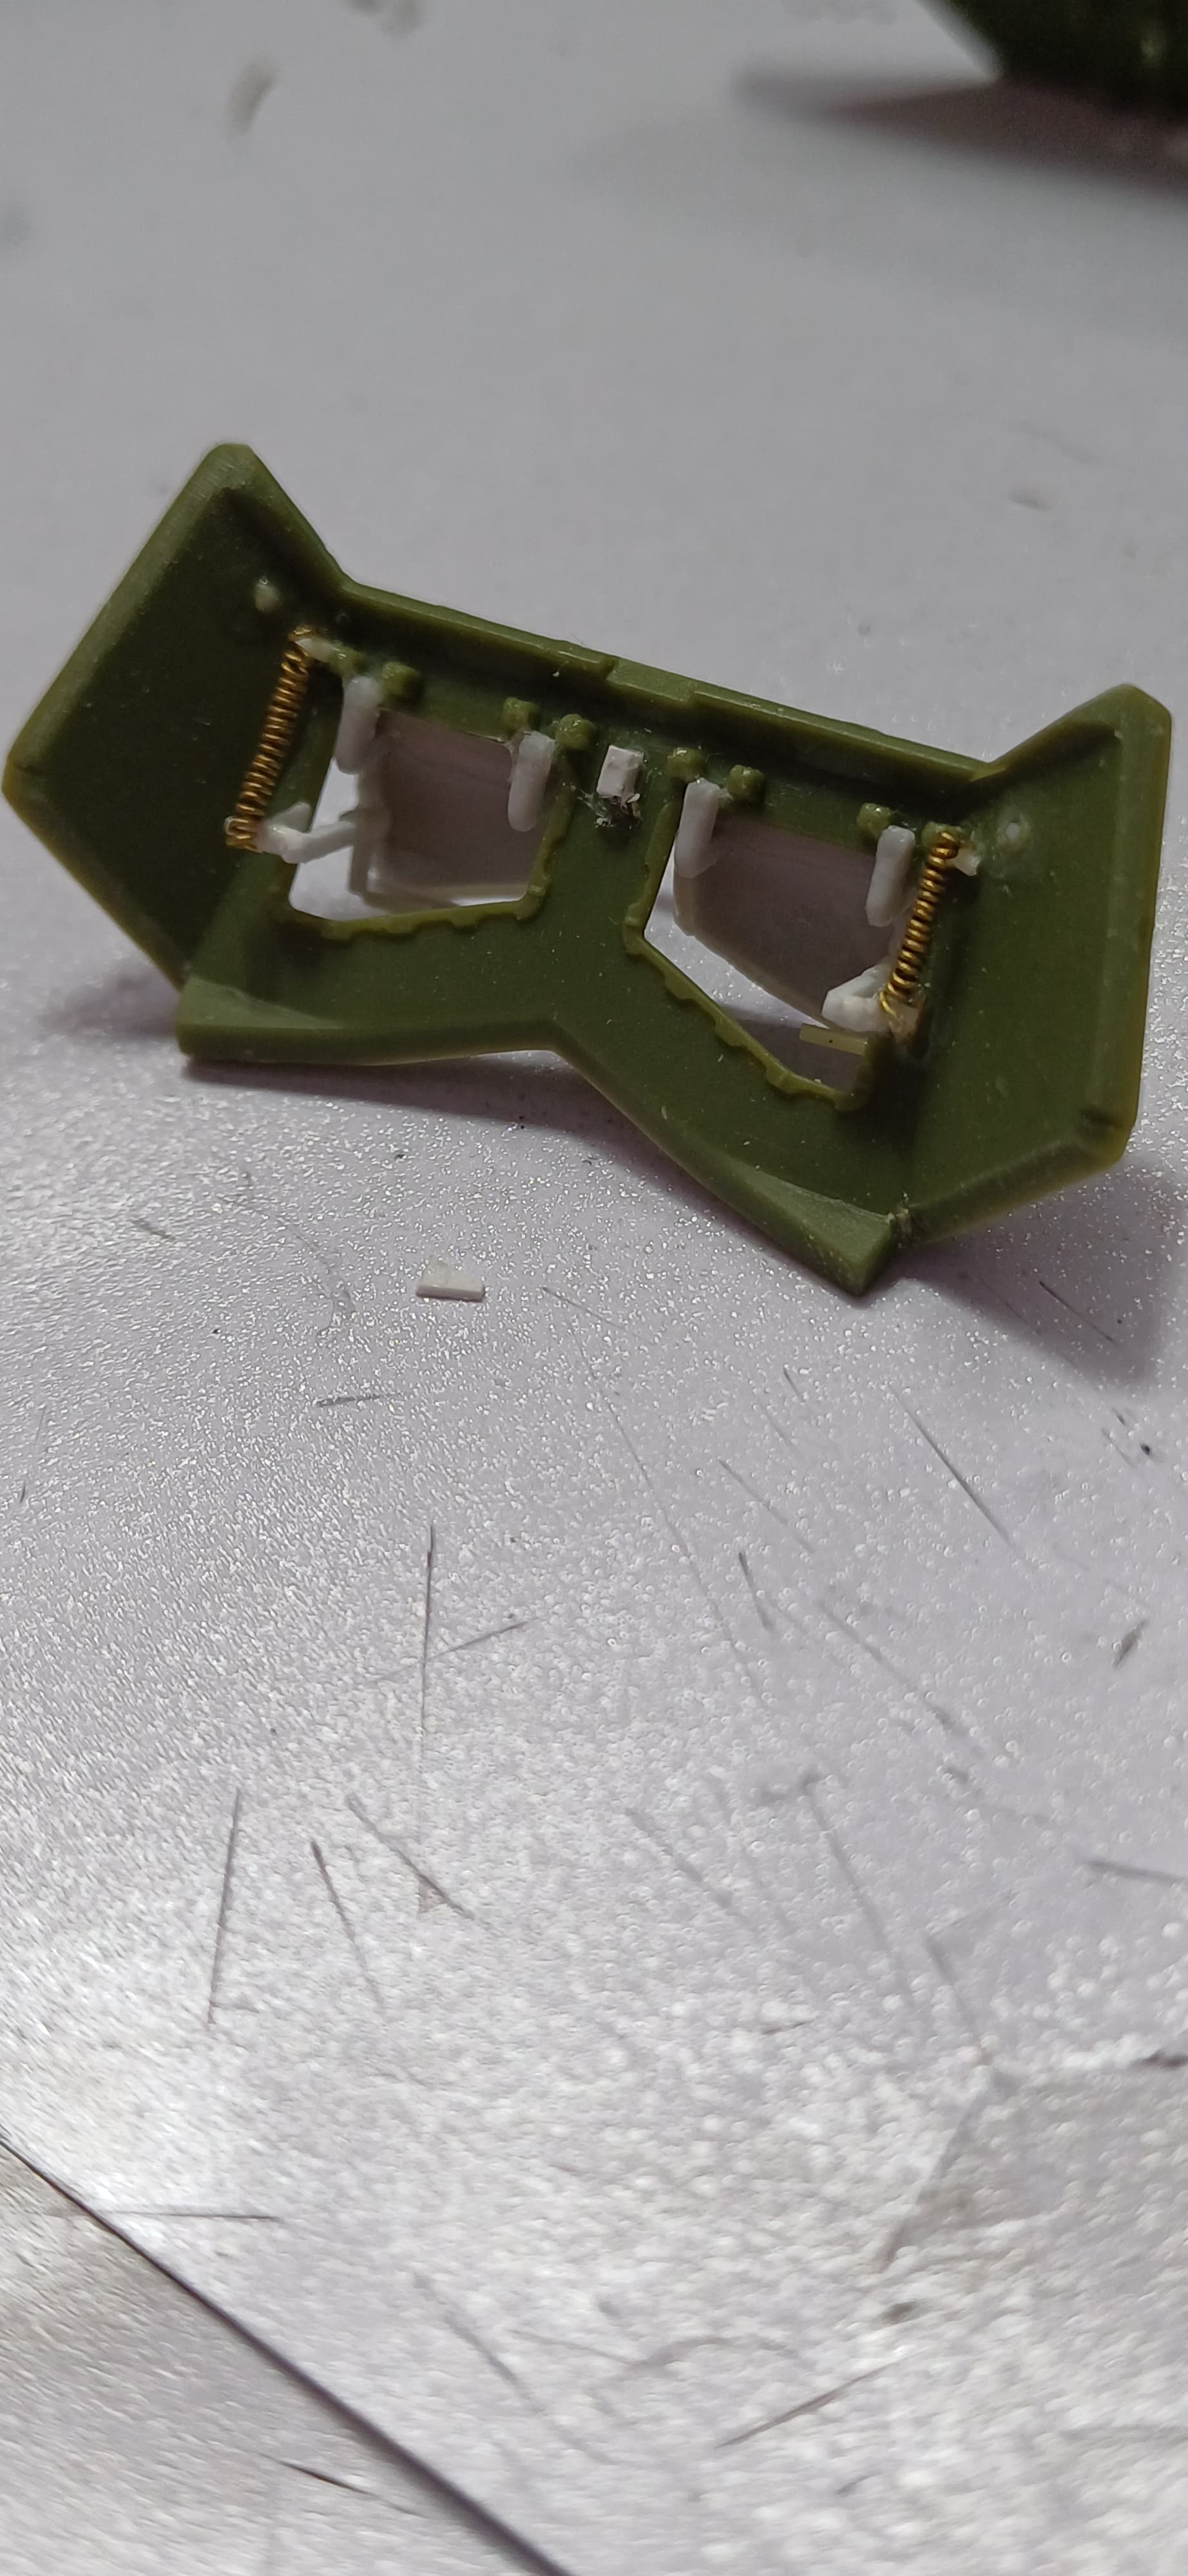
Added a quick update, silver airbrushed on and then the interior faces of the visor brush painted Tamiya field grey. I never like brush painting Tamiya paints as they don’t seem to go on smoothly for me. I prefer Humbrol enamels for brush detail painting.

7 Likes
The stay bar is pretty much spot on mate … I just looked at a few of my UN shots ![]()
1 Like