That’s my limit mate, can’t get any smaller than that. Trying to do the fuel tank breather pipe now and it’s fighting me all the way.
3 Likes
Things on hold for the next few days as I am off to the REME Association Job Agency event at MoD Lyneham tomorrow for the event on Wednesday. Taking place in the REME Museum so hopefully a good opportunity to have a nose about when I’m not manning my stand.
2 Likes
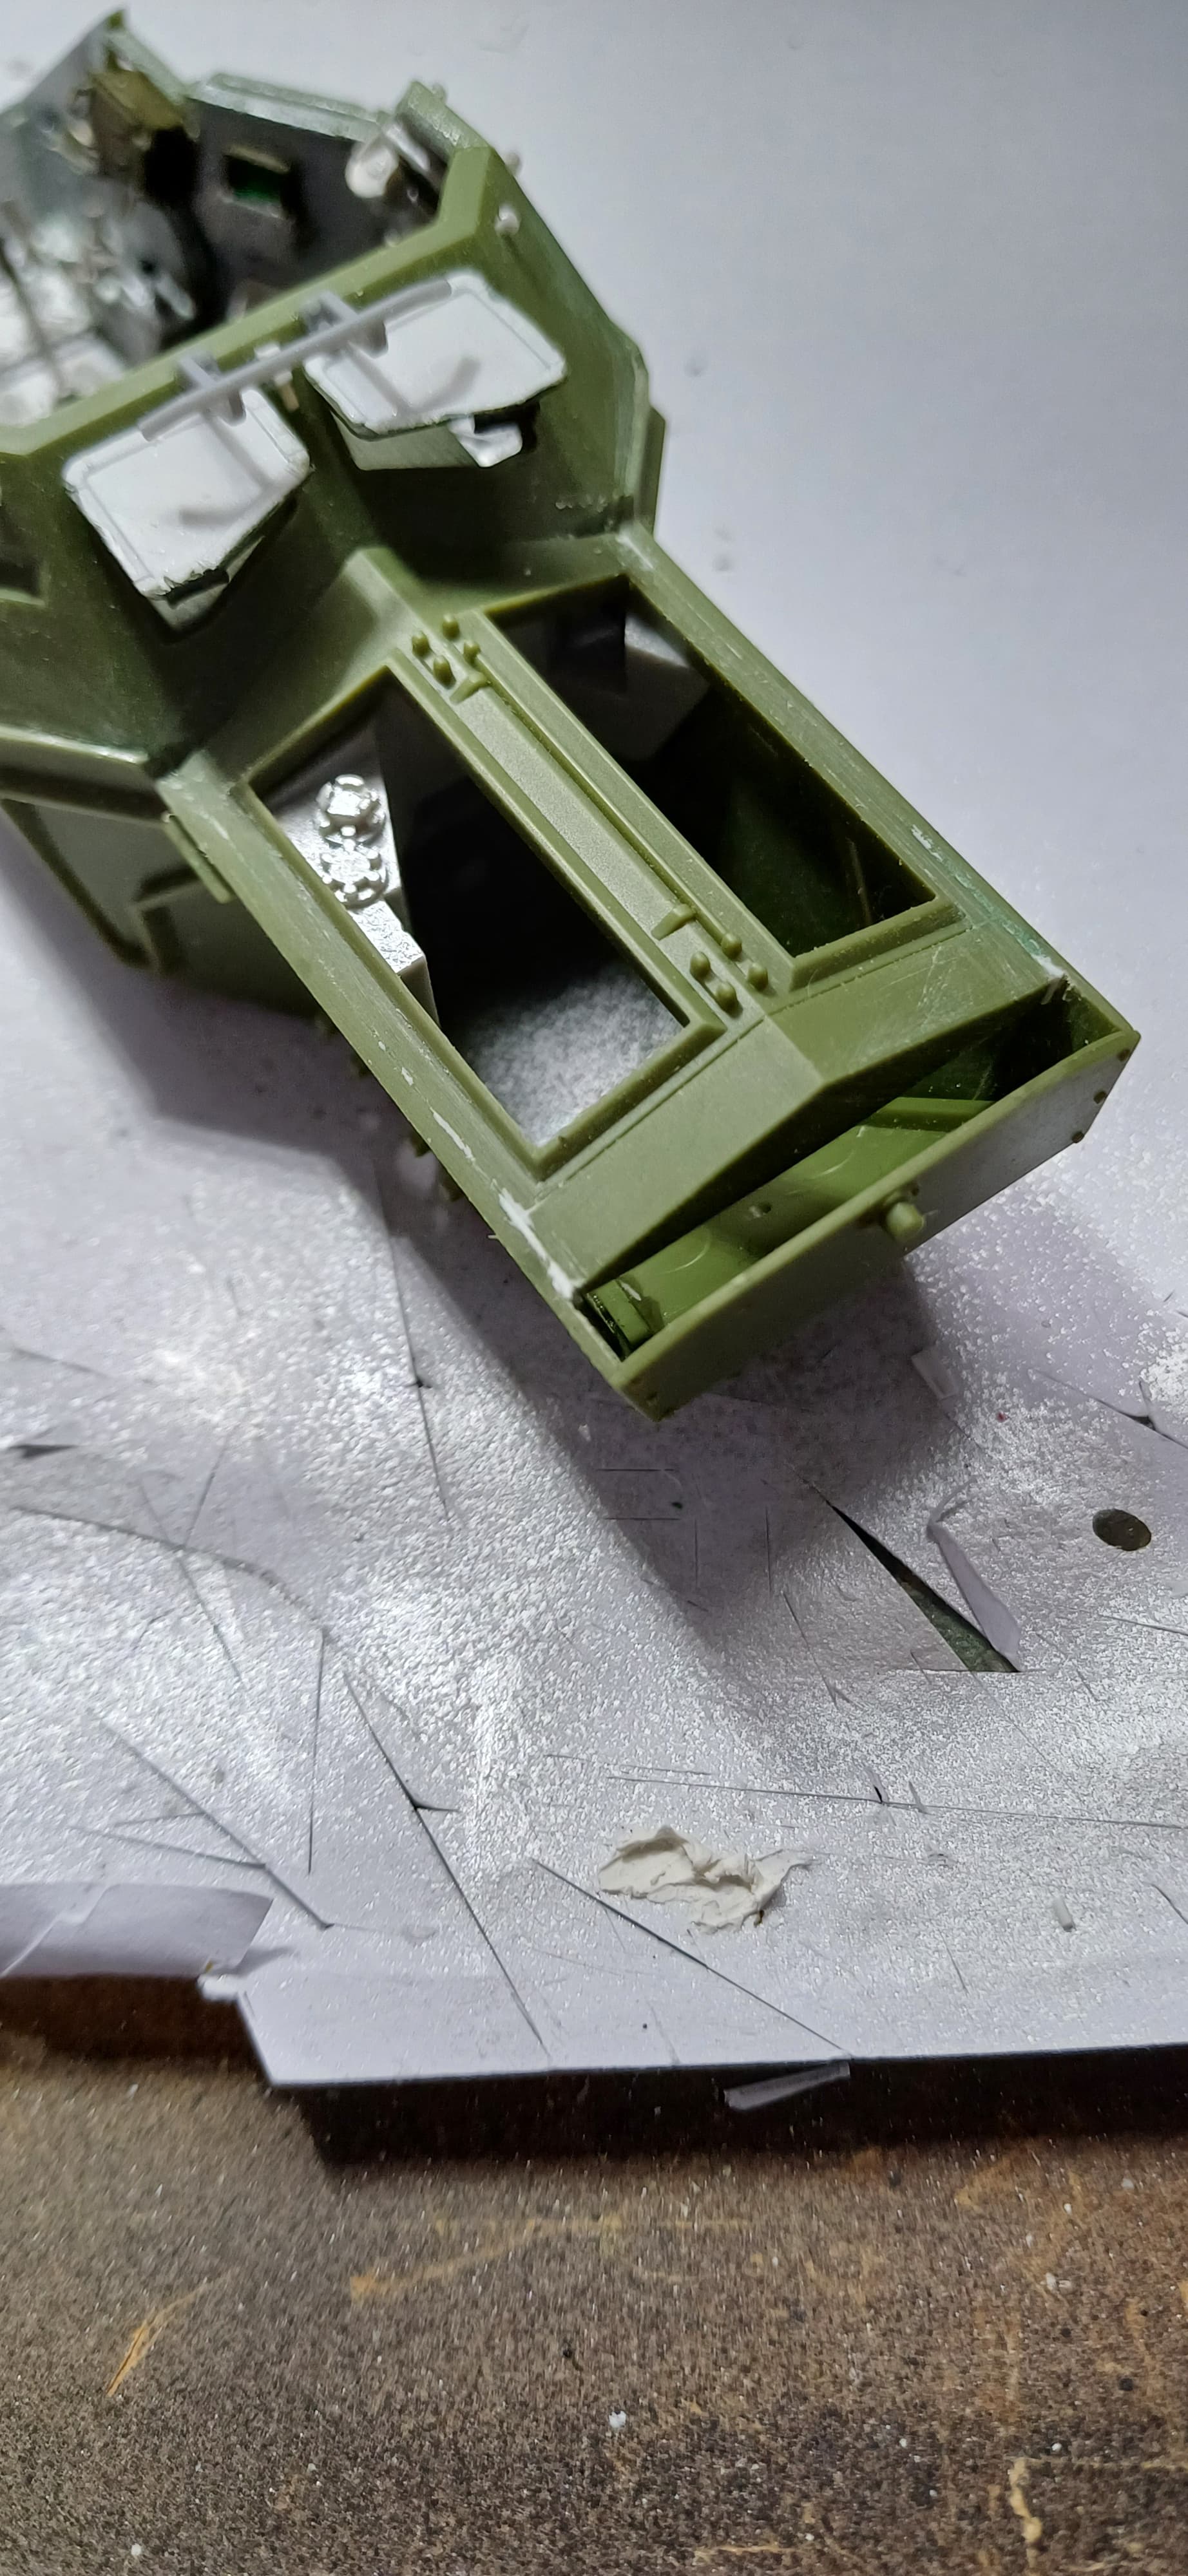
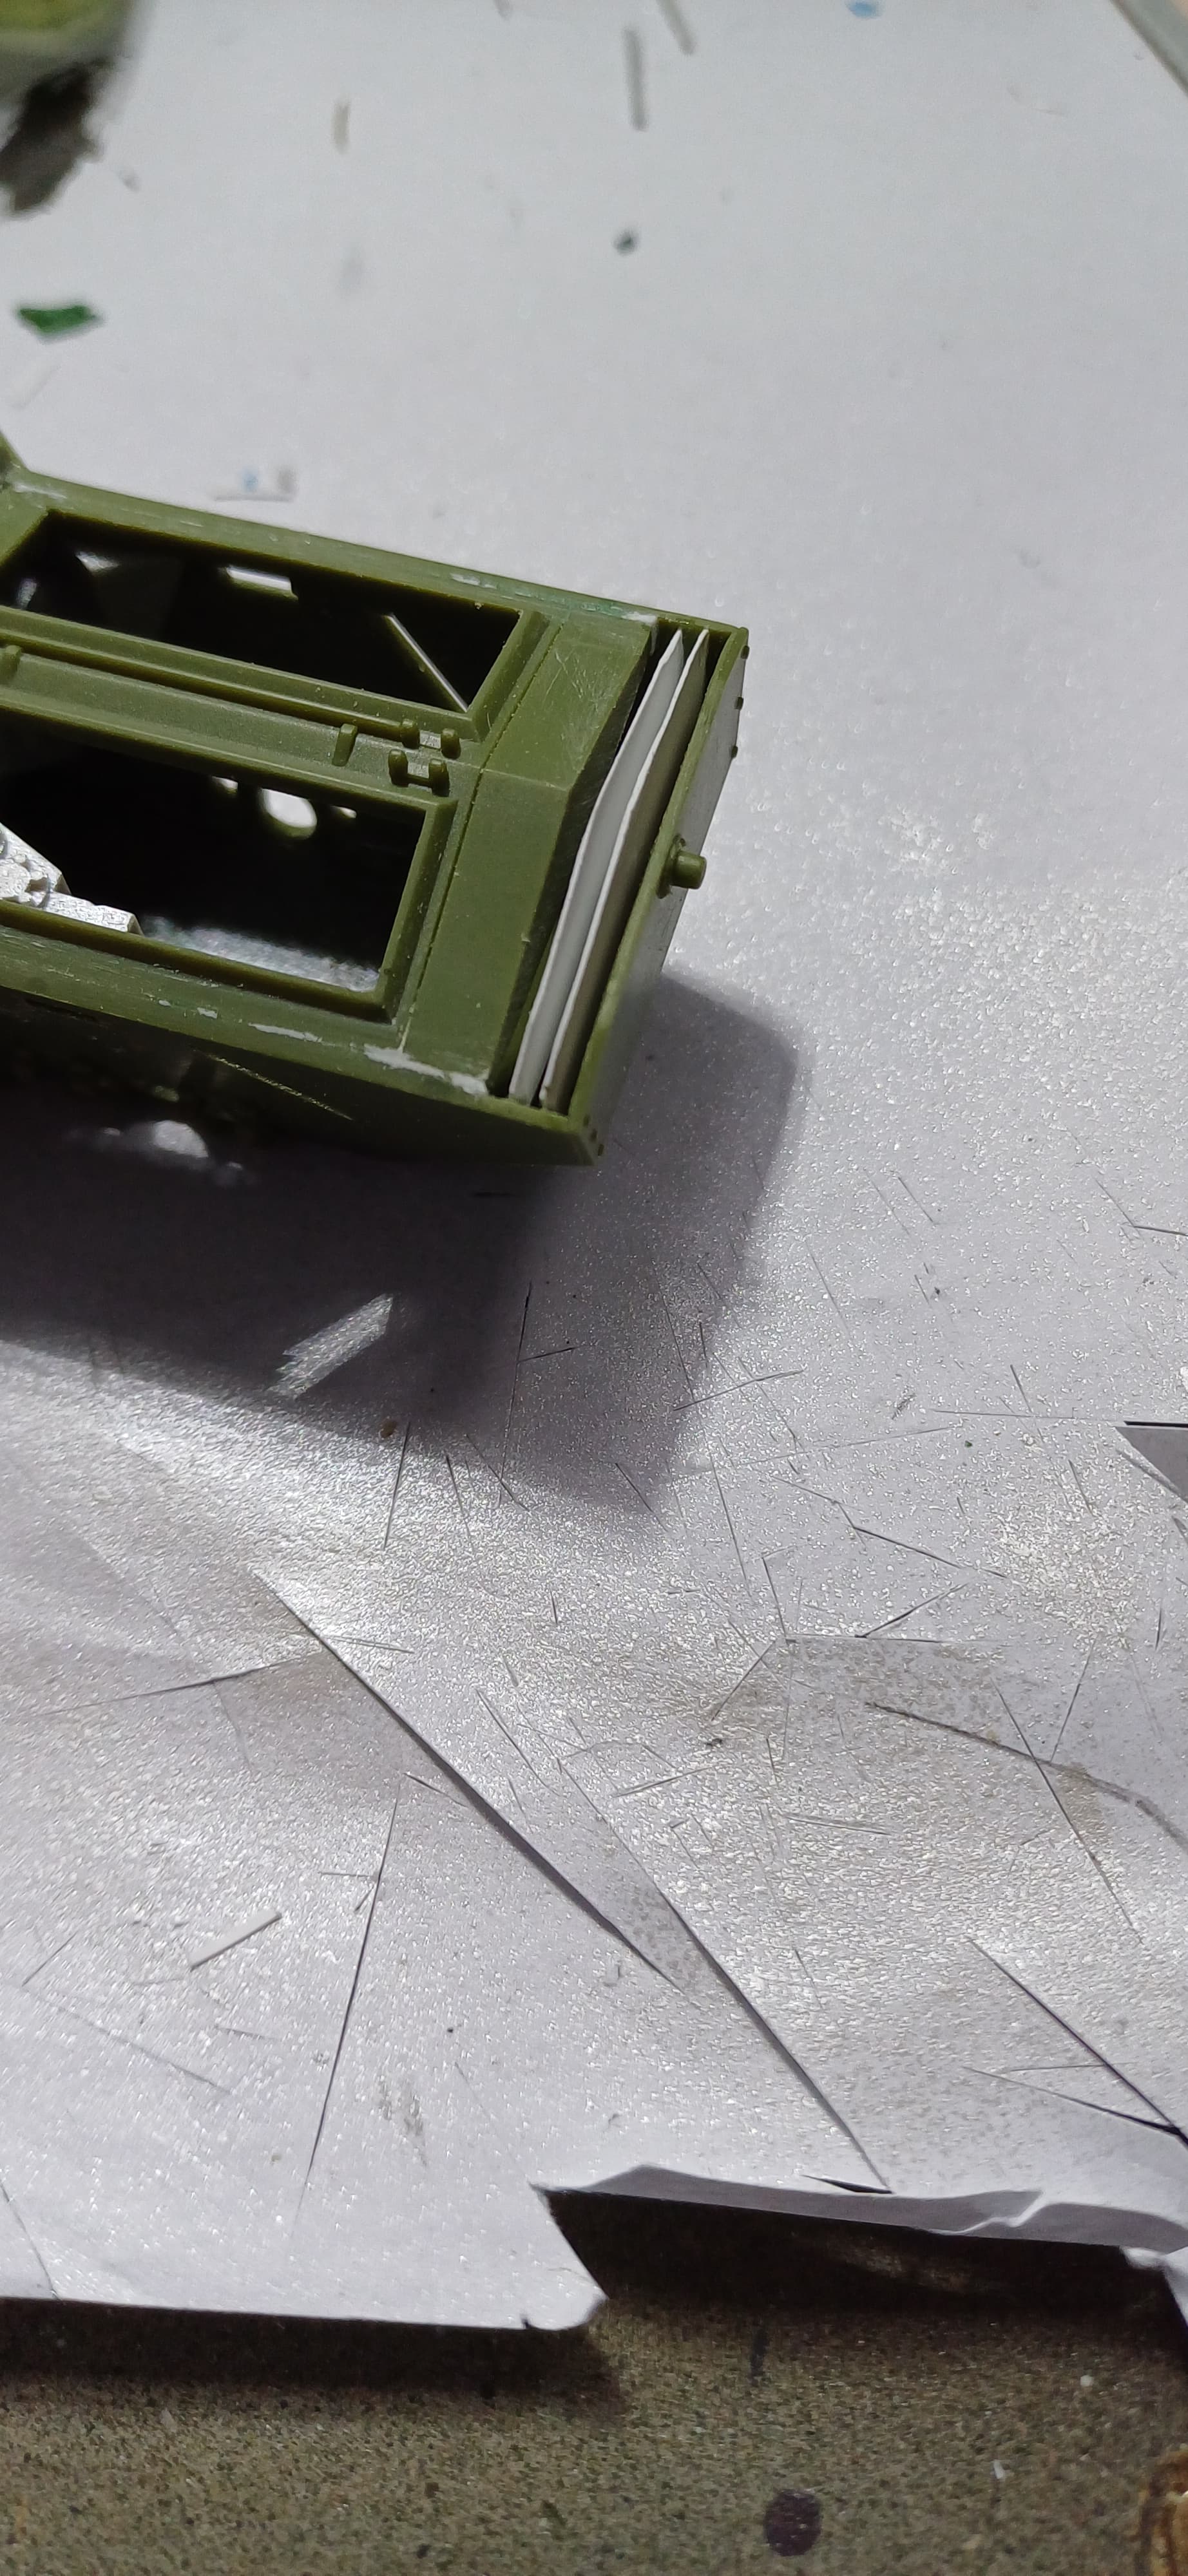
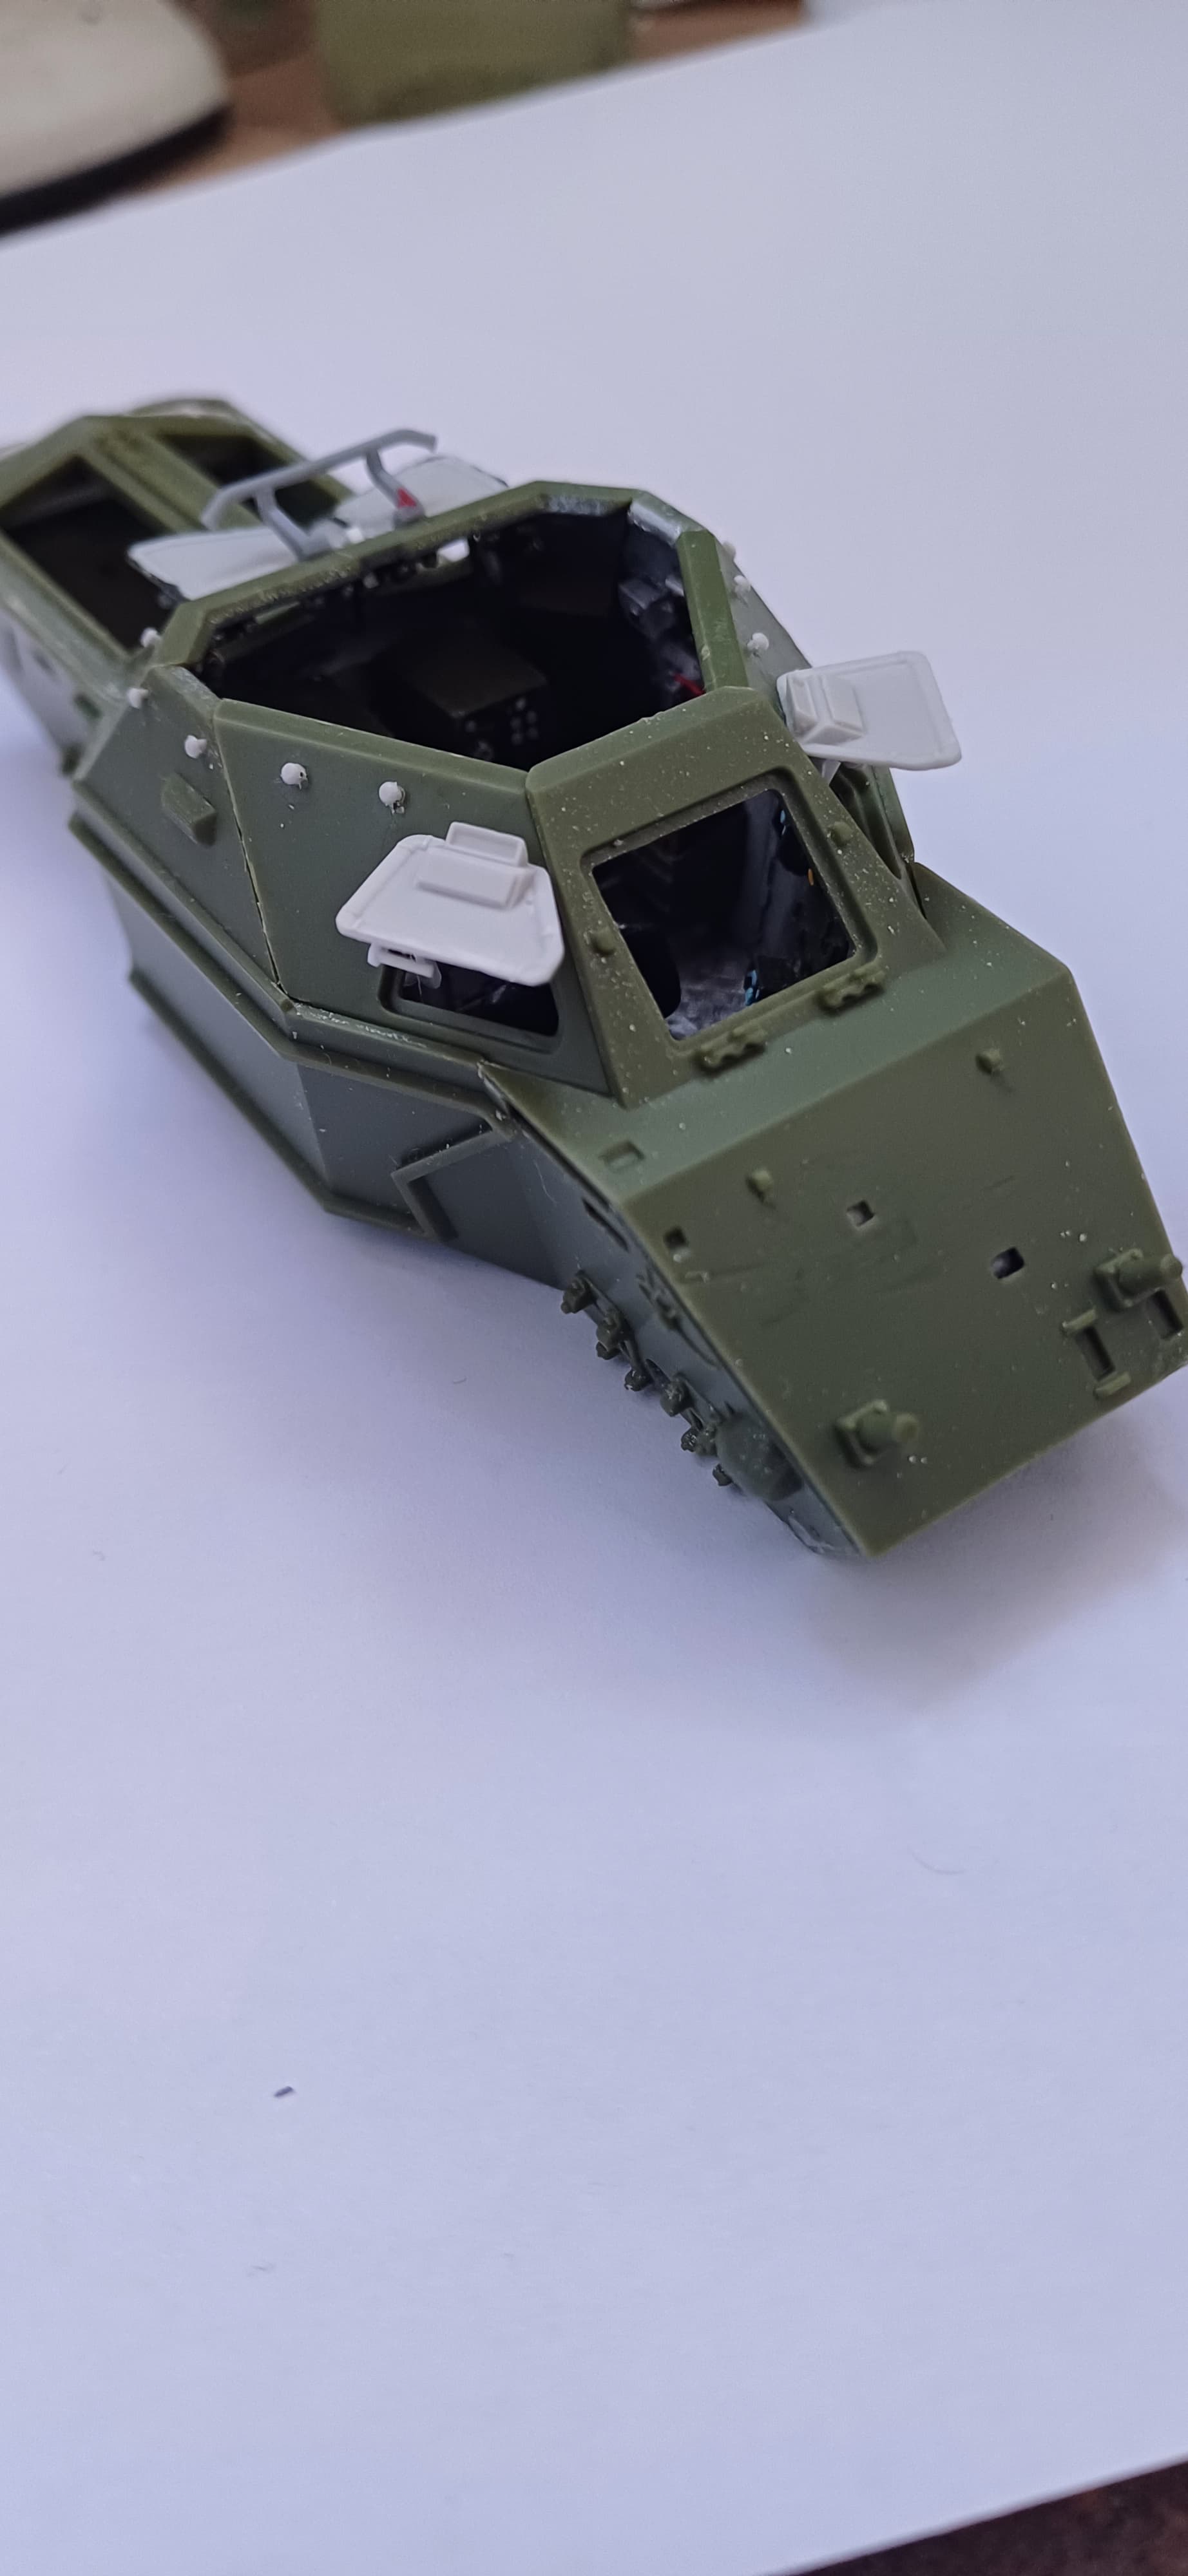
Got the rear crew compartment plate fitted, then the engine decks and finally the hull rear plate. I cut the vents off the decks to have a go at making the them myself. I used 0.13mm card cut to shape as best I could before fitting. Then placed the spacer fillets between the vents. It’s not perfect but it’s the best I could do after having a few attempts at it. I do think it is a lot better than the kit part.

7 Likes
A lot of good work going on here! A veritable tutorial on how to get the best from the kit.
1 Like
Vents look good …I will definitely be making mine when I get round to building it ![]()
1 Like
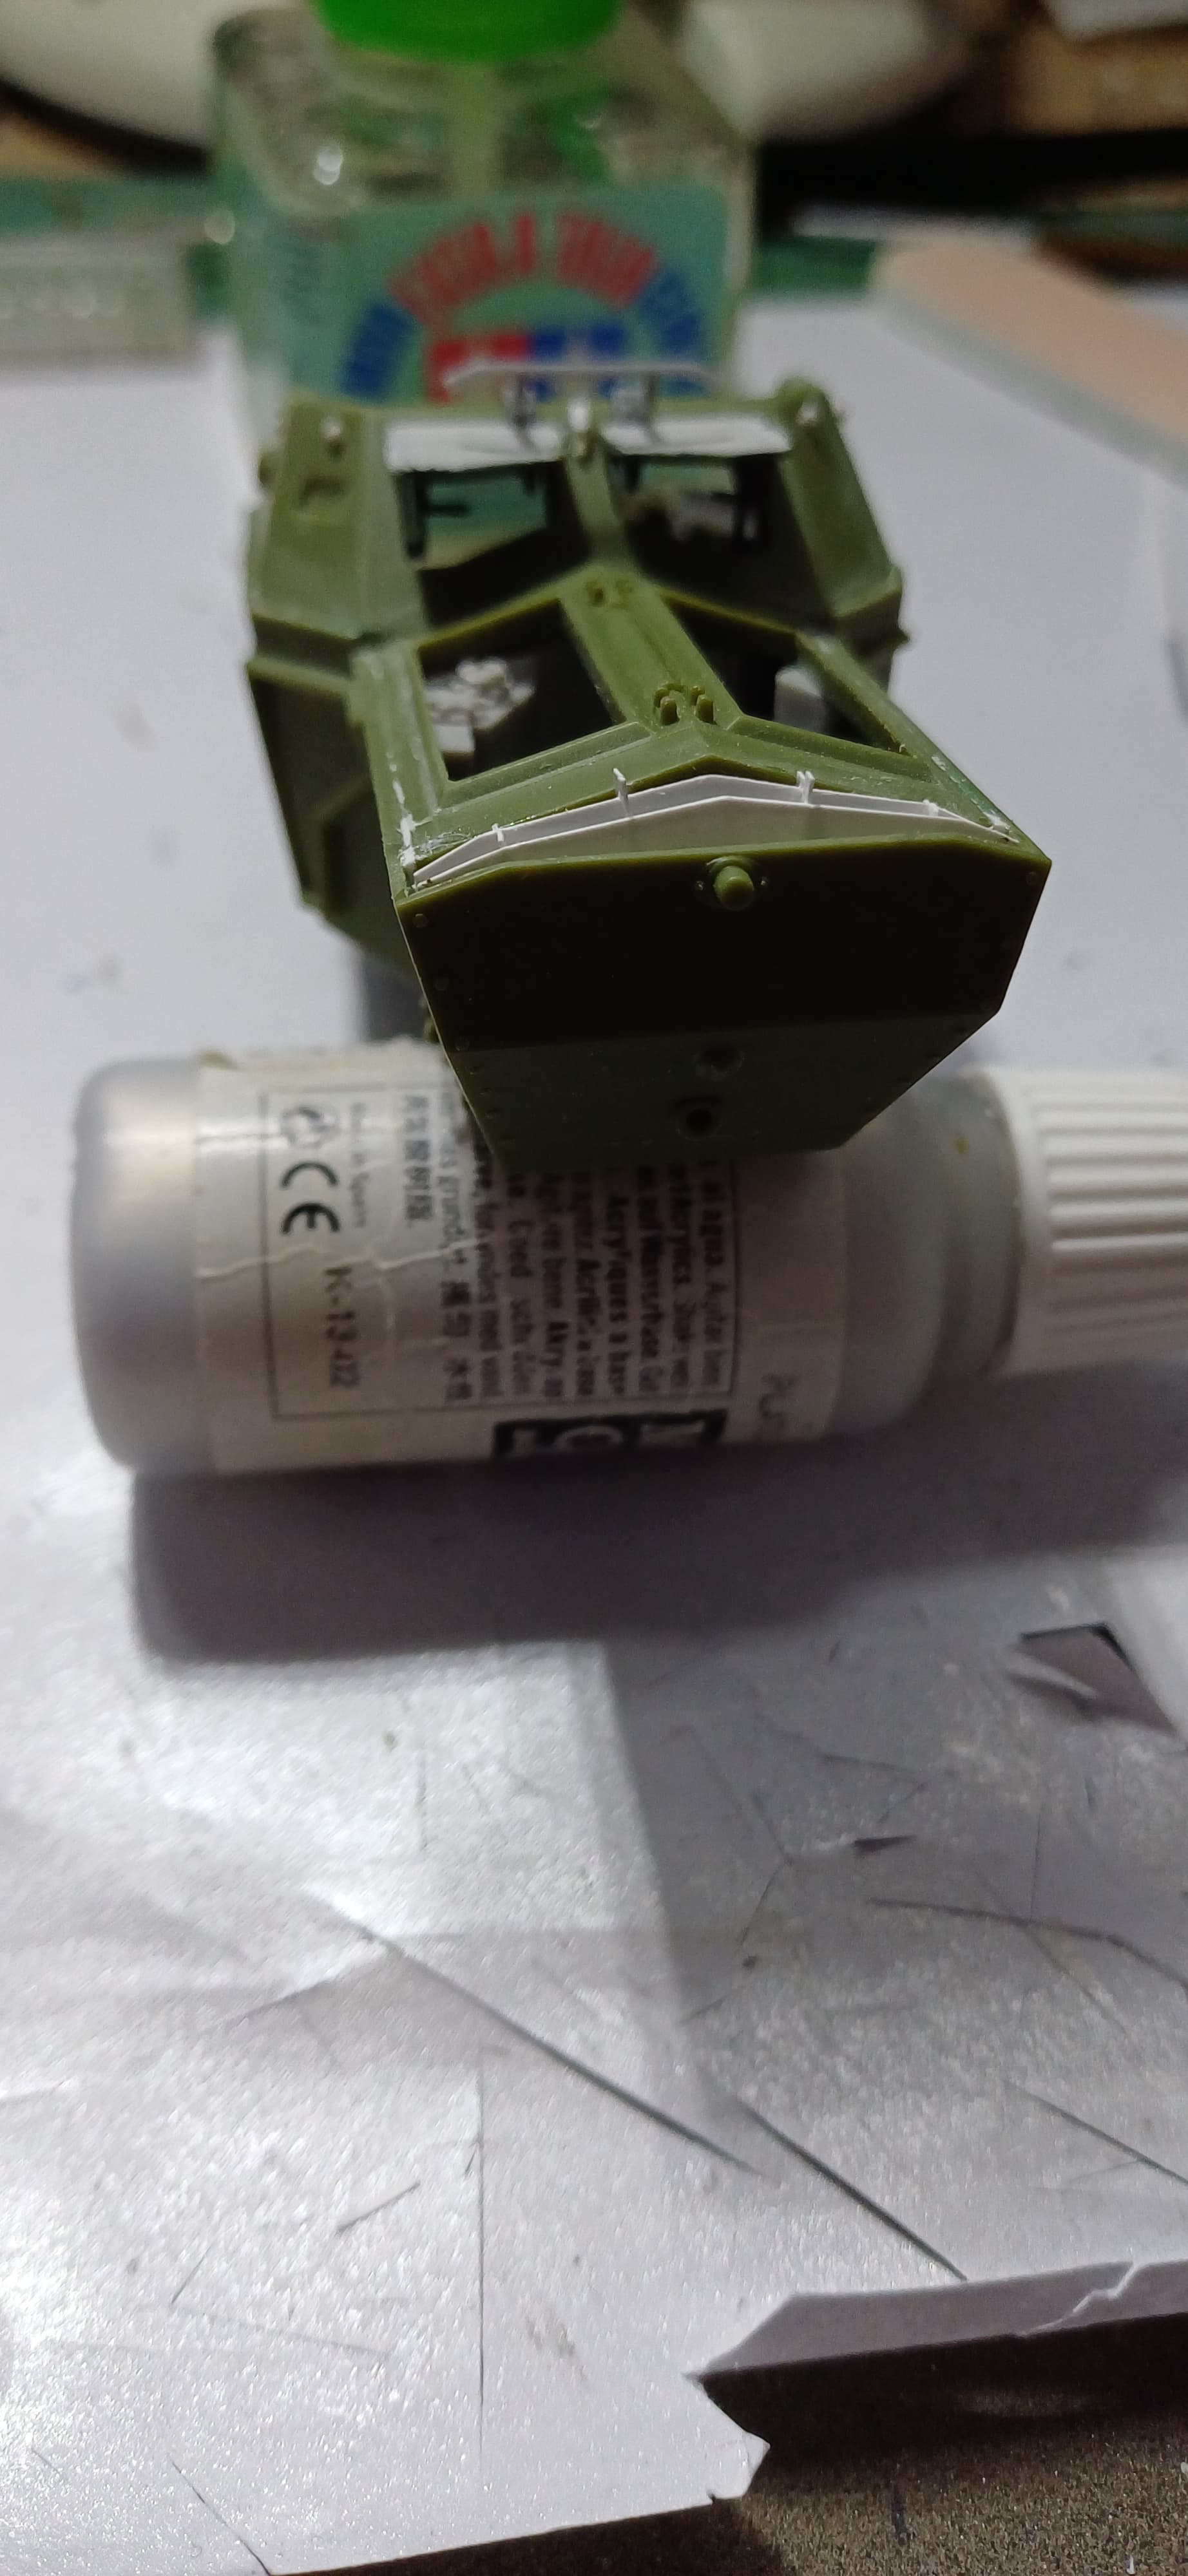
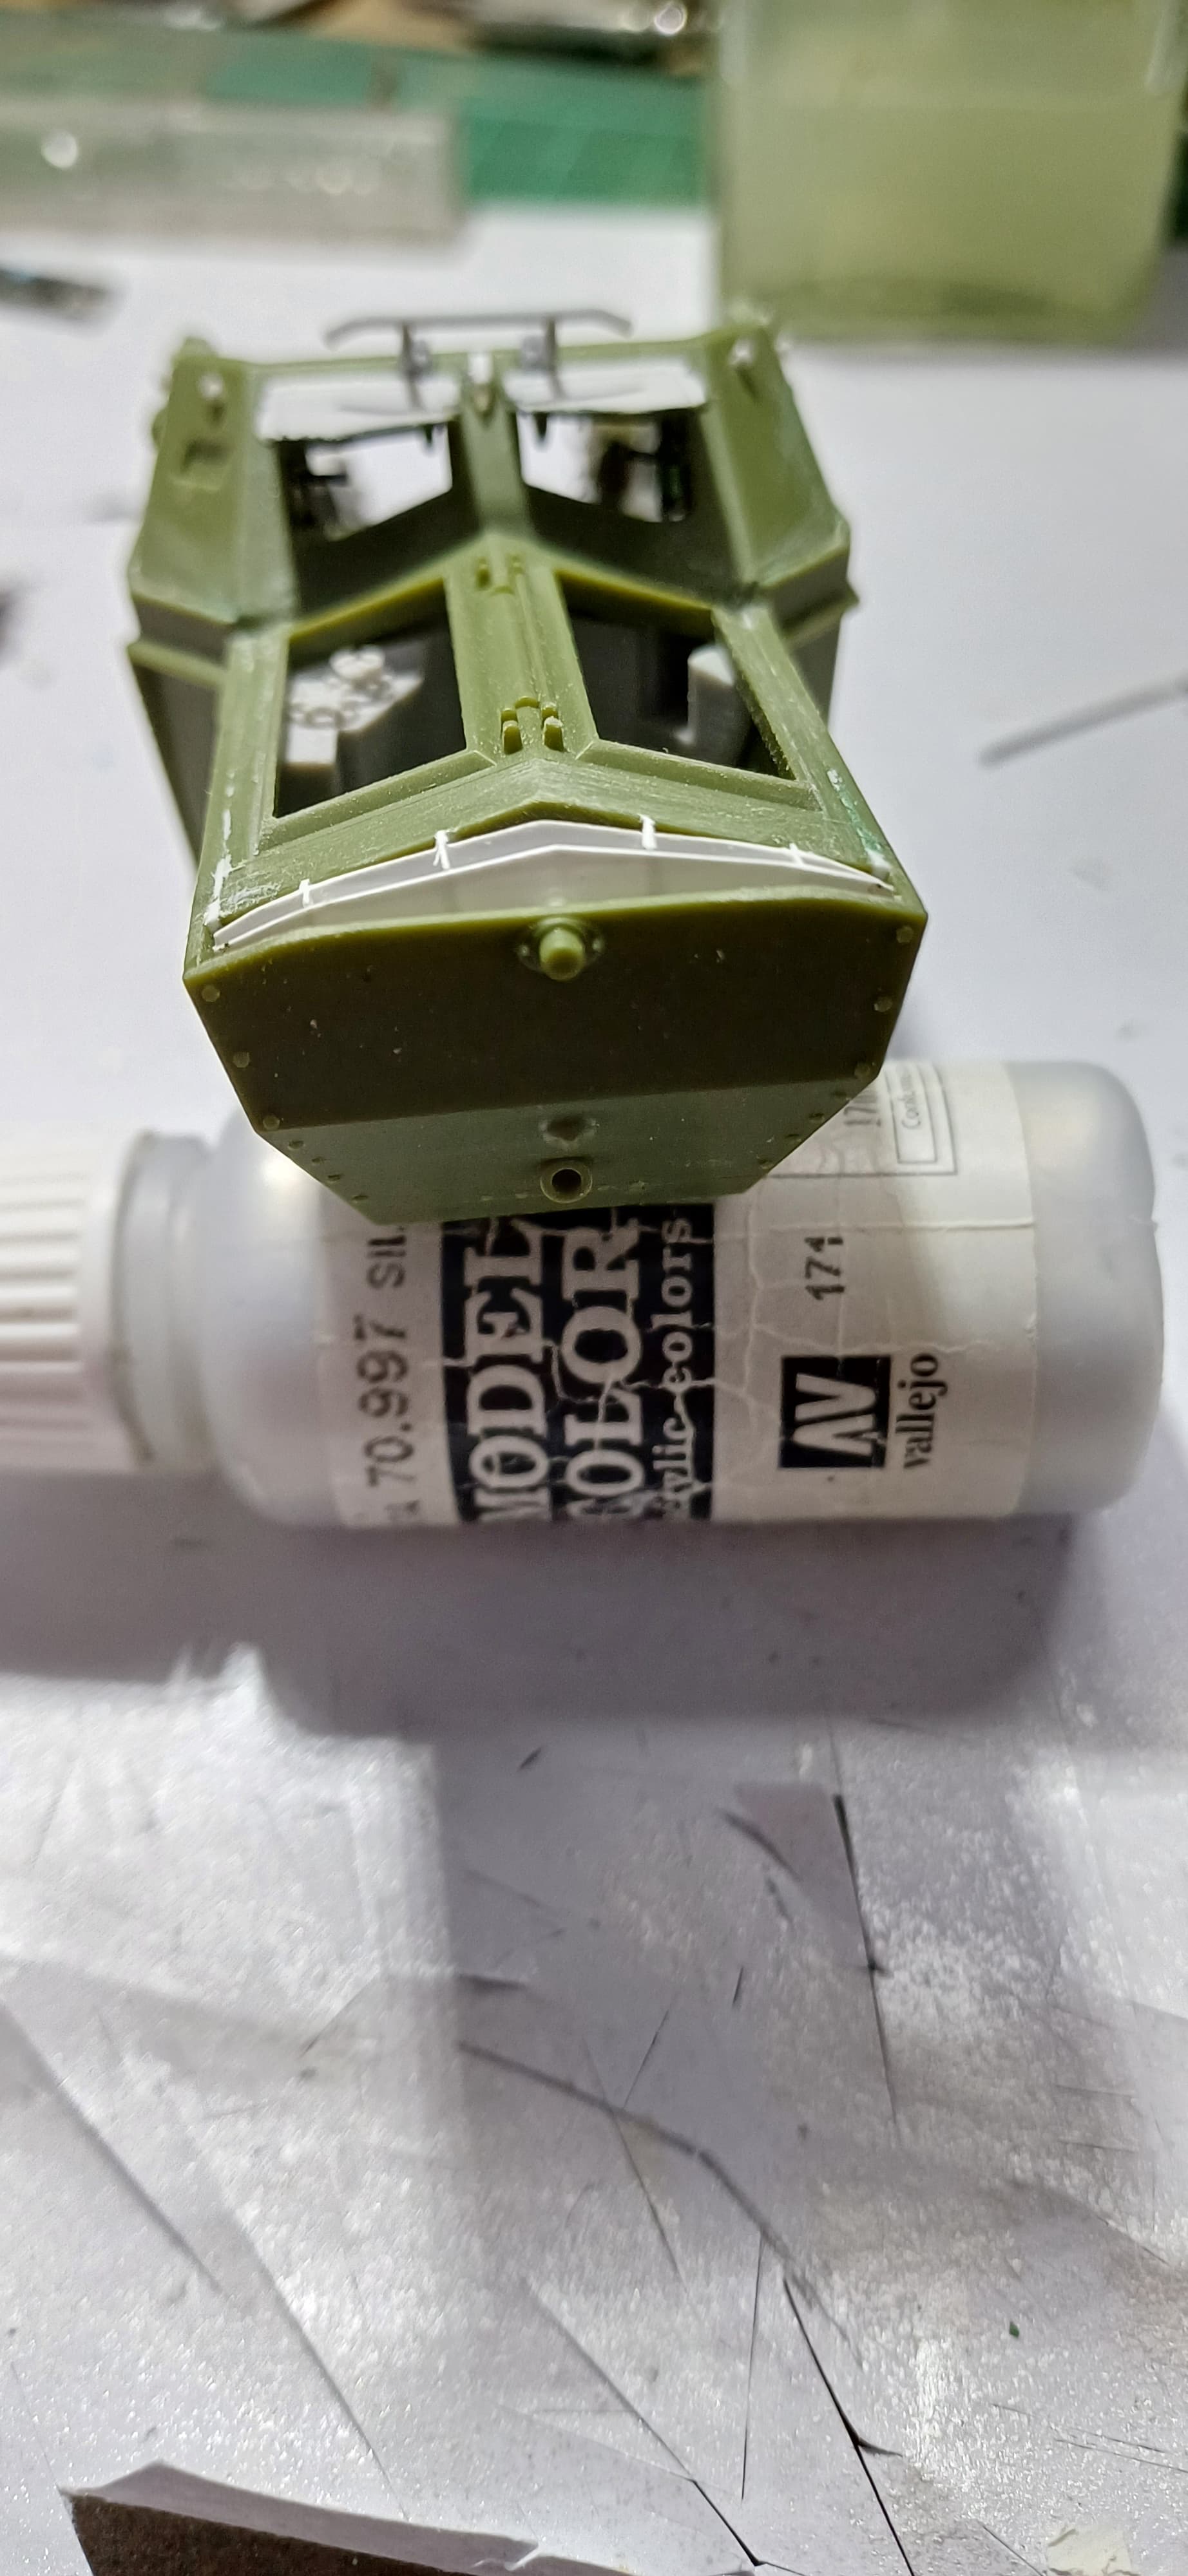
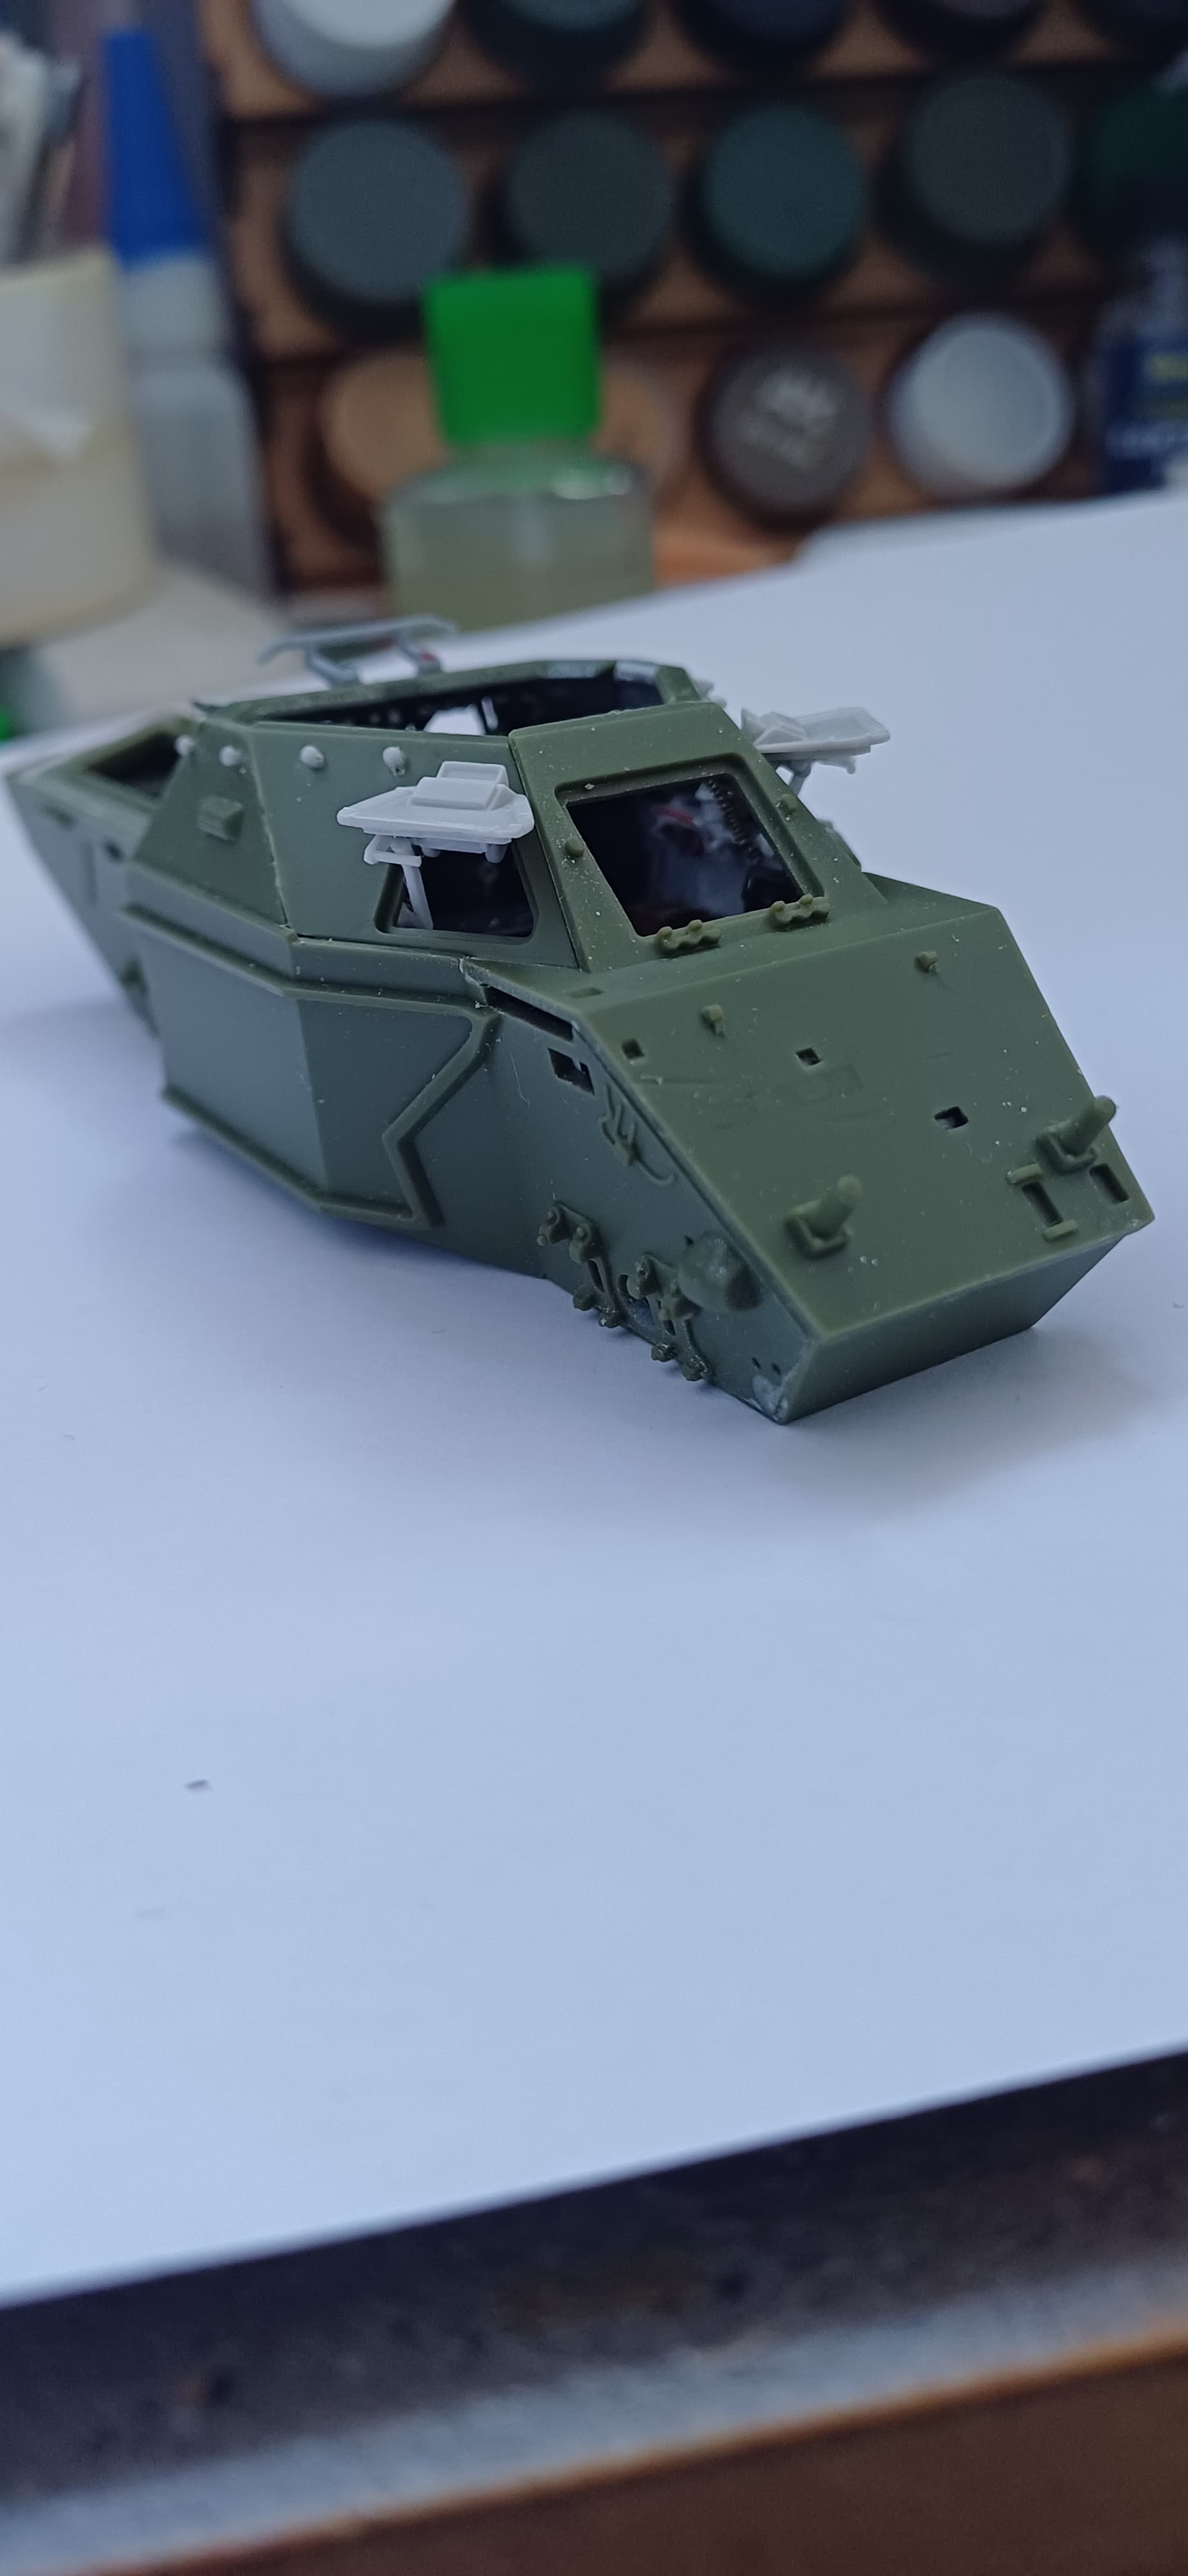
After having a few weeks of mental block and a kick up the a**e from a friend at the Northern Model Show I’ve done the front side hatches and dry fitted them to the hull. I think I’ll leave them off as those hatches are just crying out to be knocked off as I do the suspension, bins and mudguards. It’s easy enough to fit them just before starting the turret etc.
6 Likes
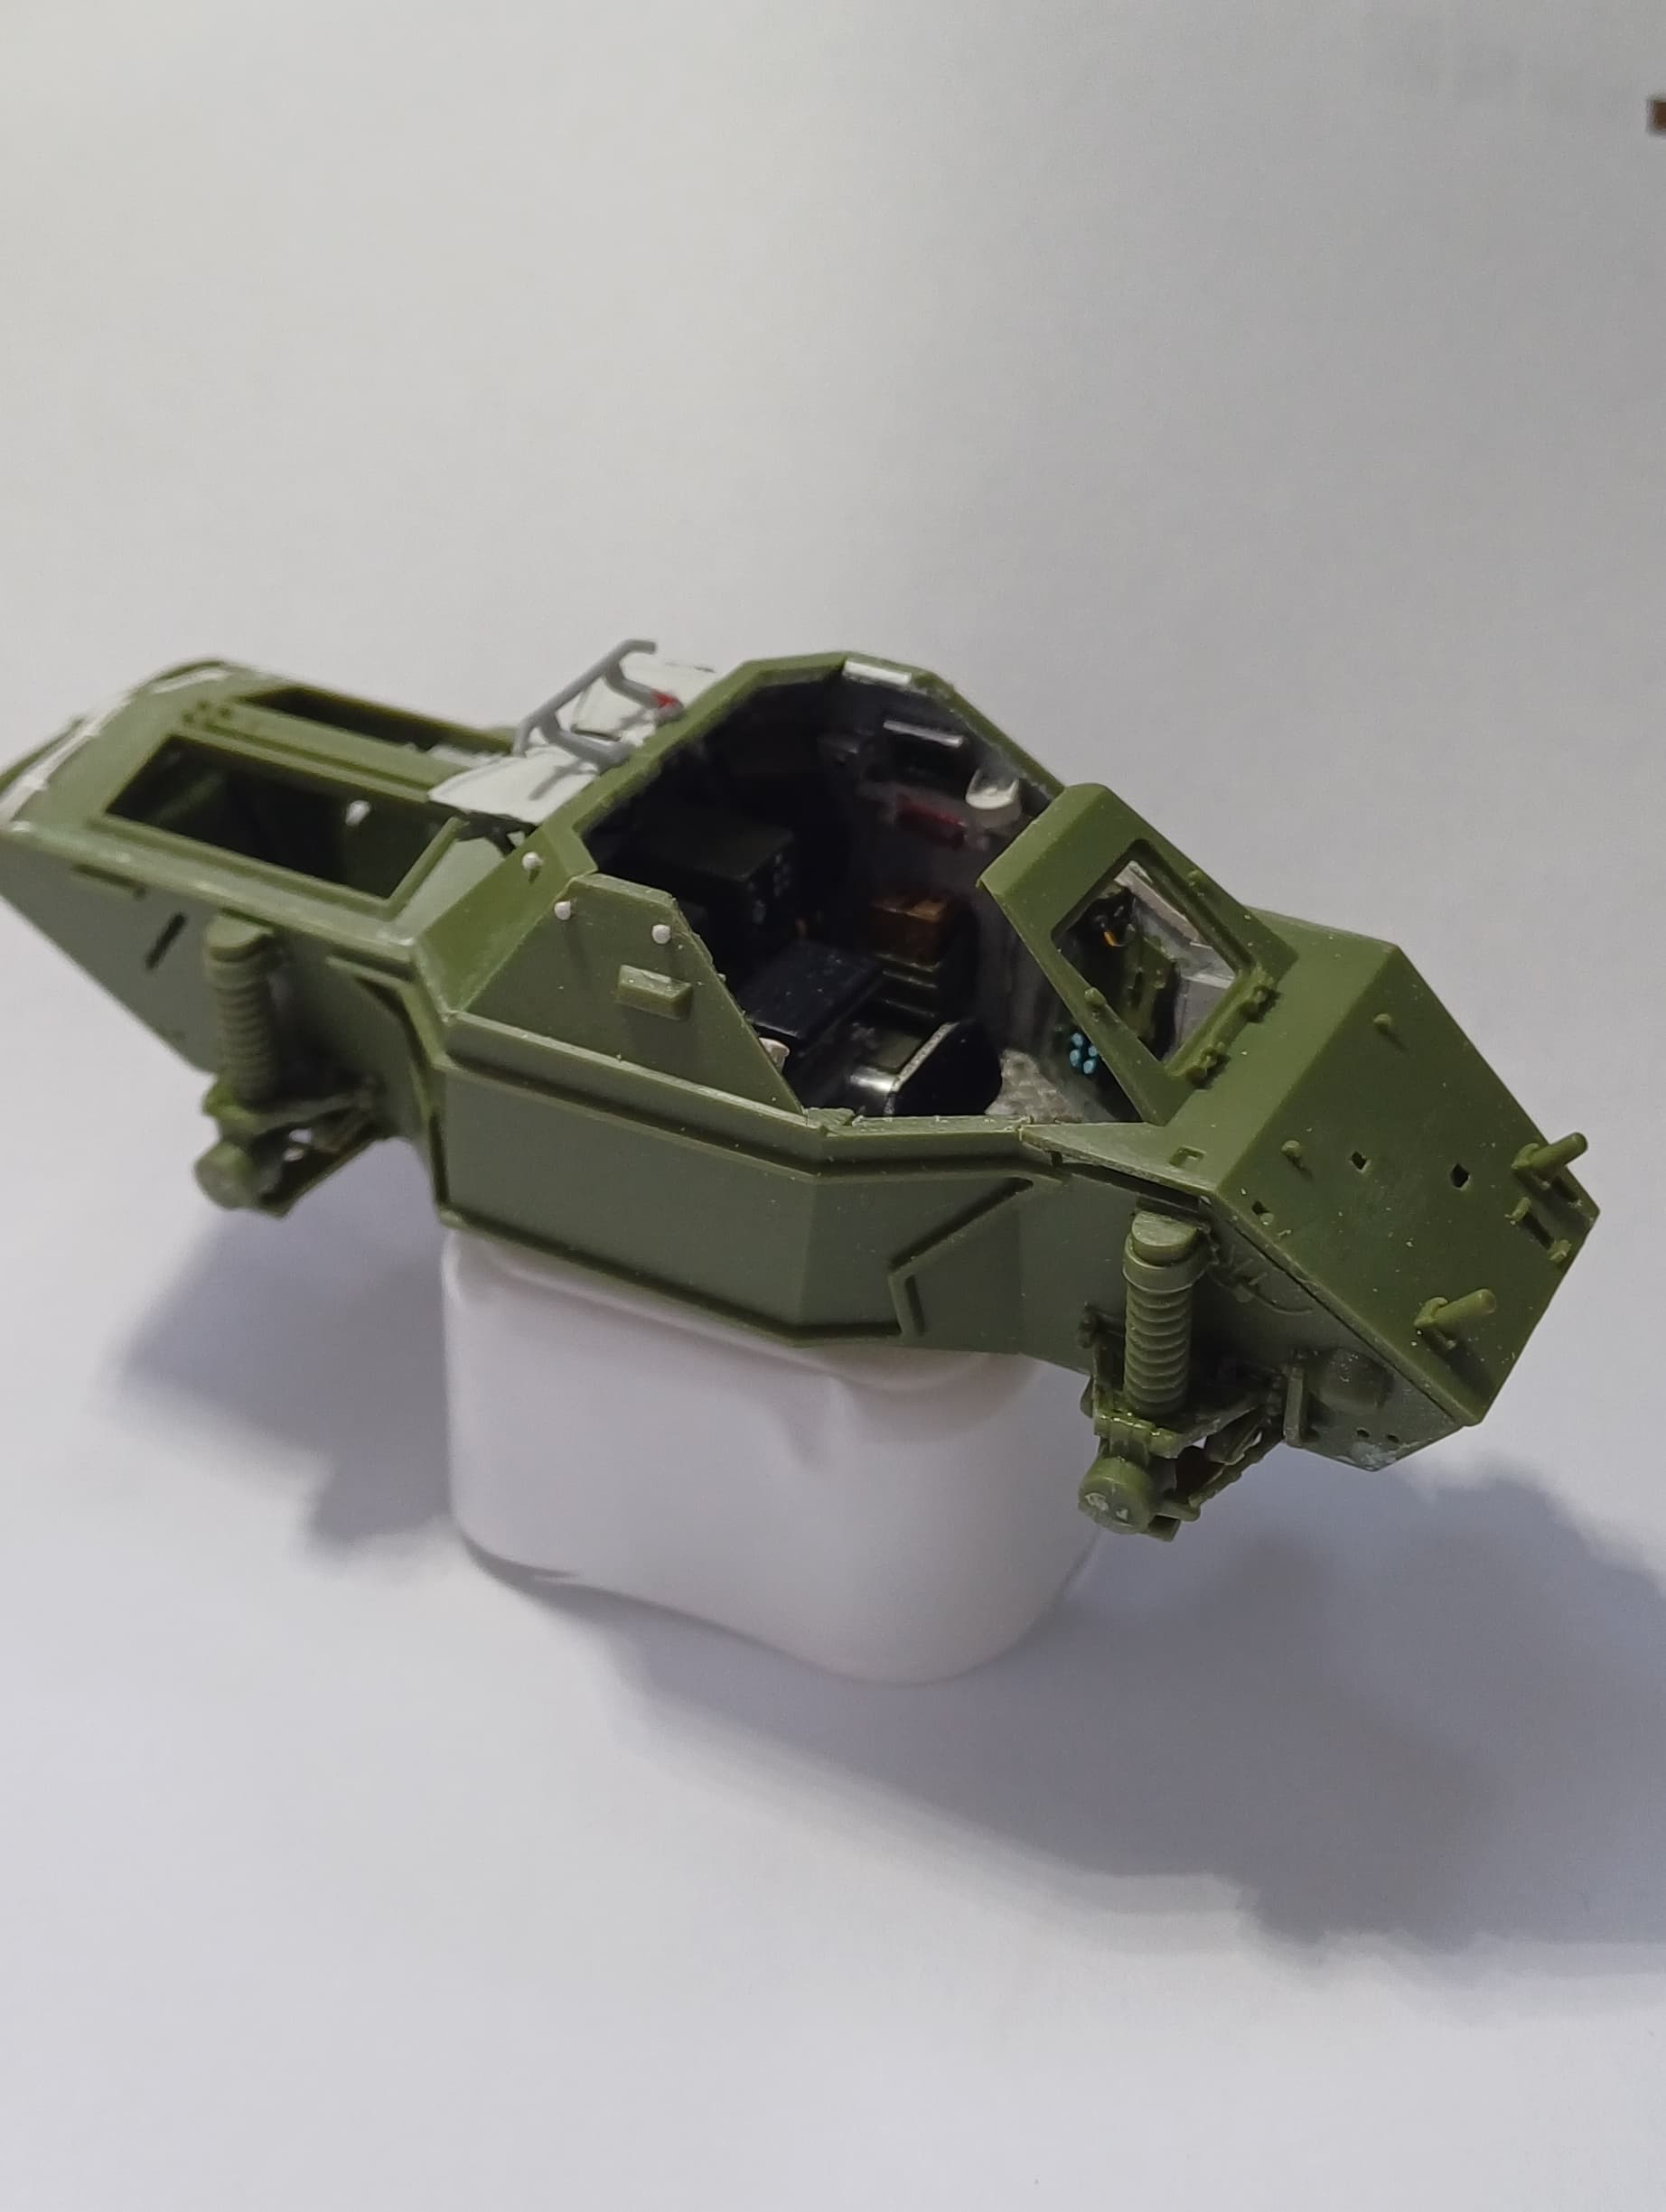
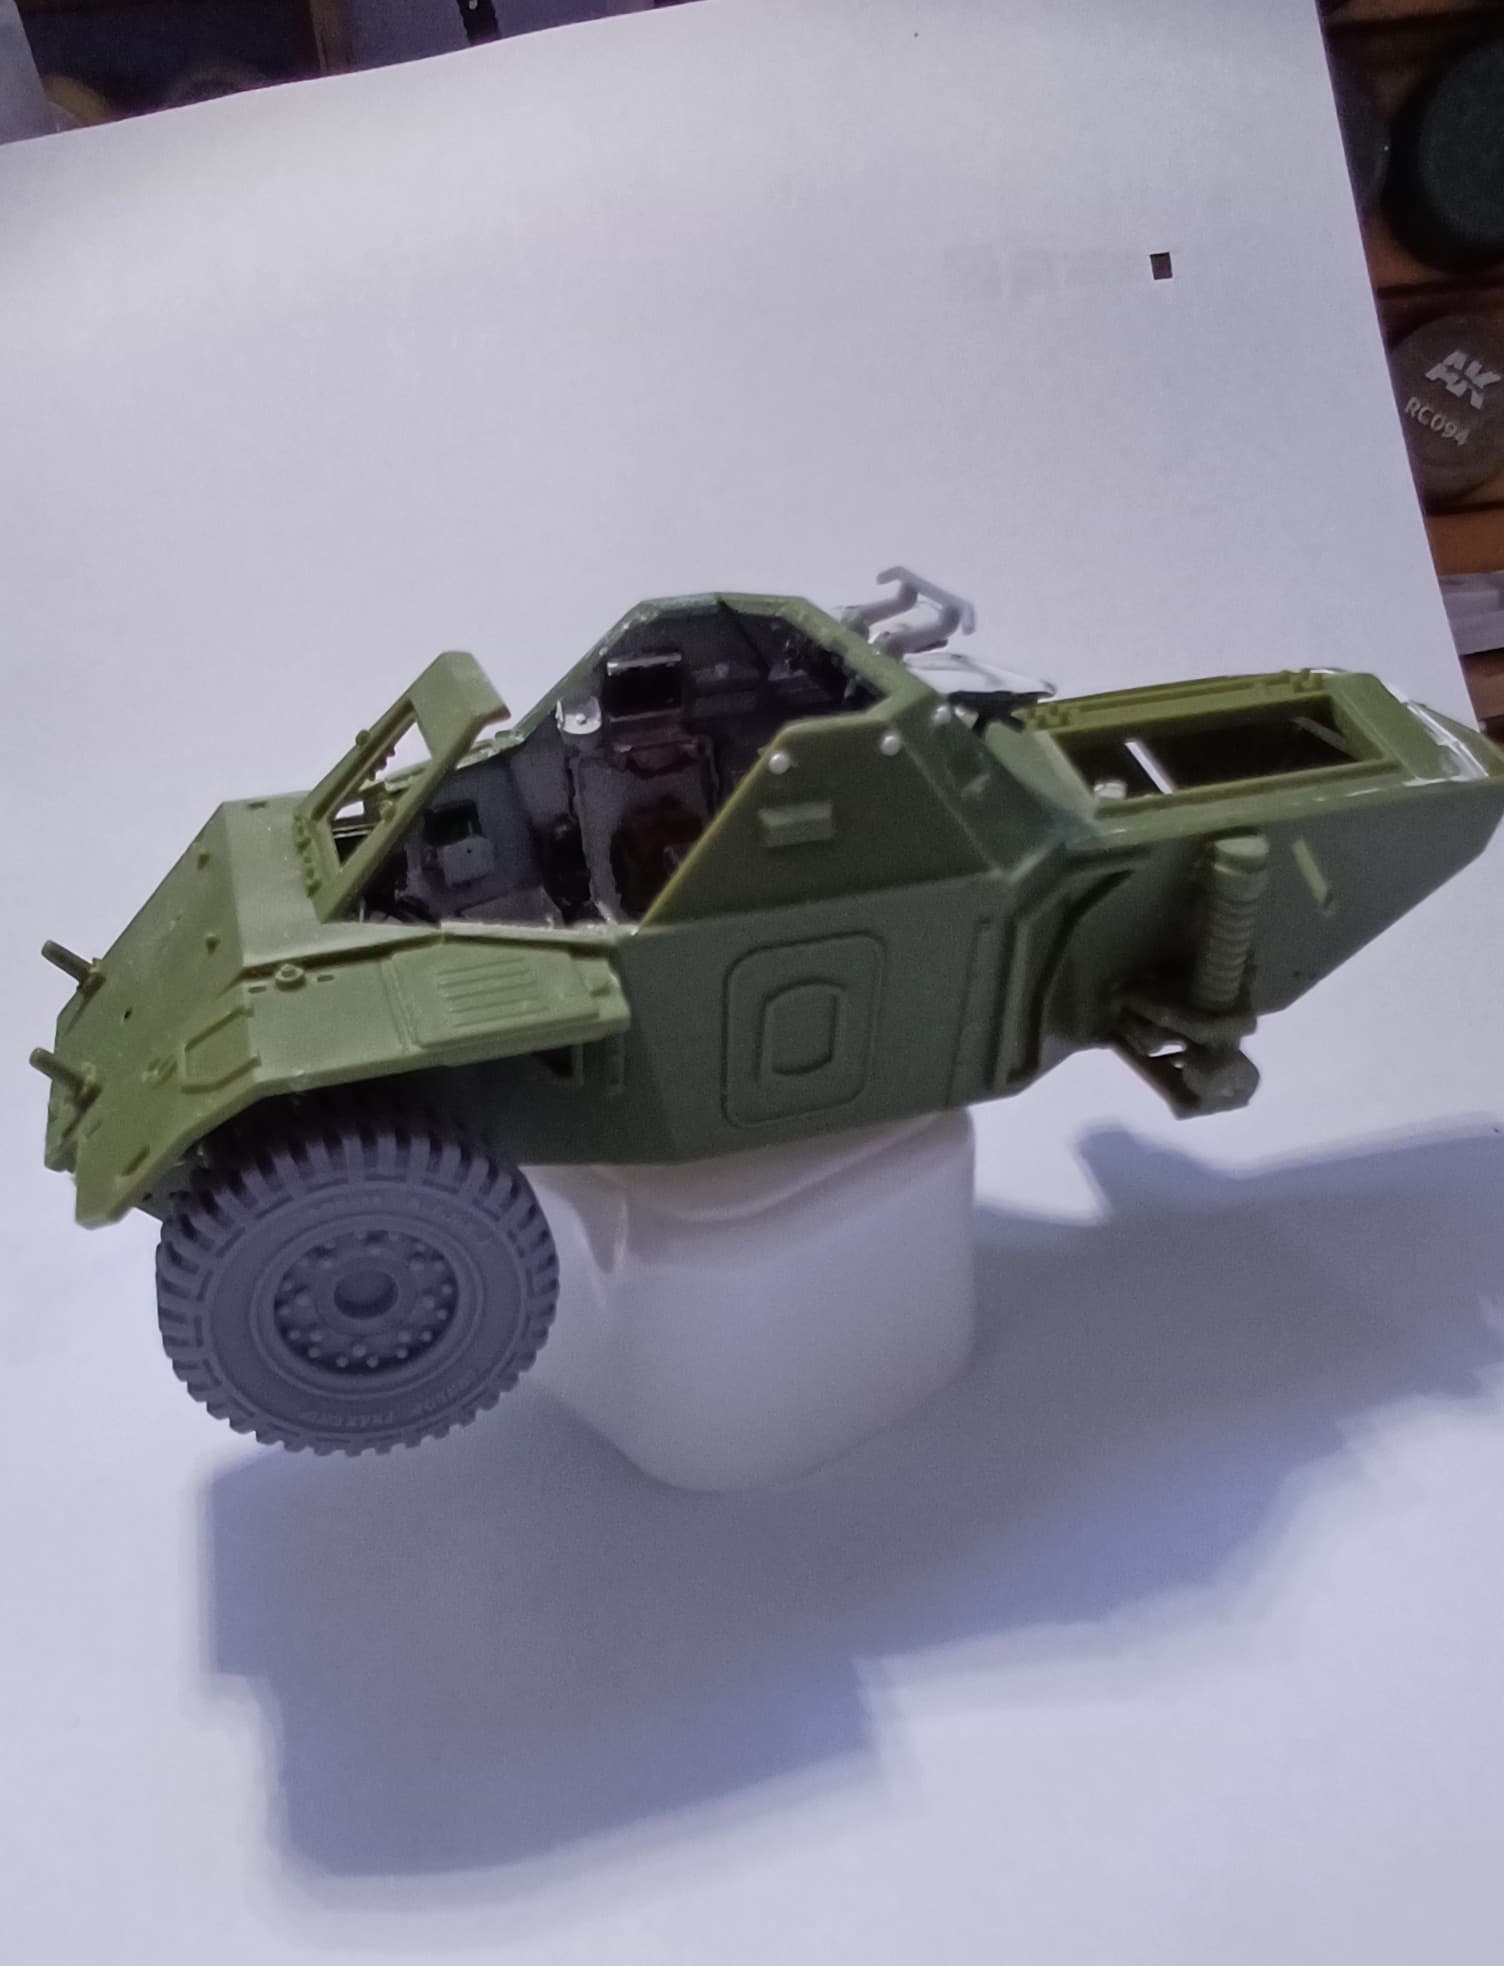
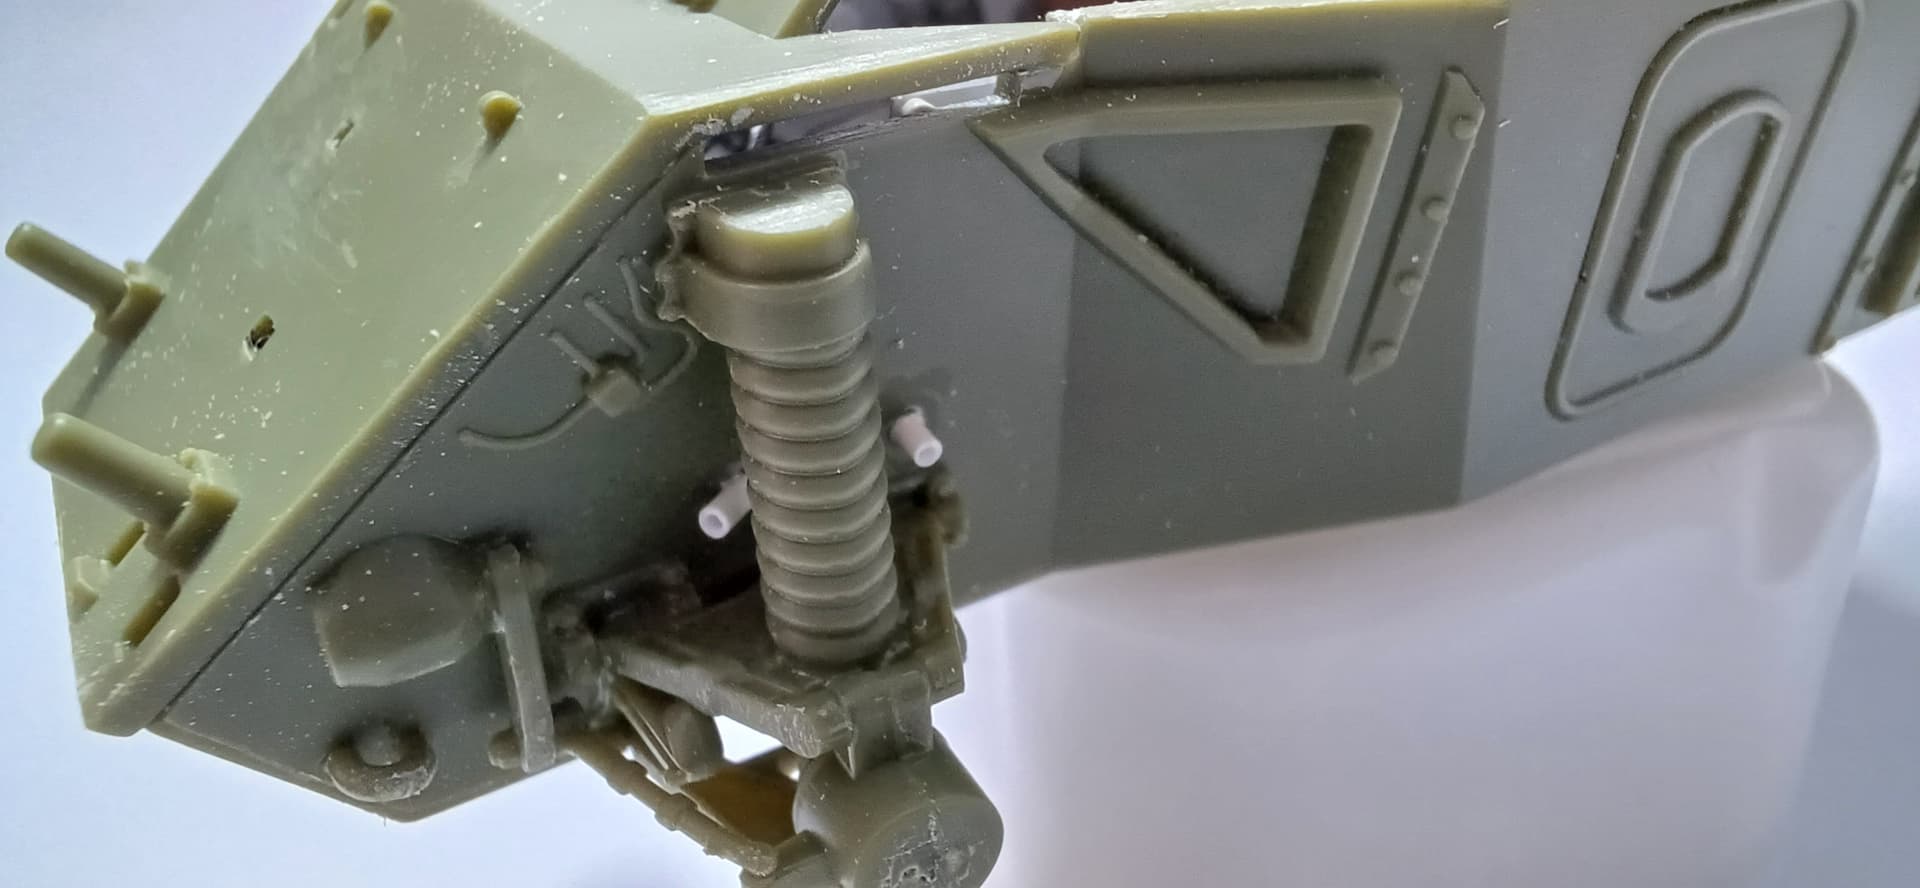
Another brief update, I’ve got the suspension components on and pleasantly surprised by the positive attachment for each part. No issues at all with any parts and the kit sits nice and level. I’ll be fitting each wheel with it’s brake cylinder and associated pipework. It’s a small thing but one that is noticeable. The front wing and wheel is dry fitted in the 2nd pic just to see positioning.
4 Likes
Do some progress shots of that mate as I will be adding them as well on mine when I do it and I can make them up now and chuck the parts in the box ready to go. ![]()
2 Likes
Will do, the SMM wheels have an adaptor which I think mimics the brake back plate on the real deal. I’ll be attaching the cylinders to that. It’s not the exact shape but it will have to do.
3 Likes
Yeah, looks like it or a lucky coincidence
1 Like
Ferret sports car.
2 Likes
Well they were quite fast for an armoured vehicle, but they had a limiter in the distributor which would cut the spark if you tried going too fast.
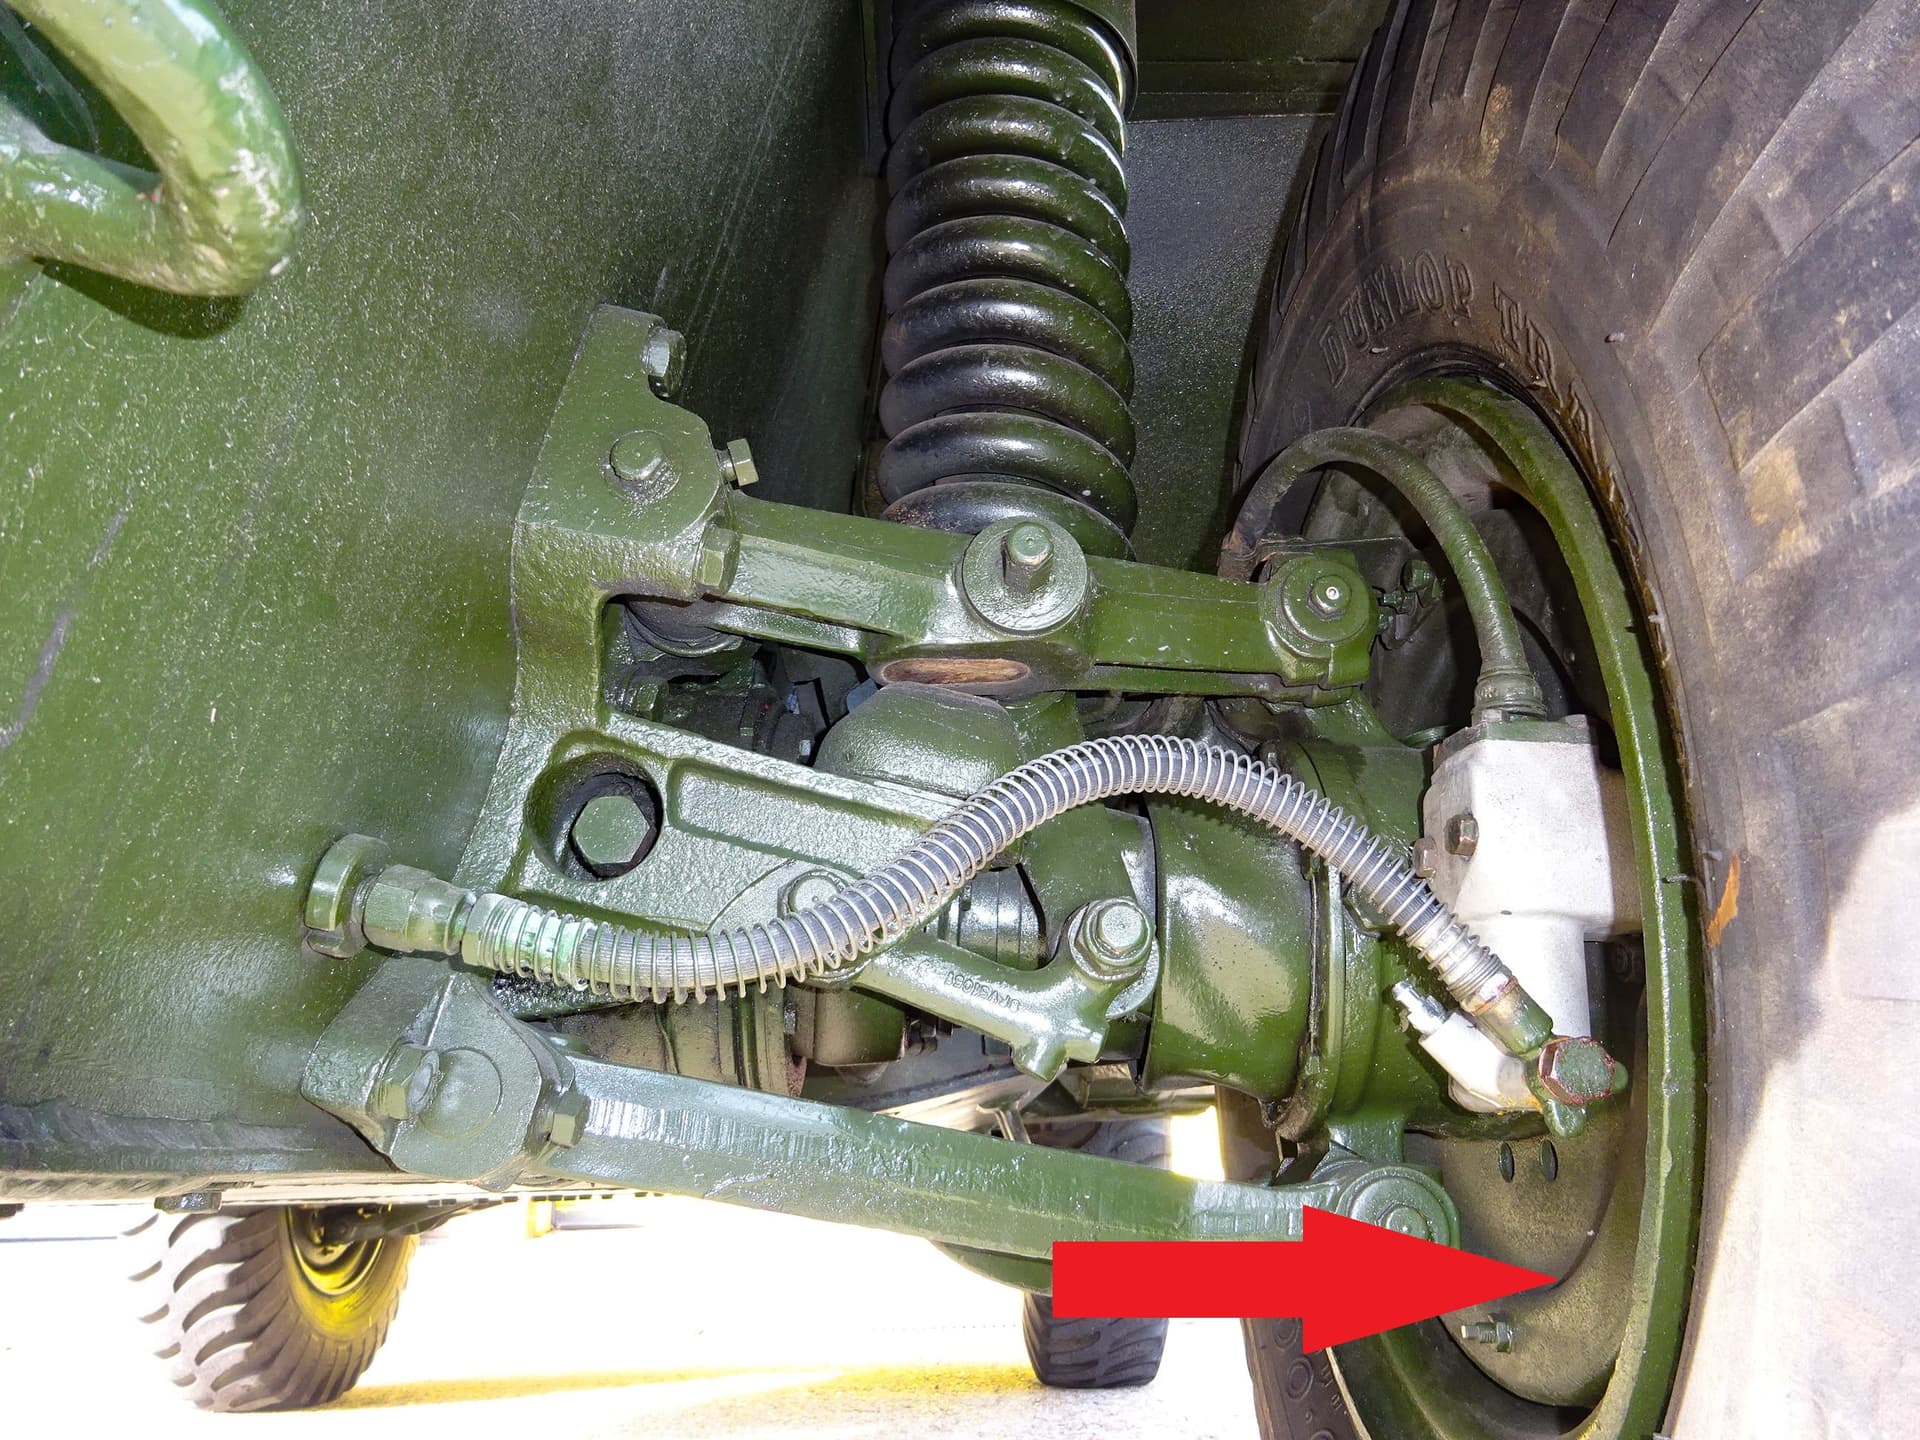
I’ve added some drilled styrene rod as an anchor point for the brake lines, 0.88mm rod drilled out with a .5mm drill bit… The front lines come out behind the spring as you can see on the pics.
3 Likes
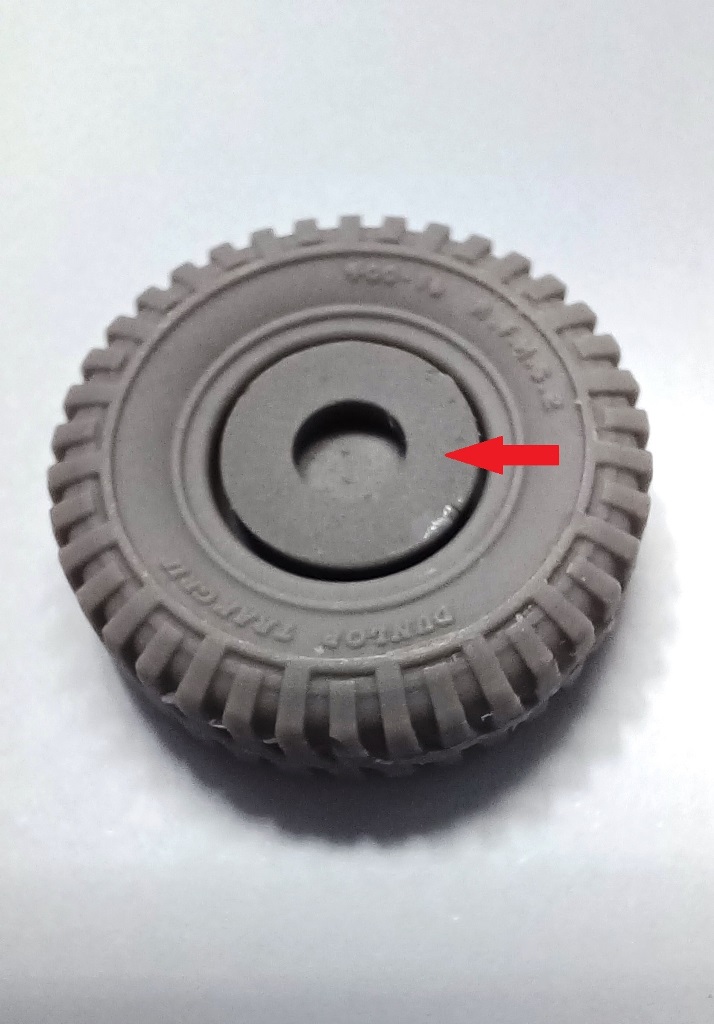
I’ve just noticed that one of the resin wheels from SMM is warped quite badly. It’s actually an ovoid shape which is very noticeable if you look at the hole in the middle, would this be fixable do you think by heating in water and trying to squash it back to being a round shape?
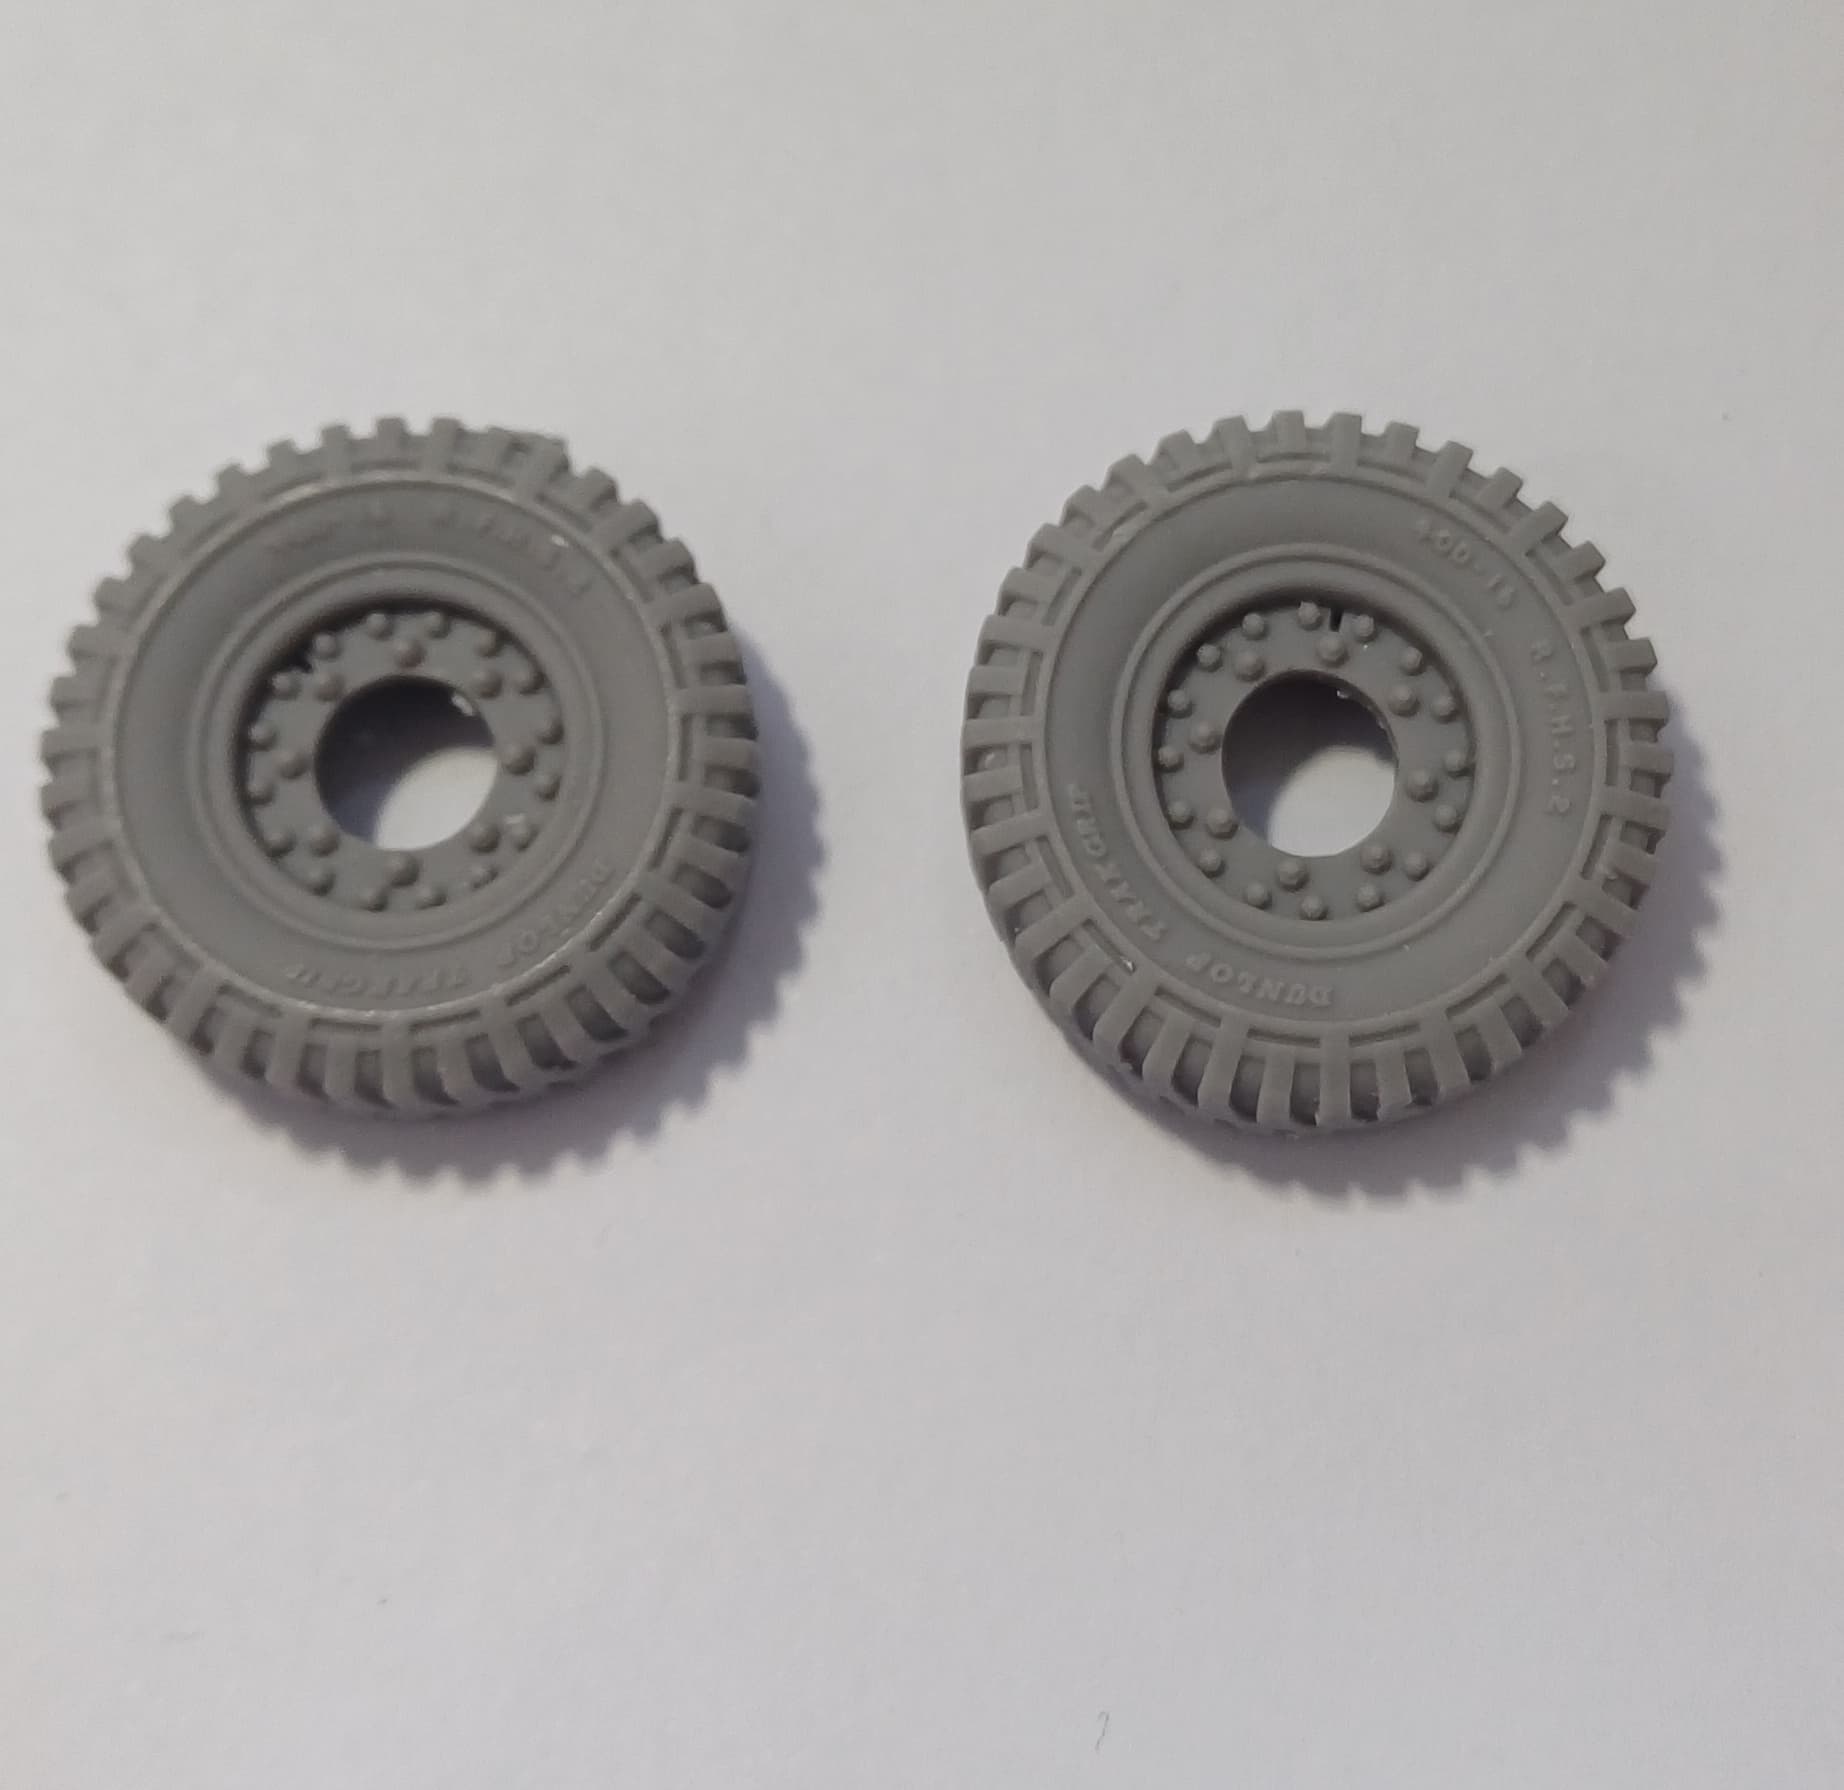
2 Likes
Ouch! That’s pretty bad. I don’t know about the hot water, but you can drop an email to Mike Shackleton at SMM to see if he’ll replace it. I can assure you it was round in my CAD design!
(If all else fails, I think I have a few copies kicking around here that I could send…)
3 Likes
I’ll drop him an email and see what’s what. It’s resin though and warping happens, it wouldn’t be the first part I’ve had that was warped in some way and that’s from all manufacturers.
1 Like
Try the hot water first, you may be able to fix it. If not, certainly contact SMM.
Ken
1 Like
Wasn’t able to sort the wheel with hot water. A big thank you though to Michael from SMM who replaced the wheel and sent it through last week with a few other bits and pieces I’d bought from him. ![]()
3 Likes
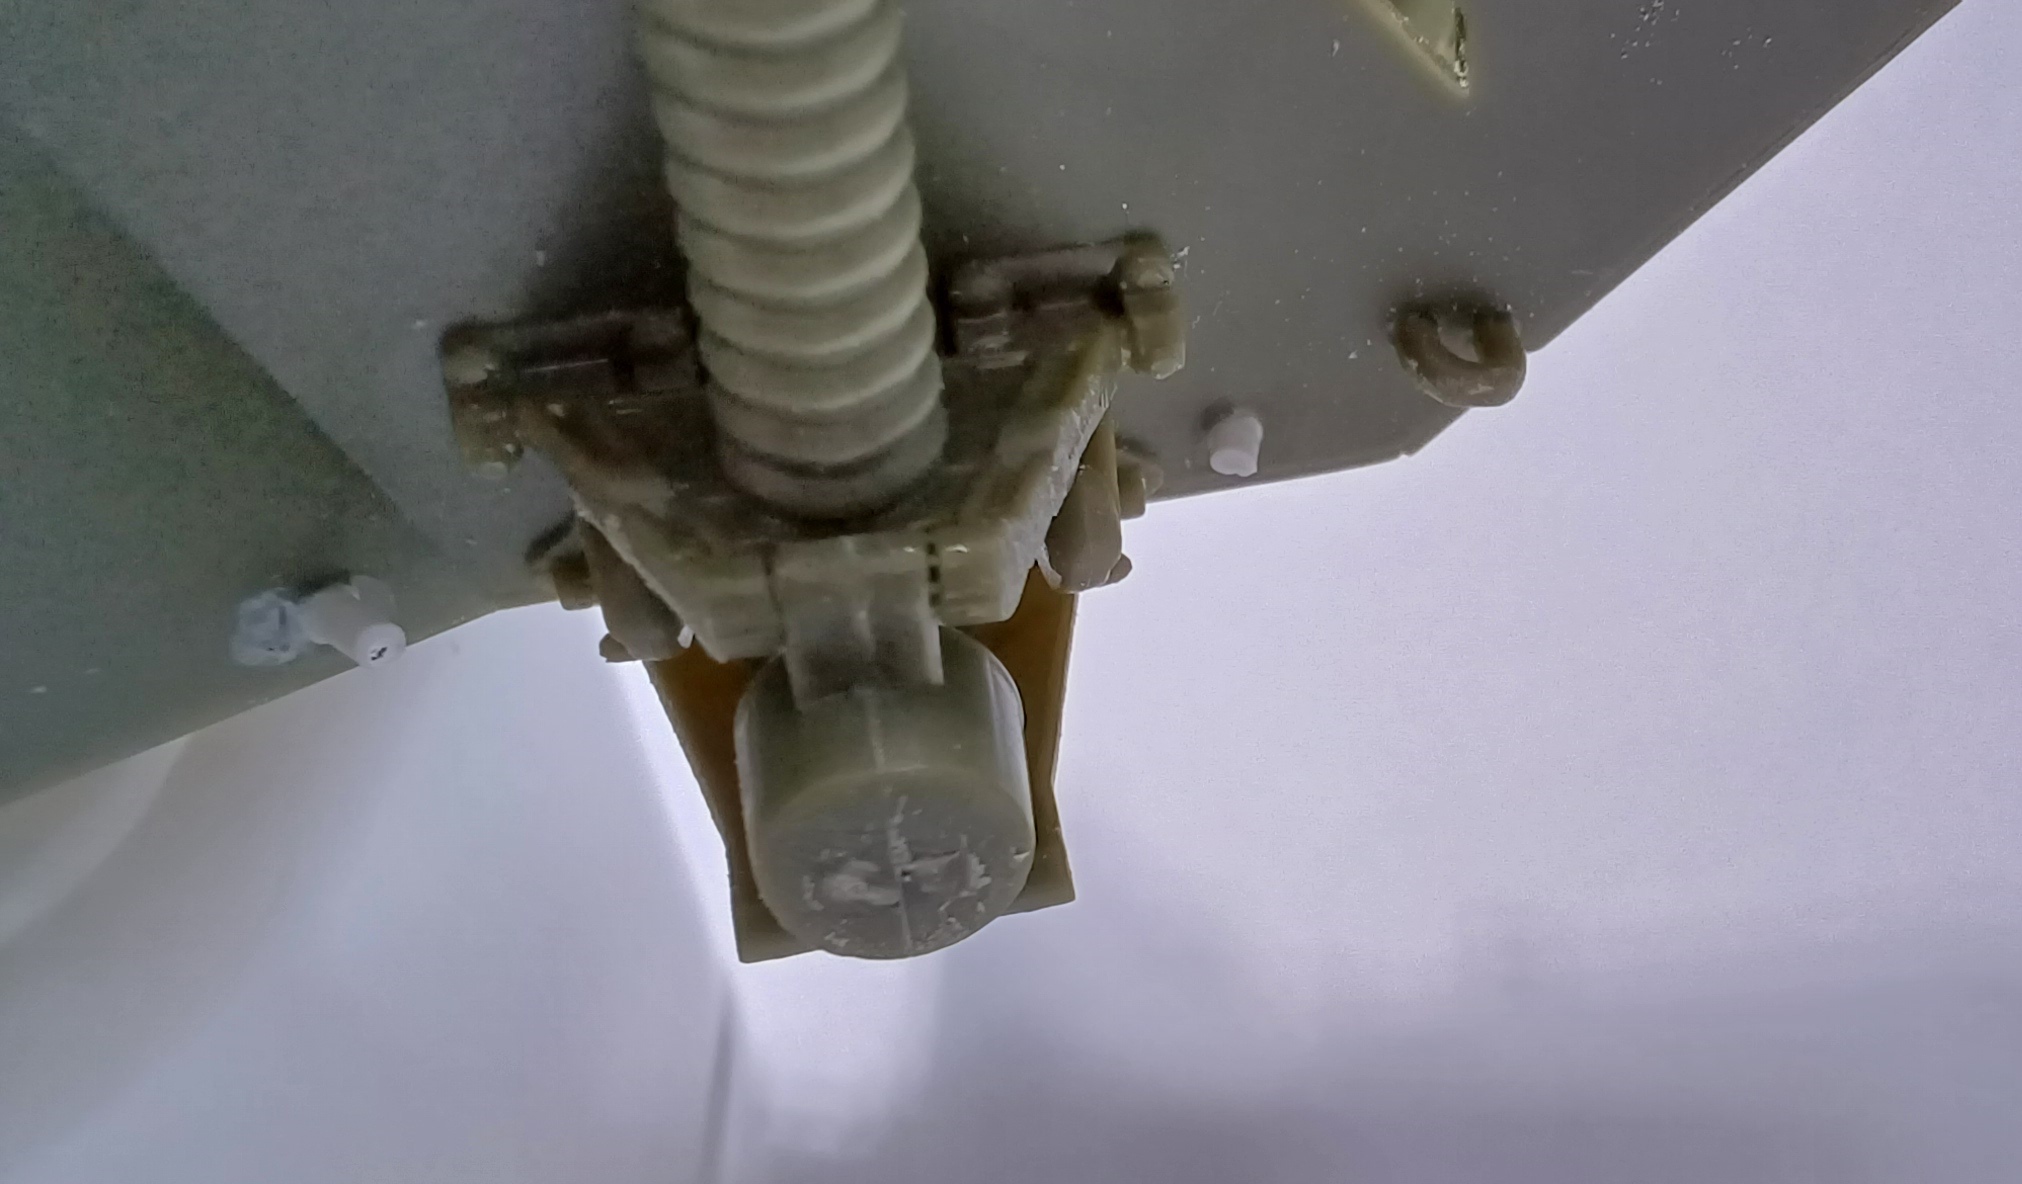
Finally finished the pipework on the wheels. Not the best, however once painted and with a little weathering they should look ok. I can start putting the mudguards and bins on now and start making it look Ferret like.

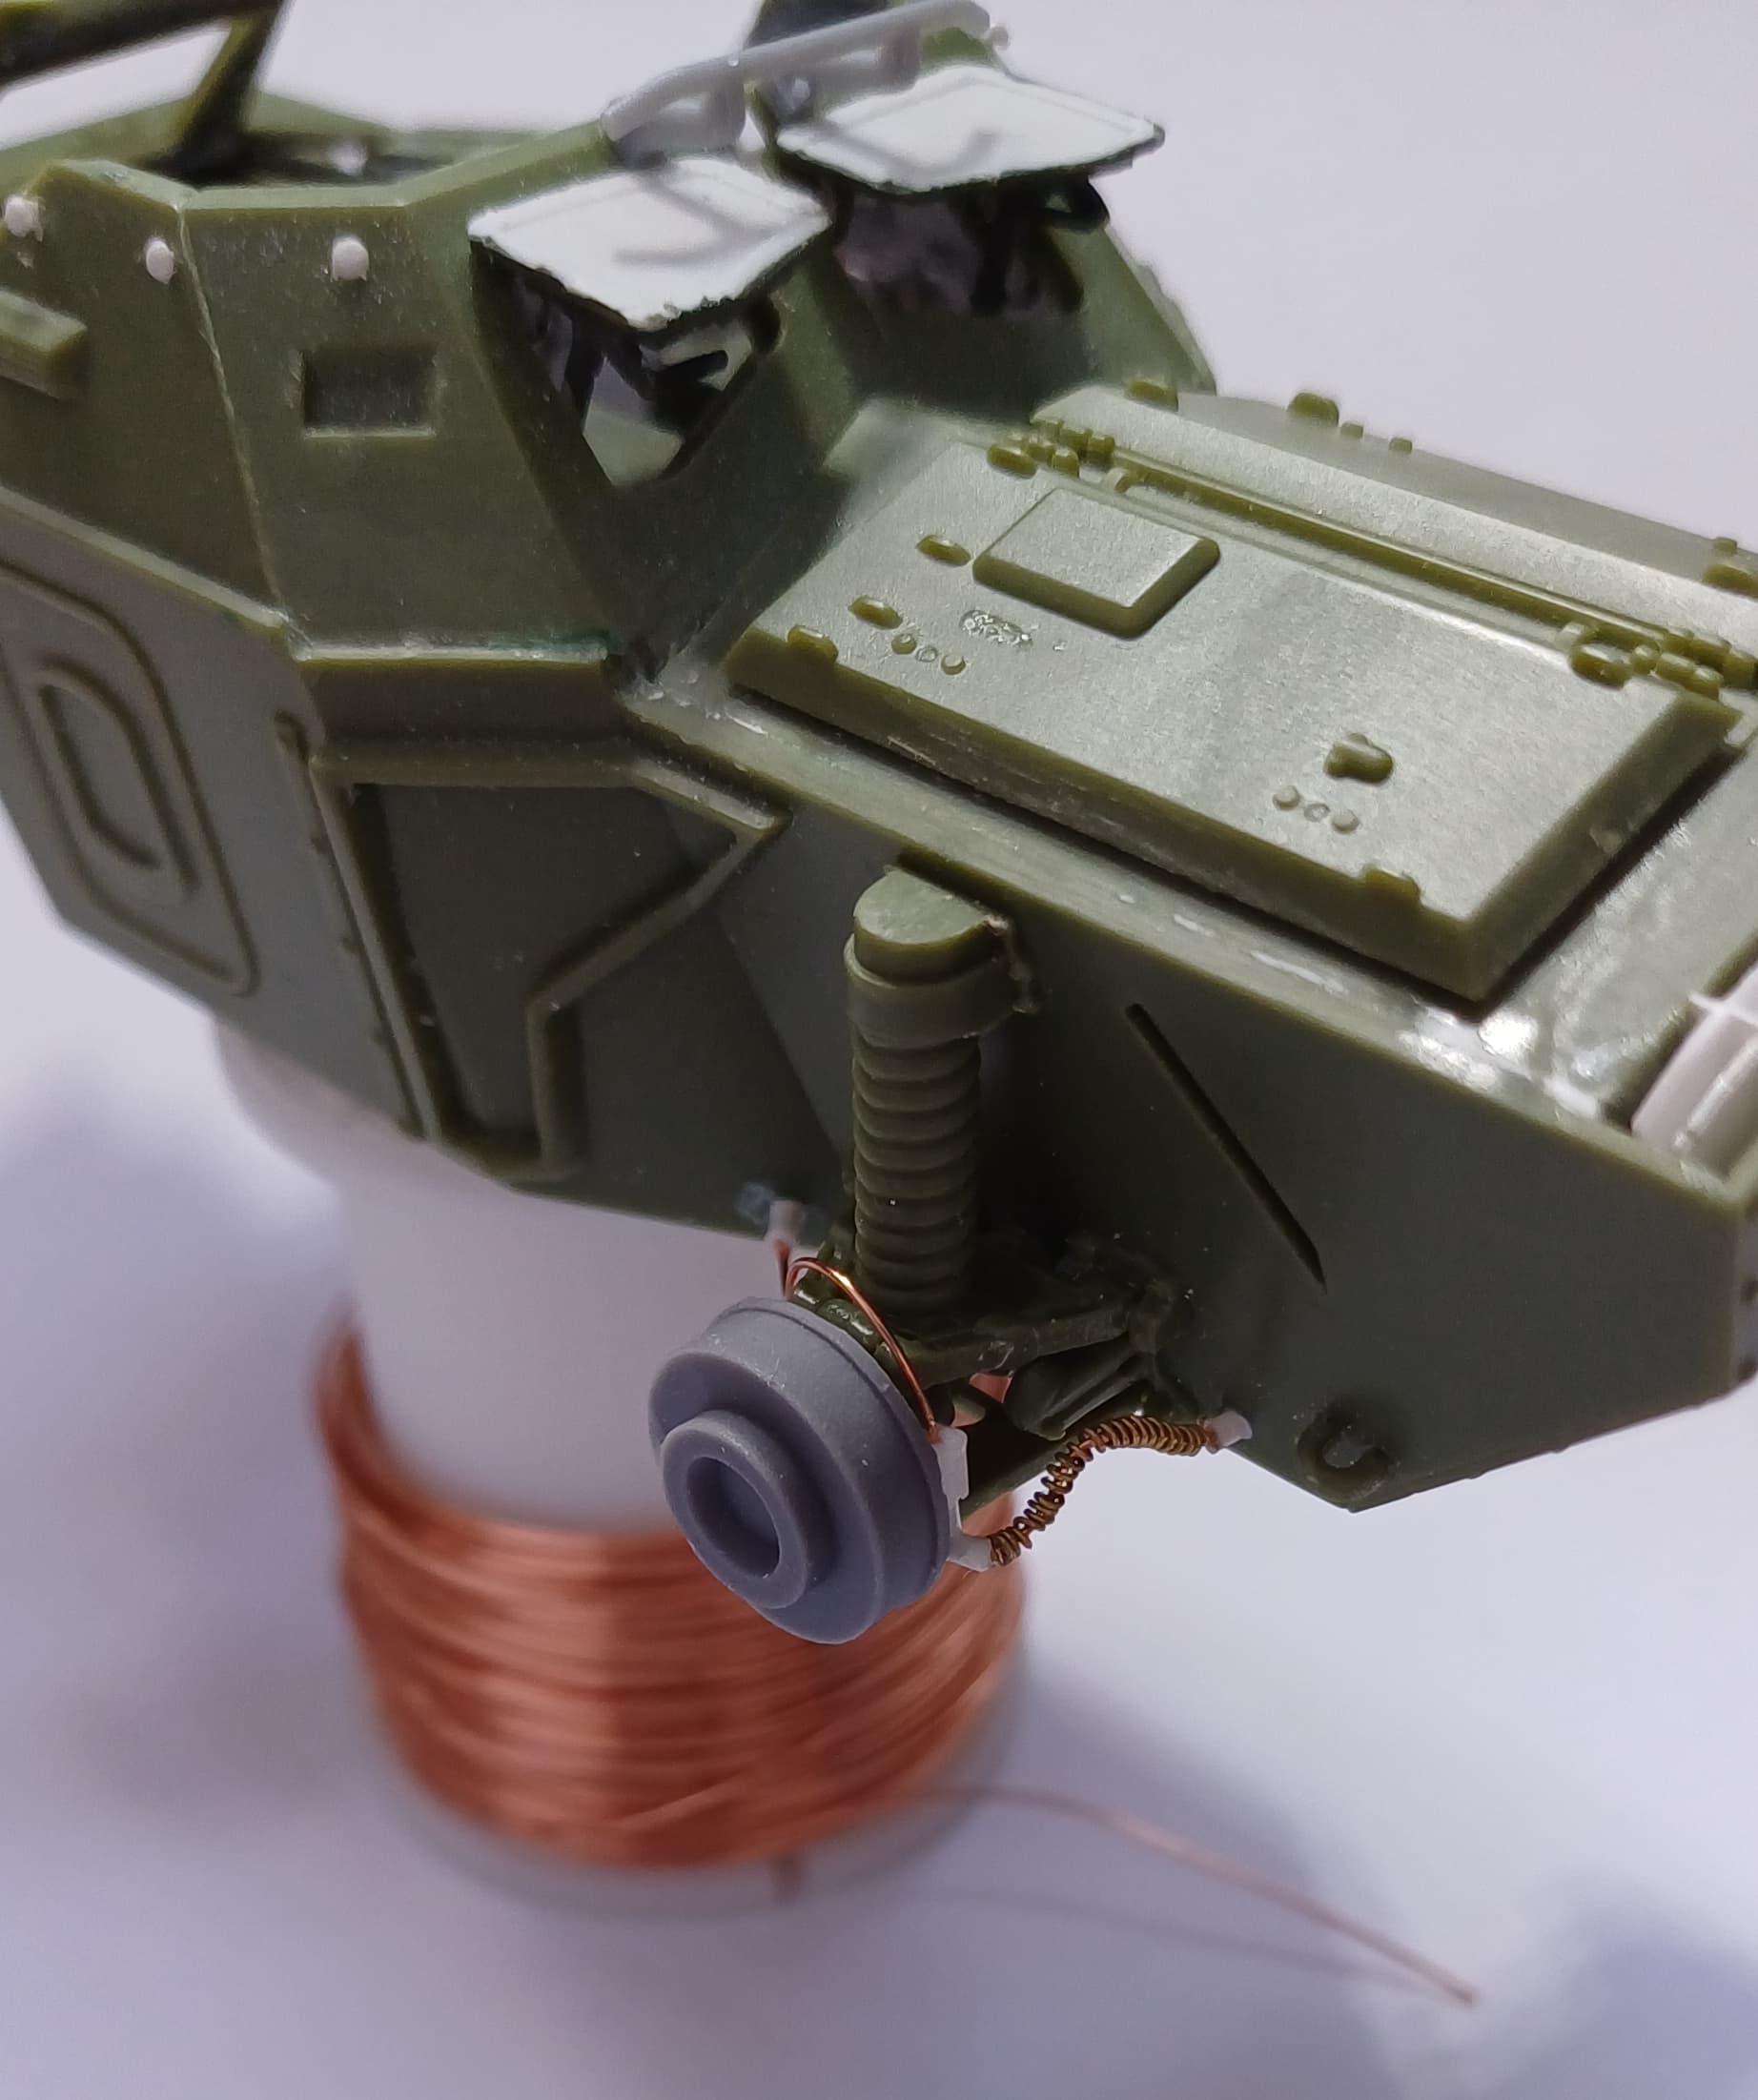
8 Likes
What gauge copper wire is that mate … it looks perfect
4 Likes
28 gauge copper for the brake lines. Not sure what gauge the coiling is, that was nicked off the missus as I’d run out of my usual very thin wire which is usually 5amp fuse wire.
4 Likes