All Things Apocalyptic and Adorable

While the rear section was fitted, I made then added the front angle bars either side of the dash.


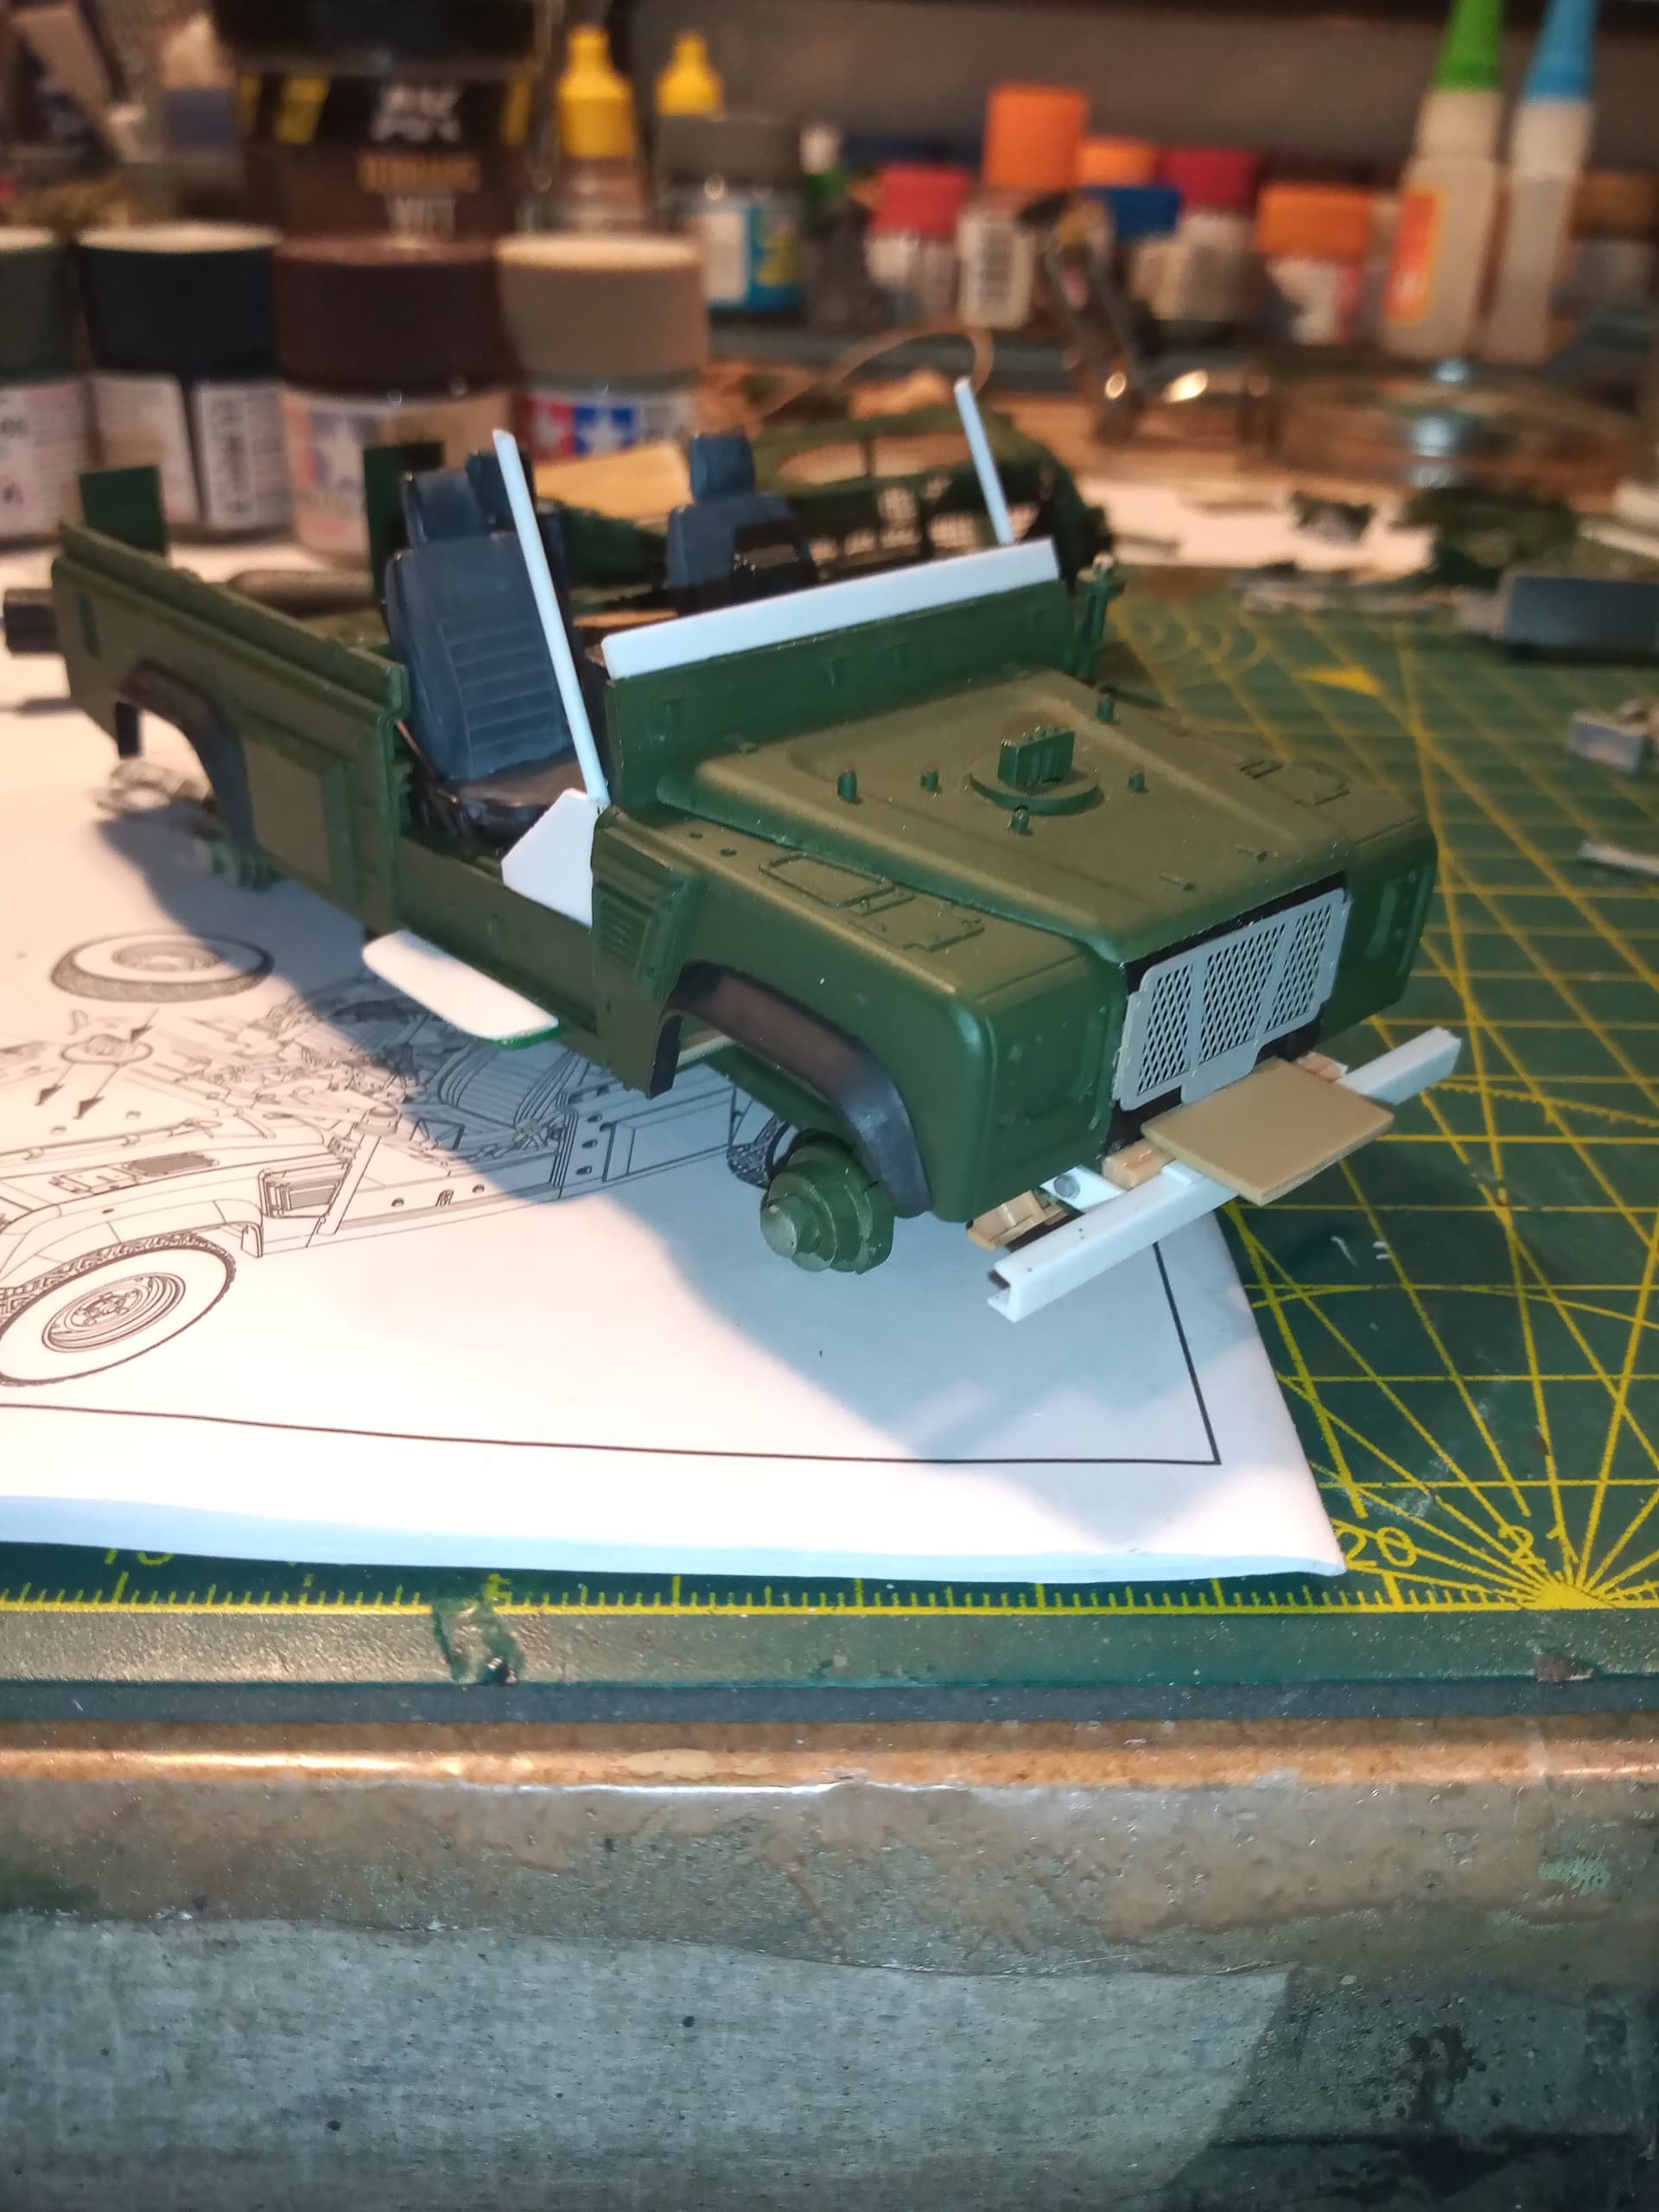
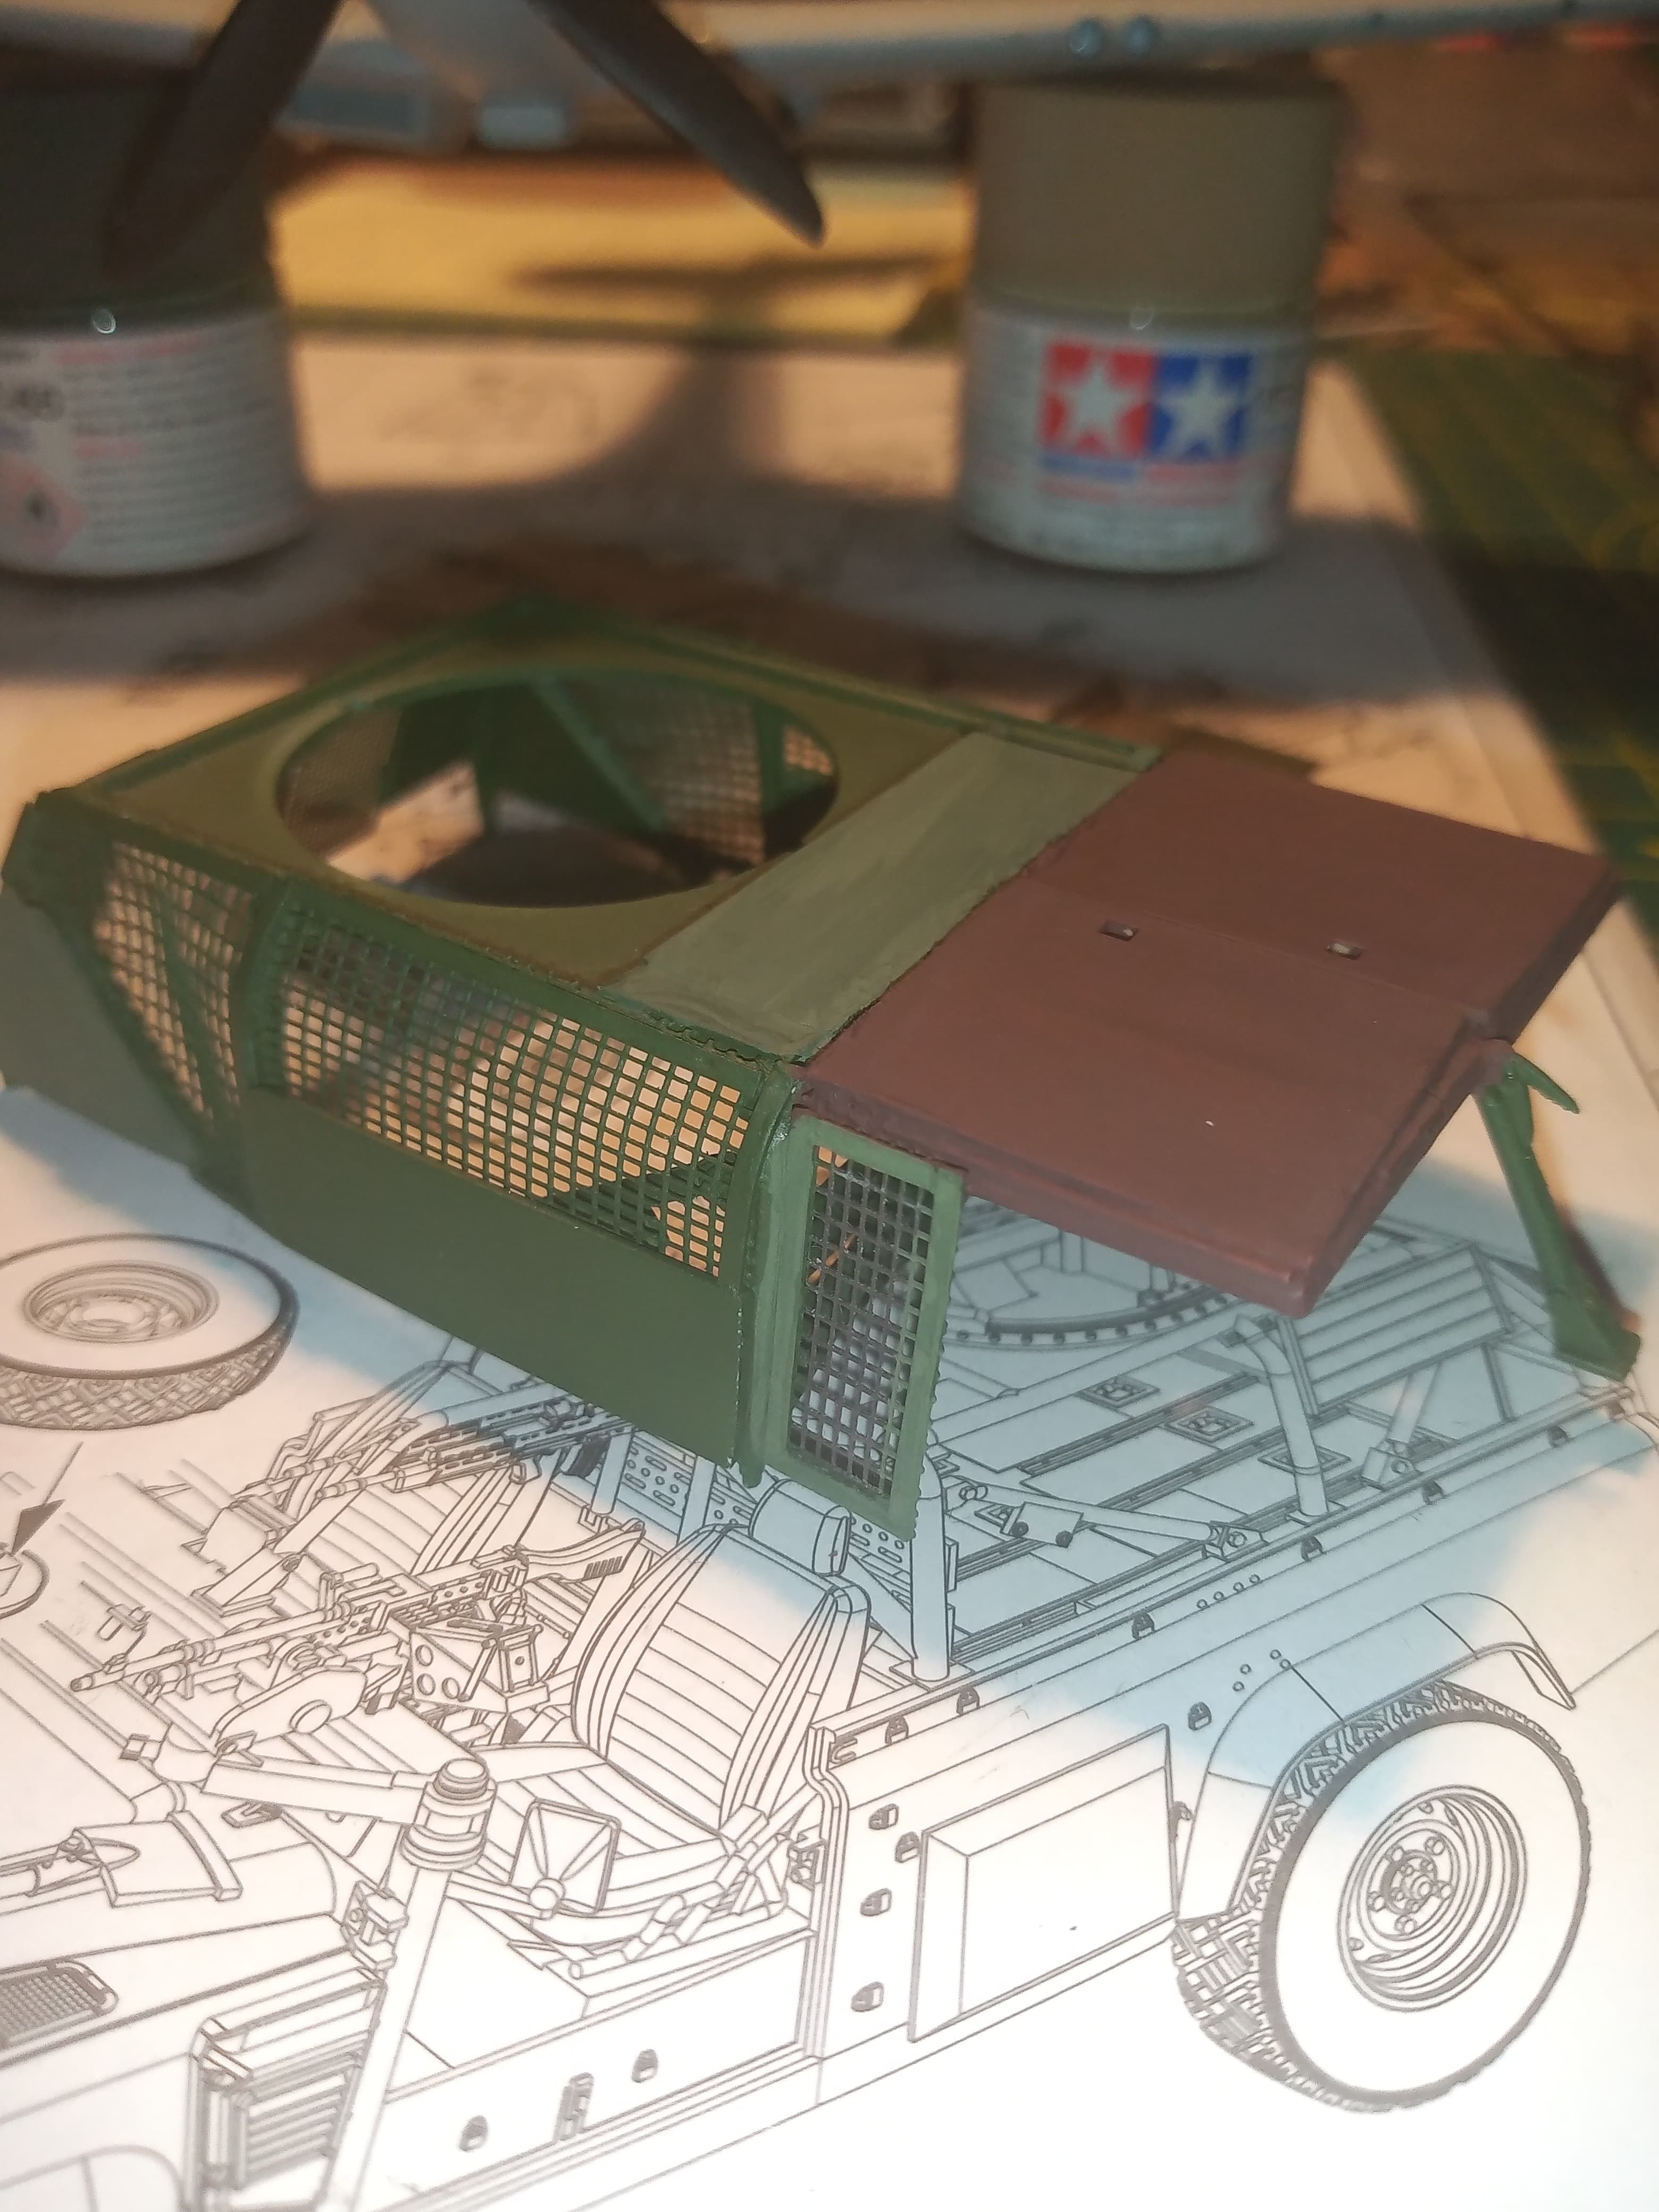
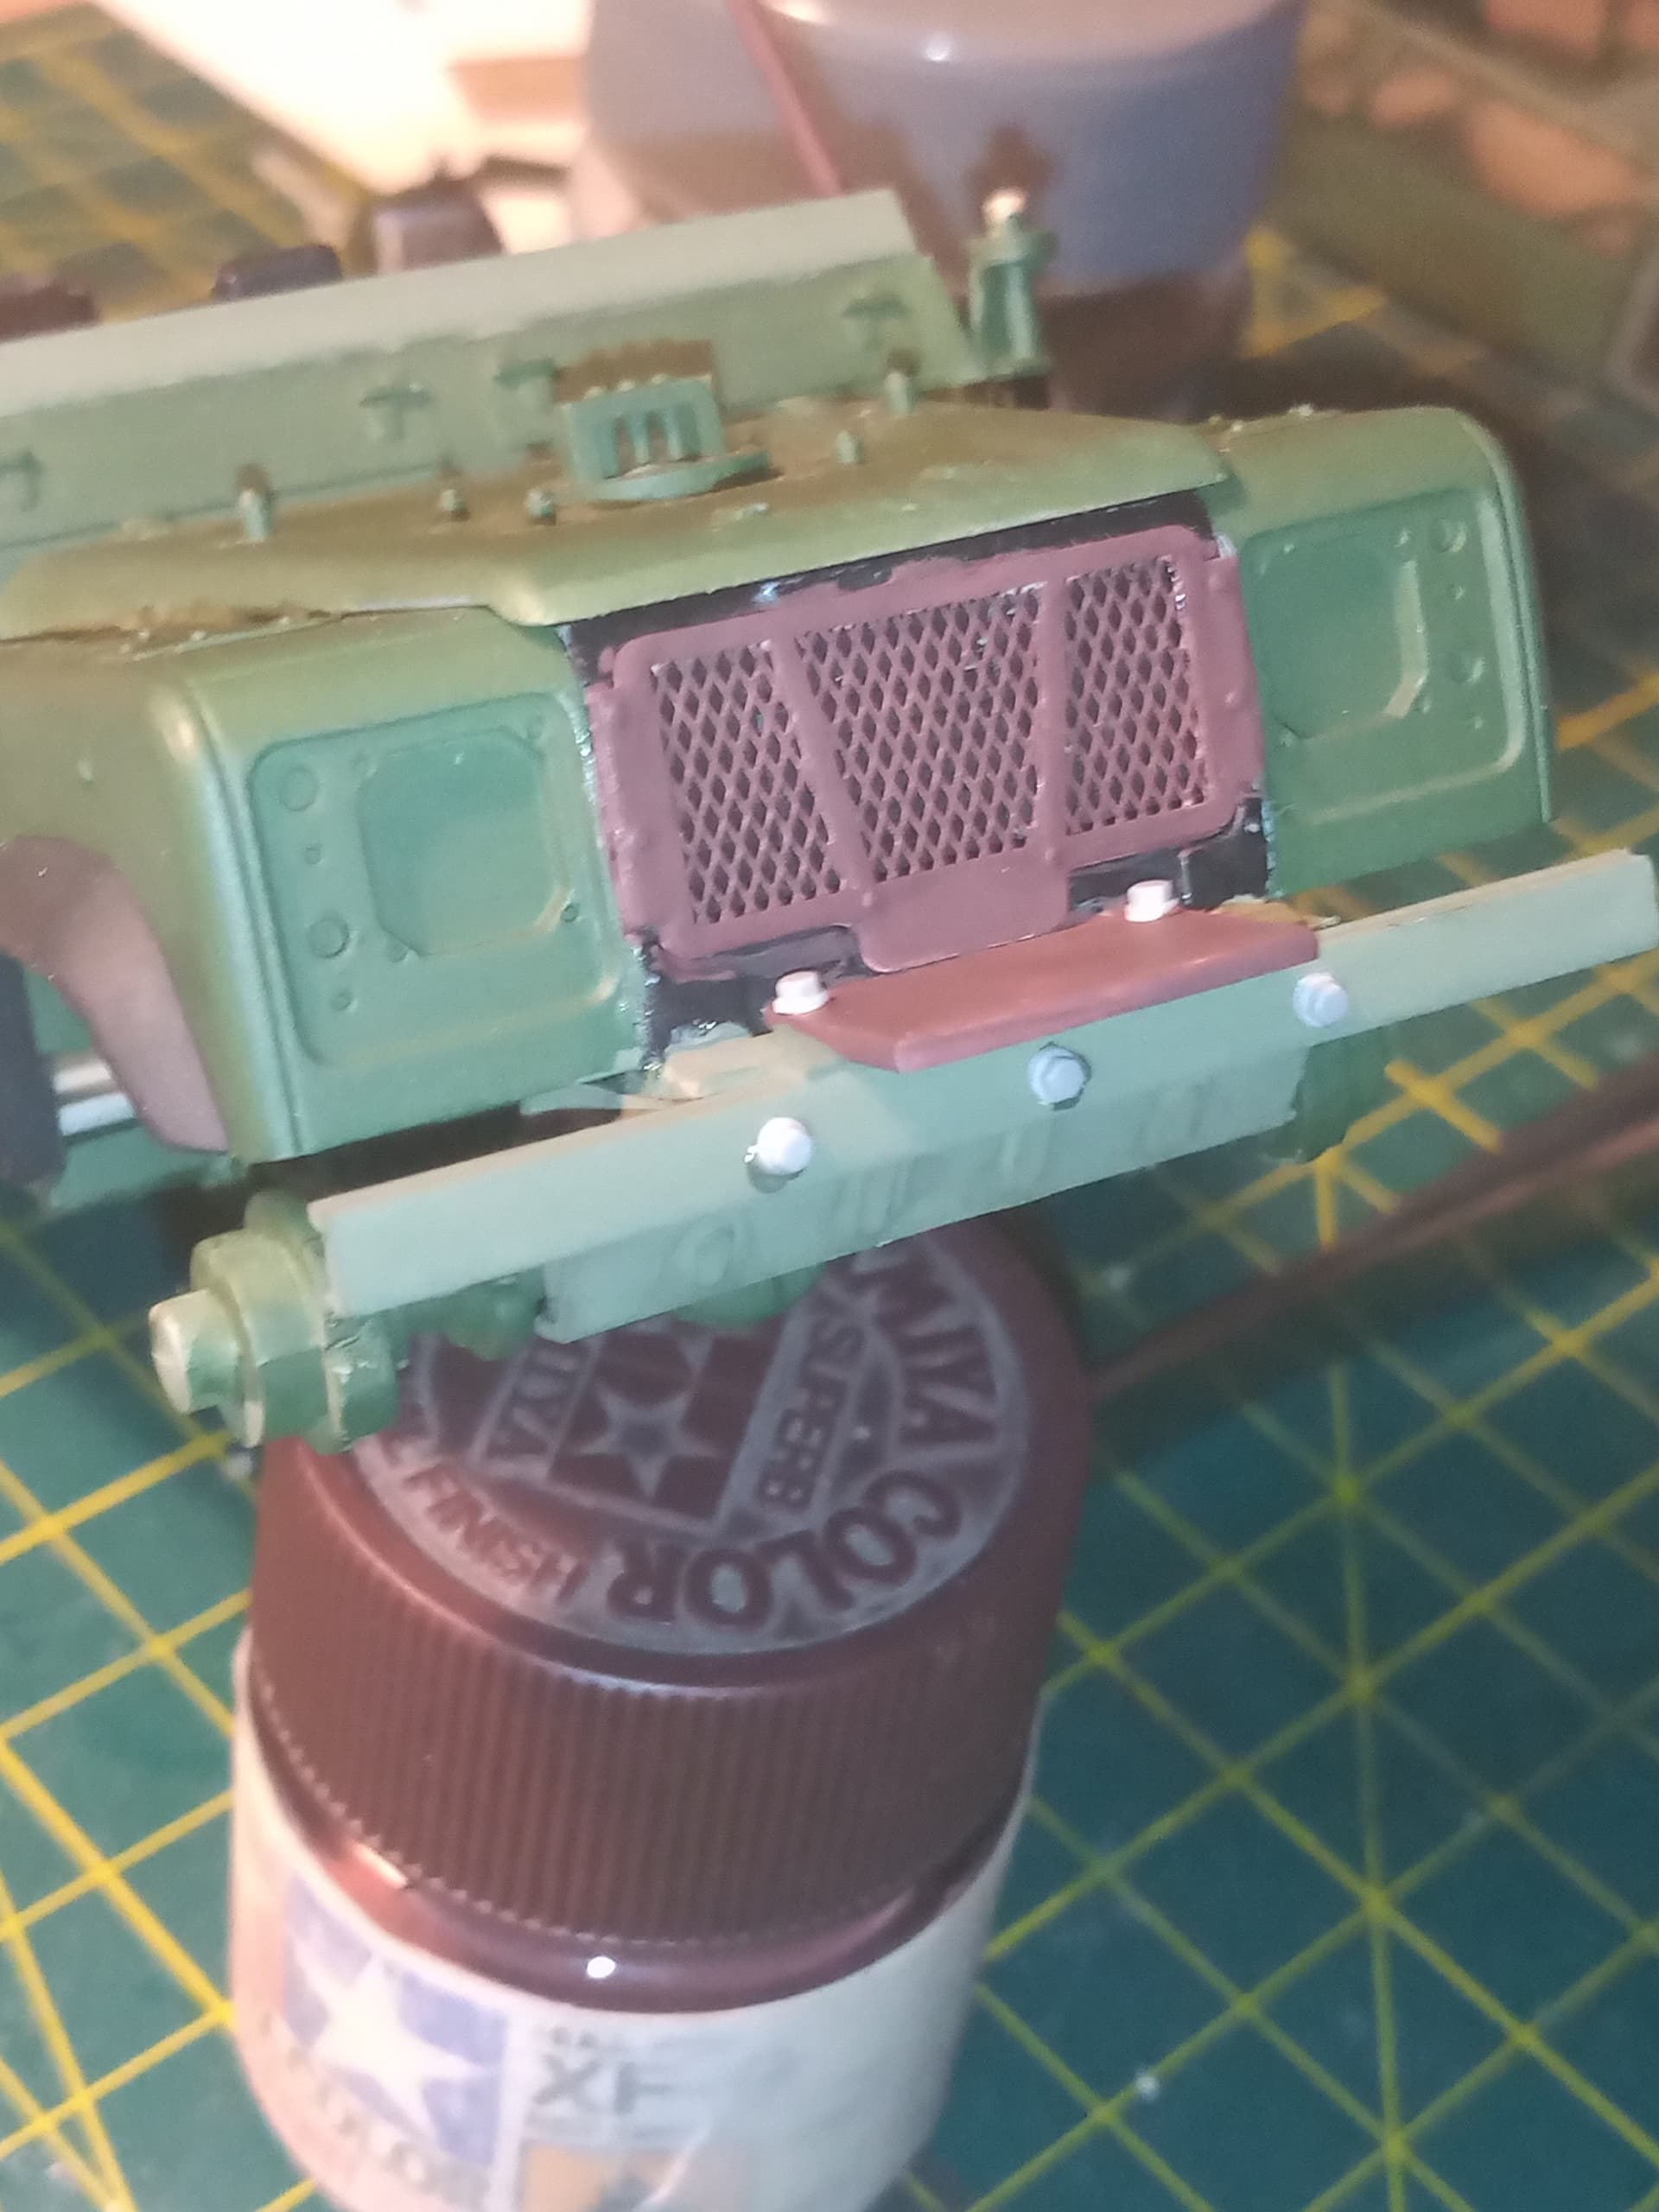
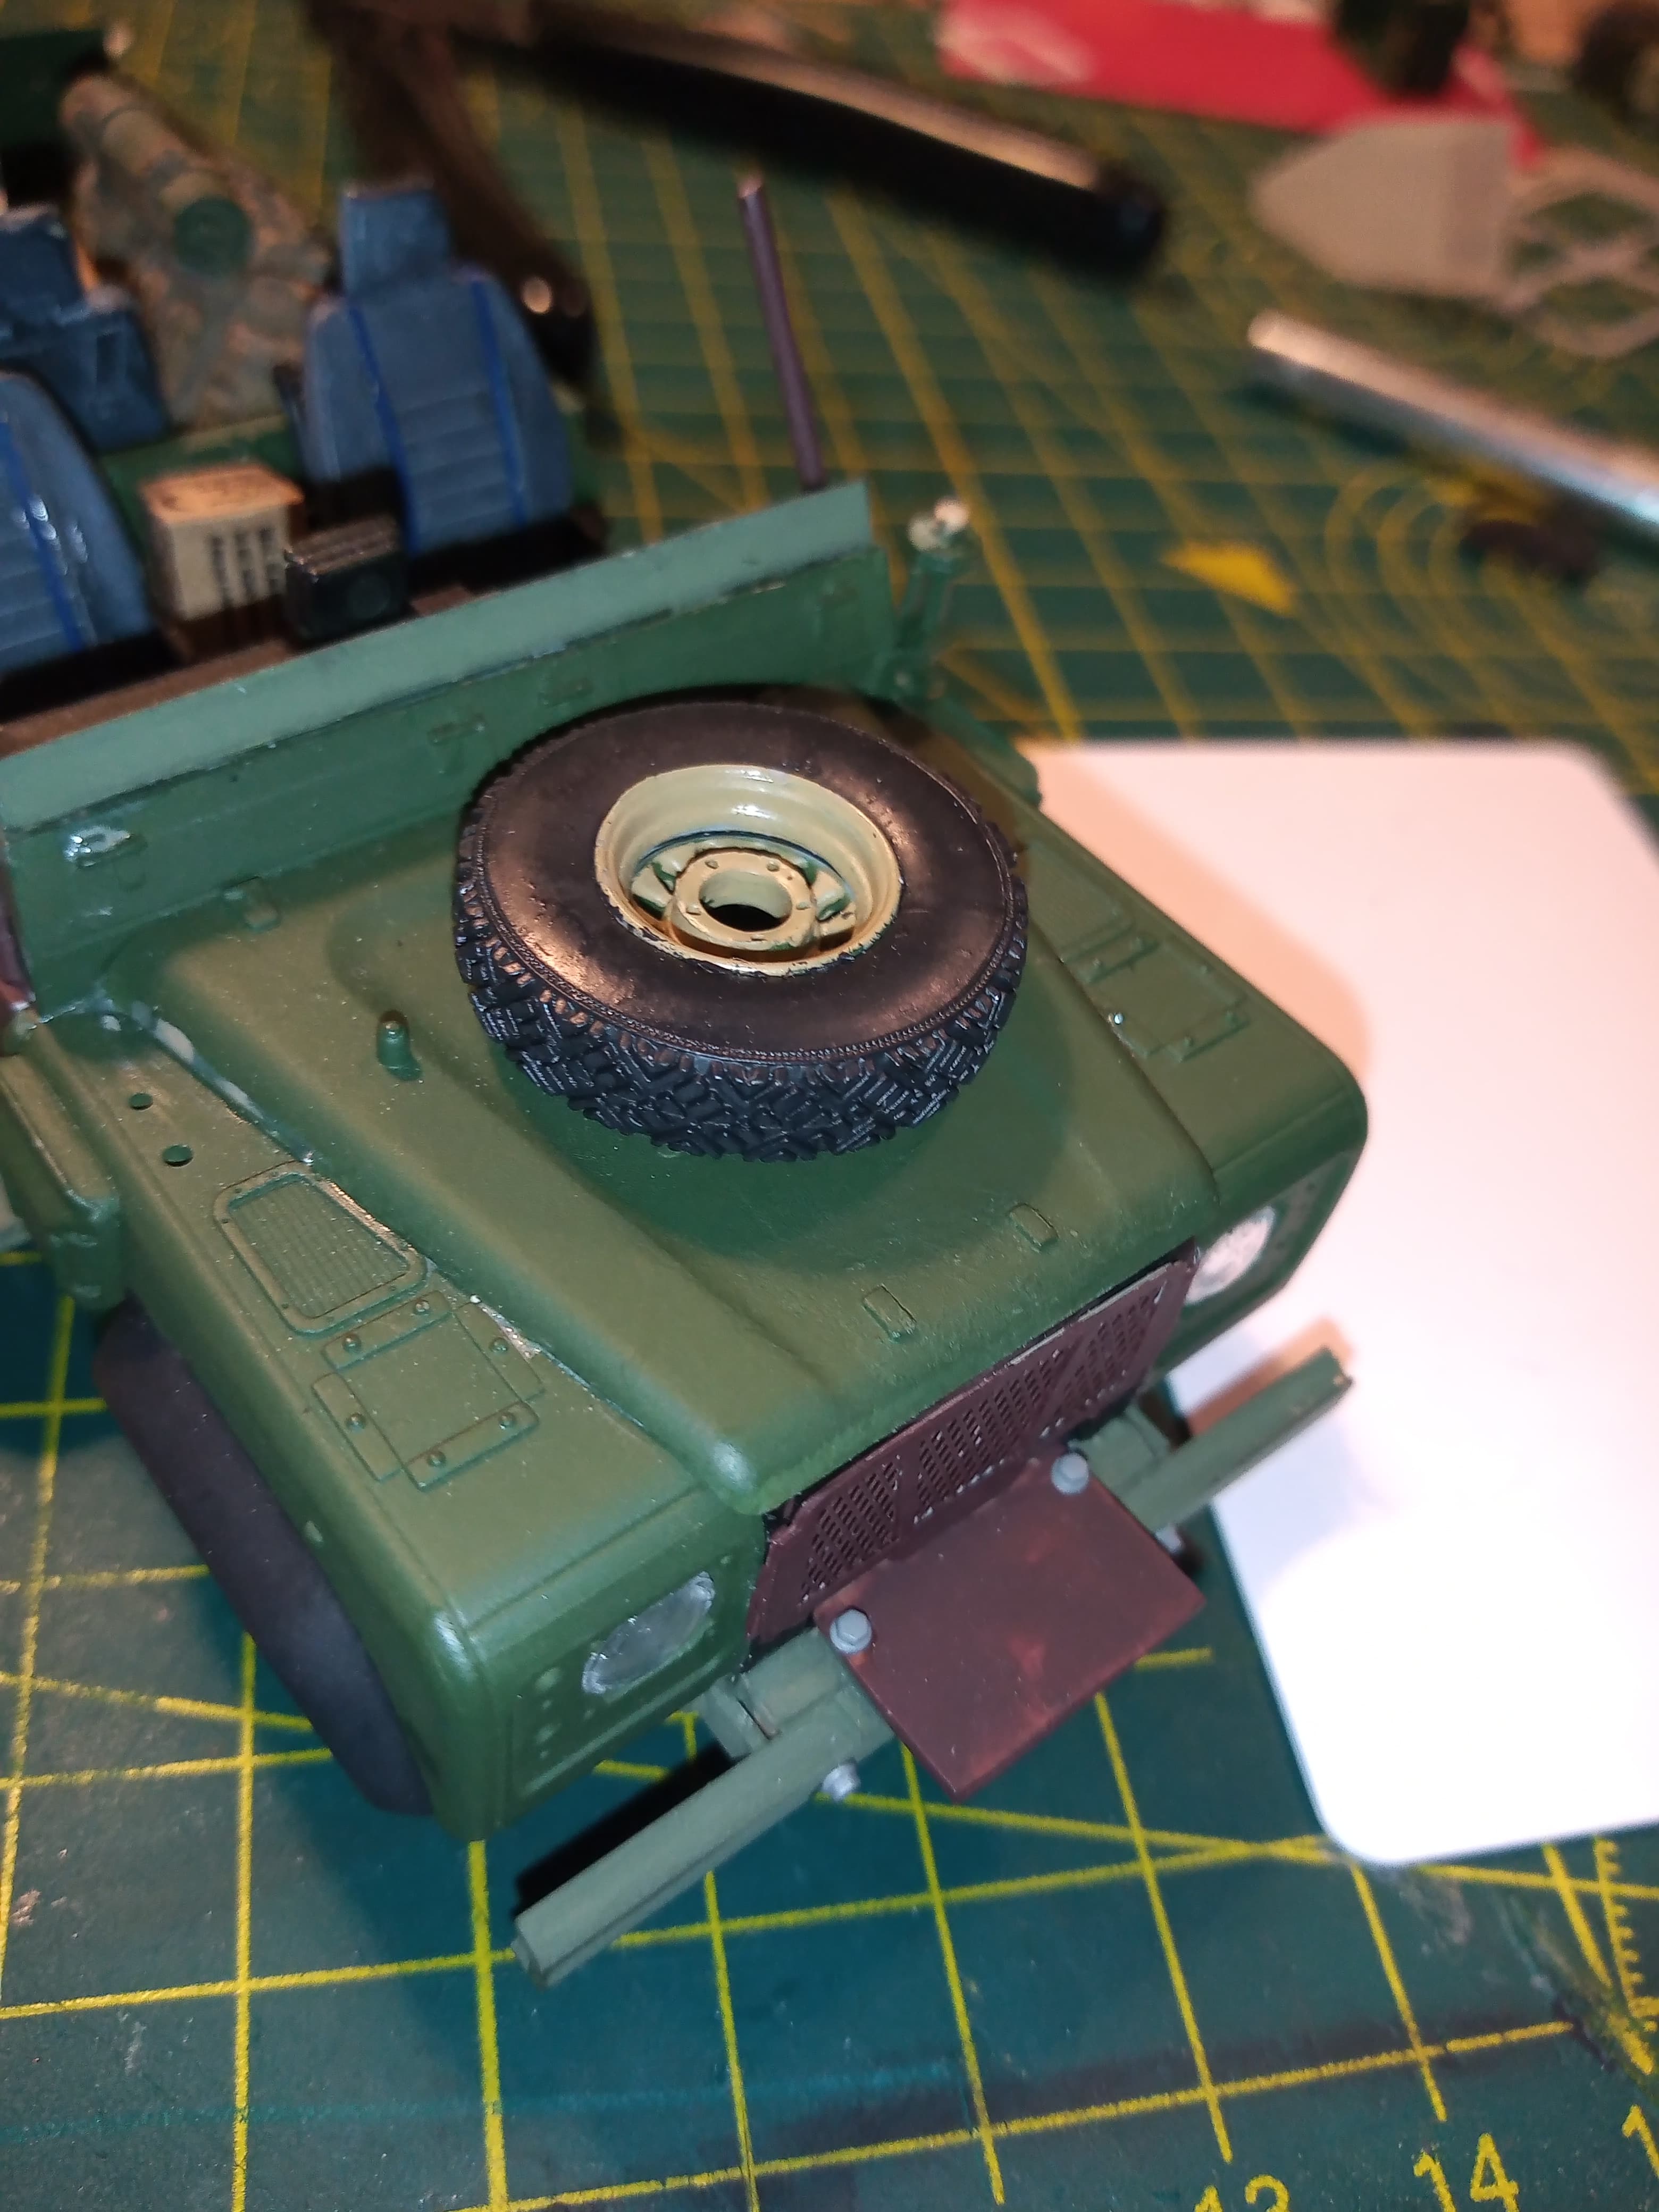
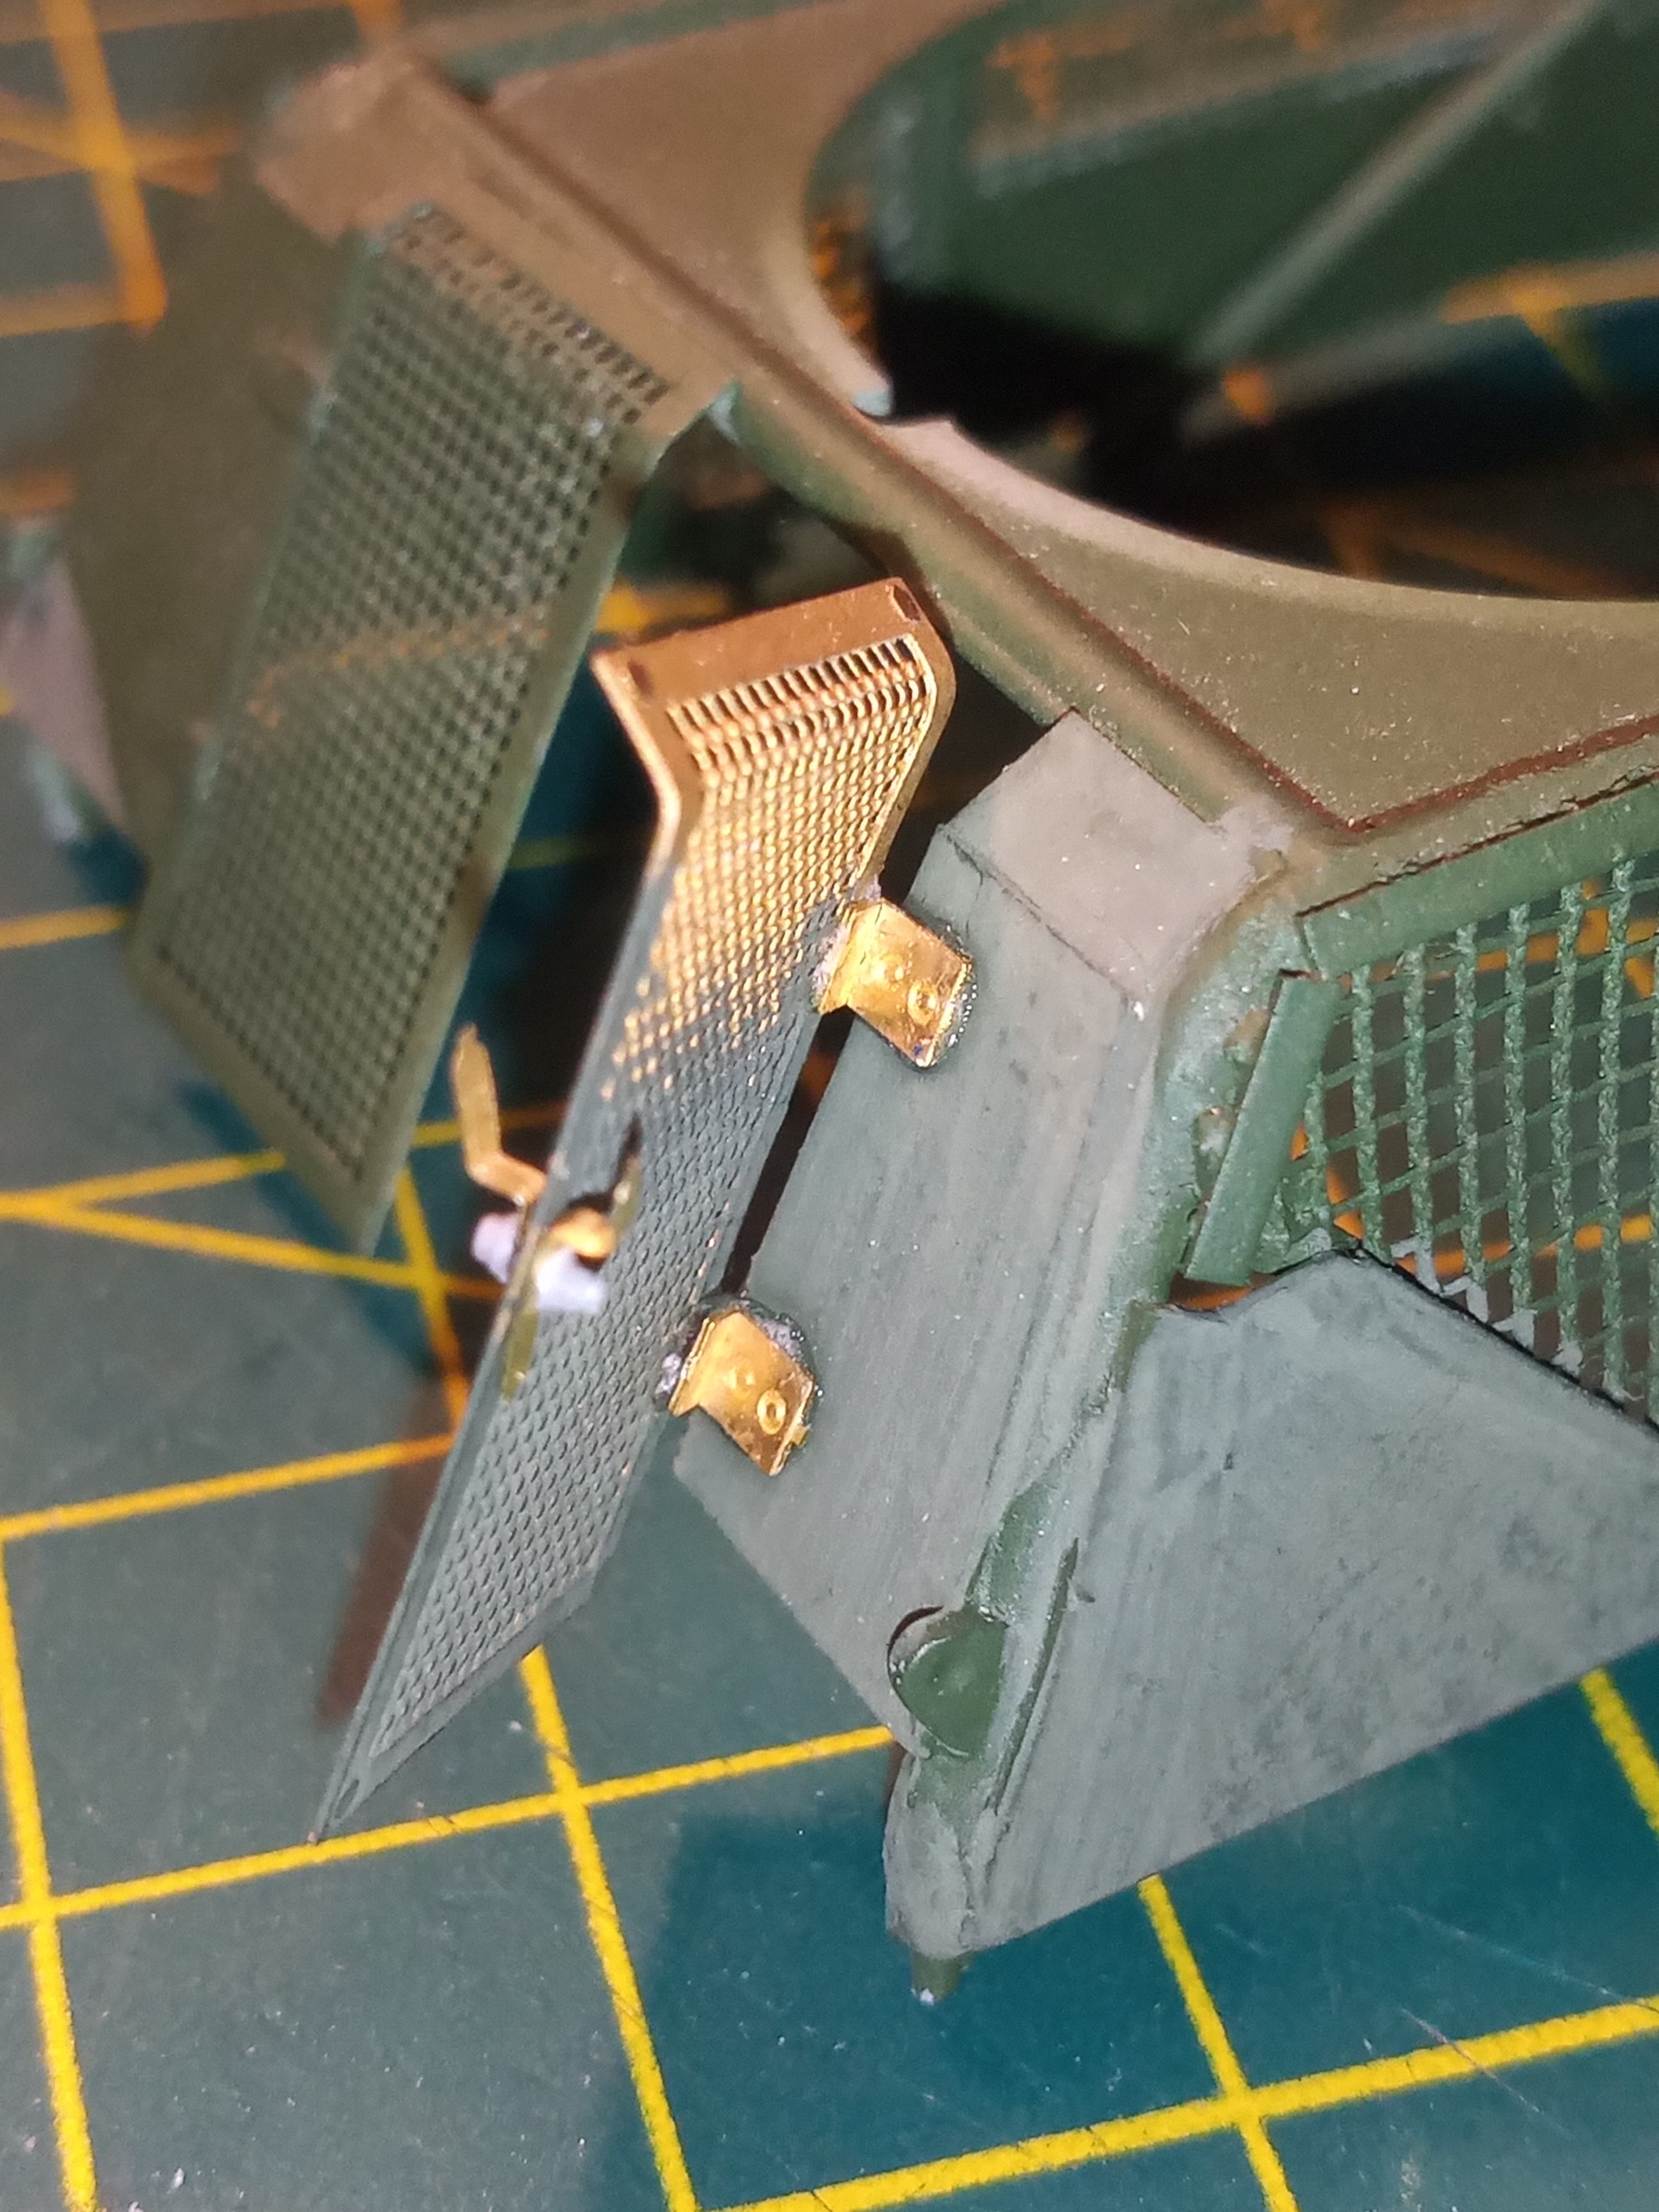
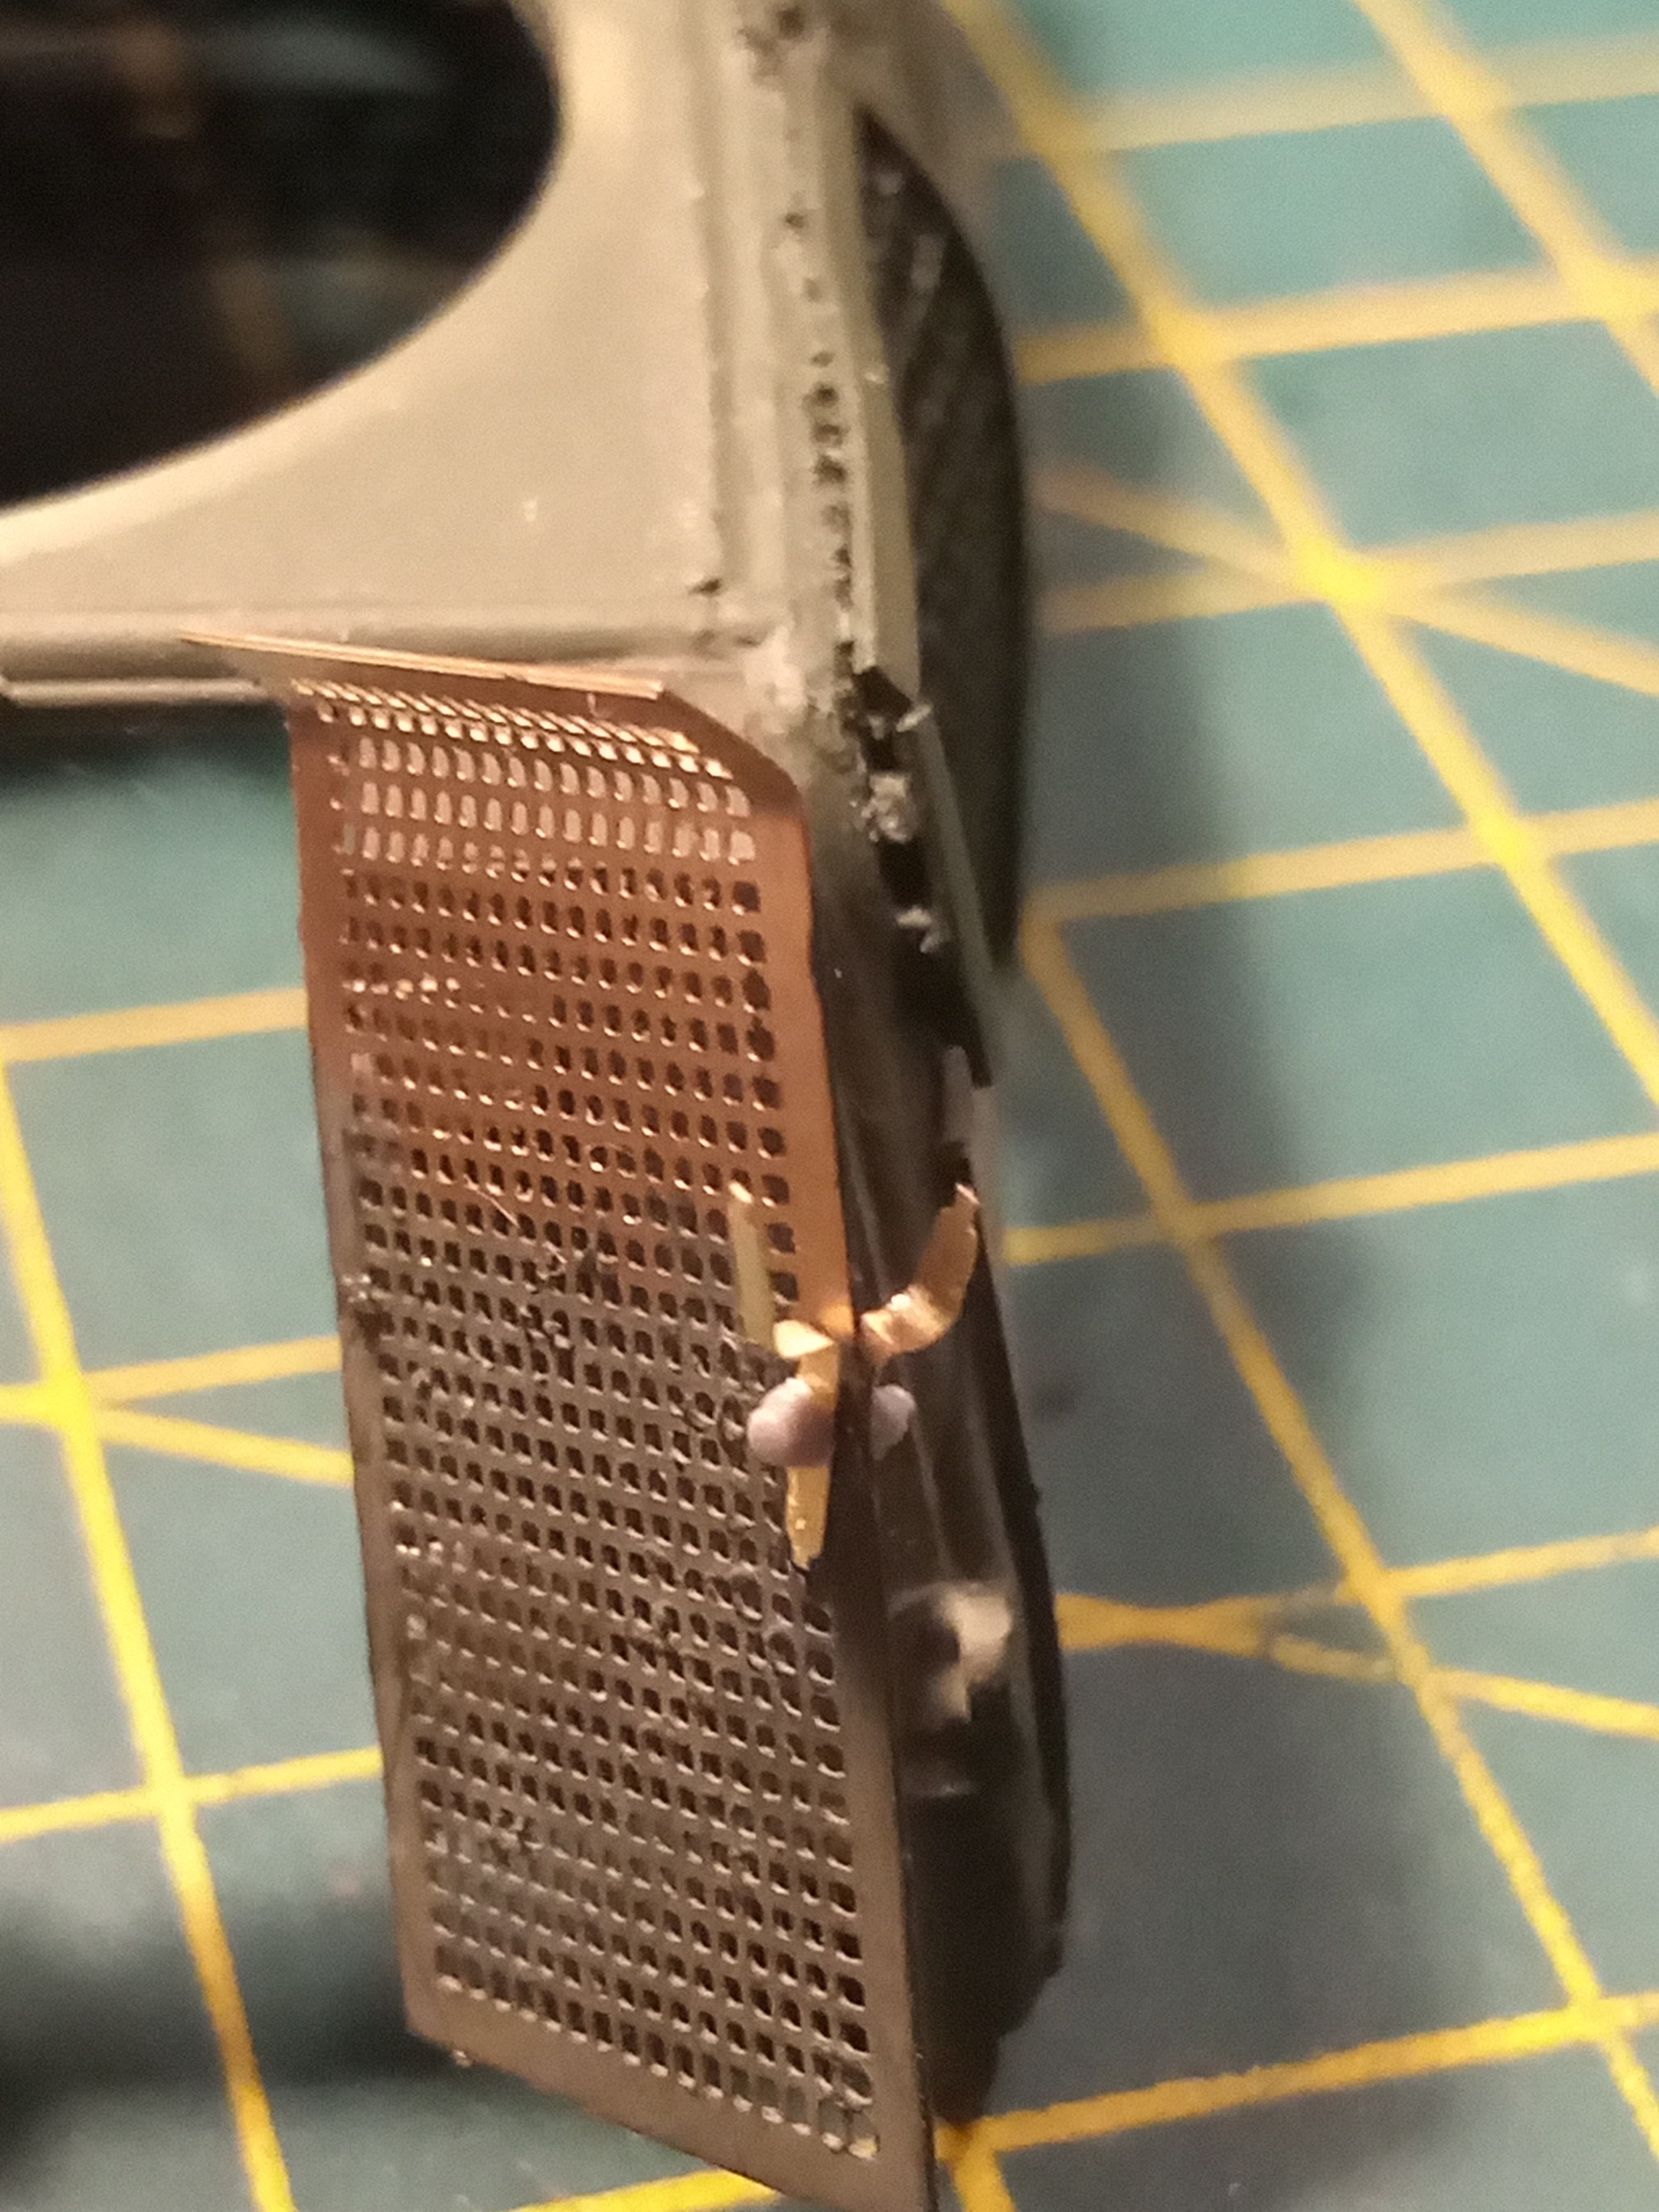
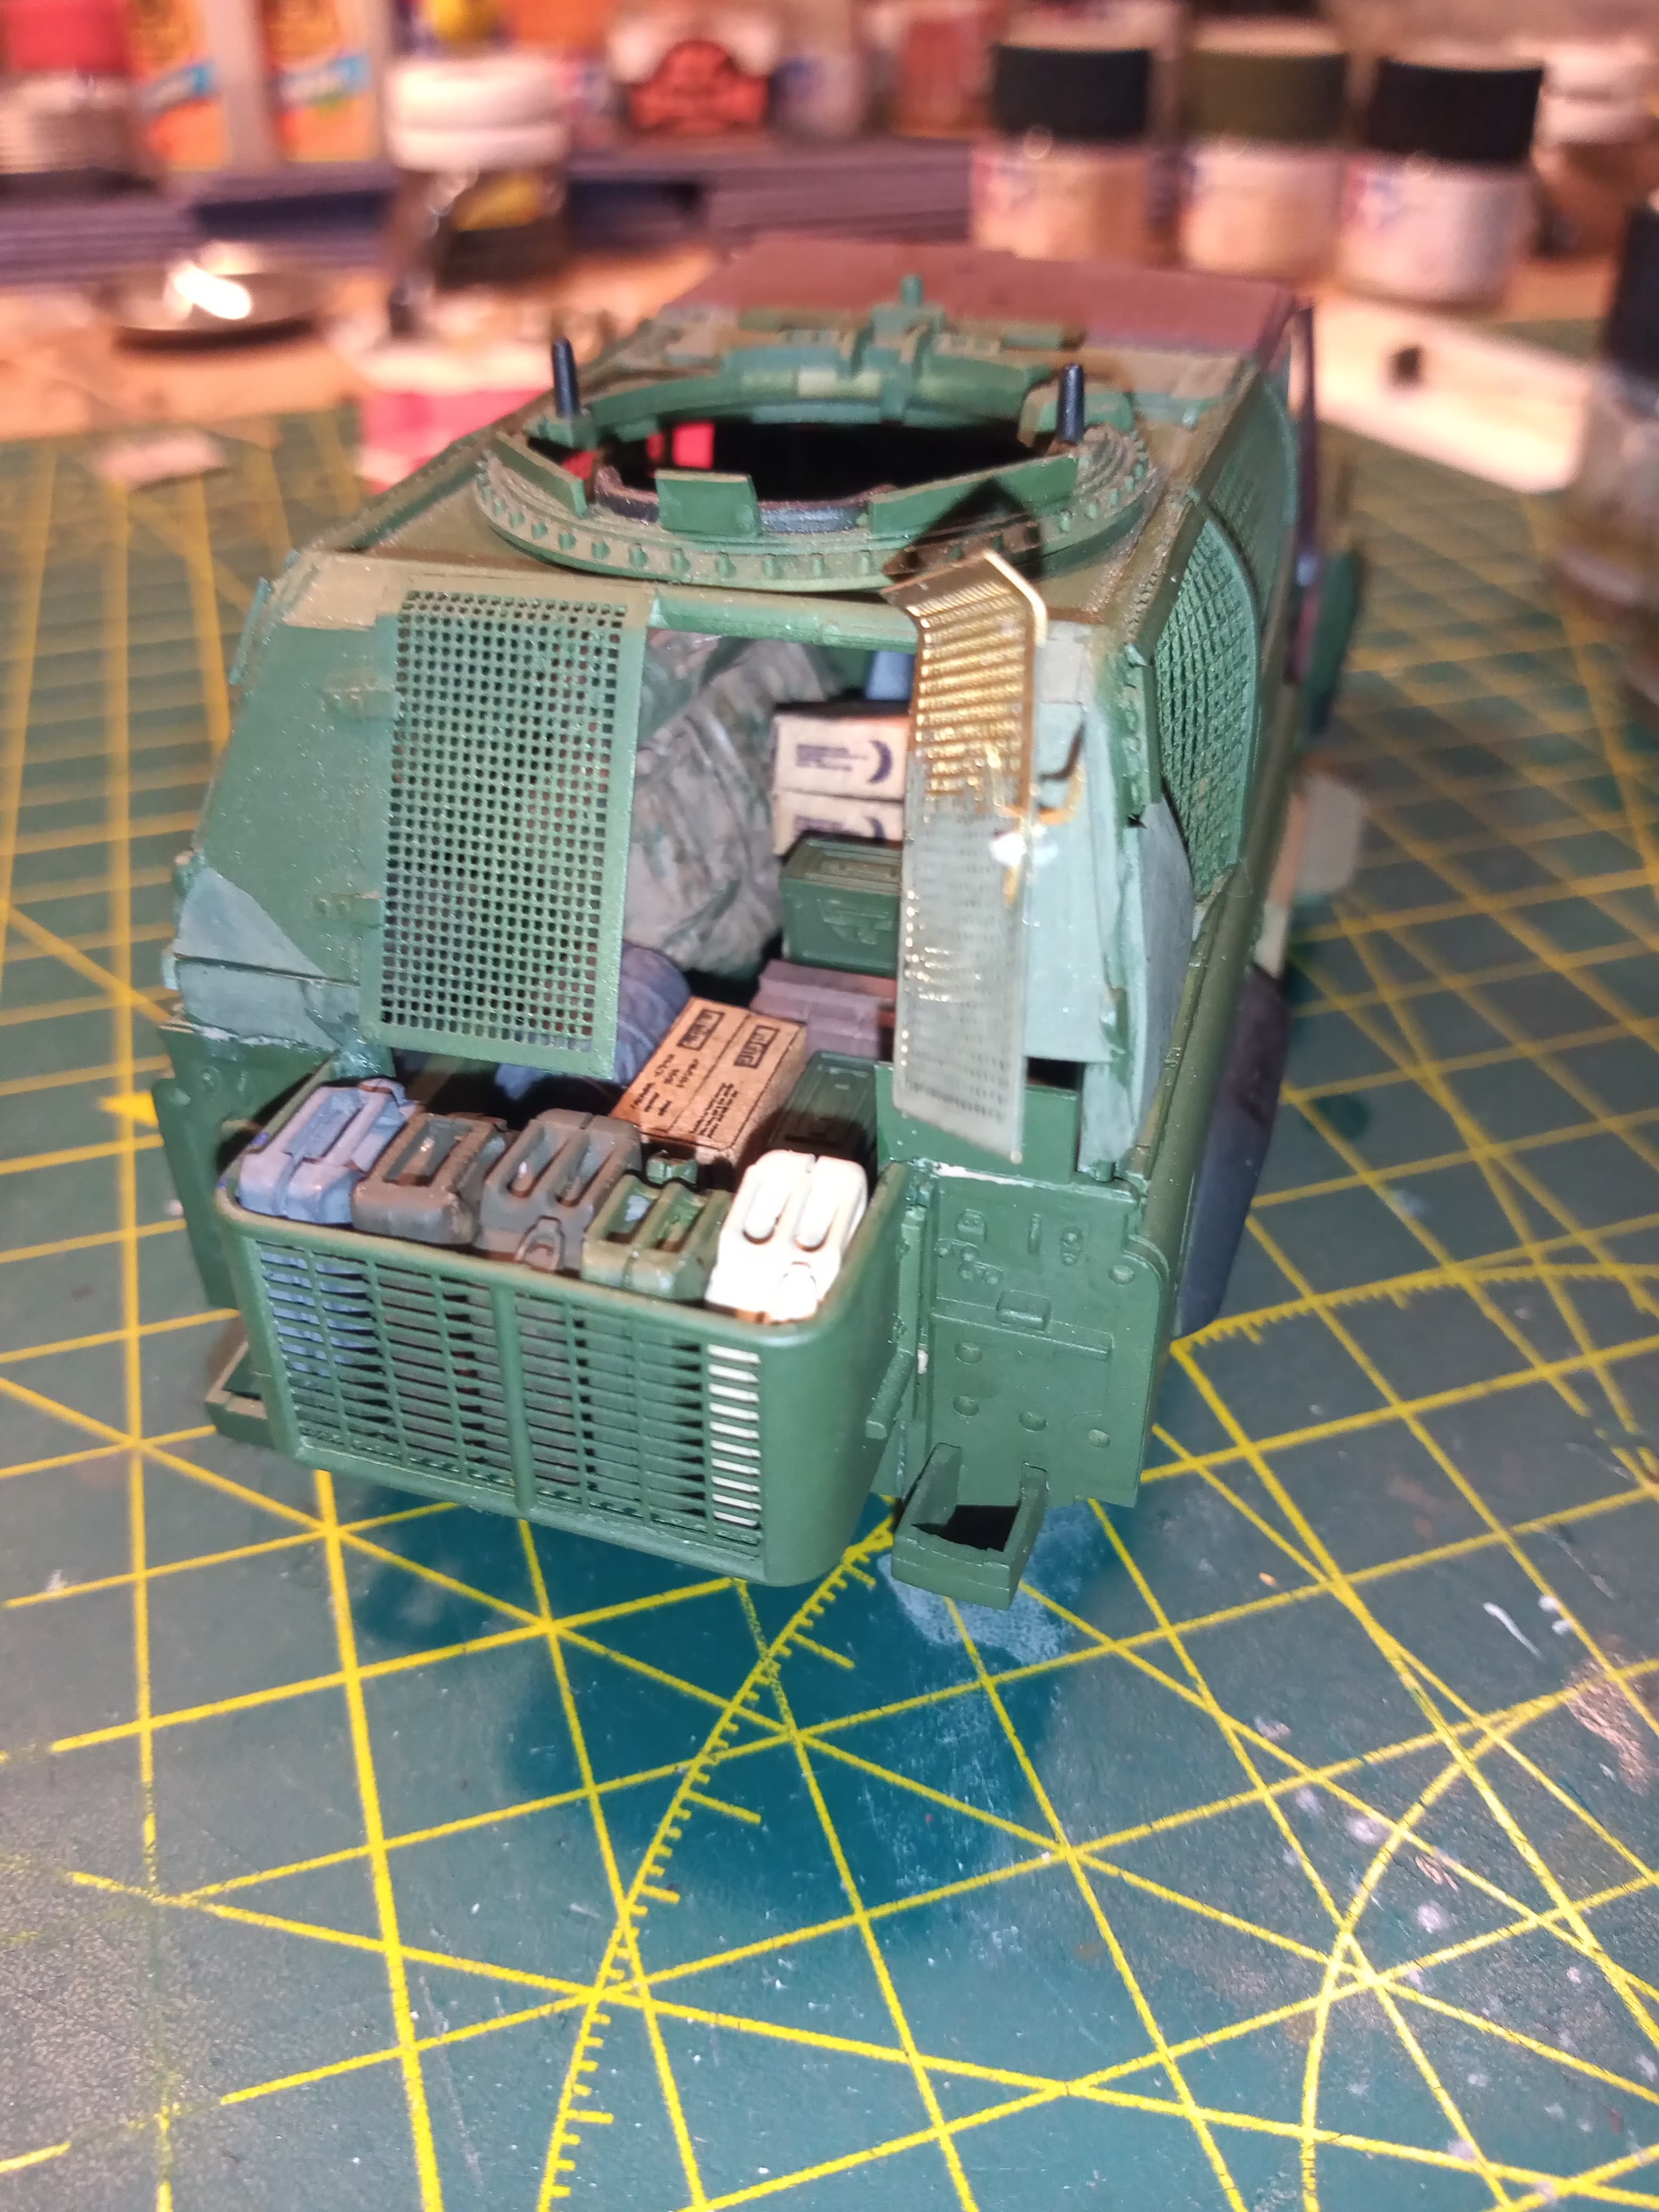
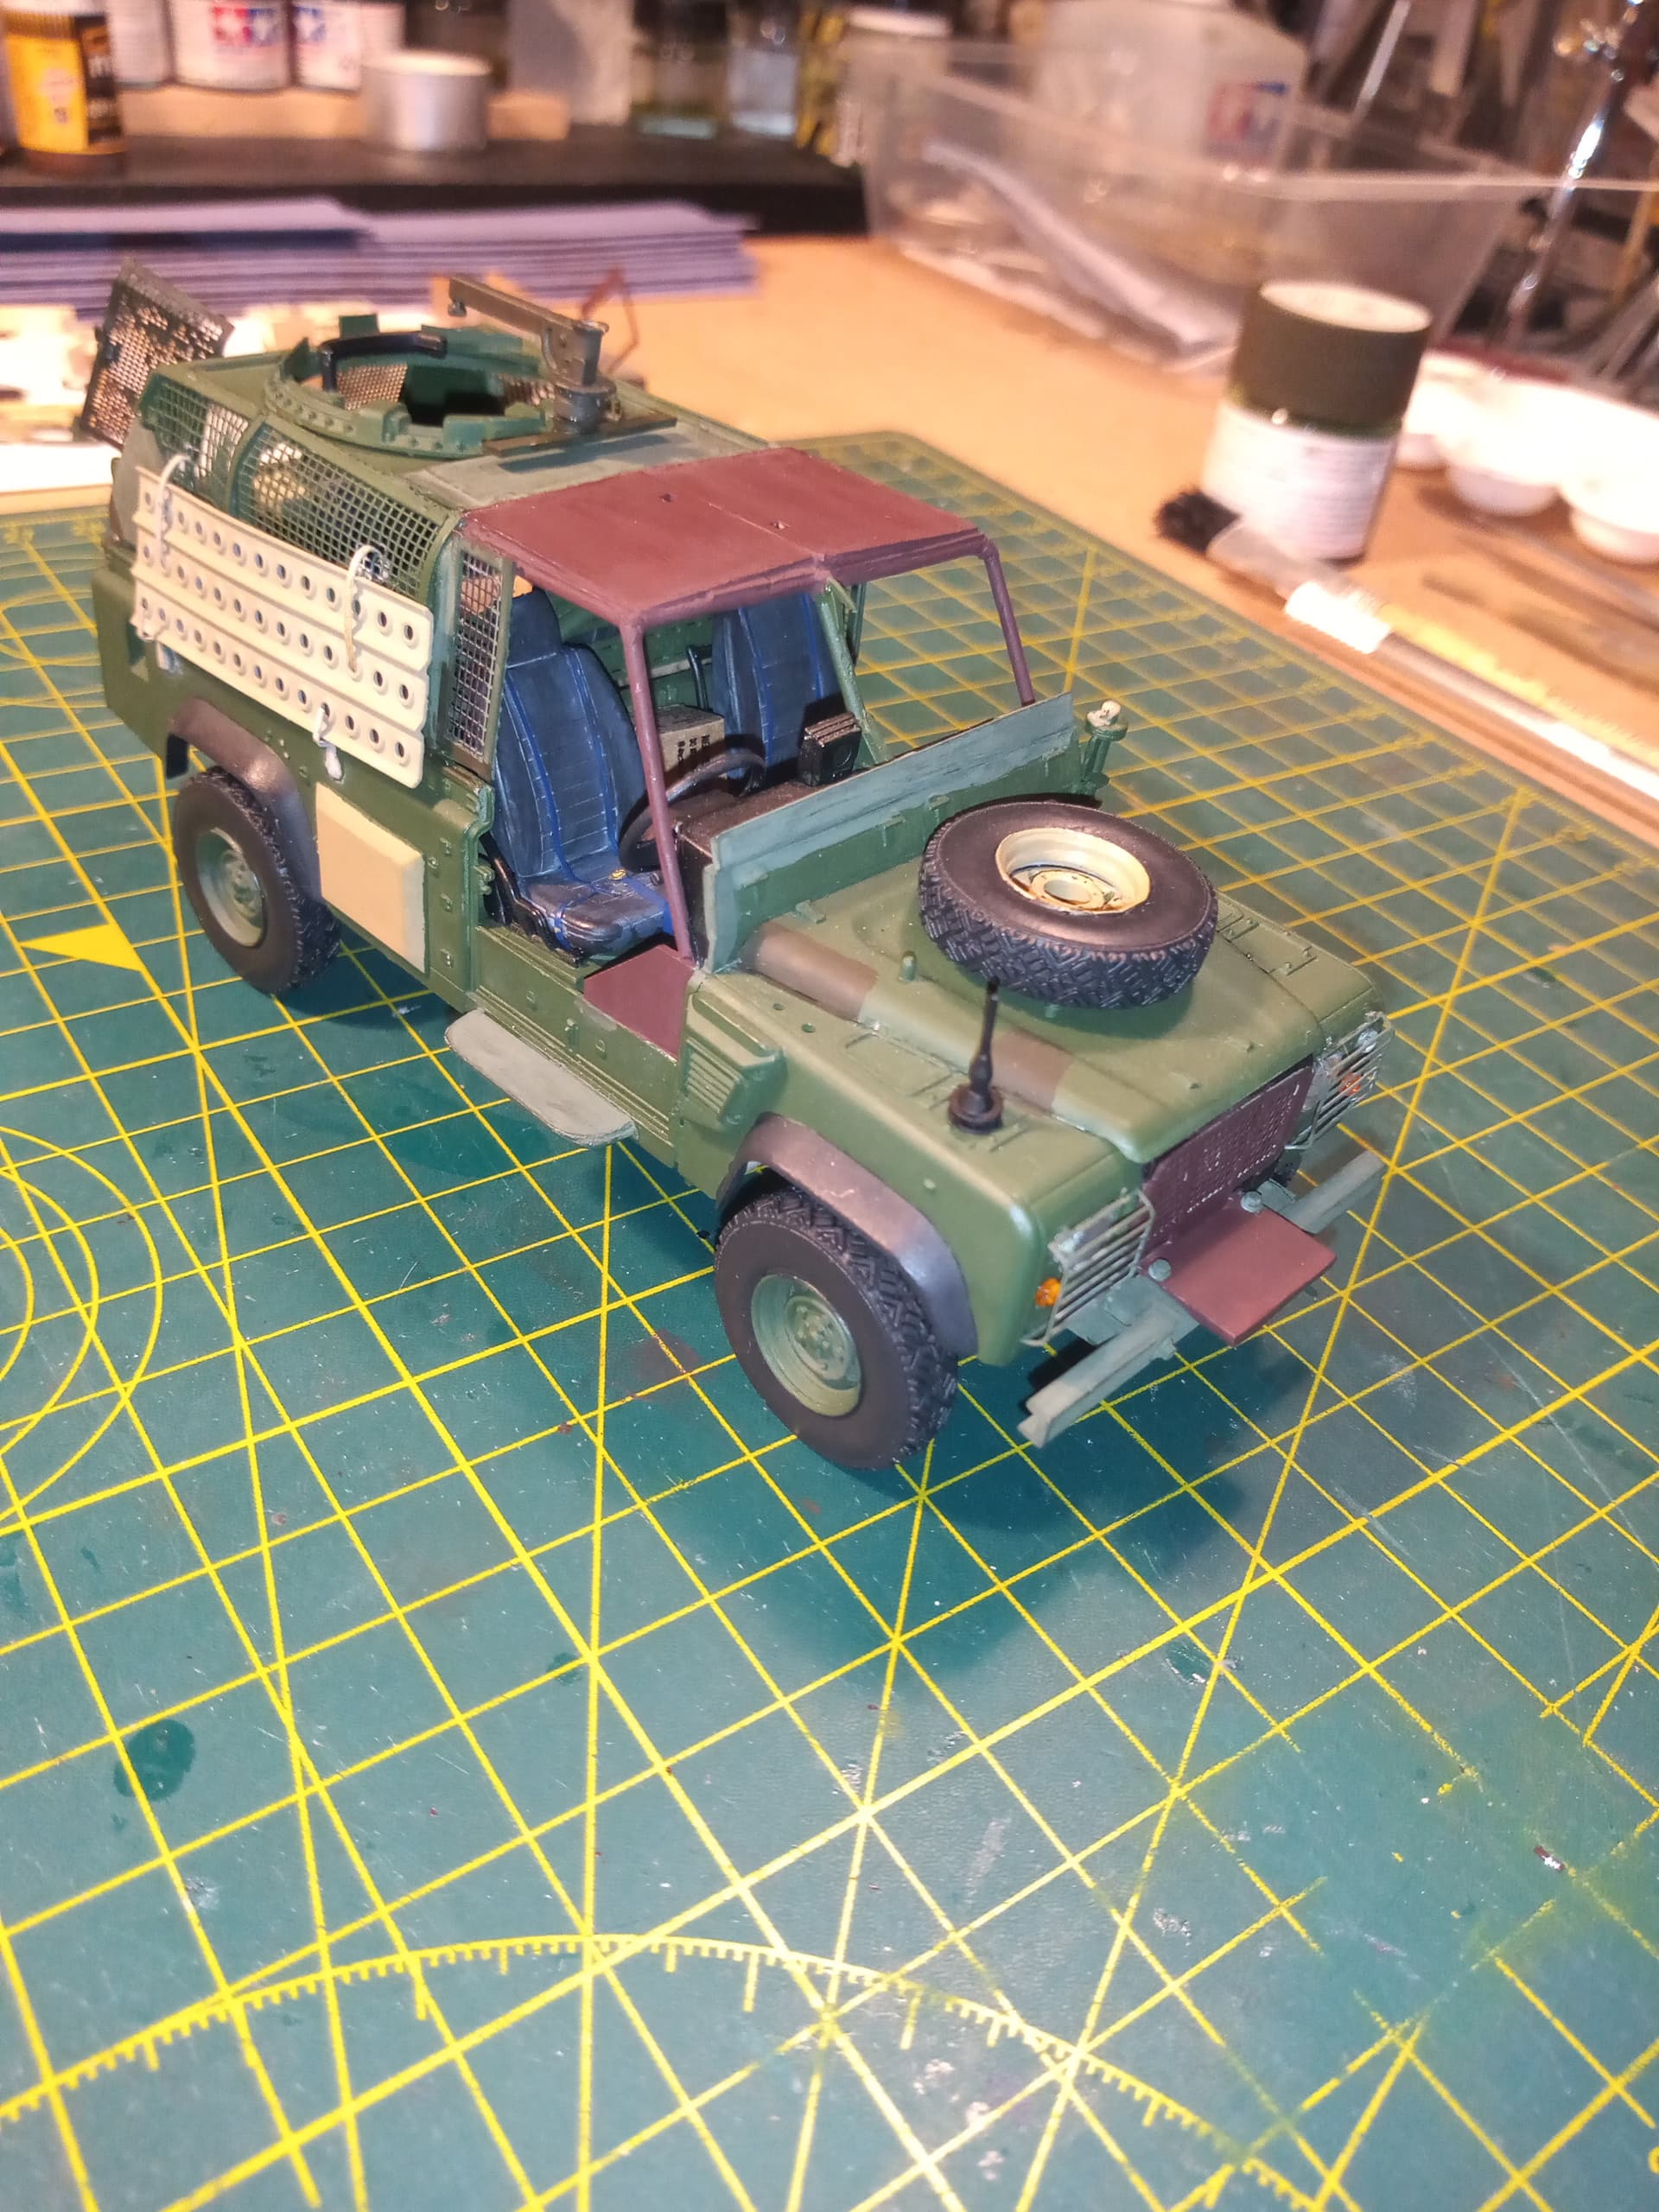
They are about 1mm to long (intentionally) and I will sand that back prior to final assembly when the rear goes on. Also added the PE grill which I’m going paint sand.

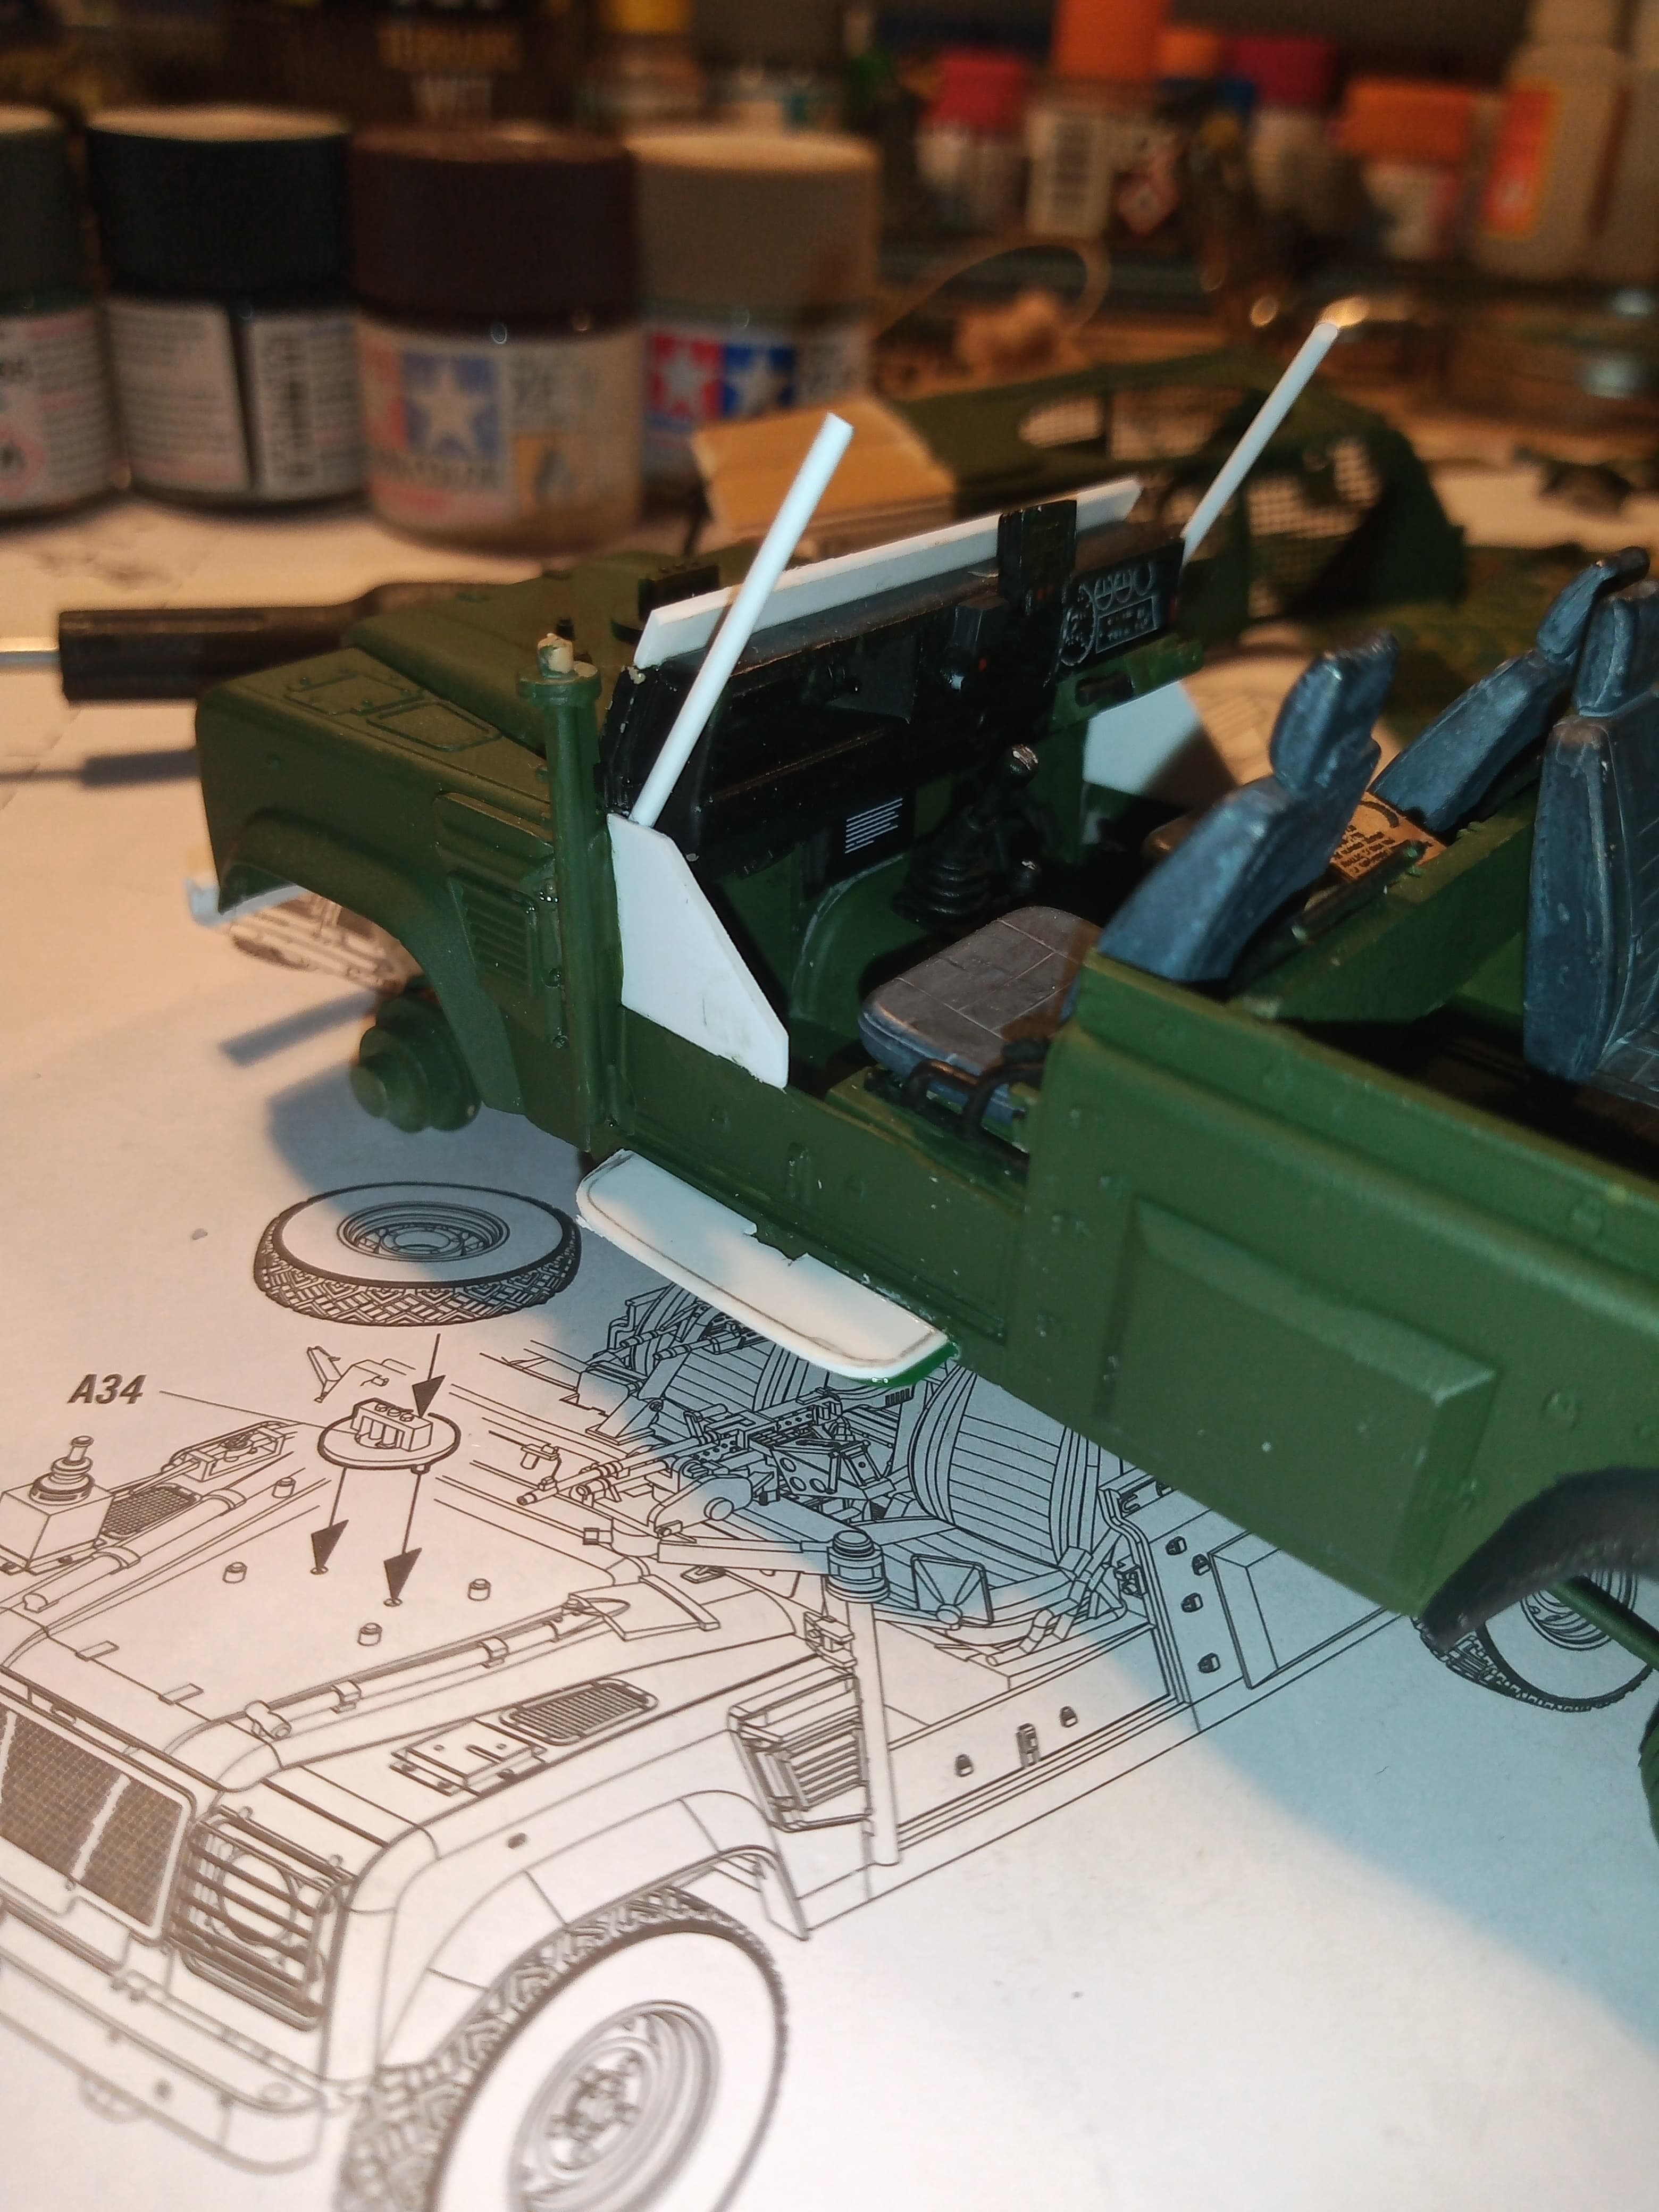
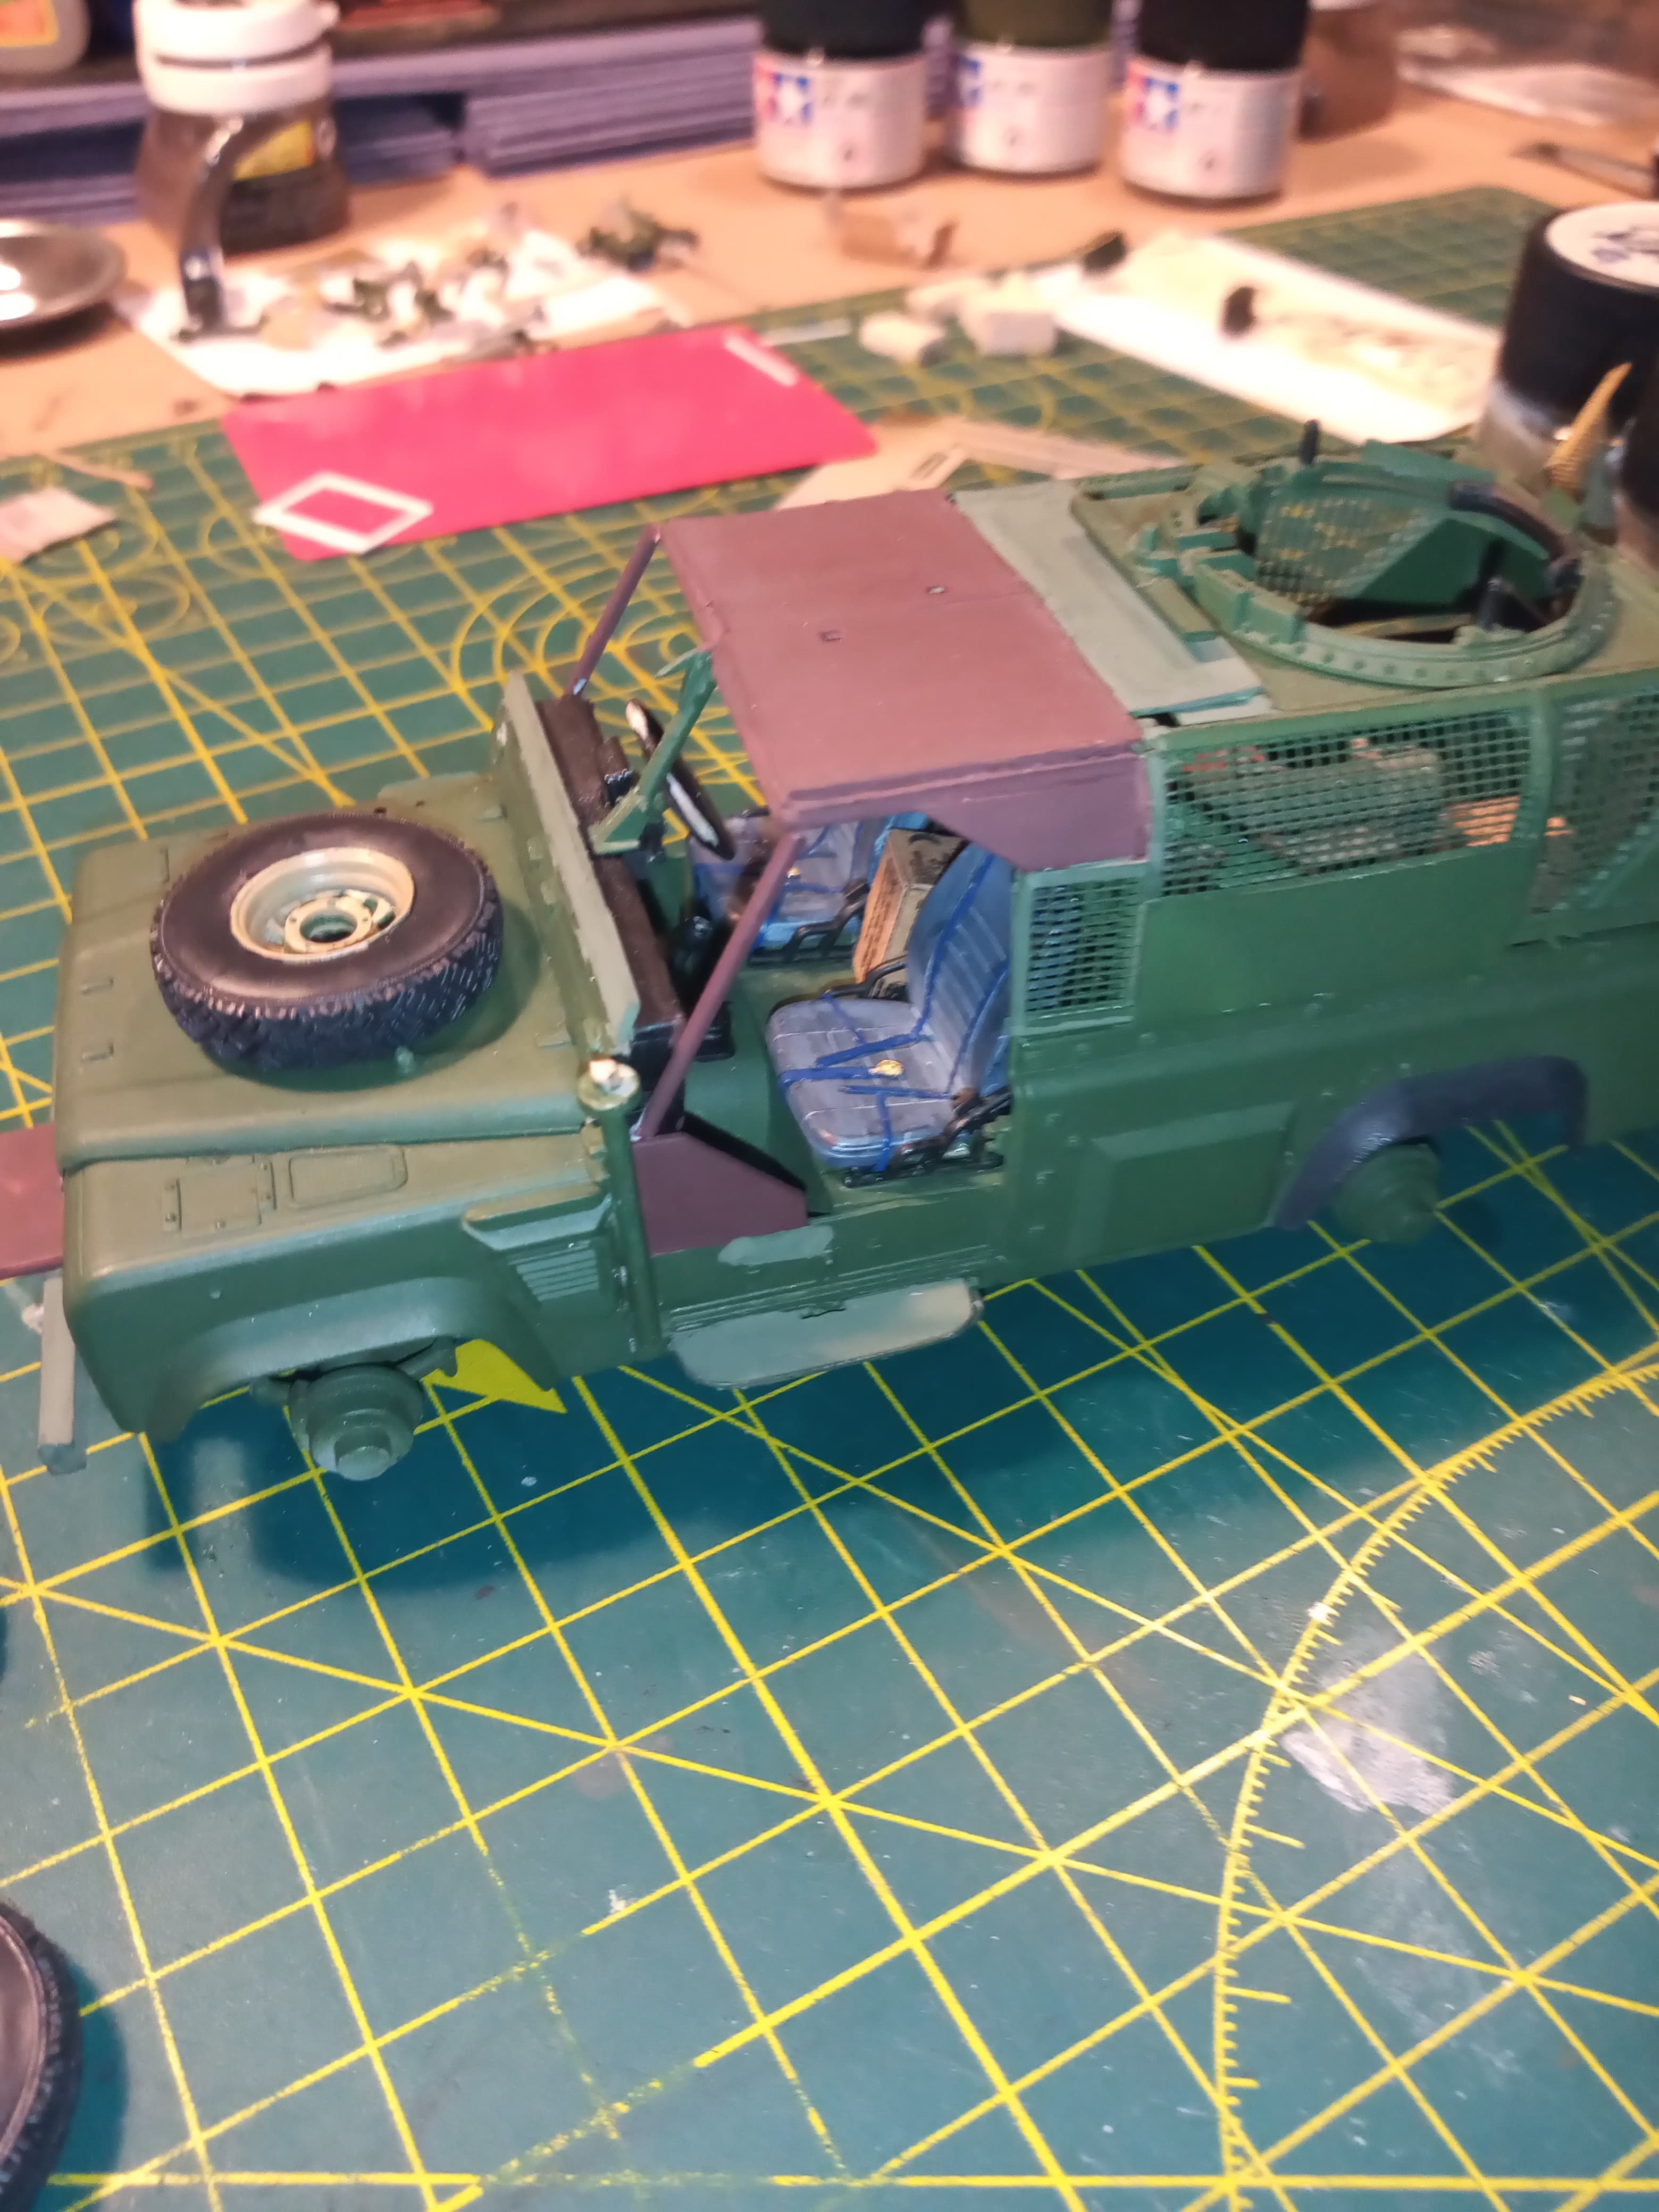
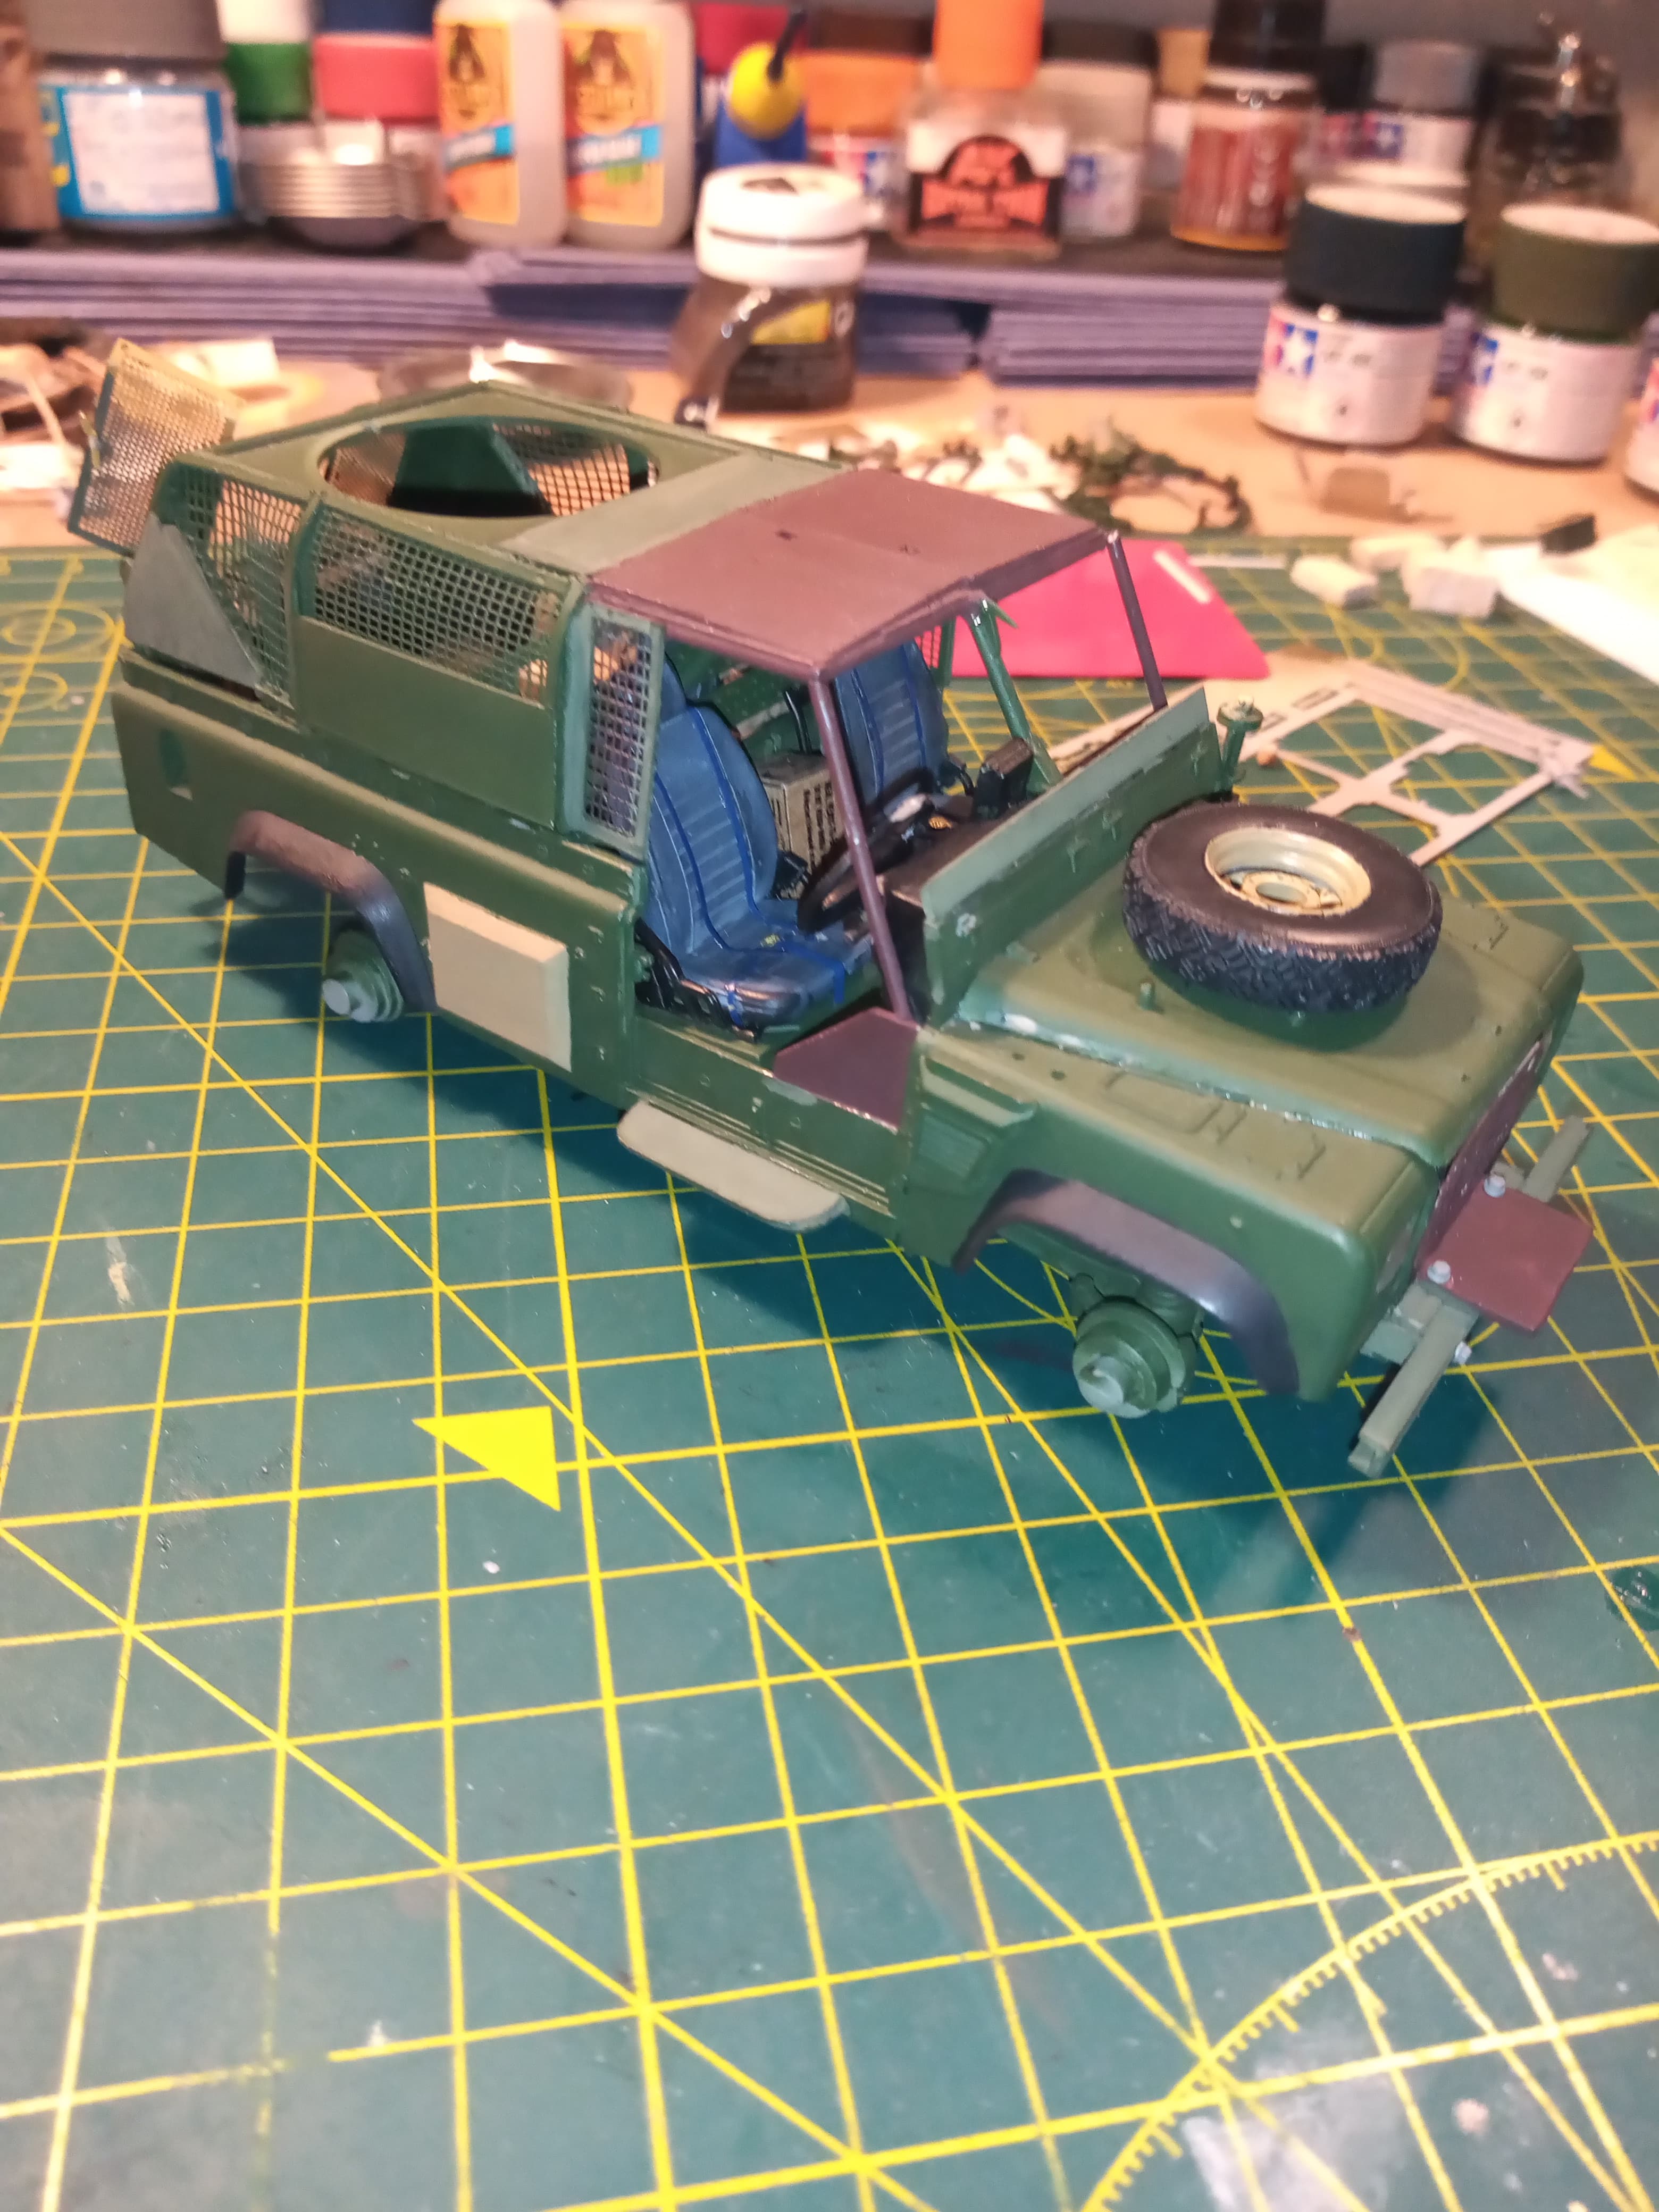
Also added running boards either side under the door opening… I’m thinking of leaving that area clear and not adding anything. I may try and make full harness seat belts for the 2 front seats.

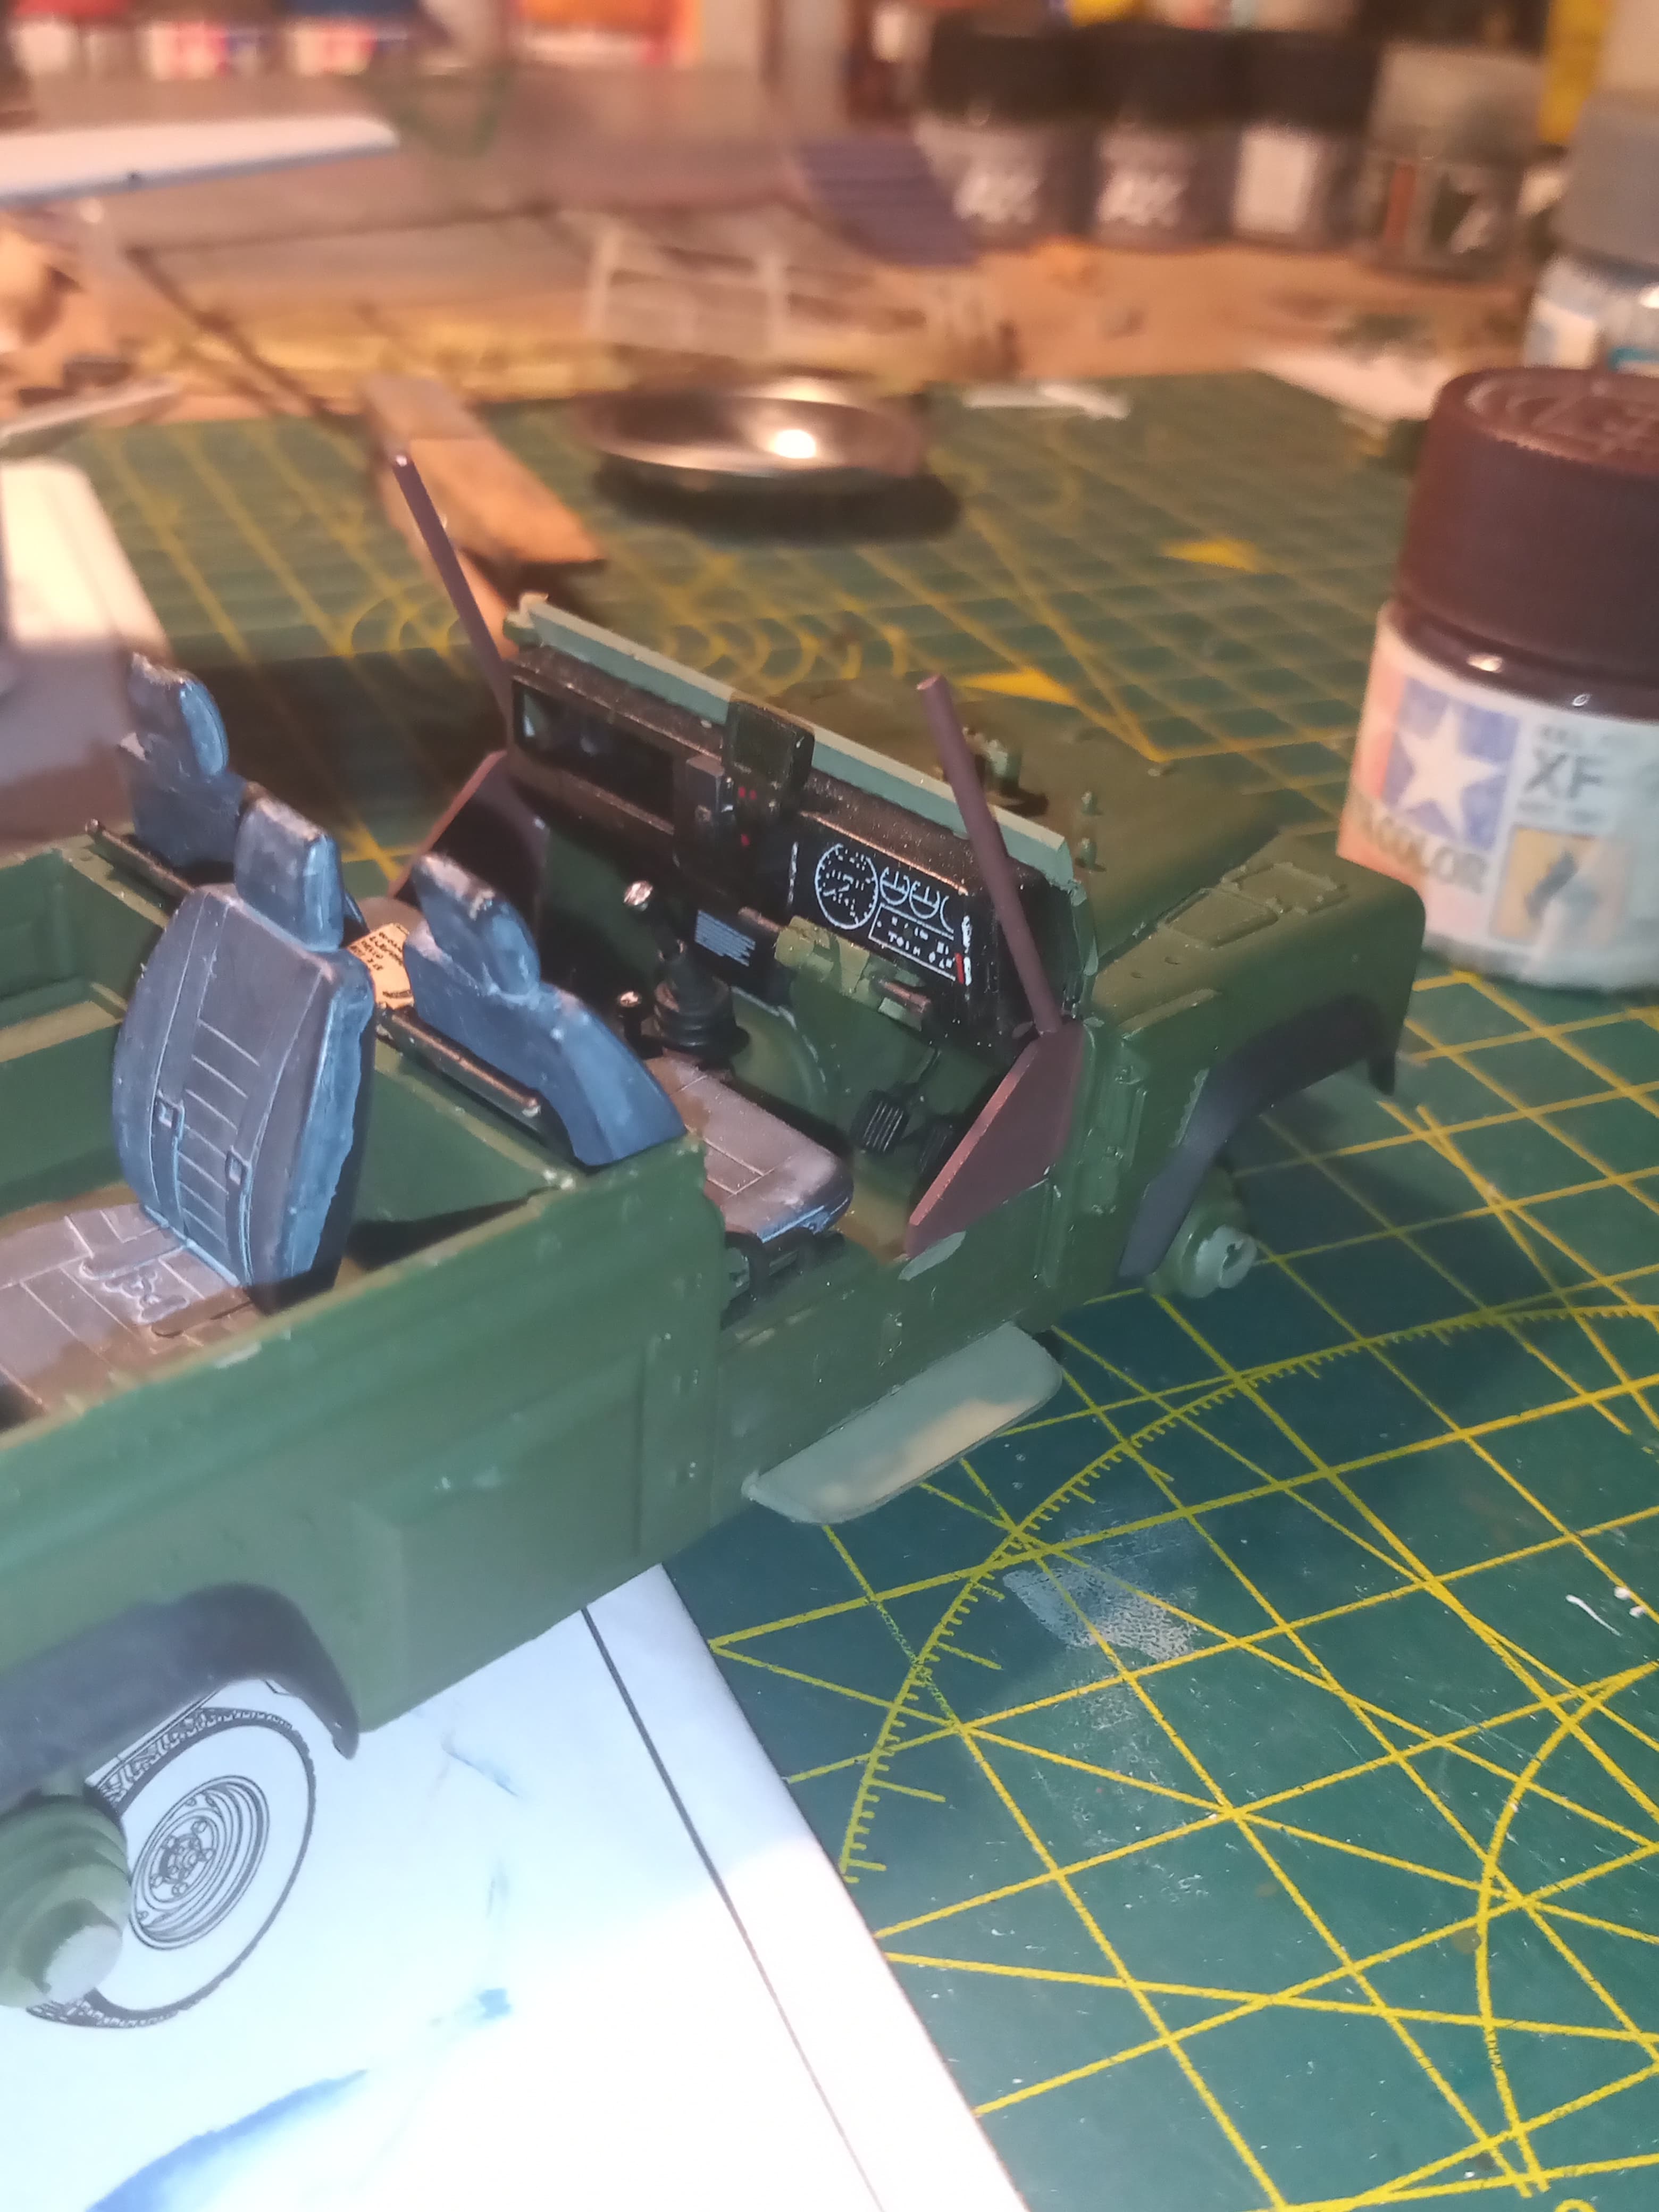
Painted 3 of the wheel arches in the normal black (Tamiya rubber black) but left the front left one as I’m going to do that entire front wing in sand …

Will also go over some of the added armour and roll cage frame in various military green shades and or primer red.

8 Likes

Started making the winch …

Used an old battery with one long side cut out and the insides sanded a bit thinner.

Added some bits at each end to represent the housing for the mechanism inside.

And added some wound thin wire as the winch cable.

Just need to add the cable end and a few extra details.

8 Likes

I started on the first figure for the “Reichbusters” game. The first figure is a hero character: an Ukrainian sniper.

More to follow :slightly_smiling_face:

3 Likes

Well done …and yes … it’s a bomb lol…

However, not for long !! I am going try and turn it into a spotlight for the rotatable .50 mount … I hope :grin:

3 Likes

No not the bomb, da bomb…

3 Likes

Some progress on my sniper - more hero reinforcements on the way in the background.

More to follow soon :slightly_smiling_face:

5 Likes

Been away from the landy for a while what with the Spitfire and then the course…

Got a bit done last night.

Started adding some different colours to the extra armour panels…

Used hull red and Tamiya NATO green on a few of the panels to give some variation on the AK NATO green…

Also added some MENG bolt heads to the winch base and new front bumper

Also added a front plate to the winch housing and 4 small MENG bolt heads to that. Just needs painting up now.

Nice to be back on this one as well now.

4 Likes

Now the Spitfire is done, I can get back into the Wolf…

Added a small blob from the Molotov chrome pen for the headlight backing, and evened it out with a cocktail stick.

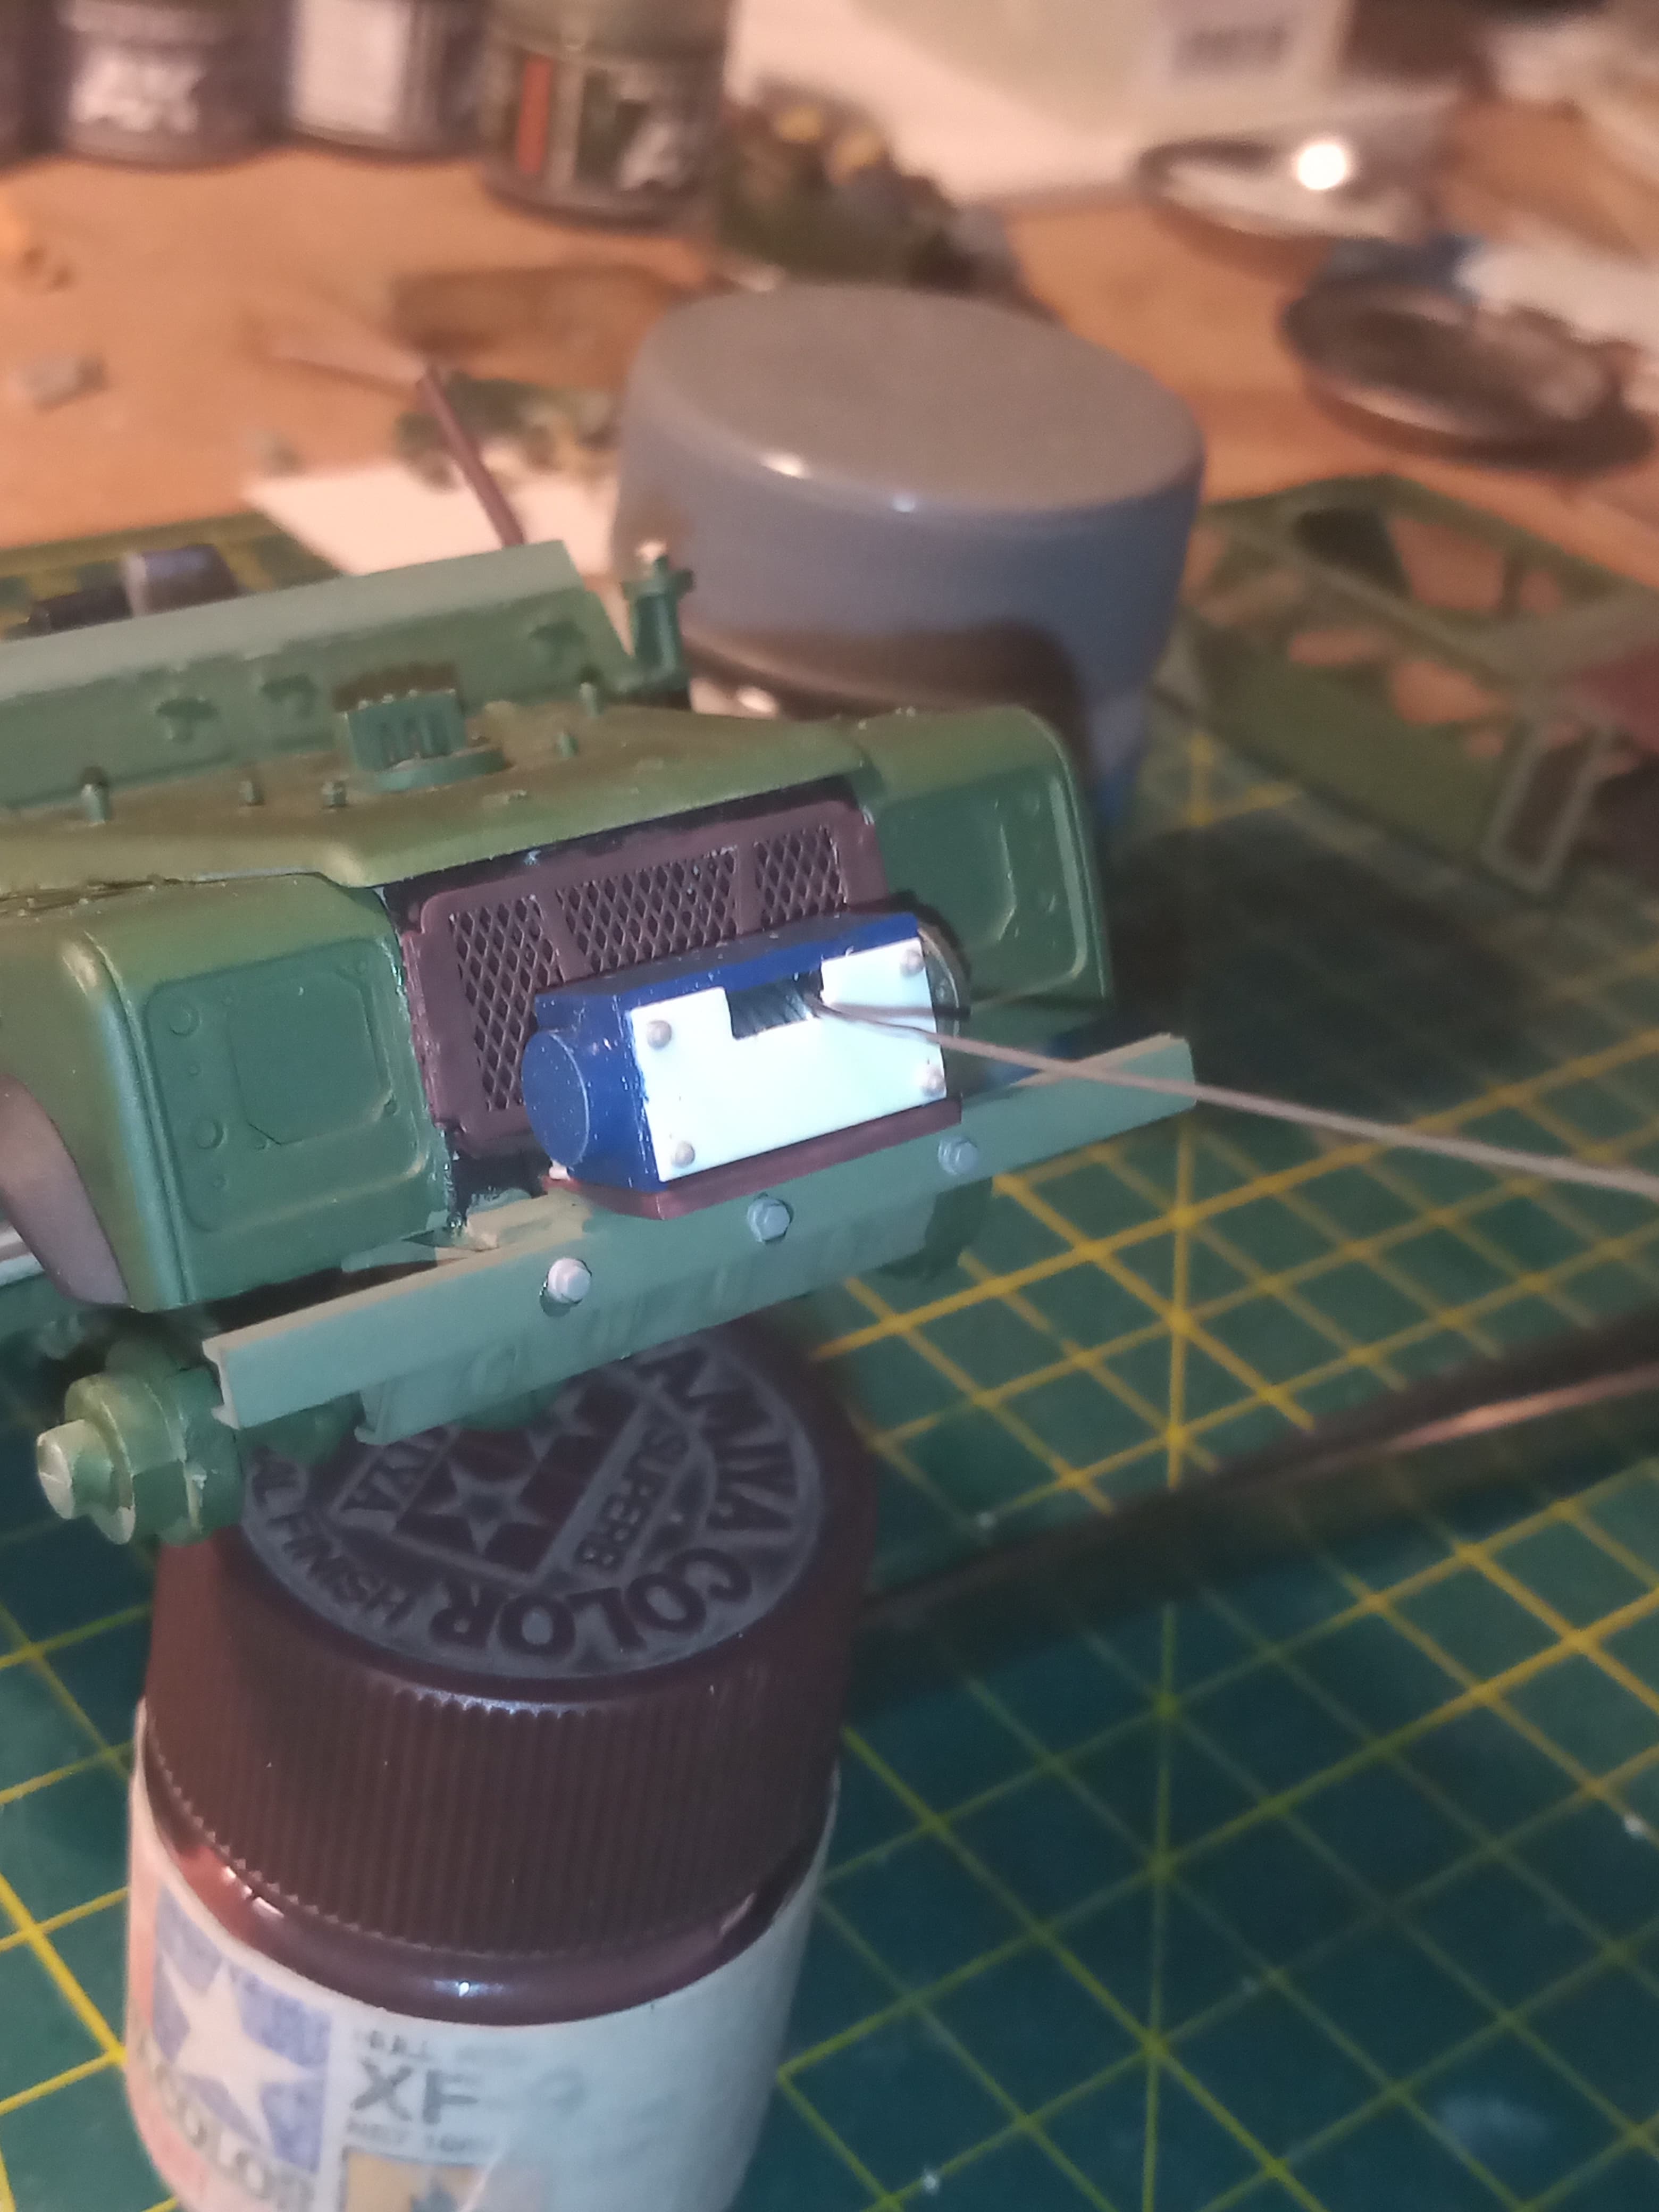
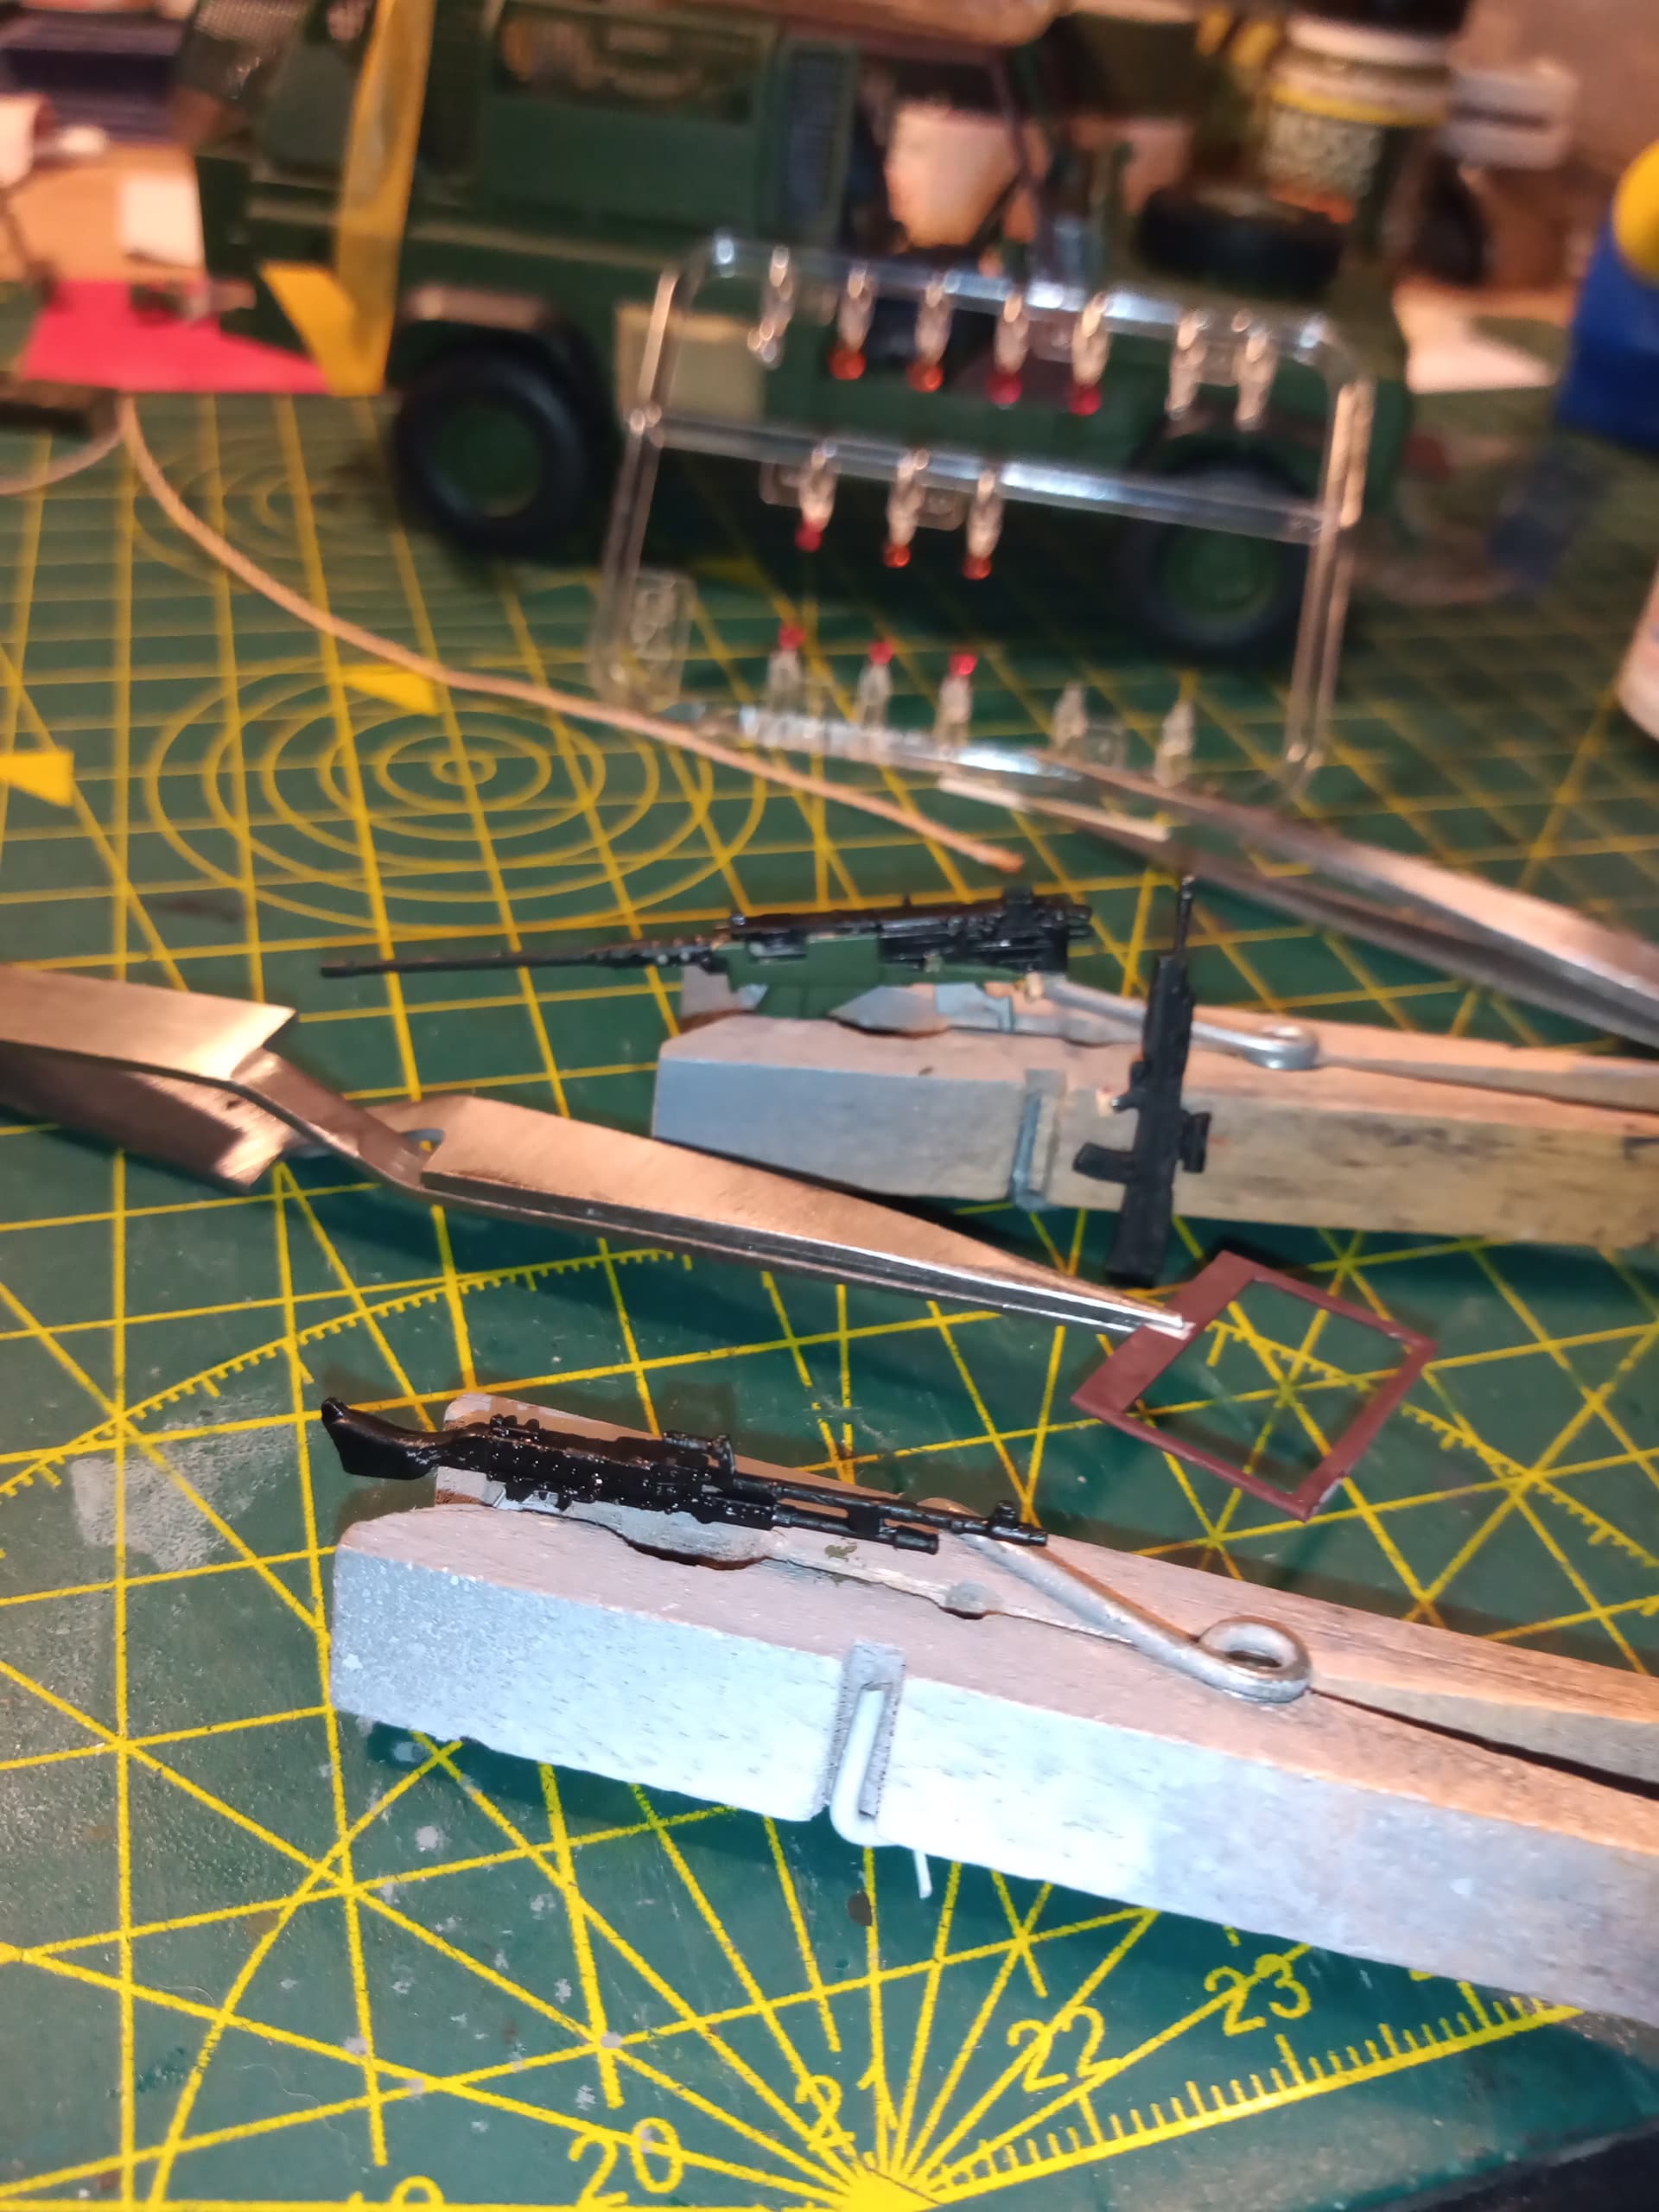
Will get the lenses on that tomorrow then add the side and tail lights…but not paint them until the end.

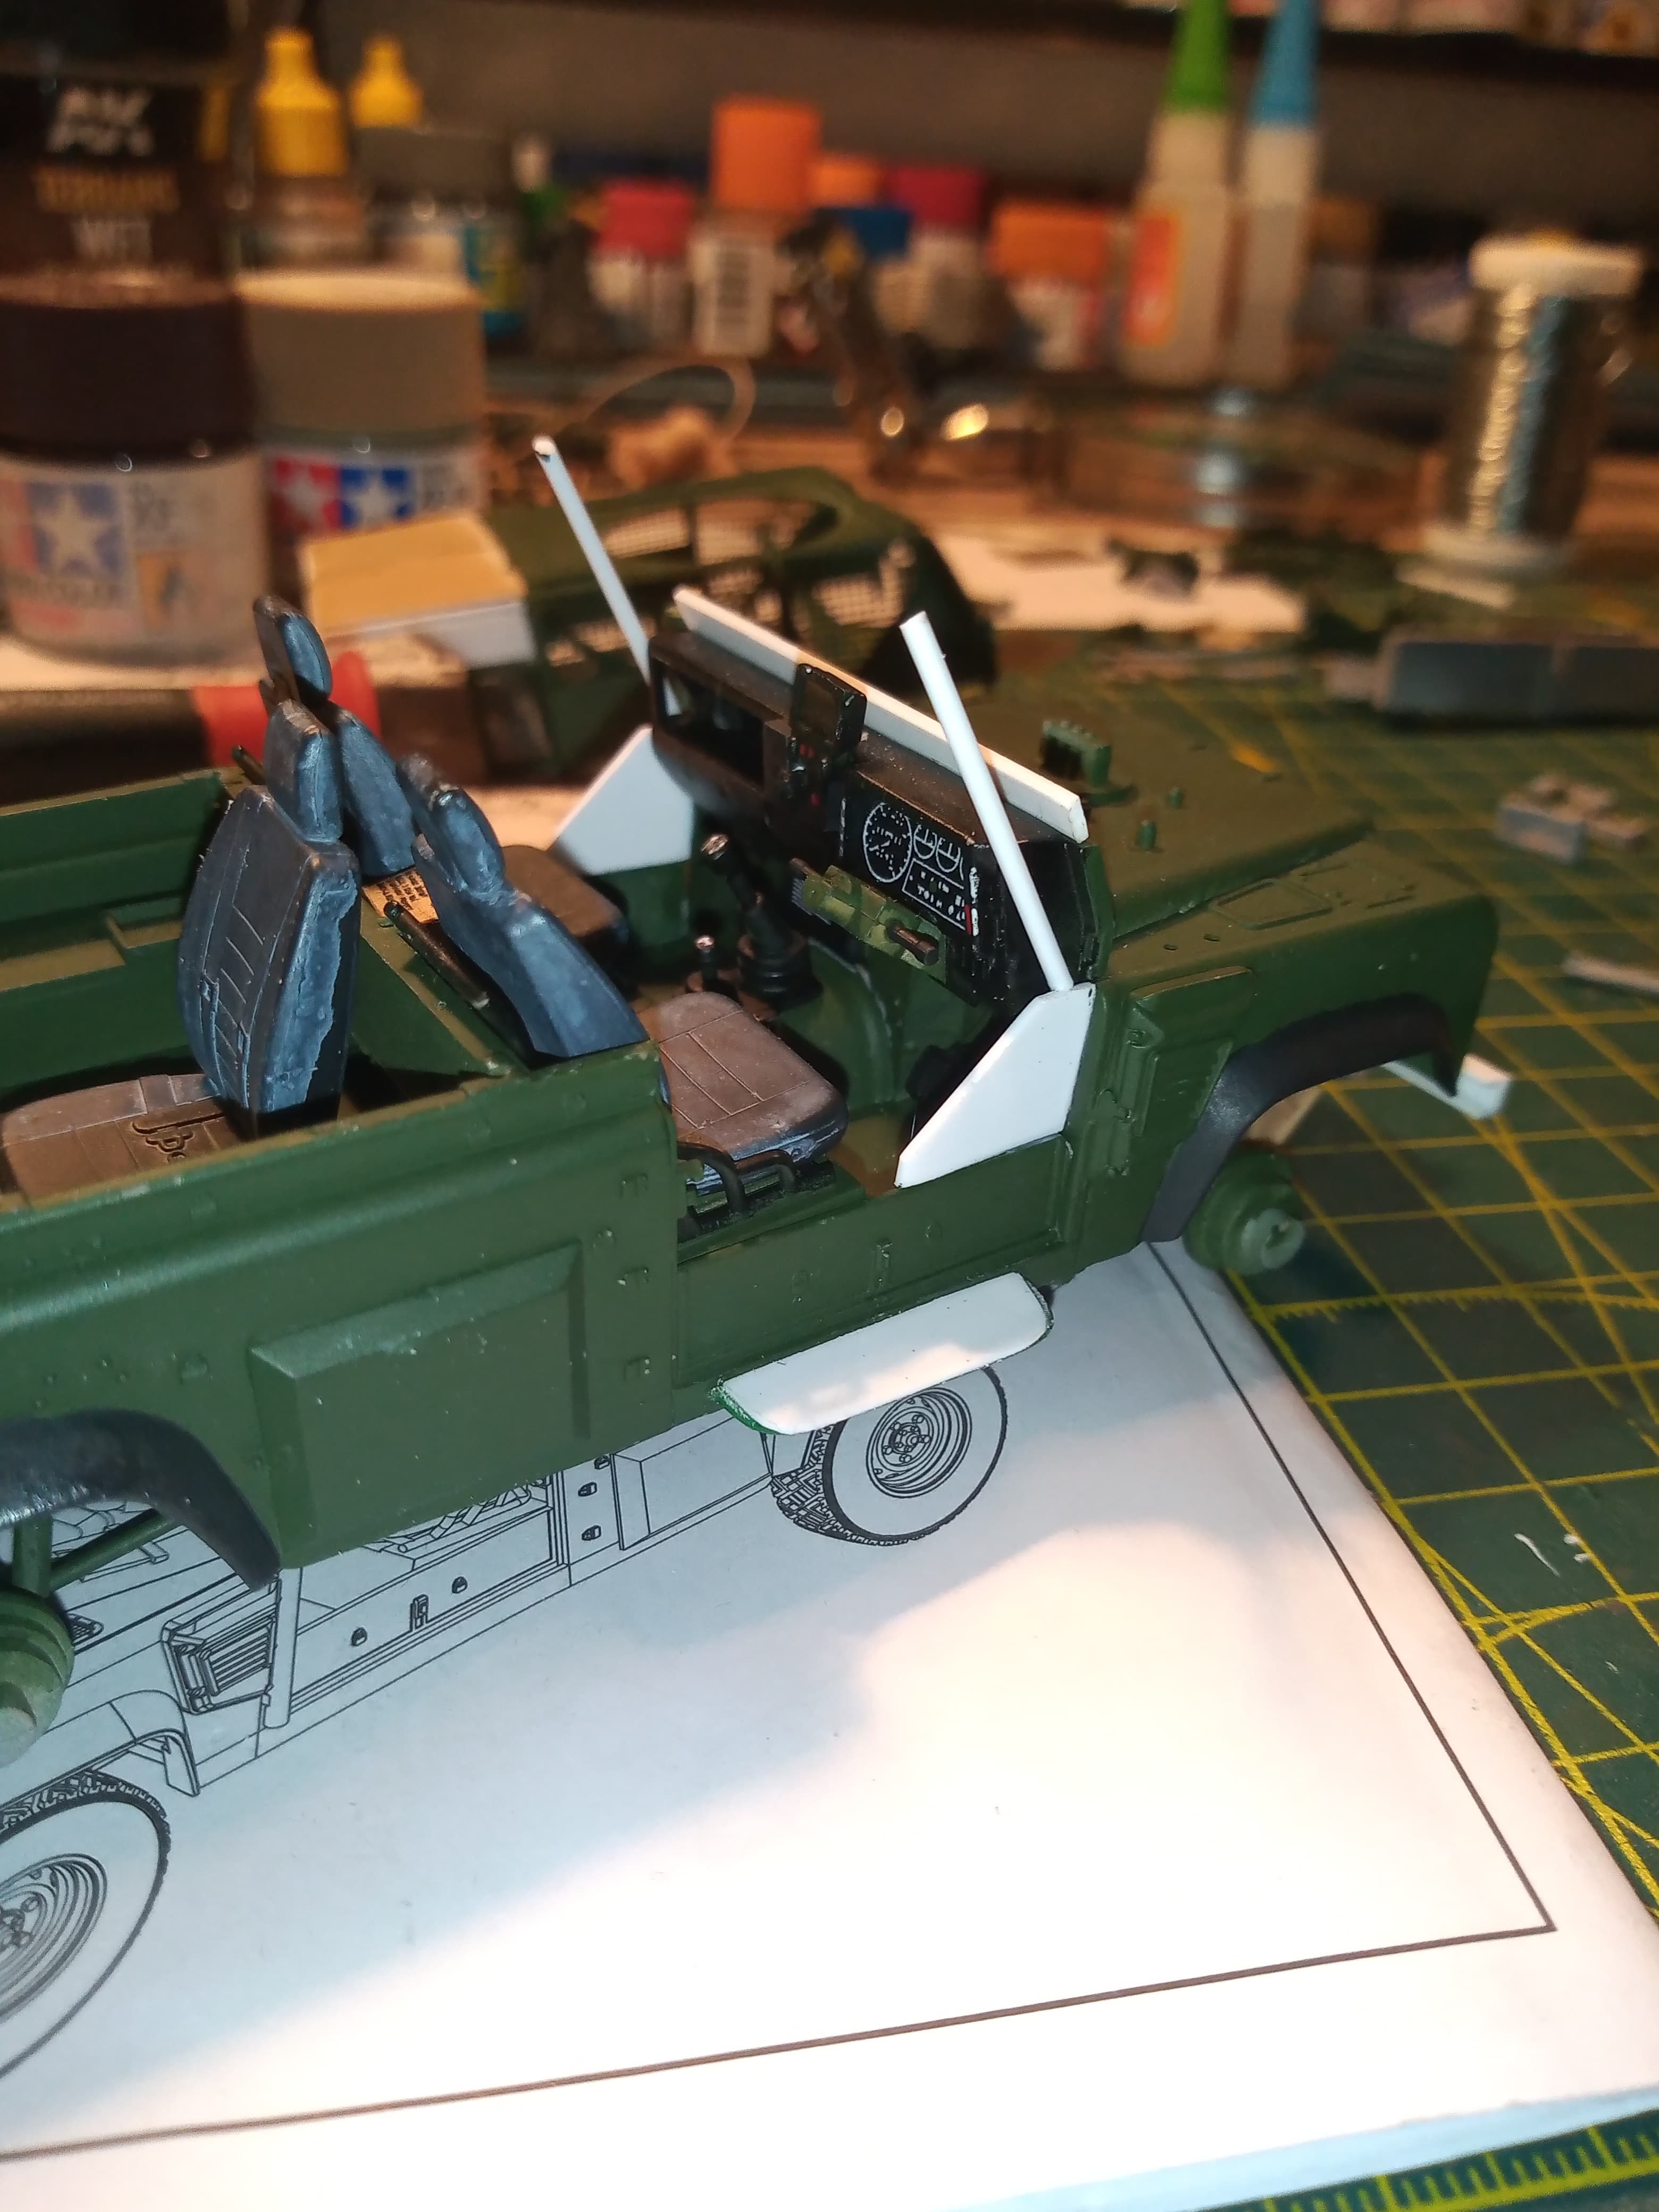
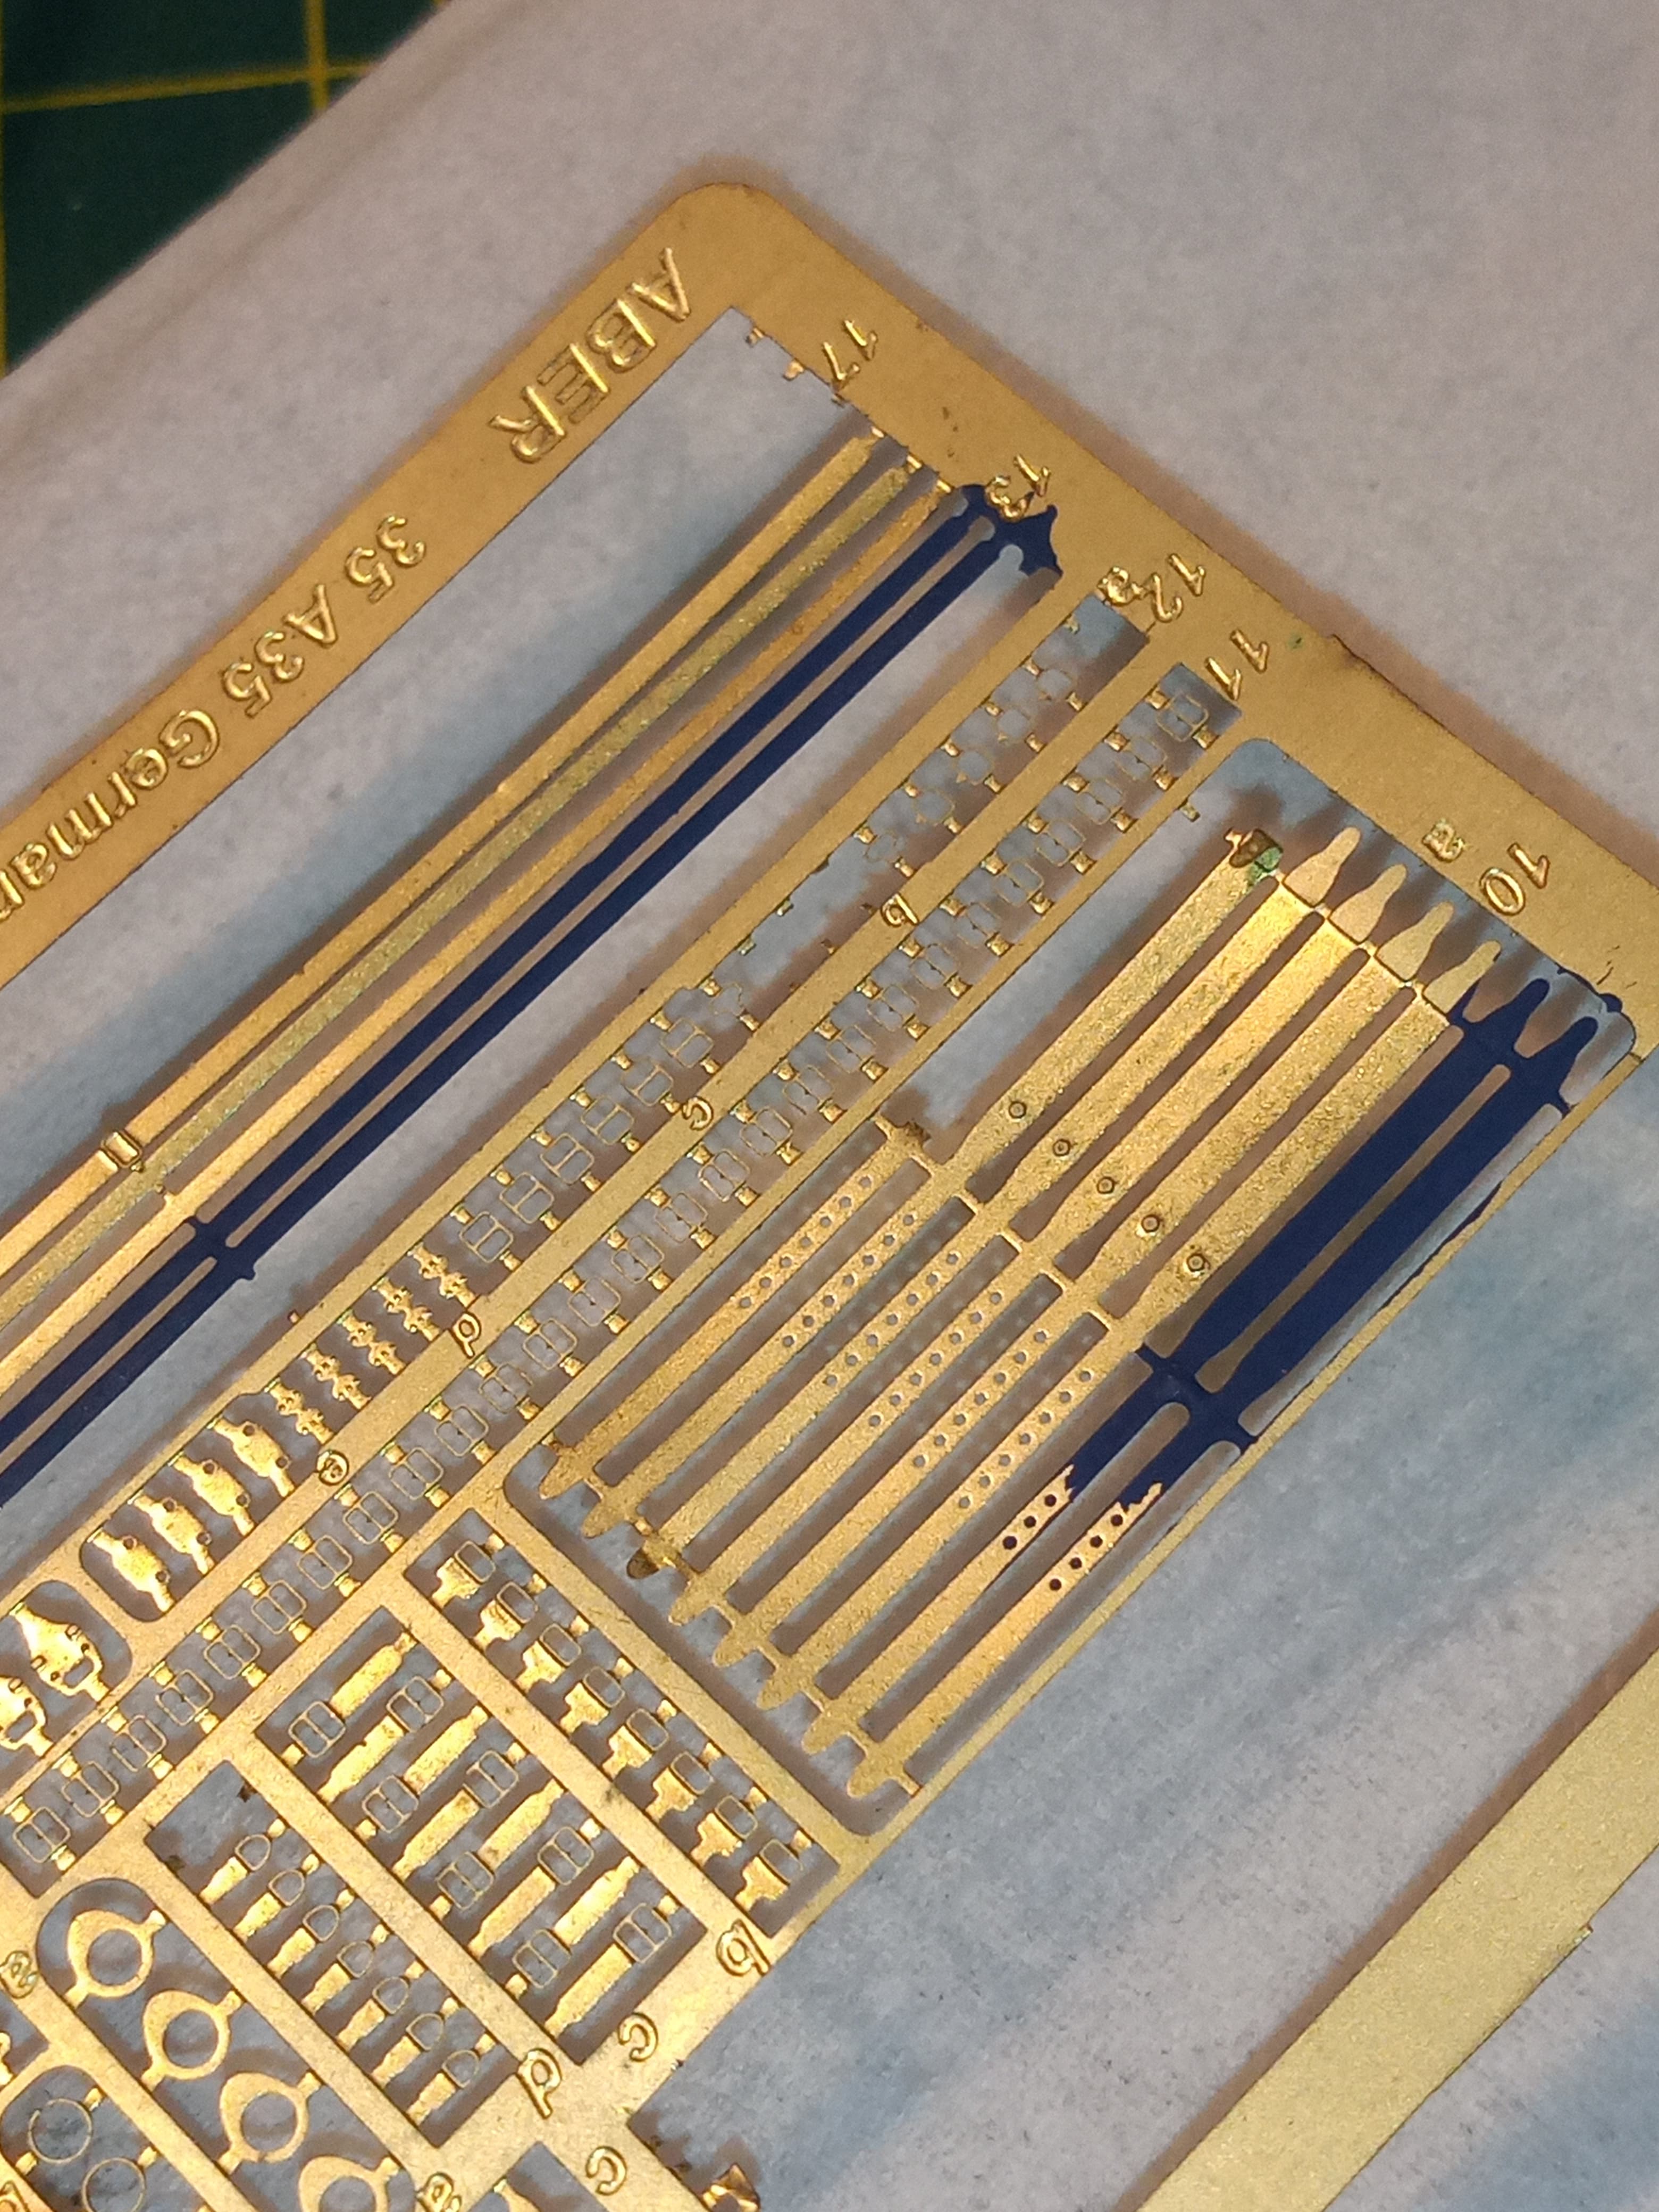
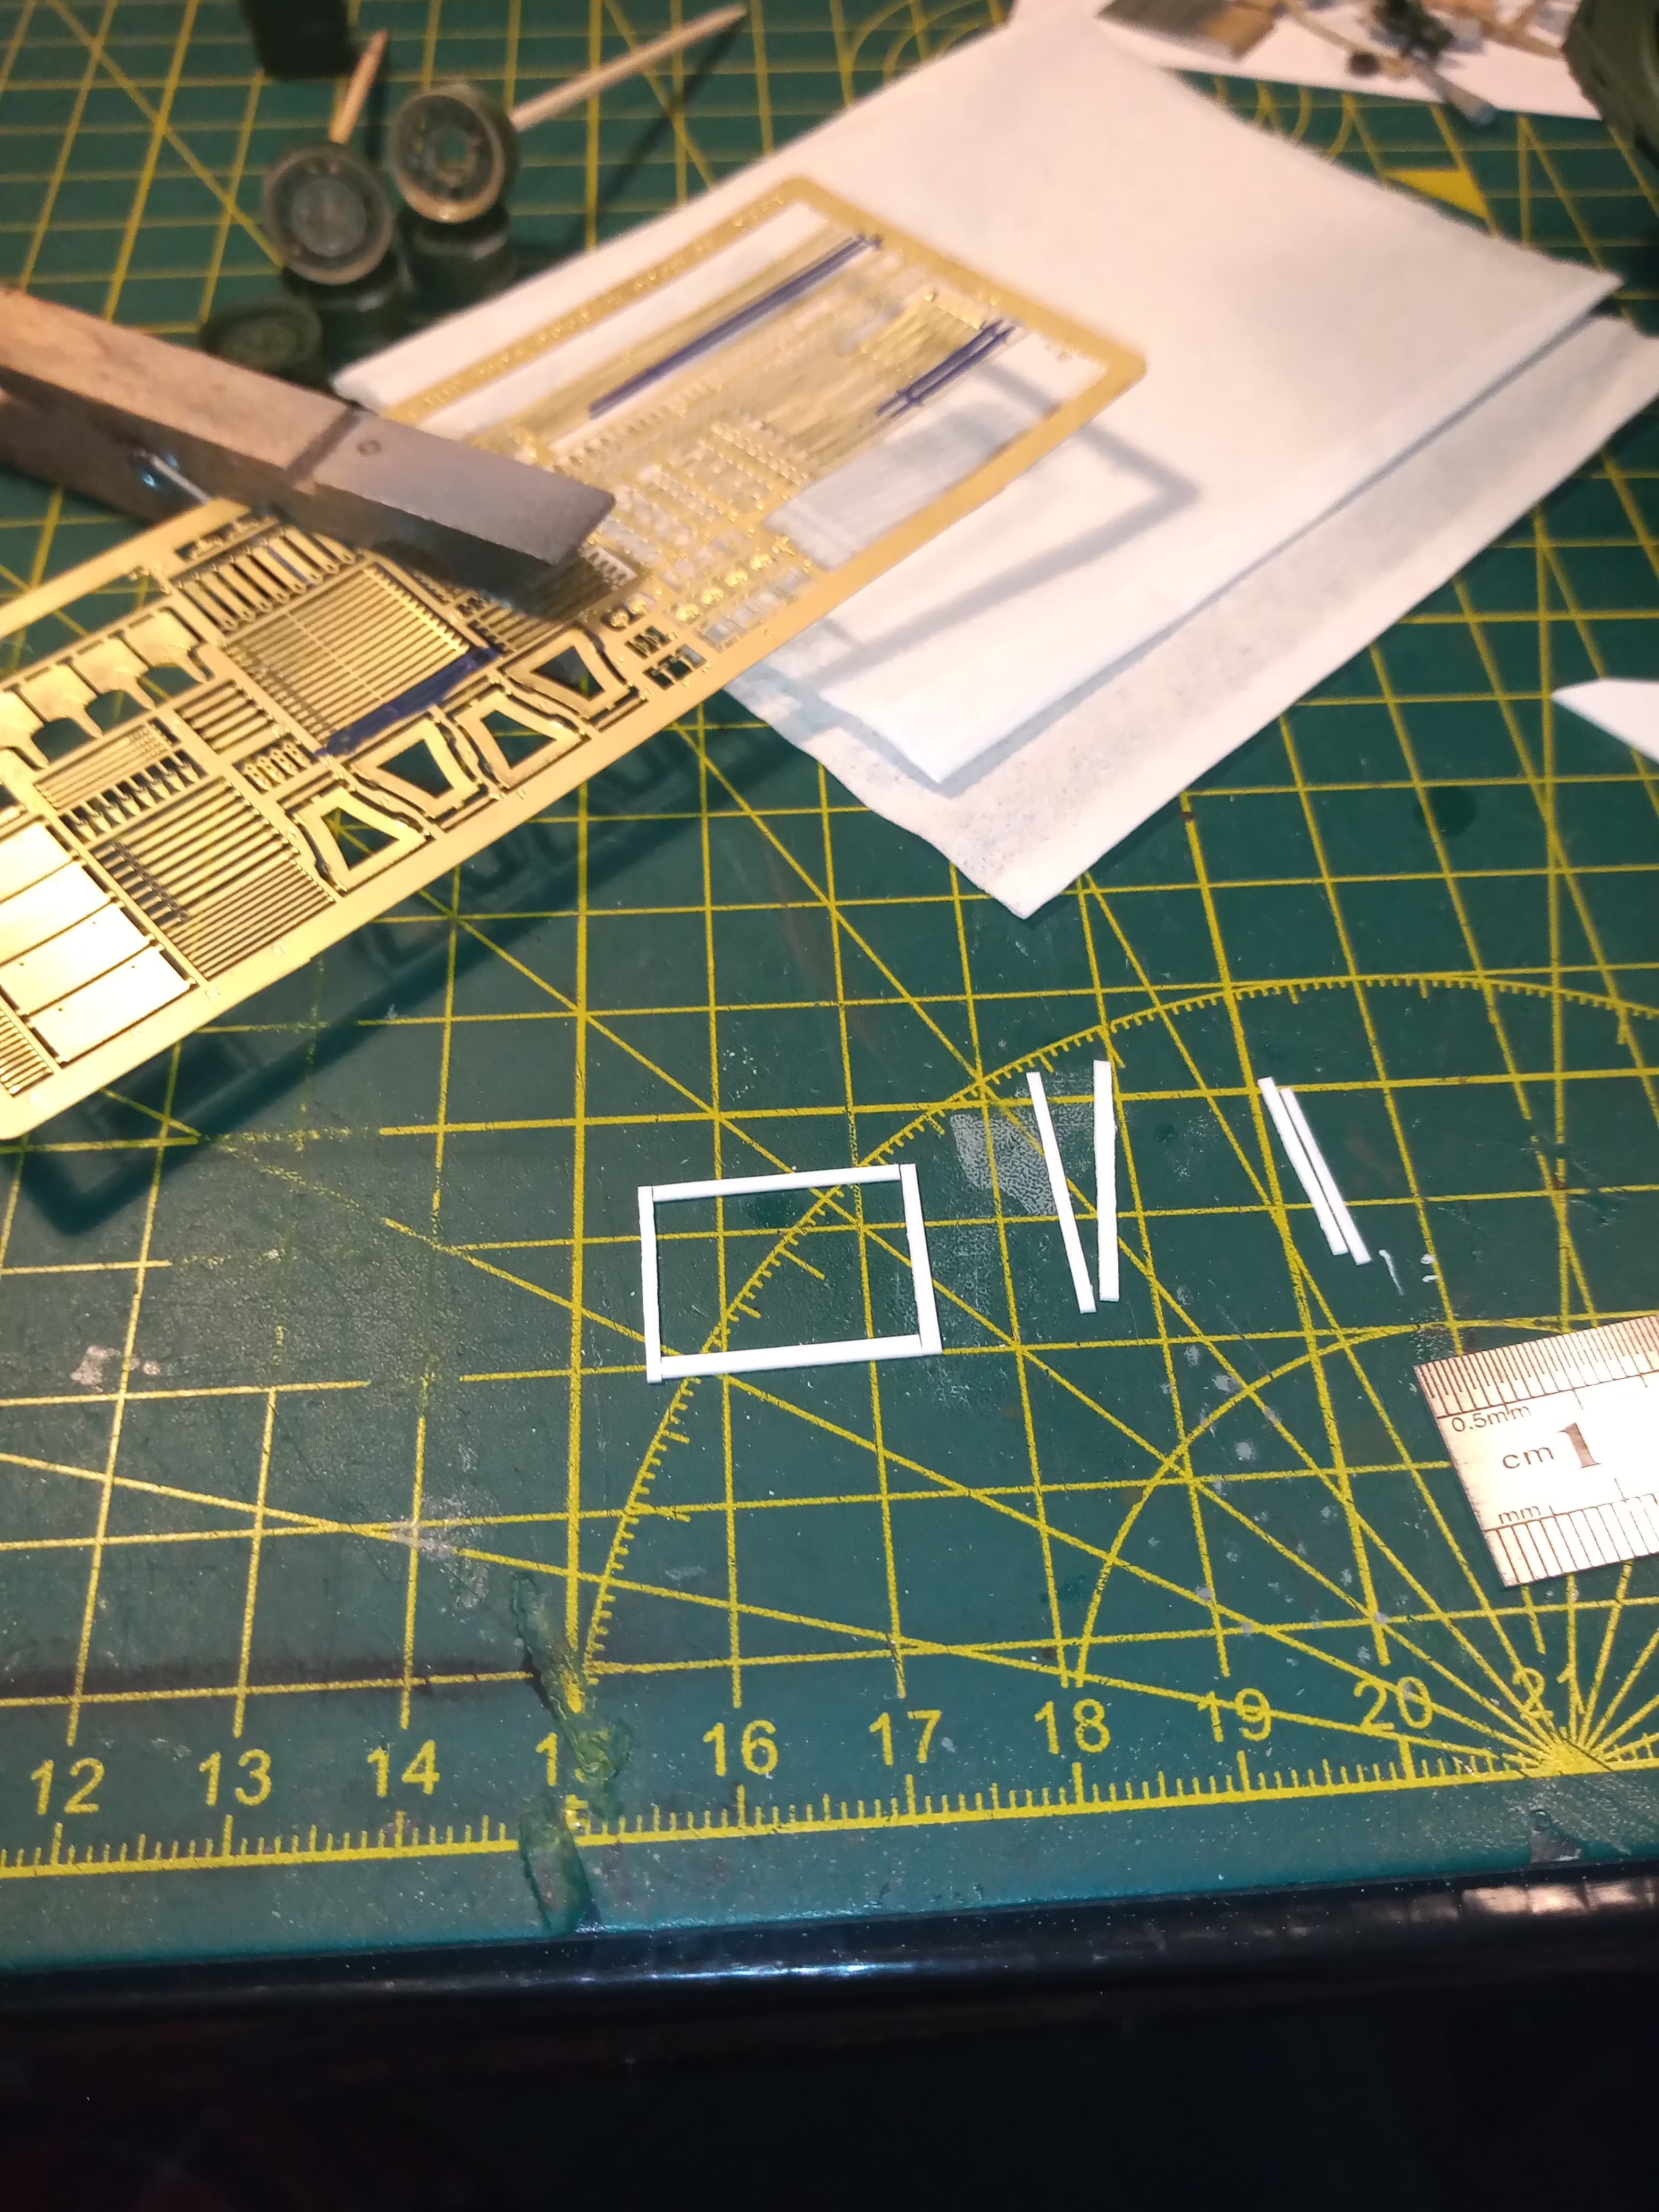
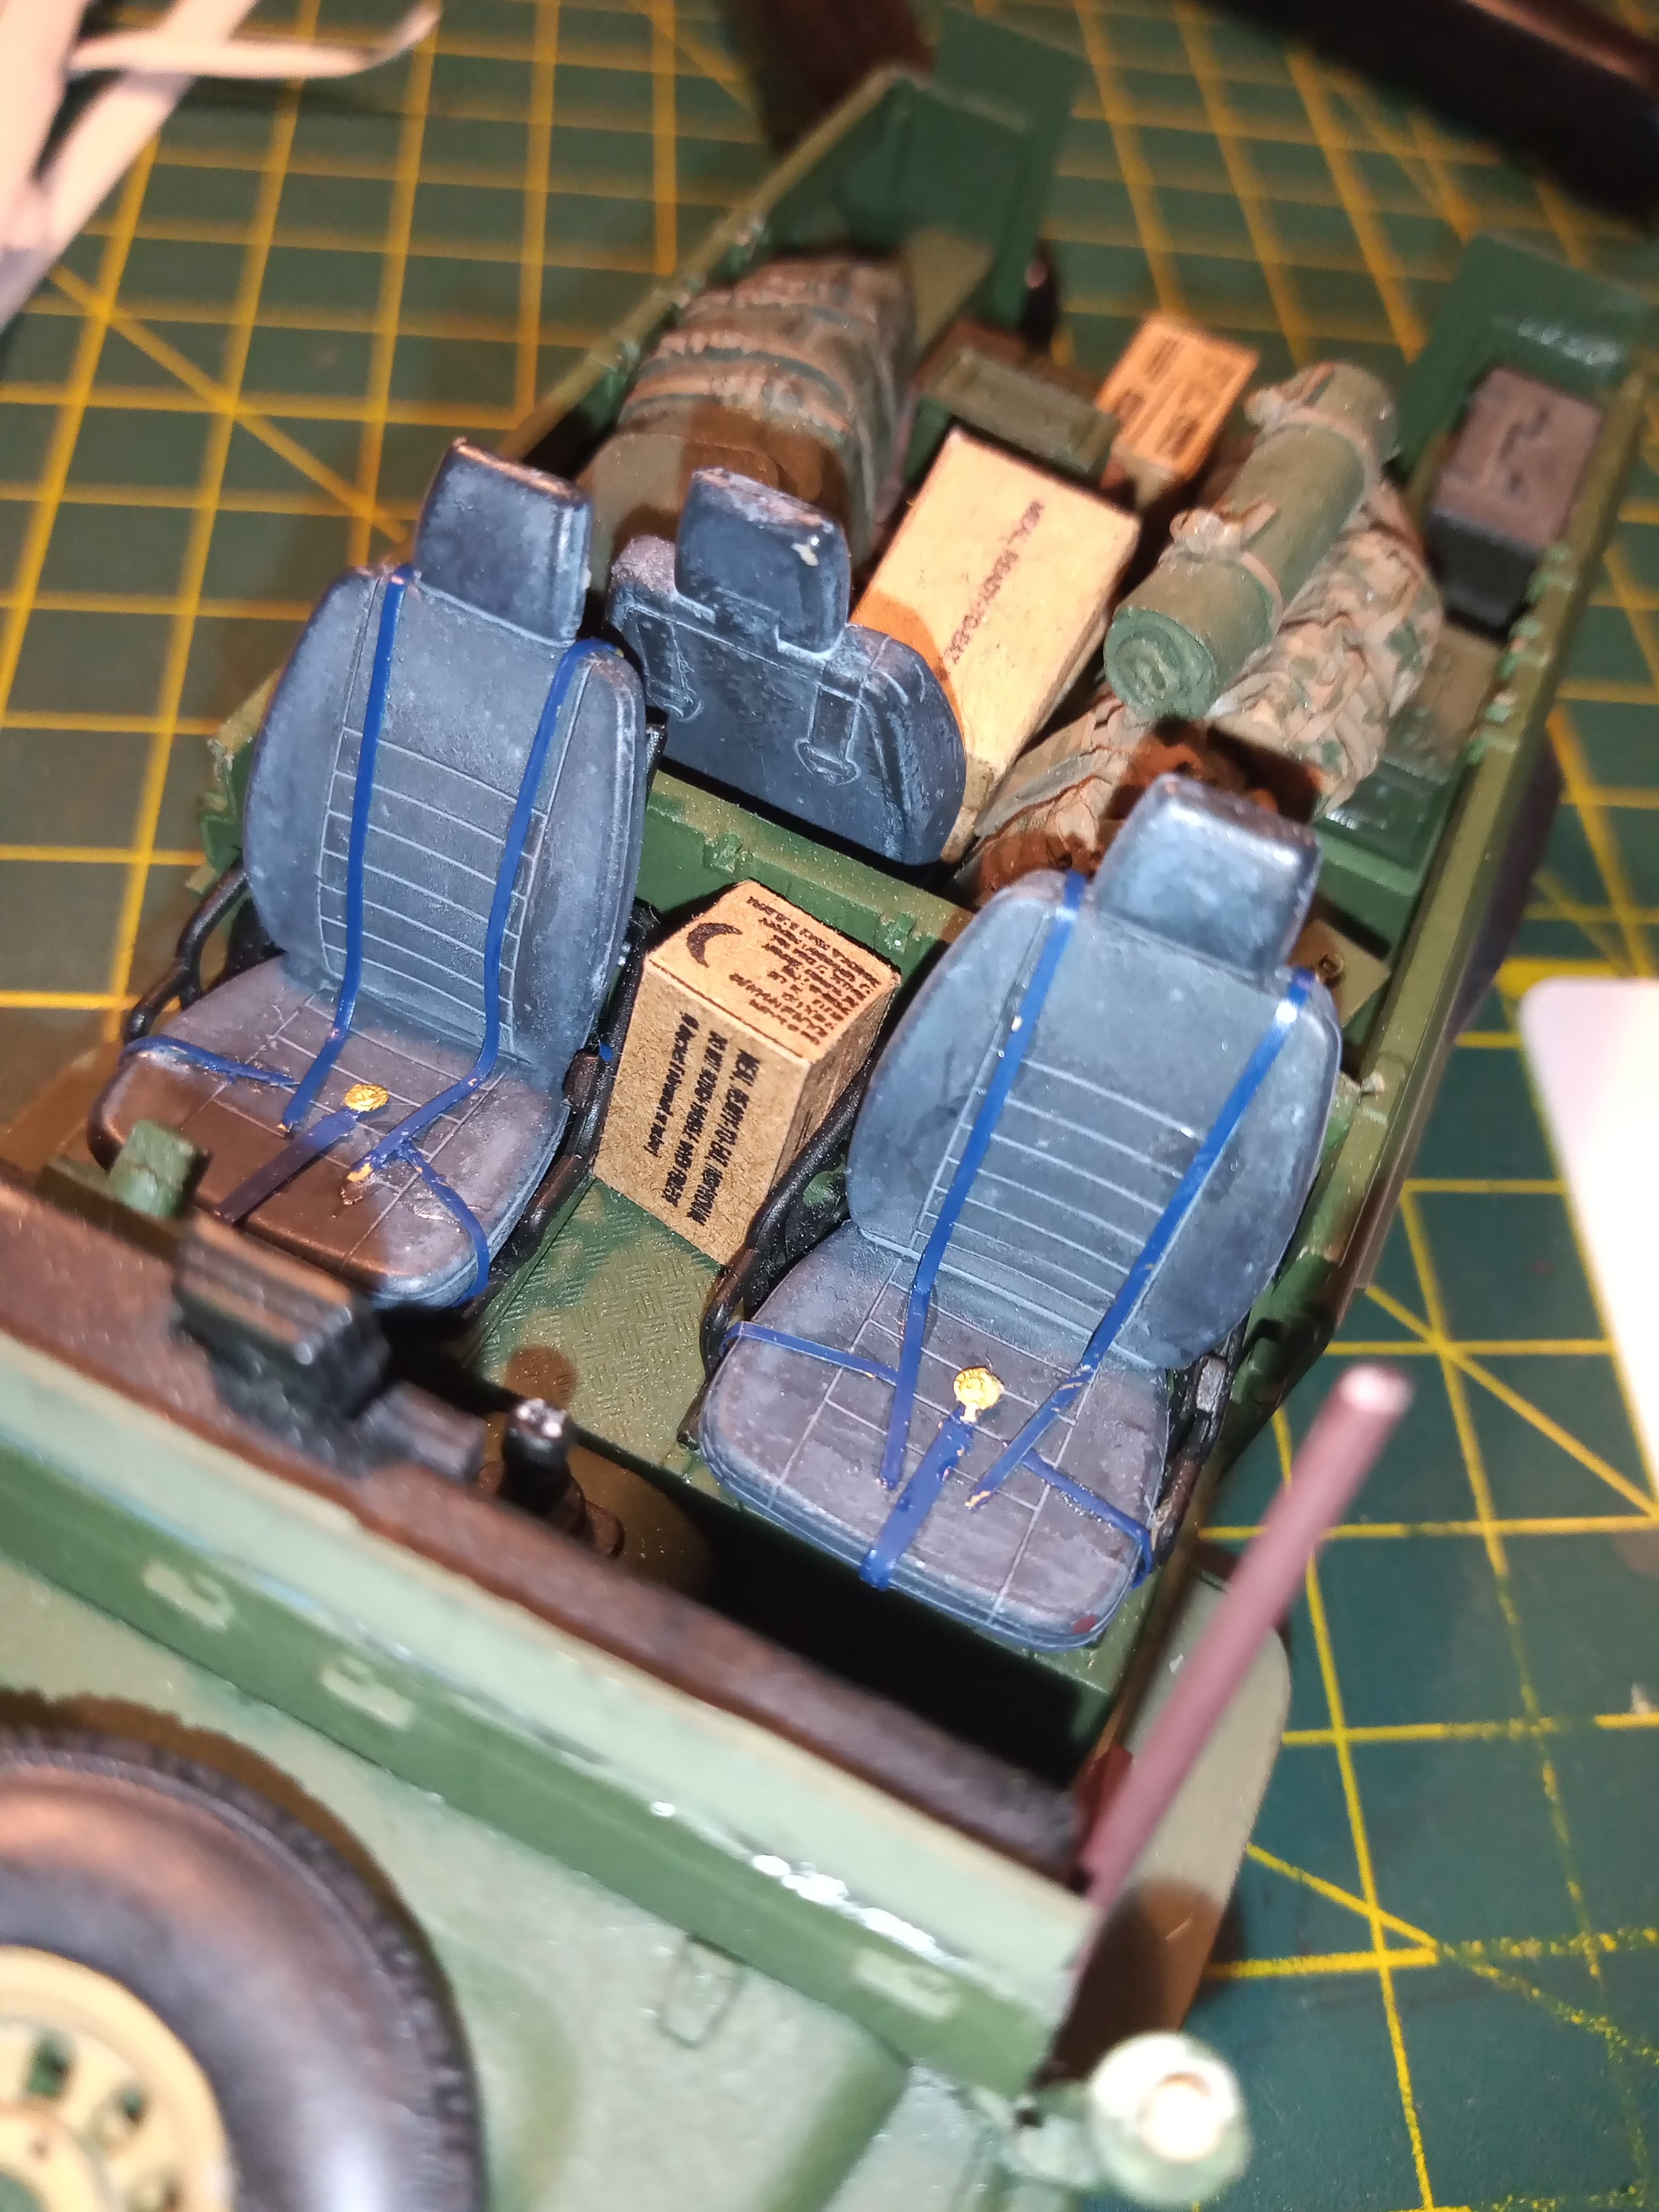
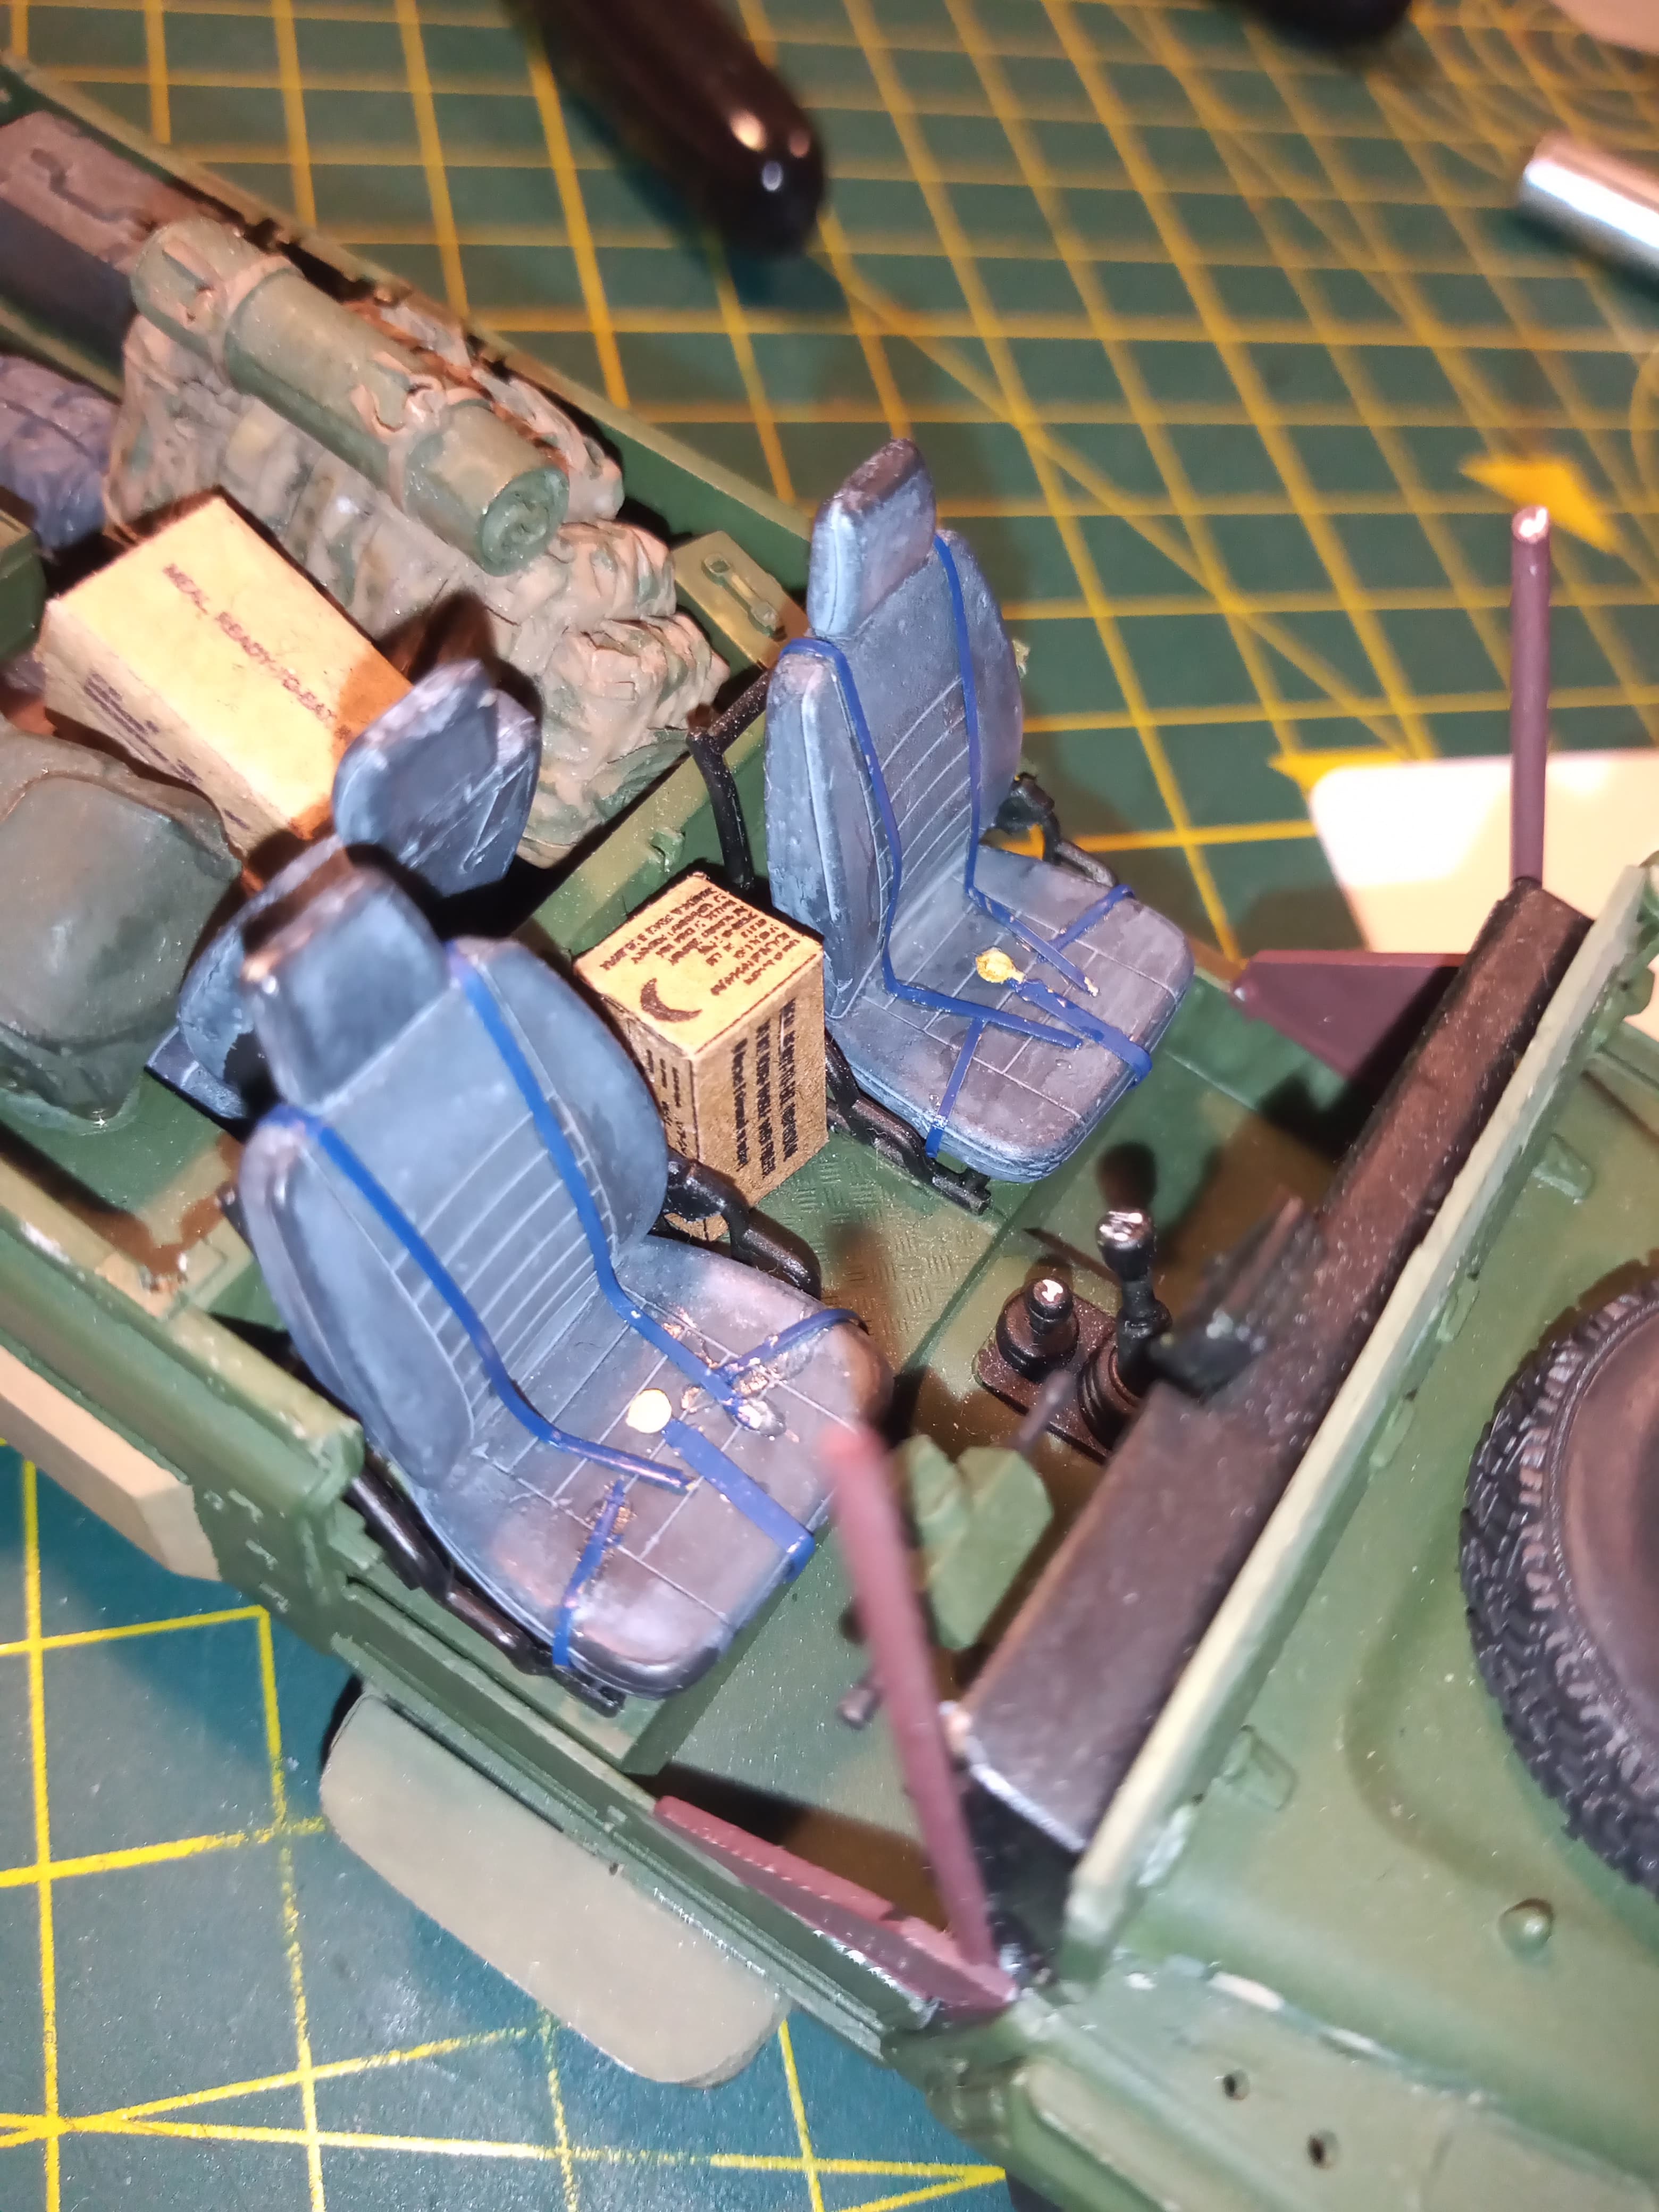
Also decided I will make a 5 point full harness seat belt for both front seats. Going to use some PE straps and buckles from the German WW2 webbing set.

Prepainted the parts I’m going to use in flat blue. Thought that would add some colour in the cab.

Also started on the driver’s side windscreen…

Will add some PE brackets to make it look like it’s a foldable one.

Have painted the kit tyres in rubber black, and redone 2 of the wheels in desert sand.

7 Likes

Added some space filling stowage to the rear.

Just need a few water jerry cans. I have 5 fuel ones for the rear basket, which is yet to go on…

Will start trying to do the 5 point harness belts for the front seats tomorrow and get the steering wheel fitted as well…

3 Likes

Are those Amazon Prime boxes? I always thought that guy might be some kind of a zombie…

2 Likes

Bit of a squeeze getting into the rear seat John. :clown_face:

Coming along very nicely.

2 Likes

No probs, this is just a 2 man 10 day recce…:grin: Only need two front seaters for this one :+1:

Got a few things done, …
Lenses are on the headlights, need to fit the light guards now.

Spare wheel is on, have to fit a securing bar and rod across the center of the wheel.

5 point harness belts are in,… …they may be a bit thin, but I was just after the visual affect. All parts are from the German WW2 webbing PE set …the seats and straps will need a general retouch with grey and blue to cover the glue overspill.

Have fixed on the last side of the rear cage door, and left it open. Added PE hinges and the very basic open/lock handle …

Reattached the rear stowage basket and added the fuel jerry cans and the rear cage and MG ring as a dry fit to see how it looks so far

Will get some more done tomorrow time permitting…:+1:

7 Likes

Nice work John! Great scratchbuilding everywhere. This is coming together into an incredible Mad Max mobile.

I switched from “Interested” to “Going.” I’m in.

This is what I’ll build…and it will give me a chance to use my new Zoukei – Mura’s snippers that I bought from the “Sprue cutter showdown” thread.

4 Likes

Just a bit of detail painting now

Will put together the drivers windscreen and get that attached. The screen is a cut piece from a clear fruit container.
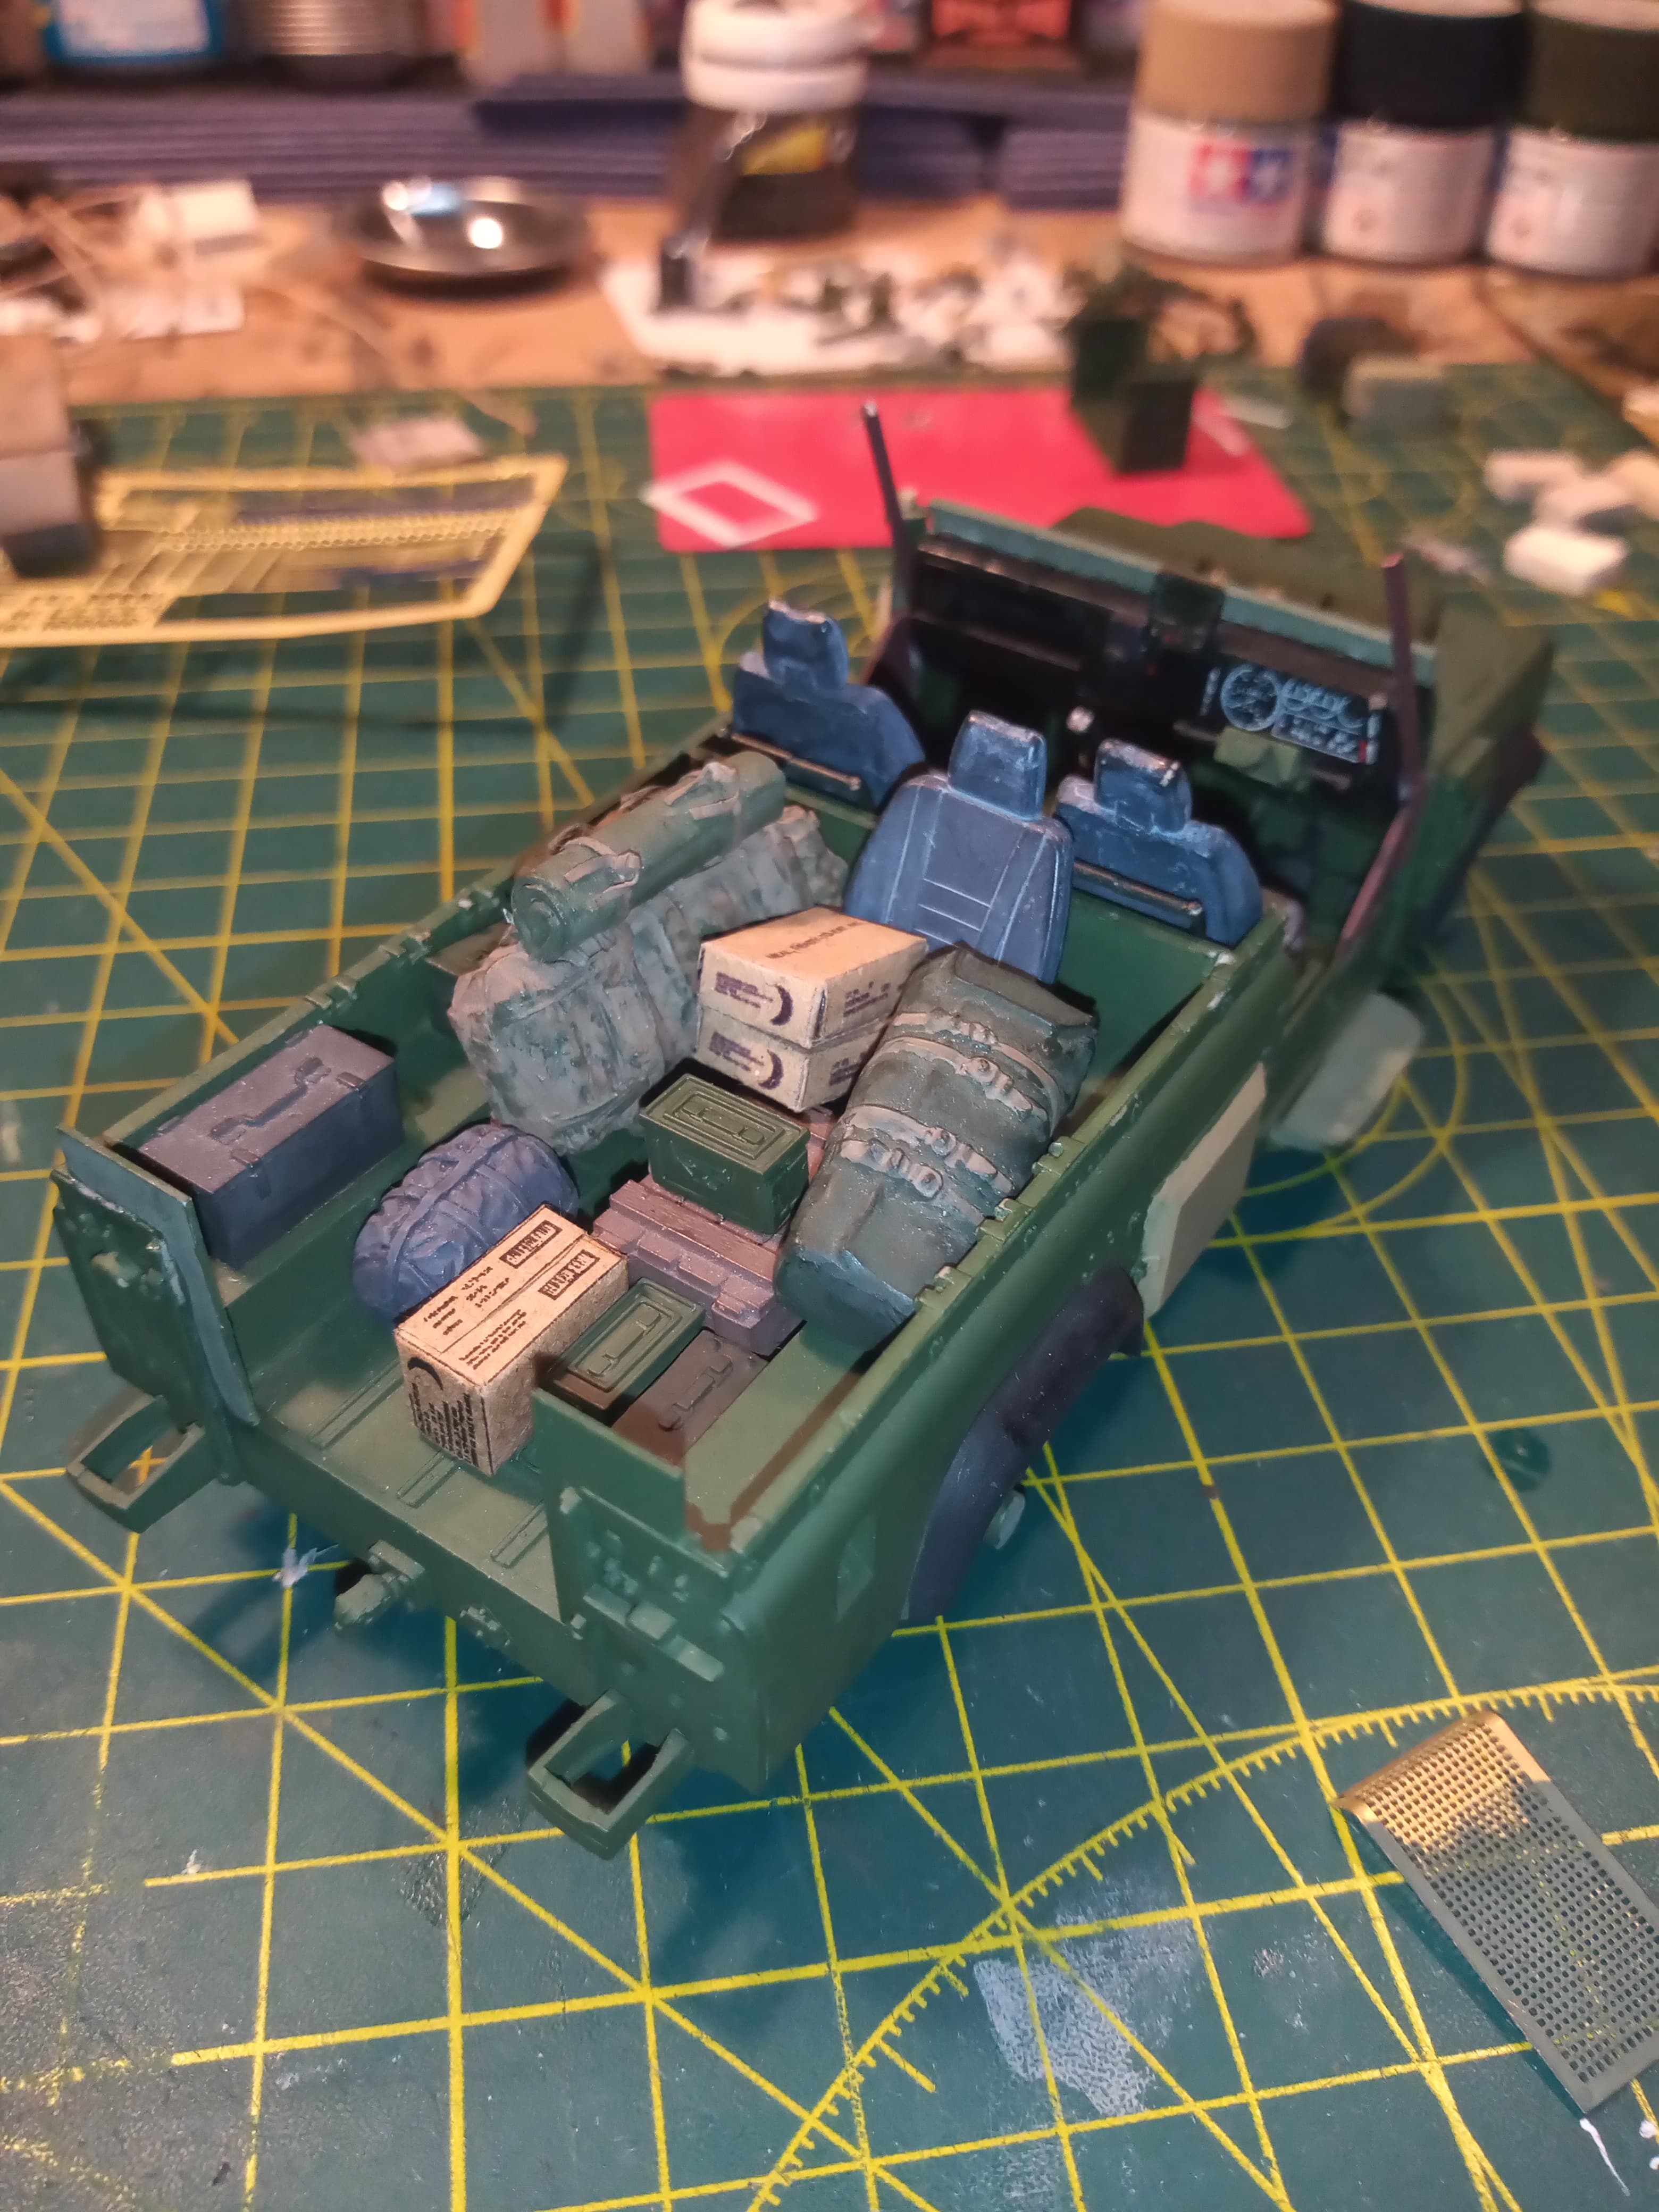
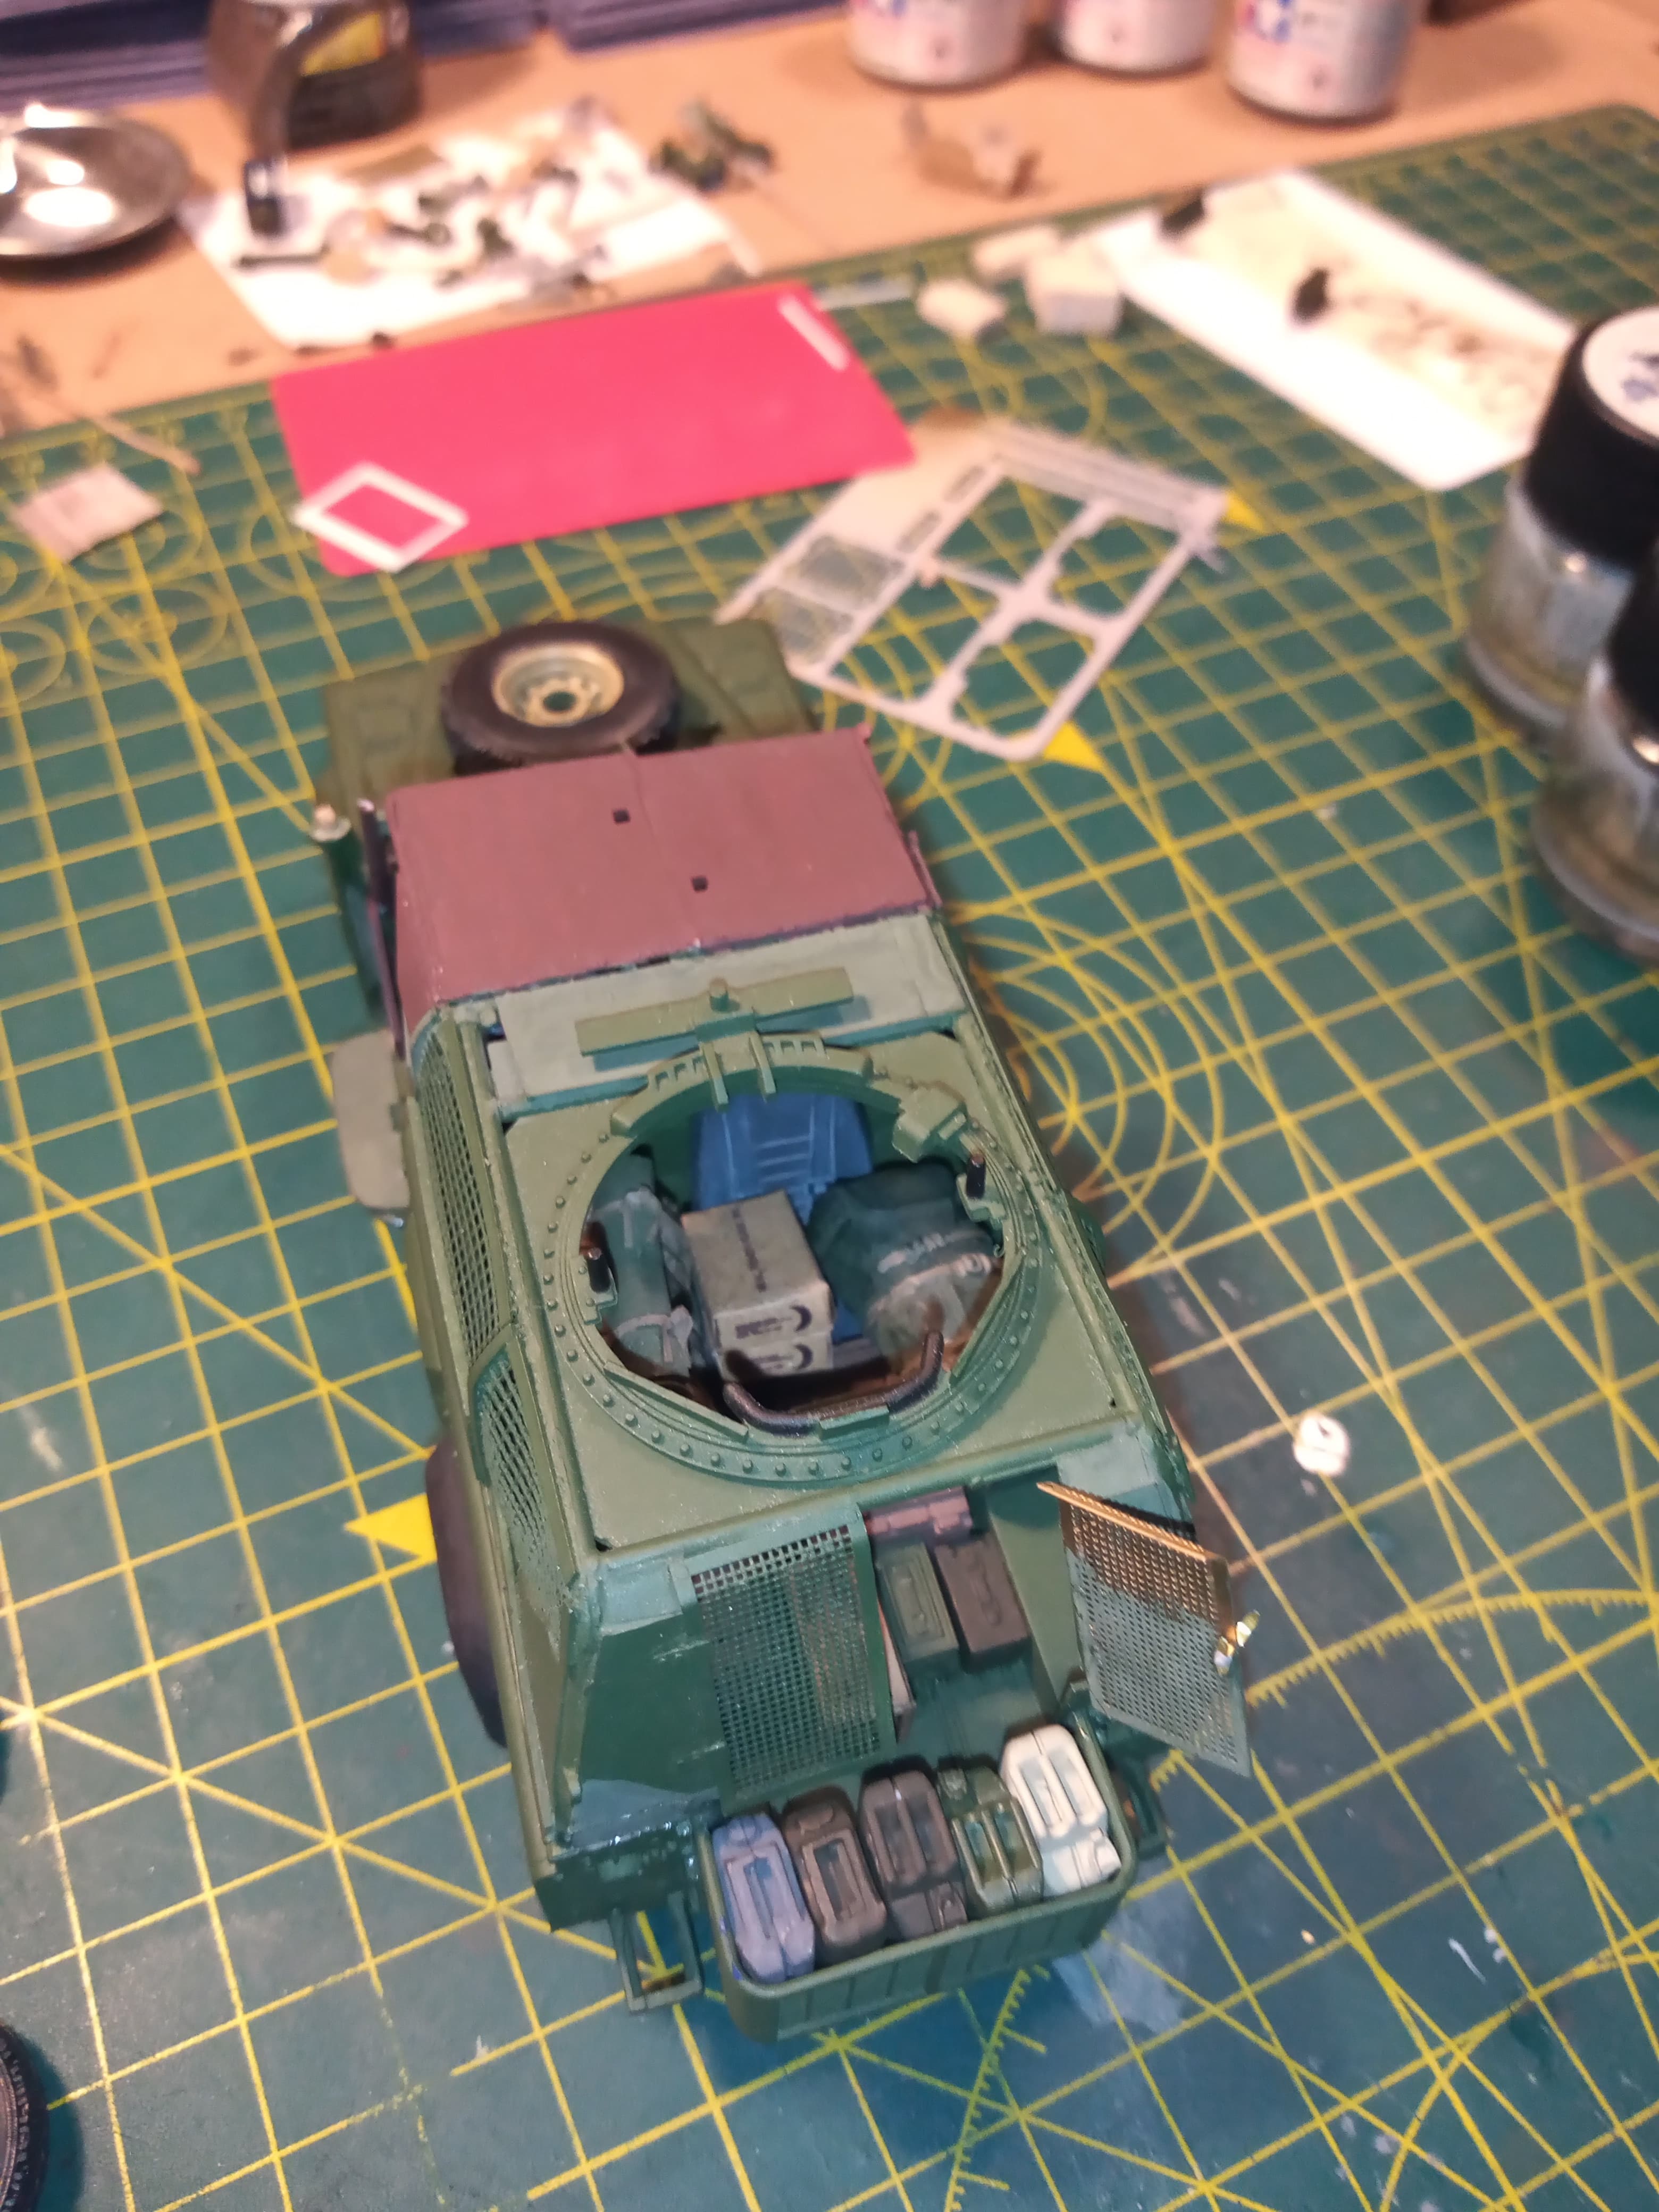
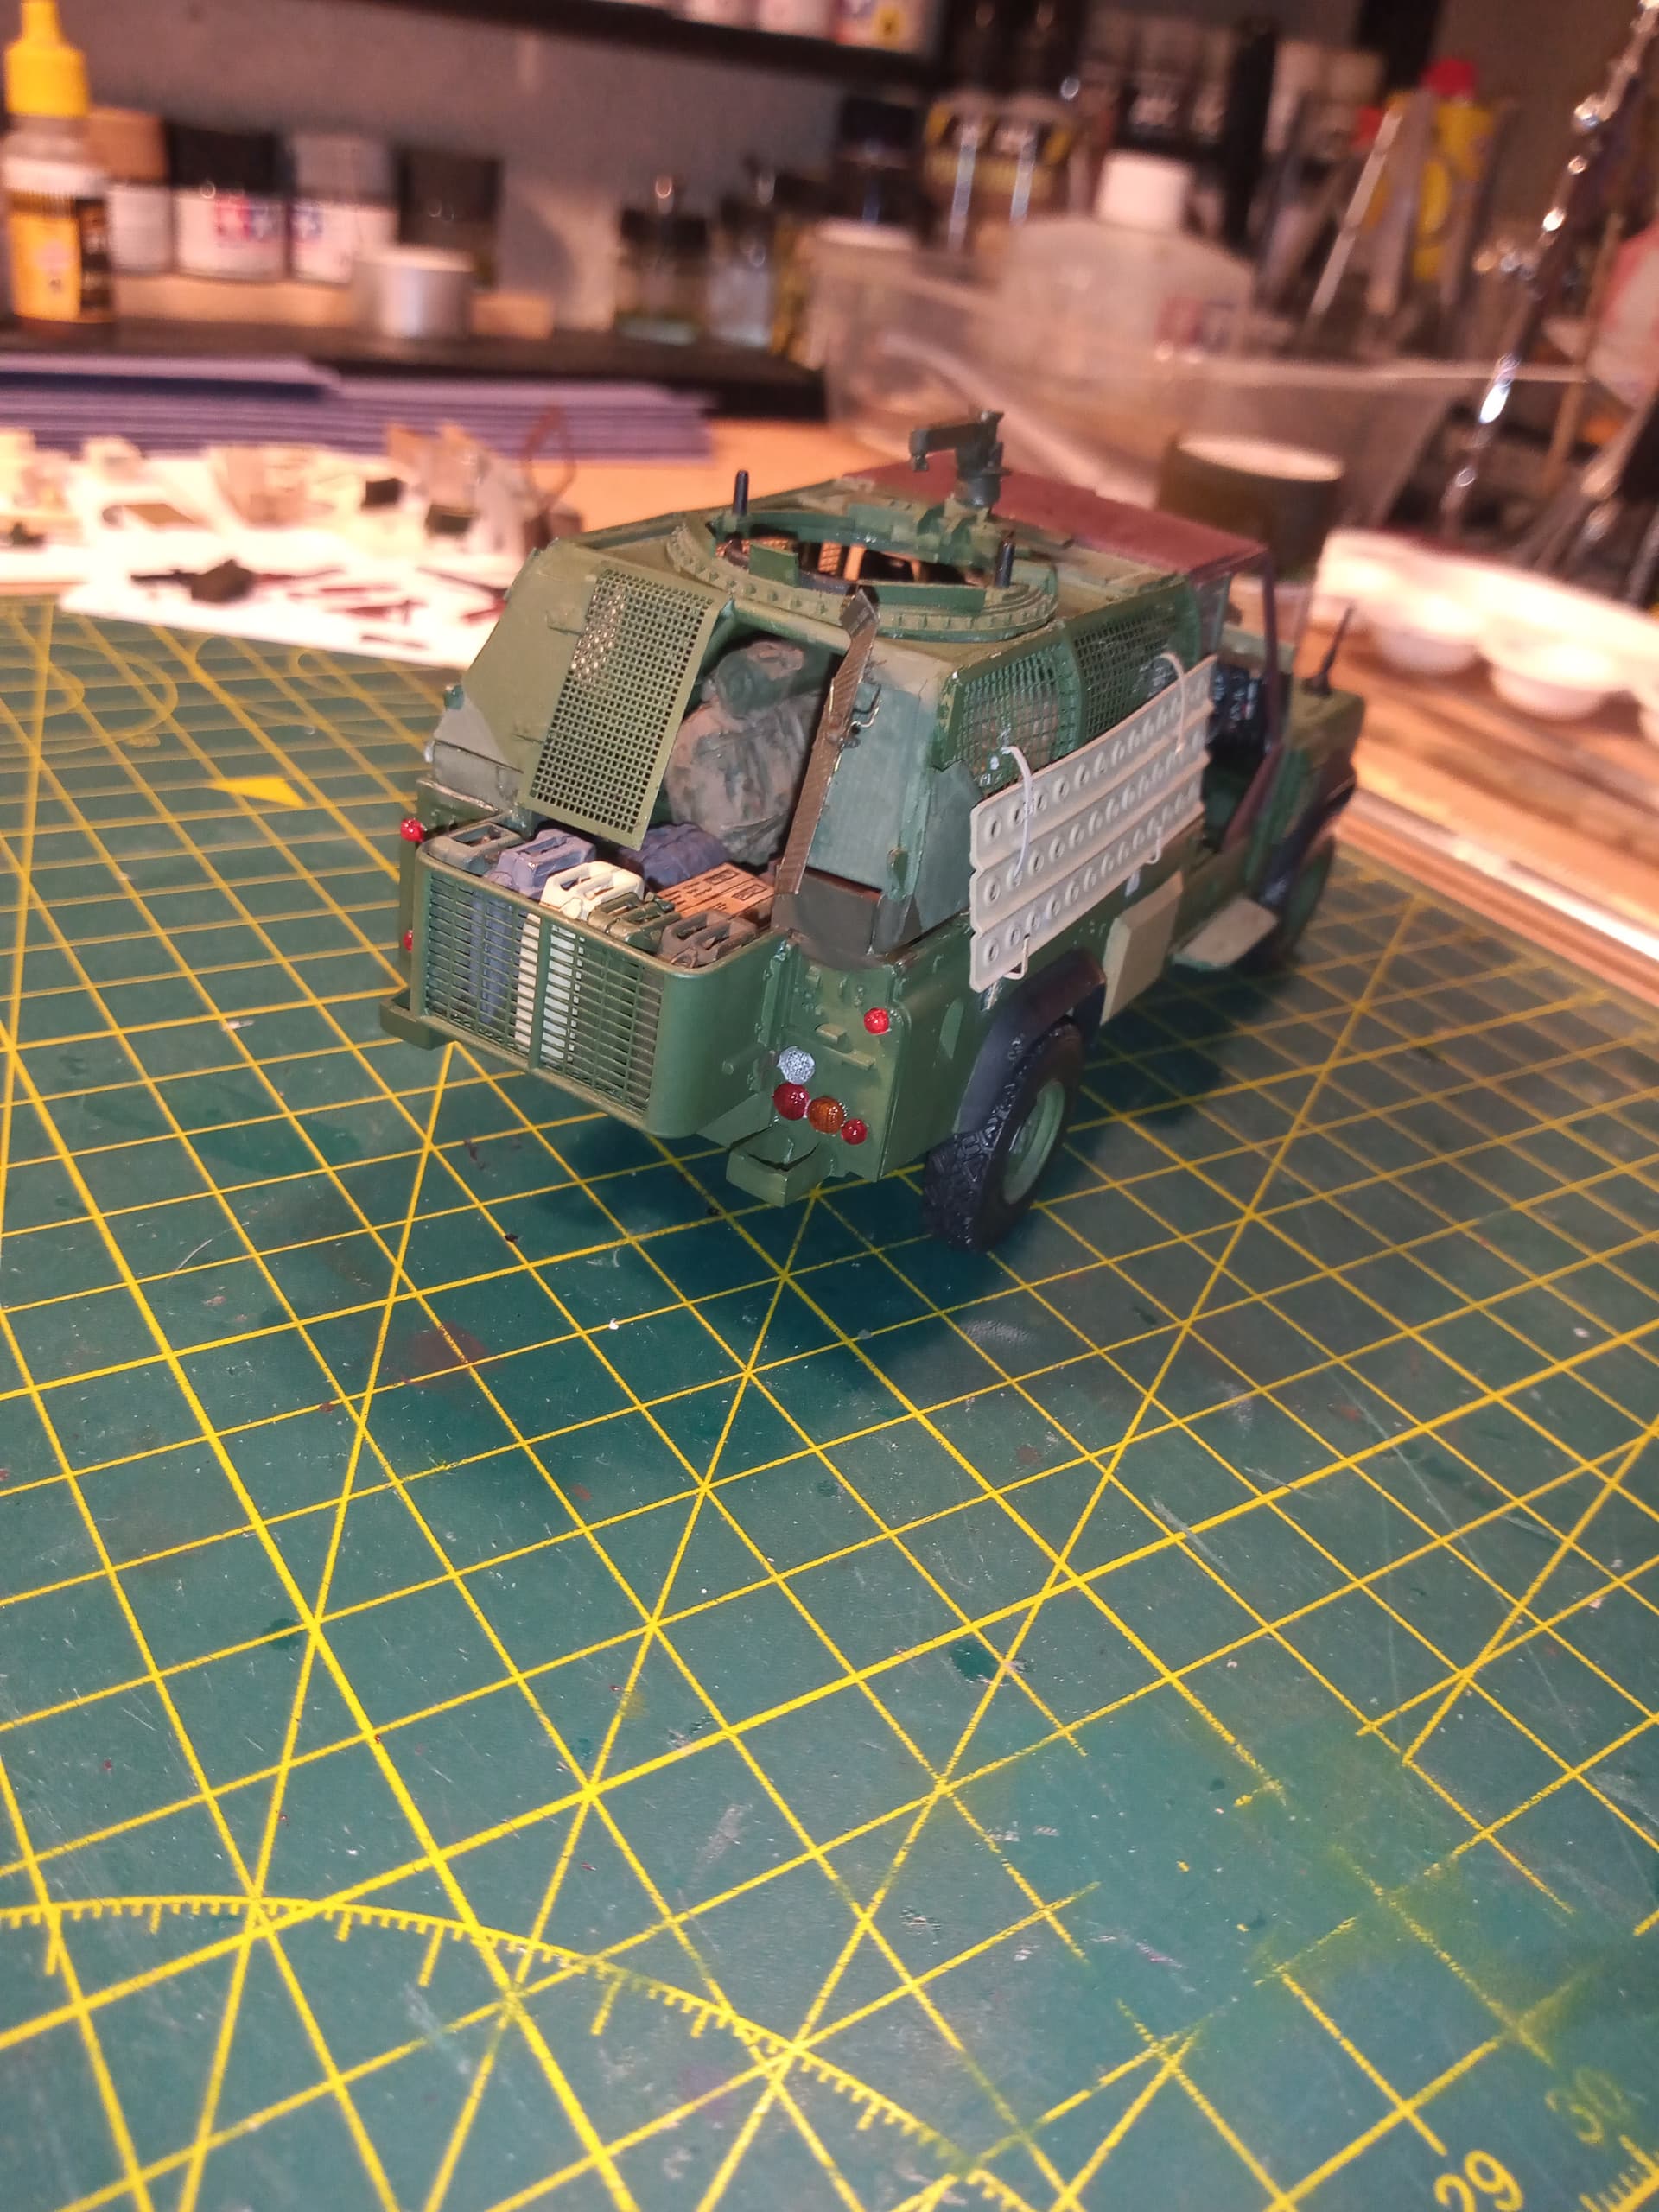
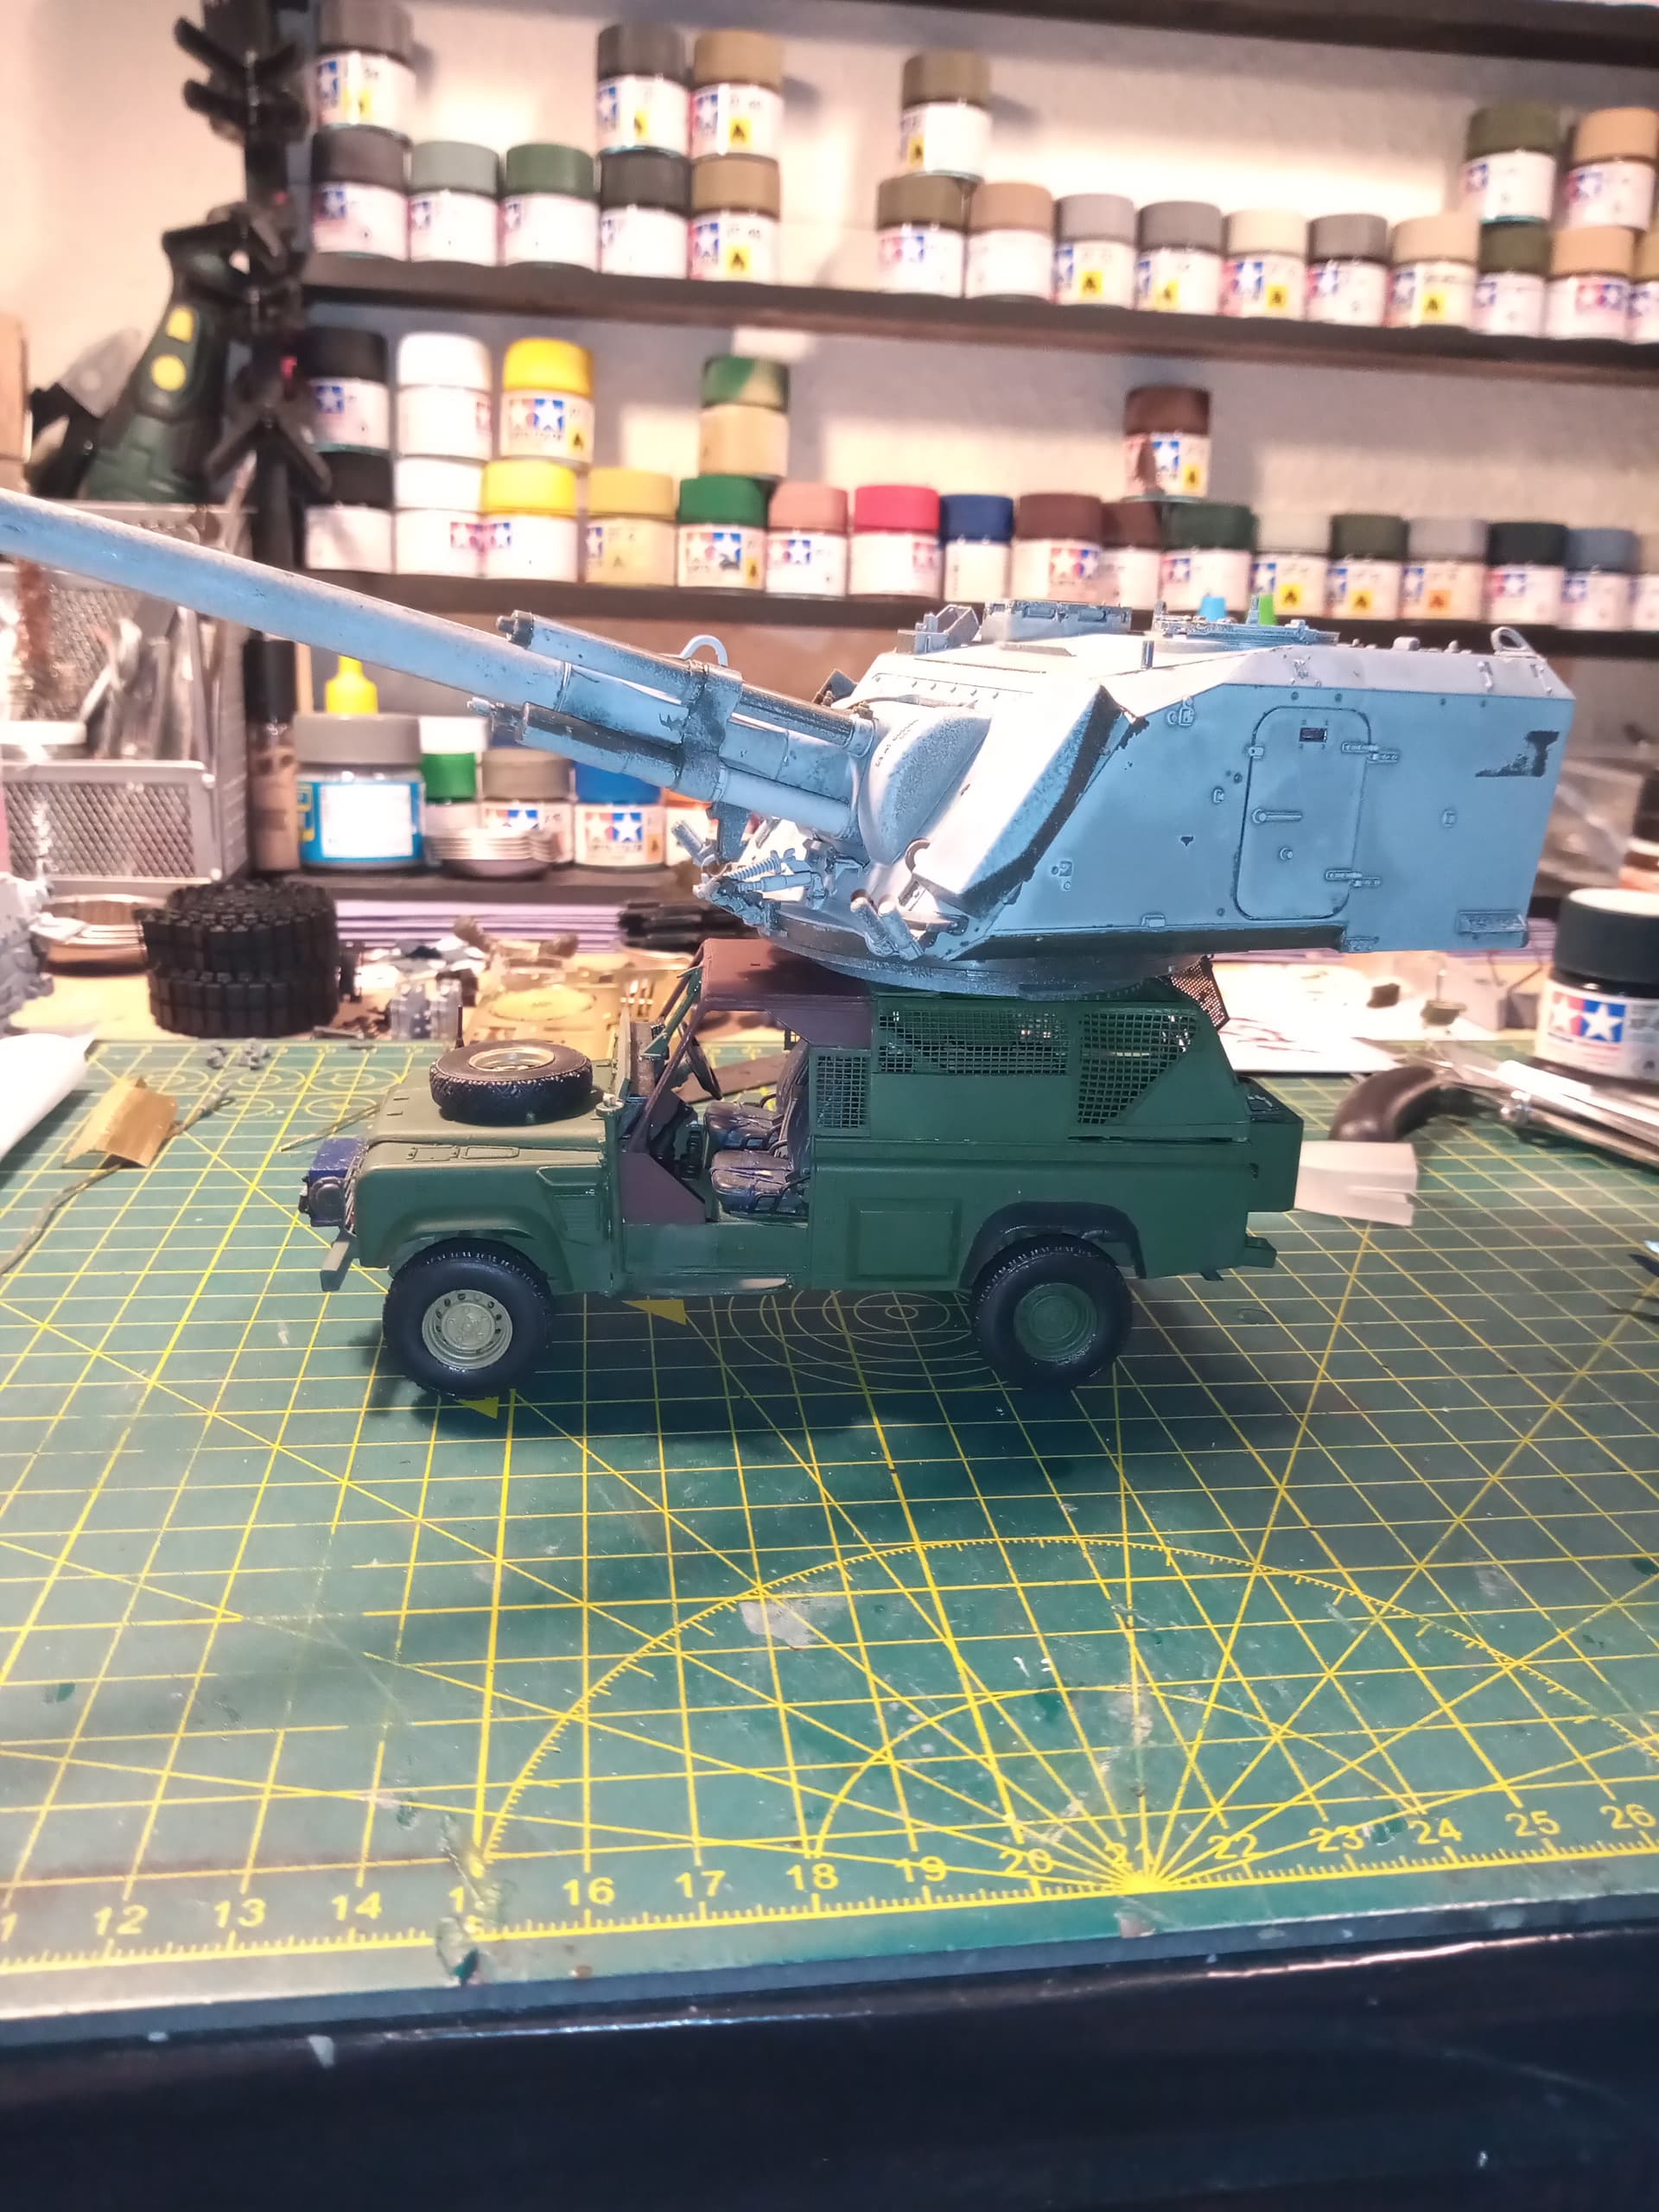
Rear cage is now secured to the body as well … will be putting a few different shades of green to mimick touch up paint repairs…this is the post Apocalypse don’t forget … You would use what tones were available…

5 Likes

Started to get some of the extras on, there will be a fair bit of touch in painting, but I like how it looks …

7 Likes

Looks Great, Johnny. I Will ride along when the apocalypse hits :wink:

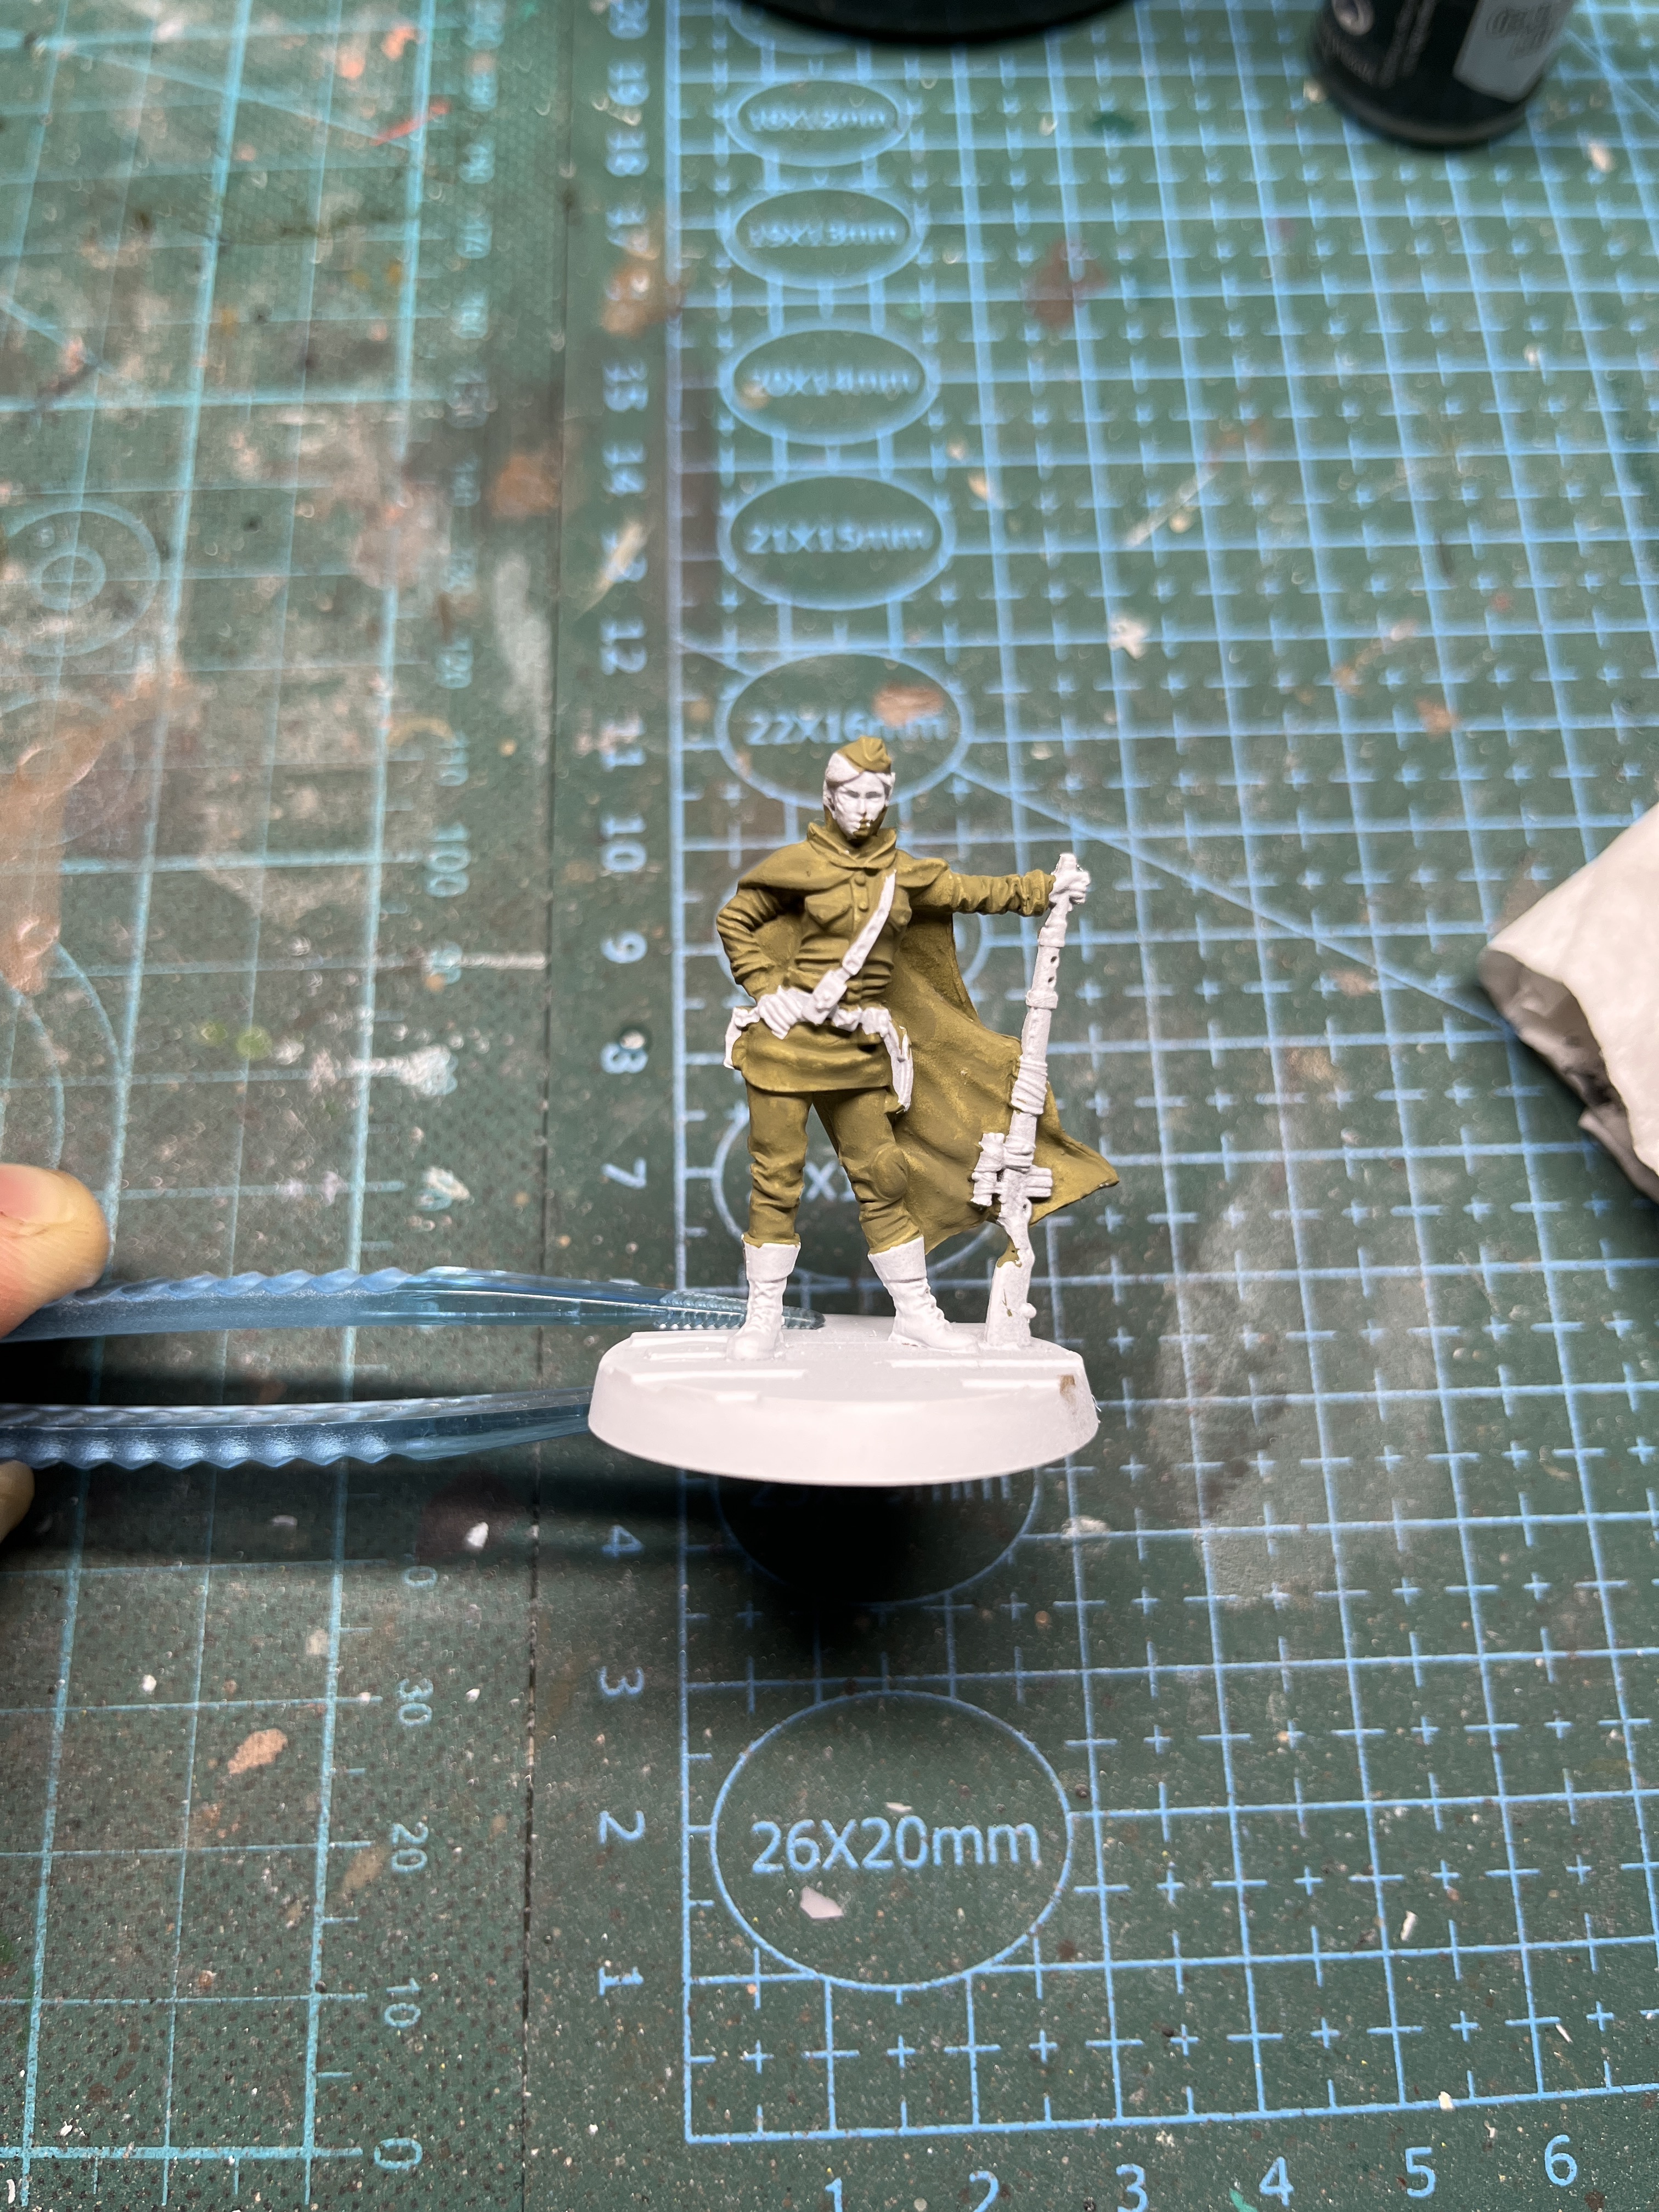
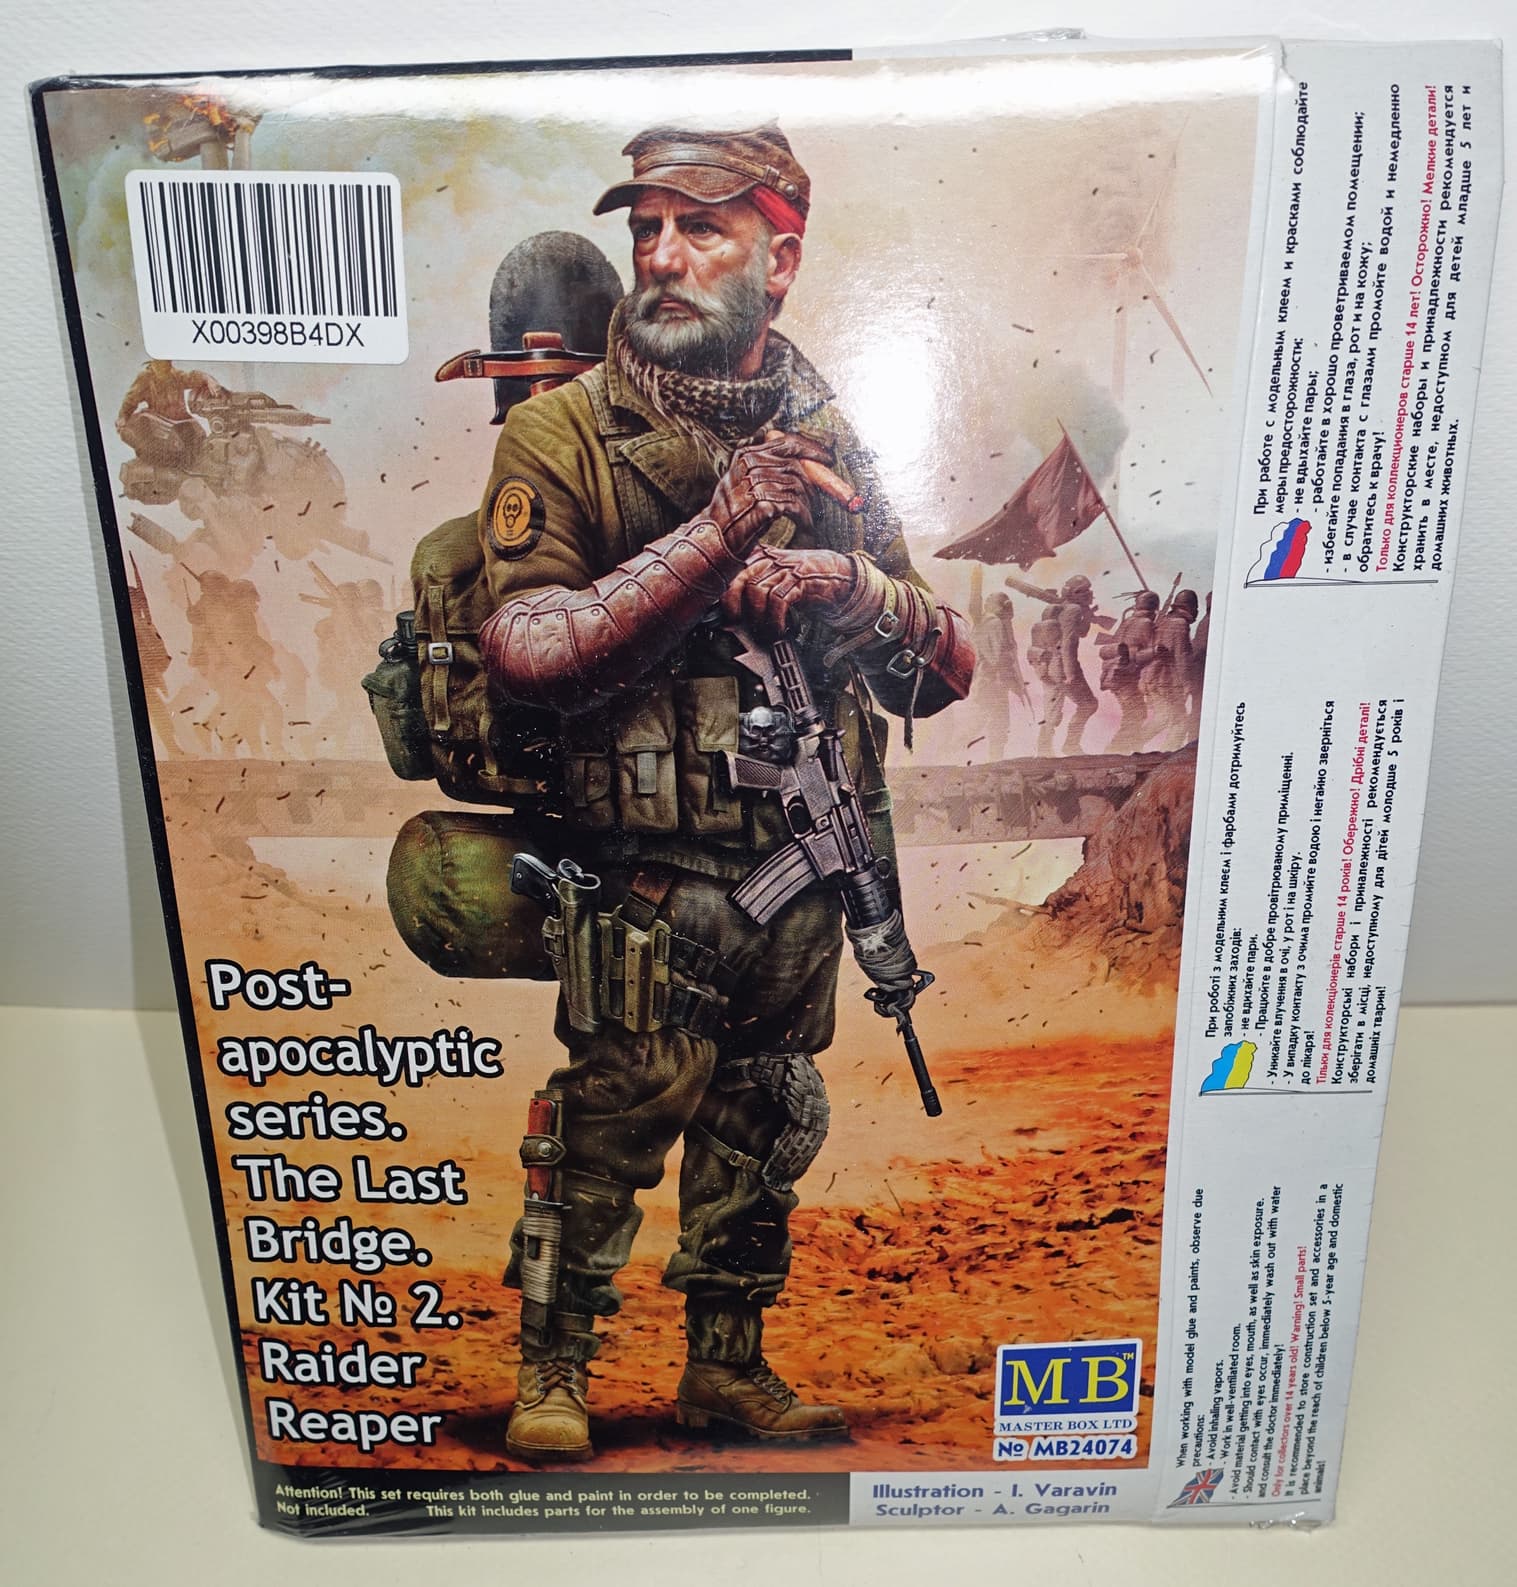
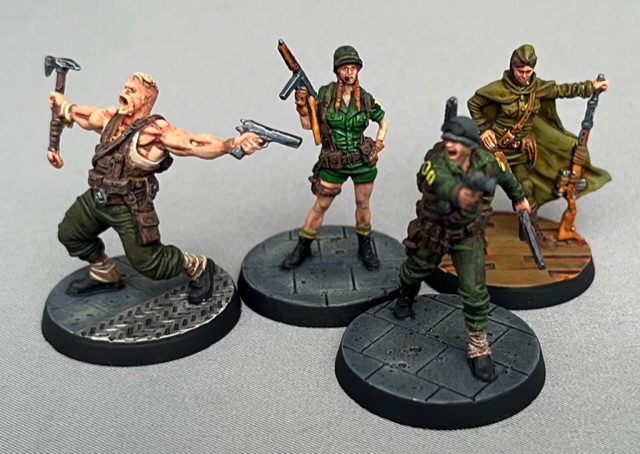
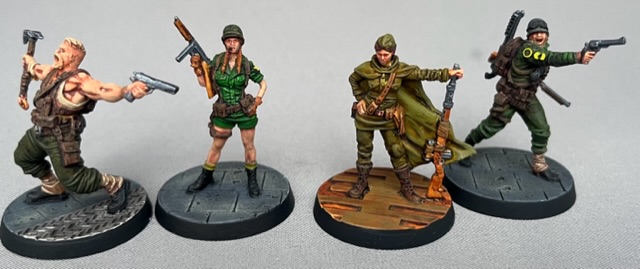
In the meantime my entry for this campaign is out to stop the nazi zombie apocalypse. All characters from the board game “Reich busters” as you might recall from a previous post.
If time allows I might add some zombies and a few more heroes as well.

IMG_3339

IMG_3338

IMG_3337

7 Likes

Do you think this is a bit big for an RWS for a landrover ?

Only kidding … Will be back on the Rover soon …:+1:

6 Likes

That is a perfect post apocalypse blend John. :rofl:

3 Likes

A bit big? Nope.

Hate to nitpick but I do think you should add a ladder for the gun crew. Maybe a rope ladder for easy storage or aircraft boarding steps draped with barbed wire as a towed accessory and zombie proof lookout platform.

Great start! :wink:

Cheers,
Colin

4 Likes