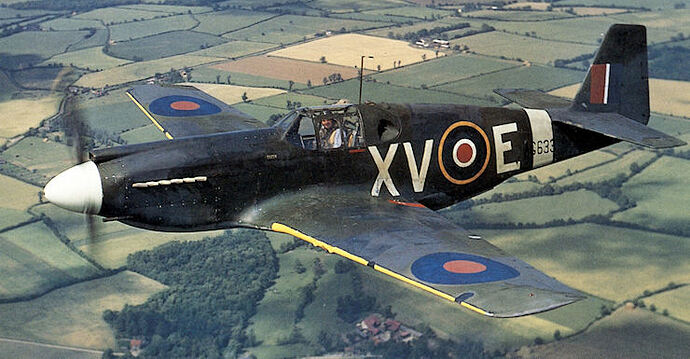
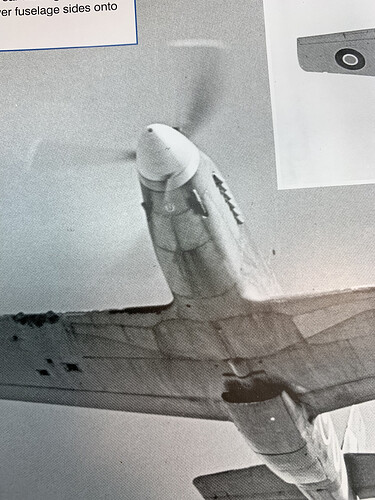
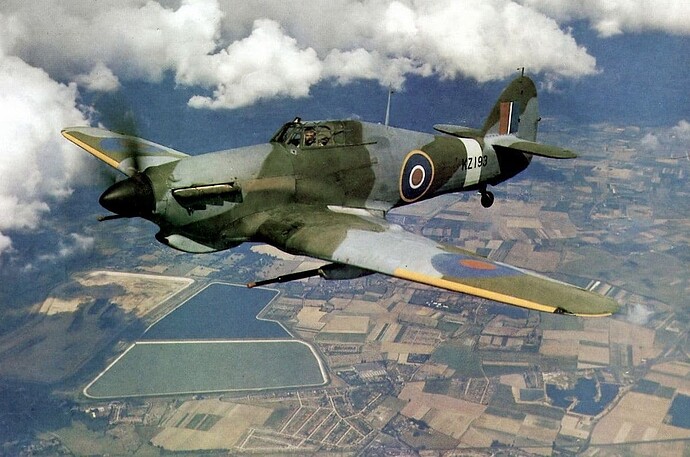
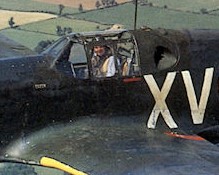
I started an aircraft project to model the Allison powered Mustang from RAF 2 Squadron AG 633 as seen in the popular July 1942 photo here.
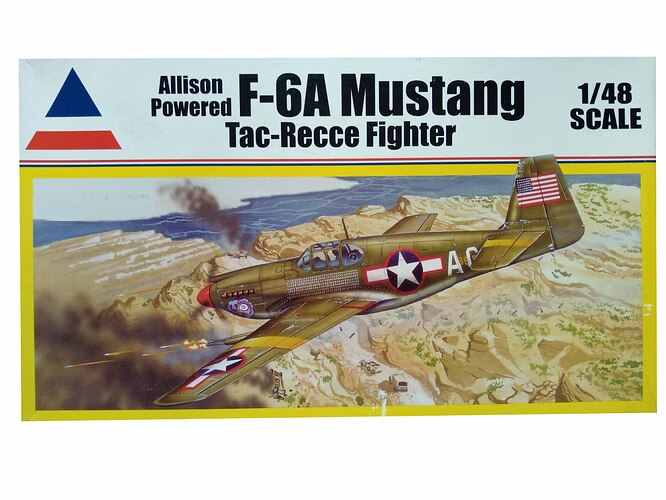
Noting the Accurate Miniatures kits are a good base, I started with 1/48 F-6B TAC RECCE MUSTANG Plastic Model Kit 480010. Due to all the wing updates needed for the landing lights and gun updates, I eventually secured previously owned kits of other Accurate Miniature versions on ebay to have more insight and back ups.
Helpful references found so far include the excellent Allison Mustang builds found on KitMaker, and
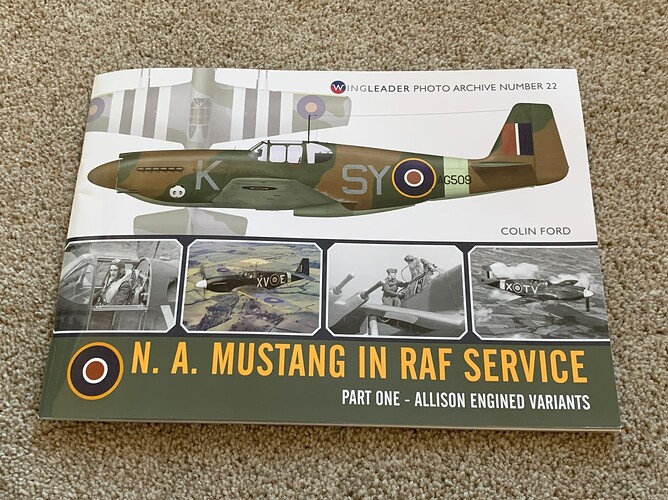
-Wingleader Photo Archive Number 22 N.A. Mustang in RAF Service by Colin Ford
-Squadron/Signal publications Walk Around Number 13 Allison Engined Mustangs
-Detail & Scale Vol 50 P-51 Mustang Part 1 Prototype through P-51C
-Wings of Fame Volume 1 page61 starboard side view AG 633
-Crowood Aviation Series North American P-51 Mustang by Malcolm V. Lowe page 45
Always looking to learn more!
1 Like
The goal is to simplify as much as possible to create a respectable hanging display to match my poster of AG 633.
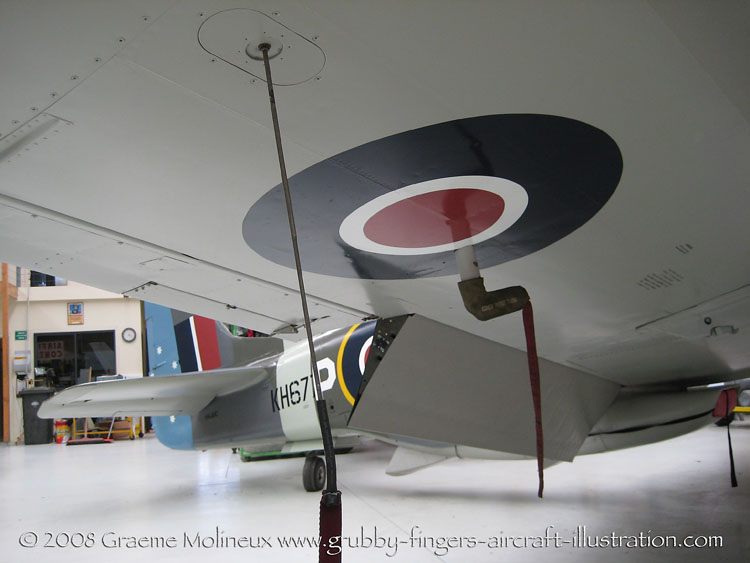
This effort is a practice run to learn and develop enough aircraft plastic model skills to eventually build a static standing display to show this 2 Squadron bird in more detail. Rather than choke on a super detailing effort, I will only focus on the finish, camo paint pattern, and basics here. The gear bays and cockpit will be closed up to hide what must be learned later. No effort is planned to extend flaps or move control surfaces. Gun ejection ports on the lower wing will change to 30 and 50 cal for AG633. The 20MM guns are easy to remove and those ejection ports filled. Note the leading edge camera in the port wing. I will note that based on the photos I have found, I will move the aileron trim tab pushrods from outboard to inboard on those trim tabs.
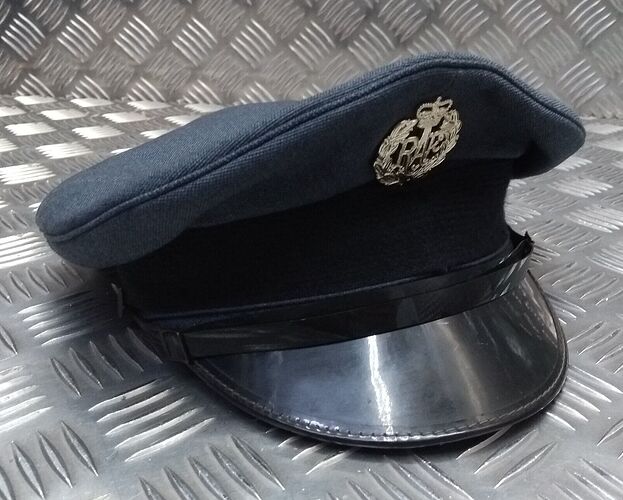
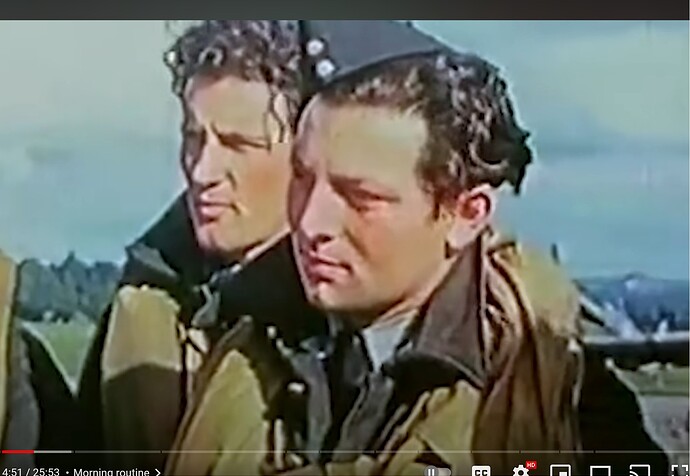
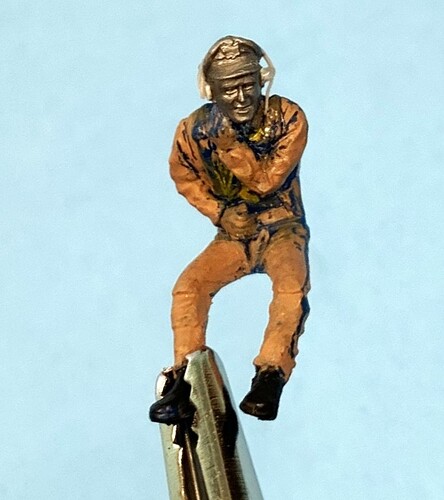
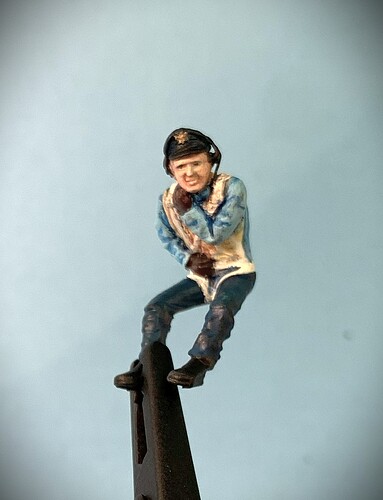
An easy way to show a little forward motion is to work the pilot figure. This will be the RAF Van Johnson in his dress shirt, crush cap, and head set. It is summer time at low altitude and hot!
1 Like
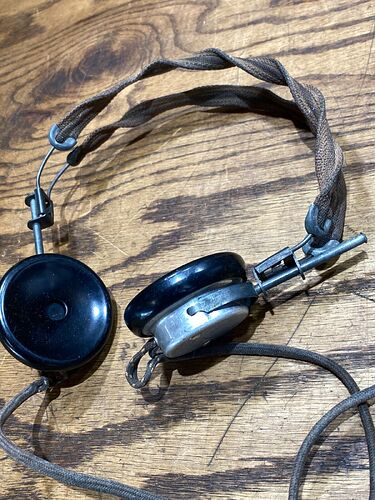
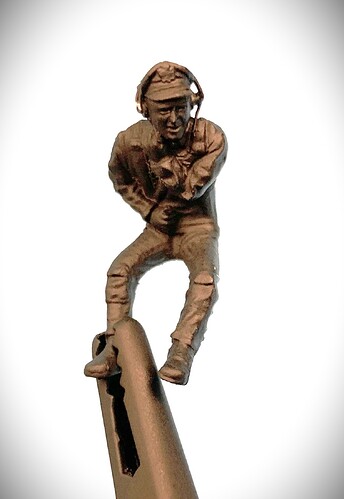
The old Monogram Me109 pilot sans head was added to a spare 8th AF head. The head set was created with punched disks for ears and wire head piece.
Primed and painted this guy will fill the need while hidden under canopy.
Much more to come. All gentle comments welcome!
6 Likes
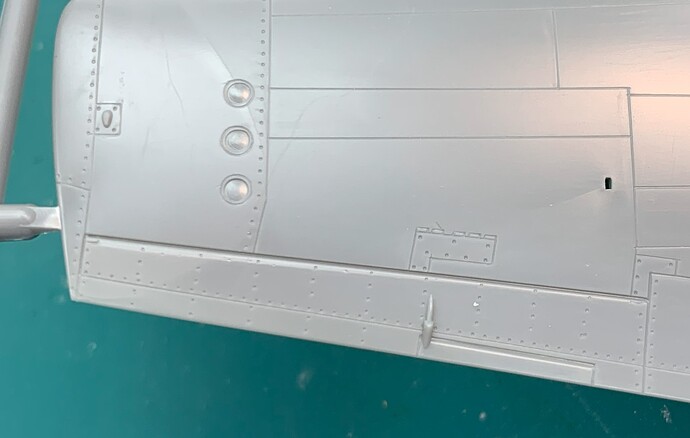
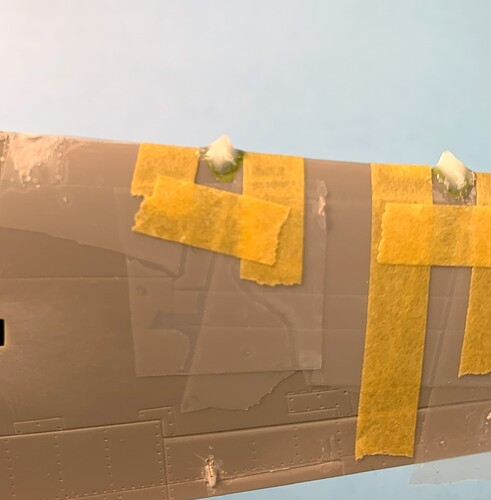
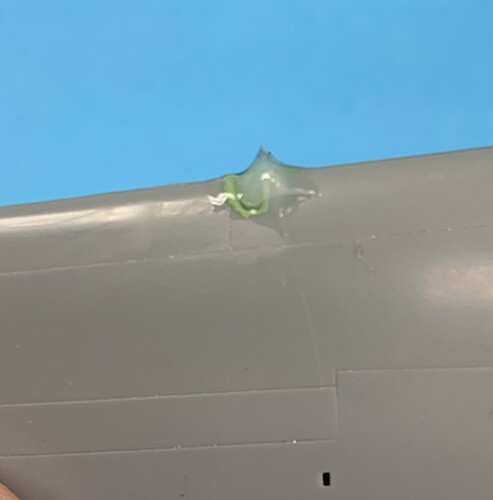
This shows the kit version of the aileron trim tab on the underside of the starboard wing. Note how the actuator is shifted to outboard end of the trim tab
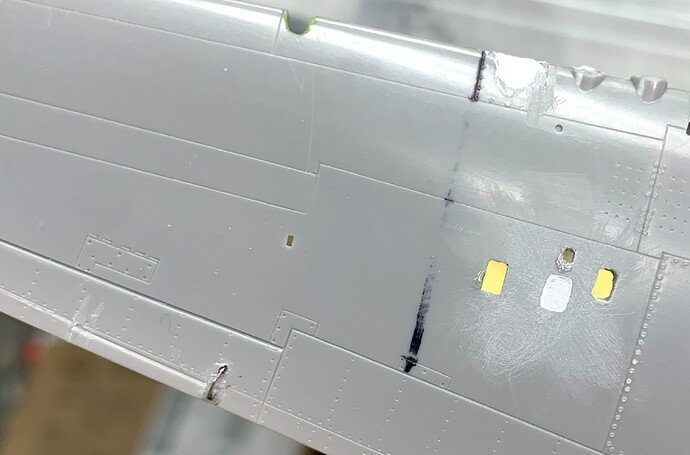
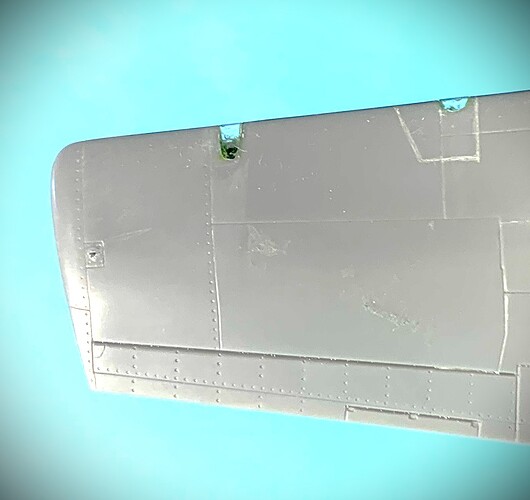
One of several modifications including gun ejection ports, sanding over the wing tip signal lights, leading edge gun and landing light locations,
Much work ahead
1 Like
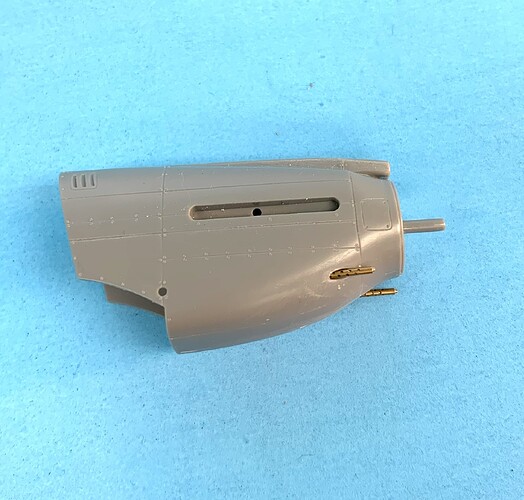
This Colin Ford book is the best reference I have found. Very much recommended for early Mustangs.
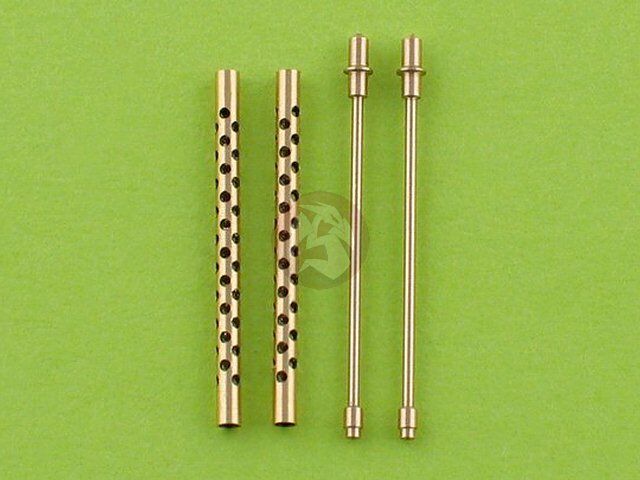
For example, AG633 had the 50 cal nose gun offset per his book’s photo data
Used the brass 48th scale offering
6 Likes
Ultracast in Canada makes a prop for this Mustang version. It’s worth a look. You did a nice job on the nose guns!
2 Likes
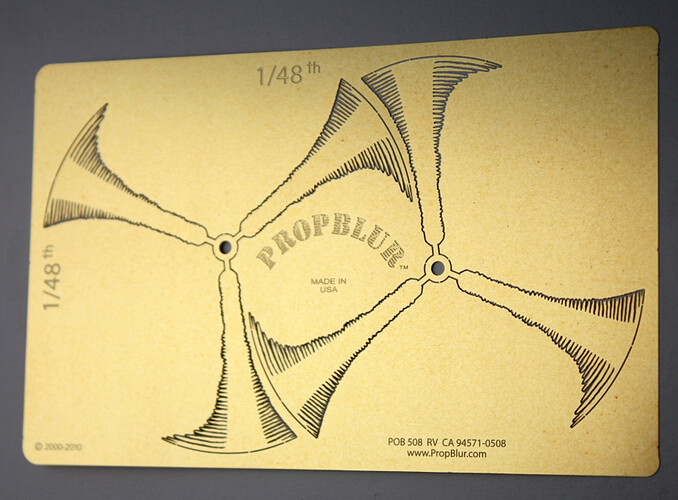
Thank you sir! The over wide kit blades will not be an issue as I have already found replacement “PropBlur” photo etch. Tried these on a 1/72 plane once and very happy with result for a hanging display.
Always learning more as Mr. Colin Ford has many articles on line as well as his excellent book.
3 Likes
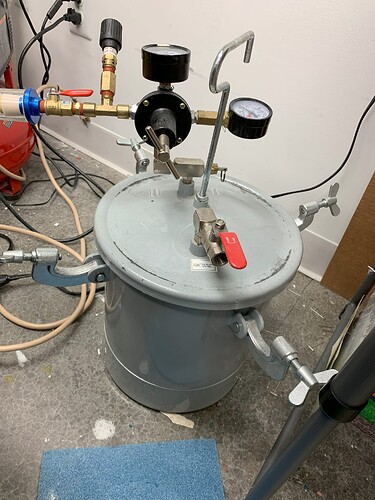
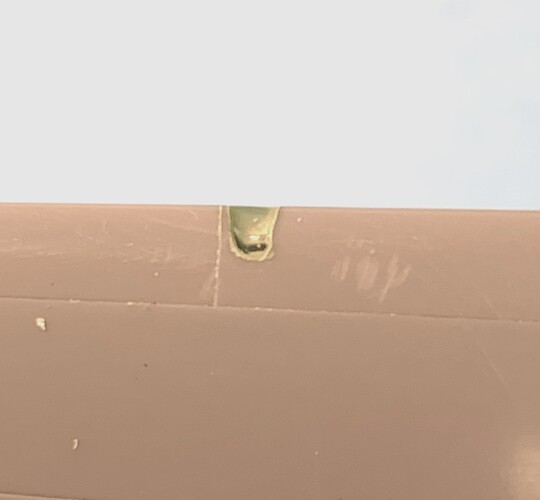
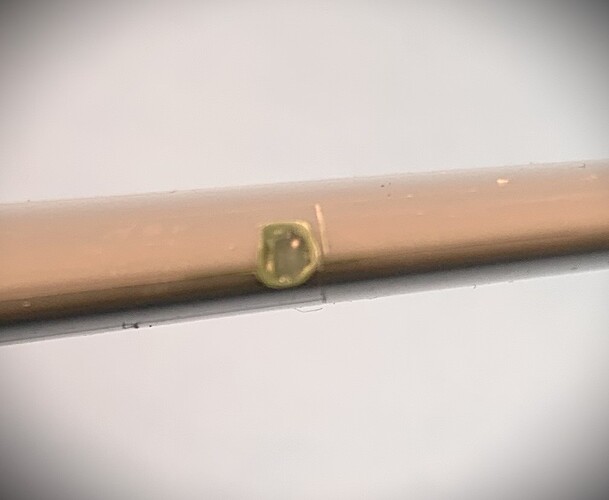
Wonder if many have tried Liquitex Acrylic Clear Gesso - medium for leading edge lens? This is my first attempt and I do not like the air bubbles, but meets my needs for viewing at a distance. Perhaps load the part in the pressure pot to cure next time? My example is located and cut in the port gun camera opening as well as the new landing light. Added a notional lens with a bit of scrap clear sprue then filled and painted the edges. Large globs of Gesso filled the space. Waited a couple of days to dry and harden.
Finally can be filed and sanded to shape. Polished with up to 12000 grit wet sanding.
3 Likes
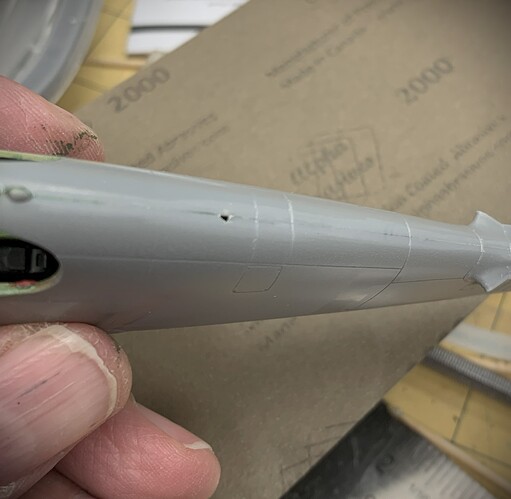
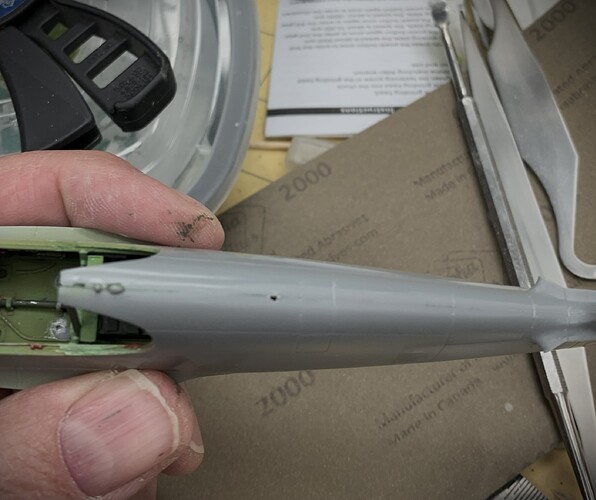
Some small progress and lots of sanding!
3 Likes
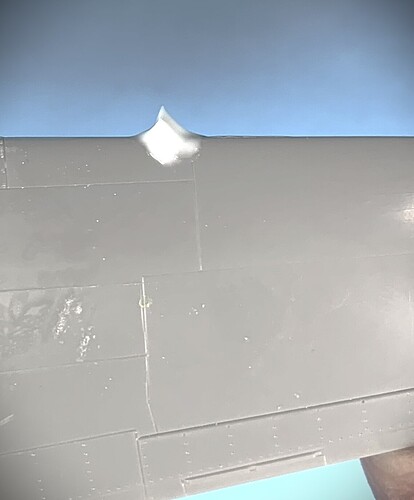
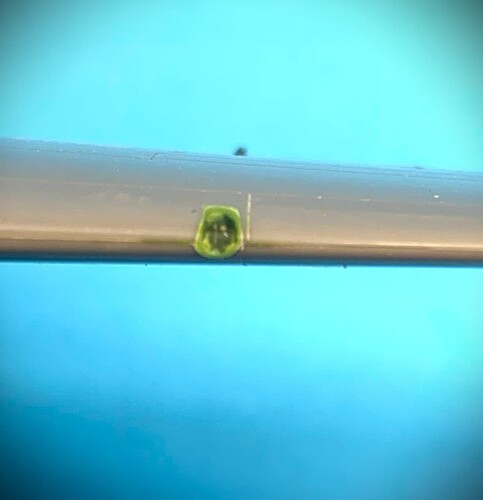
The remaining starboard side leading edge landing light was also done with the clear Gesso. I think it turned out better with a couple of atm (35 psi or so) of pressure during an overnight cure to cut back air bubbles.
Needs more cure time to help be more transparent, but can be shaped and sanded now
Hope this will clear up with more time to dry as did the port side. Again it meets the need!
2 Likes
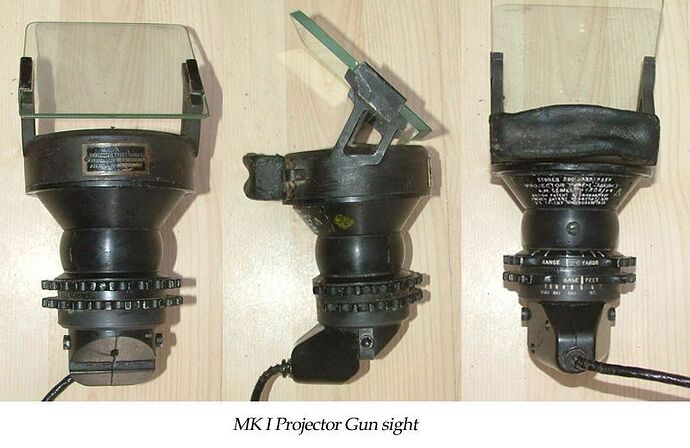
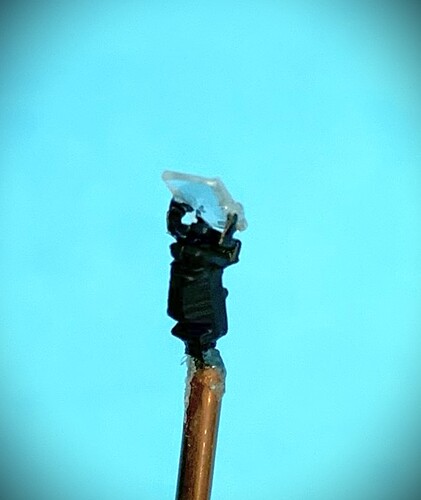
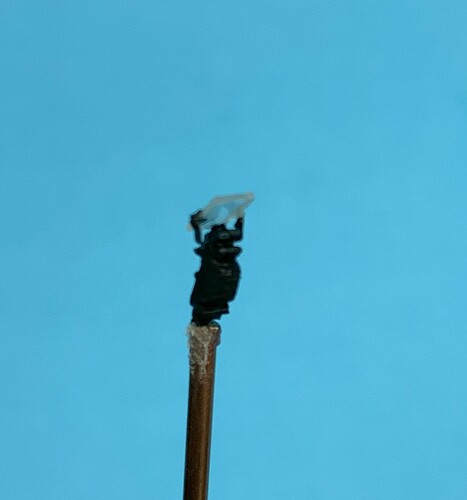
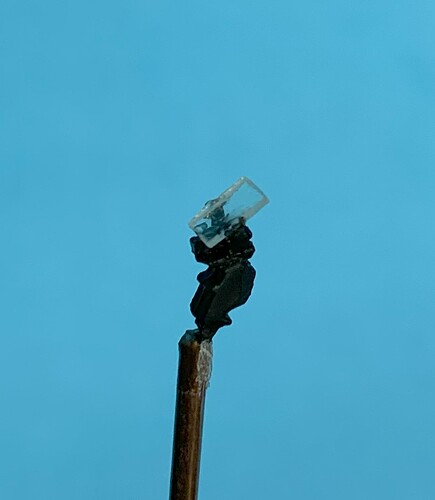
Exploring random side projects while waiting for things to set and cure. Looking at small update to the kit gunsight. From references, I assume AG633 at this time used the MK I Projector Gun sight.
Scraps of photo etch and clear sheet lead to this small rendition to set inside the closed canopy.
4 Likes
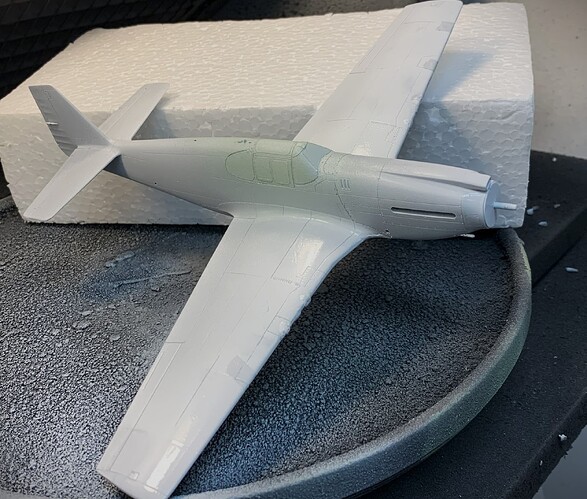
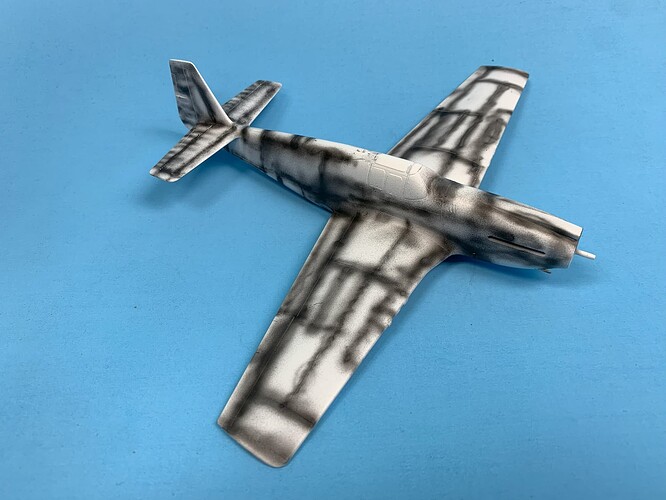
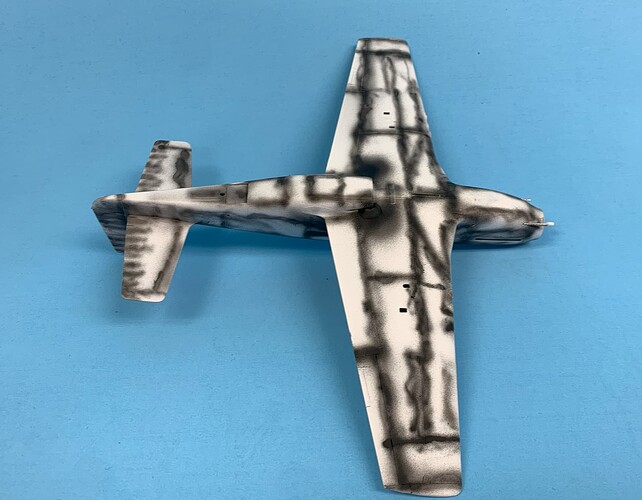
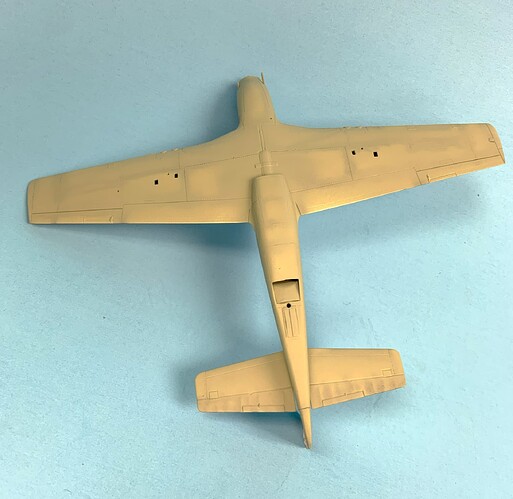
Small progress update. Wings, horizontals and scoop attached and smoothed into fuselage. Cockpit closed up and masked off. Started prime coats. Much touch up ahead.
3 Likes
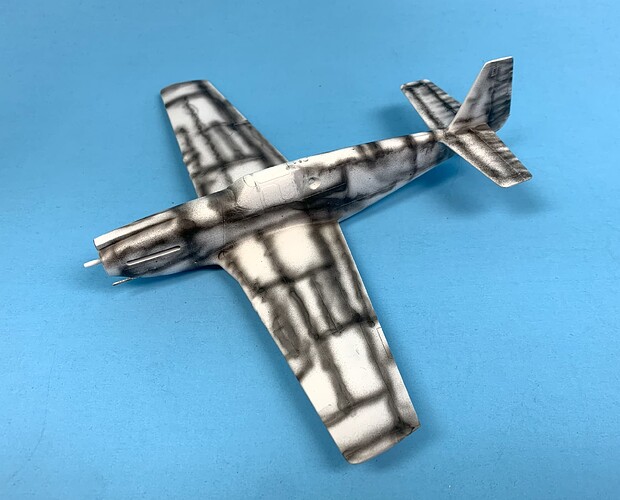
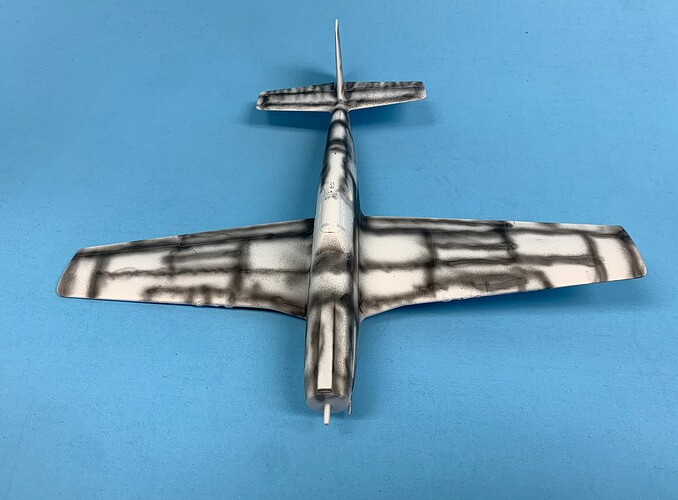
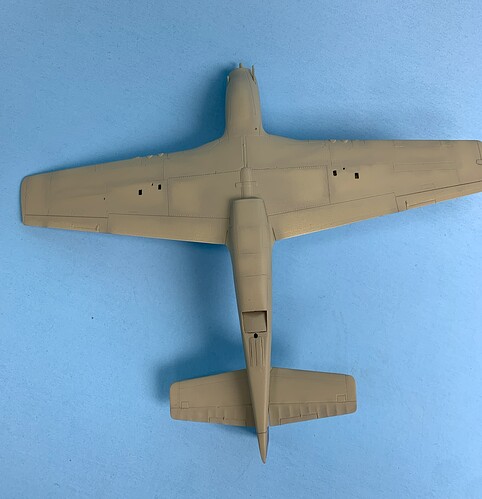
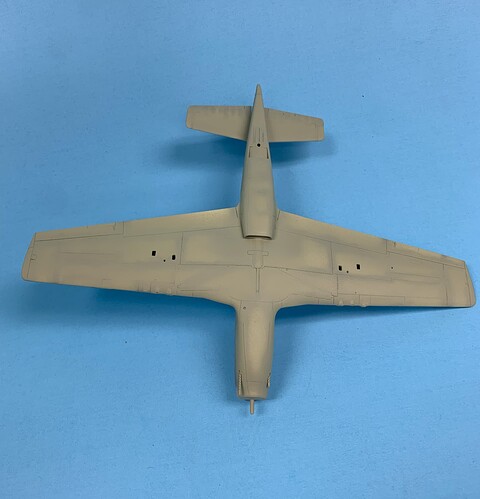
So after much sanding and filling and sanding, I added a little panel tone variation in black. Someday I will learn to control the spitting from my air brush. The close build up of color seems to work okay until I get that sudden spit spray. How does every one else mix their thinner and acrylic drops of paint? Mixing and diluting paint in the airbrush cup seems kind of rough to me.
5 Likes
After the Sky type -S base coat. So the shading helped the color variation a little to add some interest as I was looking for on the underside.
4 Likes
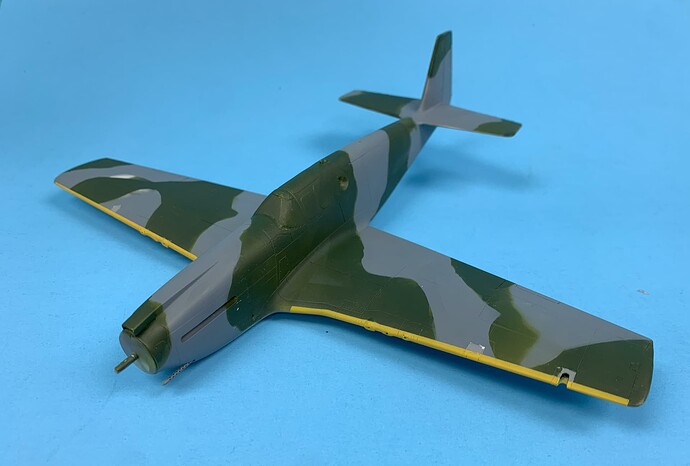
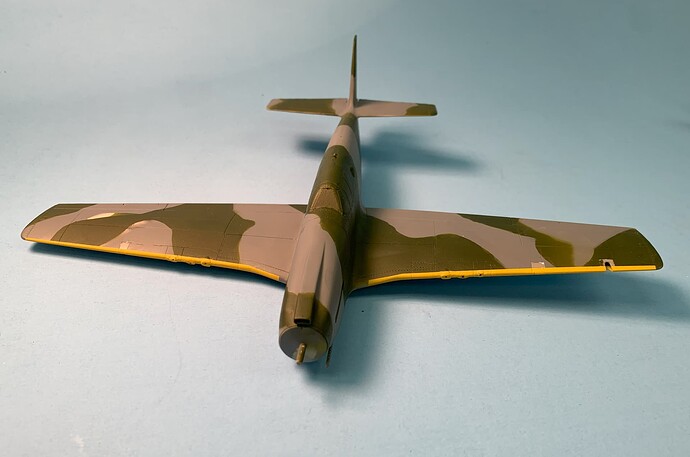
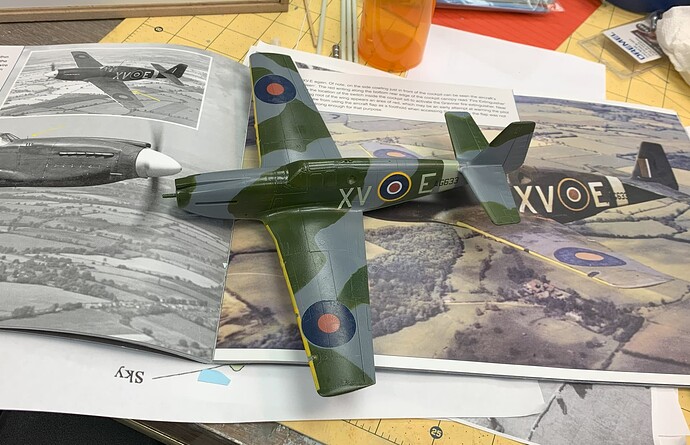
Slow but steady progress on AG633 Mustang. DFS type A topside and Medium Gray underside. Just added leading edge in yellow.
5 Likes
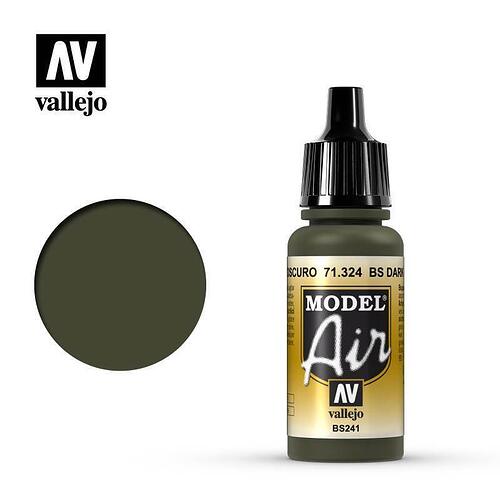
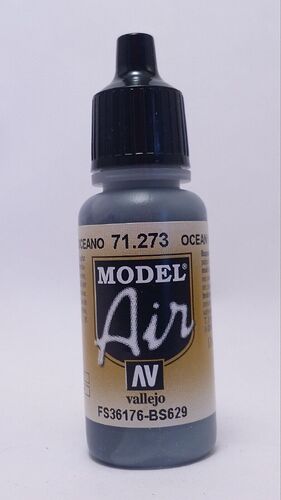
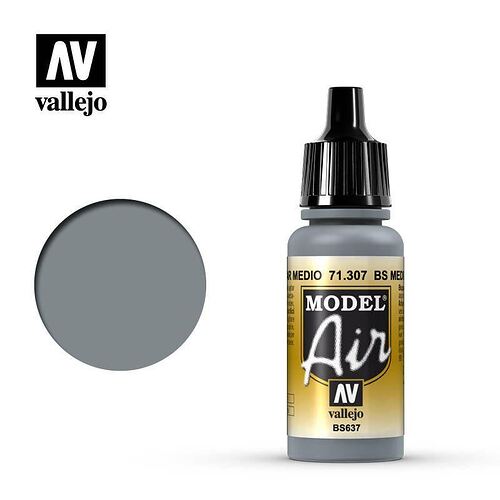
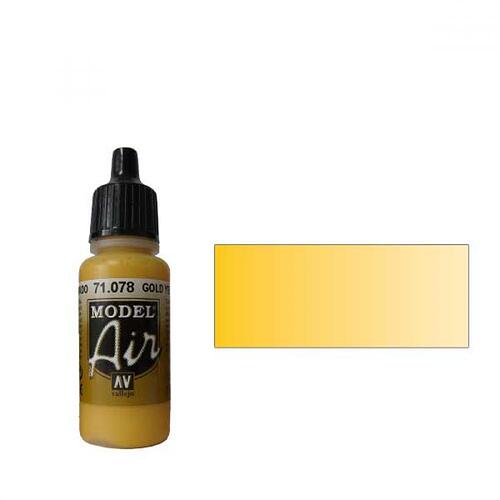
The cell phone camera seems to alter the paint colors. Here are the acrylic AV Vallejo selections
Dark green 71-324
Ocean Gray 71-273
Medium Sea Grey 71-307
Yellow 71-078
1 Like
This example of the camo comes from Aircraft Colors and Camouflage, Royal Air Force (World War II)
https://www.theworldwars.net/resources/file.php?r=camo_rafww2#day
2 Likes
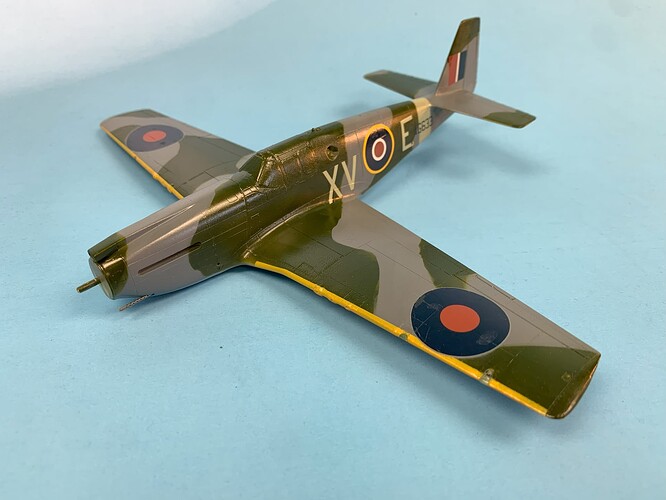
Decals are setting. Moving forward to set these with a clear coat of Future before final touch ups.
4 Likes
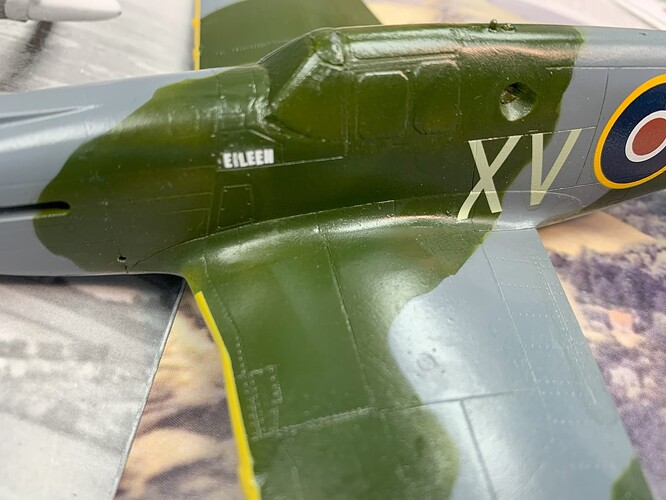
Some more decal work underway. With a happy patient heart and a steady hand, we do what we can do. The name “EILEEN” is added to the cockpit area. Perfect is the enemy of good enough. Oh well the learning continues…
3 Likes
