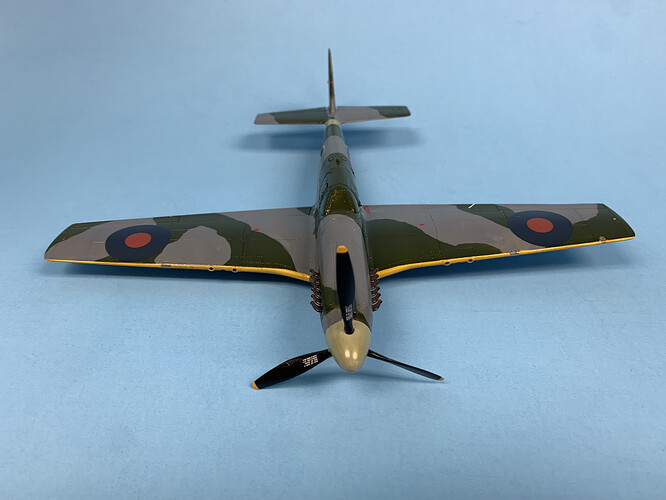
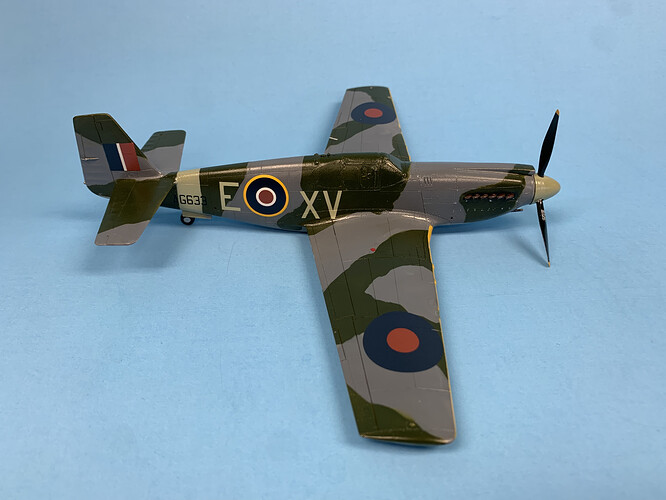
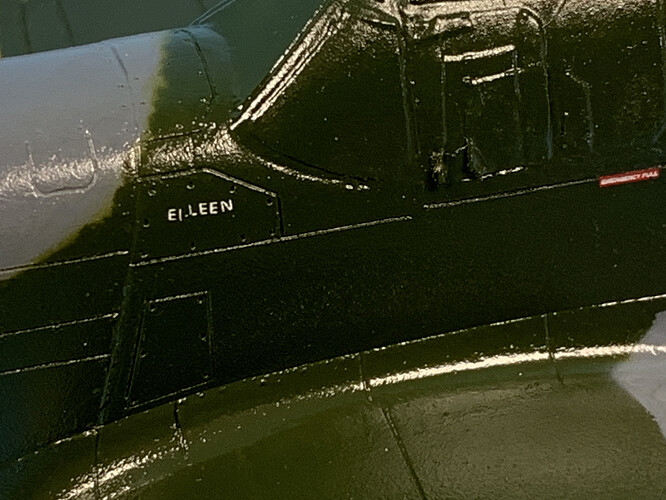
Continue on
Looking good to me!
Thank you! That means a lot to me as your Mustang effort is my goal to match in DFS pattern. Yours looks so clean! Hope you and yours are well?
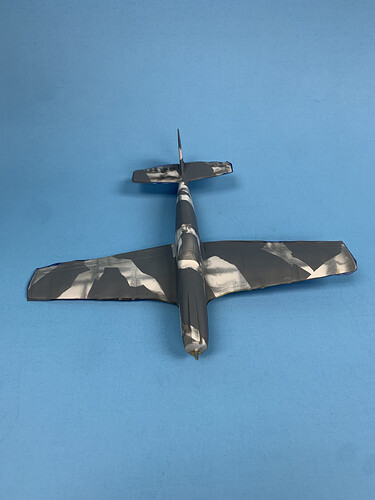
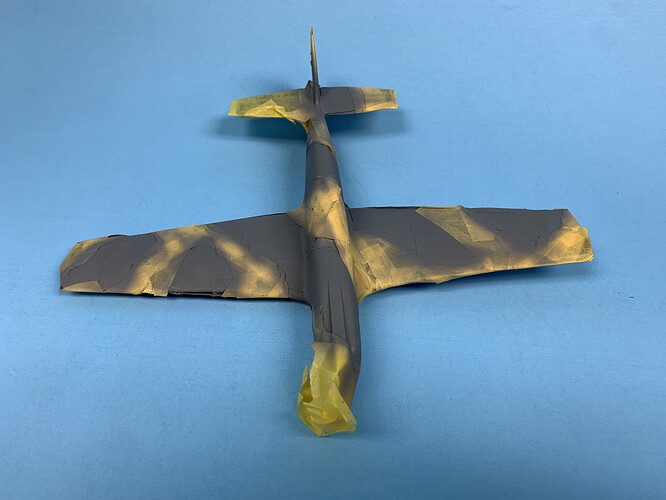
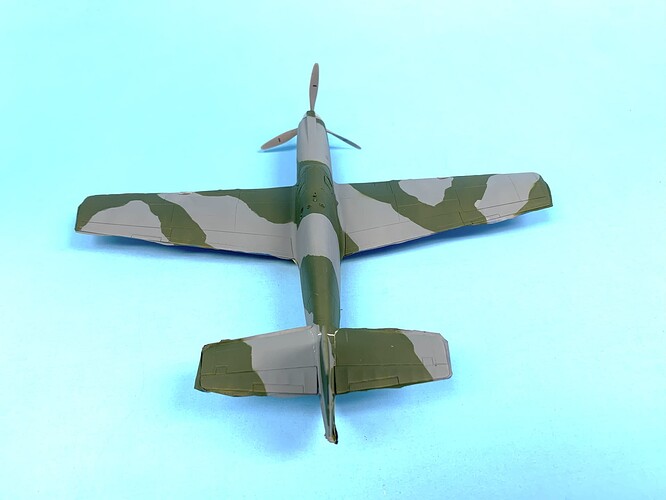
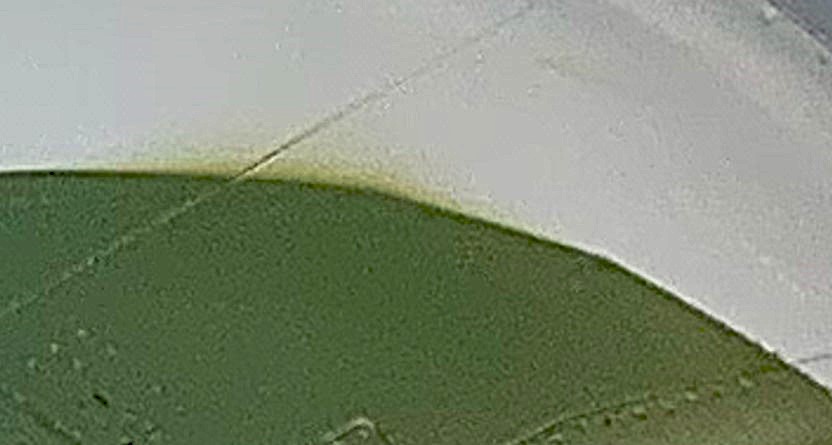
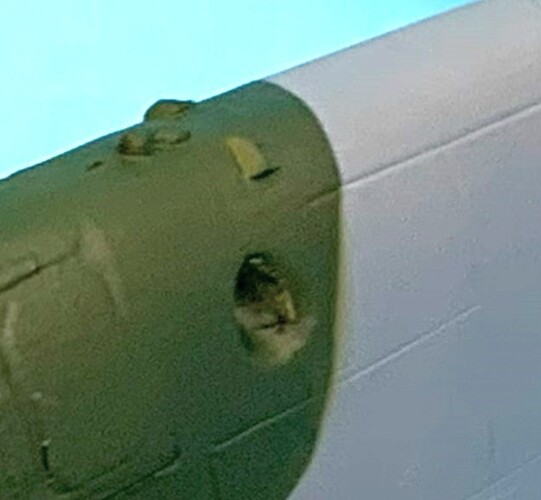
For example how do you get your consistent “soft” edges on your patterns? I have tried the All Purpose Low Tack Frisket Film Self-Adhering Removeable Adhesive Sheets with sometimes good results. When I use the Tamiya tape it is a whole different look. Wish I could figure out the tape on frisket edges. Hope others would please share these secrets?
Hard tape edge
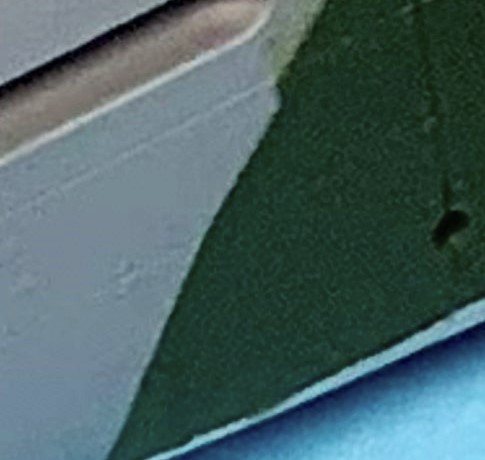
Soft
Soft
Stuart something the old timers would do is lay their tape down in the desired contour then carefully roll the edge of the tape to make a raised edge. When sprayed from directly above or straight down on the edge you’ll get a feathered paint boundary. It takes some practice and the airpressue/paint viscosity have to be correctly balanced to minimize over spray.
Cajun ![]()
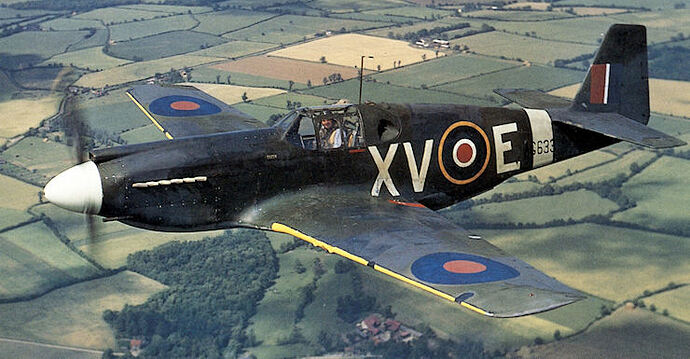
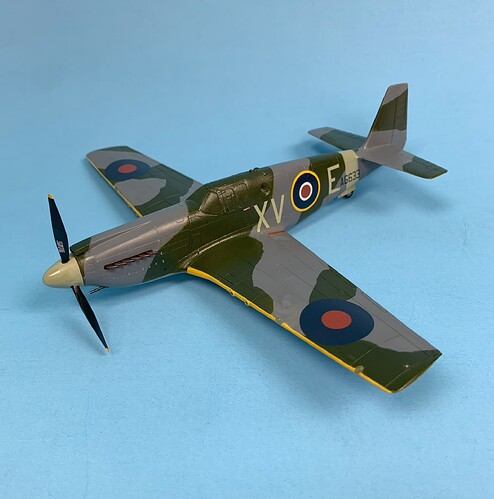
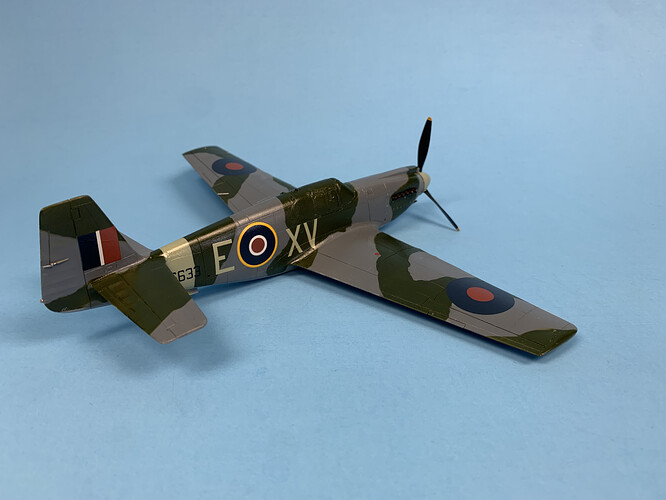
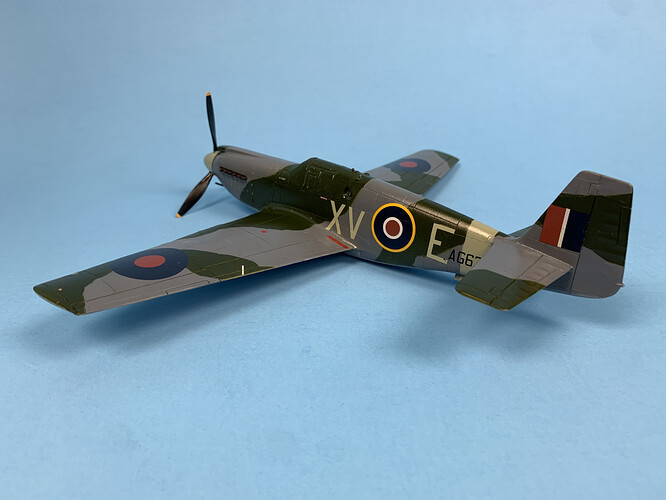
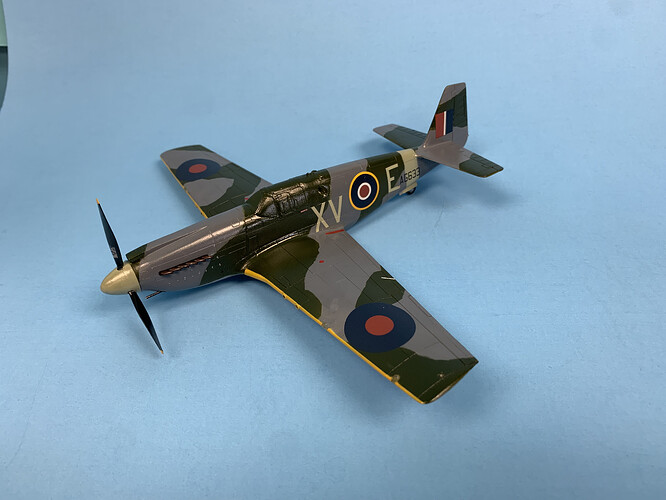
Well thank you for the kind words, but unfortunately my Mustang is a hard-edged camo! Don’t know if that’s correct or not, but I wanted to try the silly putty technique and knew that RAF Spitfires were hard-edged, at least the early ones. Chalk it up to “creative license.” ![]()
I’m probably not the best resource for soft-edged technique. Only done it once with an airbrush. I’ve heard rolls of poster tack can do it, as well as templates cut out and set off the surface with poster tack. But with both those techniques you have to go light with the paint and make sure you’re always at a 90 degree angle to the mask so you don’t spray under it. Particularly with the rolled poster tack method.
Your camo looks great. Even if it should be soft edged, at 1/48 scale that would be hard to see. I’d touch up those soft parts with a brush and keep rolling.
I do something similar - I start by enlarging the paint guide to scale and cut out each color, then I use those pieces as my mask. But I what I do different is I make little balls ot tape and out them underneath the mask. I’d say 1/8 inch standoff is about right, I turn the pressure down as too much will bend the edge of the paper mask toward the model. I spray straight down so I don’t get any underspray. It feathers the edge just enough to not look like a hard edge.
This is what I end up with:


As opposed to freehanding it which is not as tight:

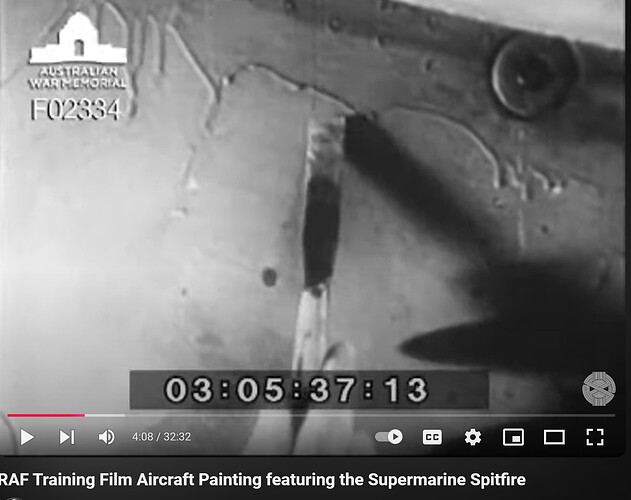
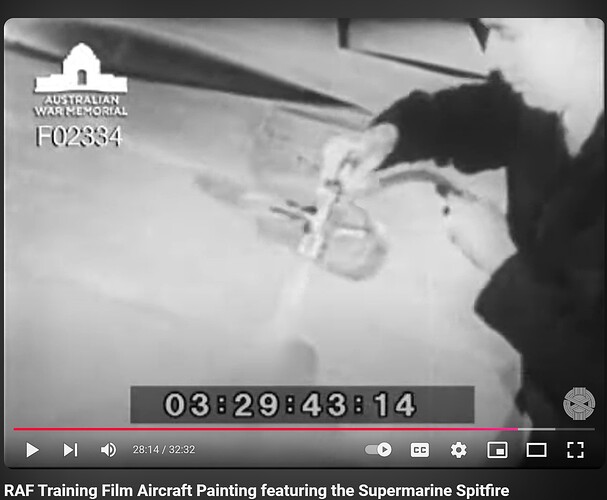
Excellent! Thank you for sharing. The airbrush at right angles for me is going to take more practice. I have seen the RAF training film and assumed air brushed soft edges in the DFS pattern. The modern US Armor CARP paint guides come with a specified feathered edge correct? Appreciate the tip ideas and I am looking forward to trying more.
Some excellent resources you’ve found there! I’ll defer to your expertise as I’ve done very little research beyond squinting at a few color photos in Jeff Ethell’s old books.
CARC Can be applied to US vehicles one of four ways. Computerized painting is the most accurate, but I would guess expensive. There’s a projection method where demarcation lines are projected onto the vehicle and then it is spray painted by a human. Of course there are masking panels like the Brits used on their Spitfires. And lastly, demarcation lines being hand drawn. The the cammo is sprayed or brush painted on.
I was always partial to doing MERDC cammo where the main two colors were sprayed, and the minor two color were brush painted. So it wasn’t really specified to be feathered. There are examples where the minor colors were sprayed, and where all four colors are hand painted (actually three if you assume the base color having been sprayed. Seems more efficient…)
Thank you Rob. Guess we always need photos of the actual article to confirm. Yes CARC Coating, Aliphatic Polyurethane, Chemical Agent Resistant, not CARP as that is a fish. Right?
Yes, it’s almost like a resin. Dangerous stuff. Fortunately I have a guy at an Army paint shop who can get one of my builds painted. Doing an old '71 CB750 in black and sand. It’ll be a show winner once I finish it, but too many other bikes in the queue at the moment.
They don’t do cammo there though, just straight up sand.
Started on the decal application after a clear coat of Future floor acrylic.
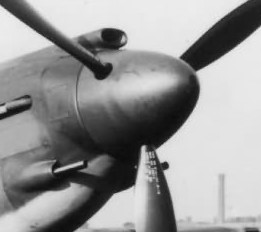
I substituted the 48" type B wing roundels to better match the actual photos. Note the excellent scale propeller stencils (Drawing, Serial Number, Angle limits) came from the ICM P-51A kit.
Sharp
Thank you Dan. The journey continues.
