Hi all
I have nearly finished the hull of this engineer variant of the venerable Centurion. It will be depicted as during operation Granby, the British part of Desert Storm.
Taking advantage of the numerous tips and remarks by Ossie Orsbourn, I have modified the kit a little bit and added missing details. All the modifications are made with styrene and brass wire.
The skirts will be fitted once the running gear is painted.
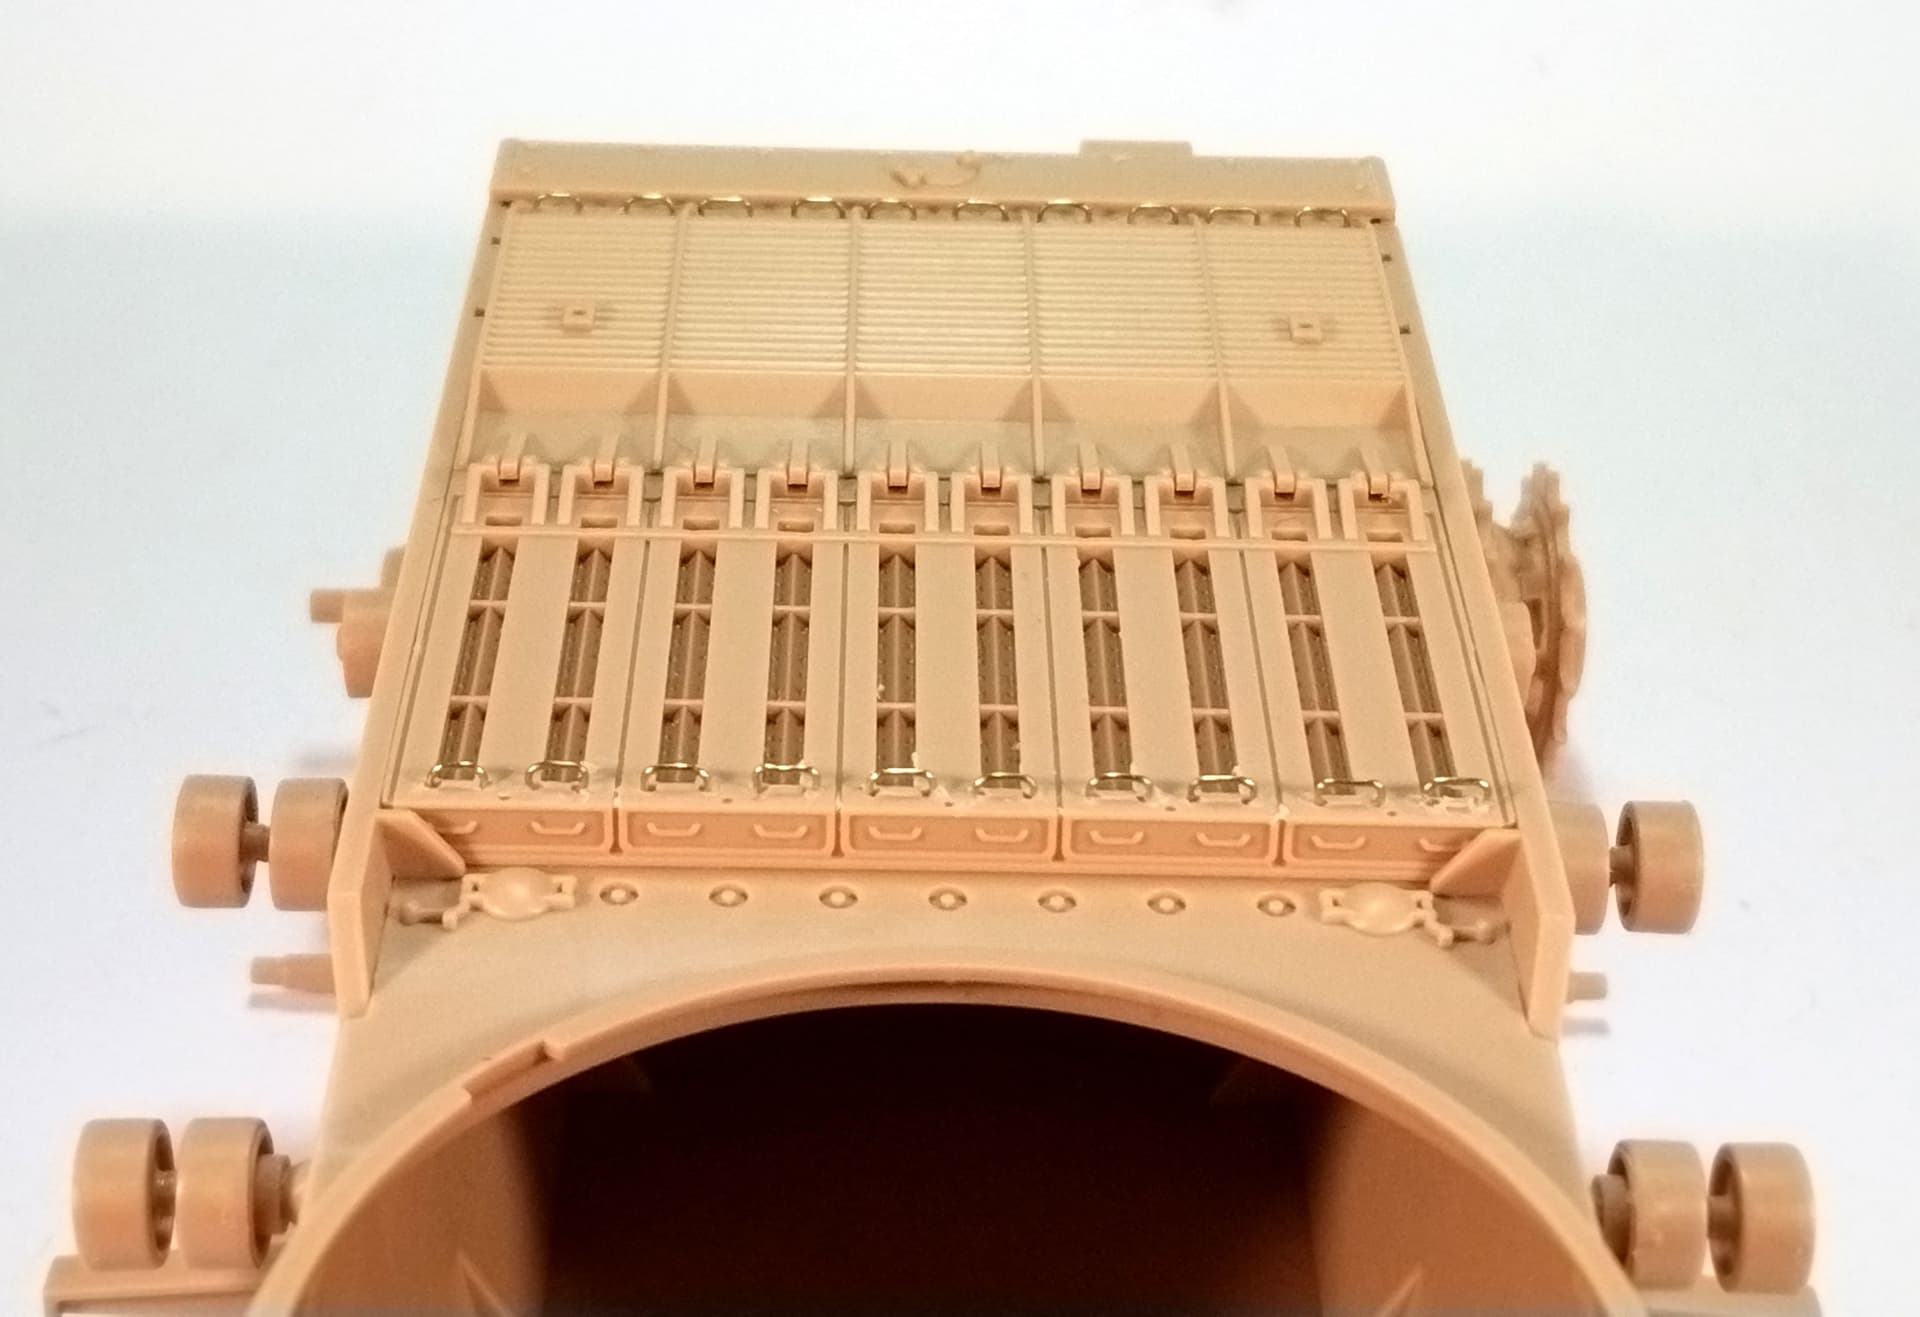
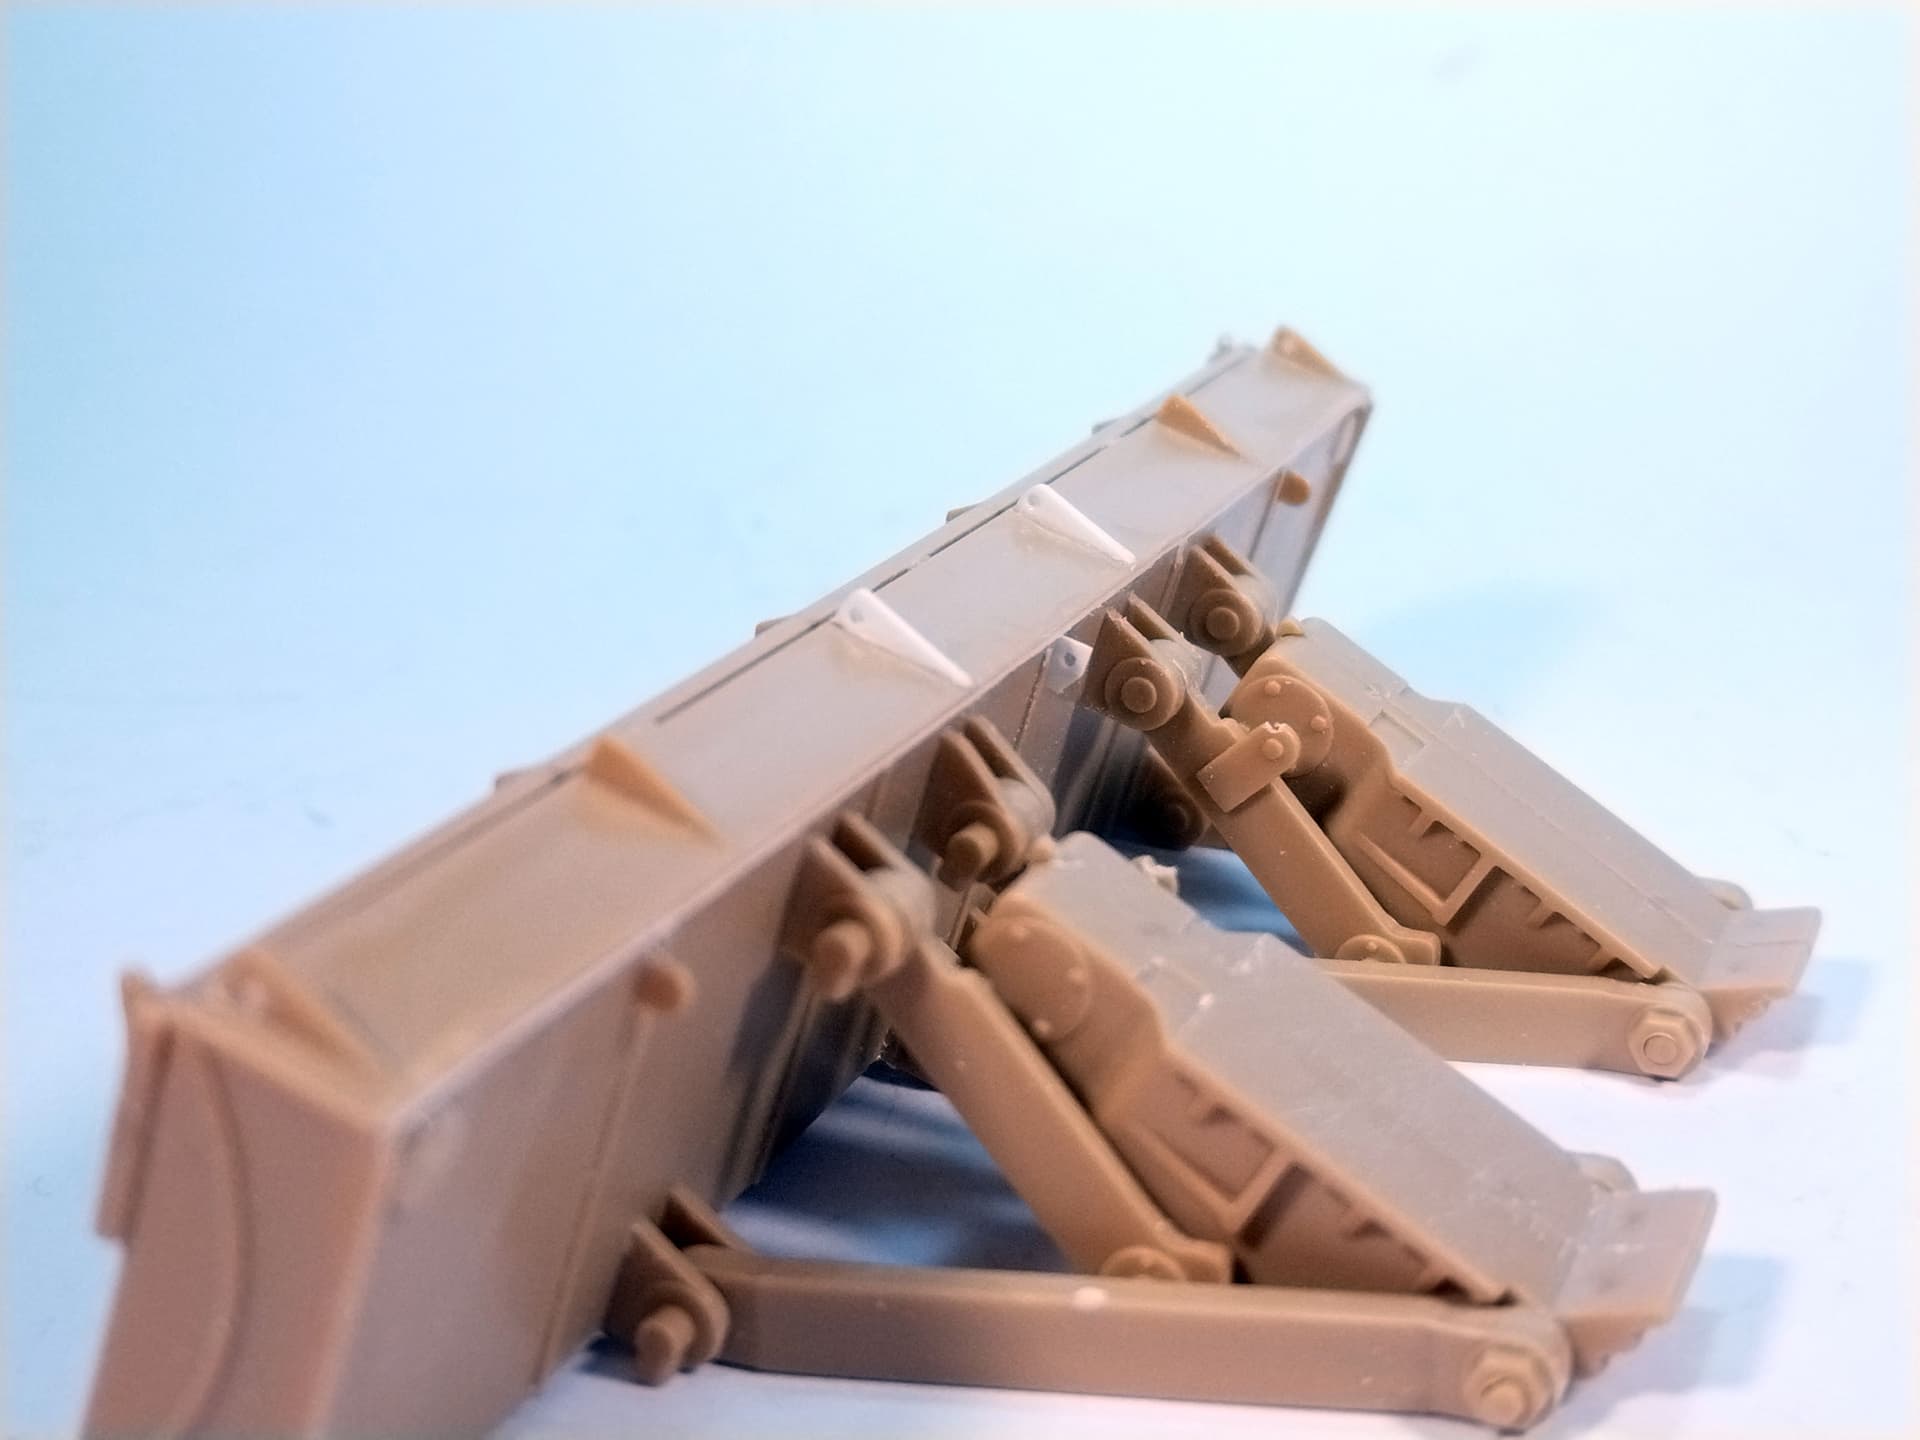
Here are some pictures showing the hull and the dozer blade.
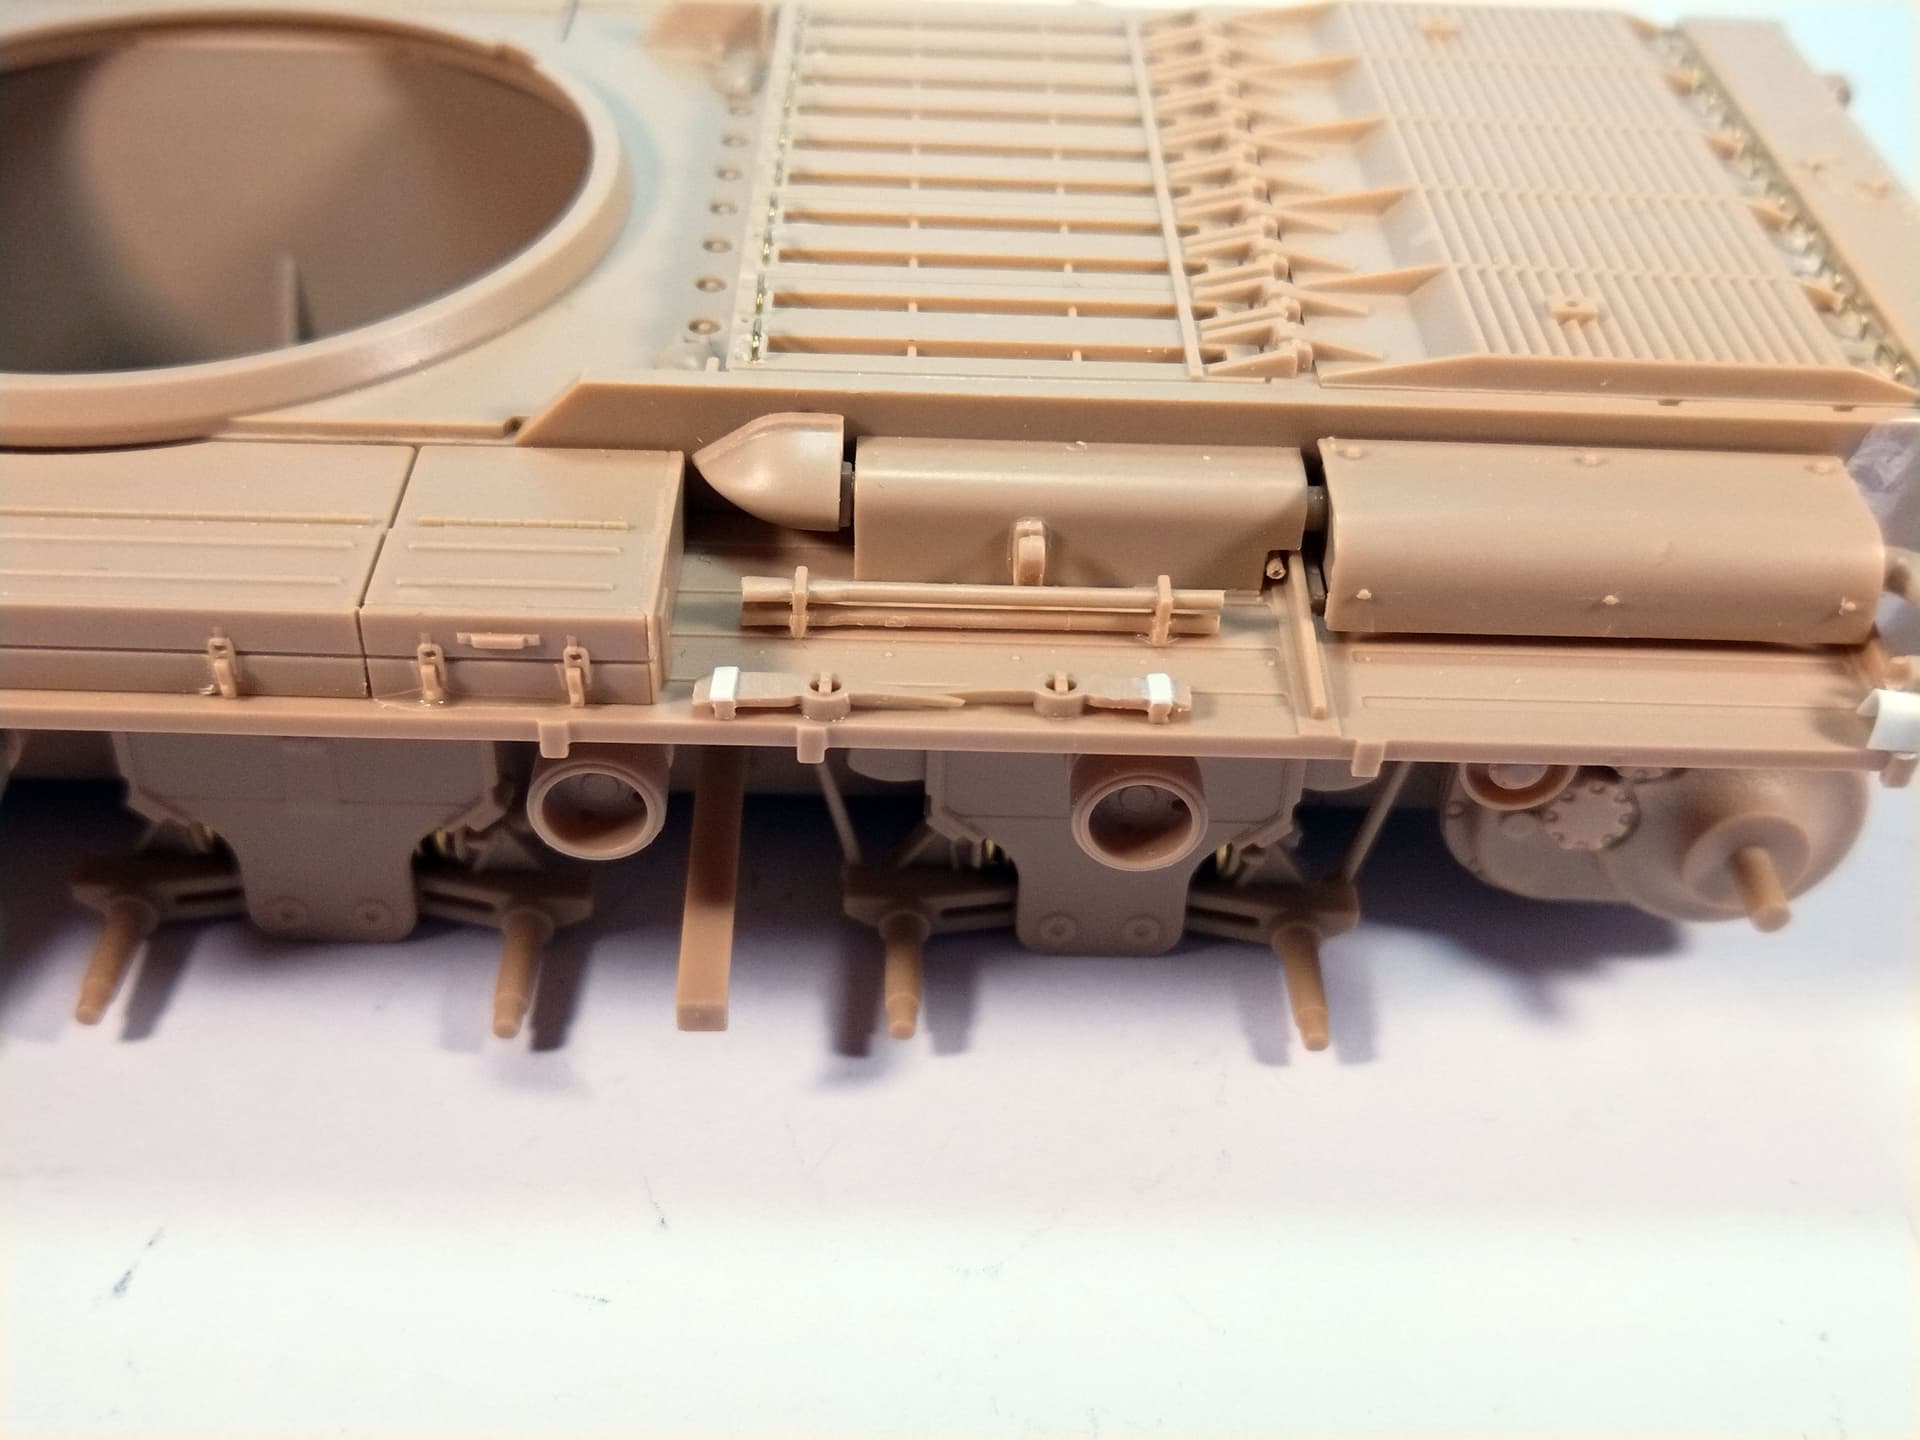
The rear mudguards need to be detailed too. And I think I can put some paint on the running gear.
Hopefully the turret will be easier. However I need to make the mantlet canvas and the stowage box for the windscreen at the rear right corner. Thanks to Ossie’s information I should be able to tackle this.
That’s looking terrific Olivier. You have added some really lovely extra detailing, very impressive and much of it very small but neatly done … Great build so far
Thank you Johnny. When you have Ossie’s tweaks list it is far easier to detail and correct the kit.
The rest of it is just patience and appropriate material.
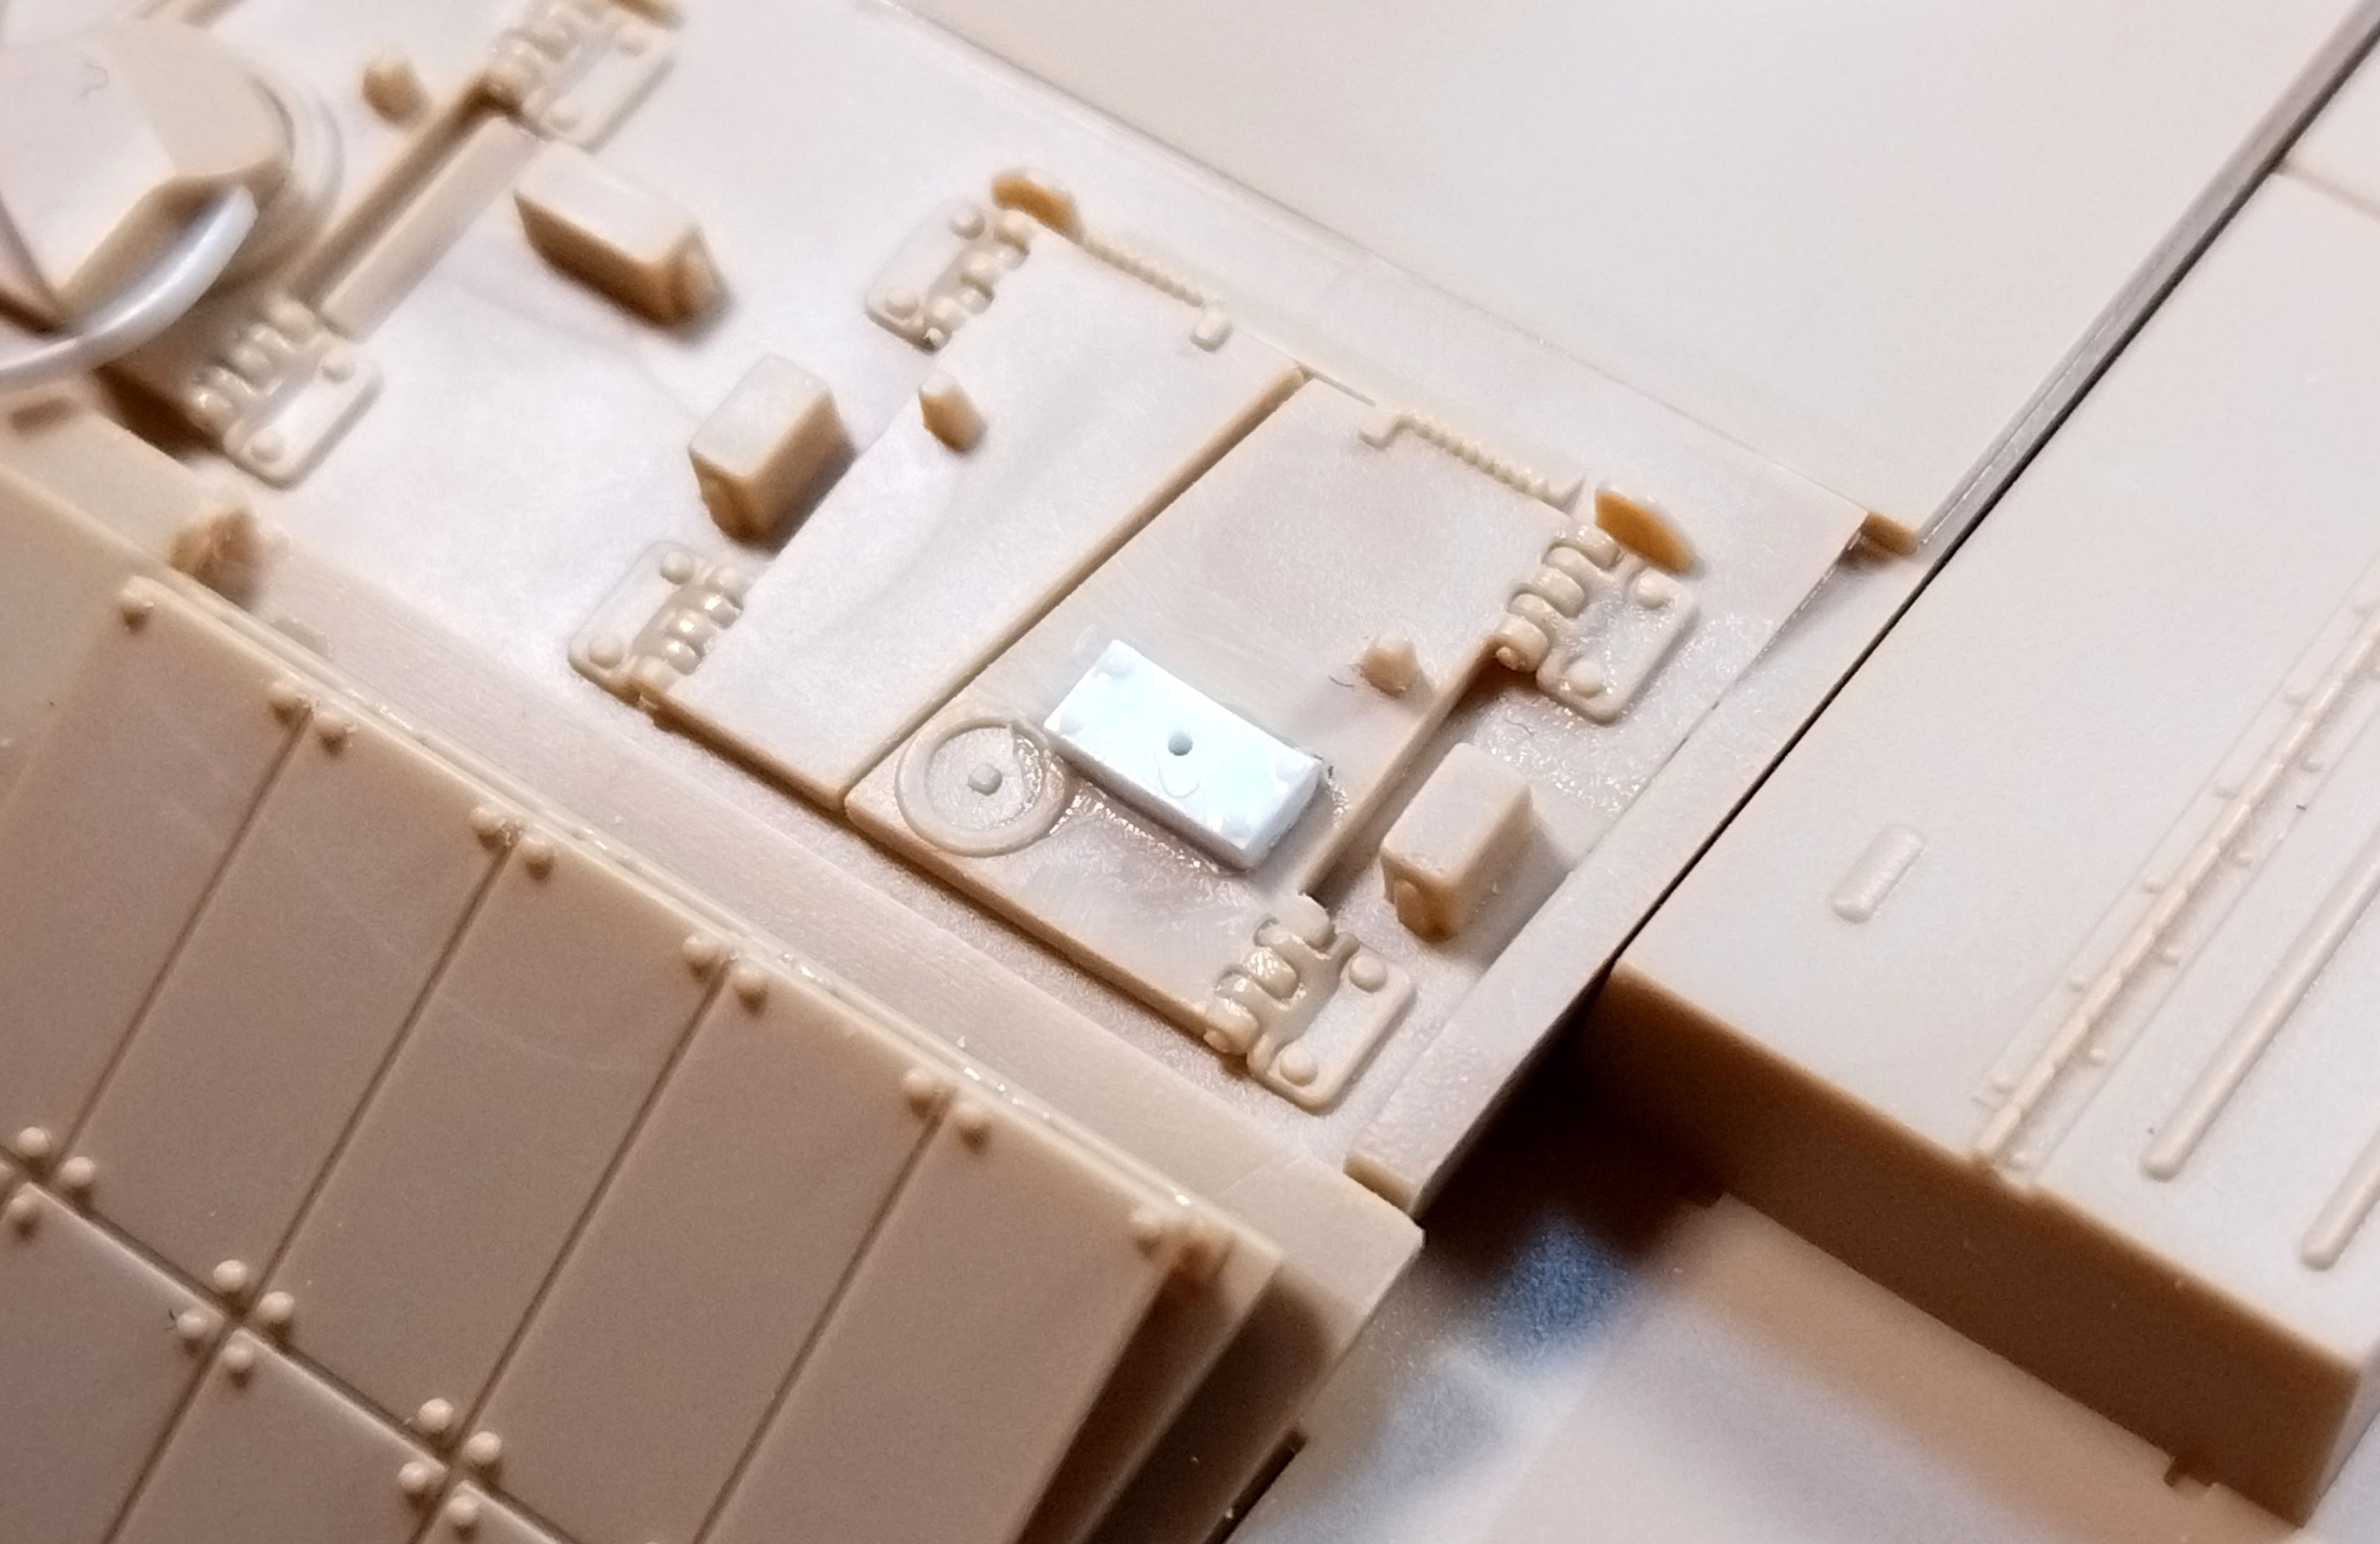
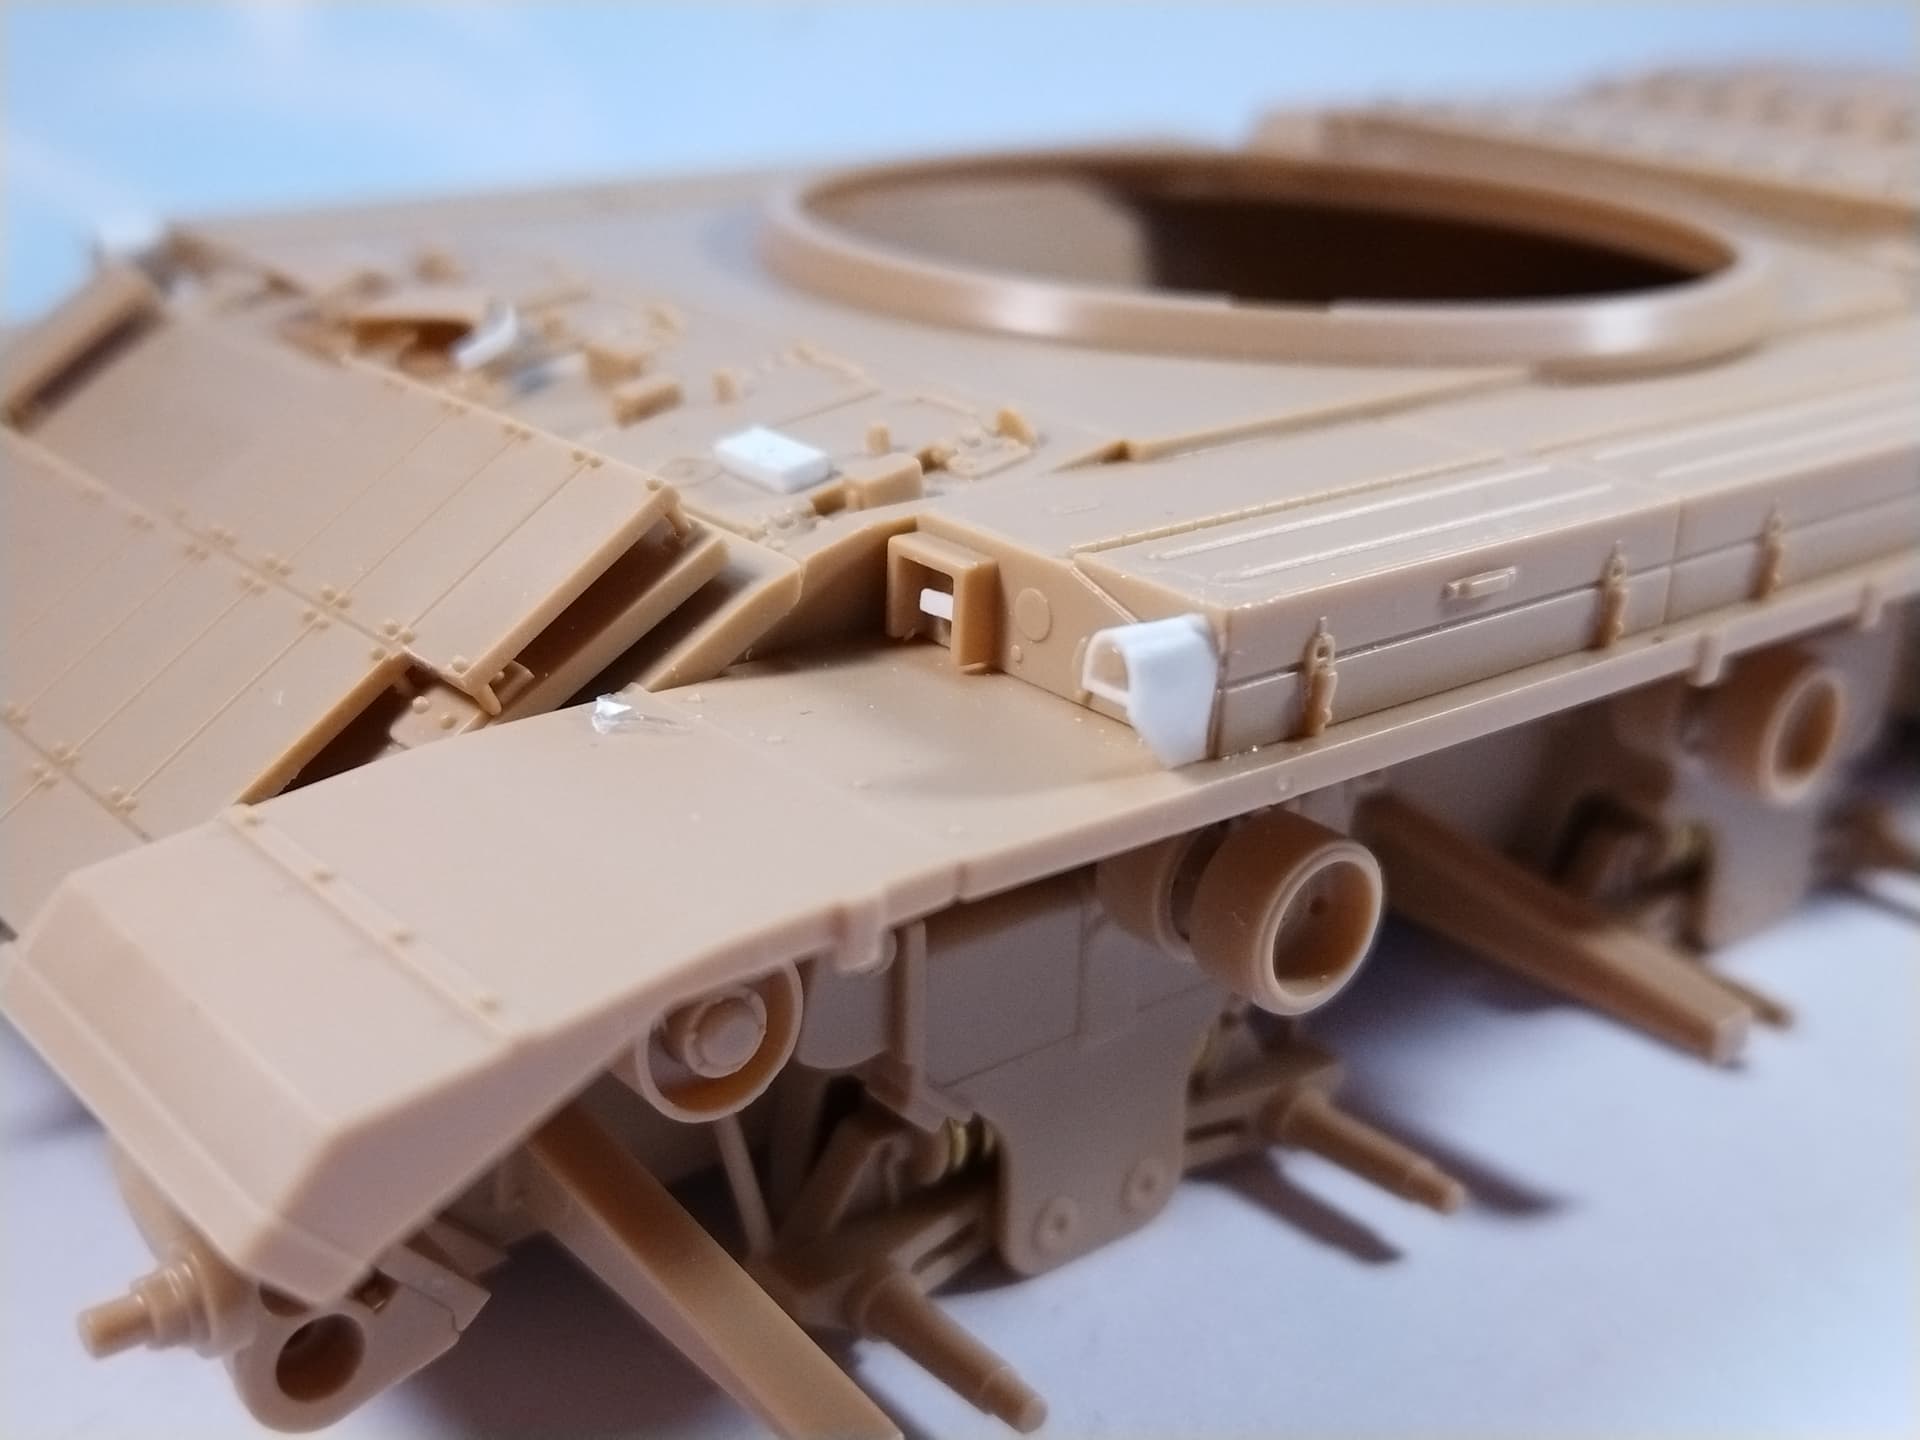
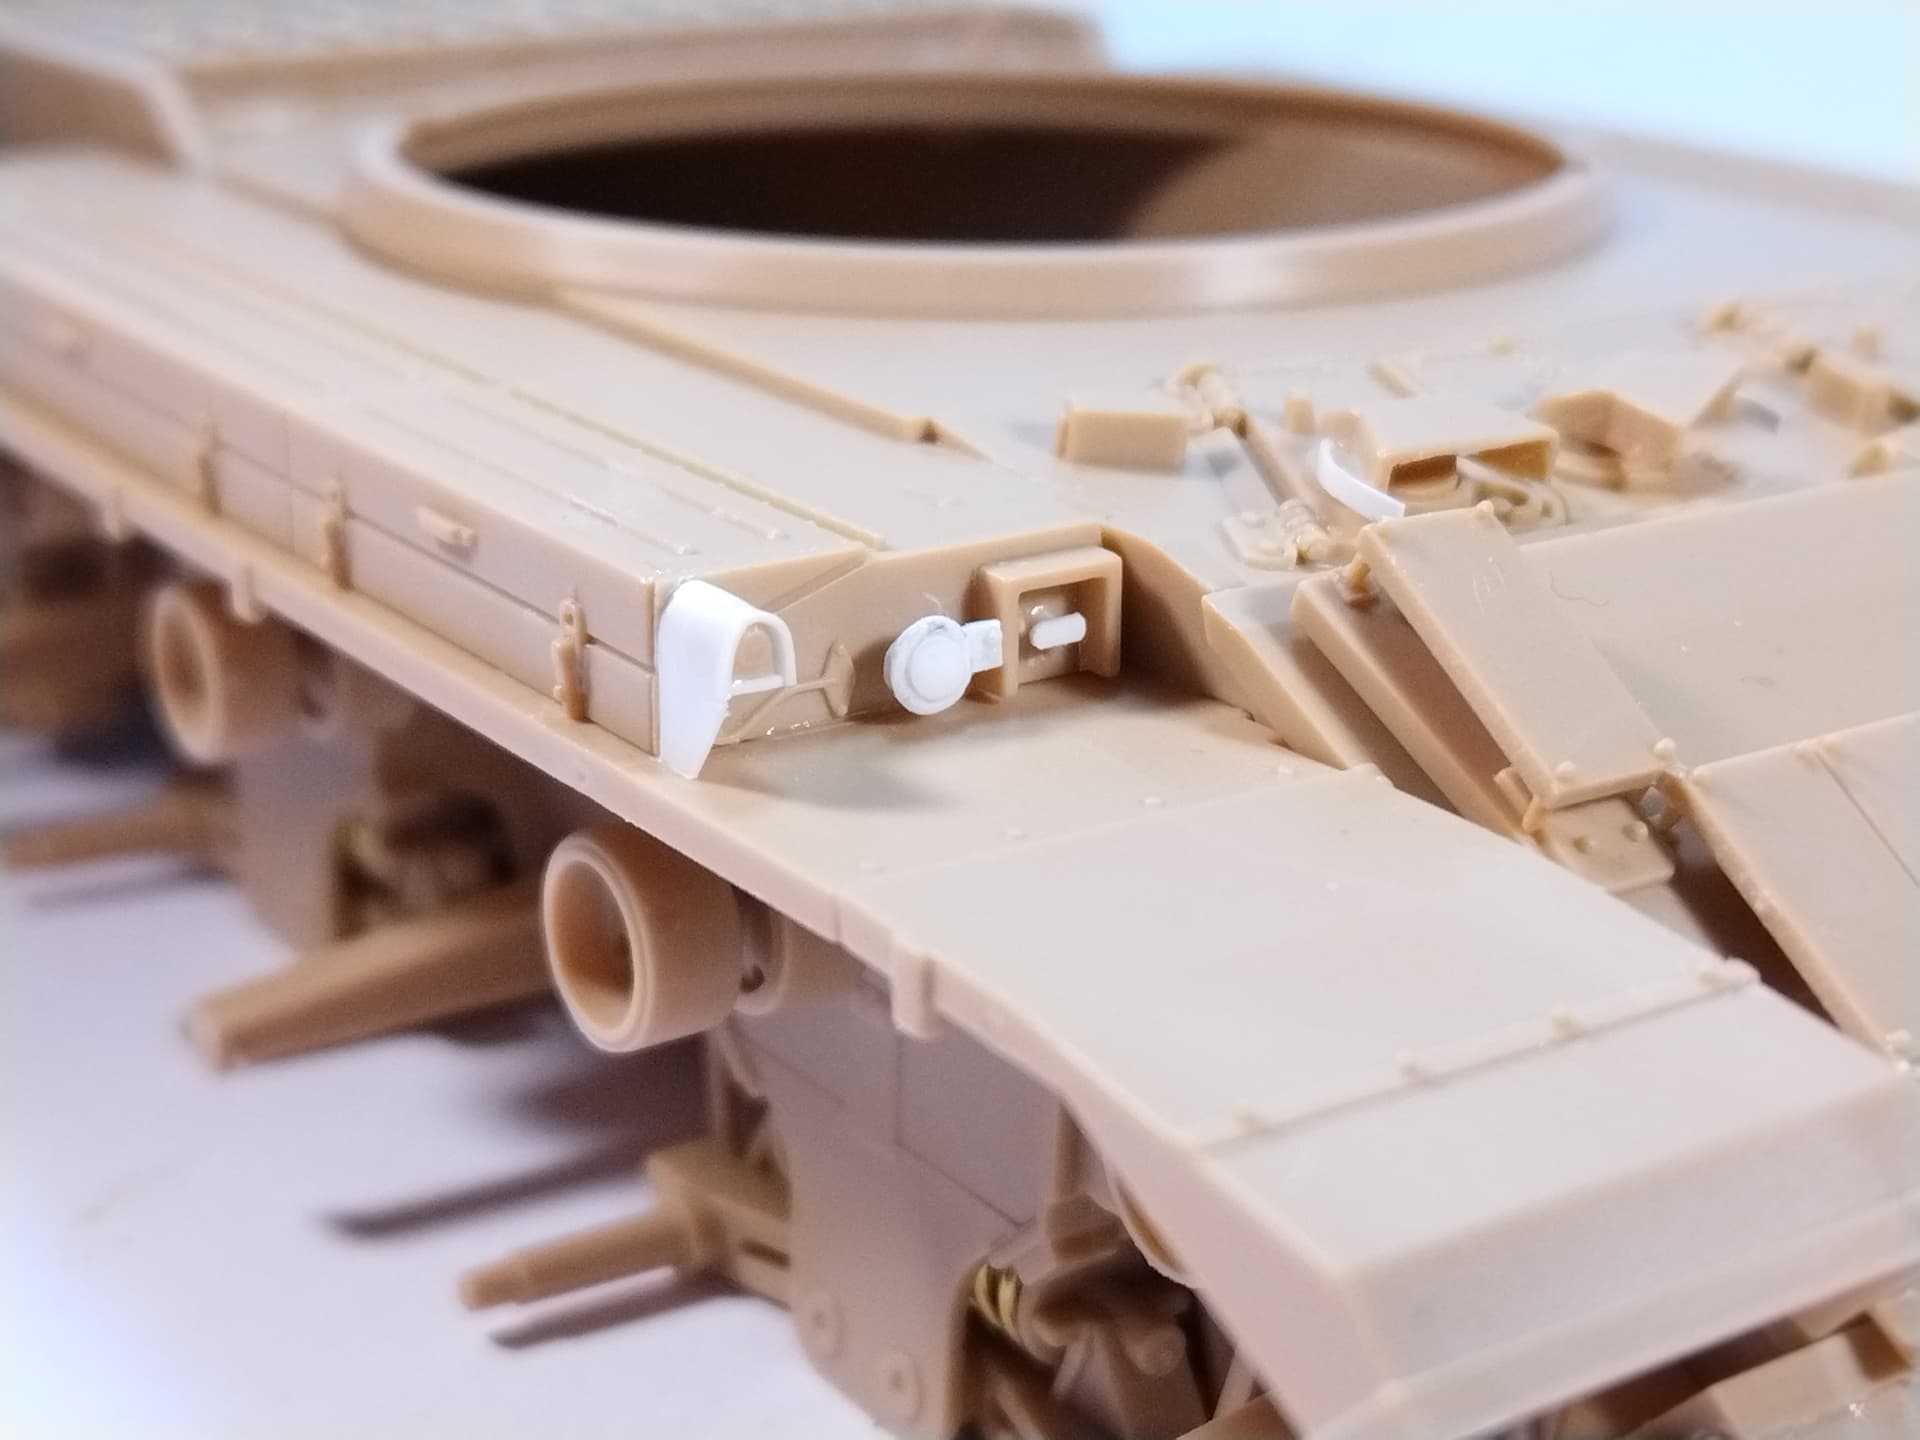
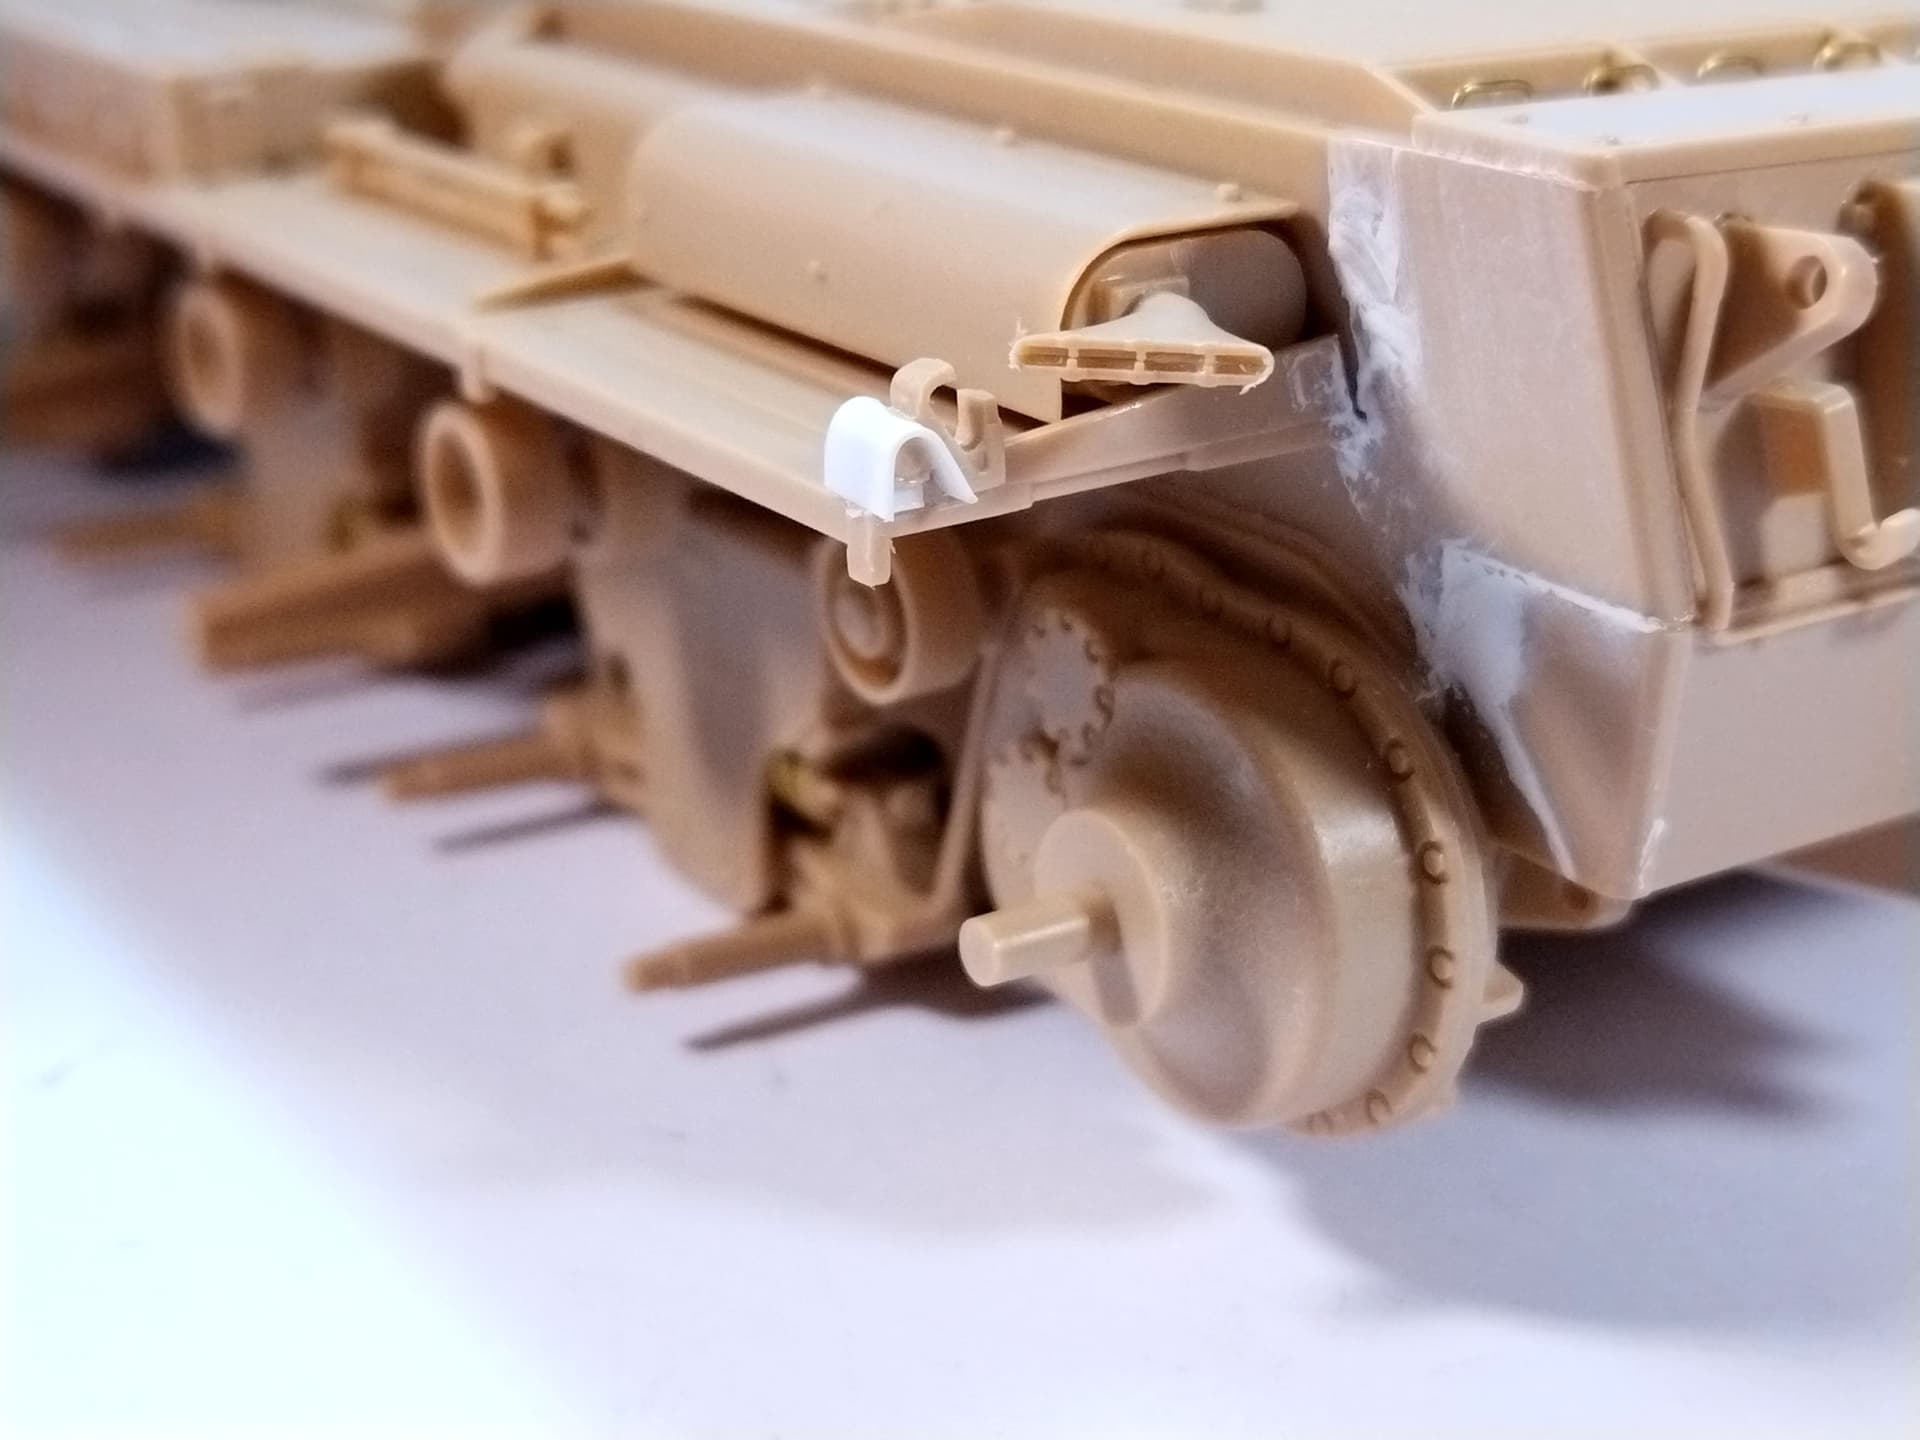
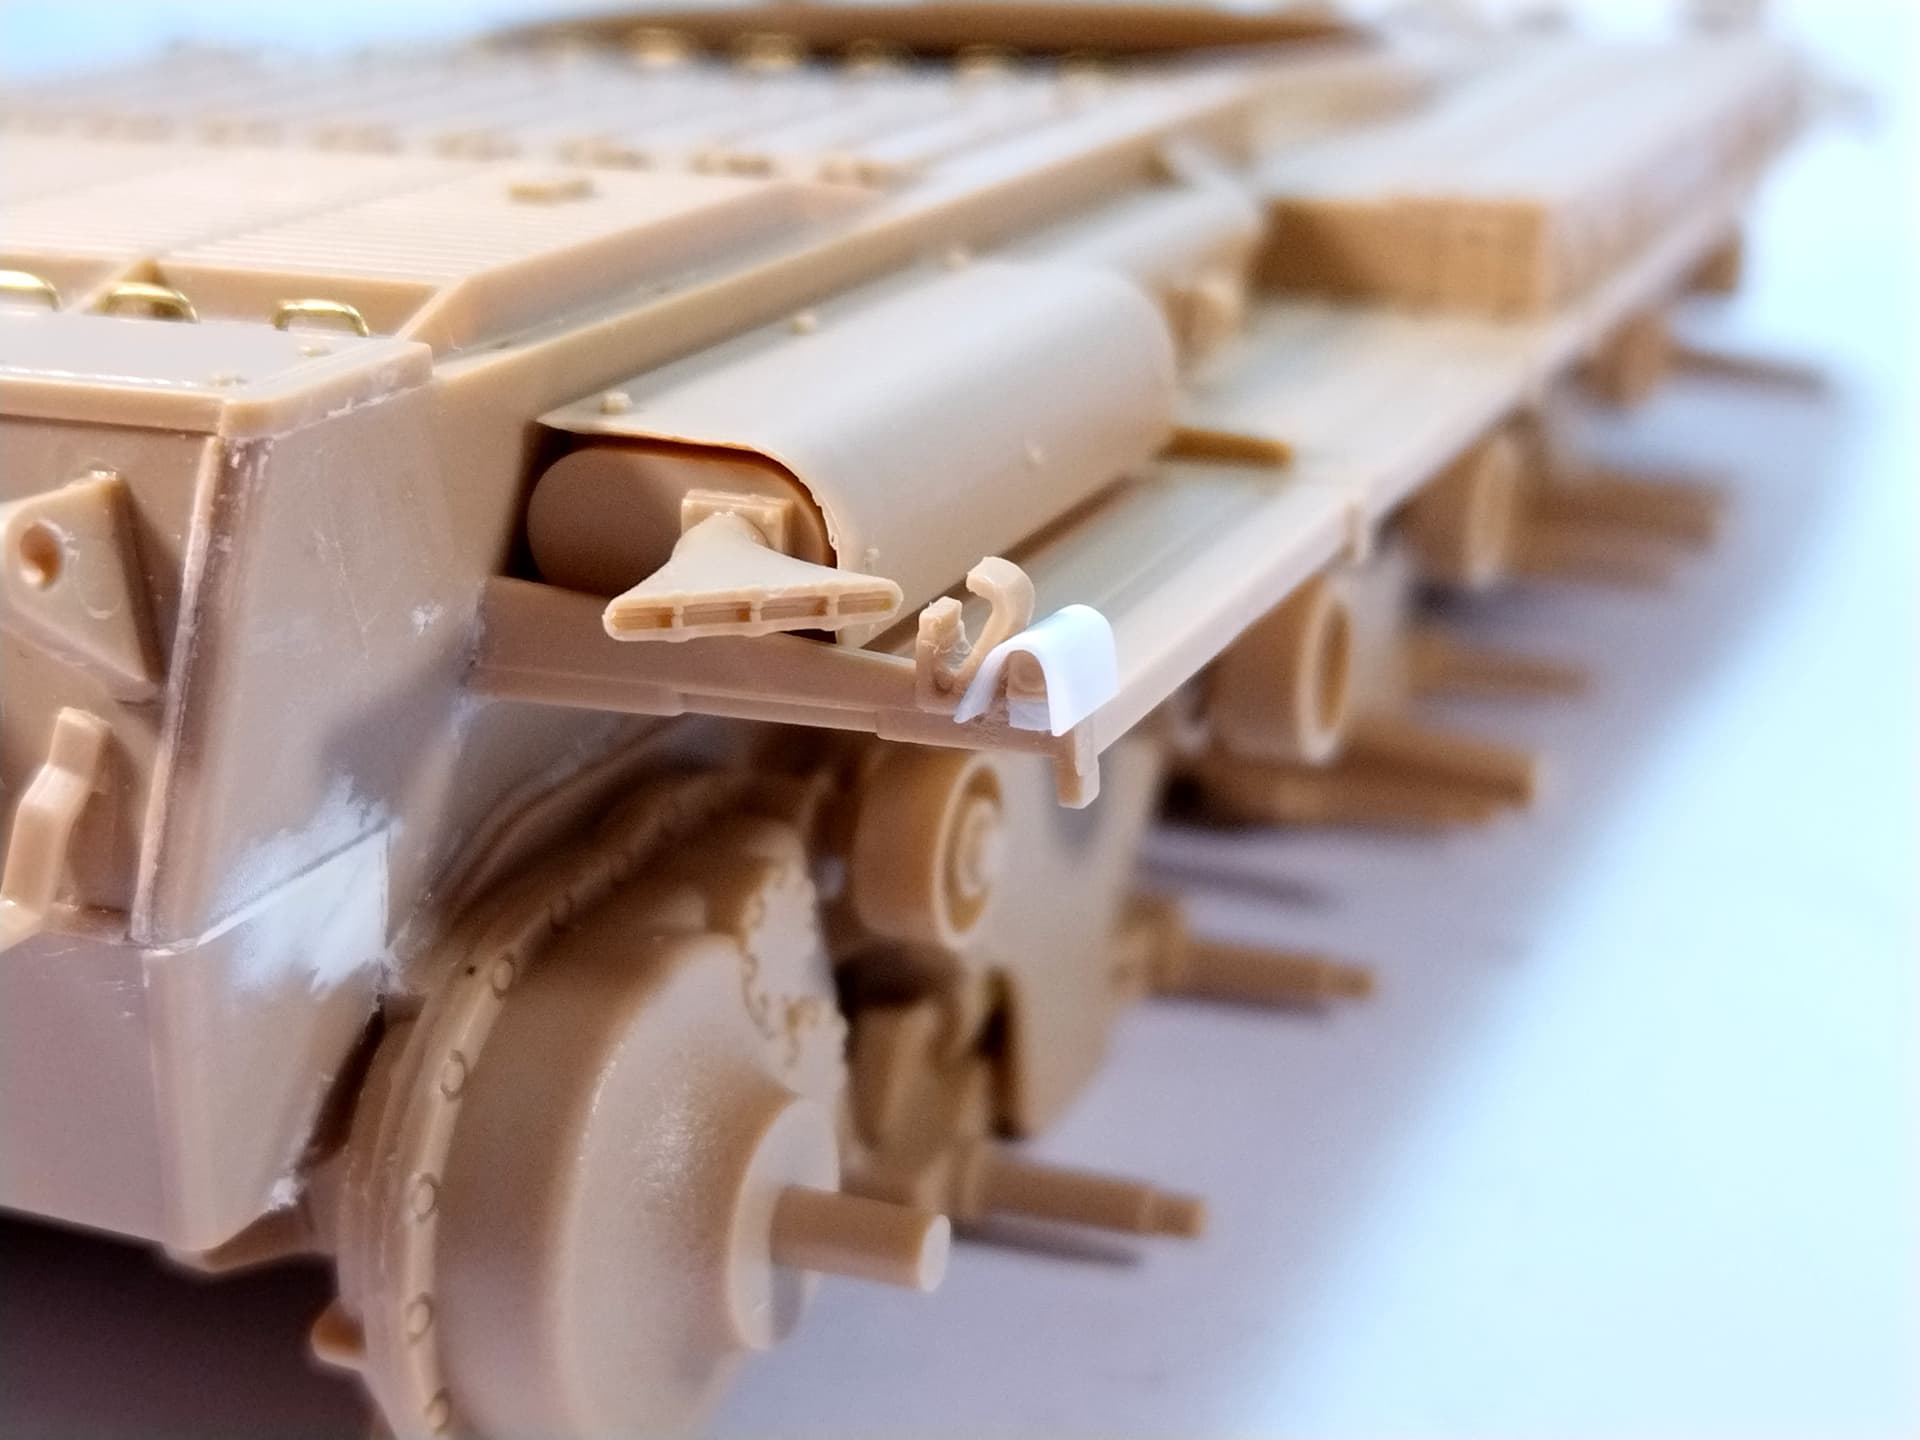
Here are the last details I added to the hull.
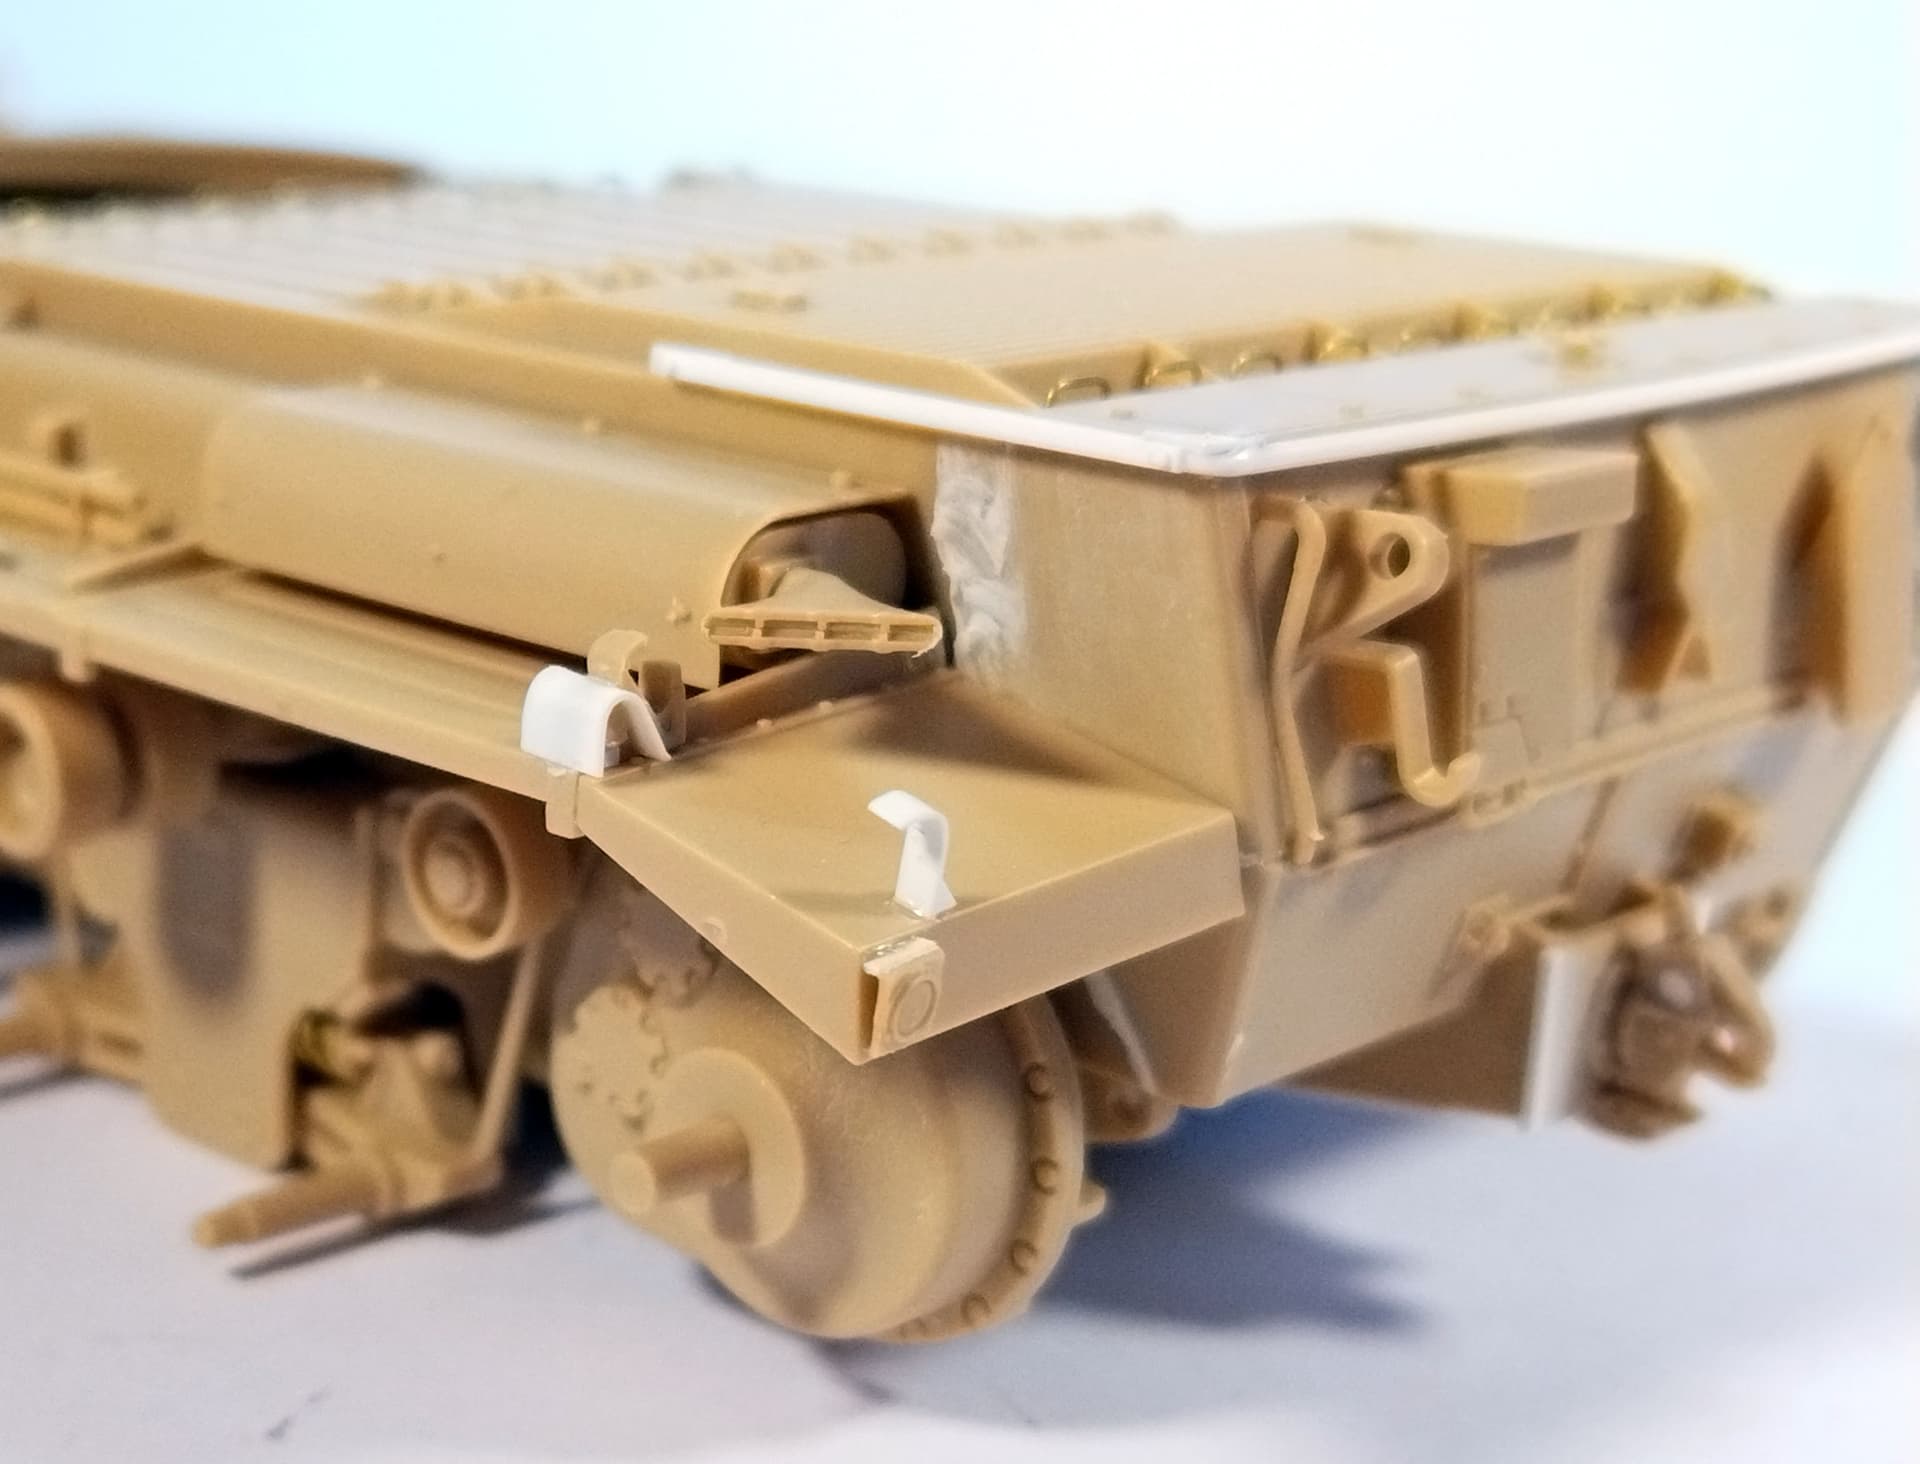
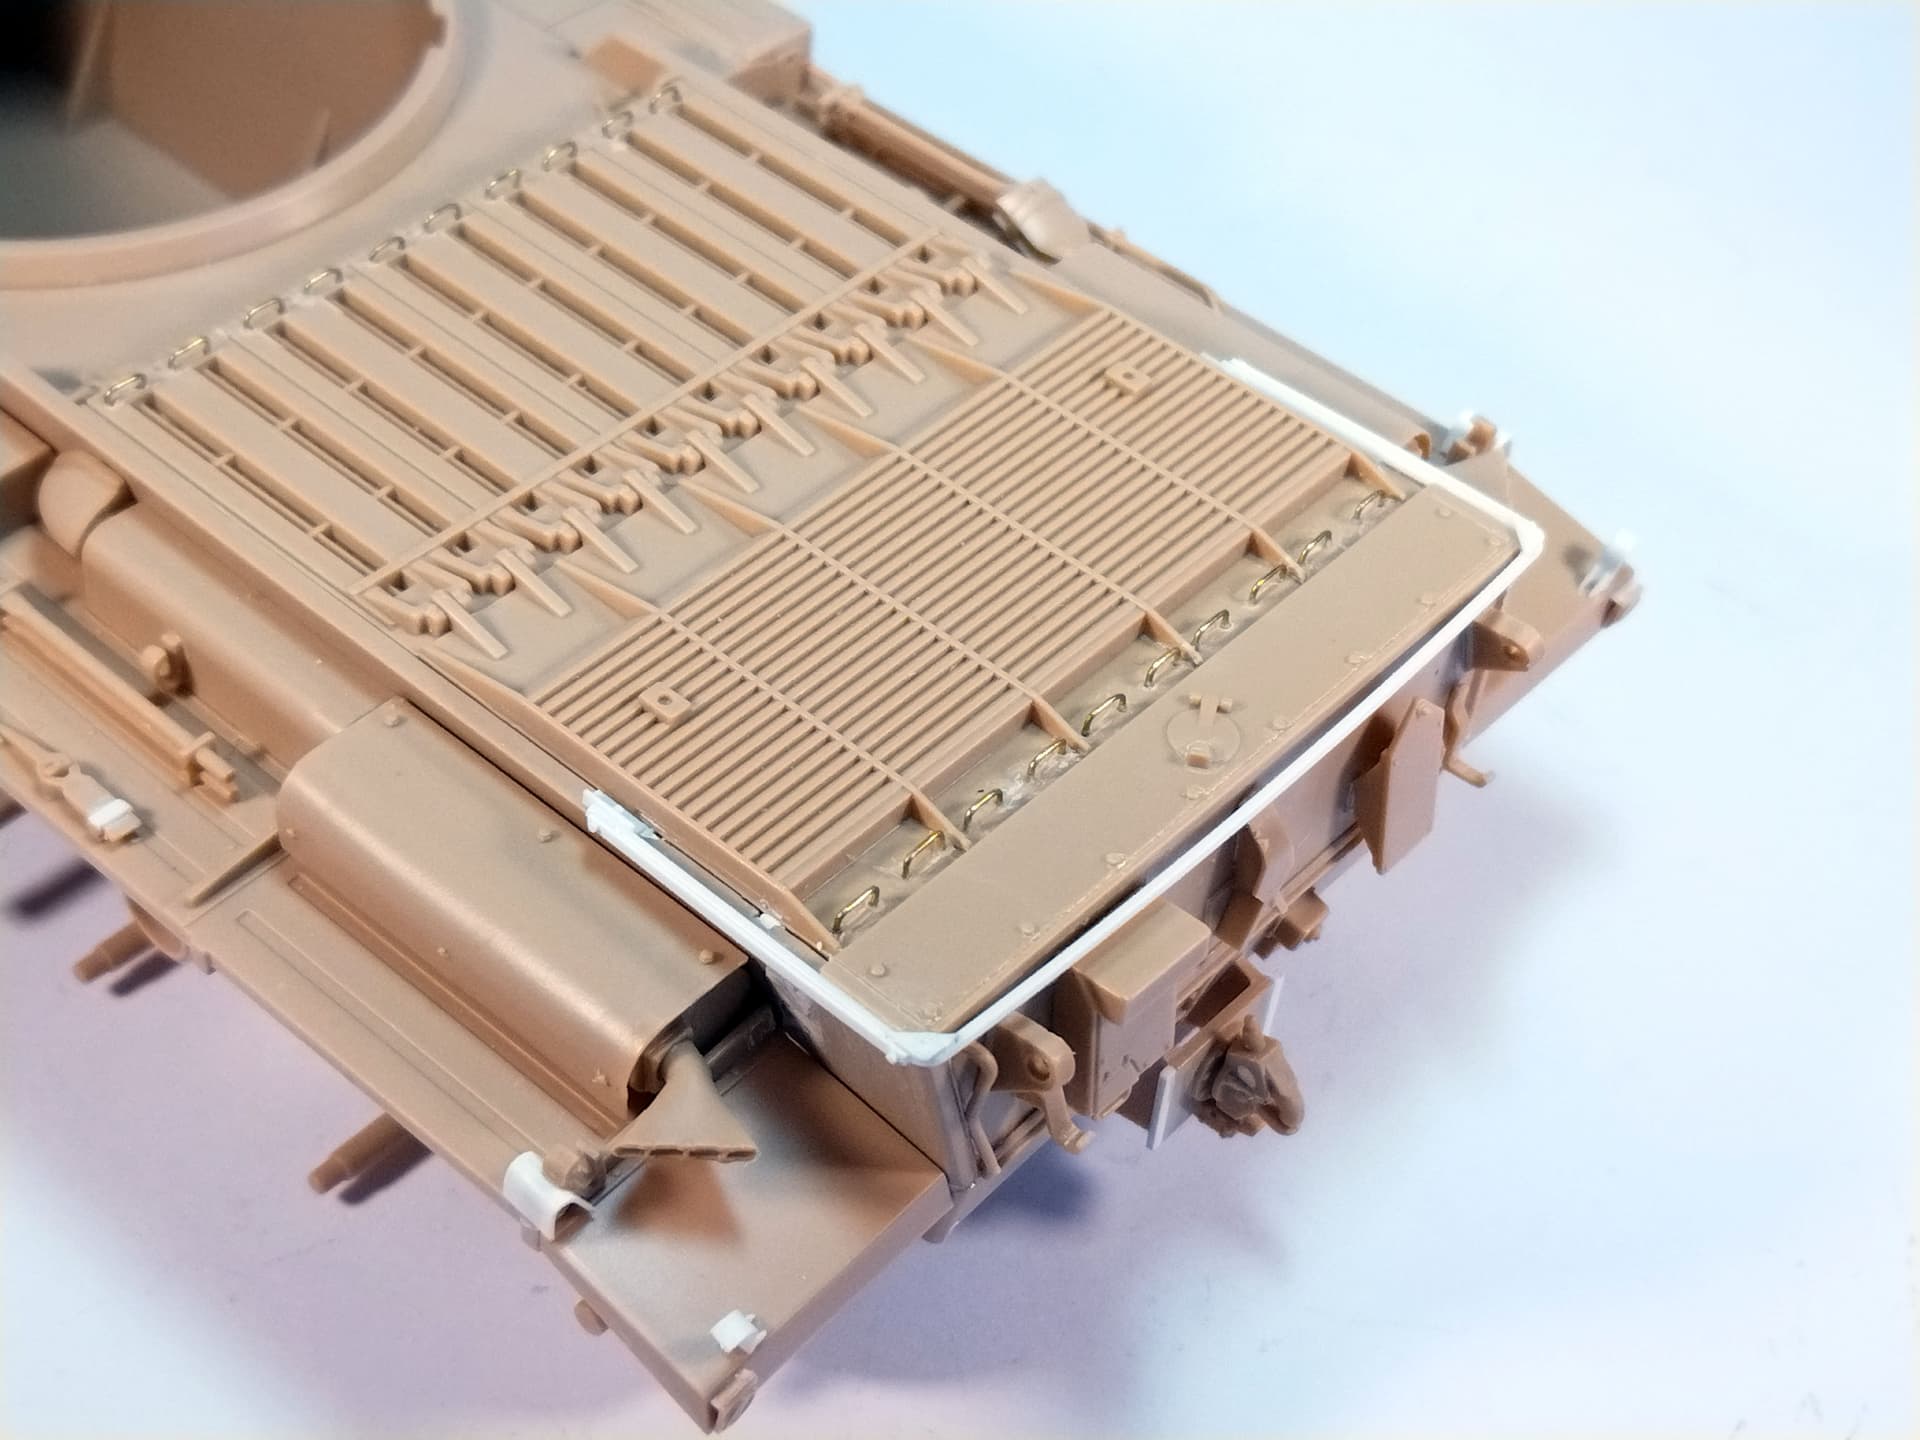
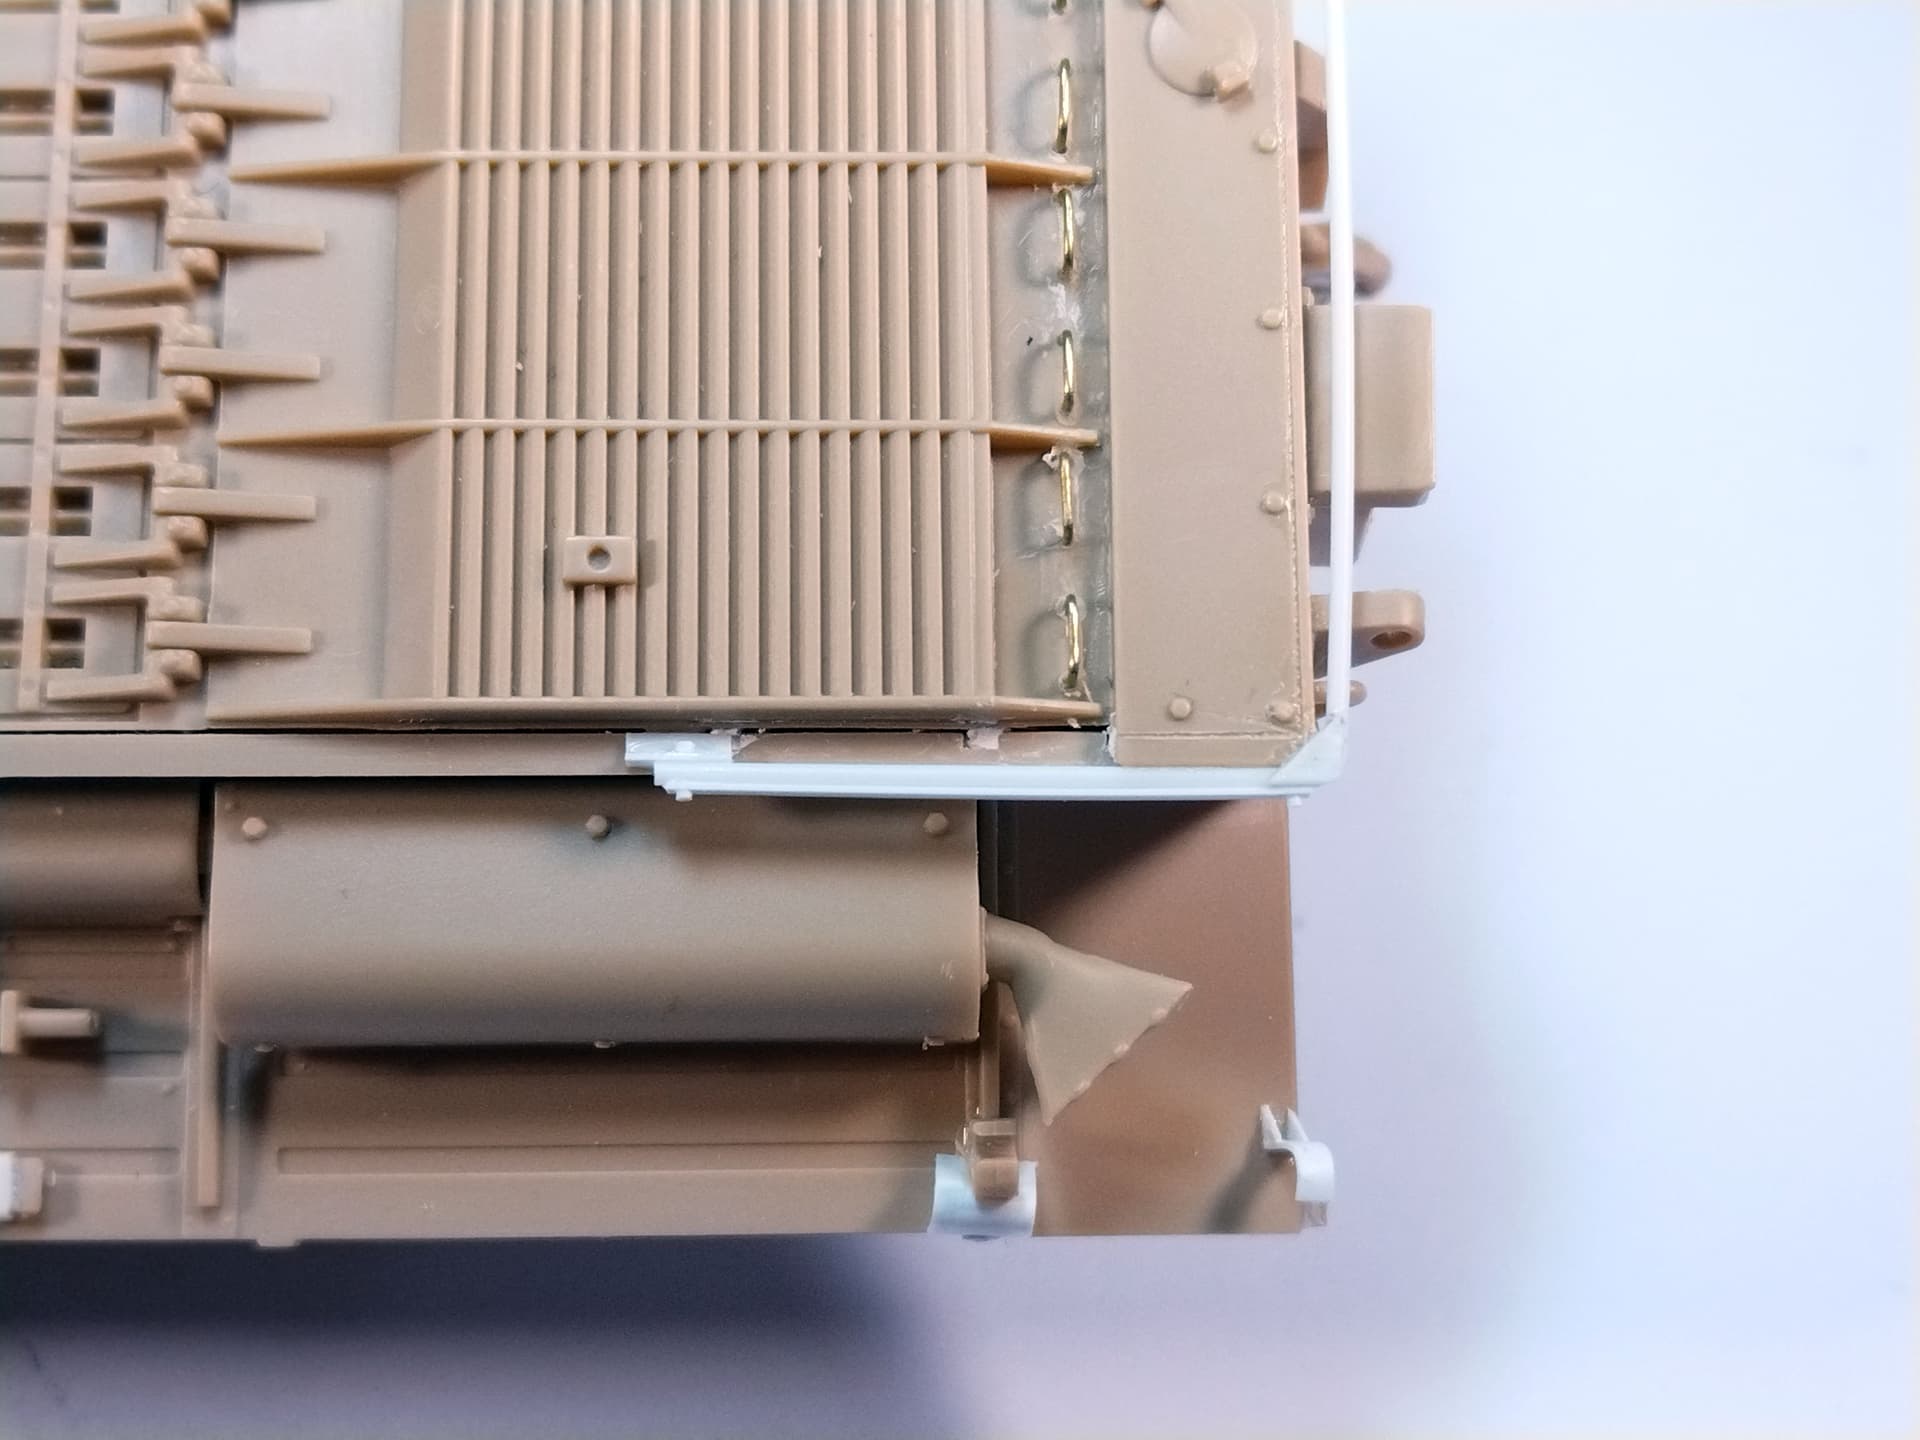
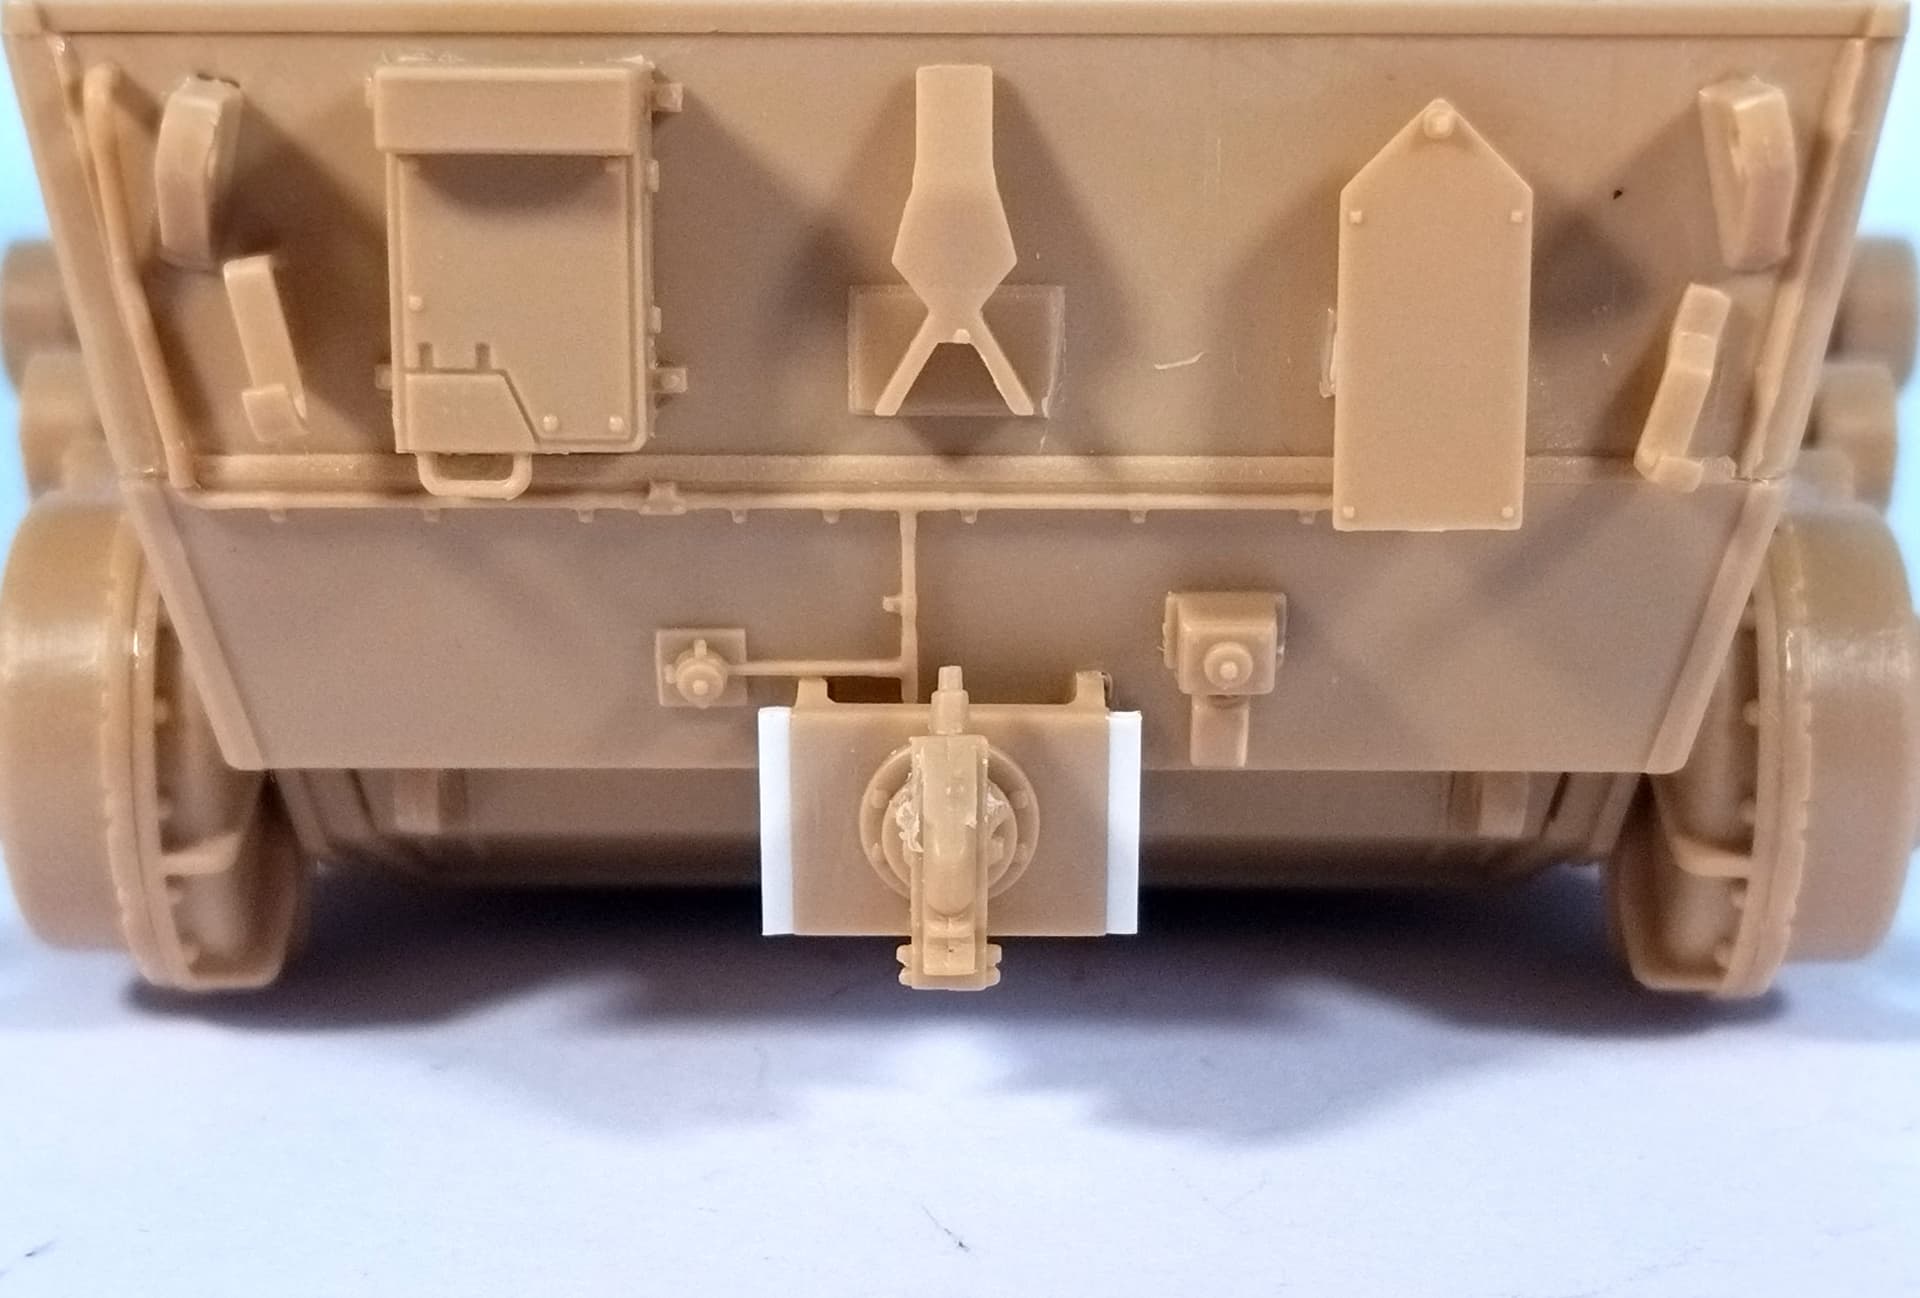
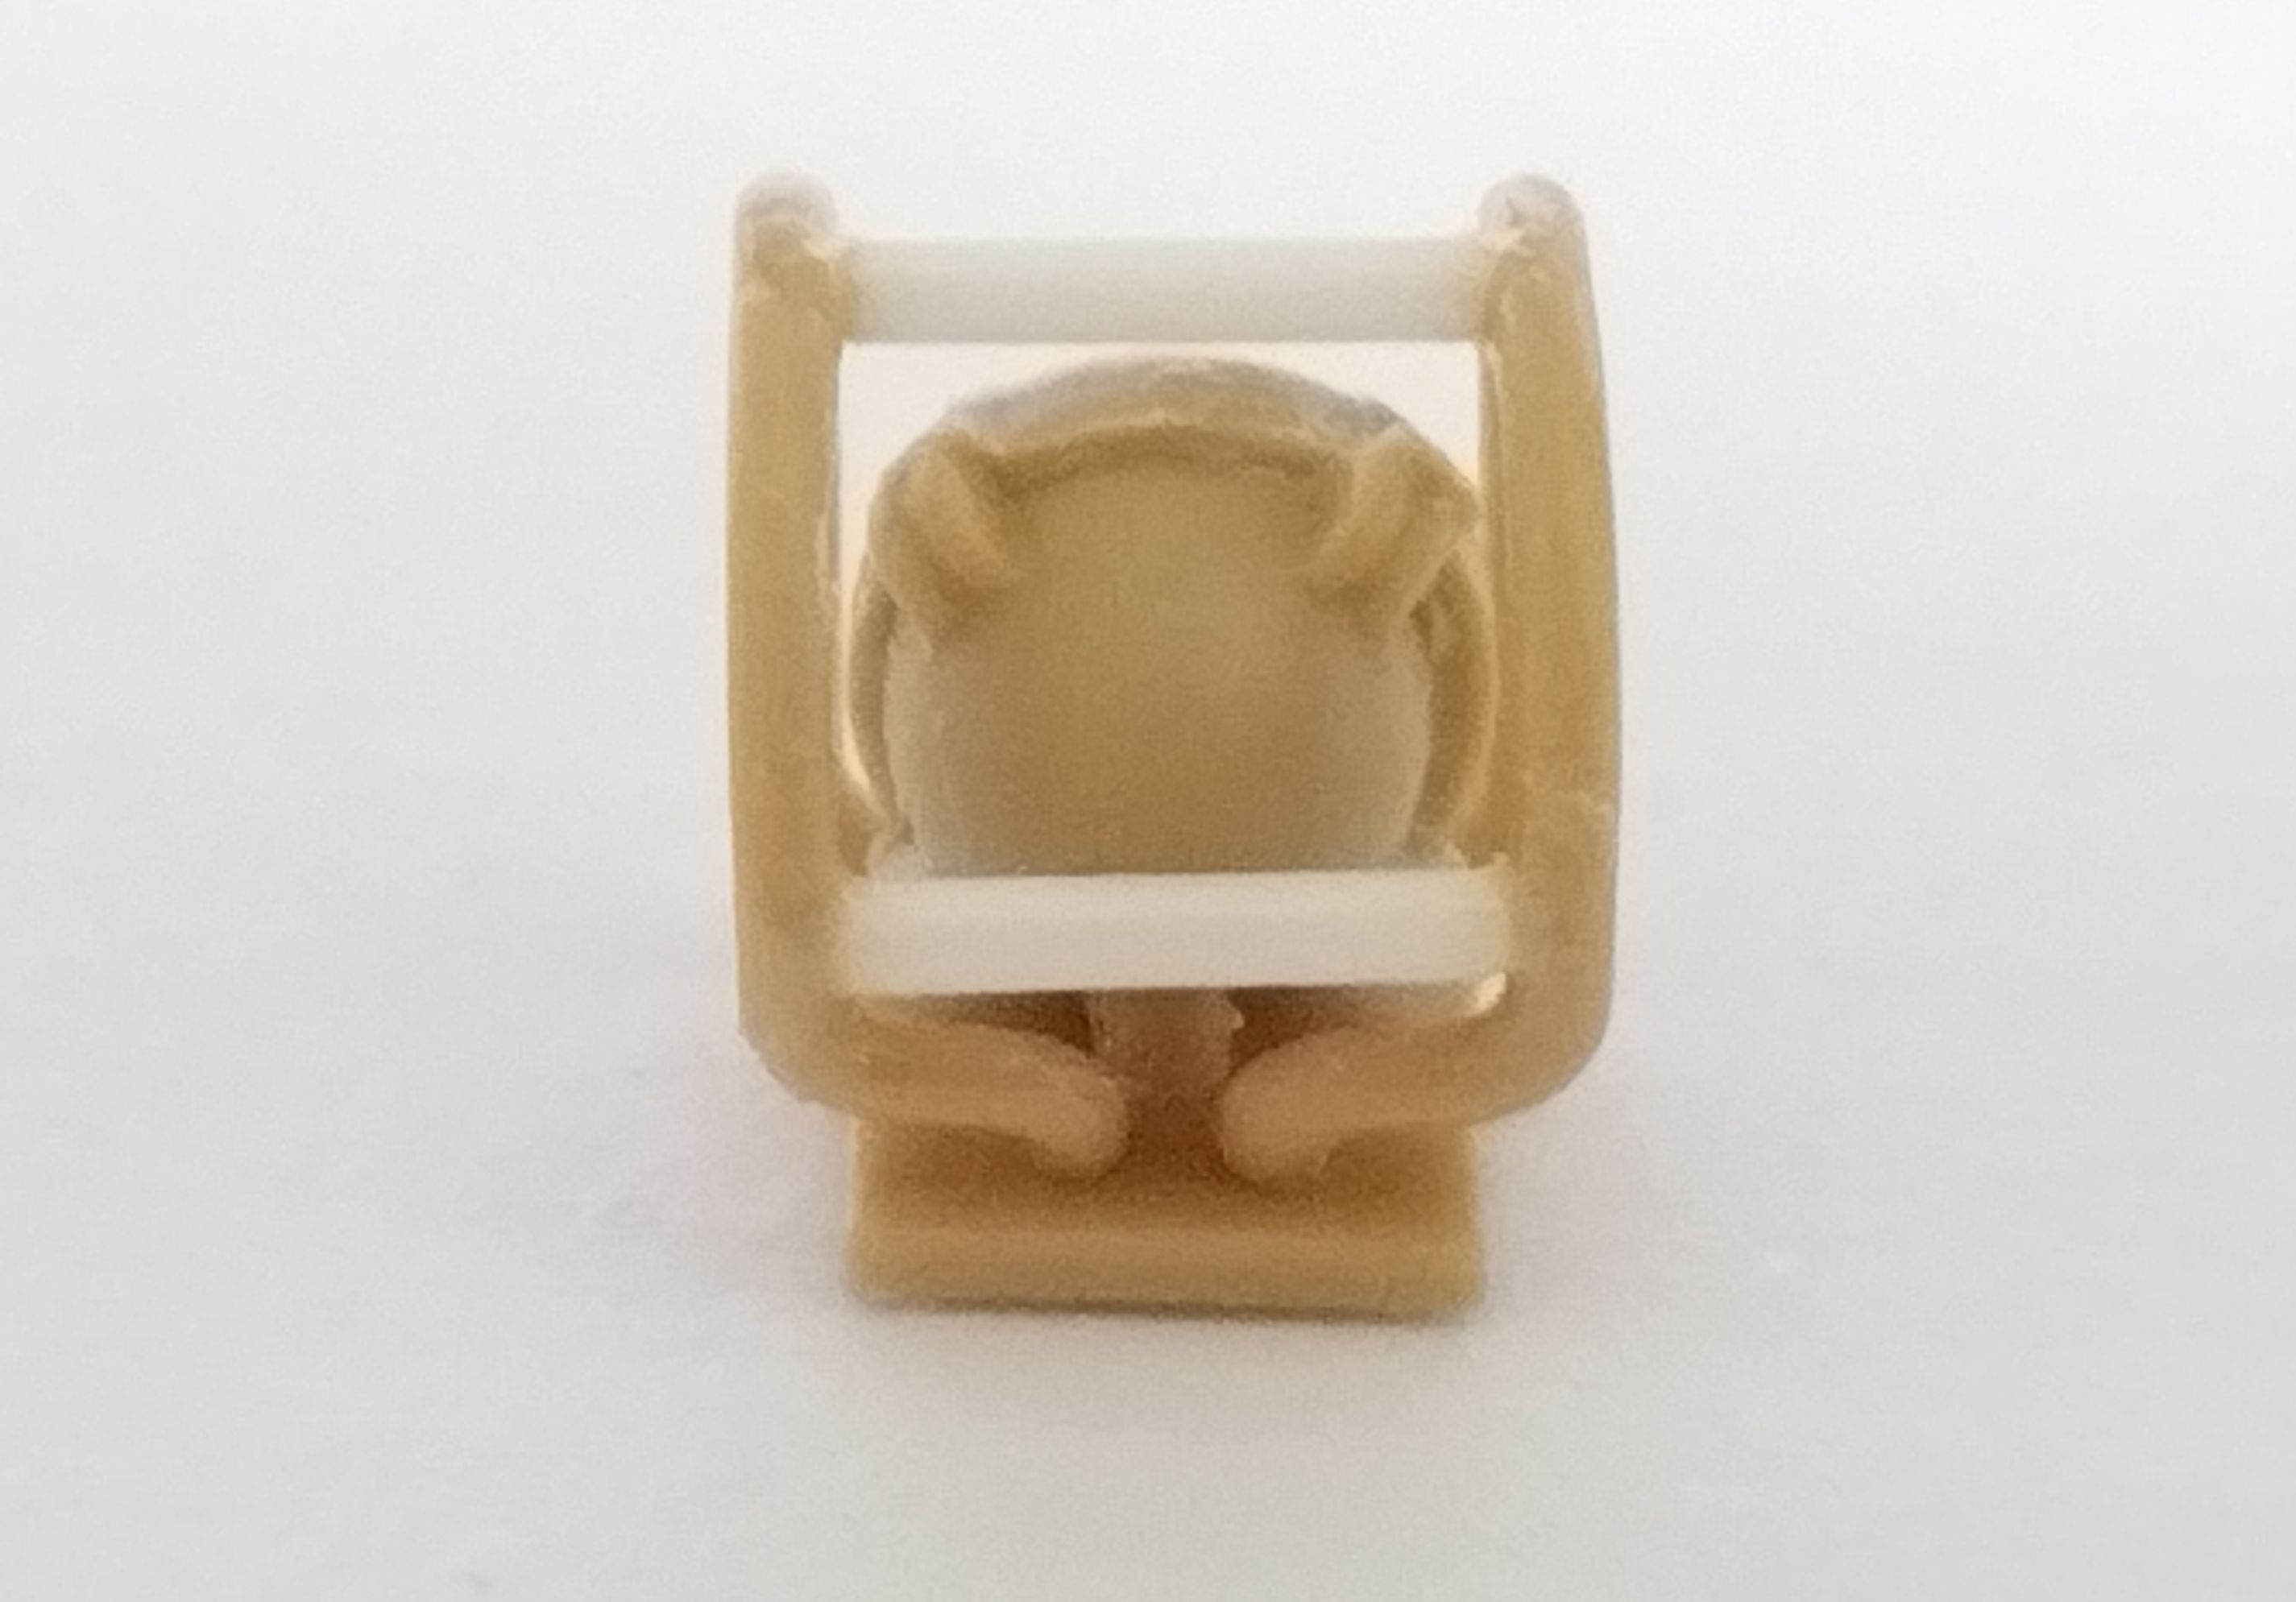
On the rear mudguards there is a kind of hook for the tow cable. The piece is a J shaped with 2 triangular stiffeners at its base.
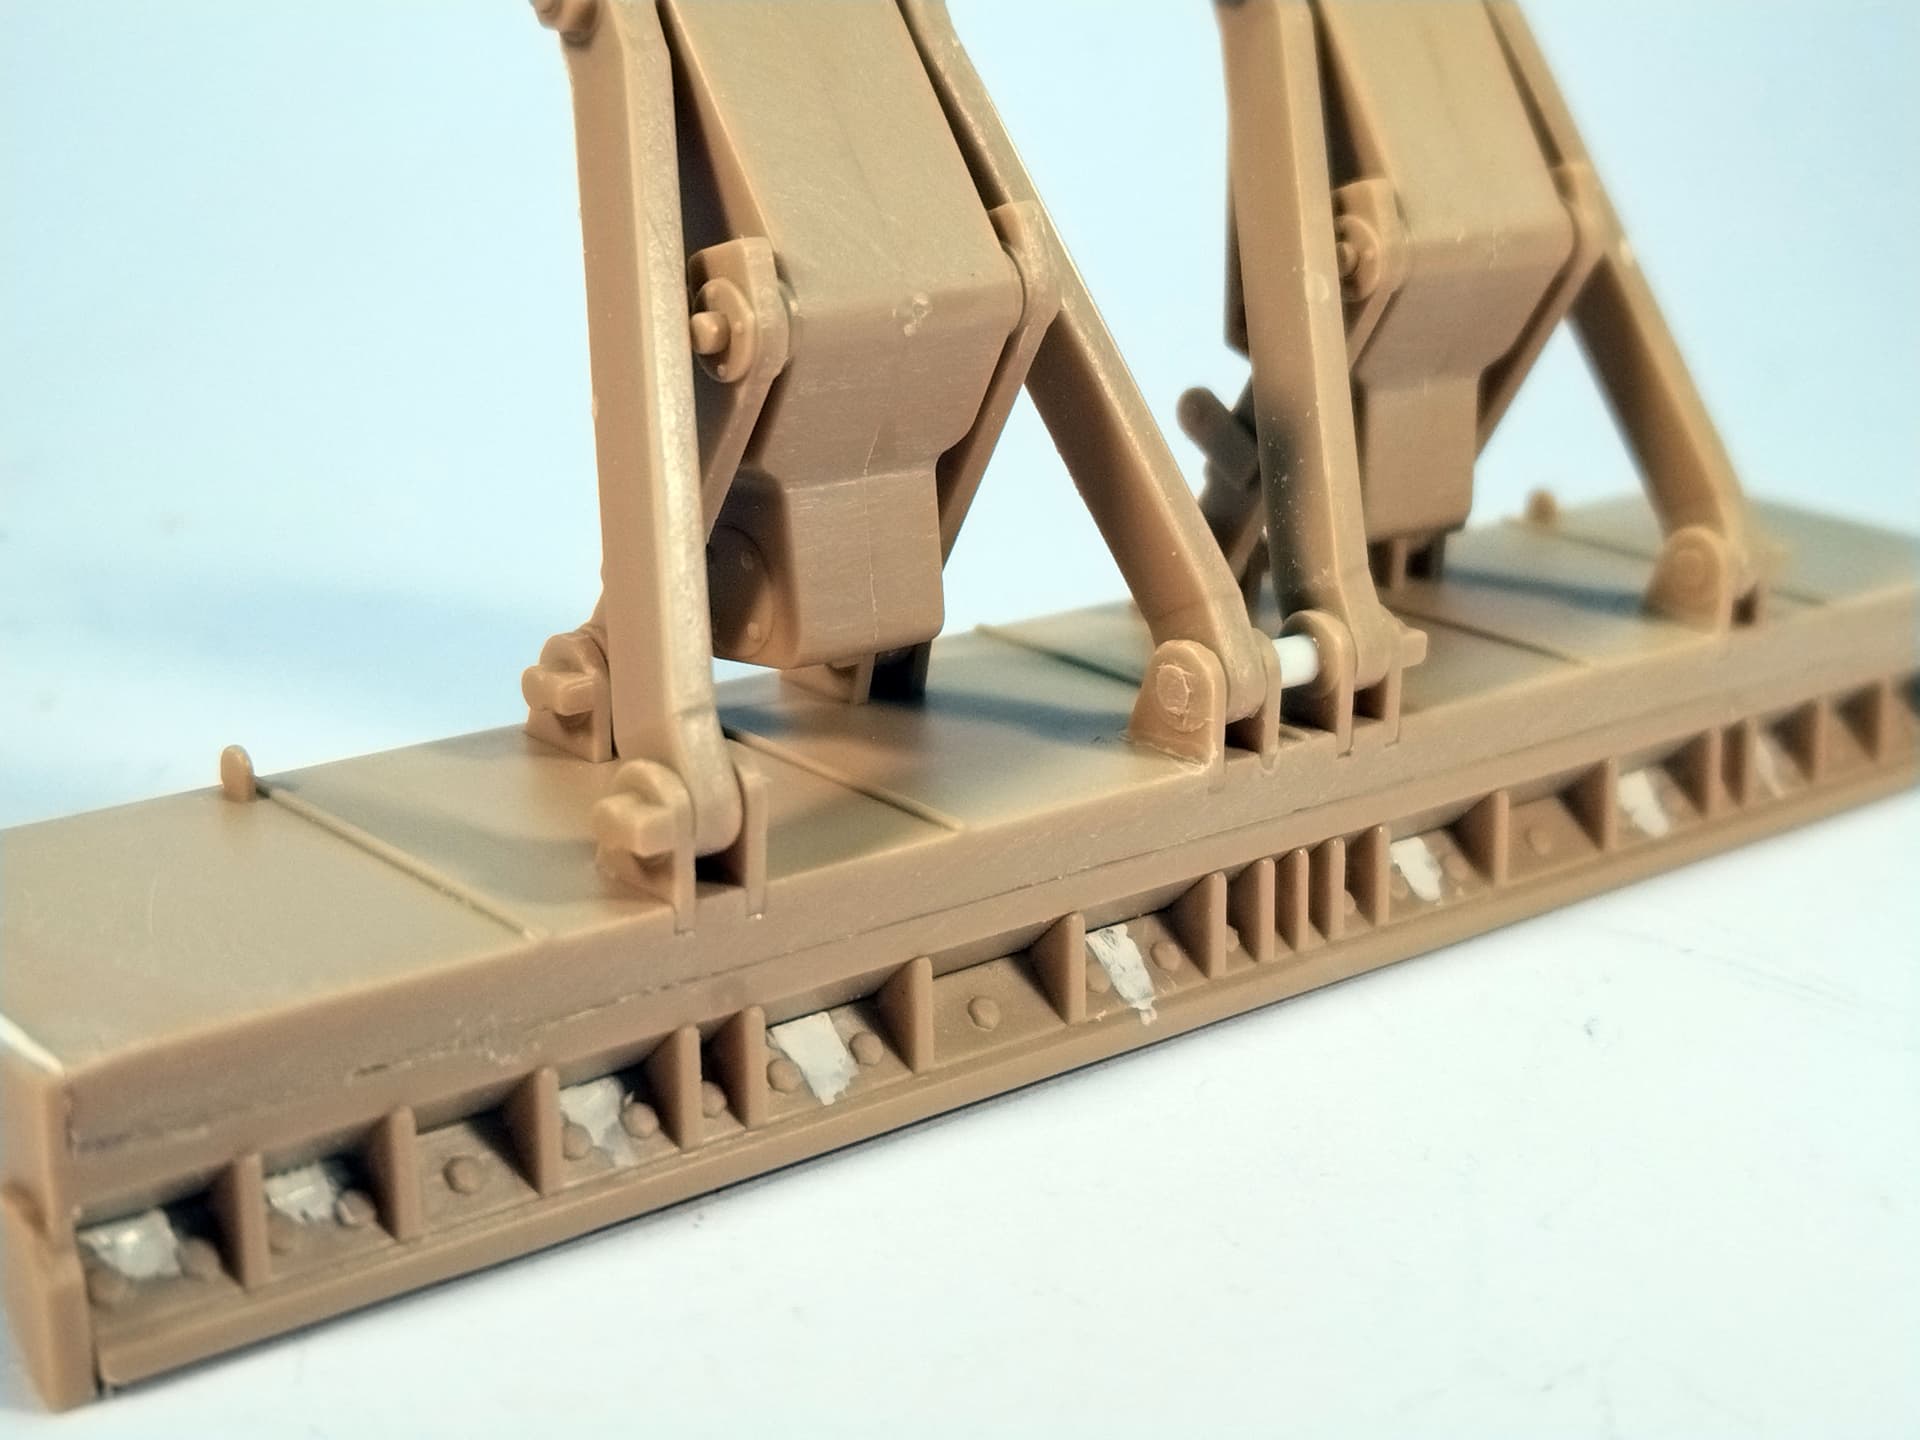
As Ossie mentioned it earlier the model I’m building had a tent frame on the engine deck. This is basically a U shaped frame with 2 articulated legs which rest on the mudguards when the frame is raised.
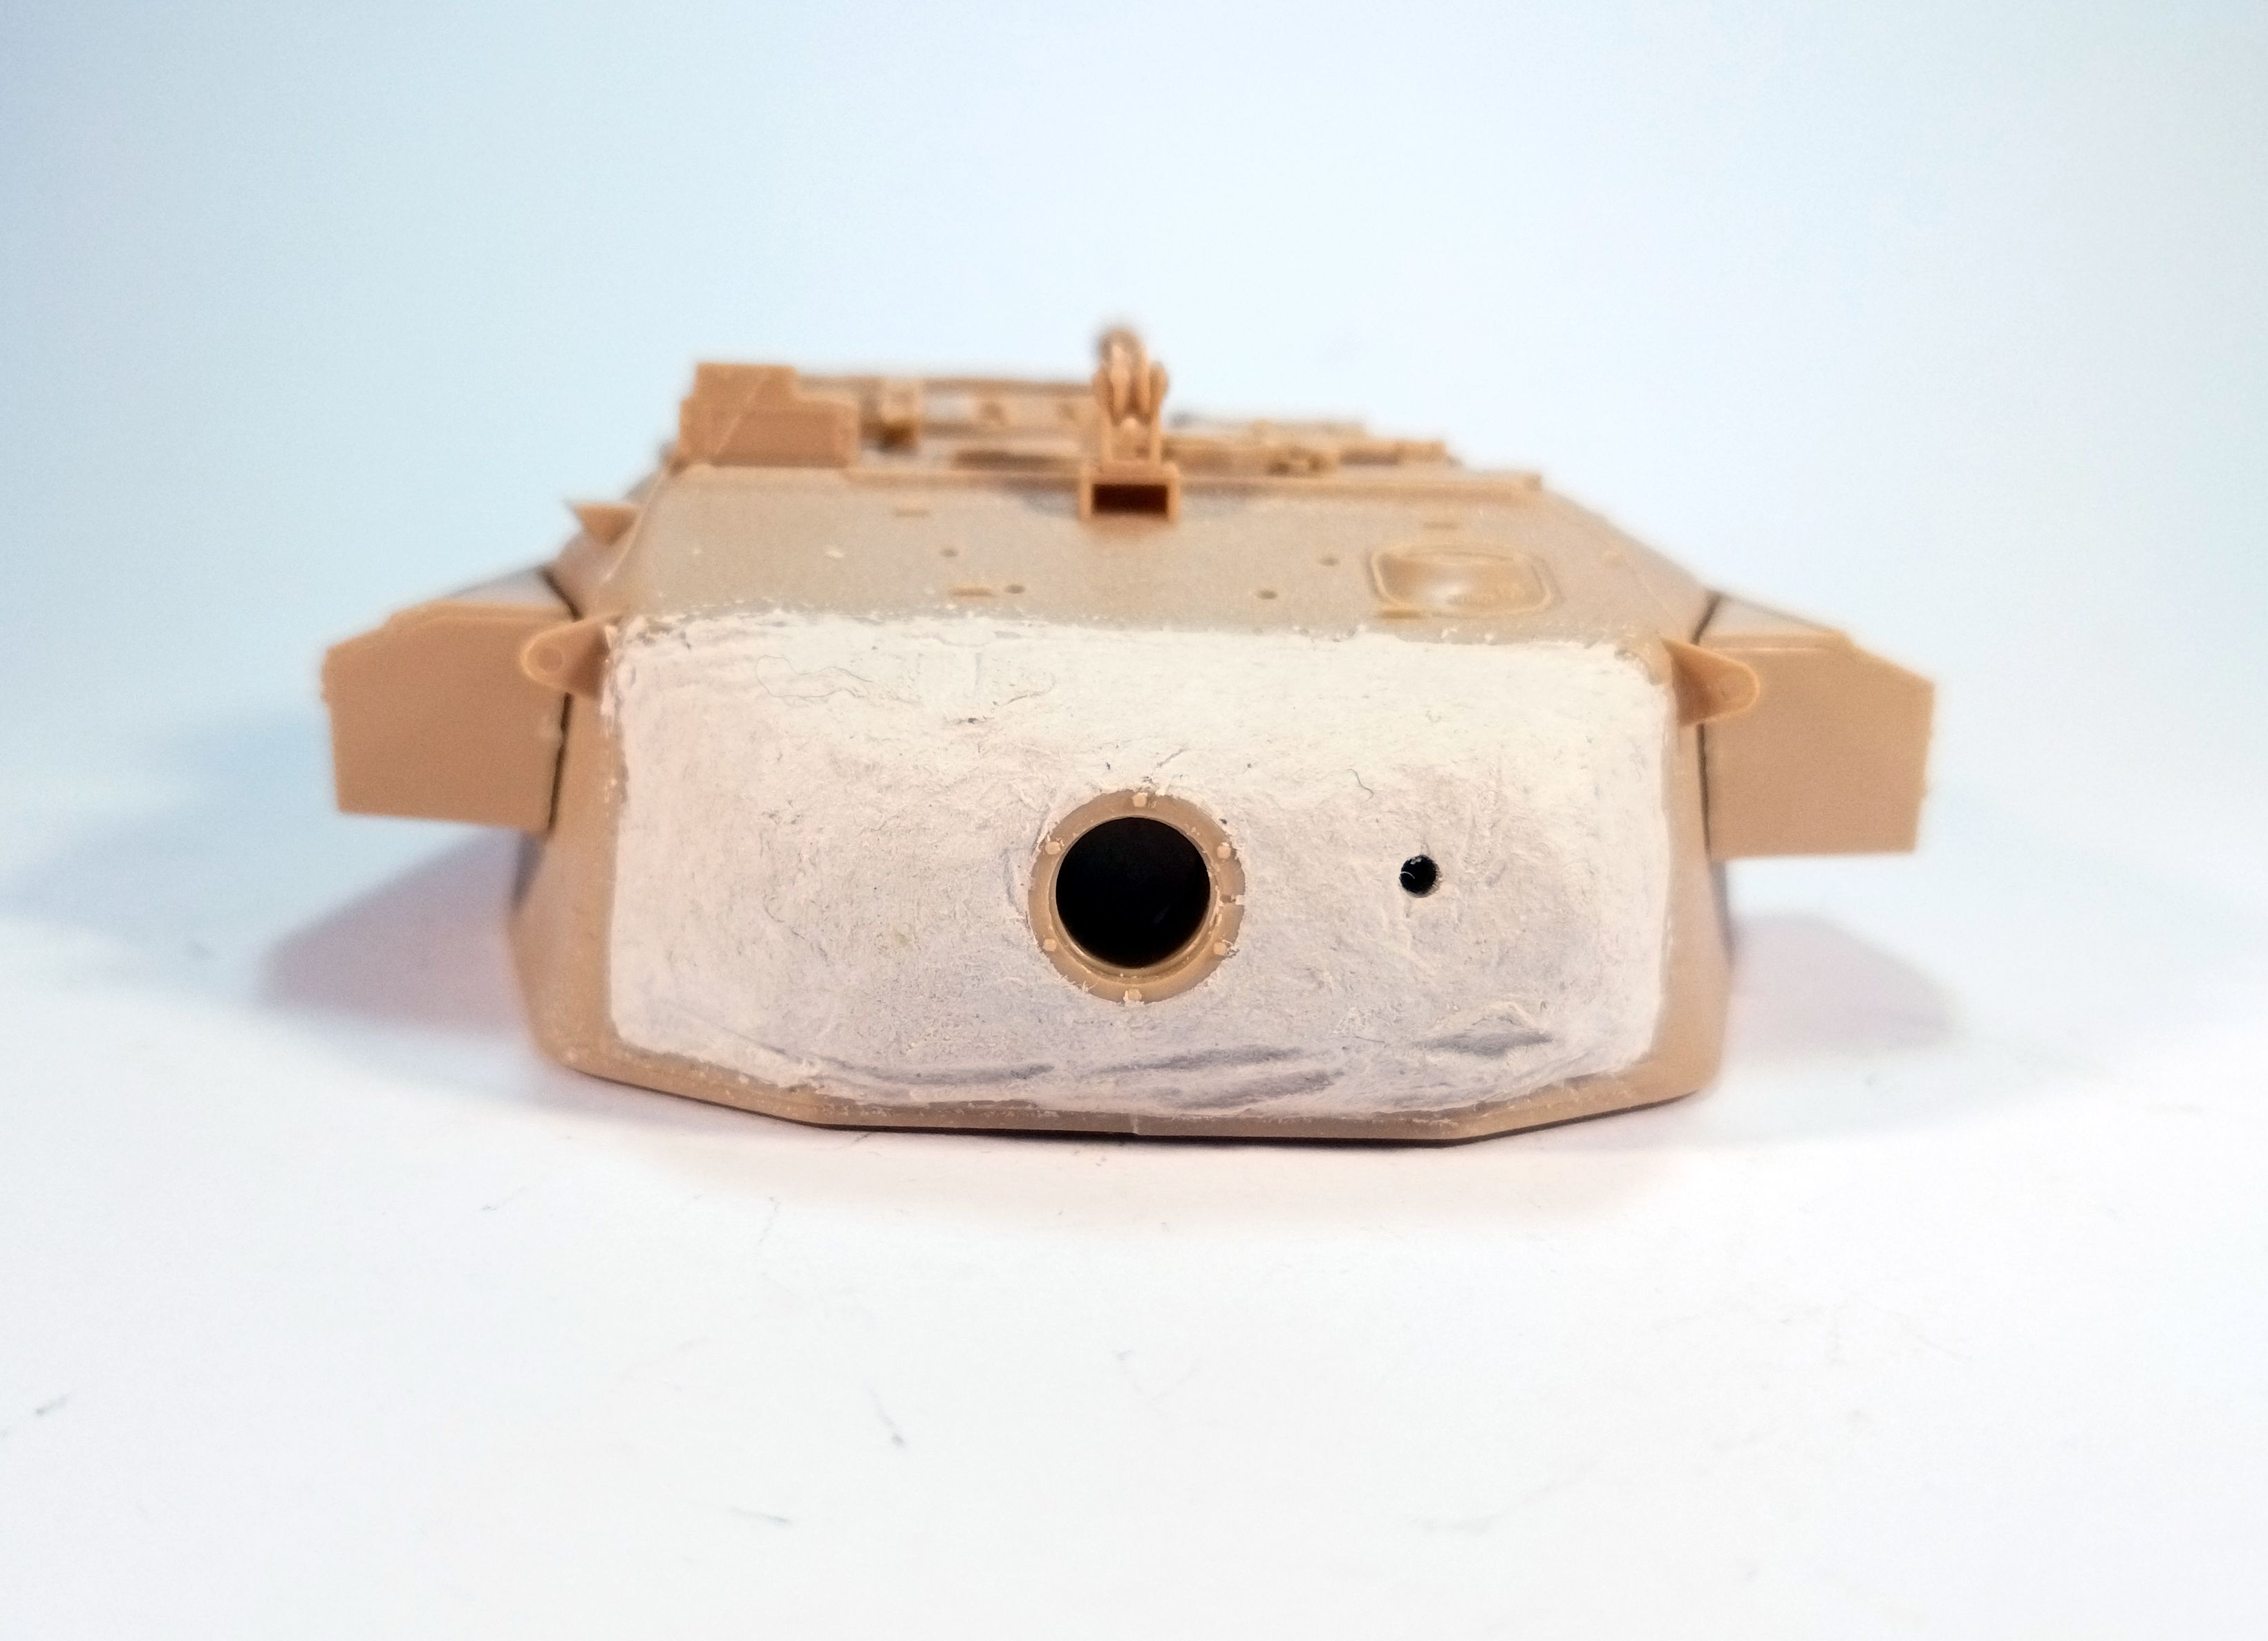
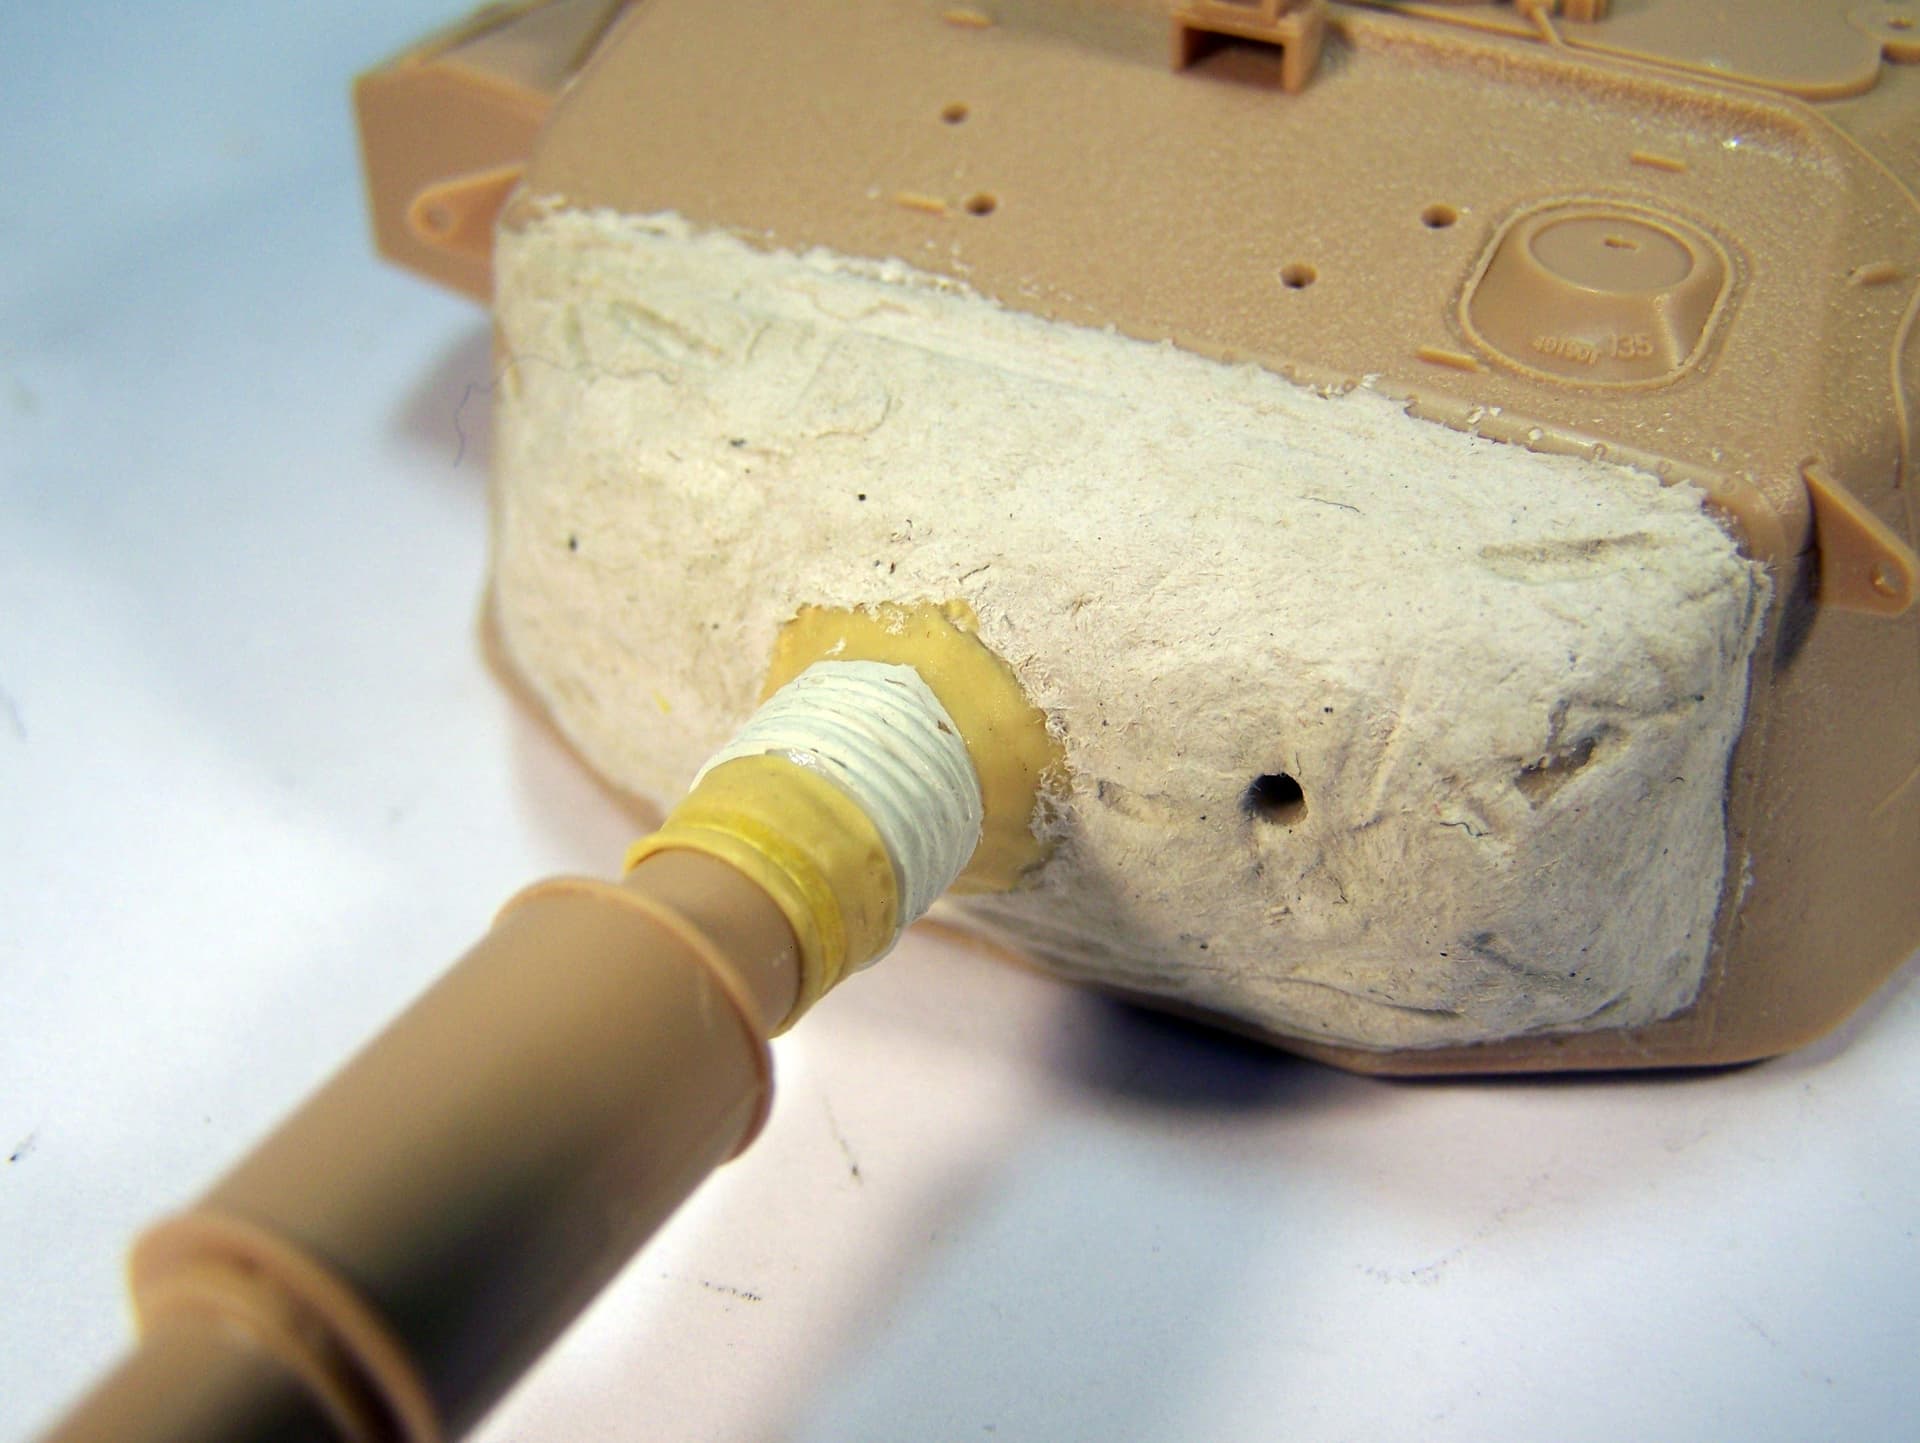
Even if the mantlet canvas is partly hidden under the add-on armor on the AVRE, I decided to make it from modeling paste (a kind of moistened paper). I tried to create some folds at the bottom. When it is fully dry I’ll carve some more.
I’m still trying to work out a solution to make the accordion like part at the base of the gun barrel.
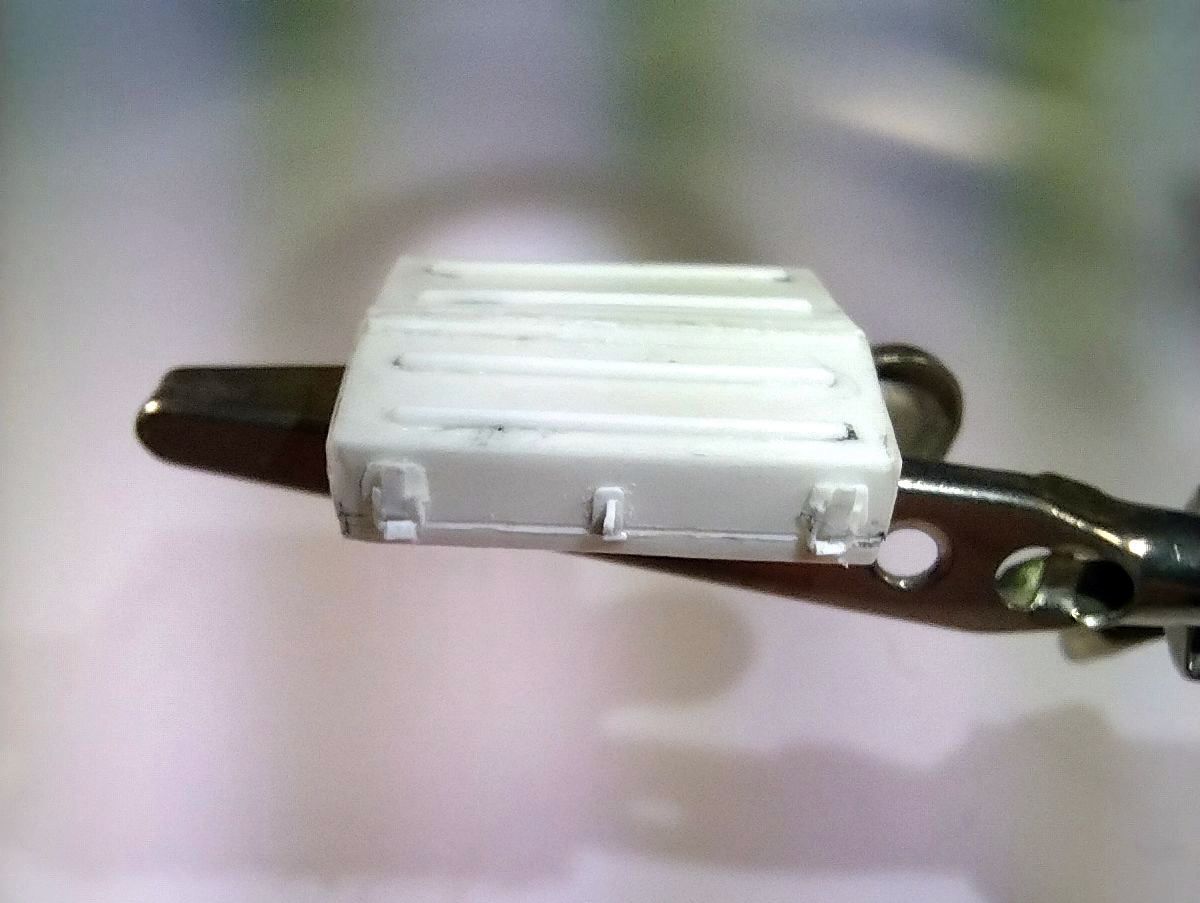
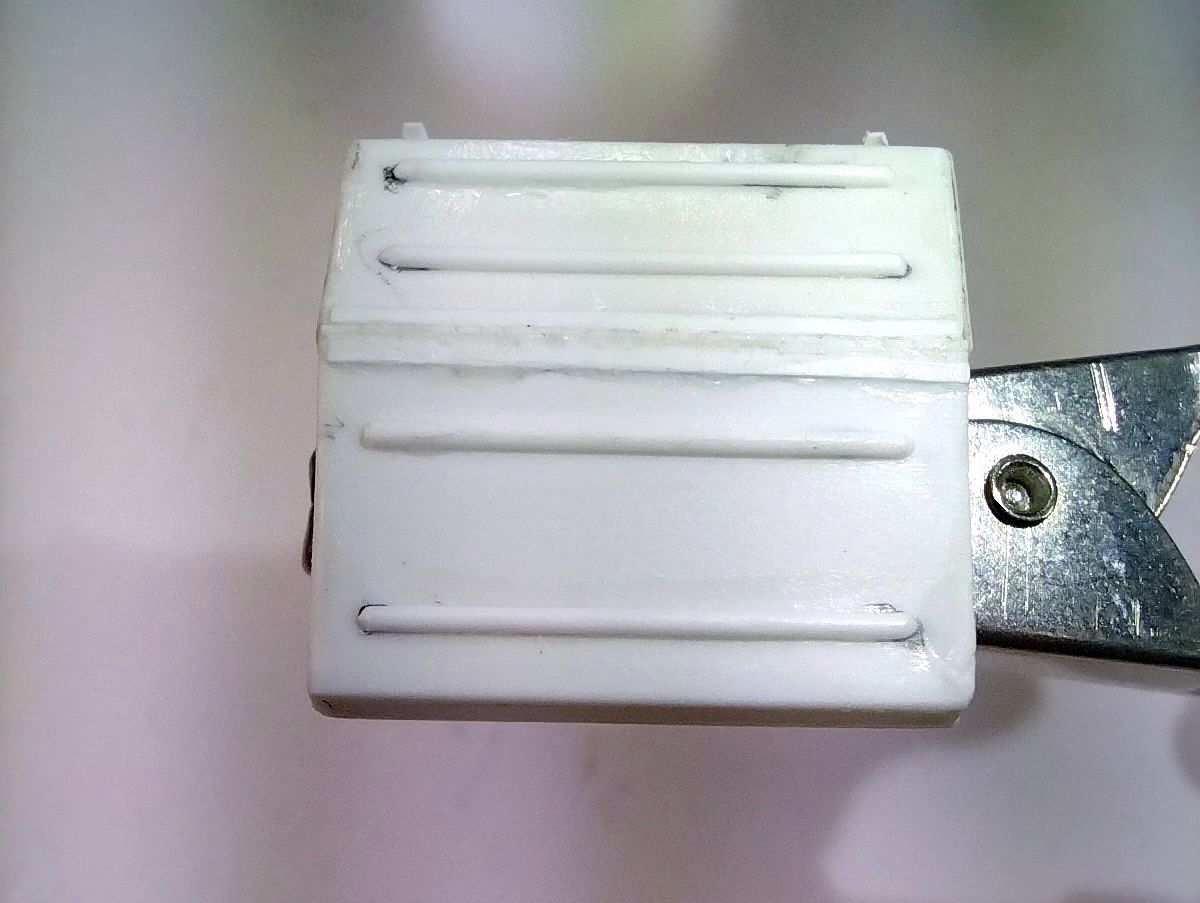
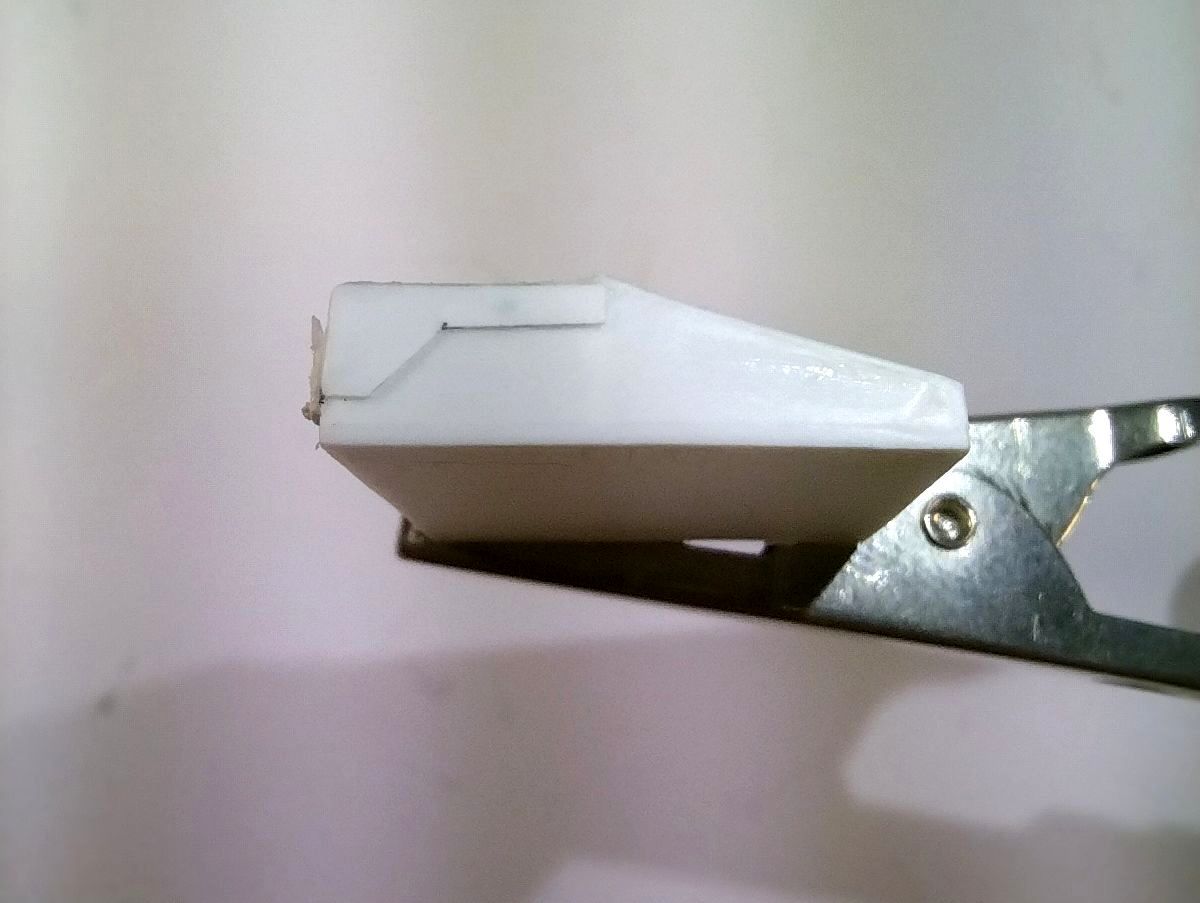
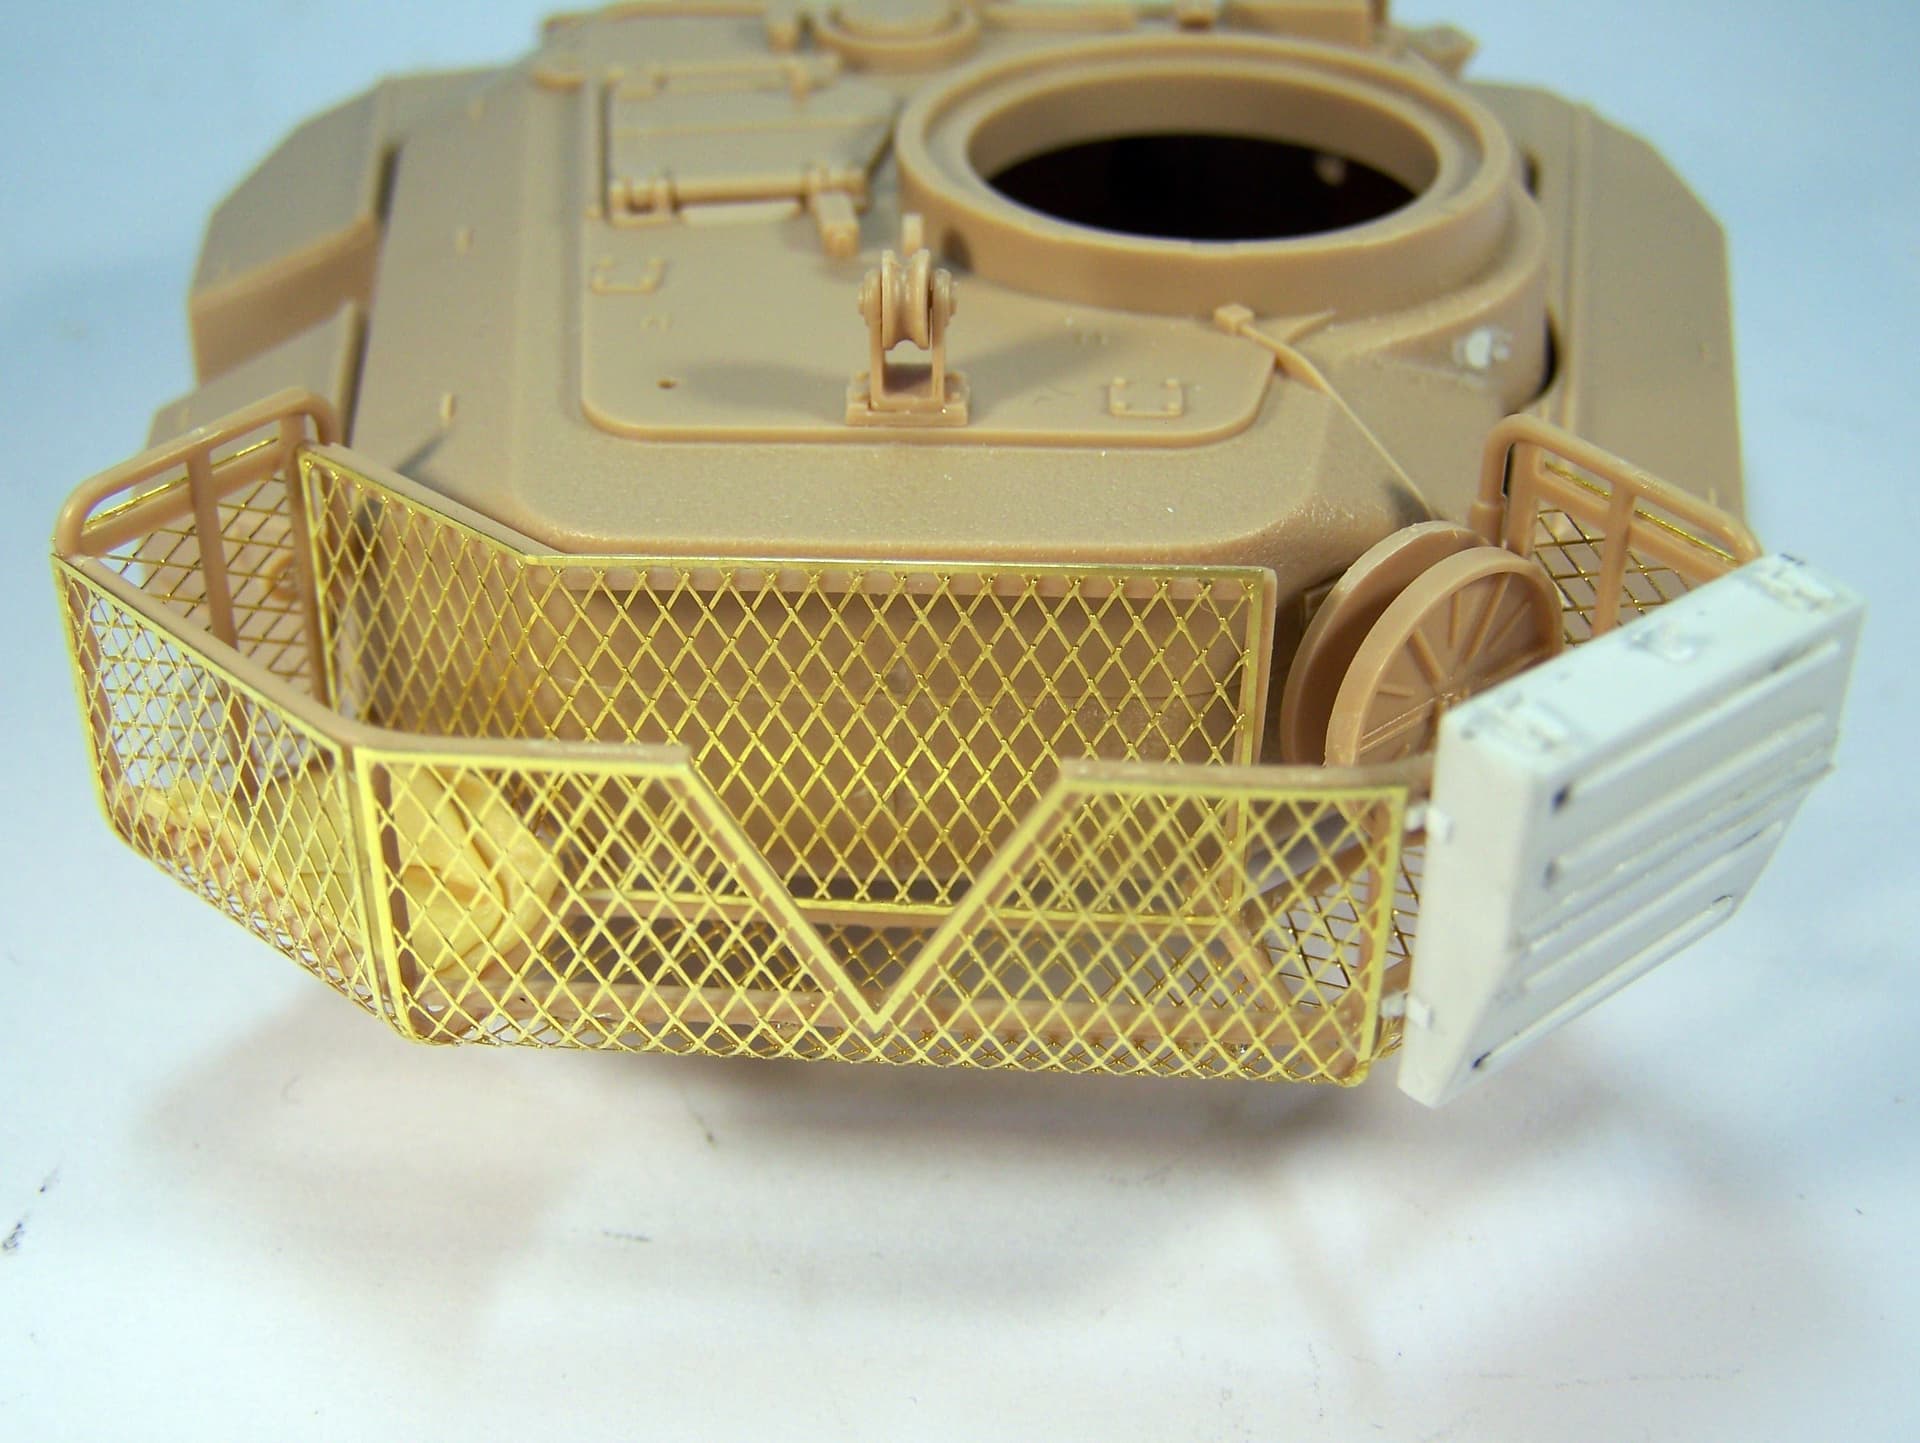
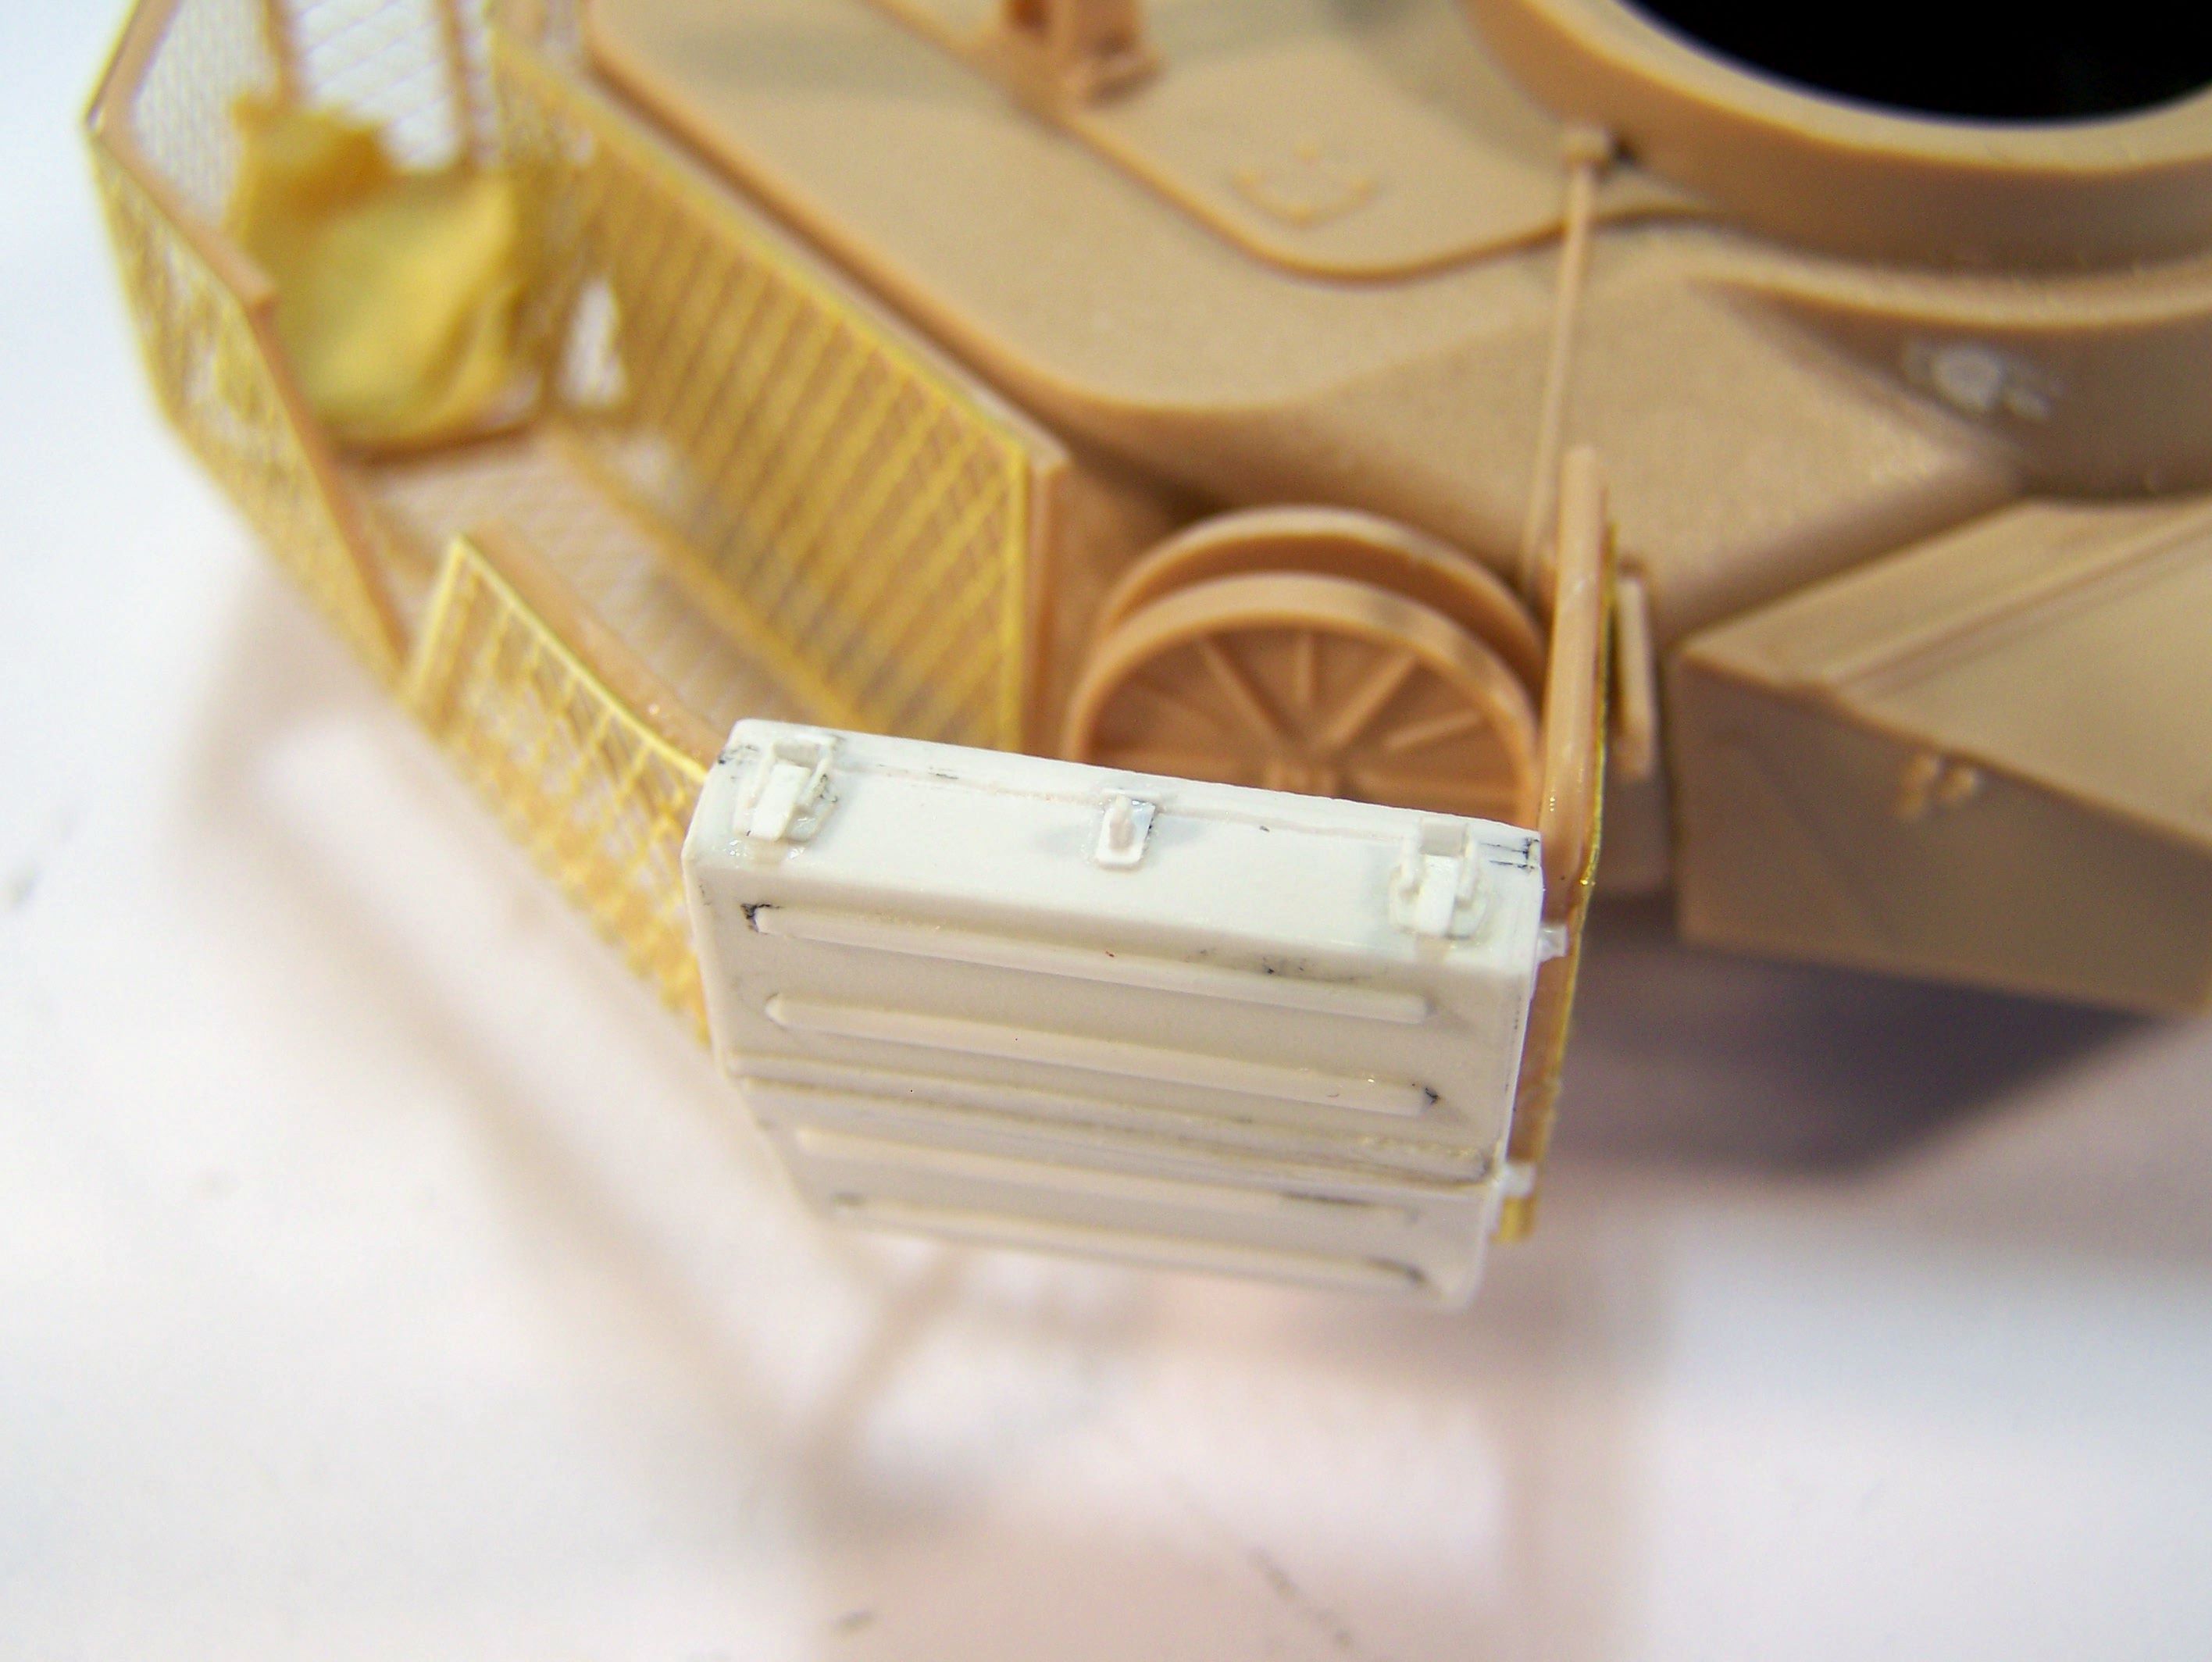
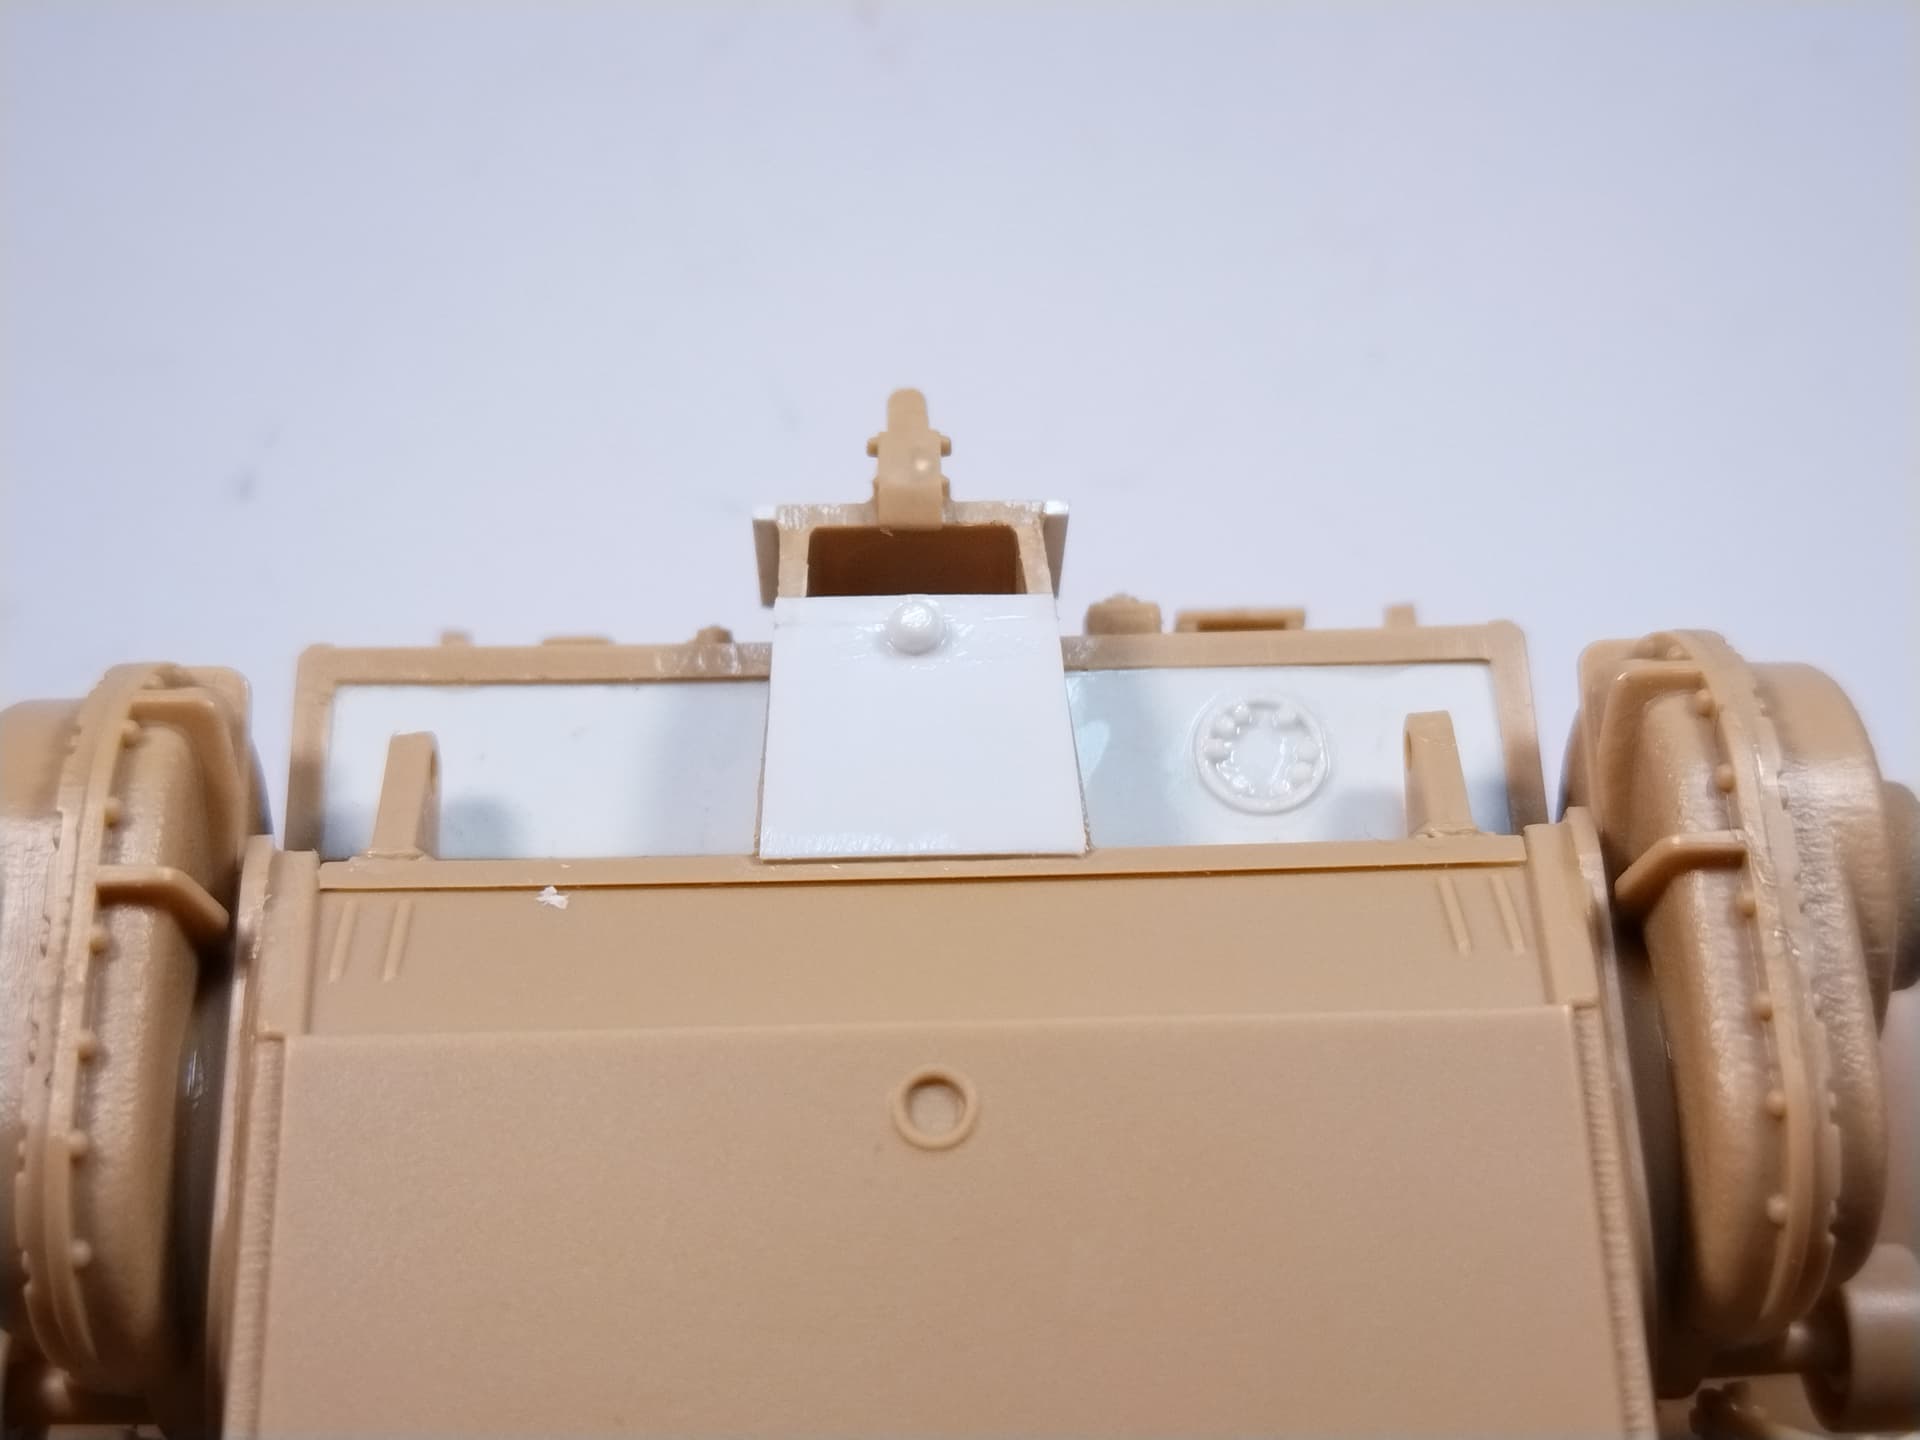
Today’s job was a real pain. I decided to build the windscreen stowage box.
Thanks to Ossie’s dimensions I managed to get something close to the actual box.
This thing measures 1.8 x1.7 cm and took me hours to finish.
Hi Olivier
If you have access to a tube wringer, you can put material/paper/foil through it, which will create pleats. Then just circle the material & glue or wire it together. Distance between troughs on mine is 4mm, so pleats are 2mm high.
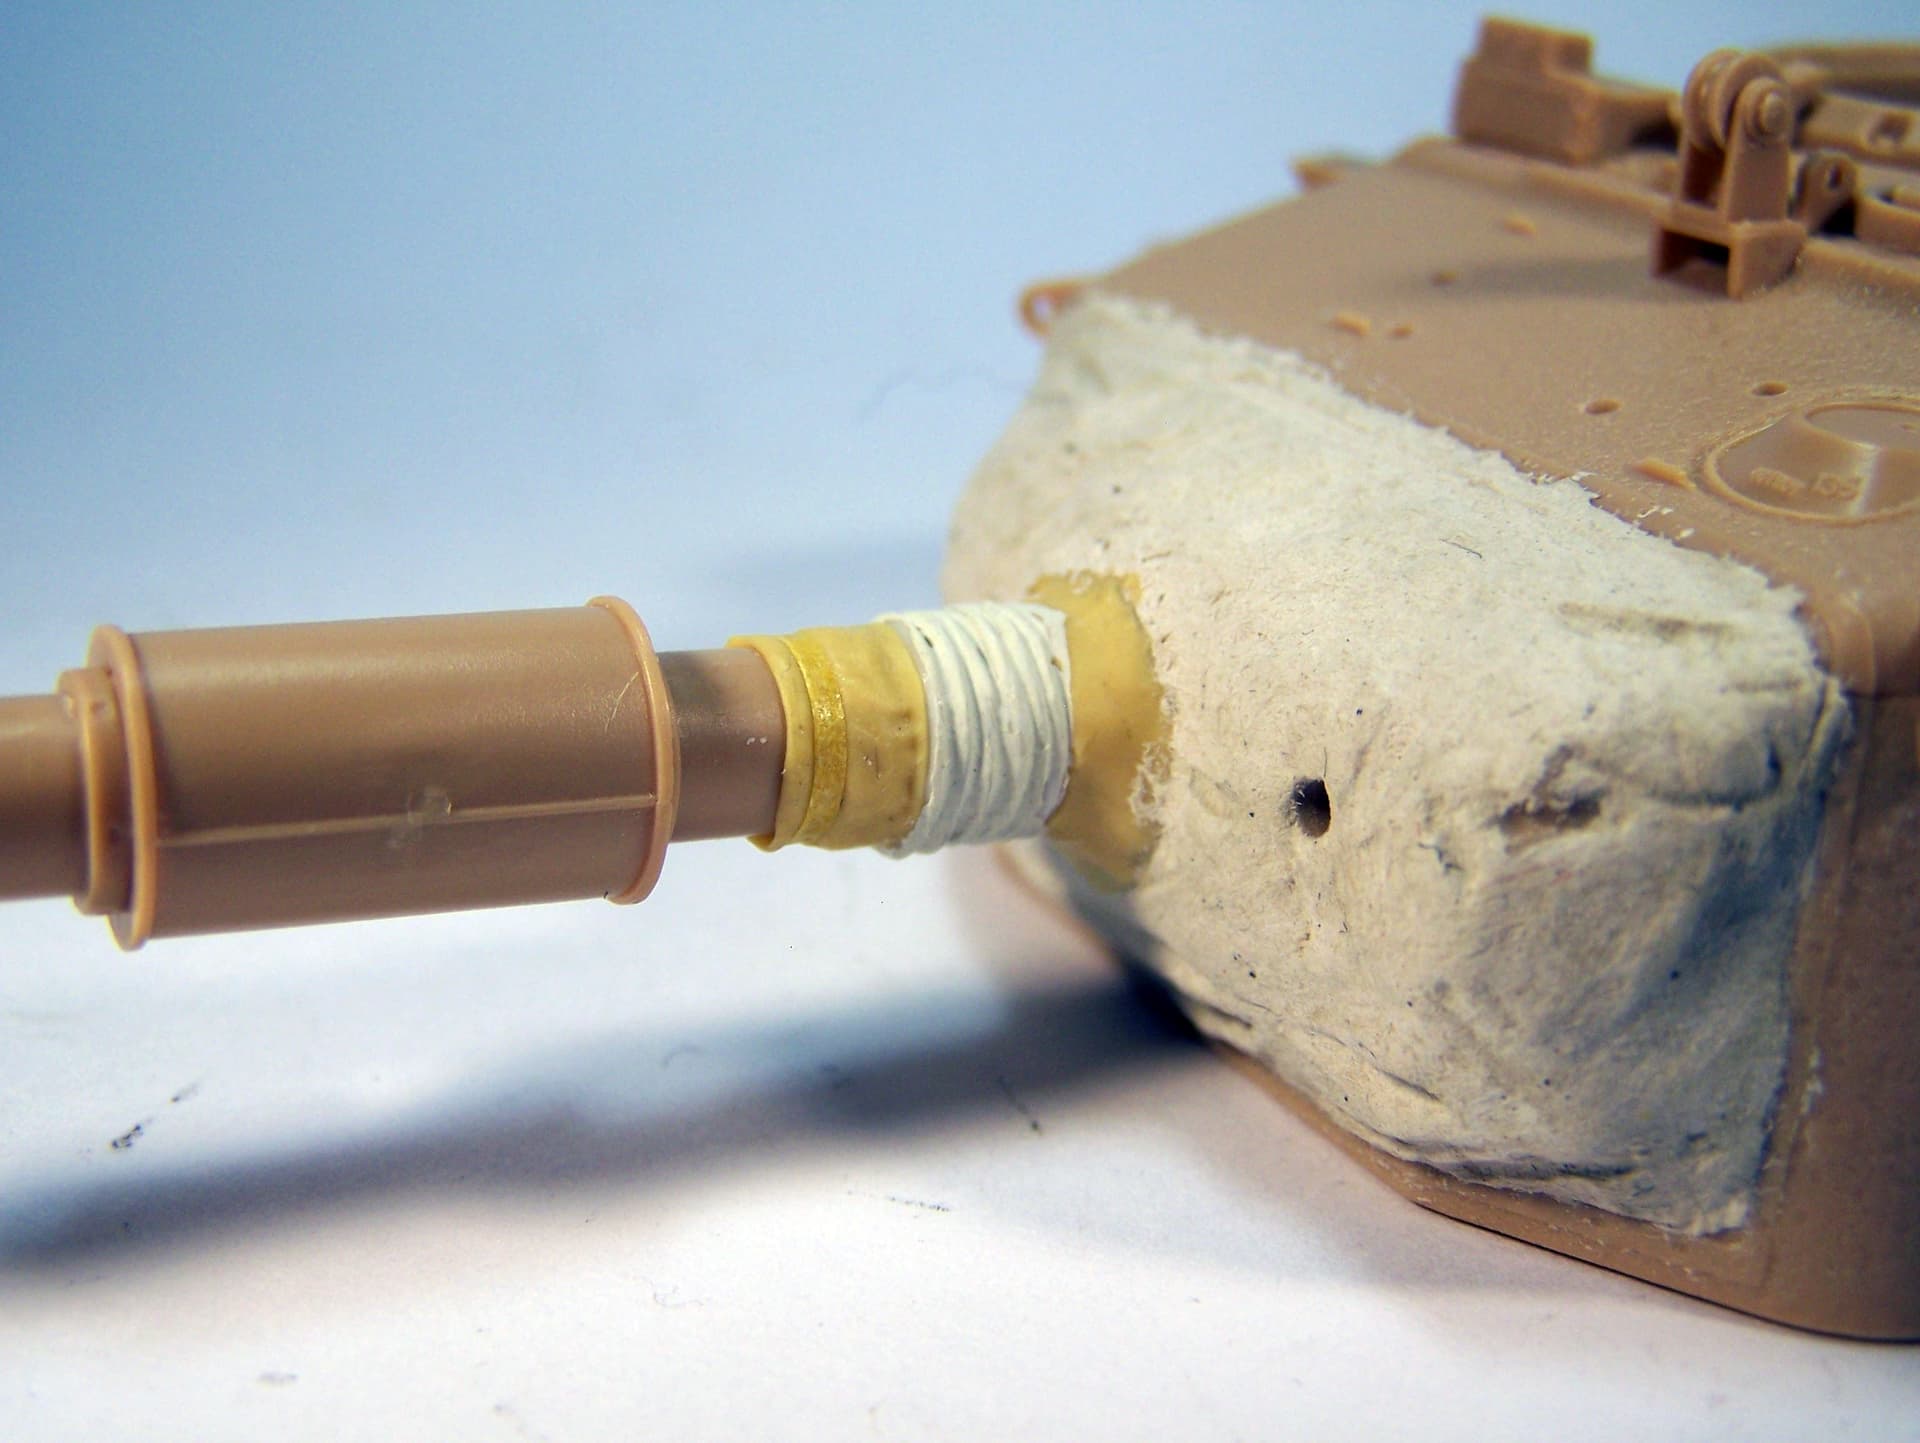
I finally made the canvas cover the old way. I cut 6 portions of Evergreen tube of which I beveled the edges. Their shape is voluntarily a bit irregular. Then I glued them on the barrel. To make the front end and the junction with the mantlet I used some Tamiya epoxy putty.
I think I’m not too far from a good result.
I also moved forward the pulley at the rear of the turret roof.
The last thing I need to do is modify the aerials bases so they look like Clansman ones. The ones in the kit are the older type.
Hi Olivier
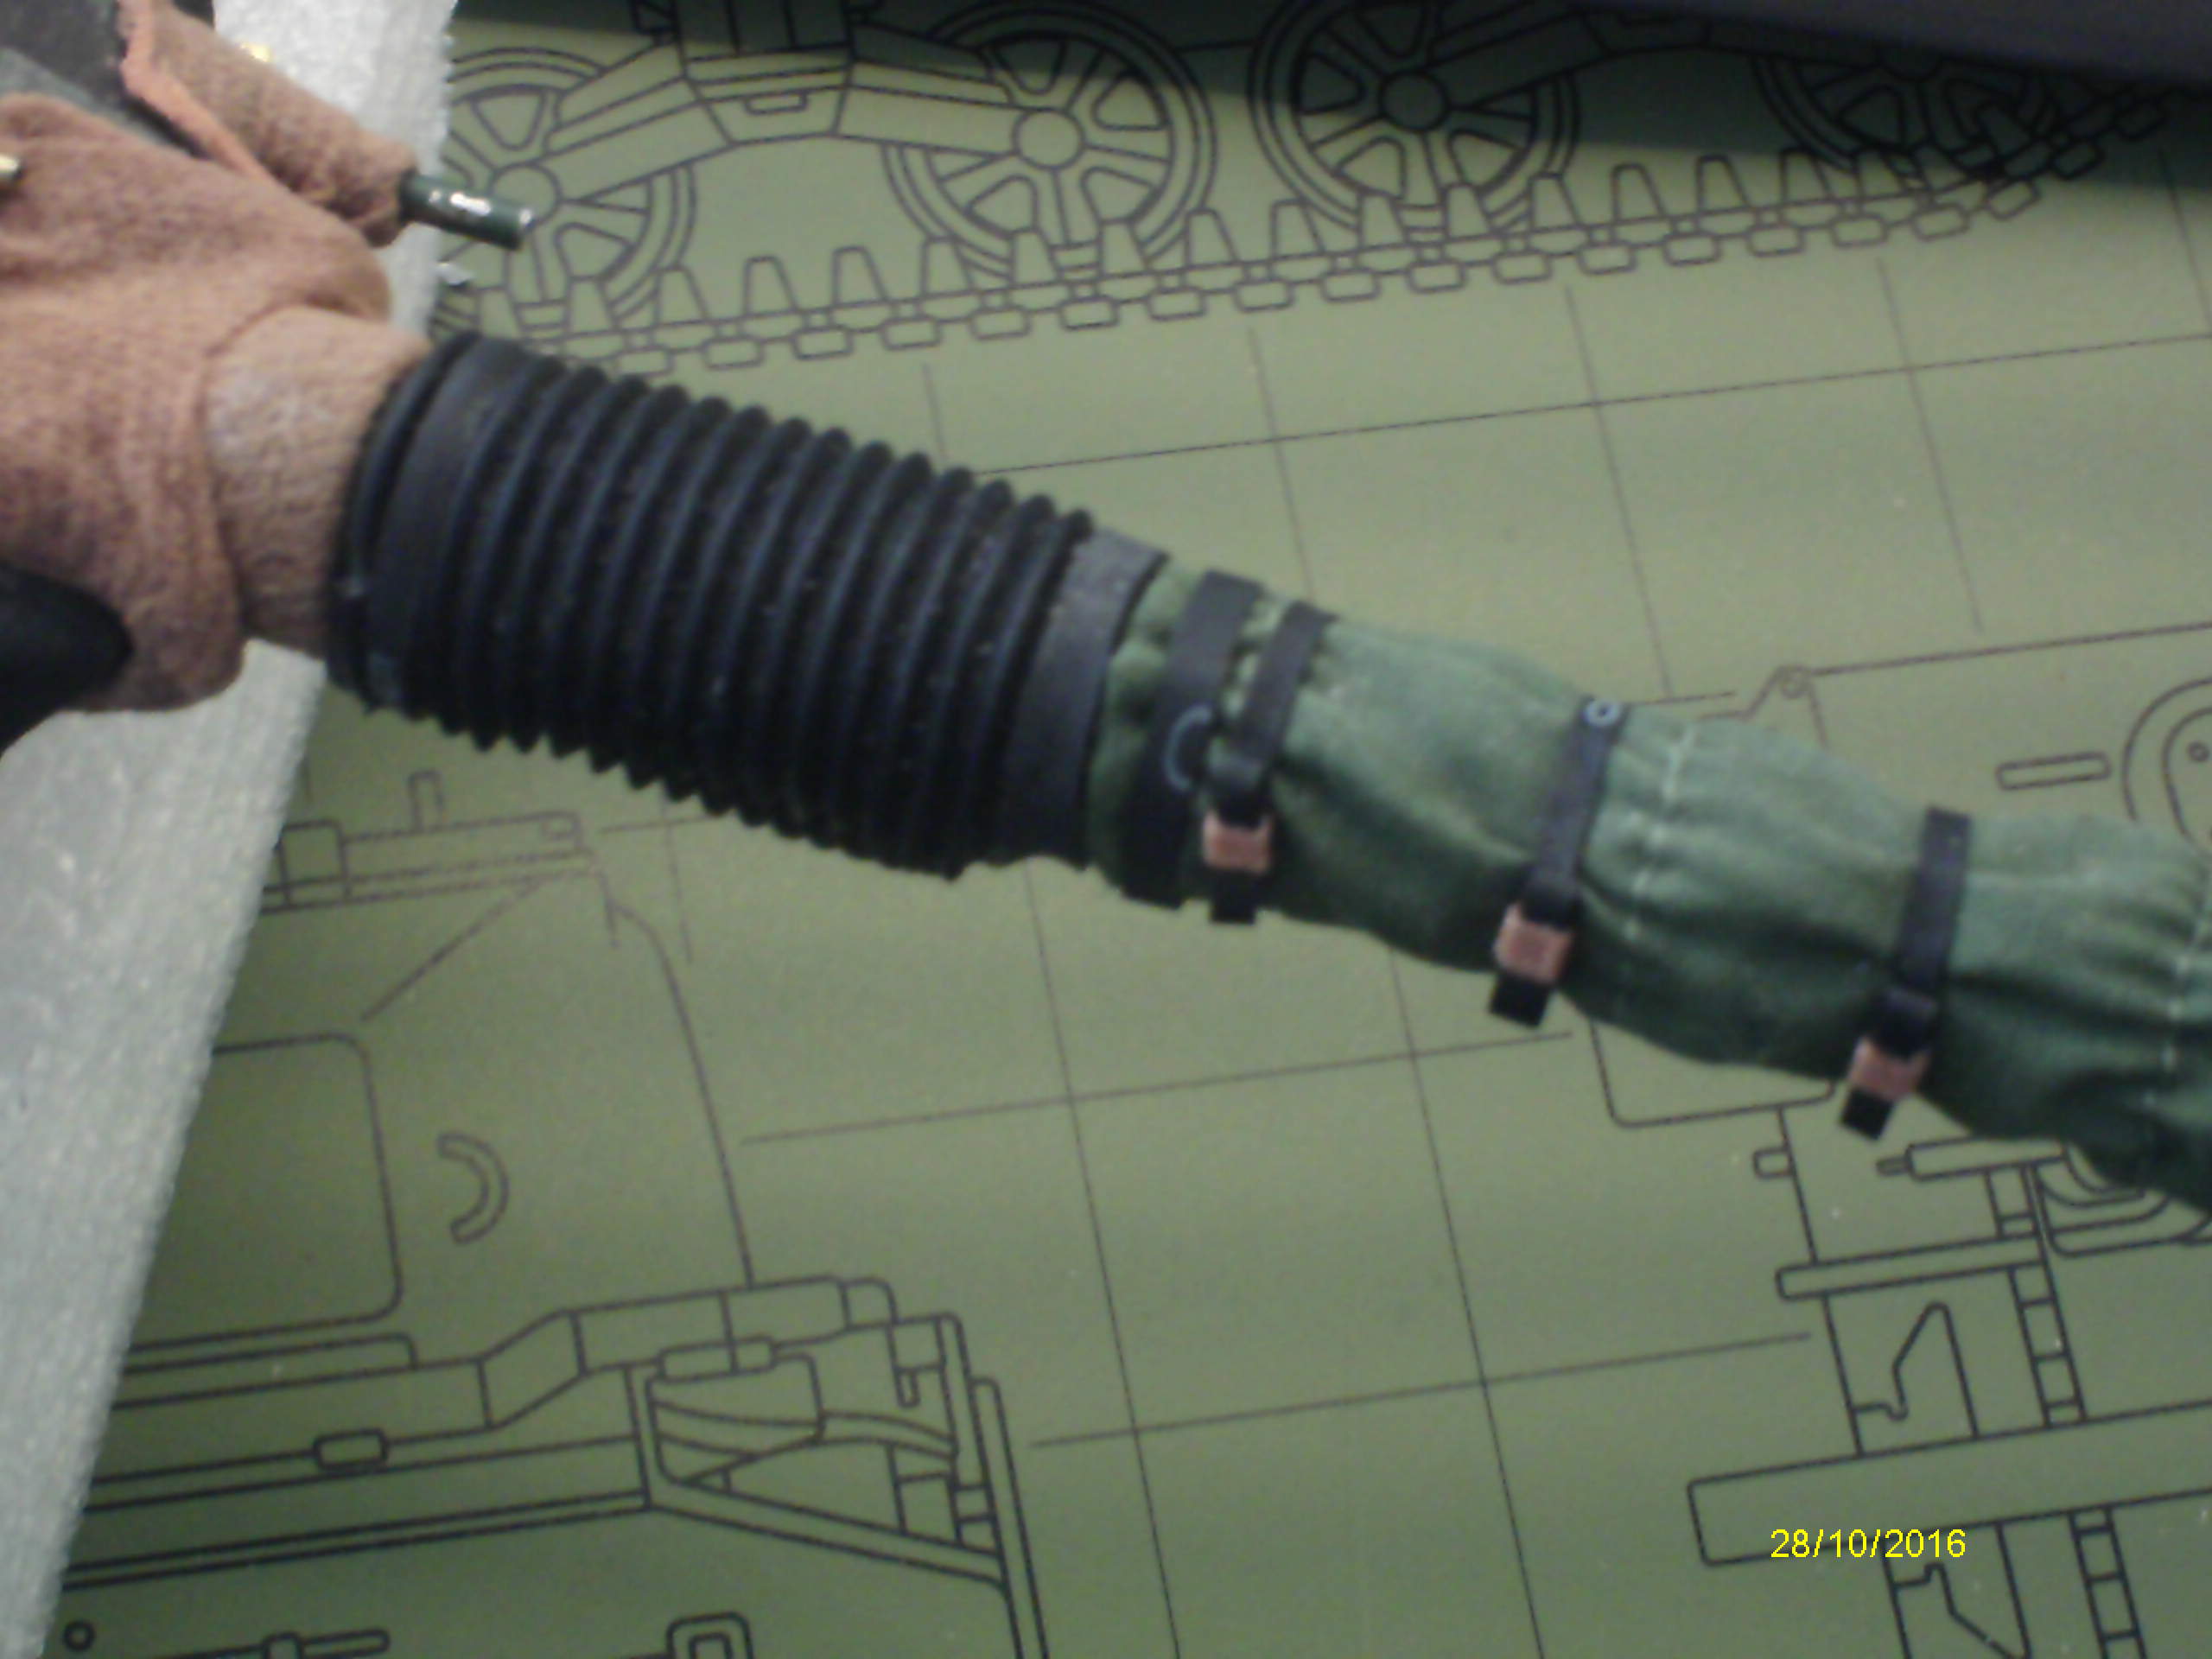
Cool, hadn’t actually seen that done before. Another option is to get a rubber shock boot (bellows/concertina) - this one was 16mm diameter, though I needed a 16mm radius, so cut two in half lengthways & wired them together.


 and much of it very small but neatly done … Great build so far