They look fine Olivier. Ideally, the discharge nozzles should face inwards to the bracket, however, they can and did get positioned at every angle. Safe way and taught - towards the bracket 
1 Like
Thank you Johnny. I guess I haven’t been clear enough. I wanted to know if the extinguisher was installed upside down i.e the bottom at the top like the Israelis did.
Olivier
1 Like
Sorry Olivier, Now I understand. not your fault at all.
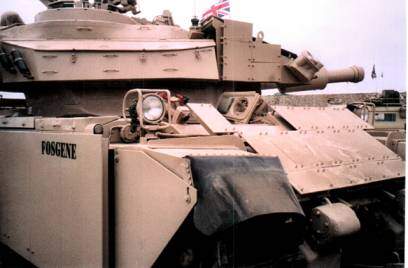
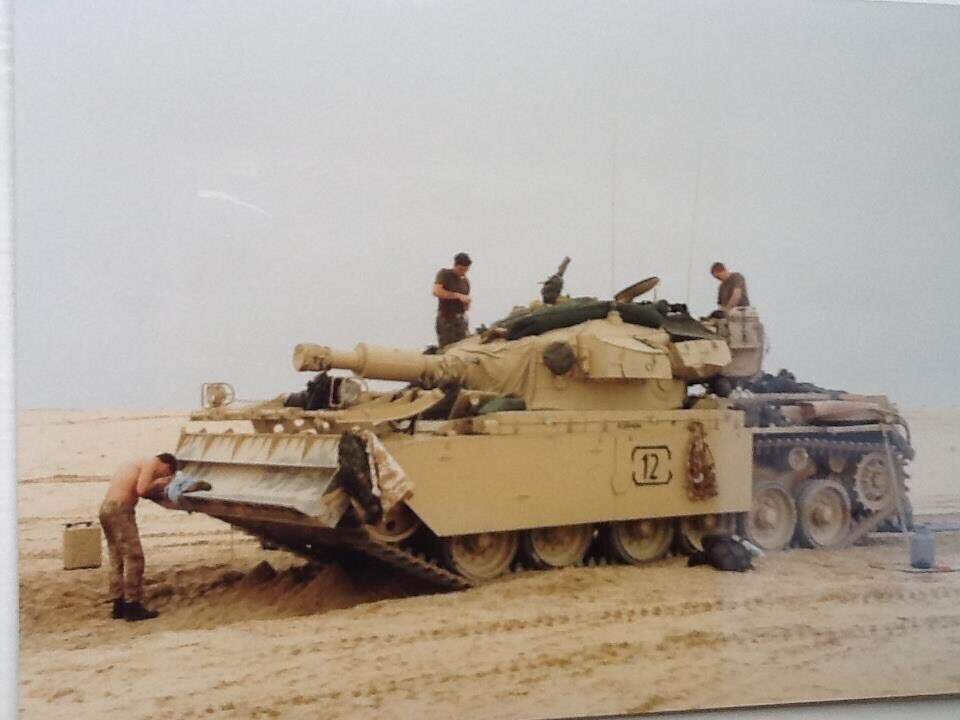
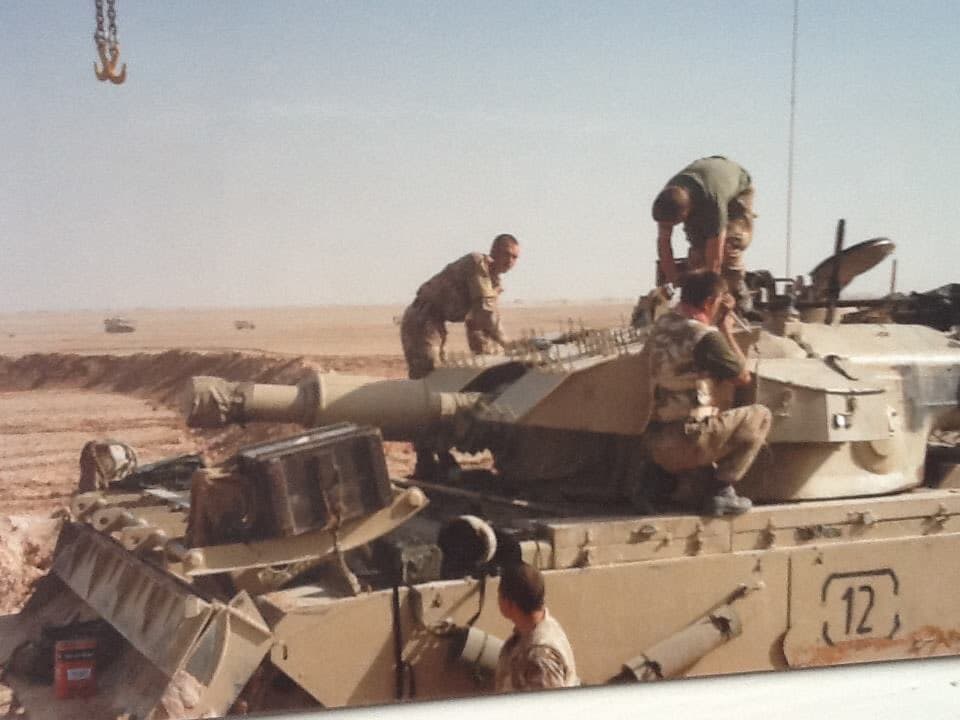
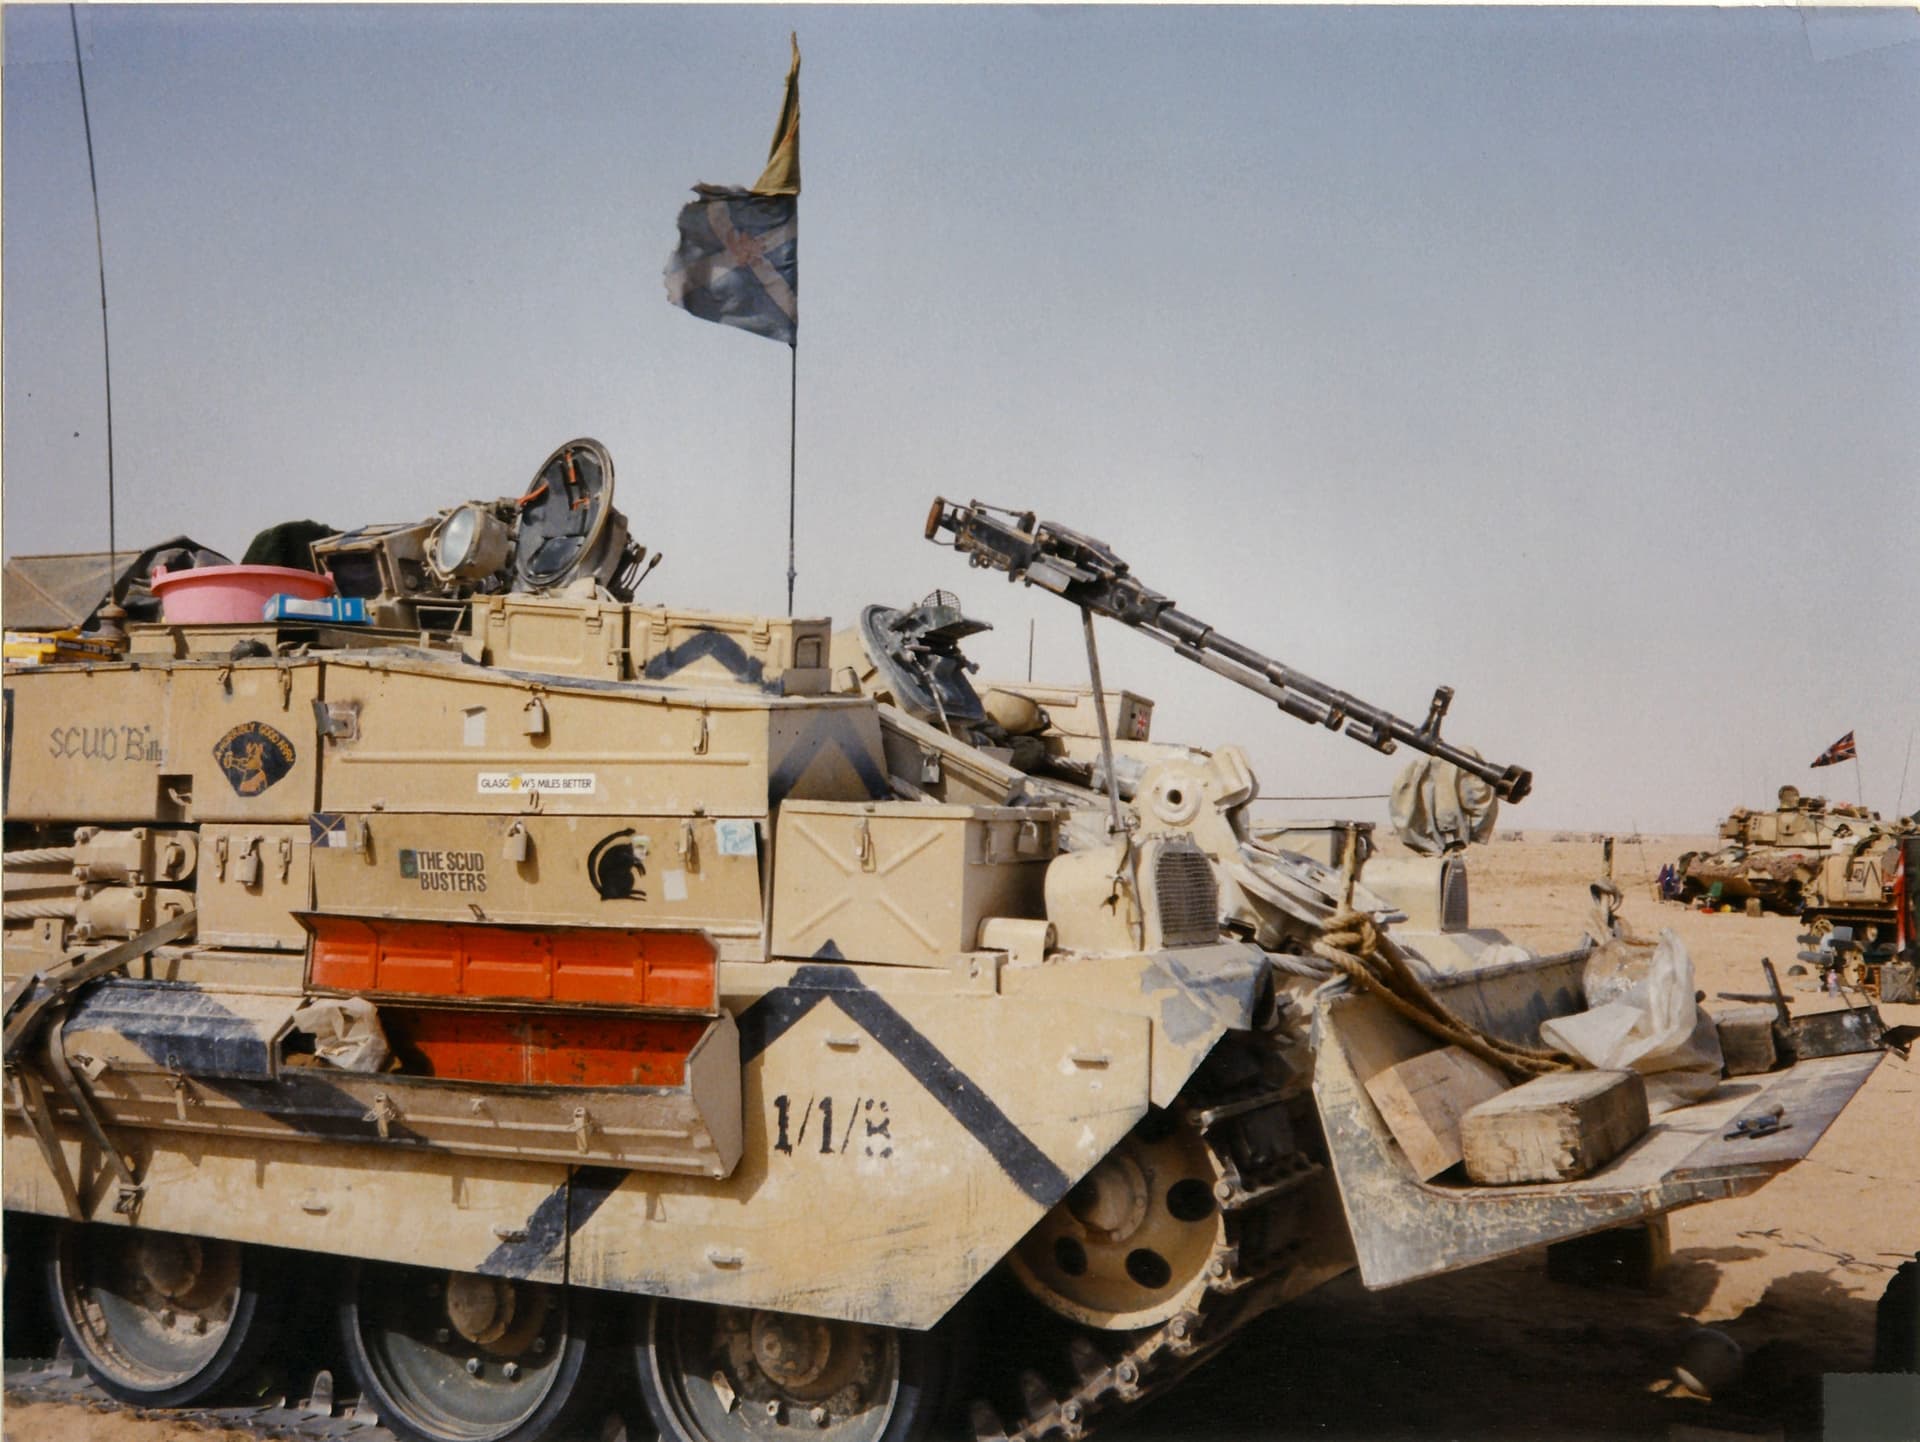
On these 2 images - same vehicle each time - (from online and for reference only ) you can see both are upside down. Although this is a private veh in a collection, everything else looks original and placed correctly so I dont see why they would of changed the extinguishers or the brackets, so I would say you are good with doing the same. I know its not the wagon you are doing, but I think you will be safe ok.
John
Edit, disregard the first image Olivier, that is as big as I could get it and I cannot enlarge it from that size. the single BCF is on the front of the LH turret bin and is also upside down ok

1 Like
Hi!
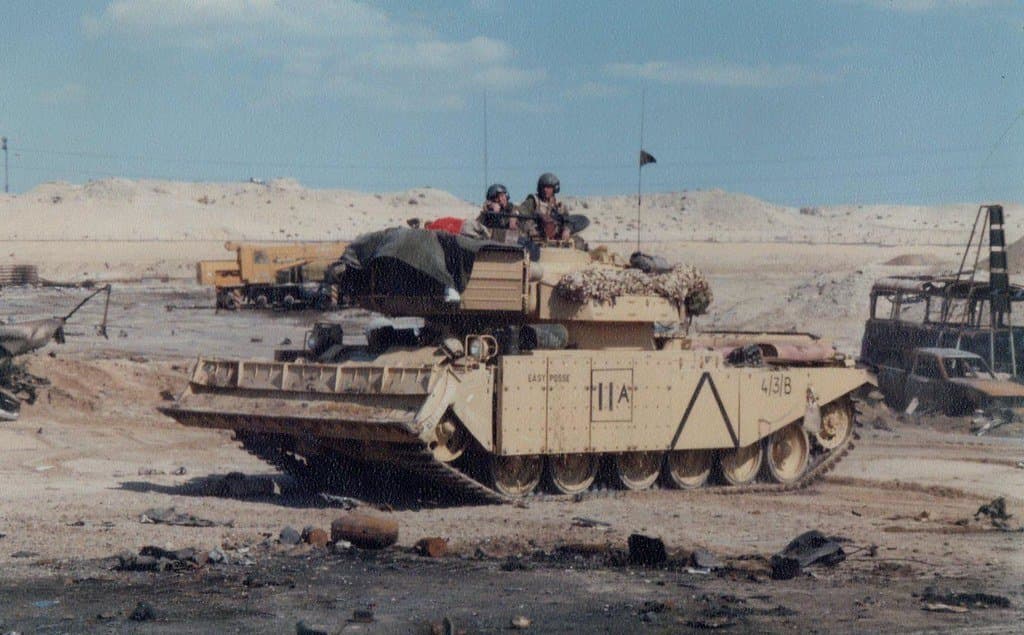
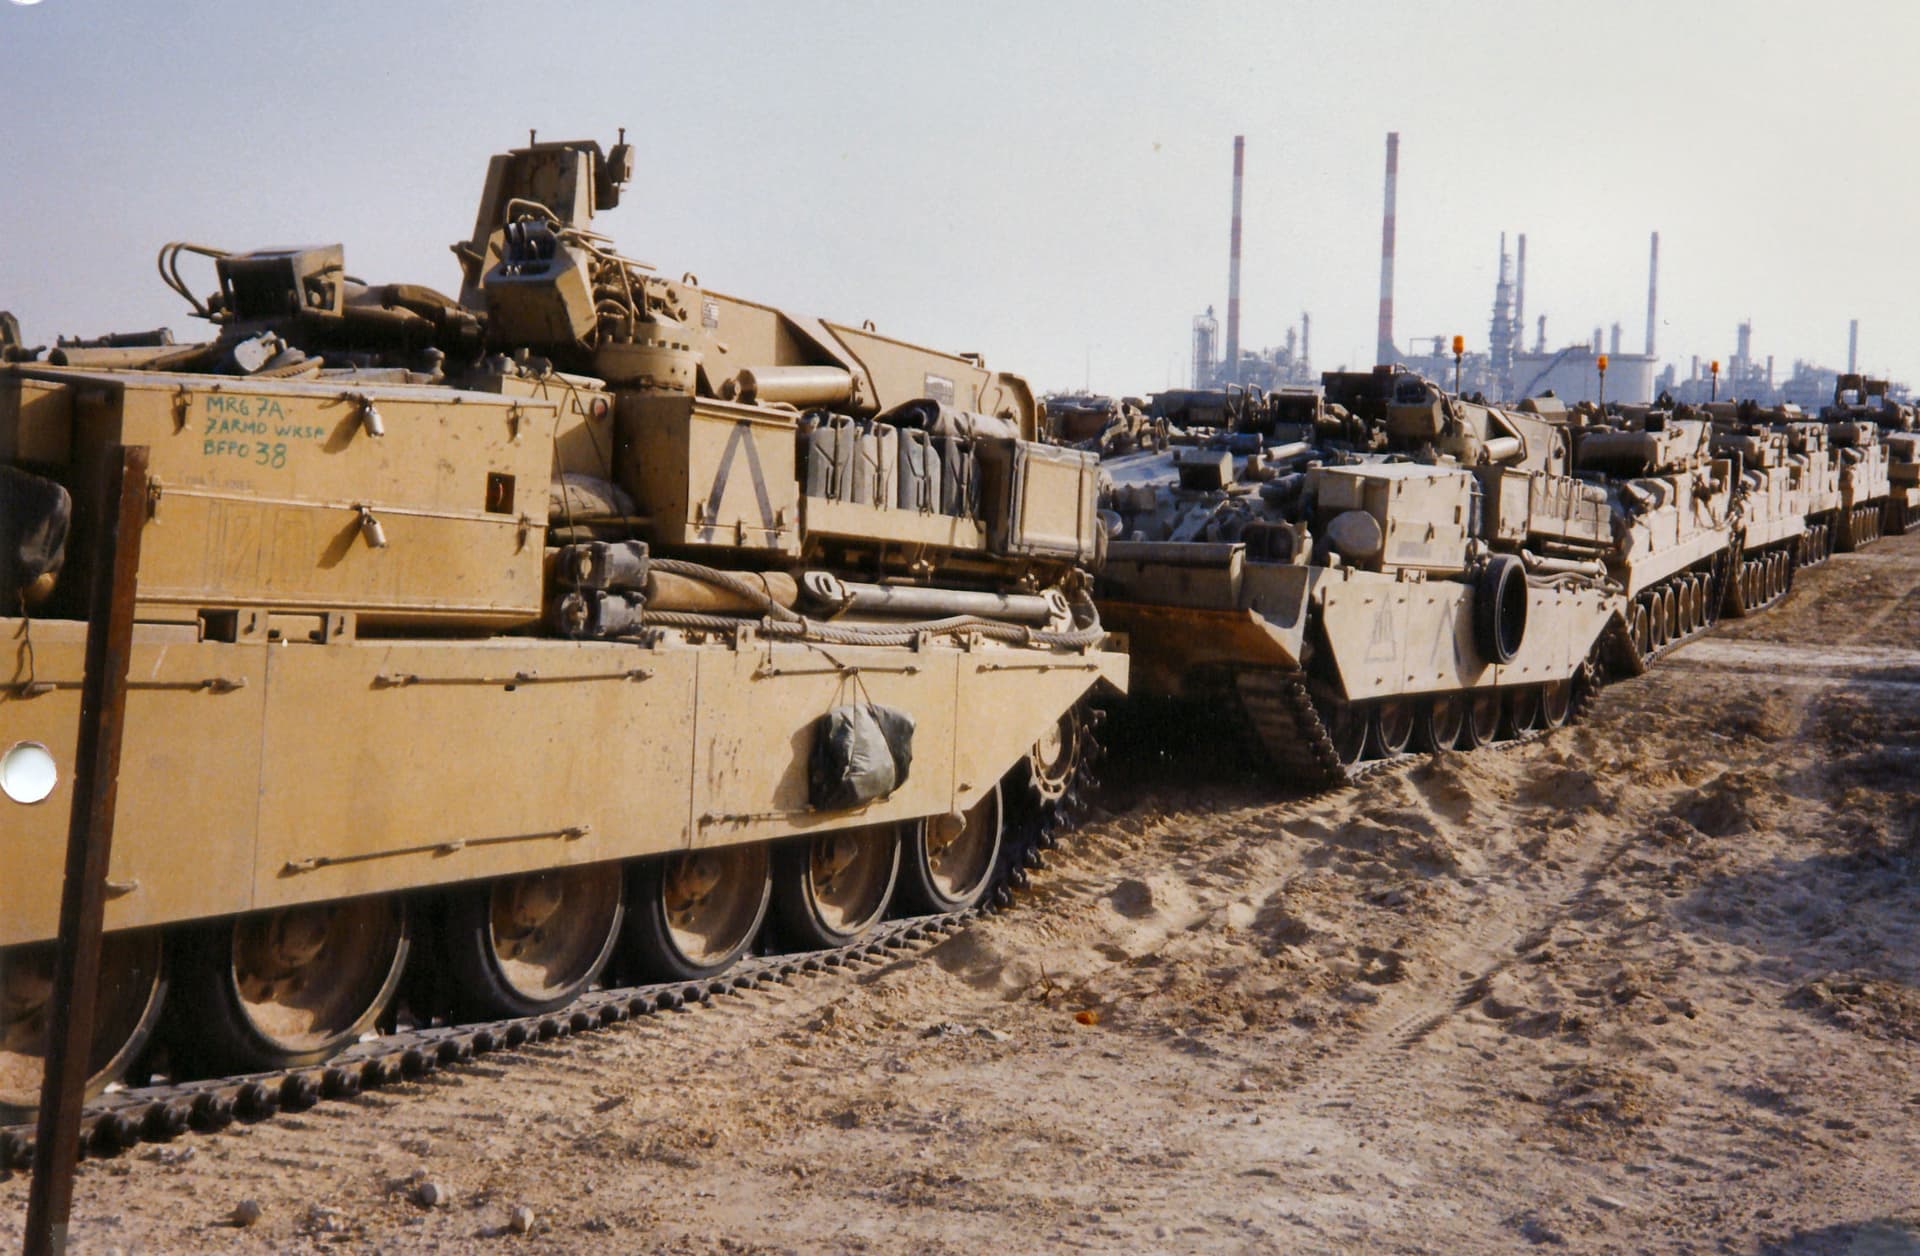
I looked through a couple of pictures that I took from BAOR 165mm AVREs from the late 80s and they all had the fire extinguishers upside down.
Andreas
2 Likes
Over on the Centurion build they have a gun tank showing the mounting clearly:
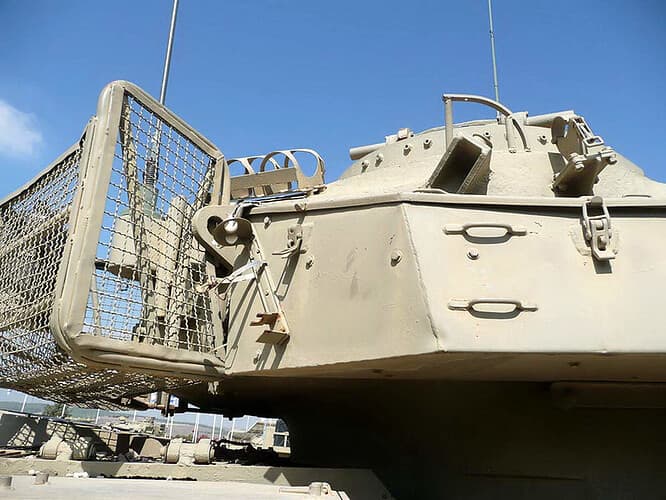
There is a reason for it. To remove it, you pull it out from the bottom. The cup on top makes removing it from that end difficult to impossible.
Someone standing next to the tank, that needs to reach up to remove it, can pull it out easily this way. If it were ‘right way up’ with the cup on the bottom, you could not pull it out from the bottom or reach up high enough to pull down from the top. You would have to climb aboard to take it out - not advisable if it is on fire!
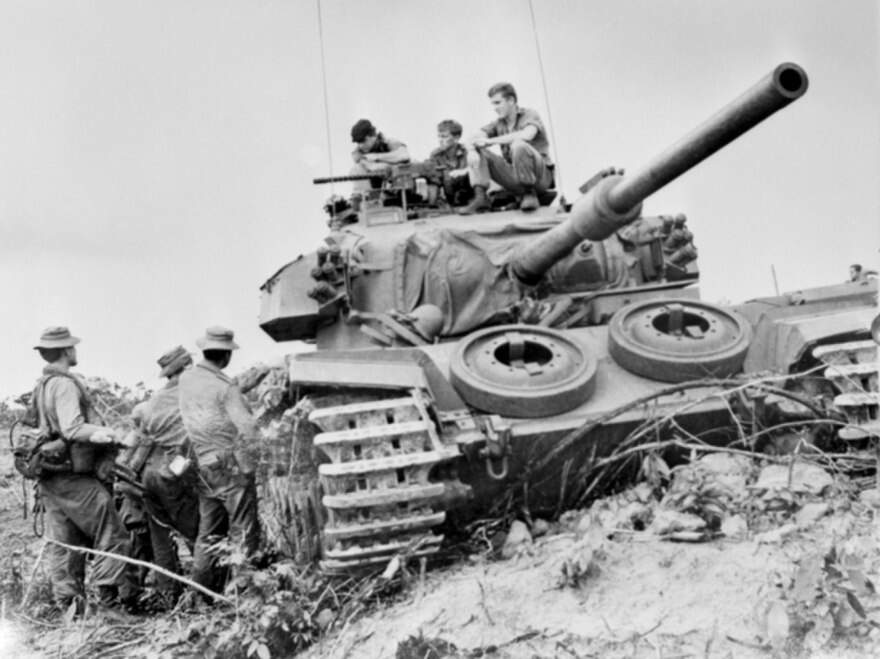
Look at the proportions here -
1 Like
Thank you all again. The extinguishers are glued and the base coat of paint is on. I’ll post pictures later on when it’s dry enough to be handled.
Olivier
1 Like
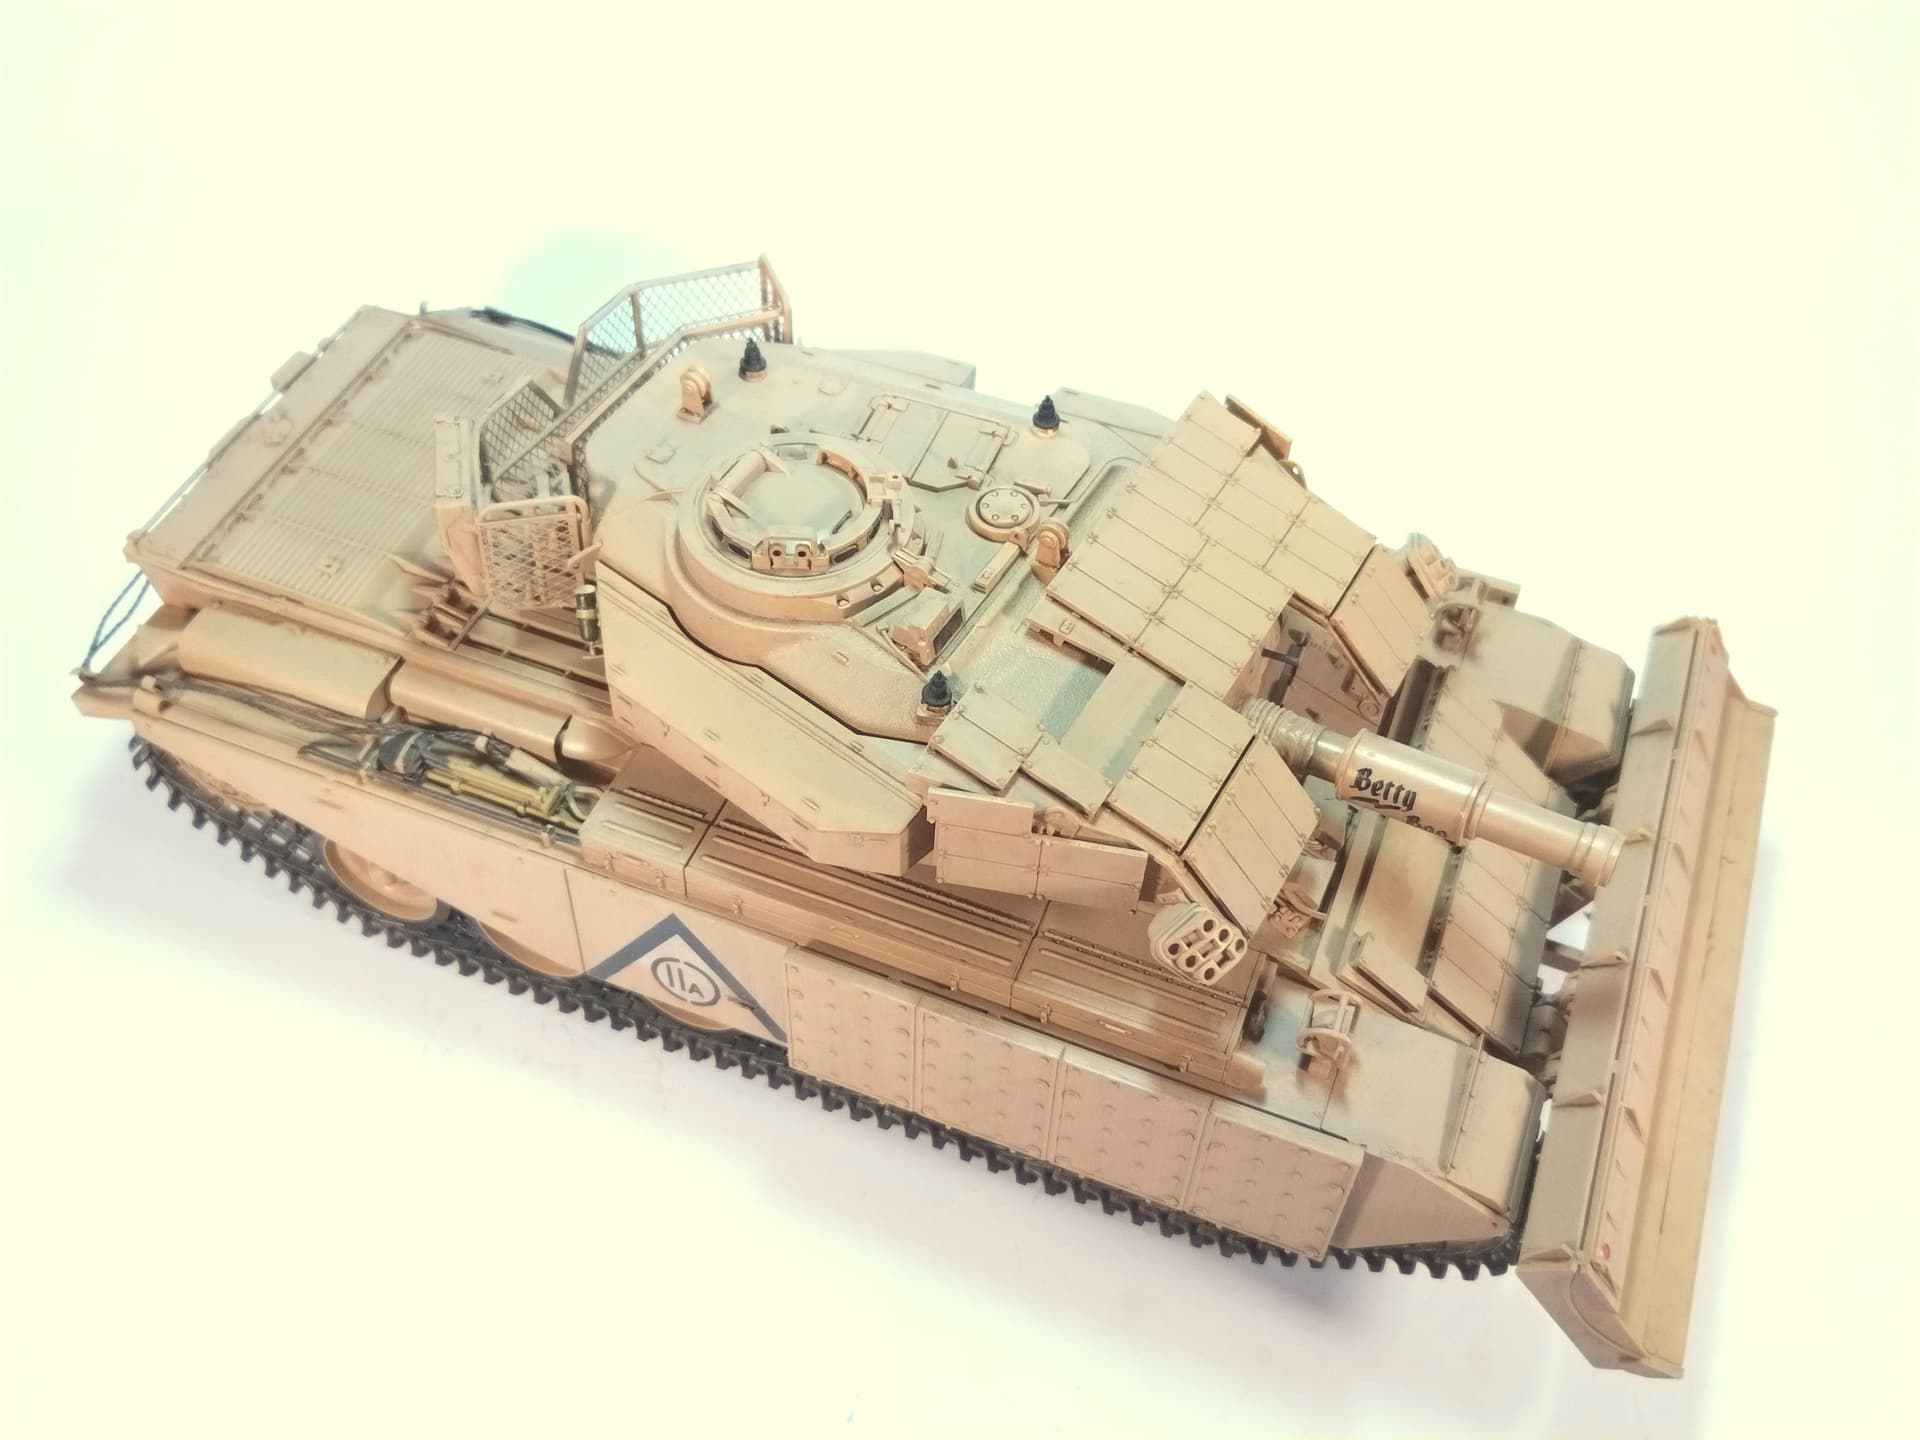
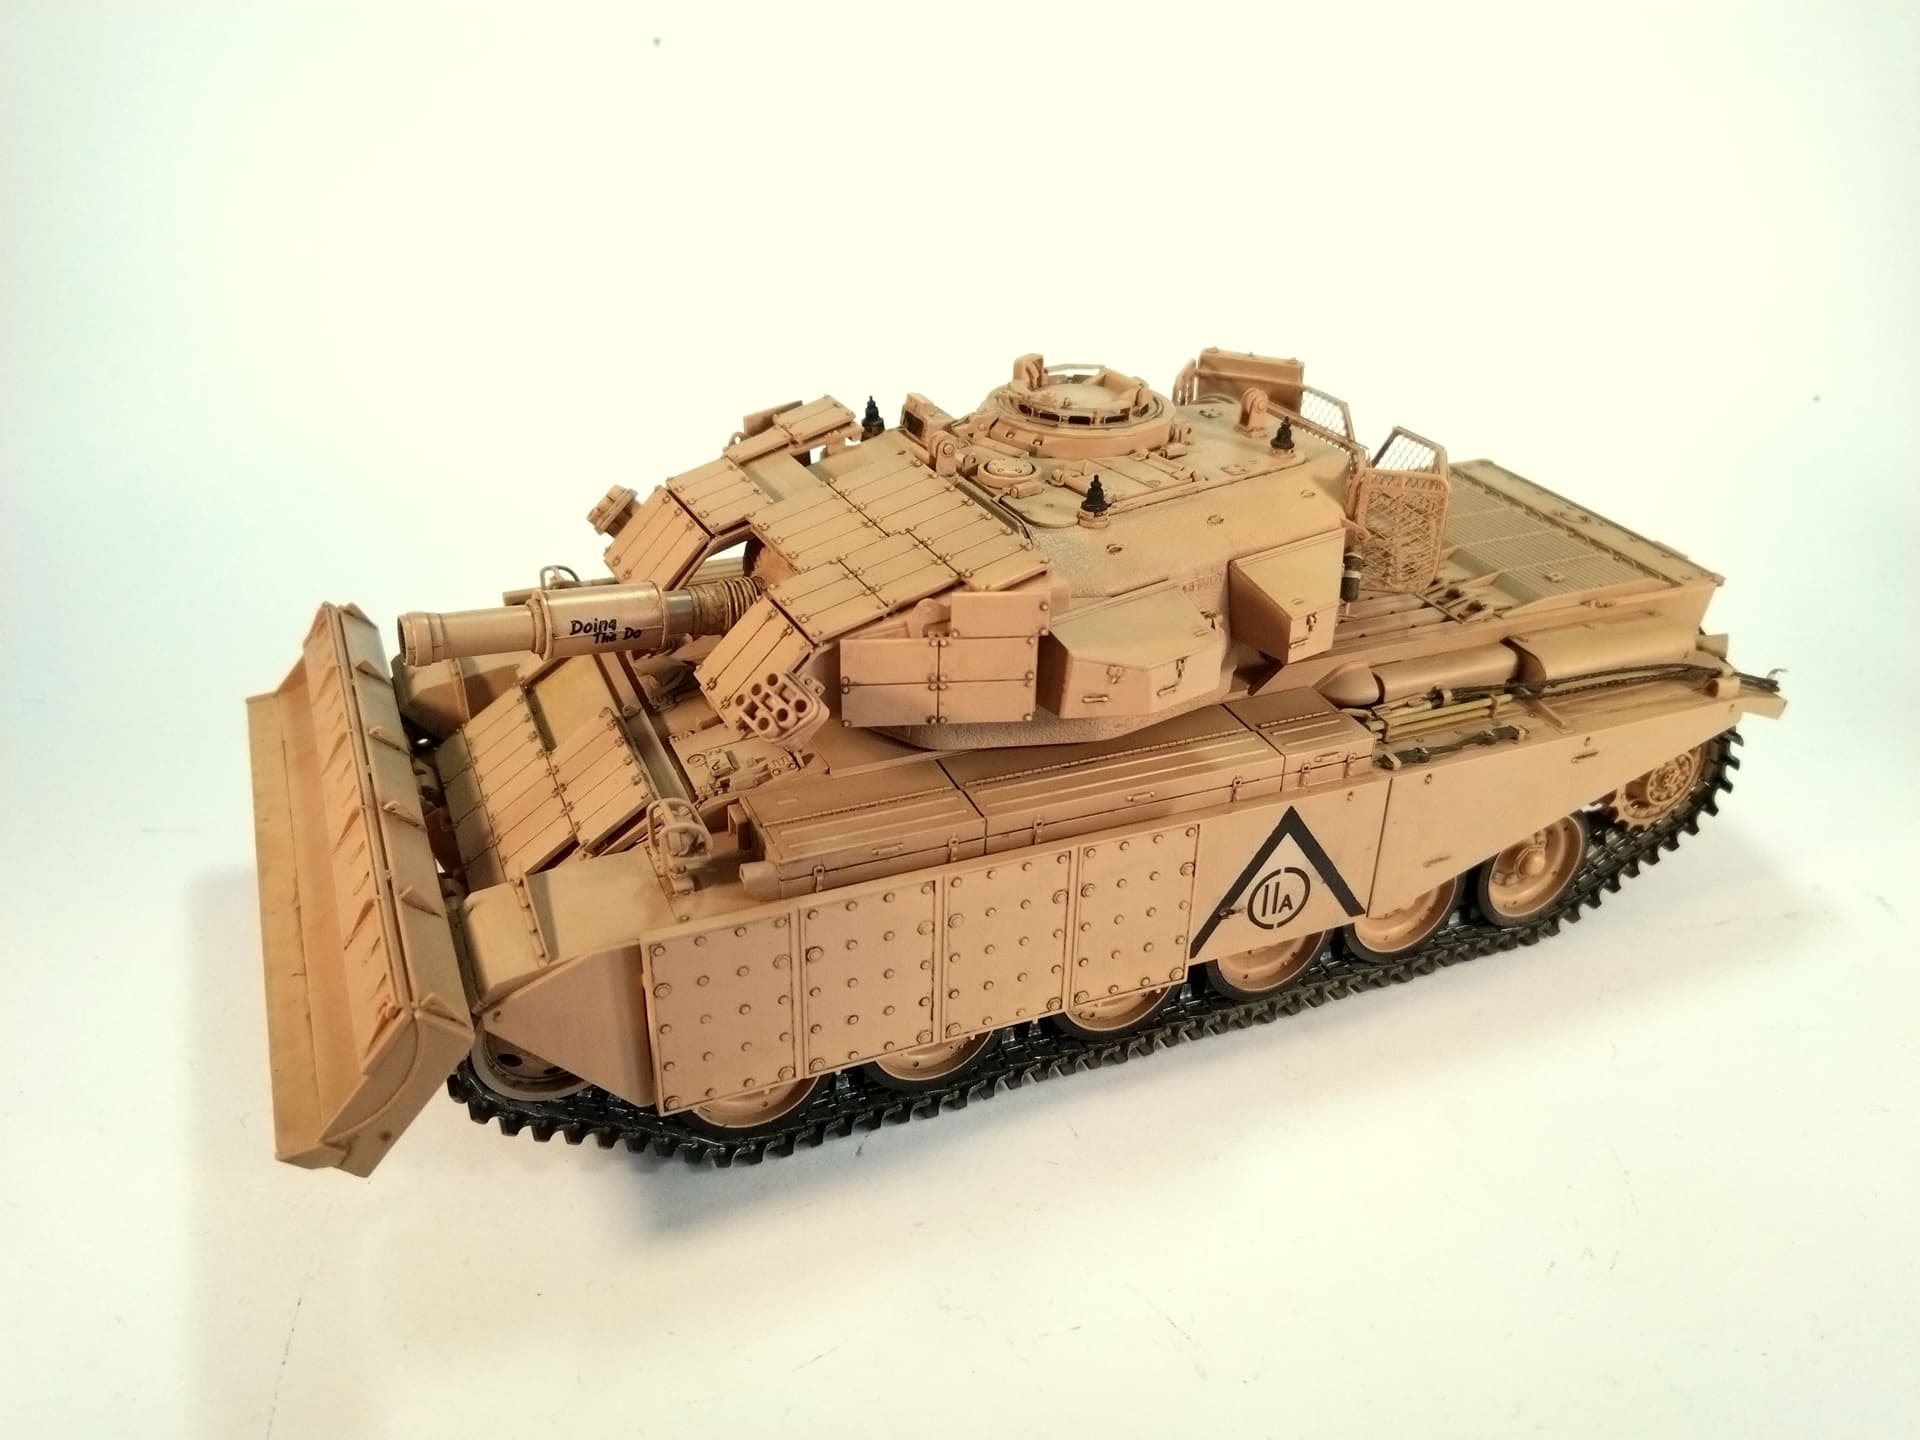
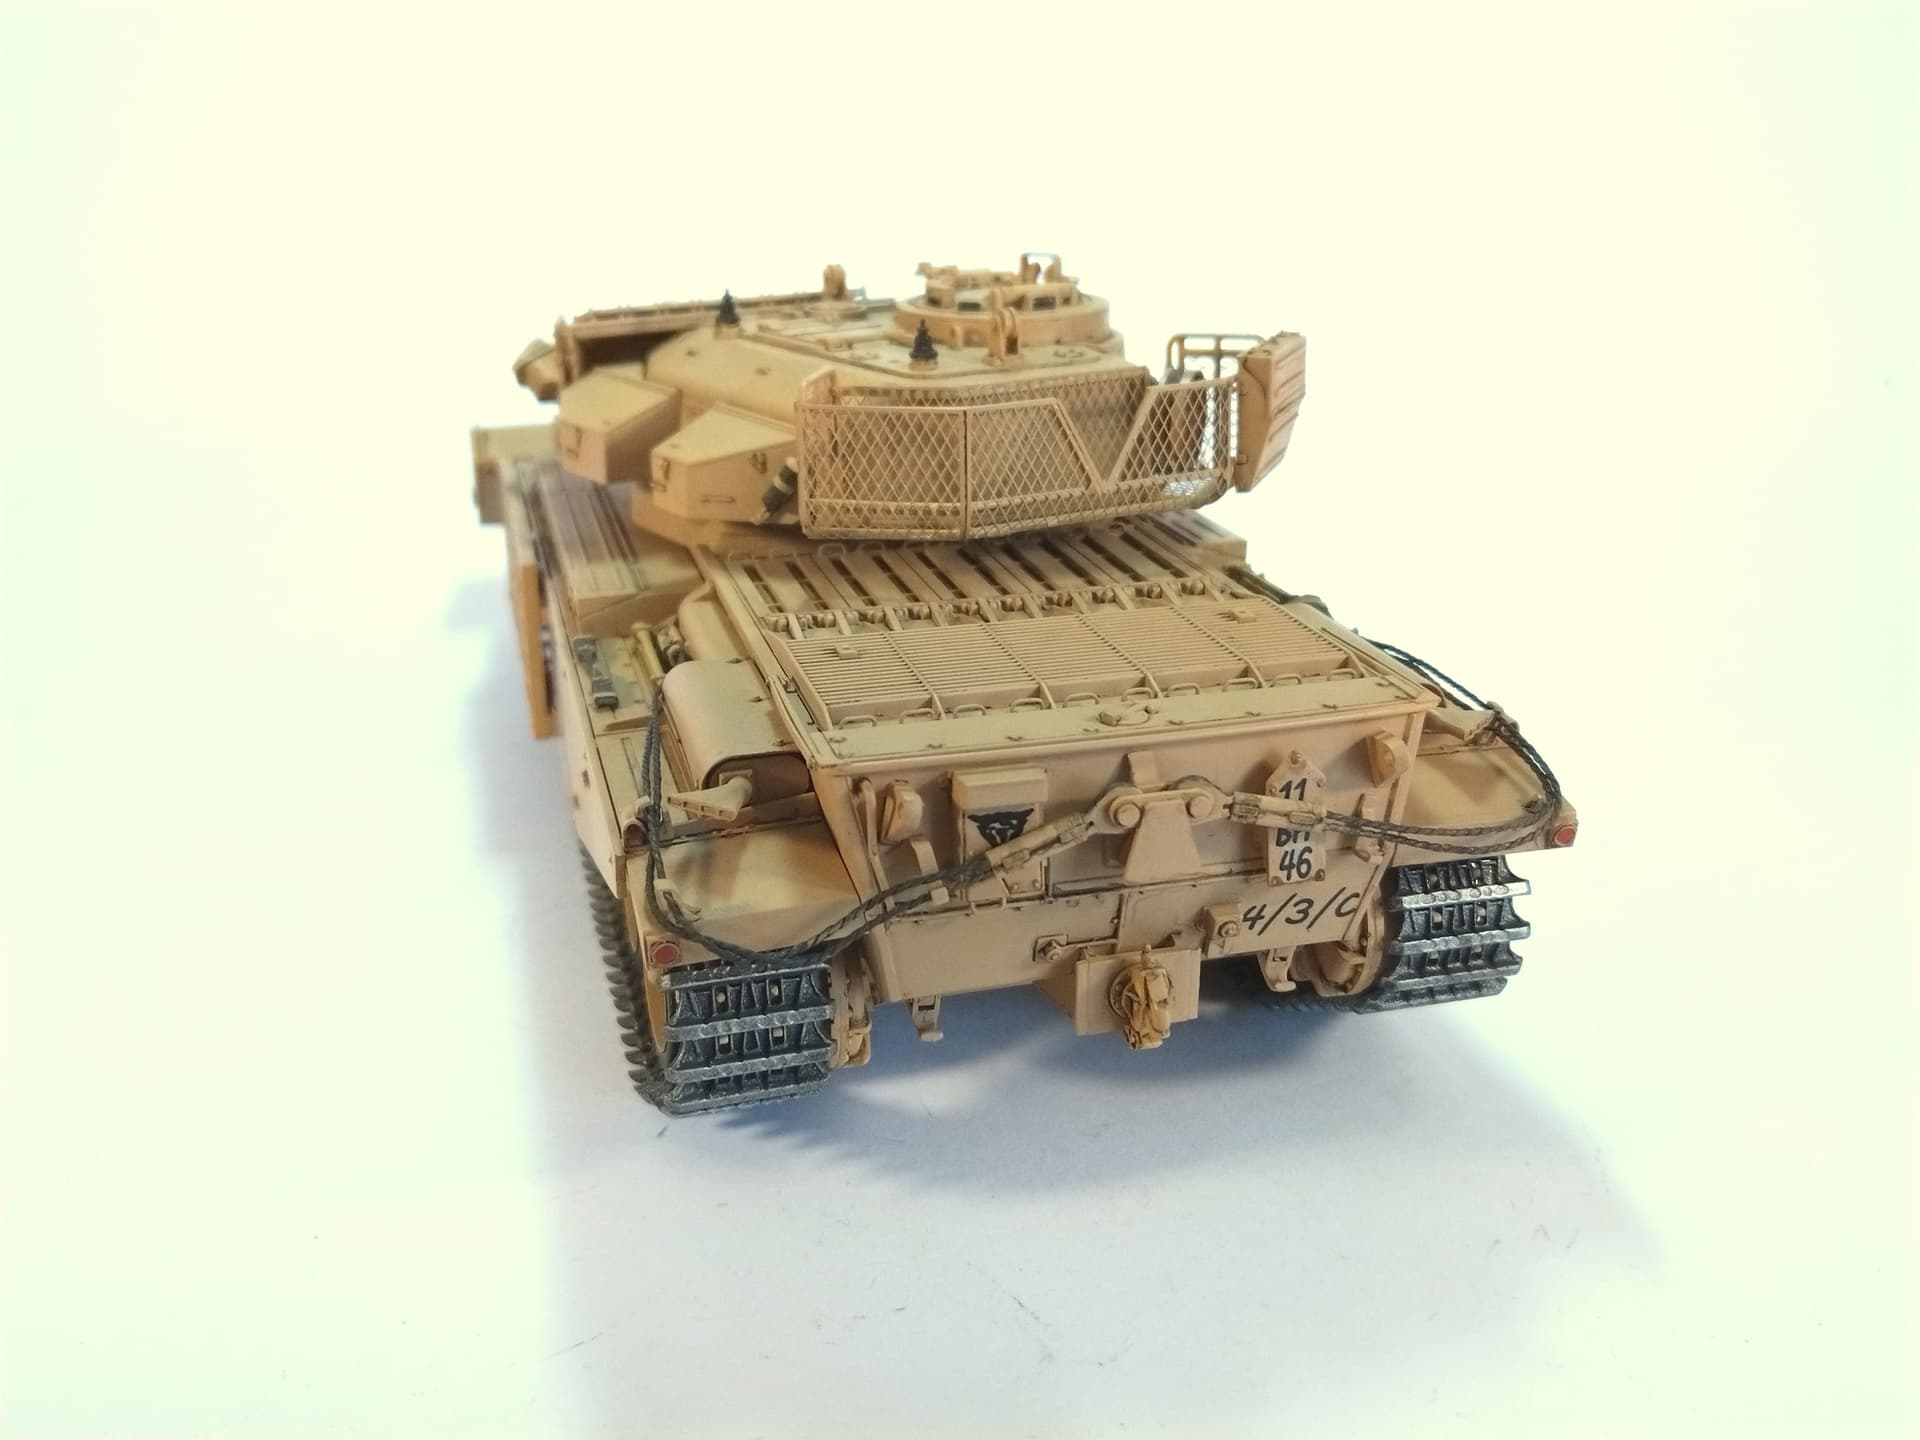
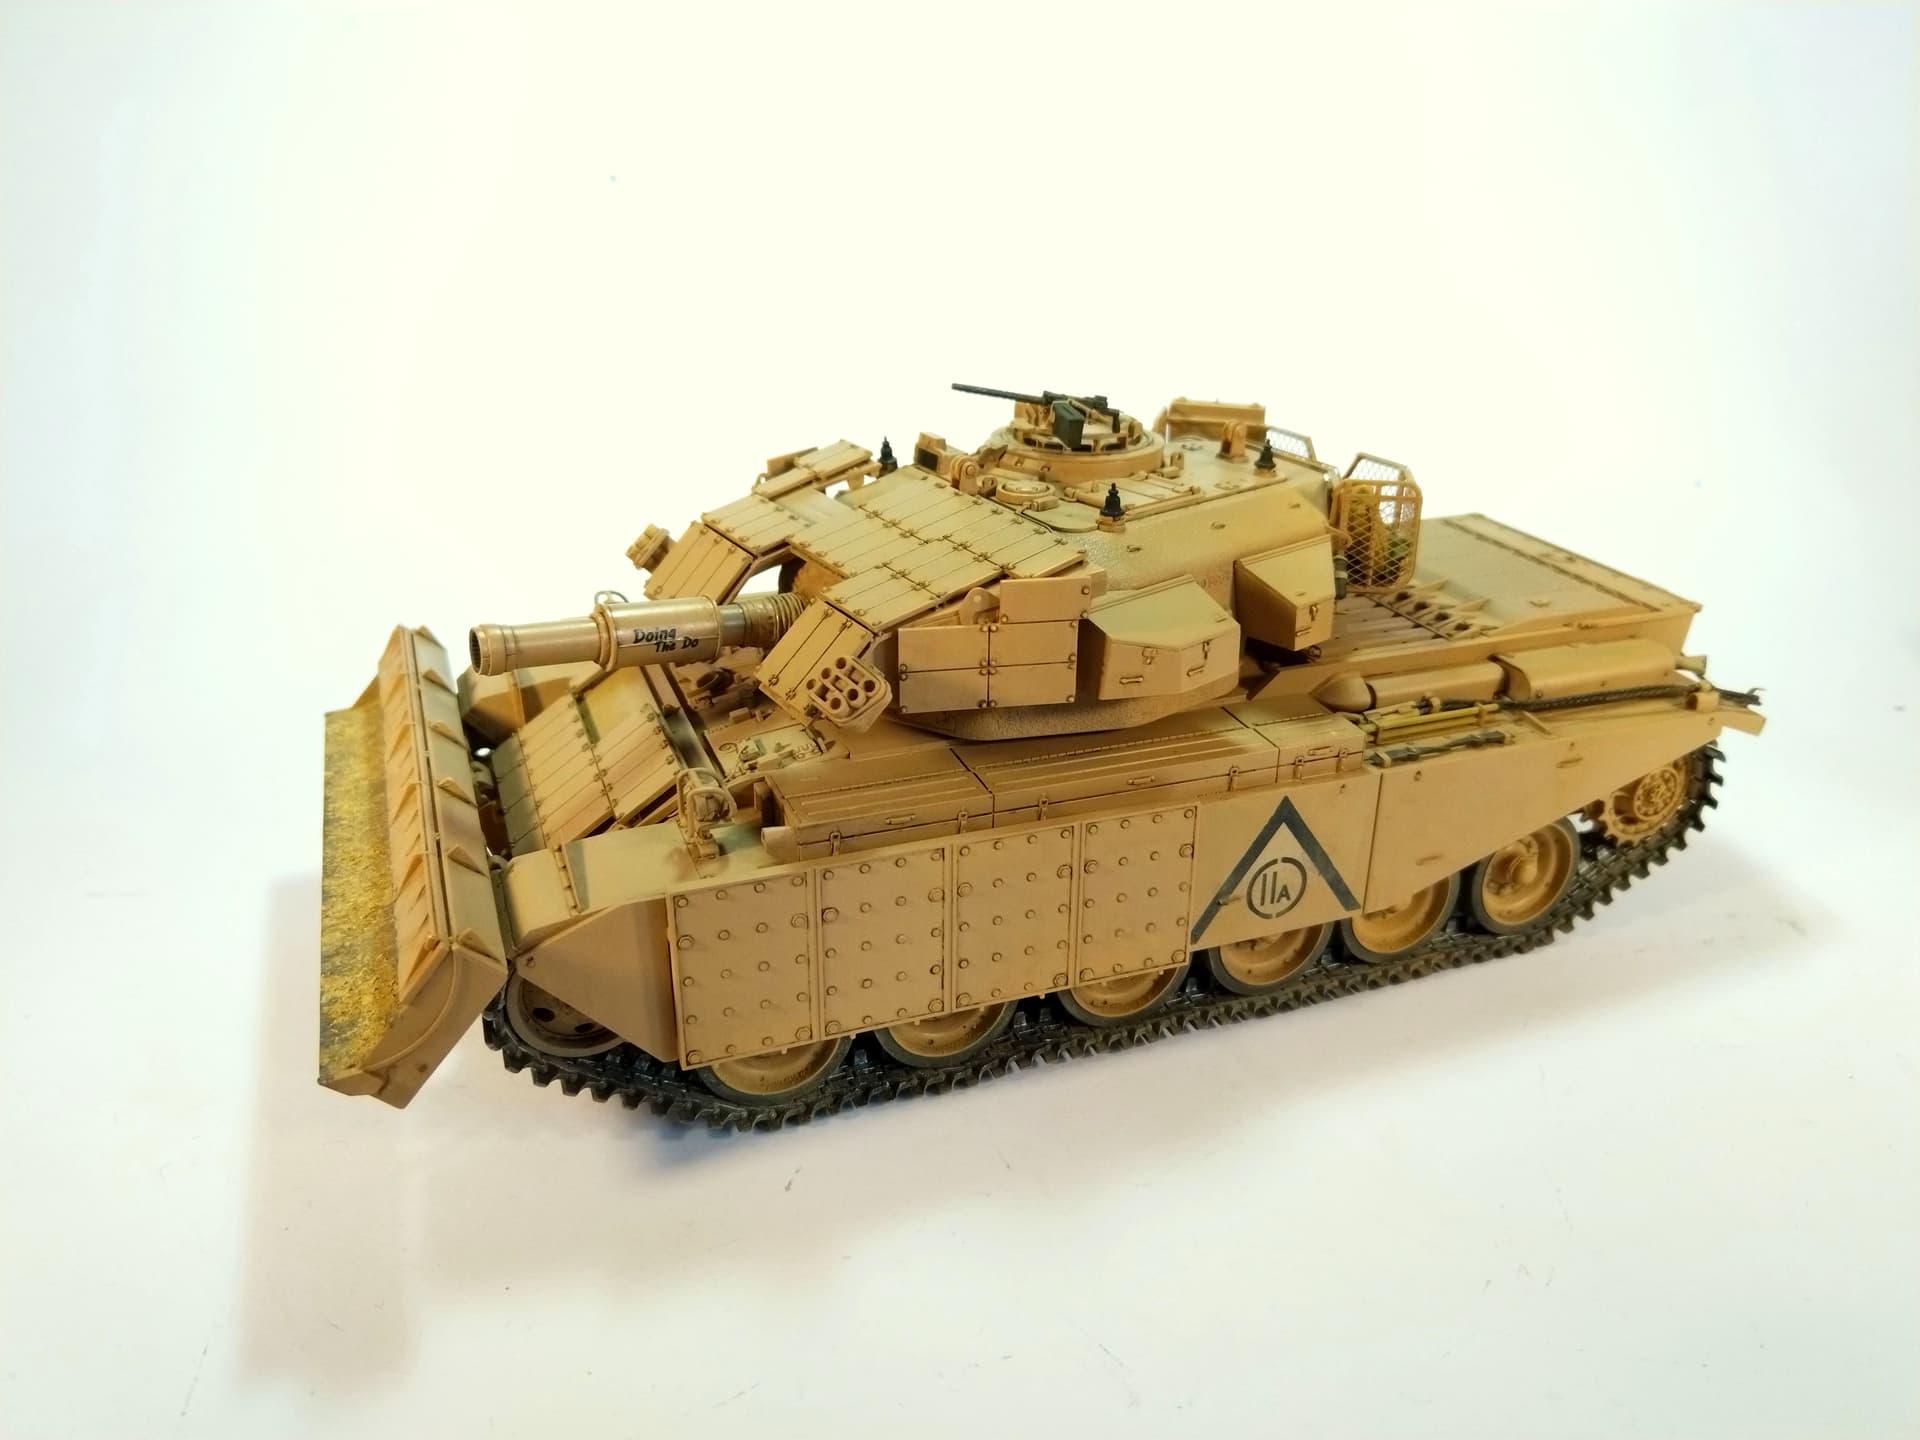
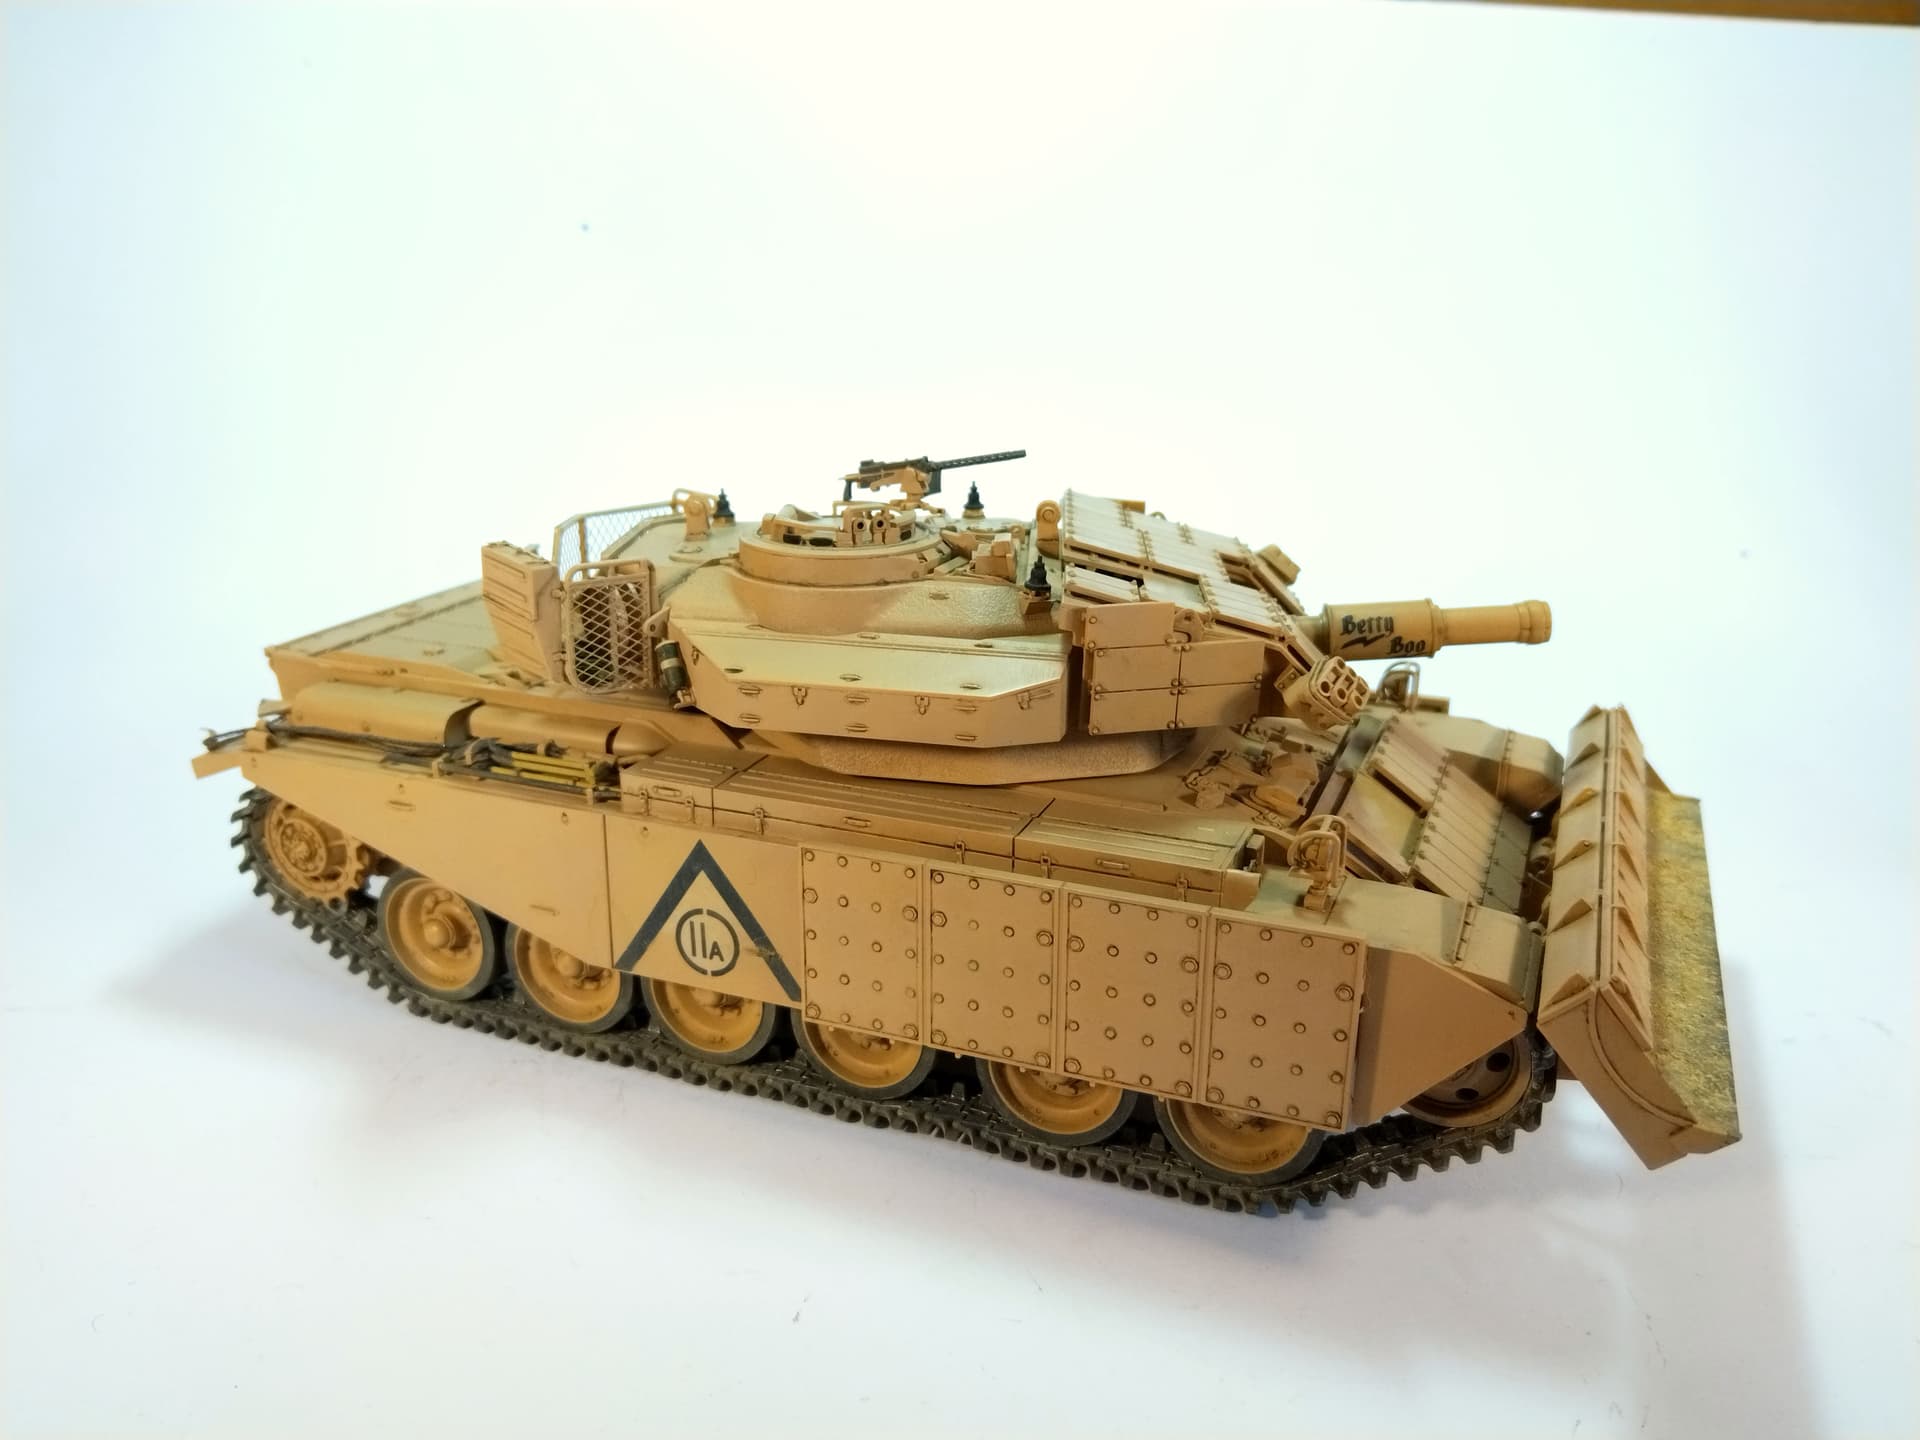
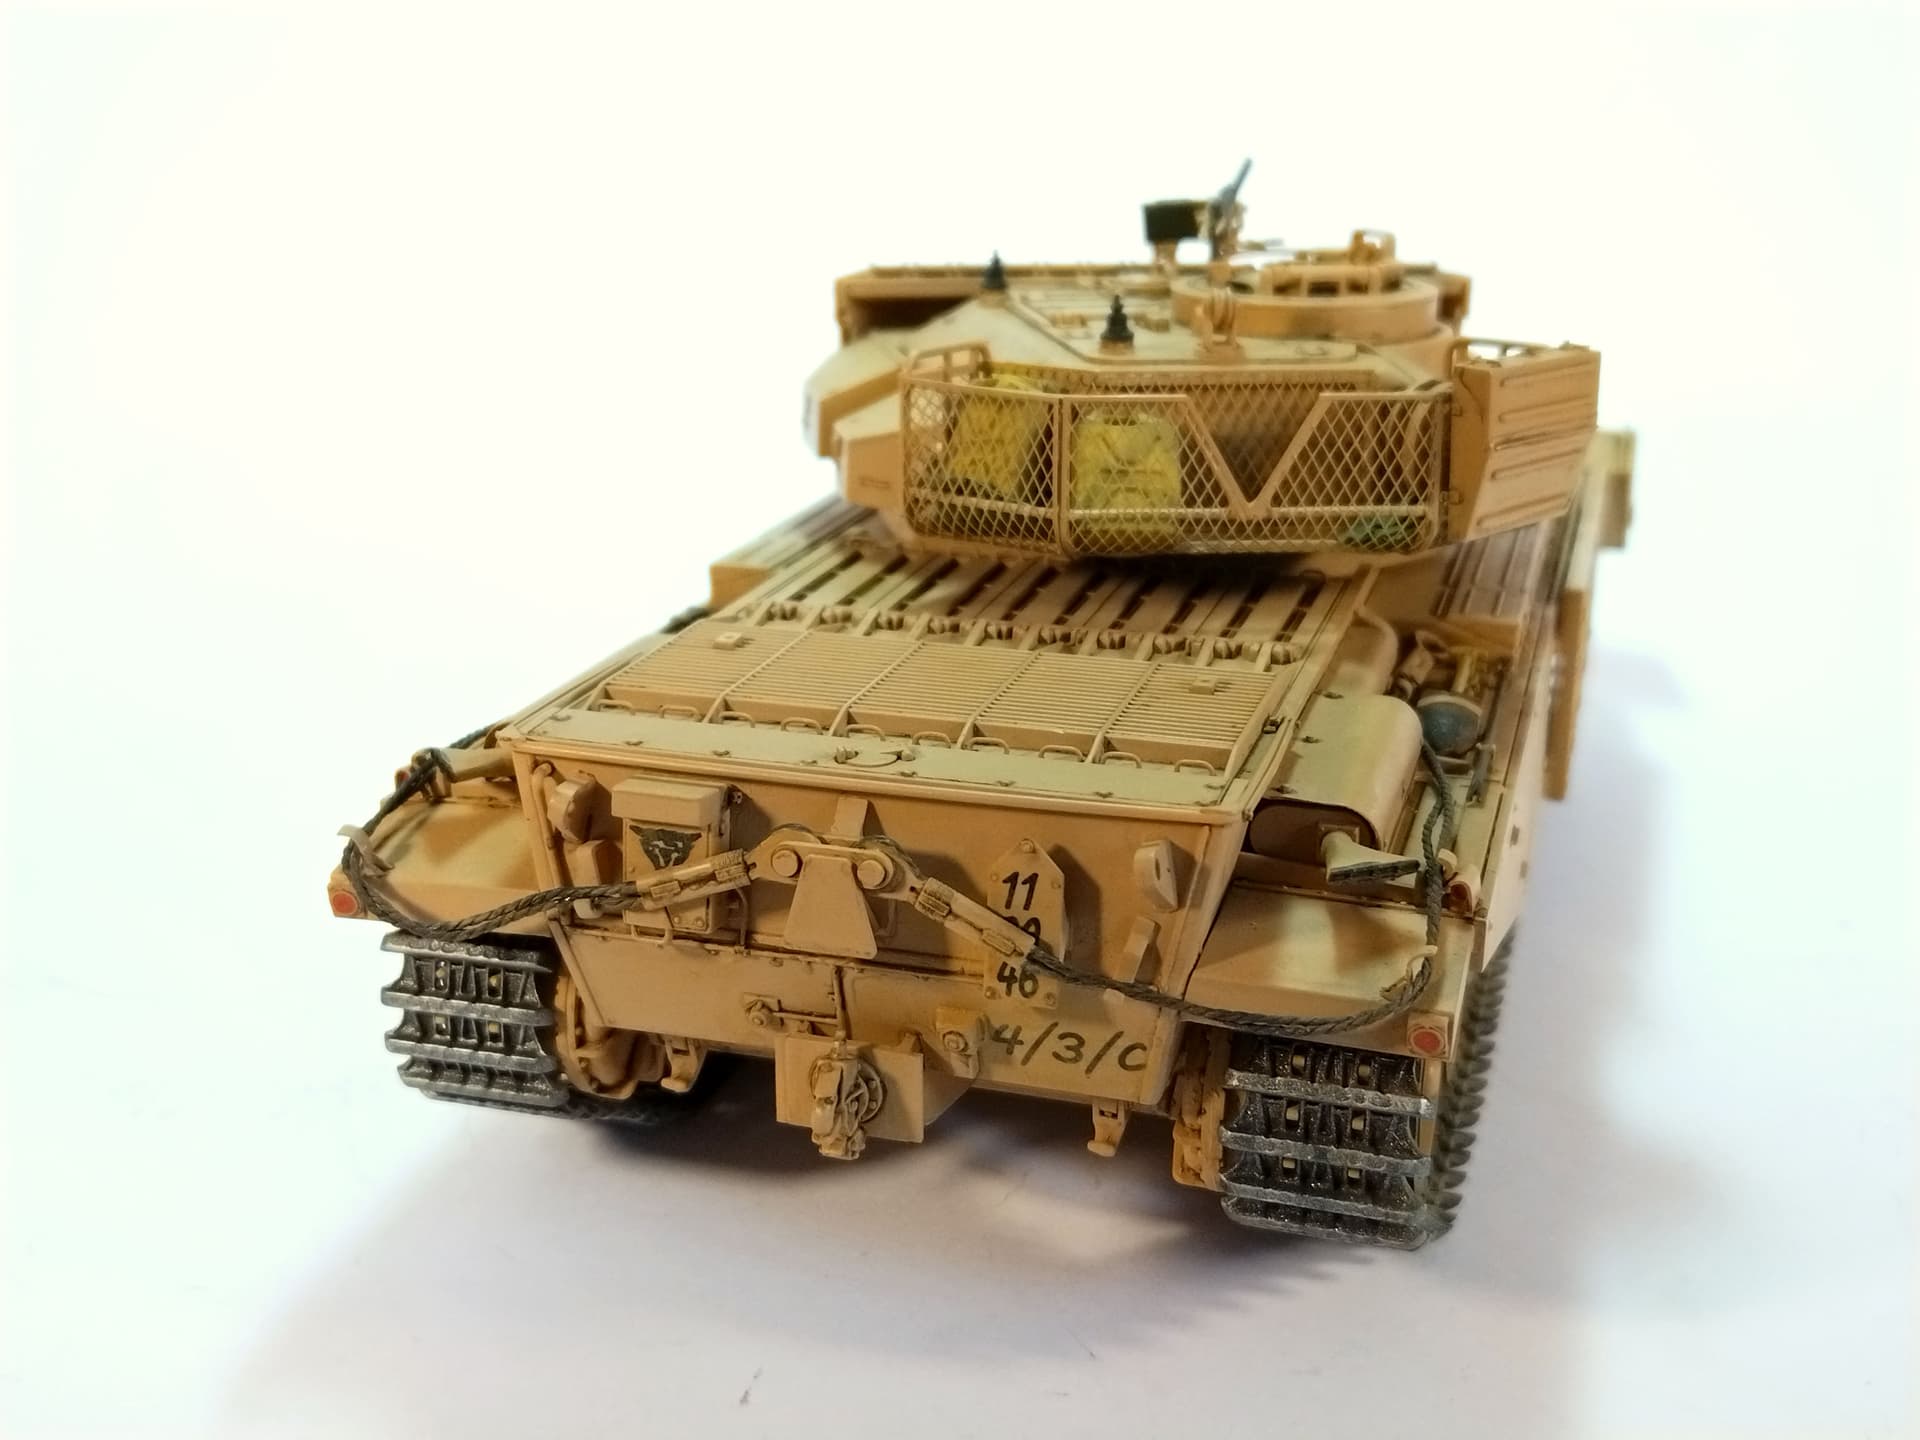
It’s time to show some pictures with the paint on. I used Tamiya XF-78 Wooden Deck Tan as a start. I’ll spray a coat of gloss before applying the decals and the first wash.
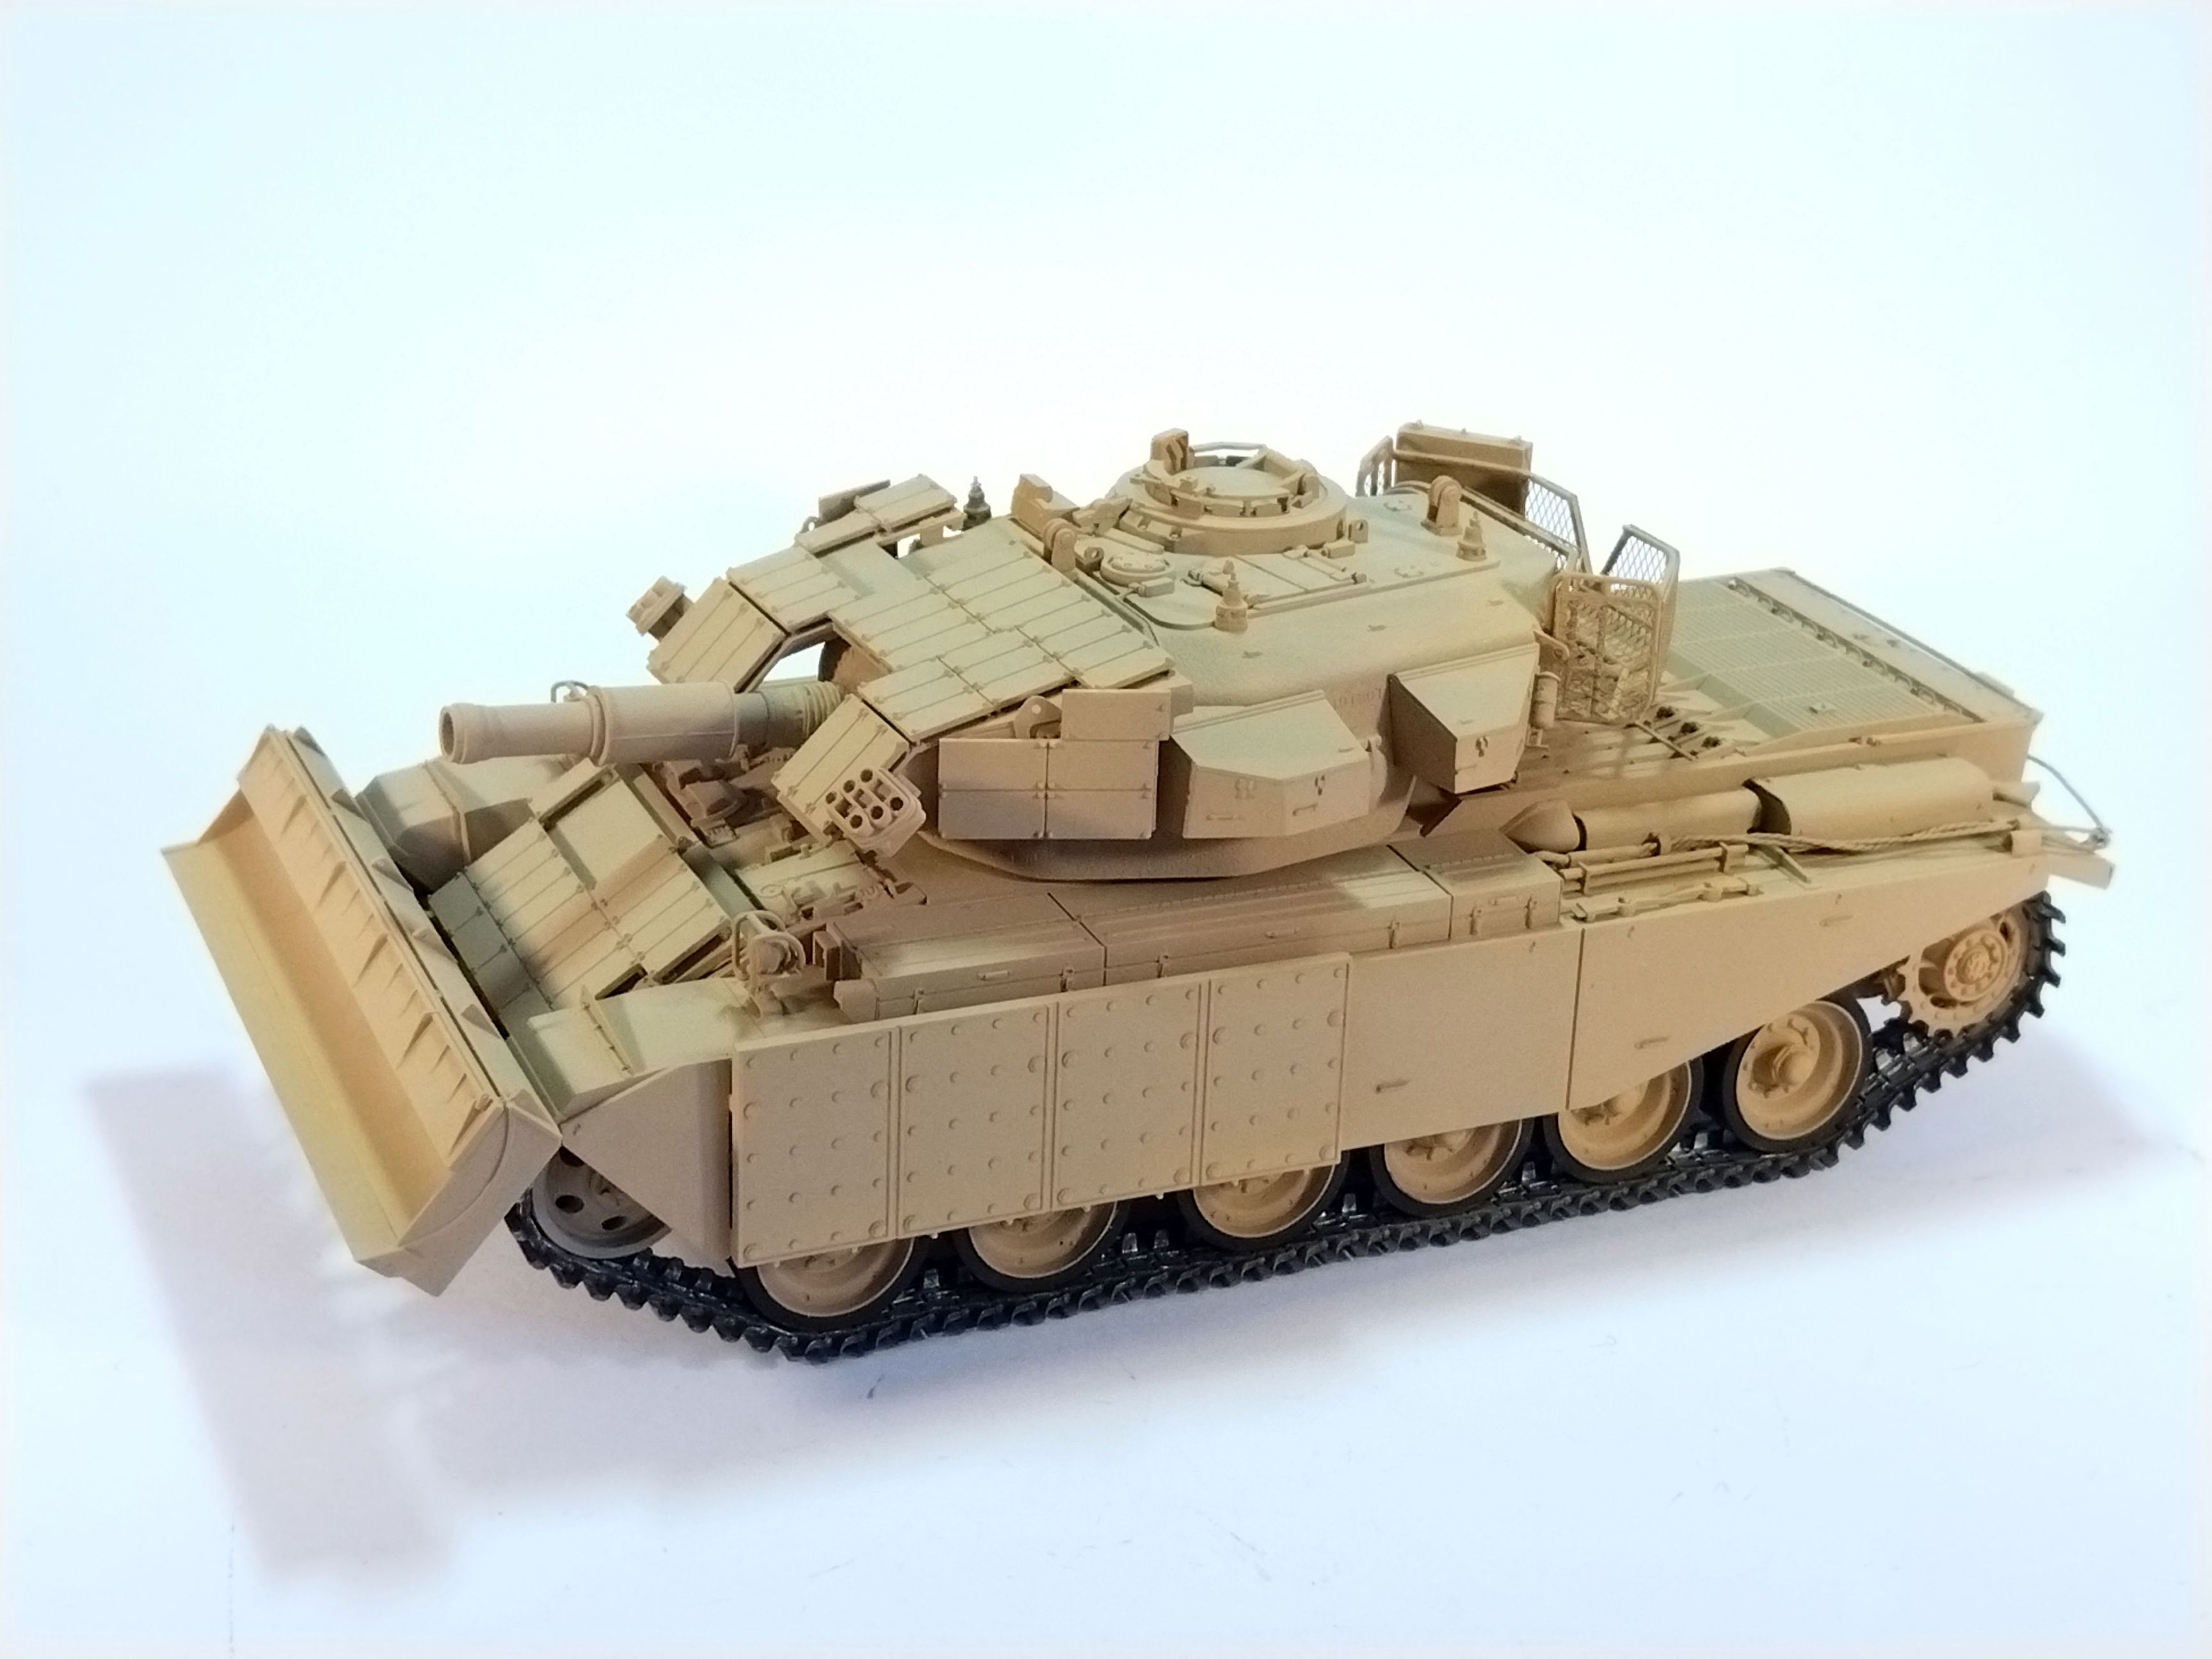
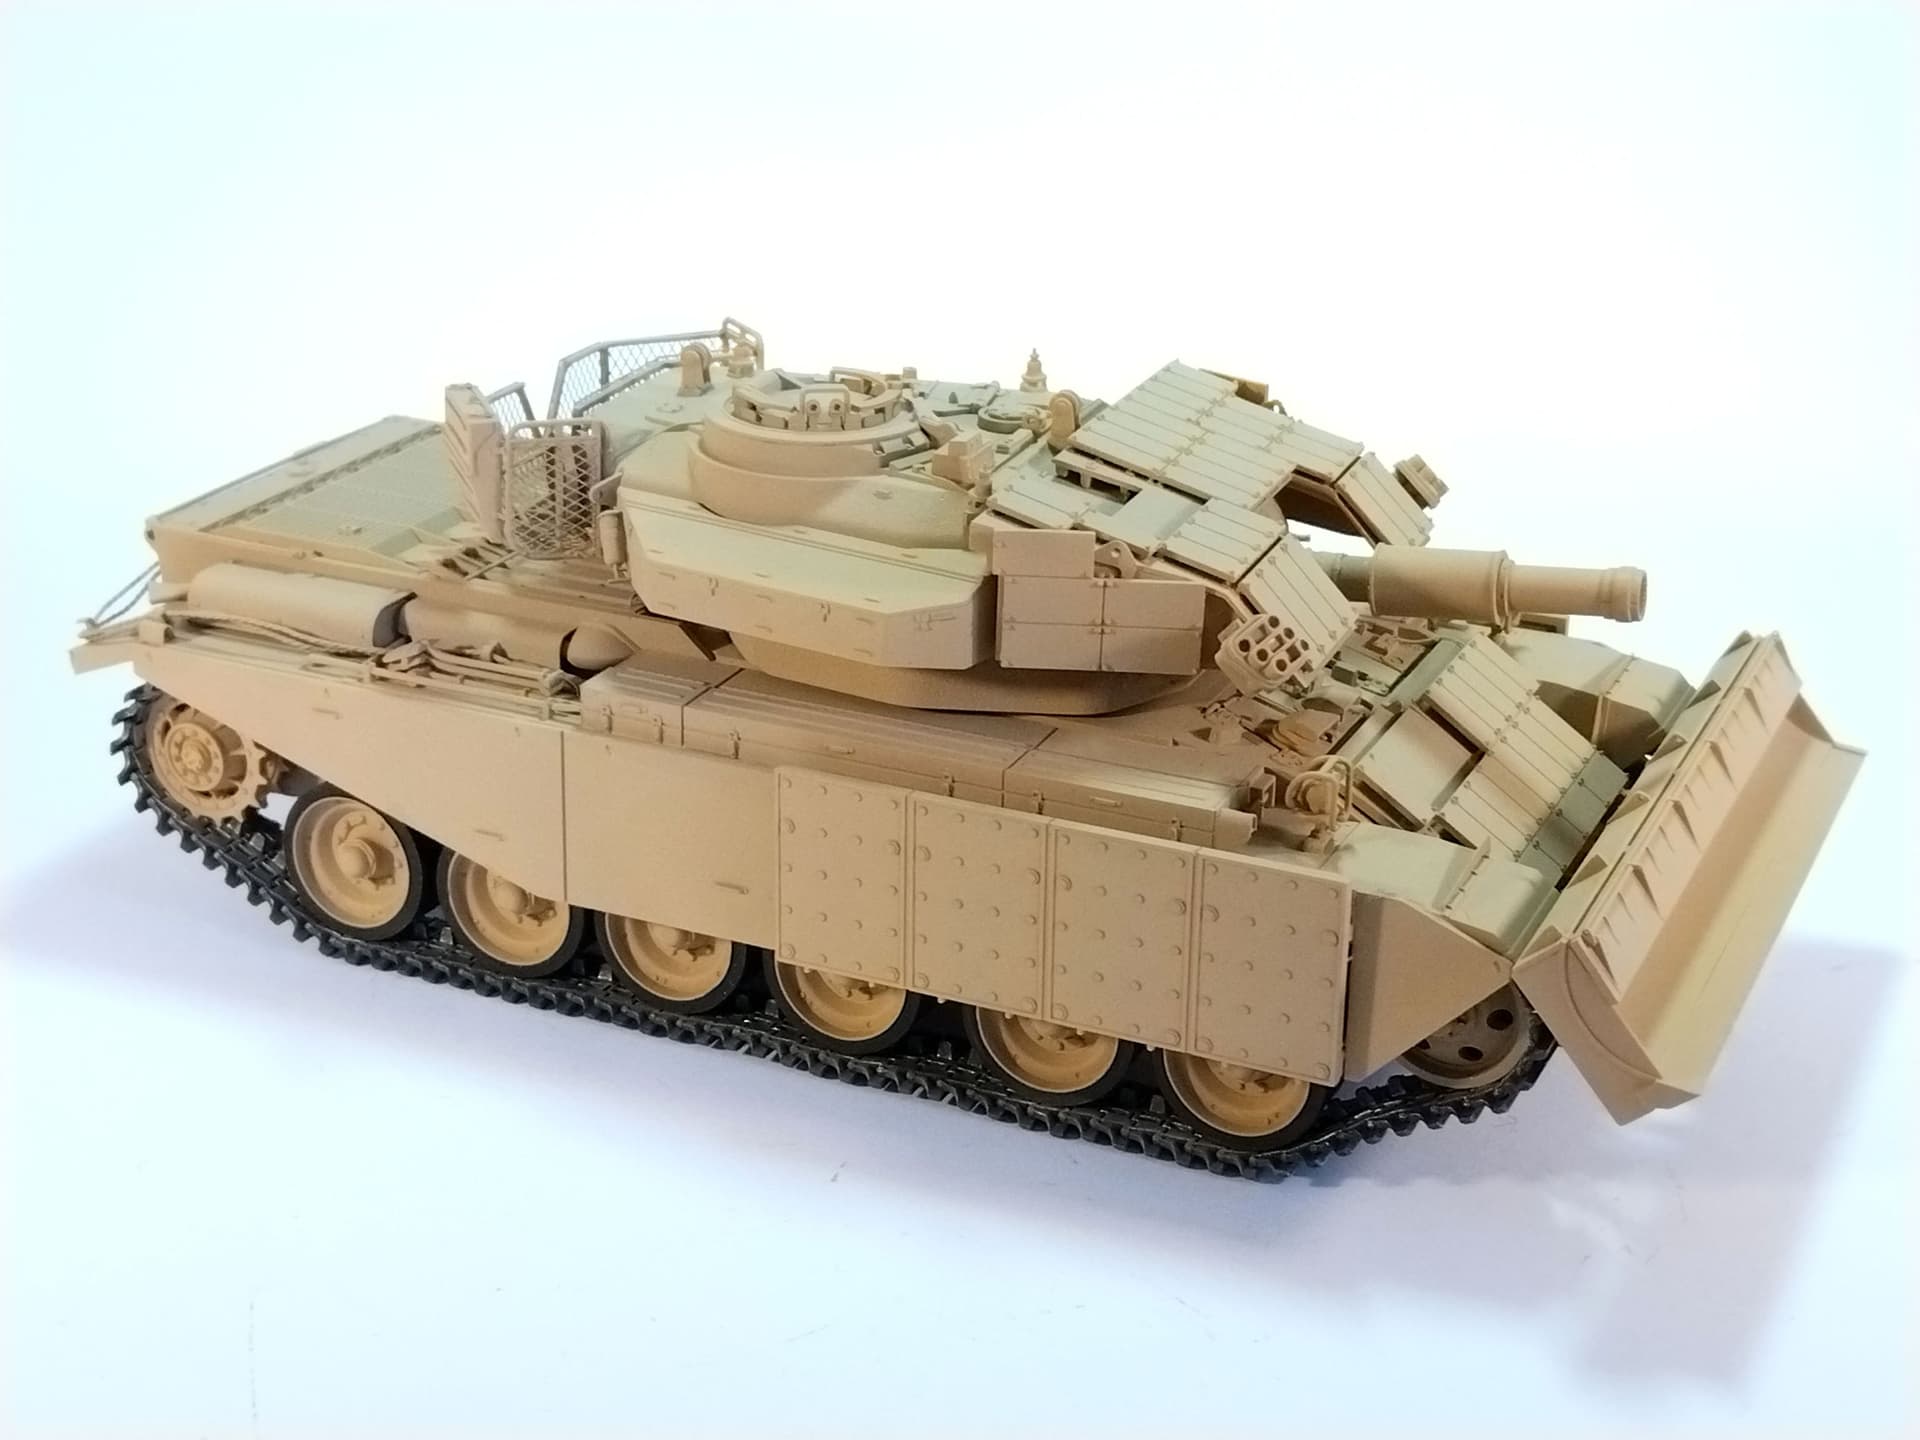
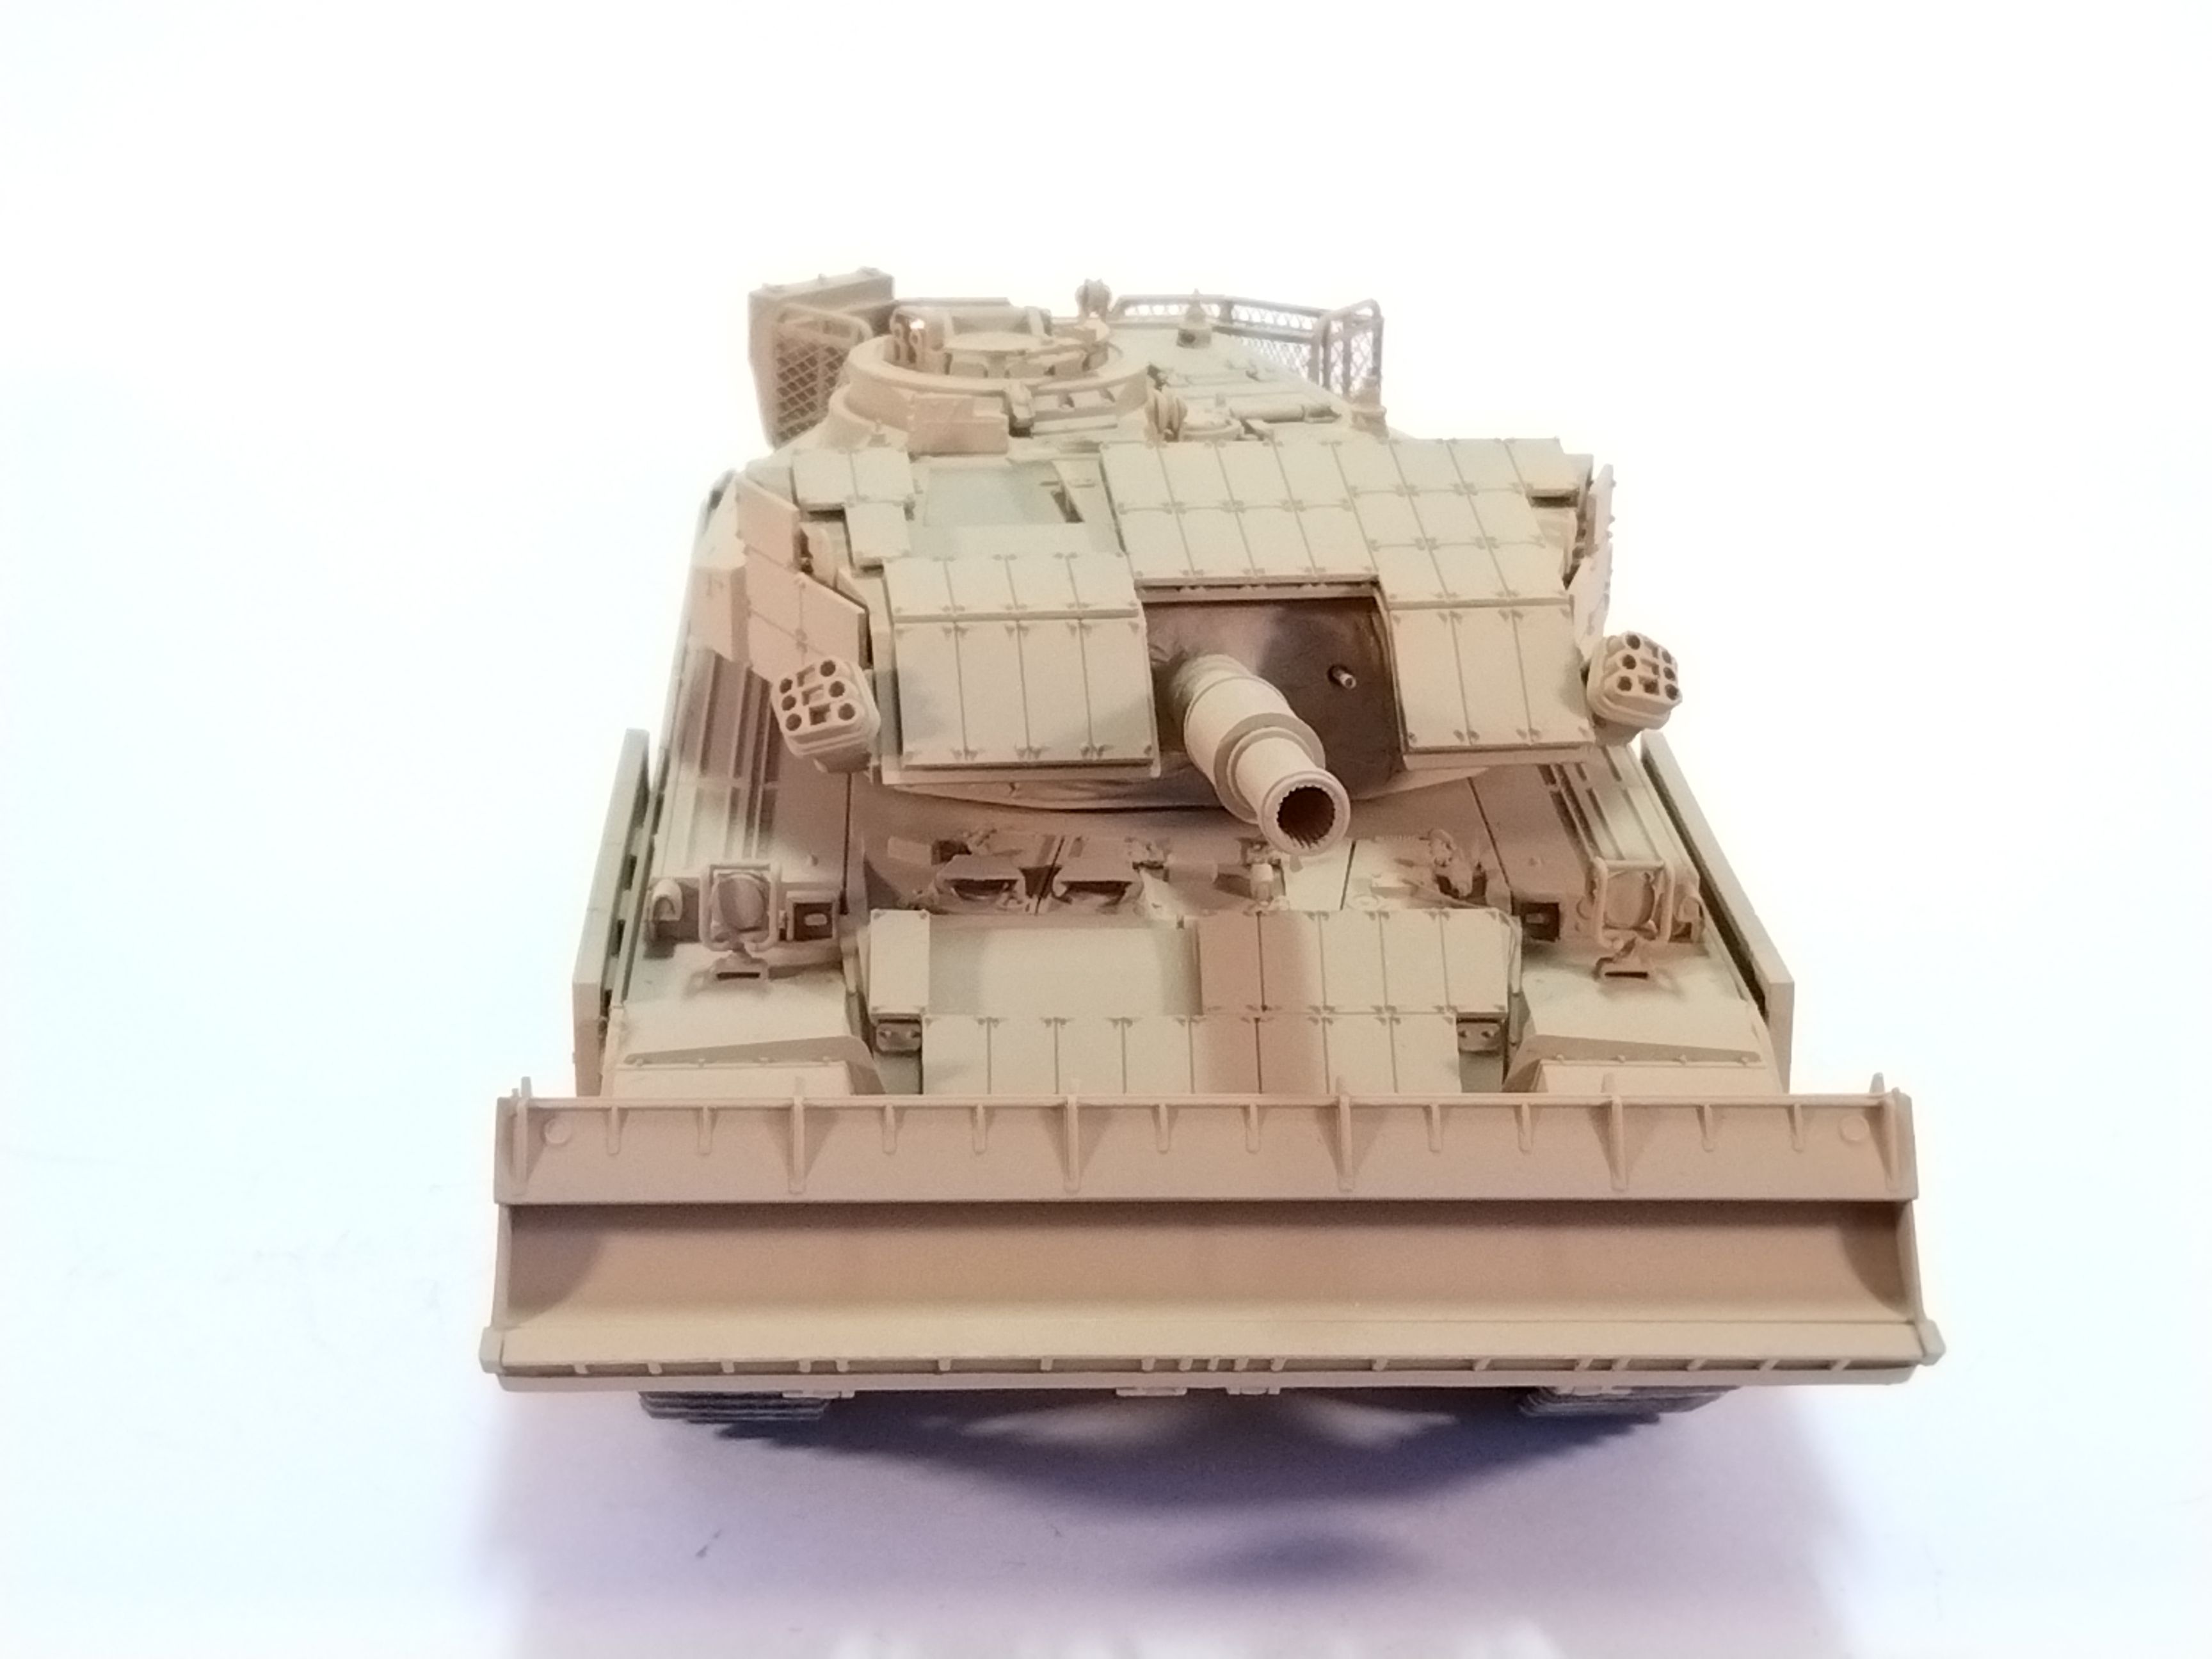
This will be put on hold for a week. However I think I won’t be able to post any update before probably 15 days.
Olivier
7 Likes
Wooden Deck Tan, very novel, but also very good. That looks like a really nice colour, it gives it a sort of used faded look without having to do much … nice idea and it works very nicely
1 Like
It’s the same color I used for my FV432 Bulldog.
Olivier
2 Likes
I think it looks great Olivier.
1 Like
Apologies, I forgot about that little gem you did … and that looked spot on
1 Like
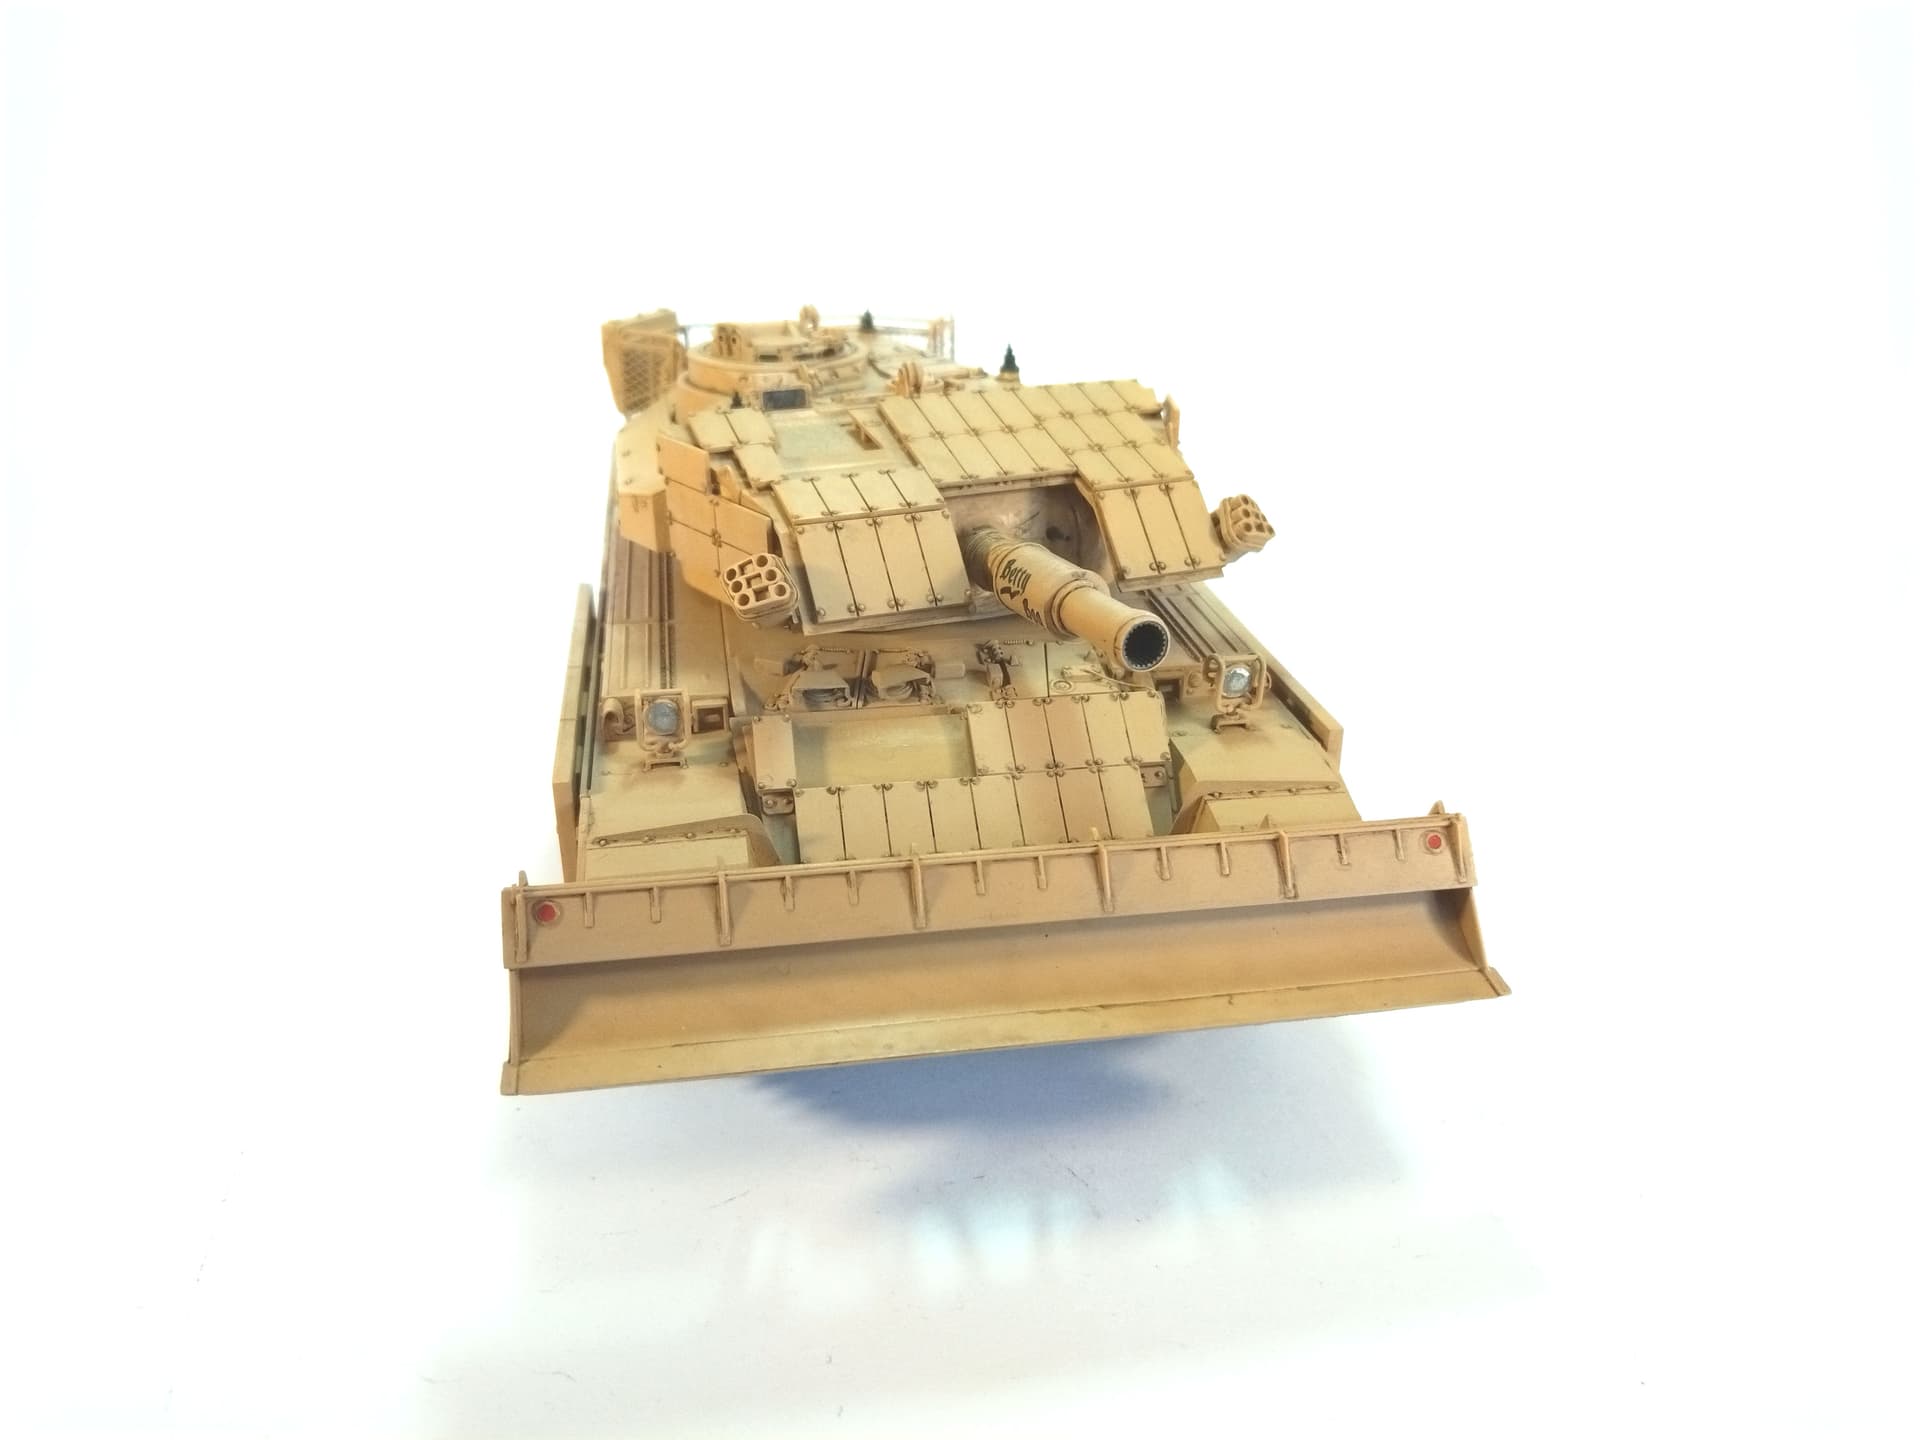
I finally had enough time to apply the decals and begin the weathering. So far I’ve only applied a brown wash all over the tank. Next step will be the pinwash to enhance the details. I consider painting some scratches here and there to show the original black and green camo. However from the reference pictures I have it looks like the AVRE did not wear too much. I’m still looking for period pictures of the blade to have some weathering references.

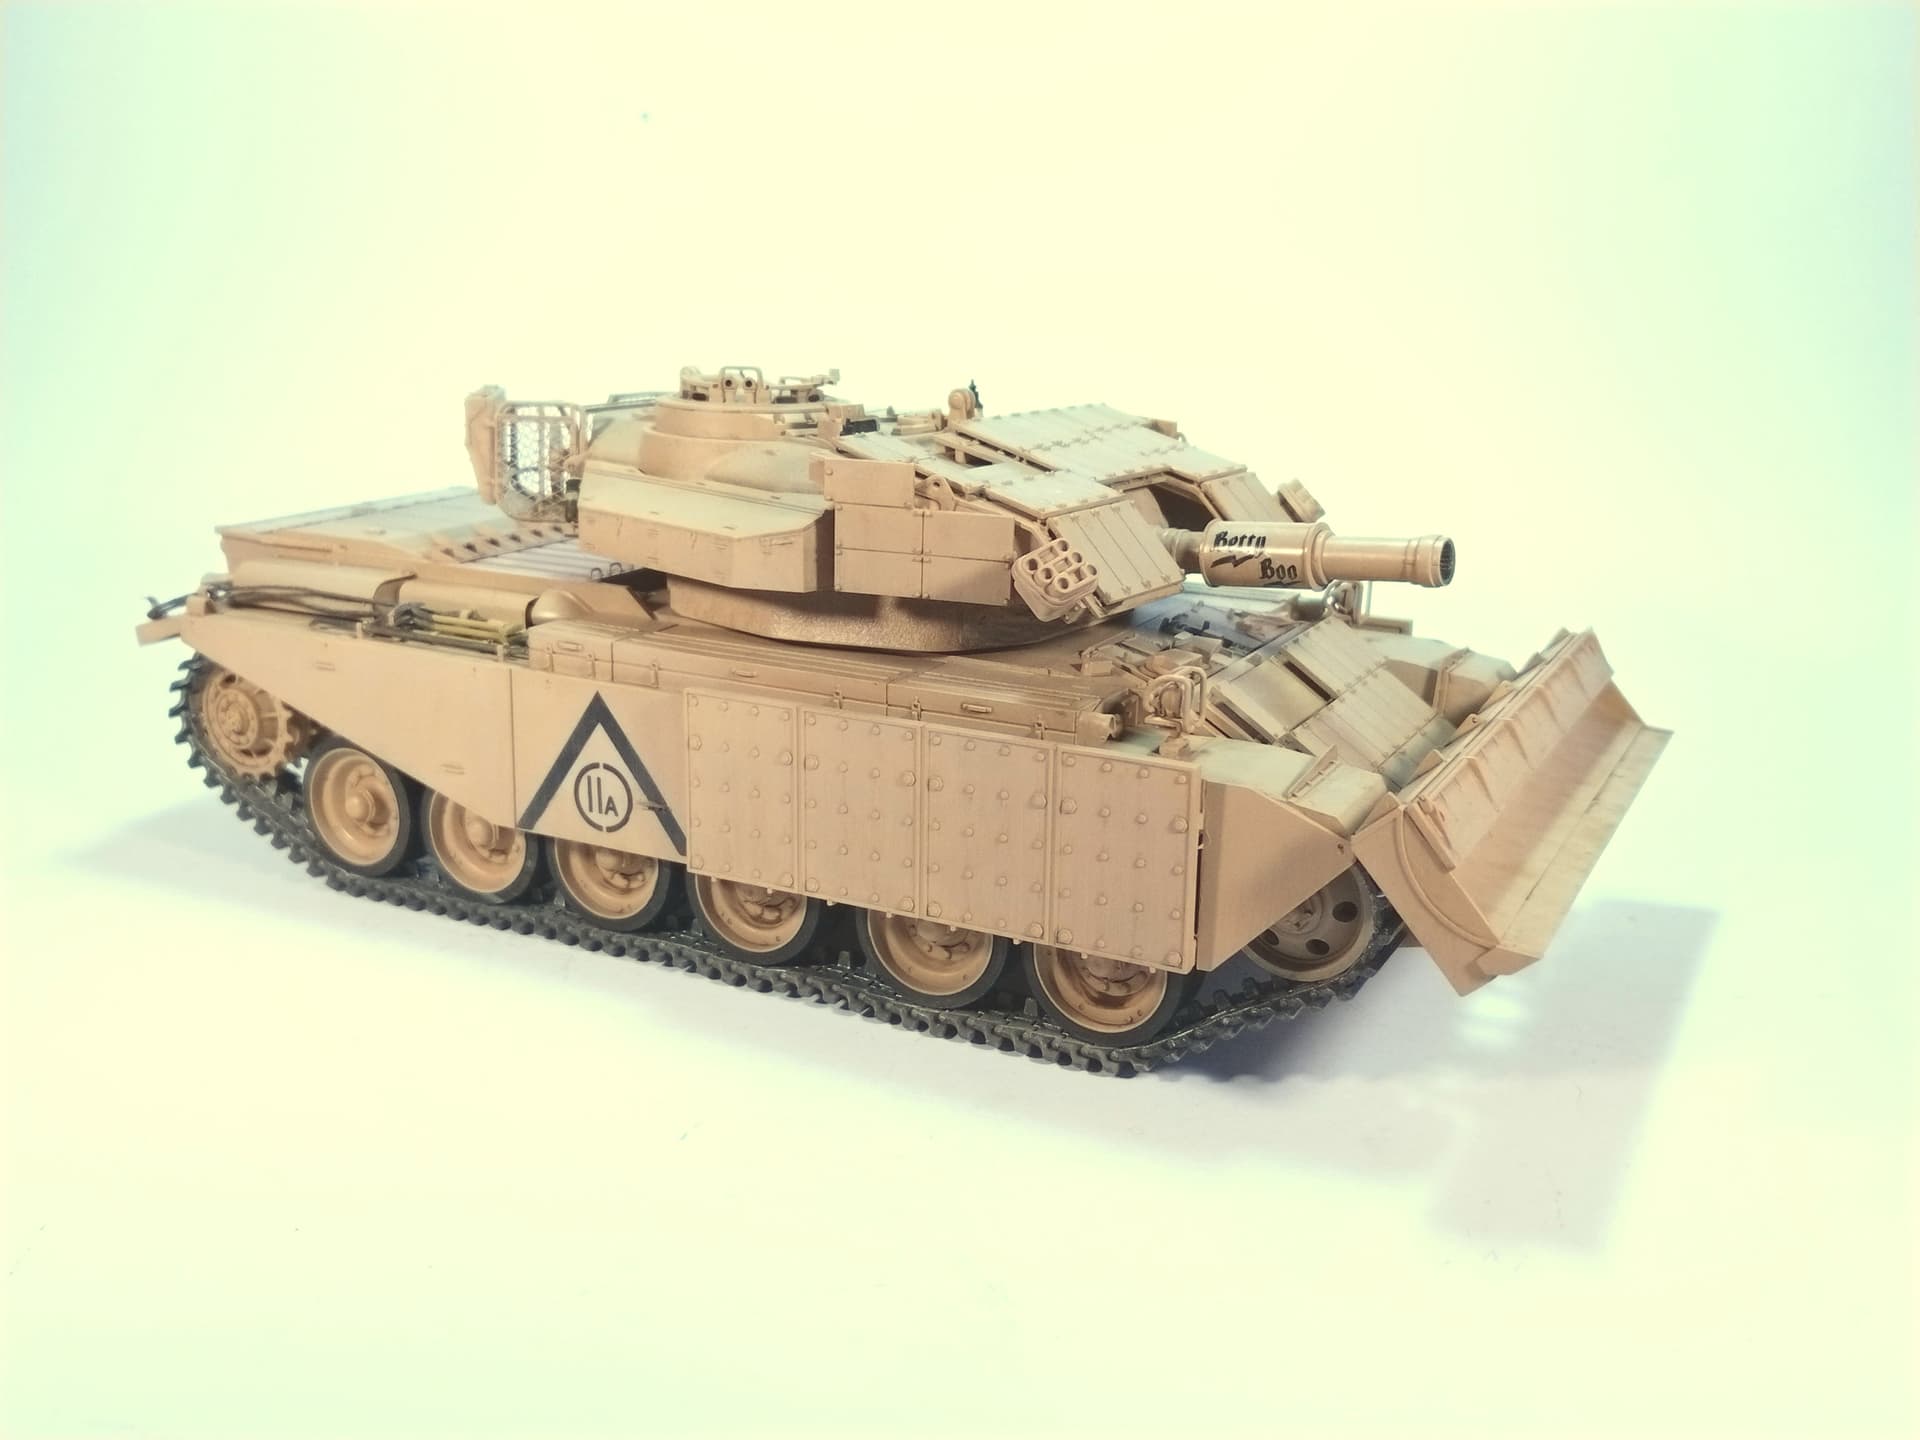
Olivier
8 Likes
Looking good Olivier. That brown wash has blended it together just right. Very nice work ![]()
1 Like
It’s been a while since I last could sit at the bench. I finally managed to apply the pinwash so the details are more visible.
I need to work on the exhausts and the blade. I still have no idea how to tackle the latter. I guess in the desert there was just sand all around and not earth so no mud. How would be the blade after some days of deployment in this environment?
I have two water cans in the stash. Which colour should I paint them?
Olivier
7 Likes
Satin black, or painted sand, probably a wash of sand on the black, as it would rub off the high areas, in and out the basket and swapping with the resupply.
3 Likes
Nice final touches Olivier, it’s got a good look now. You did a cracking job with it.
Nice images as well @petbat ![]()
![]()
3 Likes
Great build you have done well! I want to build mine in the stash now!!
1 Like
Nice find Peter. Thanks again for sharing!
Olivier
1 Like
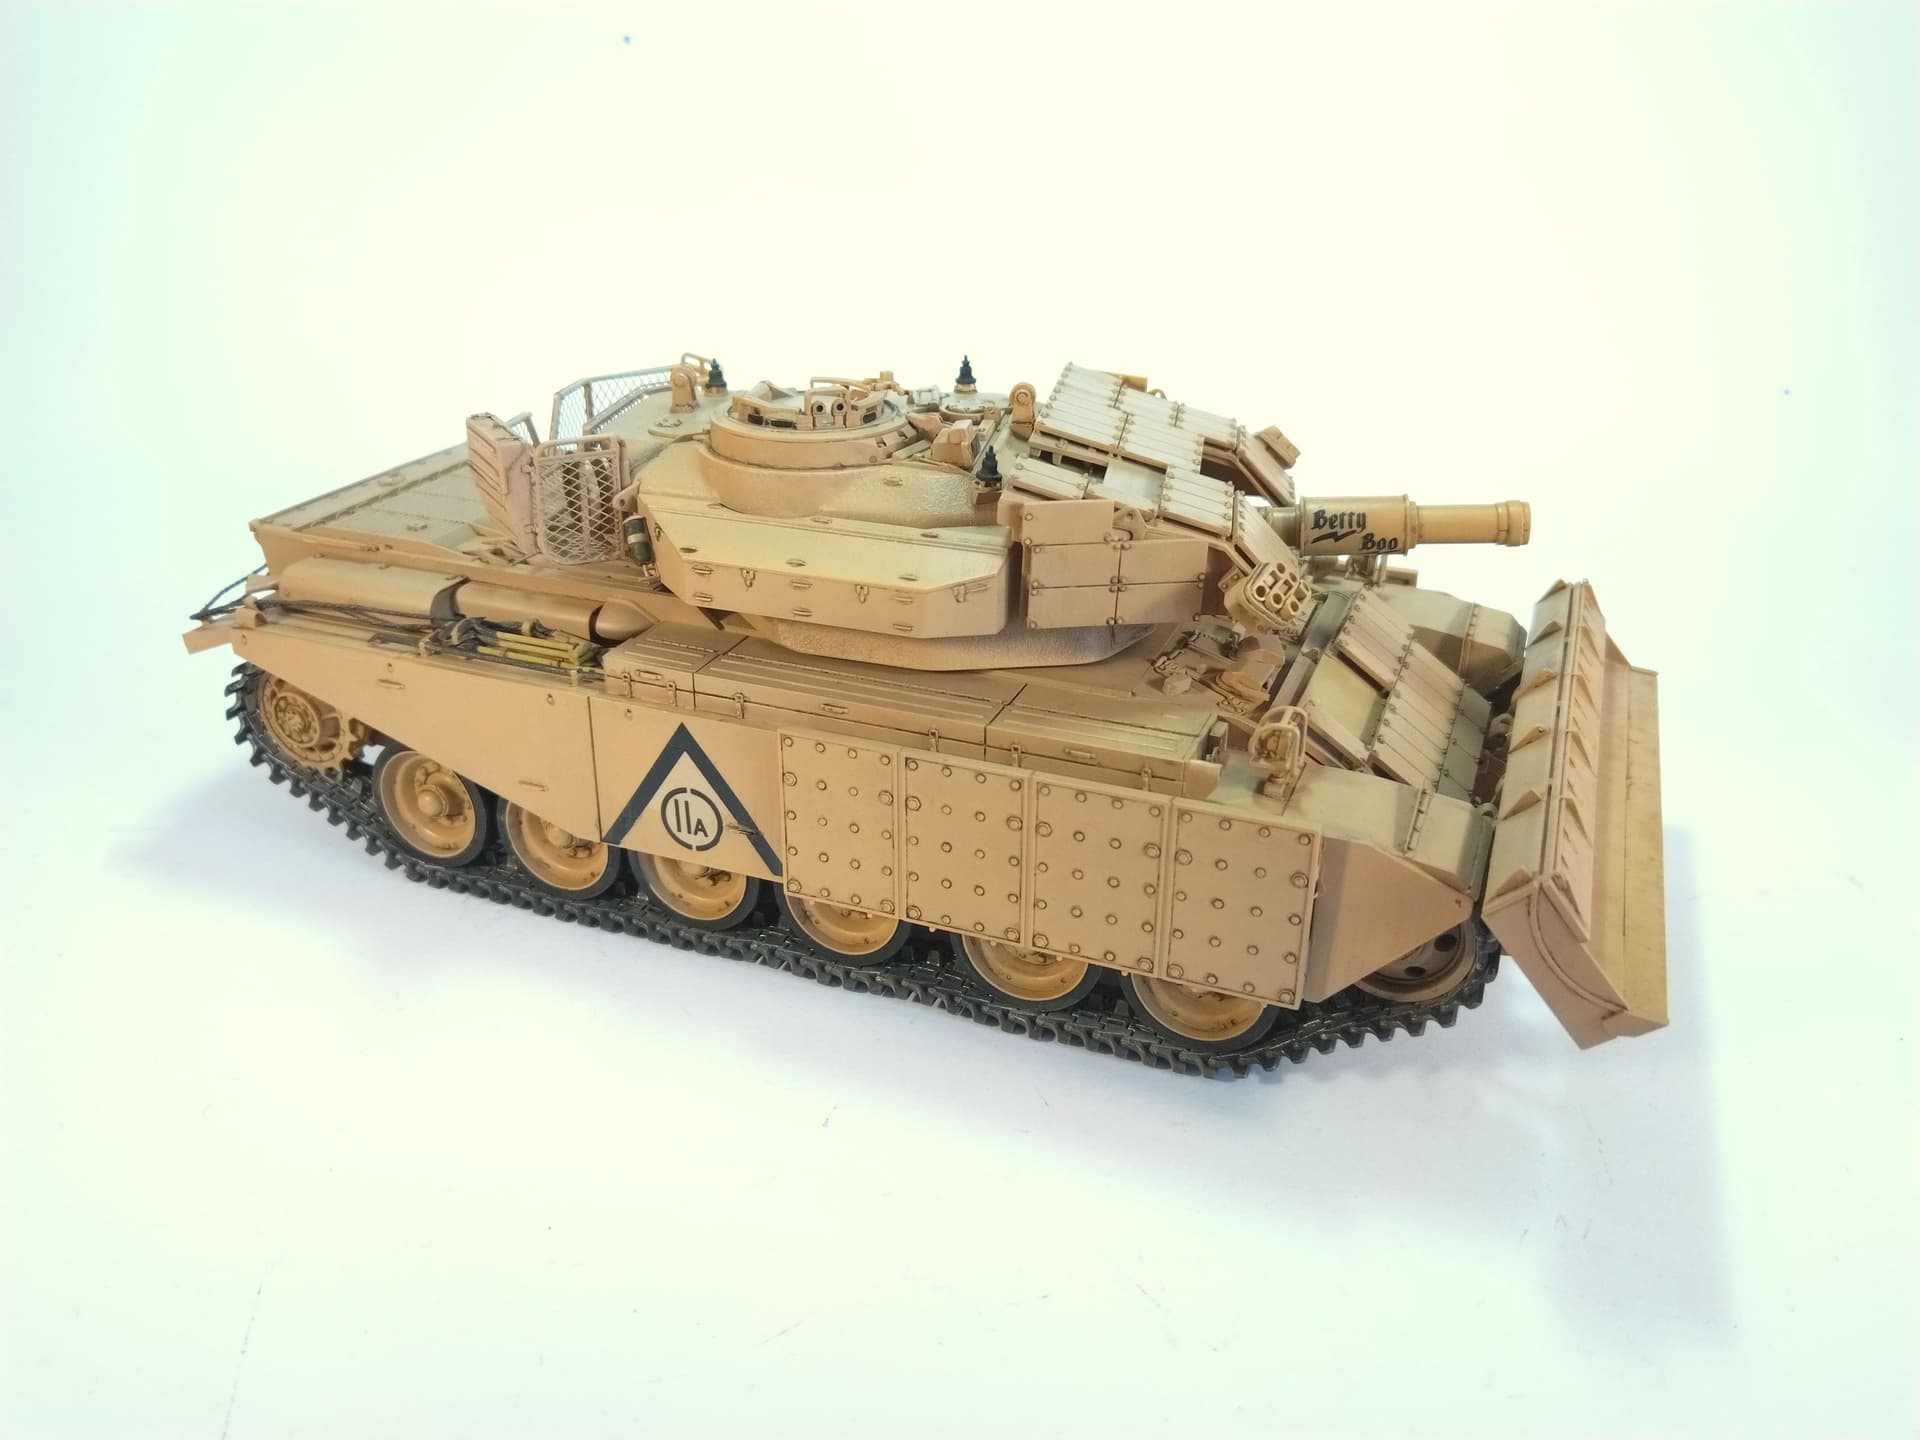
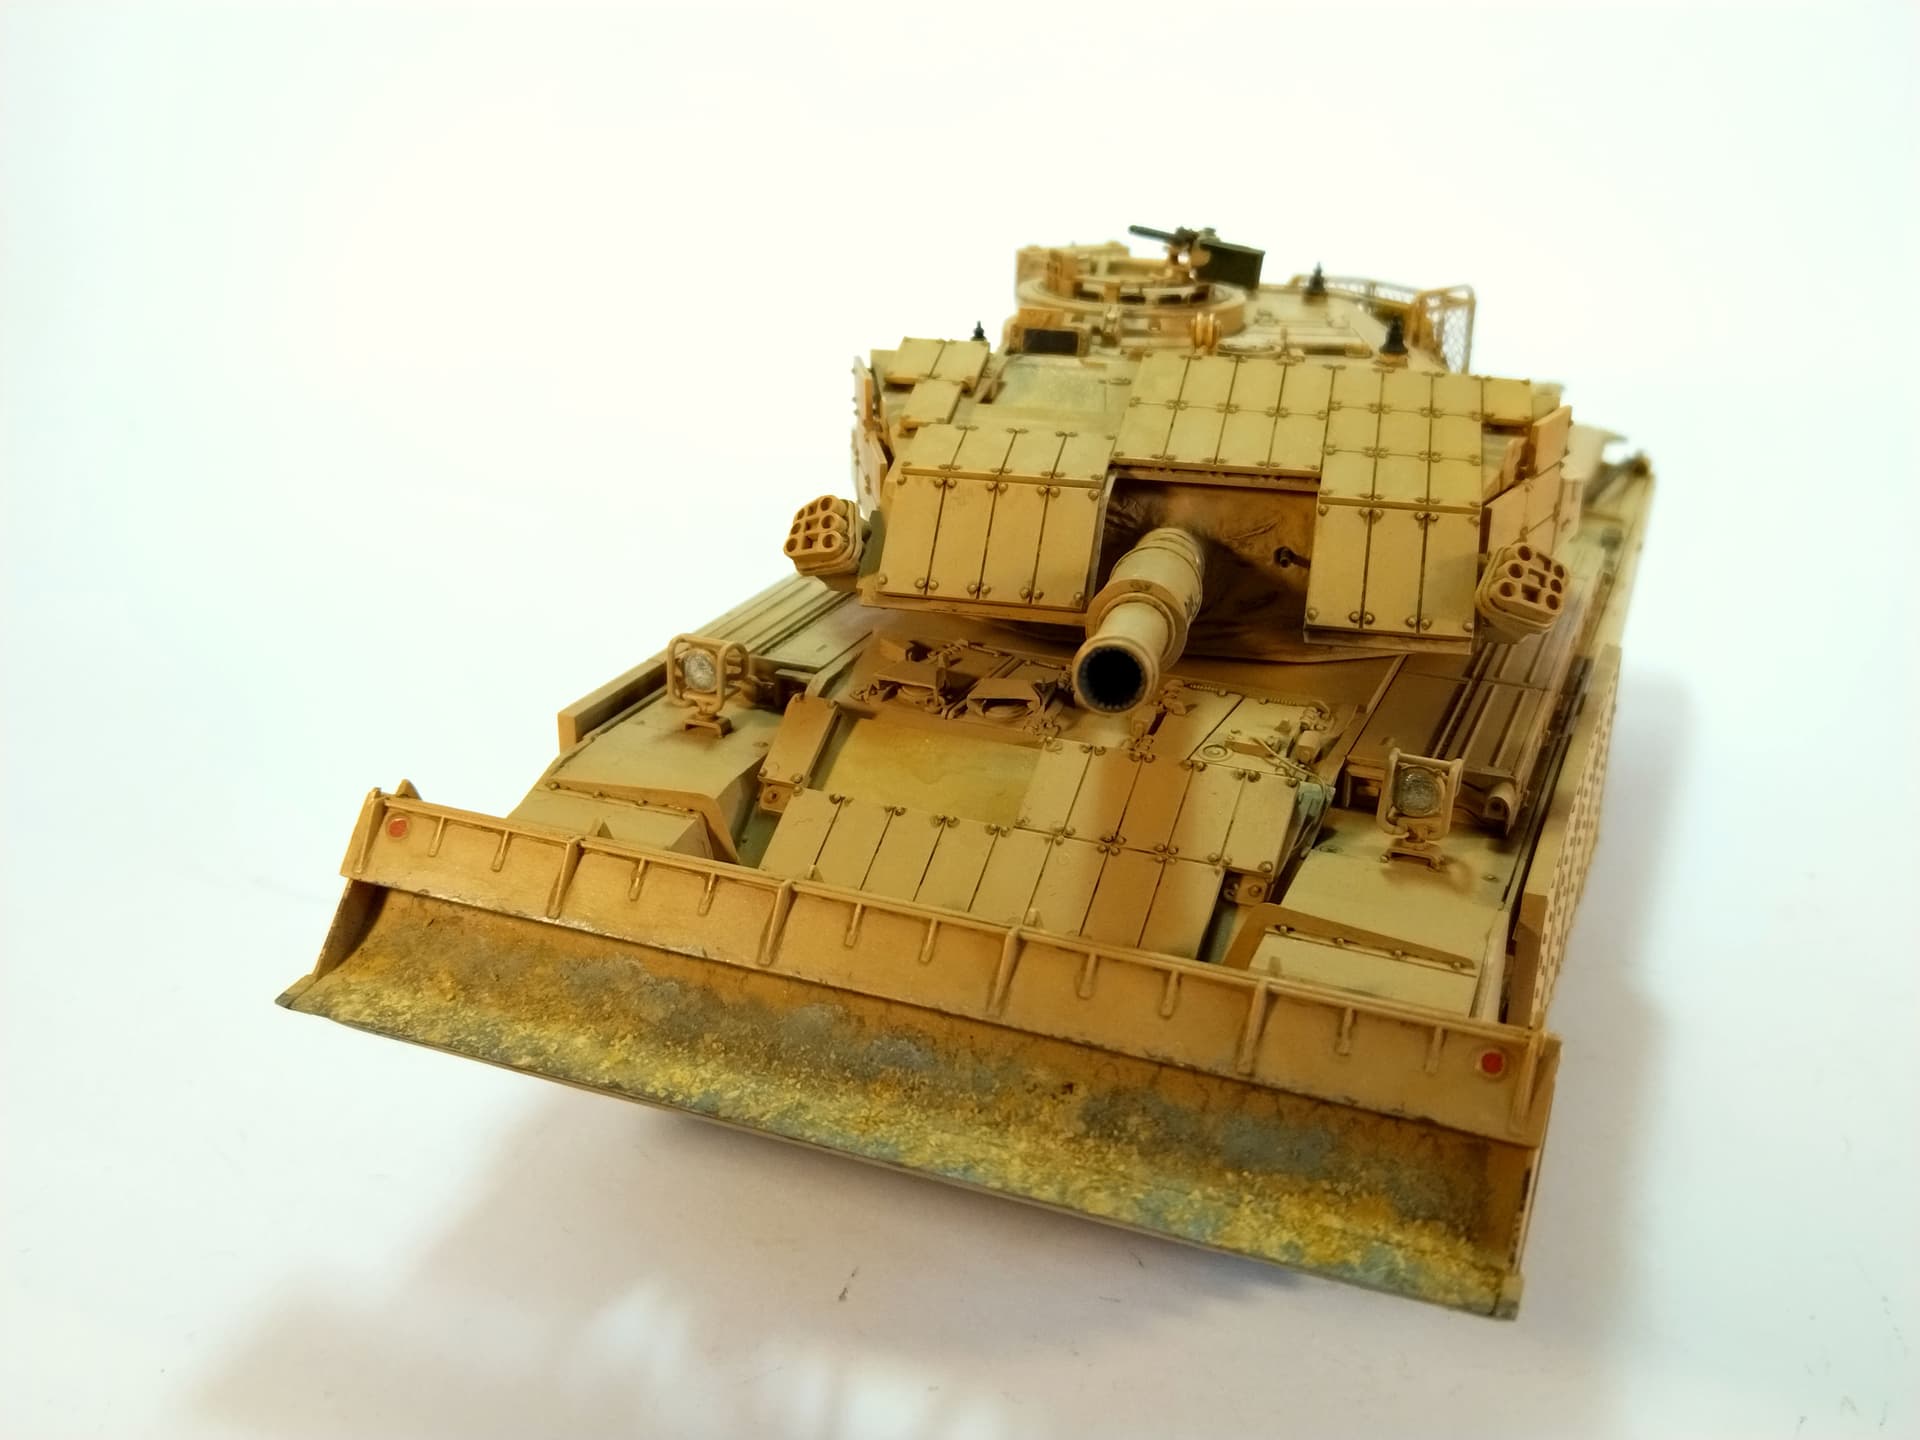
The AVRE is near completion. I have added some dirt to the blade and some sand to the running gear and the side skirts. The turret rear basket has been partly filled with tarps and water cans. It still looks too empty so I may add a larger item, possibly a folded tarp as I have nothing else suitable in my stash.
Olivier
11 Likes