This is fun watching these builds
1 Like
FC Modeltrend has also released some updates parts for the AMX series including both single and double headlights. I can recommend both the AA and Azimut sets as far as the parts that are included, as I have both. The early roadwheels are the reason I bought both, as these are a necessity for many versions.
1 Like
Darn, Well I guess i will build it OOB and hope no one notices. Still going to watch you do your builds
Cheers


Don’t worry Robbie. It’s your model. Build it as you like and have fun. That’s just a hobby. 
Olivier
Haven’t been a lot on the workbench lately but I managed to detail a bit the IR searchlight.
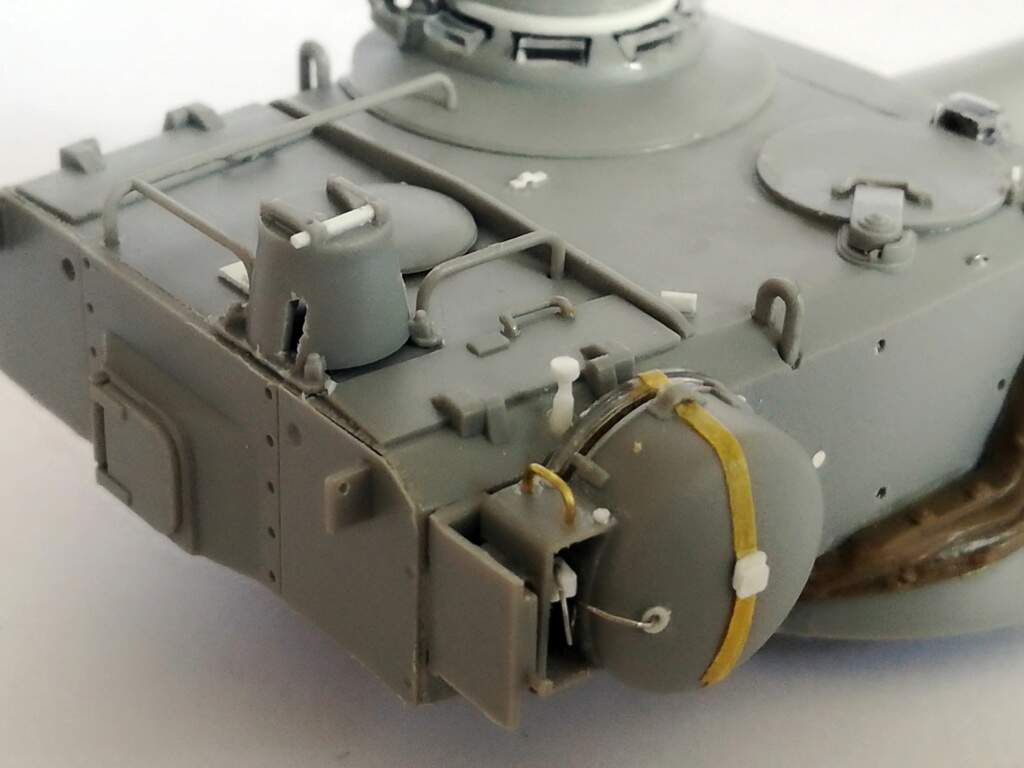
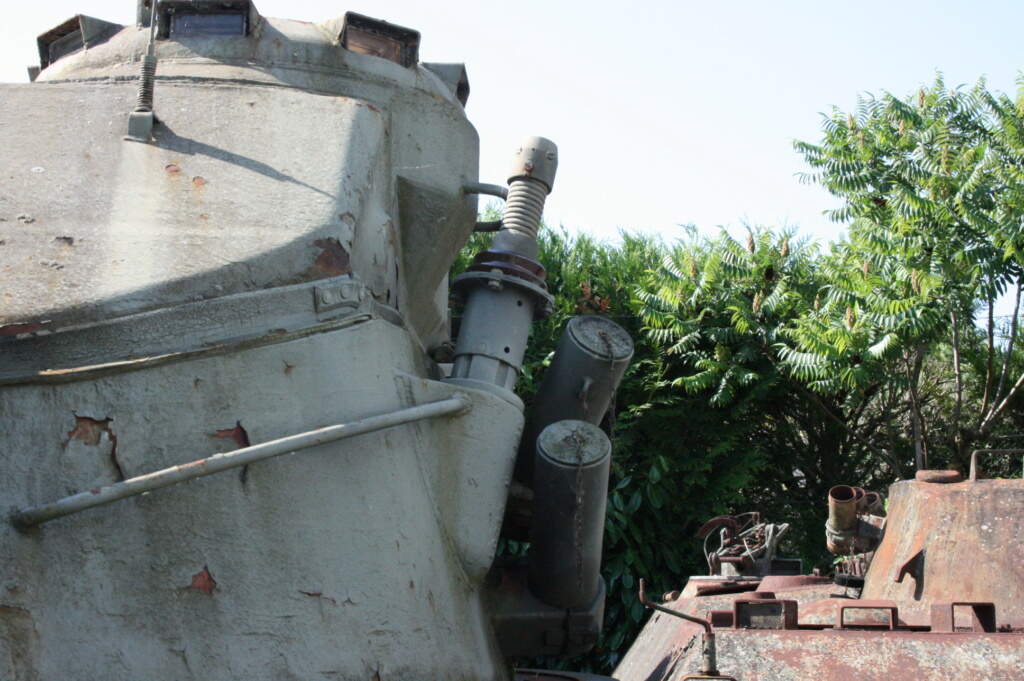
I first added the rubber protections on the turret sides. The top one is a simple strip of metal with rubber padding. The lower one is a L shaped piece of metal with rubber padding. I also added the tie-down and the upper strap.
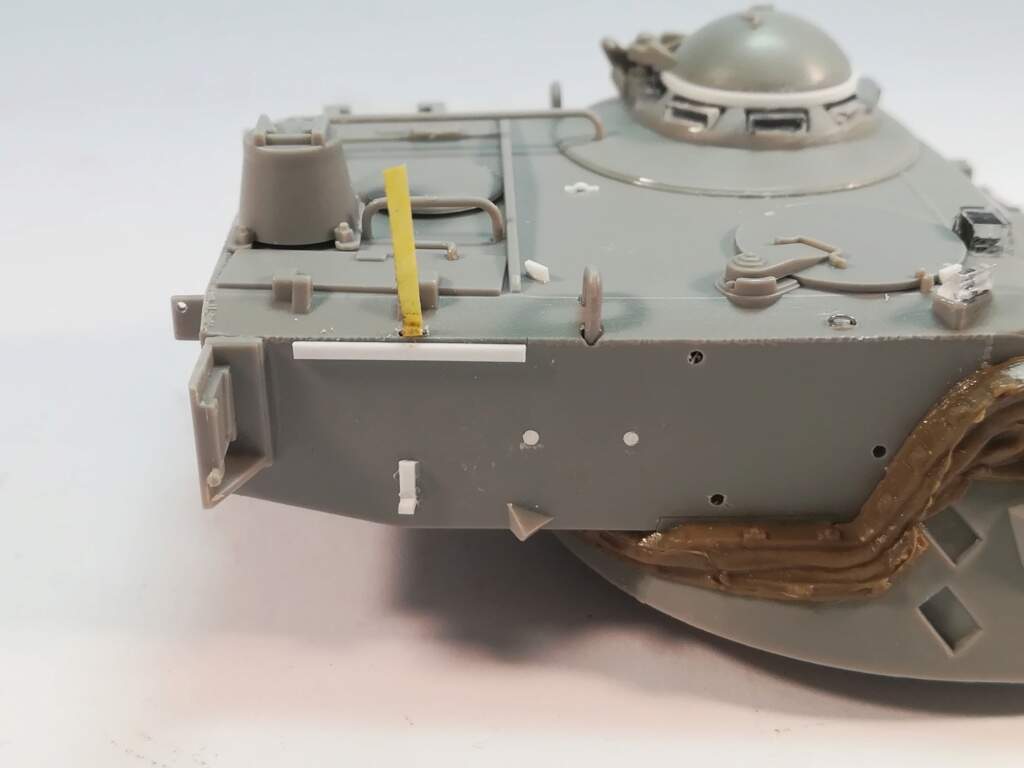
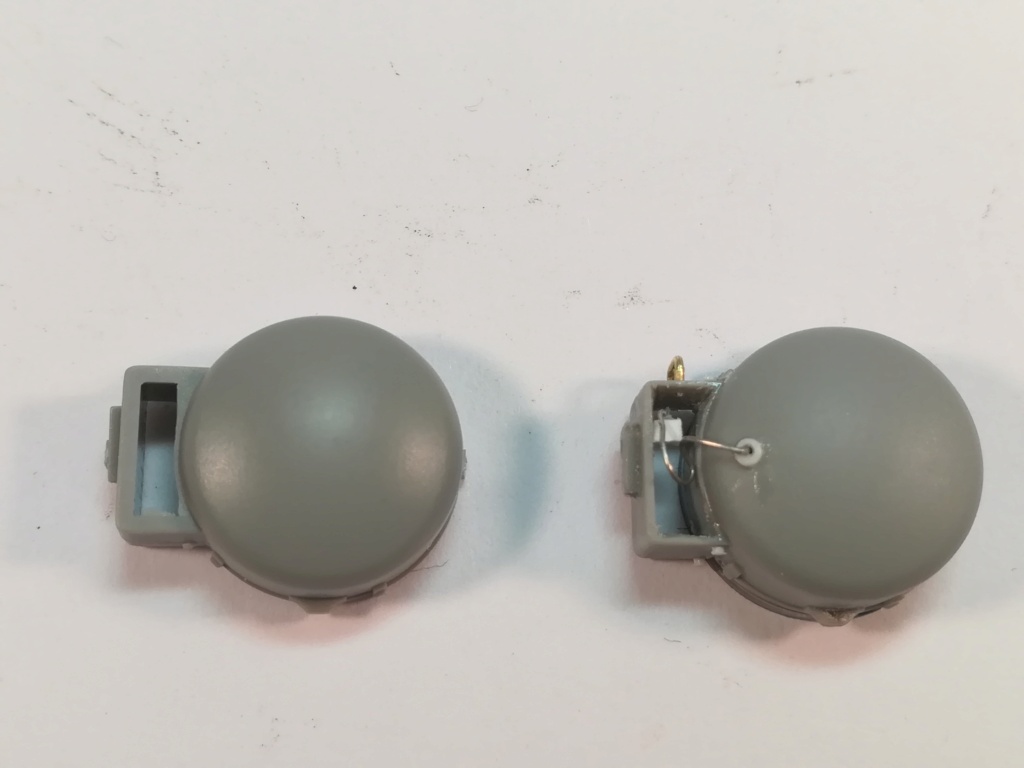
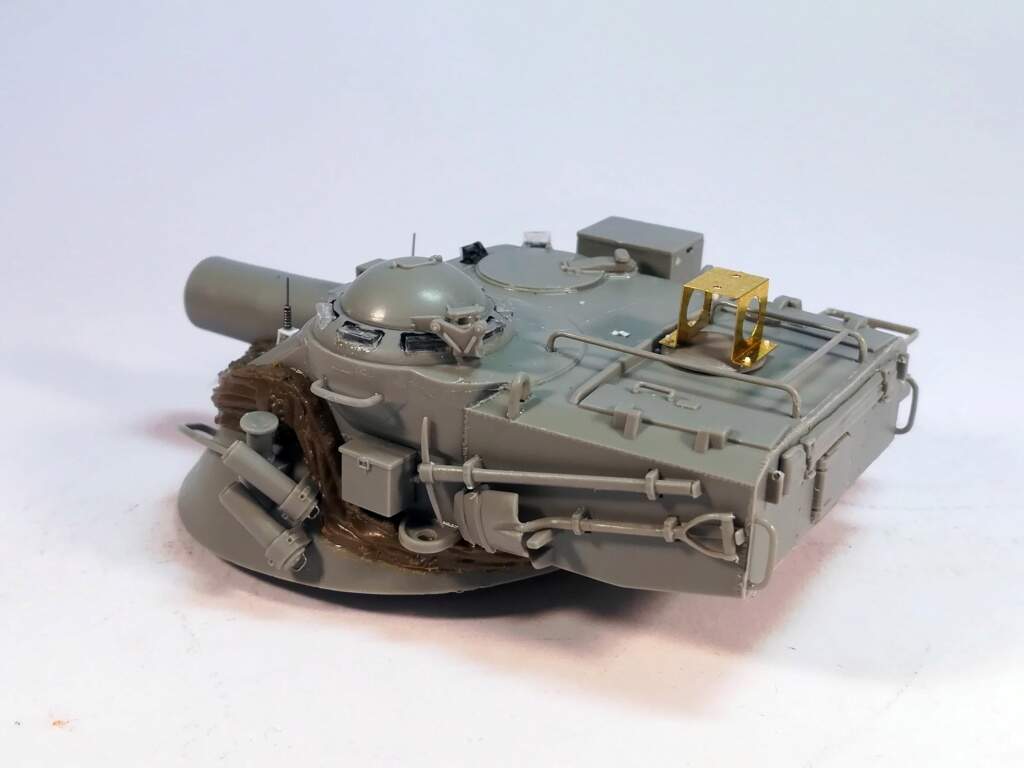
The searchlight is detailed. The base is thinned, some bolts are added as well as the cable in the transport mode. In the base there is a socket to plug the cable.
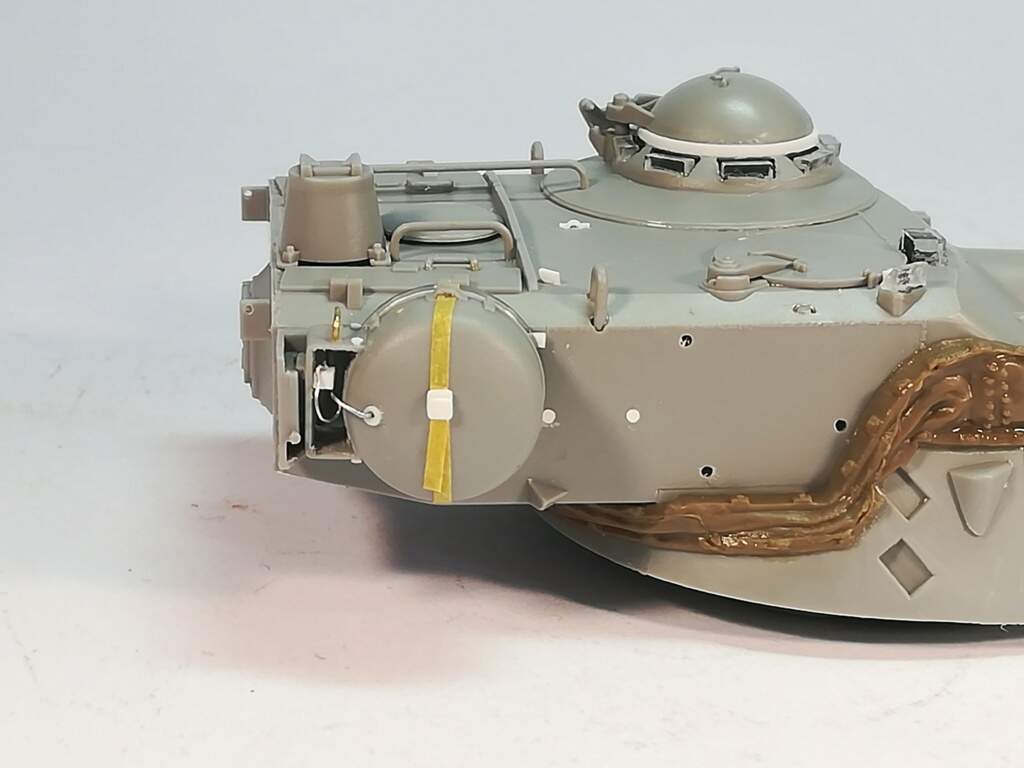
Here is the searchlight in place with the straps and the typical French buckles.
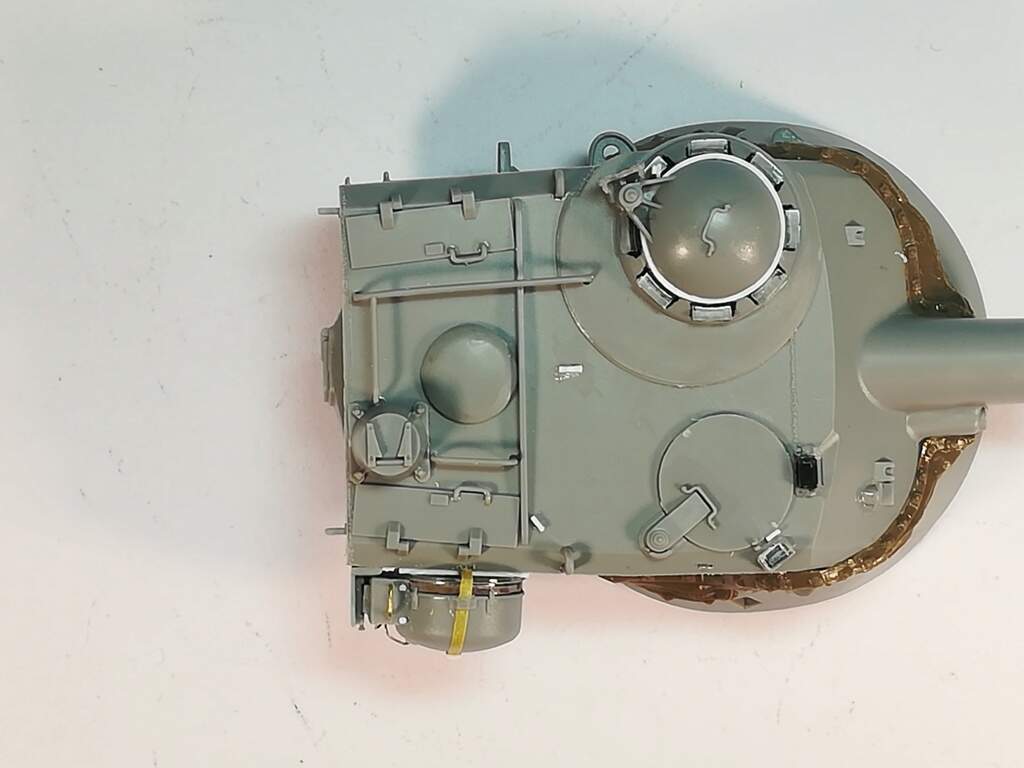
On the top view you can notice that the power socket is still missing as well as the stop for the right ammo carrousel flap. This was designed to prevent damage to the searchlight during the reloading.
Just another to do but now I have gained experience.
Olivier
4 Likes
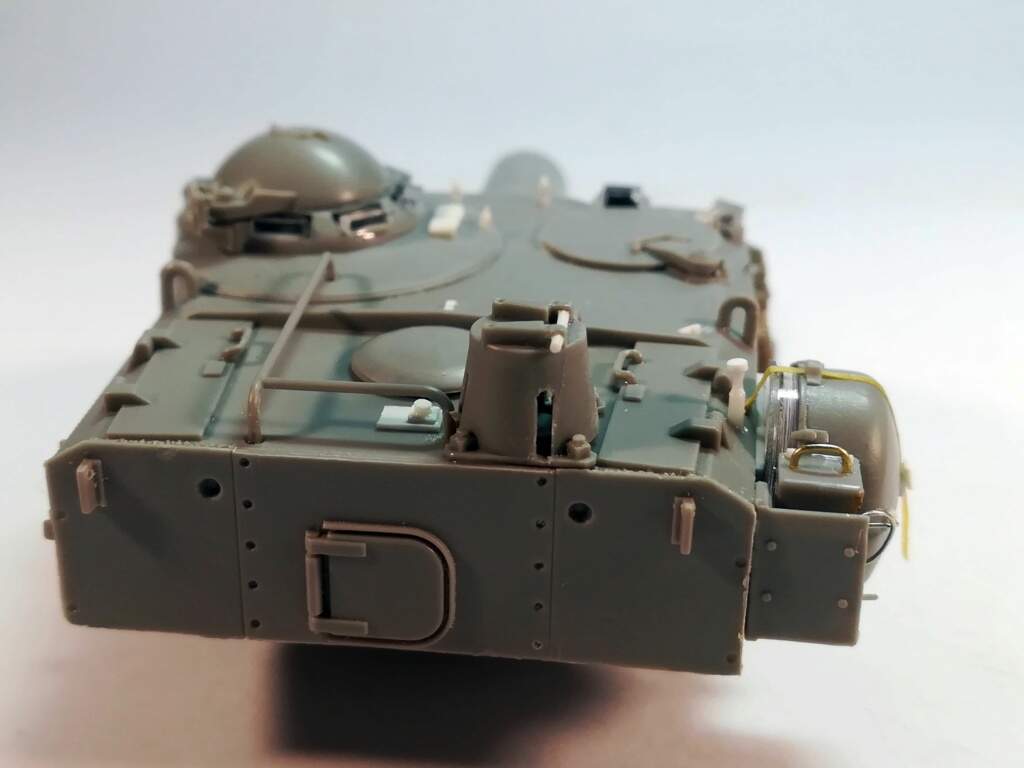
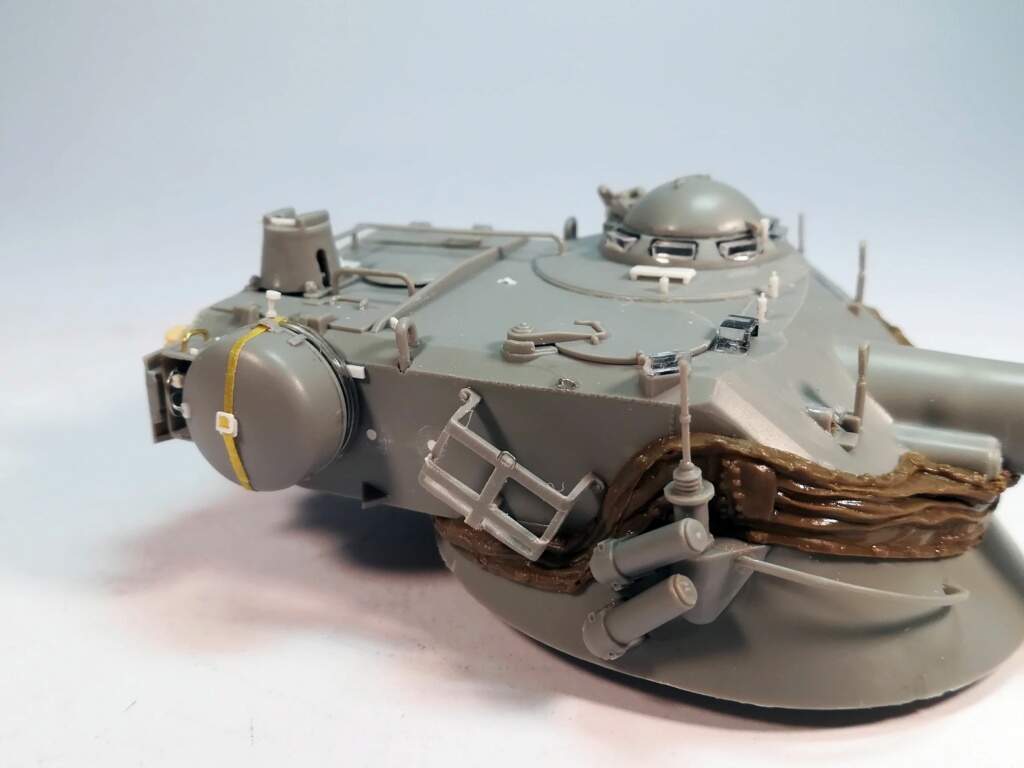
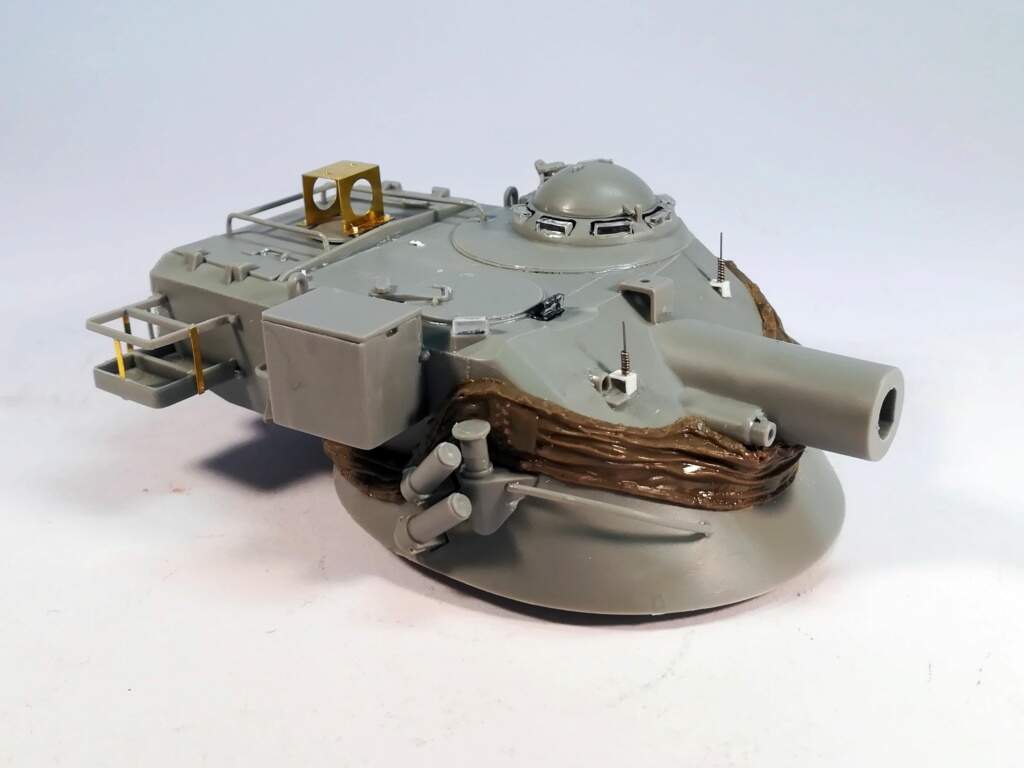
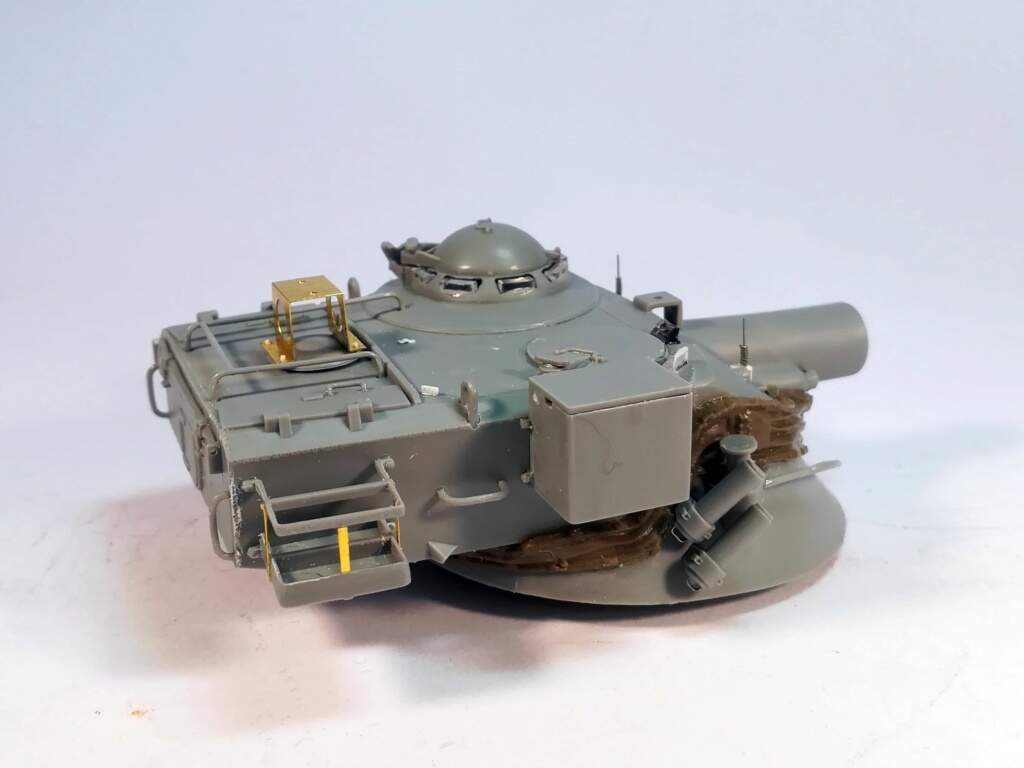
Fruitful afternoon. I managed to detail the second searchlight and add the stops and the sockets to the both turrets.
I also cut the three slots in the searchlight support which were omitted for an early support. However the part provided by Takom is correct.

Olivier
8 Likes
Nice detail work. 
Great job so fat Olivier. I have a question . I’m not up on my AMX-13s yet, but were there two search lights on the tank? Very interesting. I ordered the Images of War book on the AMX-13 should be getting it soon.
Thanks for the comments.
There was only one searchlight. In combat use it was fixed on top of the turret or on some versions on the side of the gun sleeve. When in transport it was stowed like I’ve represented it.
The Dutch used the same searchlight as the one fitted to the Leopard1.
Olivier
Oh ok thanks for the info
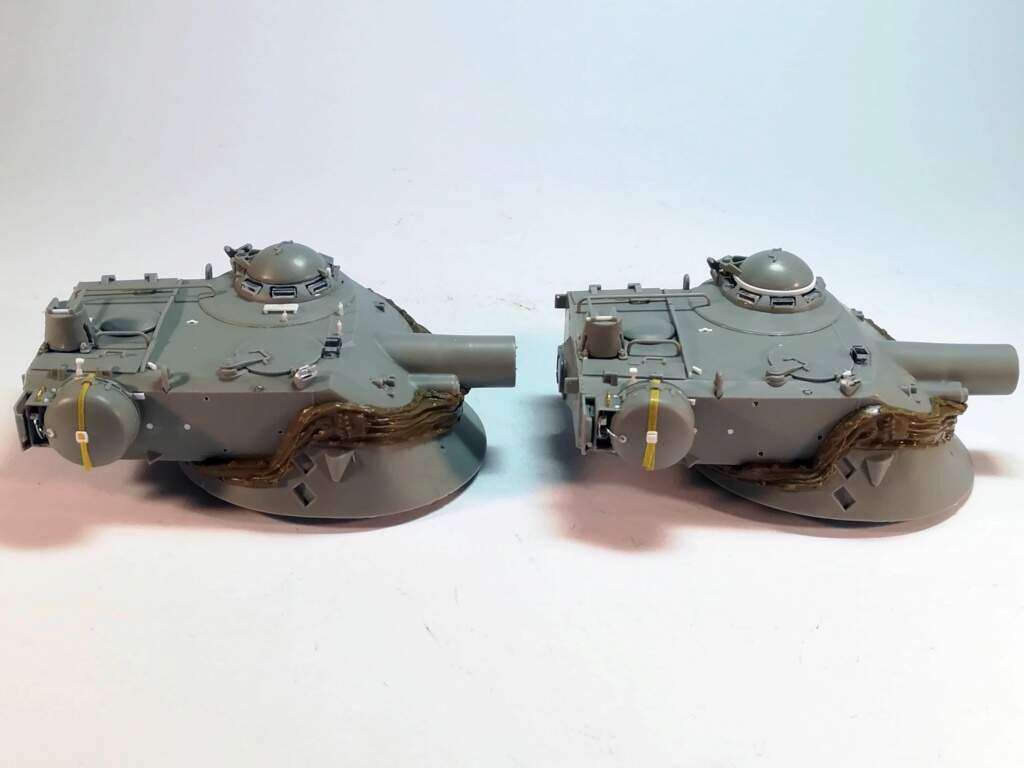
I managed to complete the both turrets with the addition of small details like the loops for the jerrycan and the handles at the bottom of the smoke dischargers.
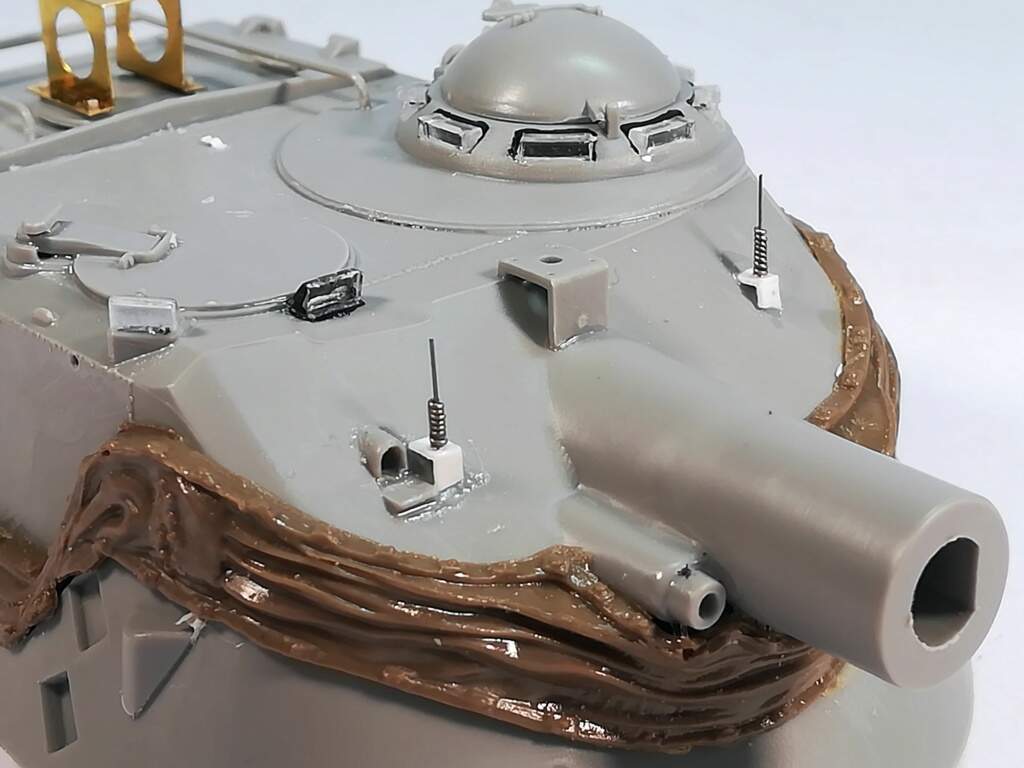
On the Argentinian version I added two small parts with a groove under the barrel sleeve 5 I don’t know what they are for) and replaced the French antennas by the spring type.
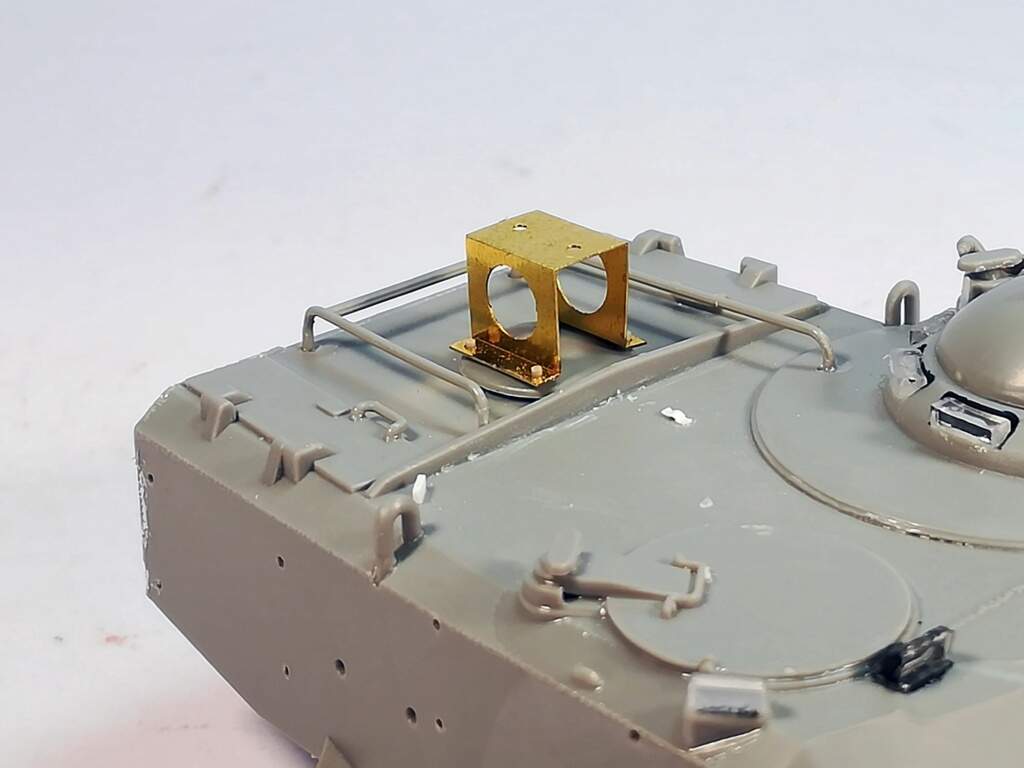
The MAG support is in place and honestly I can’t figure out how you glue it without adding the raiser like on the real thing.
On the French turret the decontamination bottle has been added with a leftover of a Blast model set. Azimut ones are better in shape but too large to fit the small space at the rear of the turret. The spare antenna bag is glued the right way with the long brackets at the bottom contrarily to what the instructions show.
Both turrets side by side. The 105 mm muzzle brake is impressive.
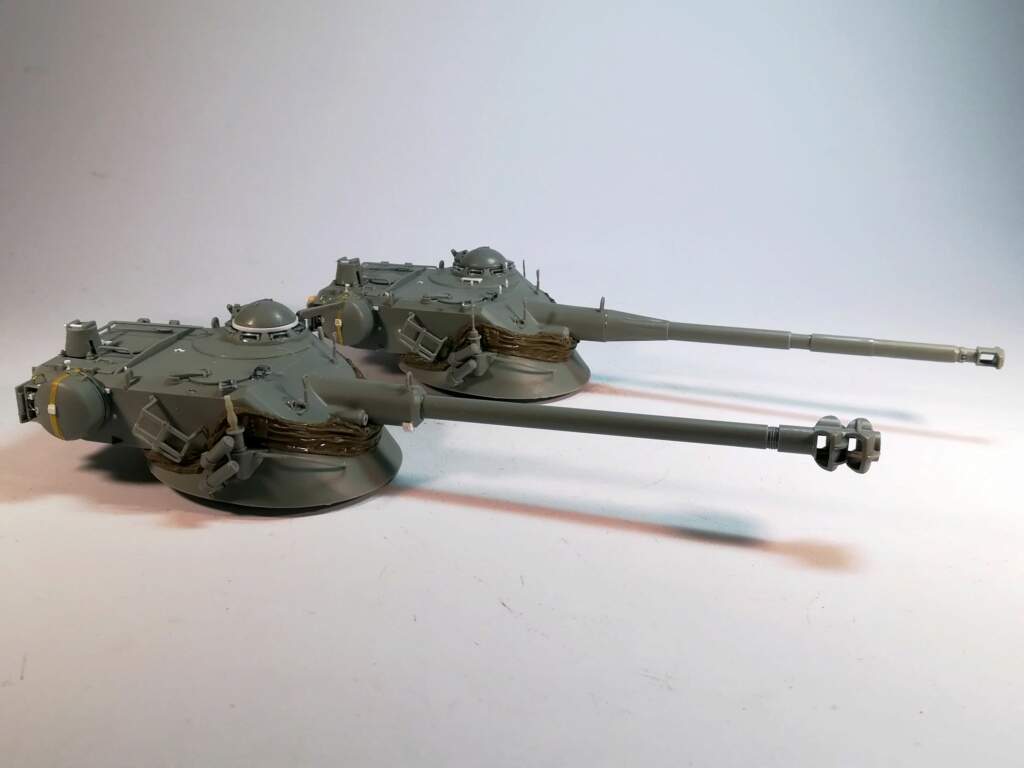

Next week I have to make the Israeli turret.
Olivier
6 Likes
Great job so far Olivier
Thank you Richard.
Olivier
Comparing and creating a series of vehicles is very challenging, and I imagine it takes a lot of concentration on you . With respect, I’m watching this great progress.
1 Like
Your welcome!
Just got the Images of War book on the AMX-13, very detailed history of the vehicle with lots of photos. It’s excellent.
You’re right. This book is a must have. I was a friend of one the late French author and he taught me a lot about the AMX 13 in French service.
The WWP book is quite good too. Its major interest to me is the coverage of the Dutch AMX 13/105. Unfortunately there is nothing about the Argentinian version.
We miss a good reference for the IDF AMX 13. I hope someone will publish such a book one day.
Olivier
Yes I read the introduction which mentions Guy Gibeau, he had a long career in armor. It’s an incredible book for sure.
In fact Guy was infantry at a time when mechanized infantry battalions had one or two tank companies. Later on with the arrival of the AMX 30 only one tank company remained.
Oh ok yeah I think I read that in the intro
Hi all
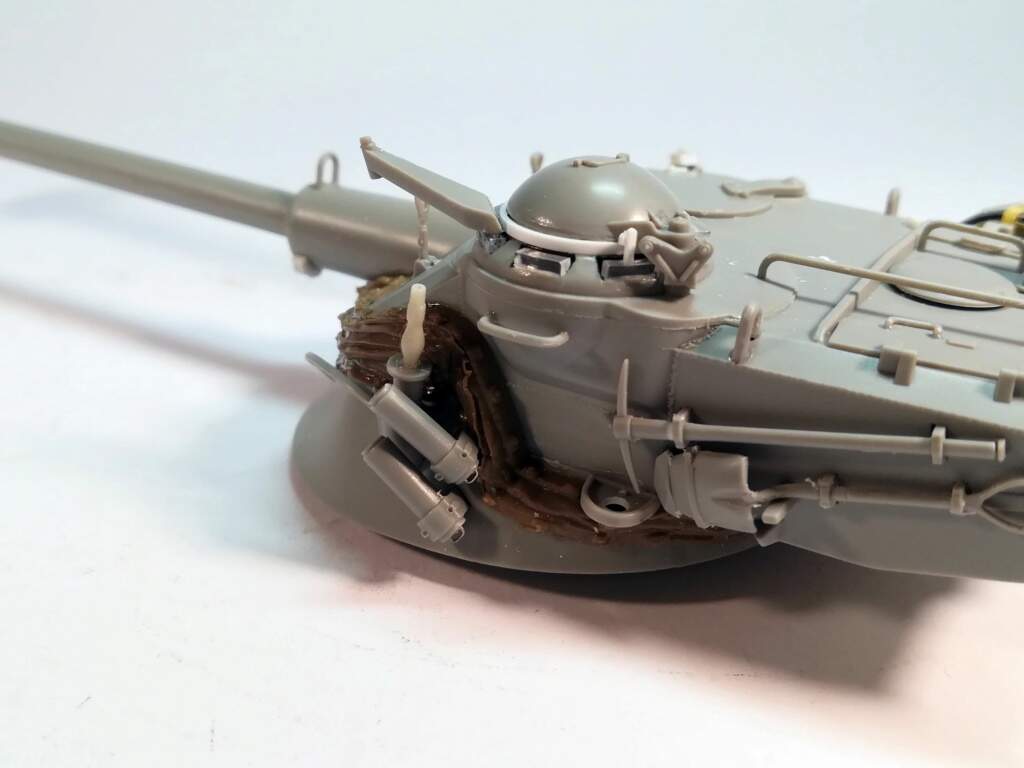
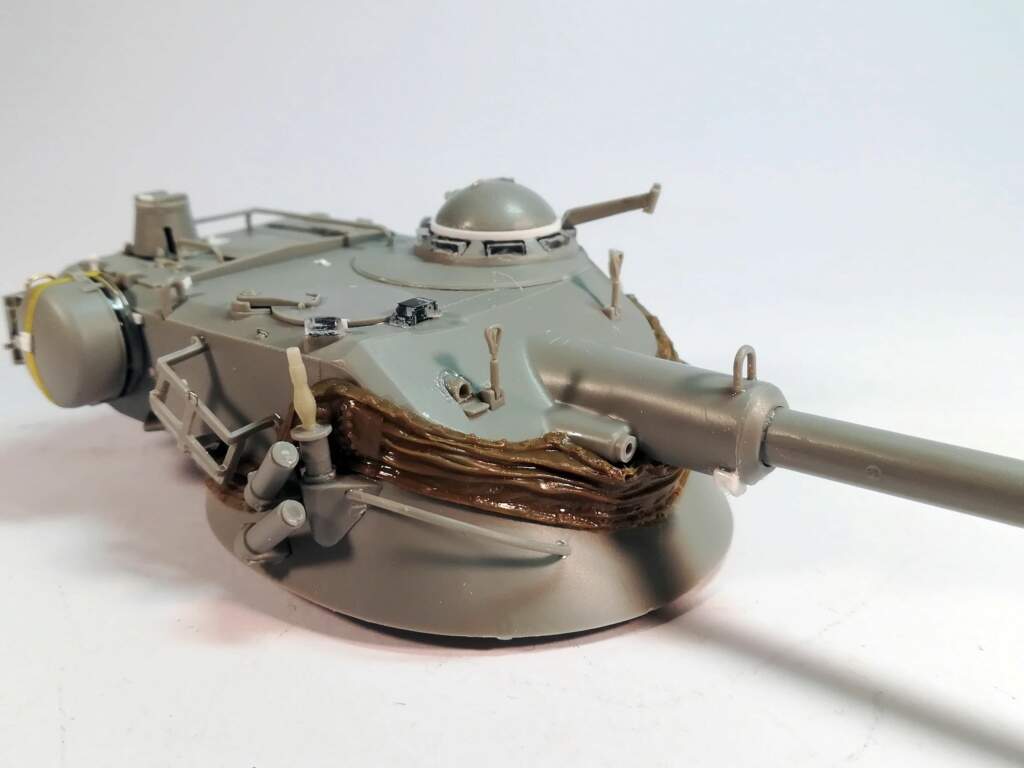
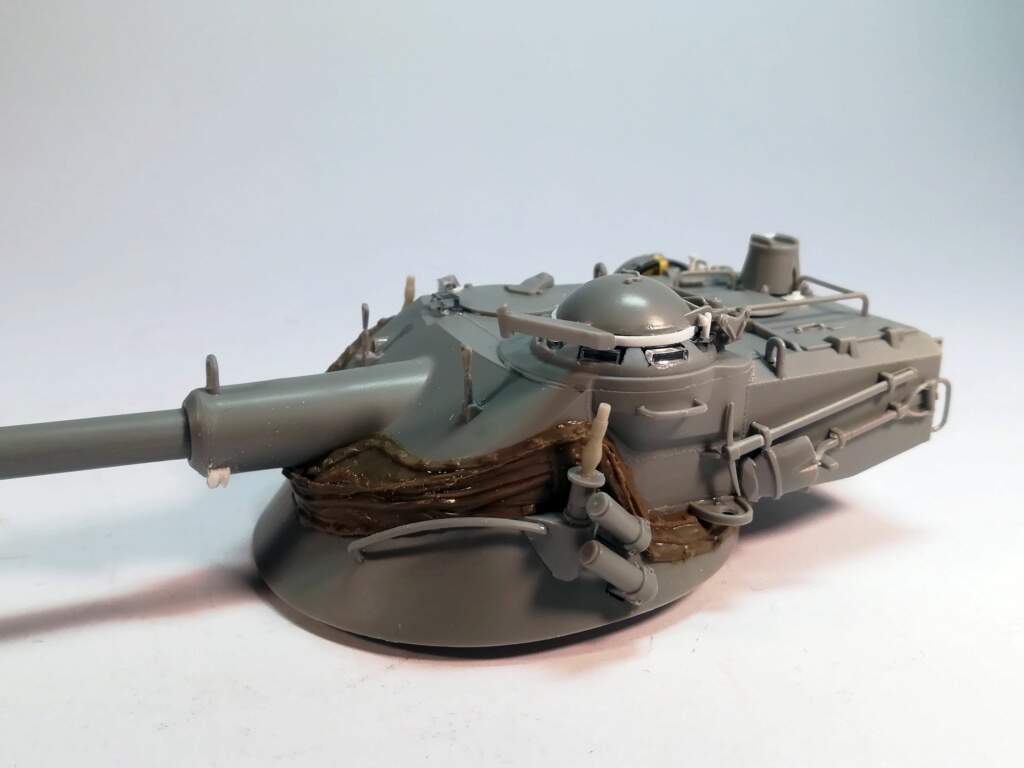
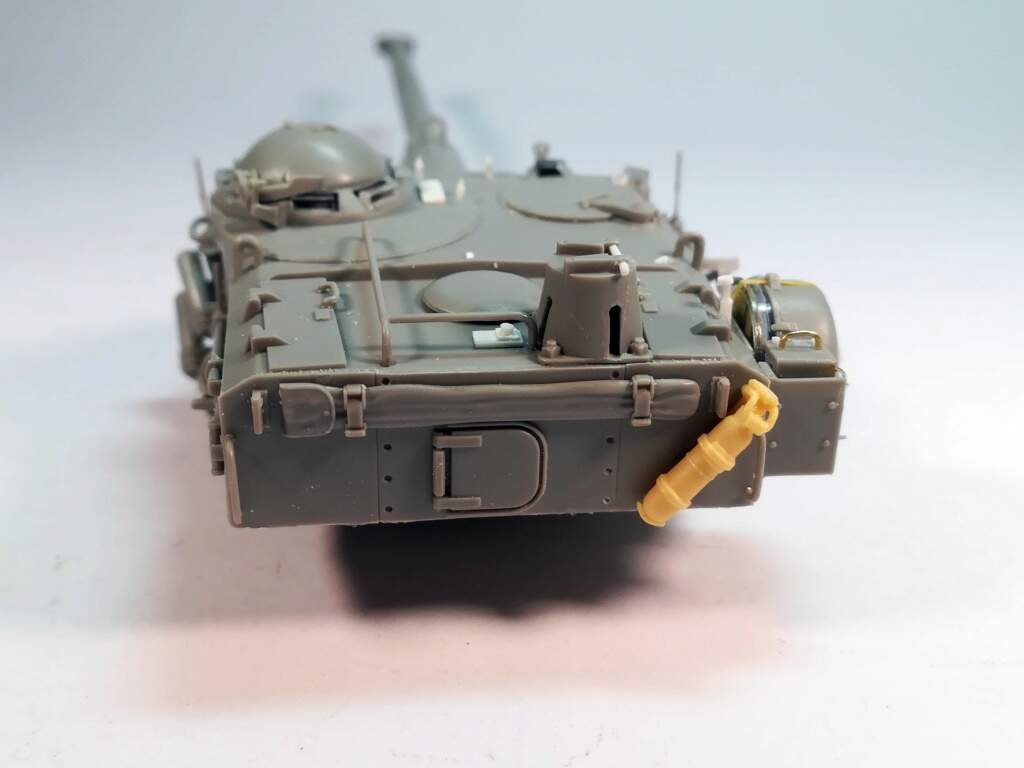
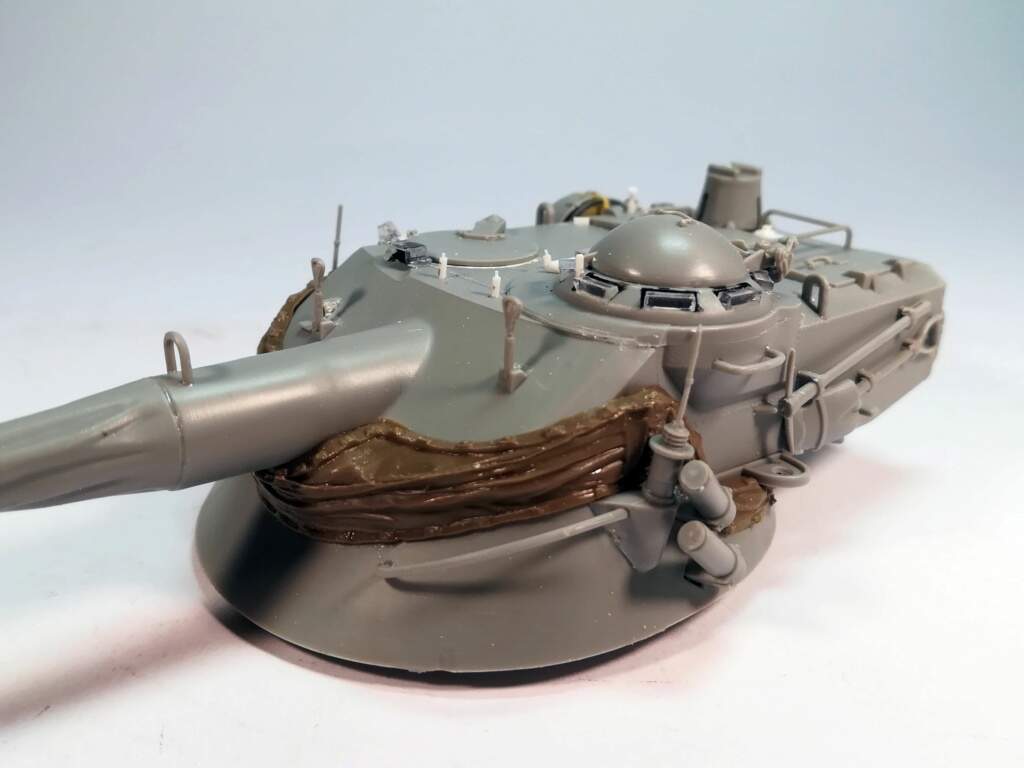
I noticed I missed the three small plates at the rear of the turret under the dust cover which probably help preserve the cover from damage with the rear deck.


Then I finally worked on the Israeli turret. I made a mistake by gluing the ventilator dome the wrong way. The four studs do not make a perfect square and I only noticed it when I tried to fit the IR light support which was at 90° as shown on the picture. So I removed the studs, glued the support and finally added new studs.
Then I deleted the external sights to make the early type ones with some plastic strip, piano string and soft metal wire.
Here is the turret nearly complete. I’ve glued the gun and now I’m waiting for the glue to cure before removing the seam and adding the gun. The jerrycan holder is a bit tricky to assemble. The easiest way seems to first glue the plastic parts to the turret and then add the PE parts.
To complete the turret, I need to source the correct antenna bases as they are missing in the kit.
Olivier
4 Likes