Looks great.
Looks great Rory, with a very nice finish. Clean enough with just the right amount of wear to show it’s been used… Well done 
Excellent Rory. Captured the essence of the build perfectly
Gotta love those vintage kits. Say what you will, but when cleanly assembled and well painted and weathered they look very good.
2 Likes
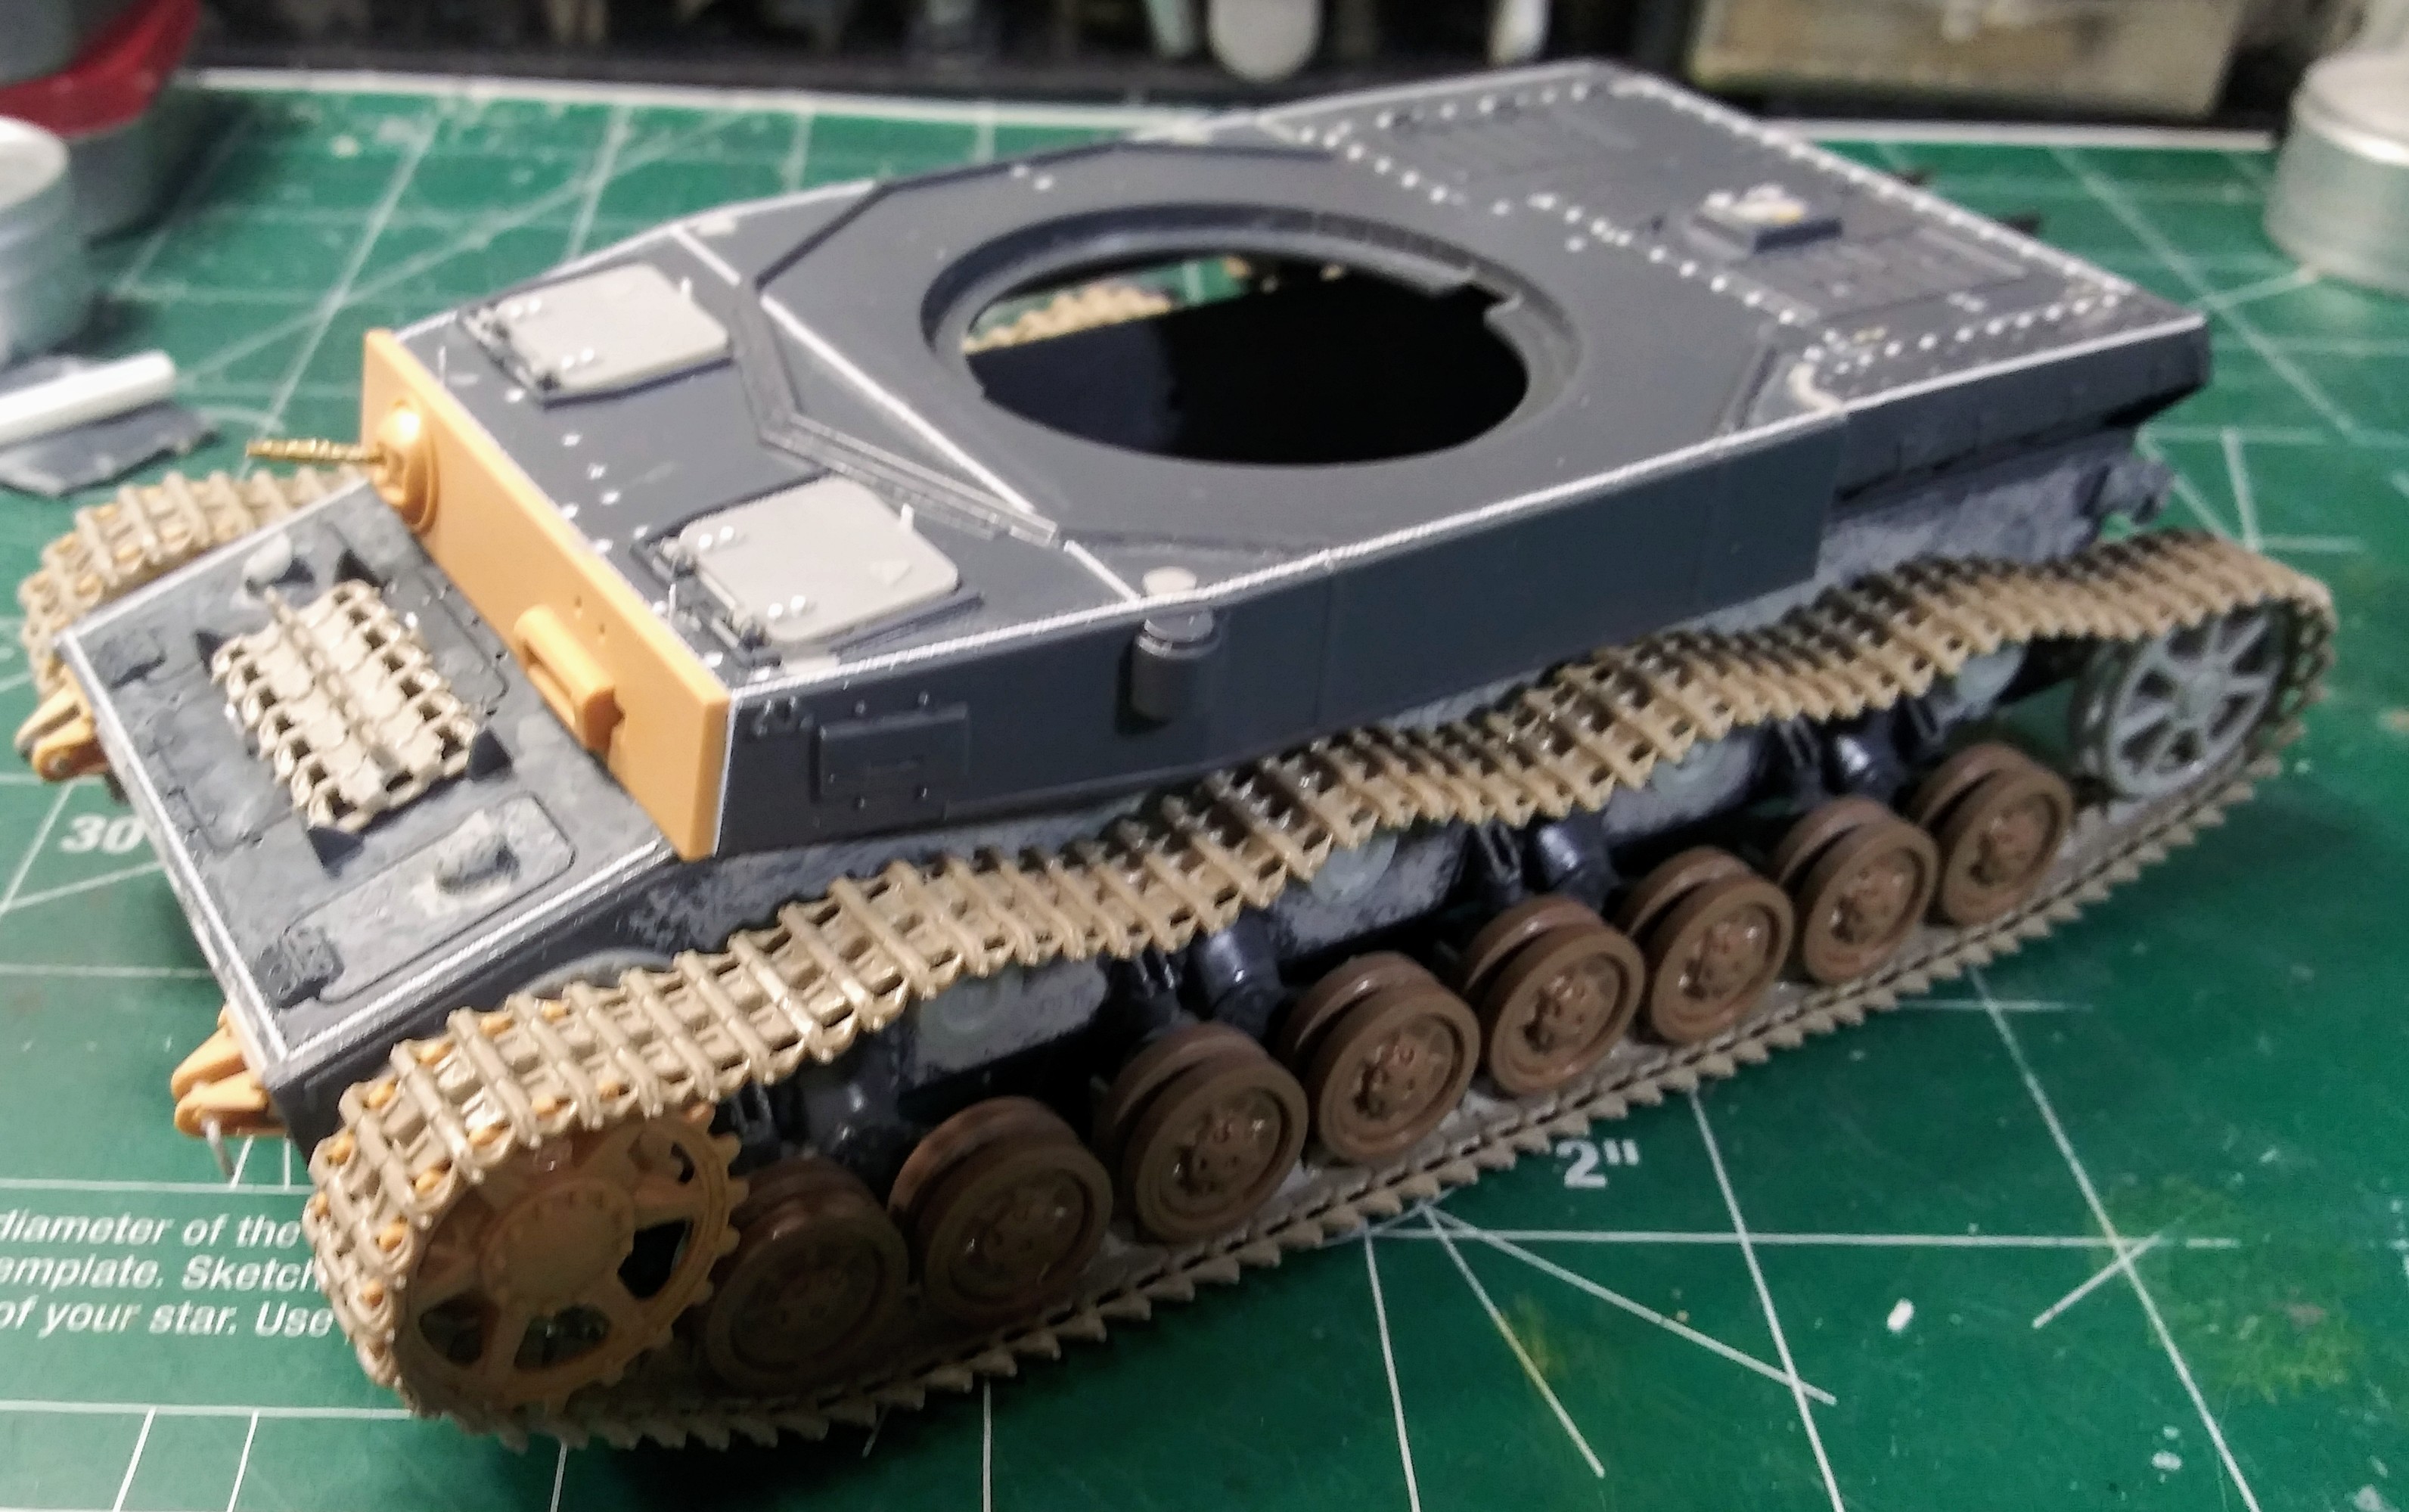
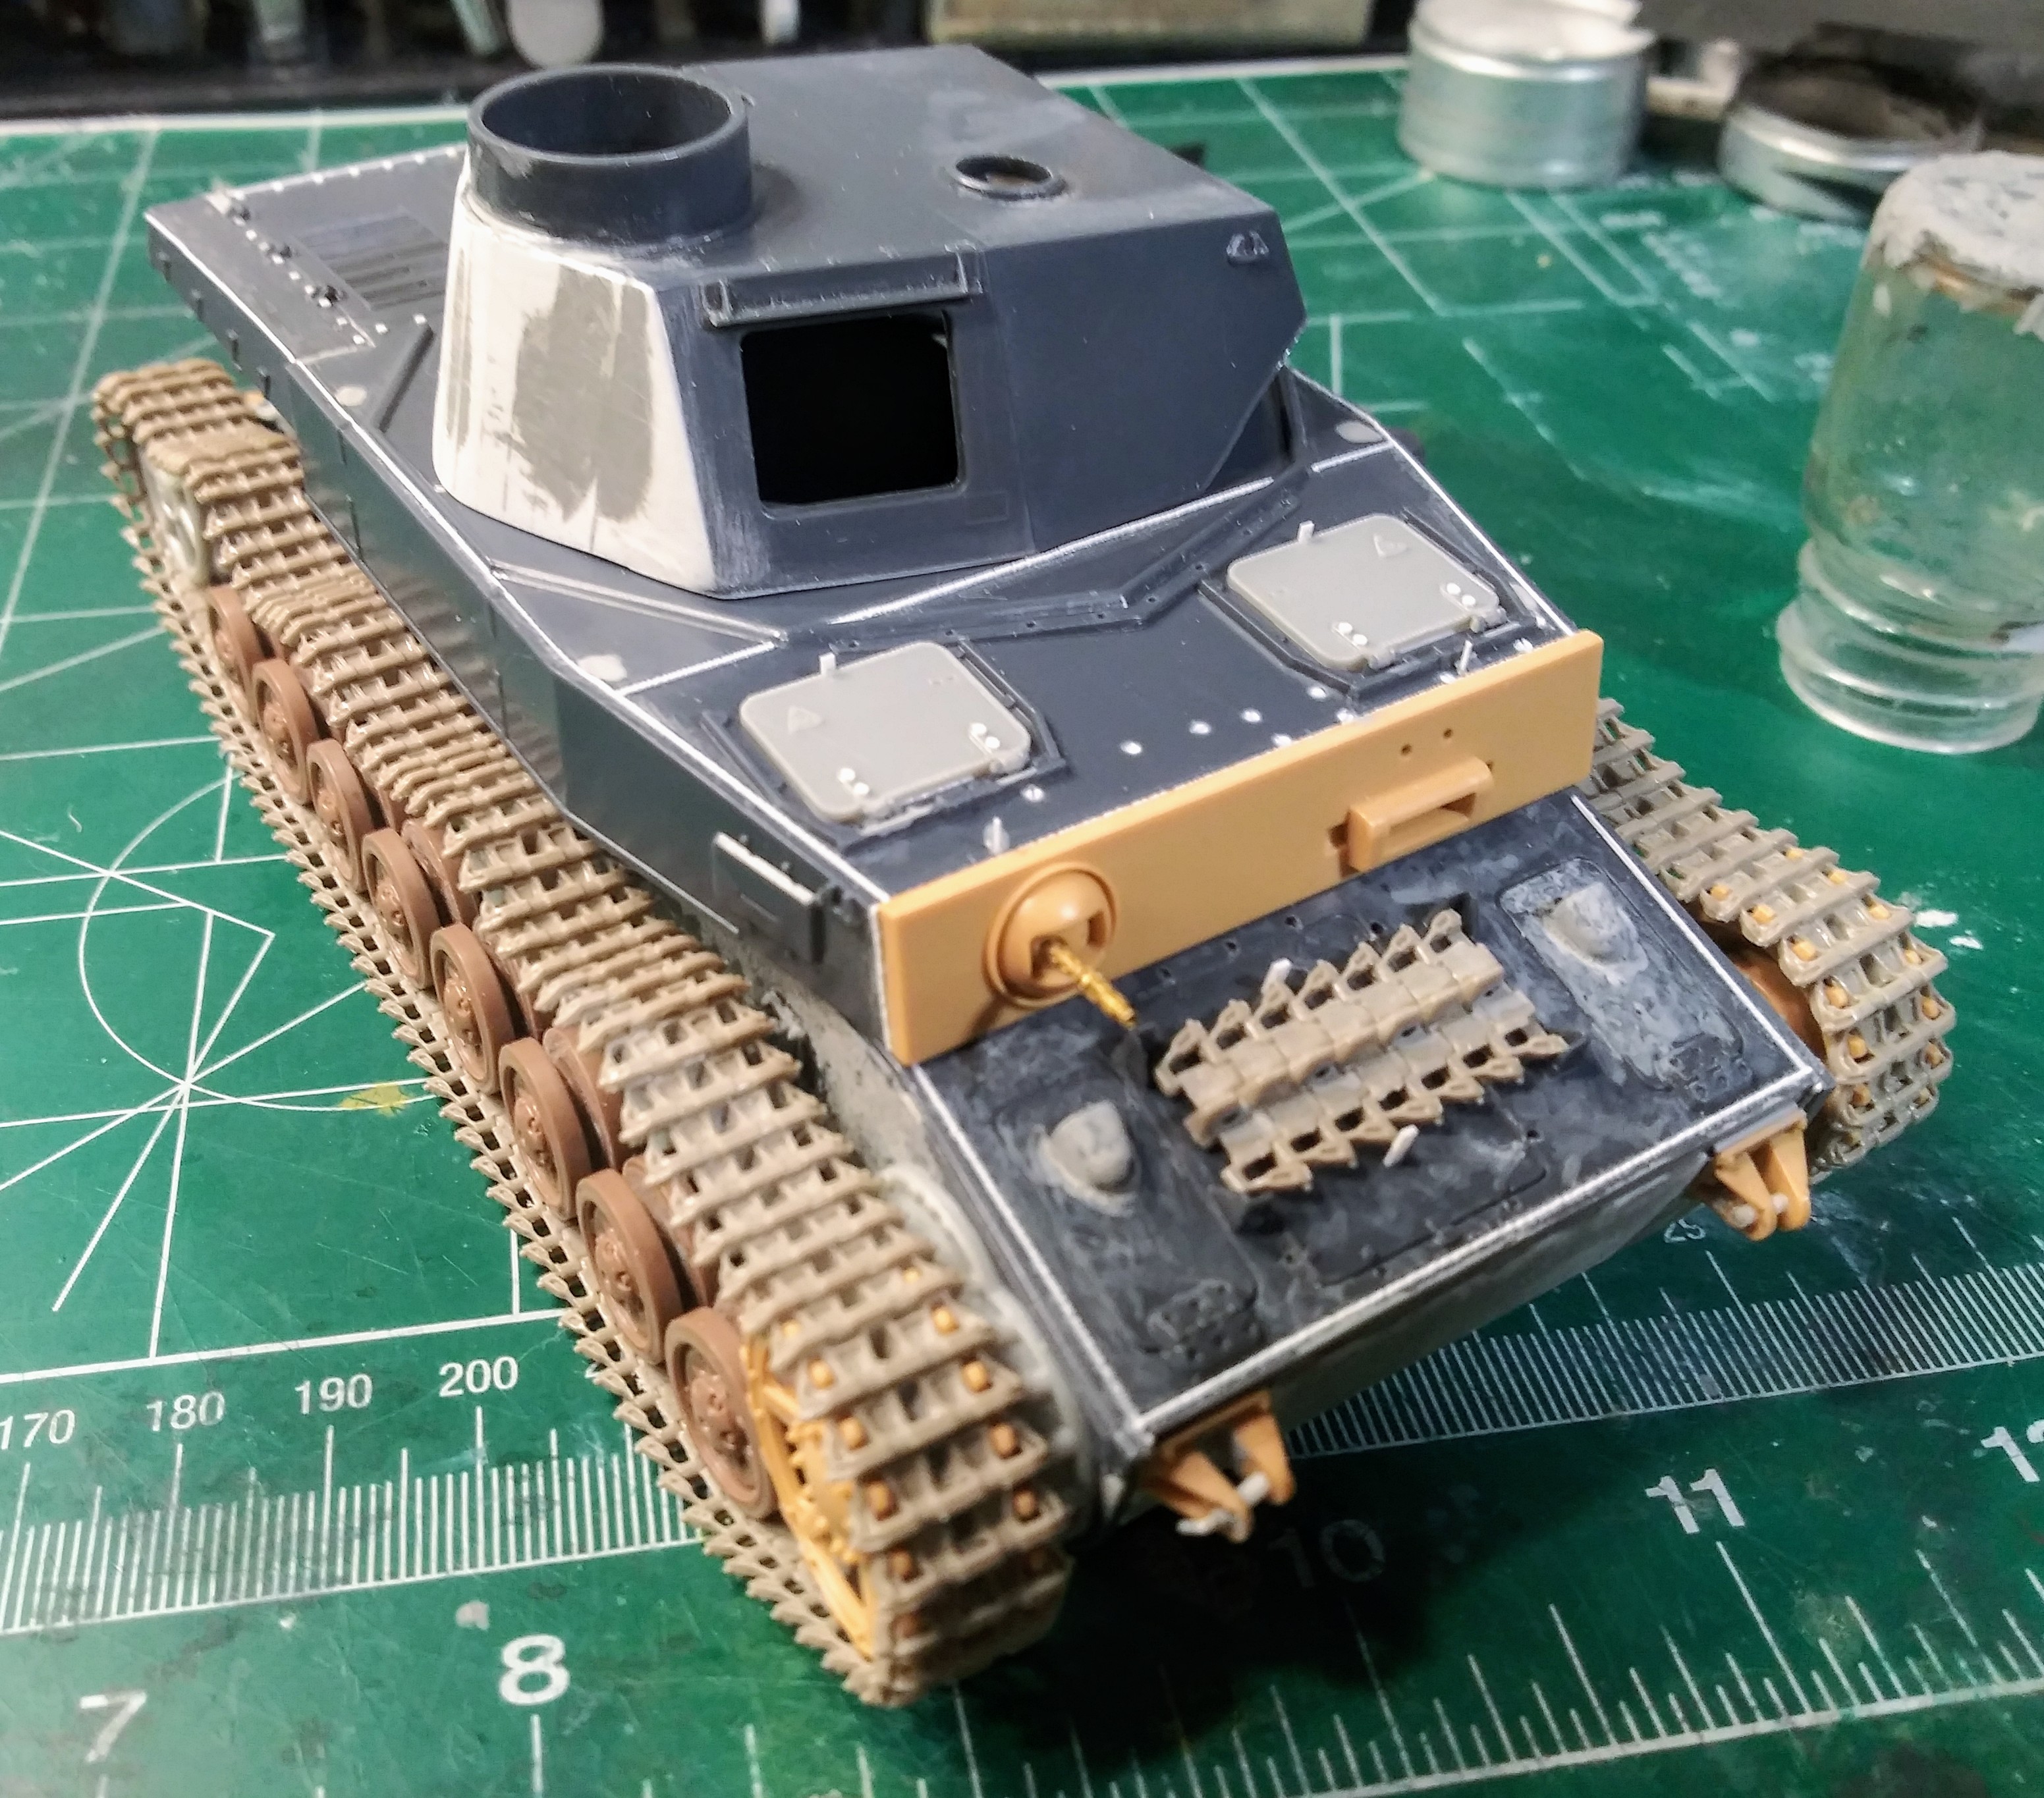
So , I said I was going to do cam on one bogie…
The scenario was for that one bogie many moons ago, the gun commander came up to Gunner Becker and chucked a pot of green paint at him and brush and said " right get some paint on that so it doesn’t stick out and blends in, it’s called cam, and hurry up !" …the result being:
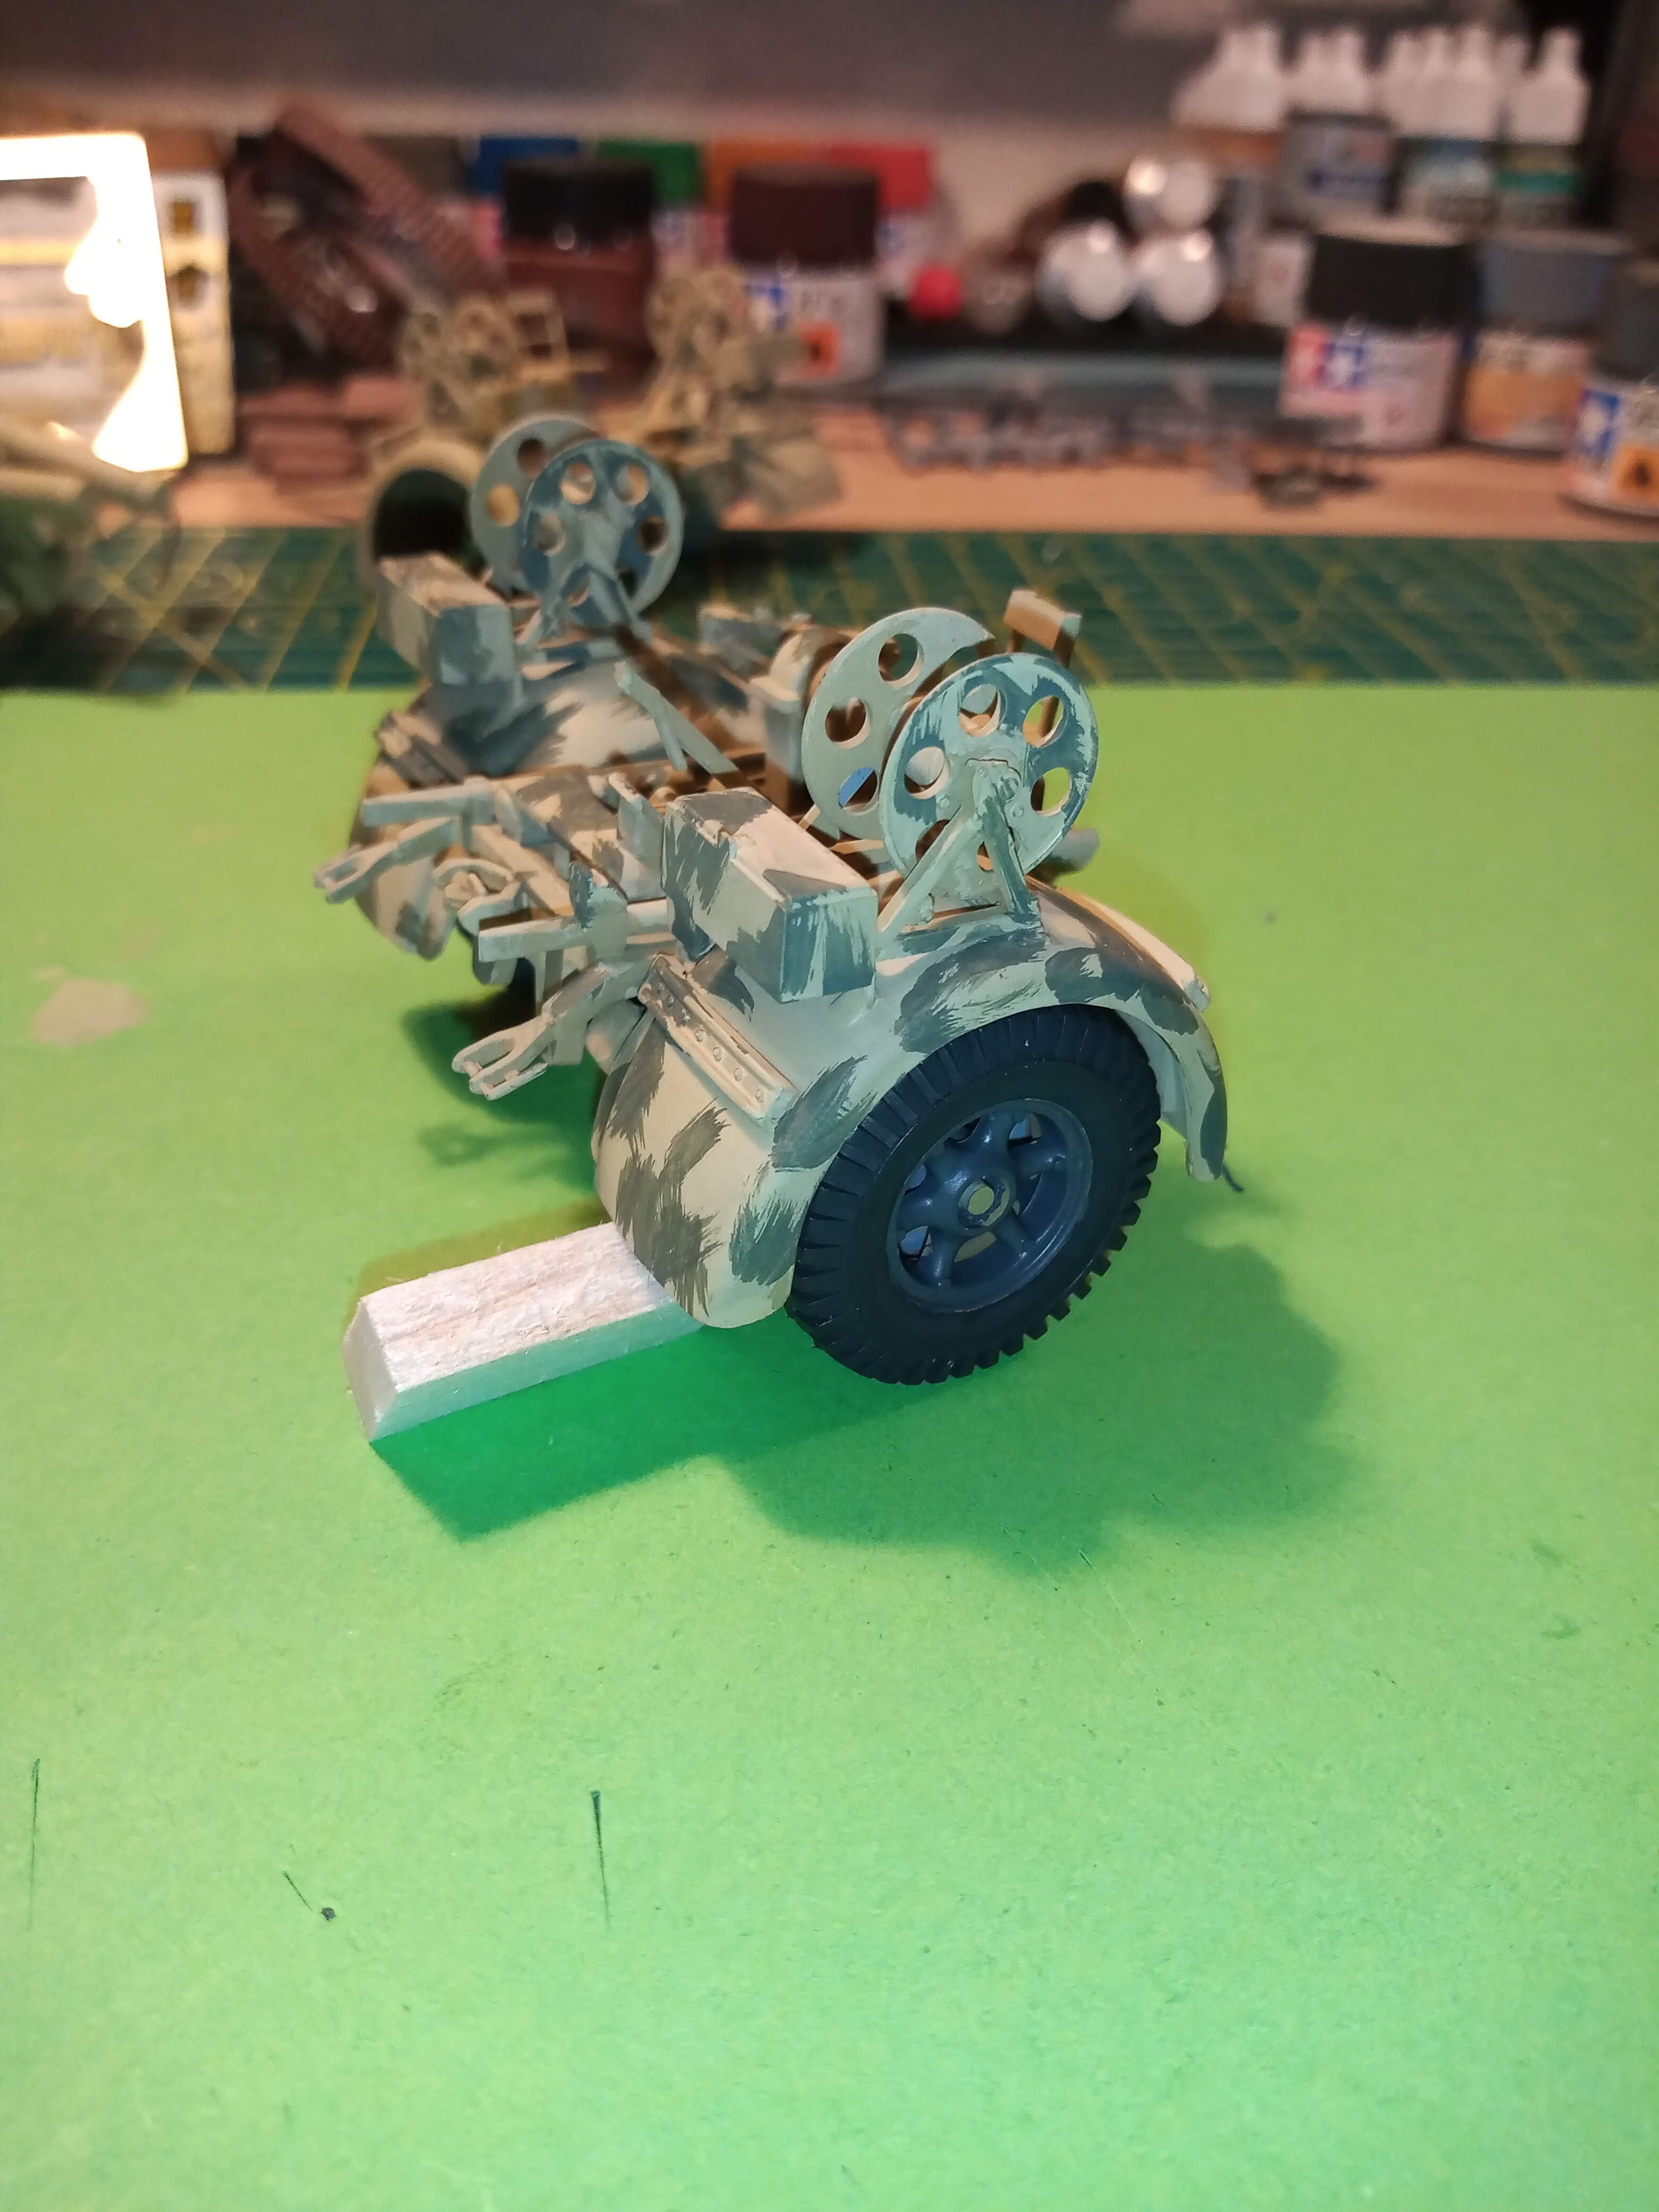
On this side there is one set of very old wheels still finished in Panzer Grey…
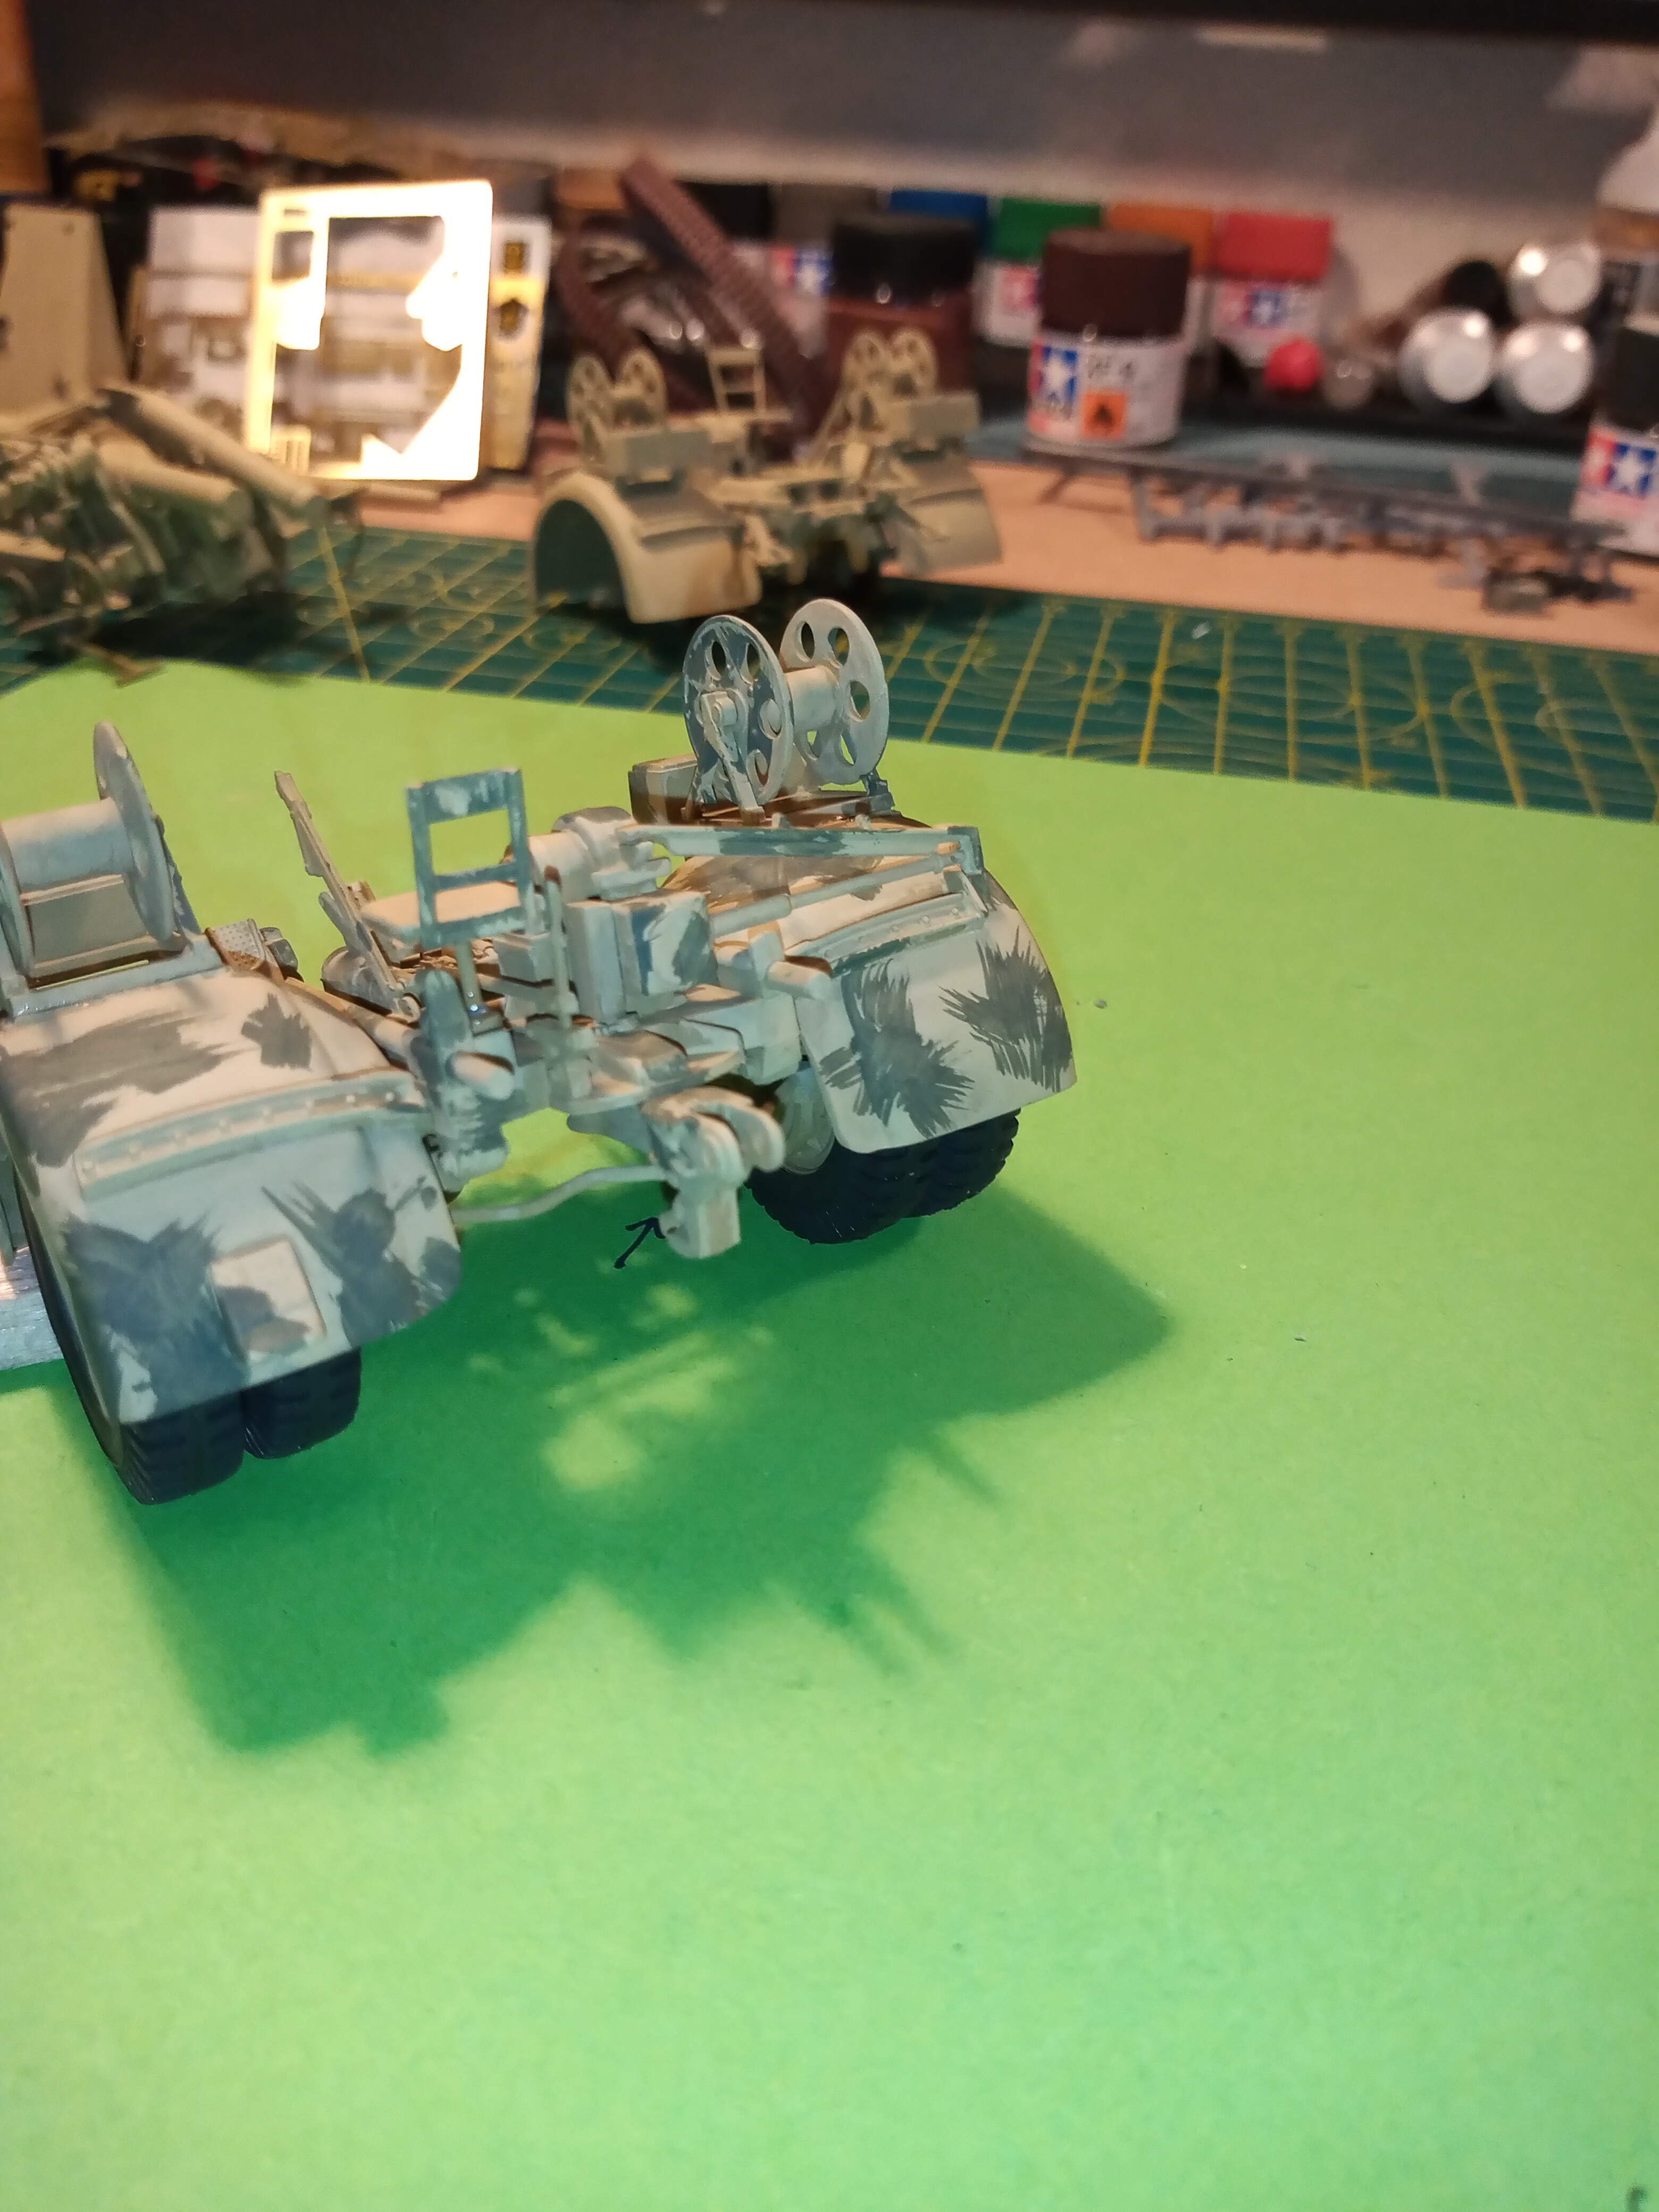
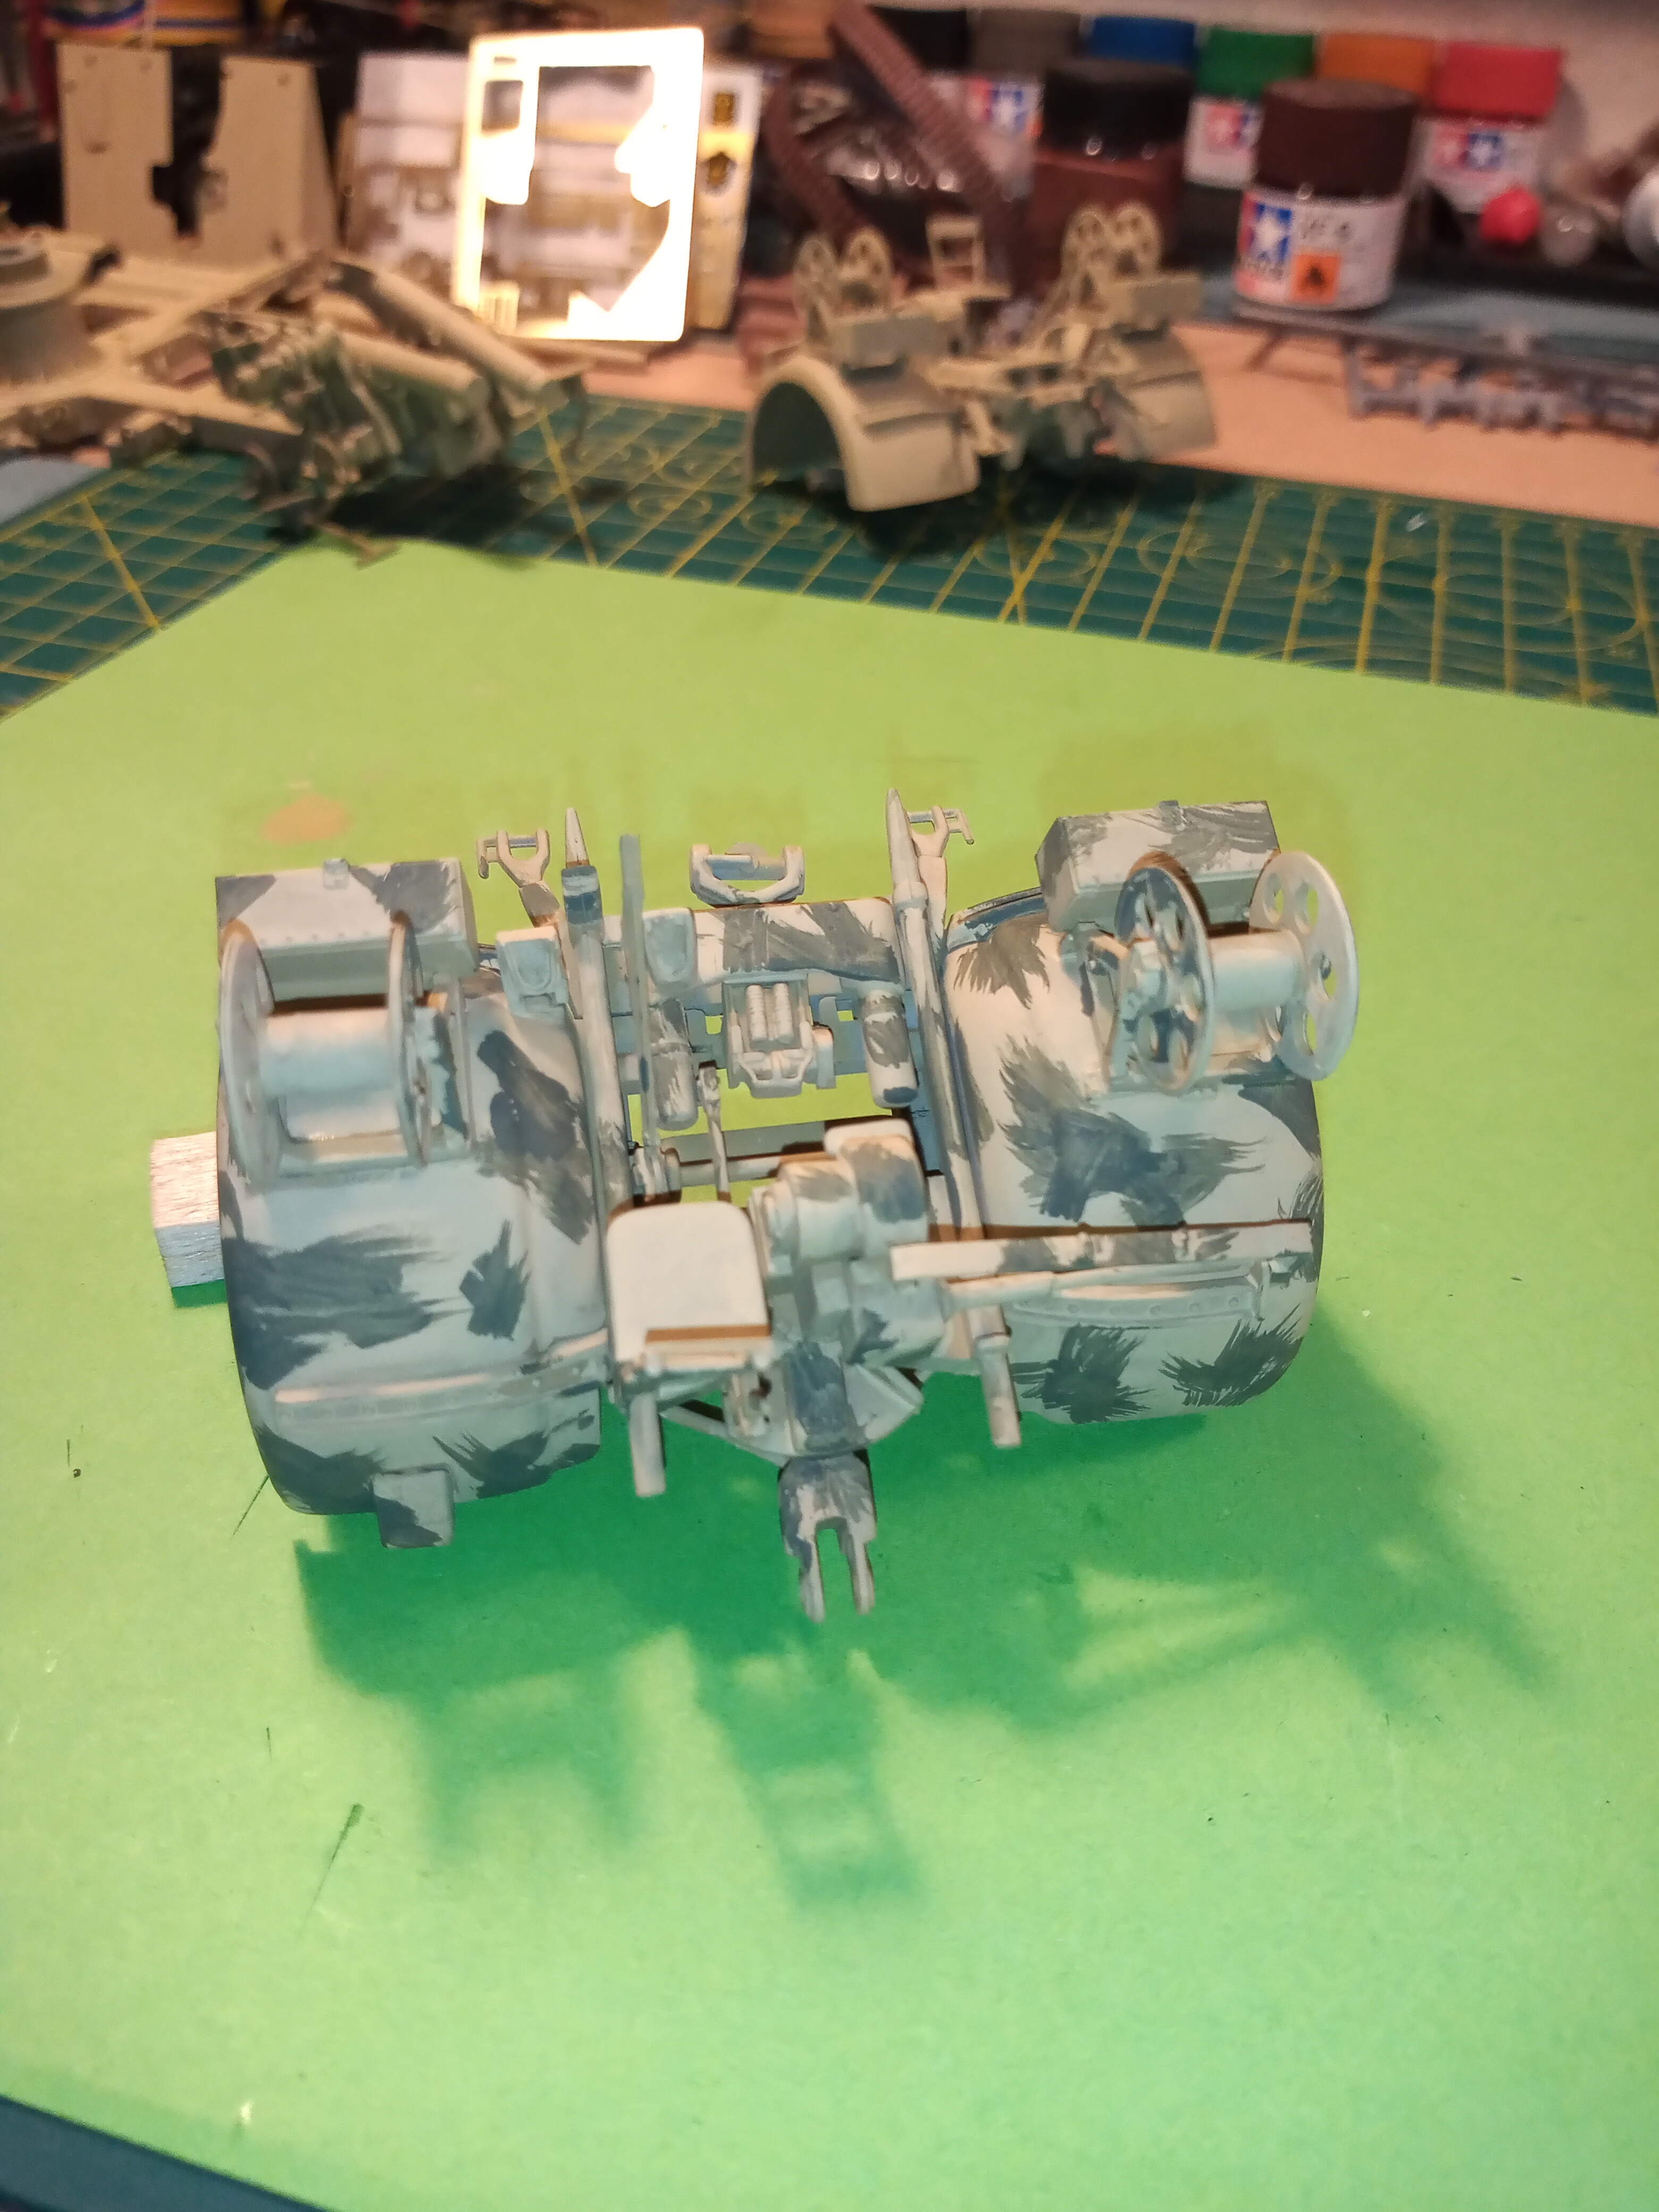
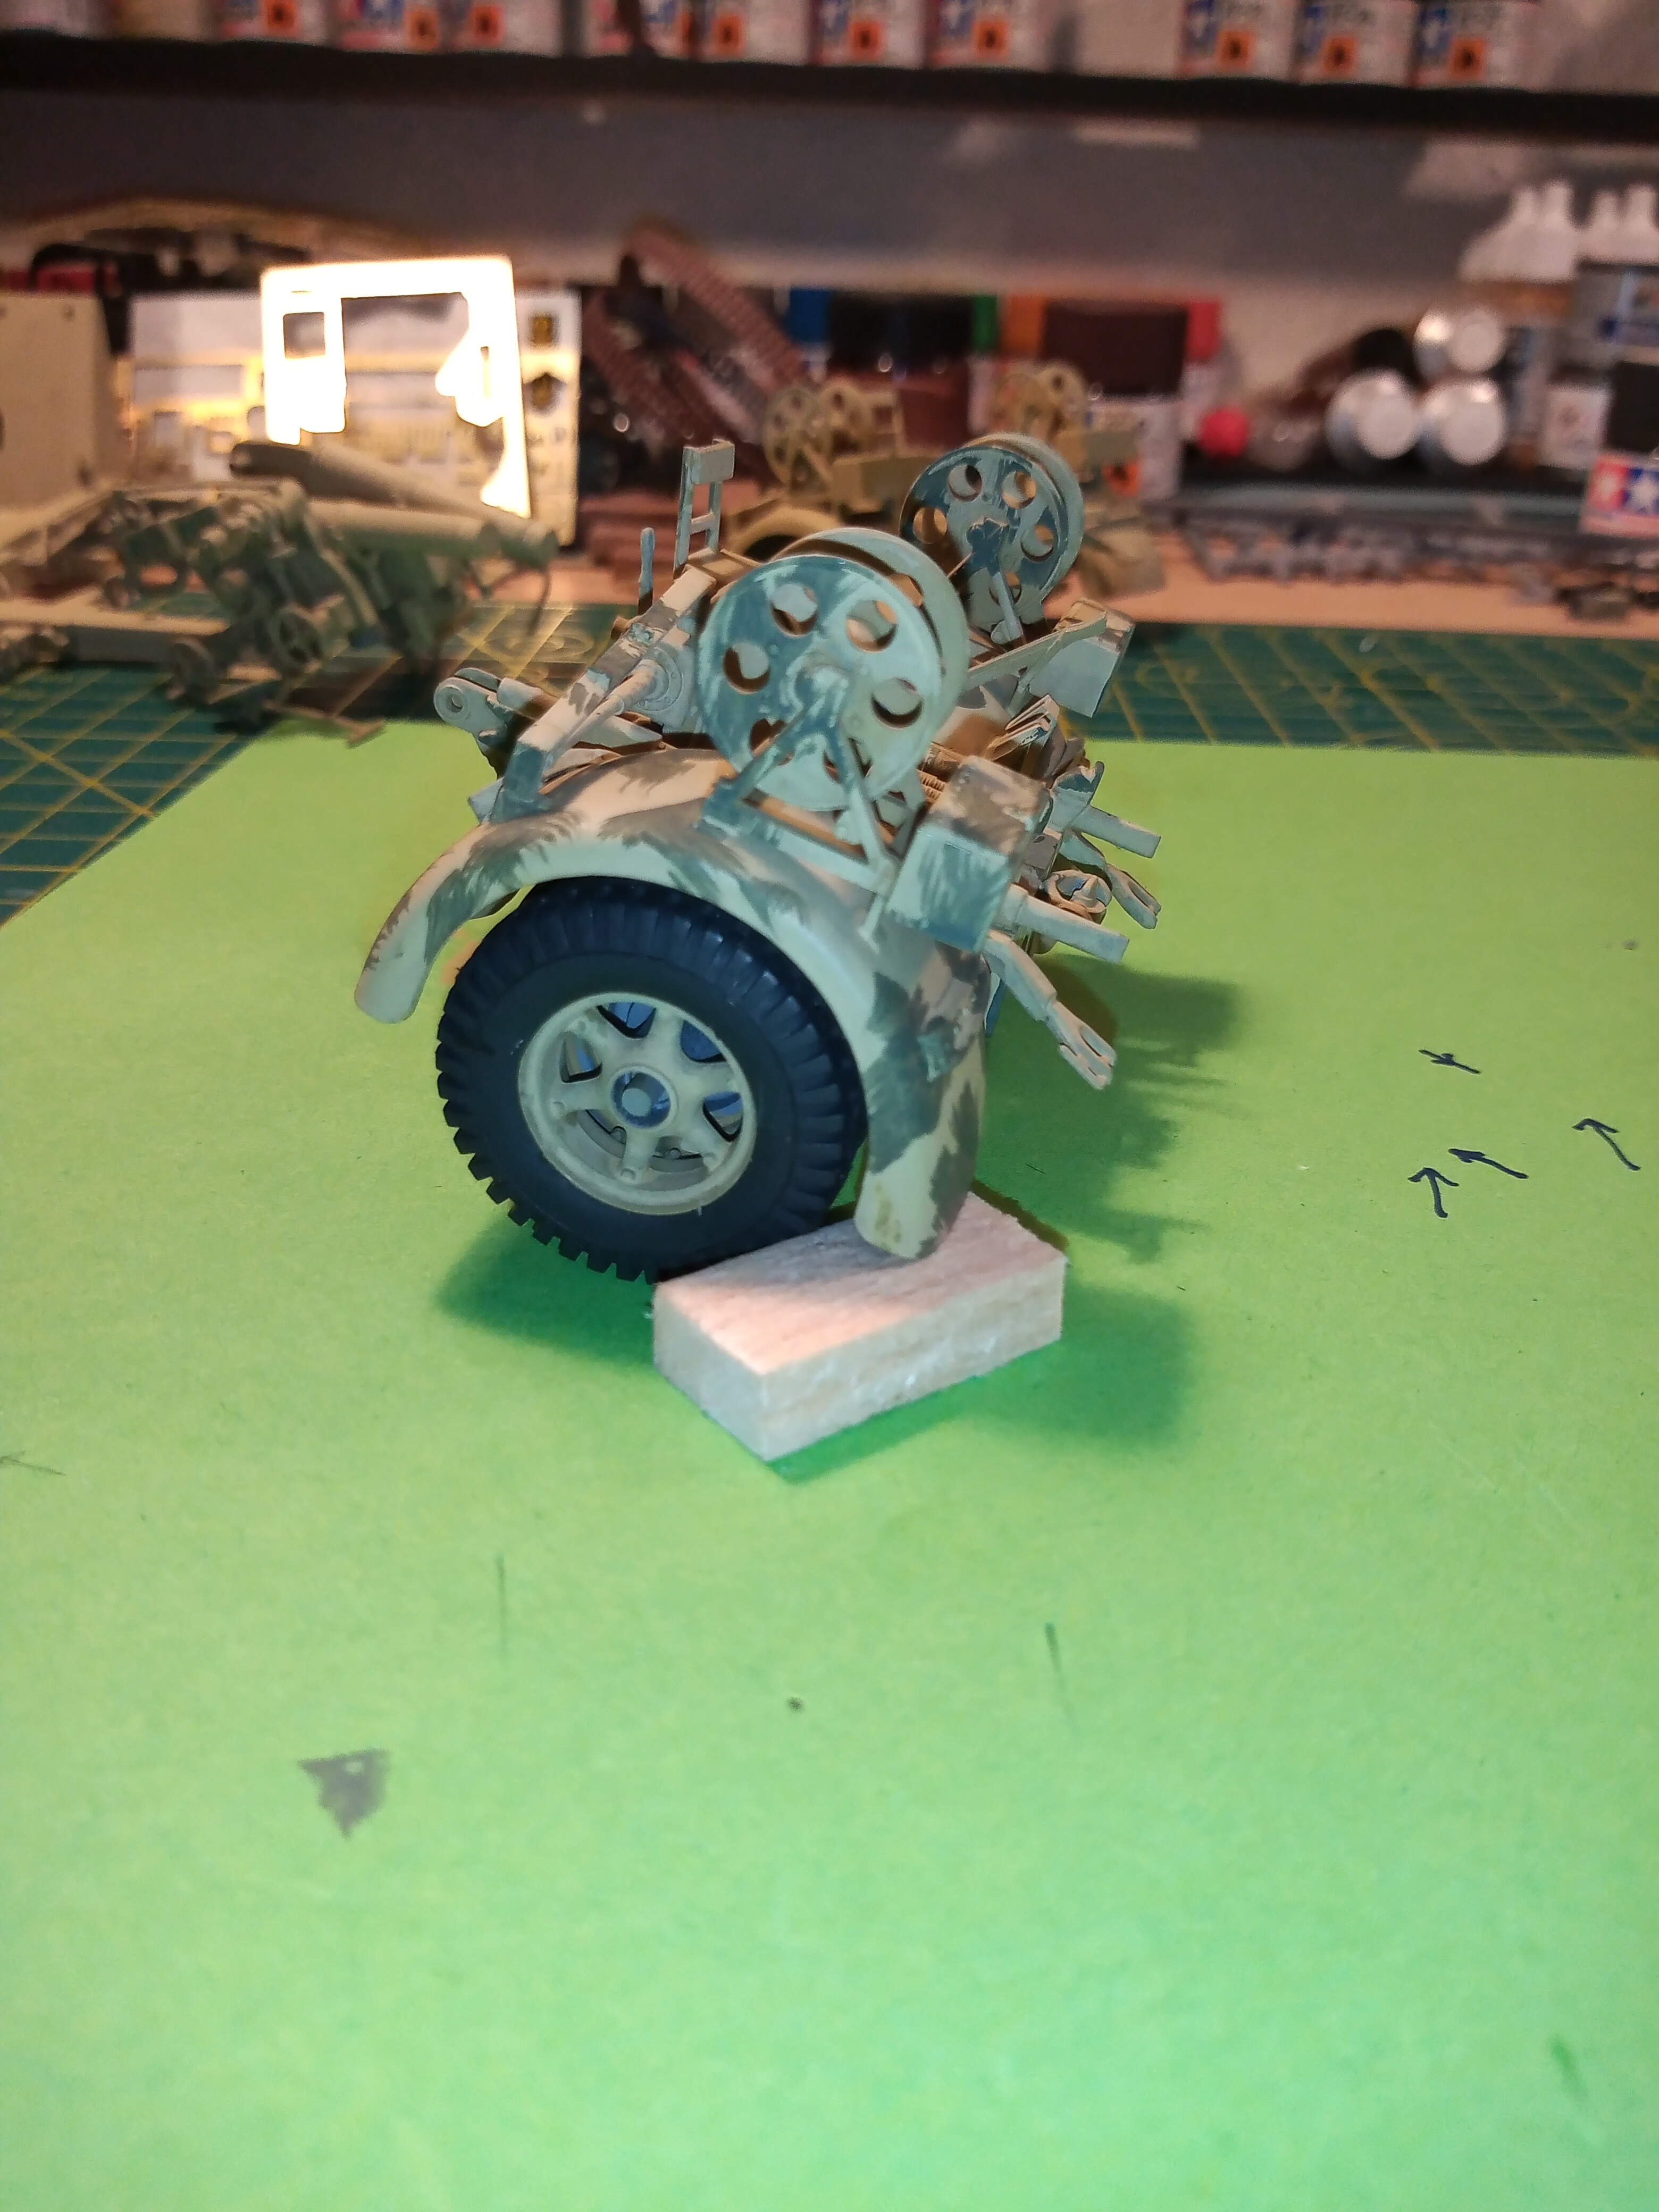
Now, this would of been a field rush job, and then salvaged from a broken gun and used as a replacement bogie.
Now I’ve done it, I kinda like it ? Should I just leave it at one salvaged bogie… Or do the whole gun like it ?? All comments considered 
4 Likes
Haha love the backstory 
I kind of like the idea of a “replacement” bogie - nice to see some variety, but have no idea as to historical accuracy. Like we say, it’s your model, do what pleases you. Thanks for sharing!
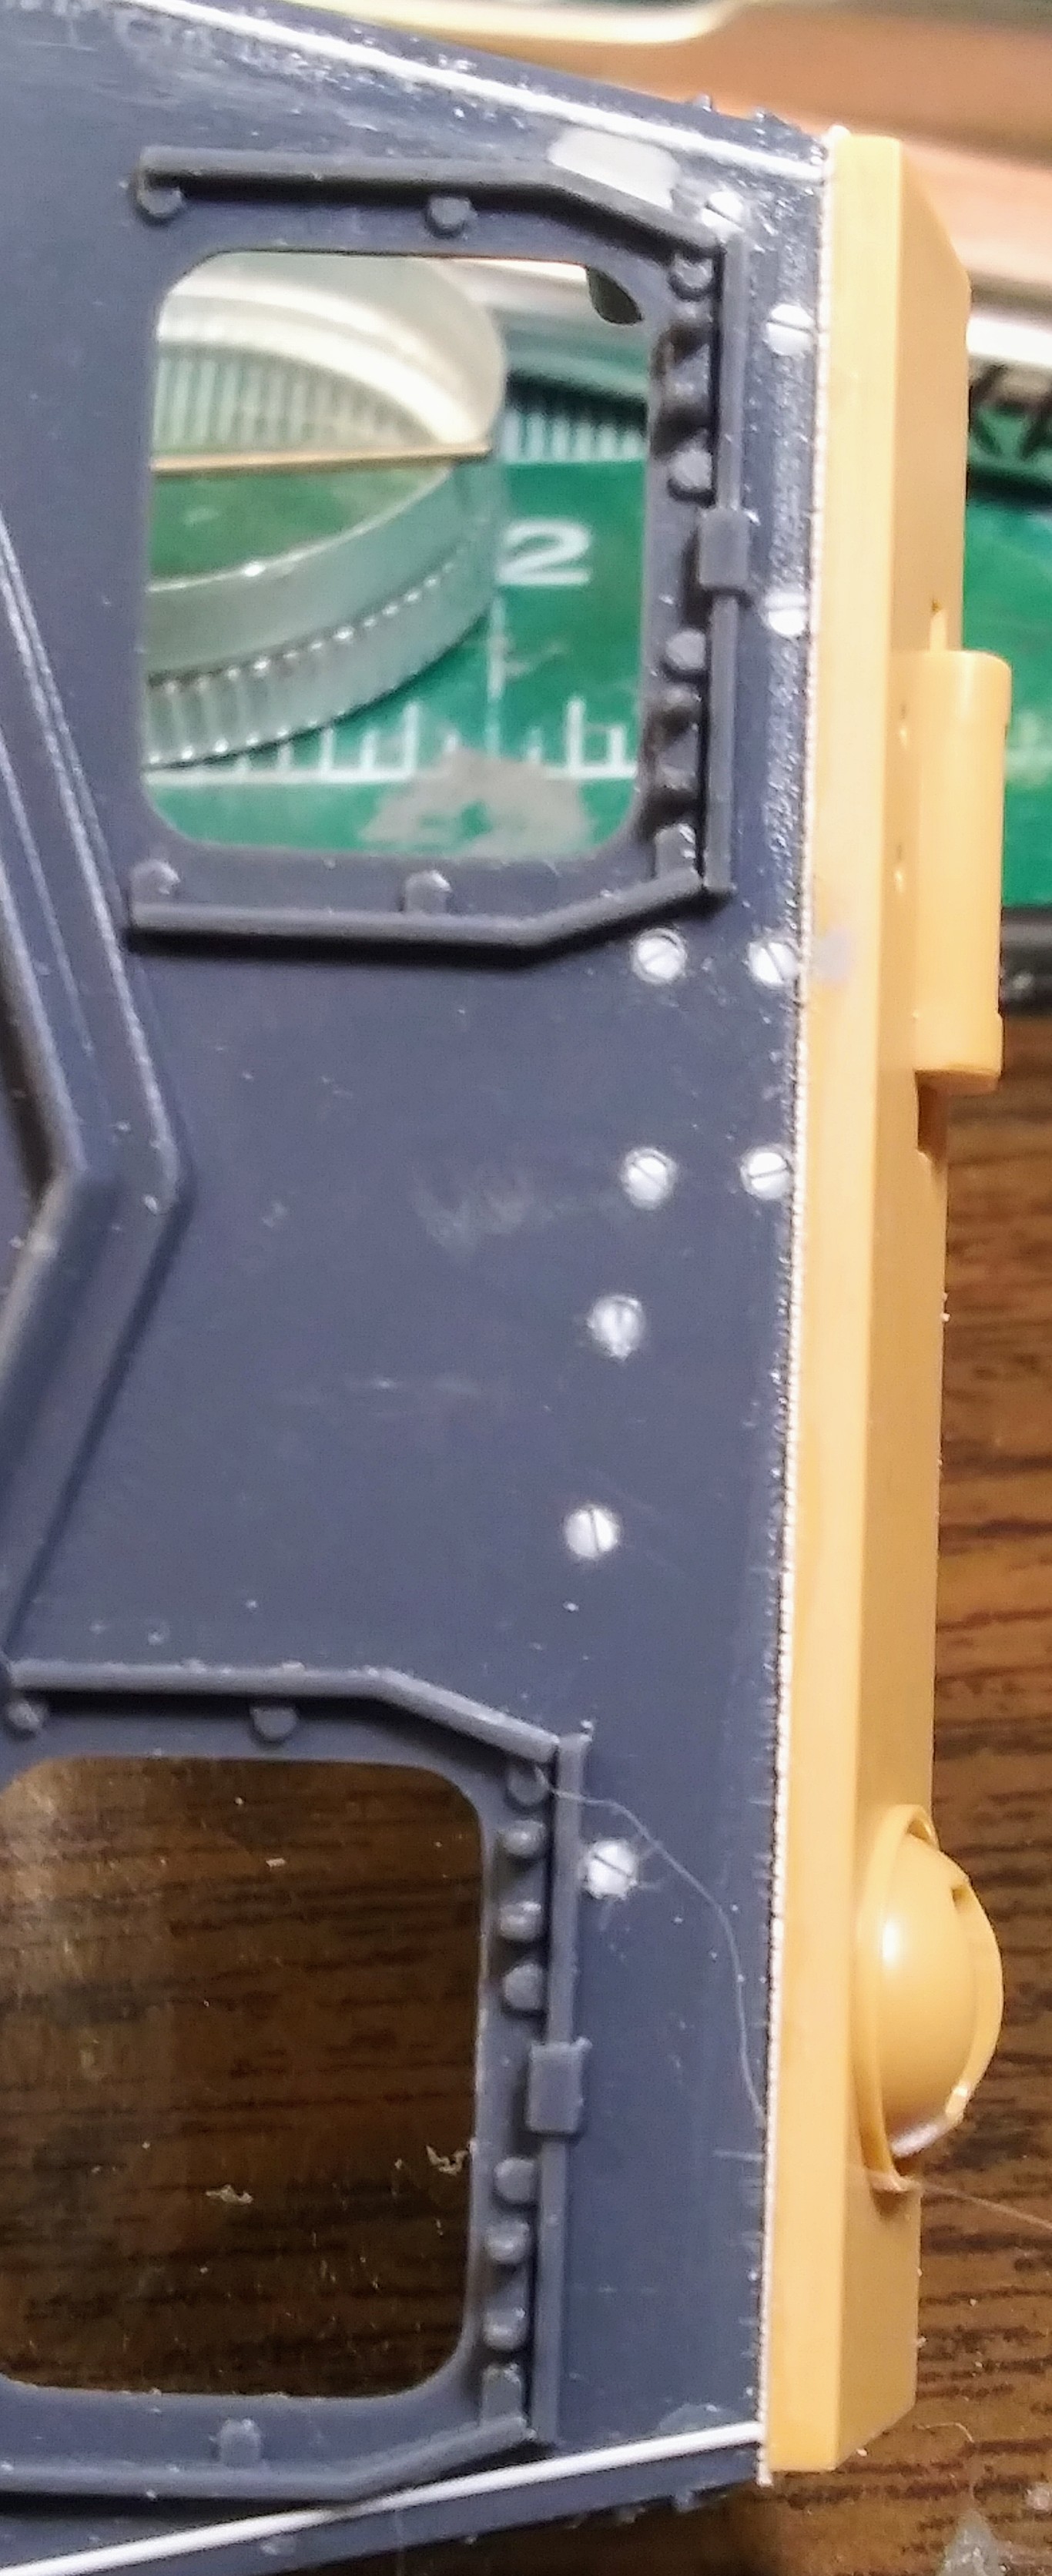
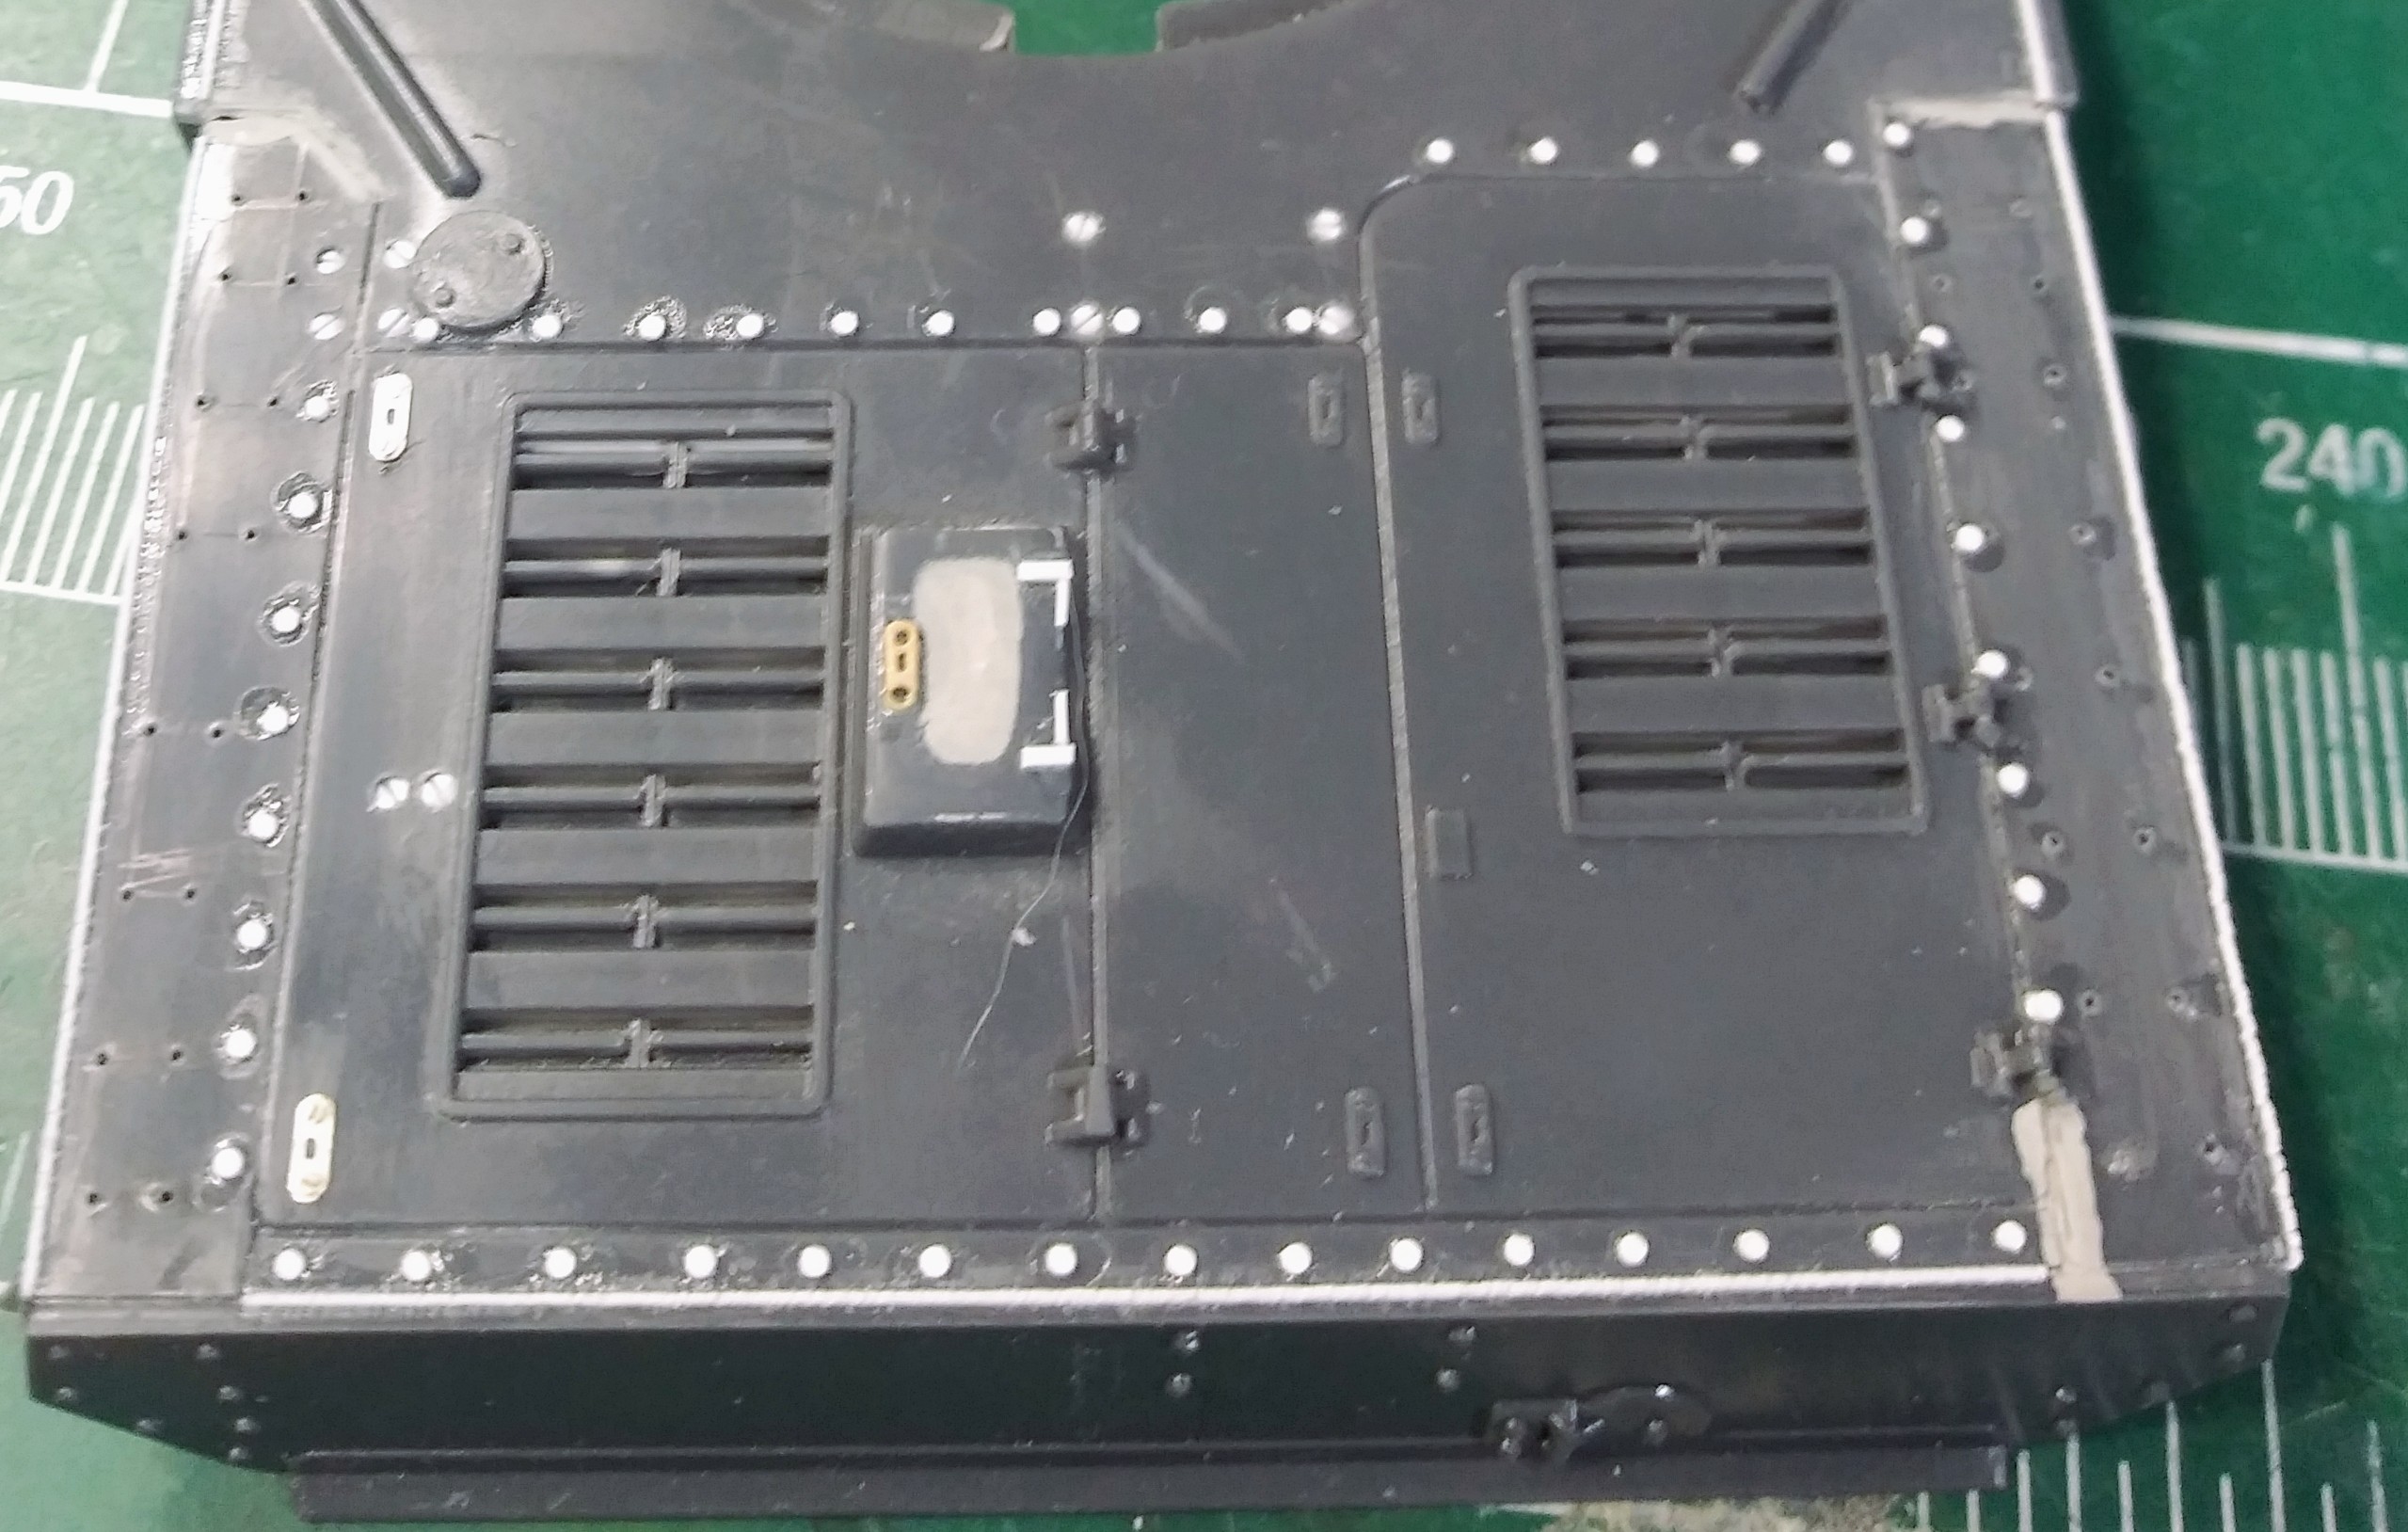
Adding the missing flat screw heads with slotted styrene rod since the new Aber PE & Lion Roar stuff is post 2000. Also working on adding weld seams.
2 Likes
Love it!
I have a similar one from Zvezda, mostly built a long time ago, before ending up being shelved. I am now trying to correct the errors from those days. Maybe I should’ve just binned it and bought a new one…
I think it is hard to replicate the handpainted/smudged on camouflage.
You succeeded pretty well.
Hi, everibody
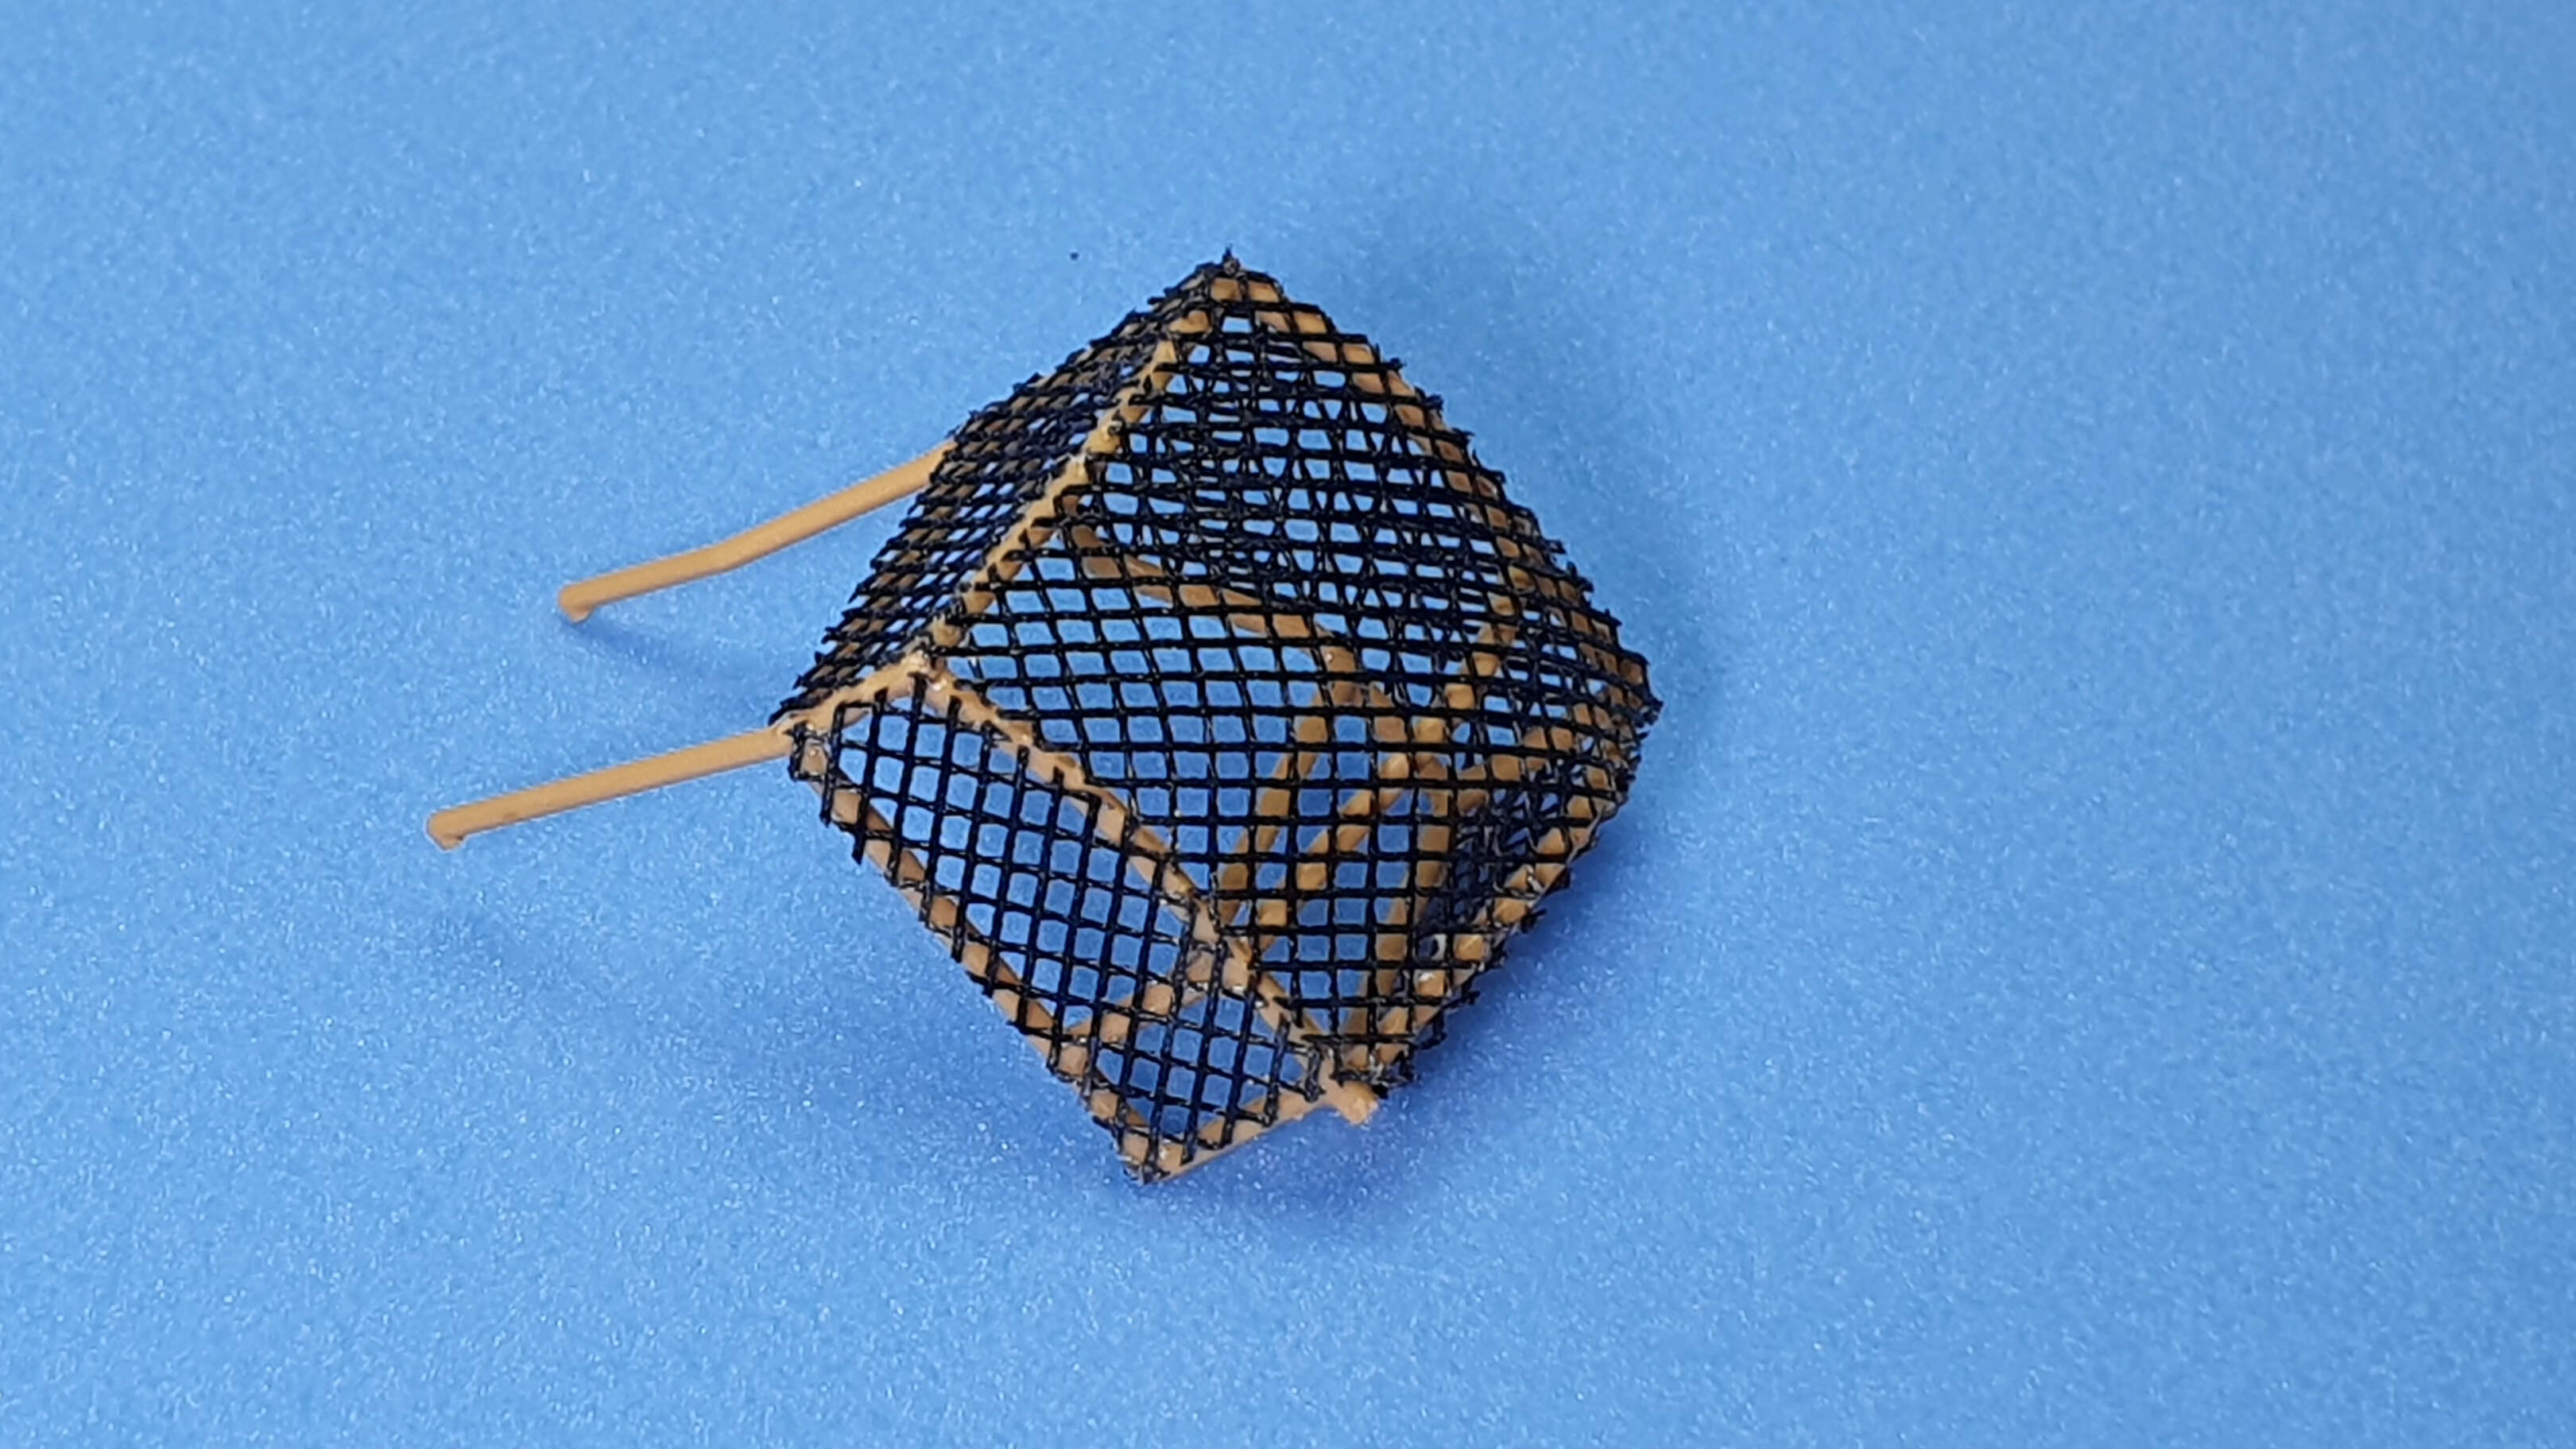
I built the Flak gun in small subassemblies for ease of painting.
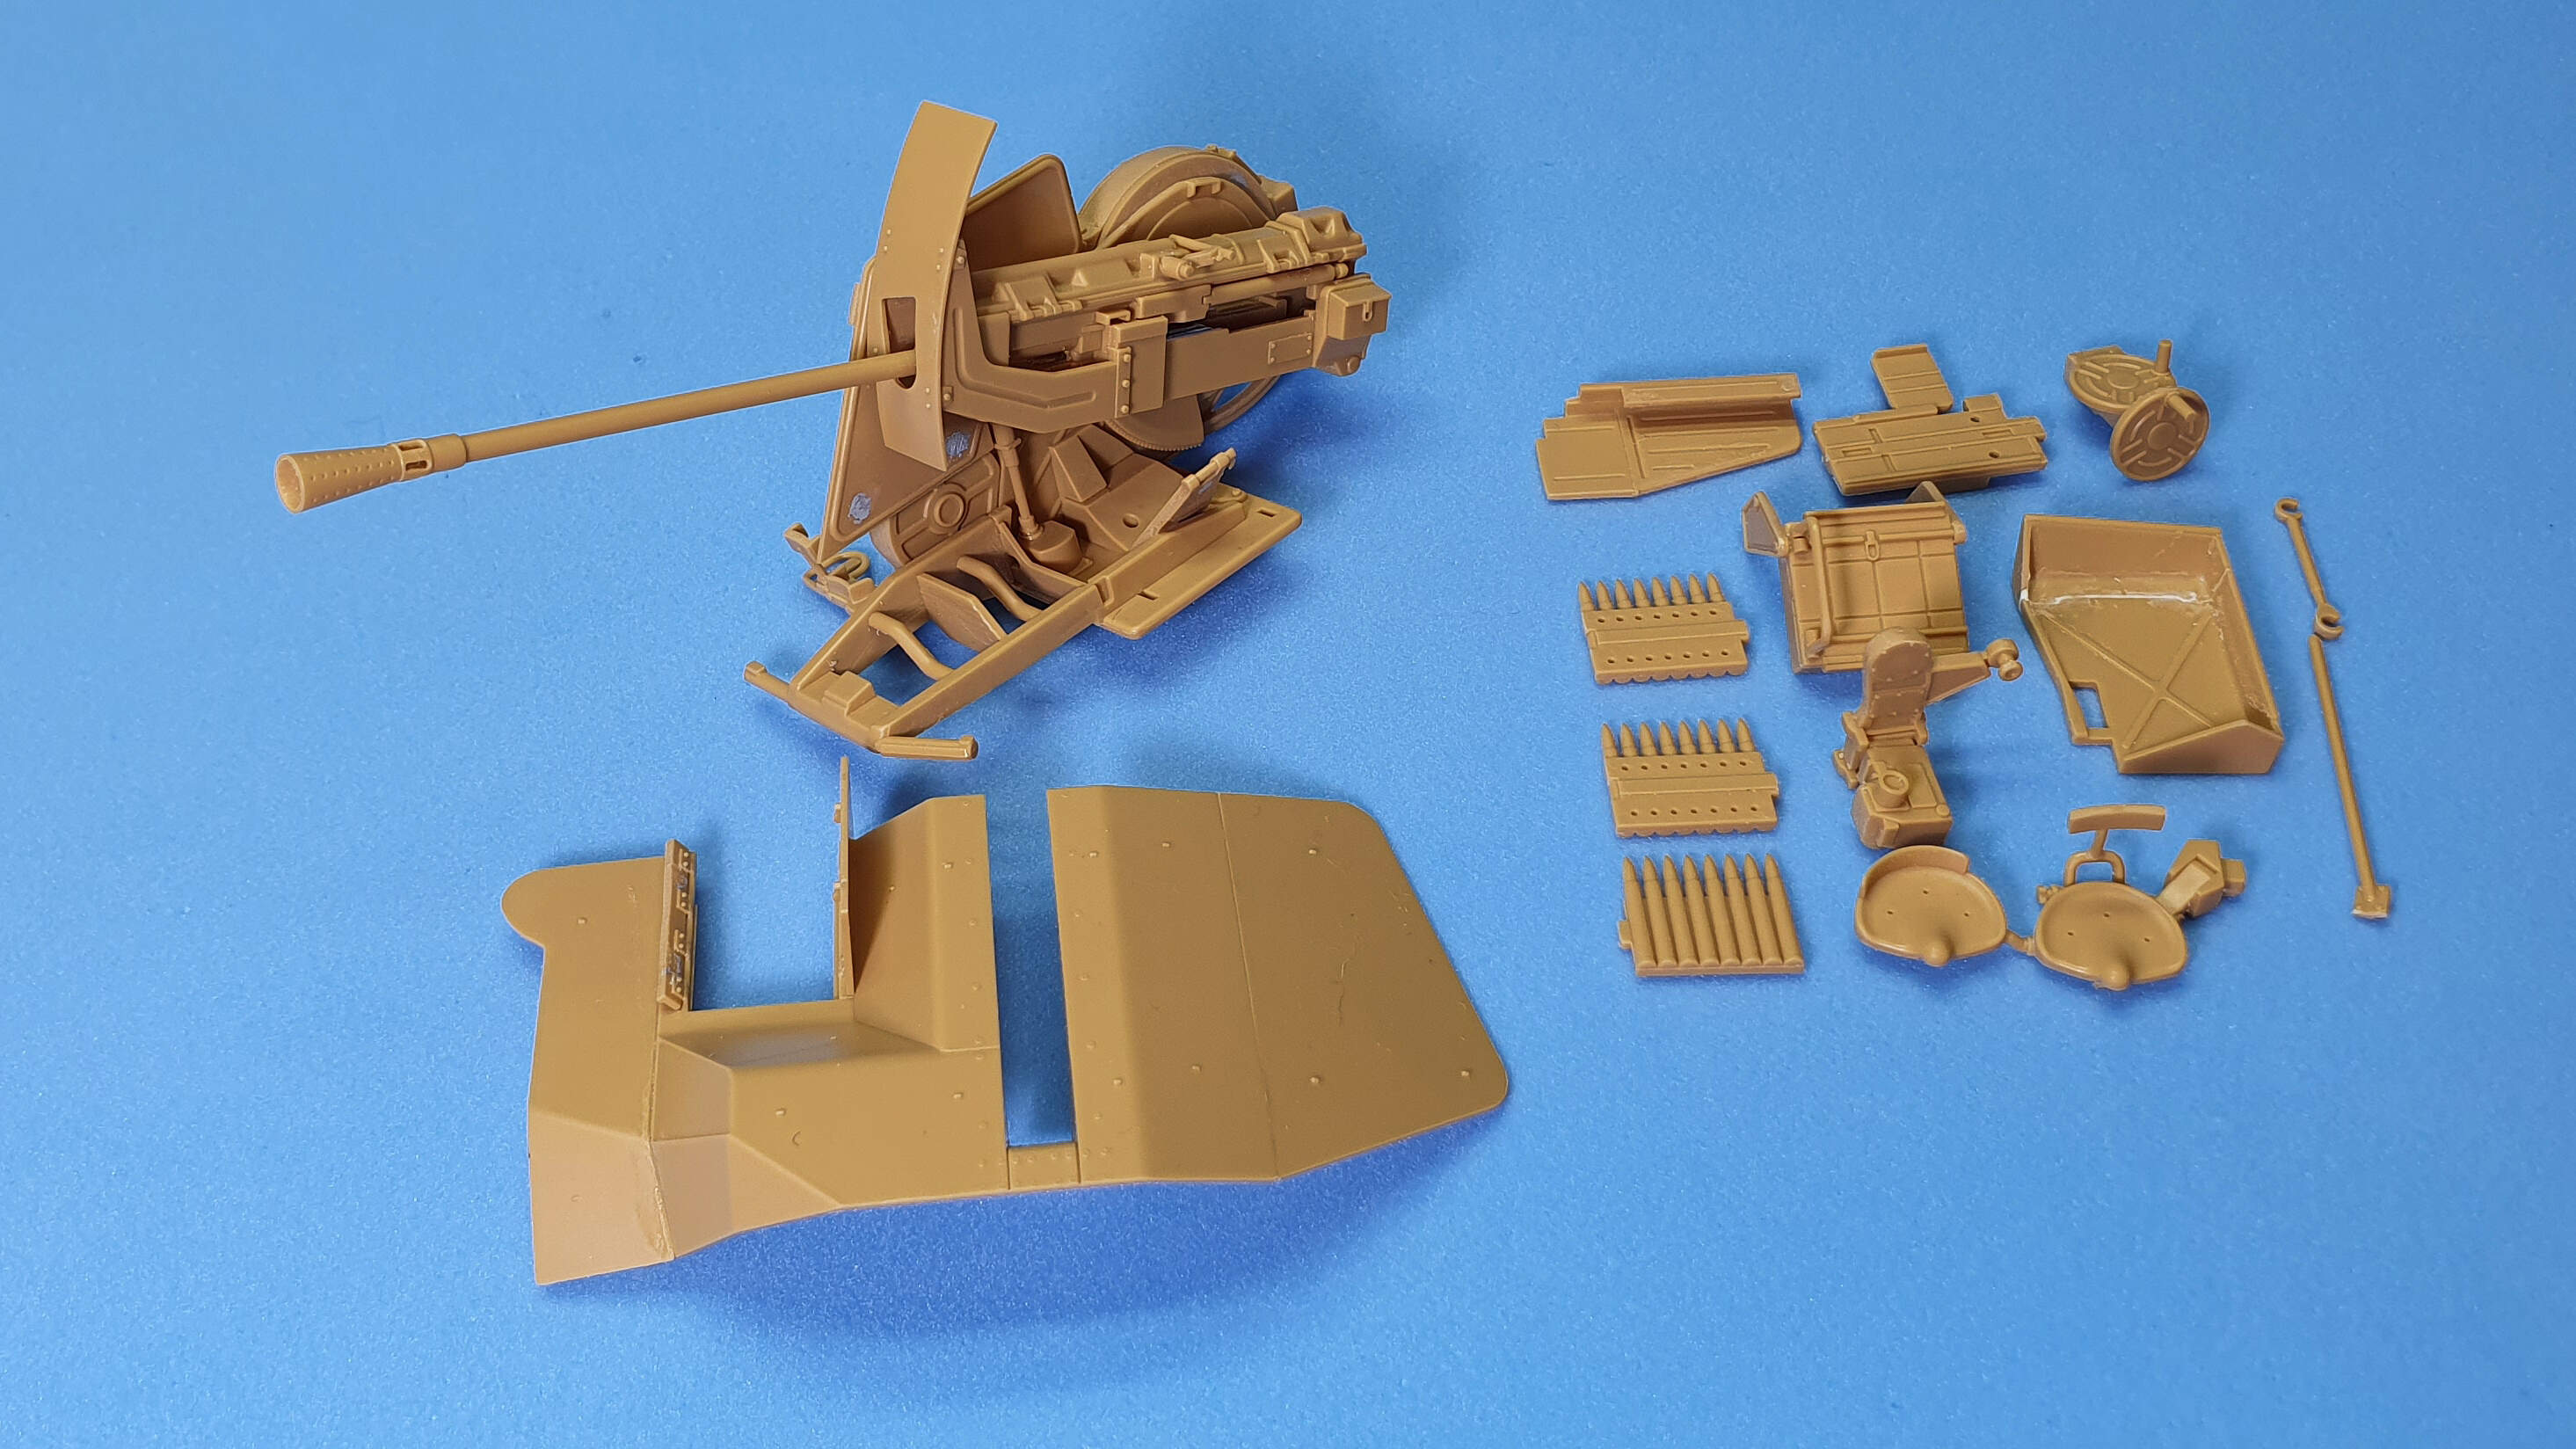
The cartridge receiver basket was built with the mesh provided in the kit, is a little out of scale but looks fine for me. A word of caution here, don´t use Extra Thin or CA for gluing the net to the frame, they will no glue it, I ended with Revell Contacta after a couple of days of coursing against Tamiya, and it works like a charm. The basket was finished in less than 30 minutes!
That´s all by now.
 Cheers!
5 Likes
@Raulito , very sweet with the shell casing basket! I really like that!
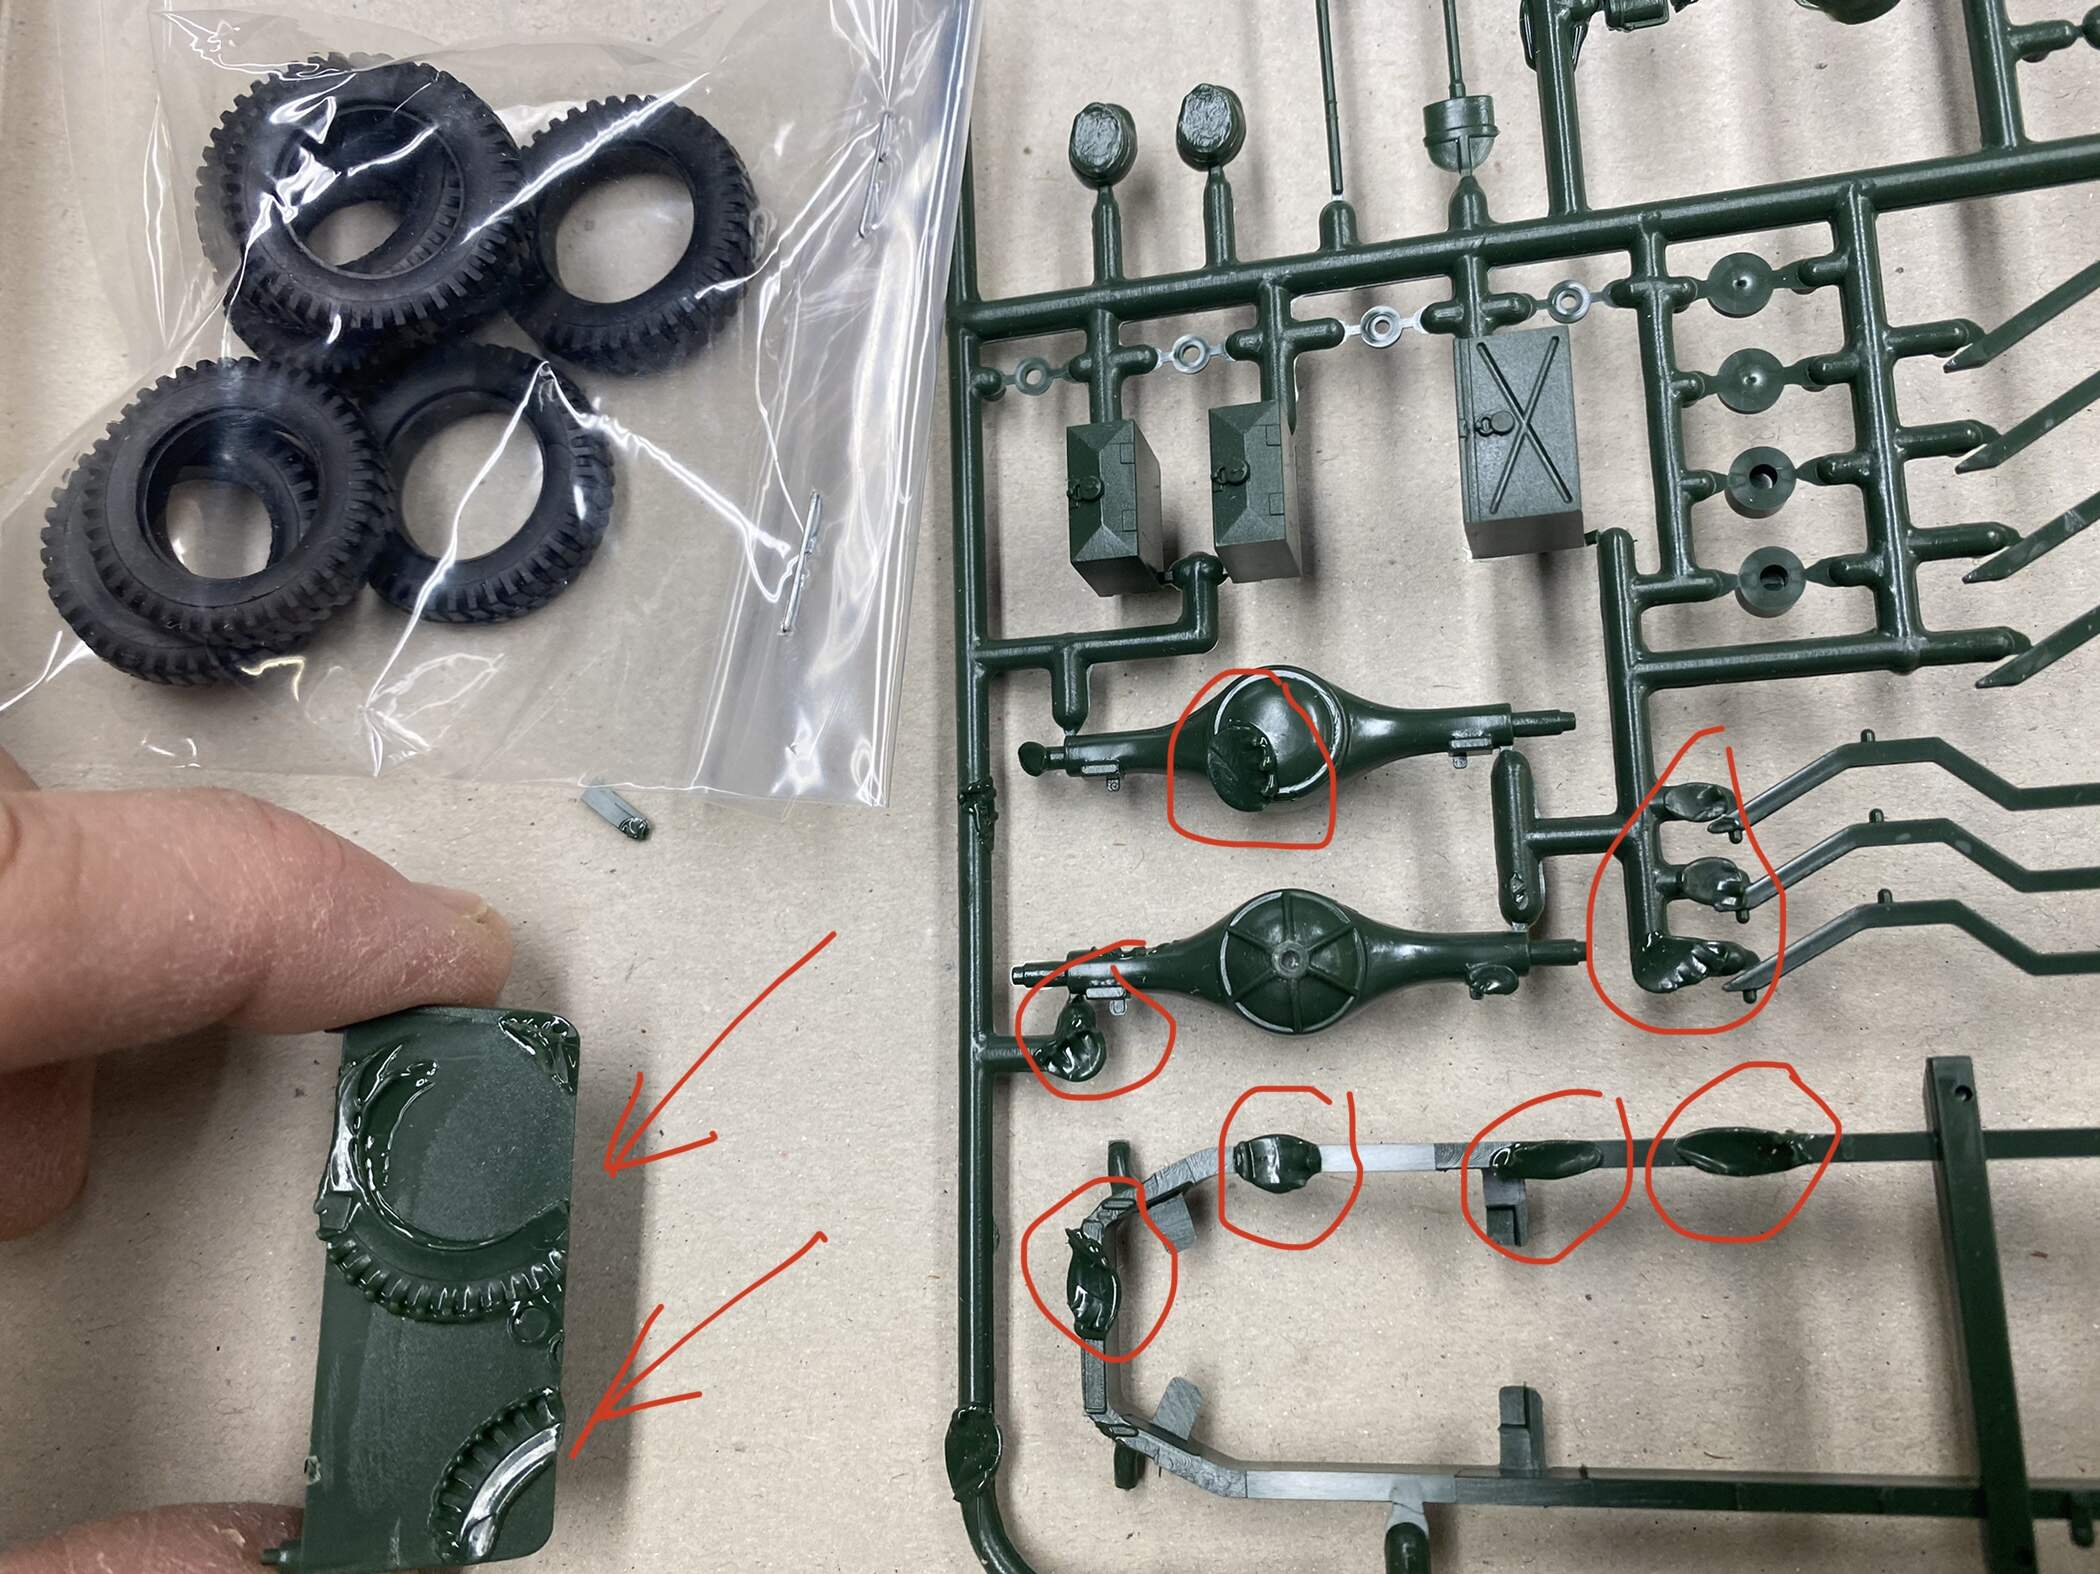
Well, I think I found one possible reason this kit has been in stash limbo for so long. Went to have a closer look at the sprues and it all came back to me - the rubber tires had started doing a number on the styrene! And I very clearly discovered it and put the tires in a separate polyethylene bag, although I don’t remember when I made that discovery. Good thing is it is all still buildable. The rear differential case will be the hardest part to rebuild, everything else really won’t be seen. Oh well, better to build it now than let it rot away for another 20 years!
Jimbo
1 Like
Ouch, that did leave a few marks.
Patience, sanding, putting, sanding again and mud…lots of mud! 
I have a similar issue with a Tamiya Tiger I early version, the exhausts are made of a similar material than these wheels and eat thru kit parts and became unusable. The kit is shelved till I have the nerve, a pity.
How is that possible???
Sweet work, man!
This is exactly why I cook up campaigns like this!!
1 Like
That’s impressive. Reminds me of some old Dragob rubber tires.
Olivier
Jimbo, that is not a happy snap… I hope you can get around those issues!
Wade looking fantastic.
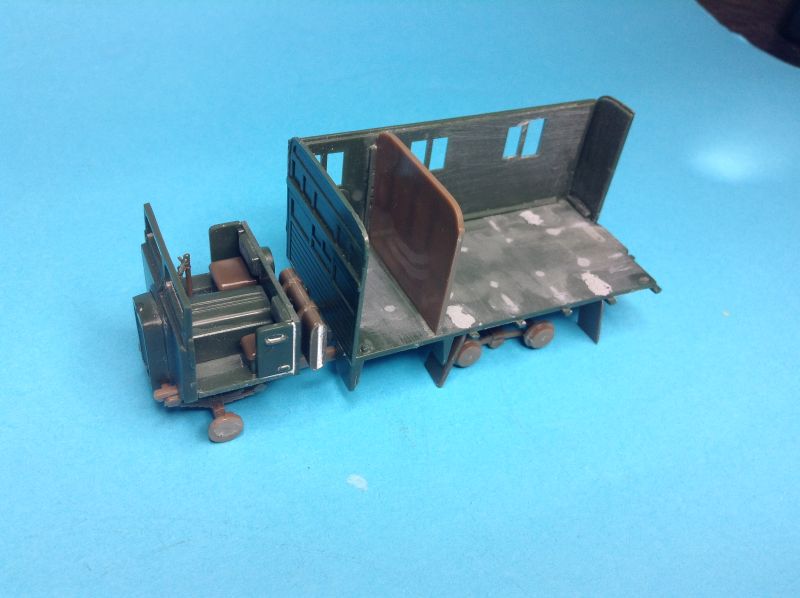
Started the 1/76 Matchbox Daimler and Leyland combo. Daimler went together quickly, although I am adding missing detail and some personal touches. Thinned the roof hatches down by half. Top of Fuel tank has been detailed, stowage boxes added, camo net finished and made a start on the radio and battery. Not much of this will be seen behind the seat, so I’ll just be adding a façade with basic dial details, etc. Internal layout is a bit out of proportion, but I want to use as much original as I can, so I am living with it.
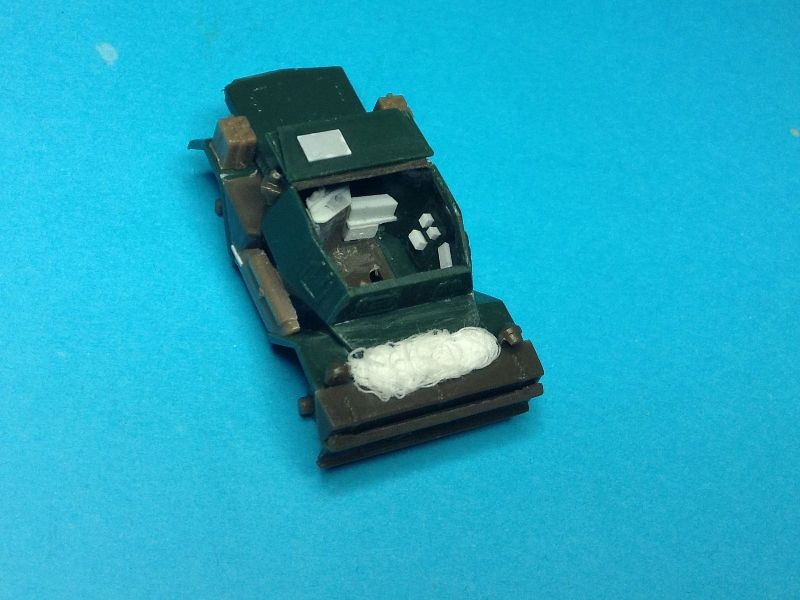
Just basic assembly on the Leyland and removing the window frames. One set on each side is moulded ‘open’ I want to add glass and have them closed… and a lot of putty in the sink marks…
5 Likes
Wasn’t so hot on this initially, but I’m really enjoying this old school kitbash and detailing.
1 Like