Got that right! I almost hate posting pix of my models anymore. Or looking at them while wearing my glasses.
1 Like
Leaves me speechless. What a beauty.
I almost hope you don’t paint it, itlooks too cool as is.
1 Like
Thanks Fred! Going to try out some of the Hataka “orange line” french armor colors on it with the airbrush and try some new masking fluid from VMS rather than brush painting the 3 color camo. We’ll see how it goes. 
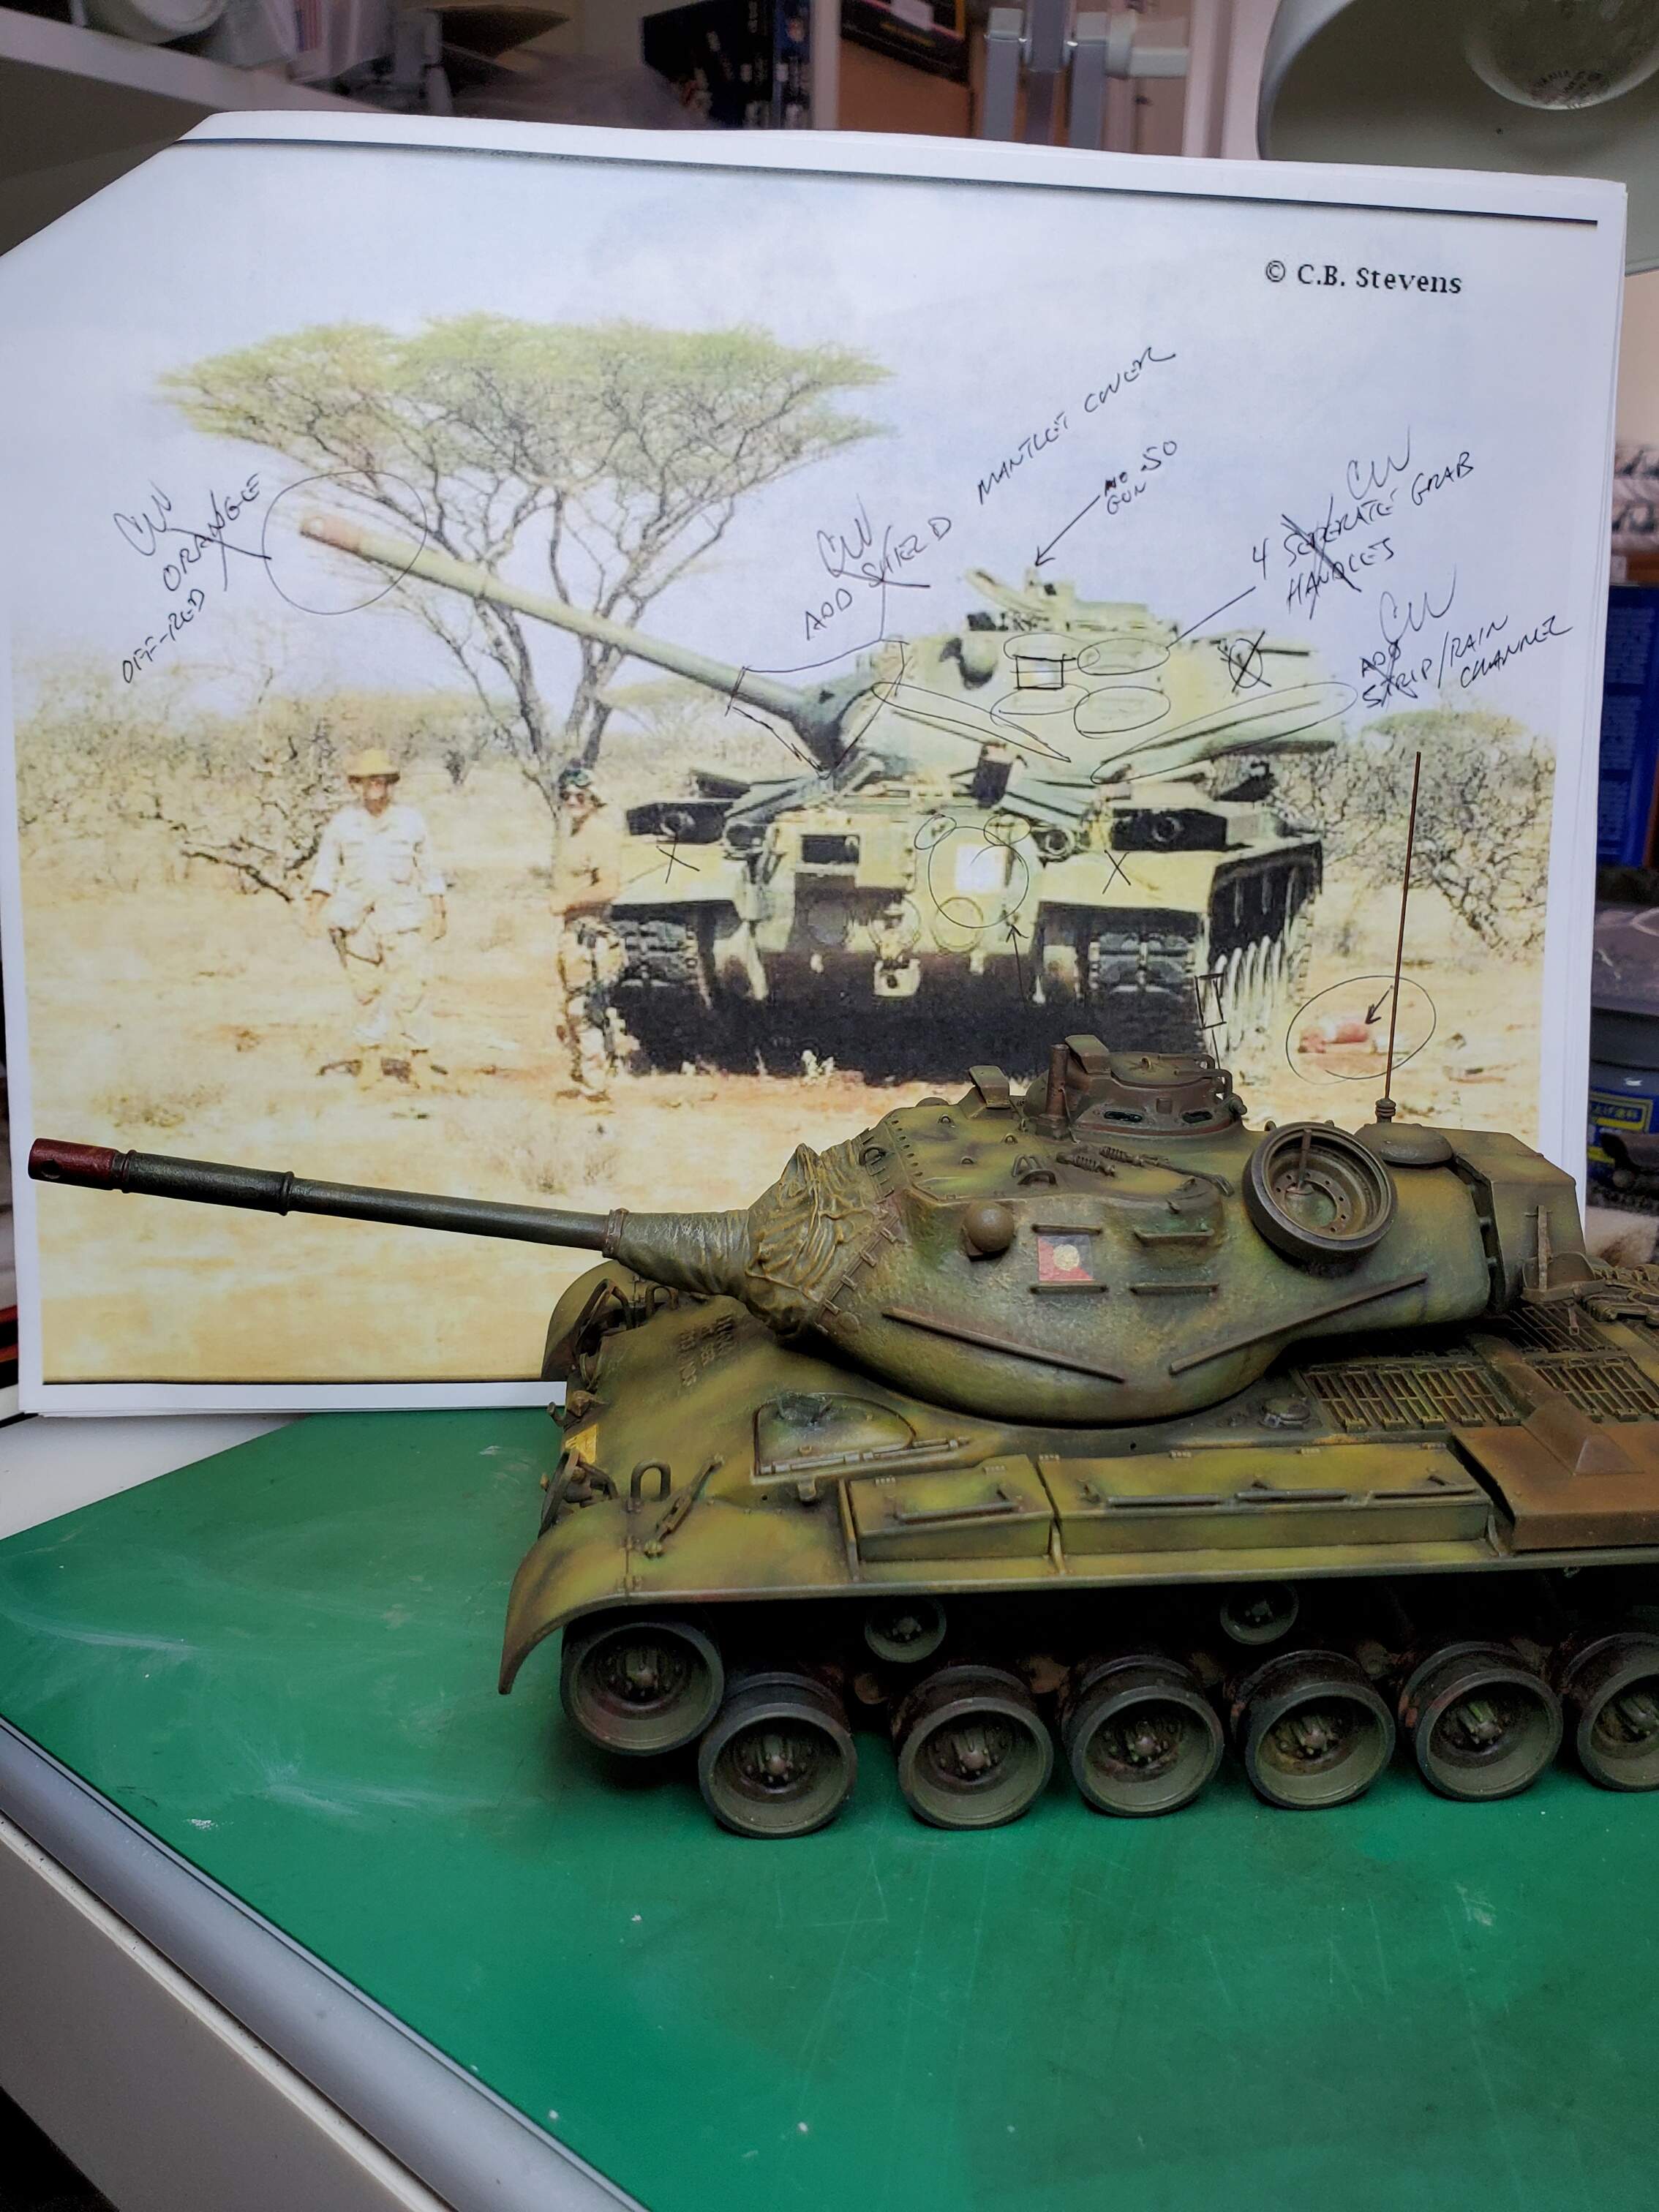
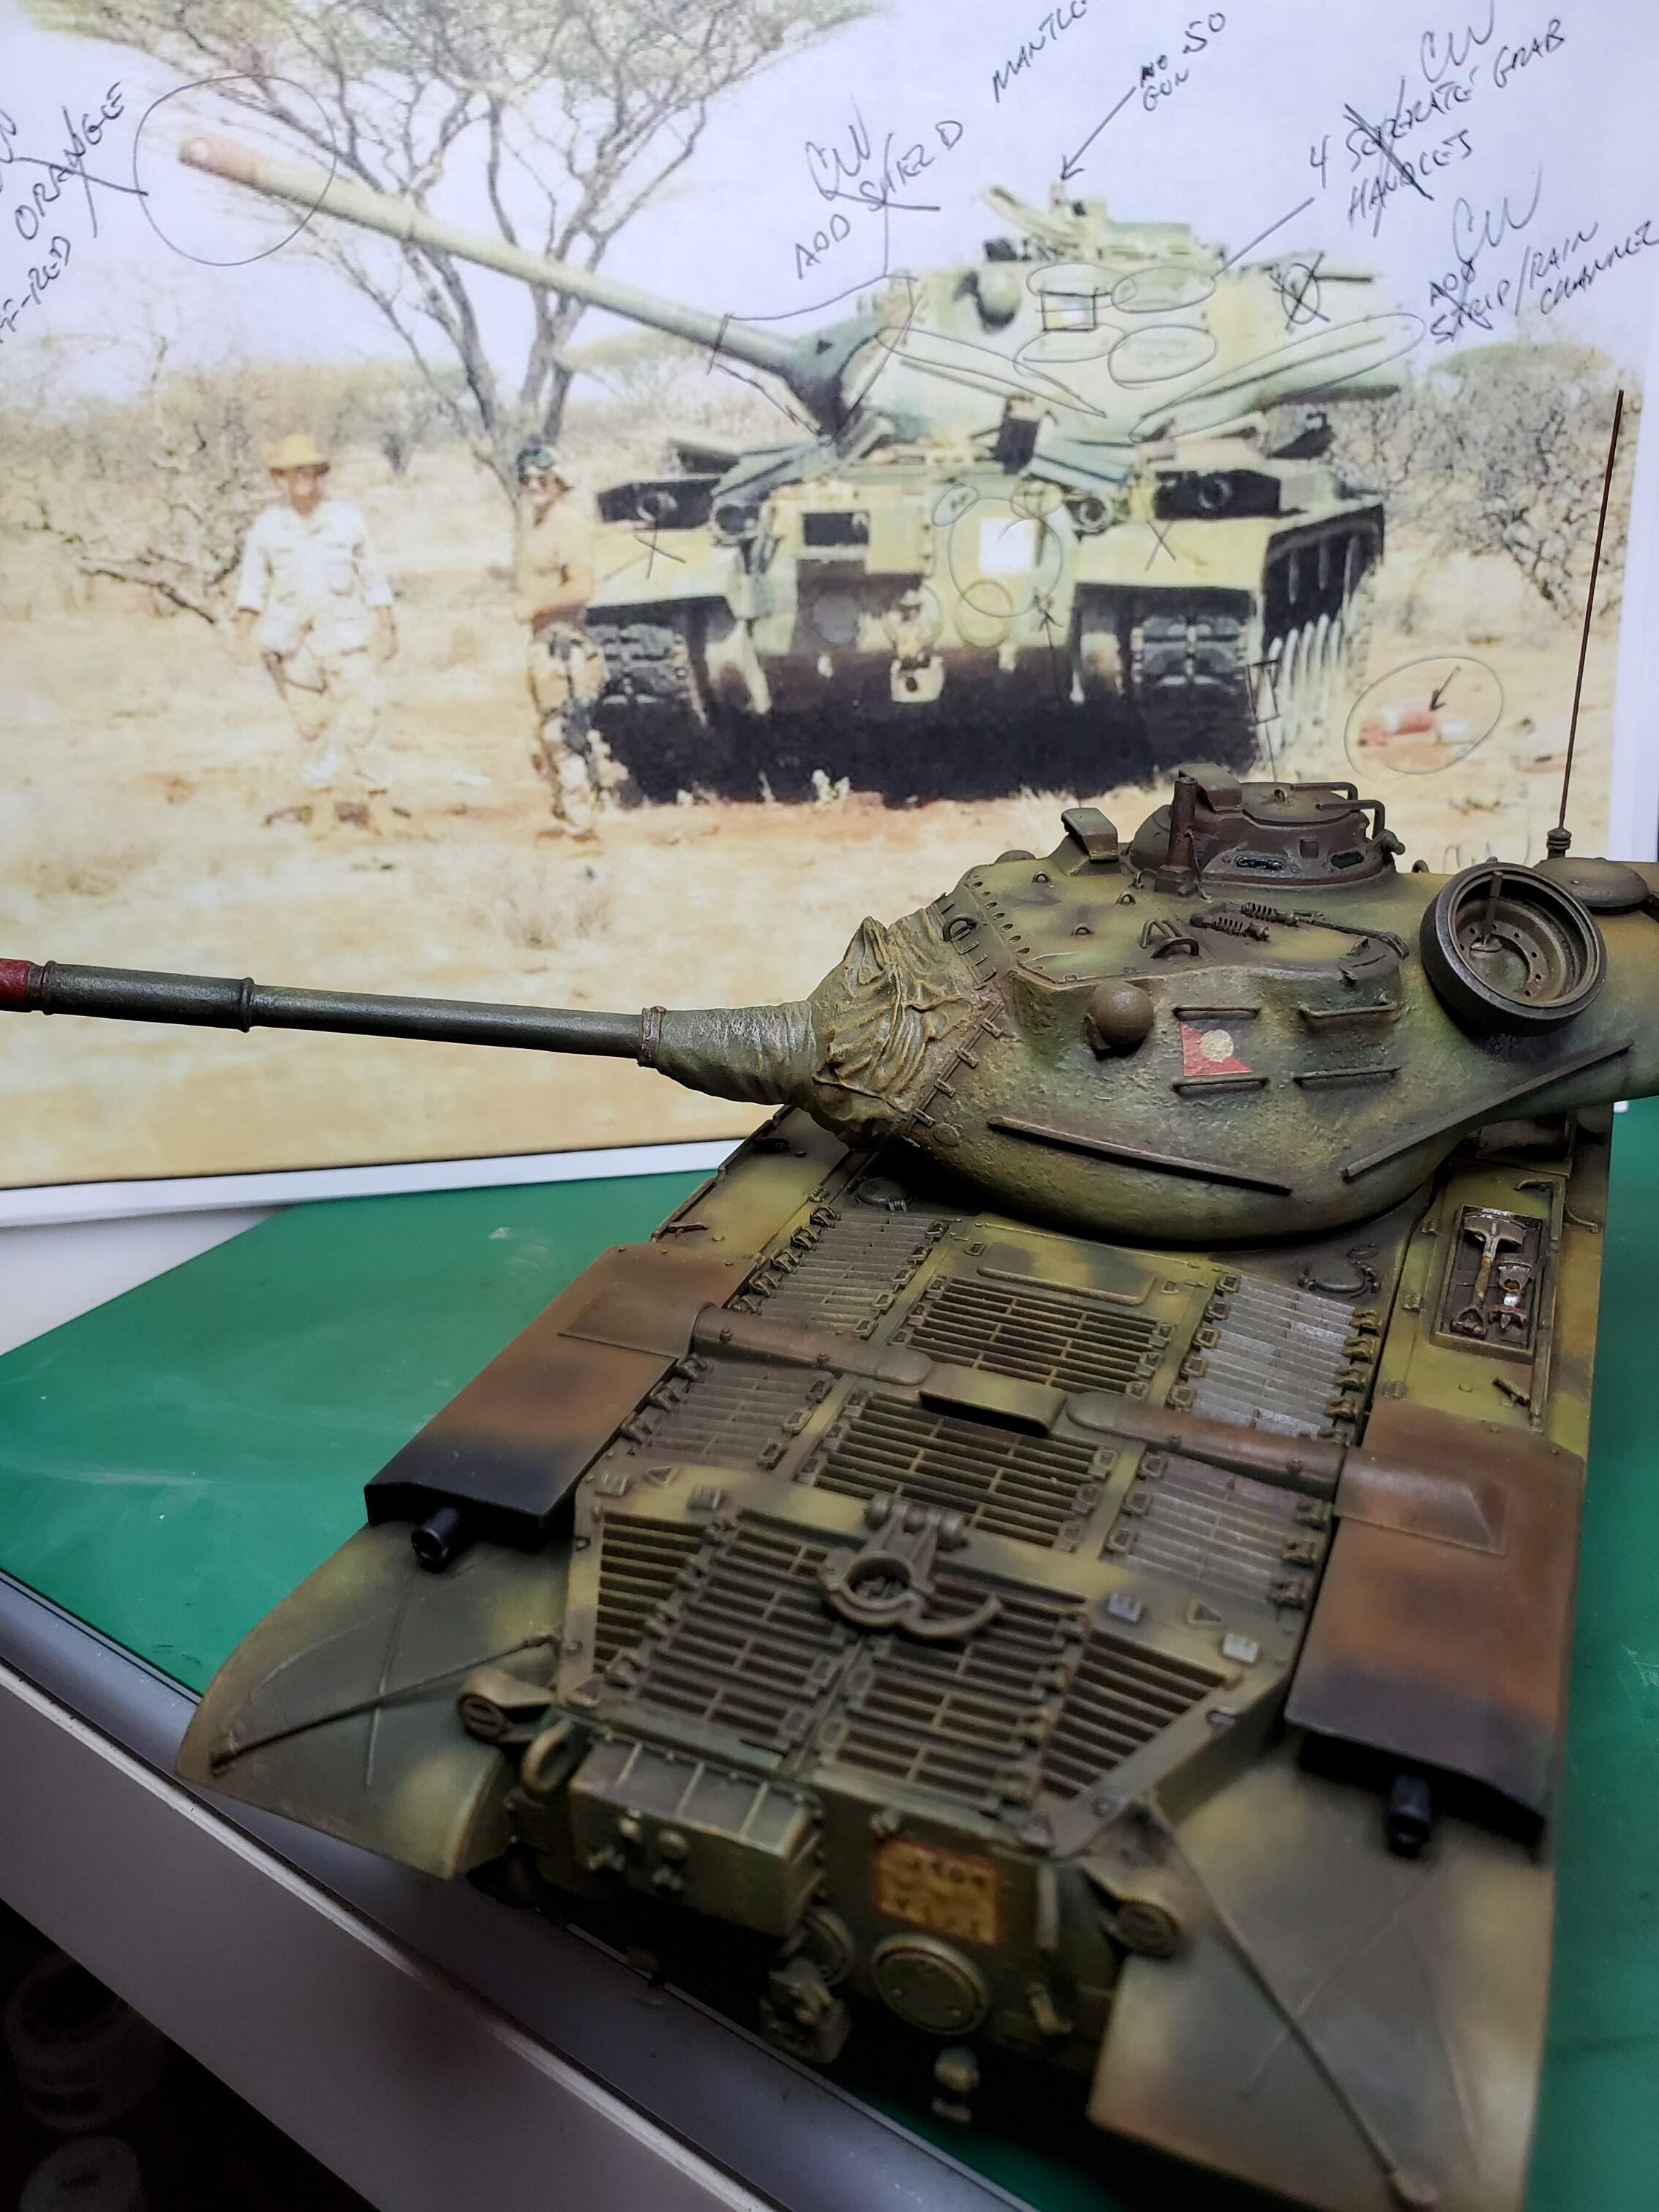
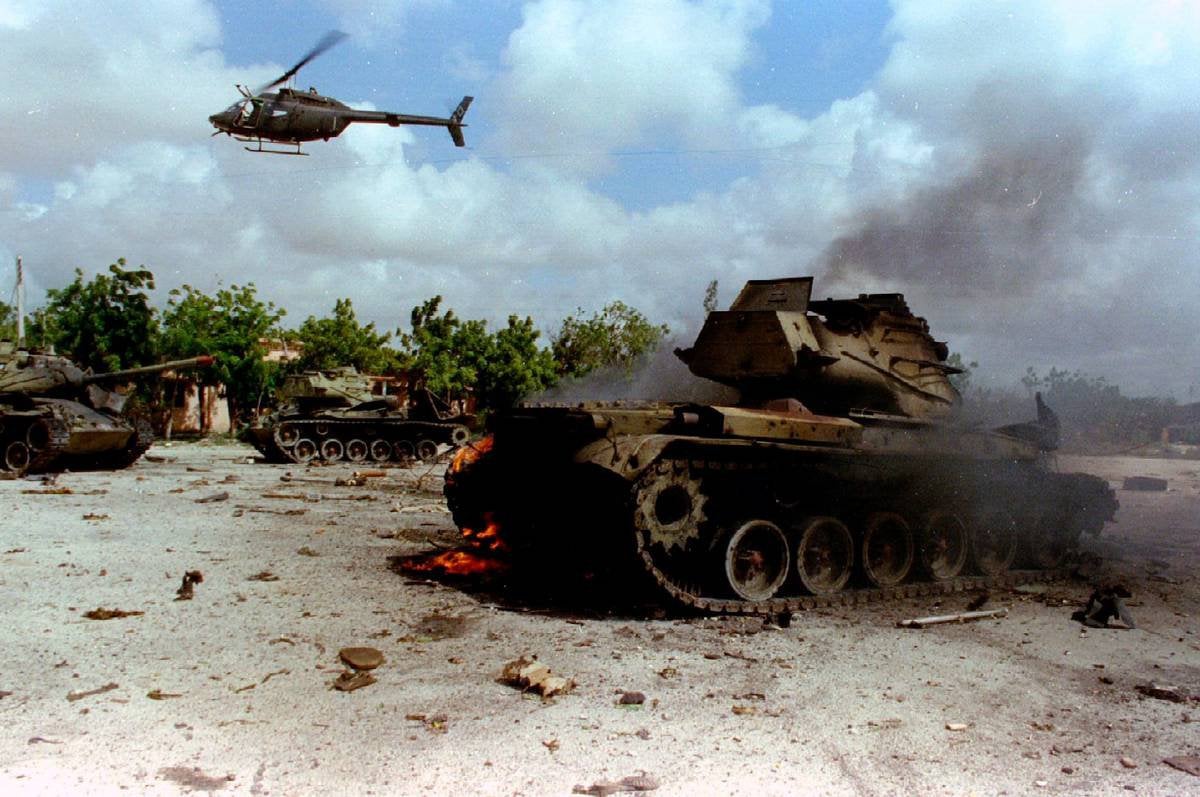
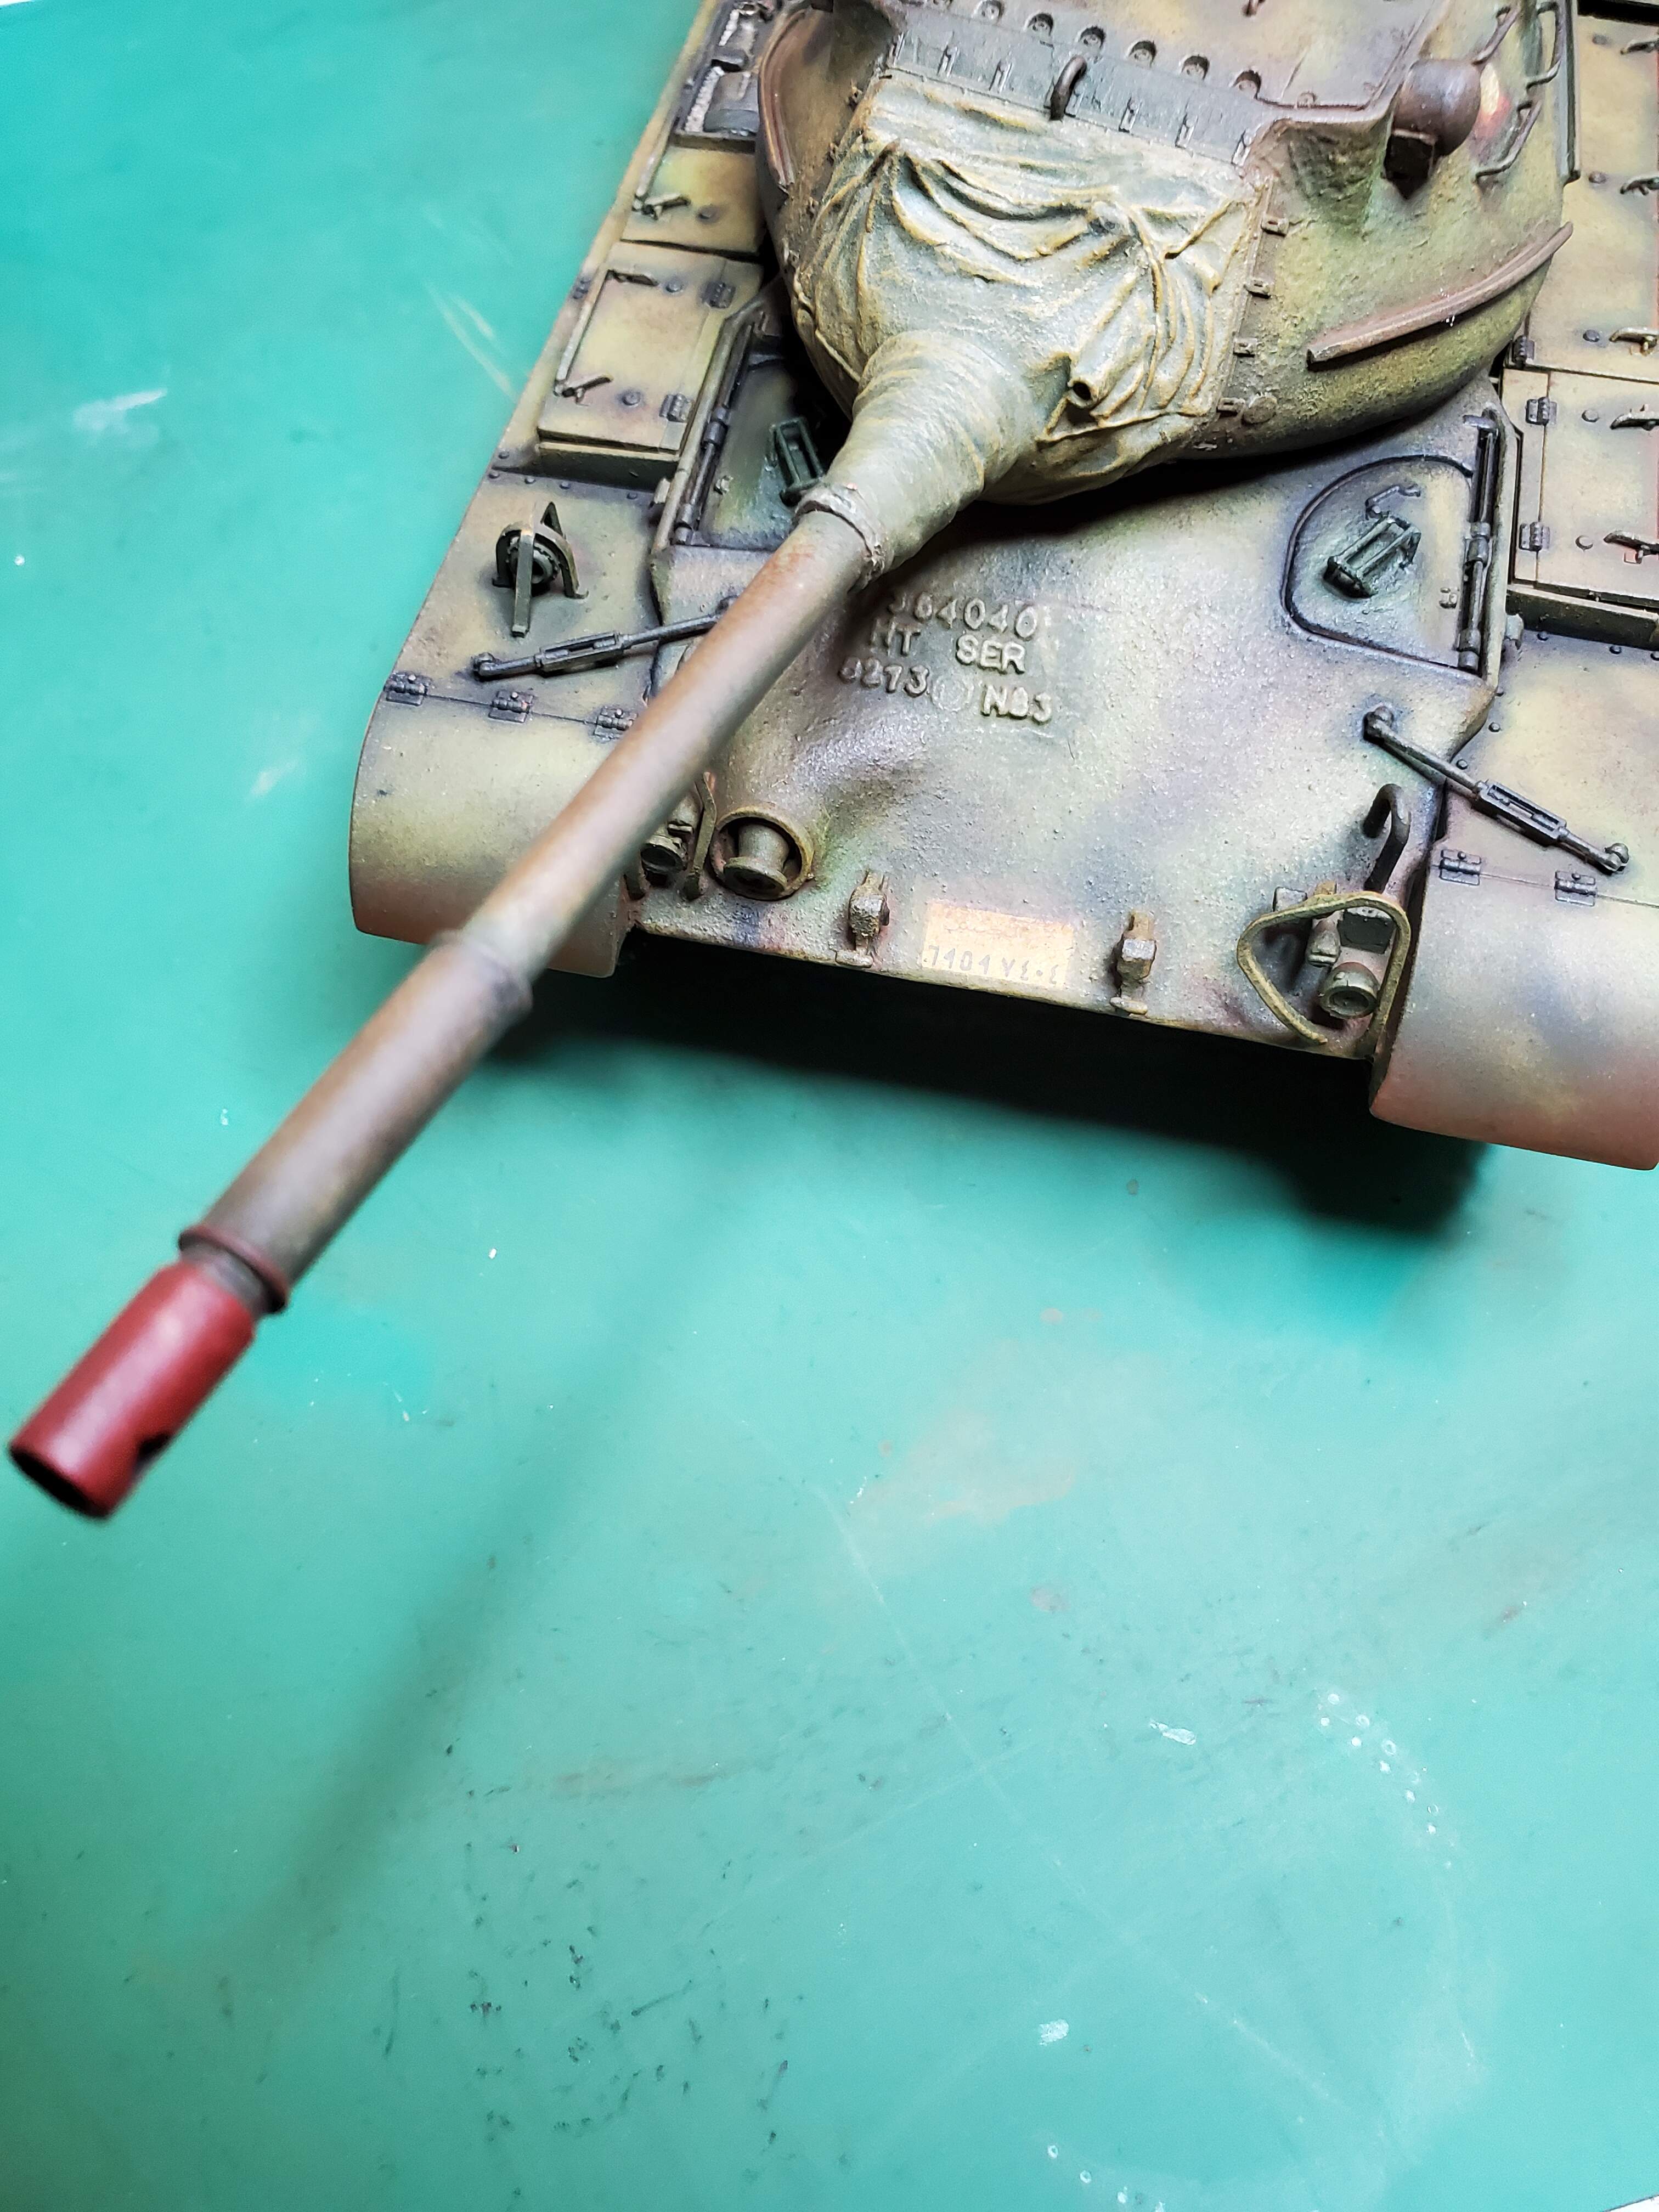
Latest update on the Somalia M47. About 60% finished…basic camo scheme applied, some weathering highlights, small details dealt with. Base is dark green from a rattle can, then all the rest of any color is applied using only oils. Main camo is light burnt sienna mixed with yellow to produce the pea green shade showing a heavily faded condition. The bottom photo kinda shows this faded color (Mogadishu 6 Dec, 1993).
!
7 Likes
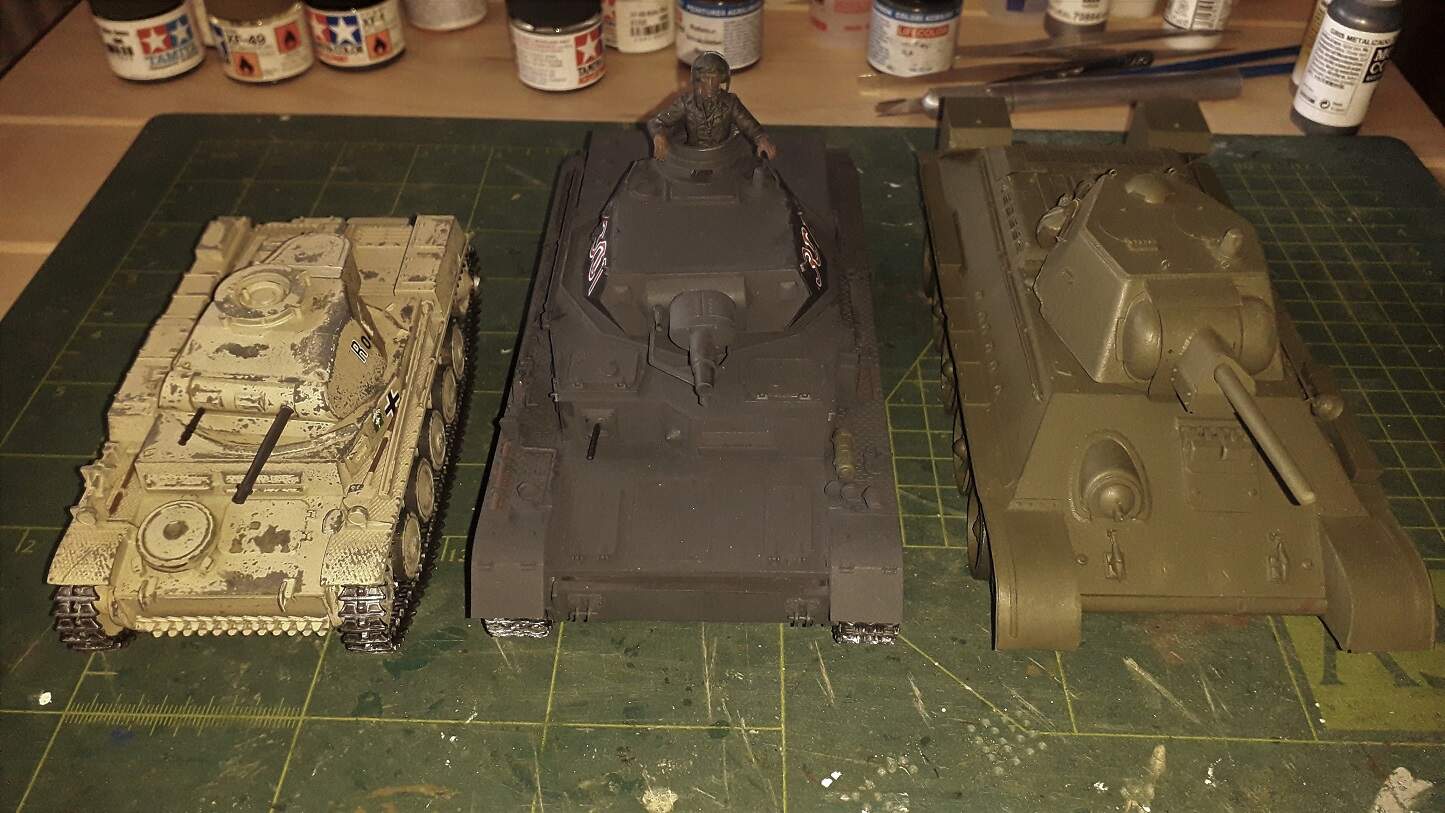
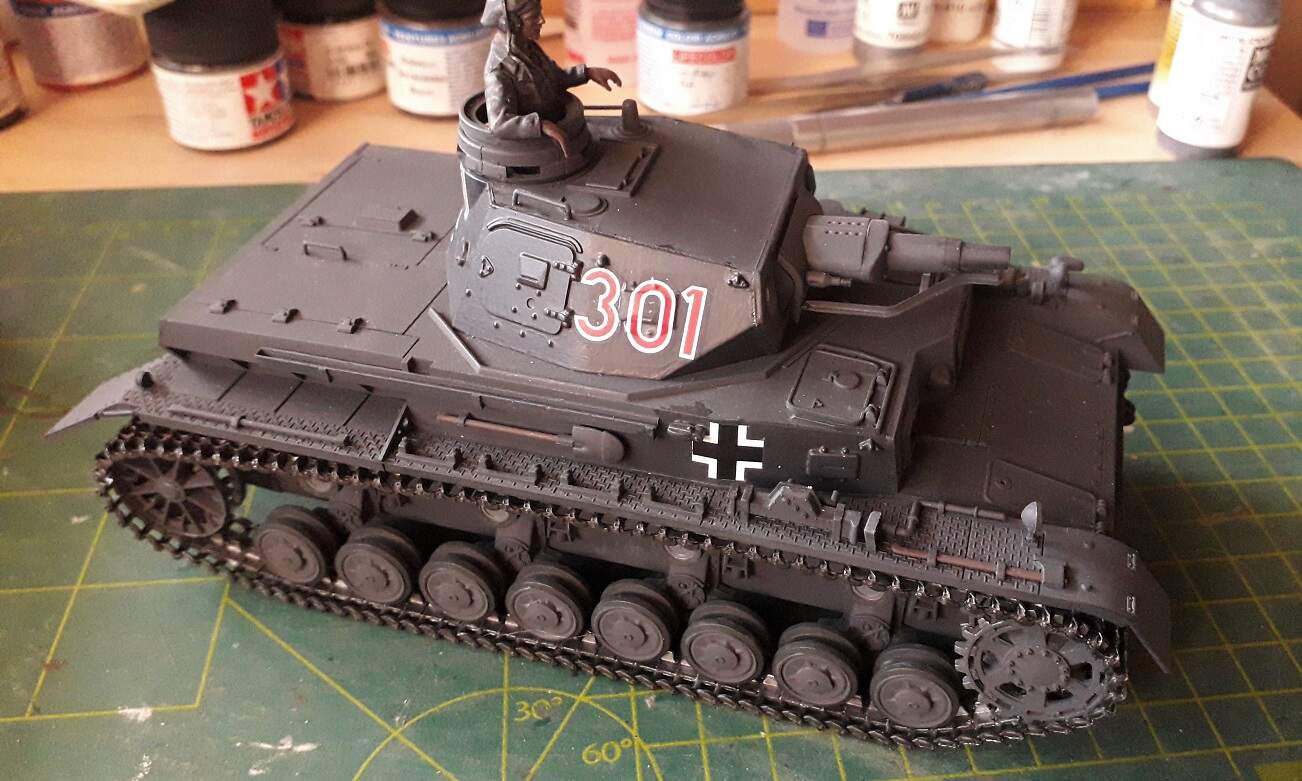
A bit more progress on my table as I have entered the painting stage. I encountered some issues, because I needed to use old decals and my micro sol did not soften them up properly. especially the Panzer III gave me headaches.
5 Likes
If you haven’t clearcoated over them yet, you can still add more Micro-Sol and work them a bit more. If that doesn’t work, try Solvaset, it’s stronger.
Ken.
Yes, I did clearcoat it. gave up. I drenched the decals in microsol, but with not better effect.
Calling my Somalia M47 finished for this campaign. Only “paint” used is from a rattle can for the primer. All other applications, of any color, after the primer, is strictly artist oil paint rendering (this is a method I tested back in the 80’s). The model was then “sealed” with Testors Dullcoat. My apologies for the poor photo quality. I’m a modeler, not a photographer. 


7 Likes
Interesting painting technique, nice overall result. 
1 Like
Nice result on the M47.
I need to make one as during the Suez crisis in 1956.
Olivier
1 Like
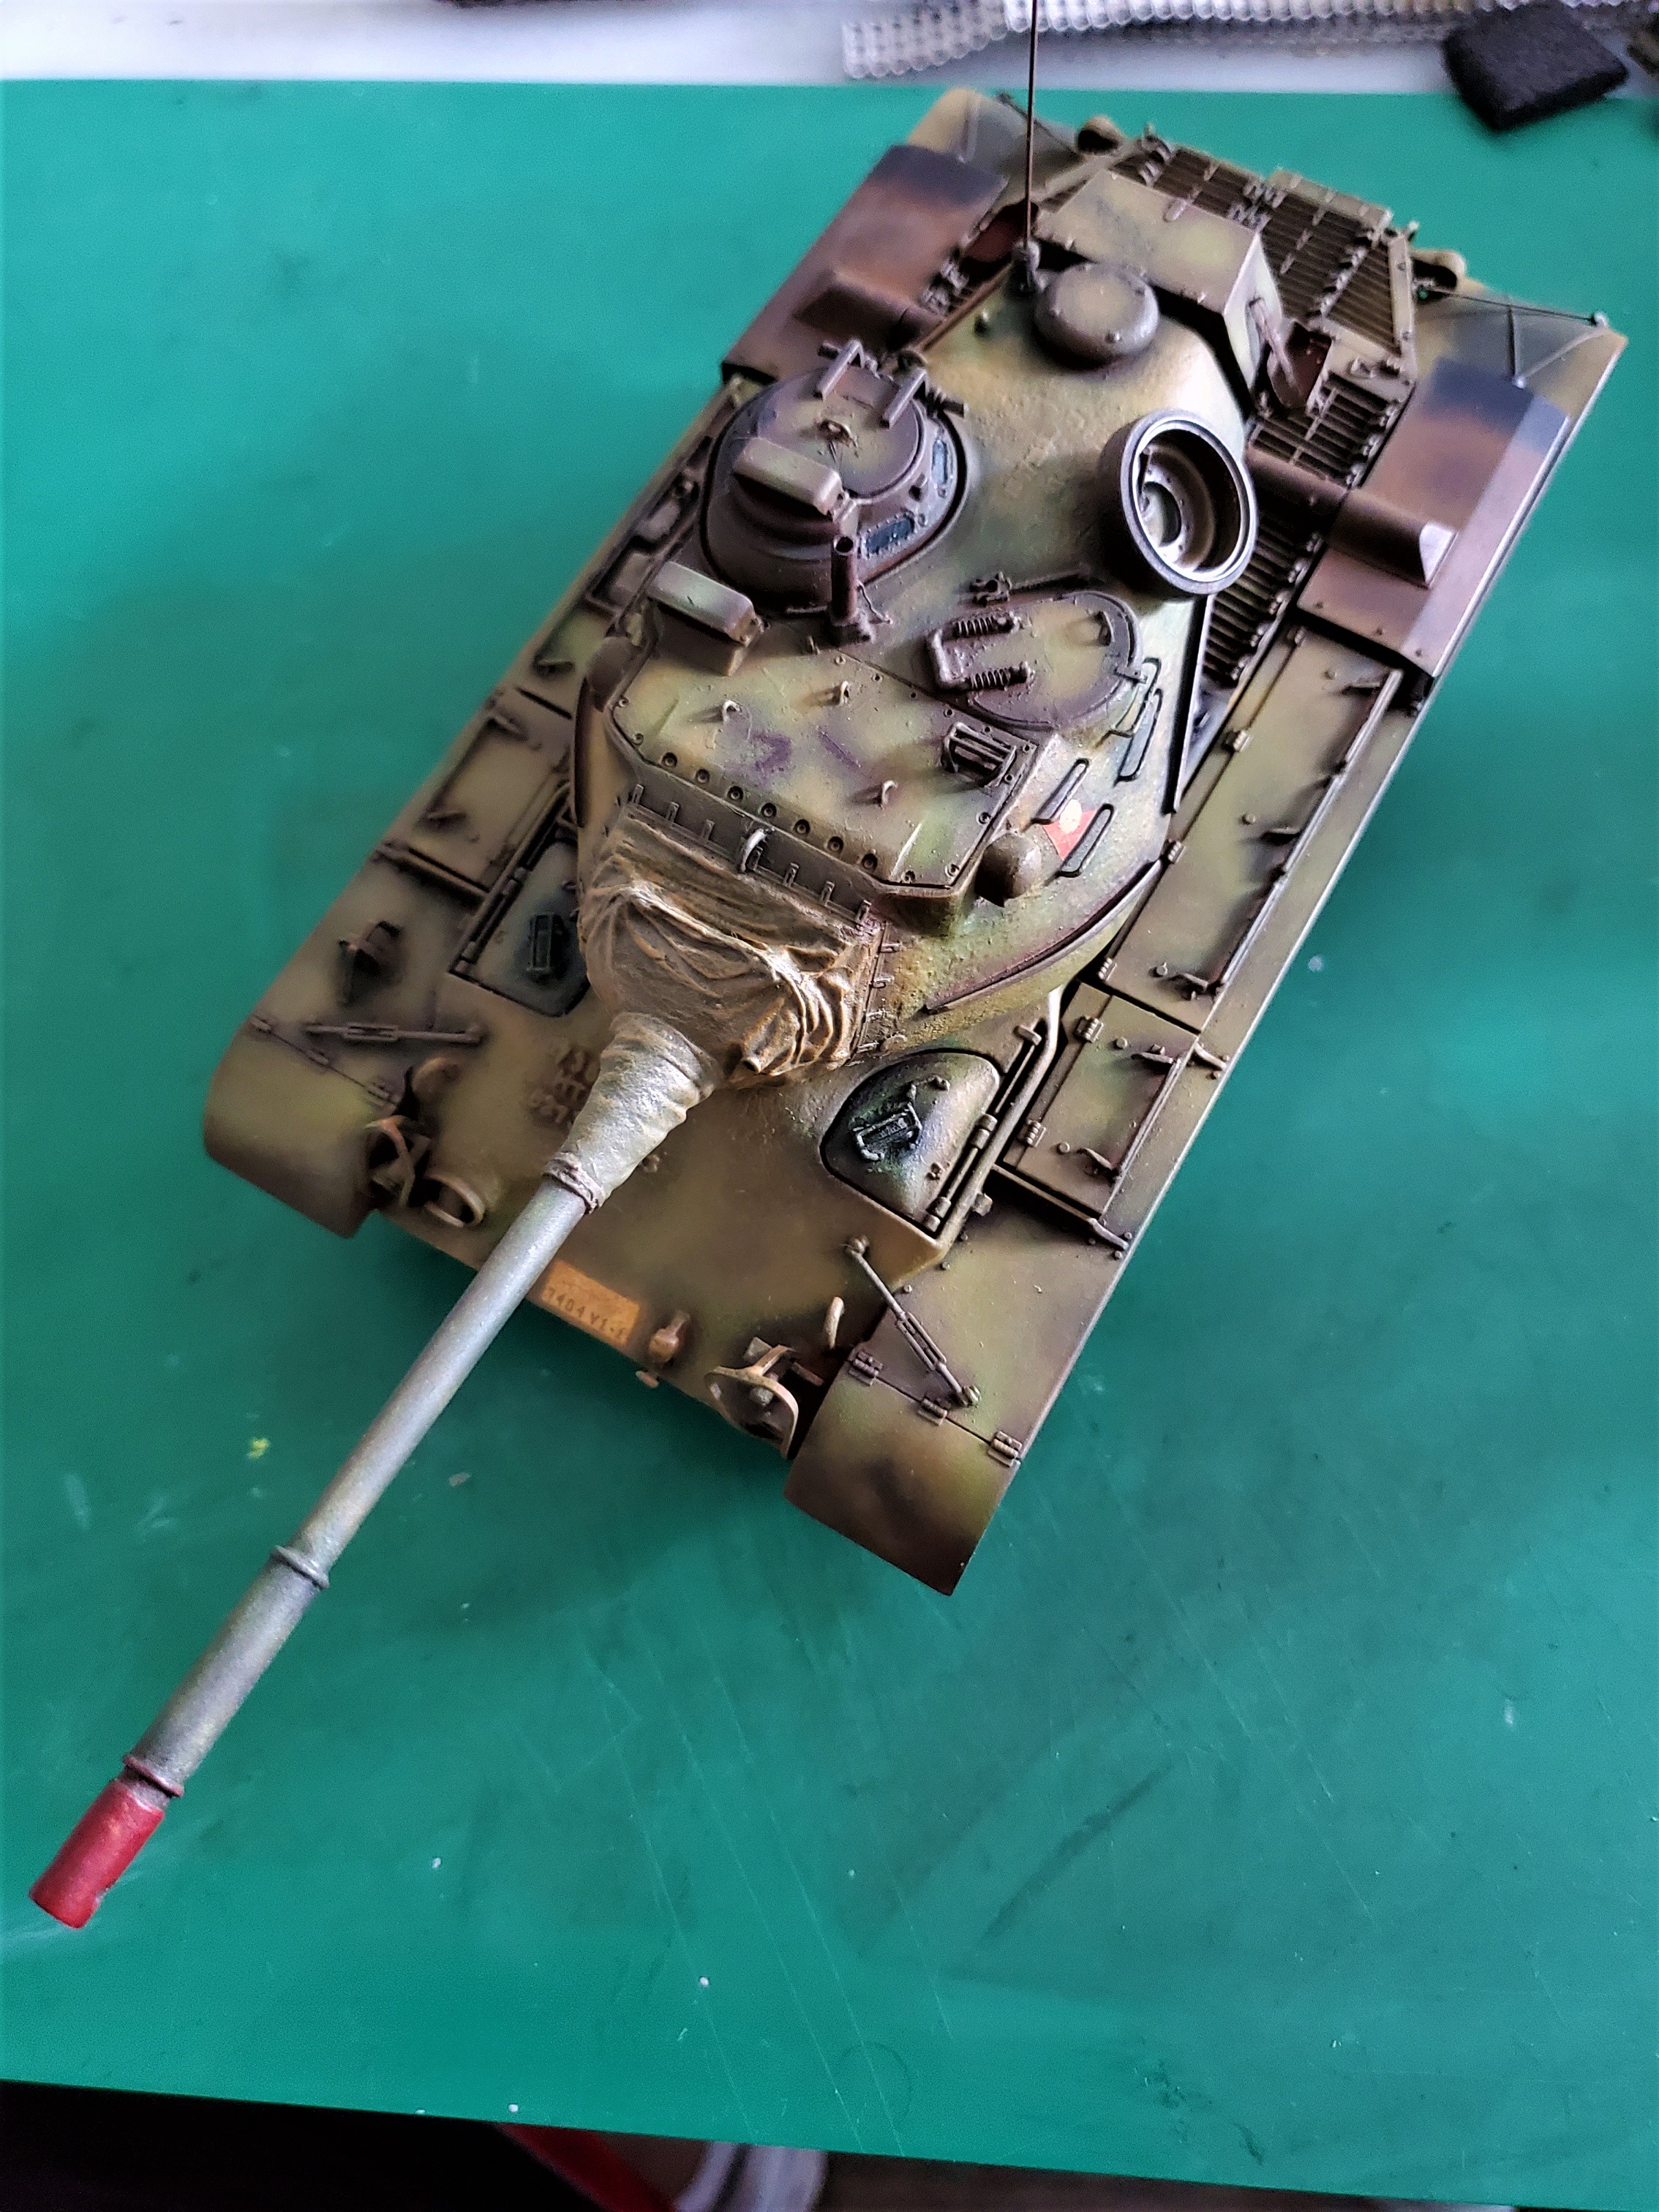
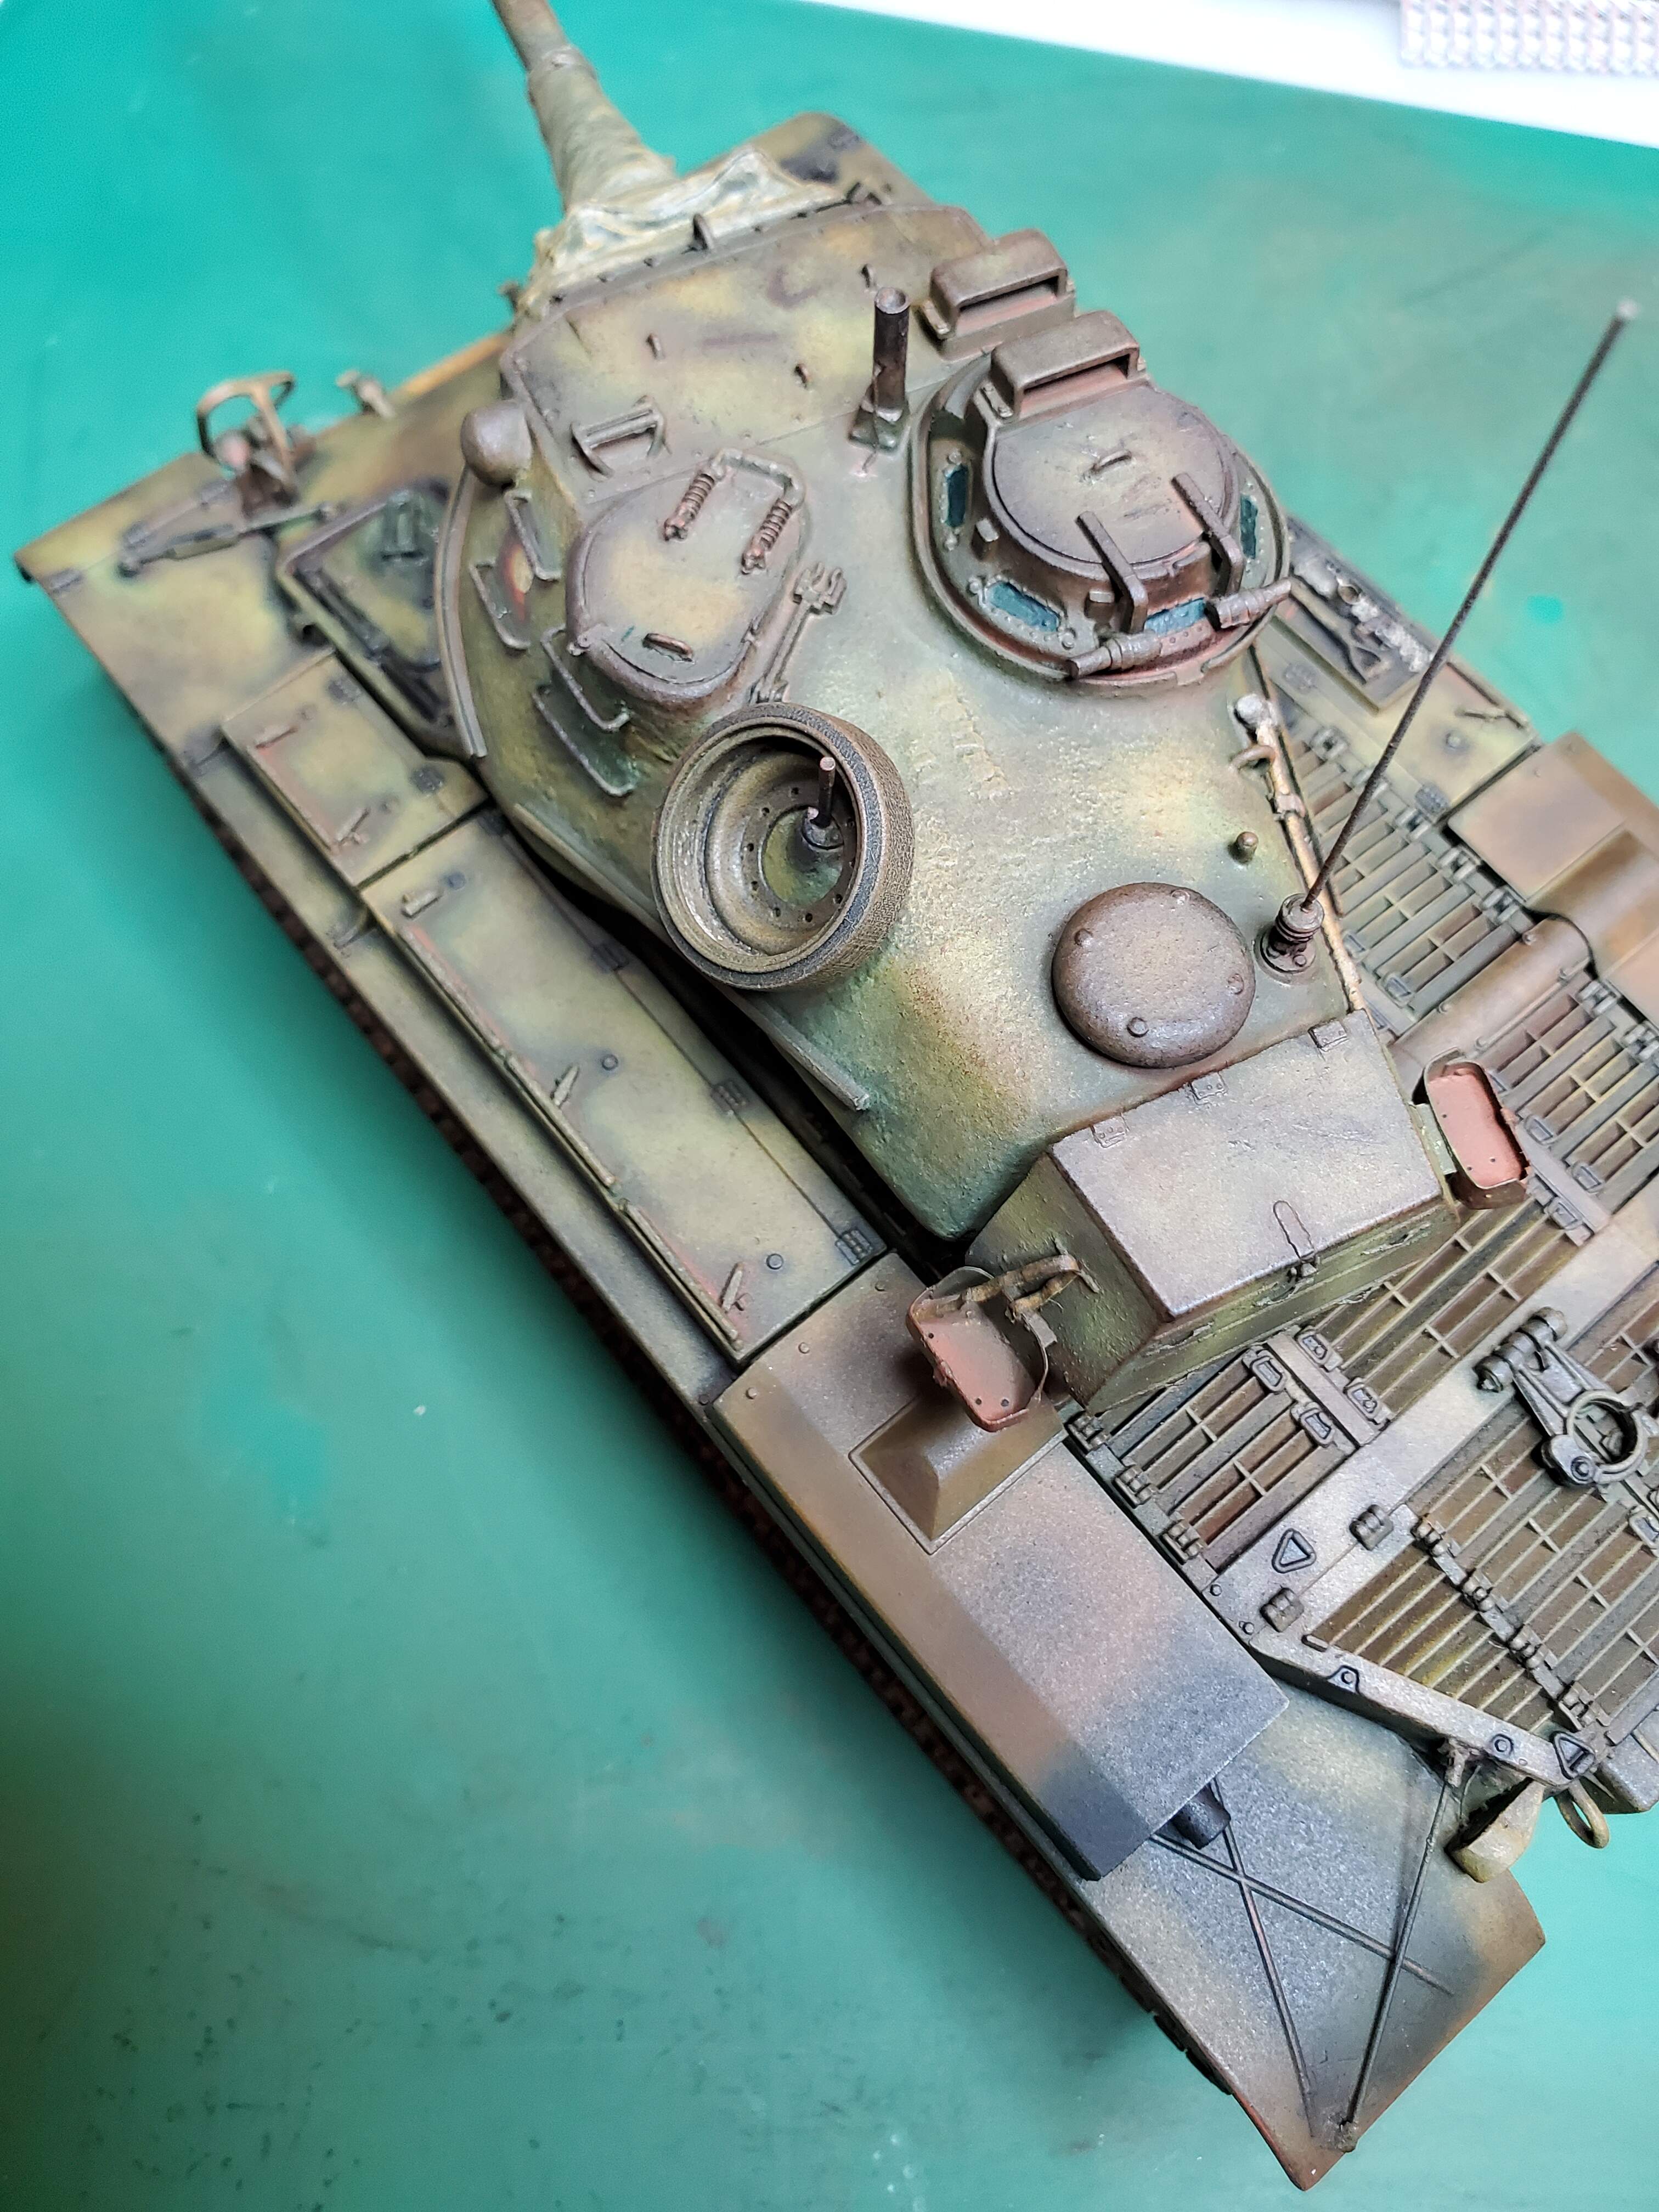
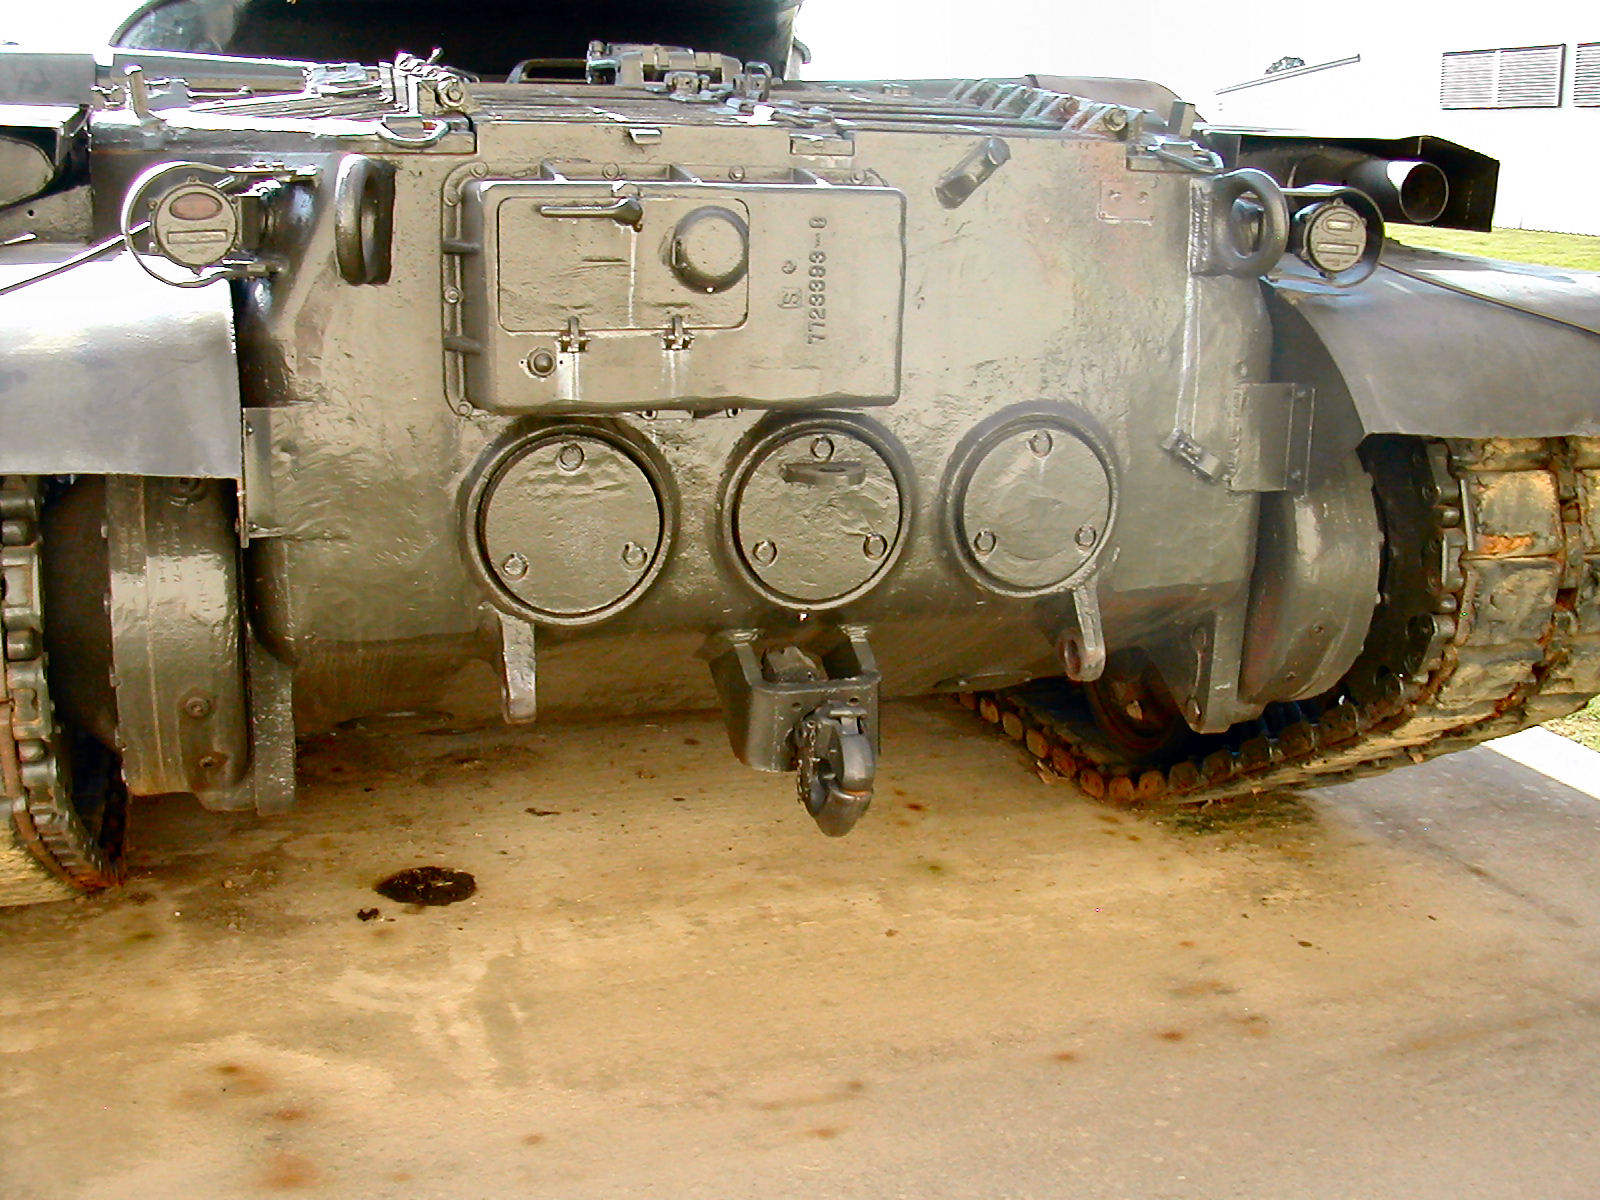
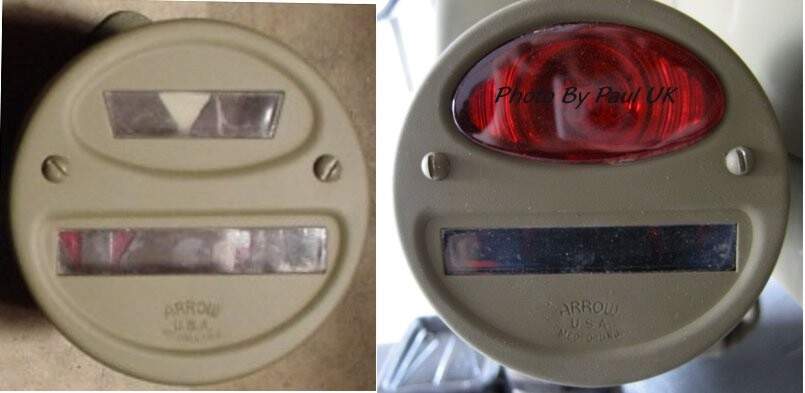
Really well done Jack. If I may point out one thing, the rear lights have a red part only on the left side:

1 Like
You would think an enterprising decal company / Archer make a sheet of tailight decals for many tanks…
1 Like
I’ll have to look into that…thanx for pointing that out about the light. Odd, the kit shows/has a pair of the same left light. I’ll probably have to cover it up with a piece of tailight PE, and repaint.
I have thought that myself so many times. Eduard and Aber sometimes include the front cover as an etch piece to put over the kit part (suitably sanded back). Wouldn’t be too hard for a decal to slip behind that type of arrangement.
Closest you can get is something like this:
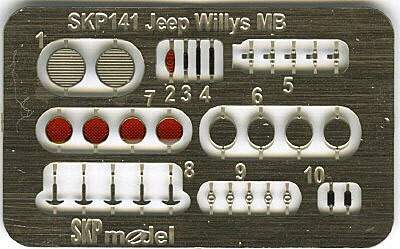
But if they made one set of front covers and rear sections to put these in, it could cover a lot of vehicles. I guess it is more money for them to do single vehicle sets.
1 Like
A lot of manufacturers use the same part as the both have the recessed shape, it is just the right has a narrow slot not a full lens.
3 Likes
All the spare stuff I have, there is bound to be a correct piece. Then again, I’ll see if repairs can be done without causing collateral damage. If I get that icky feeling, I’ll leave them as is, and take the woke/cancel culture in stride.
Hallo all,
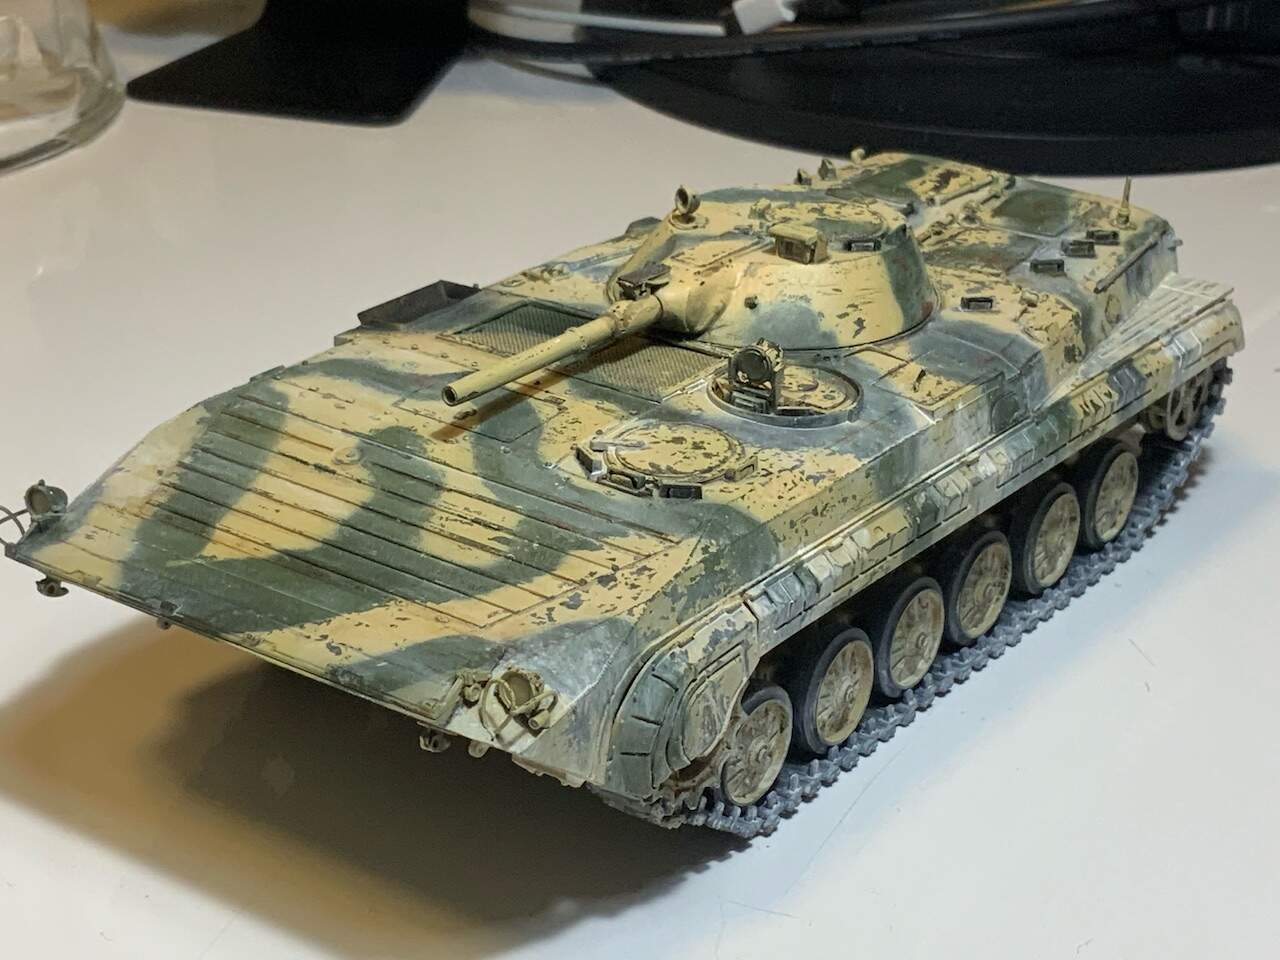
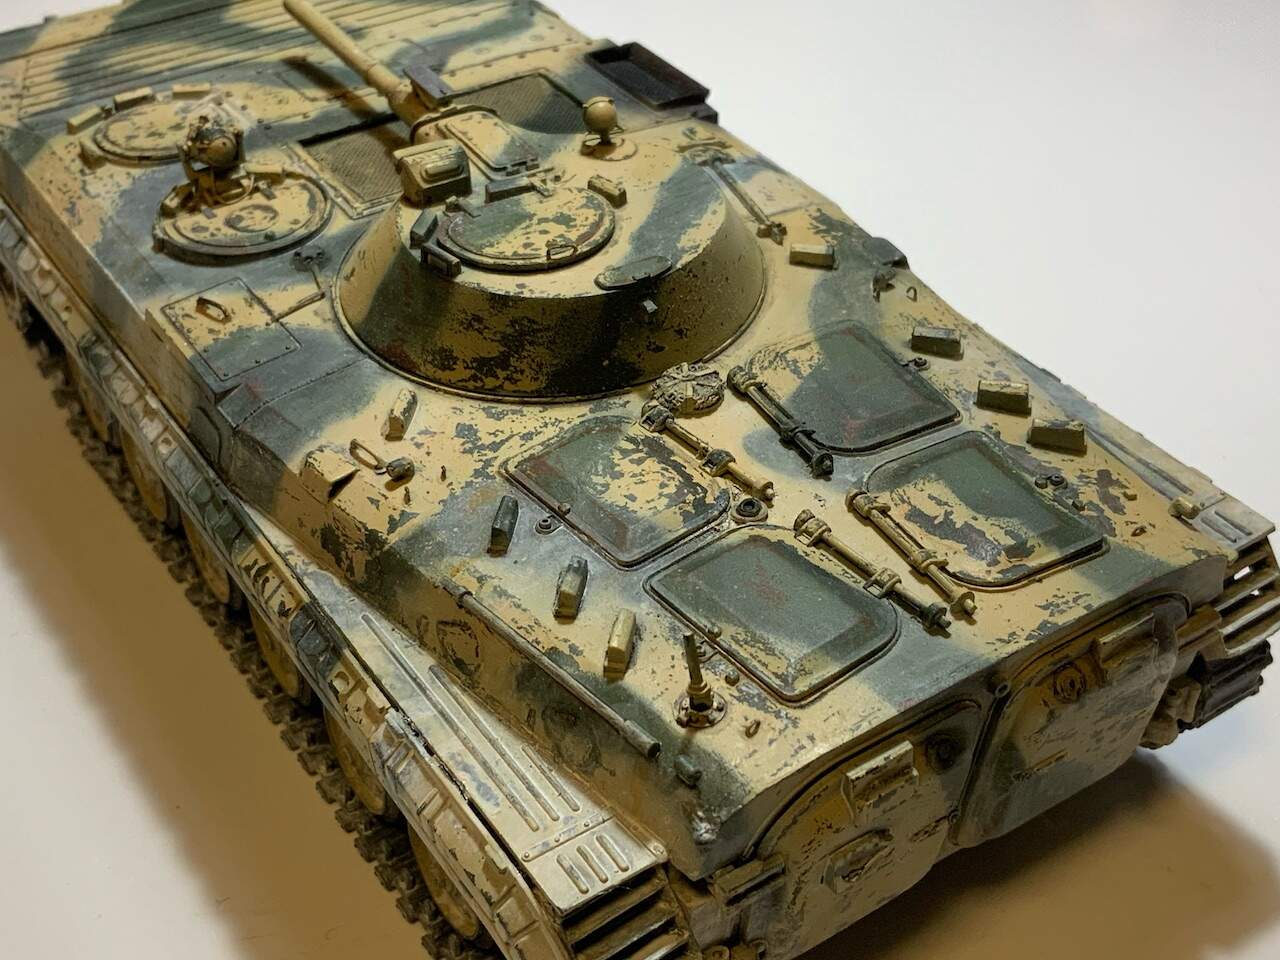
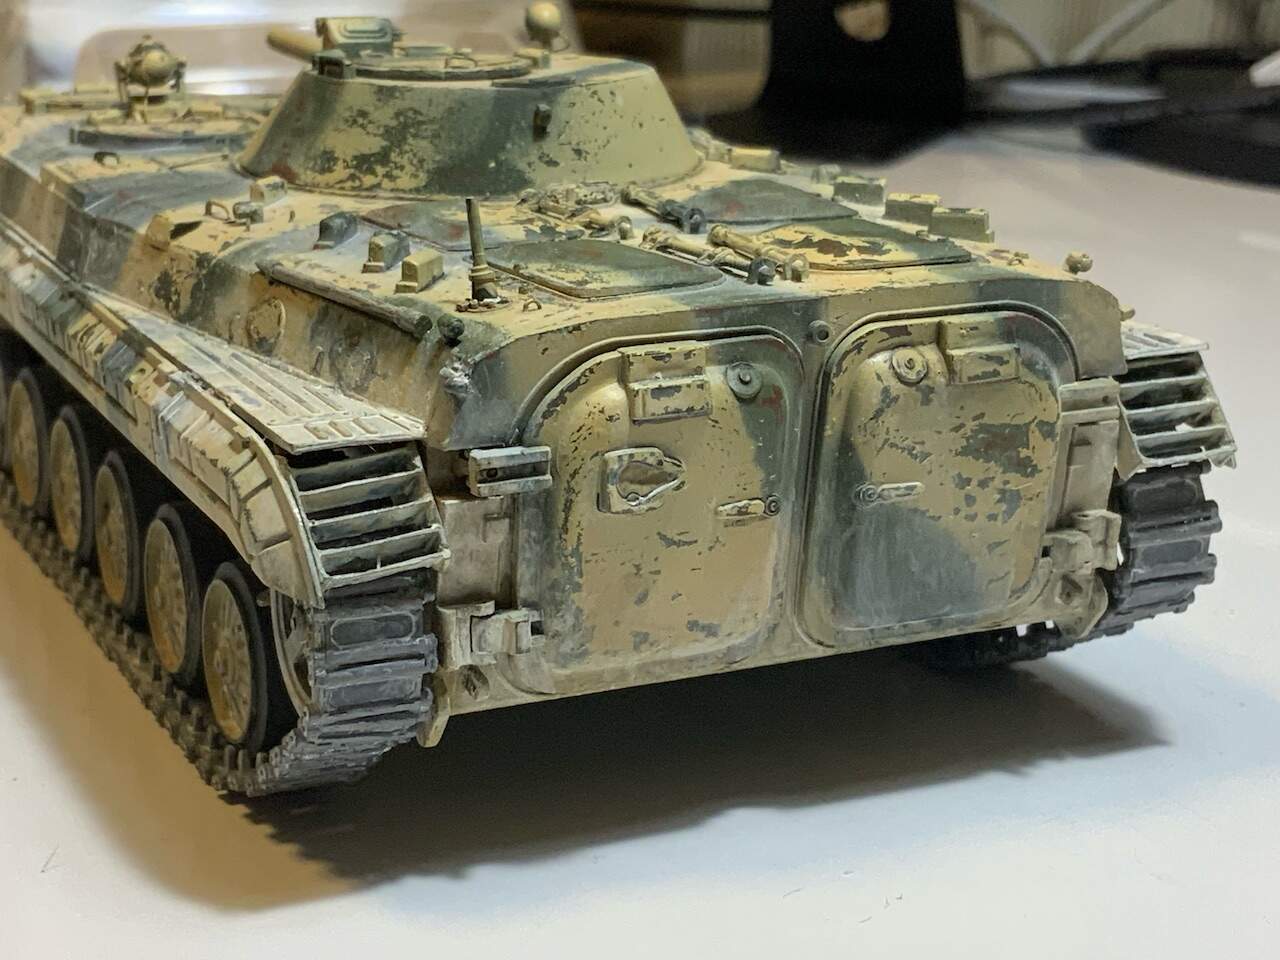
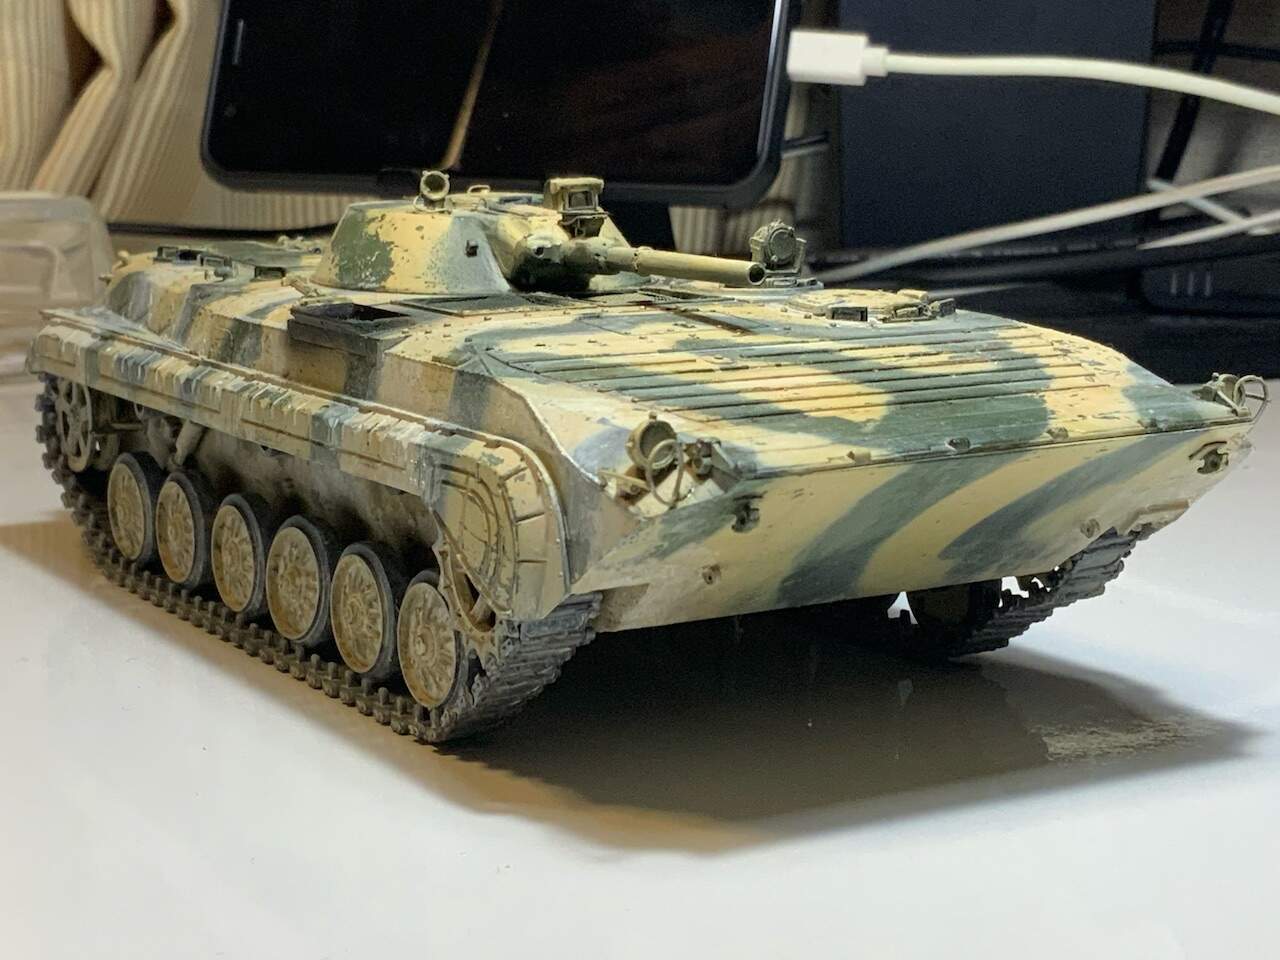
1/35 BMP-1 of dragon model has finished, some months, It been suspended.
I chose the camouflage around Levant region.
8 Likes
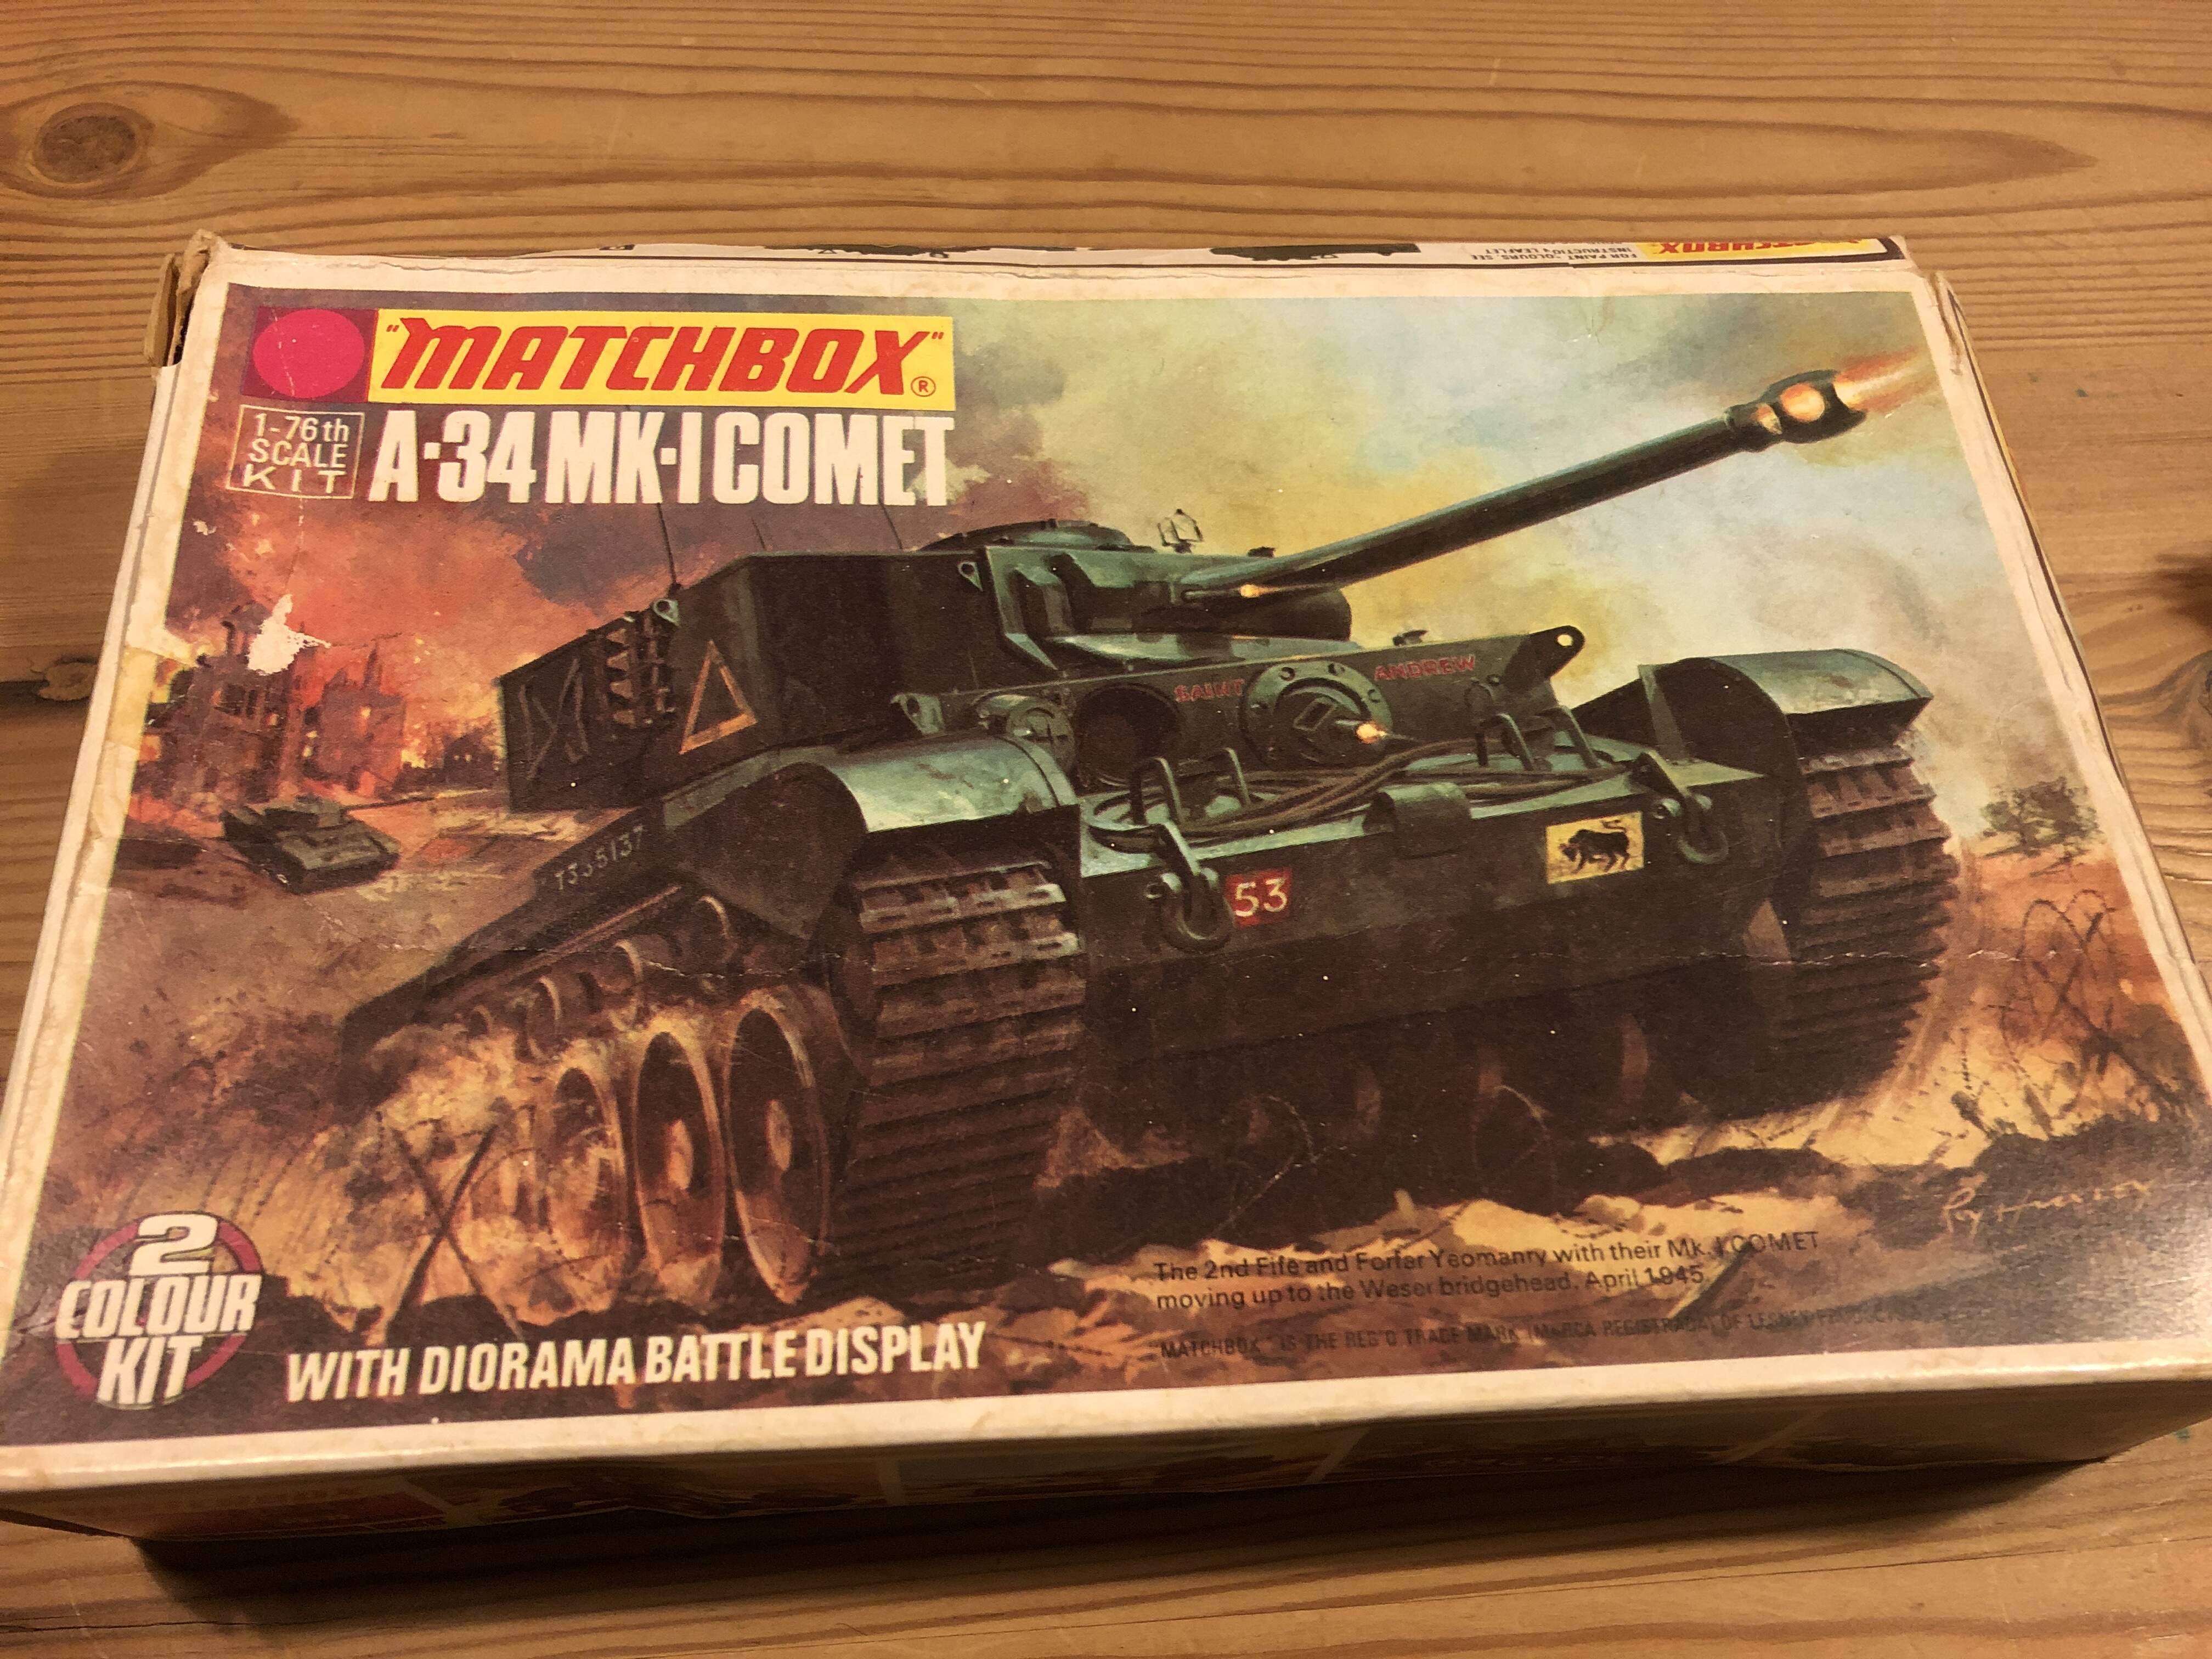
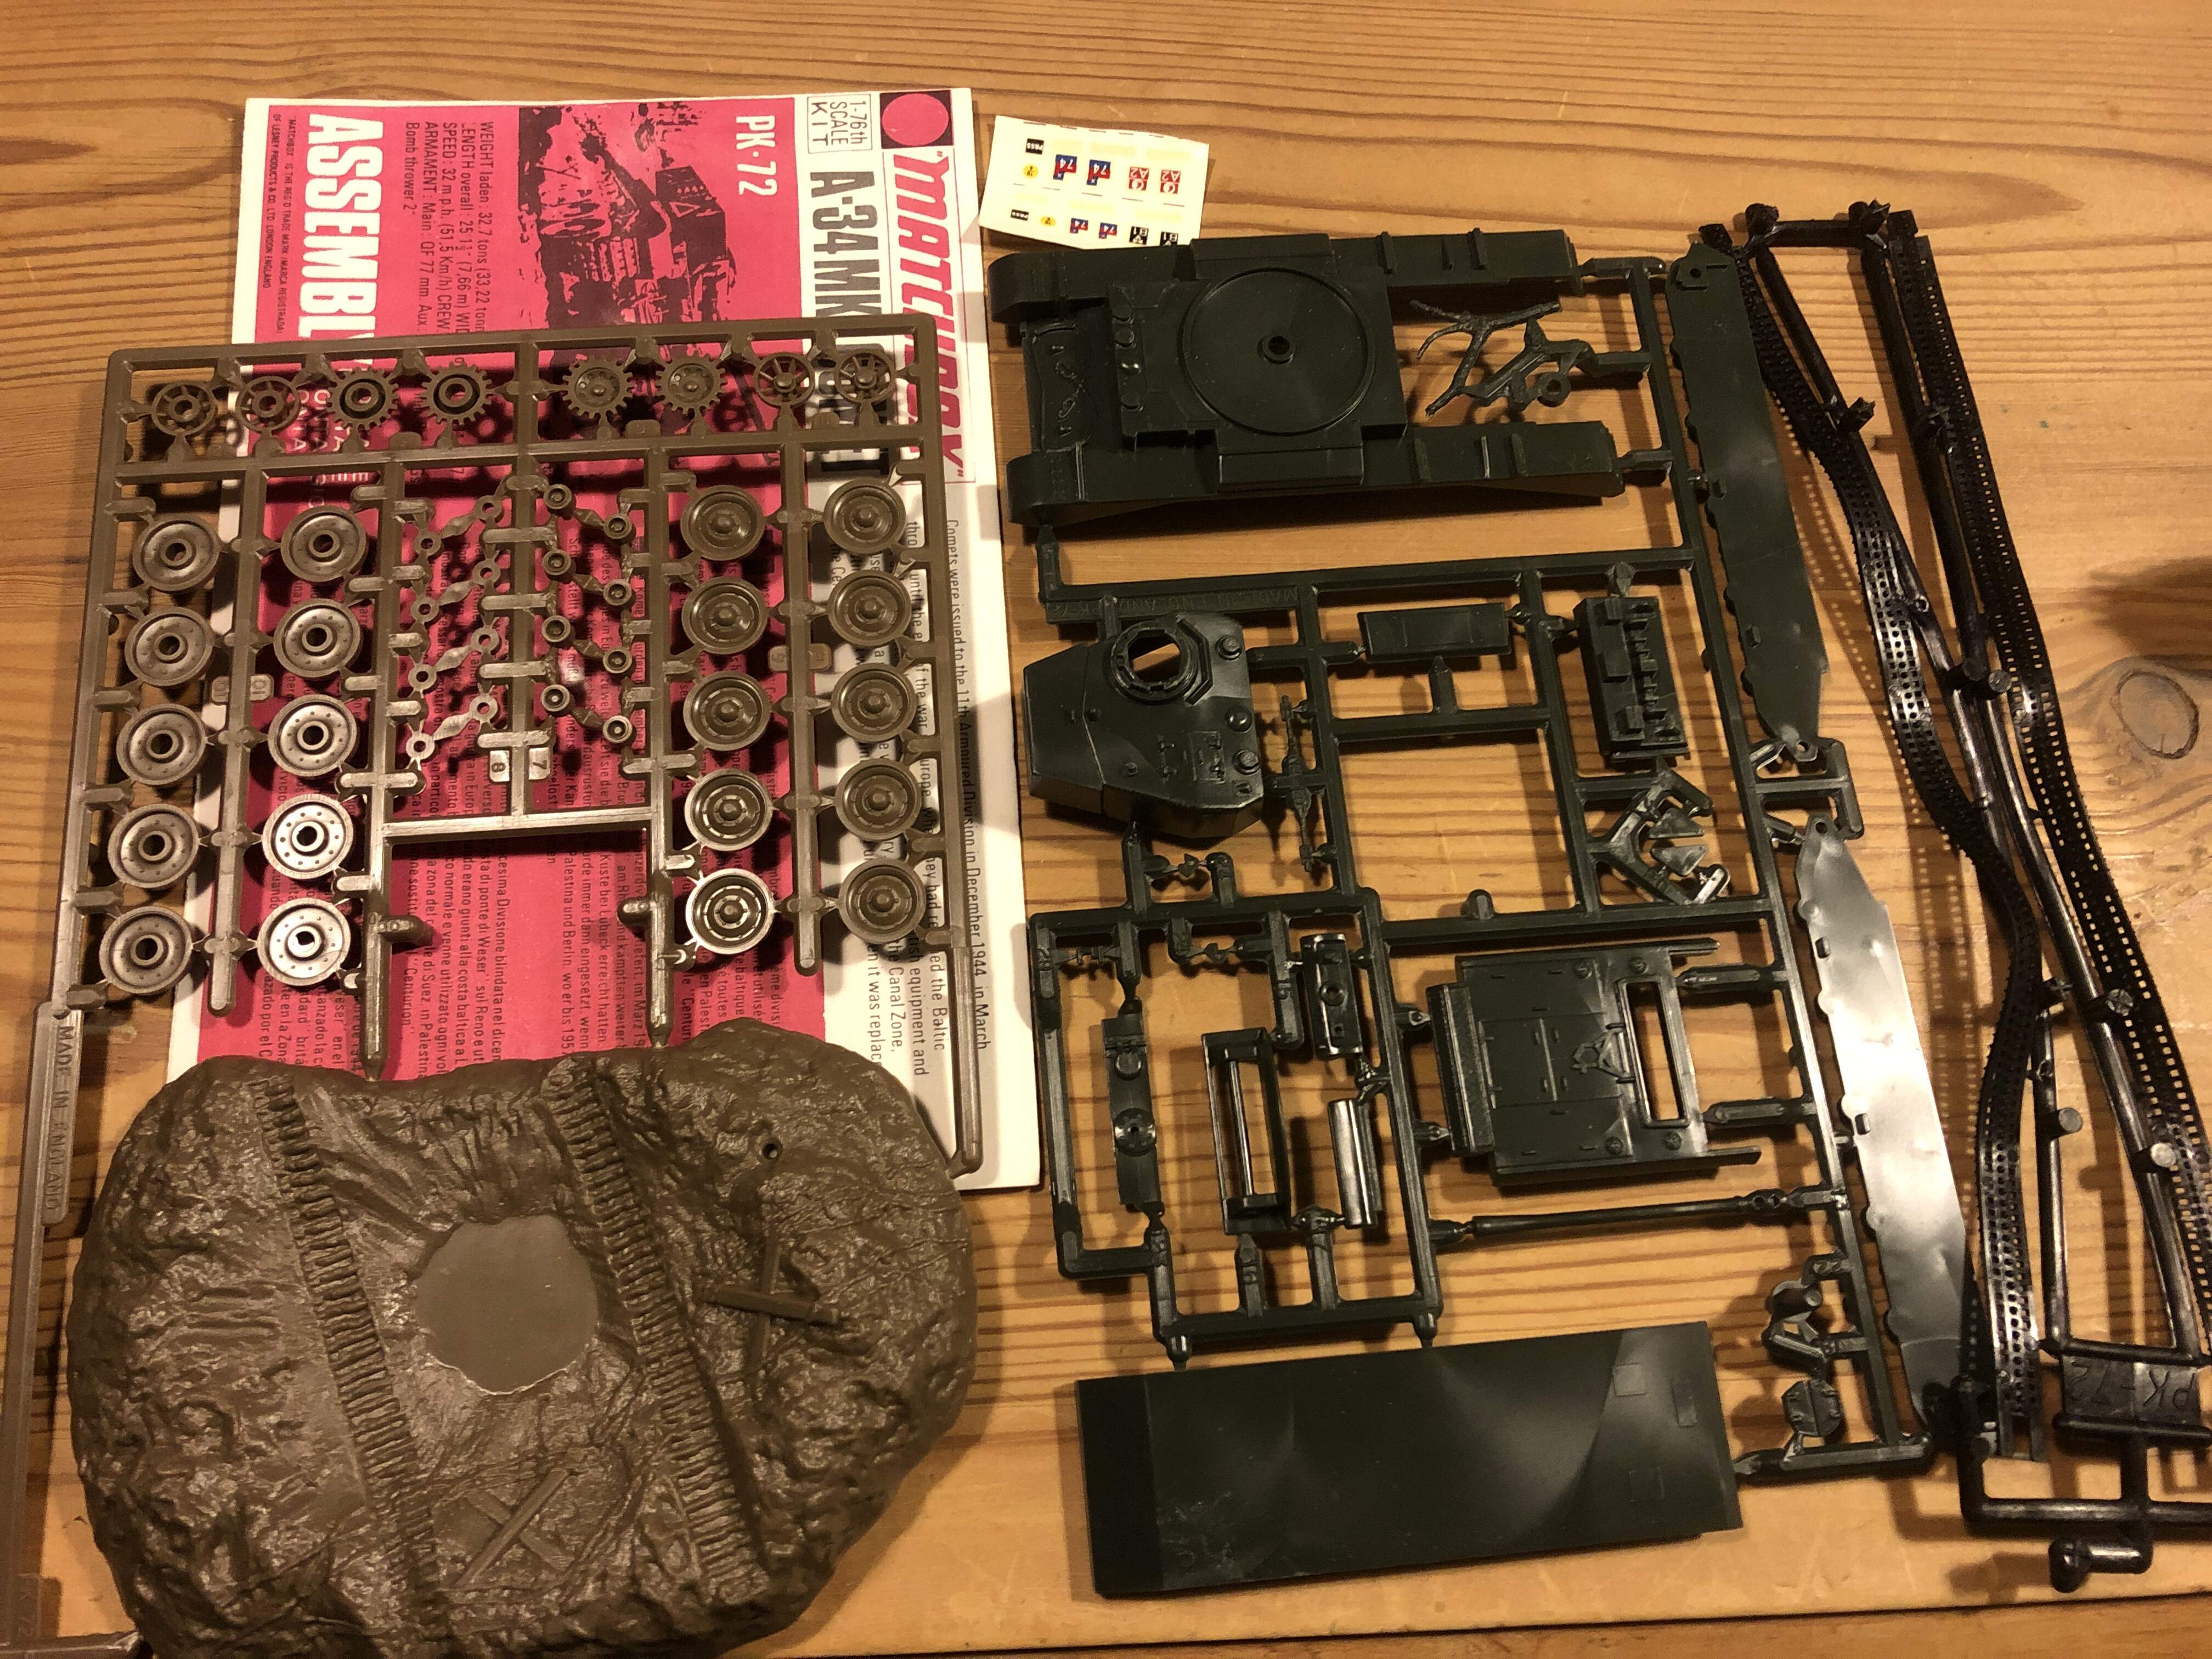
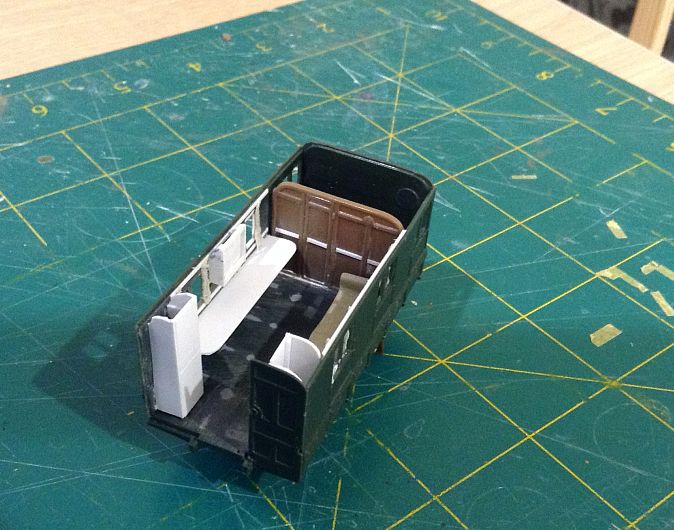
Almost forgot about this build. I opened a box looking for something, and found my 1/76 th Monty’s Leyland Retriever and Daimler inside…
So after a bit of work over night - I made the settee/sofa, credenza cabinet and curtains for the windows. These accompany the overhead cabinet, cupboards and desk top I did previously. I just need to make some panes and frames for the windows and then I can paint and allow dry while I make the other knickknacks that also need to go inside - light shades, reading lamps, picture frames, etc.

6 Likes
Akio, beautiful job on the BMP-1. Looks like right out of the 1973 war. Great job!
Peter, excellent improvement on a real antics.
2 Likes