thank you!
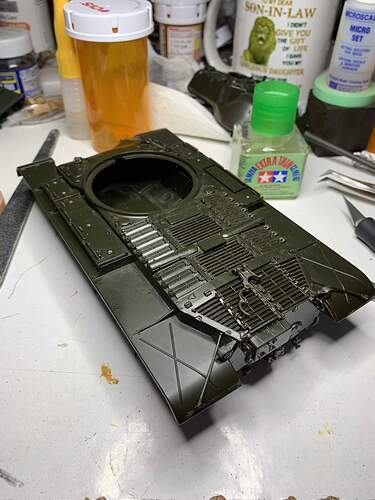
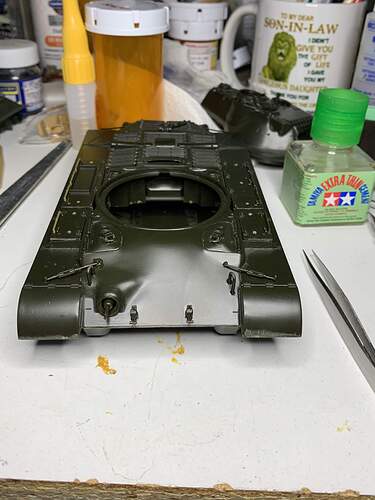
I thought I would be having more fun with this build then and I am not. It’s all user error and not the kit. I do a little thing called truck modeling each week as I have hour I have wait, so this week I was working on the kit and lost a rear tail light, luckily I found it 5 days later. Next I was installing the box handles and thought they went in the center where the raised tabs where. Since the attachment point was not great, I drilled holes to make the handles seat better. When I attached the grab handles I saw my mistake so I removed and reglued the handles facing the correct ways now and then added the rails. I have lost one of the barrel travel lock parts. I will hopefully find it later on the floor but outside of that most of the hull parts are attached. Will be working on the front hull next. She was always going to be a 3’ but maybe a 5’ now. 
I’m sure you will recover and produce a great build. As I am fond of saying No plan survives contact with the enemy. Best of luck going forward.
Yes, I might be able to recover but a great build is probably not in the cards. I will be happy when done. I do agree most plans don’t survive first contact. My mood is probably caused by these issues and the paint/airbrushing on my other build has not been going good.
The Tamiya approach has paid off Wade. I remember the Italeri kit…
Chin up Ryan. The positive waves are flowing for you. Hope you find the missing part.
Woof Woof!
Tell me the parts u need…I’ll look for them. Still need tracks as well?
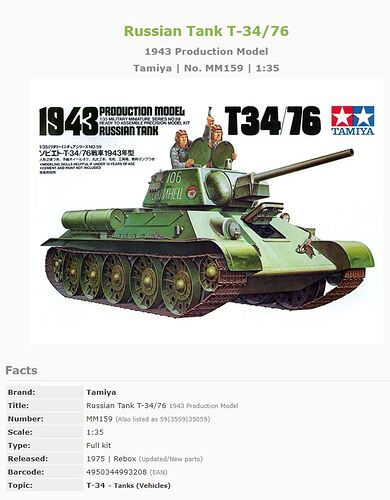
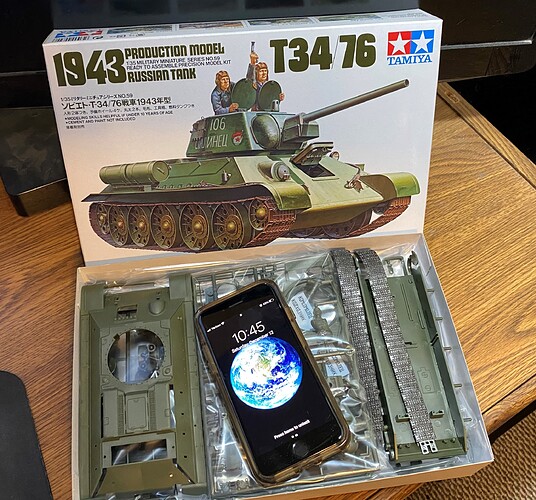
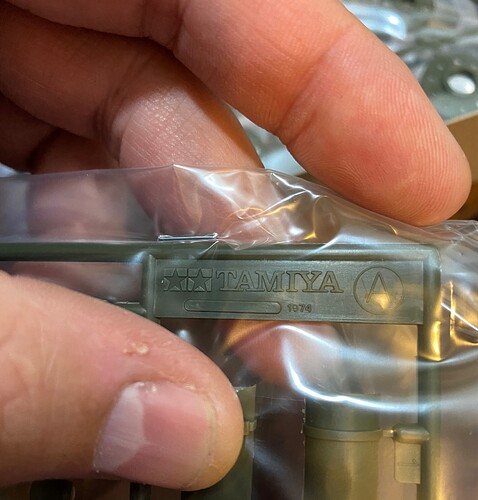
Here is my entry. I am doing the Tamiya 1/35 T34/76 model 1943 which was released in 1975.
This was one of the first (if not the first) tank model I ever built way back in the 1980’s. And by I built what I mean is mostly built by my brother with me helping. I was around 7 or 8 at the time. The finished kit sat on a shelf in my room for almost 2 decades after that. Sadly time and 2 trans-continental moves and that kit has been lost to time.
This will be built 100% OOB and will be an homage to my older brother 
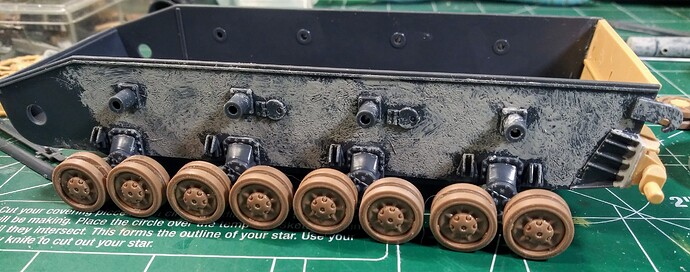
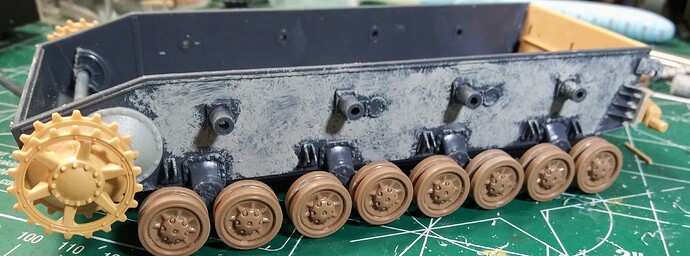
Bogies went on today along with the Model Kasten wheels. The plastic on the sides of the lower hull had a swirly plastic patterns so I decided to add a little armor texture with Molak Stucco putty ensure that would show in the paint later.
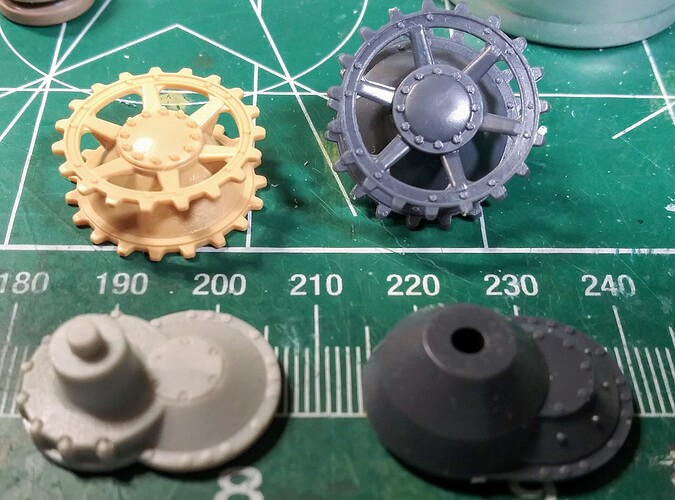
The kit final drive housing and sprocket are on the right in dark gray plastic. I didn’t like them very much. Spare parts box raided again. Previously mentioned Tamiya Pz IV H kit donated a nice set of yellow sprockets. An old DML Imperial Pz IV F2 donated light gray final drive housings. These are on the left.
Cut about 2/3 of the length off the end of the Imperial sprocketa to set the sprockets at correct distance. Two inner Italeri road wheels proved very useful making a bushing for the sprue plastic axle for the sprockets.
It’s part 71. Give me a few days and see if I can find it. Also do more work on the turret, at this rate I will probably lose or break more small parts. 
I will probably take you up on the track offer if still possible.
I have one on the SOD. I like the kit for a beginner scratch builder/next level kit from beginner. If you didn’t know, unless wanting to do the museum piece or kit from memory as it was probably added, you can add but clip off and sand part a14 as that was added to move the tank around.
Tracks are still here waiting…and hope you find the other small parts…I have lost plenty over the years to the carpet black hole of part losses. 
Like what you’ve done with thd lower hull to give it some texture.
The last two projects I have worn out my knees looking for parts. Revell is nice as a dark green stands out in the buff color carpet. The Finemolds tan became camouflaged and hidden in the burlapish carpet. Had to employ a crumb cruncher (teenager) to find a part or two.
Screw you carpet monster he shouts quietly to not invoke his anger as part 71 has been found and attached to the model this morning.
Von Diepel : General Kohler says we are behind schedule. He wants to know what’s holding us up.
Col. Martin Hessler : Tell the general the Carpet Monsters are learning how to retreat.
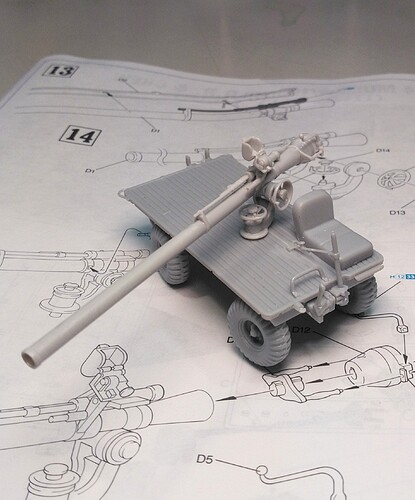
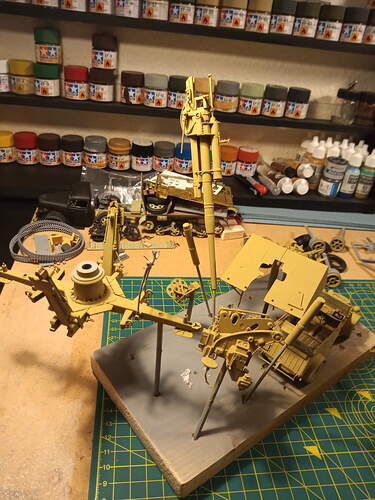
Spent a couple hours this morning on the recoilless rifle, mostly on trying to make it round…
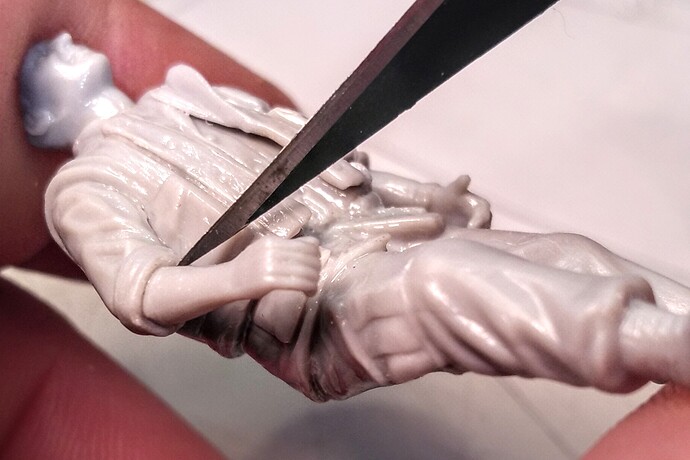
In between gluing parts while waiting for them to set up I’ve been using the back of the knife blade to improve the figures a little by carving out better separations at the sleeves where they meet the arms and areas like around pockets and other raised uniform details.
The last hill for the hull…headlights. Maybe later today or tomorrow, we have advanced to this morning objective point.
You did good, I would have punted and used plastic rod and fought a different battle.
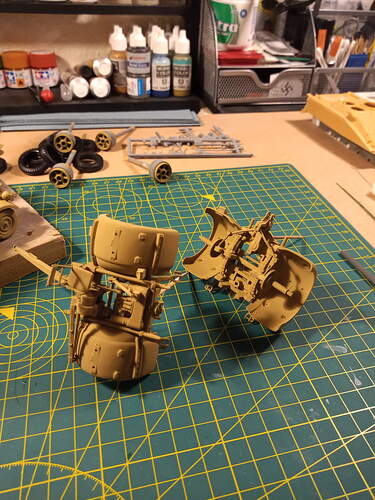
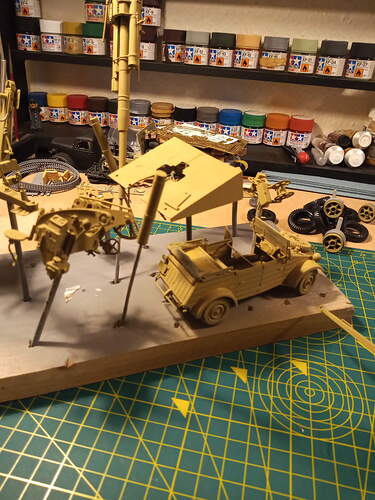
So, this is where I am now. Just put a thin layer of dunkelgelb on.
Can see a few places I will need to sand back and then touch up with a brush later. Also a couple of sink holes in the main gun mount which I will fill, sand then paint.
Then I will tackle the wheels and tyres. They will need a good scuffing over with a fine sanding to give them a rougher look. The Kublewagen is going to be part of the Miniart build starting this month.
