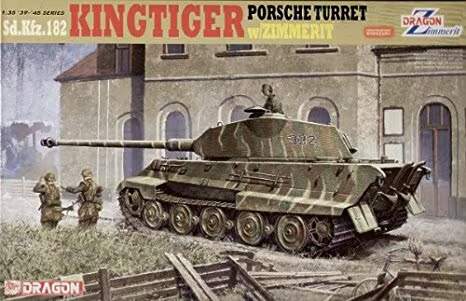
1944 - Arnhem
RAL7028 Dark Yellow RAL6003 Olive Green
Looks like you got your model already, but Dragon has a Porshe Tiger 2 with zimmerit molded on, maybe save yourself alot of work? It includes the markings and paint guide for your Arnhem King Tiger.
The Dragon Tiger kits with moulded Zimm are nice, if you need to add Zimm to a Tiger 2 I highly recimmend the ATAK zimmerit sets. They produce sets for individual kits, are an excellent fit and very realistic, particlarly scale wise! I’m using a set on Tamiya 1/16 KT and reckon its as close as i can get to the real thing.
Do you know if ATAK is doing anything with 1/35 Tiger 1’s ? I have the DML 3 in 1 late Tiger and its non Zimm and I just cant face trying to do my own as it would be hideous … ?
@Whitewolf inhave another Porsche tiger internet he stash that i may invest in some Atak zimmerit for. I want to try and use a putty method for zimmerit on this build. Hopefully it’s a success, i think by the end of this week I’ll have an idea of how it looks.
Handy tip,i use ‘No more Nails’ to stick it on. It resembles pva, and takes 5 mins to set so you can manouvre the piece into place easily. Put a very thin coat on, and i mean thin, put the piece in place and gently apply all over pressure. The excess, if there is any will ooze out and can be wiped gently away with a damp piece of kitchen towel.
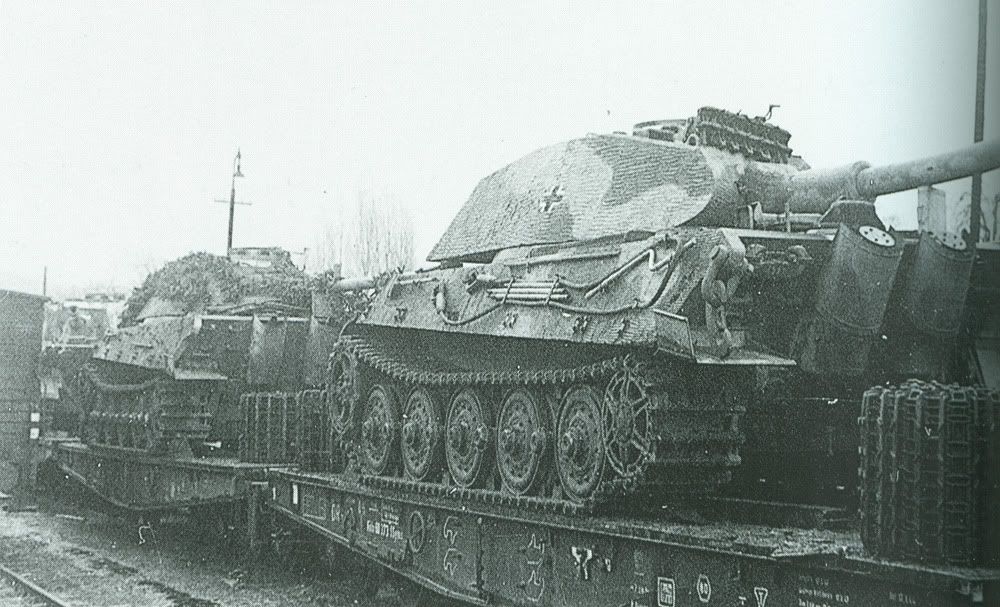
@Fernando thats really interesting that it’s two tone, I find it interesting that they never added the third tone. Only other vehicle I’ve seen like that is the octopus Tiger and that was a one time thing.
Well, think of the area at that time of year. The landings began on Sept. 17, late summer. Green foliage would be still quite prevalent for several more weeks and brown would not yet really need to be used in the camo scheme. The beauty of unit applied schemes is that it allowed for maximum flexibility to match local conditions, as opposed to one size fits all factory applied schemes.
No, the initial 1943/44 three tone was quite variable. The vehicles came from the factory in Dark Yellow. Units were issued the Red Brown and Olive Green paints to apply as needed to best match local conditions. Camo schemes were applied by the units using a variety of methods. Two tone schemes of red brown and dark yellow or Olive green and dark yellow were used in addition to three color schemes. It all depended upon paints and time available, not to mention local conditions. In fall 1944, factory applied camouflage was re introduced.
@Stikpusher thank you for this information i honestly had no idea. I was always under the impression that units had to have a three tone camo but this makes more sense now. Thank you once again!