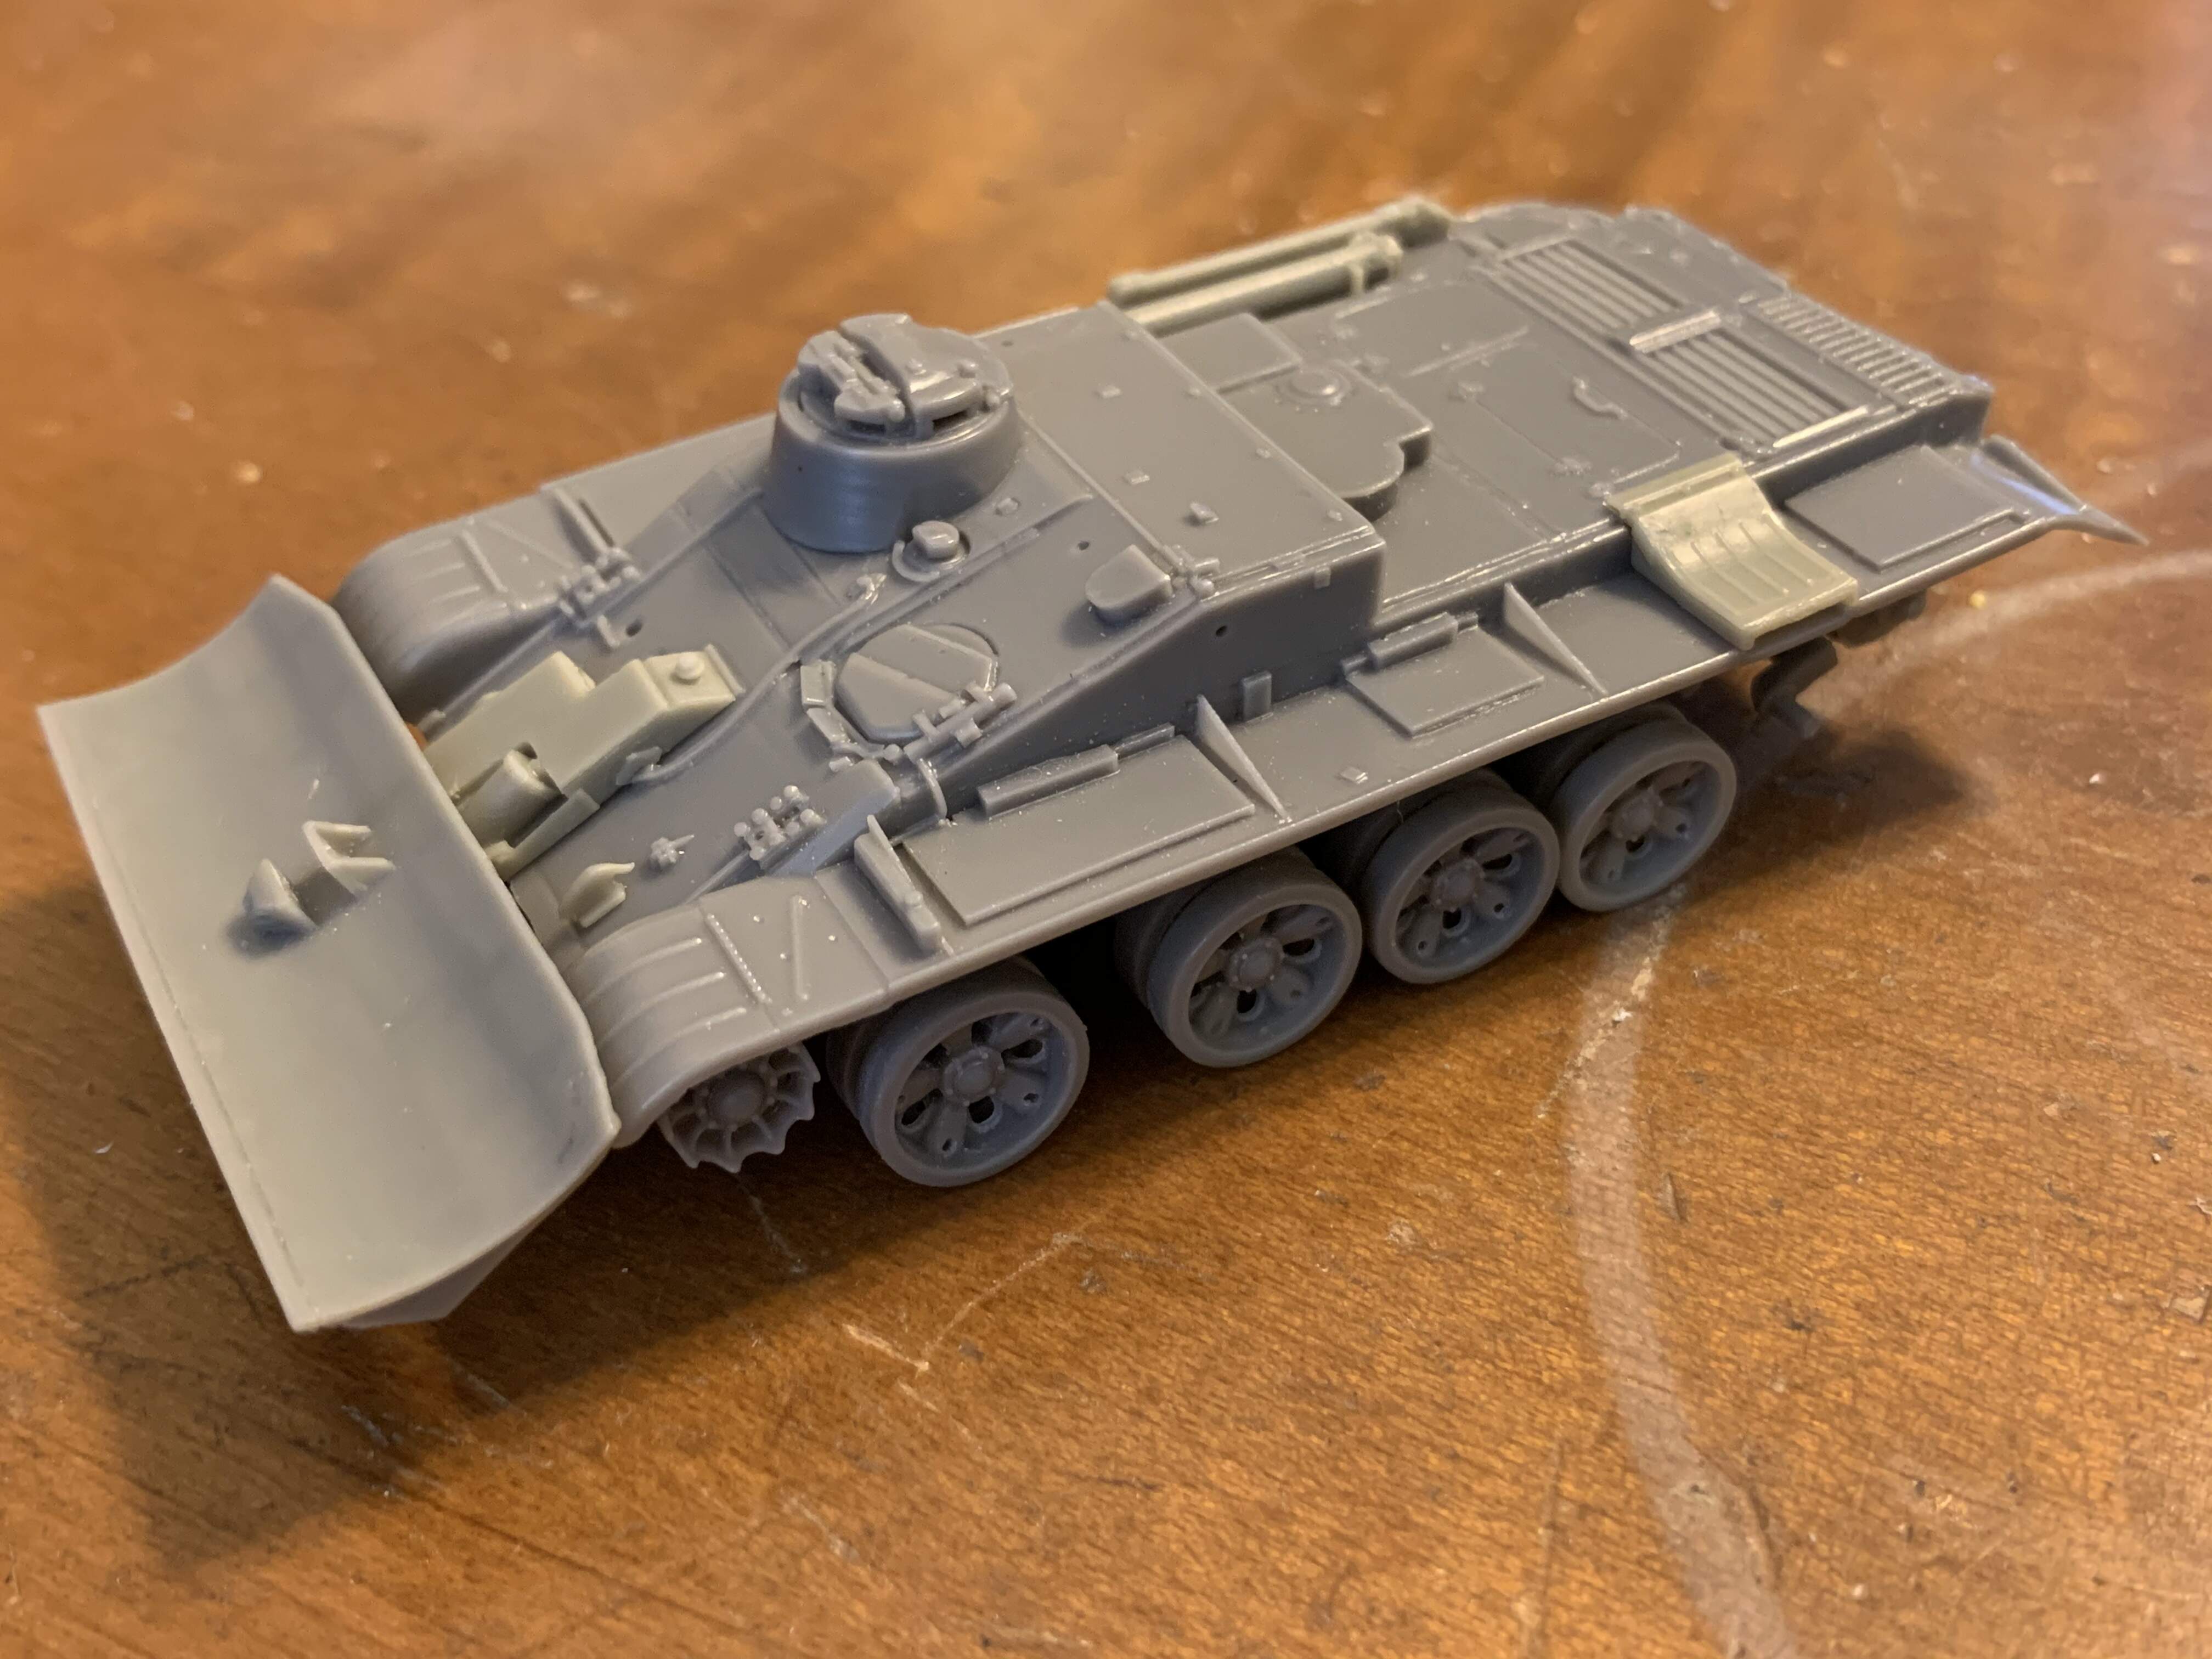
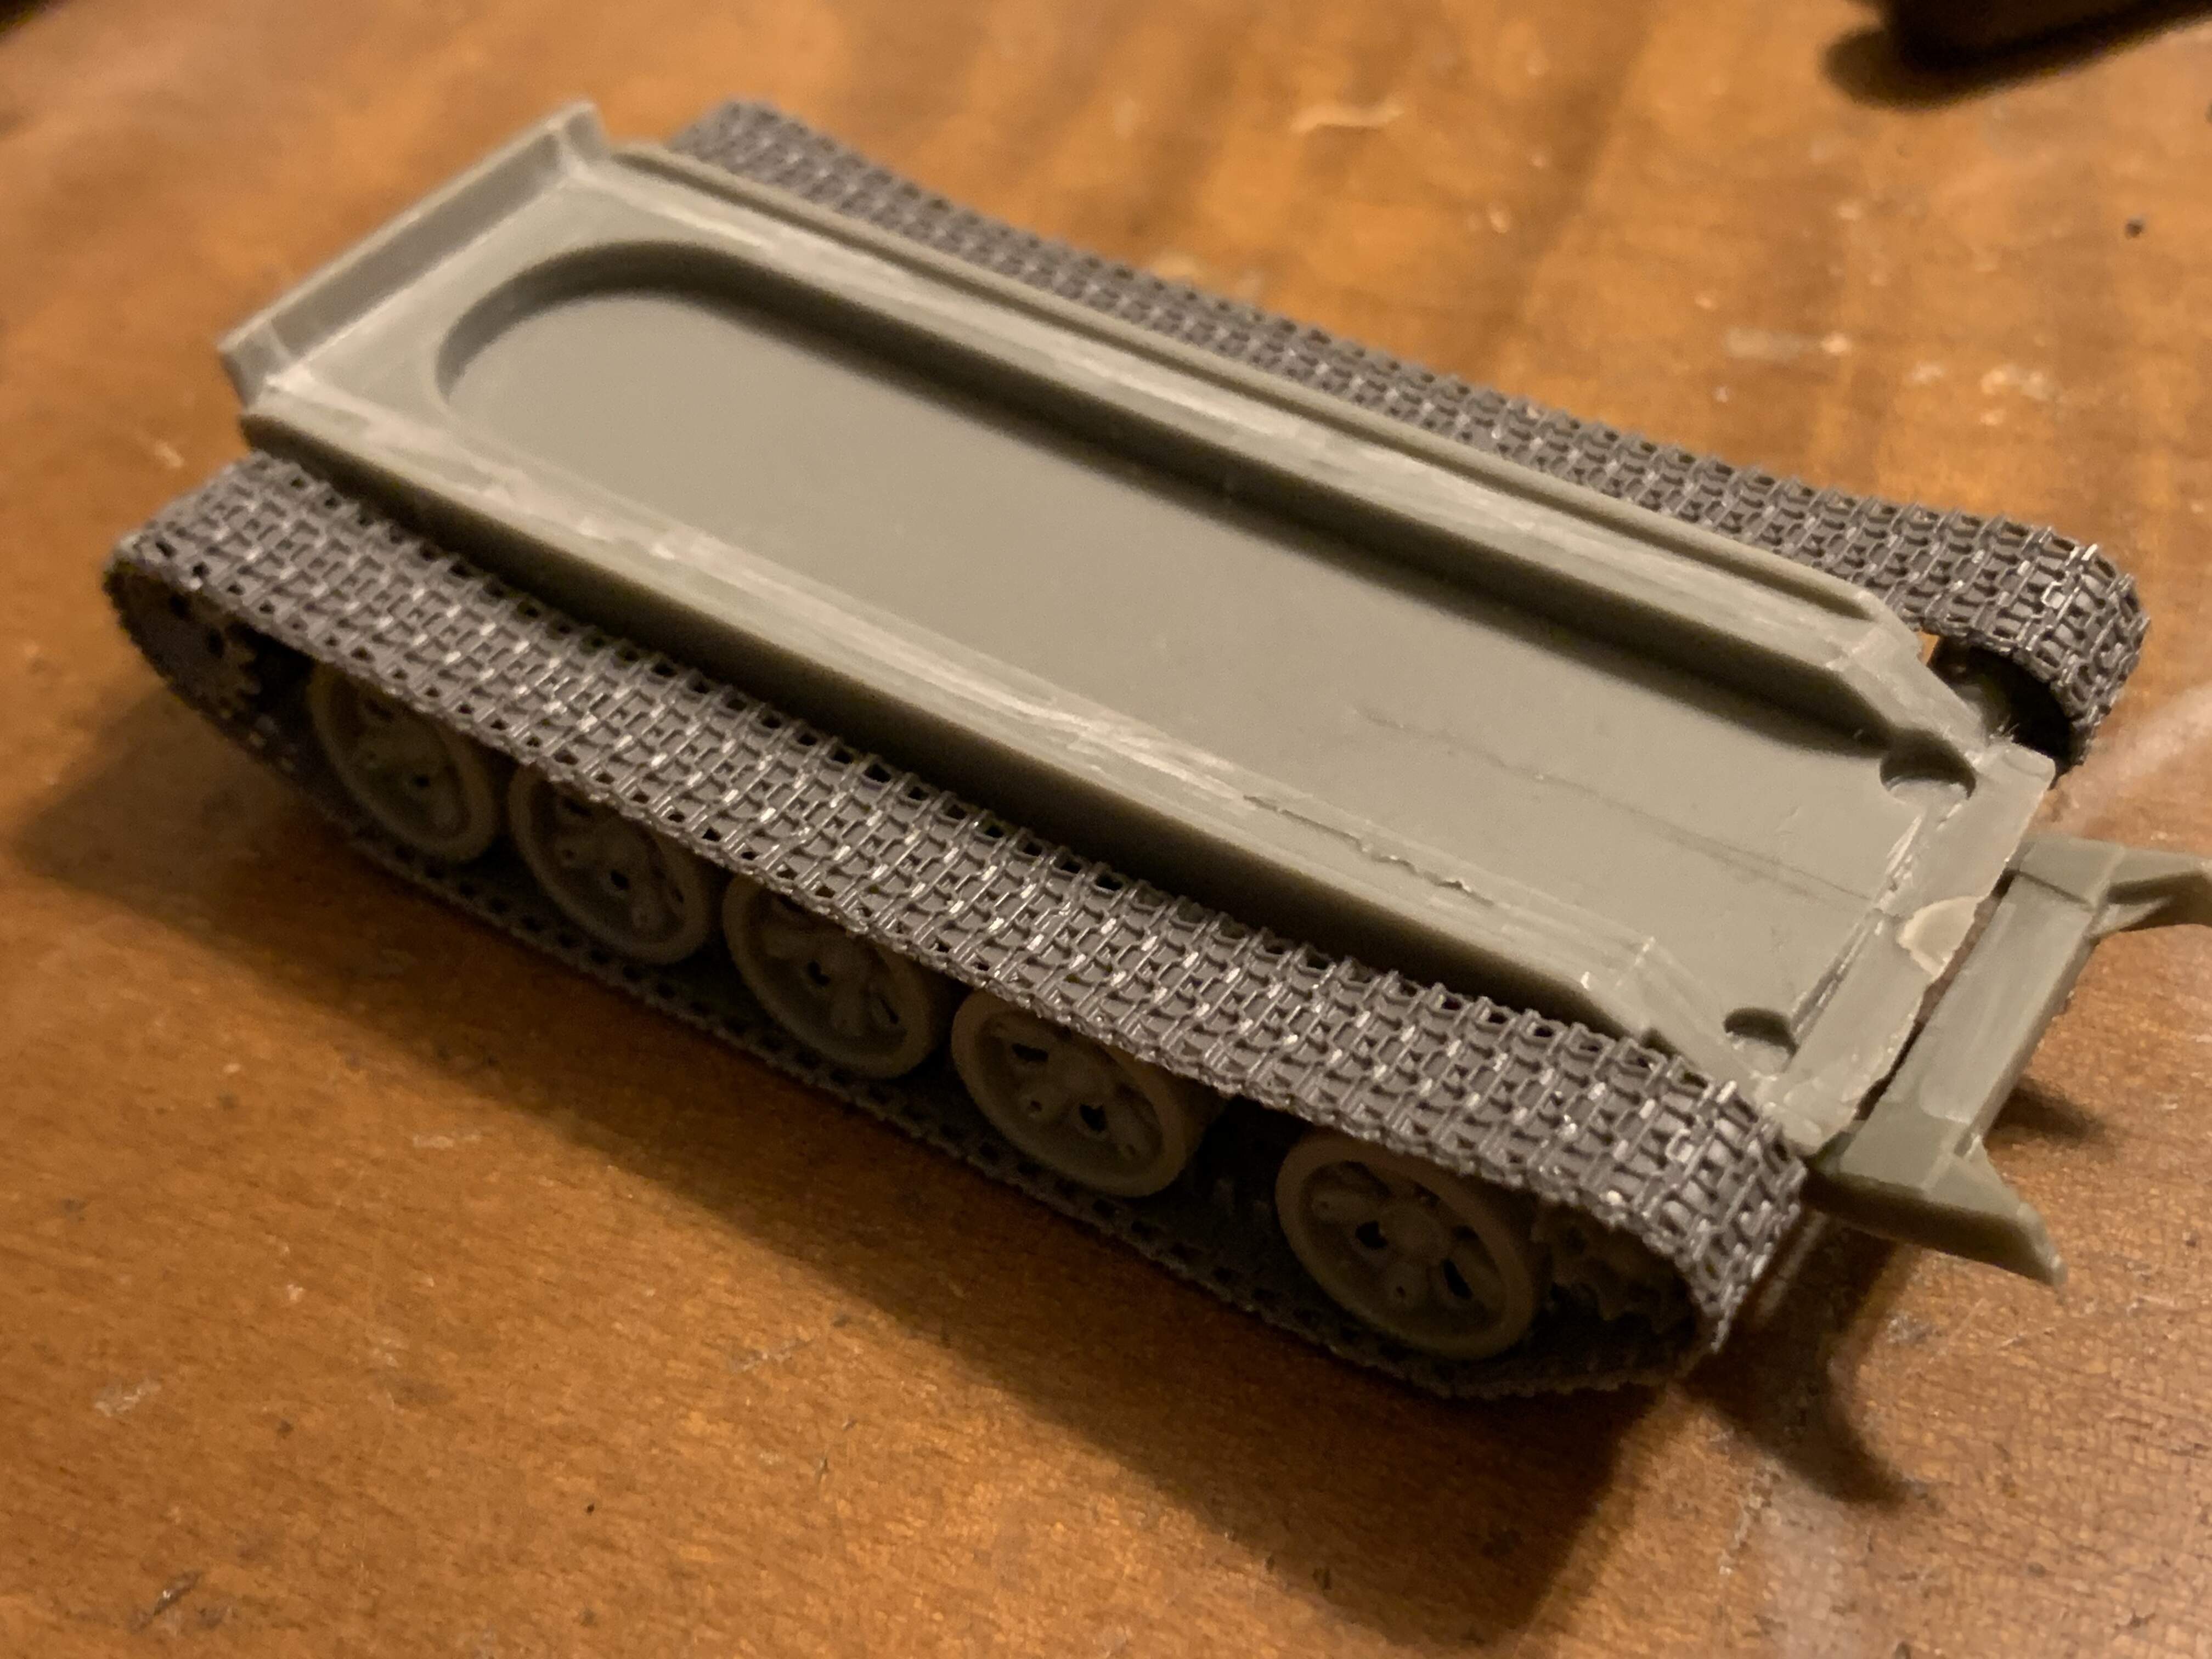
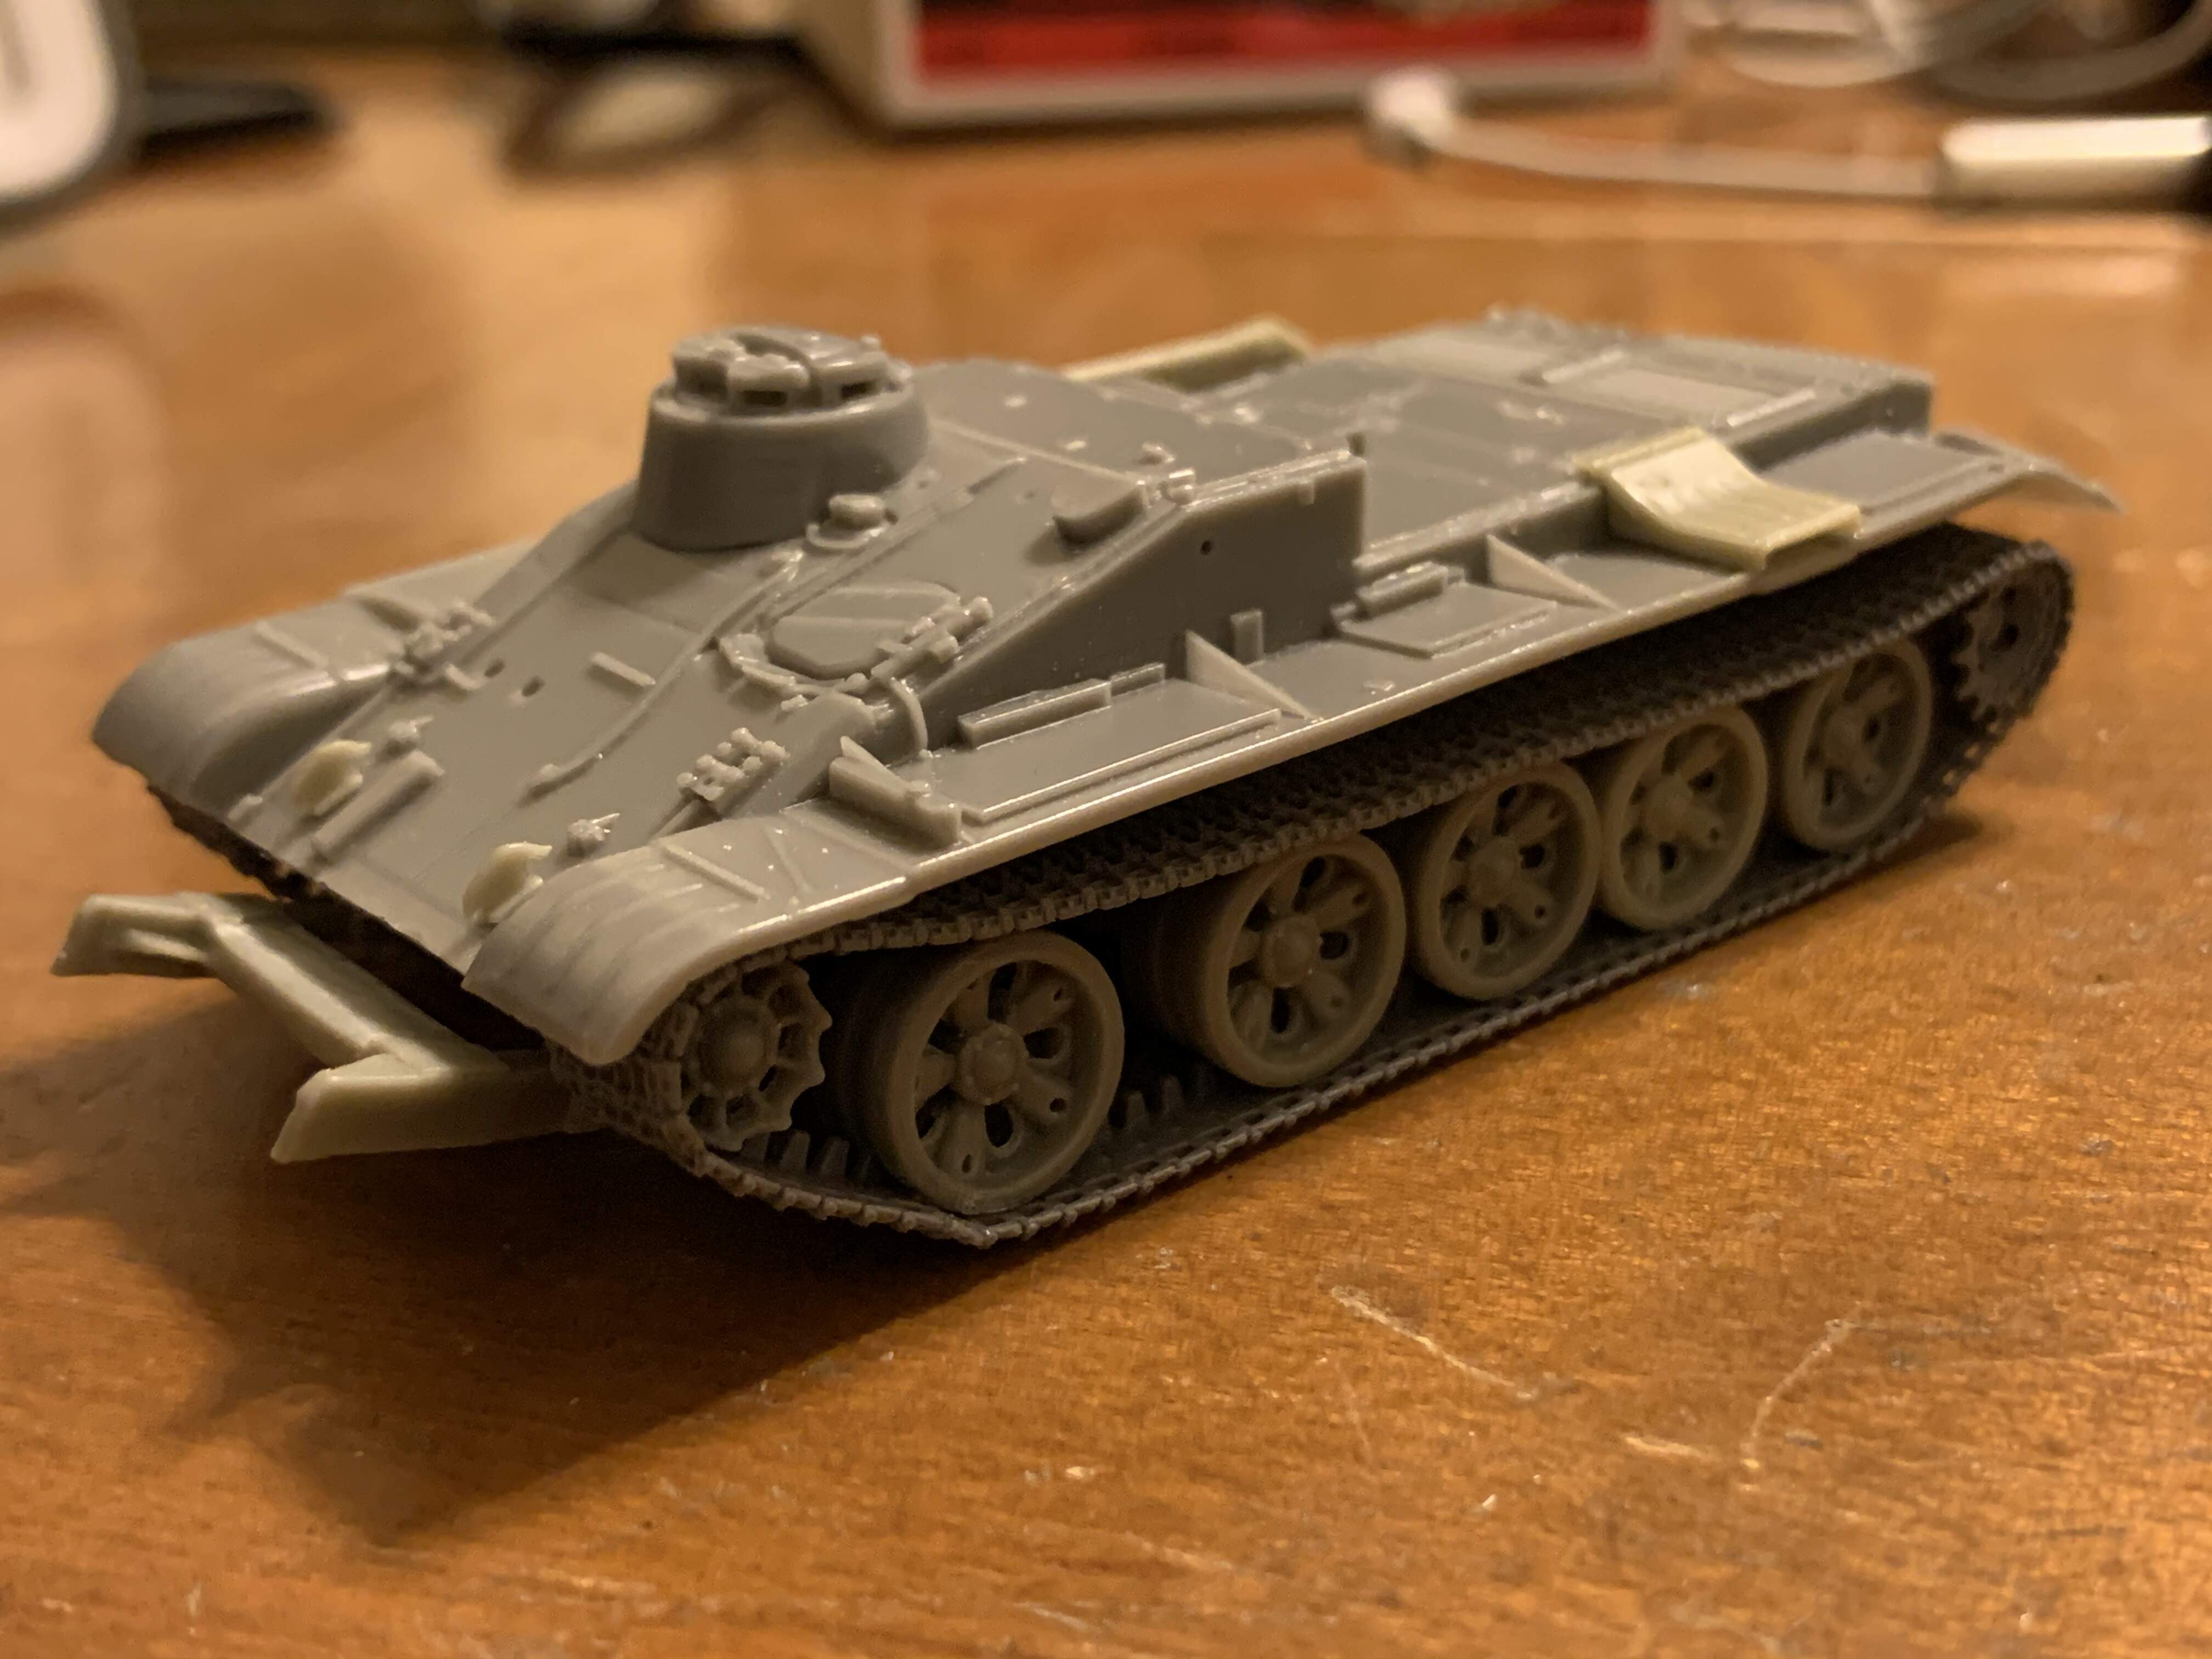
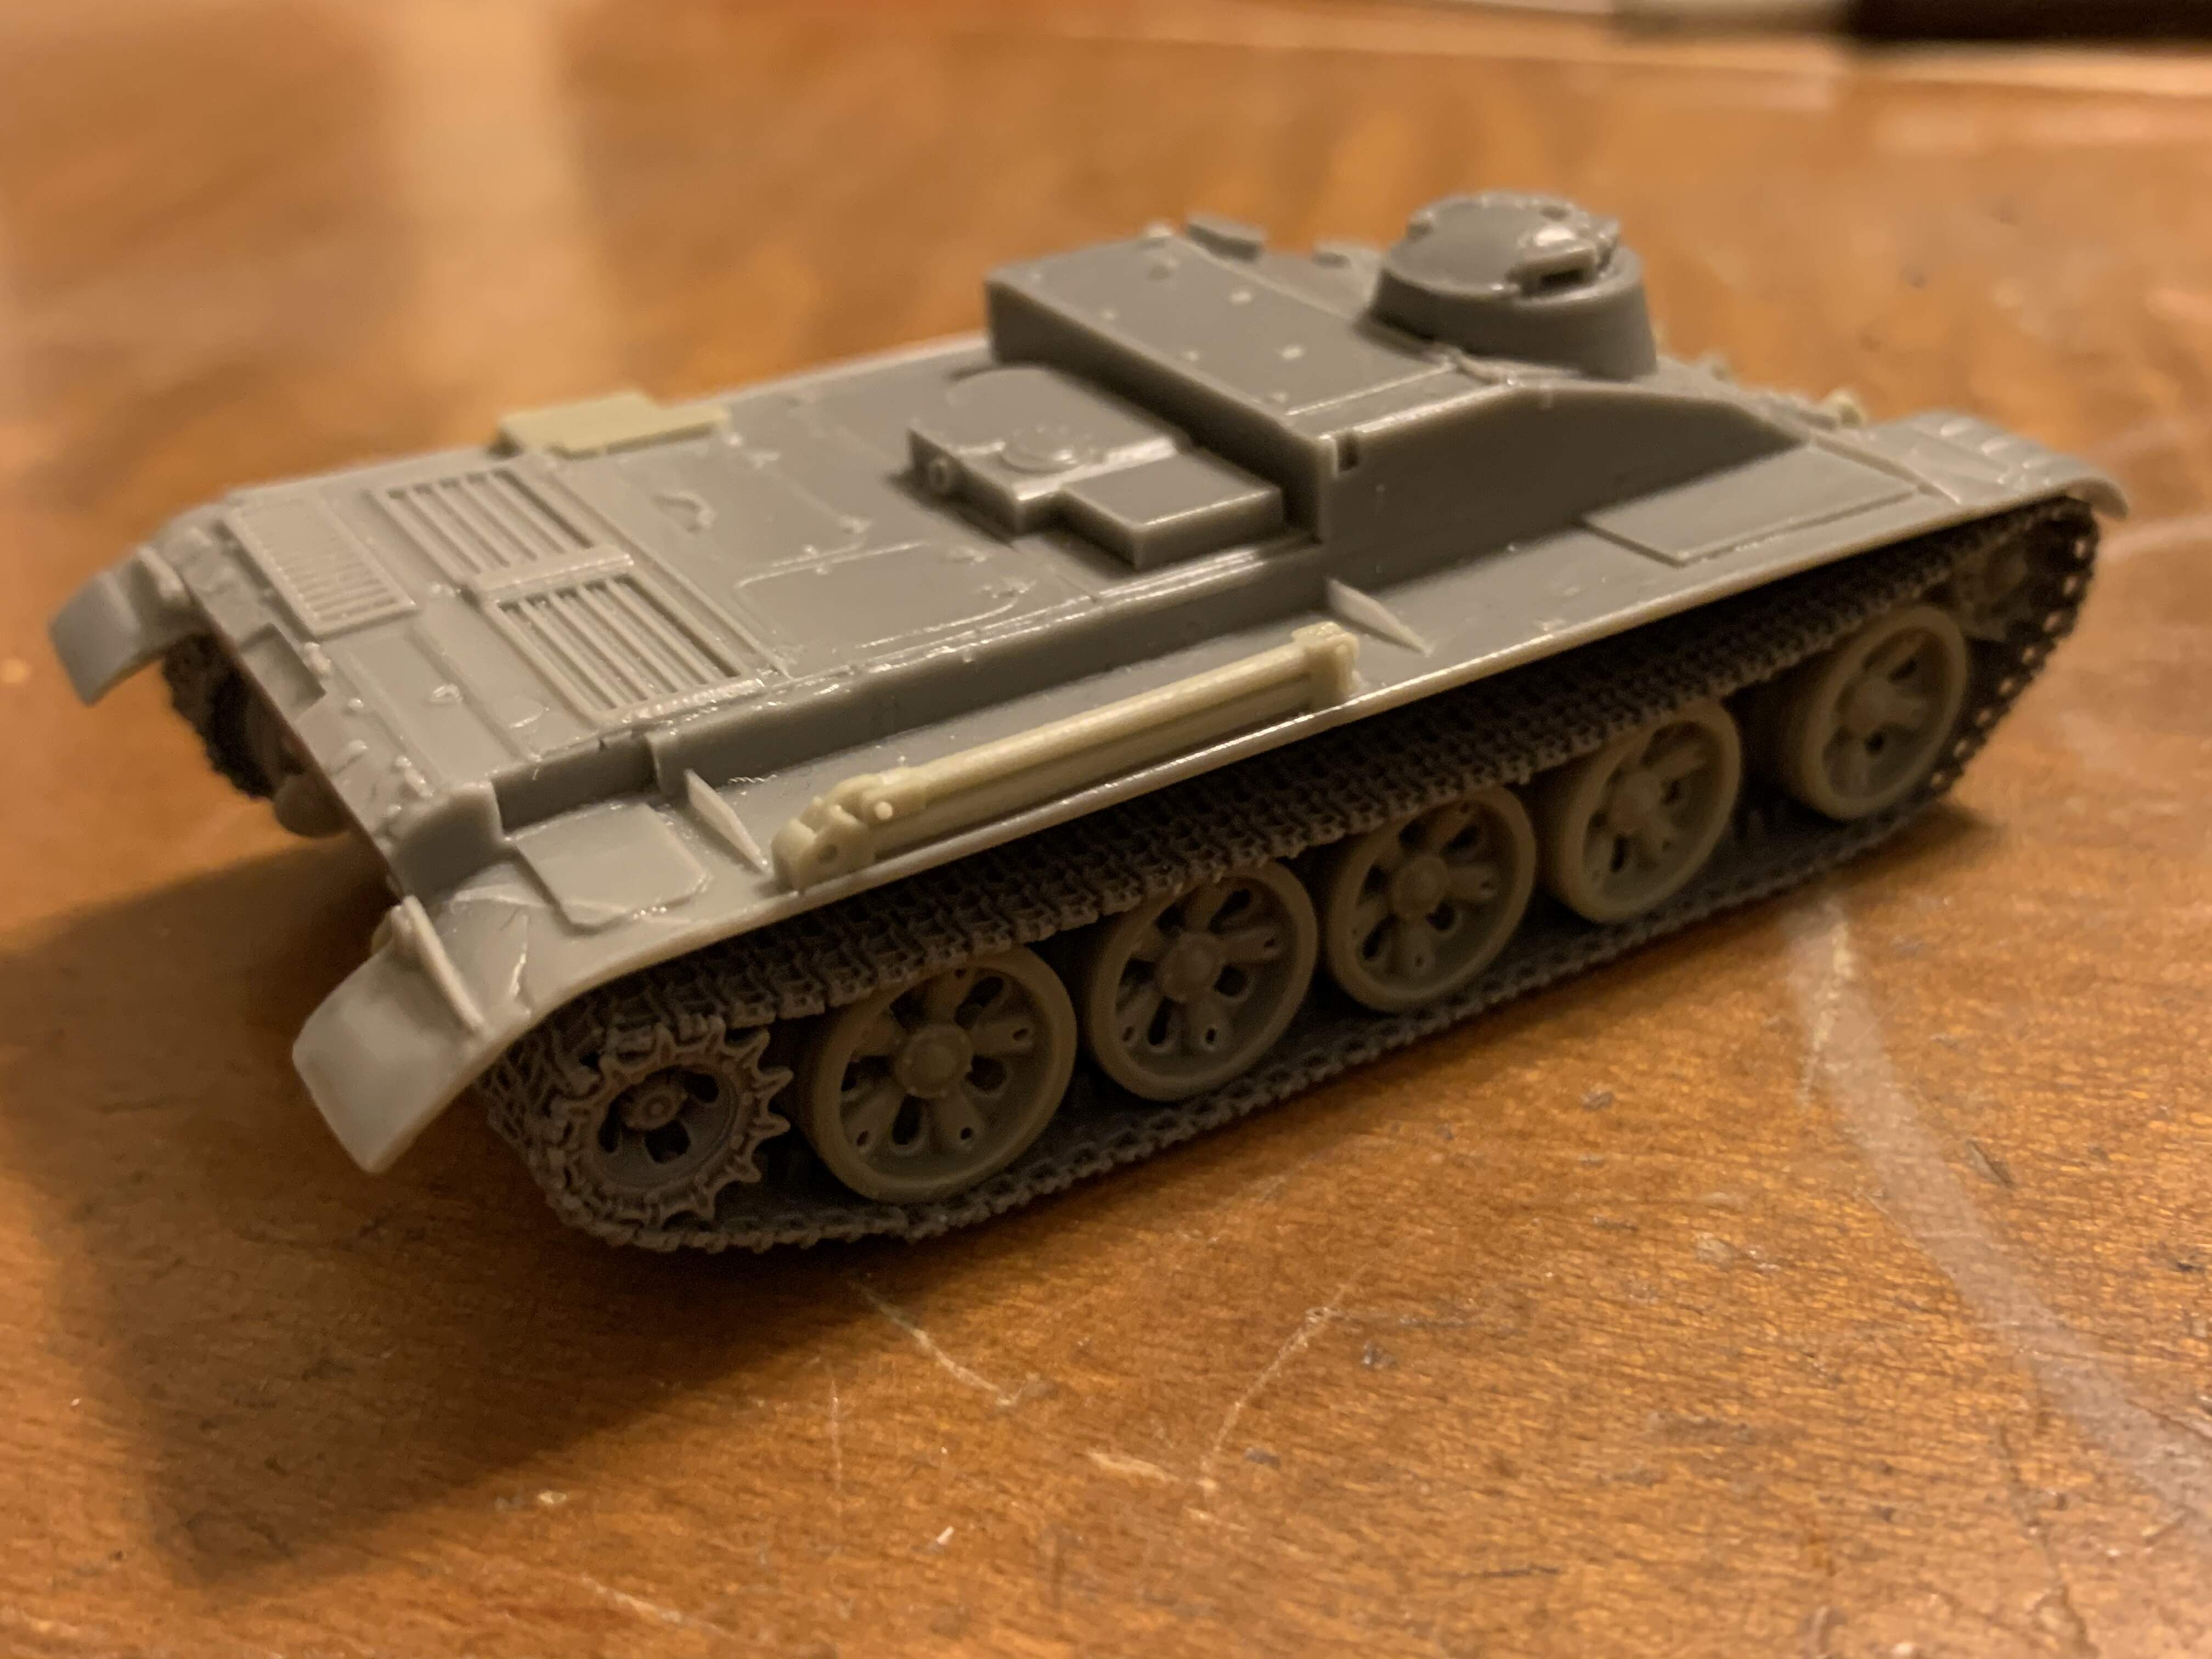
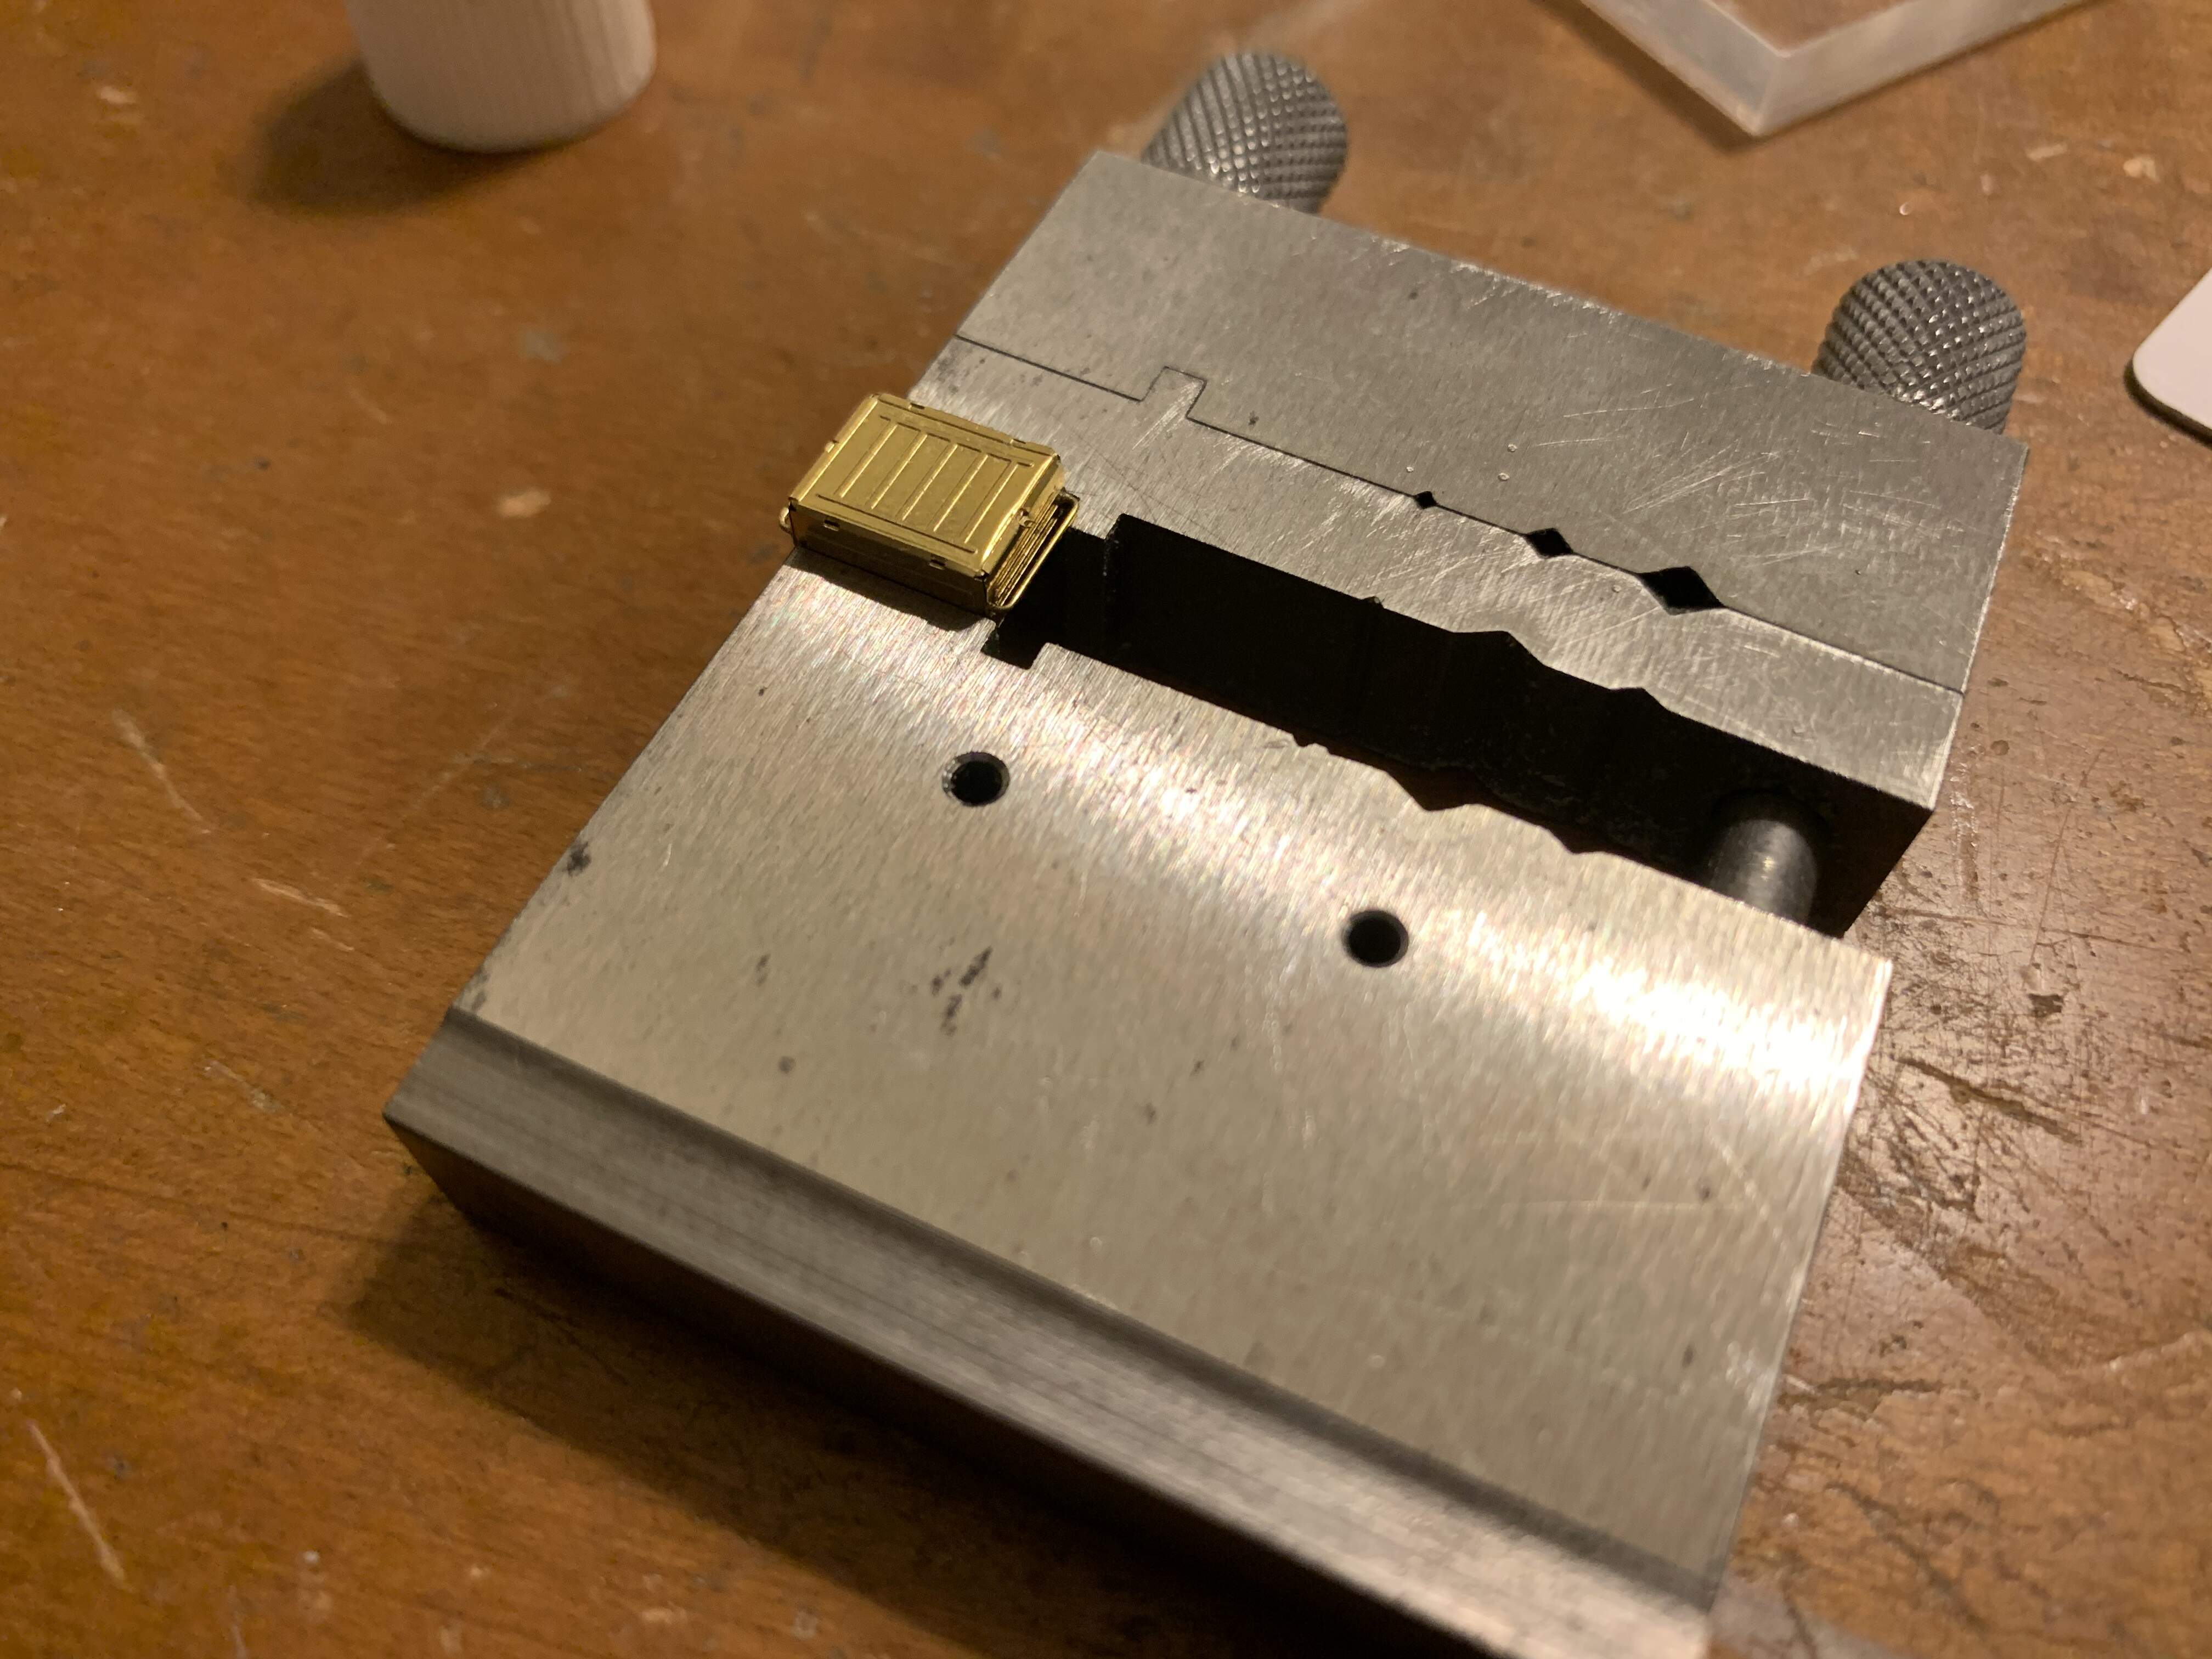
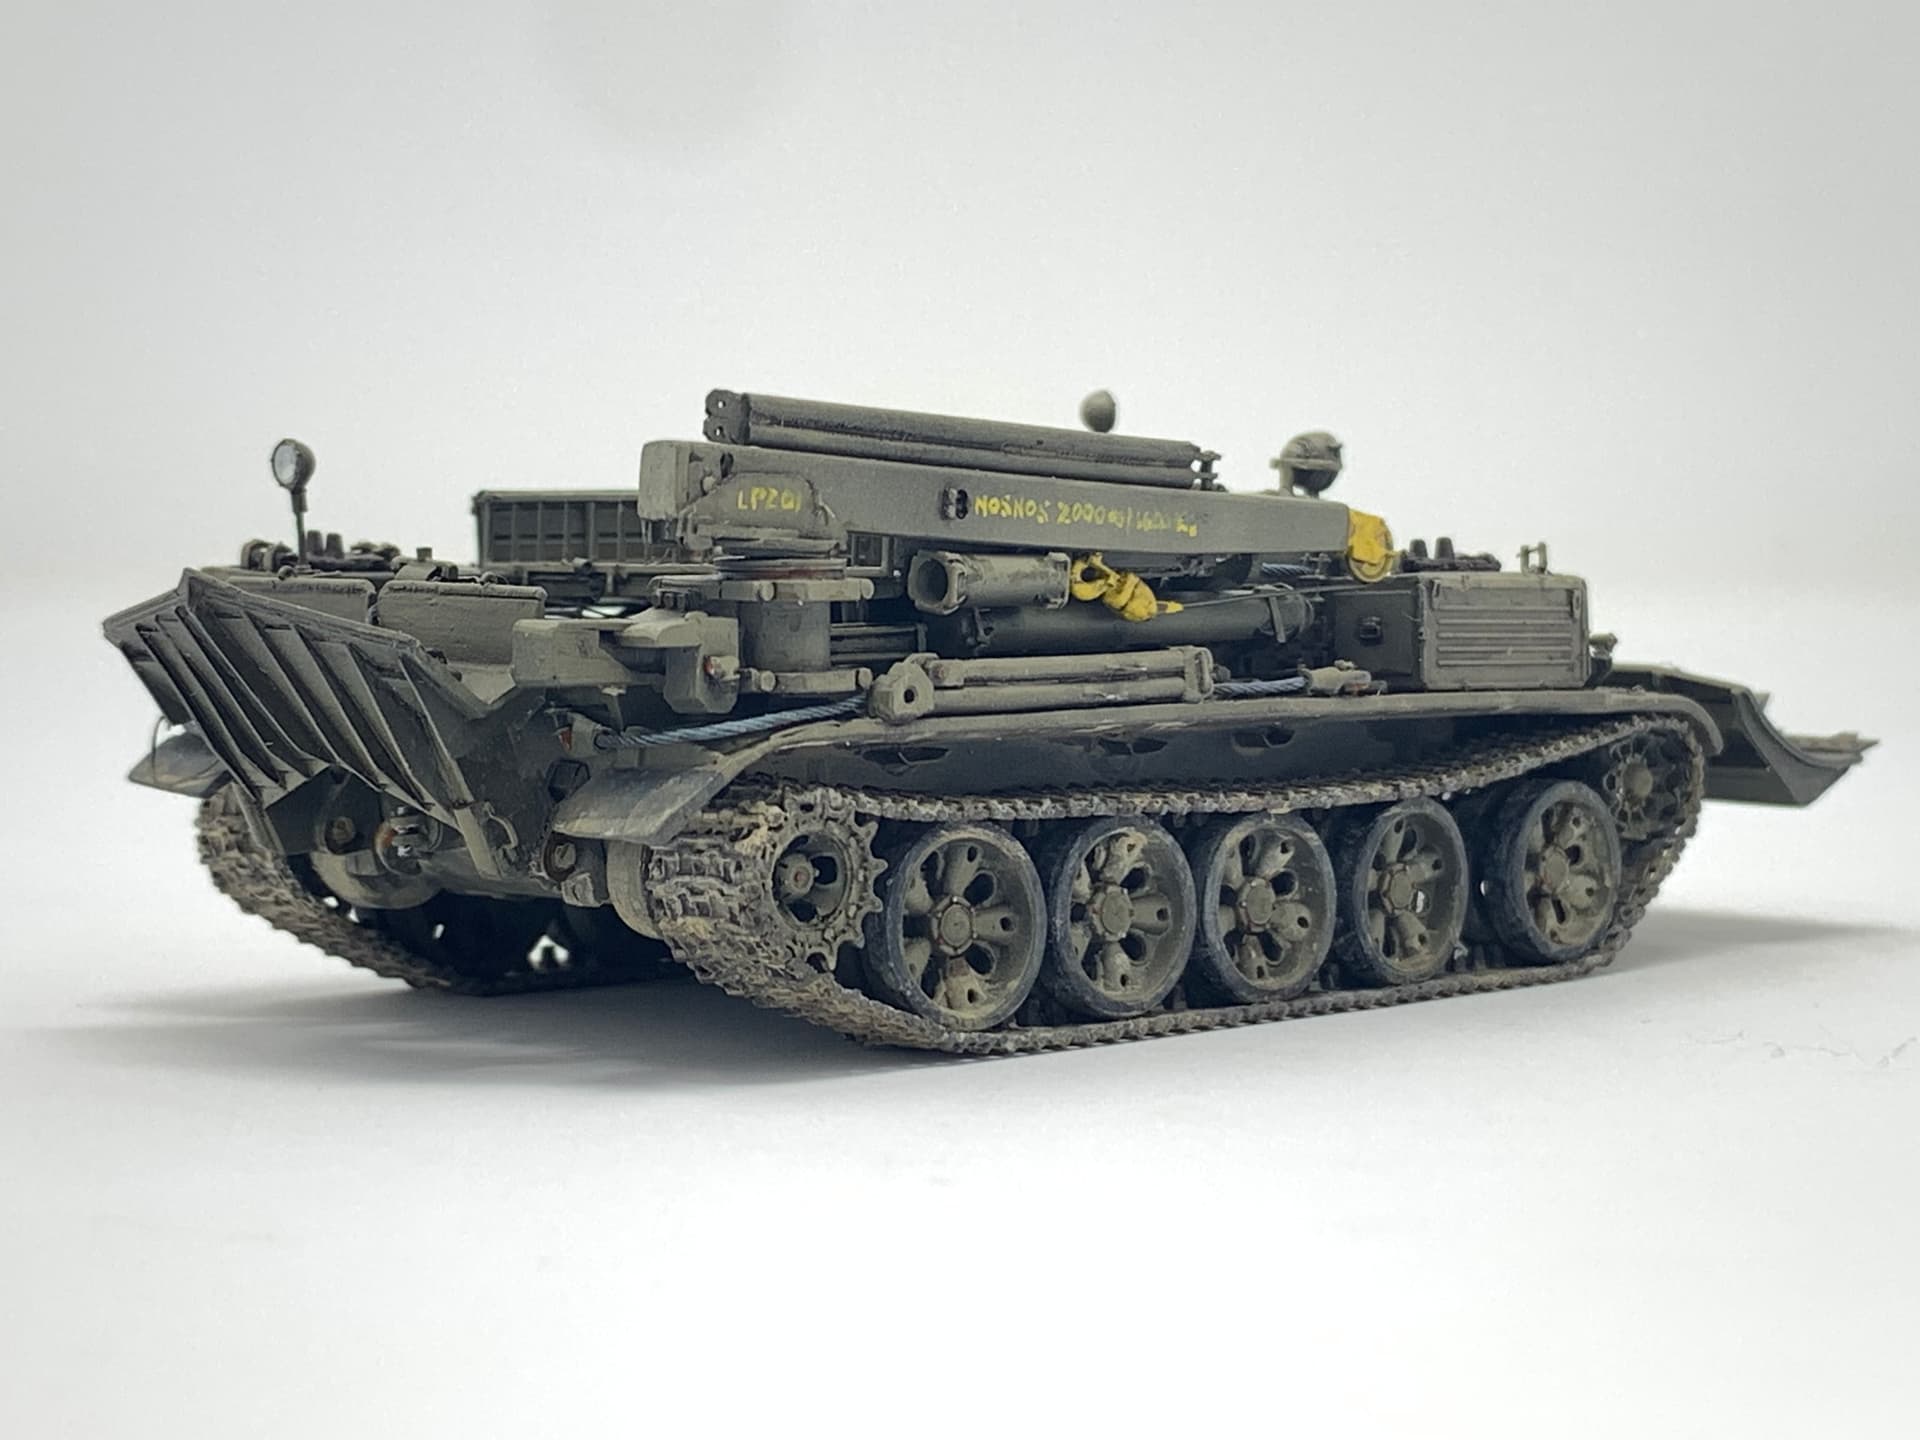
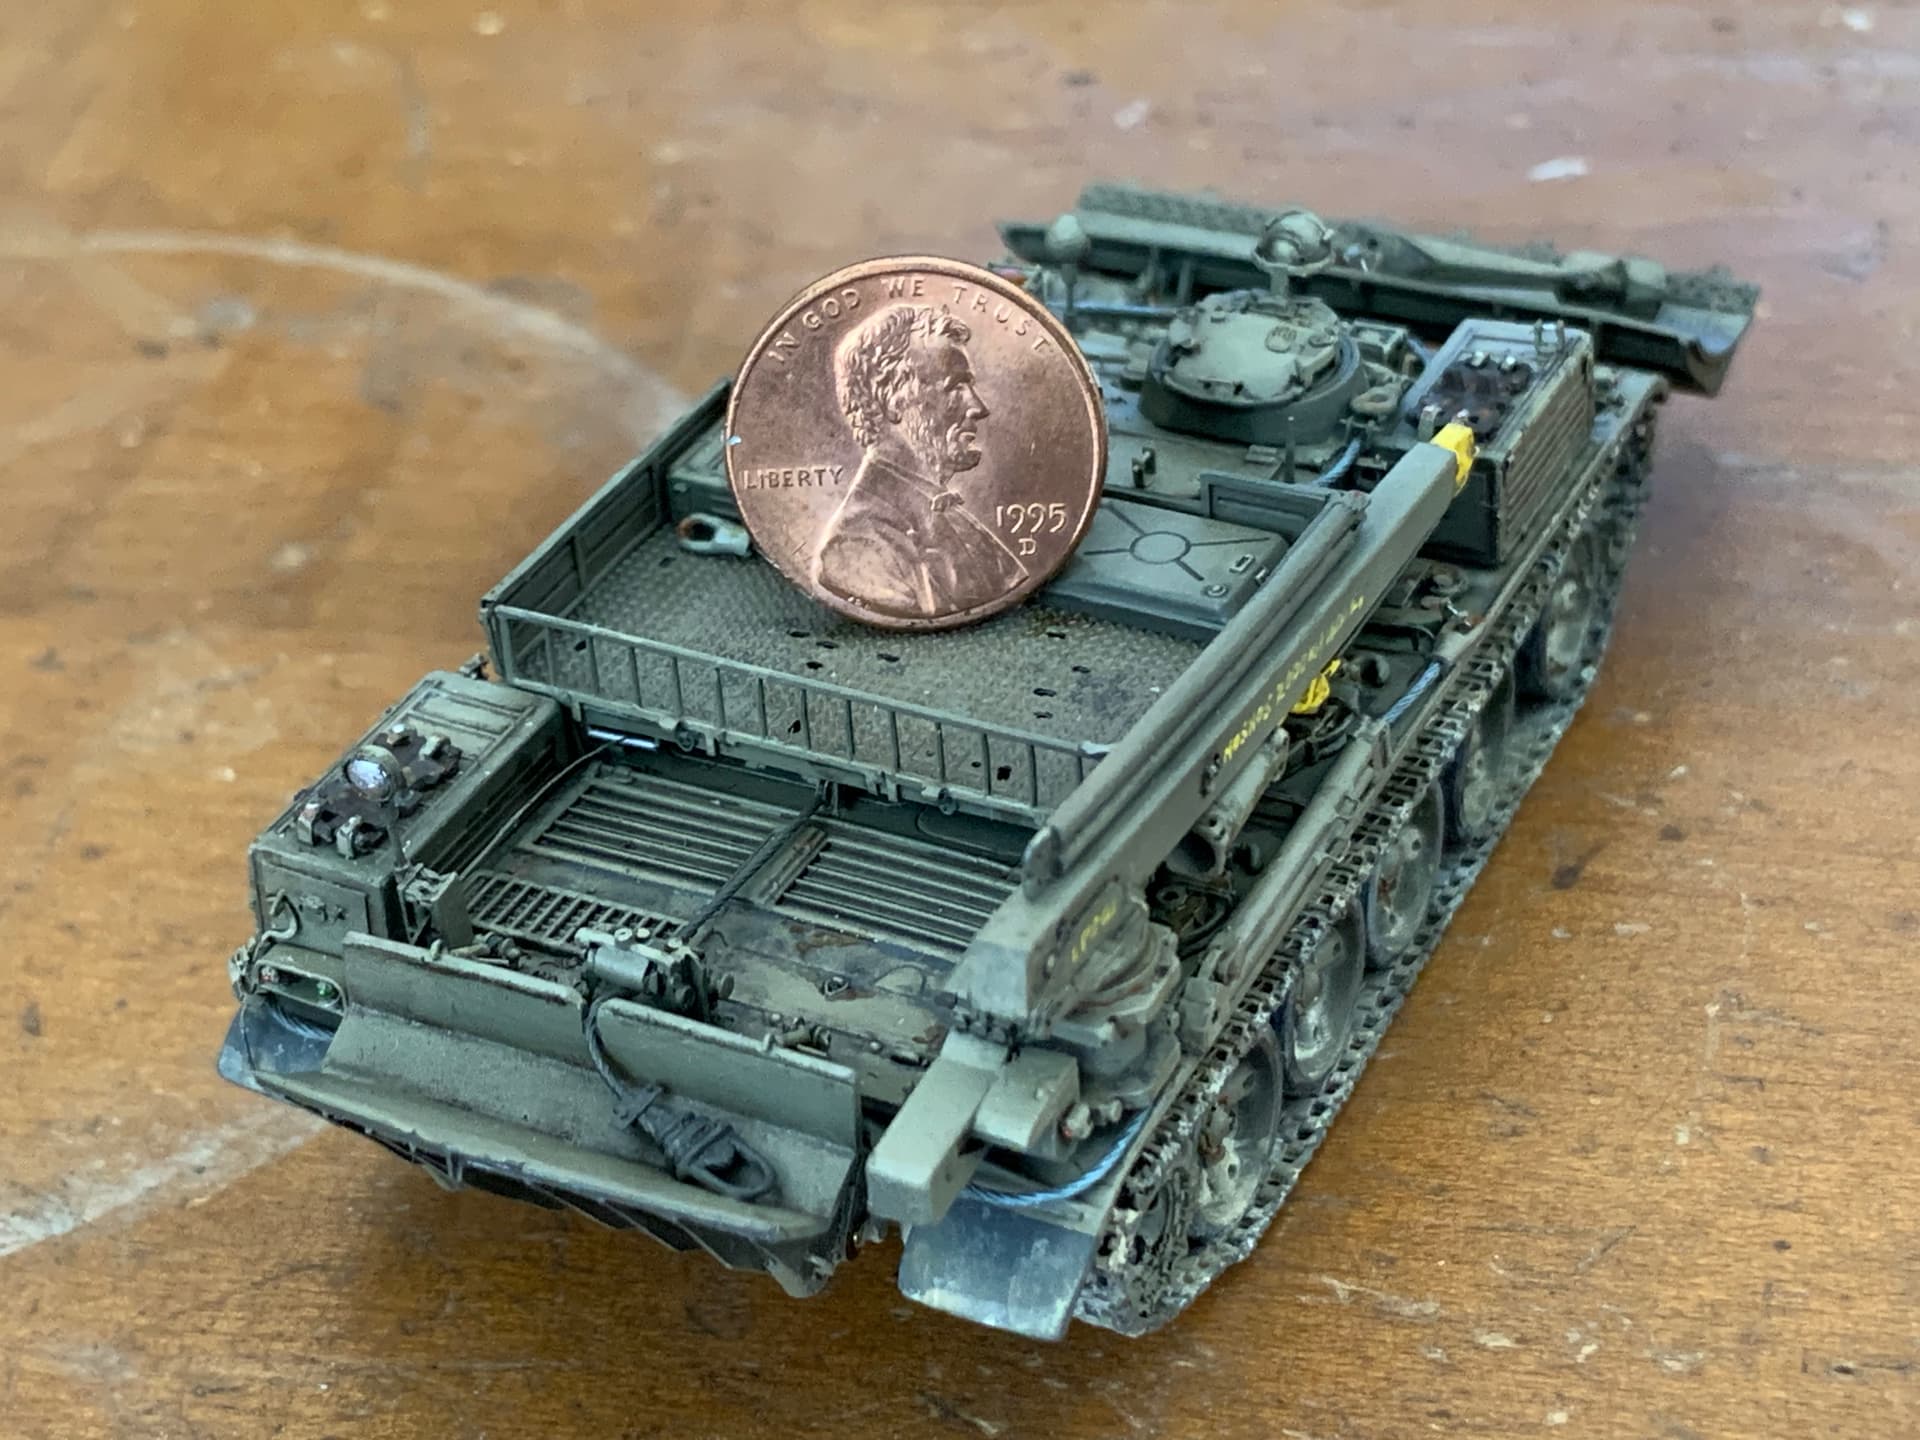
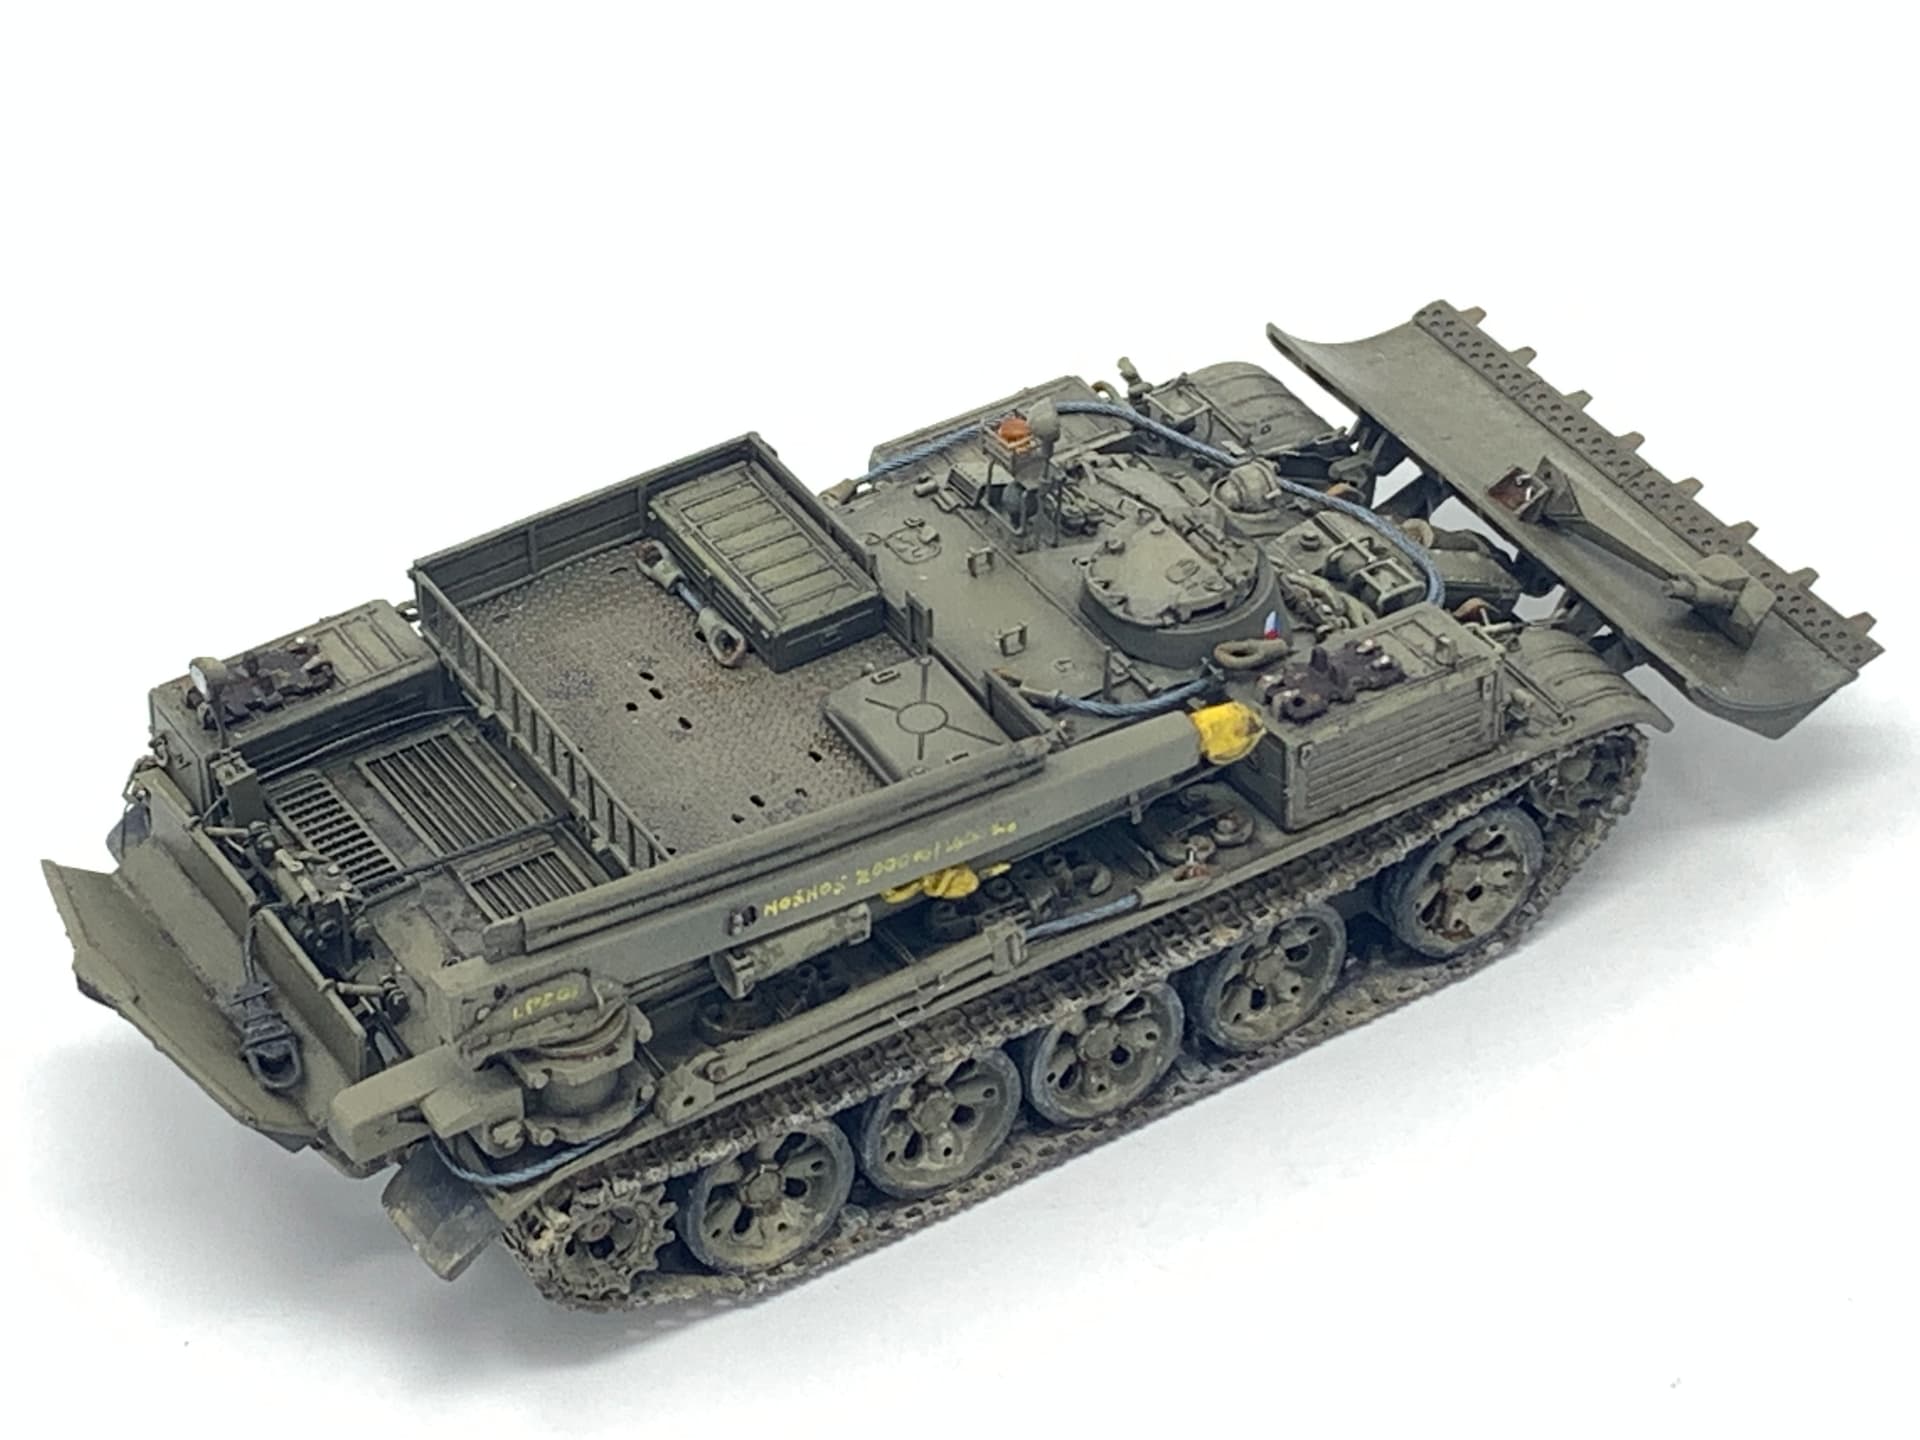
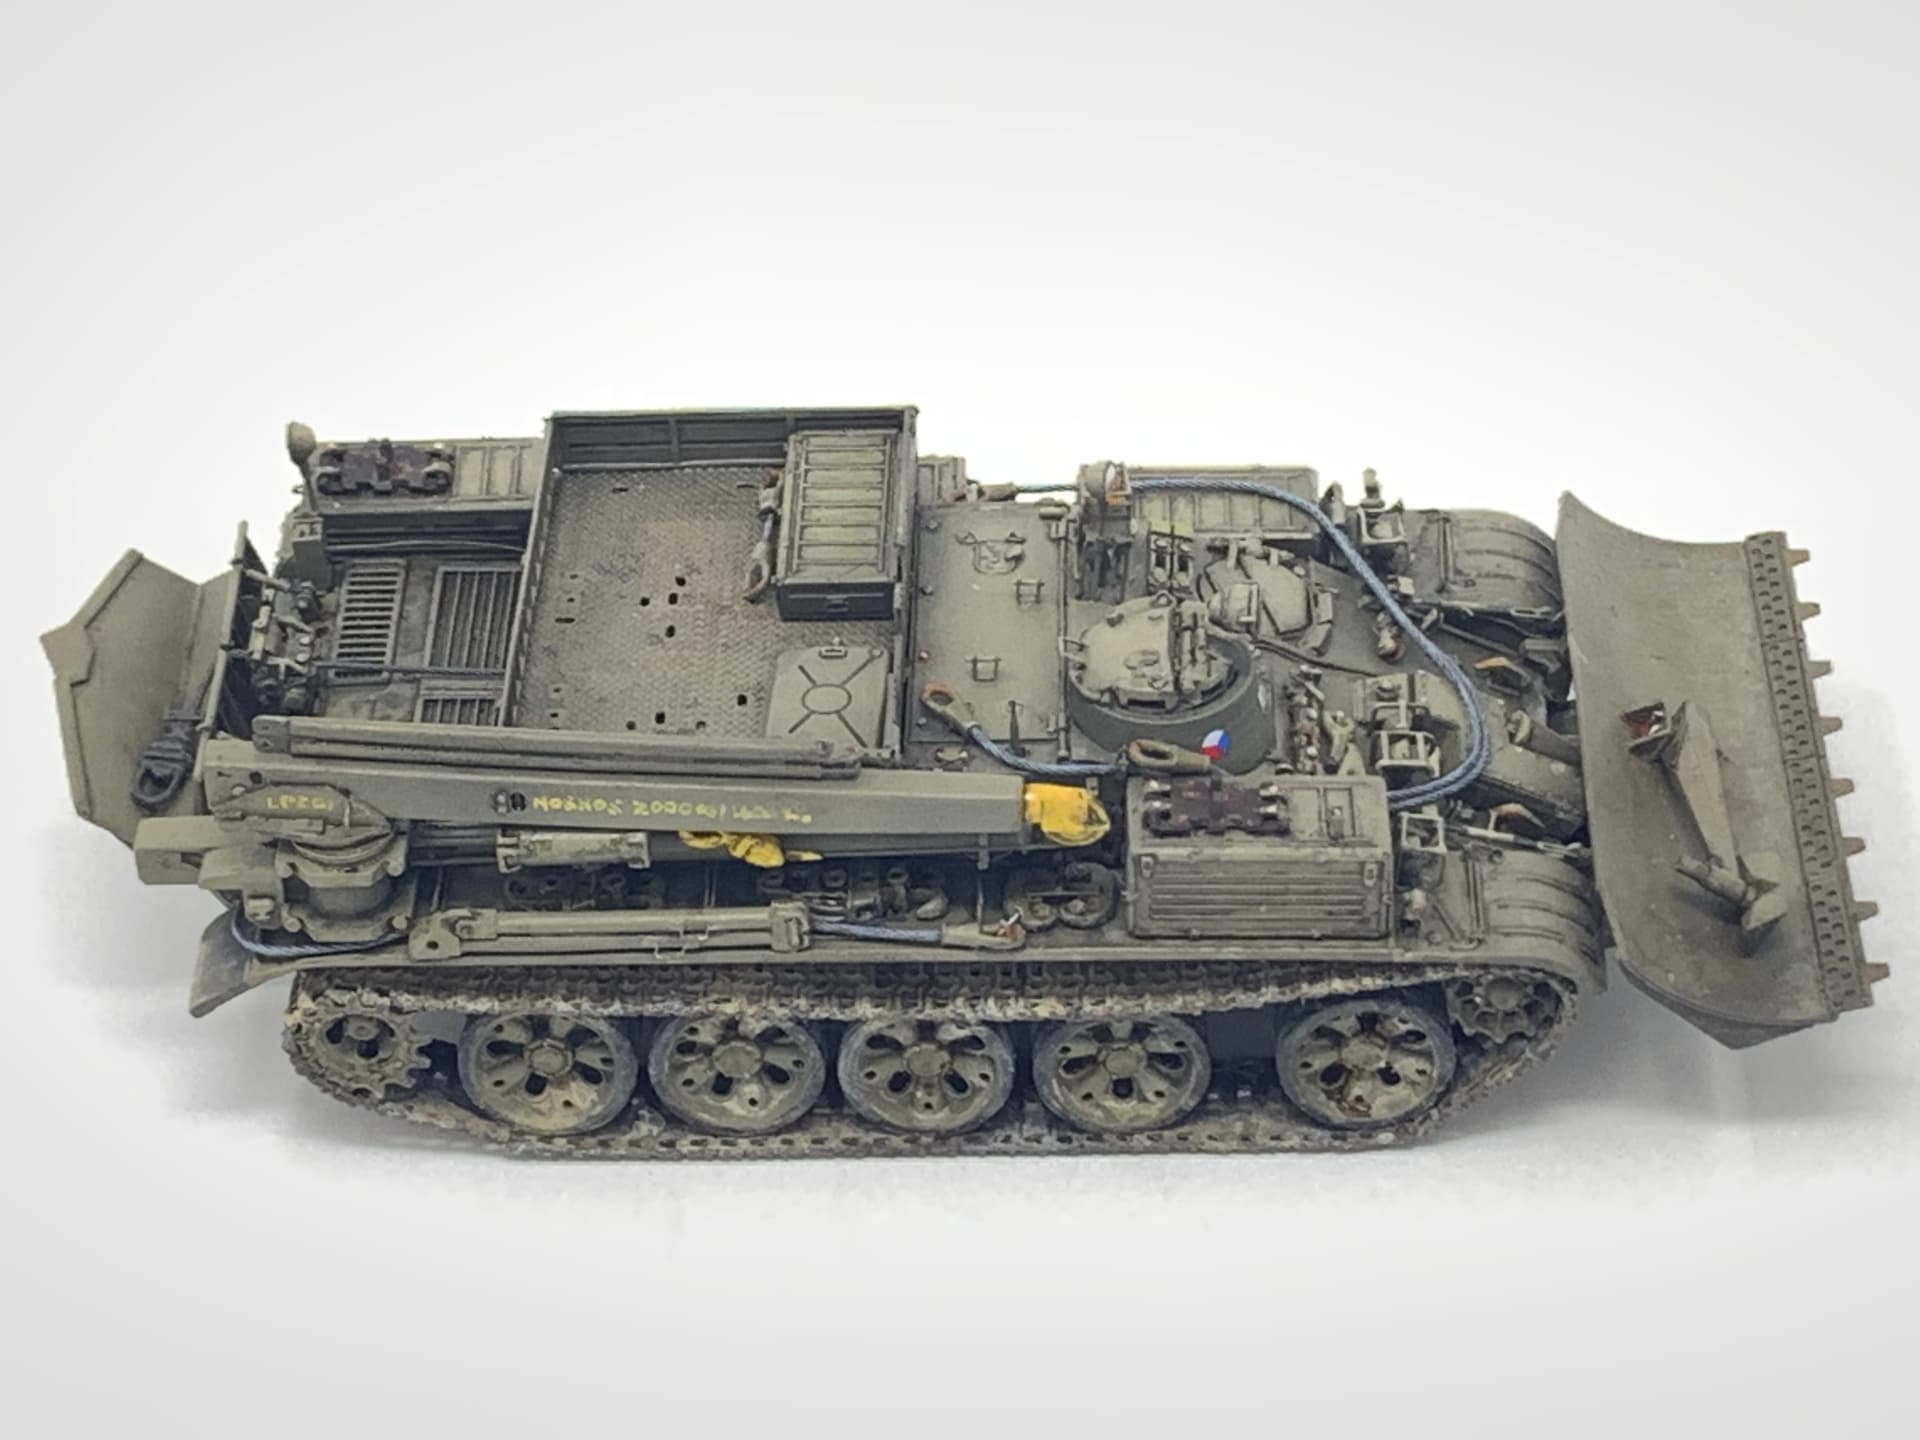
Once I was satisfied, I worked on installing the tracks. These are from OKB Grigorov. The Armada kit came with tracks but the detail from OKB’s are much more crisp.
.
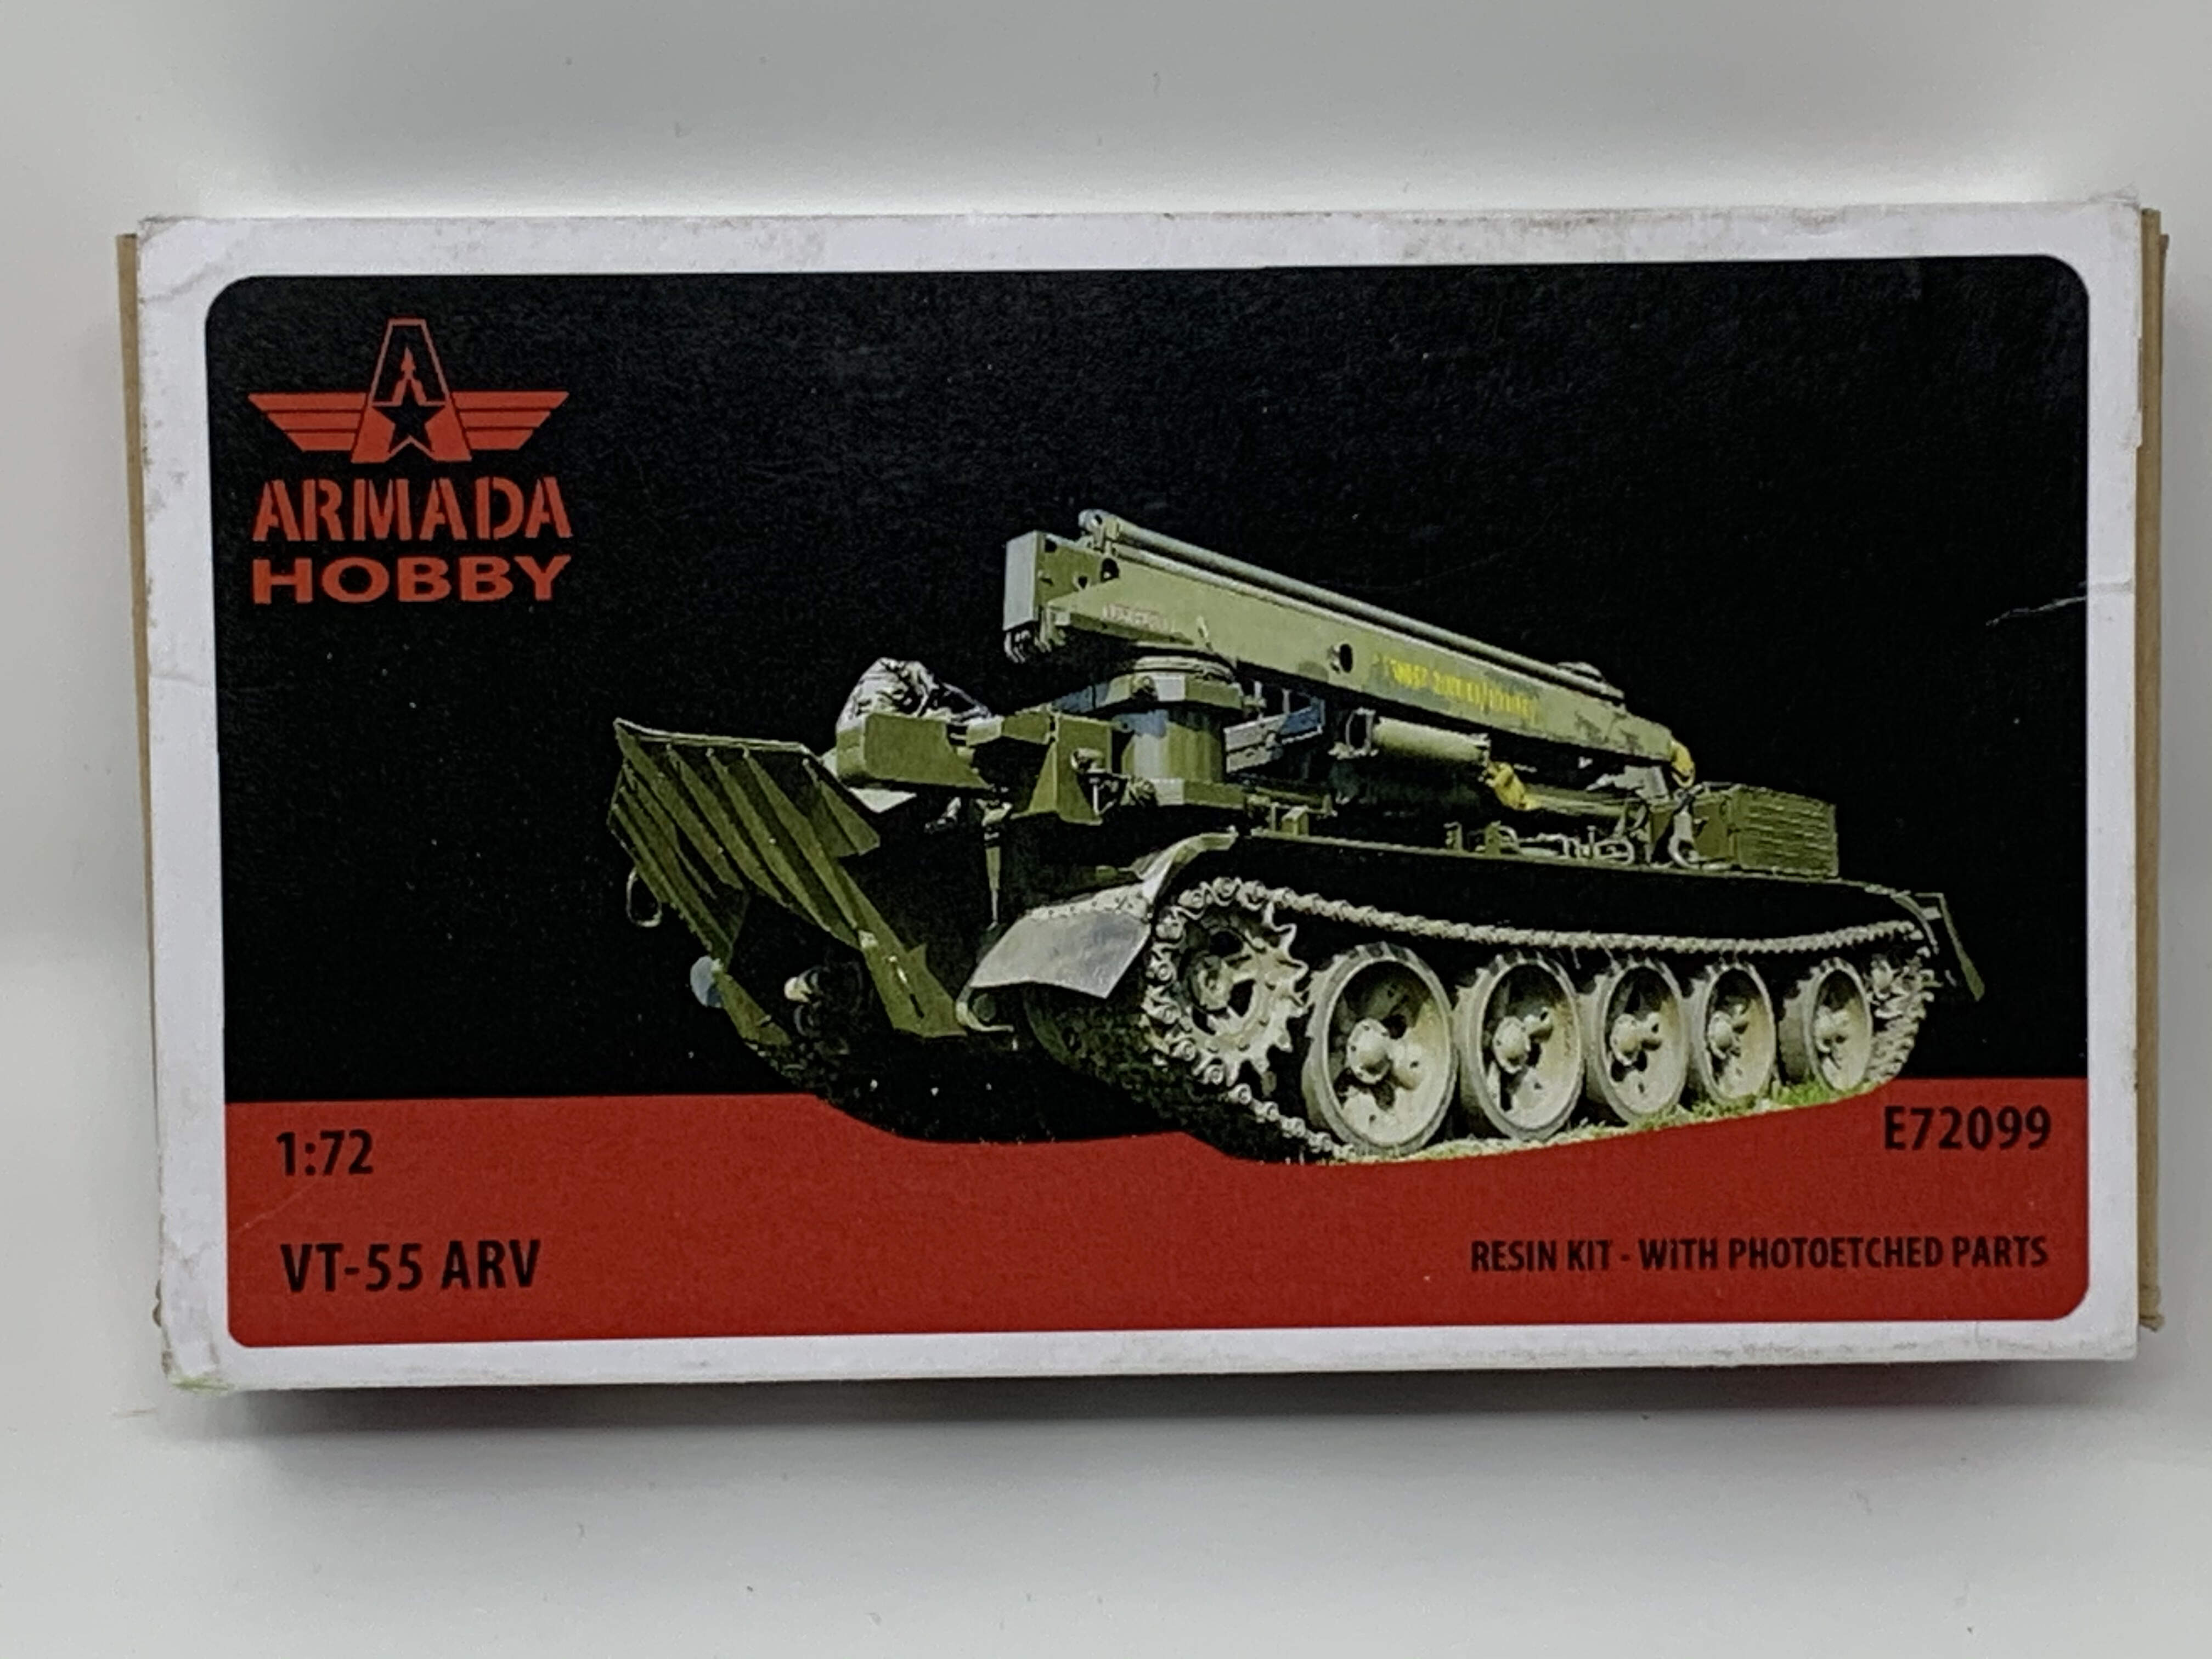
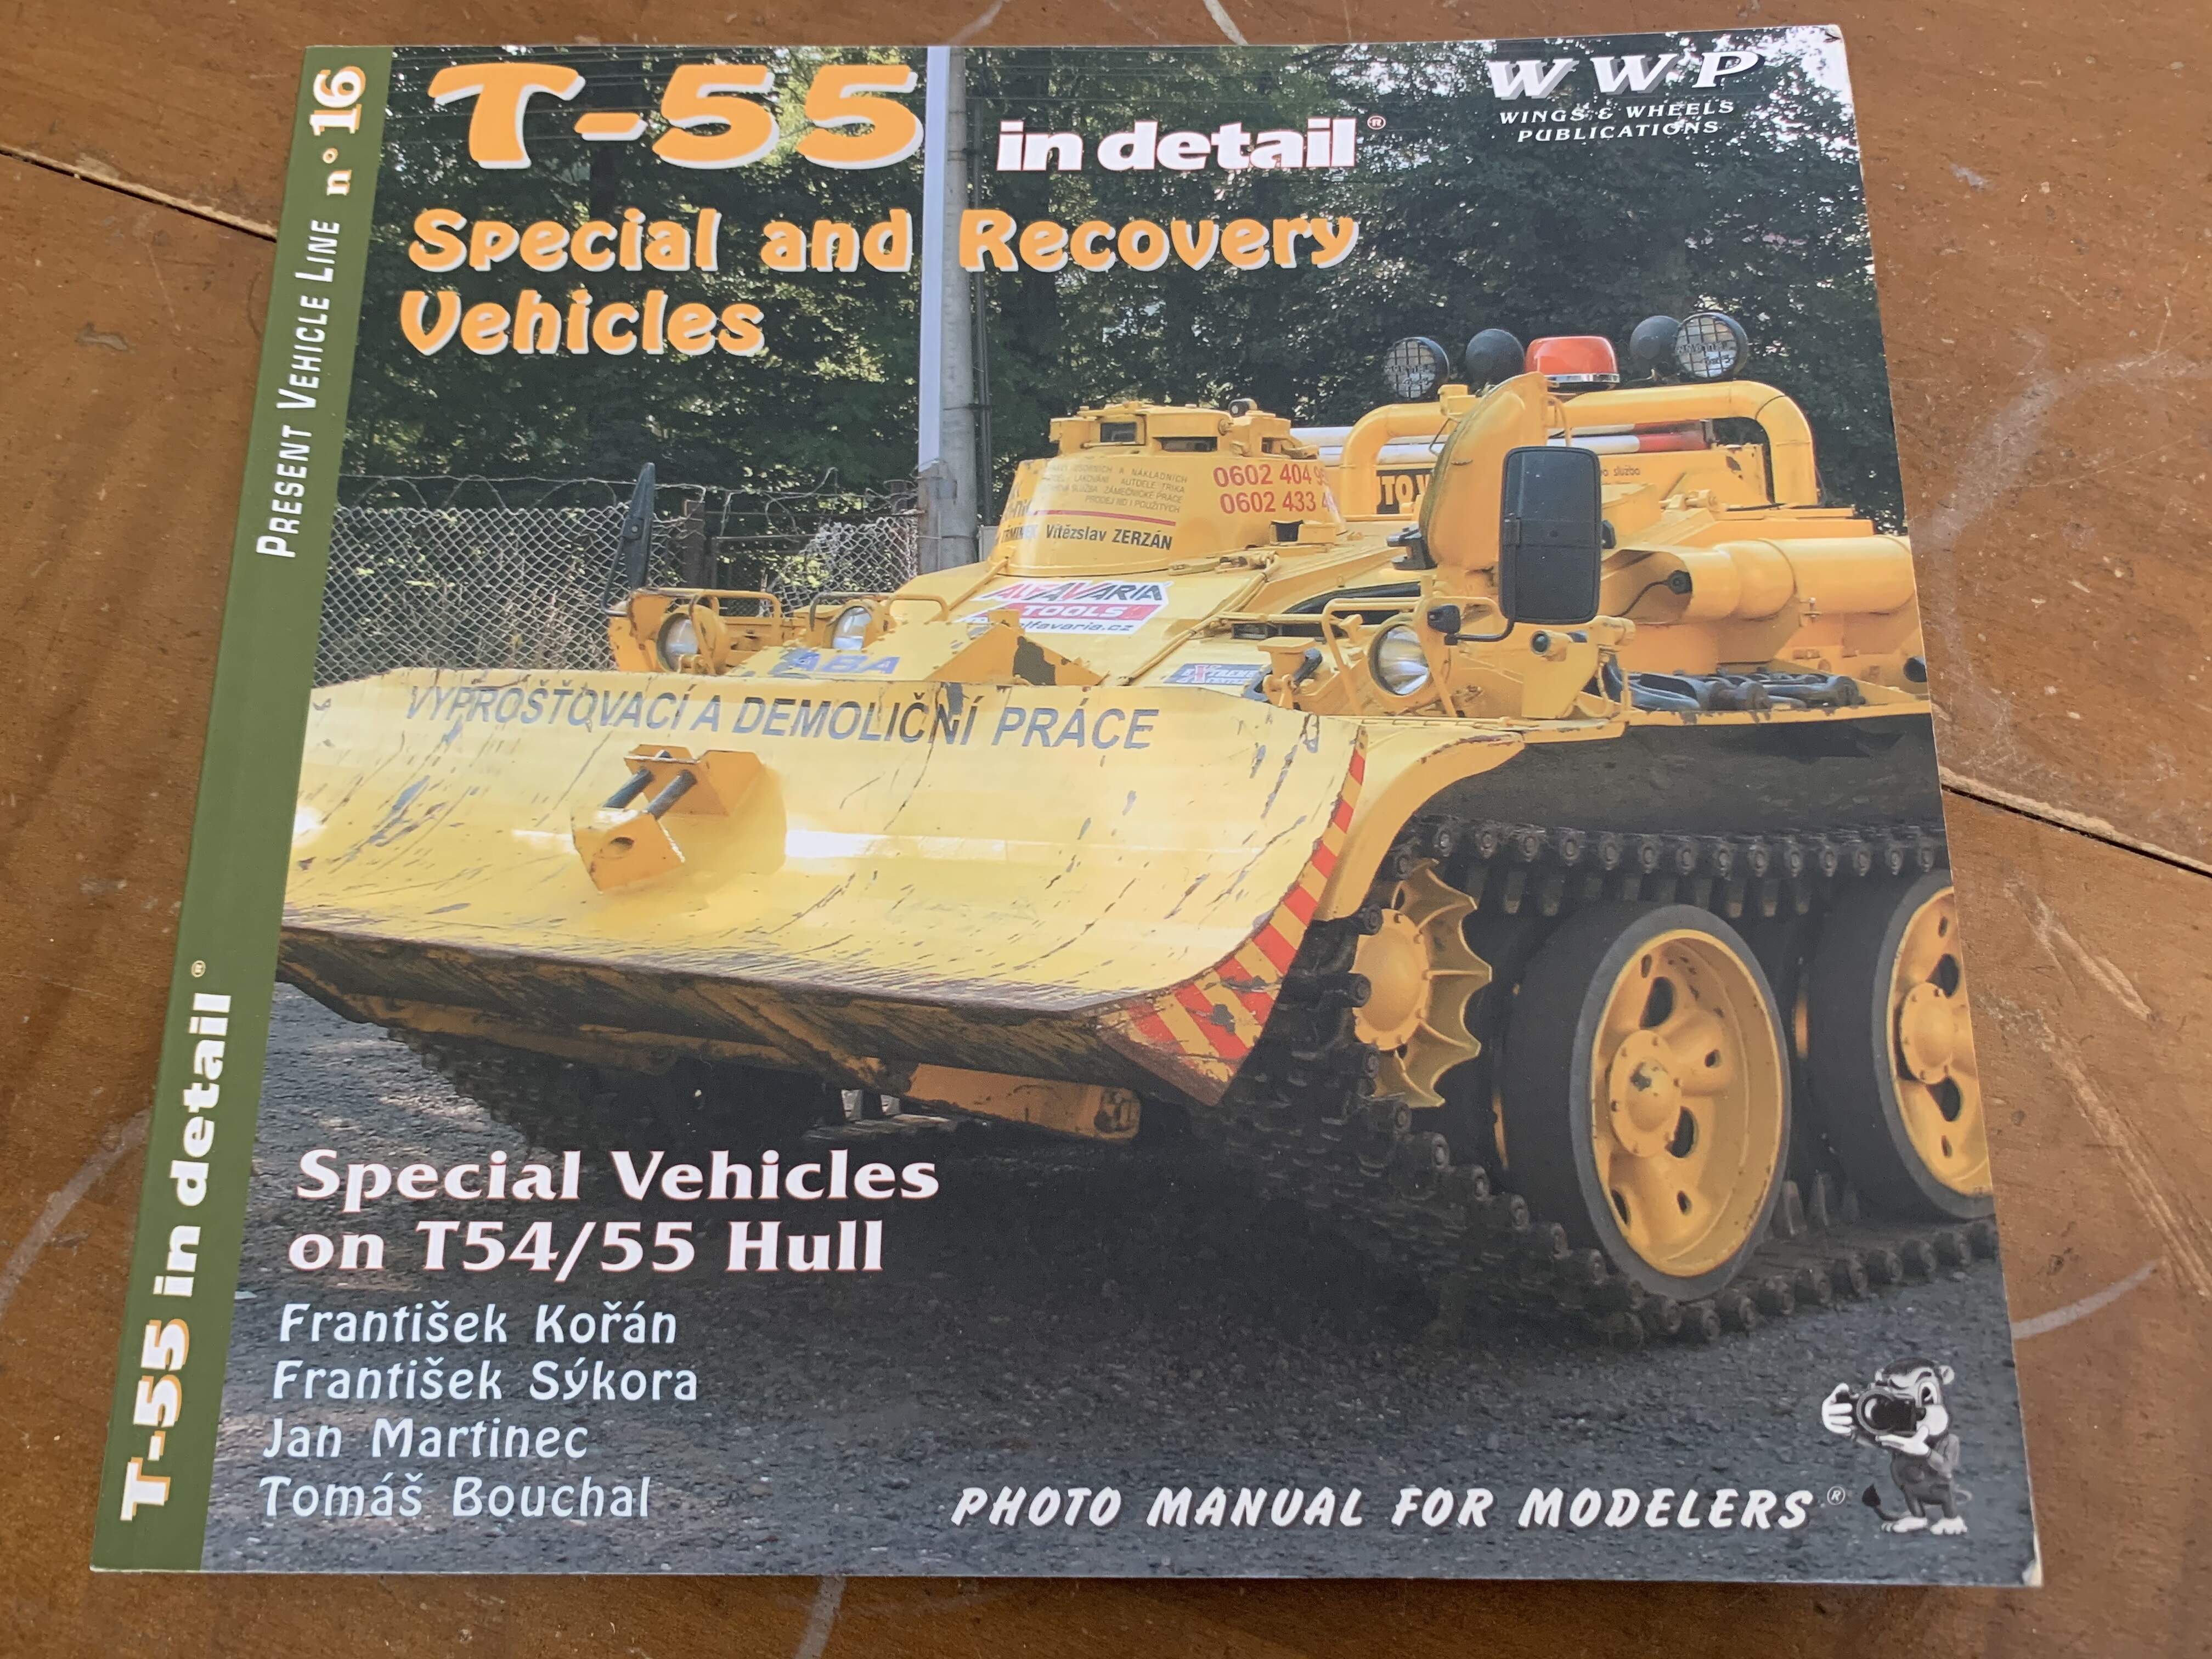
Thanks for the interest! I forgot to mention that aside from images available online, I will heavily rely on this book as a reference. It’s full of close up pictures that will be very useful. I highly recommend it!
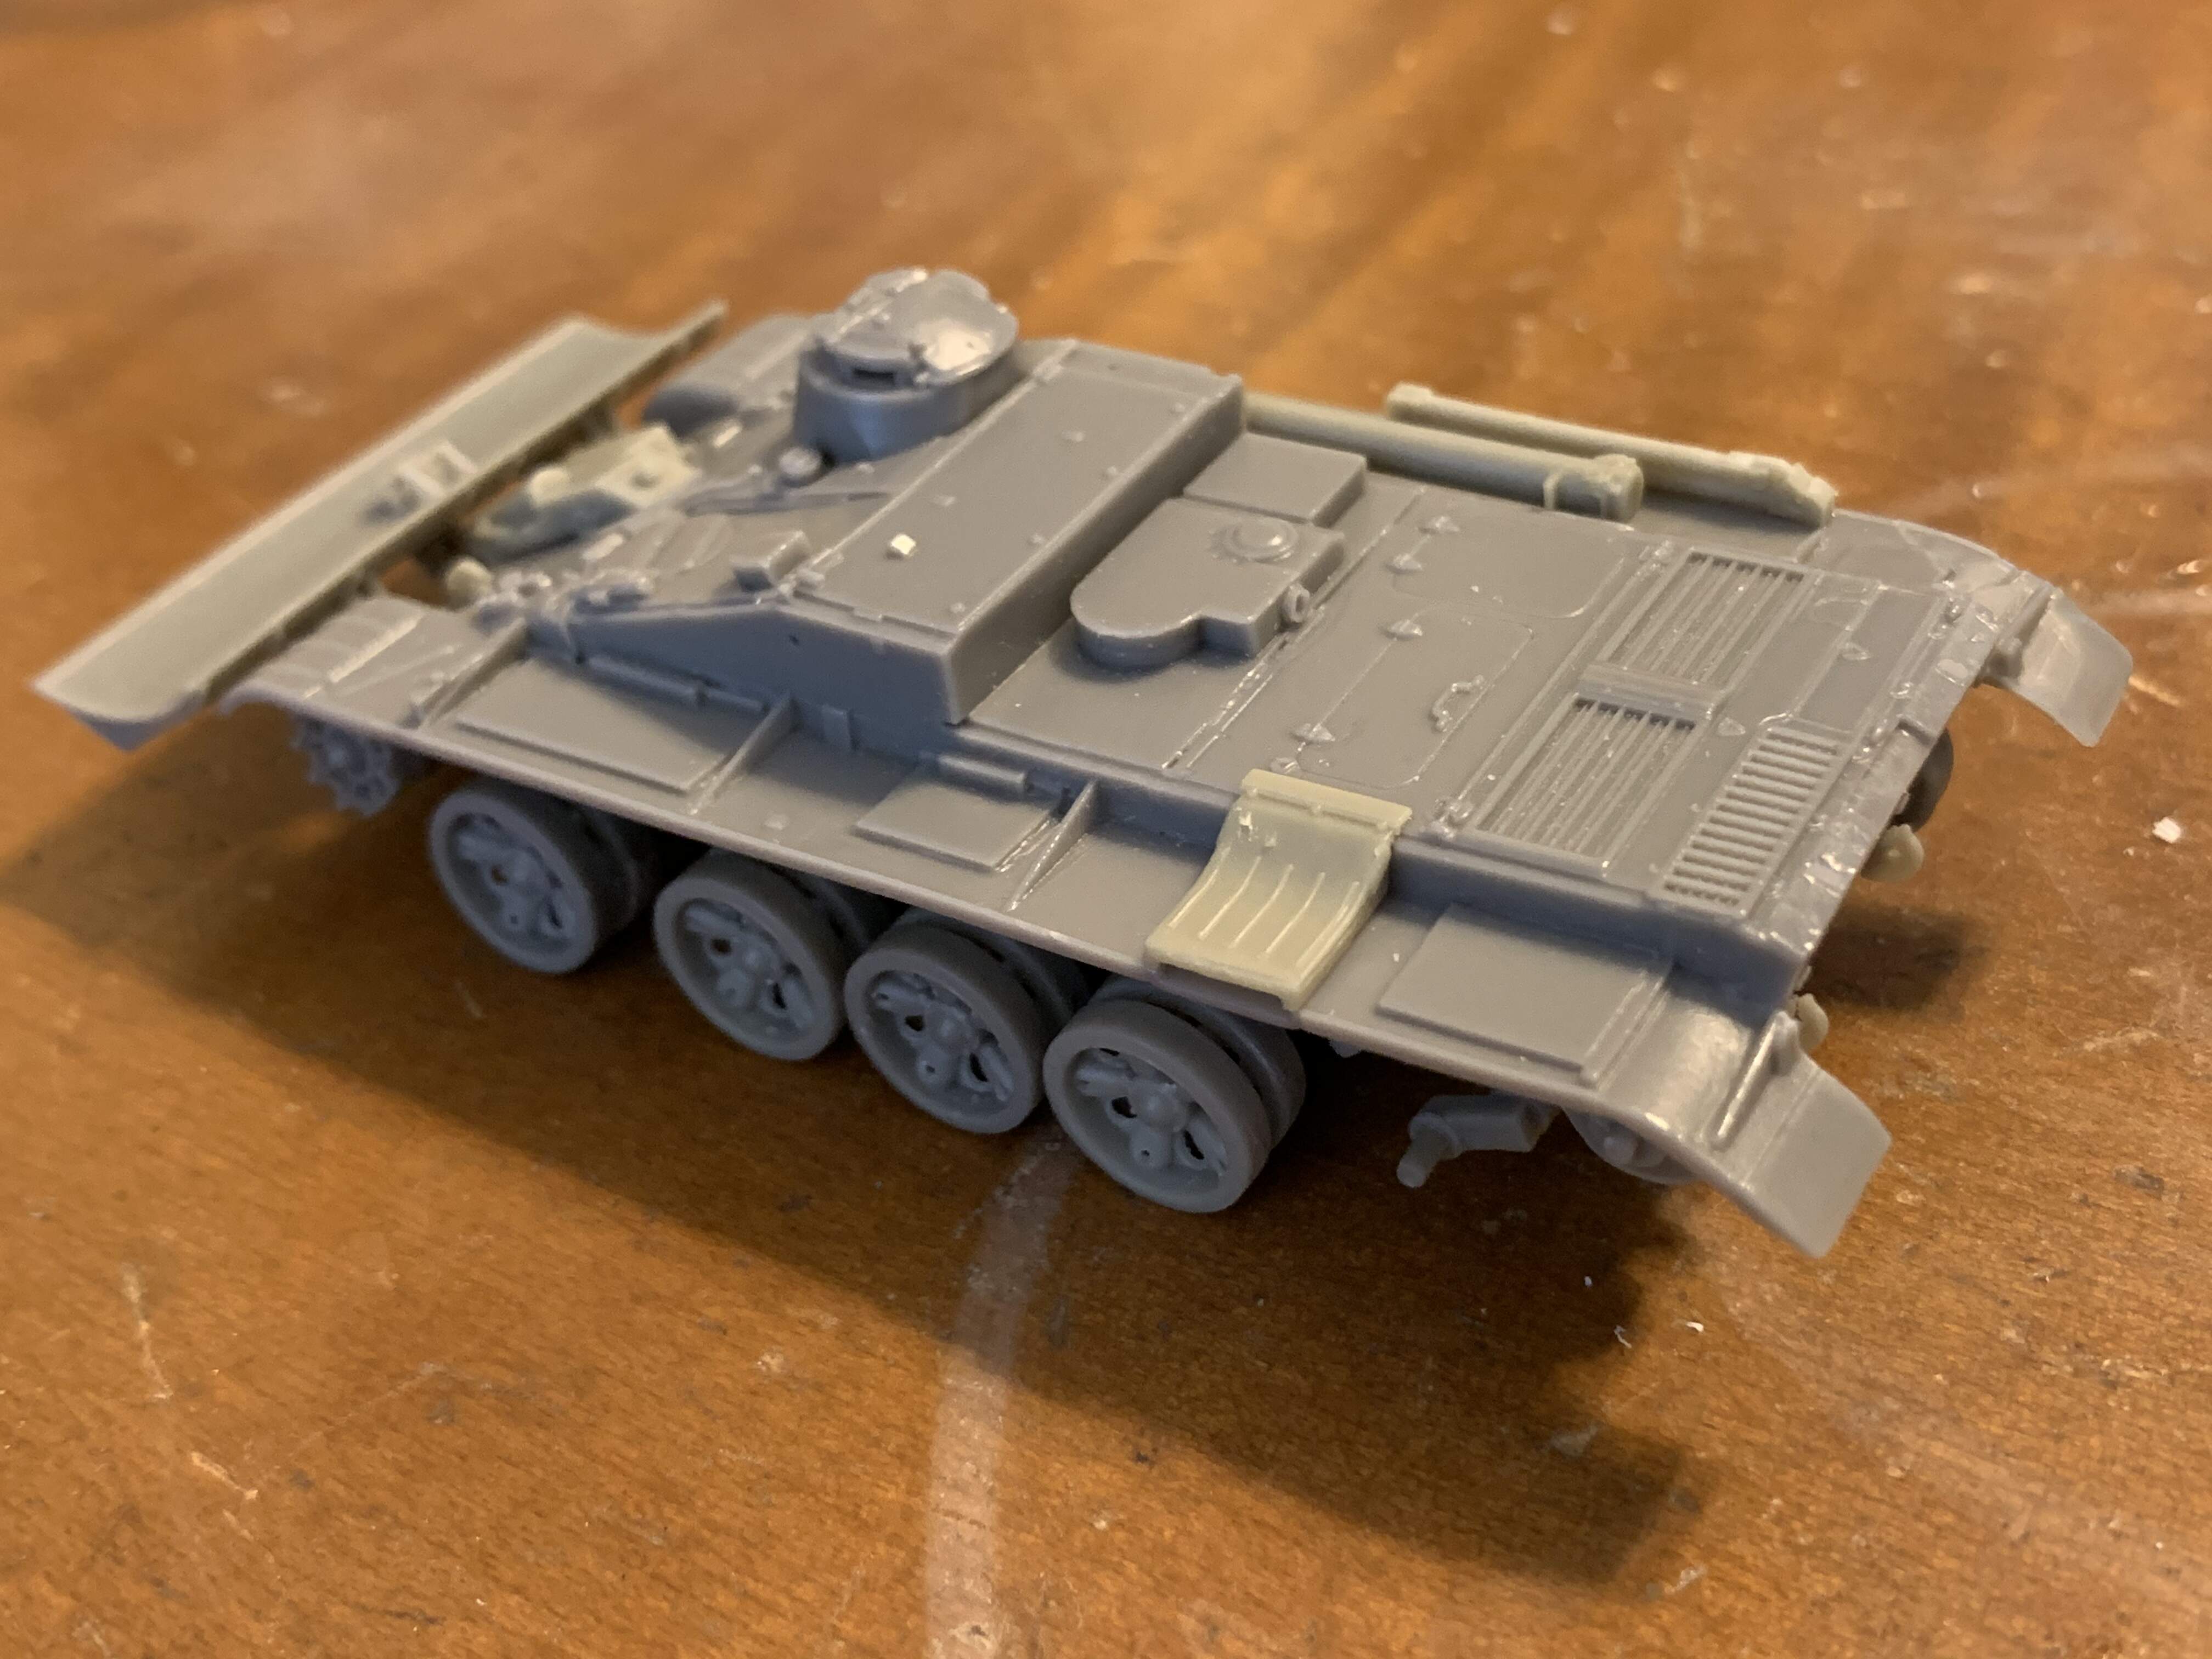
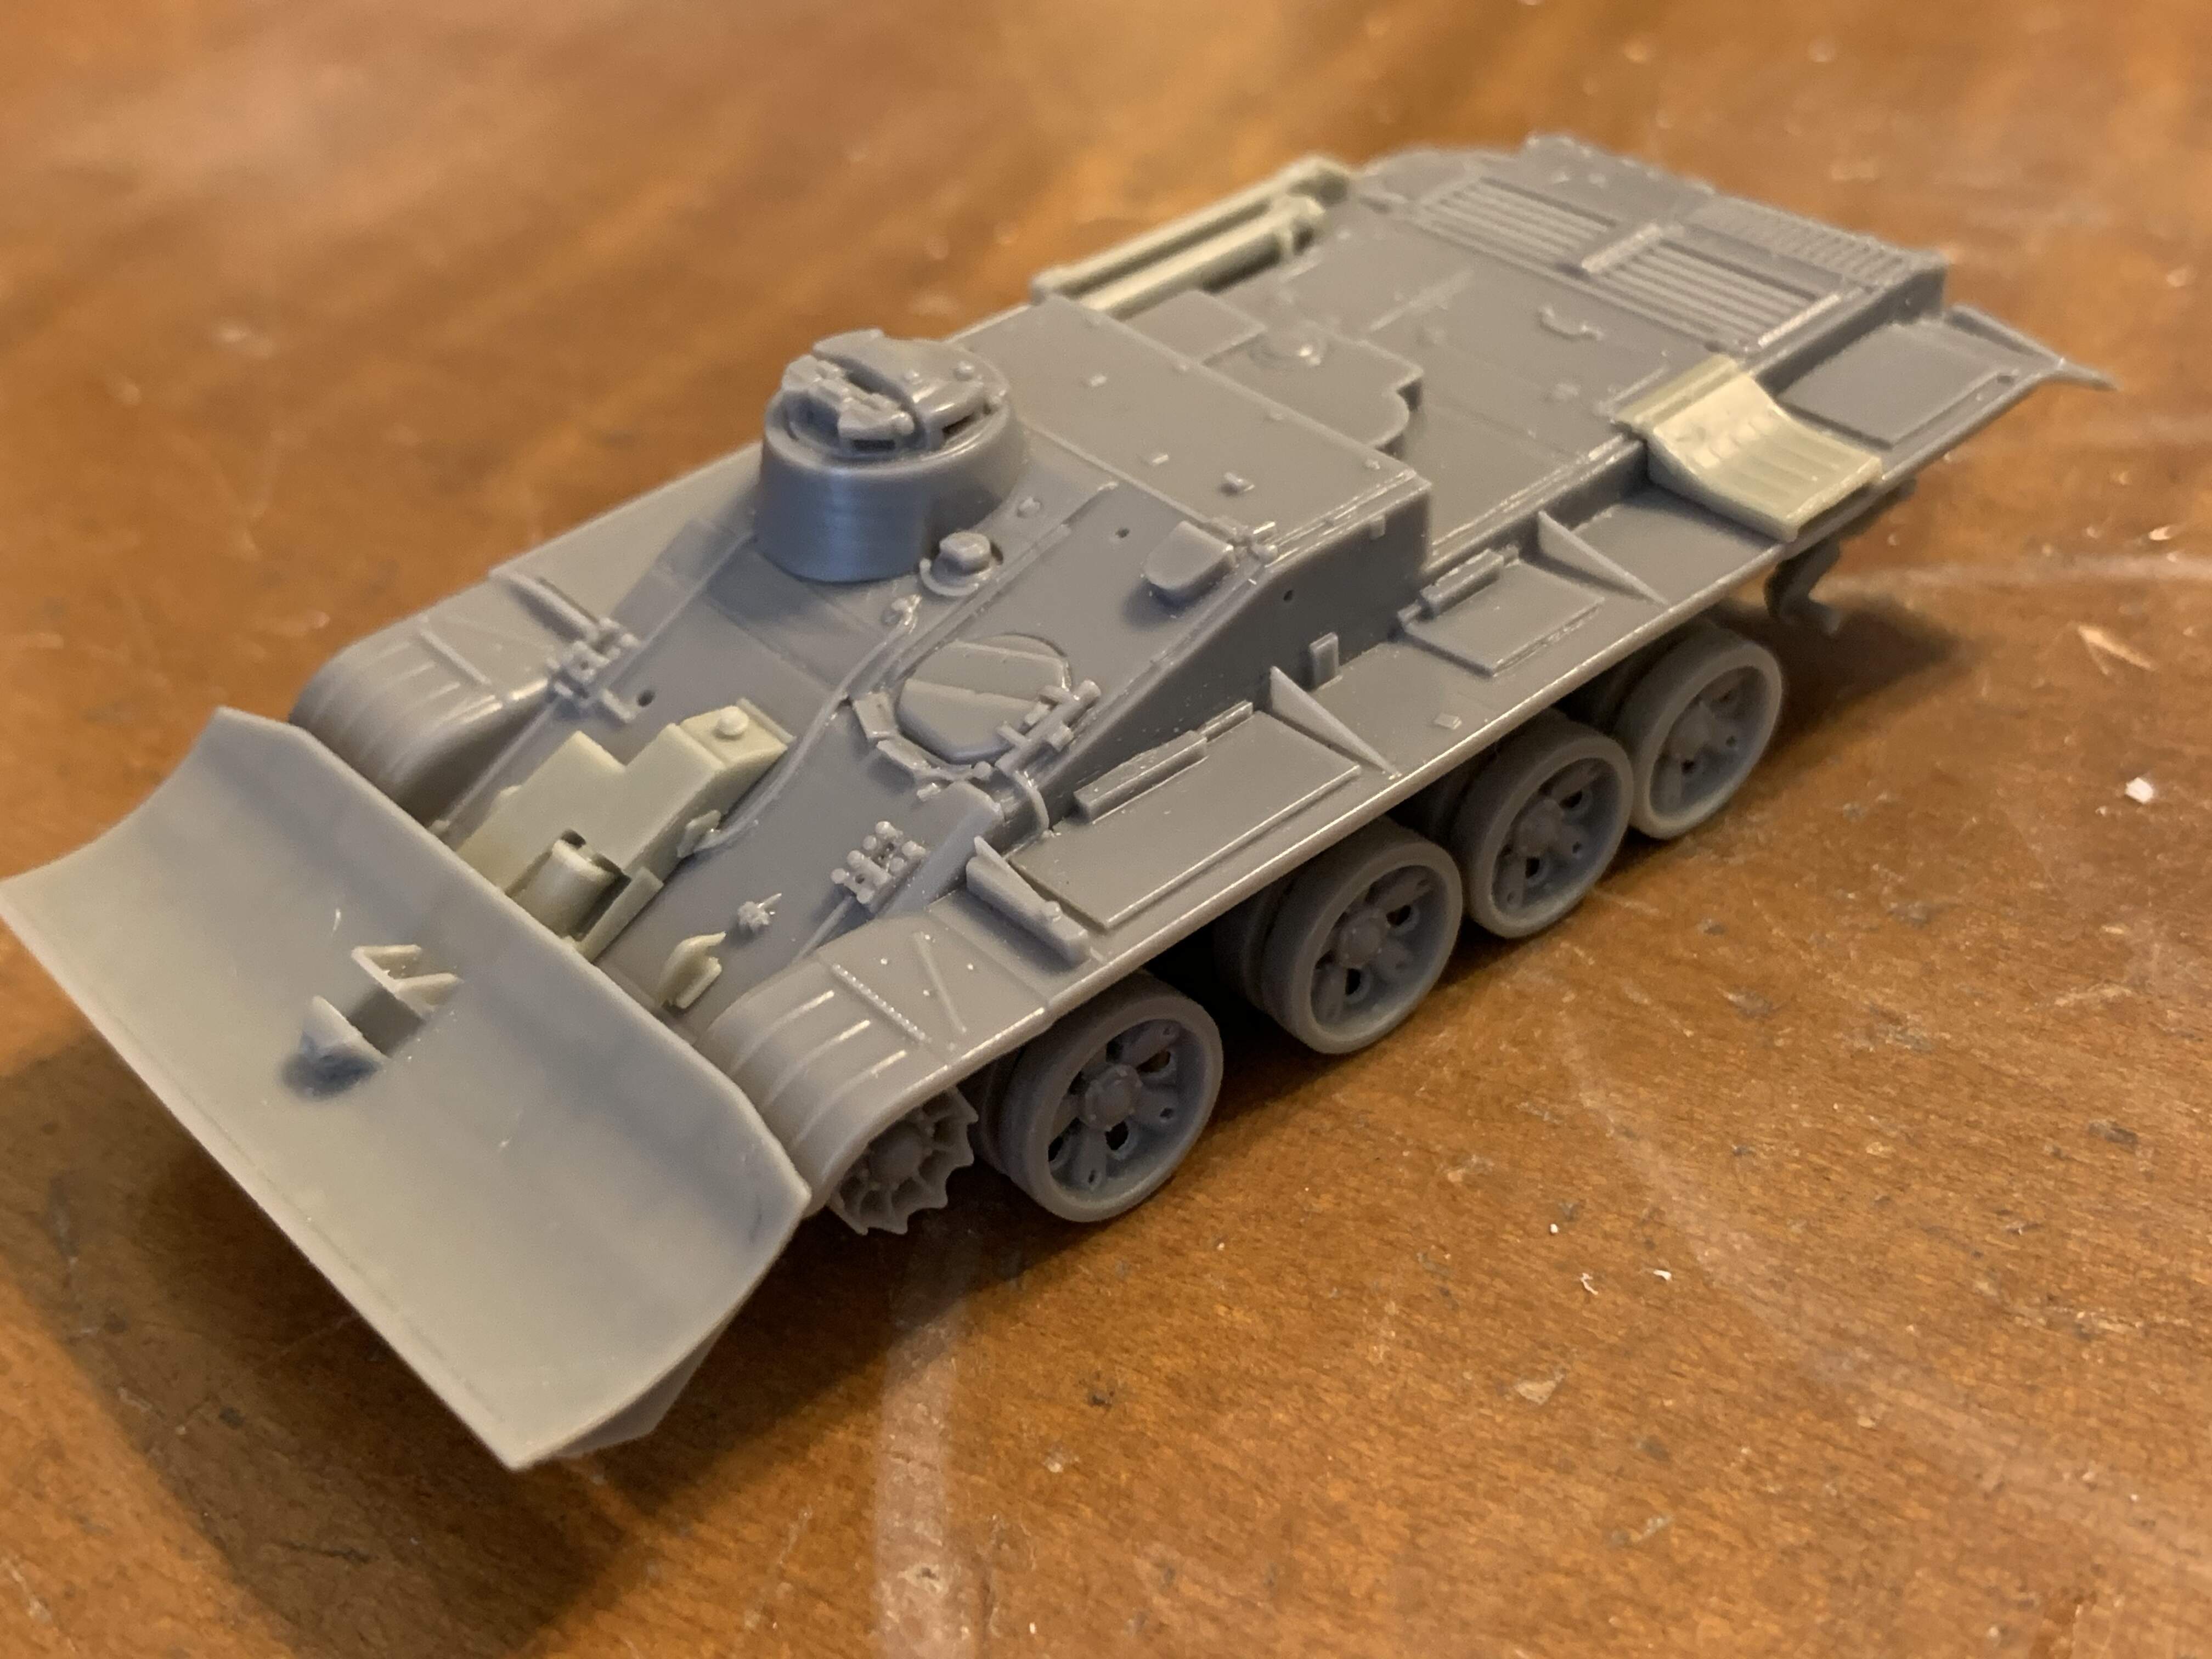
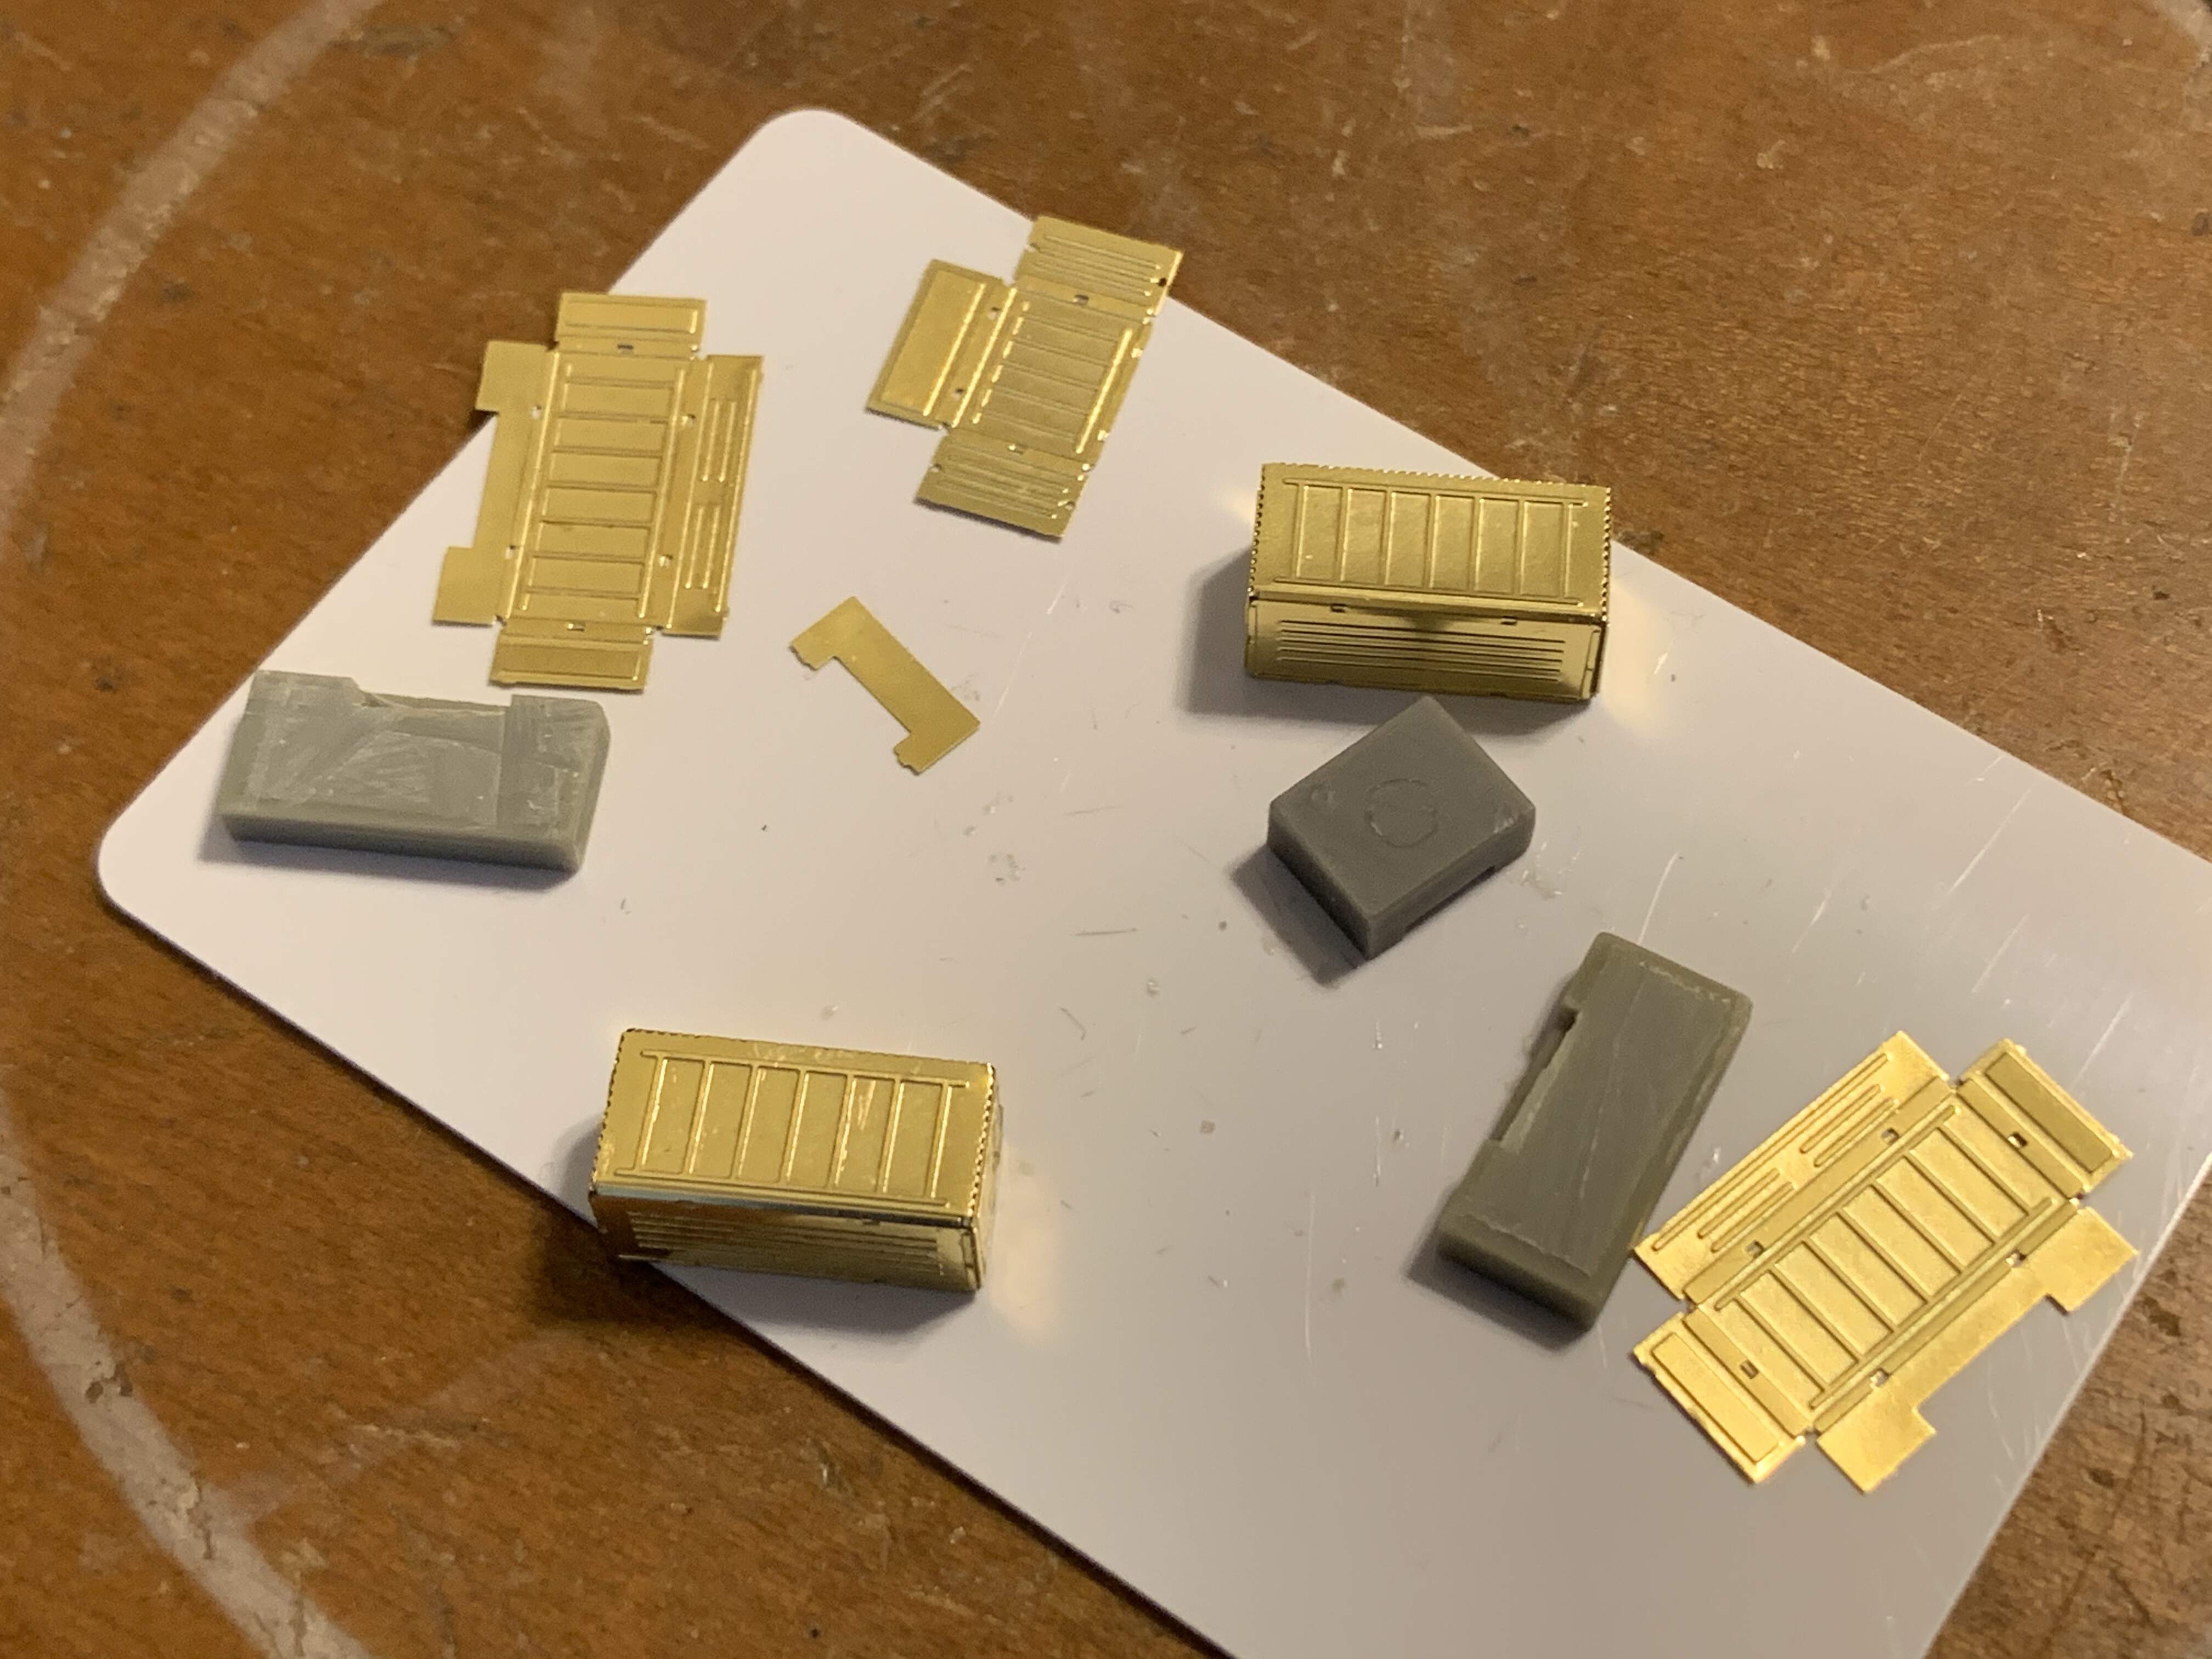
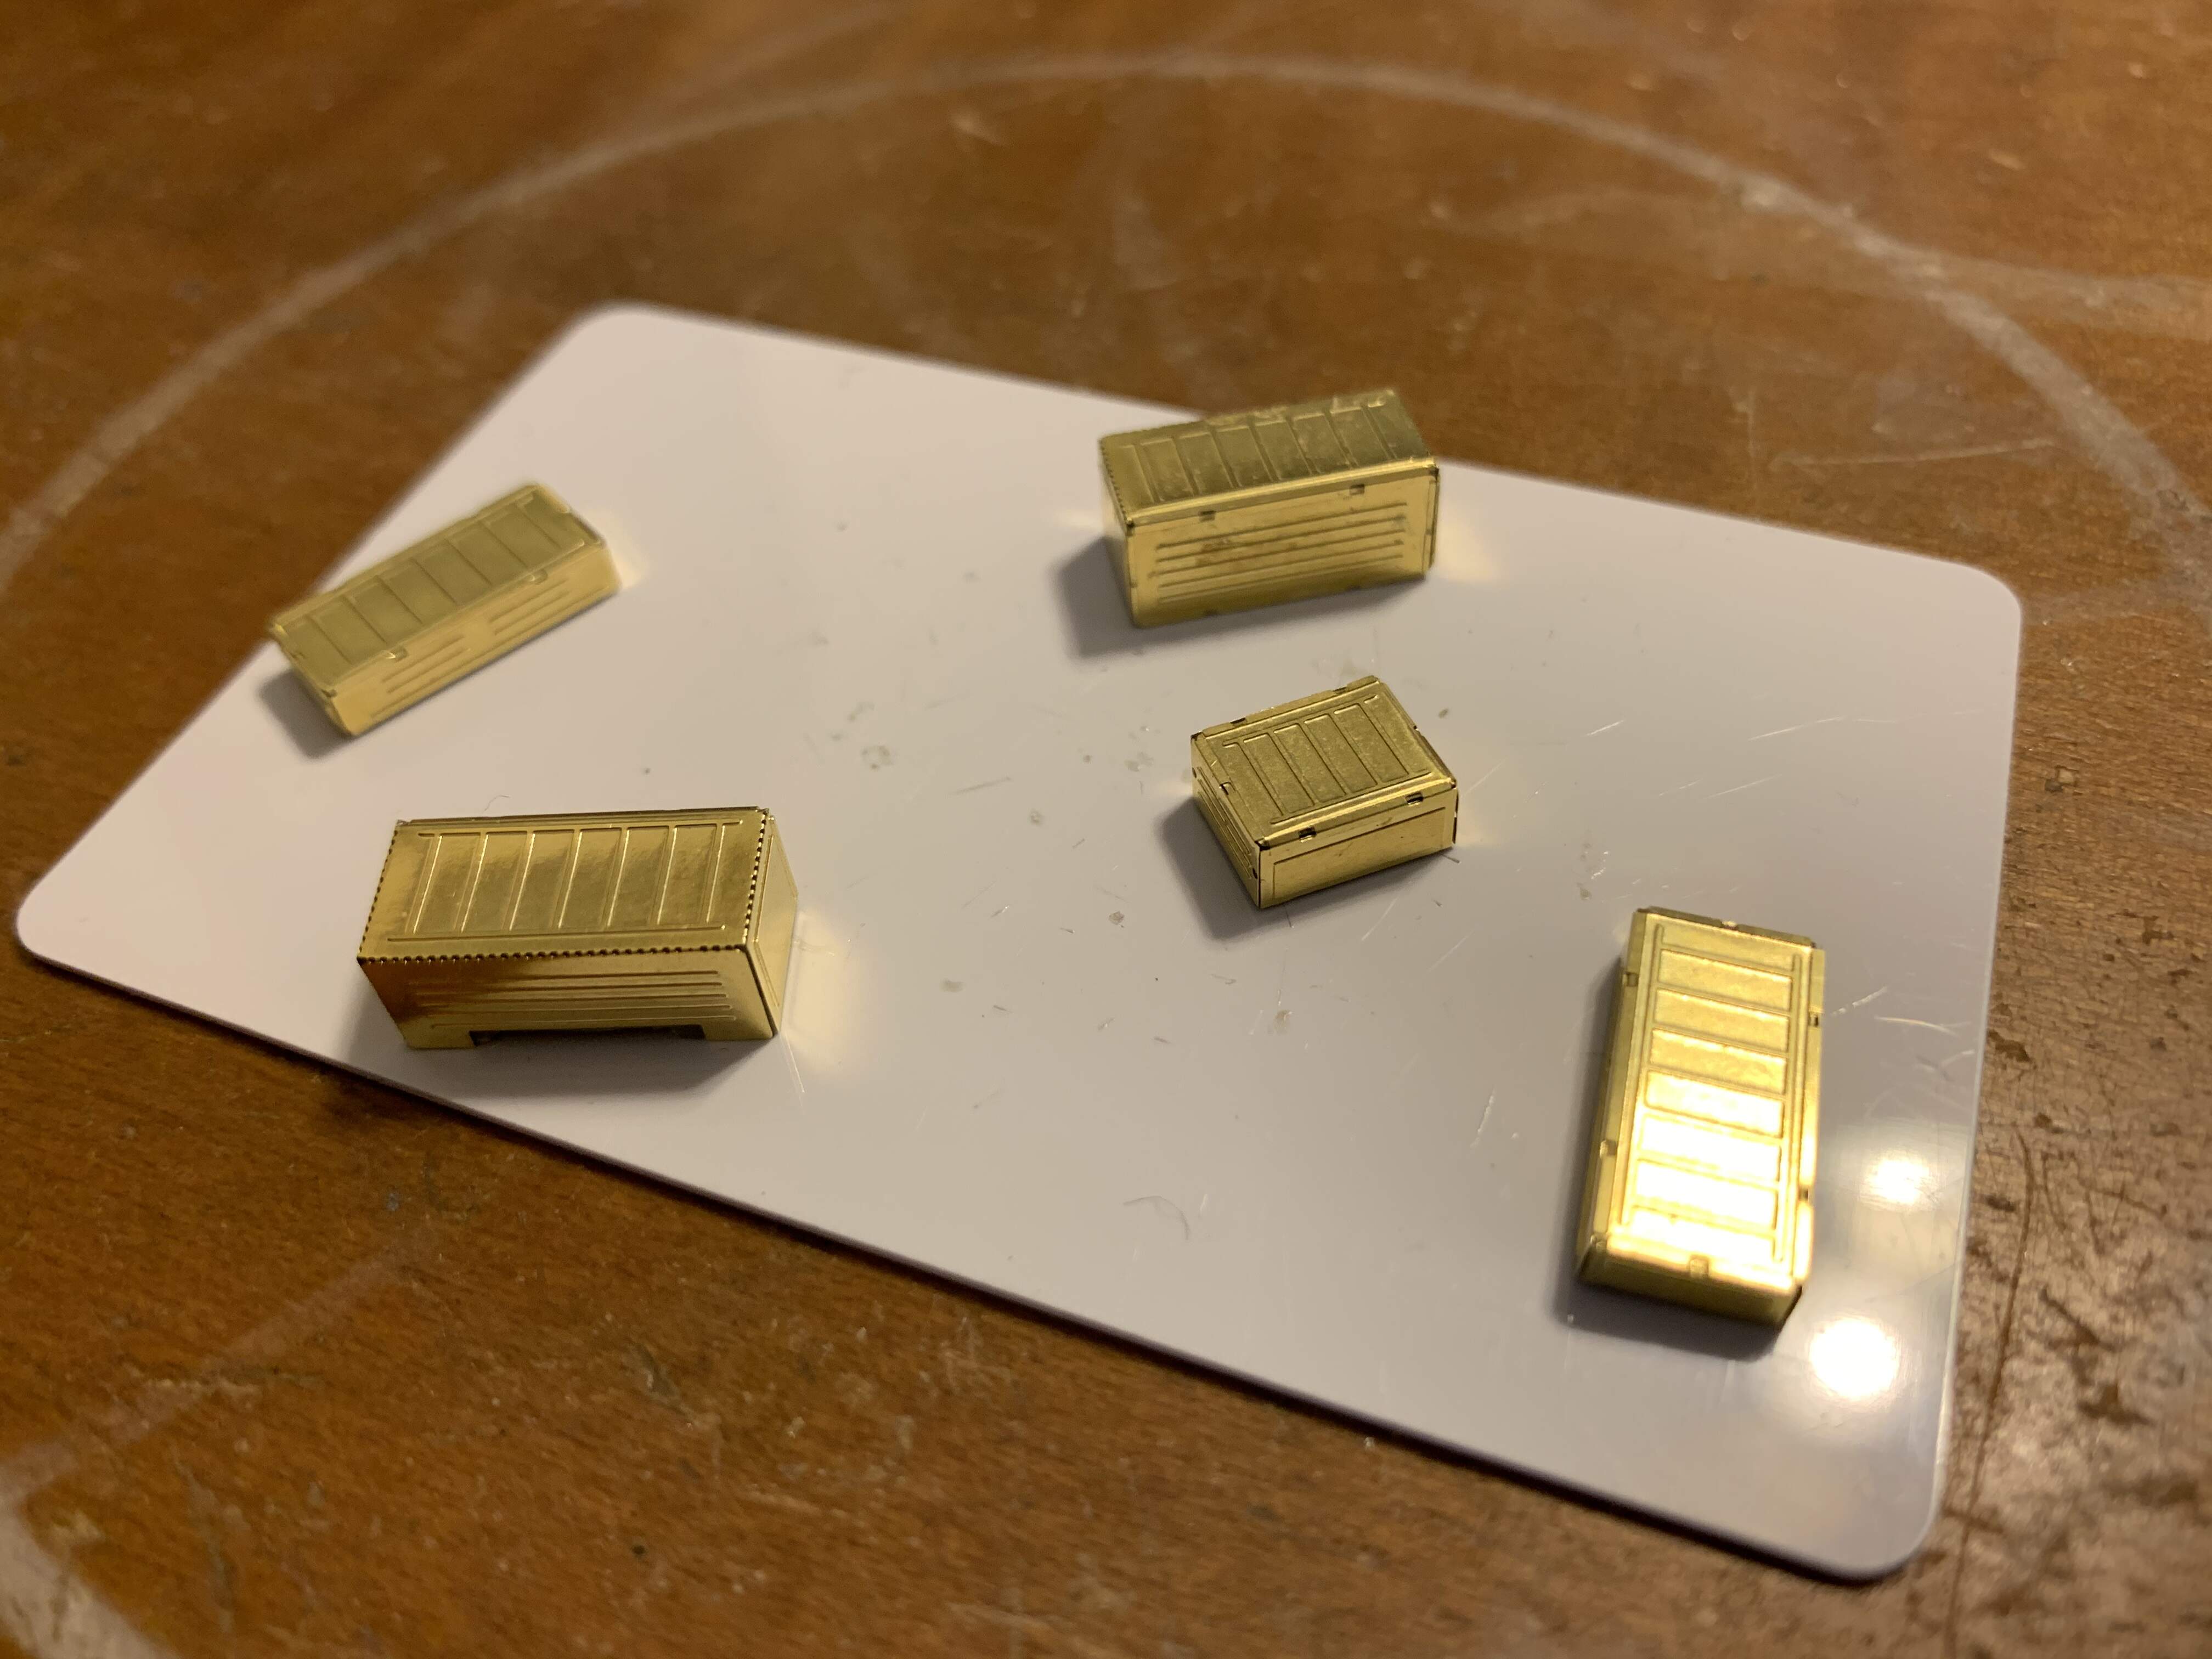
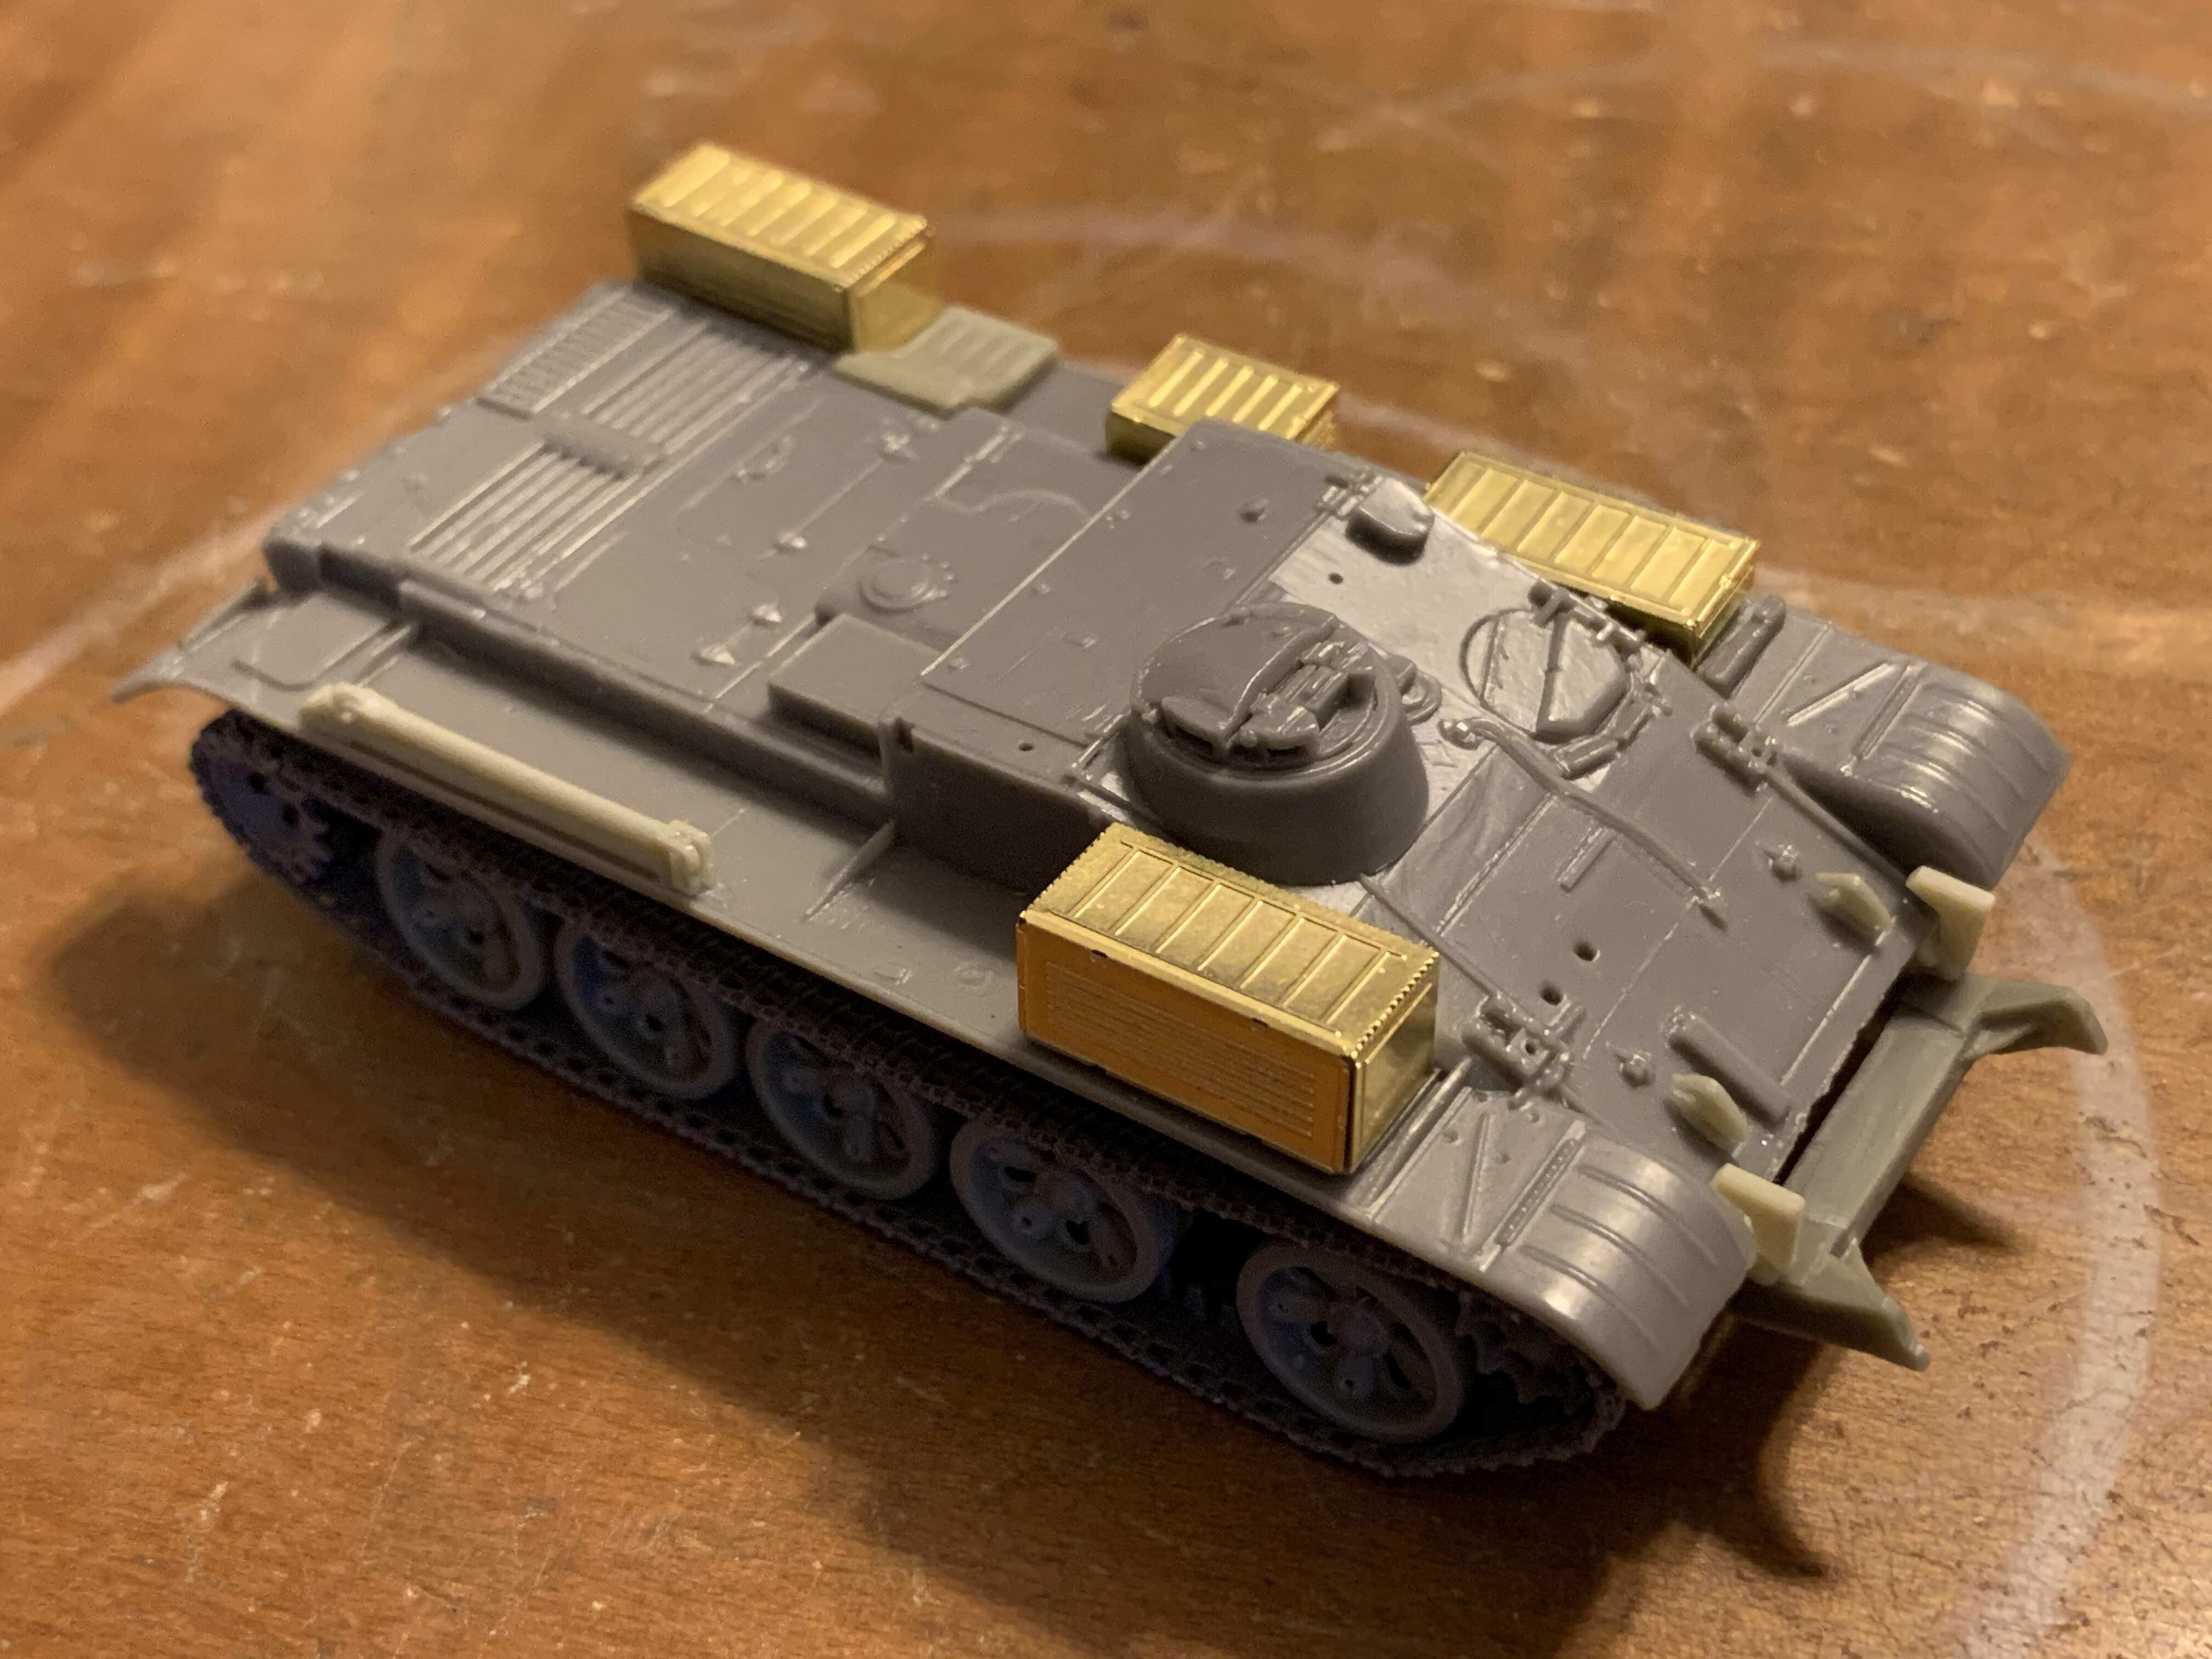
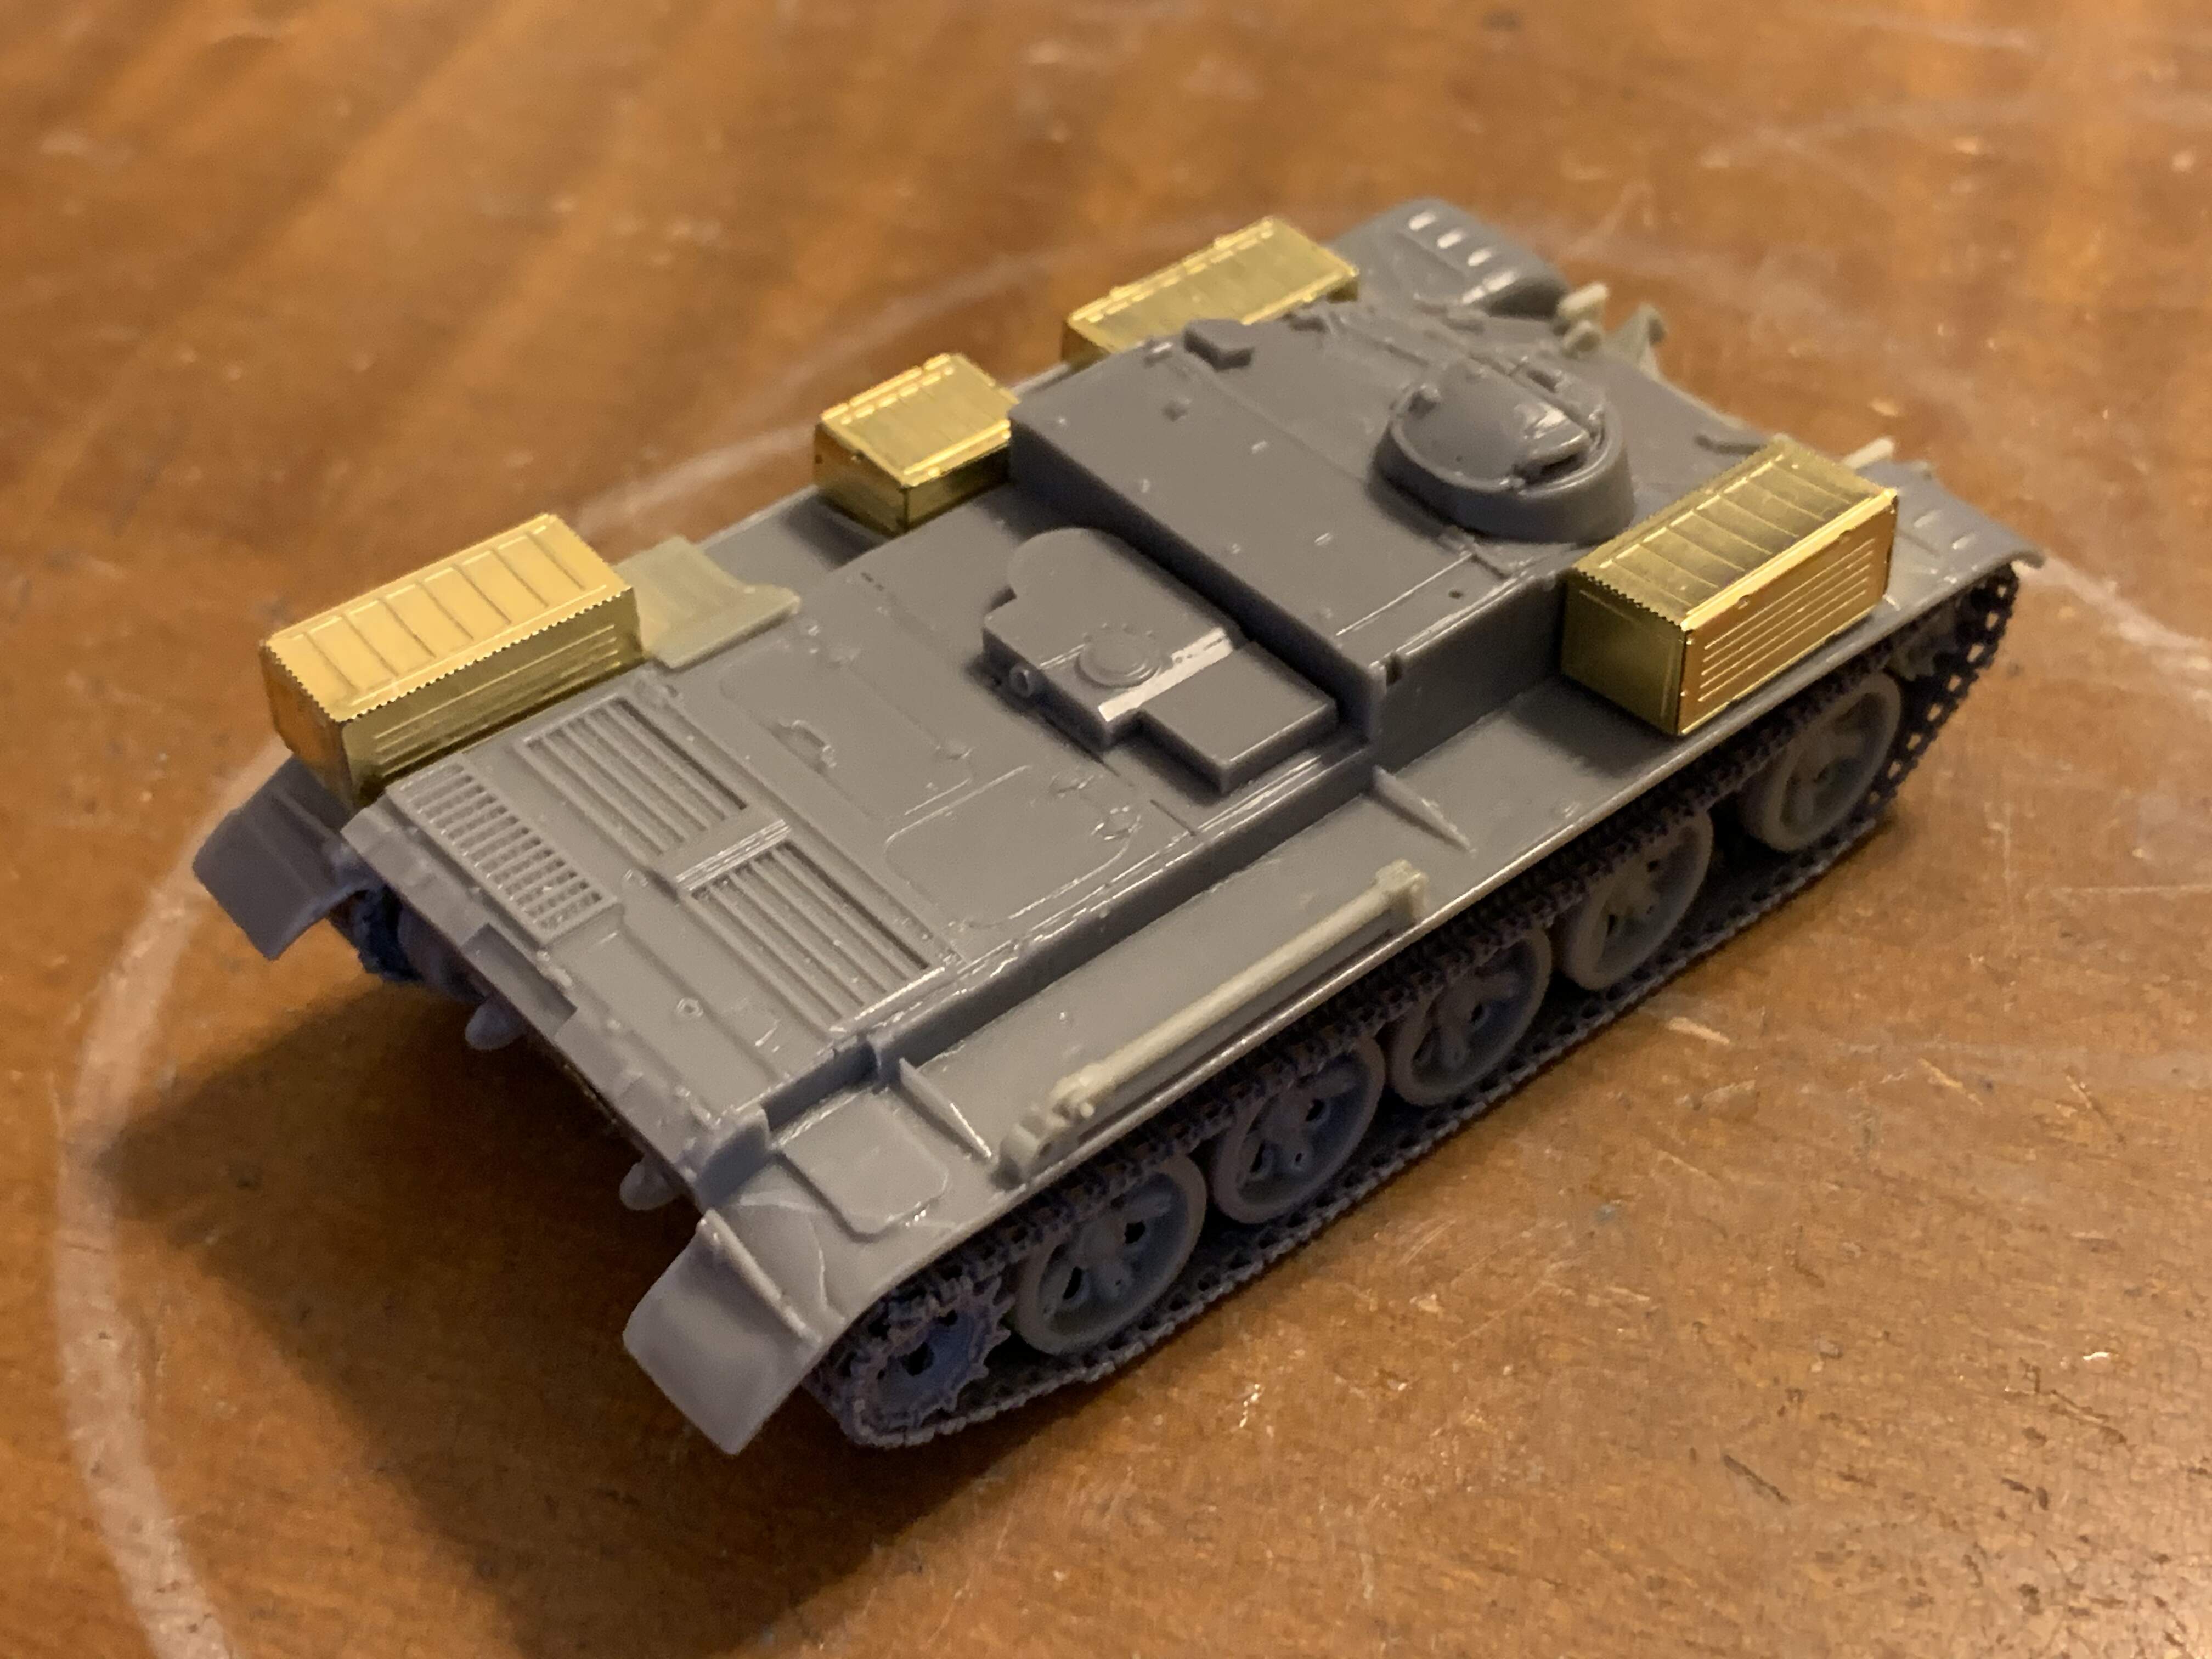
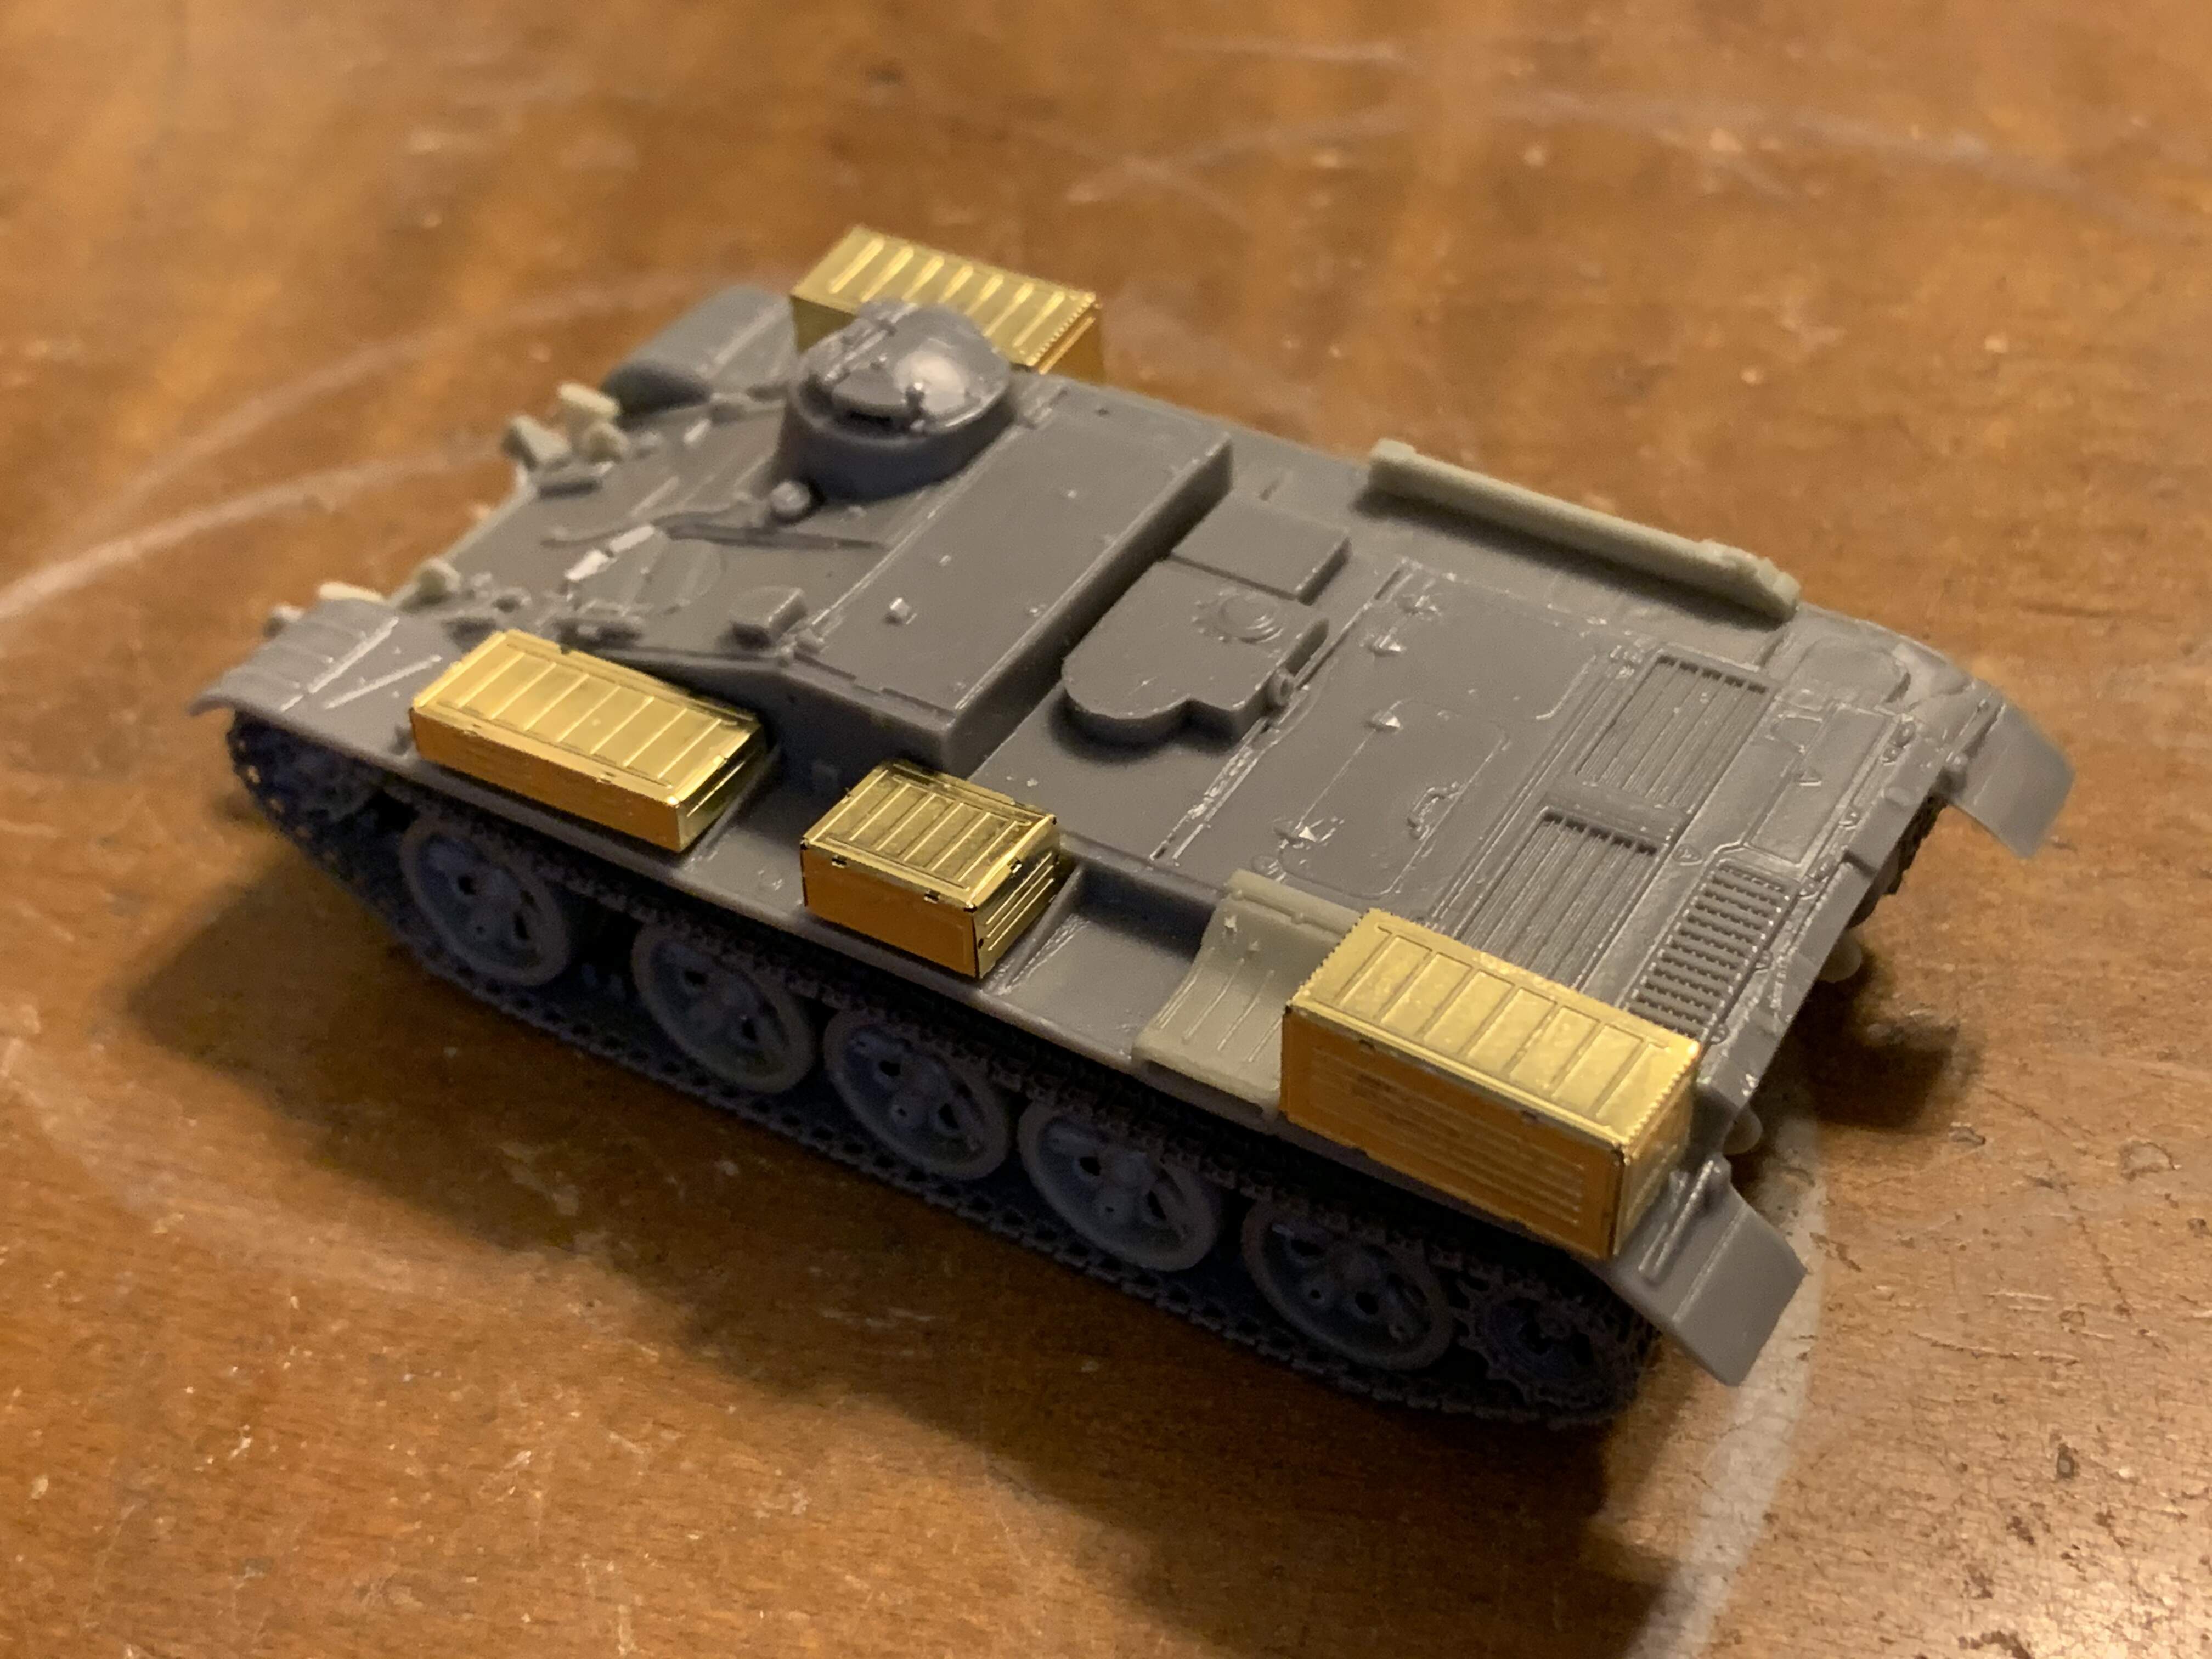
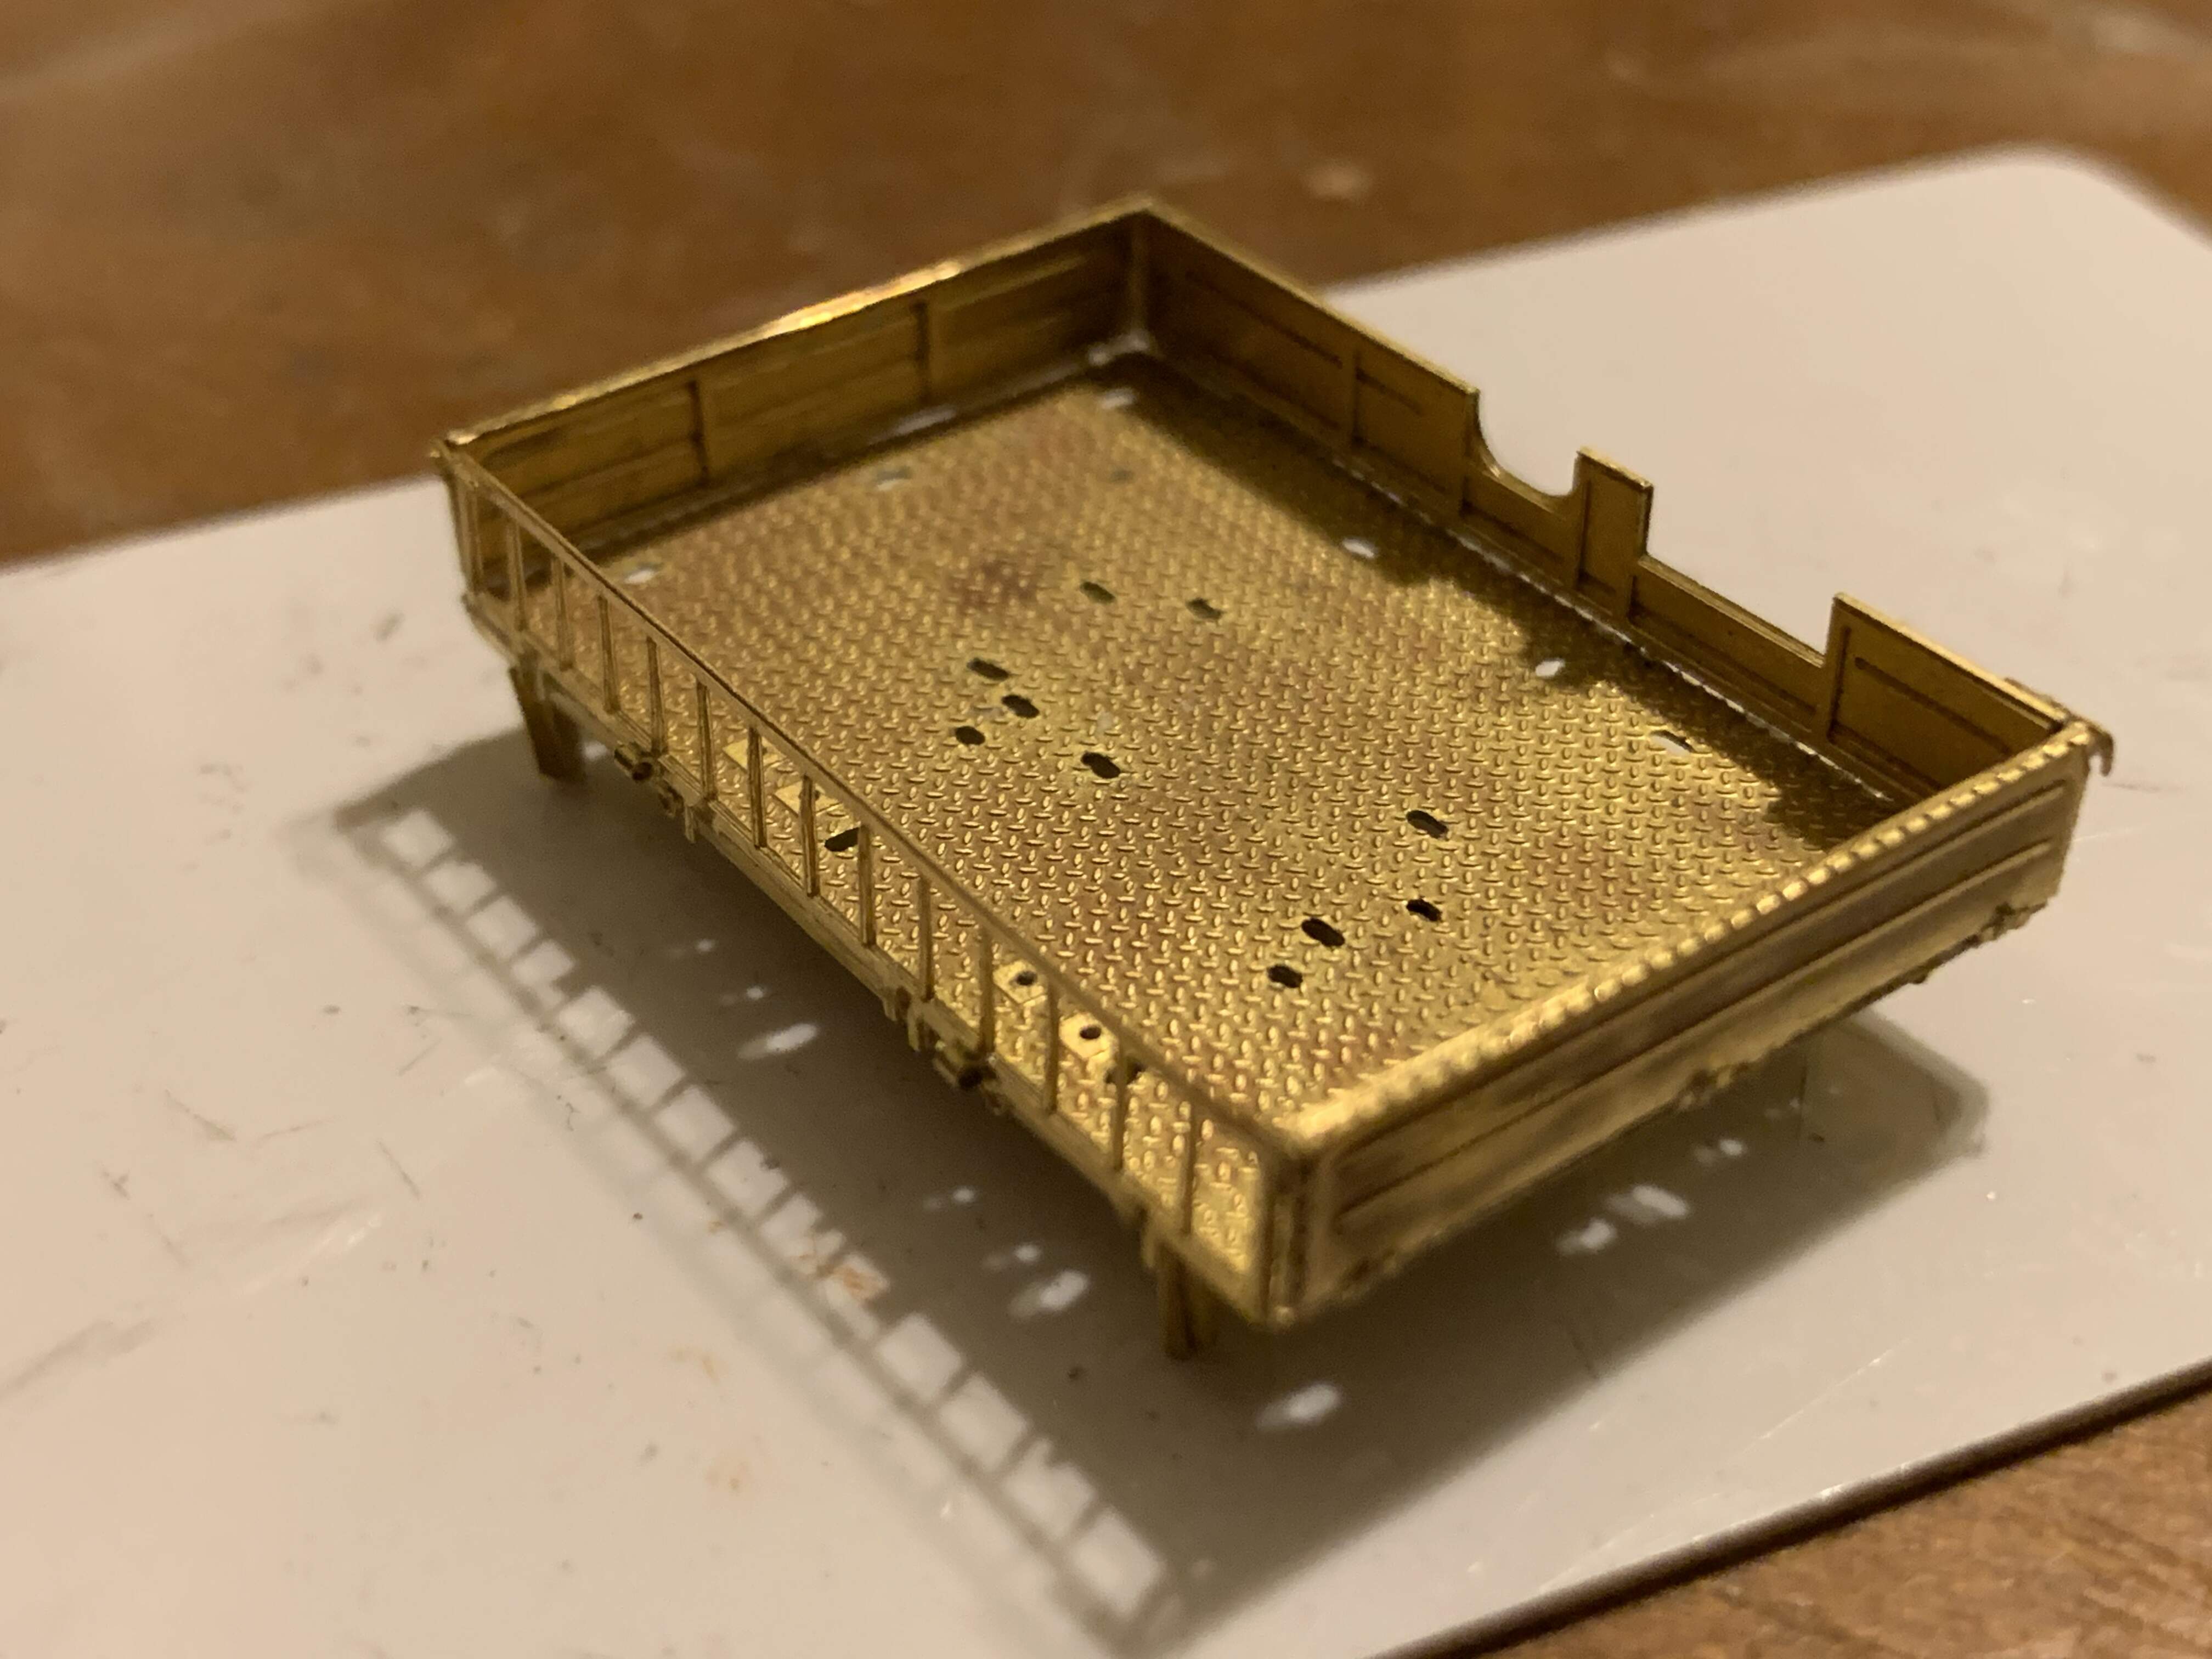
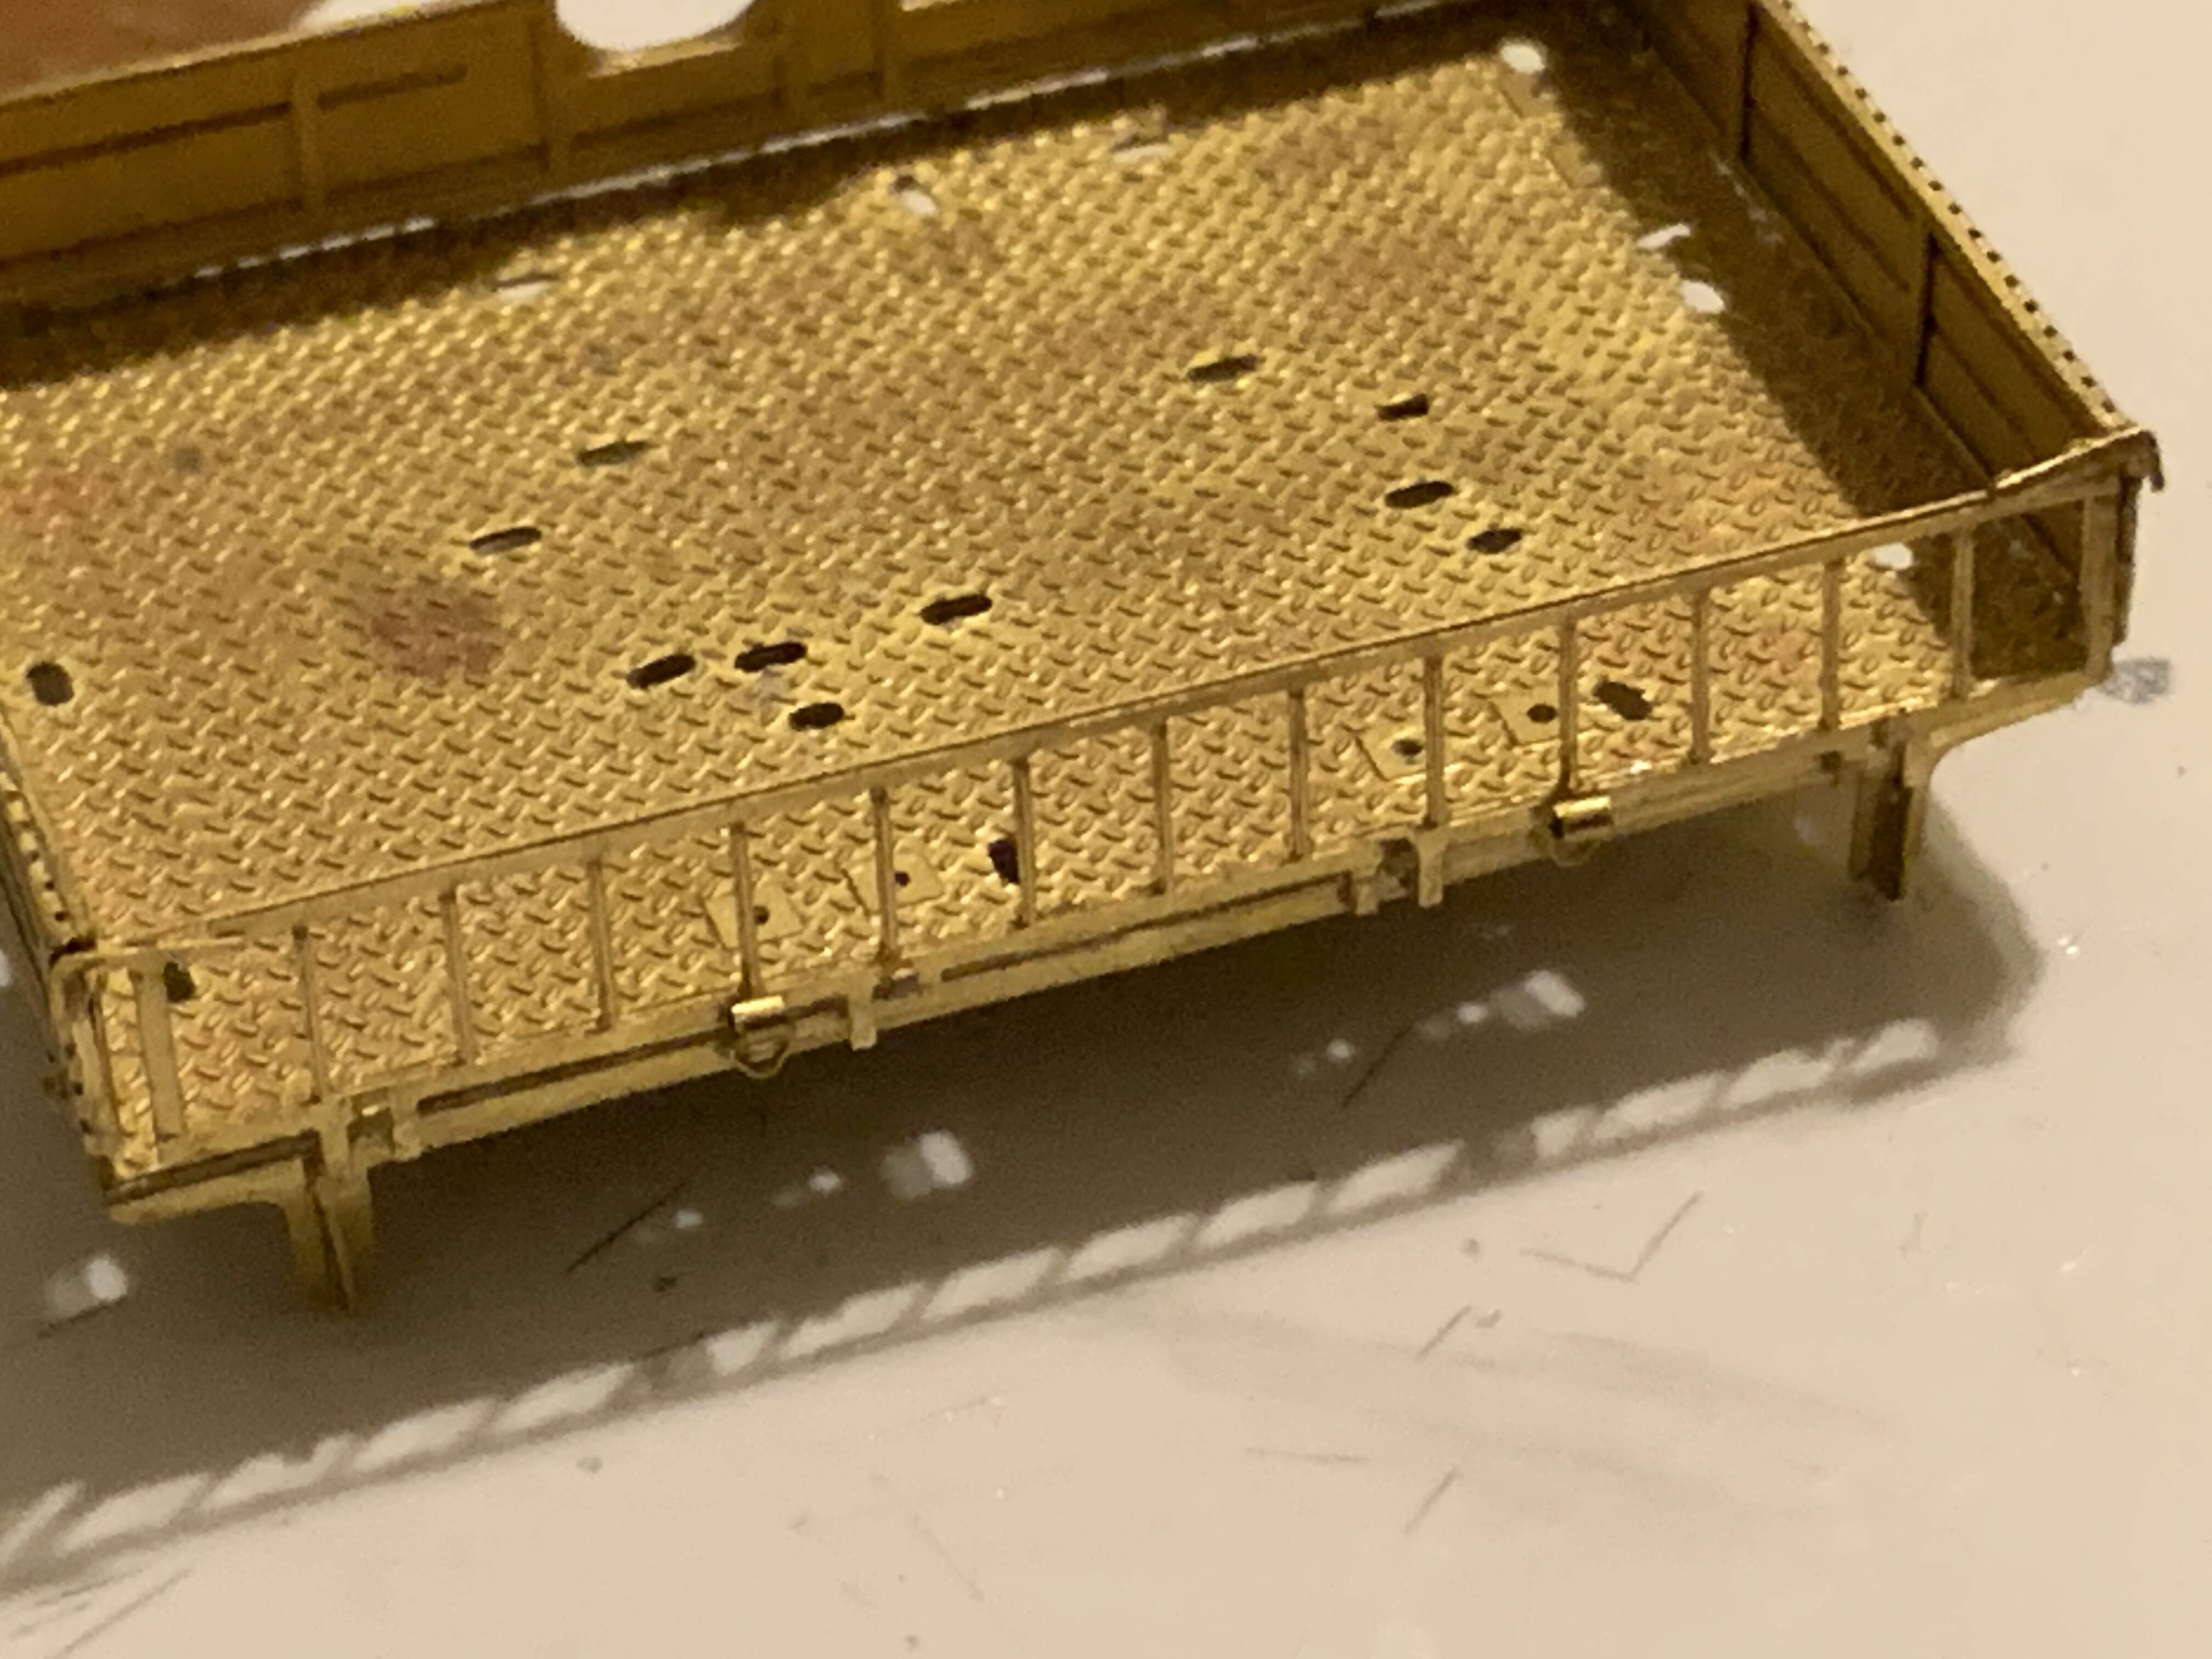
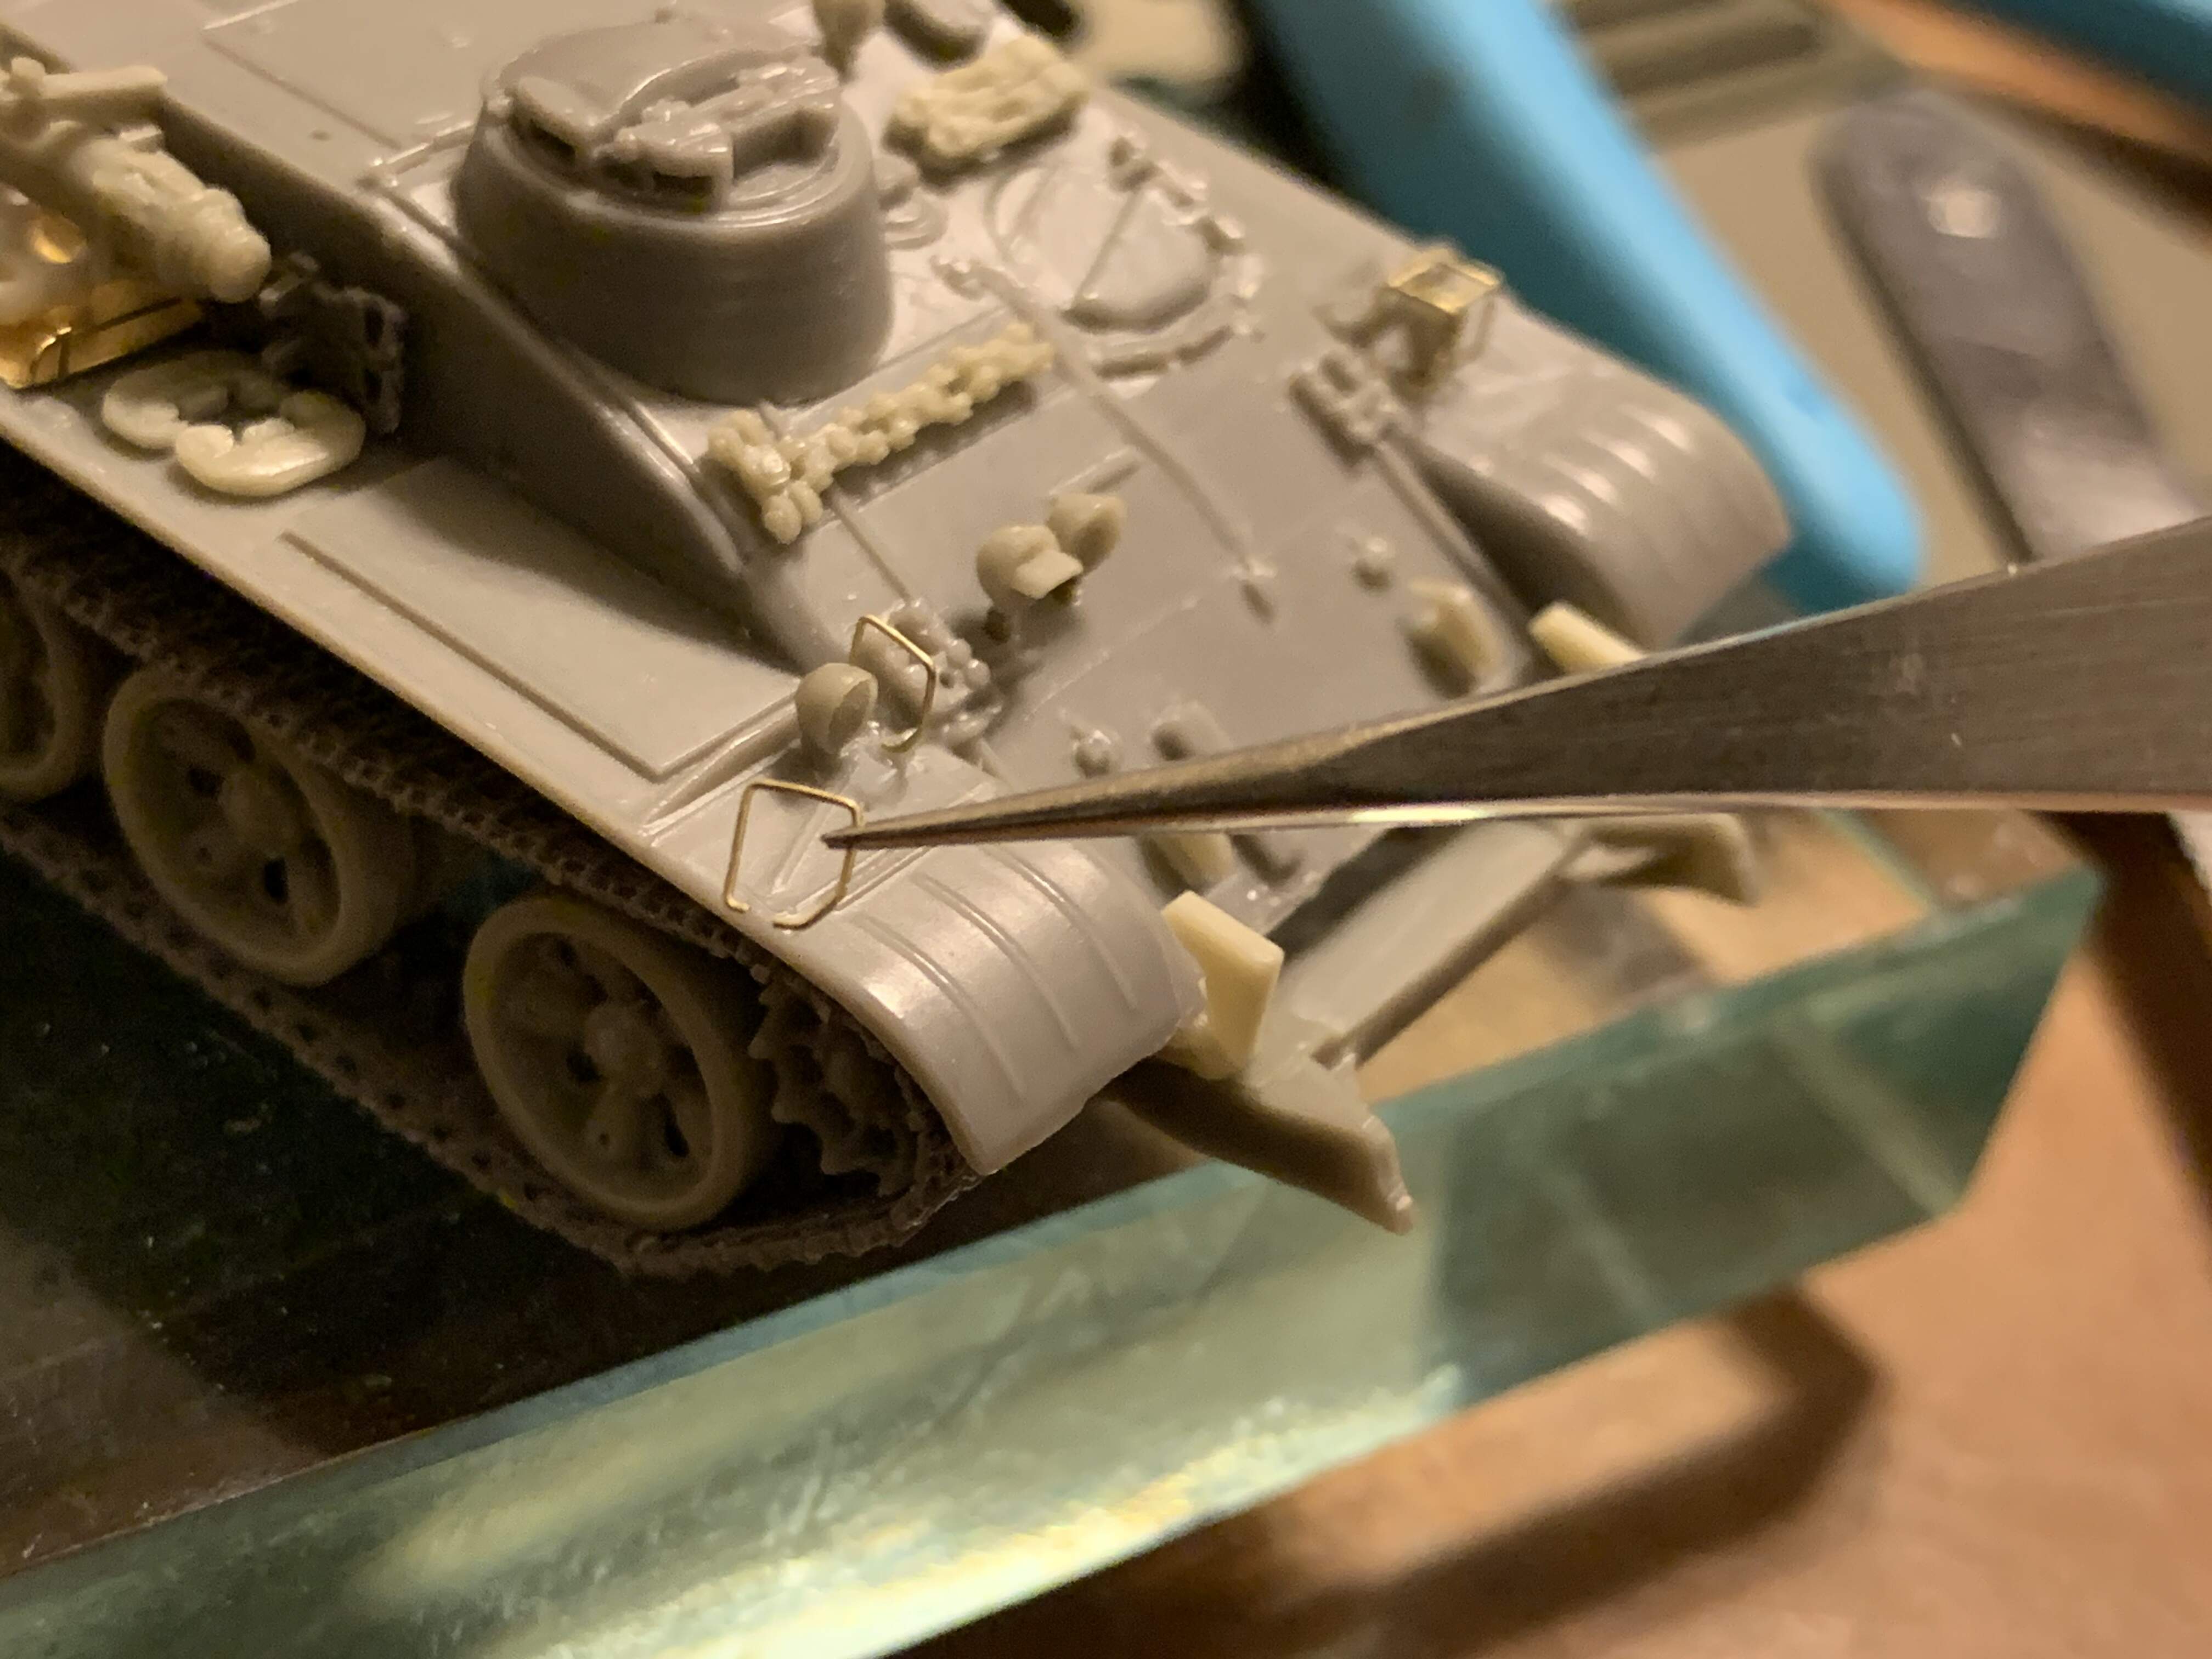
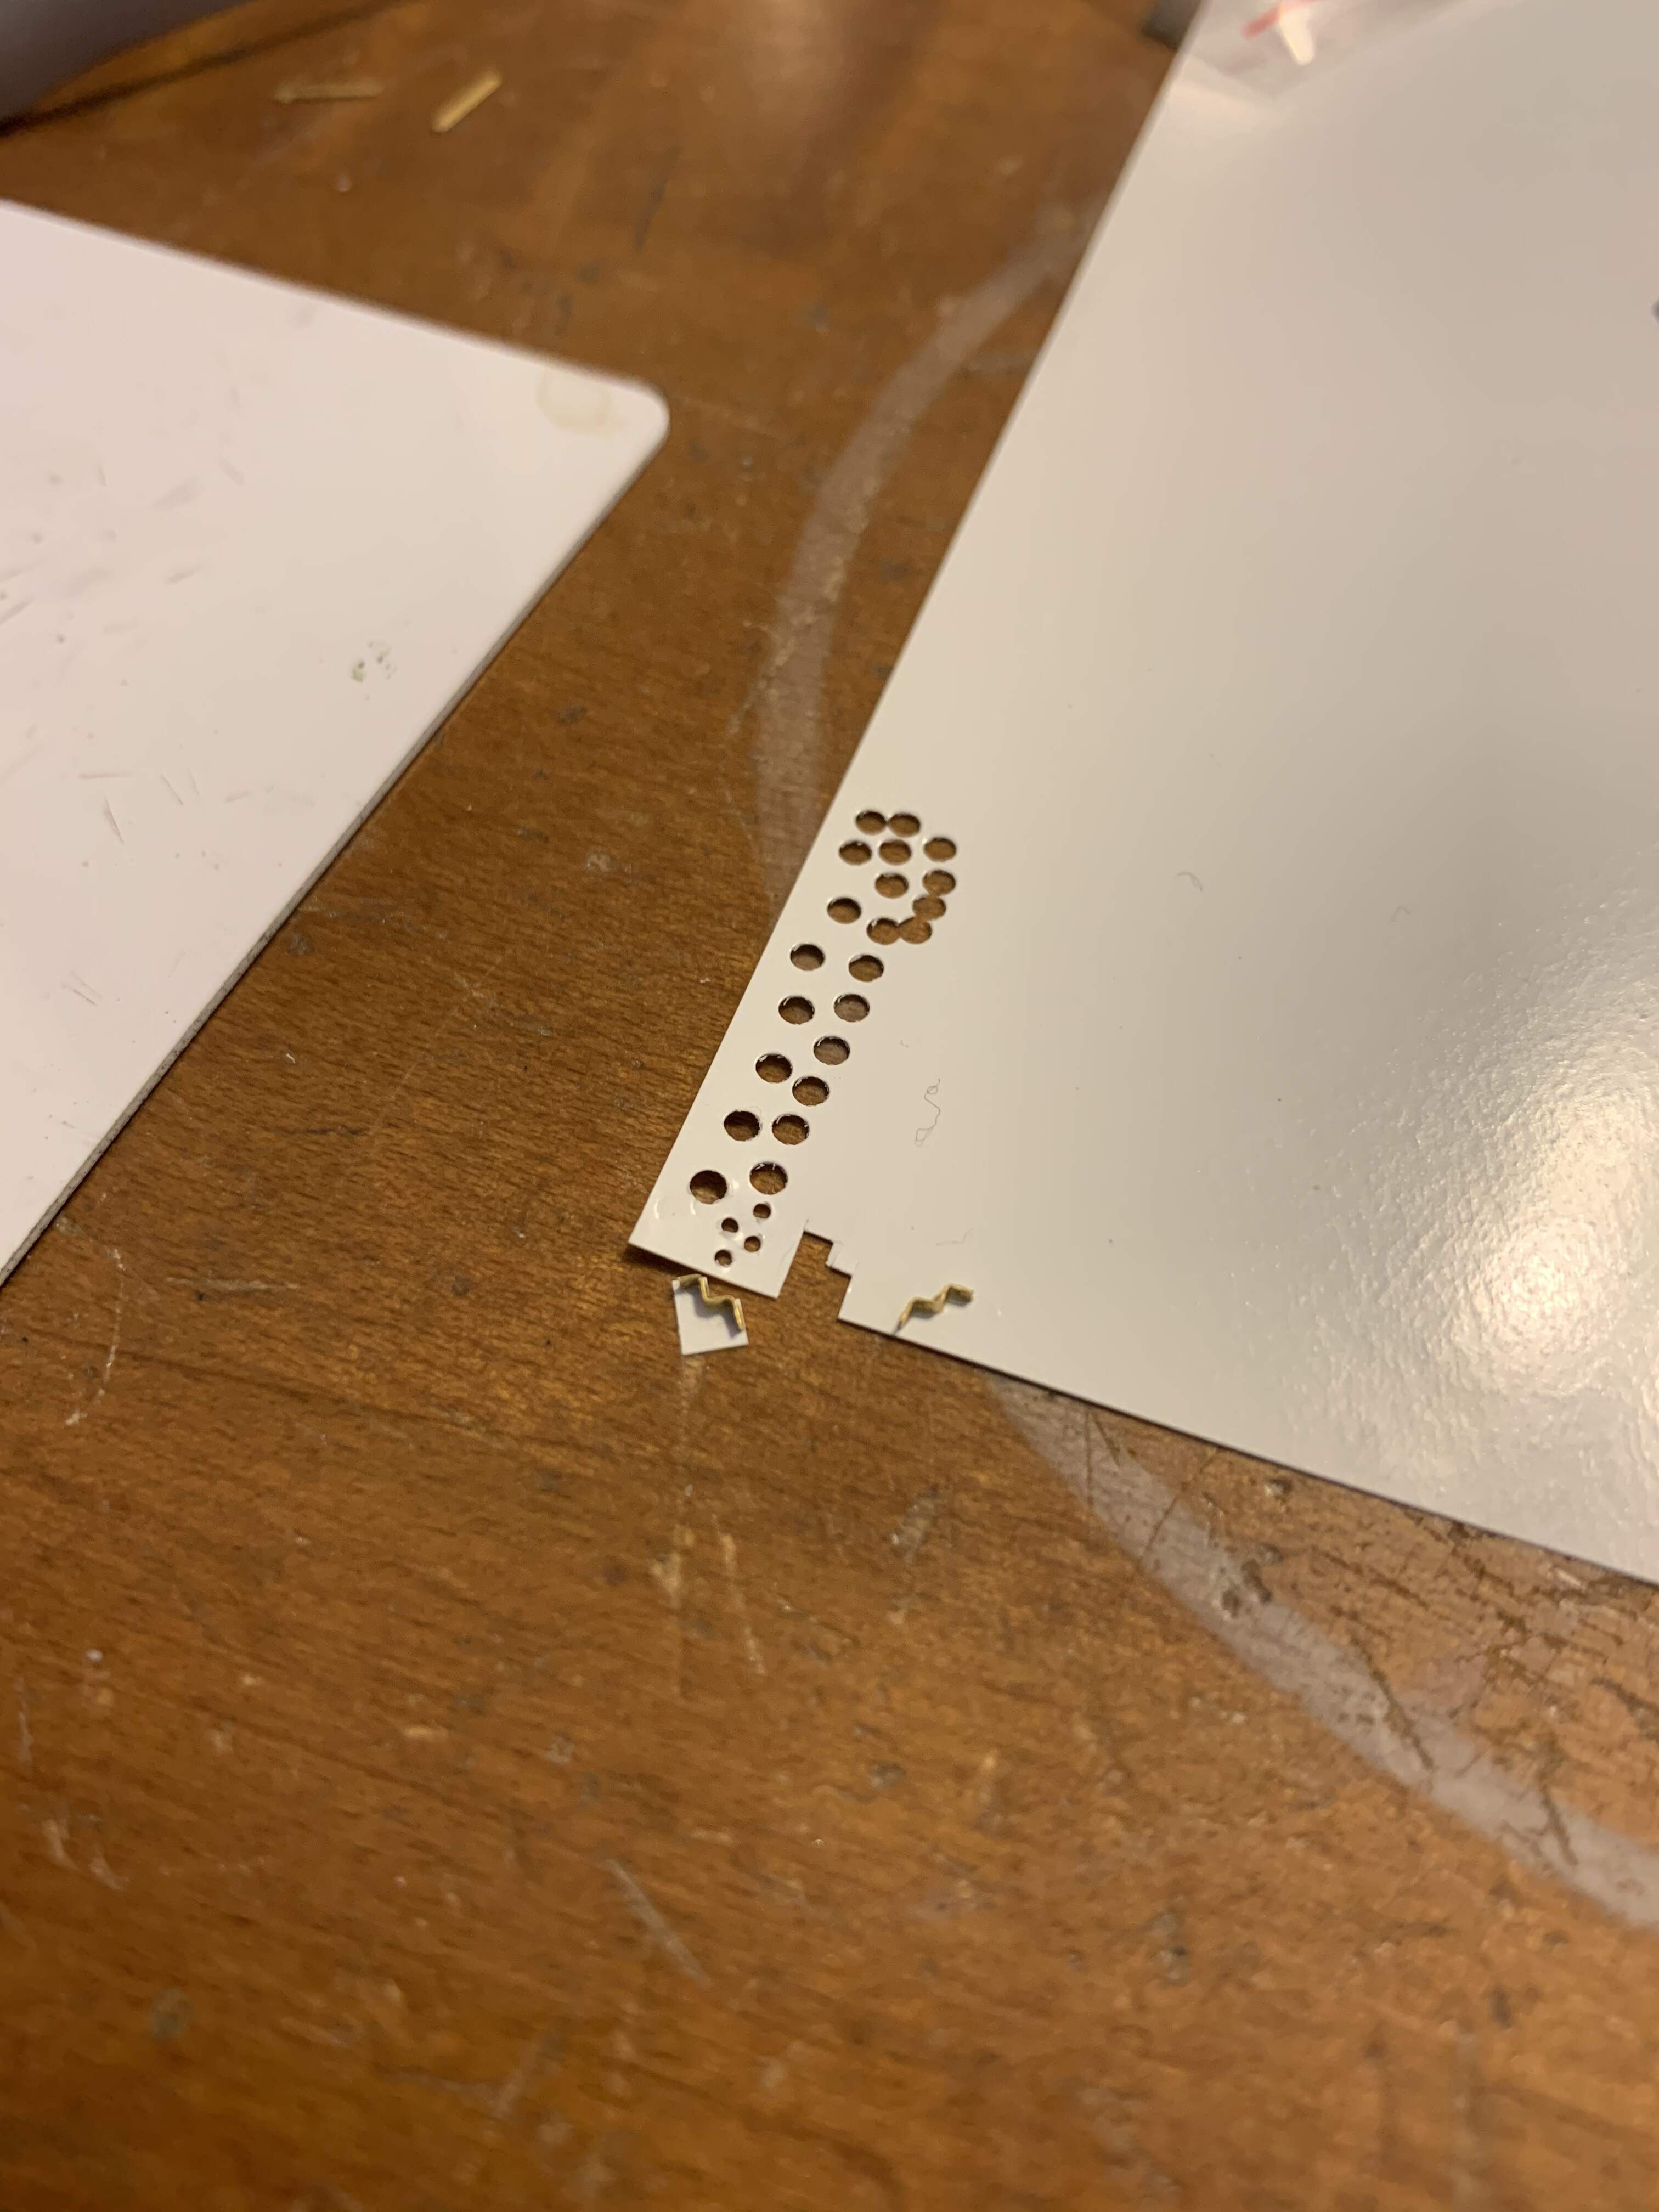
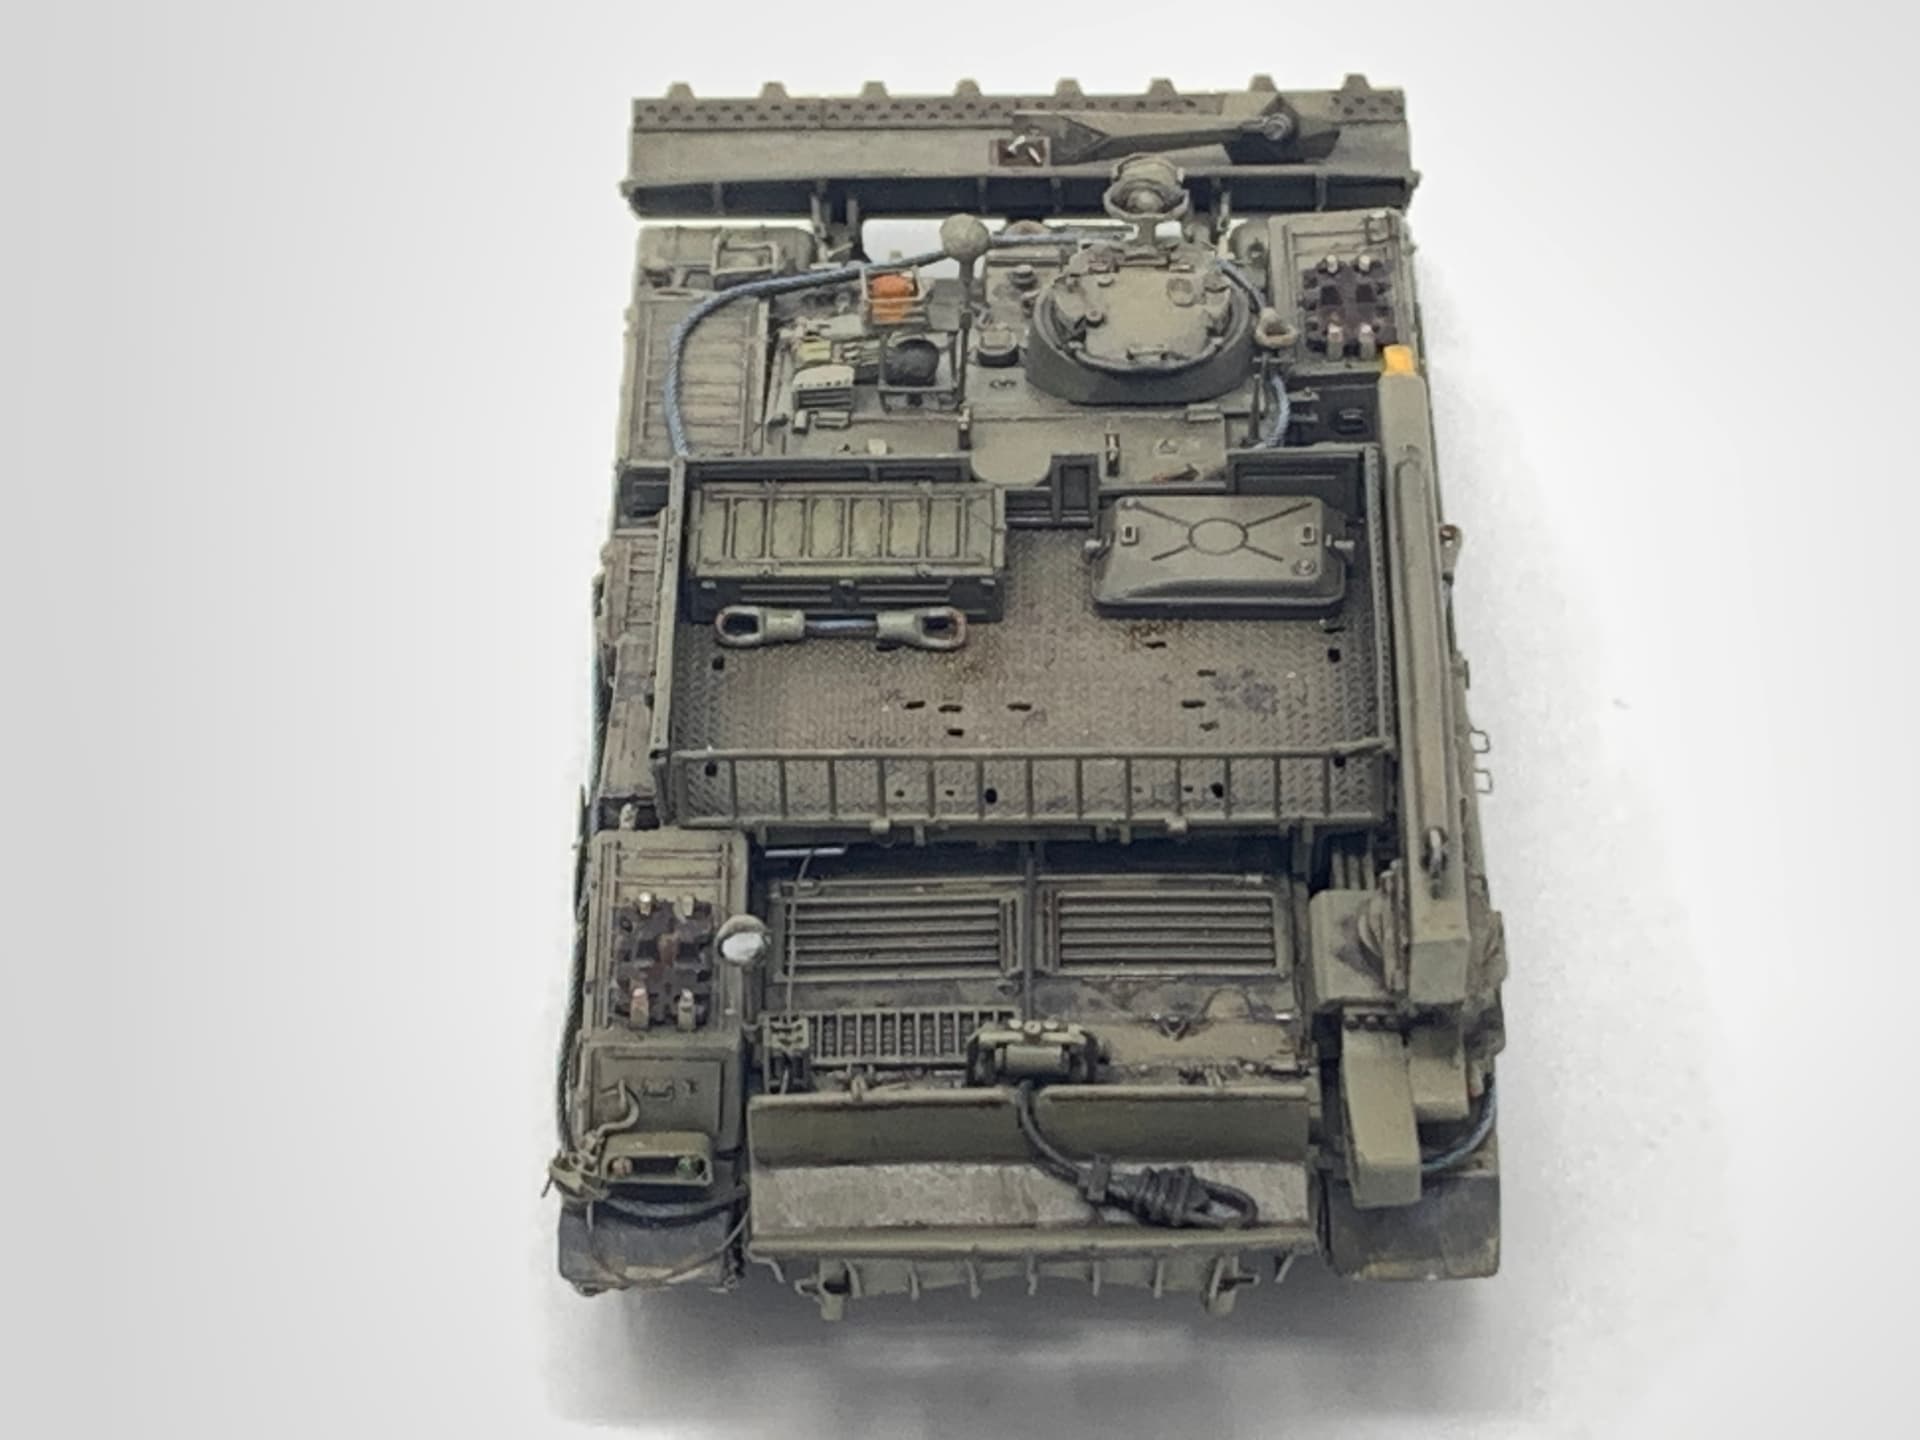
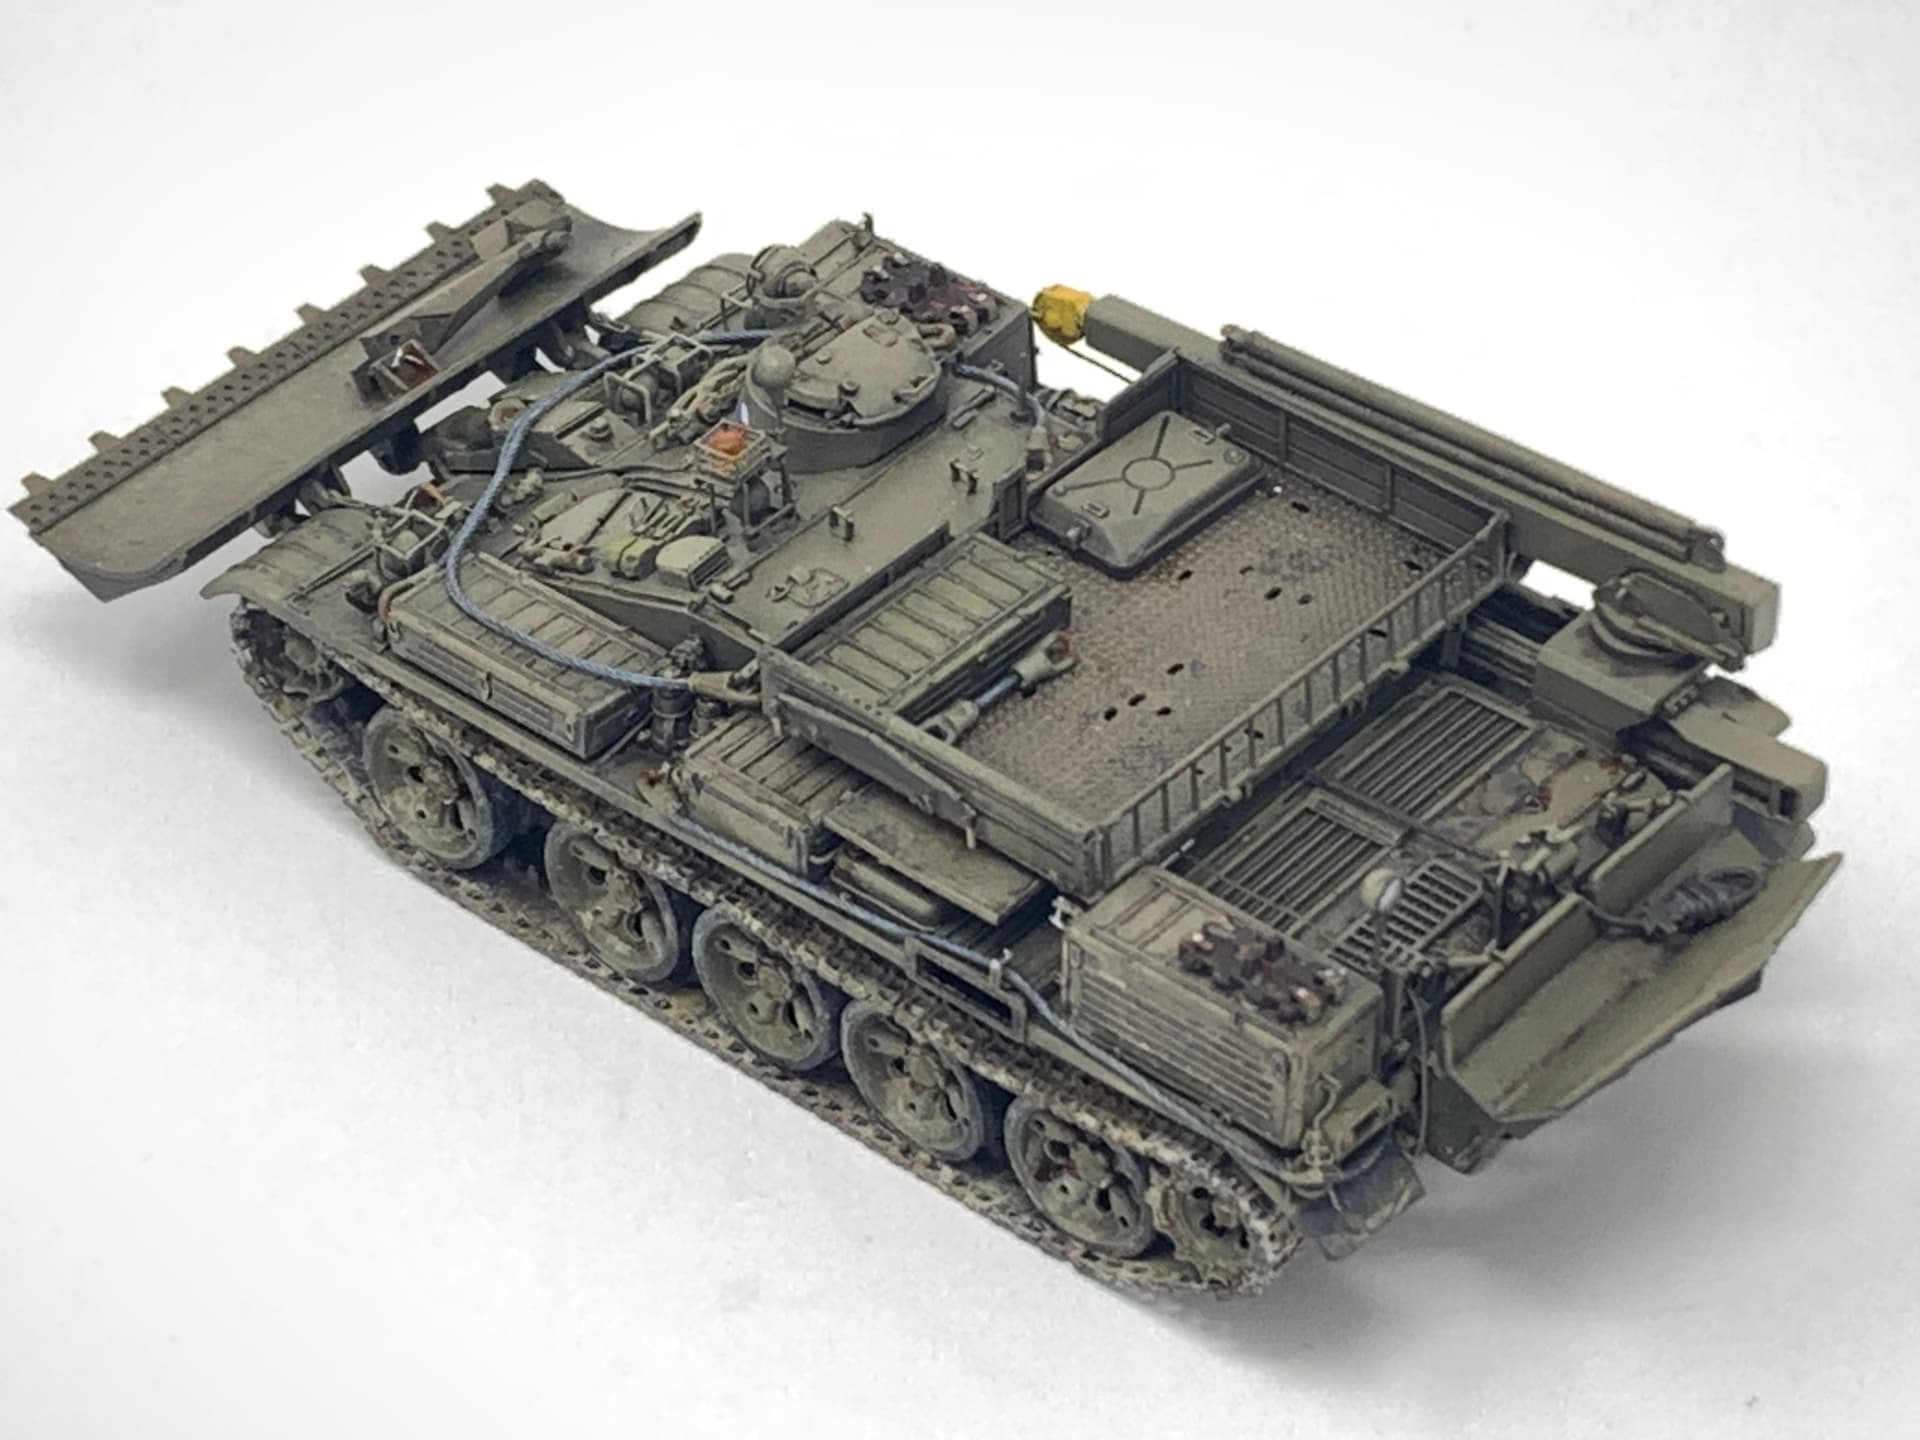
Here is what I have worked on so far. I assembled and dry fitted the stowage boxes that will be placed around the fenders. Each of the photoecthed parts will go over resin blocks. They will provide strength to the boxes. Unfortunately, the gaps and the perforation will need some work.
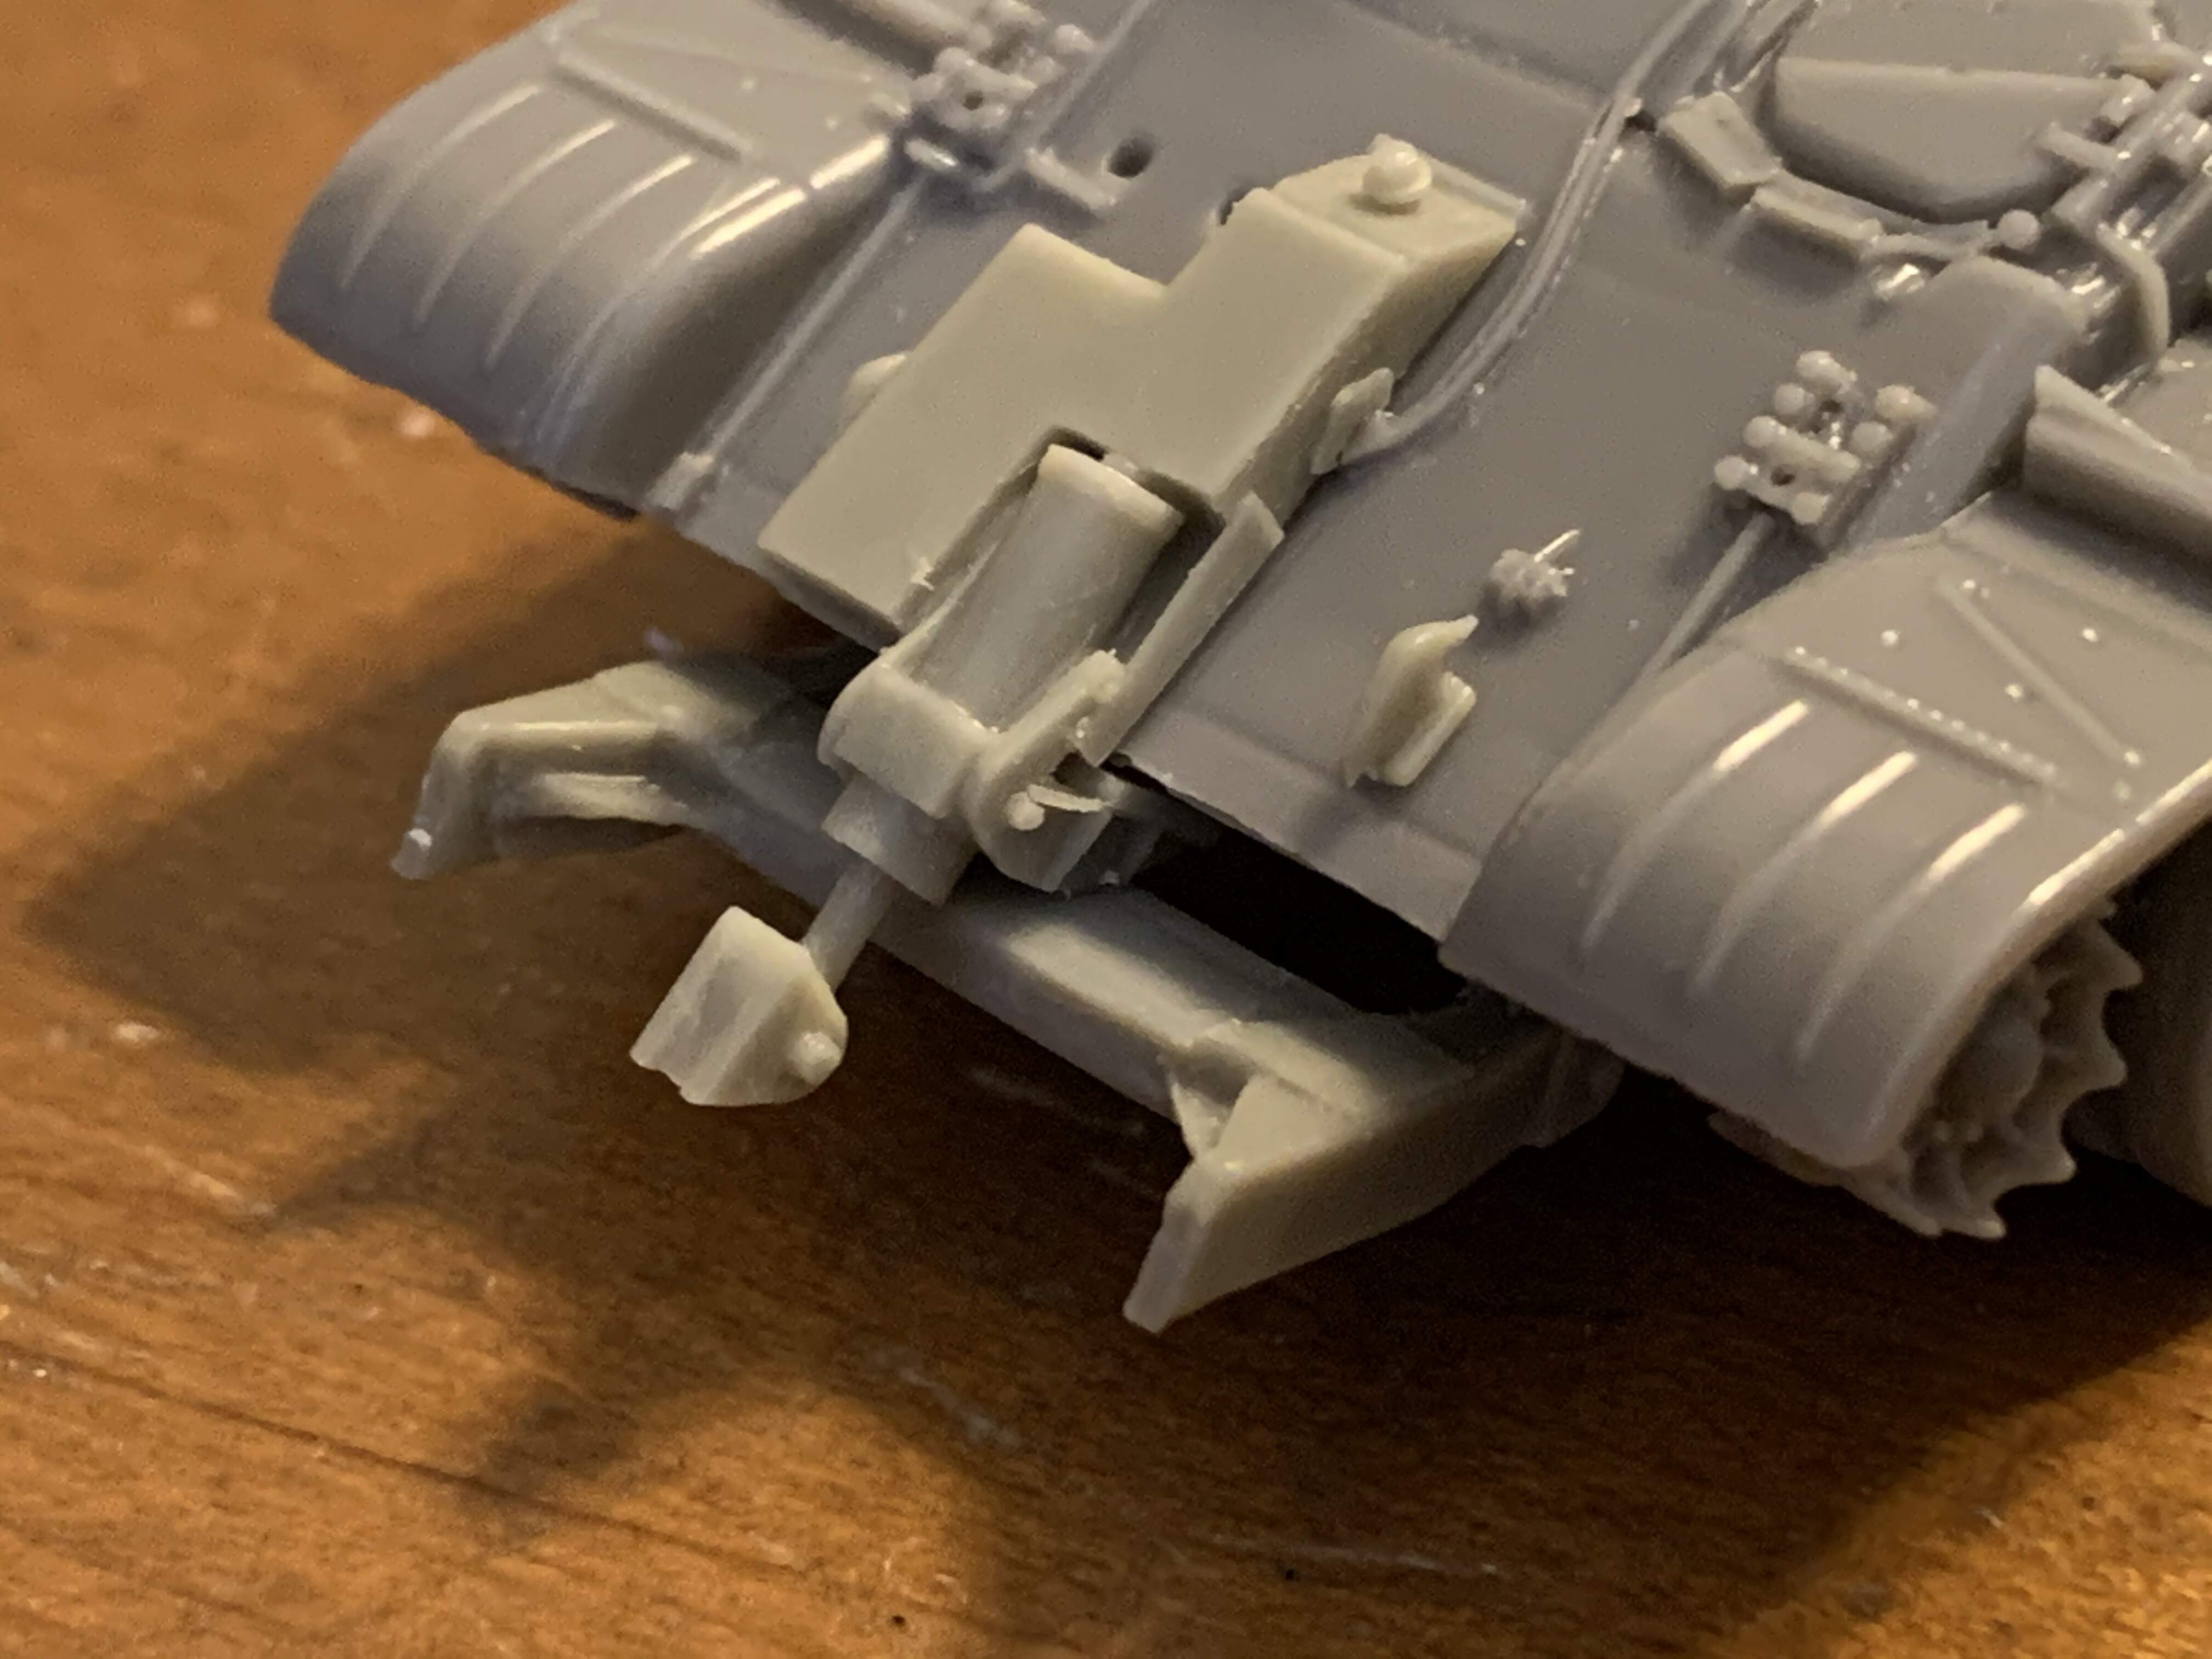
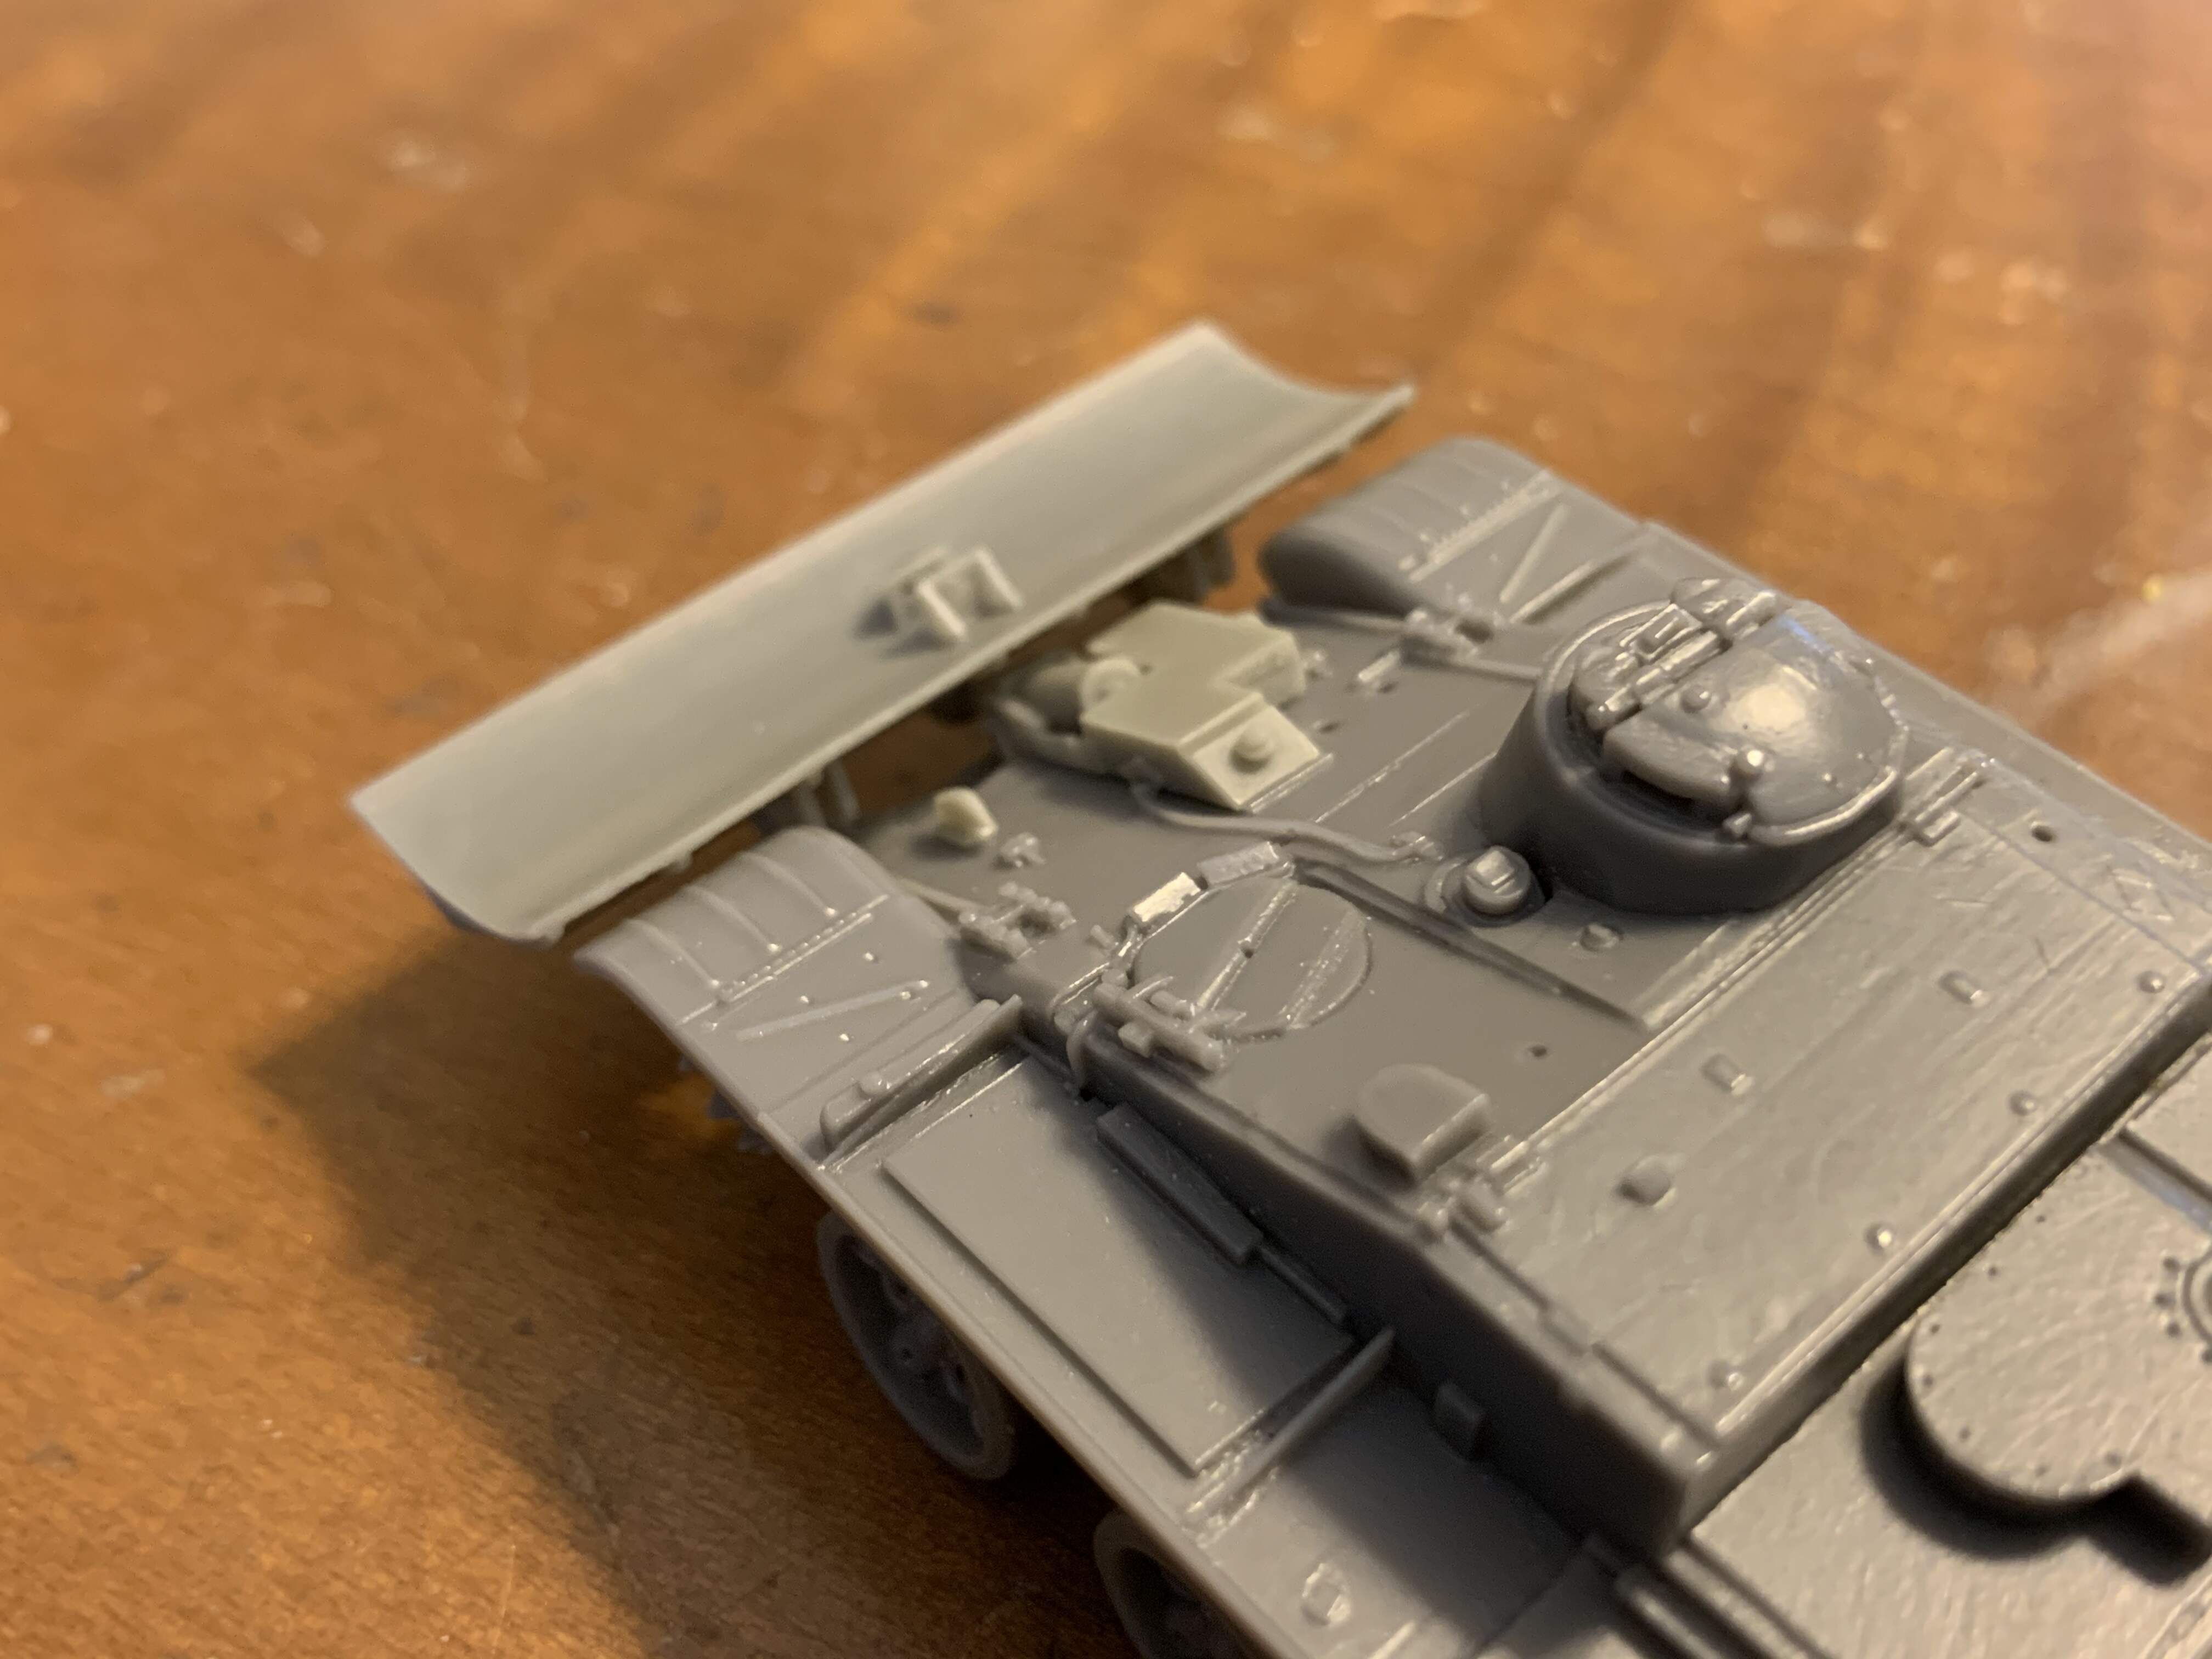
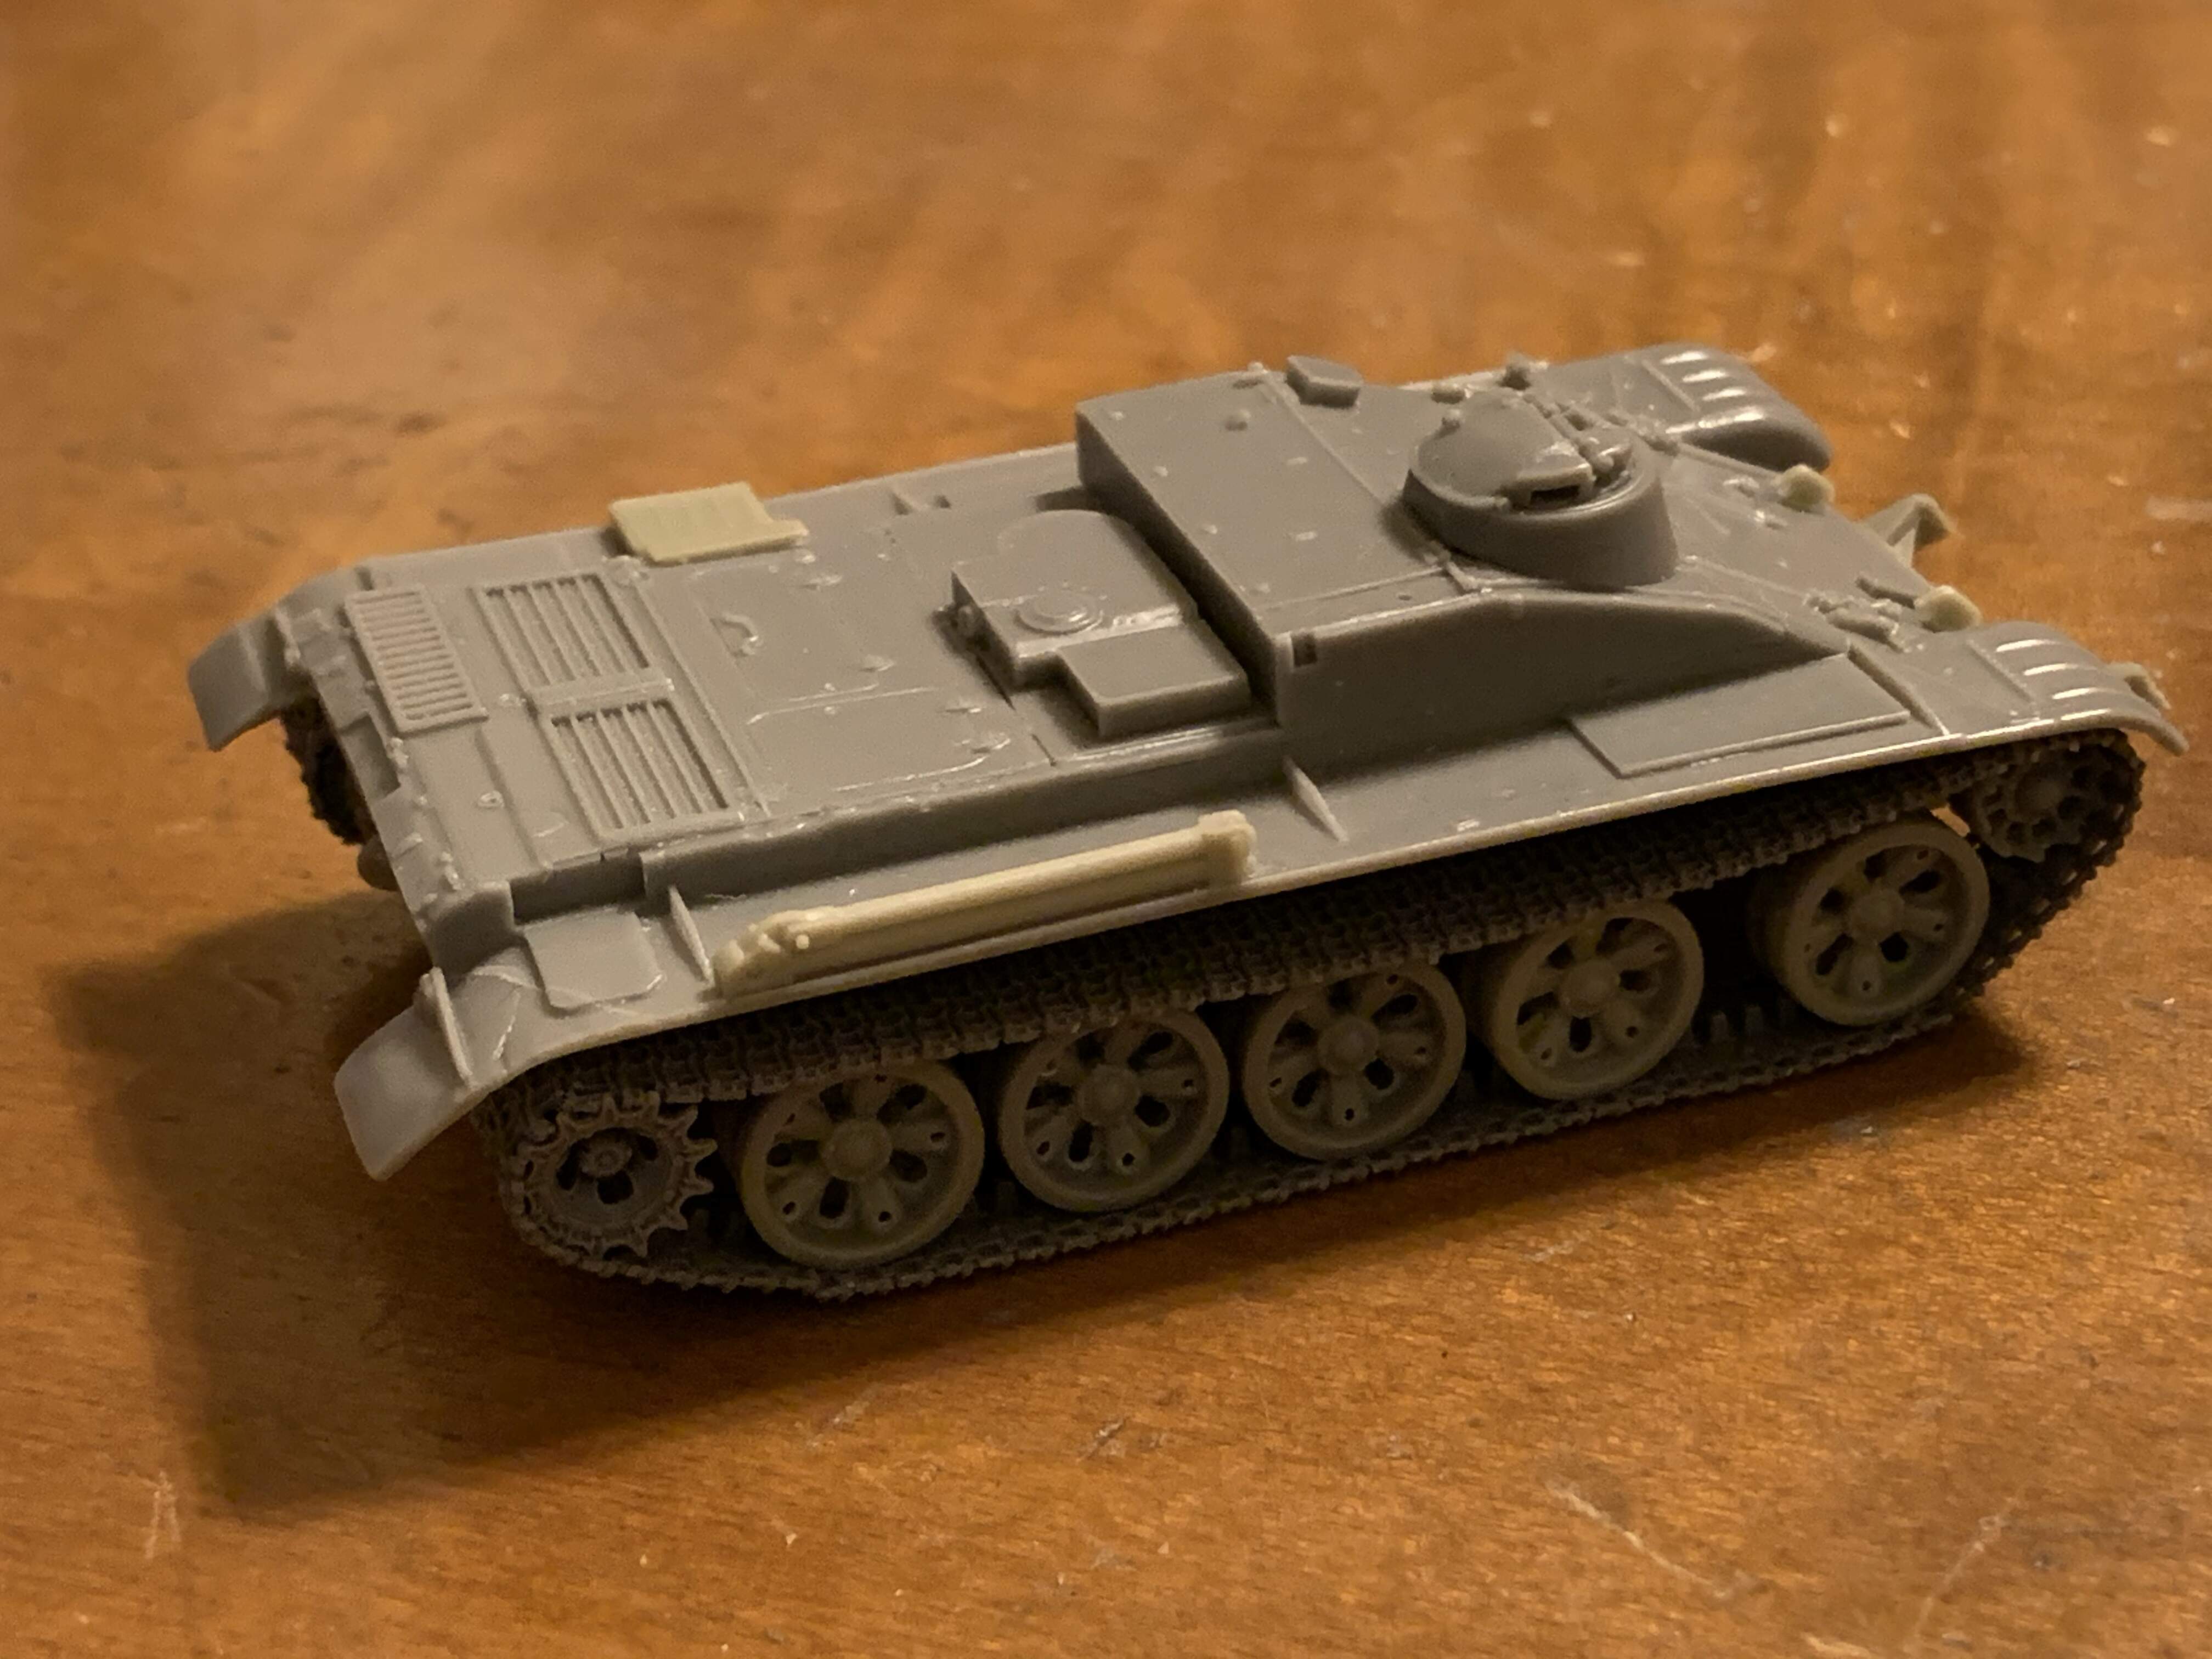
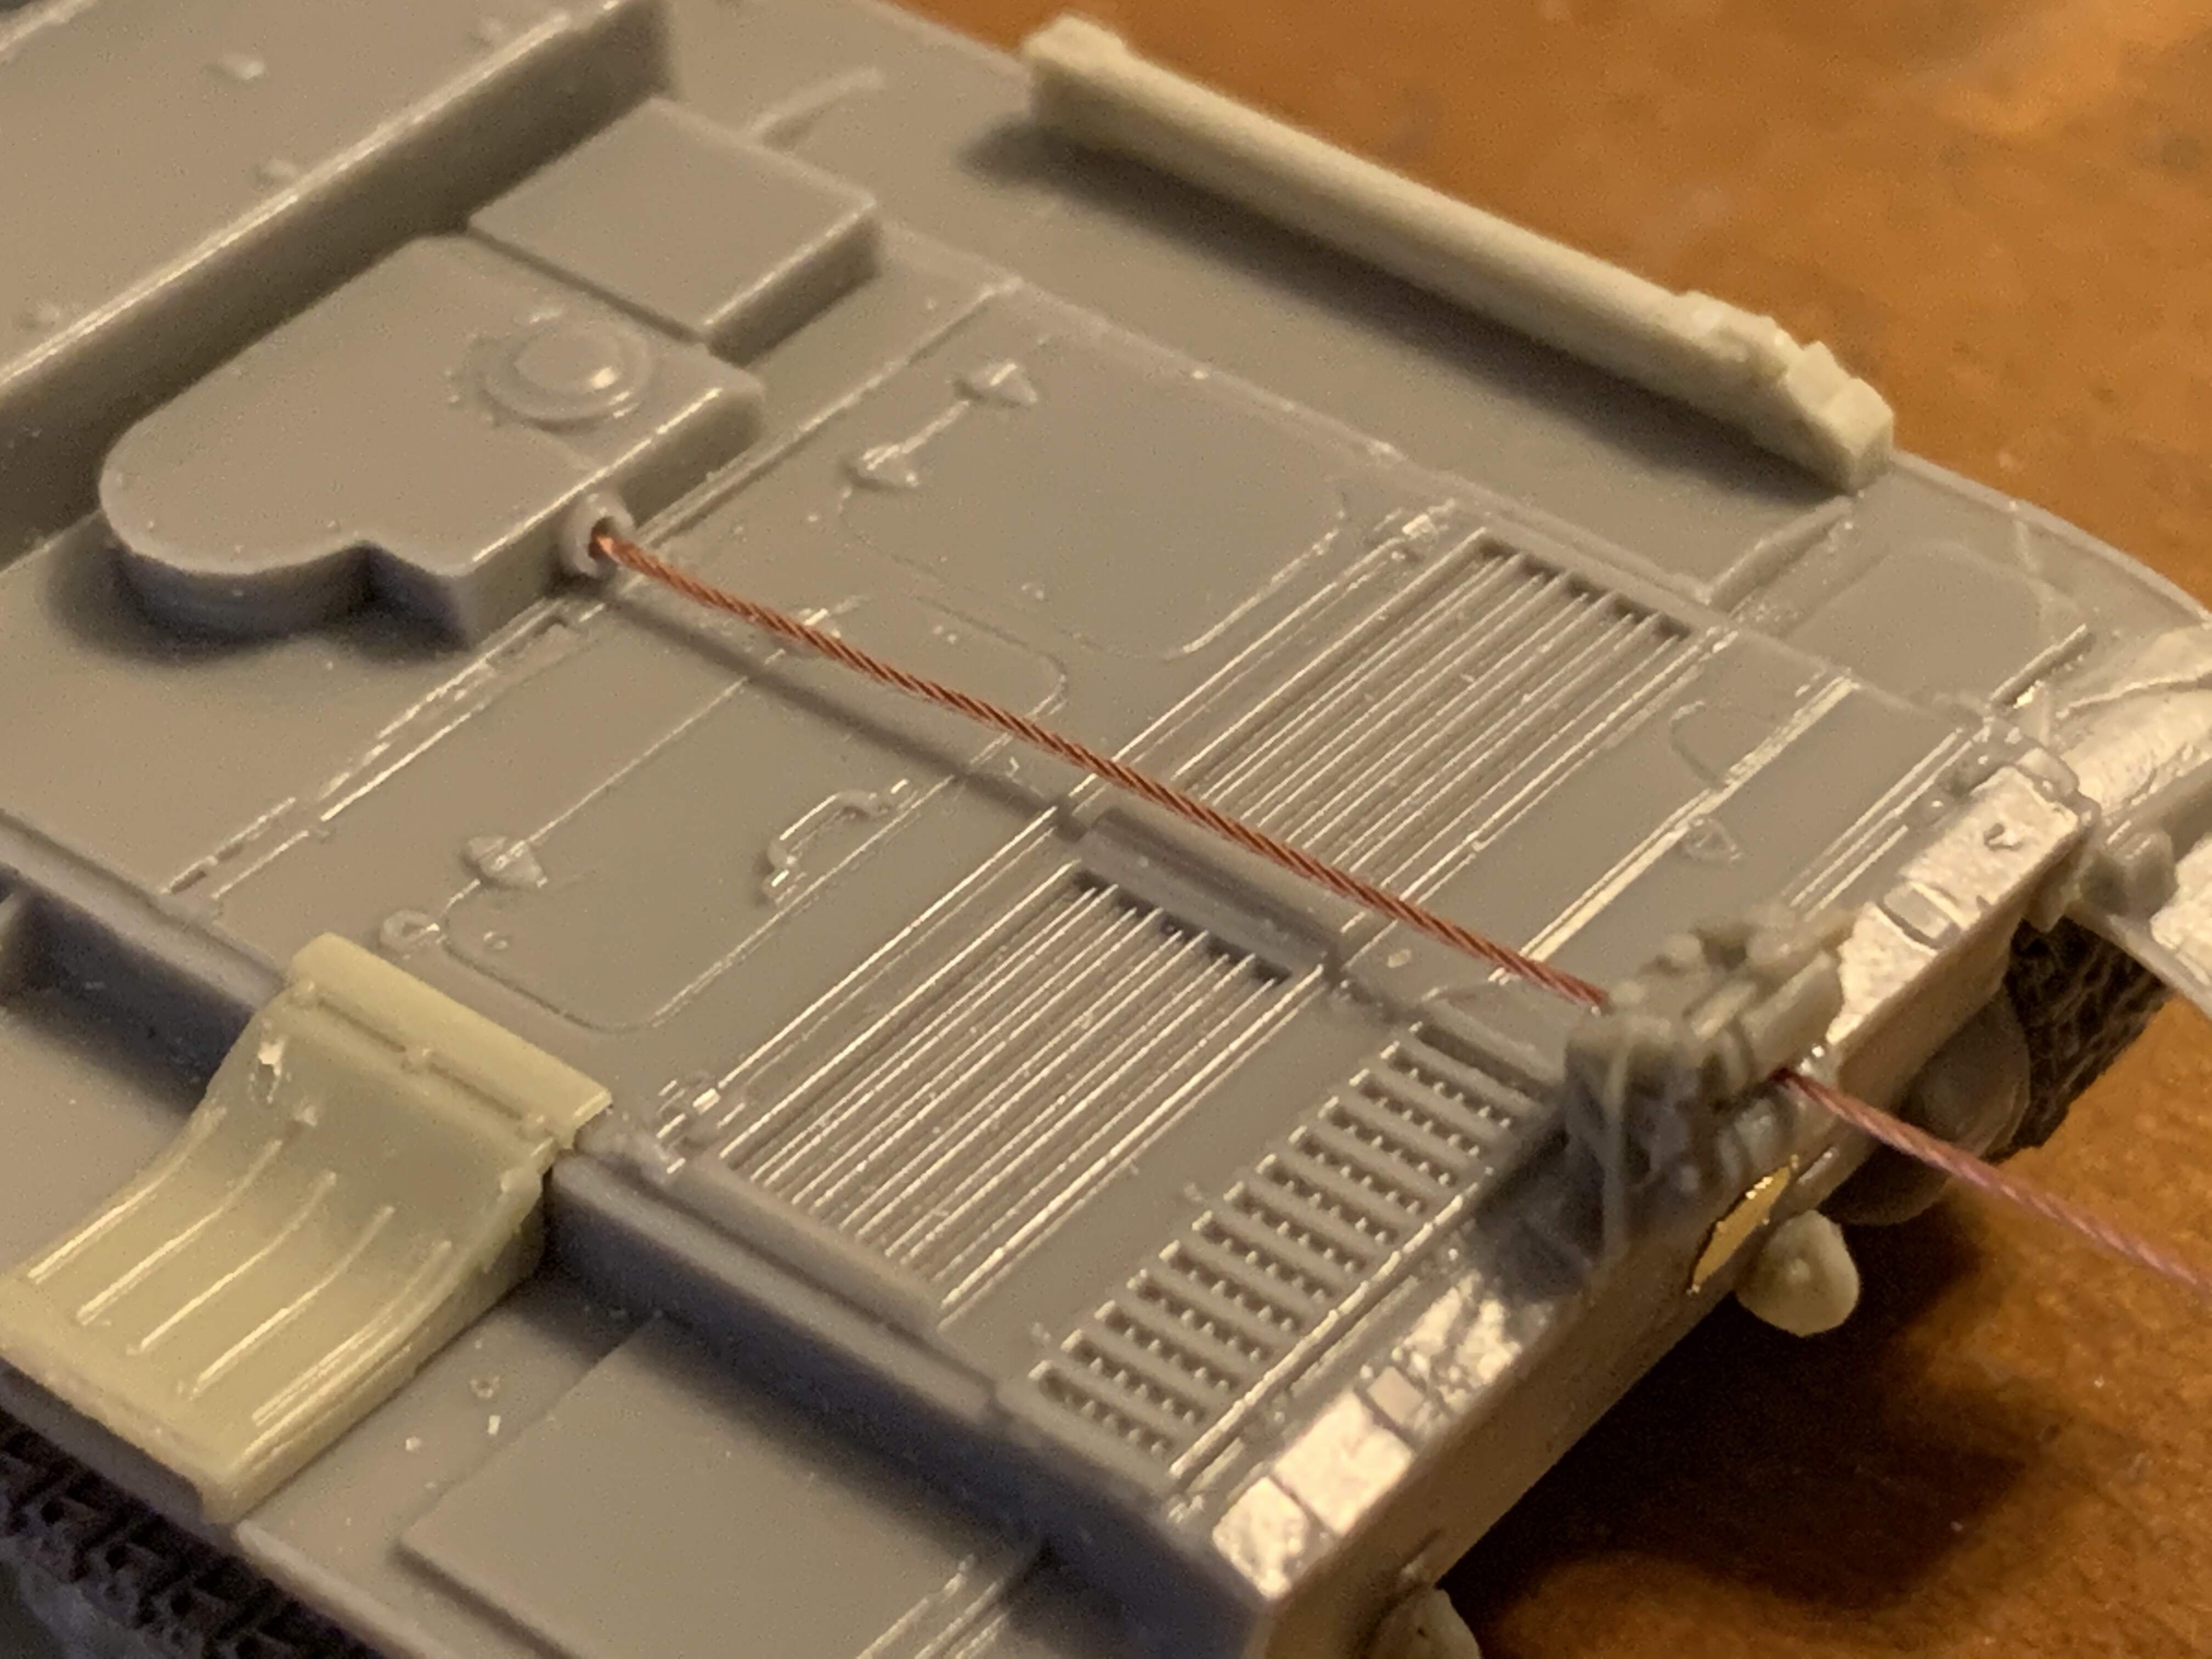
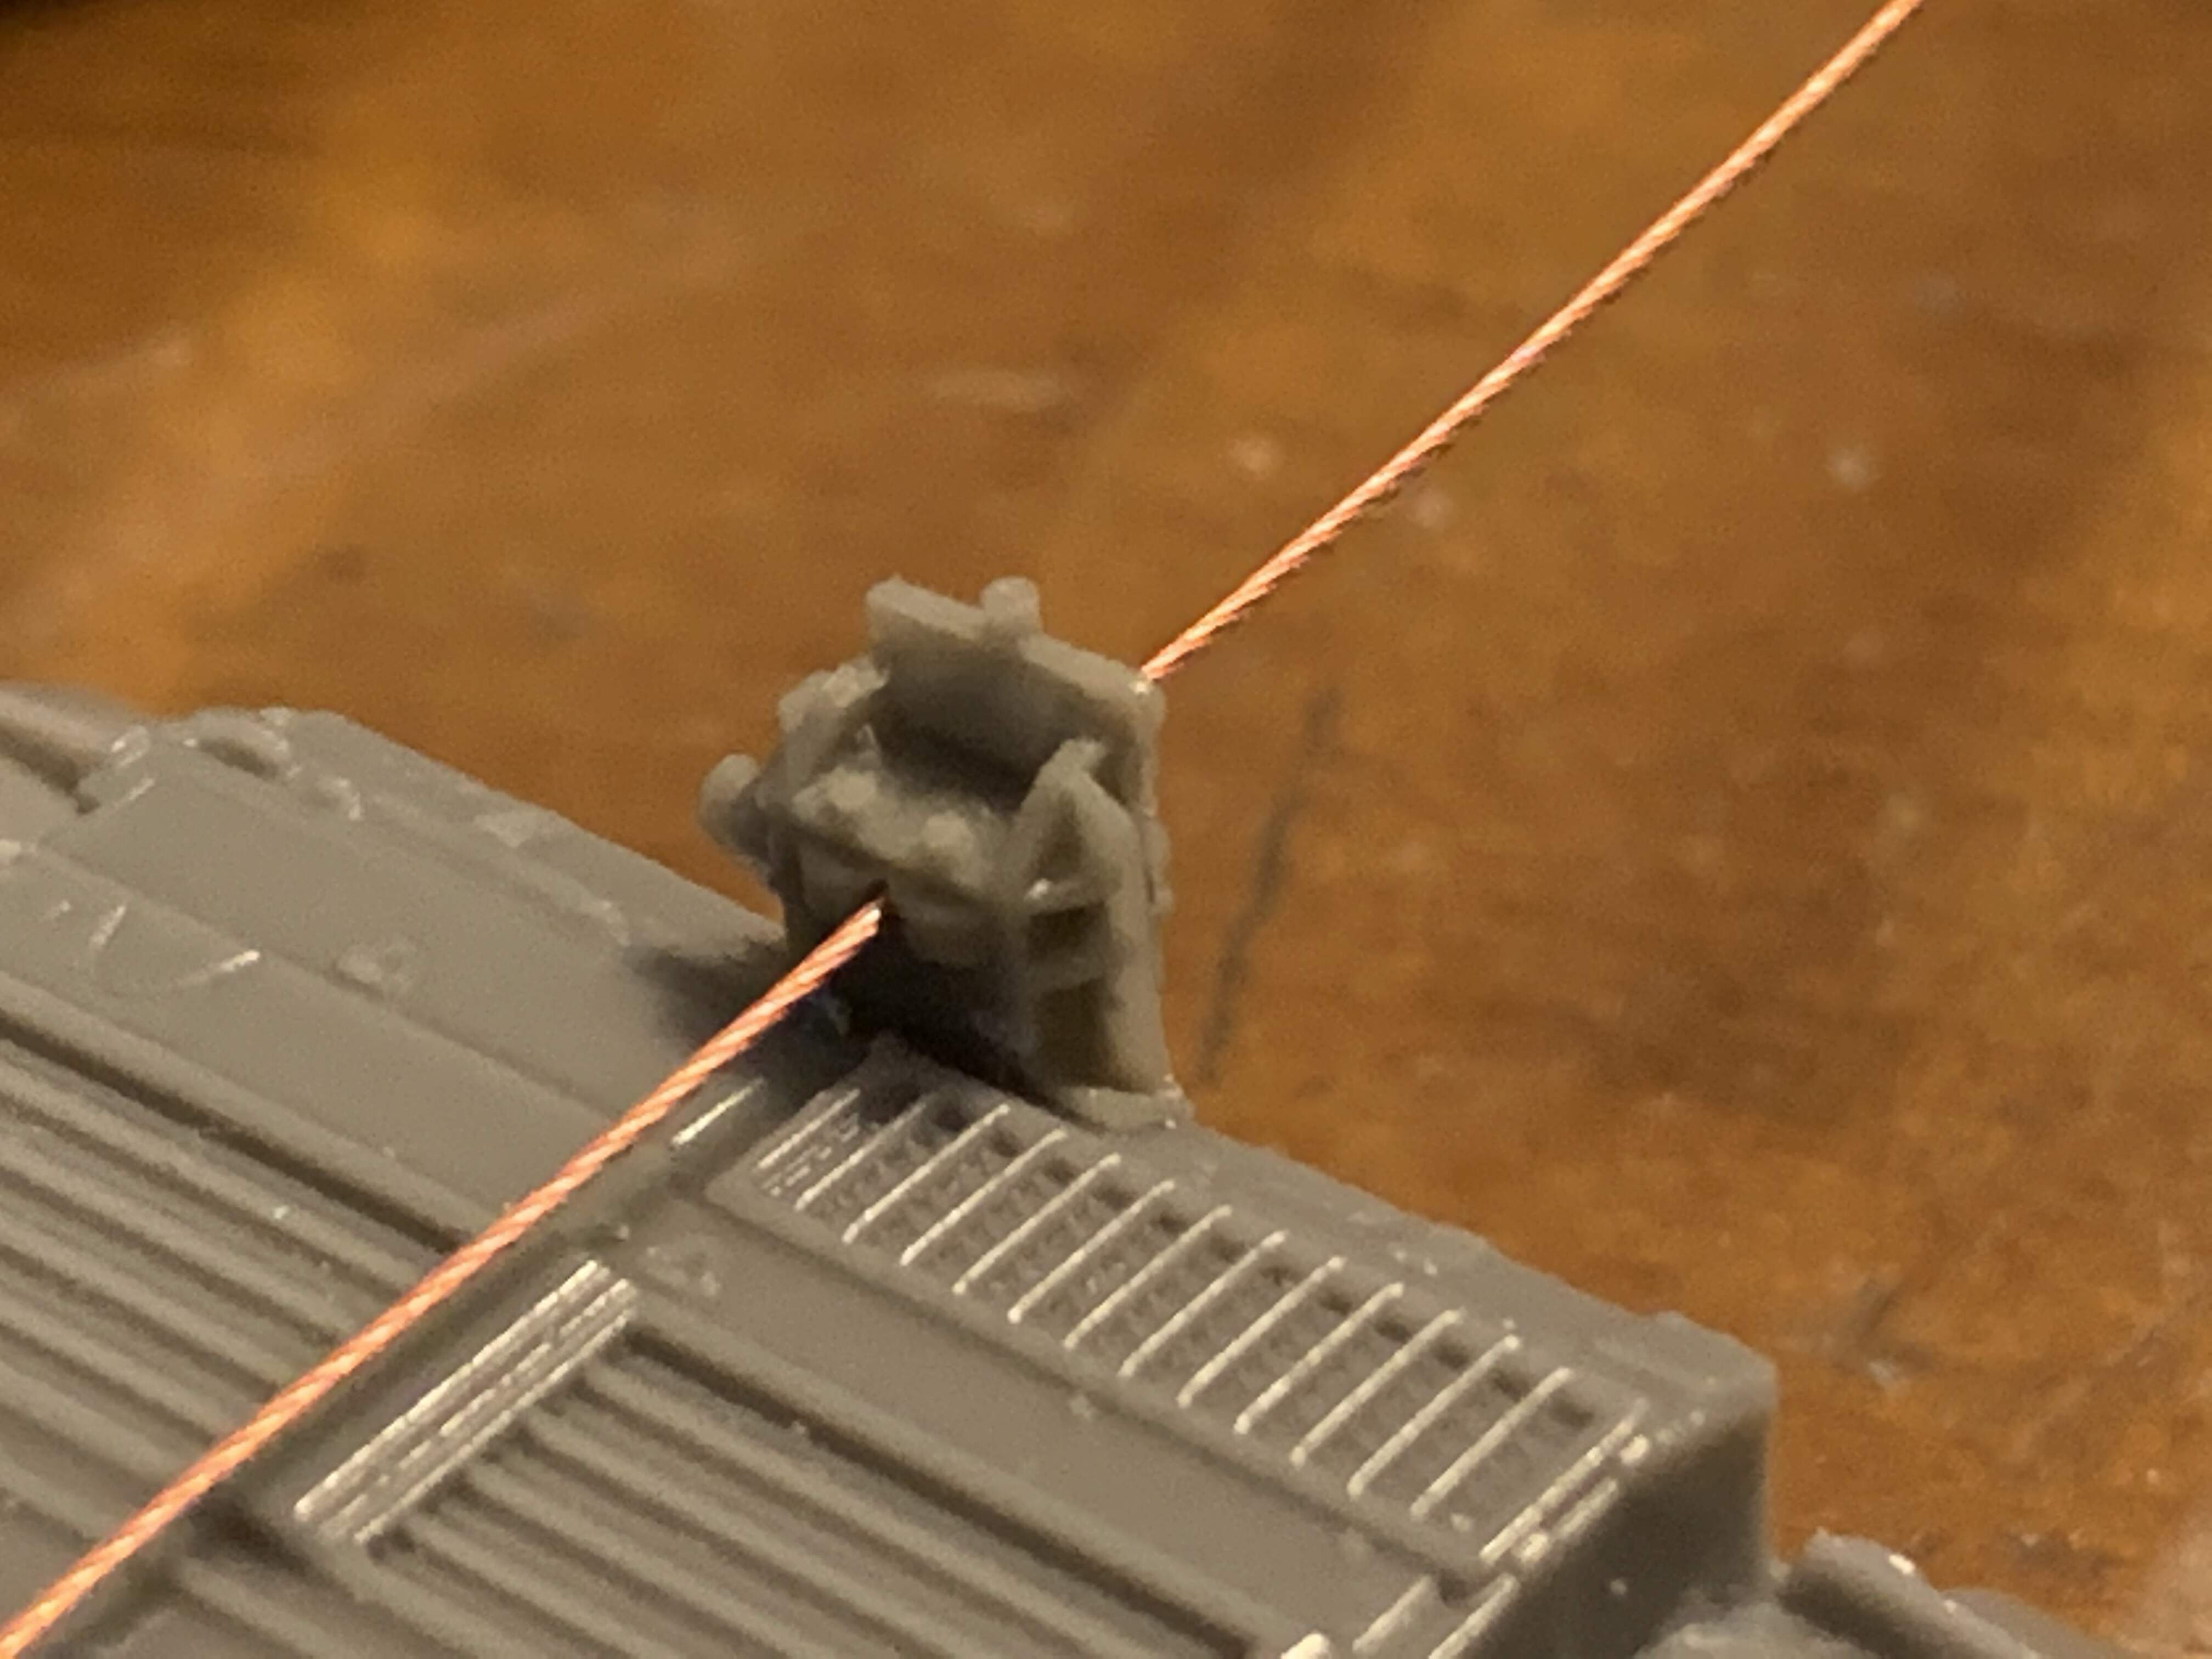
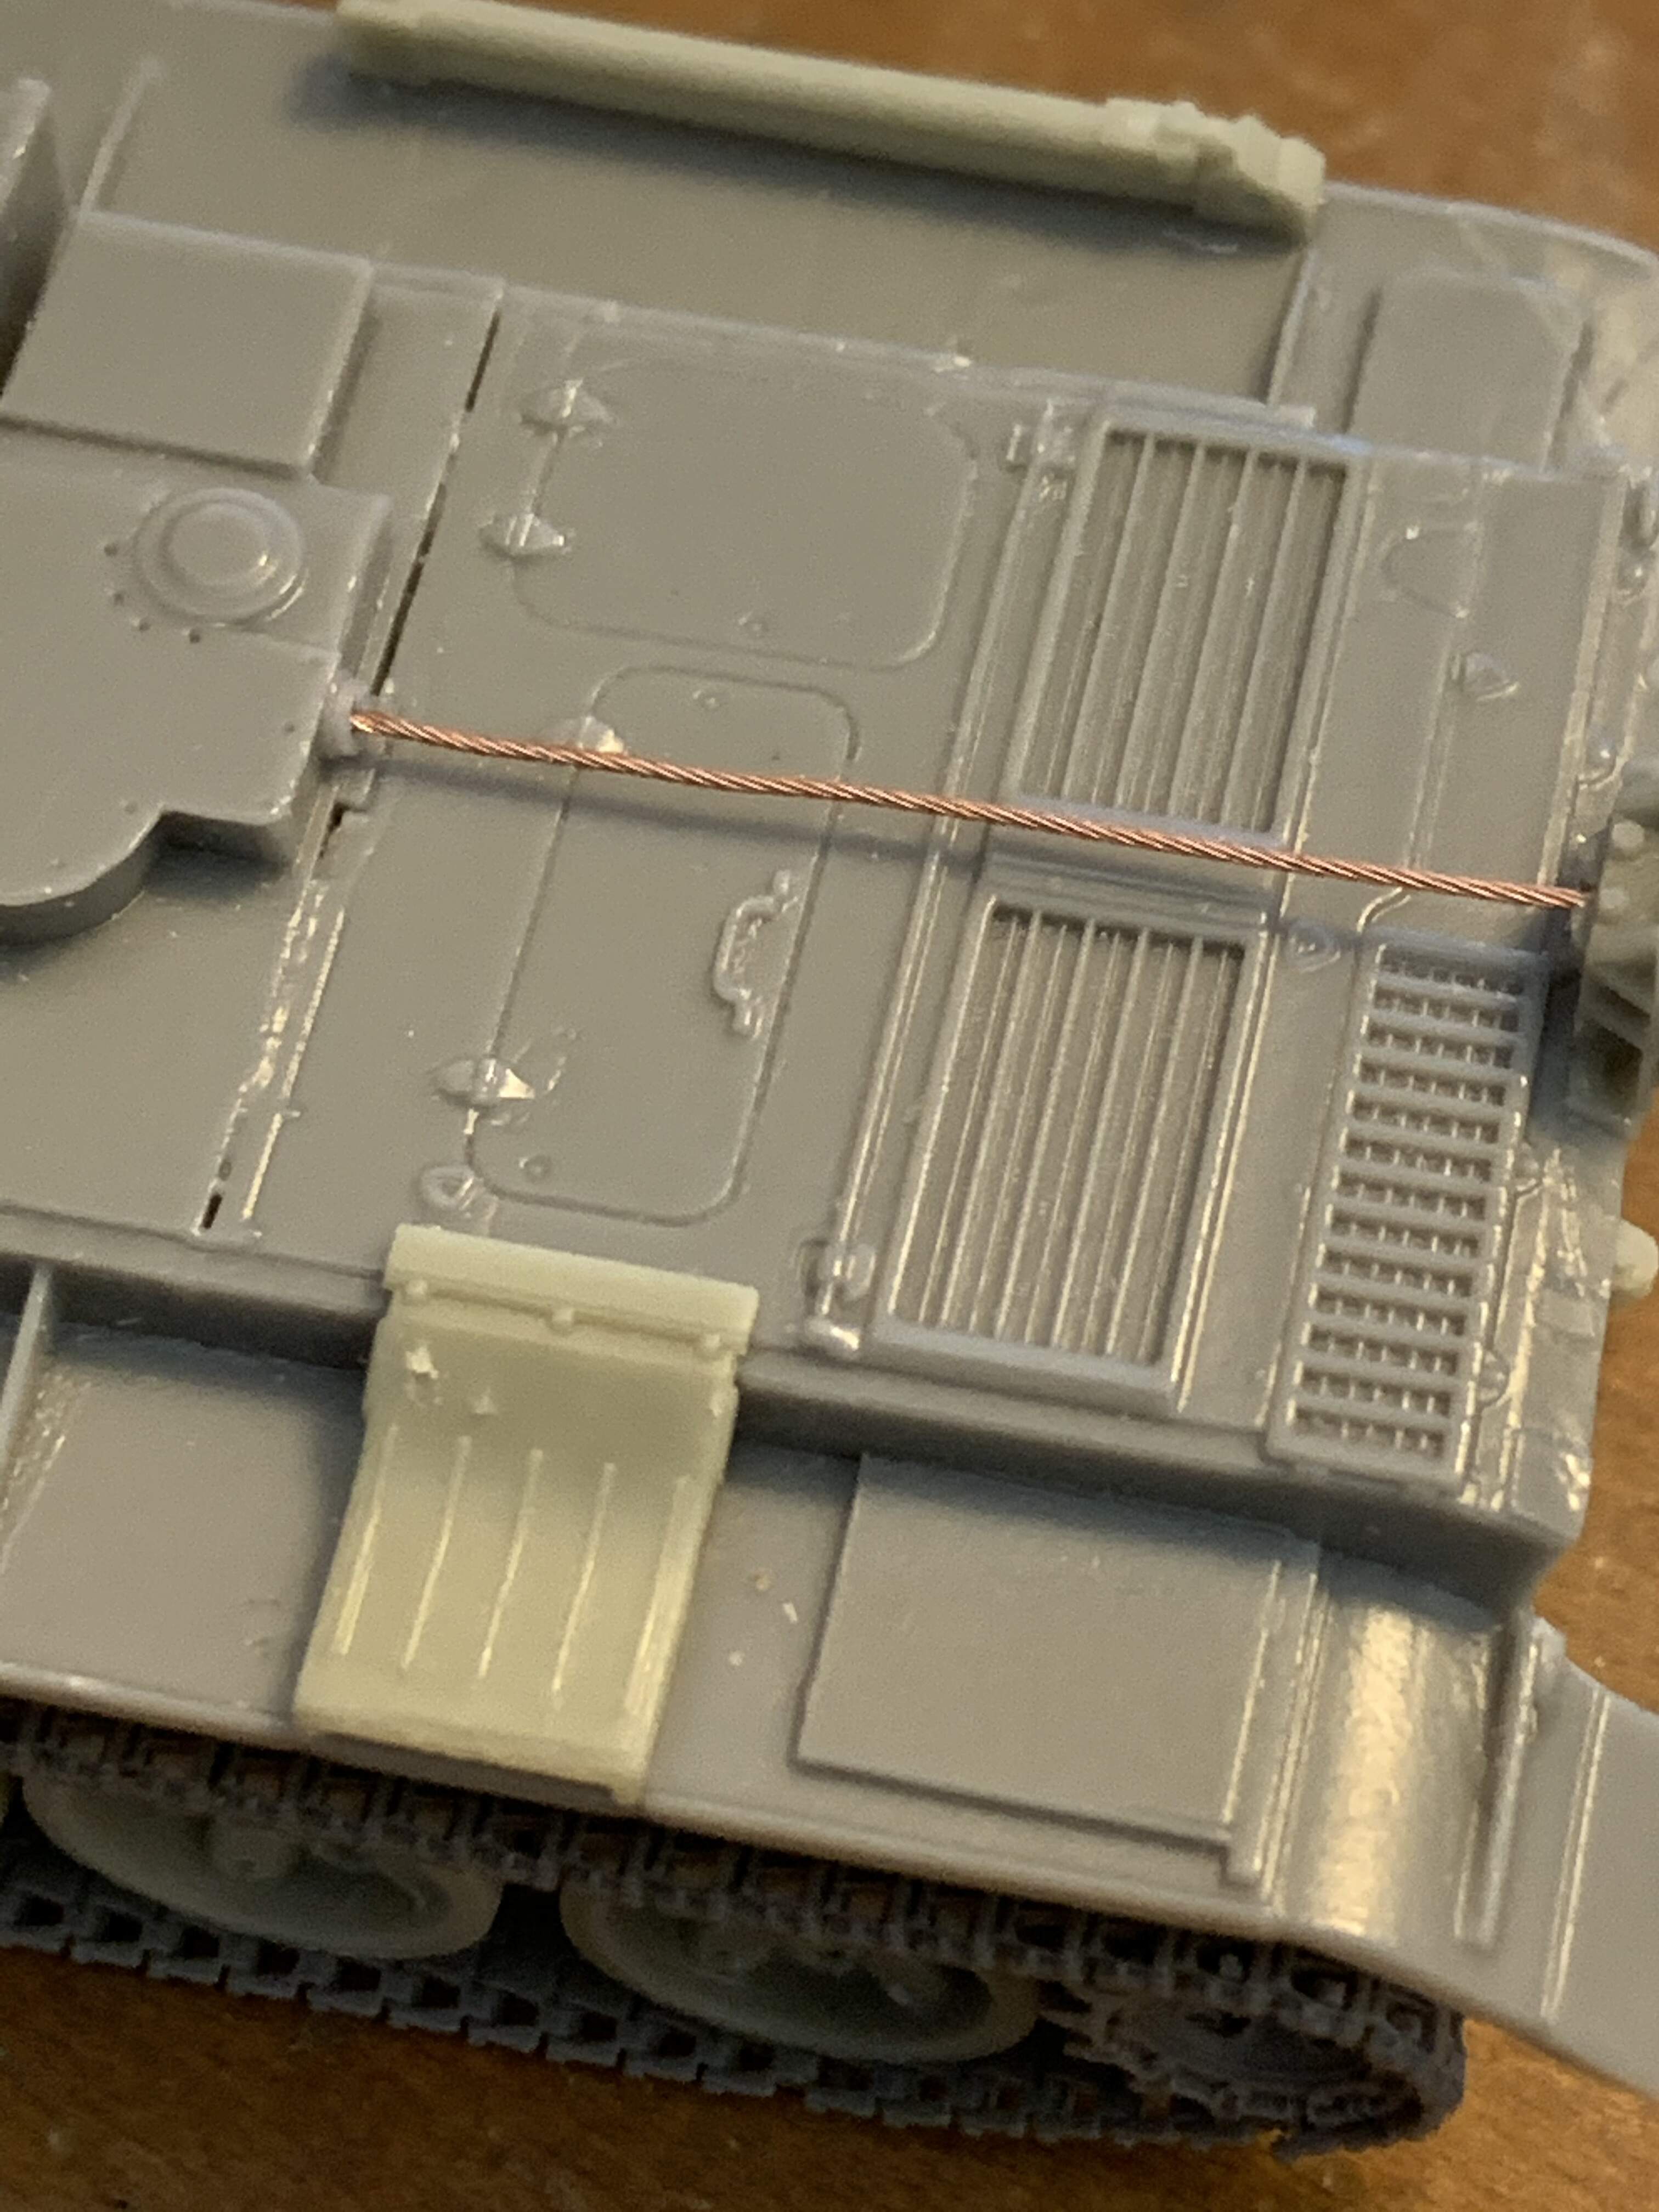
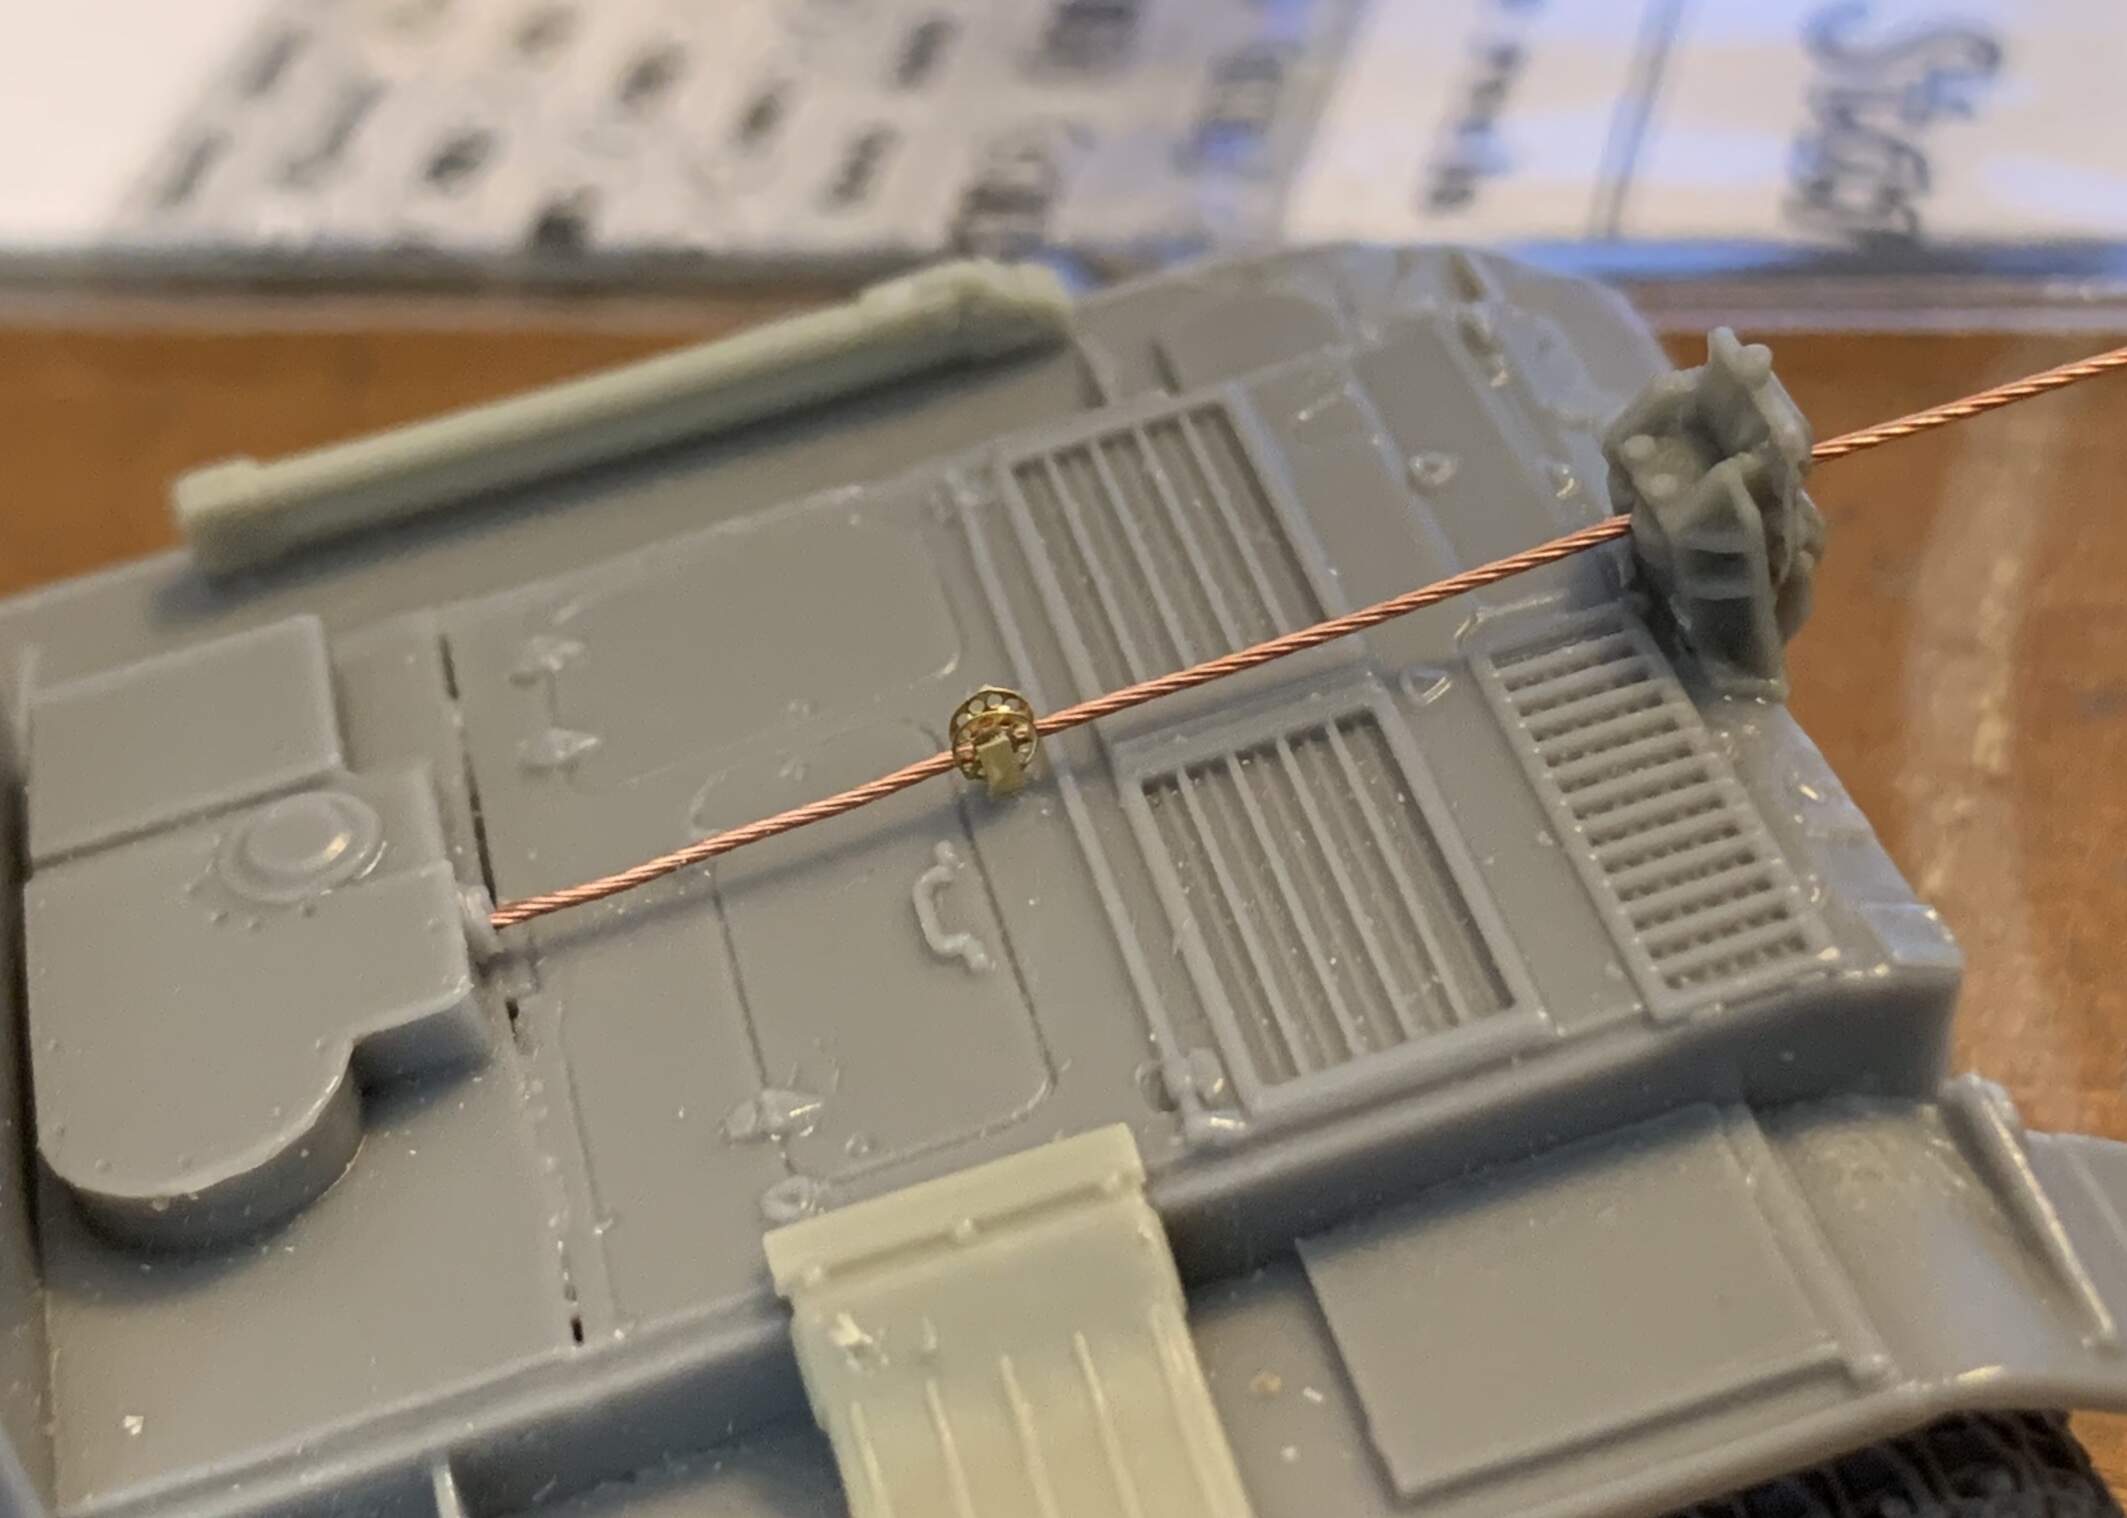
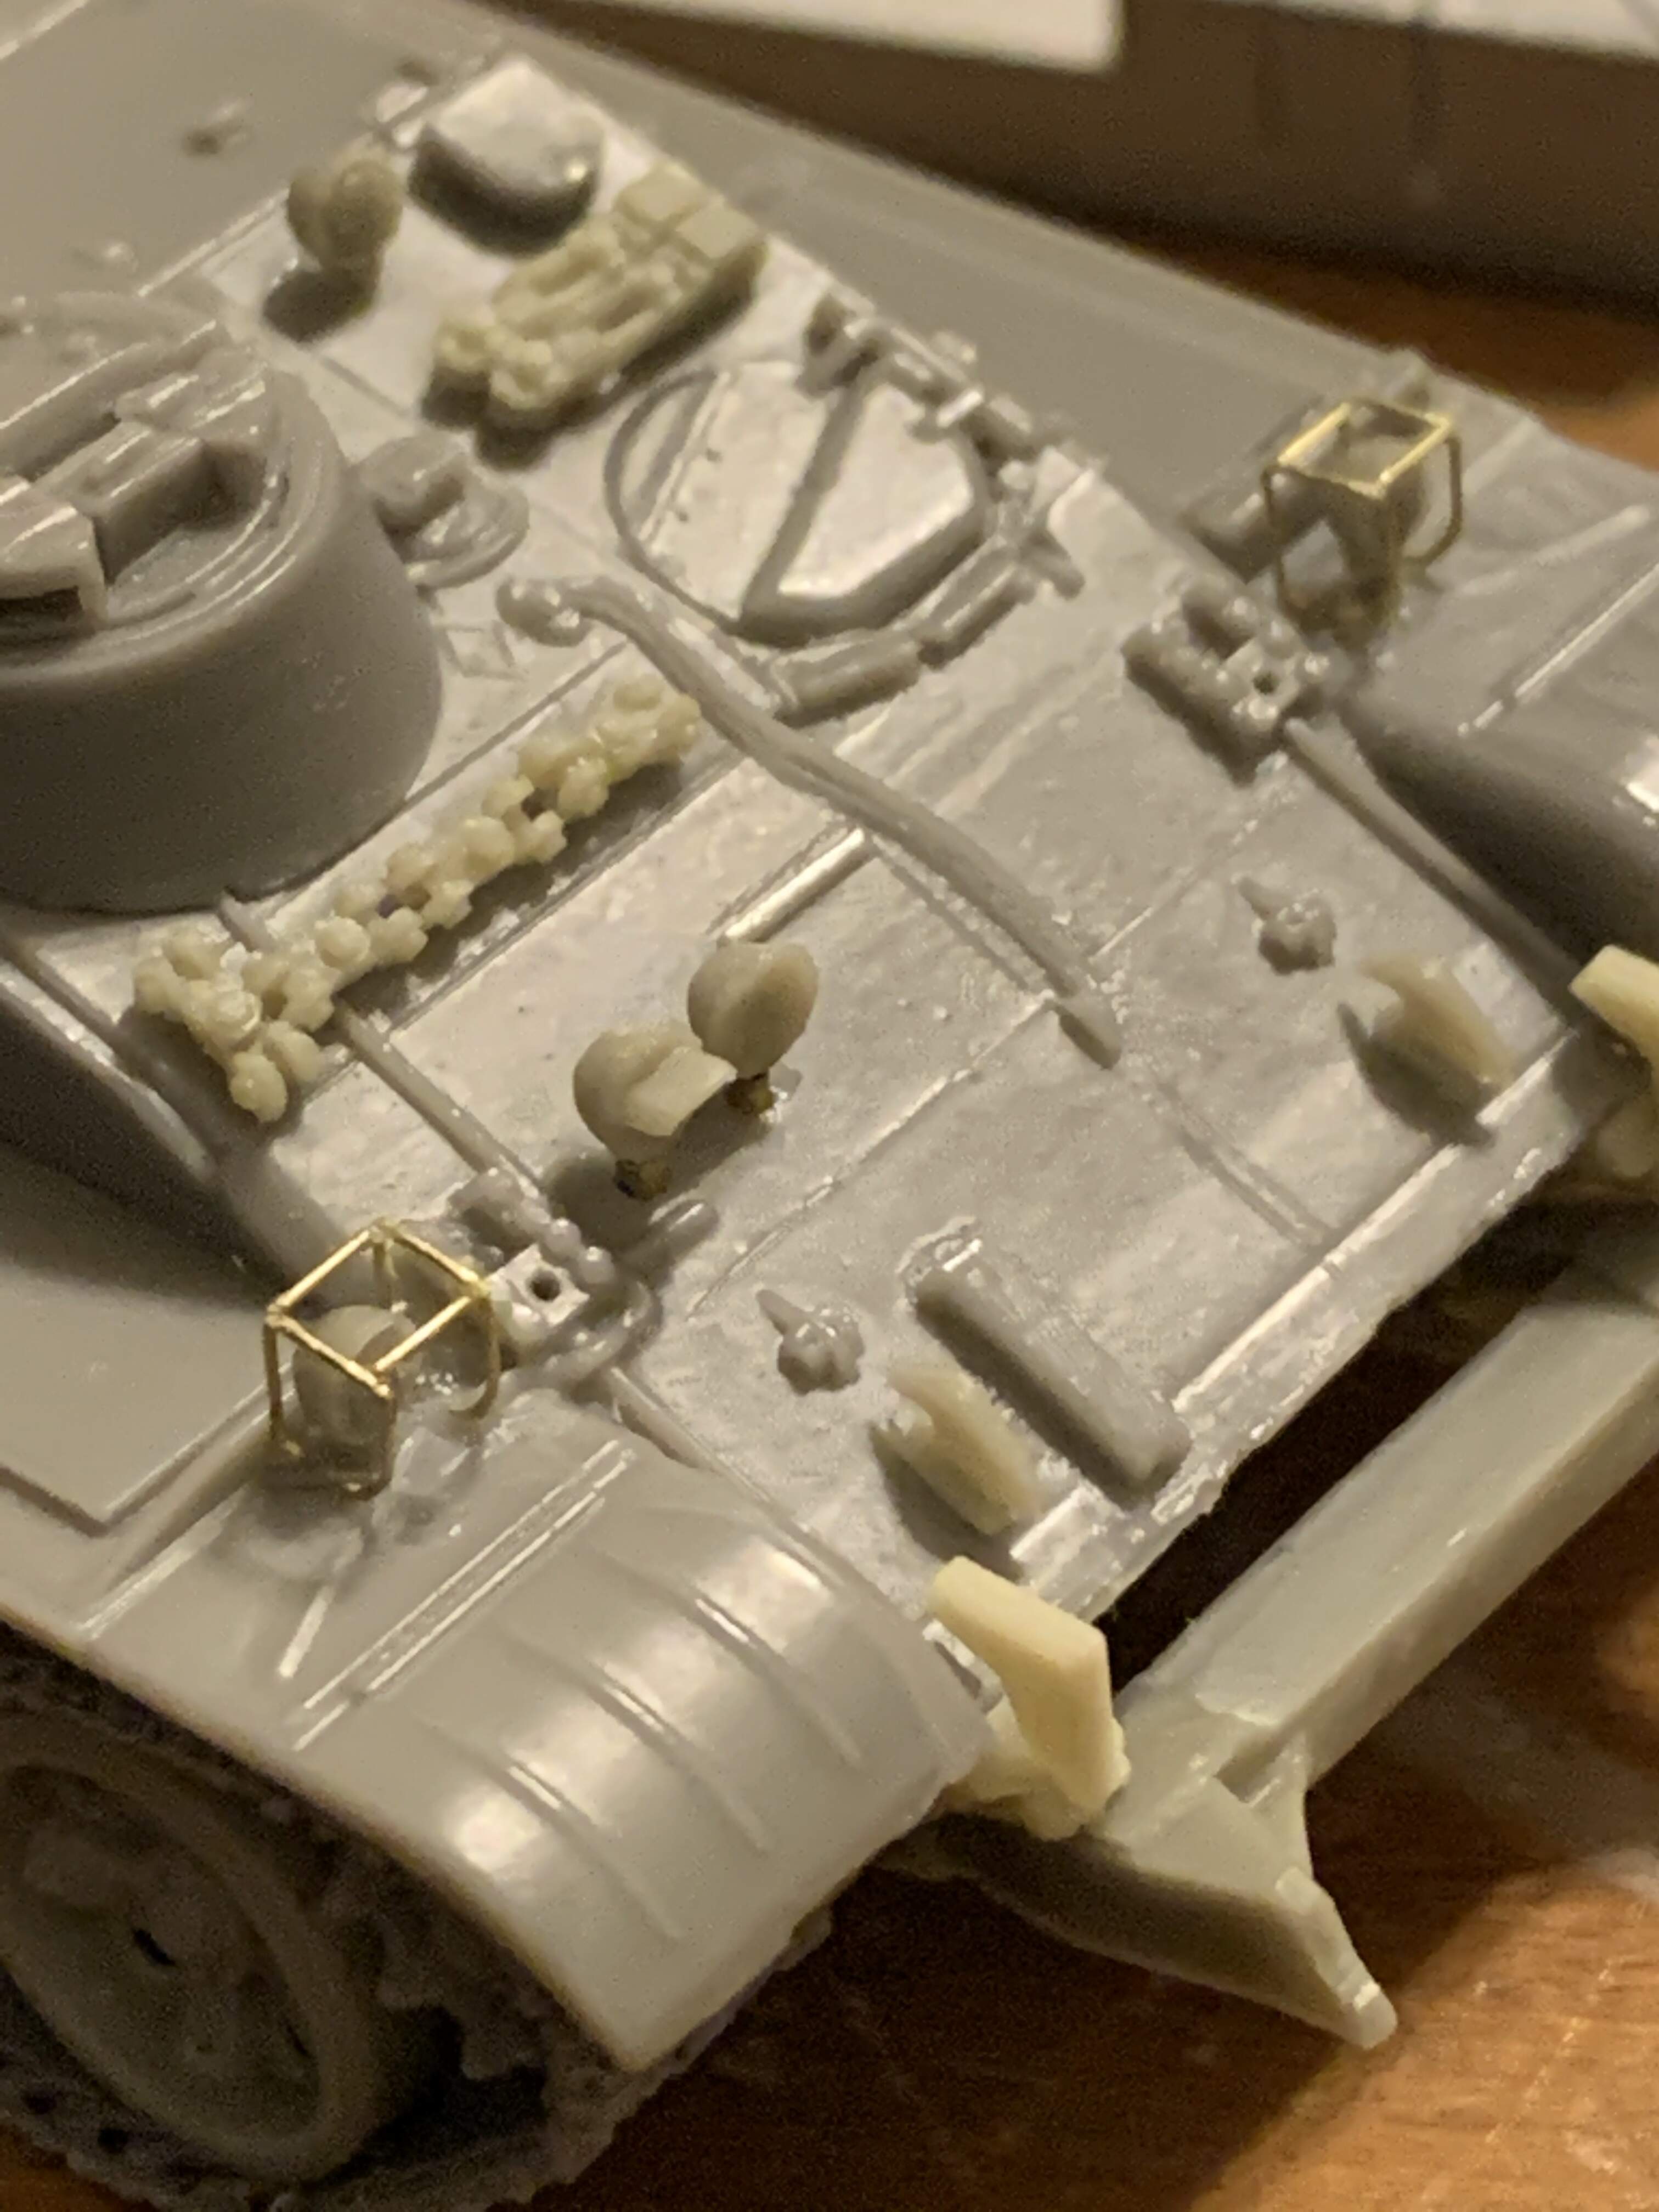
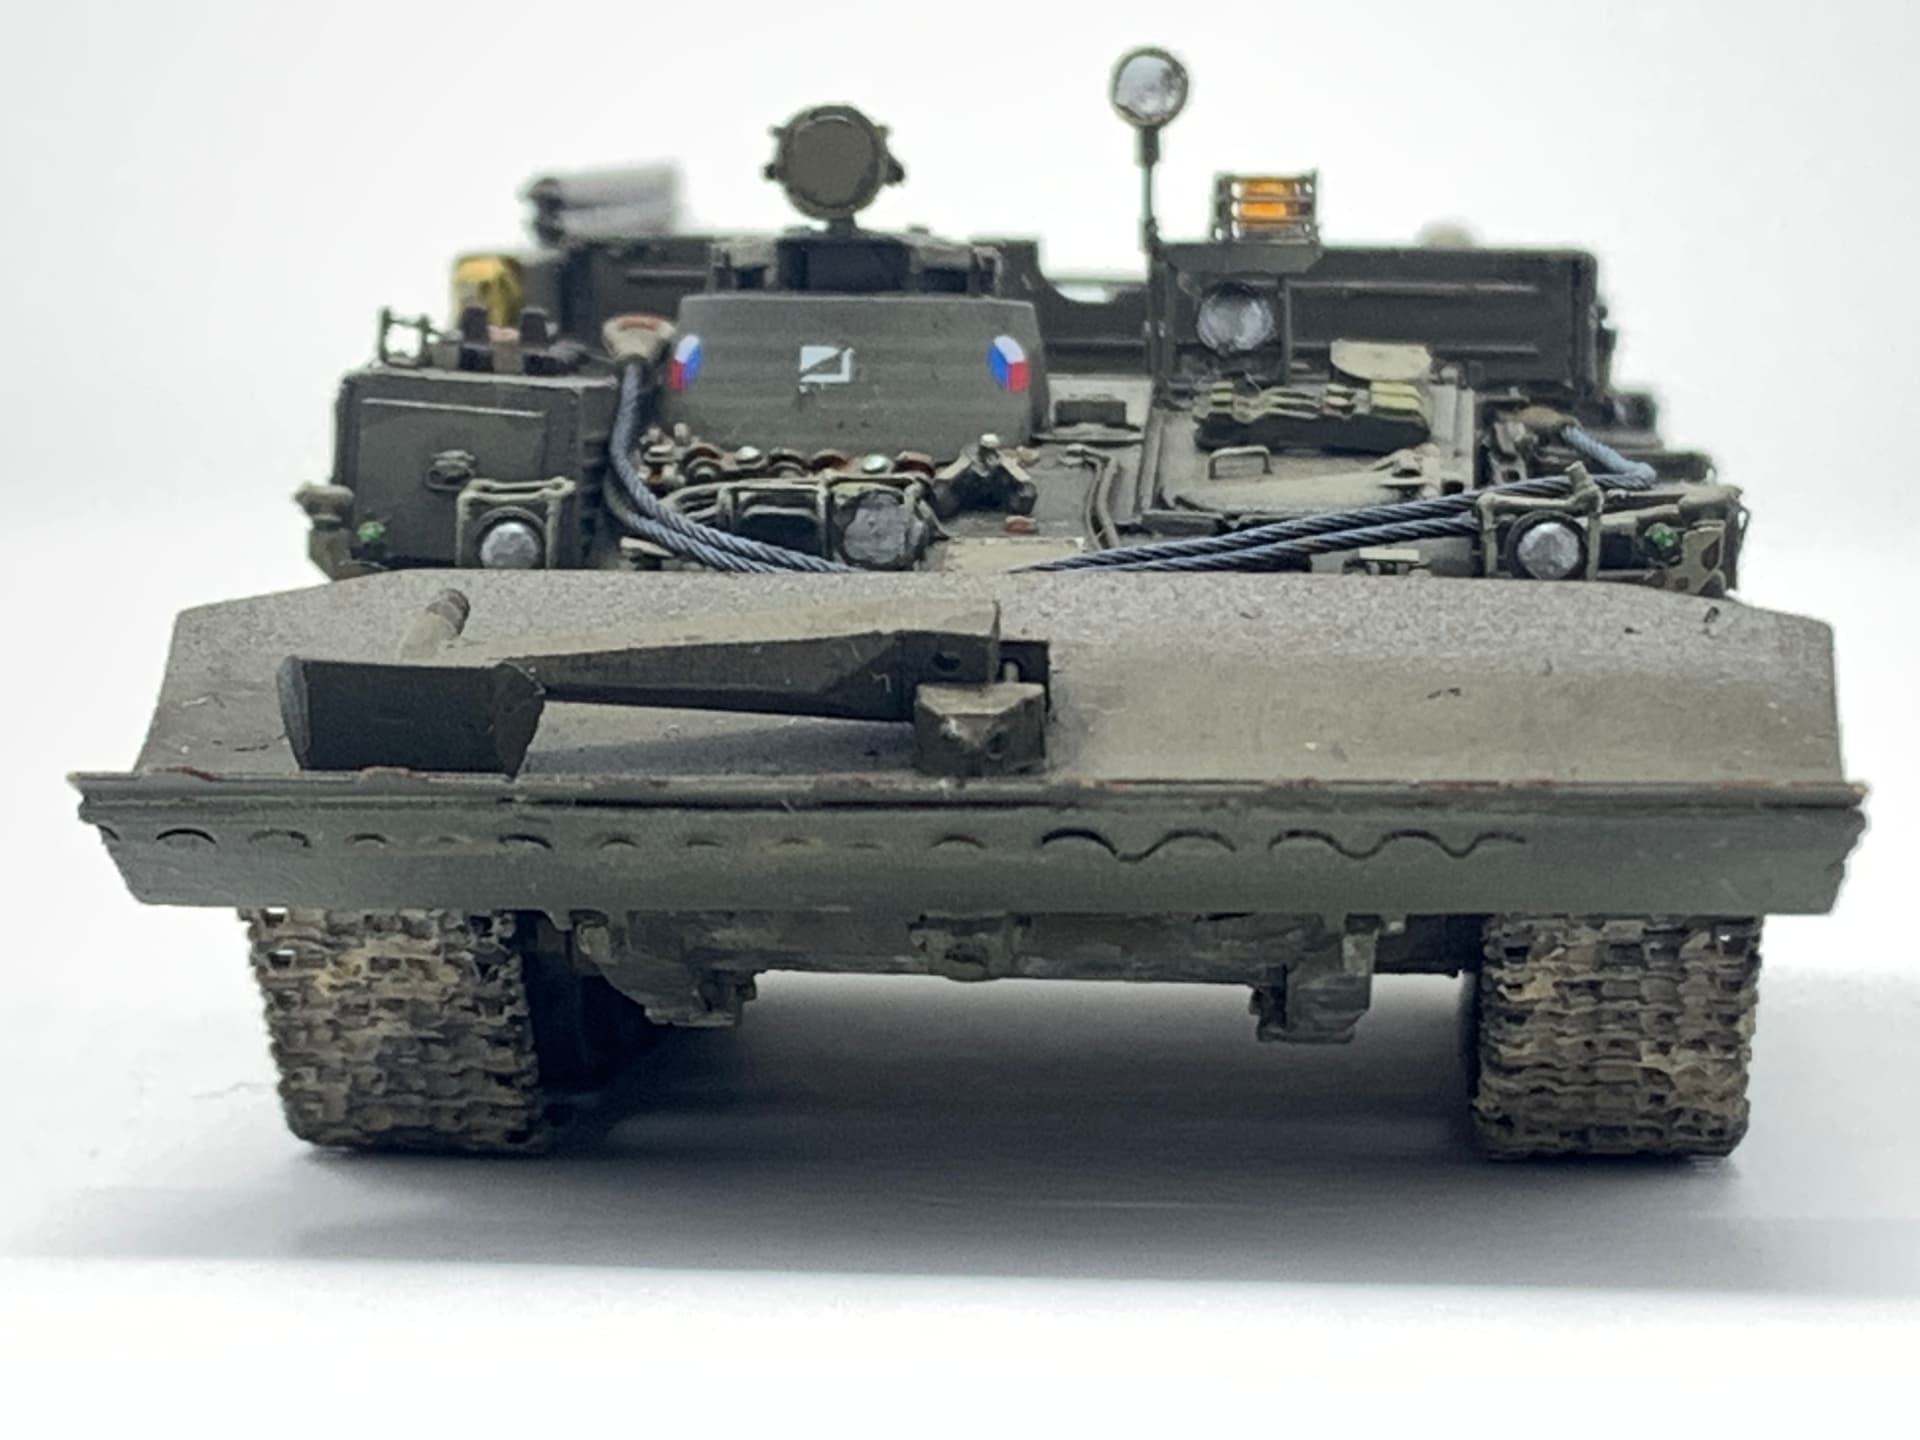
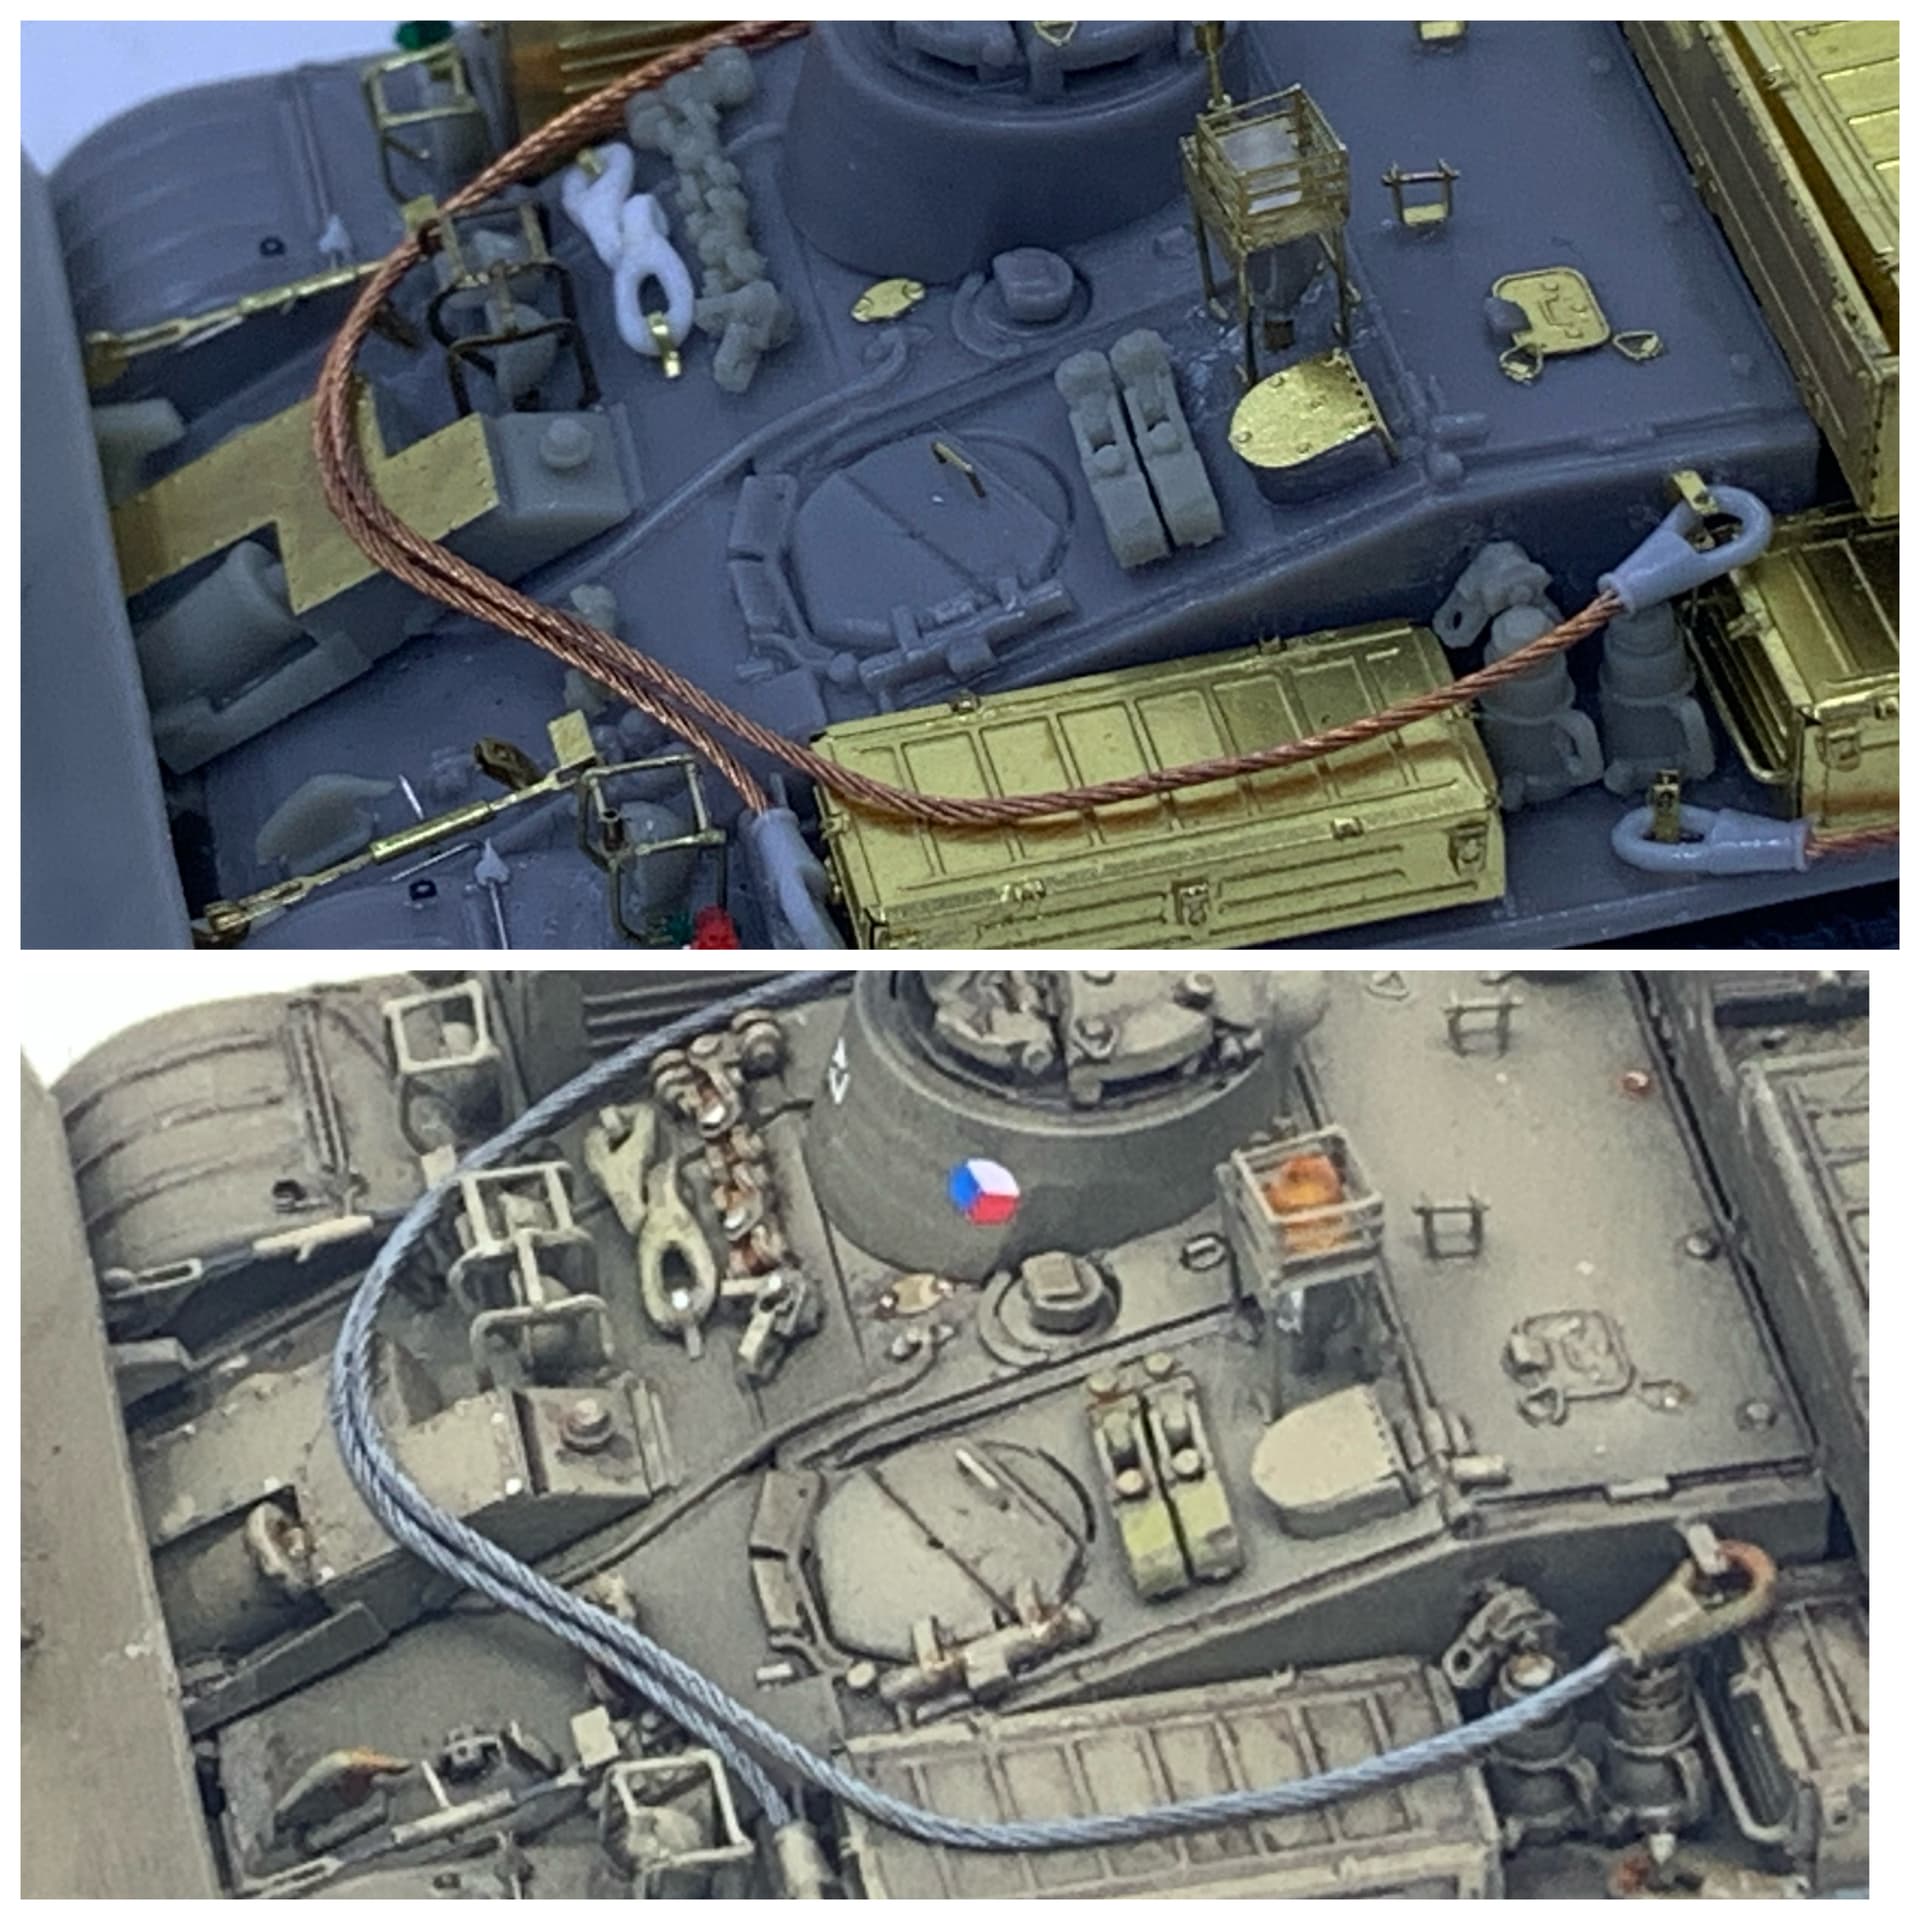
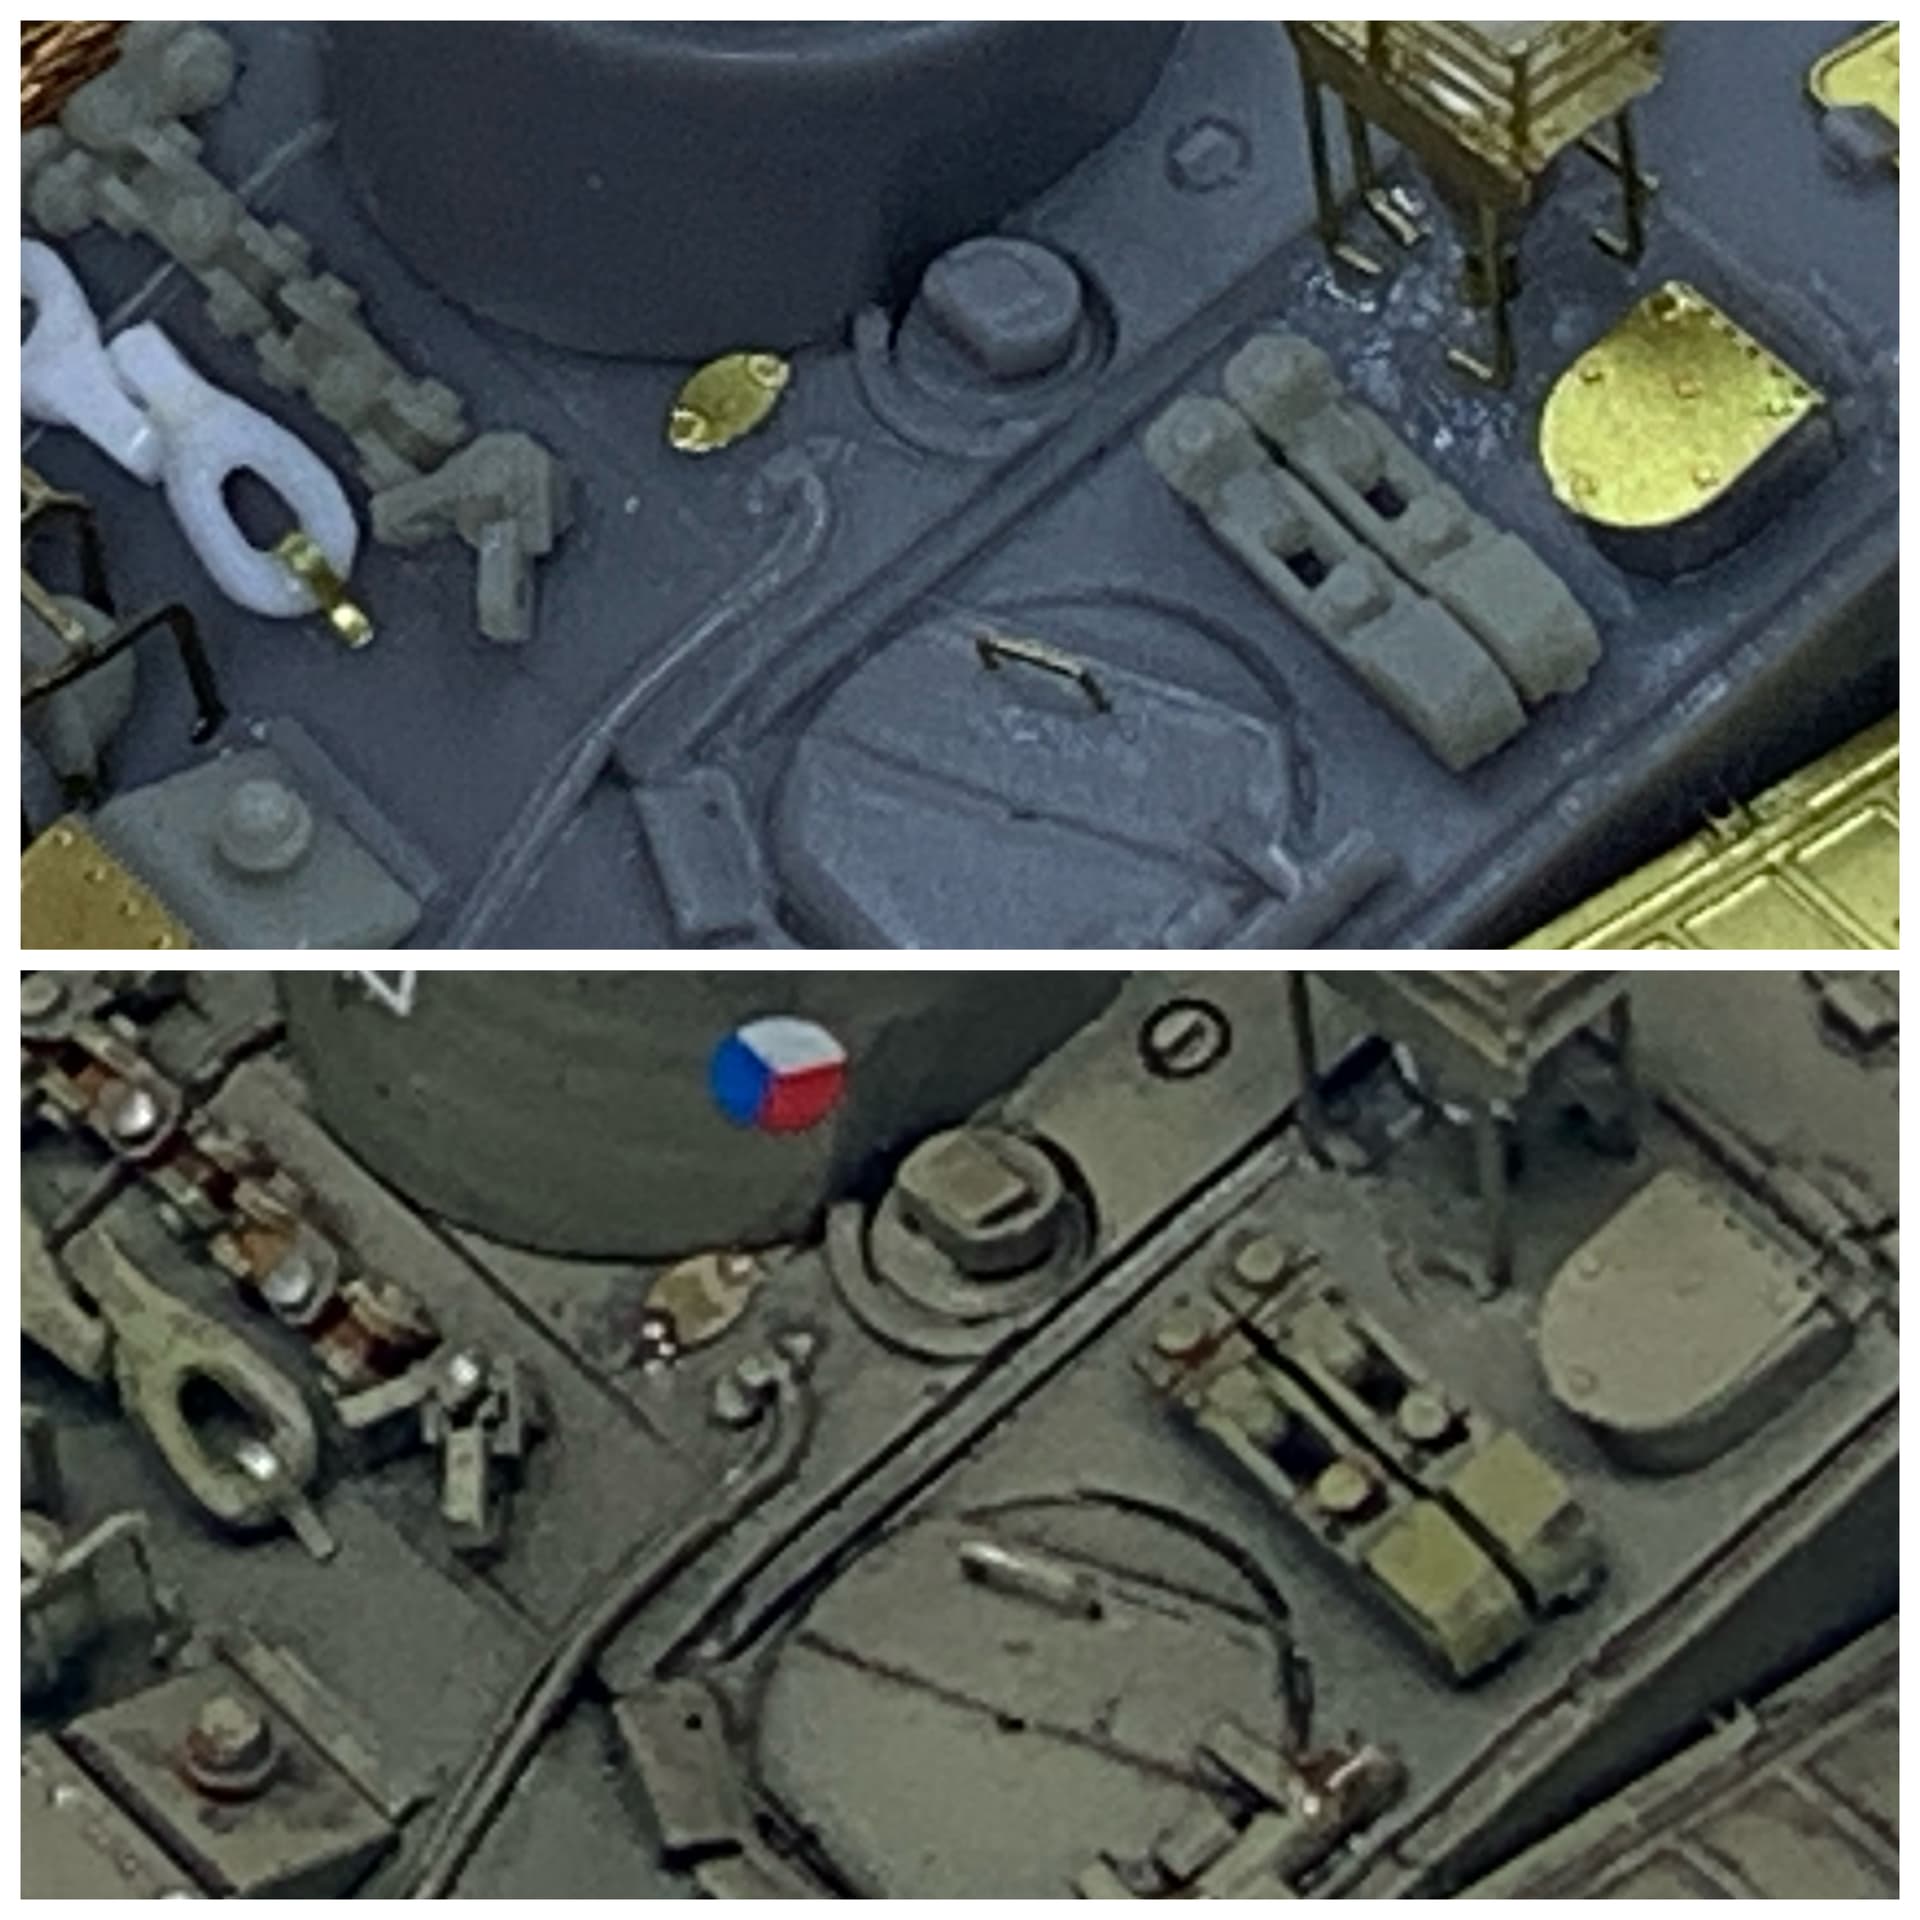
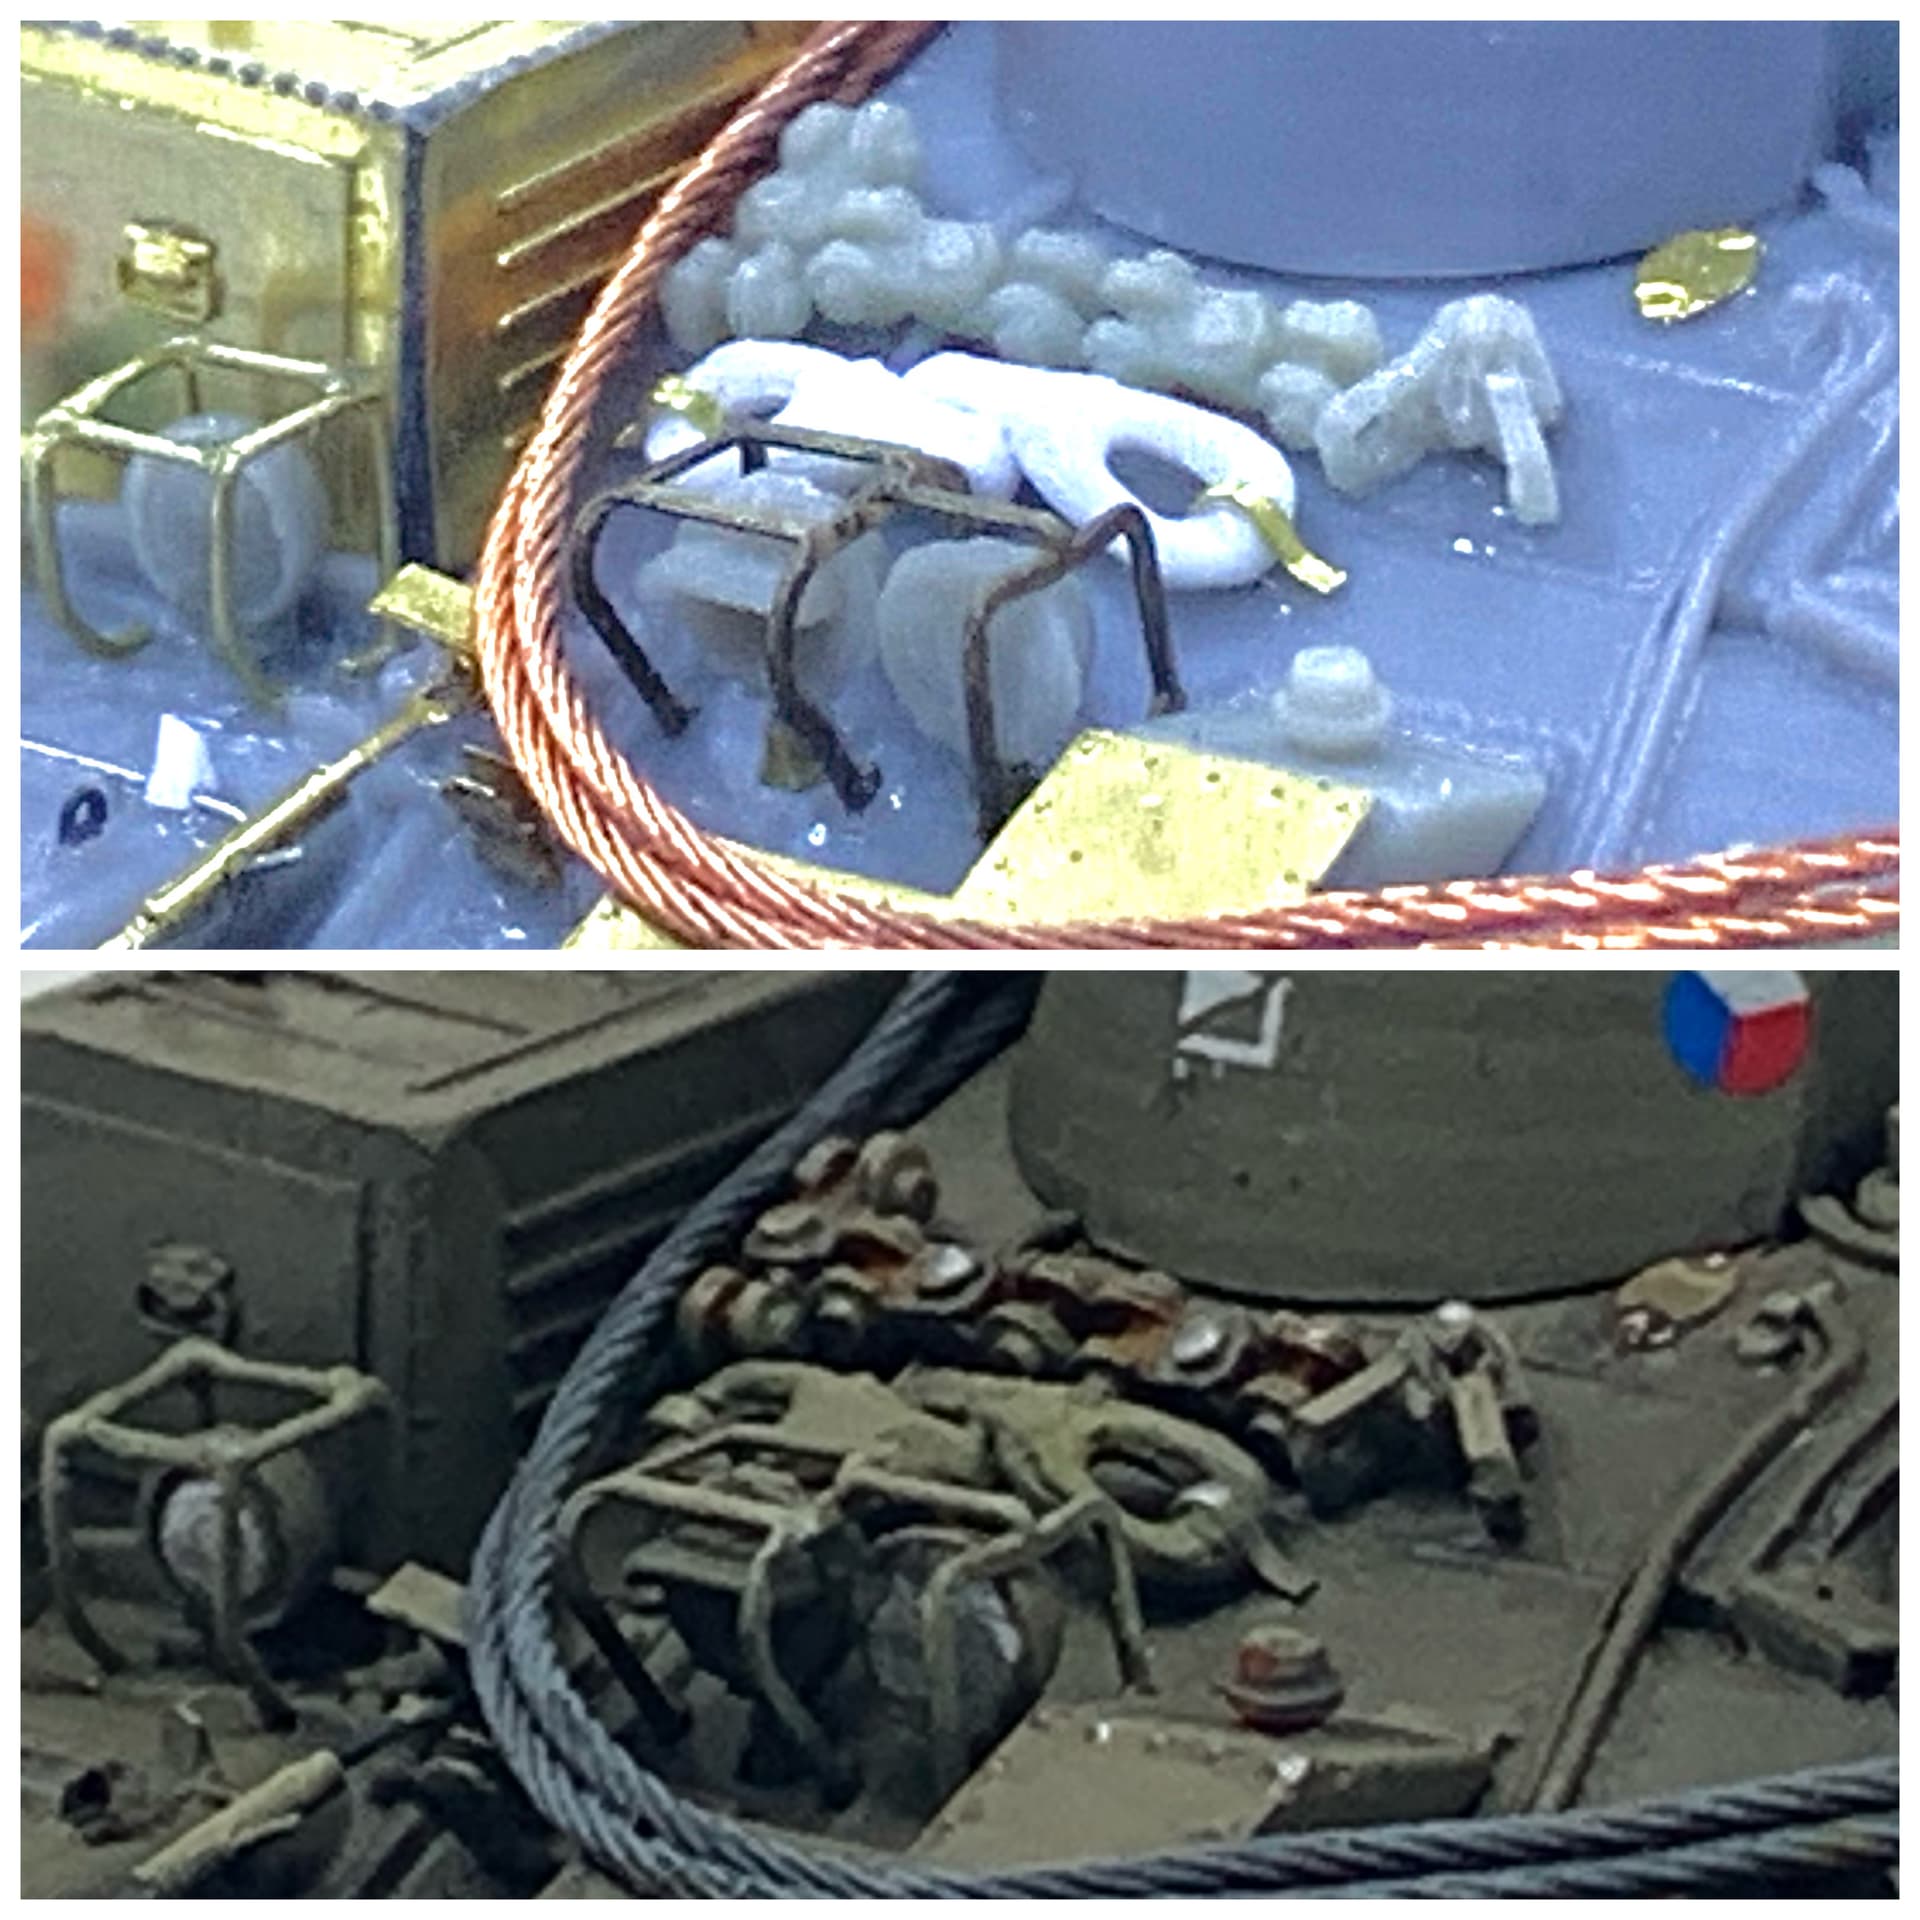
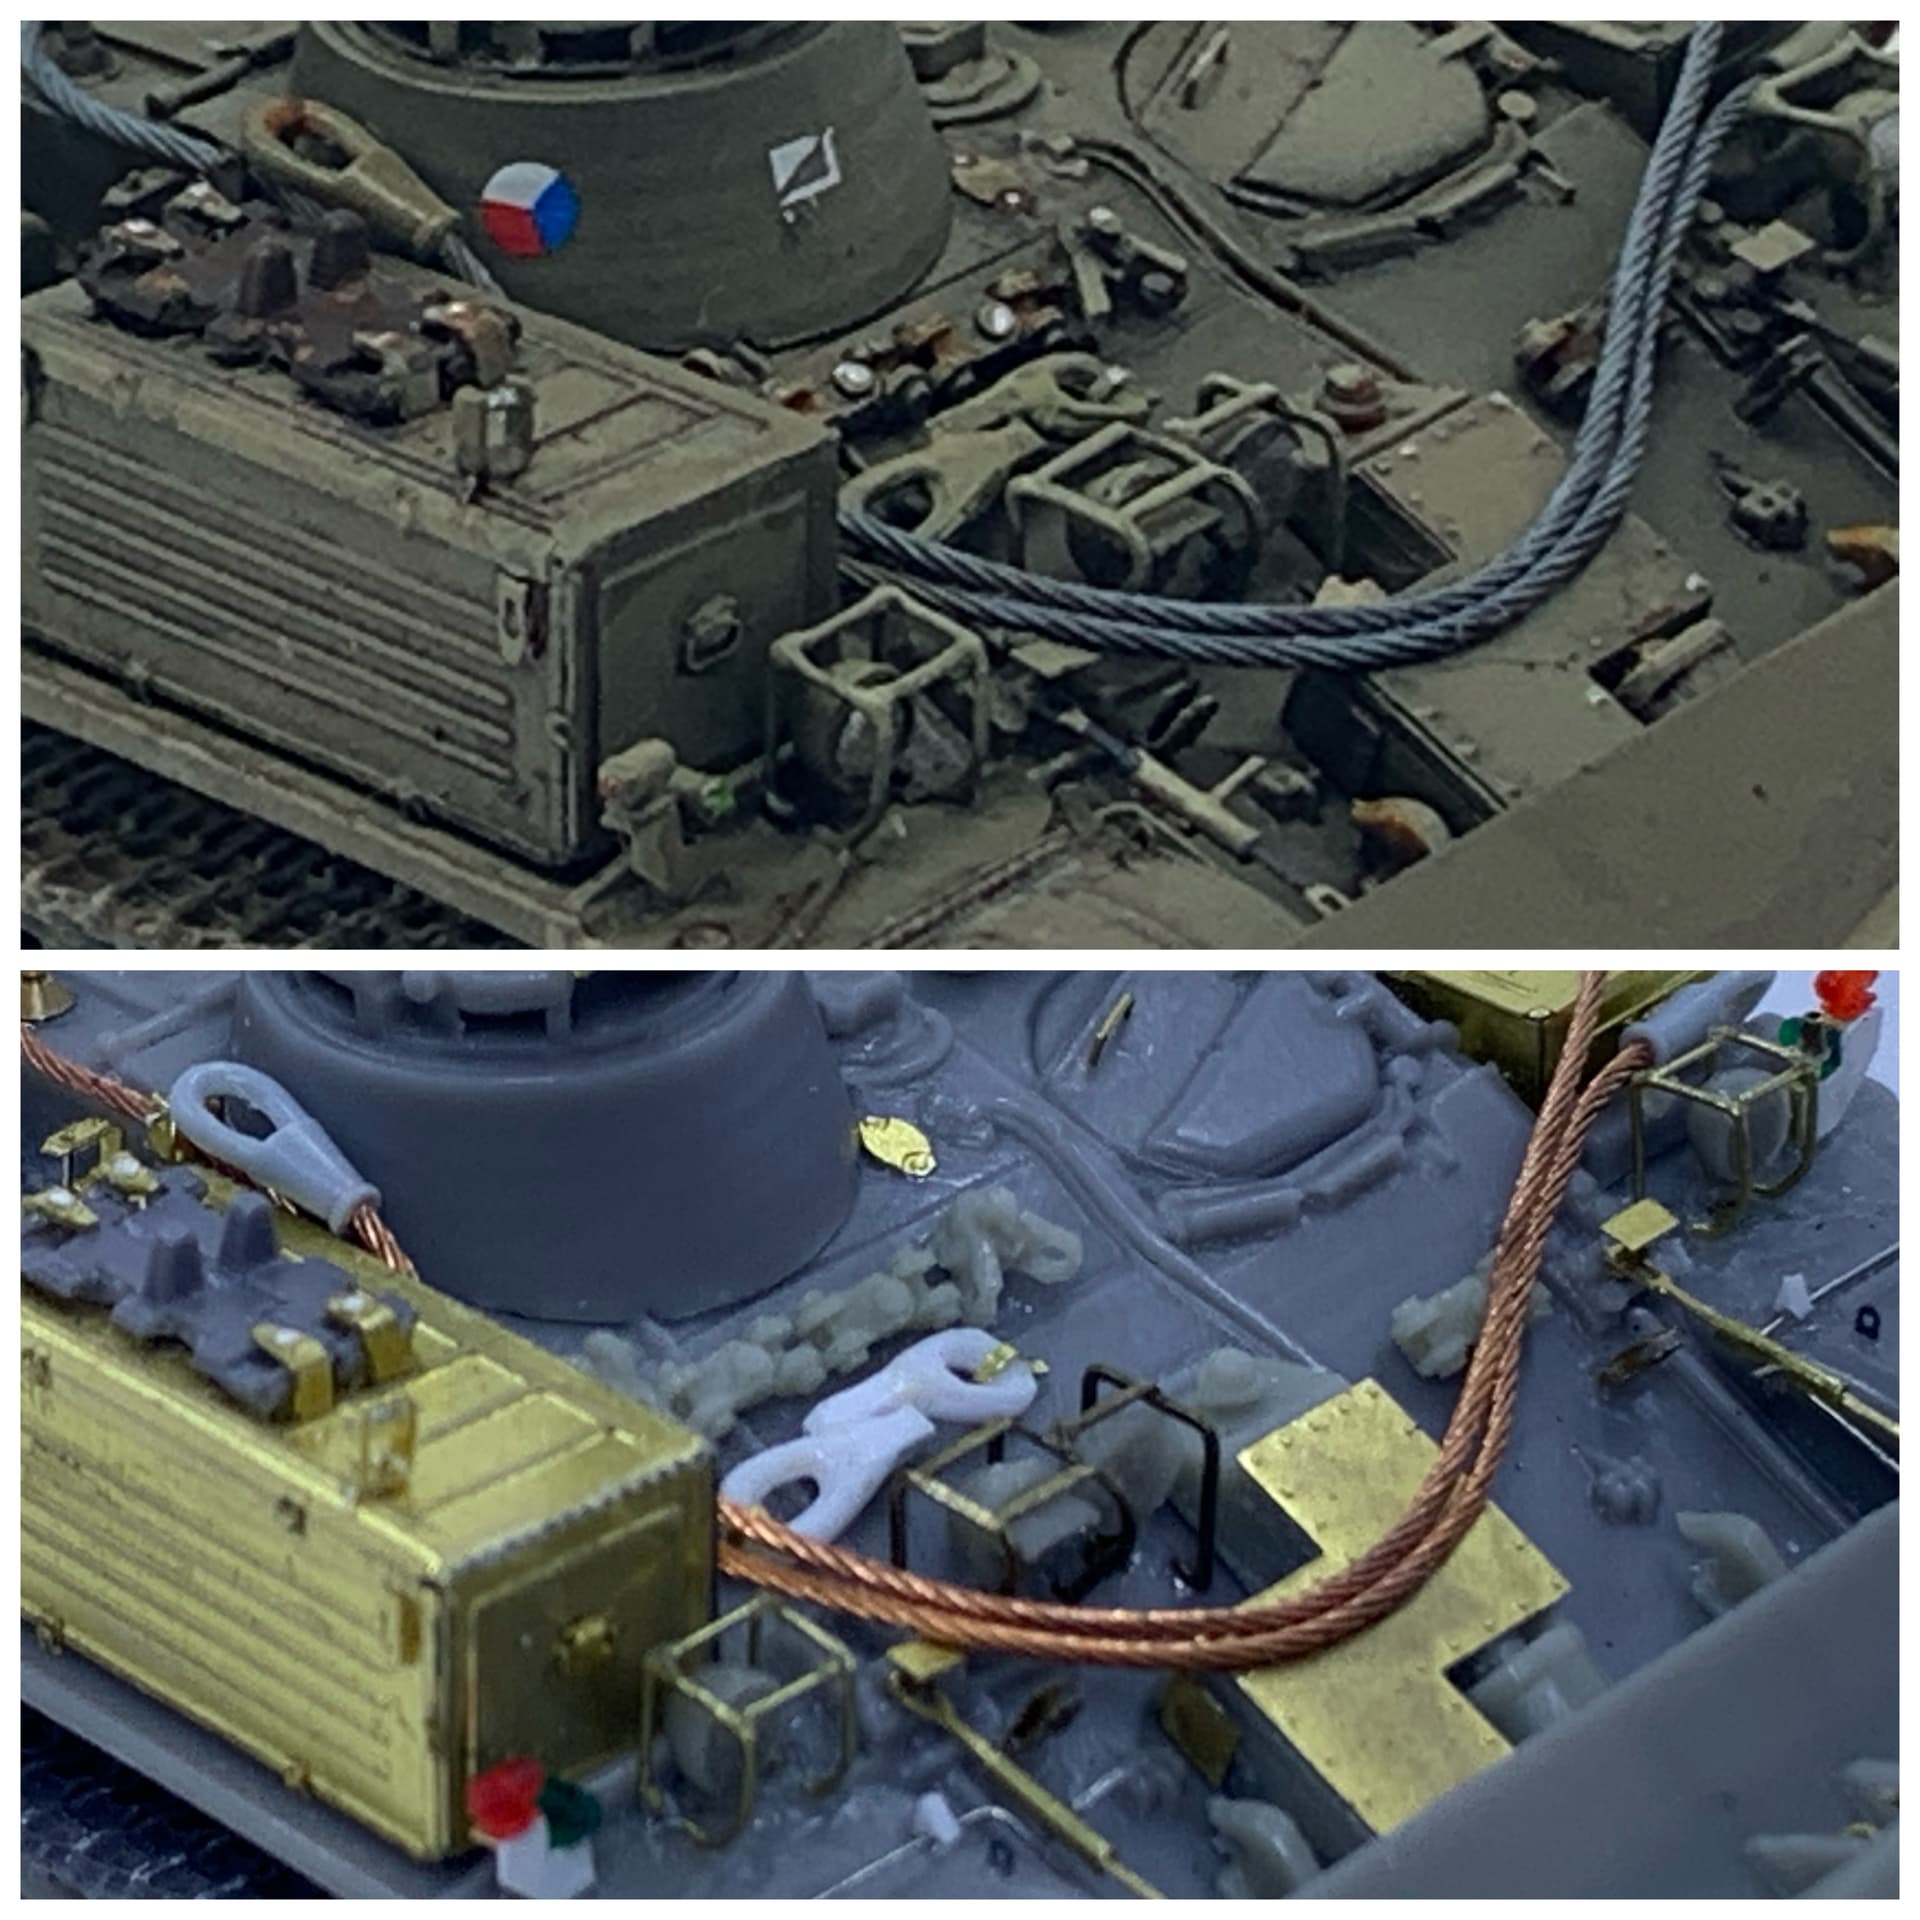
I saw from my reference book that there is a wheel guide under the deck. Using spare photoetch parts from my model ship kits, I fashioned a cable guide.
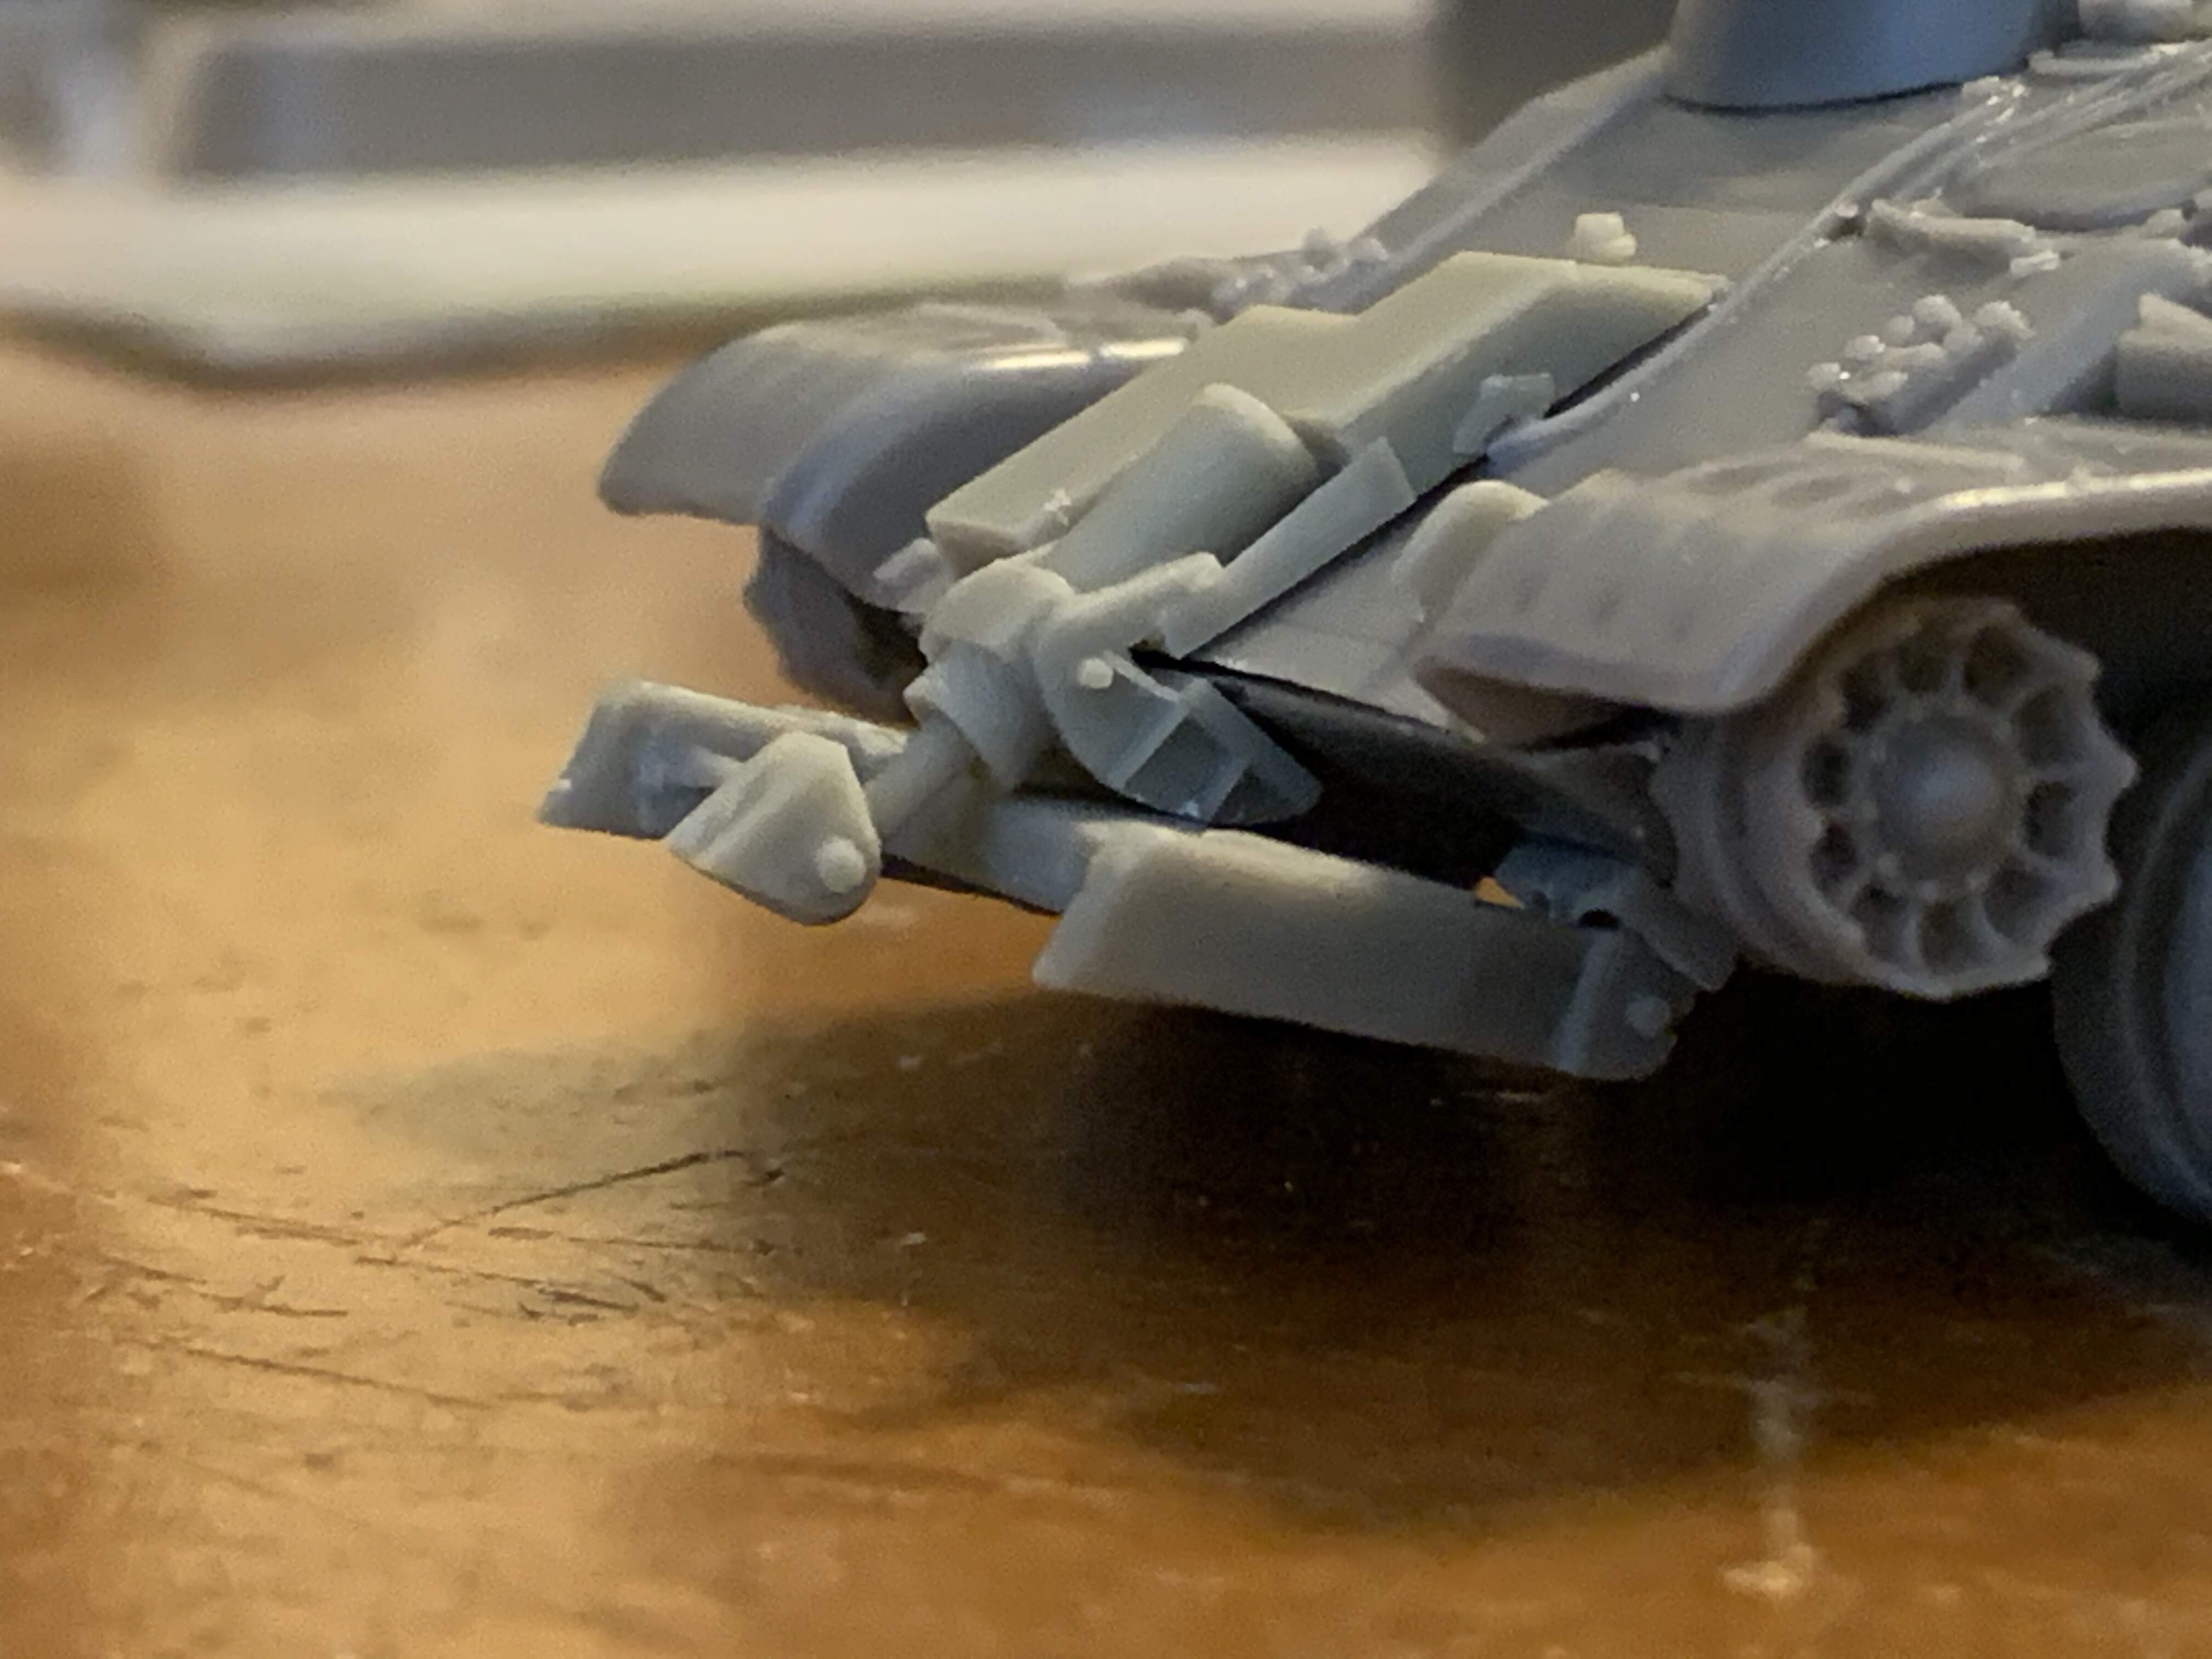
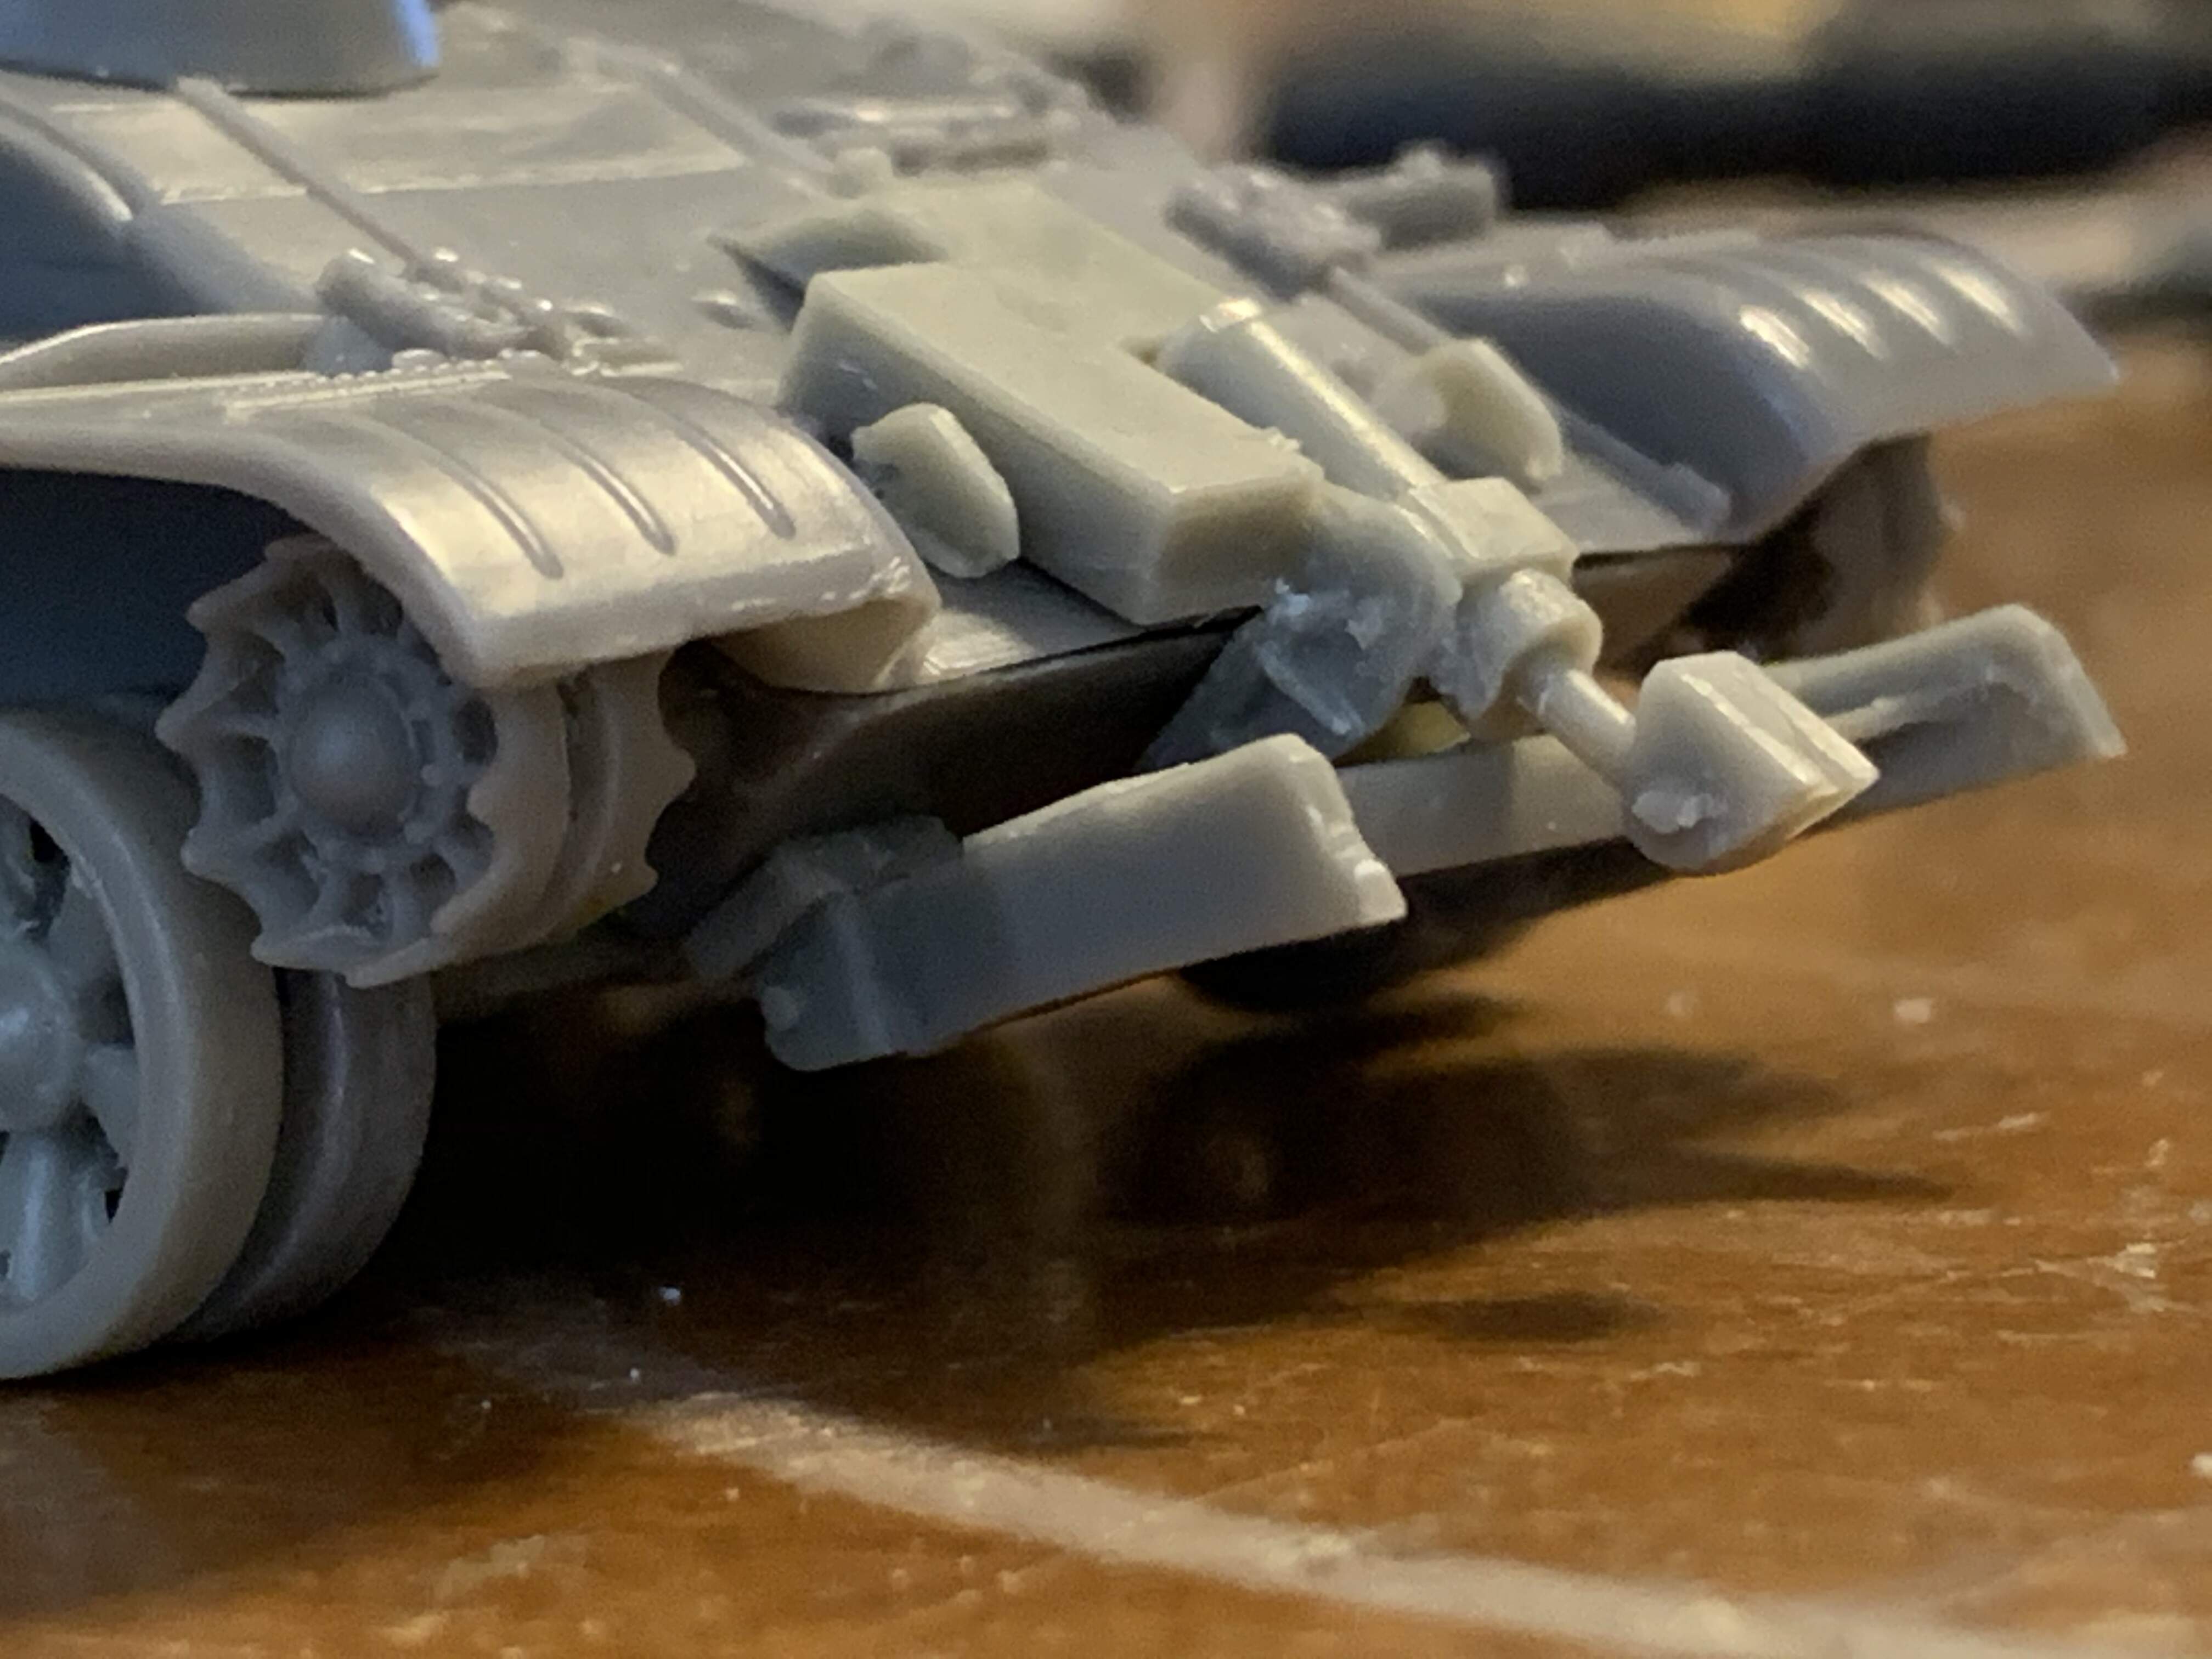
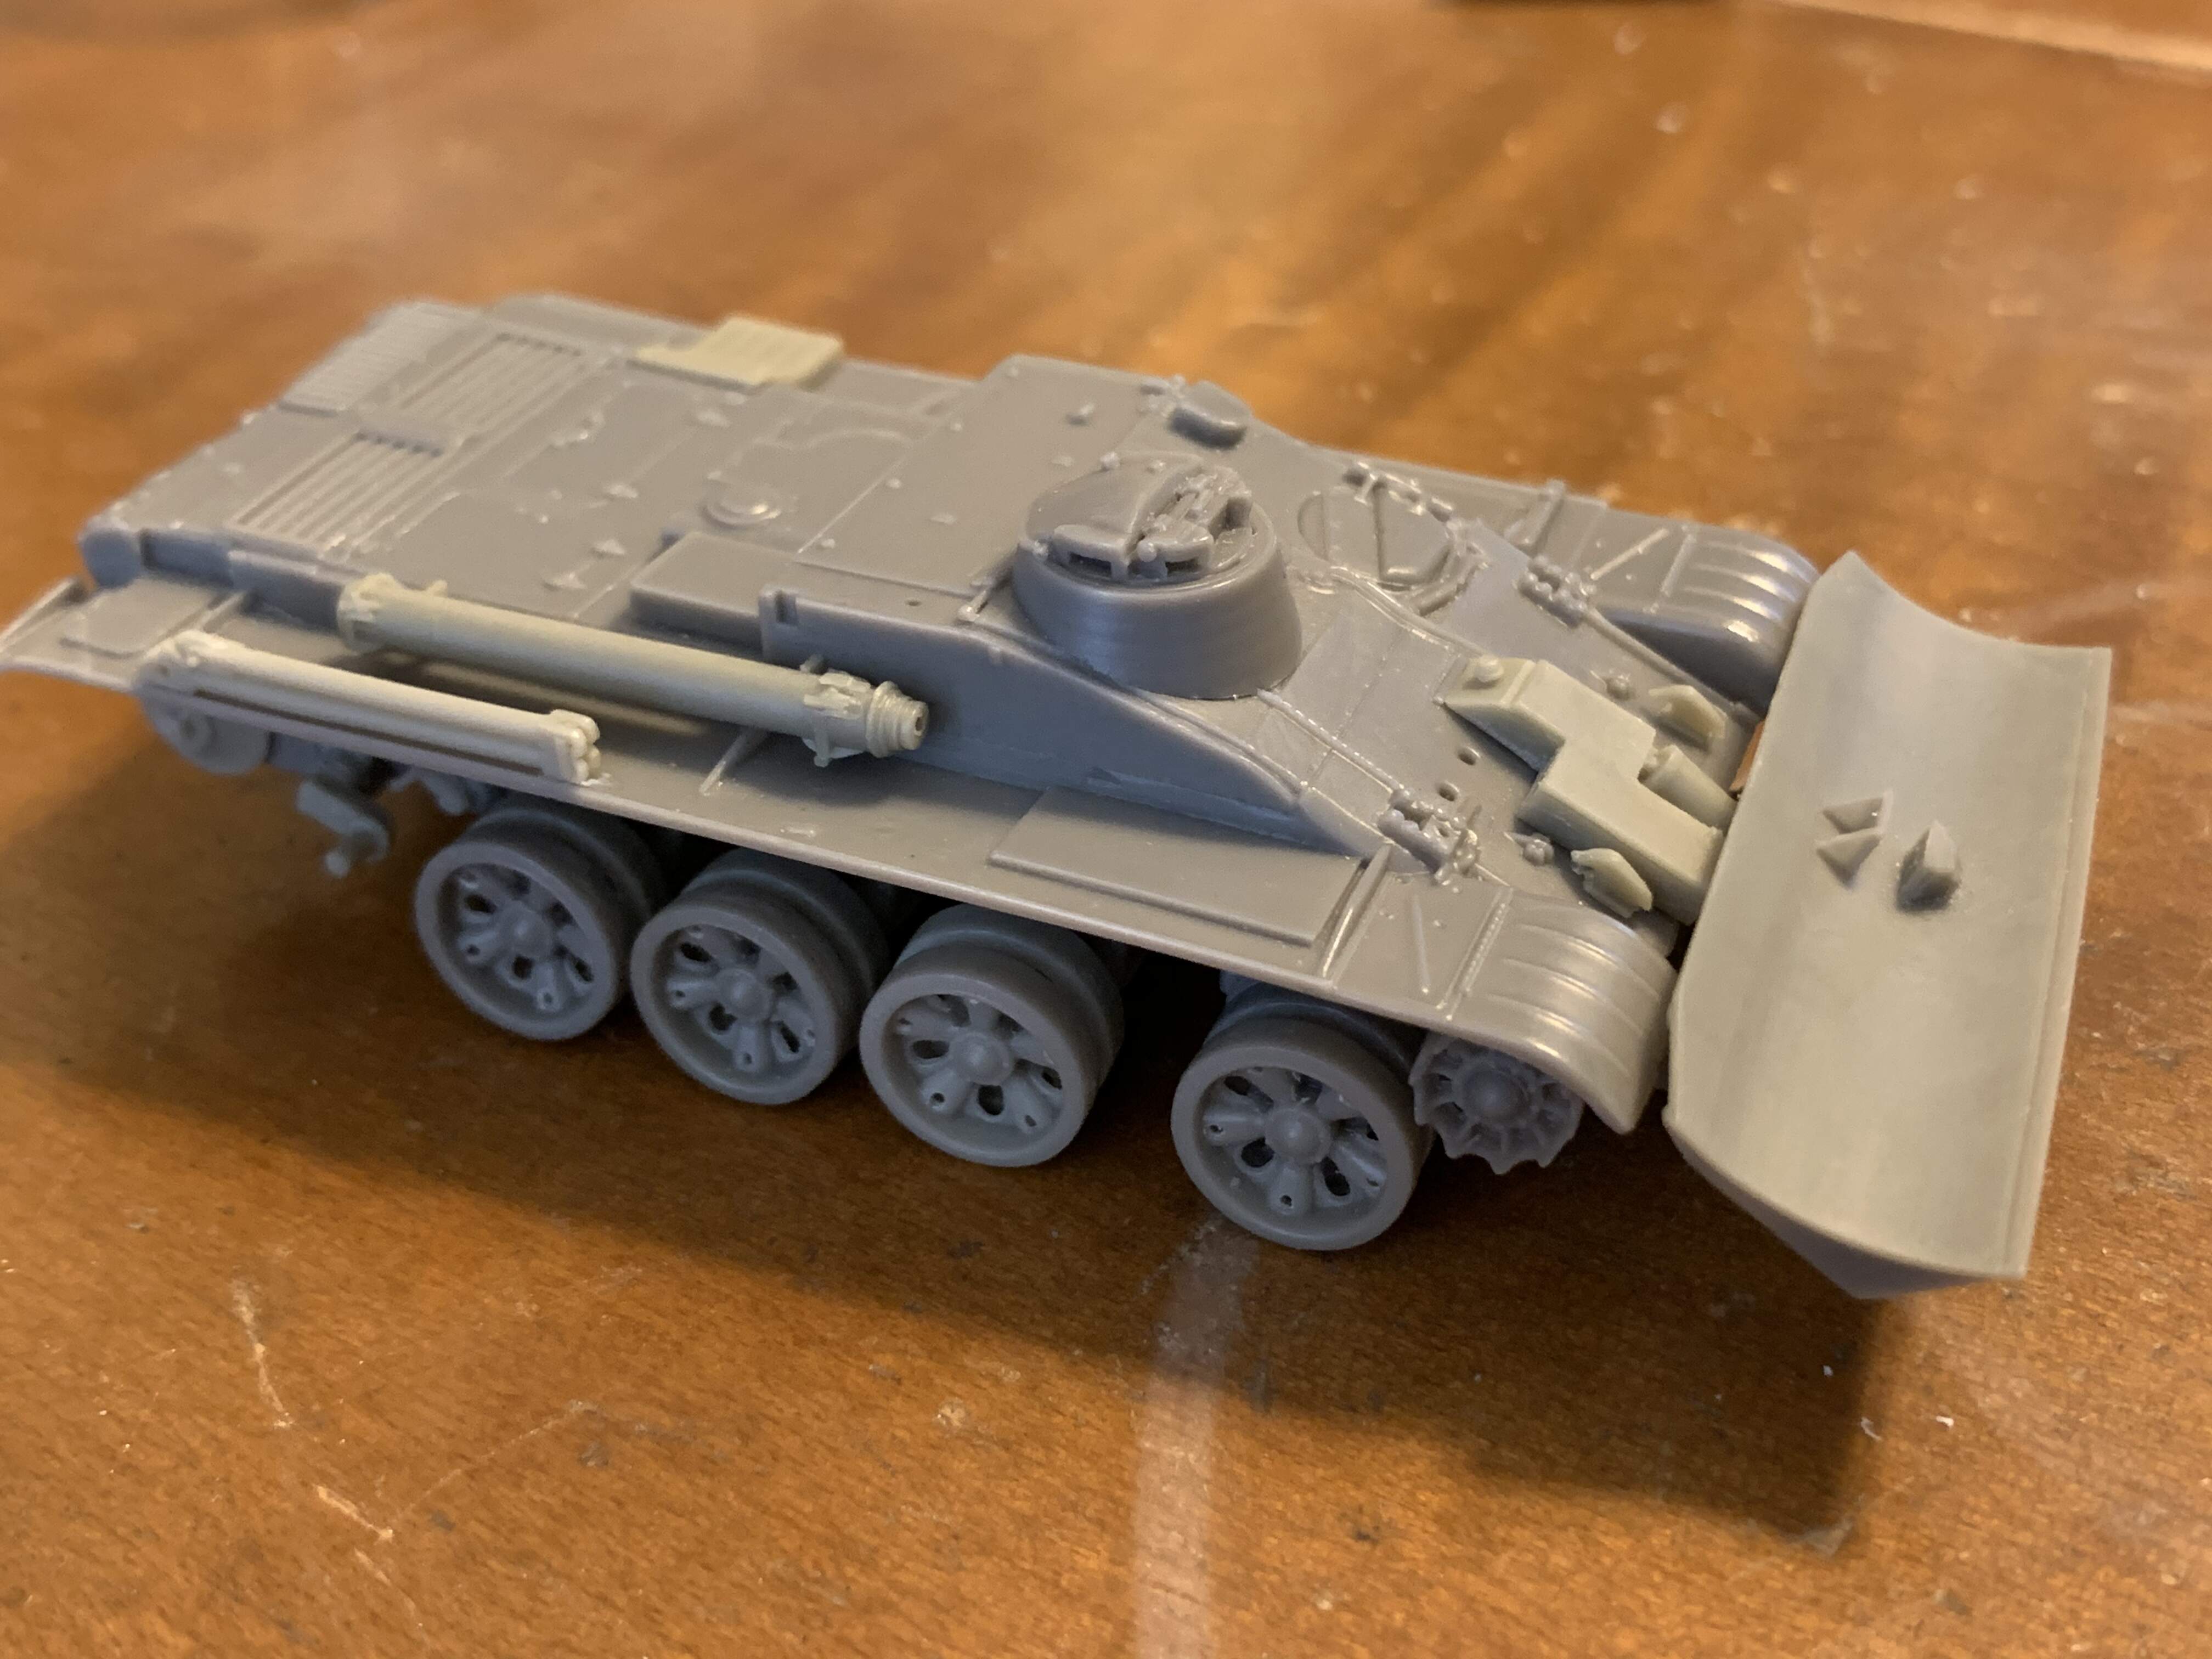
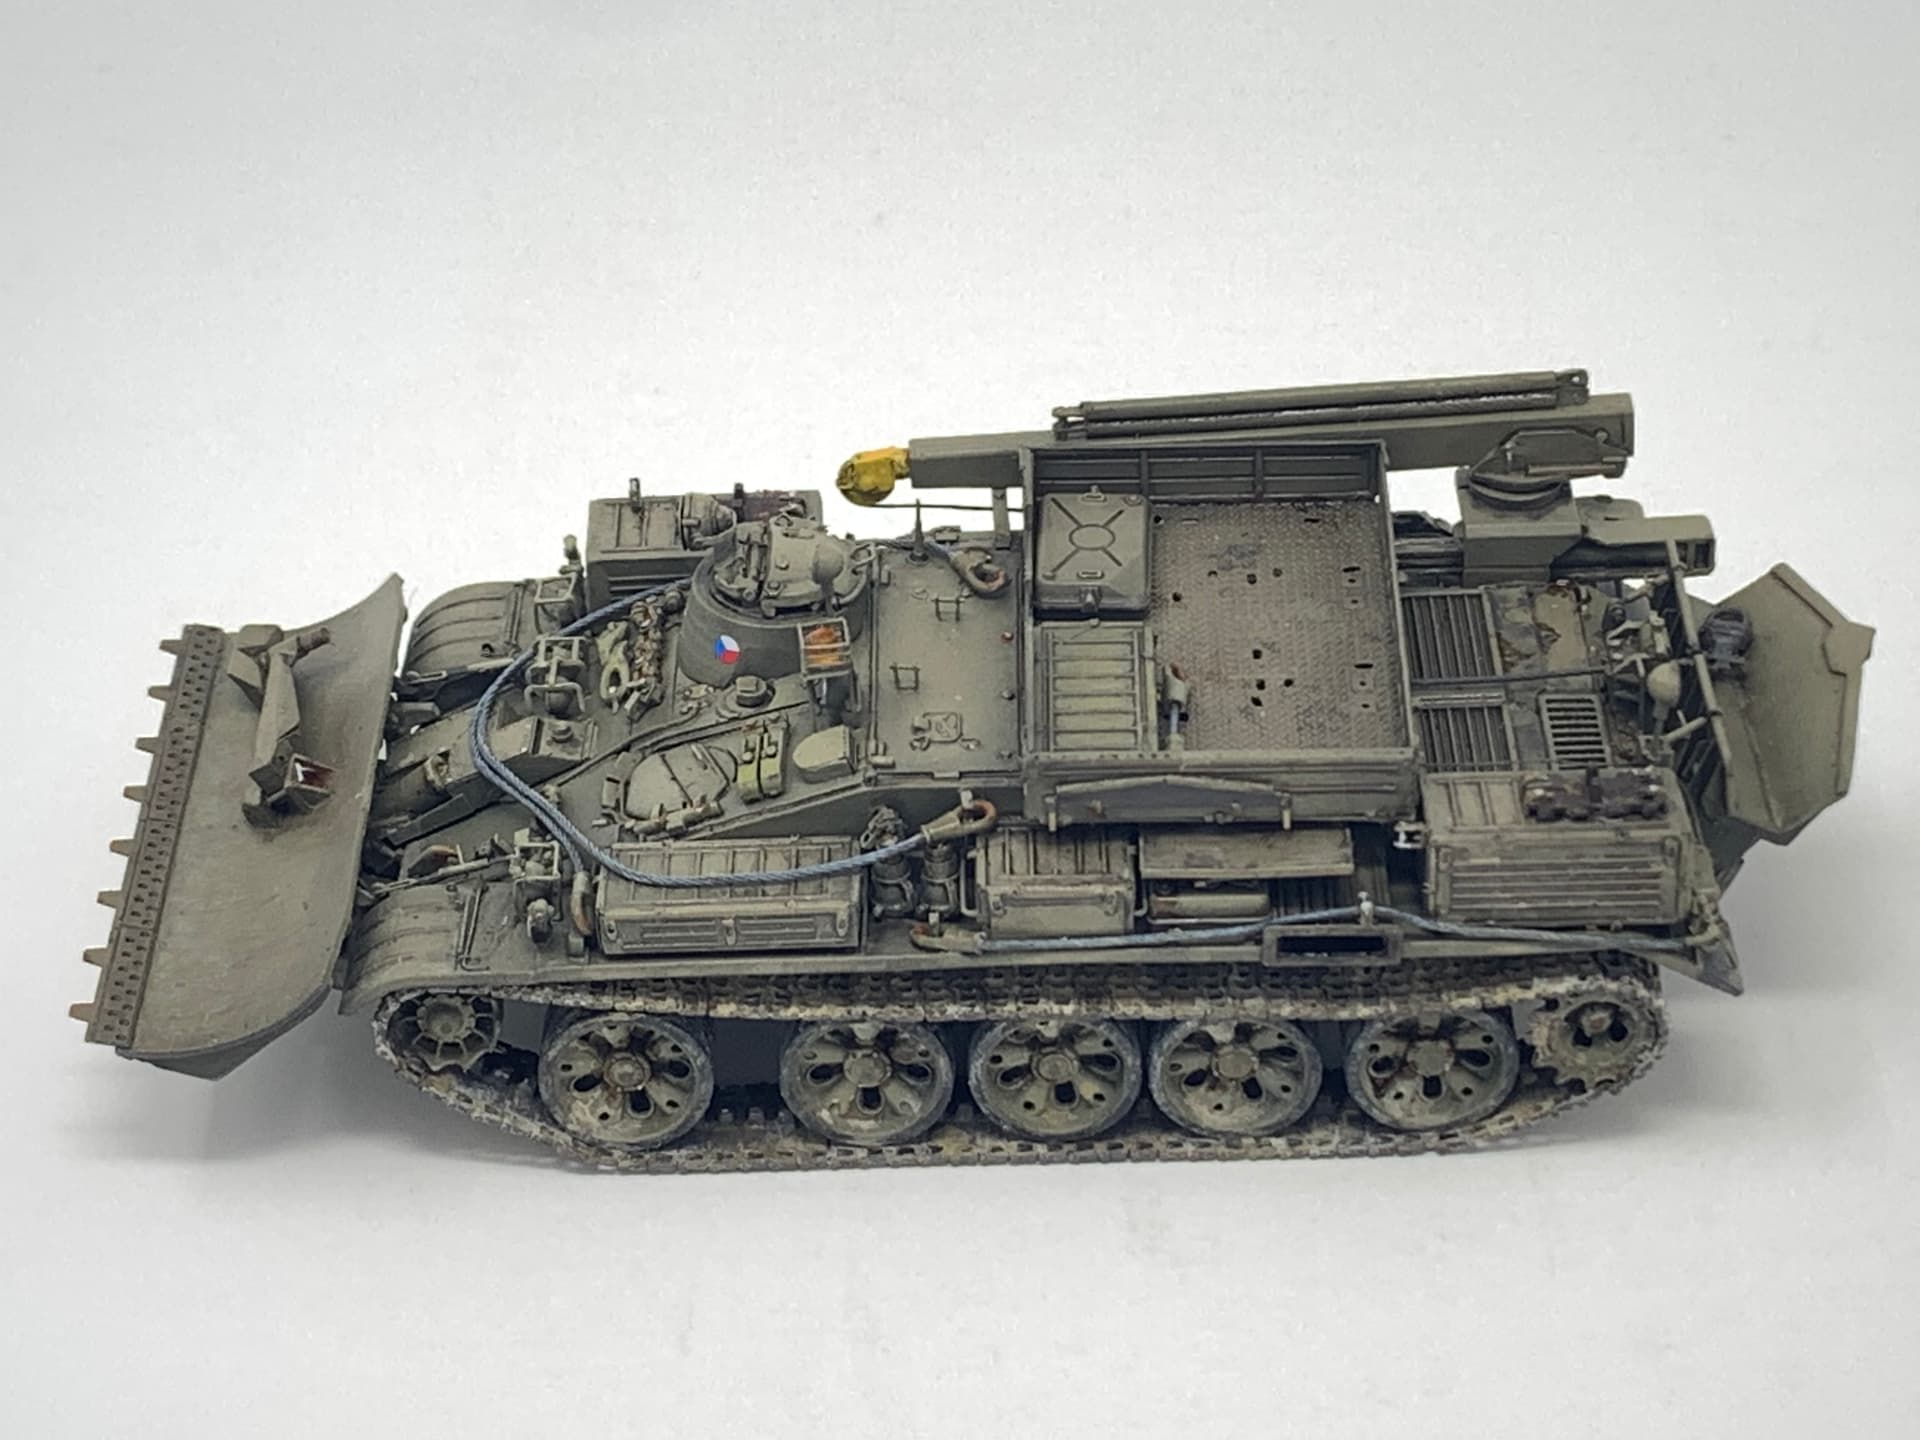
Thanks very much! Looking at my last post, I didn’t mention the deck. Here’s how it look all bent up. Gotta give a heads up that this was not easy to do. The bend points are too skinny. I had to test a couple of times before I finalized the way they were bent.
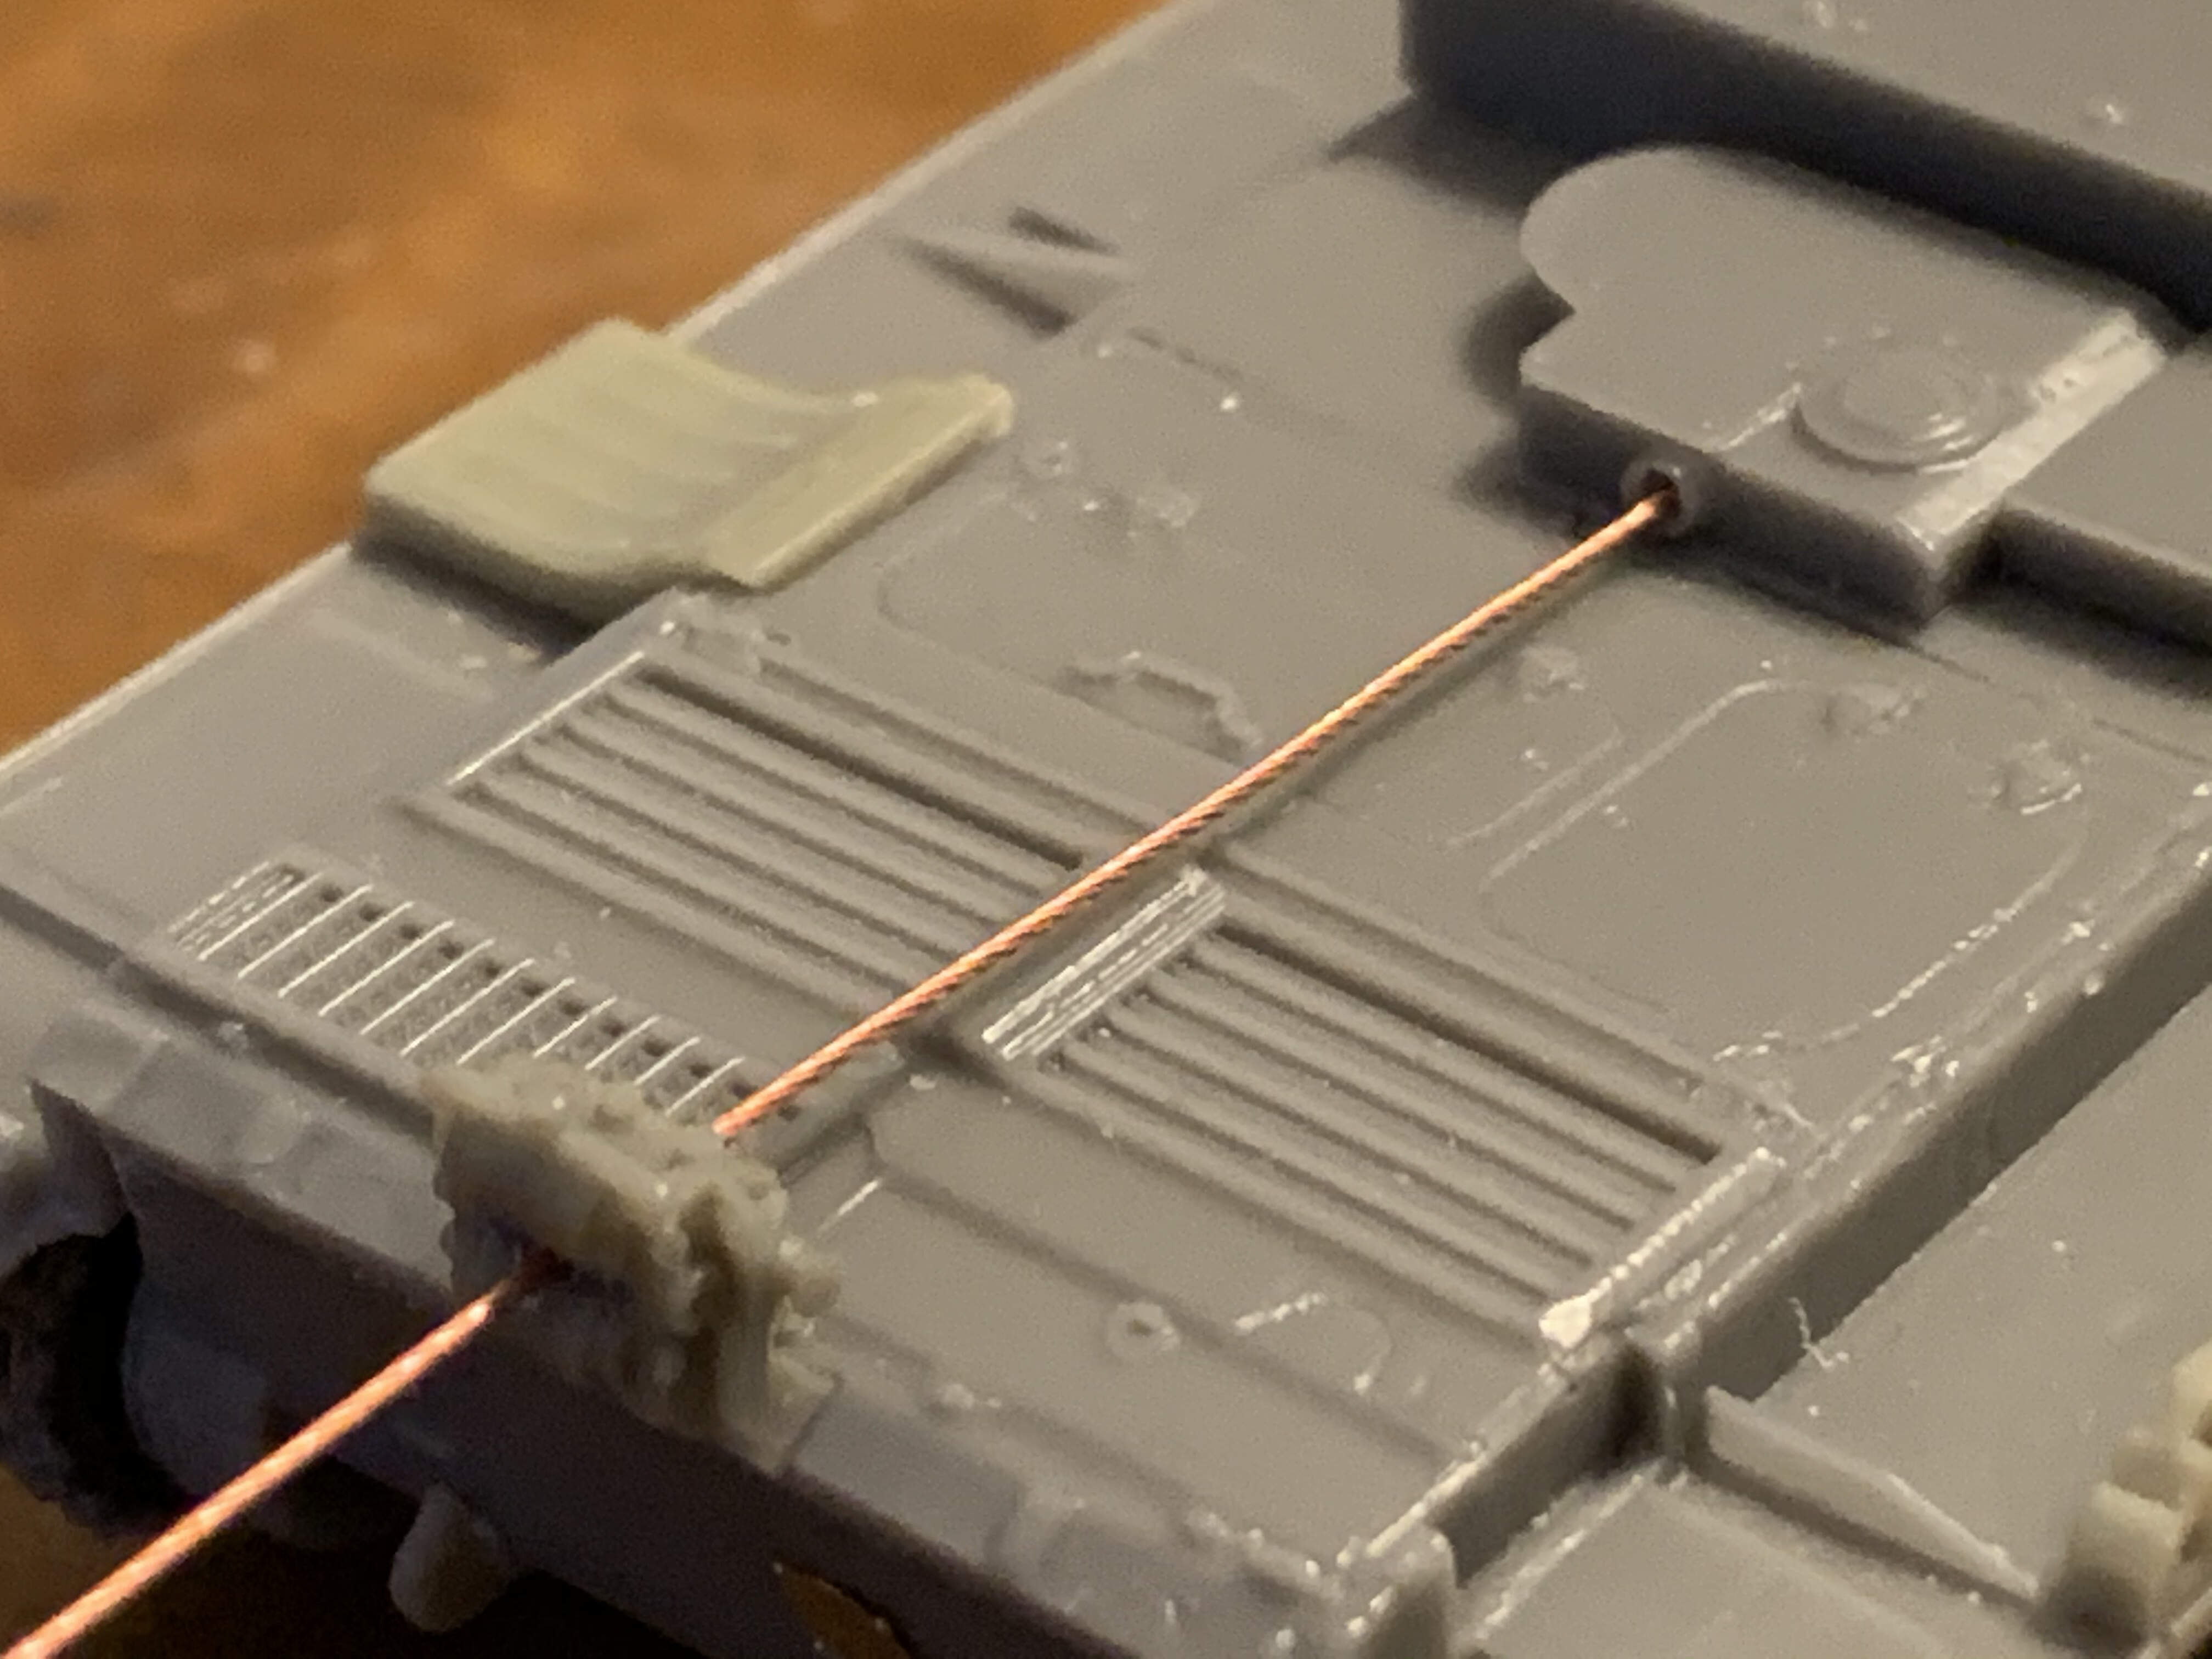
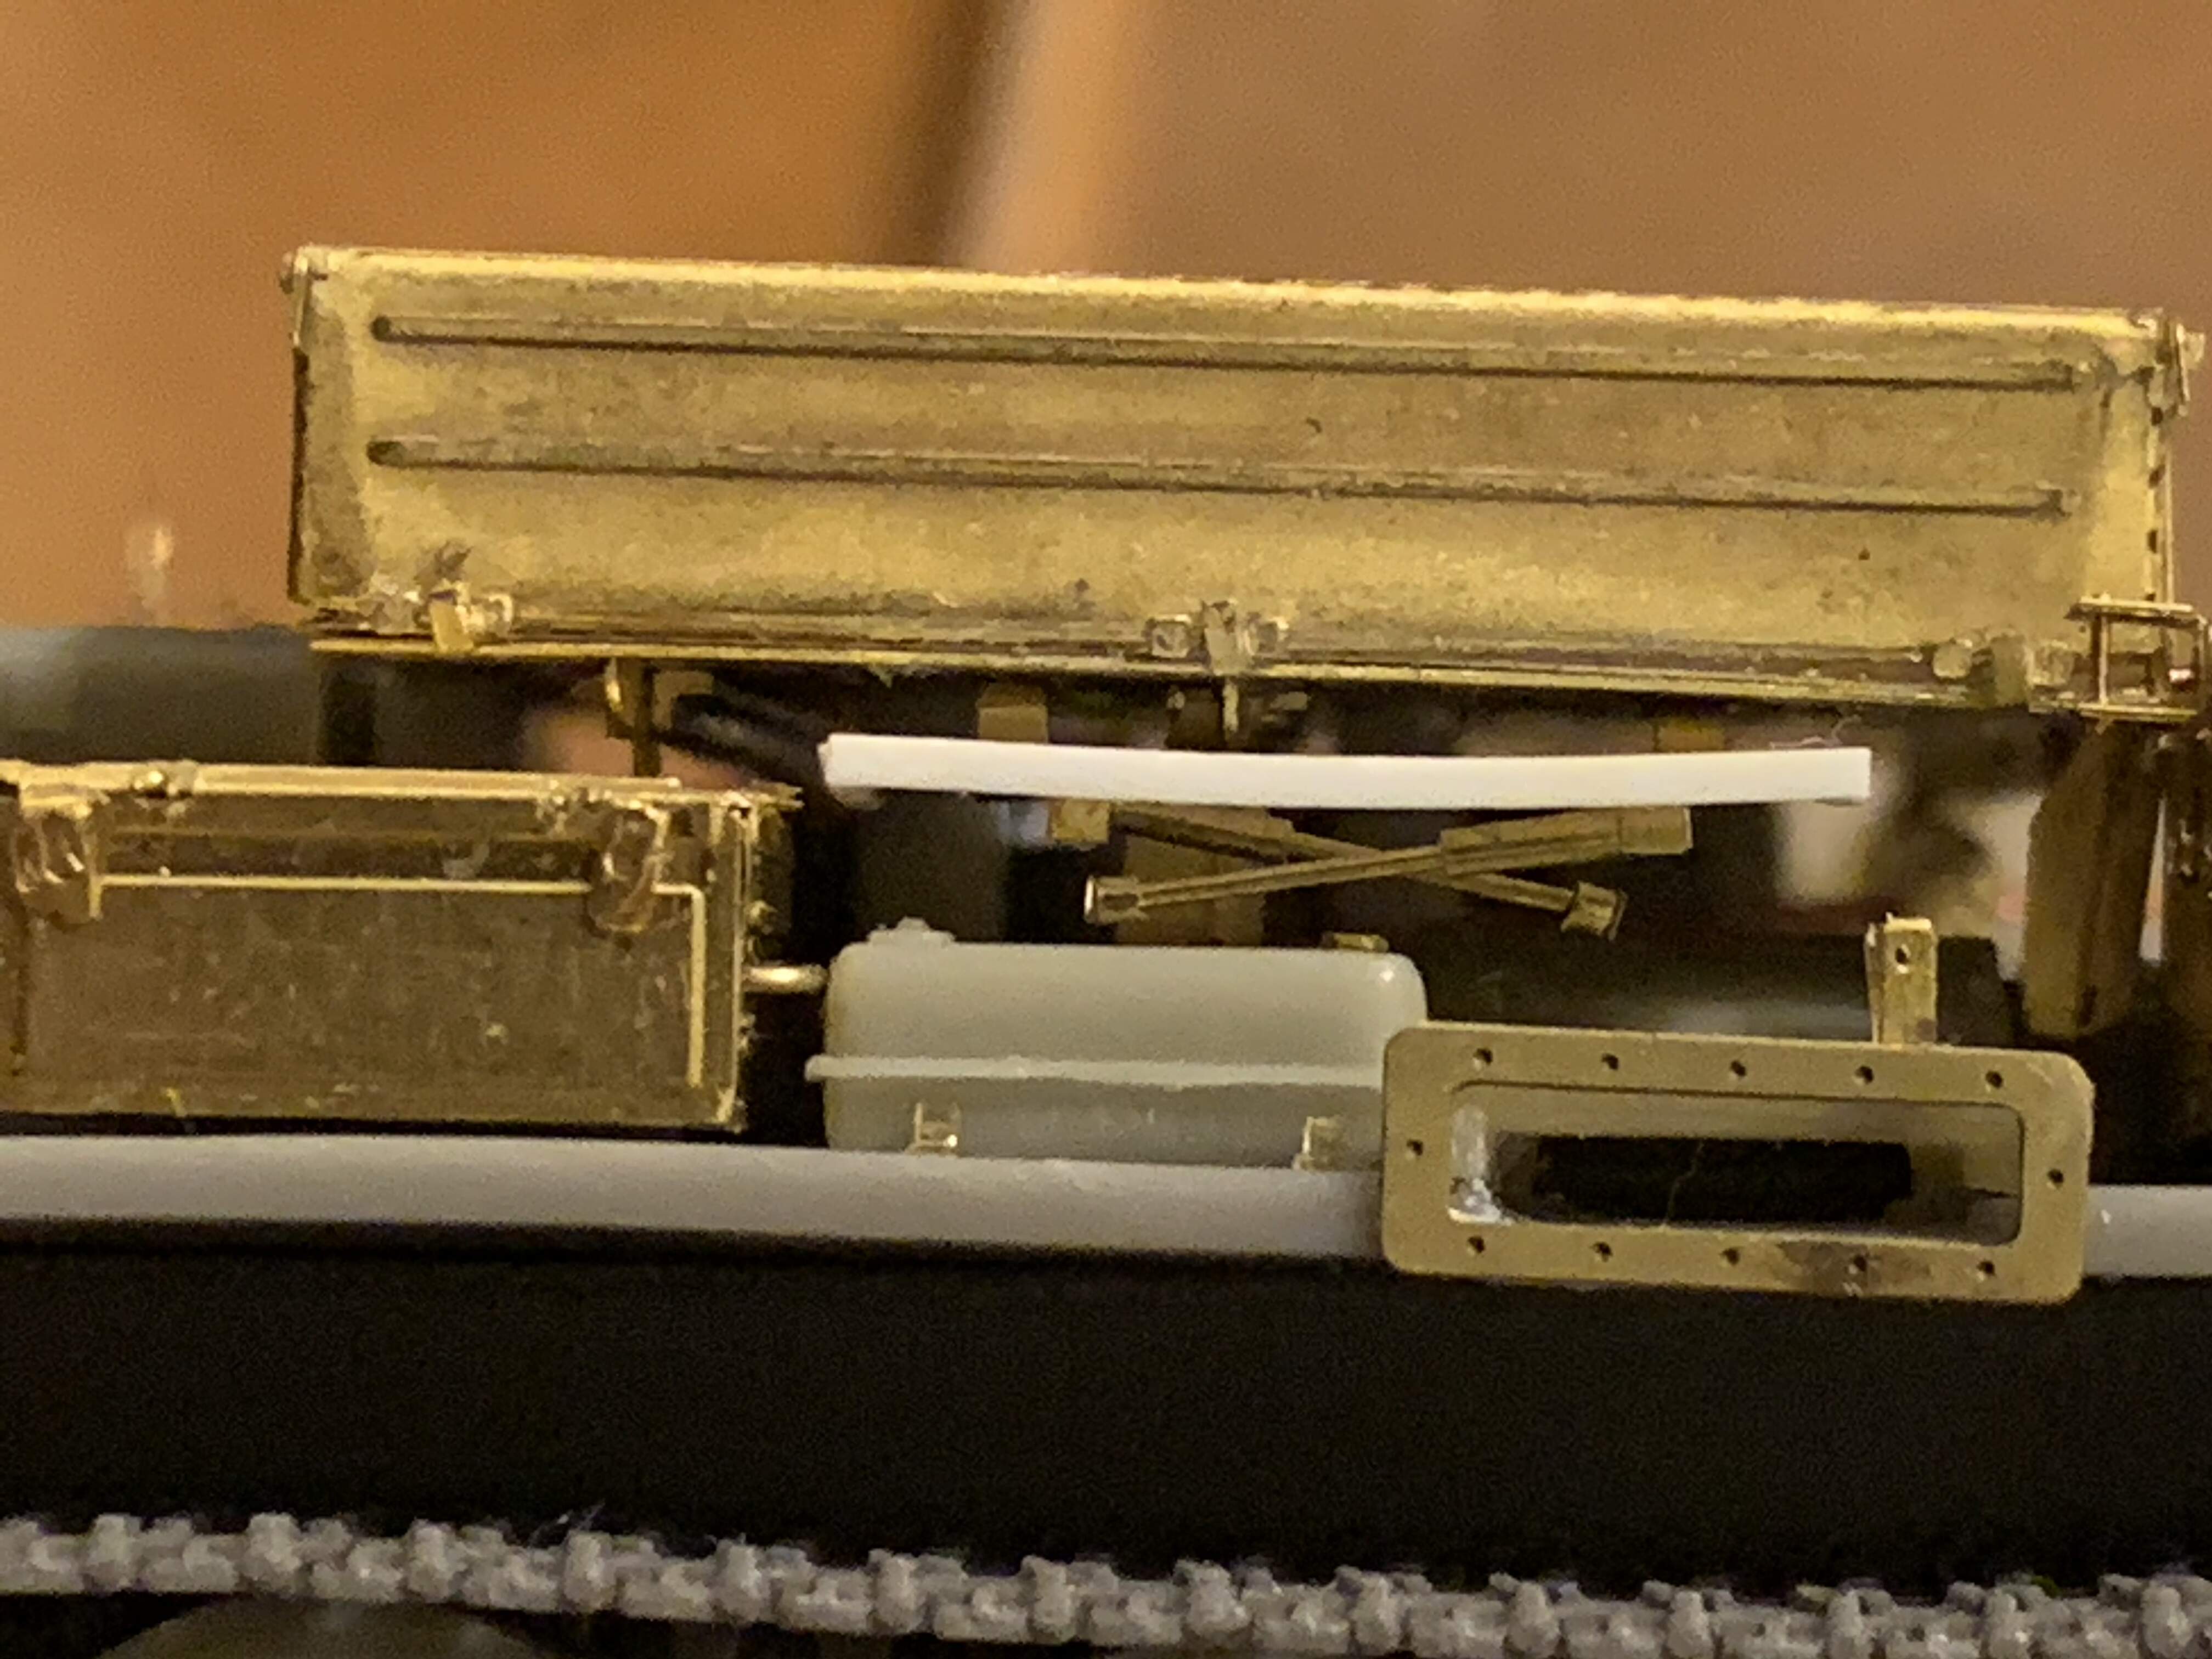
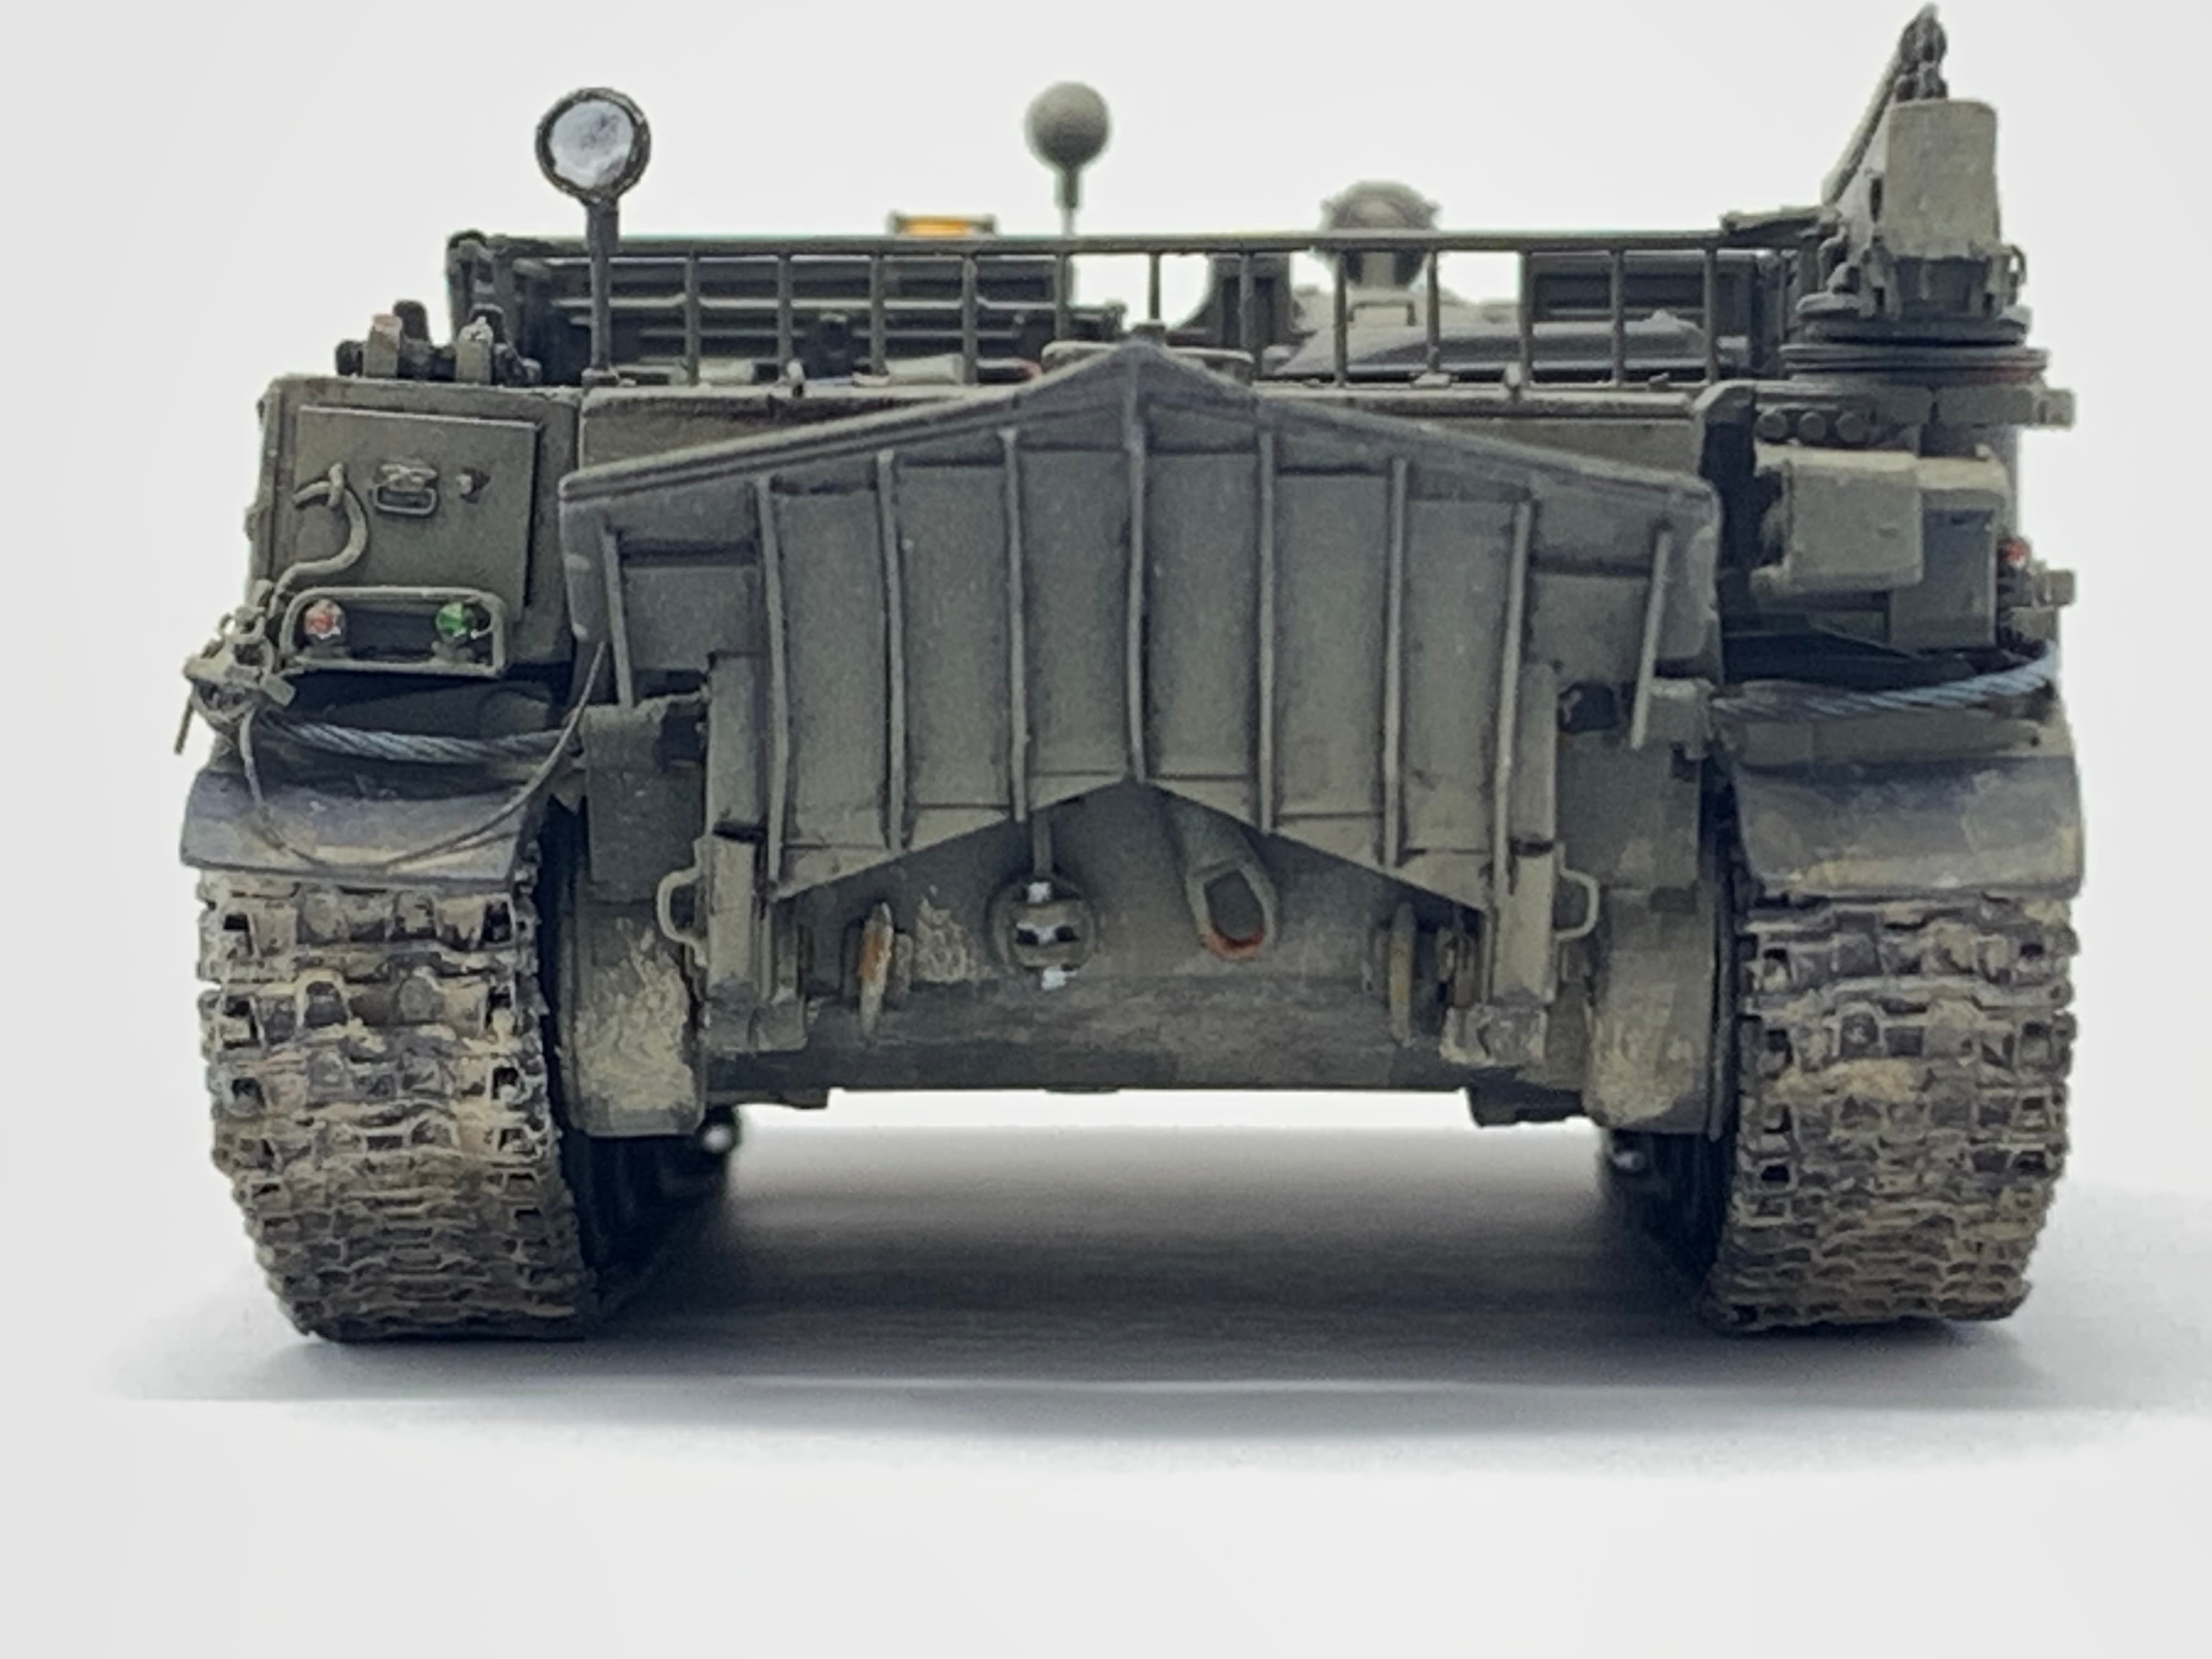
Here’s how it looks underneath. I glued some L bars to secure the two supports. I also didn’t follow the positioning hole for the last support (far right). According to the reference photos, there is no overhang there so I glued it to the edge.
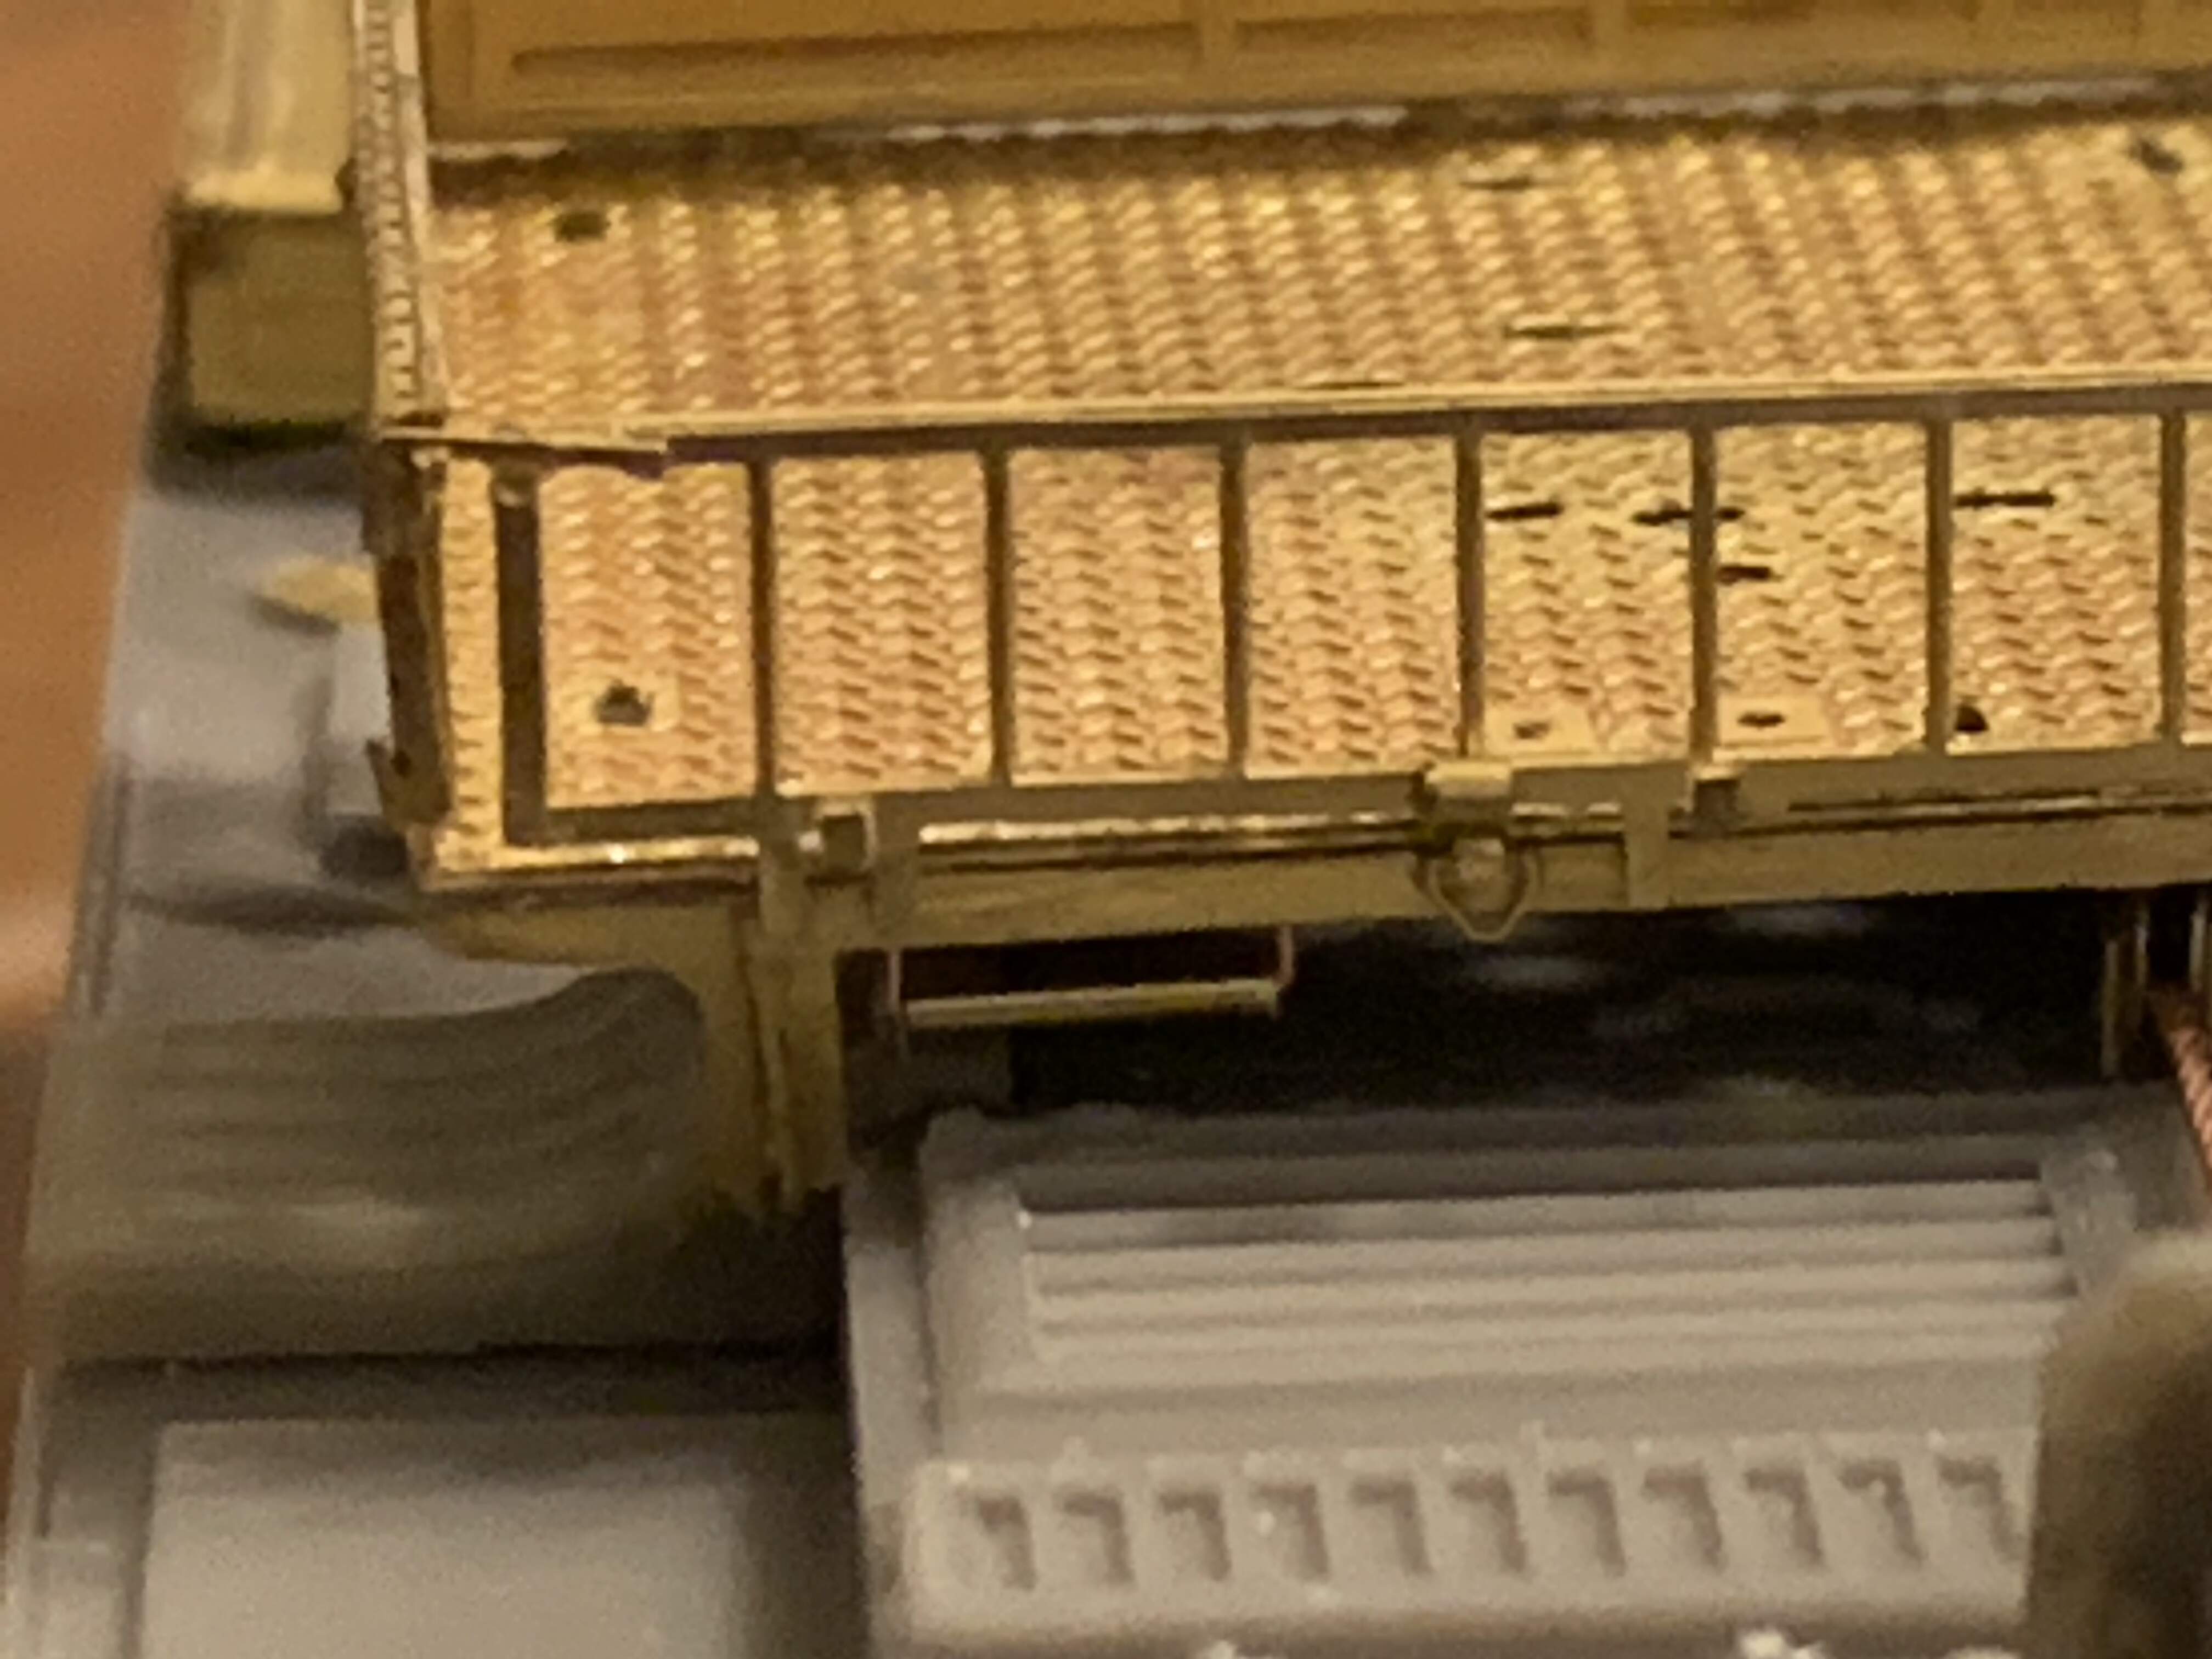
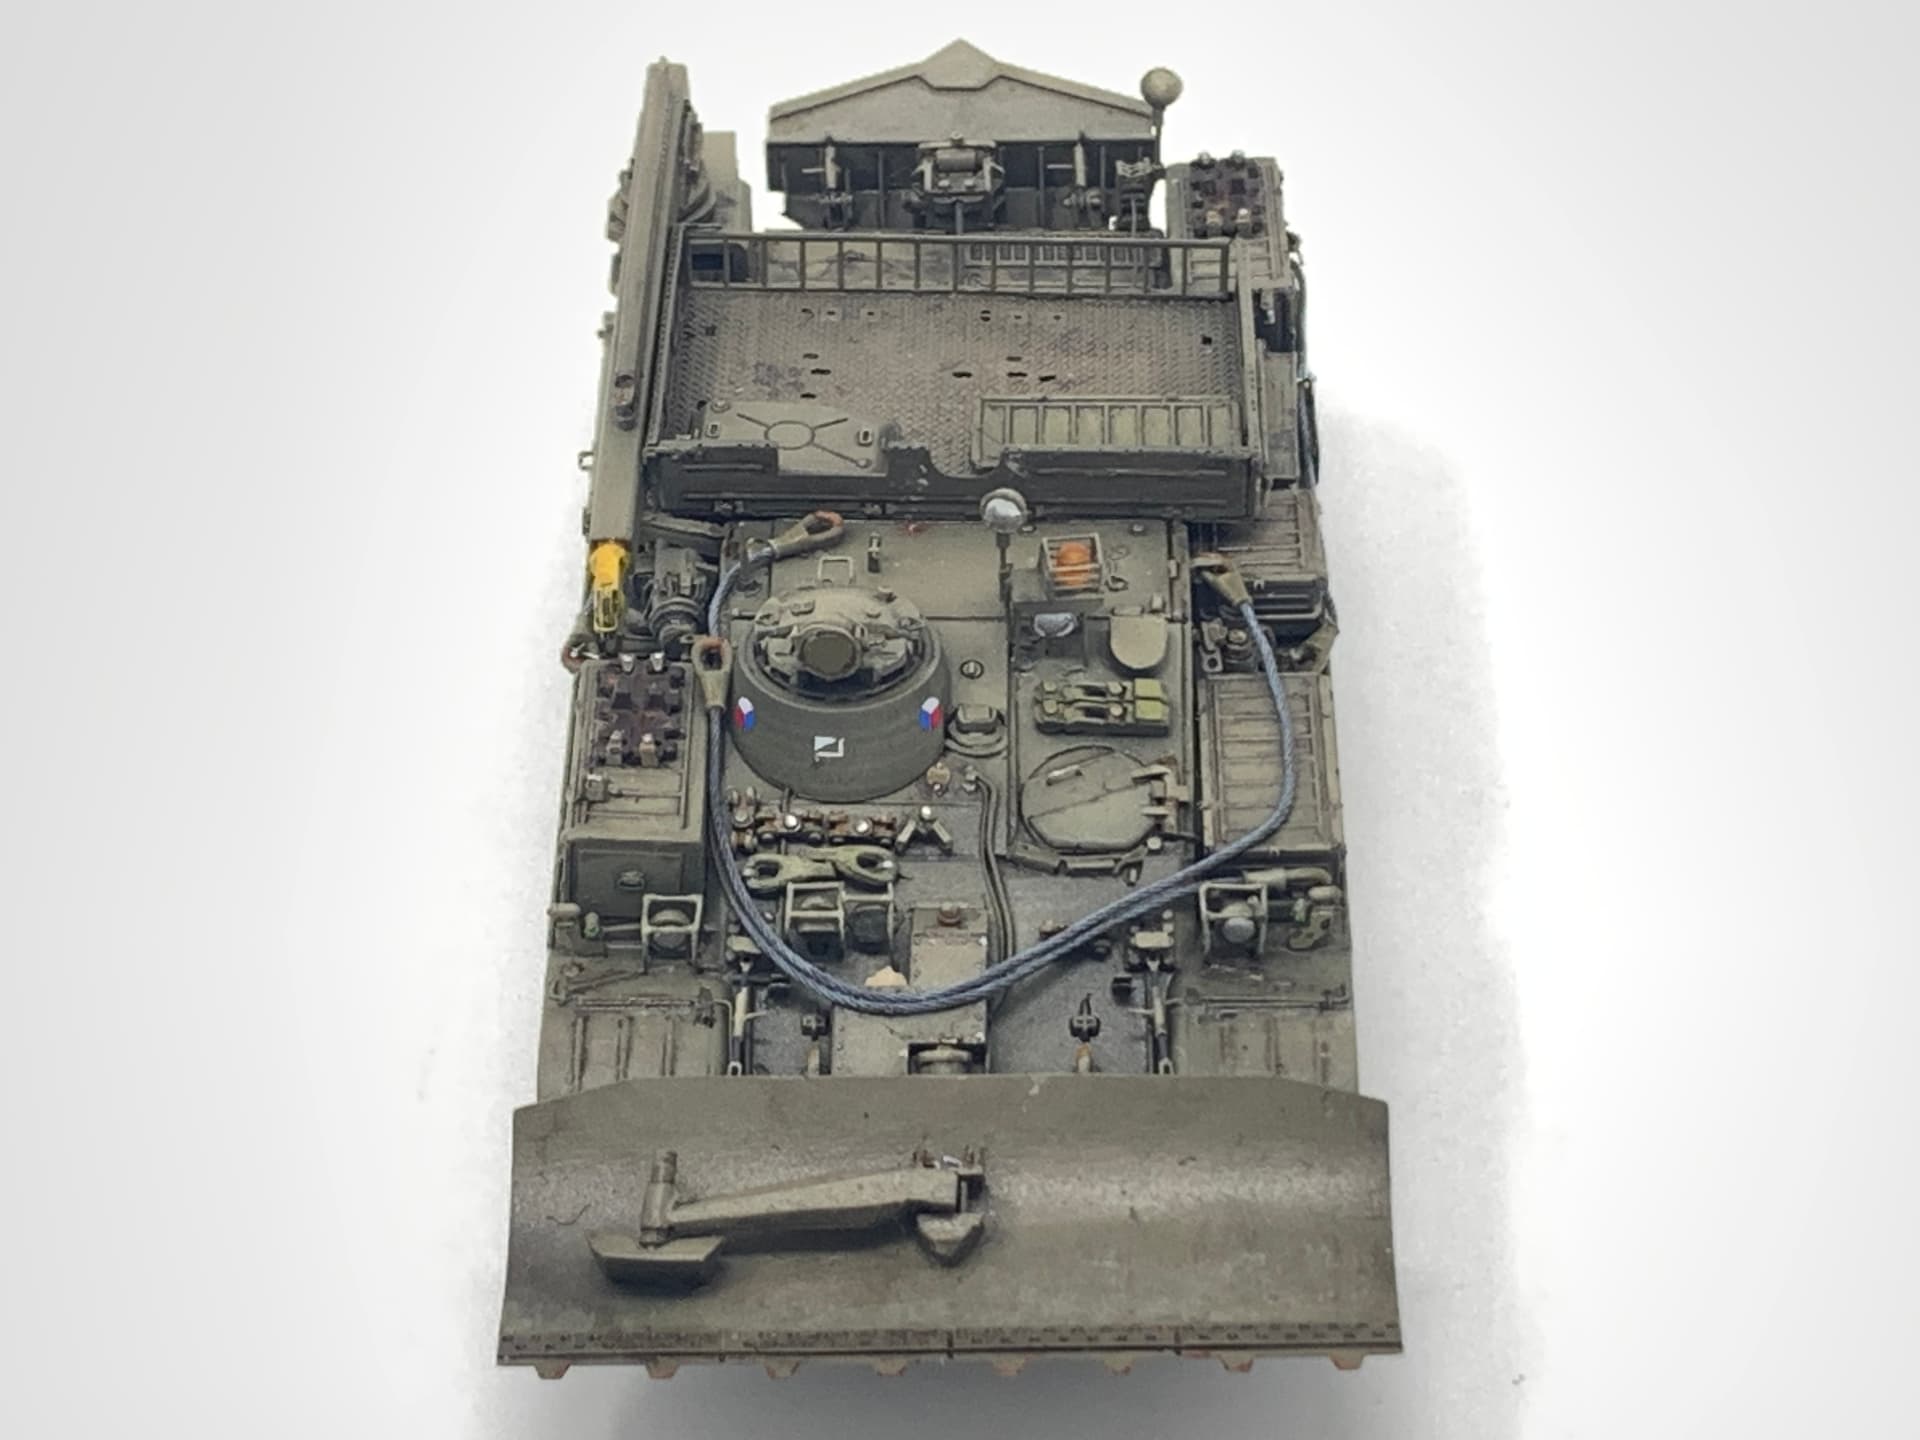
Further work was done on the stowage boxes. I added very small latches. First order of business is to secure the stowage box and make sure it doesn’t move.
Thanks! It was definitely a bomb-defusing moment gluing those tiny pieces. It was like I was deciding whether to cut the blue or red wire. I held my breath the entire time for each piece I glued! Looks like the effort worked out though. Happy with the result. Glad to hear from both of you and your interest.
On a side note, just in case you are interested, I’d like to share one of my previous build logs in the old forum. My previous call sign is “BravoTwoZero”. Here is the link 1/72 Valley of Tears Check it out when you have time and let me know what you think.
Ammo of Mig recently had a Facebook online contest to commemorate the anniversary of the Yom Kippur War. I submitted this and it got selected! My work appeared on their Facebook page cover along with two other “winners”. I also received personal Ammo of Mig logo and a 1/72 Ammo of Mig T-54B! Pretty cool!
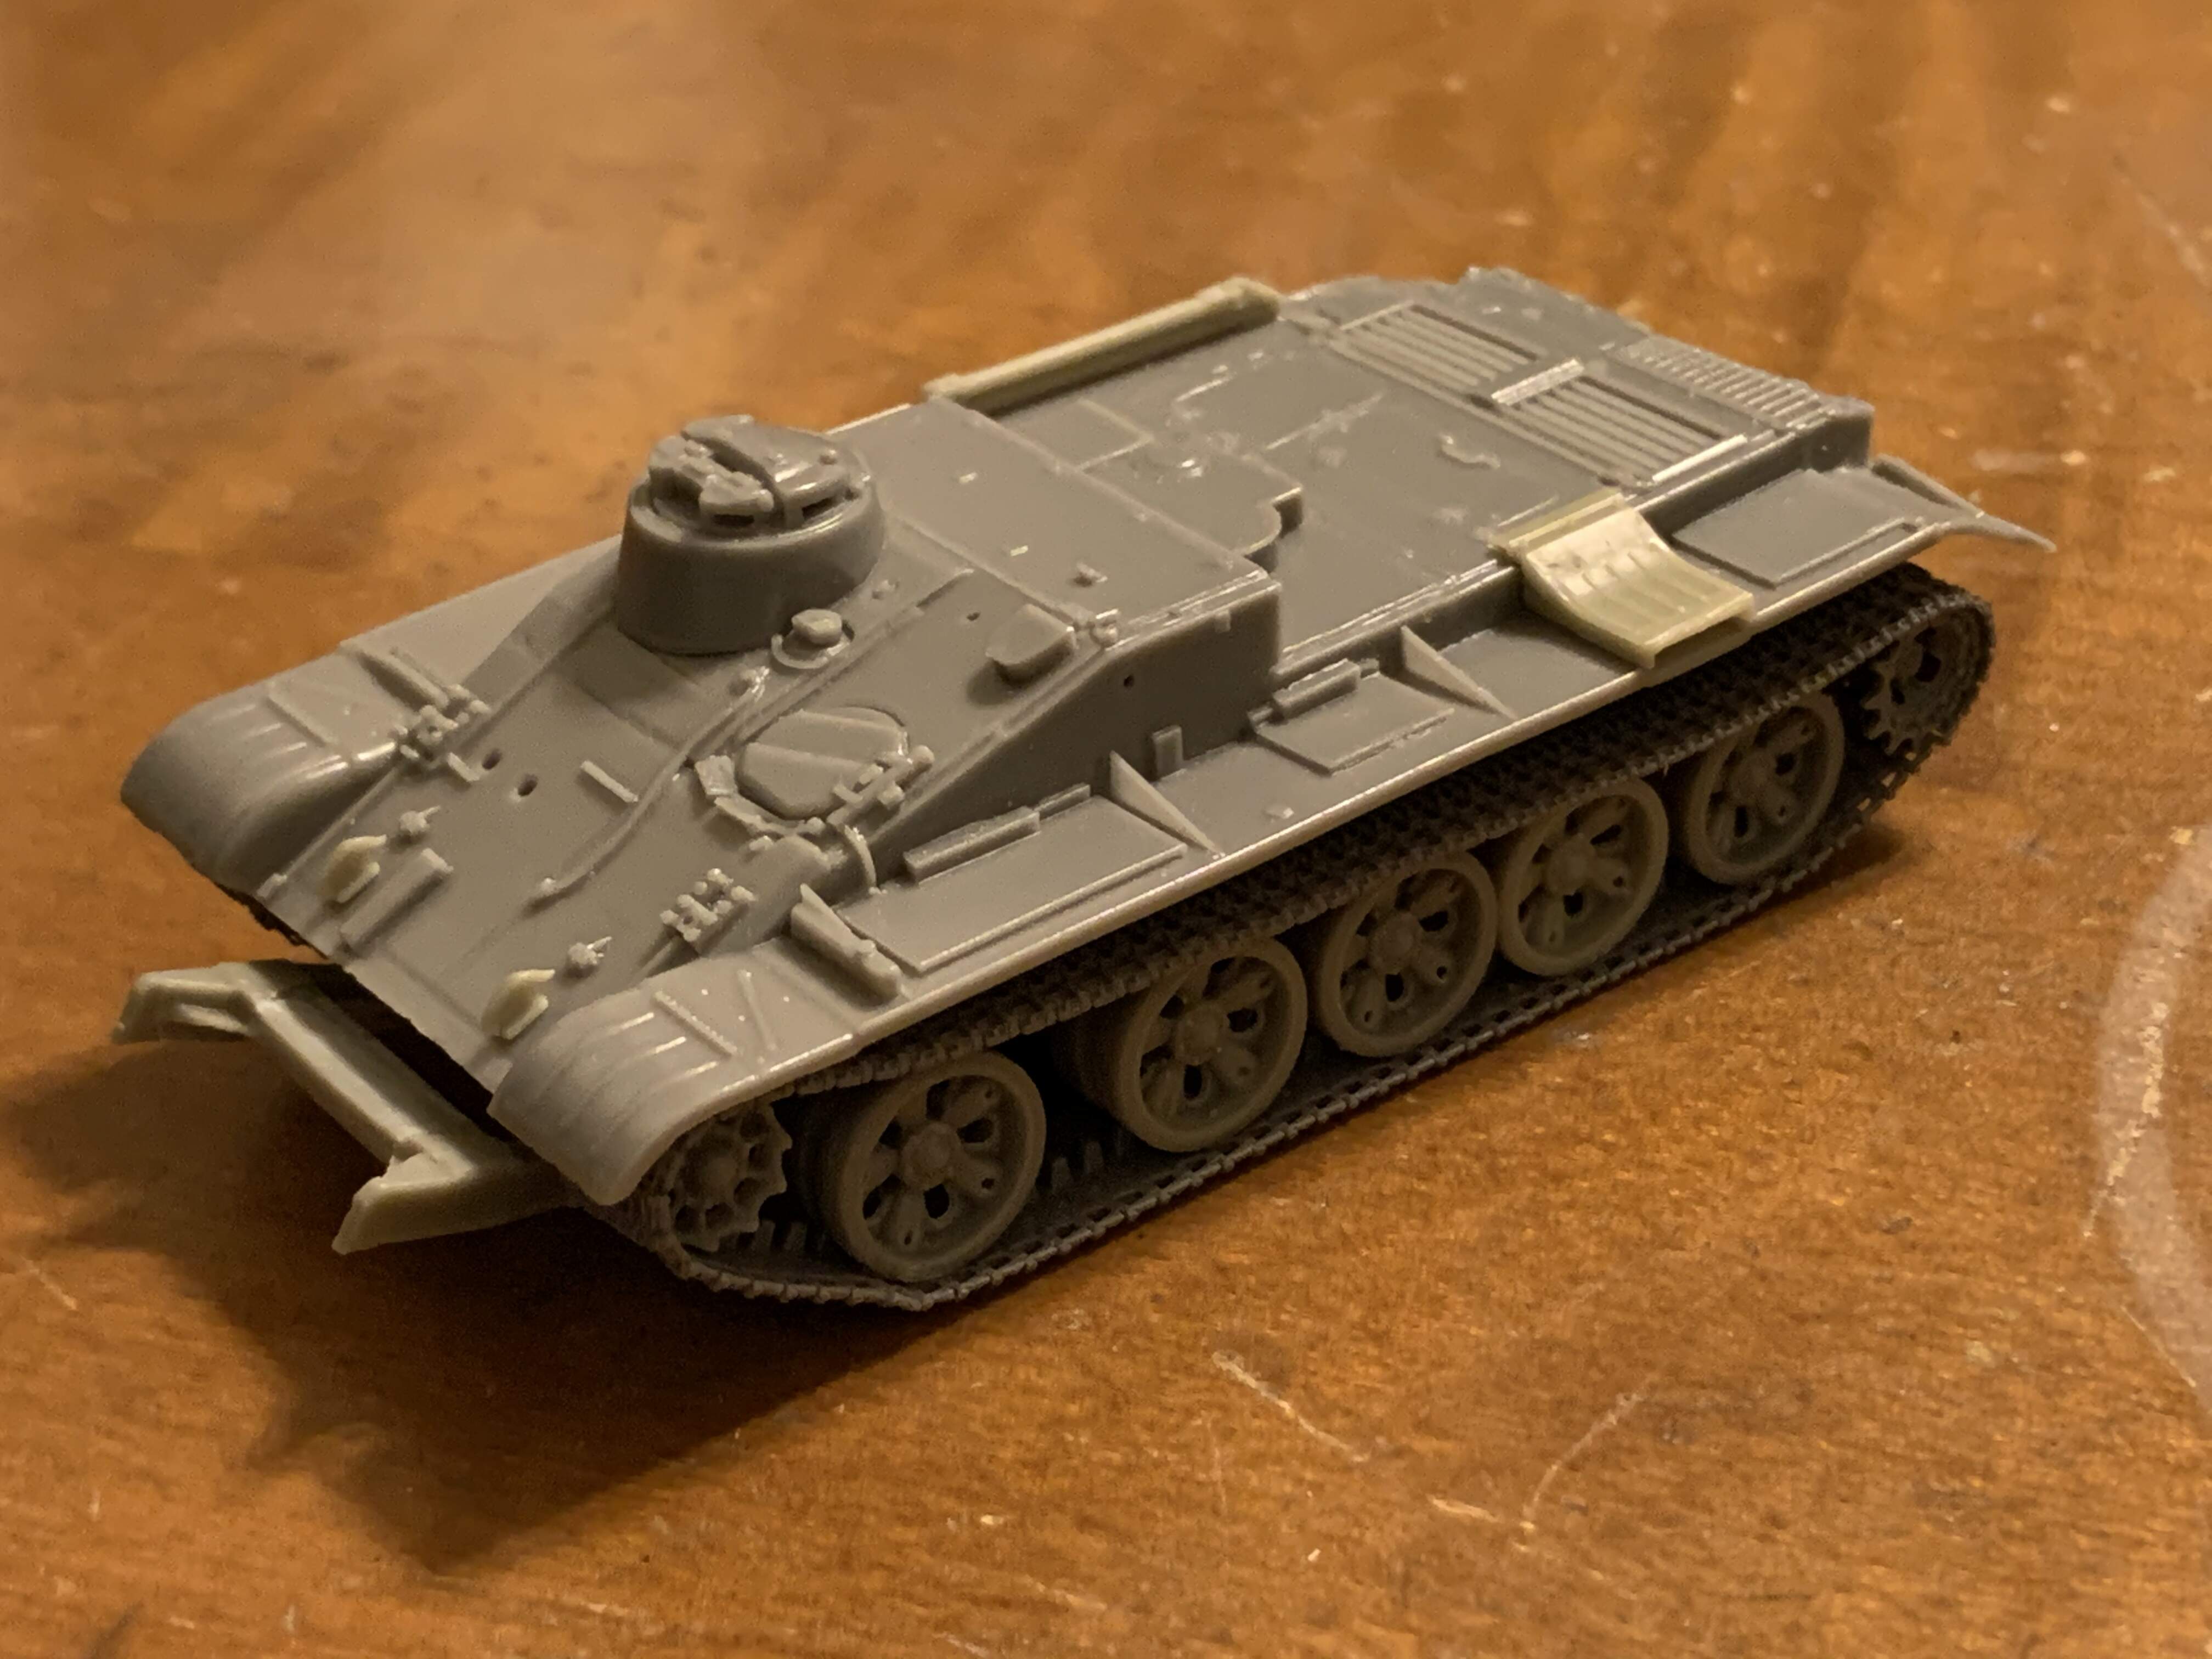
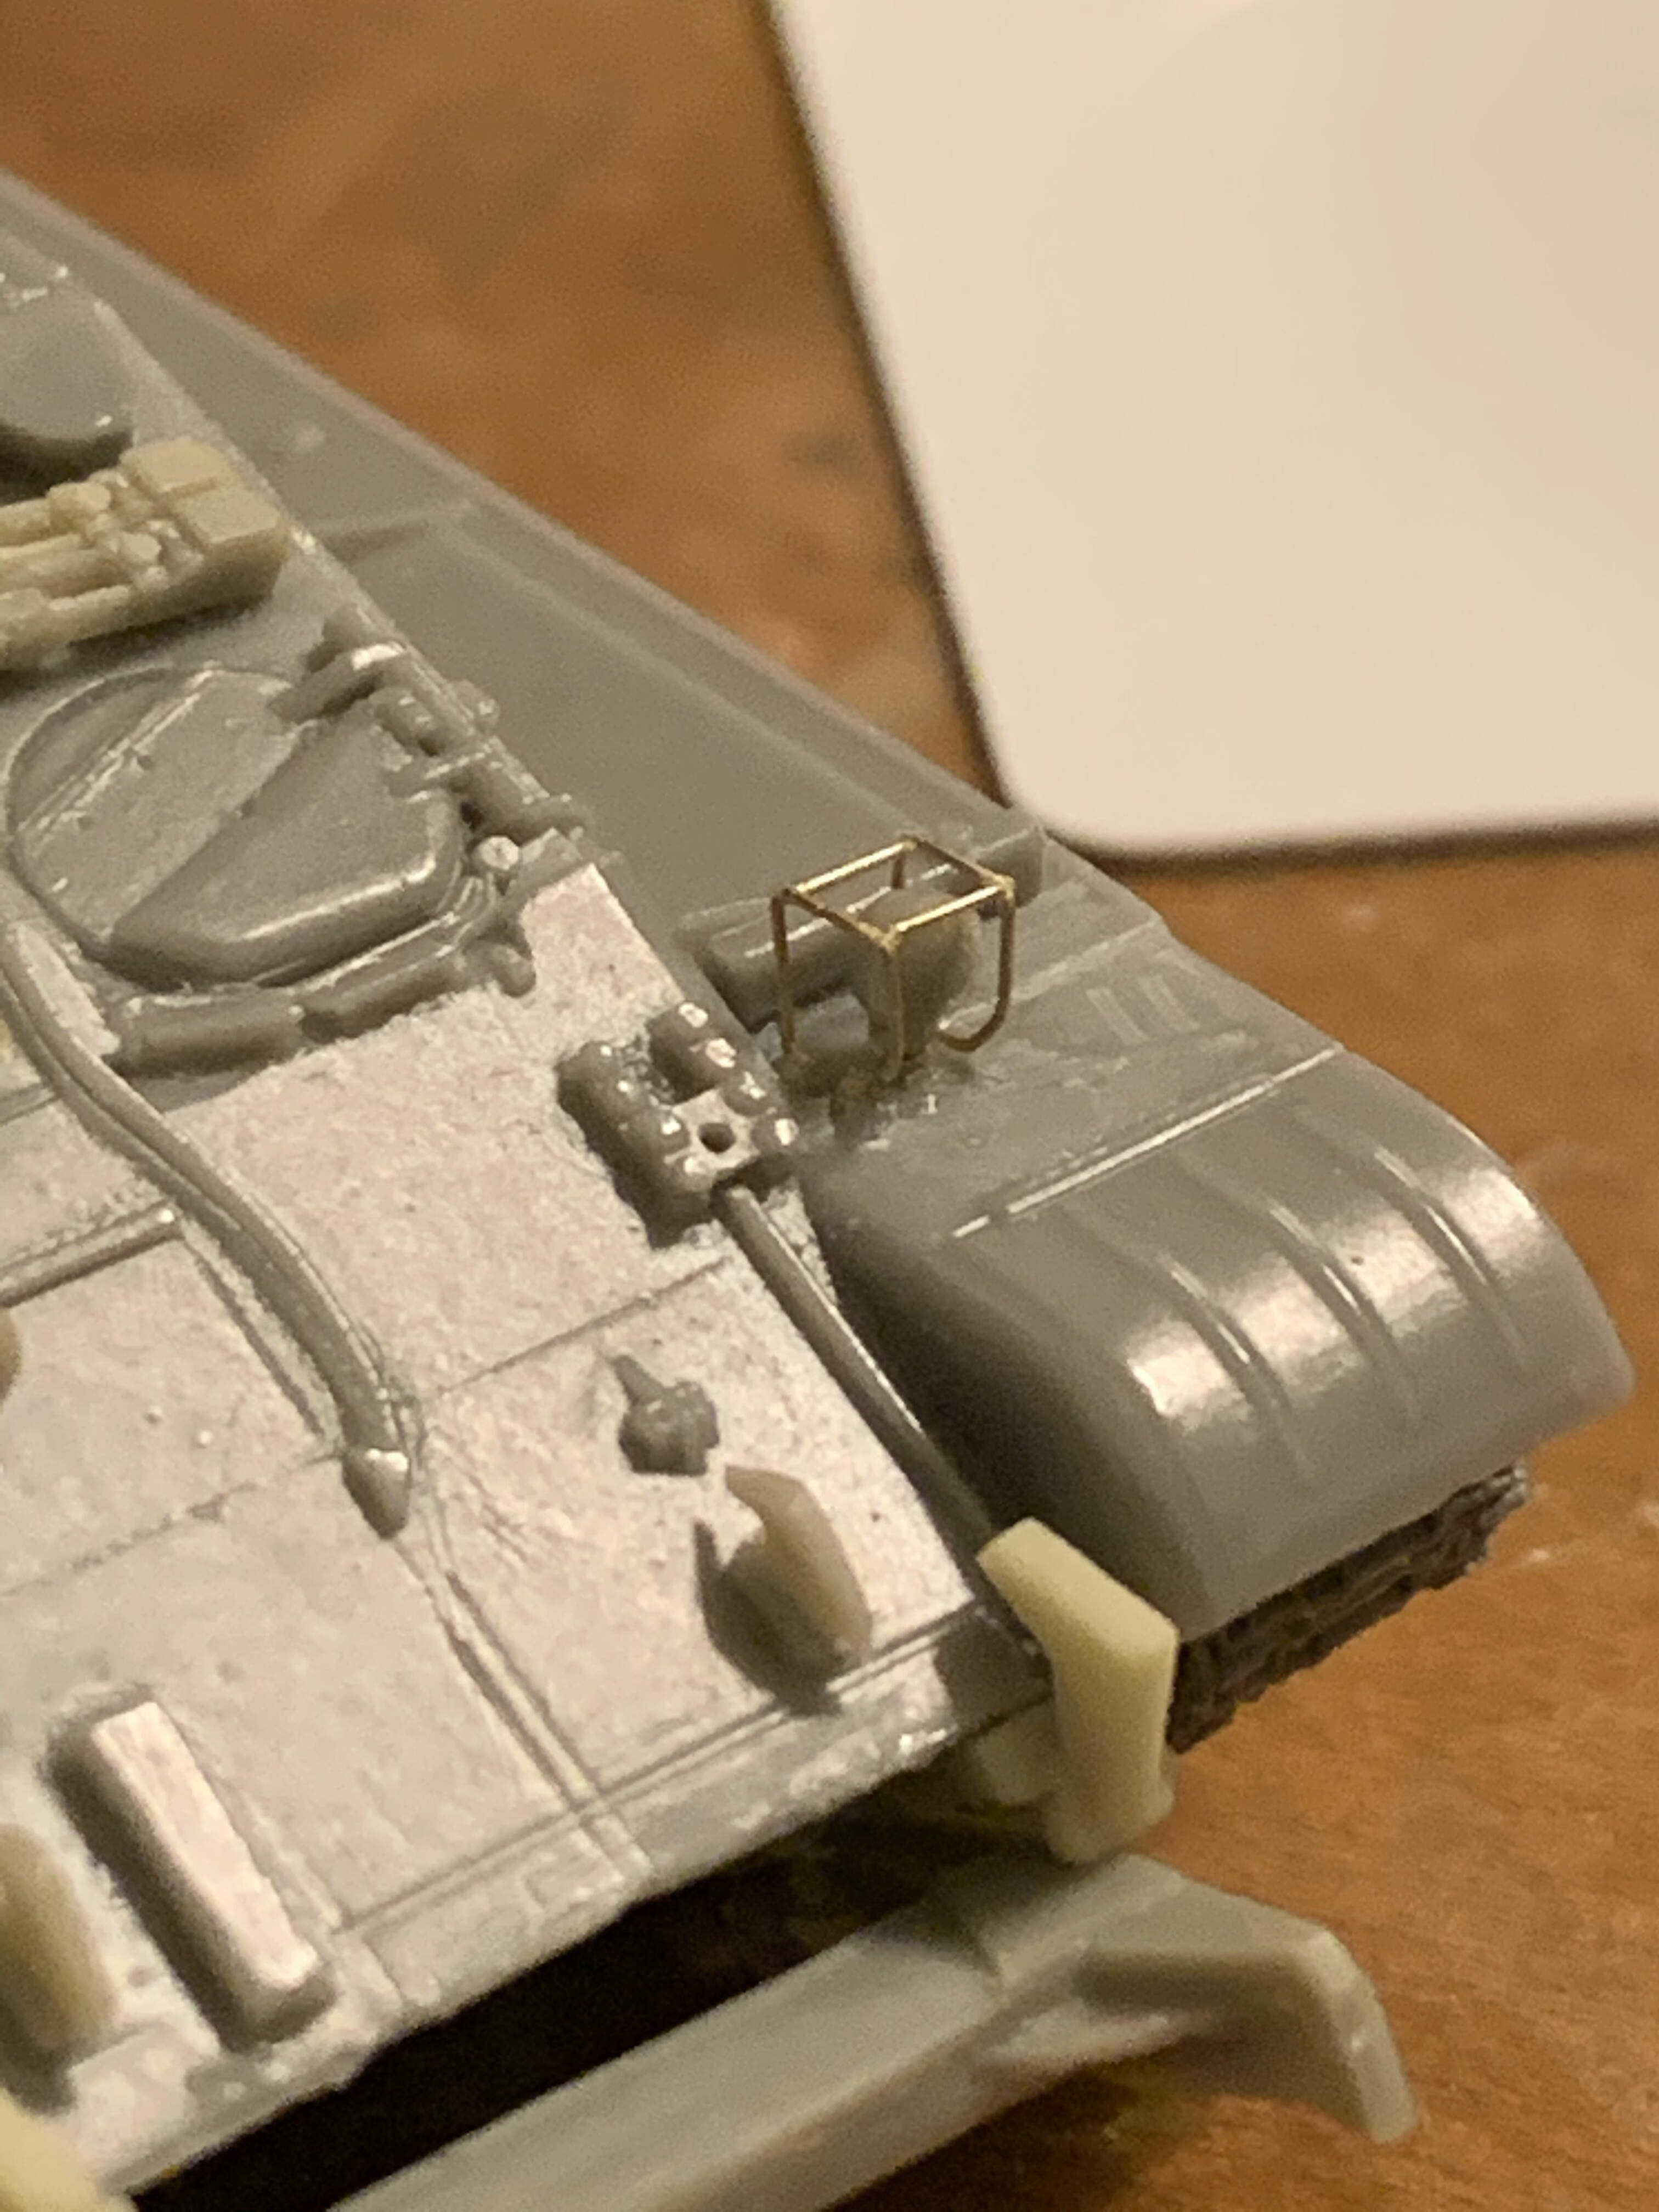
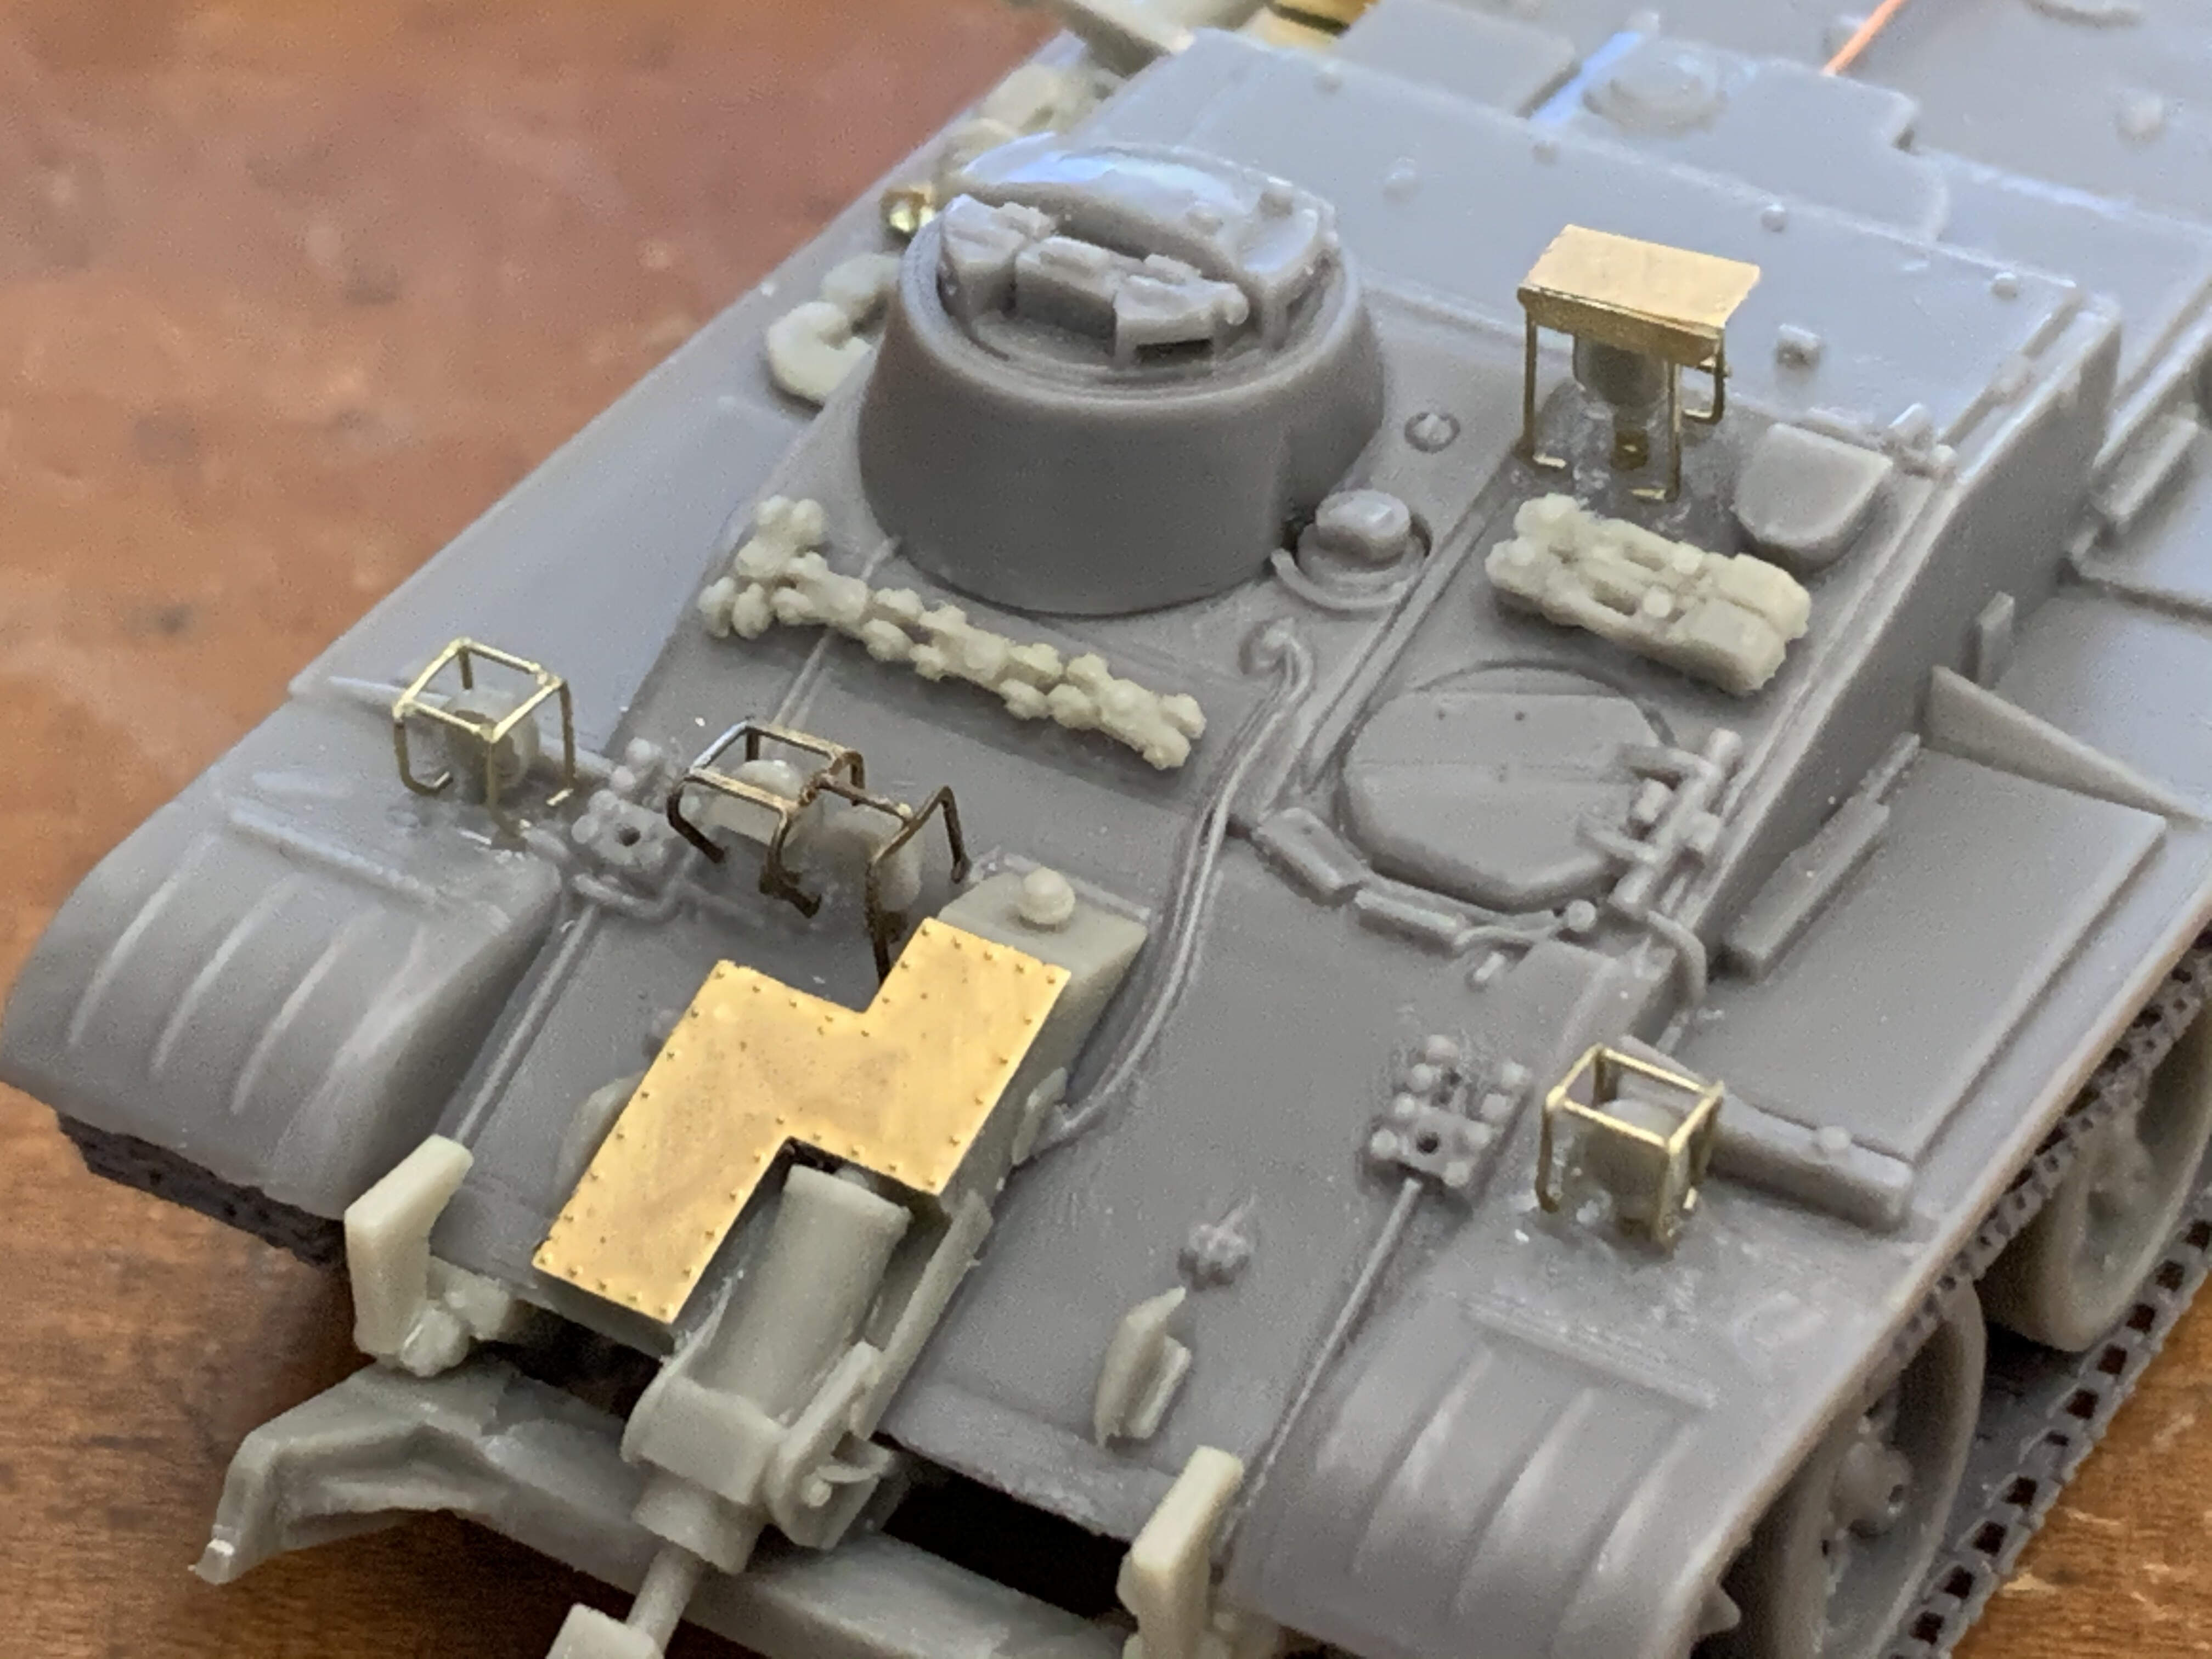
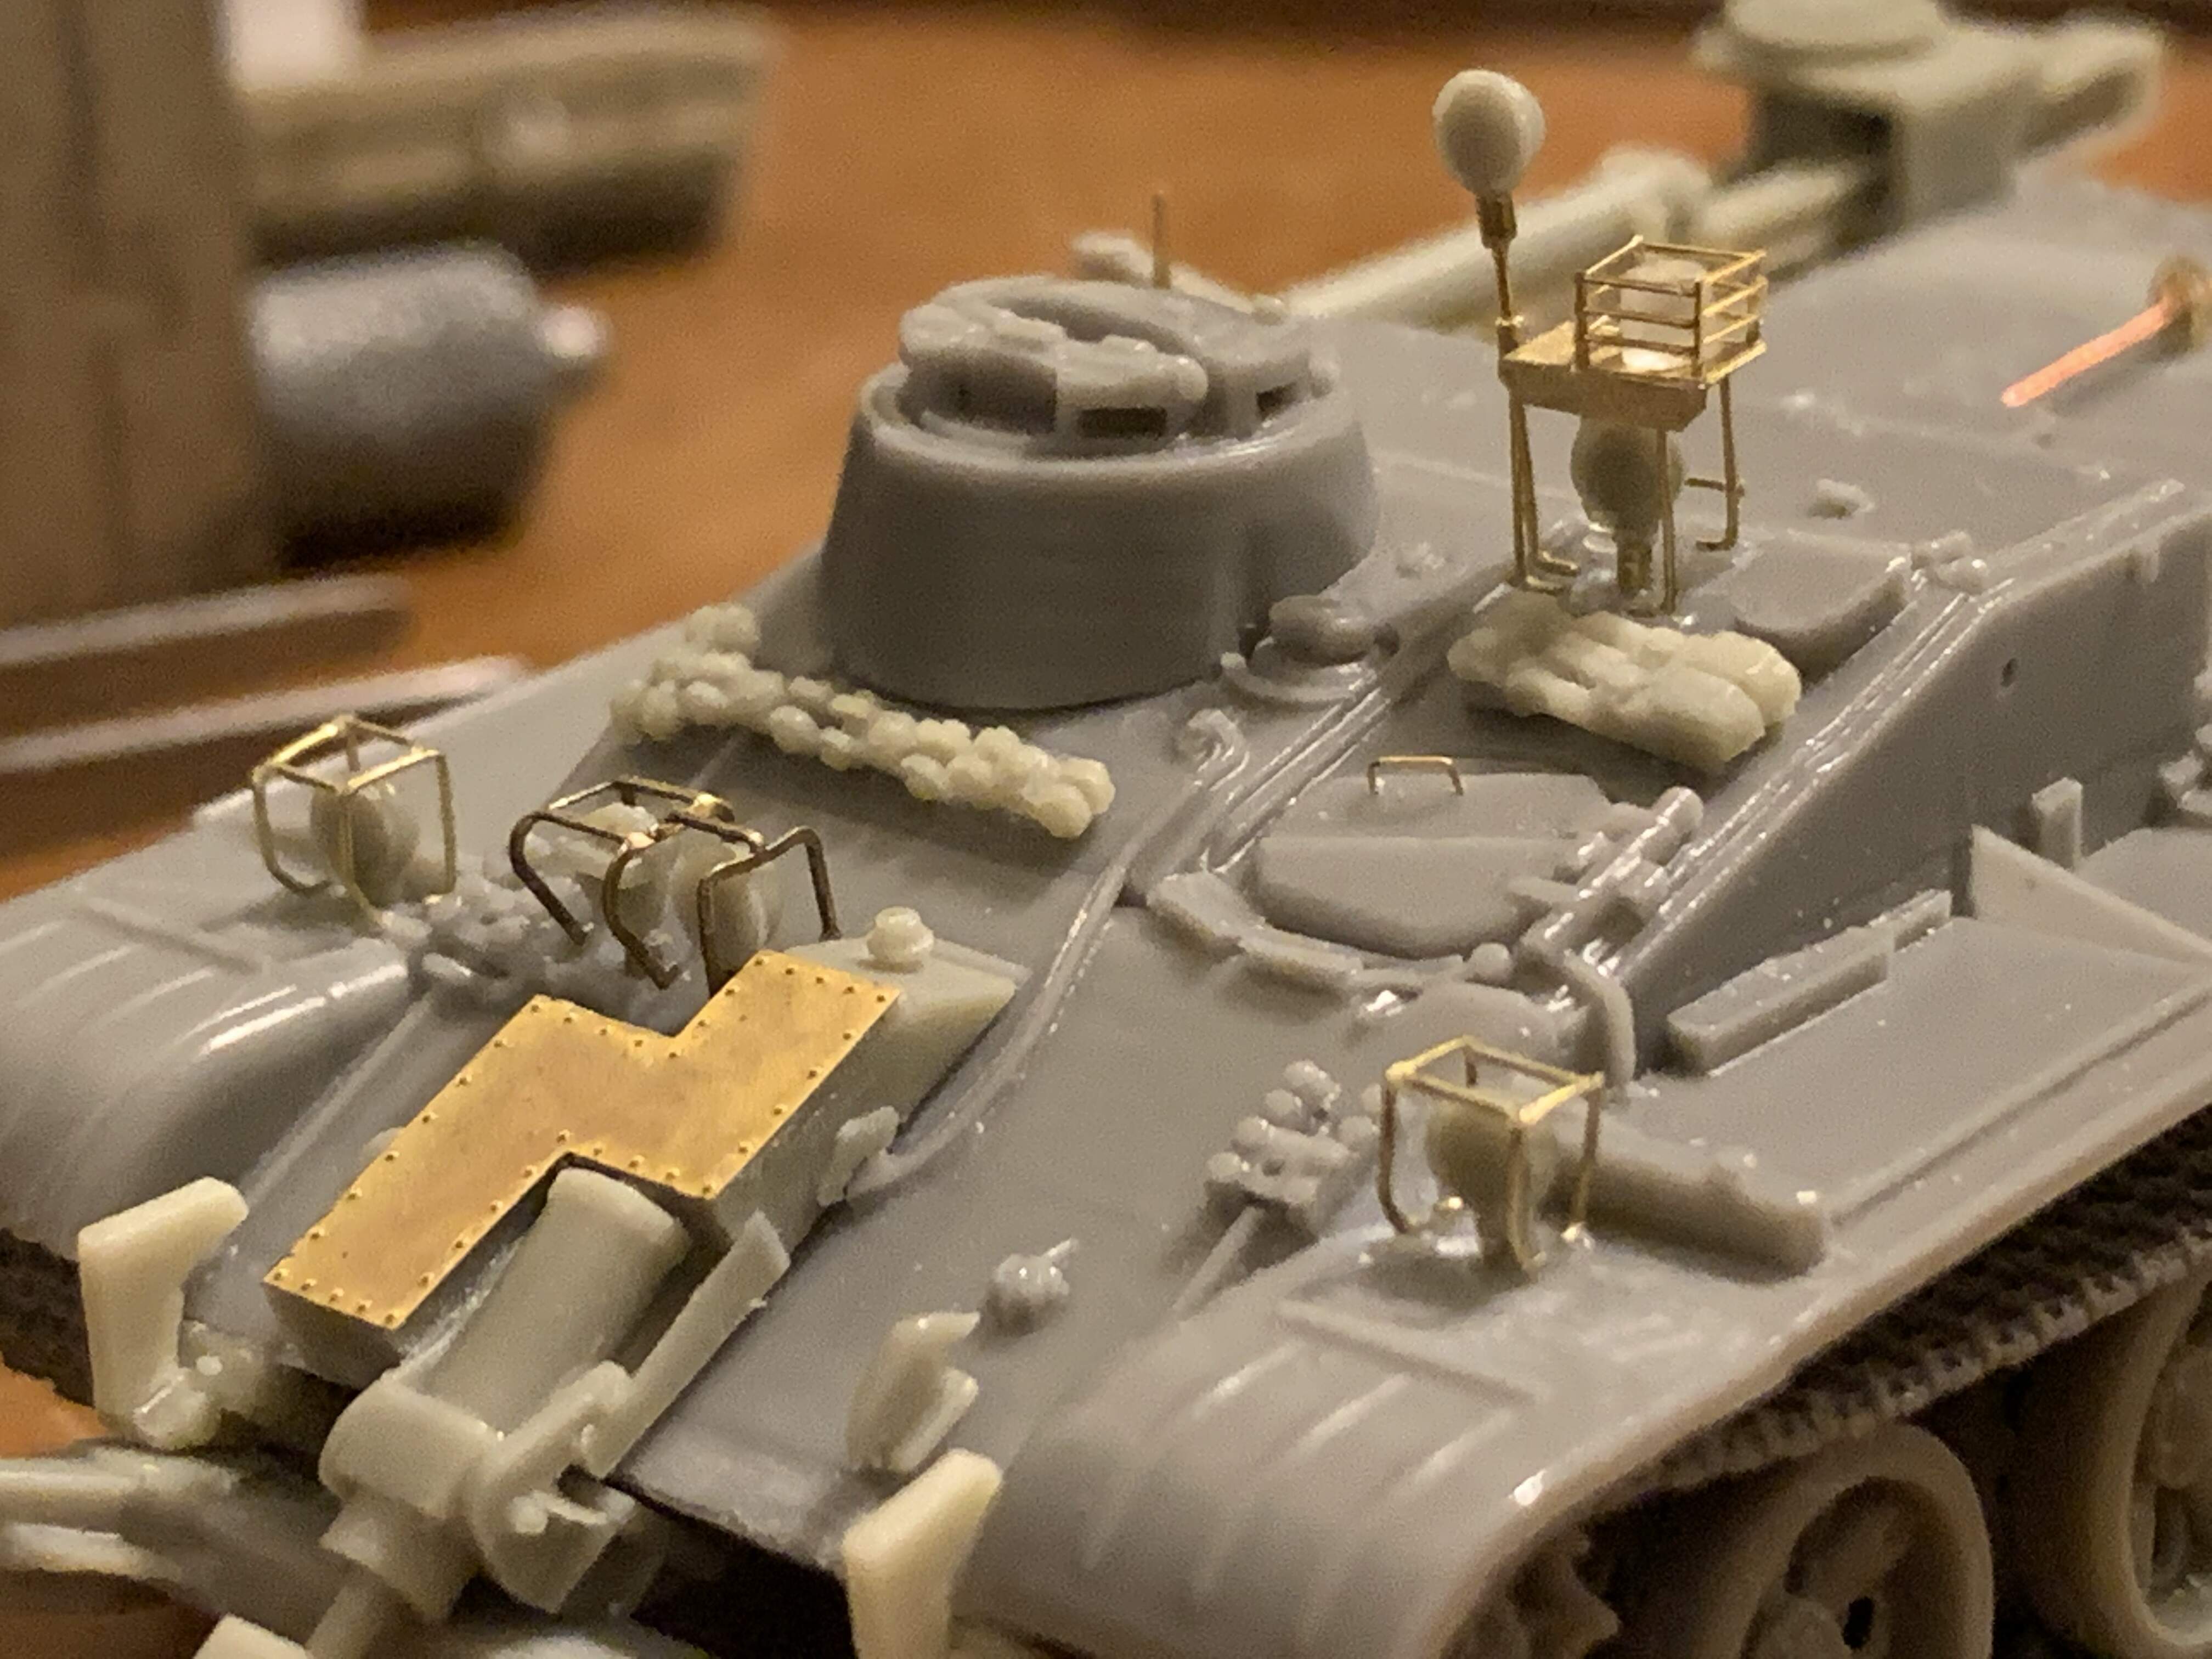
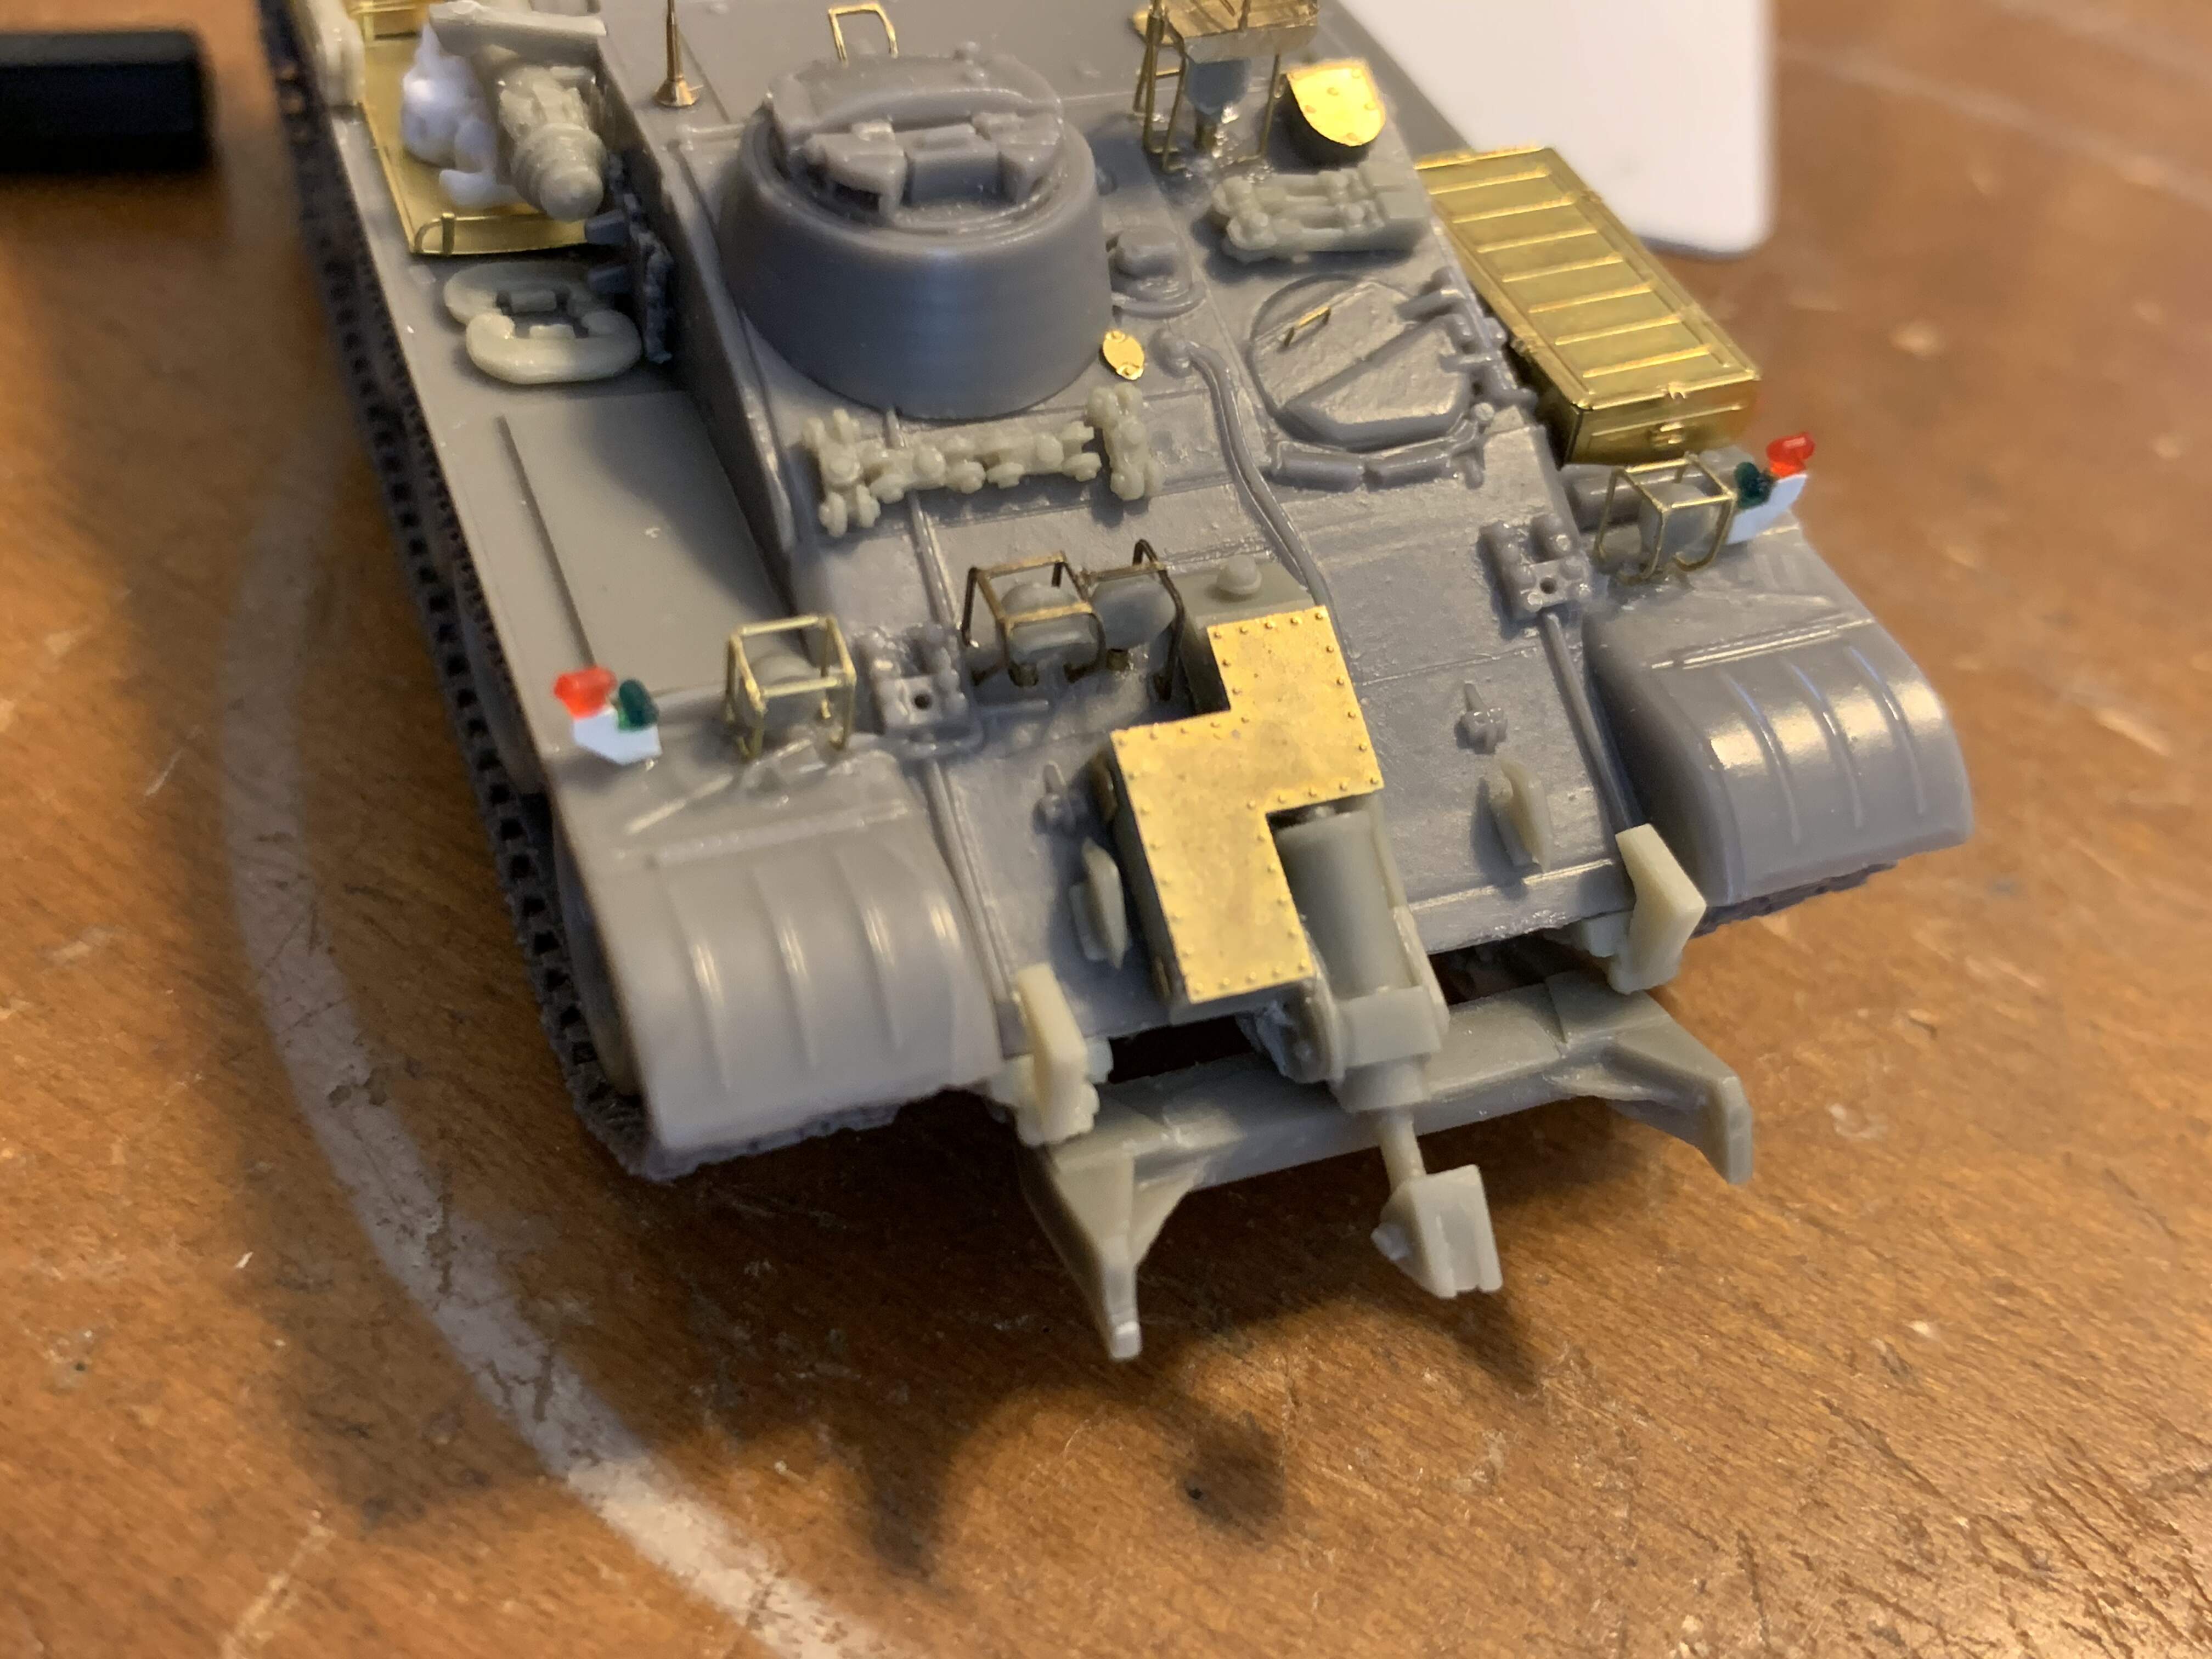
After I glued on the headlights/searchlights, I proceeded to scratchbuild brush guards. OKB Grigorov has a photoech detail set for T-55/54. Included in the set is a brush guard for the headlights. I used the measurement from the set as reference. That way, there is uniformity on the sizes. I then built the brush guards for the lights on the fenders.
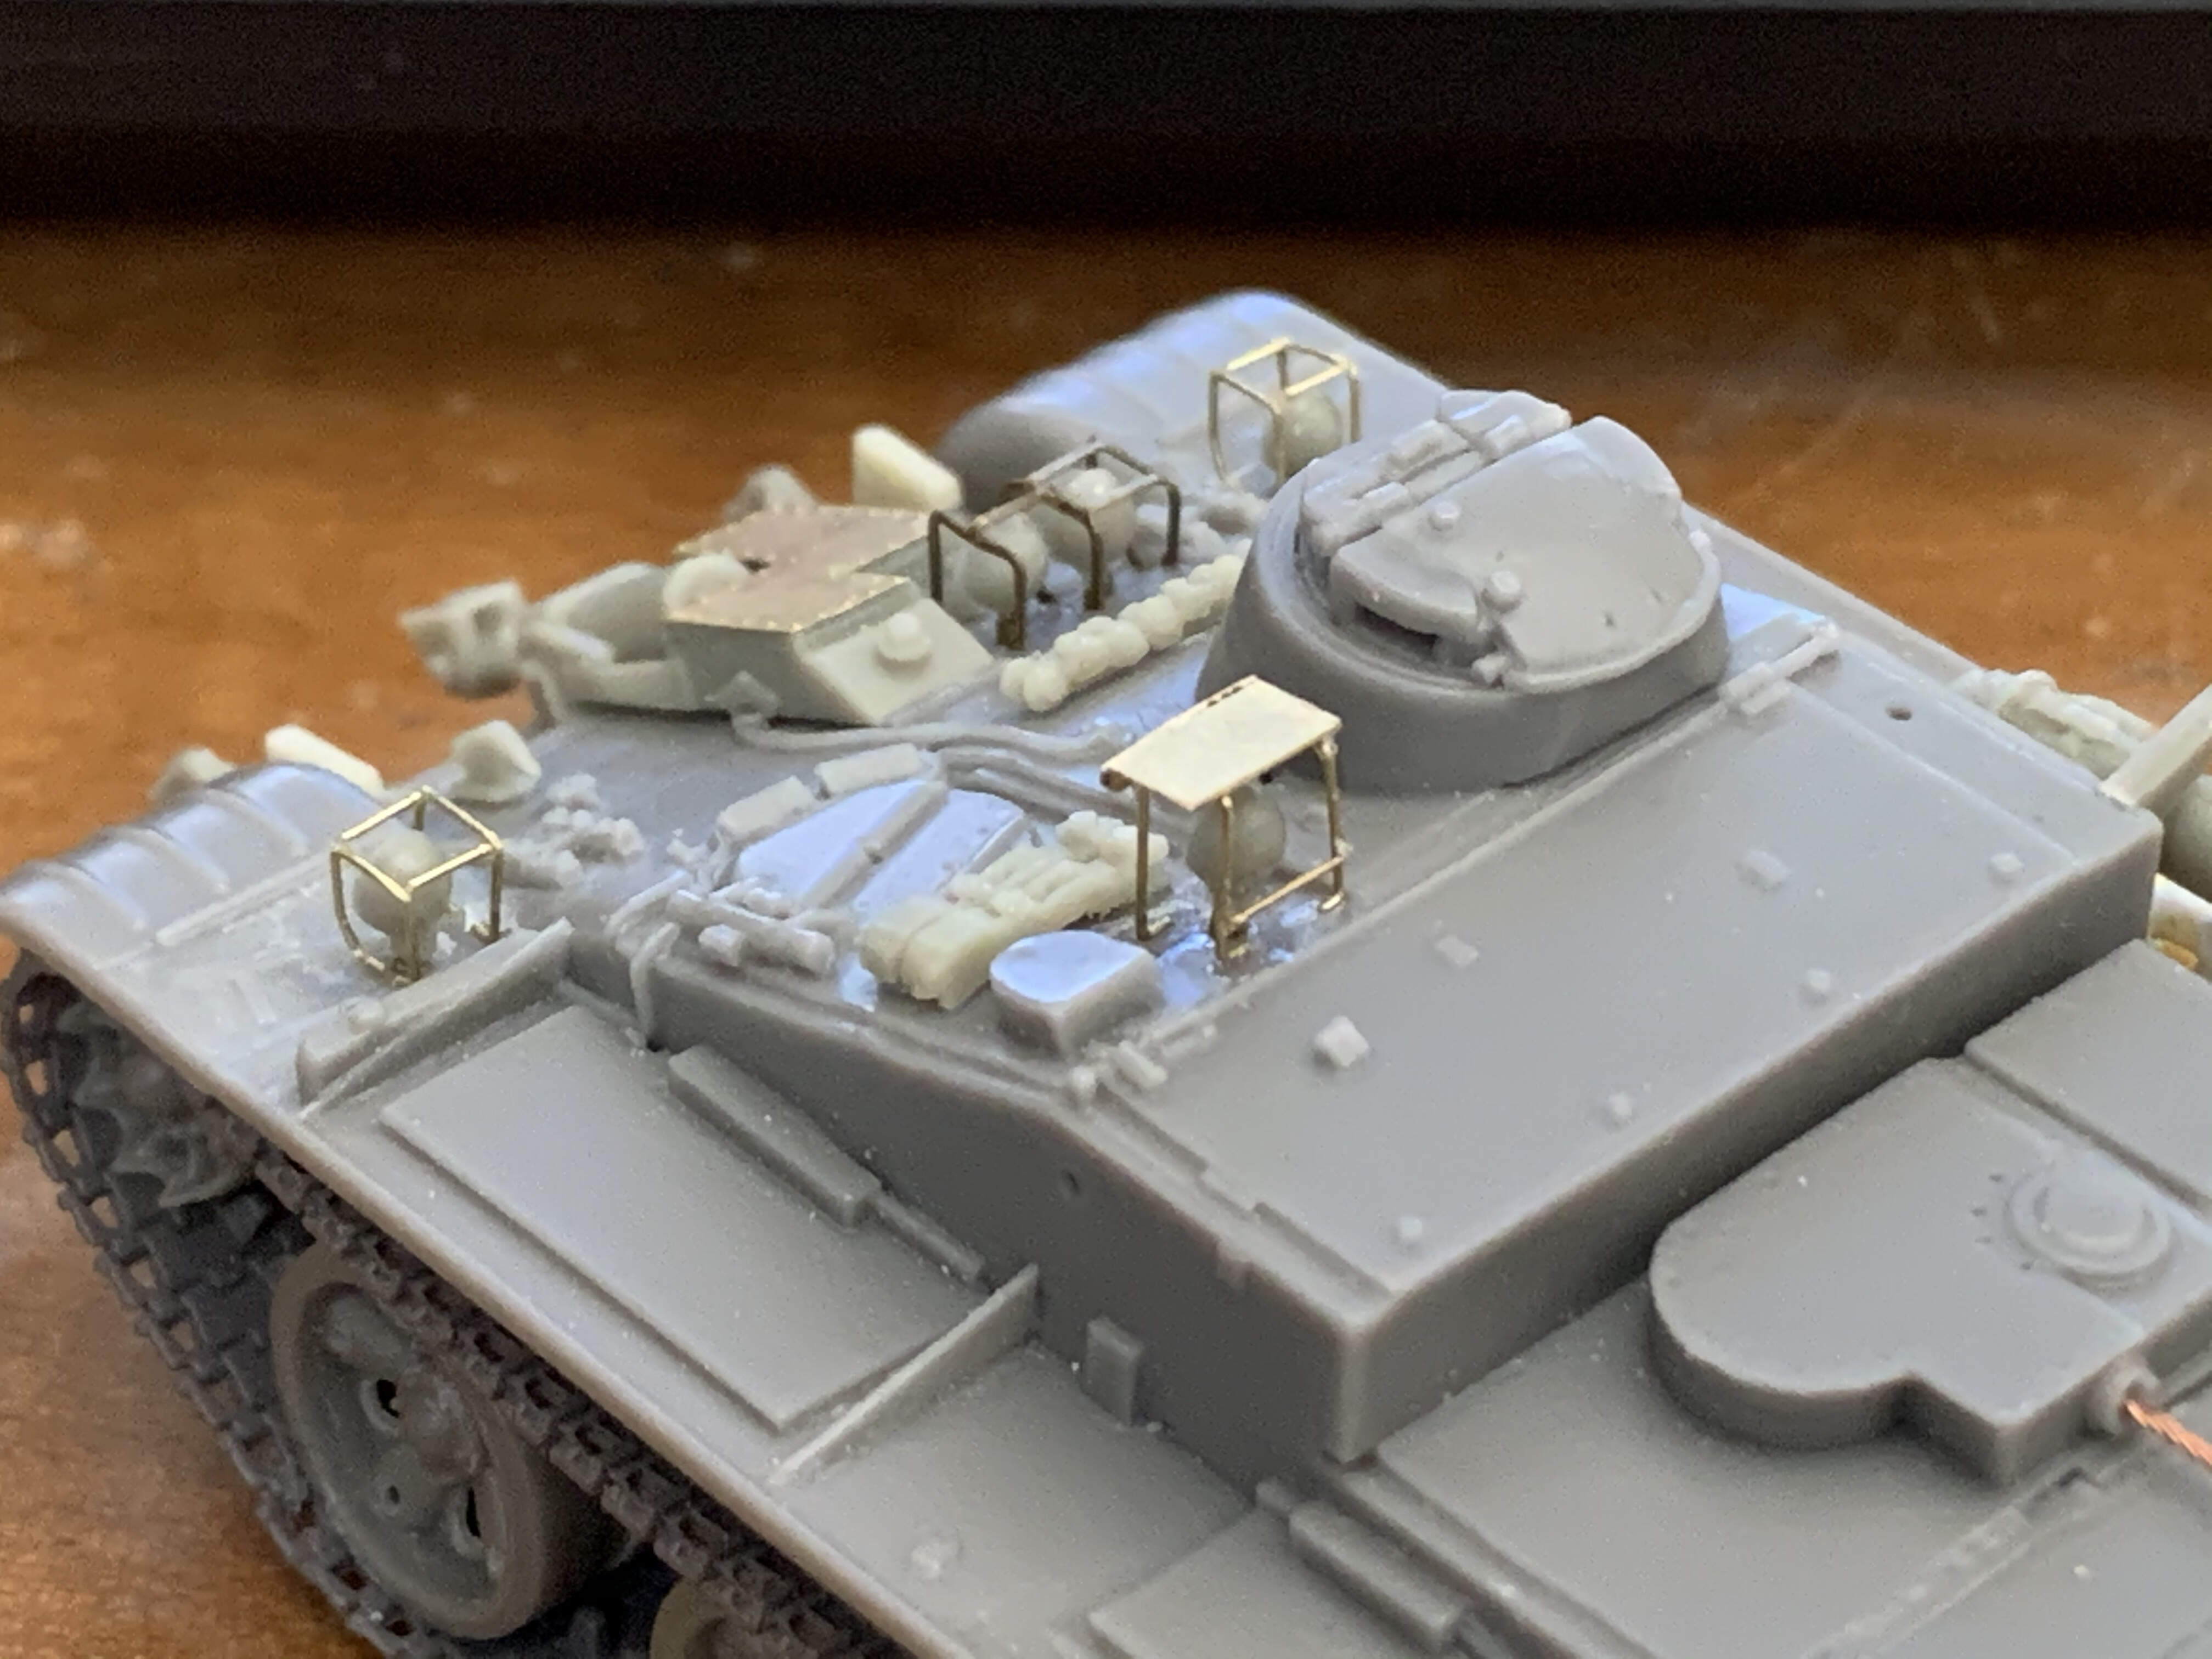
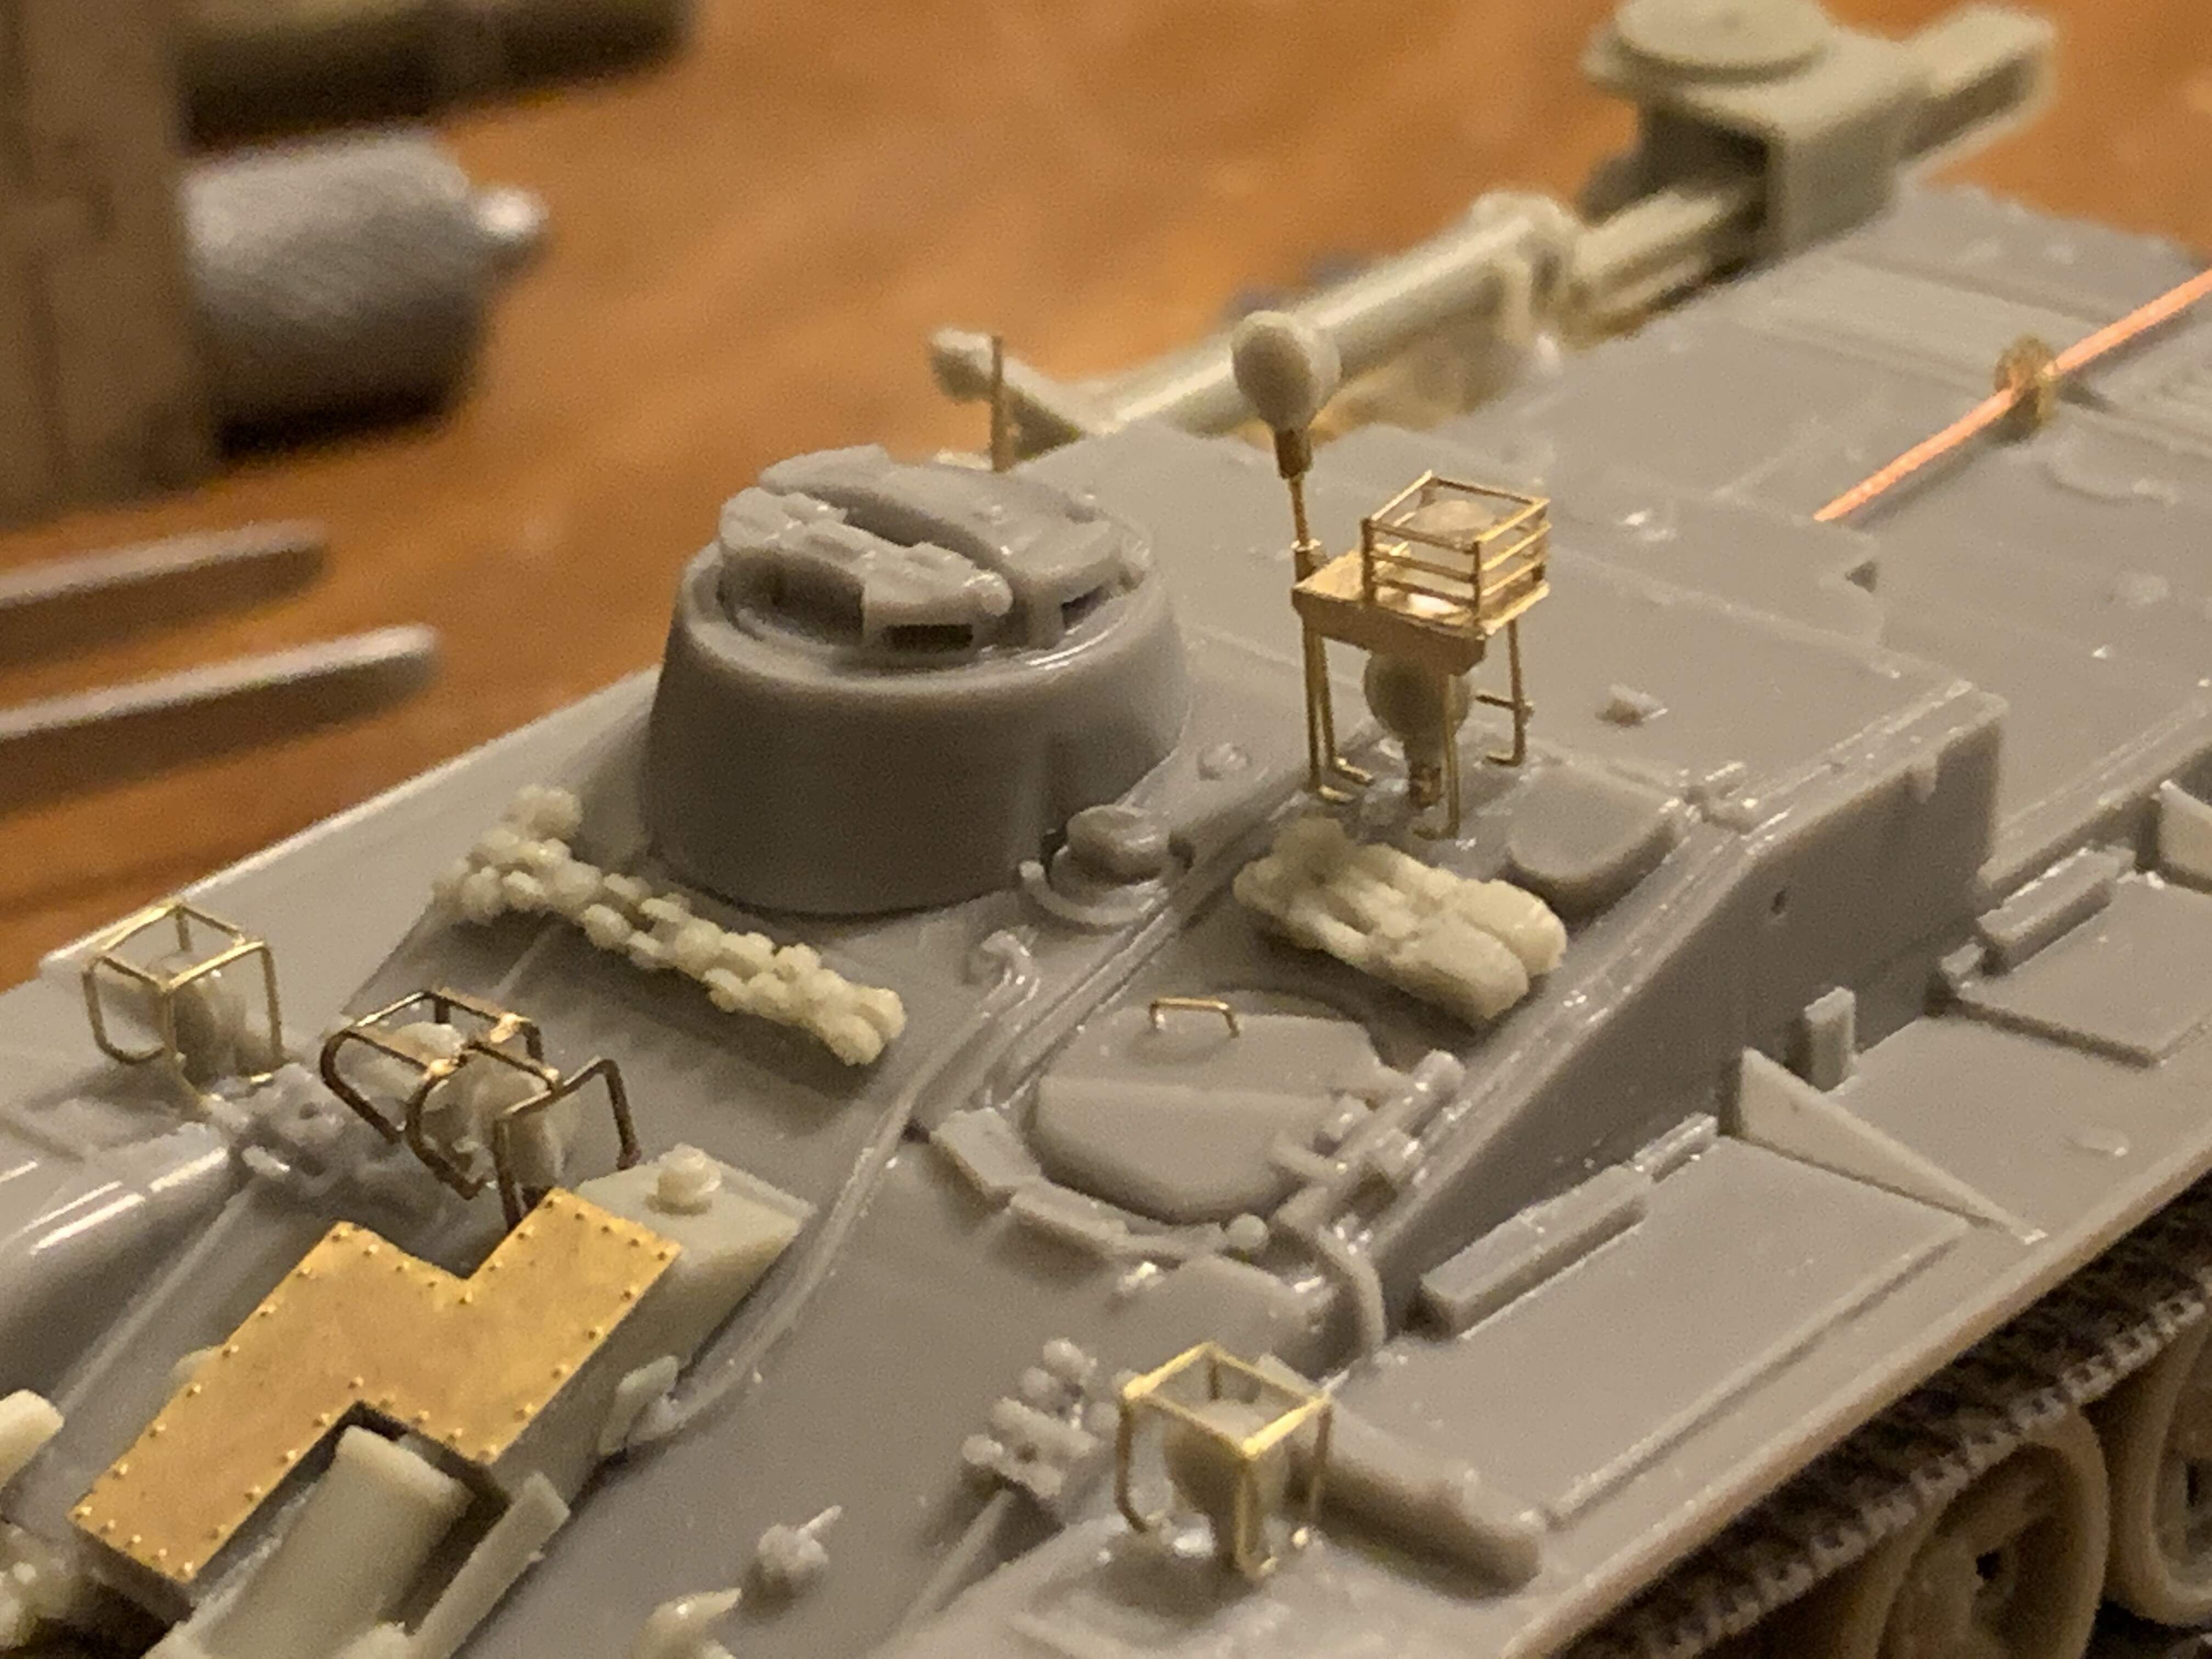
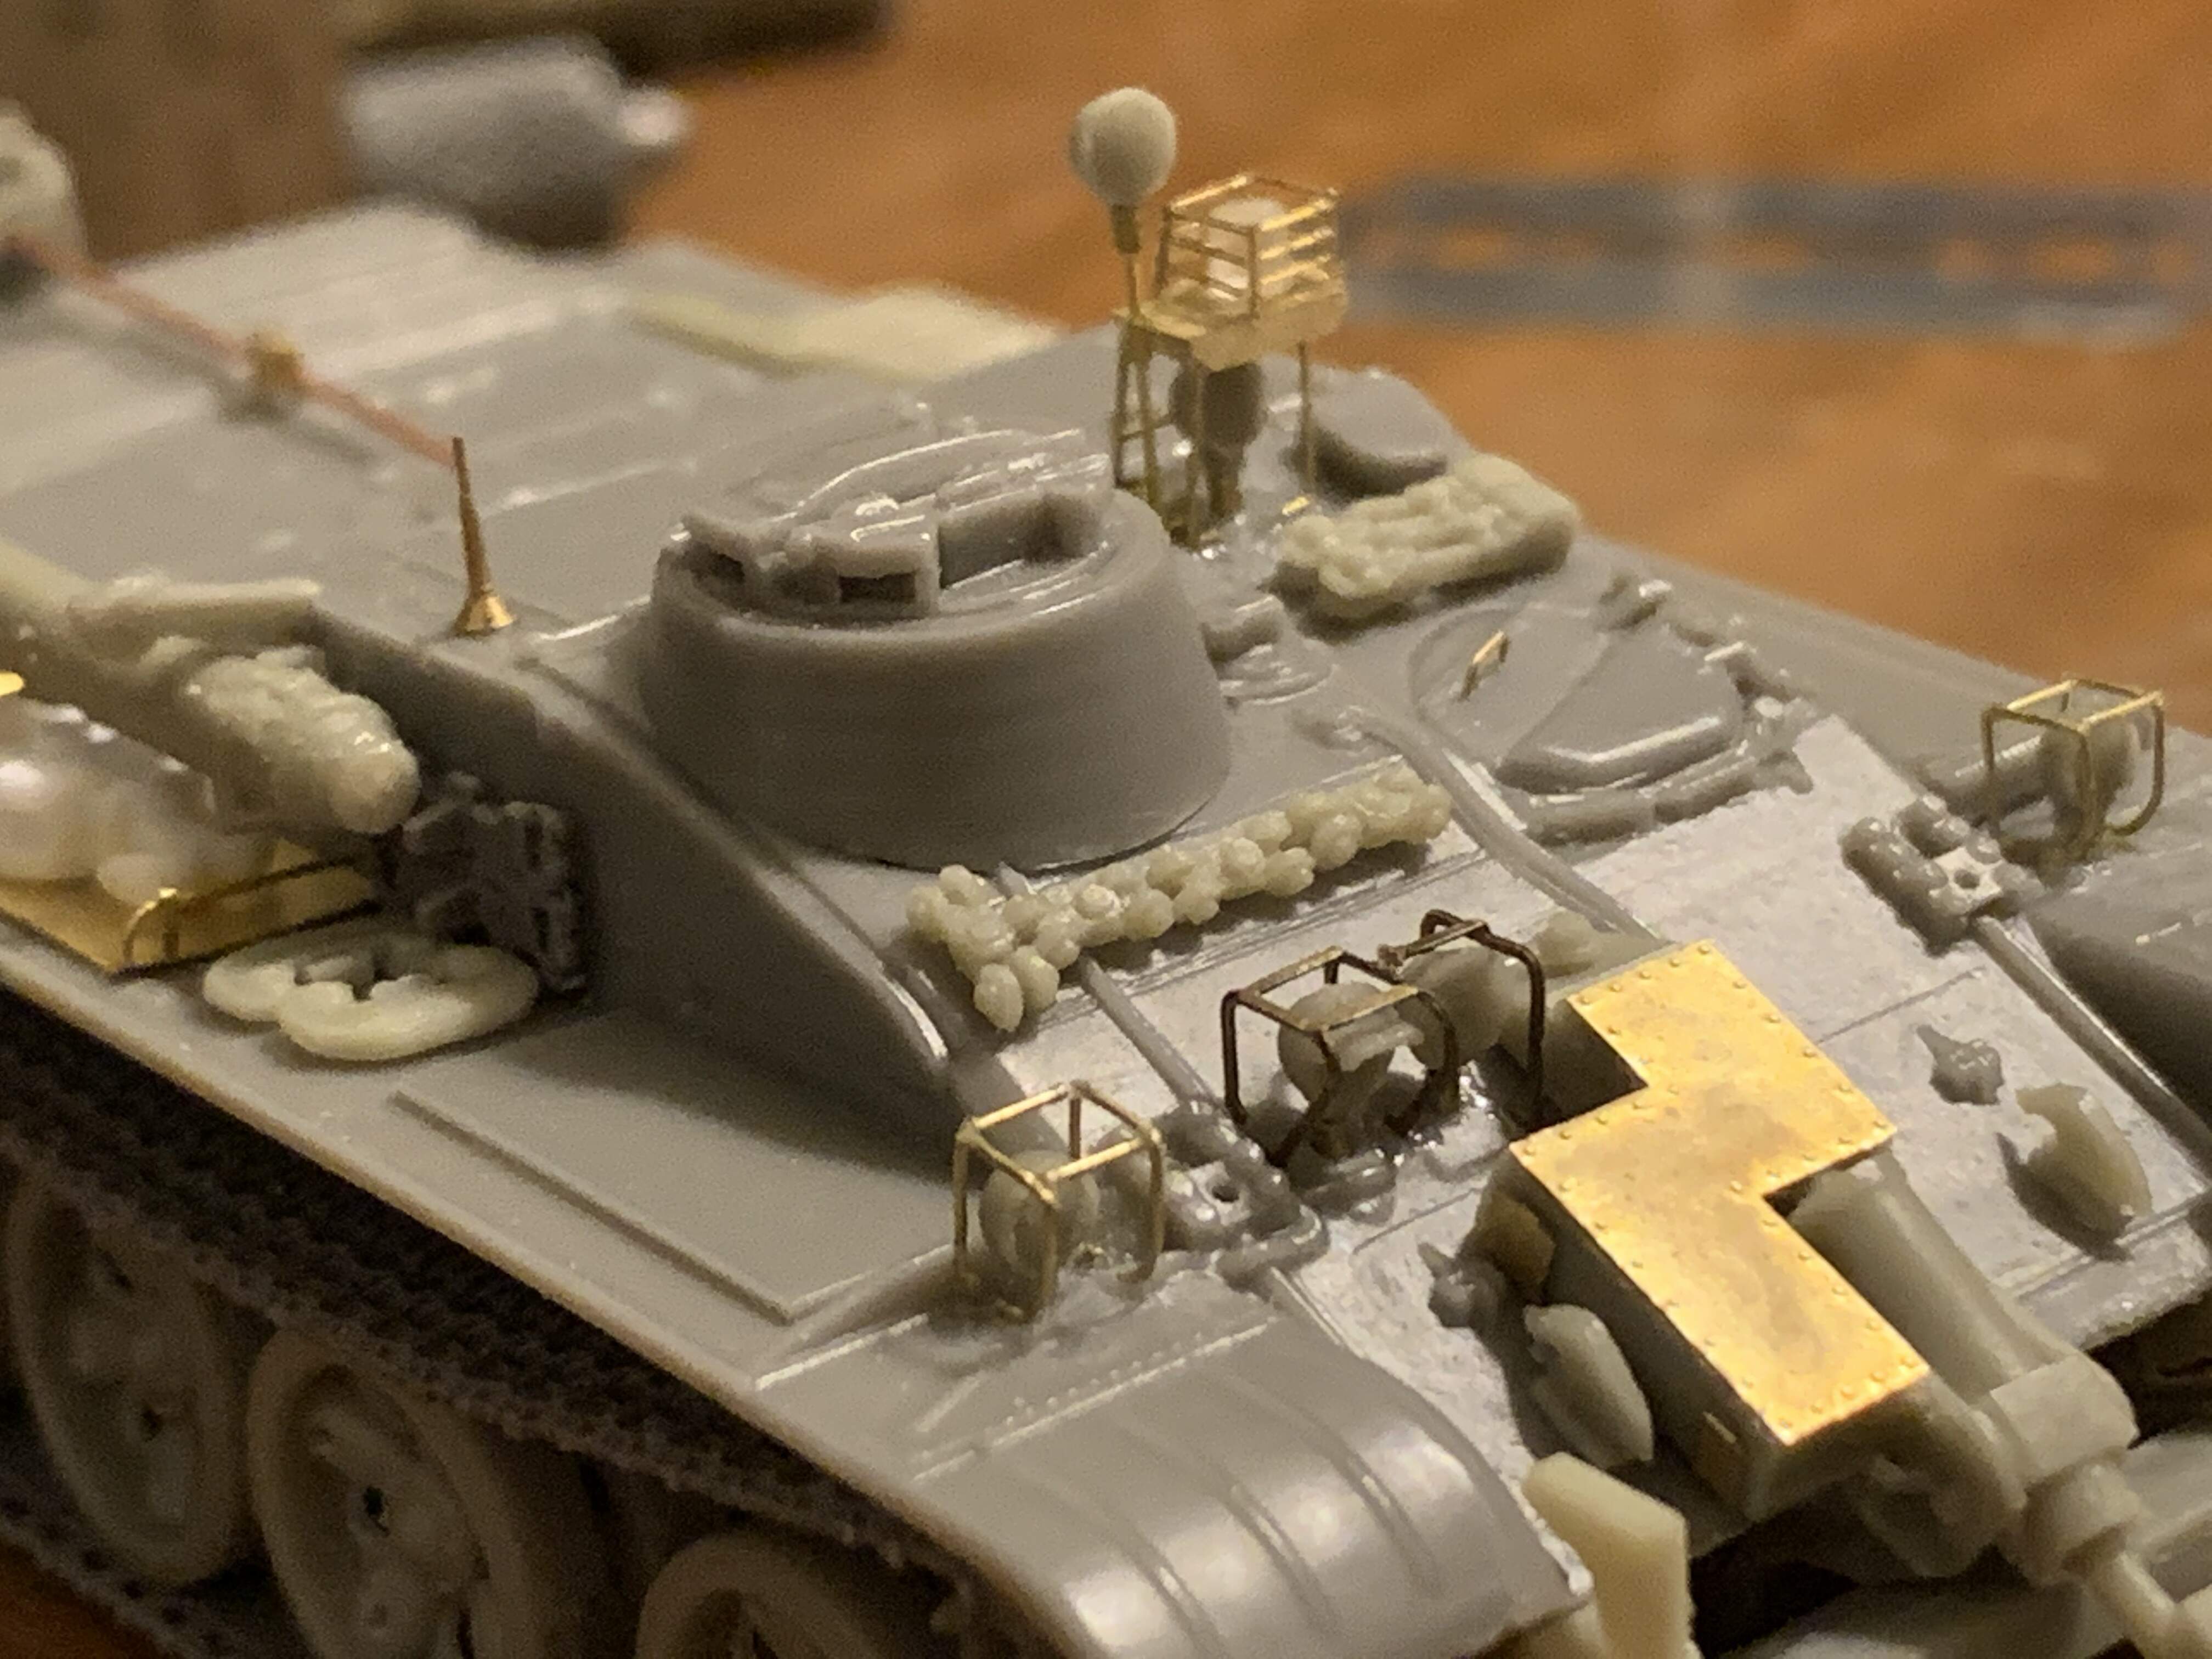
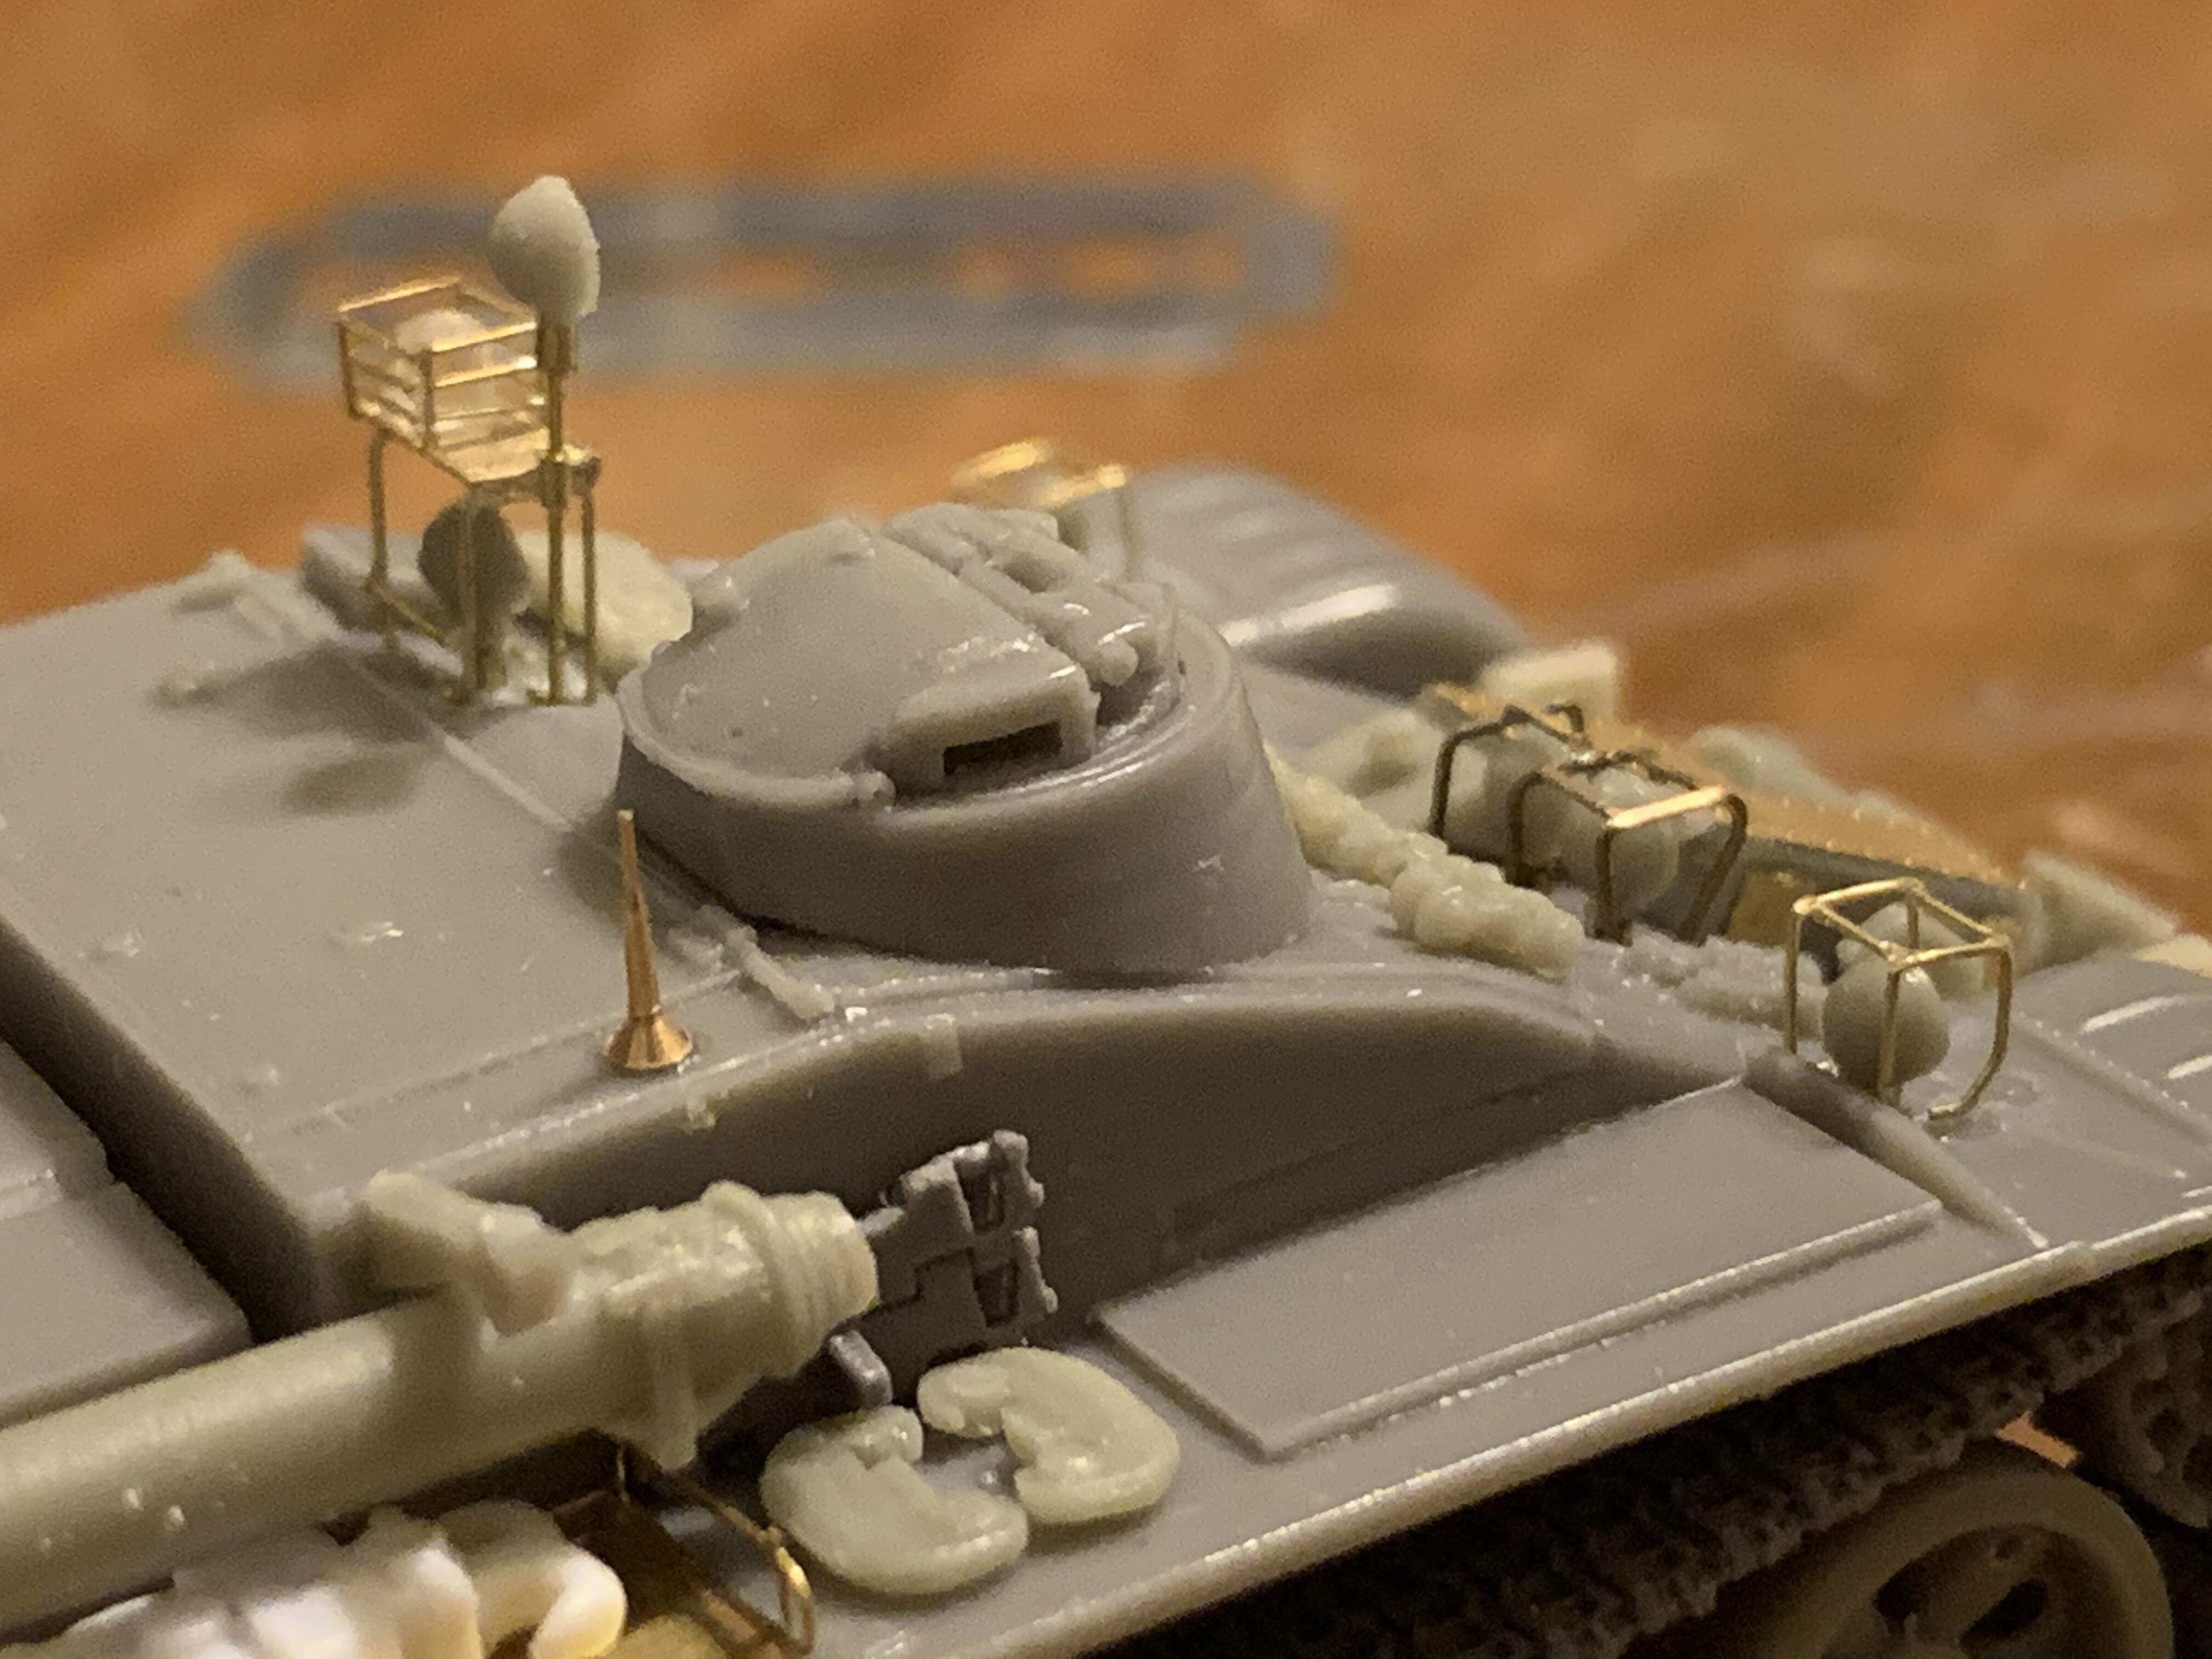
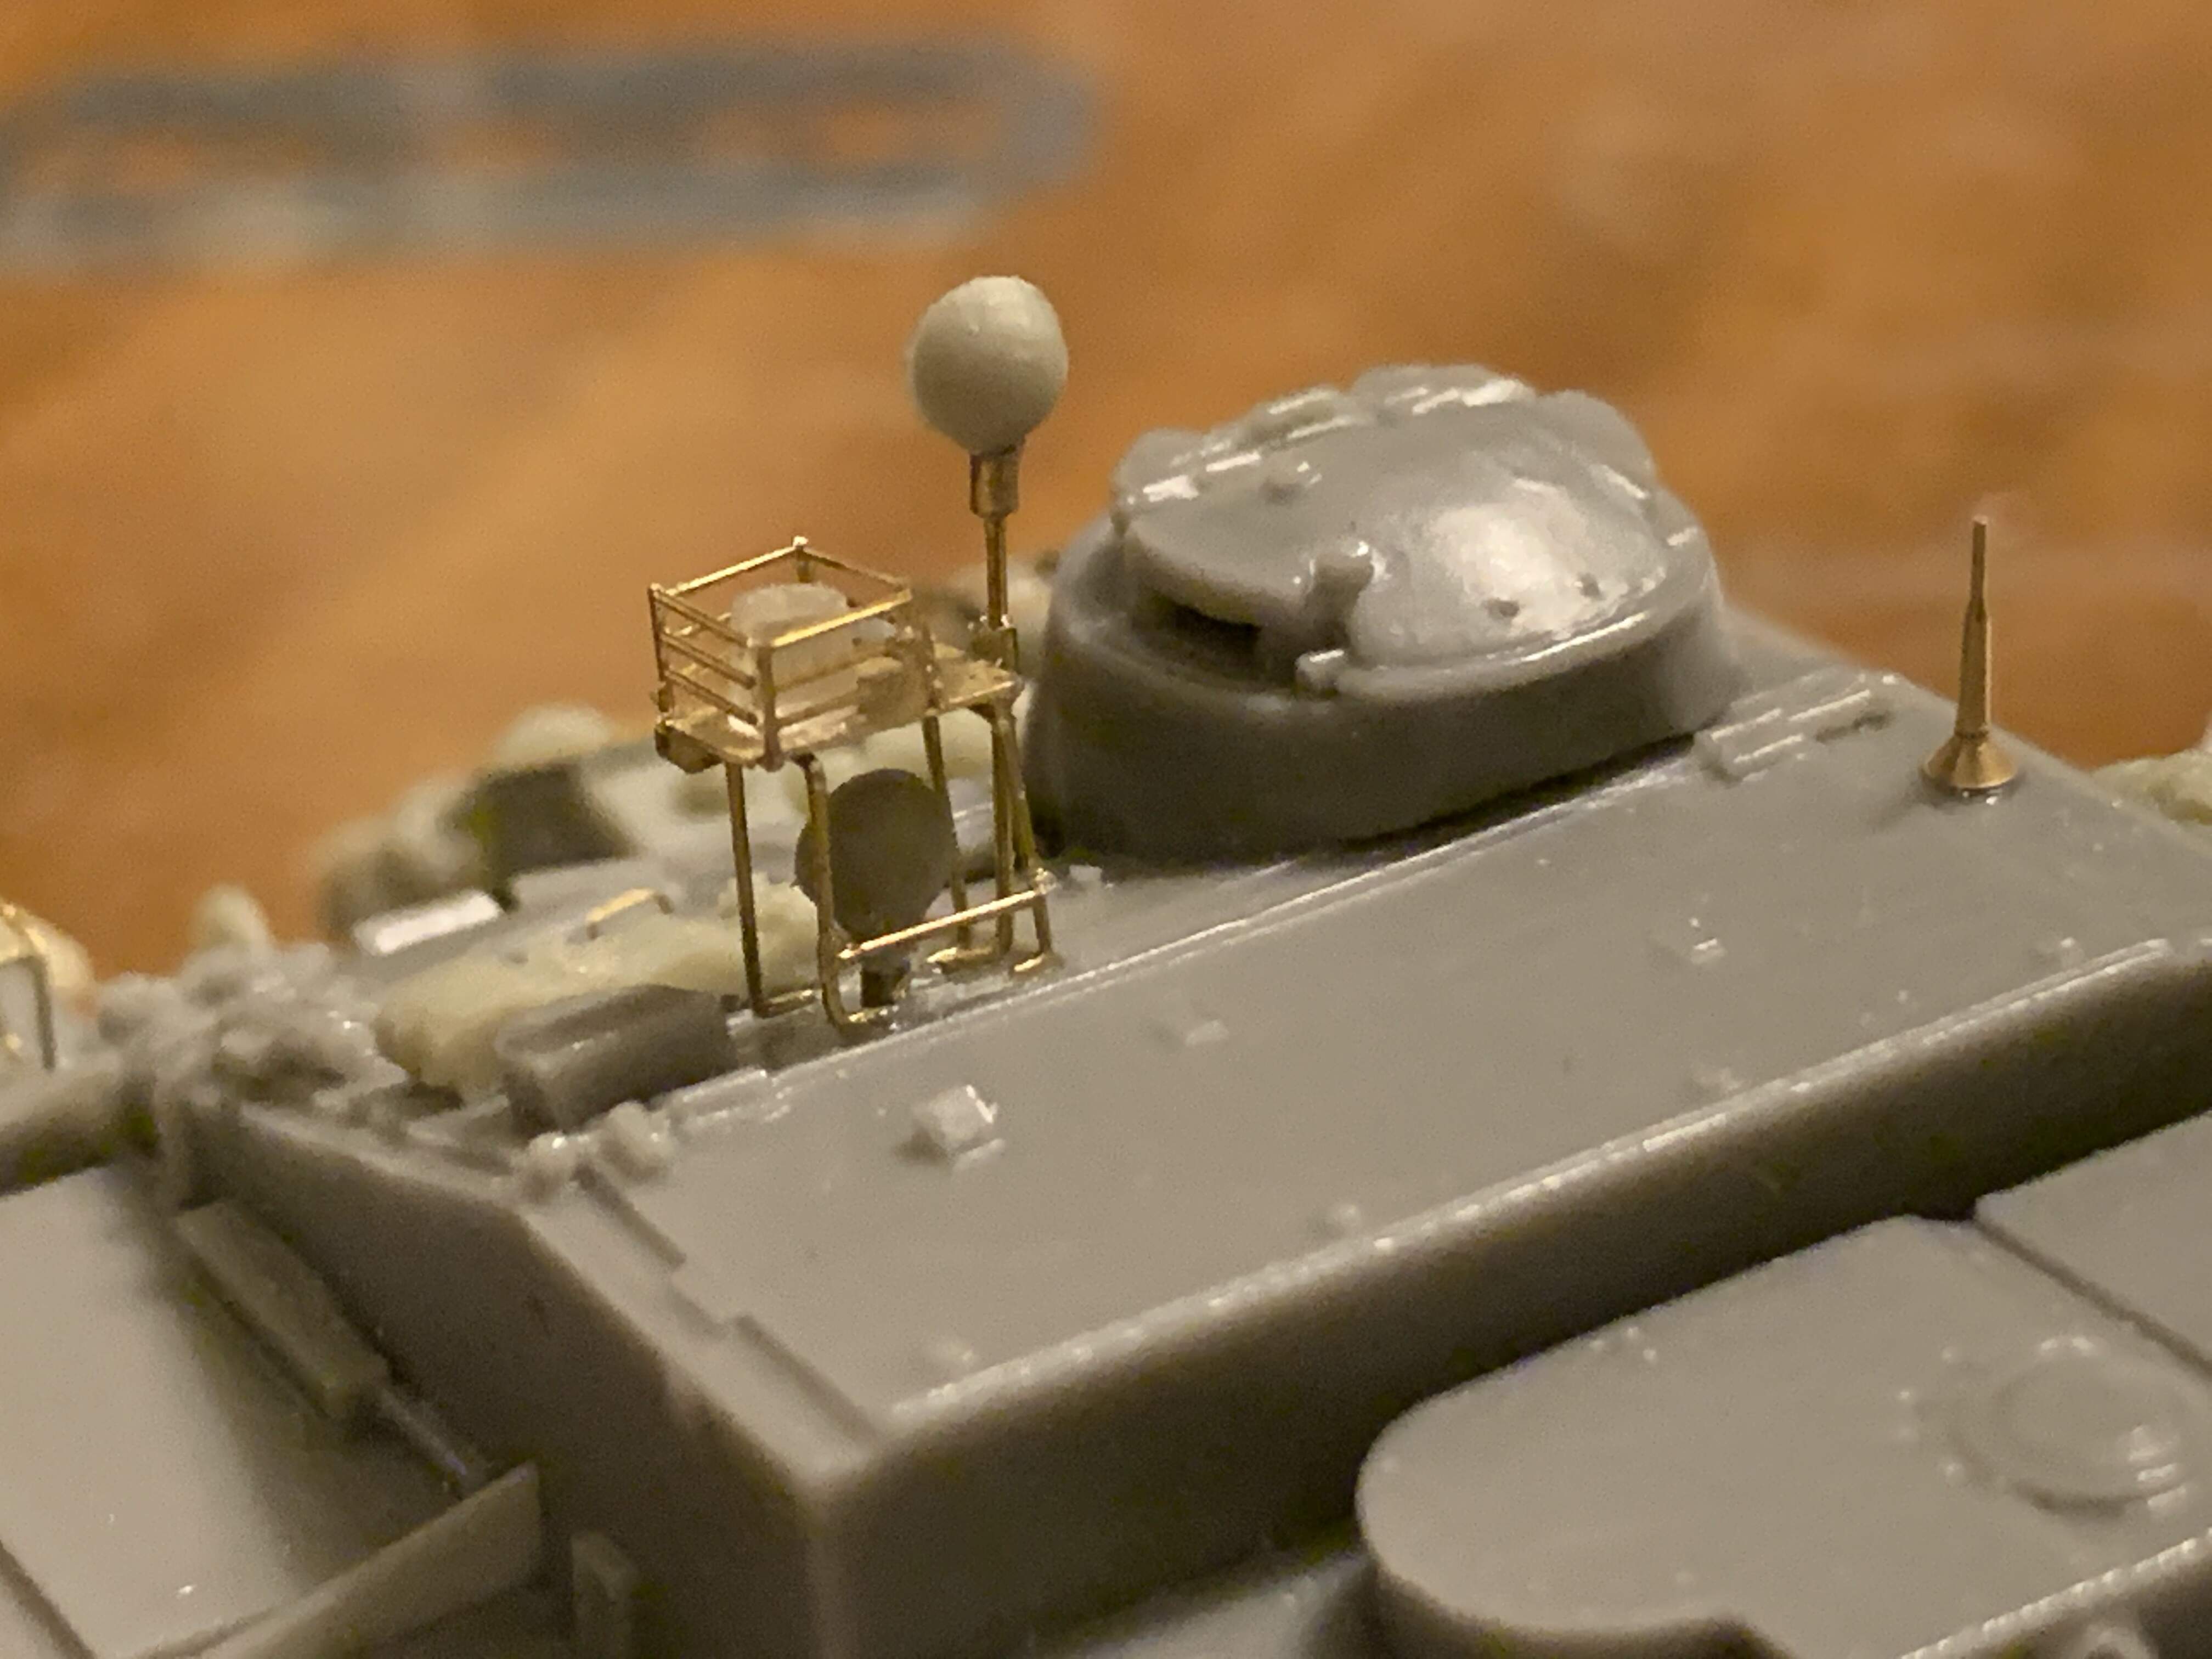
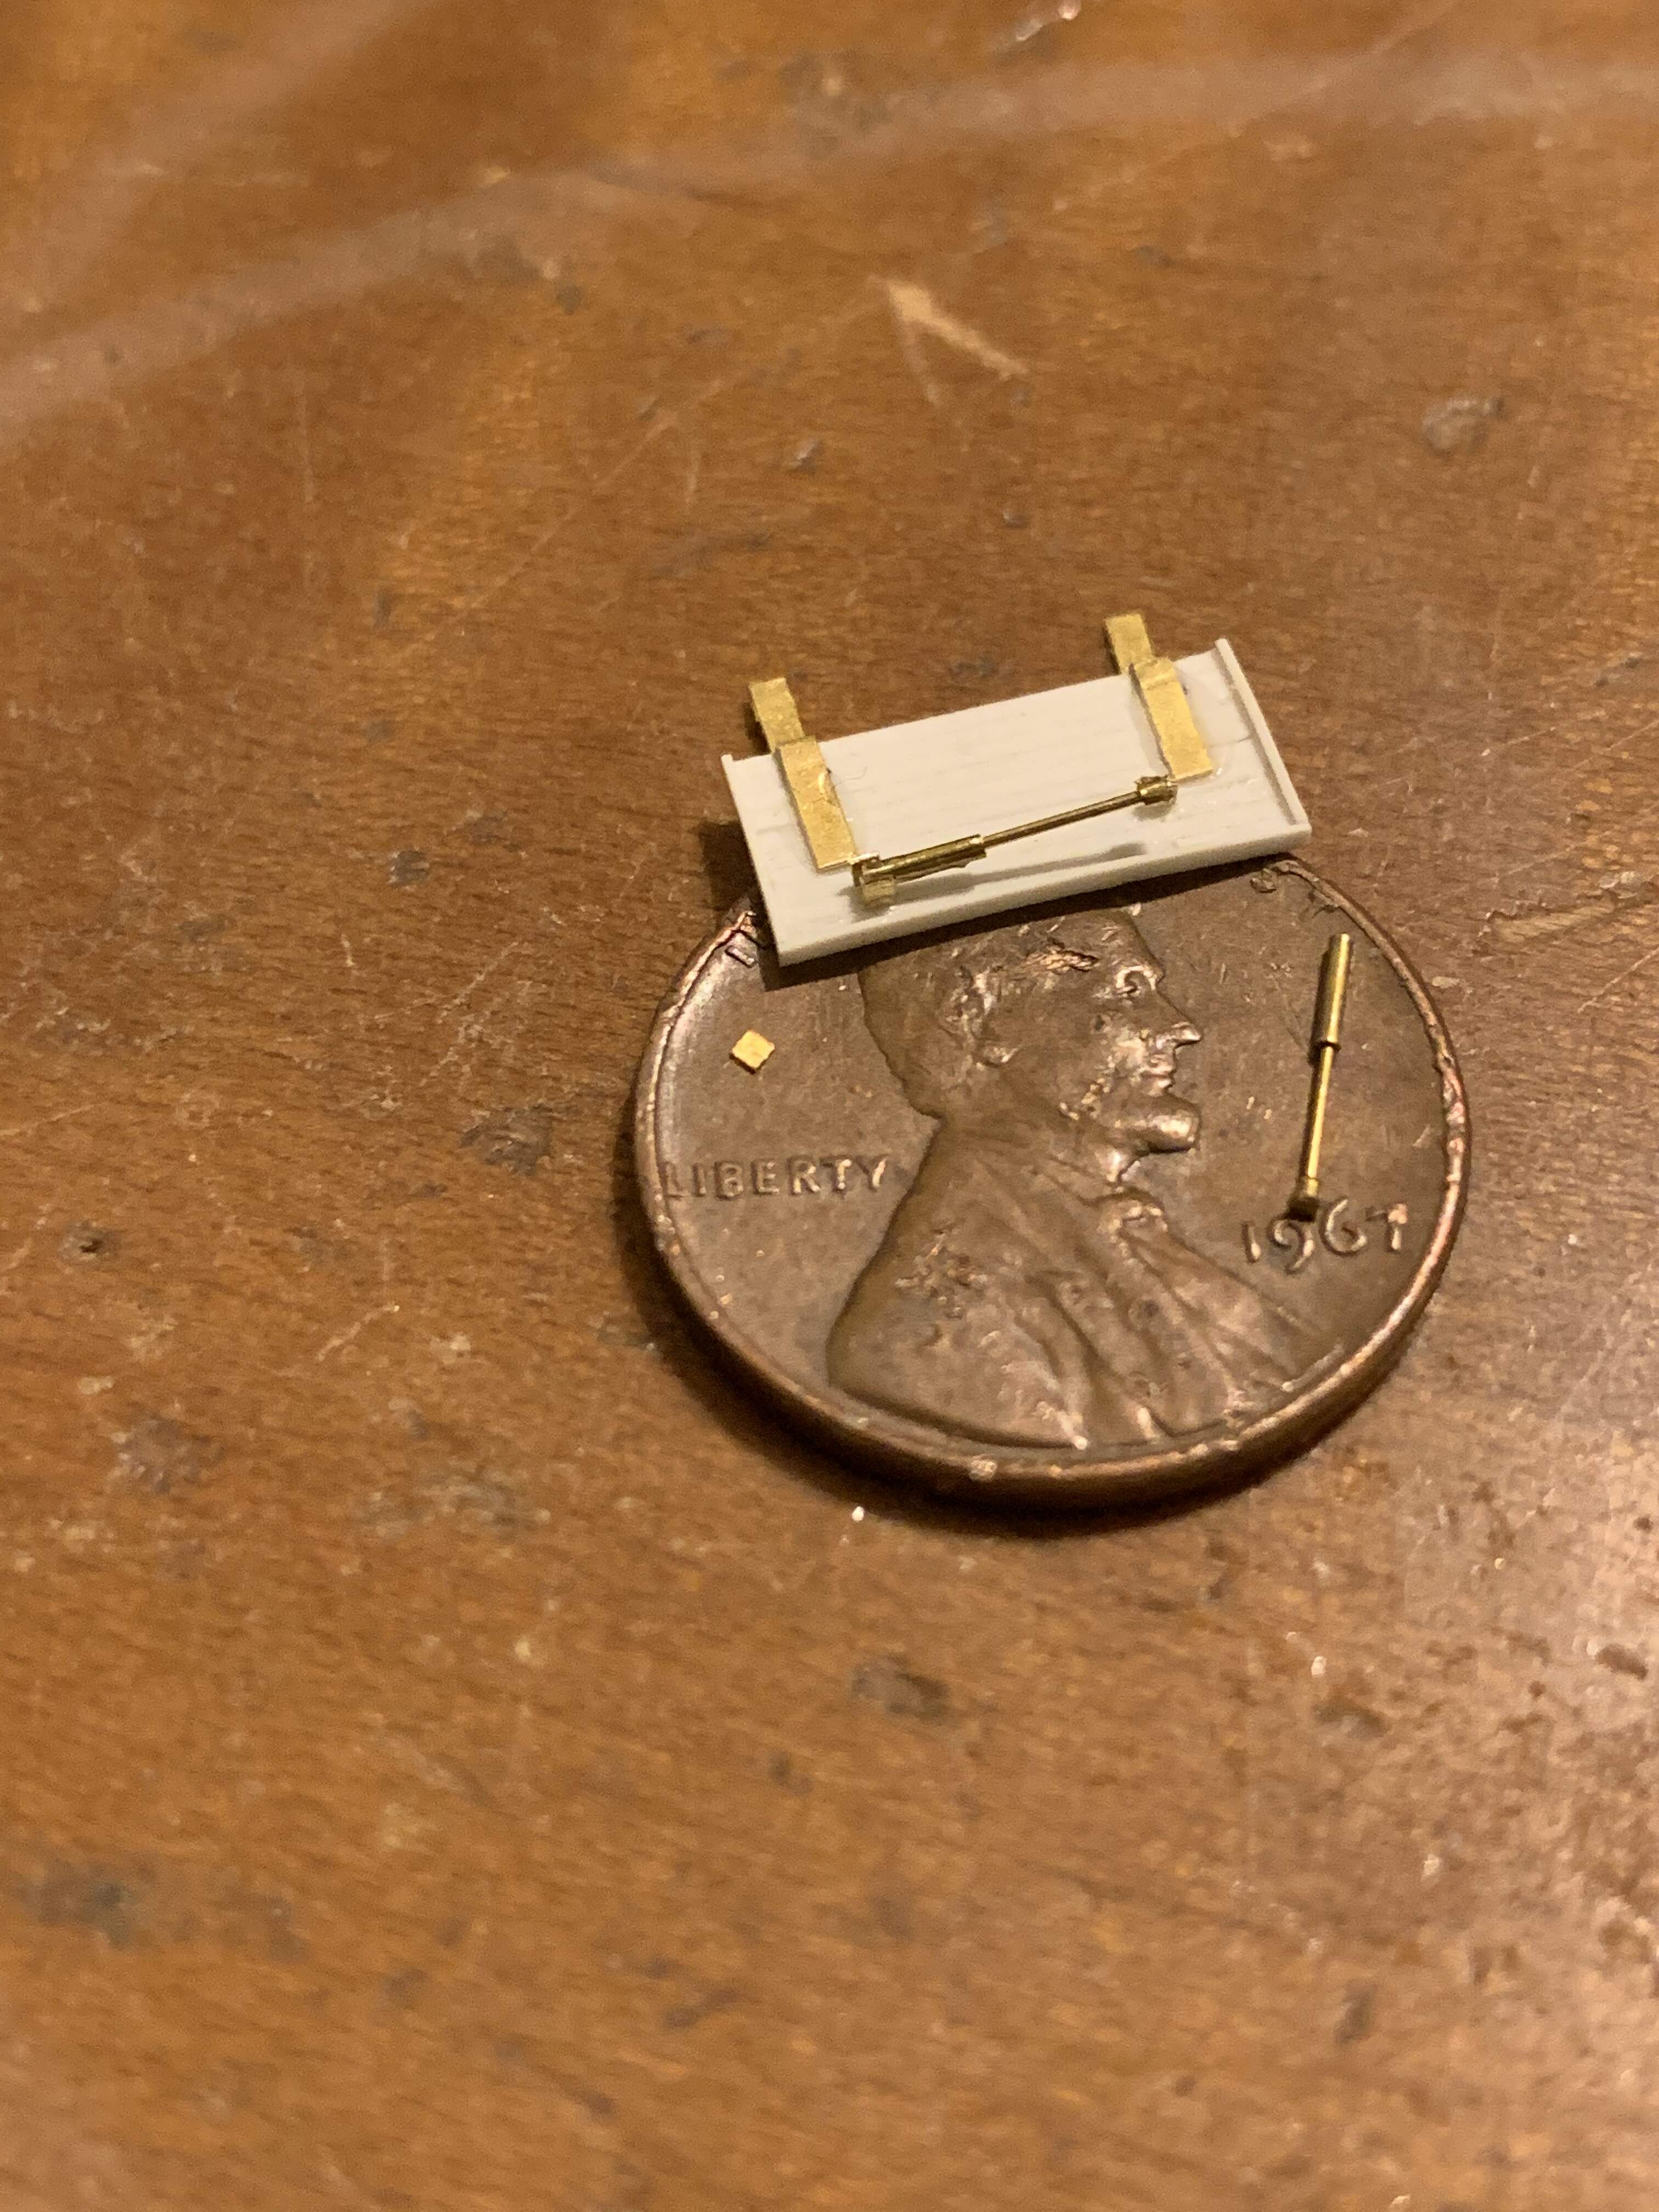
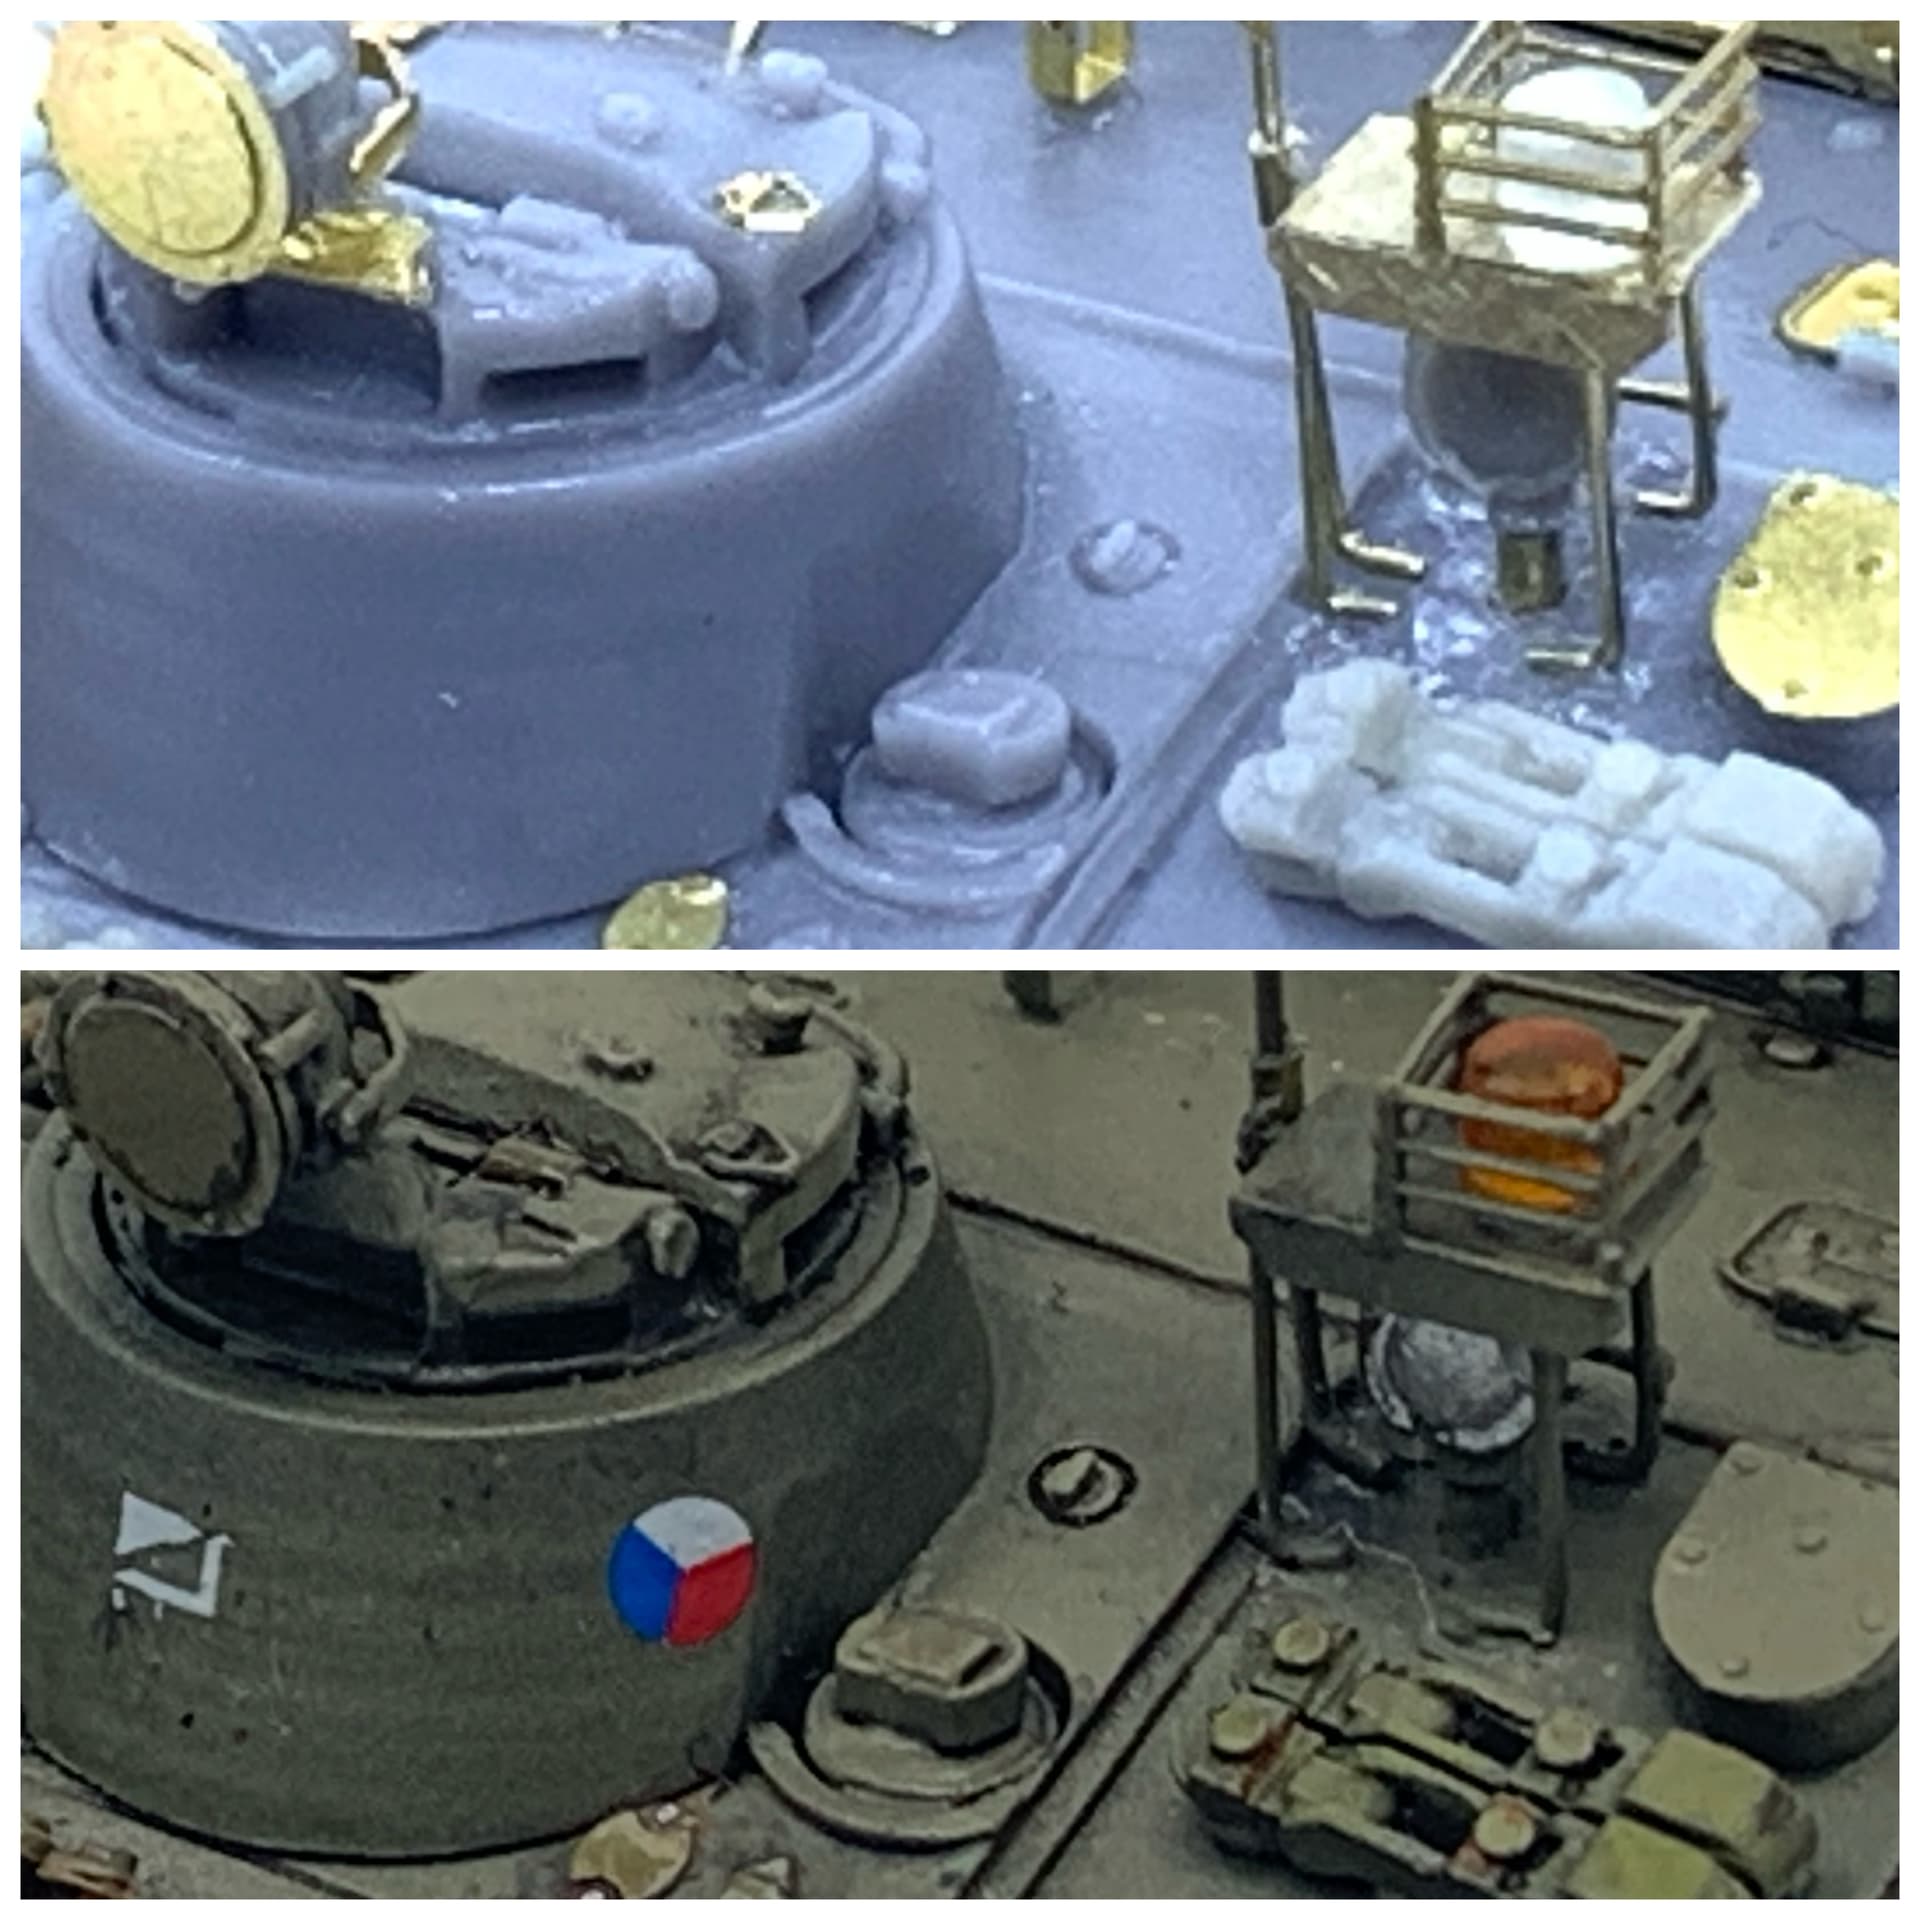
On the top deck, there is a platform for a cylindrical light. I observed this in my WWP reference book. Using the measurements from the brush guards, I then scratchbuilt the platform using spare photoetch frets. BTW, this picture shows the OKB brushguard (on the glacis) next to the scratchbuilt brush guard on the fender. Since OKB is photoetch, it is flatter compared to the ones I made from brass wires. But, because I used the OKB for reference, you can also see how comparable the dimensions are.
Additional railings to protect the cylindrical light came from 1/350 ship railing set. Somewhat visible is the cylindrical light I fashioned from clear sprues.
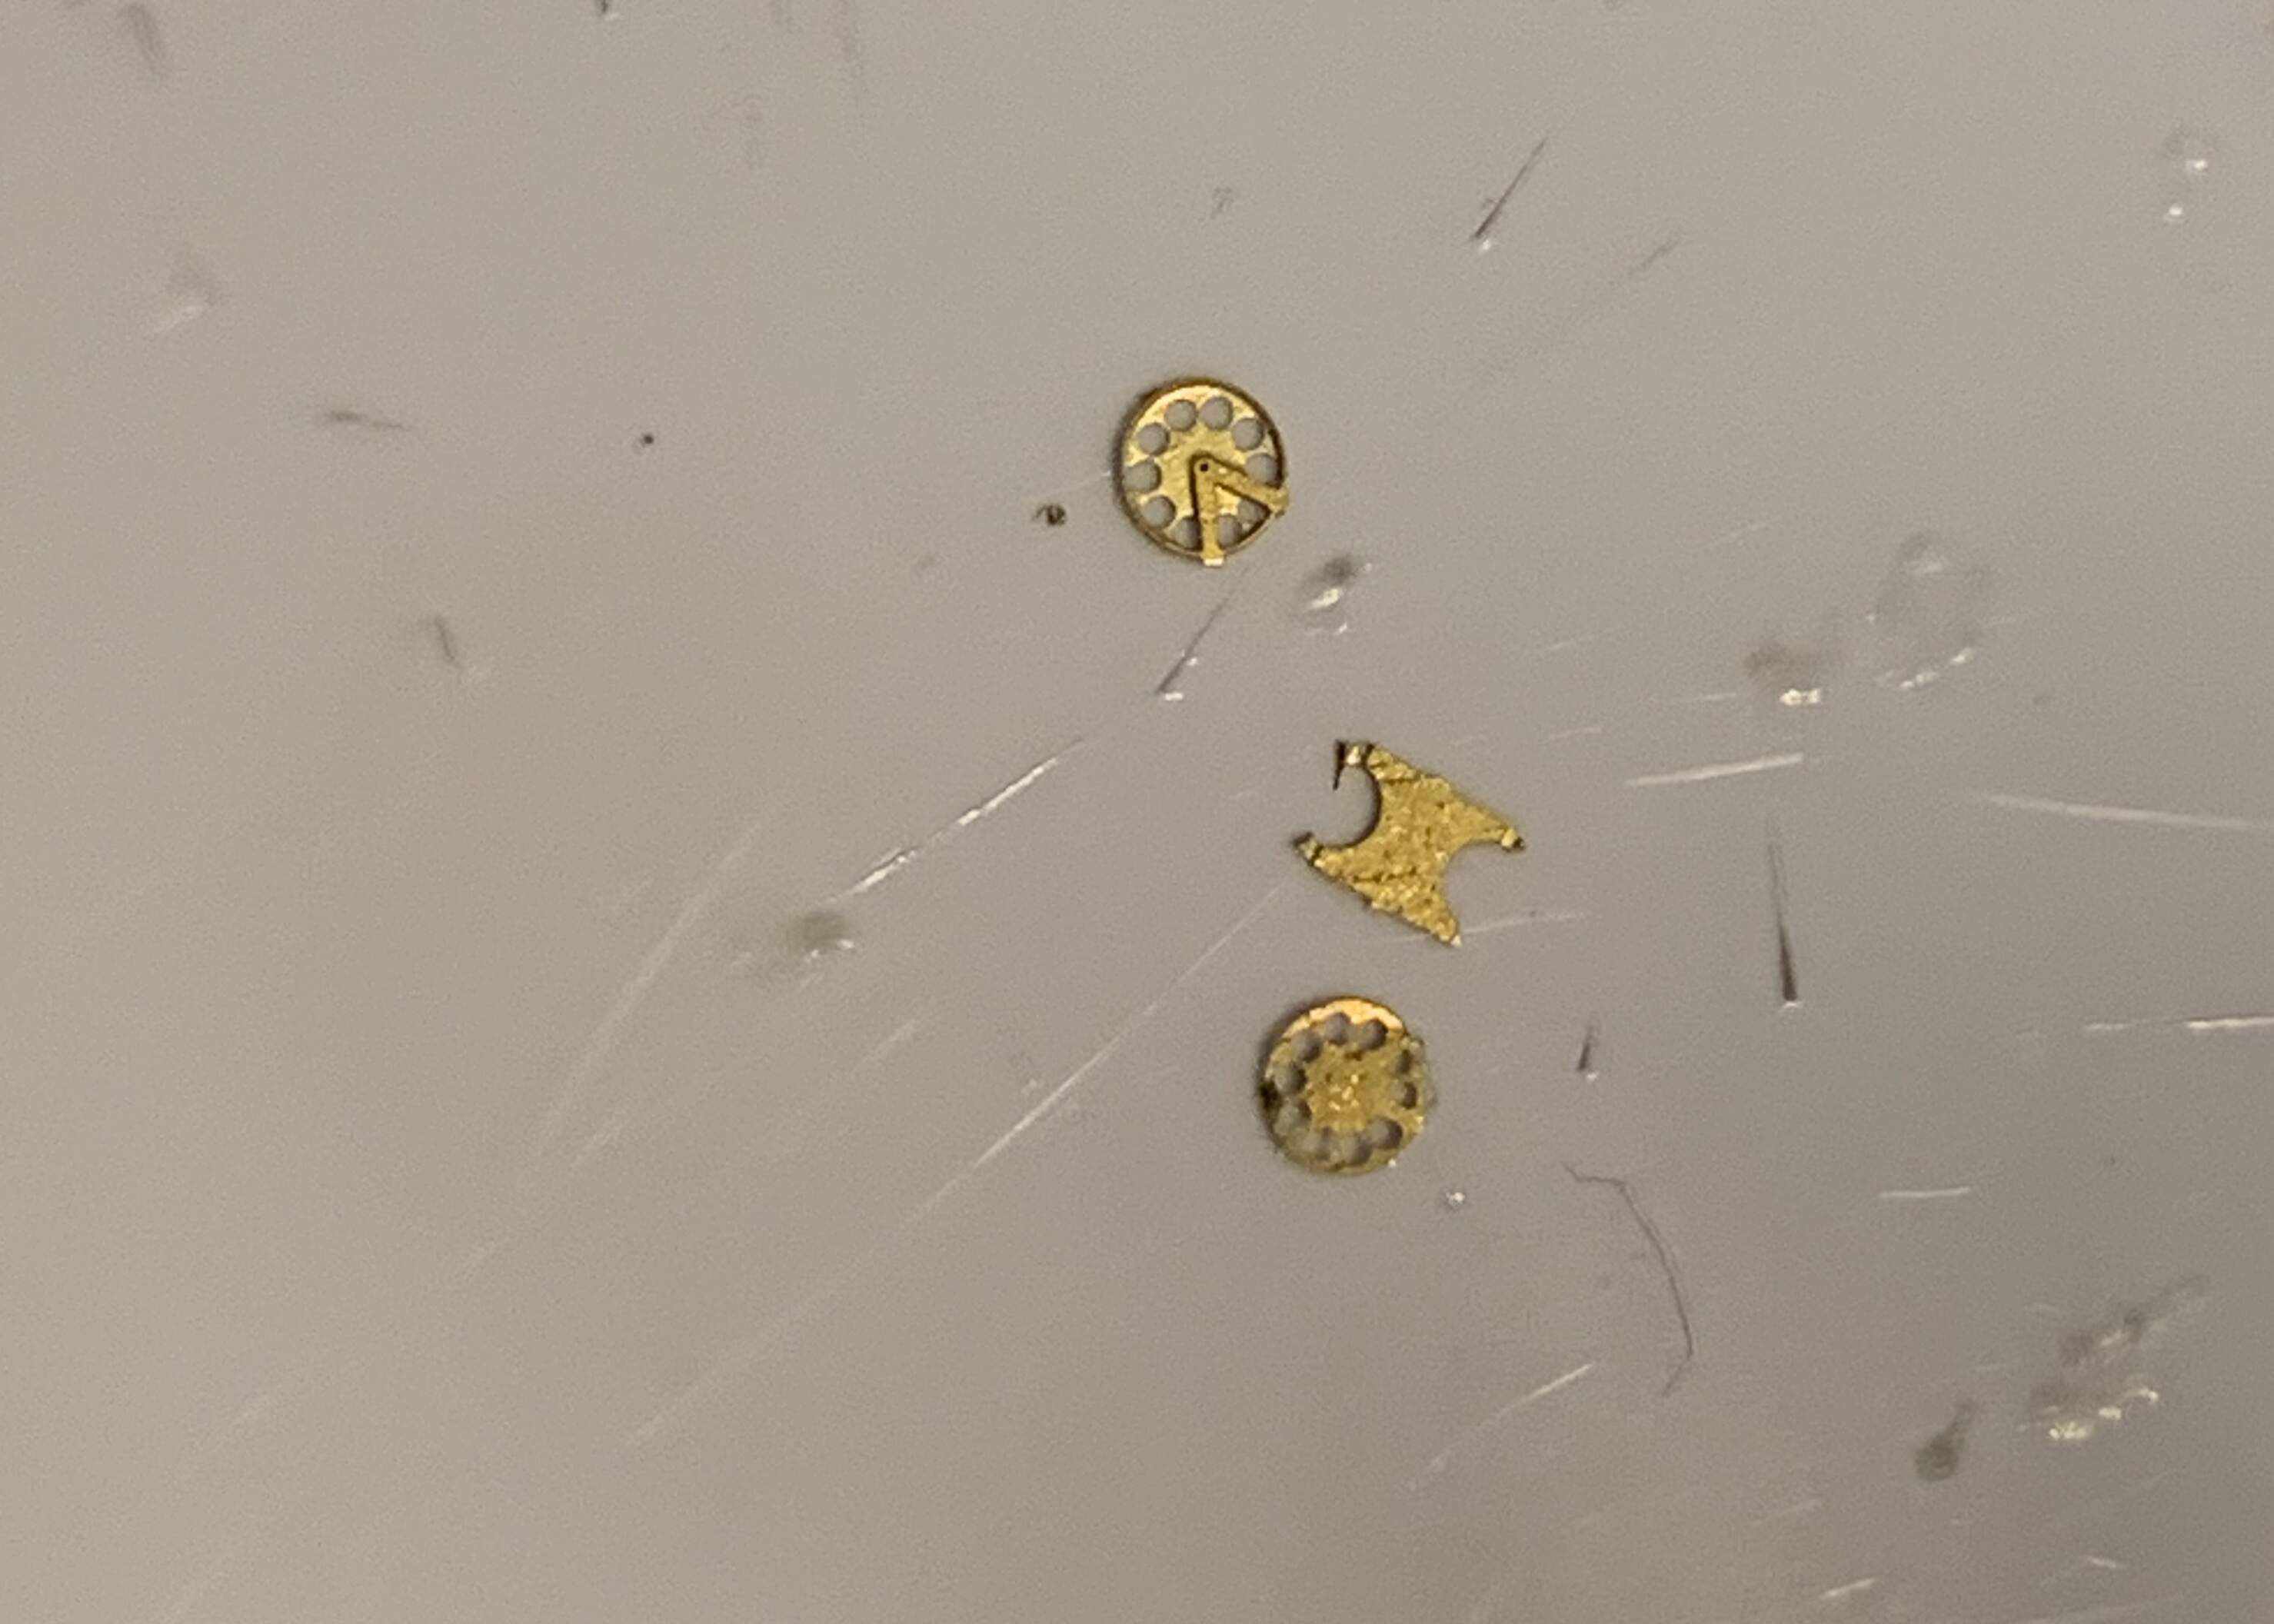
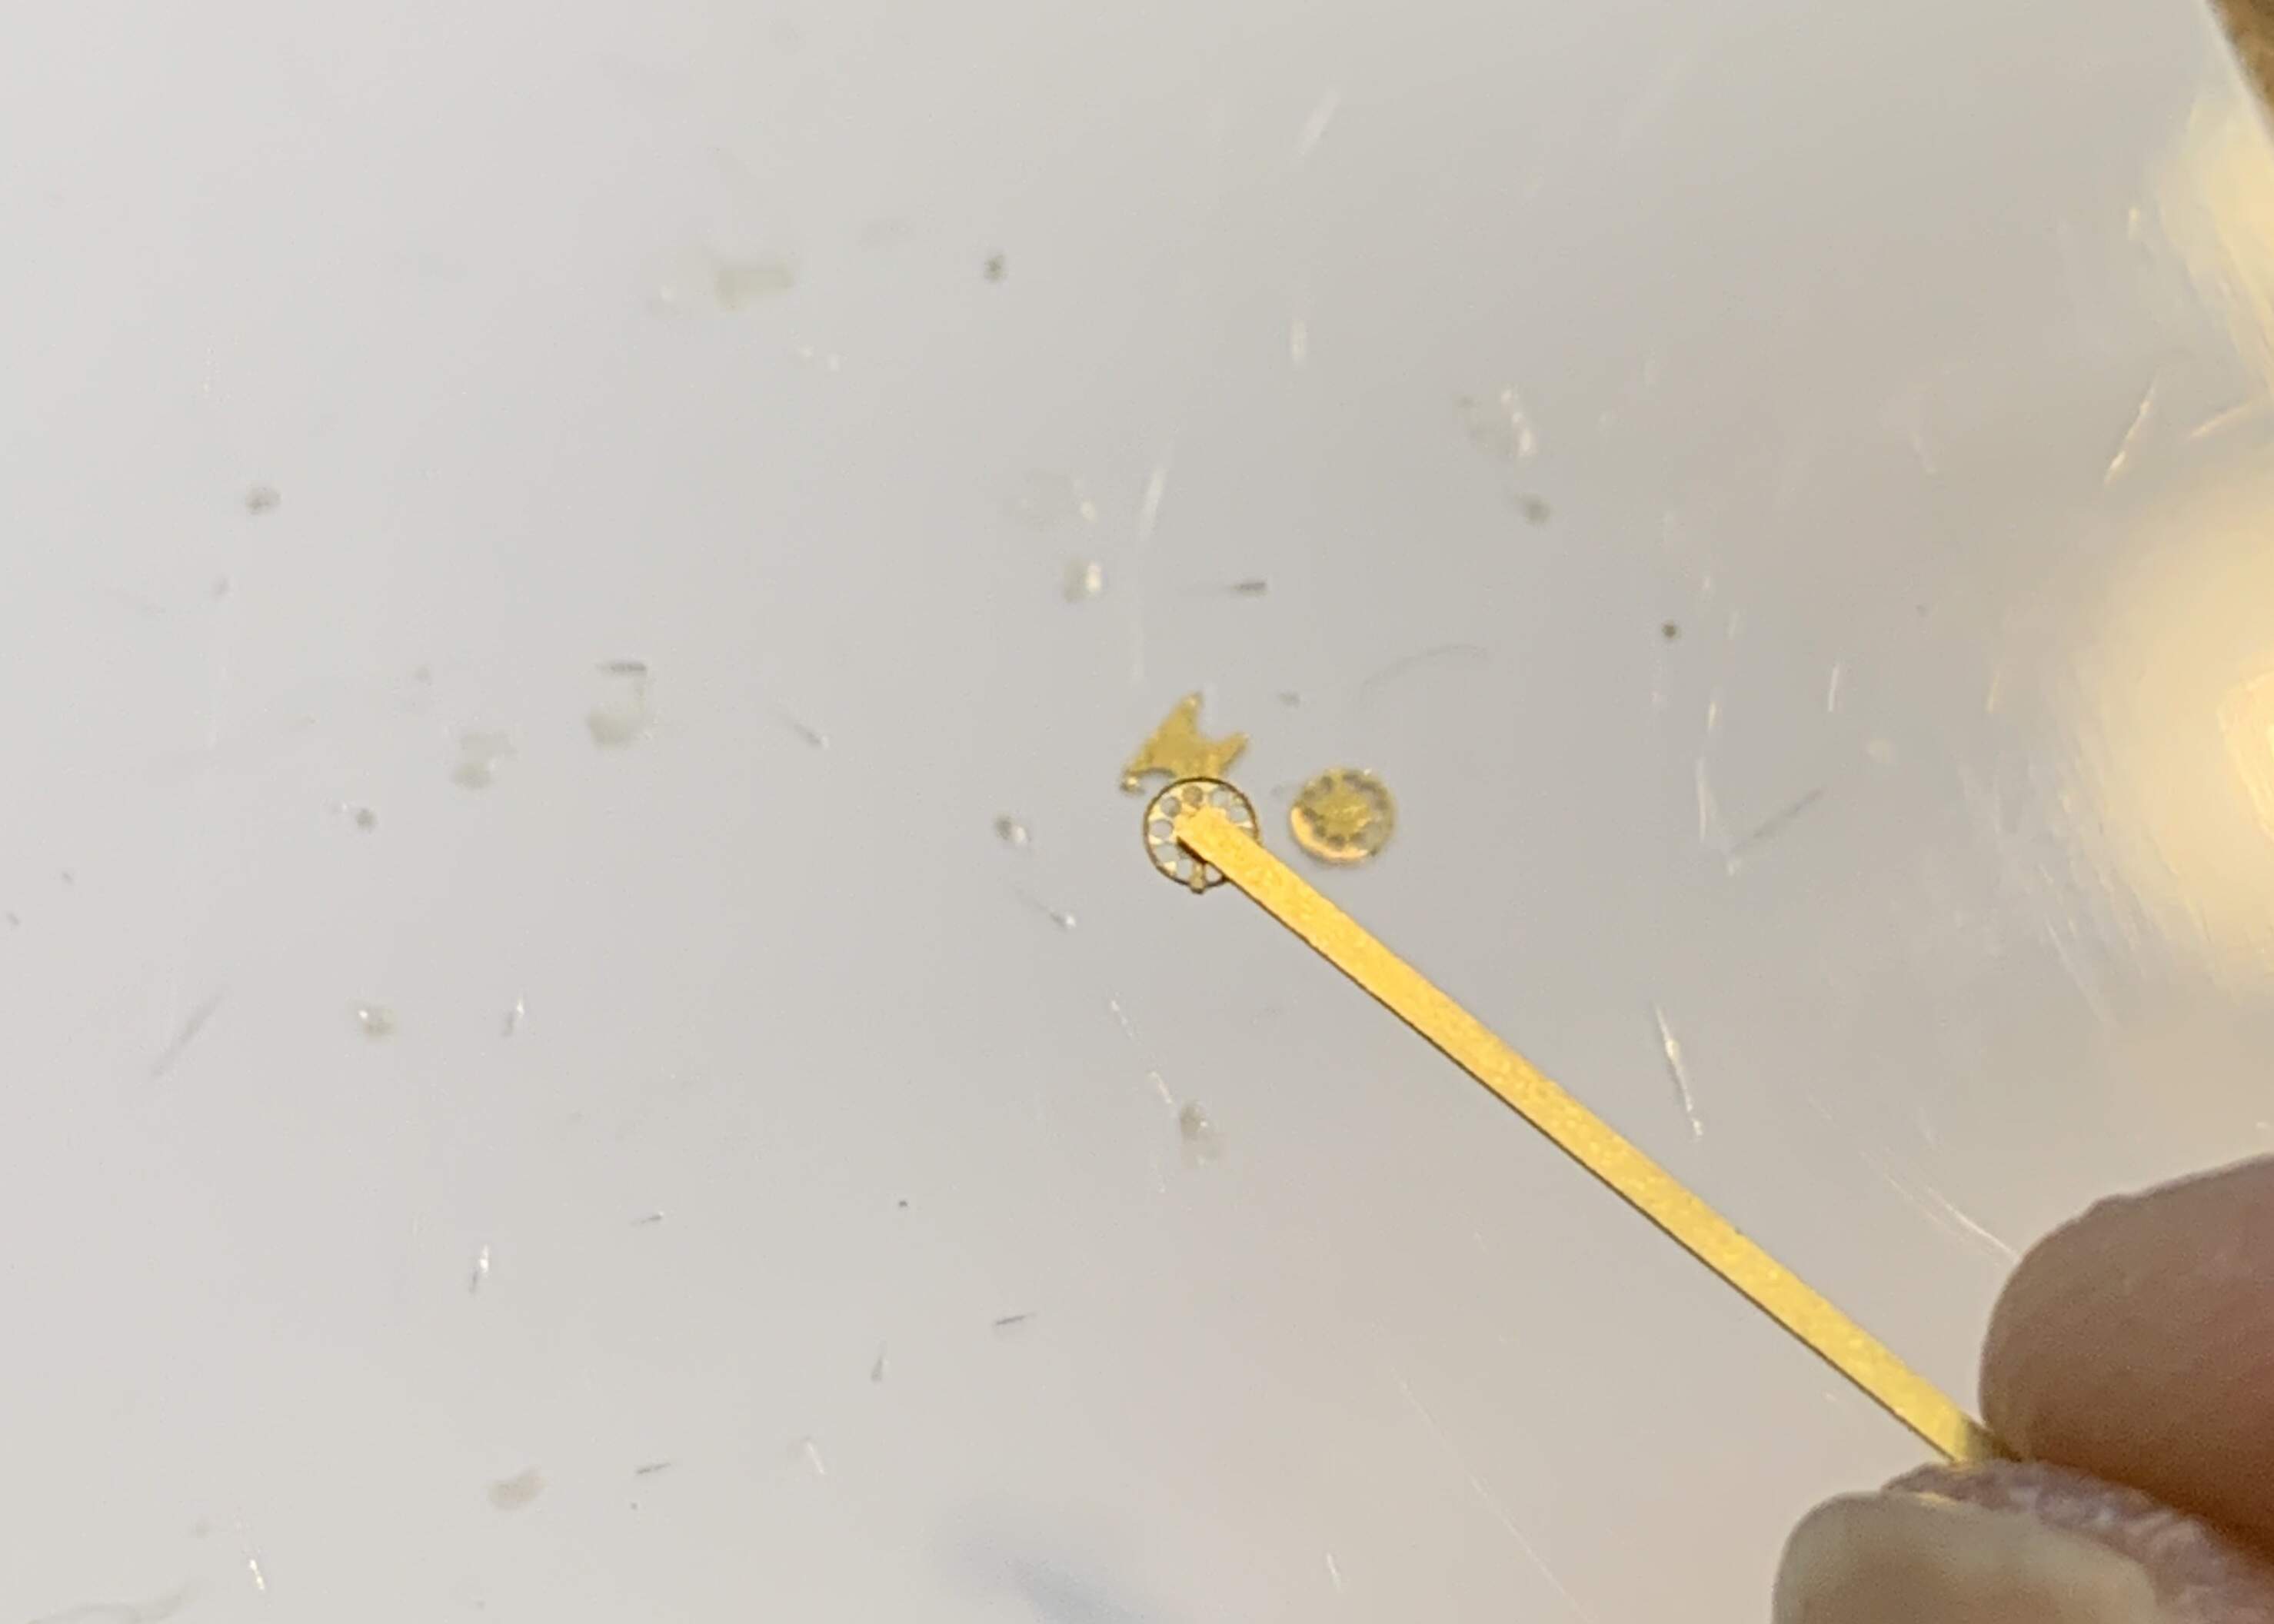
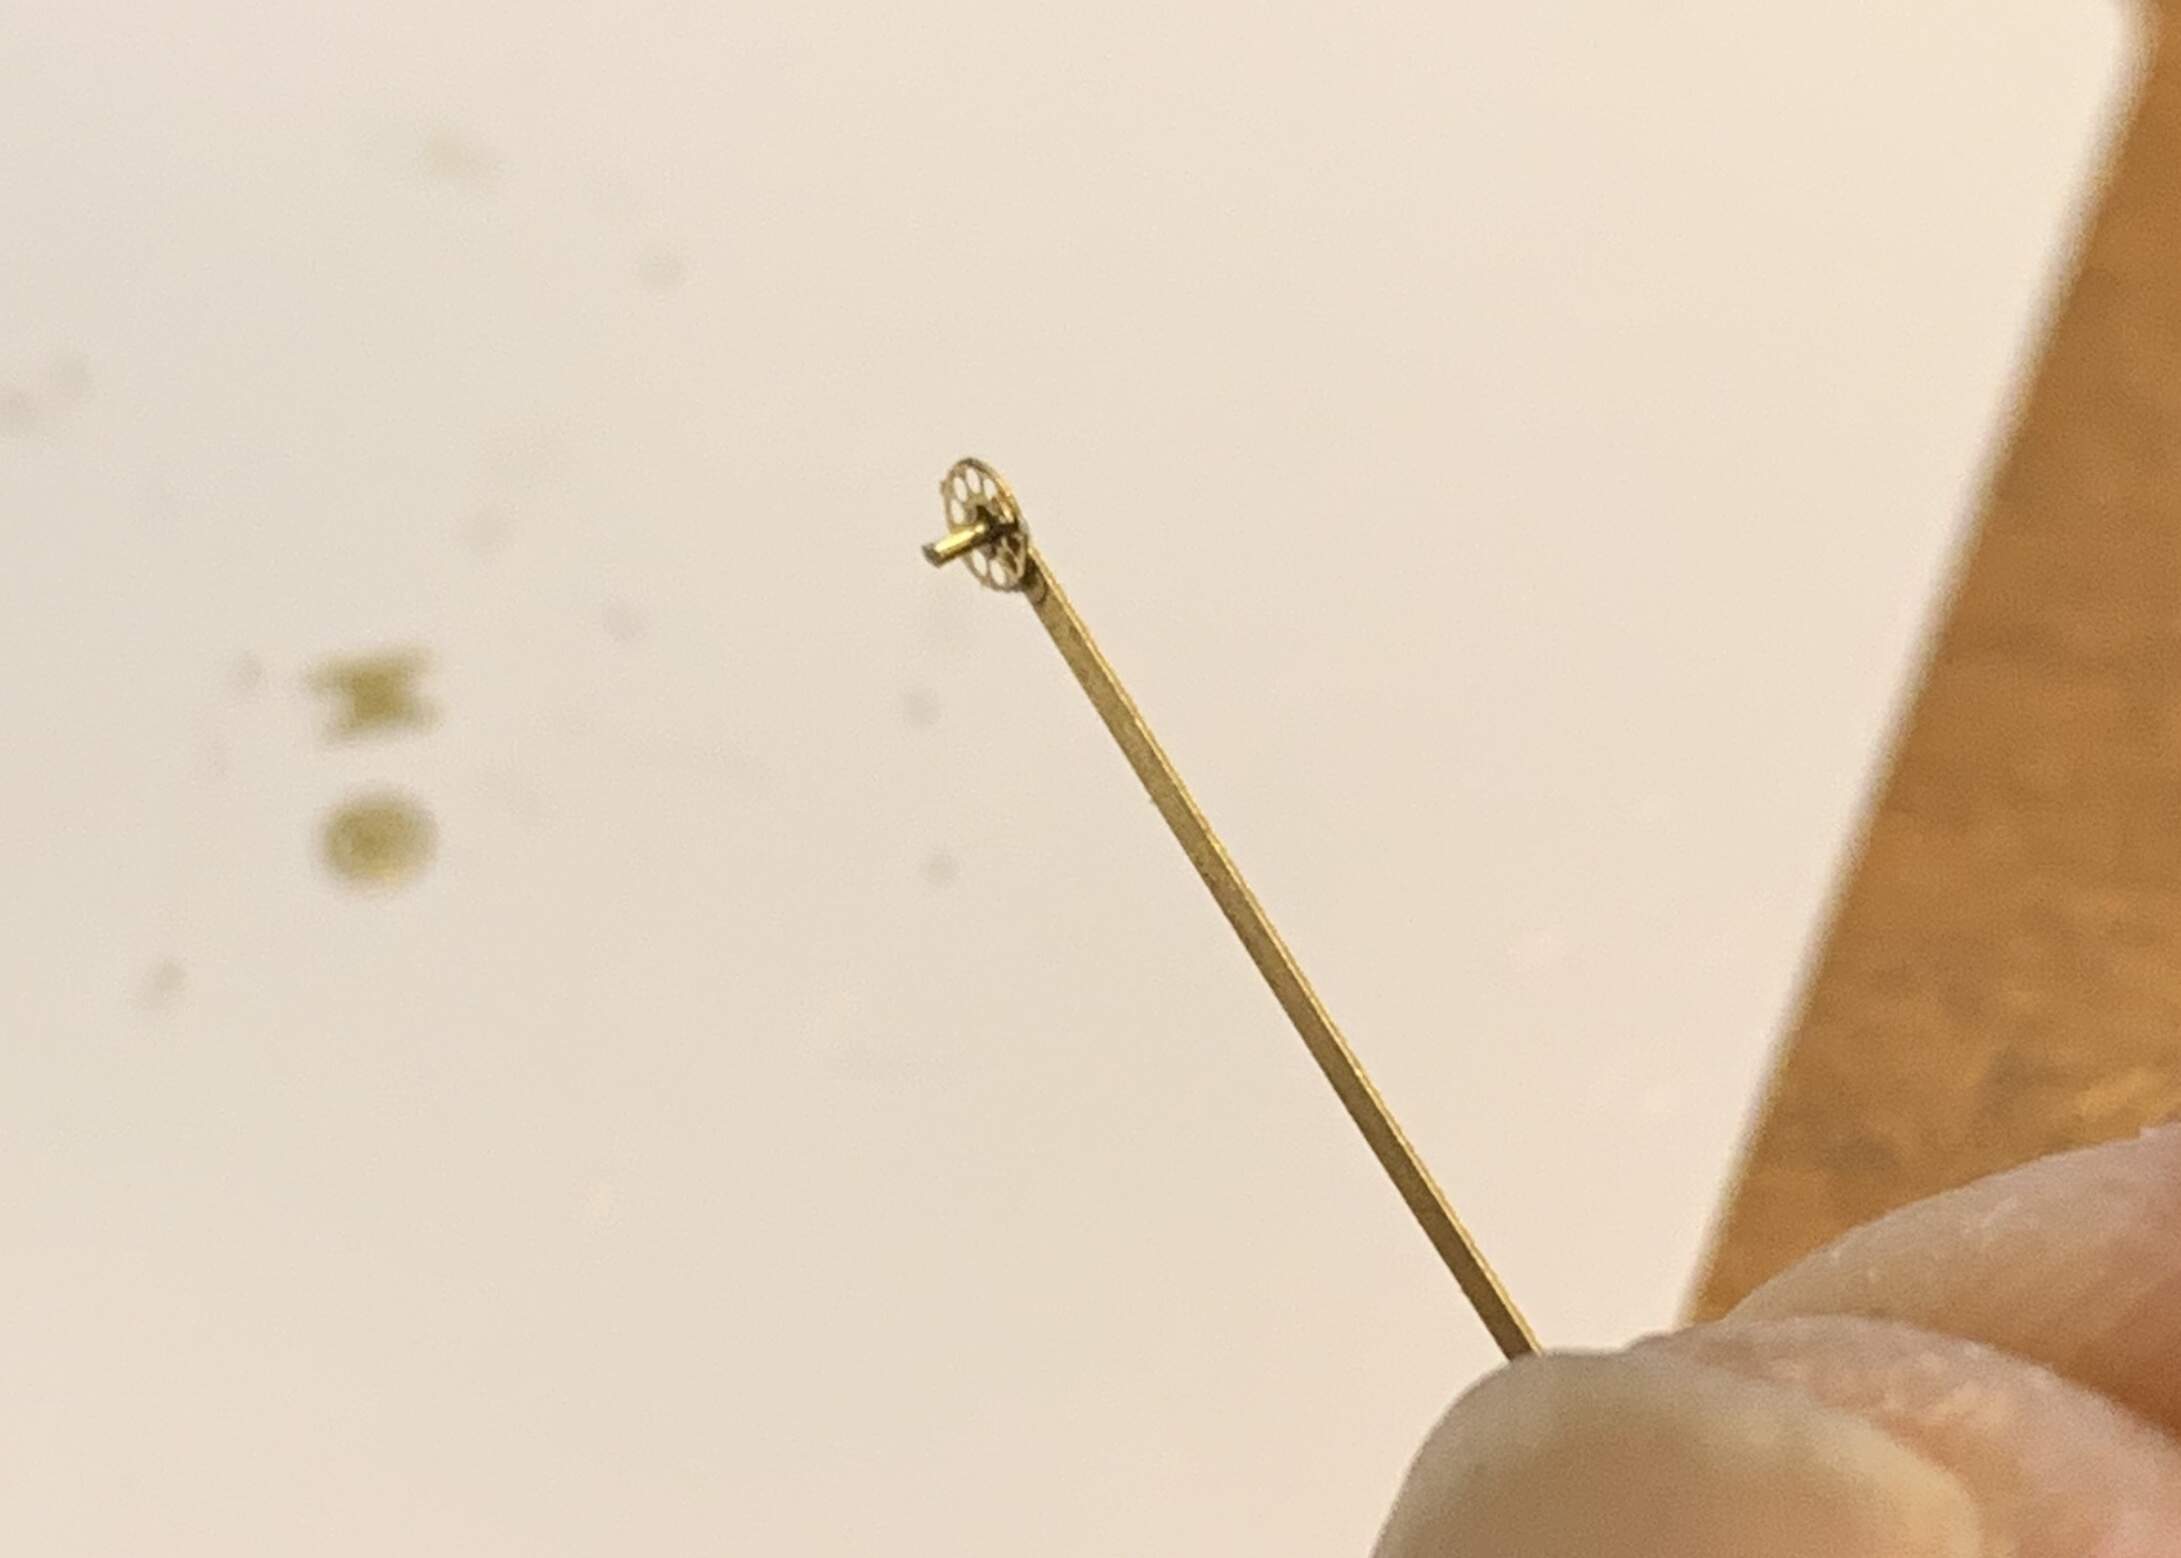
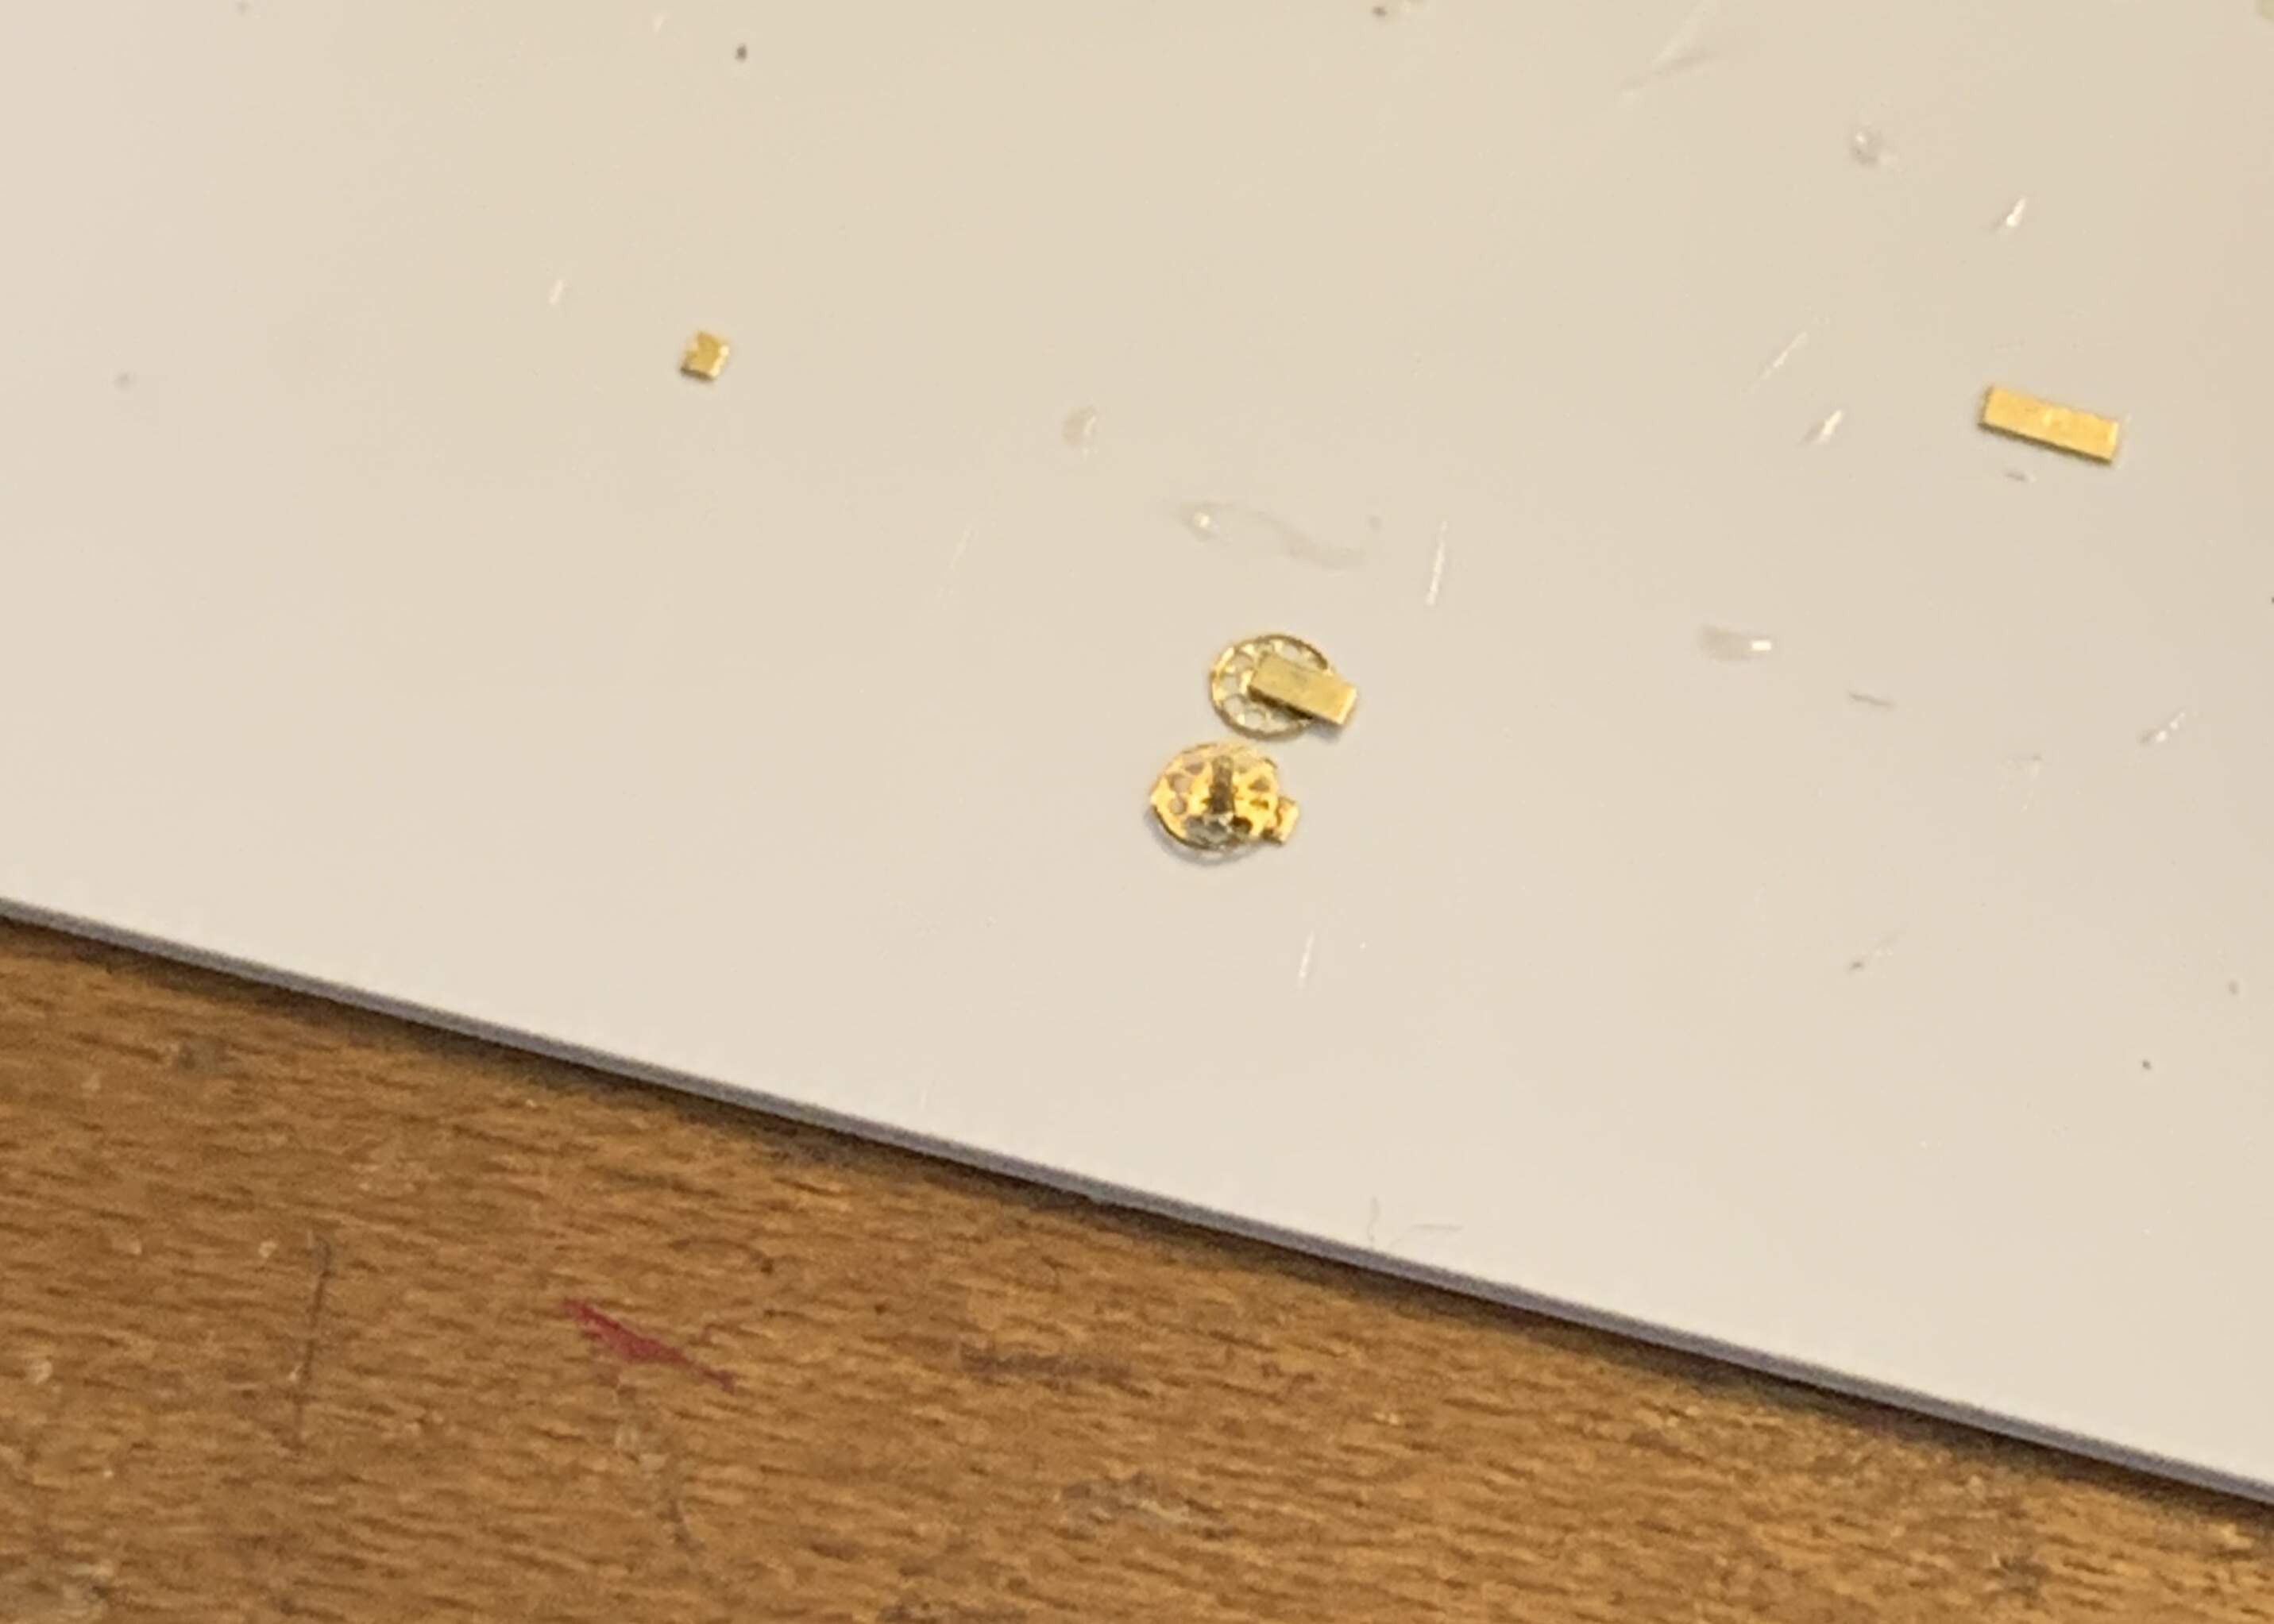
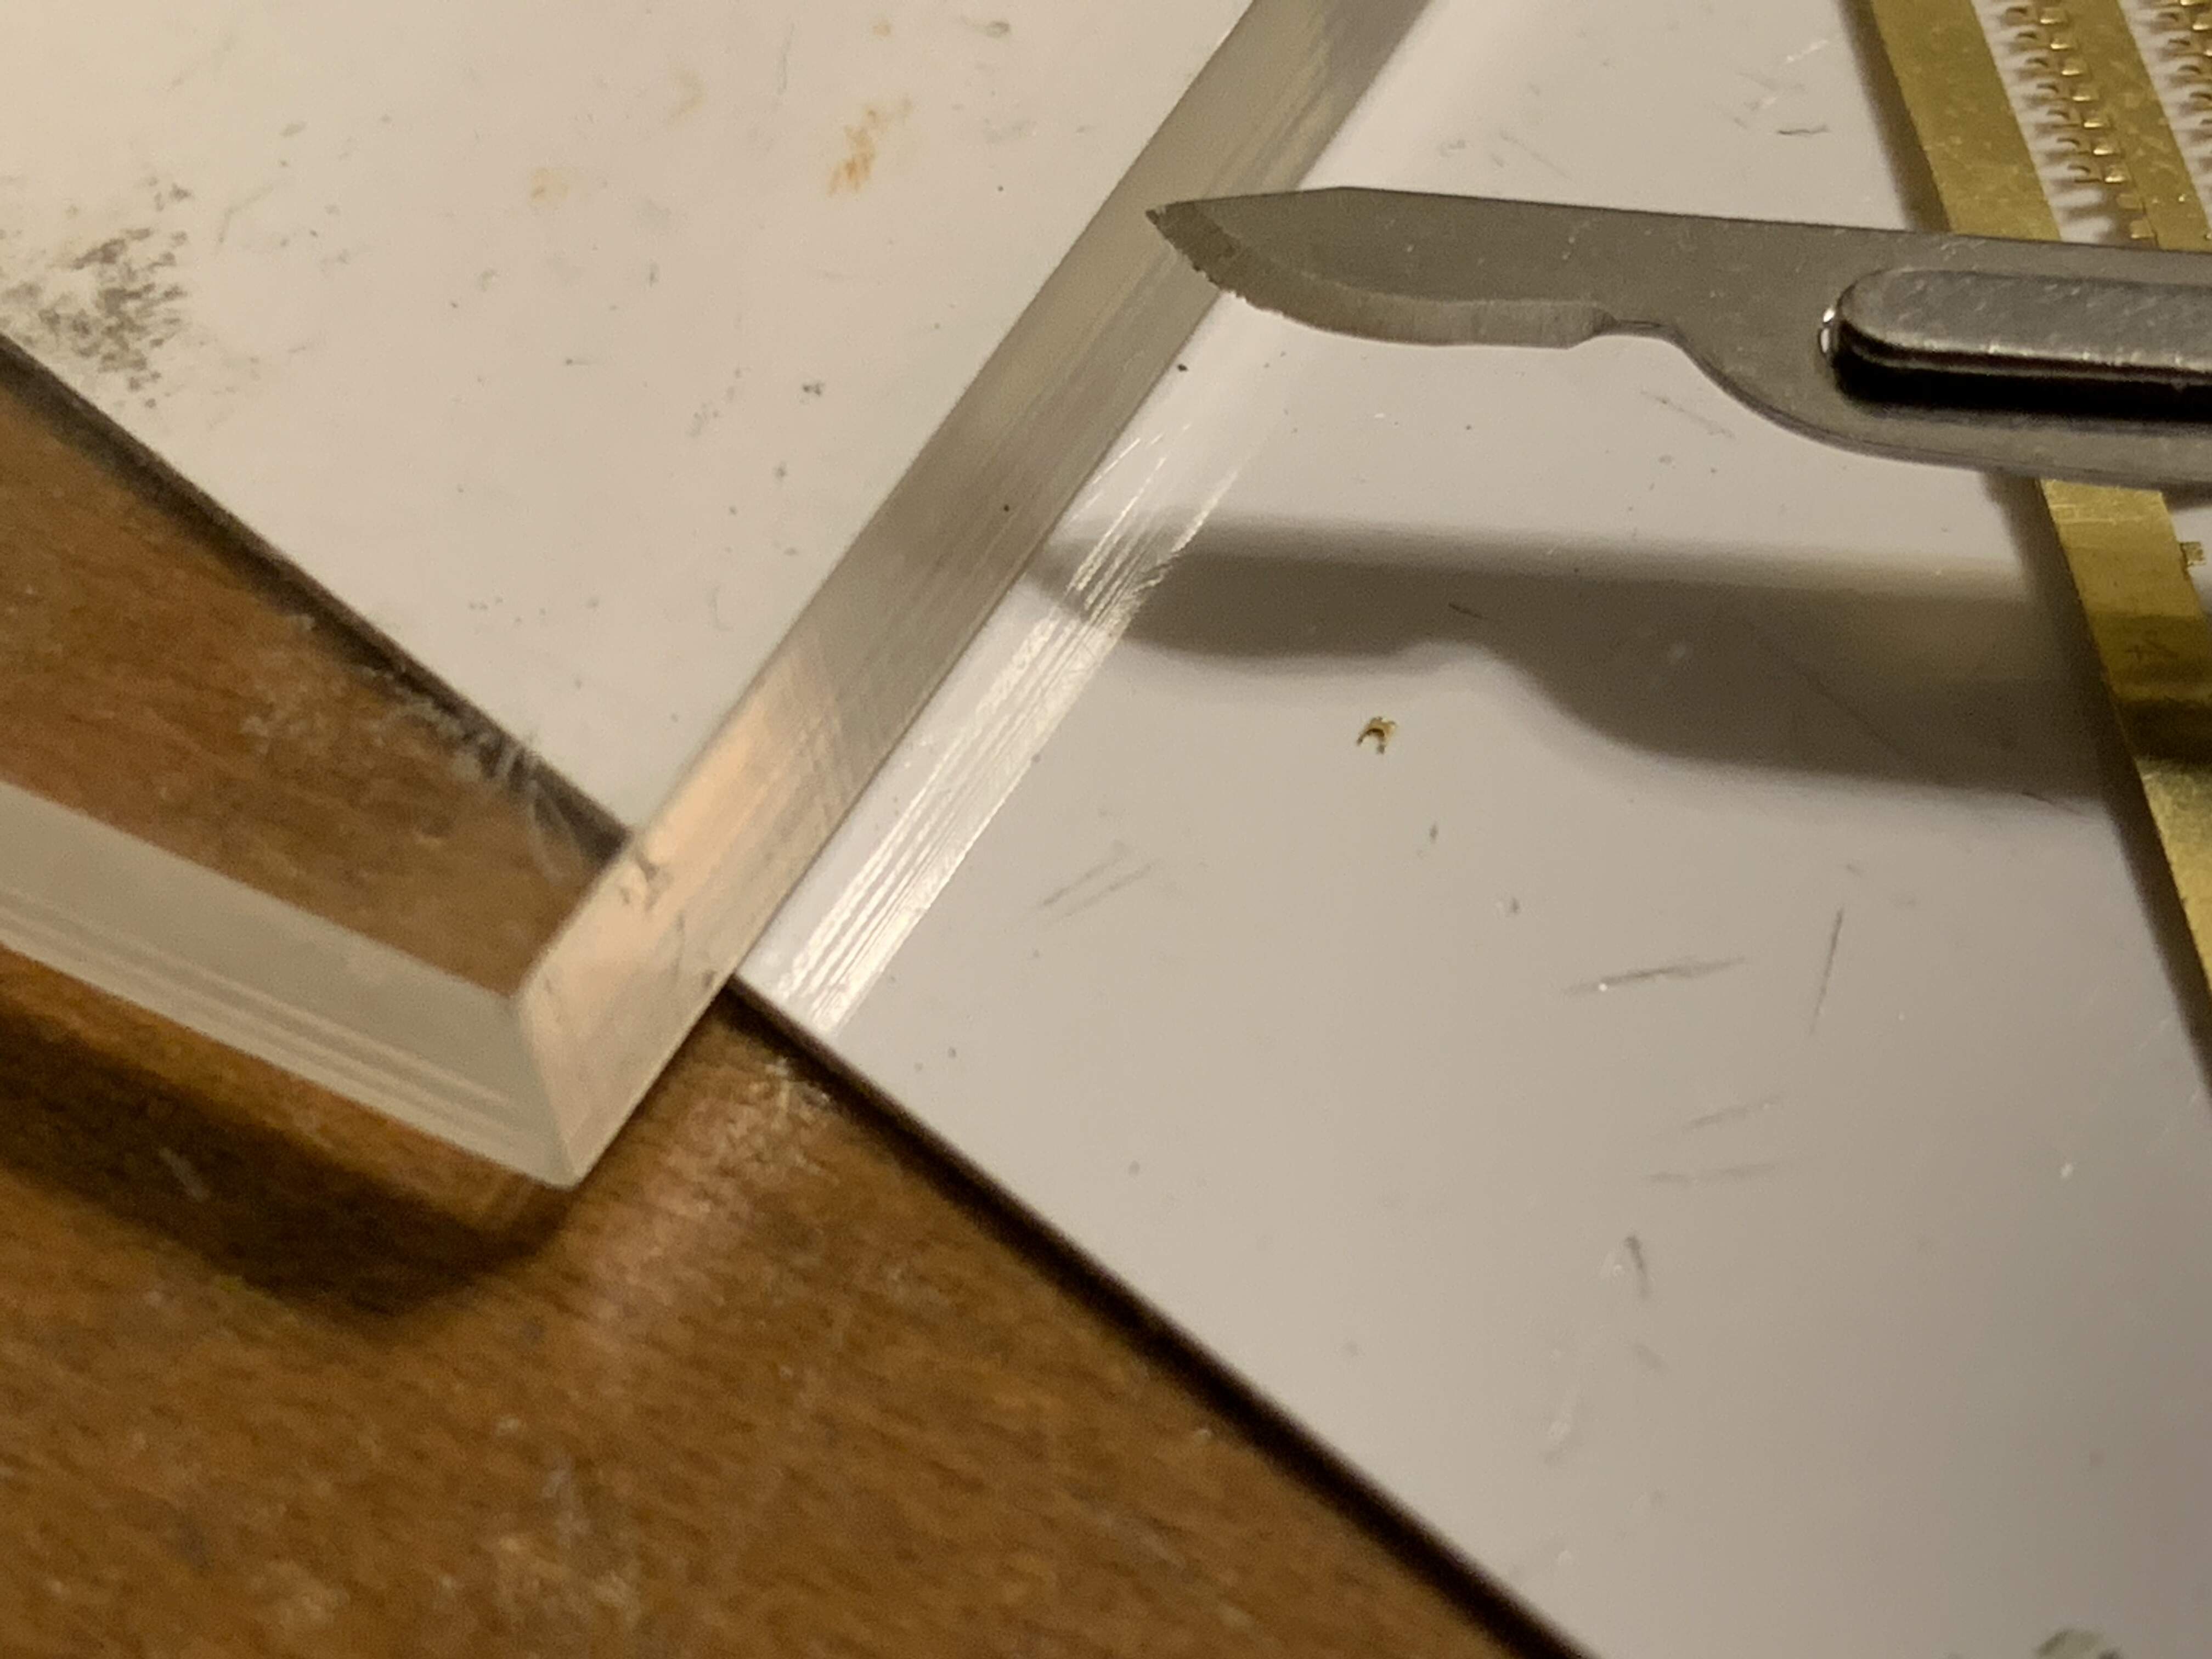
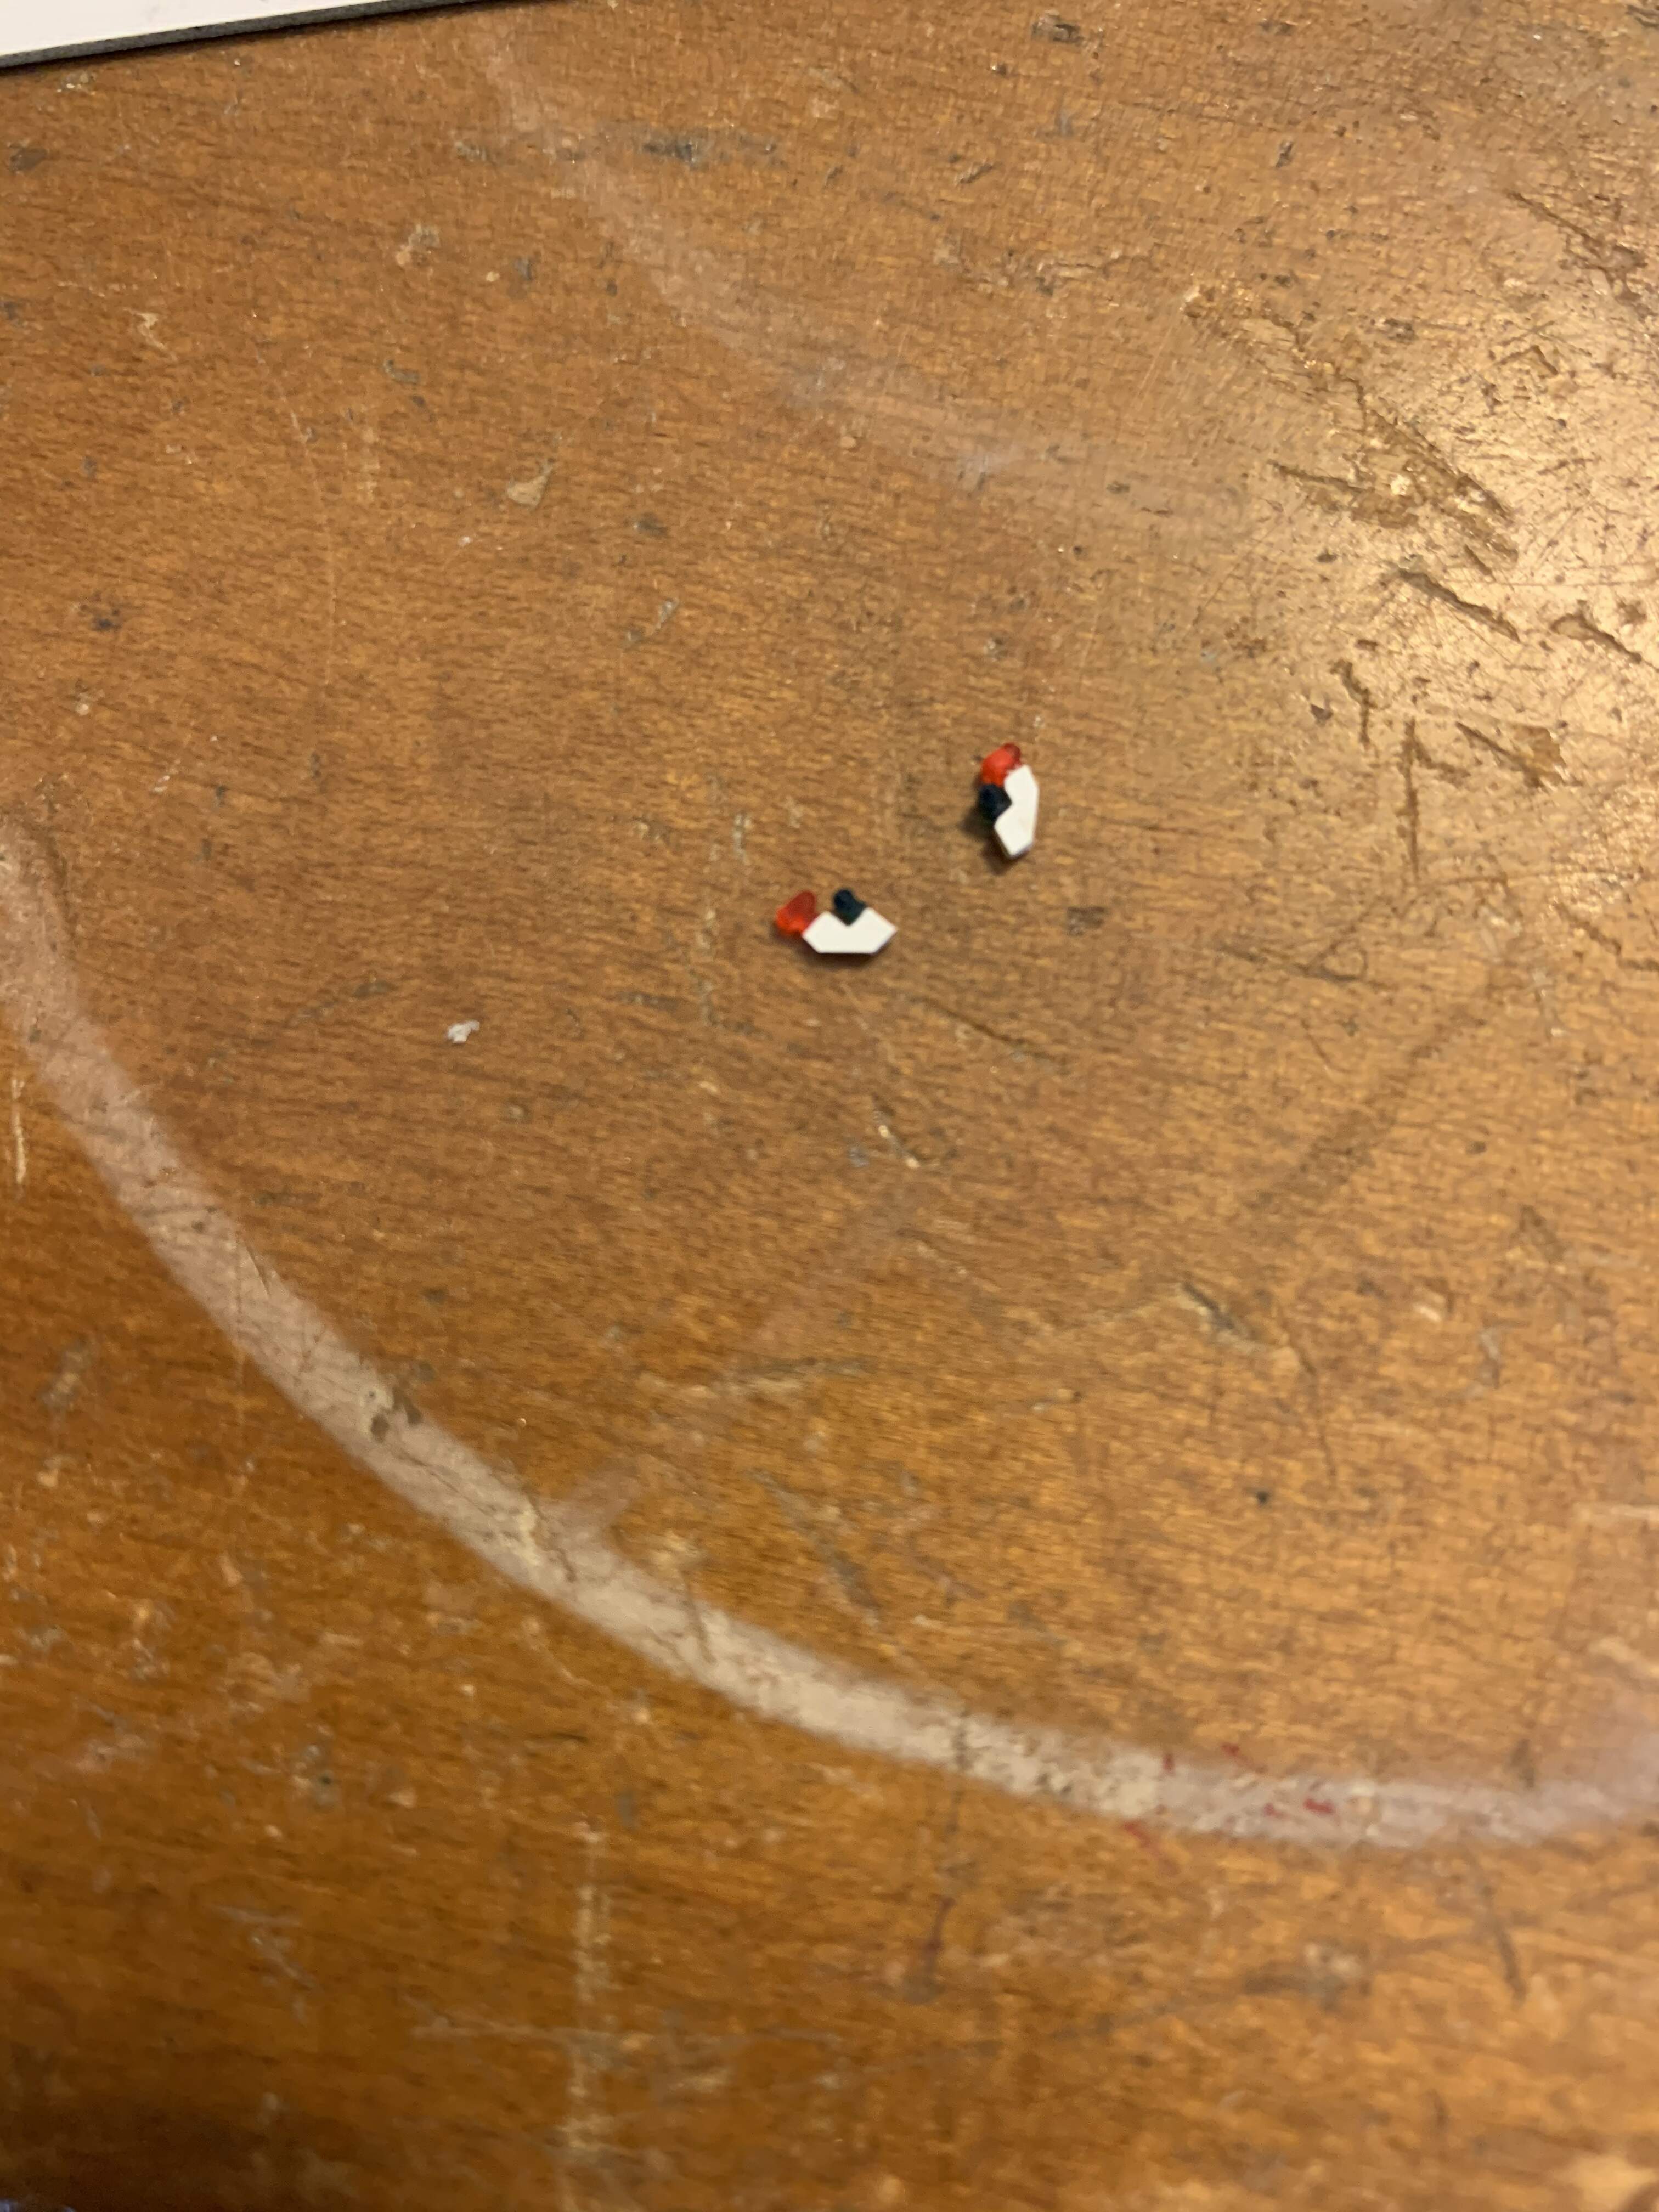
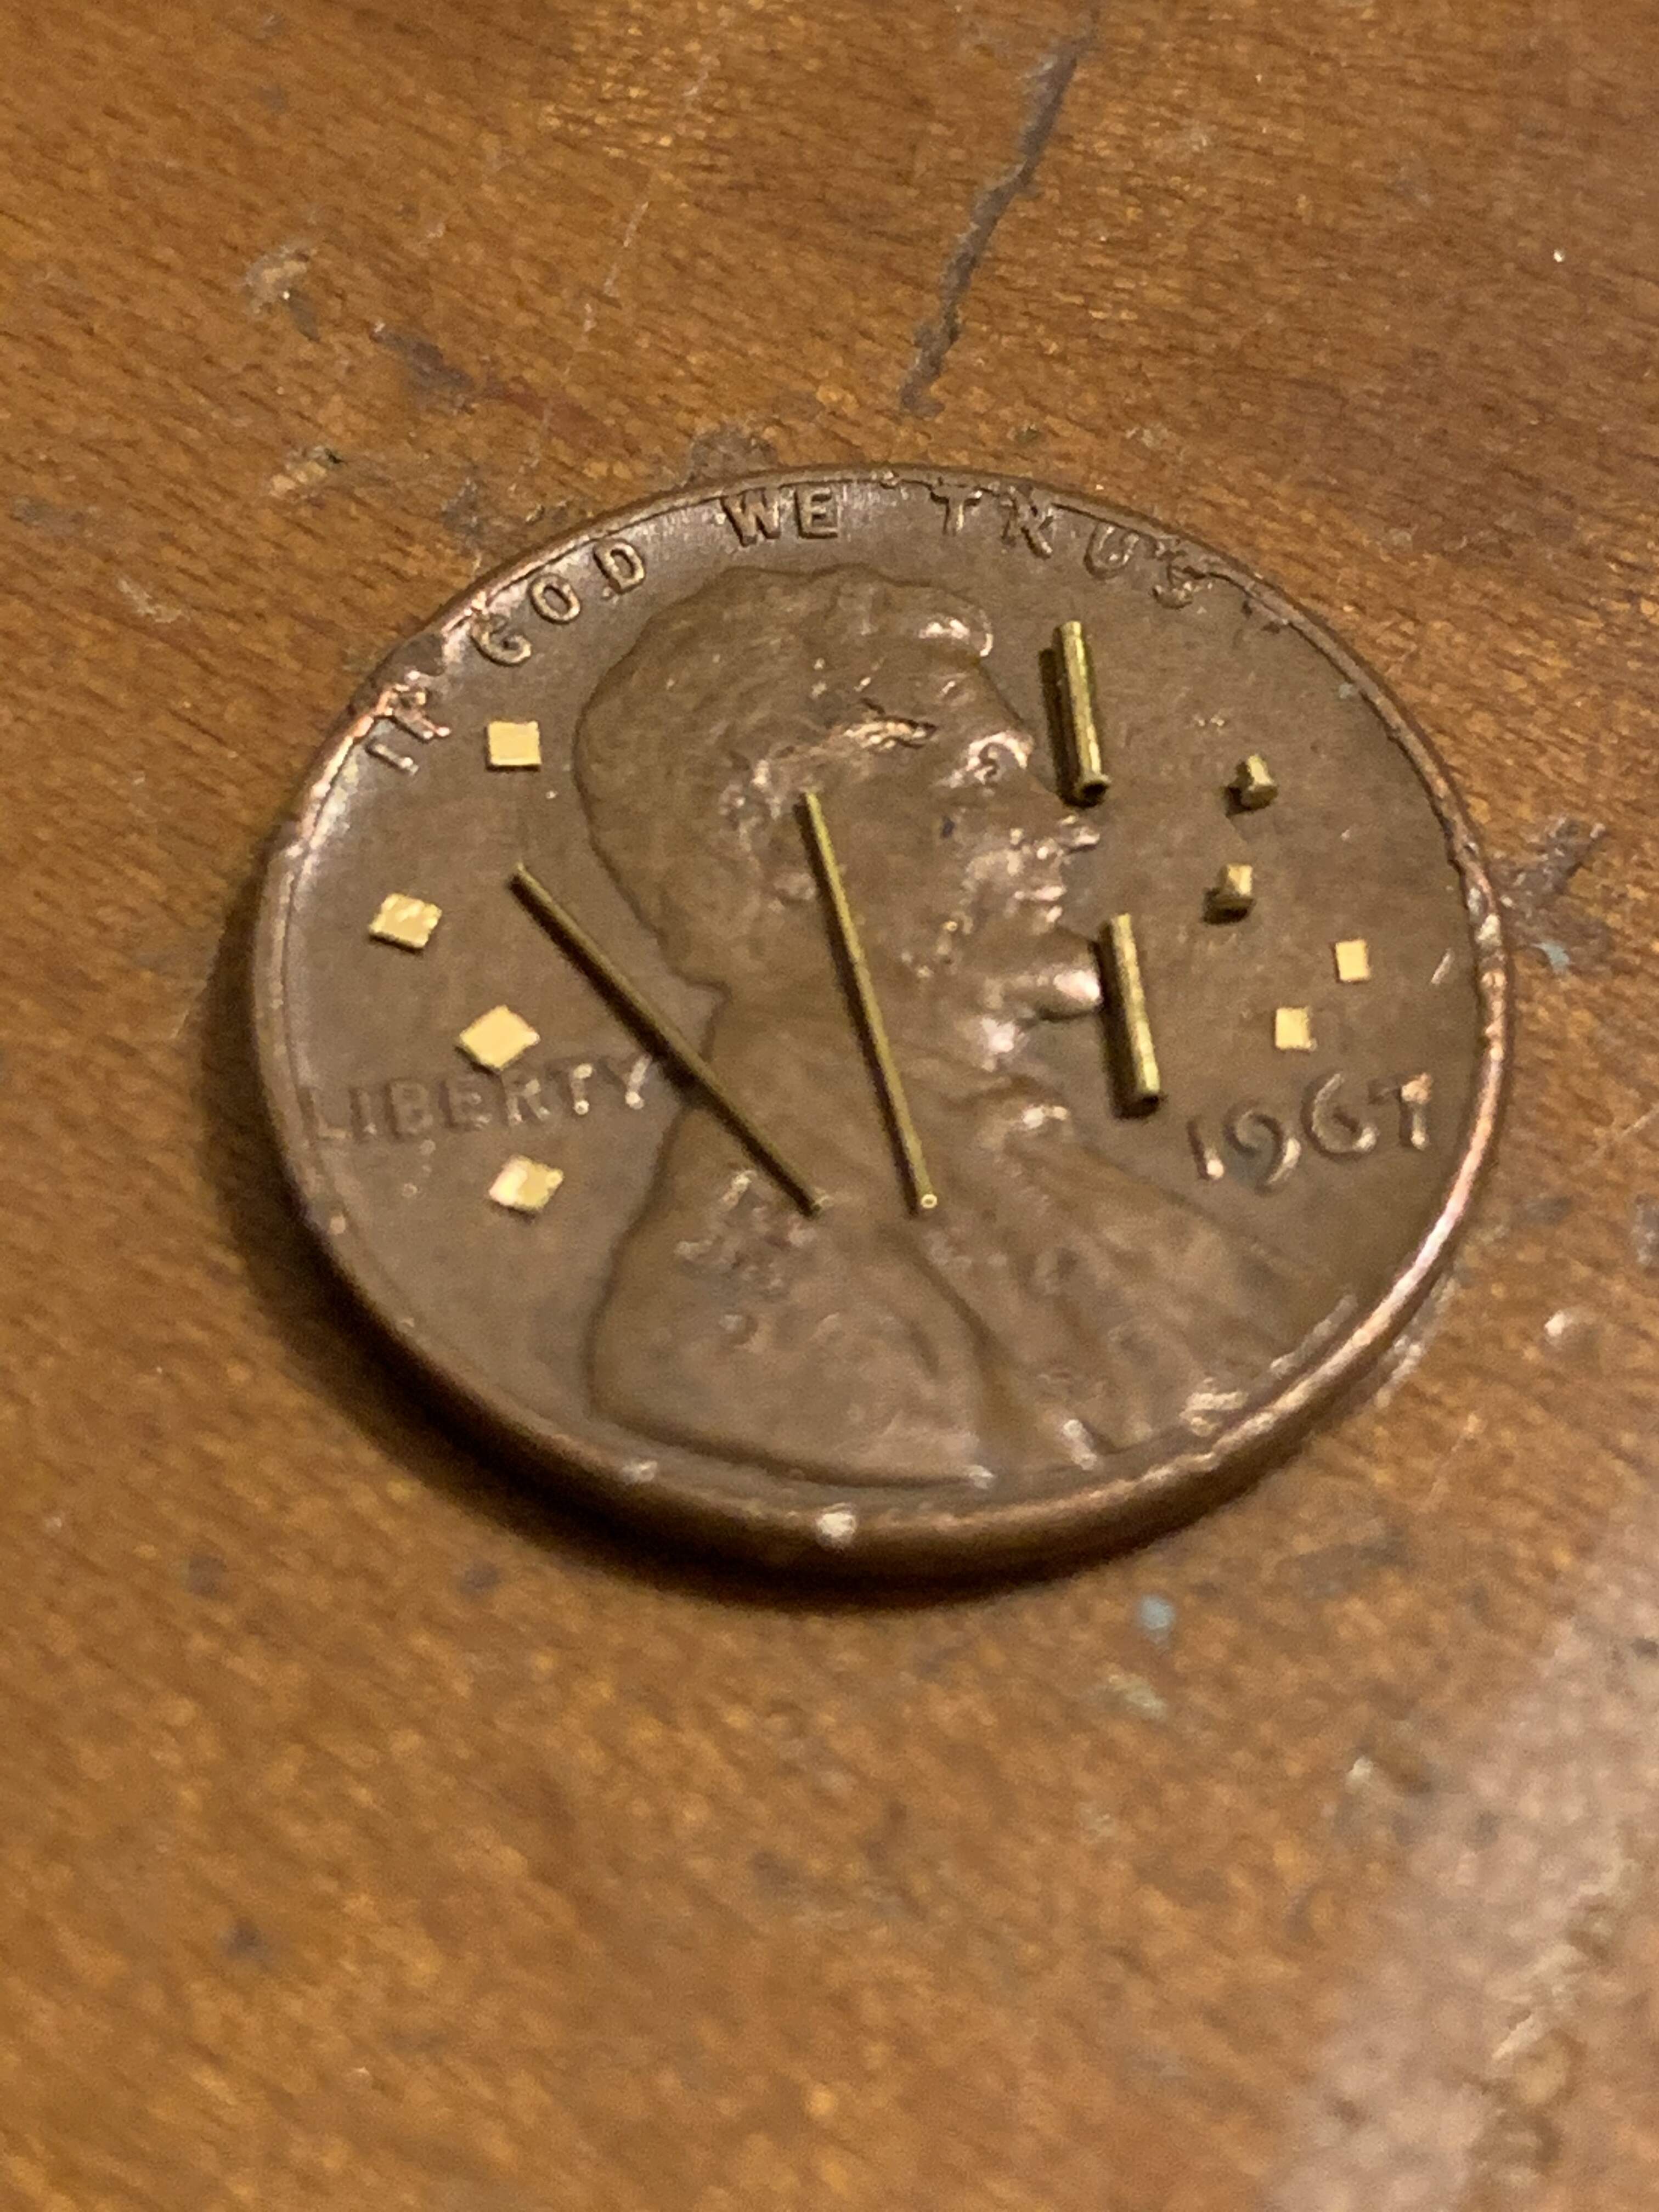
And now for the navigation lights. I got these from OKB Grigorov’s Rear-lamps for soviet tanks set. I first cut some frets from the spare photo etch sets. I then bent them intoform.
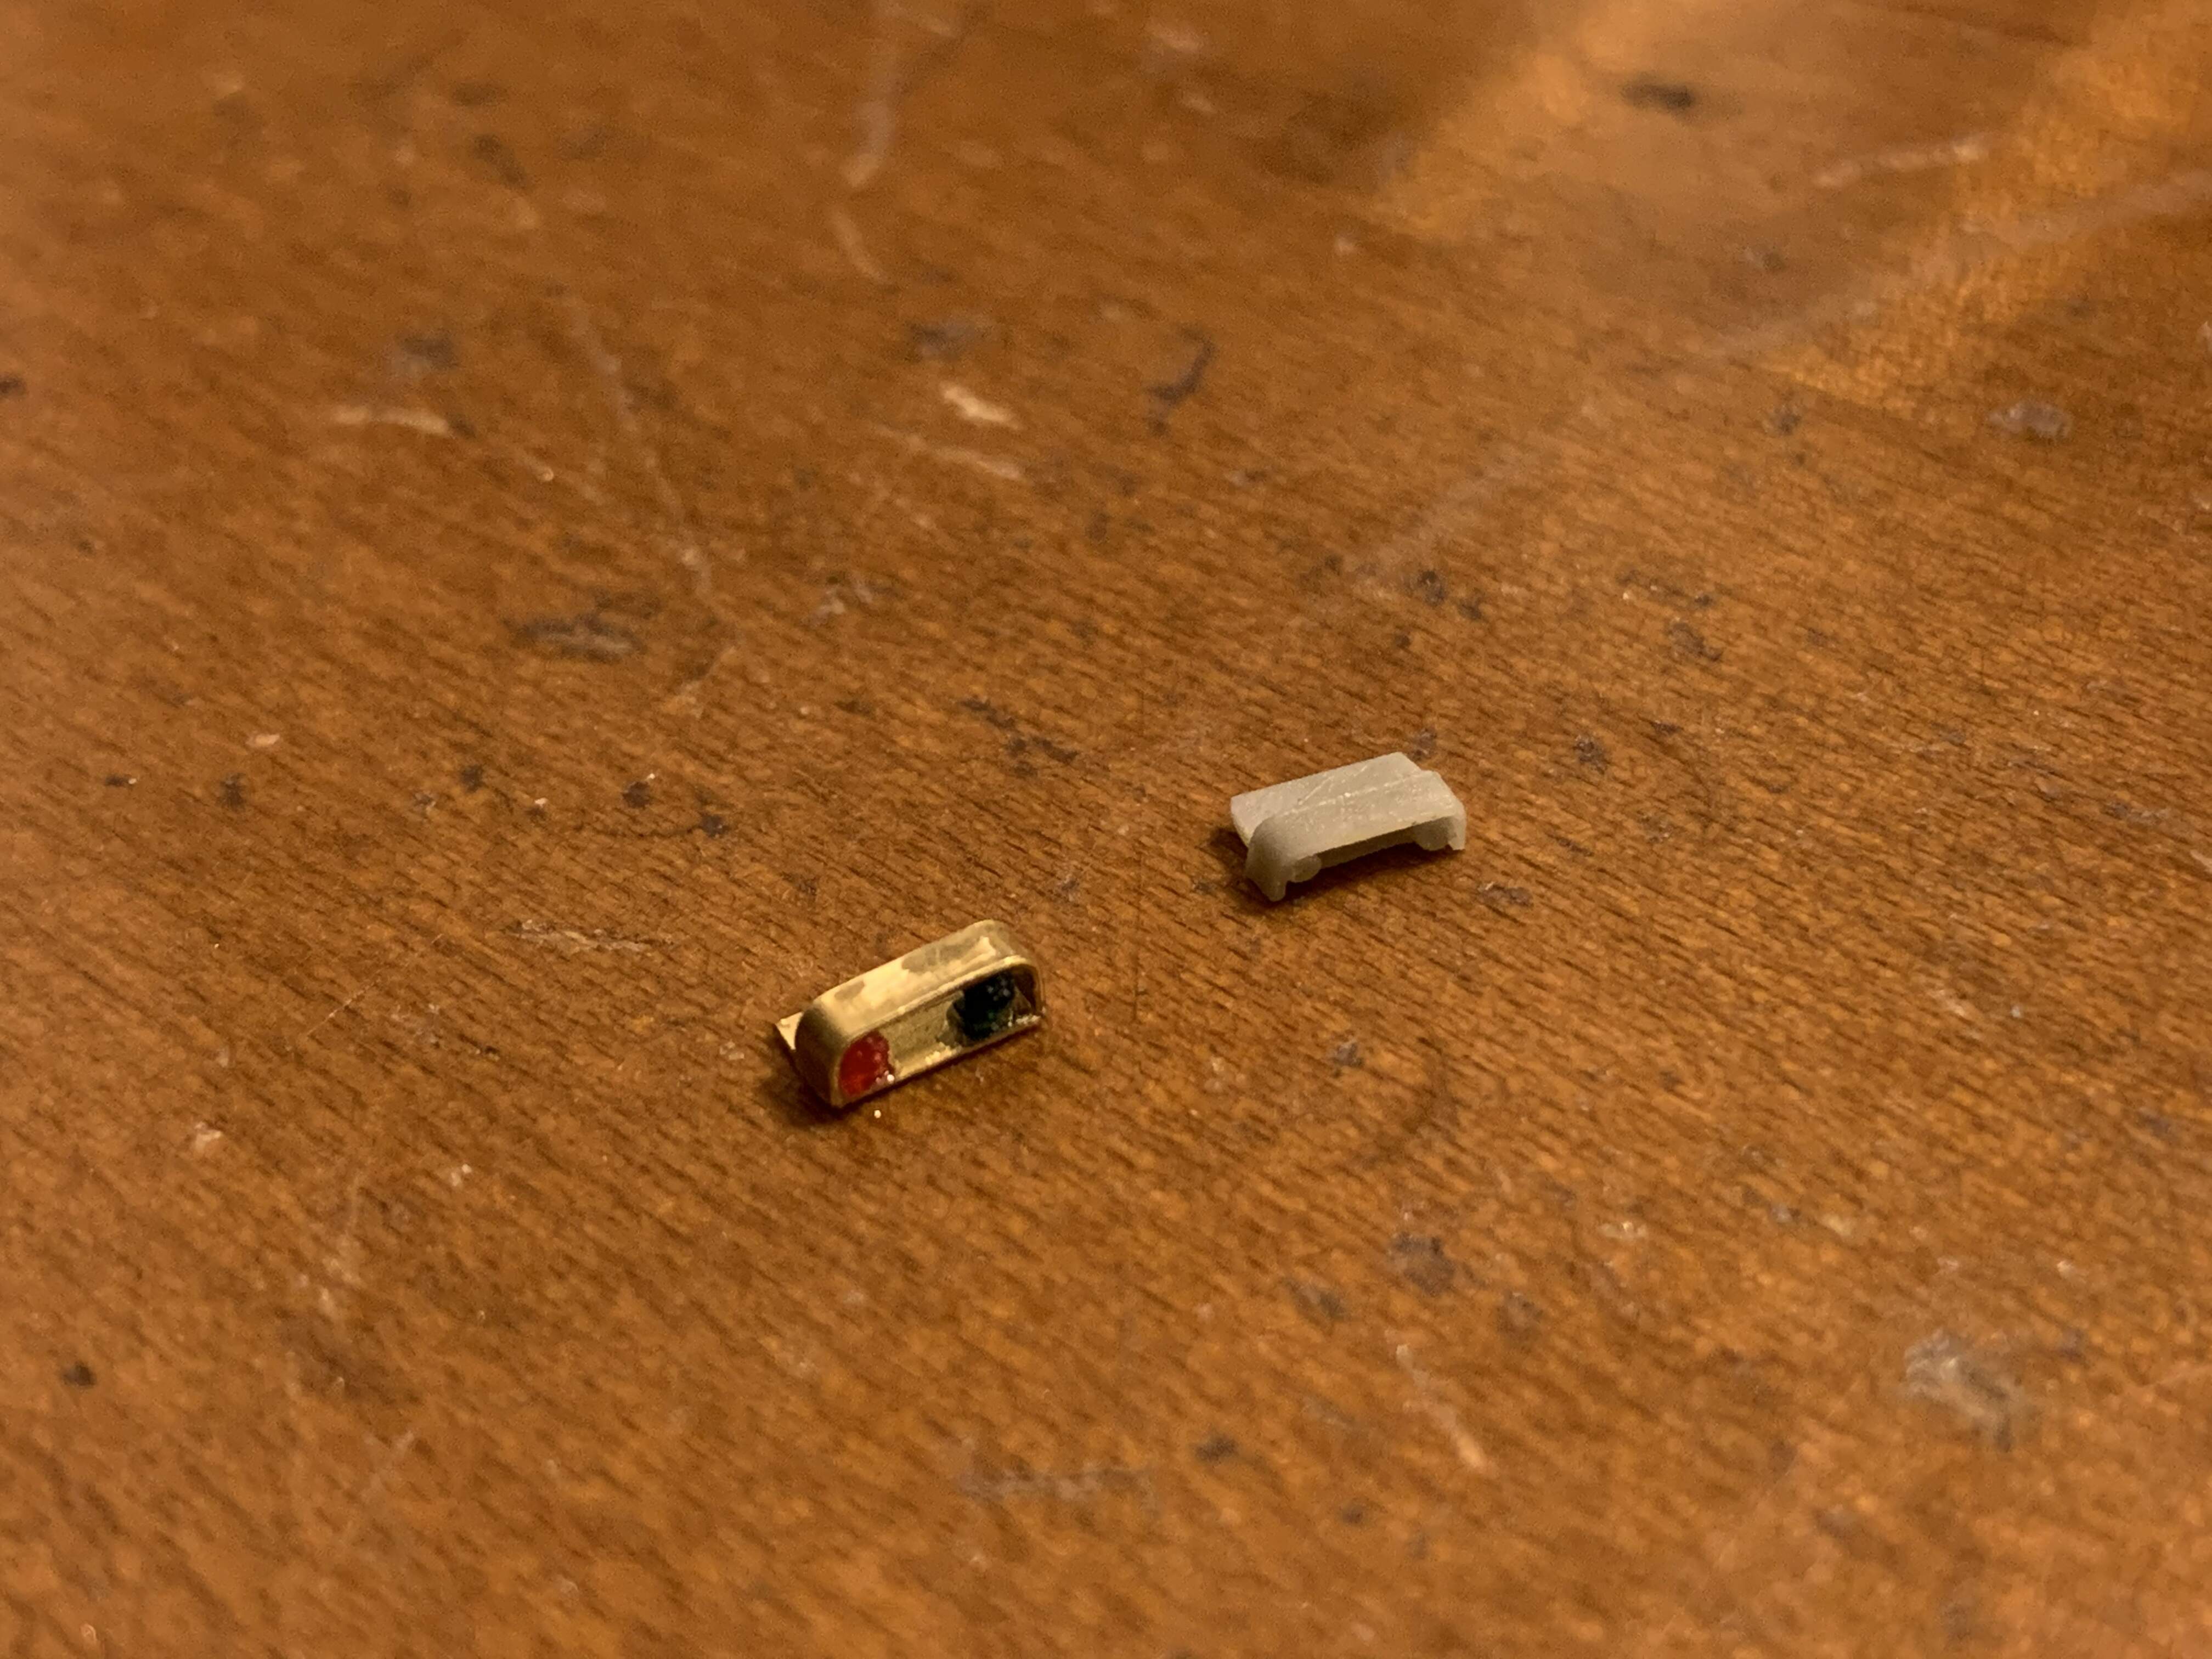
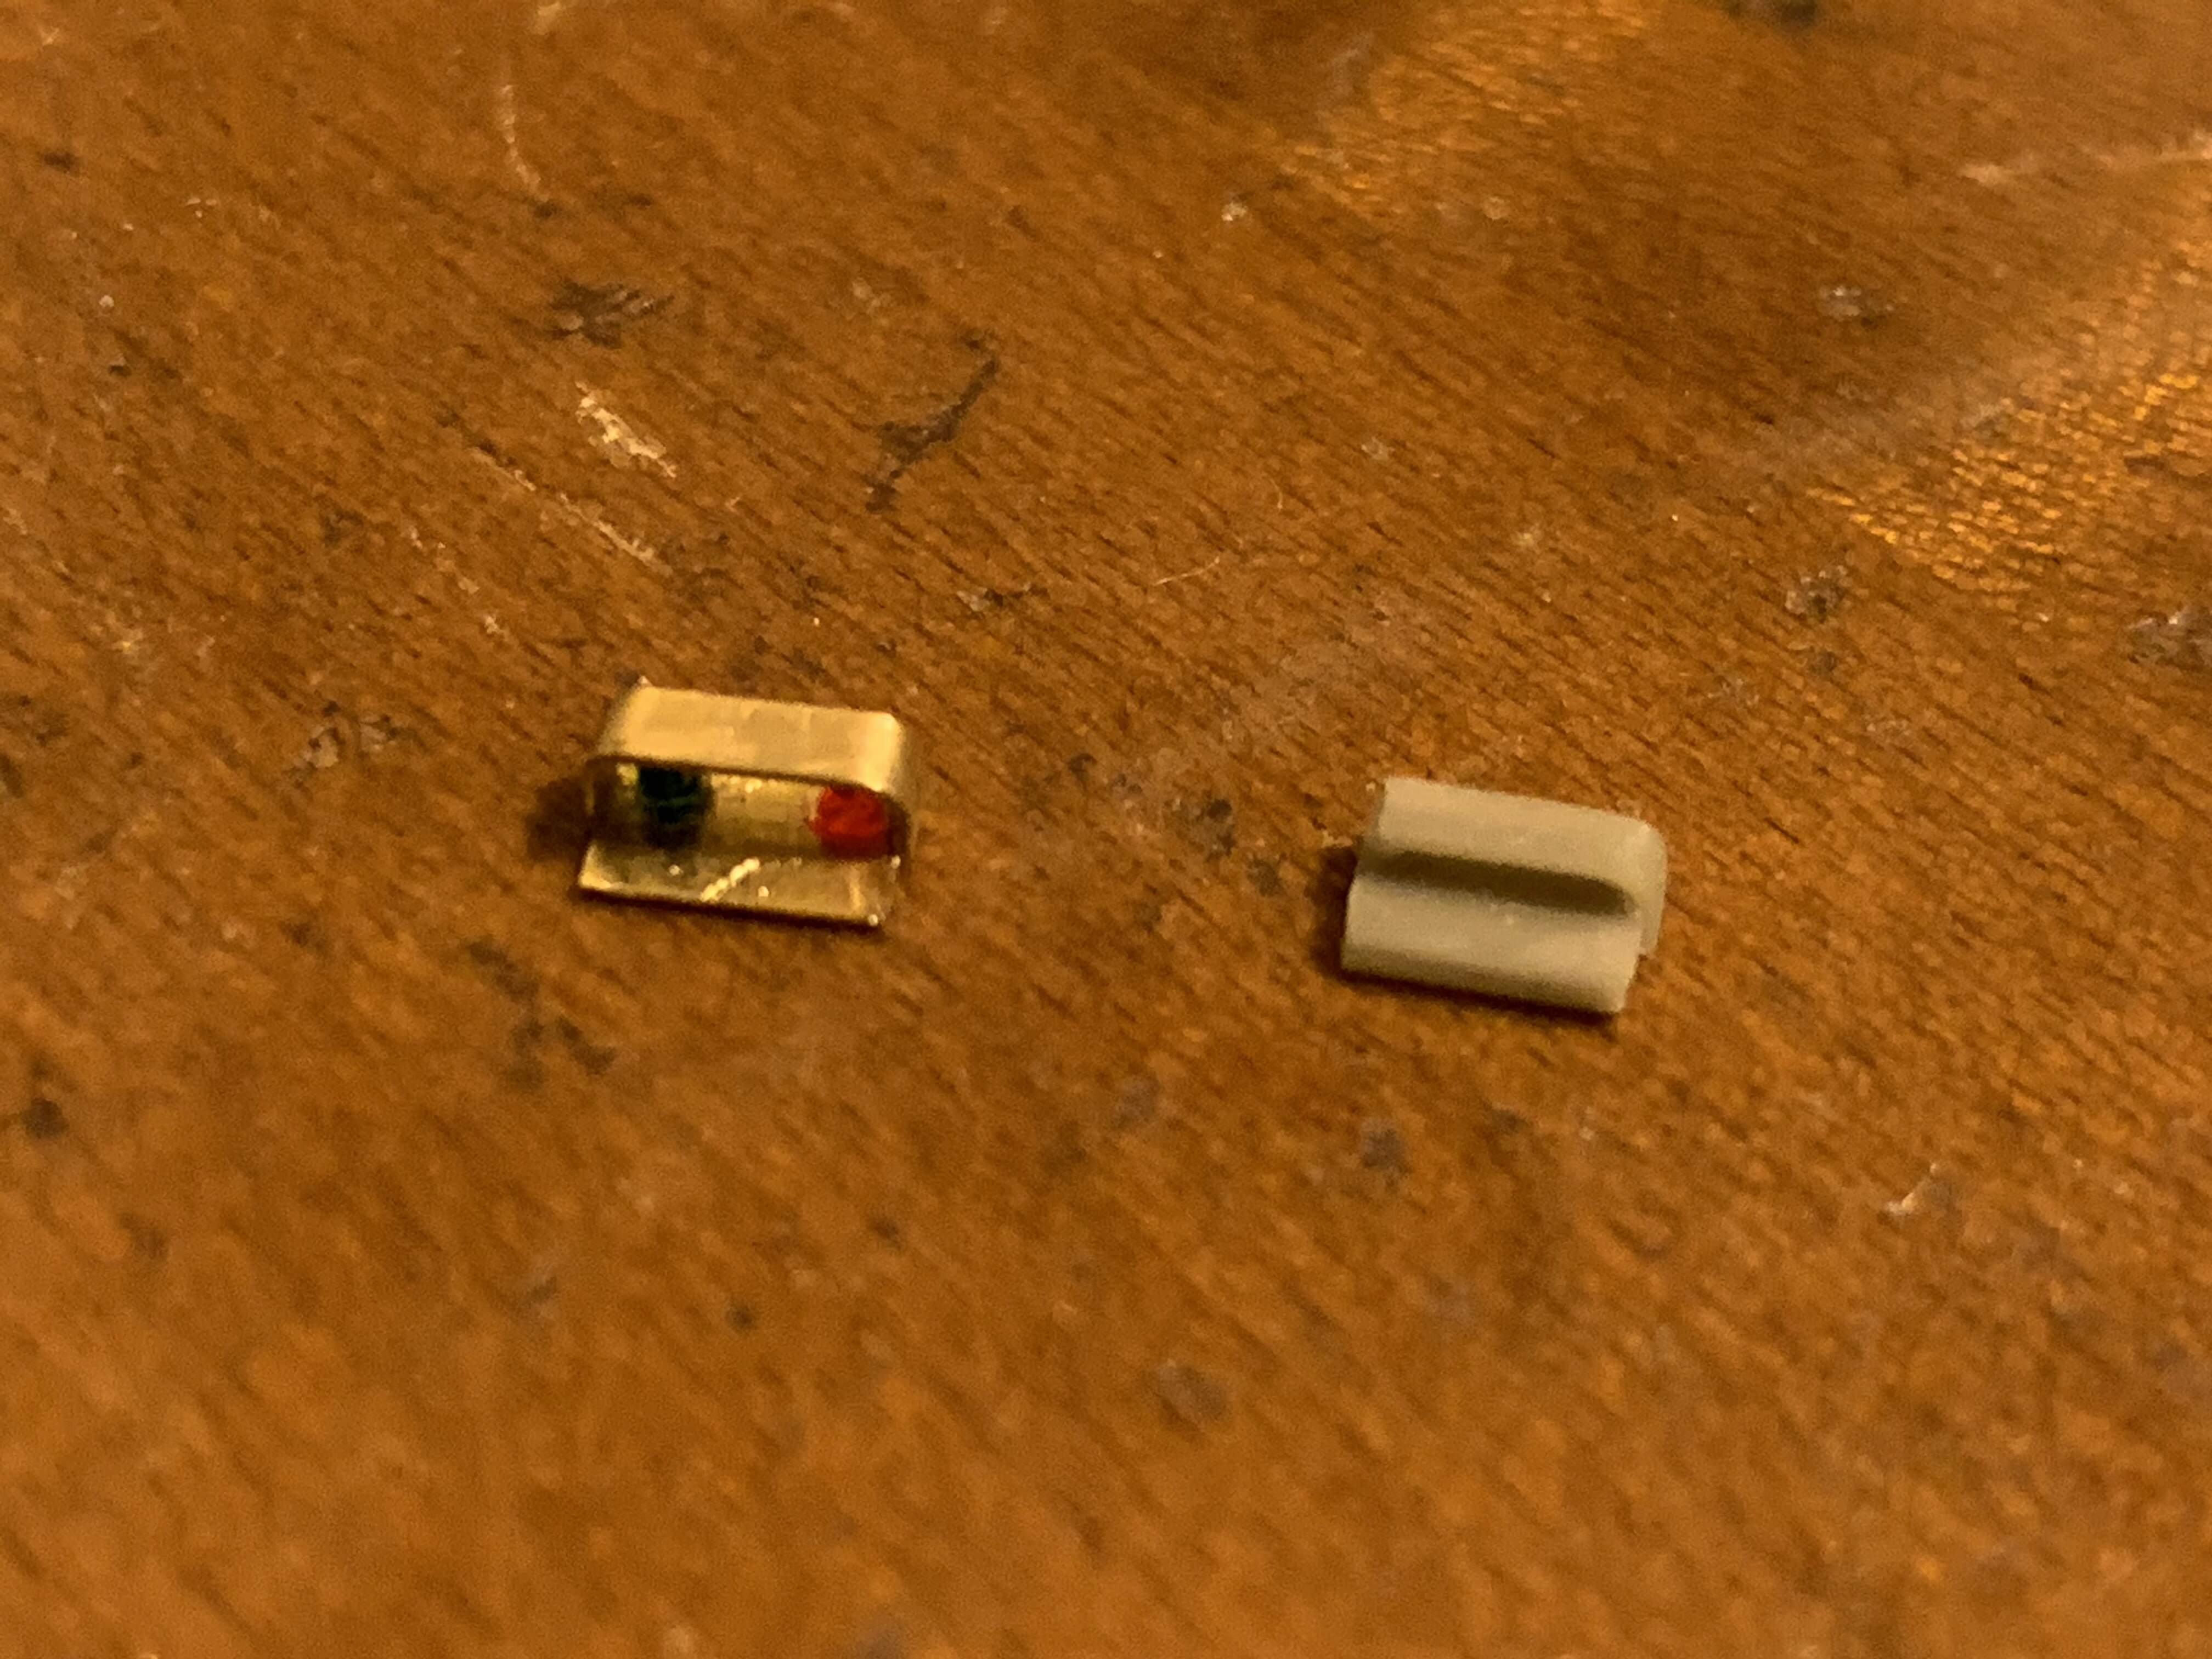
And finally, I wanted to improve the kit supplied rear navigation lights. That way, the rear lights match those on the front fenders. I used the lights from OKB set plus some more spare photoetch frets bent into shape. Here are side by side comparison of my scratch built rear light next to the resin one.
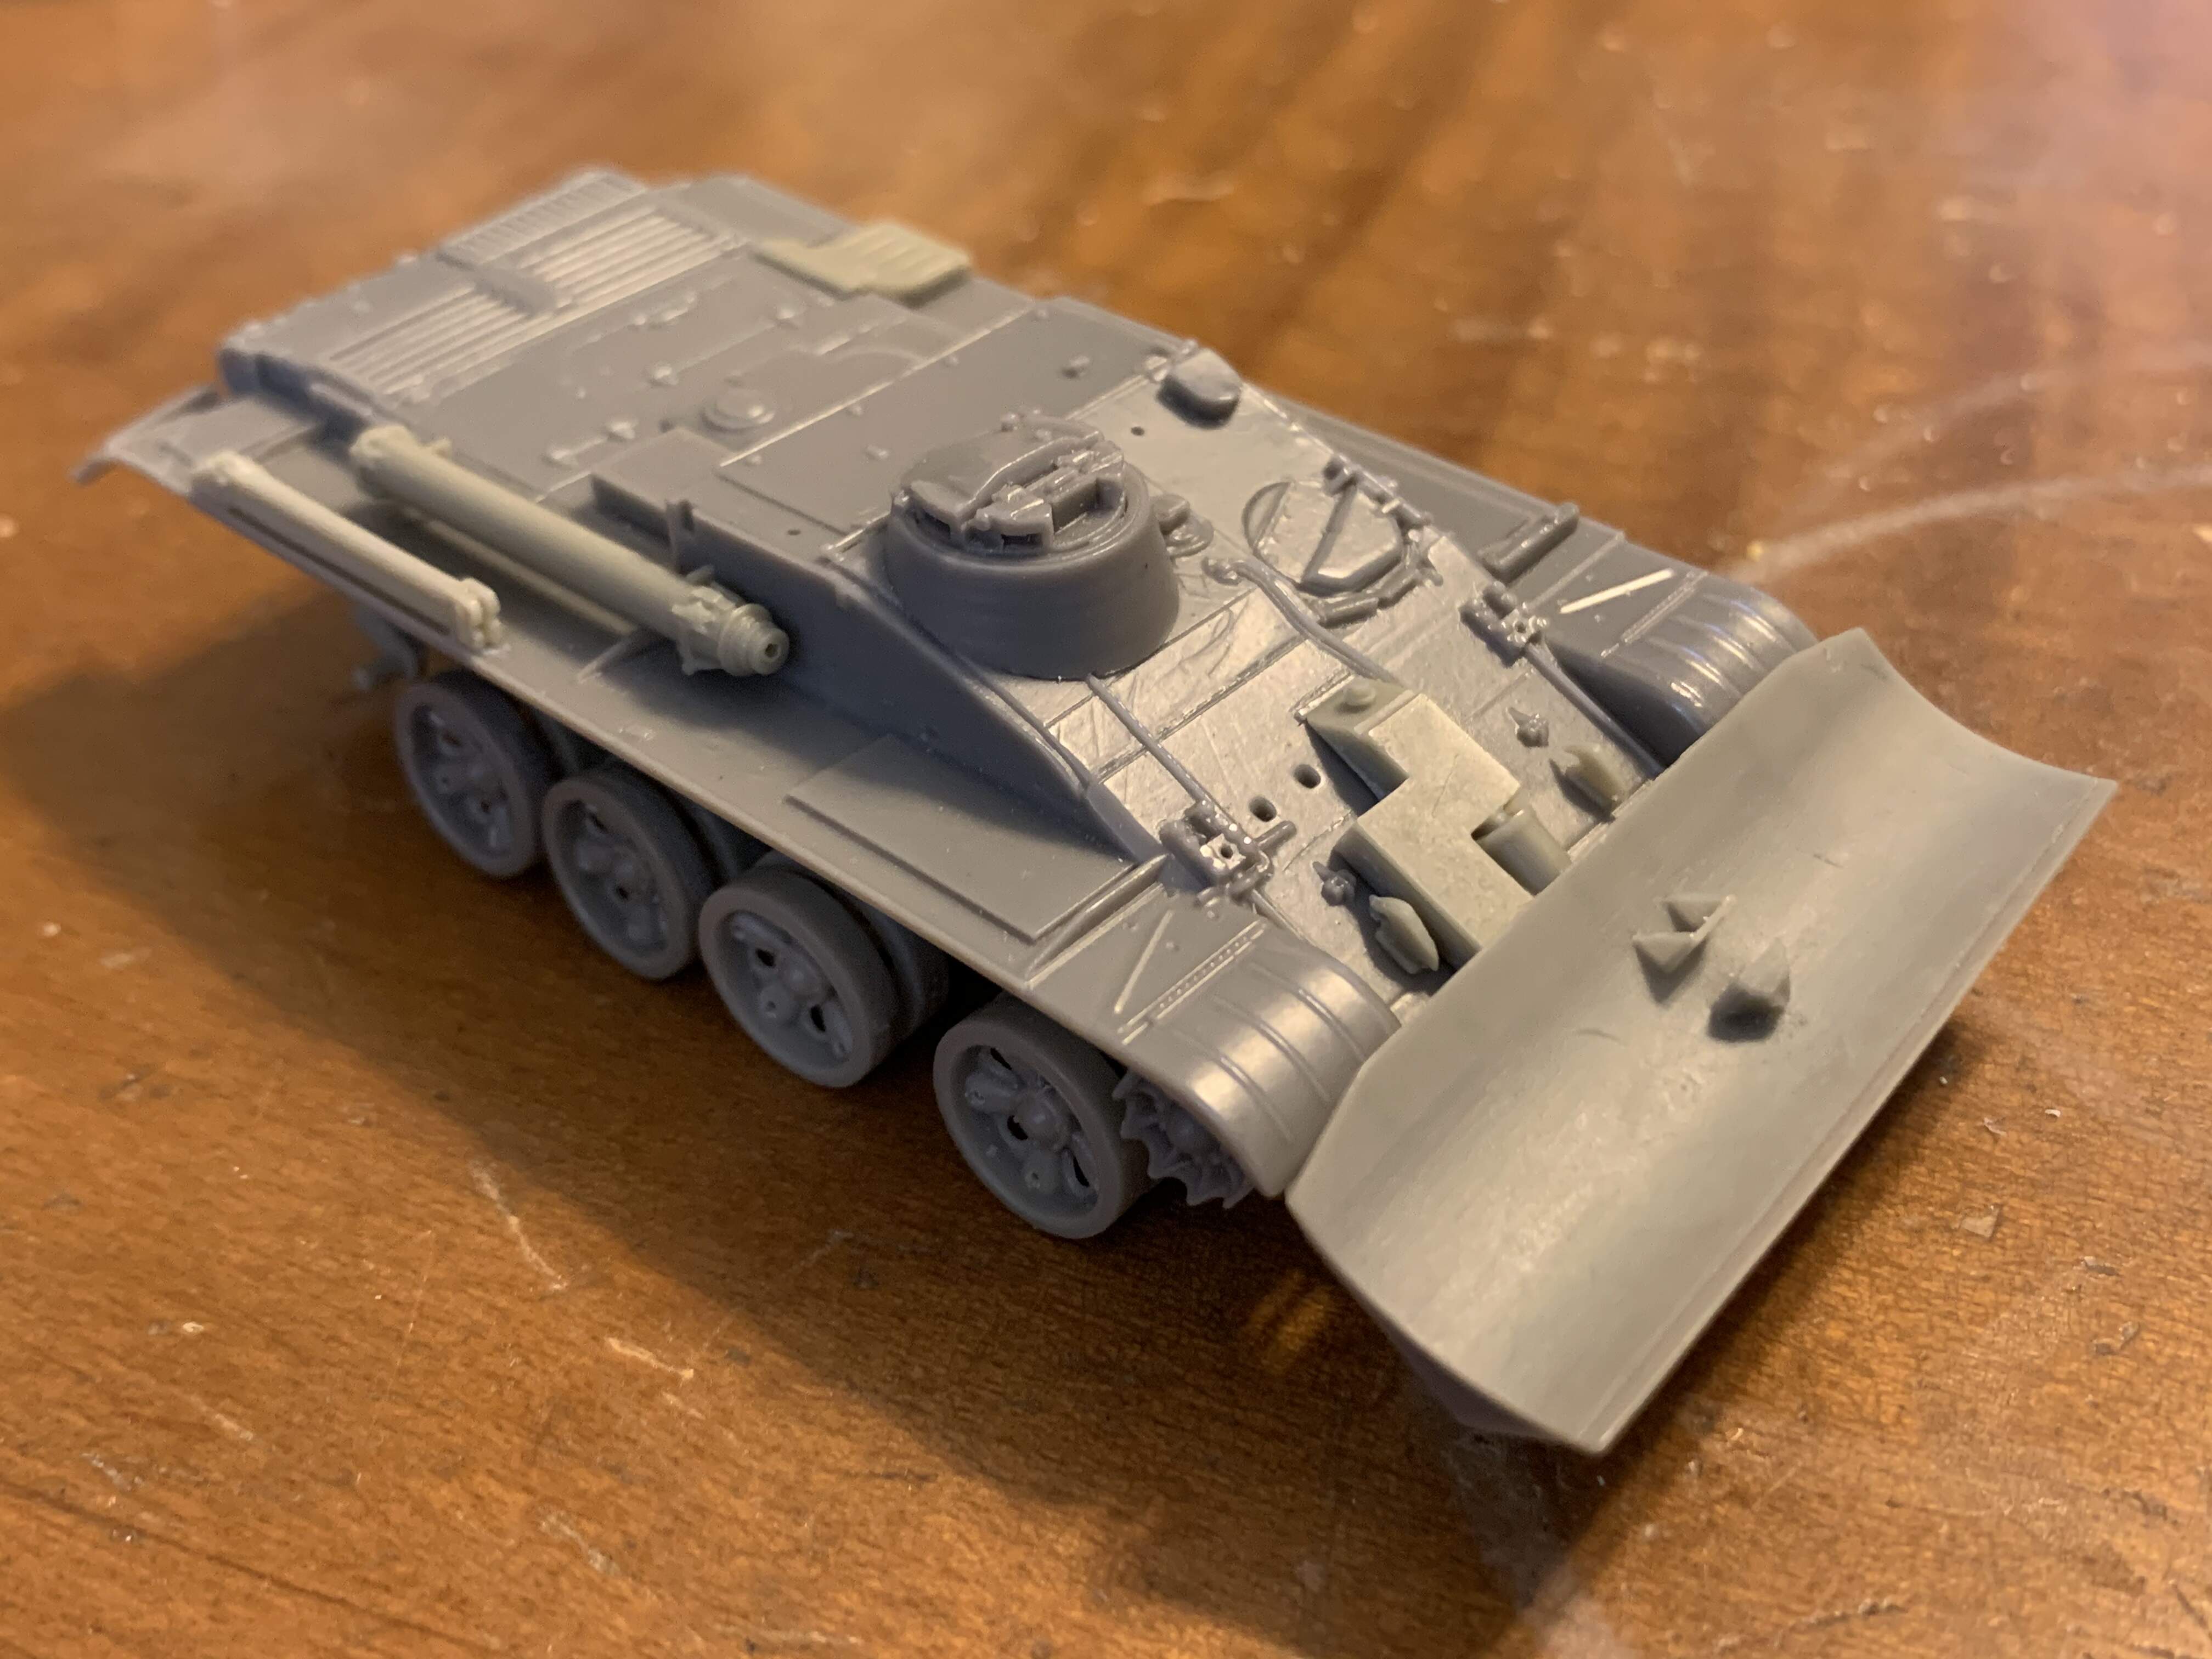
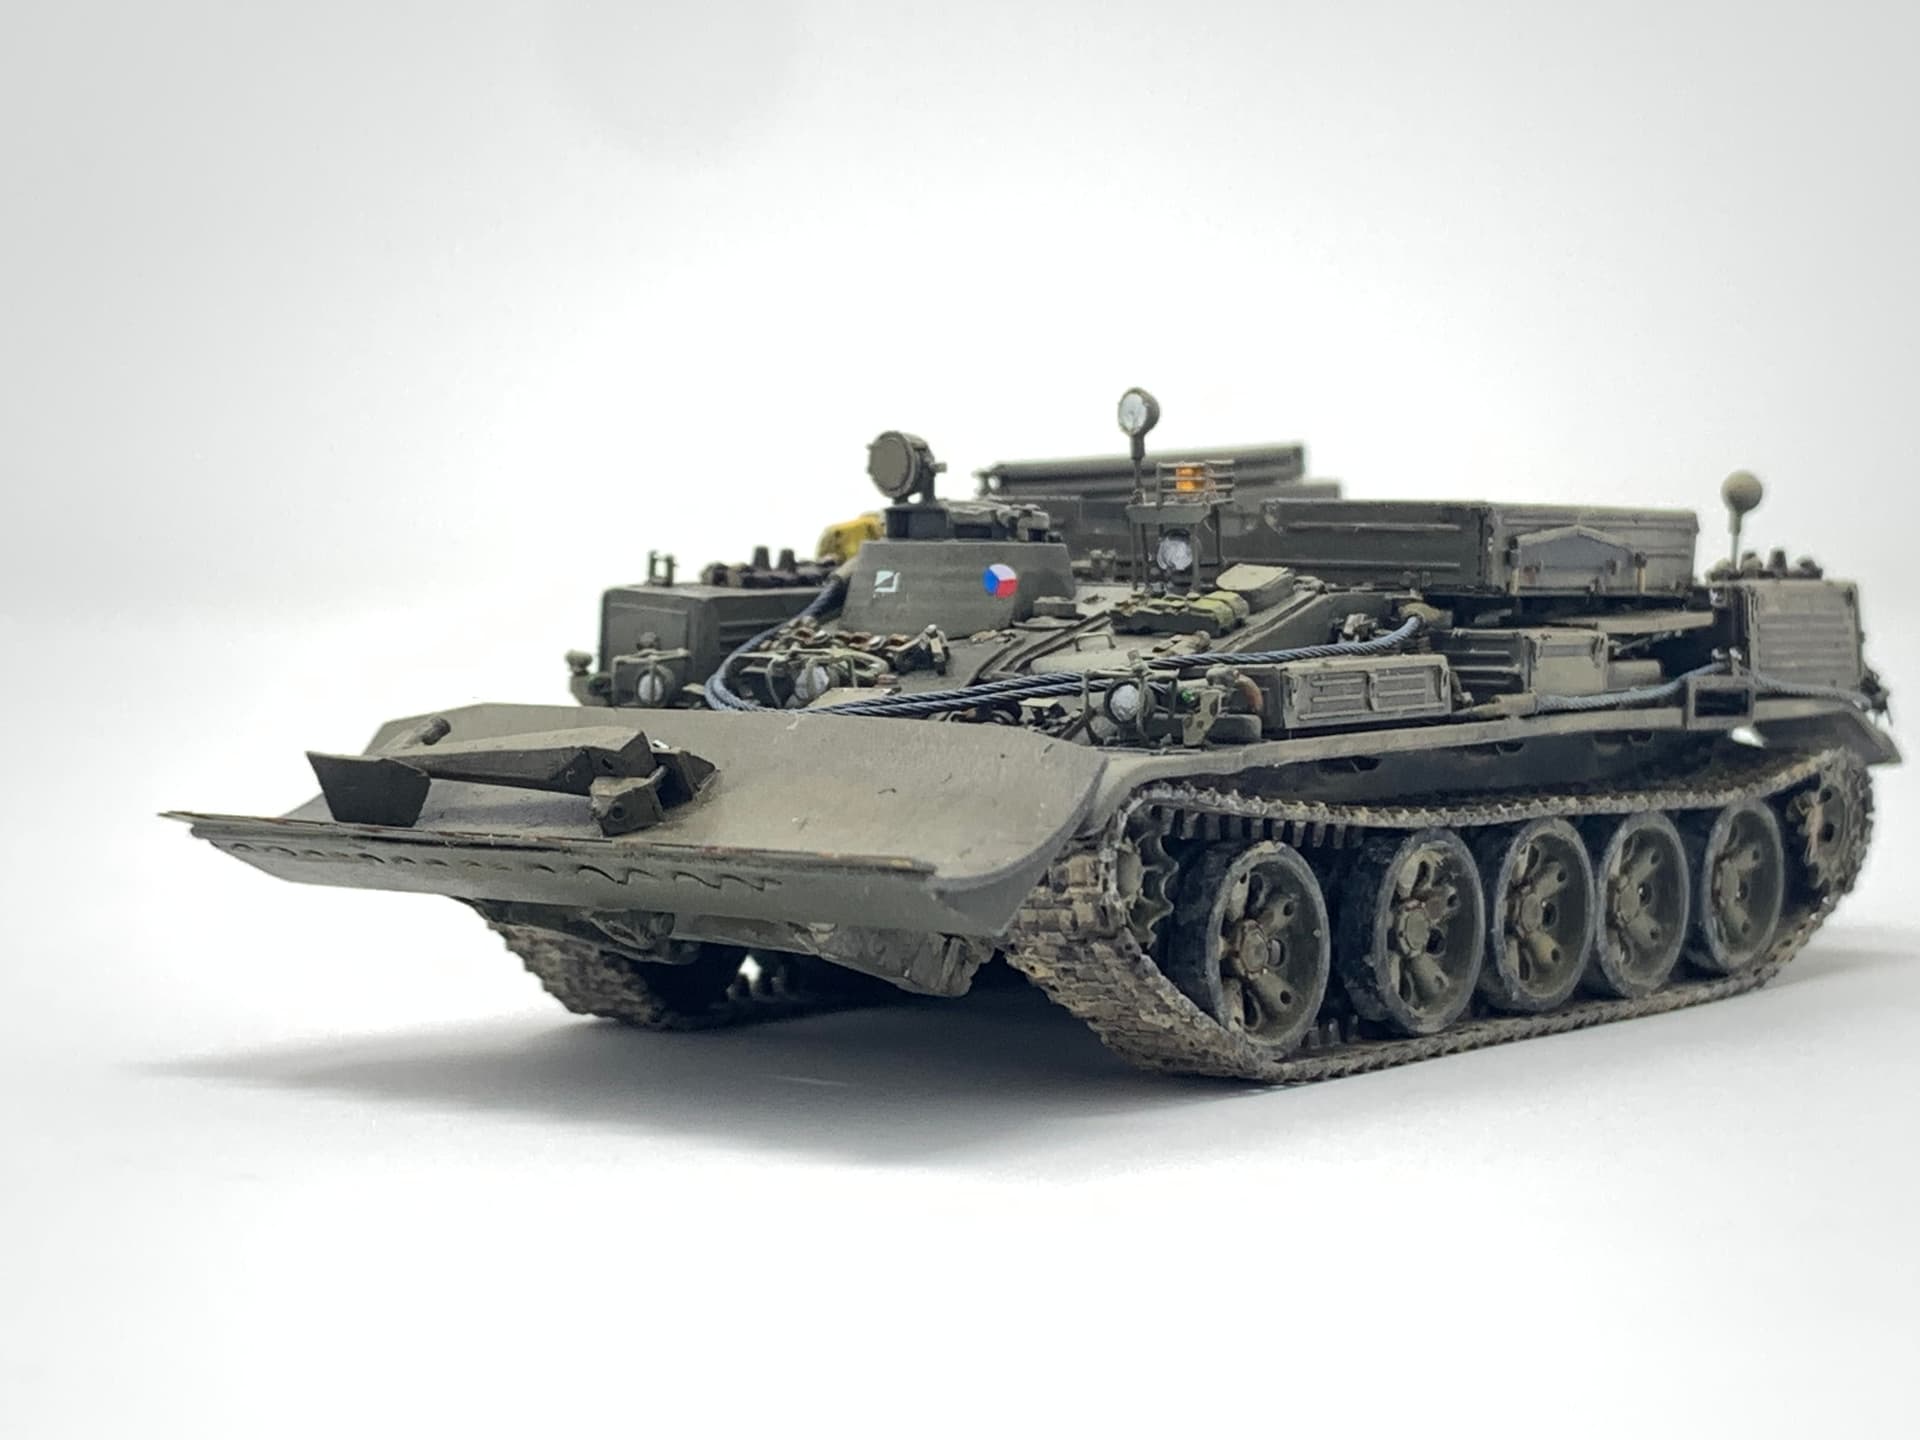
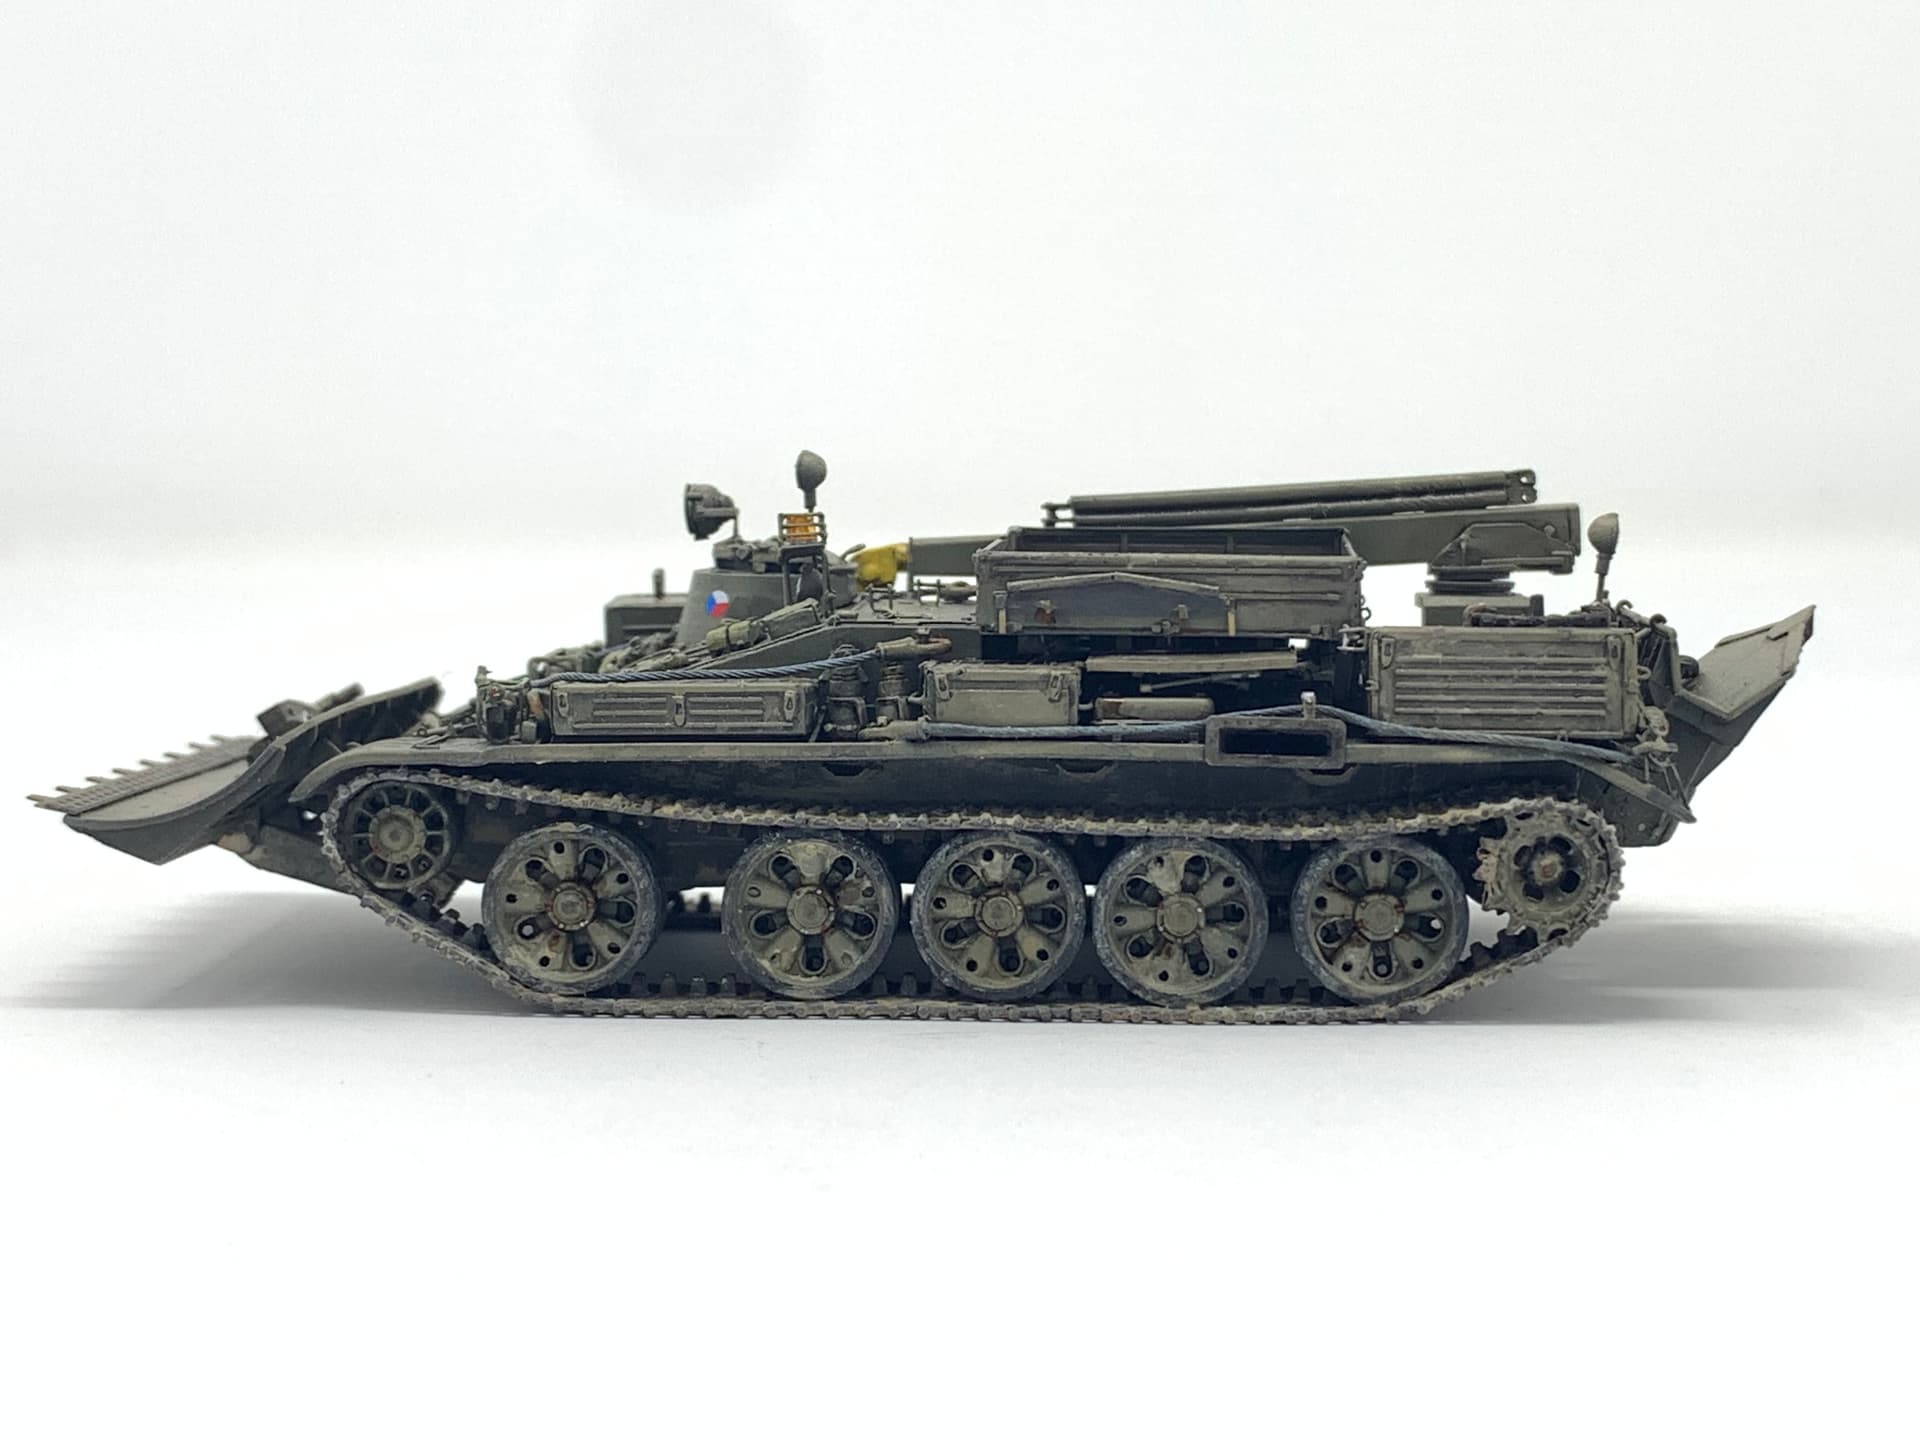
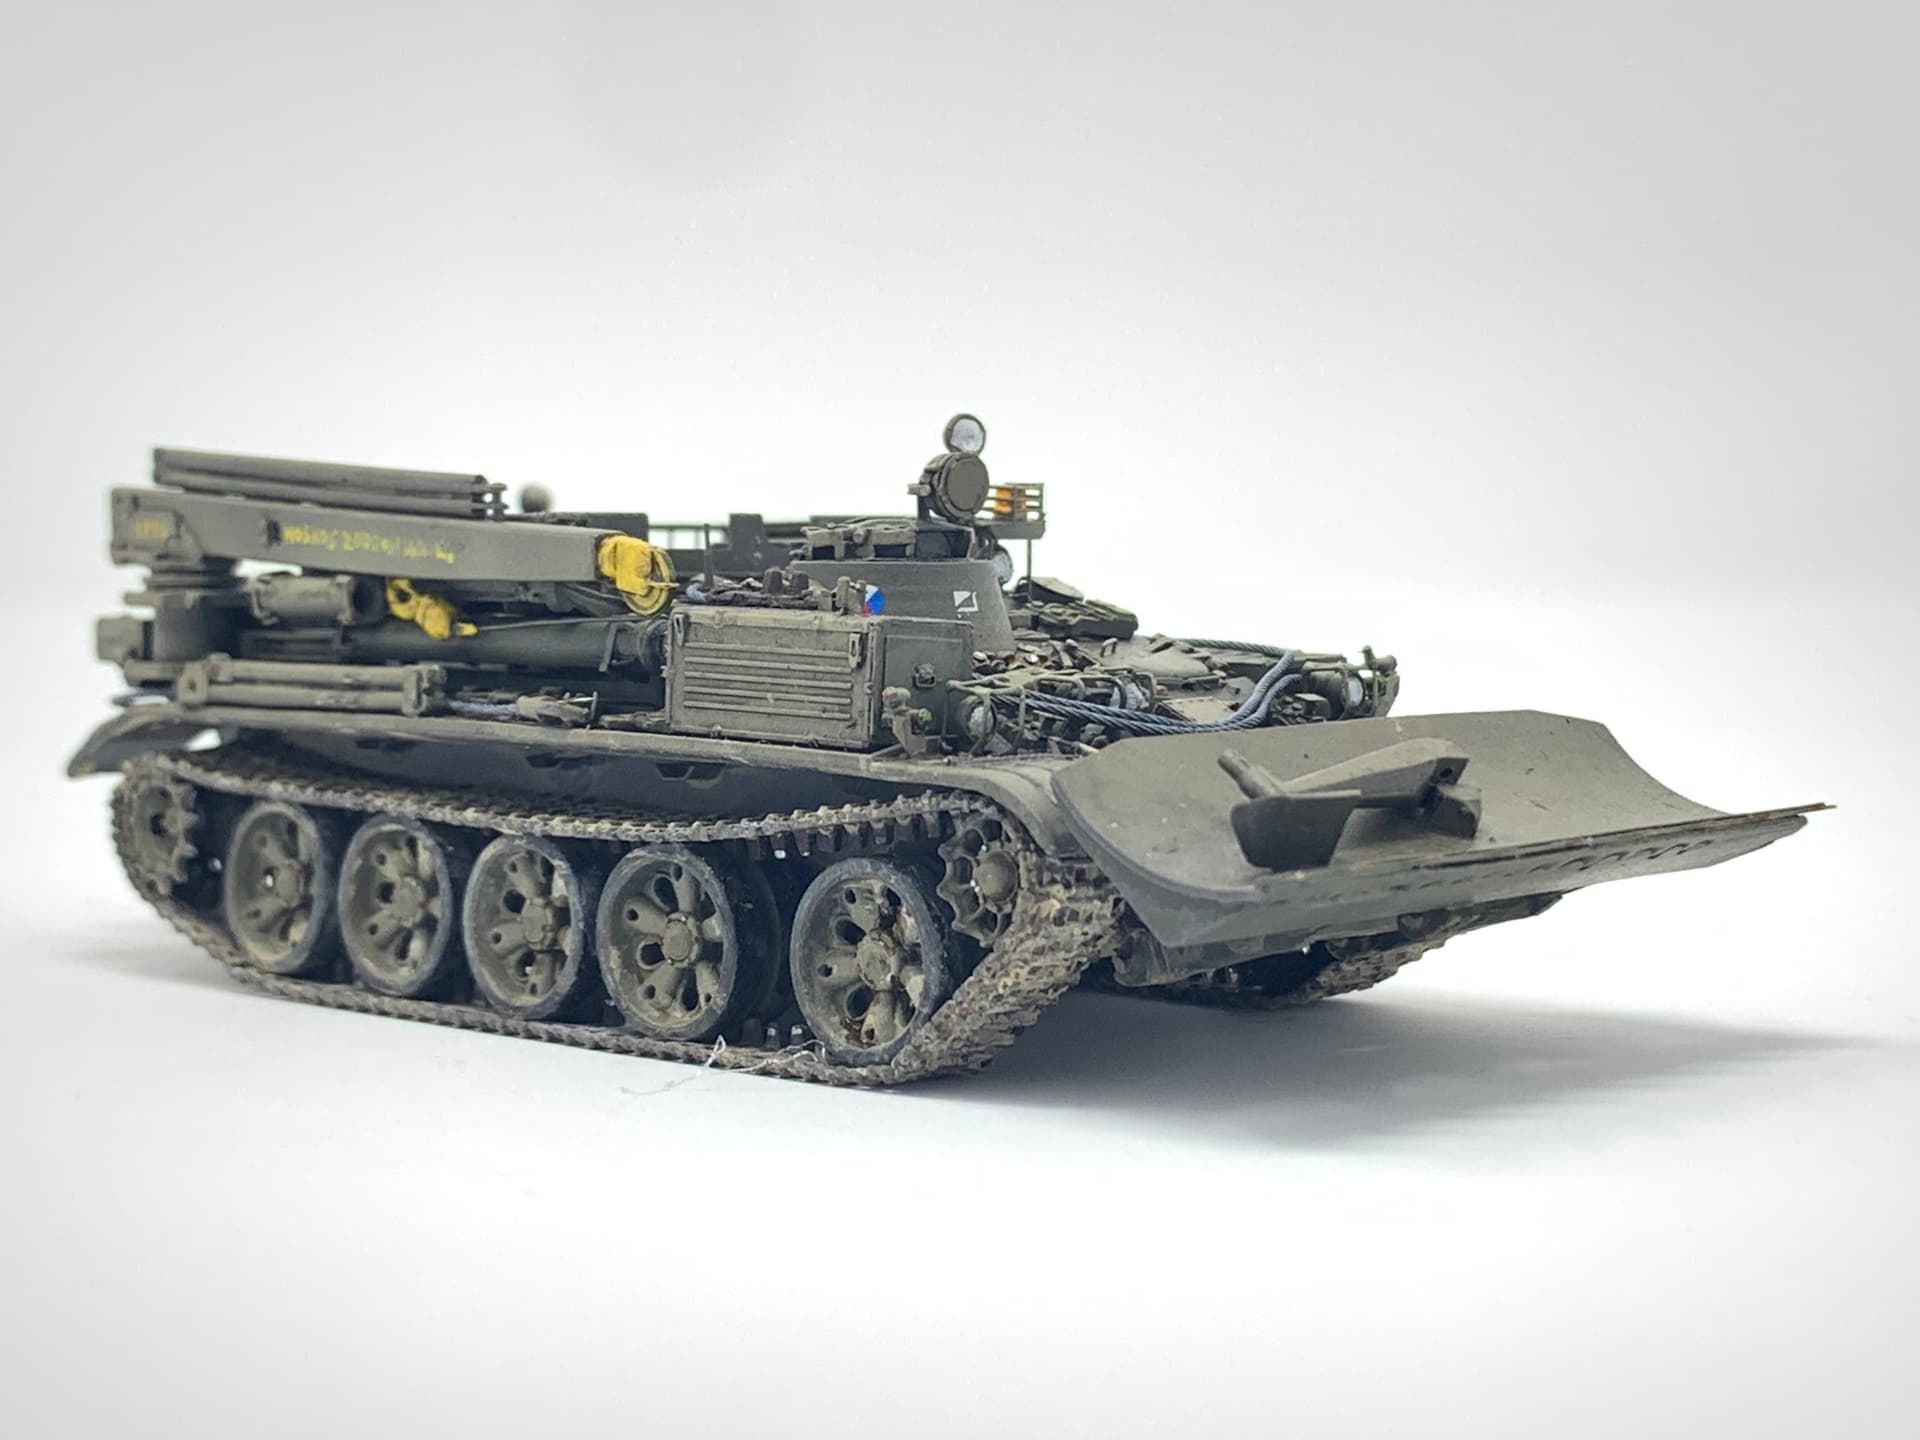
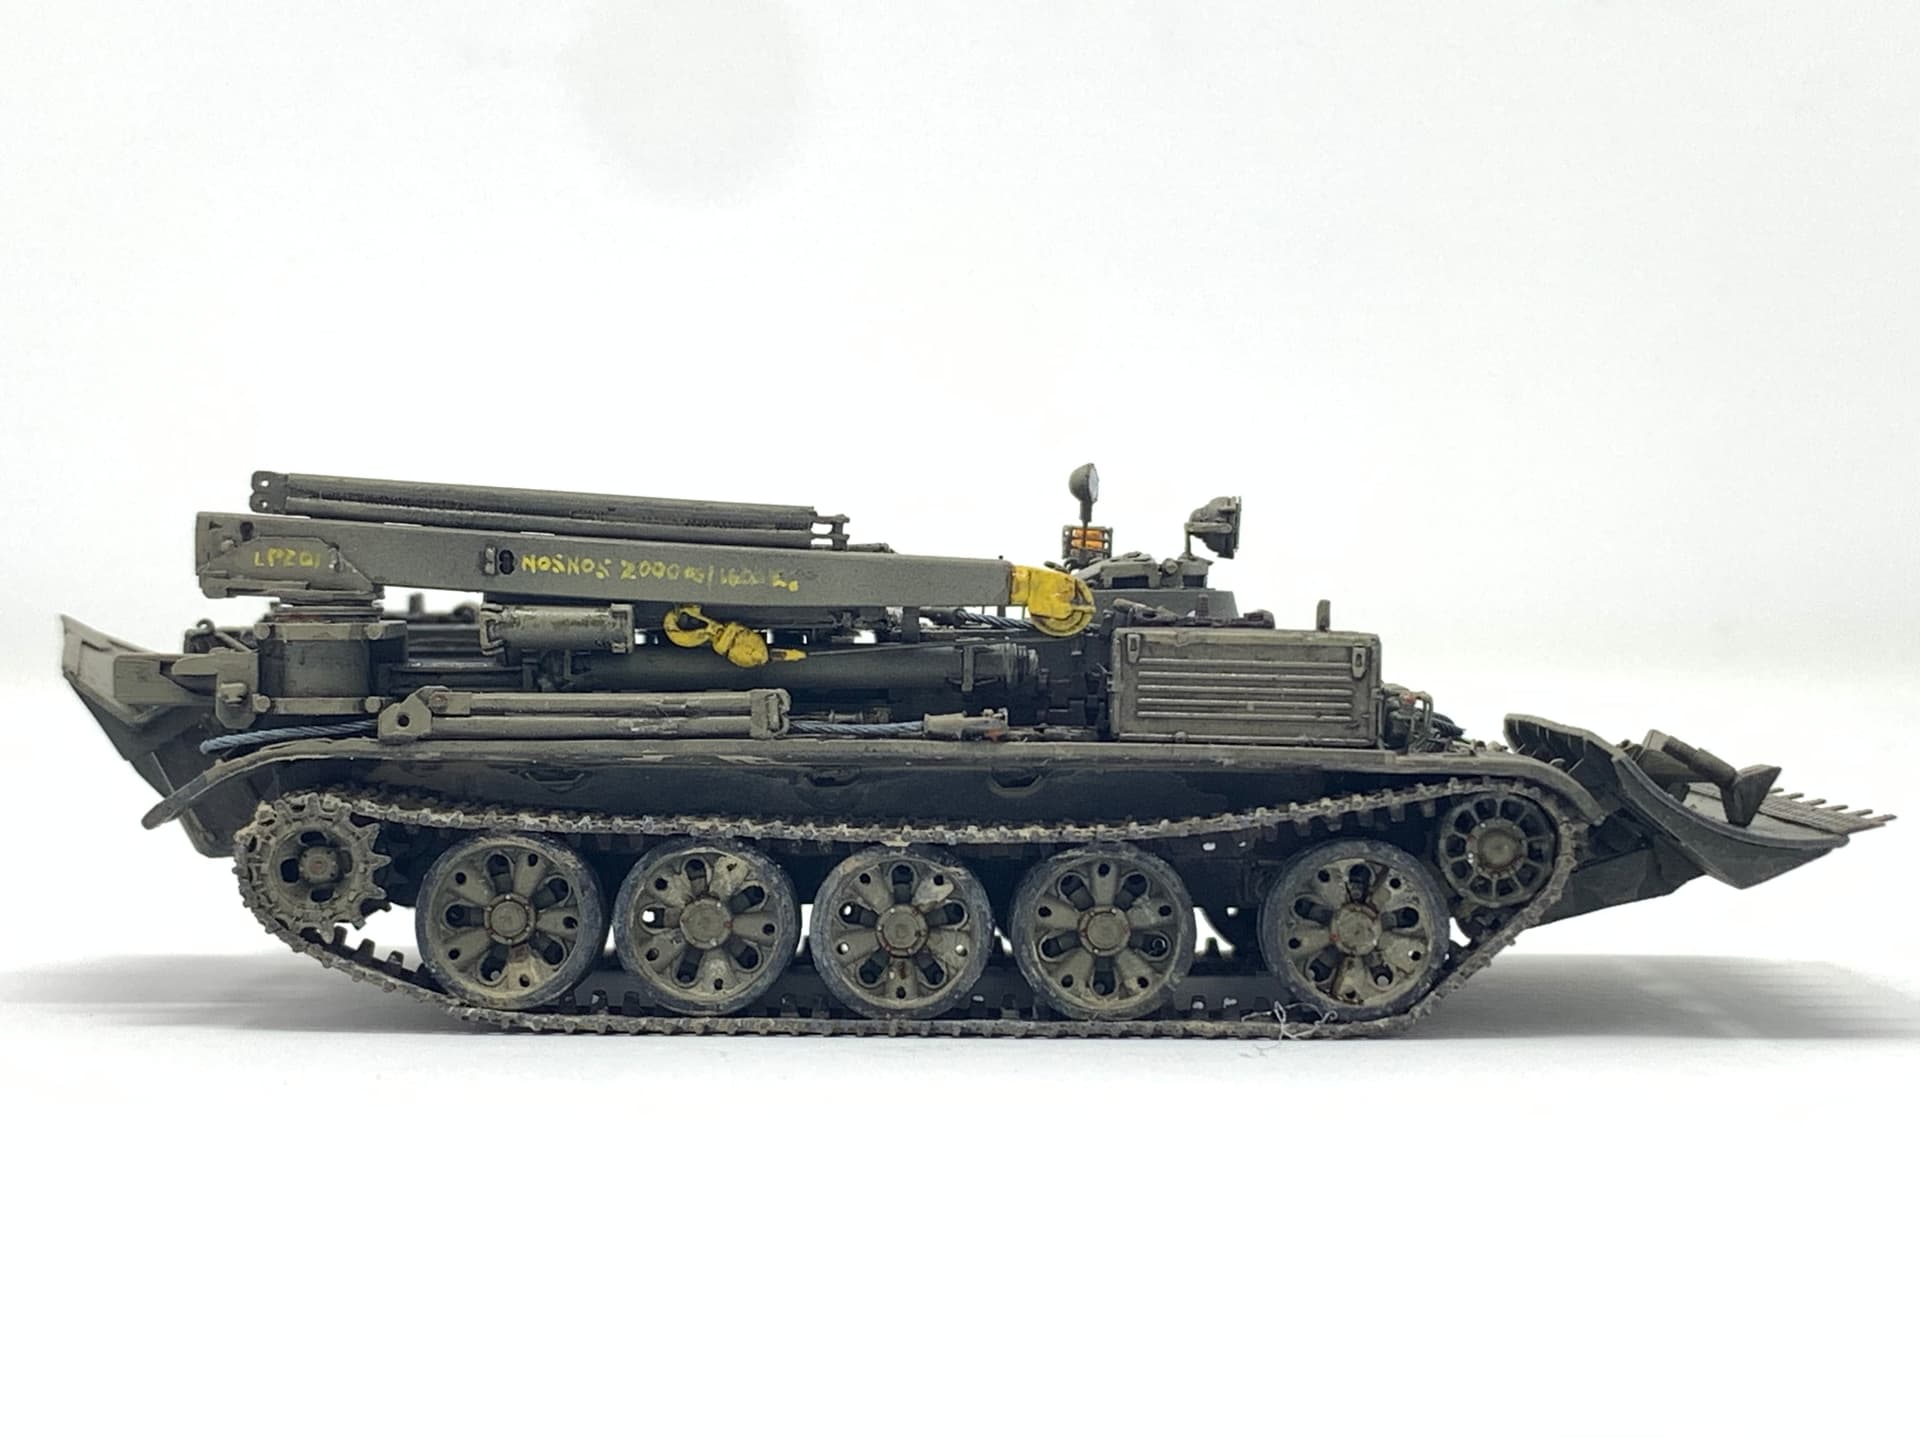
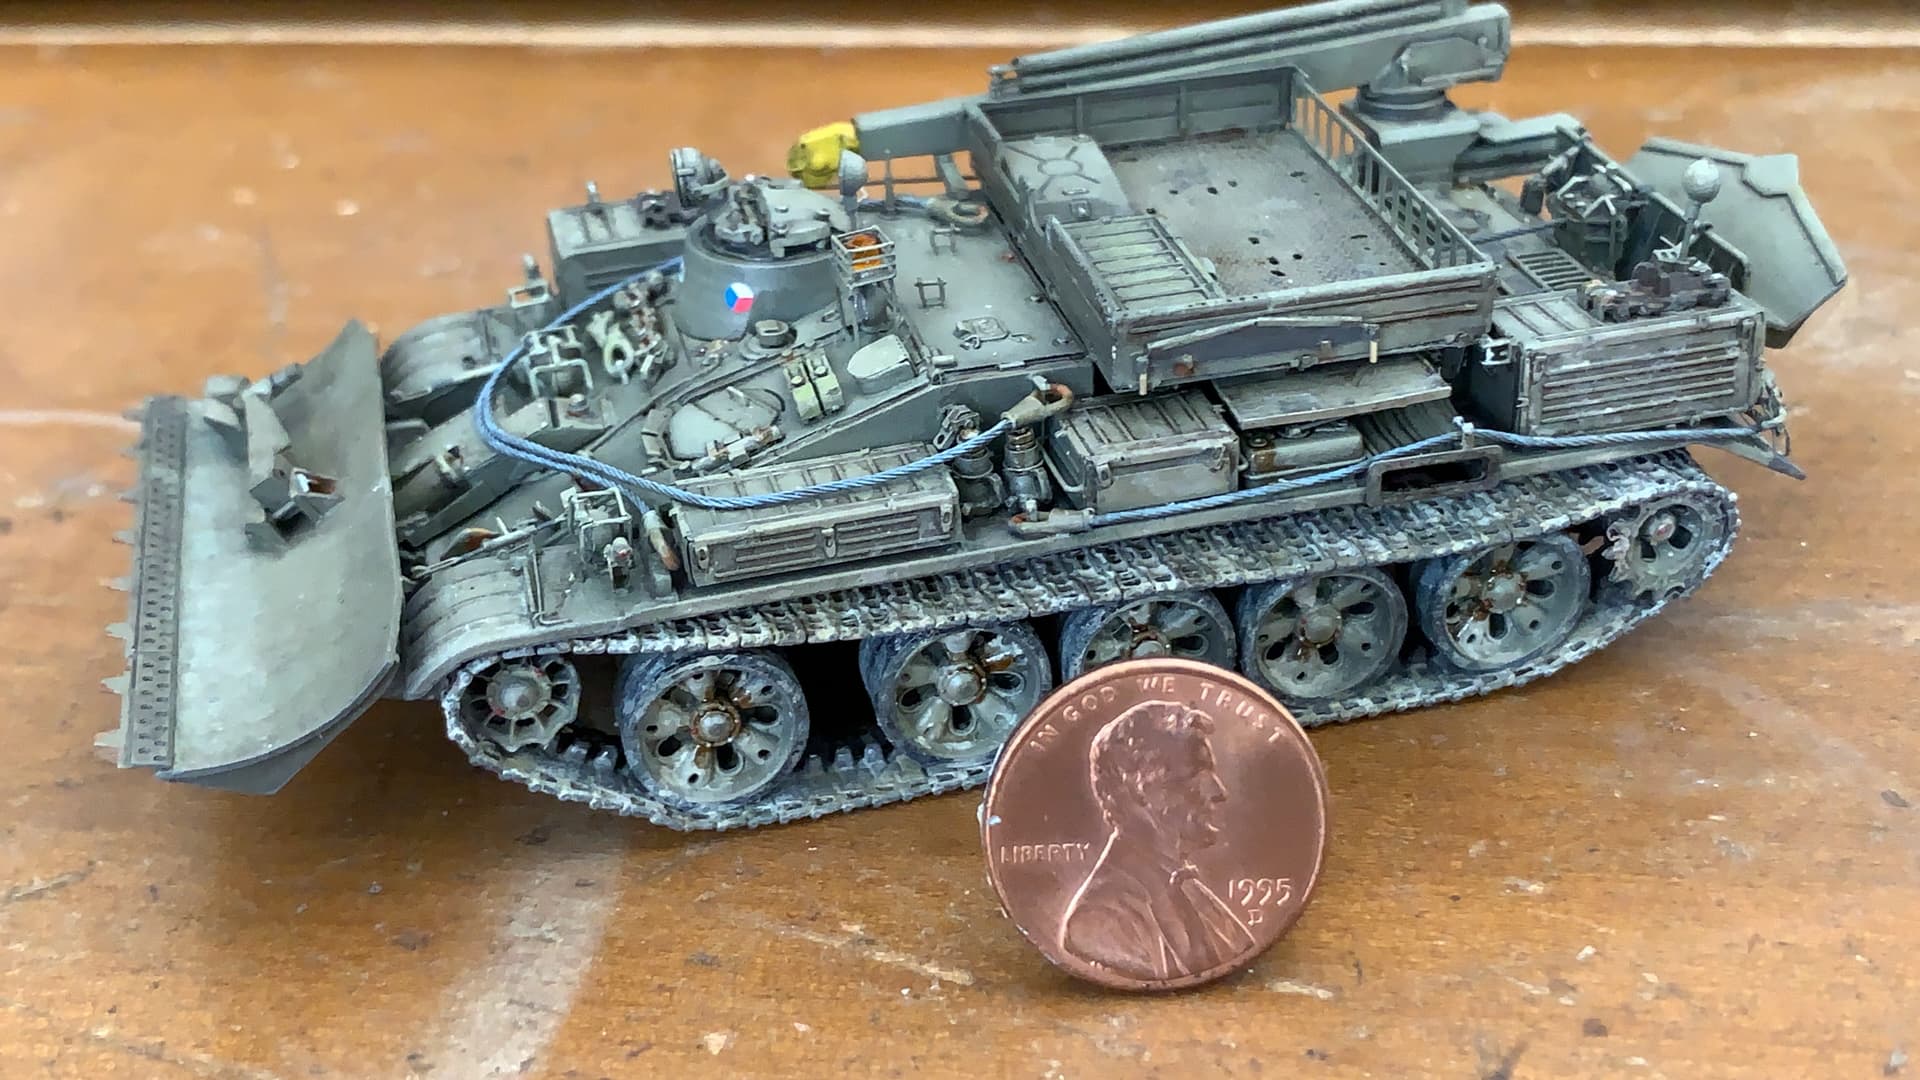
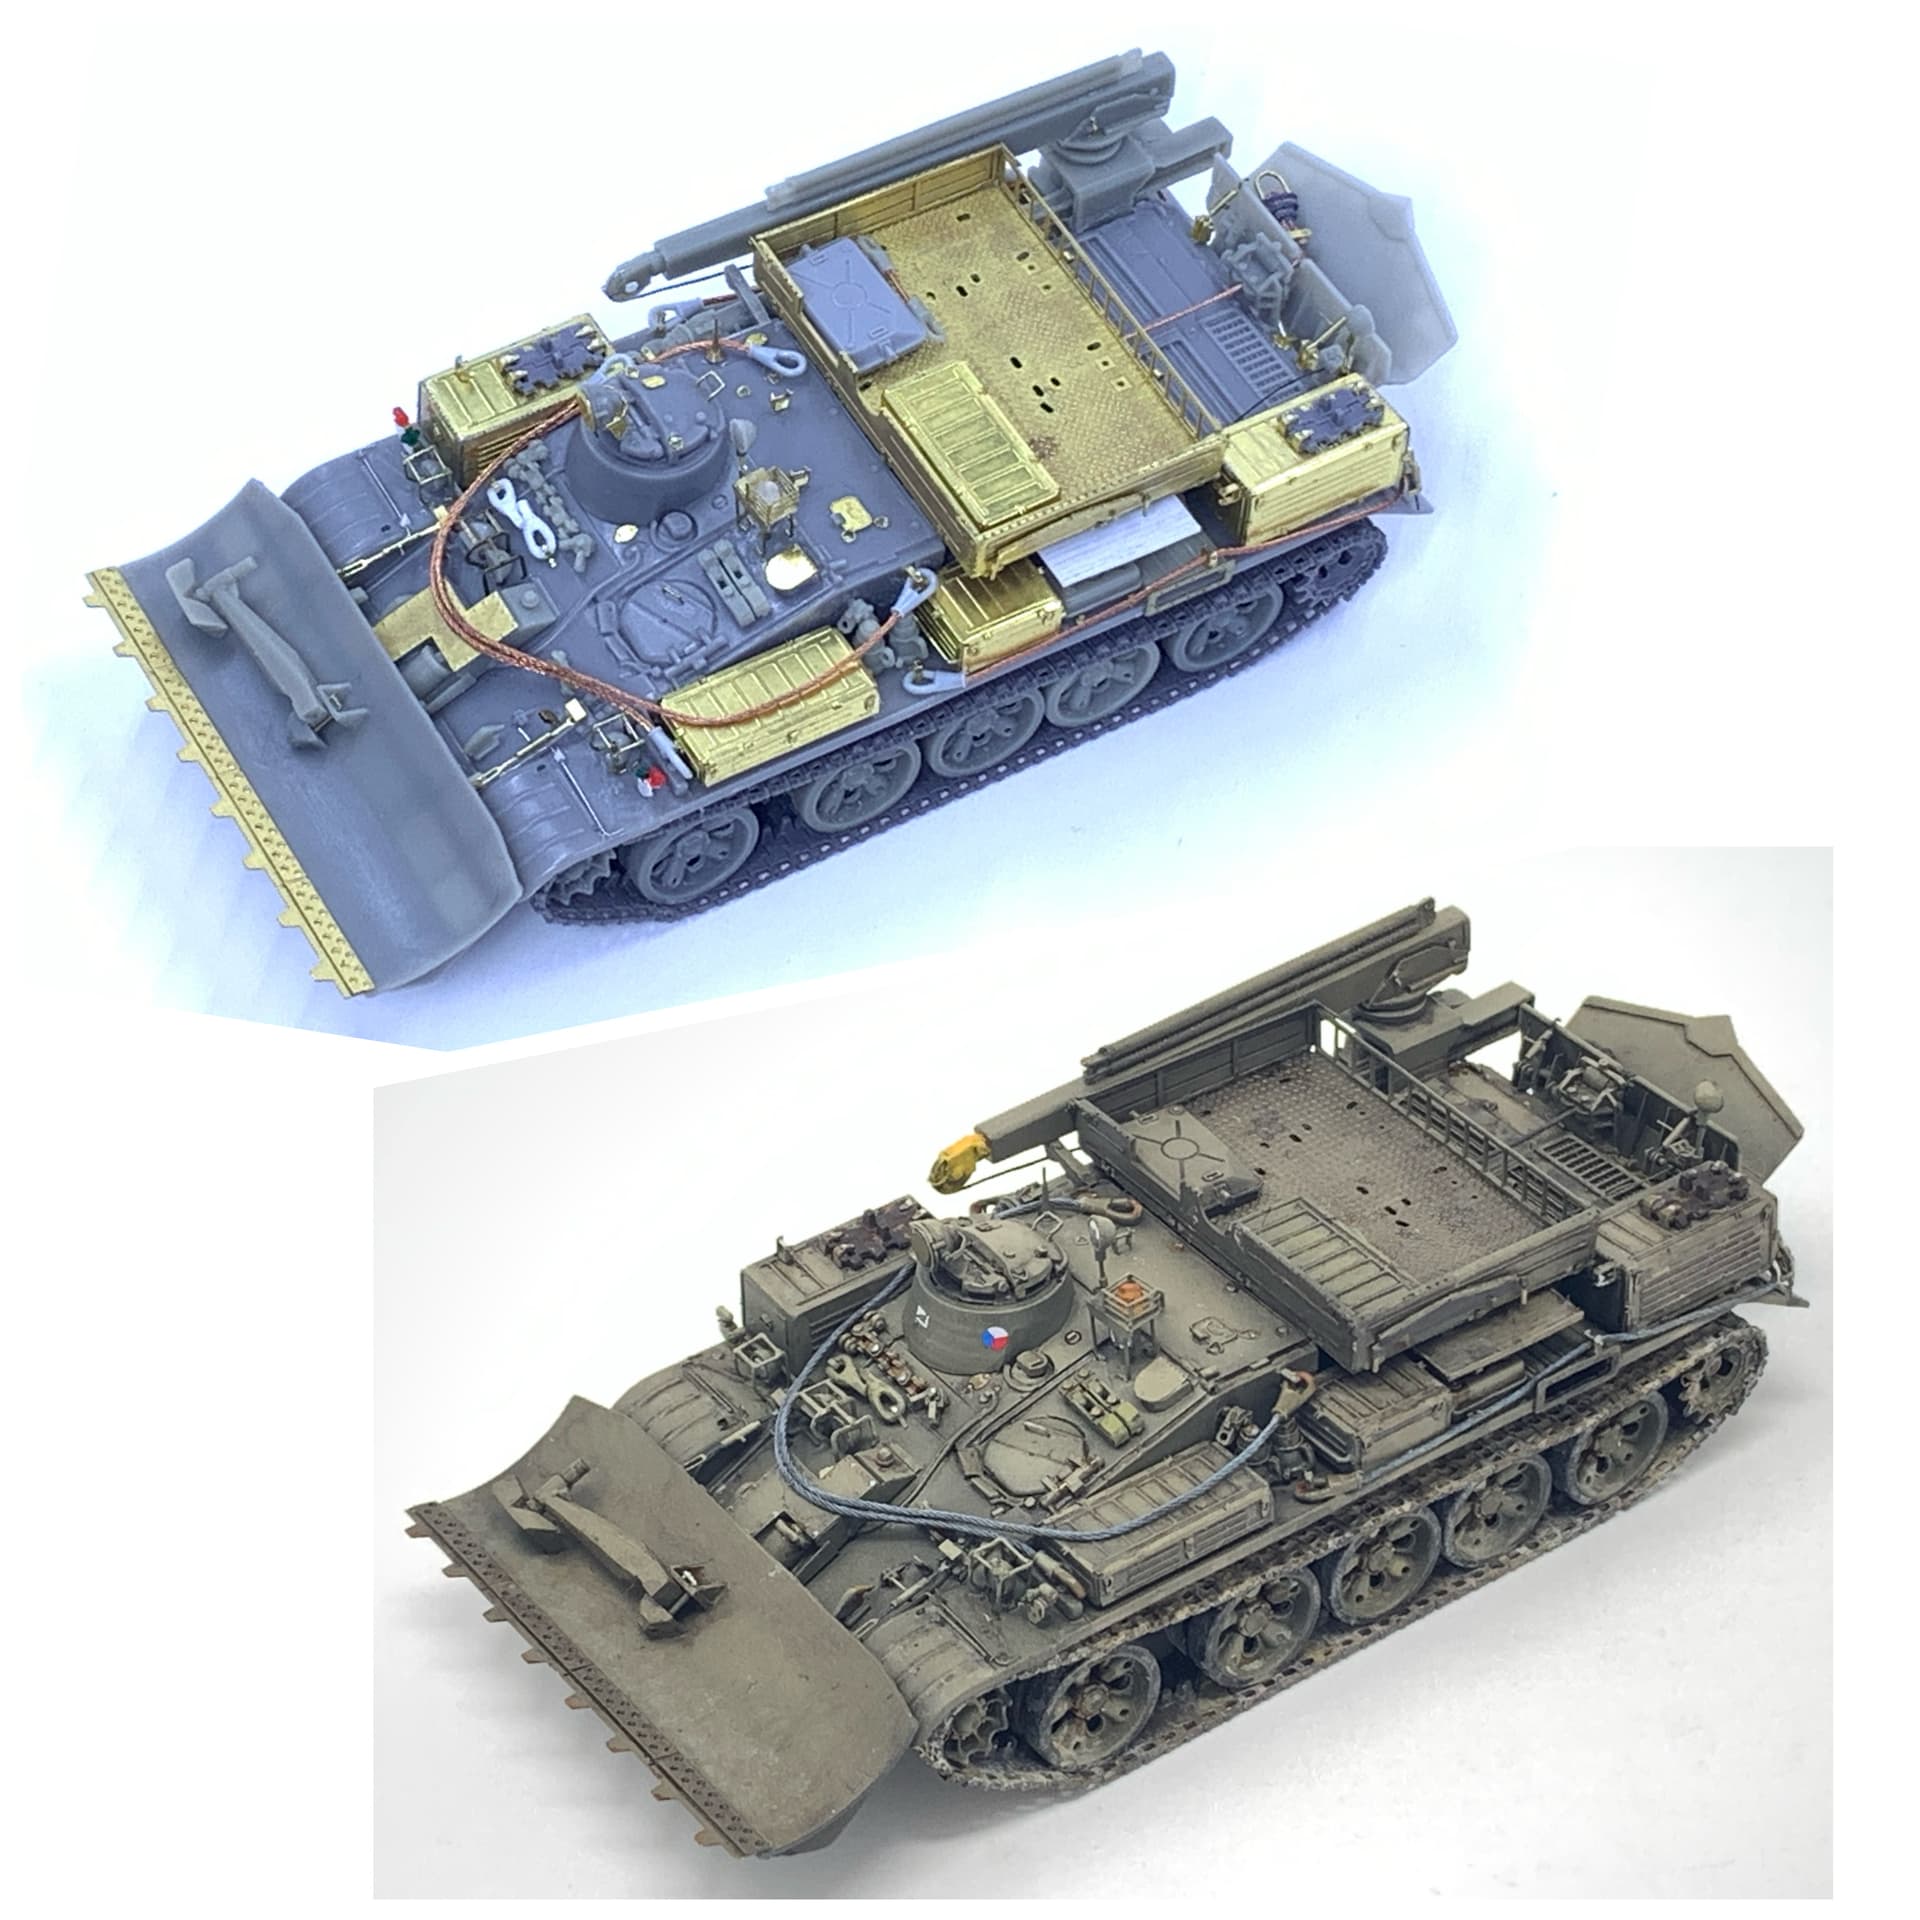
After a long period of silence for this thread, I am providing a lengthy entry. I couldn’t keep up in updating the build log for this kit, but I was able to finish this VT-55 in time to enter it in the recent IPMS Nationals at Las Vegas. I am happy to announce that it won 2nd Place!