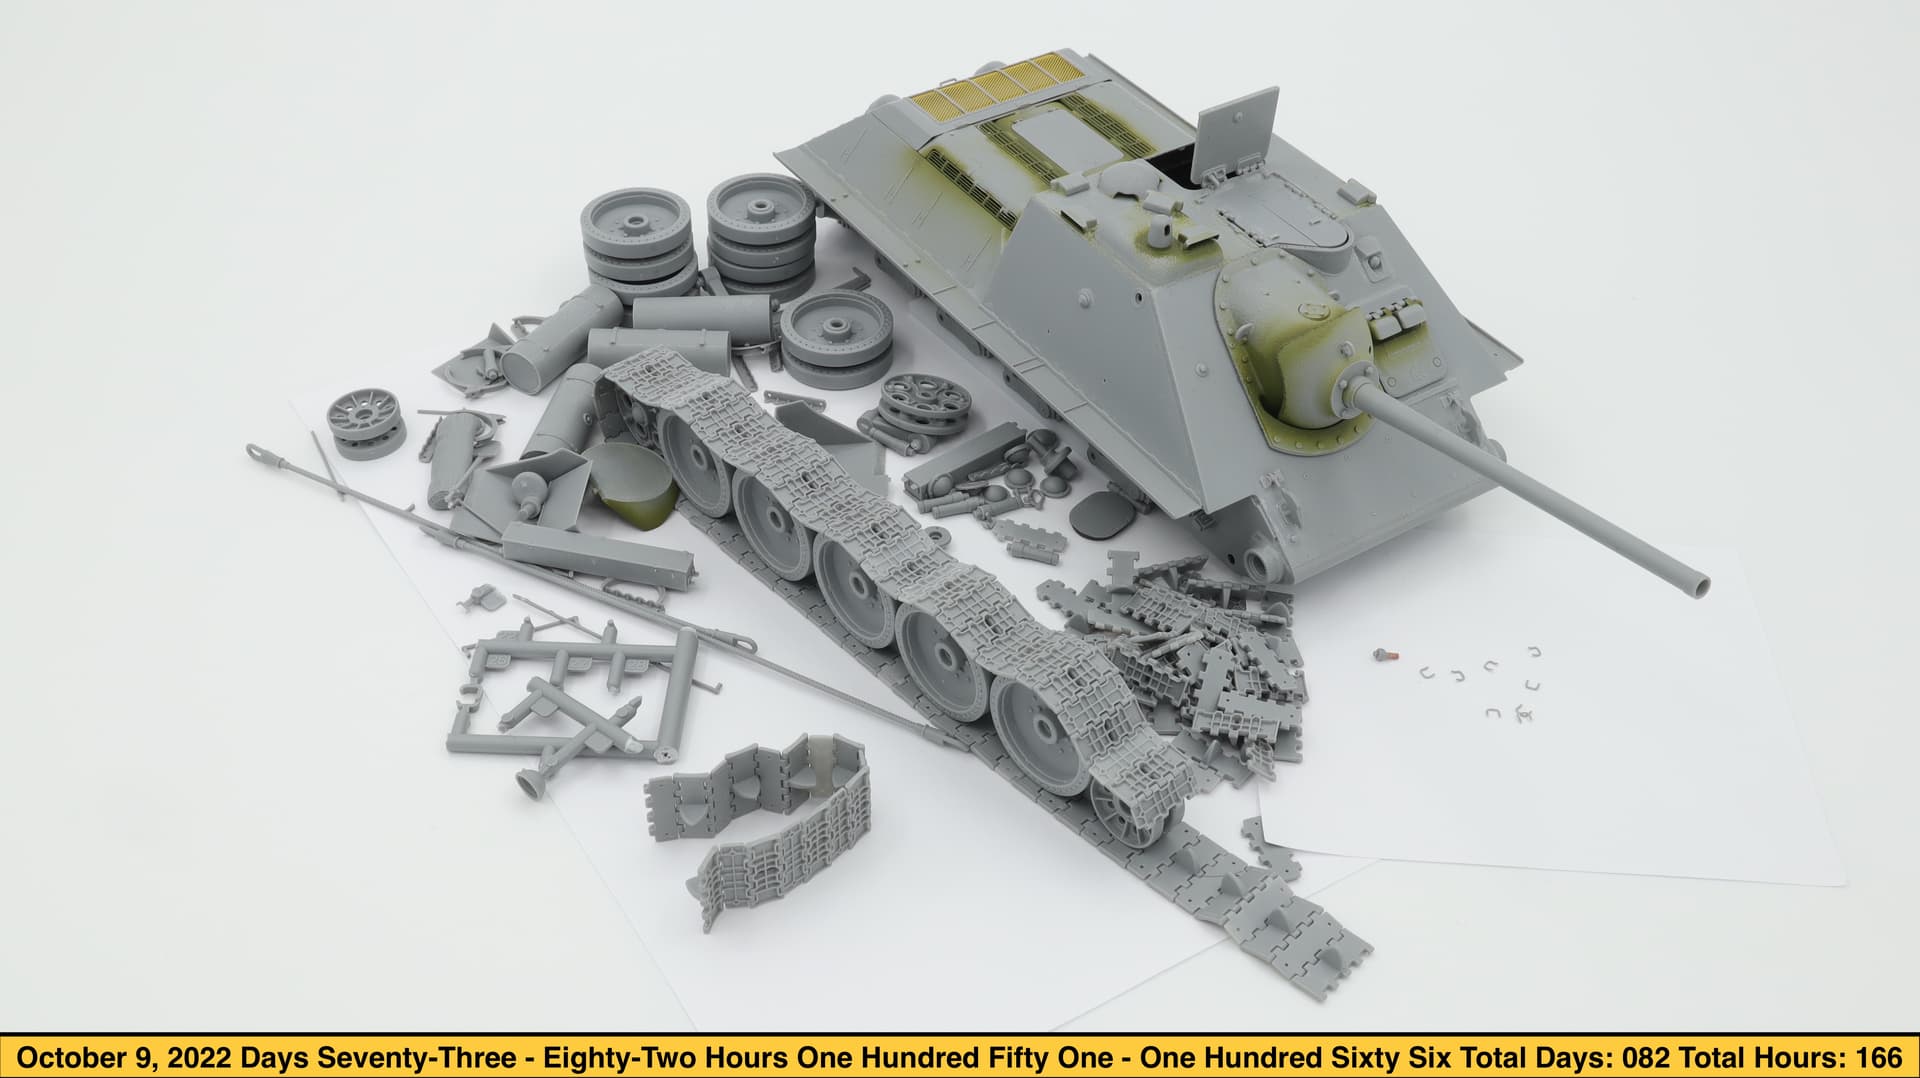
Well, friends. So 150 hours have flown by!
Seventy-two days! And that’s all I’ve been able to do in that time. And there is still much work ahead.
I will continue. The promised photo report will not be done yet. I will do it when I finish the assembly and the model is fully prepared for painting and weathering.

4 Likes
Hello everyone, friends!
Hasn’t been updated for a long time.
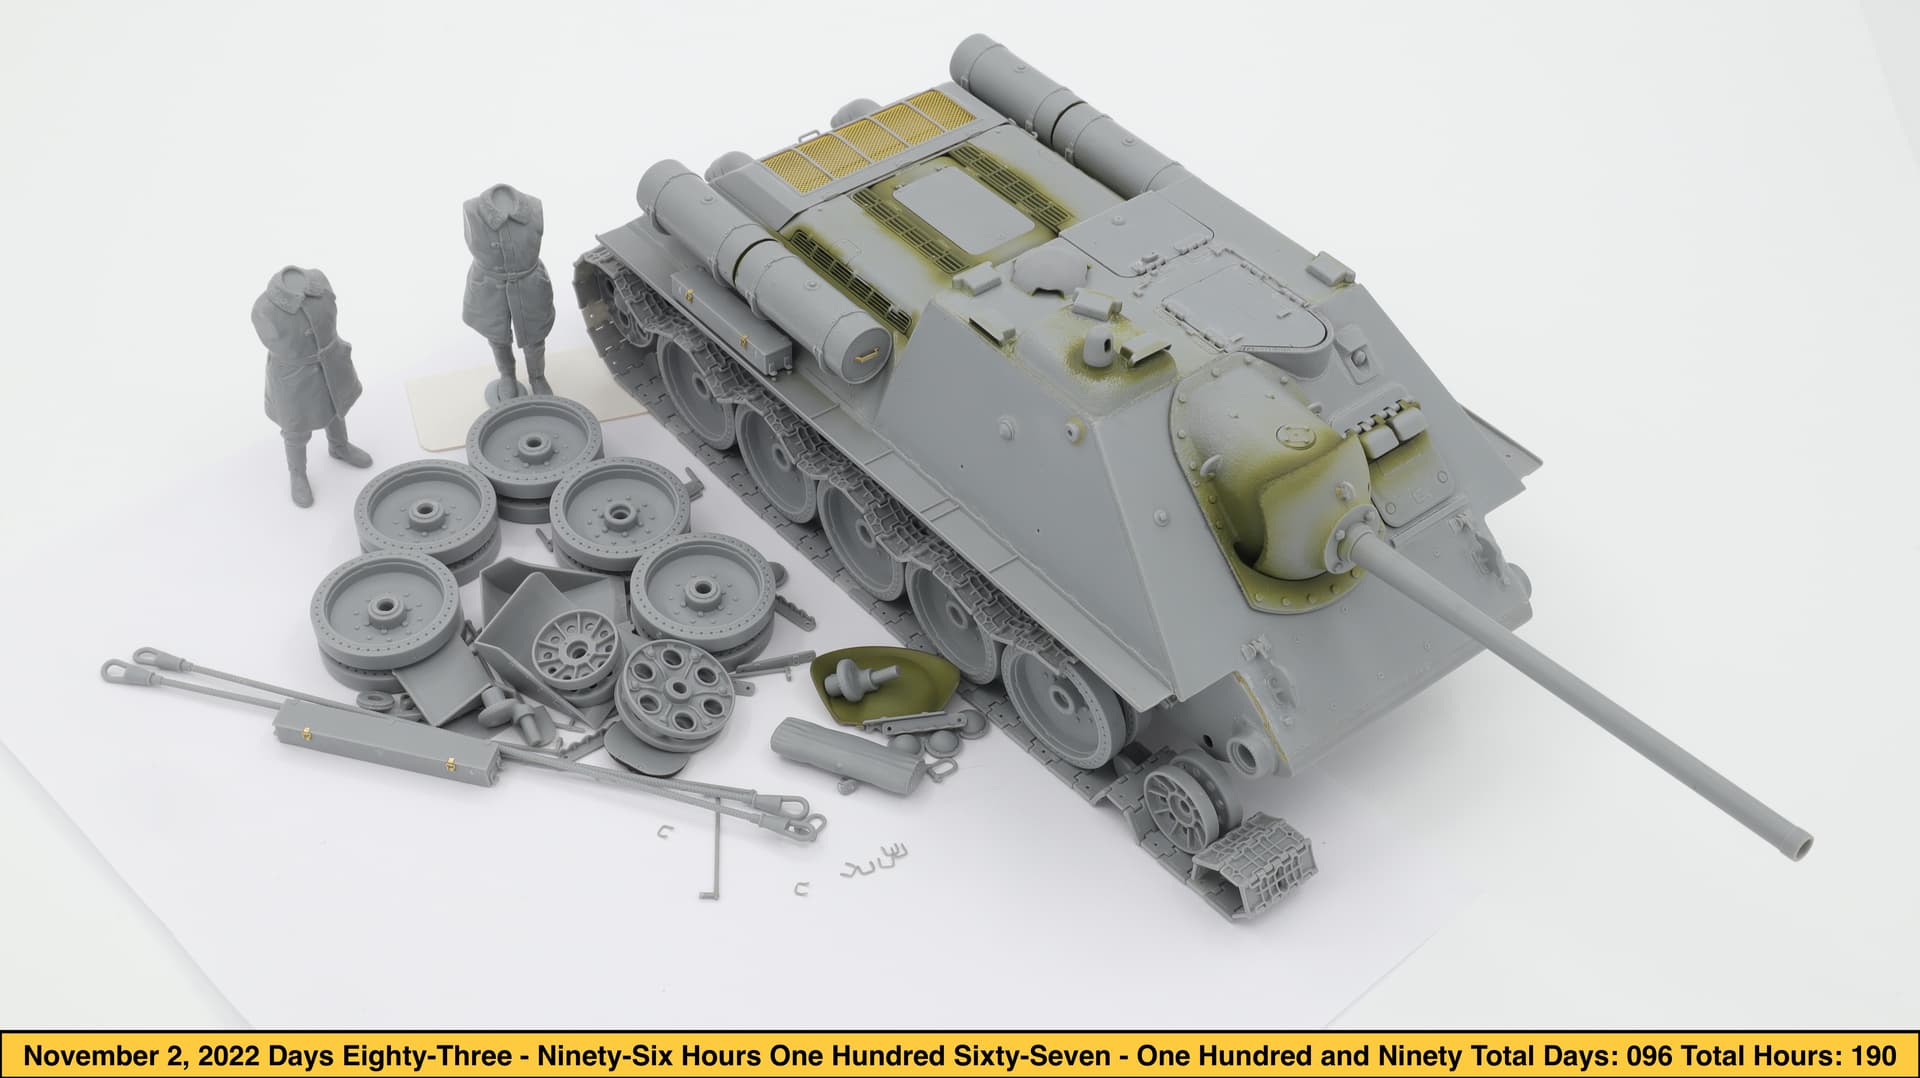
Work on the model slowly, but went. I made one track chain. Continued to struggle with small things.
4 Likes
Hello everyone, friends!
The work is very slow but continues. I don’t update often now for various reasons. Both for personal reasons and for the reason that everything that I am doing now with the model will simply not be visible in the general plan. It makes no sense to post the same photos every day. Small things take a catastrophic amount of time. Working with welded seams is another “pleasure”!
Also, I’m slowly tormented with figures. There are also many nuances with them. At the end of the project, perhaps I will make a small review “after assembly” and share my impressions of working on this model.
3 Likes
If my troops could talk, 3 months would be a speed build. Keep up the good work.
1 Like
Thanks, Ryan!
Assembly continues. I will keep moving forward! ![]()
1 Like
Looking great!
Keep up the good work!
Thanks, Wade! ![]()
Looks awesome!
Thanks, RougePilot!
1 Like
Looks great! How did you find the kit overall? I am just finishing up a trumpy KV-1 and have a hankering for a Soviet TD. Considering this, the Zvezda SU-100 or a SU-152
Thanks, Mead93!
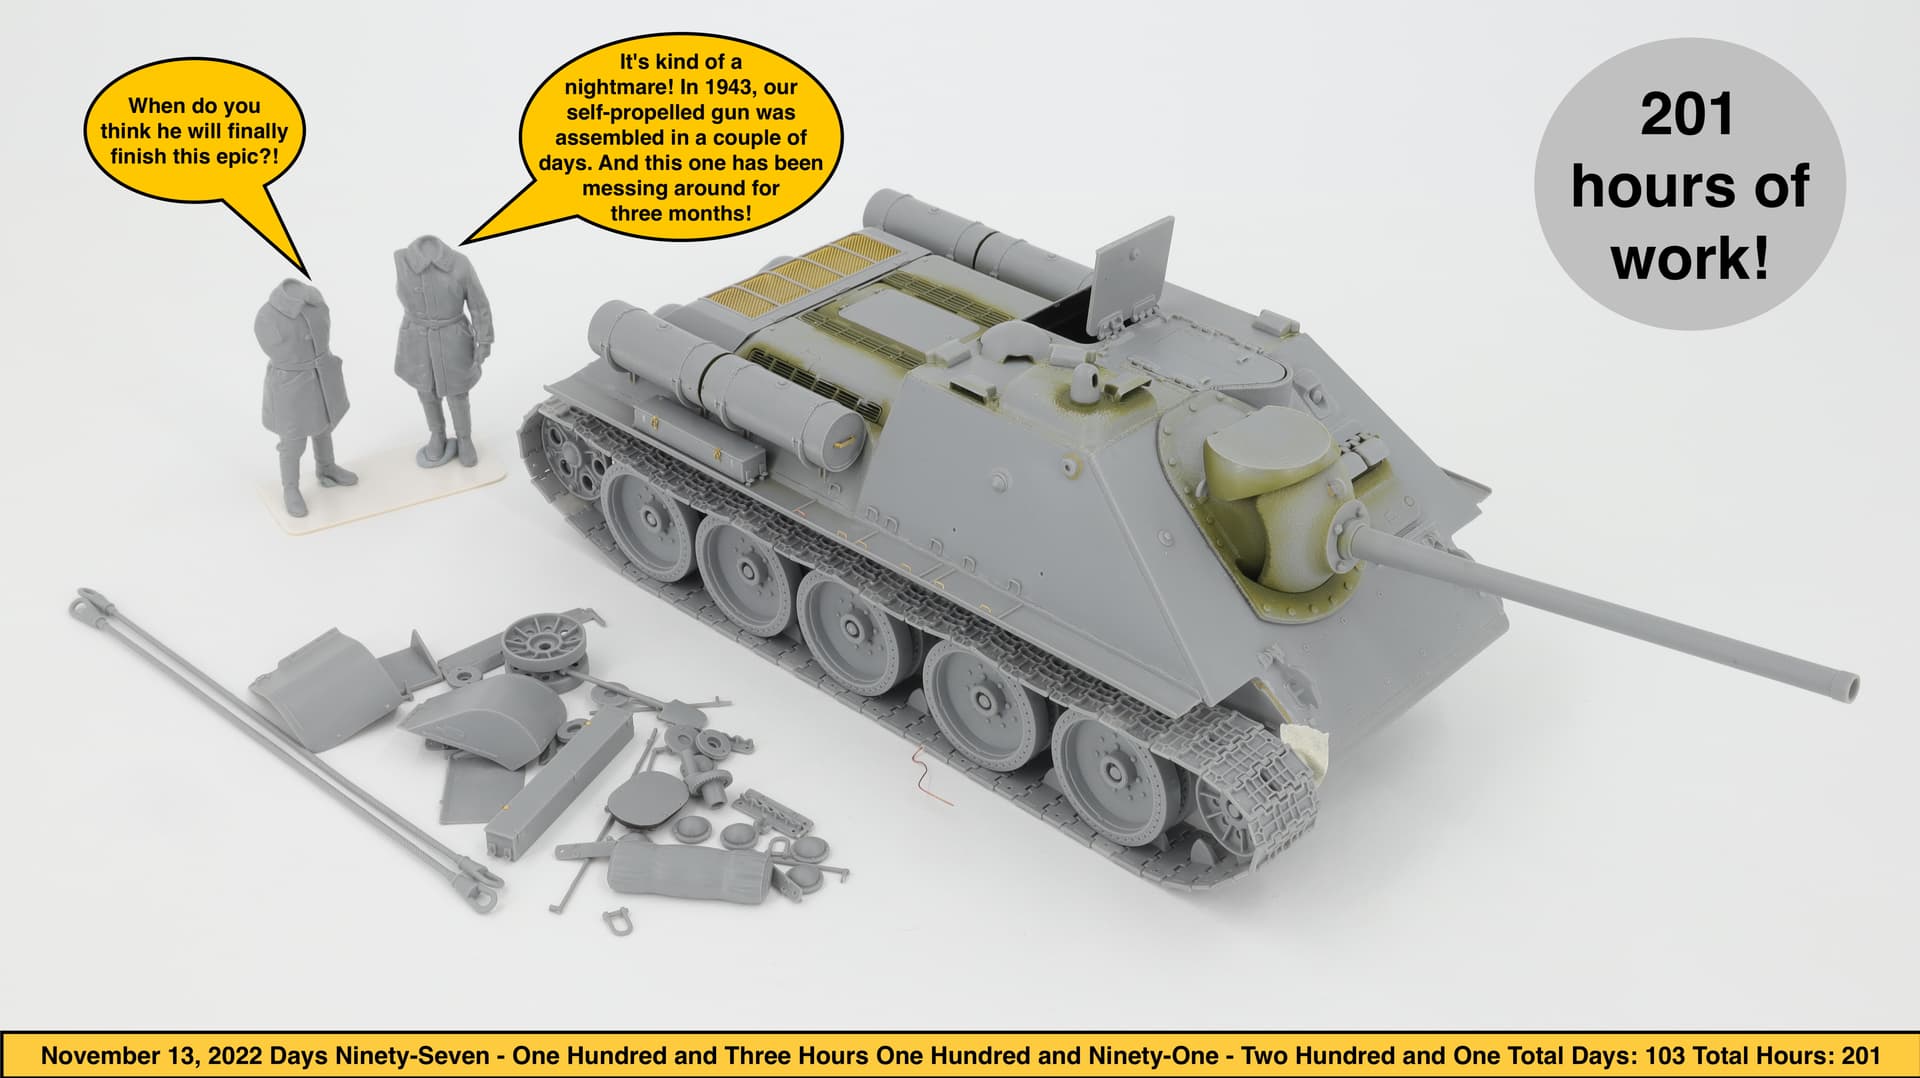
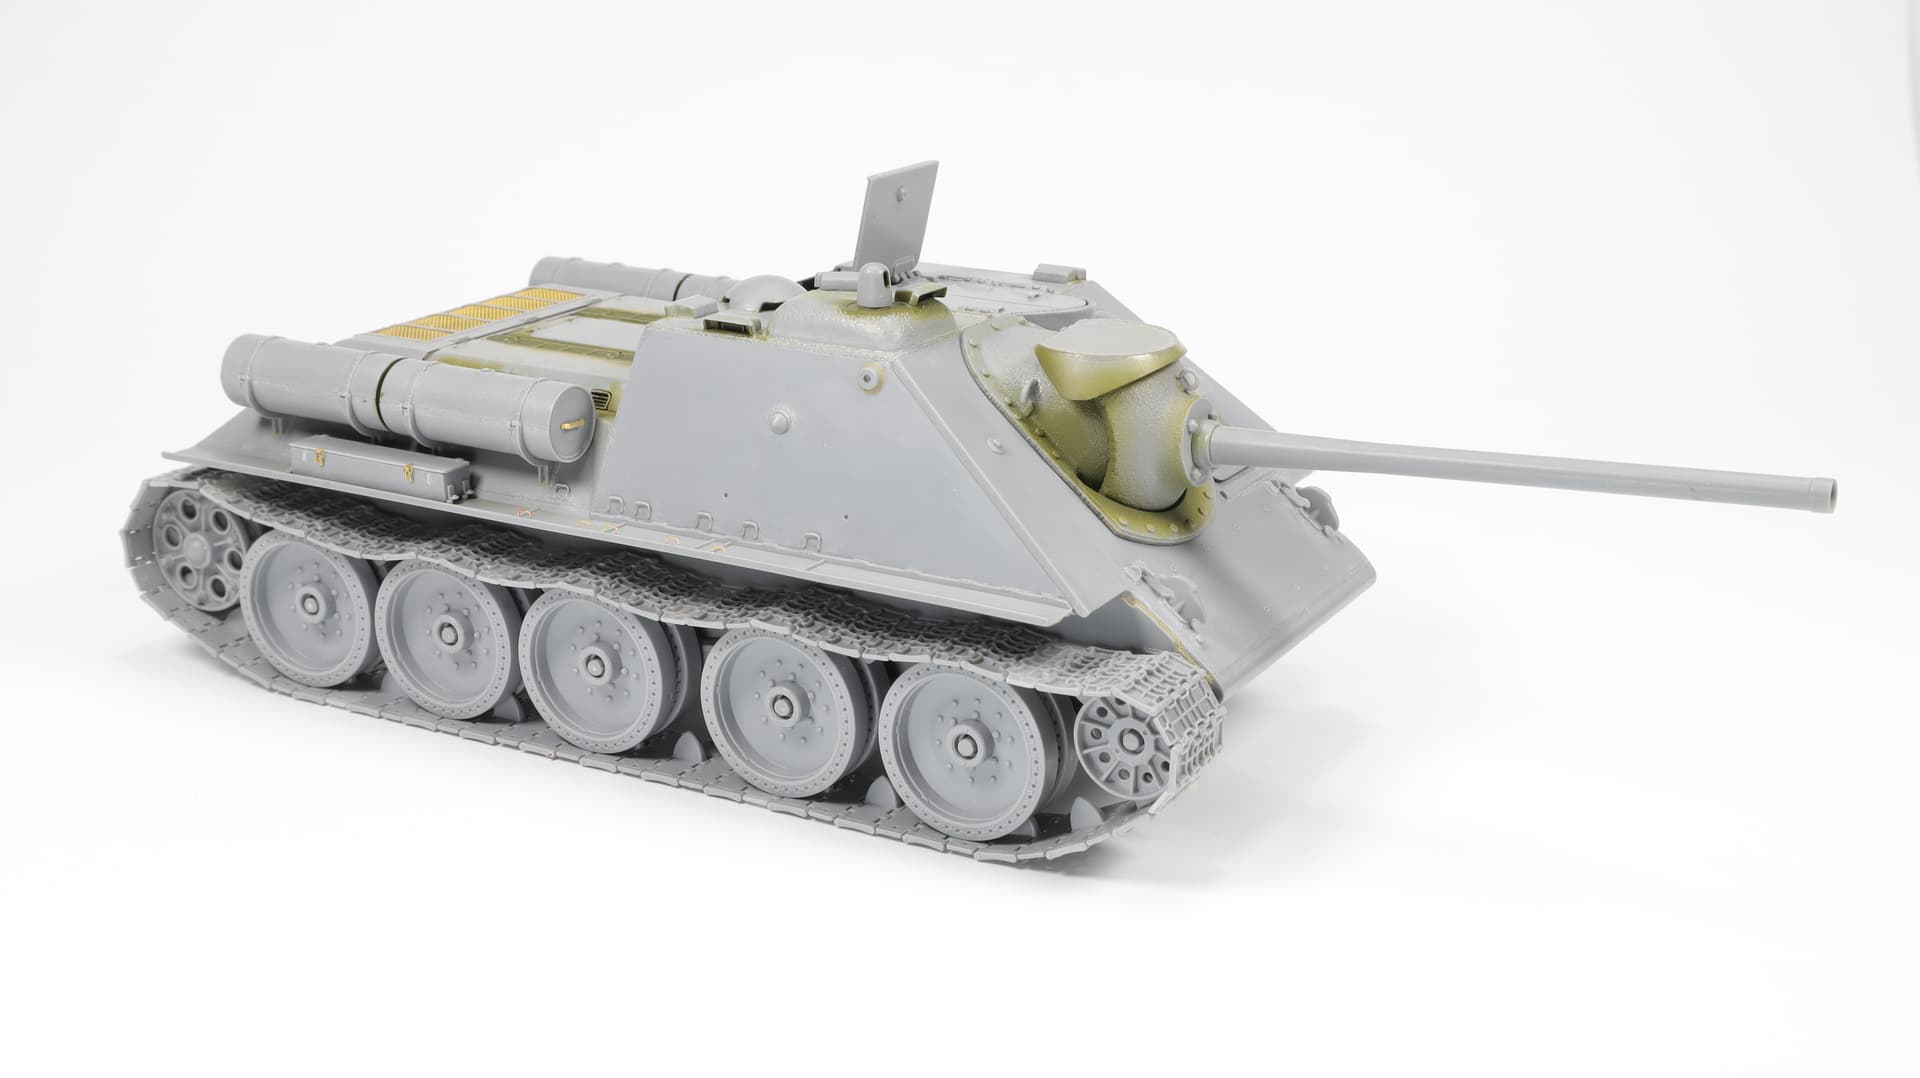
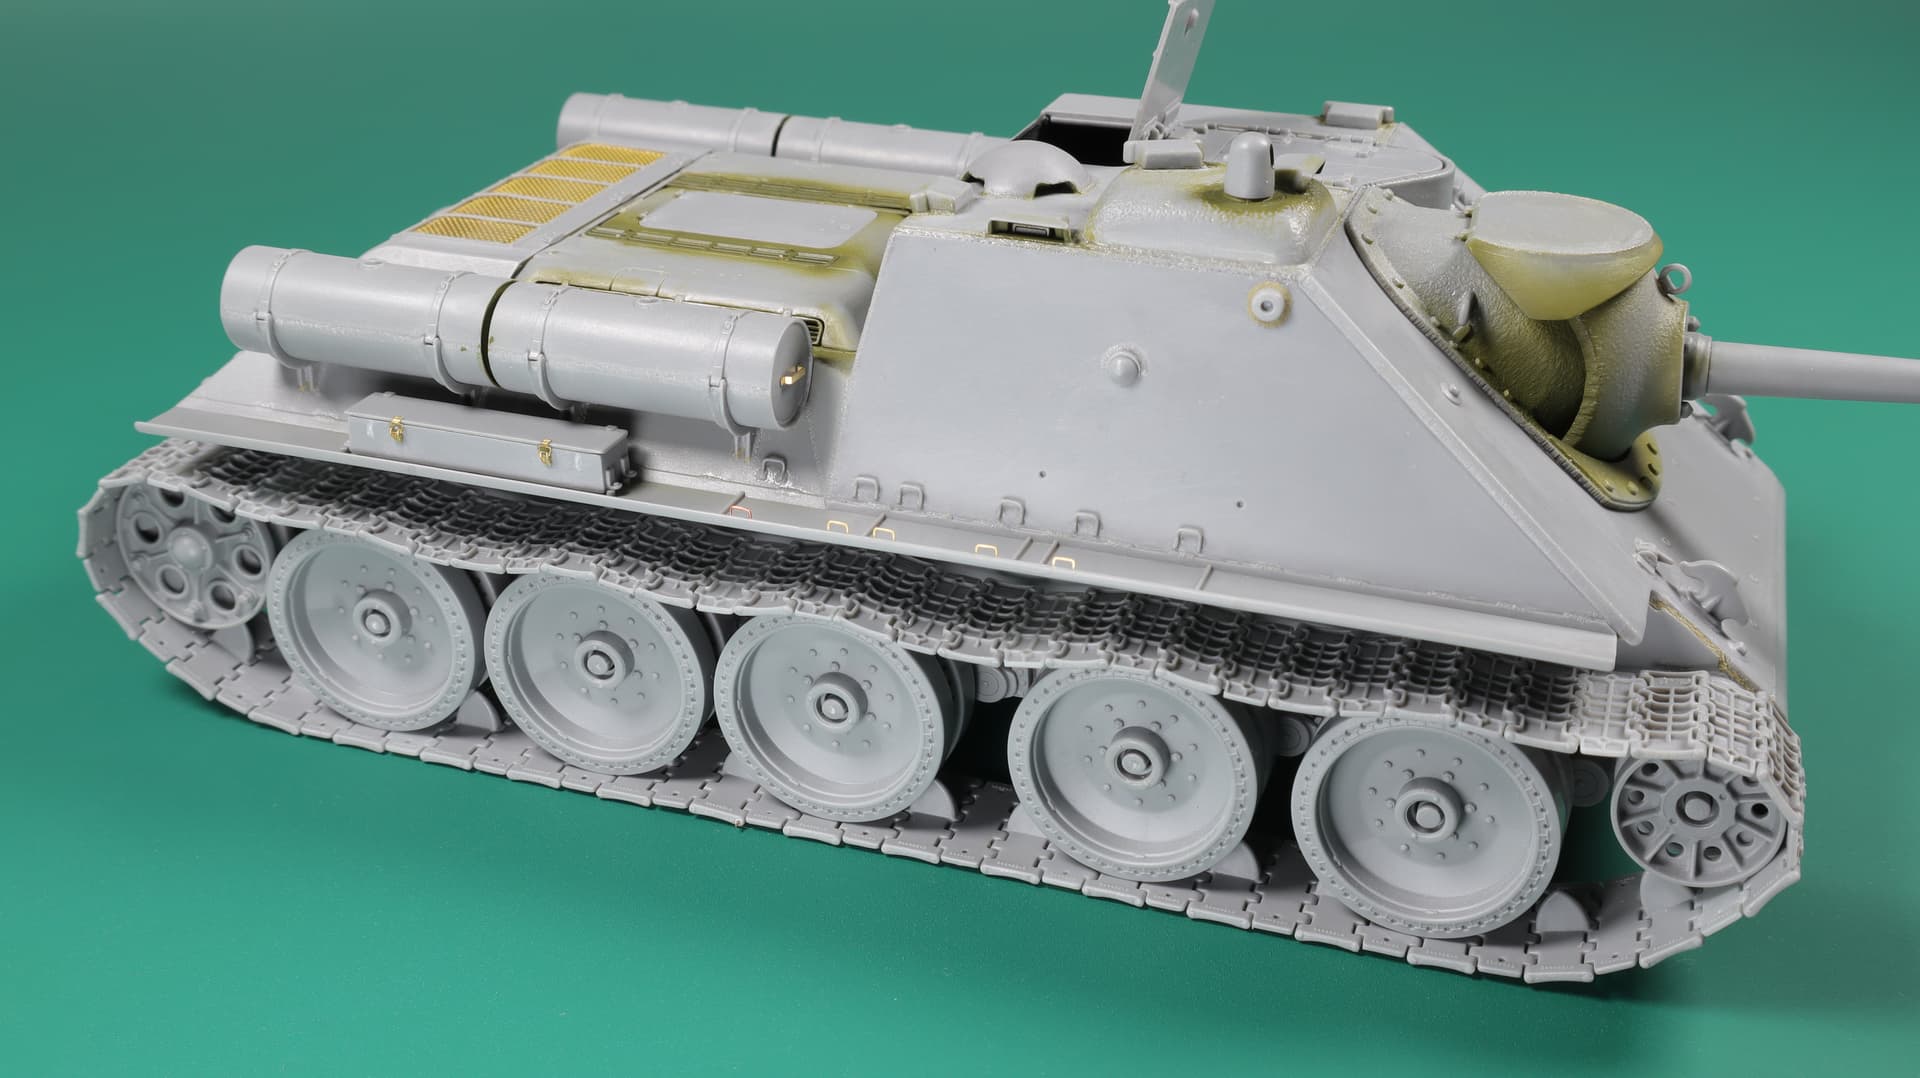
A very difficult set. The main problem is an excessive division into details. Instead of one large detail - a large number of small ones. As a result - the complexity of the accuracy of the assembly. An inaccurately glued part leads to the inaccurate positioning of a dozen others. This is exactly what happened in my case when one of the sides of the hull was glued with a slight shift of 0.1-0.2 mm, which led to a distortion of all other parts of the entire hull. I had to adjust everything for a long and tedious time and try it on dry, and only then glue it one by one. This work took a lot of time. I’ve already spent 201 hours, but I’m still a long way from finishing the build. Another problem is the fragility of small parts. The handrails fell apart right in the hands when trying to do something with them. Also one of the problematic points is thick feeders for small and fragile parts. When, for example, a “log” fits a miniature bracket instead of a thin feeder. It is practically impossible to separate such a part from the feeder without damage in the usual way. I had to carefully “cut” it out of the feeder with a razor blade.
In general, definitely not for quick assembly!
1 Like
I built miniart T-54-3 with interior a year ago so I hear ya! Lots of really small fragile parts! They definitely take a very long time
If you want to assemble anything from Zvezda, then take the SU-100. Only a new kit with catalog number 3688. A simple model, not complicated, with a reasonable number of parts. The finished result will look very good. The most important thing is to carefully assemble the entire body, without distortions.
As far as I know, Zvezda does not yet have a new development of the SU-152 (KV-14). I wouldn’t take the old kit.
1 Like
I’m leaning toward the Su-100 or a tamiya or bronco Su-152
Tamiya ISU-152 is an excellent choice!
Bronco SU-152 is a good model.
Hi all! Small update. ![]()
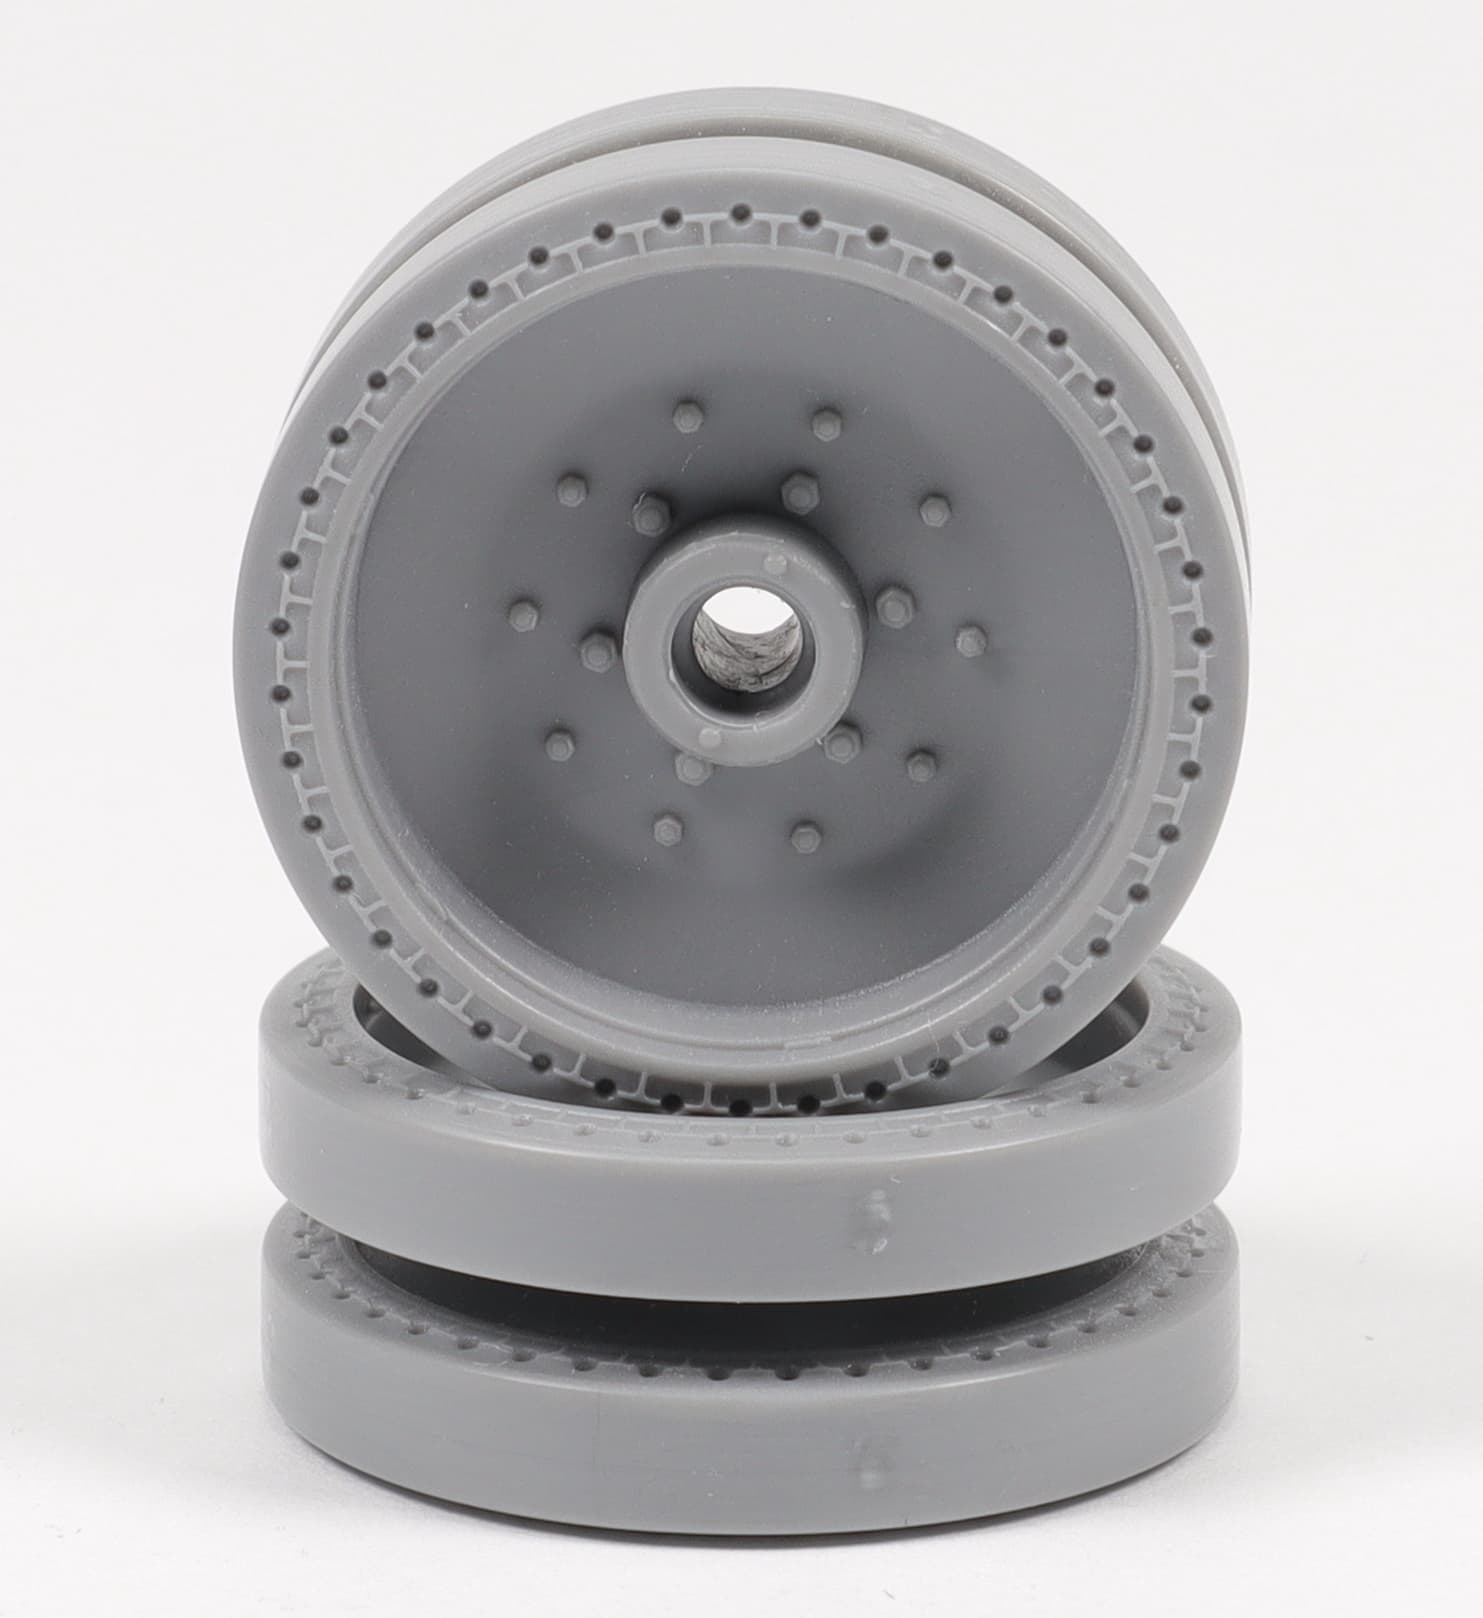
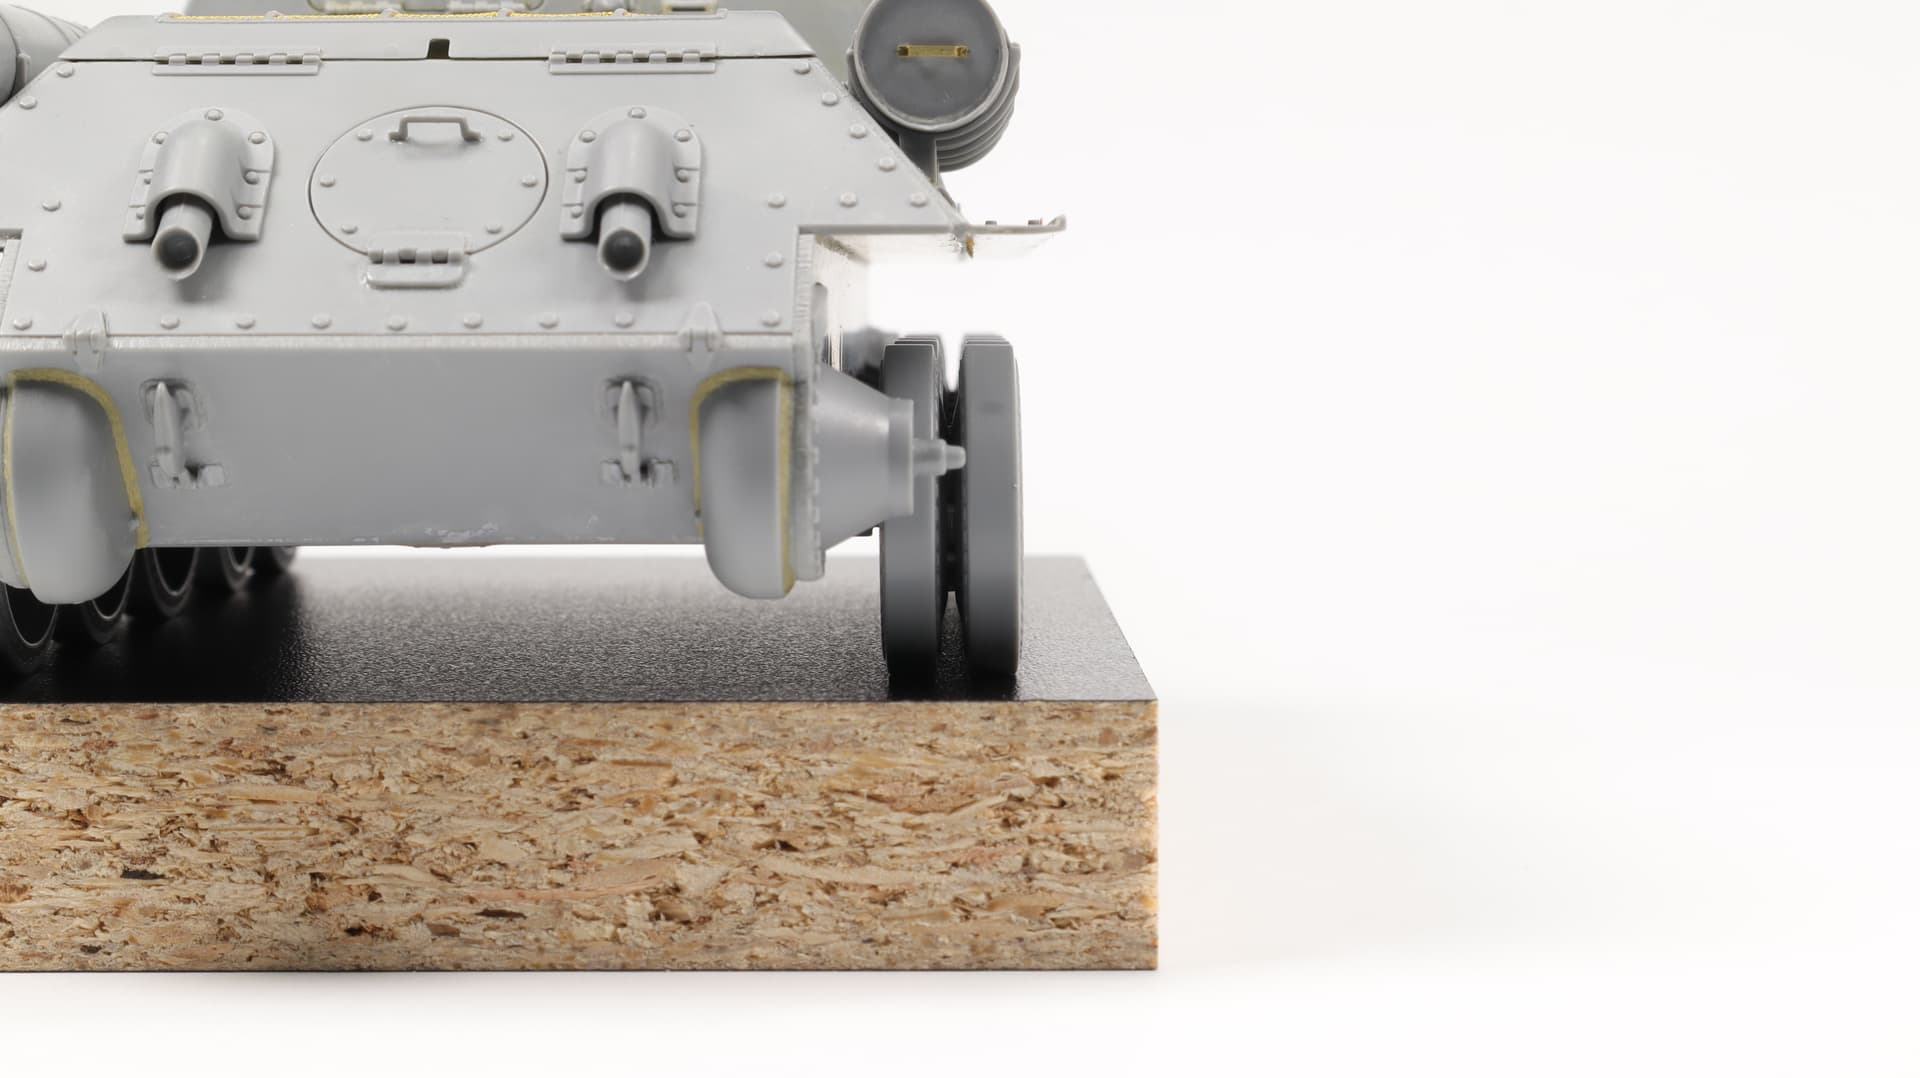
Finally, I glued the axle of the road wheels to the balancers.
But no matter how hard I tried, I couldn’t get them right.
At first, I put them out for a long and tedious time using pieces of plastic as templates. Then I glued it on a little. But, after a thorough pouring with glue for a stronger connection, after drying, they were led in different directions. As a result, all the road wheels stood crooked. Unfortunately, I did not take a photo with the rollers.
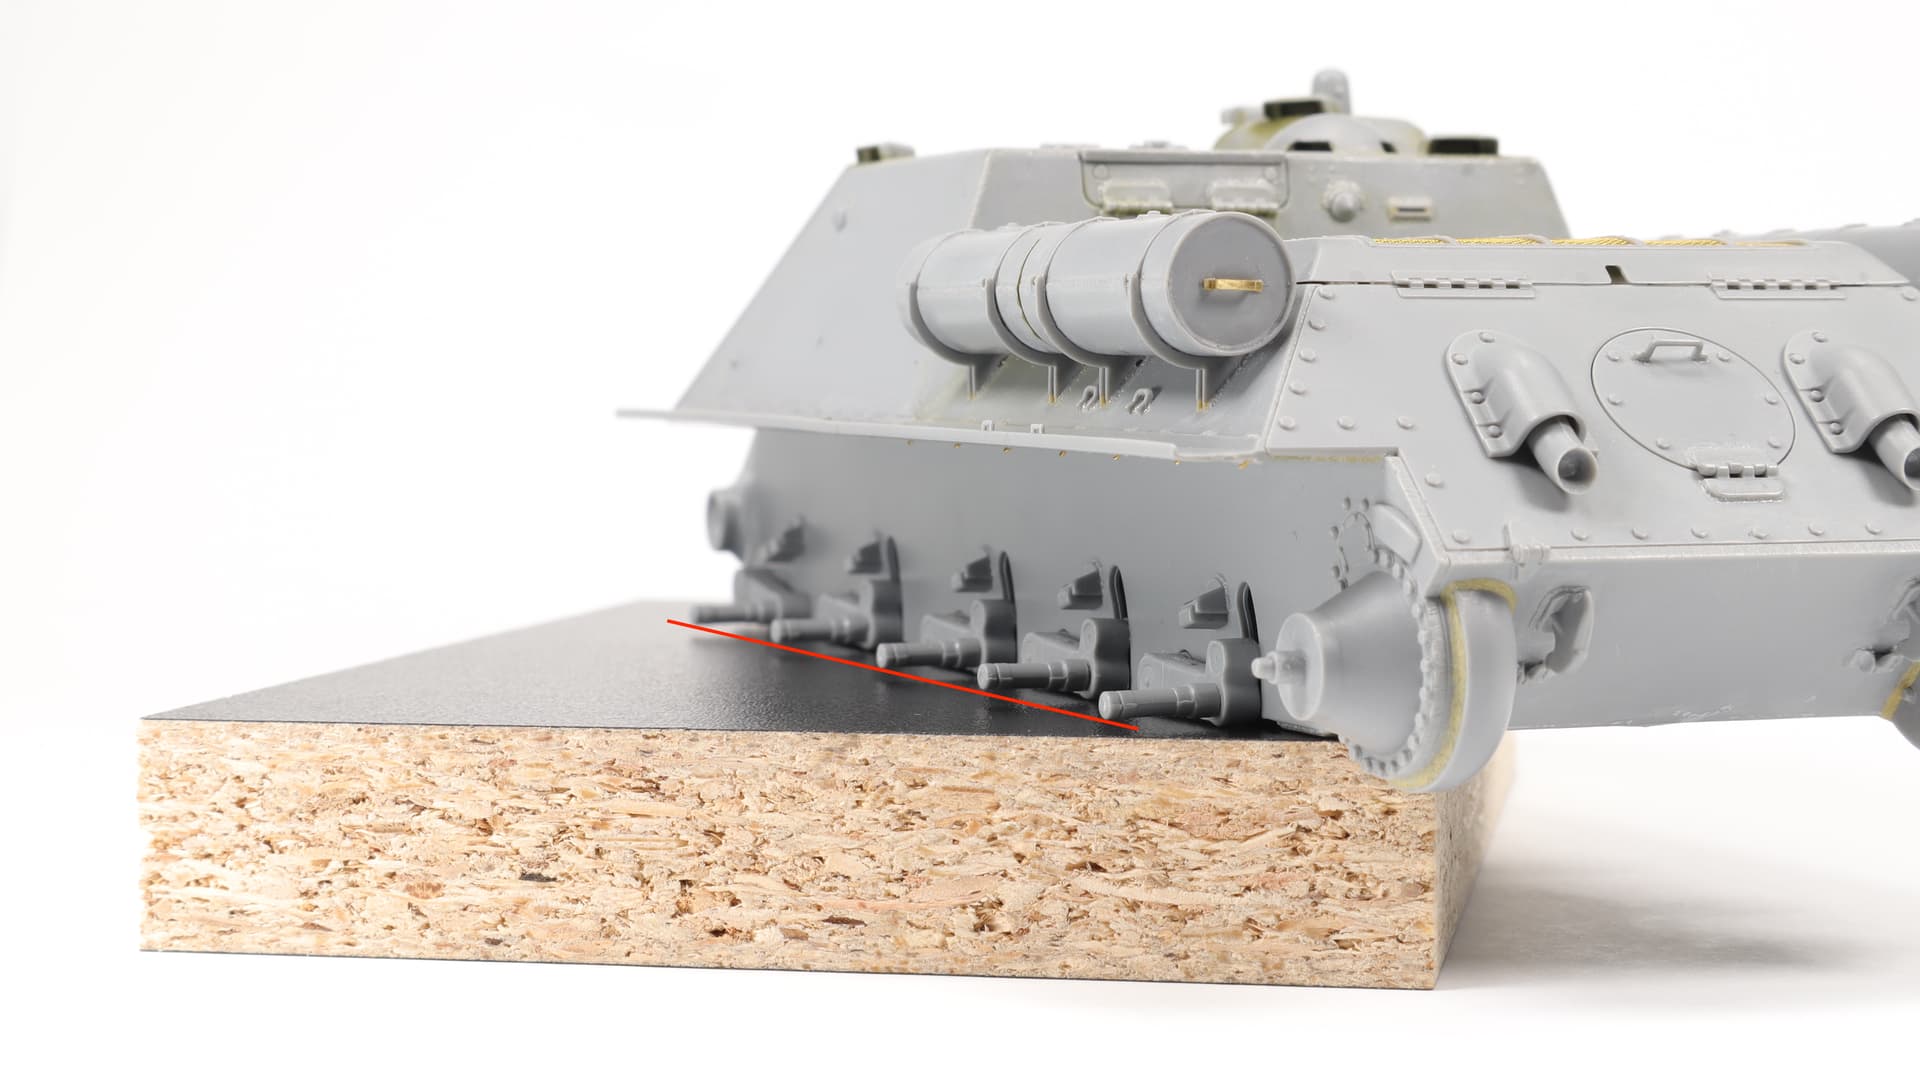
A simple solution was asking for itself. With a drill of a slightly larger diameter (a couple of tenths of a millimeter, in my case - 2.5 mm), I reamed the mounting holes of the rollers.
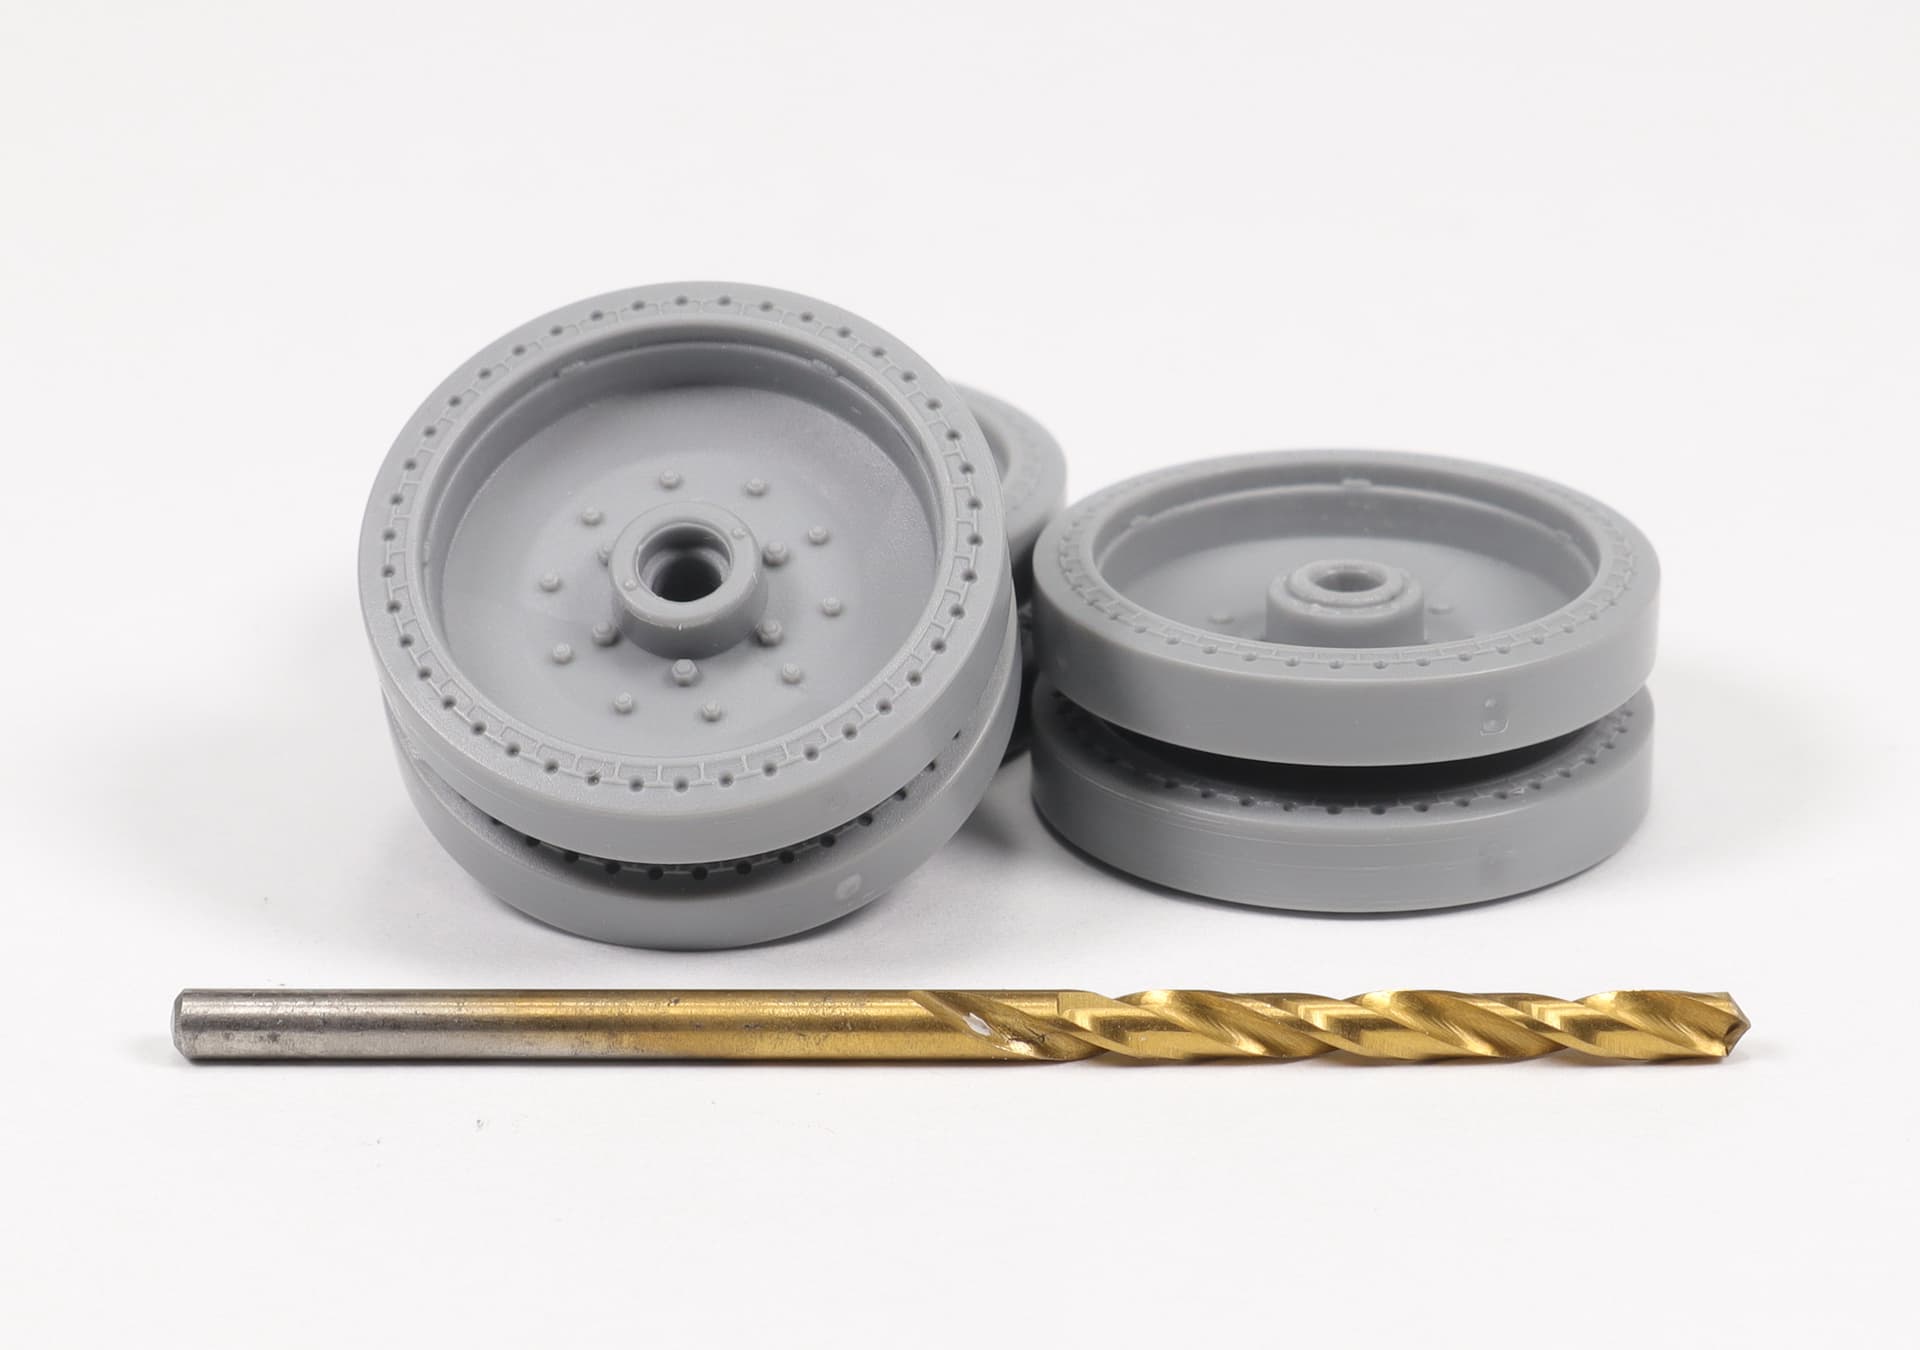
When installing the road wheels, a small backlash appeared, which chose all the unevenness of the axles, and the road wheels clearly stood up all the bandages on the surface. Everything is almost even and straight. Then I remembered once again that it was not in vain that I had done the processing on a drilling machine. All the same, the end result, although not perfect, but I was pleased.
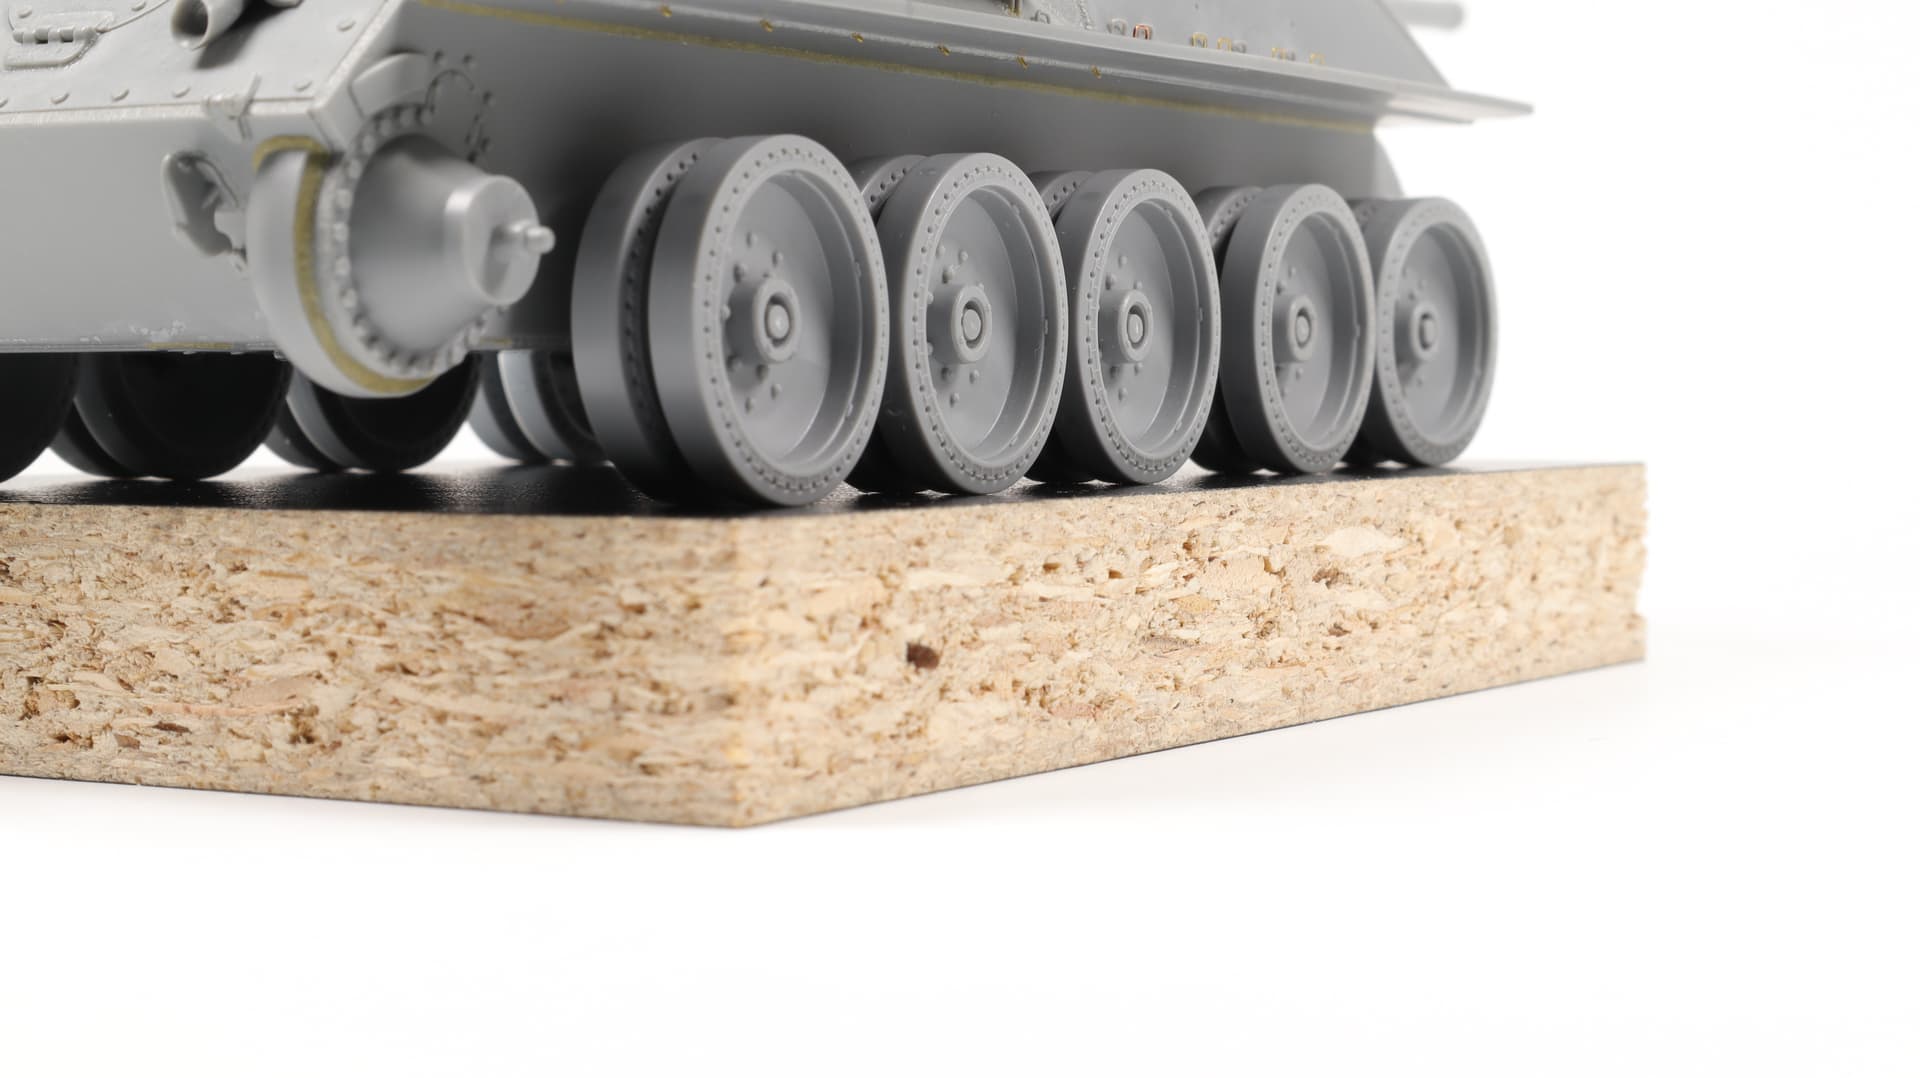
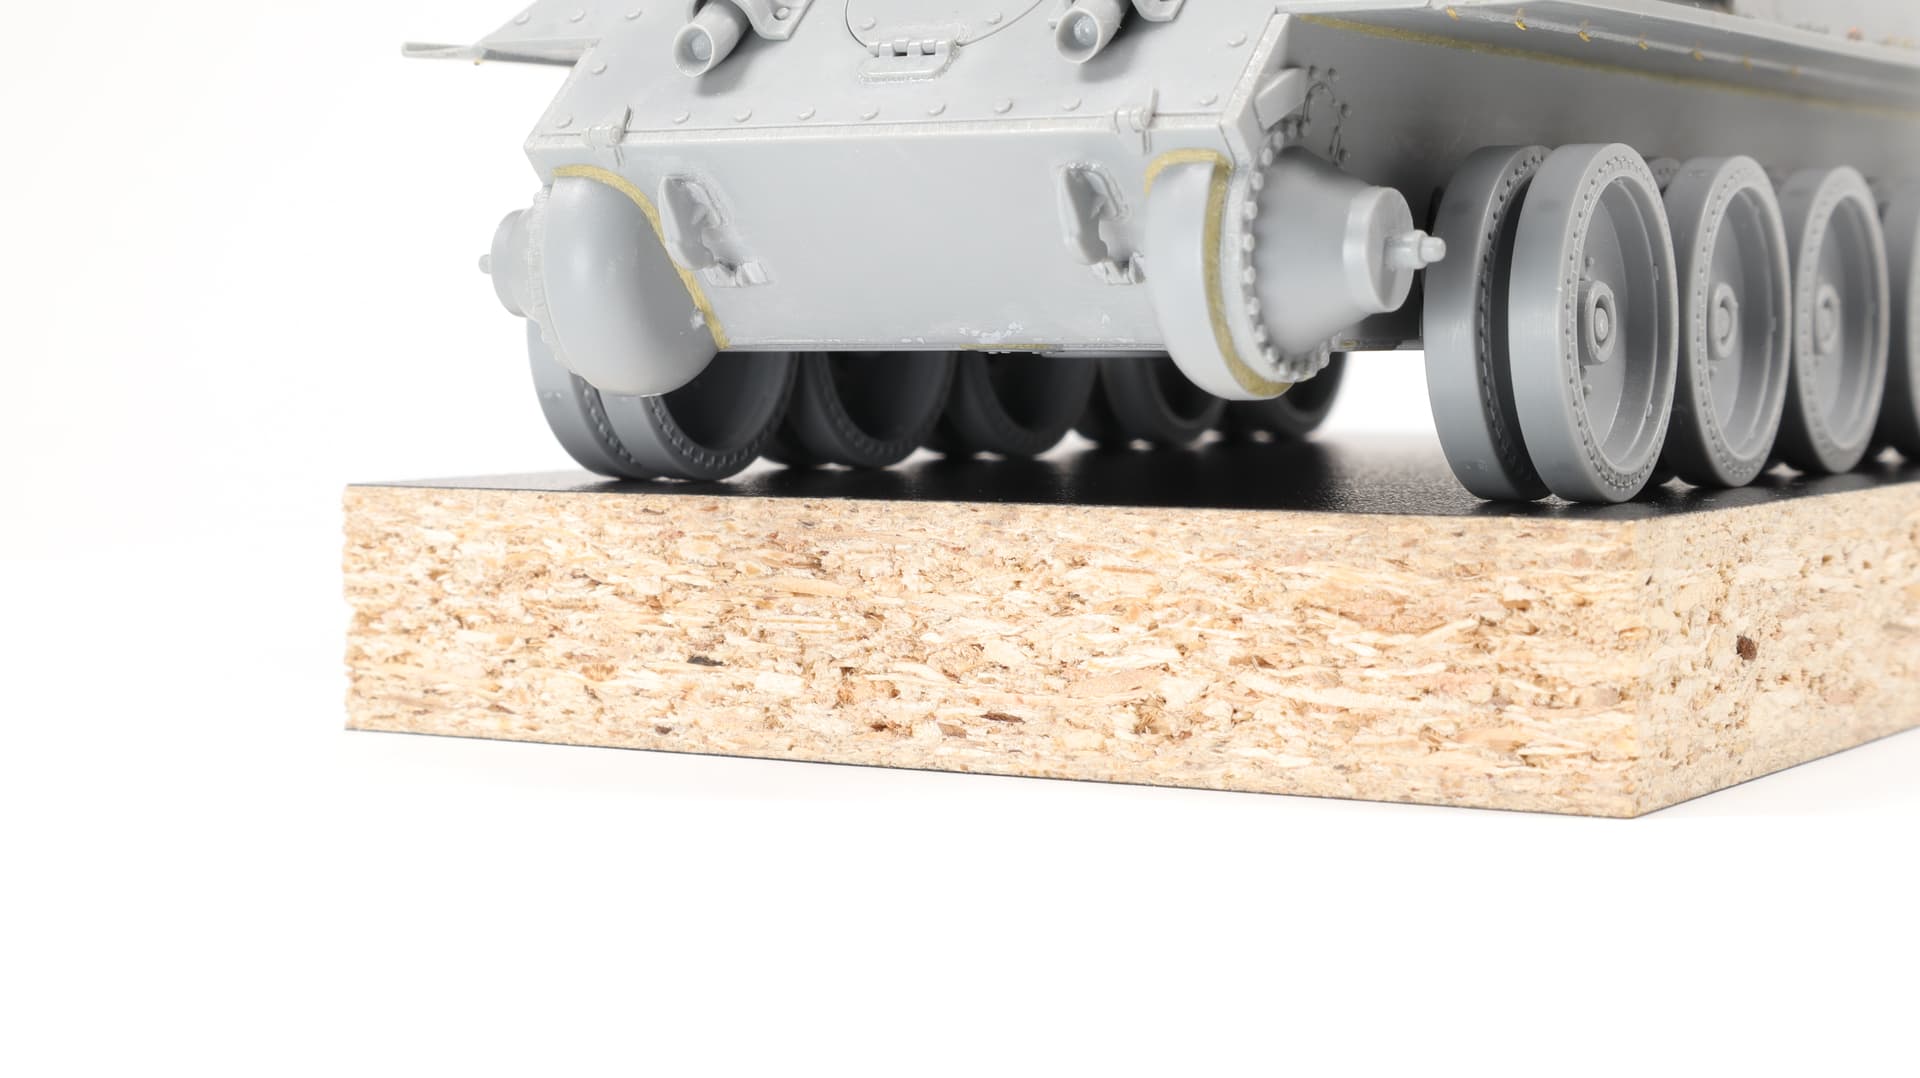
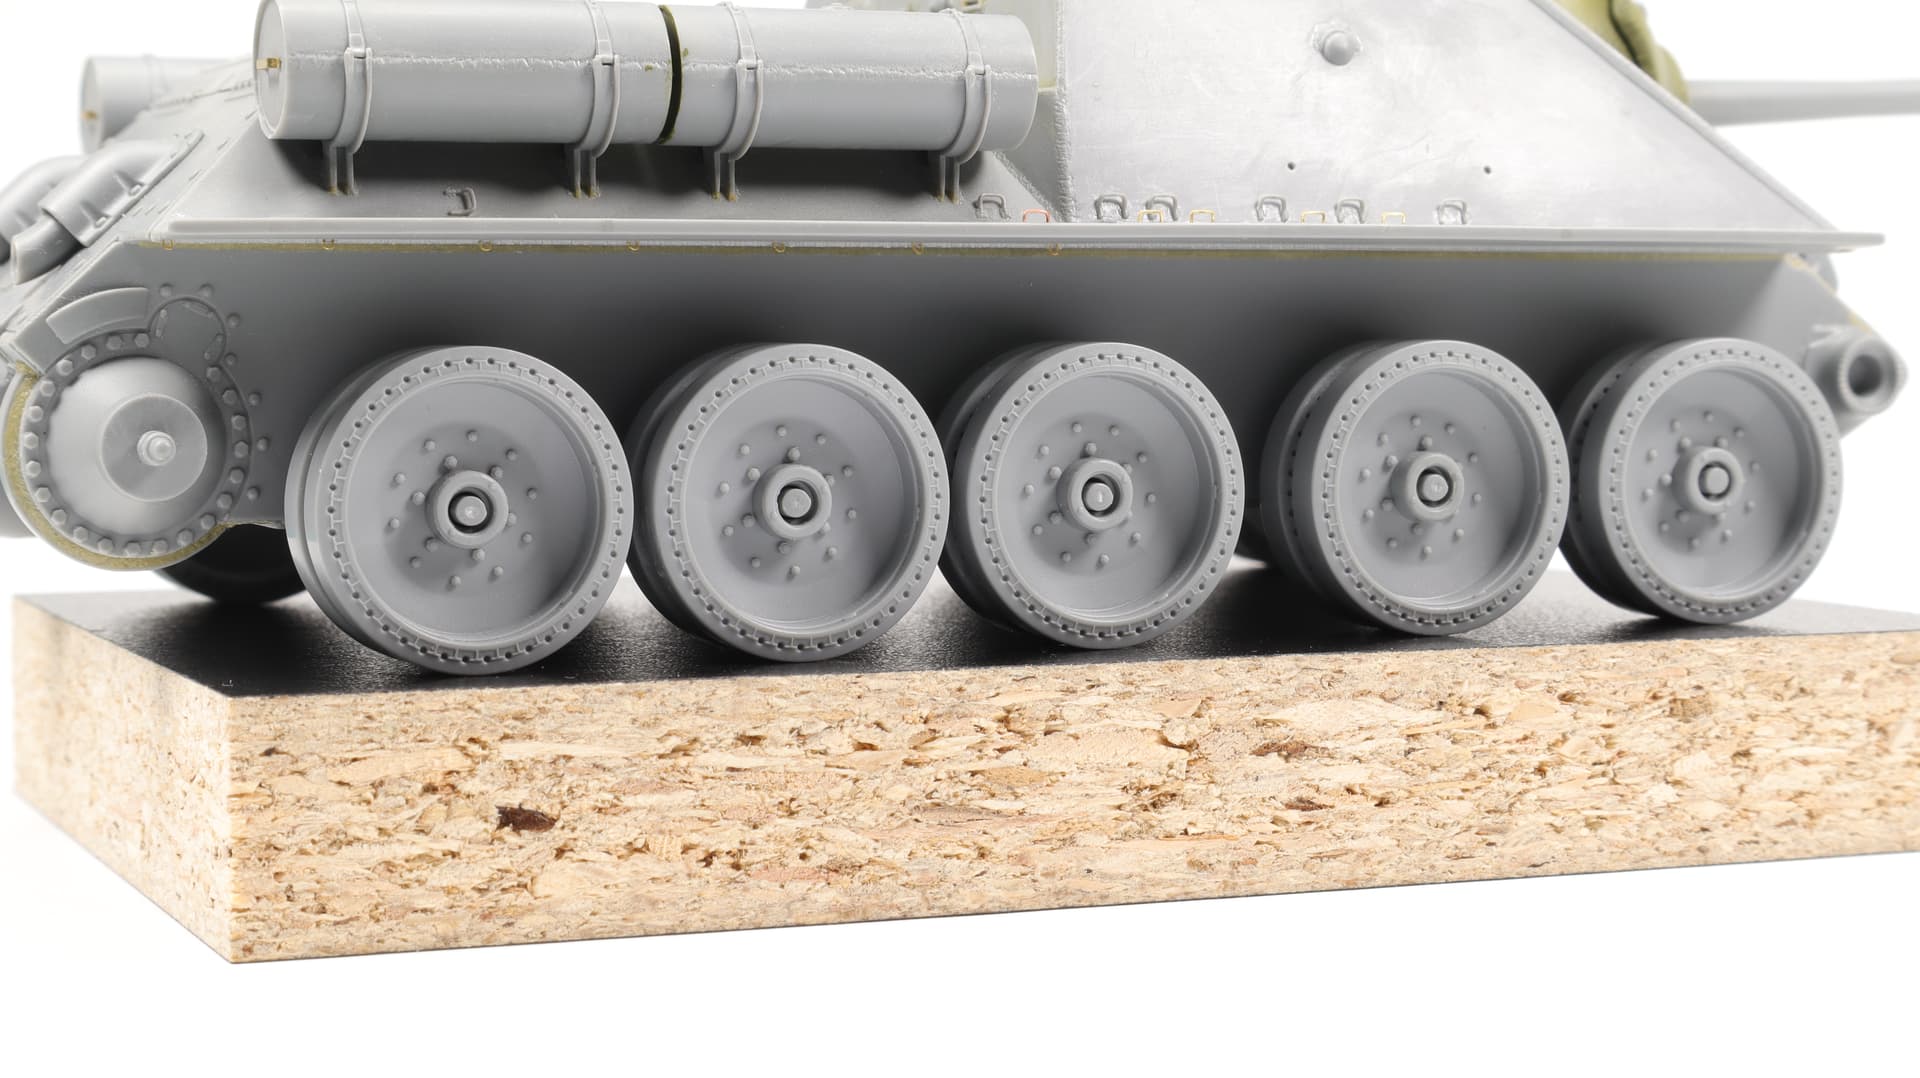
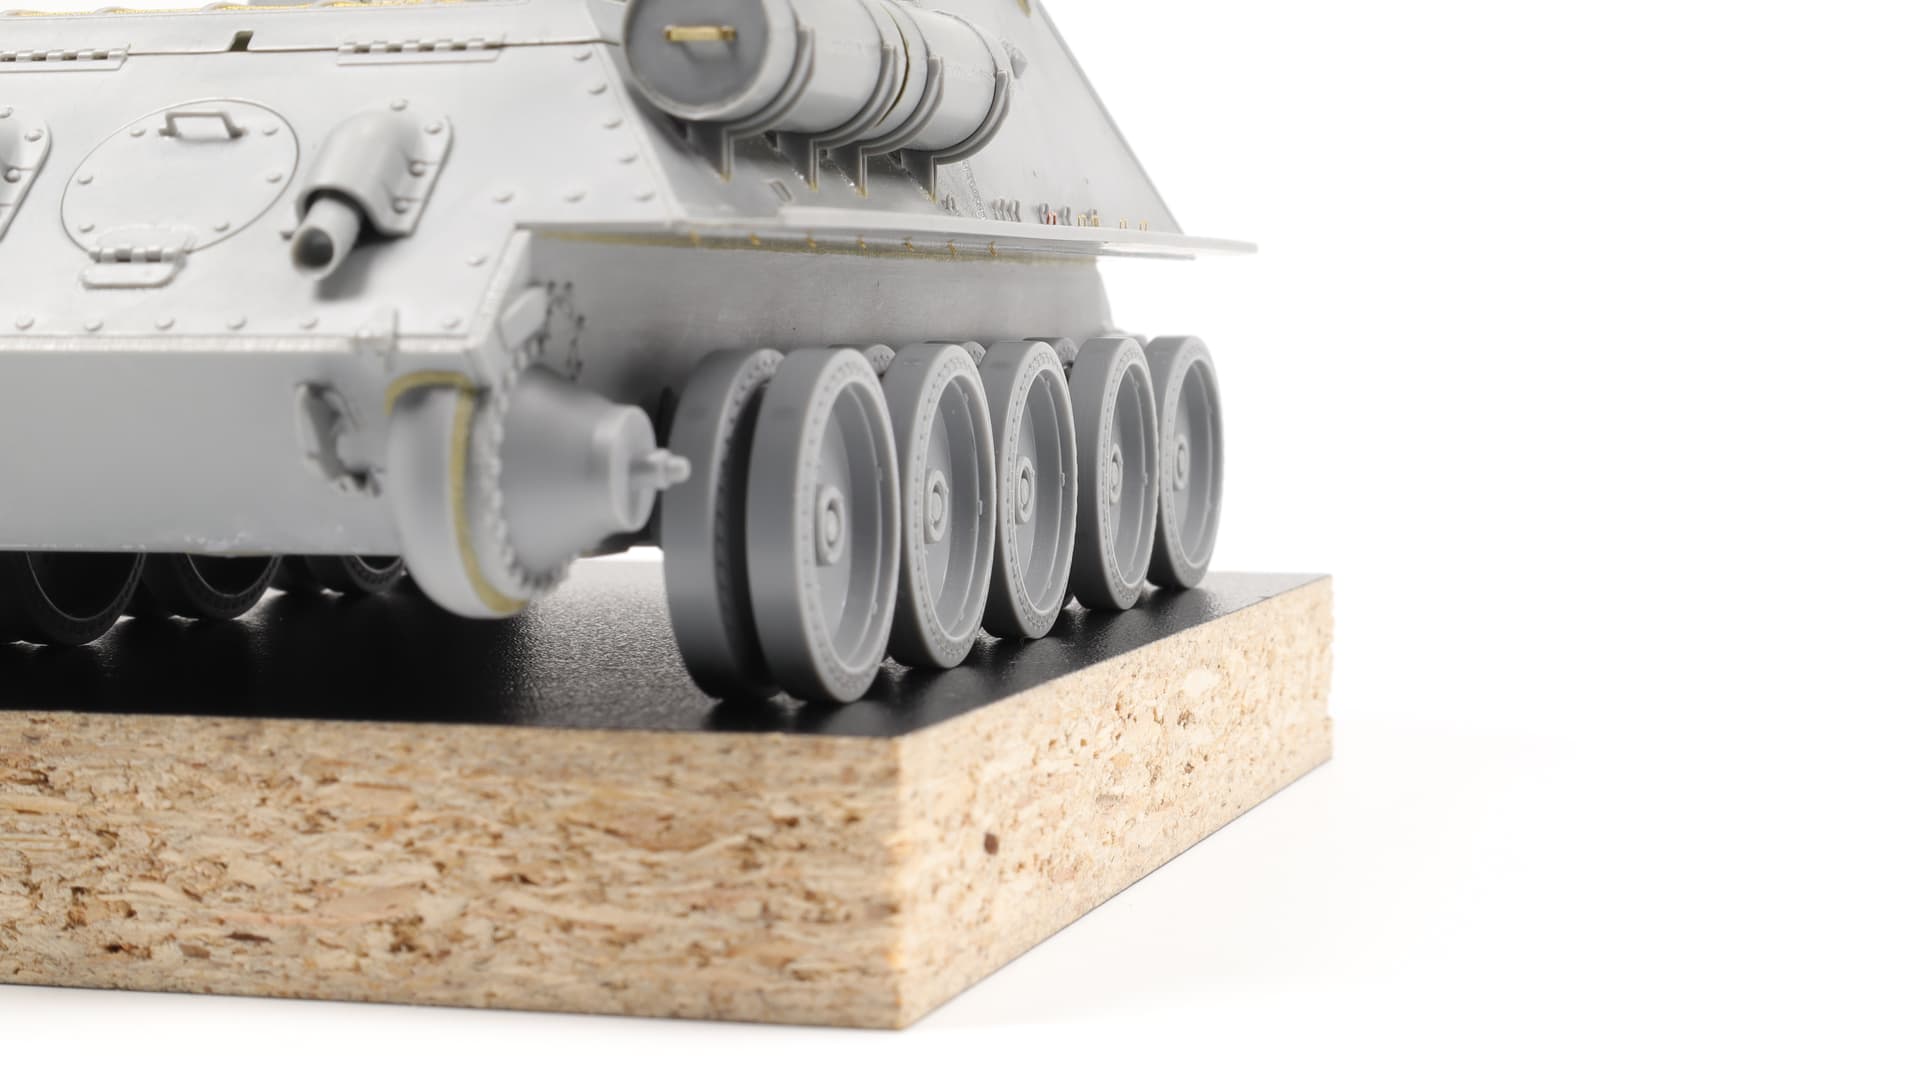
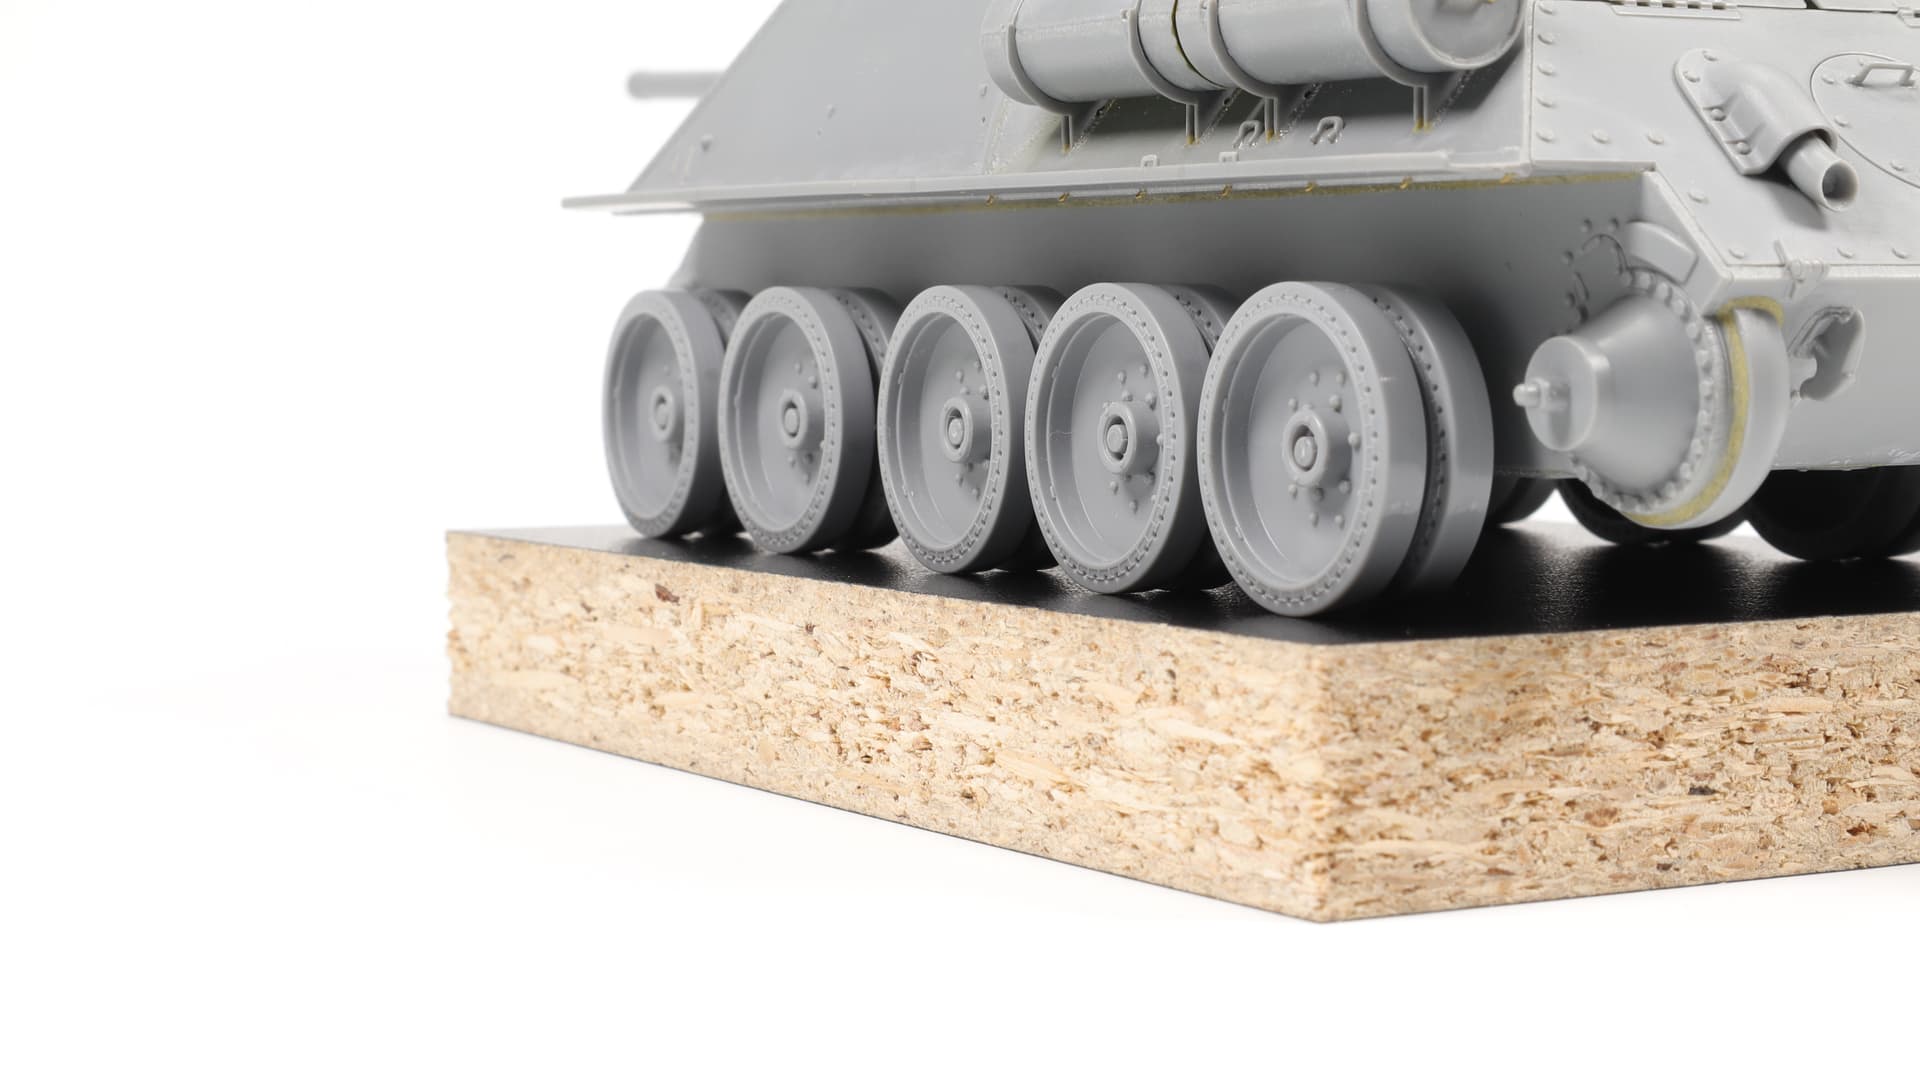
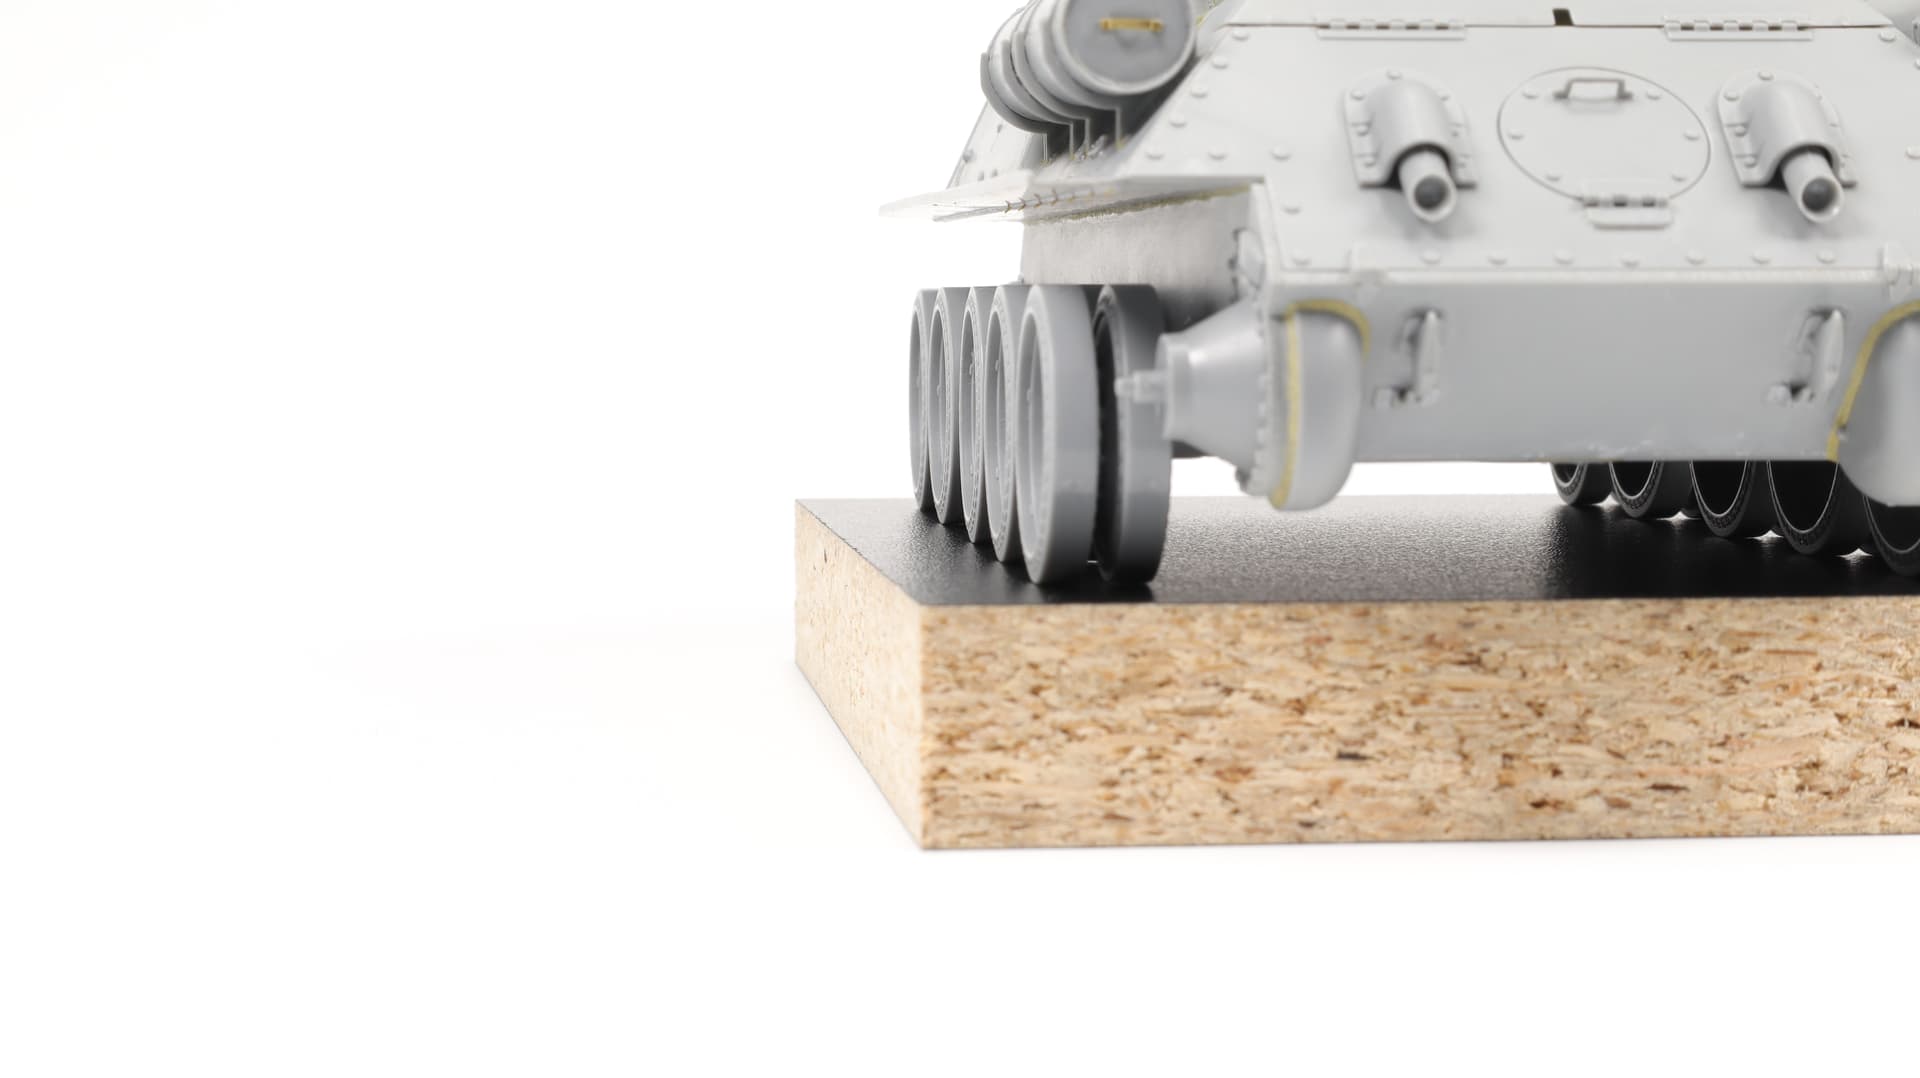
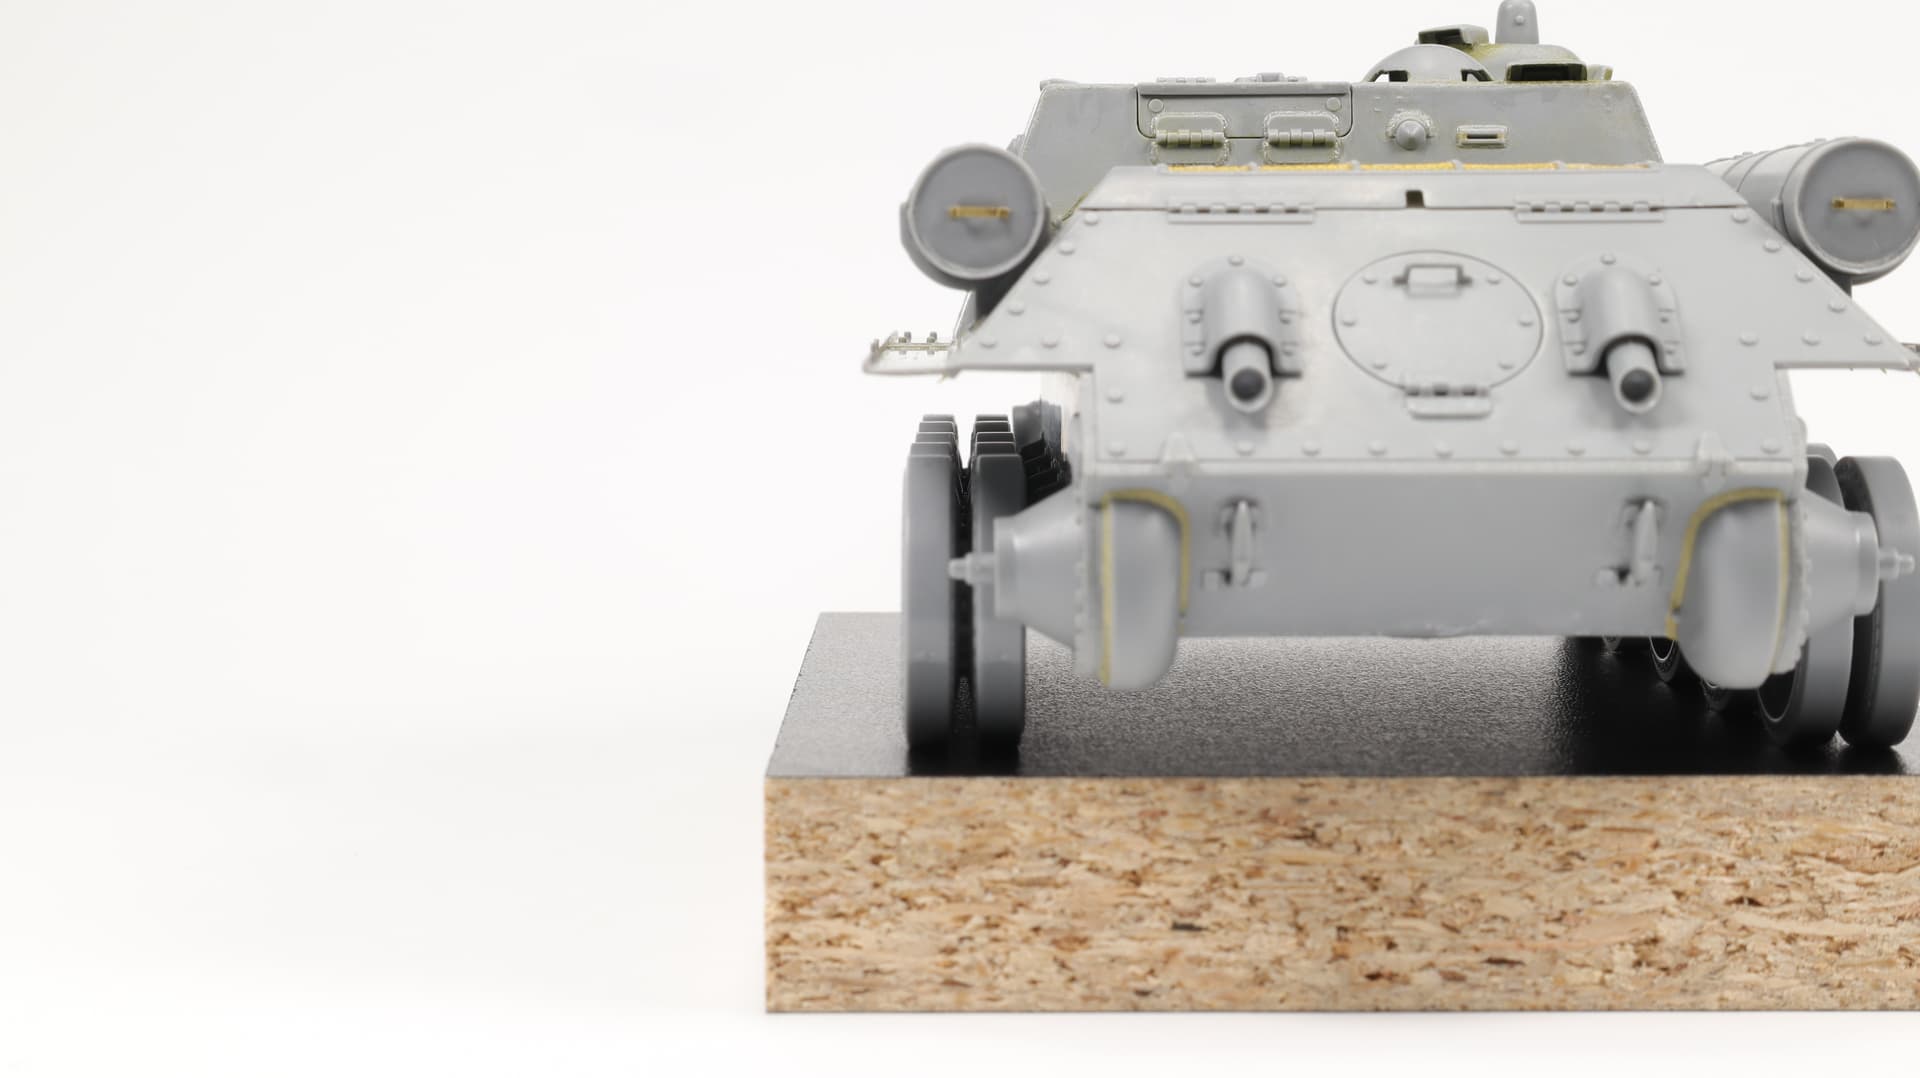
Intermediate fitting of the track.
I constantly come to the conclusion - everything must be done carefully and accurately. But, it is a “disease”!
8 Likes
Very well done meticulous build ![]()
A++
1 Like
Thanks, Wade! ![]()
It all slows down the process! ![]()
Looks awesome, but this thread has dissuaded me from buying MiniArt kits for the time being, they look way too complicated for me. With my already inconsistent schedule for my models, it would take me years to assemble this!