Lot of ways to do this with success for sure.
Here’s my first experience with RFM Pz IV Tracks - posts 32 to 37 I was delighted with them.
-
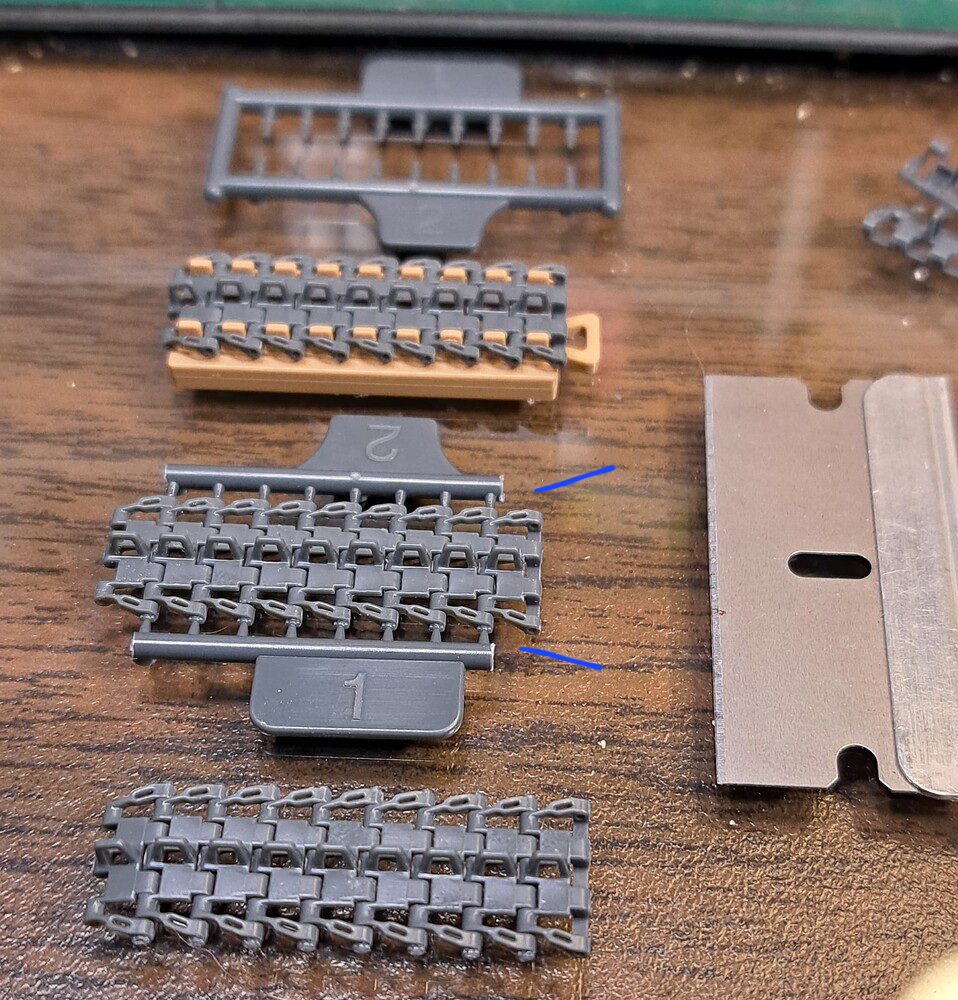
Line the links up in the jig.
-
Slide in the appropriate all the pins on each side at one time. Links are handed so the pin placement matters.
-
Lightly glue the pin heads in place. I used Testor’s Liquid Cement with the Tamiya Extra Tin brush*. The Testor’s is thicker and stays put better. Capillary action isn’t your friend in this step. As mentioned above wick most of the LC off of the brush to help keep the application light.
One can do this with Tamiya Extra Thin as @brekinapez says. I could go faster with less issues using Testor’s.
- Let dry an hour or so. Cut pin heads flush with razor blade. Articulate tracks. Occasionally a pin may fall out and needed tacked back in place.
92 links

*An empty Tamiya Extra Thin bottle full the slower thicker Testor’s Liquid Cement can be very handy on the work bench in my experience.
FWIW - After a little experience, I glued three jigs together for 27 link runs and cut assembly time in half. I’m always happier with RFM Pz IV workable indy links over any set link & length tracks despite the RFM’s taking a bit longer.