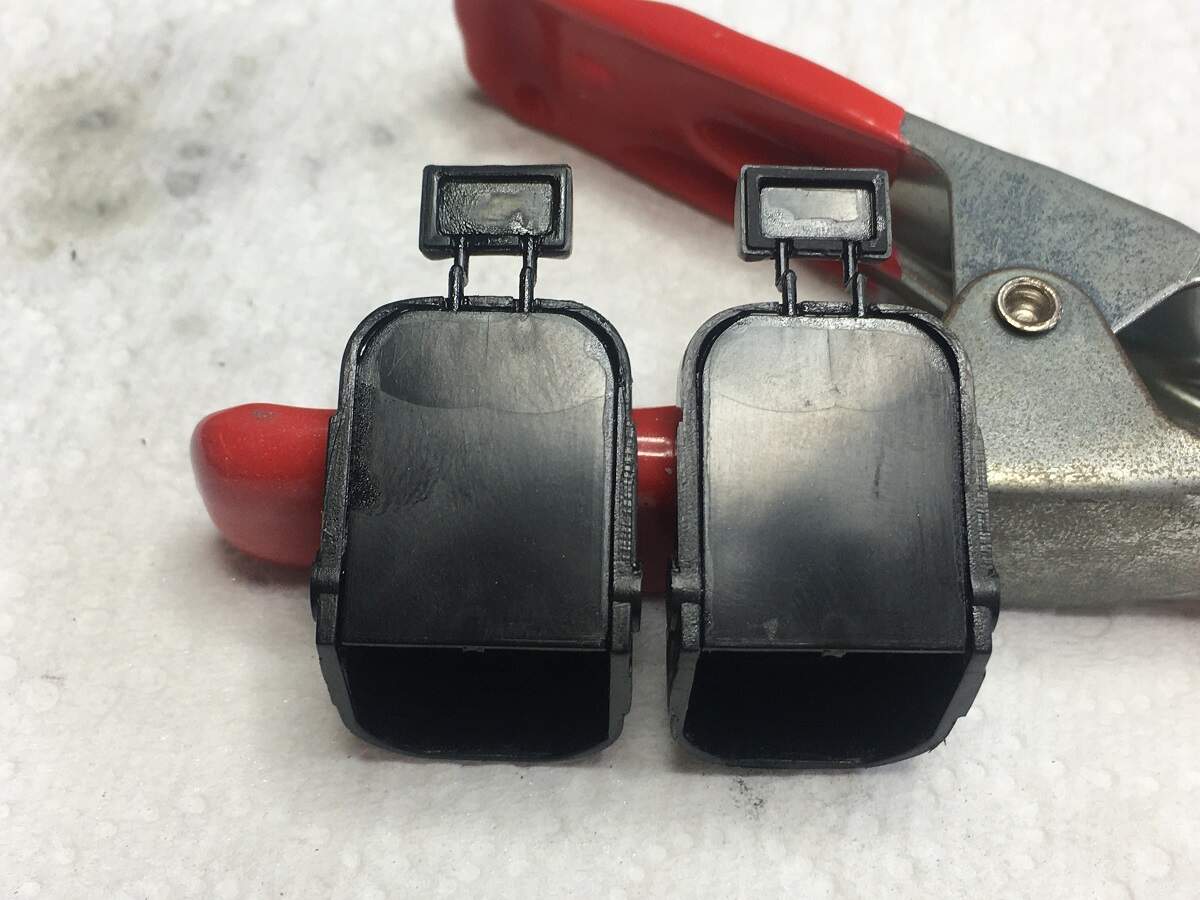
Fine job on cleaning those mould seams.
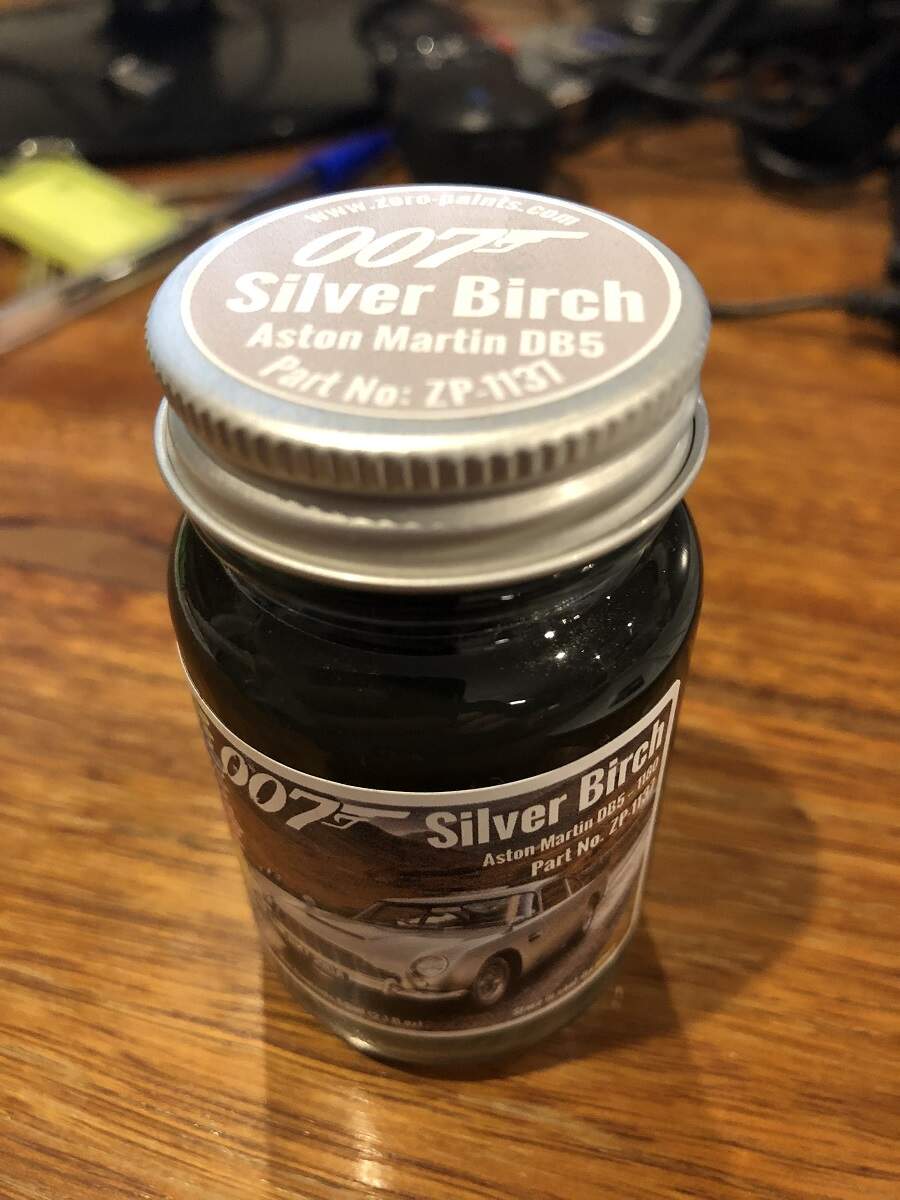
Gravity colors recommend a dark grey primer, for Silver birch.
Fine job on cleaning those mould seams.
Gravity colors recommend a dark grey primer, for Silver birch.
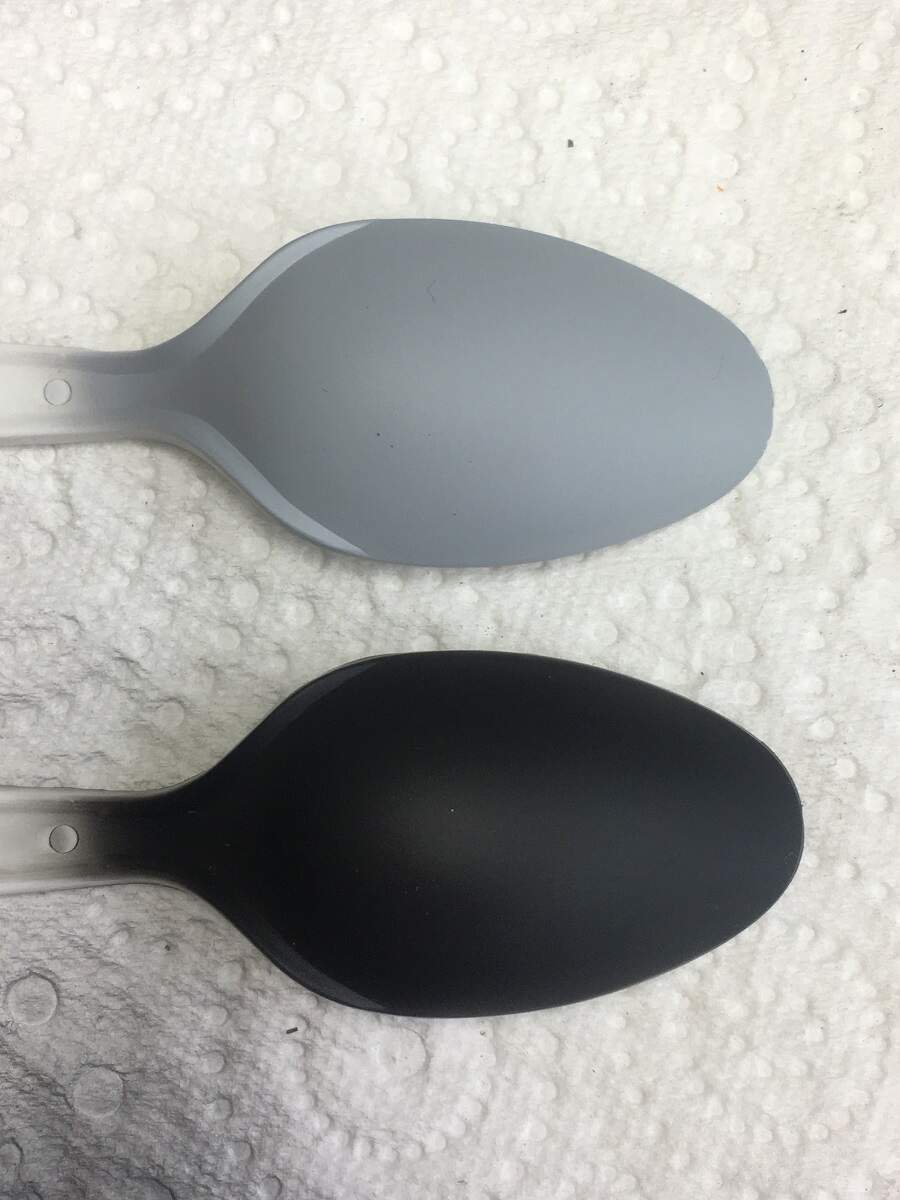
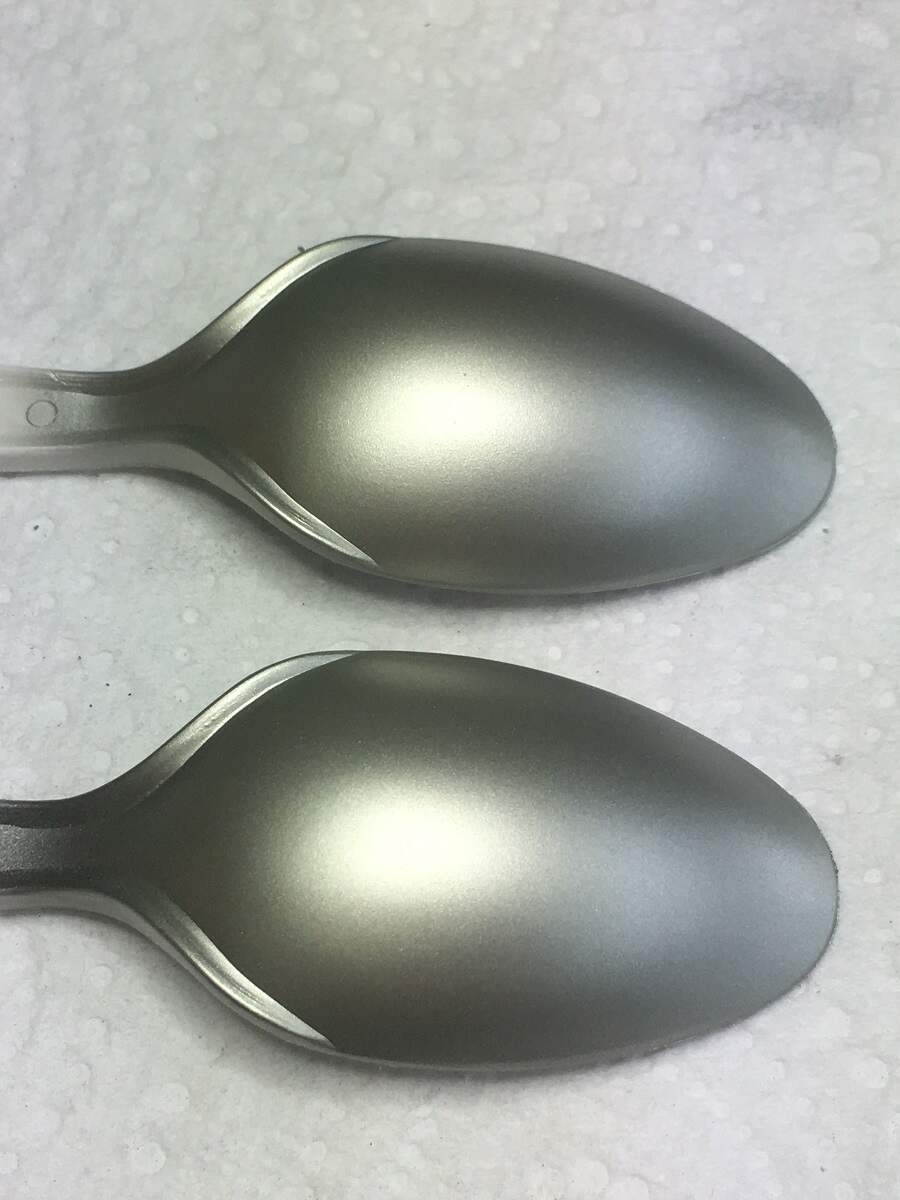
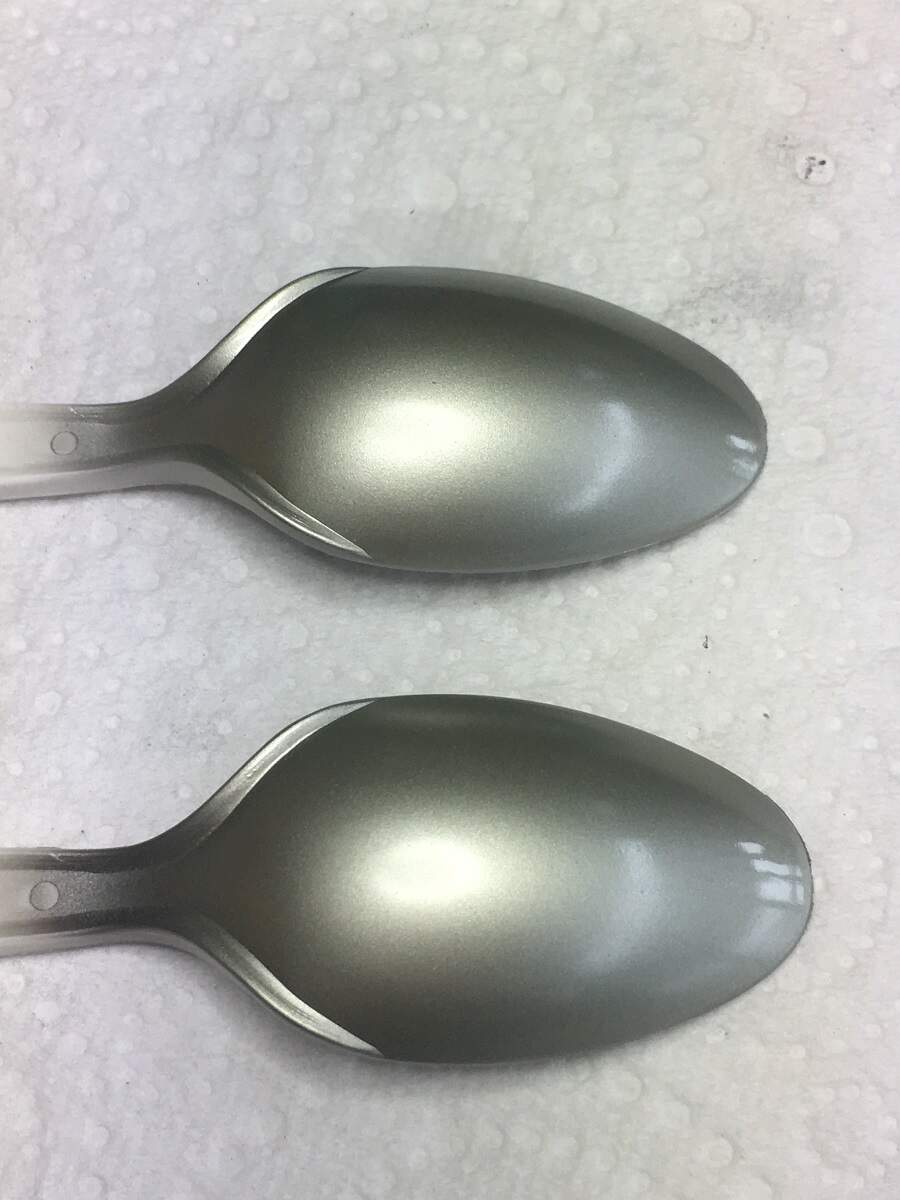
Ok, I gave the primed spoons a light buff with a polishing cloth, then shot 3 light coats of the Zero Silver Birch on each spoon.
It’s not really visible in the images, and barely discernible to the naked eye, but the Grey primed spoon has a slightly greener tone to it. The black primed spoon is slightly more to the silver side.
After an hour or so I gave each spoon a couple of medium coats of Alclad Aqua Gloss to see if it made any difference to the variation, but it doesn’t appear to.
I will keep the spoons beside me on the bench and think about which way I want to go with the primer prior to painting, I like them both.
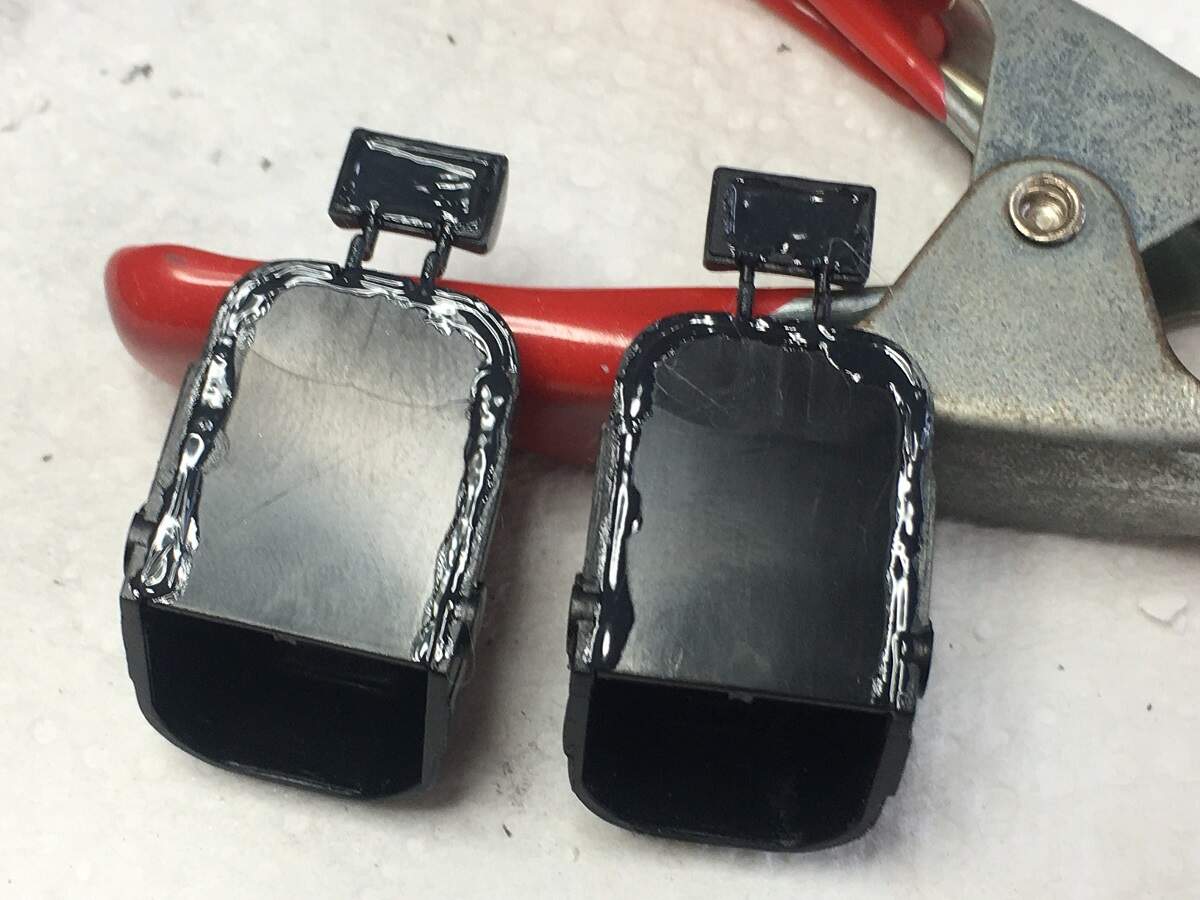
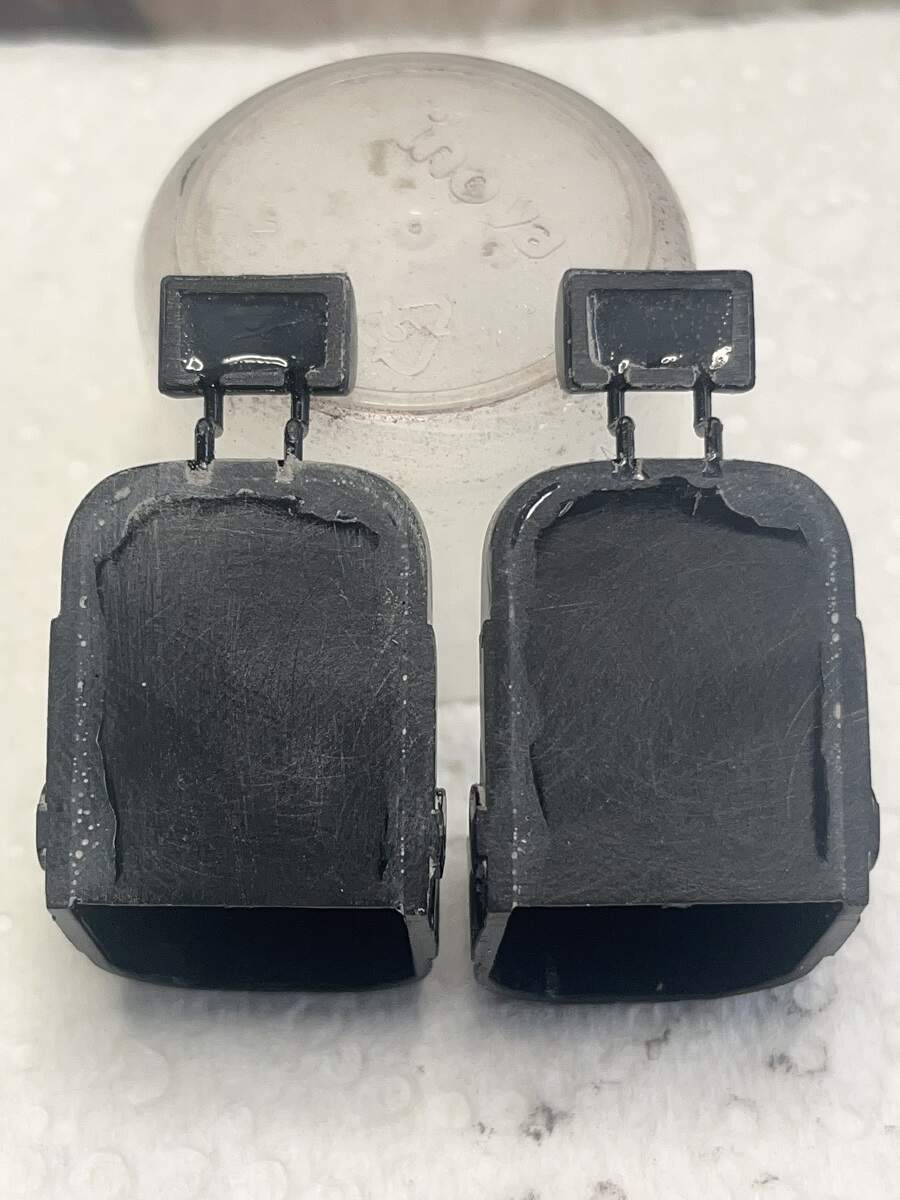
I also gave the back of the seats a shot of black sprue goo to tidy up the ugly joins.
Cheers, D
What the fork? I thought you were branching out into cutlery design for a moment. Interesting about the green tinge but how does it/they look in daylight - same? 
Interesting. I never heard of sprue goo before. What do the seats look like after sanding?
D,
Just the mention of a Green tint, and I vote for the Black base one.
Can’t wait to see how those seat backs turnout once you sand the Goop and paint them
joel
@Dioramartin - they look very similar in daylight, the difference really is barely visible.
@18bravo - The sprue goo is just old pieces of sprue dissolved in Tamiya Extra Thin. I makes a great filler for seamlines as it bonds to the base material and sands nicely because it is styrene. The downside is that if it is applied thickly (like I did here) it takes a few days to fully cure and can shrink a bit. I will report back and show how it progresses.
@Joel_W - I’m leaning towards the black primer base as well, looking at reference images of the Silver Birch DB5 cars there doesn’t seem to be much of a green undertone at all.
Cheers, D
D,
I guess that Great Minds still think a like
joel
Ah. I thought there was some new product I was unaware of. I’ve made that before with plain old
Testors liquid cement, I also like to make it in place. I lay a piece of stretched sprue in the gap and keep touching the cement to it while pressing it down with the flat of a no. 11 blade. After a bit it fills the gap so well there’s often very little sanding needed.
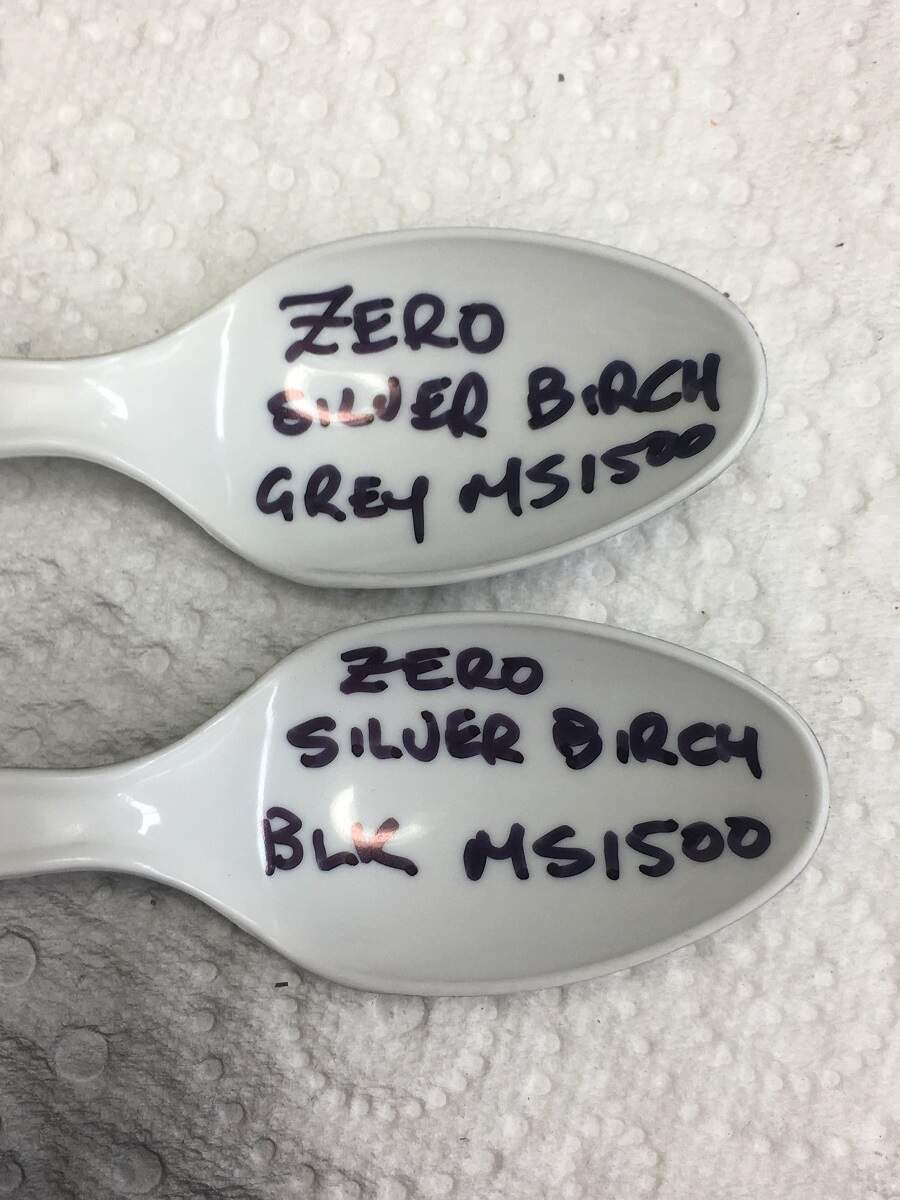
D, any reason for the MS1500 vs. gloss black like Alclad II gloss black base? 
Mark, i tried out the Alclad Gloss Black Base a few years back and found that it never really cured fully. Even after a week it was still quite soft and handling left fingerprints. I’m not sure if I had a bad batch bottle, but I wasn’t willing to risk it again and binned it.
I’ve never had any sort of problems with the MS1500 (that weren’t caused by me I mean), so it has become my #1 go-to primer. I have Black, Grey and White on the bench pre-thinned with about 60% MLT ready to go at all times.
Cheers, D
D,
Same here. I’ve had that very issue the Alcad Aqua primer. How some guys get it to work is beyond me.
joel
I guarantee when it comes to spraying paint, I’m a complete Muggle. Shot both straight out of the bottle, and didn’t notice any issues…
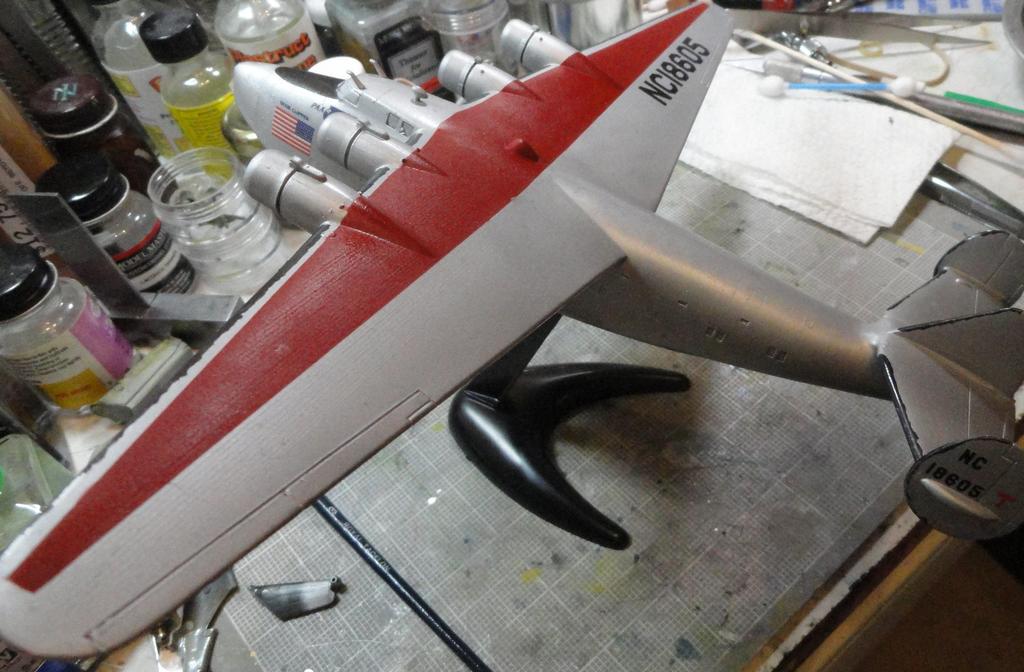
Brilliantly I don’t have any shots of primered planes that I can share. I think I’ve done 2 with the Alclad Gloss Black base. Emhar F-94C.

At right around 70 parts total this sounds like a fairly easy kit to work with. Those mold lines on the body are typical of older molds and it looks like you whipped them into shape very well. Great progress so far on this car Damian.
Thanks Joseph.
I’ve been completely snowed under with work after starting a new role and haven’t had much bench time for months, but hopefully will have a small progress report soon.
Cheers, D
D,
Great to see you back on the site even if it’s only for a short visit. Glad to hear that the new position is going well.
Looking forward to your next update.
joel
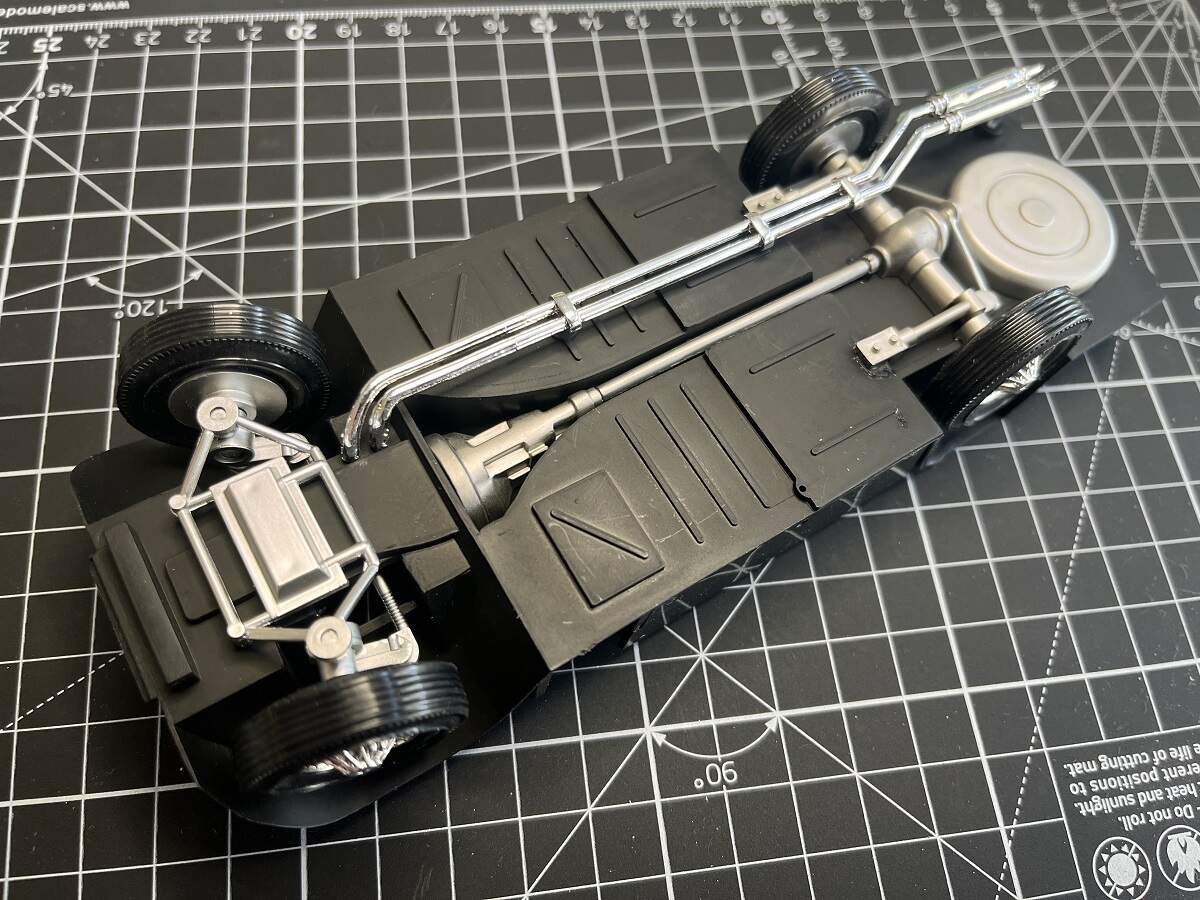
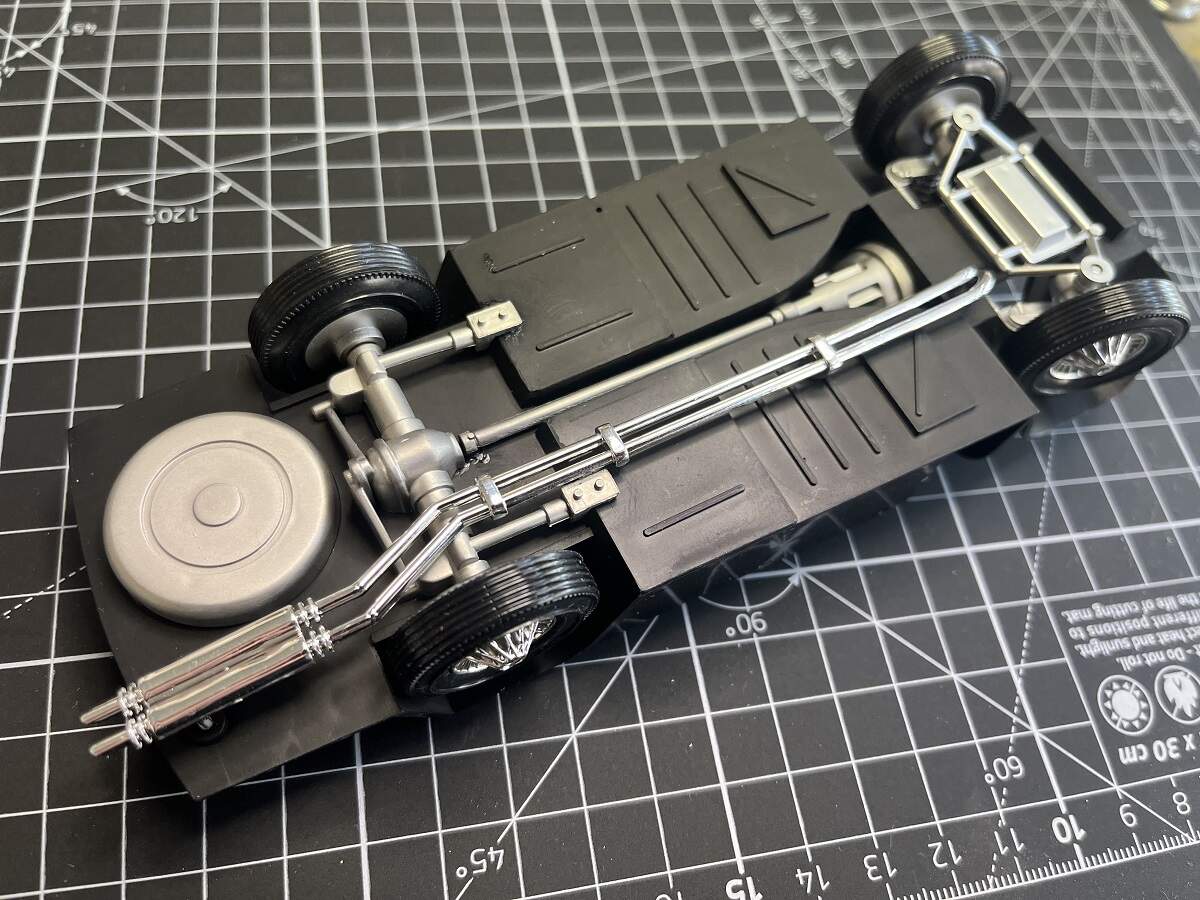
Ok, I have finally managed to get a few hours at the bench to make some progress on this one.
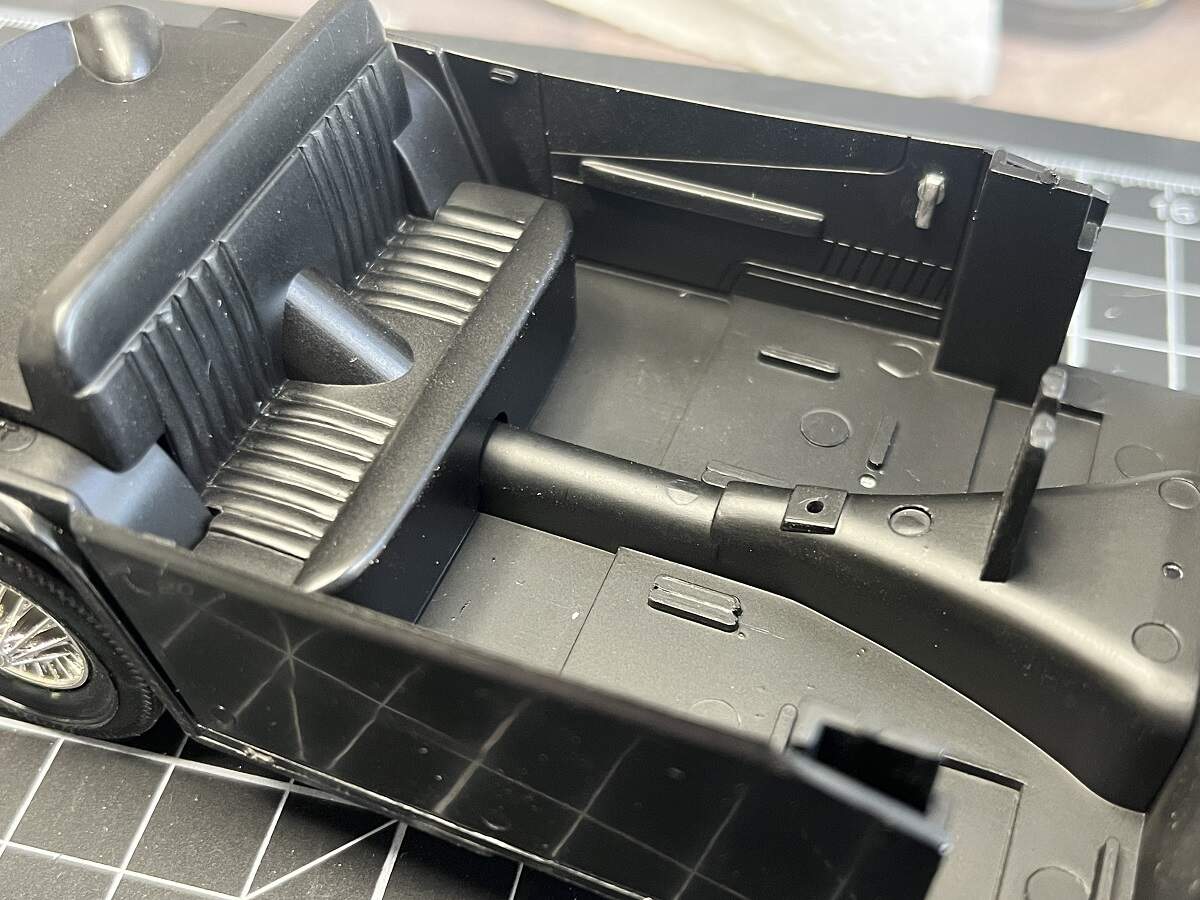
The front seats have been cleaned up and painted.
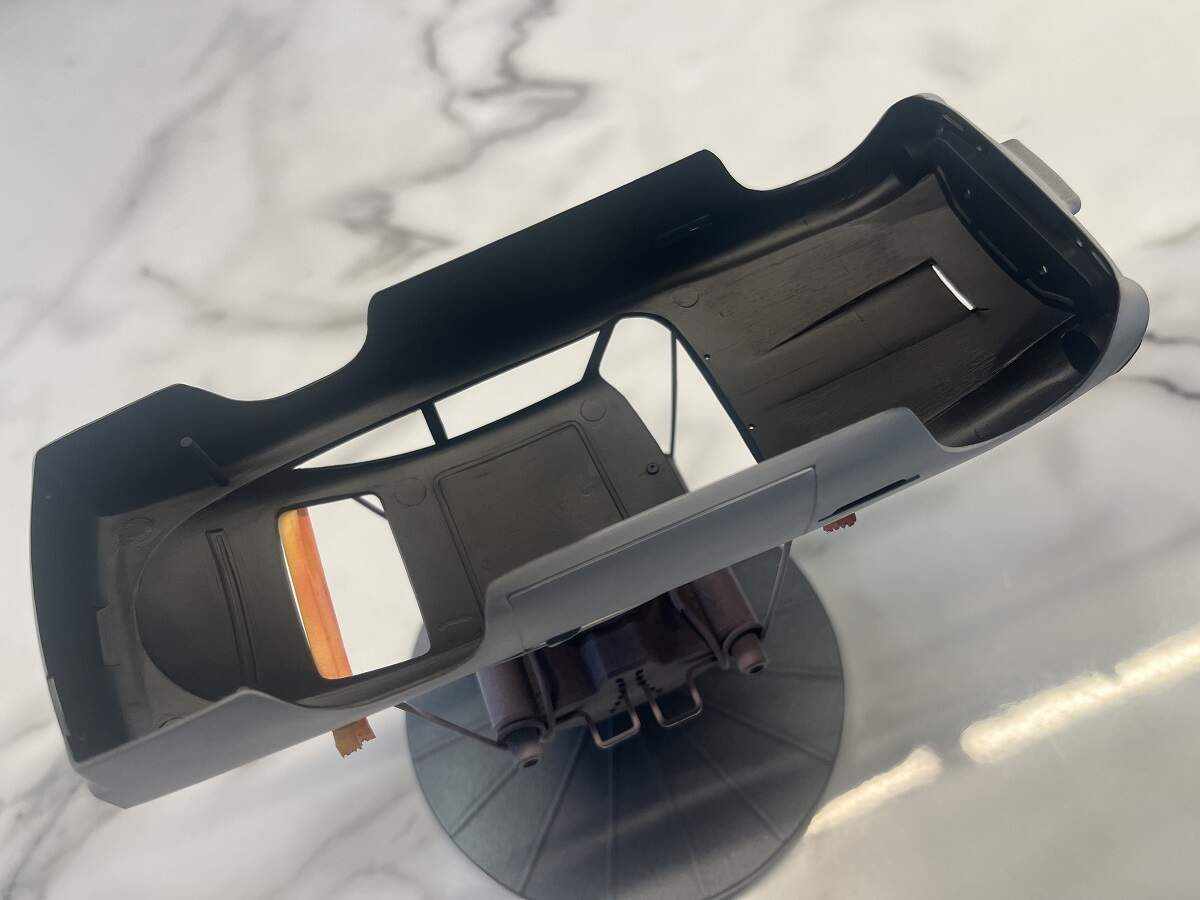
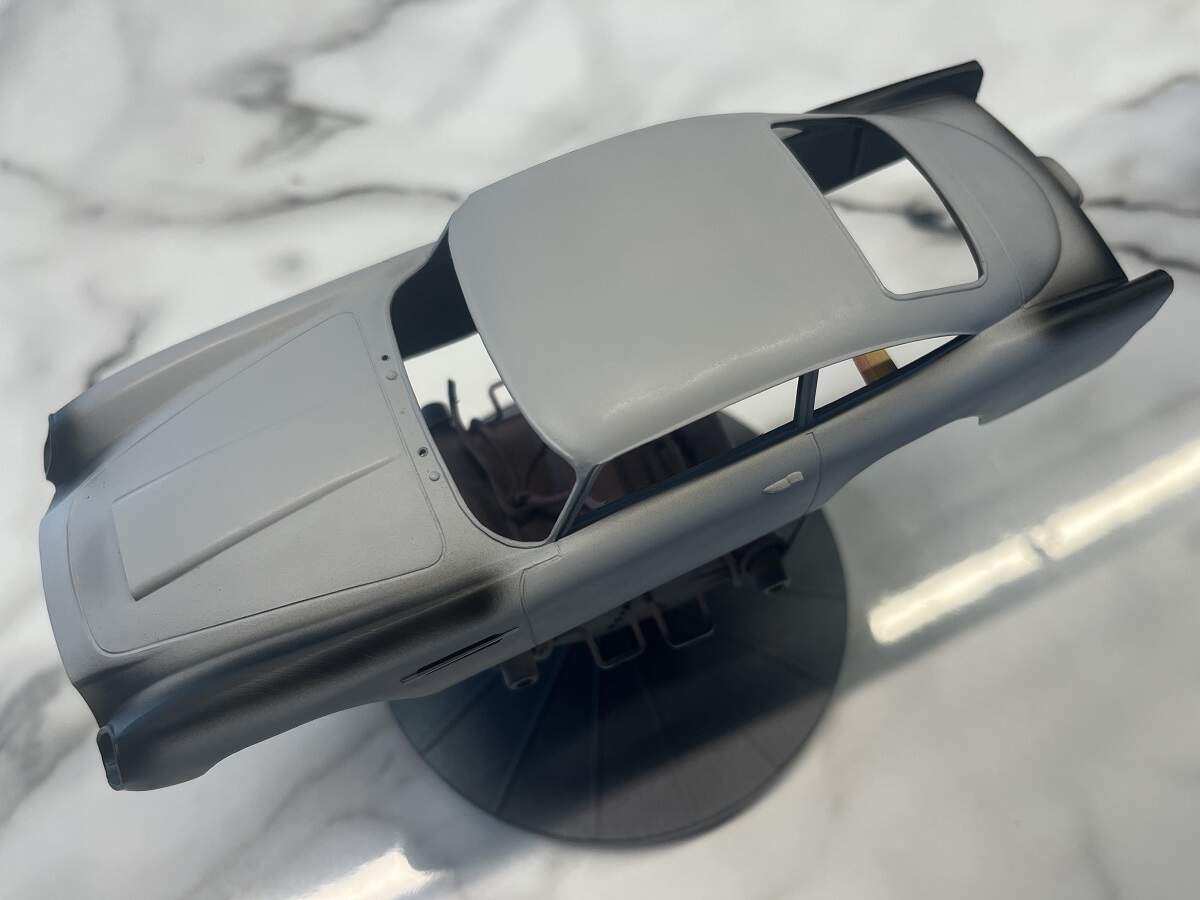
The body prep work continues.
The floor pan is as black as it’s going to get.
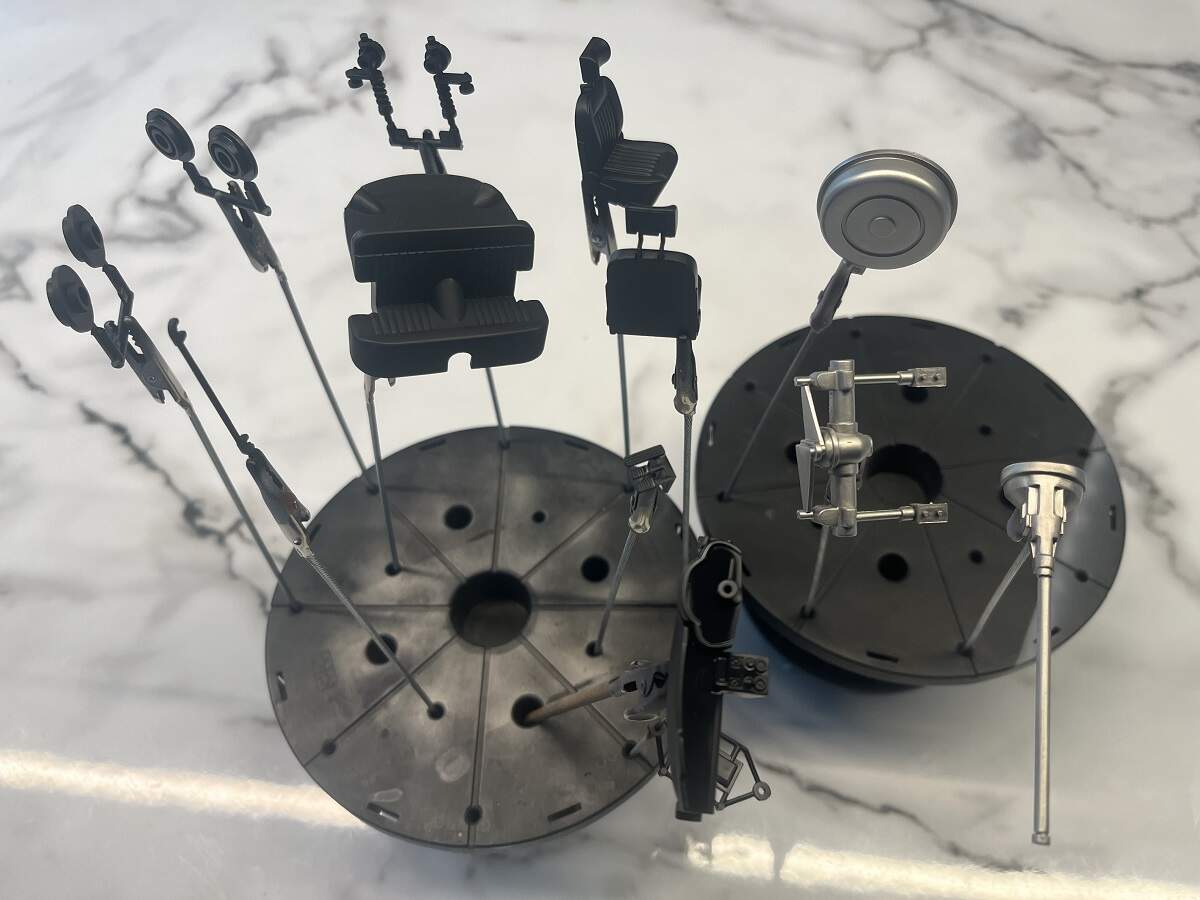
Lots of little fiddly bits are prepped, primed and painted.
The interior tub is painted and detailing started.
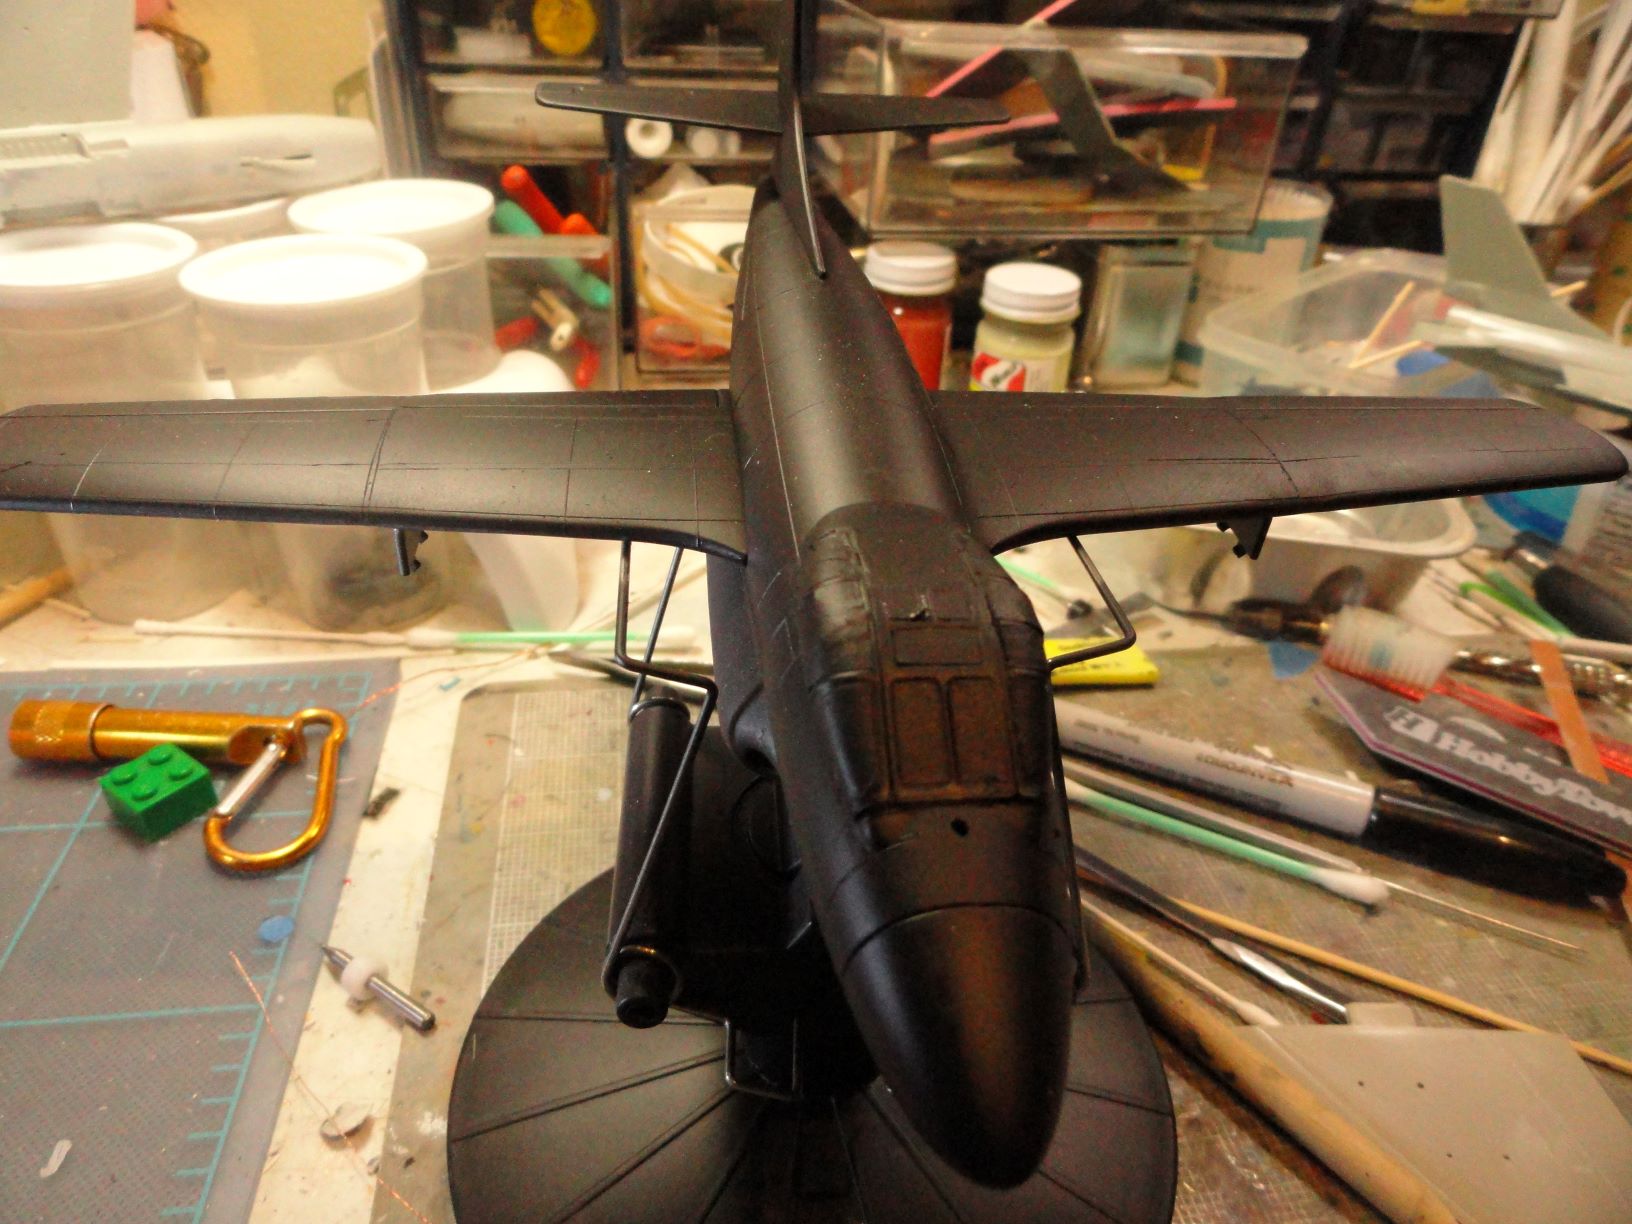
And a major step forward, the rolling chassis assembled! The chrome plating on the twin pipes is not great, but apart from these updates it probably won’t ever be seen, and if I scraped off the mould lines and flash along the sides of them I would need to strip and repaint, so that’s how they stay! I took some liberties here because most of these parts are called out to be black.
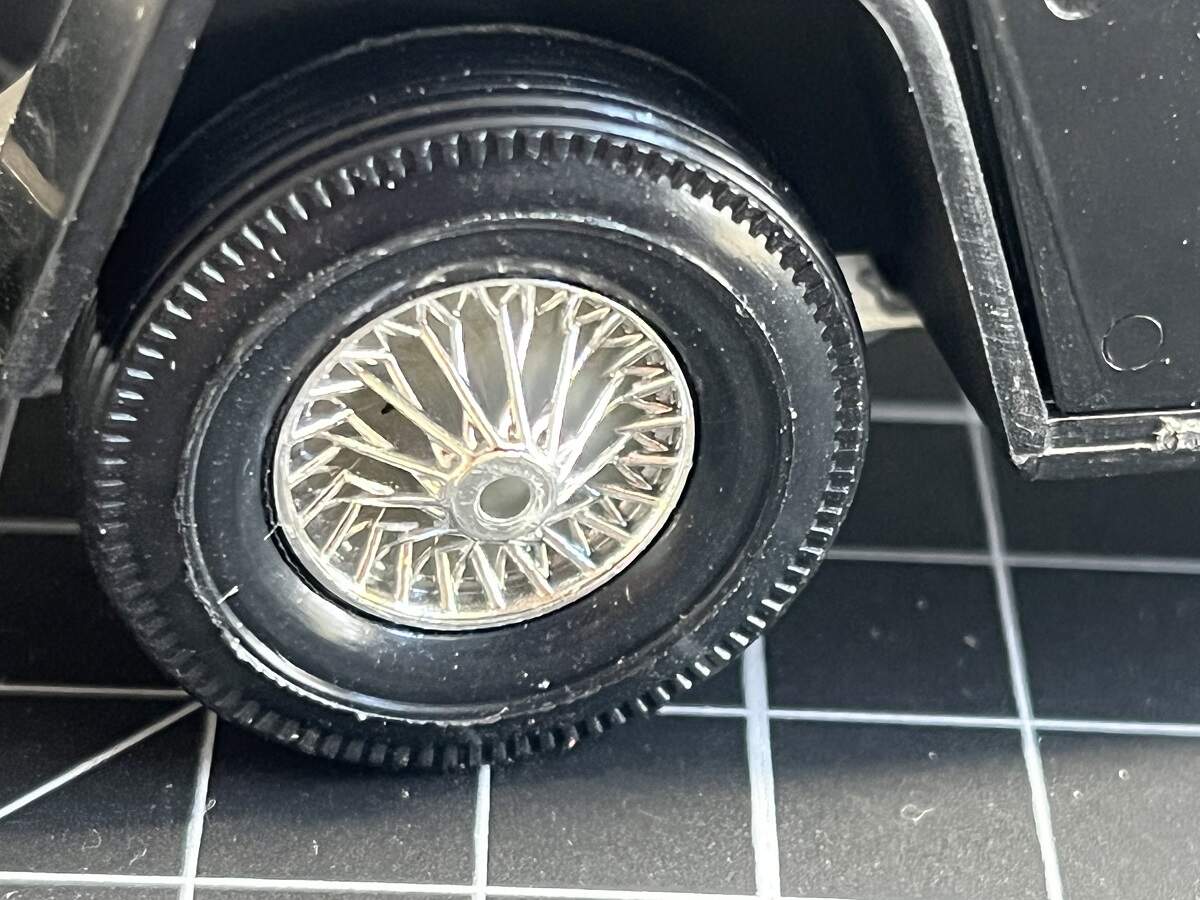
The chrome spoked wheels are nice, but the back plate and spokes are all one piece so I need to carefully flood the rear of the wheel with black wash to darken it up and highlight the chrome.
Hopefully more to report soon!
Cheers, D
Glad you can squeeze a little bench time in mate !
Nice. You’re making more progress than I am.
D,
Great to see ya back on the board. It’s just not the same place without our leader being here on a daily basis.
Talk about making great progress. Like Mark, you've got more done them I've managed to do in more then a month's time.
The seats really look good. As for the chassis, the undersides look just fine, especially as you said that no one will ever see it once the model is finished.
joel
Echo all those comments. Good to see you and the DB5 reacquainted and making good progress. As joel says, the seats look great.
cheers
Michael