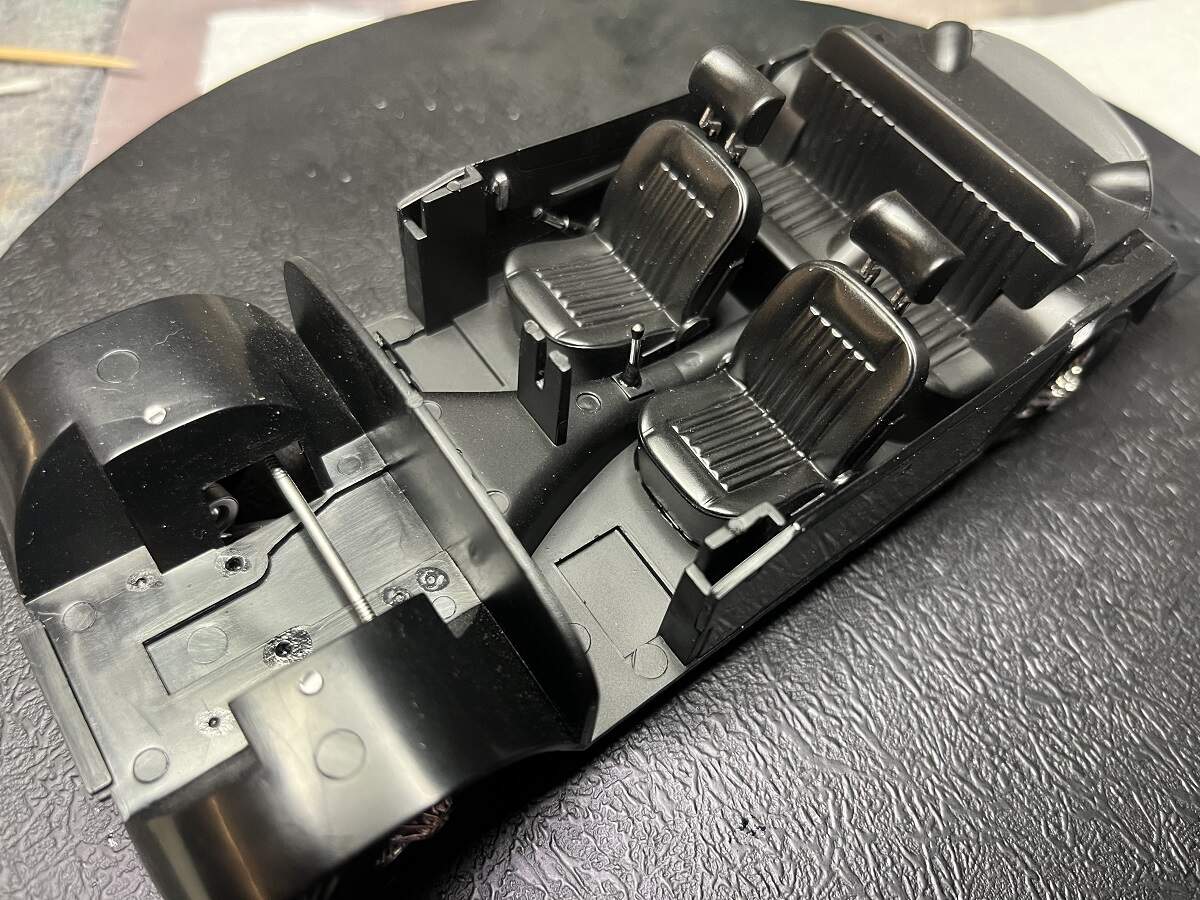
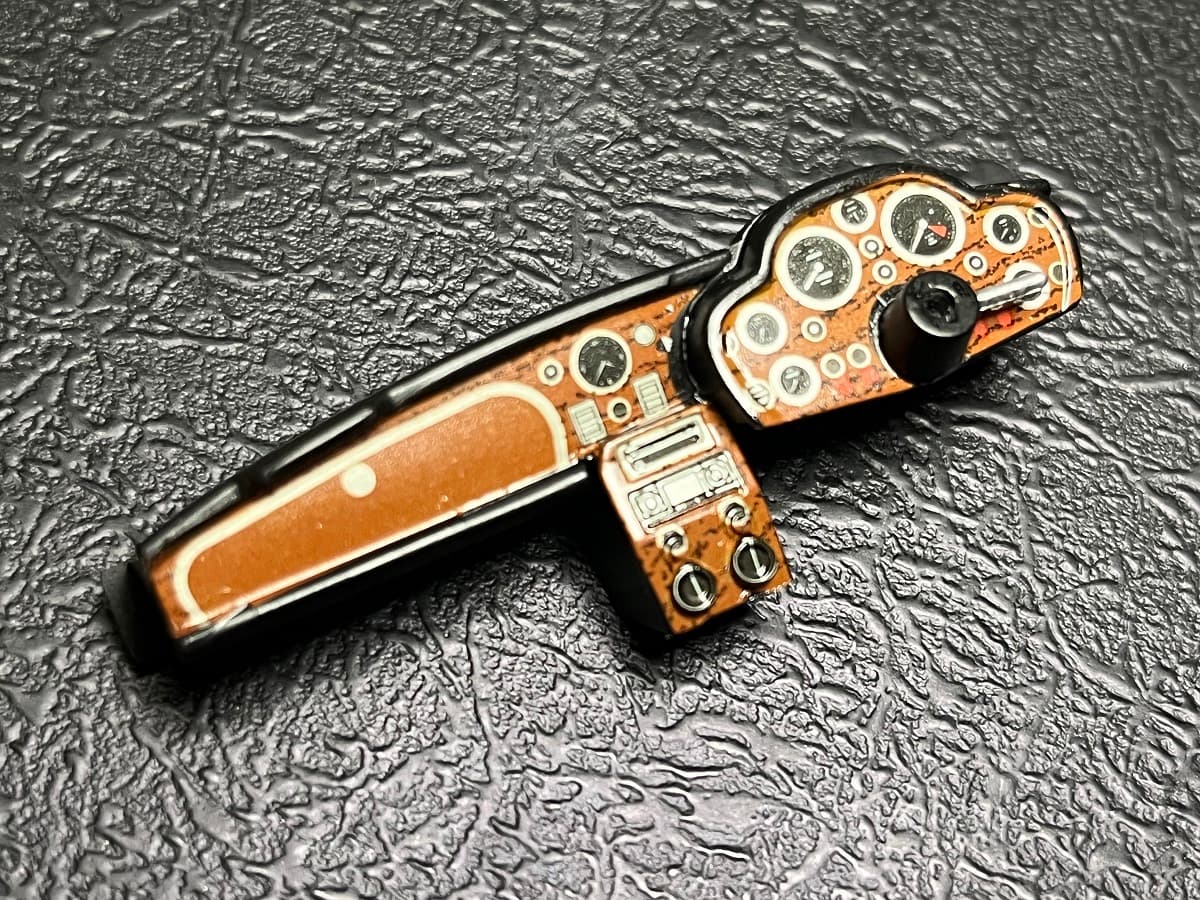
I decided to use the woodgrain decals on the dashboard, even though I cannot seem to find a single reference shot showing that this ever happened. Two reasons. Firstly, I don’t have a circle punch set to be able to separate out the individual gauges. Secondly, this will break up the completely black interior. I will give it a second shot of softener tomorrow, but they seem to have settled ok so far and the woodgrain looks good.
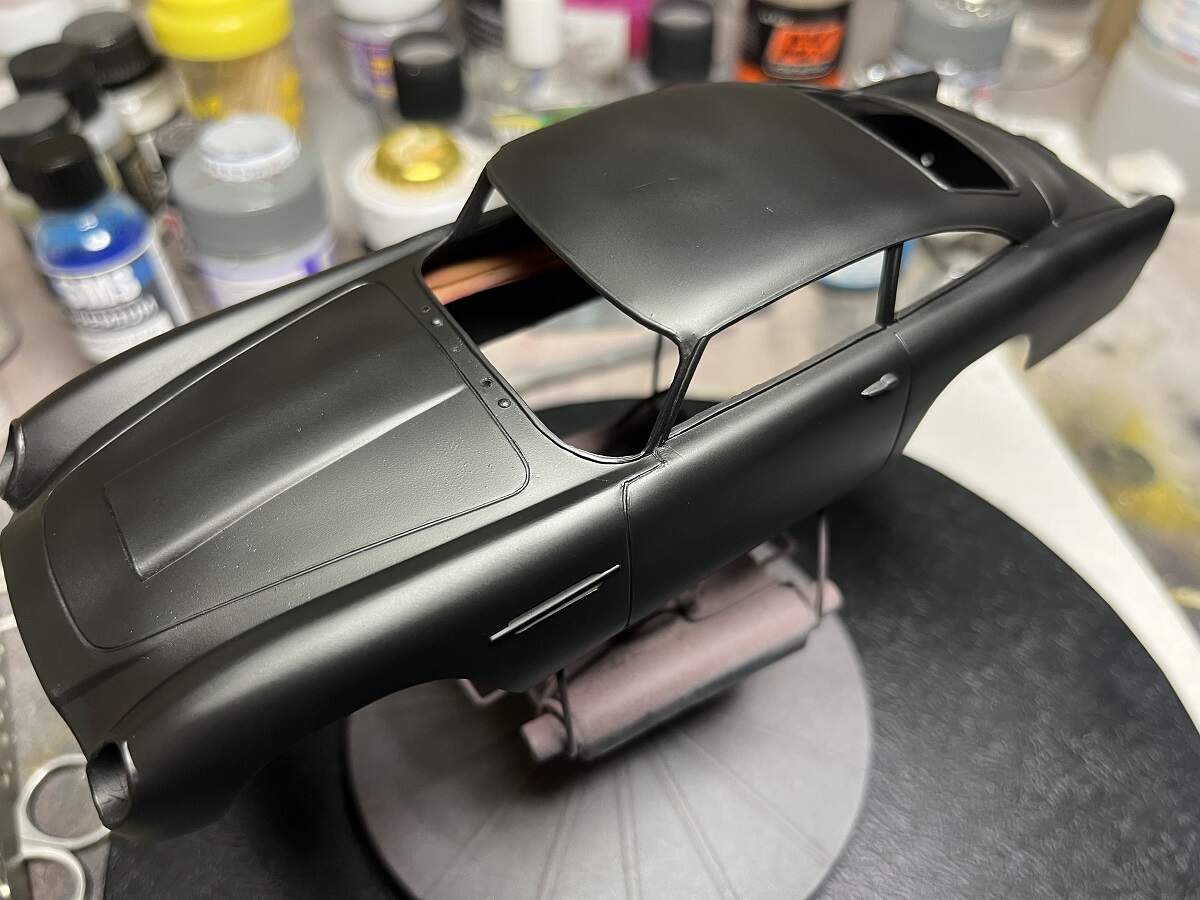
Finally, after some wet sanding I gave the body a good shot of MS1500 Black primer so that I can identify and do a final tidy up of any fine scratches before the colour coats begin.
D,
I was curious myself as to whether or not the DB 5 ever had a optional wood grain dash, and not one picture anywhere including the restoration of Bond’s car had one. But like you said, it does add a little color to an otherwise solid black interior.
joel
I’m happy with the primer finish now, the body has been worked over several times and given a final light mist coat of primer to blend all of the sanded areas.
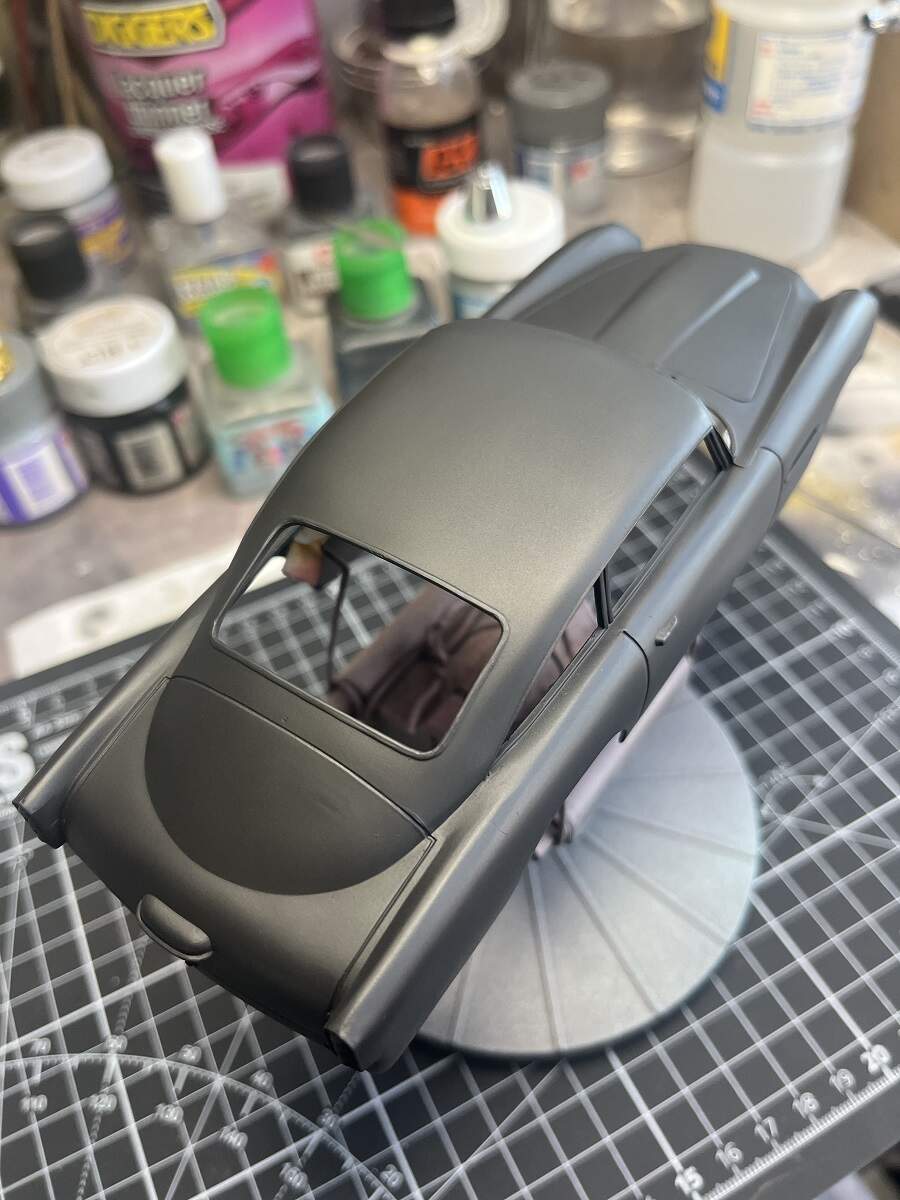
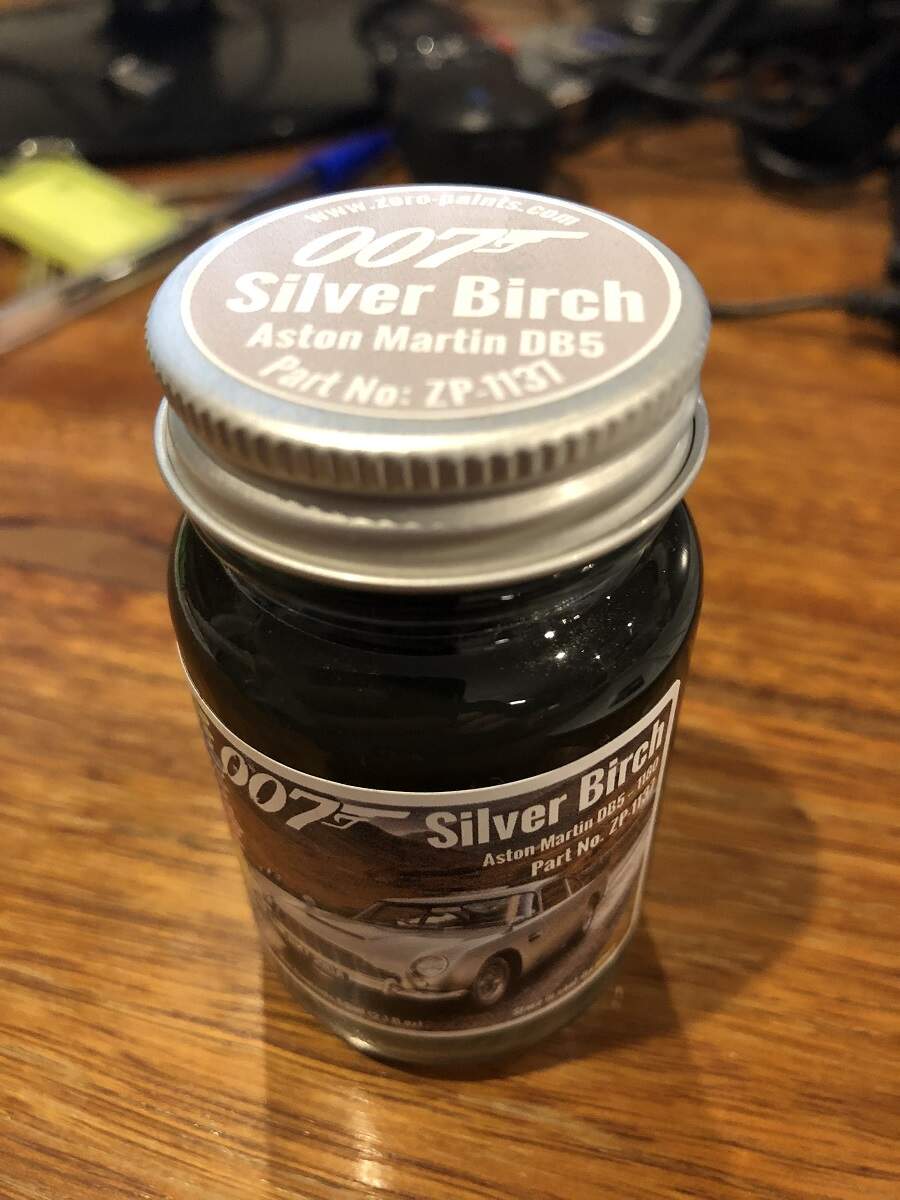
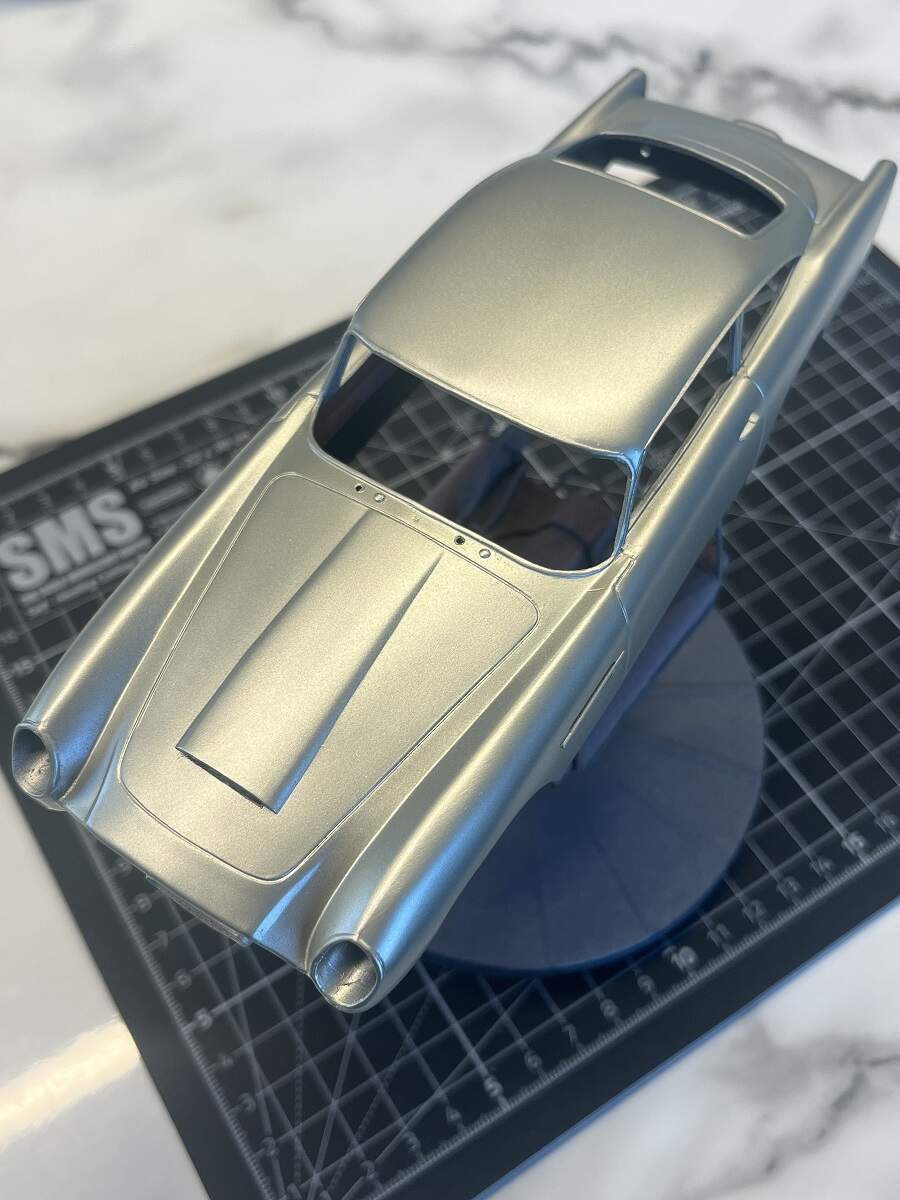
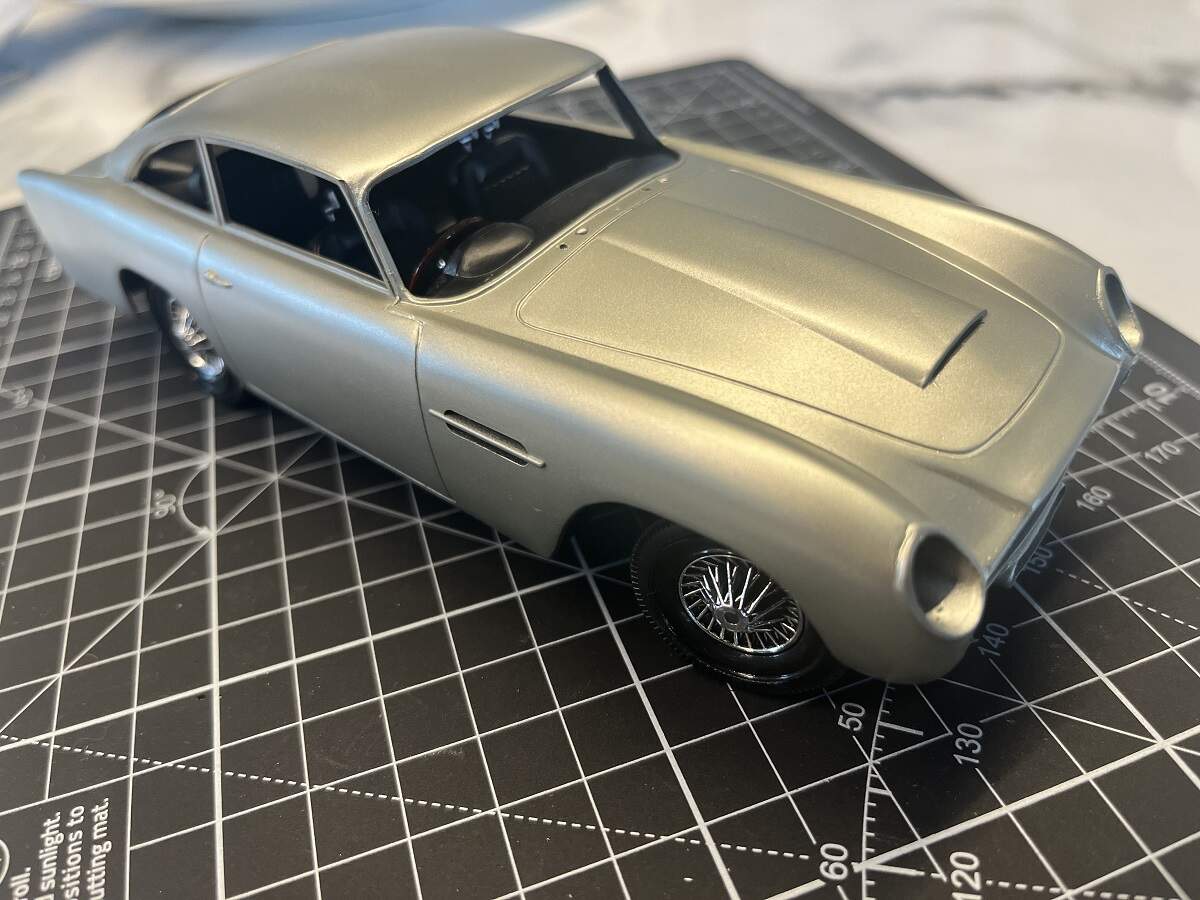
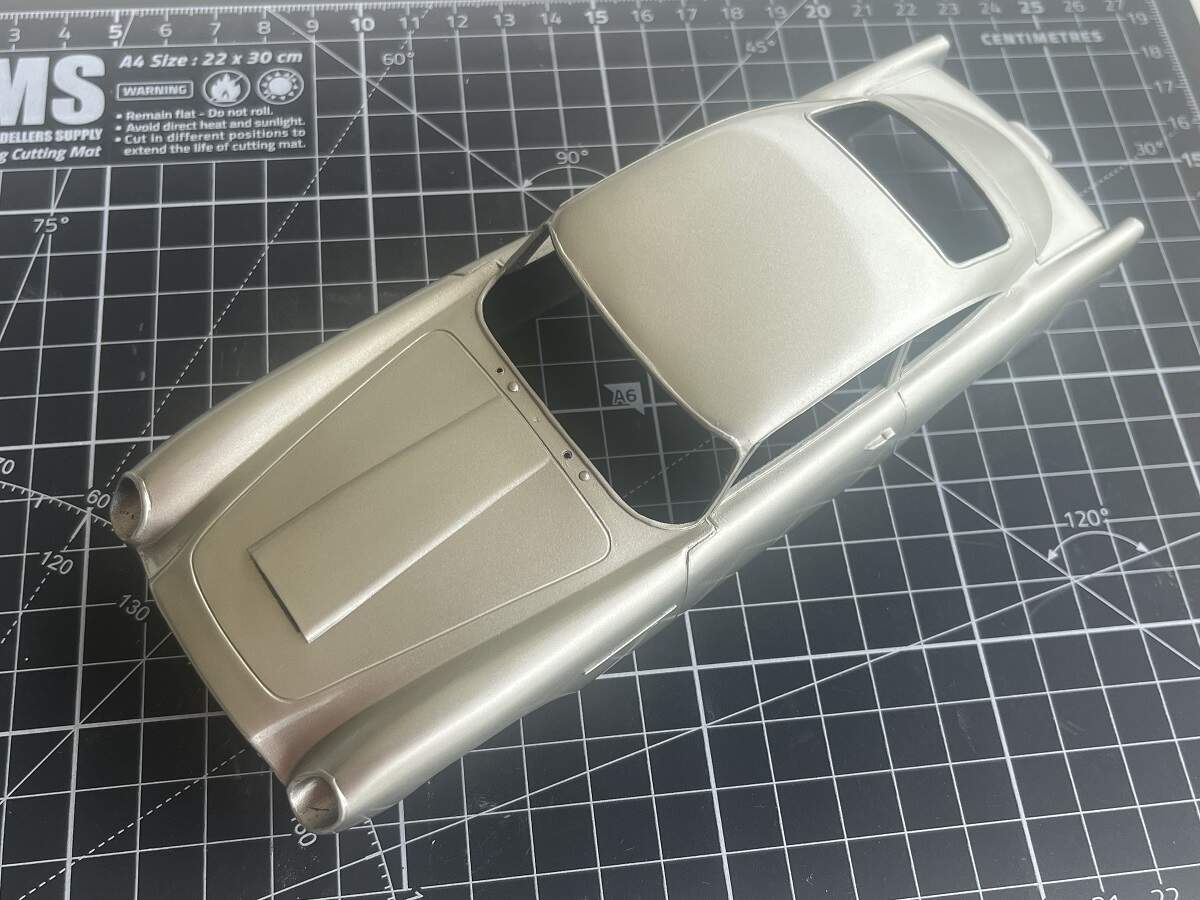
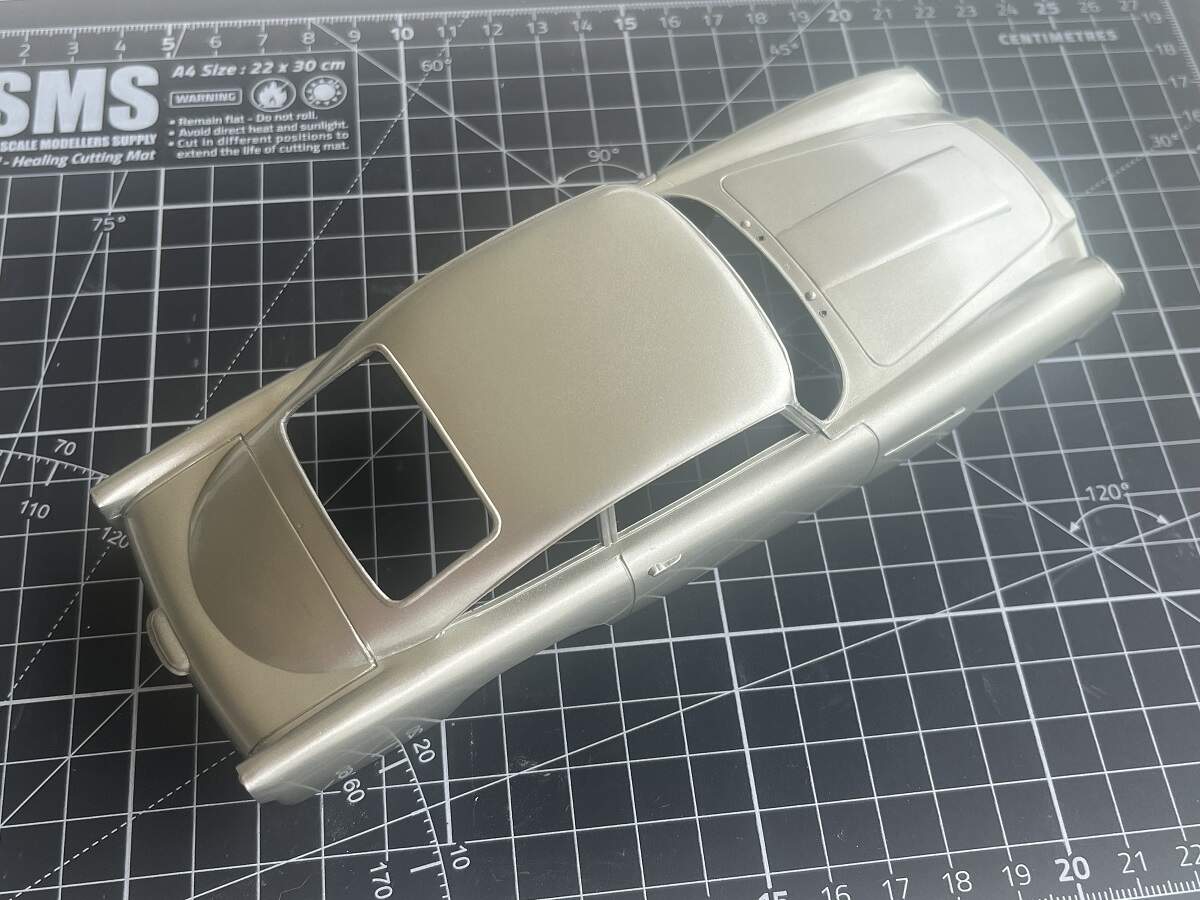
First shots of colour coat applied. The Zero Paints are super-hot and will eat through the primer coat and craze the plastic if applied wet. This is 3 coats applied as a heavy mist with no waiting time, I just kept rotating the body and slowly applying to build up the opacity.
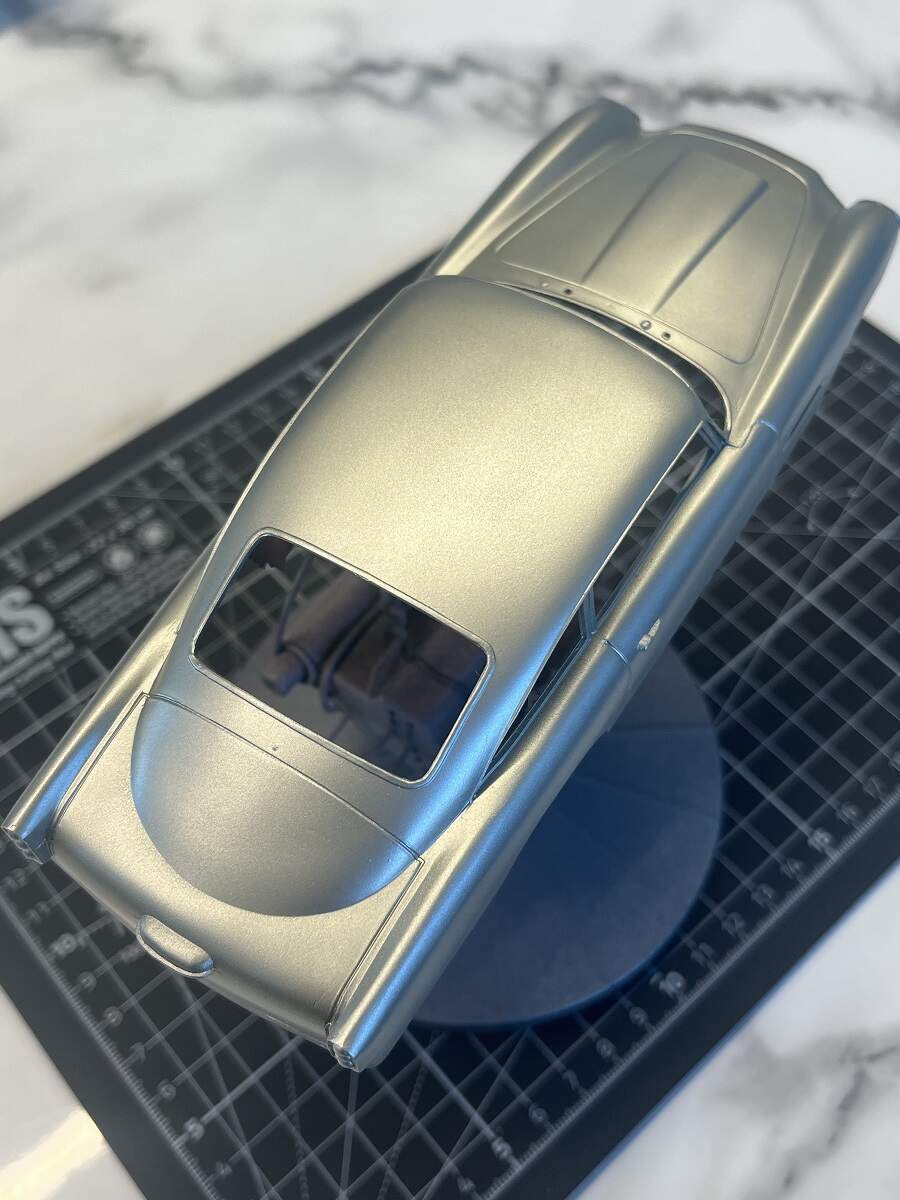
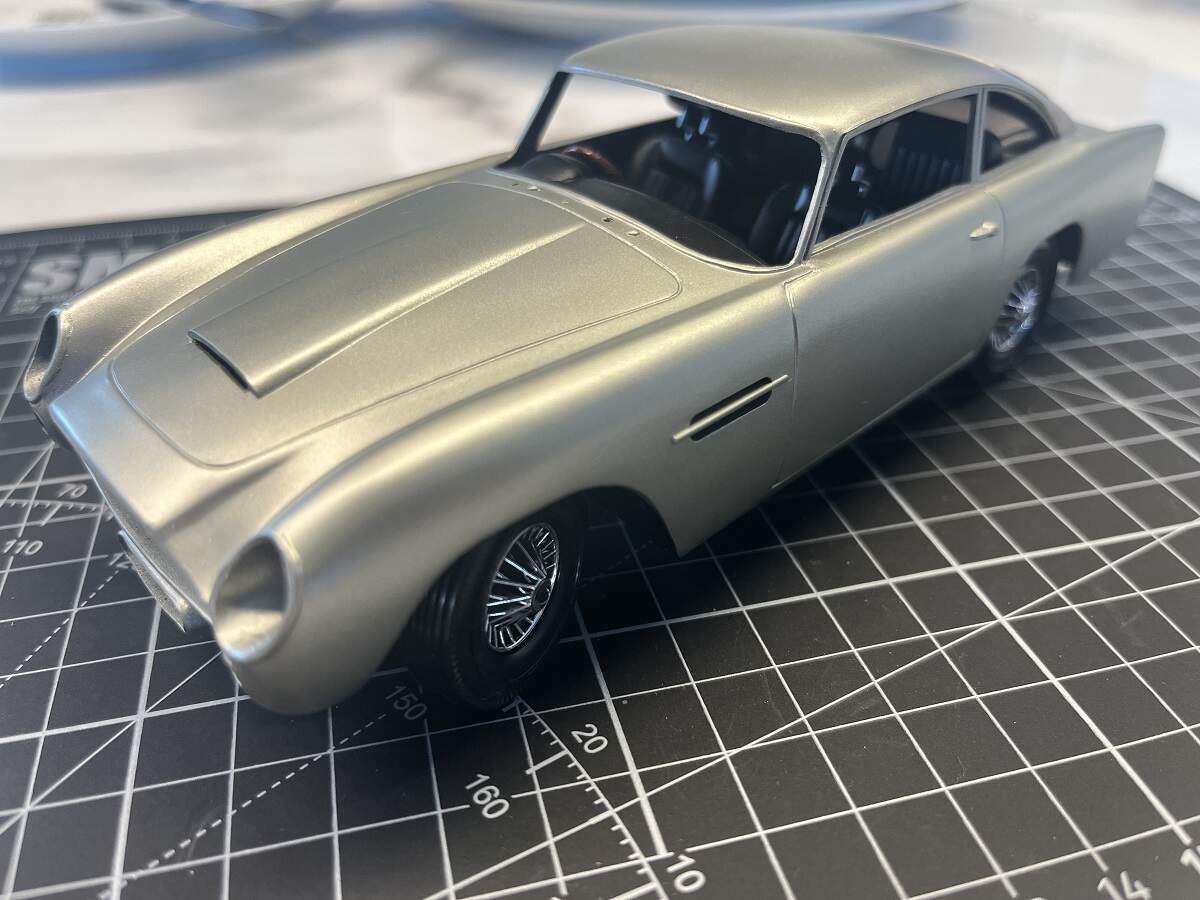
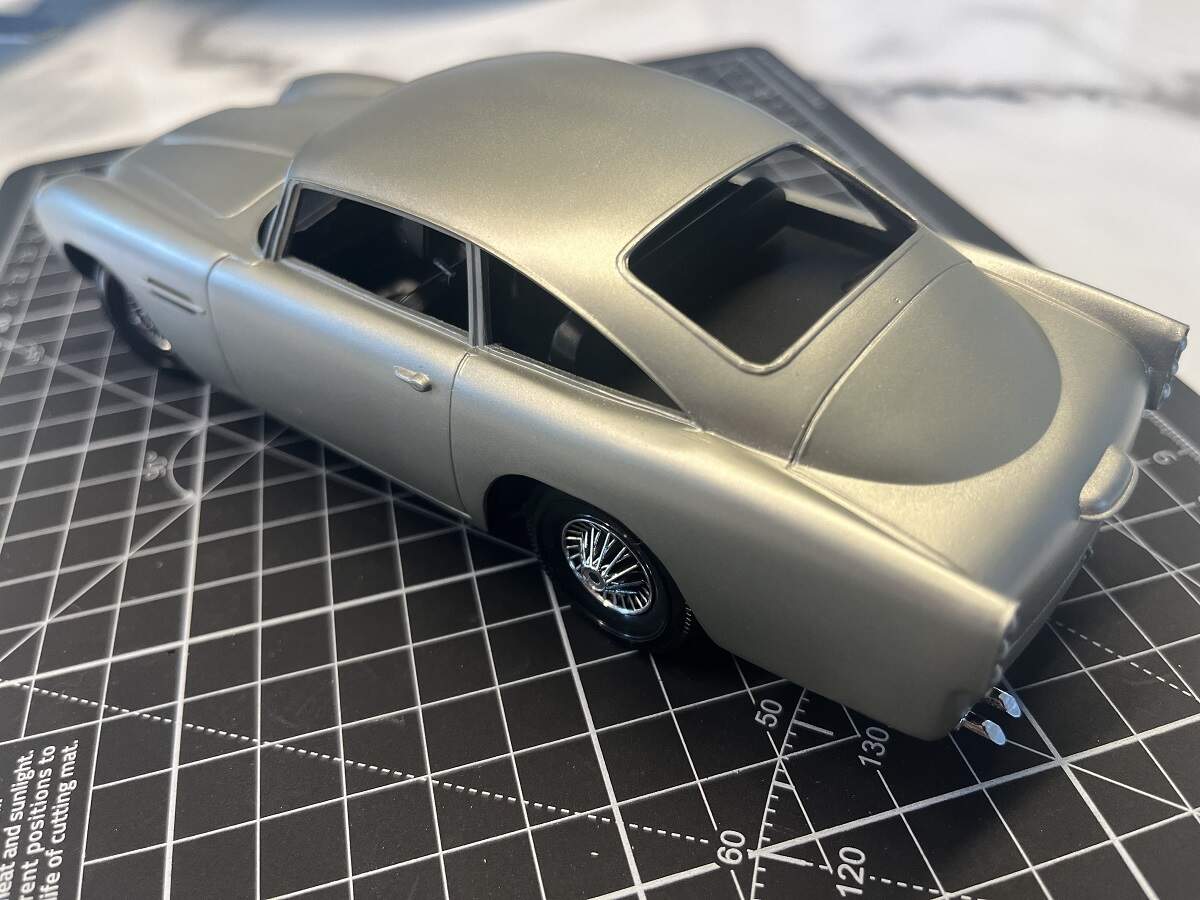
The roof dried a little bit rough or dusty, so it got a good polish with a soft cloth to cut that back a bit, then it was time for a cheeky test fit to the completed rolling chassis
No fit issues to report, which is great. Hopefully the fit will be as neat once I install the glass.
I will give the whole body a buff with the cloth then probably apply another couple of colour coats and see how it looks.
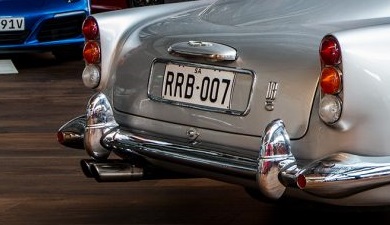
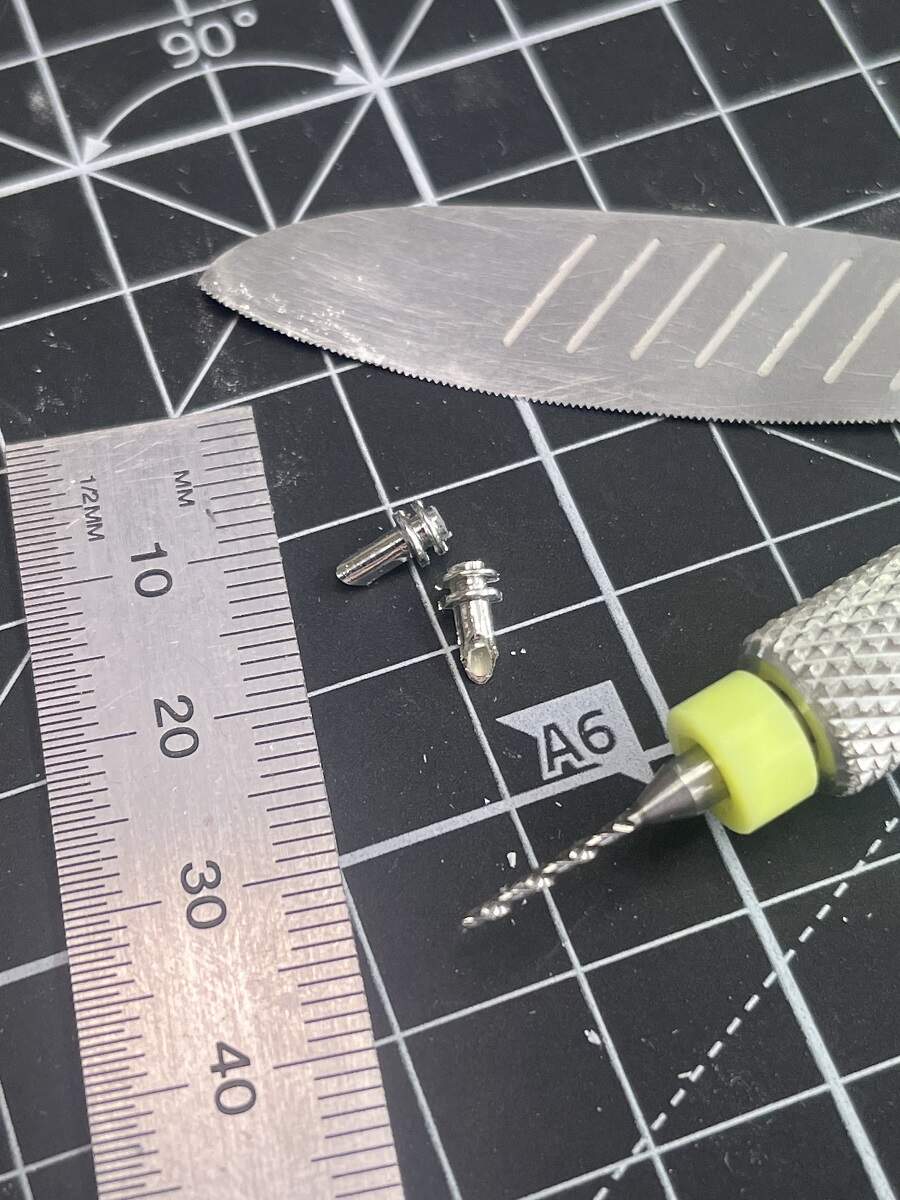
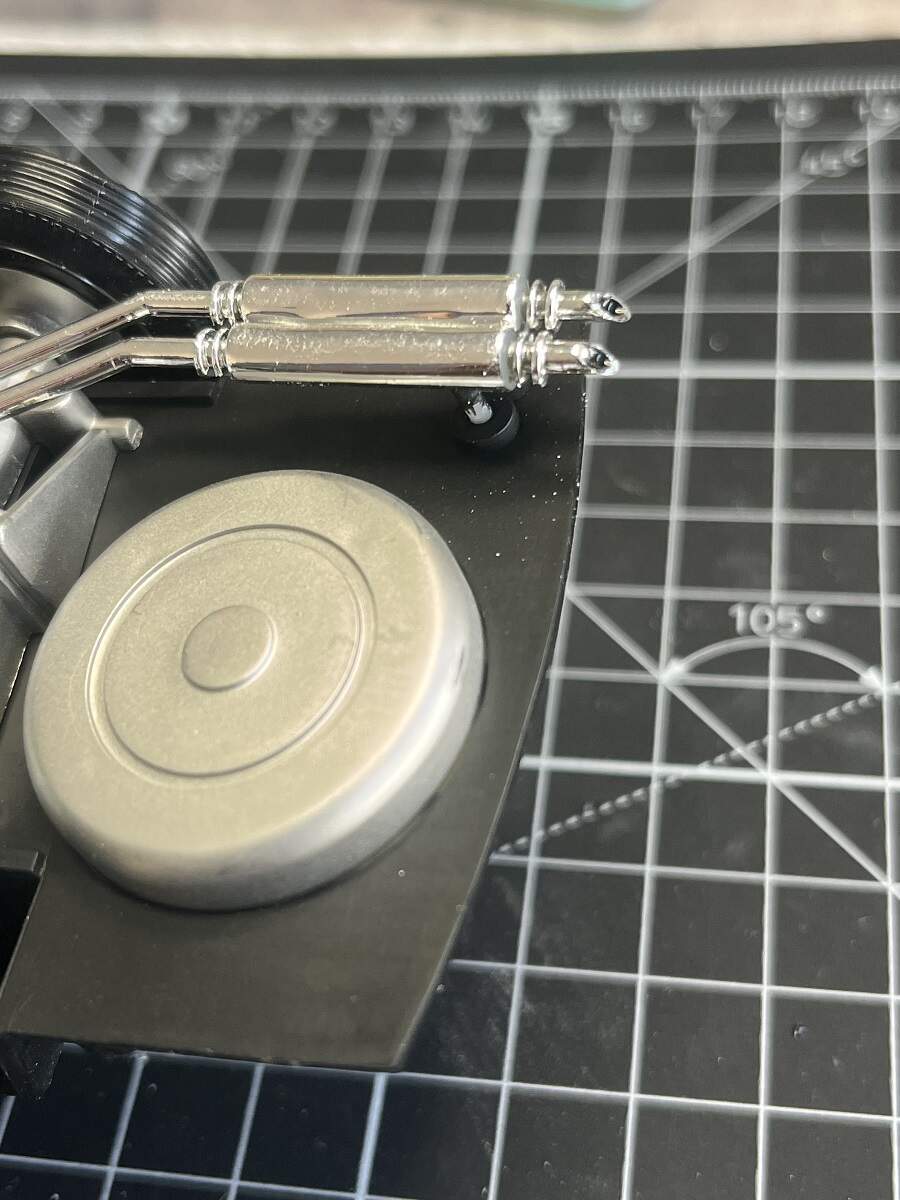
P.S. somebody please remind me to drill out and blacken those exhaust tips
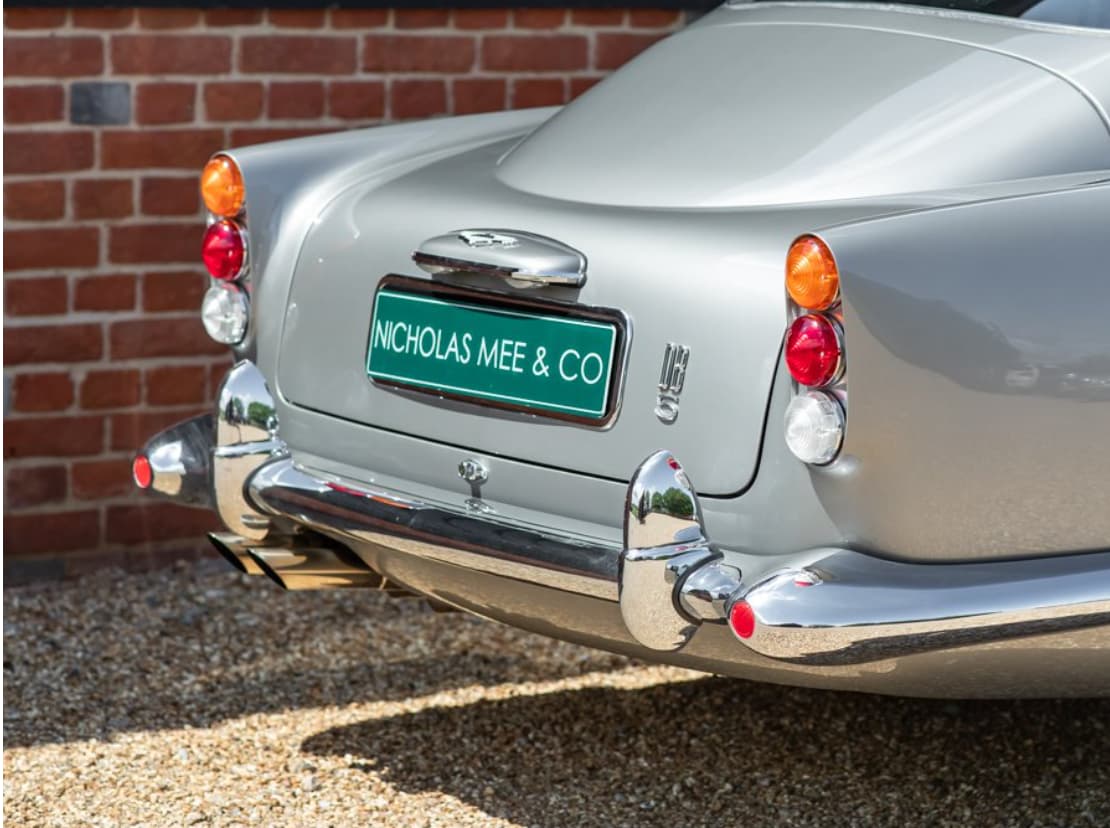
EDIT: - Speaking of exhaust tips, this looks like a design error by Doyusha, the taper on the tips is upside down
I will have a look at whether I can razor saw them off and refit them the correct way.
D,
Nice job applying the color coat. All the lacquer paint companies are basically the same, so all their paints are pretty hot, hence, the the need for a primer. Light, even coats are the best way to apply these paints. Your color coat is super even with no major issues visible, so a light rub and wipe, and you’re ready for the gloss clearcoat.
As for the exhaust tips, nicely spotted that they’re inverted. That’s a pretty basic mistake that they made. Hard to believe that no one caught it before the molds were cut.
Nice as expected D . Good catch on the exhaust tips - any one of us would have been troubled by that .
Real glad to see you back at it again - the King of Concurrent Multiple Builds. LOL
Cheers - RT
thanks Richard! More like the King of “now where the hell did I put that part?” with the sprues scattered around the place!
To be honest, I’m trying to get these 3 finished in short order (DB5, 2-Mad and 51 Ragtop) then I really want to dig into one of my 1/12 Chevy kits. Oh, and of course the big 300SL. I blame you, and Michael, and Ken
Thanks Joel, I’m very happy with the paint work on this one! There are some small scratches that I missed at primer stage that are amplified by the metallic coat, but some clever photography will hide them from view
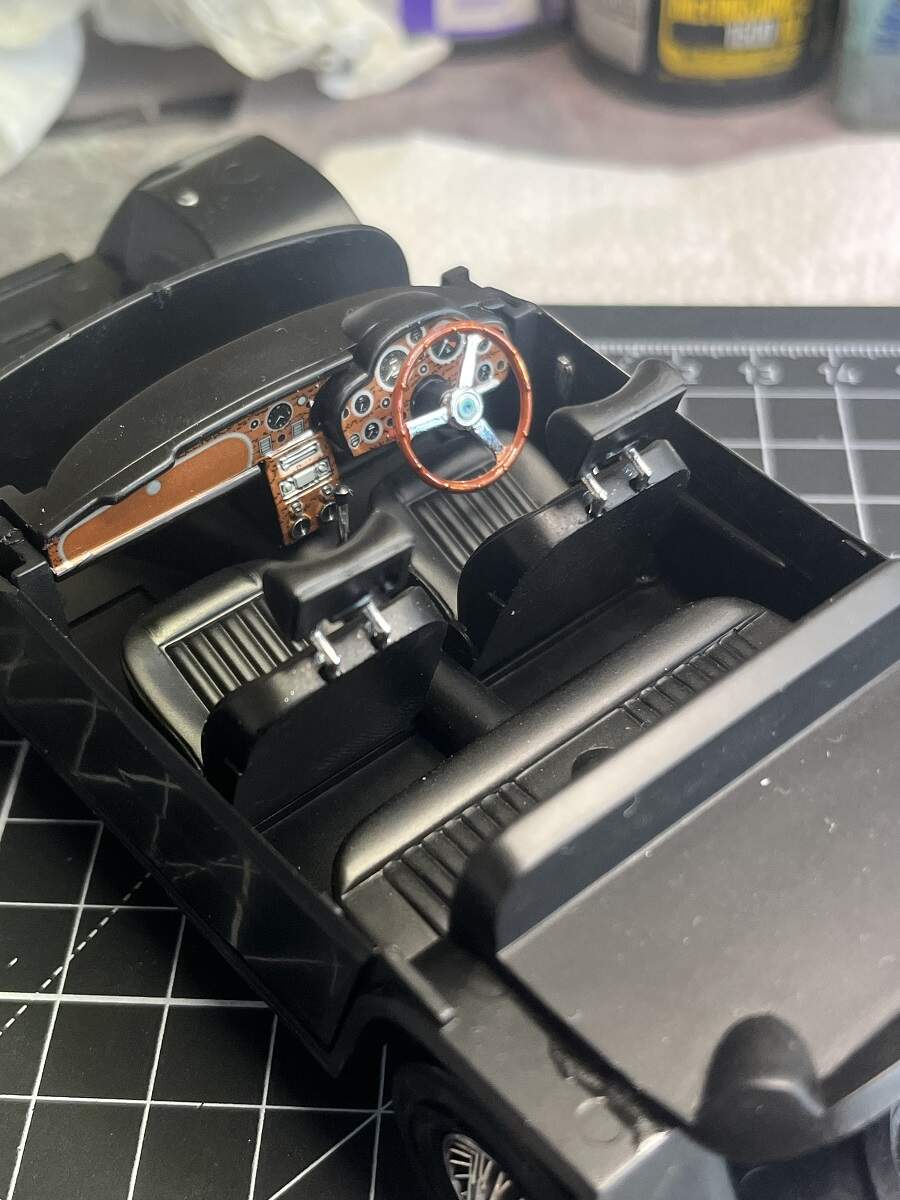
I pushed through with this build last night and today. Hand painted the chrome trim on the body with Vallejo Metal Color Chrome, then installed the clear part and the mirror inside the body. Fitting the body to the rolling chassis was a chore, the dashboard seems to be sitting slightly high and interfering with the fit (user error here, not thorough enough with the test-fitting). I did some trimming and managed a half decent fit, still not perfect though.
Next up it was on to adding the lights and chrome trimming. The fit of the headlight covers is atrocious, I had to trim and sand and carve all sorts of areas to get them even close, and eventually got them to sit in place. Even then I had to fill some gaps and build up some areas with white glue.
After that was painting the tail lights, again Vallejo Metal Color Chrome as the base, then Tamiya Clear Red and Clear Orange. Once it was cured enough to handle again I gave the panel lines a shot of Tamiya Black PLW, and an hour or so later decals went on.
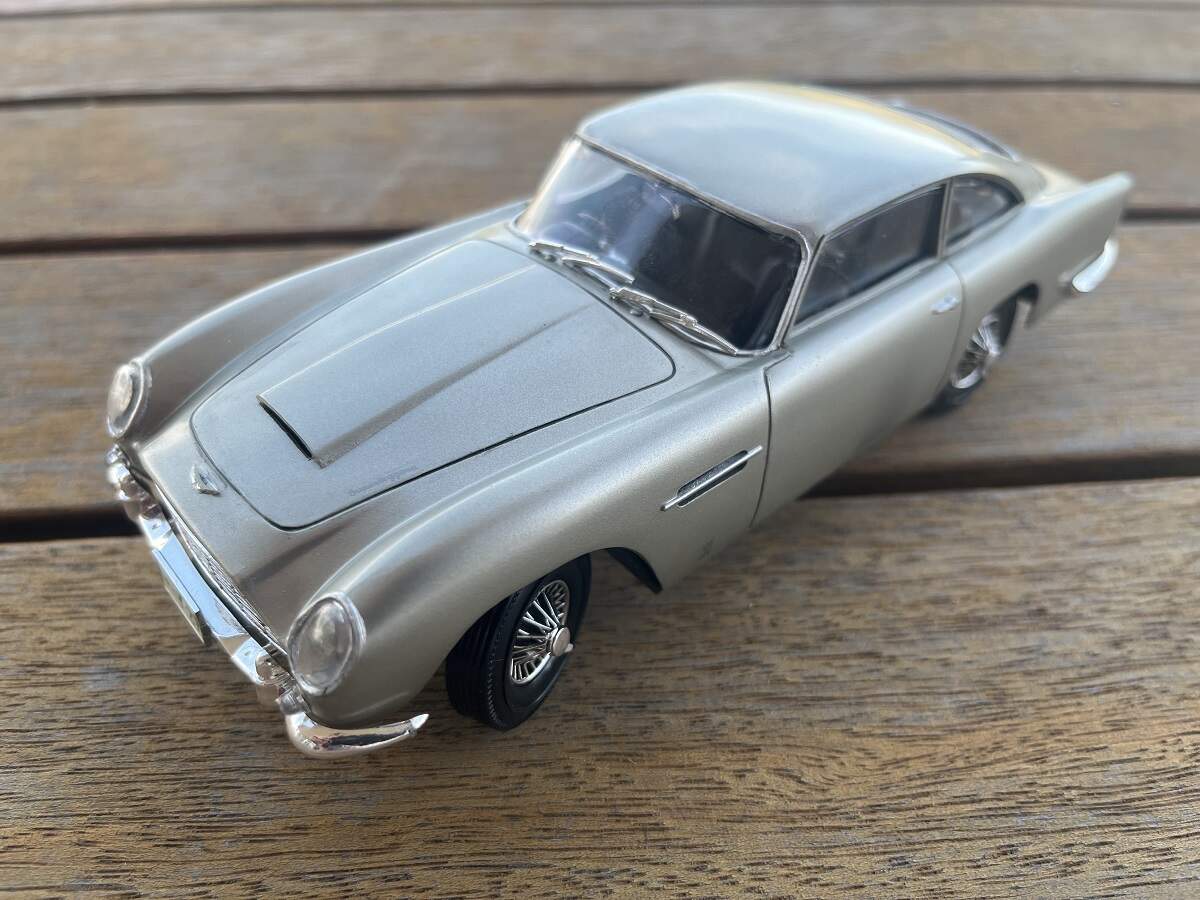
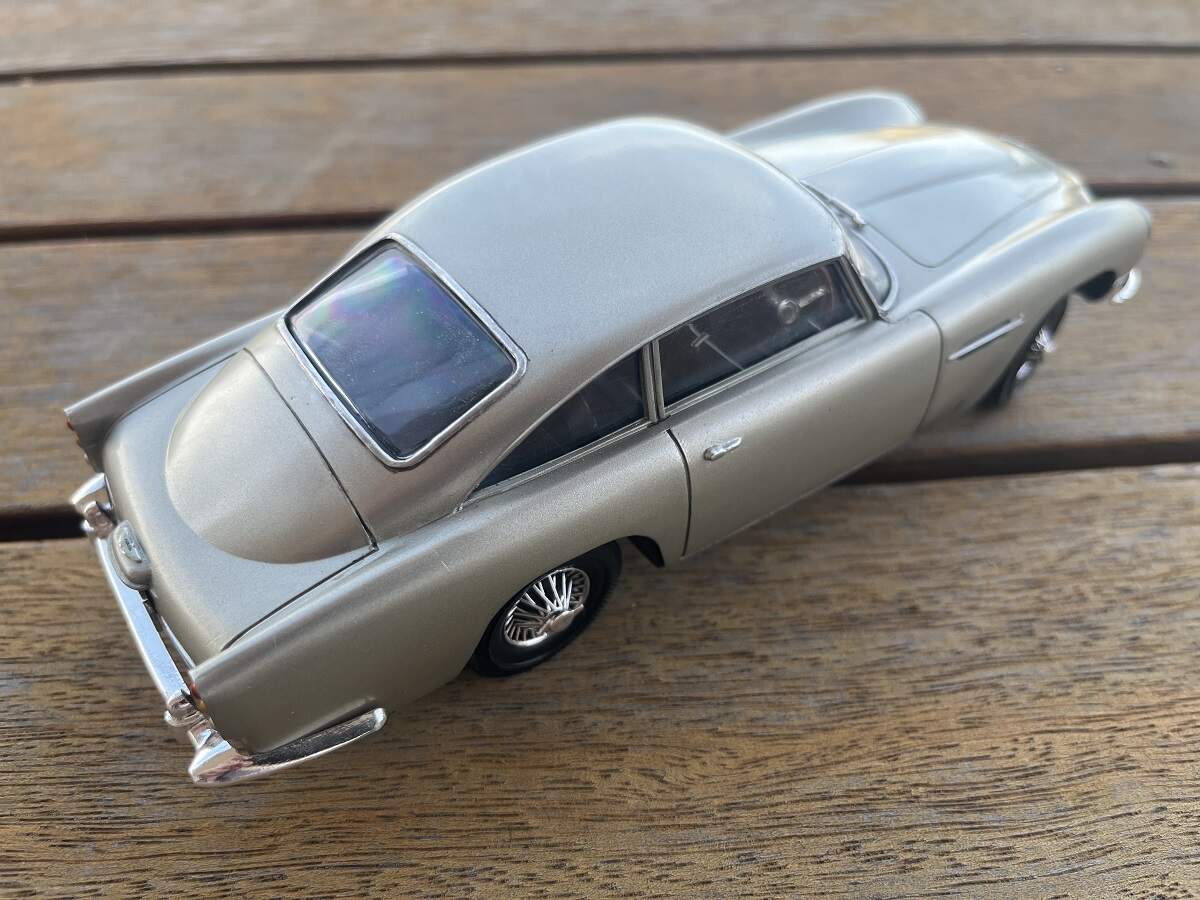
So, here we are, my first completion for 2022! Just a couple of quick iPhone snaps now, I will set up for some better shots in a day or two.
My first curbside kit, overall an OK kit to build, with a few areas that need attention and some errors to correct, I will detail them in my final post here.


 thanks Richard! More like the King of “now where the hell did I put that part?” with the sprues scattered around the place!