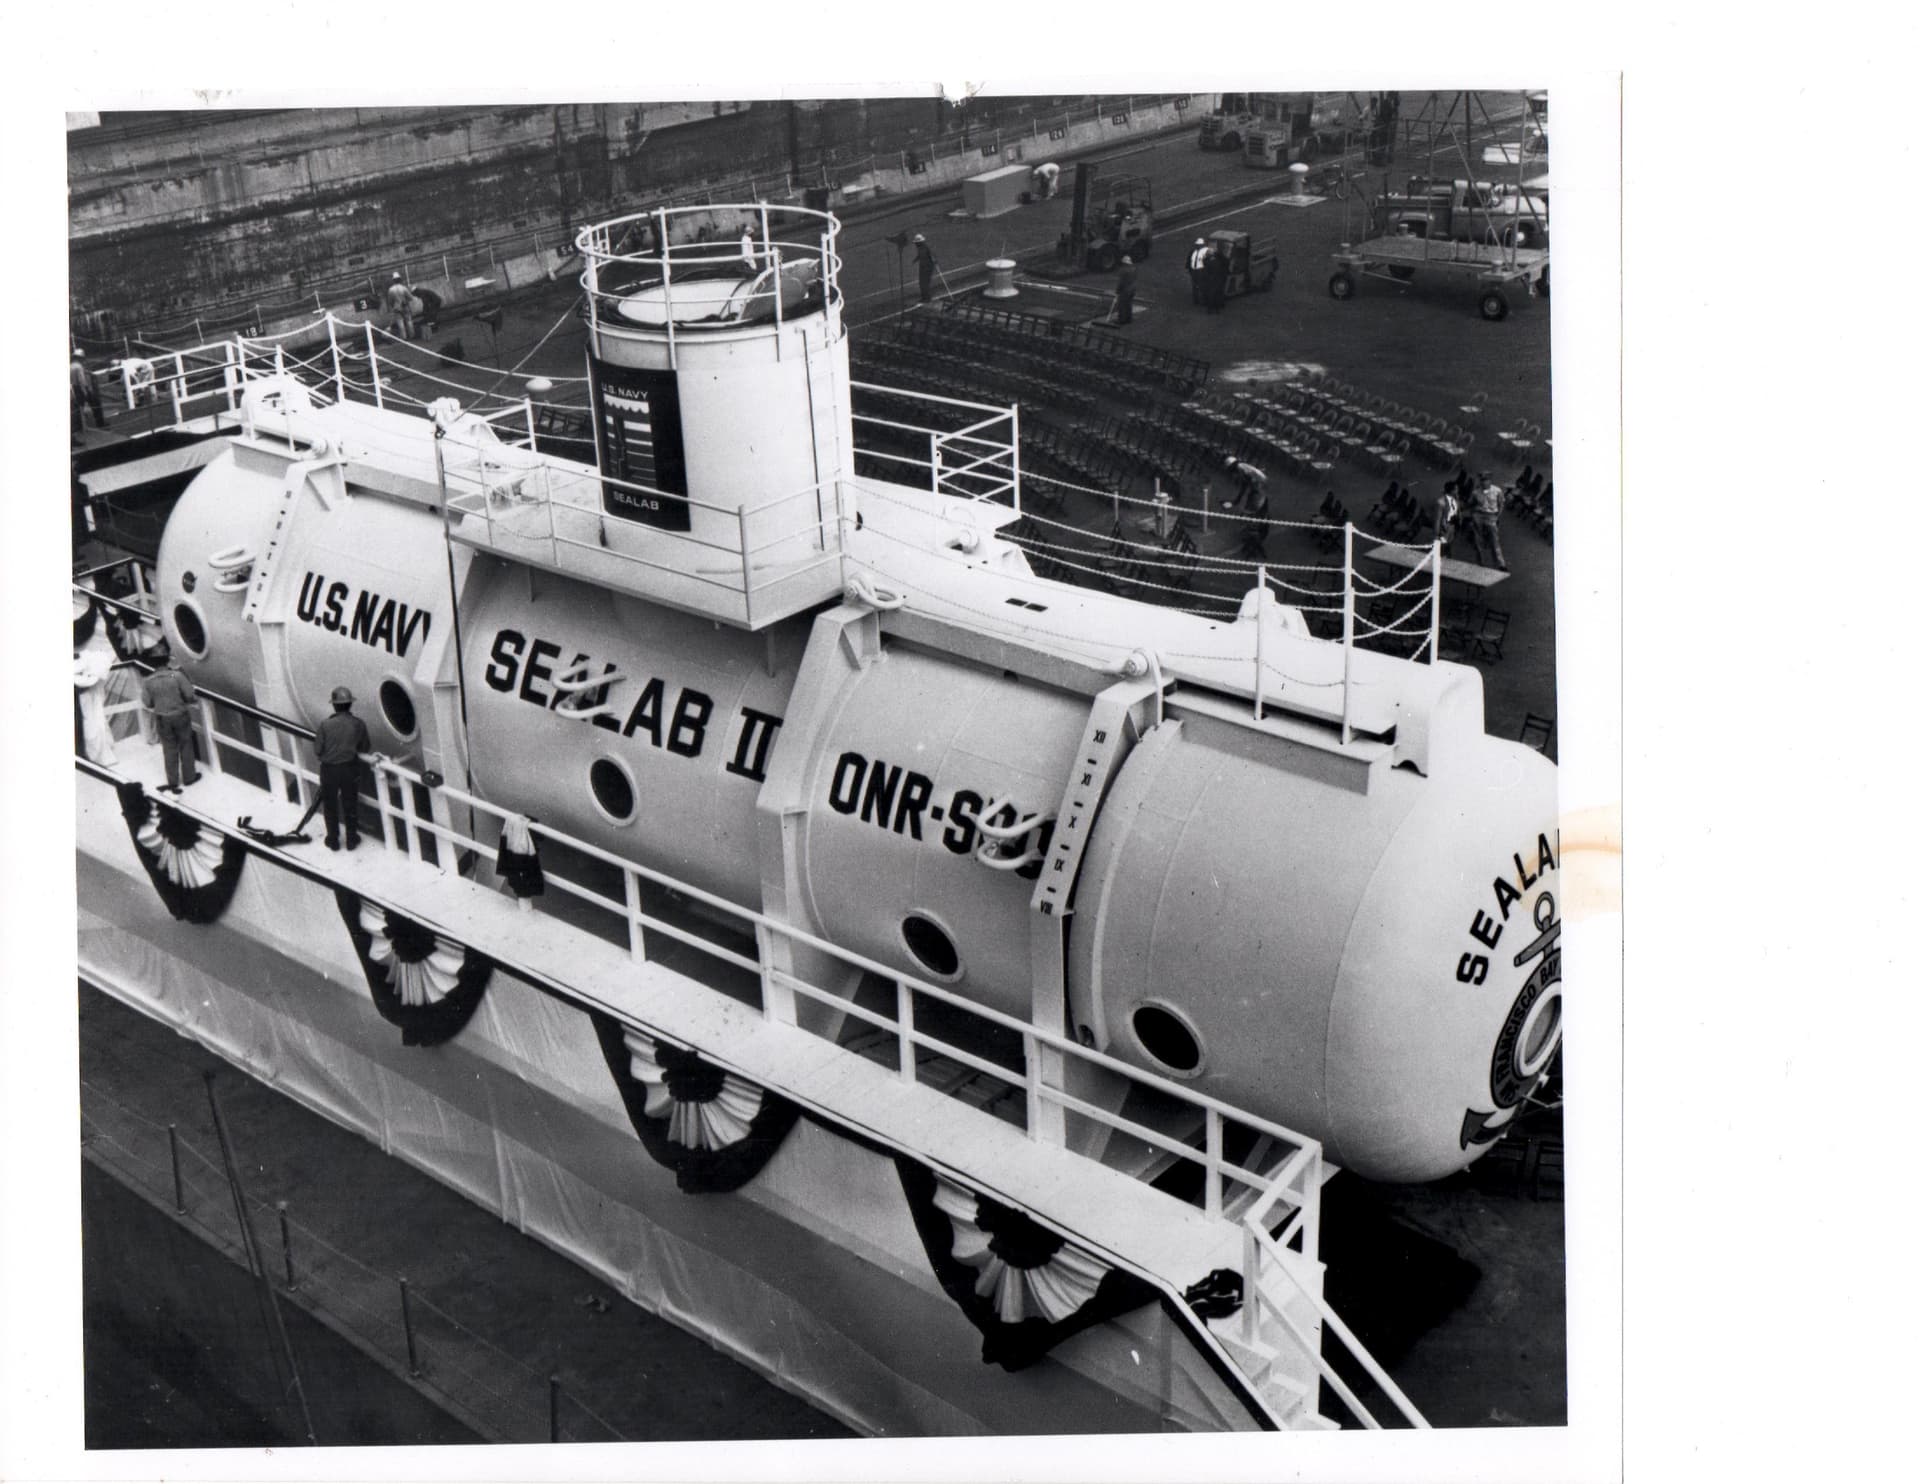
“SEALAB I, II, and III were experimental underwater habitats developed and deployed by the United States Navy during the 1960s to prove the viability of saturation diving and humans living in isolation for extended periods of time. The knowledge gained from the SEALAB expeditions helped advance the science of deep sea diving and rescue and contributed to the understanding of the psychological and physiological strains humans can endure.”
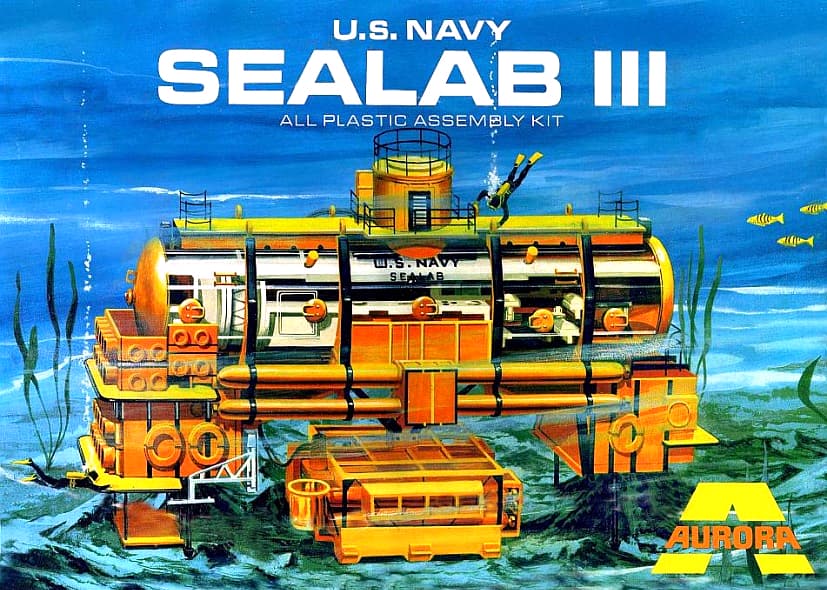
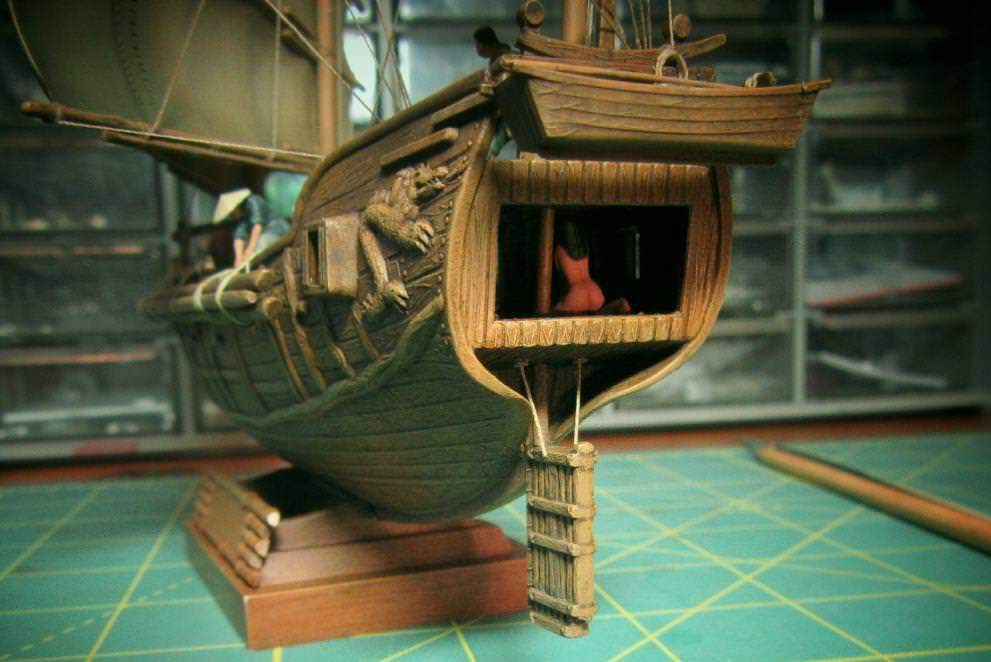
Always an innovative company, Aurora Plastics Corporation released a 1/93 scale model of SEALAB III in 1970. Although heavily promoted, the oddball effort was not a commercial success. The kit is perhaps best known for its use by George Lucas’ Industrial Light and Magic to detail various models for the original Star Wars movie. Released only once, it has become a collector’s item. No one seems to know what became of the original tooling; the molds may have been among those lost in the infamous Binghamton NY train wreck, or they may have been among the some 500 molds scrapped after Monogram bought Aurora’s assets in 1978. Anyway, complete kits have become extremely rare and can be found on auction sites going for $500 or more.
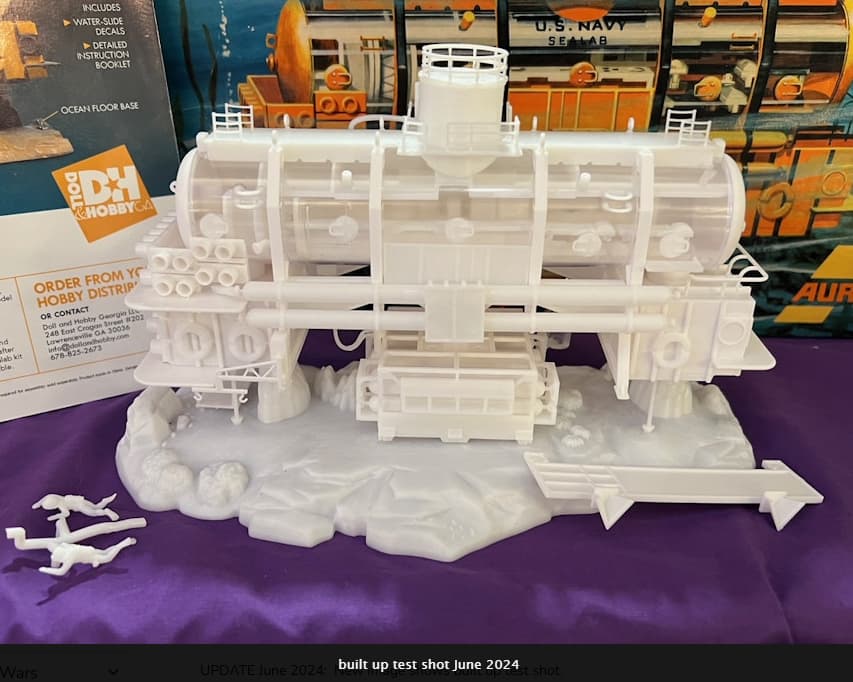
I was intrigued by this kit as a kid and always wanted to do one, so I was delighted when earlier this year a company called Doll & Hobby Georgia released a reboot of the Aurora model. An entirely new tooling, D&H pantographed the old parts to keep it as close as possible to the Aurora original. Although they apparently made some small improvements, it is, in effect, a kit of a kit. I can’t wait to get started on this one!
Masterpiece Models produced a resin version some years back
I have an original Aurora kit which I got while dumpster diving. There was a variety store located in my Brooklyn, N.Y. neighborhood of Greenpoint called Bernard’s. It was a neighborhood fixture for over 50 years and the owner decided to close up shop around 1989. He had a 30 yard dumpster in front of the place to toss out fixtures and leftover merchandise. I happened to pass by and saw it. So, I asked Bernard himself if I could dig around for some stuff and I would pay him for anything I wanted. He told me not to worry about that and I could have whatever I found interesting. I yanked the Sealab kit which was still sealed, a crapload of Jo-Han car kits, an Aurora JFK in his rocking chair kit and a Mattel Creepy Crawlers Thingmaker with about a dozen bottles of Plasti-Goop and a bunch of molds.
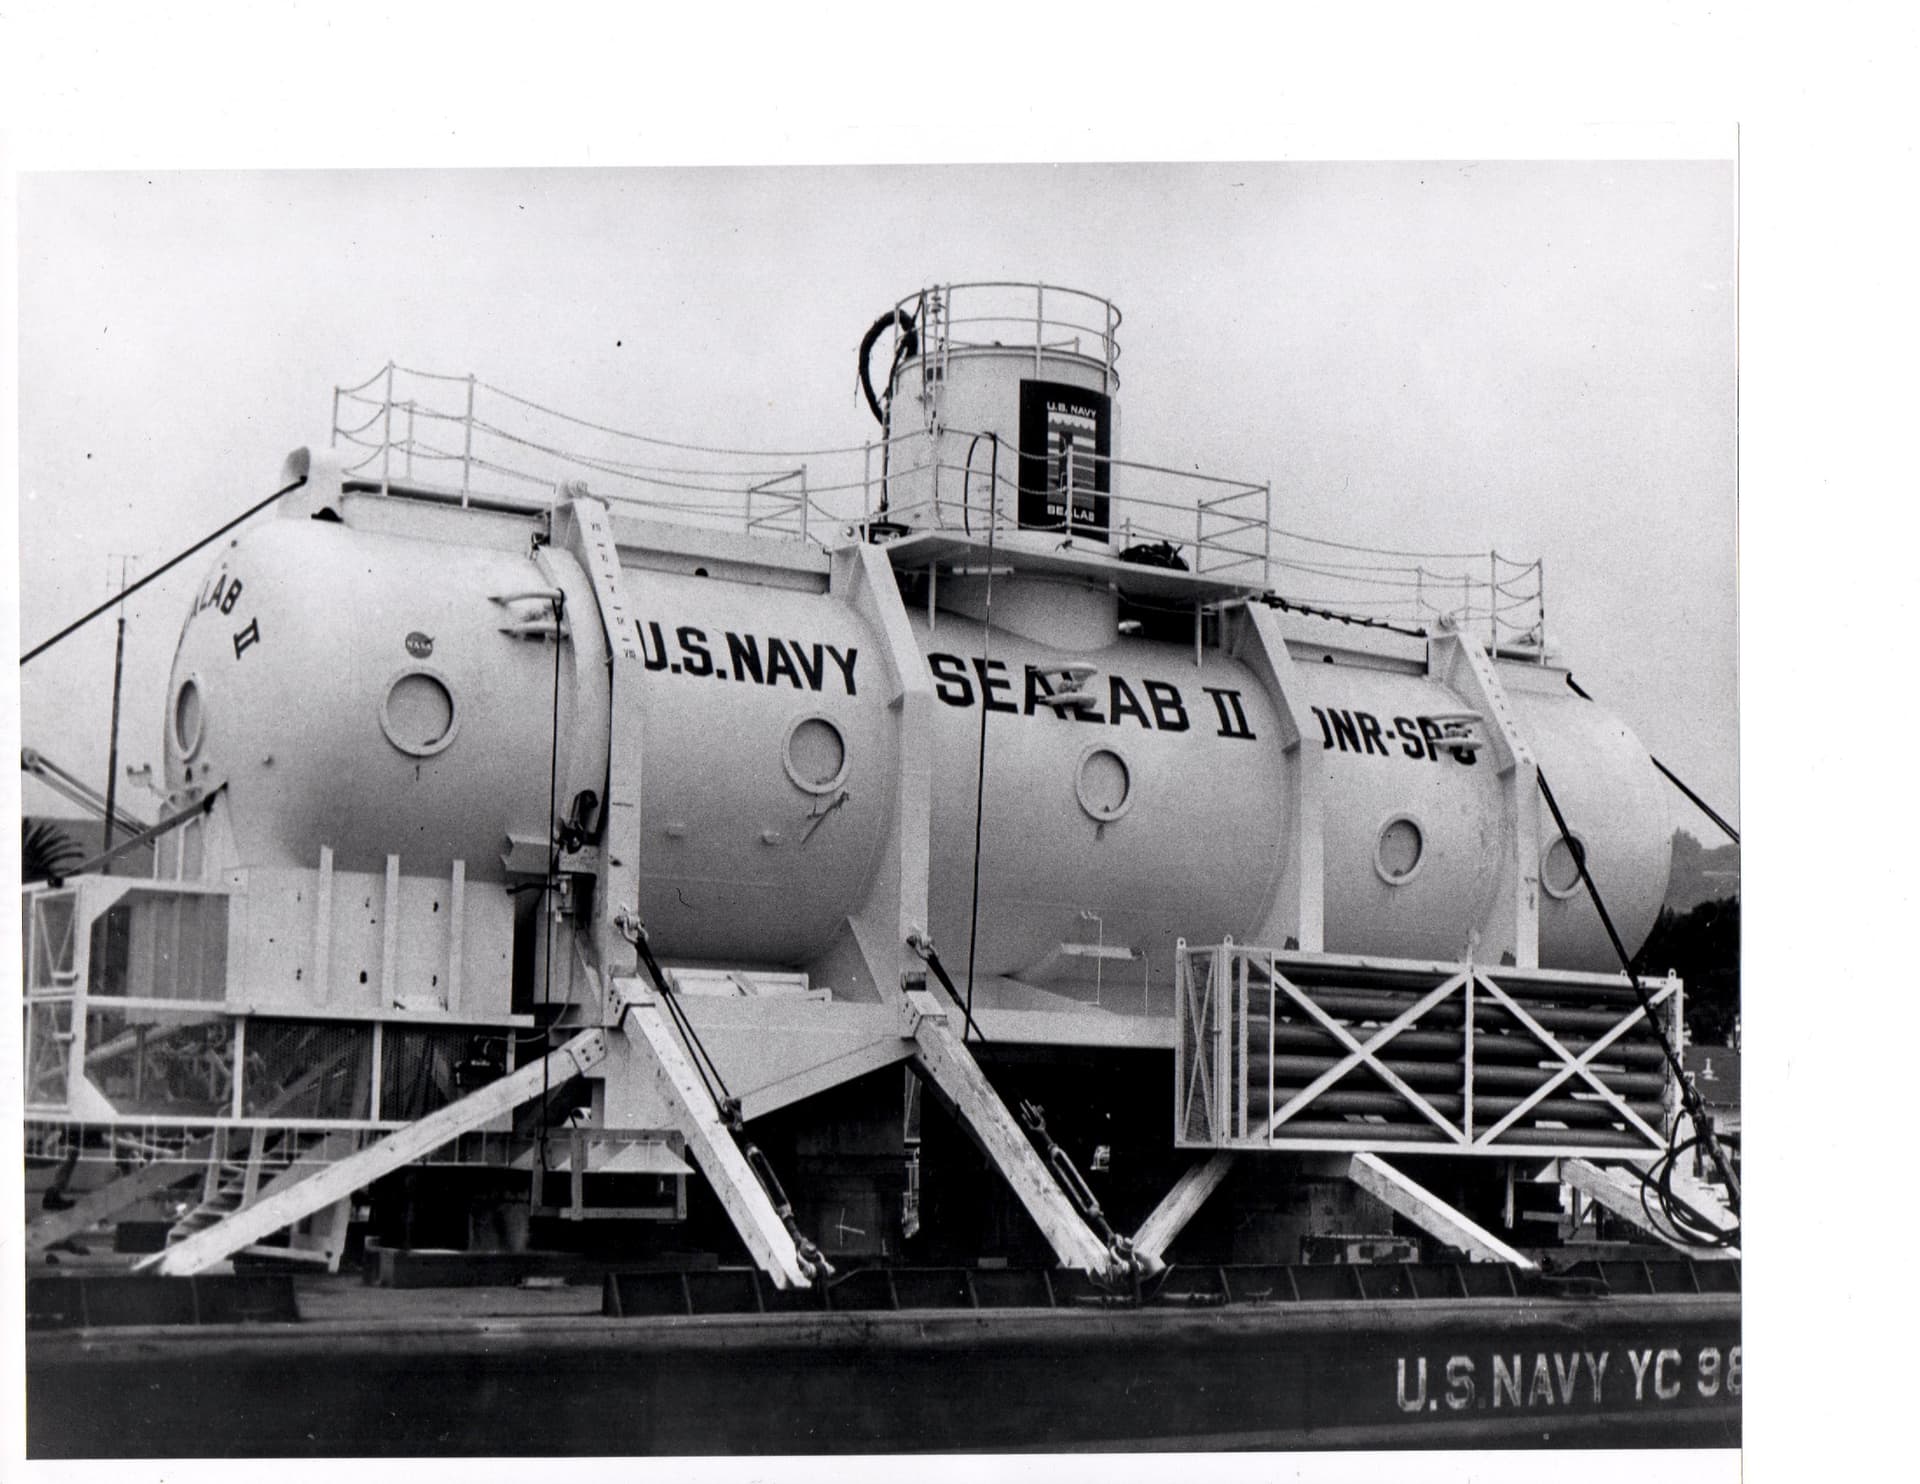
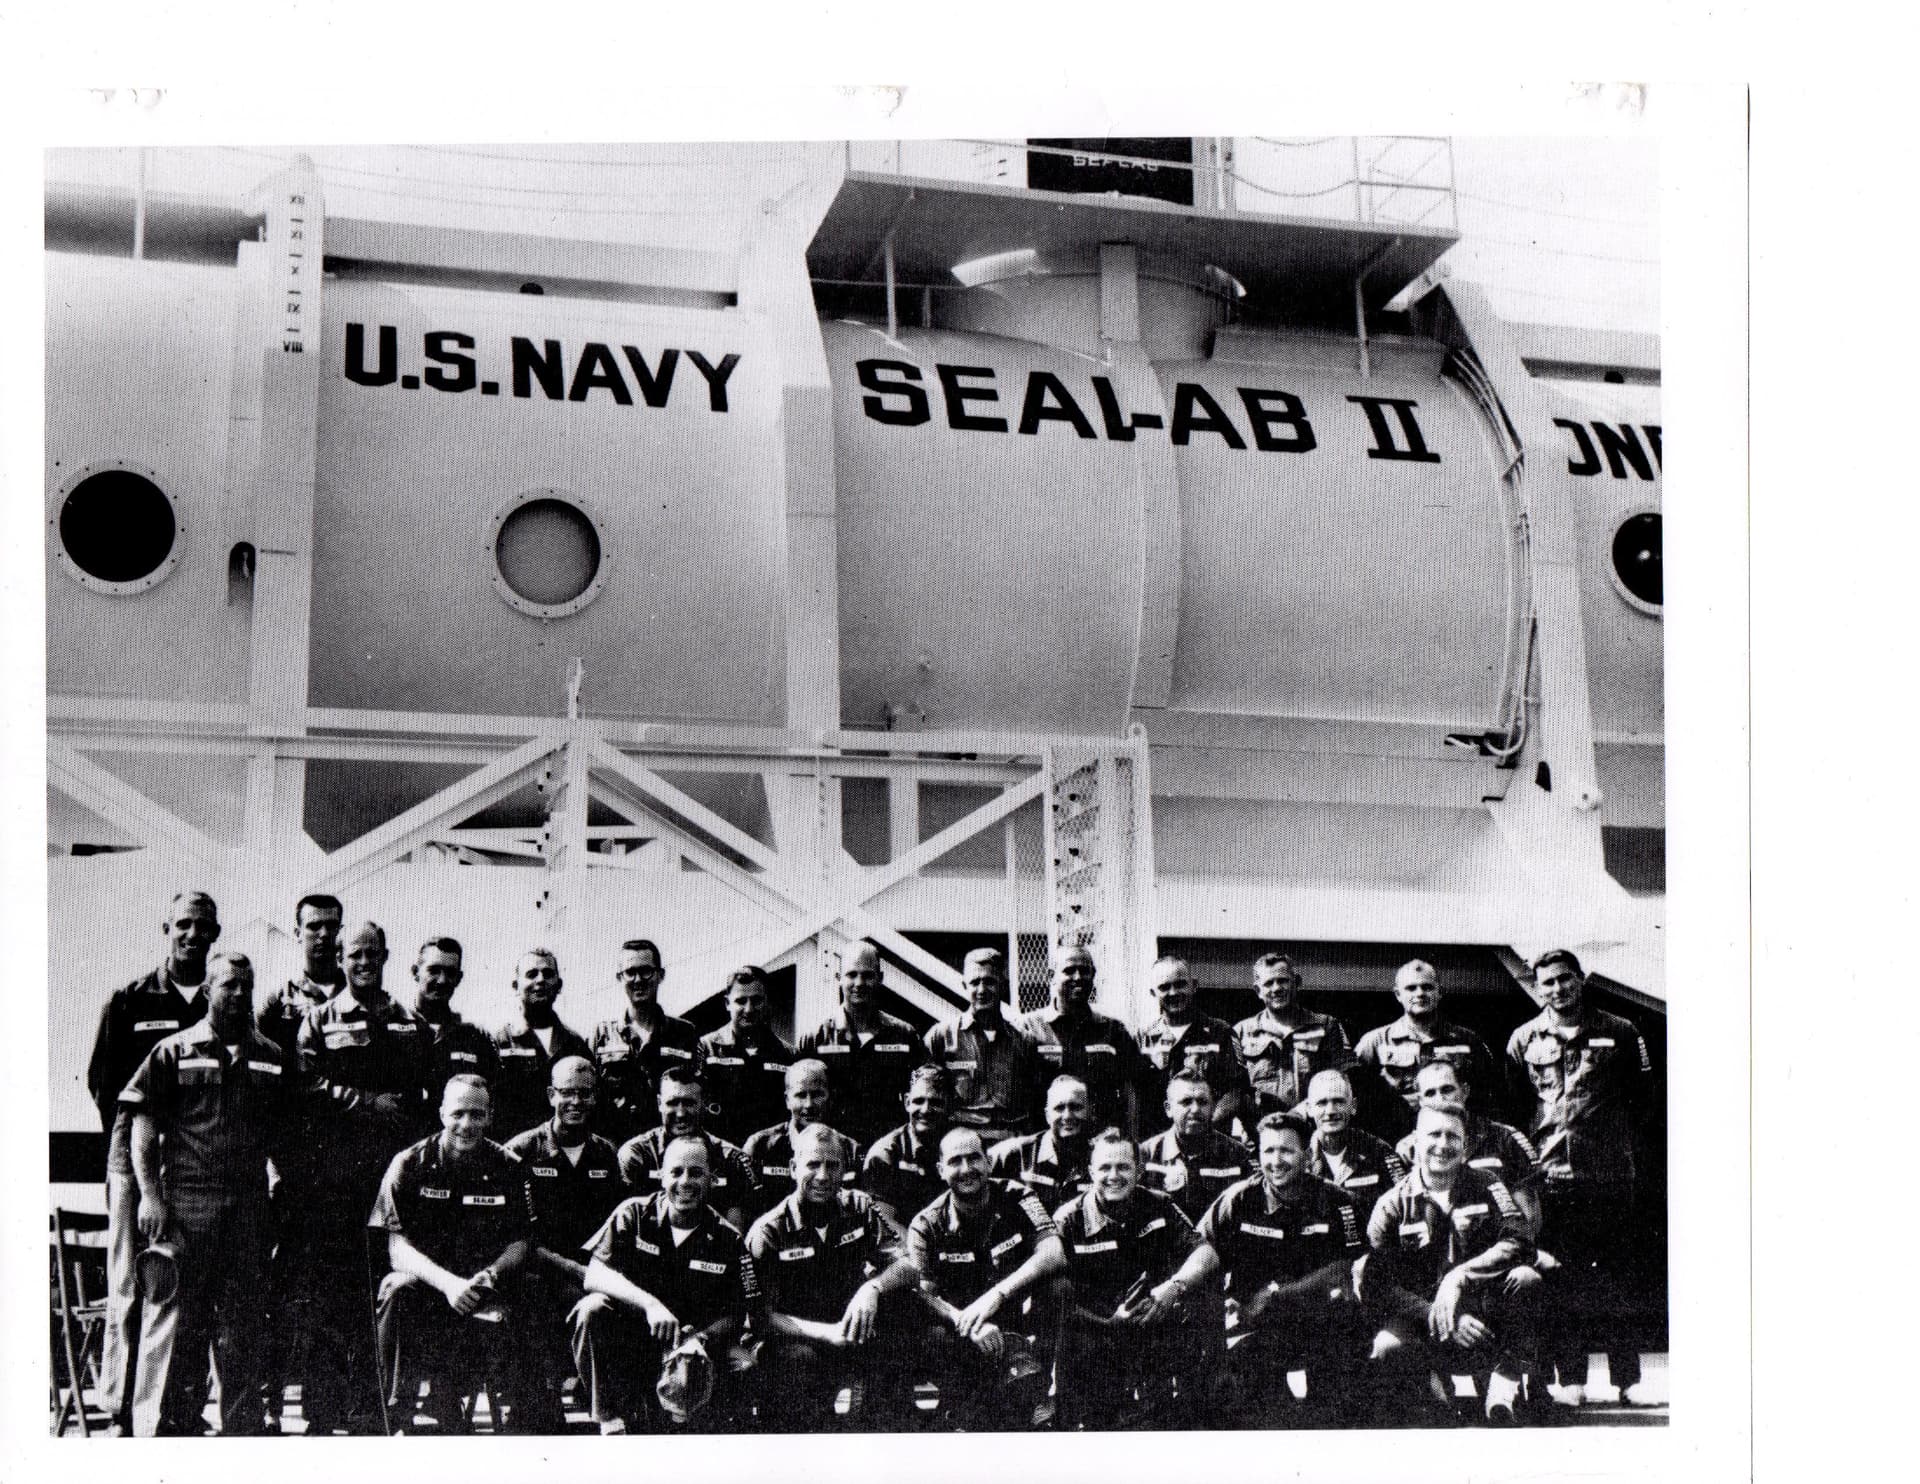
Thanks Evan, these pics are interesting. SEALAB III was actually the SEALAB II unit with enhancements for deeper diving, so the pics are definitely relevant!
You are welcome. When I saw your post I thought, “Huh? What are the chances?” I’ve had these photos for as long as I can remember; finally found a use for them - aside from historical curiosity. Happy building.
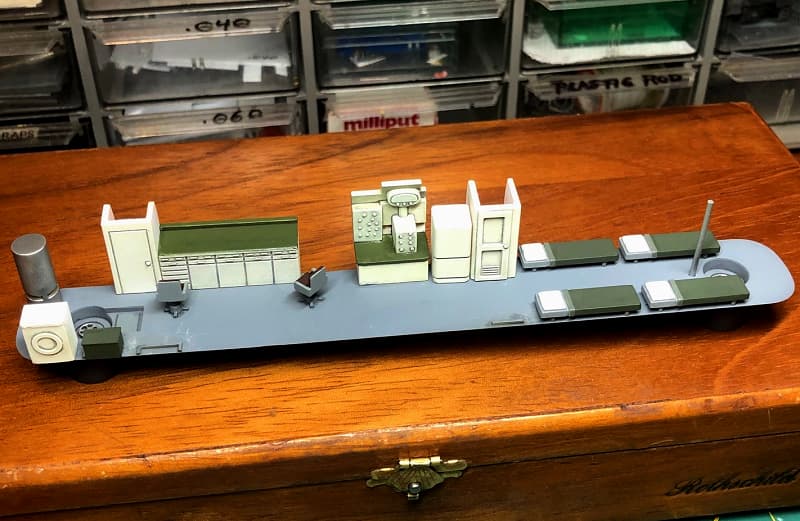
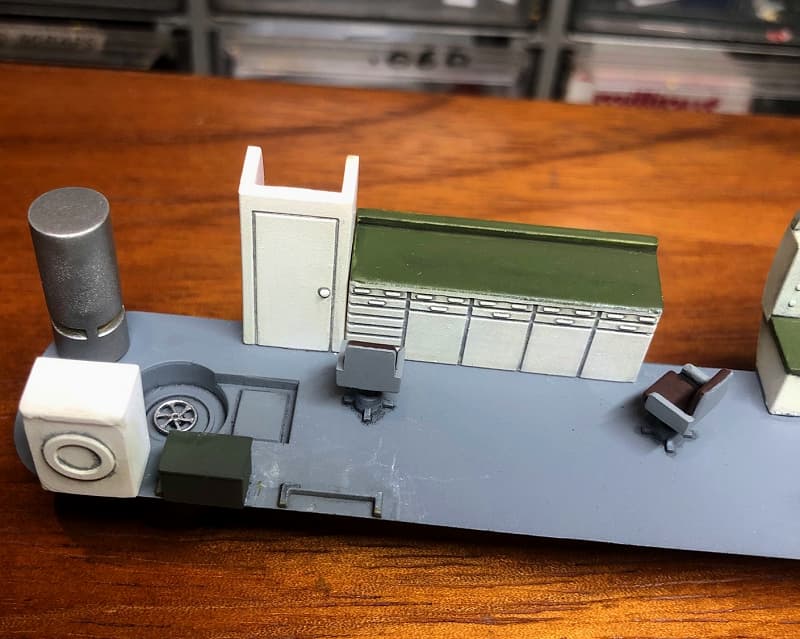
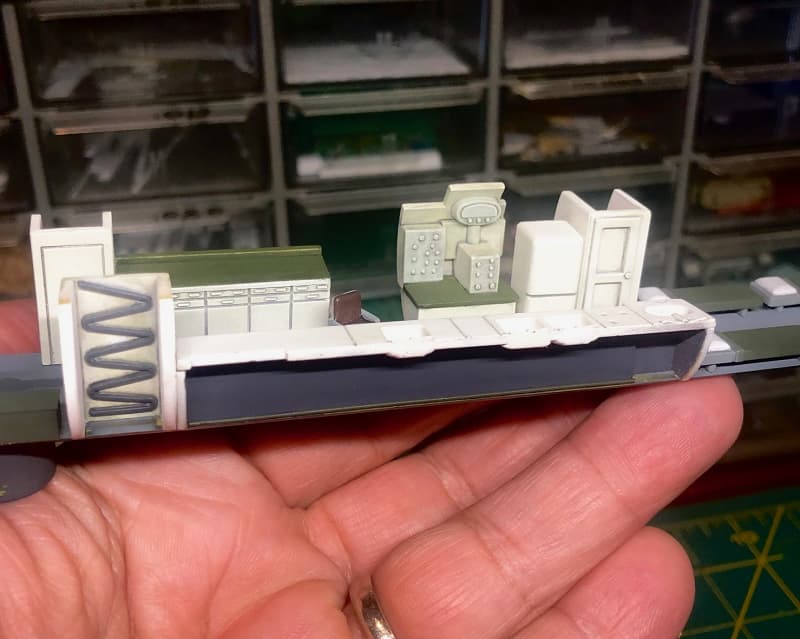
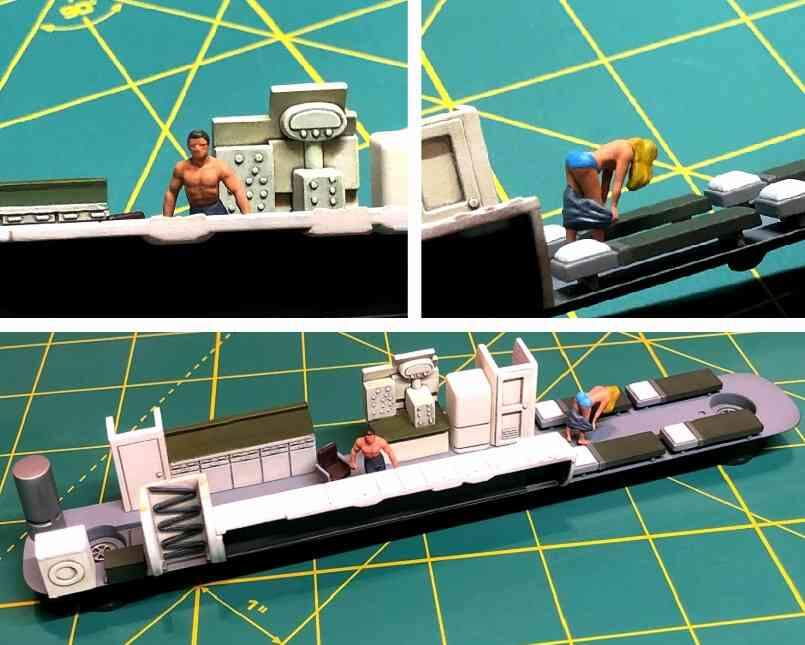
There aren’t many photographs of SEALAB III’s interior, so I mostly just assembled and painted the kit parts as per the instructions. This is the “lab area” with work bench and chairs. The cylindrical fitting on the left is the hot water tank, and I added a brass handwheel to the access hatch below.
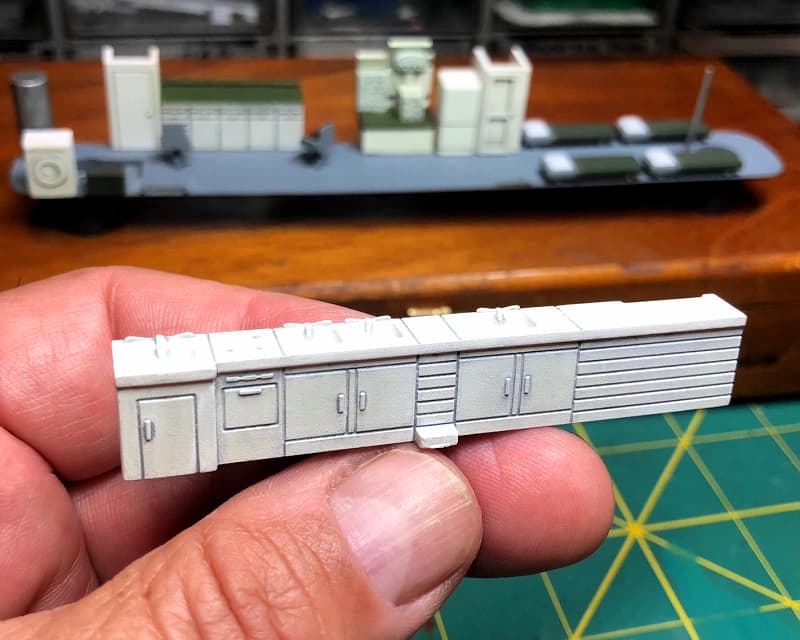
The berthing area is on the other side. The access hatch here received a handwheel as well, and there are four more berths to be mounted to the hull sides. The door at left is the lavatory.
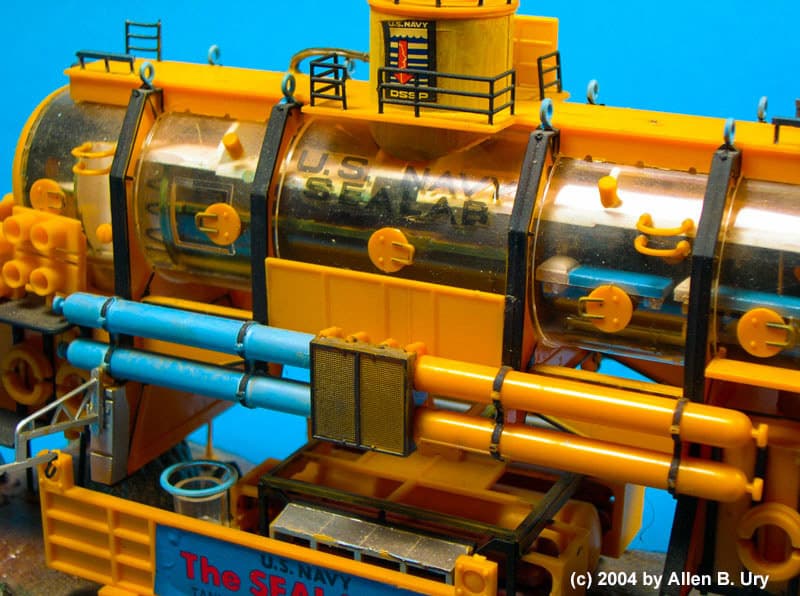
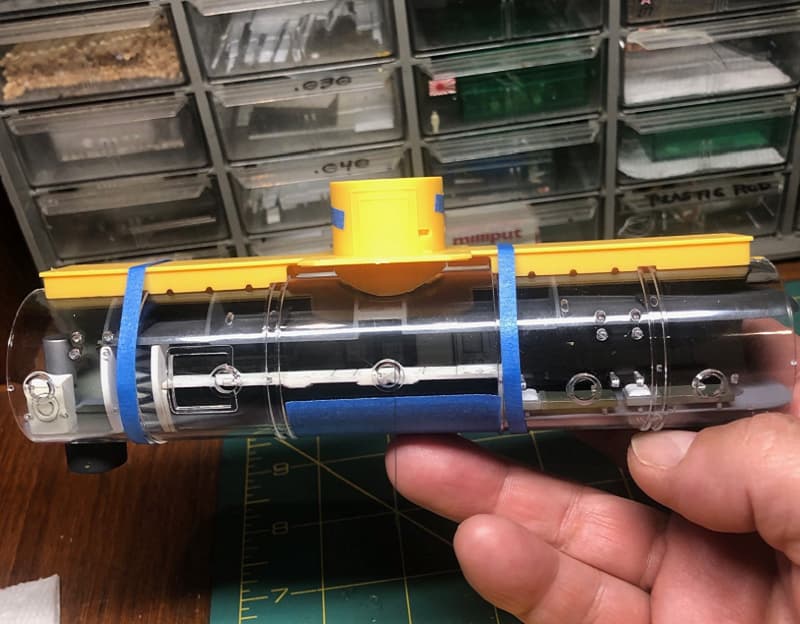
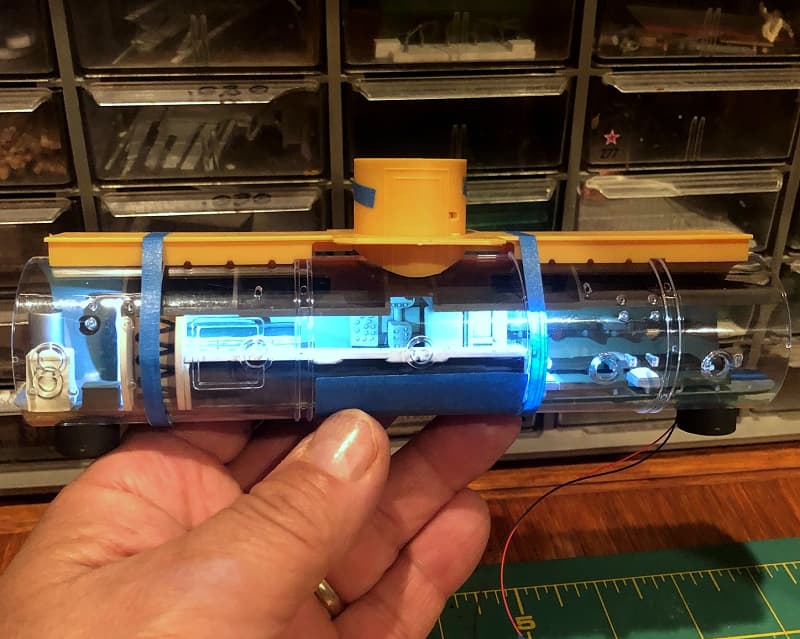
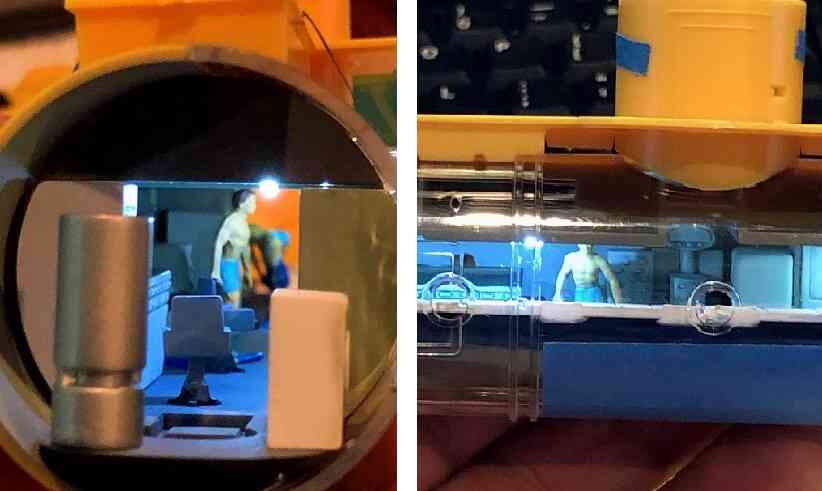
With the clear outer casing test fitted, the detail inside almost completely disappears. The interior is just ok and it wasn’t all that much work to paint and assemble, but it seems a shame not to be able to see it. Time to figure out some interior lighting, I guess.
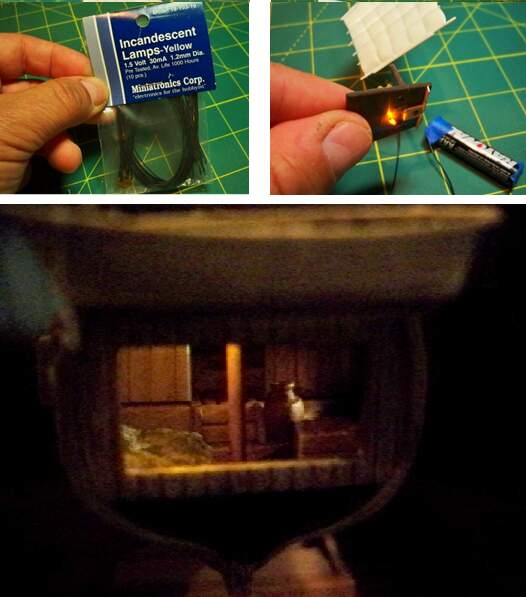
I had put a light in a model once before years ago (a Chinese fishing junk), but fitting the incandescent light and figuring out a power set up for it had been a real pain, so I wasn’t looking forward to doing it again!
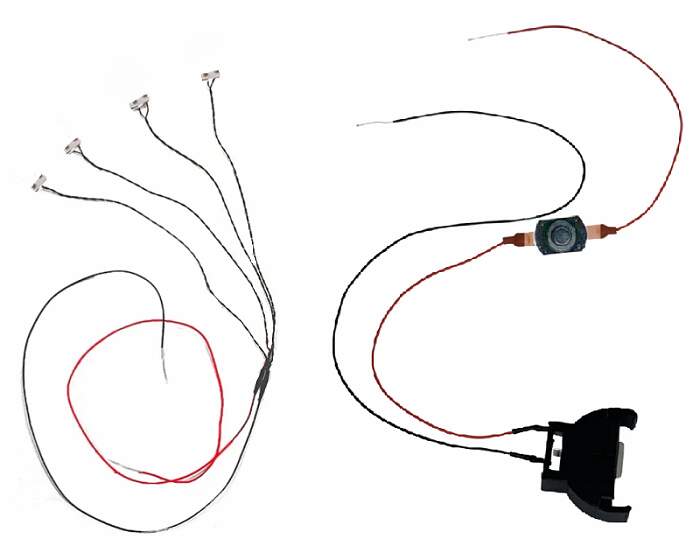
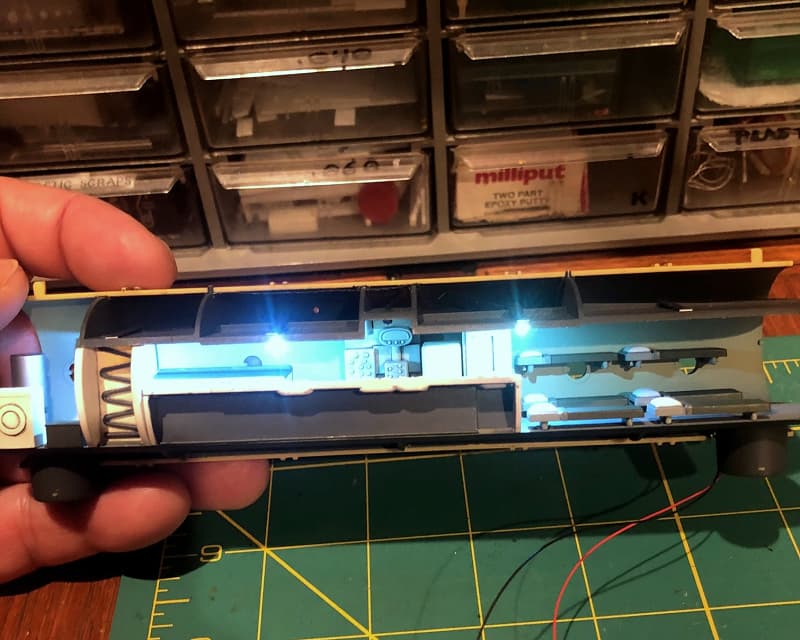
This time around, a quick Internet search showed that technology has improved. I found a company called Evan Designs who provided a super compact 4 LED set (cool white, “Pico” size) and a 3 volt DC coin cell holder with a switch. The LEDs are far superior to the small incandescent light I’d used previously being tiny, quite bright, and generating almost no heat. They also draw very little power and are supposed to last for years.
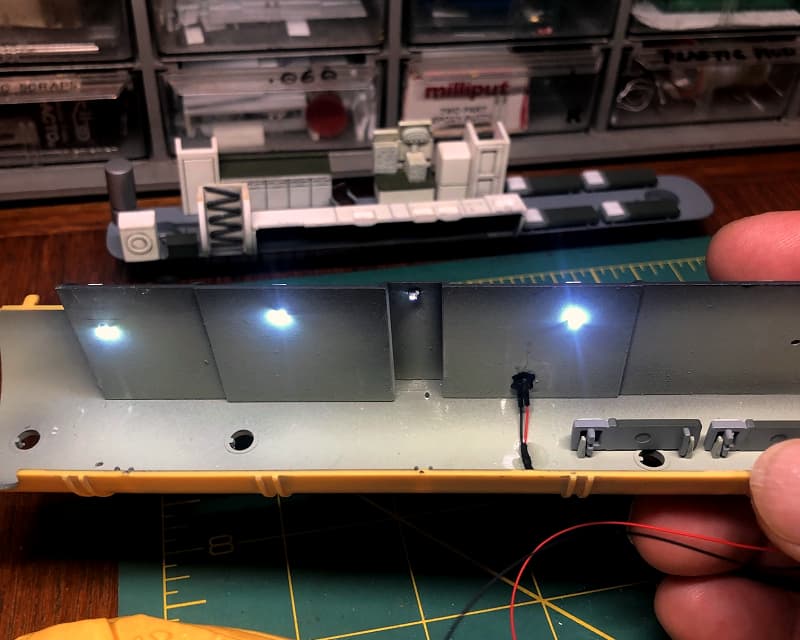
I inserted the lights through holes drilled in the habitat overhead, and they light up the inside quite nicely! The wiring was easily concealed in the dry store spaces above and behind the lavatory inside.
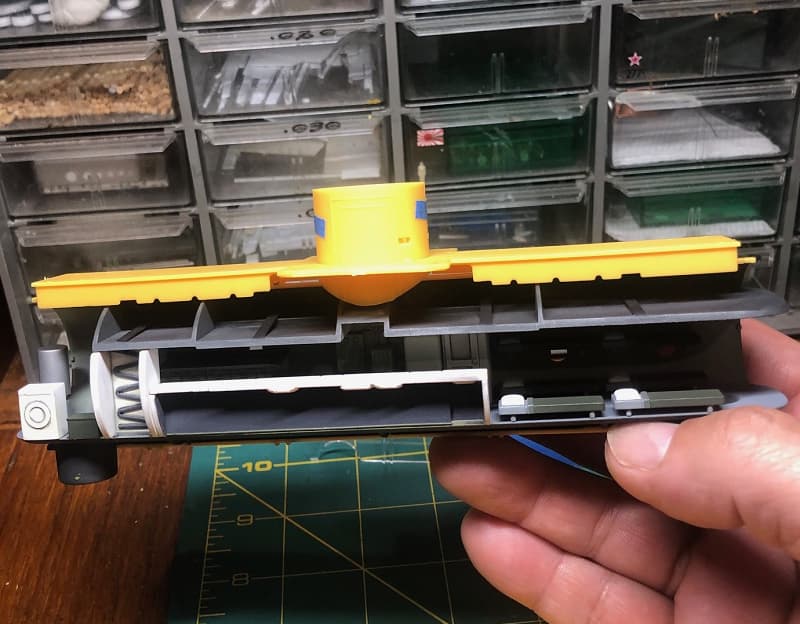
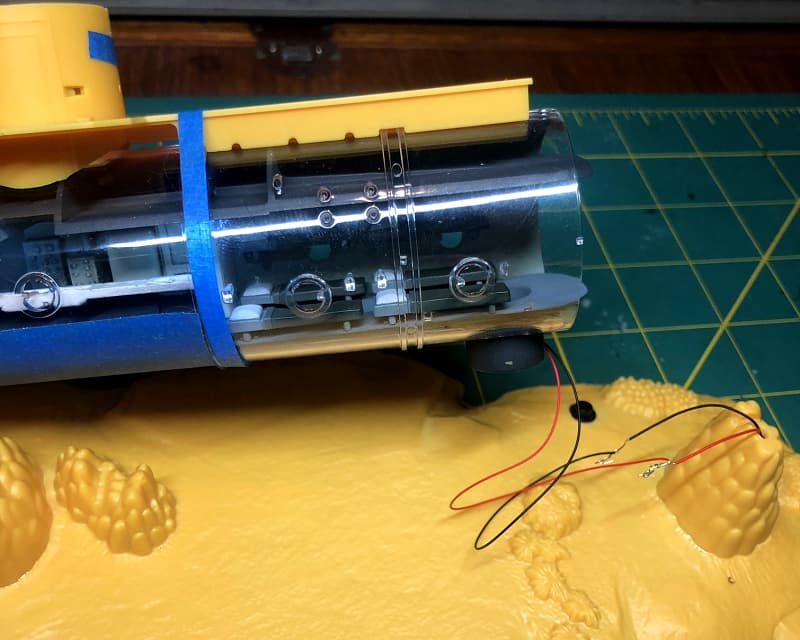
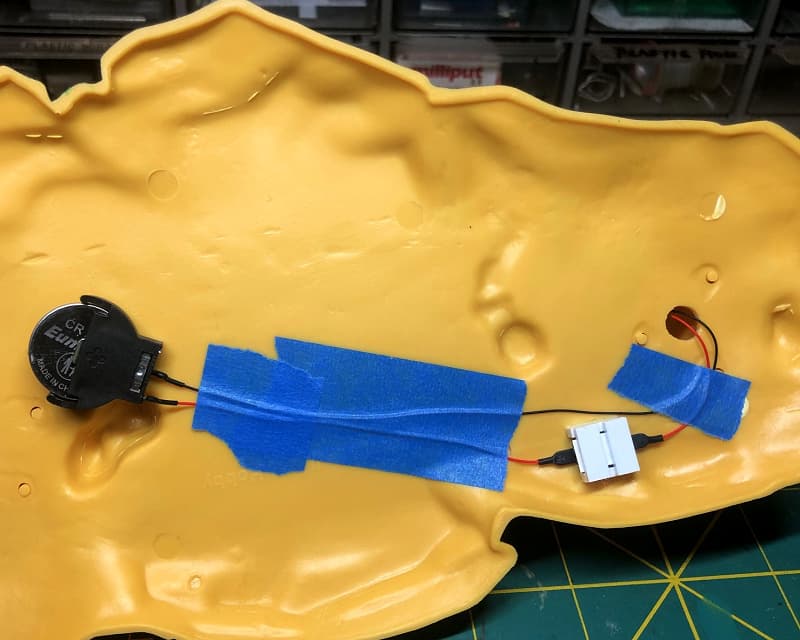
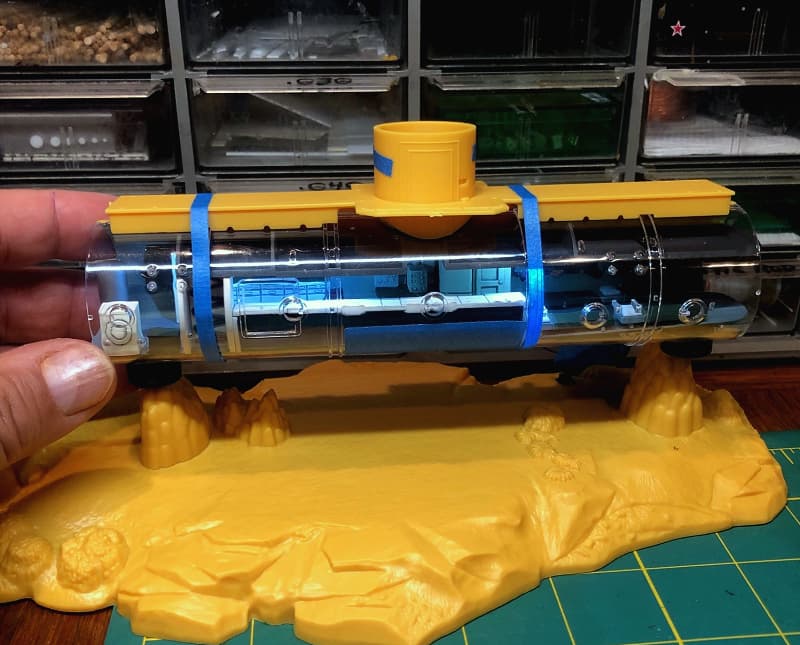
Passed down through the access hatch below, the wires run through the “seaweed” support column down to the 3 volt DC coin cell holder under the sea base.
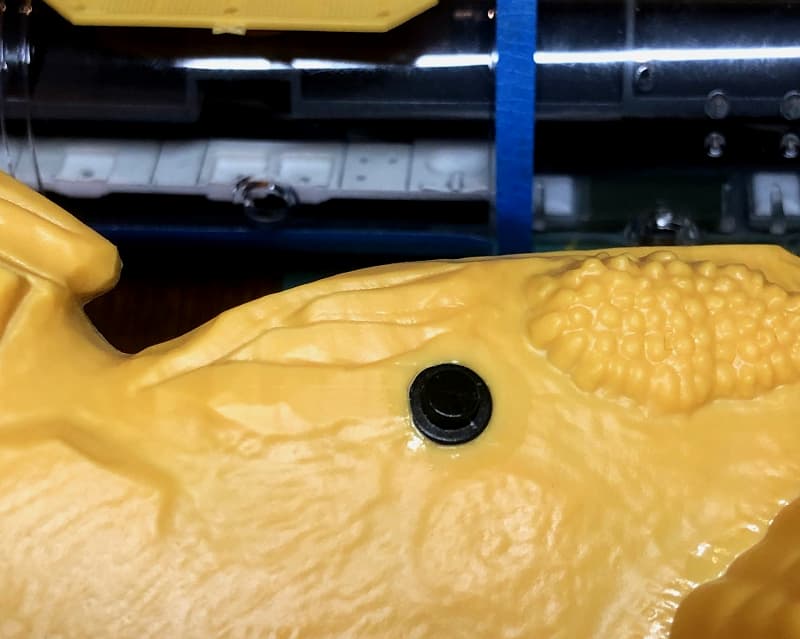
I drilled a hole in the base for the small push button switch, but that will be the only visible component apart from the lights themselves. Once the base is painted the switch should be inconspicuous.
The brighter SEALAB interior is definitely an improvement, but it also highlights the fact that there are no people in there! The kit comes with four outside scuba divers, but that illuminated interior now cries out for some figures as well.
Photos of SEALAB aquanauts at work show them quite minimally attired without much in the way of uniforms. This makes sense as they had to swim in to access the underwater habitat, and the atmosphere in there was warm and humid. That cramped space didn’t leave much room for any excess gear, so things were pretty informal.
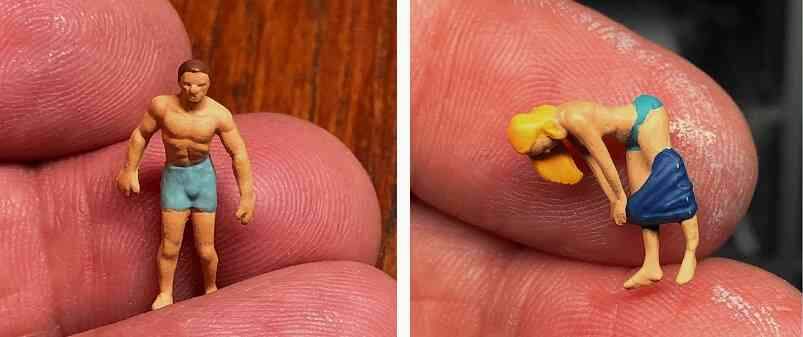
I was able to find some model railroad figures by Noch that should look right at home inside SEALAB. At 1/87 they are just a bit large, but the difference is within reason; the 5’ 10” tall male crewman comes out to 6’ 3” in 1/93 scale.
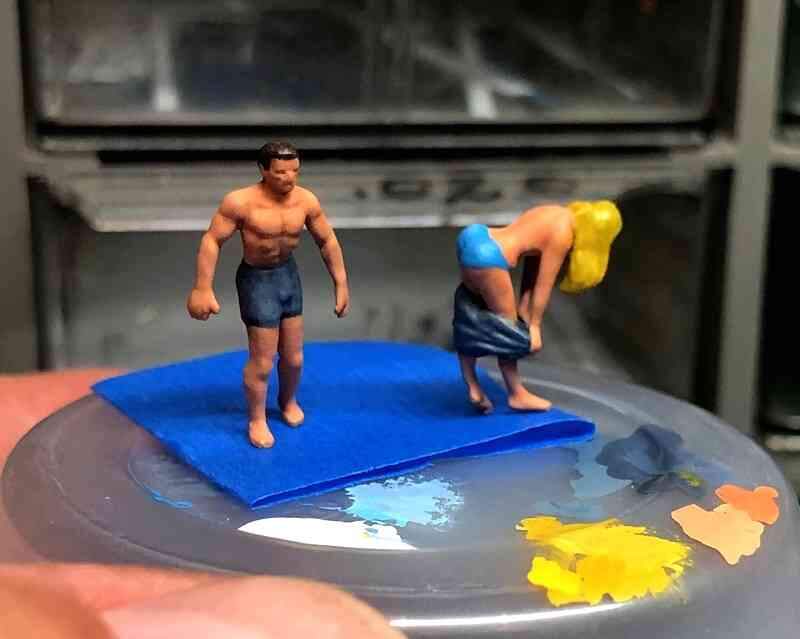
The beautifully sculpted figures came neatly pre-finished, but after smoothing the mold seams I repainted them with better skin tones and slightly revised clothing.
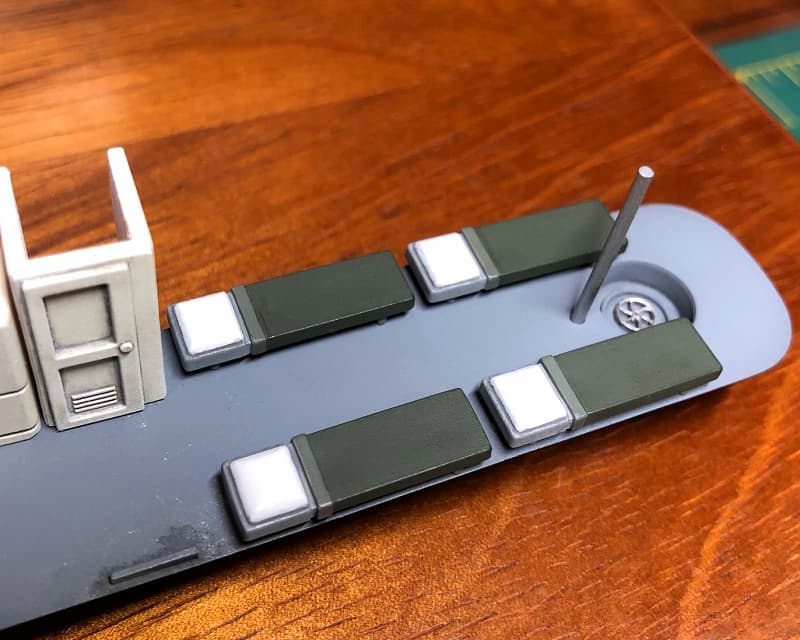
I attached the umbilical connection plugs and painted the points where various grabs, ports, and other fittings will go, and the last two berths were fitted to the inside of the casing. Before securing it I gave the inside a last careful cleaning to remove any dust or stray particles – there will be no reaching anything in there once it is sealed up!
The clear casing and end caps fit well, but a little sanding/filling was needed. Rather than polishing out the rubbed clear part I’ll just extend the paint a little to cover the scuffs.
The enclosure now closed up, I’ll have to make sure to secure even the smallest gaps since there will be no way to clear any dust or errant paint that may get in there.
This morning I was irritated to find that one of the habitat’s upper berths had broken loose and is now rattling around inside the newly-sealed casing! Damned annoying to say the least, but short of major surgery there isn’t much to be done about it. My fault really, as last night I’d left the kit box on the floor next to my desk…
Despite the Cat-astrophy it’s an impressive build! I had one of the originals as a kid and loved it - it went well with my Calypso and the missile sub with clear side. Wish I had a modelling Wayback Machine to fetch it and sell it on today’s market!