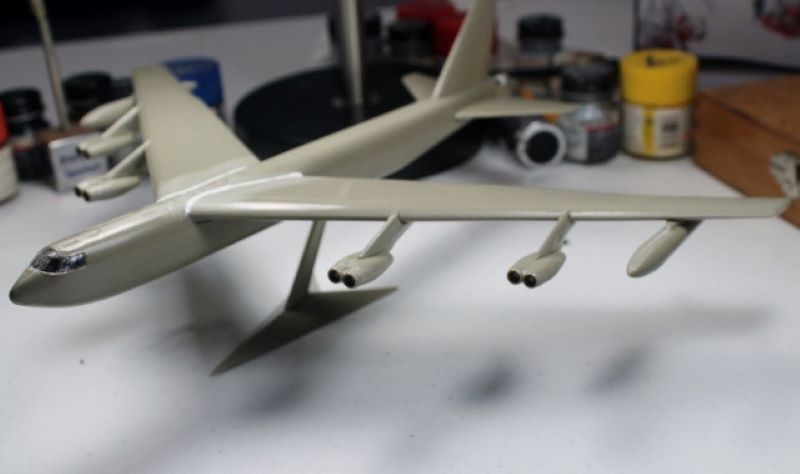
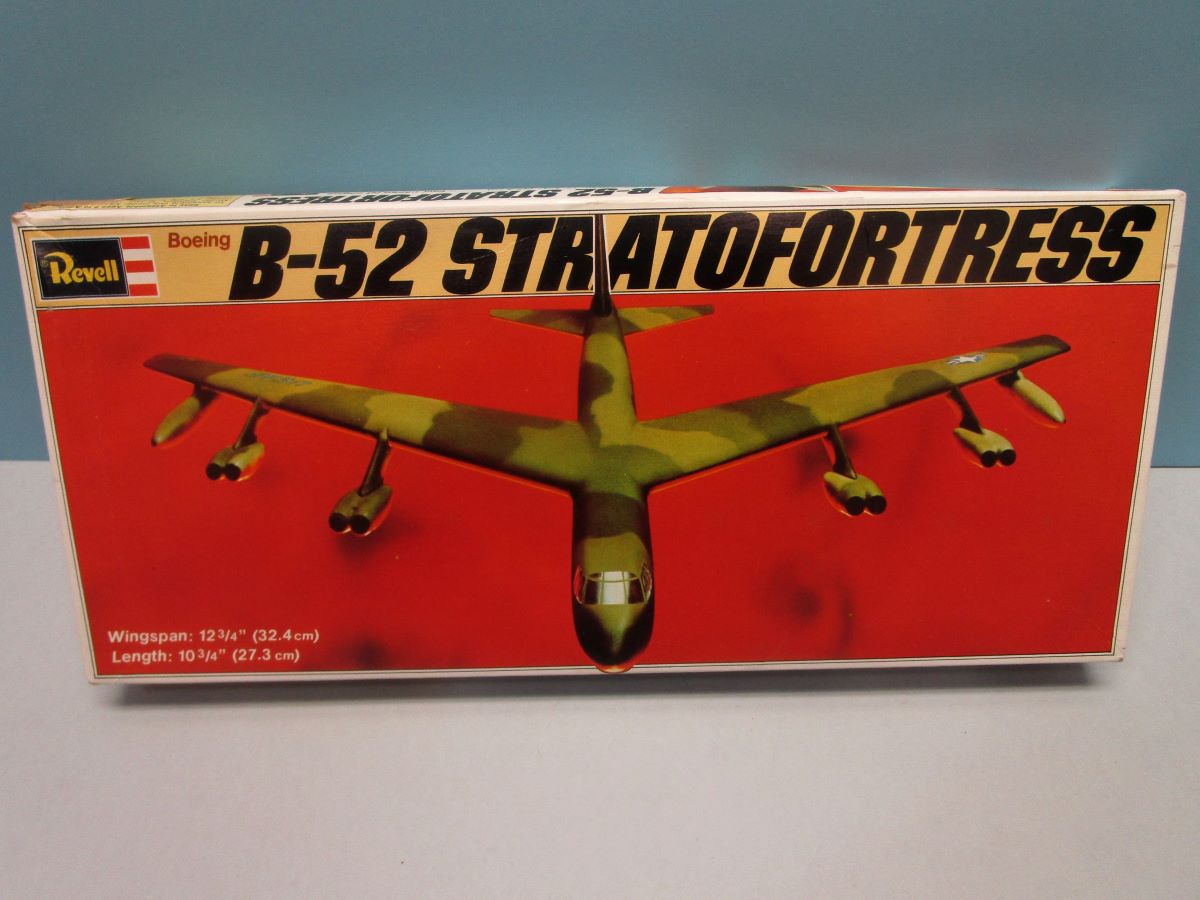
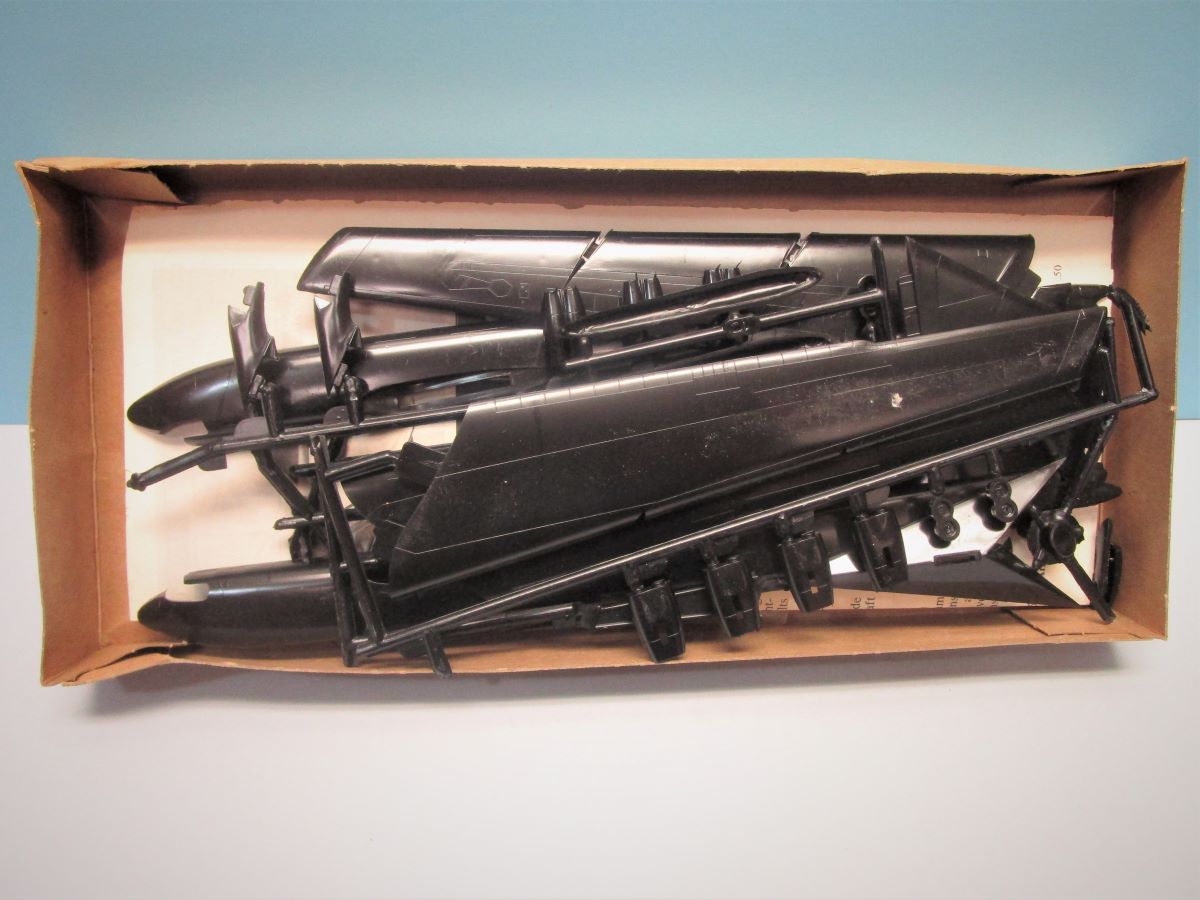
Here is the start of my Minicraft B-52D/F. I am going to do it as a NMF over black bomber based on Guam with the 3960th SW in 1966, I hope. I just noticed a whole decal sheet was missing from the kit. I have the sheet for a B-52D but that sheet has no windshield decal. The sheet for the F model is suppose to have the windshield, D model intake, markings for 57-0144, and rear gunners decals. I just e mailed Minicraft but noticed that decals are not covered under their warranty, wonder what that’s all about? Outside of that it is a nice kit with lots of spare weapons, and D and H parts I won’t use. I will be building it in flight on the kits’ stand with the flaps dropped,and MERs under the wings with no bombs. Here is the assembled fuselage, fit was very good. John


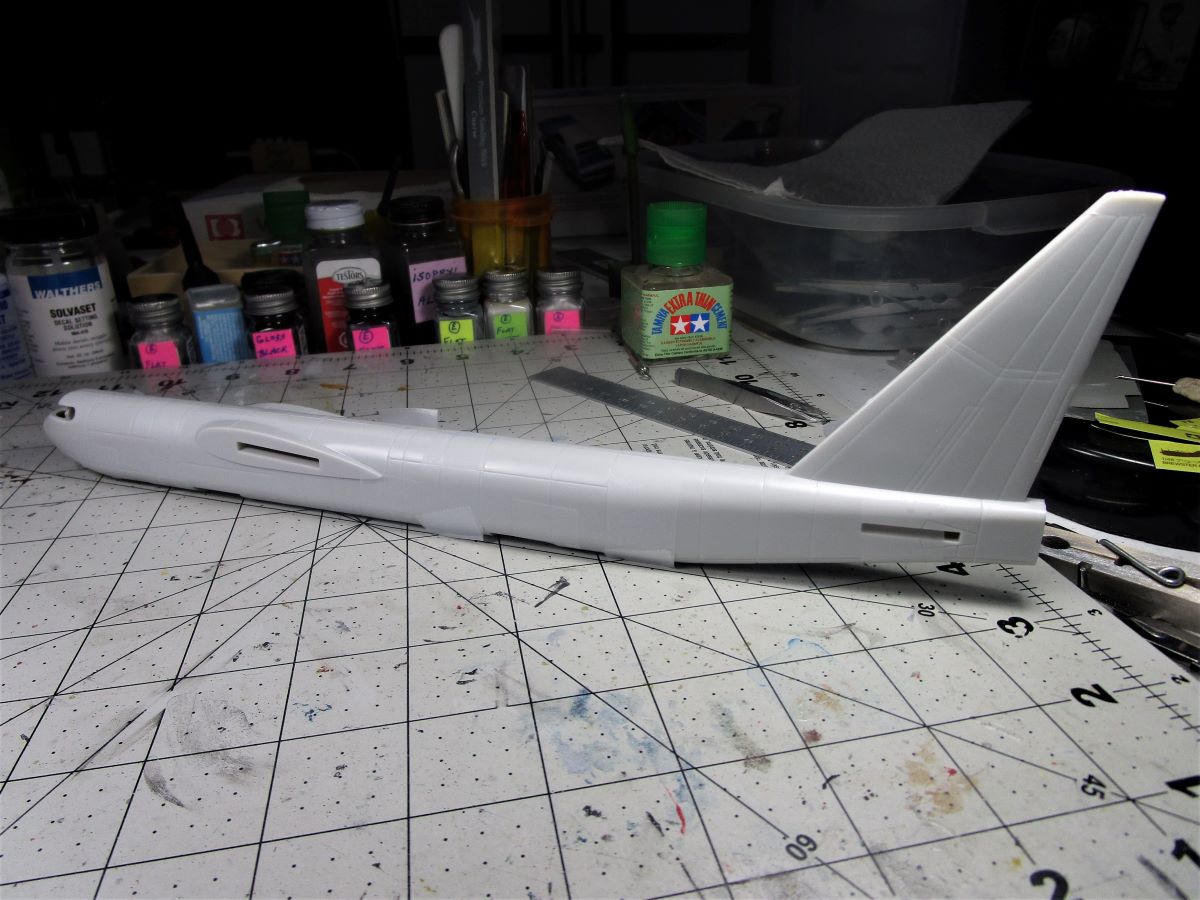
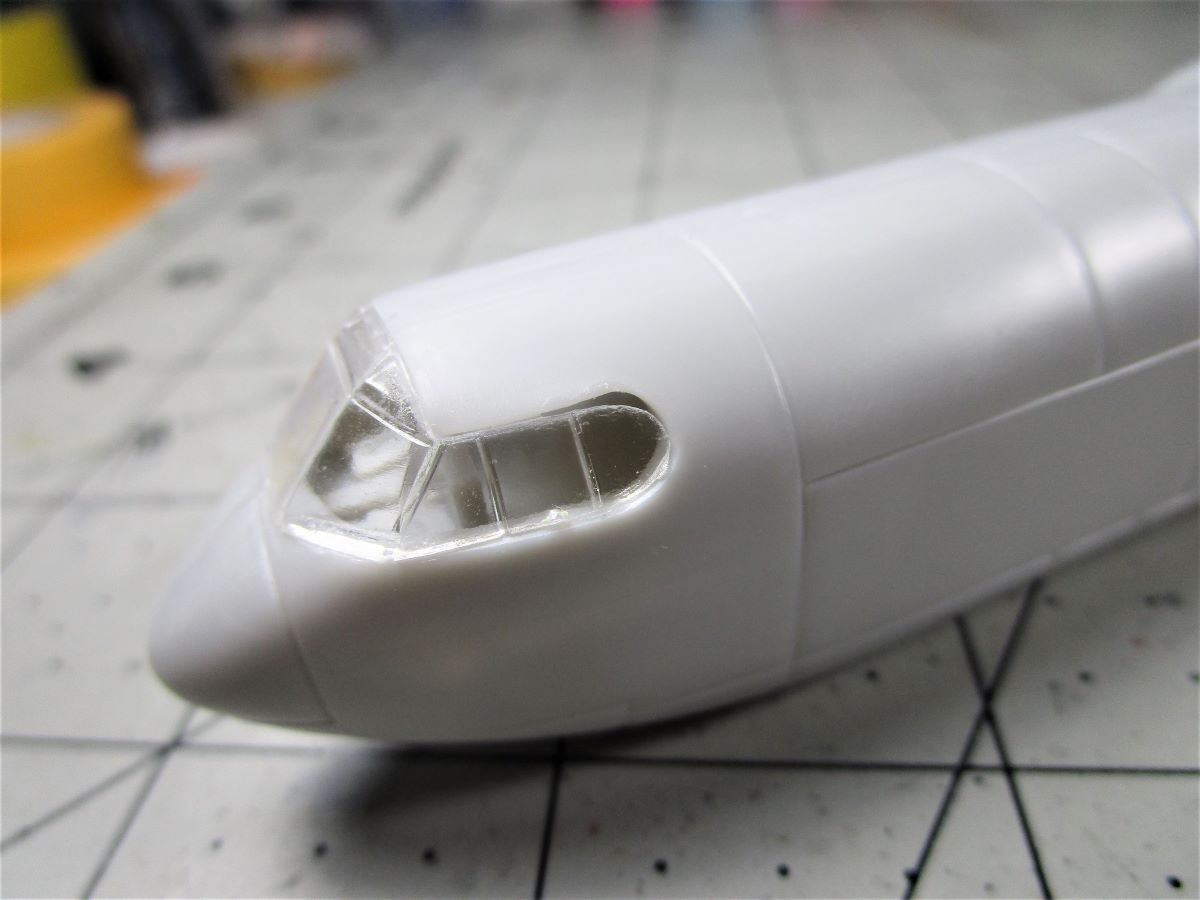
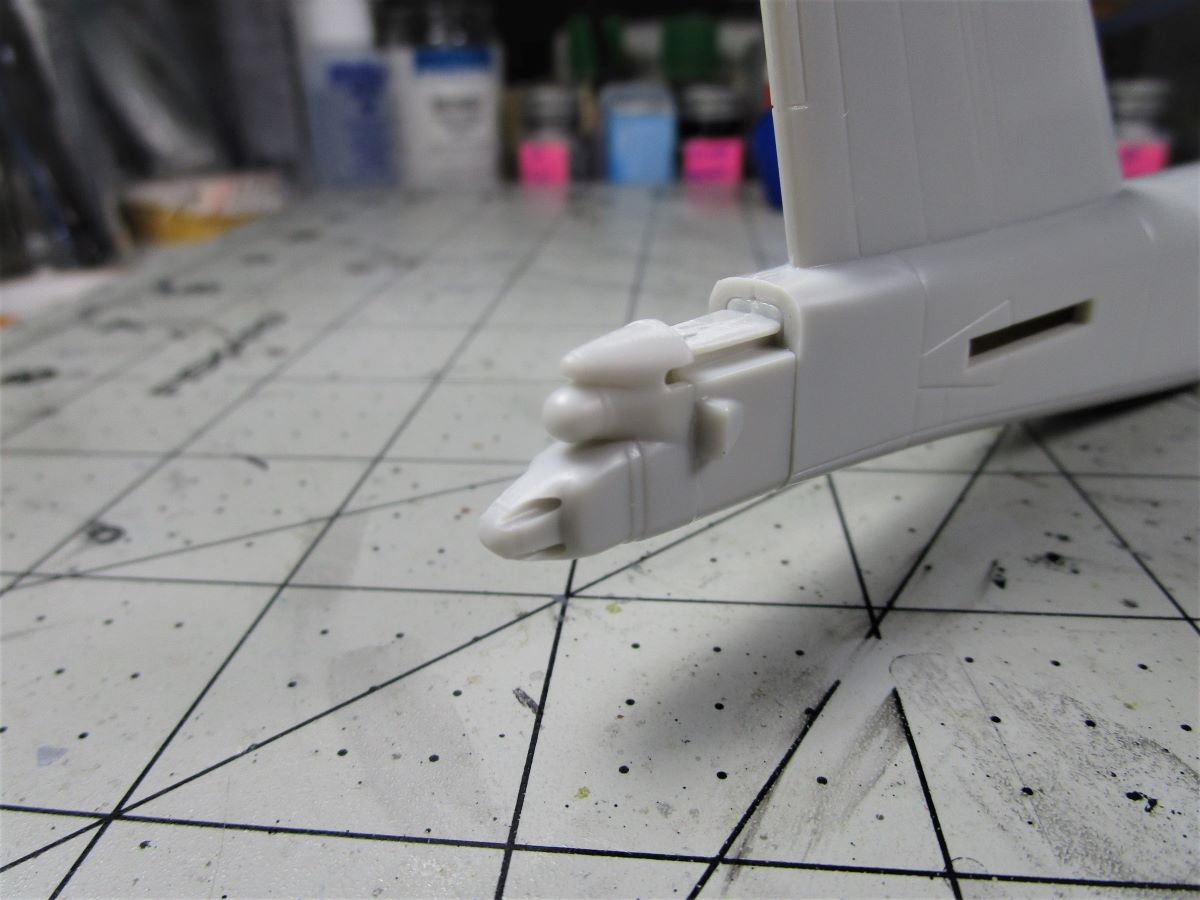
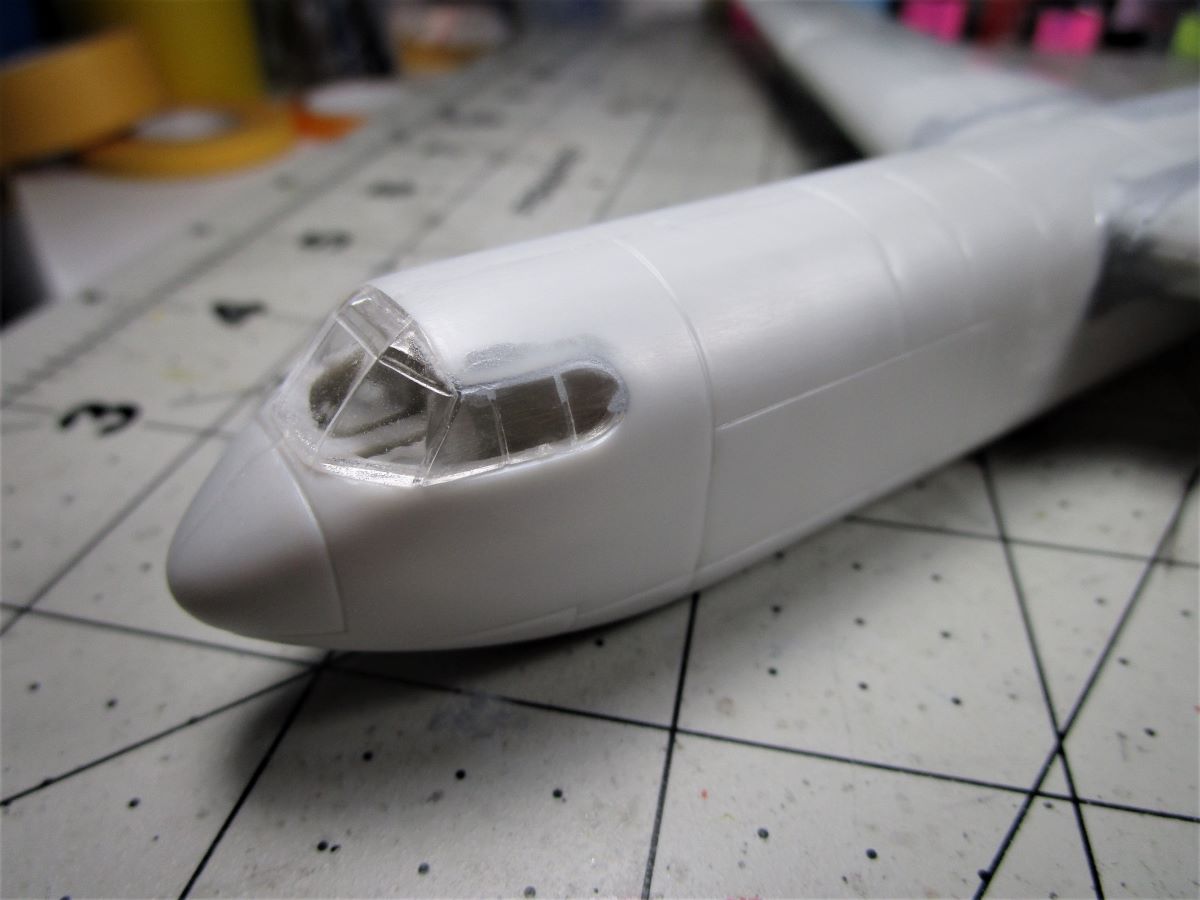
I sanded down the fuselage seams and added the wind screen and tail gun housing to the rear fuselage. I have a couple gaps to fill on the wind screen, I knew of this as it was mentioned in a kit review I read, no biggie. John

My last attempt at a B-52, a few years ago I did the Advent (Revell) 1/175 kit. I had it all built but never painted it and it was lost somewhere along the line. This was the old Revell B-52 kit with the X-15 modified years ago and released by Revell in 1970 in the Jet Commando series, I built and painted that one some 51 years ago. The Advent kit still had the 2 pins under the right wing for the X-15 saddle and the saddle was still on the sprue. May try one again someday for a nostalgia build.
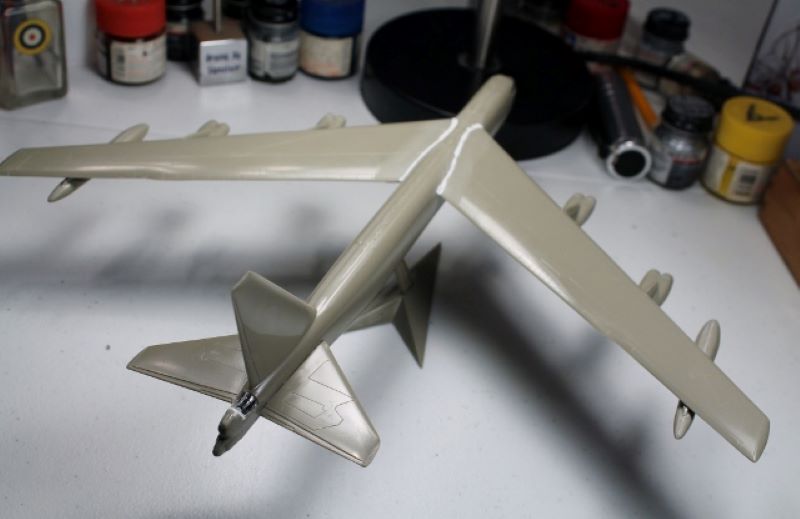
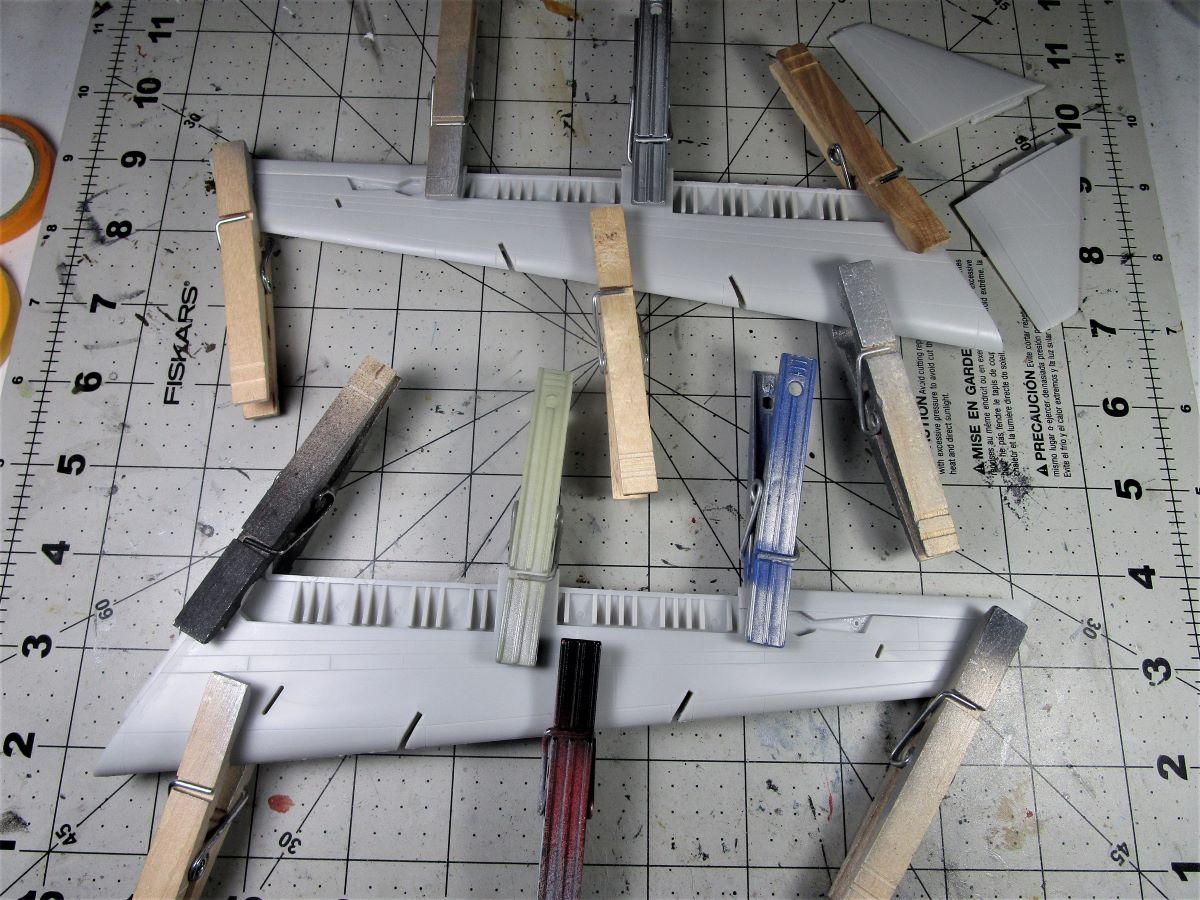
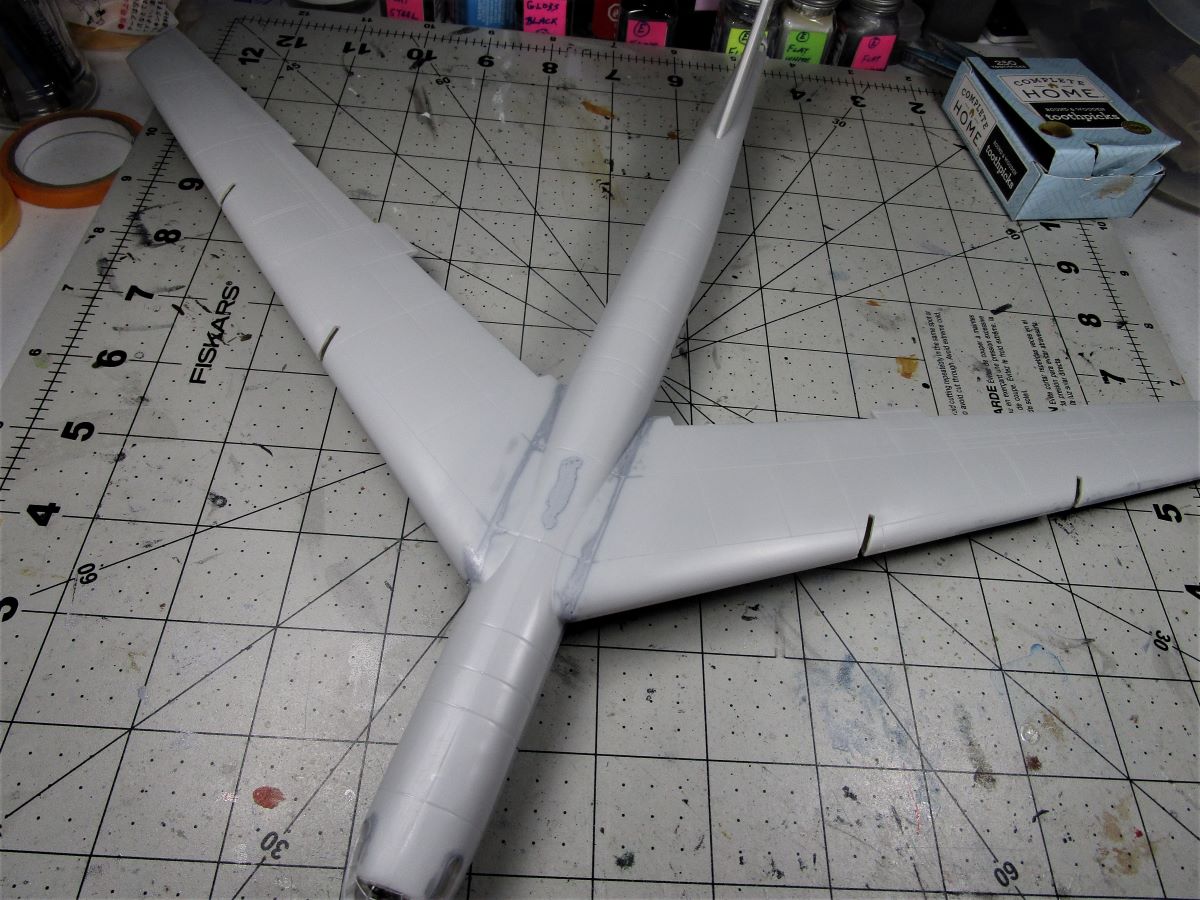
I have the wind screen gaps filled and sanded, the wings sanded and added to the fuselage. I have a couple of 3 view drawings I used to set the anhedral of the wings, I checked the tail and fuselage for square before I set it. Looks good except for the gaps between the wings and fuselage, I sanded the ridges where the wings glued together to get a good butt fit with the fuselage but still have a gap. It really is not all that bad, that’s why I bought Tamiya putty! Looks like I need a bit more sanding on the left wing leading edge also. John

Nice work on the window gap John and thanks for putting in the effort on a work horse of a kit.
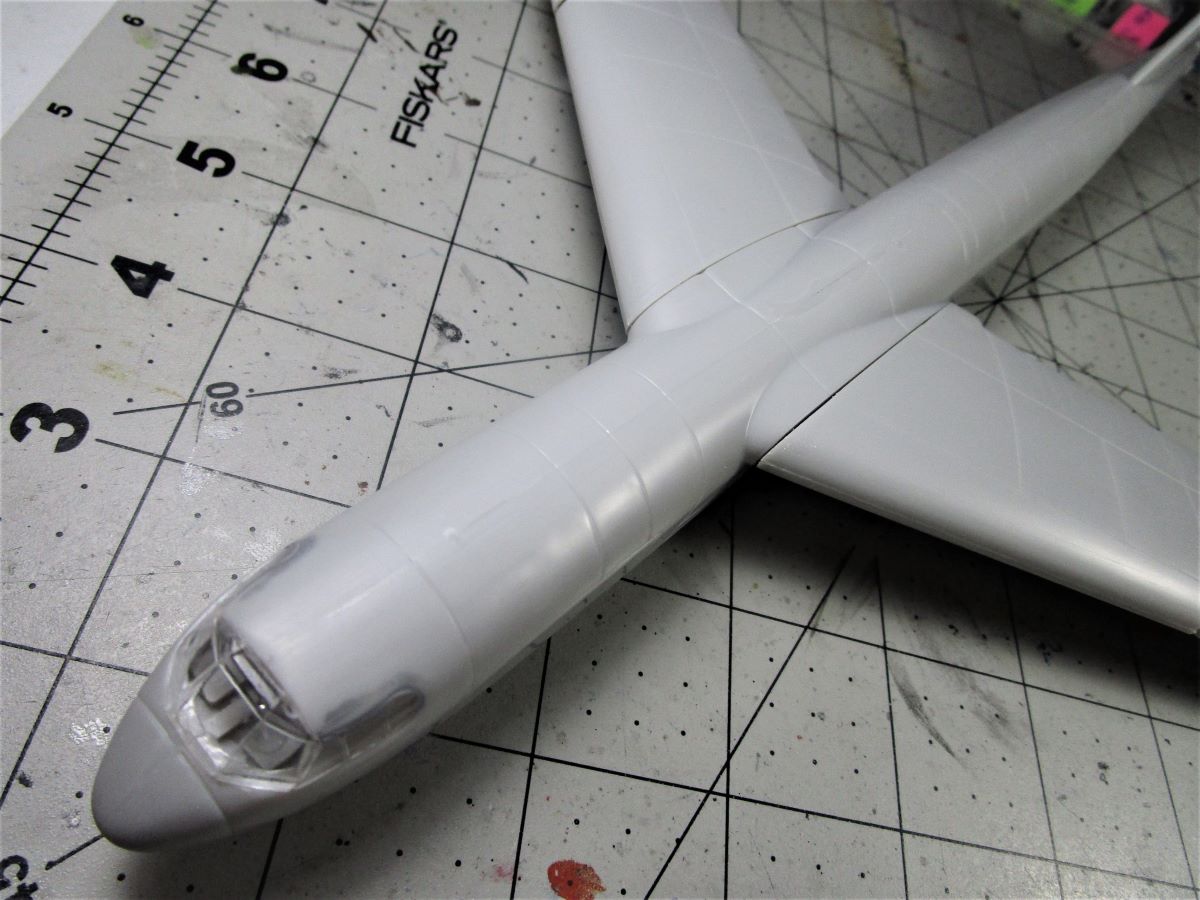
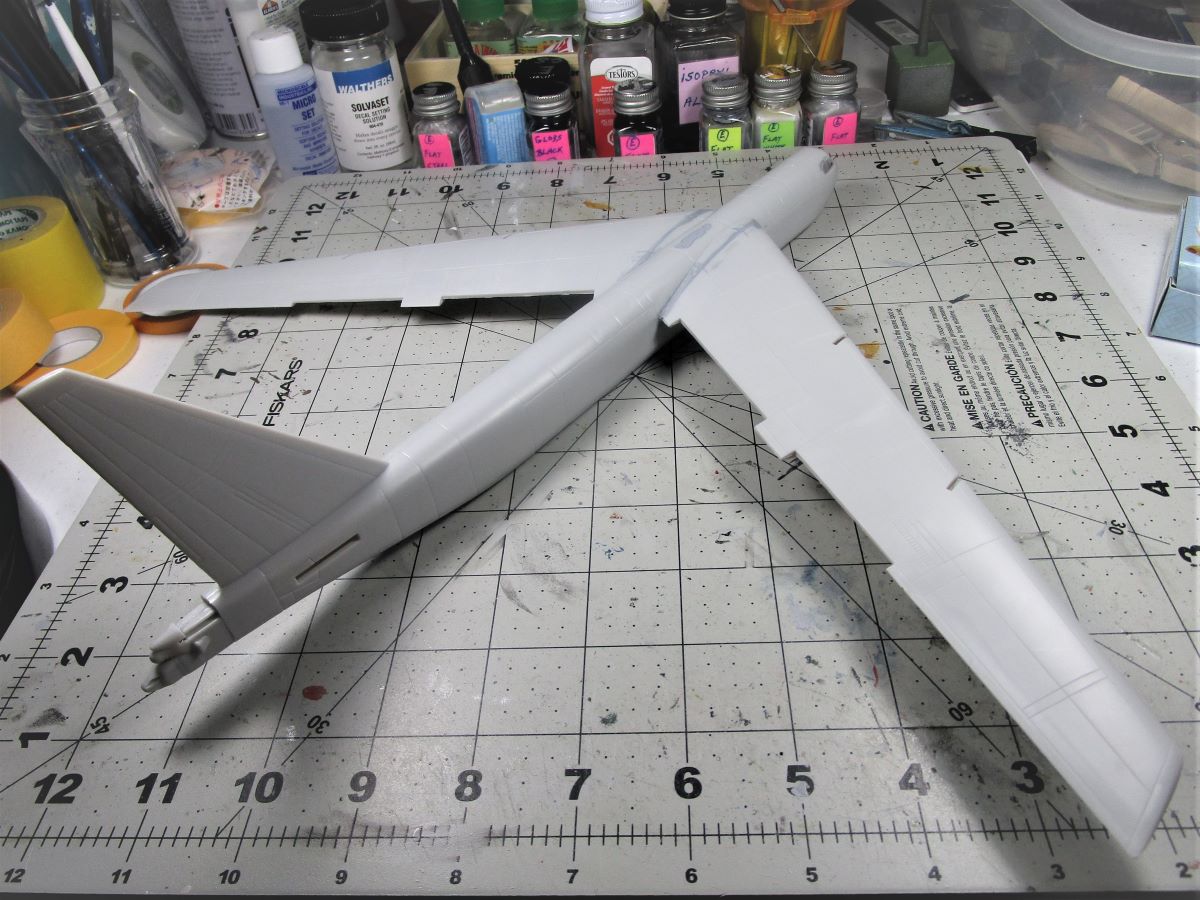
Thanks, this is far less stressful than the old Revell kits. I filled the wing roots and sanded, I have a couple spots that need more putty and sanding but it’s not bad at all. It’s nice to be able to sand and not wipe out all the panel lines! John
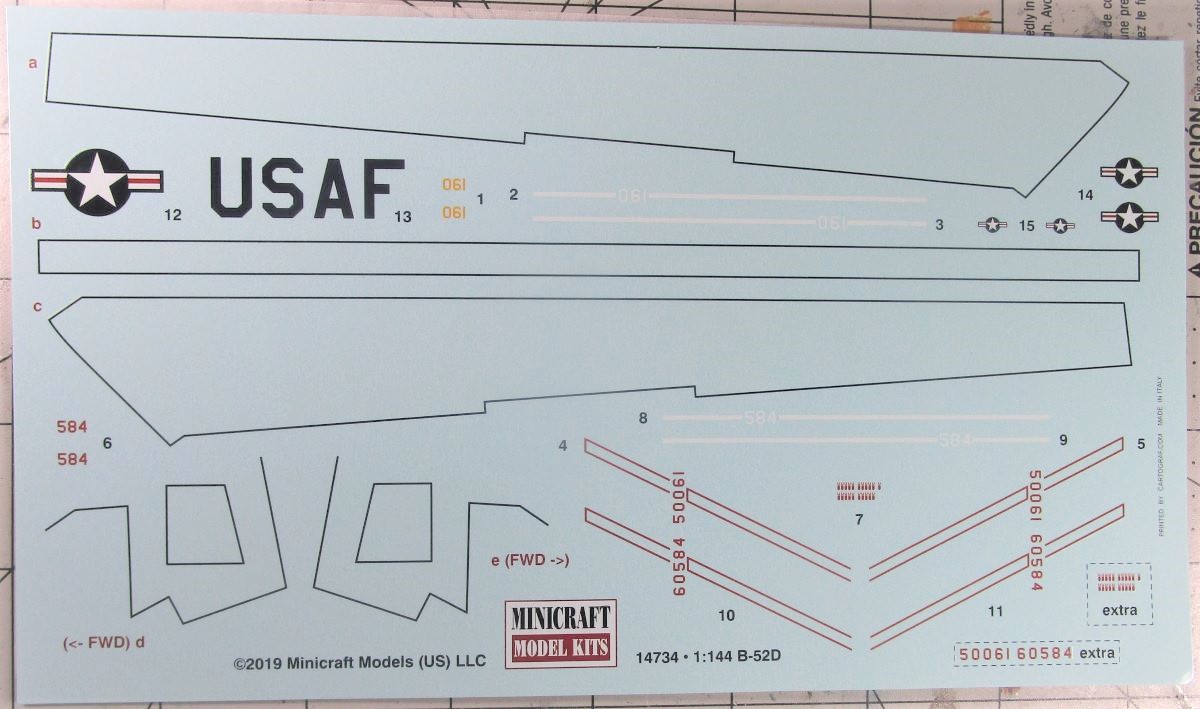
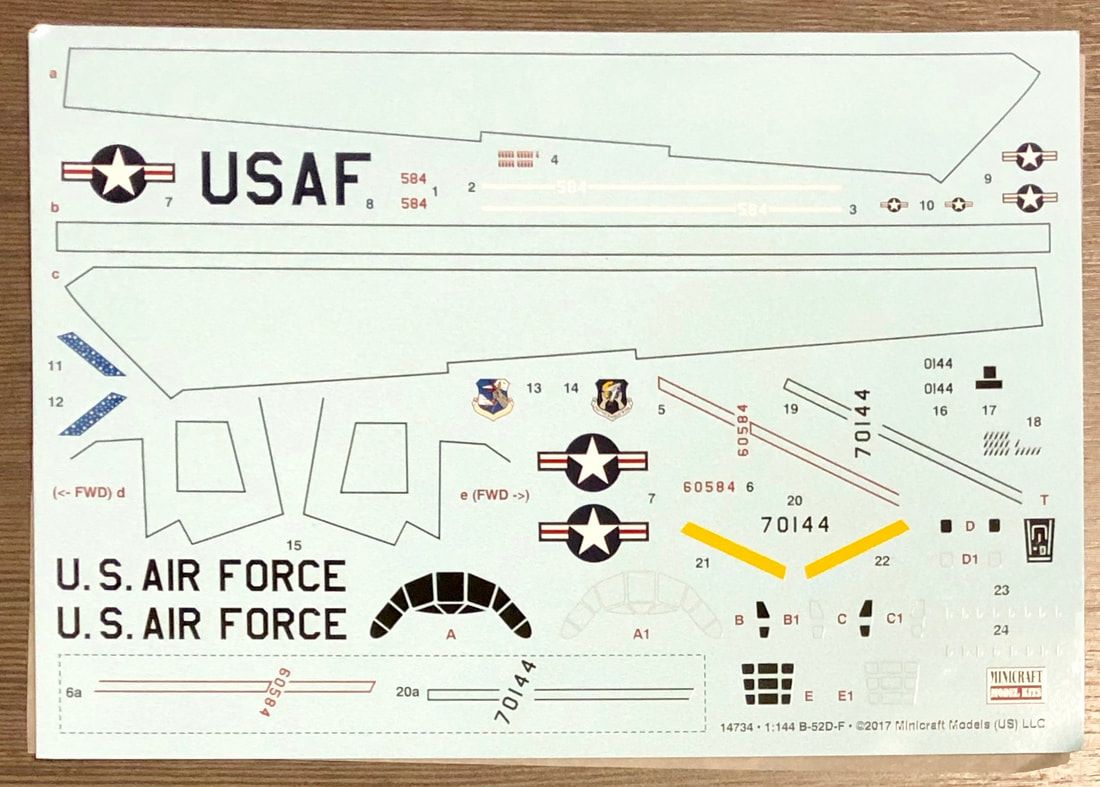
I am still waiting to hear from Minicraft about the decals. I thought there were 2 sheets but it seems they totally gave me the wrong sheet. The sheet they gave me is for a B-52D but it has no window or tail gunner decals and absolutely no F model decals. First picture is what was in kit and second picture shows what I was suppose to have. John
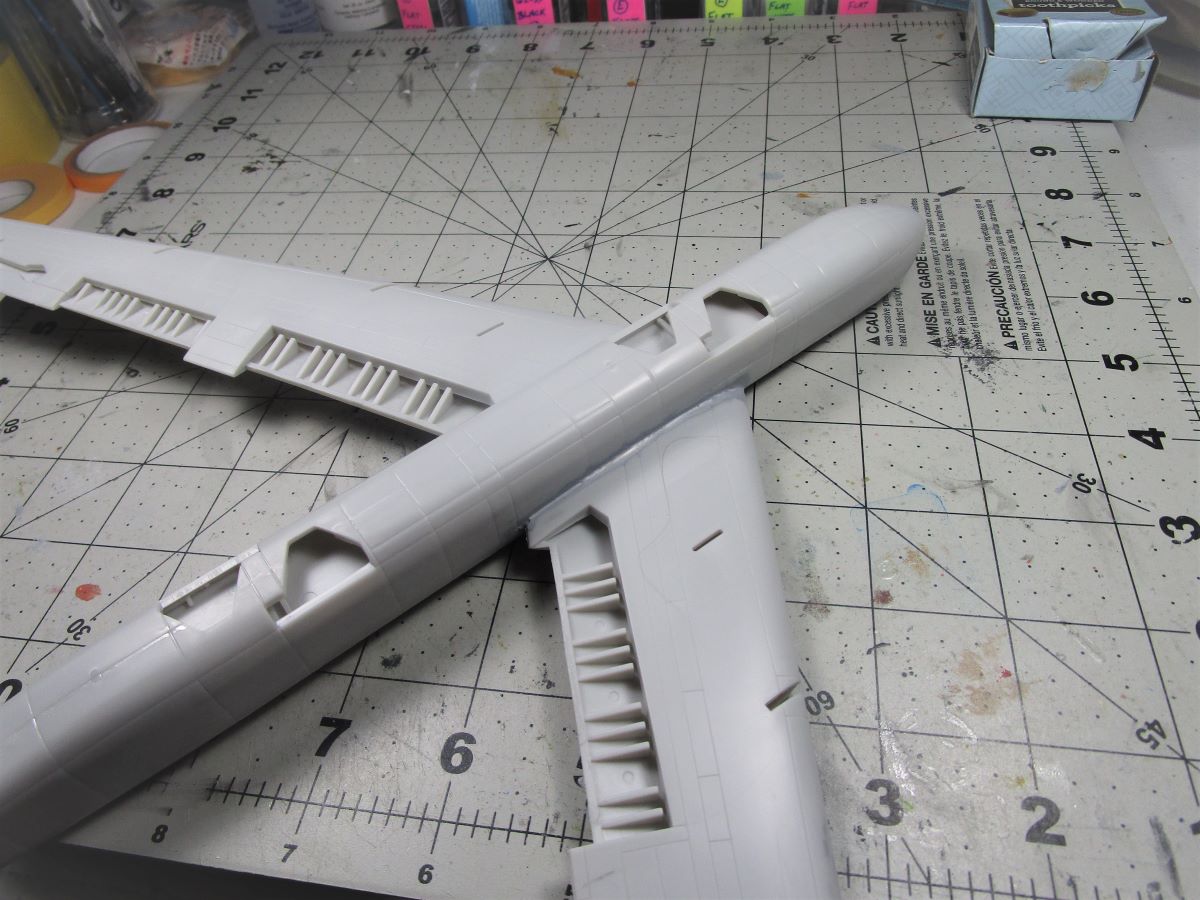
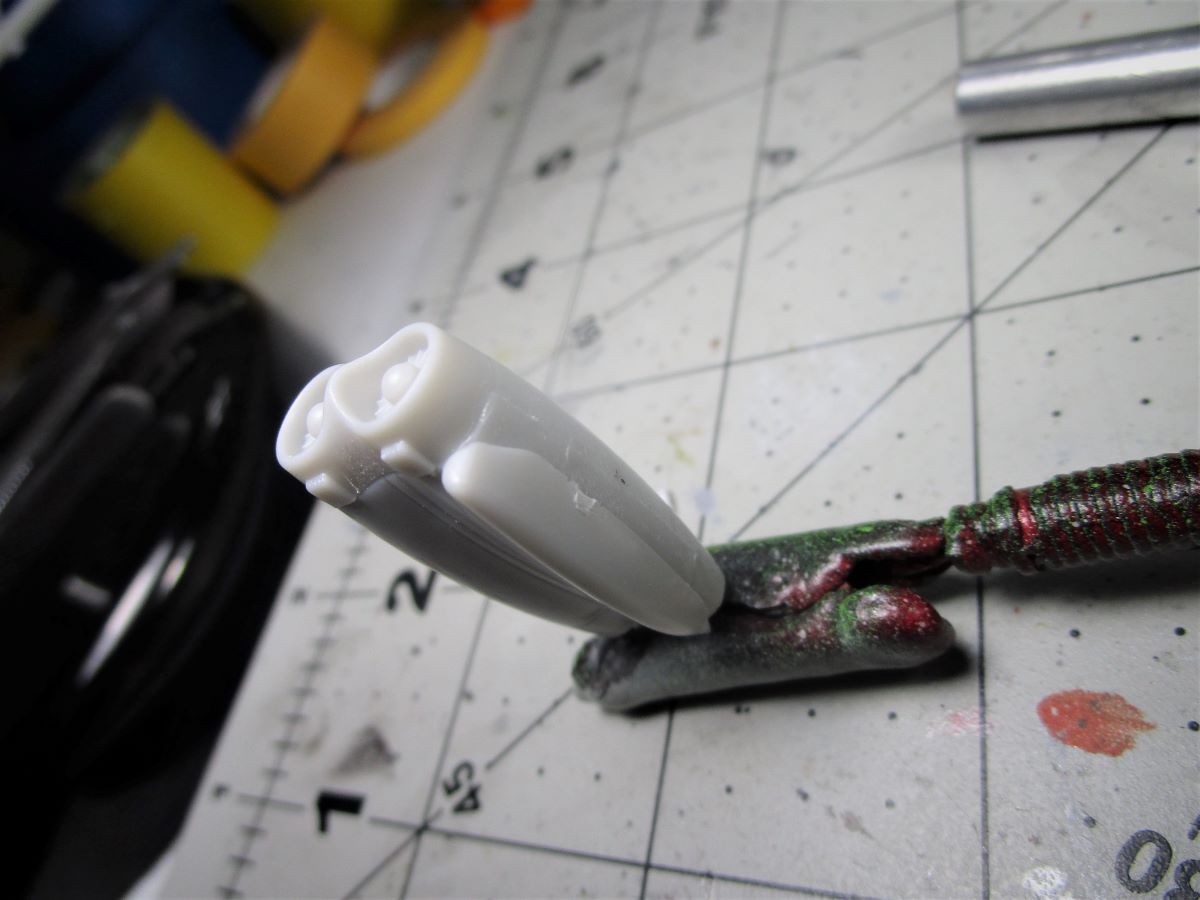
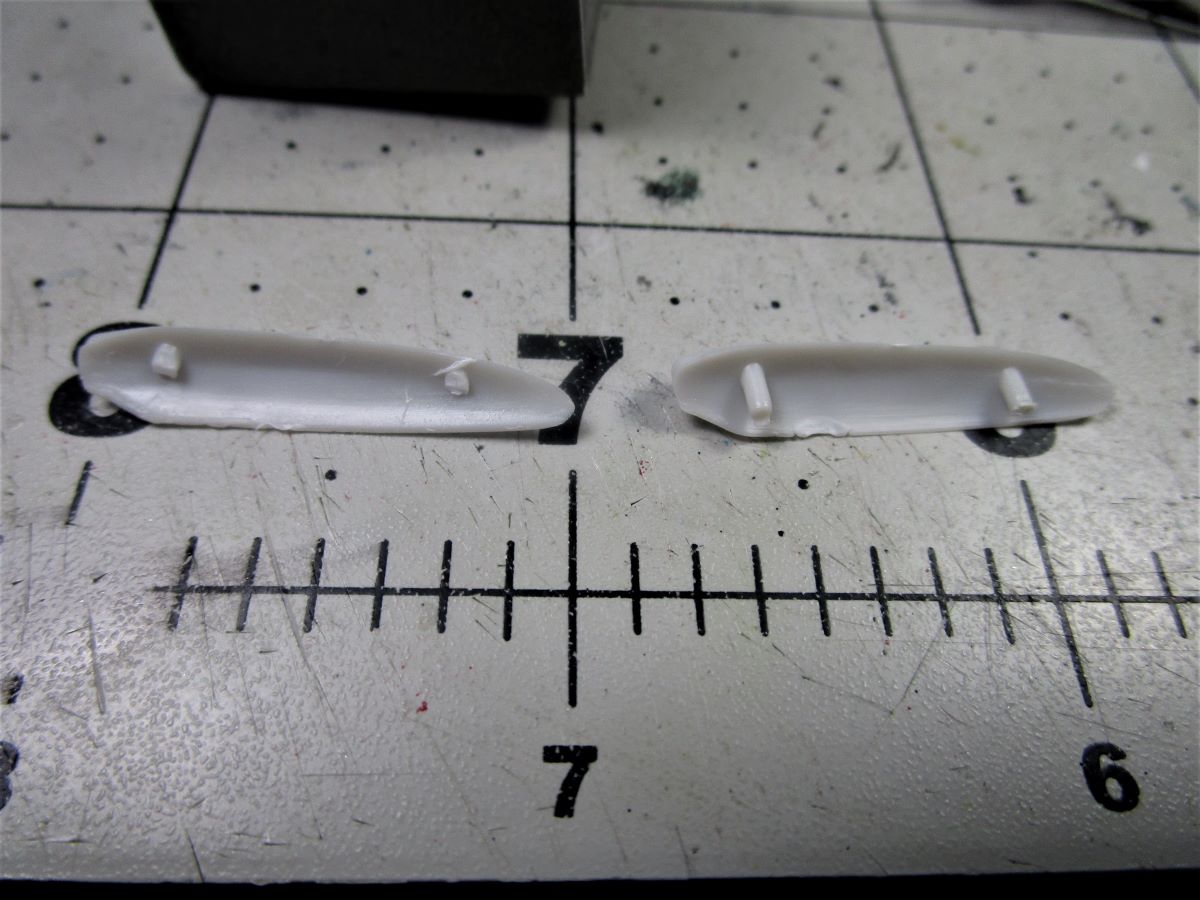
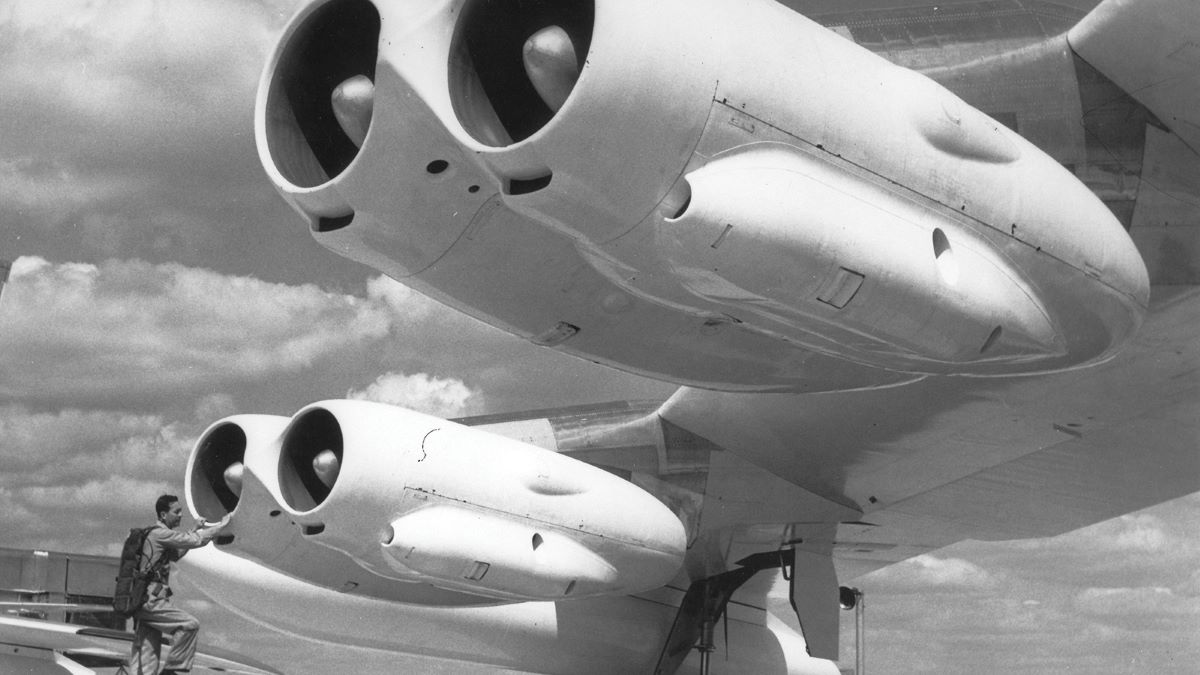
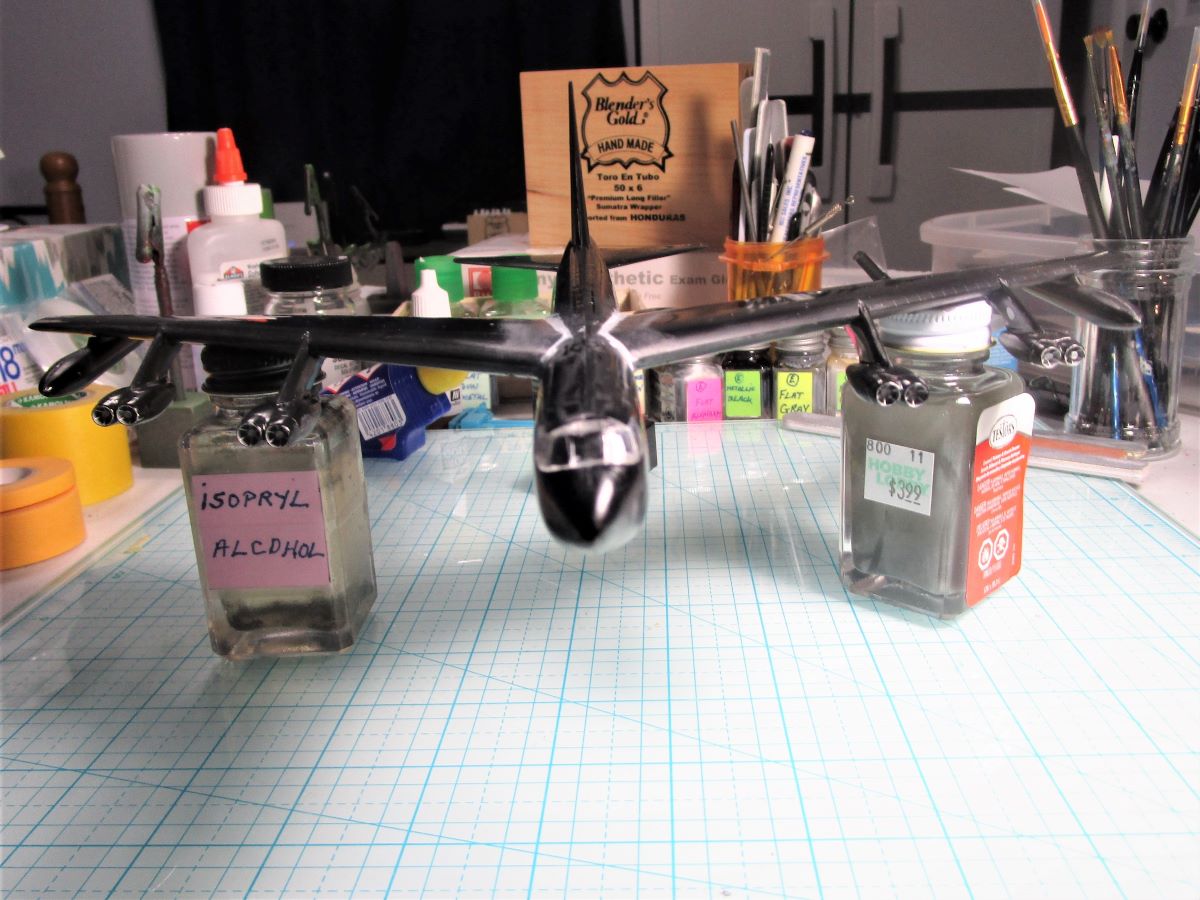
While the putty sets up I started the F model engines. I had to cut off the pins on the side piece, item F72 to rotate it up closer to the engine center line. Minicraft has it too close to the bottom. The first picture shows it as Minicraft has it, the second picture shows it after I cut the pins and rotated it up, the third picture shows the cut pins and the last picture shows the “real deal”. John

Nice work on the engines. Cheers Bob.

Nice job fixing the windshield glass. I can’t believe how large those gaps were. As for those panel lines, I honestly wish they’d stop putting them on small scale kits. I had to fill them in on a 1/48 Chinook as they were so horrible. Any plans to stress the fuselage?
Ah, one other thought: Would the anhedral be different on a BUFF in flight than what they show in drawings?
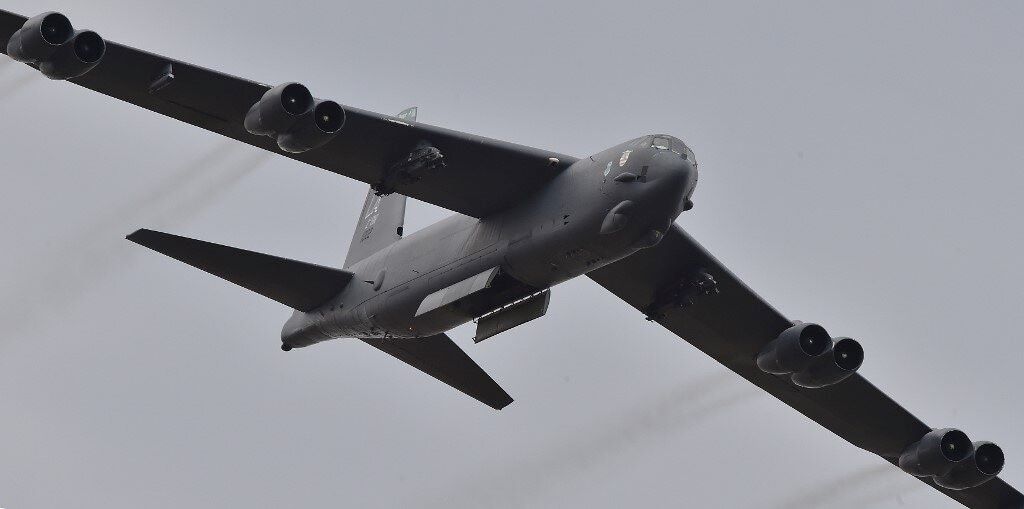
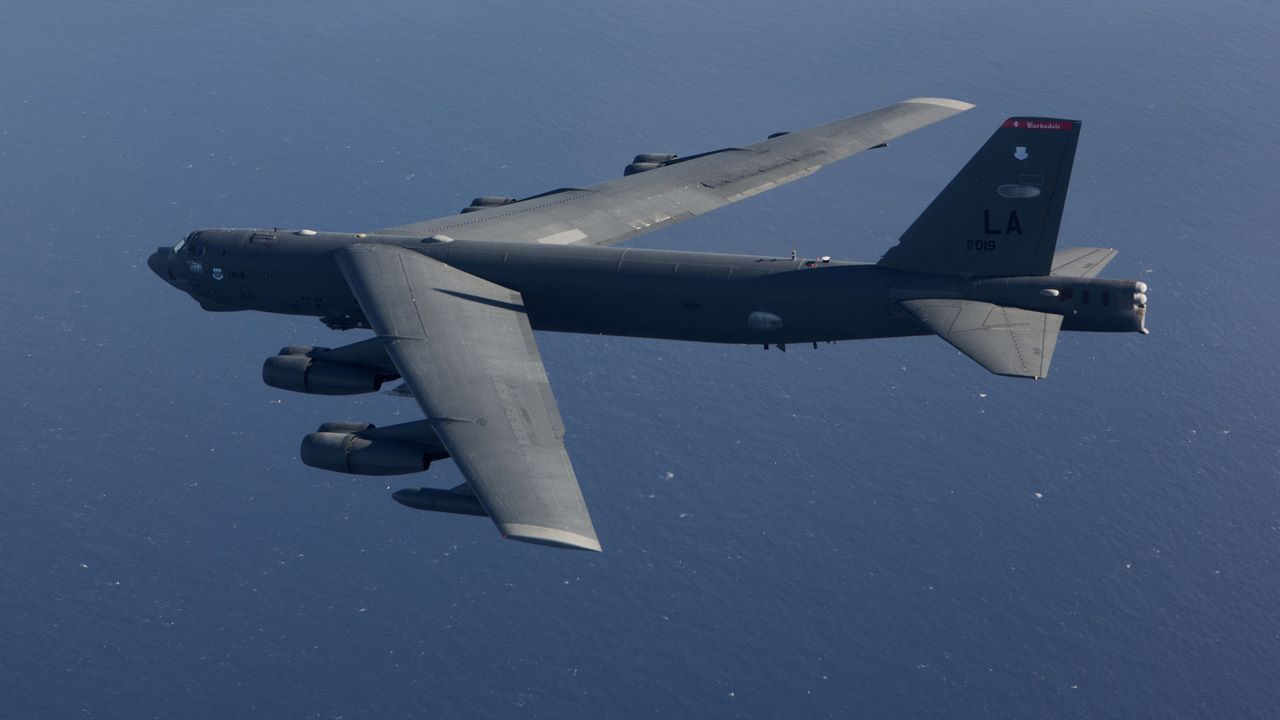
Thanks. Not sure of the anhedral change in flight but I think they still do have an anhedral to a certain extent. The images I have seen seem to show the outer wing bows up in flight, how much I have no clue. I am not going to be overly worried as this is not a museum build or for a contest, just for my own “viewing pleasure”. The images below looks to me to show that upward flex, maybe after the wing tanks have had their fuel drained? Good question for someone building an inflight politically correct diorama. John
Replacement for my lost 1/175 Advent (Revell) B-52. This one is VERY familiar as it is in black plastic like the one I did finish circa 1970 or '71. It still had the original shrink wrap! John
Just got my replacement decals for Minicraft B-52D/F in the mail. THEY ARE THE SAME WRONG ONES!!!
WTH is up with these people!!!??? John 
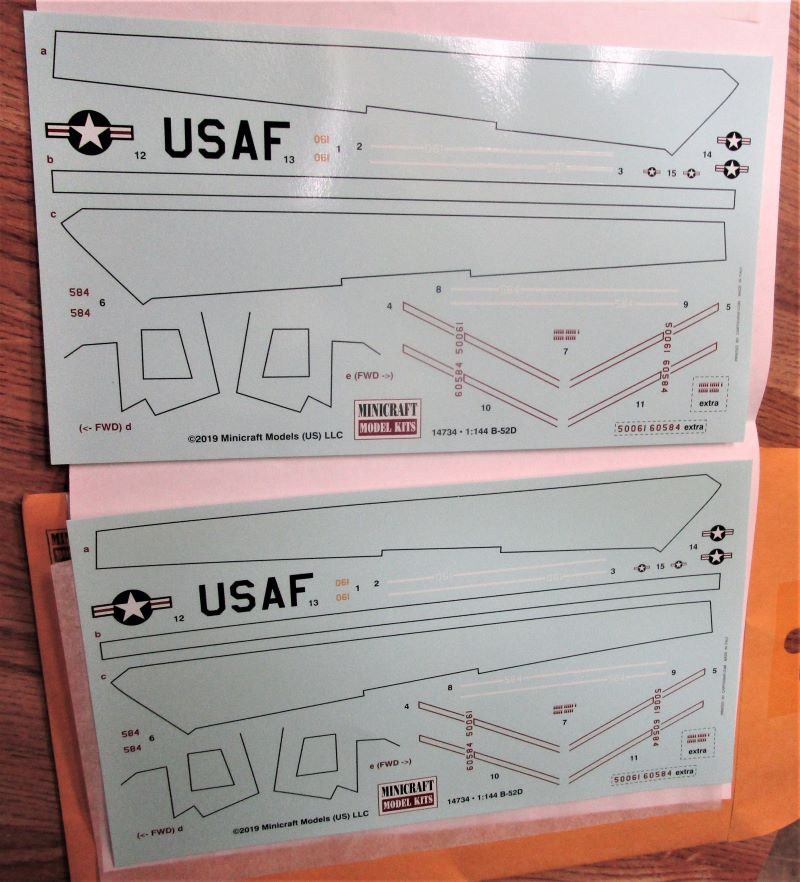
Need these, DUH!!! I sent out another e-mail, I told them to send the right set and I would gladly send the wrong set back! John
Still waiting to hear about correct decals! On the bright side the old Revell 1/175 is ready for SEA over black B-52D scheme paint. John

I just got my replacement decals from Minicraft again. I now have 3 incorrect sets from them. They sent me the ones I had AND ones for a B-52D/E but NO F!!!The D-E ones have windscreen BUT E markings and Skybolt markings! I freaking give the effff up. Will try to buy after market!!! John

That has got to be annoying…don’t give up…