Re the show, it’s on as far as I know; I really do need to get a wiggle on re my builds. Most seemed to have stalled despite the re-energizing effects of the Avon show (which really was very good indeed), but sadly real-life issues have gotten in the way re APS (Ageing Parents Syndrome) so I’ve gone off the boil a bit.
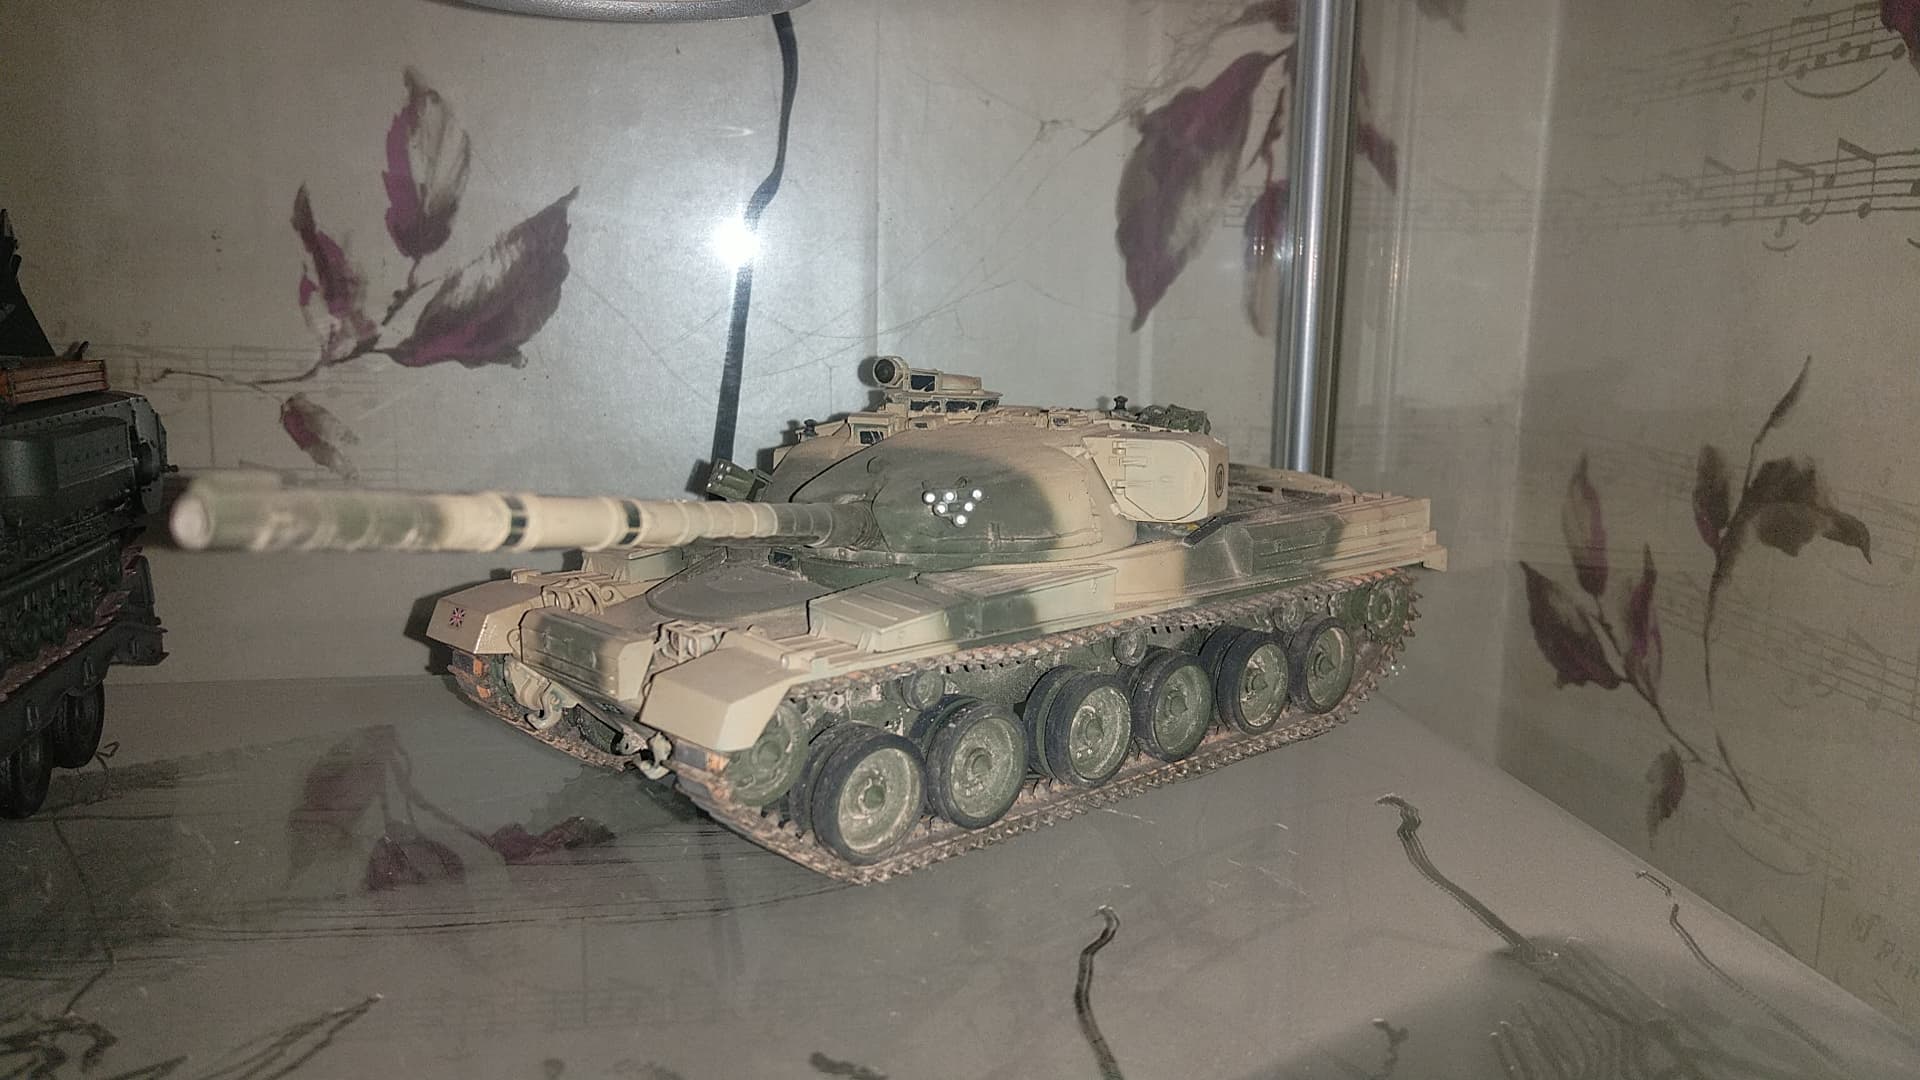
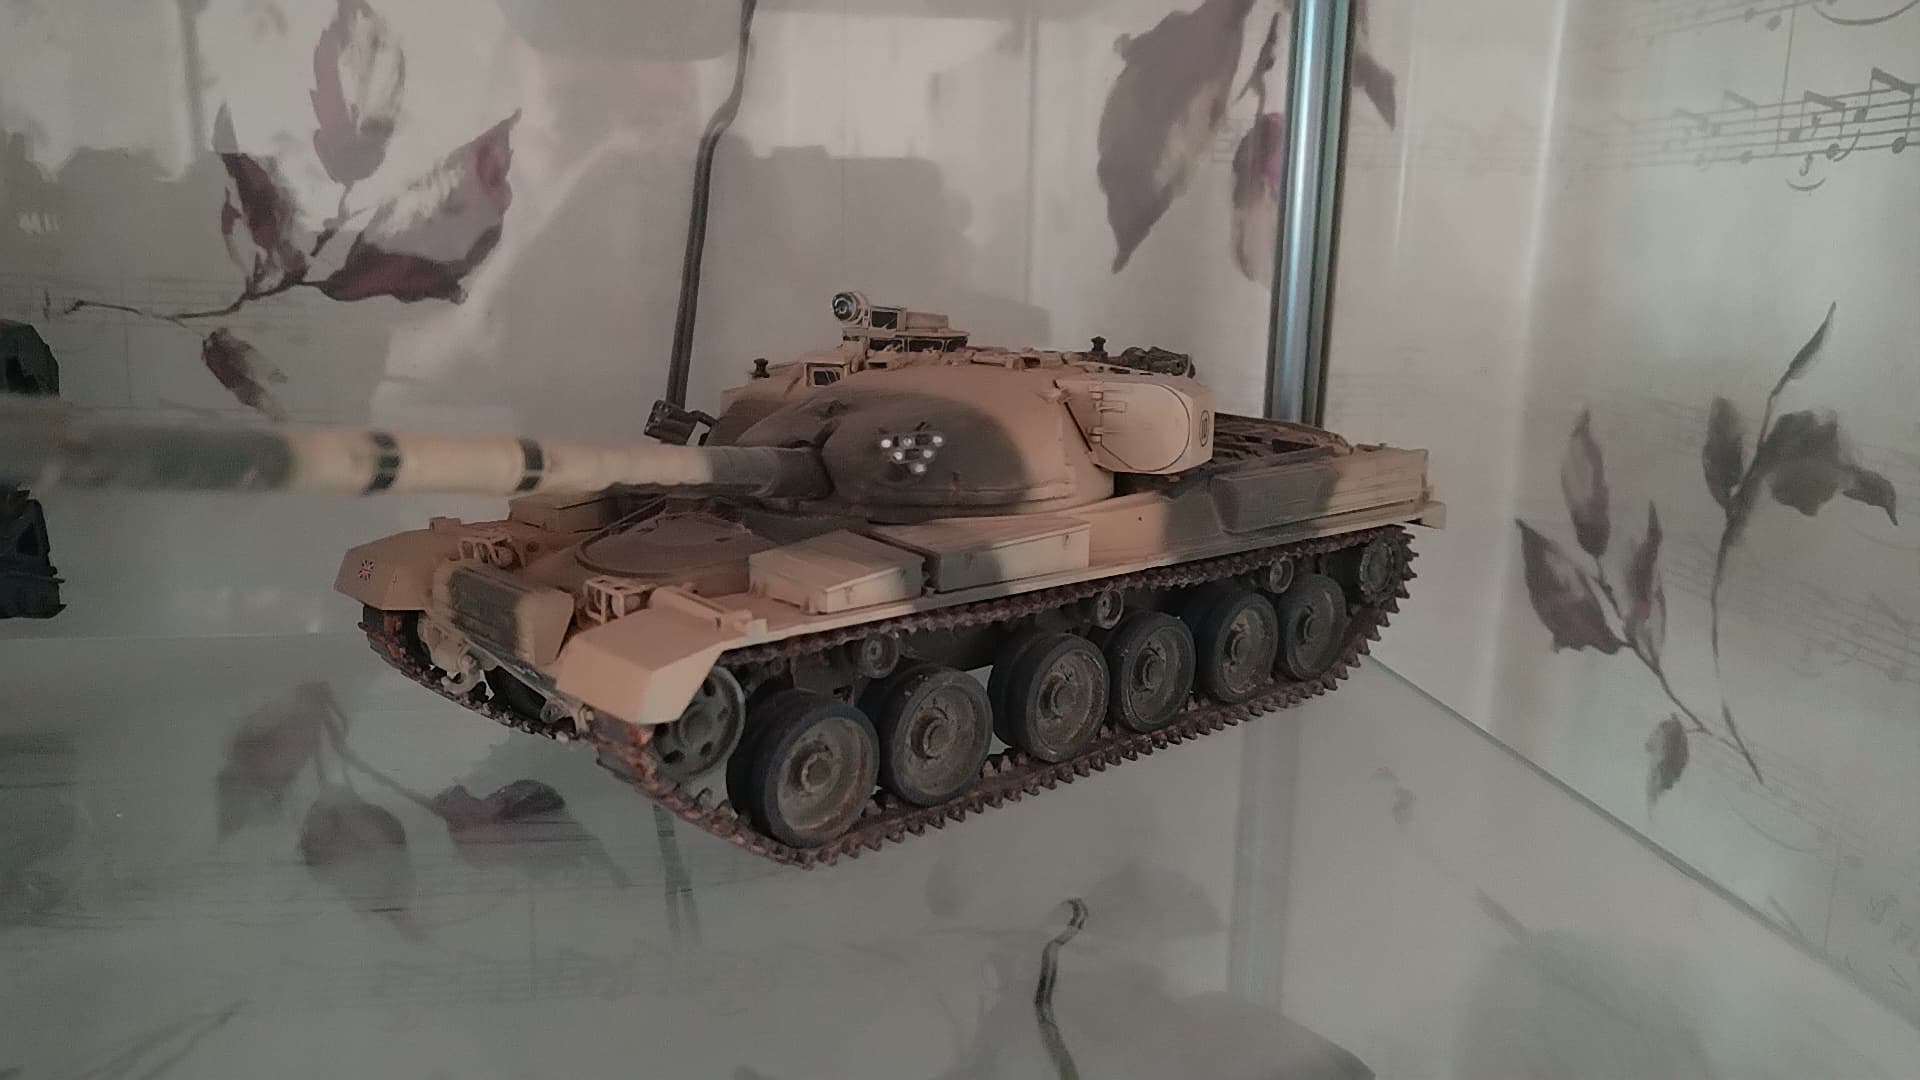
Funnily enough, I’ve started a build of the venerable Tamiya Chiefie, although I have one already built from some years ago, but really fancied a platform for my Red Zebra figures in NBC suits coupled with the outstanding Hornet Head set depicting the “Dan Dare” bonedome. My BGS model requires completion too so I need to get my finger out!
If, for whatever reason it’s cancelled (unlikely I suspect after the success of Avon) I should get an early heads-up not least as I’m exhibiting (oo-er) so I’ll pass it on.
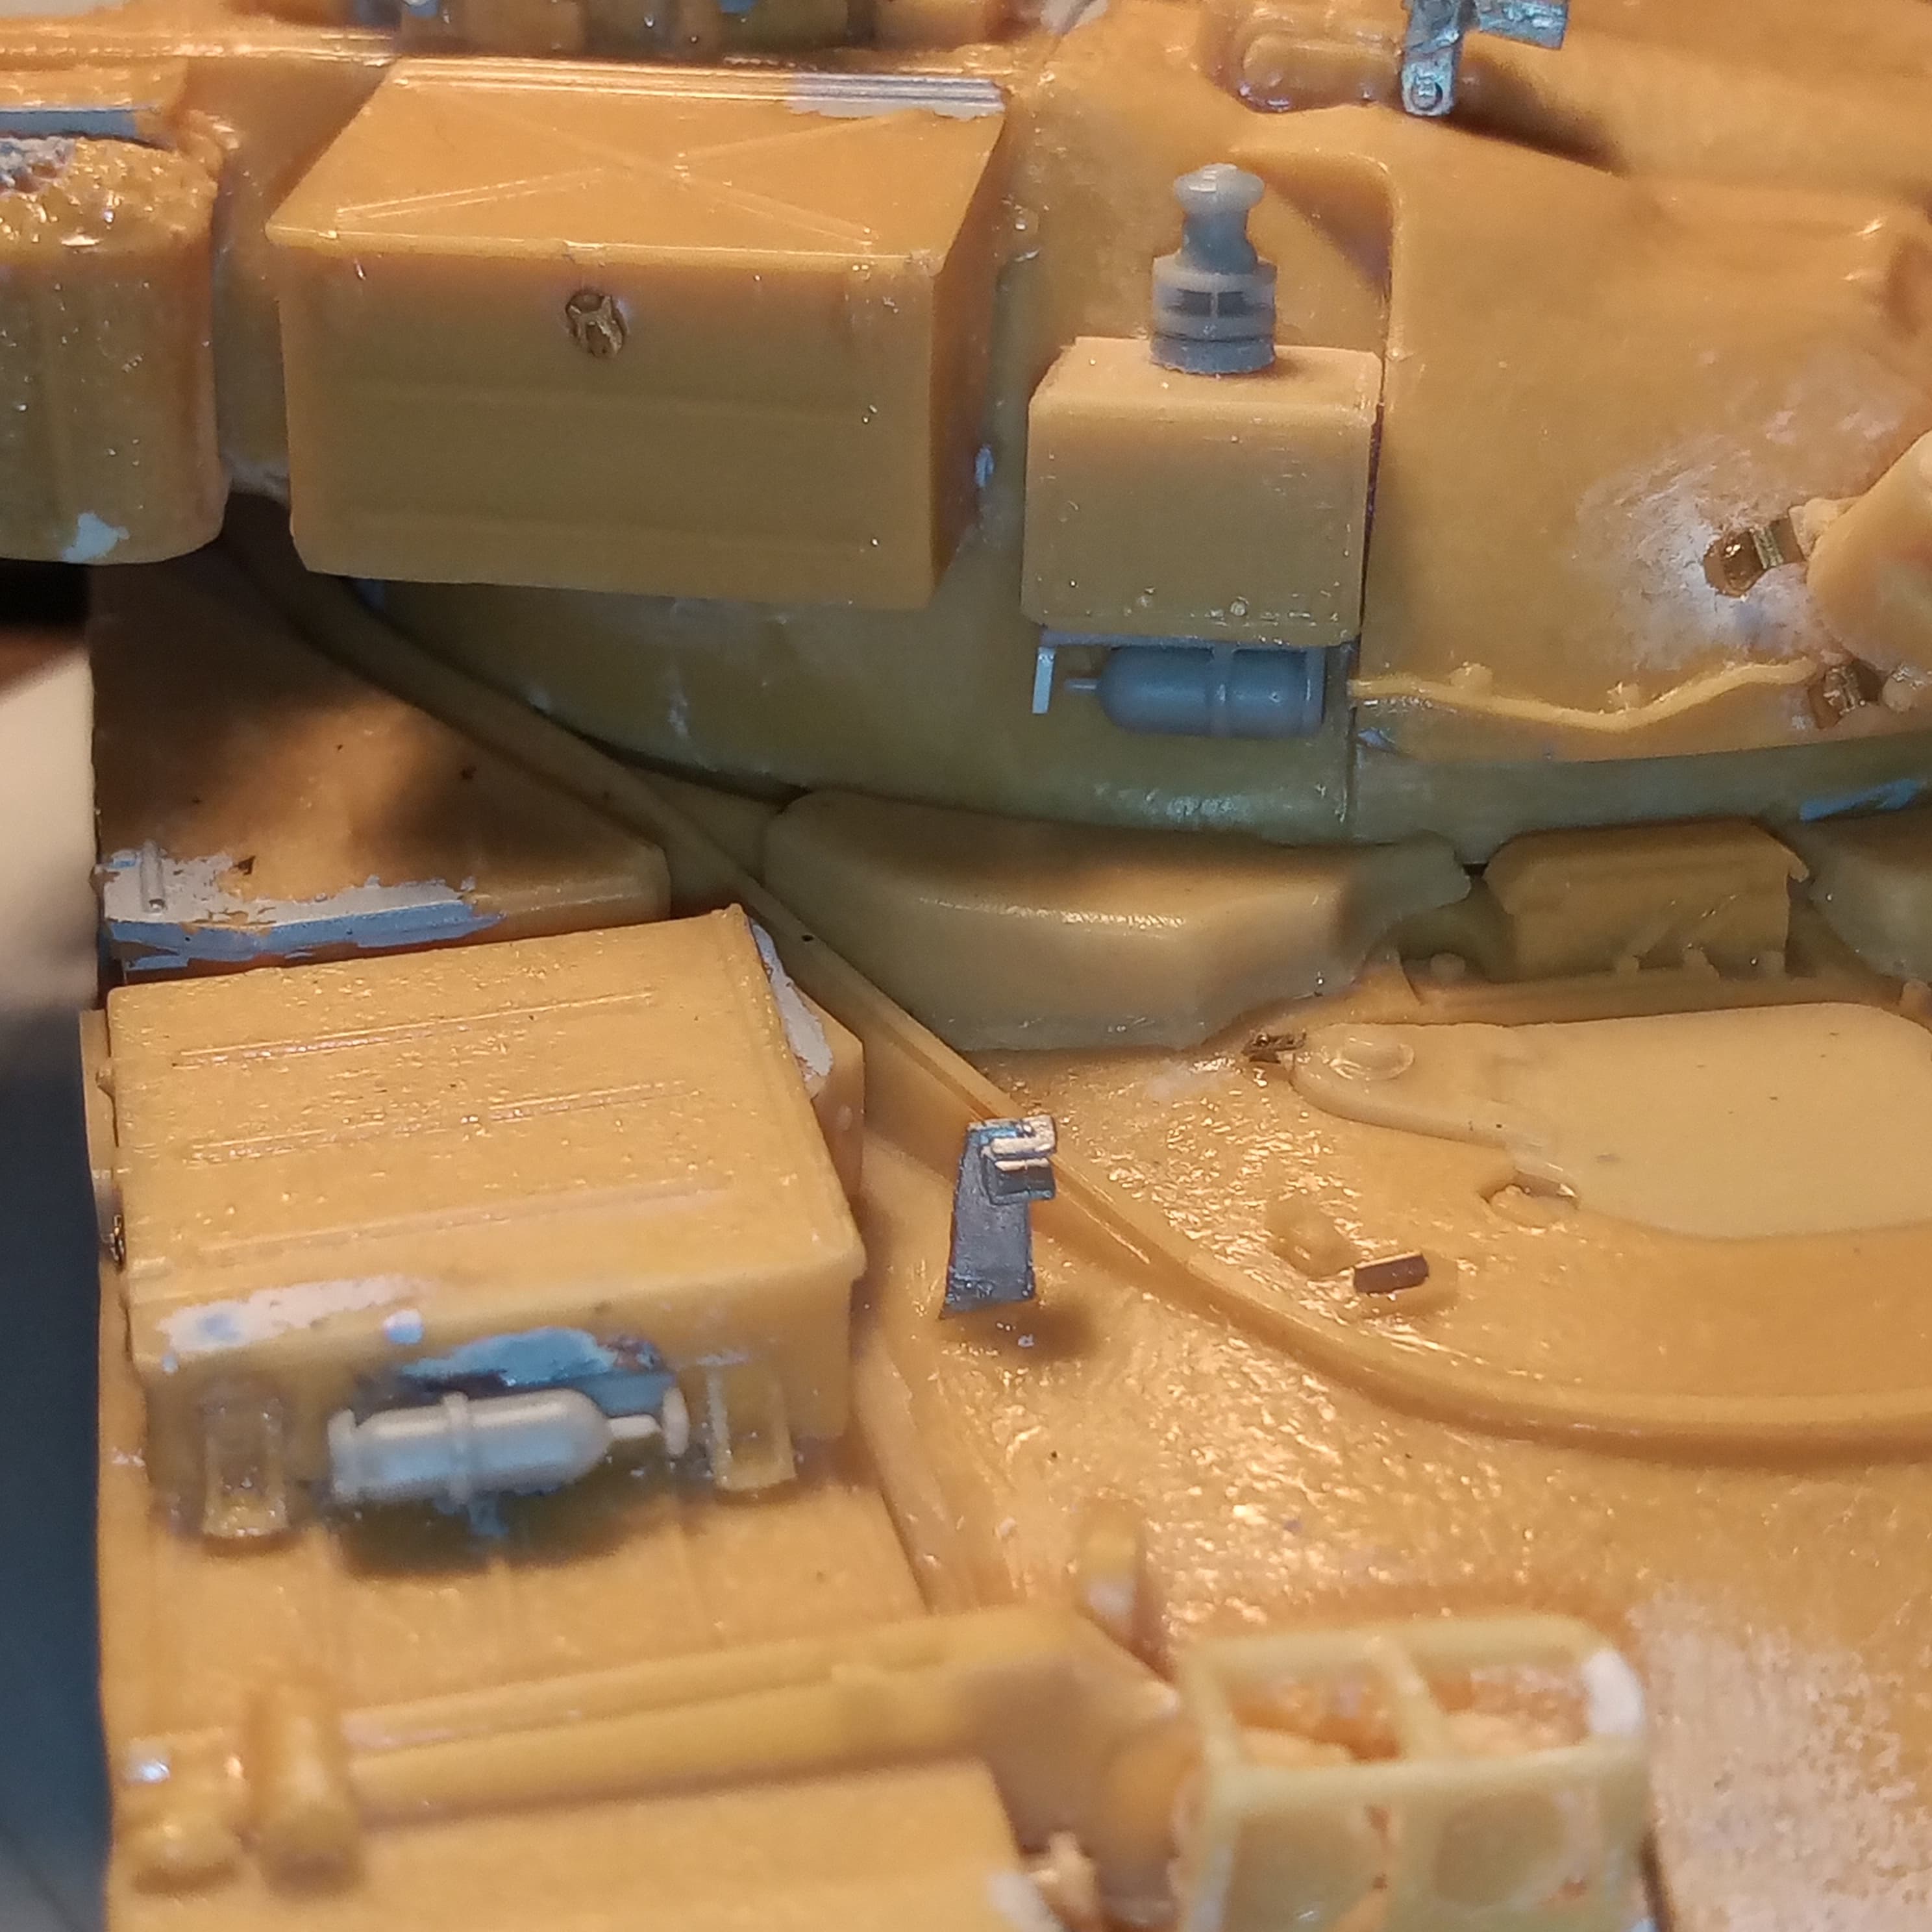
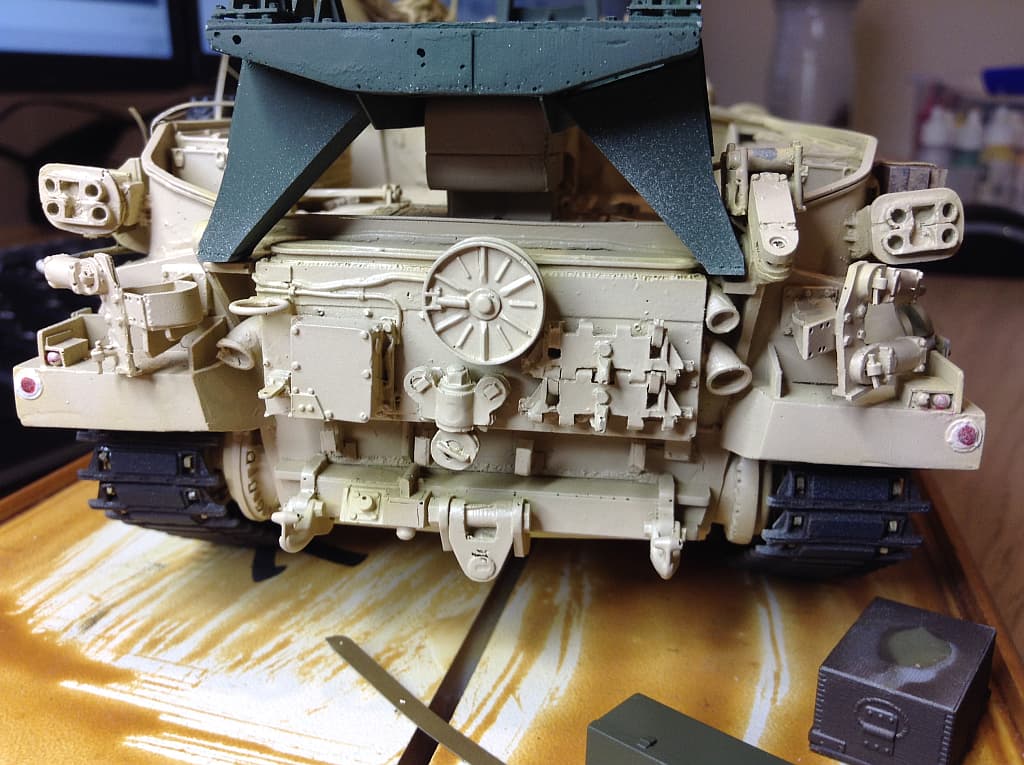
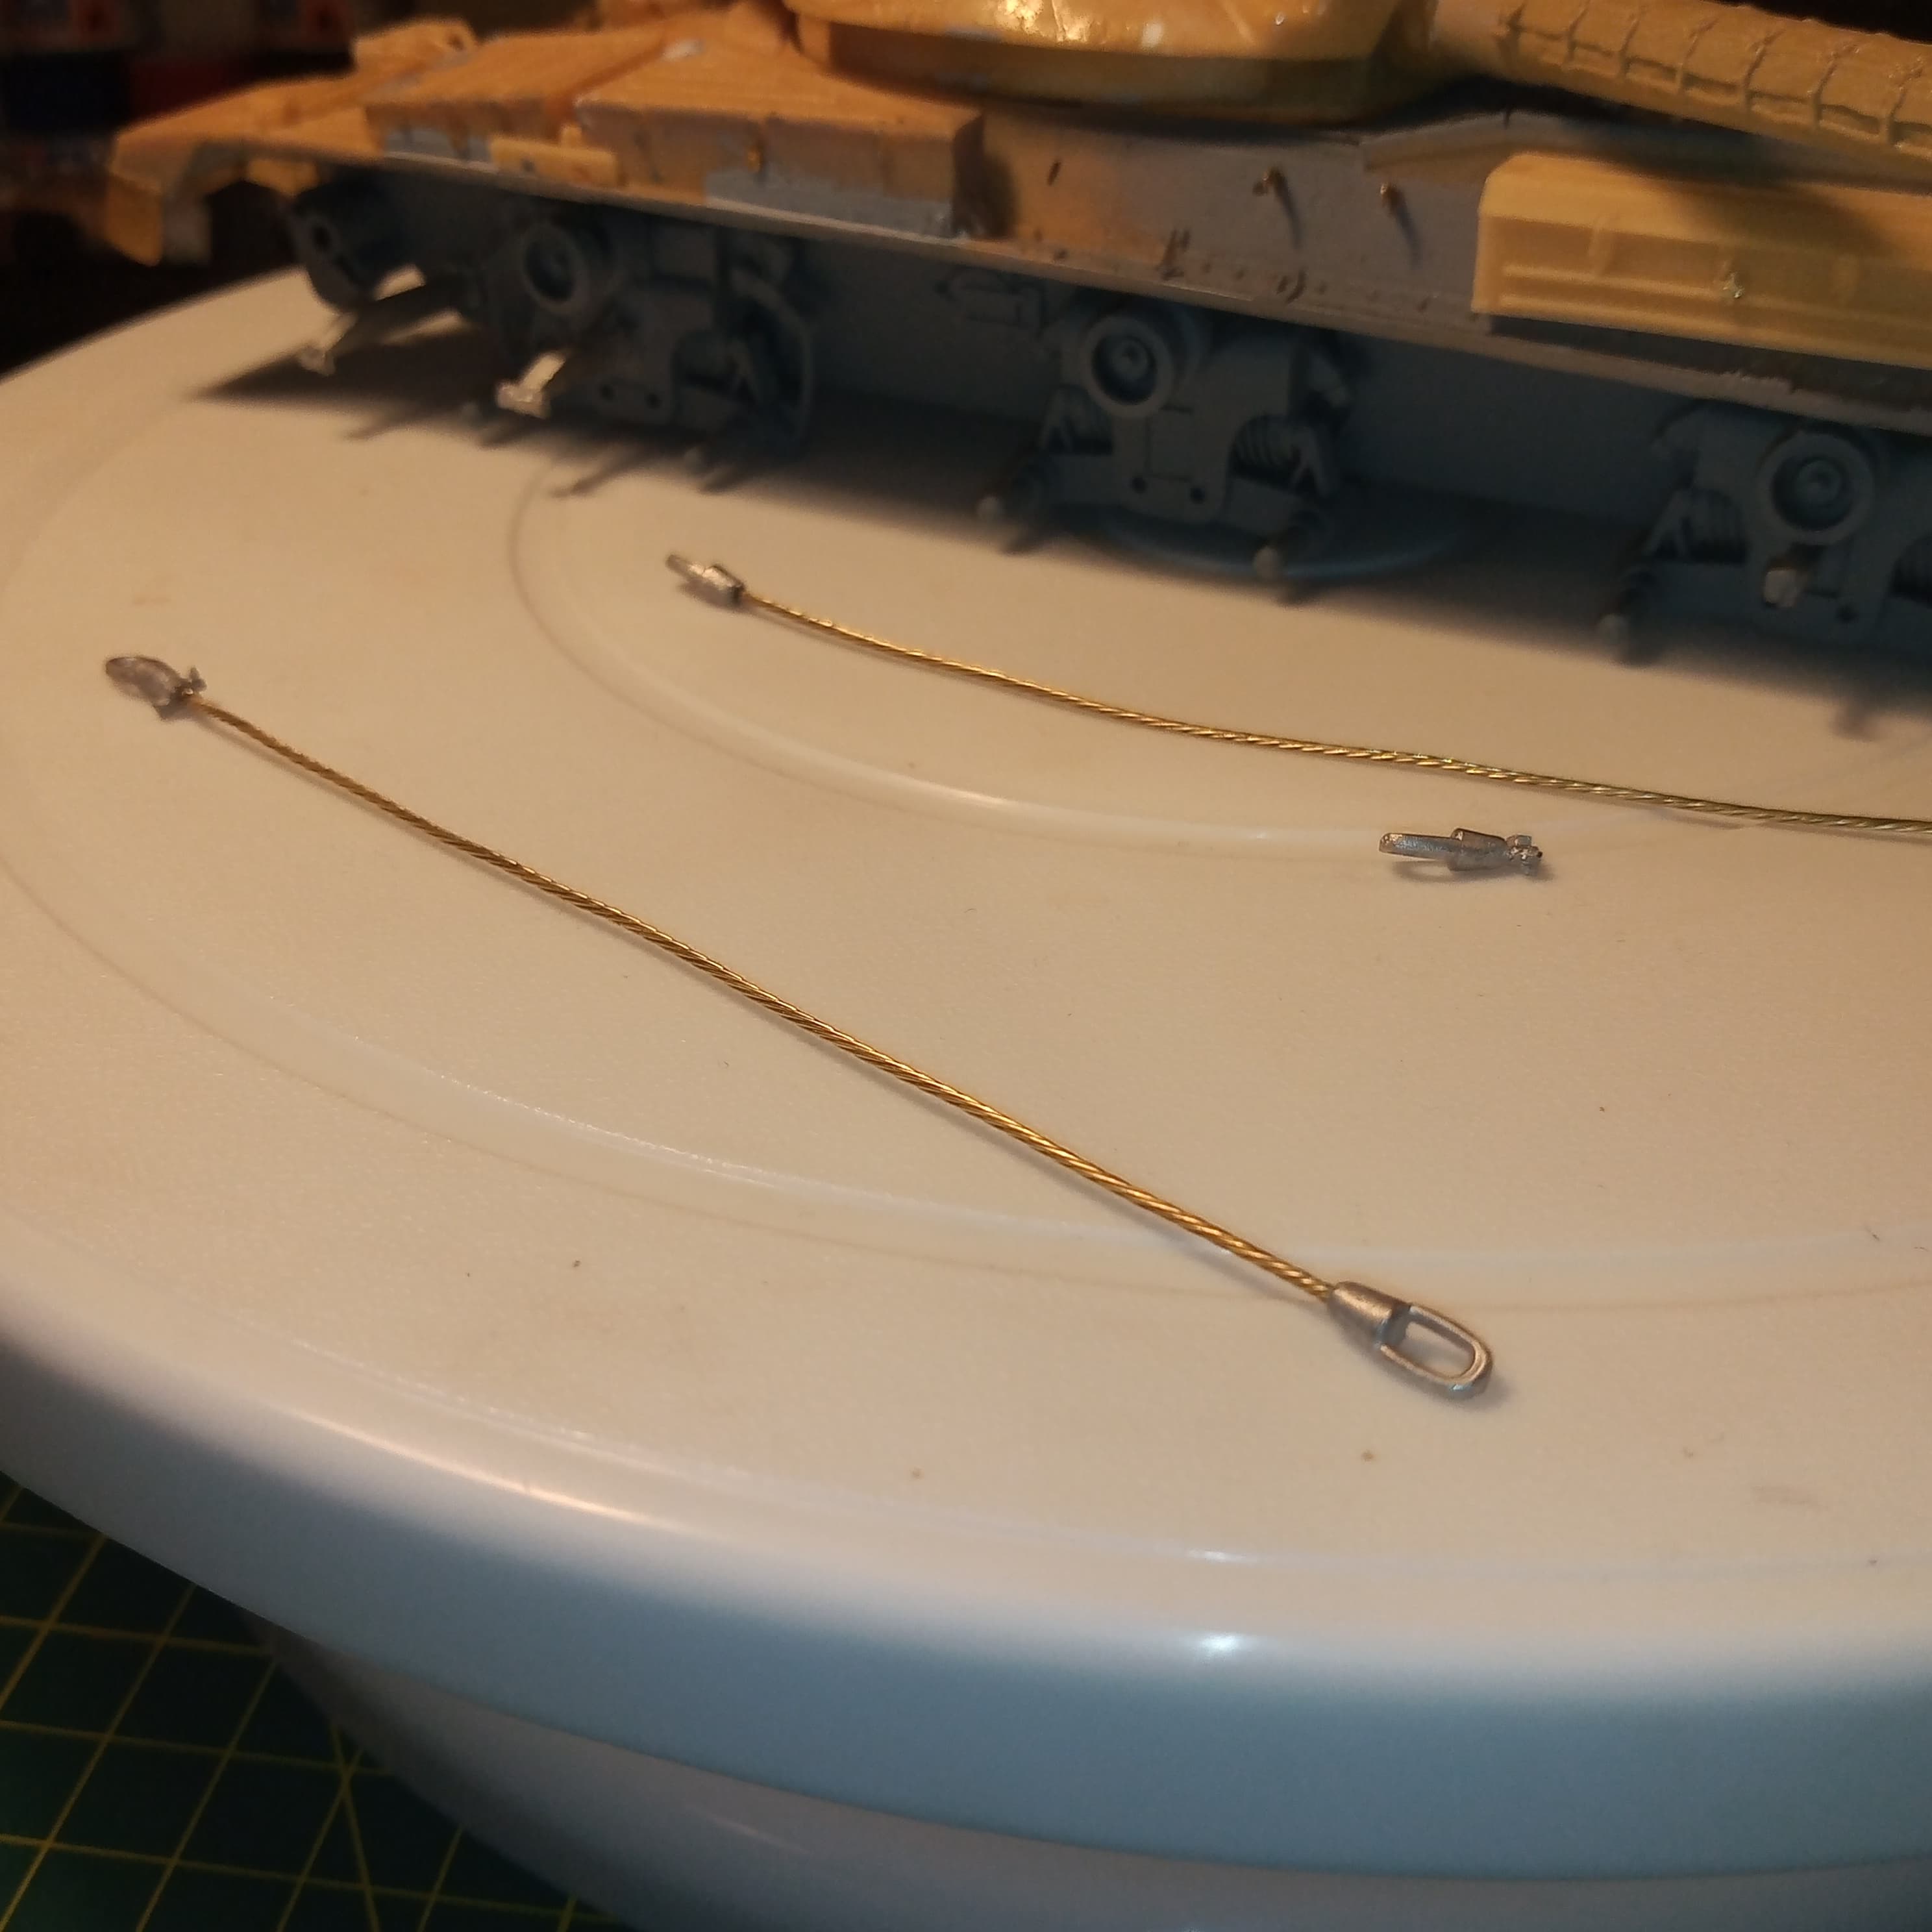
All that has to be fitted now is the 45 ton shackle and the rear hull lifting eyes and exhaust elbows which have been dispatched. I am making a new stalk for the amber light.
Then it’s placing the hull mounting brackets PE for the boz plates and then base primer time.
I will do the boz plates last along with the recovery ropes.
Nice job working all the “kinks” out of the resin. Really enjoy these personal track builds that you do. Pick up some great info that only those who have been there and done that can impart.
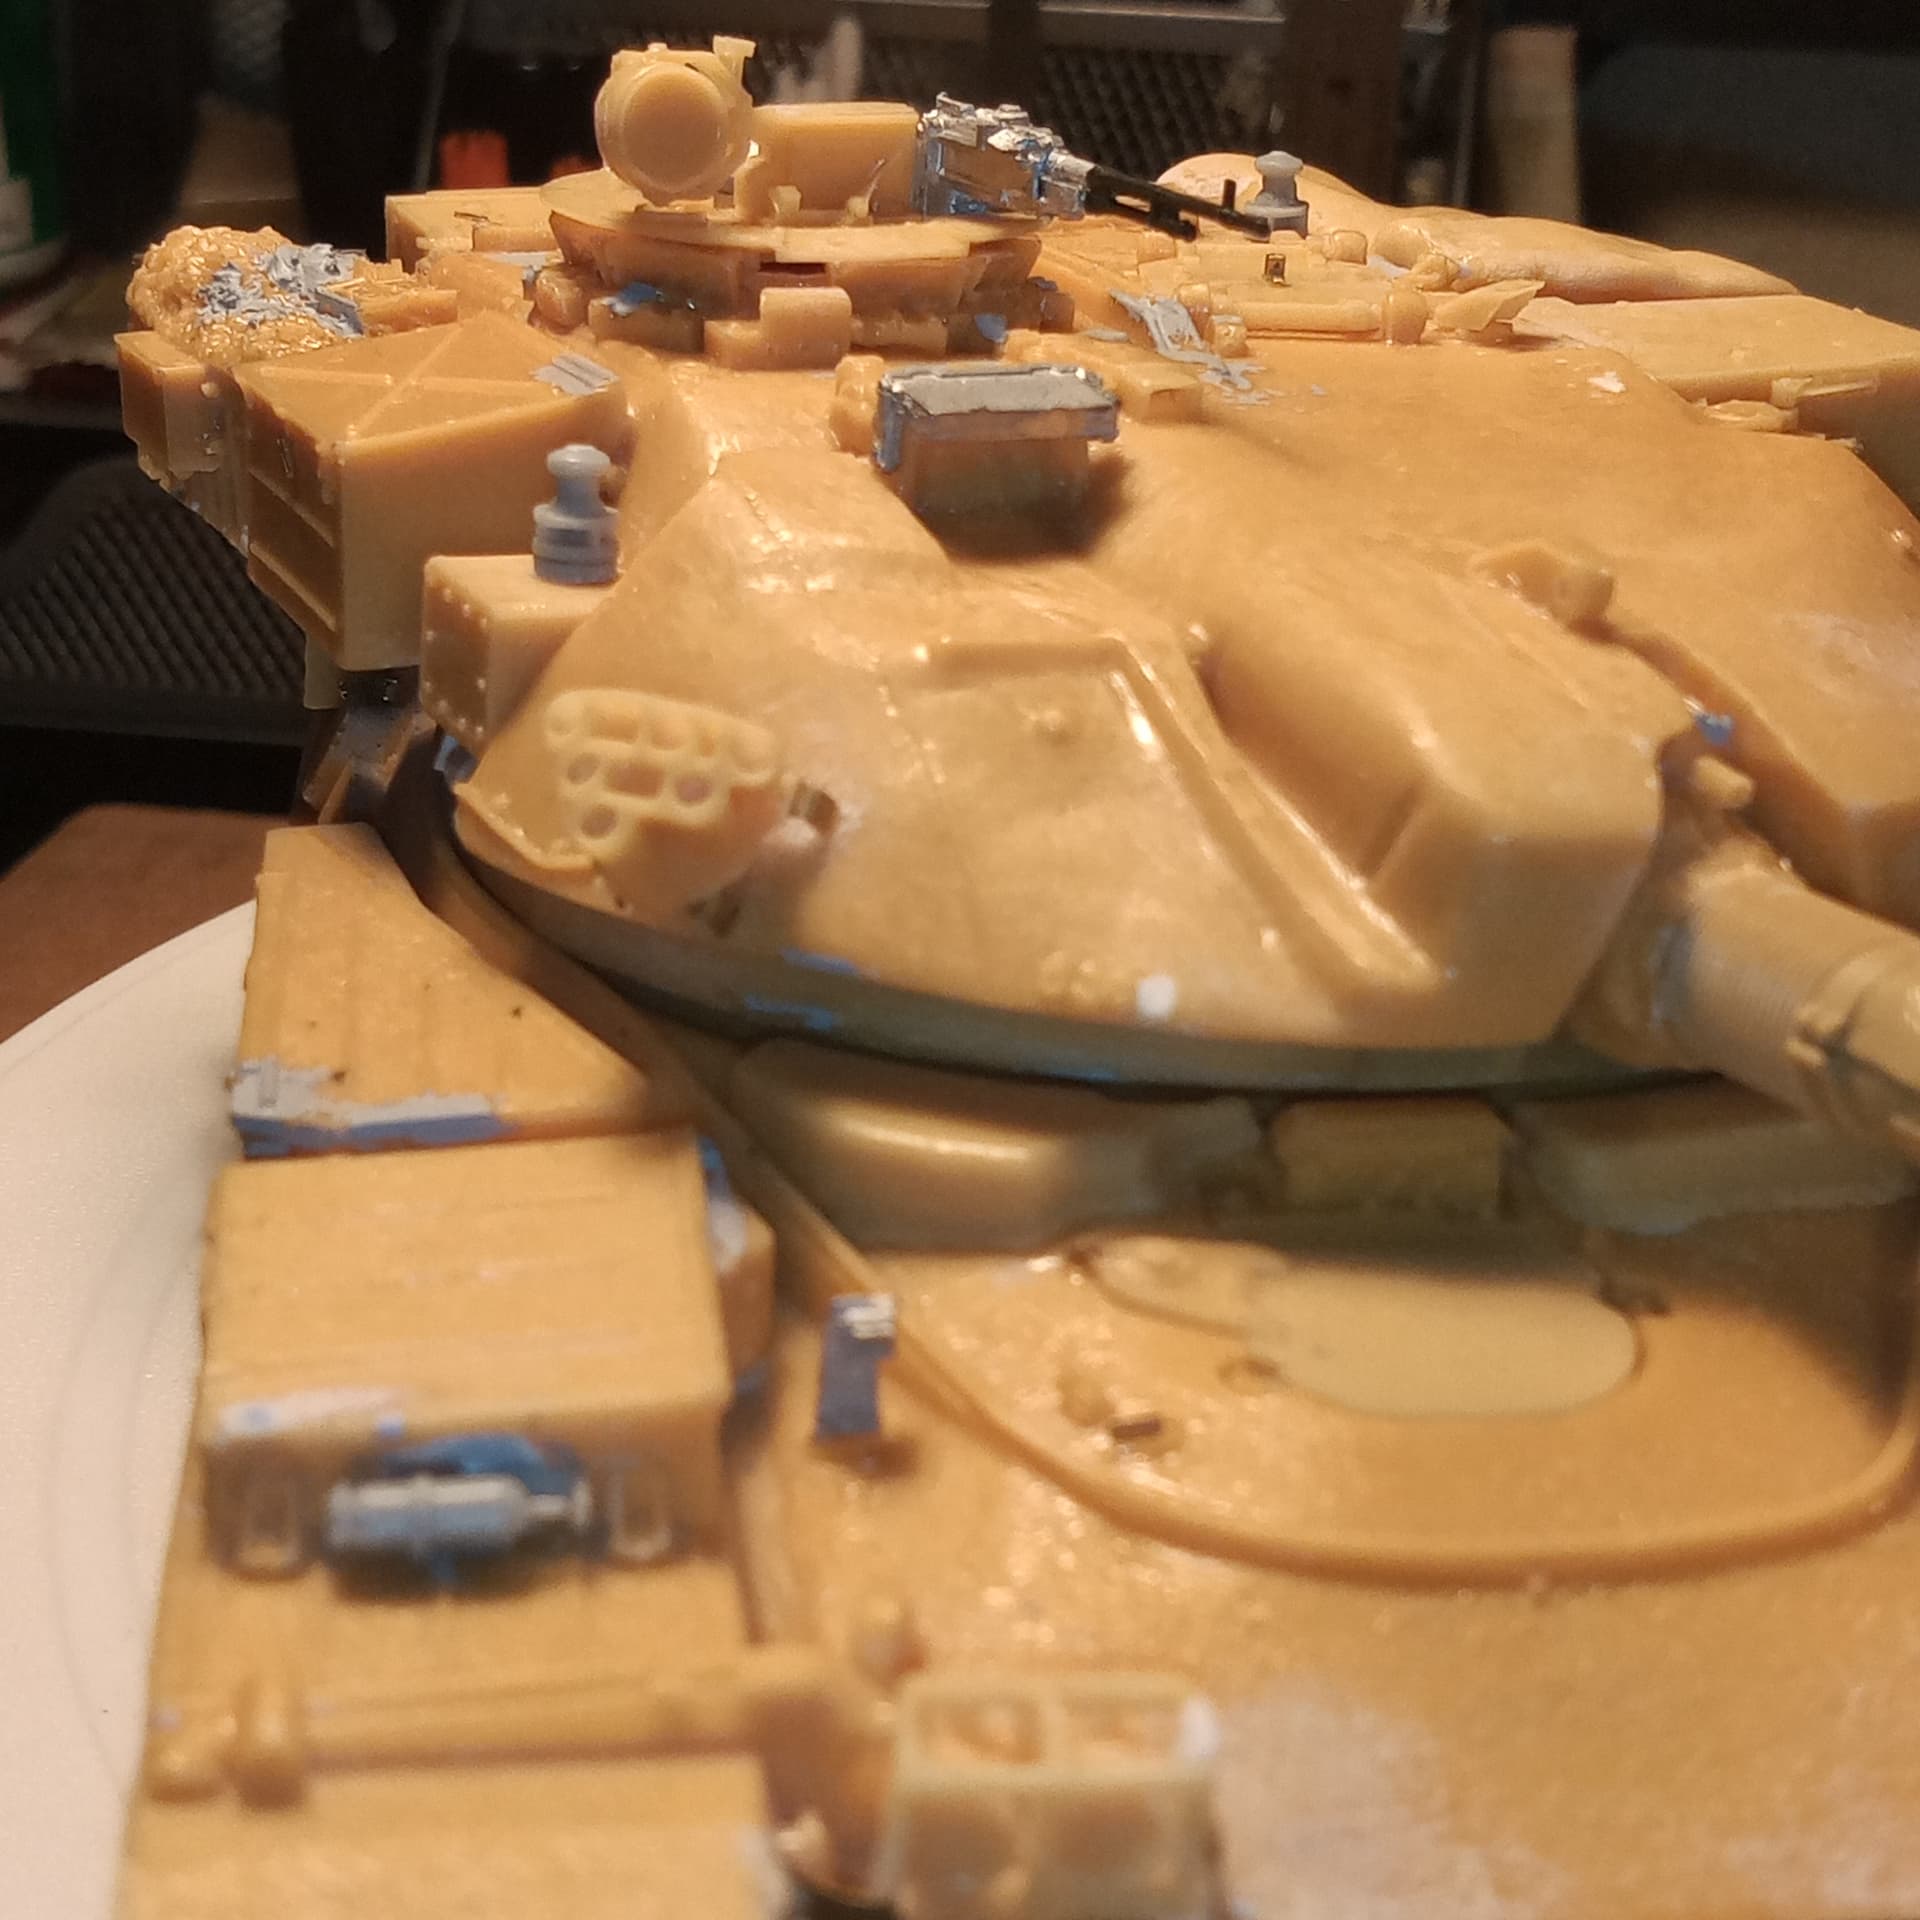
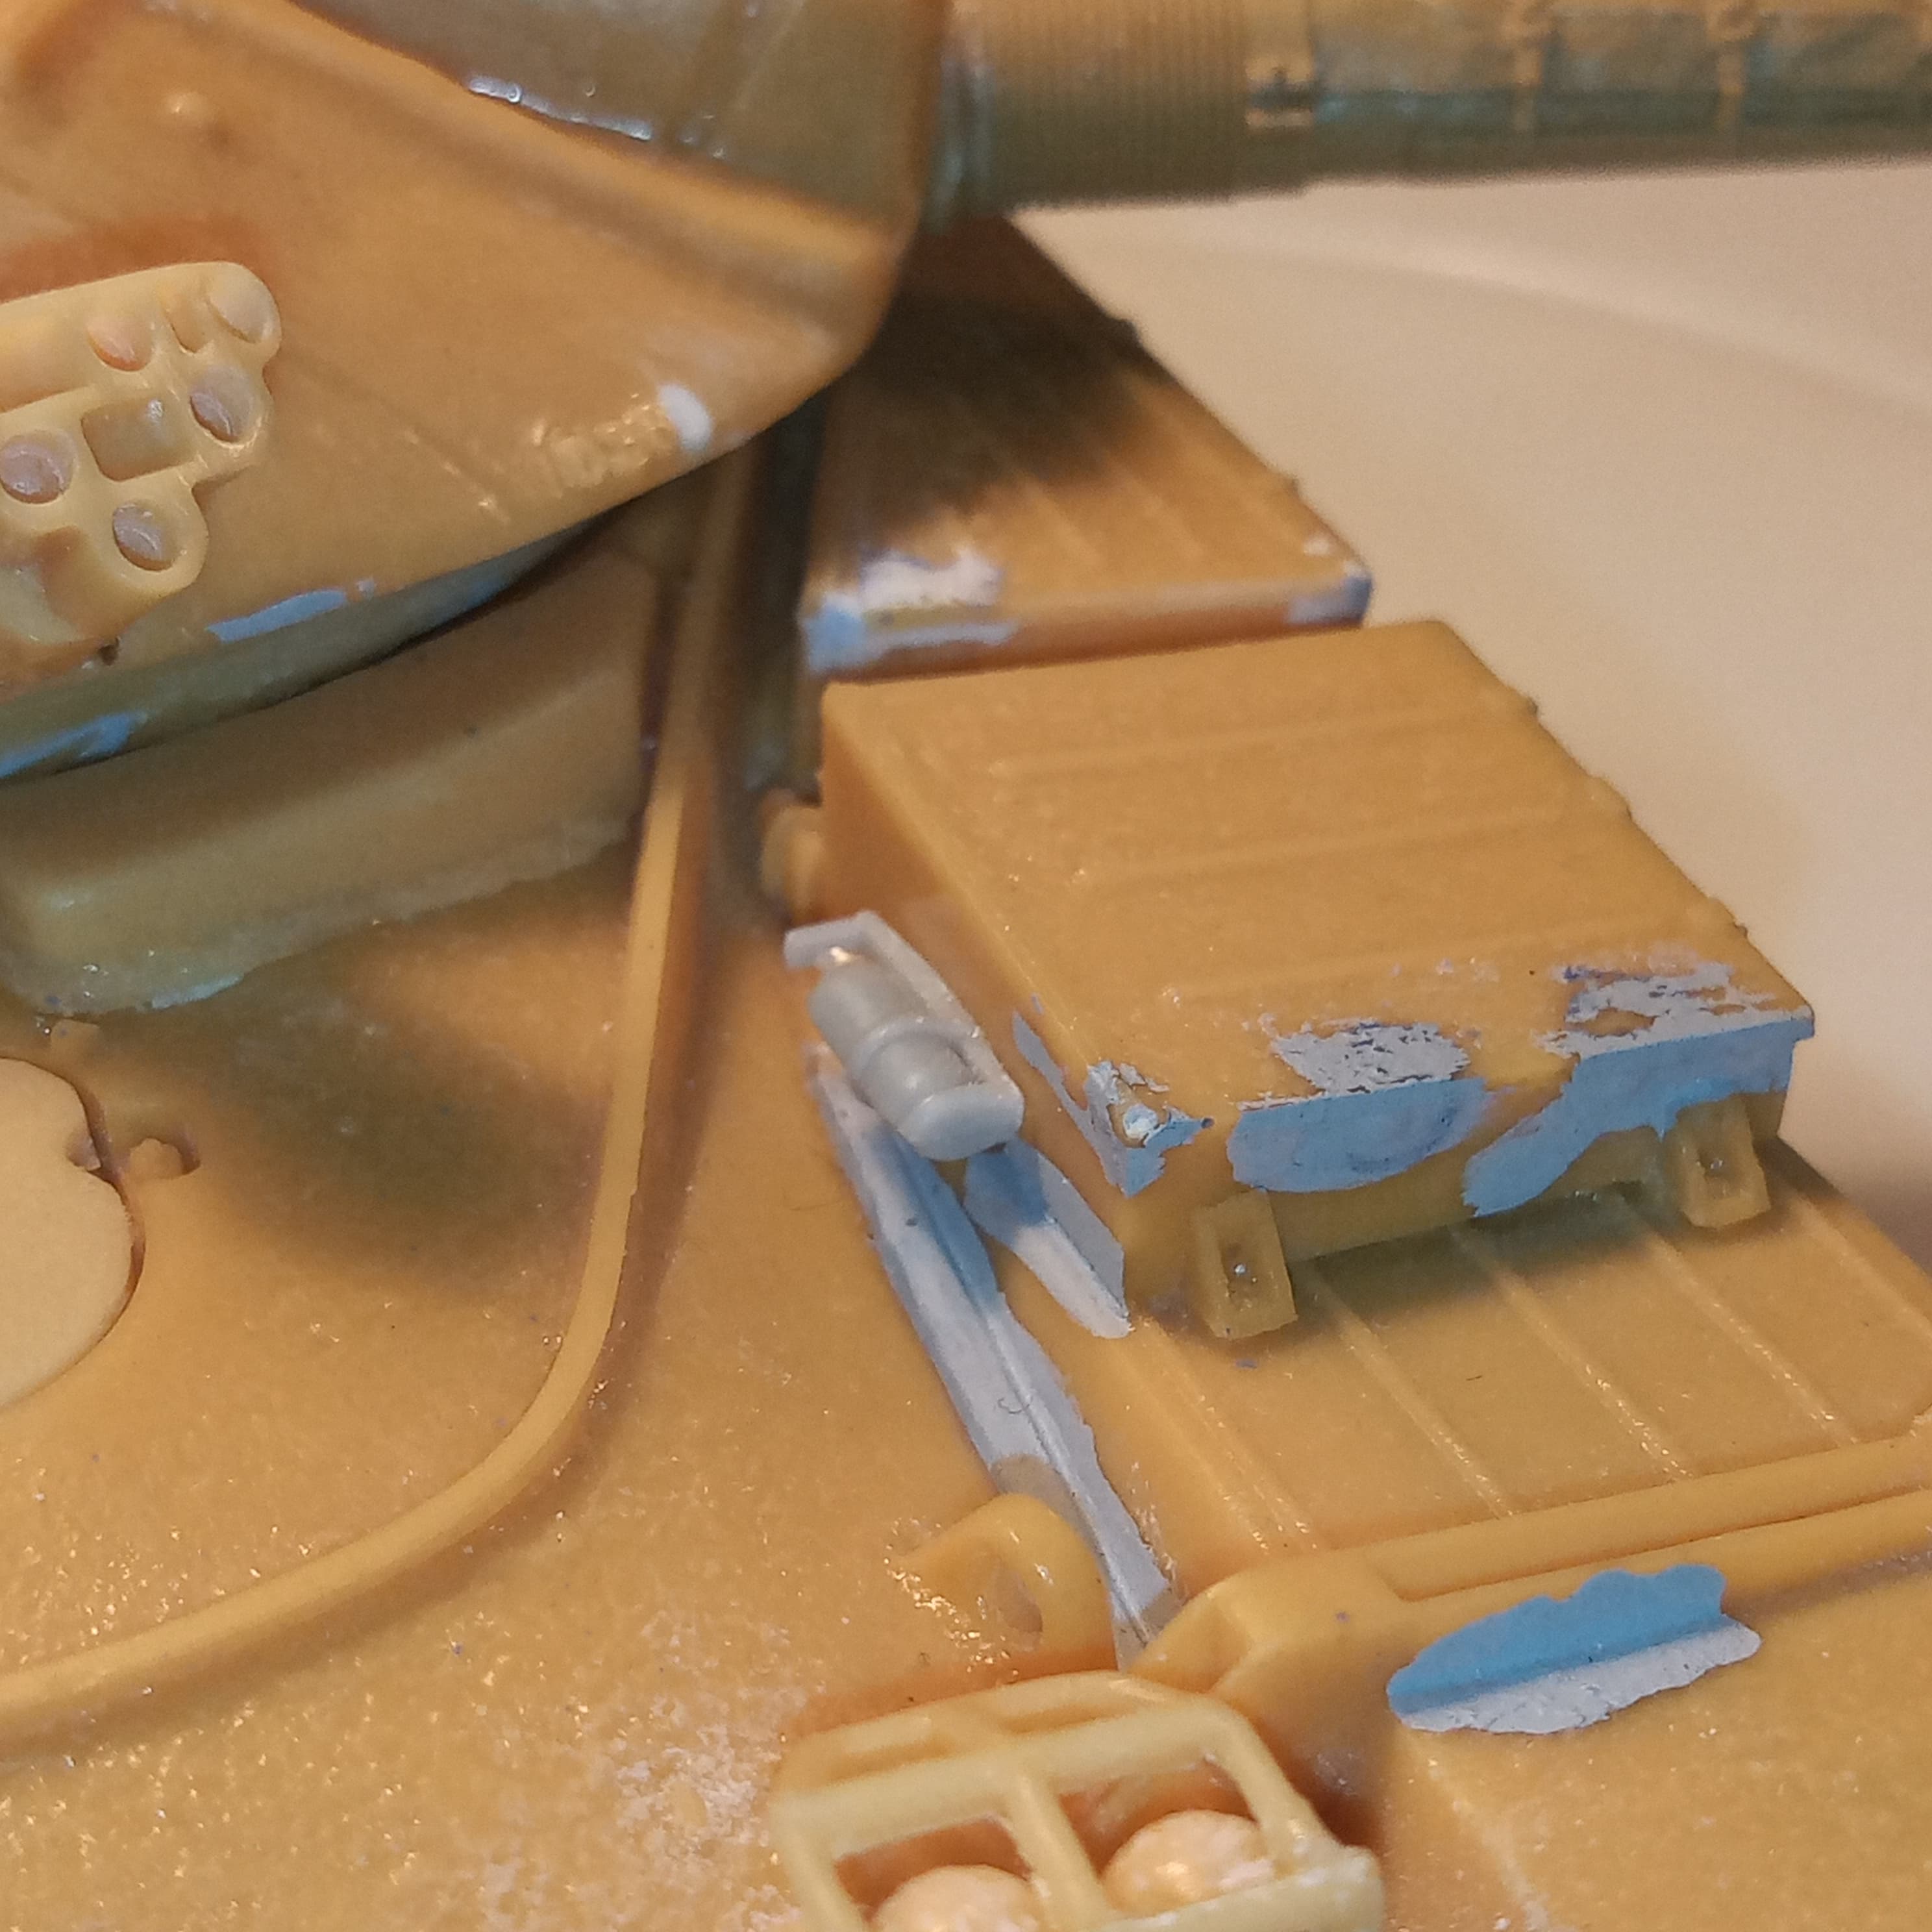
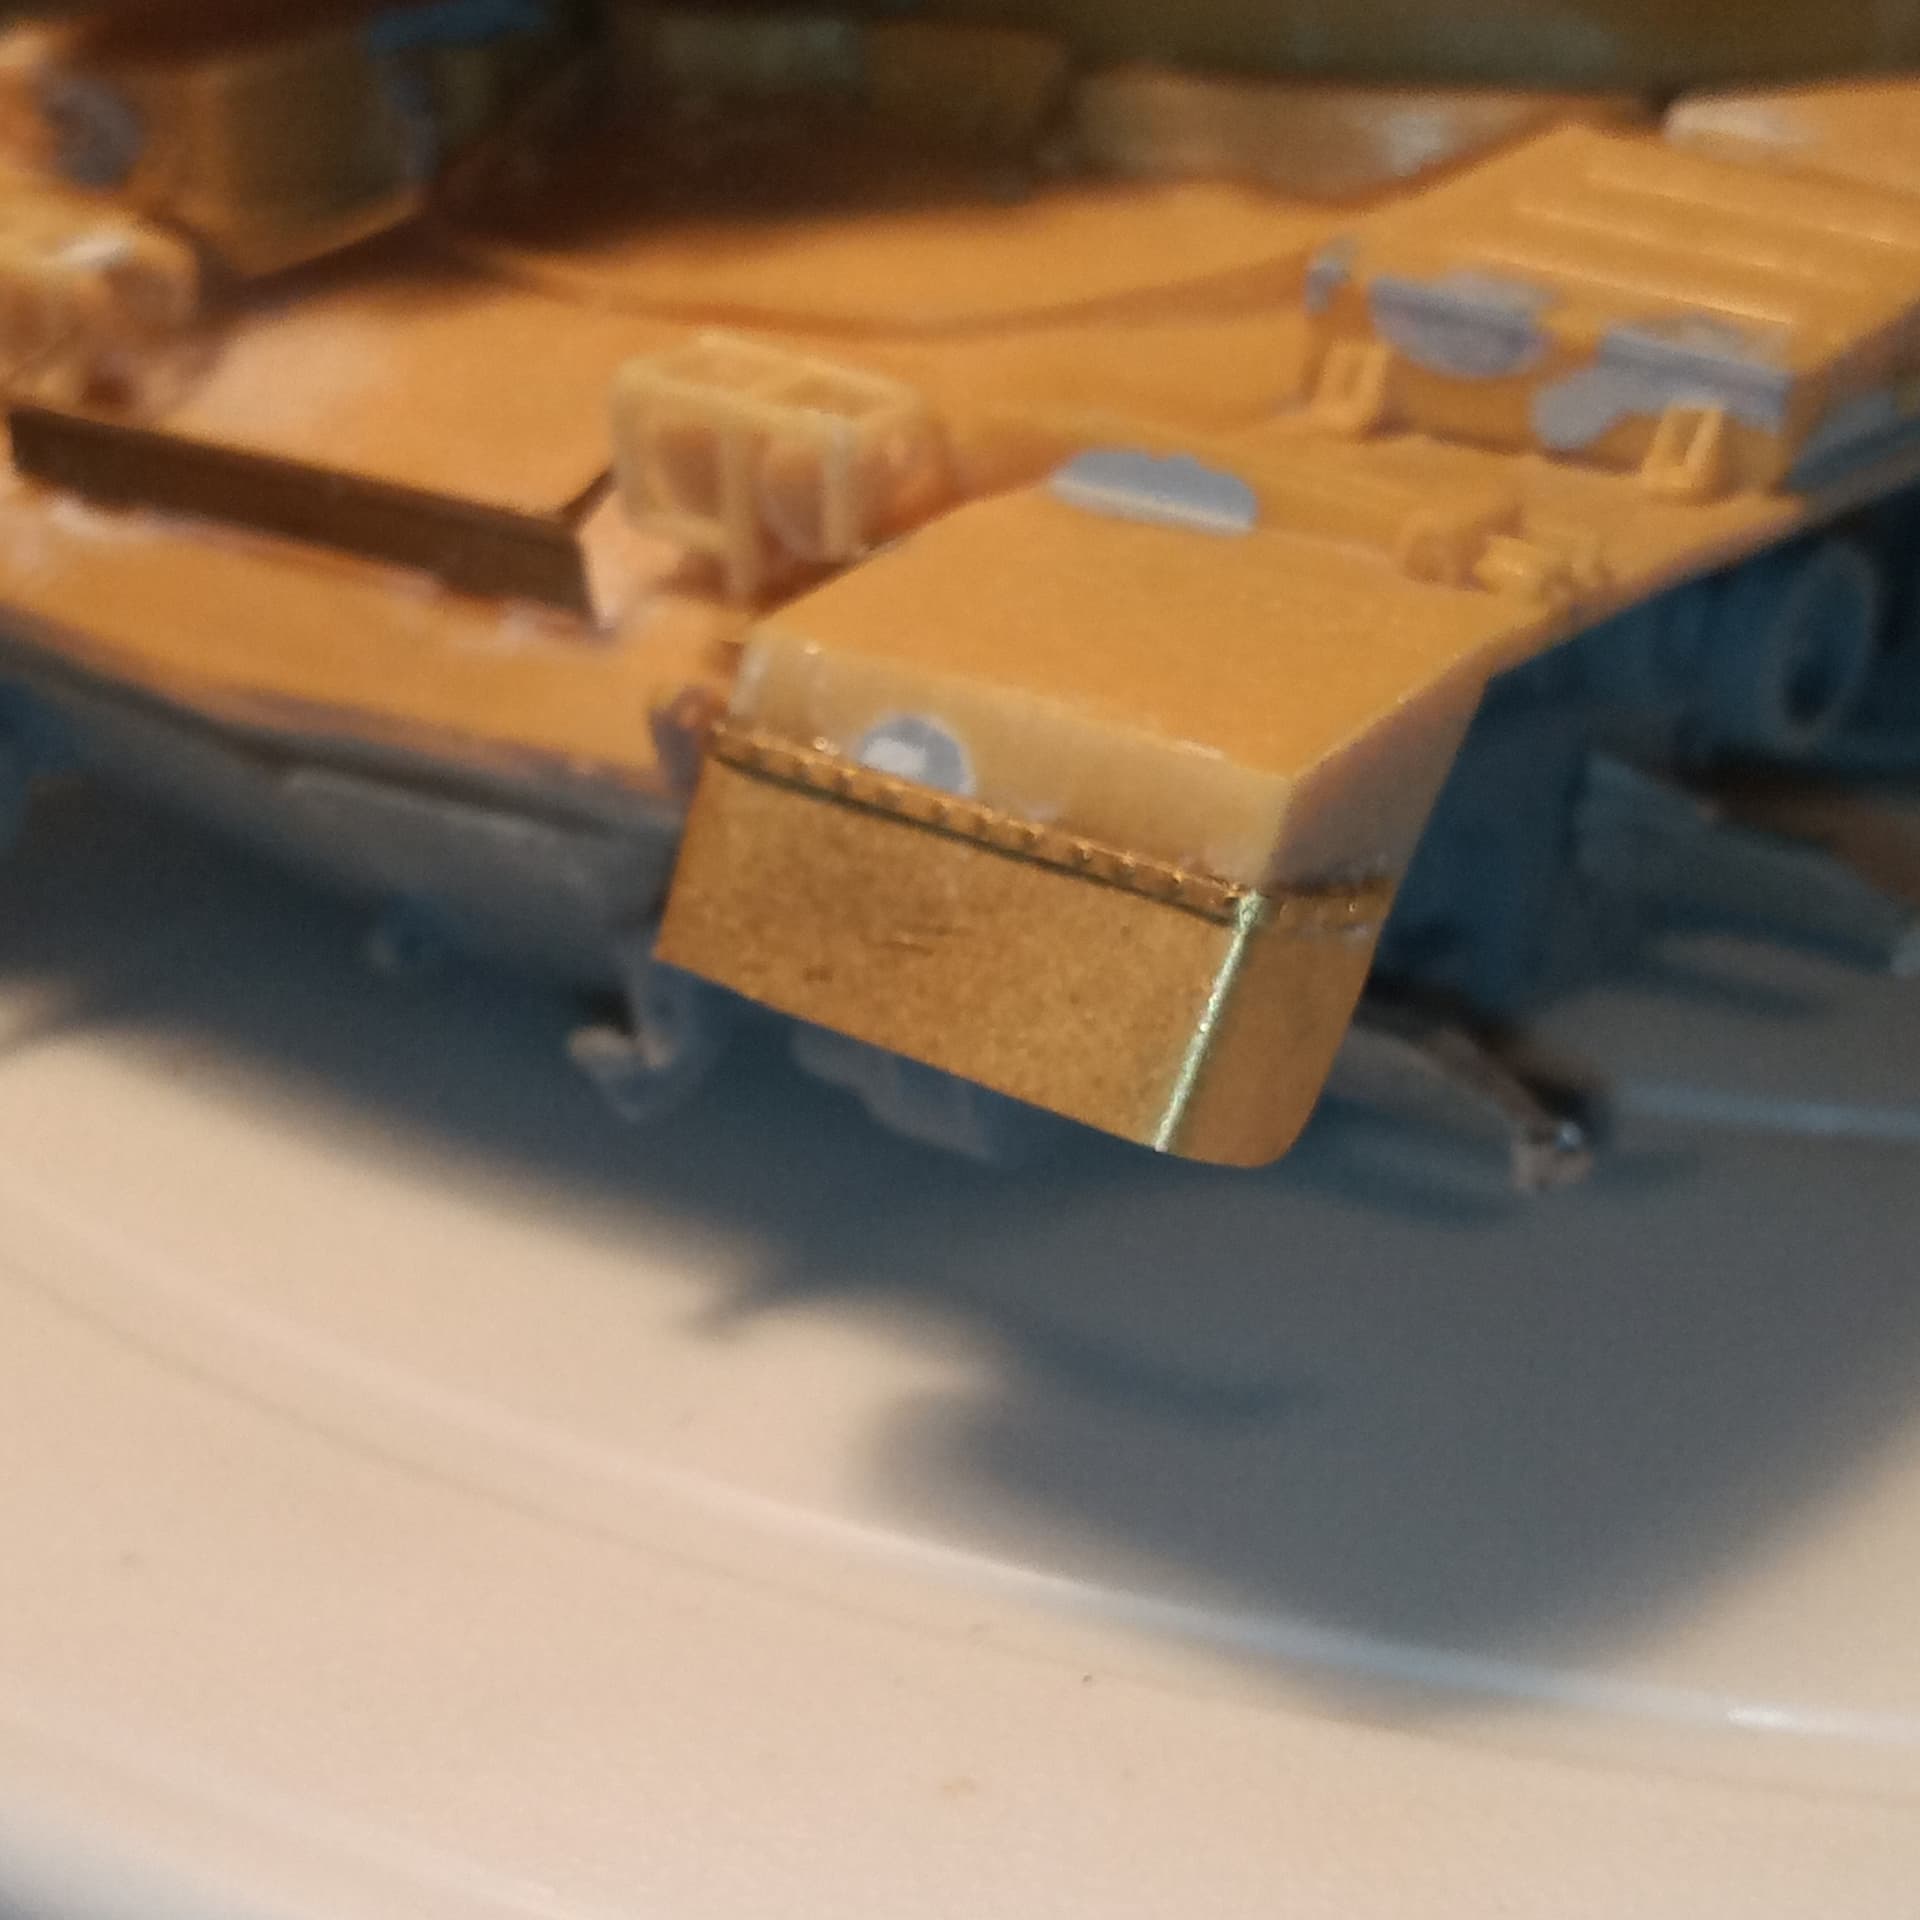
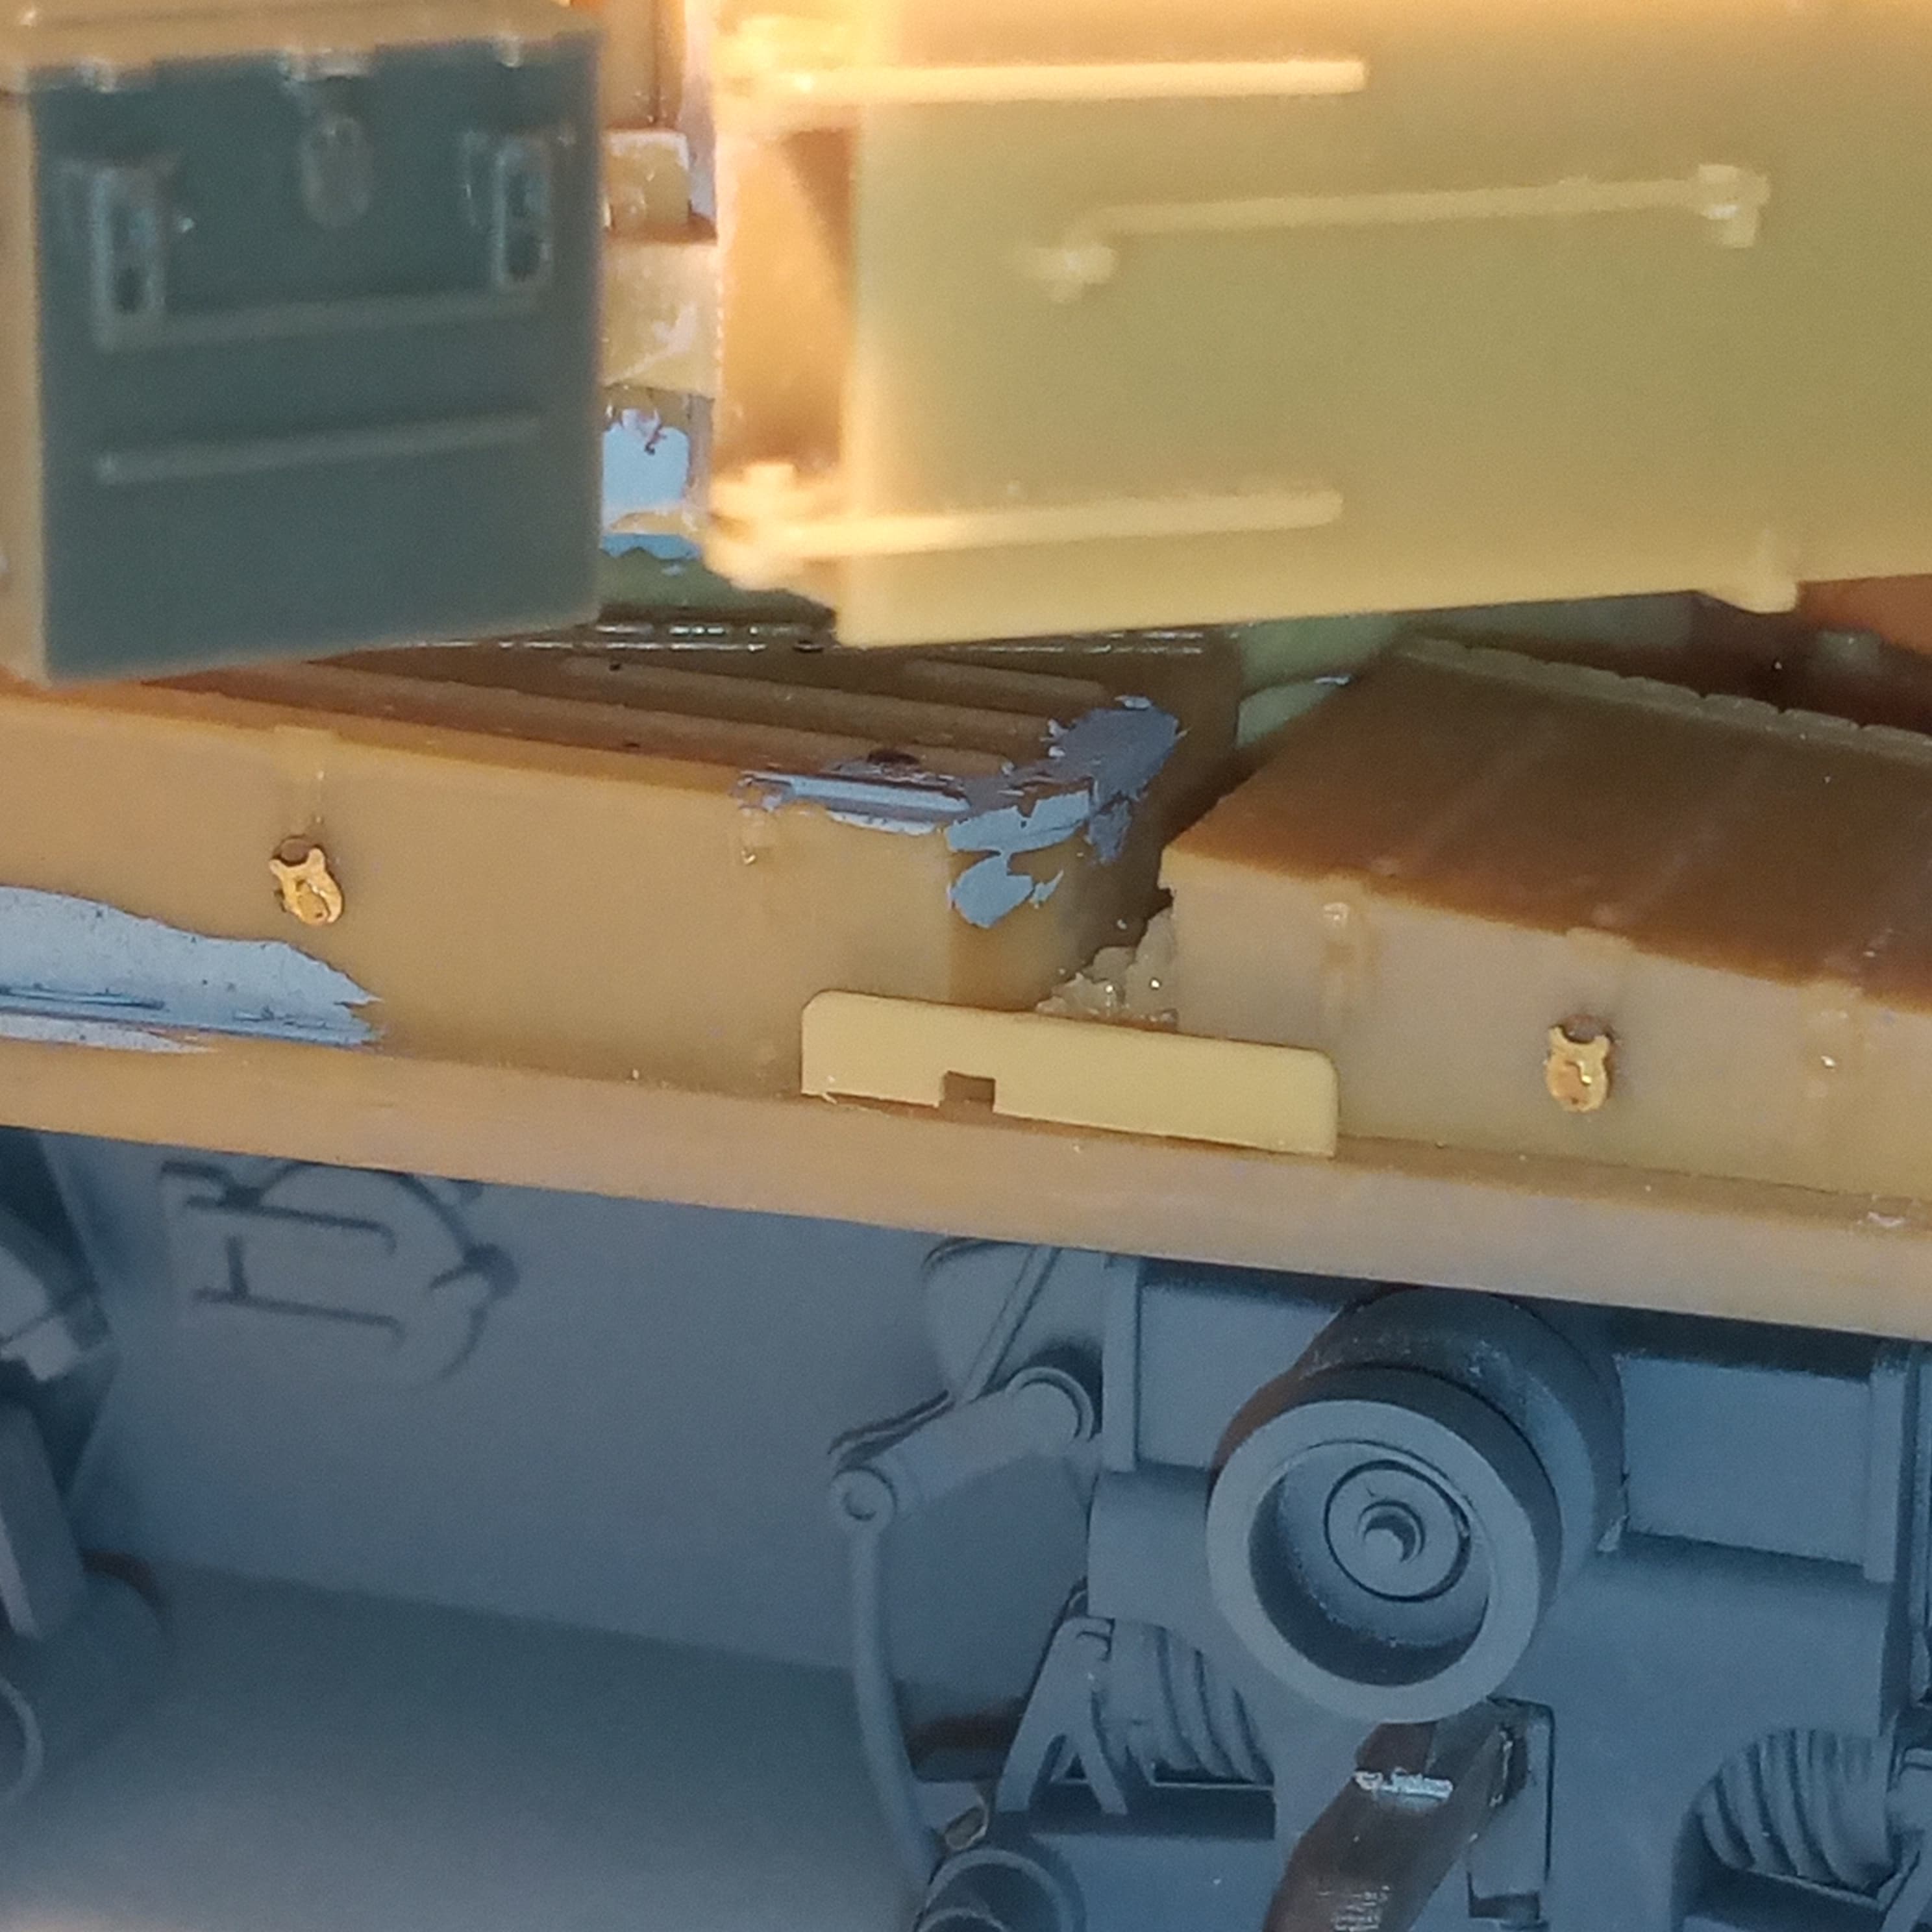
You won’t believe it… I tested not once but twice with the dry fit against the front support and everything aligned from the rear so I could just leave off the front Boz plates. While they were dry fitted I marked and made sure the hull mounting plates would be correctly positioned, then took it all off and glued the hull plates on, secured the Boz plates with a length of plastic strip to give them lateral support…and …
Exactly the same thing happened to mine as what happened to @petbat … I almost cried…when the rear plate is where it’s meant to be…No2 plate is no where near the front support…and then you move it forward and you have a gap at the rear … Insane doesn’t even come close…remedy is all 4 plates are going on, I’ve snipped the ends off all the supports and there will be a small gap at the rear on the RH side but all the mounts line up.
The left hand side is even odder in that it almost fits fine, with a hardly noticeable gap at the rear… I can’t quite get my head round how it went wrong…
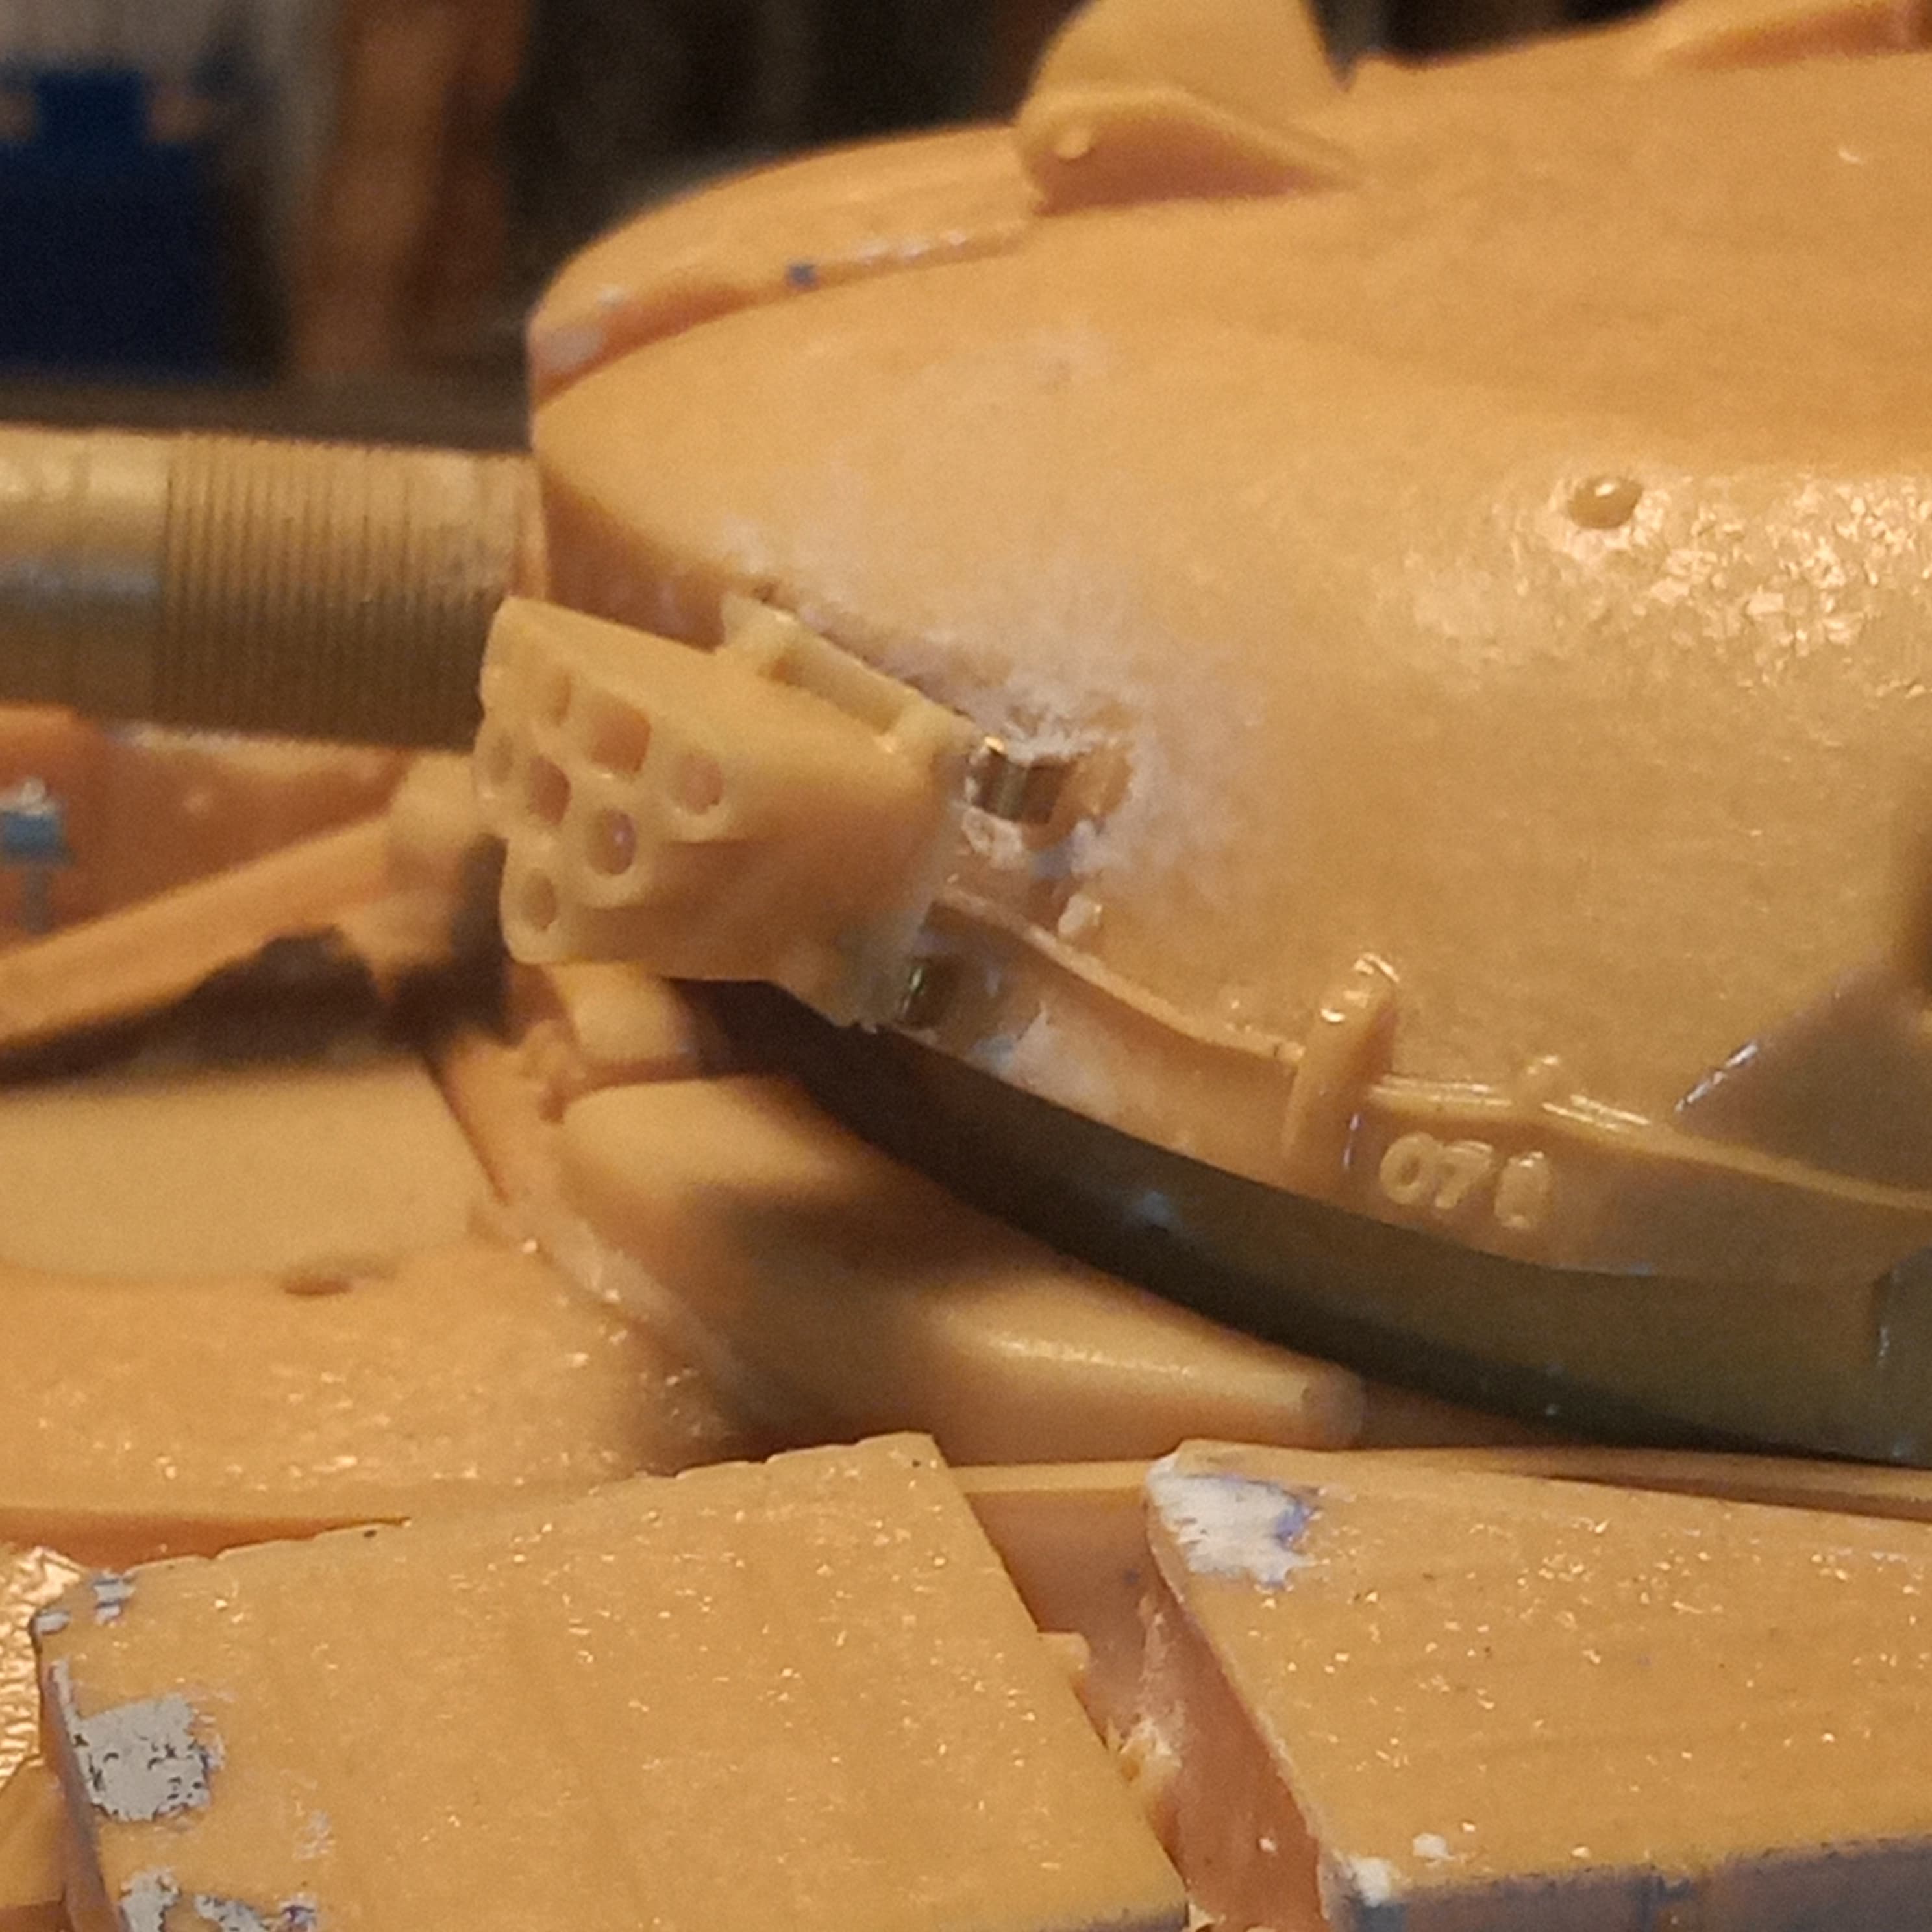
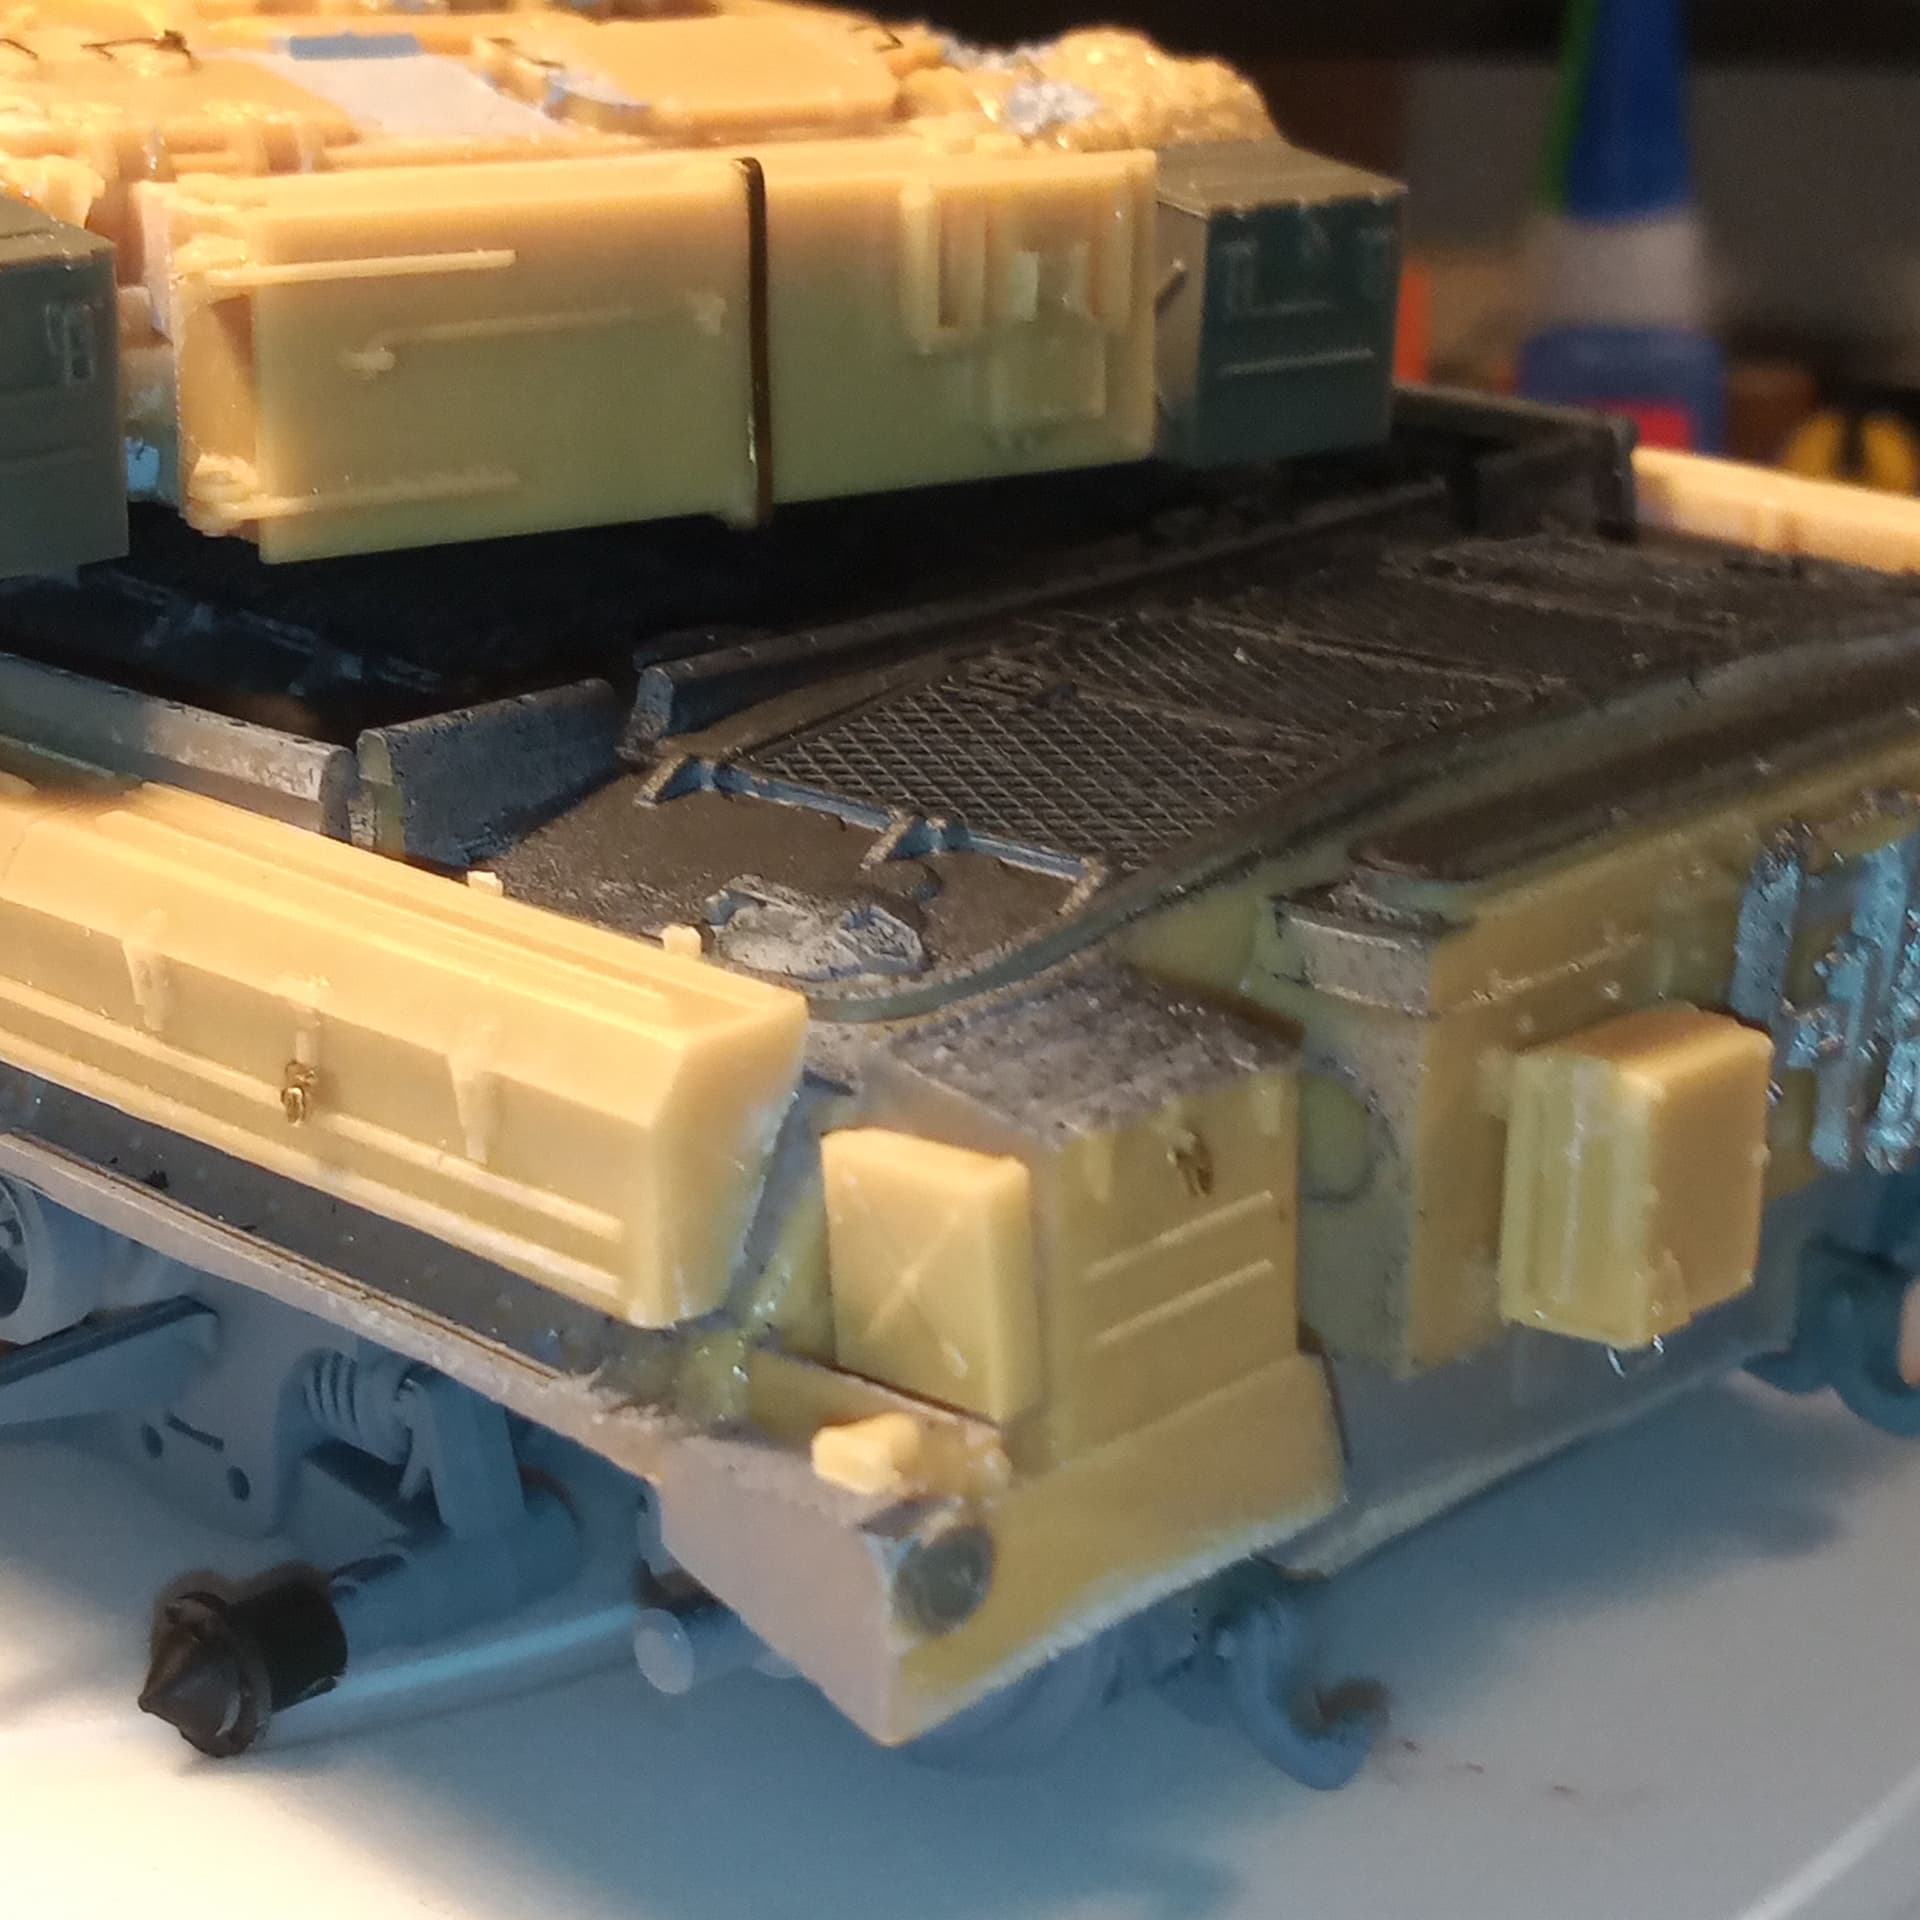
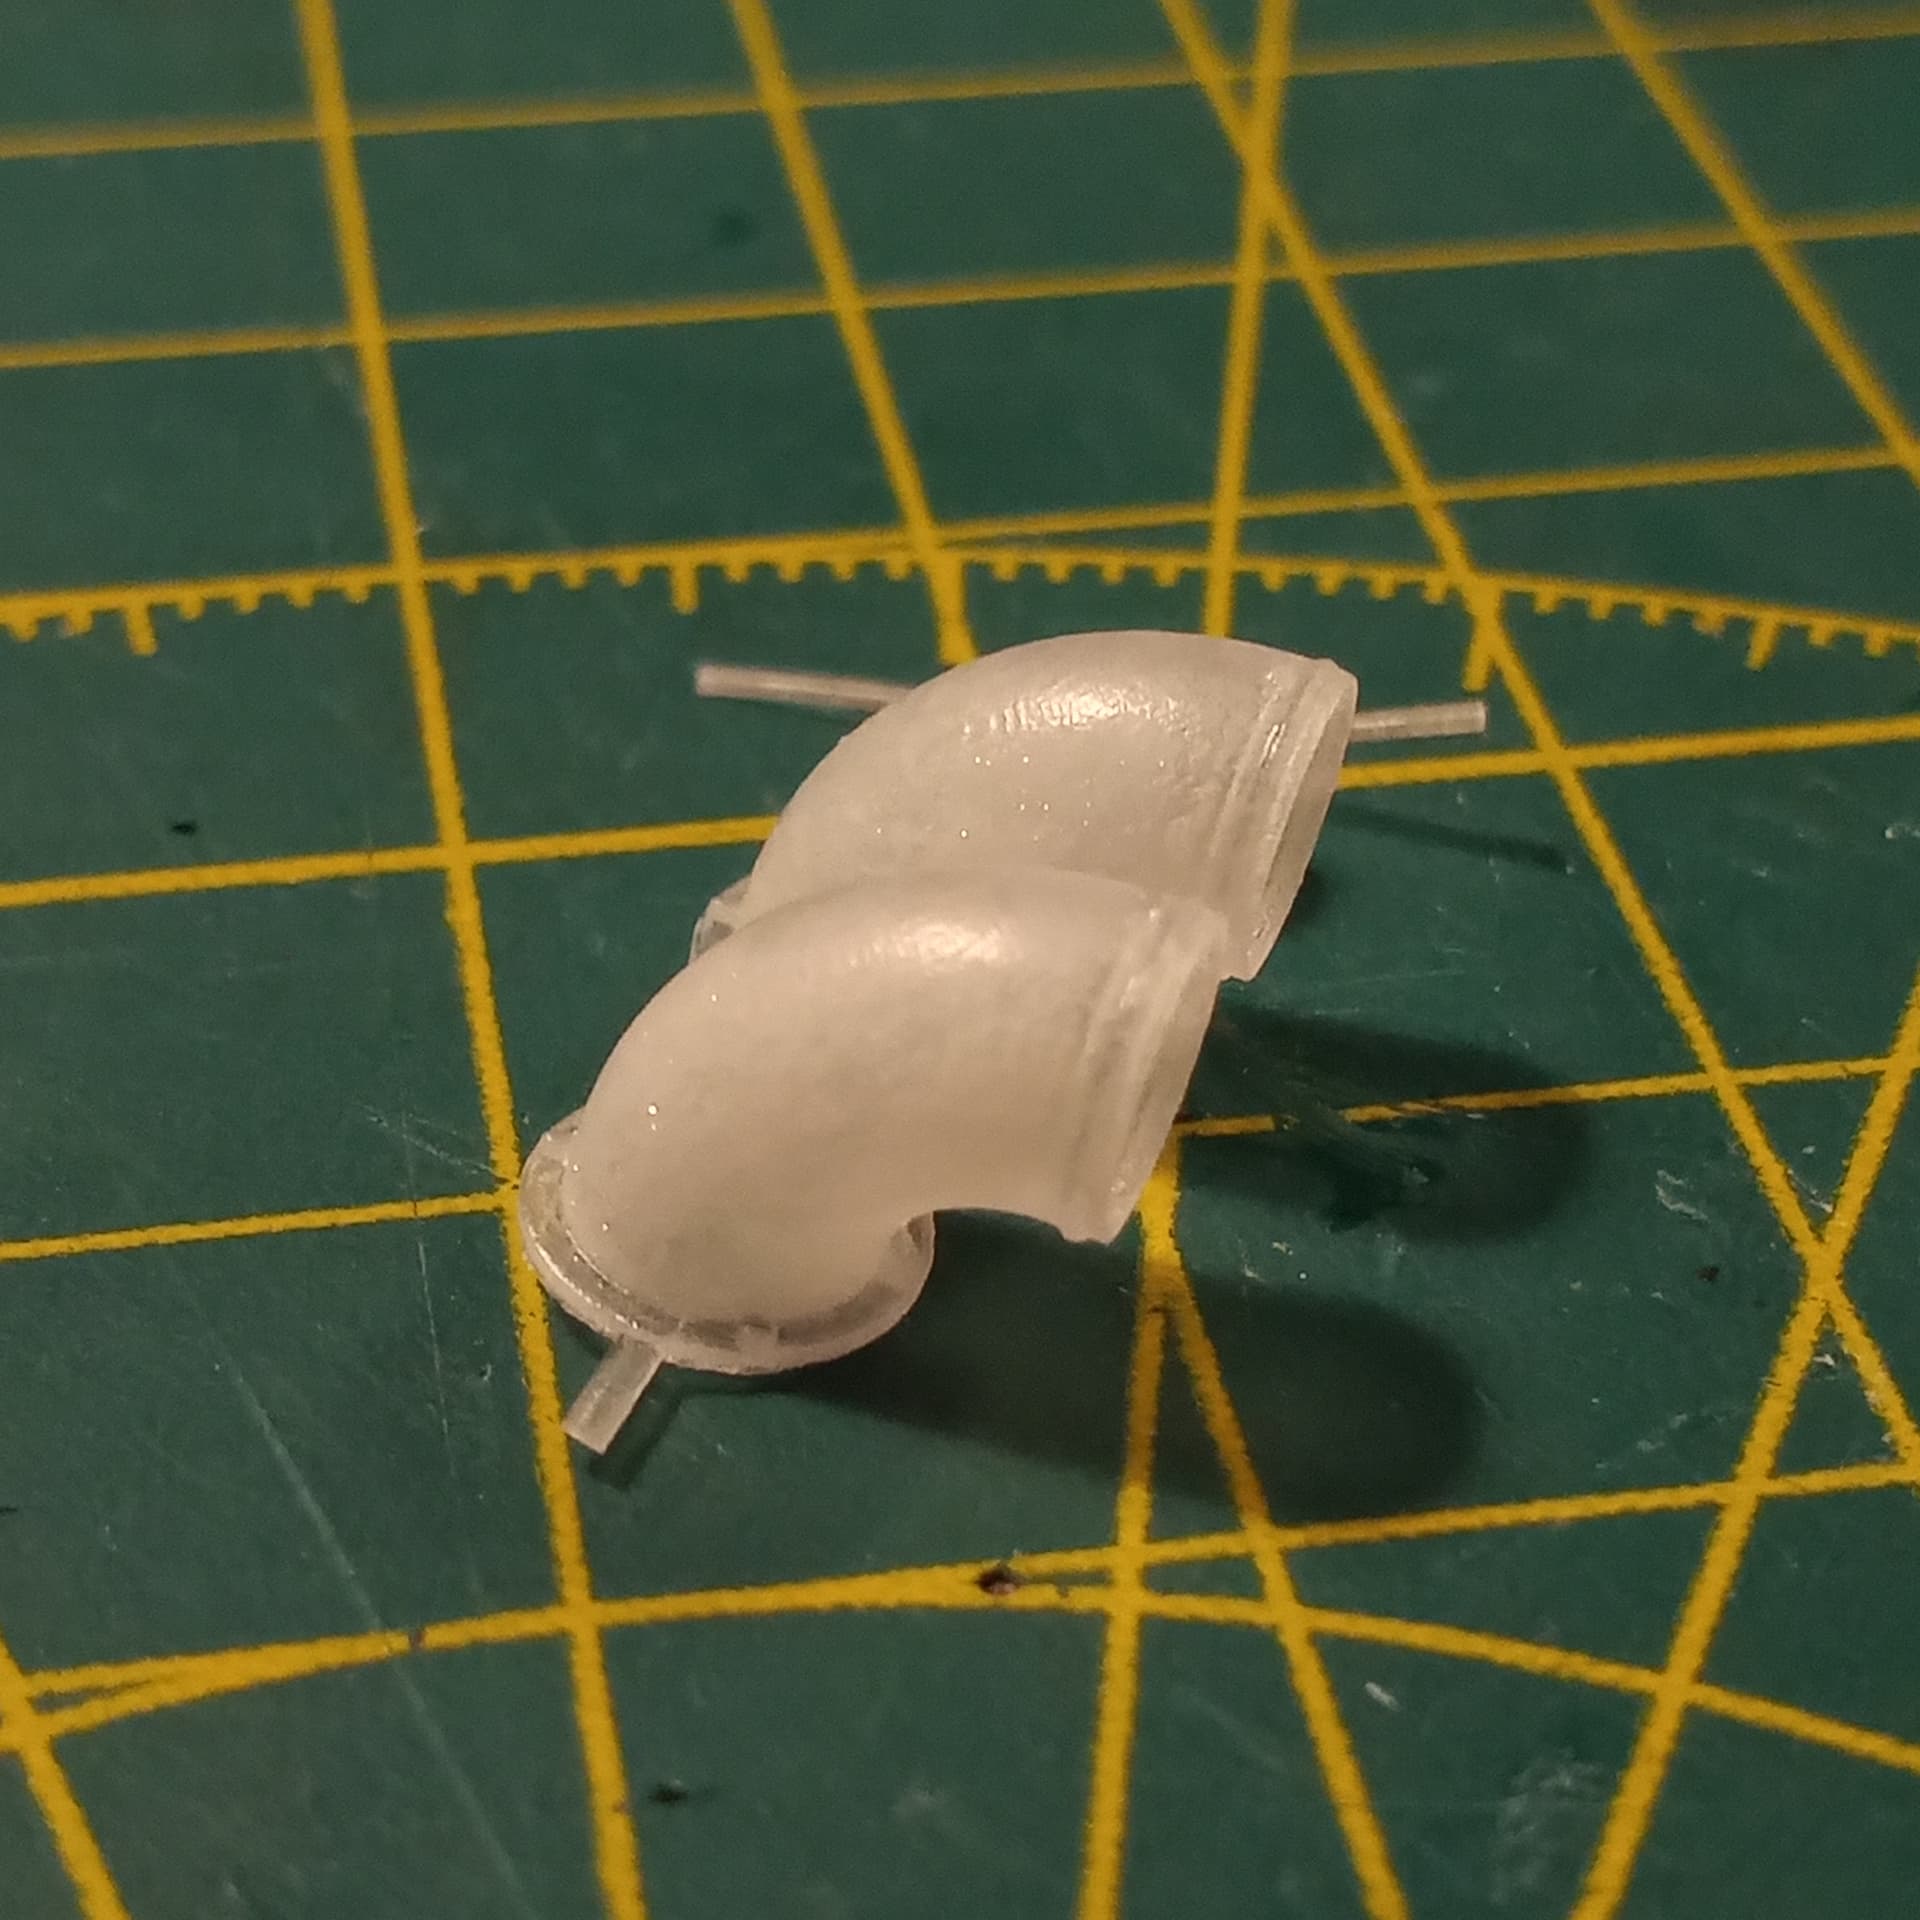
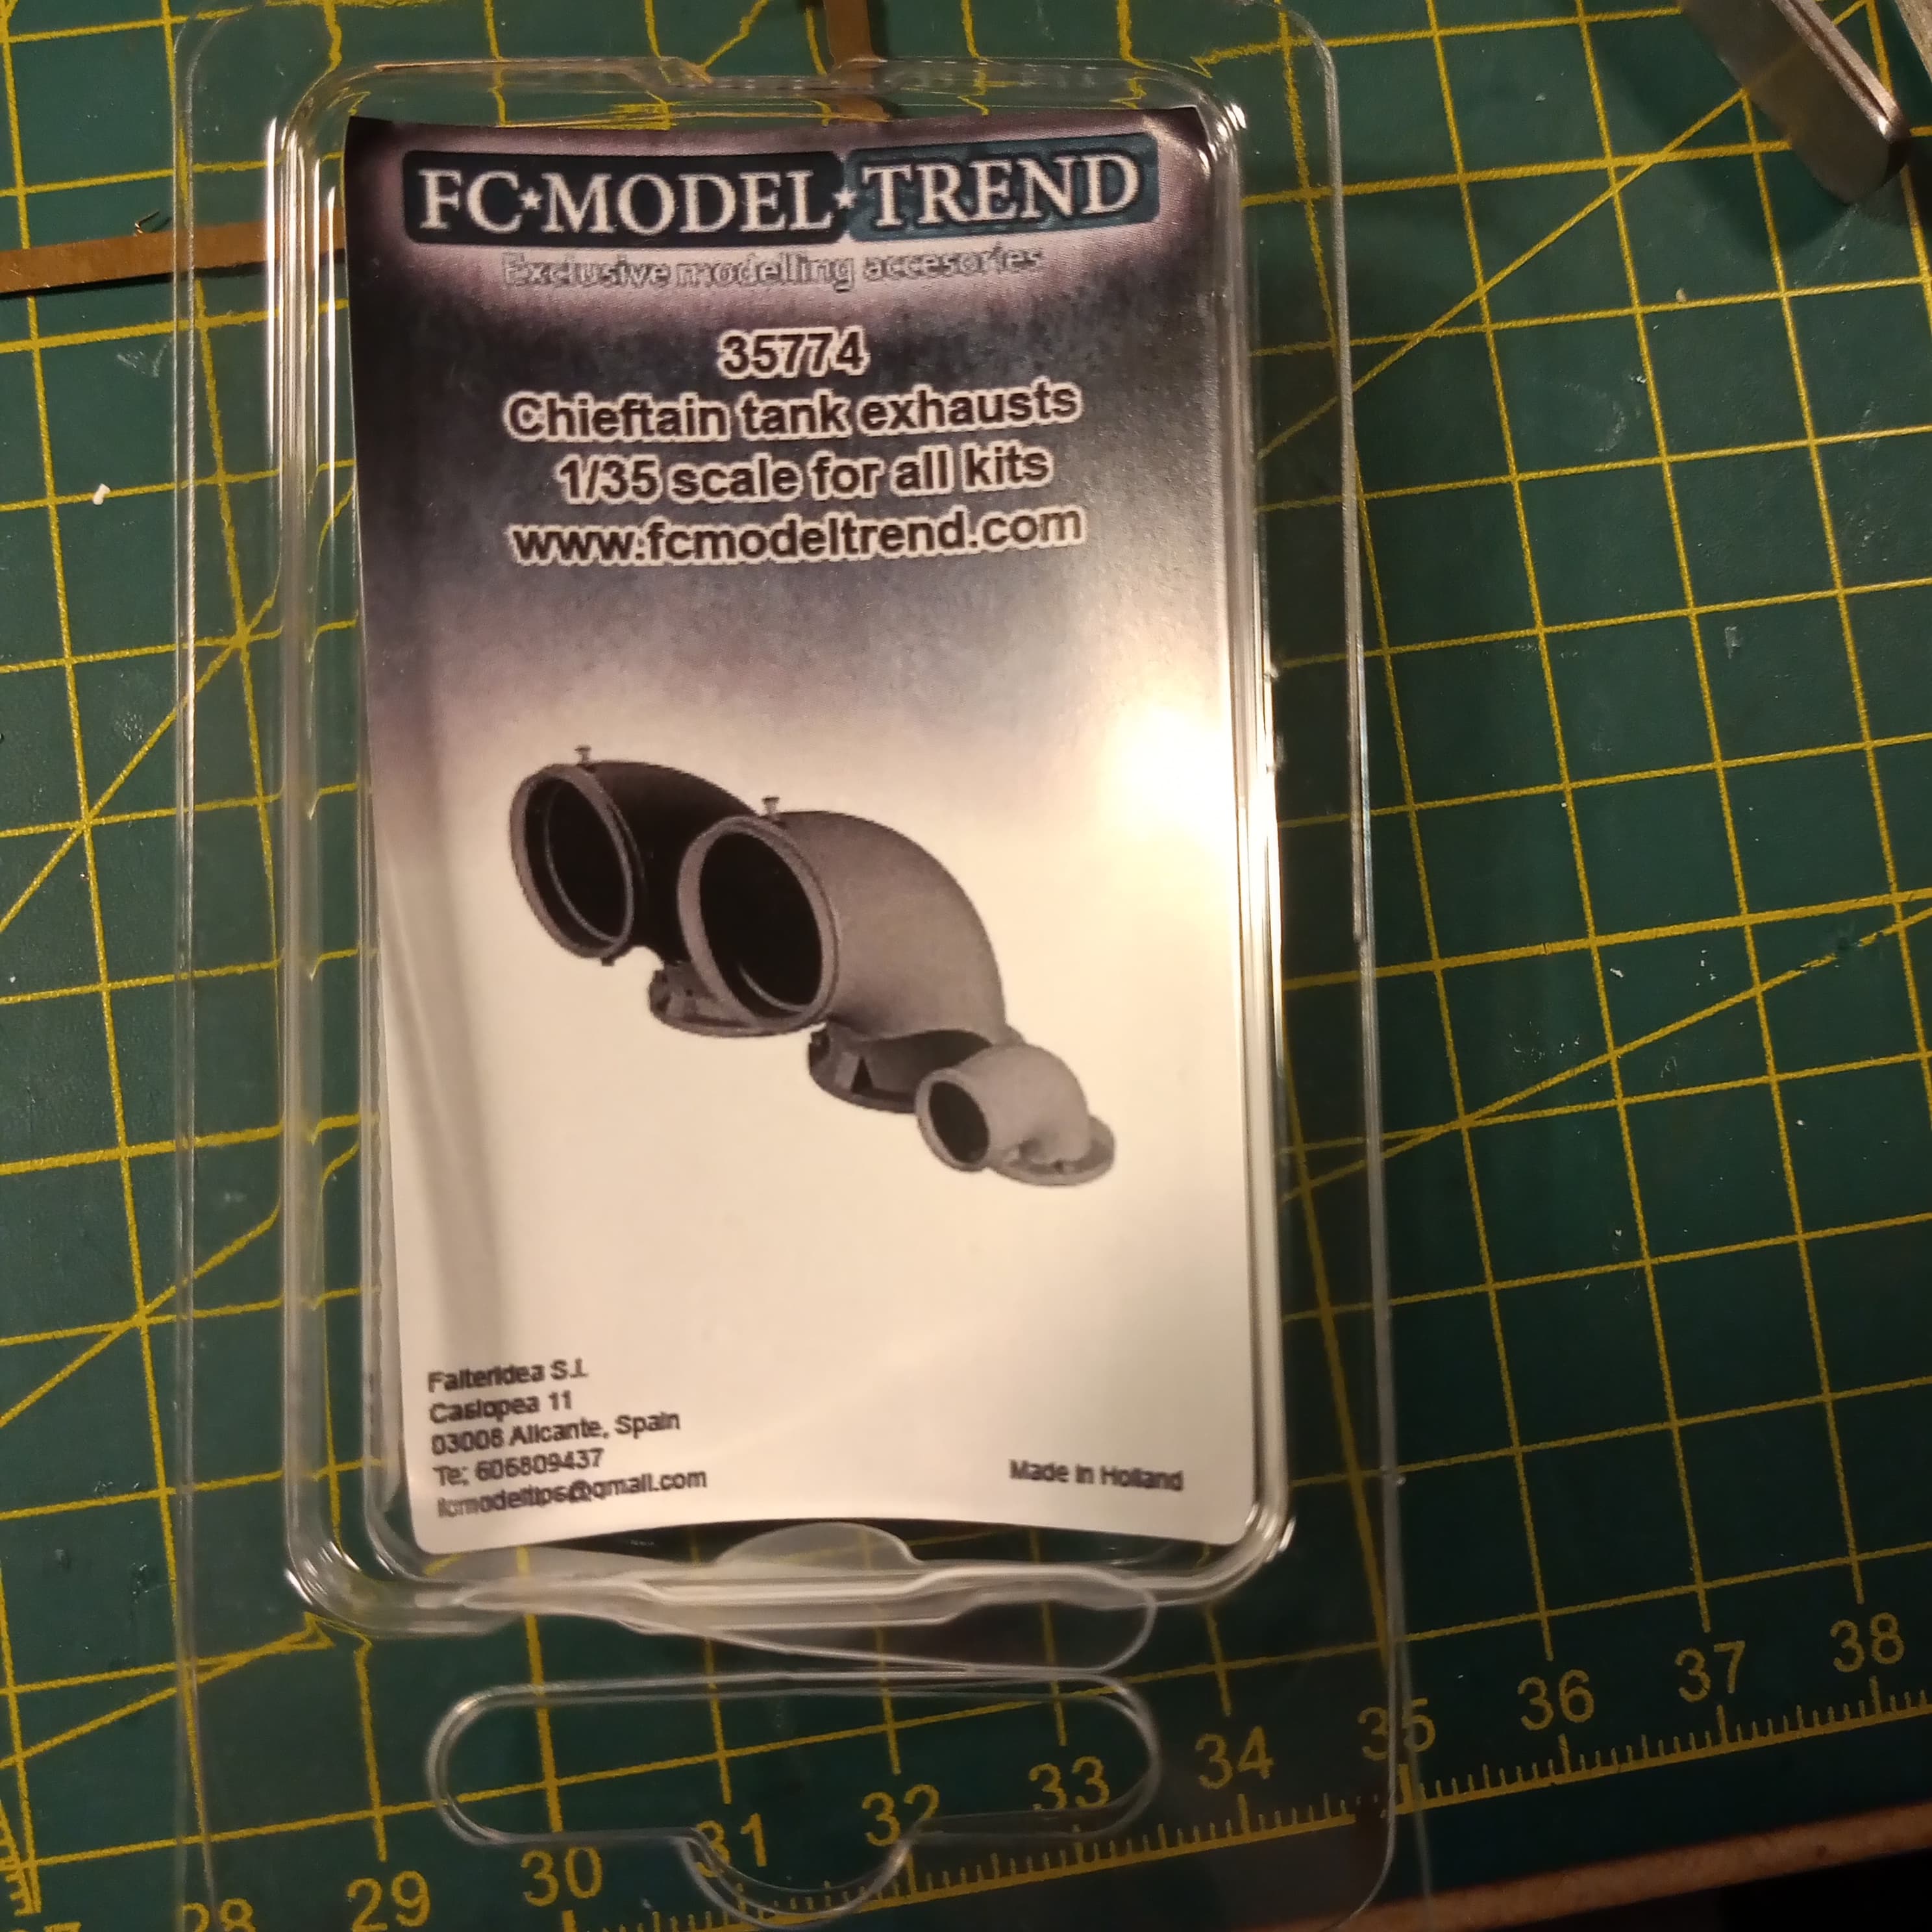
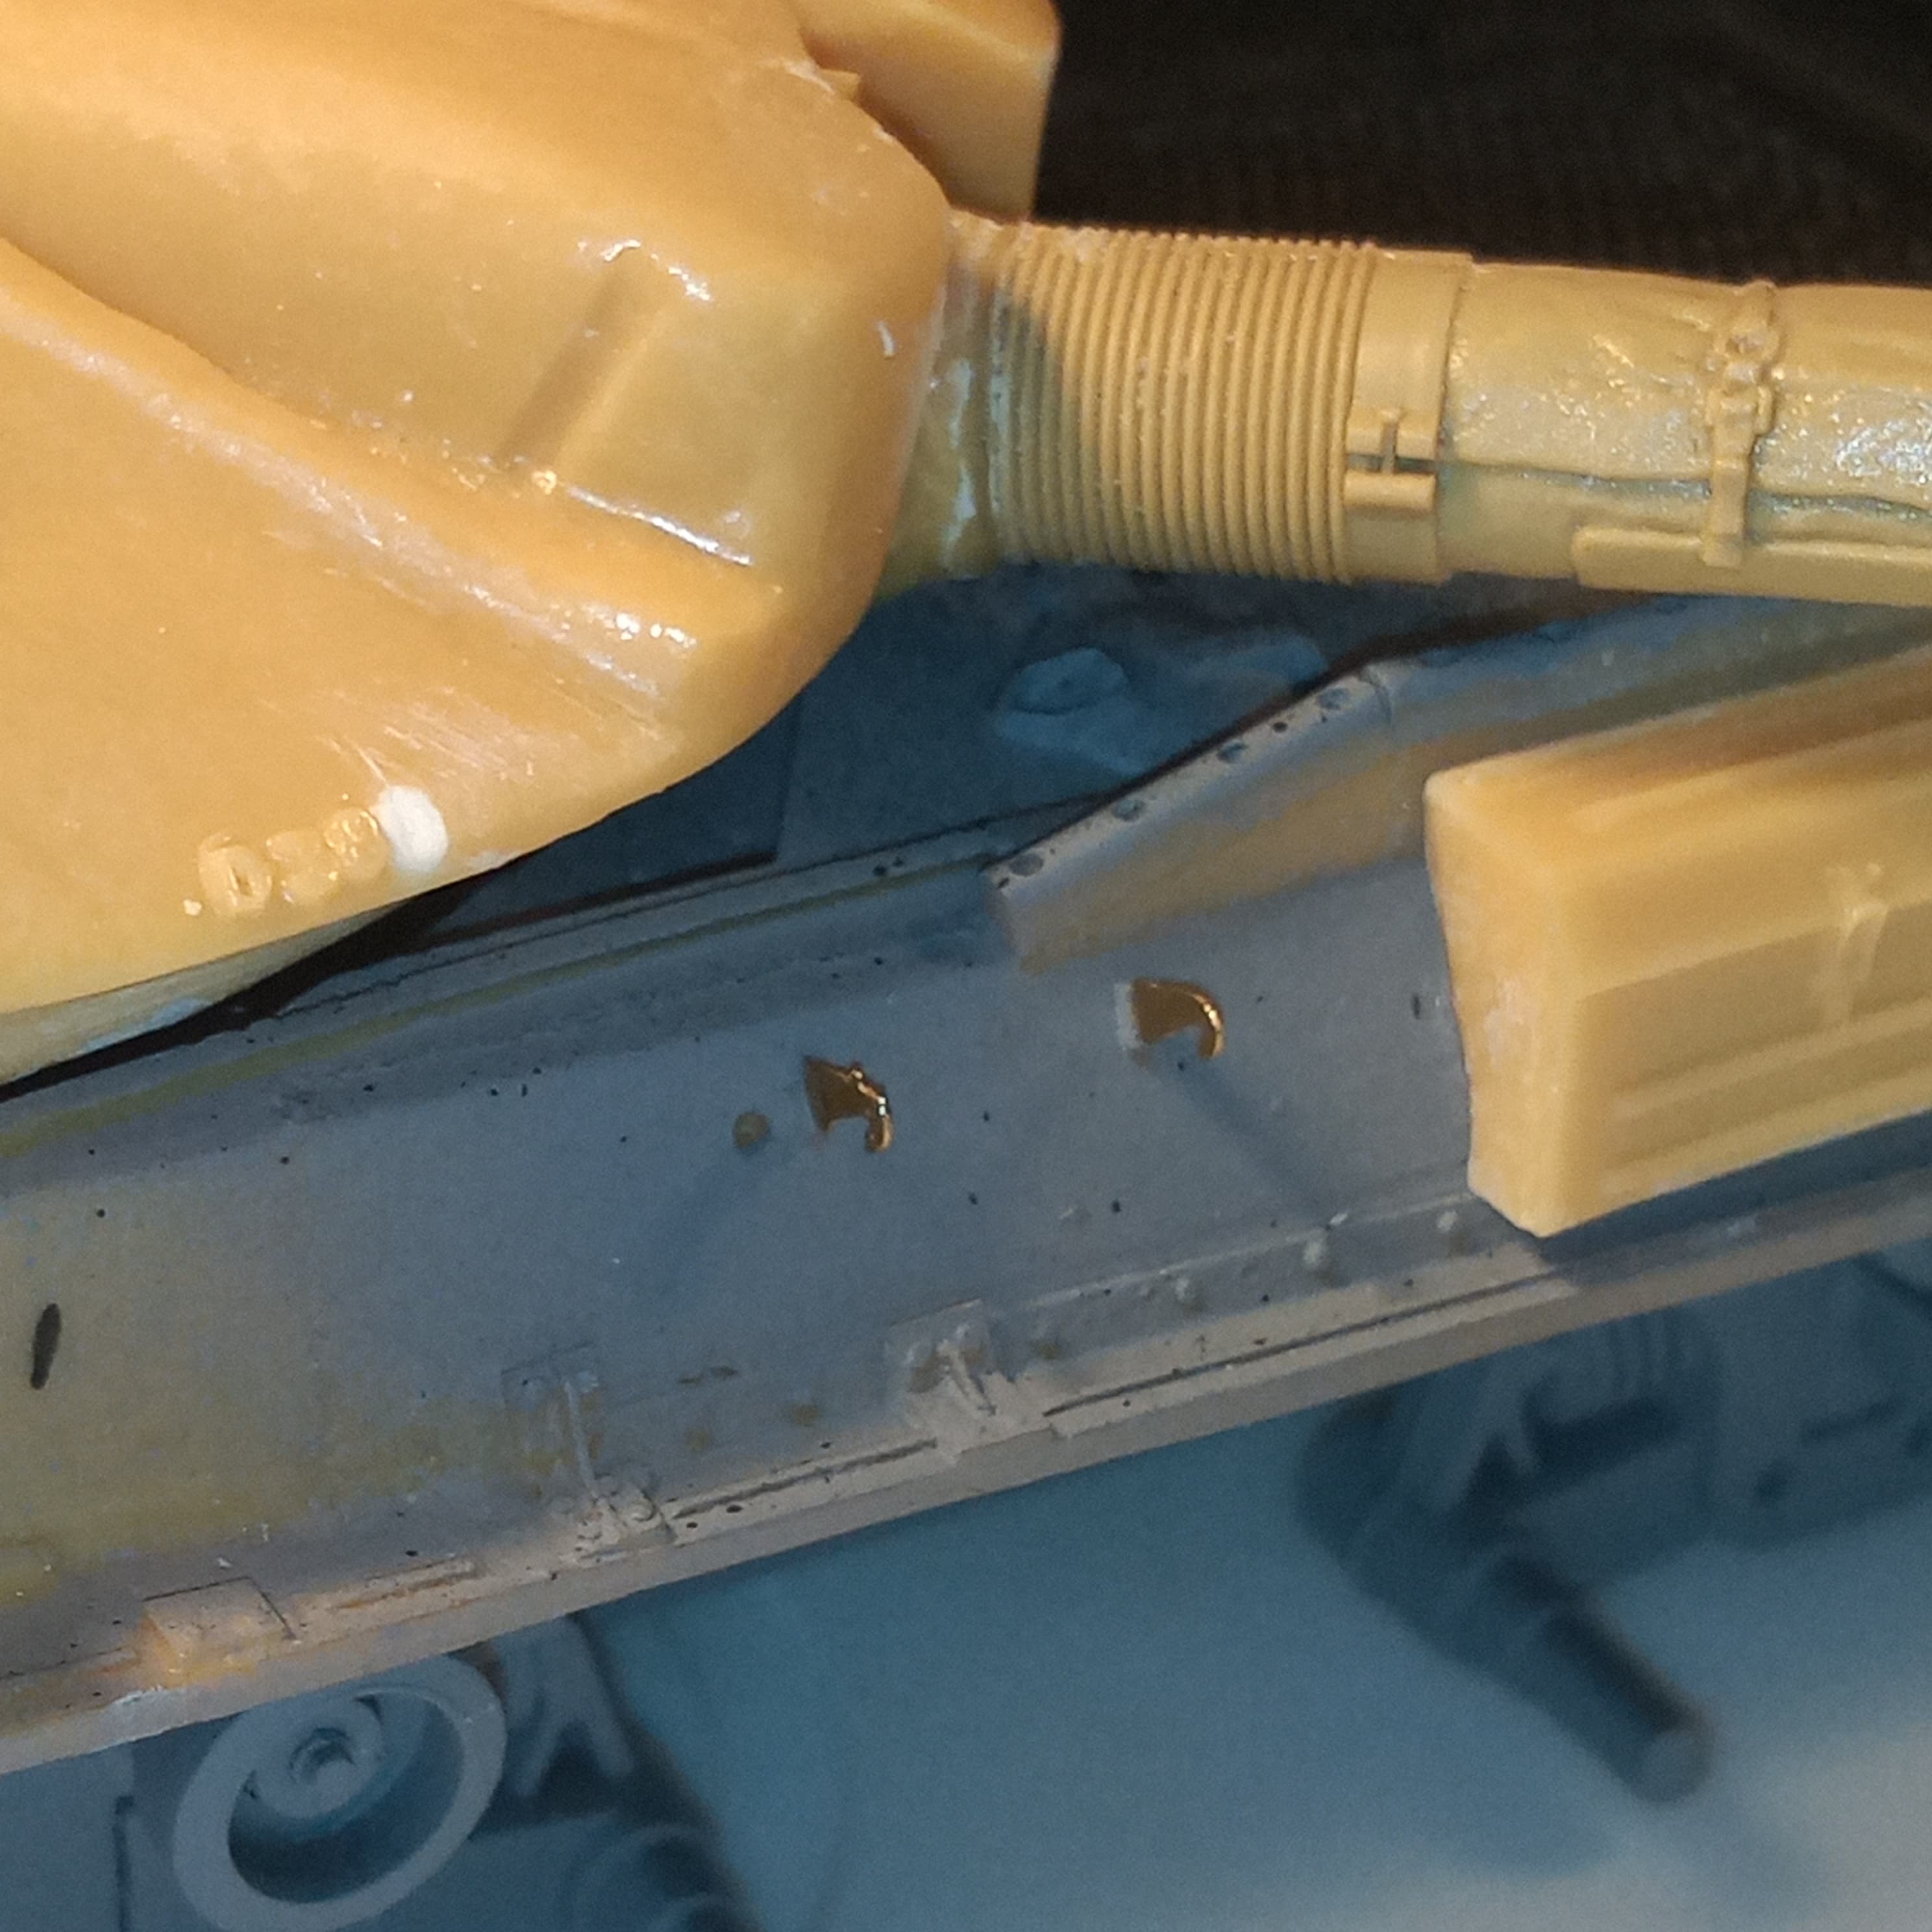
But on a far happier note, the FC Model Trend exhaust elbows arrived from Spain and they are so great…
I don’t want to burst your bubble John, but seeing just how big those exhausts are, you may want to check if you have enough clearance between the muffler housing and the rear fender area. AA don’t give you much room.
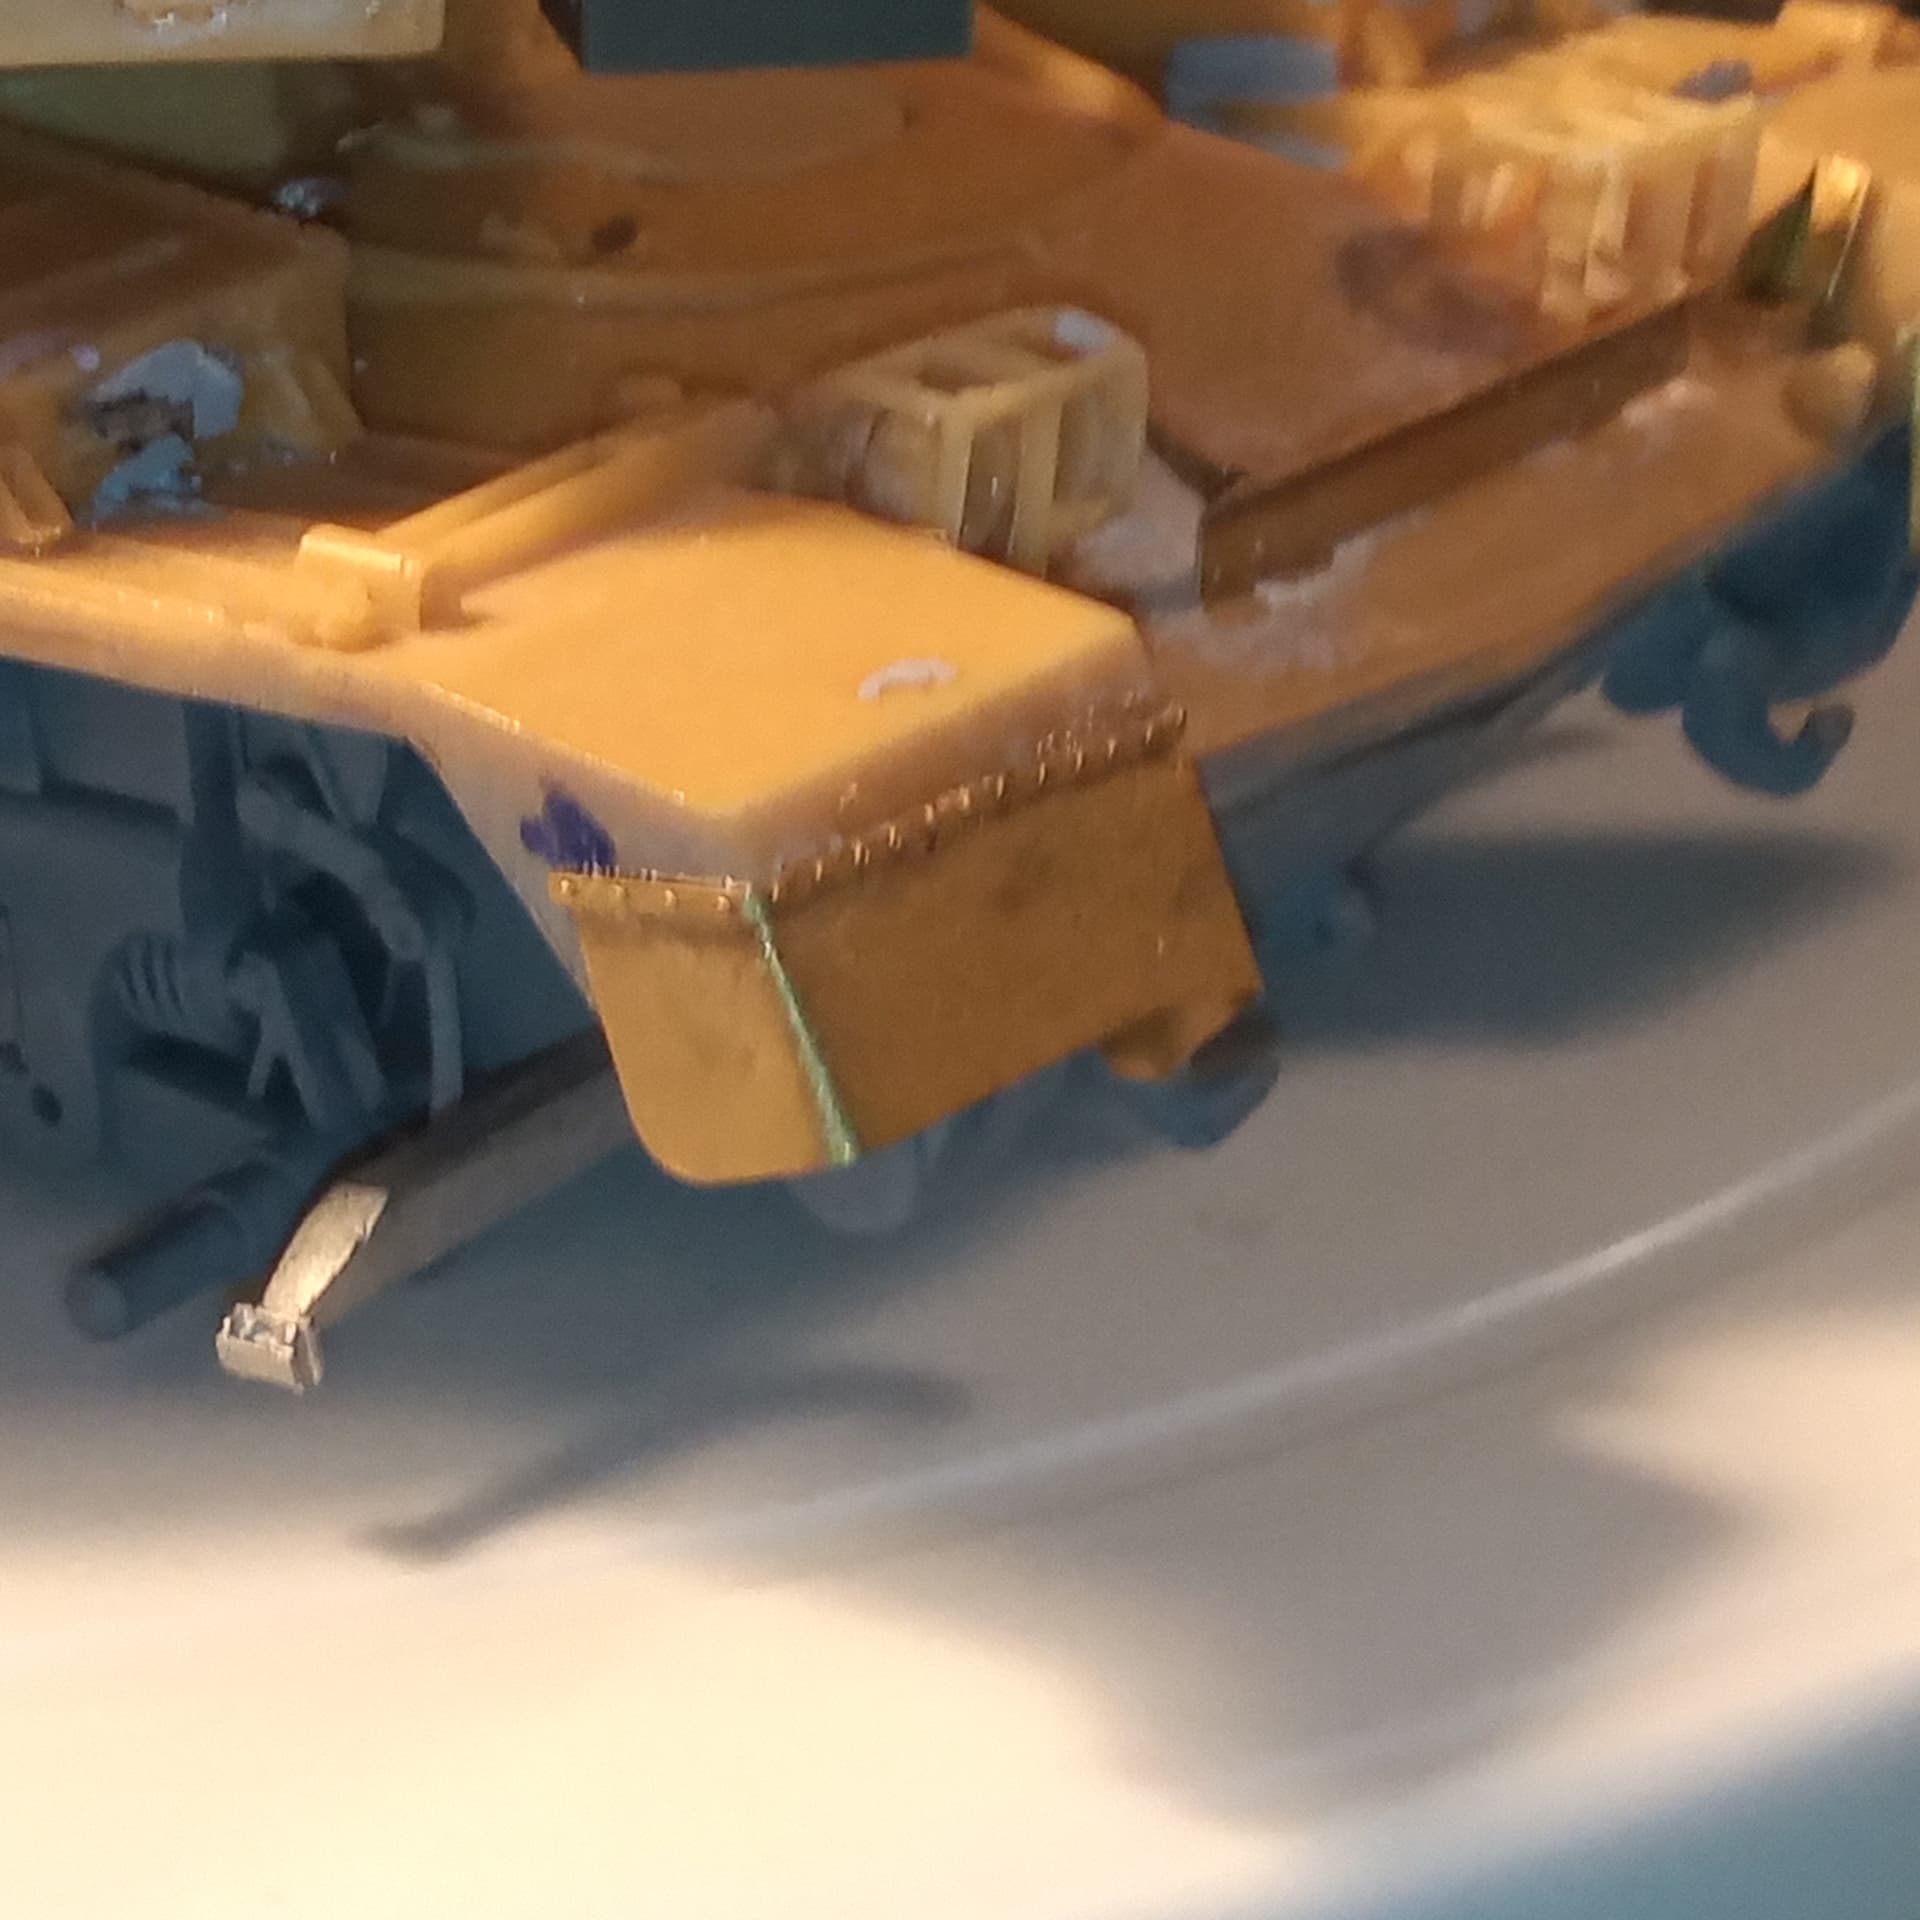
BTW, check out all the air bubbles that mysteriously appeared and my broken exhaust (it just fell off when airbrushing!) now that I have zoomed in… just adding to my frustrations…
That bubble was burst when I tried a dry fit… And found they wouldn’t fit lol… Oh how I laughed… The rear of that area is all to cock for size and shape in some respects. There is to much rear mudguard on the angled part from where the rear bin sits, and this is where you lose the space. The bin should come down pretty much flush with the corner of the angled part. I am in the process of shaving off and thinning the inner angled area of the mudguard and I may need to razor saw off about 1mm from the exhaust housing ends… Oh the joy
This will not beat me…
This will not beat me…
This will not beat me …
Having a little mini break from the the old Stillbrew for a few days and working a bit more on the Panther G for the Build a Photo 2 Campaign. Pretty much all the body is done now, including the surgery that was required on the external exhaust box on the rear and the rear inner mudguards. With all that carved away, at least the new exhaust elbows will fit in now…then its on to priming and BATUS cam … onwards and upwards troops


 .
. .
. .
.