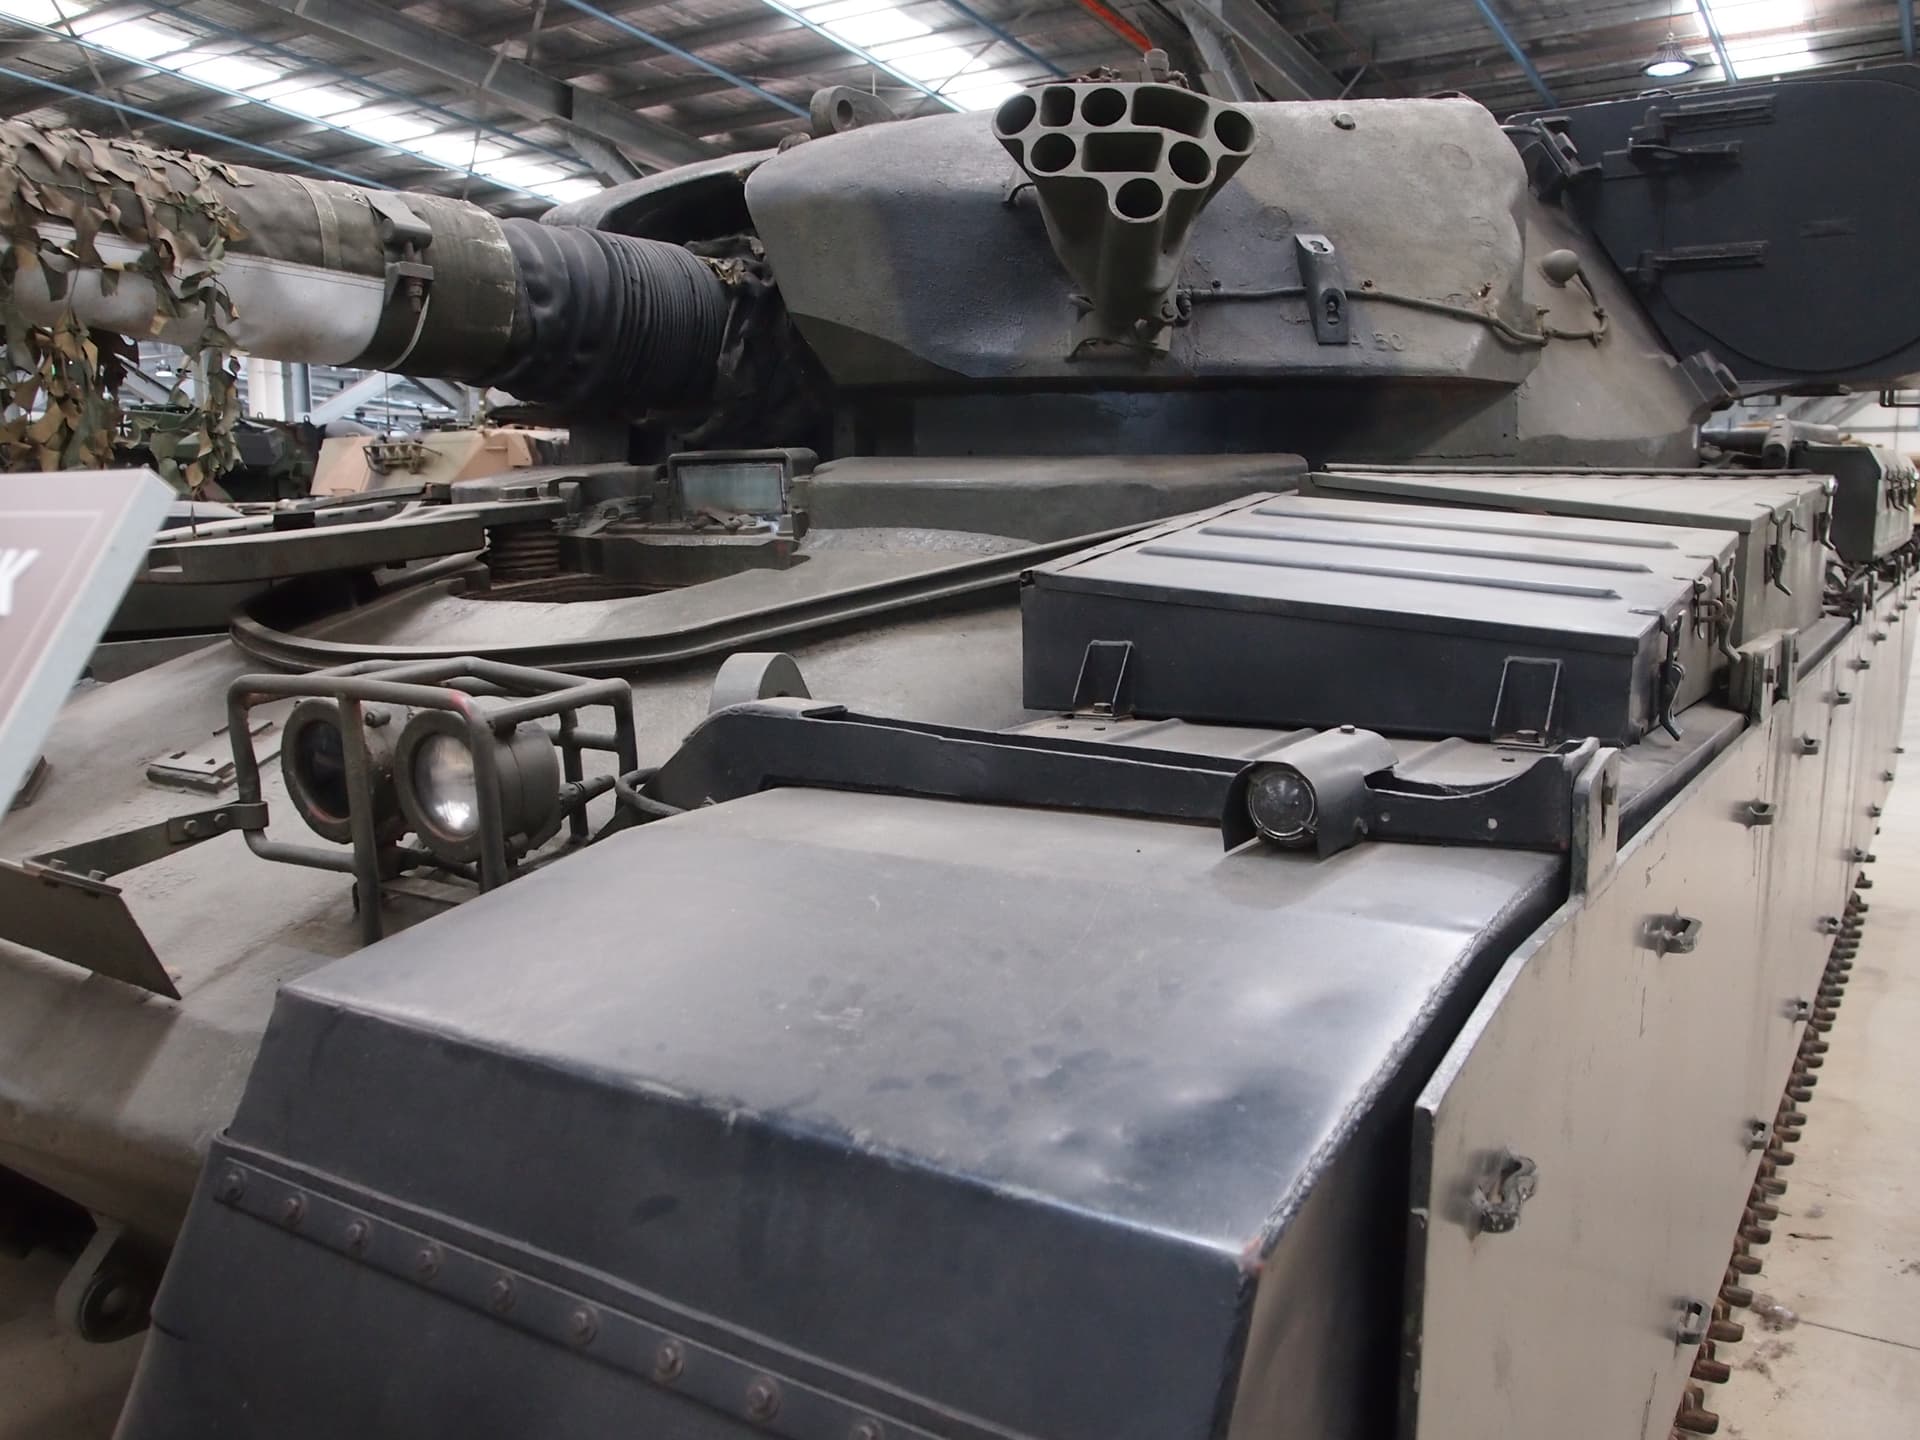
BTW. I got up close and personal with the beast last weekend…
6 Likes
Thankfully, I will never have to get up close and personal to one again lol
2 Likes
You can beat it John,  . Hopefully the new ‘elbows’ can be fitted without too much agony, it’s amazing the difference in size between the AA originals and the FC ones,
  .
.
G  .
.
1 Like
Damn, you have a whole G10 Tech Supply chain set up there … next you’ll be telling me you have a few spare L60s and TN15s hidden away lol
3 Likes
Just going through an old army box, showed my sons my old kit that I still had, boots have melted soles, in the bin they go.
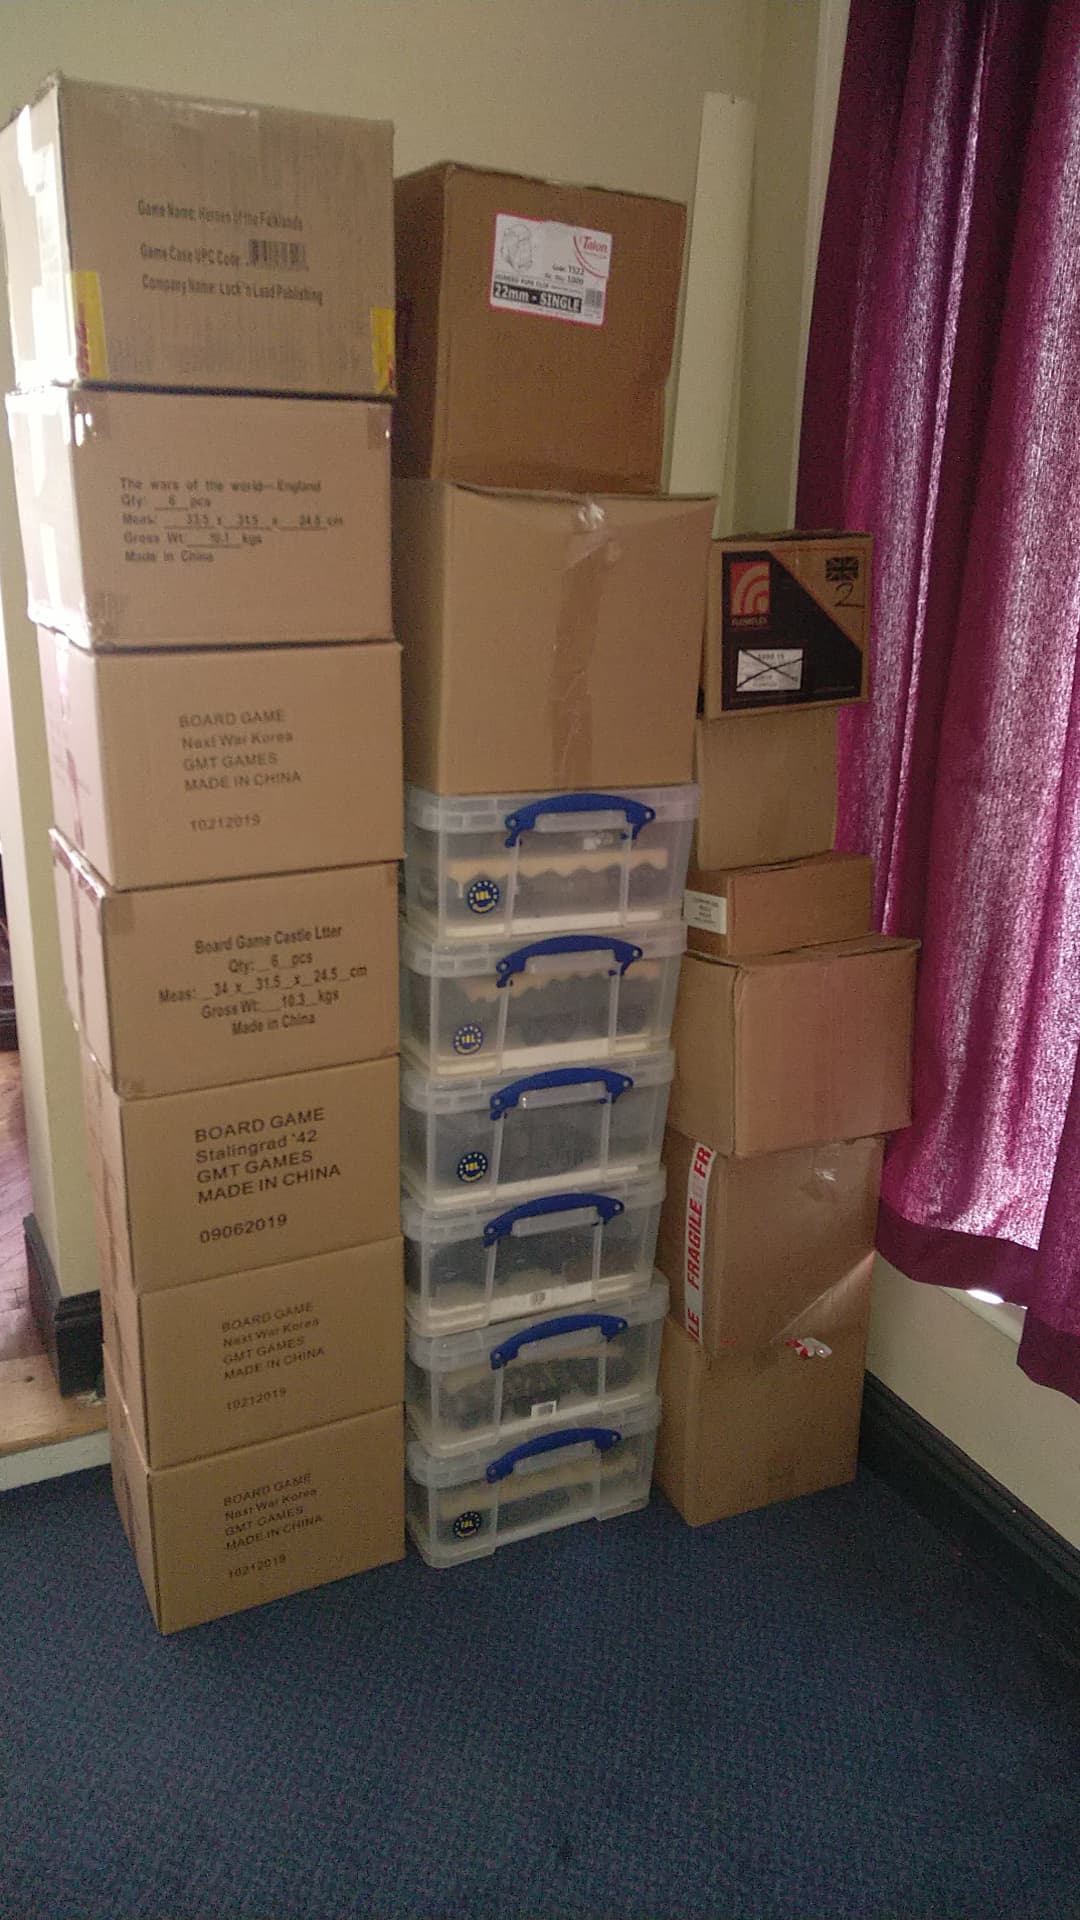
Built kits now packed up, in picture.
4 Likes
LOL, I have still have a pair of Matterhorns in excellent condition from Bosnia, had them resoled 3 times … cant fault them … hope the move goes ok btw
2 Likes
An impressive stash Frank,  .
.
G
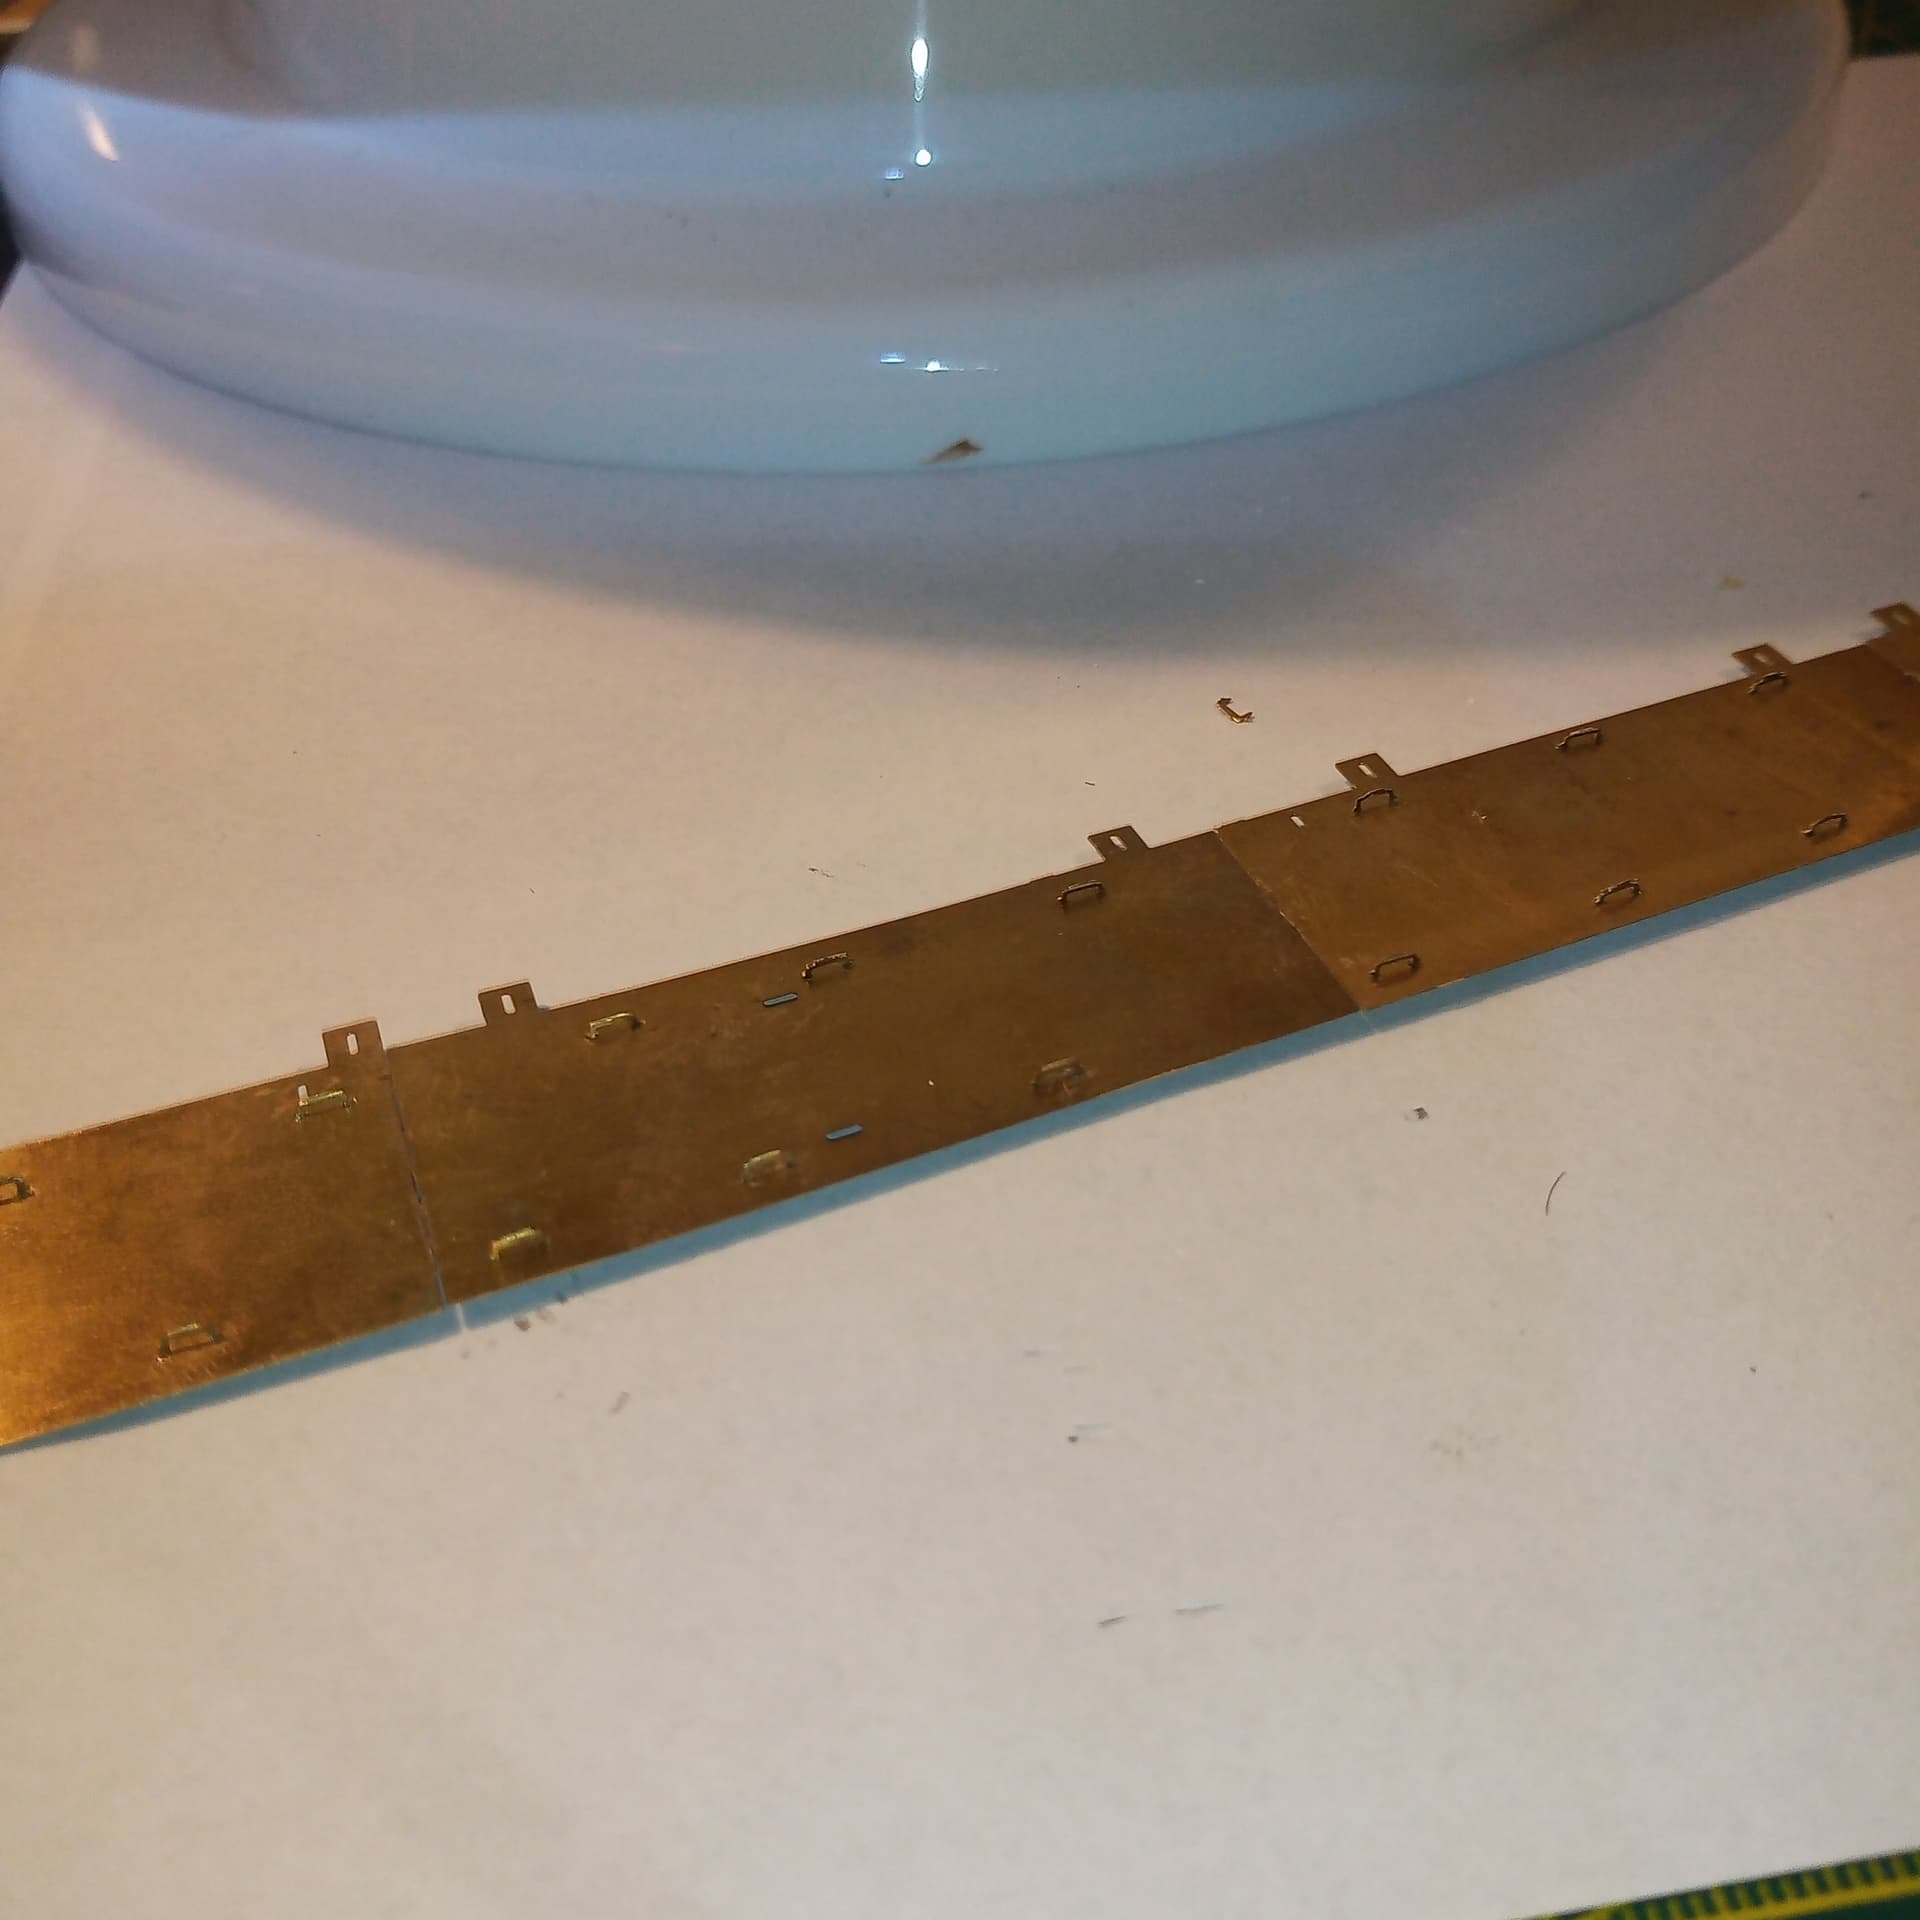
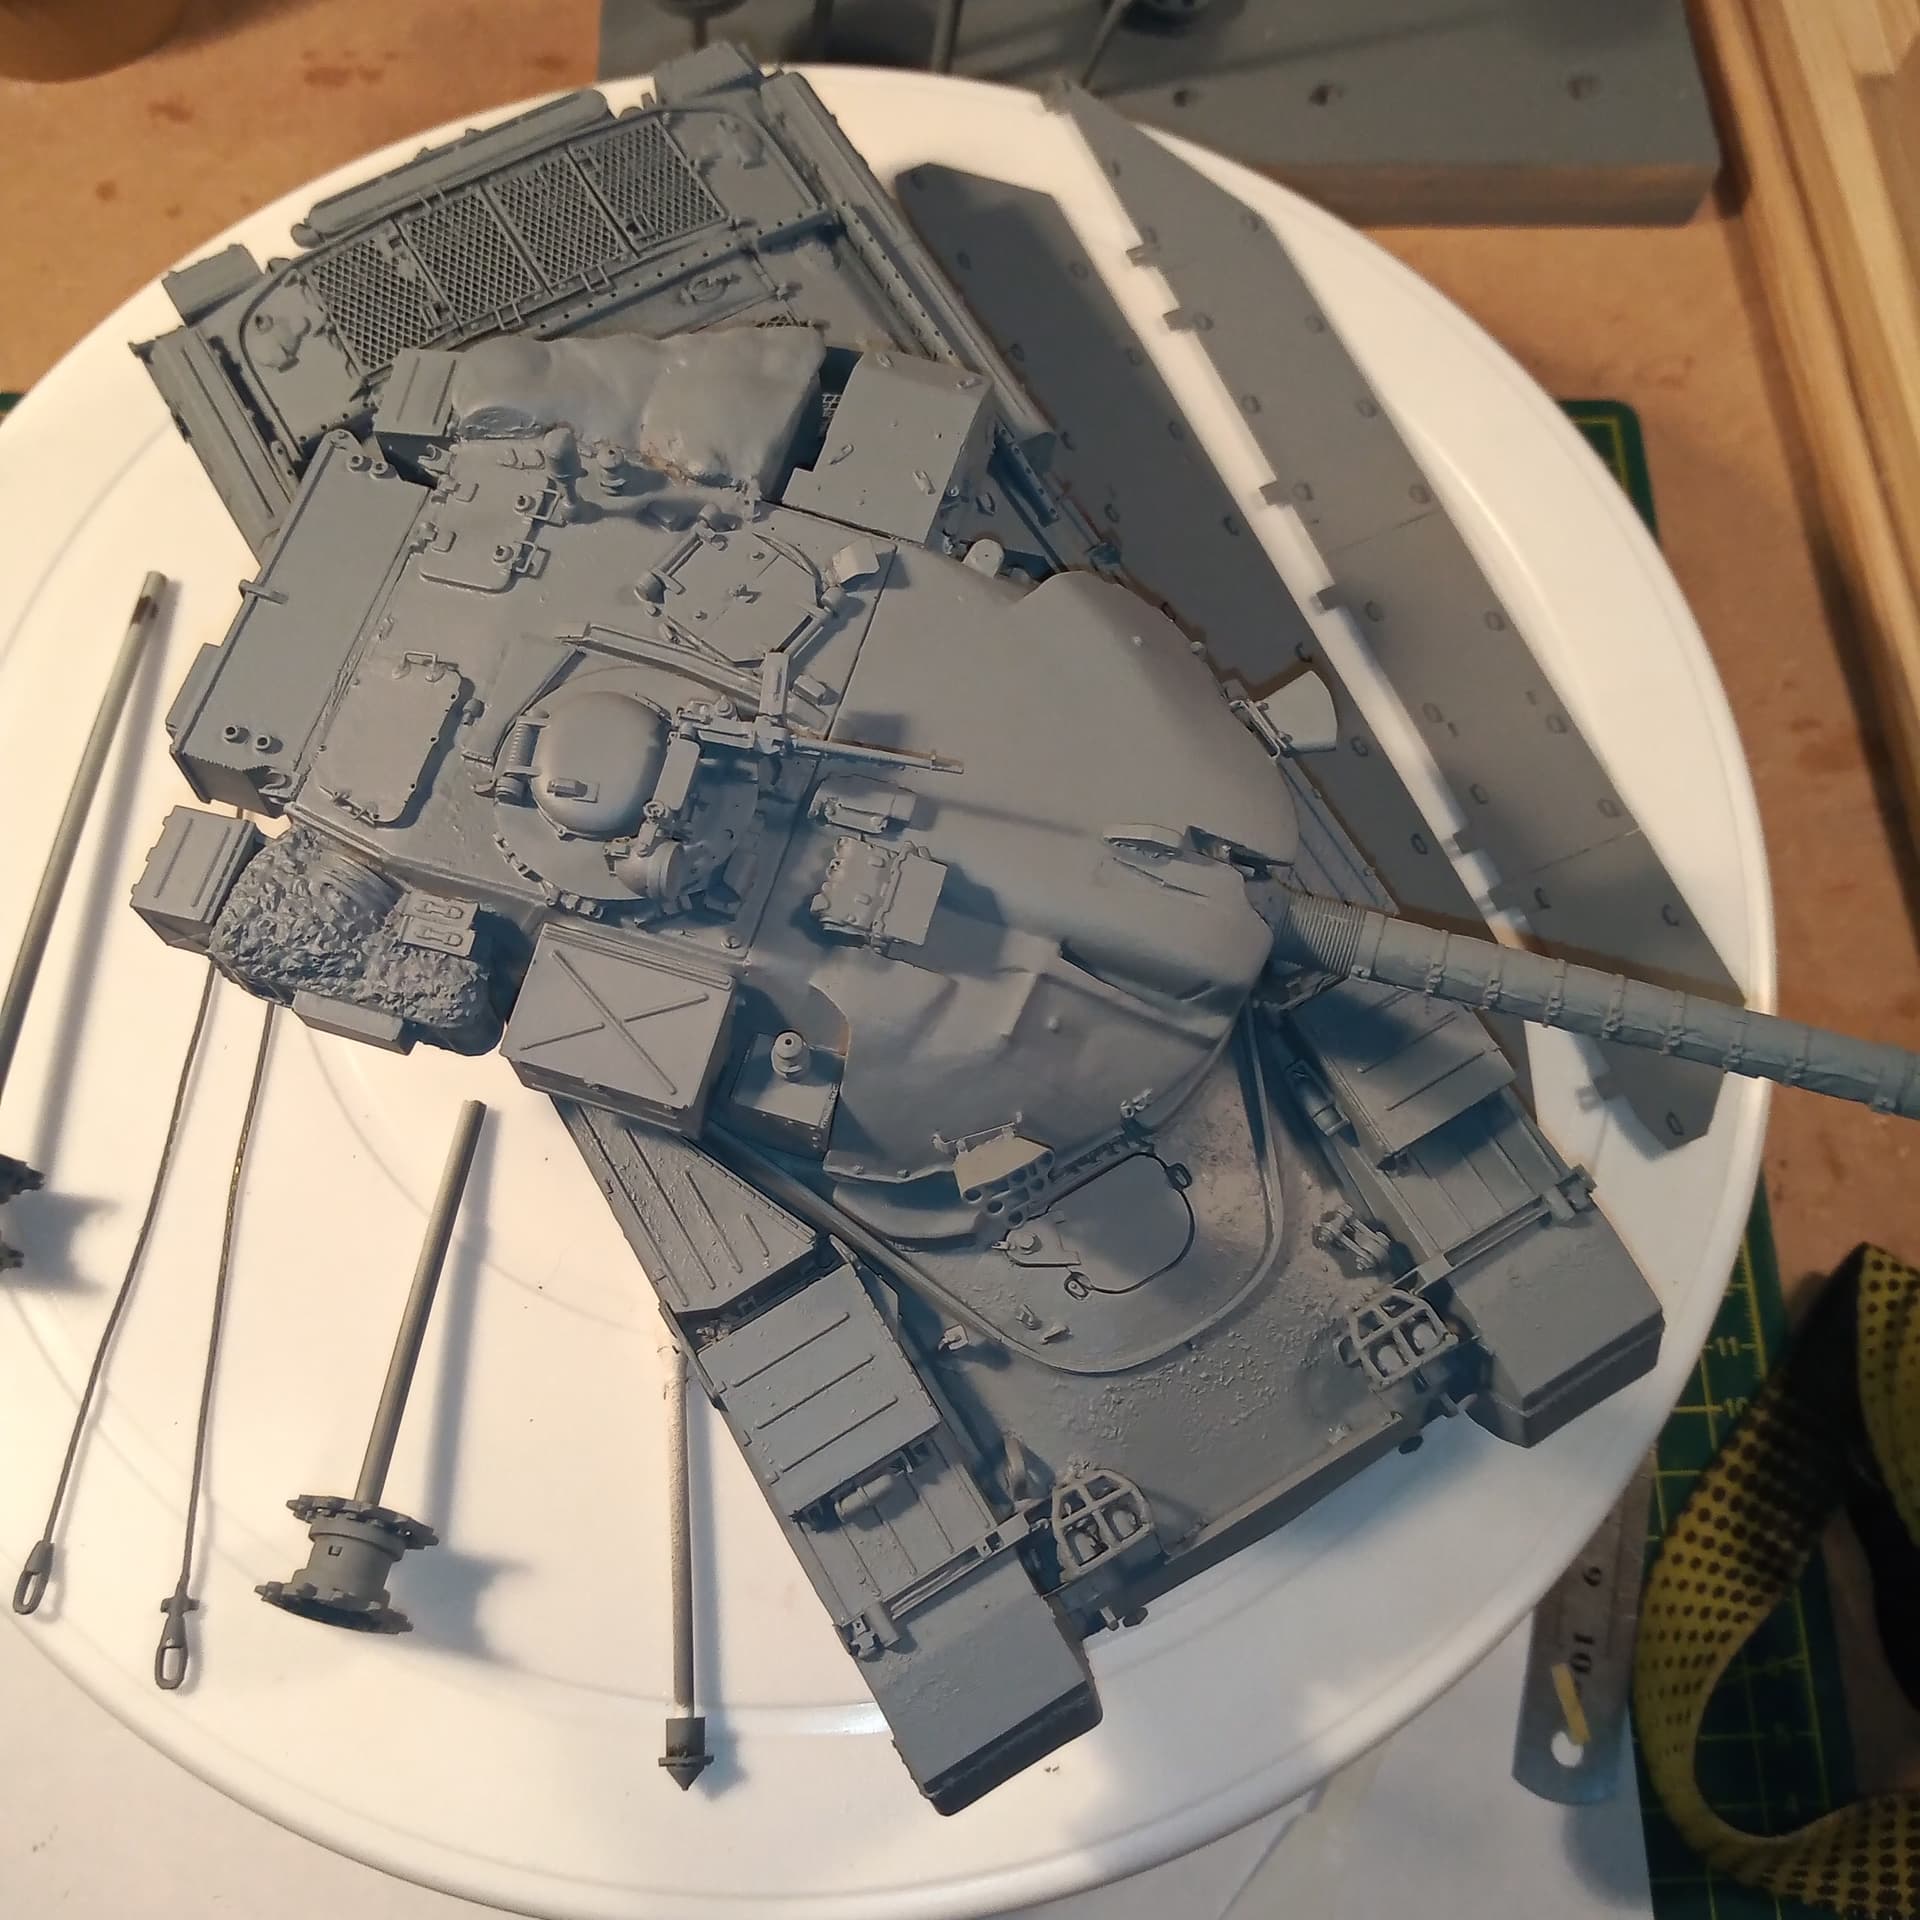
Did a little bit on it again tonight. Added the tie points onto one side of the boz plates. 20 in all …
Also did the amber flashing light and added a new stalk to it.
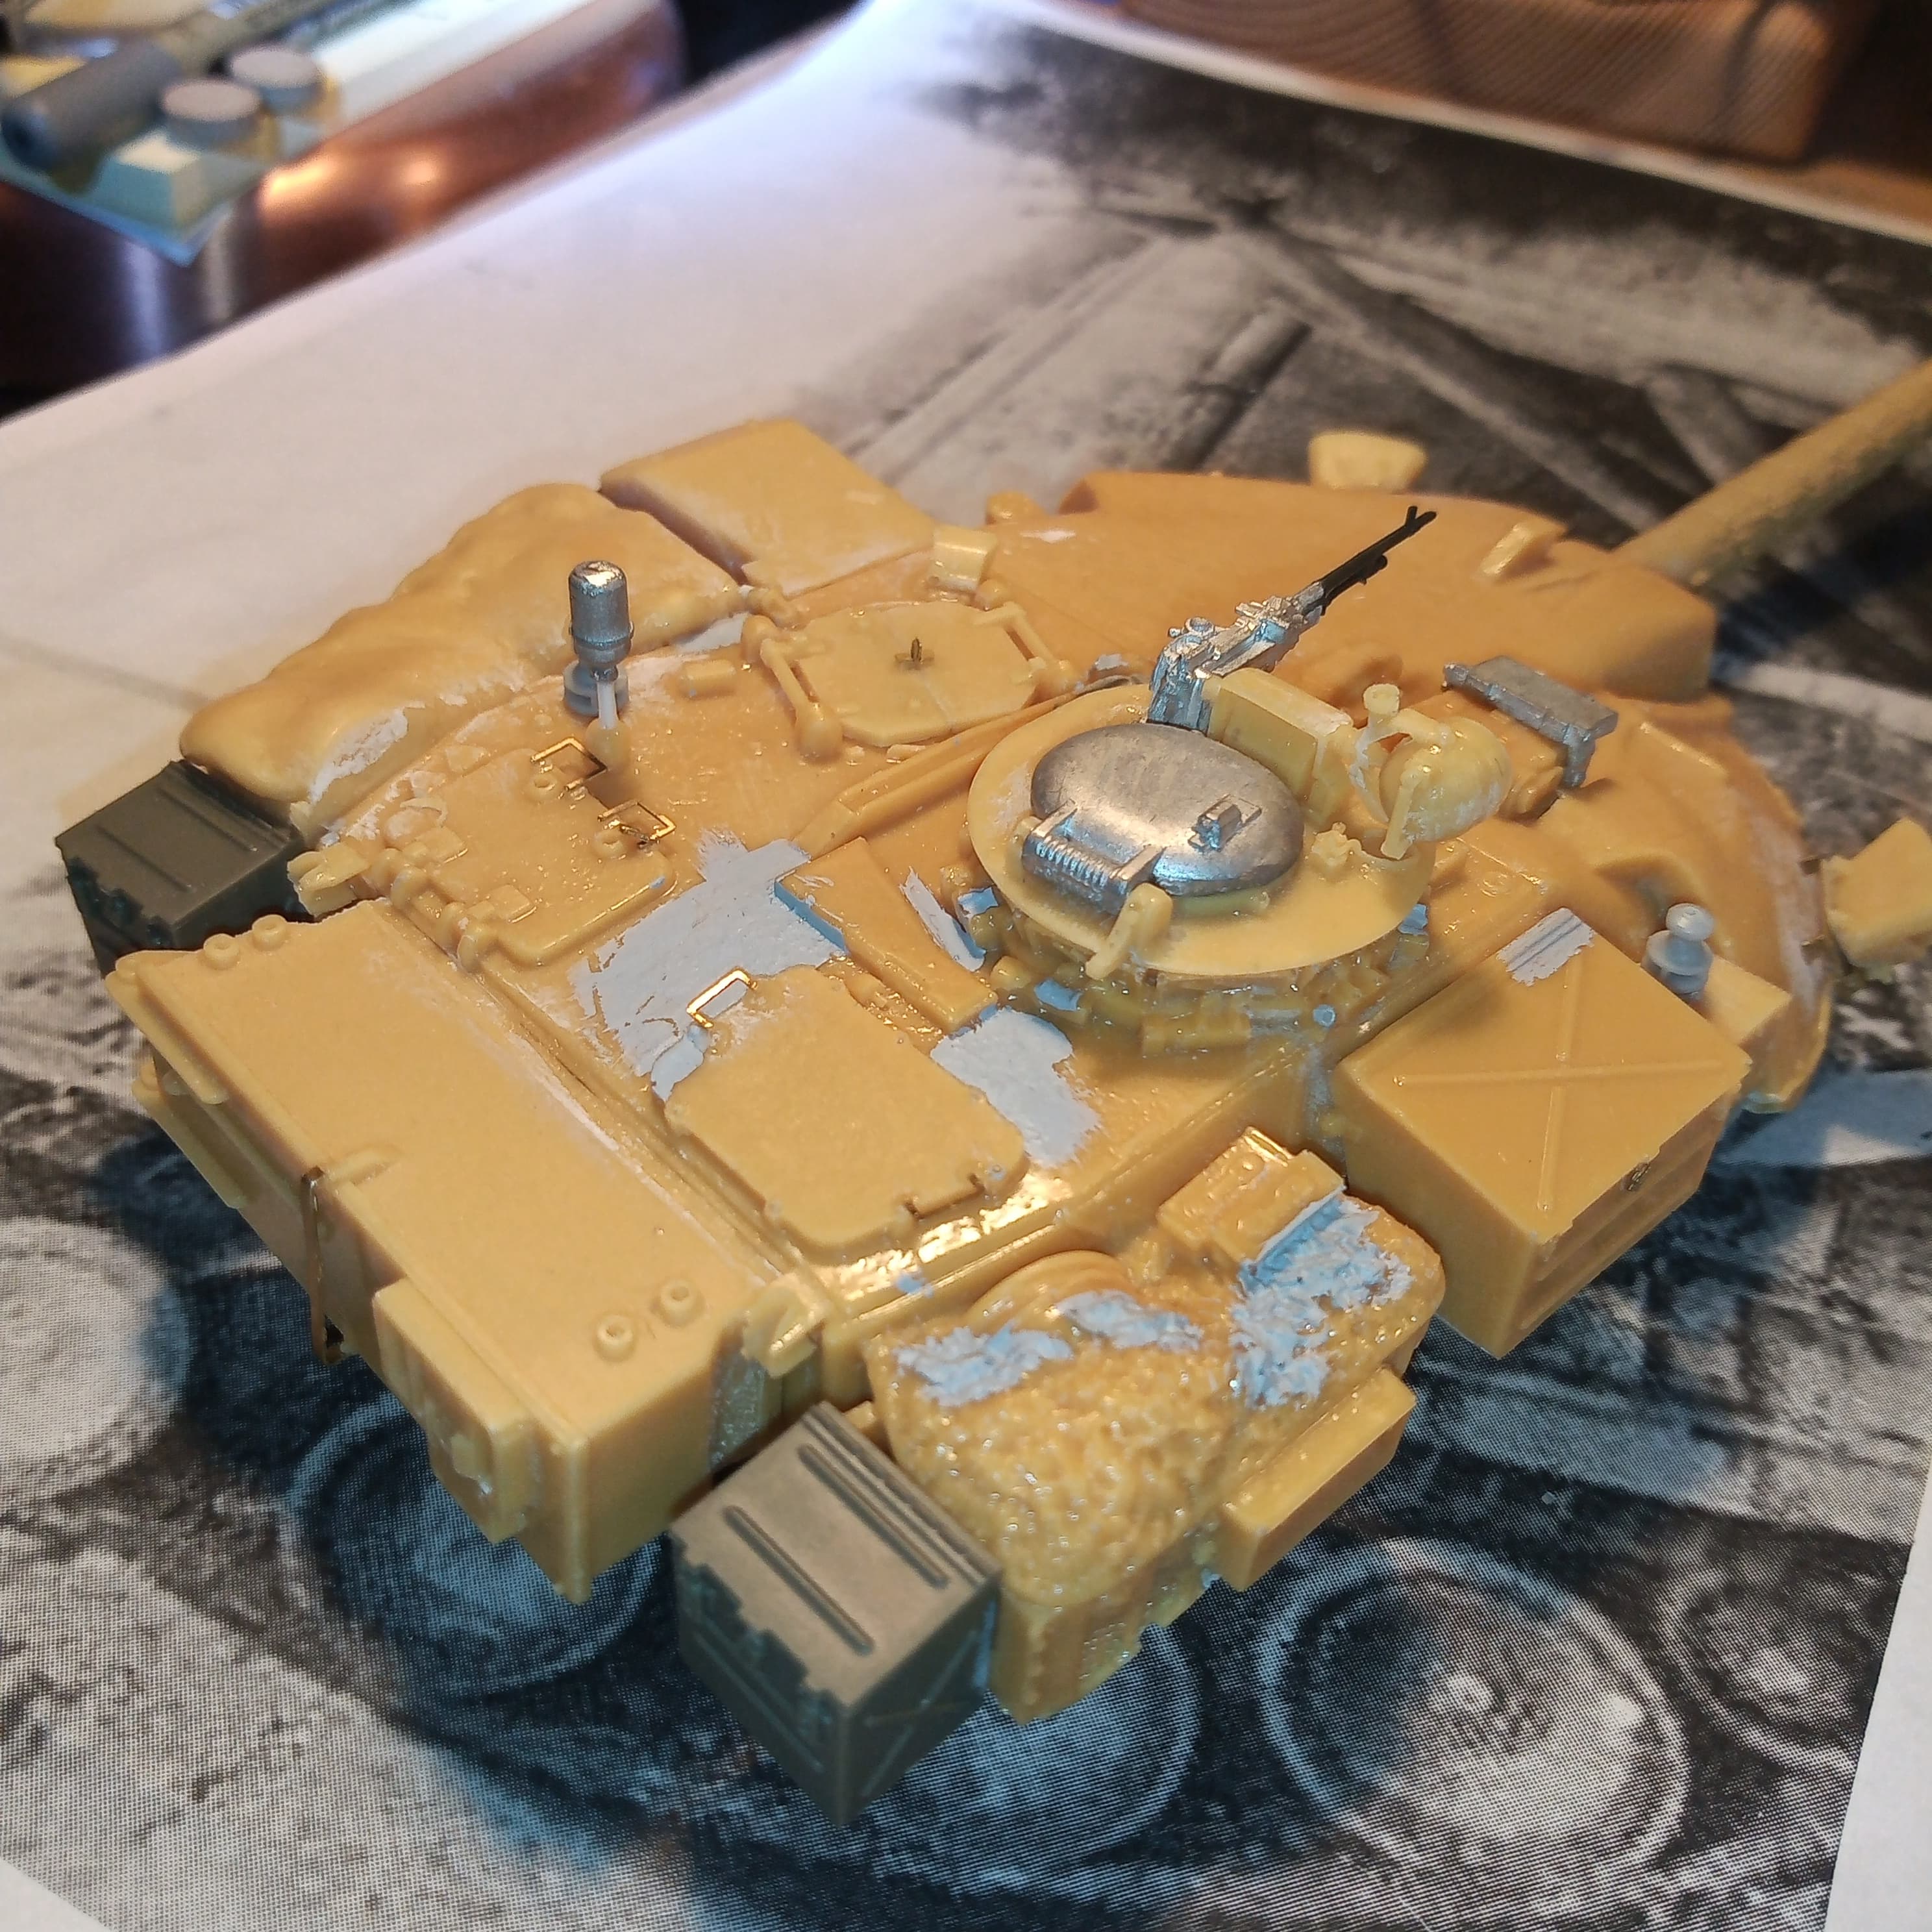
Now, it’s not pretty and it stands out to me as I know what the rear end should look like, but after the heavy surgery the FC exhaust elbows are on. And the rear lifting eyes.
It’s such a shame the dimensions were out and the mudguards not in the correct position that so much surgery was needed. There was no way I could have the AA exhaust elbows on, so I didn’t have a lot of choice, and I did as best as I was able. I think once it’s primed it won’t look so obvious, or that’s the hope anyway.
I also fitted 2 reflectors from the CVRT spares.
Will hand paint the wheels tomorrow and possibly get a coat of primer down on the rest
8 Likes
John, nothing on the back end of that tank stands out to me as altered or off in any way. I’m no expert on Chieftains but everything looks proportional and to be in it’s place. I also can’t see any “hack marks” so you did a great job.
1 Like
Unfortunately I know Chieftains all too well but I agree with Toms, nothing on there looks out of place to me.
2 Likes
I agree with Matthew, to someone not well versed in the derrière of a Chieftain nothing would leap out as untoward John. And, as you say, once primed/painted it’ll only be obvious to the likes of yourself whom have been up close and personal.
I think you’ve done a grand job creating space for the new elbows, .
G
1 Like
Thanks @SSGToms & @G-man69 … It’s all smoke and mirrors and camera trickery lol …glad nothing looks out of place though when you guys look at it.
Now it’s had your knowledgeable eye over it @Maximus8425 I can breathe a sigh of relief  .
.
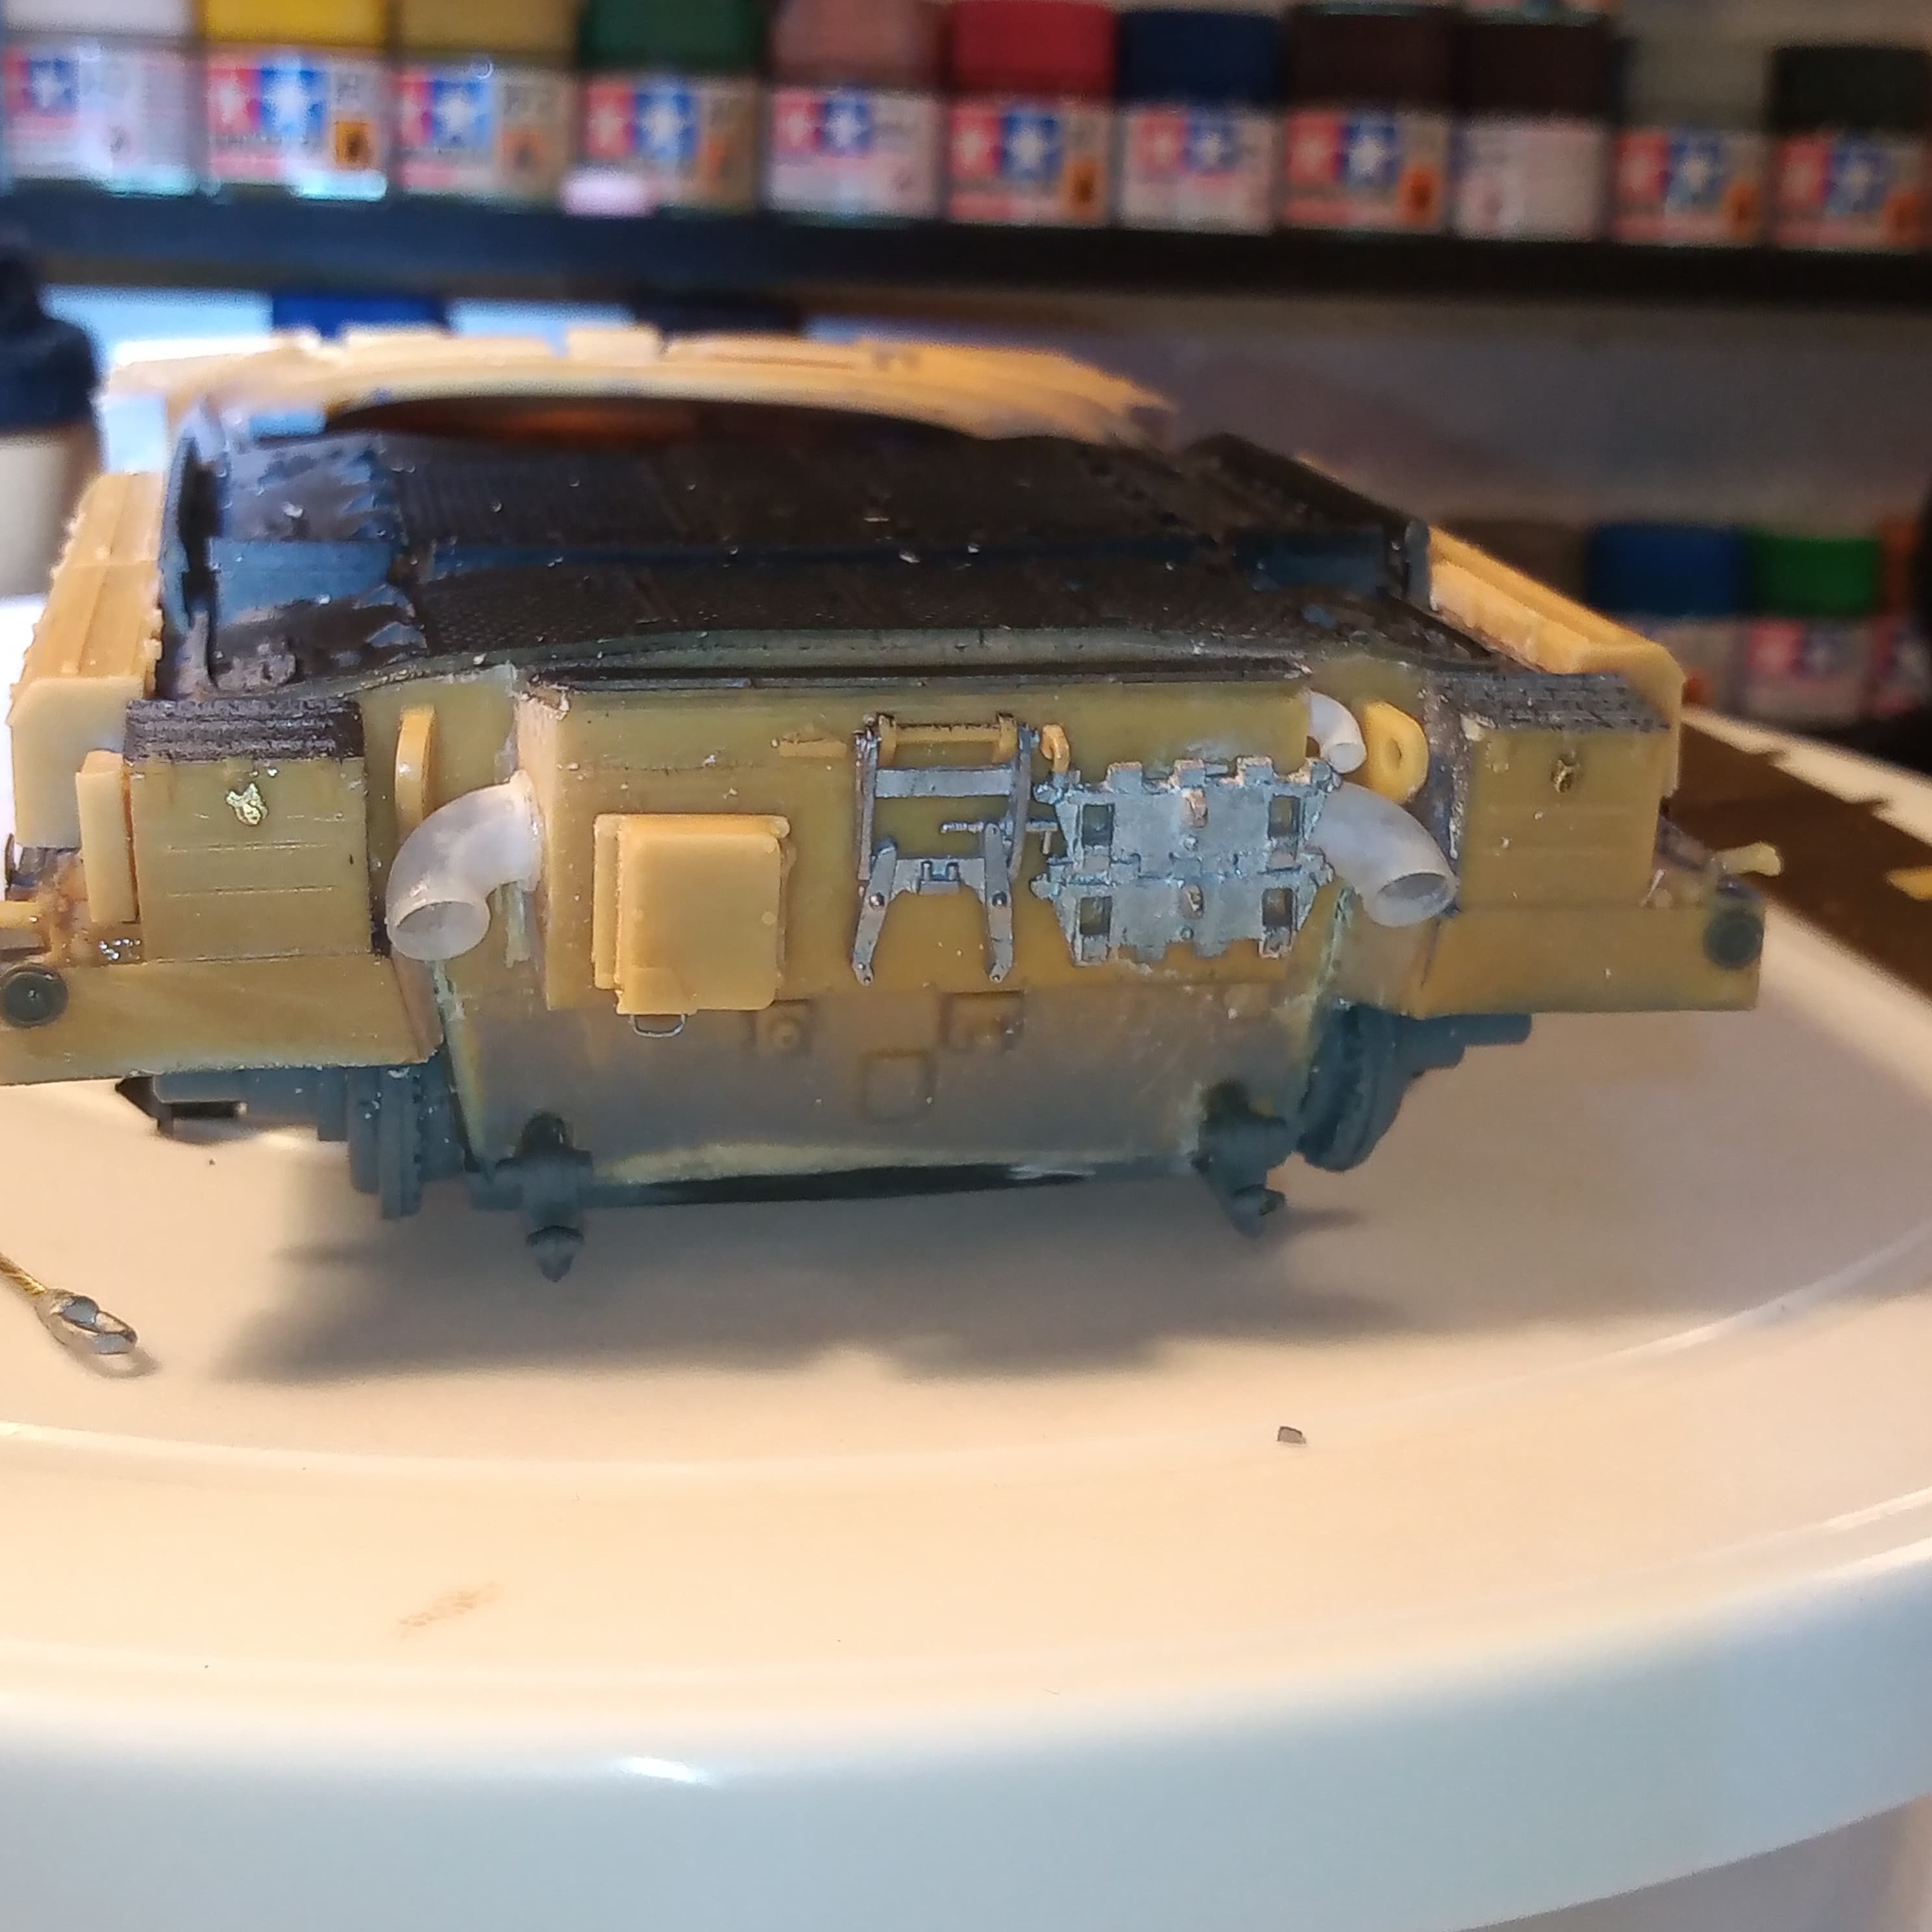
Just got the primer on it and will do a few shots later.
Primer coat on, and shots are in no real order.
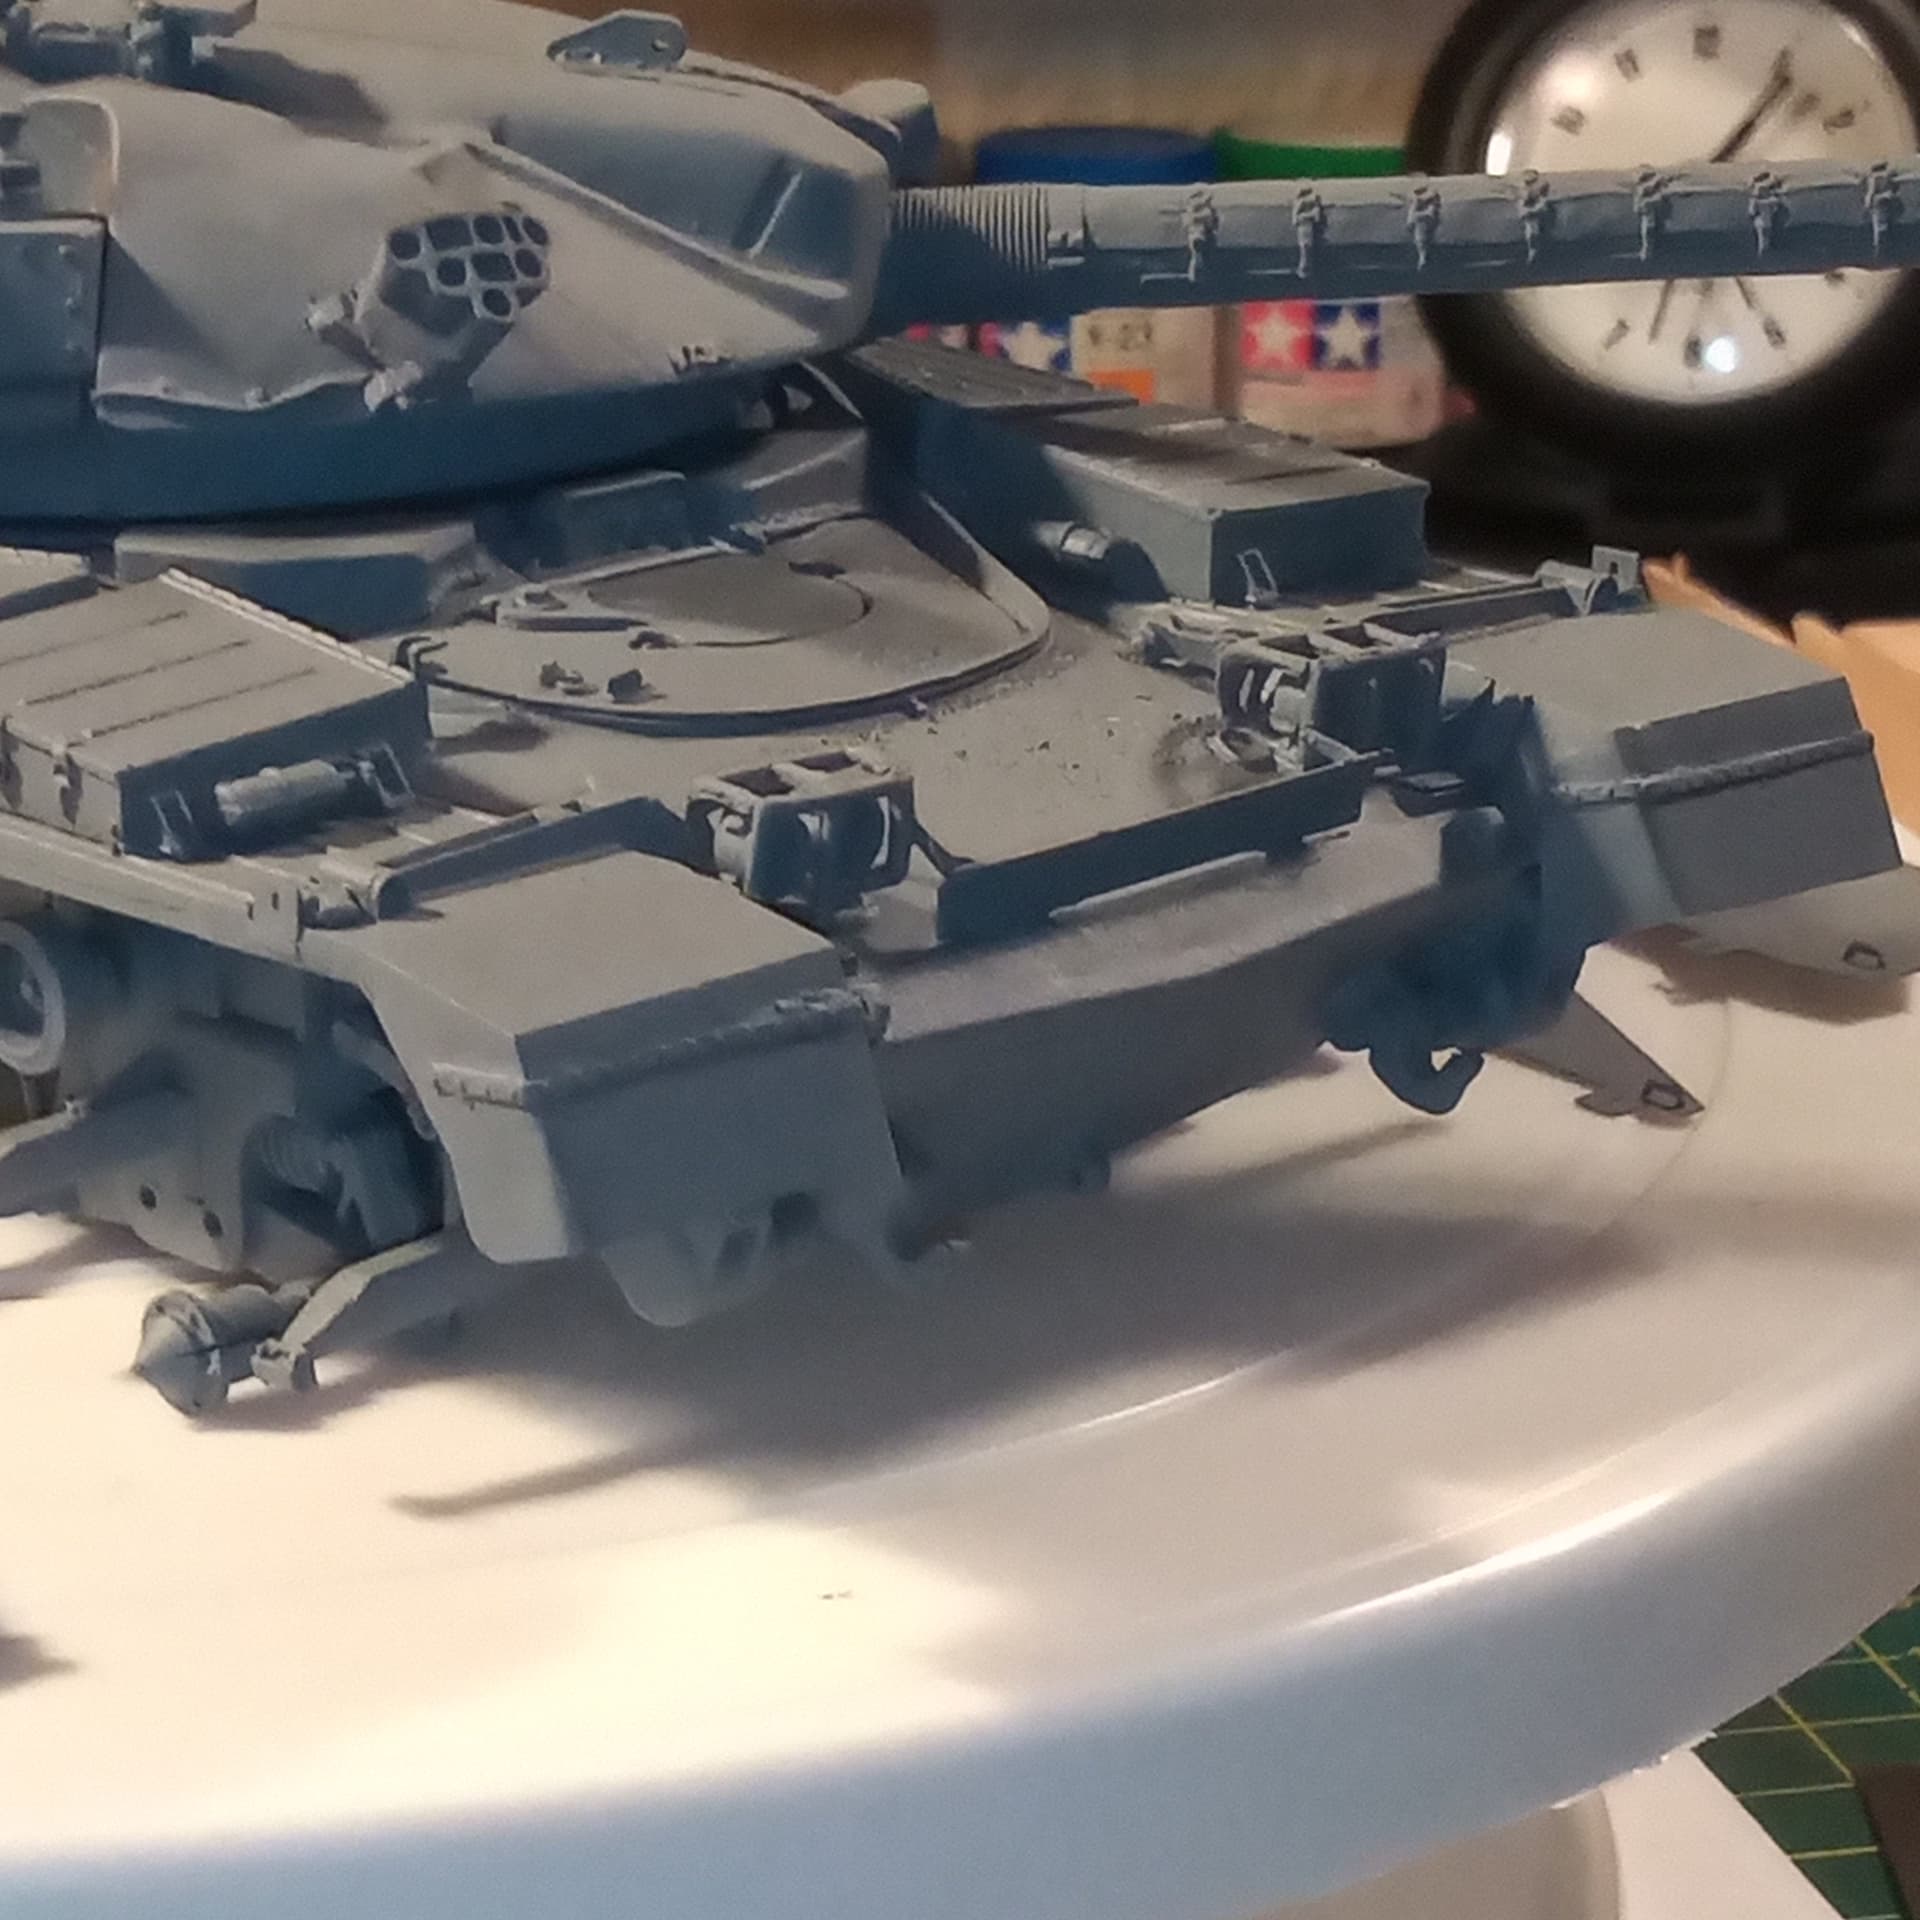
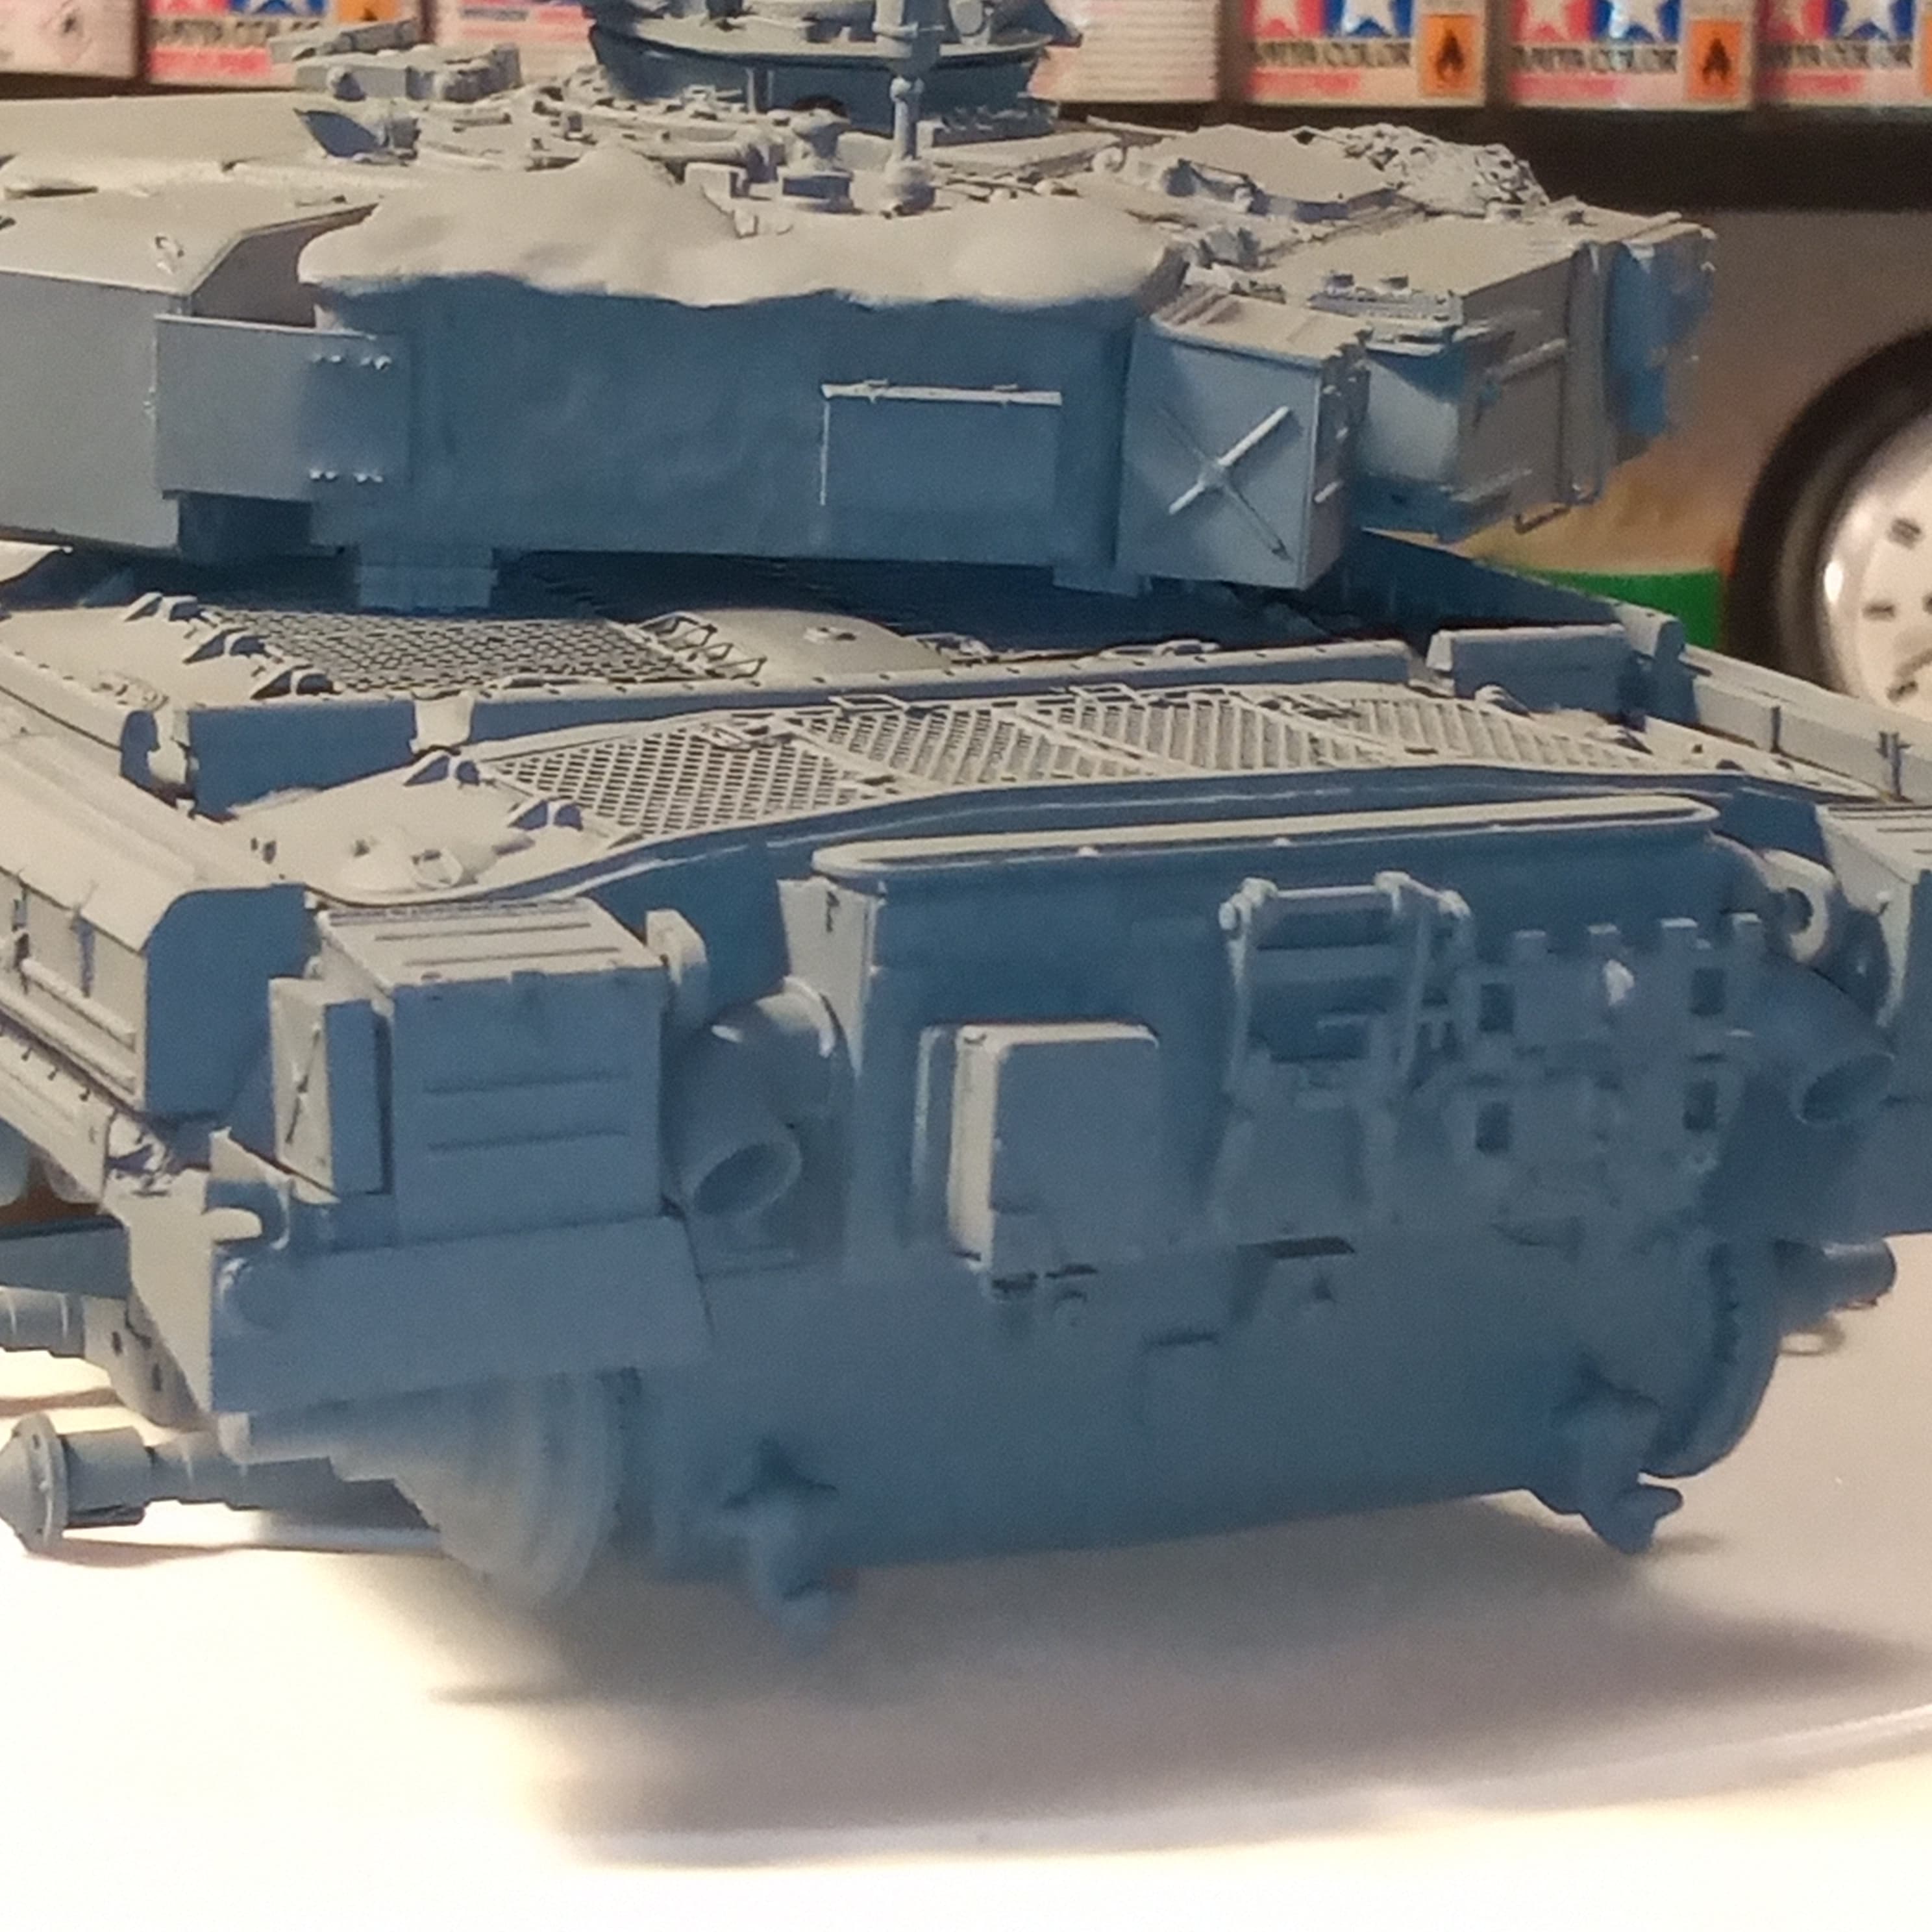
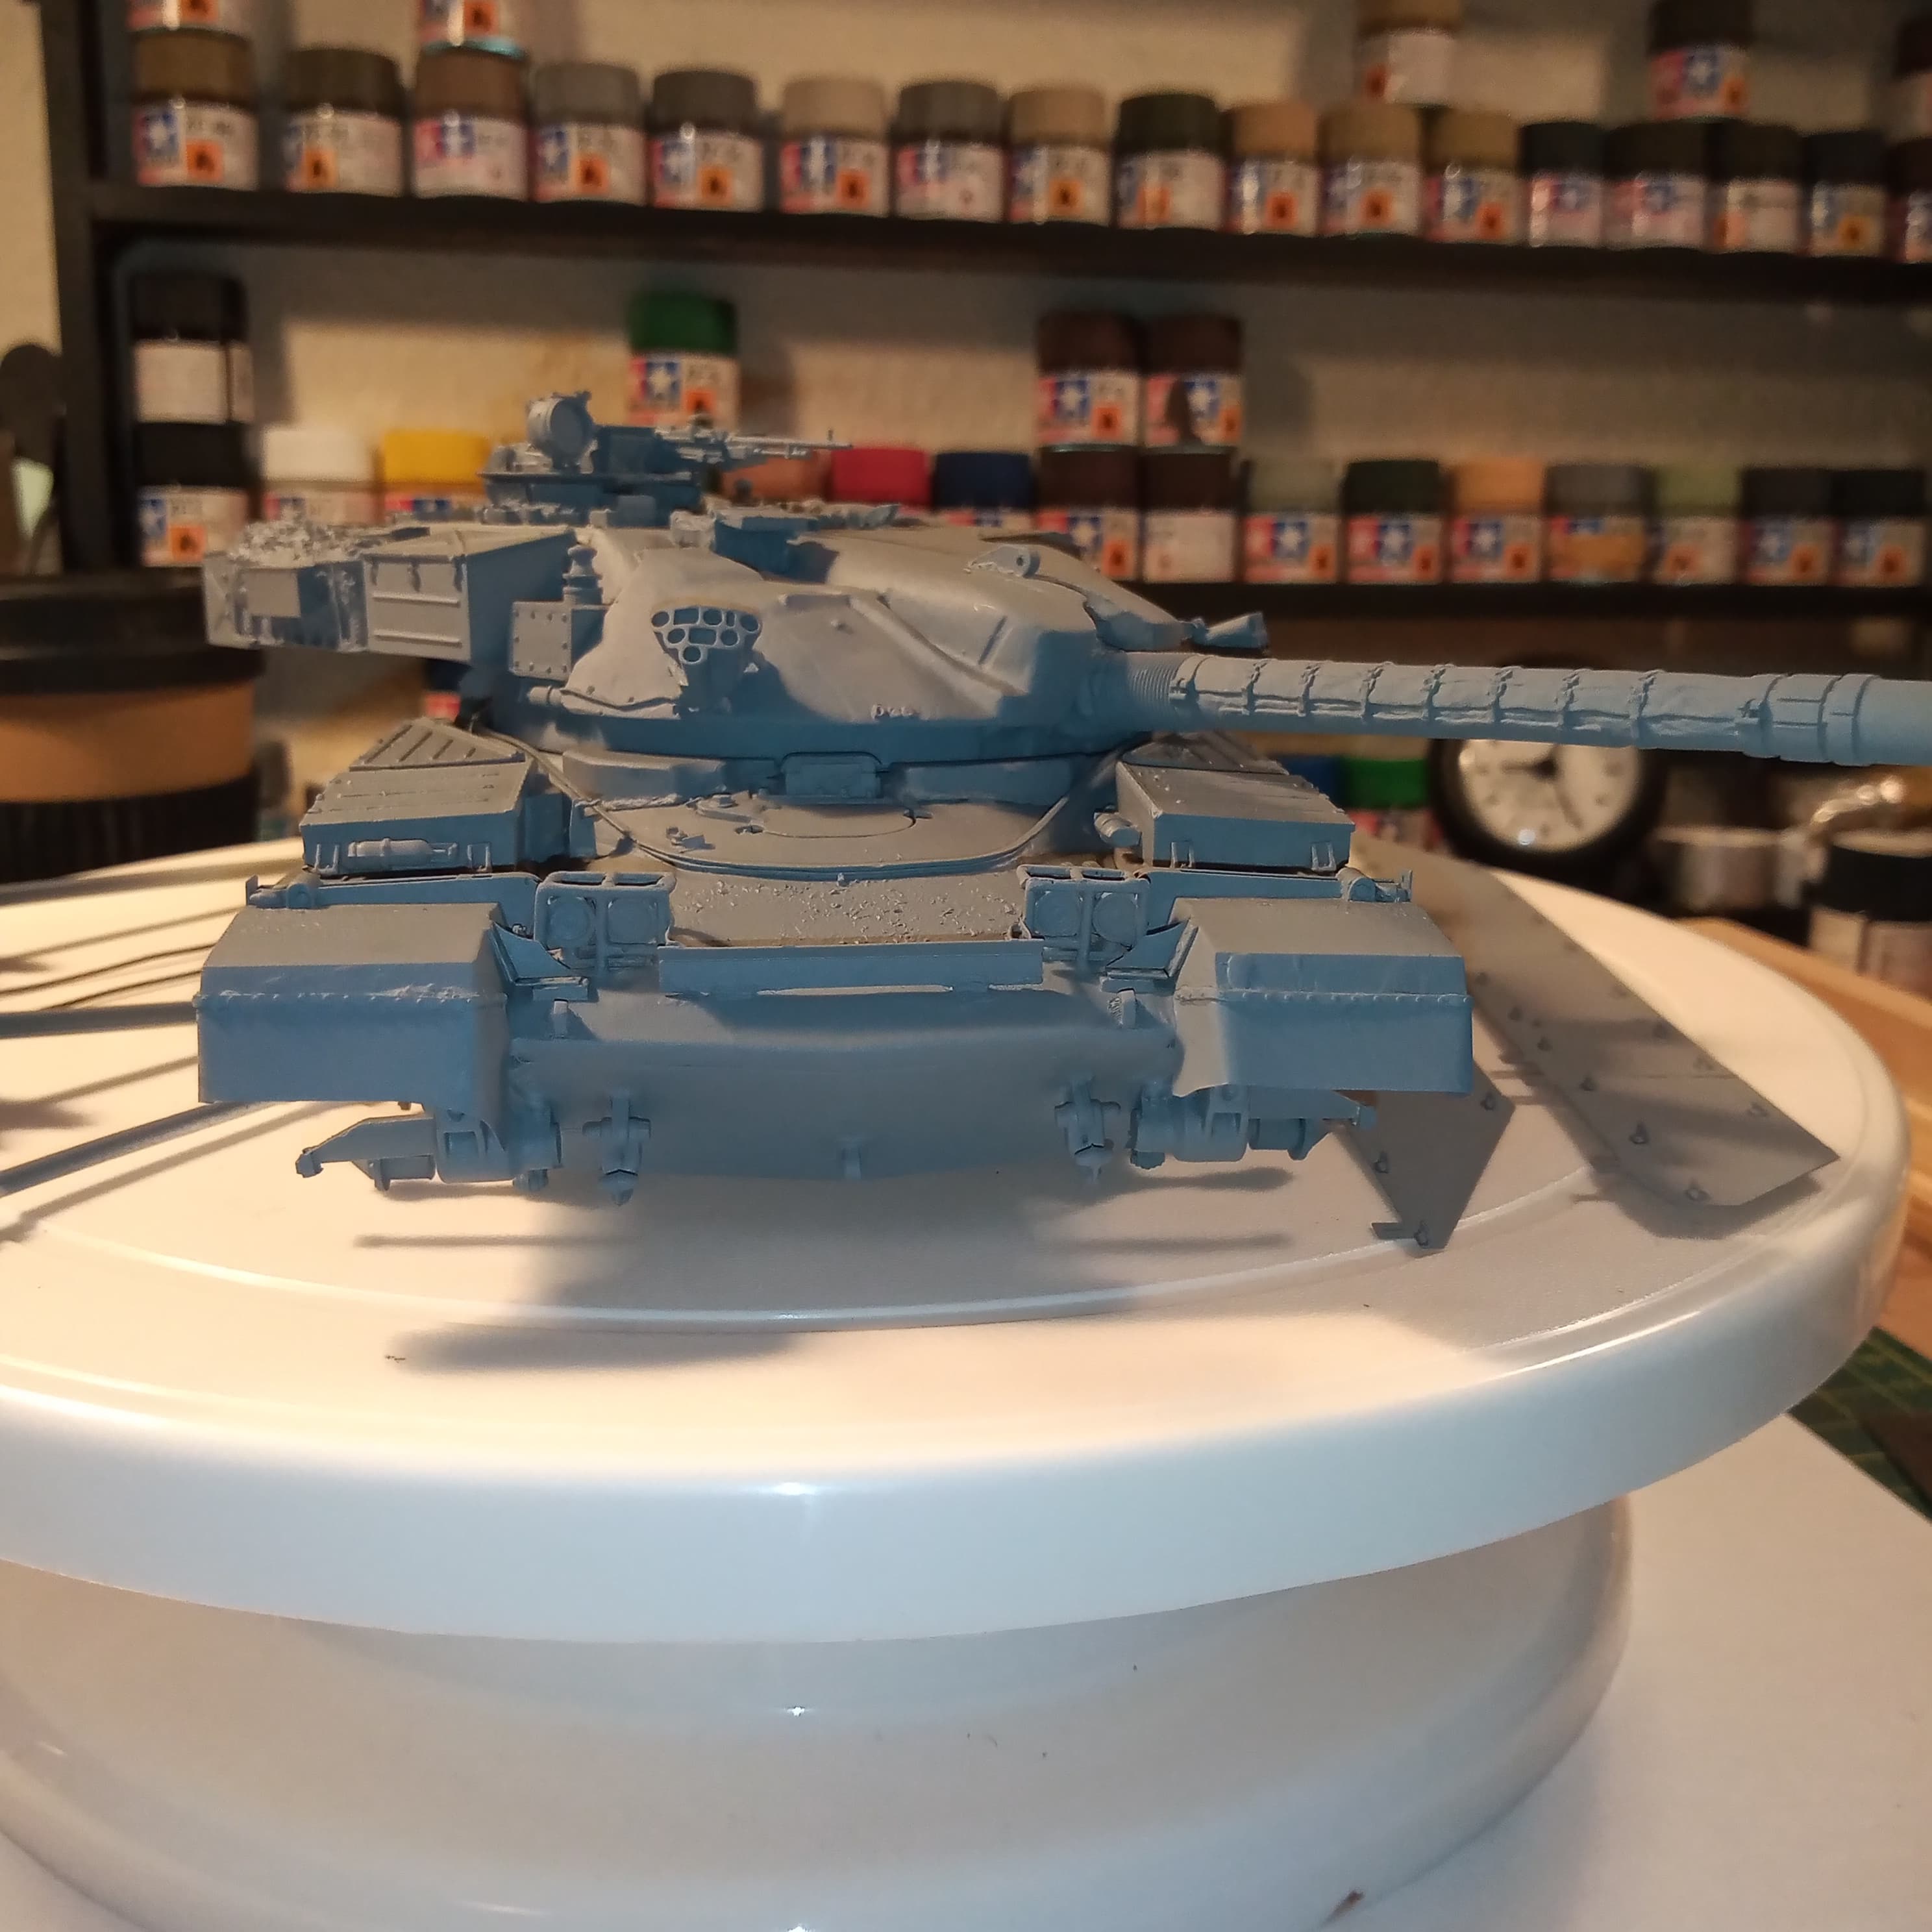
Can already see a few areas especially around the front that need some attention and tweaking. A few holes I hadn’t seen need a tiny amount of filler and some super glue clean up.
After that’s all done I will be brush painting the wheels and tracks for this and weathering them. And then the base sand colour all over before I fix the running gear complete and put the boz plates on. Will also be doing the metallic edges on the Panther G wheels as well.
10 Likes
Looking good John. Mystery created air bubbles are par for the course with these kits. Don’t be surprised if you sand these down and new ones appear…
… and I agree, the bum on the Chieftain is not too out of proportion to the uninitiated eye. One of the reasons I left the ARRV ones as they were - most modellers wouldn’t have a clue how badly proportioned they are, and with such a ‘busy’ area on the ARRV, I figured there was other stuff to draw attention away.
PS the ARRV is back on the bench for more painting - Like you said on yours, it is not going to beat me
2 Likes
Cheers Peter. I loathe cutting into things, but the choices had pretty much been exhausted by then, so glad it didn’t totally go t*** up .
I totally get what you mean about the ARRV, they look busy even when they are stood still doing nothing. Your eye is always drawn to something which gives us poor guys some respite if we haven’t been able to rectify some errors or minor flaws.
For all its issues, (nearly all these are age related and initial molds) I am really enjoying building this old workhorse.
2 Likes
Hi Johnny
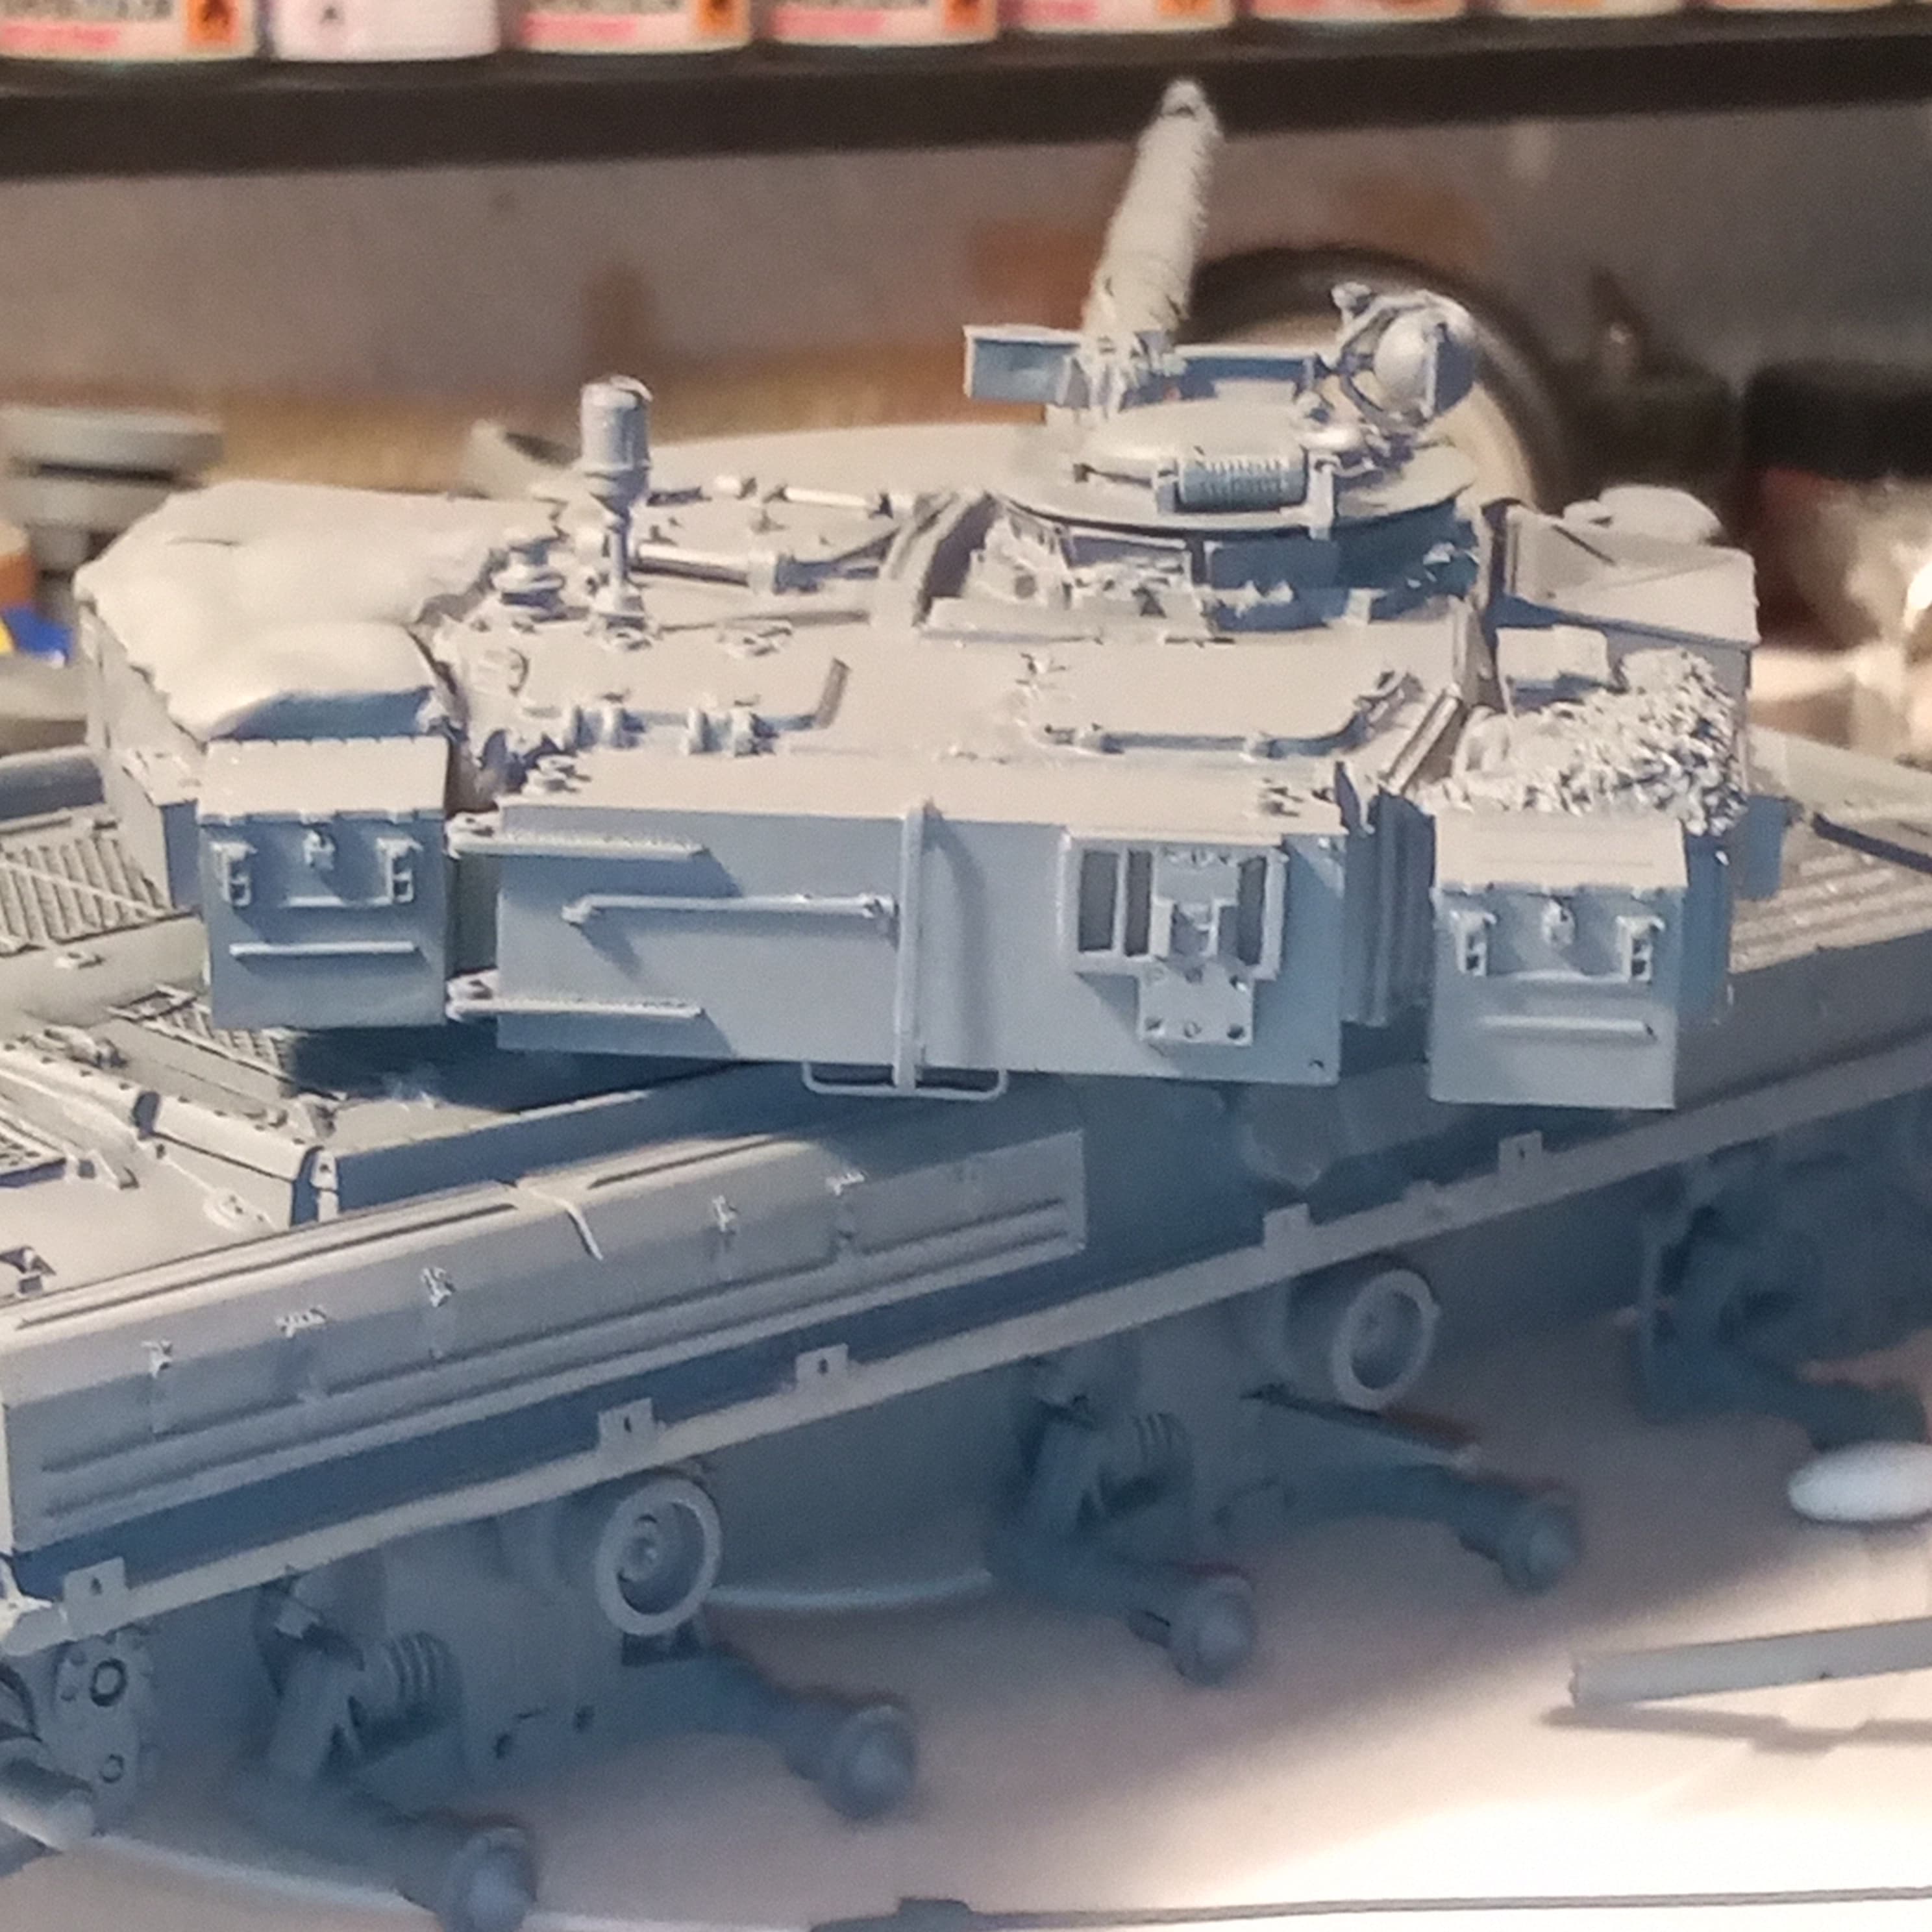
With paint on it looks a whole different beast, nice.
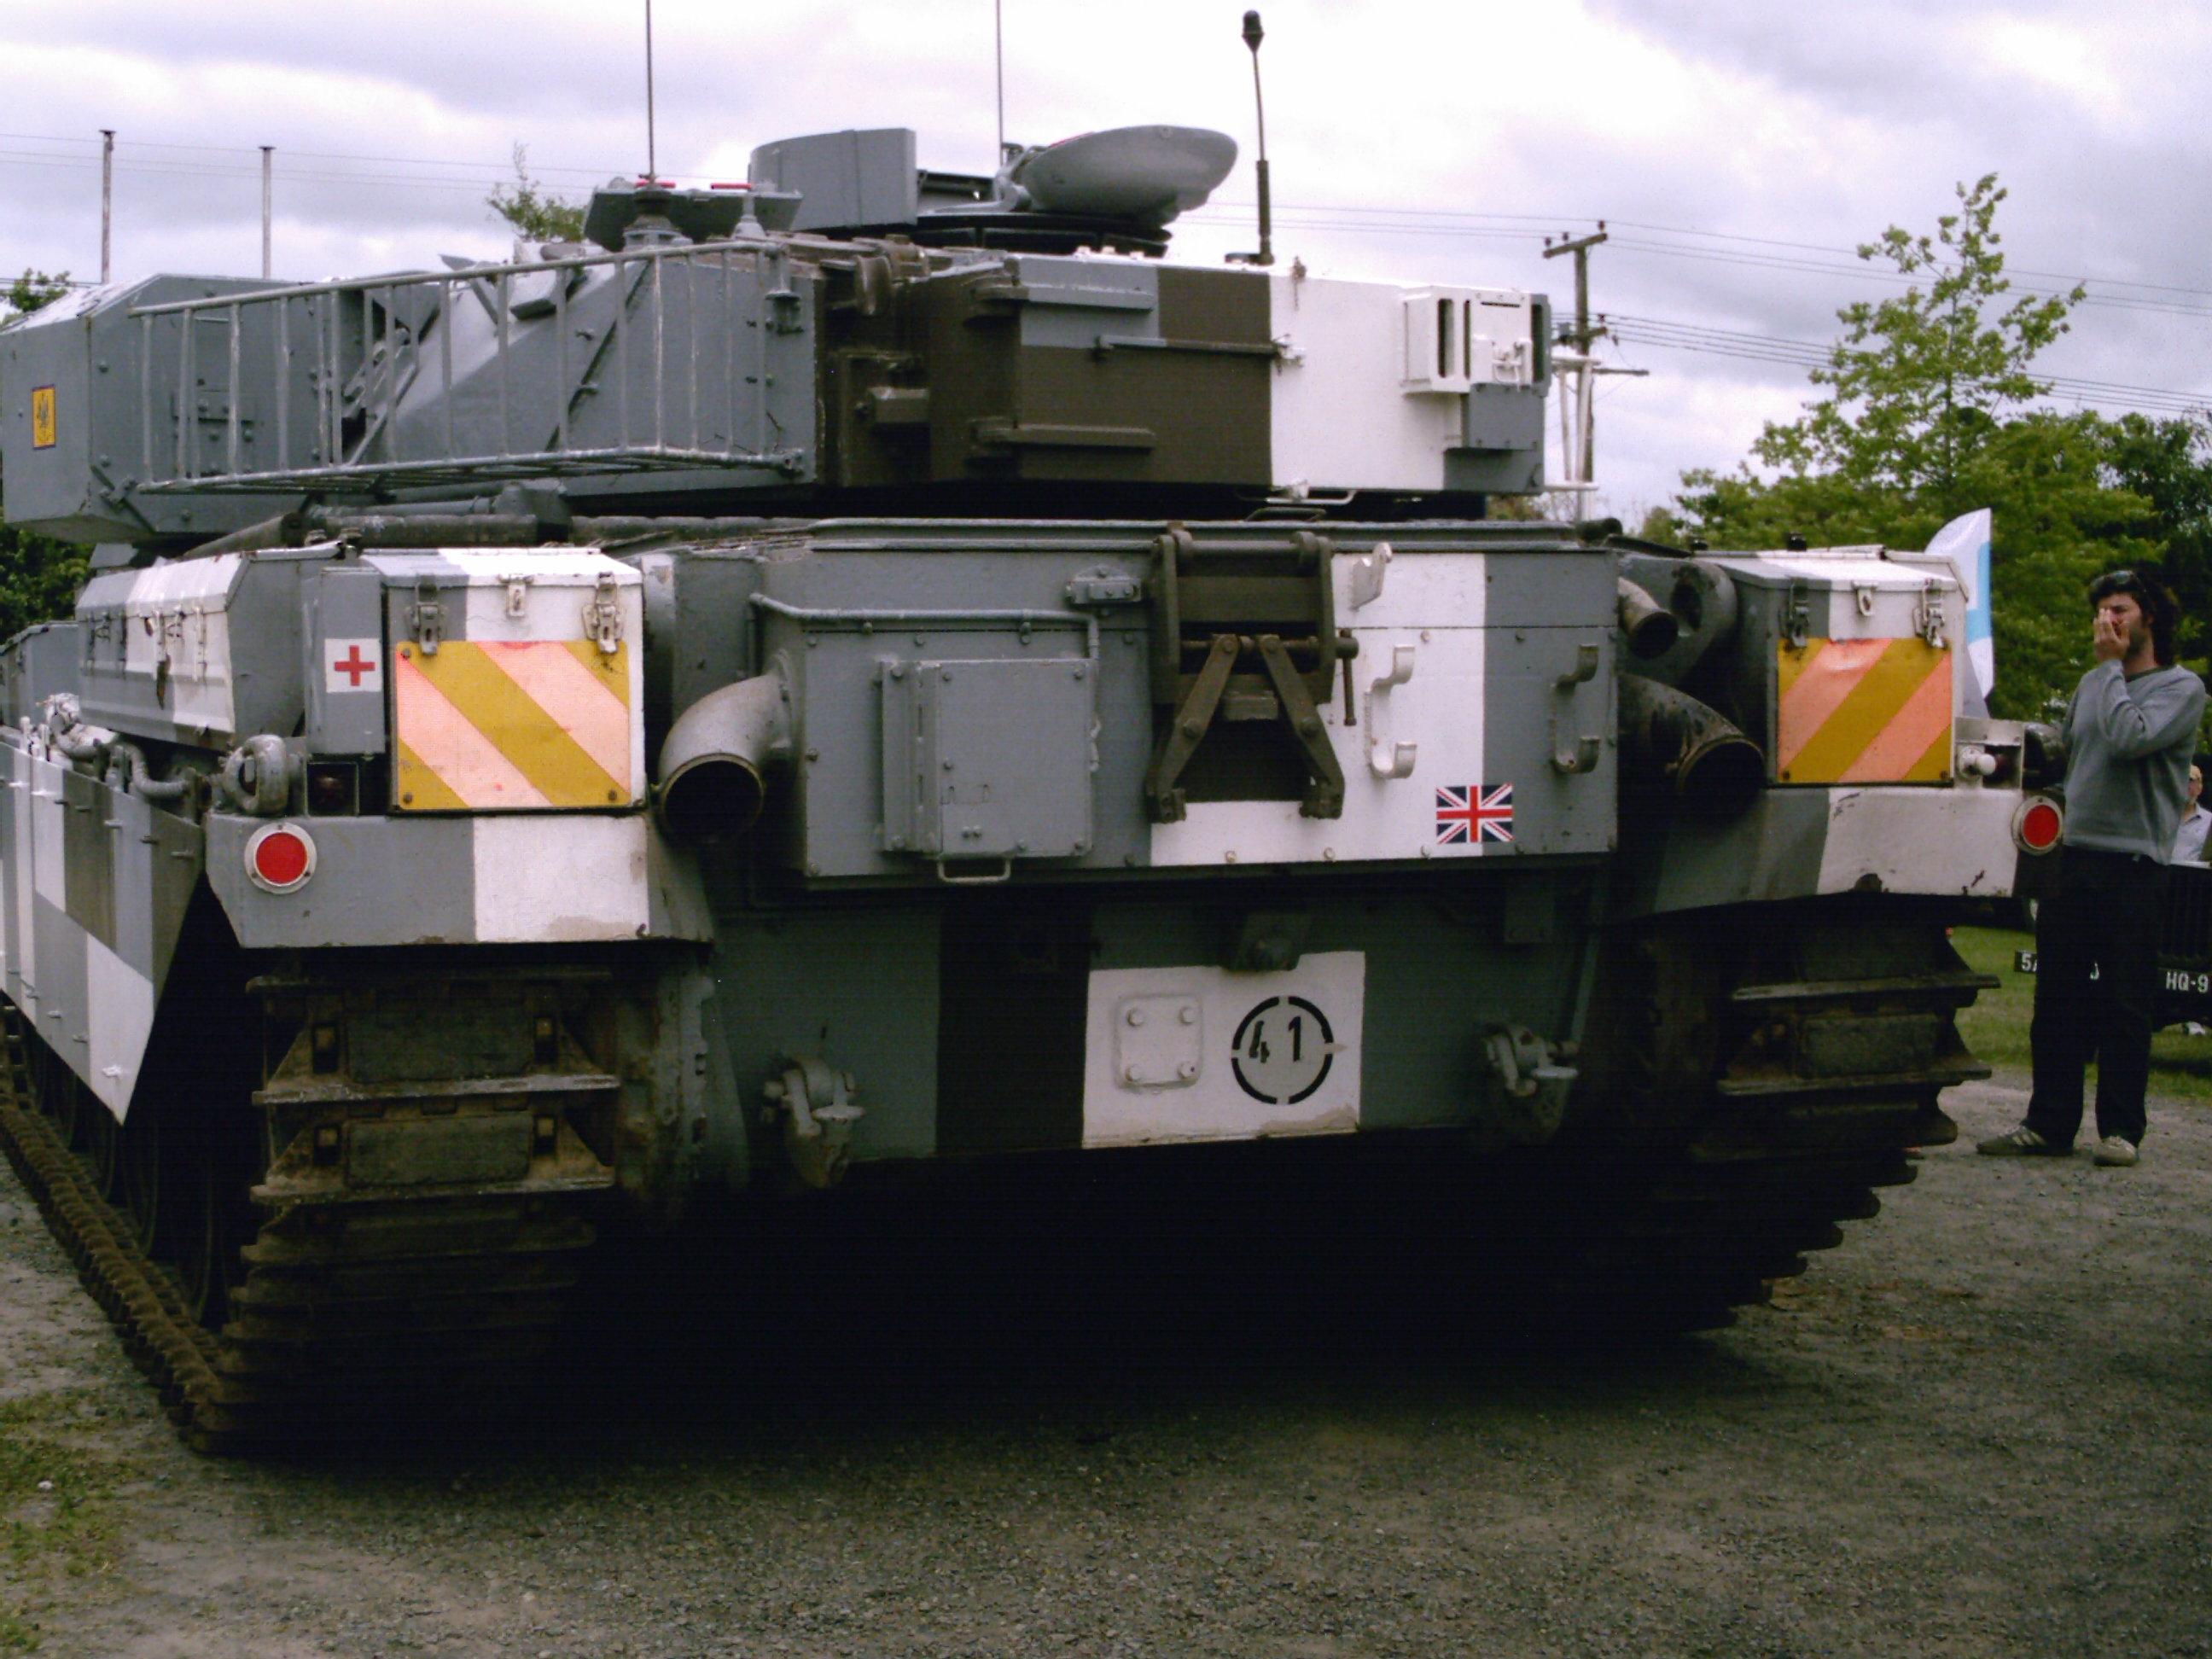
Re the rear, what I noticed was that pipes seemed to stick out a bit too far from the hull/exhaust box - the neck a bit too long? Checked one of my Ref pics - I’ll post later - which confirmed my thought, but more surprising was the travel lock which looked more compact (smaller gaps).
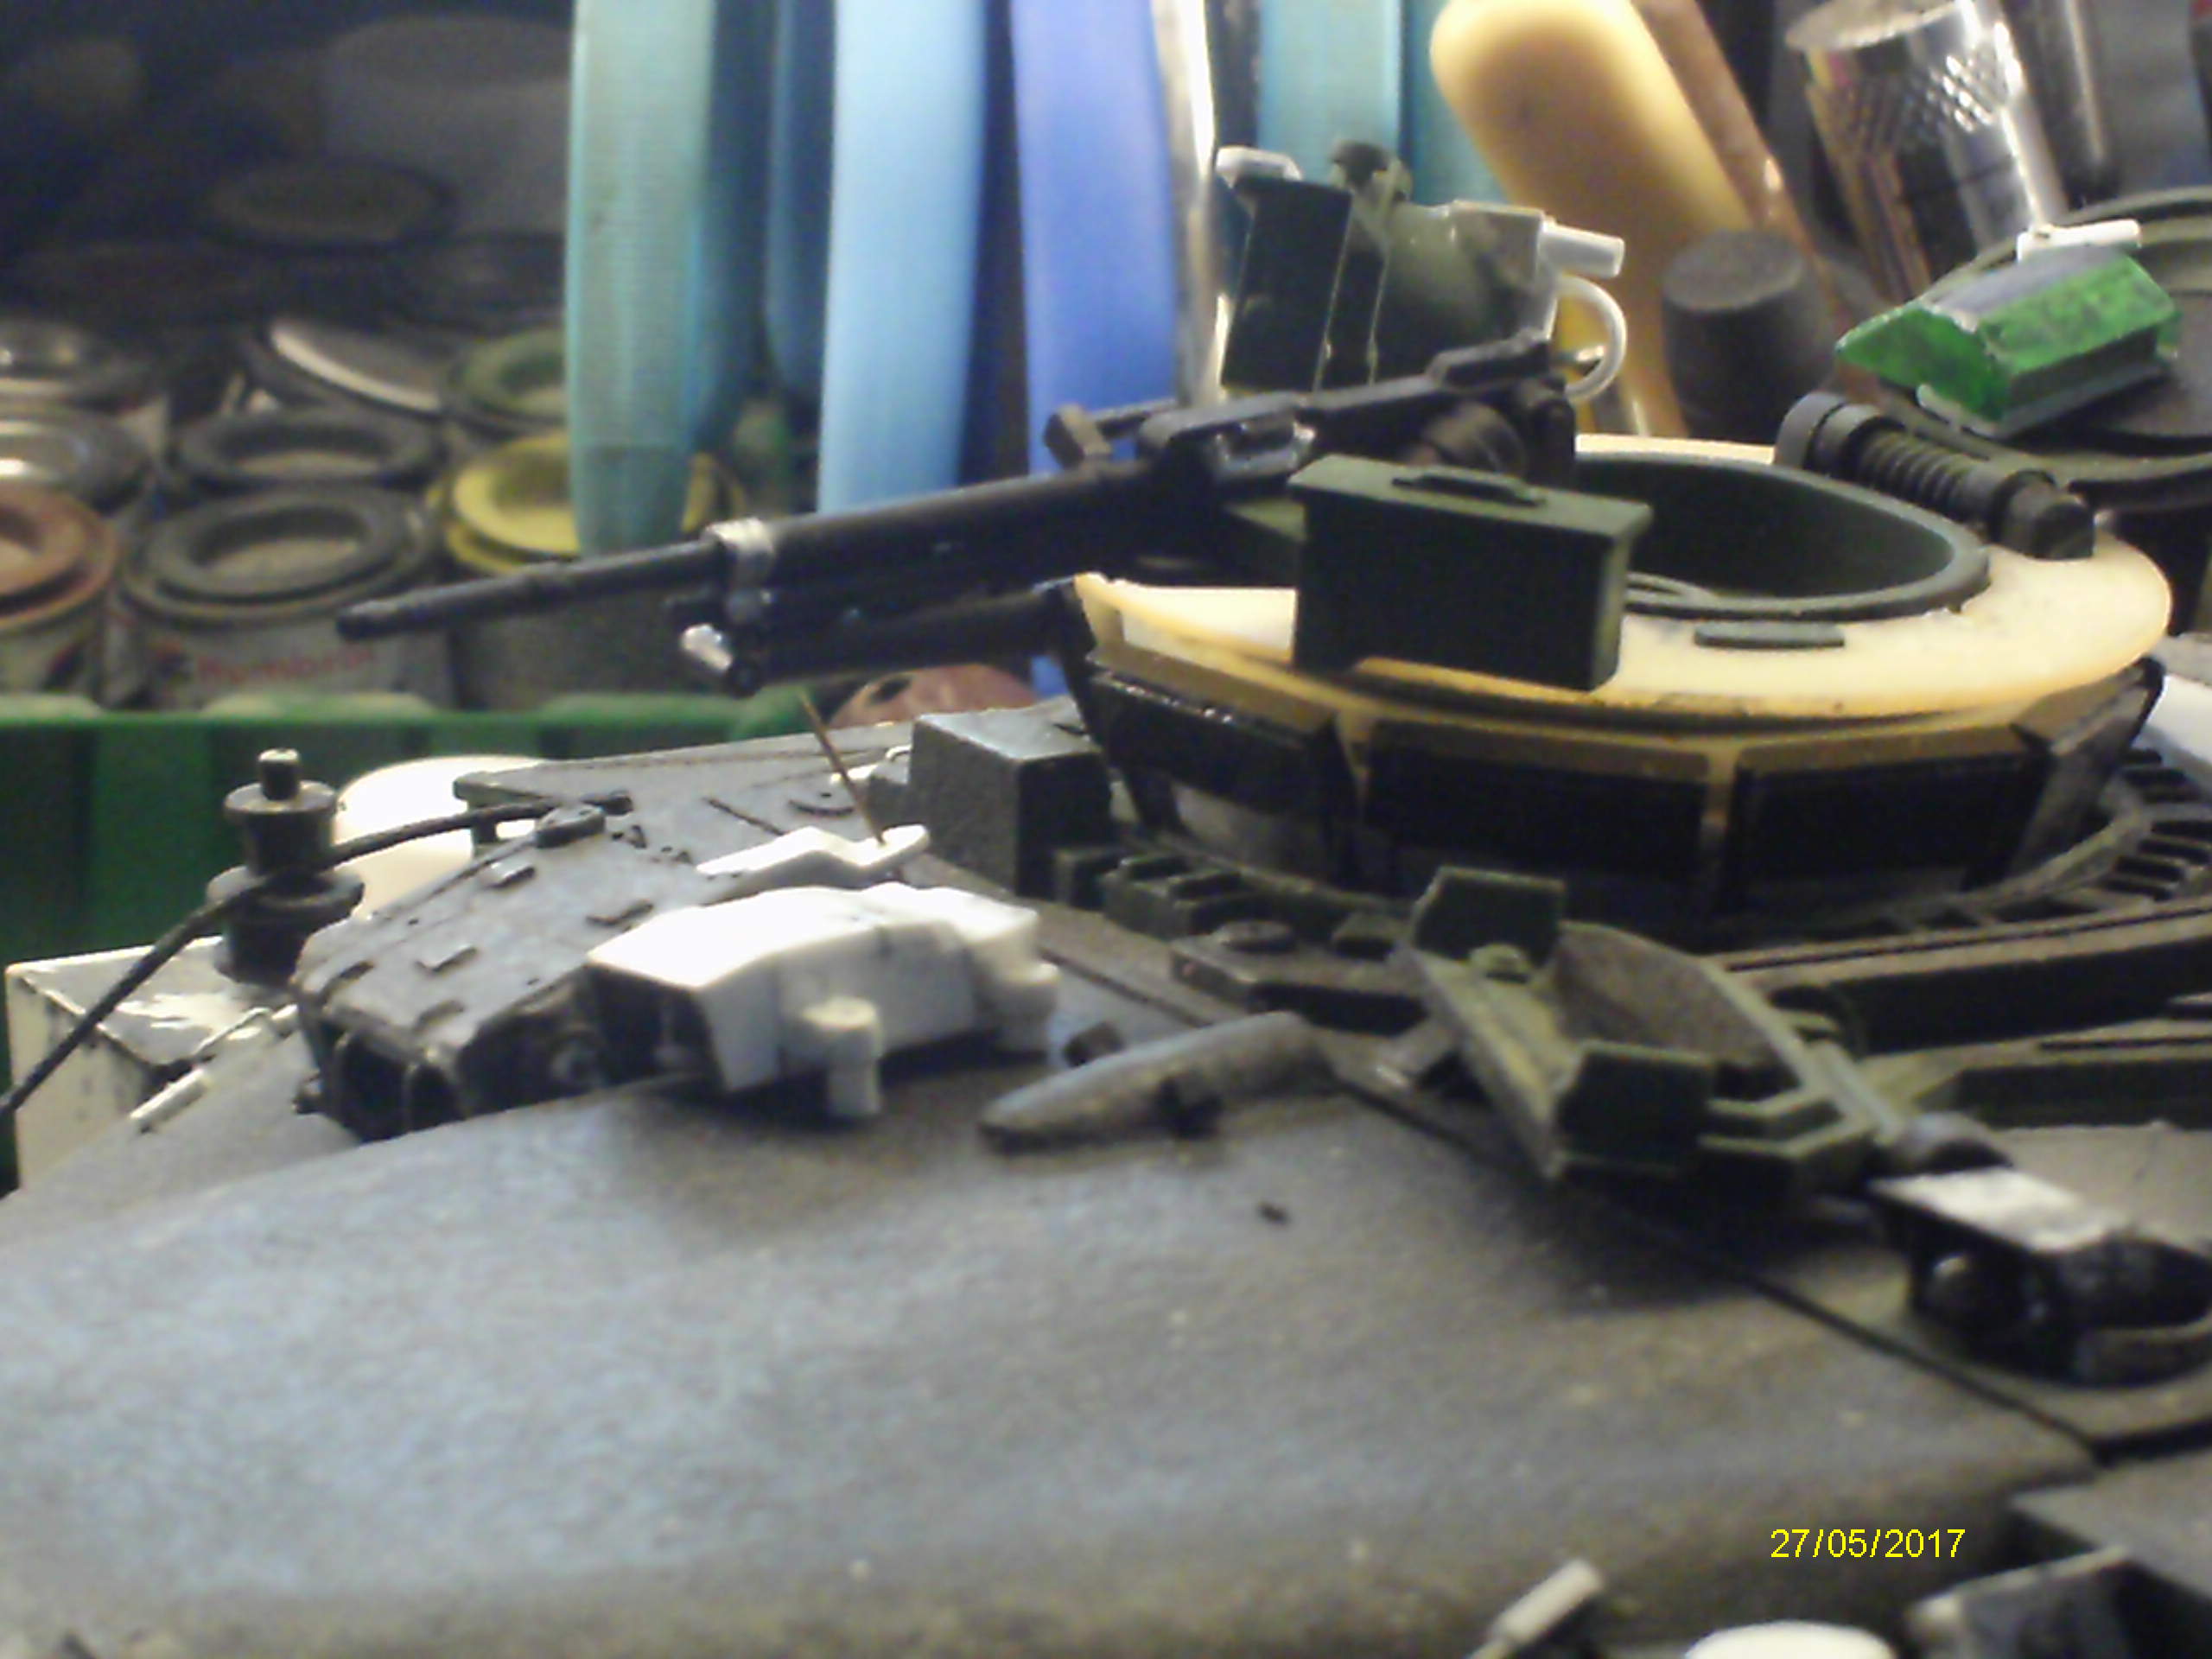
Also fixed my L7 (L37?) barrel, cut the flared muzzle off, replaced with straight ally tube, so the bipod is now more appropriate - hopefully?
Mal

5 Likes
Nice start for the painting.
Olivier
Hi Mal,
I looked at my main ref pics again, and I think the elbows could be slightly long, maybe a mm or just over from where they come out of the rear box. And although they are nice and a country mile
better than the AA ones, I’m not sure you would need them on the Takom kits as by what I remember, those elbows look great as they are.
The other issue is they are sitting slightly forward of the correct position due to when I did the surgery on the box, there is a very small lip/raised bit where box meets the hull and the saw wouldn’t go that close.
Ref the clamp, the whole thing is off slightly …the center metal support should be wider, and the jaws are set wrong. The works in the way that as one end is tightened or undone, the other end acts in the opposite way. Unfortunately this piece is a metal part in the AA kit and no real way to fix it.
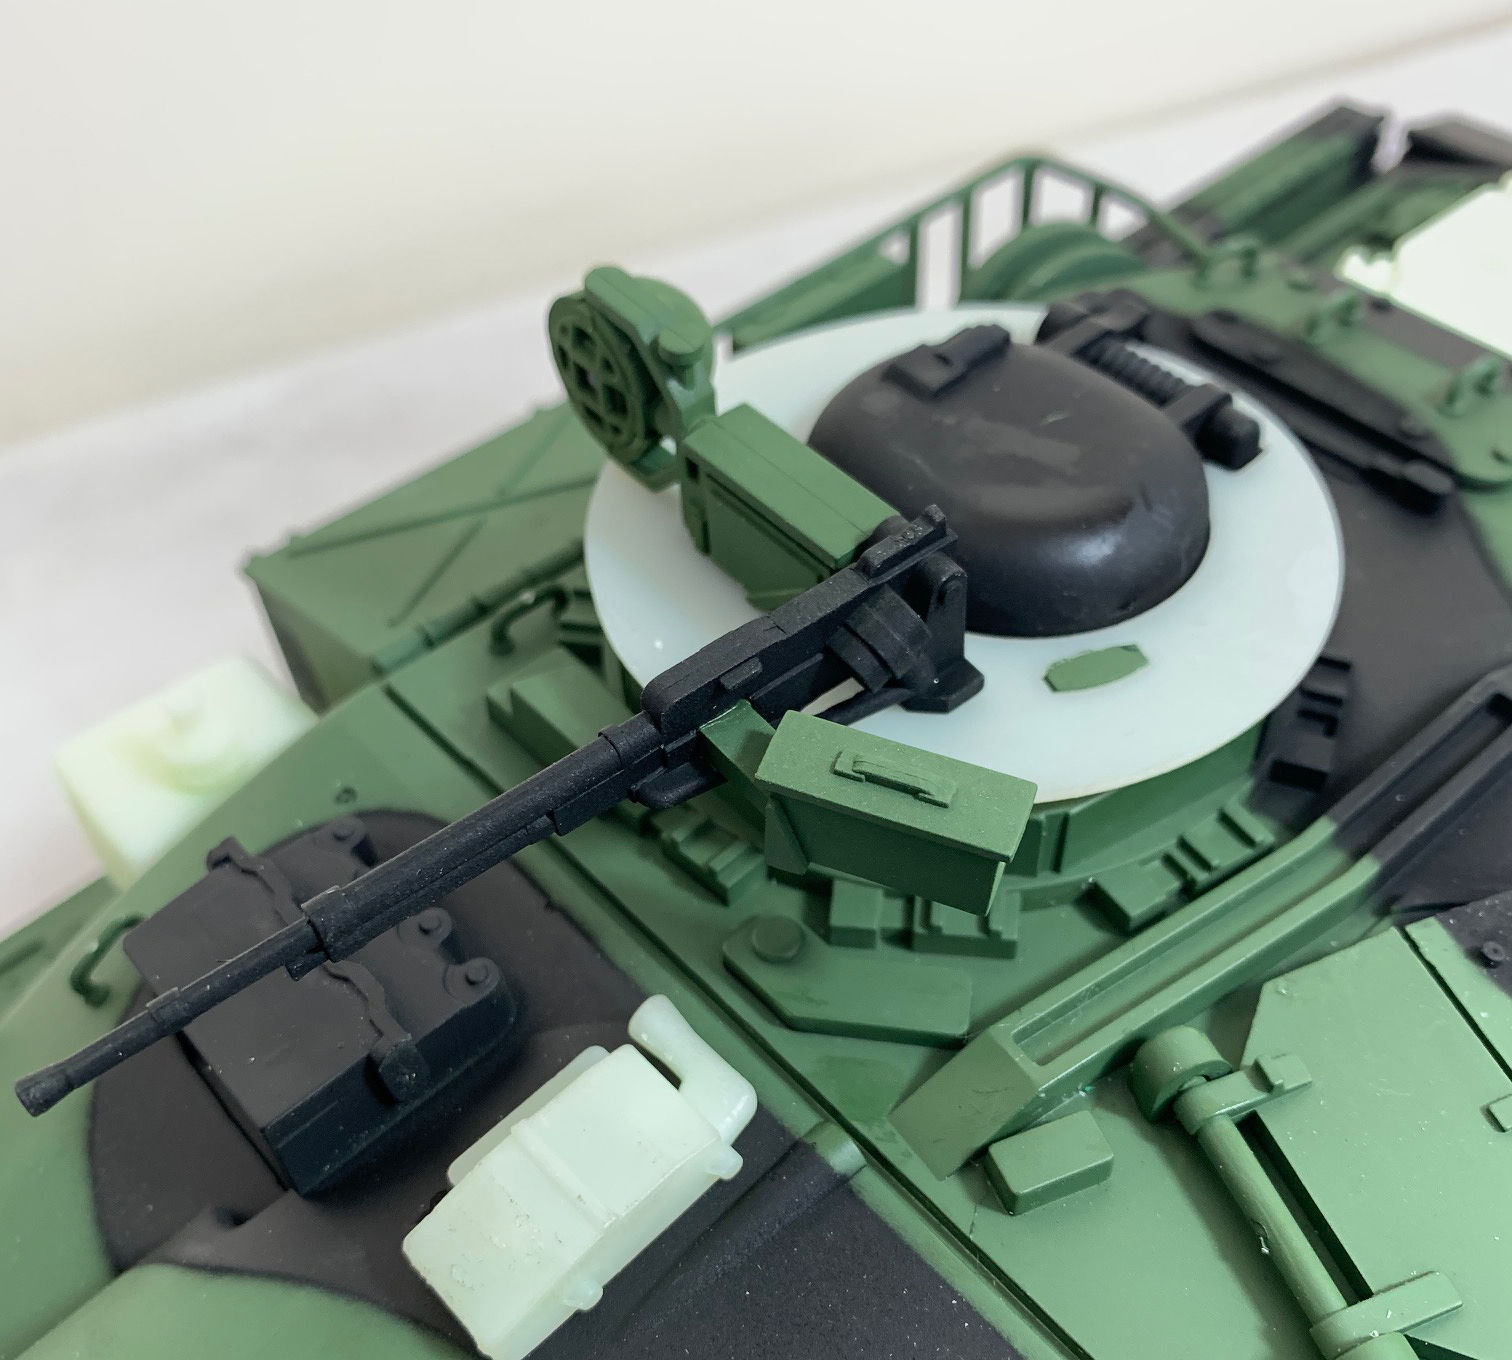
The L7 barrel is looking better now, don’t forget though, it needs a foresight. Only the L8 internal barrel doesn’t have one.
Pic for ref only.
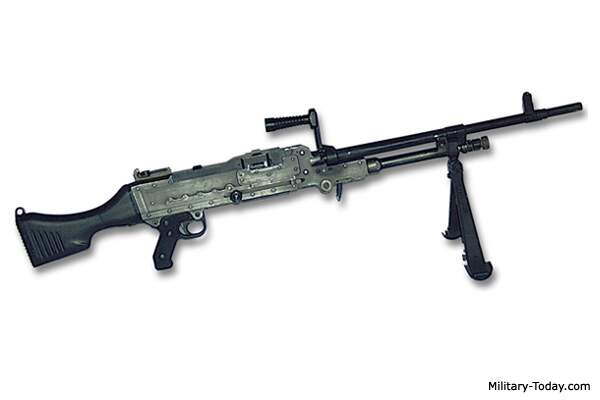
That’s a full L7 set up.
The L37 could be mounted on the cupolas with either barrel, depending on what you were going to do.
3 Likes
Amazing how a lick of paint homogenises the build, all the obvious contrasts of grey filler on buff resin disappear, it’s really starting to come alive now John, another amazing build in progress, .
G
2 Likes