Beach Buggy with a few mods

As it’s six months since the last Beach Buggy build on here, I thought another might be tolerable.

Did the floor pan what seems like ages ago. Lots of photos of VW flat fours on the web, started to detail the engine using this a reference.
![Screenshot_20211111-234613_Samsung
Fortunately no two engines seem to look quite the same.


Cut the belly pan in half and added some rails to extend the rear crash bars.

Have most of a Porsche 917 kit, and managed to modify the 917 wheels to fit into the Buggy tyres.


6 Likes

Mathew,
Any build that brings up memories of the warmth of Summer right about now is OK with me. Just one question. why right hand drive? Every Meyer’s Max I’ve ever seen had left hand controls. Then again they’re all from the states.
The engine detailing and mods look darn good to me.
joel

1 Like

Hi Joel, thanks. Yes, Airfix’s kit is based on the British made Bugle Buggy hence the right hand drive.

1 Like

Mathew,
Never saw a British Beach Buggy before. Sure does look a lot like a Meyers Manx
joel

1 Like

Heavy detailing, nice! Following this… :face_with_monocle:

1 Like

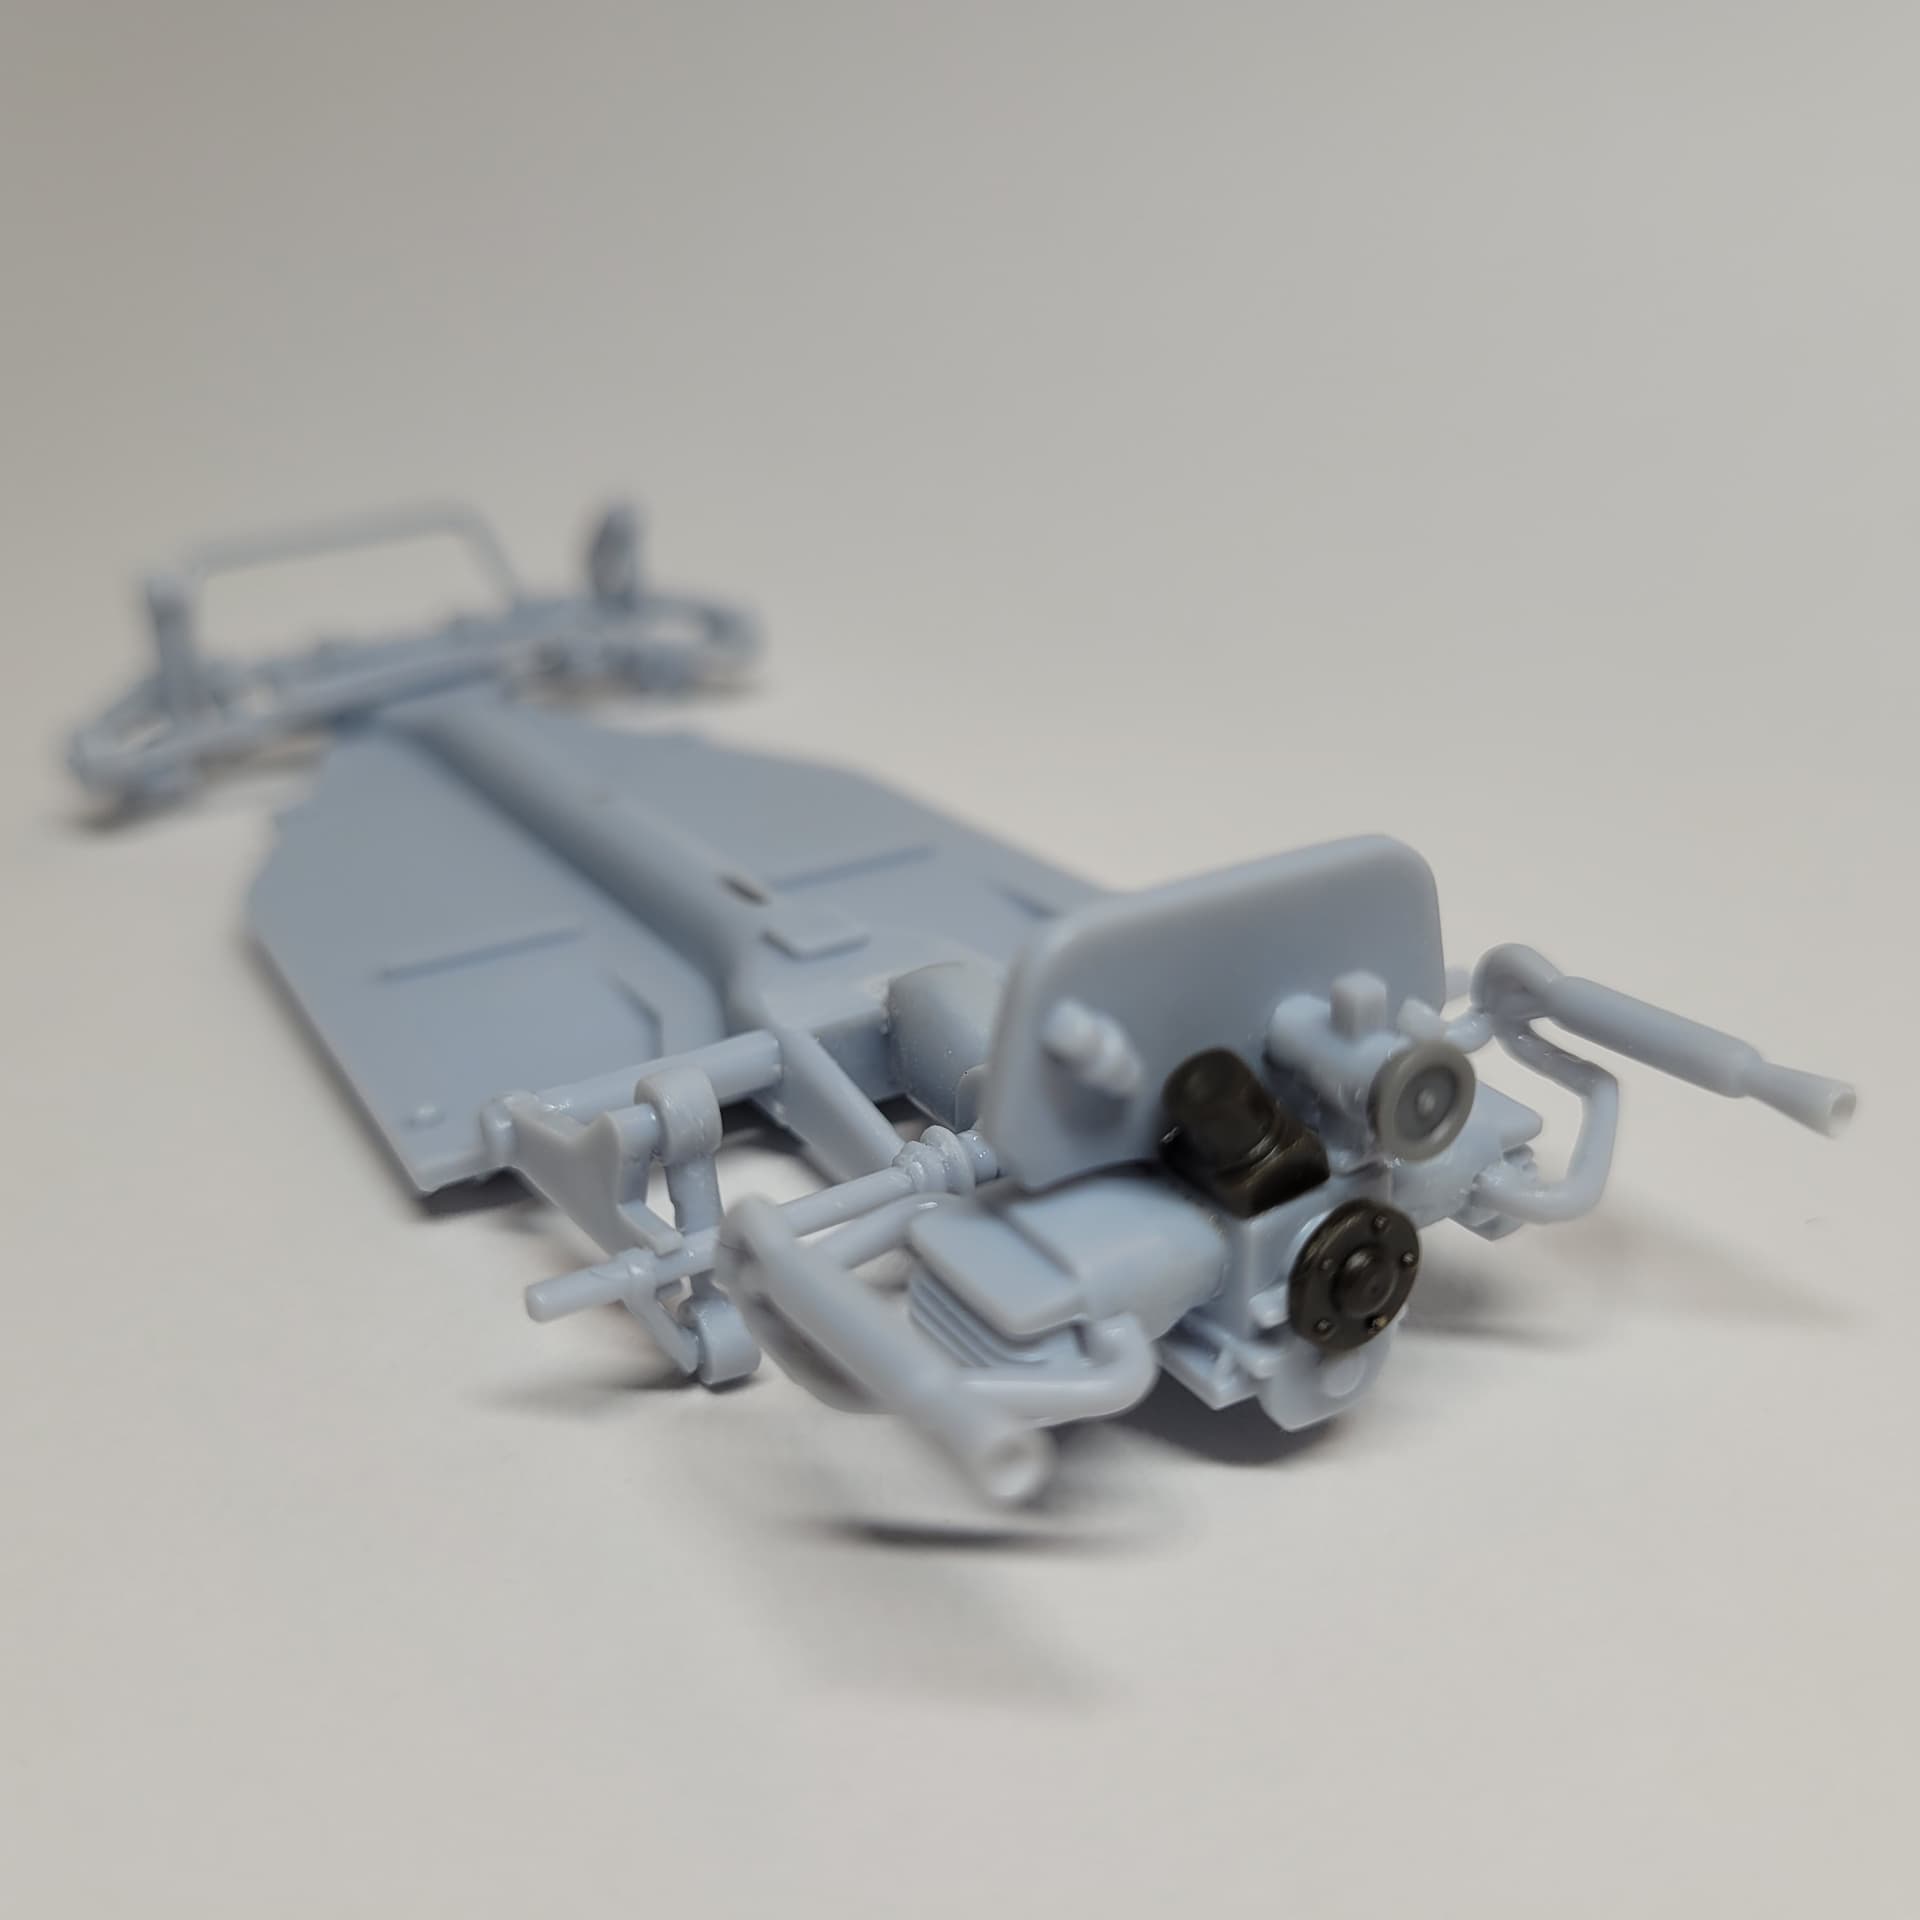
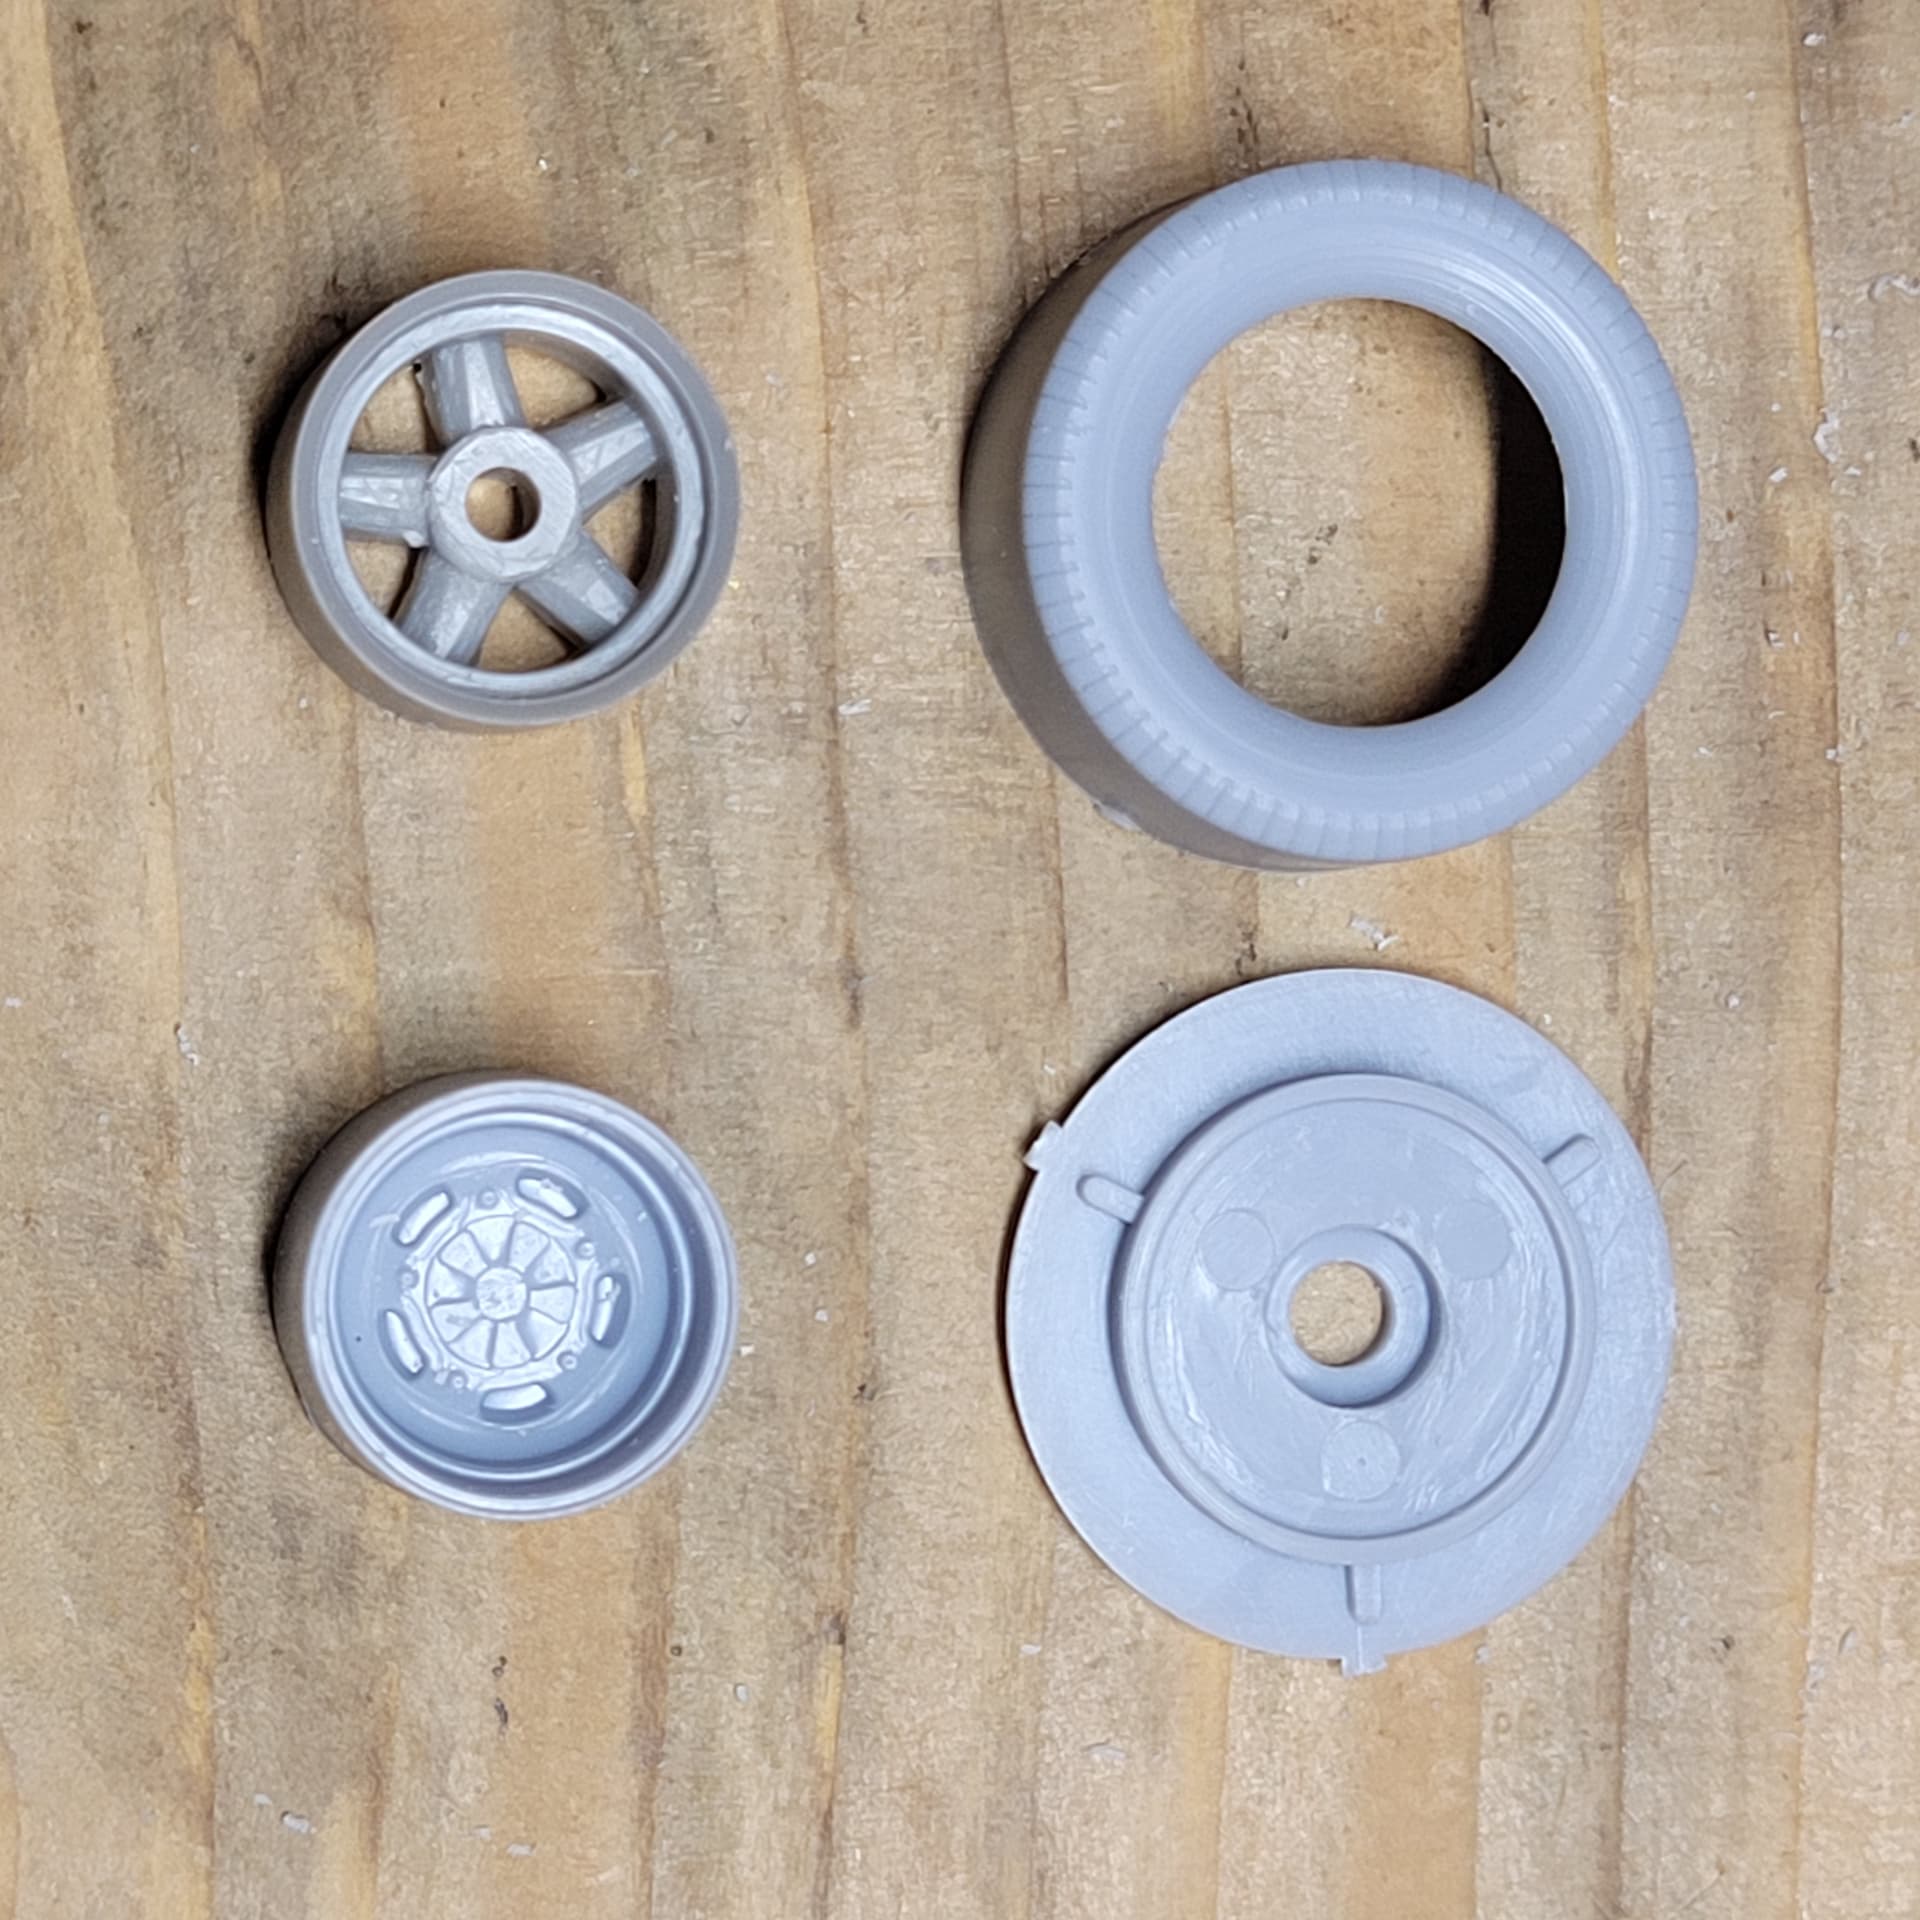
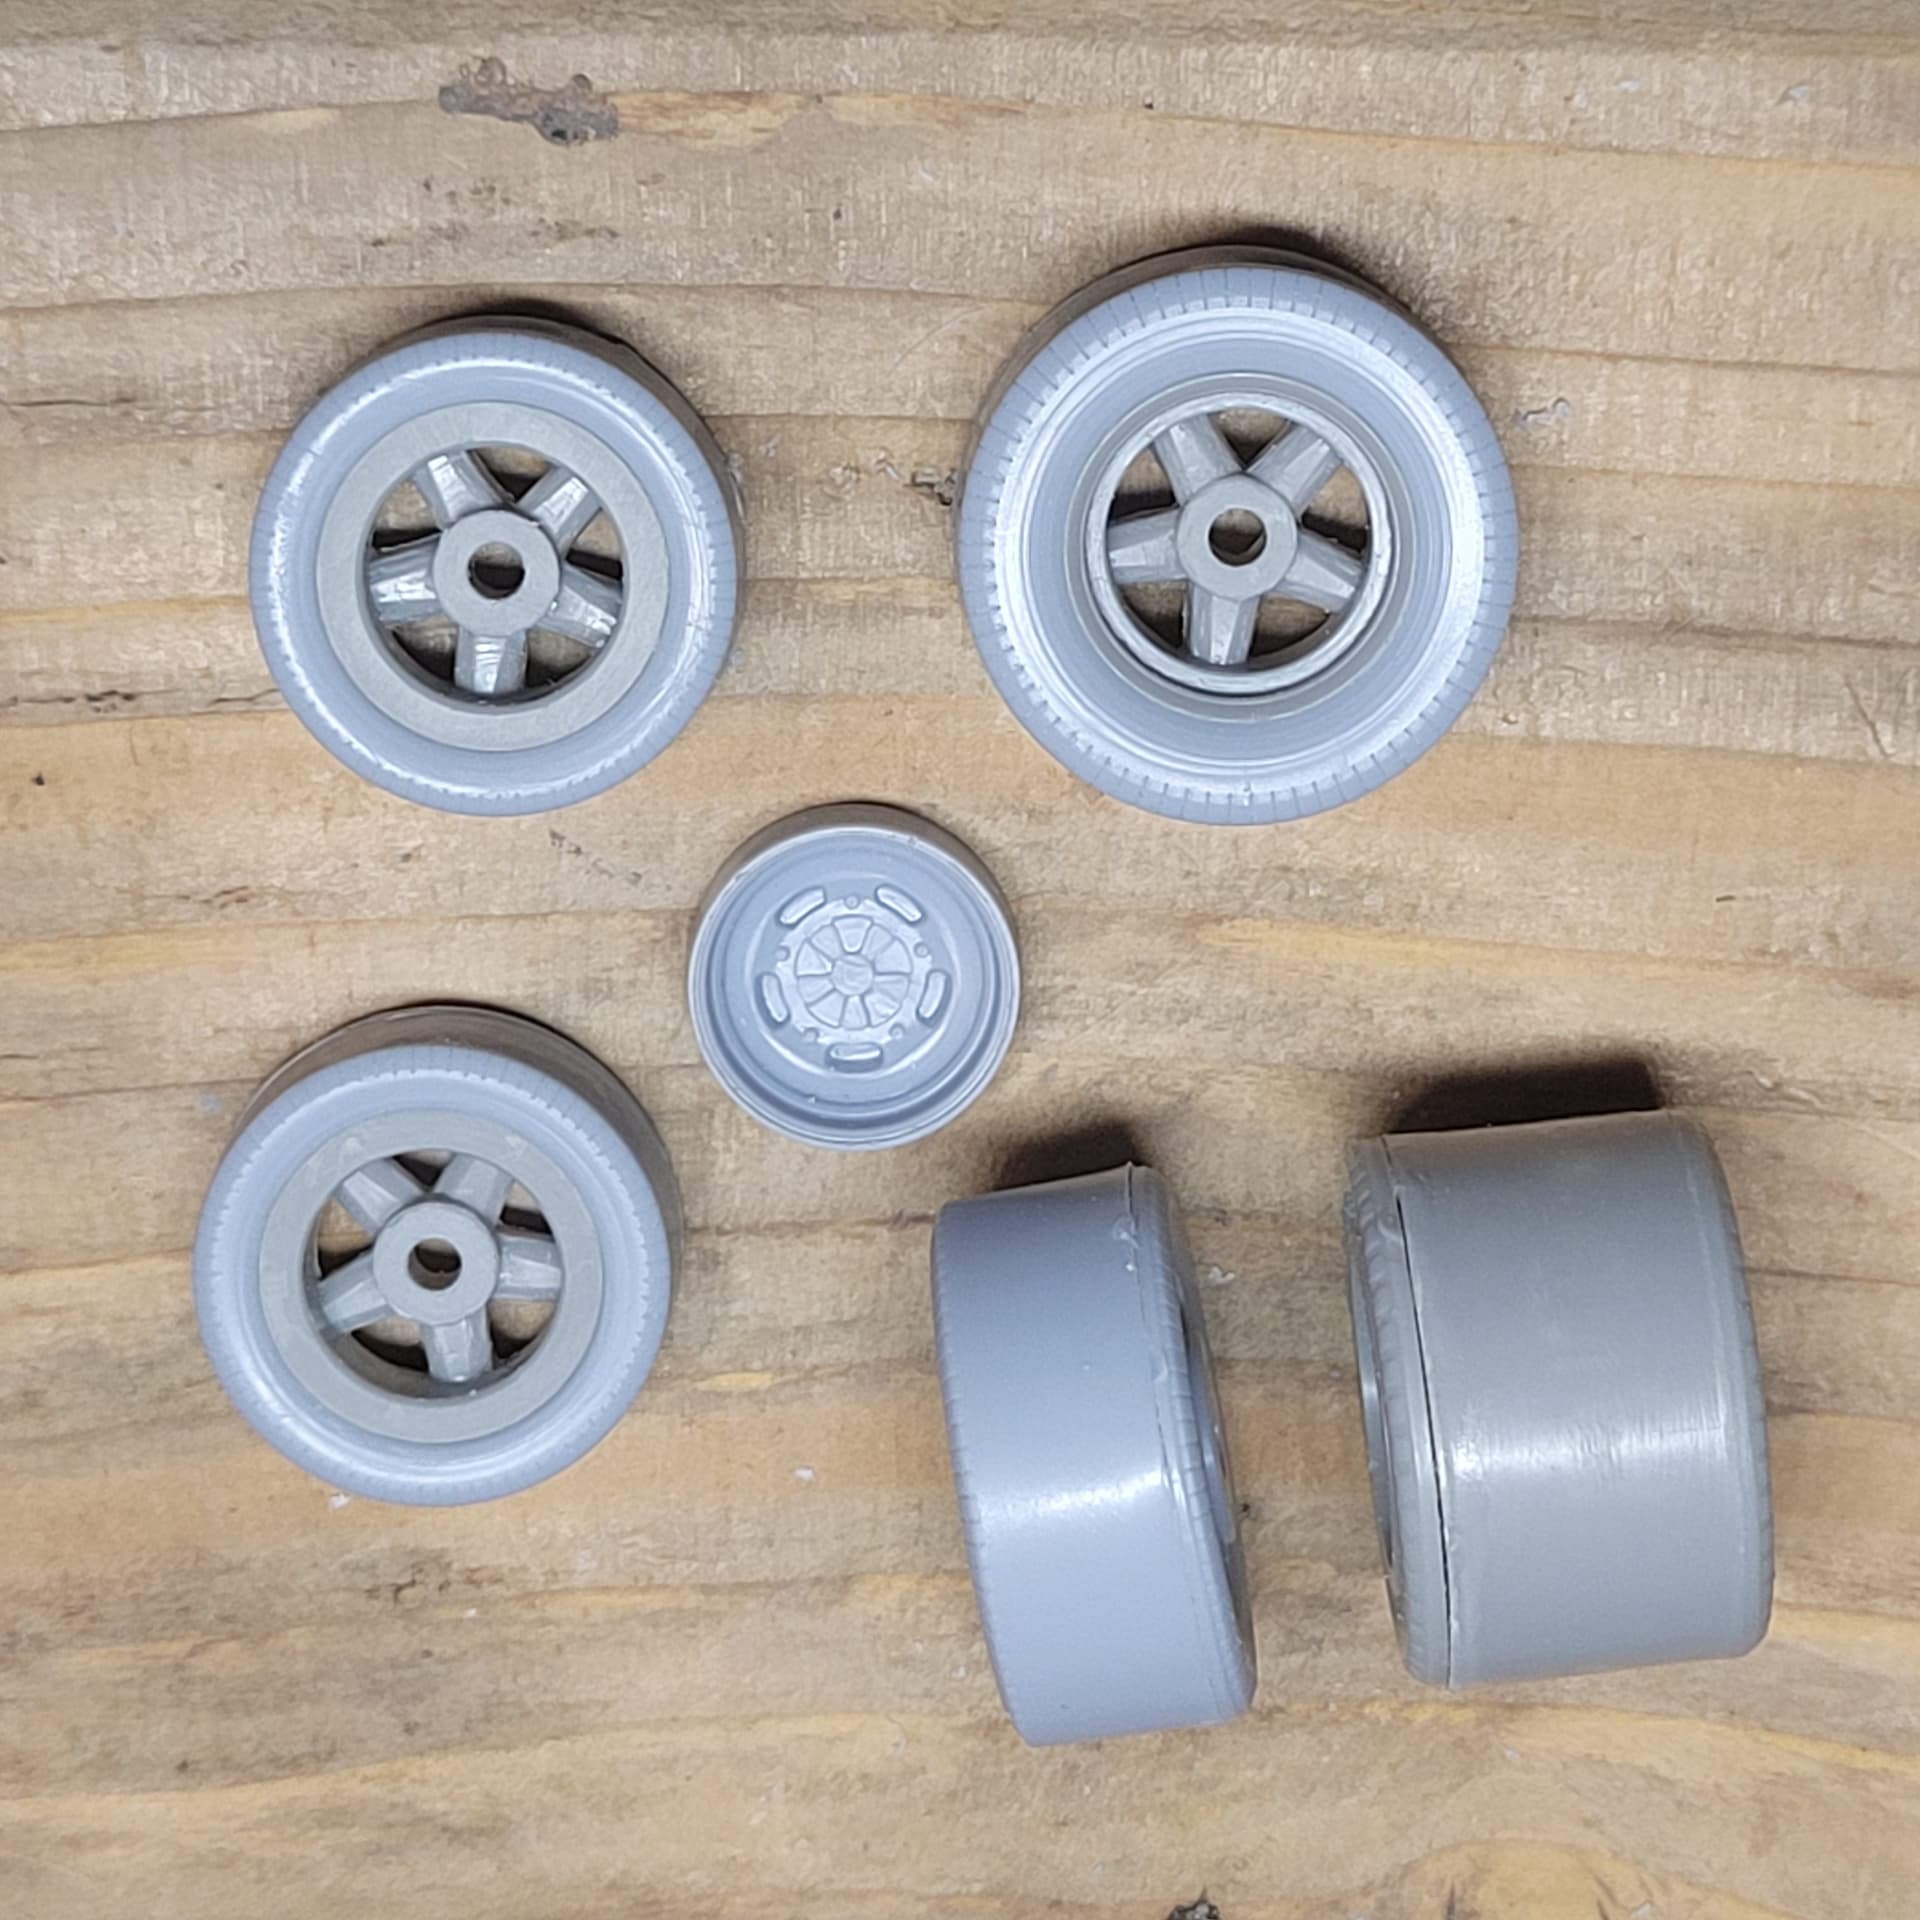
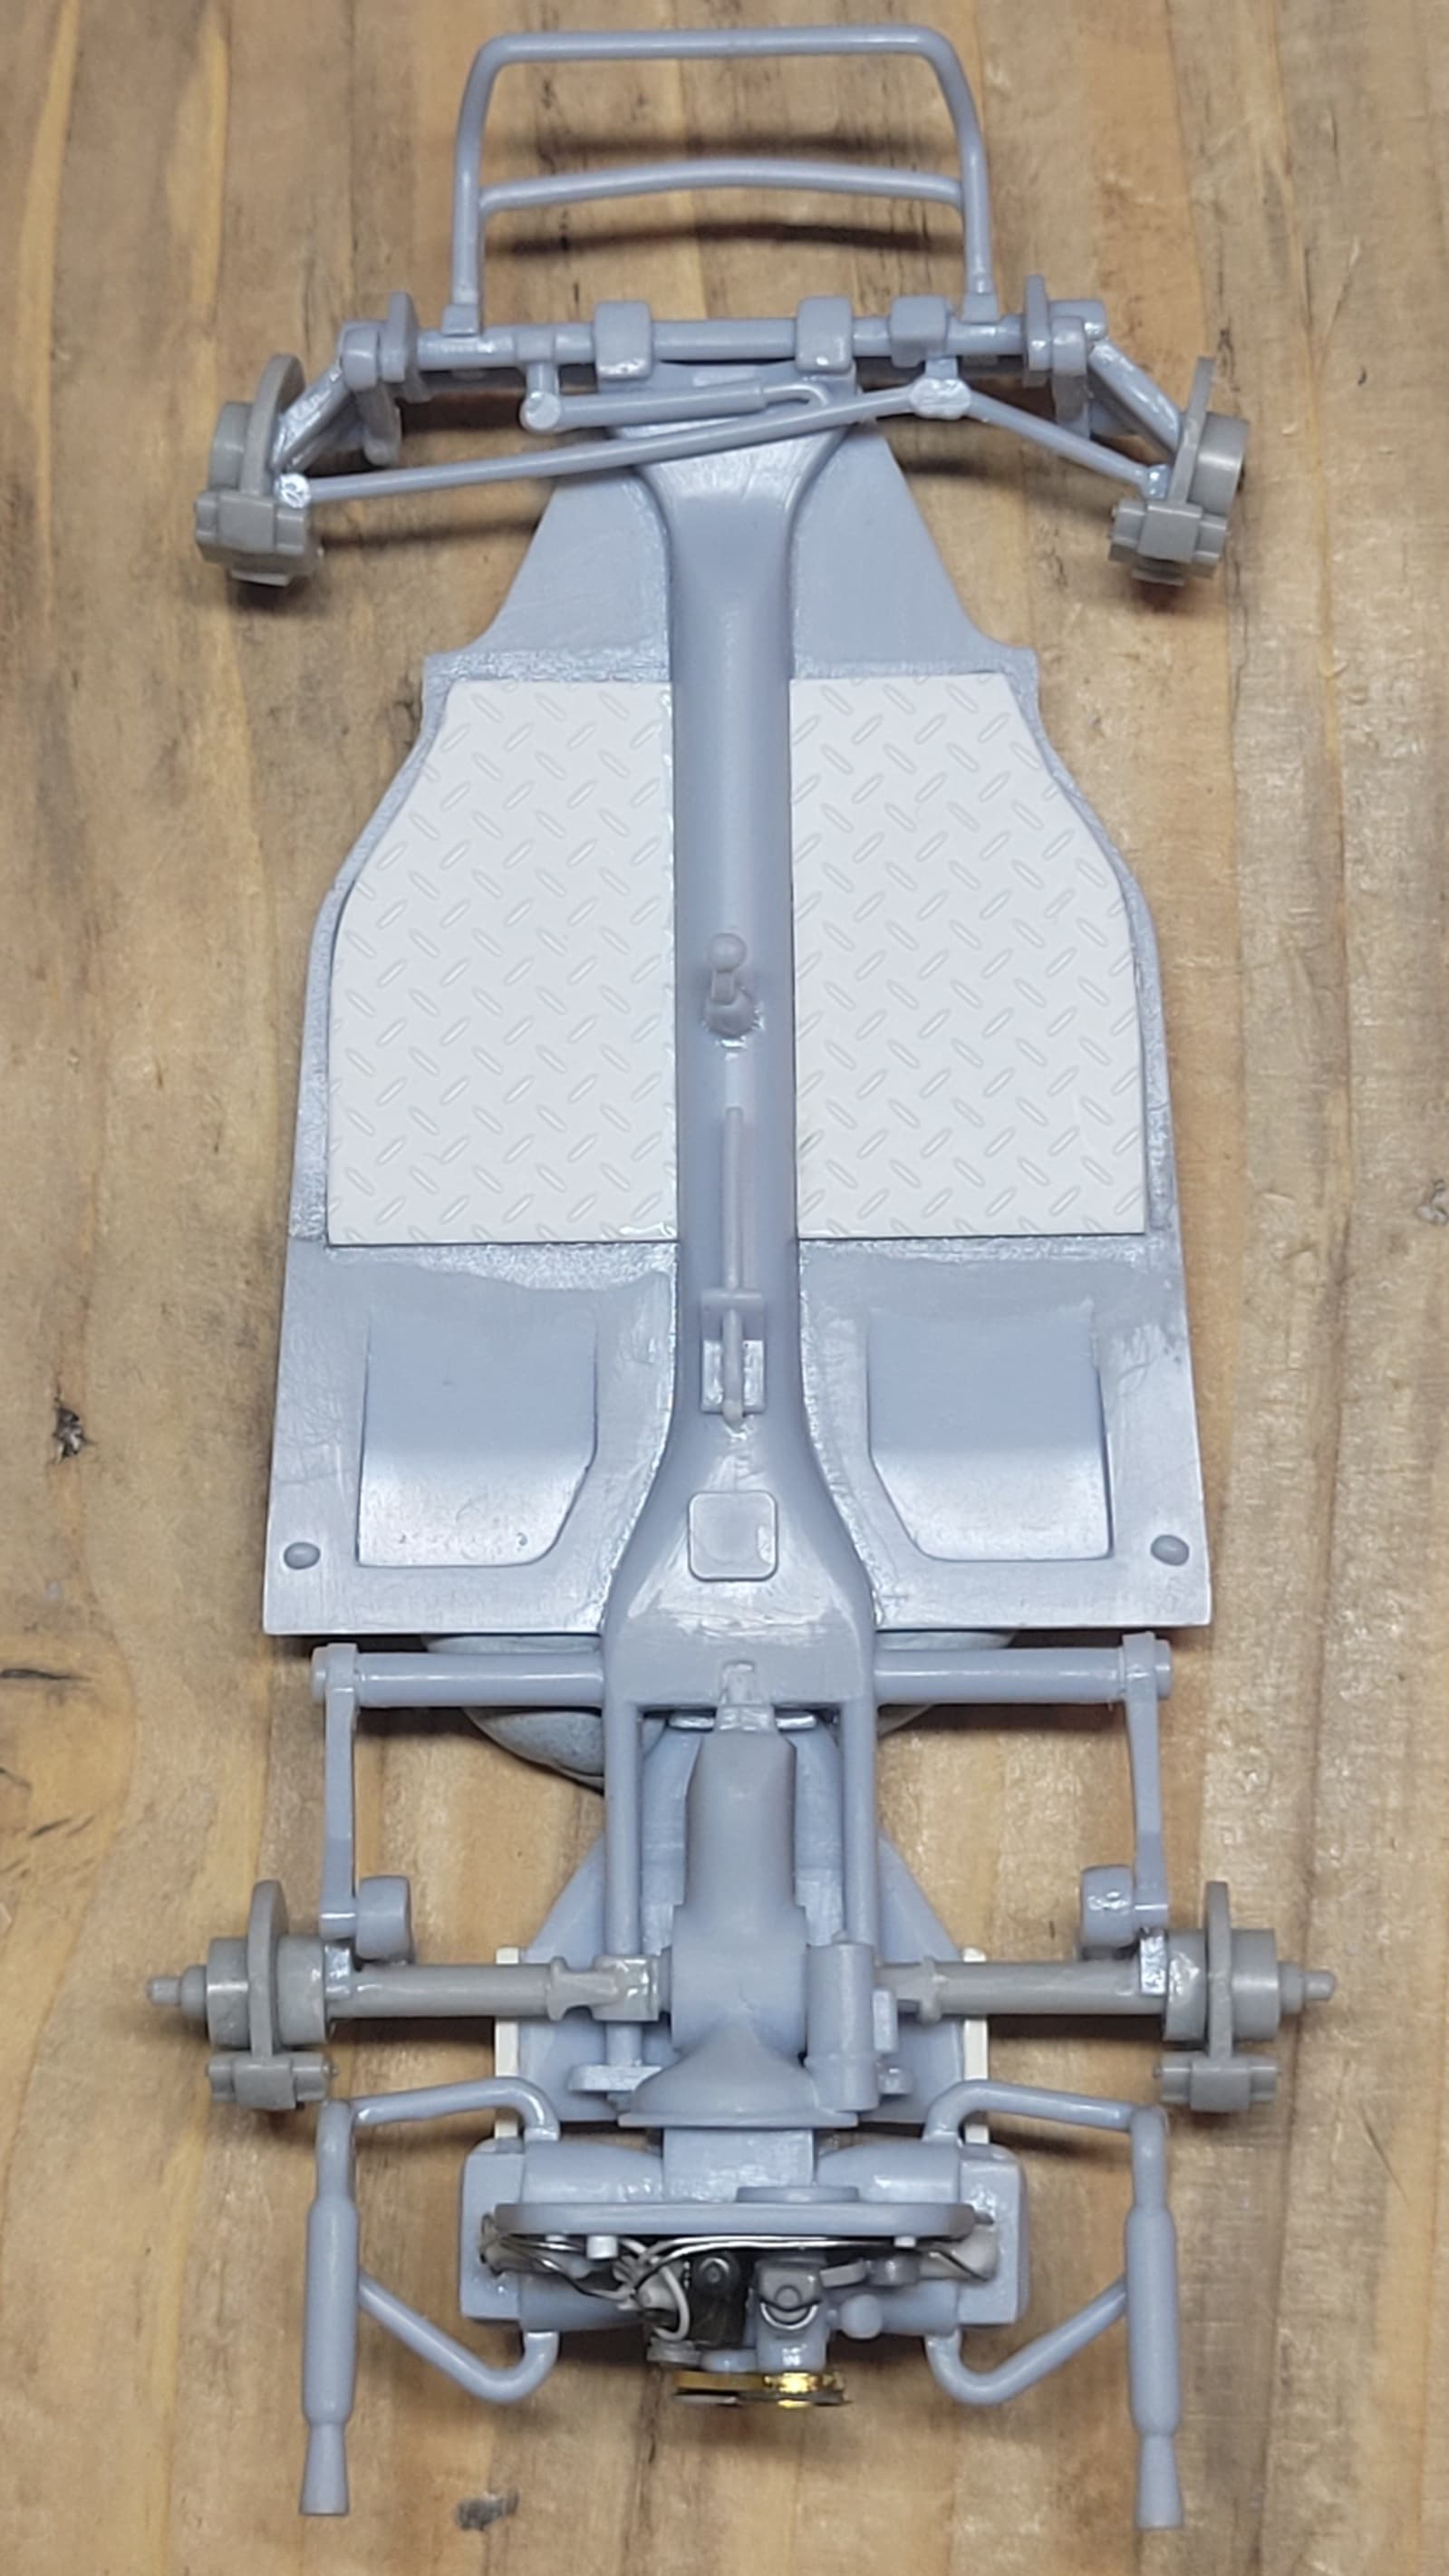
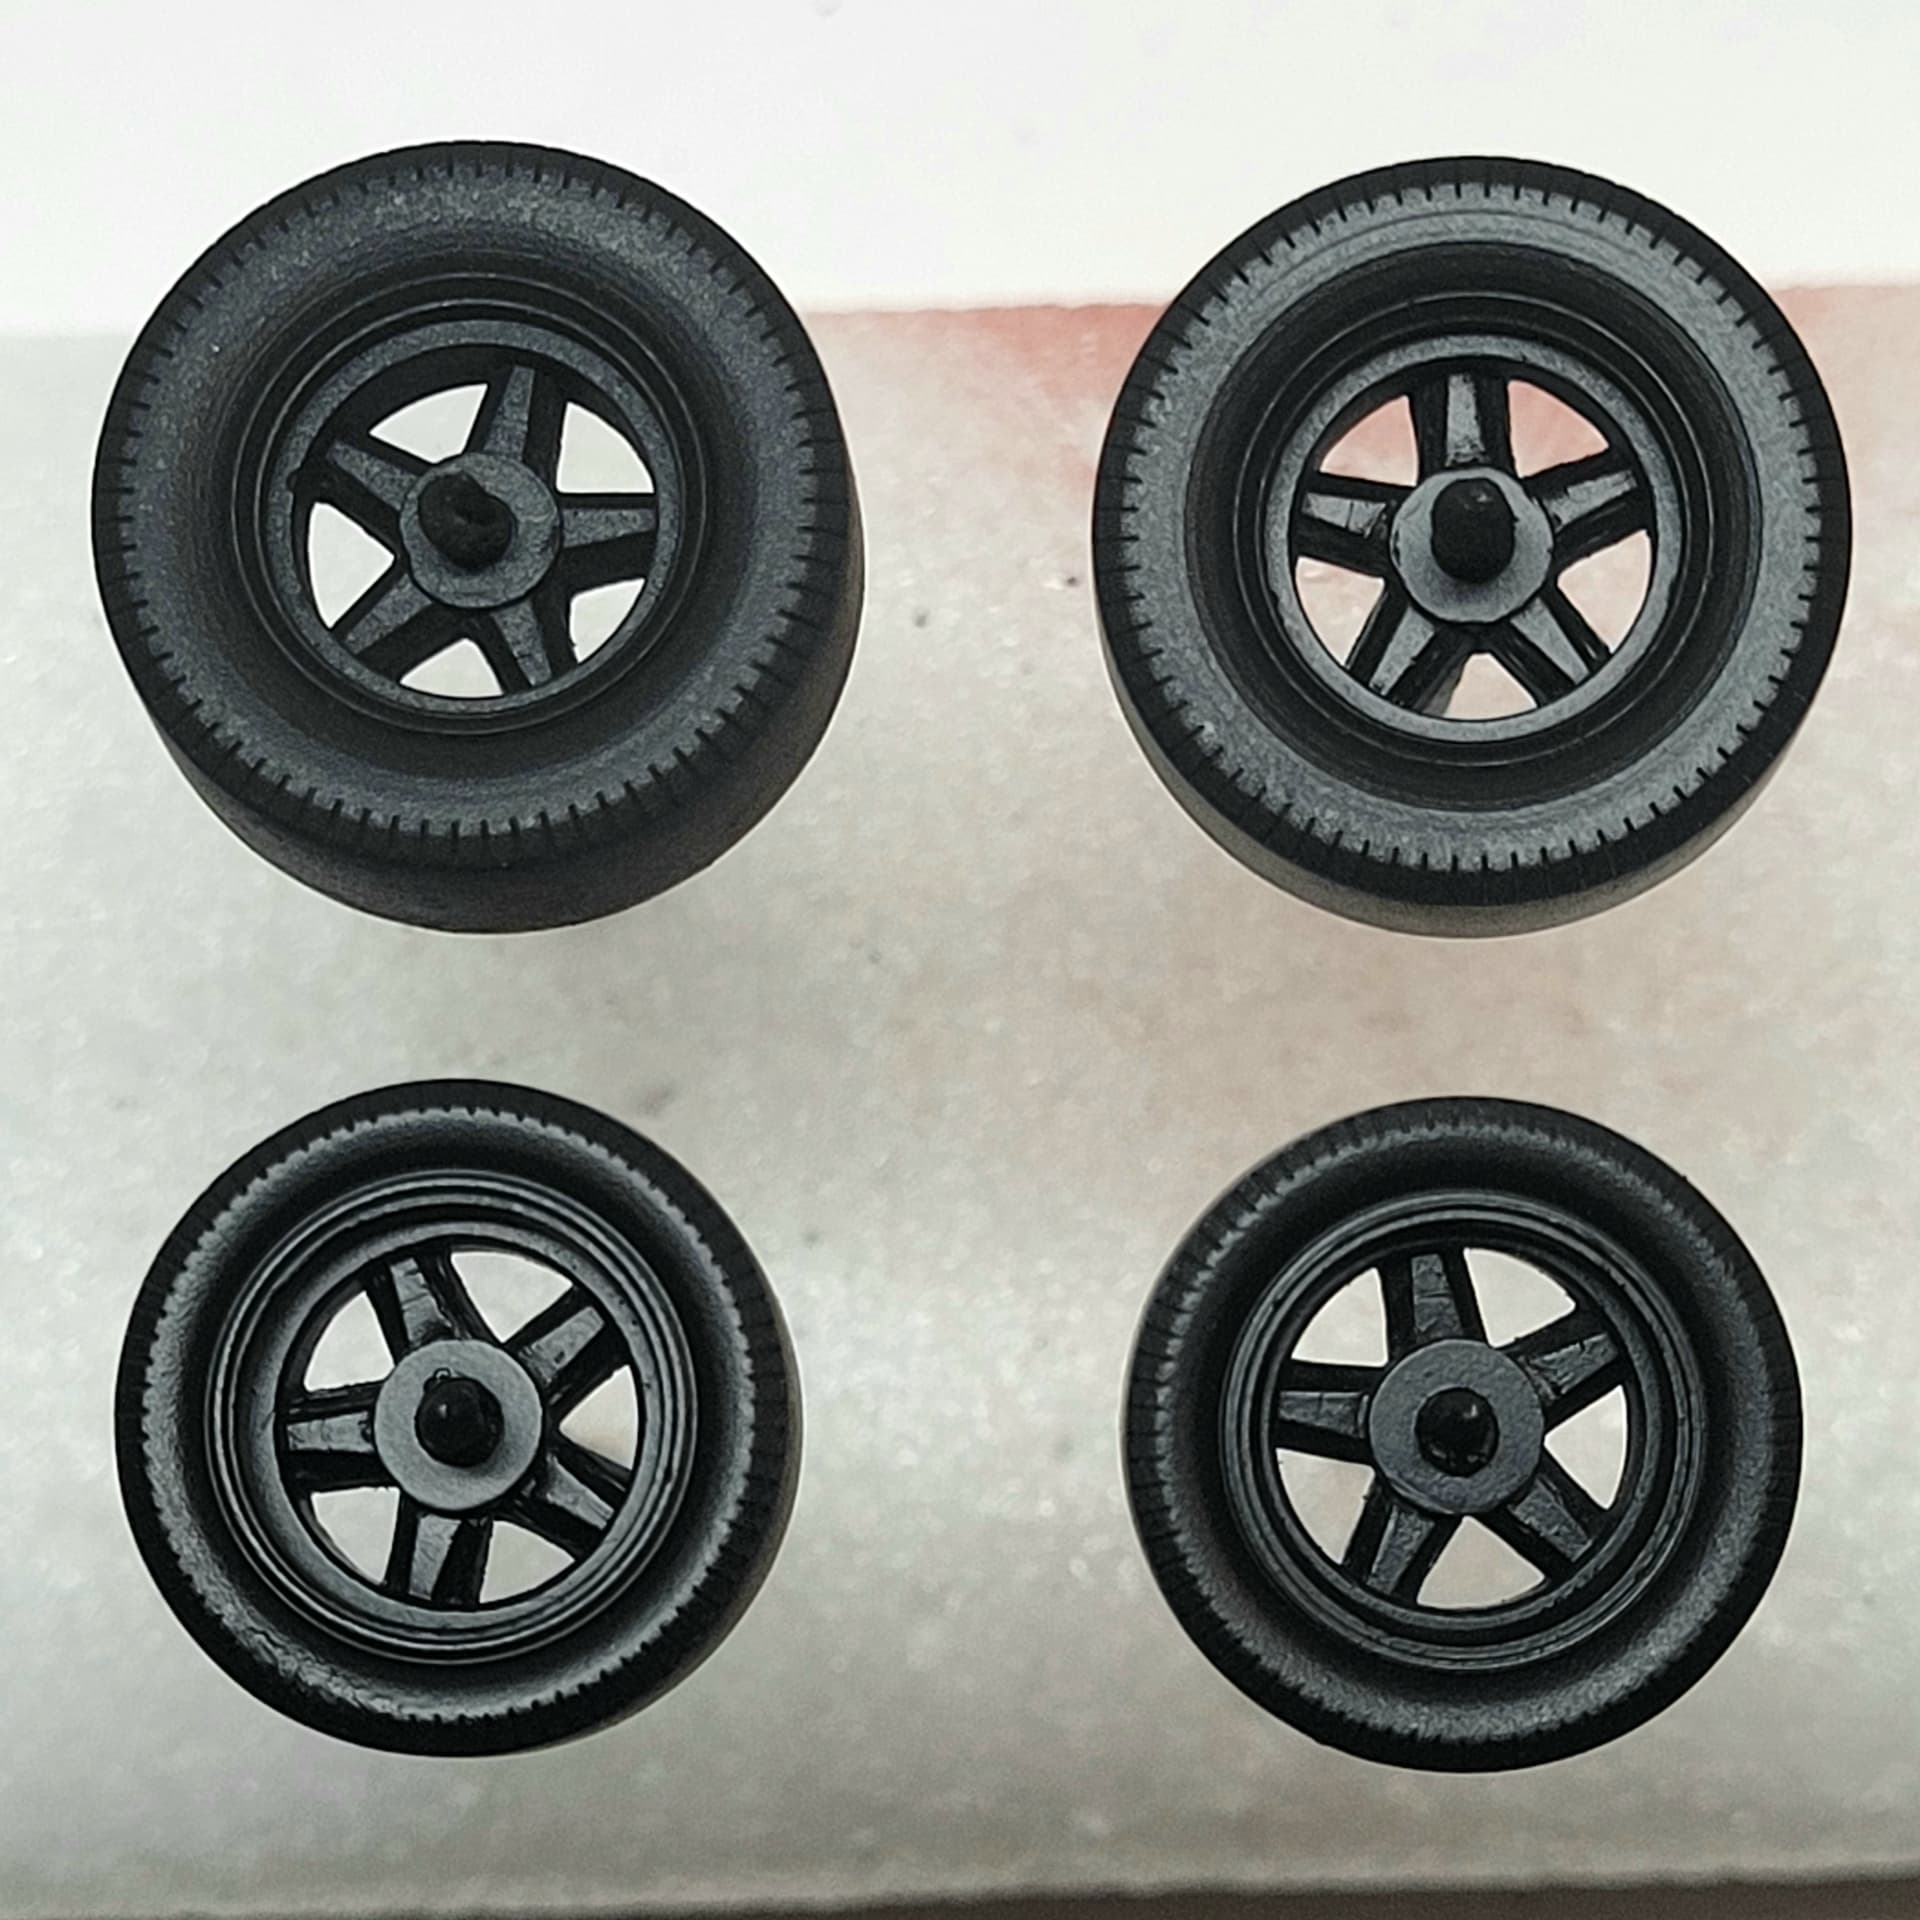
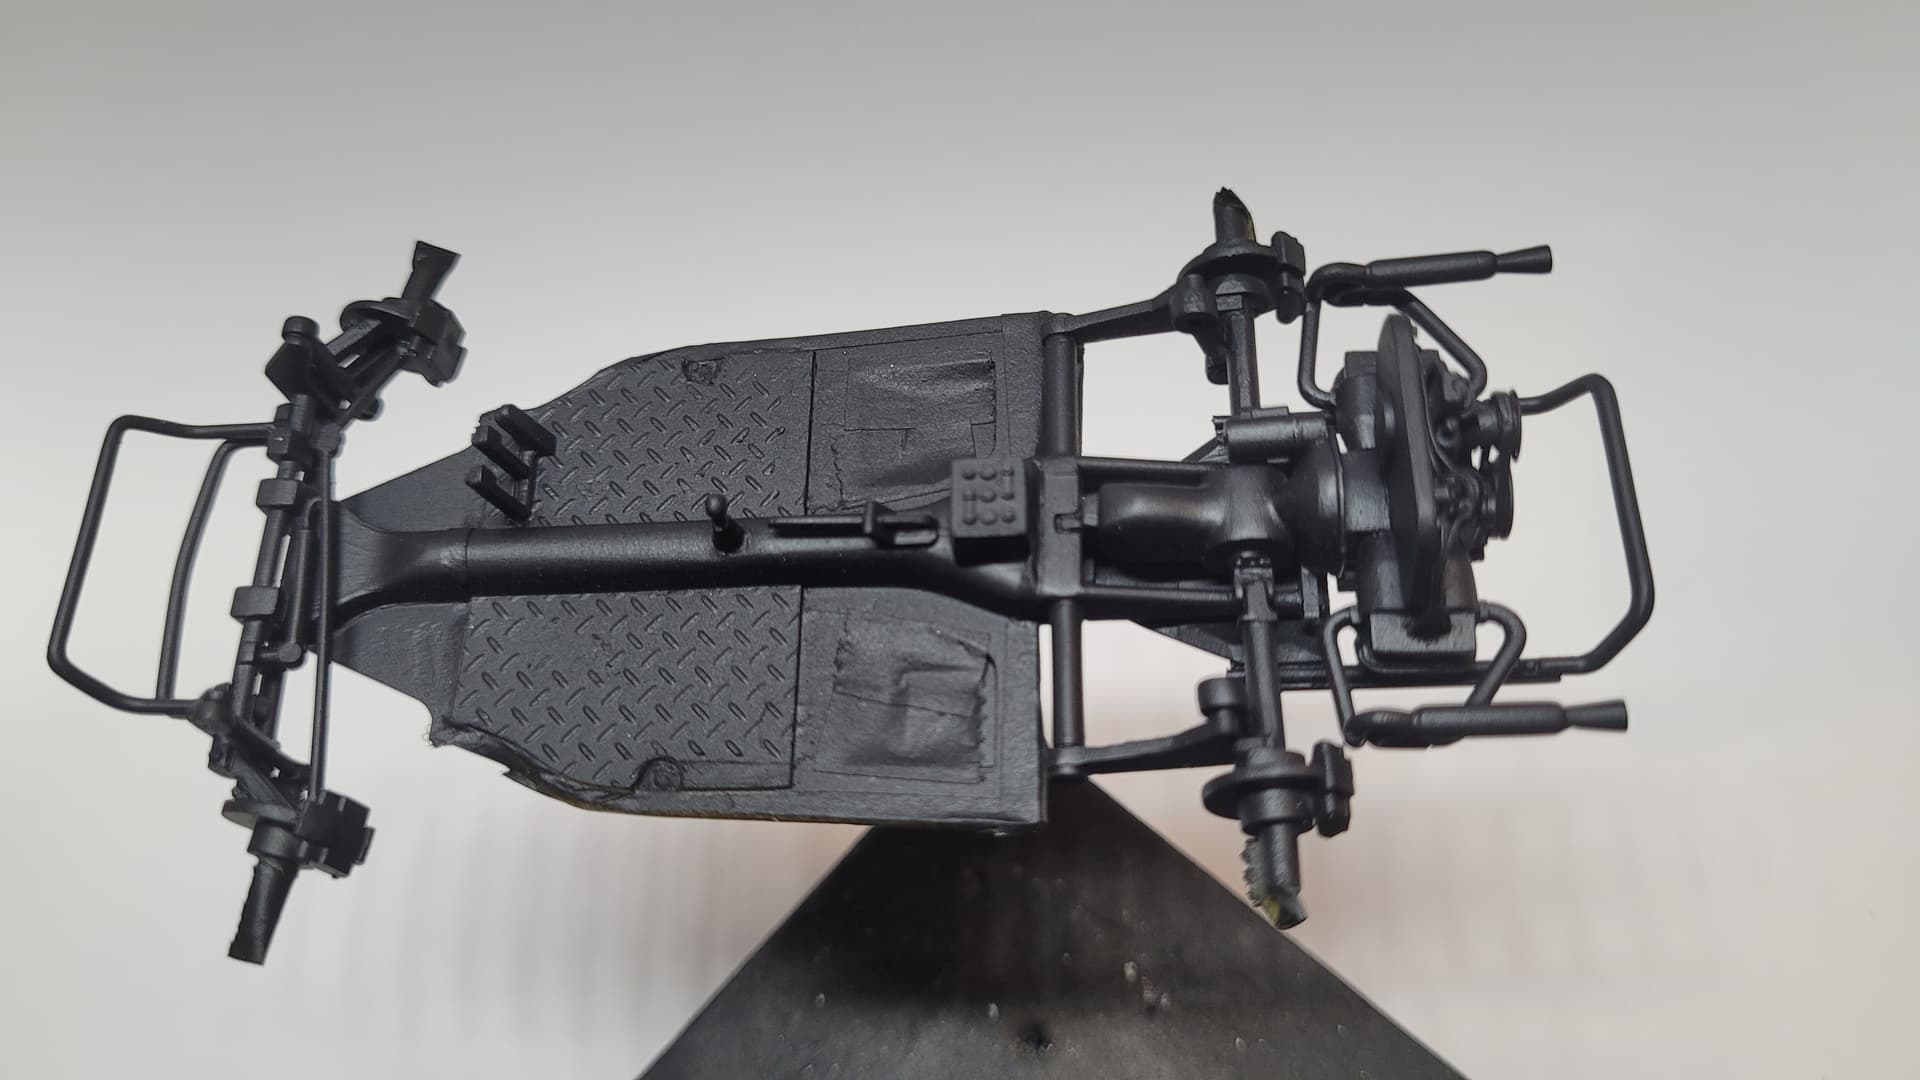
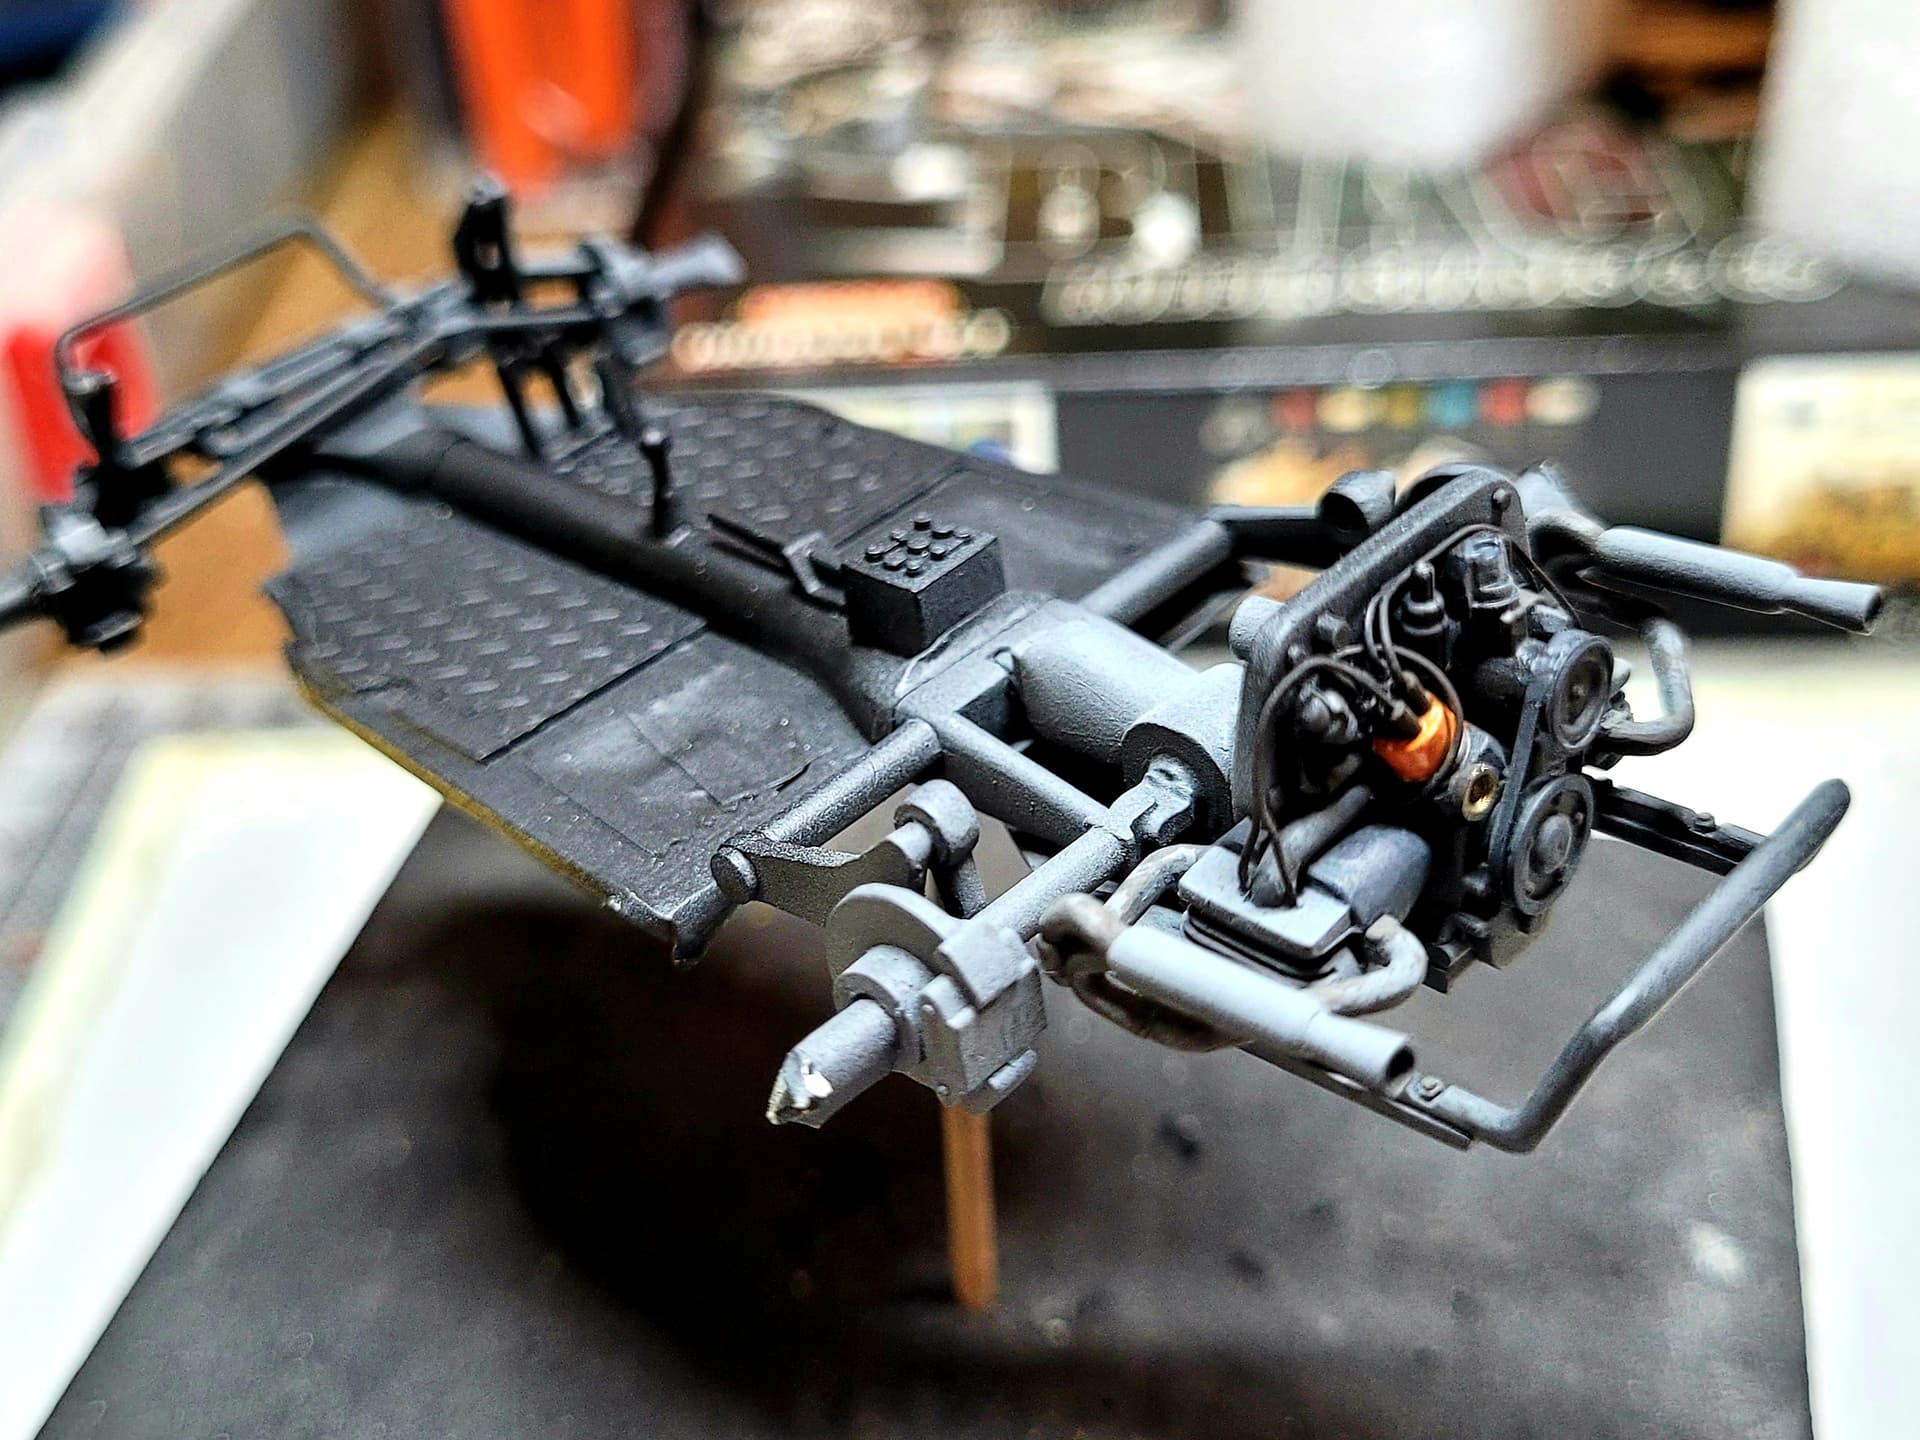
The first photo above of the chassis shows the original kit parts for the rear axle and swing arm. Converting the 917 wheels involved reducing the wheel width - the rear wheels especially on the Porsche are massively wide - until they fit inside the Buggy tyres. The diameter was close enough that only a small amount of filing of the tyre was necessary to get the new wheel to fit snugly into it.

Having done that I realised it would be better if they were mounted on the 917 axle, and then also that I could use the Porsche hubs with the disk brakes. I’m guessing not many 70s Beach Buggies had all round disk brakes. Here is the chassis with the heavier duty axle, struts and disk brakes.

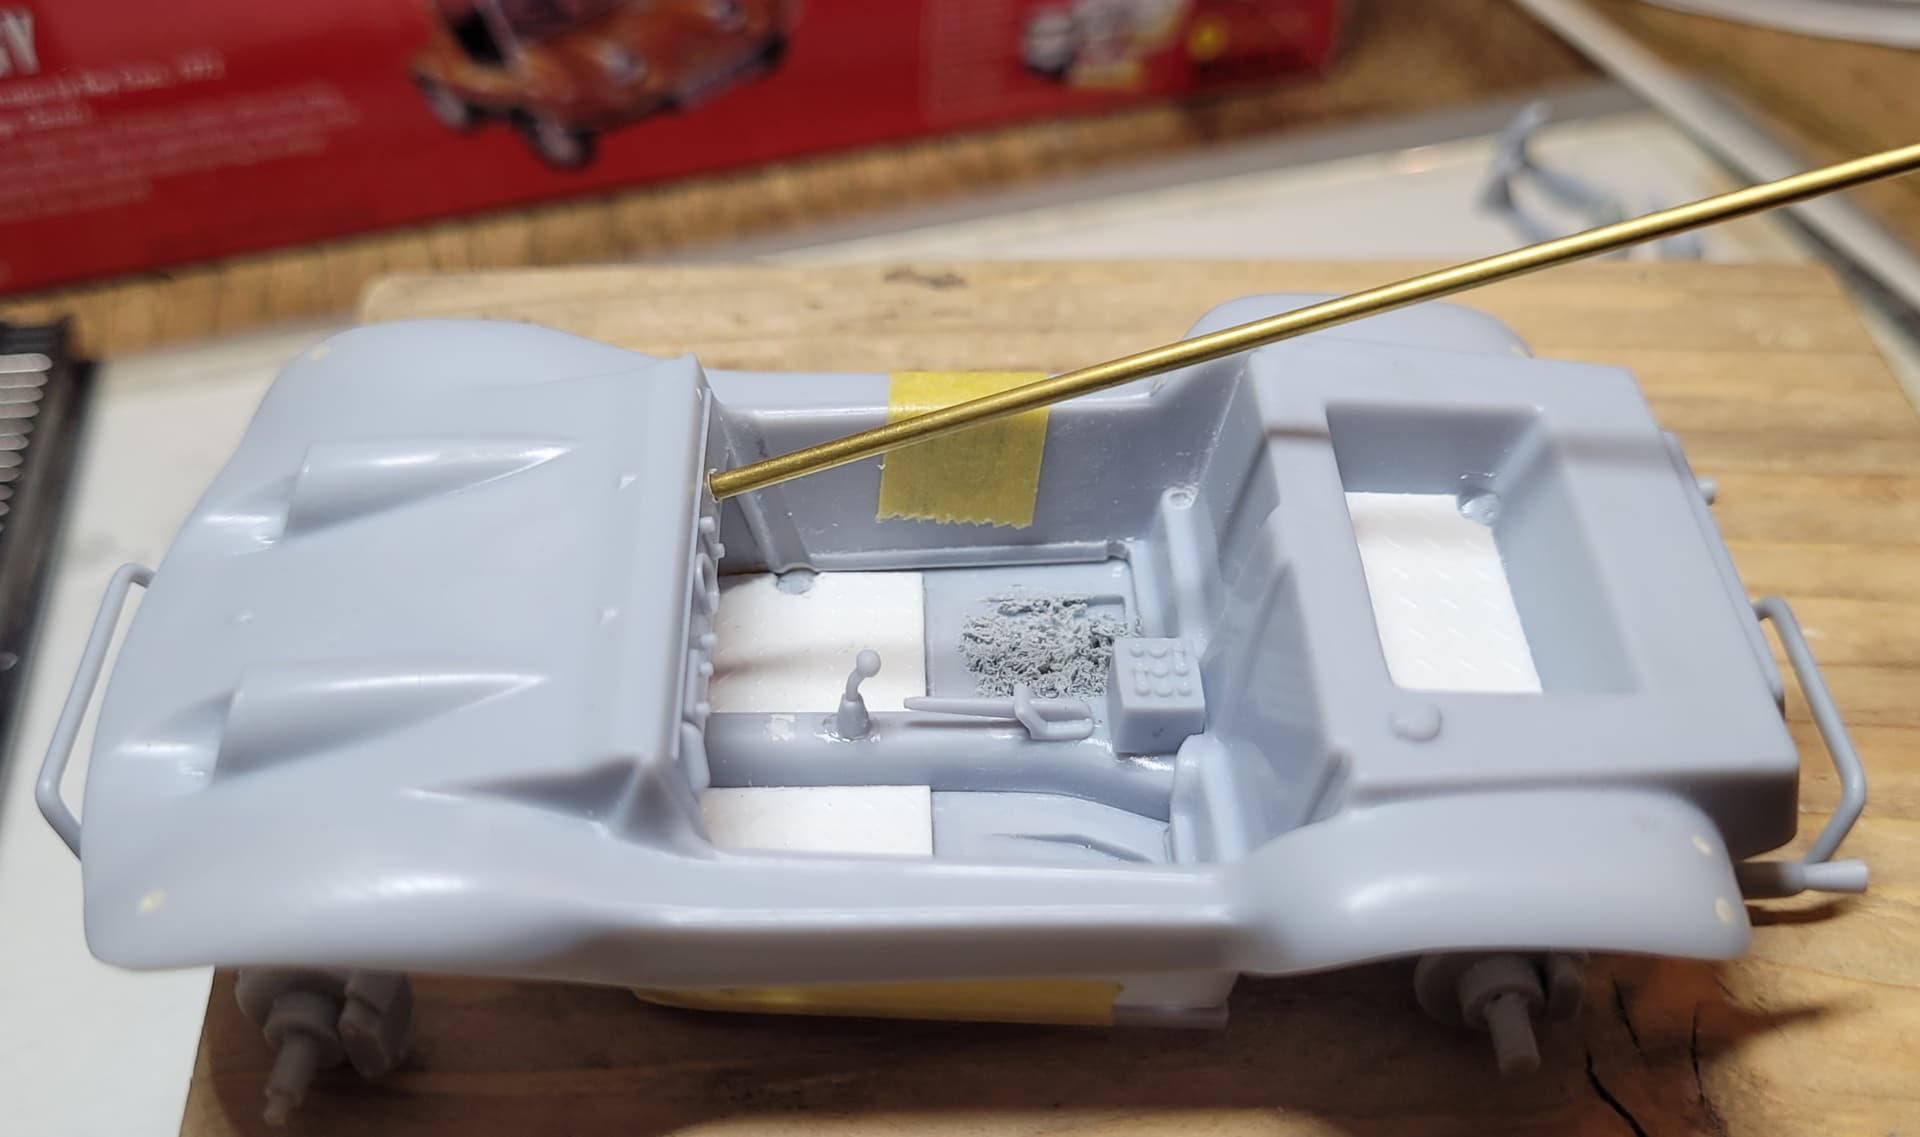
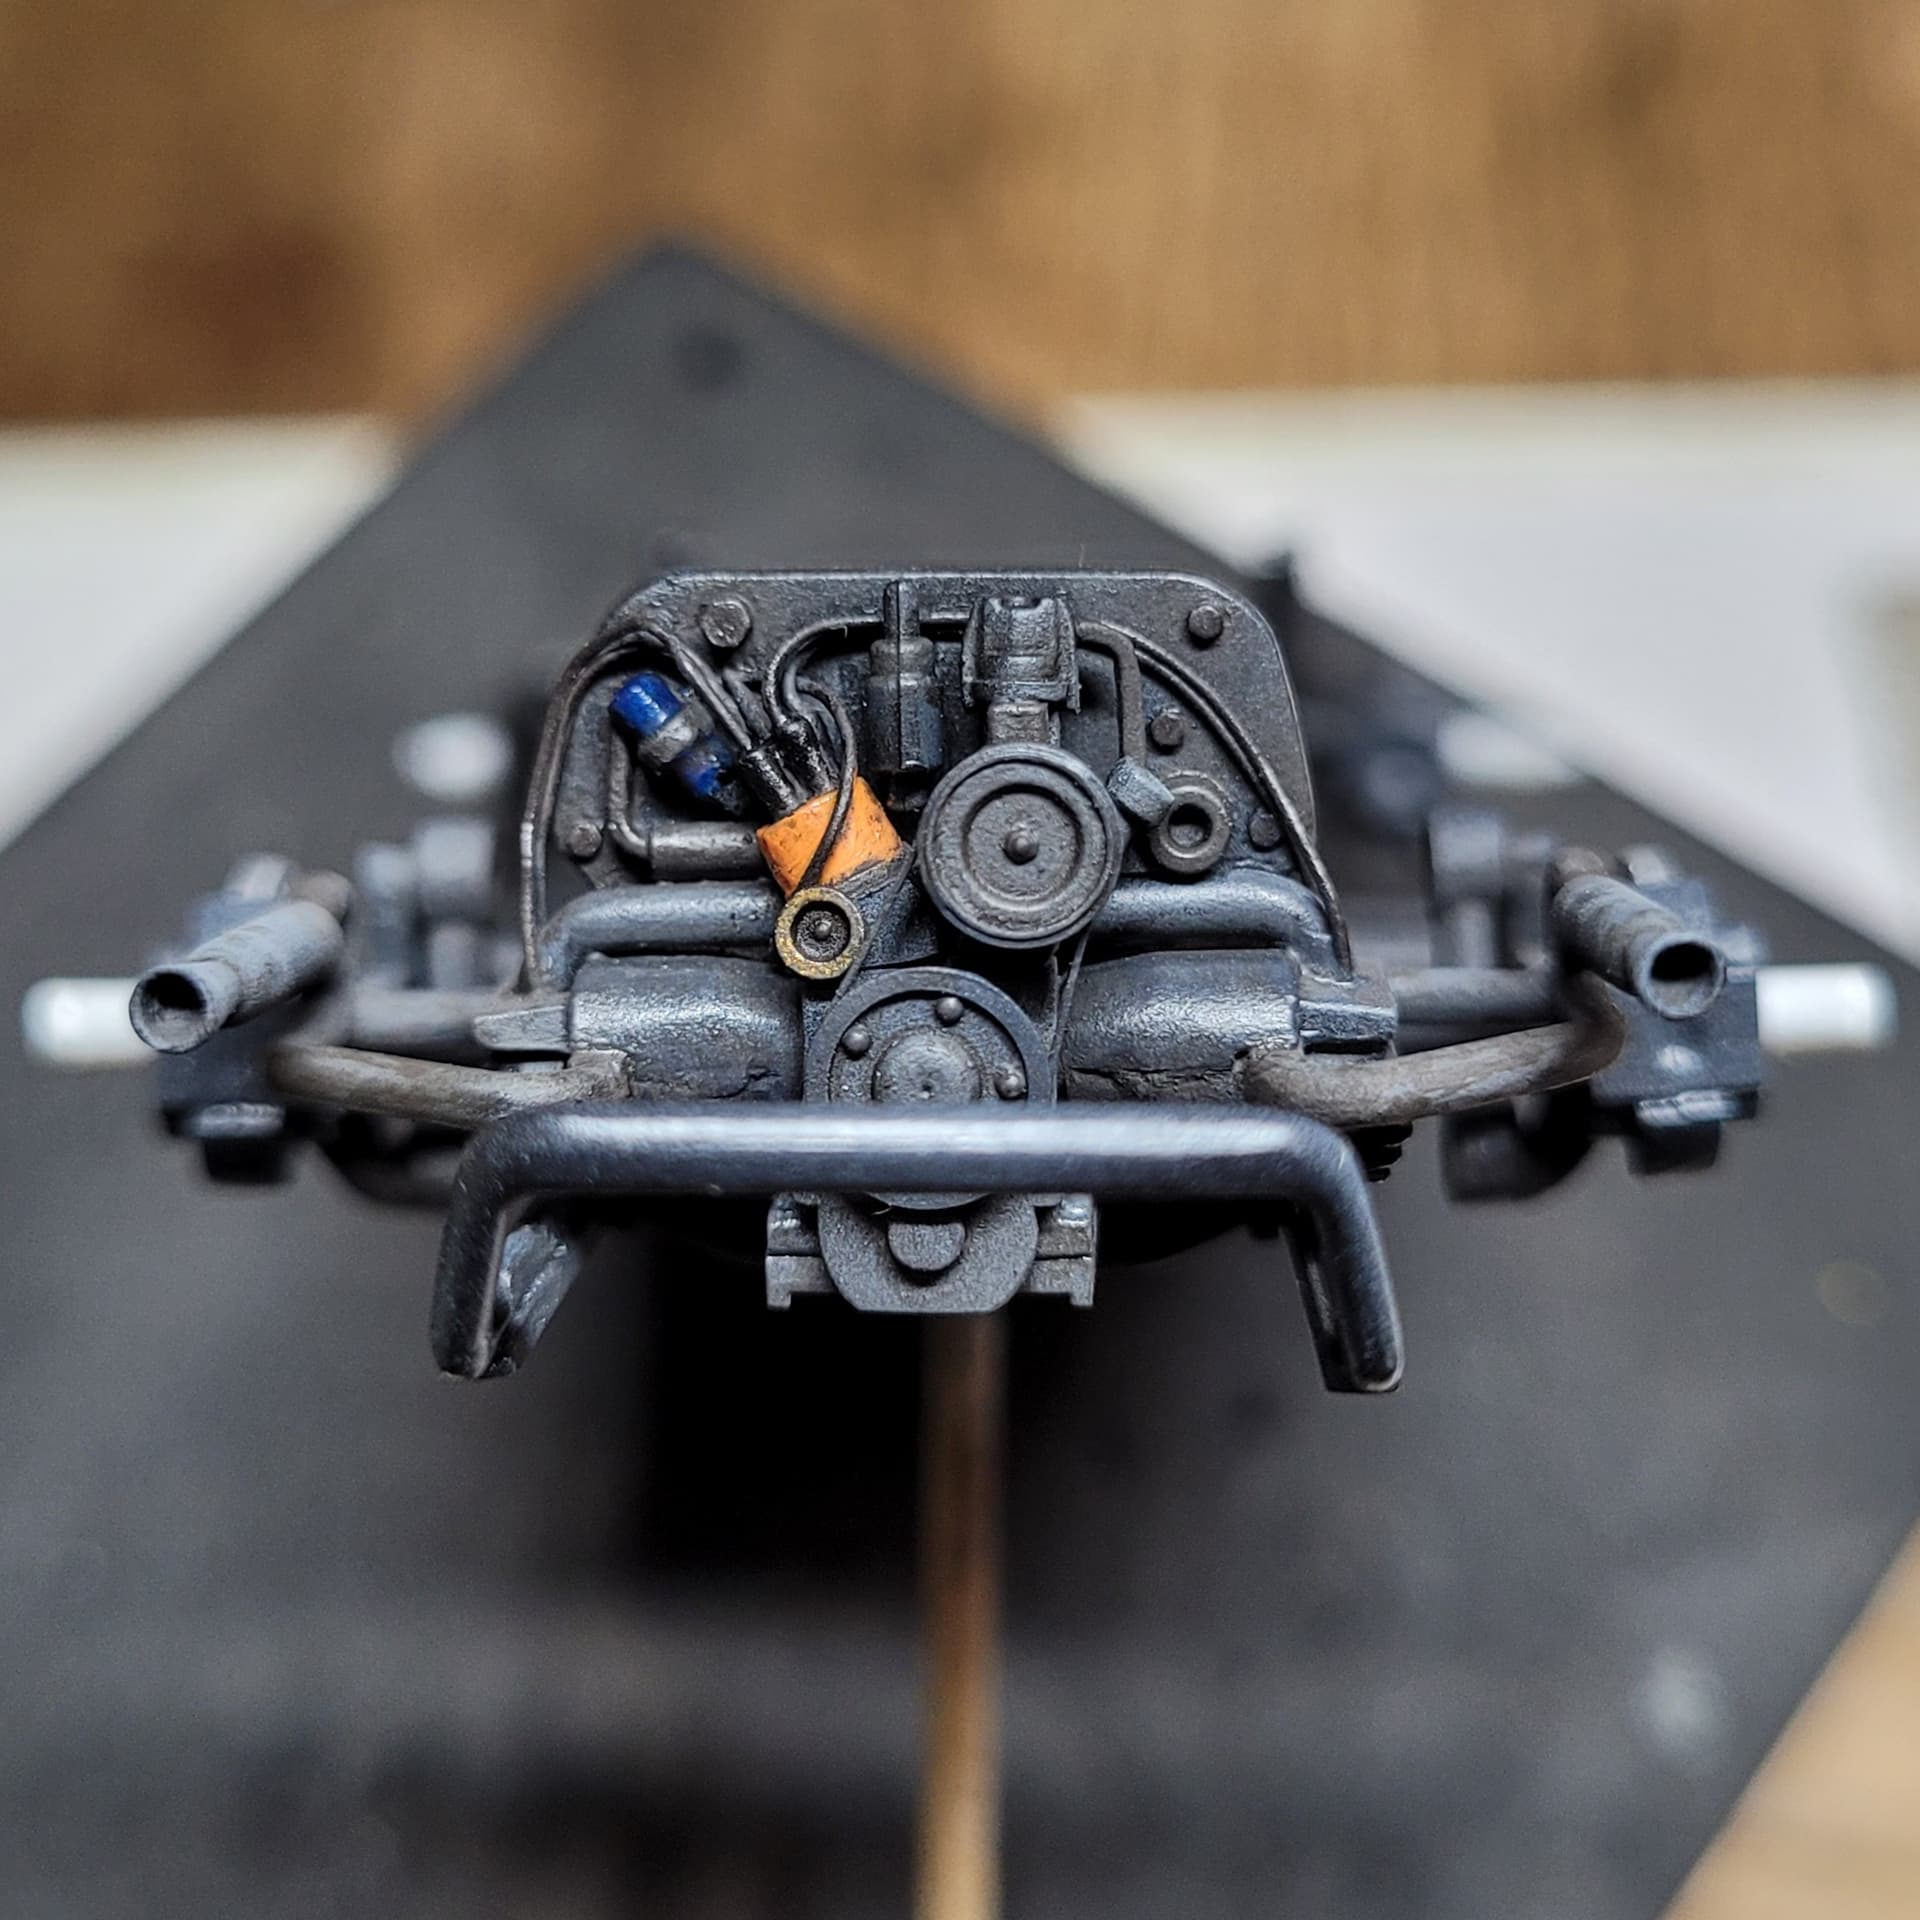
I took the opportunity of this rework to turn the front wheels a little, which involved moving the steering arm pivot slightly. The front brake / axle mounting is a bodge, with the detail basically faked with a strip and some bolts to hide the cemented join.

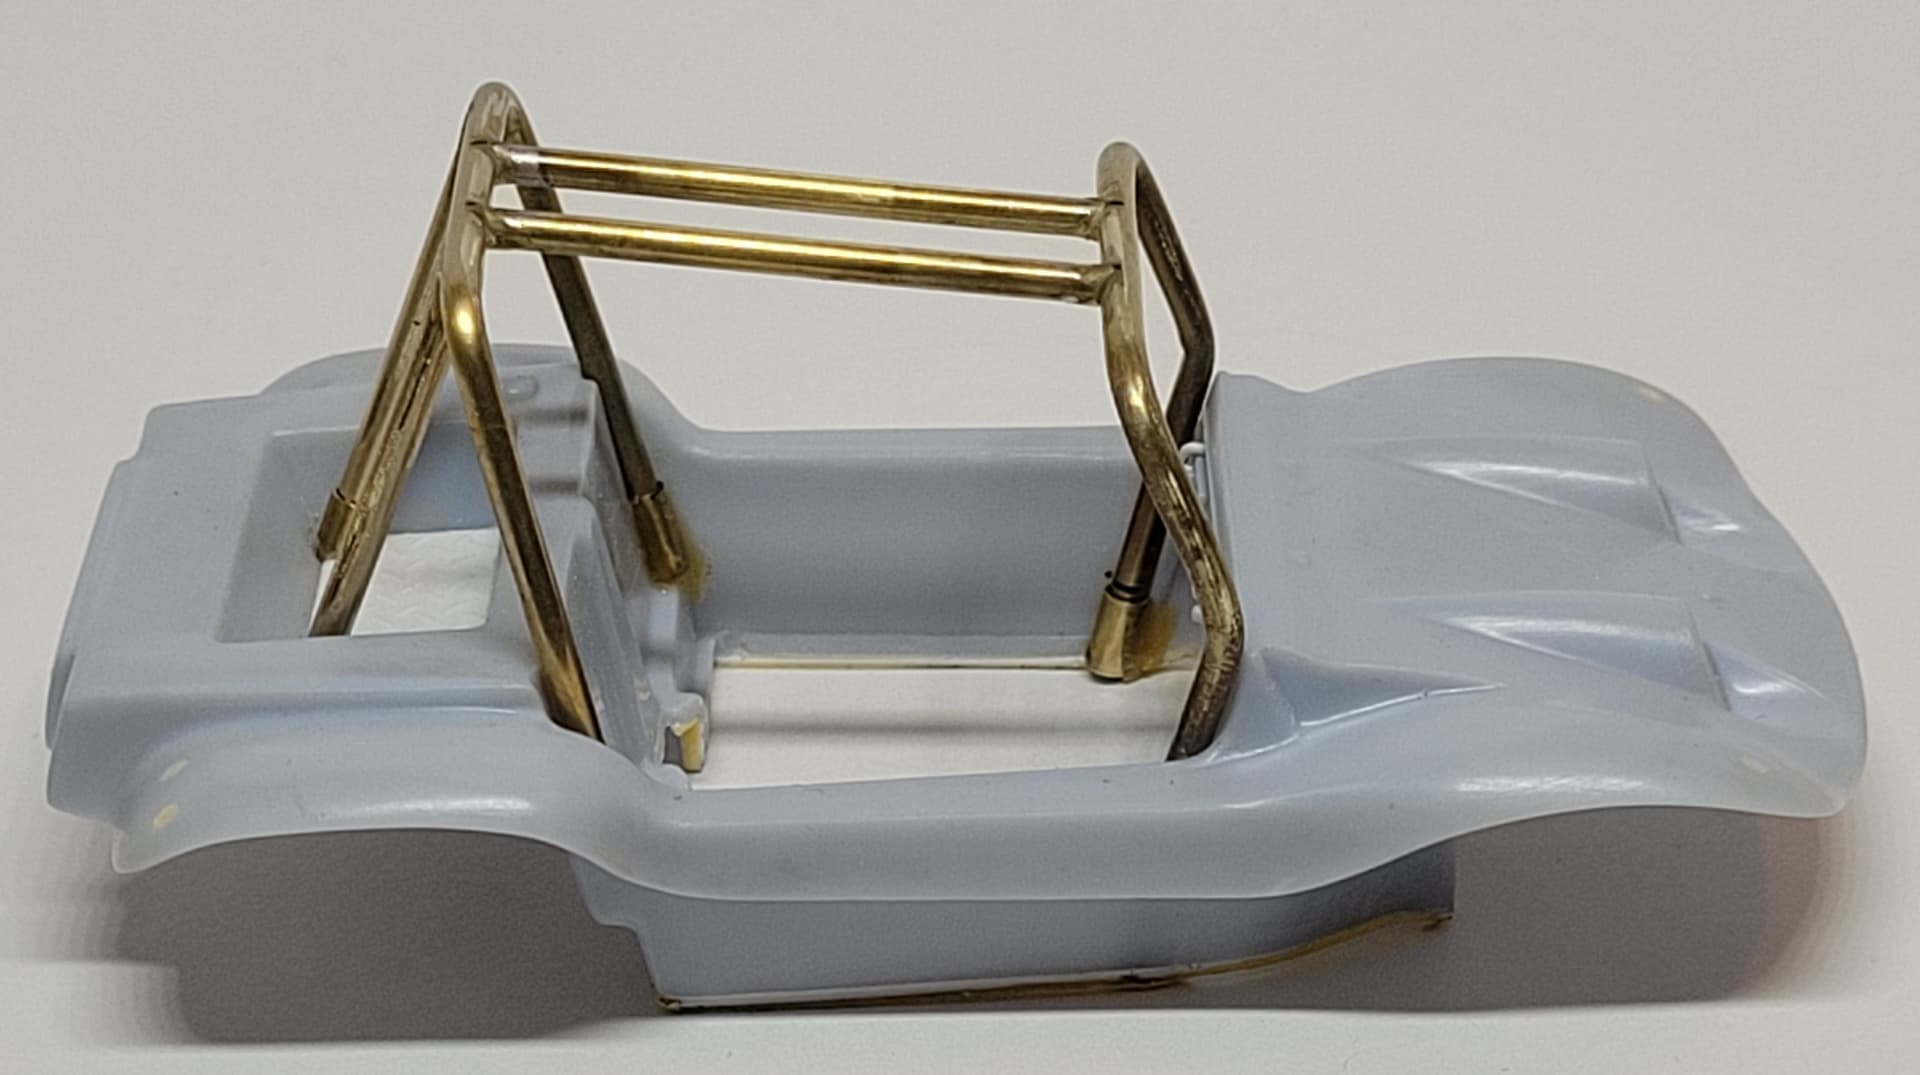
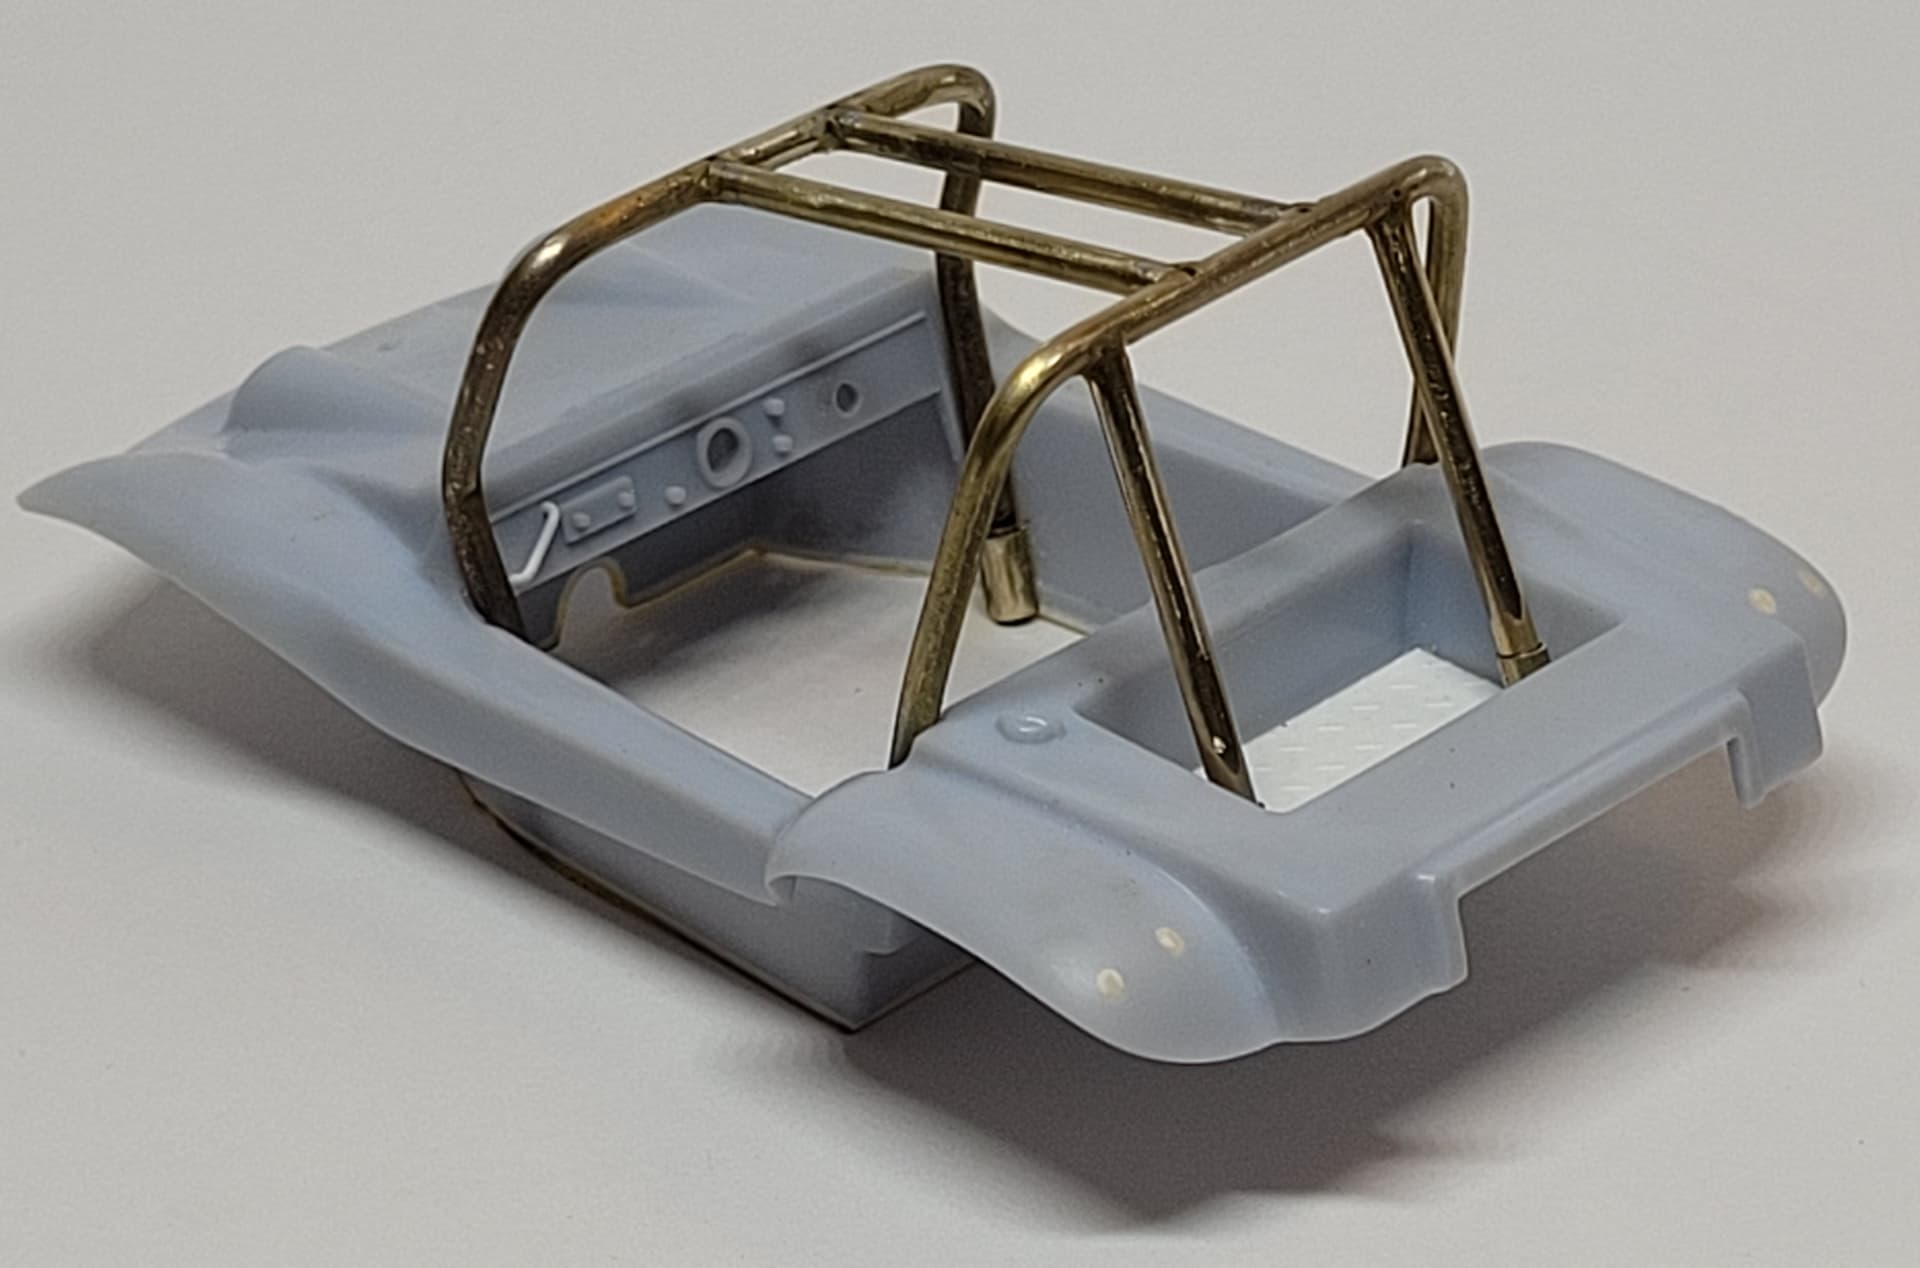
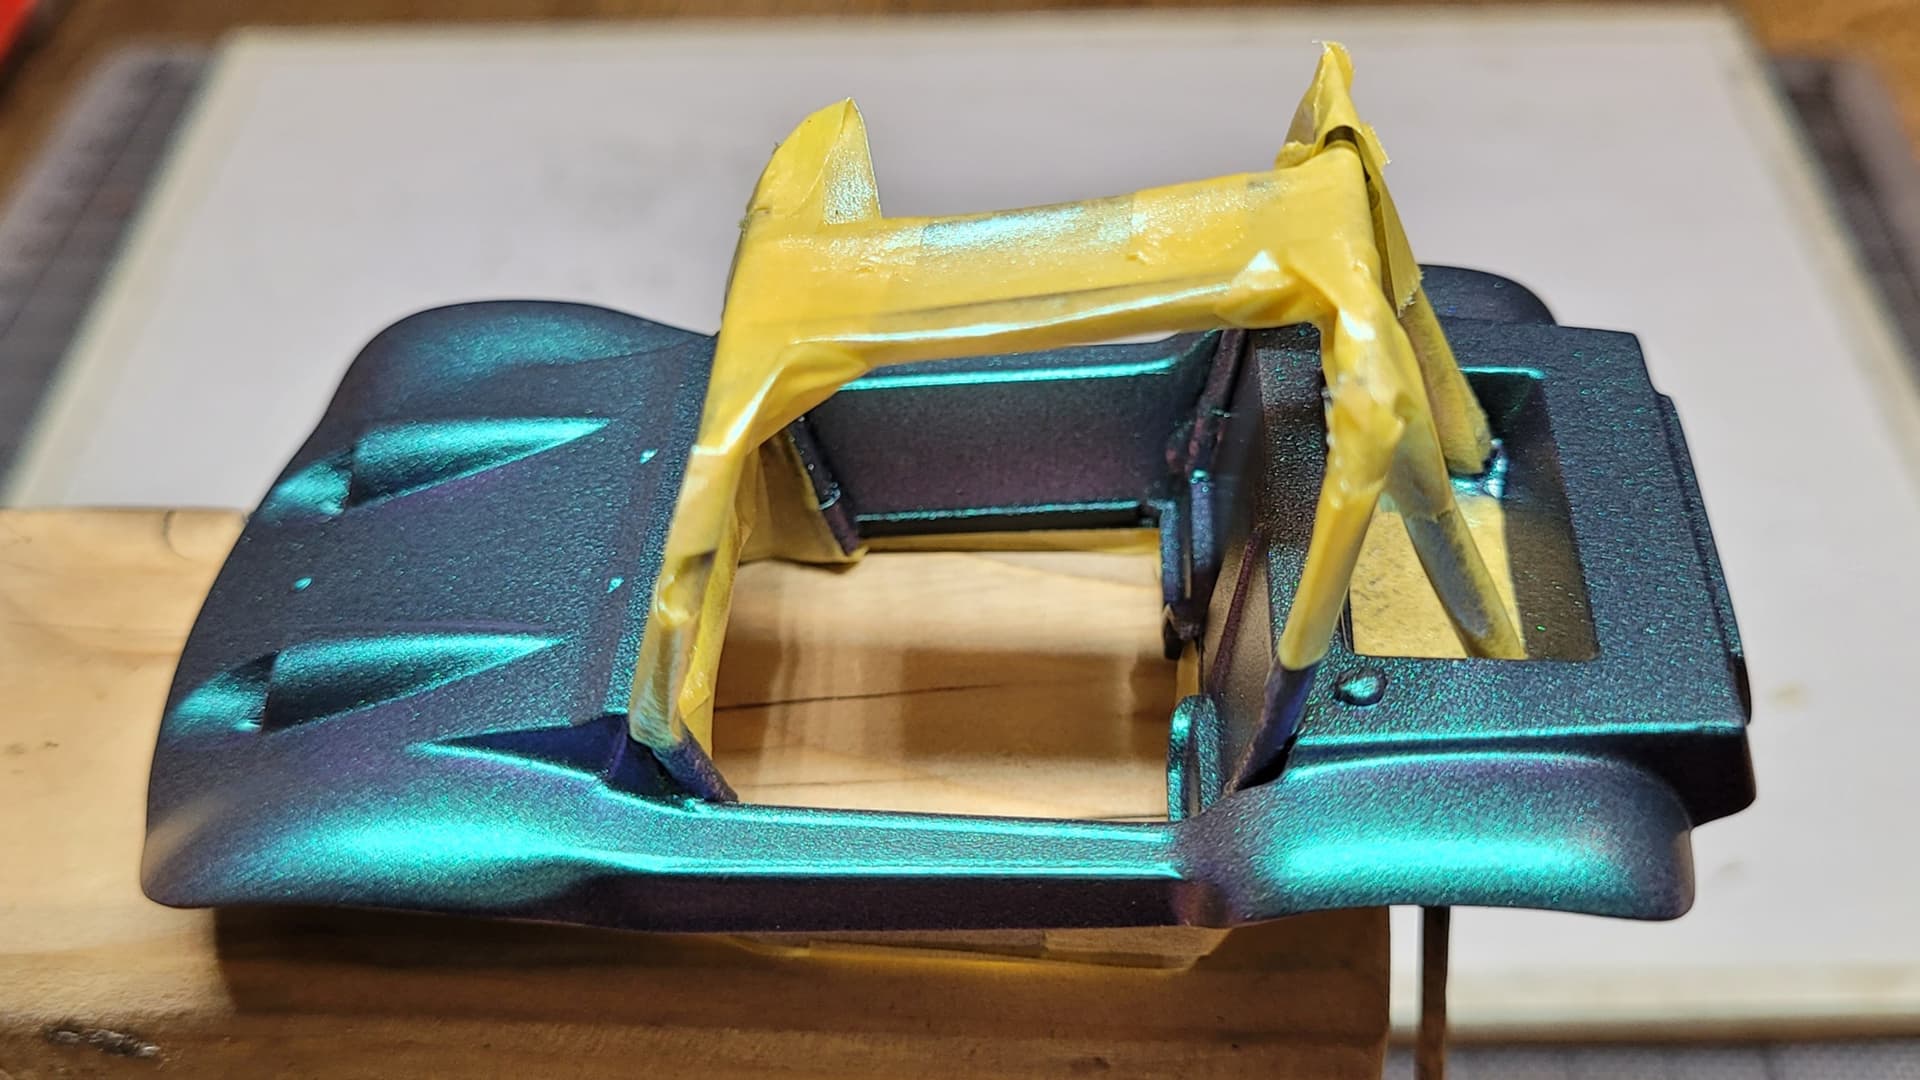
Also in place is the tread plate pattern floor to cover what is otherwise just flat plastic in the kit. I guess rubber mats could be simulated with thin strips. This causes the floor the be raised by about 0.5mm, enough to affect our crew figures.

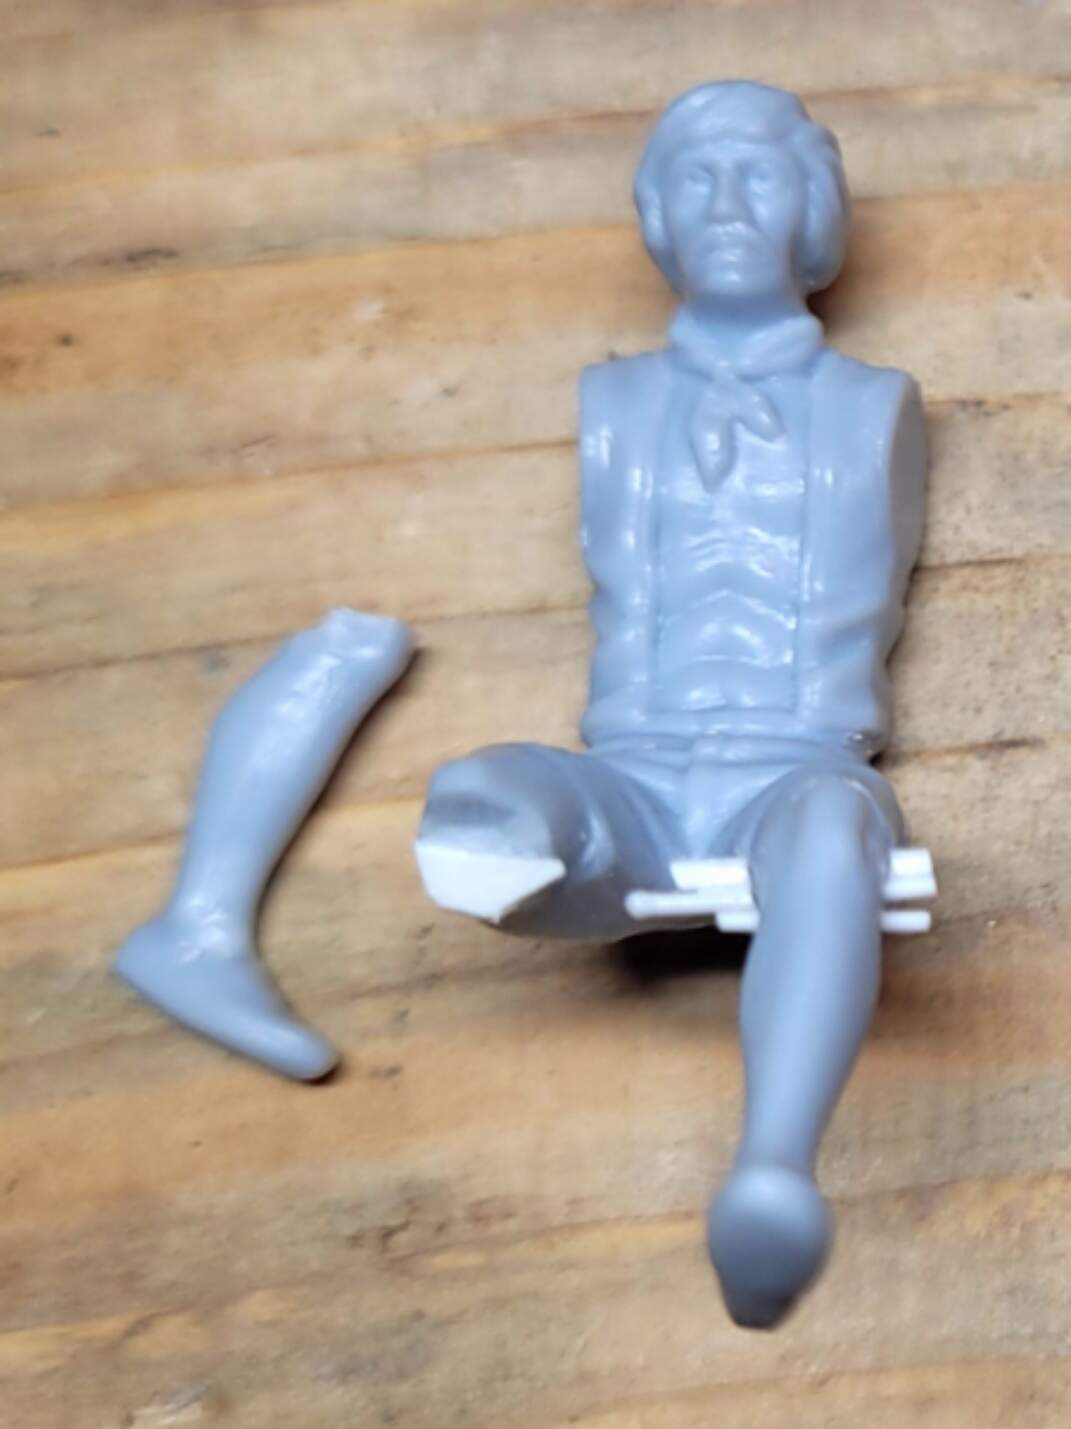
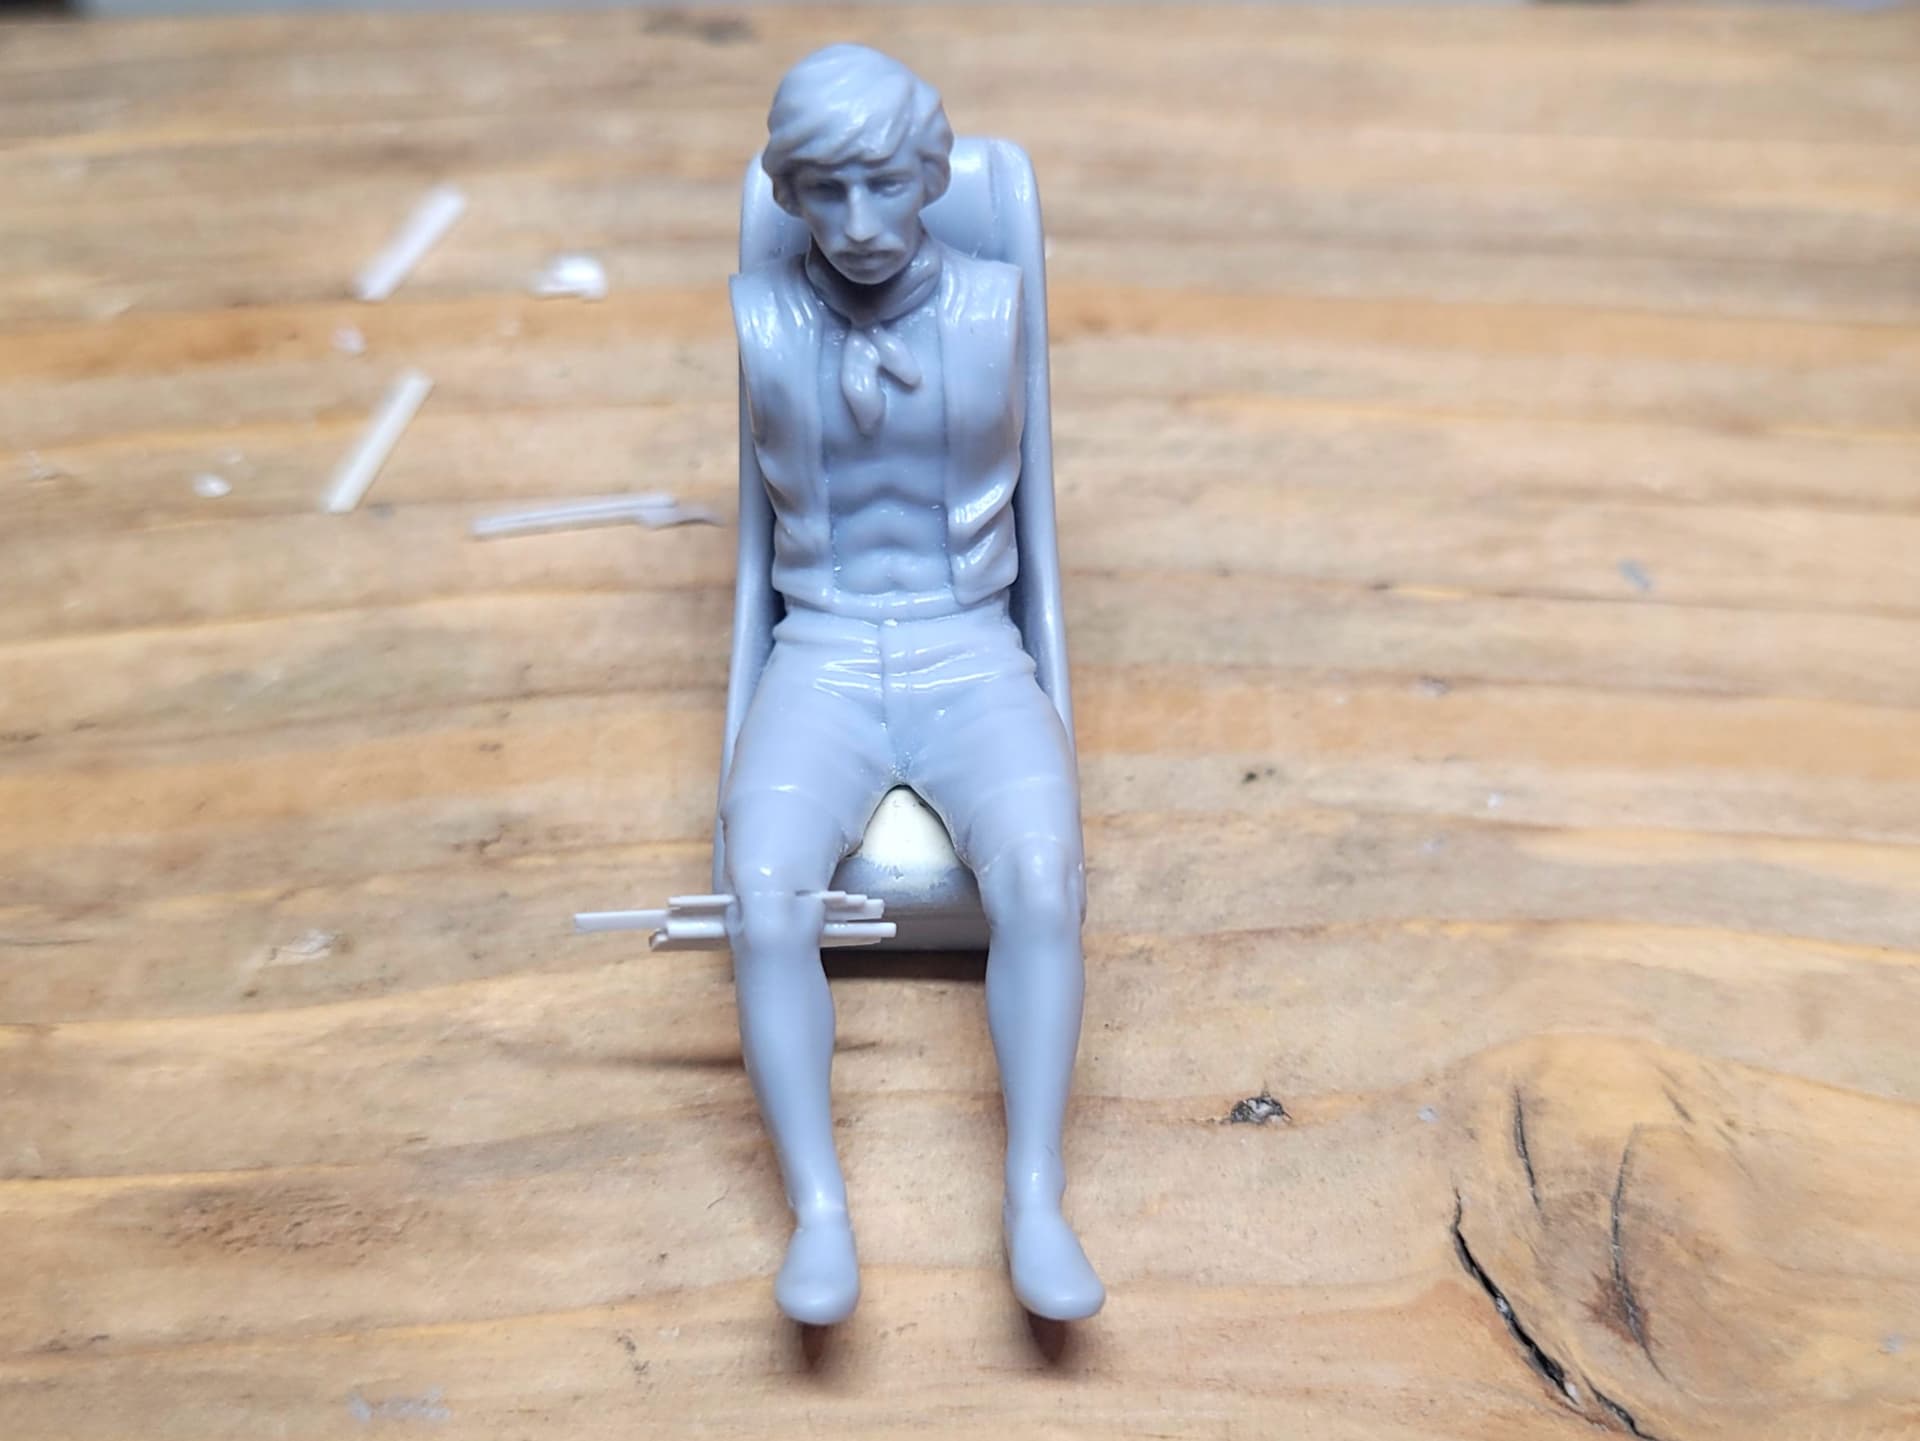
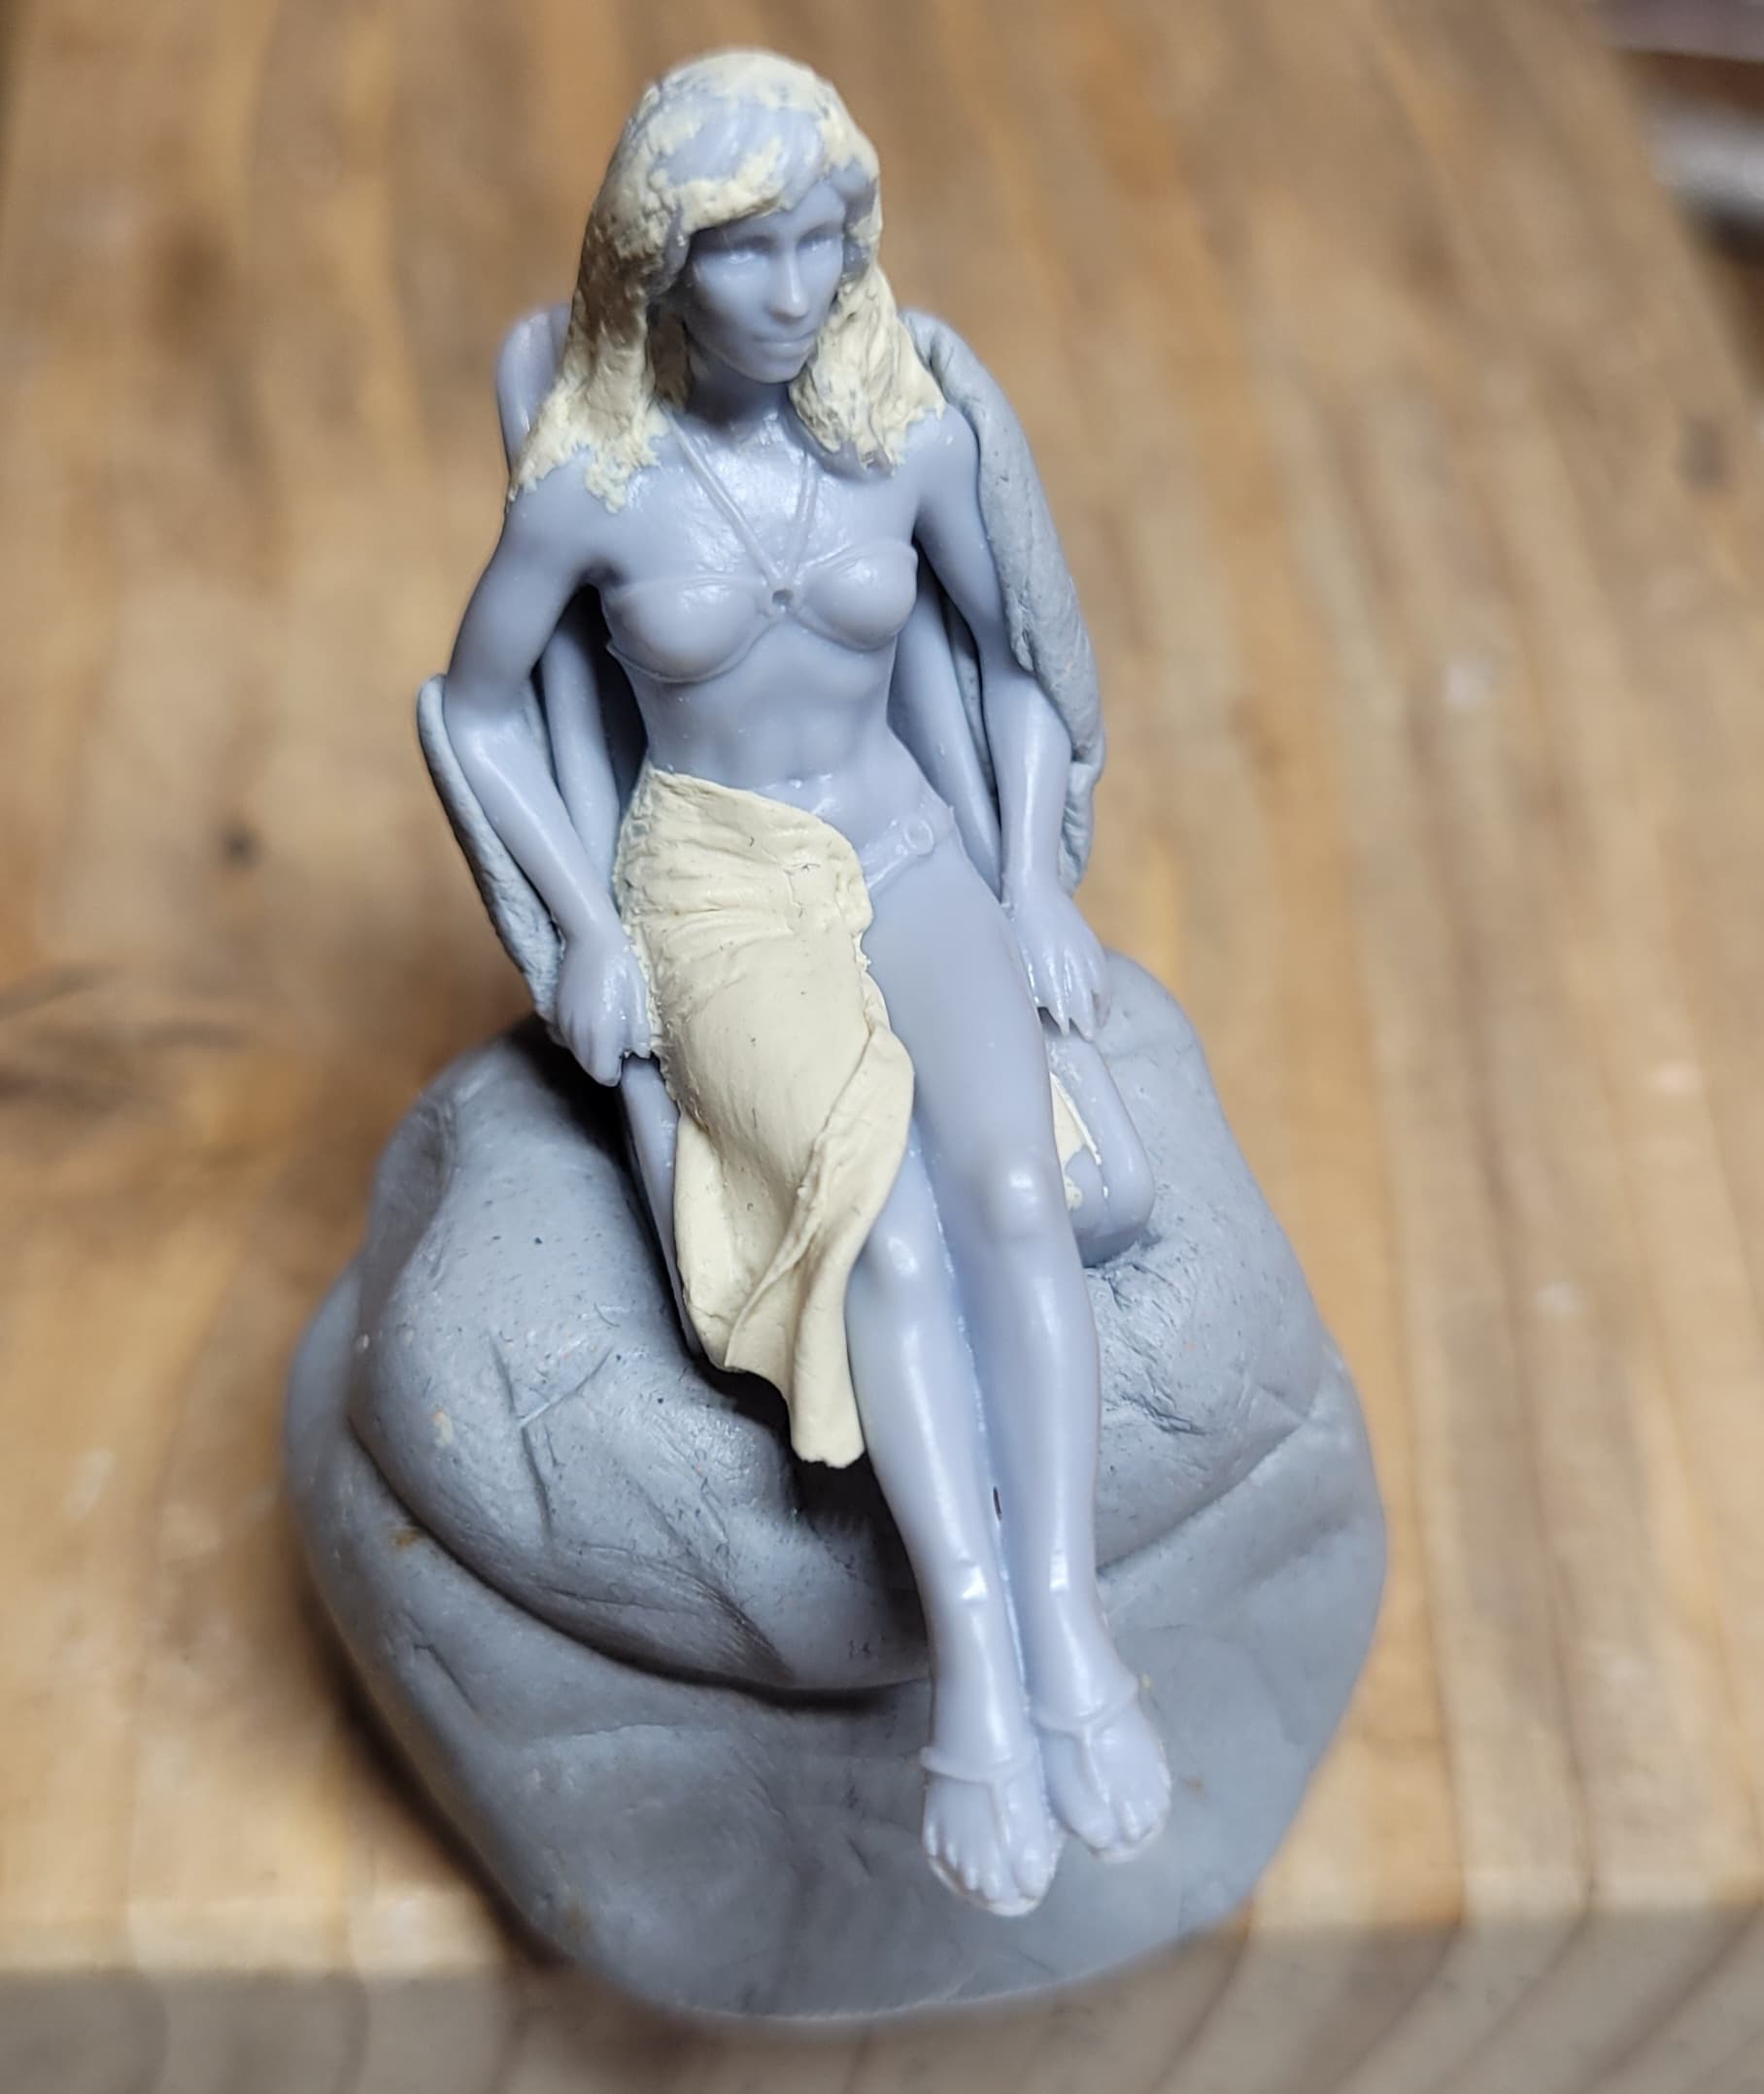
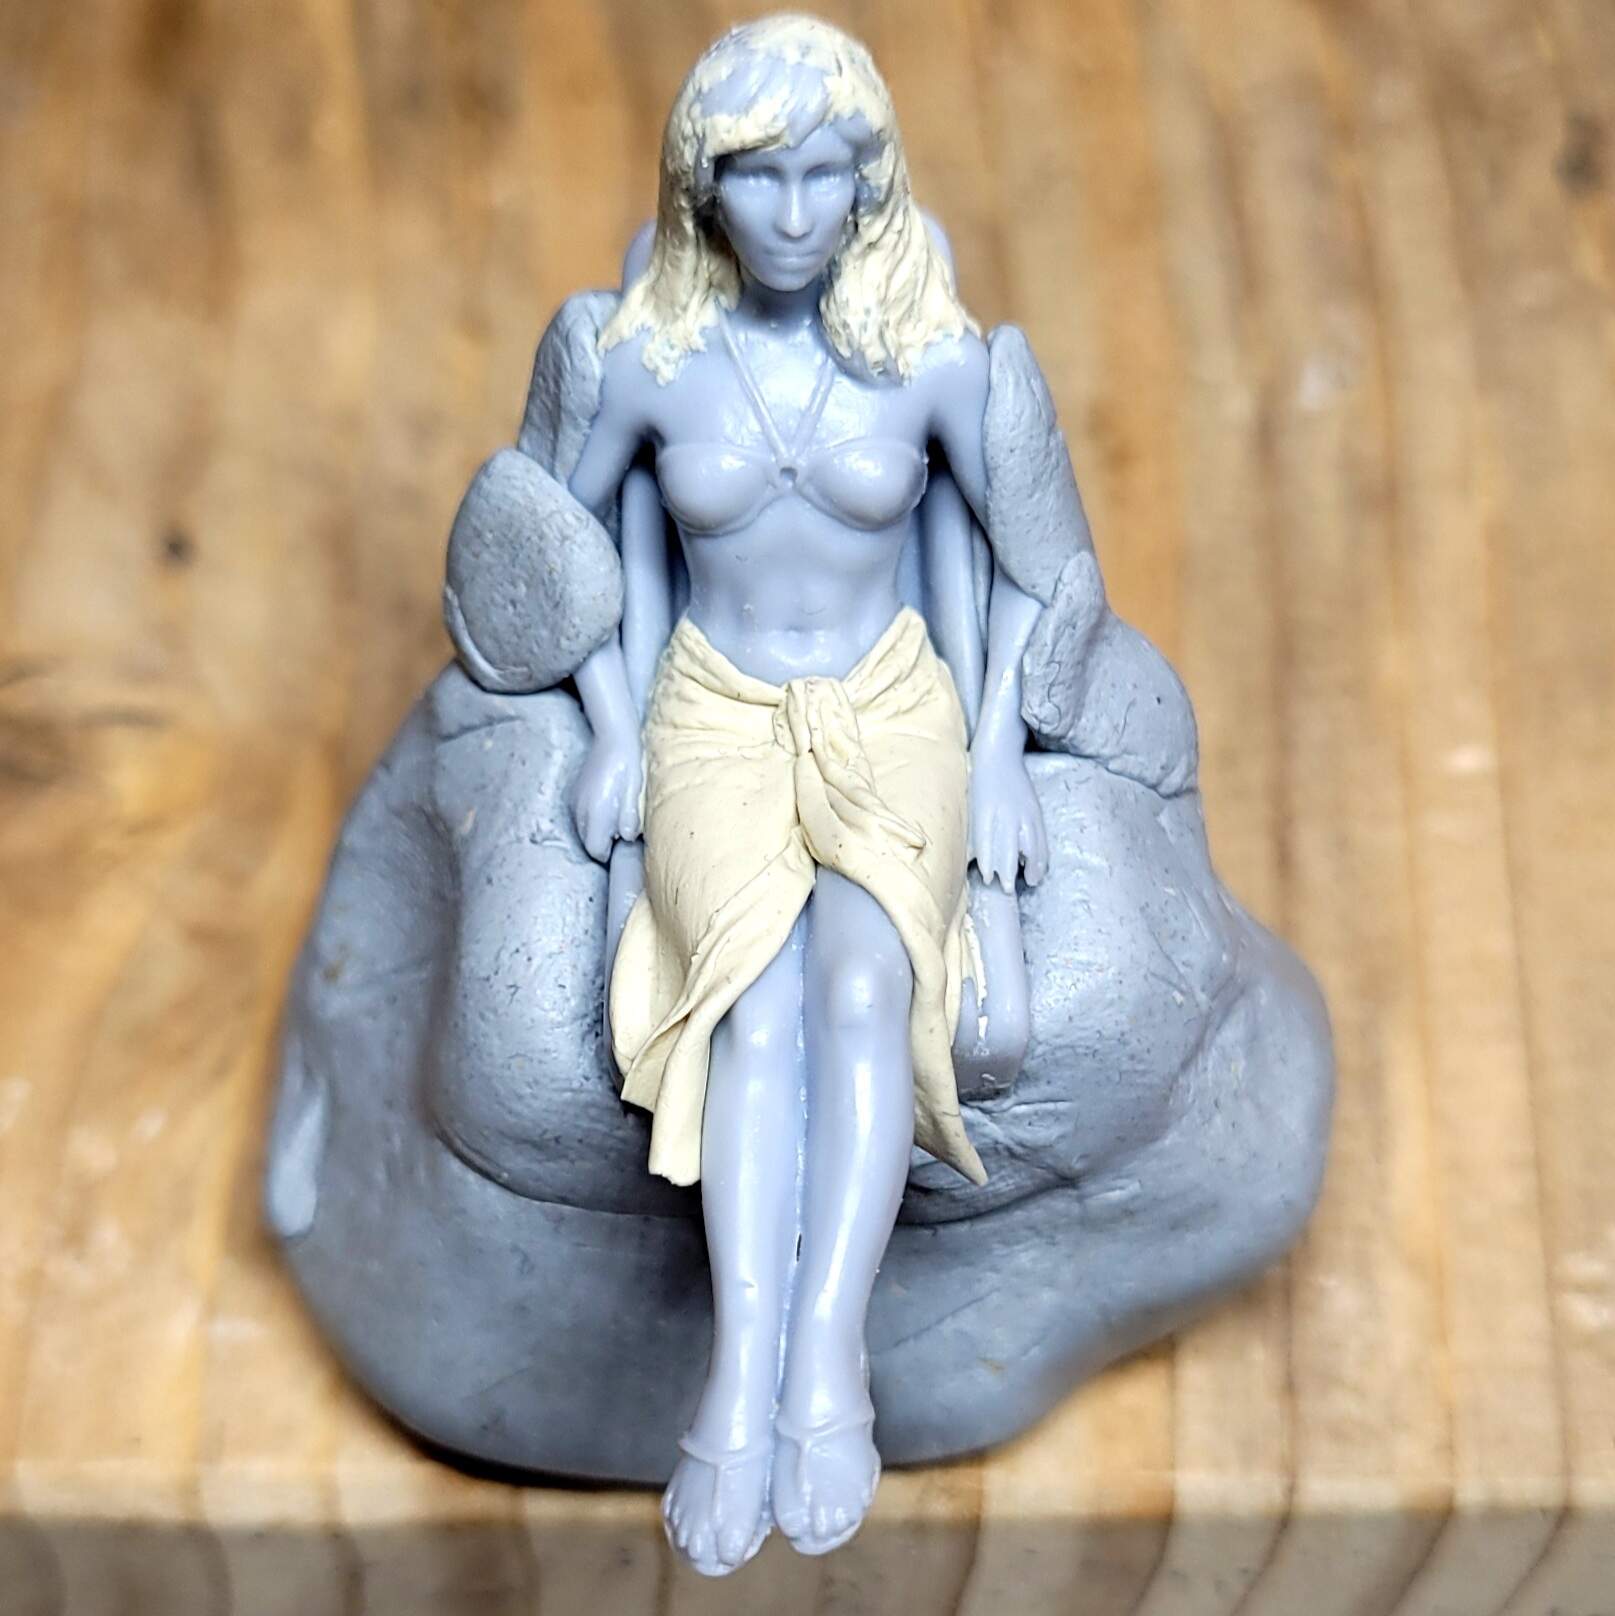
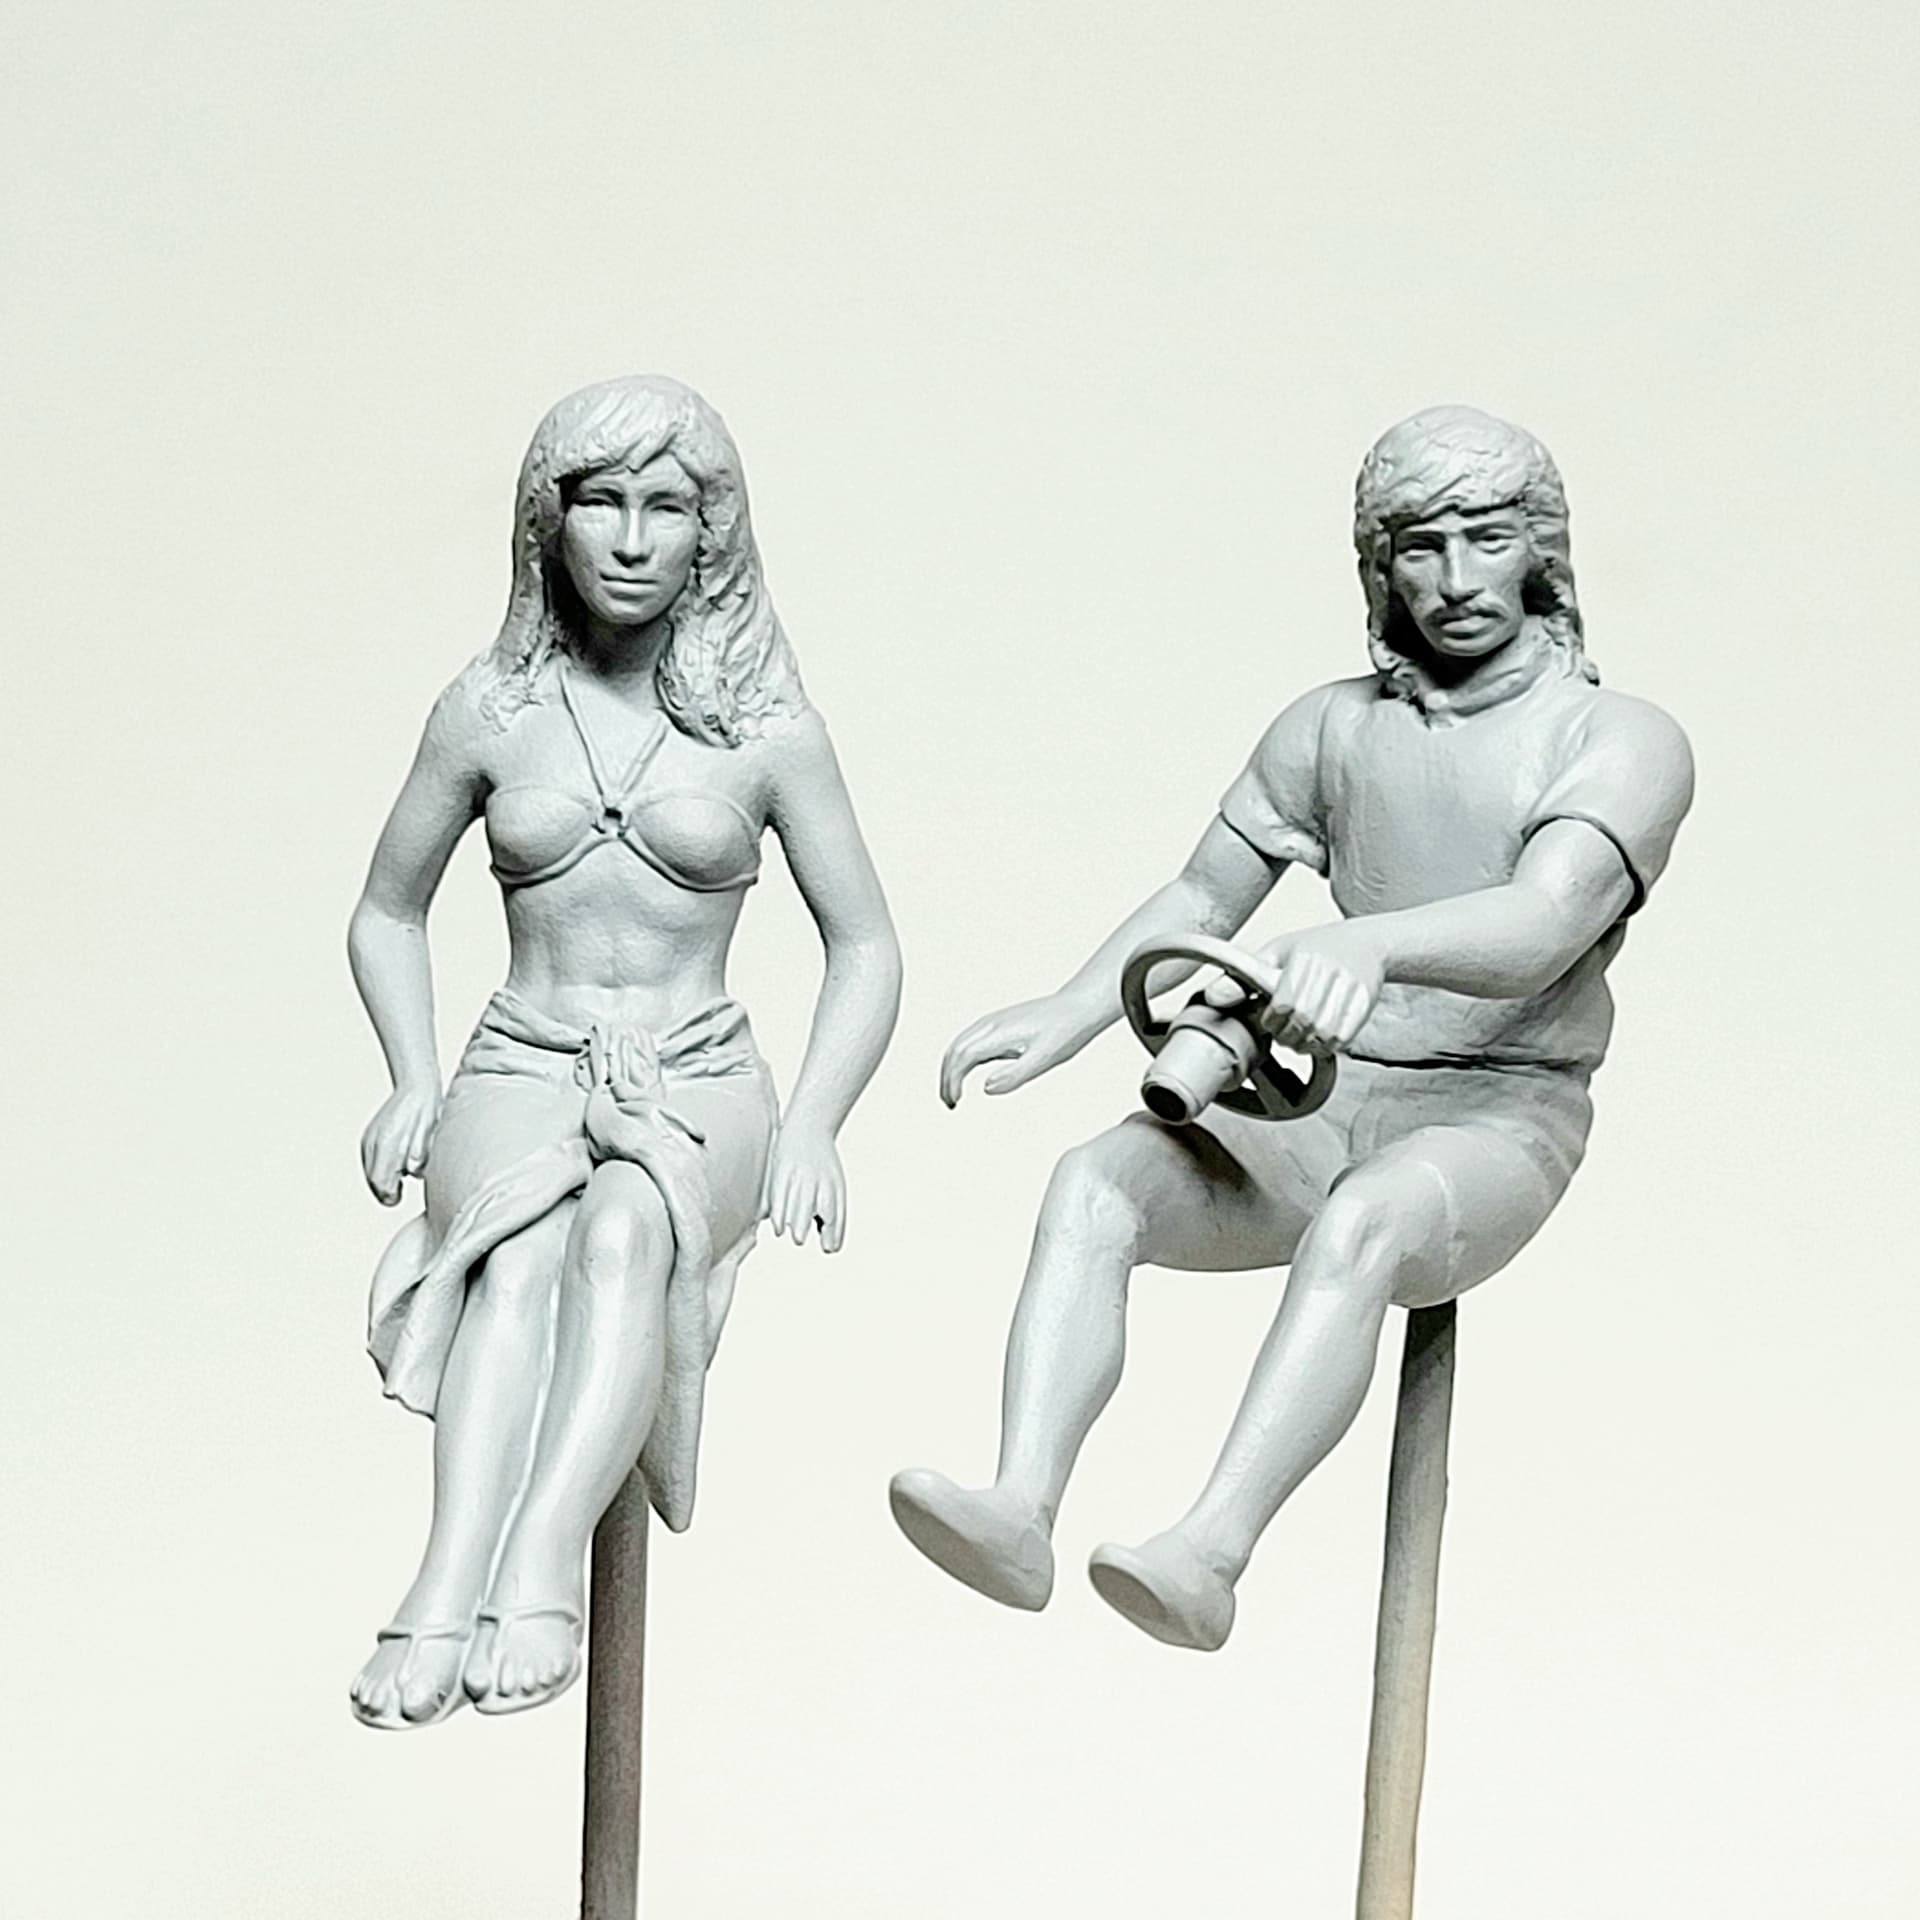
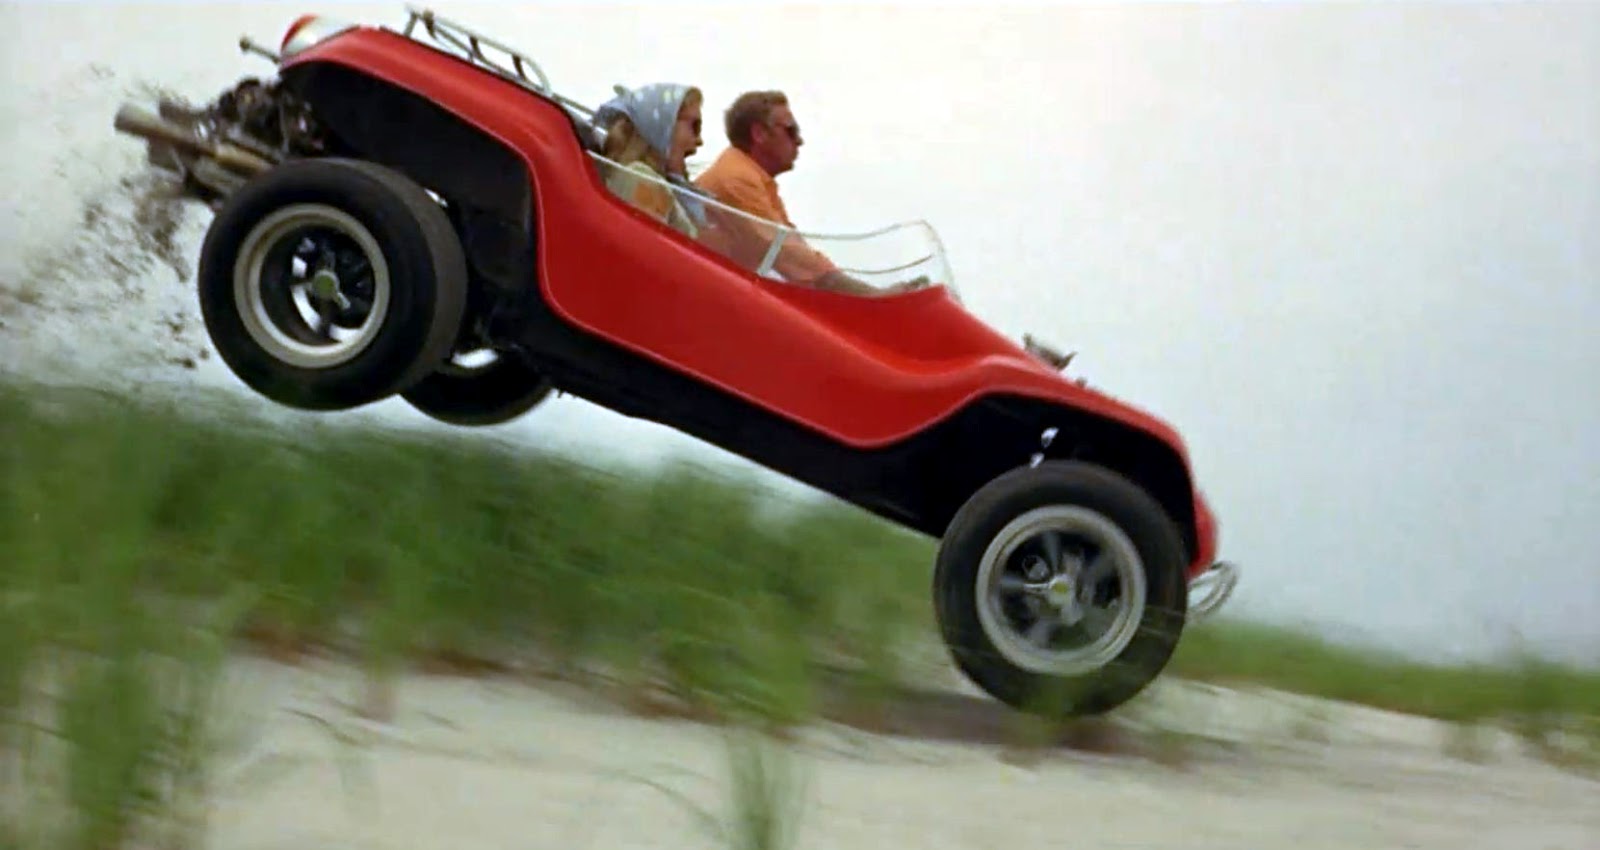
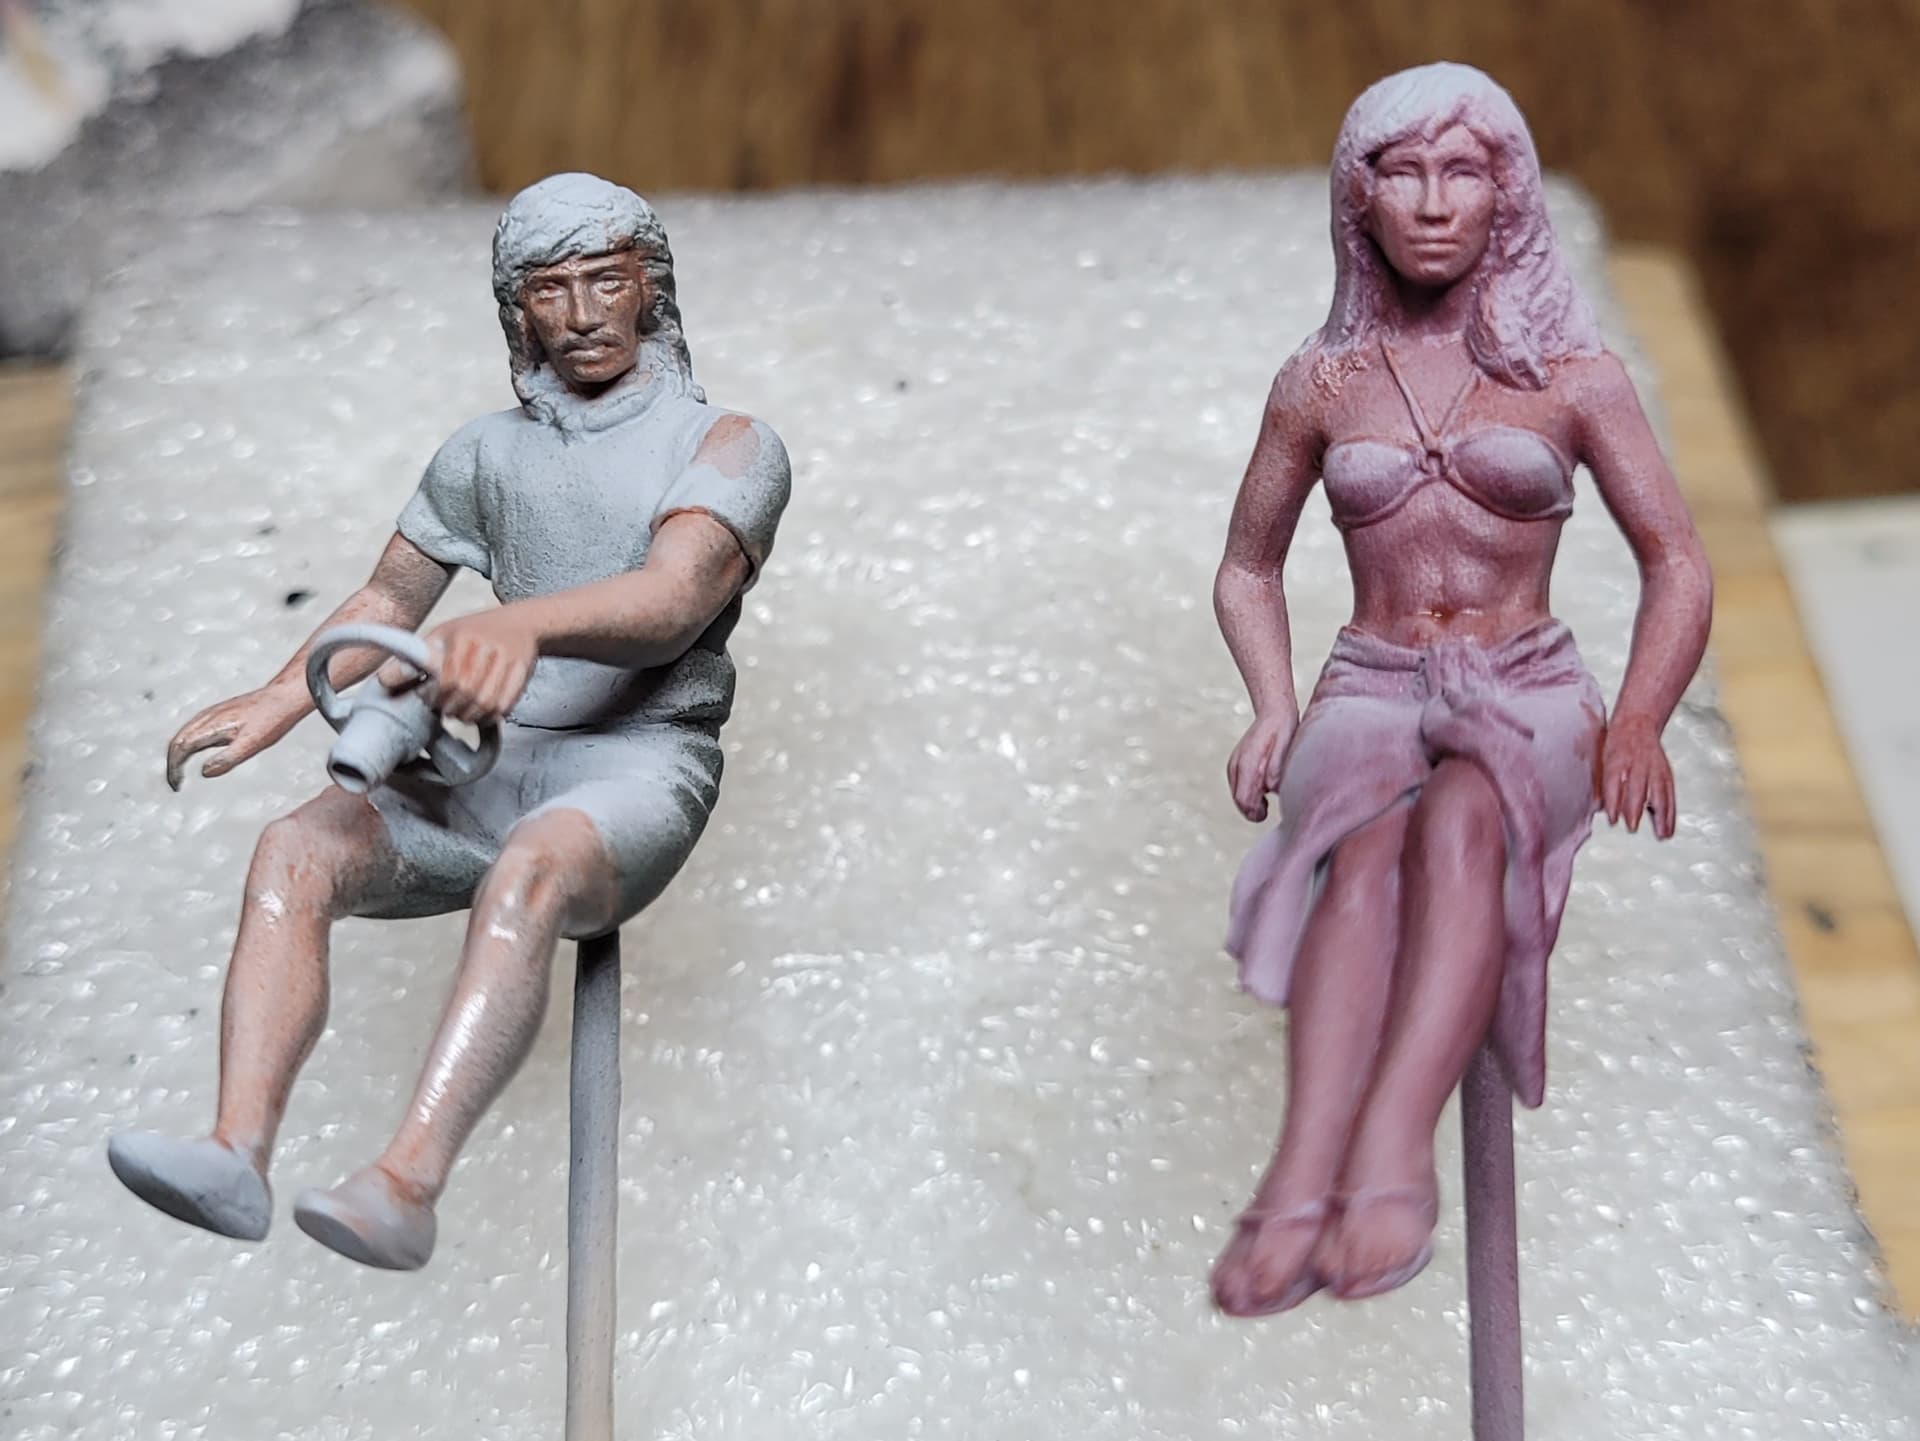
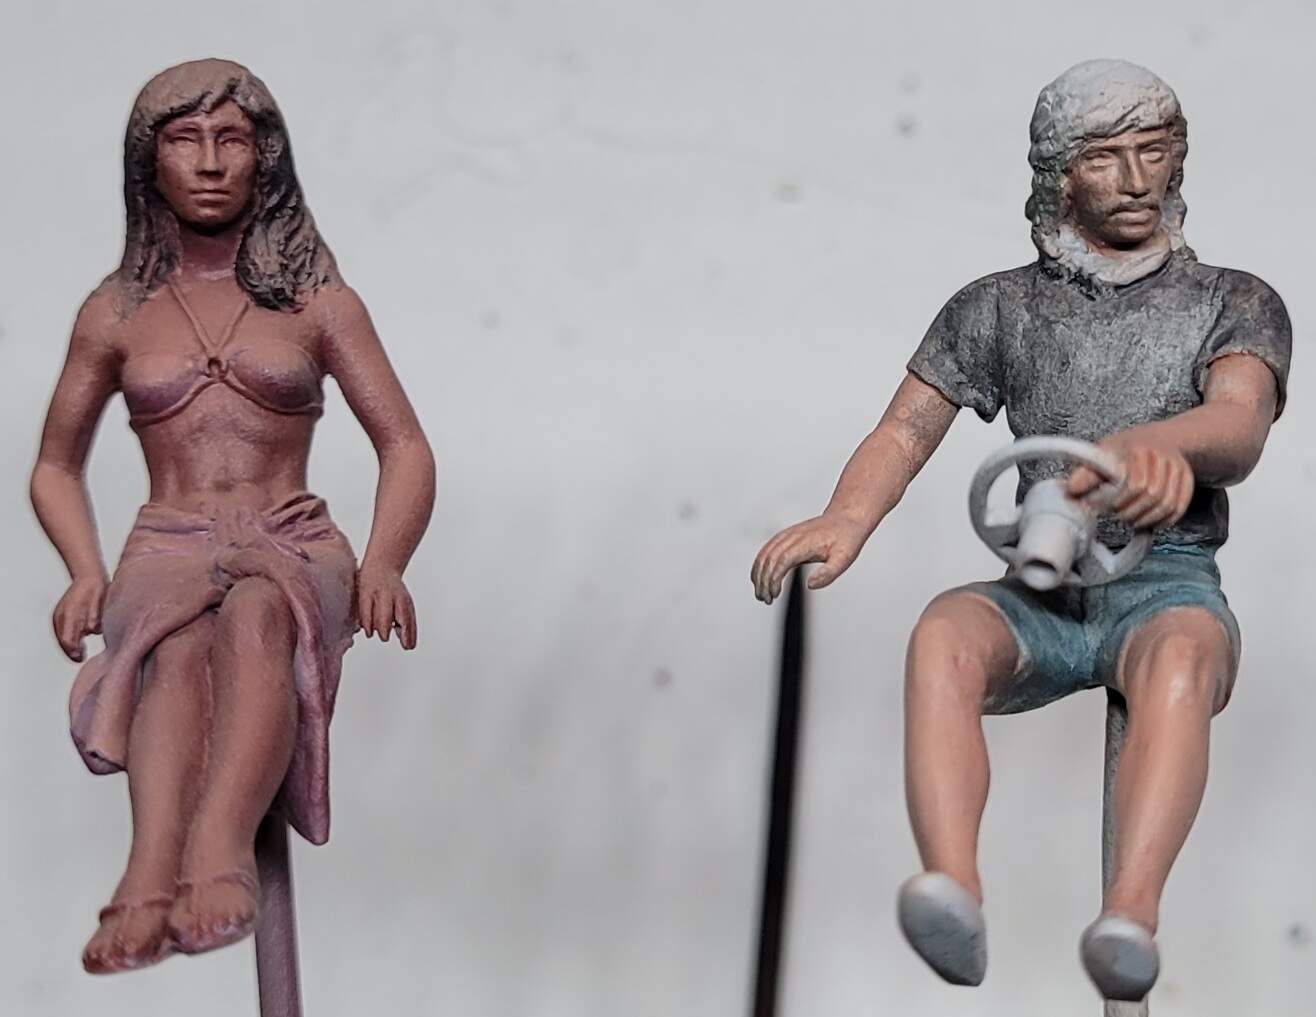
I’d also recognised by now, from photos of real Bugles, and from other builds of this kit, that the figures sit too high in the vehicle. Part of the solution was to remove material from the backs of their legs and bums. To accommodate the raised floor and to sit them lower it’s necessary to alter the angle of the lower legs so that their feet are takes higher.

For her legs, being joined together, I was able to drill into the backs of the knees and insert wedges to straighten them a little.

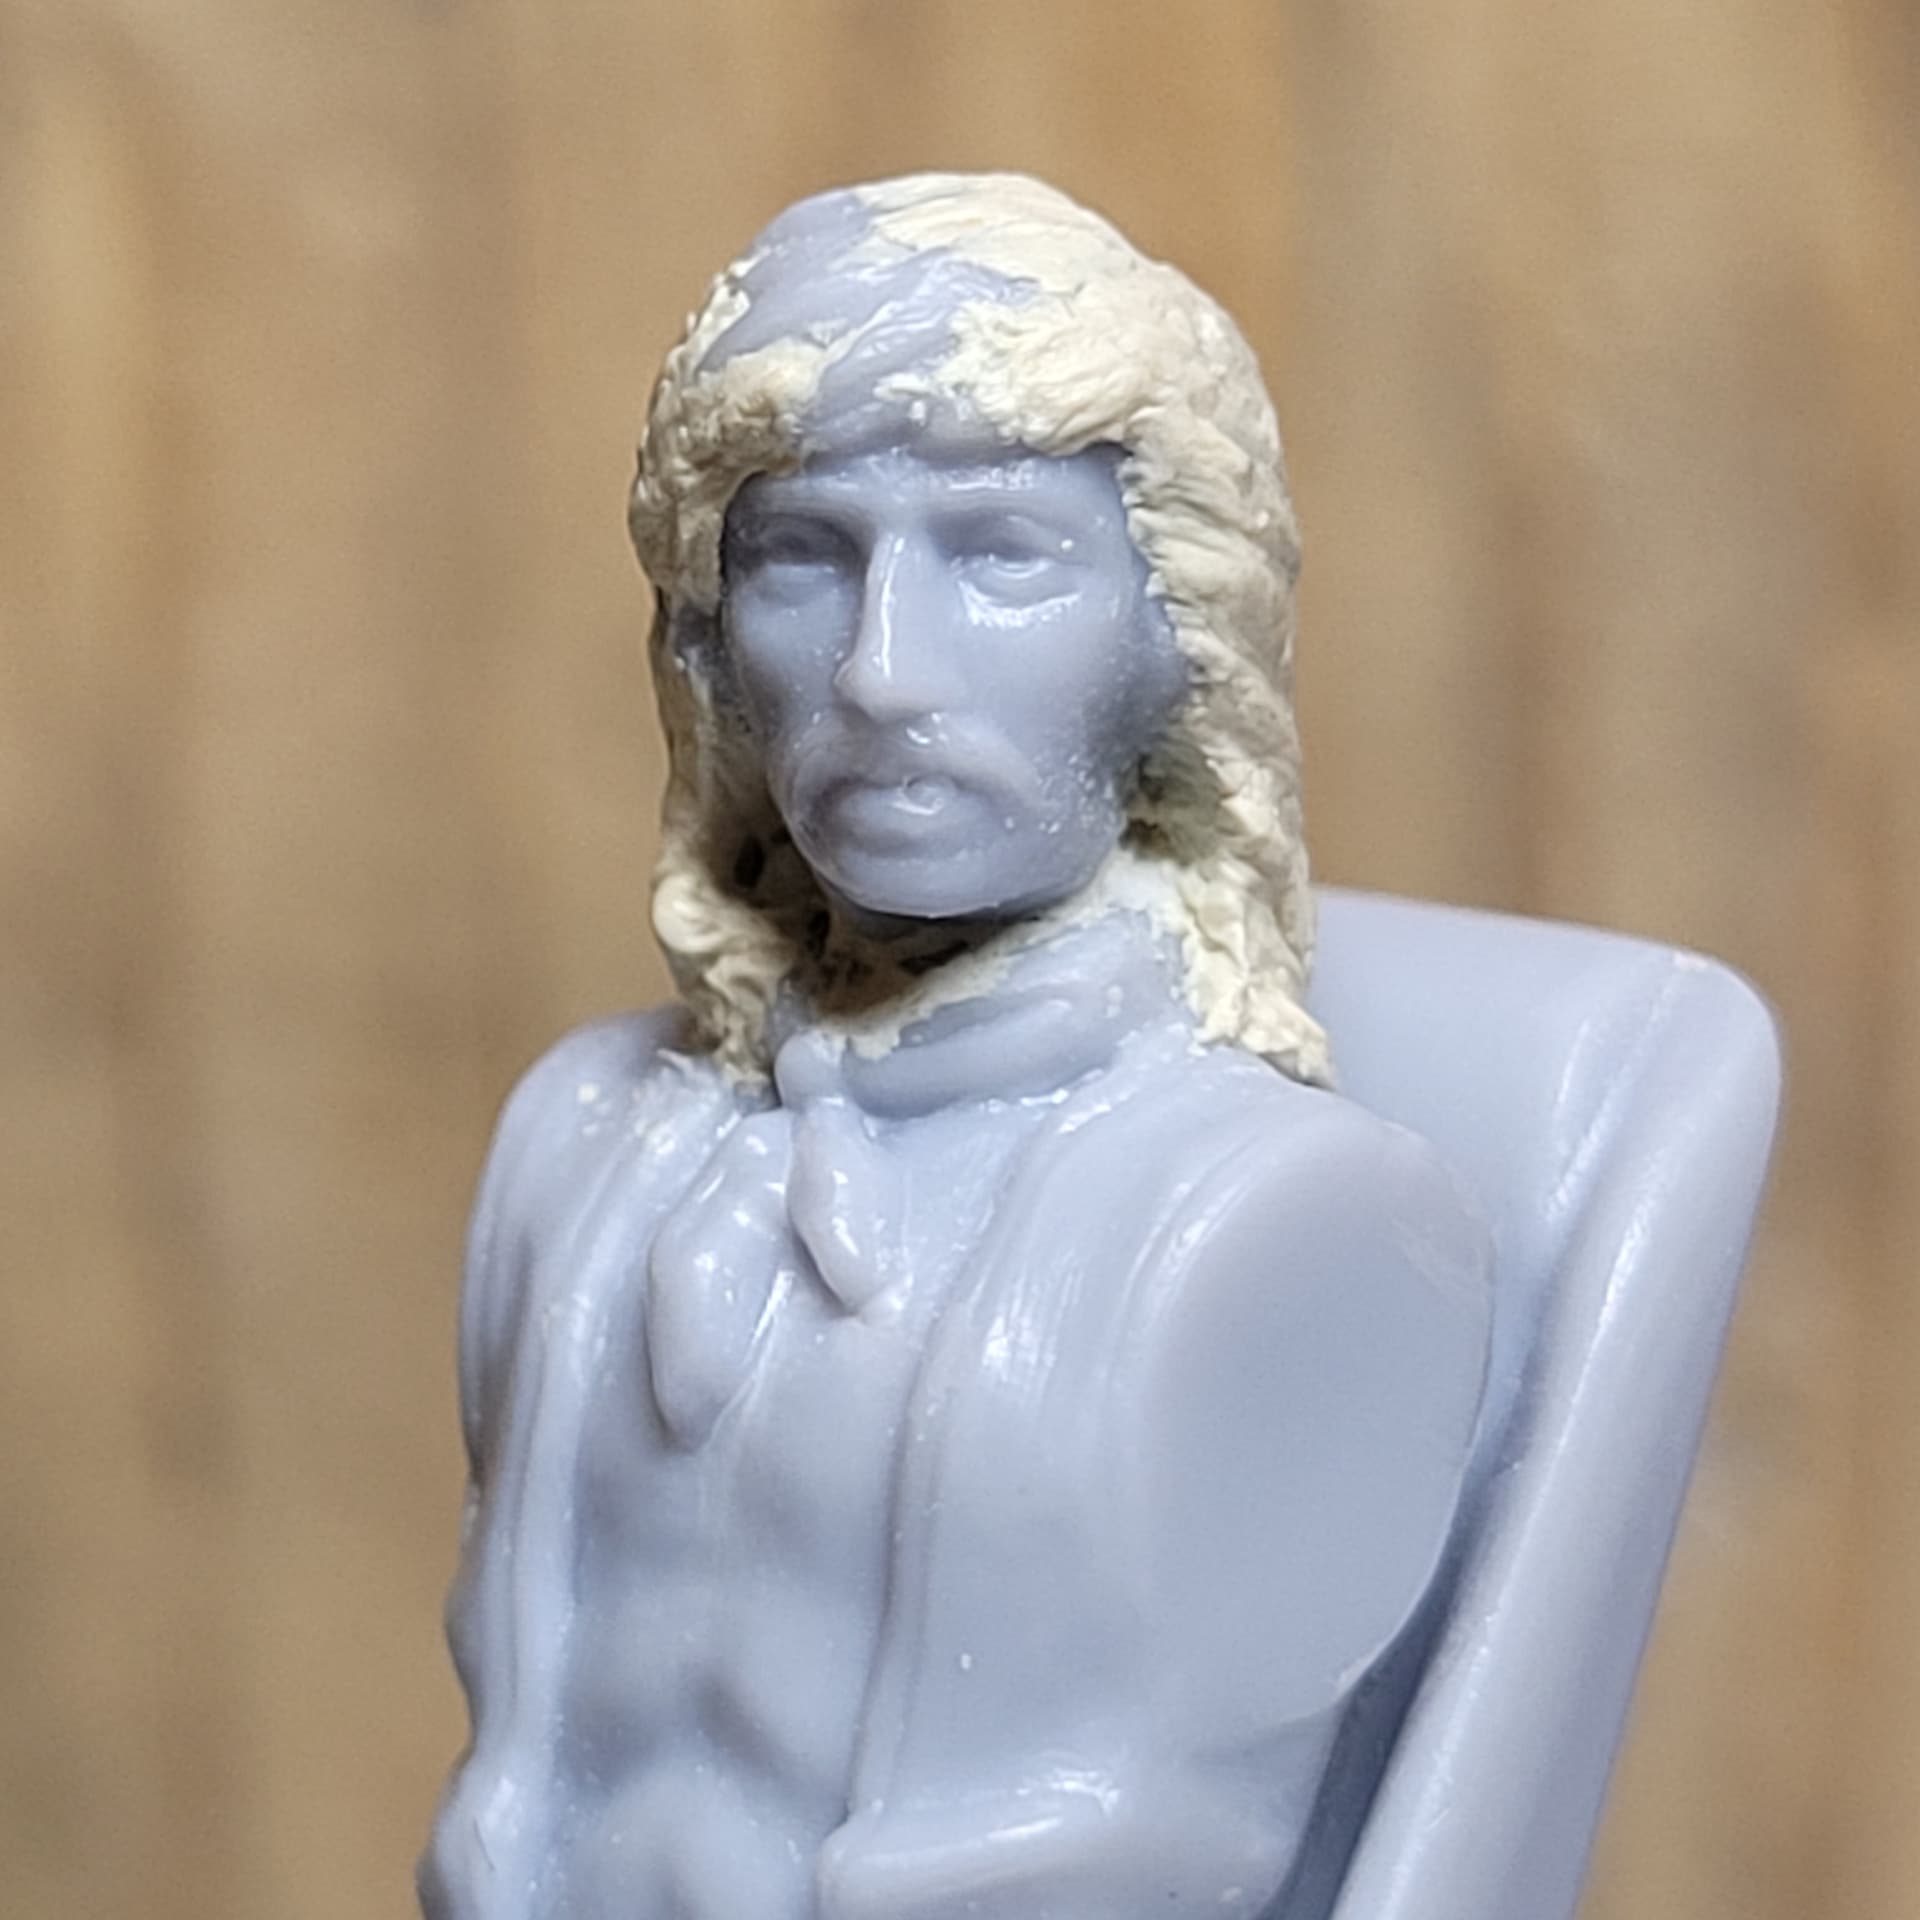
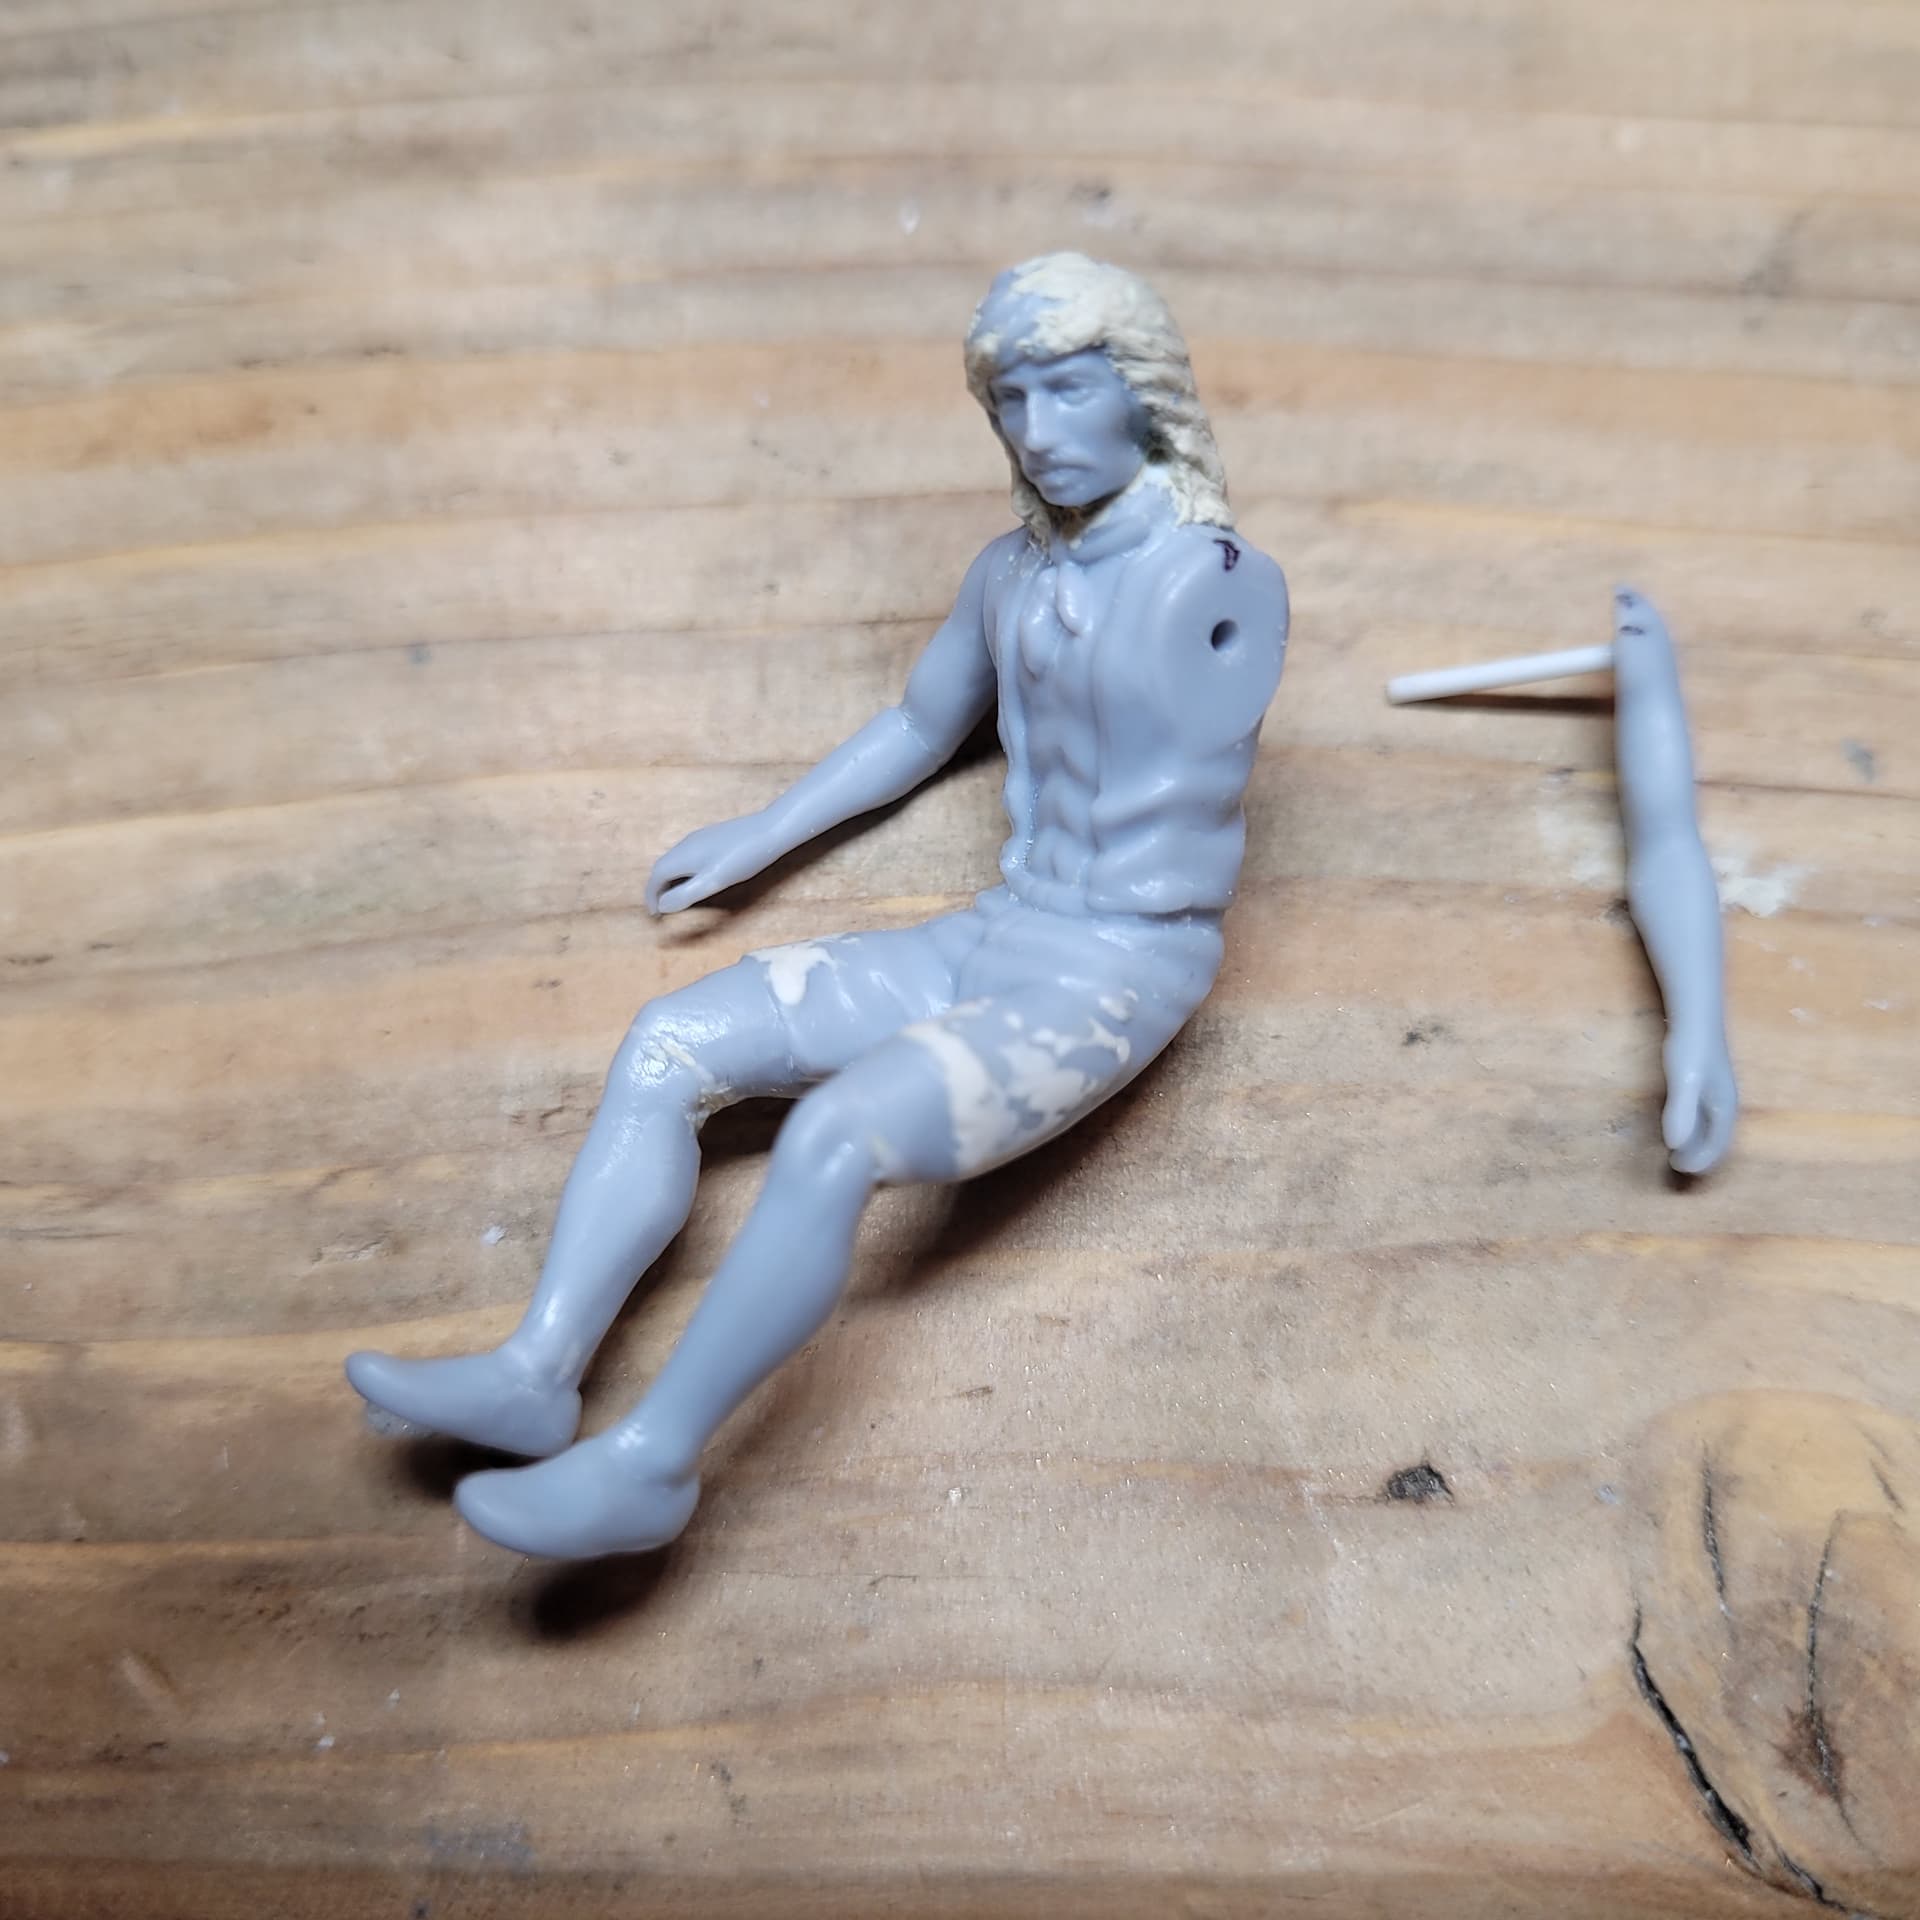
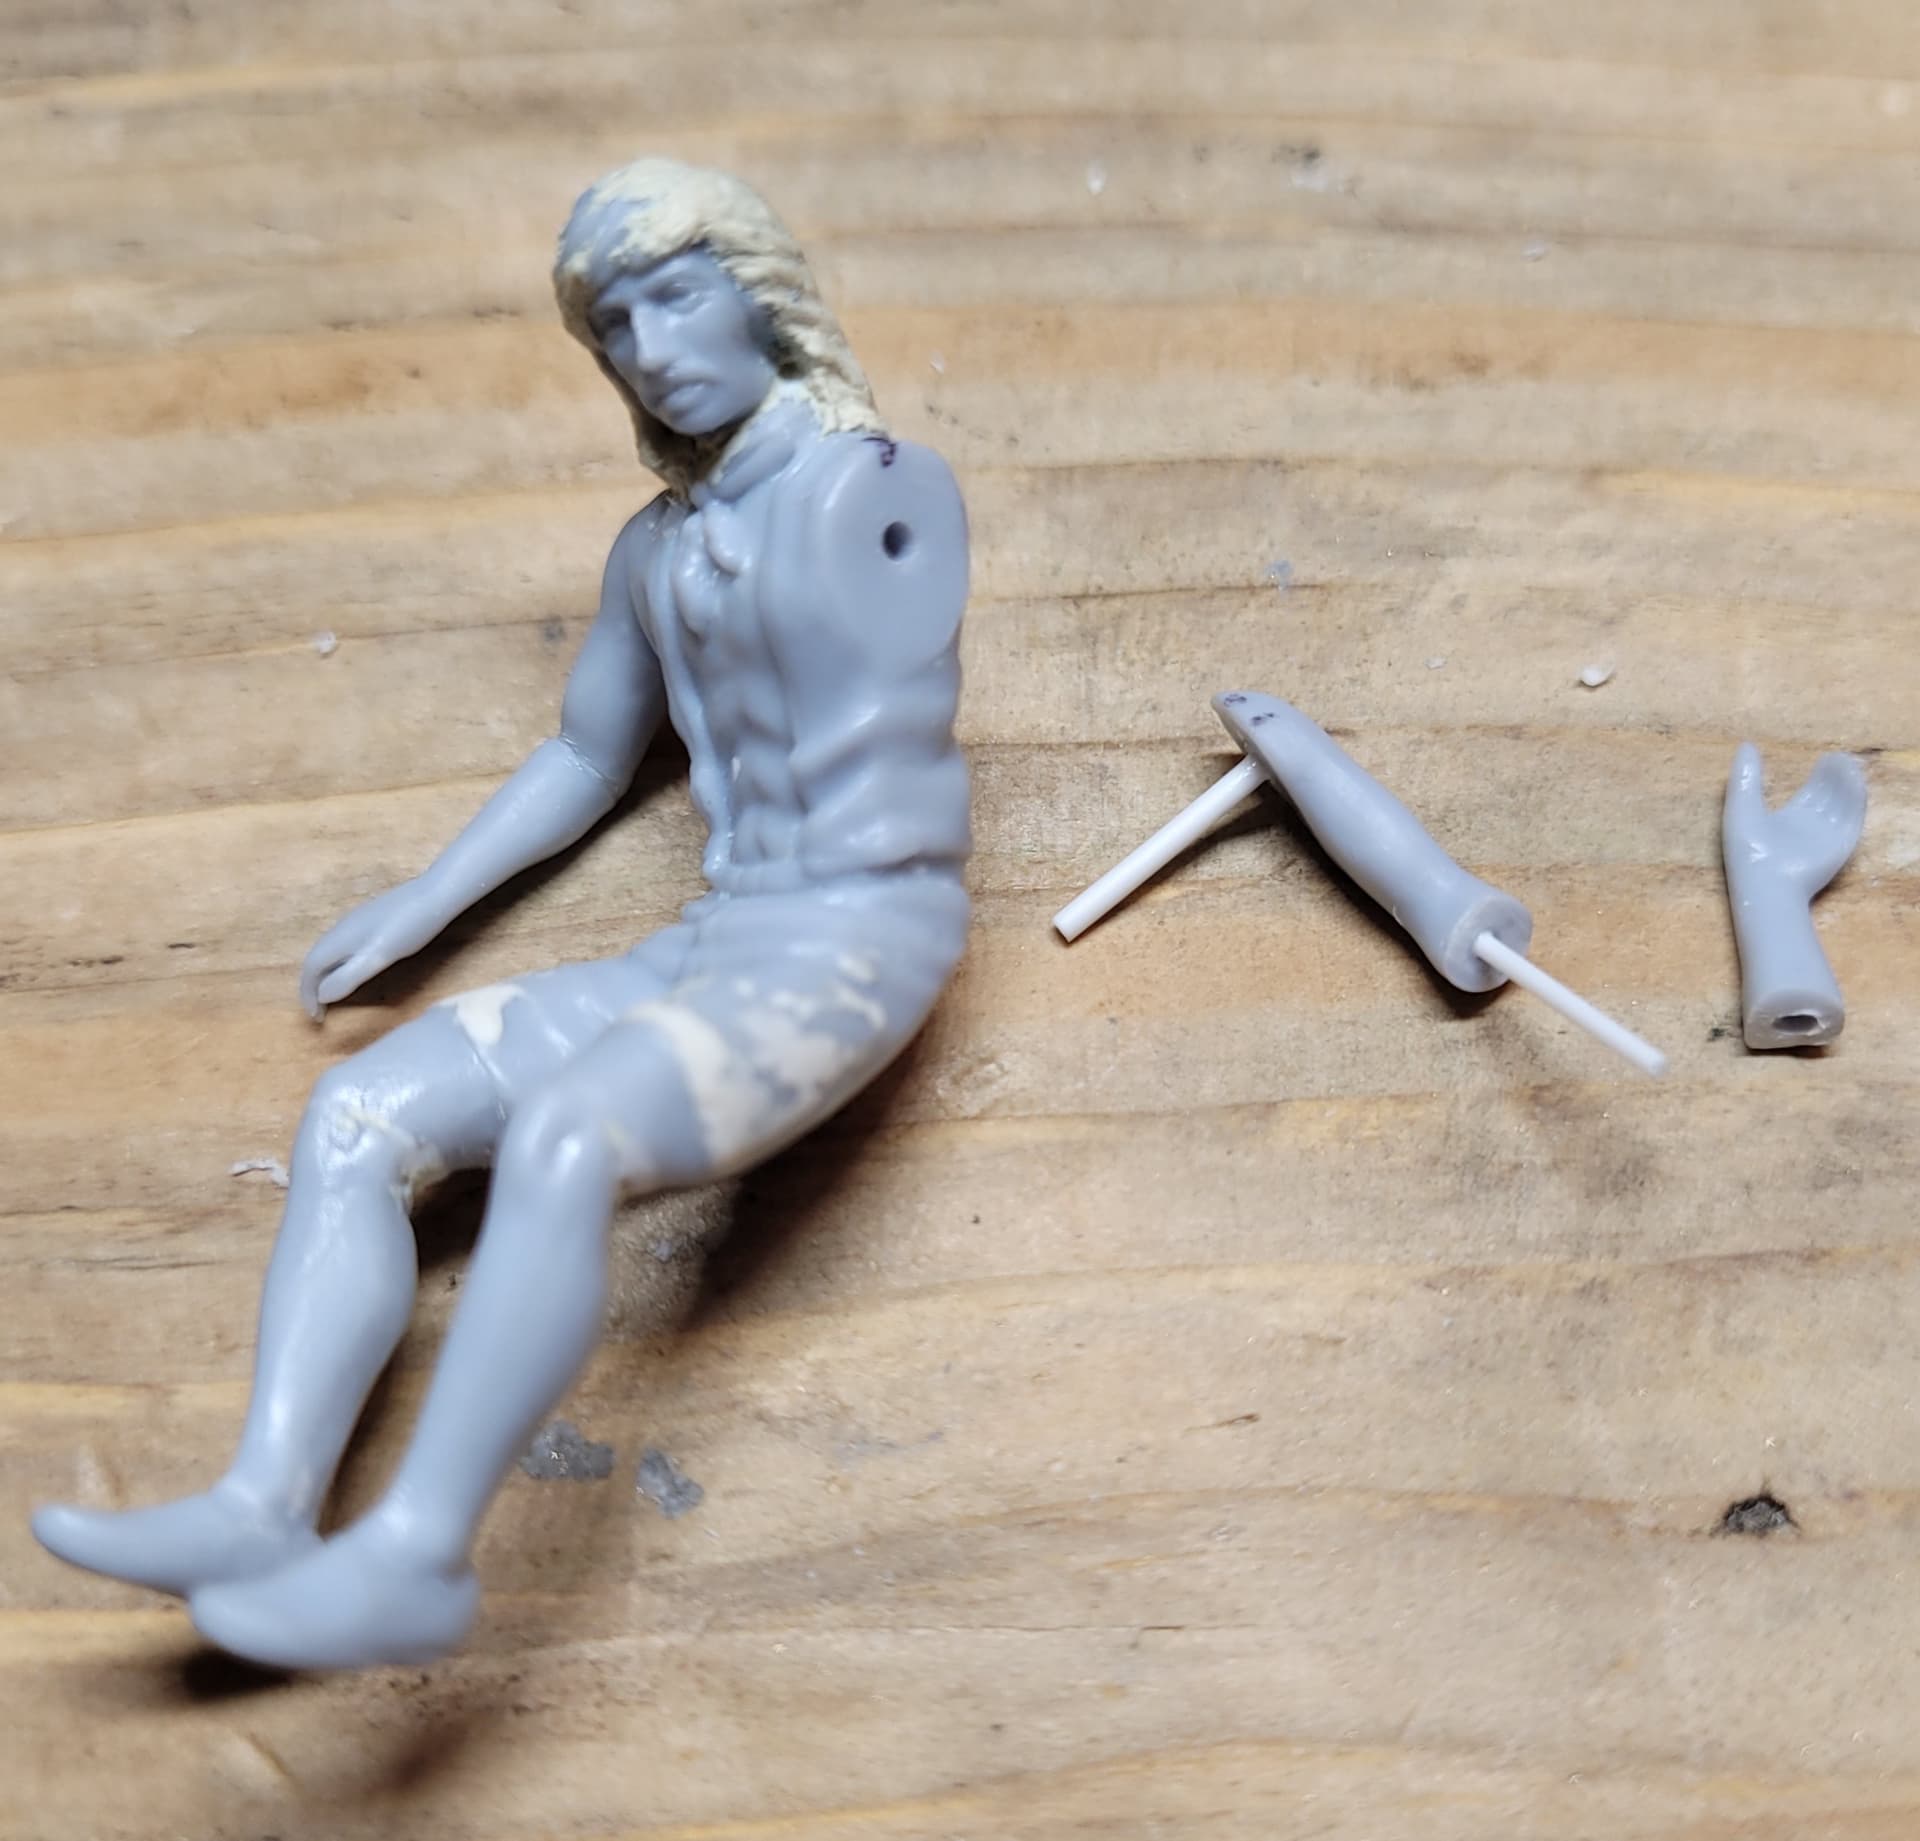
Doing the same on his legs resulted in one snapping off when the cement was applied, so a bit more work was required.


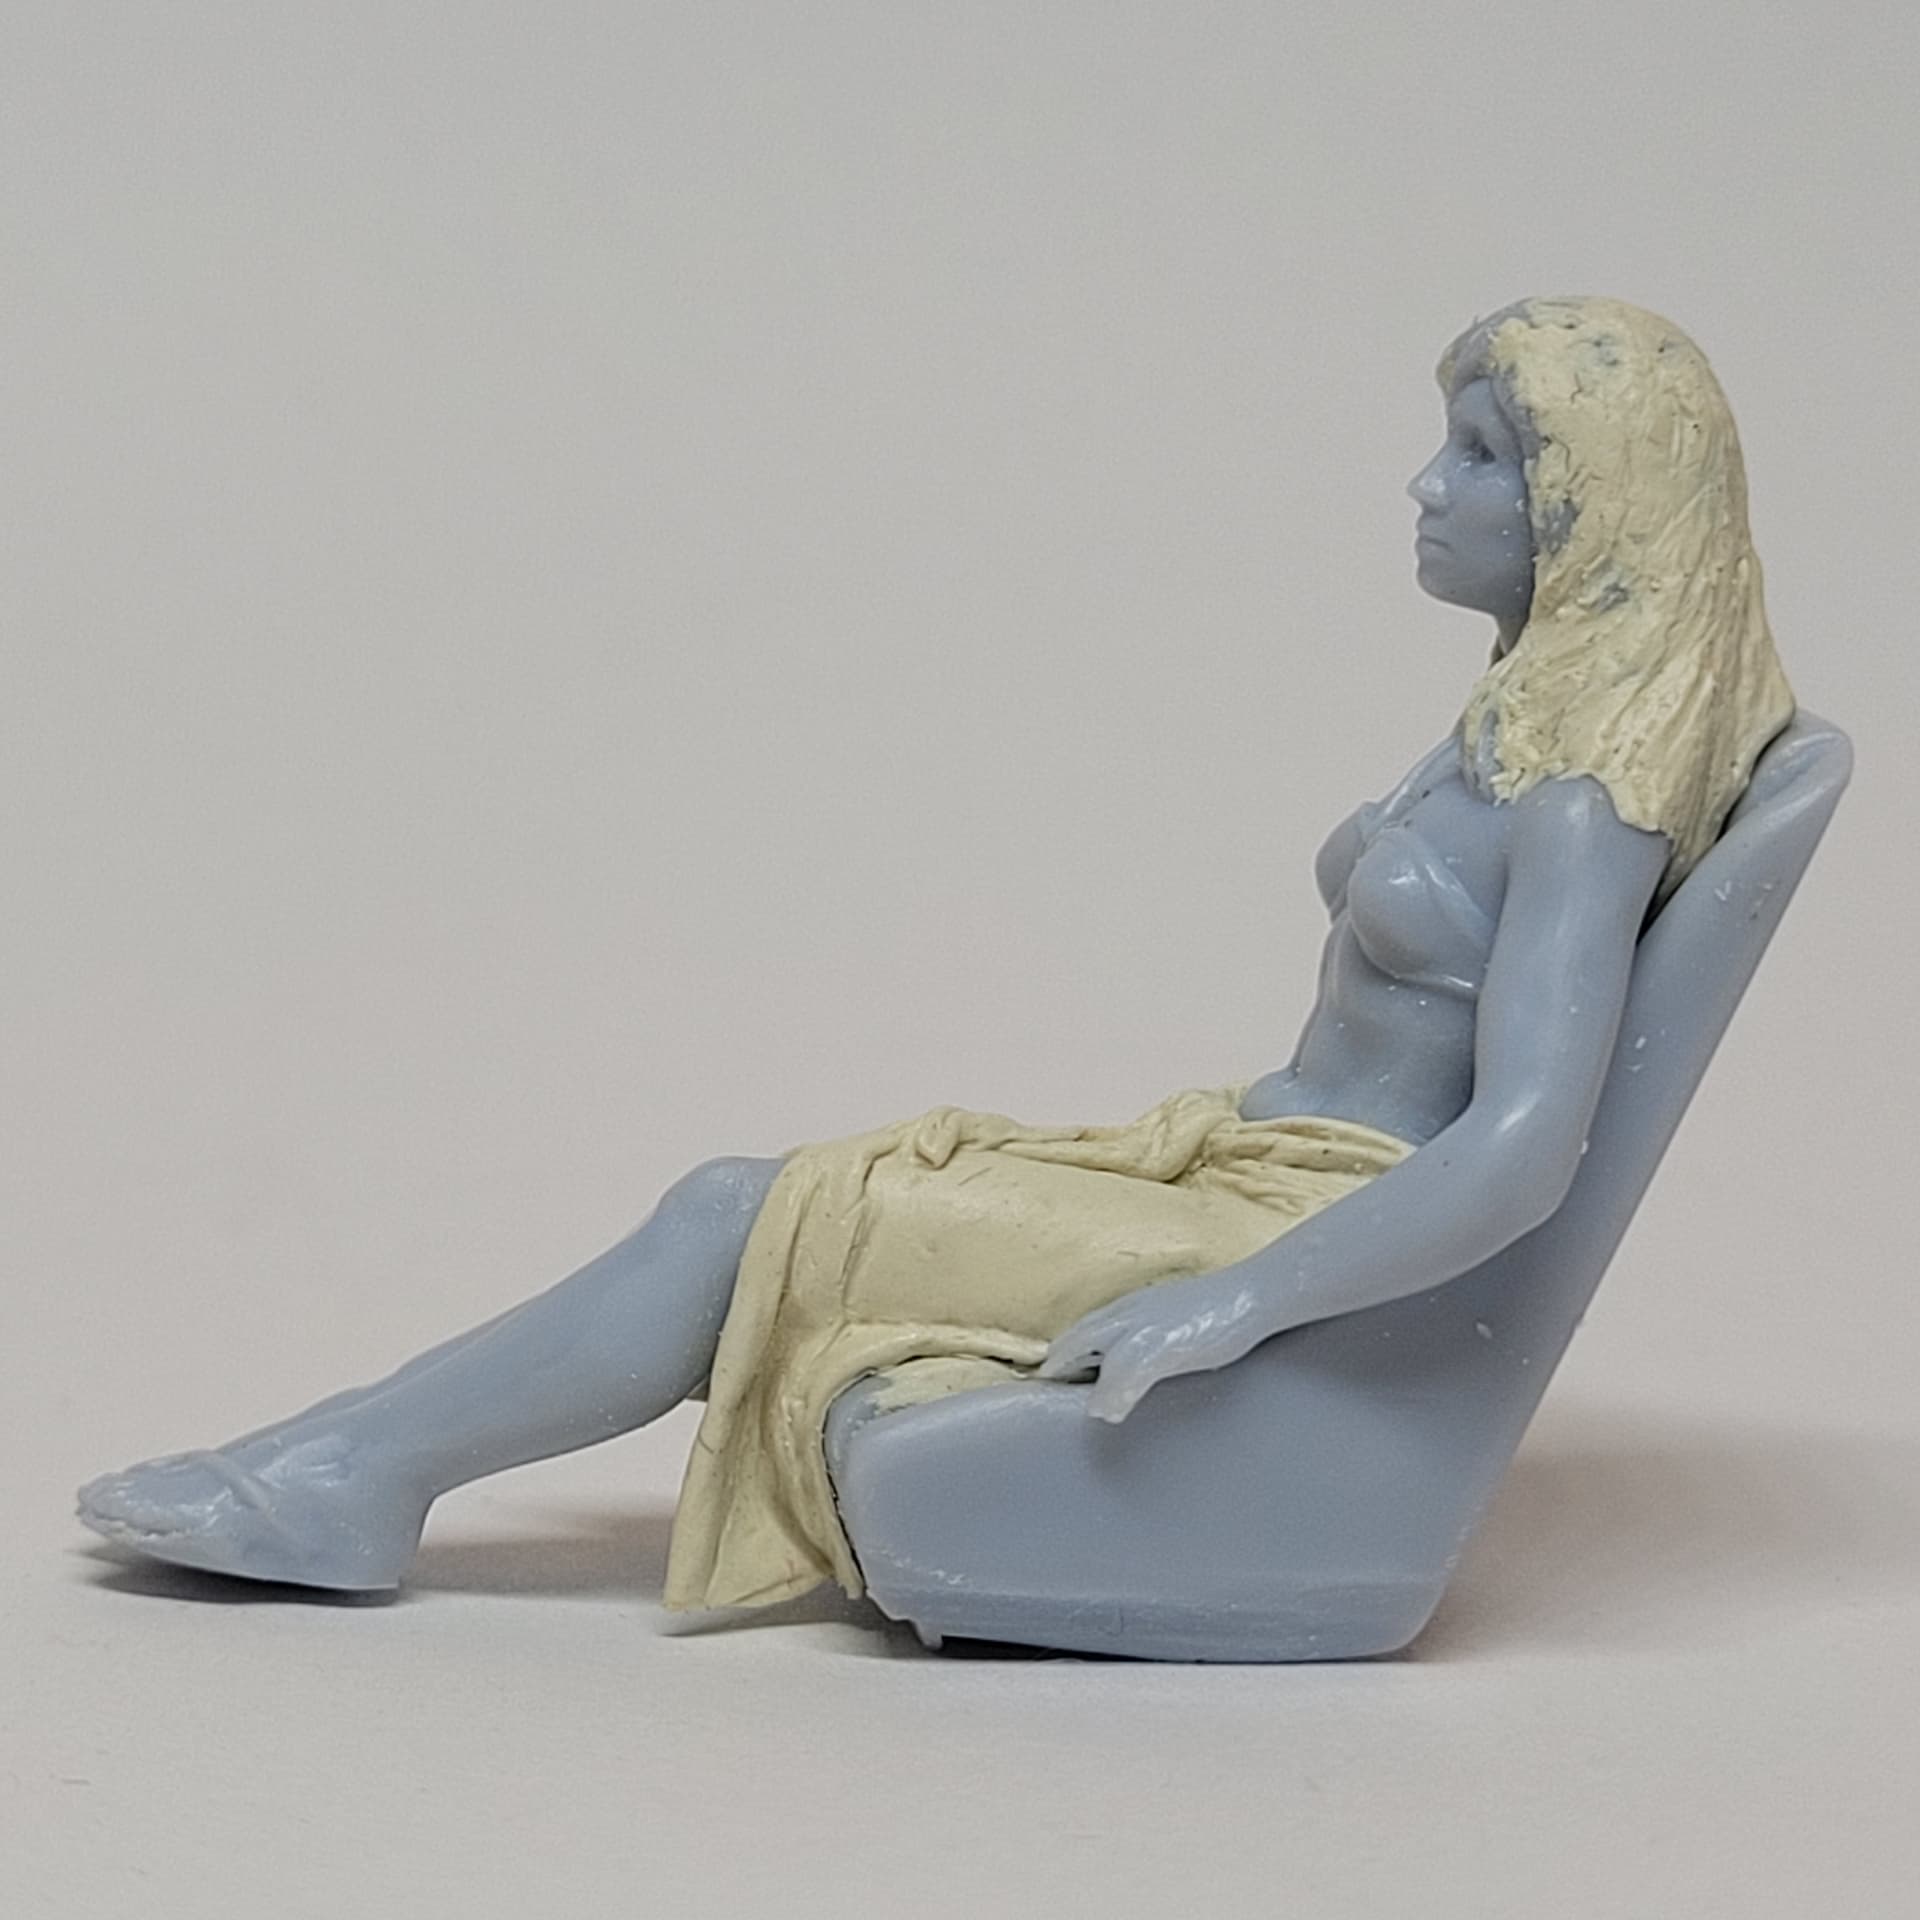
Not really visible, but a lot of work was done on the seats, scooping out material under their bums and backs, so that they actually appear to sit in seats that are made from something soft instead of perching on top. The seats and the figures don’t really fit together well, probably two sets of seats should have been offered, or the figures should have dead flat behinds.

5 Likes

Mathew
Semi new to the forum and just catching up. Some very nice detail work on the beach Buggy and tackling the figures - an extra added plus.
Peter

1 Like

Thanks Peter,
I’m sort of new to the Auto forum too, normally over on the armour forum.

The figures are quite nicely sculpted, especially for 1970s Airfix, but both share a problem which I think is apparent from a lot of the builds of this kit. Both have their heads tilted back so that they look like they’re staring up into the sky, particularly the woman, who as a result looks like she’s a bit out of it.

I did the same with the woman’s head as with the legs, drilling into the back of the neck and tilting the head forward, then inserting styrene wedges into the holes to maintain the shape. To cover up the work I added more hair using MagicSculp. I decided to also give her a sarong, so she’s not just in her bikini, and found this photo for reference.


He was simpler because he has shorter hair and a neck scarf, so I removed the head completely and tilted it down and turned it to the left. He also got longer hair.


Test fitting to ensure that she remains seated but with her feet on the ground.

8 Likes

Mathew, The sarong addition is simply brilliant! Exceptional work all-round!
—mike

1 Like

Well, more than just tolerable, this thread is wonderful so far Matthew! Great detailing and mods on the buggy, and truly amazing work on the figures to get them into a more realistic pose. And then adding features and clothing!

Thanks for sharing your thoughts and so much detail on your processes, Love it!!

Cheers, D

1 Like

Thanks guys, thanks for the nice feedback.

With her arms moulded in place, she’s pretty much set in place, gripping the edges of her seat, but his separate arms are easier to change into something other than lightly touching the steering wheel.

This took a lot of fiddling to get the seat the right height and him low enough in relation to the bodywork. Material was shaved off the bottom of the seat, some more off the seat cushion and his backside, and then about 1.5mm was added by cementing two strips around the bottom of the body work to raise it off the floor pan a little.

The top of the arm was reshaped a bit then holes drilled to take plastic rod to keep it at the right angle.
This is checking his arm pose looks natural by superimposing him over a photo of me.

Here he is bluetacked into the seat with his arm taped in position while the glue sets.

One that was set (everything takes 24 hours these days…) I was going to just pivot the other arm and set the angle later:

But the angle of the hand was also wrong, so his lower arm was also severed:

To get the pose right a brass rod was inserted as the steering column, right through to the steering rack.

Also visible in the photo is some of the interior details and more treadplate in the luggage bay.

I missed taking photos at this point, but with the steering column the right length, the driver in place (lots of bluetack), and the end of the steering wheel drilled out, I was able to cement his arm and hand in the correct position. After another 24 hours small cuts were made in his knuckles so that his fingers could be bent around the wheel, and some time later the knuckle cuts were filled with Mr Dissolved Putty.

Then I thought it would be a bit more normal if he was wearing a T shirt instead of that waistcoat, so that was added with MagicSculp. His long scarf / cravat was shortened into something more like a snood. Here they both are under grey primer:

9 Likes

Very nice sculpting, on the two figures. Love it.

2 Likes

The figures look great.

Have you thought about also posting them in the figure campaign?

3 Likes

Thanks for the feedback. :+1:
Having sort of updated things with the figures, making them a bit less retro - well, he does have a moustache, which is unusual these days, really should have turned it into a beard - I thought I should update the safety features a bit. The old Bugle buggy had a single roll bar behind the passengers’ heads, but nothing in front, and it makes it look a bit rear / top heavy in my view. Although they look cool with nothing at all, it does look dangerous - this photo of Steve McQueen and Faye Dunaway in “The Thomas Crown Affair” kind of gives me the heebygeebies. If you zoom in you can see she’s screaming…


So using this kind of thing as a model…
powder_coated_roll_cage
and after a lot of experimenting and bluetack, I managed to get something that fits into place. I epoxied small sections of brass tube into the body work to provide a secure anchor for the thinner rods of the roll cage. This made it much easier to fit it in place accurately. The cage is made from both tube and rod. The tubing is easier to bend, and I inserted plastic rod inside the tubes to prevent any kinking at the bends.

I then went ahead and primed the buggy parts.


9 Likes

Mathew,
Excellent fabrication job on that roll cage.

joel

2 Likes

I’m with Joel, lovely work on the roll cage. Getting that sorted and everything in primer is a big step forward!

Cheers, D

Oh ho ho man!! This is so frickin’ cool. Watching this one come to life.

1 Like

Mathew
Figures and the Buggy are looking mighty good.
Peter

1 Like

Thanks again for the positive comments.
I was looking for a sparkly green or turquoise finish on the bodywork, and came across “The Shifters” range from Vallejo, which I hadn’t seen before, so gave it a go.

As with other metallic paints it’s recommended to use a black base coat, and the paint is almost clear at first, and has to be built up. This does make the finish quite dark looking, even after enough coats to get the full colour. As you can see, this paint reflects different colours depending on the lighting.

Added some different shades of black and grey to the chassis, and painted some engine details.


The start of colours on the figures. She is definitely looking too purple here:


The colour wheel dictates that yellow will have to be used to move to a more reasonable skin tone. Thought I’d better collect a few reference photos for what I’m aiming for… clearly I won’t manage to reproduce this look, but it should help. :face_with_hand_over_mouth:

6 Likes

Mathew,
Great color choice for the Beach Buggy. And your application of the paint is perfect.

Looking forward to seeing how your tone corrections to the figures work out. Believe me I know just how hard it is as the few figures I’ve attempted over the years were complete and utter failures in every sense of the word.

joel

2 Likes