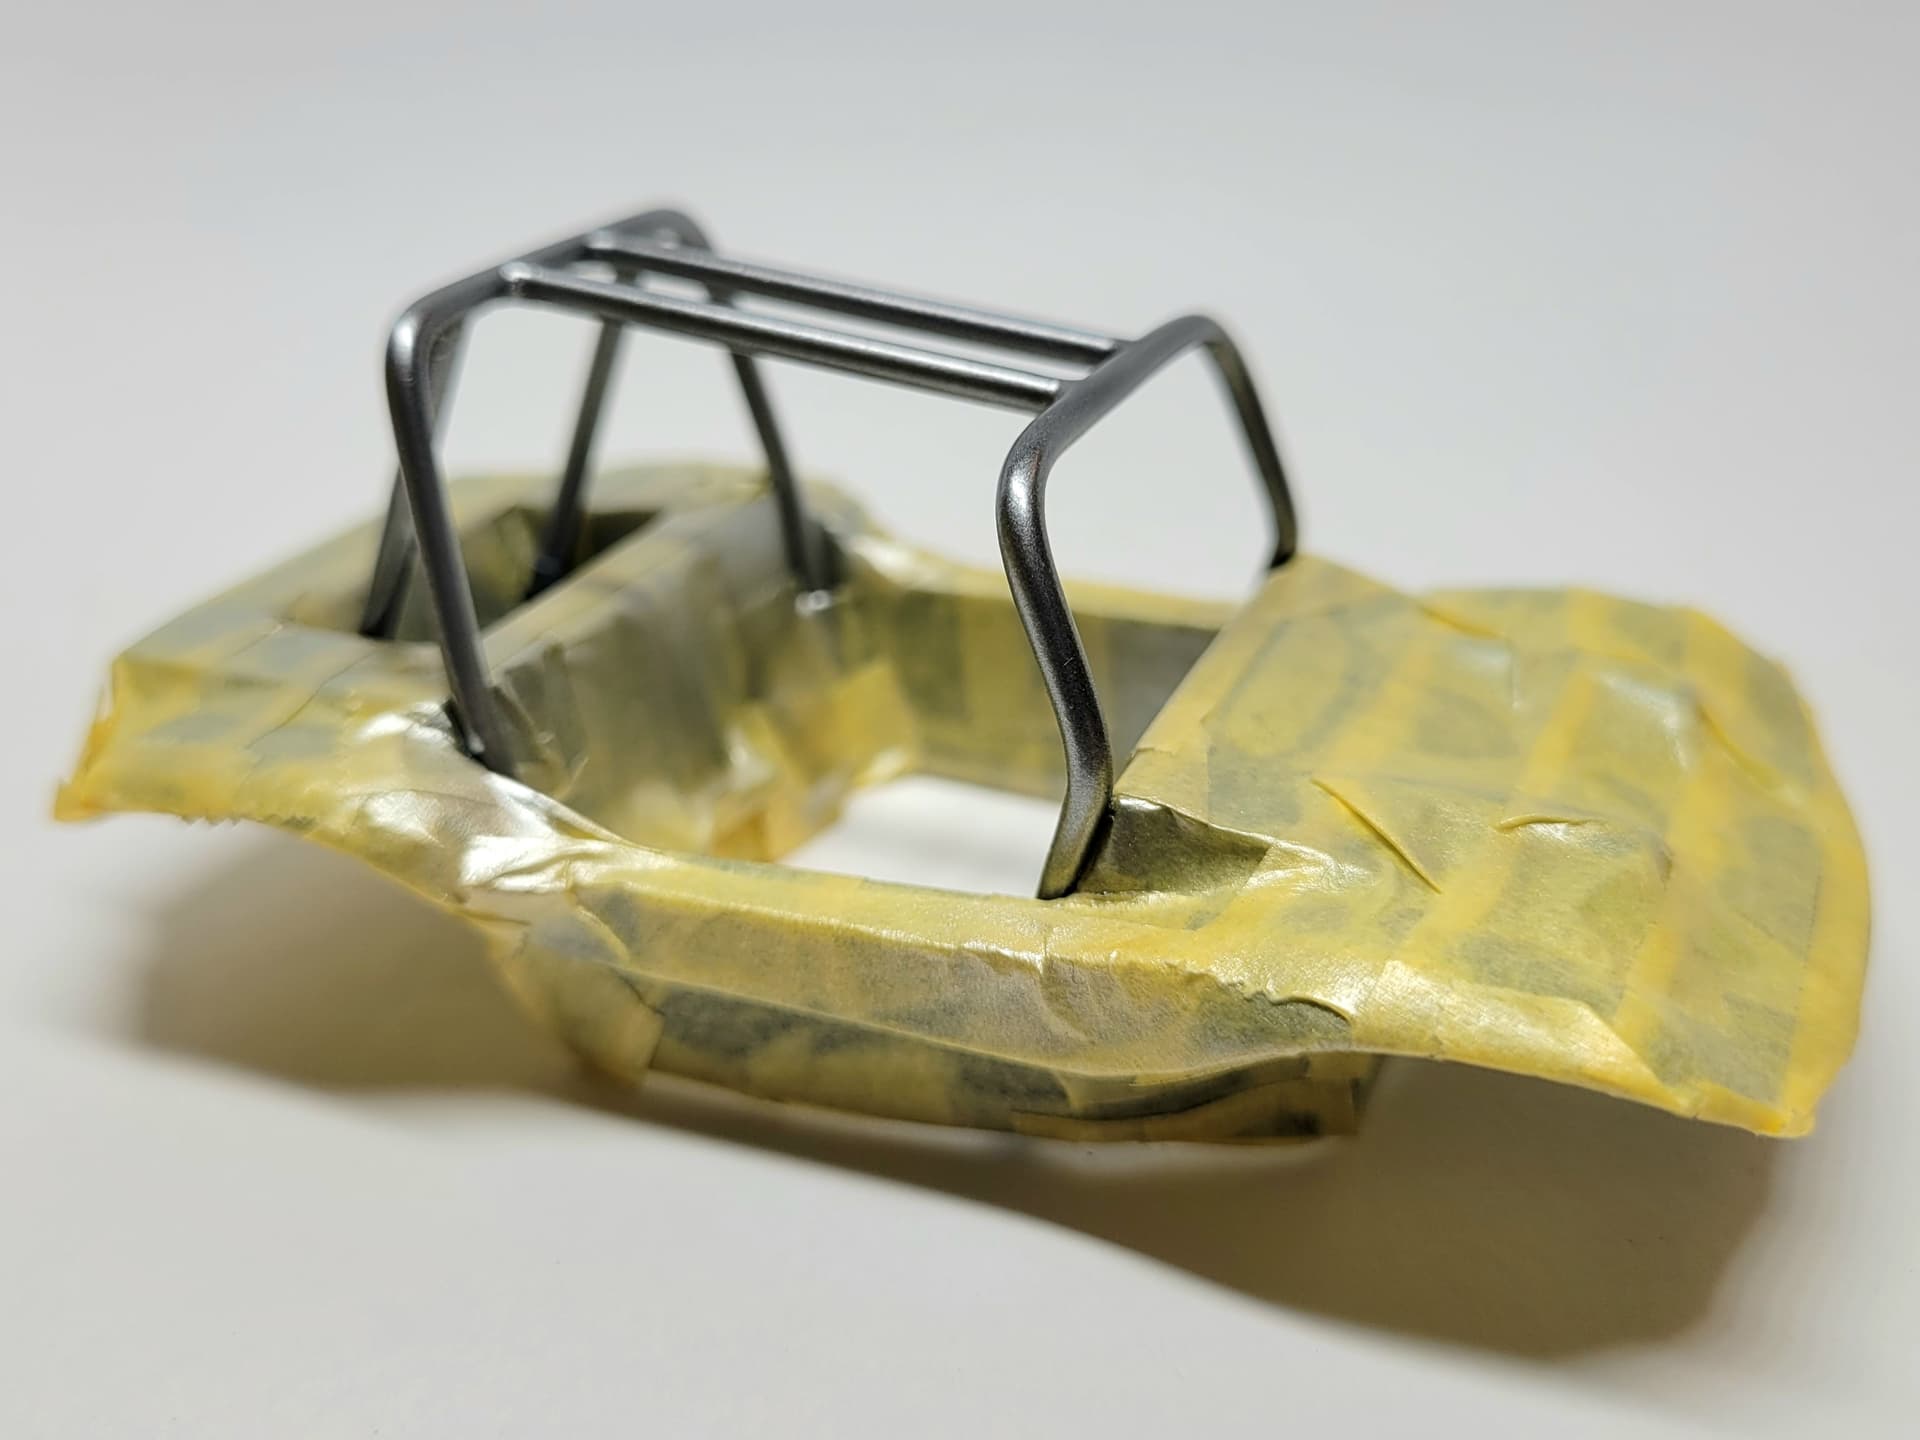
That roll cage looks pretty amazing. “The Shifters” green/turquoise is a great choice of color
1 Like
Thank you for the nice feedback, trying to keep things going without dropping the ball… bound to happen somewhere along the line, usually does.
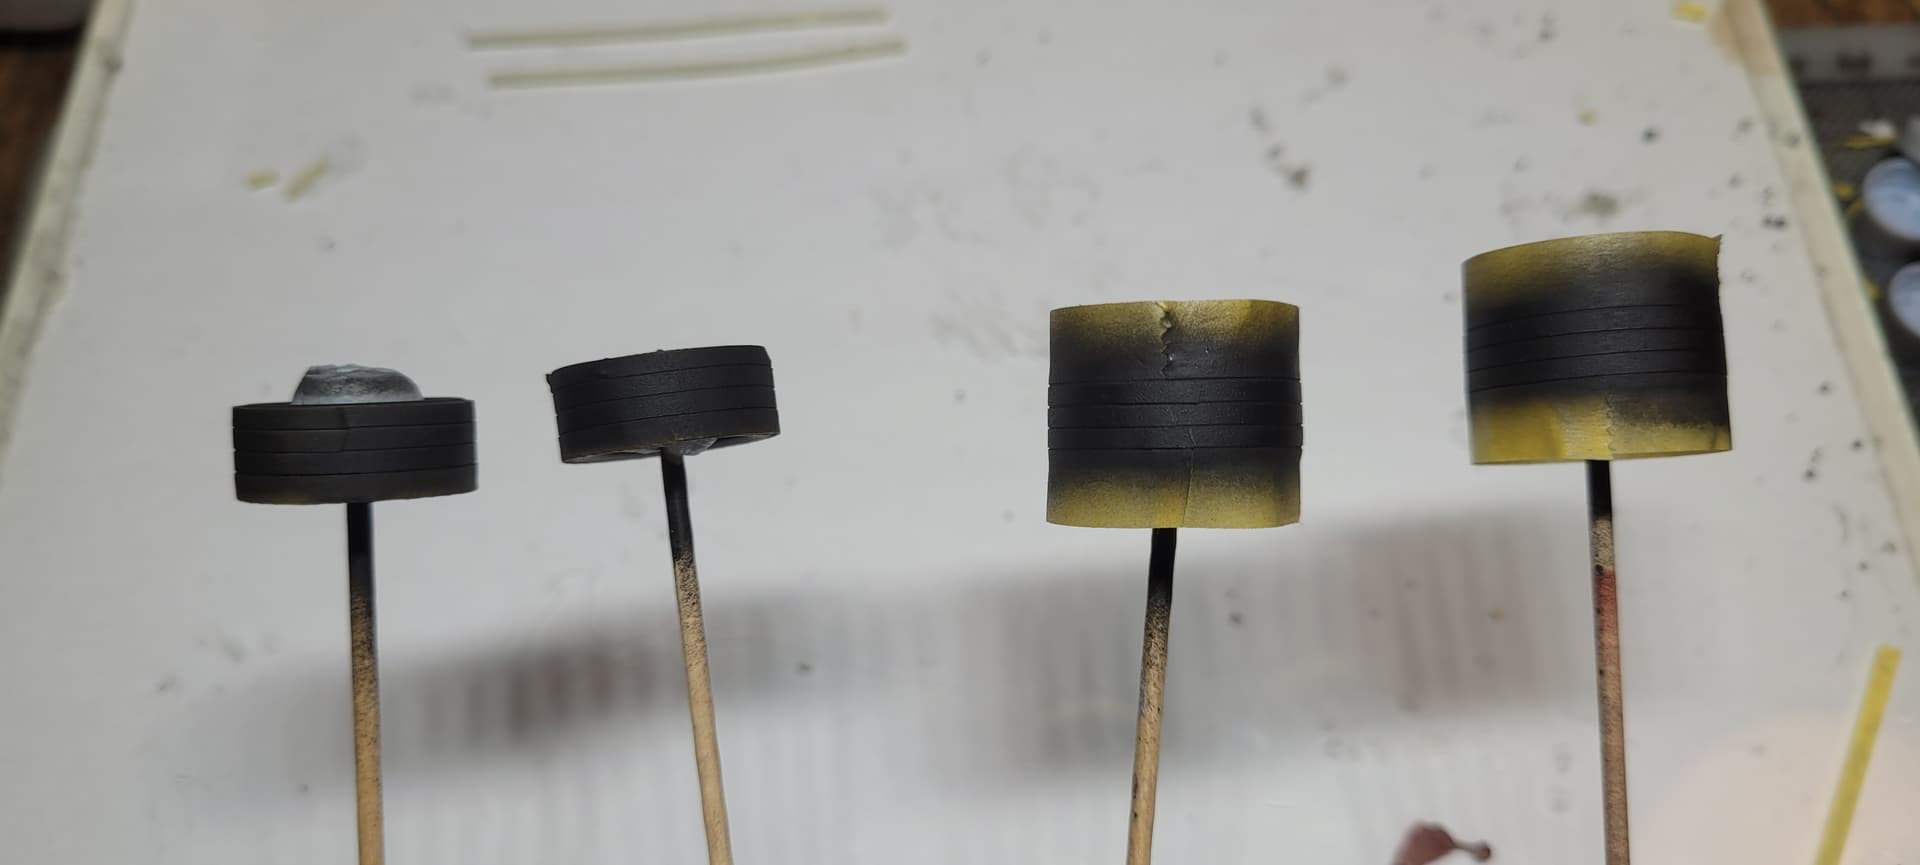
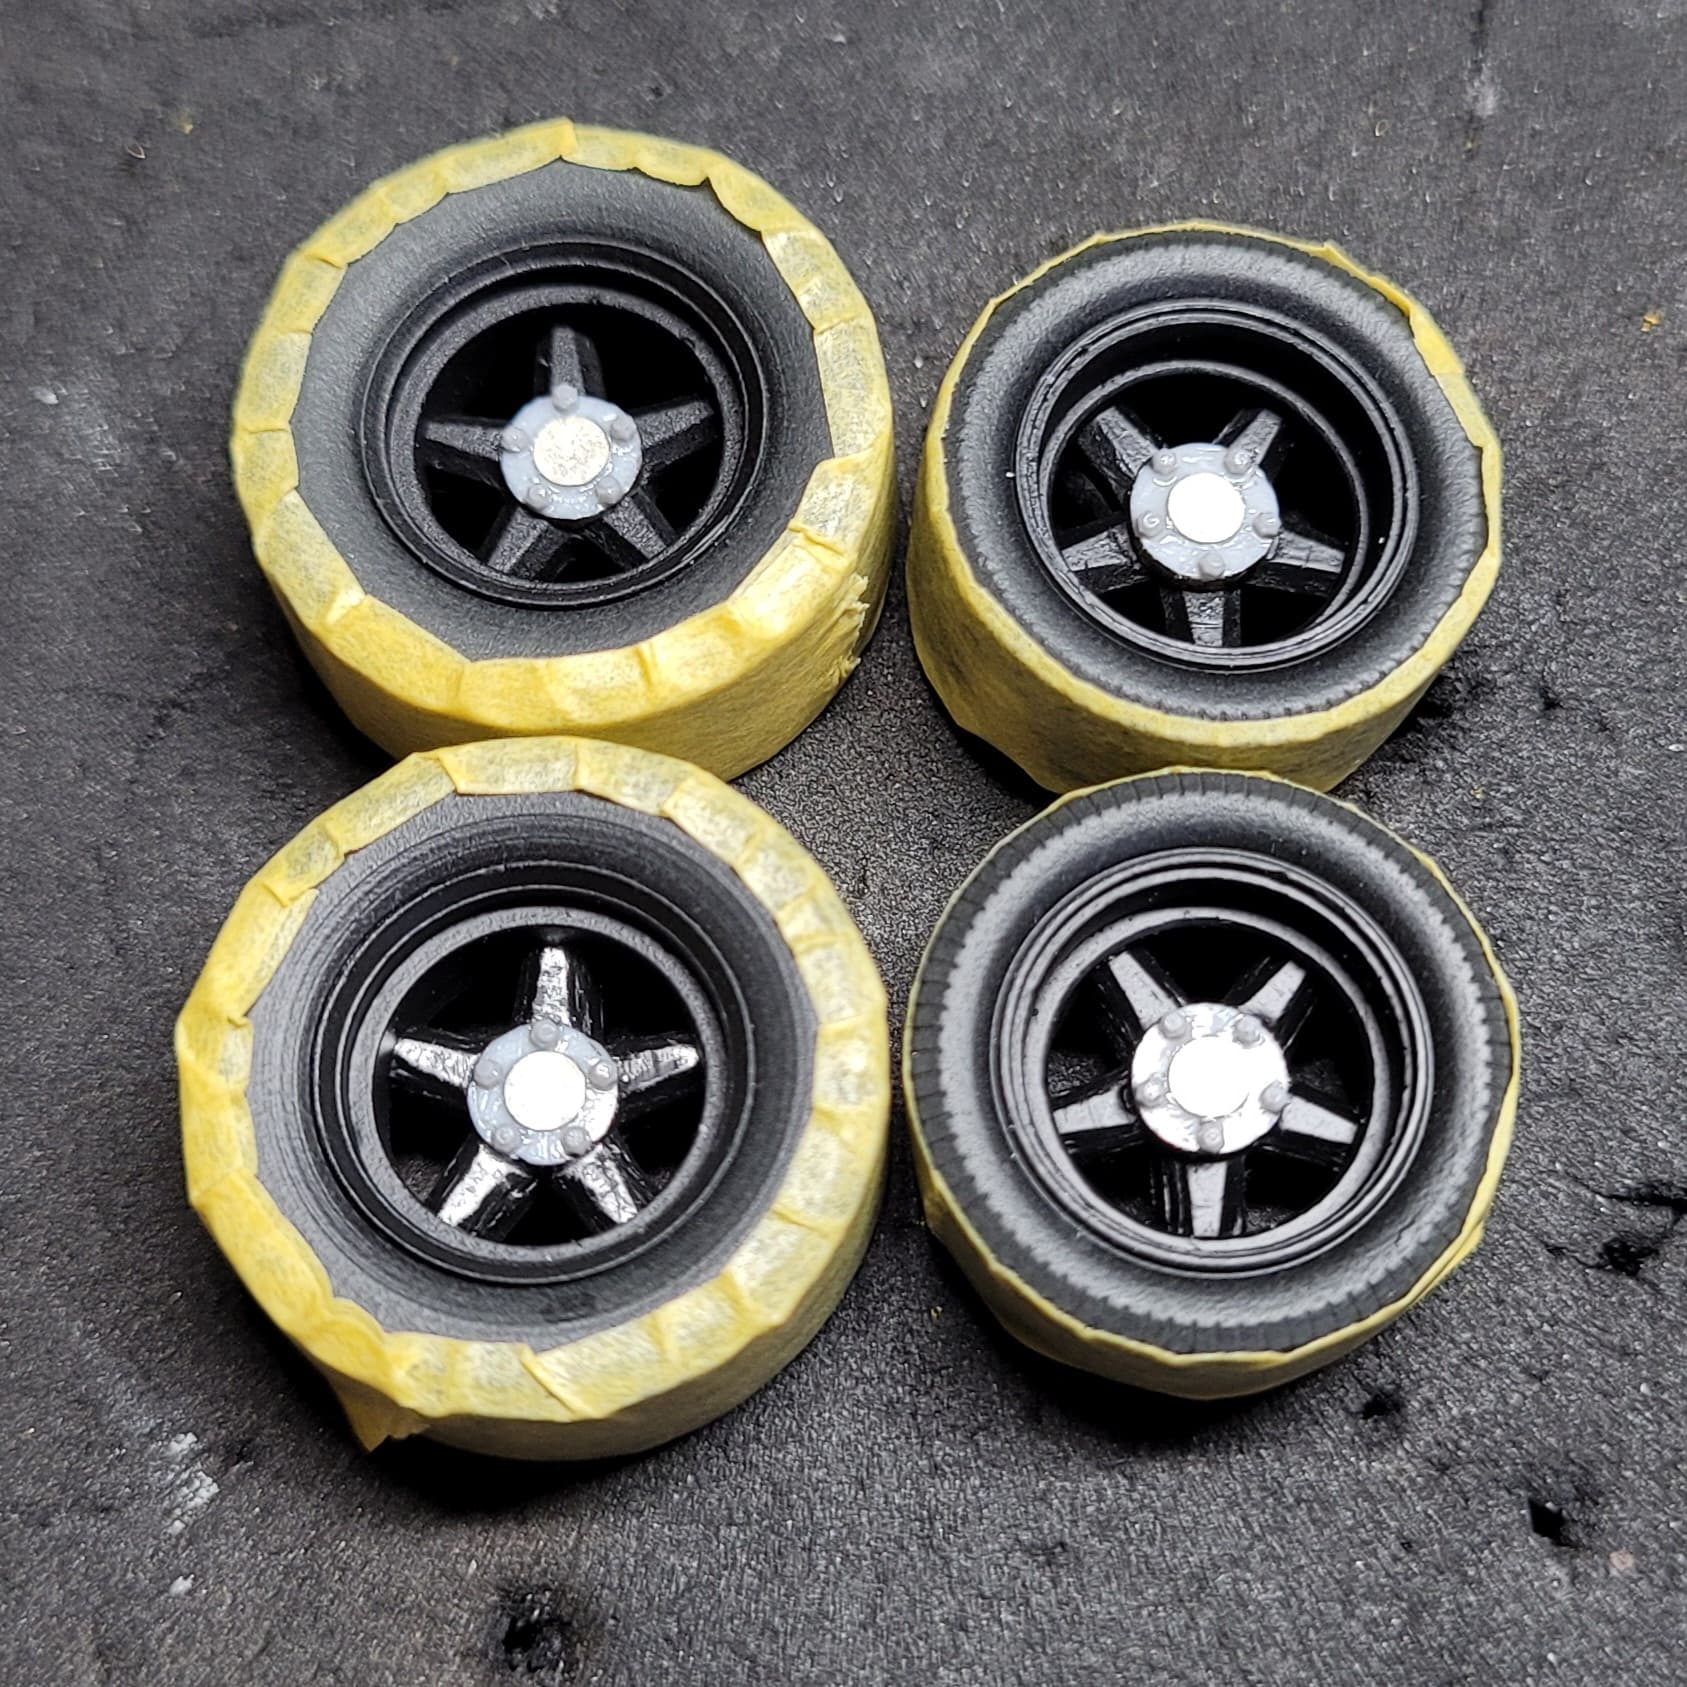
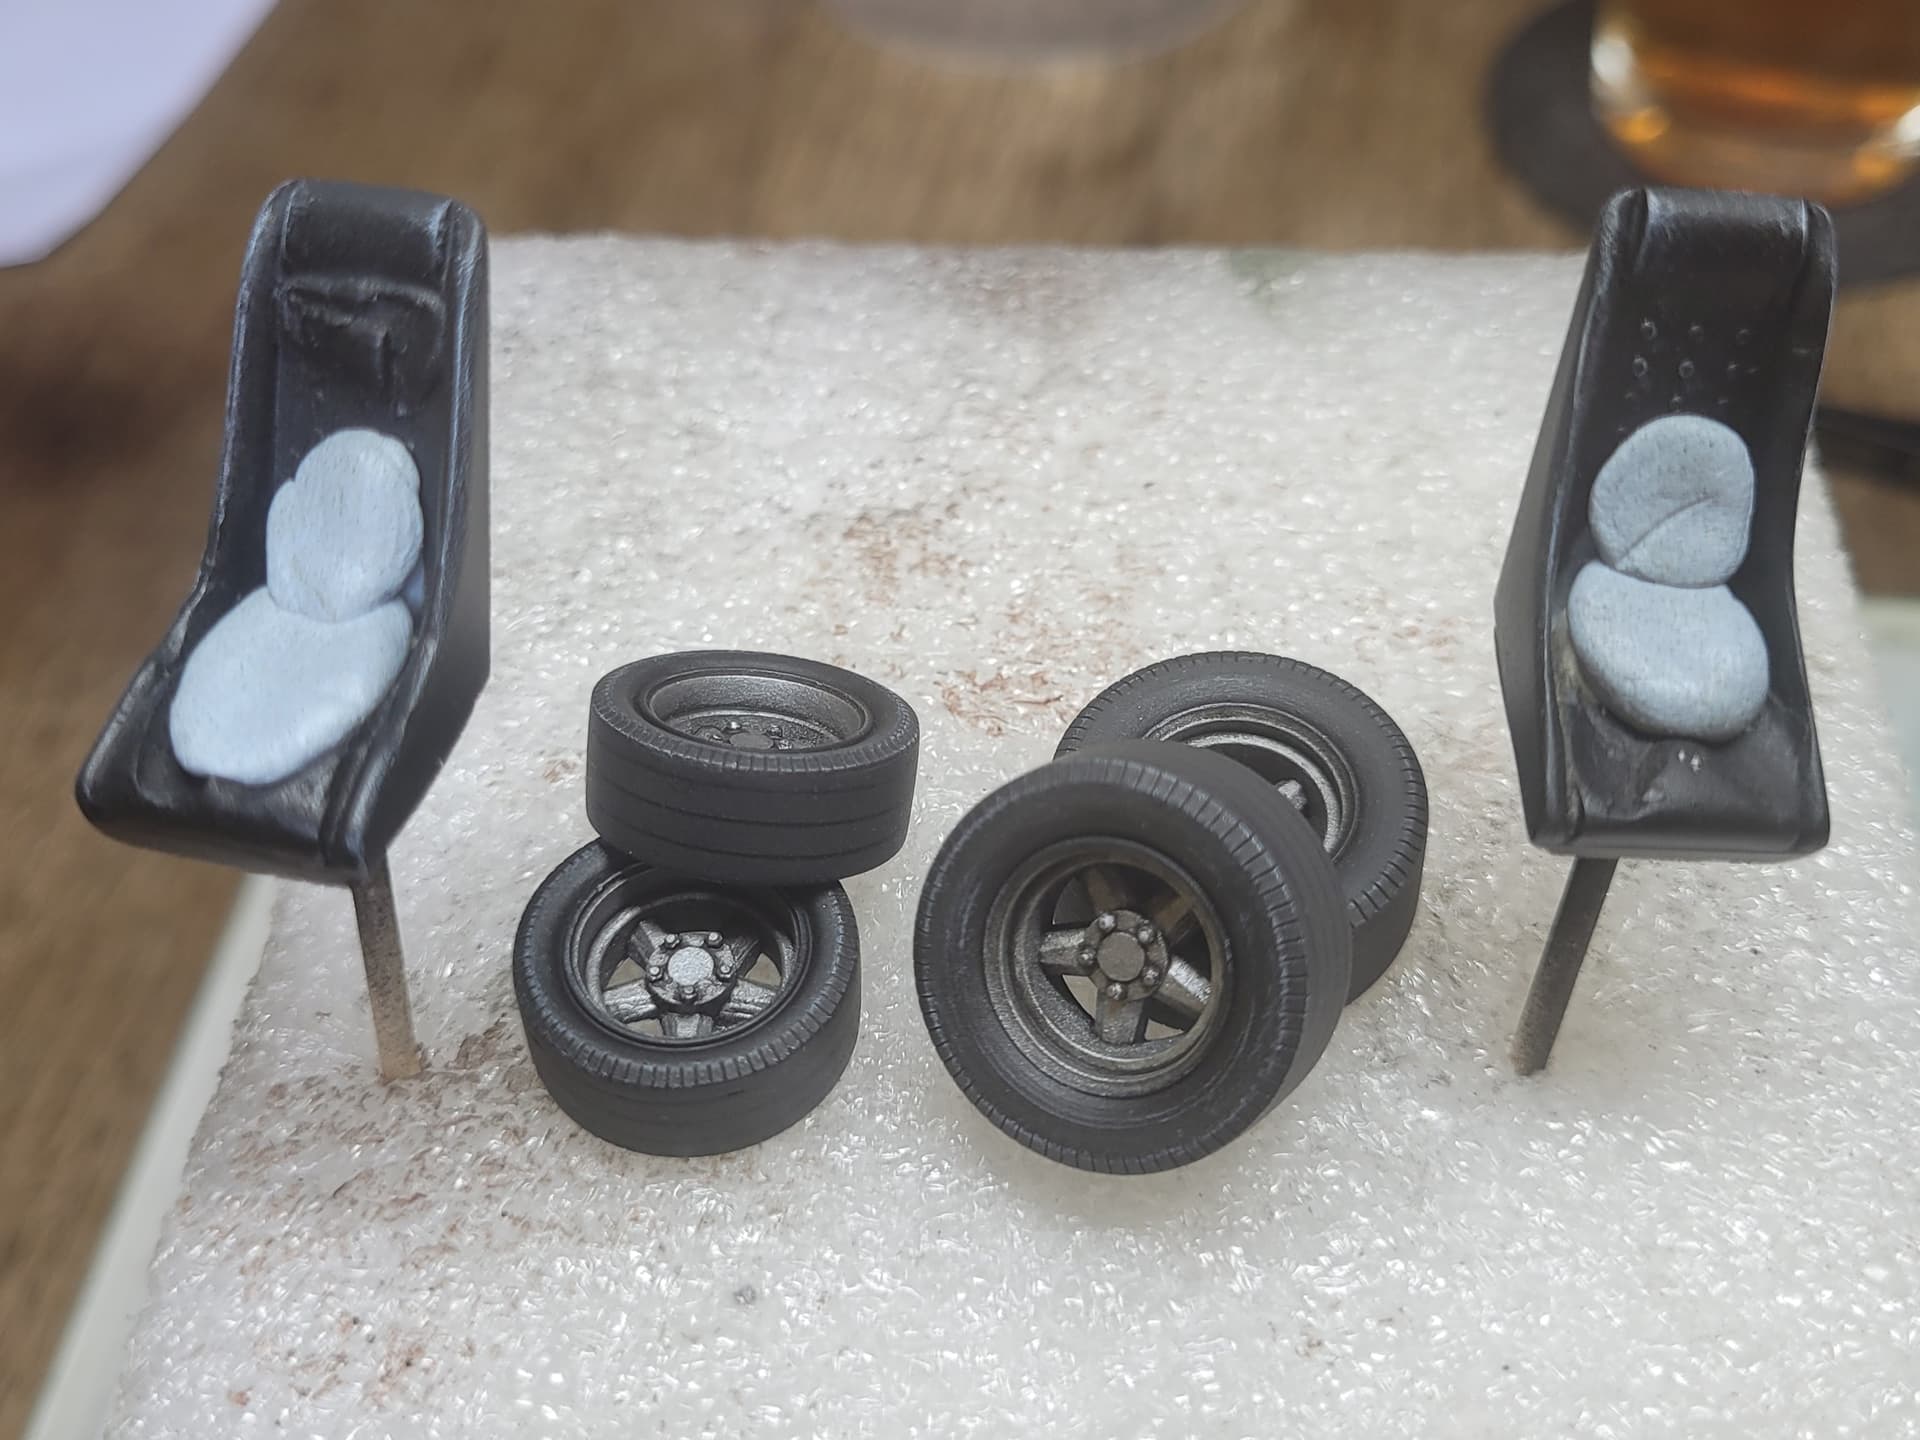
I guess a shortcoming of kits this age, certainly Airfix, is treadless tyres, though on the Porsche 917 slicks were probably acceptable. I had a try out with some beautiful looking Scalextric rubber tyres, but couldn’t get them to fit the wheels well. Ironic in a way as Airfix and Scalextric are both owned by Hornby. Went for just painting on basic tread as better than nothing.

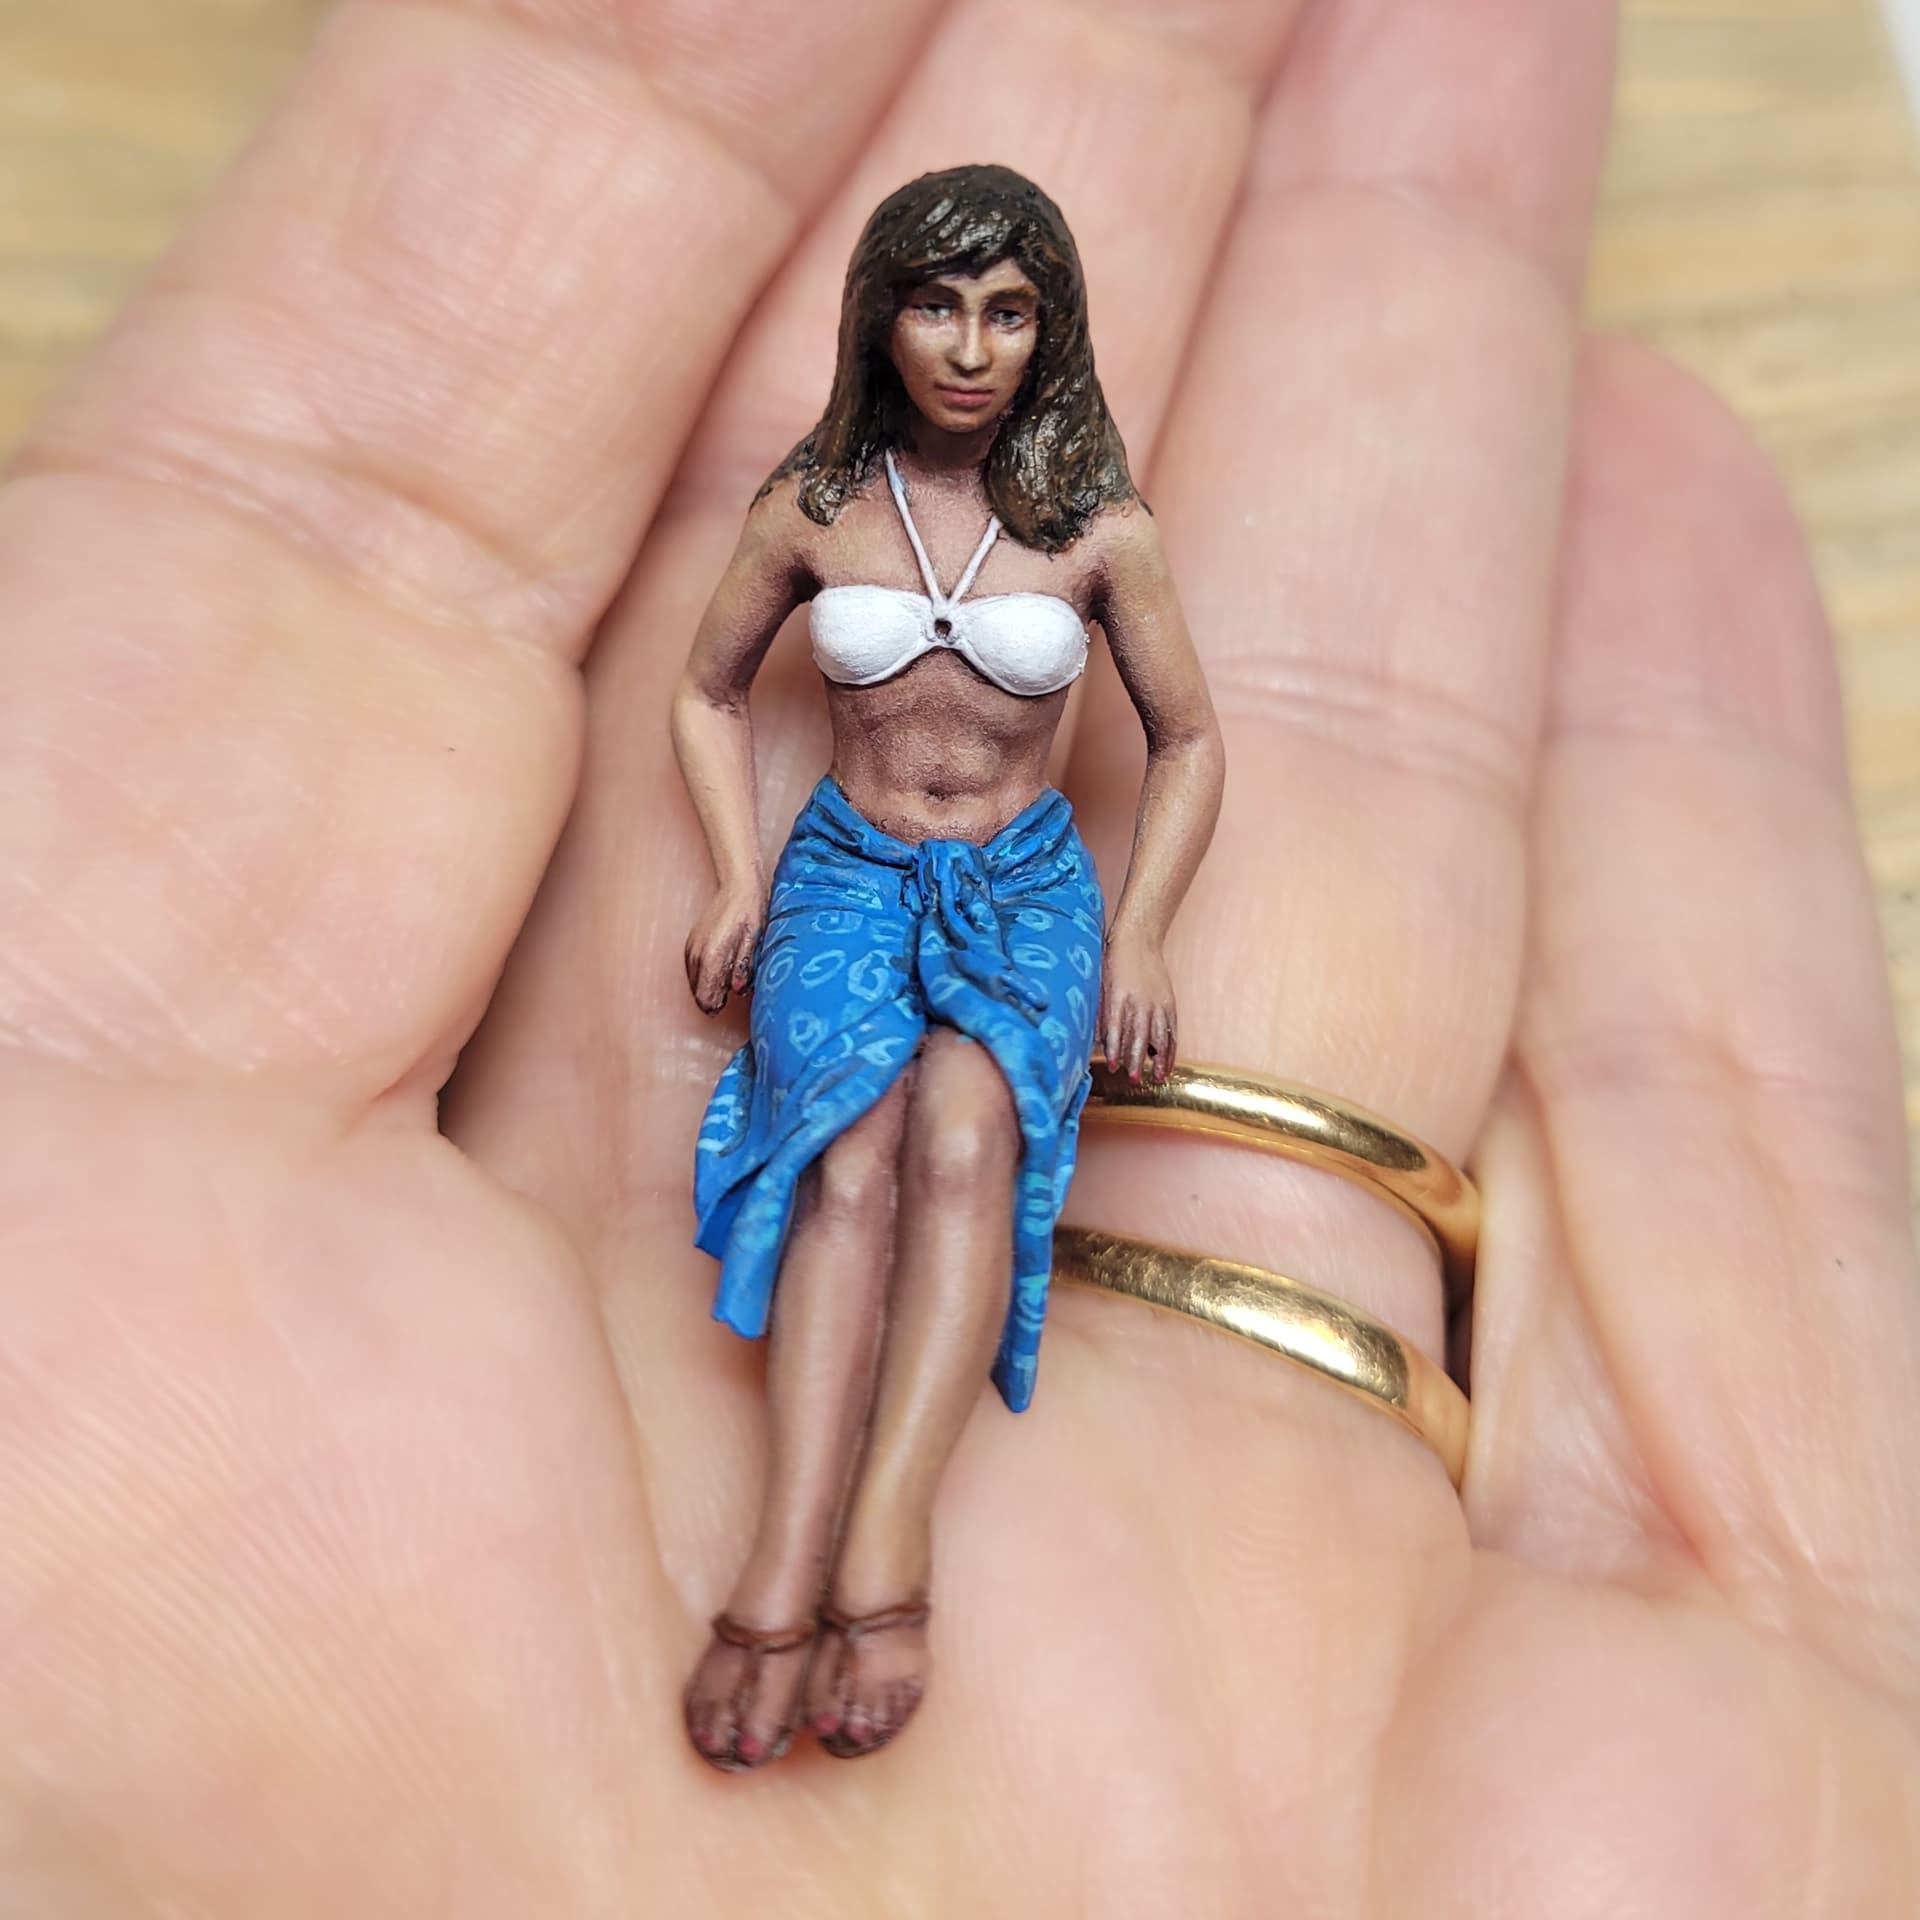
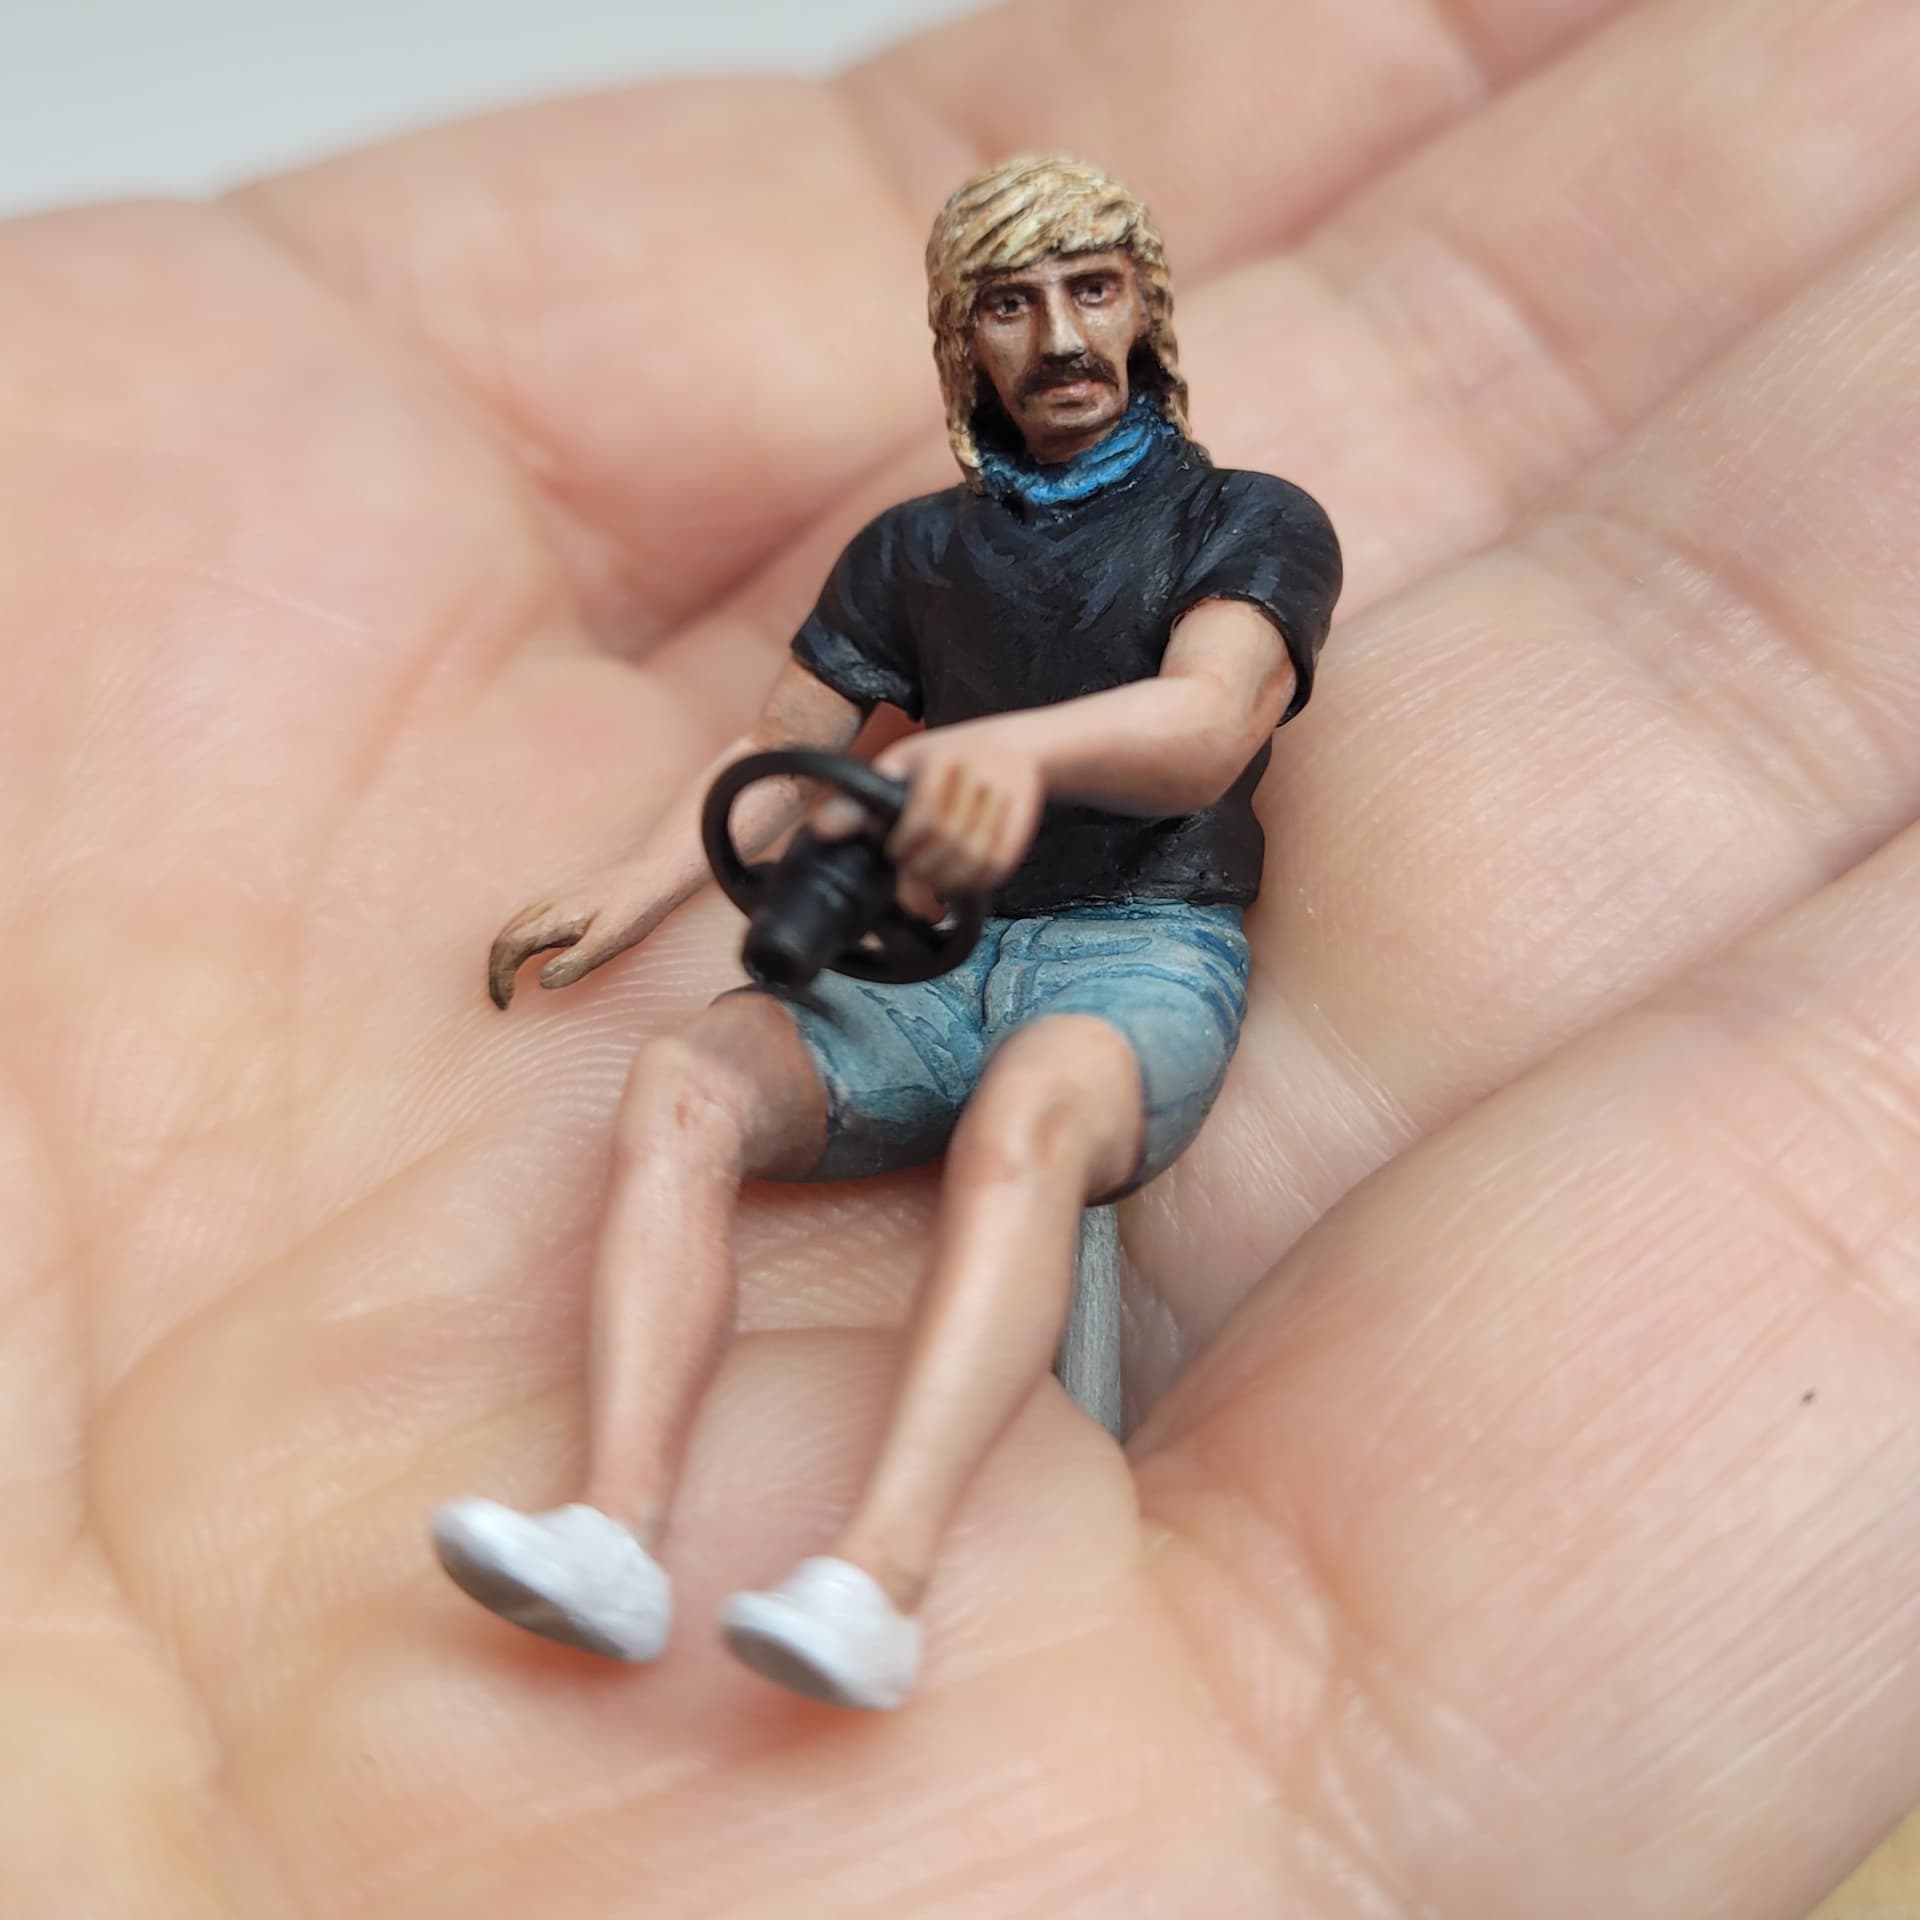
This is the figures after quite a bit of painting, I guess more than half-way done, as I’ve already added the pattern to the sarong, given his t-shirt a second coat of black, and also finished his hair. Weirdly I though his blonde hair would be harder, but somehow her dark hair is harder to get right, as are her eyebrows which are driving me slightly mad. They are too heavy and the wrong shape, adding to what my brother cruelly described as the cross dressing Neanderthal look ![]() but it’s hard to fix without undoing some of the other work. She is still a bit purple…
but it’s hard to fix without undoing some of the other work. She is still a bit purple…

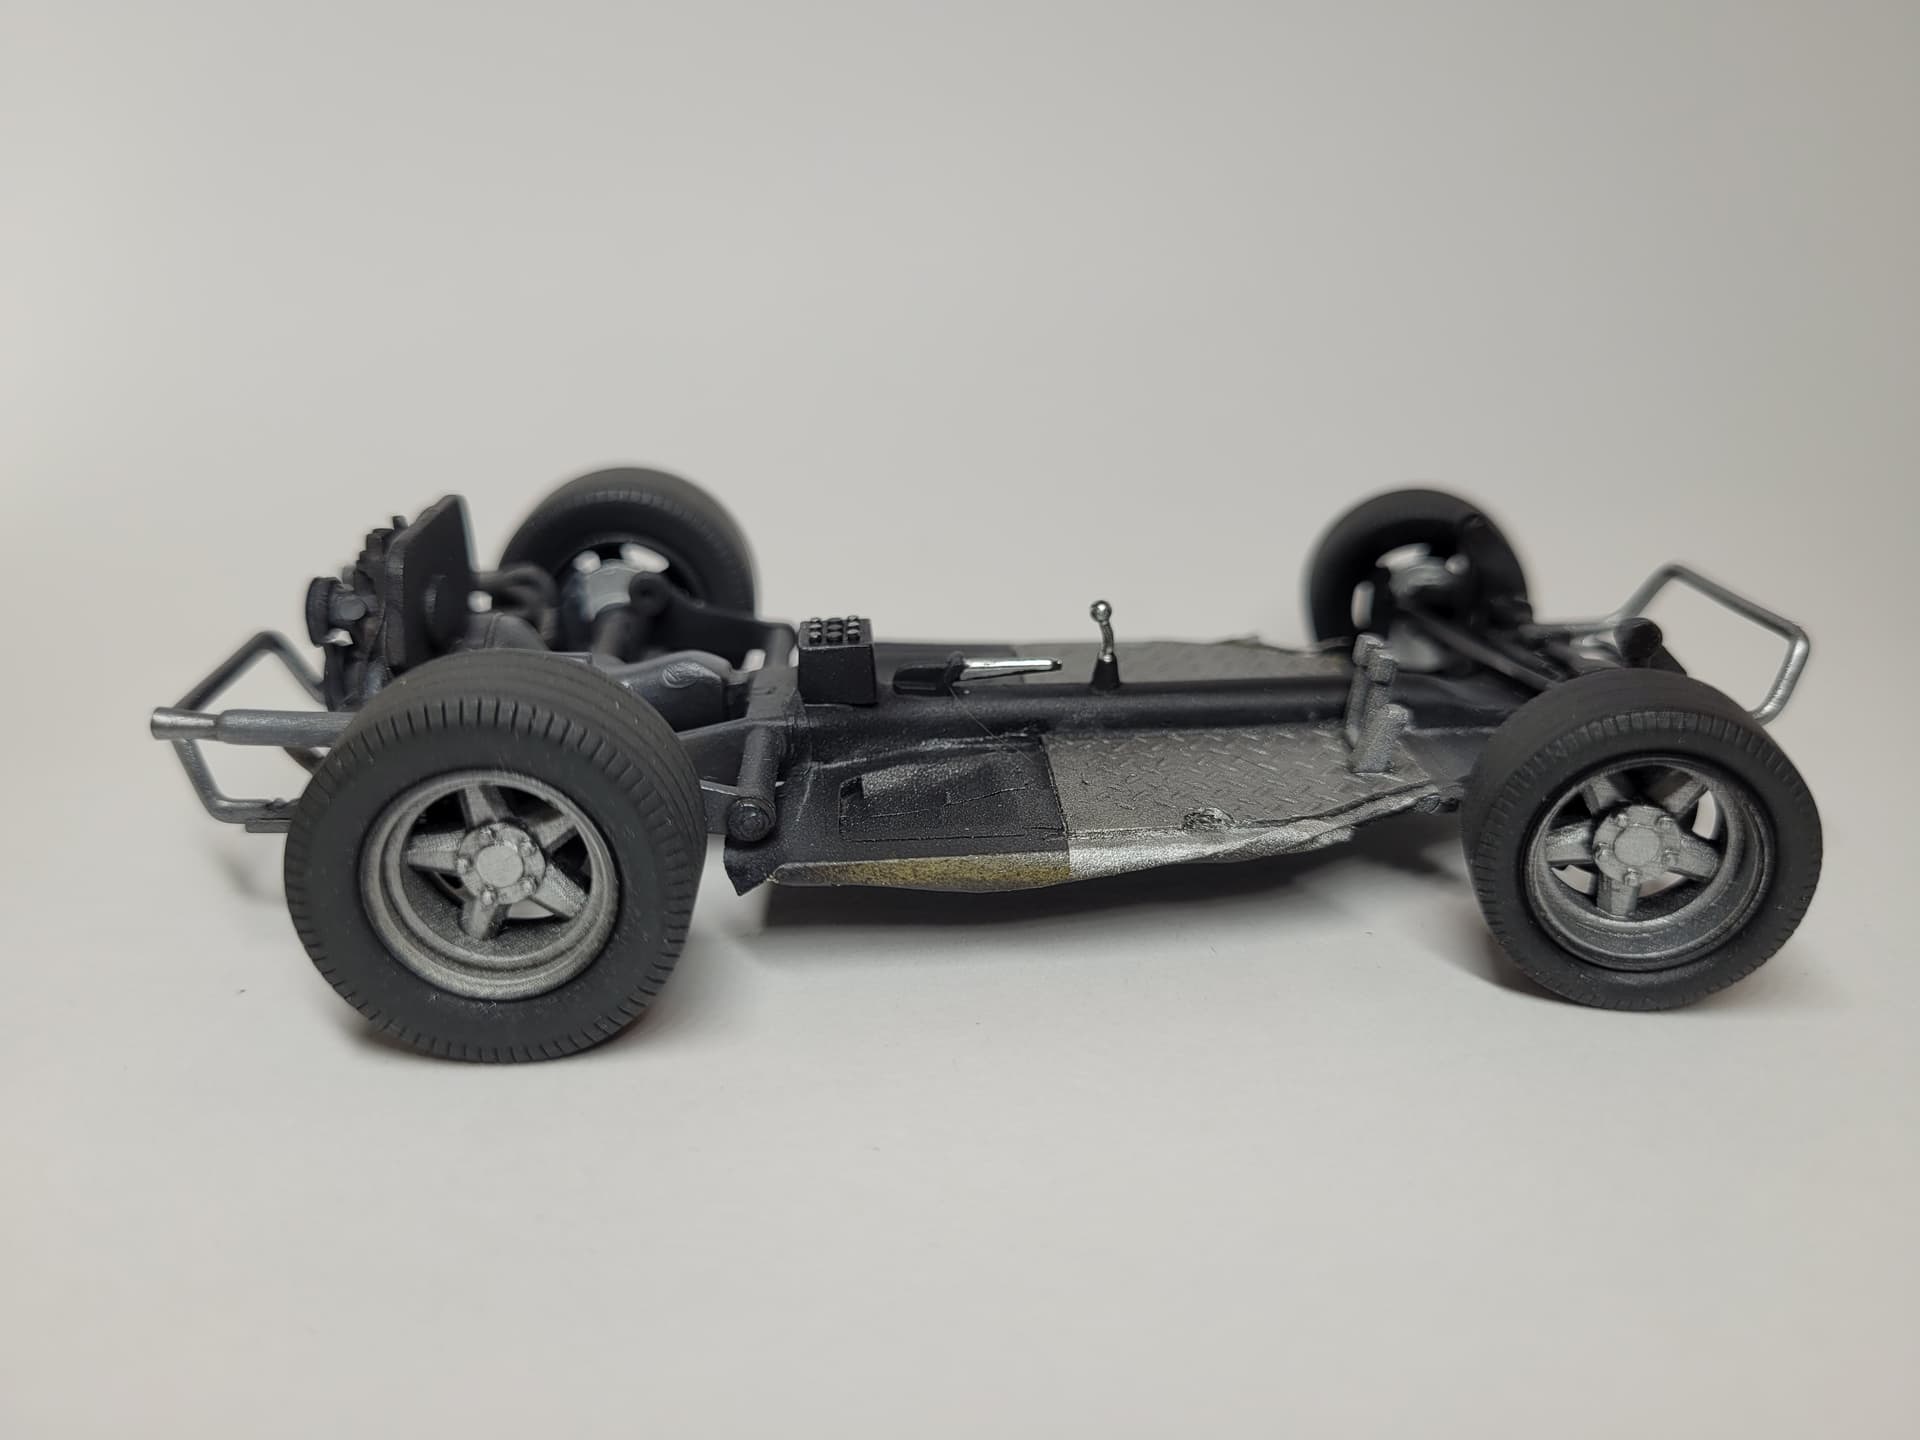
The 917 wheels come with a single big quick release nut for pitstop changes, so I added five (Grandt Line) bolts to each, and filled the centre hole with big inverted Aber screws.
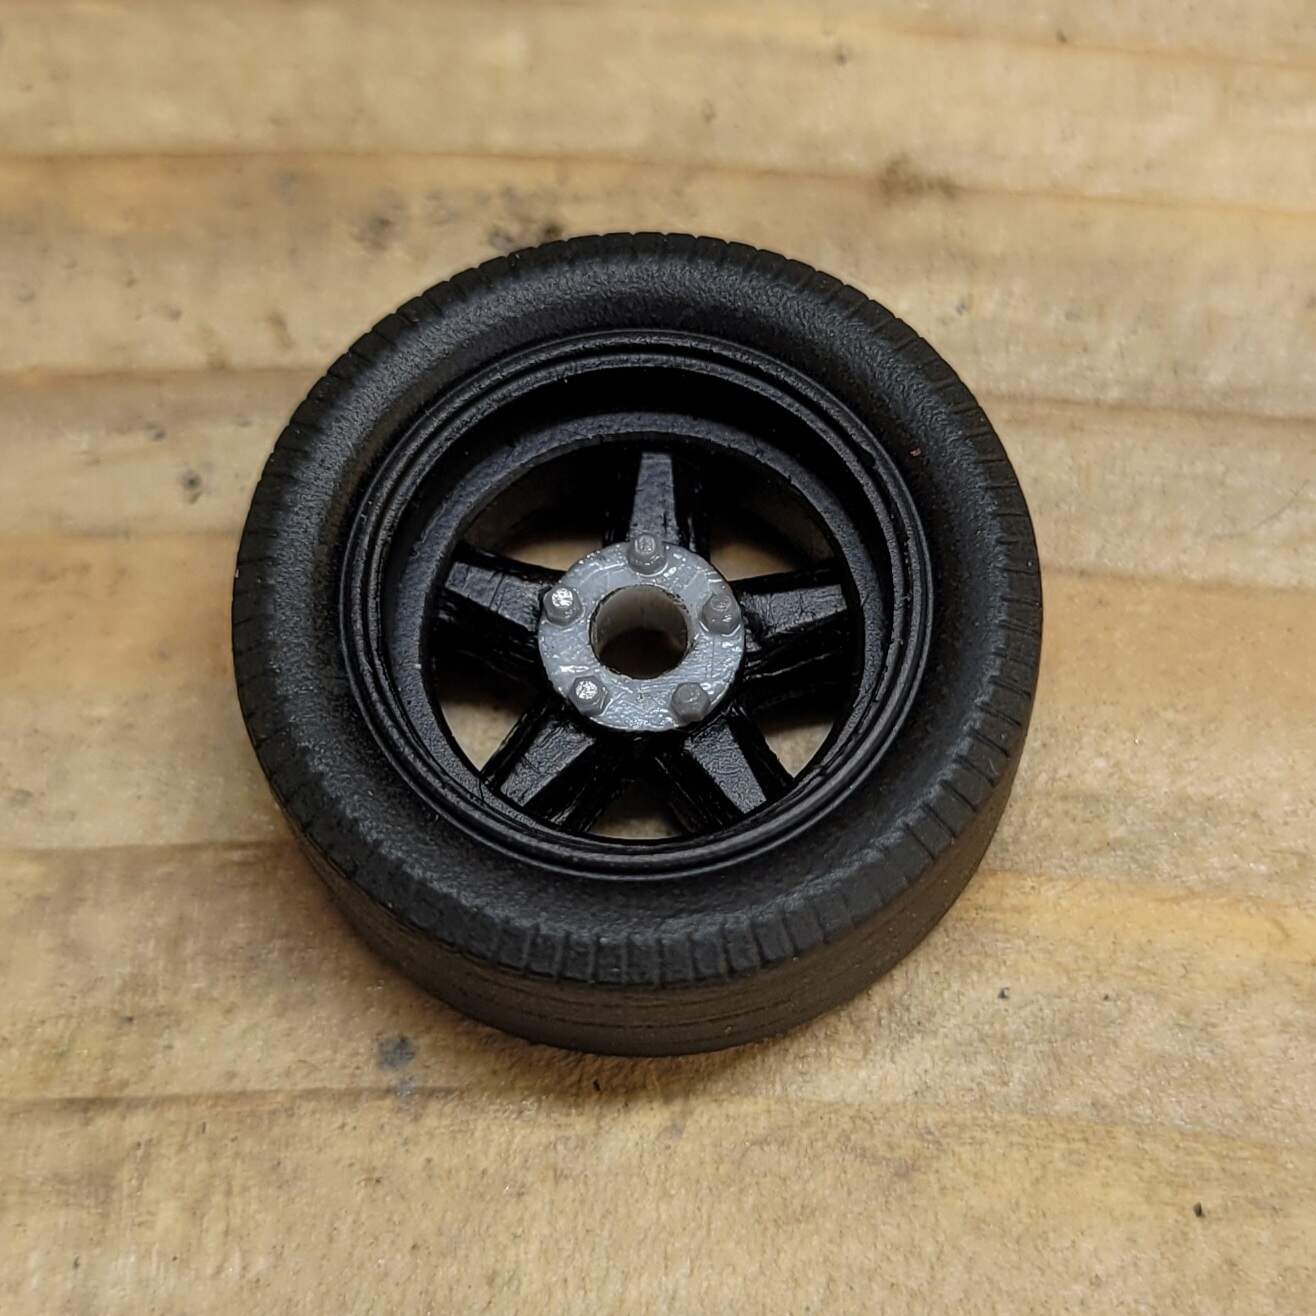
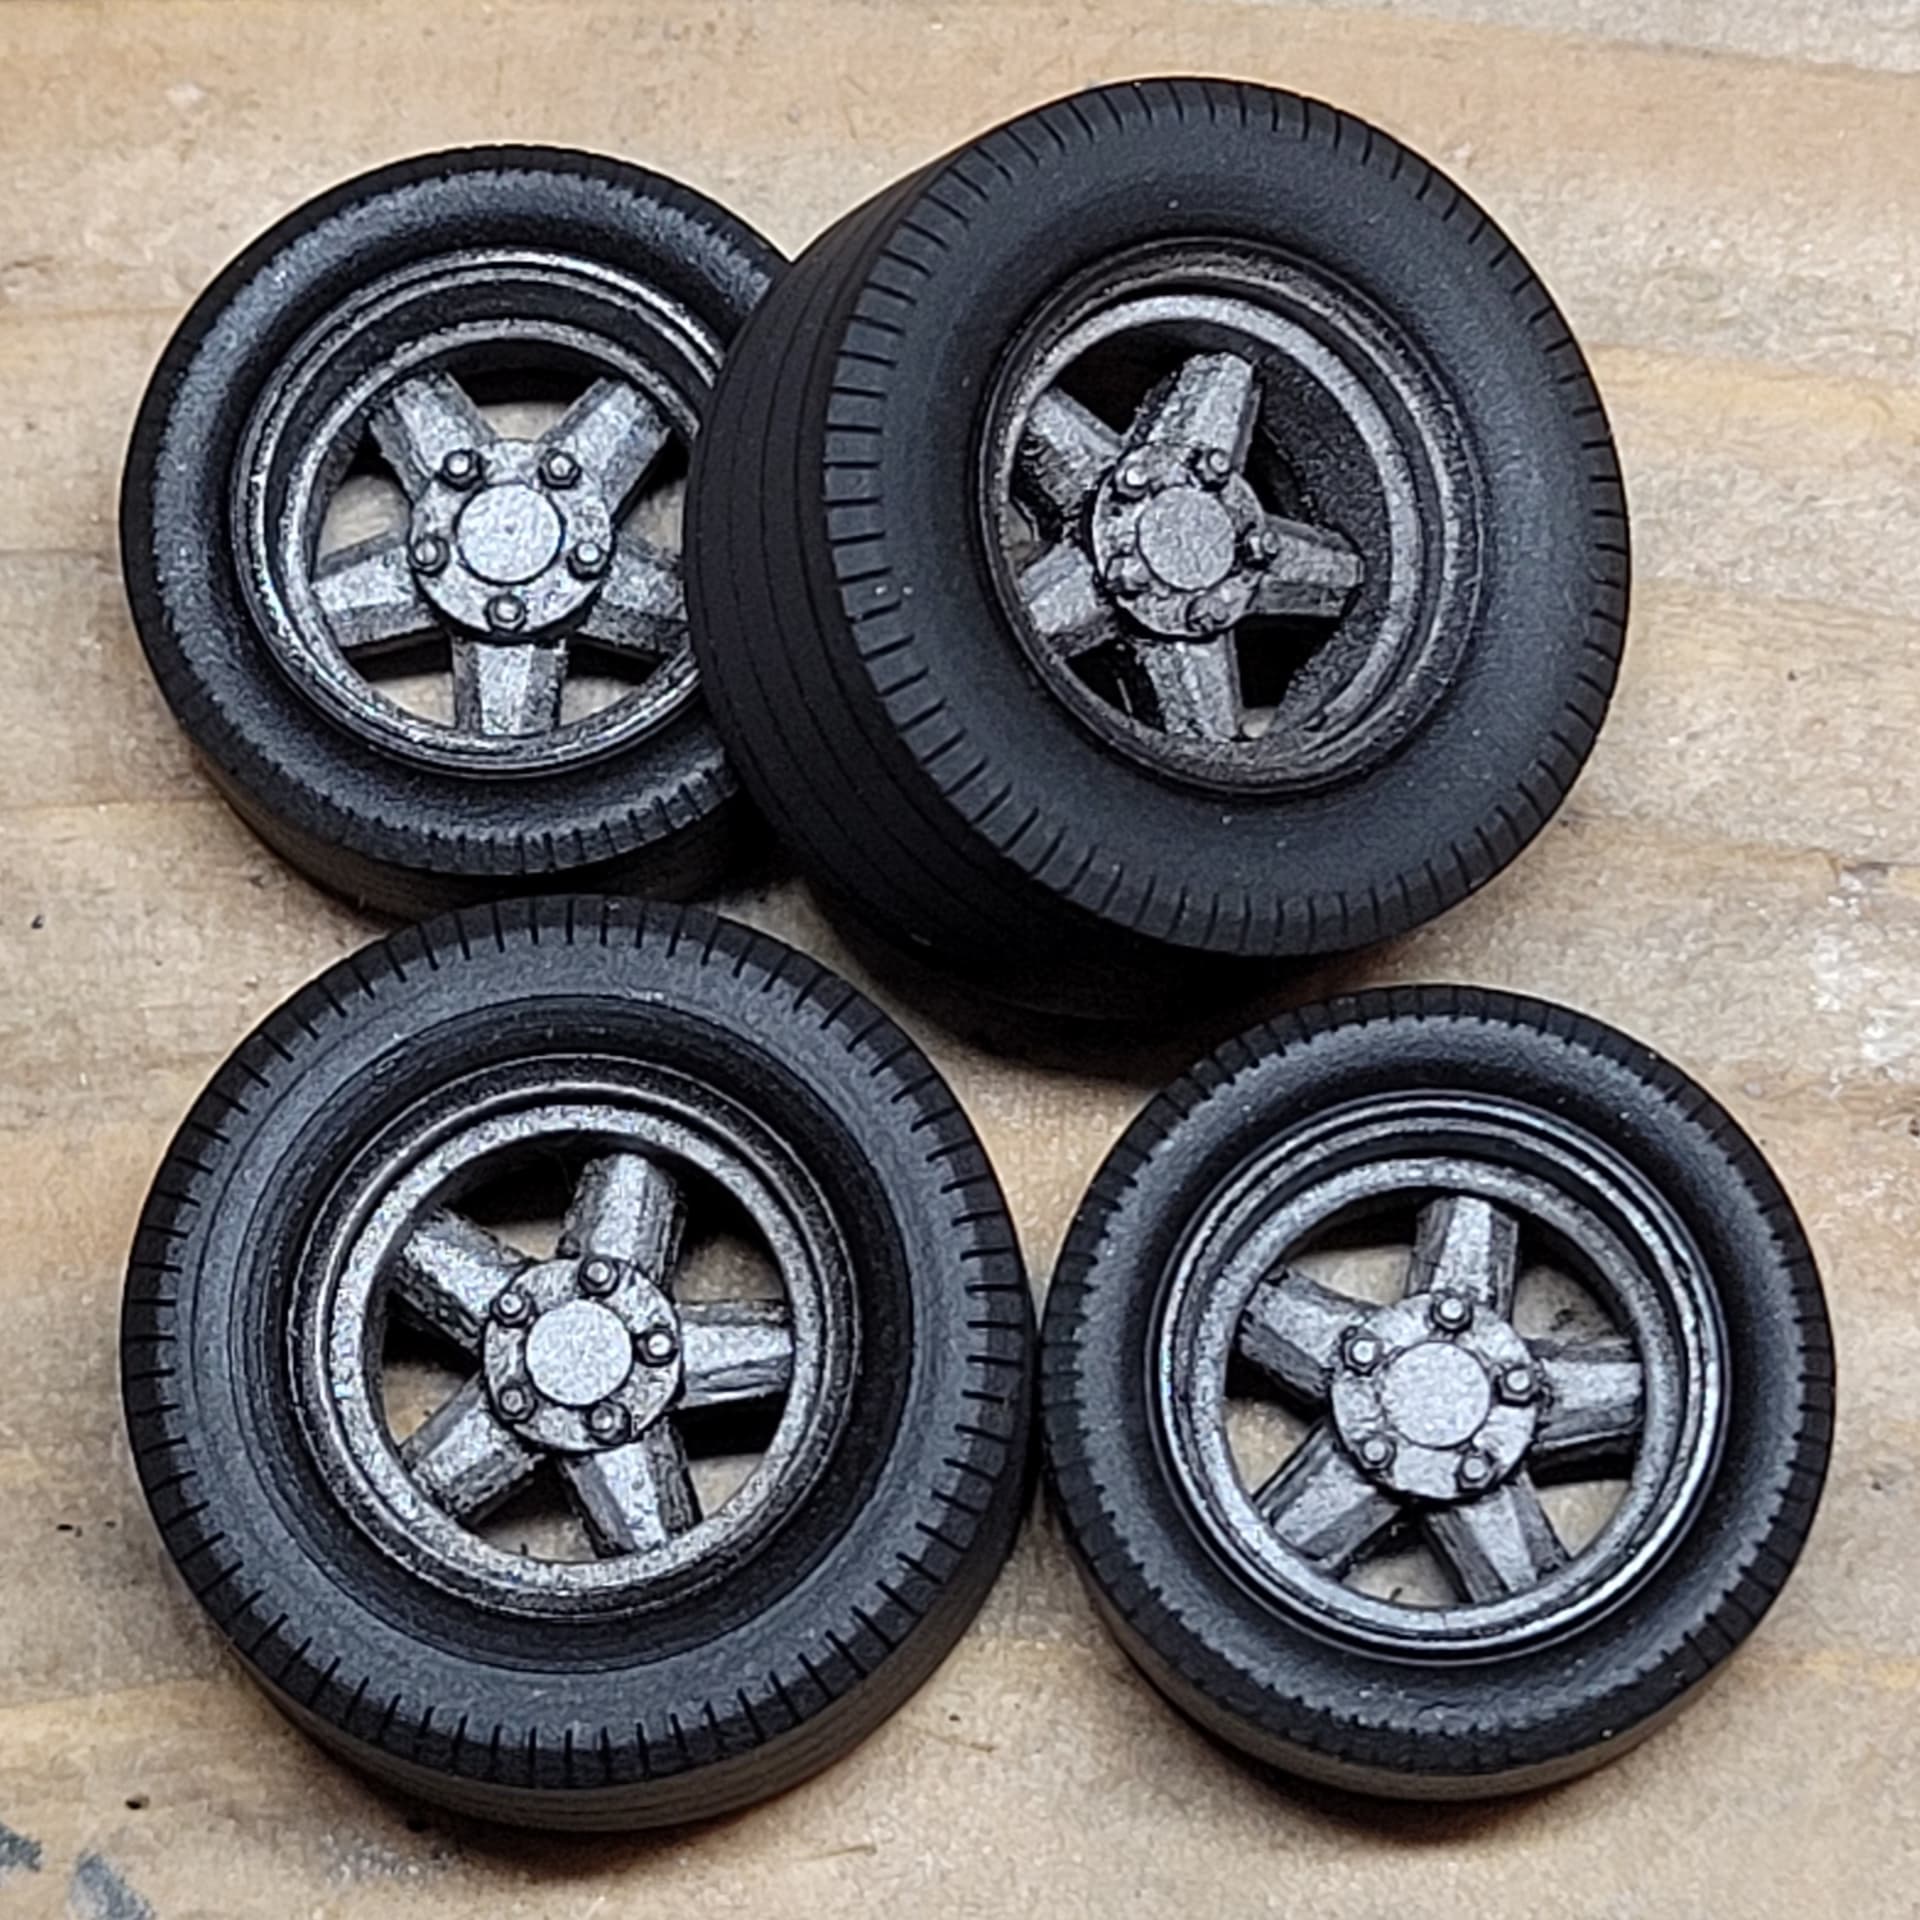
This is them mostly painted, although I have then fiddled several times with the finish.
6 Likes
Great work. Love what you’ve done with the wheels and tires. Your idea of painting the threads works very well.
Love the figures. The man’s face looks quite pale, almost greyish; could be the light though.
1 Like
I wouldn’t have thought about painting on the tread pattern but your results look great, and will certainly fool most lookers.
Joel
1 Like
A bit more paint on the figures. Almost finished, though the eyebrows are still bothering me, and I’m thinking of resculpting her hair as her head looks too big…
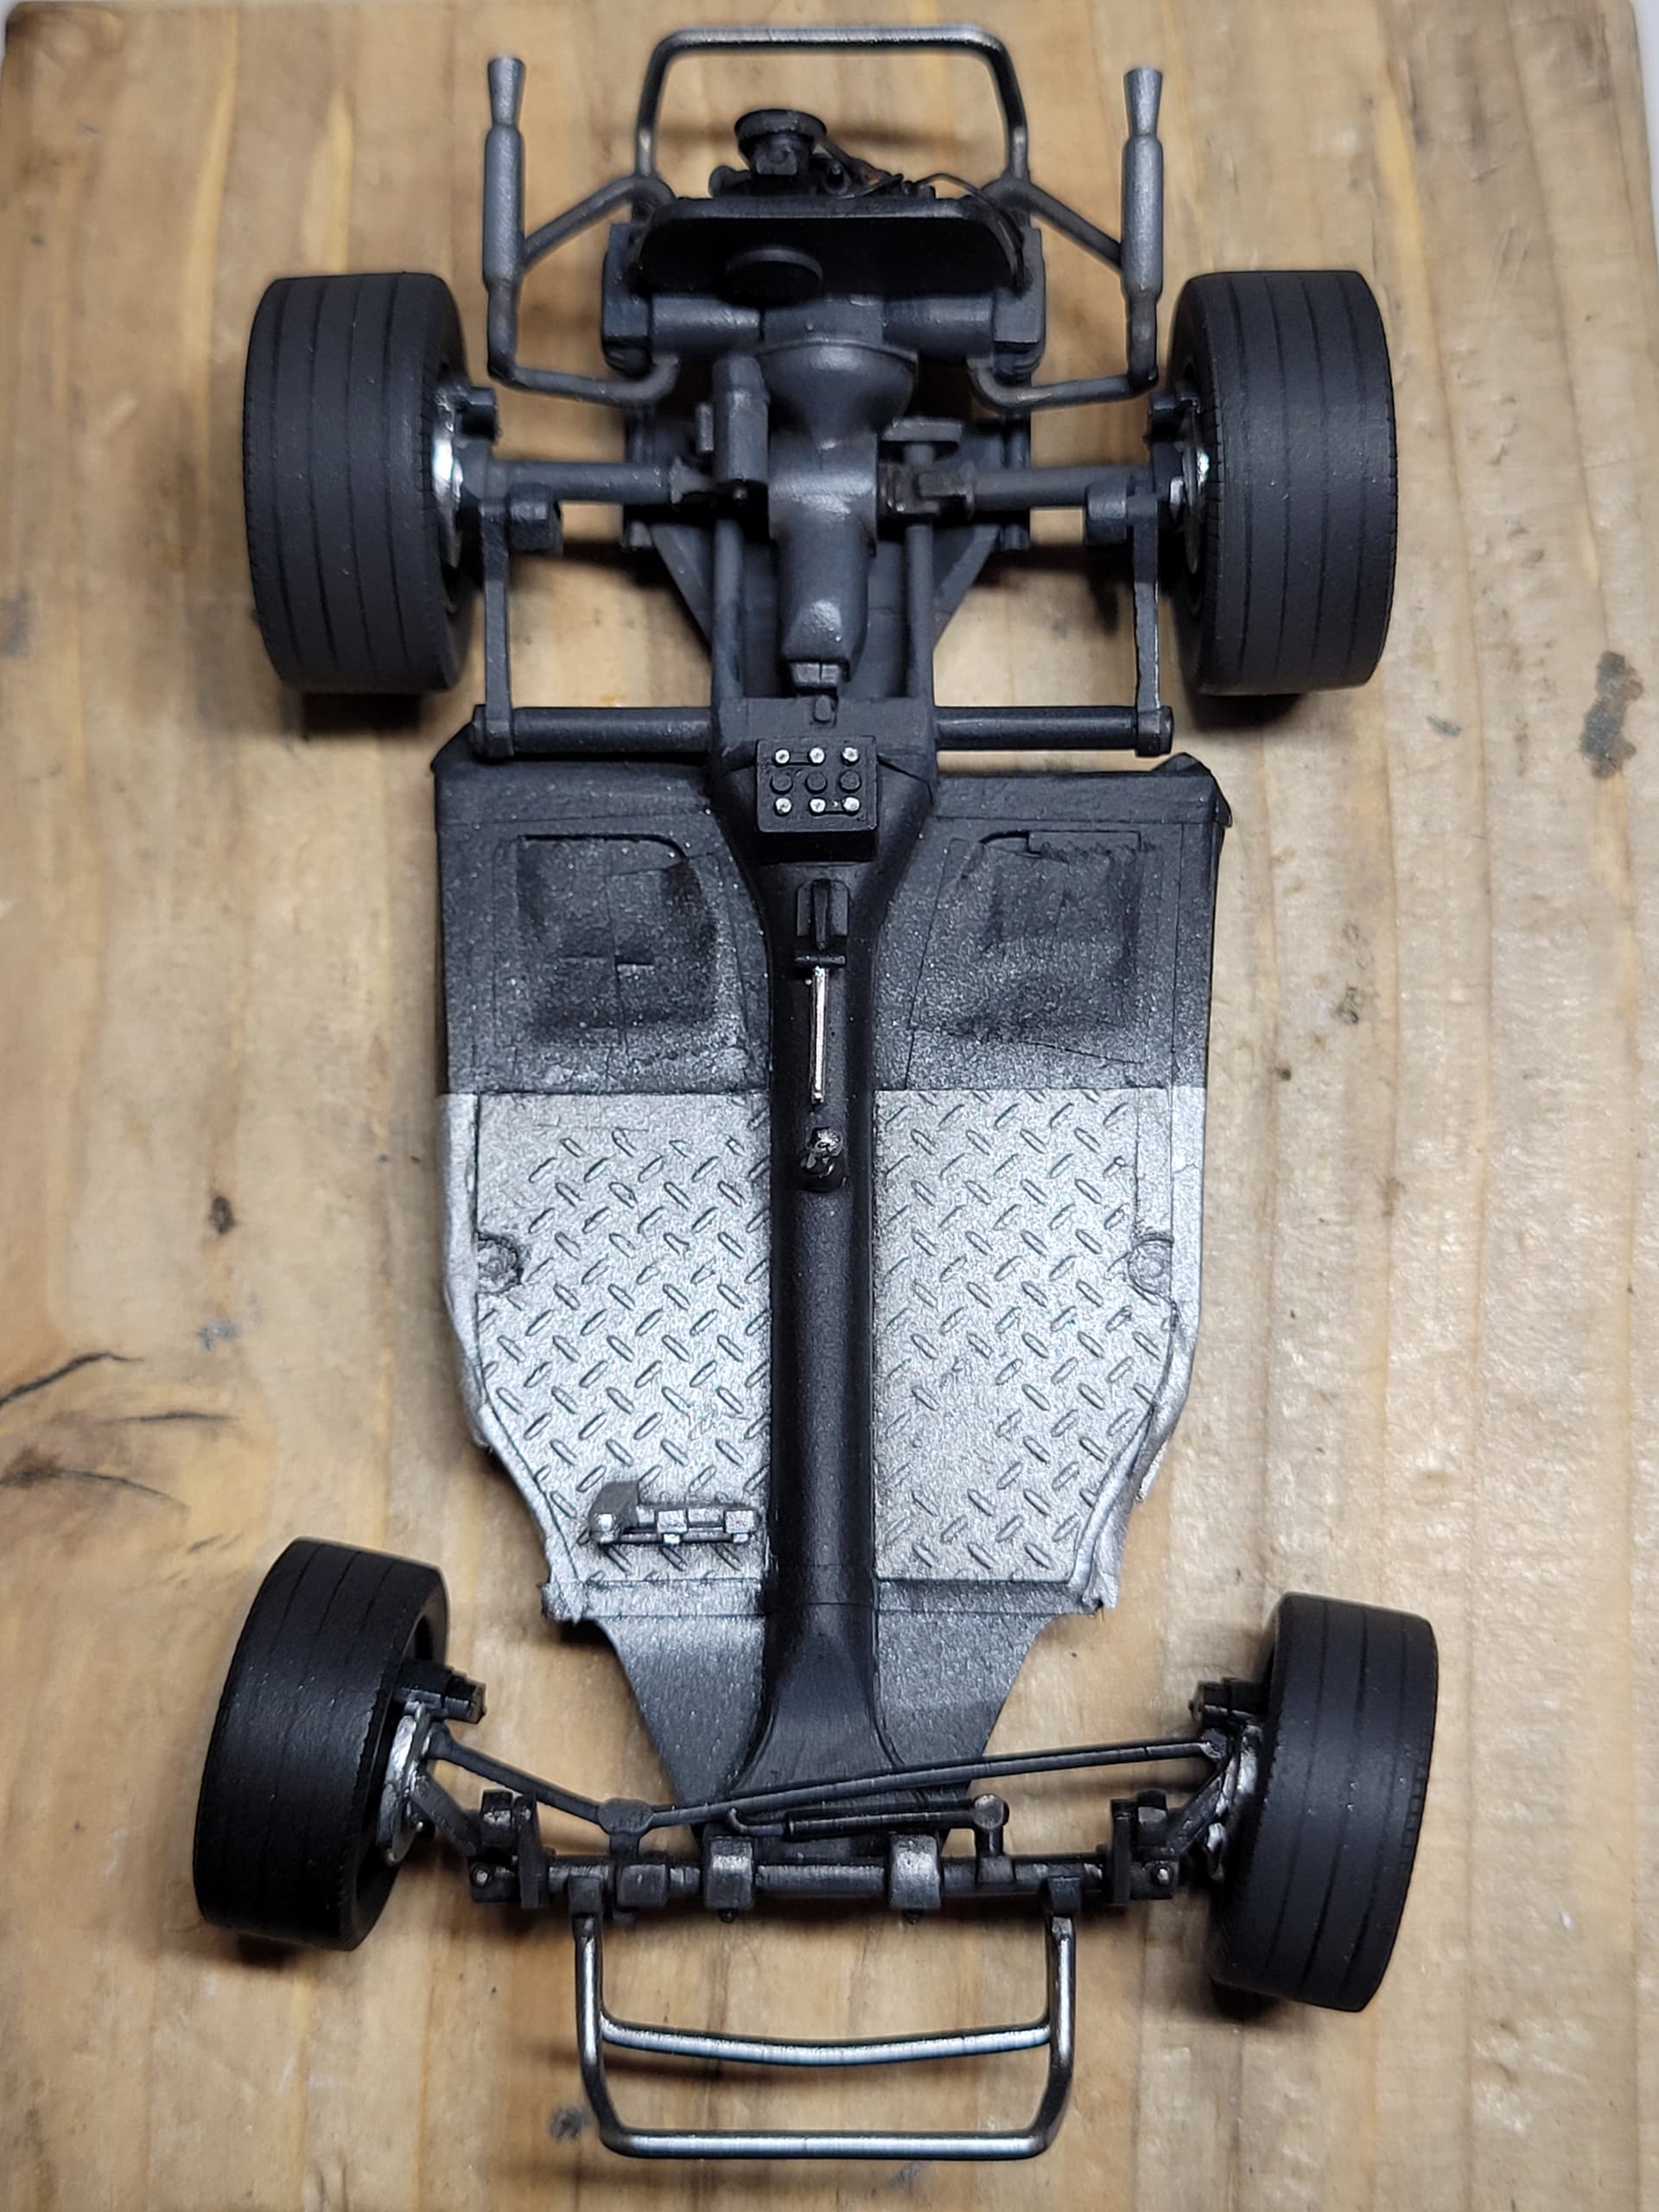
Obtained some Alclad II for the first time and coated the roll cage. Interesting experience - a bit easier and more forgiving than I thought.
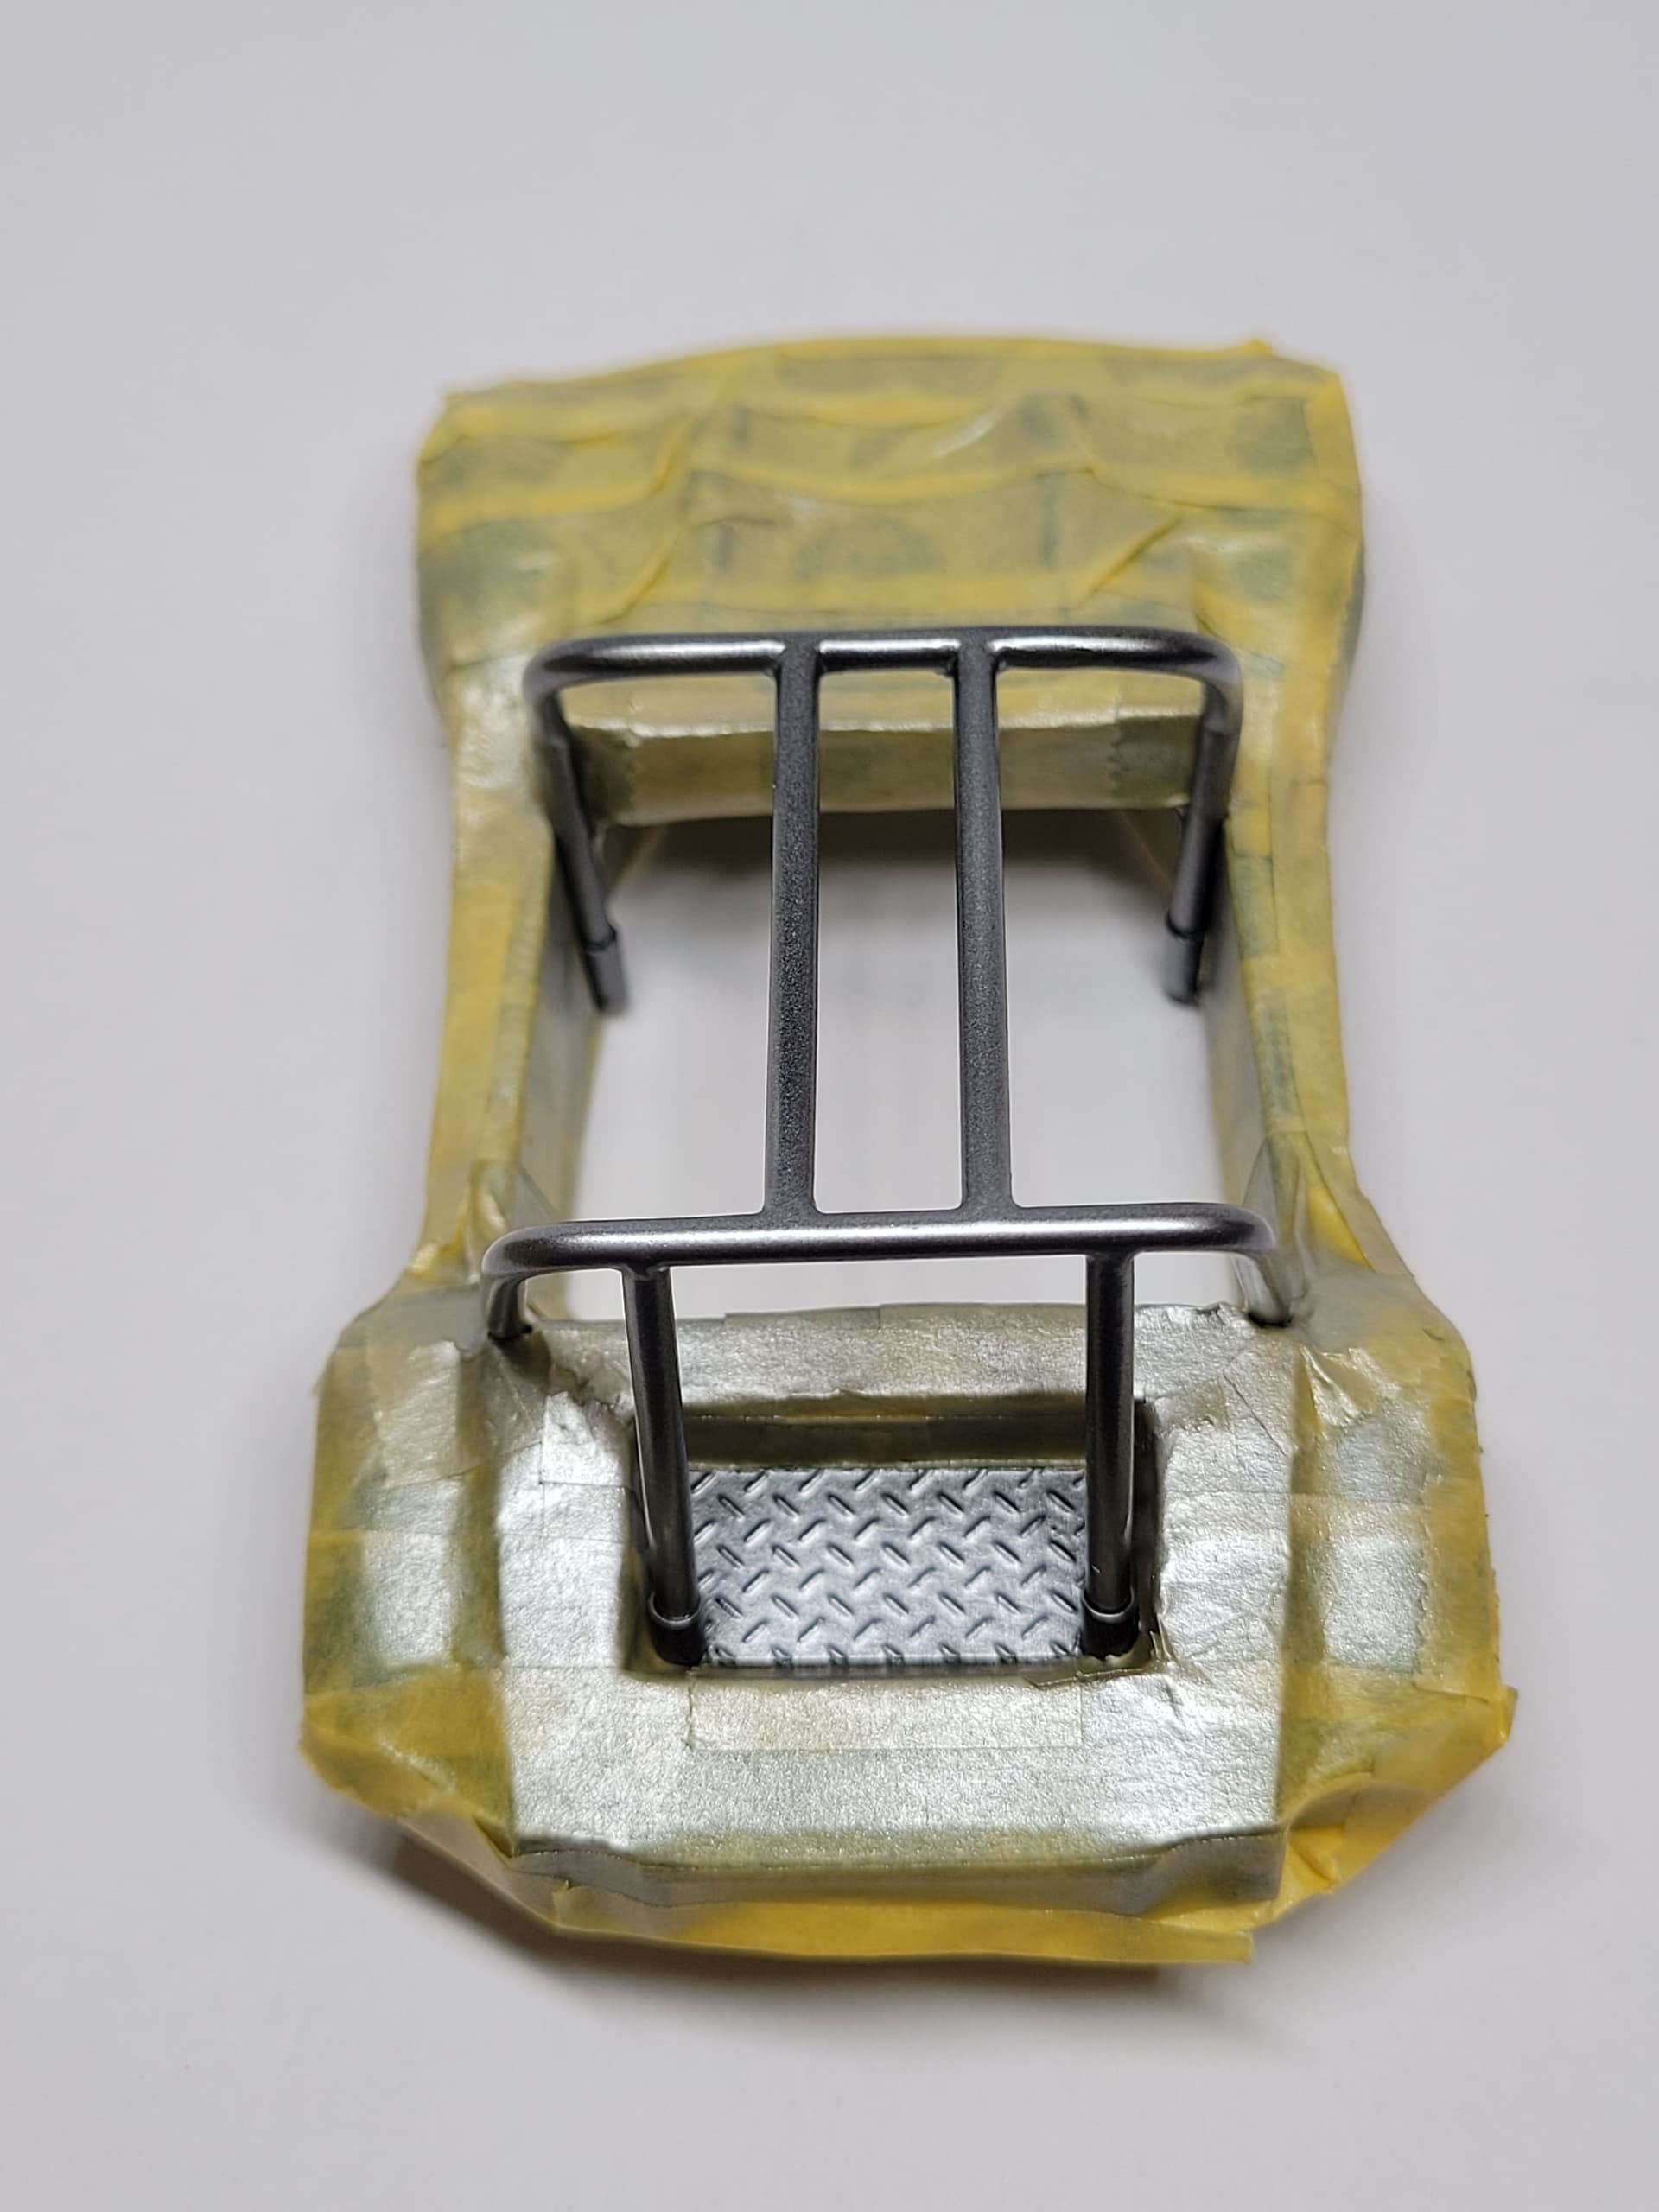

Normal metallic paint with a bit of Alclad over spray on the floor, then a try out to see if the wheels make decent contact and still fit correctly.
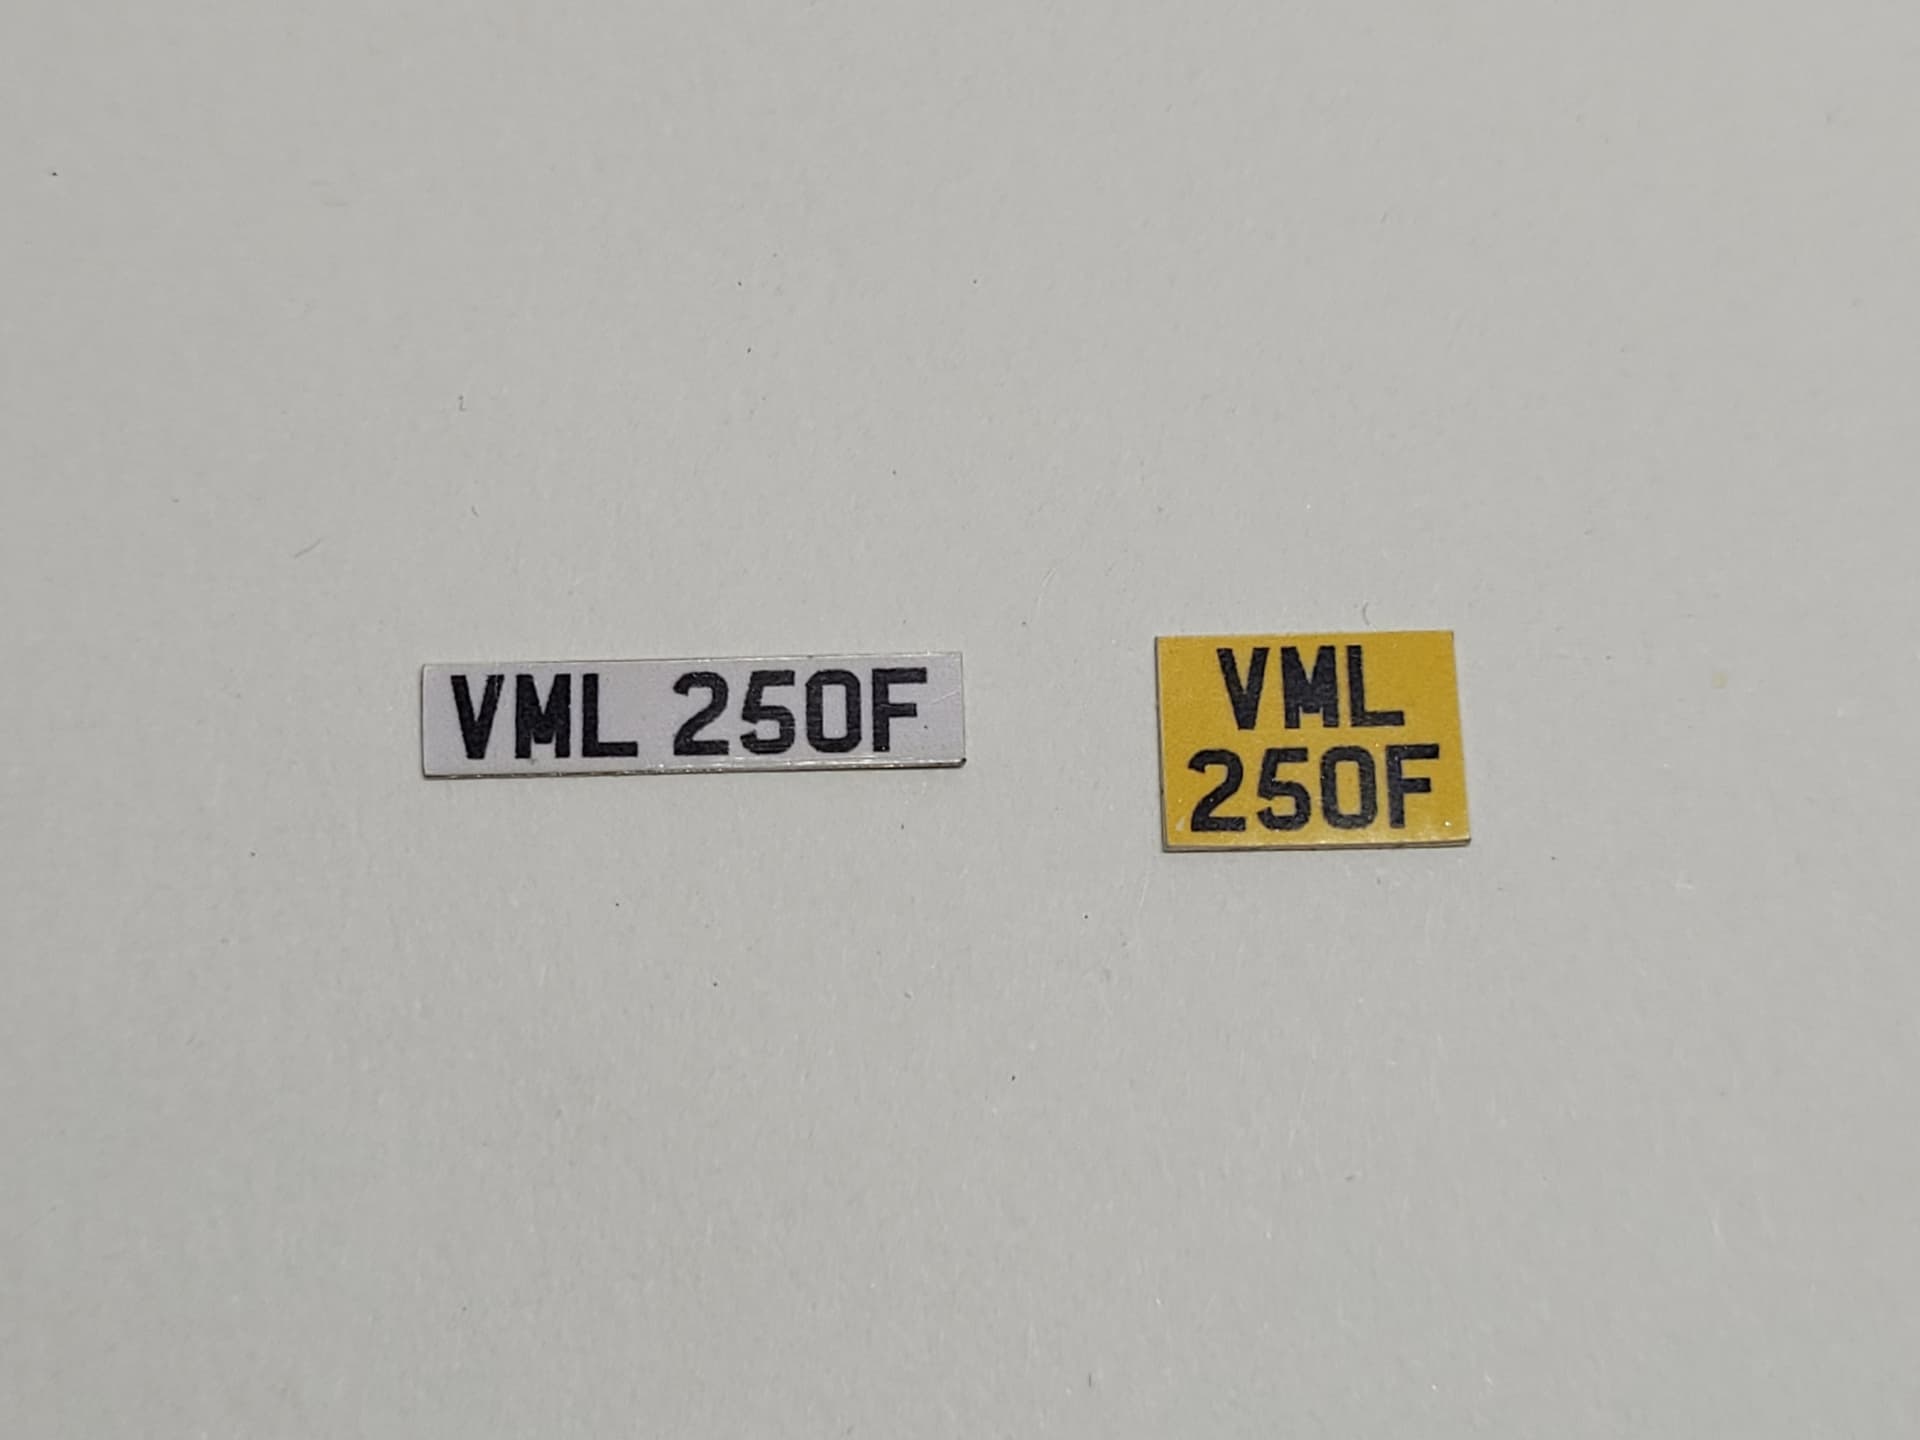
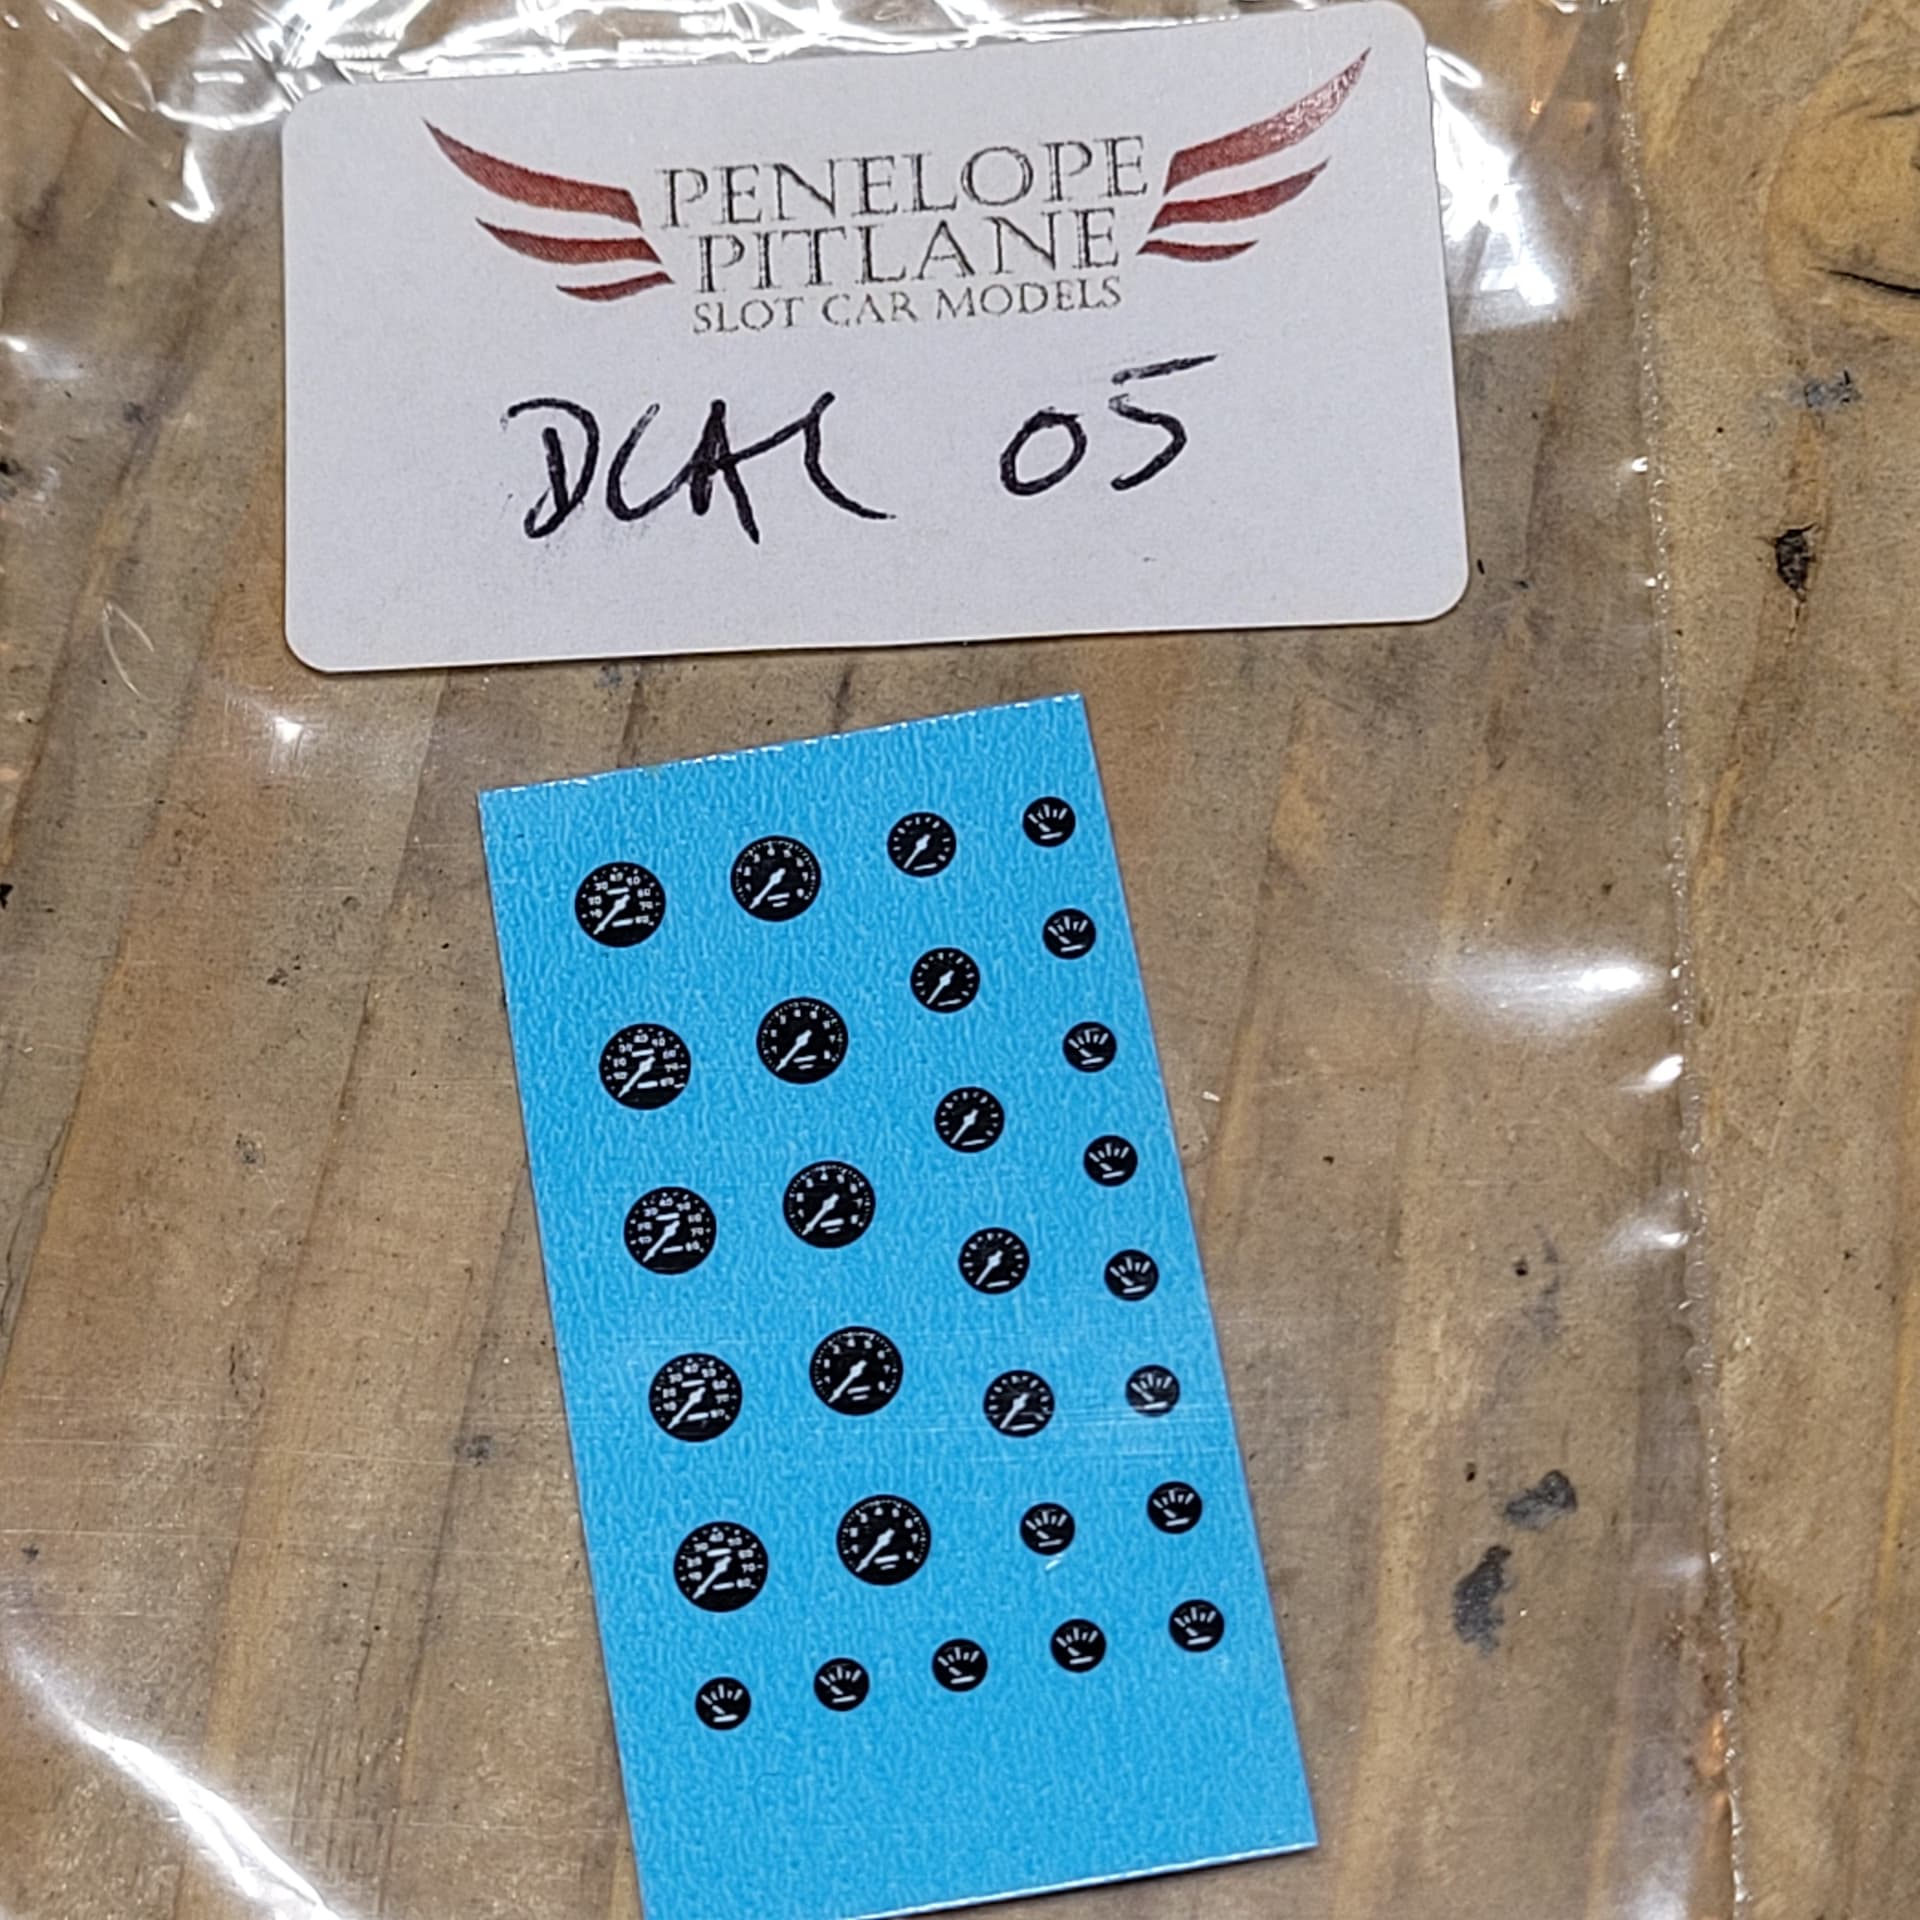
A couple of ebay purchases arrived. Modern style number plates, and dashboard decals. Number plates are printed self adhesive vinyl, which I’ve trimmed and stuck on to brass sheet.
8 Likes
This is moving along very nicely Matt!
A quick word of advice on the Alclad, try to avoid handling the build using the roll bars now, it can be quite fragile and rub off with your fingers. Alternatively, give it a water-based clear coat like Alclad Aqua Gloss which won’t affect the finish and protect it from damage.
I like the Alclad metallic range. It’s a very nice product to use and I love the finish, but handle with care!
Cheers, D
1 Like
The figures look fine
1 Like
I love what you’re doing with this. If I may venture an observation, the moustache seems awfully dark compared to his really blond hair. I would have expected both to be a similar shade. The sarong is fantastic!
![]()
How cool is that? Love the figure painting work and all the added details to this gem of a build. Rock on brutha!!!
1 Like
Matt,
your Dune Buggy is really coming along quite nicely, and have brought back some very fond memories when I use to ride in my buddy Phil’s Myers Manx. His Roll bar was just a single chromed bar right behind the front seats, but we saw quite a variation of bars from time to time.
As D said, Metallics including Alcads which i find the most resistant to fingers still wears off. I’ve also used Alcad’s Aqua Gloss to protect my Alcad metallics and they hardly change the look and reflectiveness from a Metallic to just a Aluminum paint look as most lacquer Clears will do.
BTW, that’s some masking job you did there.
joel
Thanks all for the feedback. I watched some guy on YouTube go through about 8 different clear coats on top of Alclad and I think Johnson’s Klear / Future came a close second, so that’s what I used, and it didn’t seem to alter the finish that much. I did remove a couple of dust specks and respray it a little, and it seems OK.
Amended her eyebrows, and she’s now looking a little surprised, but less cave woman. I’ll leave her for a bit and see if it needs further fiddling.

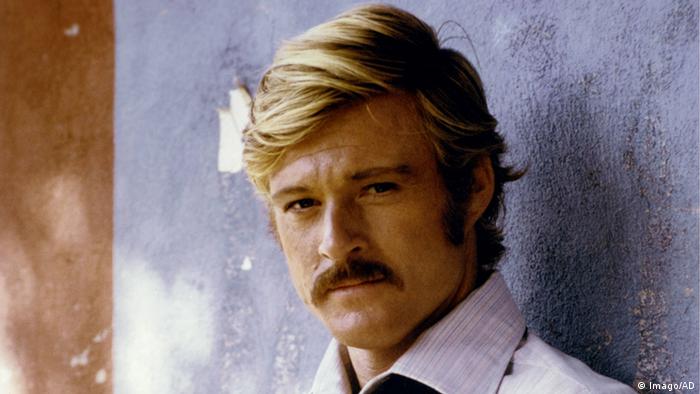
@Namabiiru - I also slightly highlighted the moustache, not sure if it shows, and also tried to warm up his greyish pallour. I watched Butch Cassidy and the Sundance Kid a couple of weeks ago, and RR’s tache is a bit darker than his hair, which was no doubt given highlights…
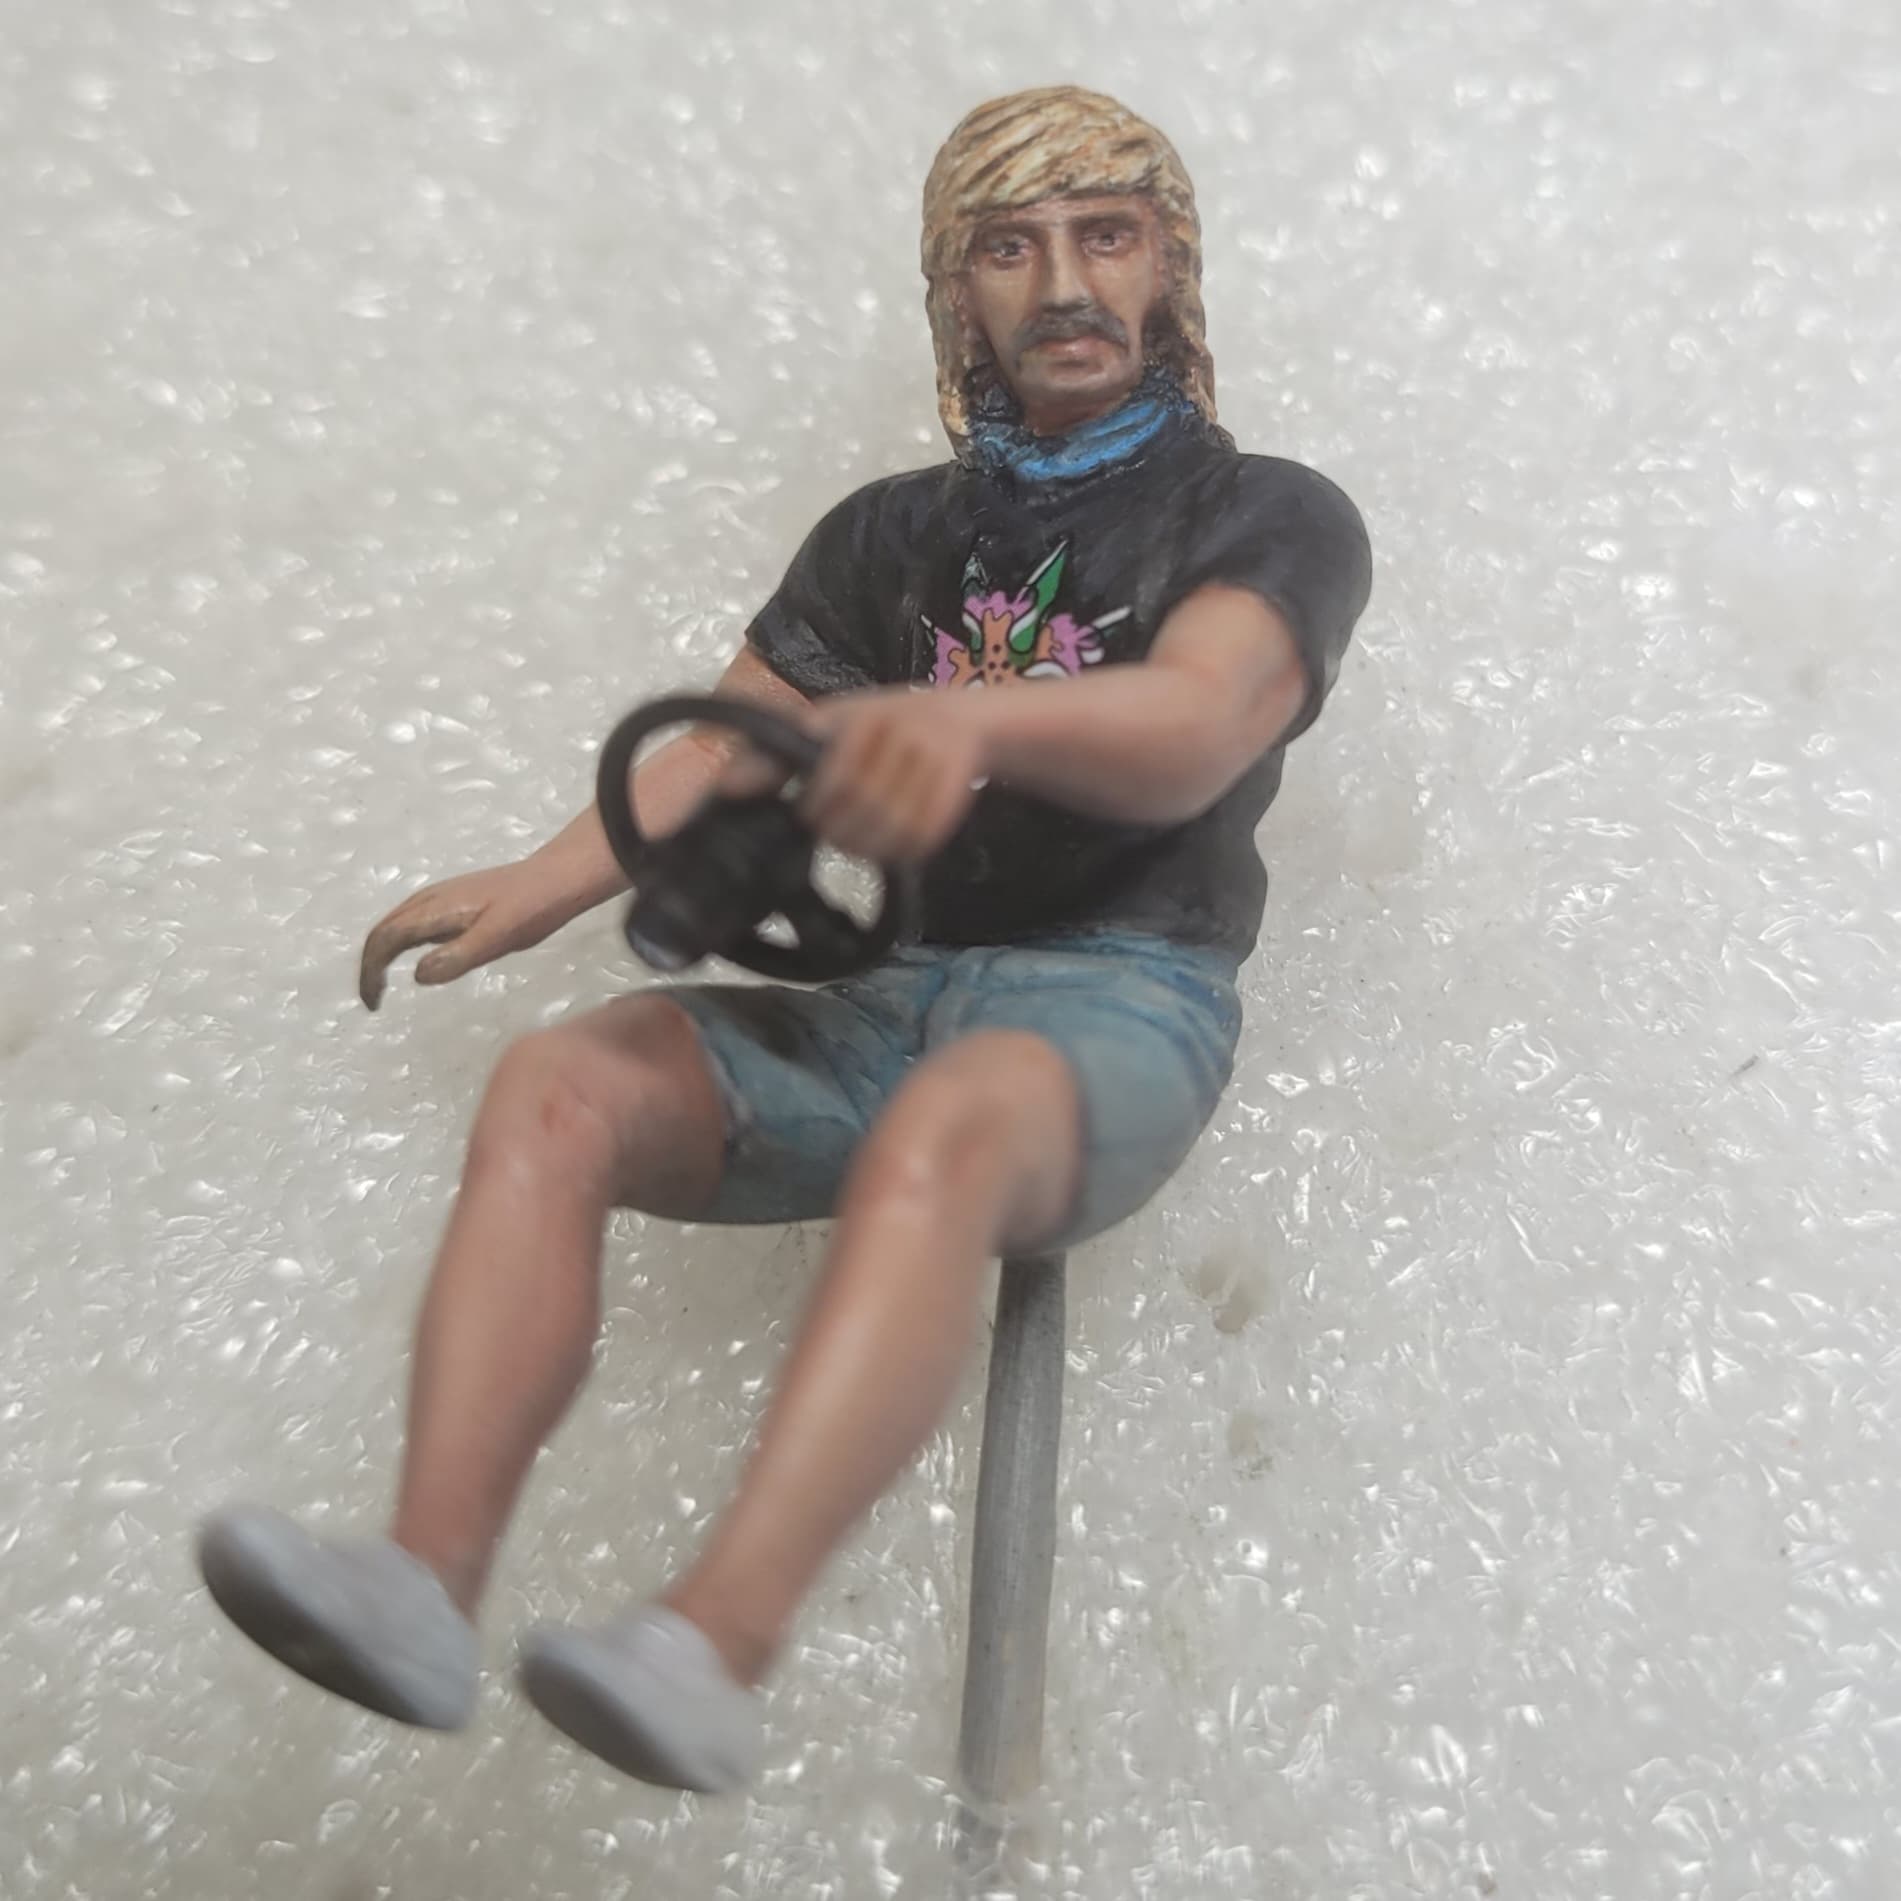
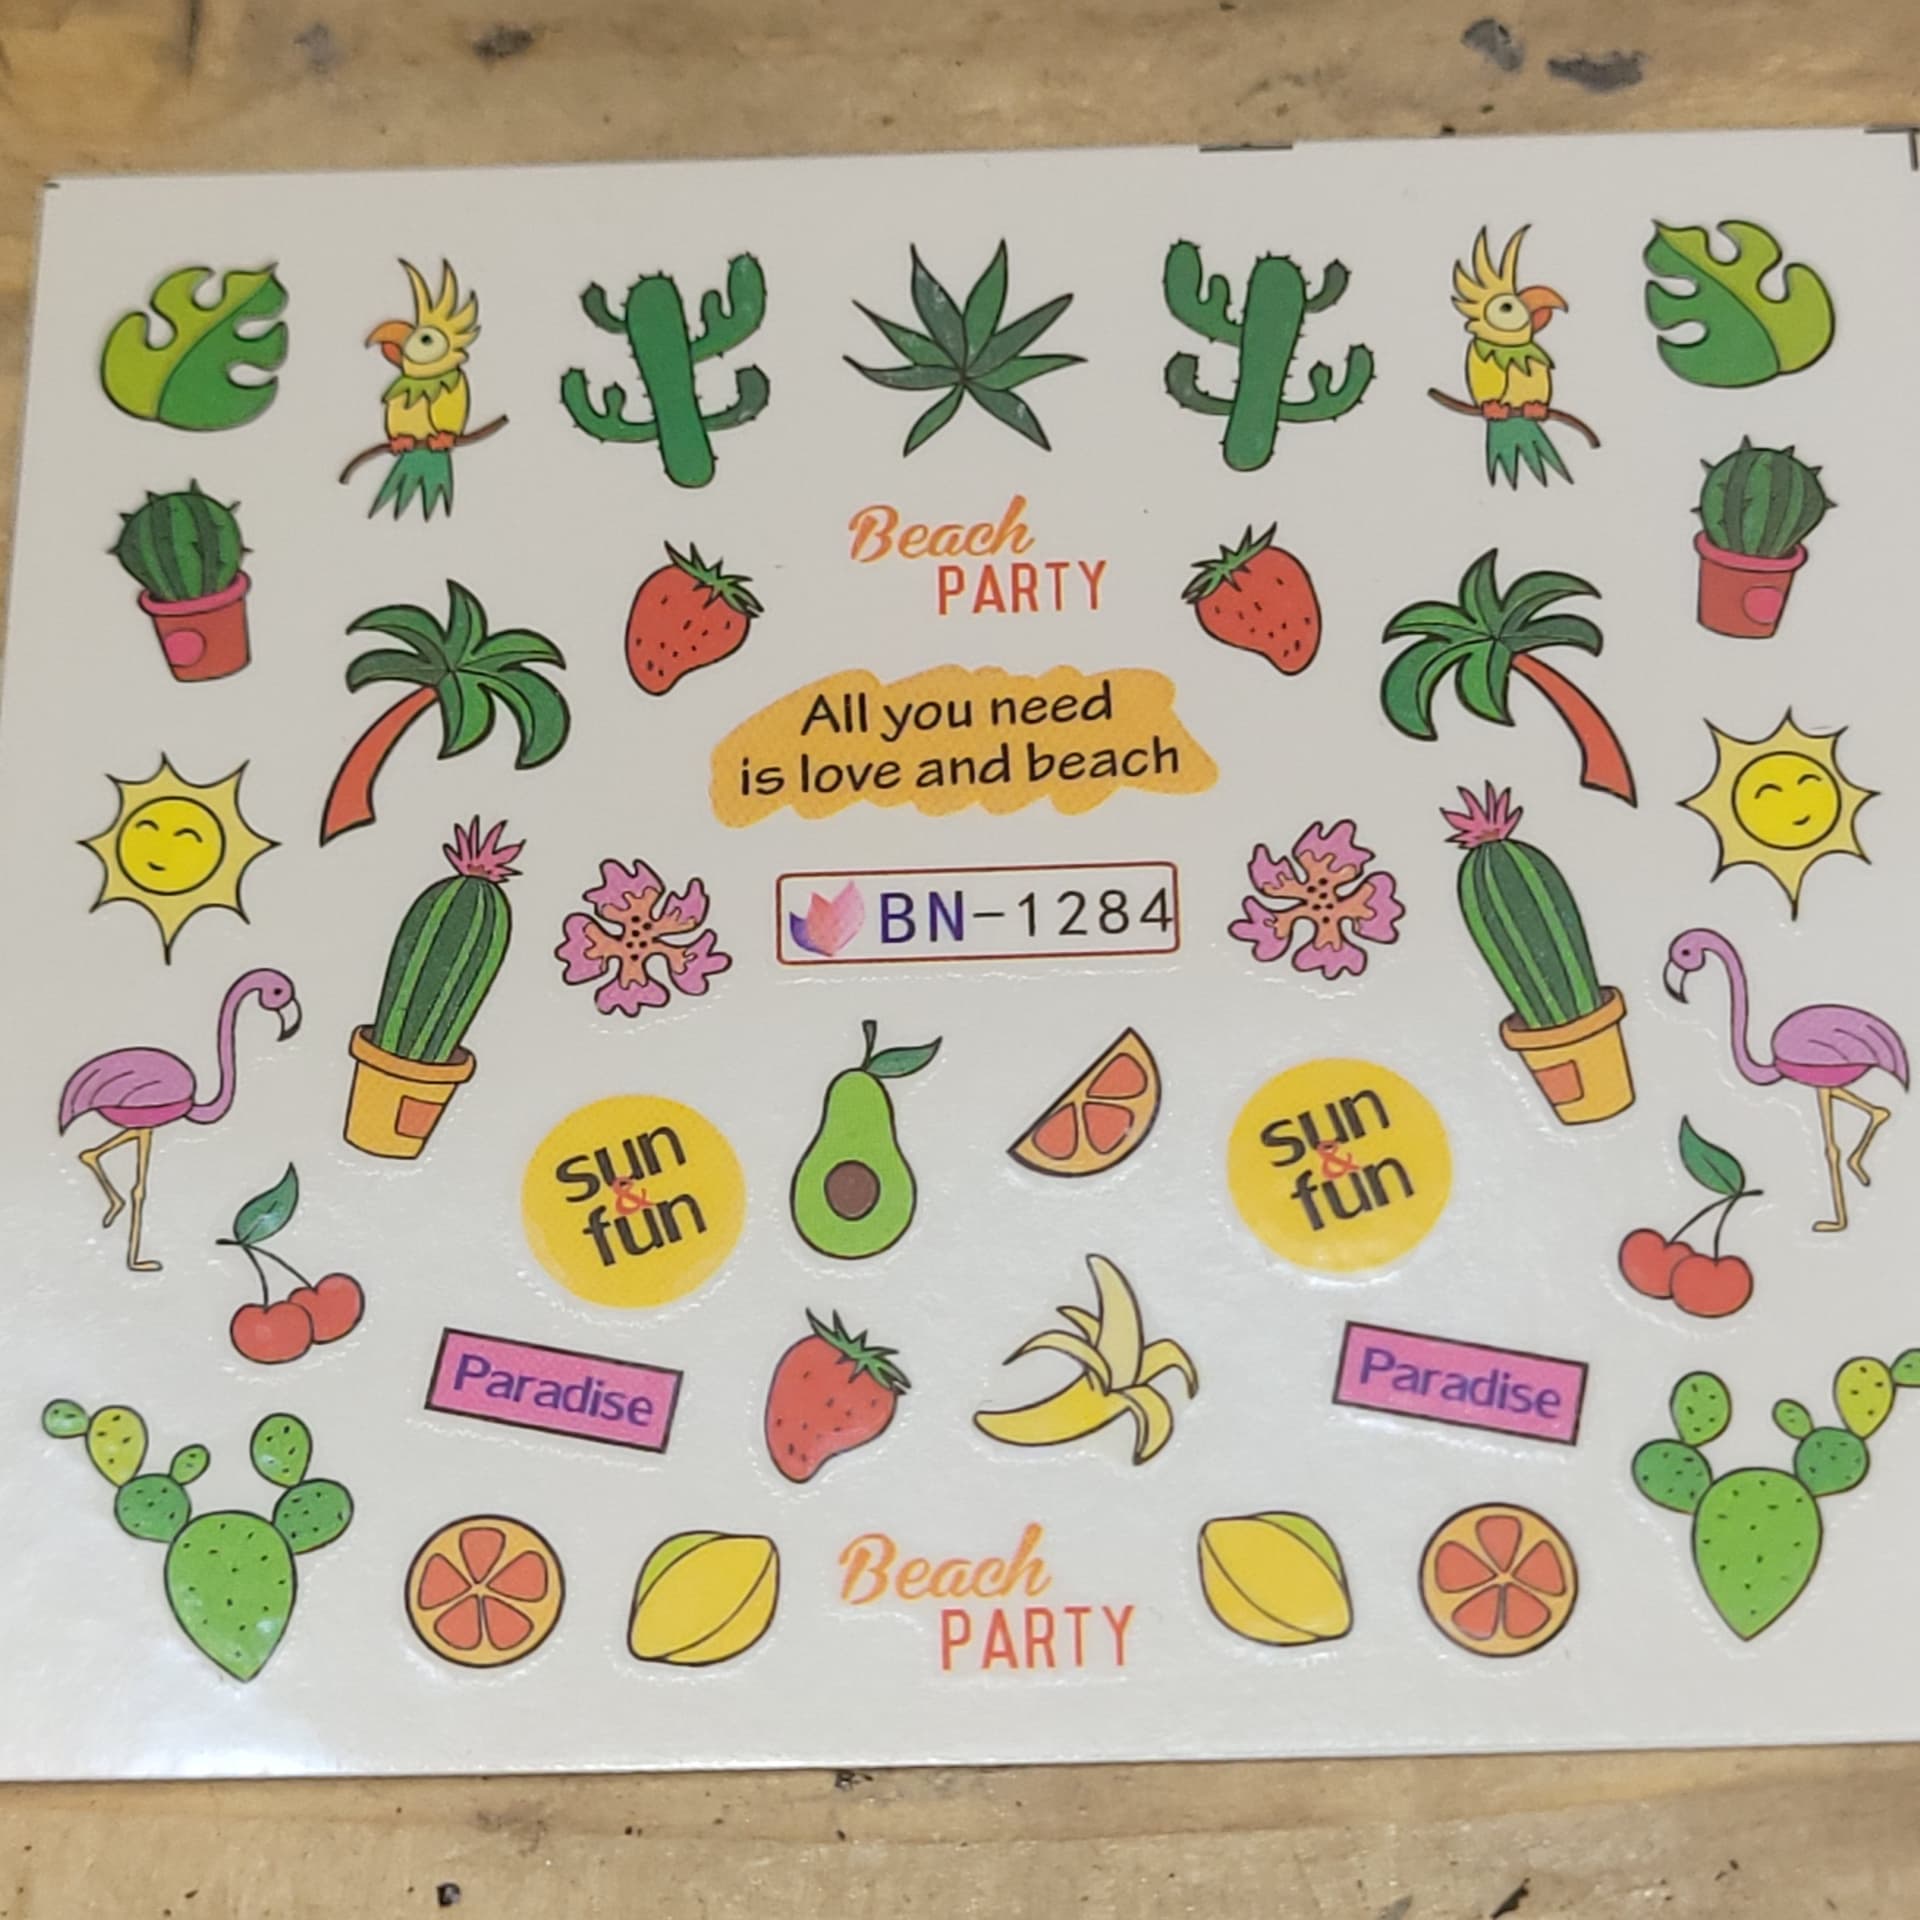
Oh yeah, he got a T shirt transfer, a leaf and a flower superimposed, from a nail decal set off eBay.
Did a little drybrush highlighting on the tyres and seats:
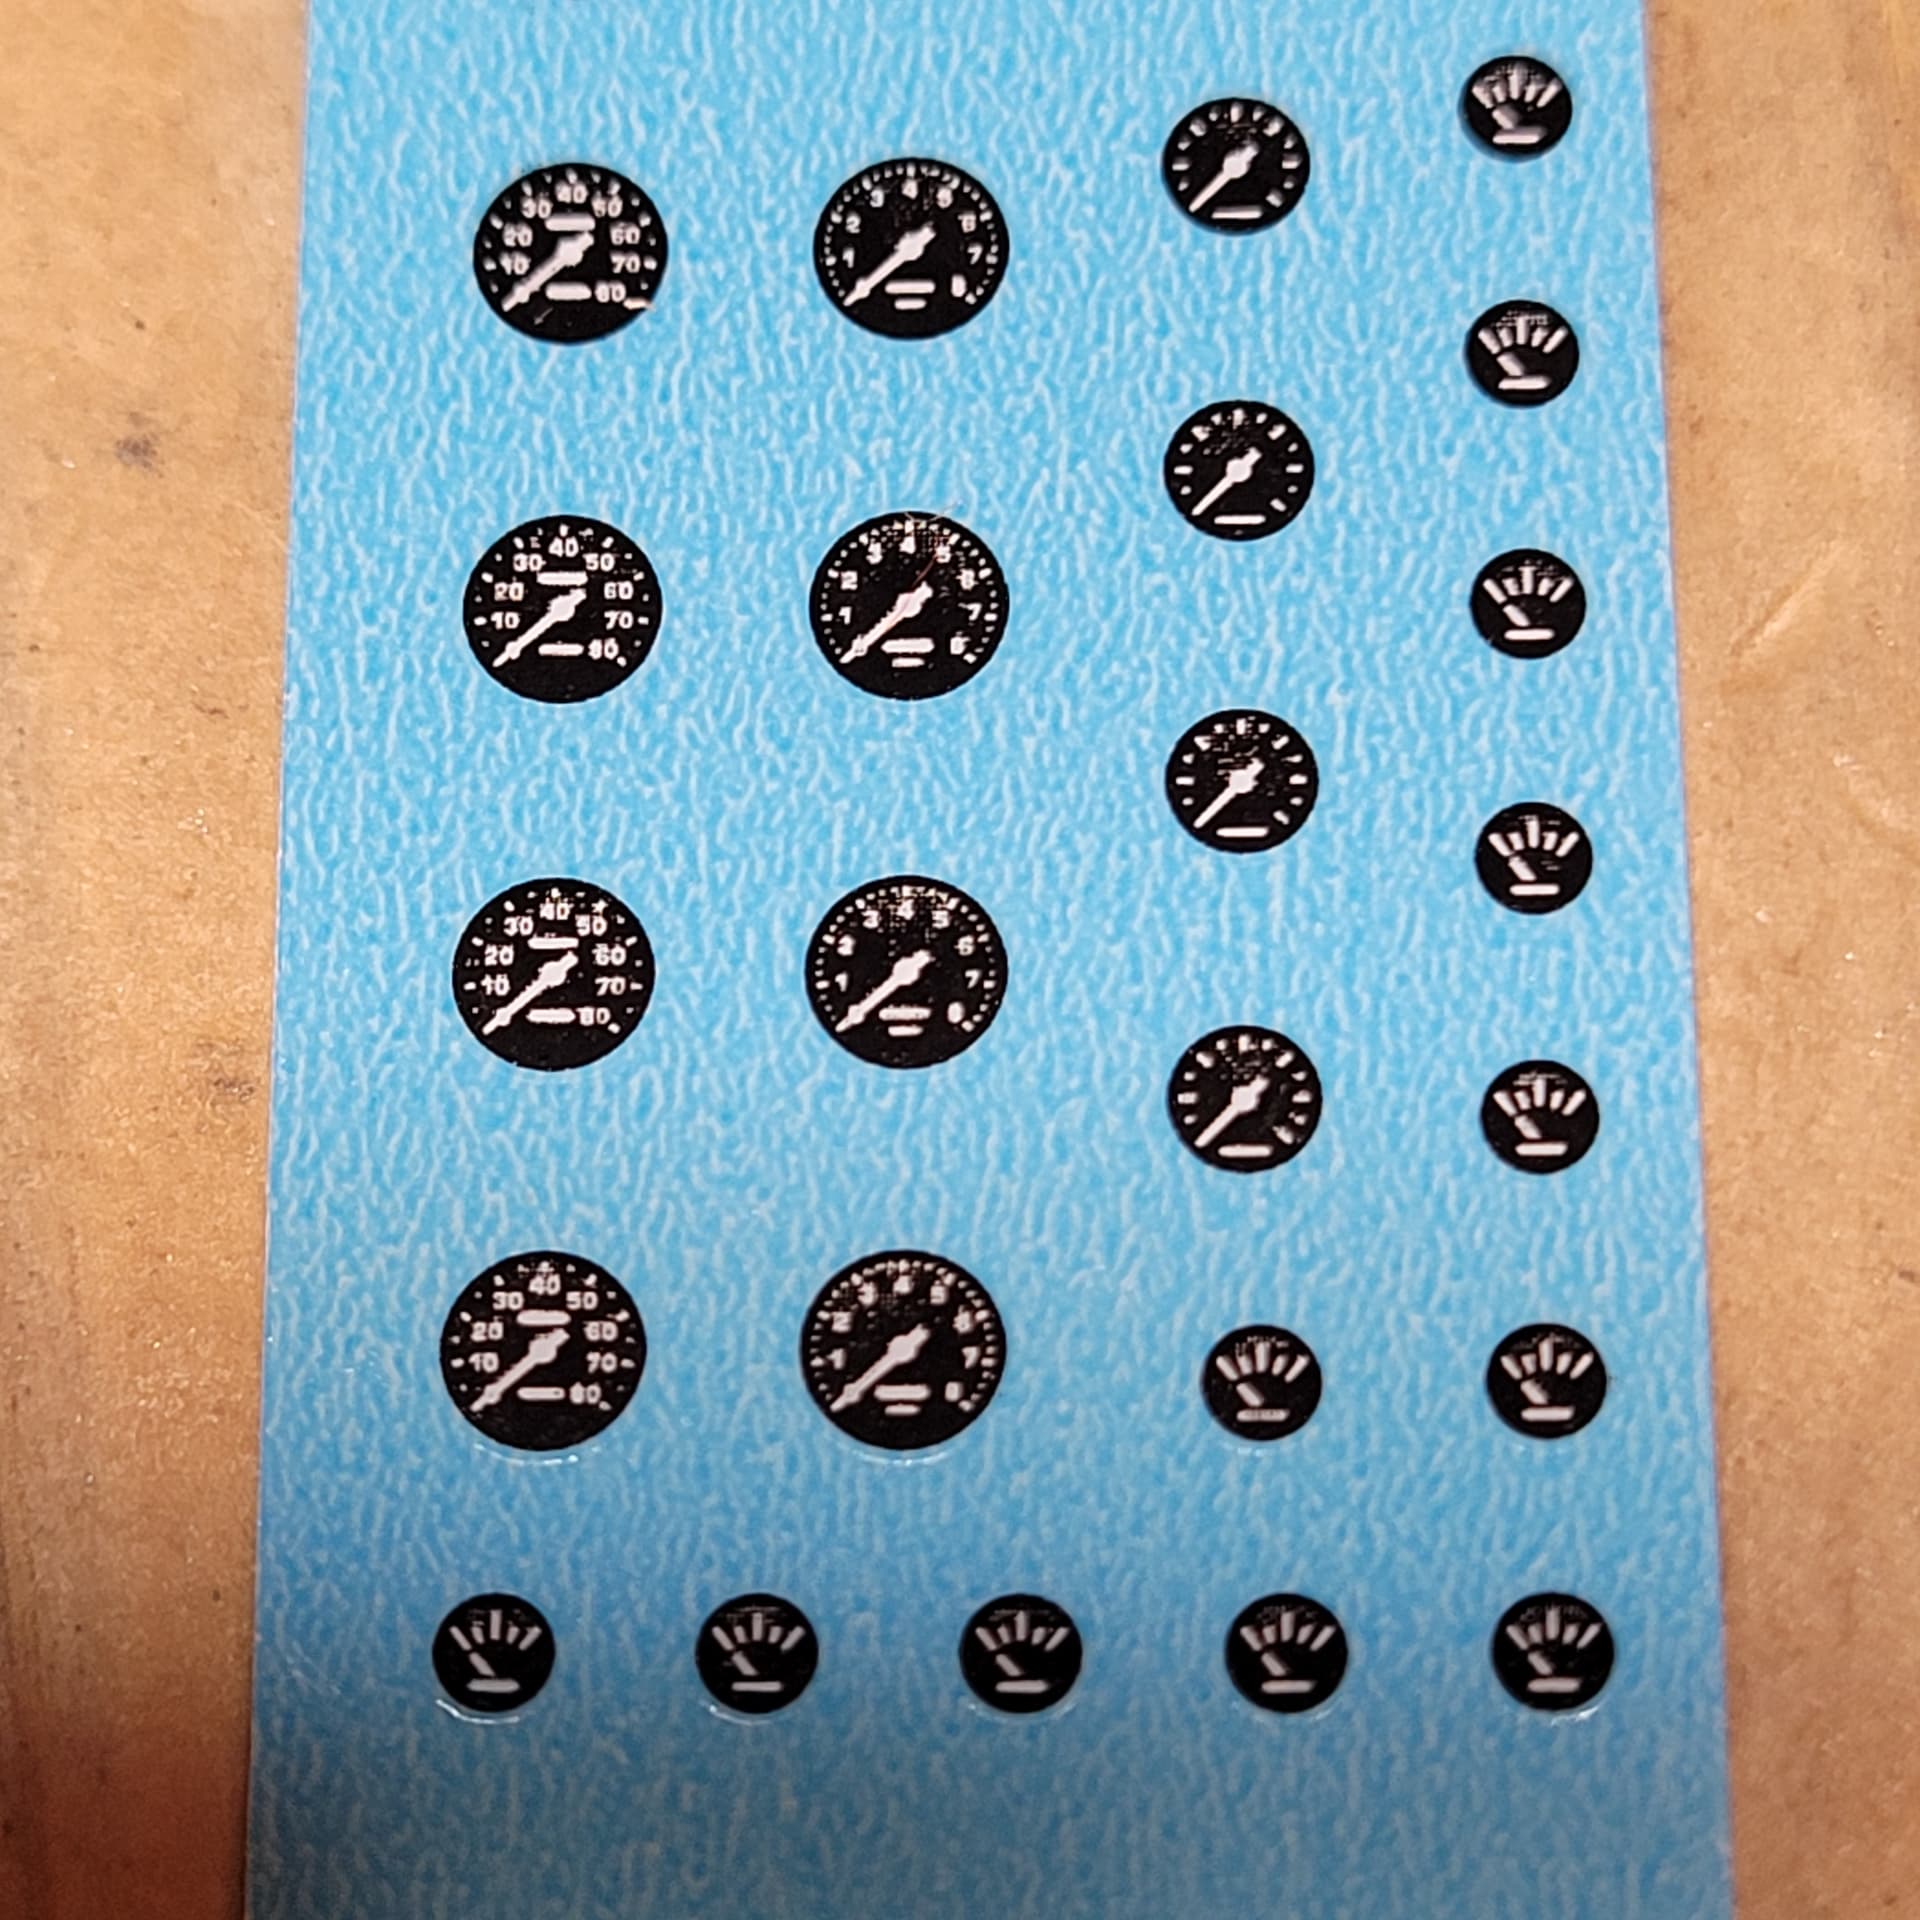
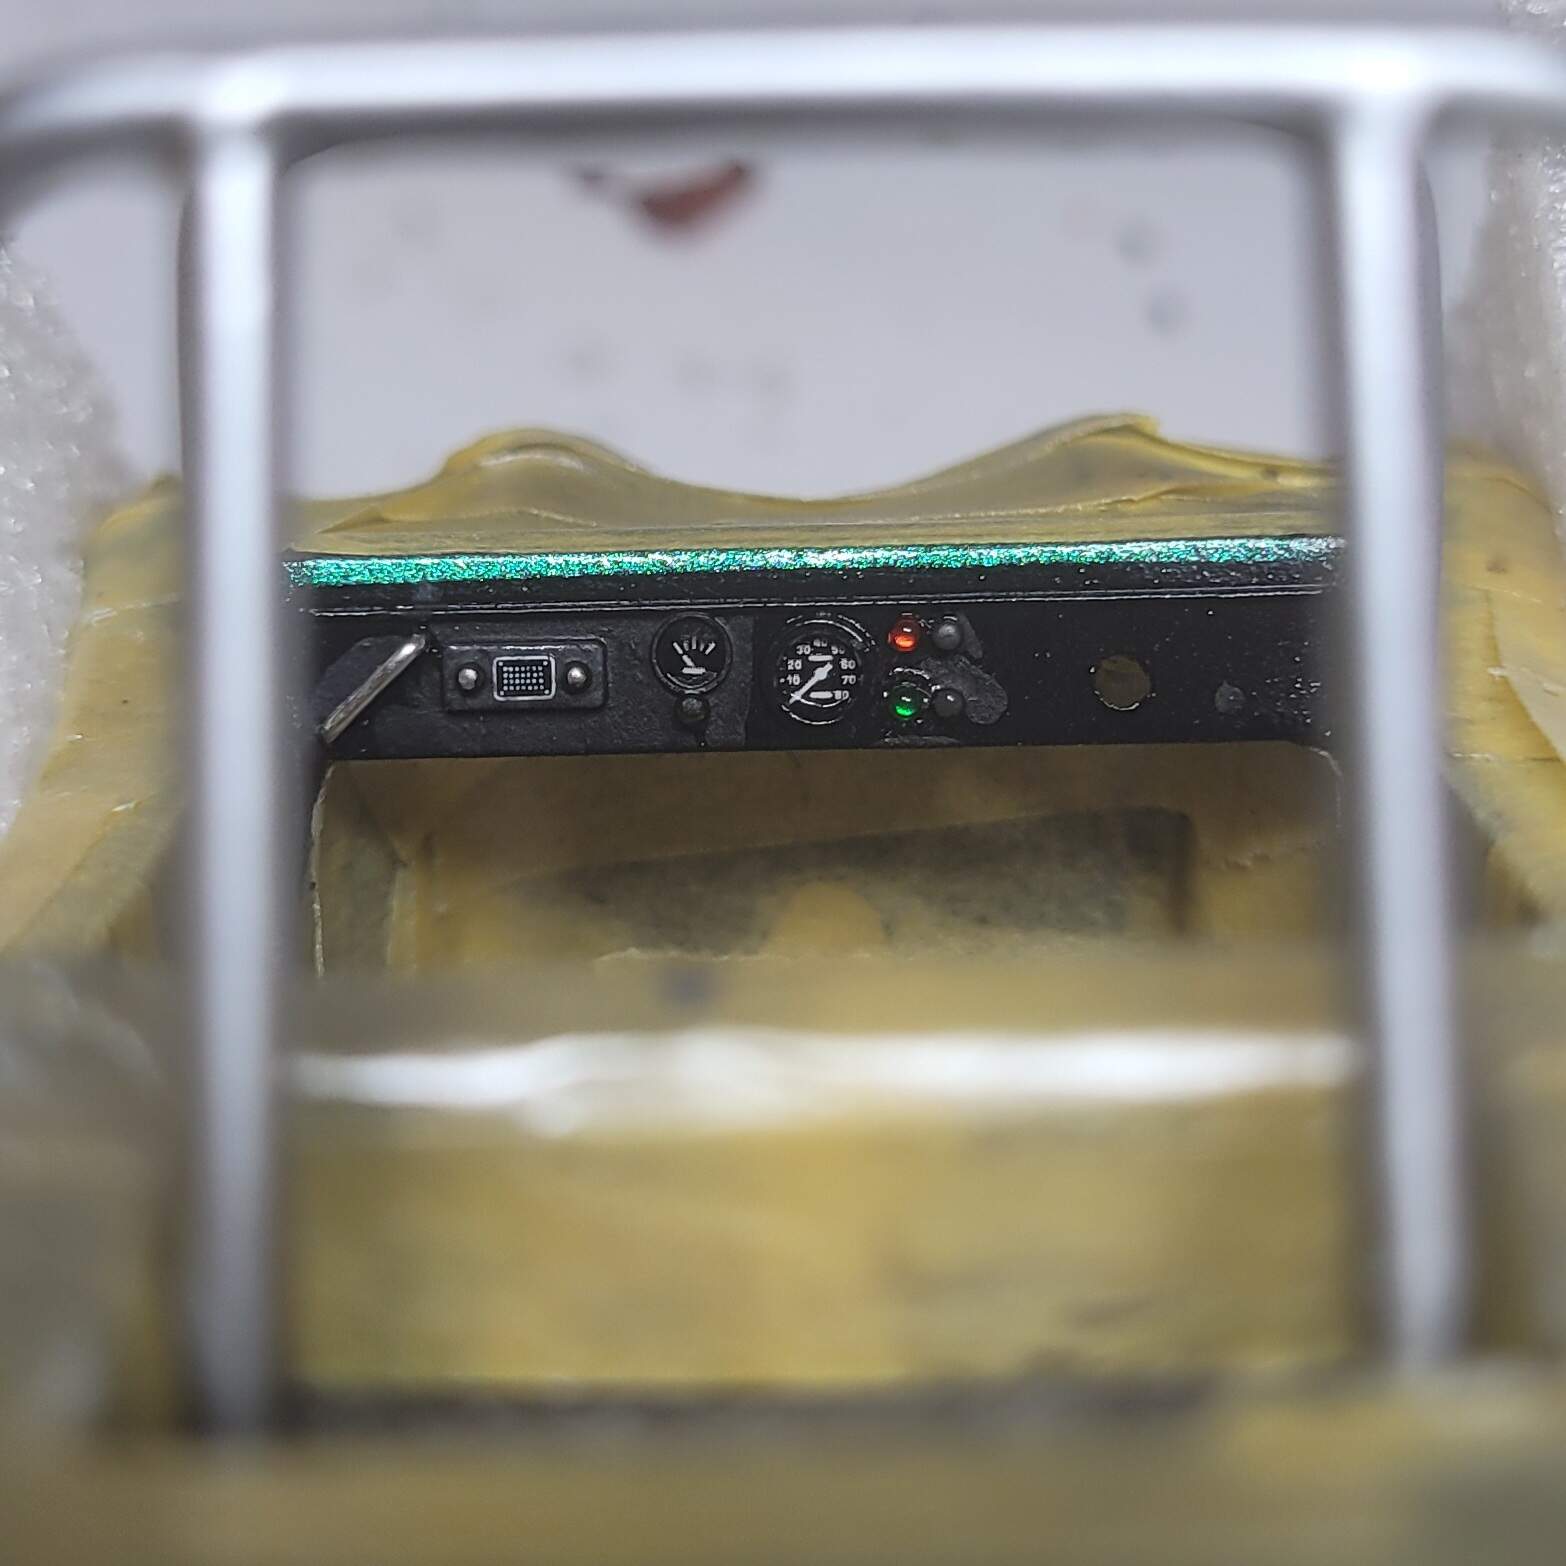
Almost finished detailing the dash, currently a patchy gloss and matt finish due to retouches. The radio tuning dial is some plate of text from a Dragon 1/35 halftrack, the knobs and grab handle done with a Molotow chrome marker. The speedo decal had to be trimmed to squeeze in, the fuel gauge I applied on to the dash first, then glued a thin slice of brass tube over it using Klear. The green and red lights are from an SKP set.
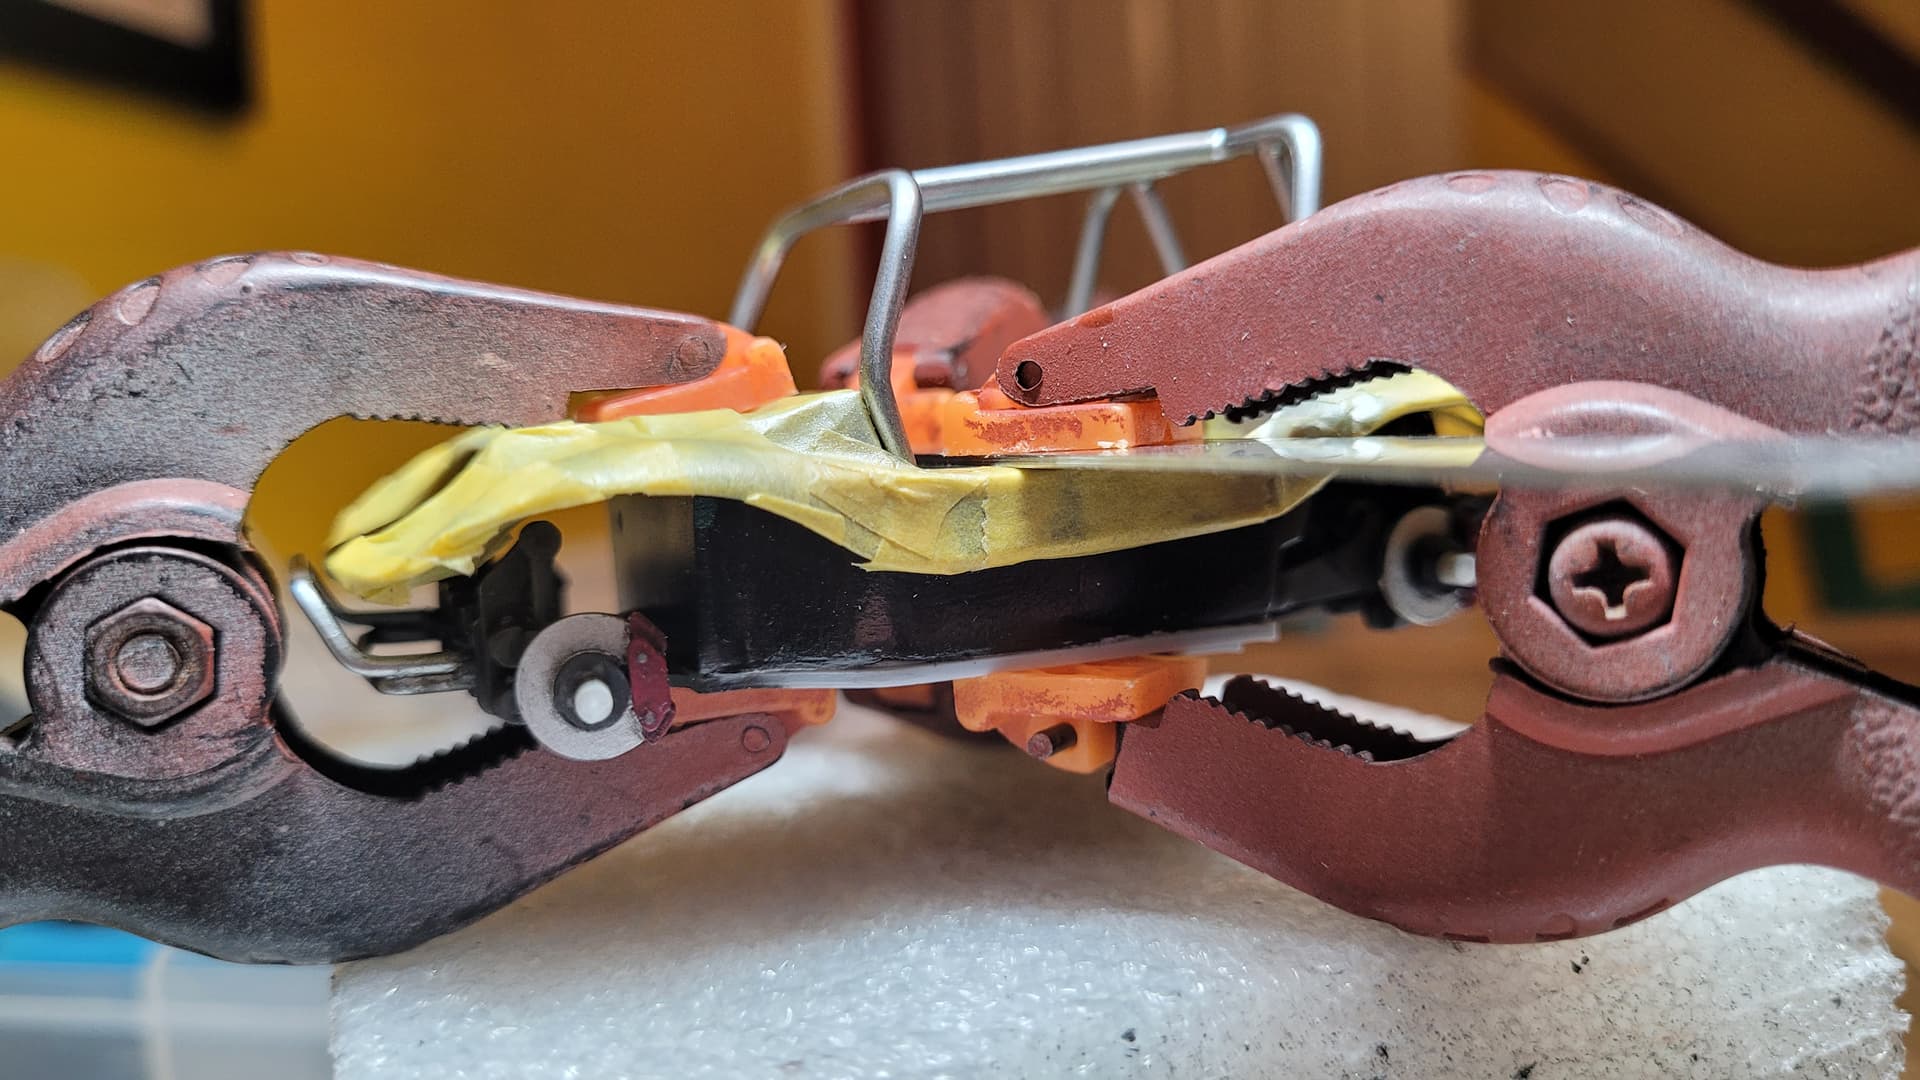
@Joel_W - and that’s the second time I’ve masked it like that… ![]()
7 Likes
Lot’s of great detailing.
1 Like
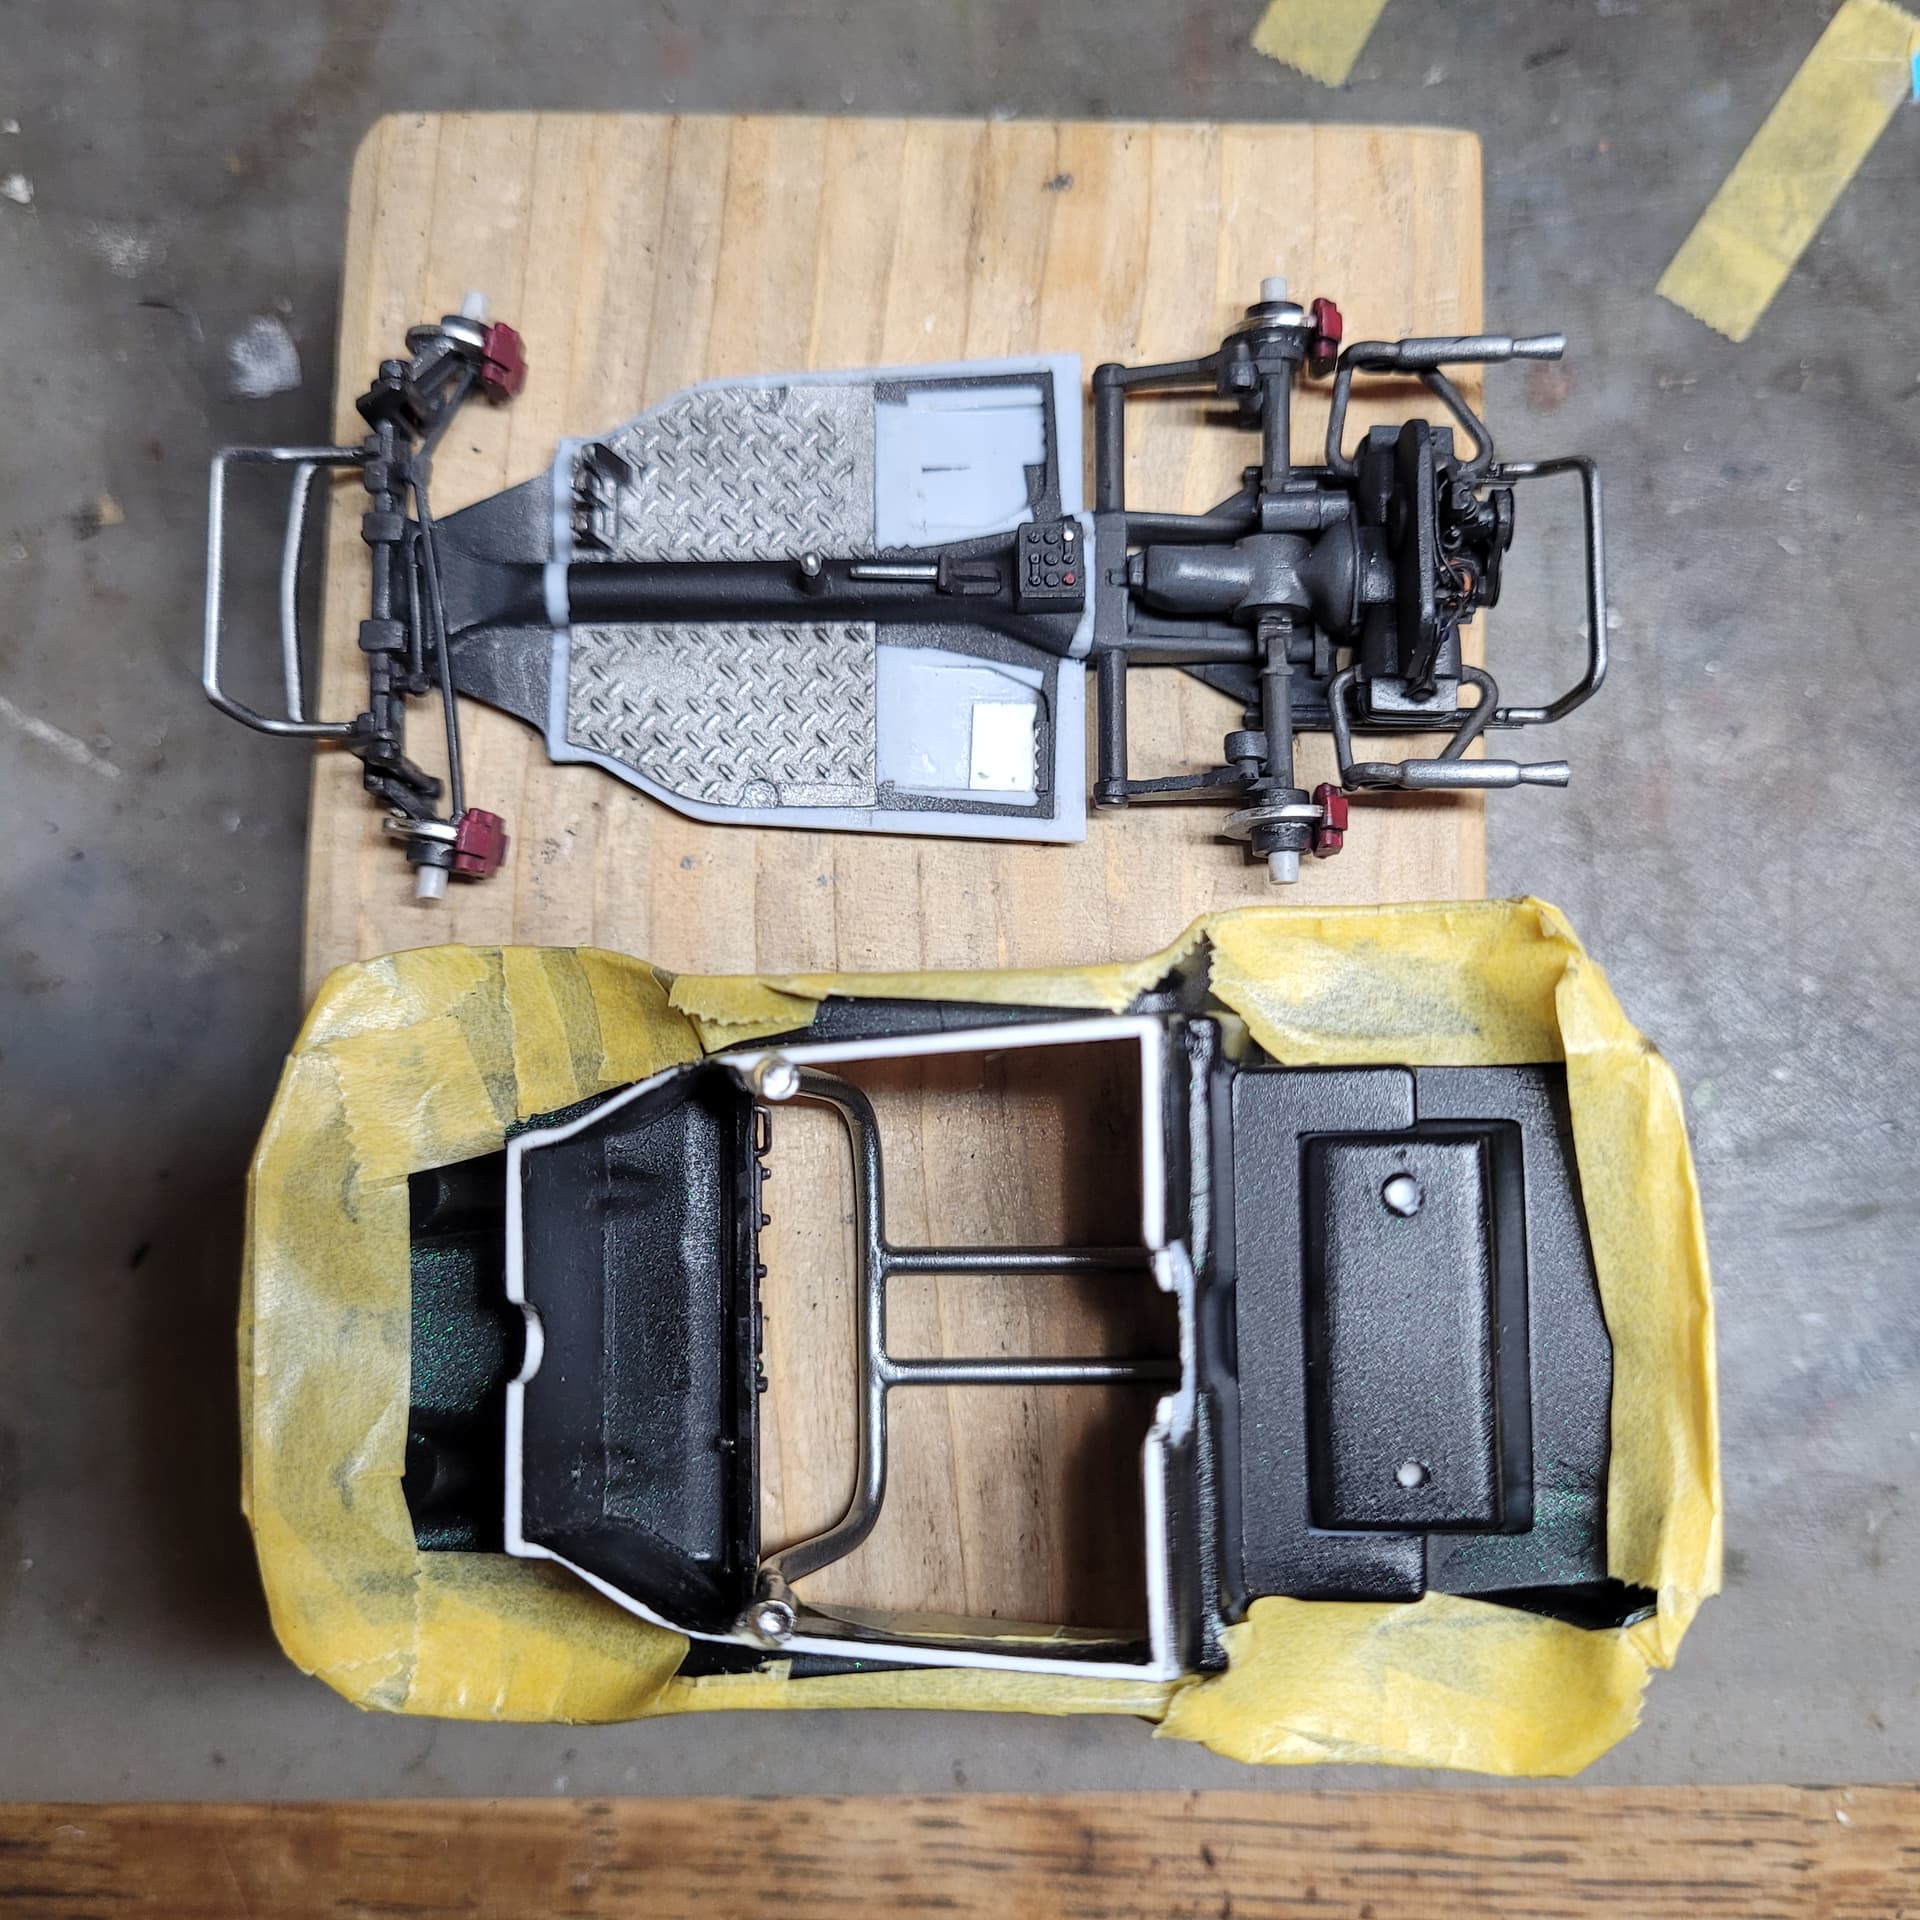
Not a lot to show, but determined to move this on to the next stage, the top and bottom have finally come together.

5 Likes
Continuing to blow minds…
1 Like
A big step forward getting the major assemblies paired up, looking good!
Cheers, D
Mathew,
Just amazing detail work. I love how the dash is coming out, as well as your weathering of the tires.
You’ve taken this kit to a whole different level that it was never intended to be at, and it’s really showing off your modeling skills.
joel
Mathew
Very nice work on the roll cage, looks just right
Peter
1 Like
Going slowly, little update…
Rear lights from the SKP M1070 set glued on with Mig Ultraglue. Hopefully won’t fall off then. Not sure if I need a reversing light as well…
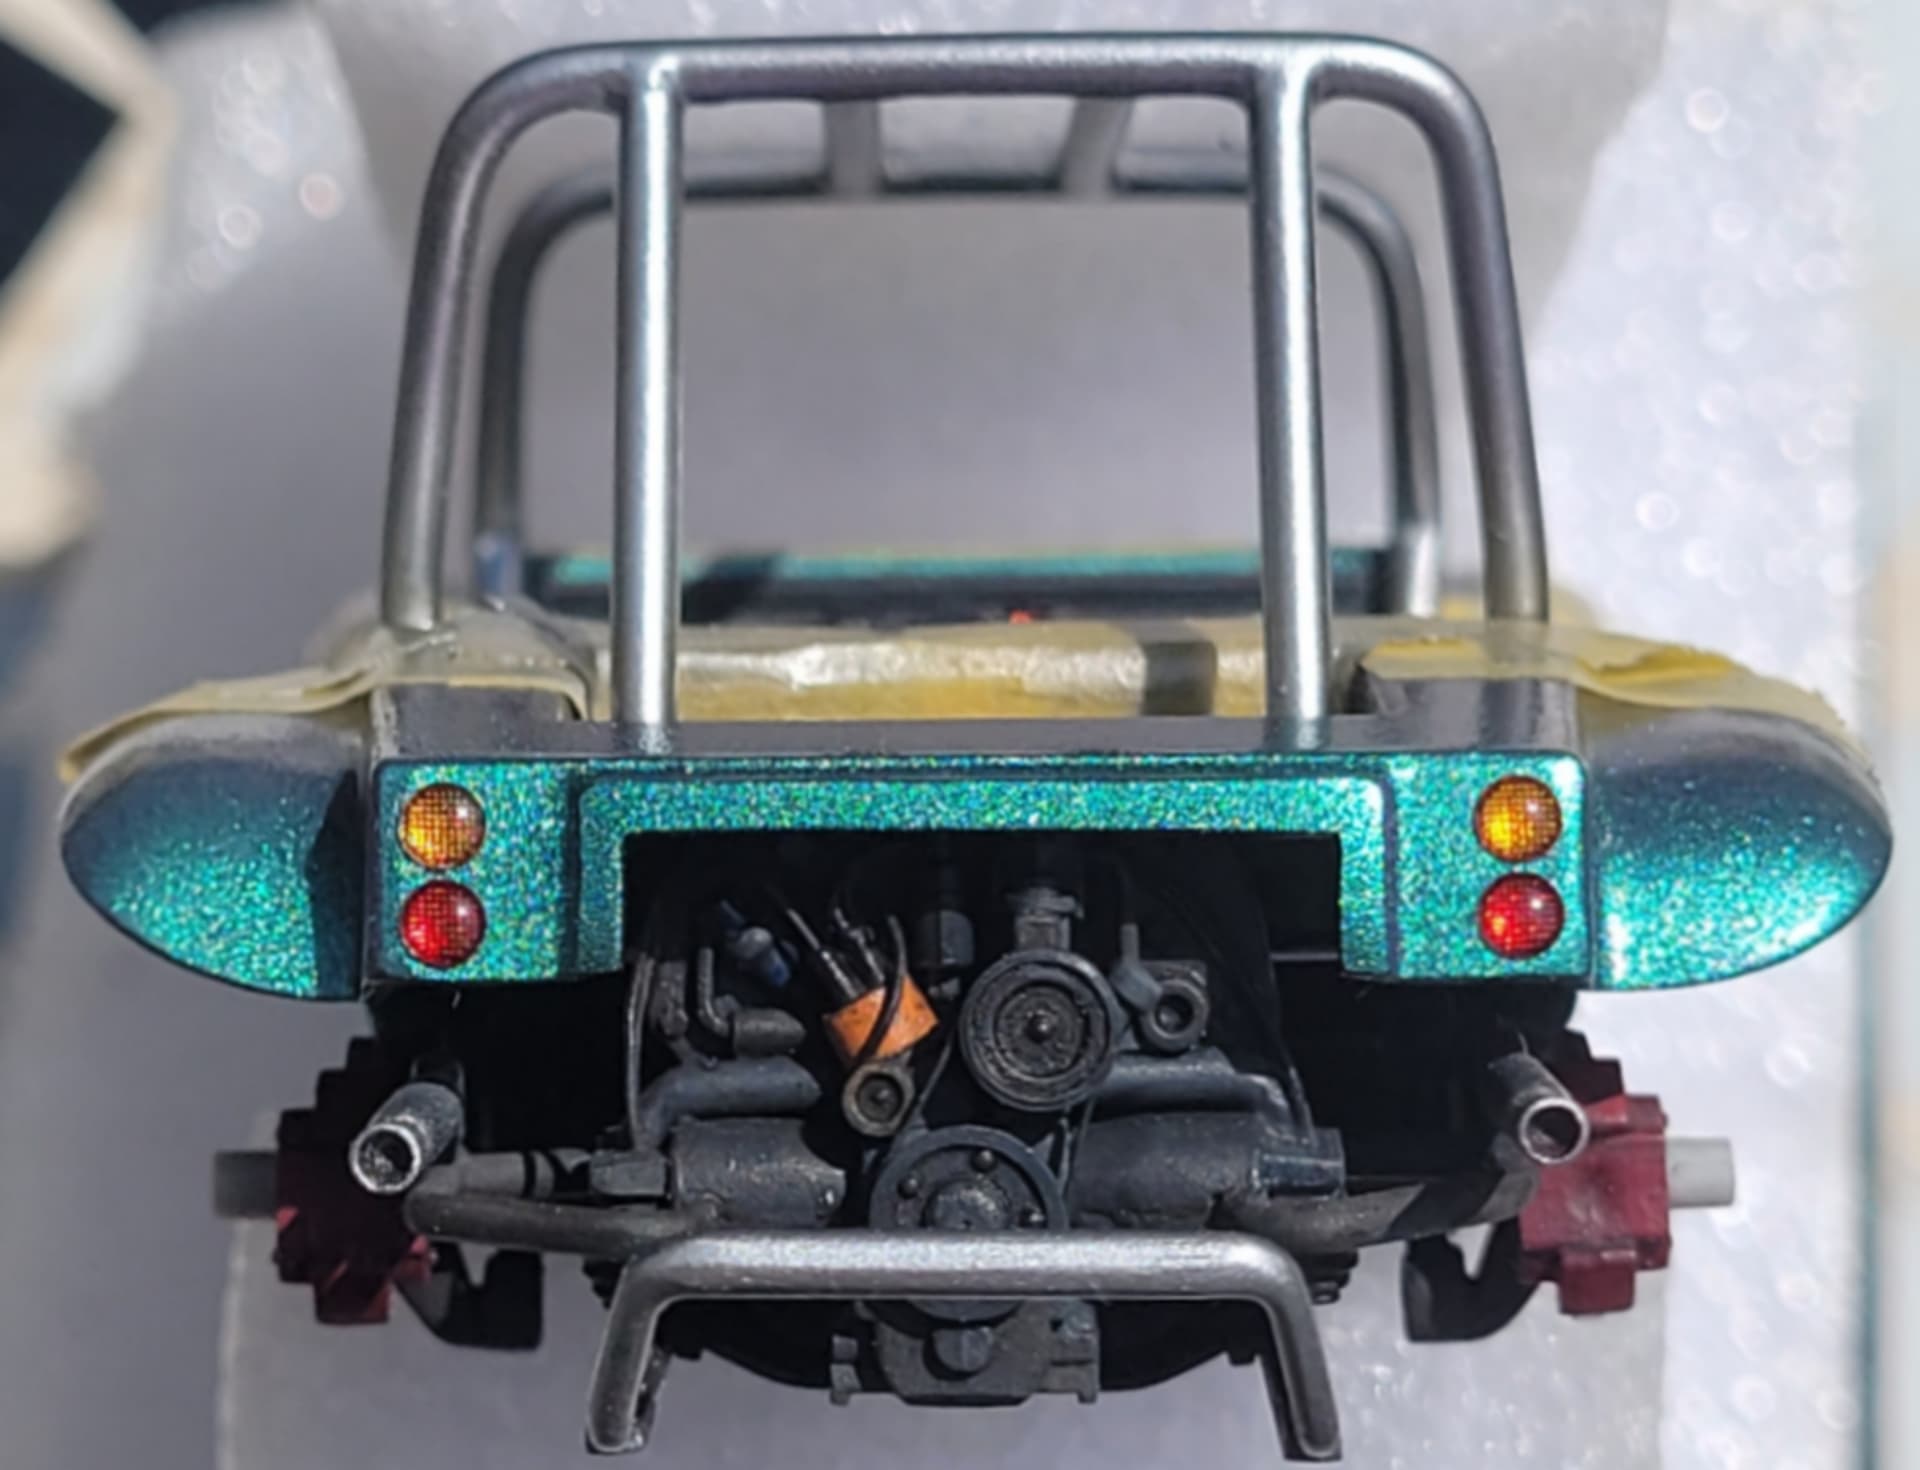
Working on a small cowl for the front indicators so that they stand vertically instead of lying almost flat.
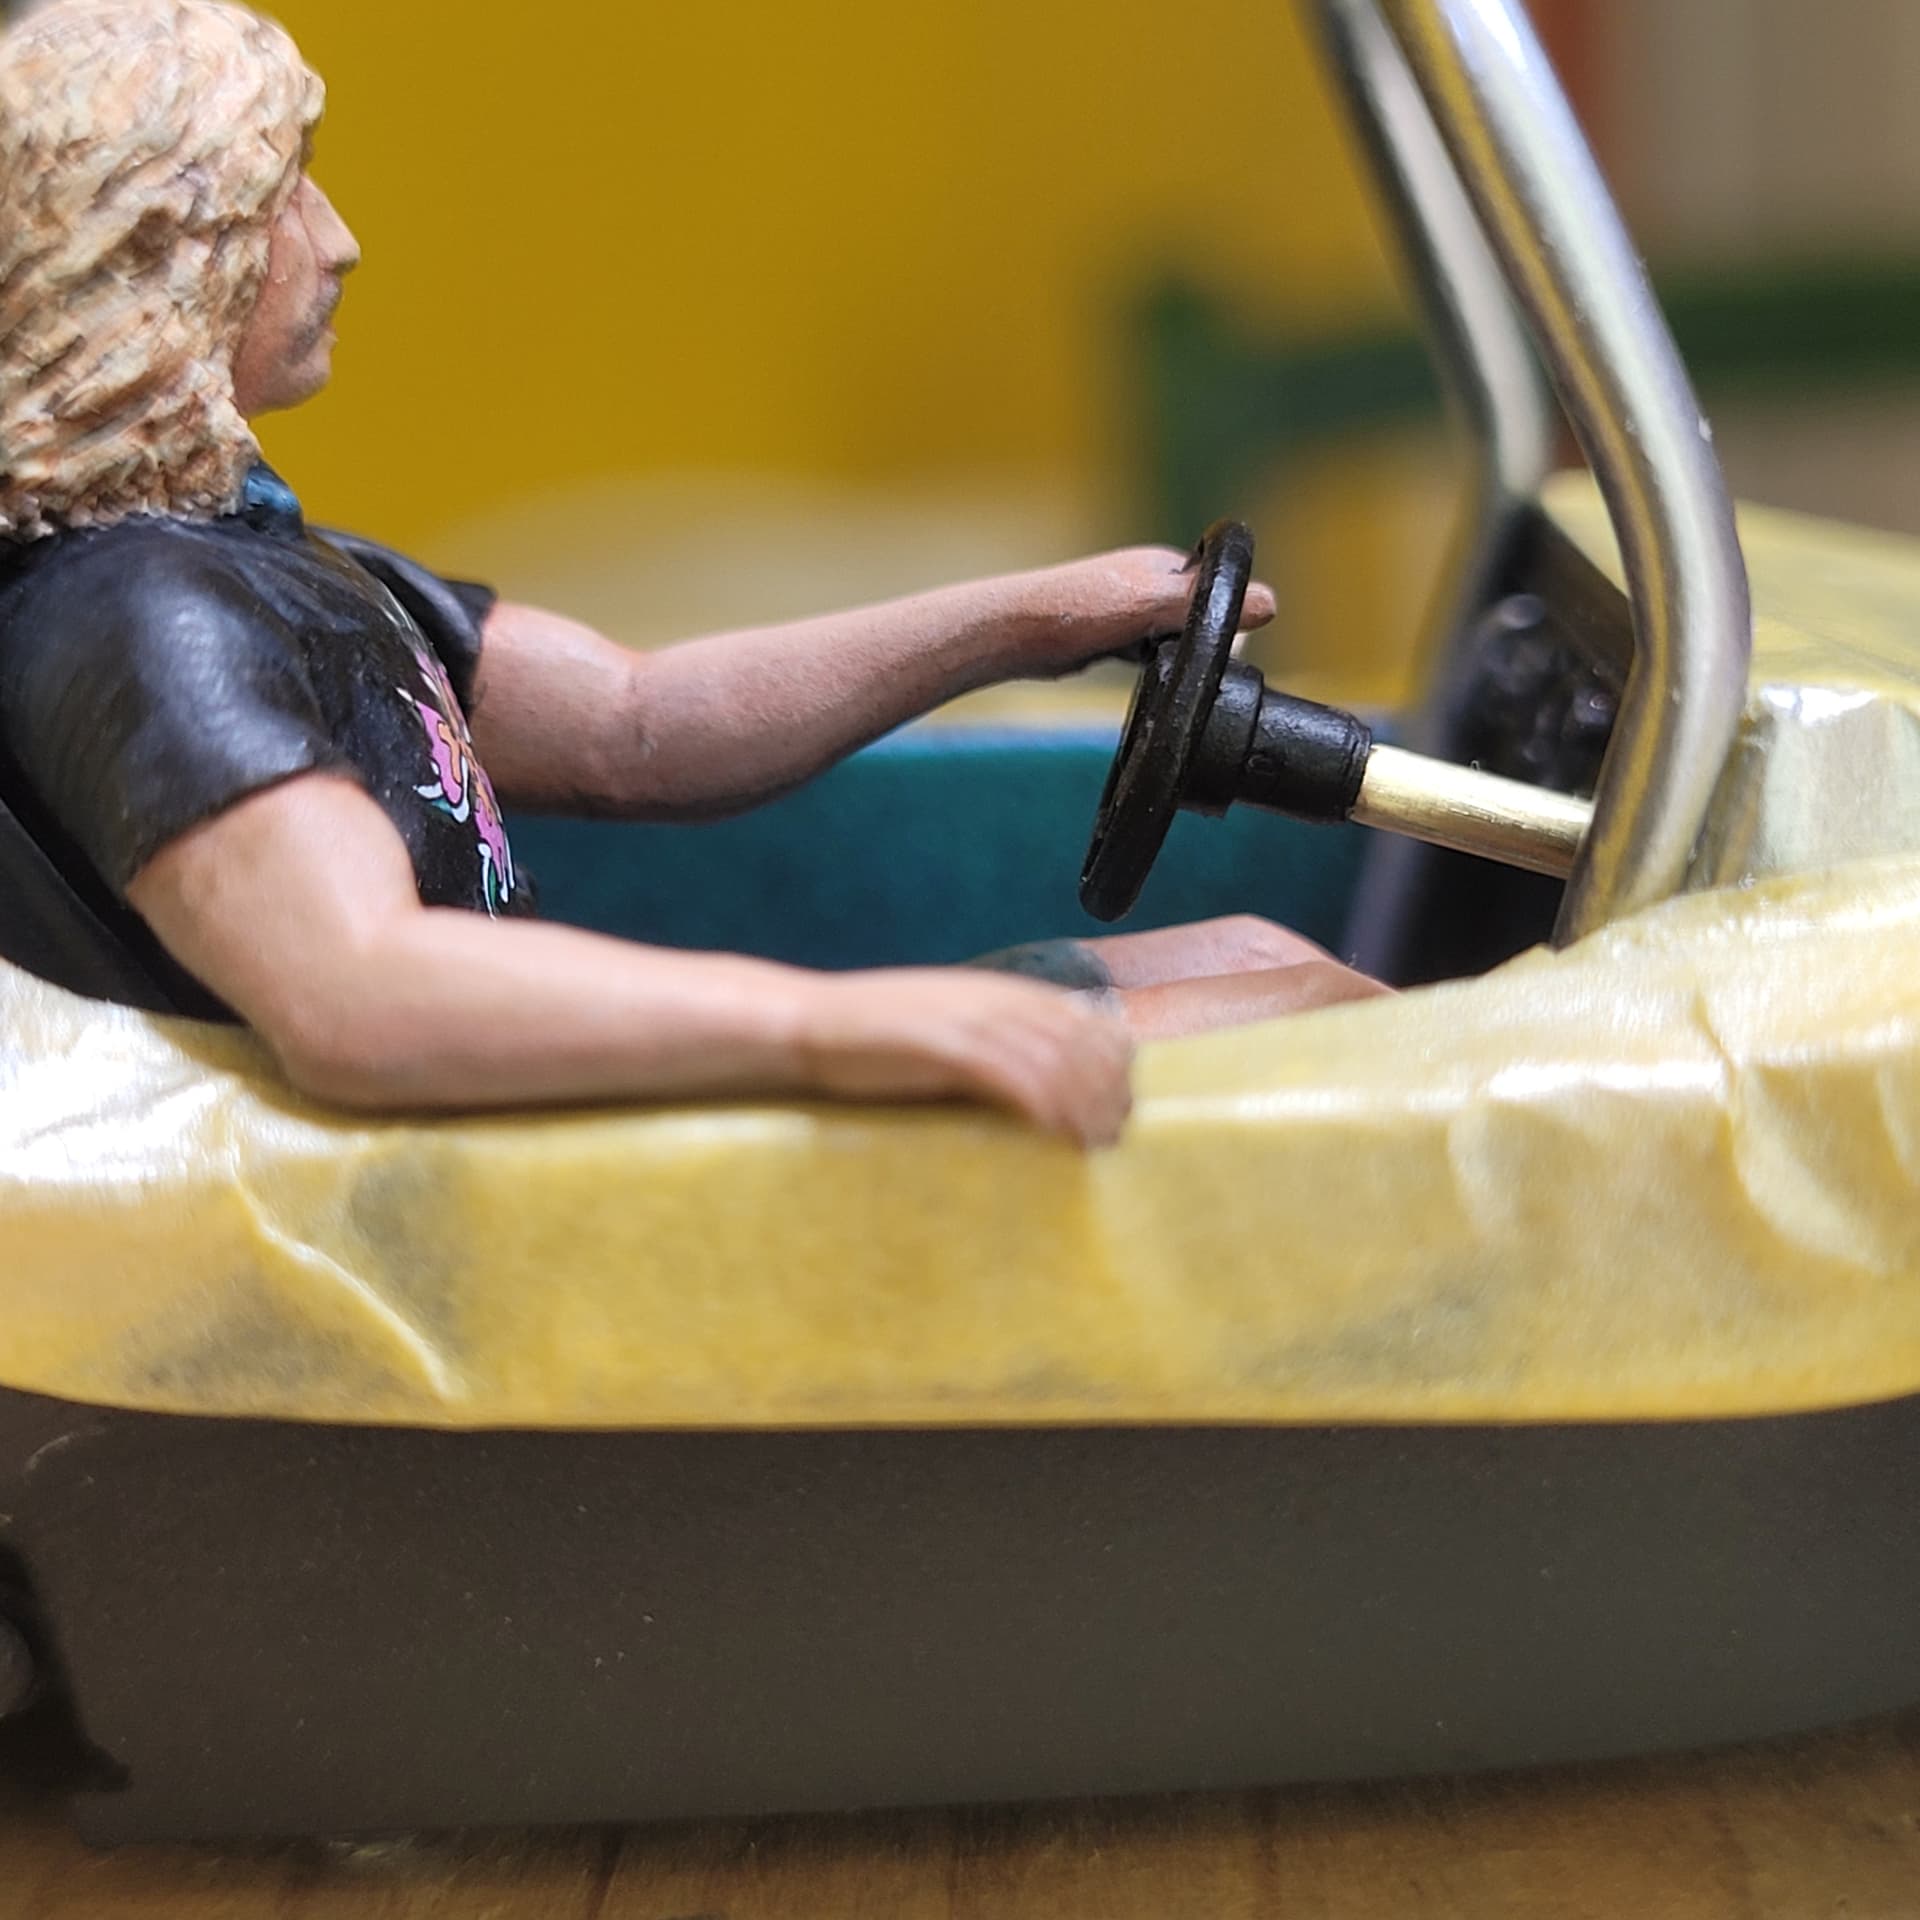
Steering column is a brass tube. Hoping that once painted black it can just slide into place.
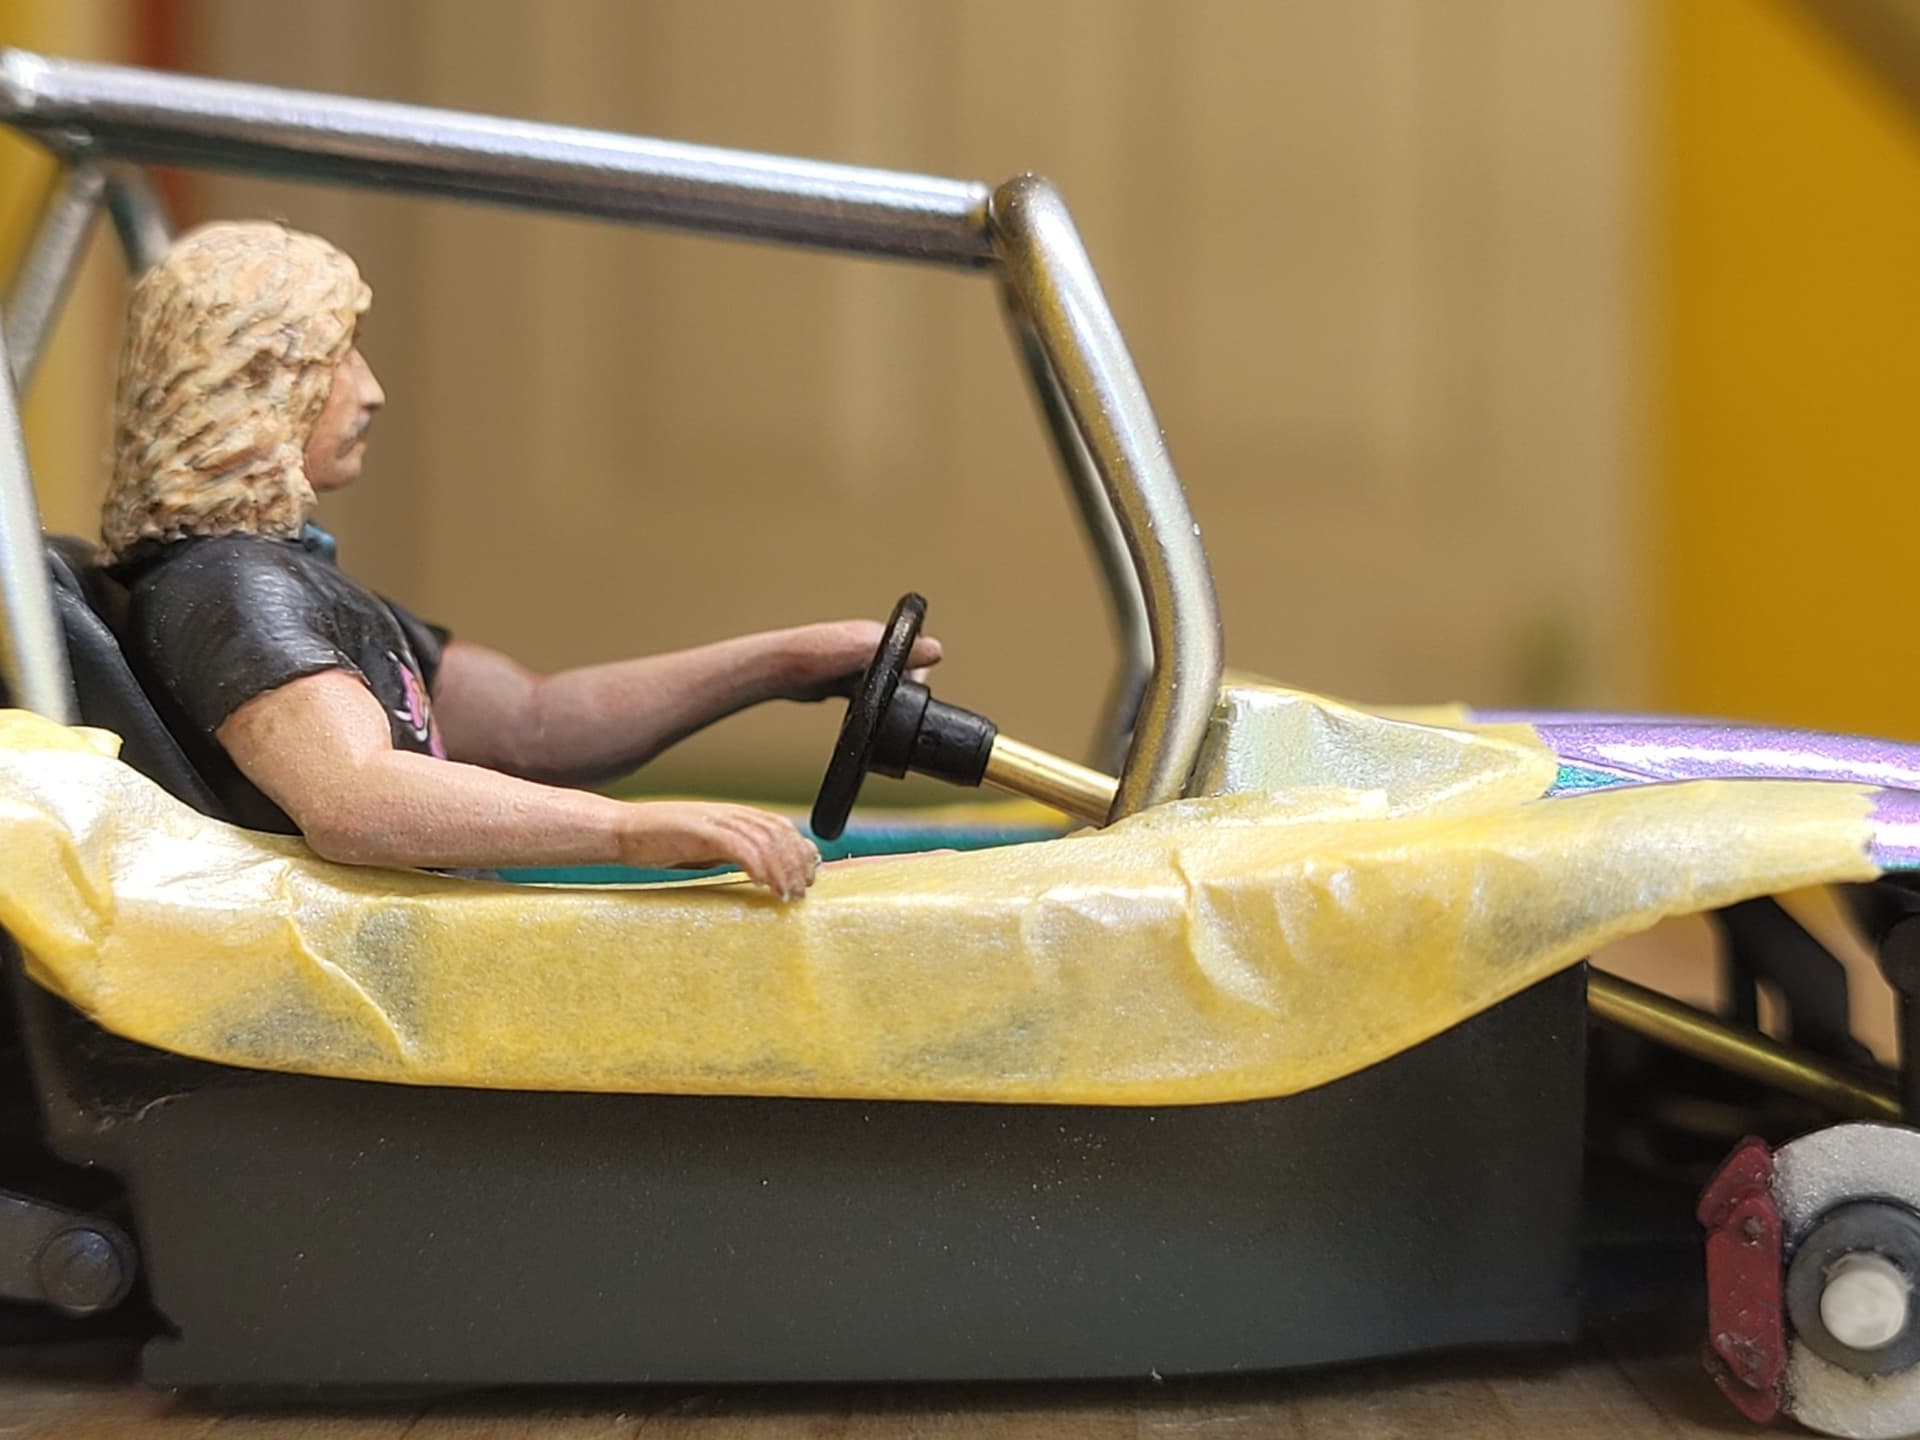
With a slight bend added to align exactly with the steering wheel and allow his arm to rest on the side.
A small brass collar will slide over to cover where the column enters the dashboard.
Also visible is the totally cleaned up join between the upper body work with the chassis, something that took quite a lot of filling, filing and repainting black, still needs to be Kleared.
9 Likes
Mathew,
Great job on those tail lights. Never heard of Mig Ultra glue. Is it a CA type glue?
Nice husky steering shaft. Should handle any bump or holes in the sand or on the street without any issues.
I looked for that body joint but for the life I me, I couldn’t find it, so you must have done a truly outstanding job on blending it in.
joel
2 Likes
@Joel_W , the Mig Ultra is a strong white glue, water based. I use it a lot now for clear parts and PE work, it’s very good.
Cheers, D
1 Like