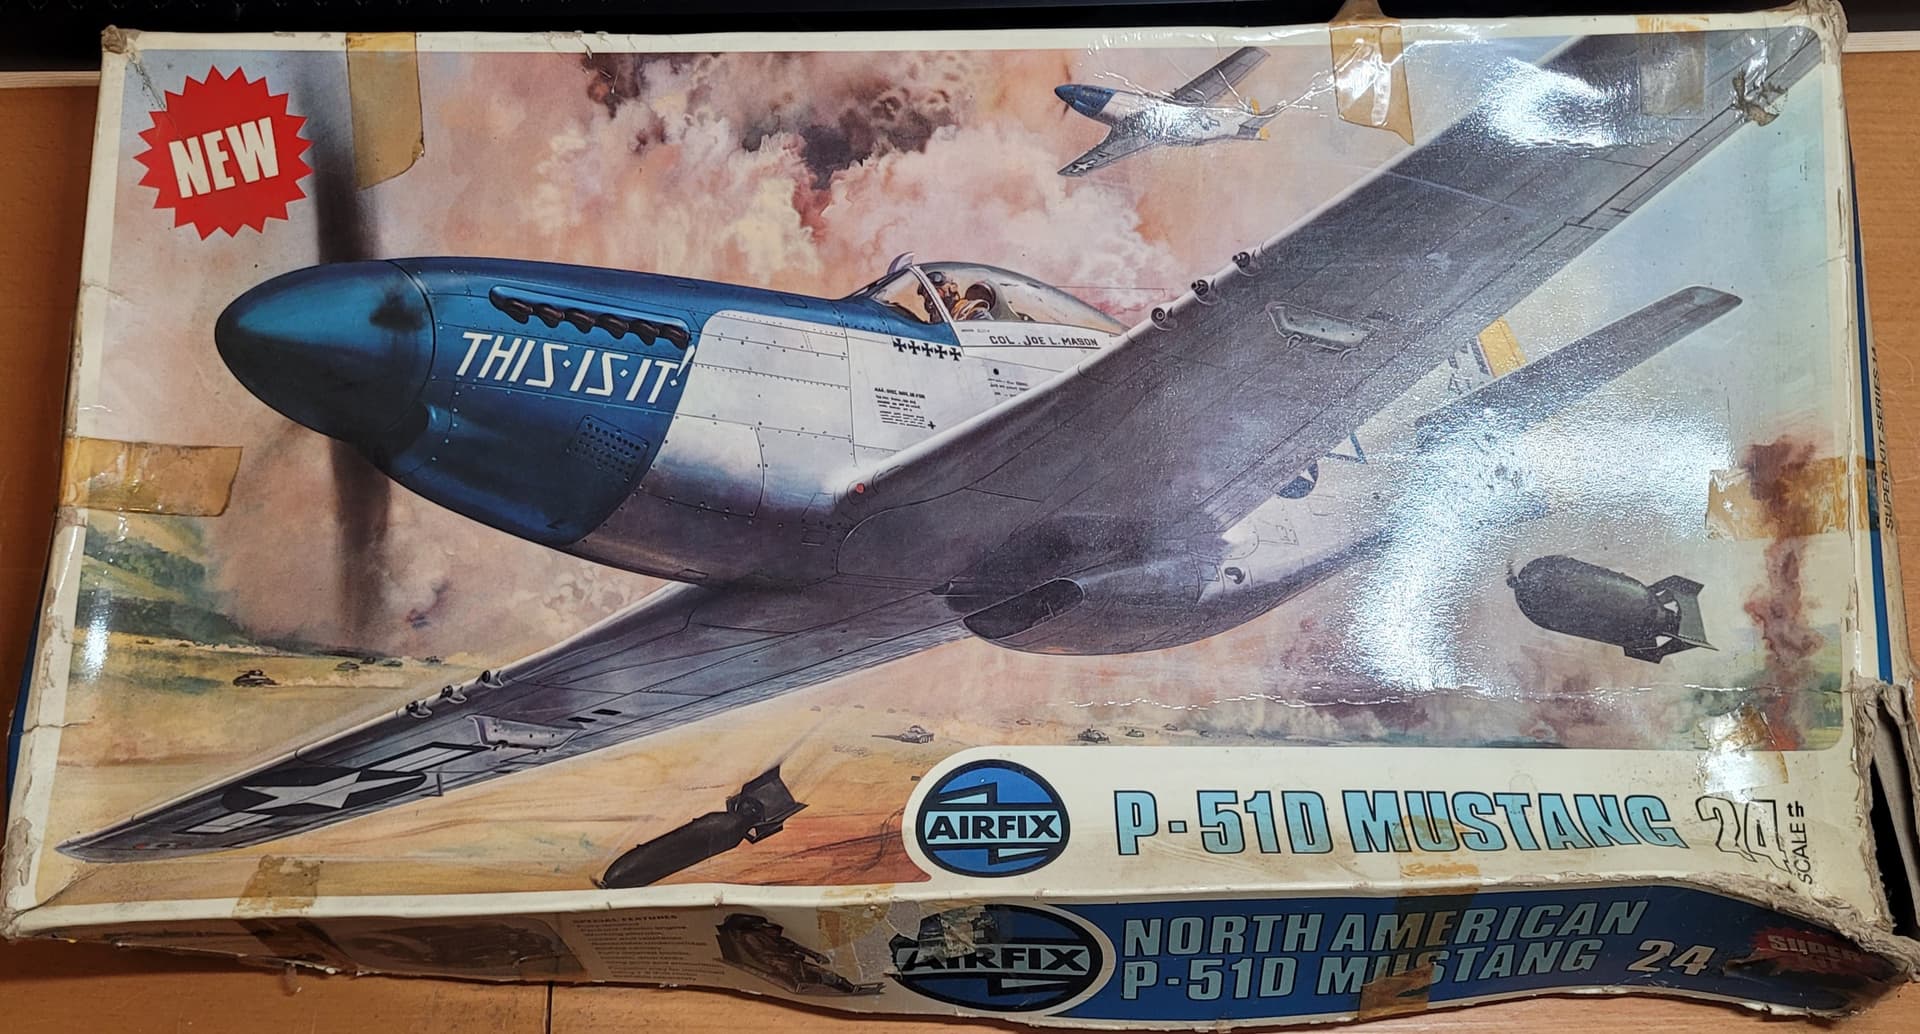
When I was about 12, we had to give a five minute talk to the class on a hobby or something, so I talked about models. The next day, one of my class-mates brought in and gave me a model he’d been given for xmas and had started, but it had proved too much of a challenge - Airfix’s 1/24 Mustang. That was in 1977, and basically, it has sat in a cupboard or in the attic ever since.
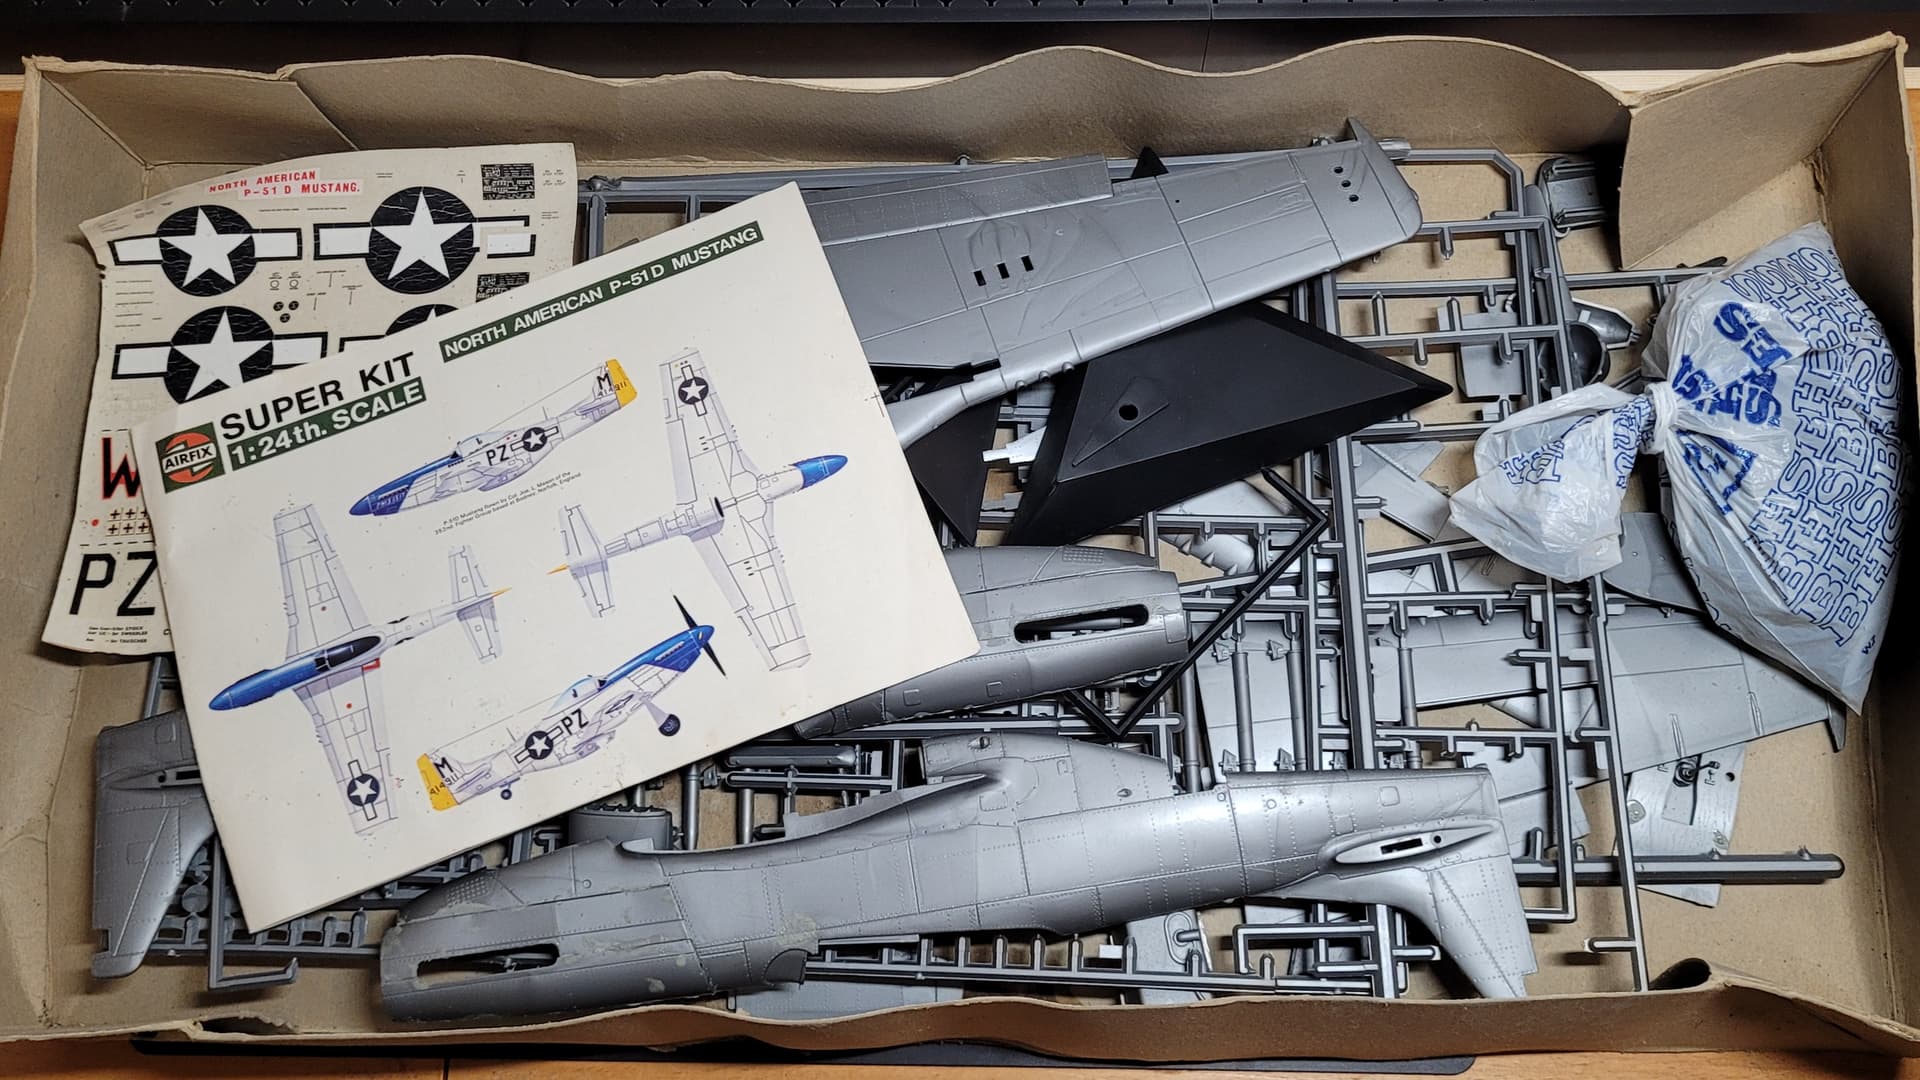
Recently someone in an FB Airfix group asked if anyone had one going cheap, so I offered him this for £20. After seeing the photos he turned it down. The engine looks like it might have been done by an adult as it isn’t covered in blobs of glue, but other components were much more messed up, the decals are all cracked, and there’s a few parts missing.
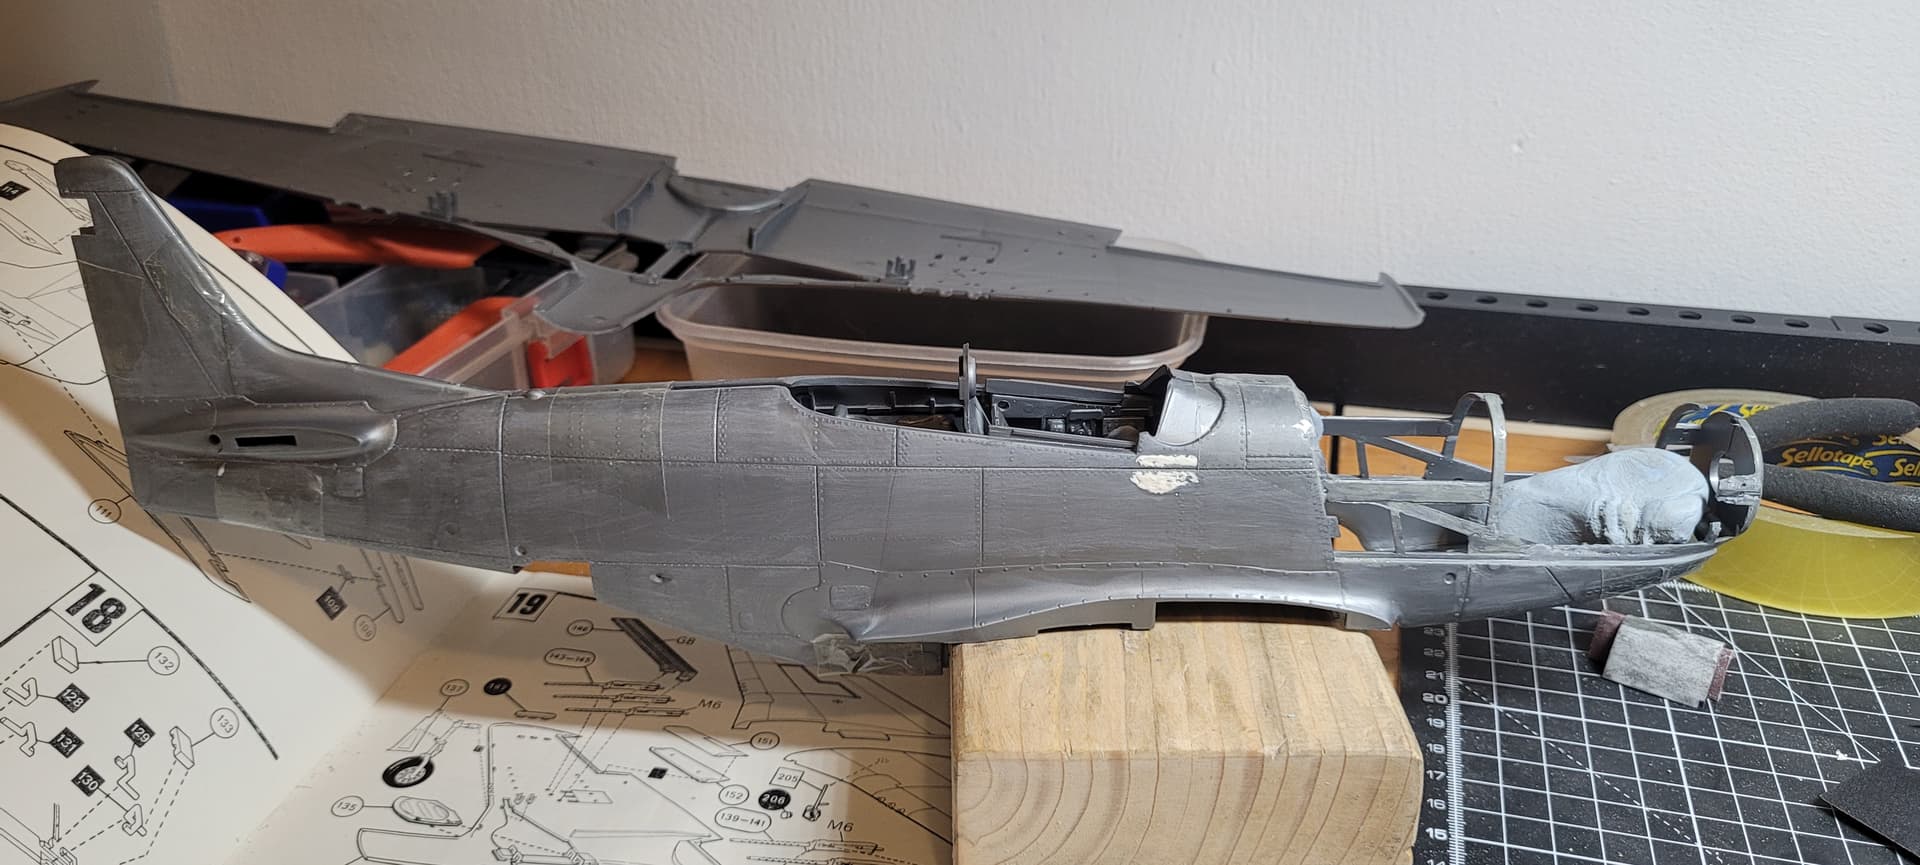
So having got it out of the attic, and having just set myself up with a new modeling space (no longer the dining table) I decided to see if I could make something presentable from this.


Good luck ! I built this kit over 40 years ago IIRC .
Also have the Airfix or MPC boxing 1/24 Fw 190 languishing somewhere - tried to give it away years ago but no takers.
It’s got to be worth a shot at salvaging it … Decals can be sourced … Suppose it depends on what the missing parts are and if they will make it impossible??
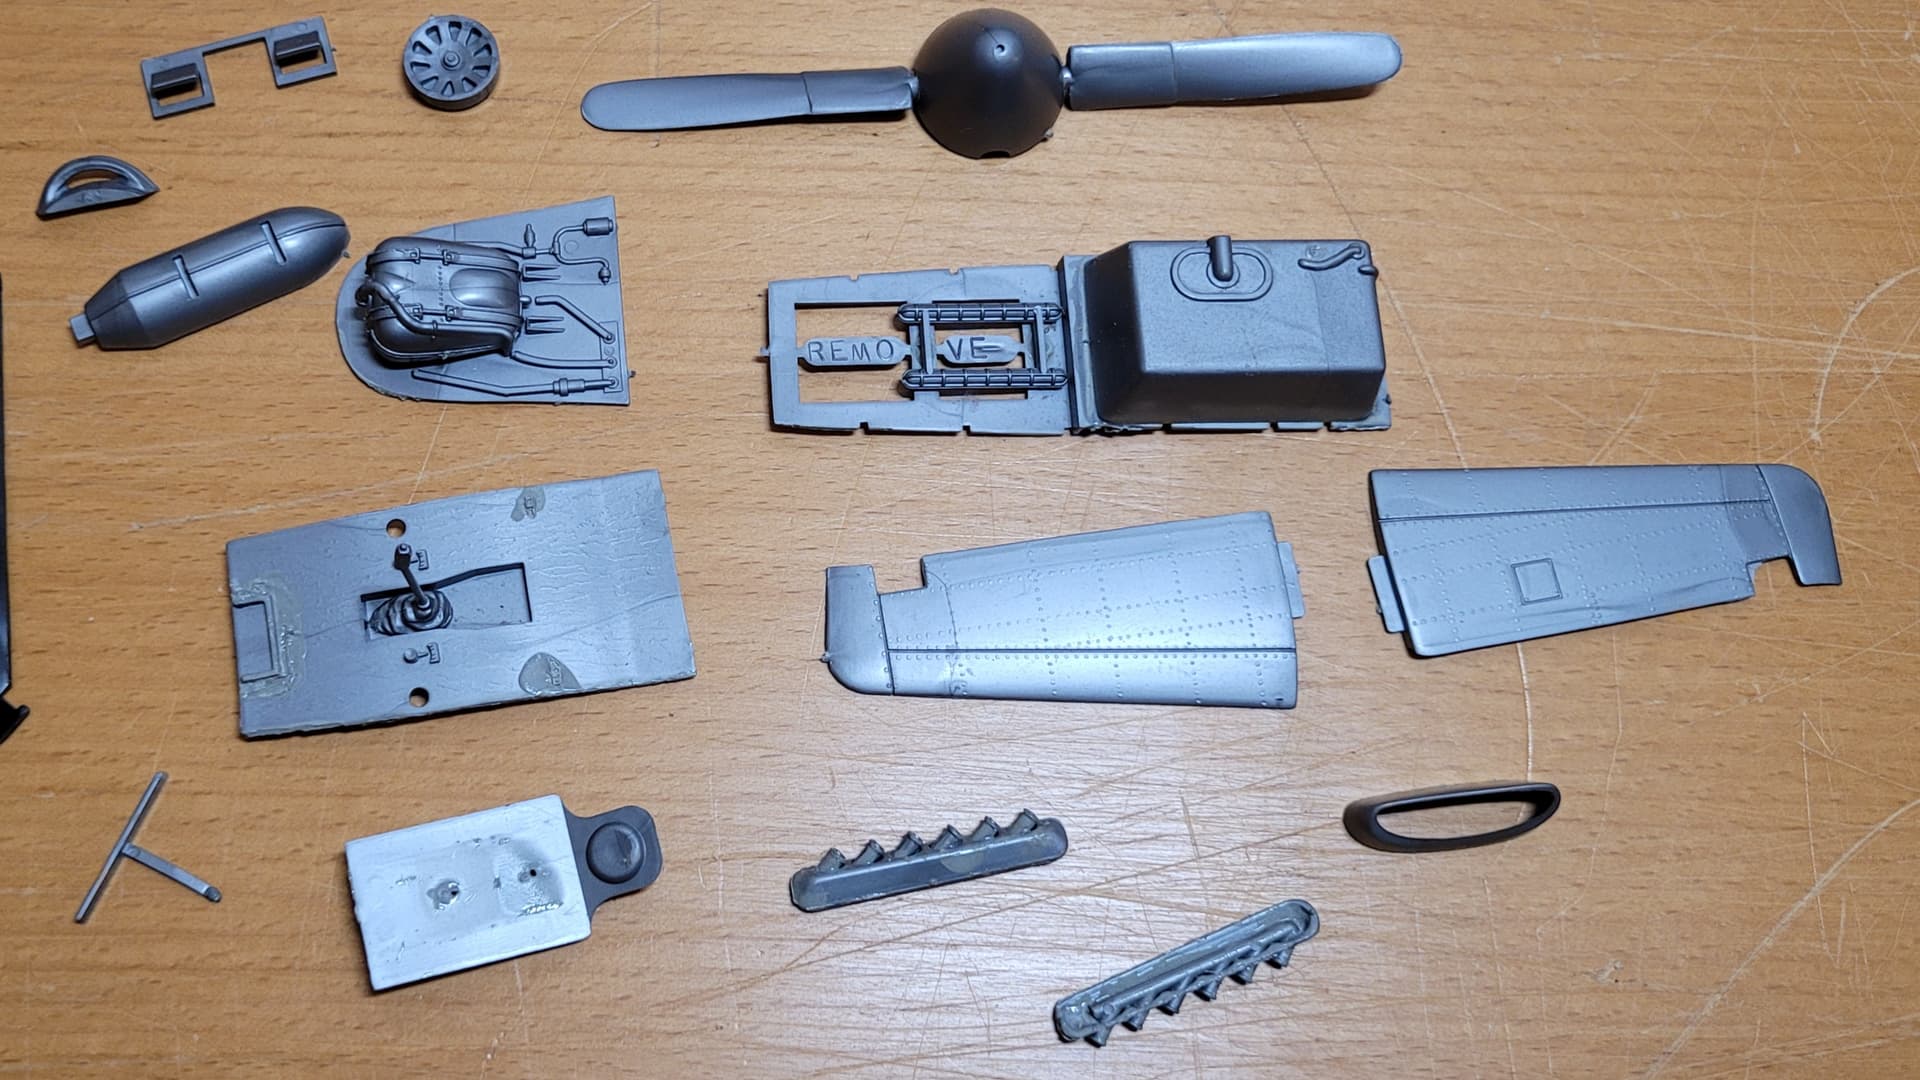
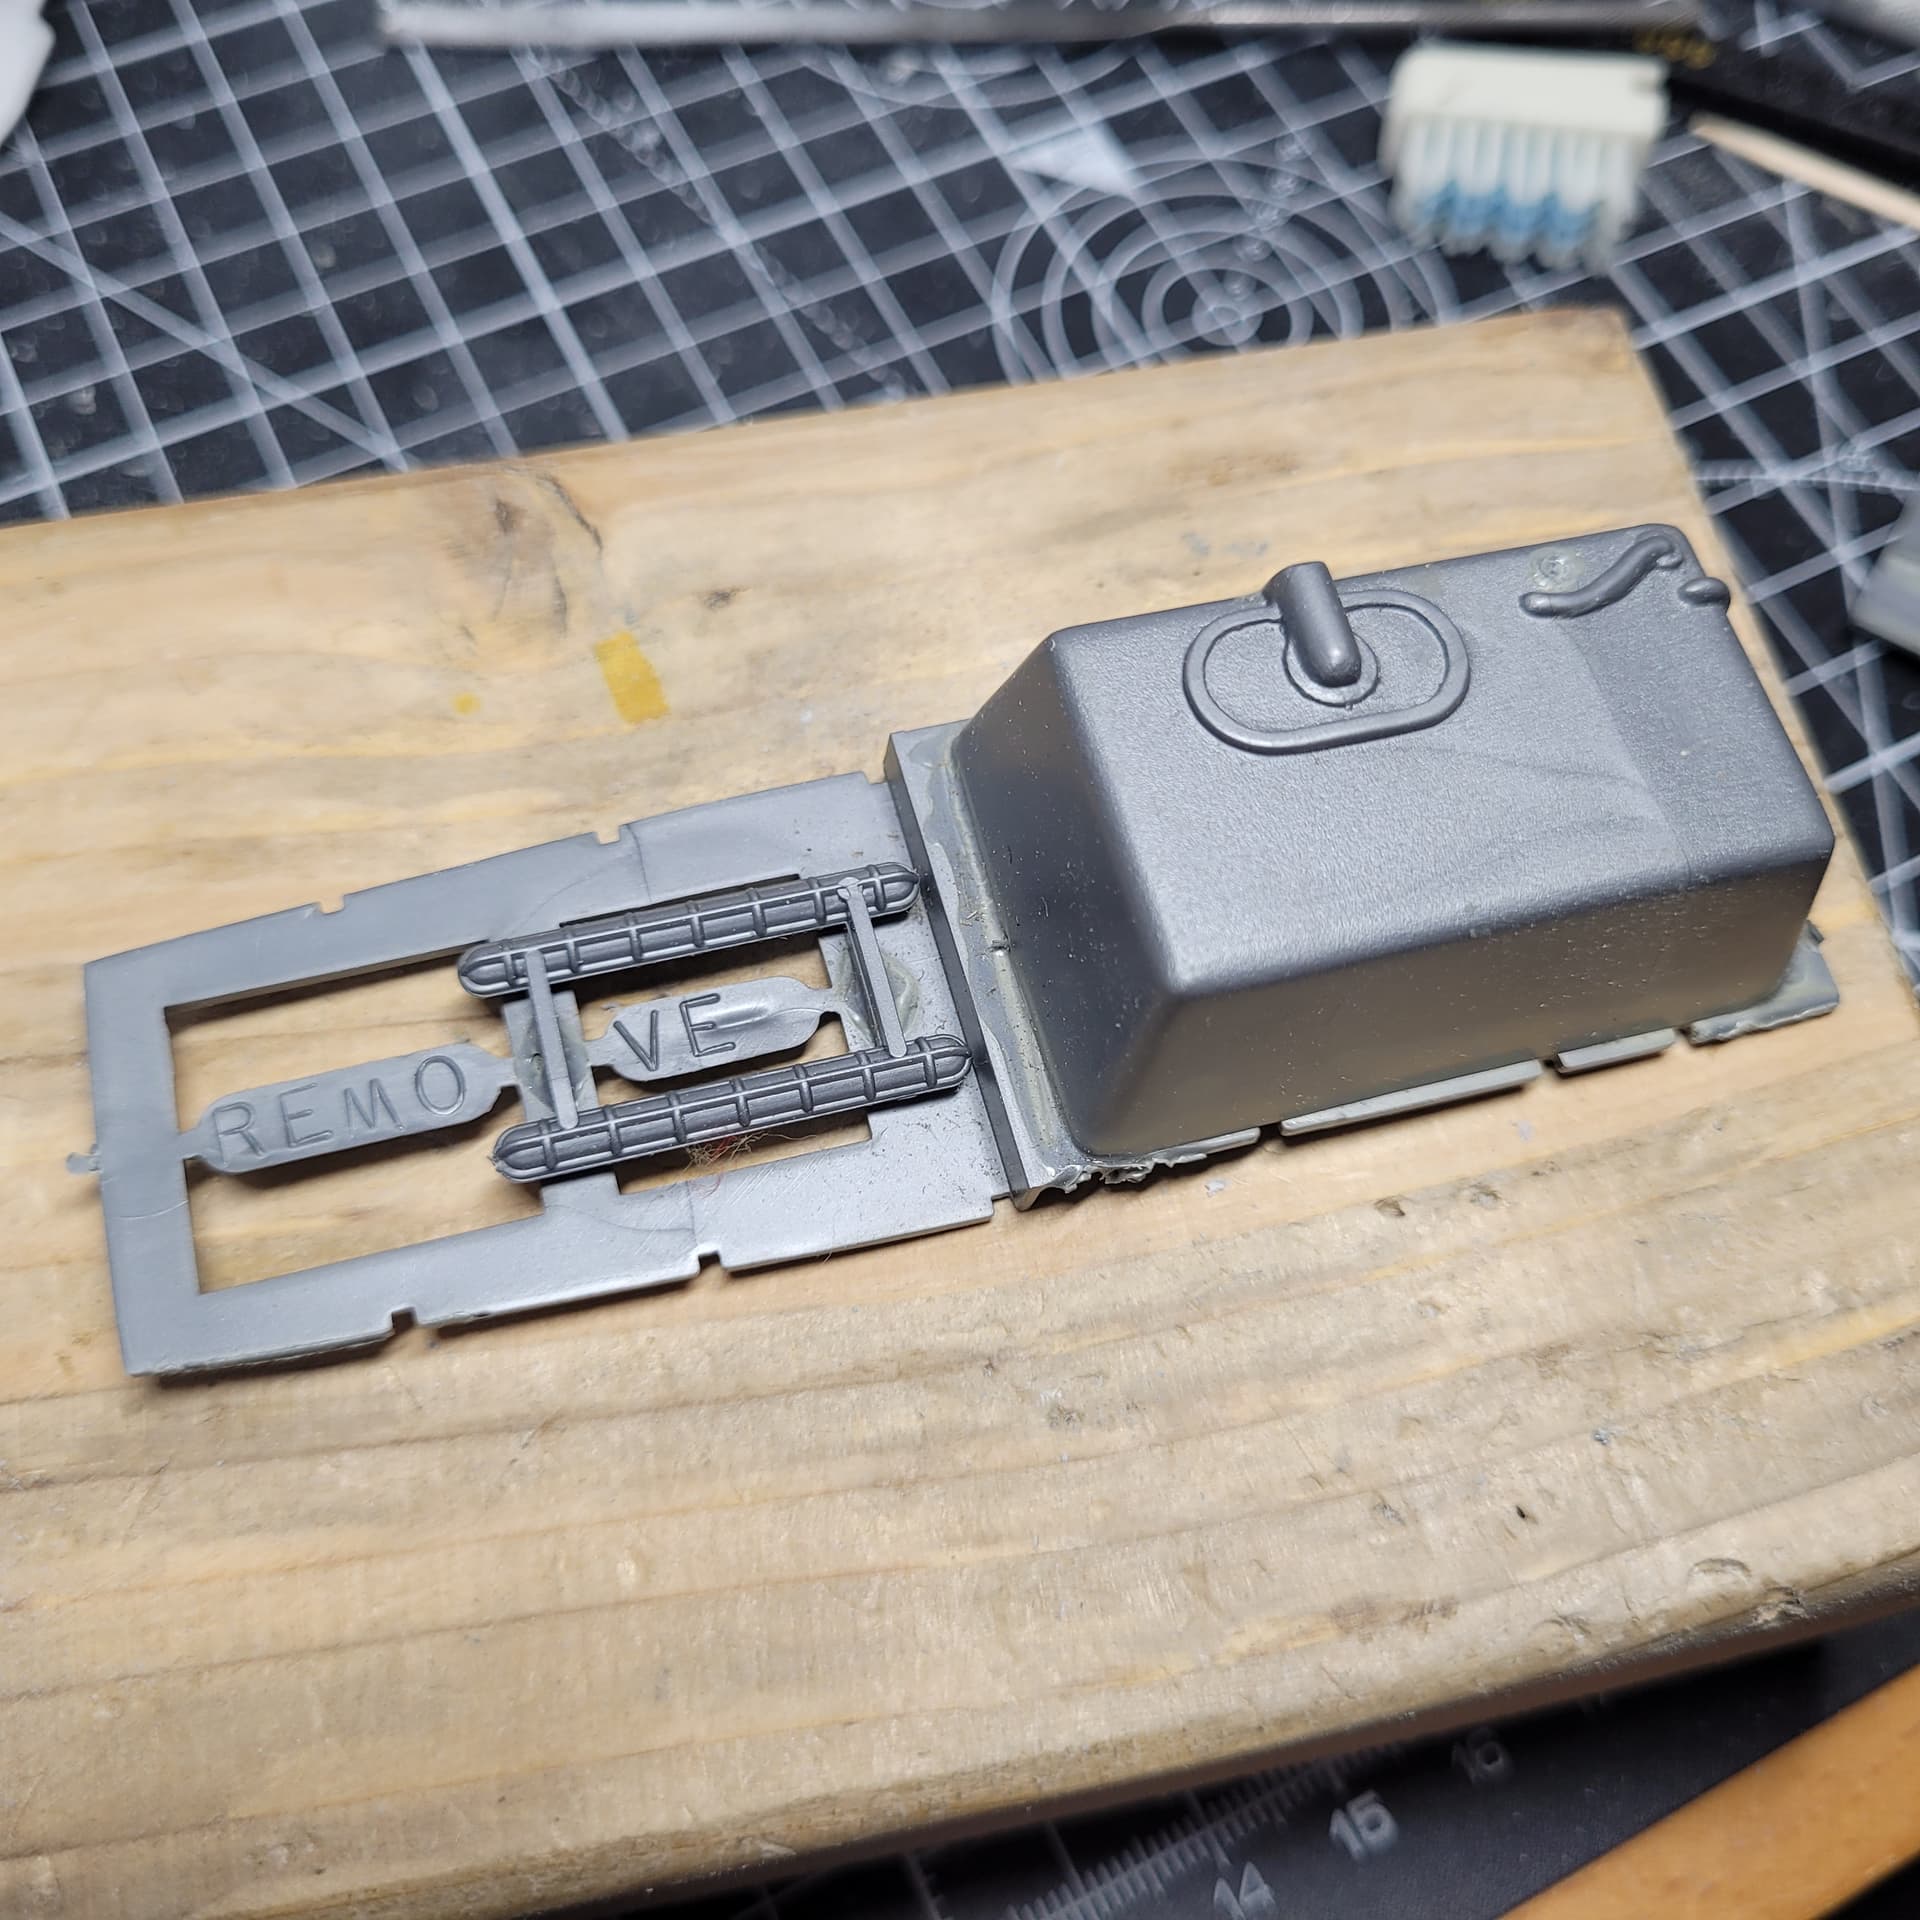
There’s a clue in the photos, there’s only two prop blades… I guess that’s the worst of it. The radio battery and the fuel gauge are both gone too, but are easier to scratch than the propeller. Nothing else major, at least not that I’ve noticed so far… The box is so huge, ragged and messy that I went for cutting everything off the sprues and wrote the part numbers on them with a Sharpie.
I have already got hold of some new decals from Hannants - “Bad Angel”.
I do also have the 1/24 BF 109… which I started but didn’t finish around the same time. That is in a better state (think I was already using liquid instead of tube cement by then) and I’m pretty sure is complete, except the decals which have rolled themselves into a tight tube.
If its only the 2 blades that are the major losses, then it may be easy to have a crack at doing those, the 2 kits ones will be a perfect template and on the finished prop they will act as the eye candy and draw more attention than the 2 that are made to fit … would it be worth contacting Airfix direct and asking for replacement blades ?
I think this kit is out of production, and I can’t see anyone offering aftermarket props for this. Also, except for the decals, I’m hoping to do this model on the cheap.
I had a go at carving one, but got a bit fed up after two hours, and have ordered some Blue Stuff to see if I can mould them in epoxy putty instead.
If not I might have to finish the carving - and then do another… ![]()
Ah sorry, I may have got that wrong. I thought Airfix did a newer 1/24 51D and they’ed be the same. Although looking at that prop you have done there, with some minor fettling, that is look pretty damn good to me and its not far off the real one … …
John, looks like they only do the new Spitfire, and the old Harrier currently, with the old Stuka waiting in the queue.
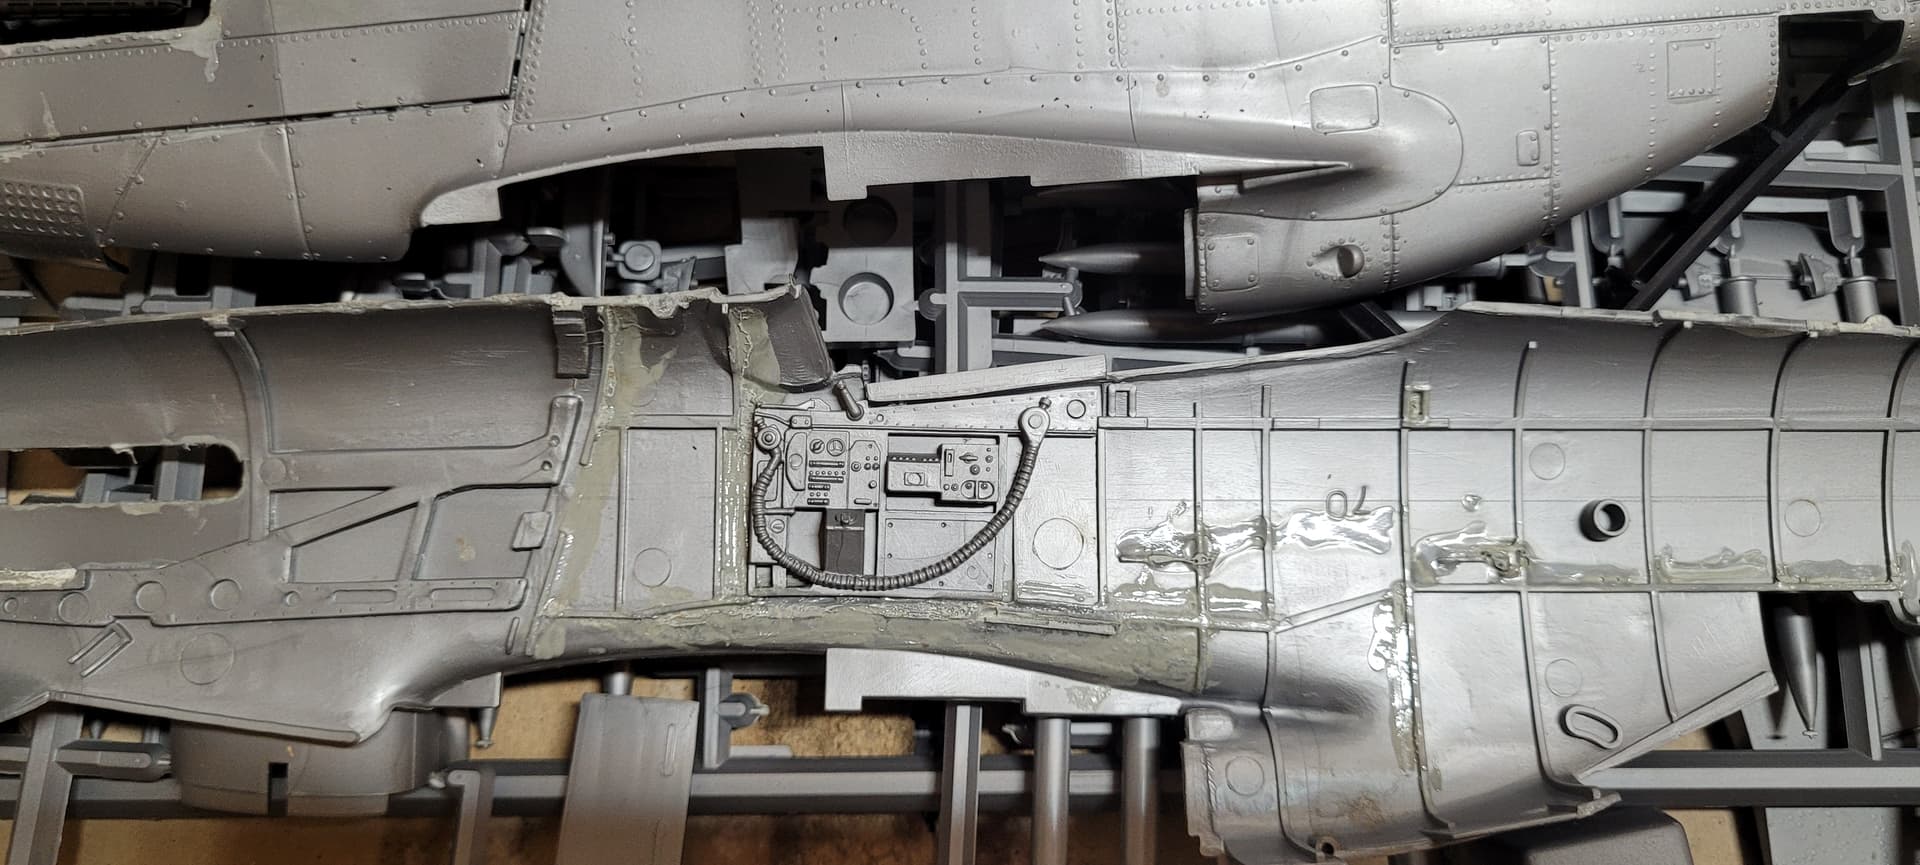
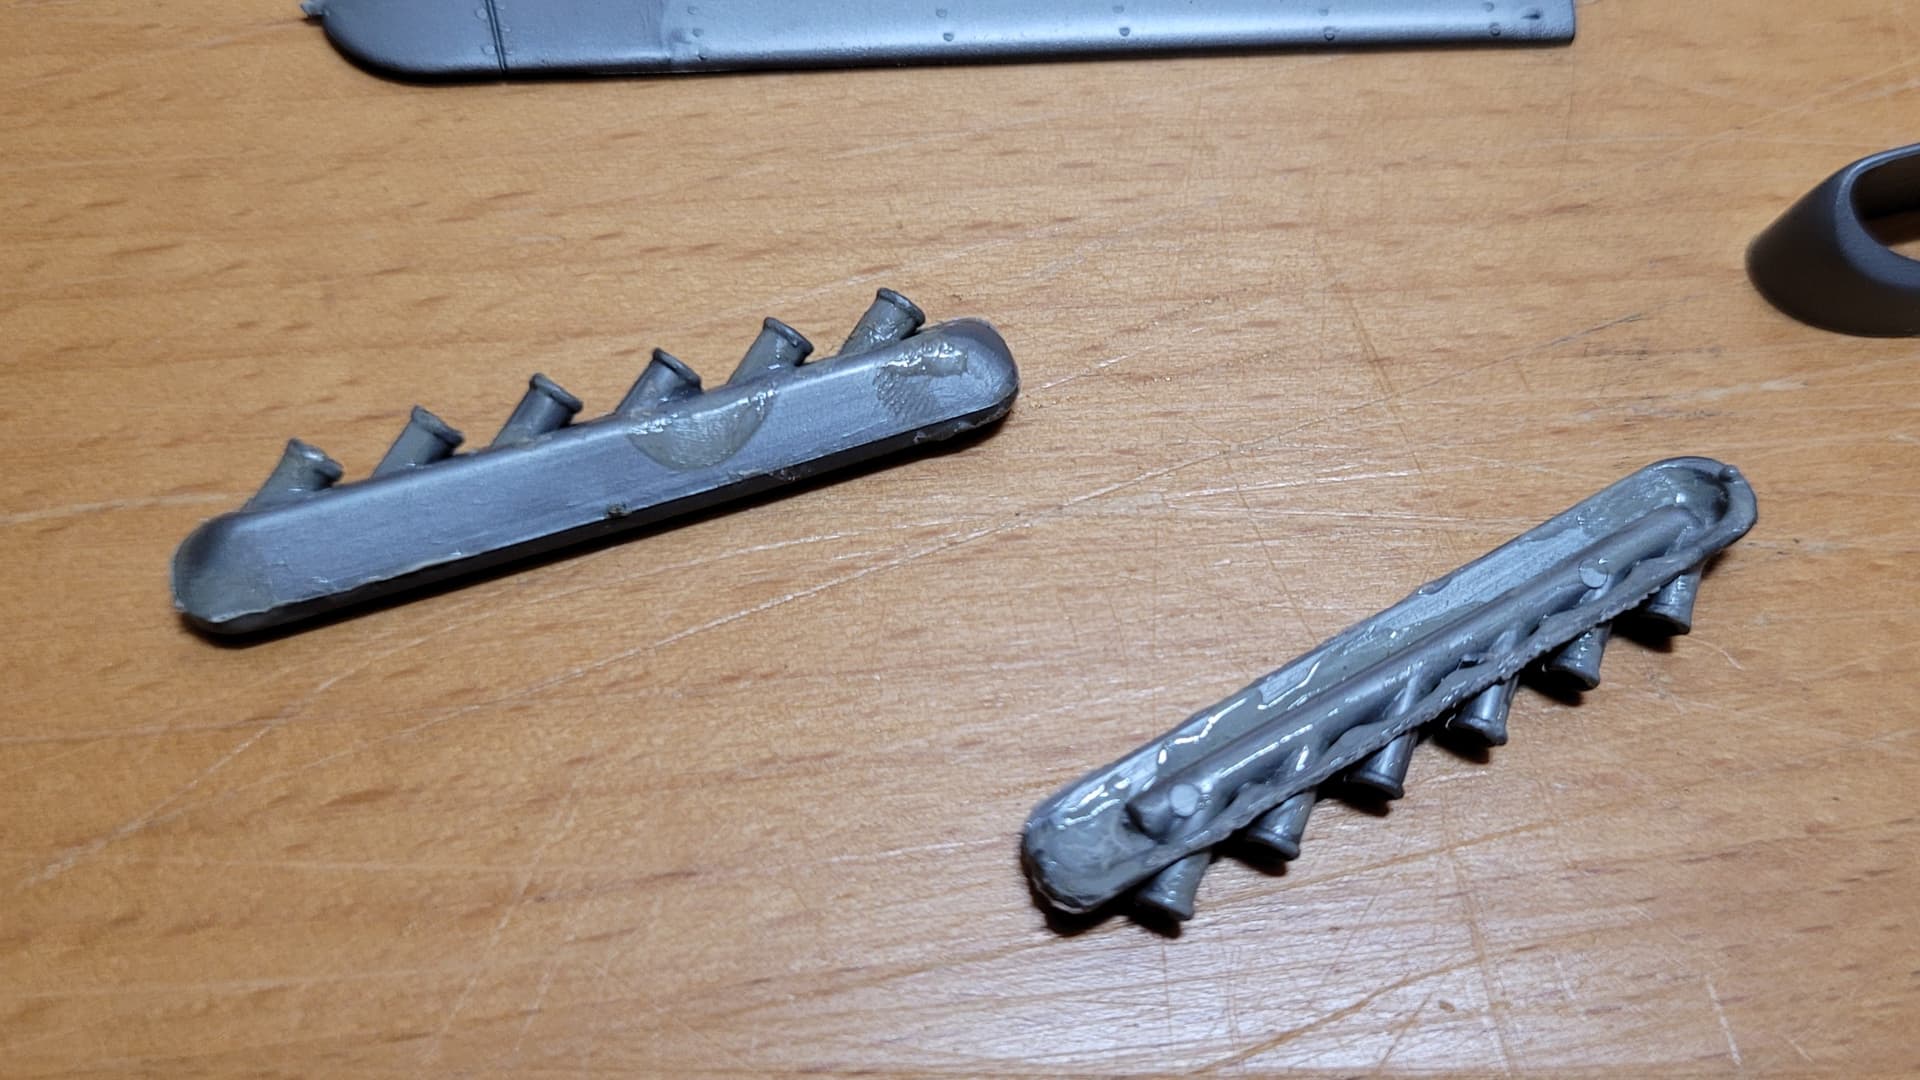
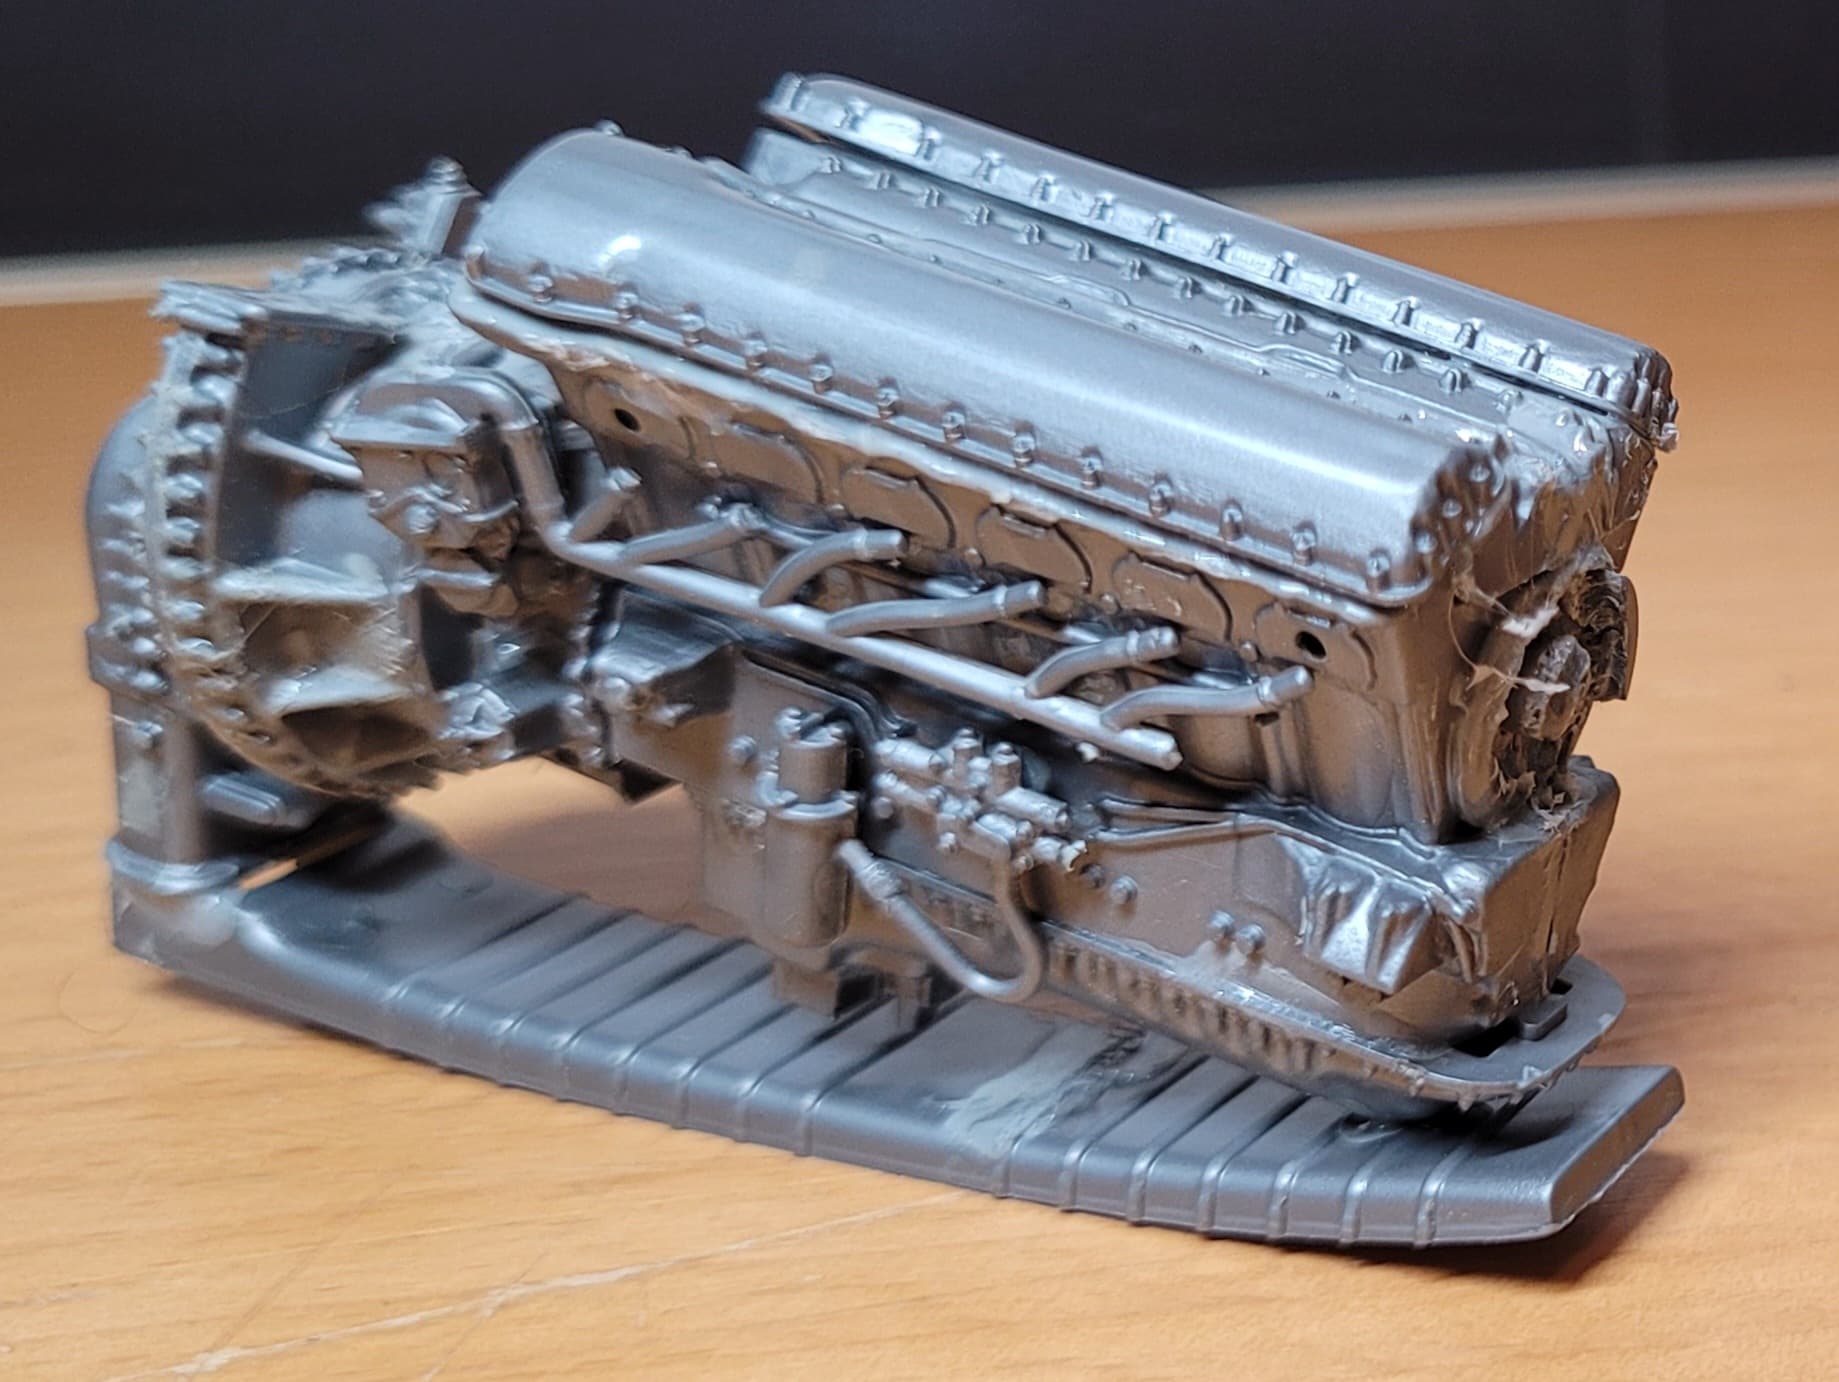
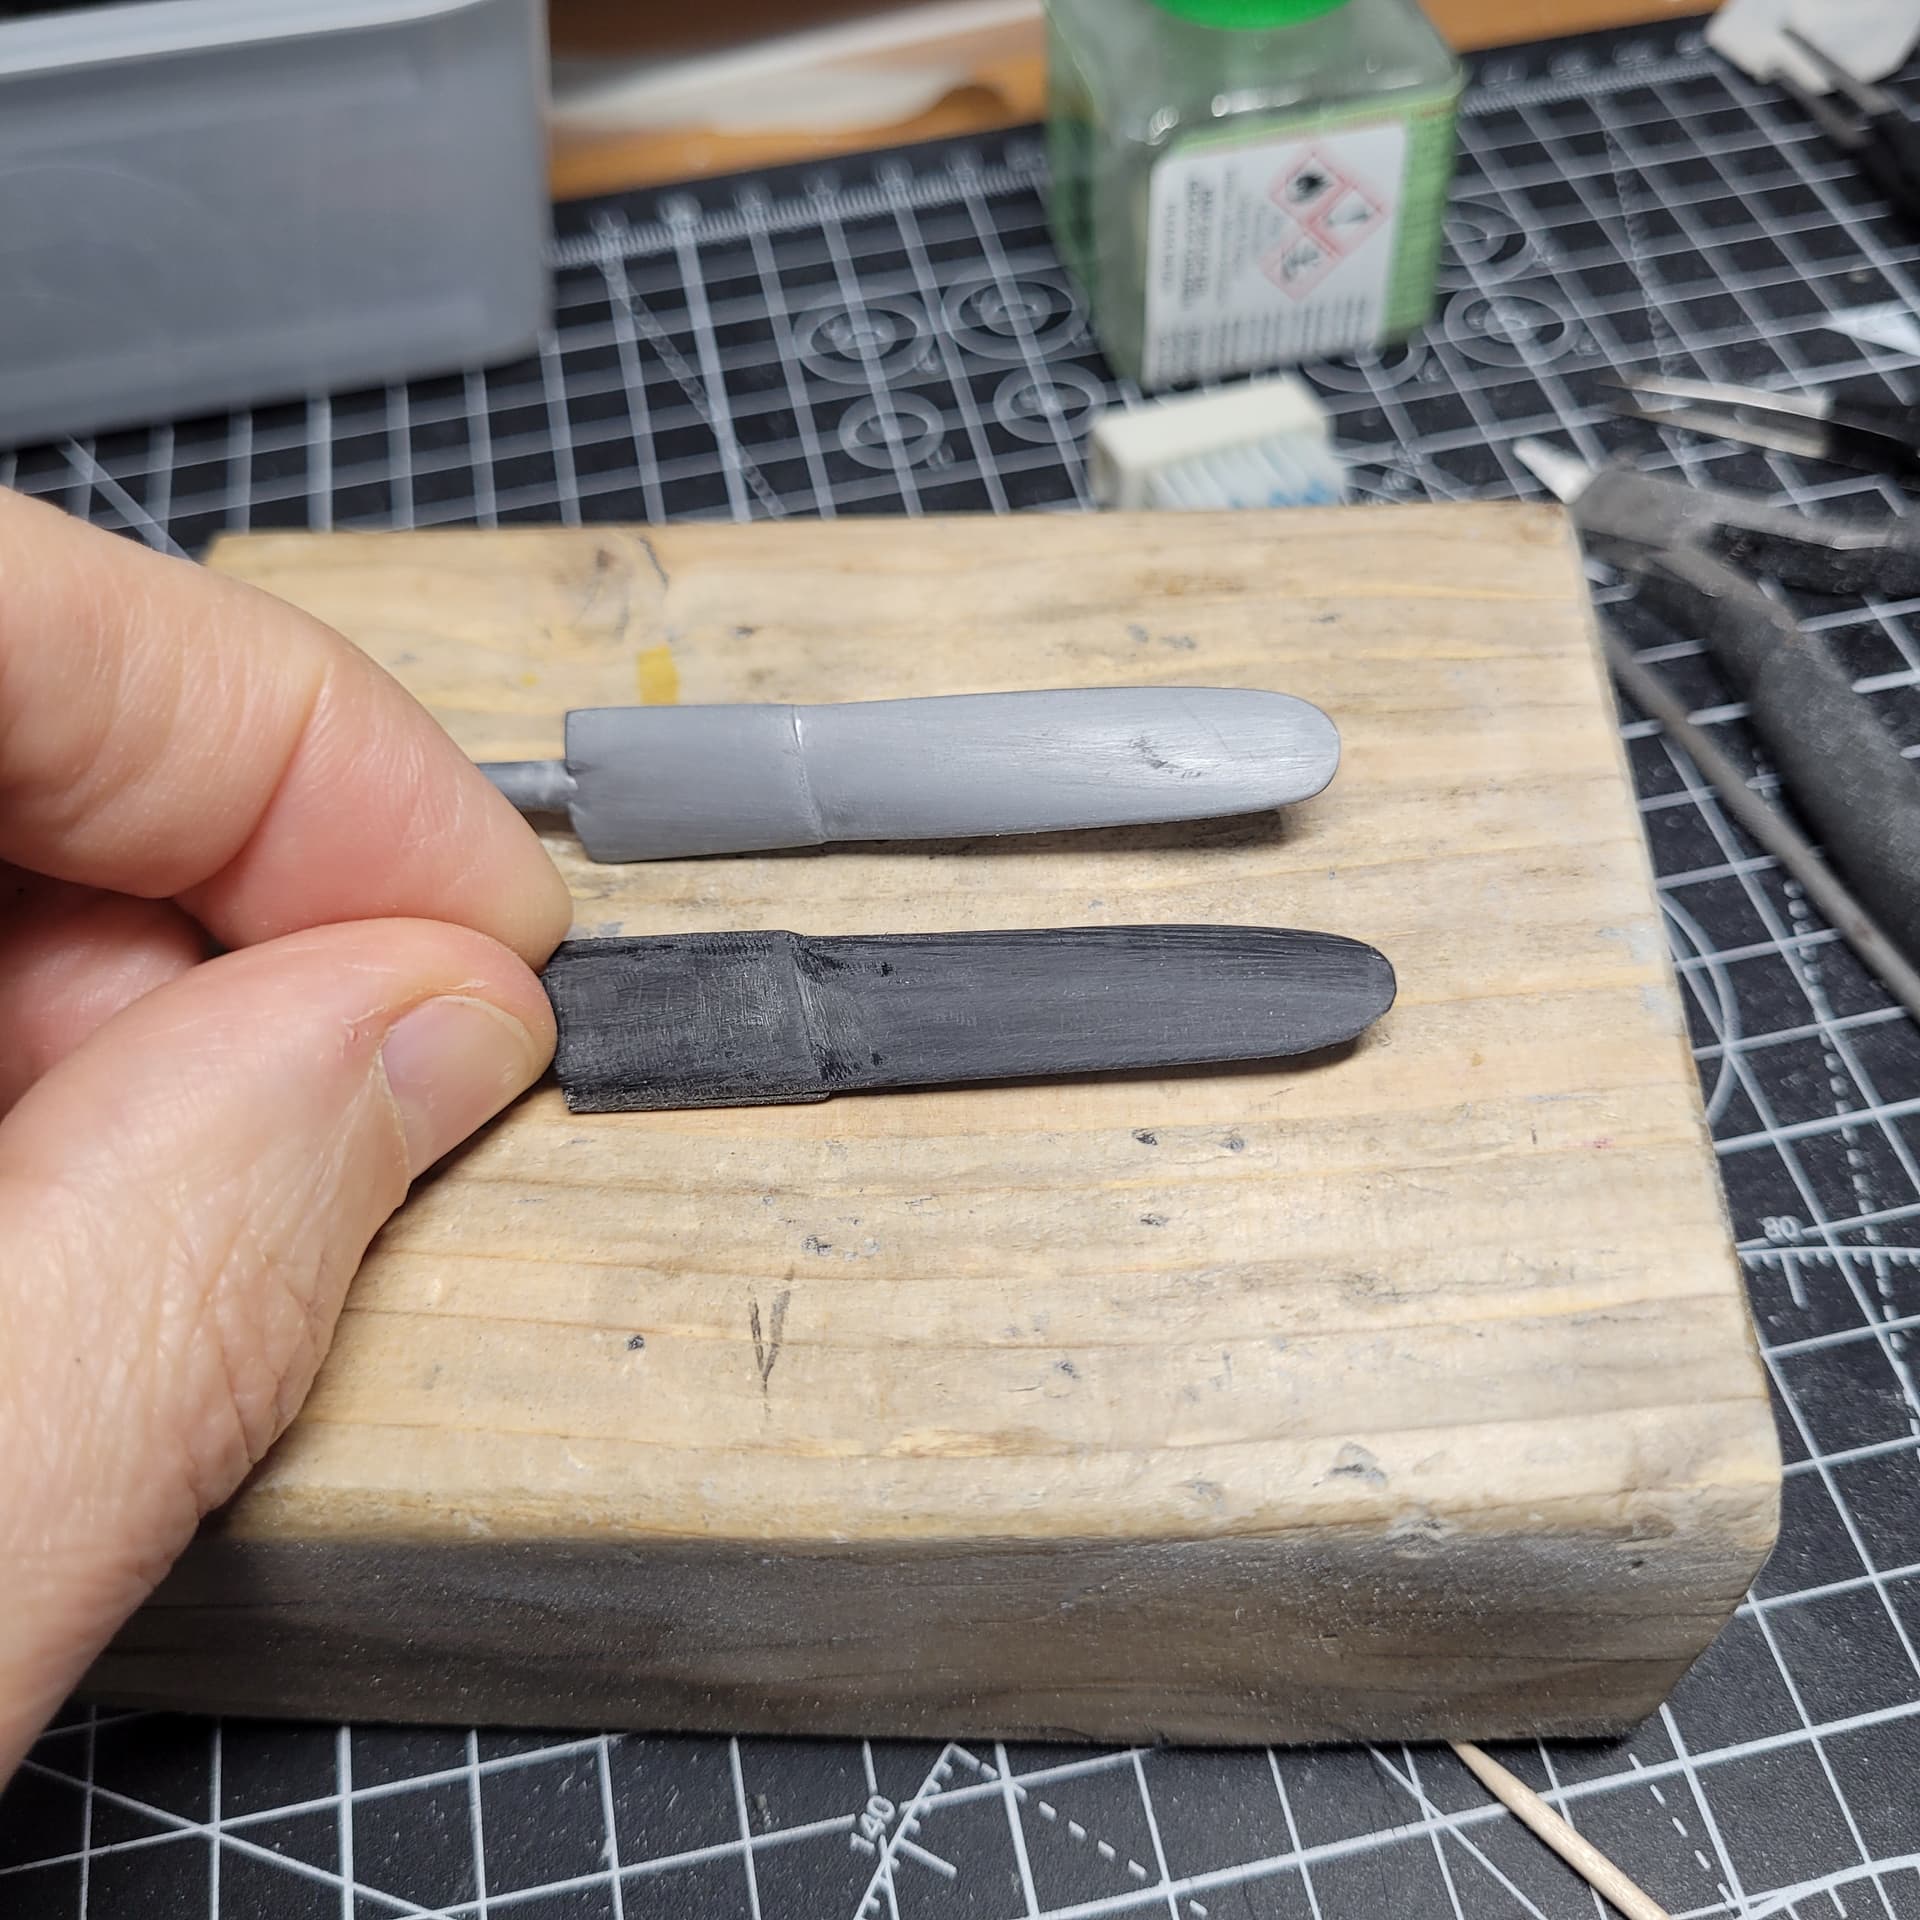
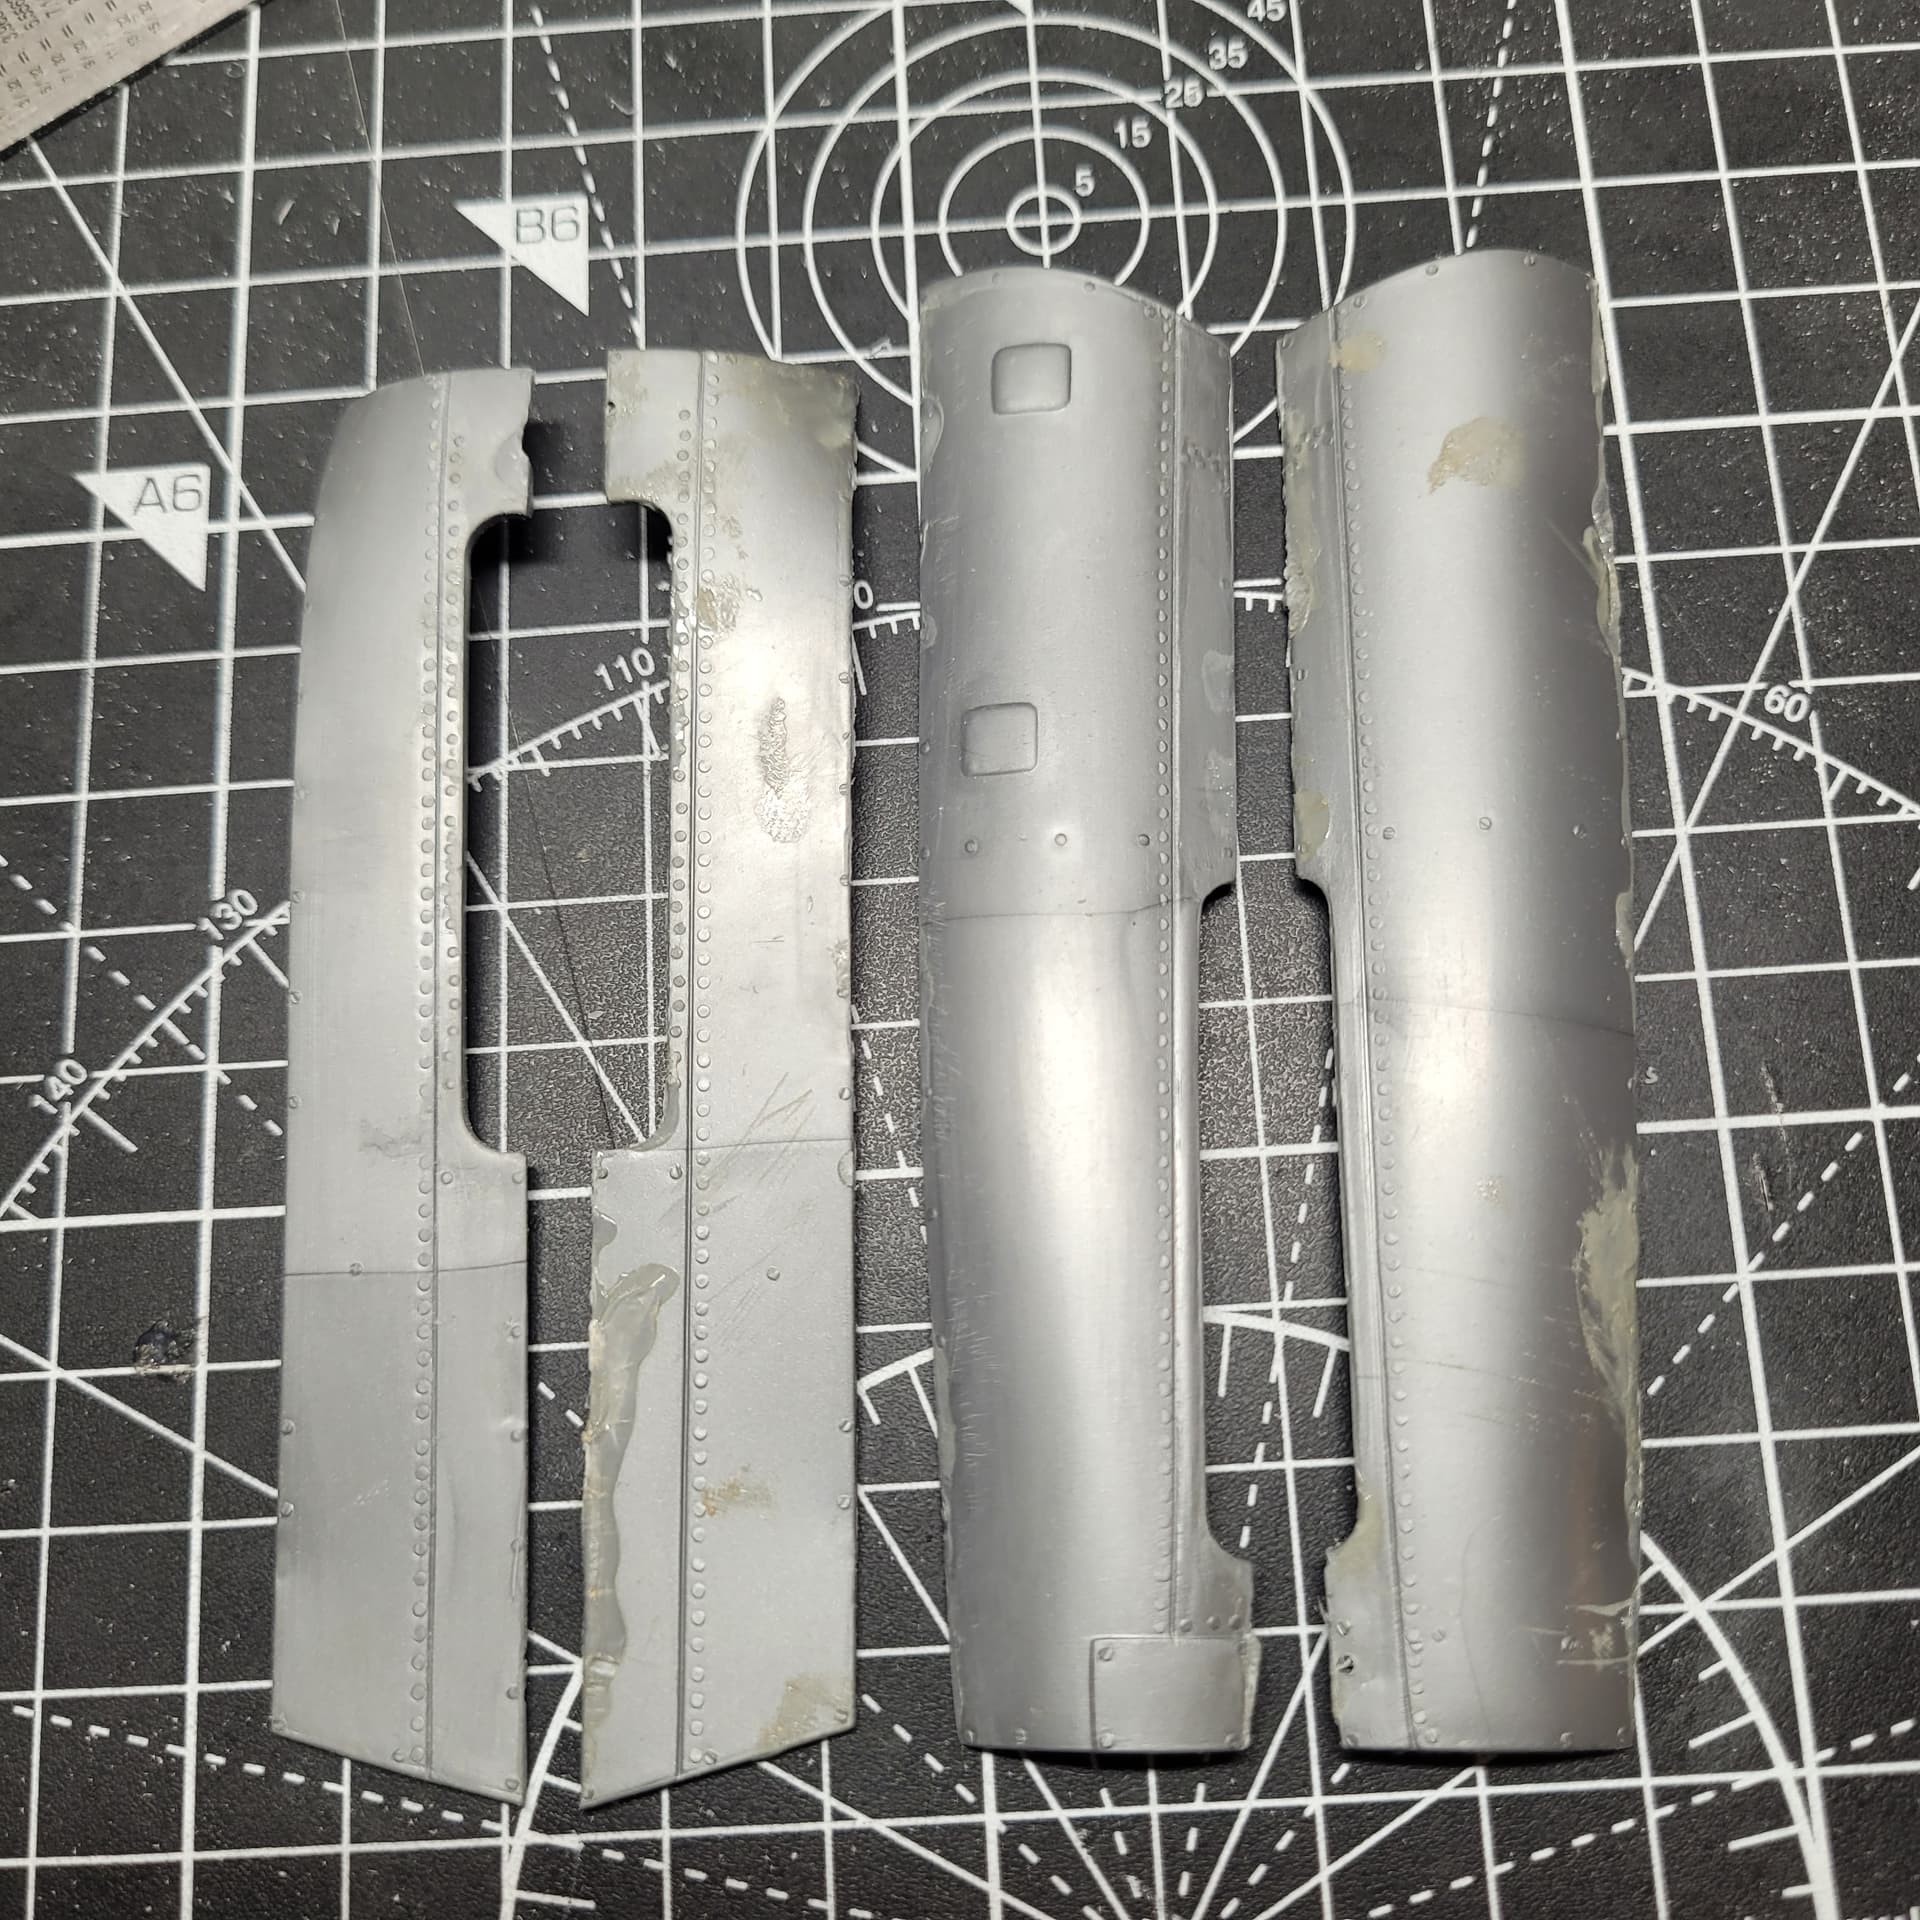
Prising the engine covers off, and scraping away the 45 year old tube cement. It’s gone quite brittle and hard, I’ve been using a cheap battery powered tool to grind some of it away.
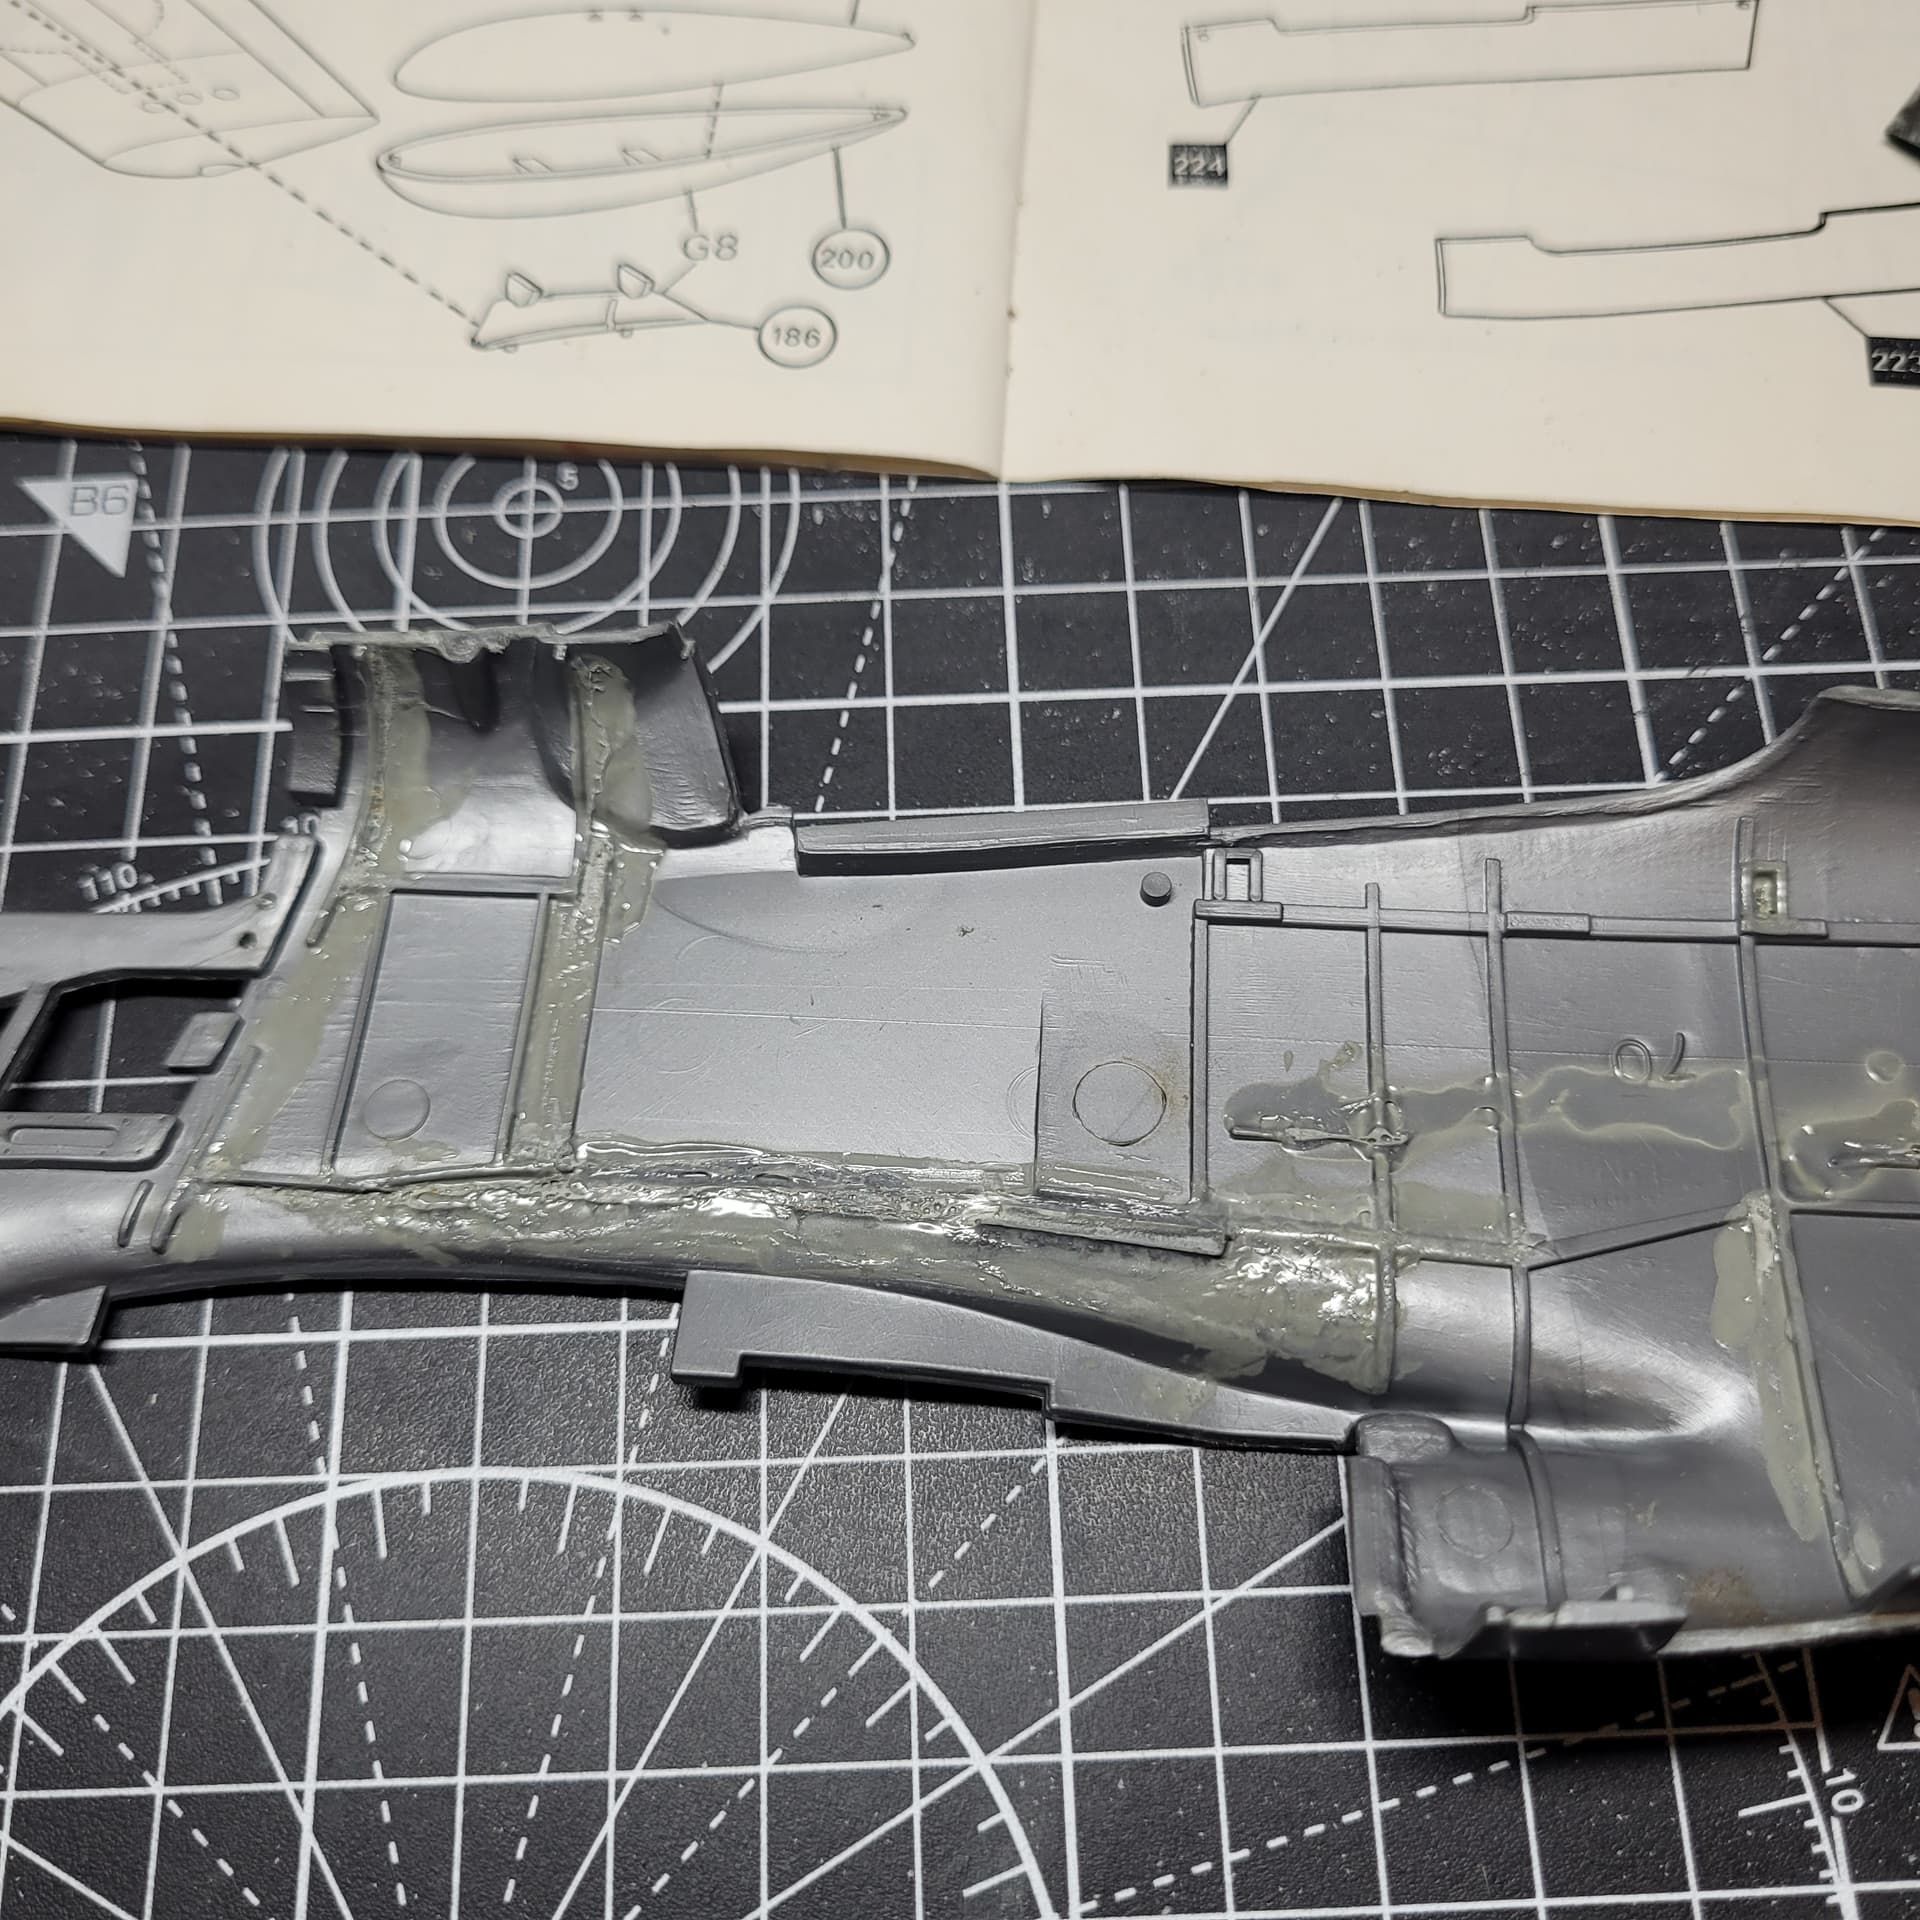
Cleaned up part on the left, gluey on the right…
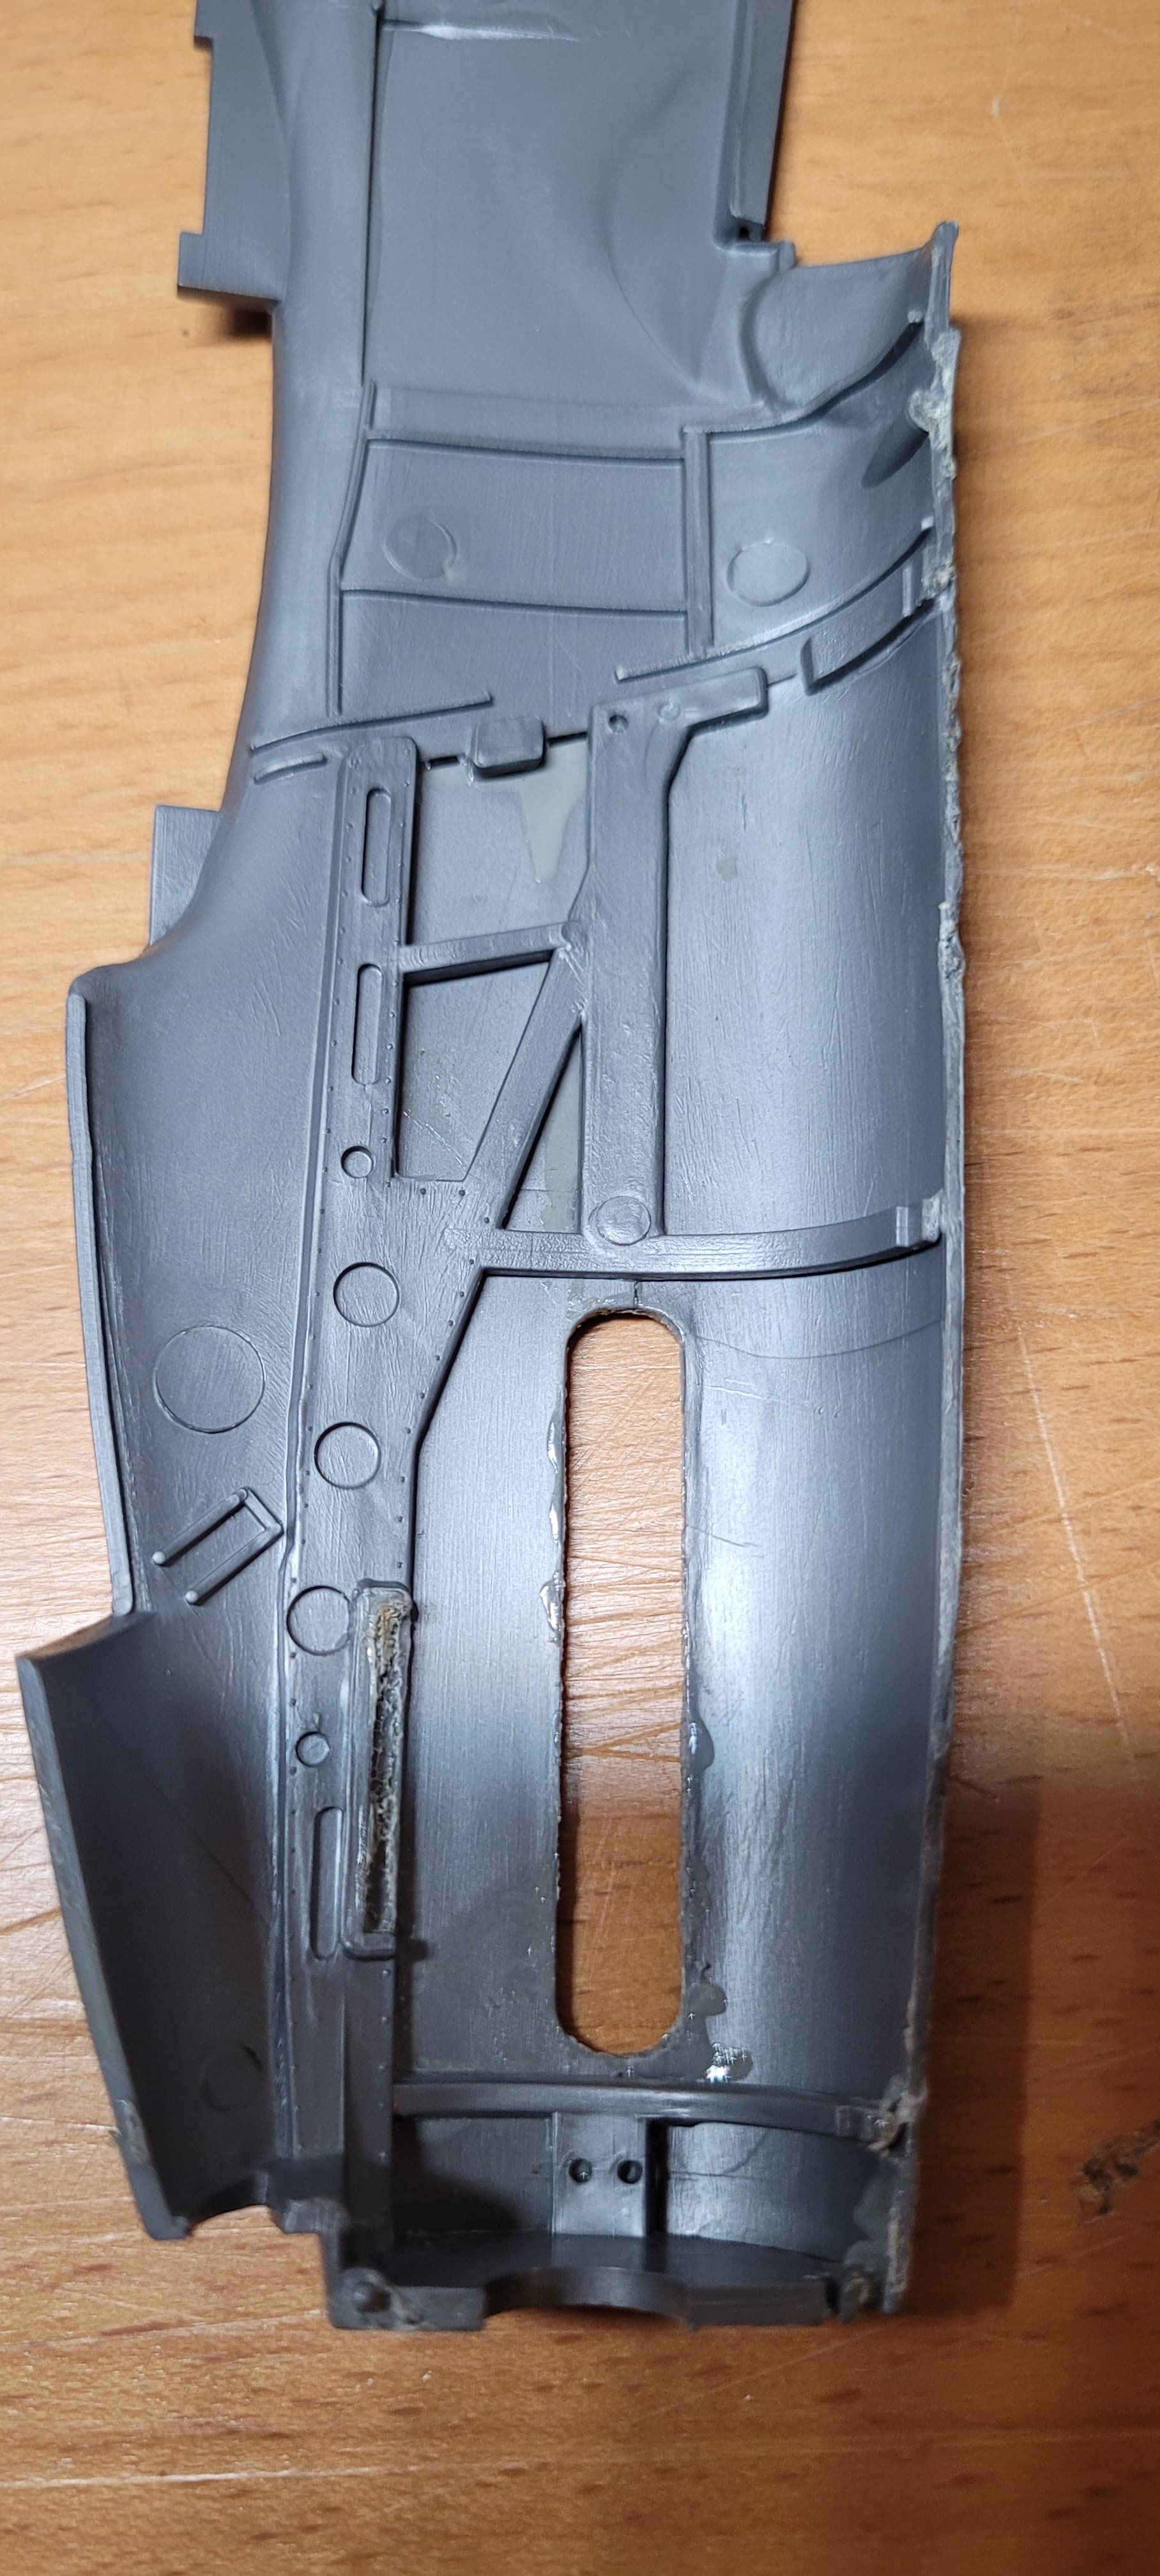
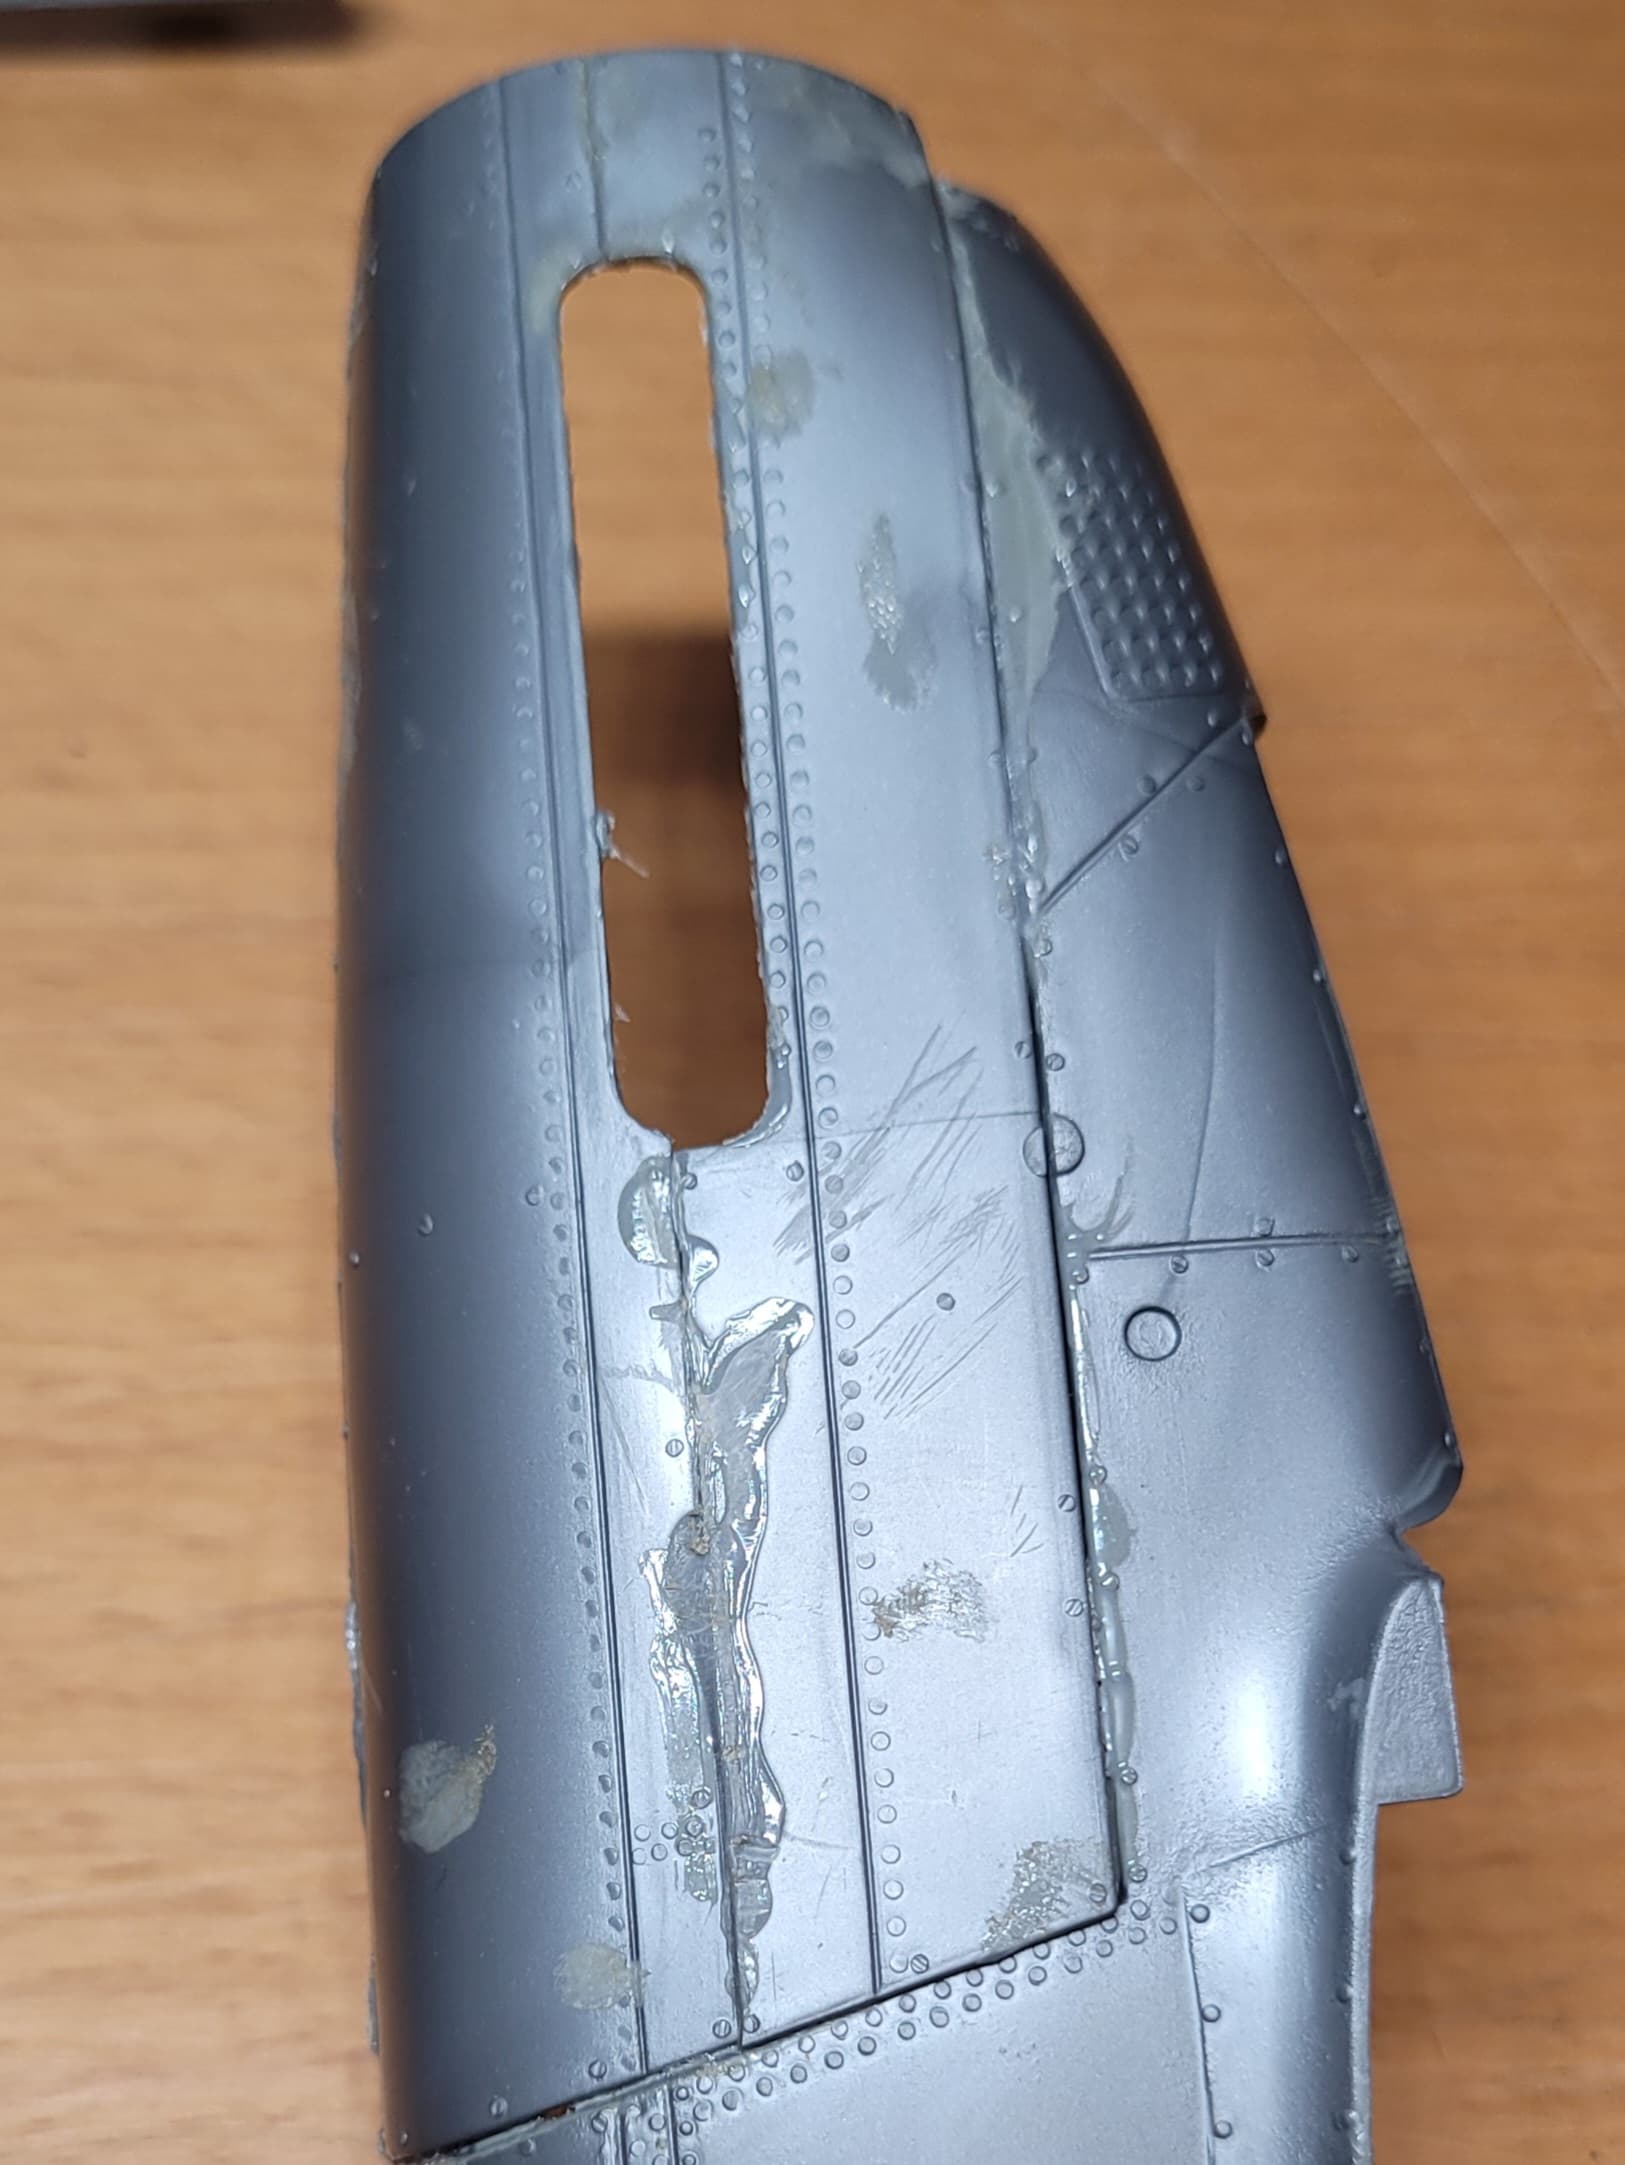
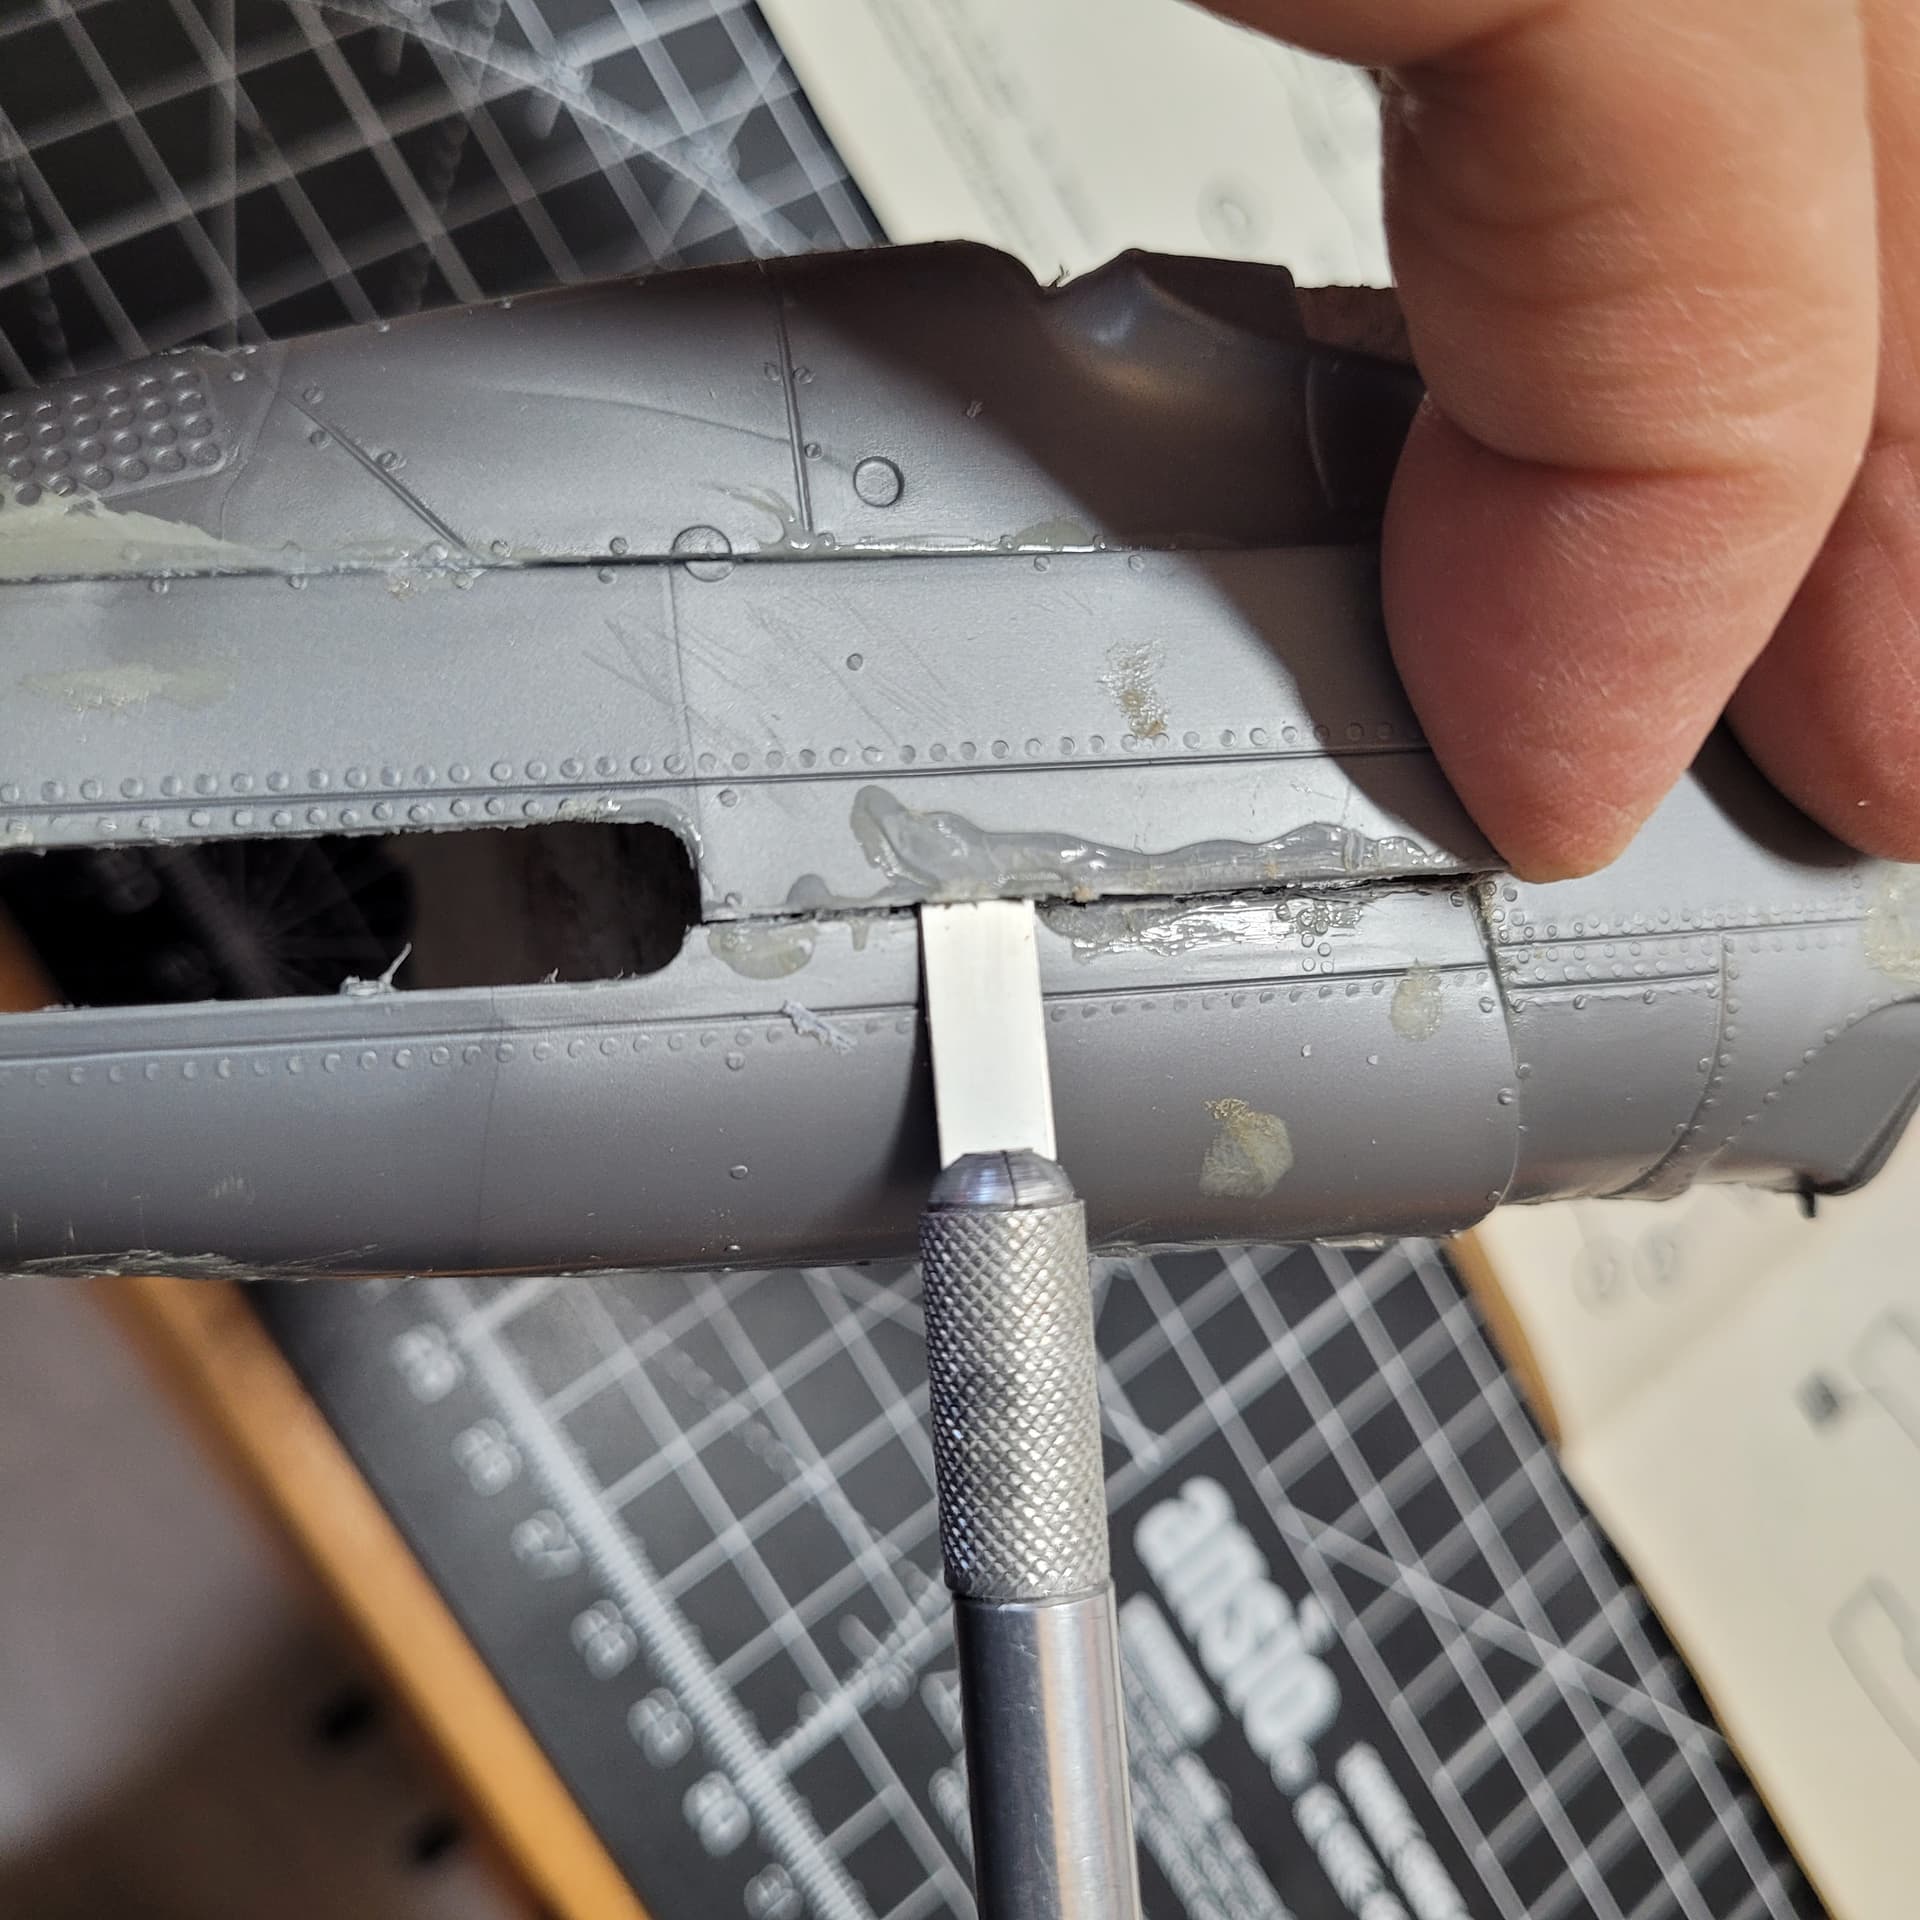
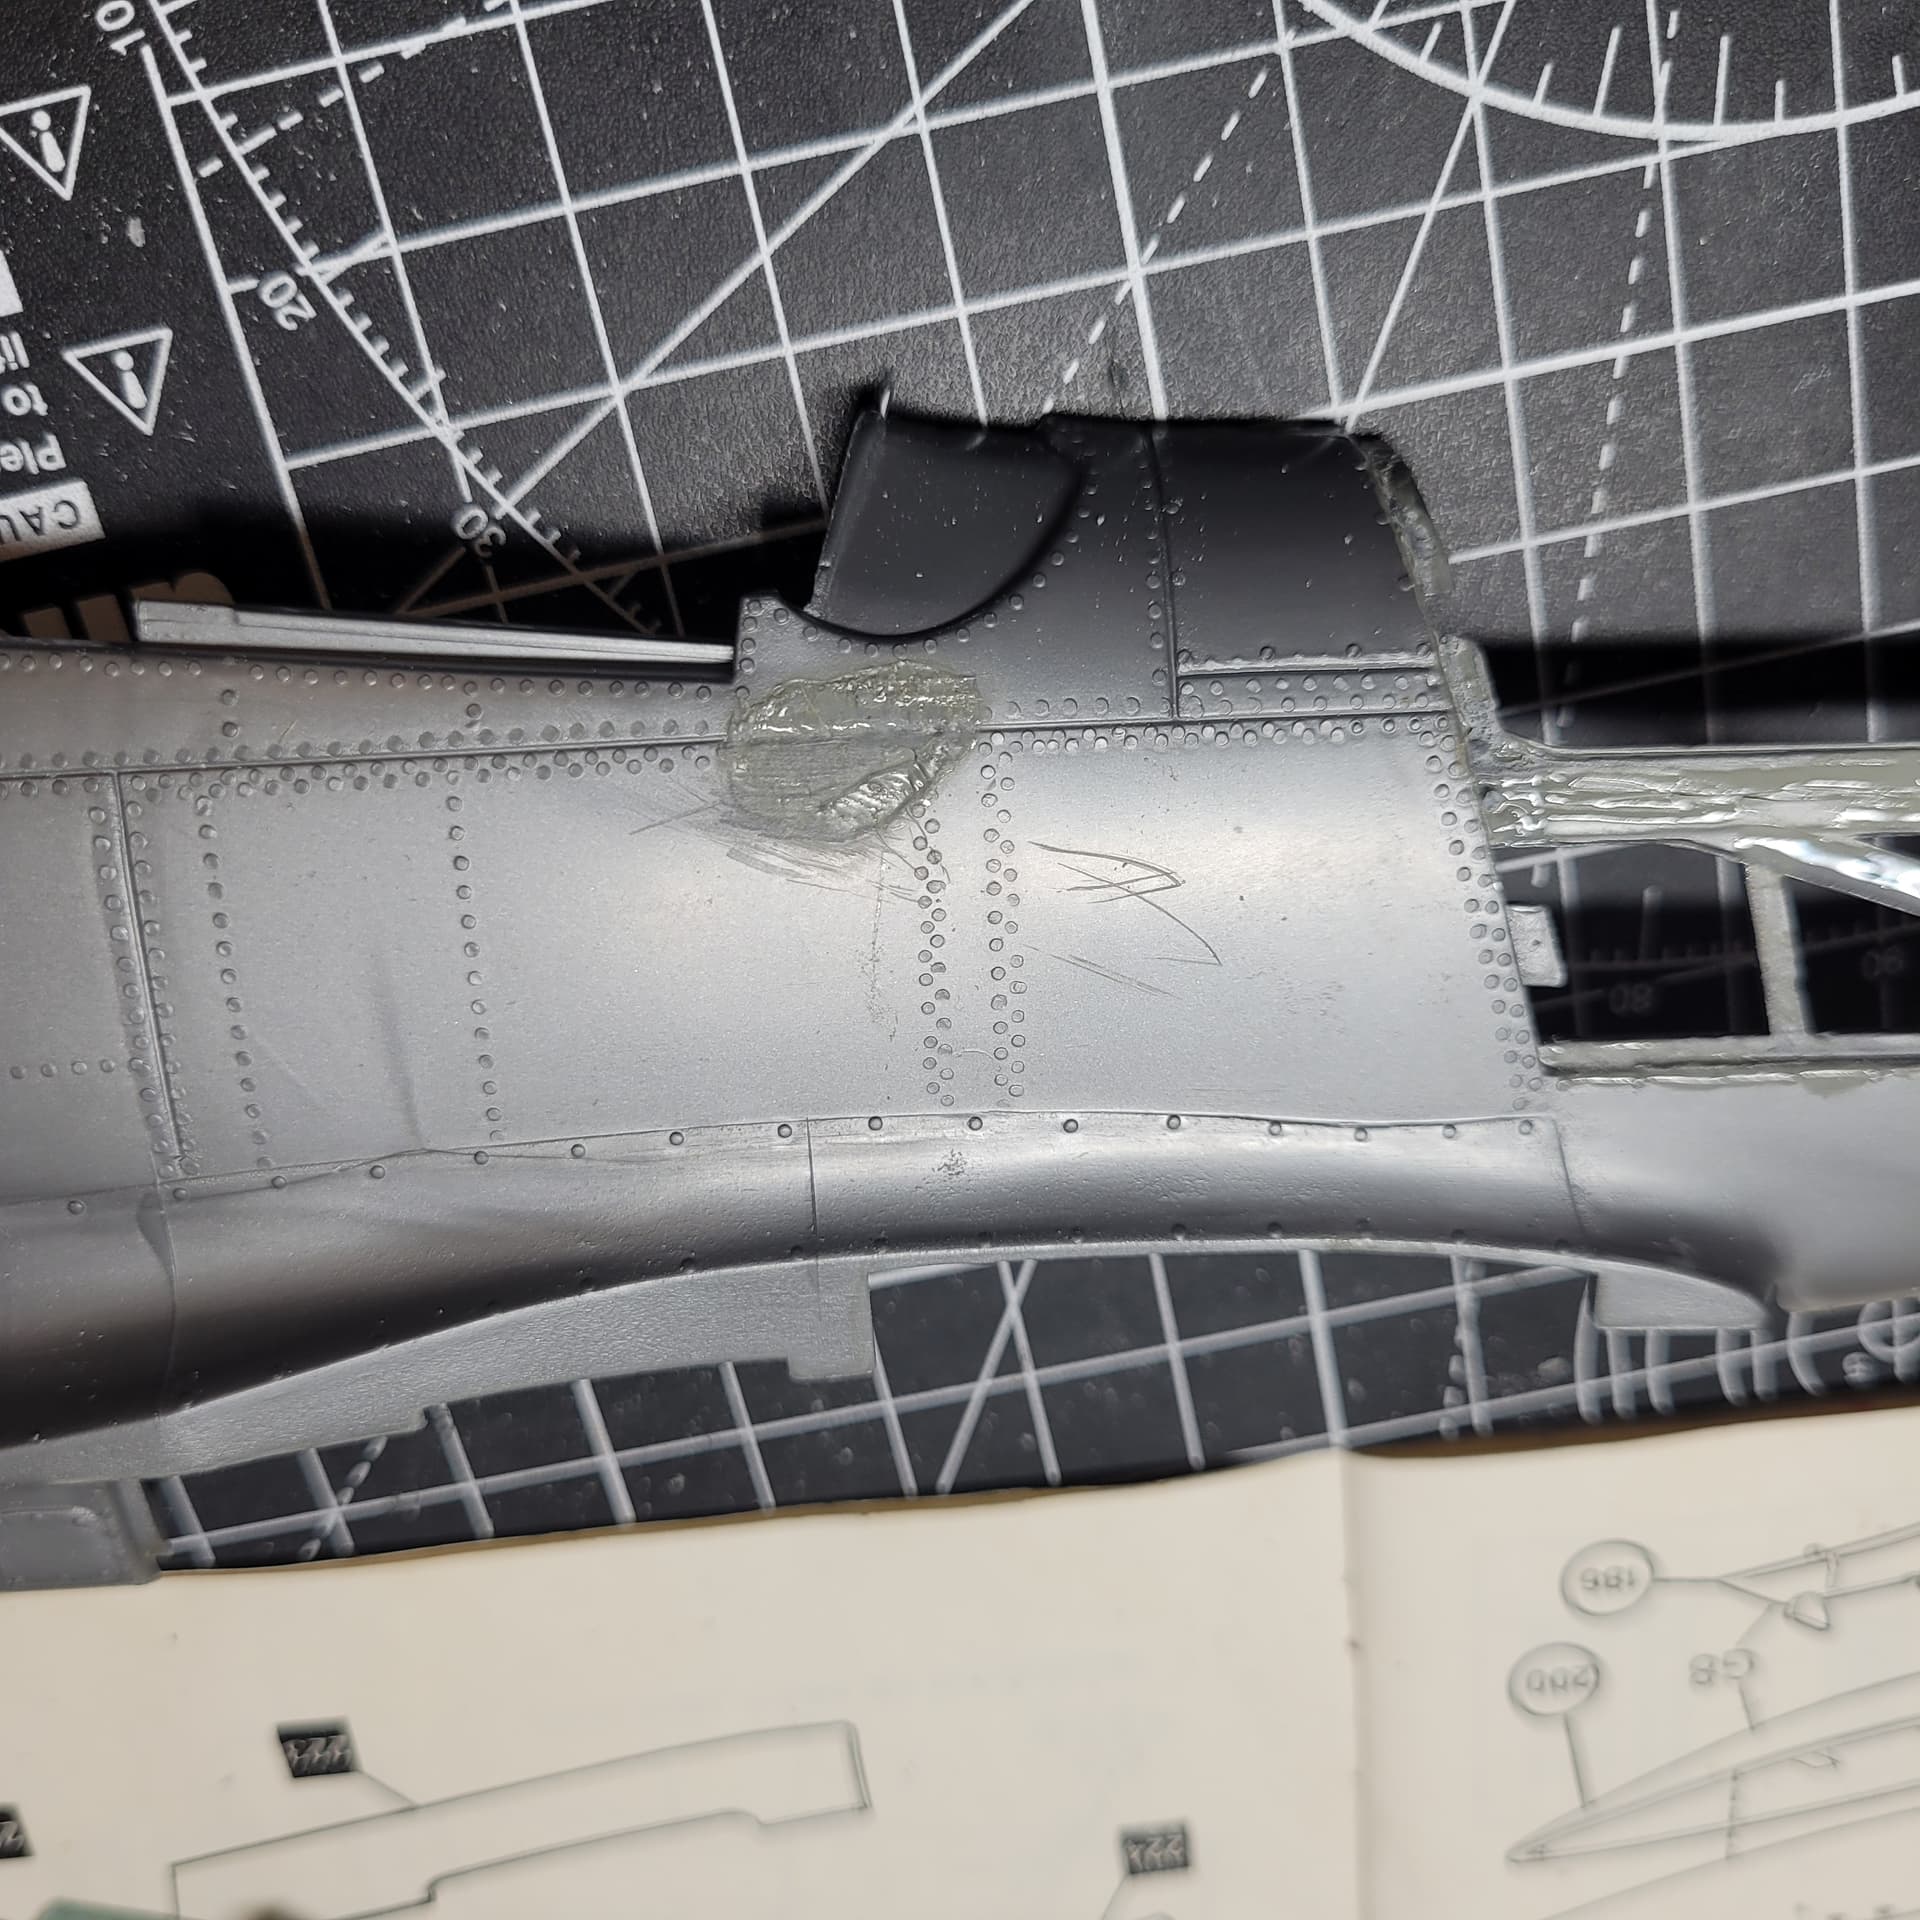
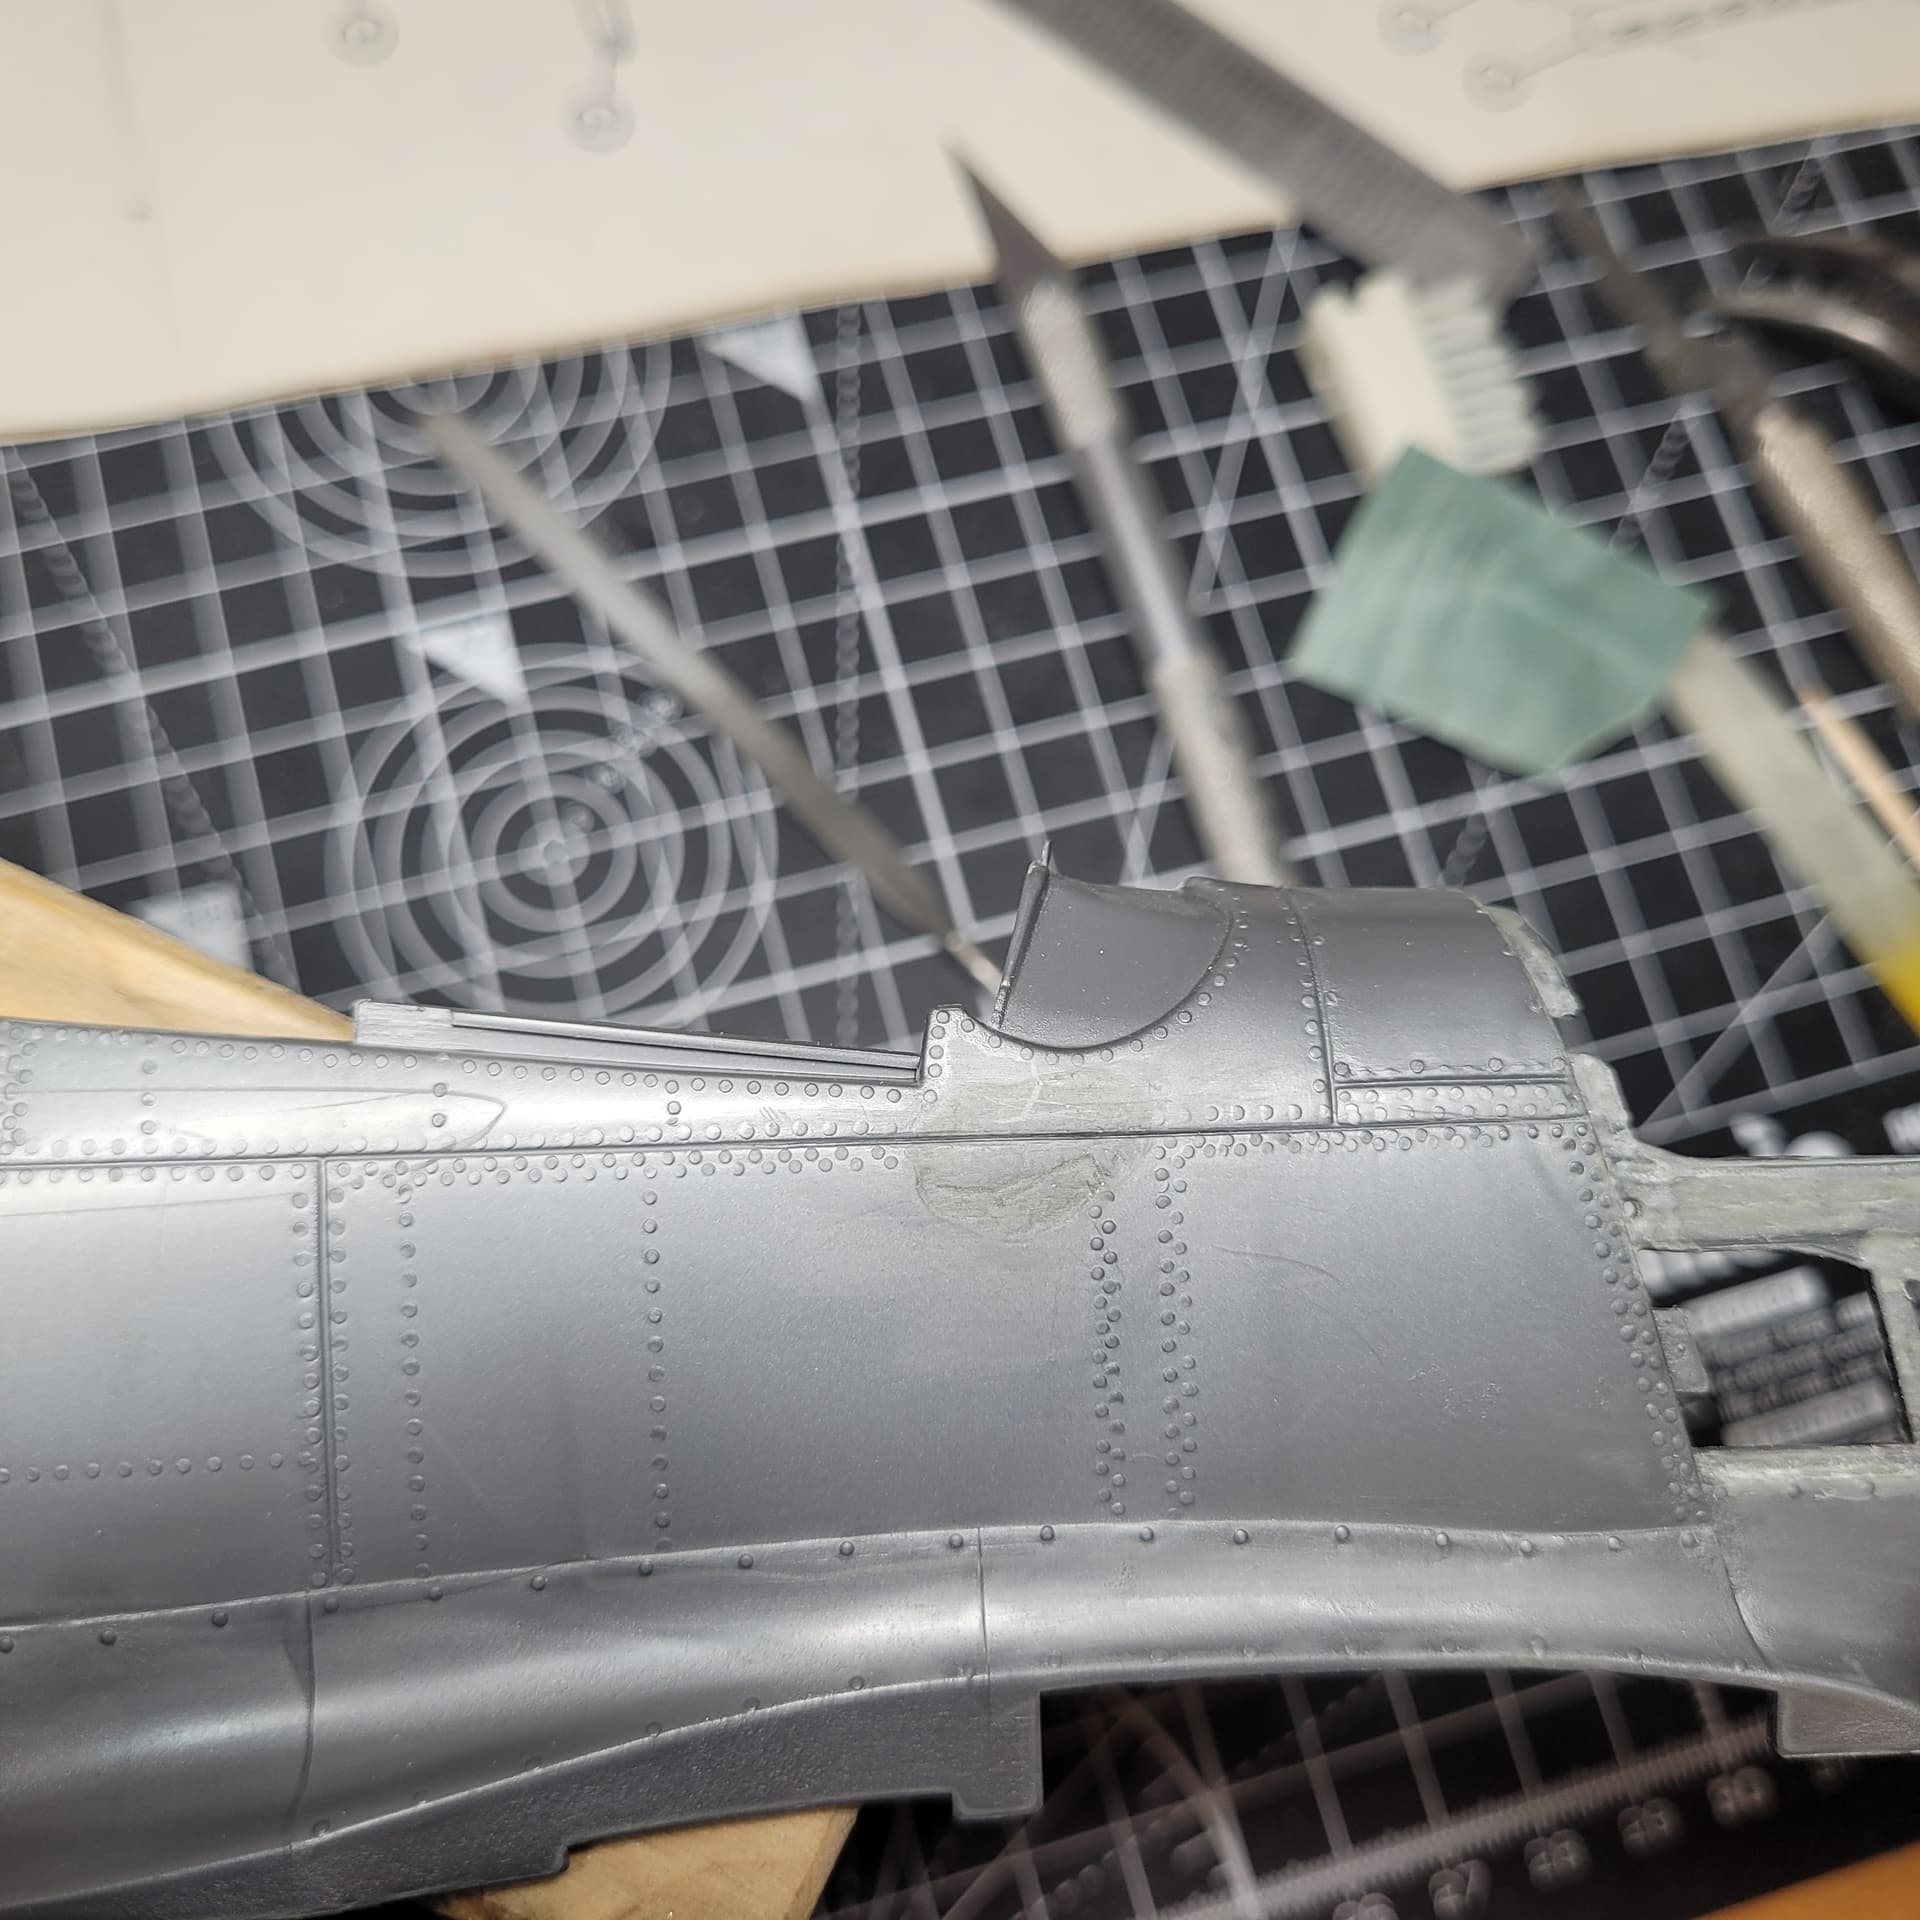
Starting treatment of the big melty glue blob on the fuselage:
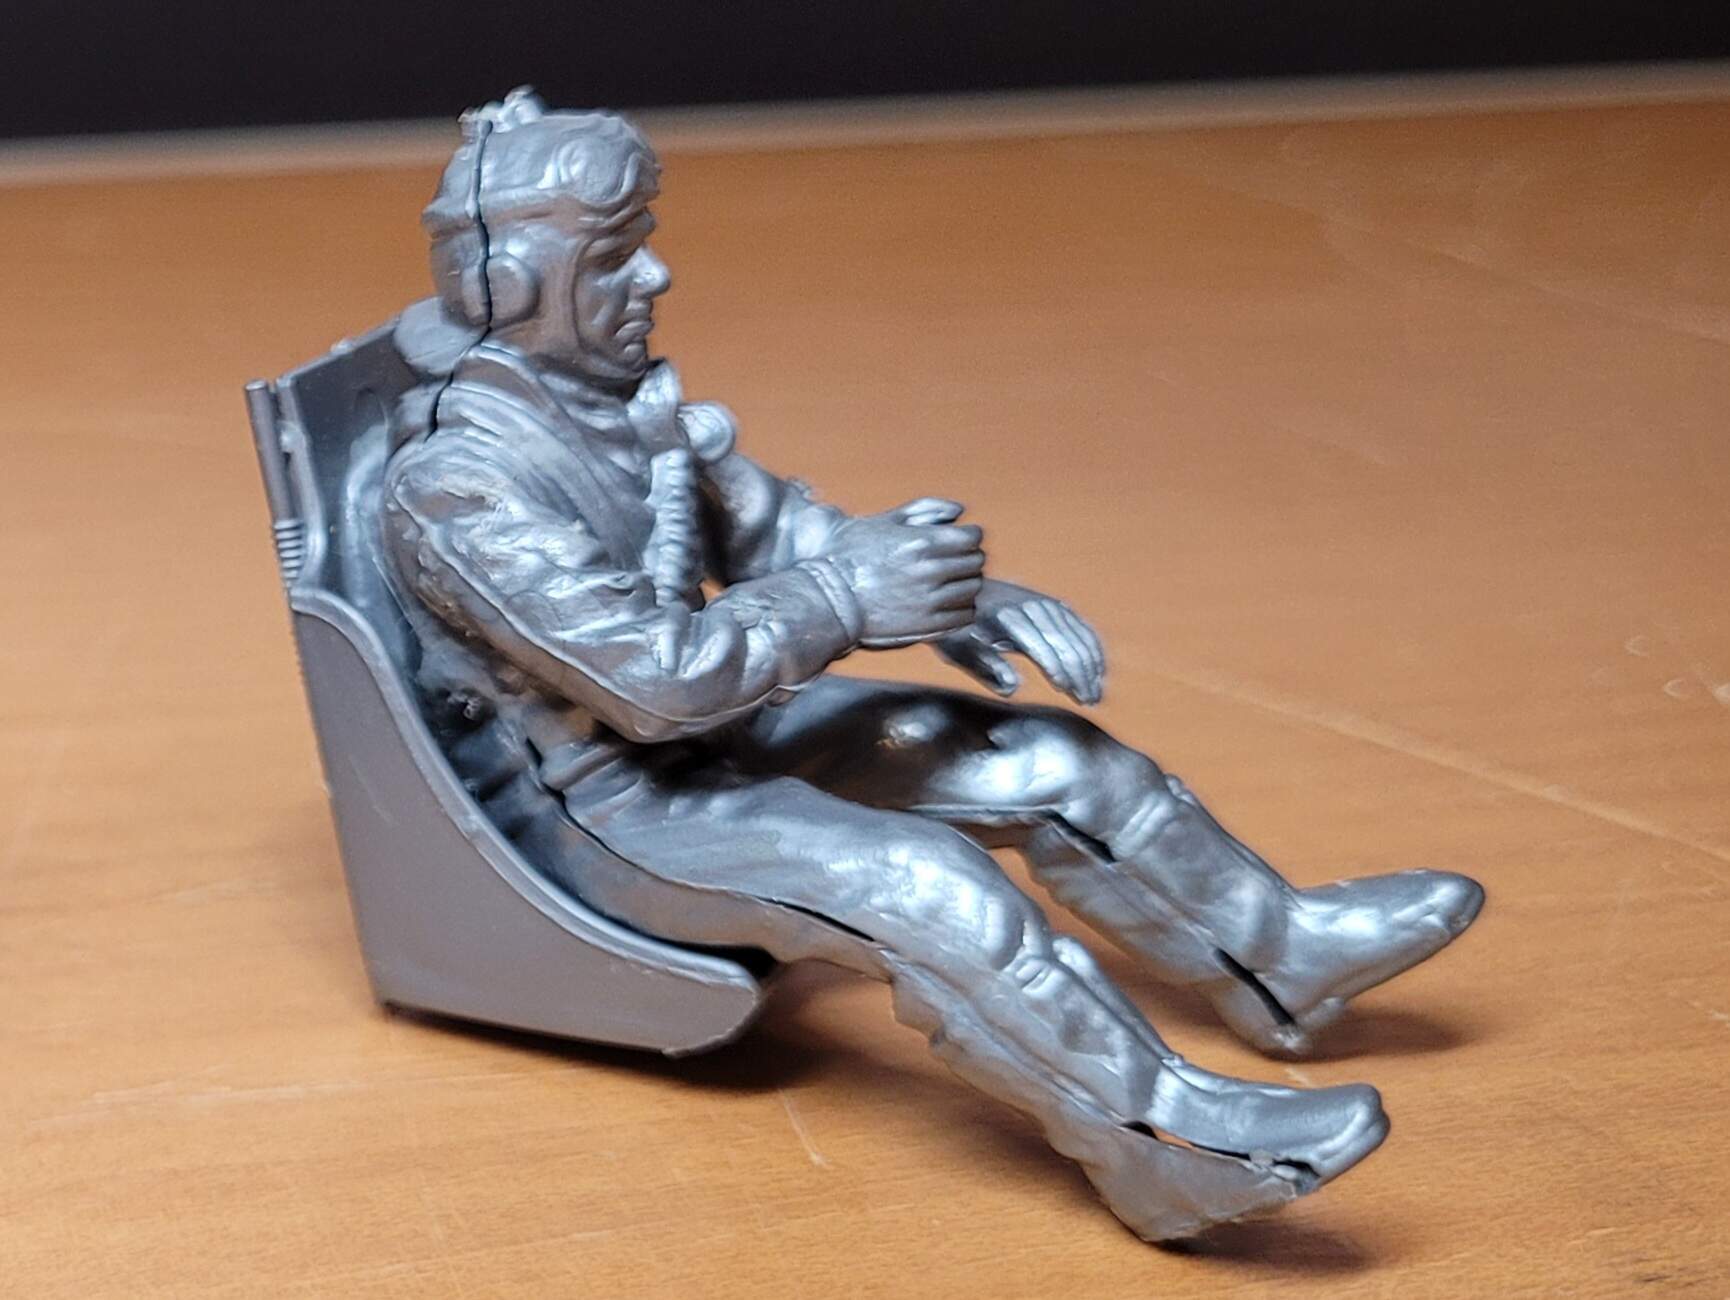
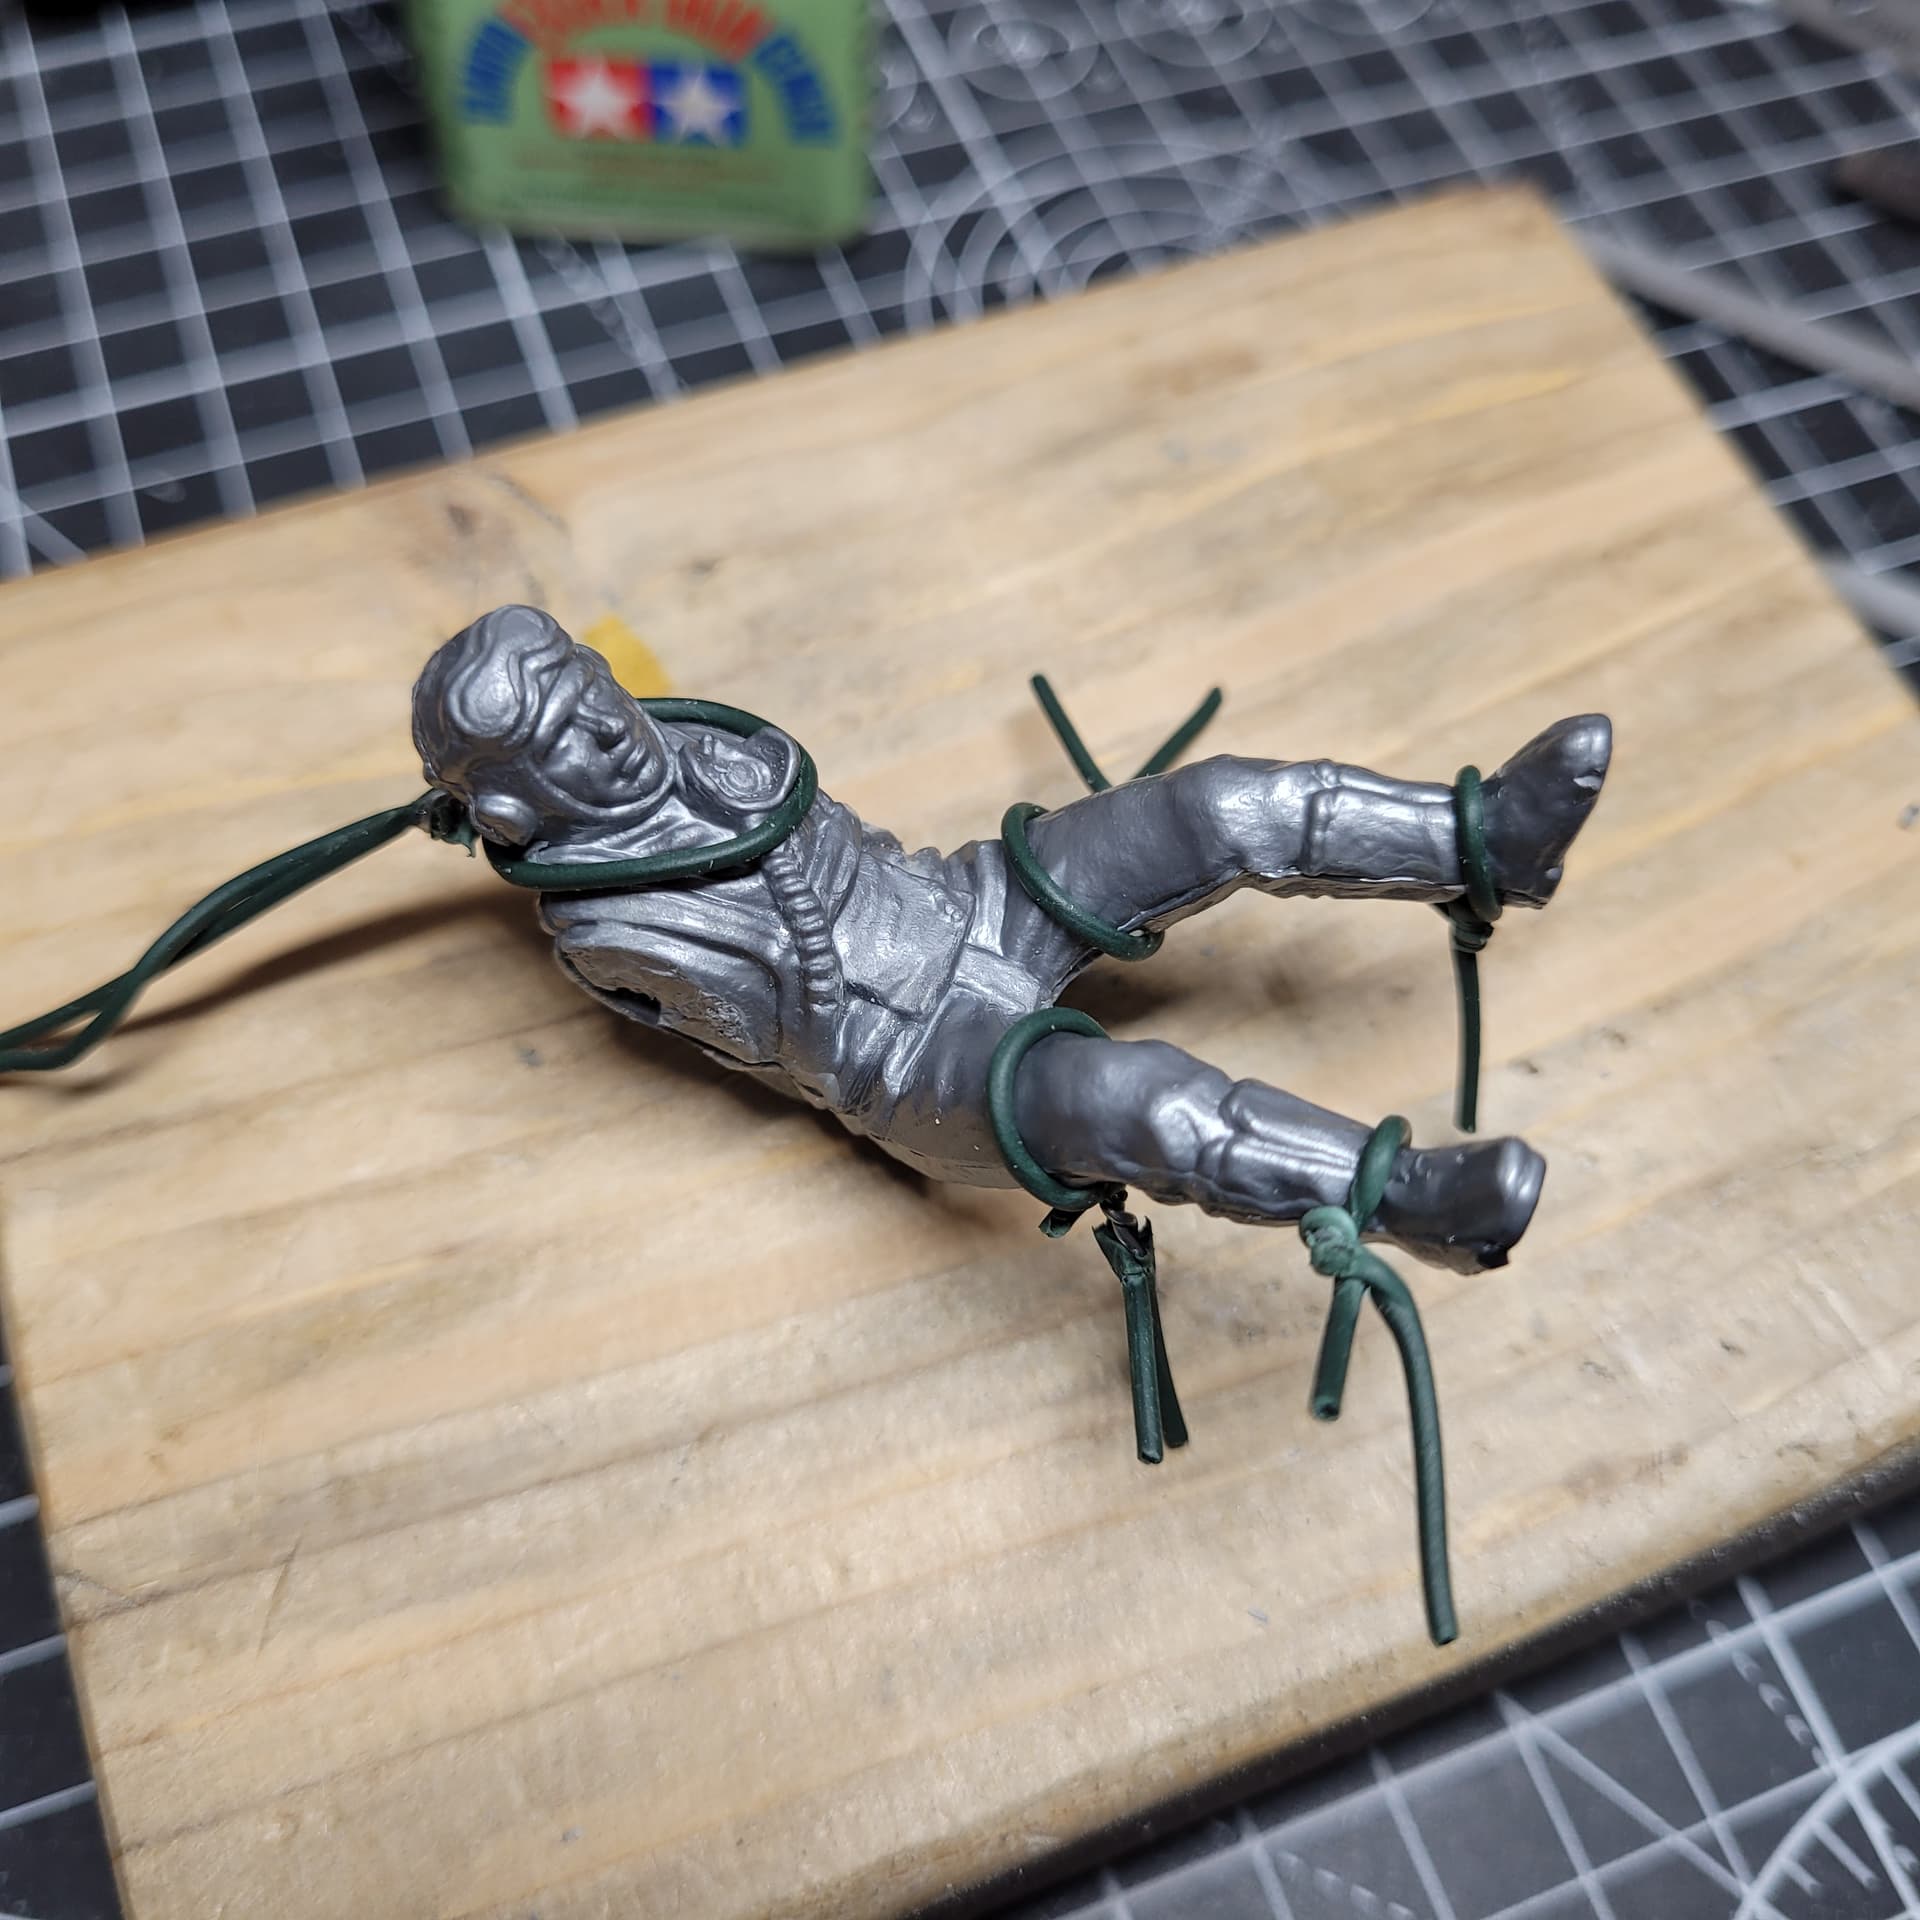
Removed the pilot from his seat and separated, cleaned up and re-cemented him.

Some pretty nifty restoration work you have going on. ![]()
![]()
The clean up is going great and making a big big difference… lovely and worthwhile work ![]()
Not sure about the BDSM pilot and him being restrained like that lol … Mind you, pilots are a starnge lot some times lol
Cant you have the one Good Blade Vacuformed? Or CAD printed. I thought there is someone on the Forum here who does that.
He didn’t go sparingly with the glue, now did he?
What did the pilot do to deserve such a harsh treatment? Looks more like a hanging than a restoration! ![]()
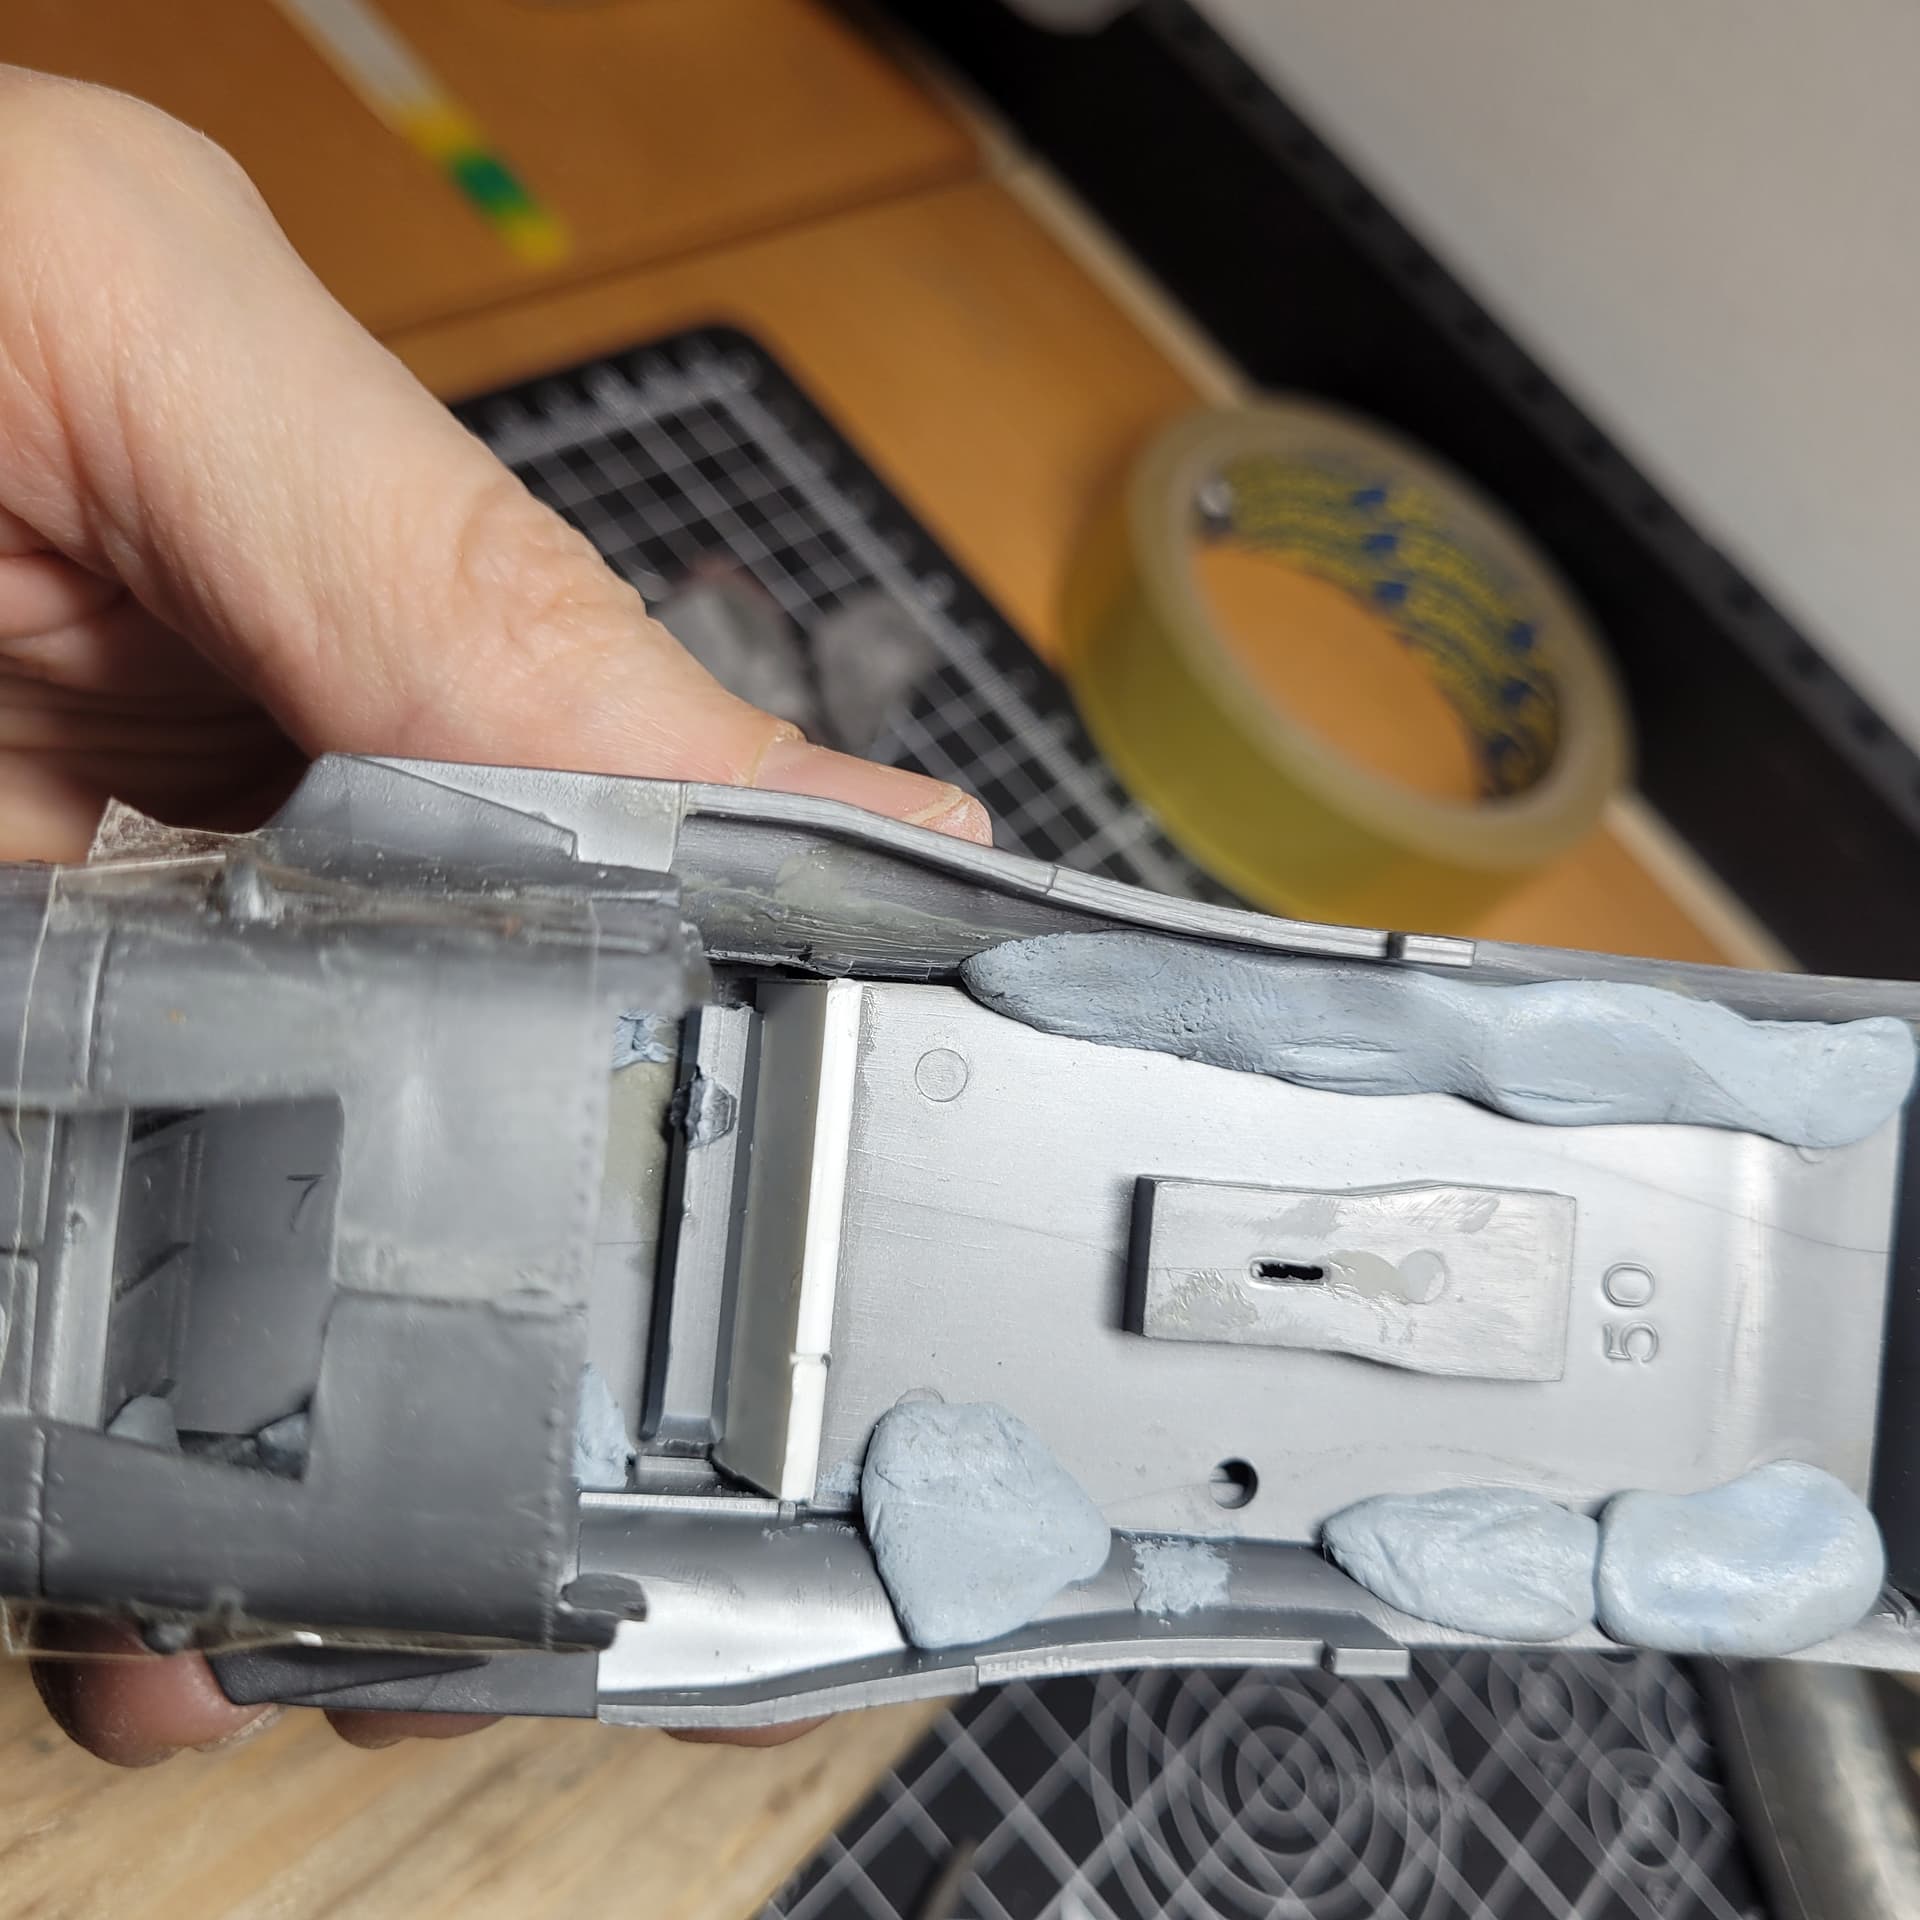
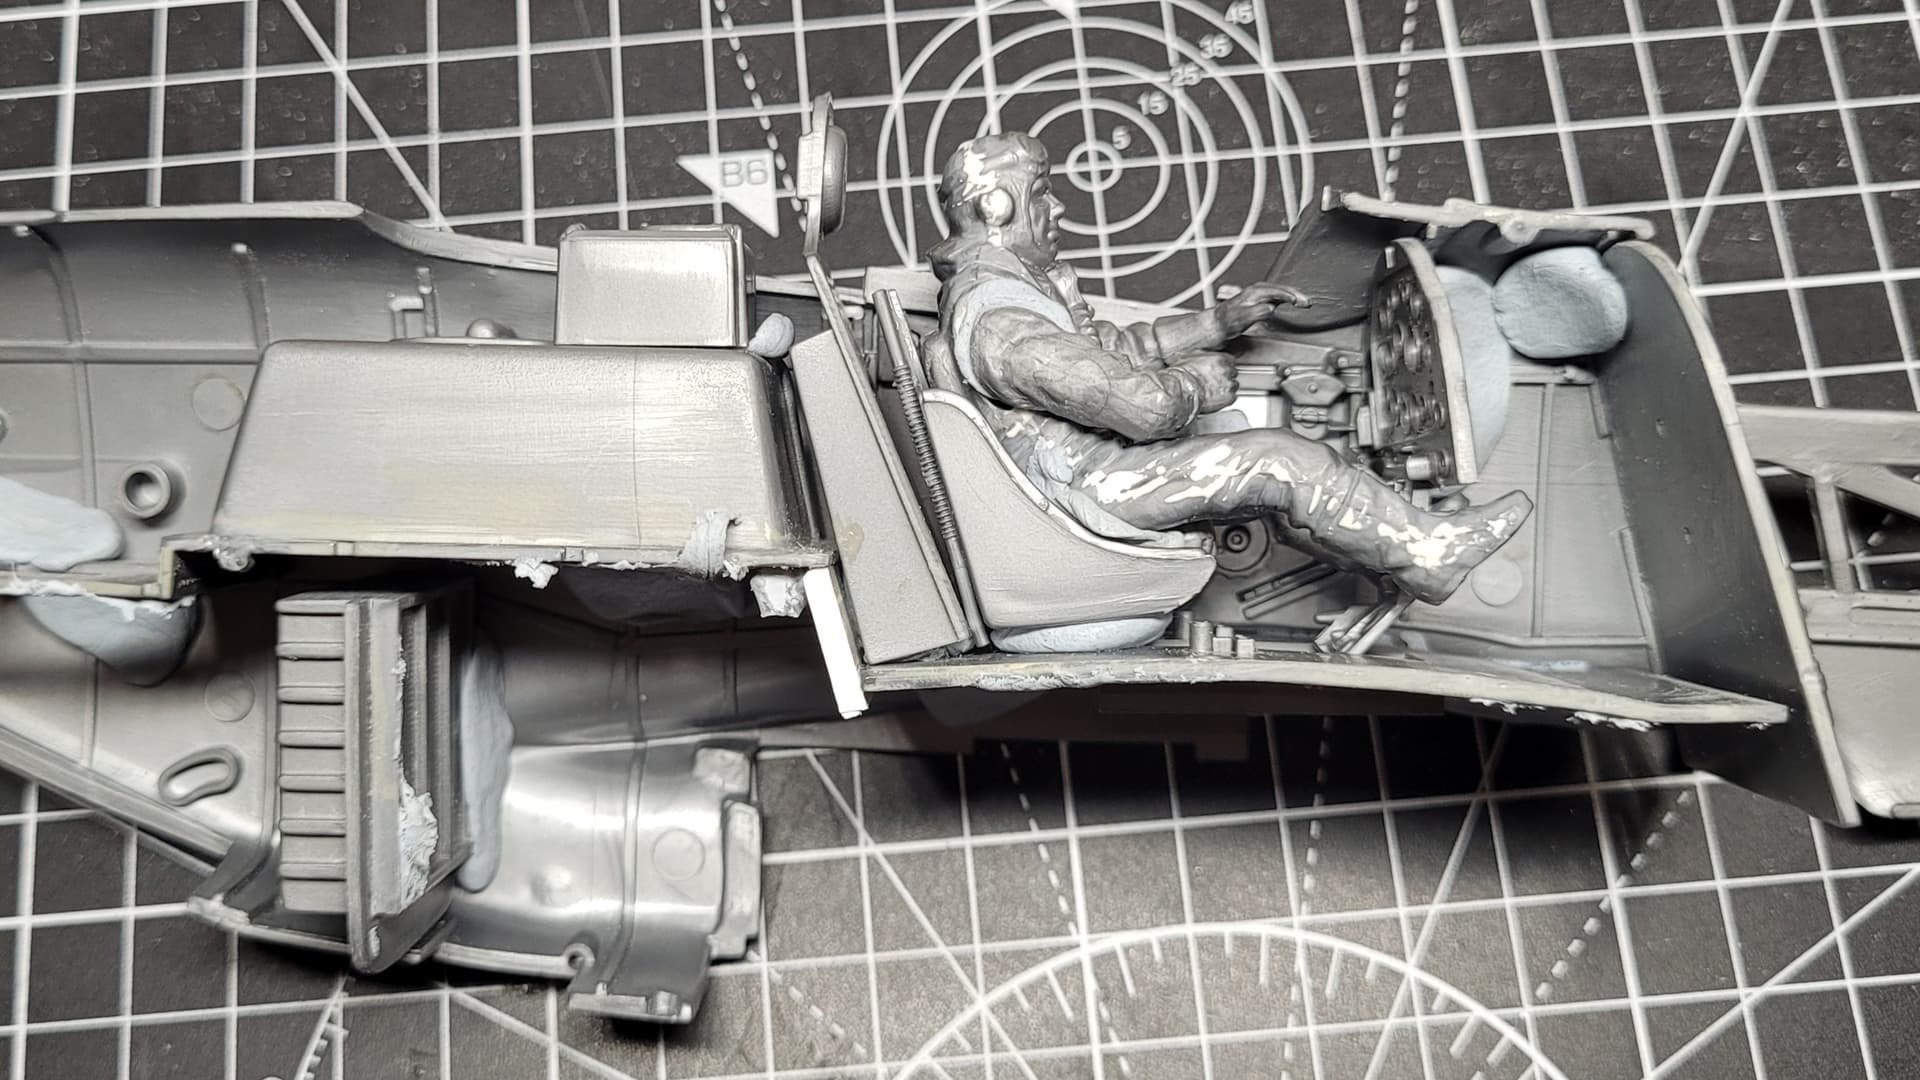
The pilot was freed from his bonds after 24 hours, it was sadly necessary because of the fit of his front and back halves - see the original effort from 1977, a gap like you’d expect to between the layers of a Victoria sponge…
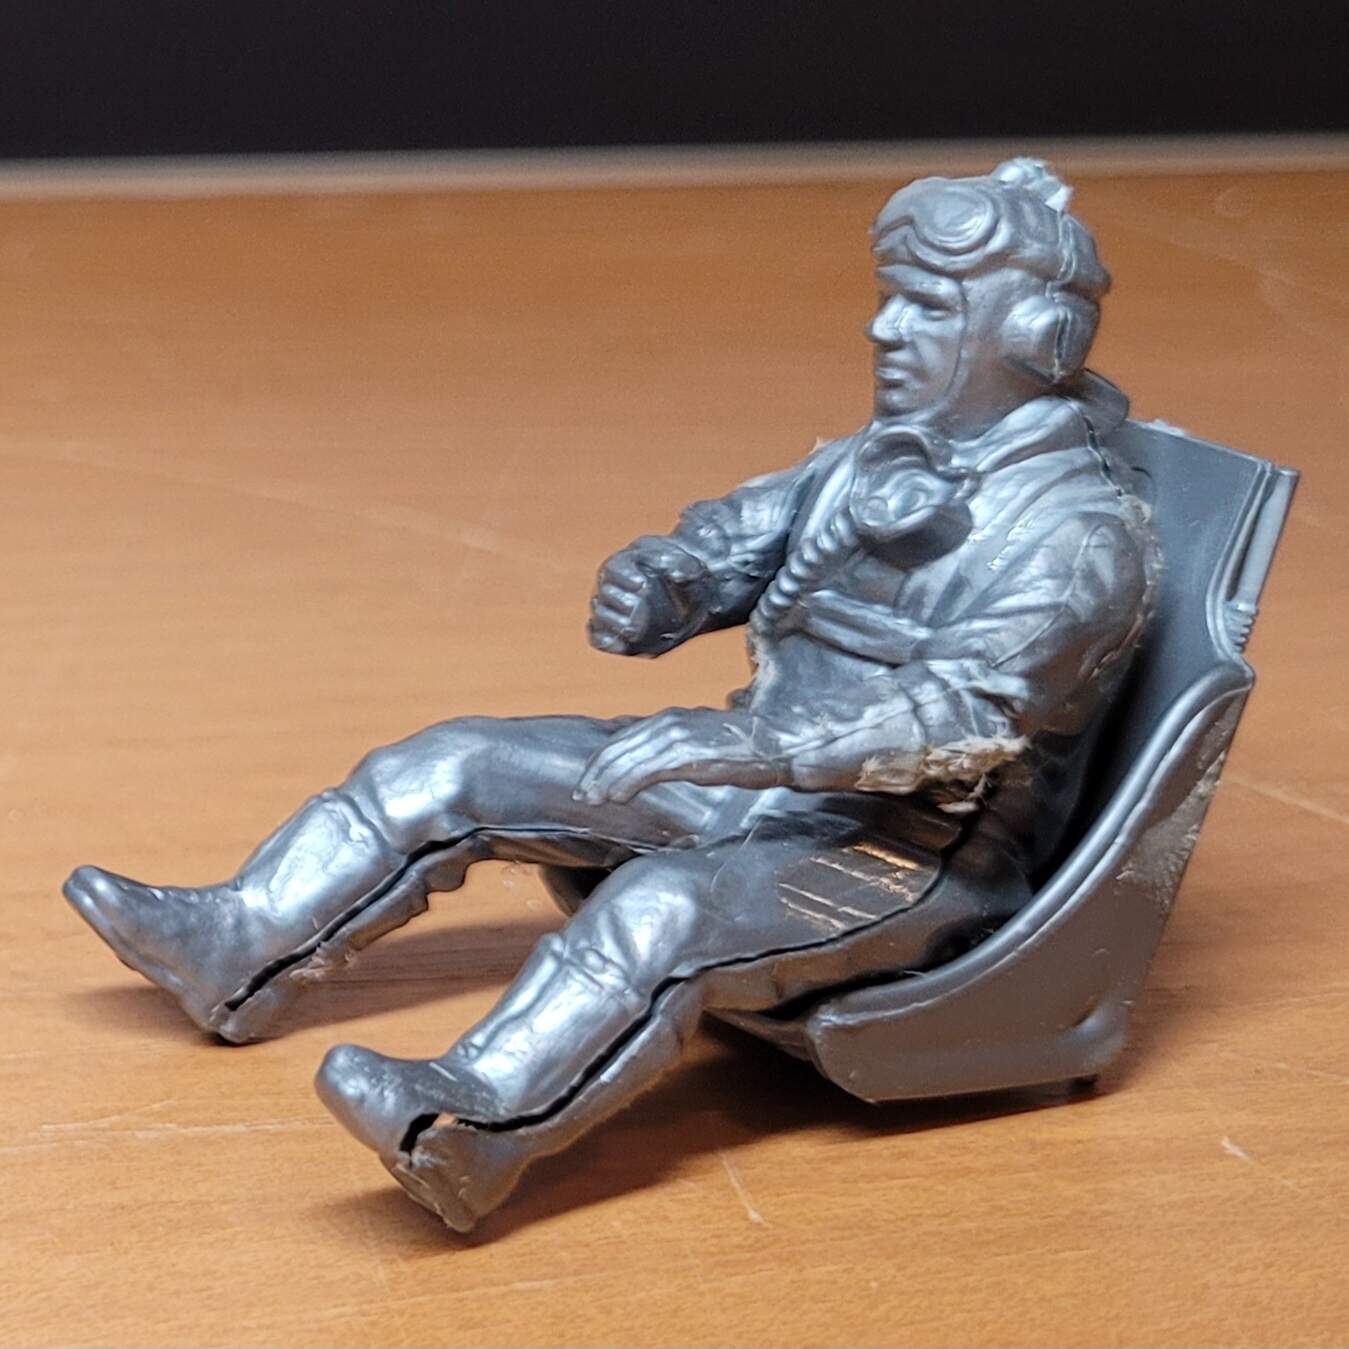
Before he got his arms back, I did a lot of test fitting to work out their positions. The way that Airfix designed the interior is not very helpful, especially, I imagine, for the novice modeller back in the 70s. The various elements are to be cemented separately into one side of the fuselage, and it seems the instructions expect it all to line up more in hope than with genuine conviction.
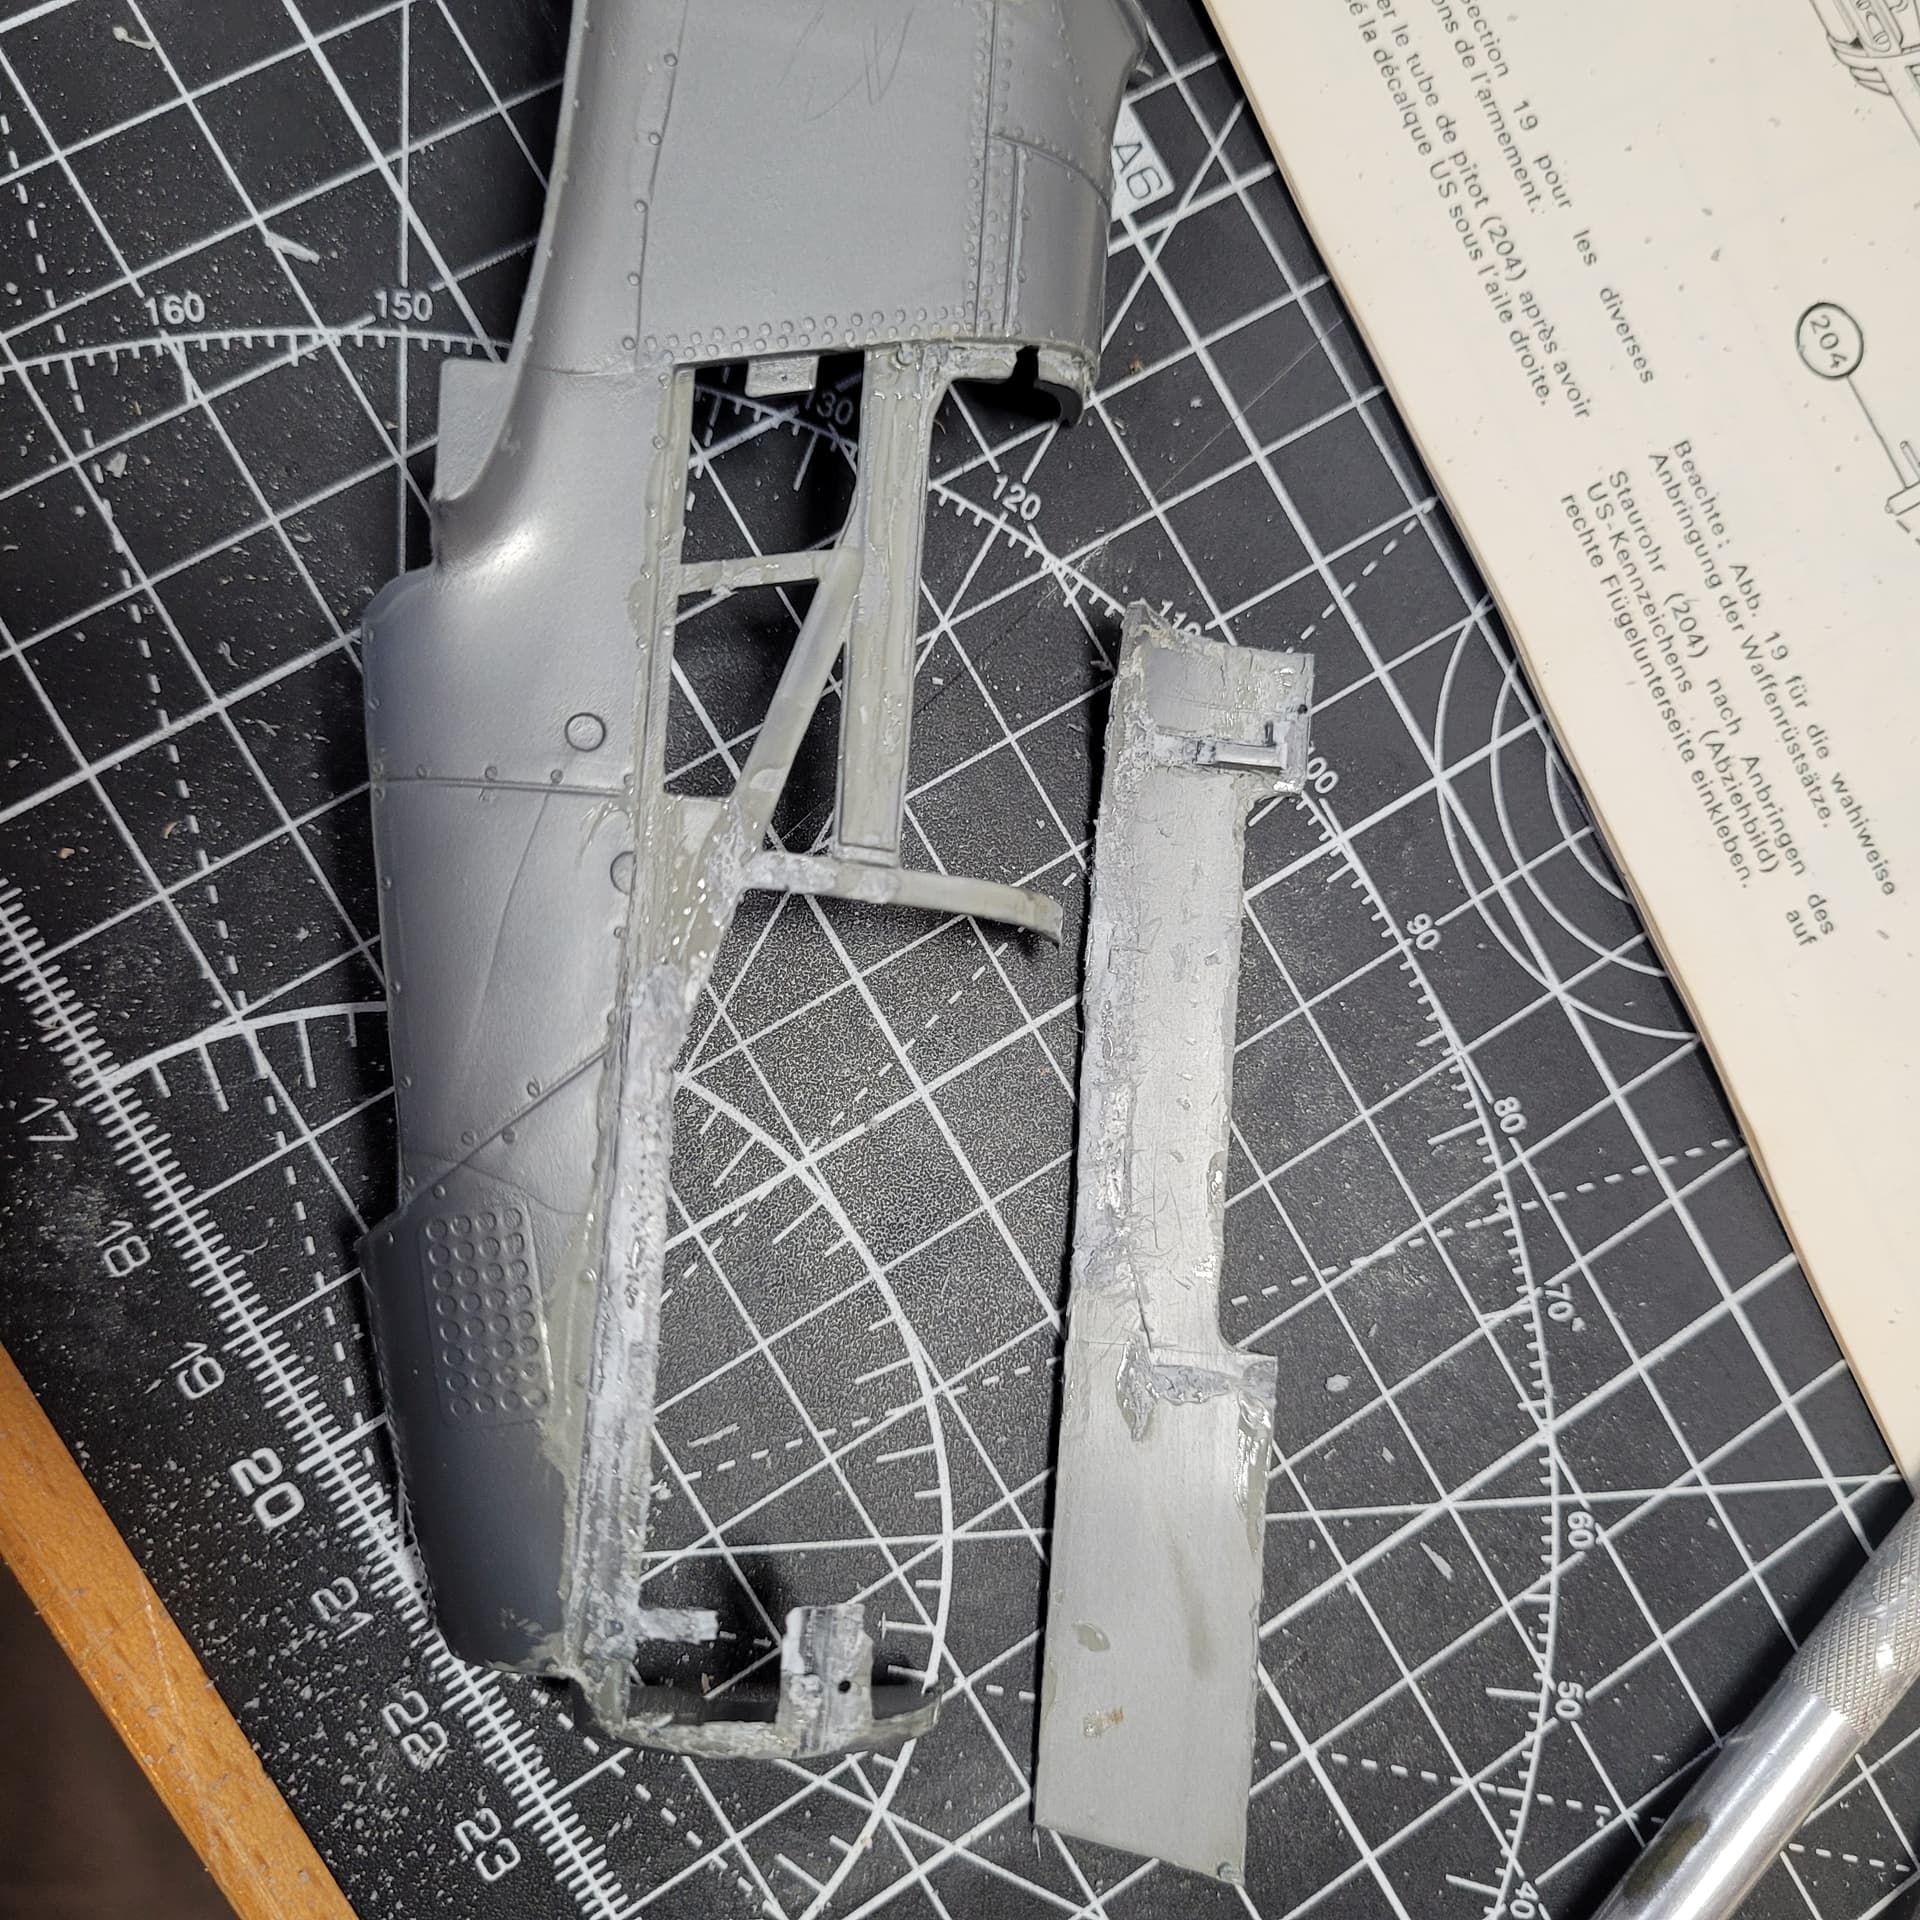
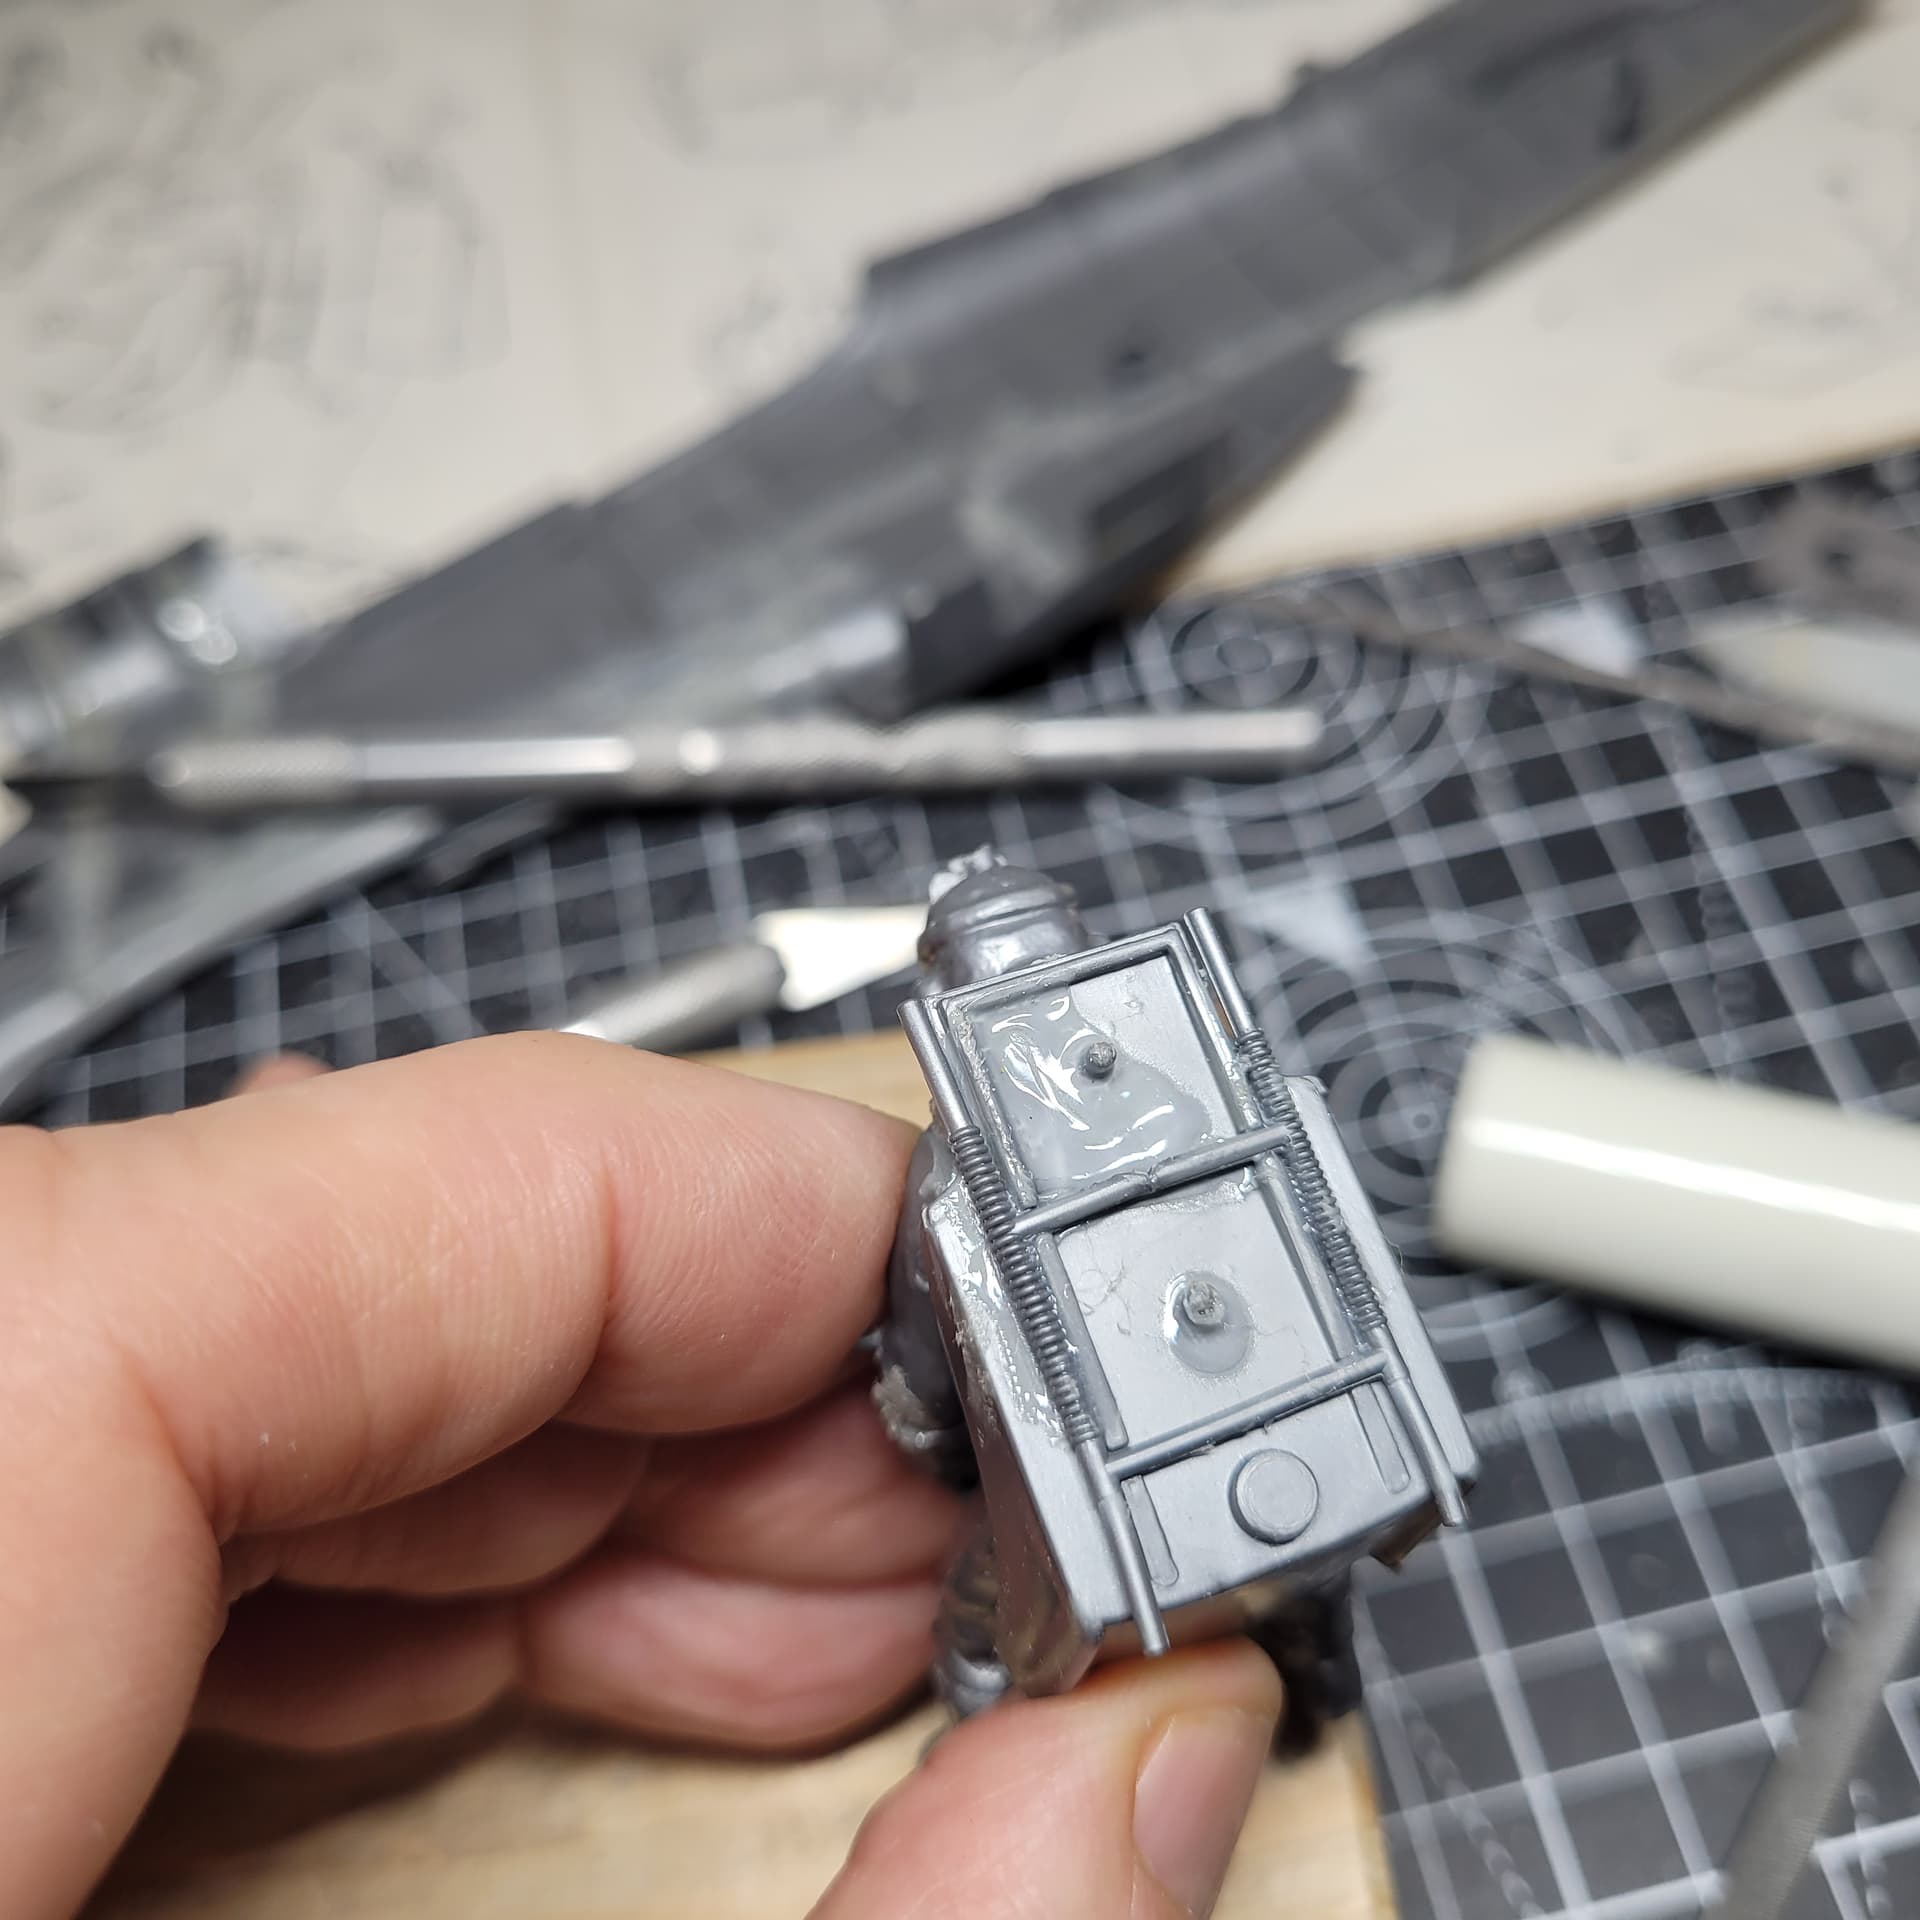
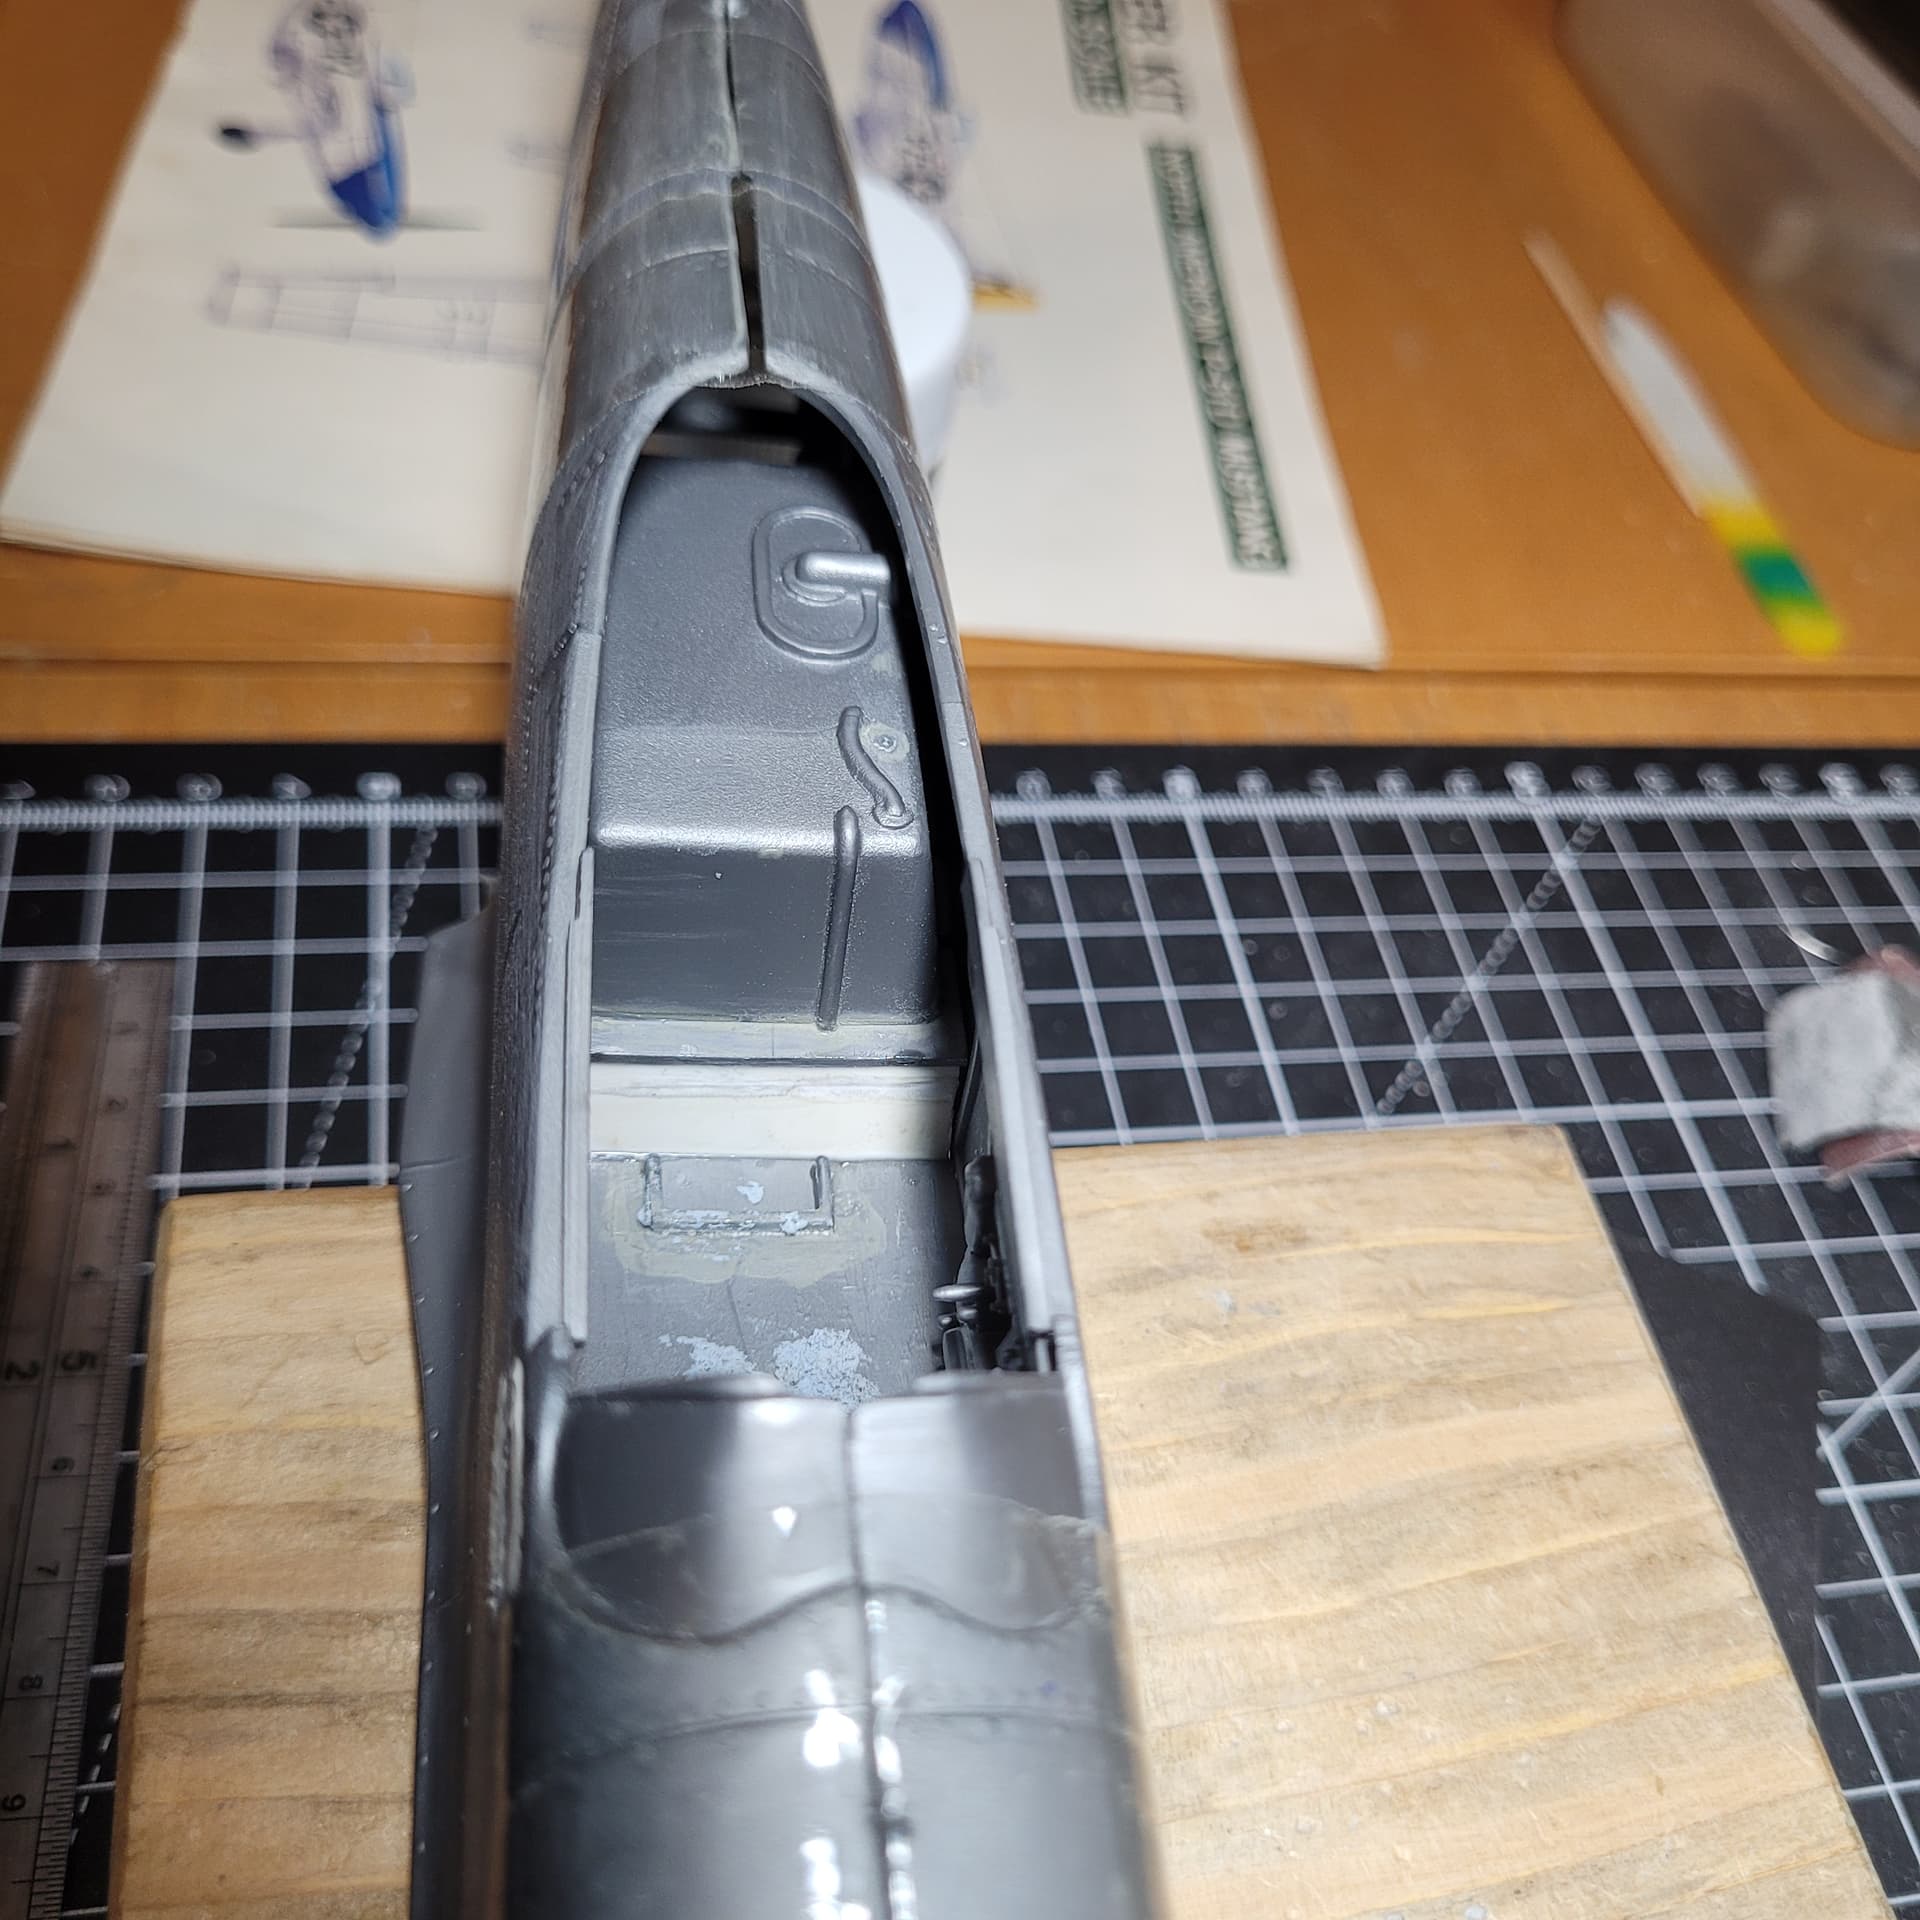
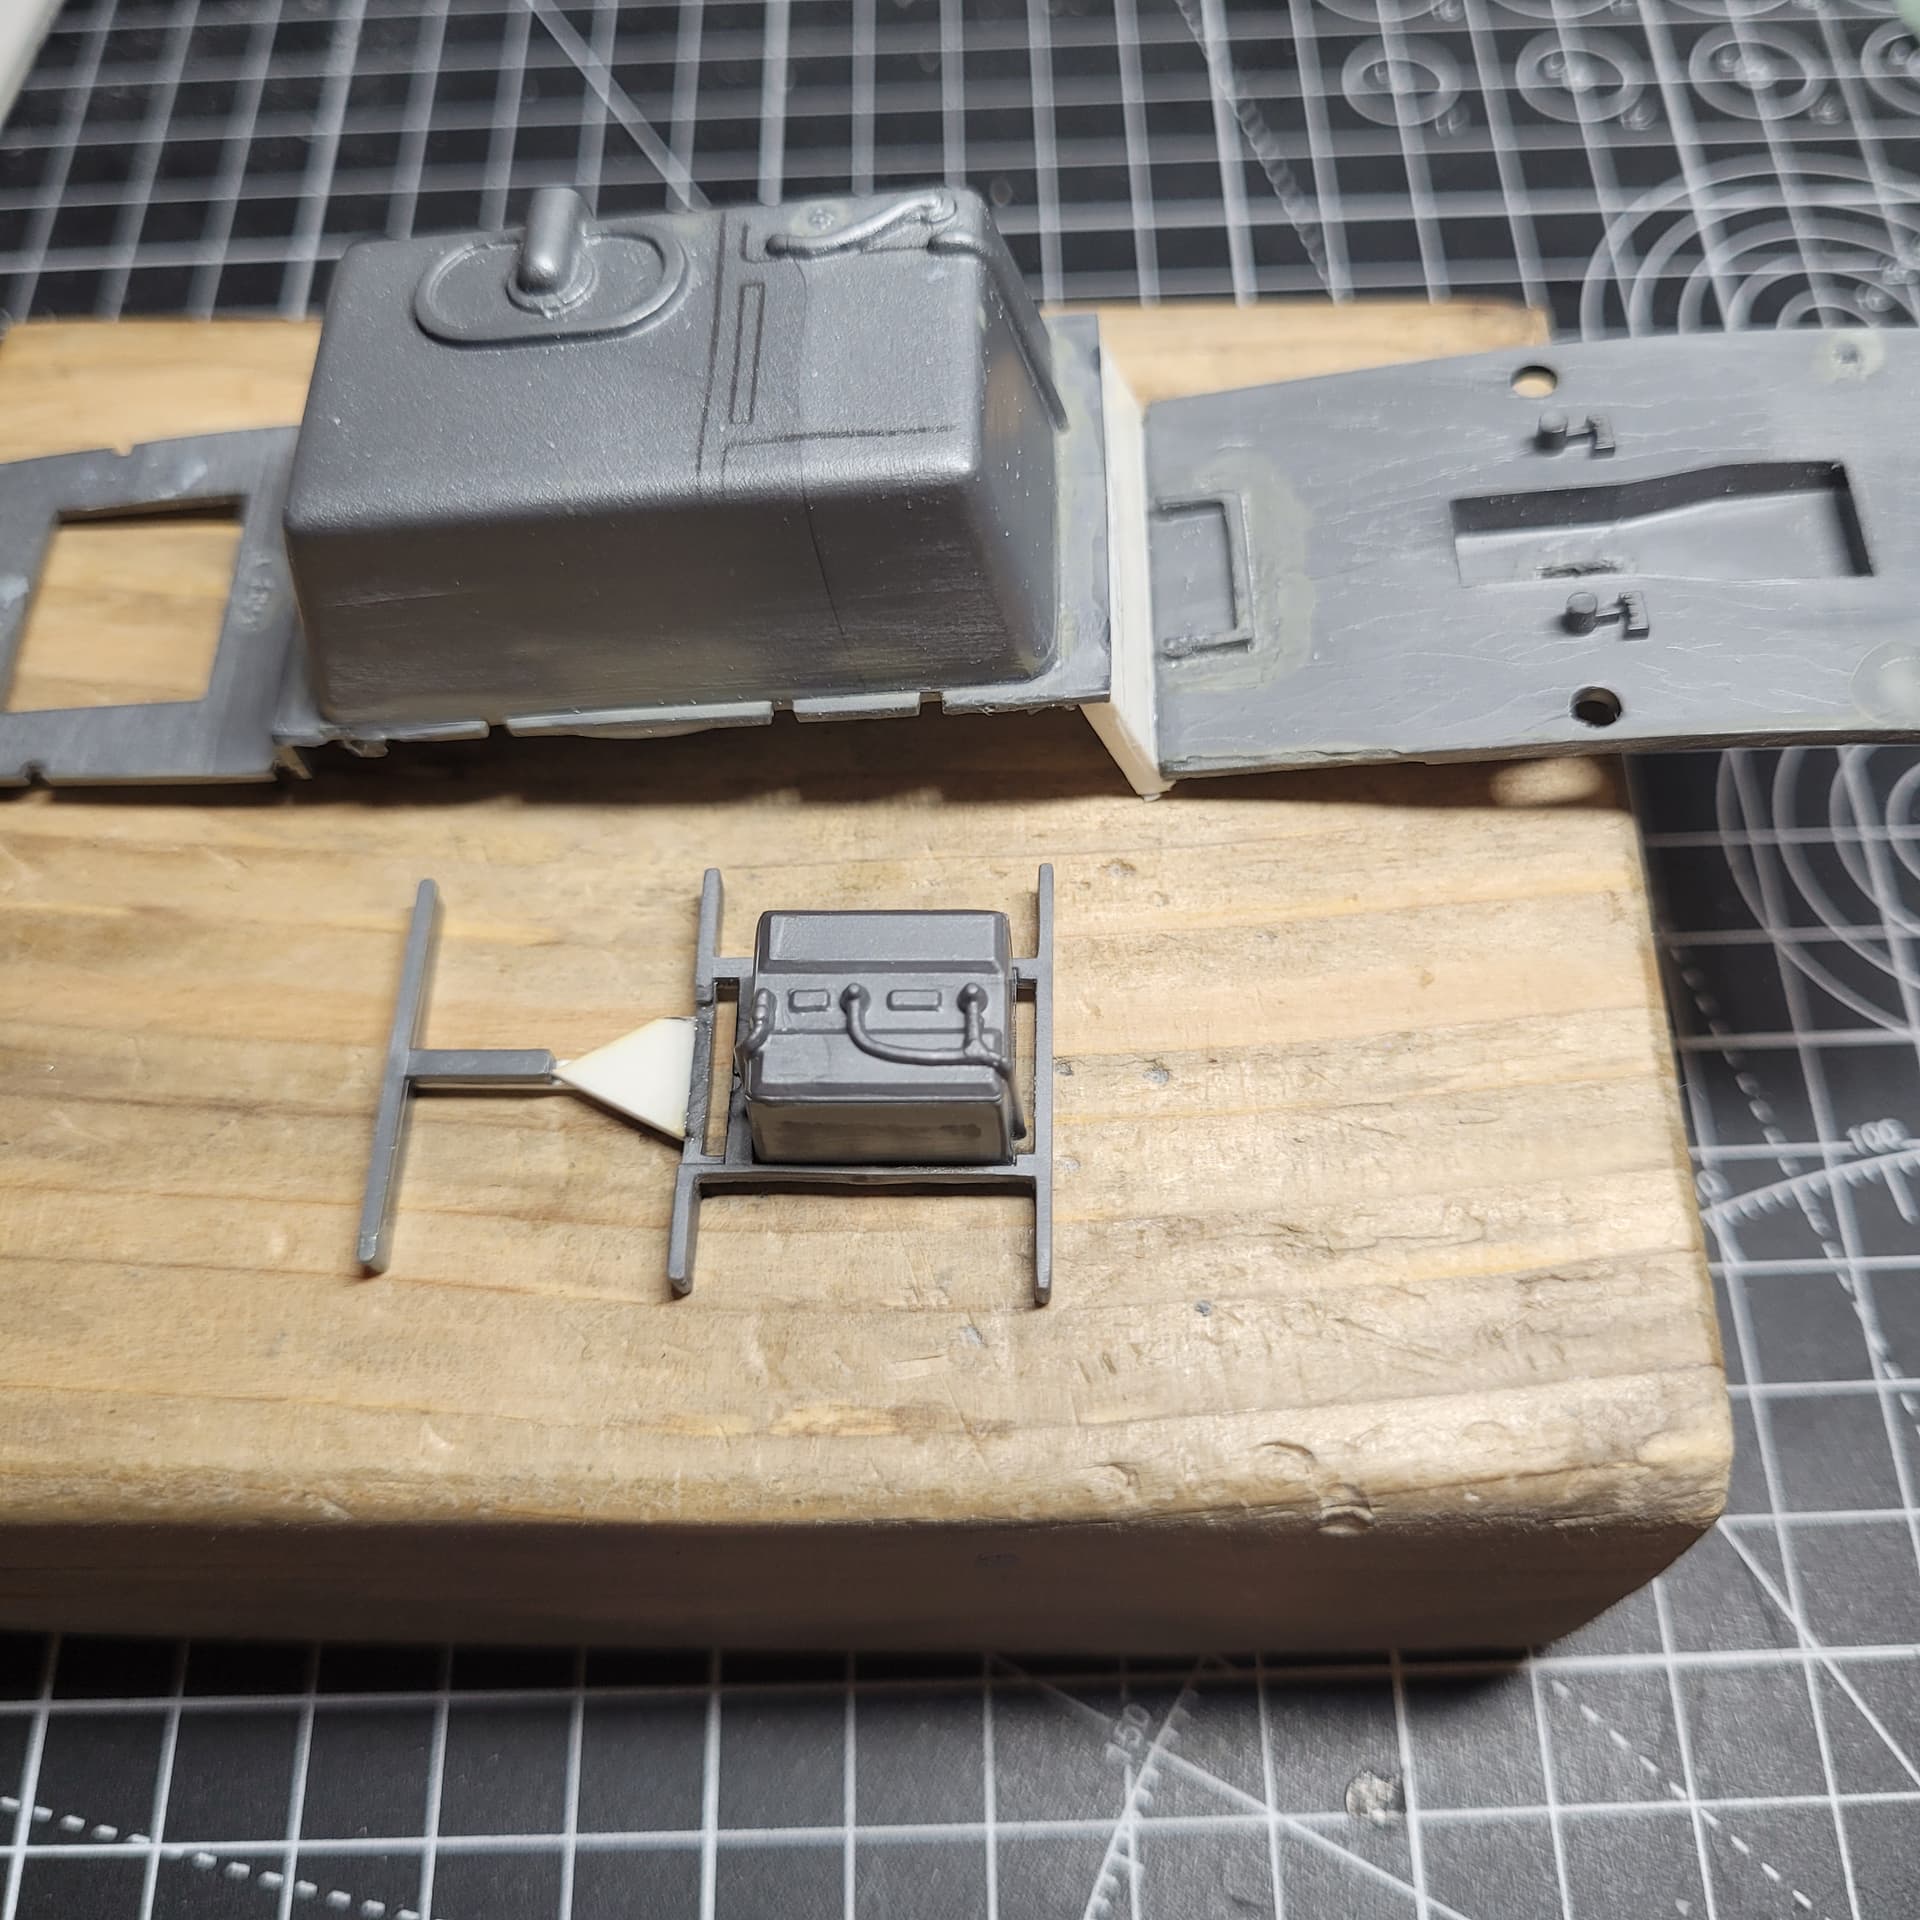
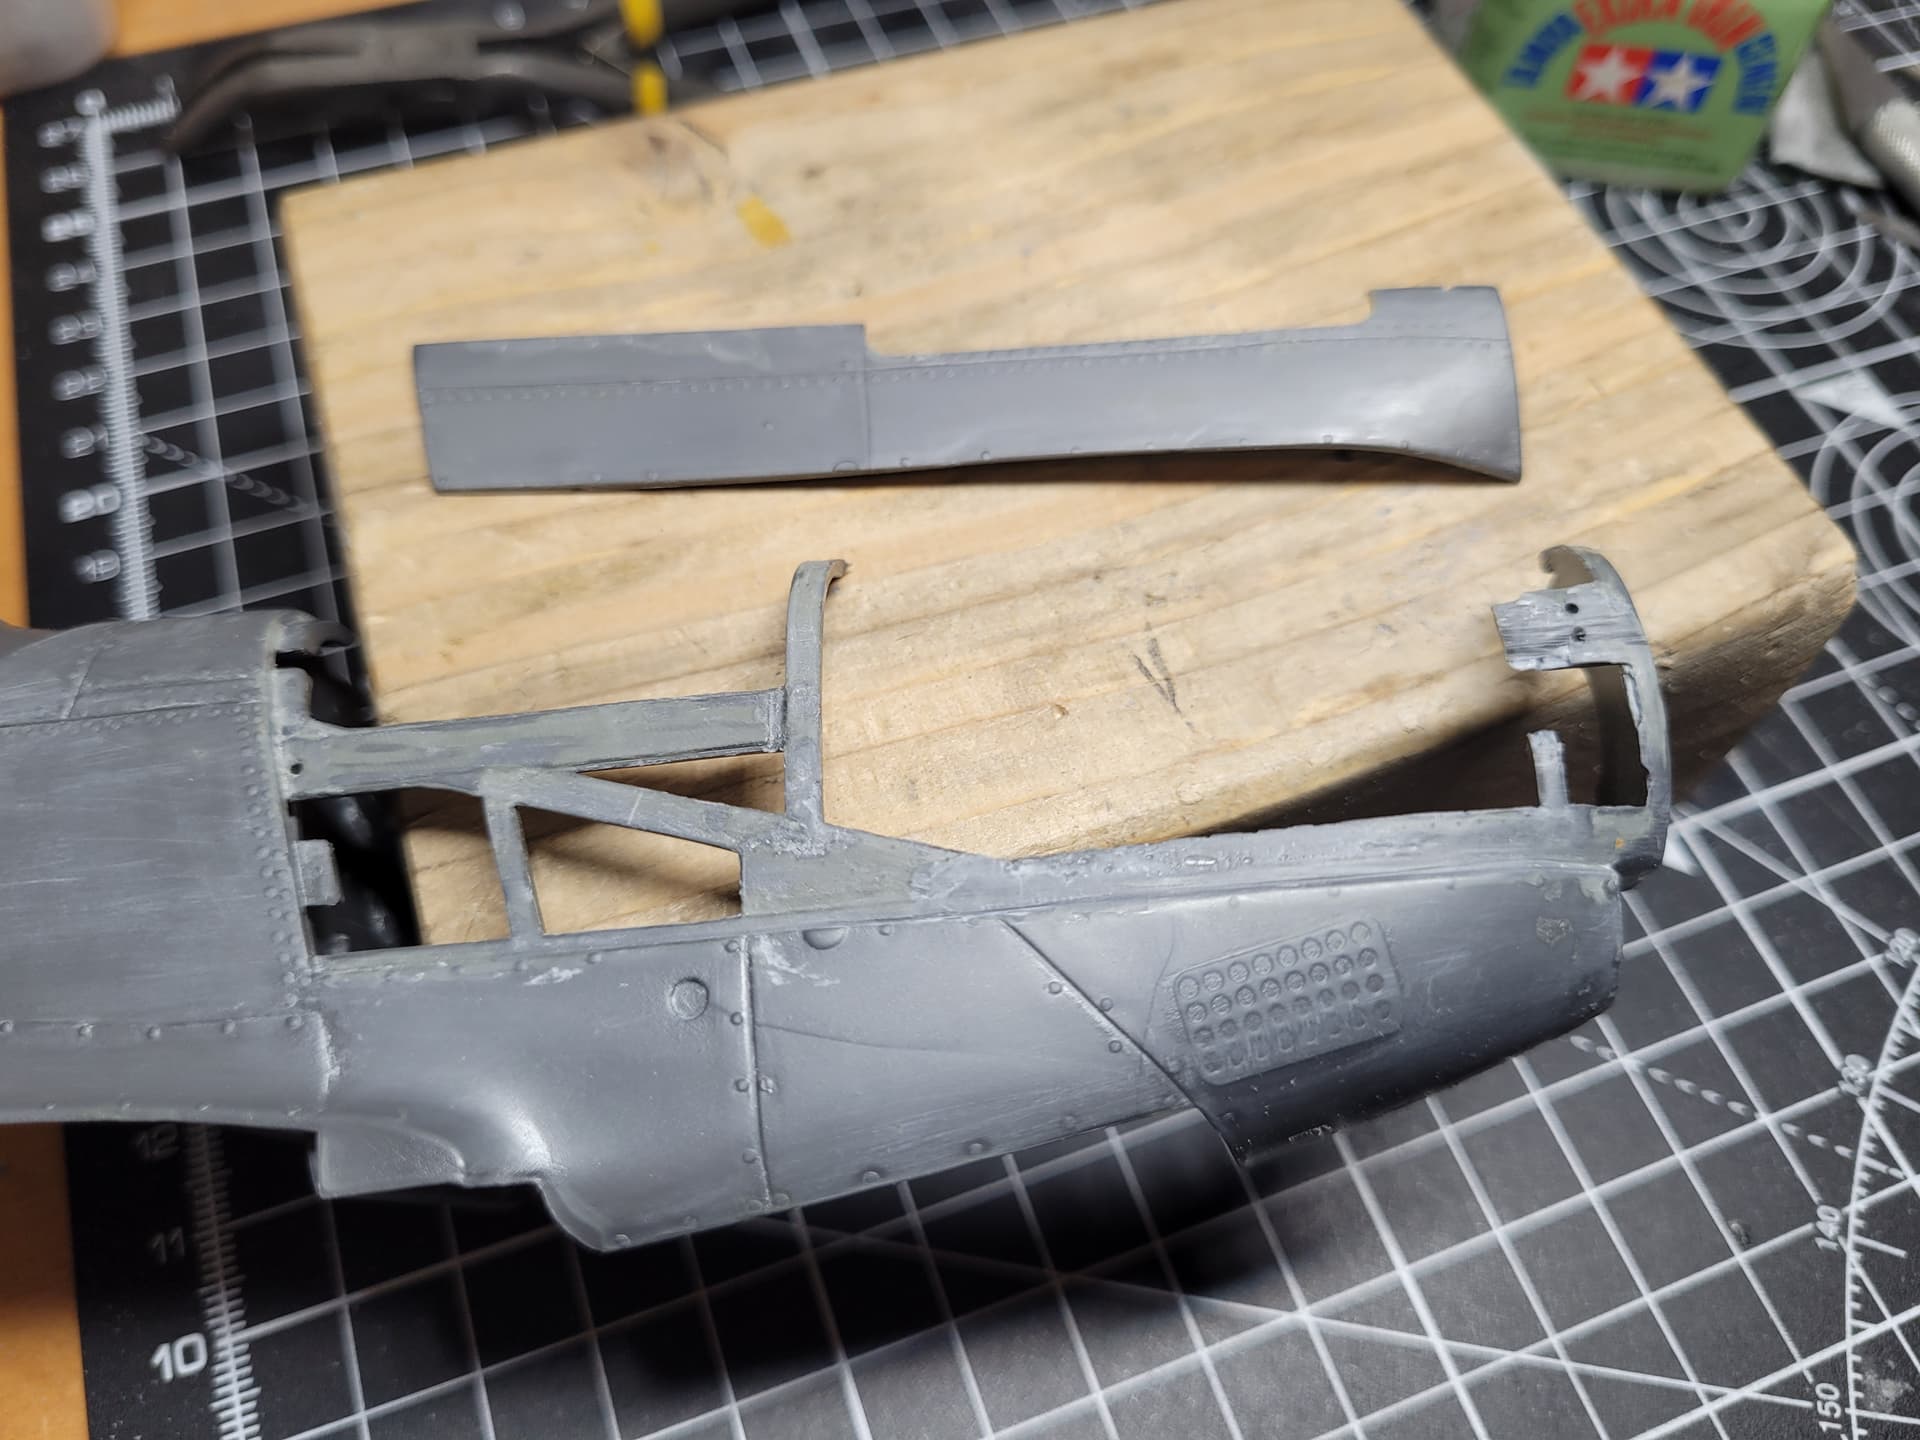
The frame that holds the fuselage fuel tank…
…was tidied up and test fitted into the fuselage with lots of blu tack, with the cockpit floor:
I used a strip of thick plastic card and a length of the very chunky kit sprue to attach the two to each other with lots of cement:
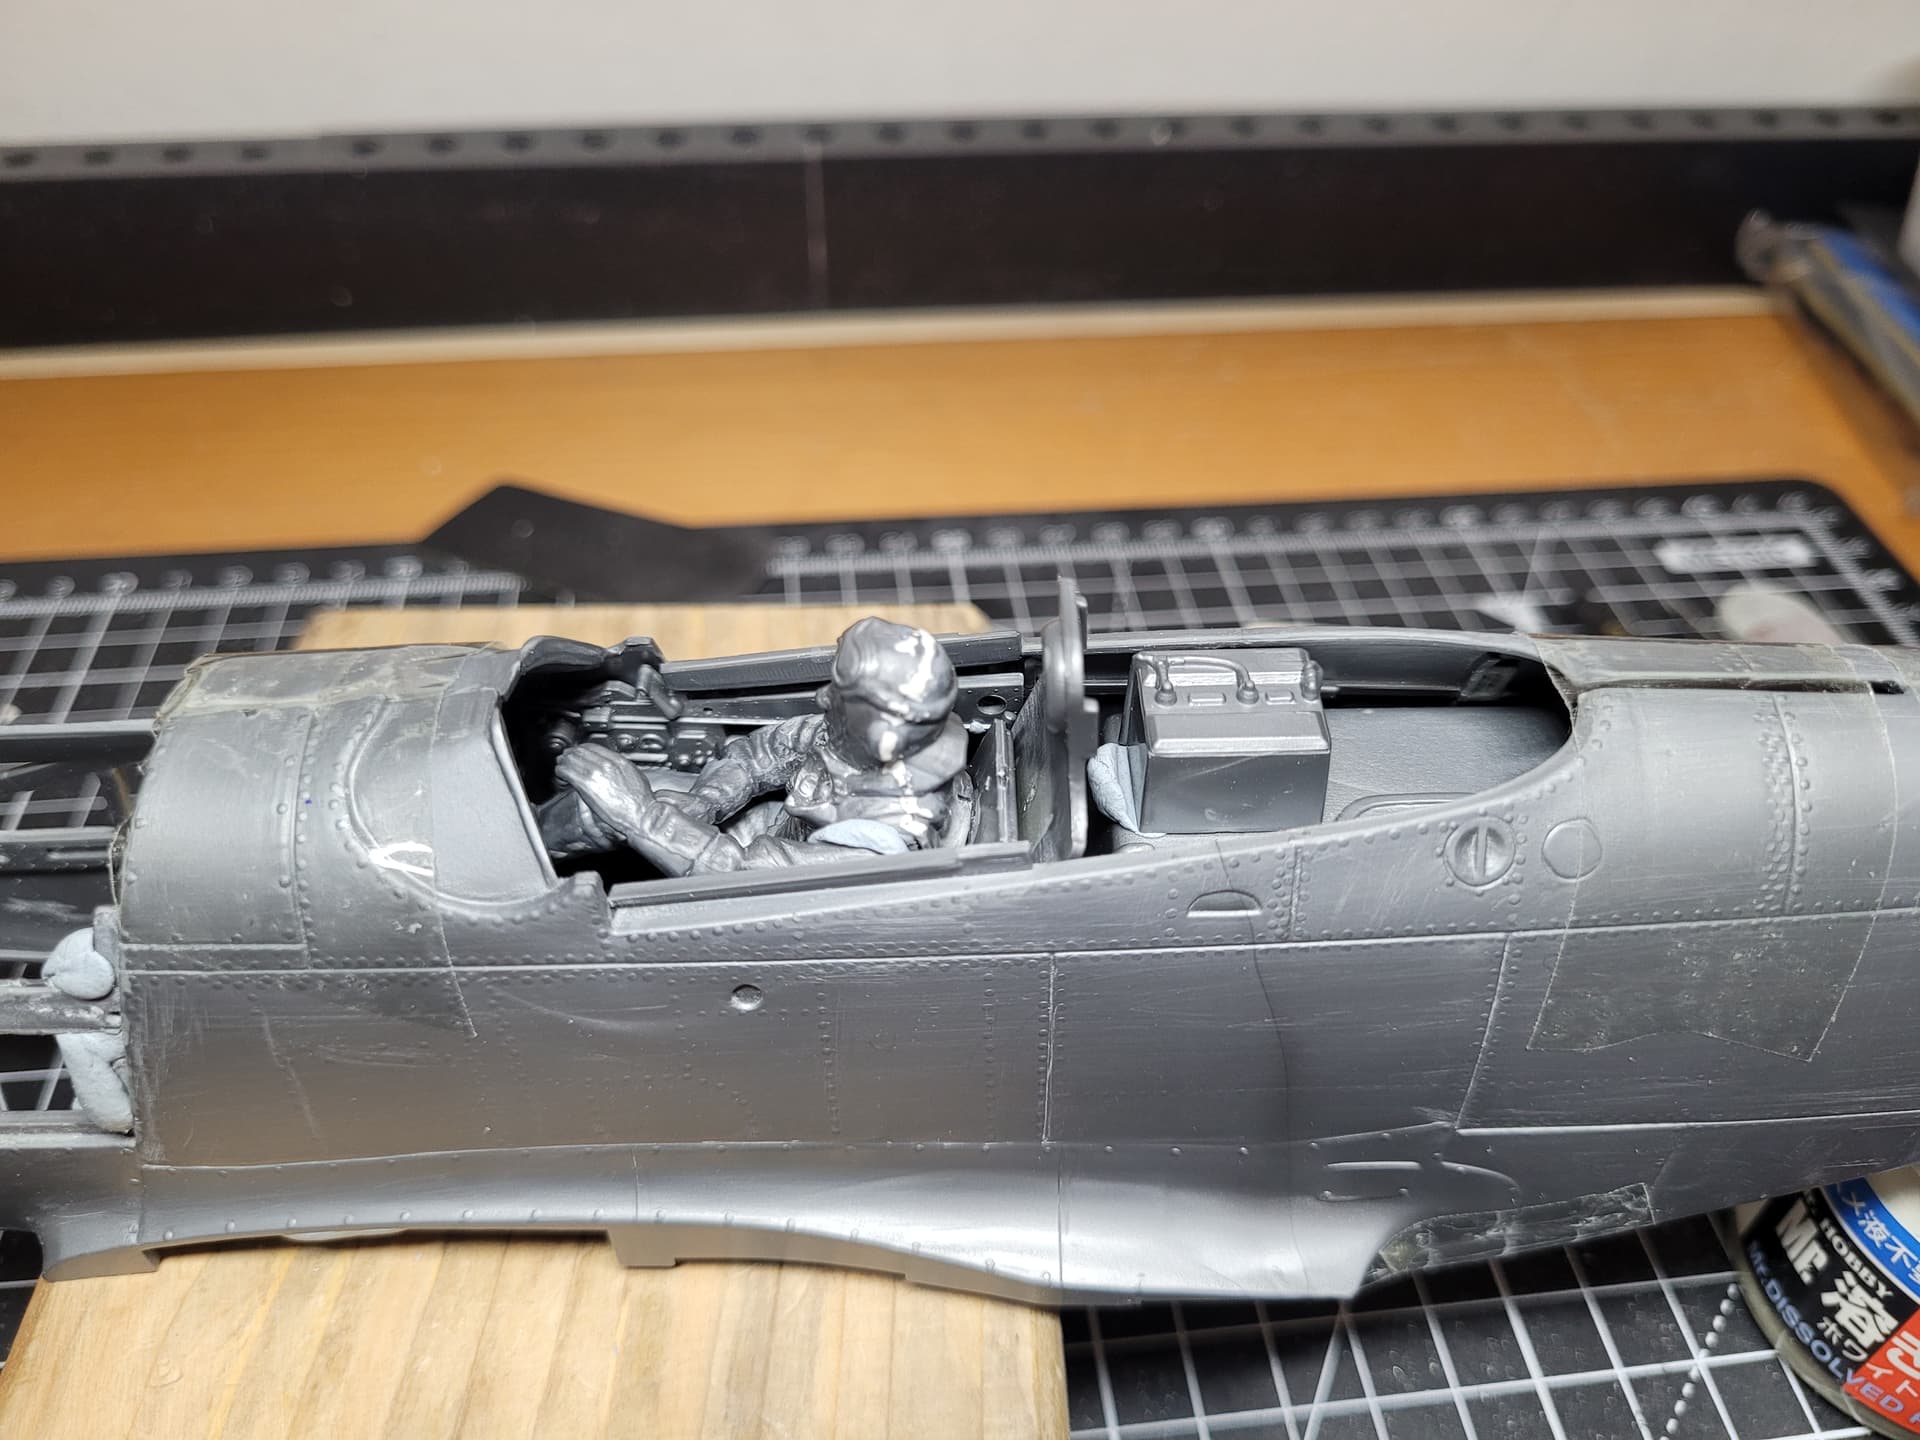
Once that was set I could then test fit other parts including the pilot and seat, and the radio.
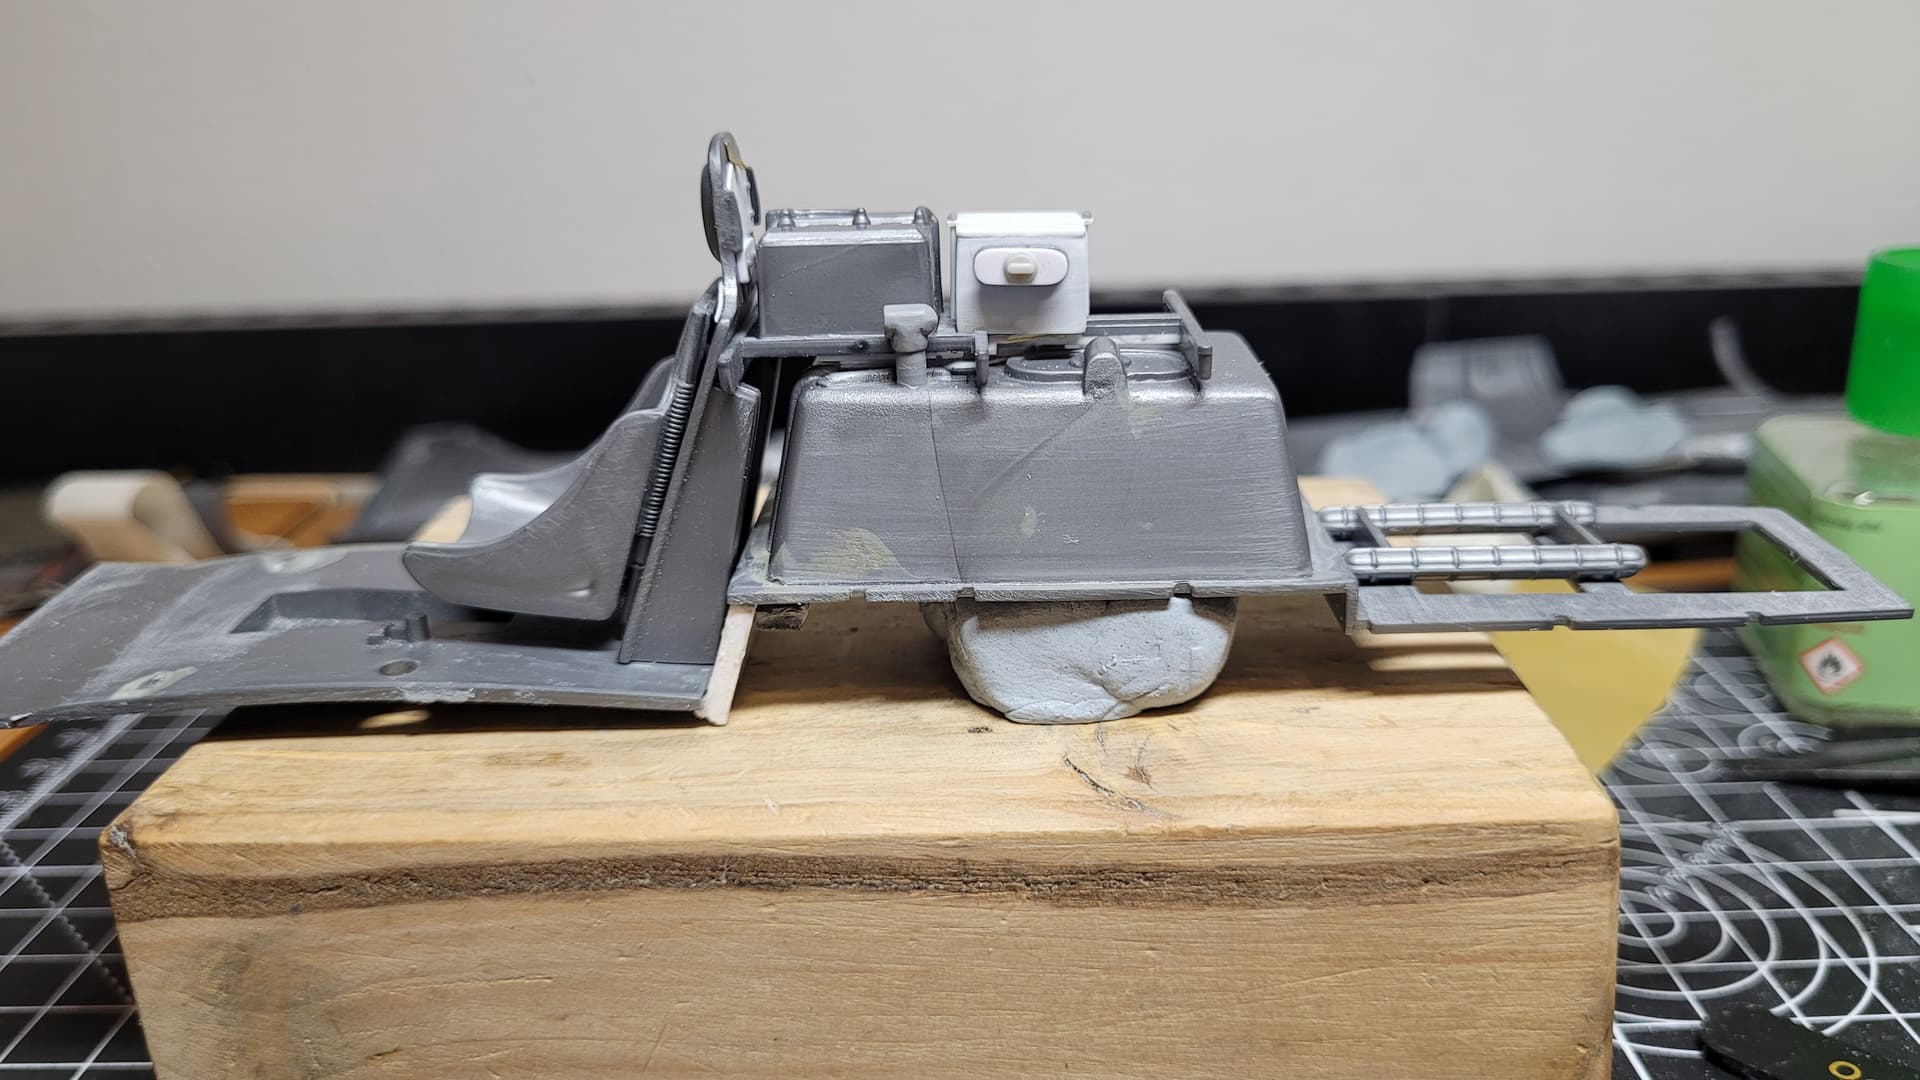
The frame that holds the radio on top of the fuel tank needed repairing. The radio added on top next to the scratched battery:
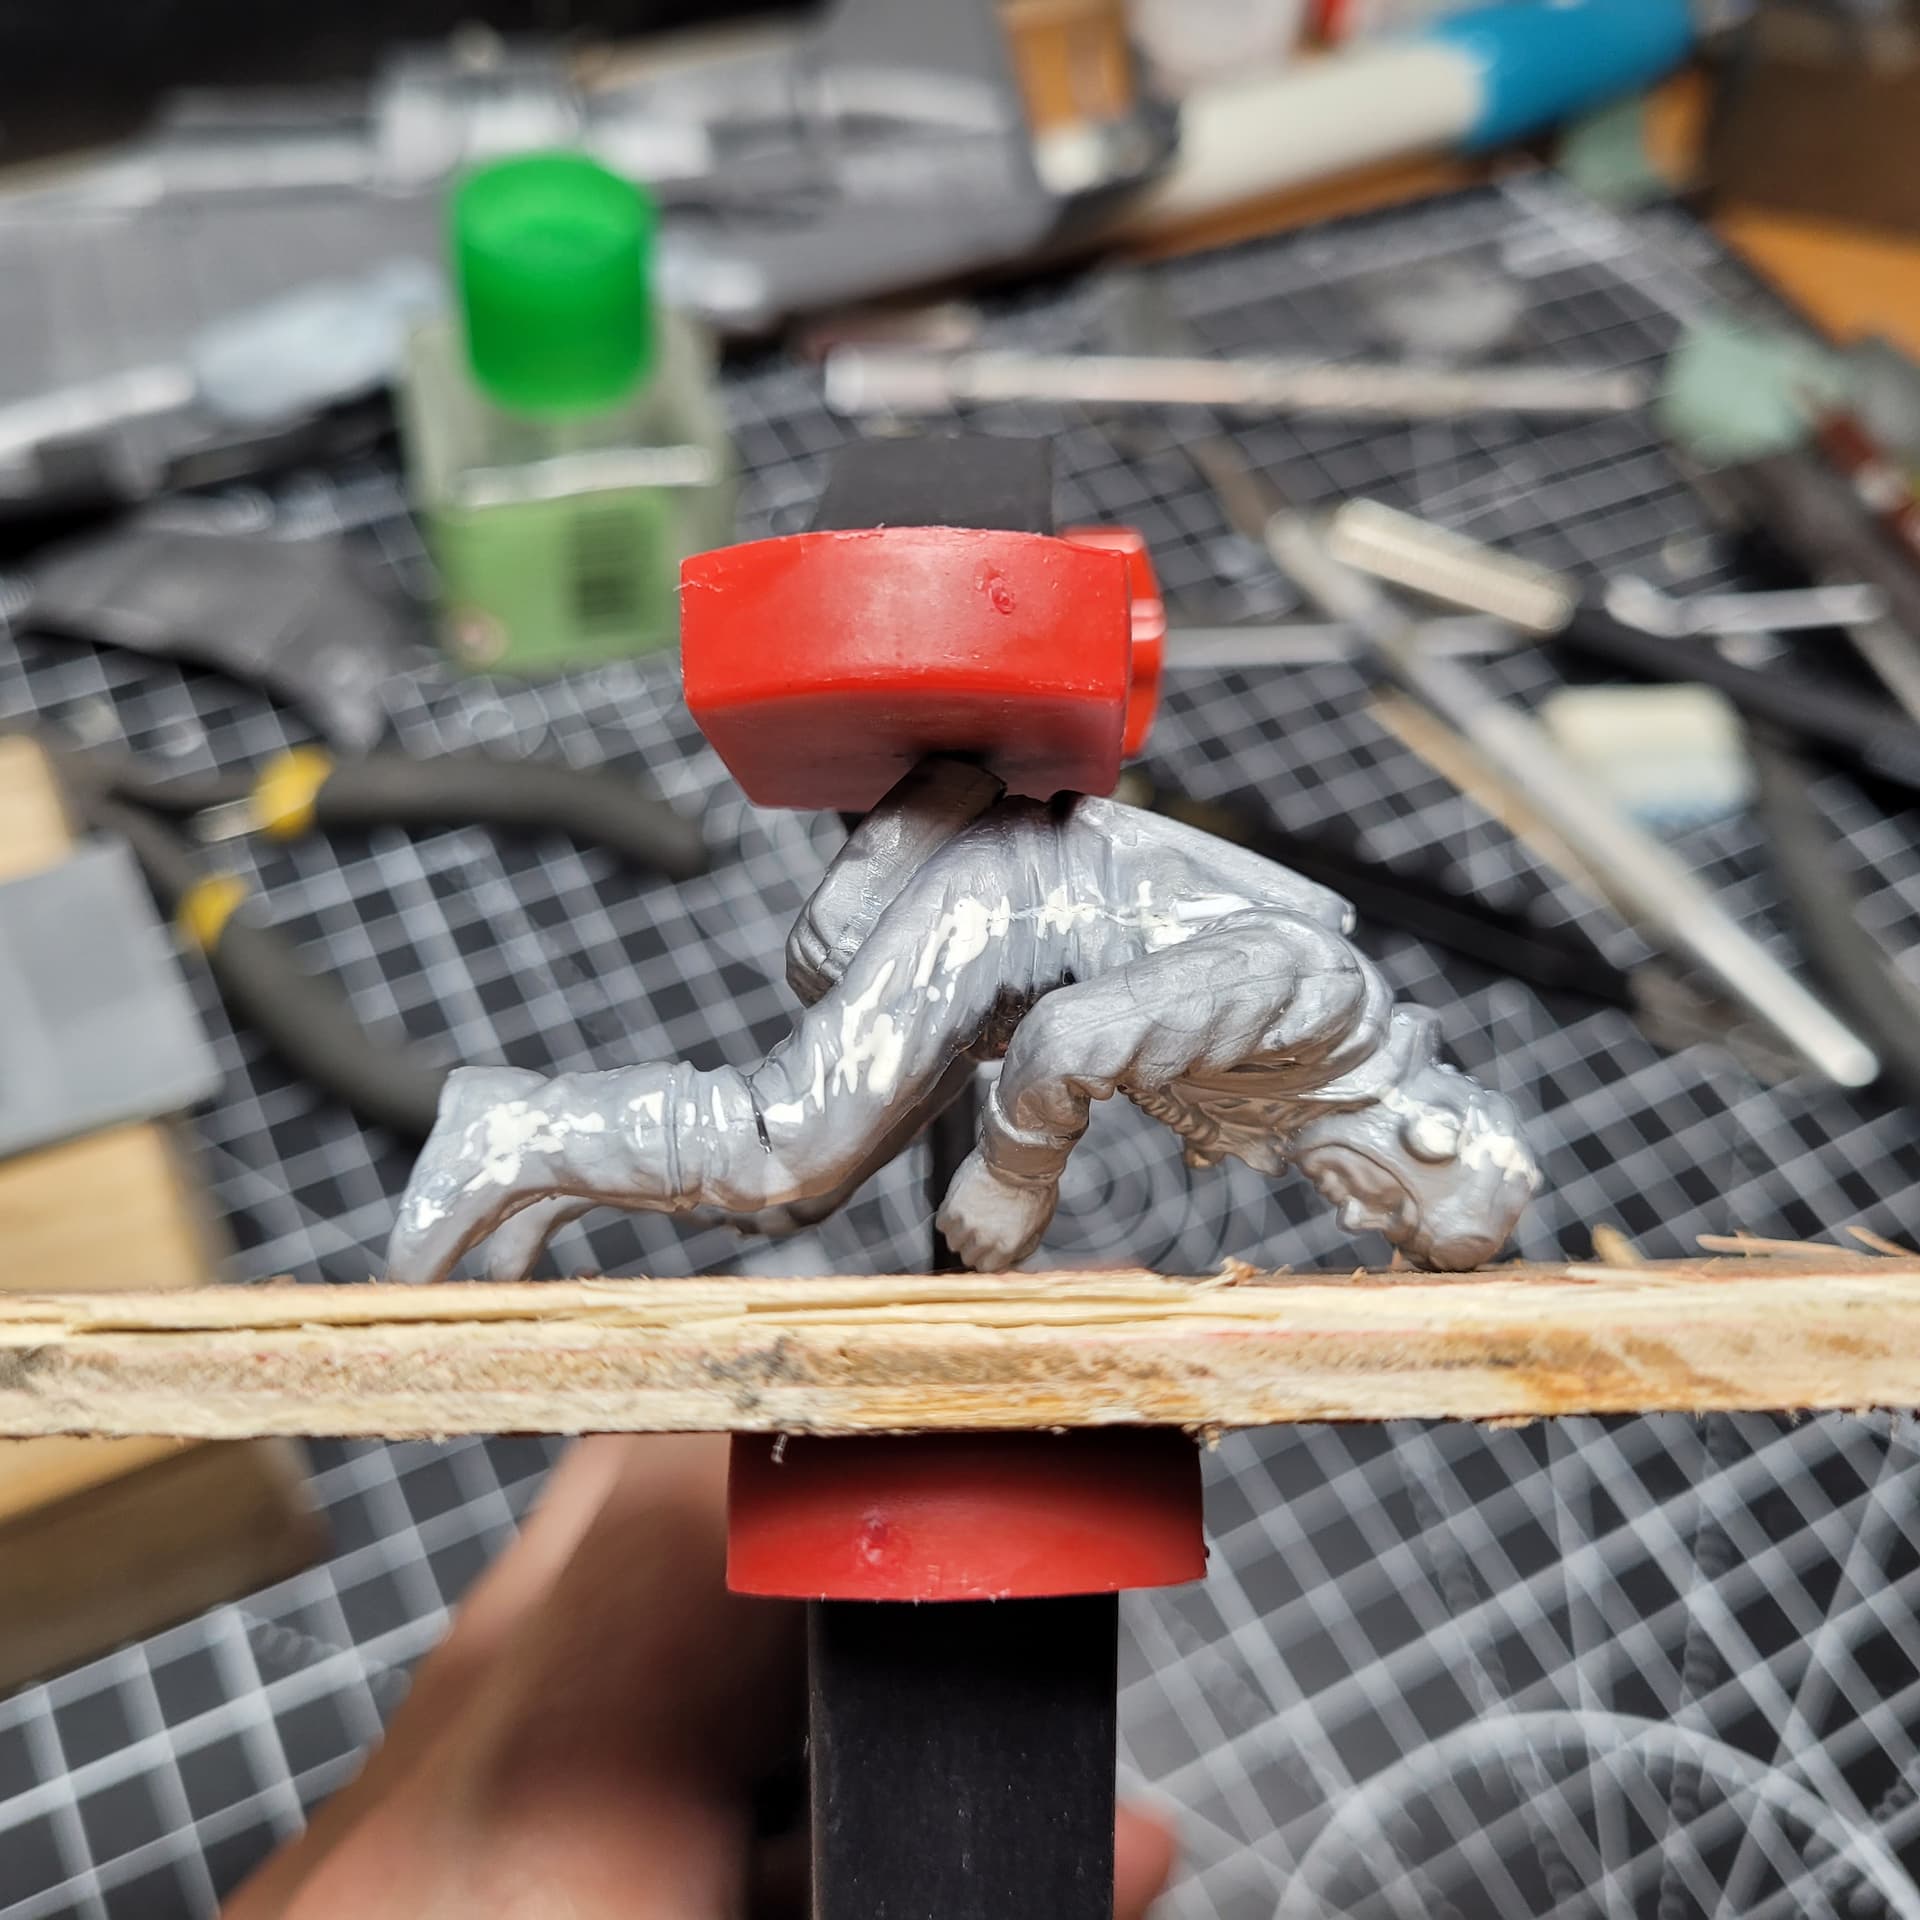
Decided the pilot’s legs weren’t quite at the right angle, so he went back into surgery and ended up spending another night in bondage.
More test fitting and a bit of detail added to the headrest:
You have mad a hell of a difference already … Really looking good and a great salvage job … ![]()
Thanks John, appreciate it.
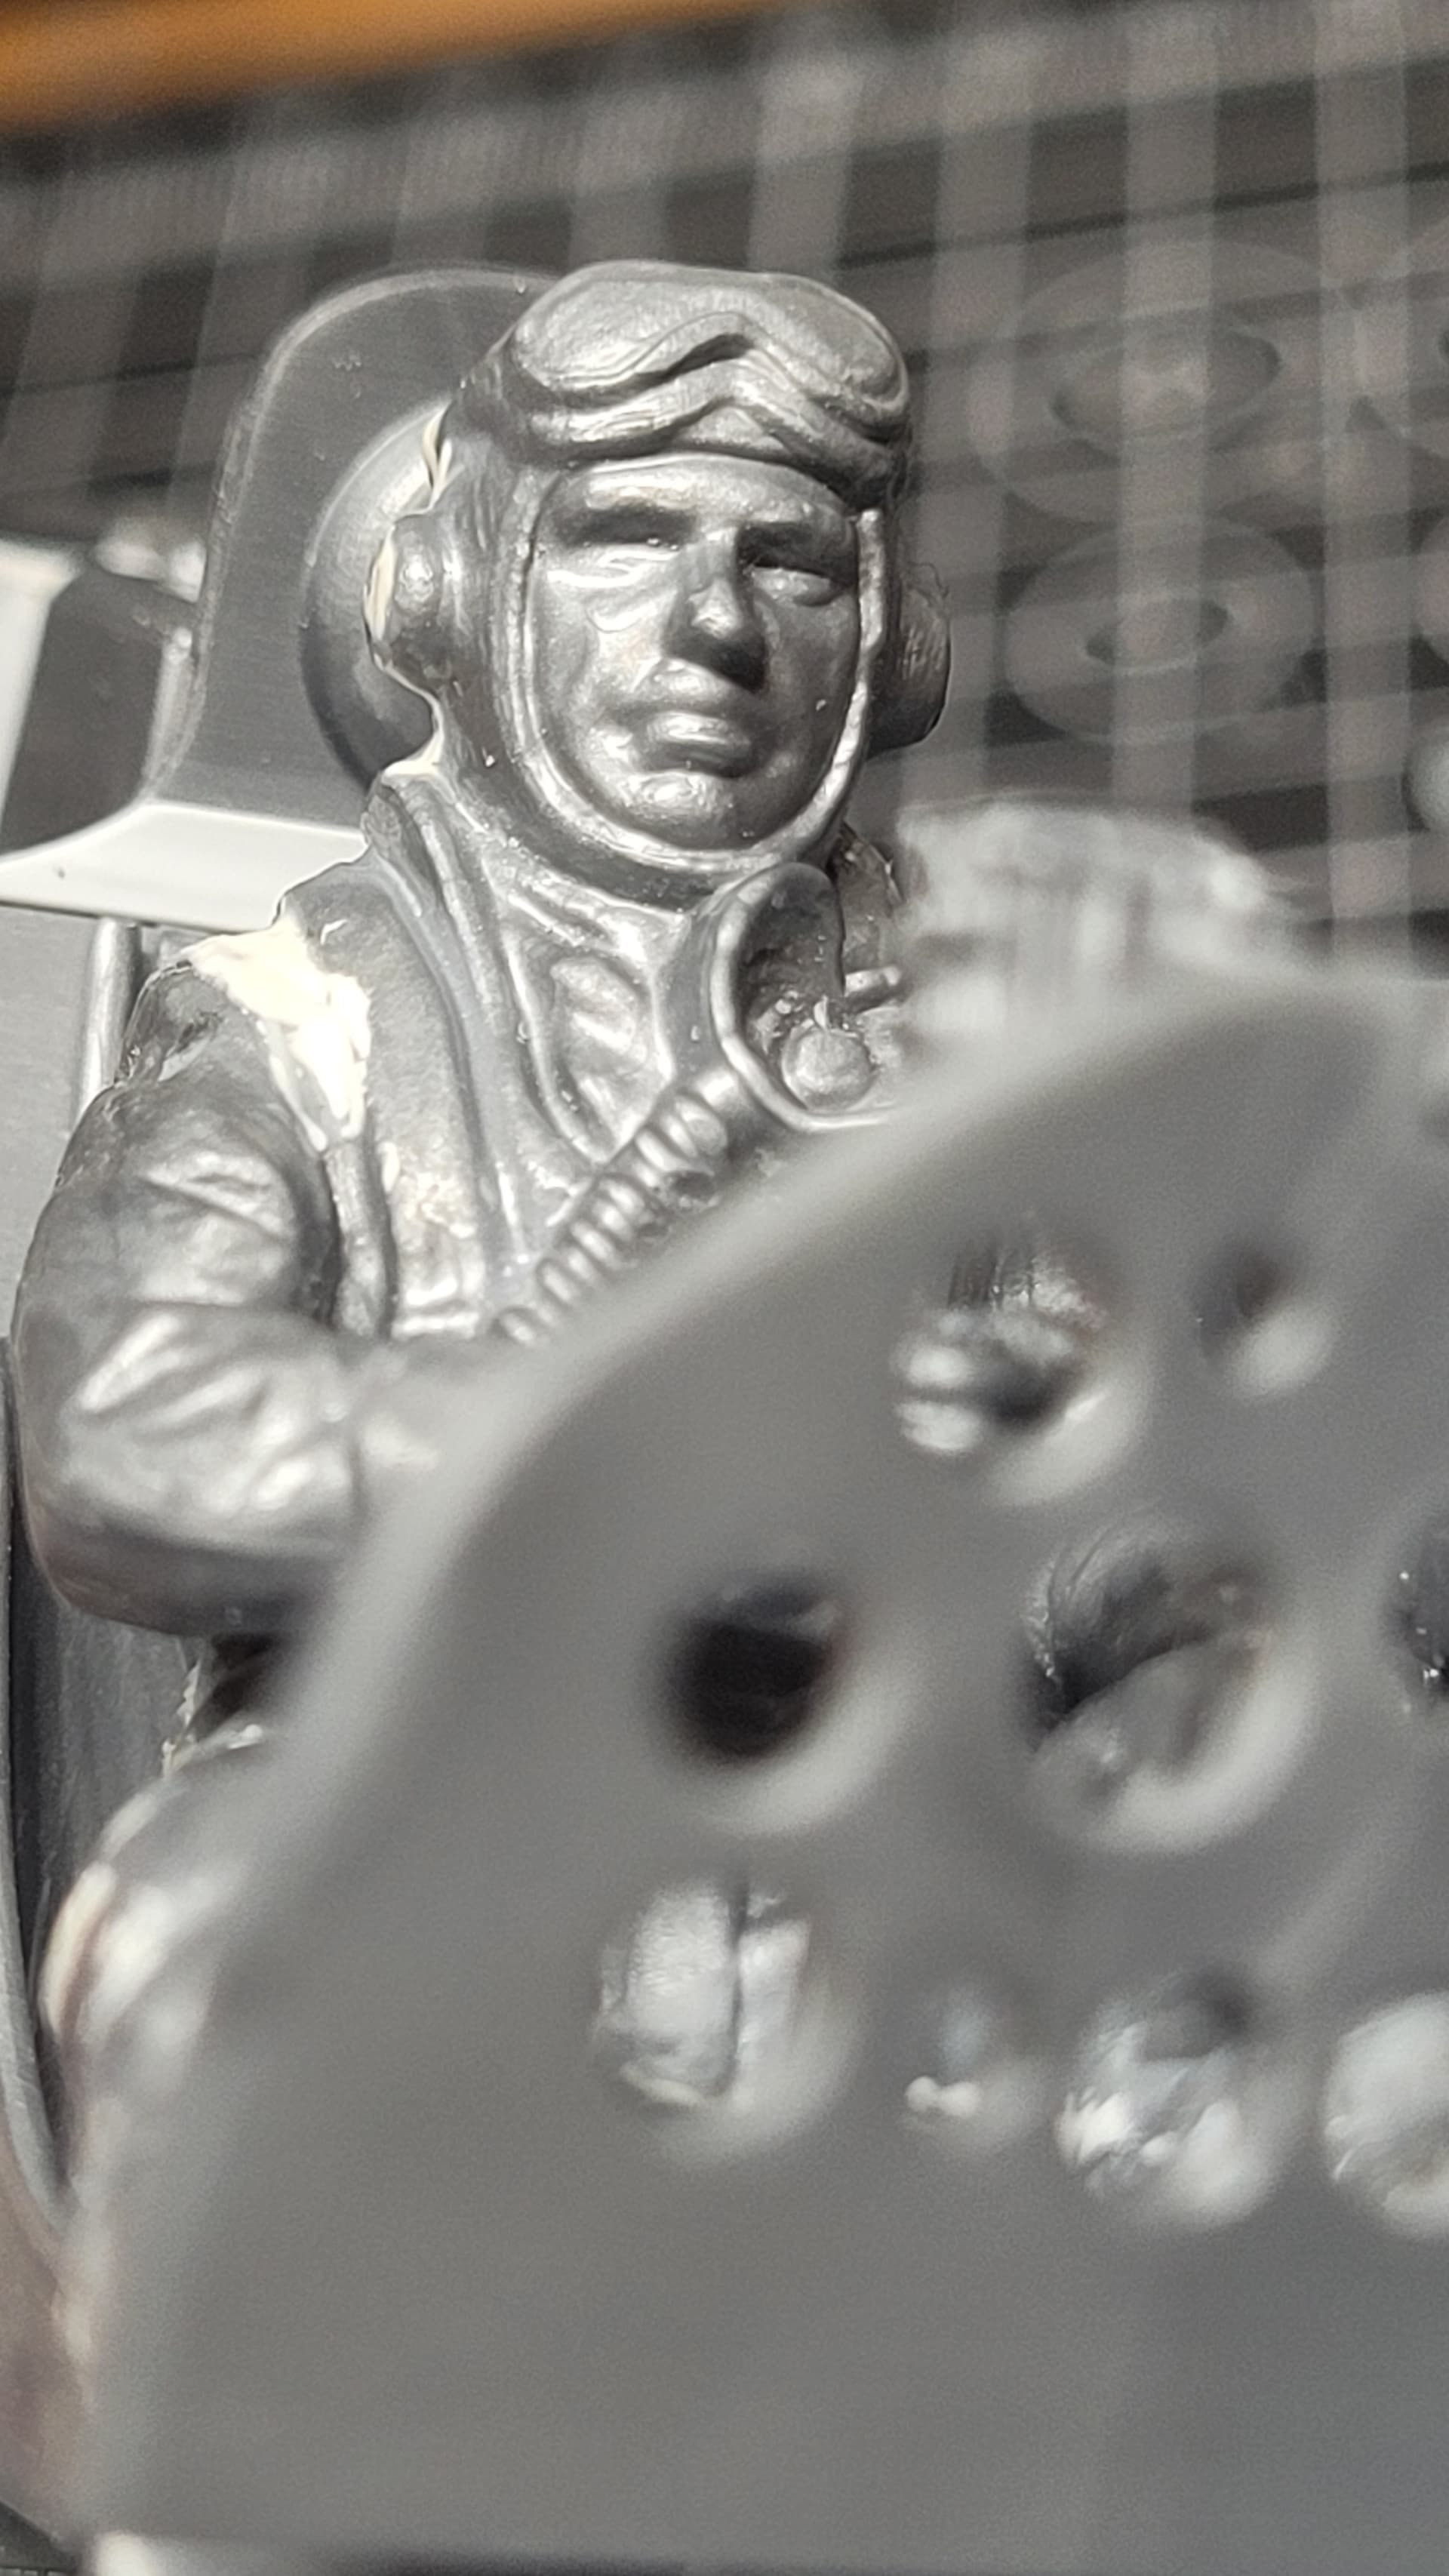
More test fitting of the cockpit interior…


Getting the pilot, his arm and the control stick thingy (whatever it’s called) in the correct position, with a bit of fettling of his hand, also fitted the pedals, from which I cut the tops off as I don’t think they’re visible…
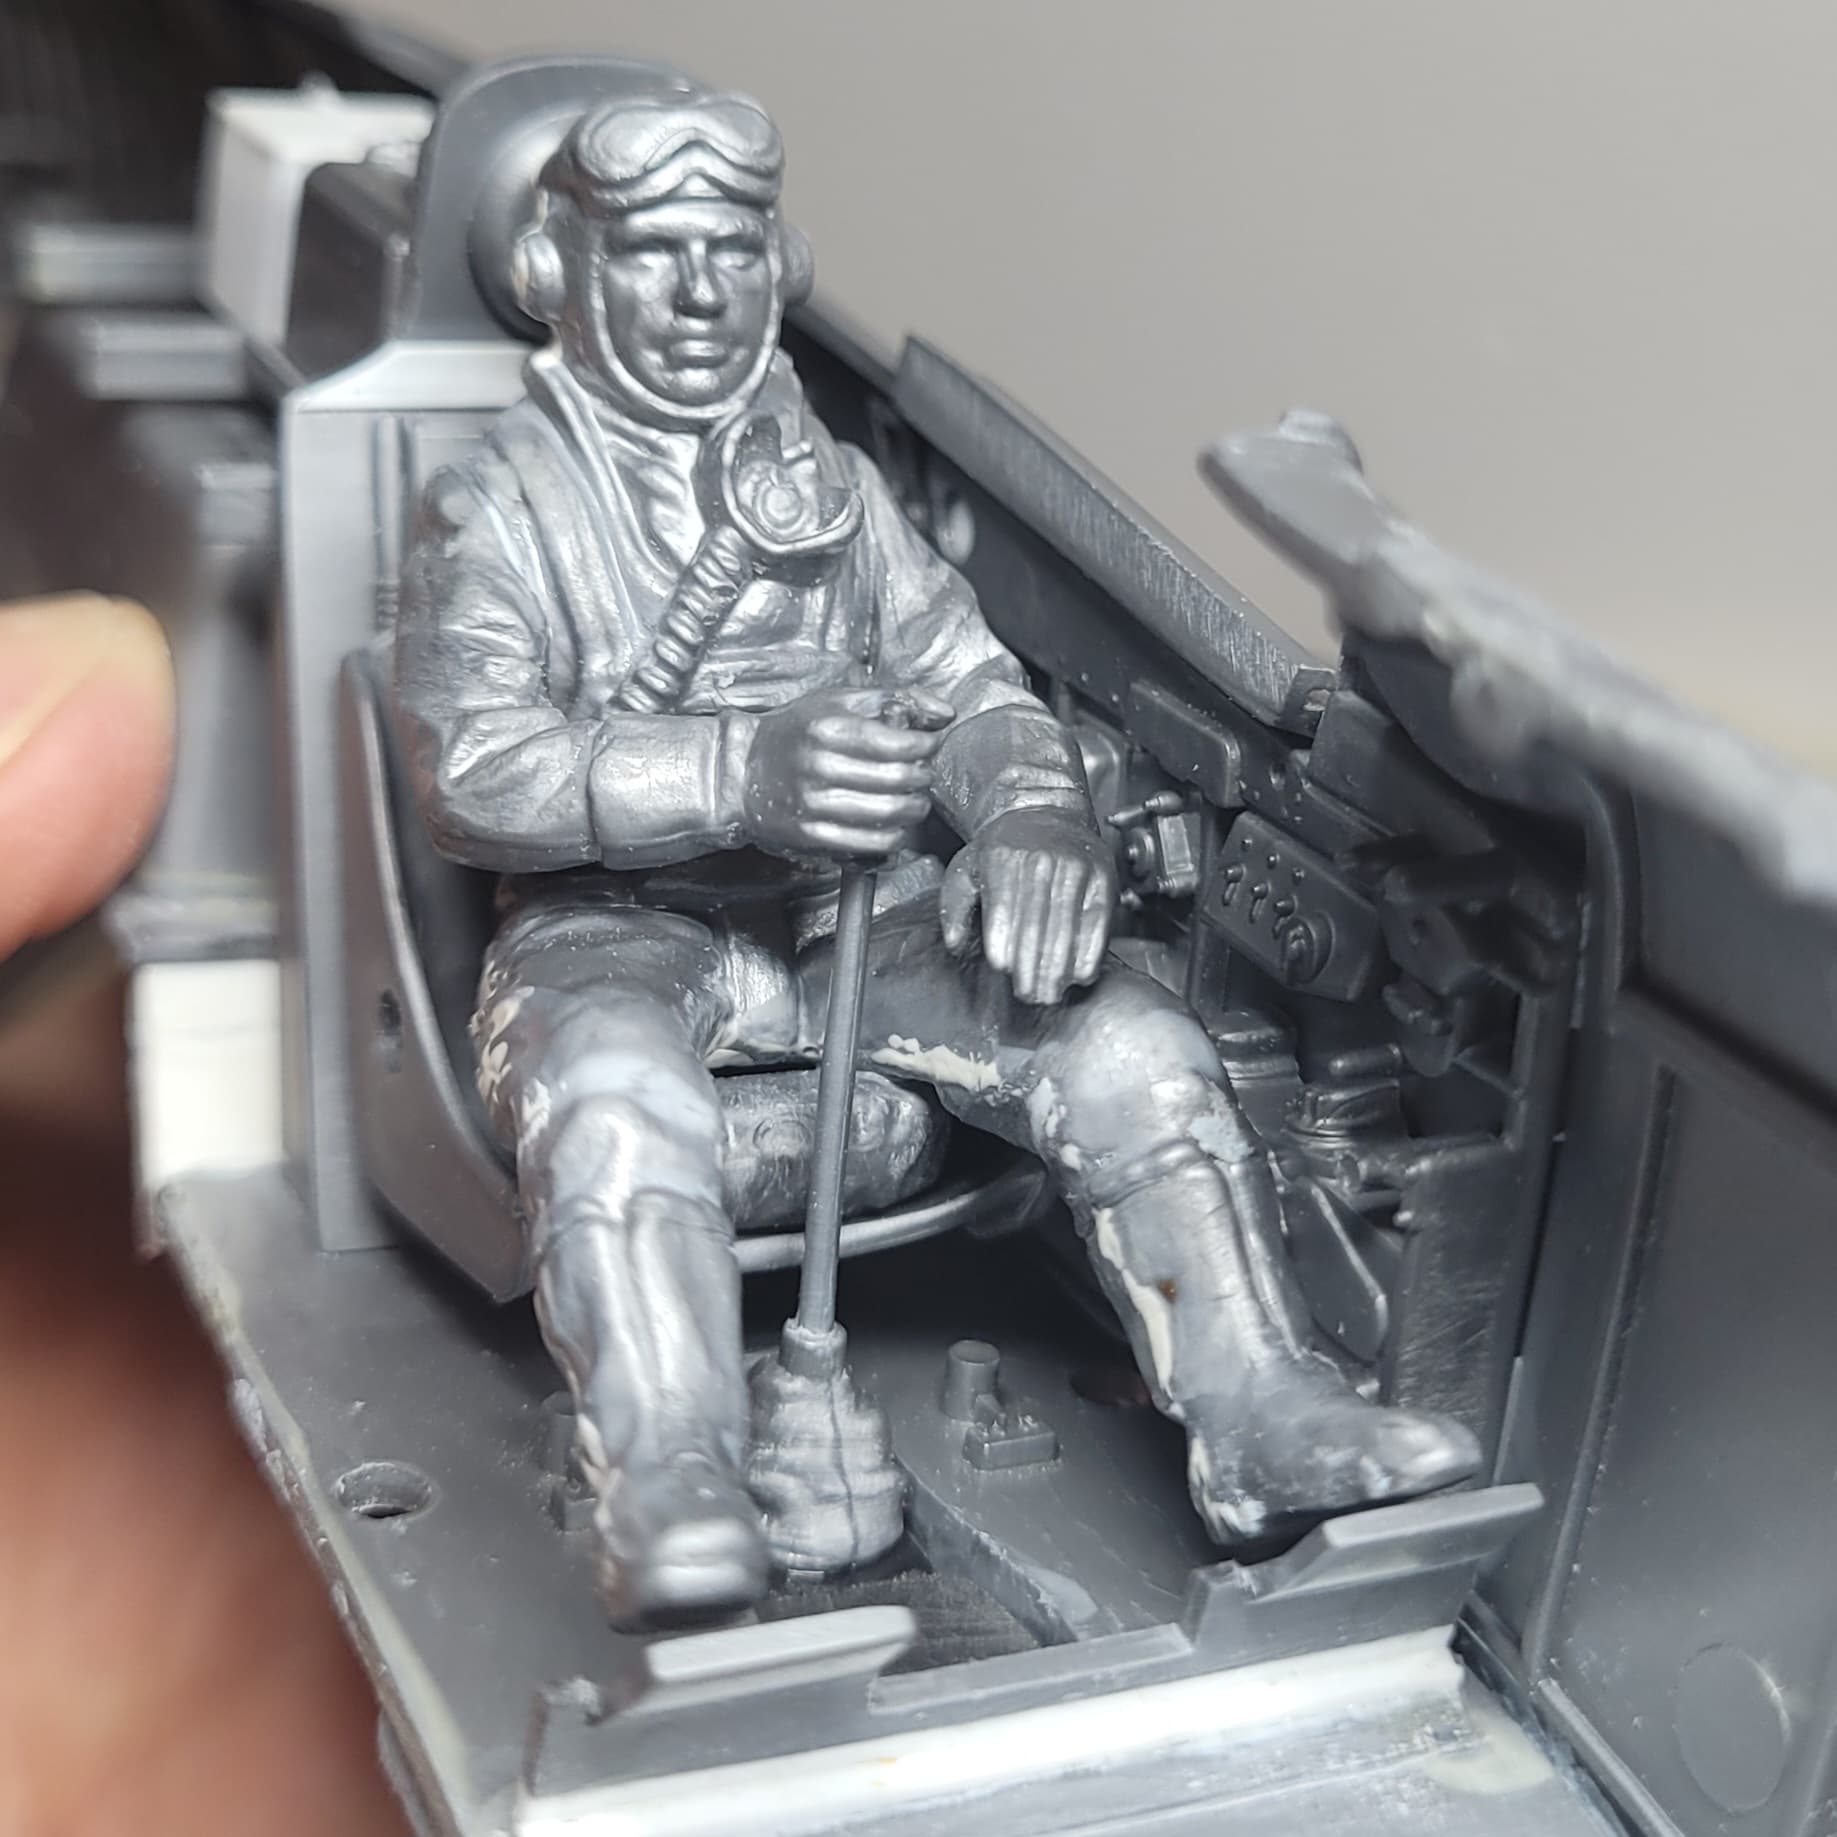
He almost looks happy…
So happy he starred in a Tiktok.
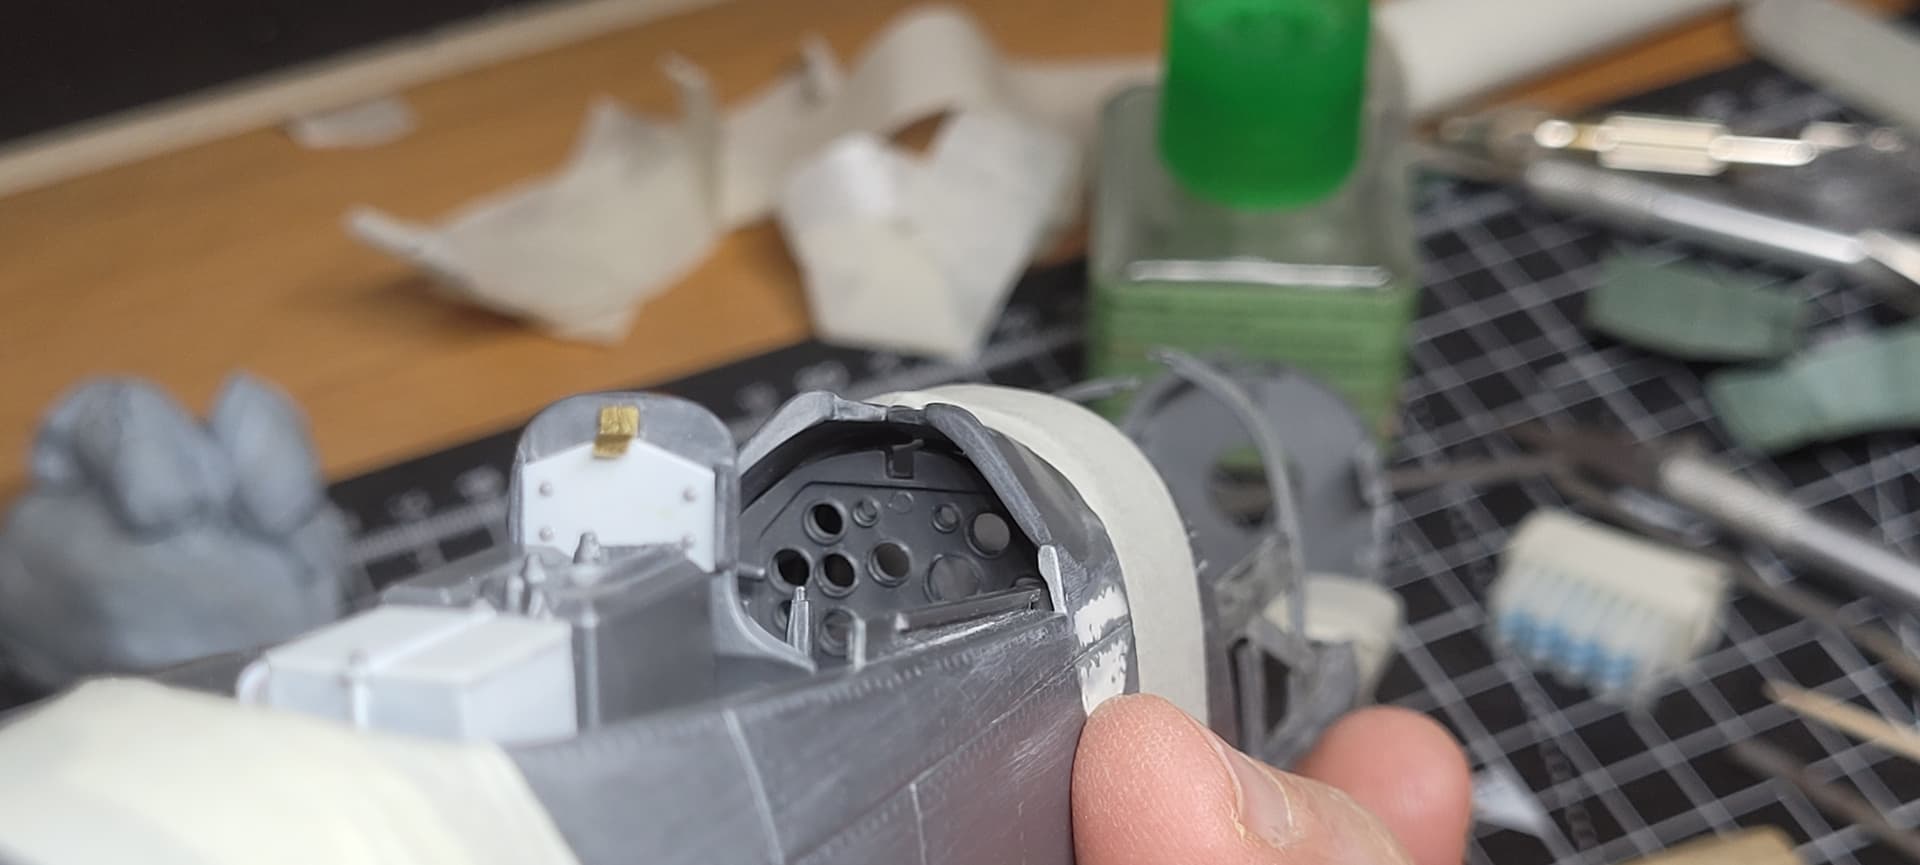
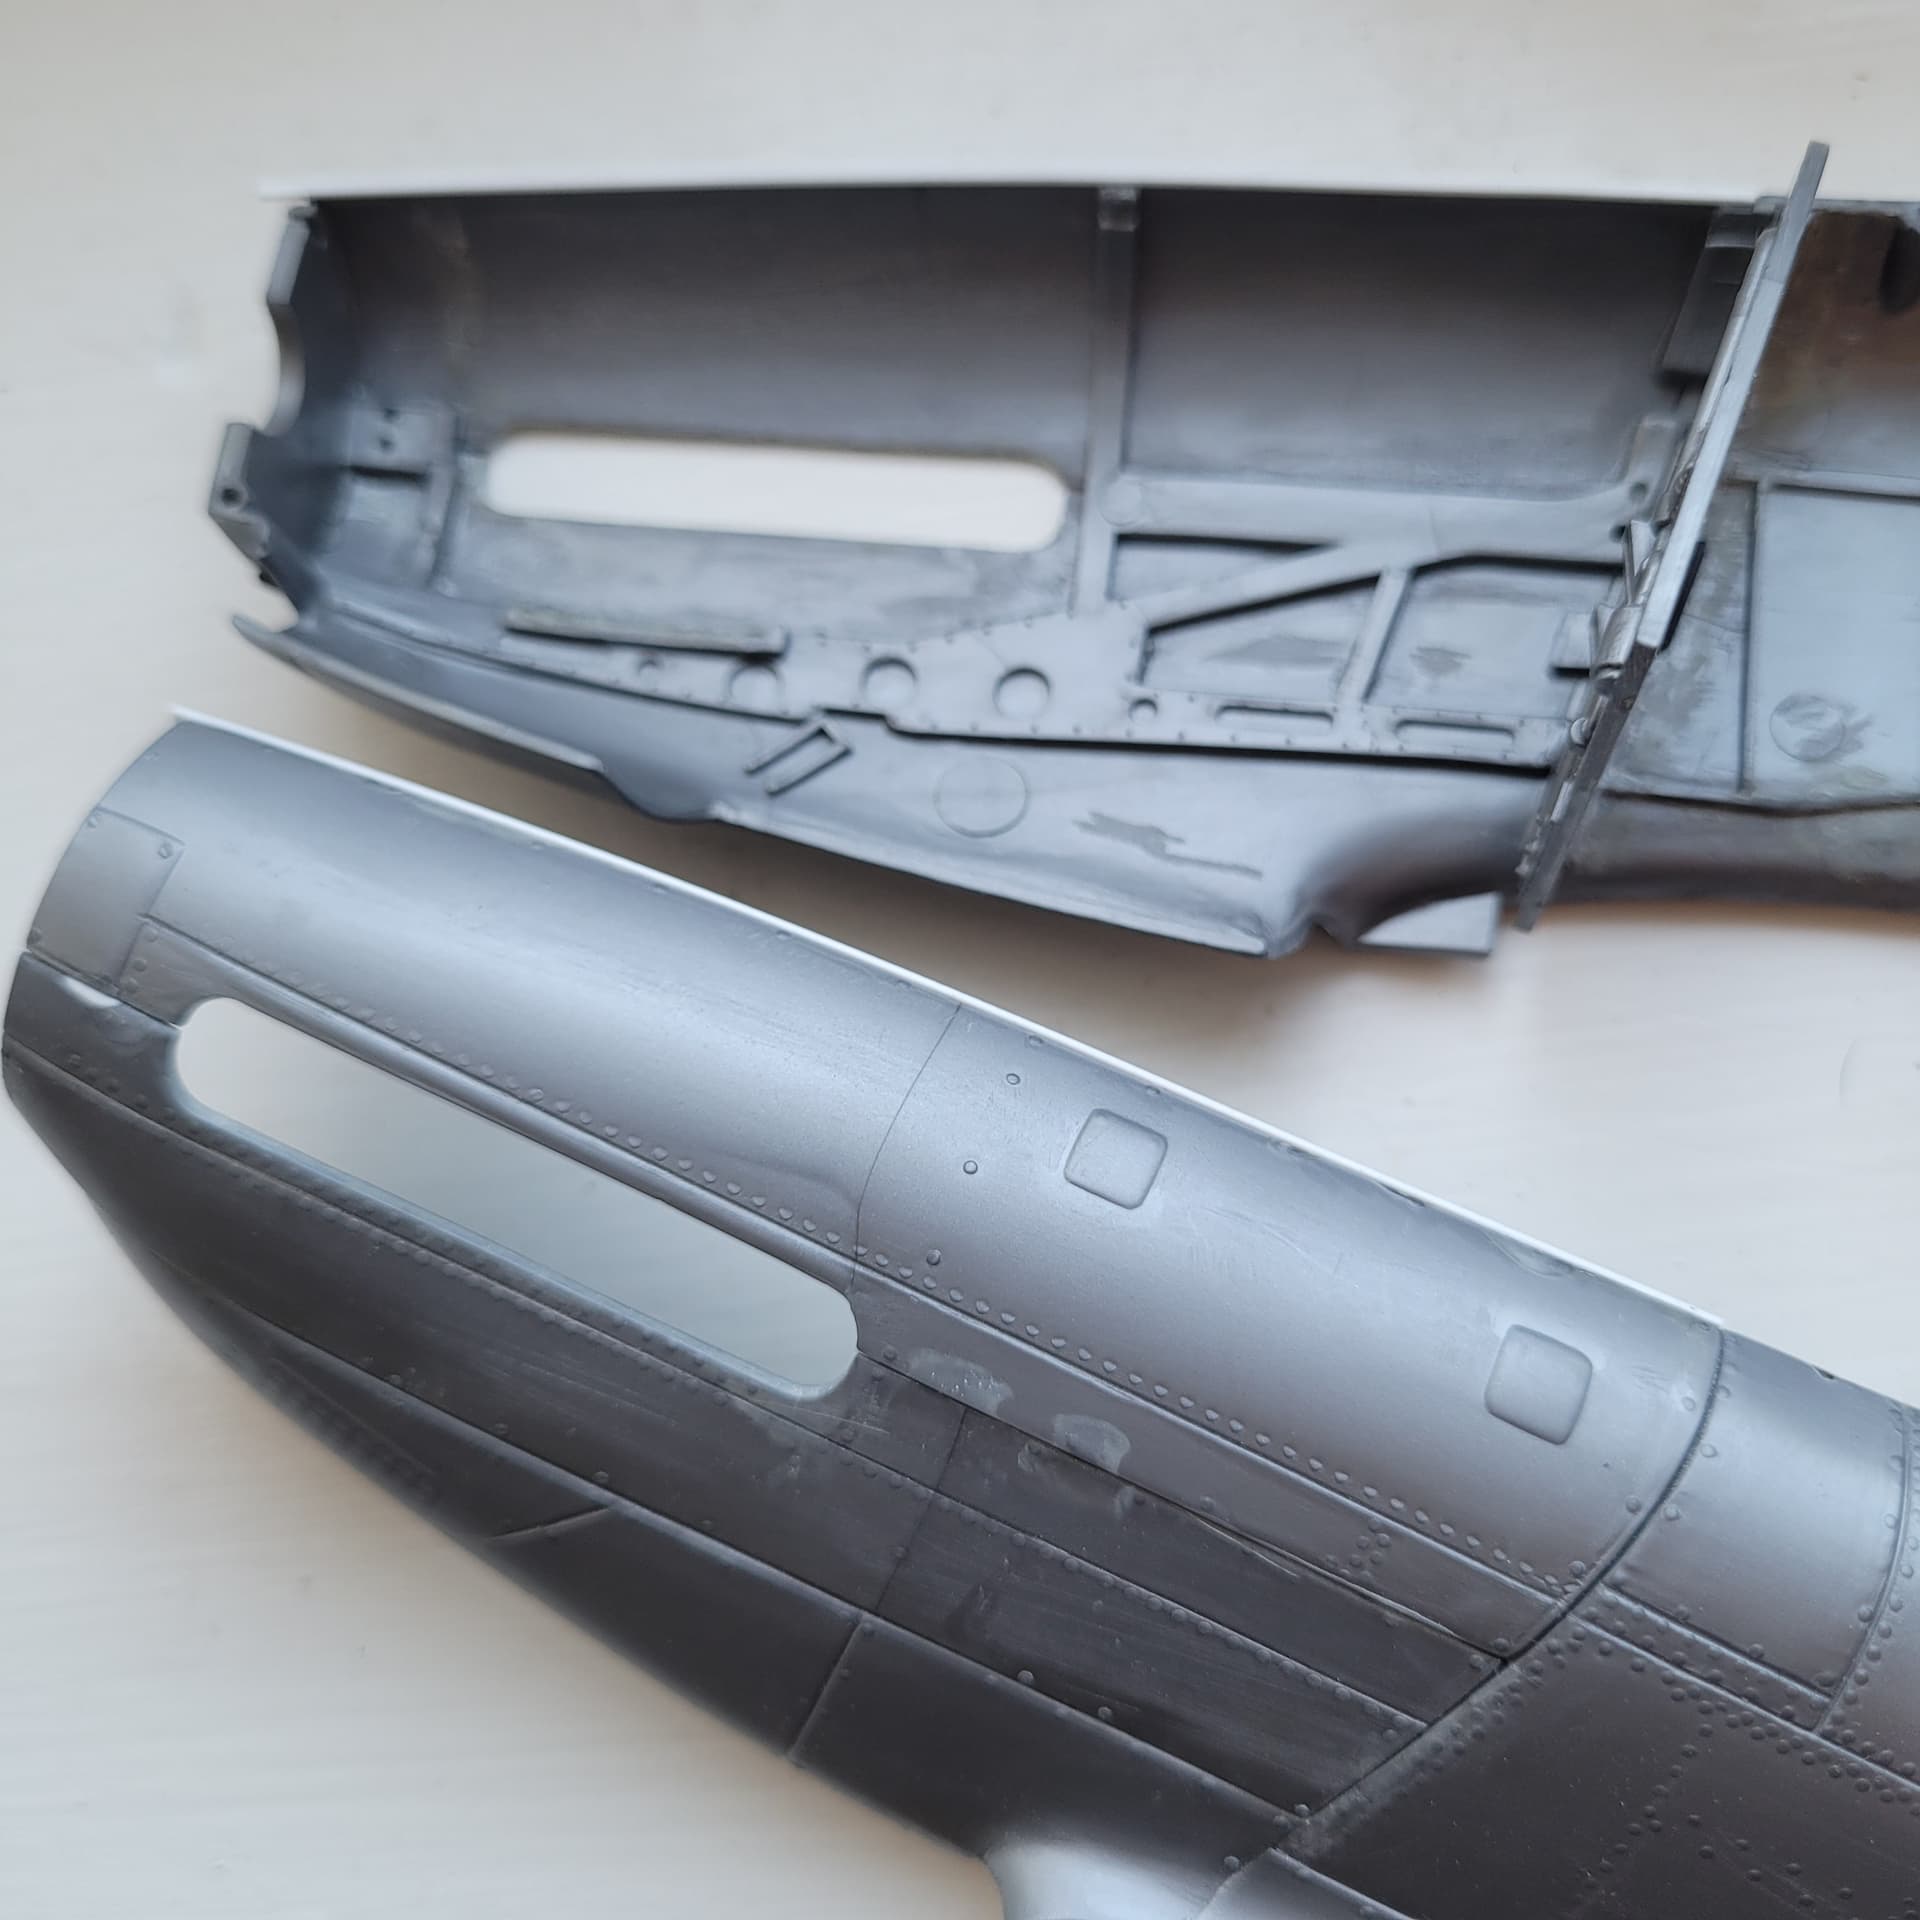
After more fuselage alignments I’ve added the engine bulkhead and the air filter (?)

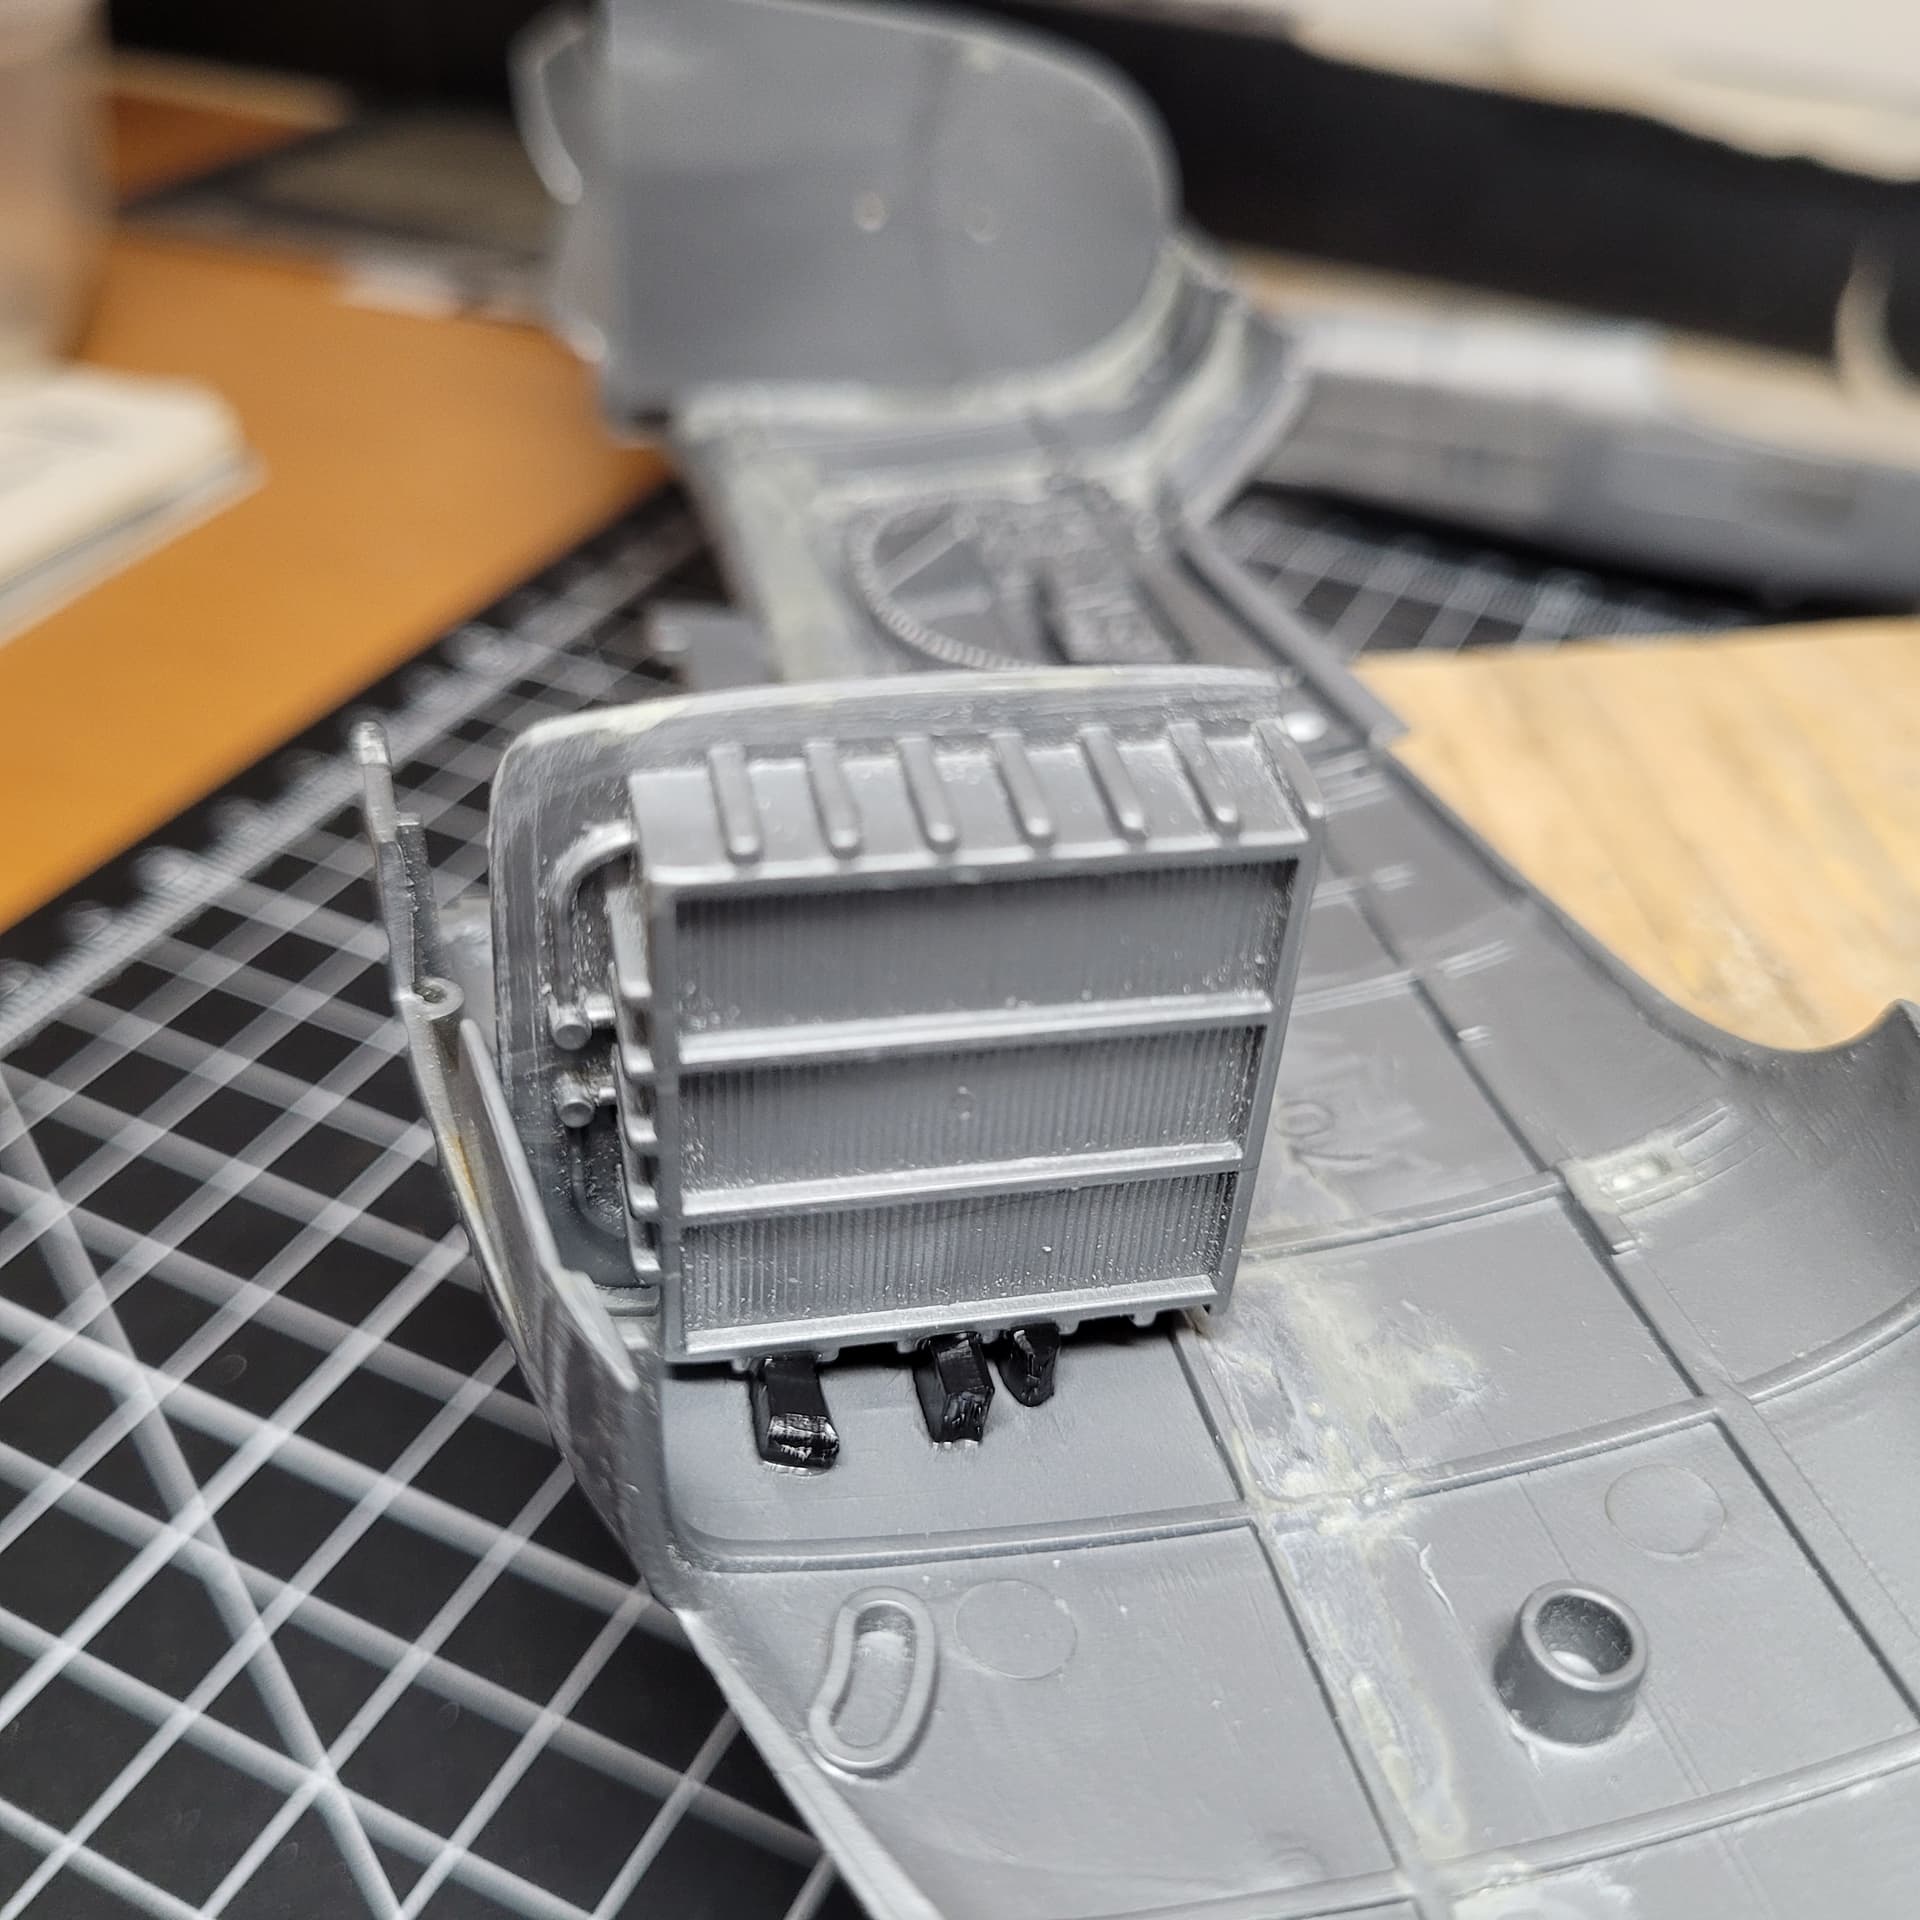
Then added the engine cowling - not sure what it is about these, but they don’t really fit that well but look neater than before. …
Or is he thinking about the restraints again lol
Brilliant salvage work on all of this… a lot of work. But you are really making this your own now … terrific work ![]()
Since you have the spinner and are using the pilot have you thought about making it an in-flight model? Or maybe just taxiing. Making a clear disc for a spinning propeller would be easier than carving prop blades.
The Trumpeter 1/24 P-51D comes with two sets of propeller blades,
one cuffed Hamilton Standard and I guess/presume that the other set
of blades are the Aeroproduct propeller used is for the P-51K made in Dallas.
“With a Hamilton Standard prop on a K model, you would not be able to tell the difference between that K model and the D unless you read the placard.”
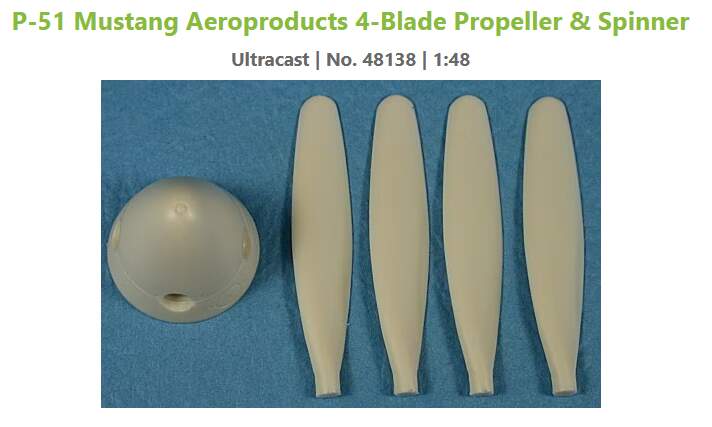
The Aeroproducts blades supposedly look like this in 1:48th scale
Trumpeter sprue:
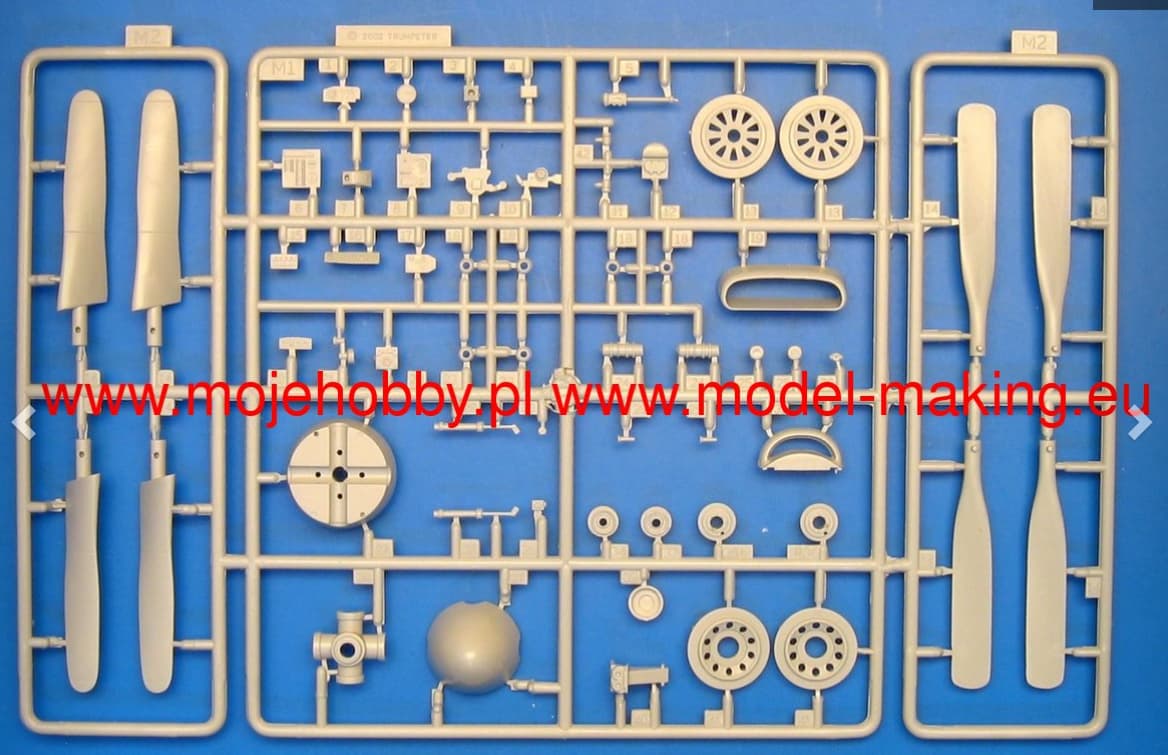
Cuffed Hamilton Standard on the left, what I presume to be Aeroproducts blades on the right.
Could the exrta blades be un-cuffed Hamilton Standards? (see below)
Could they be used to carve the wanted blades? Add cuffs from thin sheet styrene?
Edit:
The extra set of blades in the Trumpeter kit are Hamilton Standard blades without cuffs.
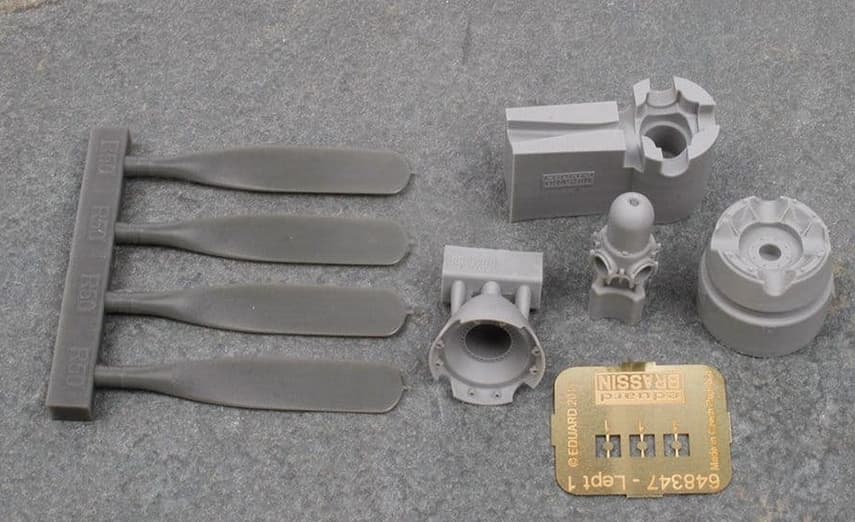
Eduard, 1:48th scale
In case you want to go this way:
Excellent, you’re keep it going. Hey, you can always copy and paste a pic of the aircraft markings from online and print on decal paper if the correct ones can’t be found. It’s an option.