Deep in to the BDSM business, isn’t the little fella?
You do a nice job, salvaging this ol chunk of plastic!
2 Likes
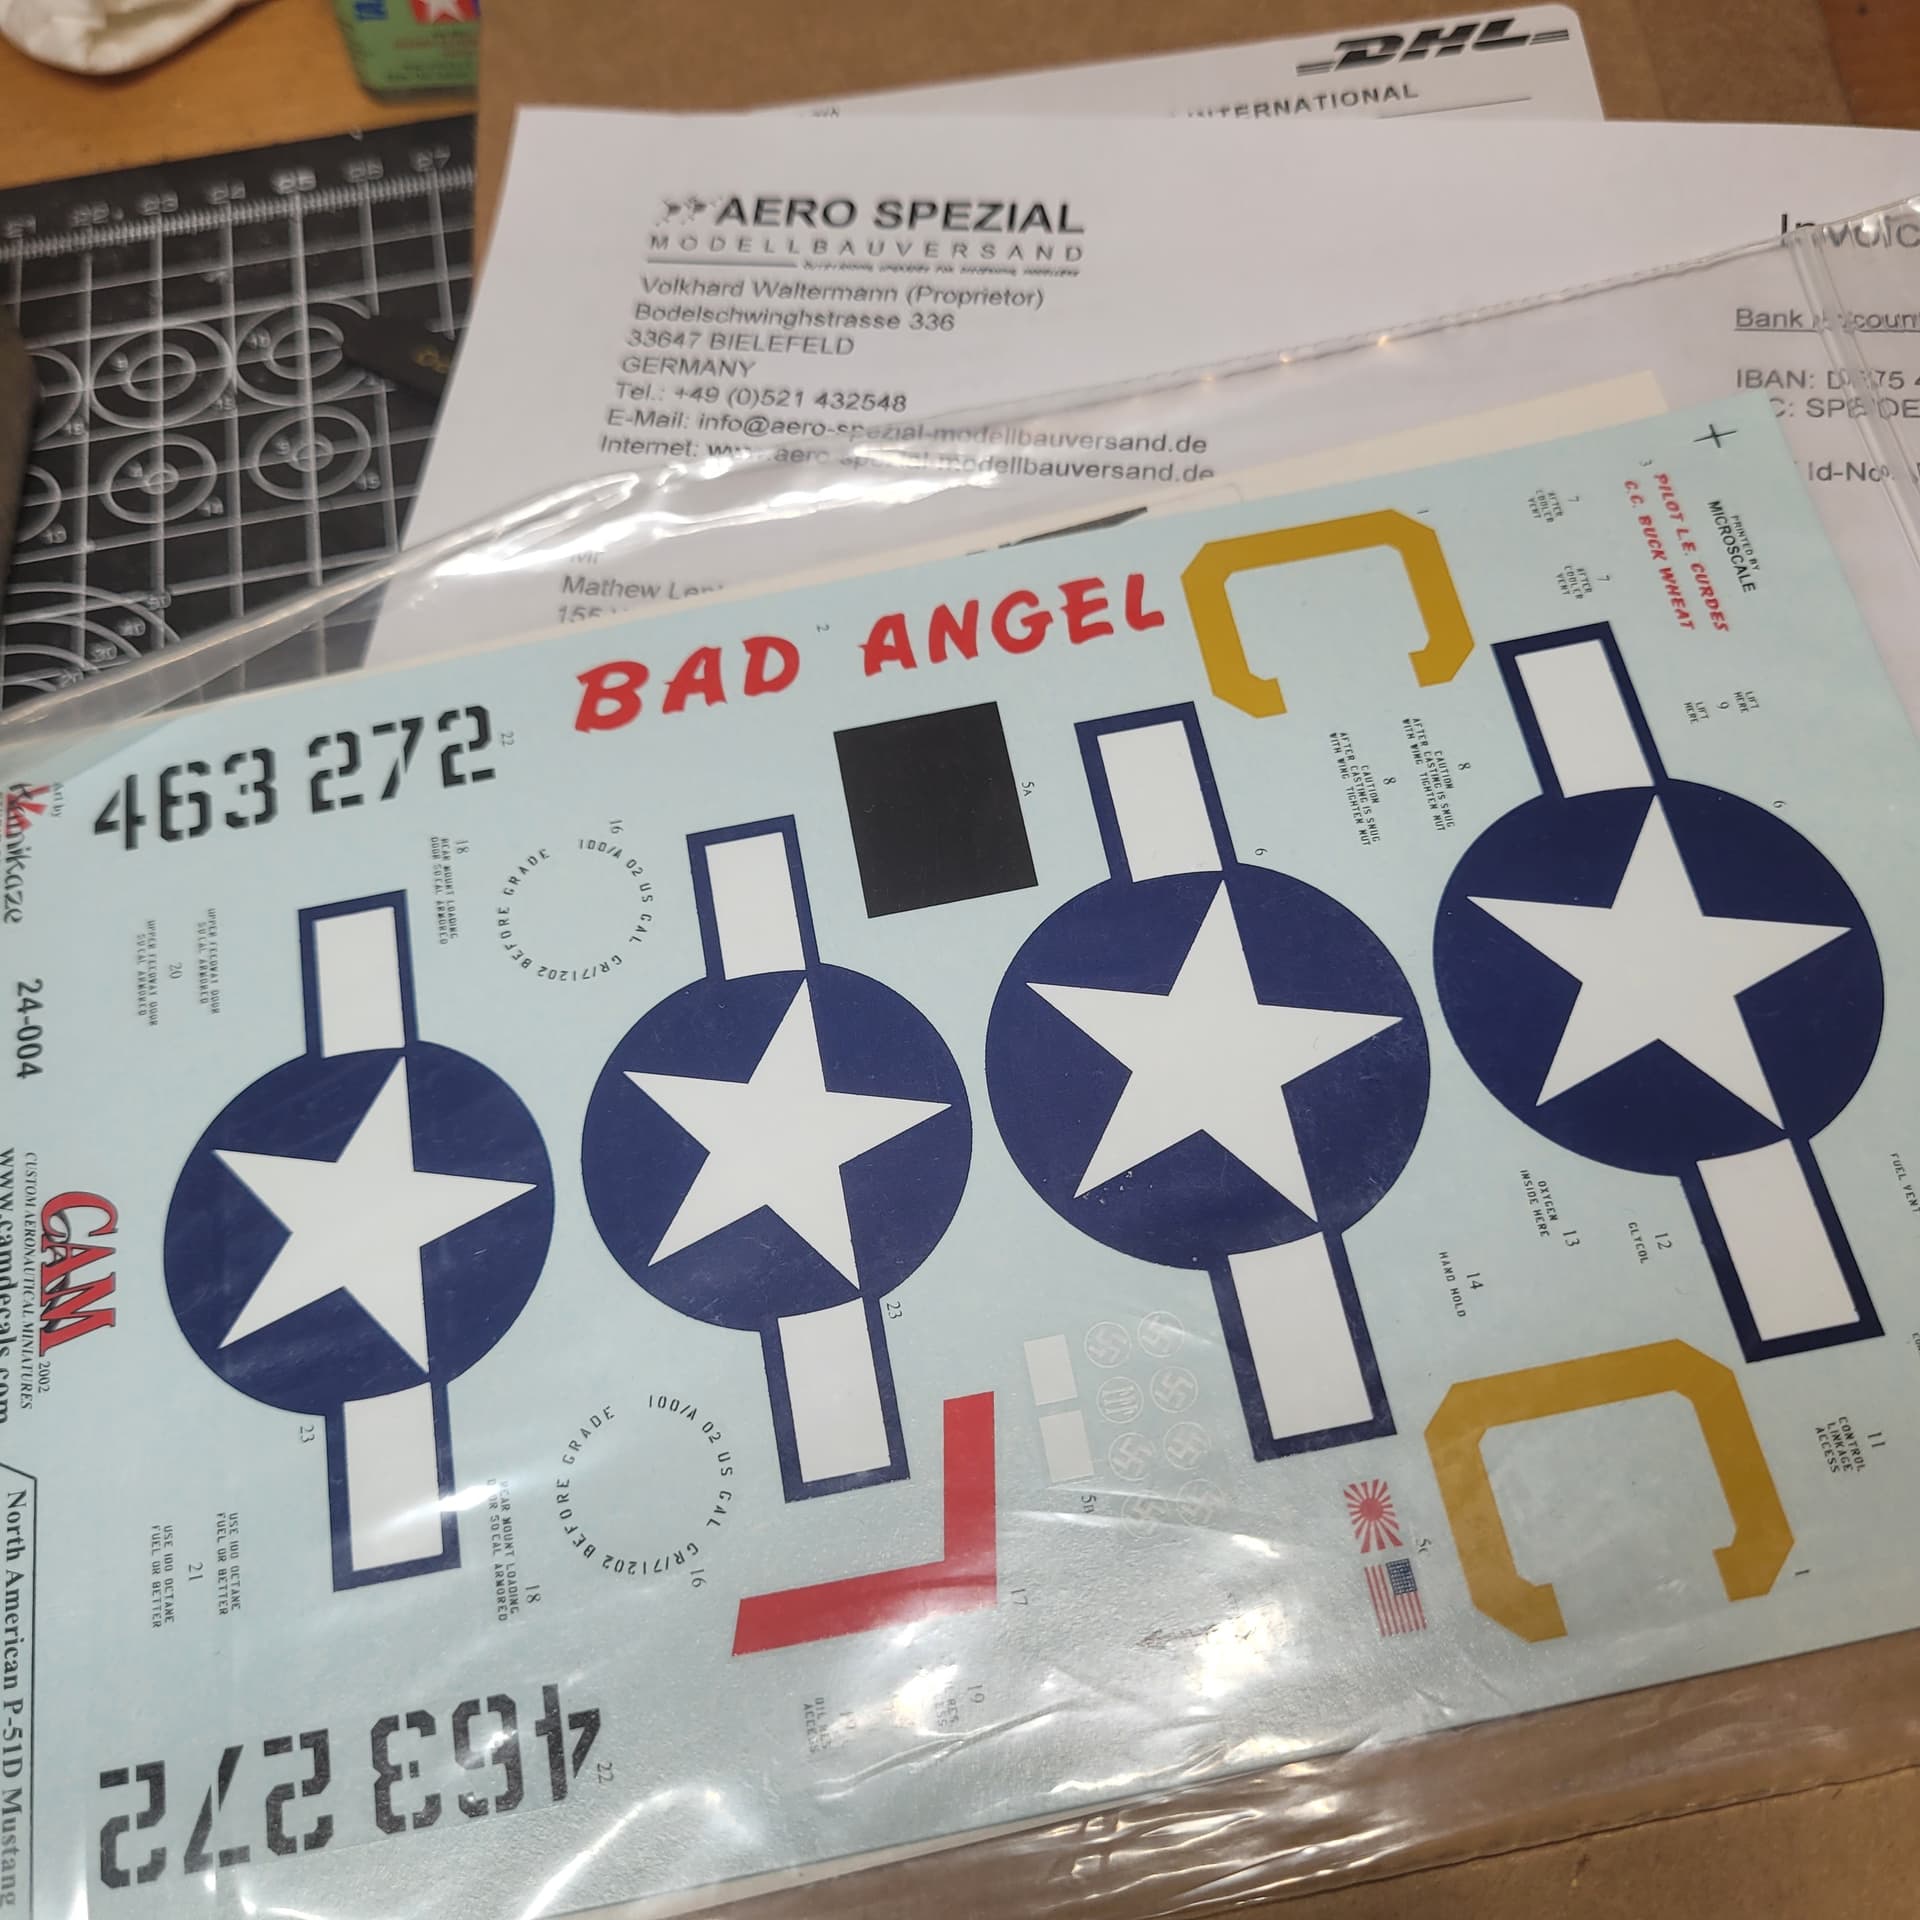
You know, after reading your comment, which is a good idea, I was going to post a photo of the new decals that I have bought, and couldn’t find them - and I only got them 3 weeks ago. ![]()
I spent two hours going through everything last night, but nothing. Just now I had an idea and went through some boxes we’ve been stashing in the garage in preparation for clearing it out, and found them in the envelope still, in bottom of a big box.
2 Likes
Thanks for the info on the Trumpeter kit, I didn’t know that it came with two props - I wonder if people hang on to them as spares in case the other one breaks.
I am slightly surprised that spare or aftermarket props for this plane aren’t easier to find.
1 Like
Thanks, the moving prop is a good idea, I thought about that after reading Carl’s Douglas A20 thread.
I have seen that Instagram modeller Small Scale Creations do that effect.
First I will see how my attempt to mould one goes, using Blue Stuff and epoxy putty, but I am definitely making this with the wheels up.
I’ve spent a while browsing ebay, trying to work out how to mount it in flight on the wall and have the position adjustable.
Not very purist I know, but I’ve drilled through the location socket behind the cockpit on one side so that a 4mm threaded rod can be fitted. I’ve mounted a pair of M4 nuts on each side, kind of floating a little so that the rod will definitely screw in place.
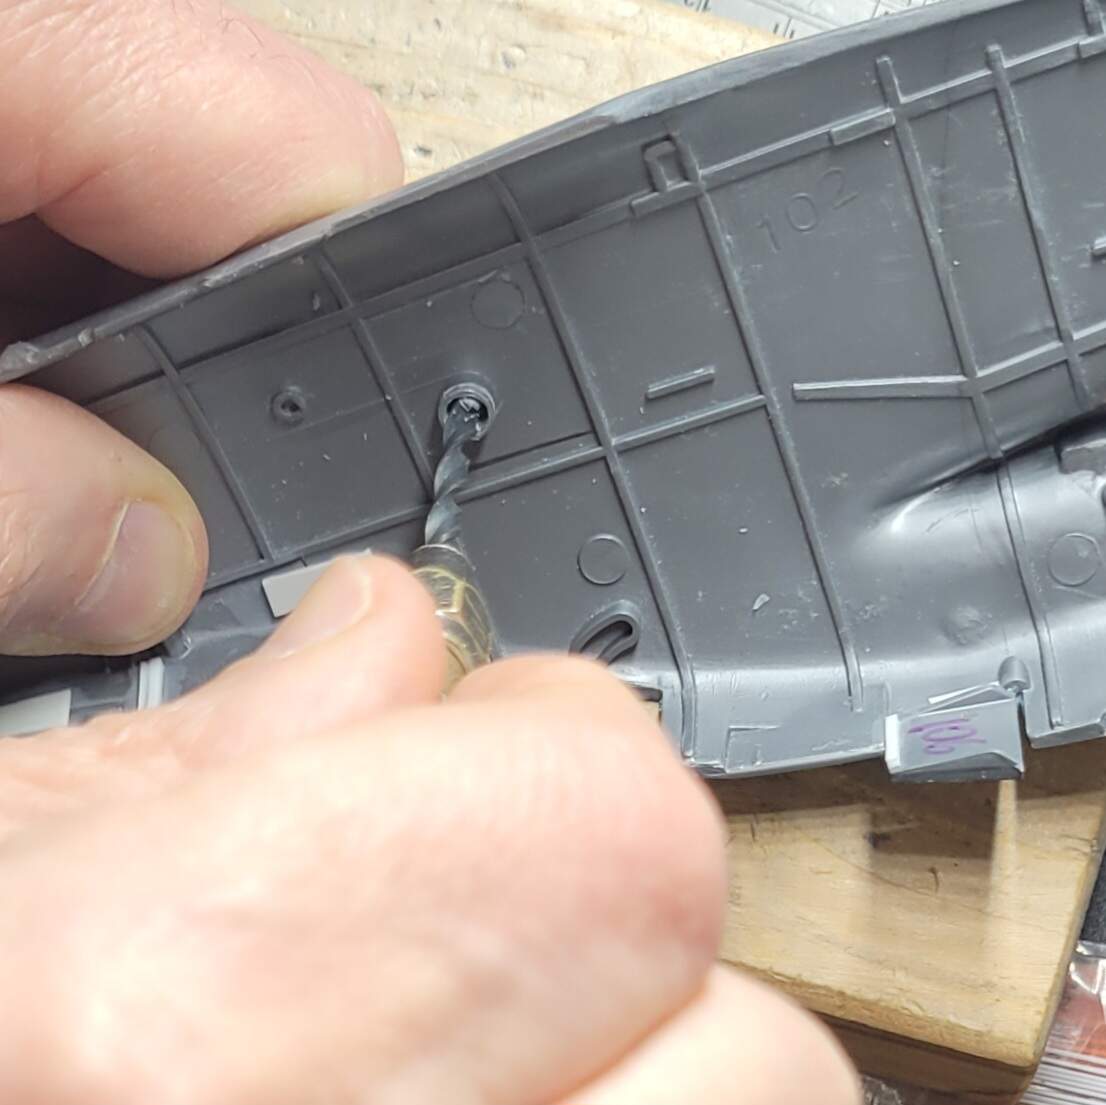

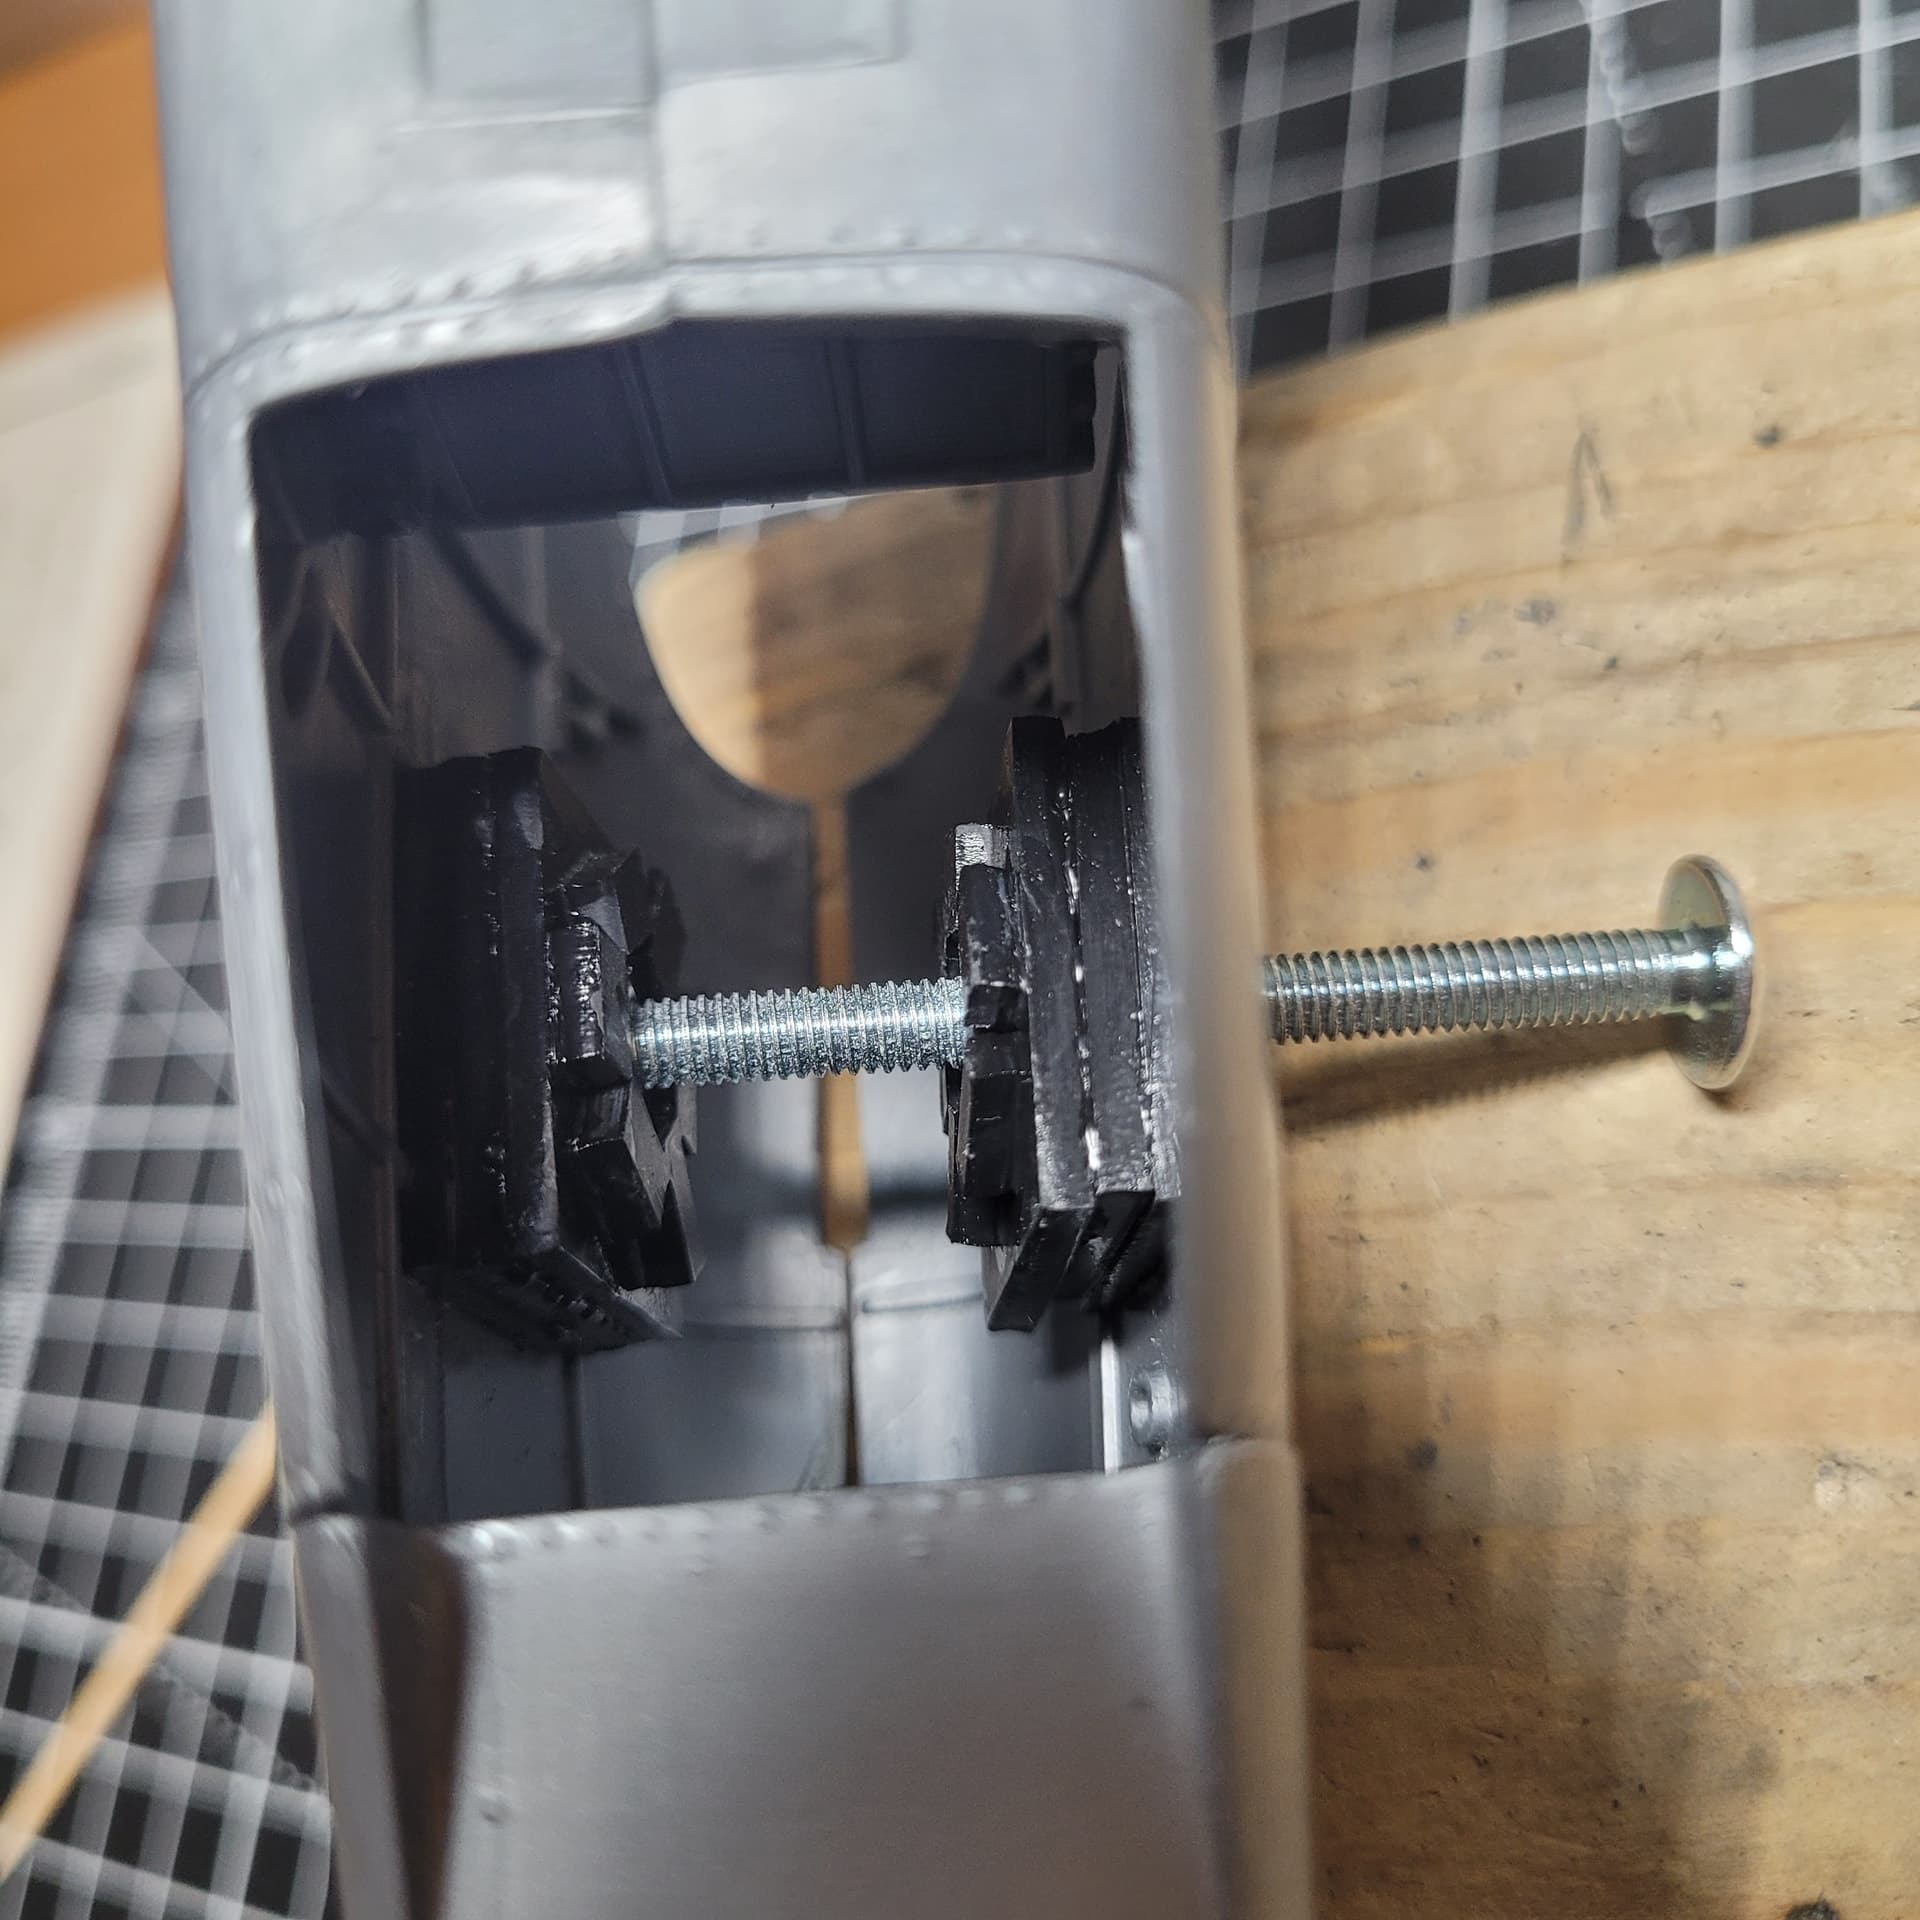
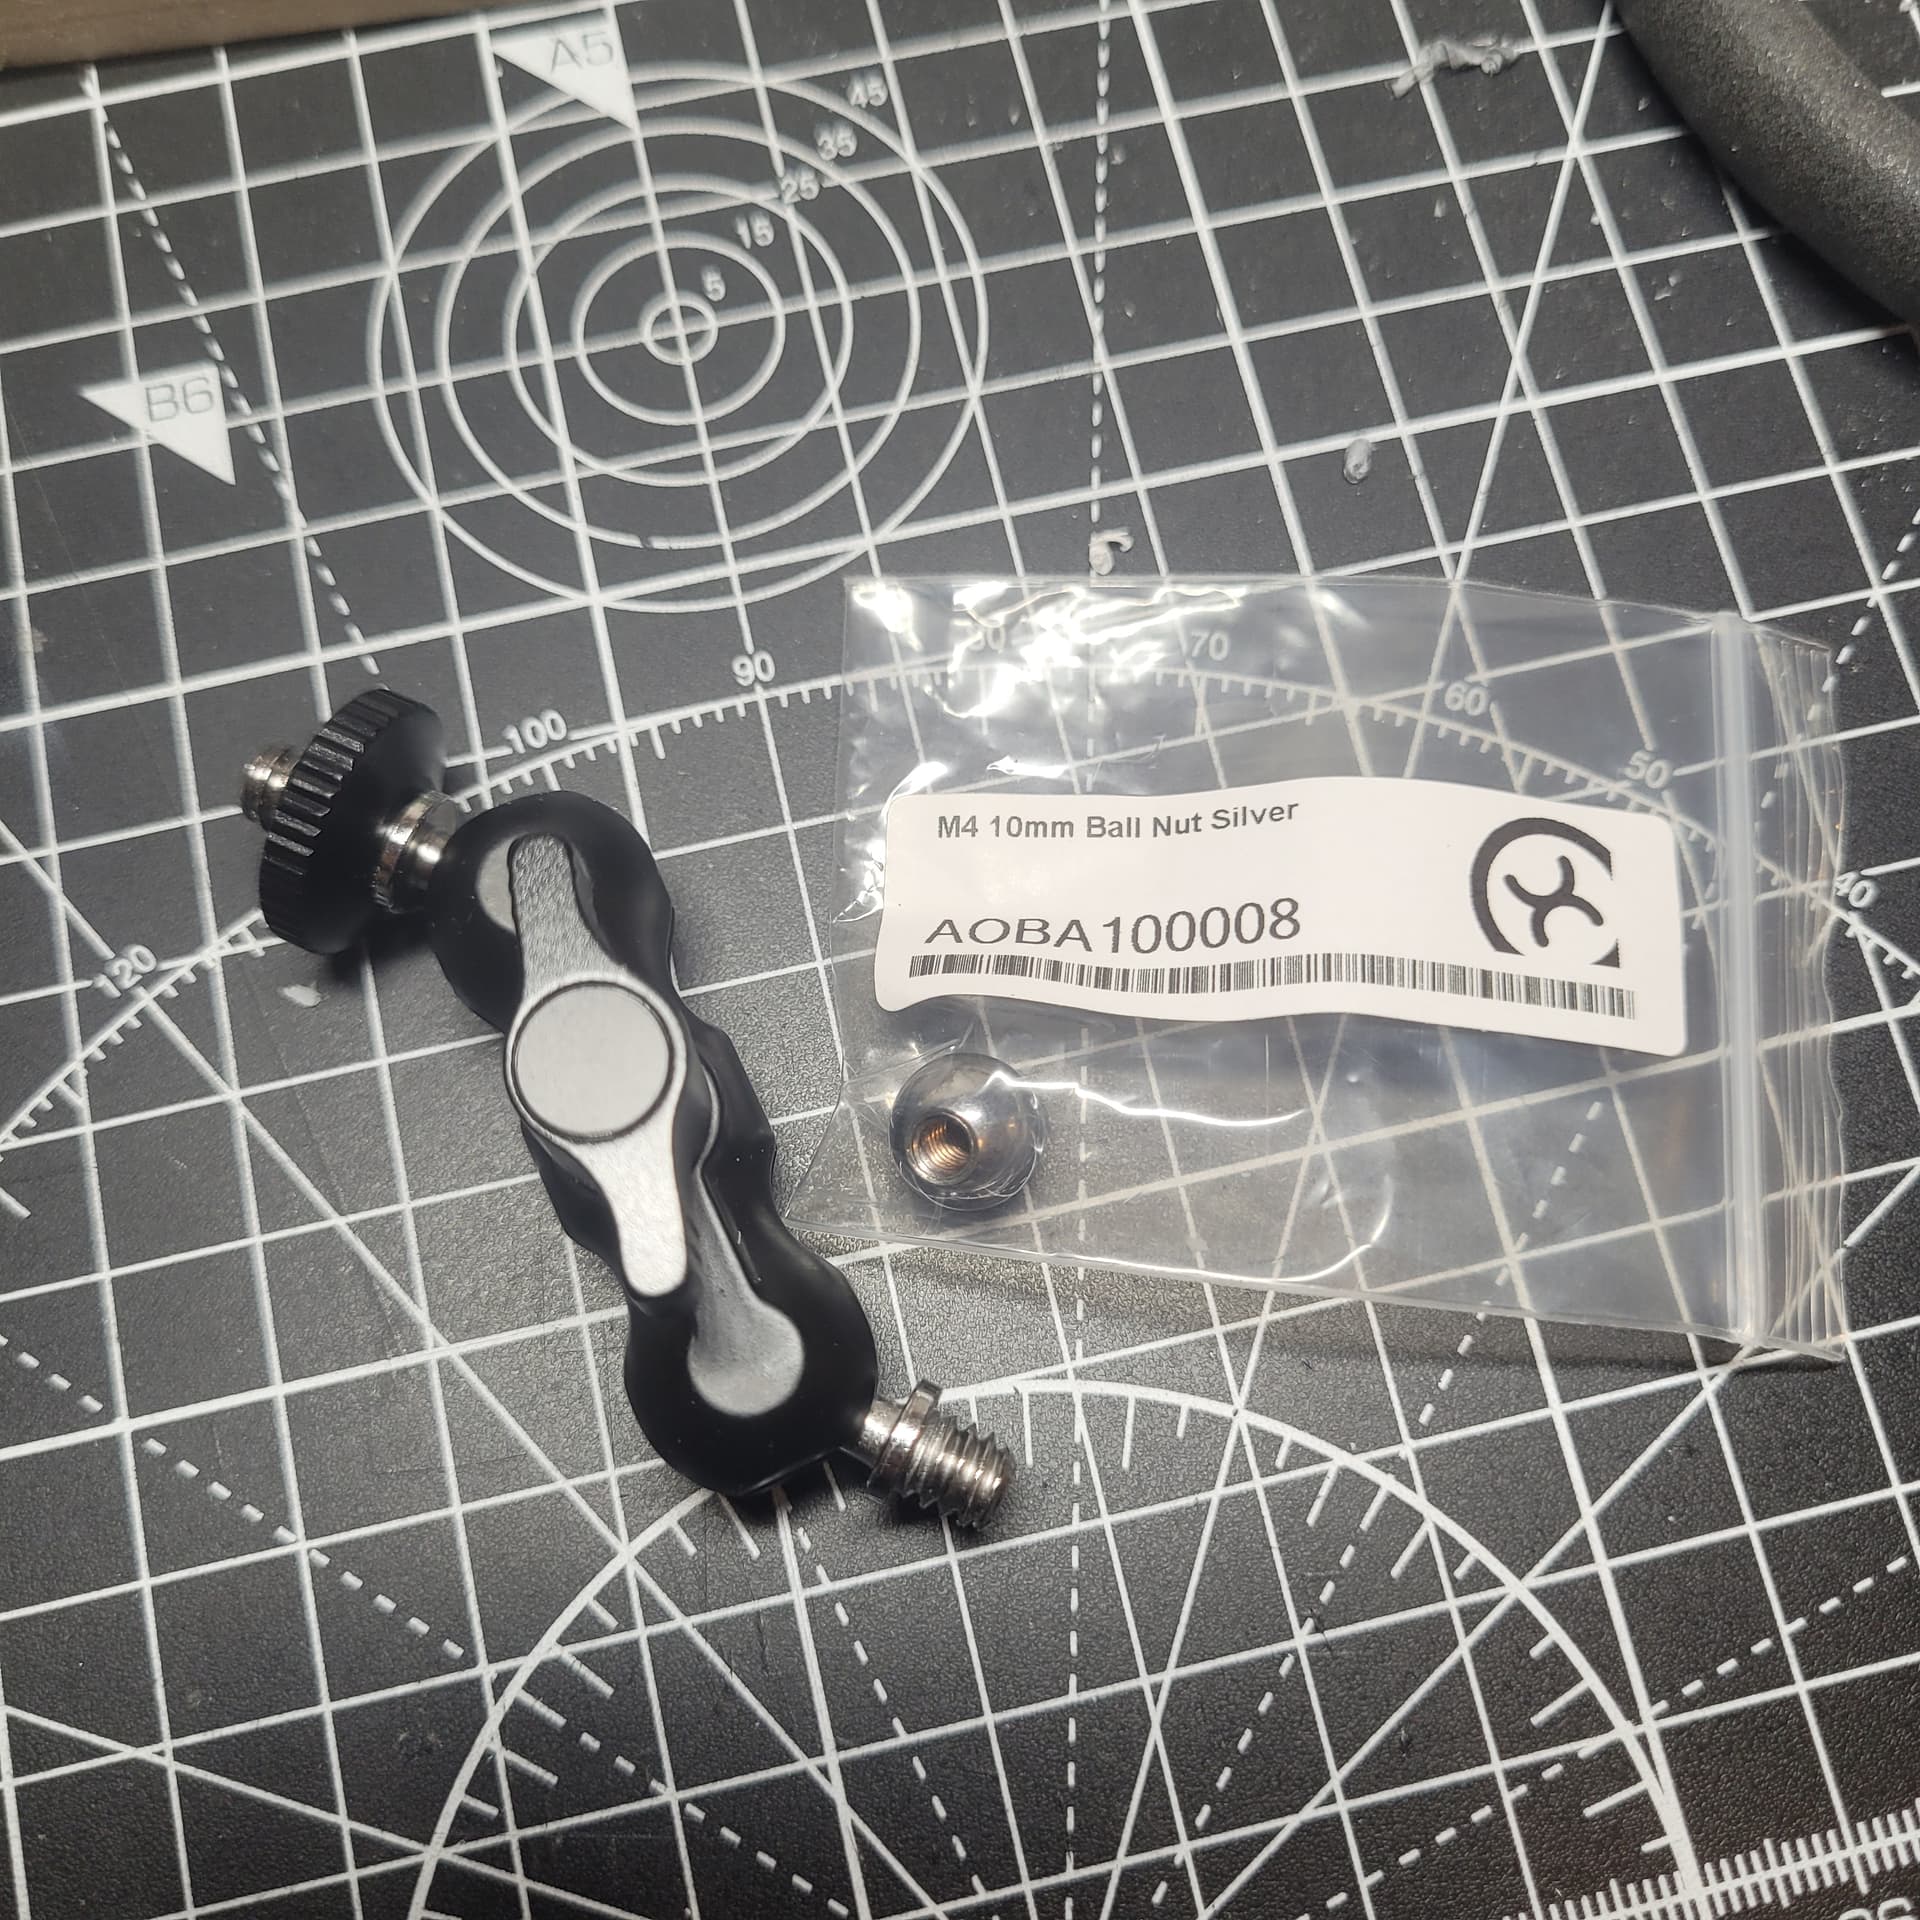
At the moment that’s just a bolt, but I have a 200mm rod on order. The other end will screw into a 10mm steel ball which can then be clamped into one of those mini photography multipositional rigging clamps, like this:
The other end of the clamp will receive a 6mm threaded rod which, hopefully will connect to an M6 ball end bolt (the type used for connecting car tailgate stuts) via a threaded collar.
That M6 rod should then be able to be screwed straight into an M6 wall anchor. Hopefully.
5 Likes
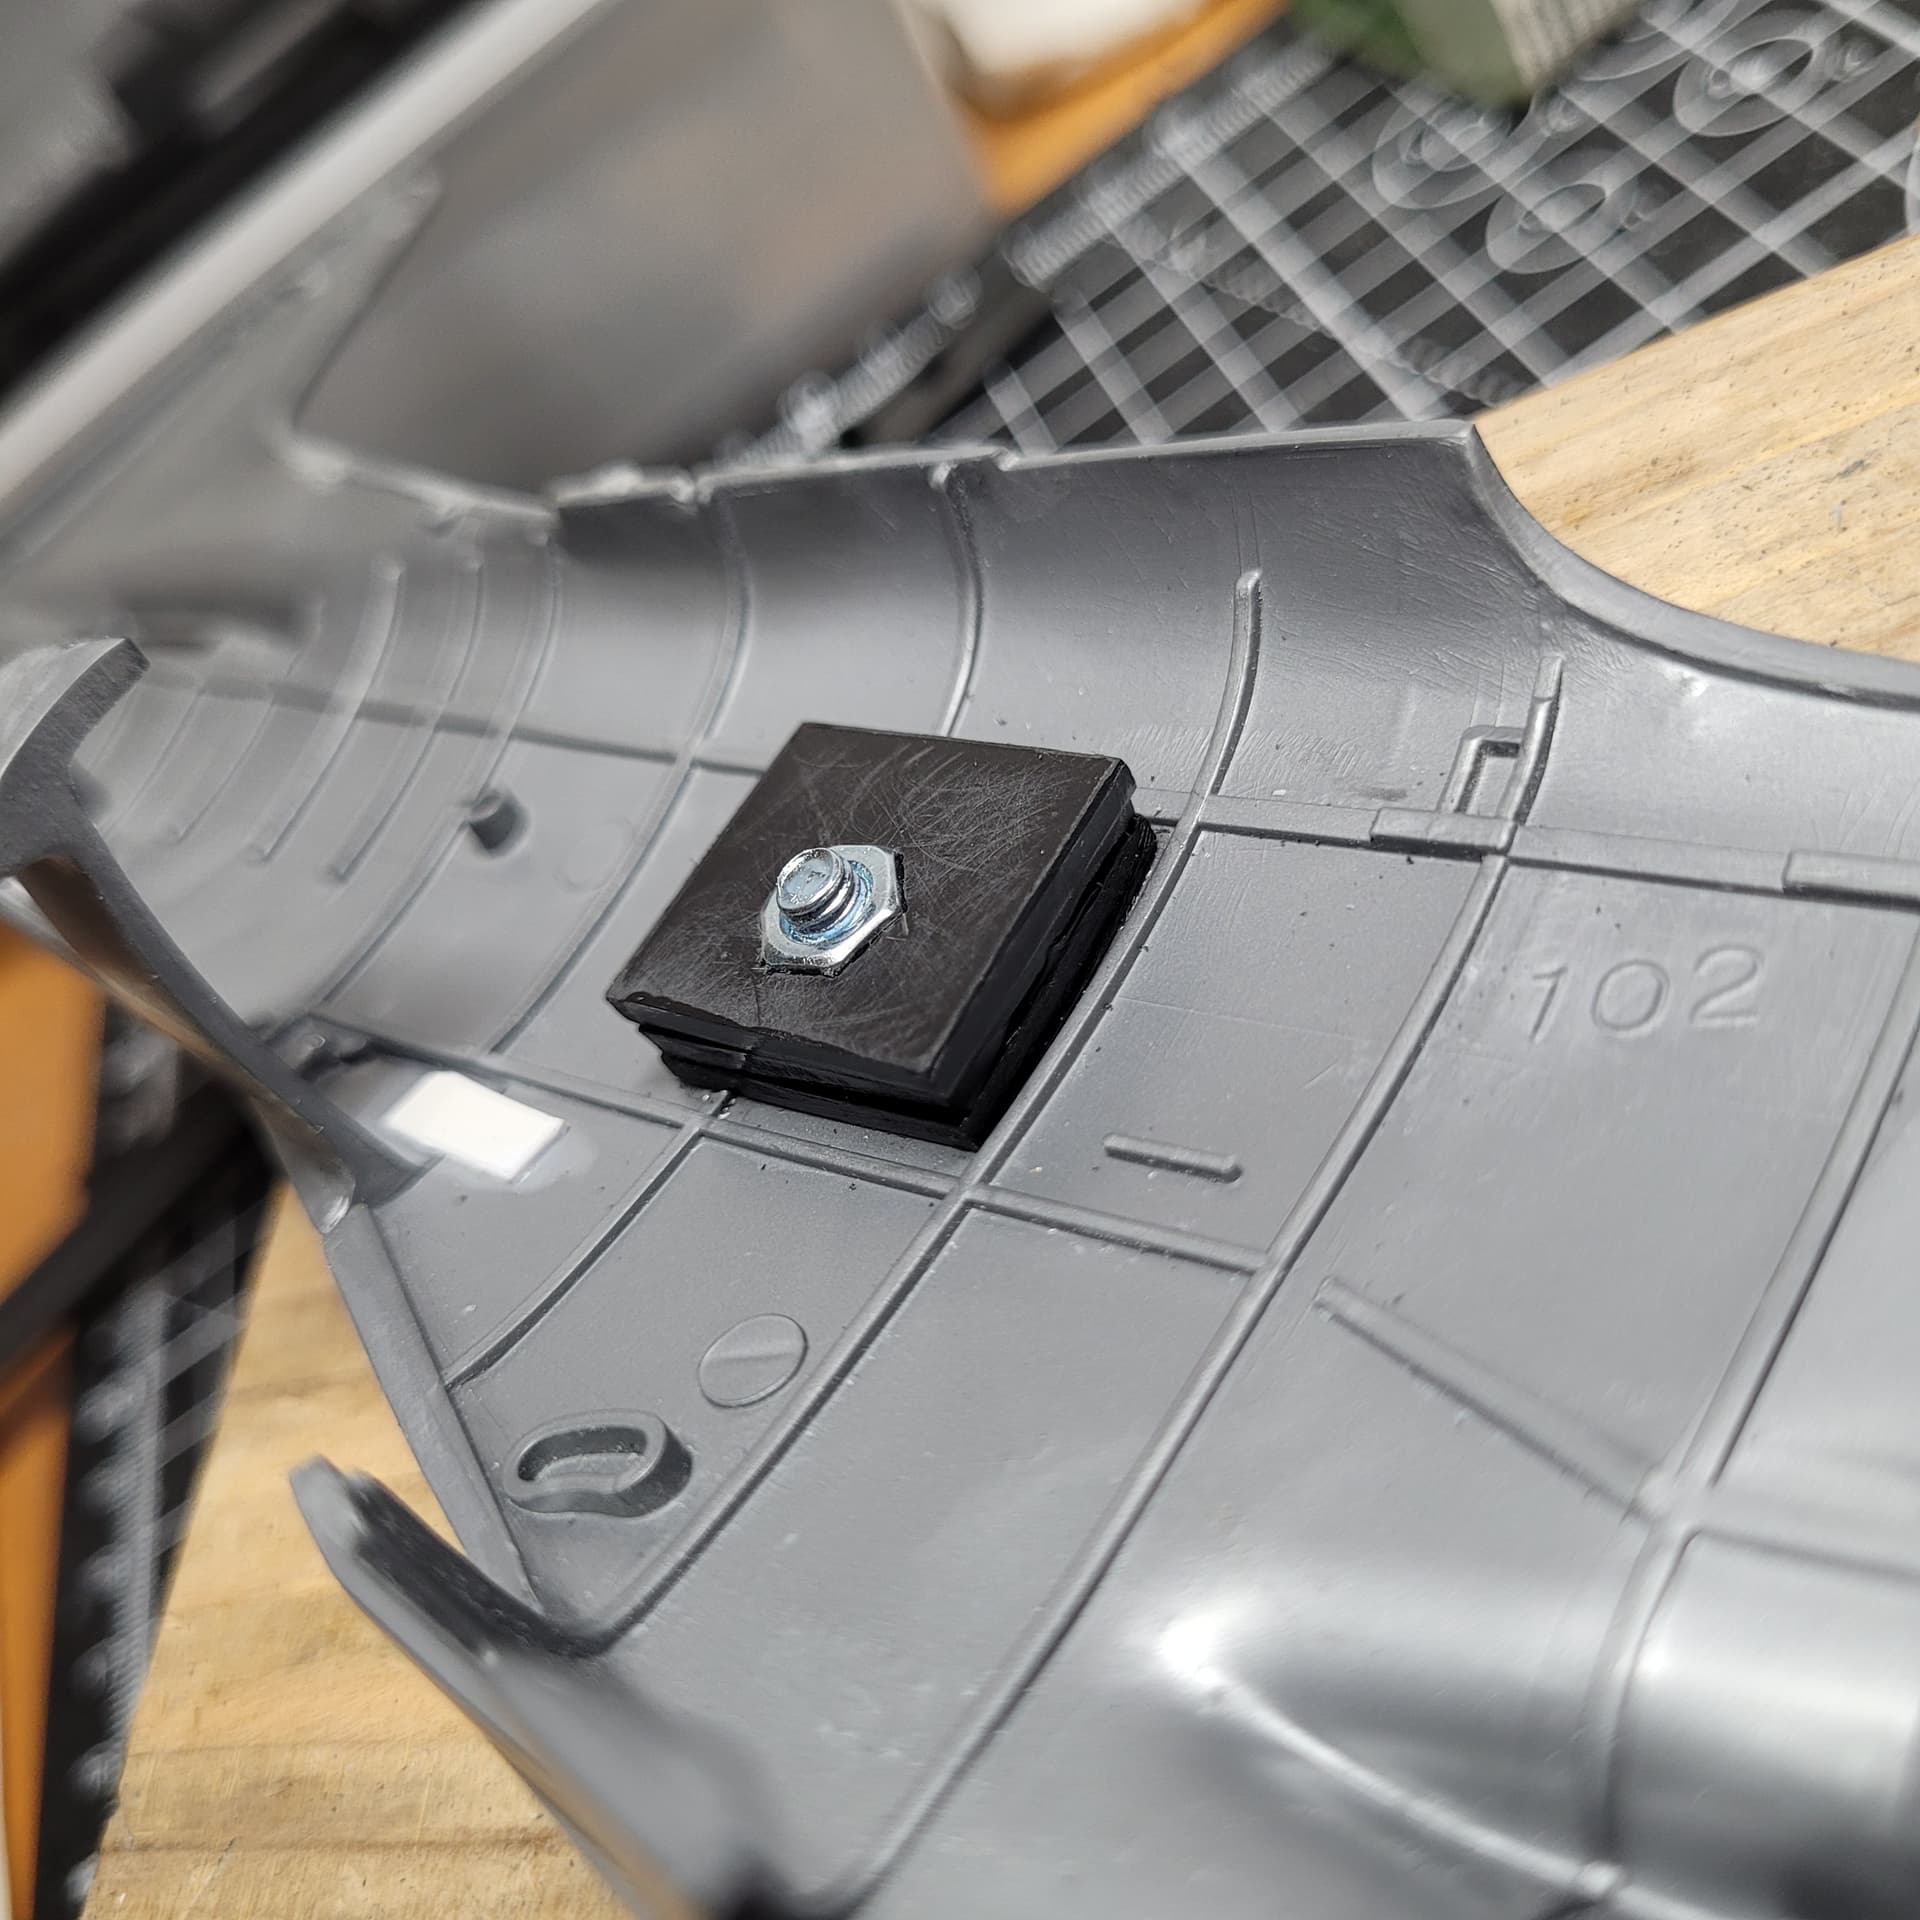
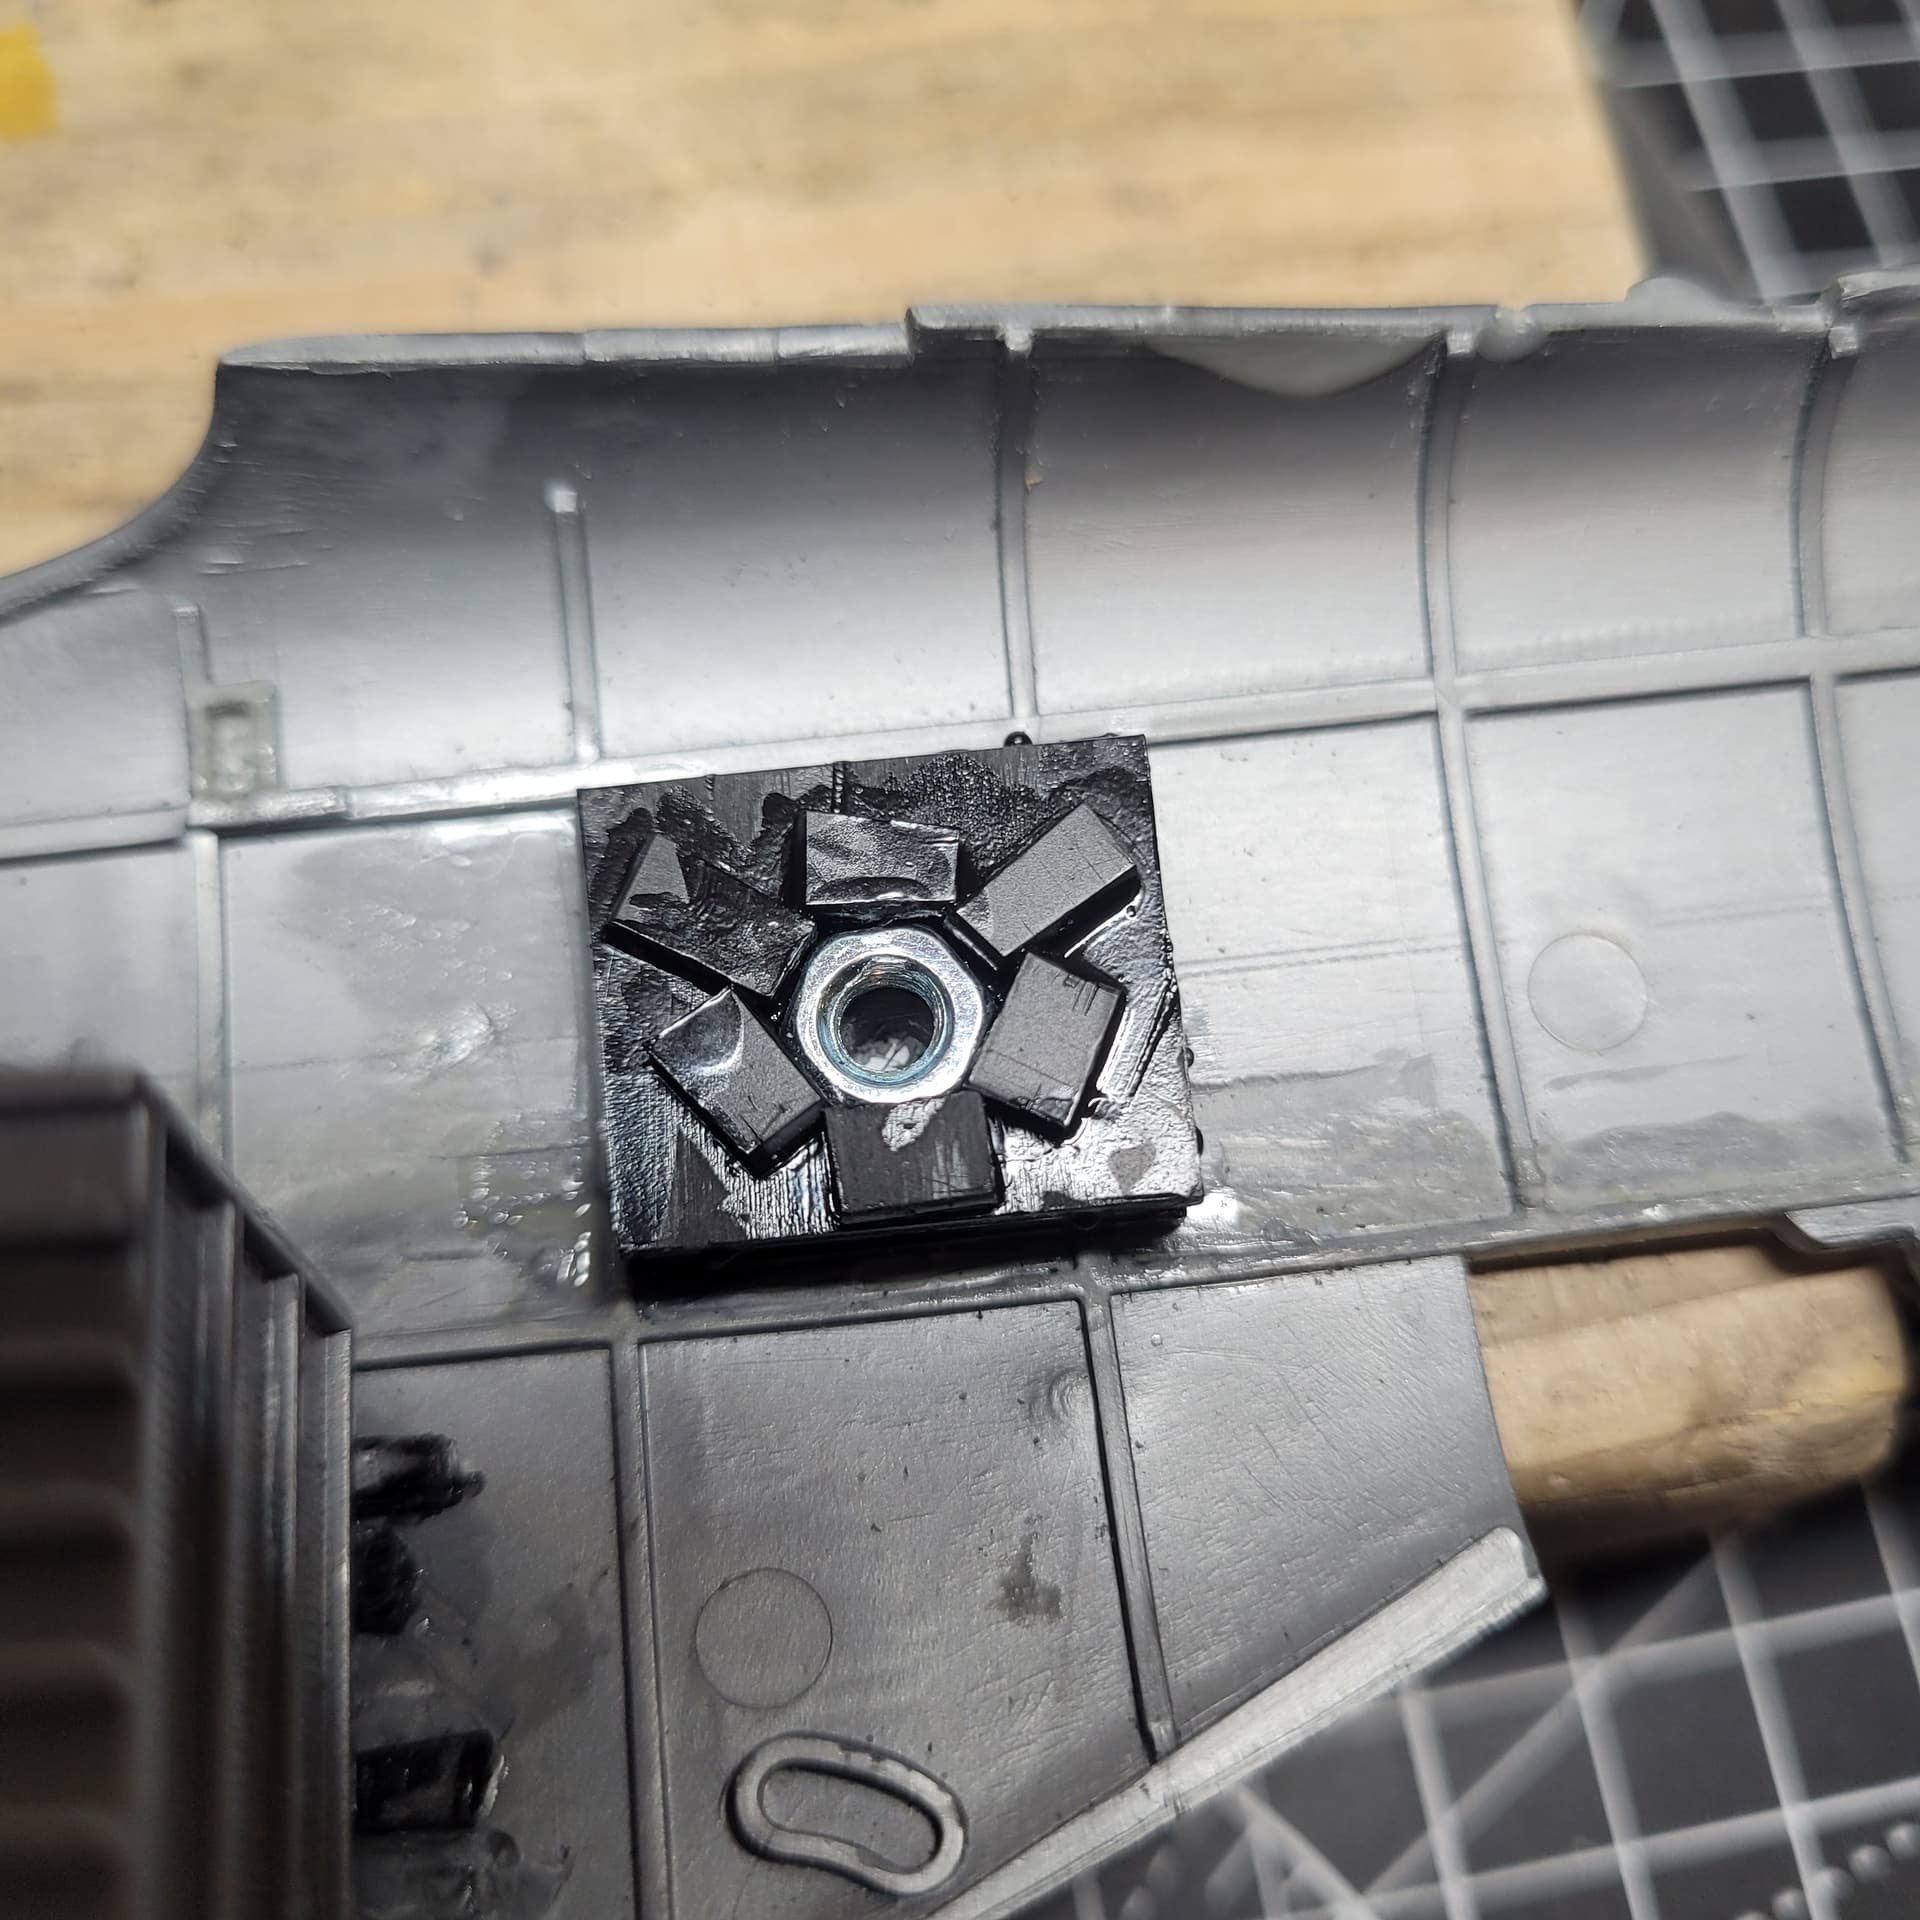
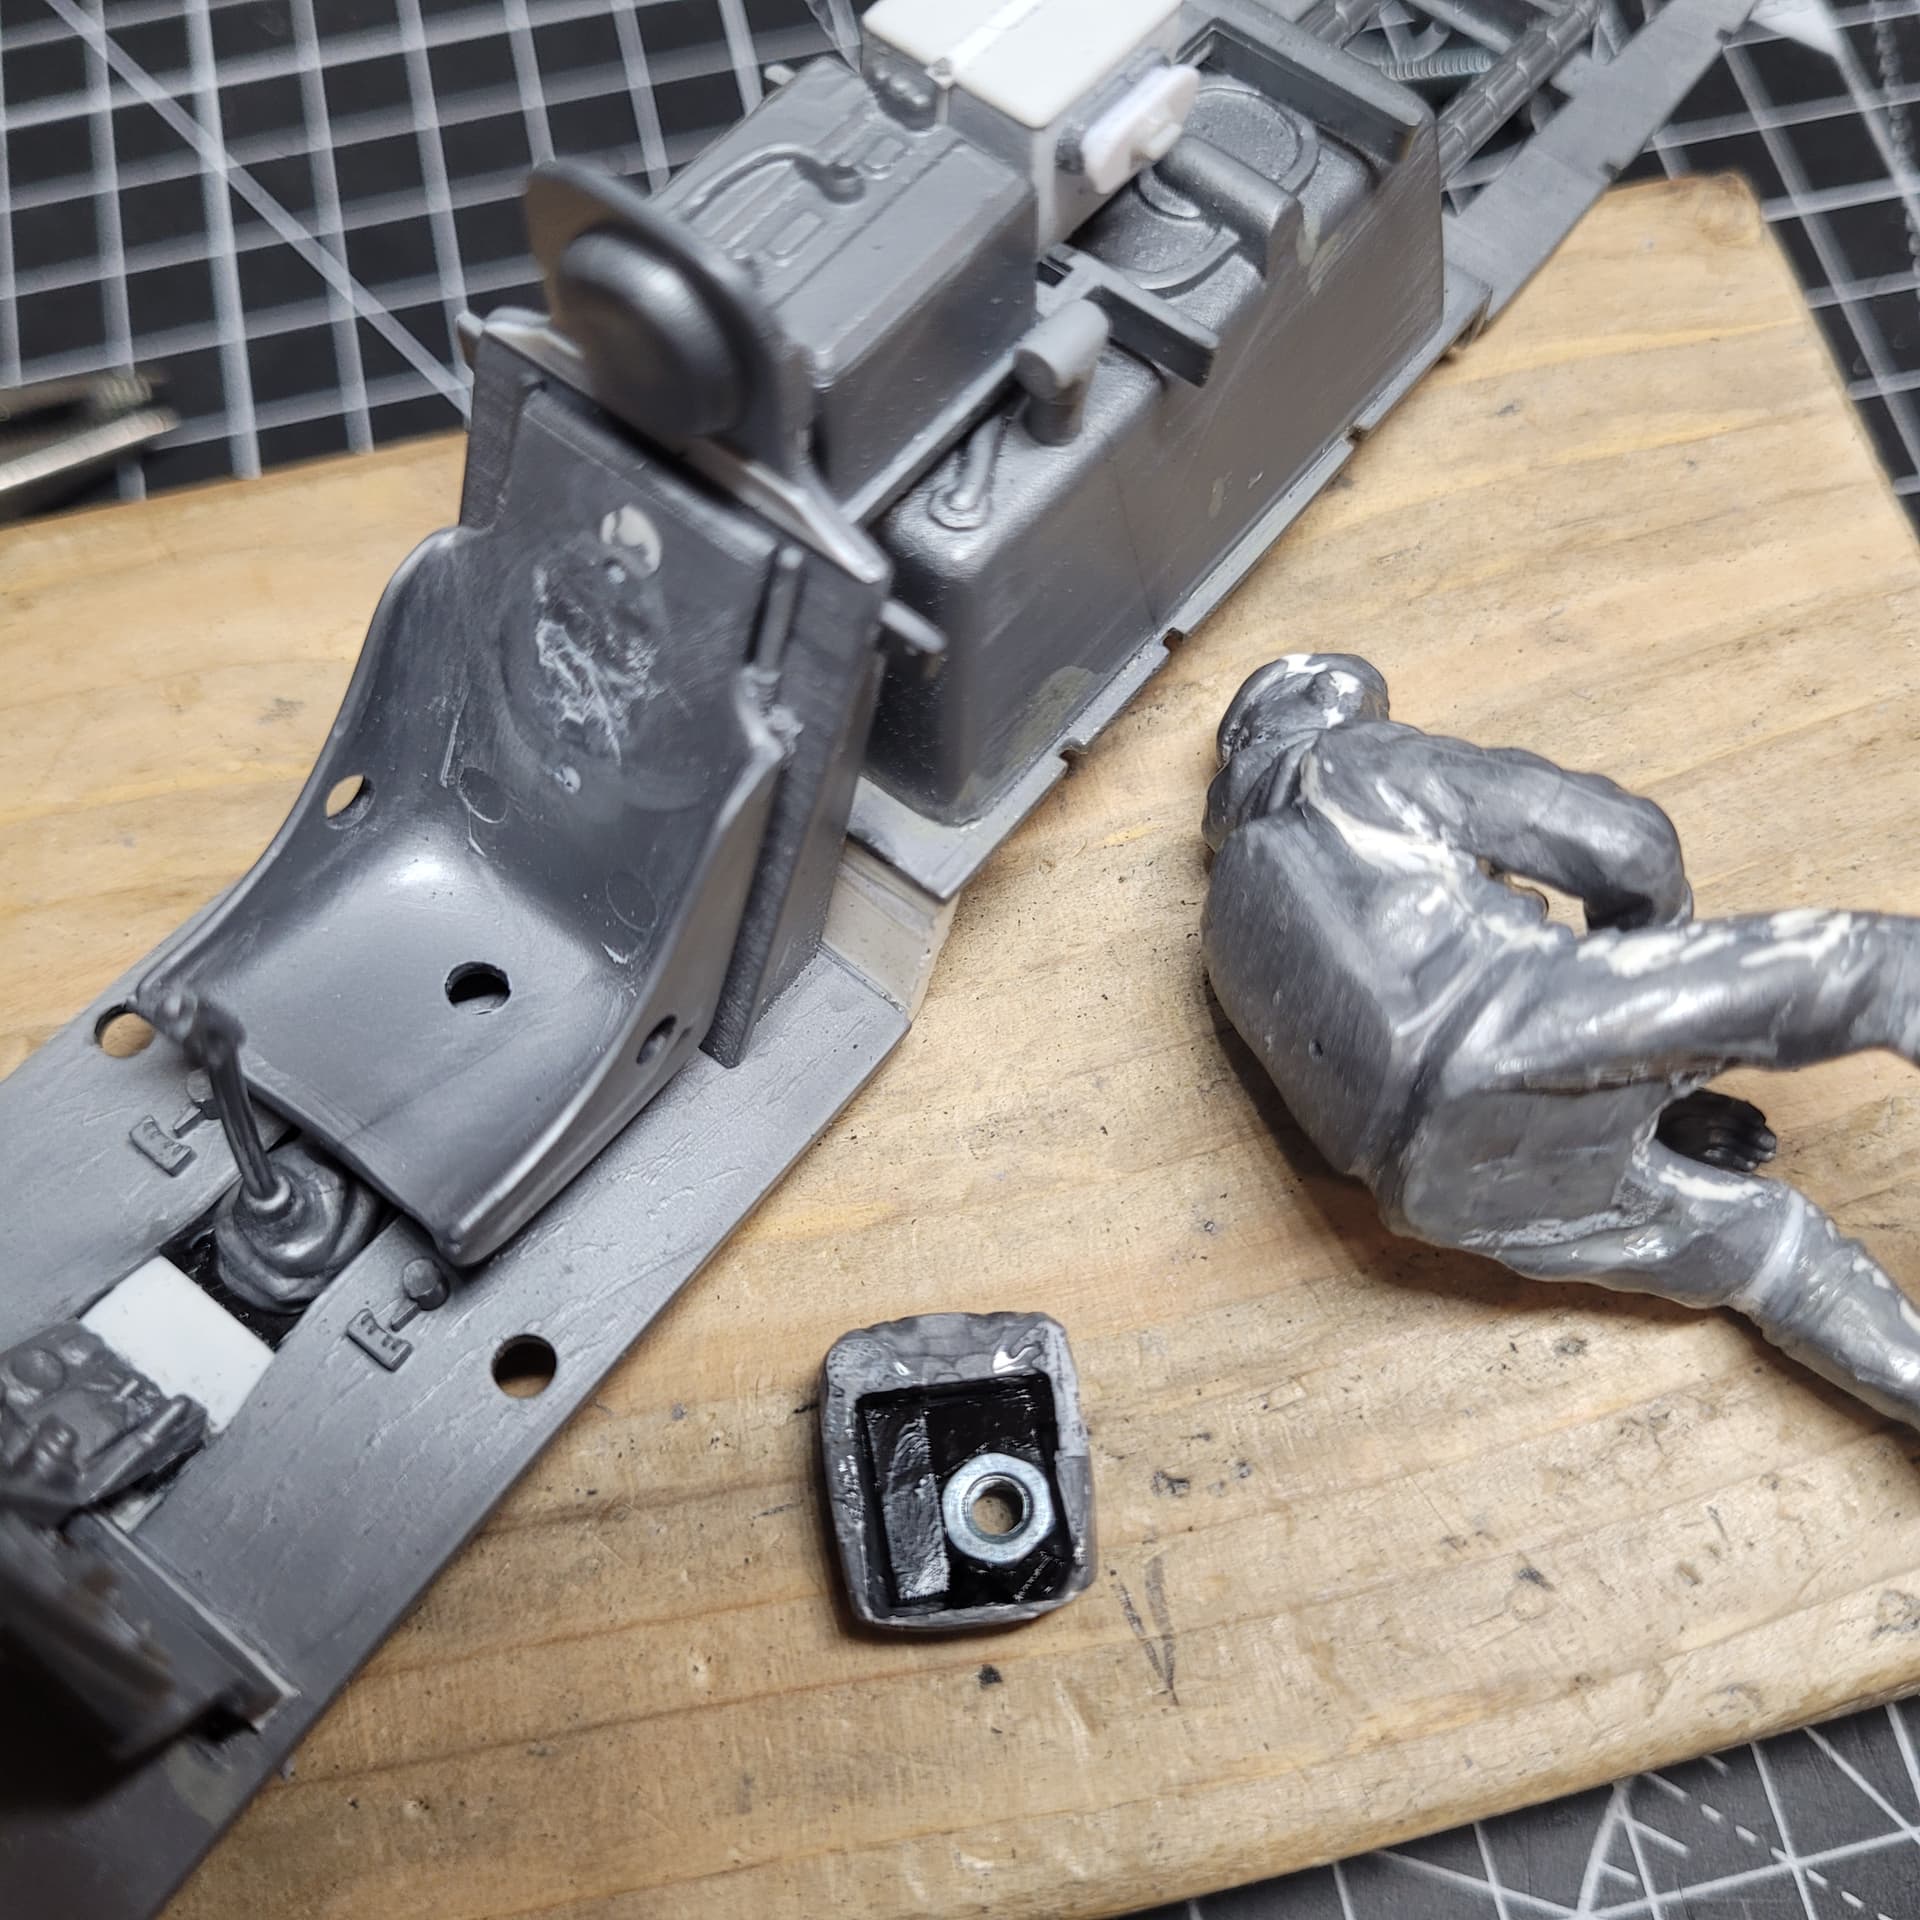
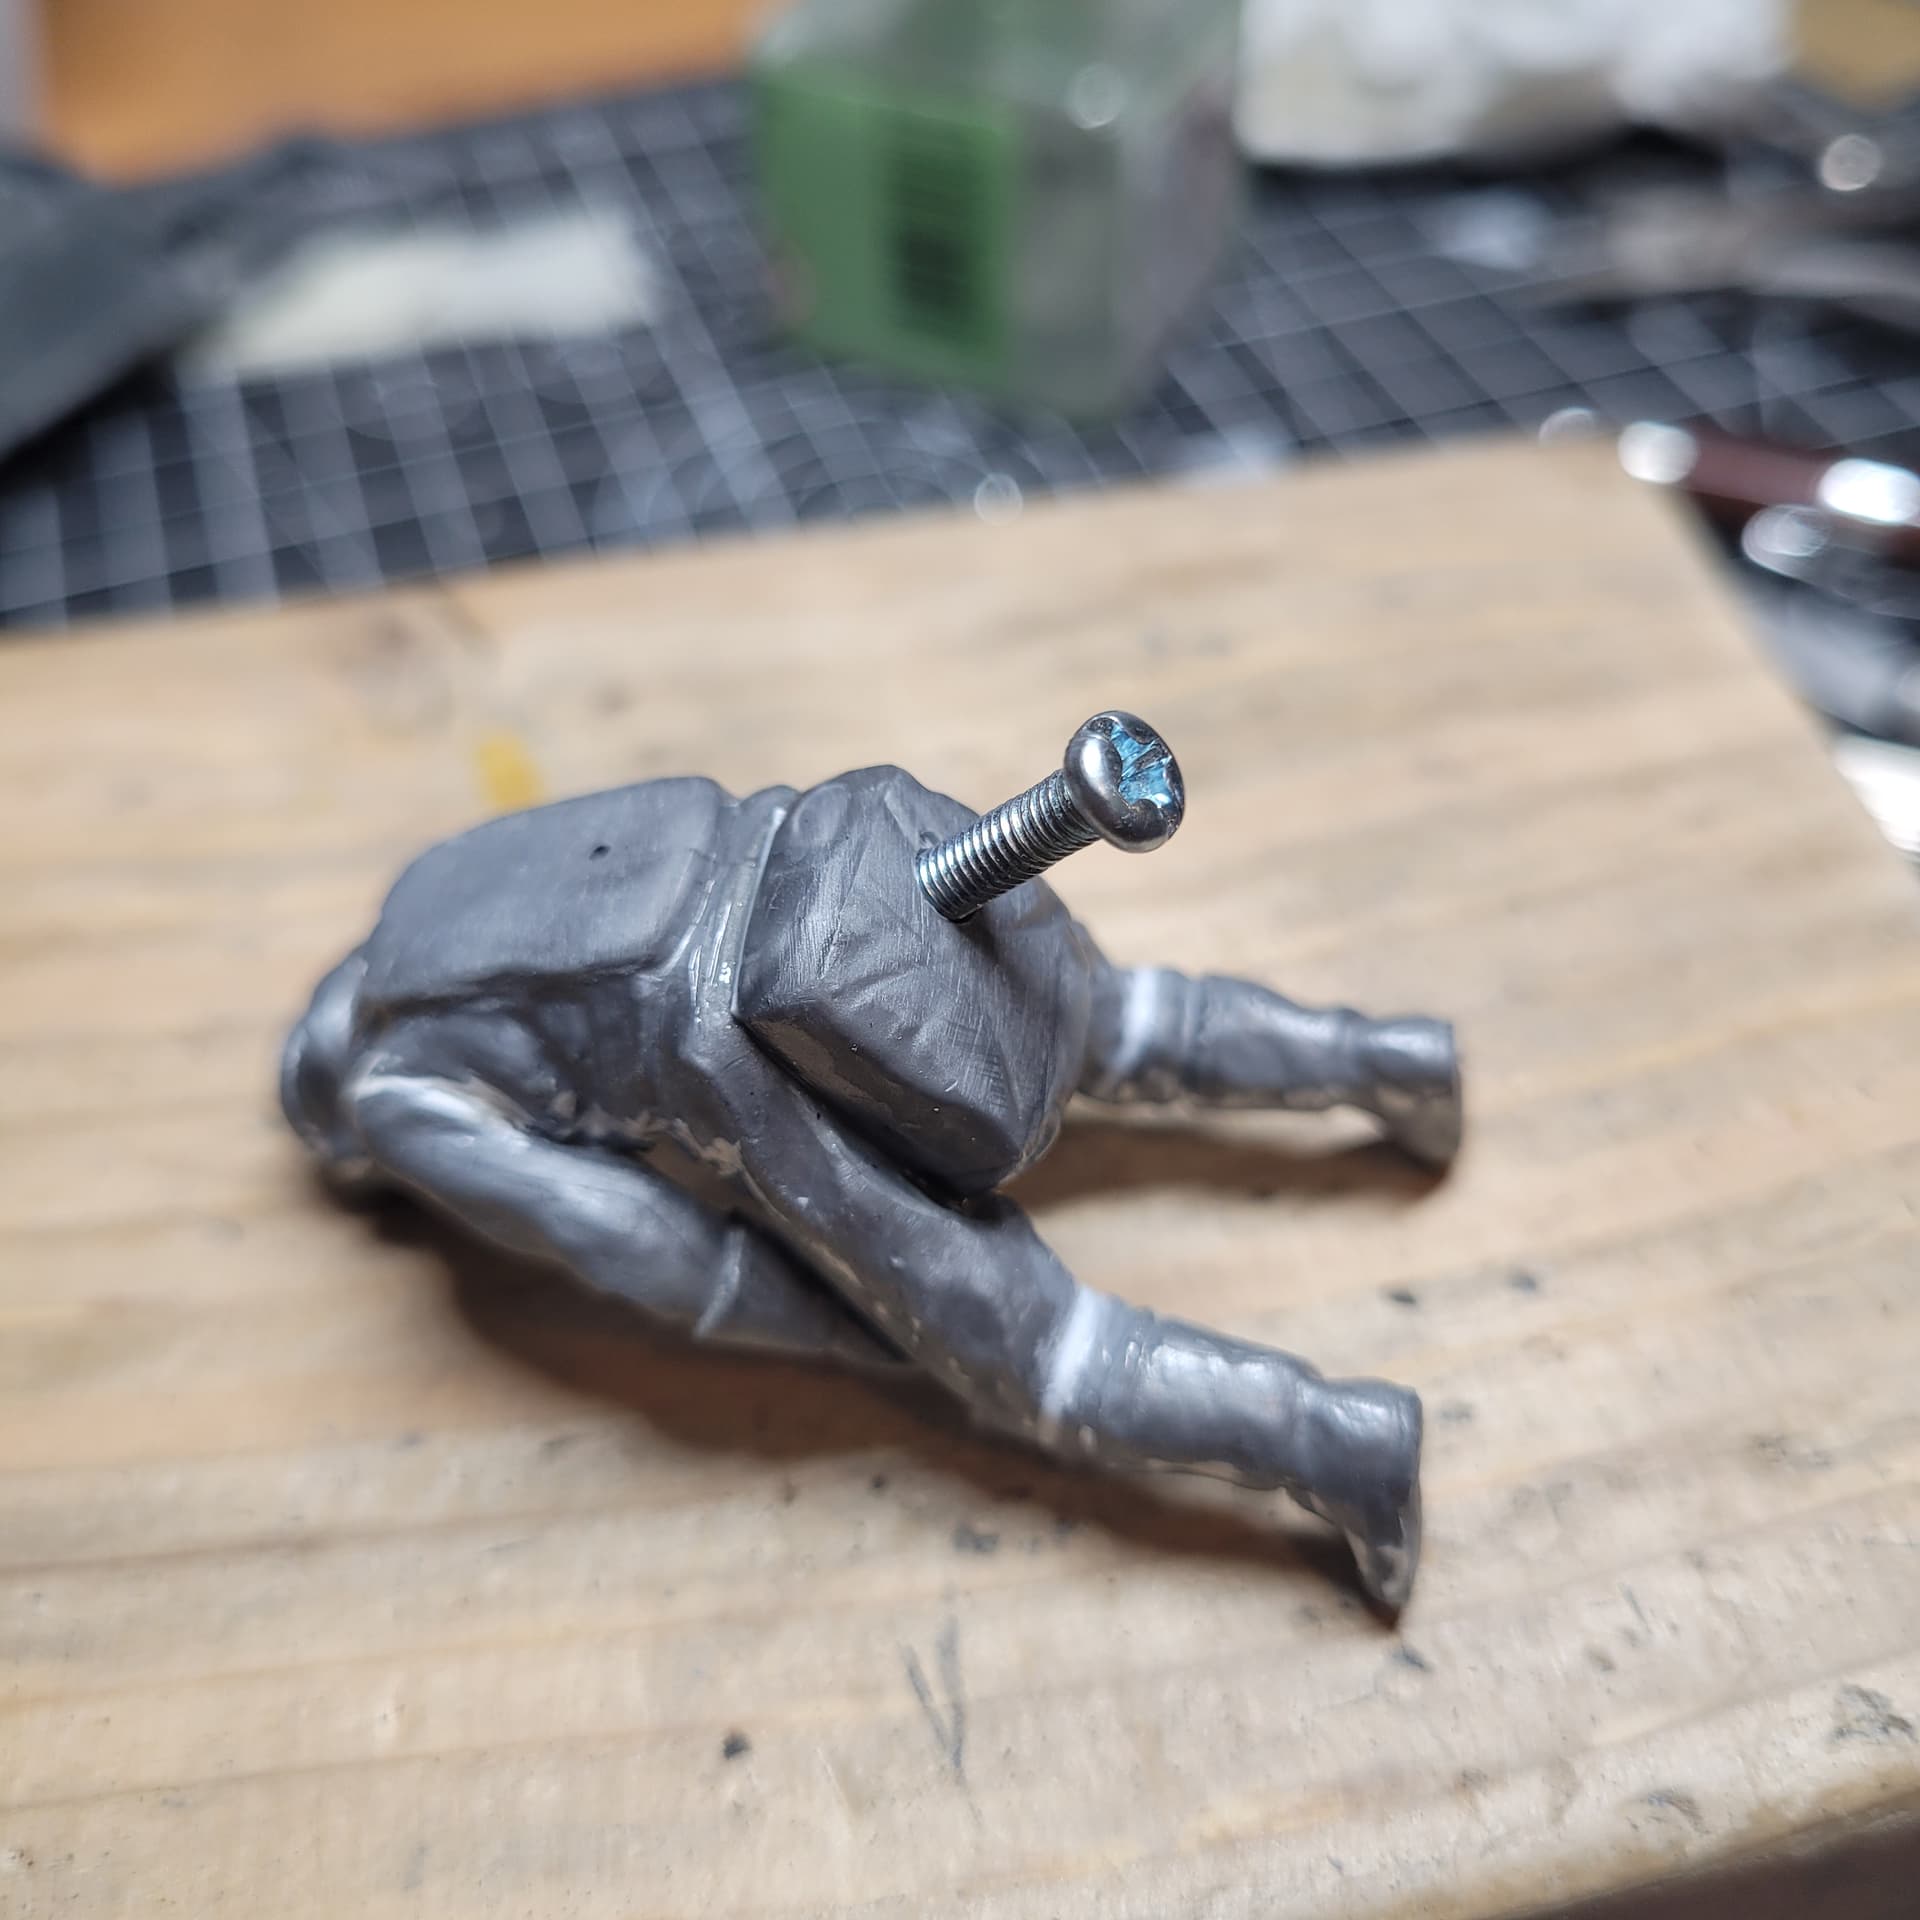
To continue the theme, I was thinking about how to fix him into the seat firmly without having to use glue after he’s painted; so after I’d fitted the nuts to the fuselage, I thought I could do the same with him. Pulled the parachute off, drilled the holes, fixed the nut in place, reattached the chute, drilled a hole through the seat and the cockpit floor:
4 Likes
I apologise beforehand… But I had to say it …I just couldn’t help myself …you have taken his BDSM lifestyle to a whole new level… He may never fly again lol…
8 Likes
I for one enjoy doing these sort of things, taking a sow’s ear and turning it into a silk purse (or a reasonable facsimile). I have both types of kits in my small stash, those that take more effort and those that you throw the box on the desk and out pops a model! I keep the newer ones for when I want a break from the more effort needed for the older kits.
I like what you’ve done so far on this, and I think it’s pretty cool that you’ve had this kit hanging around for that long. I have virtually nothing from my early life left other than photos and memories. All my models built as a kid were trashed after I joined the Navy. I still have some models I built in the early 80’s, but even those have been thinned out over the years from one thing or another.
Keep up the work. If you do decide to repro the prop, consider looking for sprue trees on ebay. When I did my Hobbycraft Hawk 75 conversion using the Monogram B-17 cowling and engine, I bought just the one sprue for the kit rather than trying to locate a complete model. You should also be able to make a silicone mold of those props quite easily.
2 Likes
The poor fellow has had a nut showed up his a…
4 Likes
A very exciting location to have a nut showing.
2 Likes
Strictly speaking, it’s a bolt. Which is worse than a nut.
2 Likes
Aha!
So the bolt isn’t screwed into a nut then?
2 Likes
Yeah, you’re right, it’s both. Edit: the nut is only in his 'chute though. It’s the bolt that goes through the nut.
2 Likes
He is screwed anyway ![]()
5 Likes
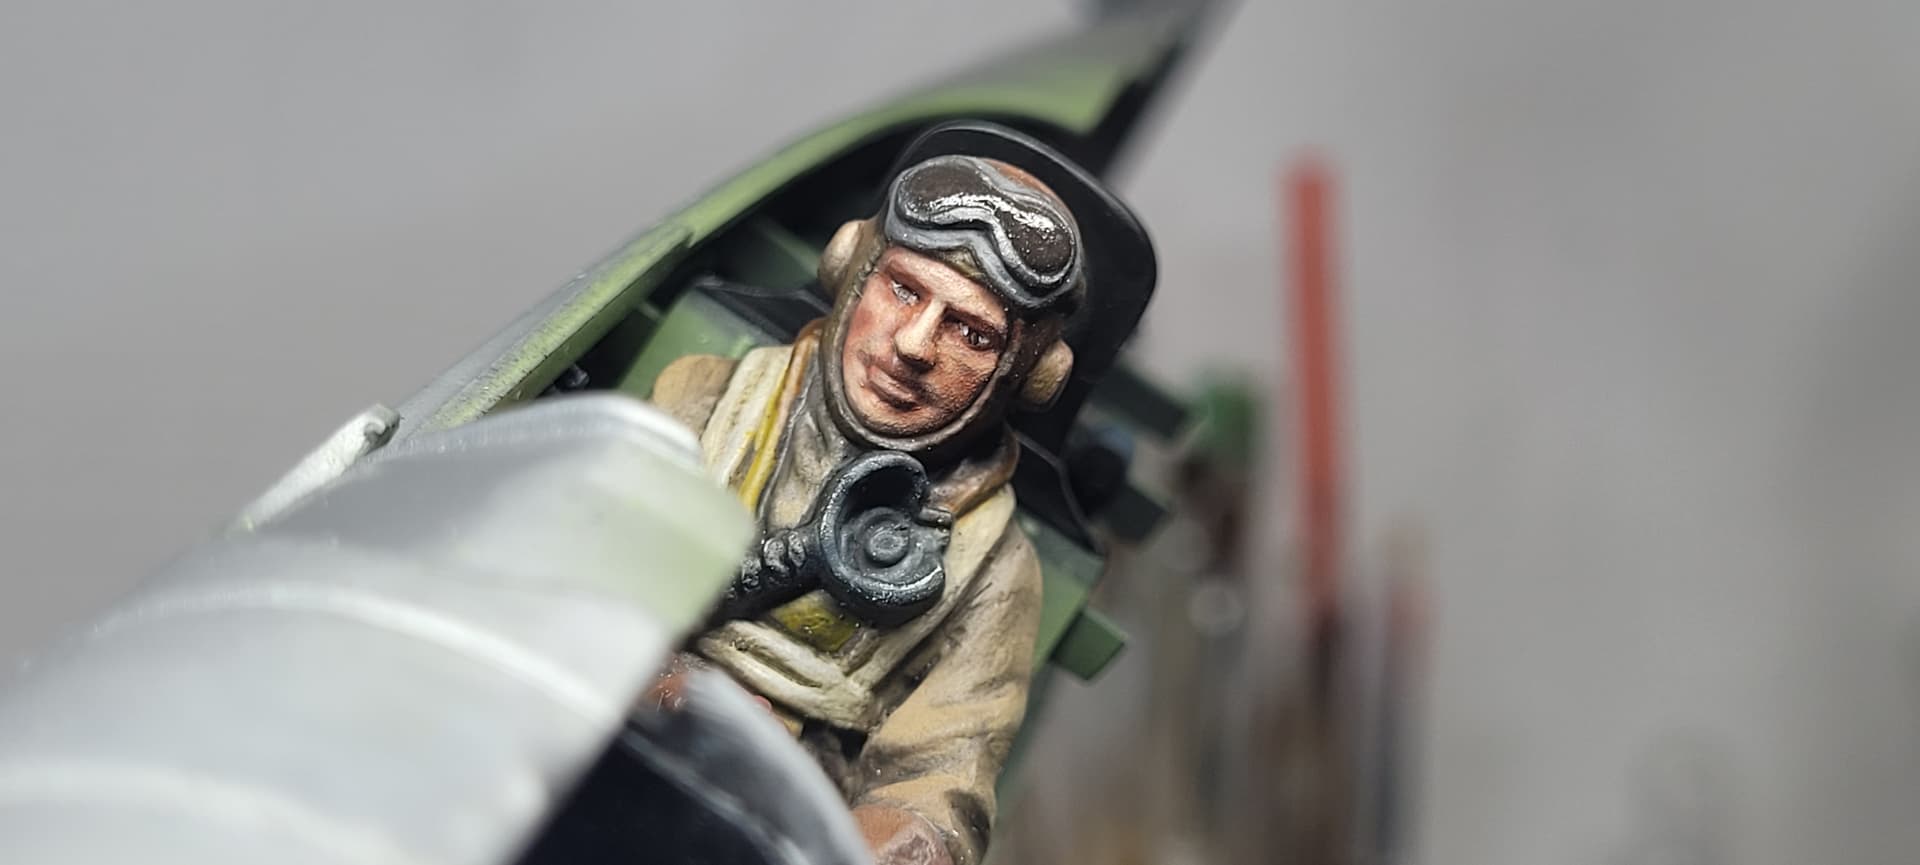
After a pause during which lots of other non model making stuff needed to be done, I have made a little progress. The pilot was base coated a couple of weeks ago, and detailed today, though not quite finished.
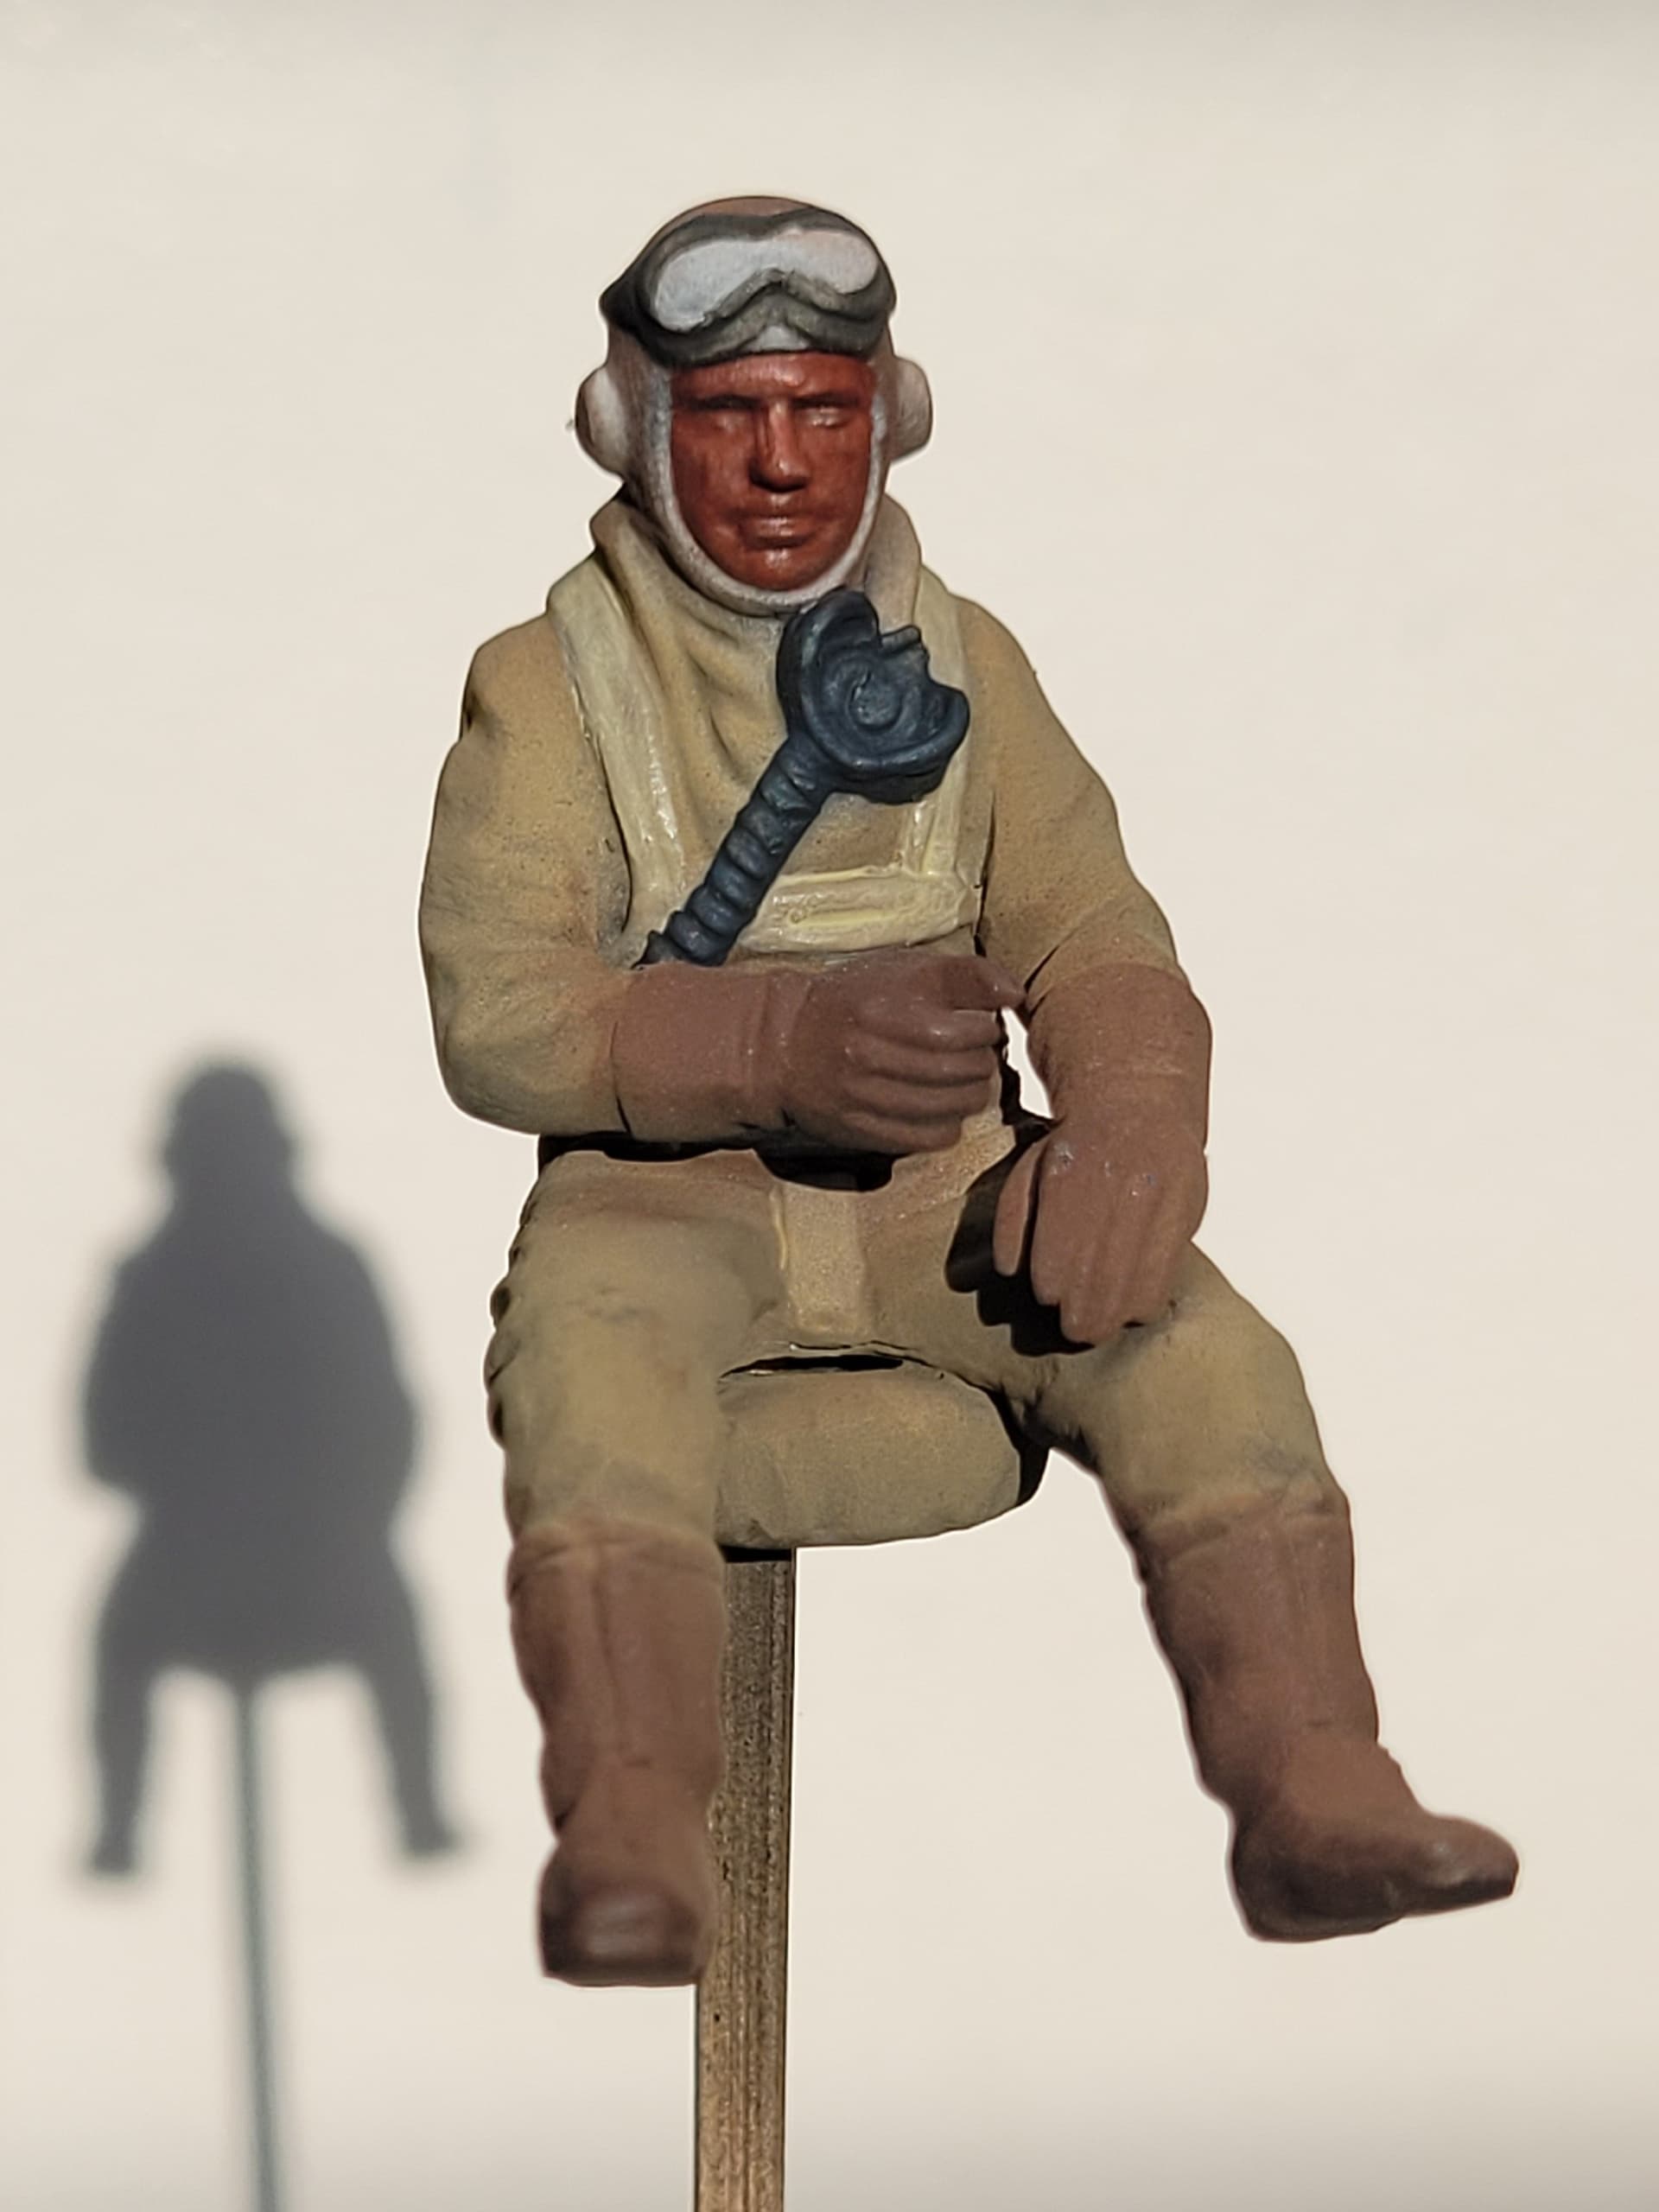
3 Likes
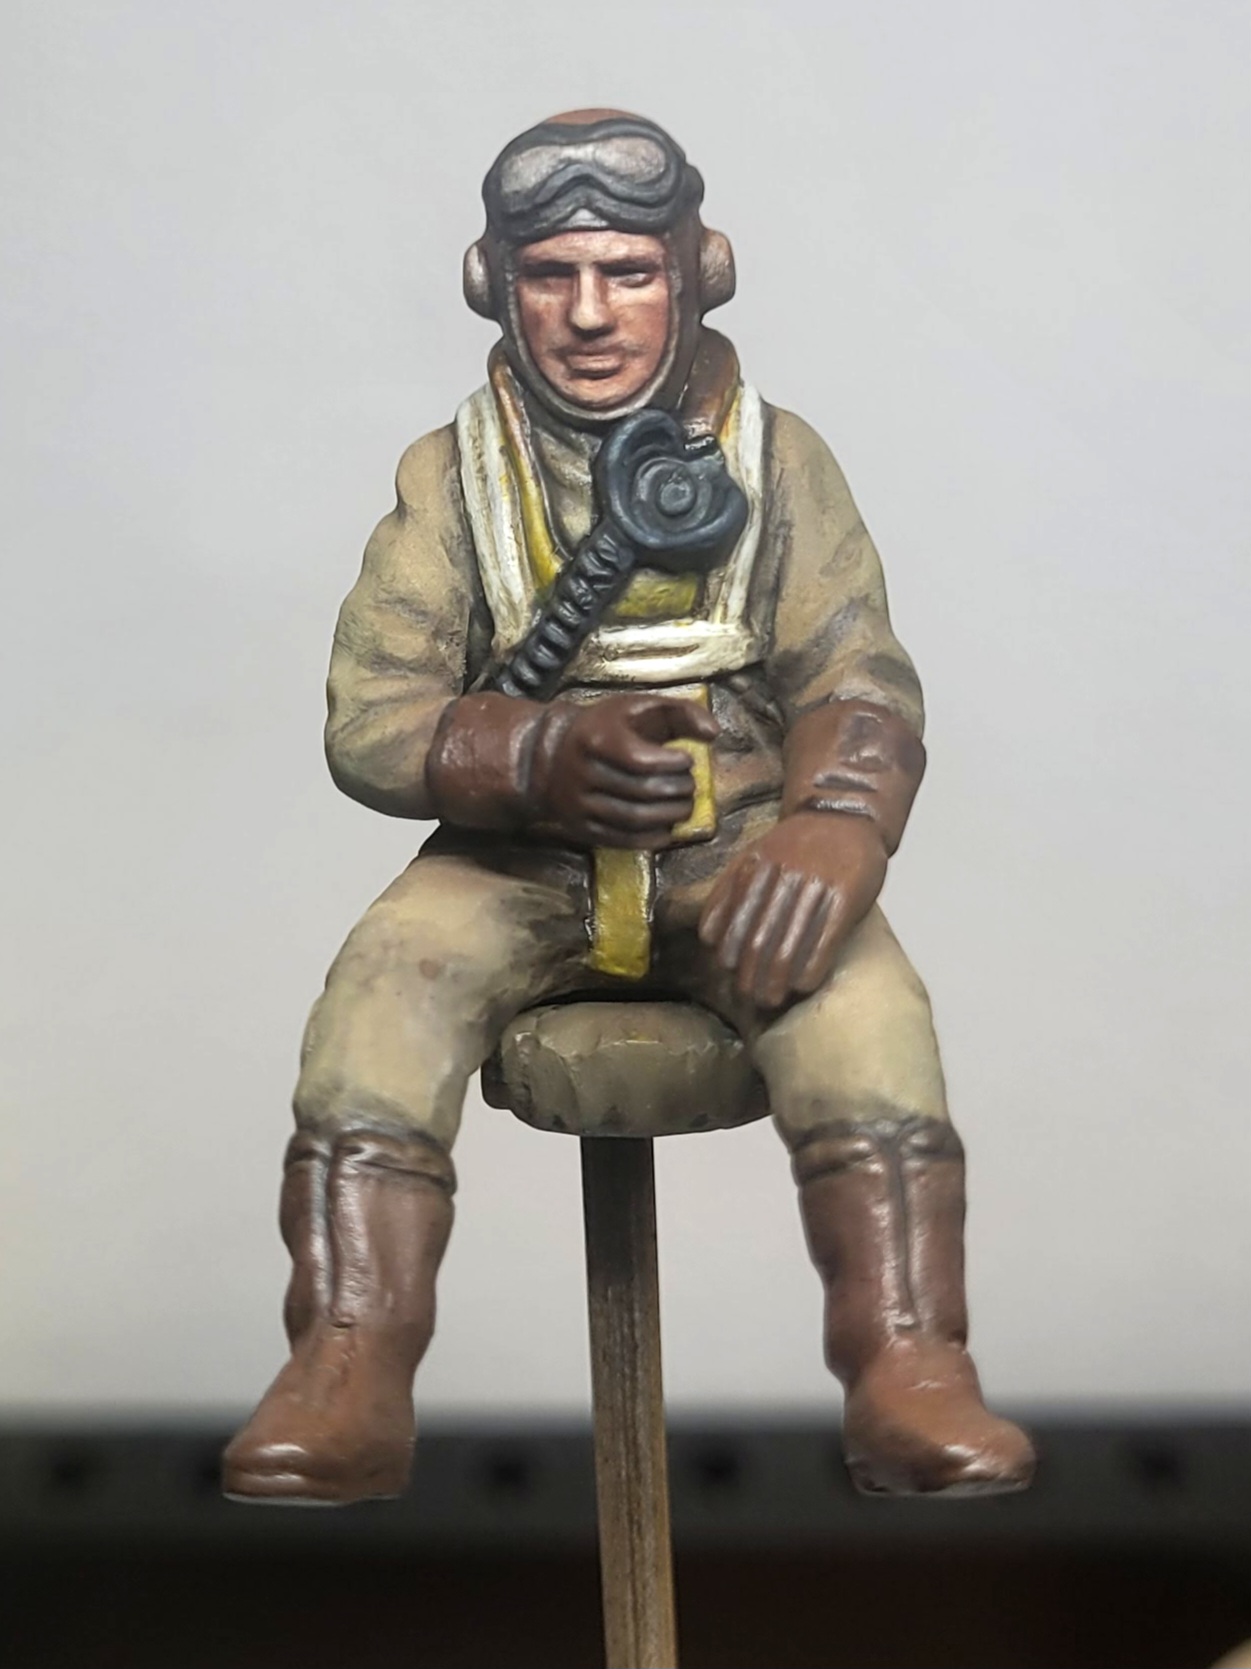
After about a dozen touch ups, and buying a new tiny brush at the Hobbycraft that just opened, I think I have the eyes looking acceptable - hopefully not too crazy looking…
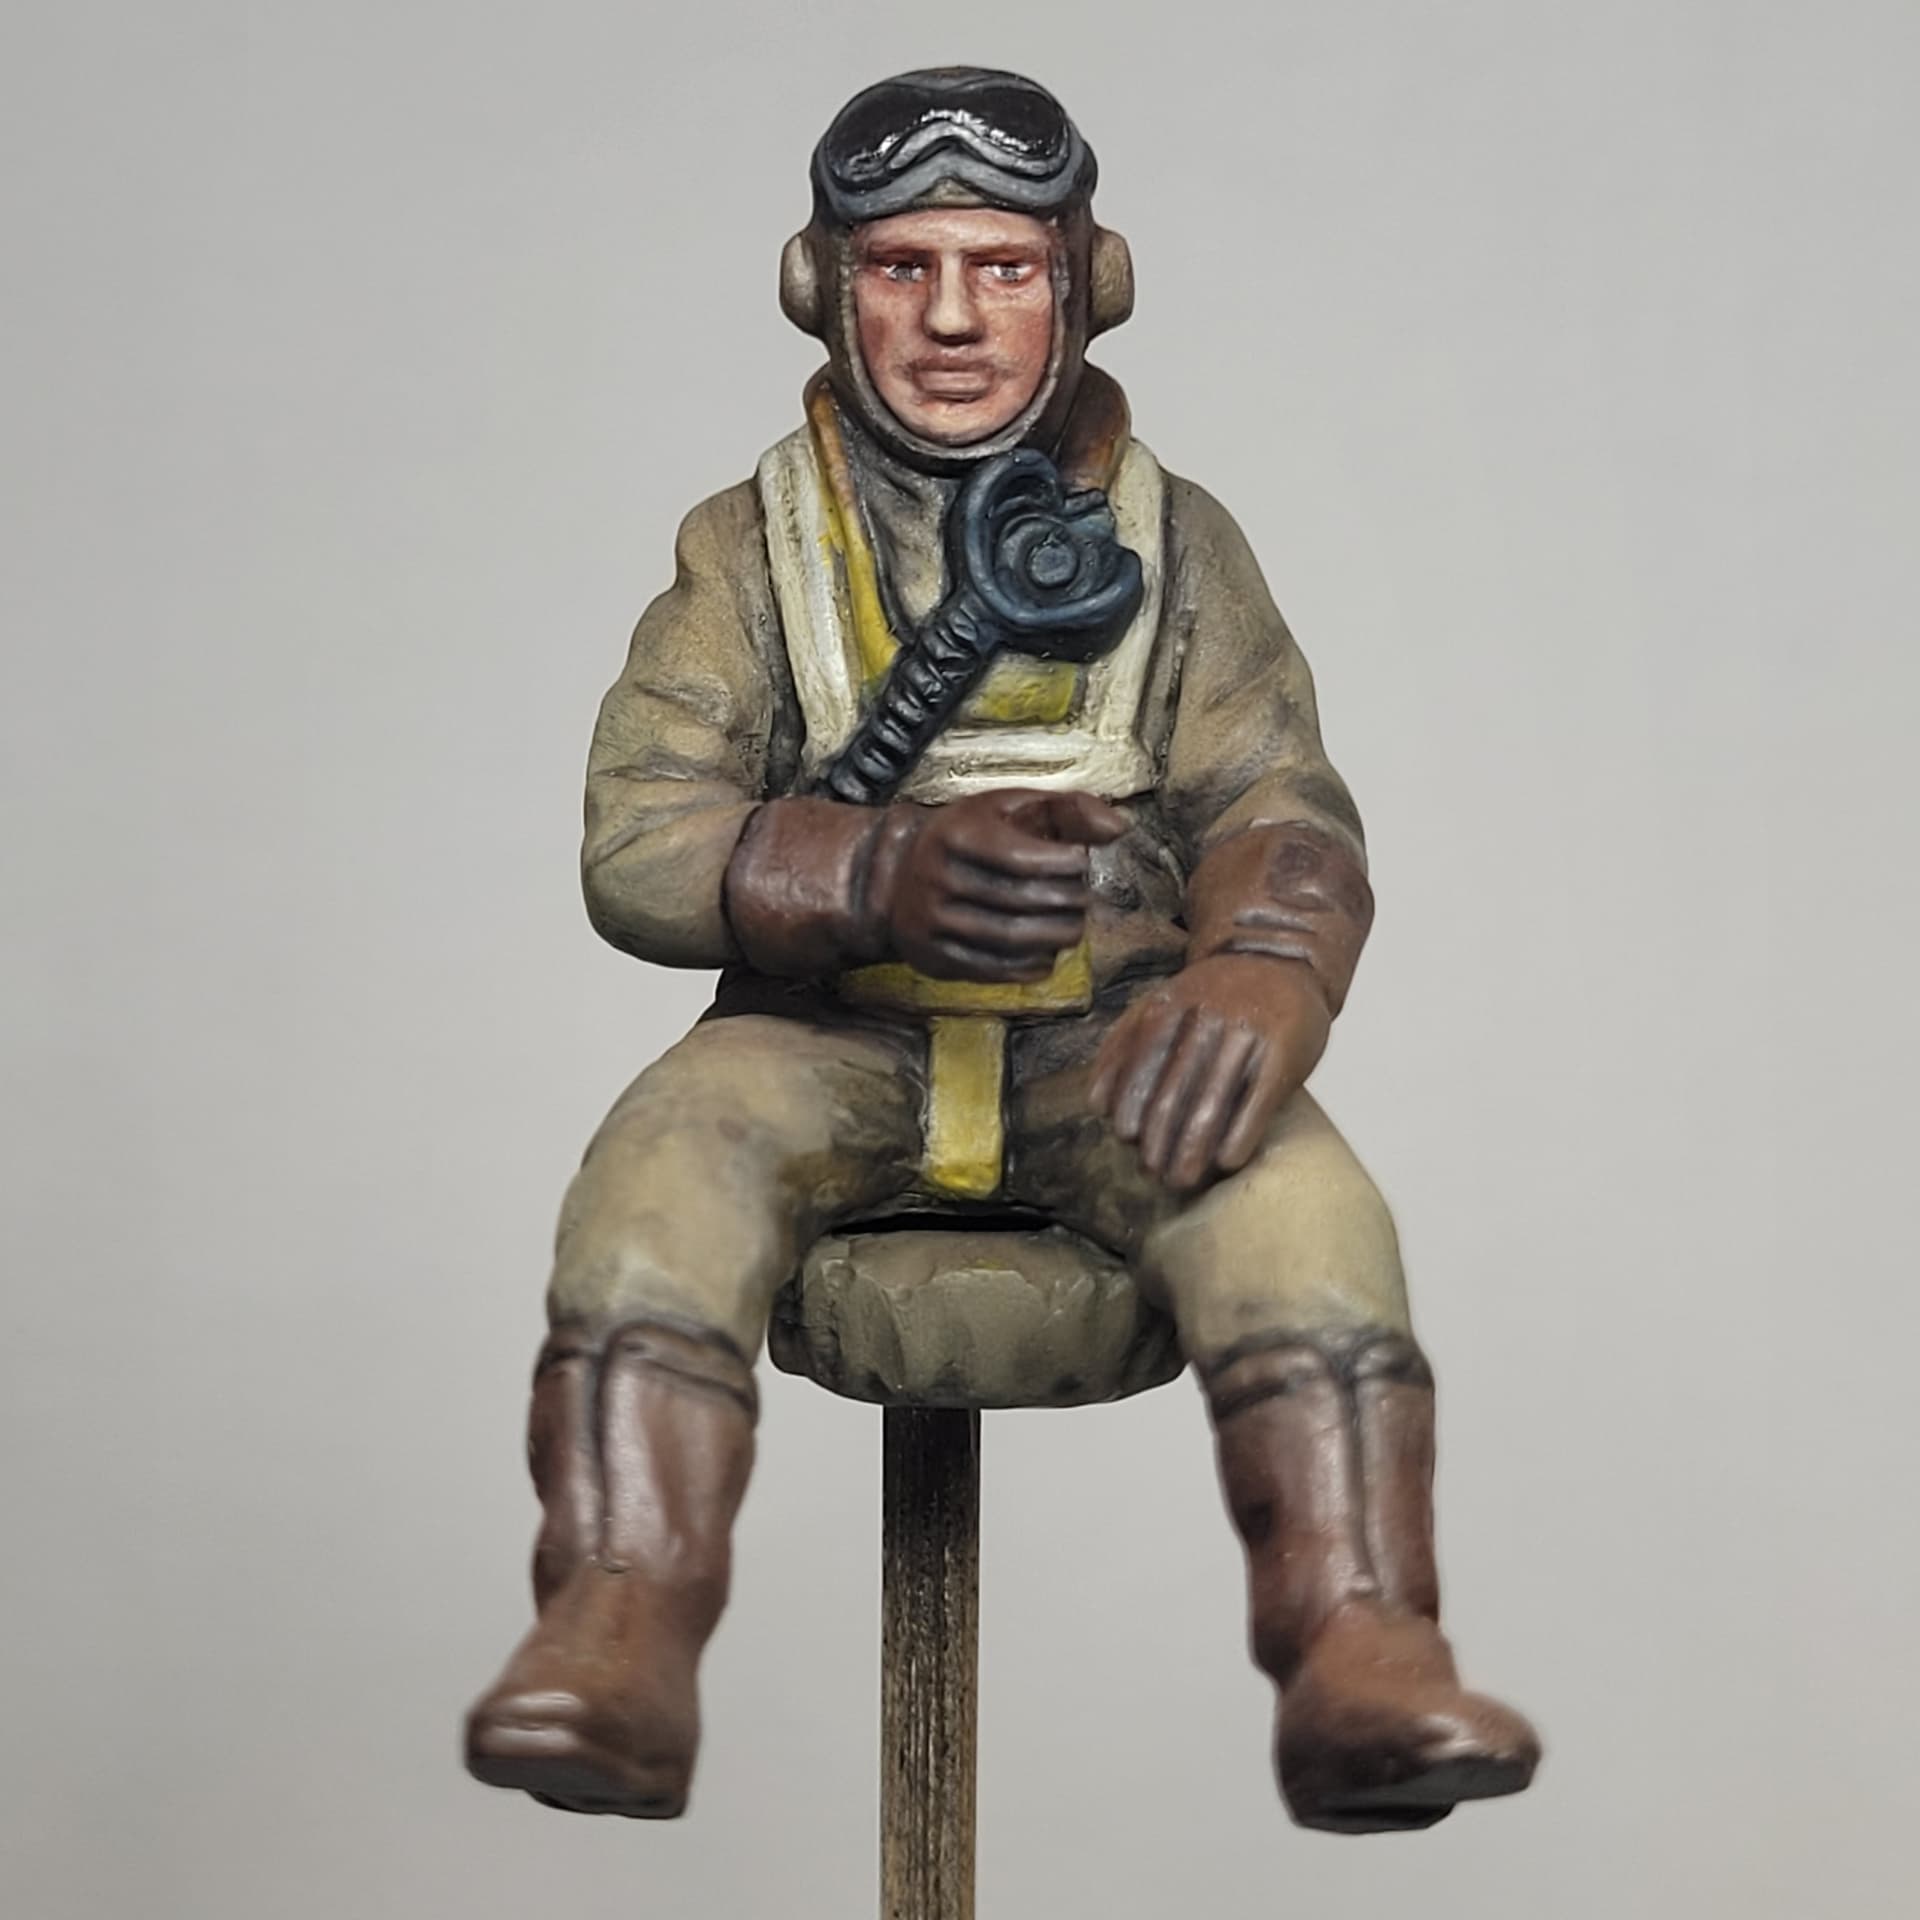
4 Likes
Considering the age and the prodigy of the figure, it looks fine. No problem with the eyes…
2 Likes
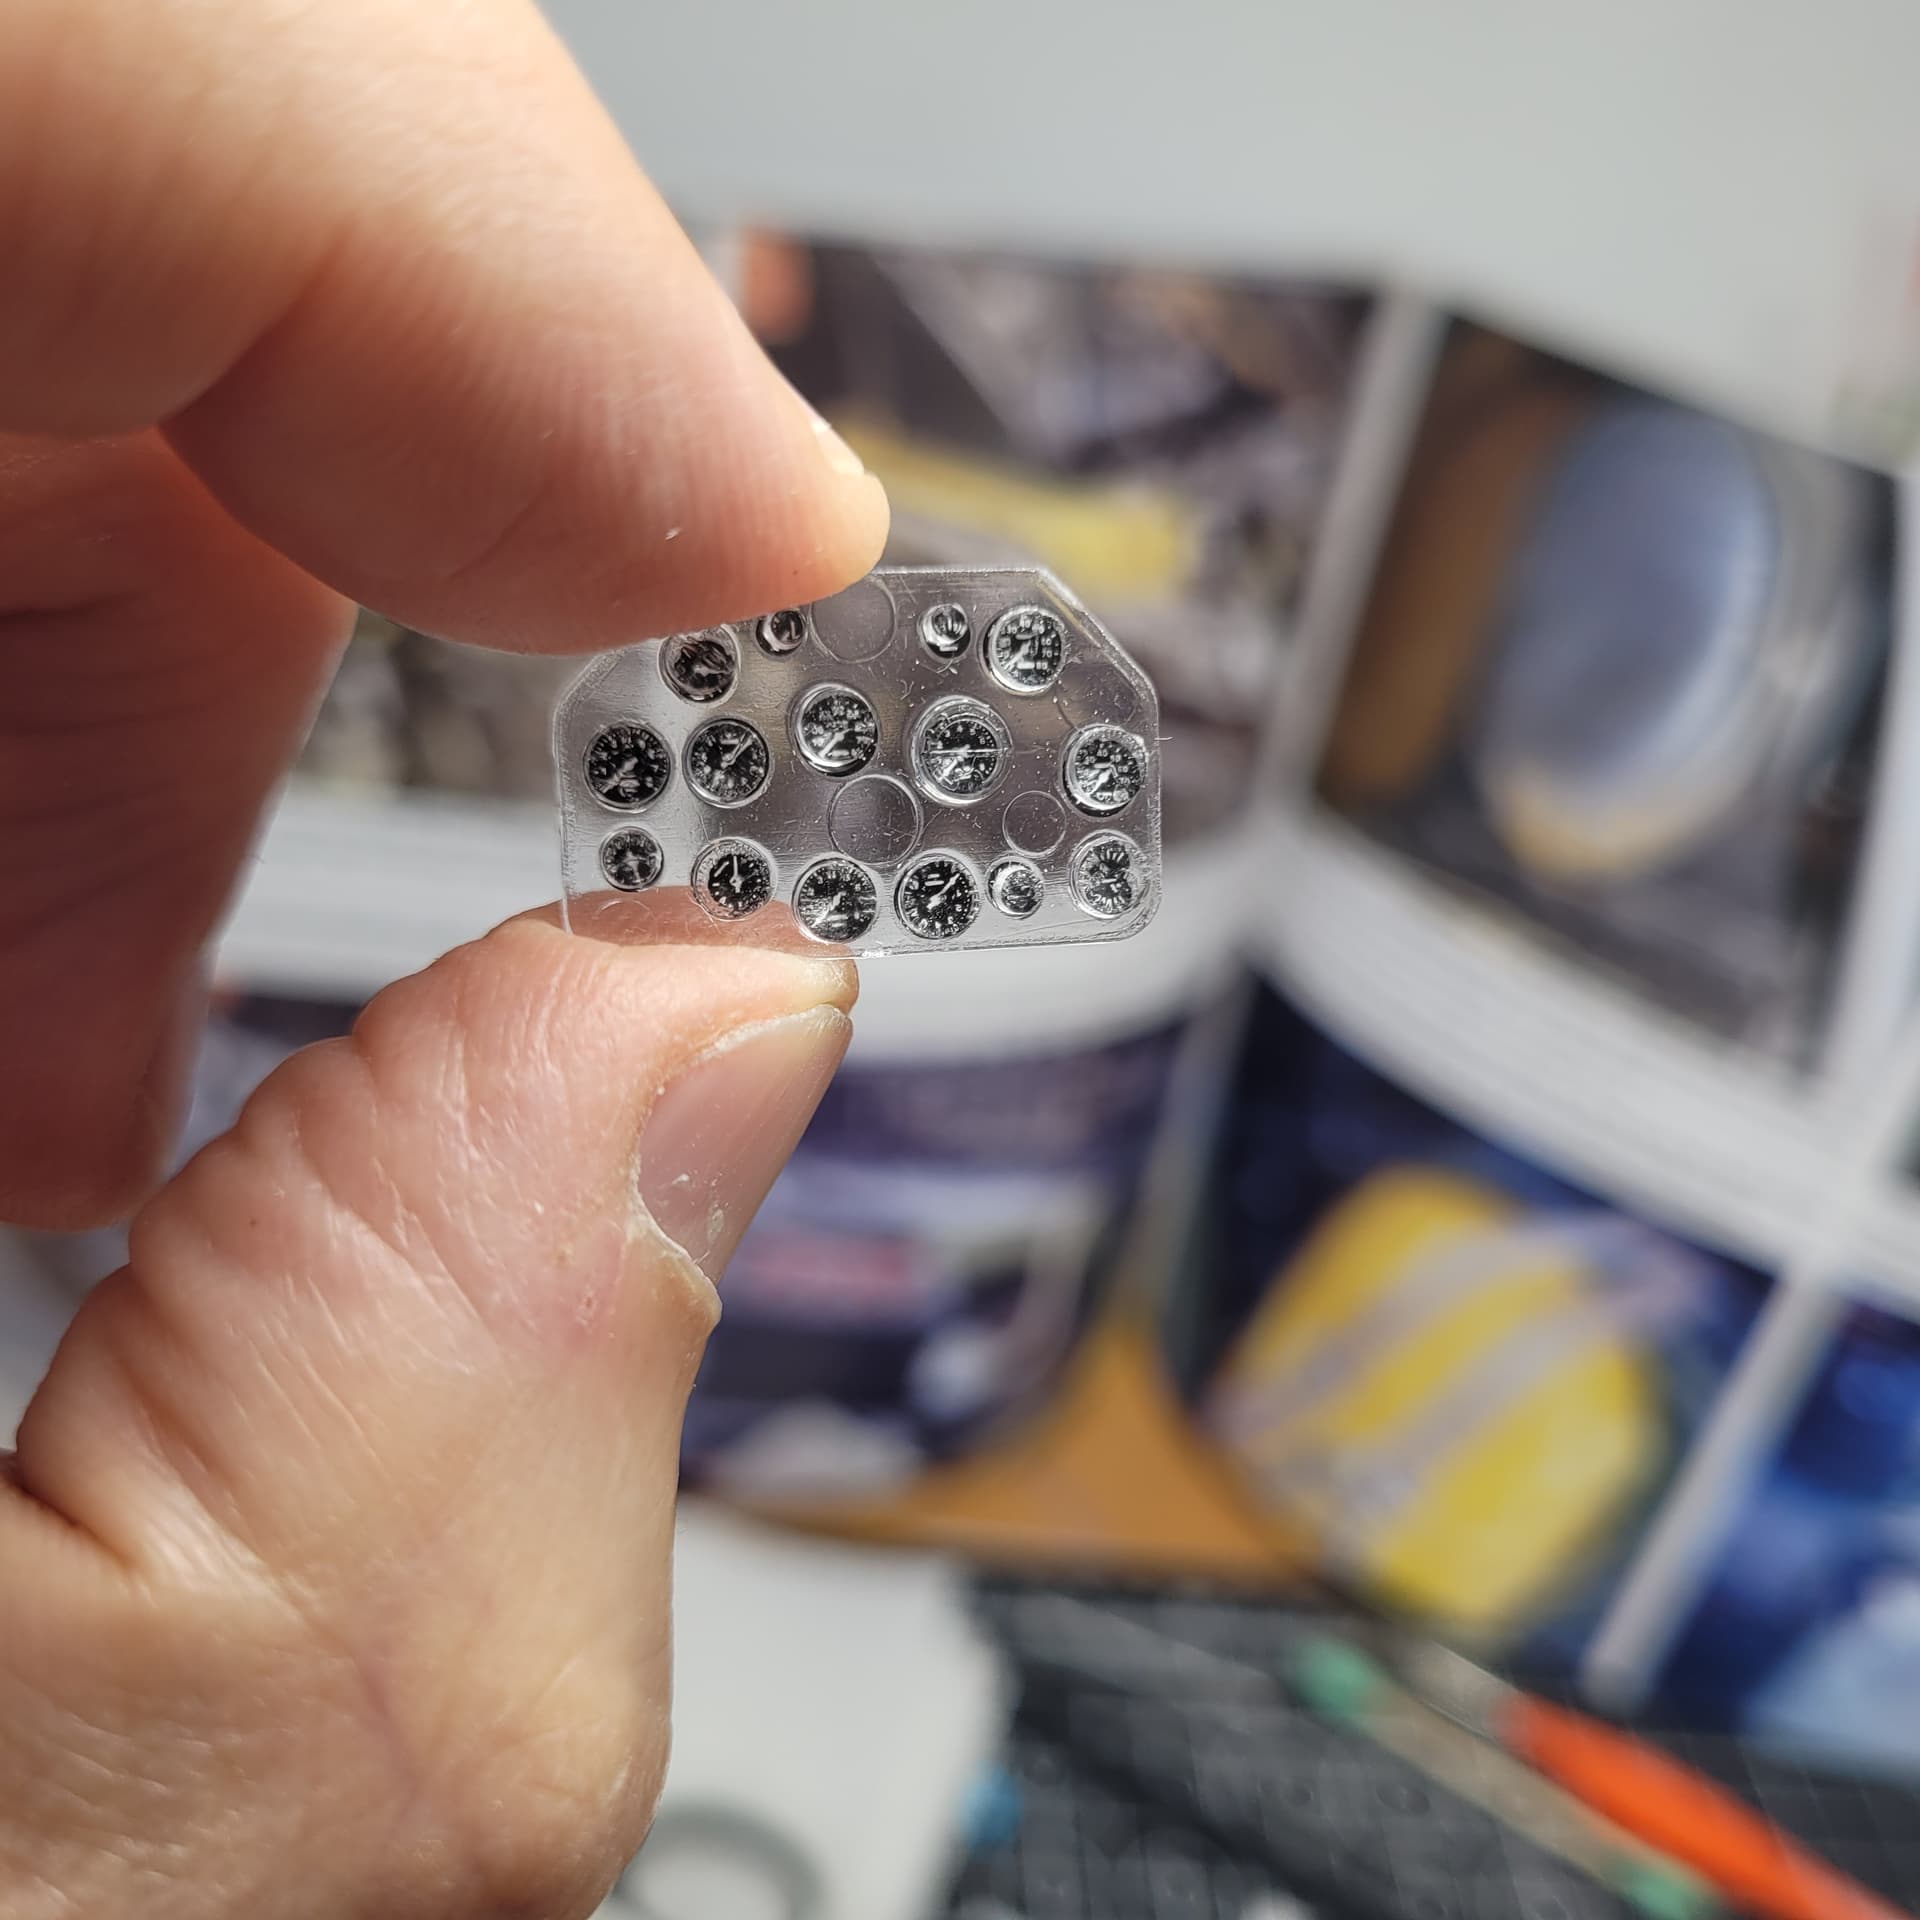
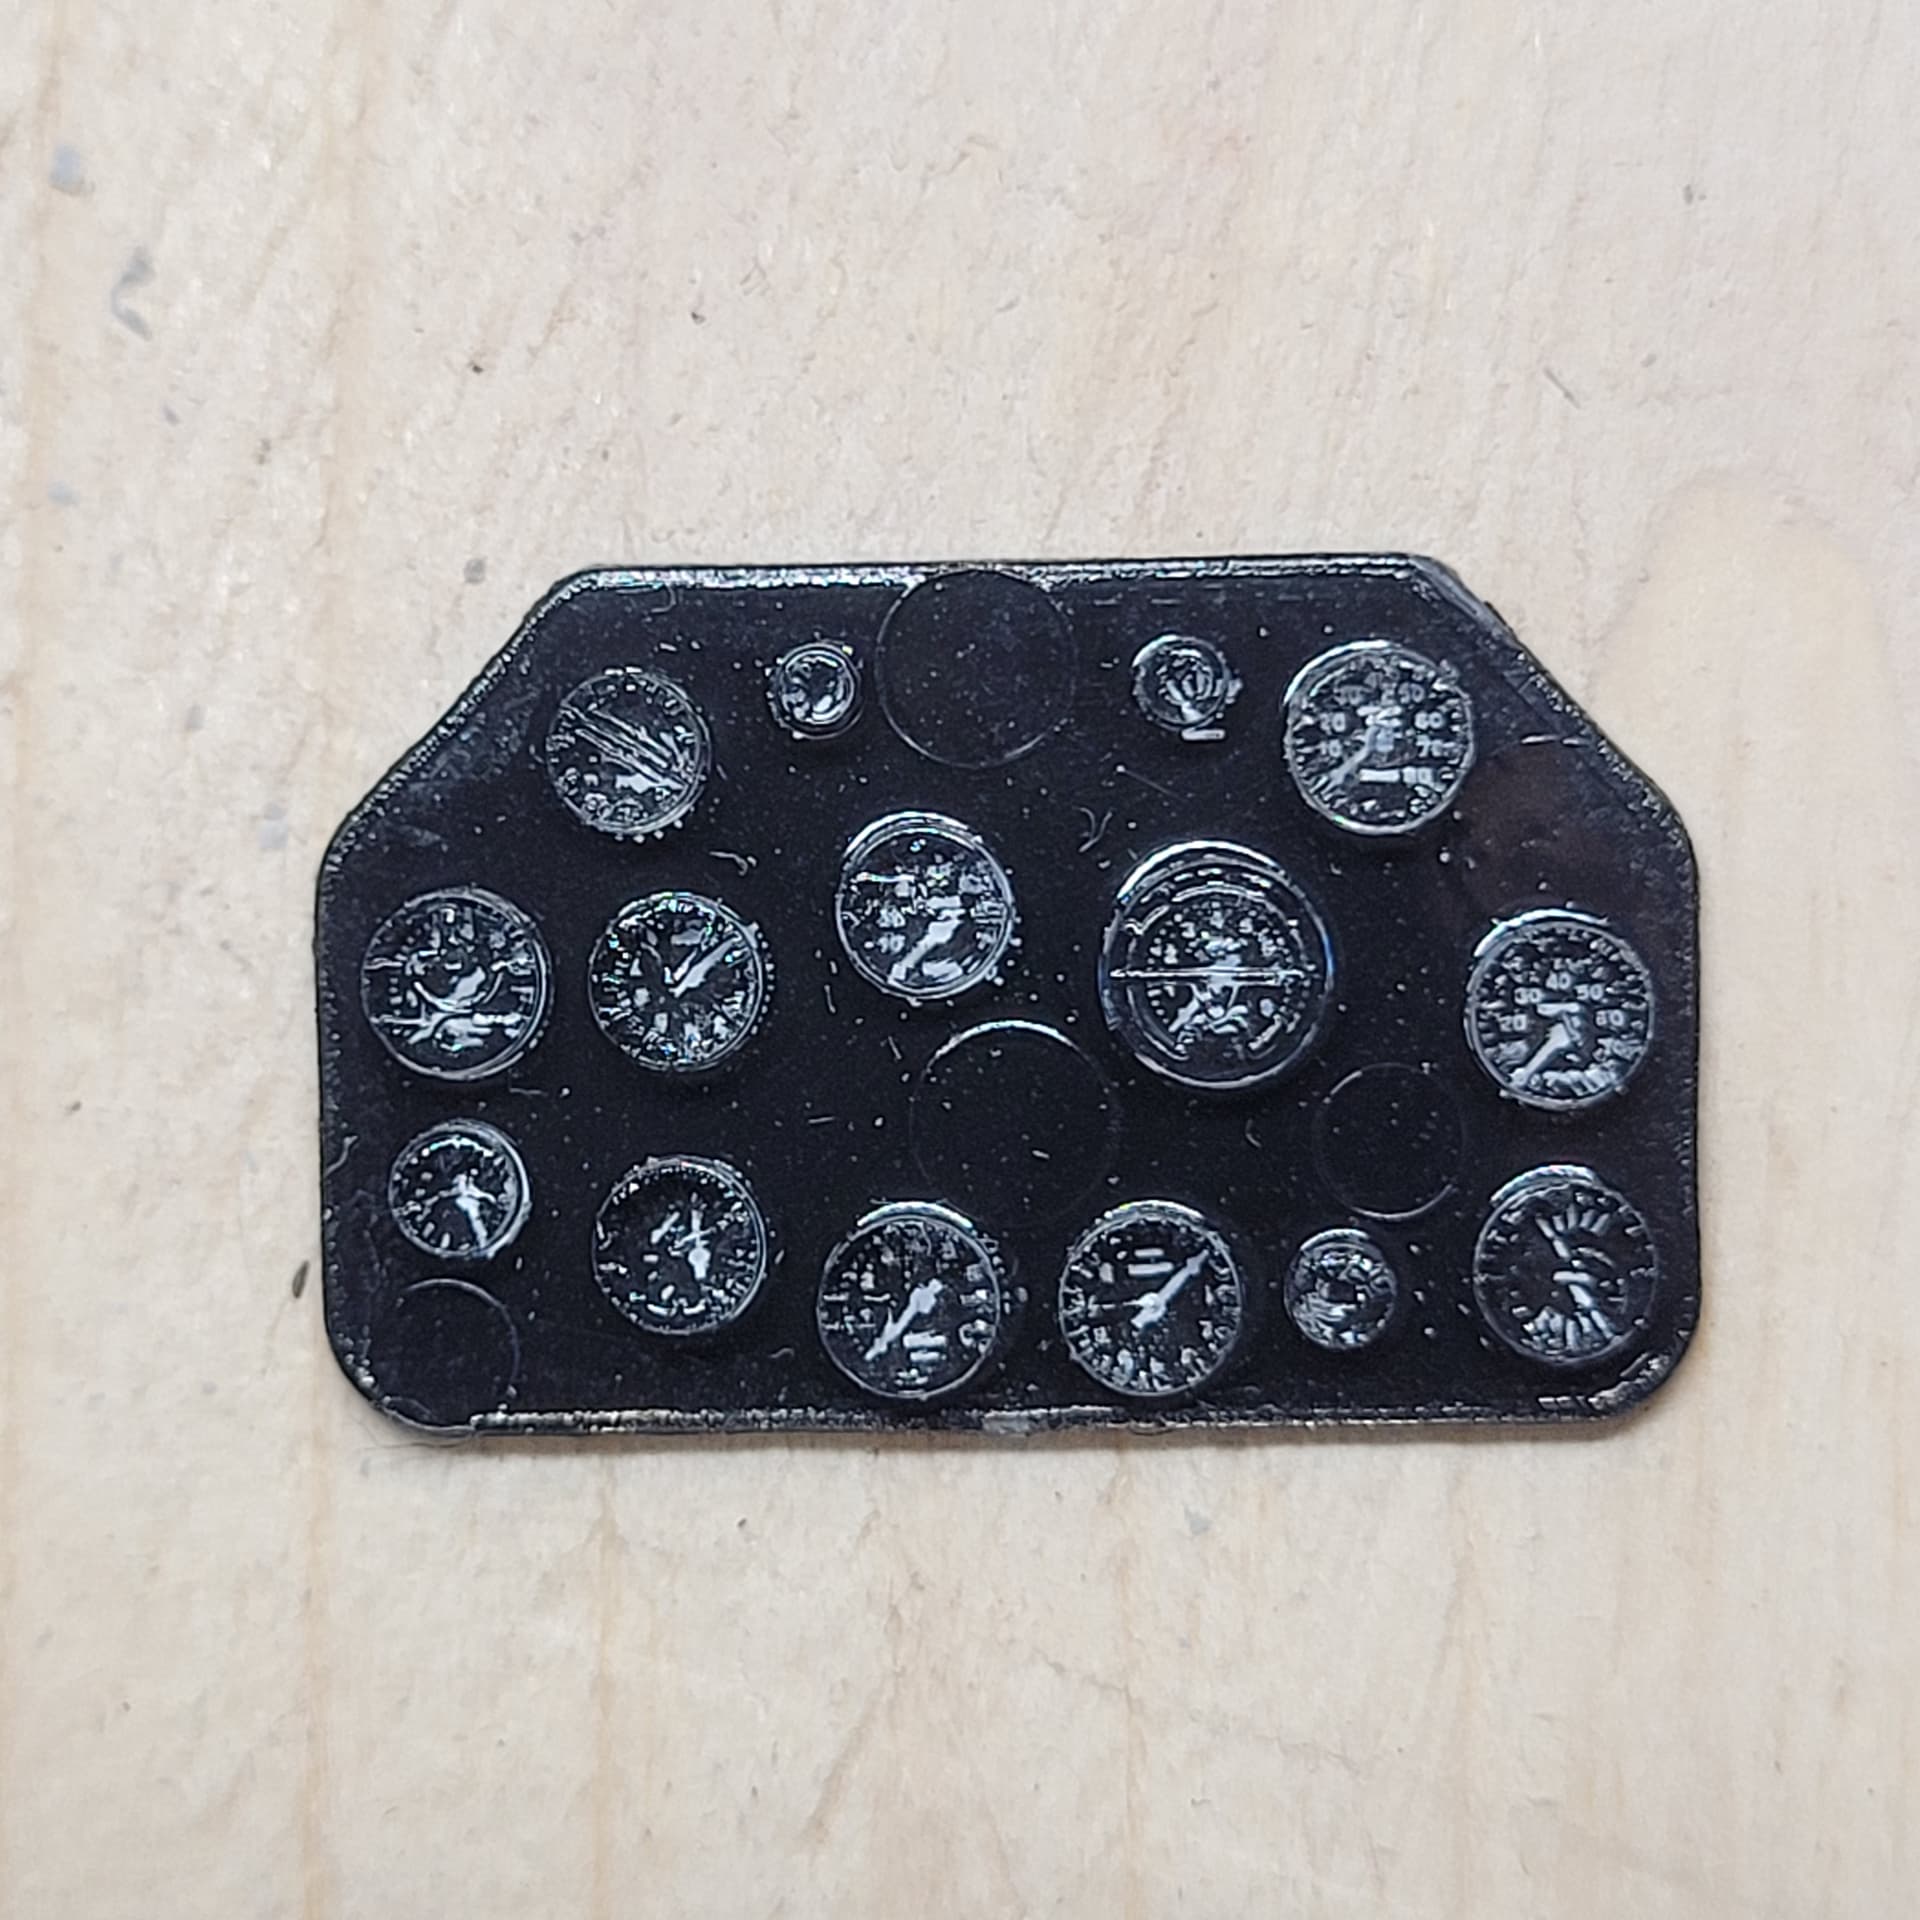
I had a look at aftermarket instrument panels but decided to avoid spending any money or upping the work stakes, and went with what I had to hand. These are 1/32 scale generic car dash dials applied wrong side up to the back of the Airfix clear insert, which was then painted black. I applied a few of them upside down for variation, so they weren’t all showing 0mph or 0k revs!
Test fitting of the cockpit unit into the fuselage halves… fits quite well like this, one at a time, but is a bit of a nightmare when trying to sandwich it between both. Possibly related to the ancient glue damage on one side, or the modifications I did to make the components into one assembly, or perhaps it was always just a difficult fit for this kit… but I’ve spent several hours reducing and reshaping the various edge parts so that the fuselage can close up properly with the seat / instrument panel / fuel tank etc. in place. Not glued in yet, I’m psyching myself up for it. Various decals here are also what I had - some of those notices definitely visibly say “Demag” or “Achtung”… ![]()
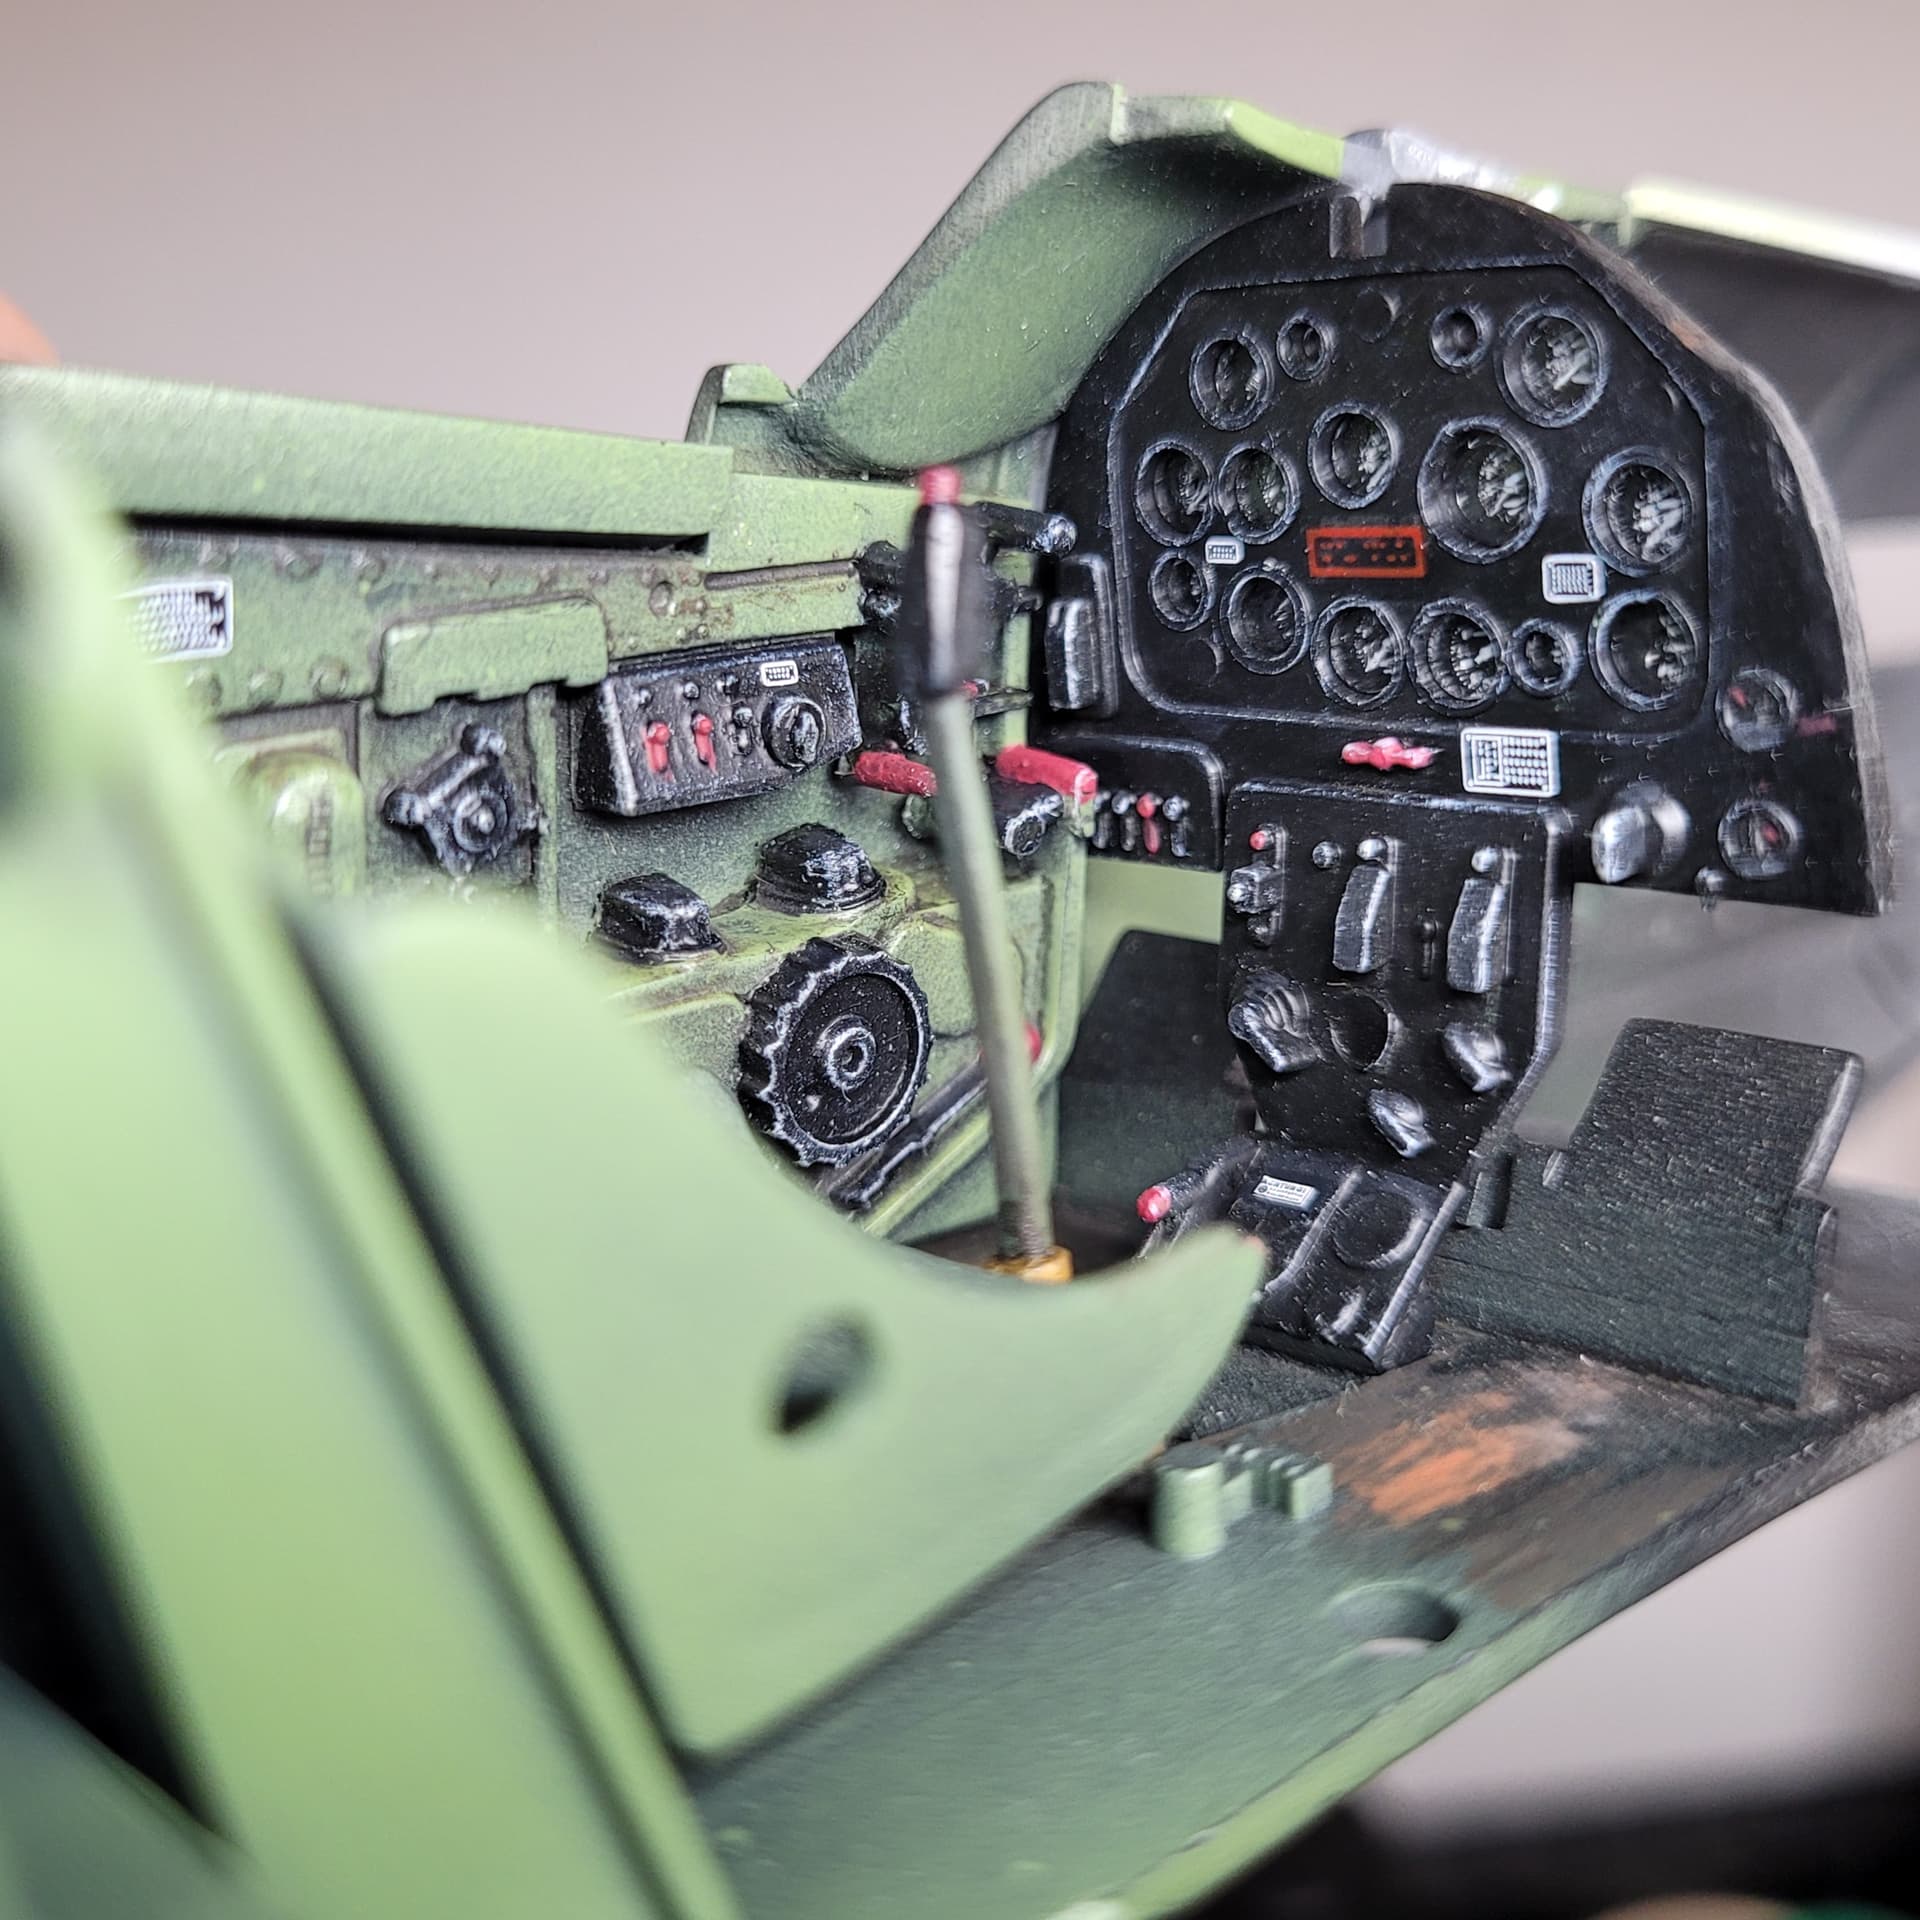
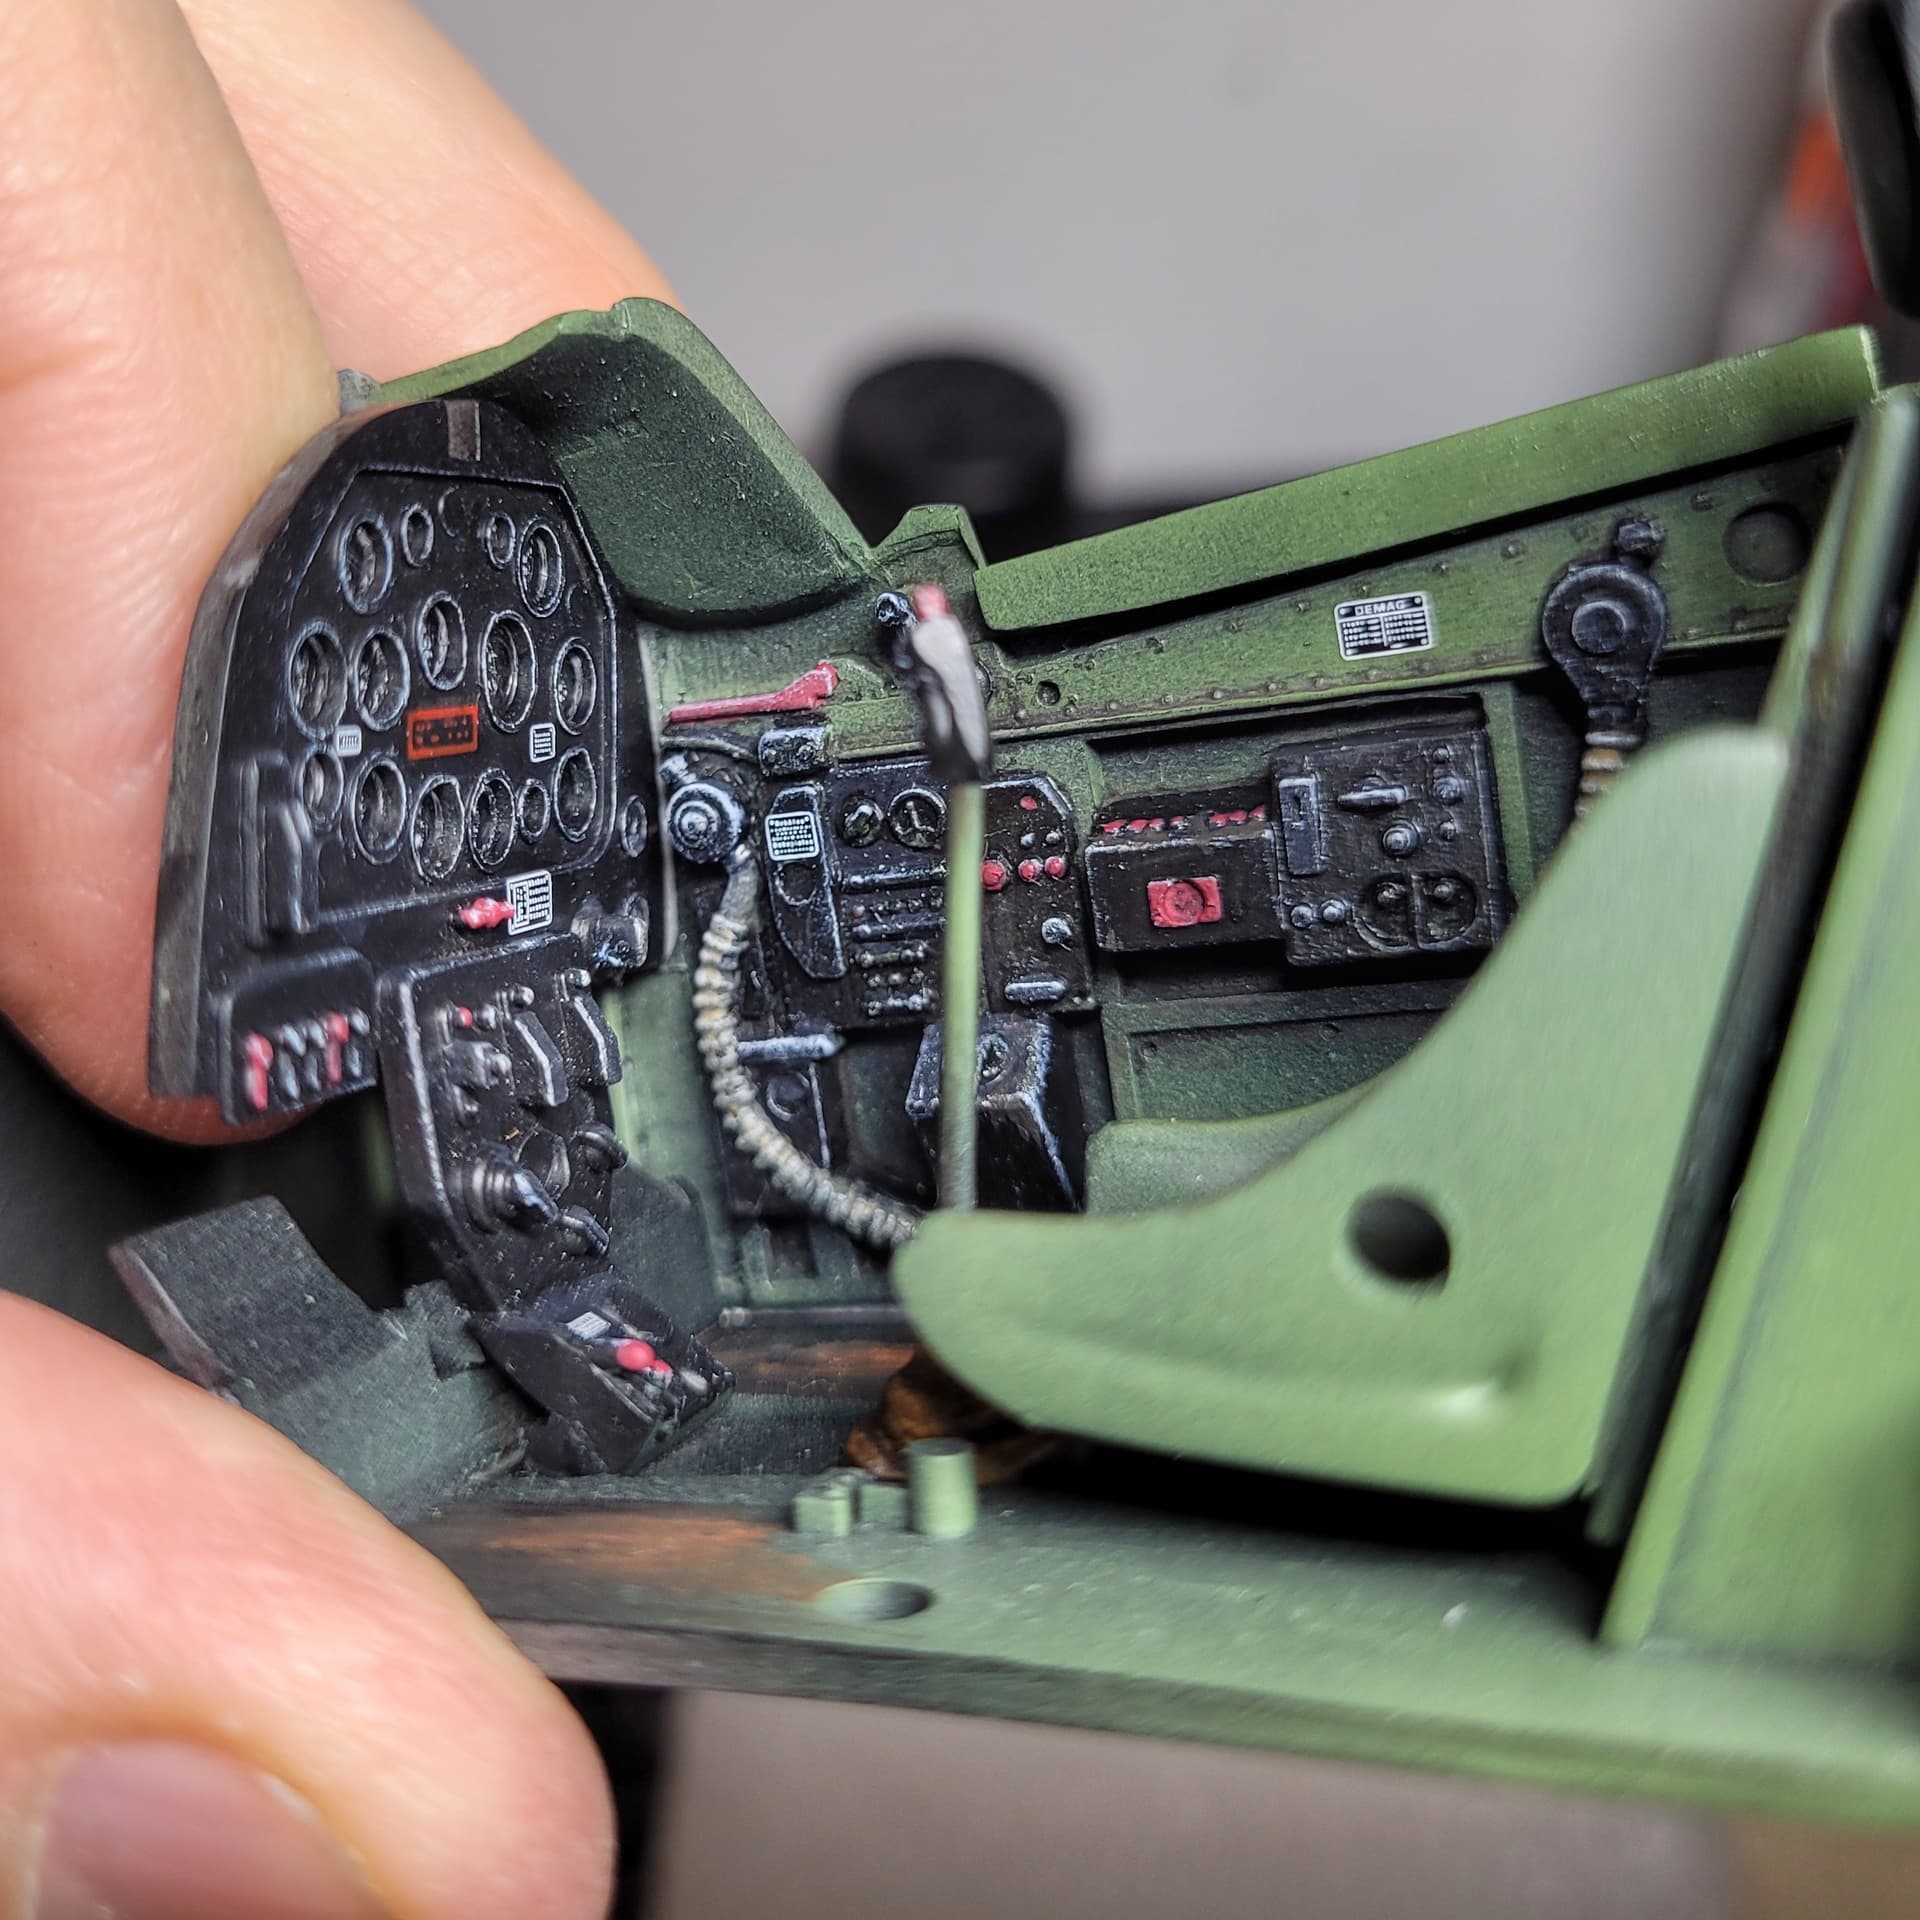
9 Likes
Bit of an update, though not a lot has happened in six months.
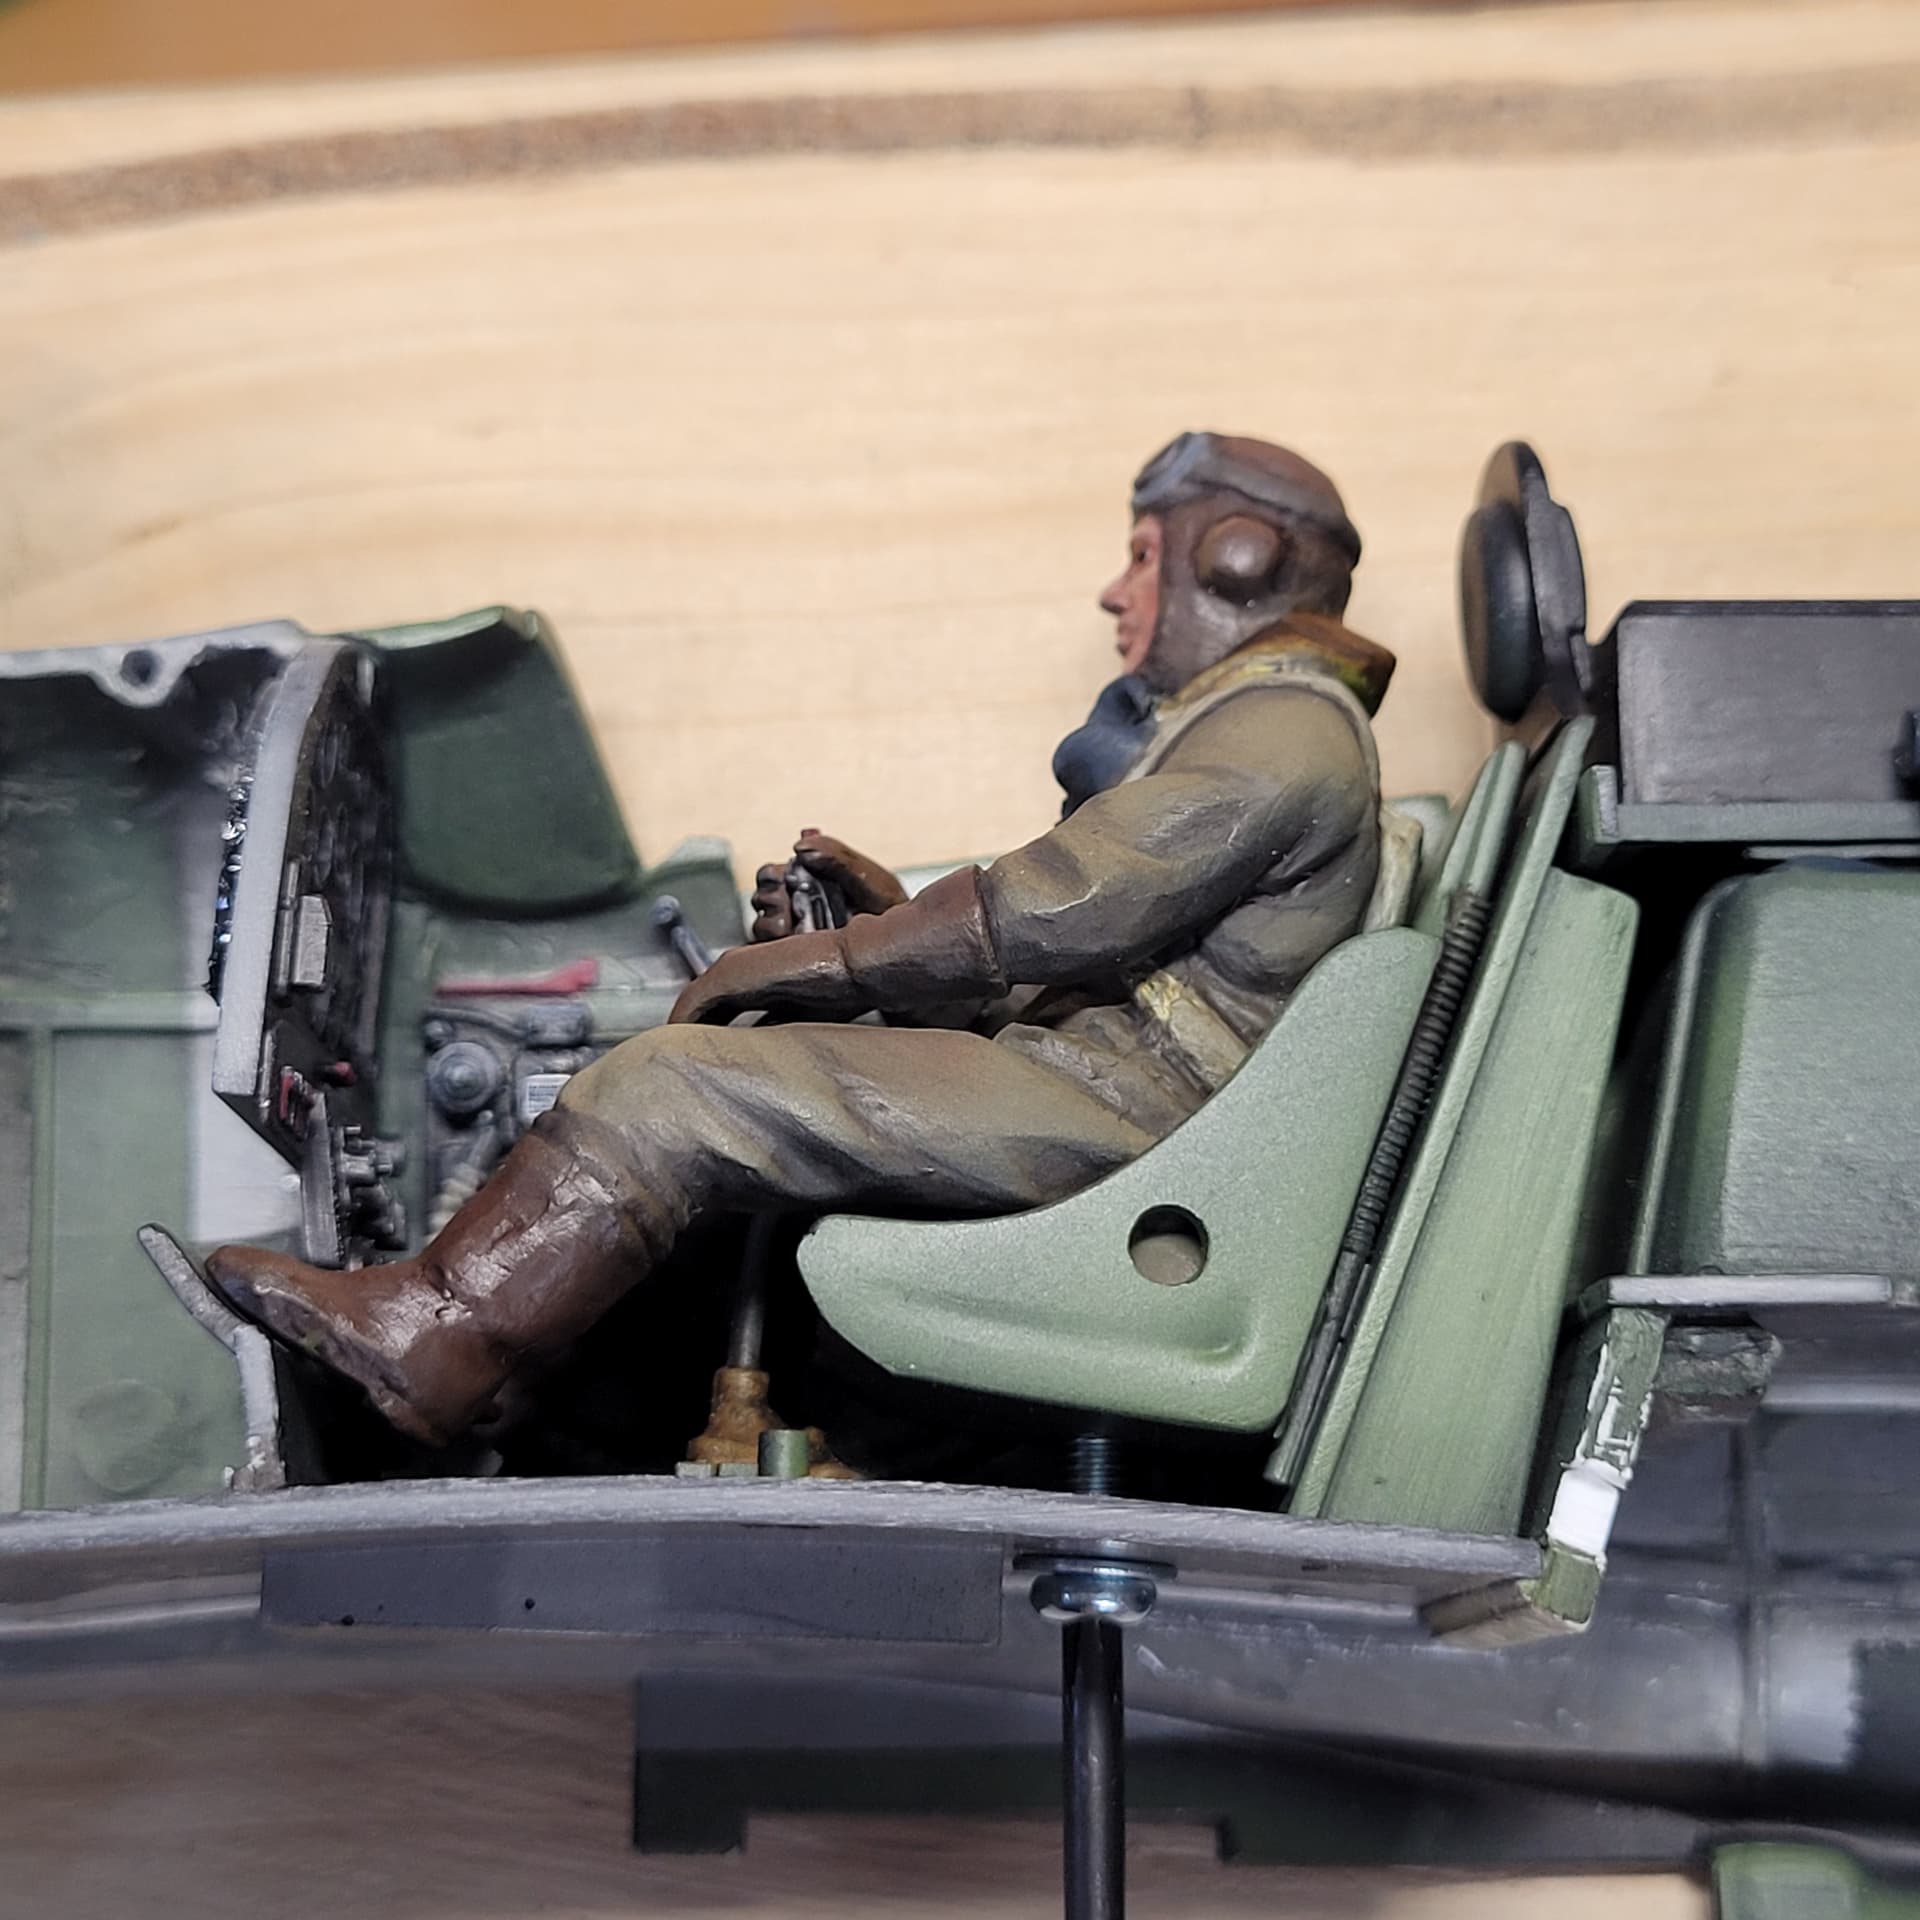
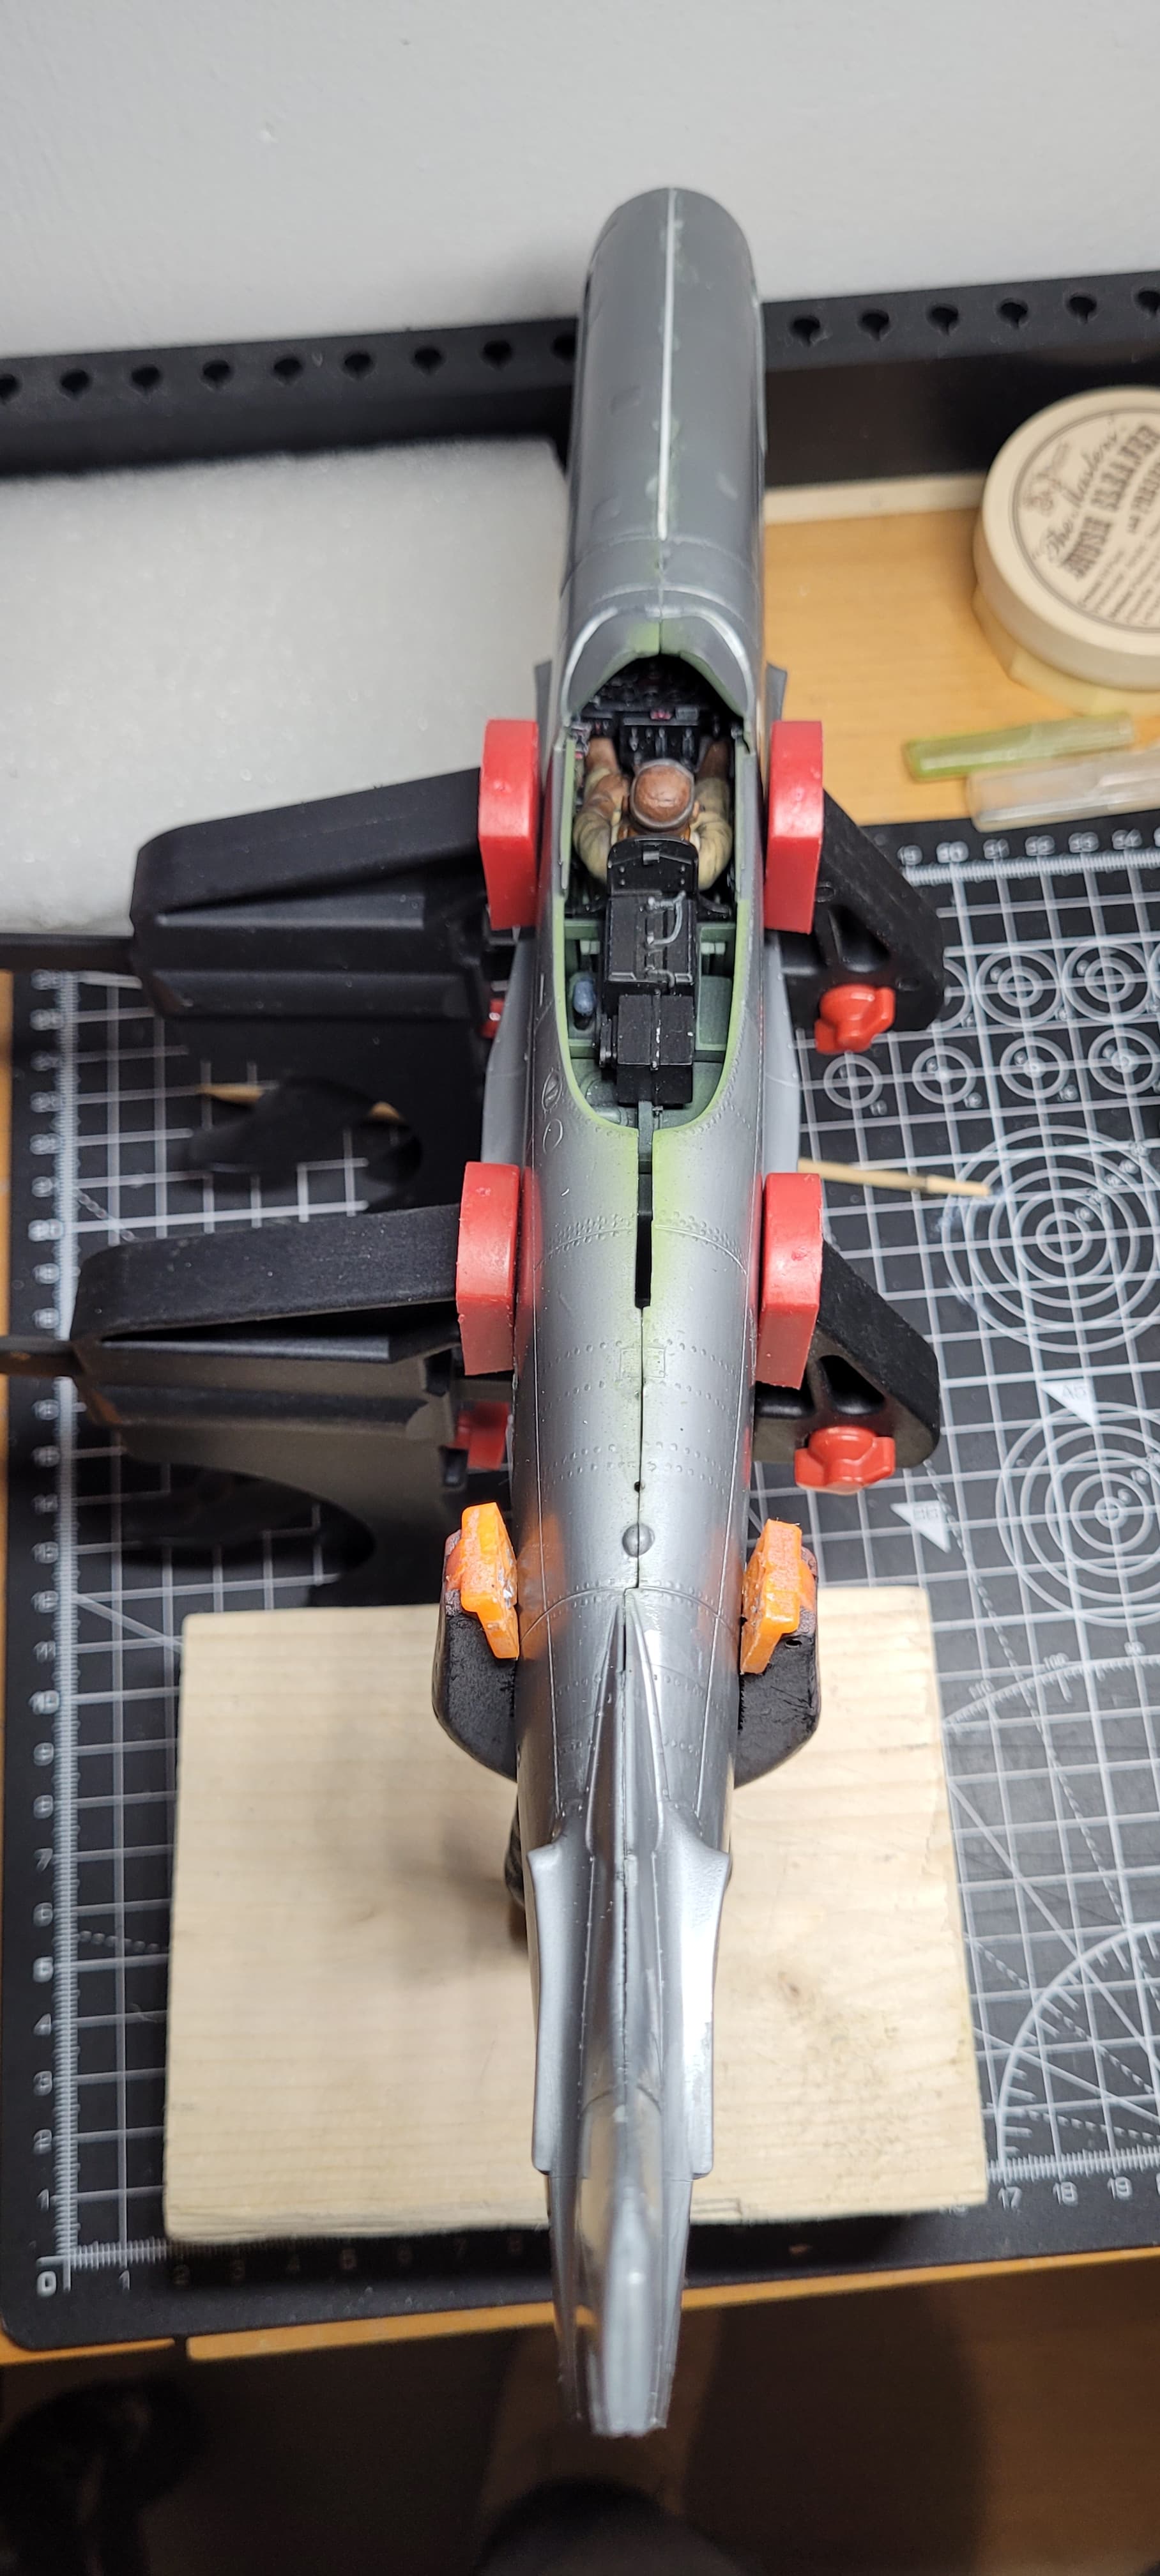
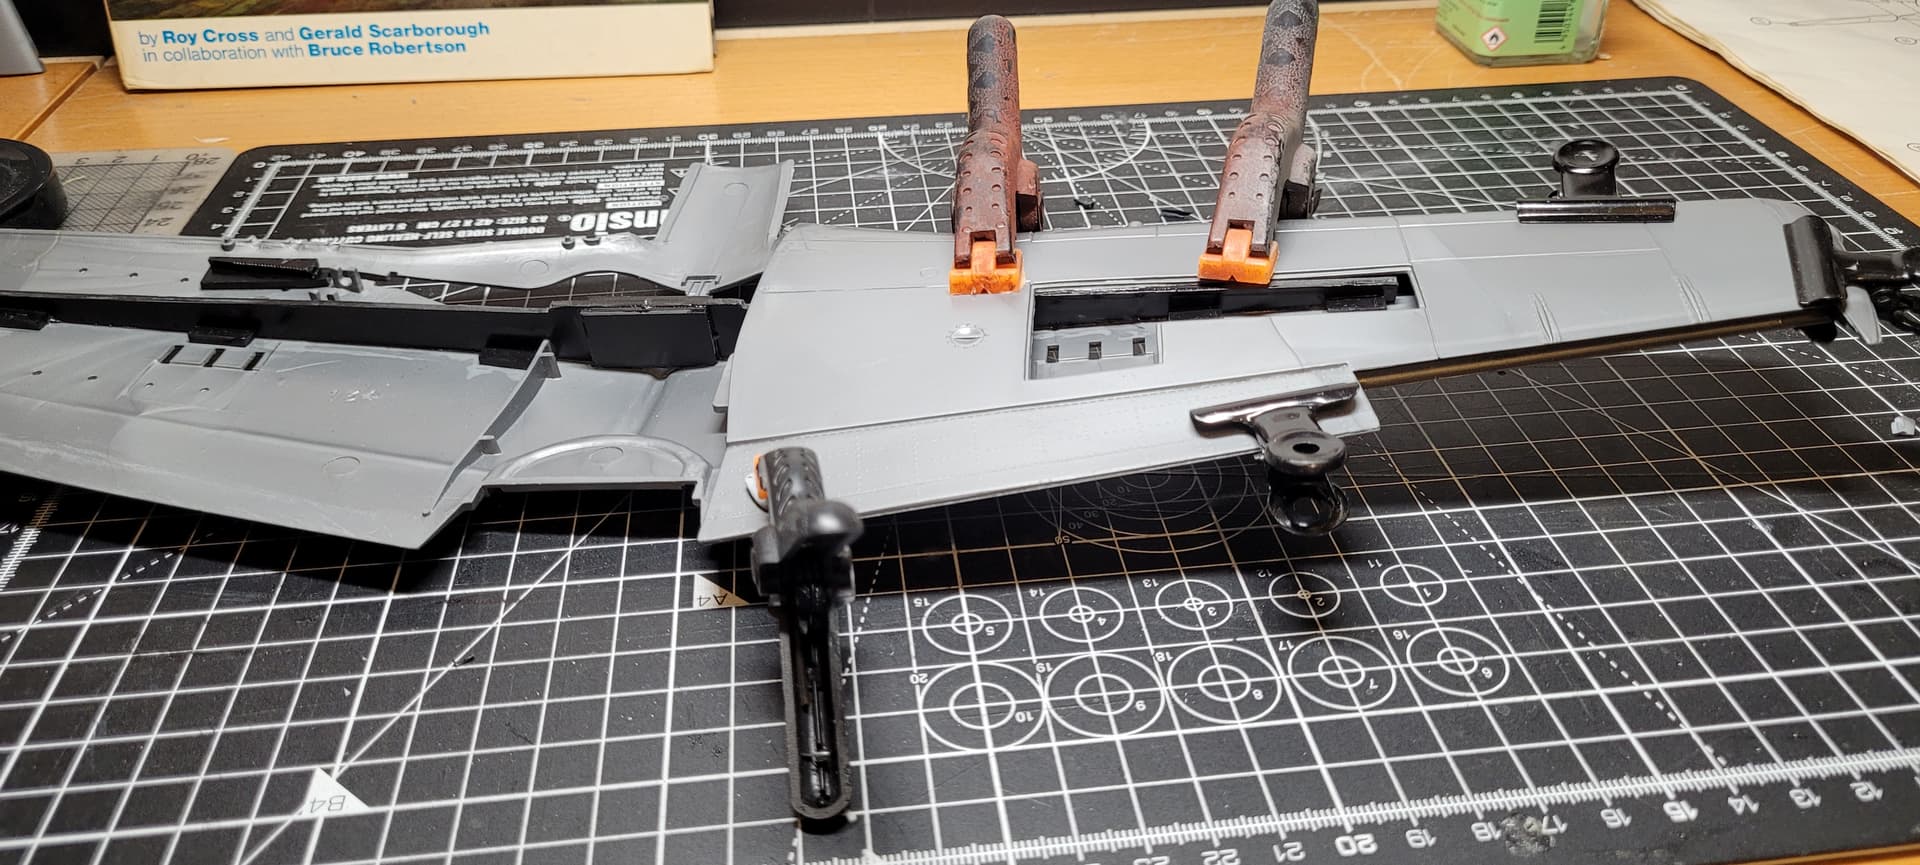
The pilot was bolted into his seat using the nut that I glued in his butt; that worked much better and quicker than trying to glue him in place, and meant I could take him in and out for the large amount of fettling that was needed to allow the fuselage halves to close together around him. A fair bit of one boot had to be removed.
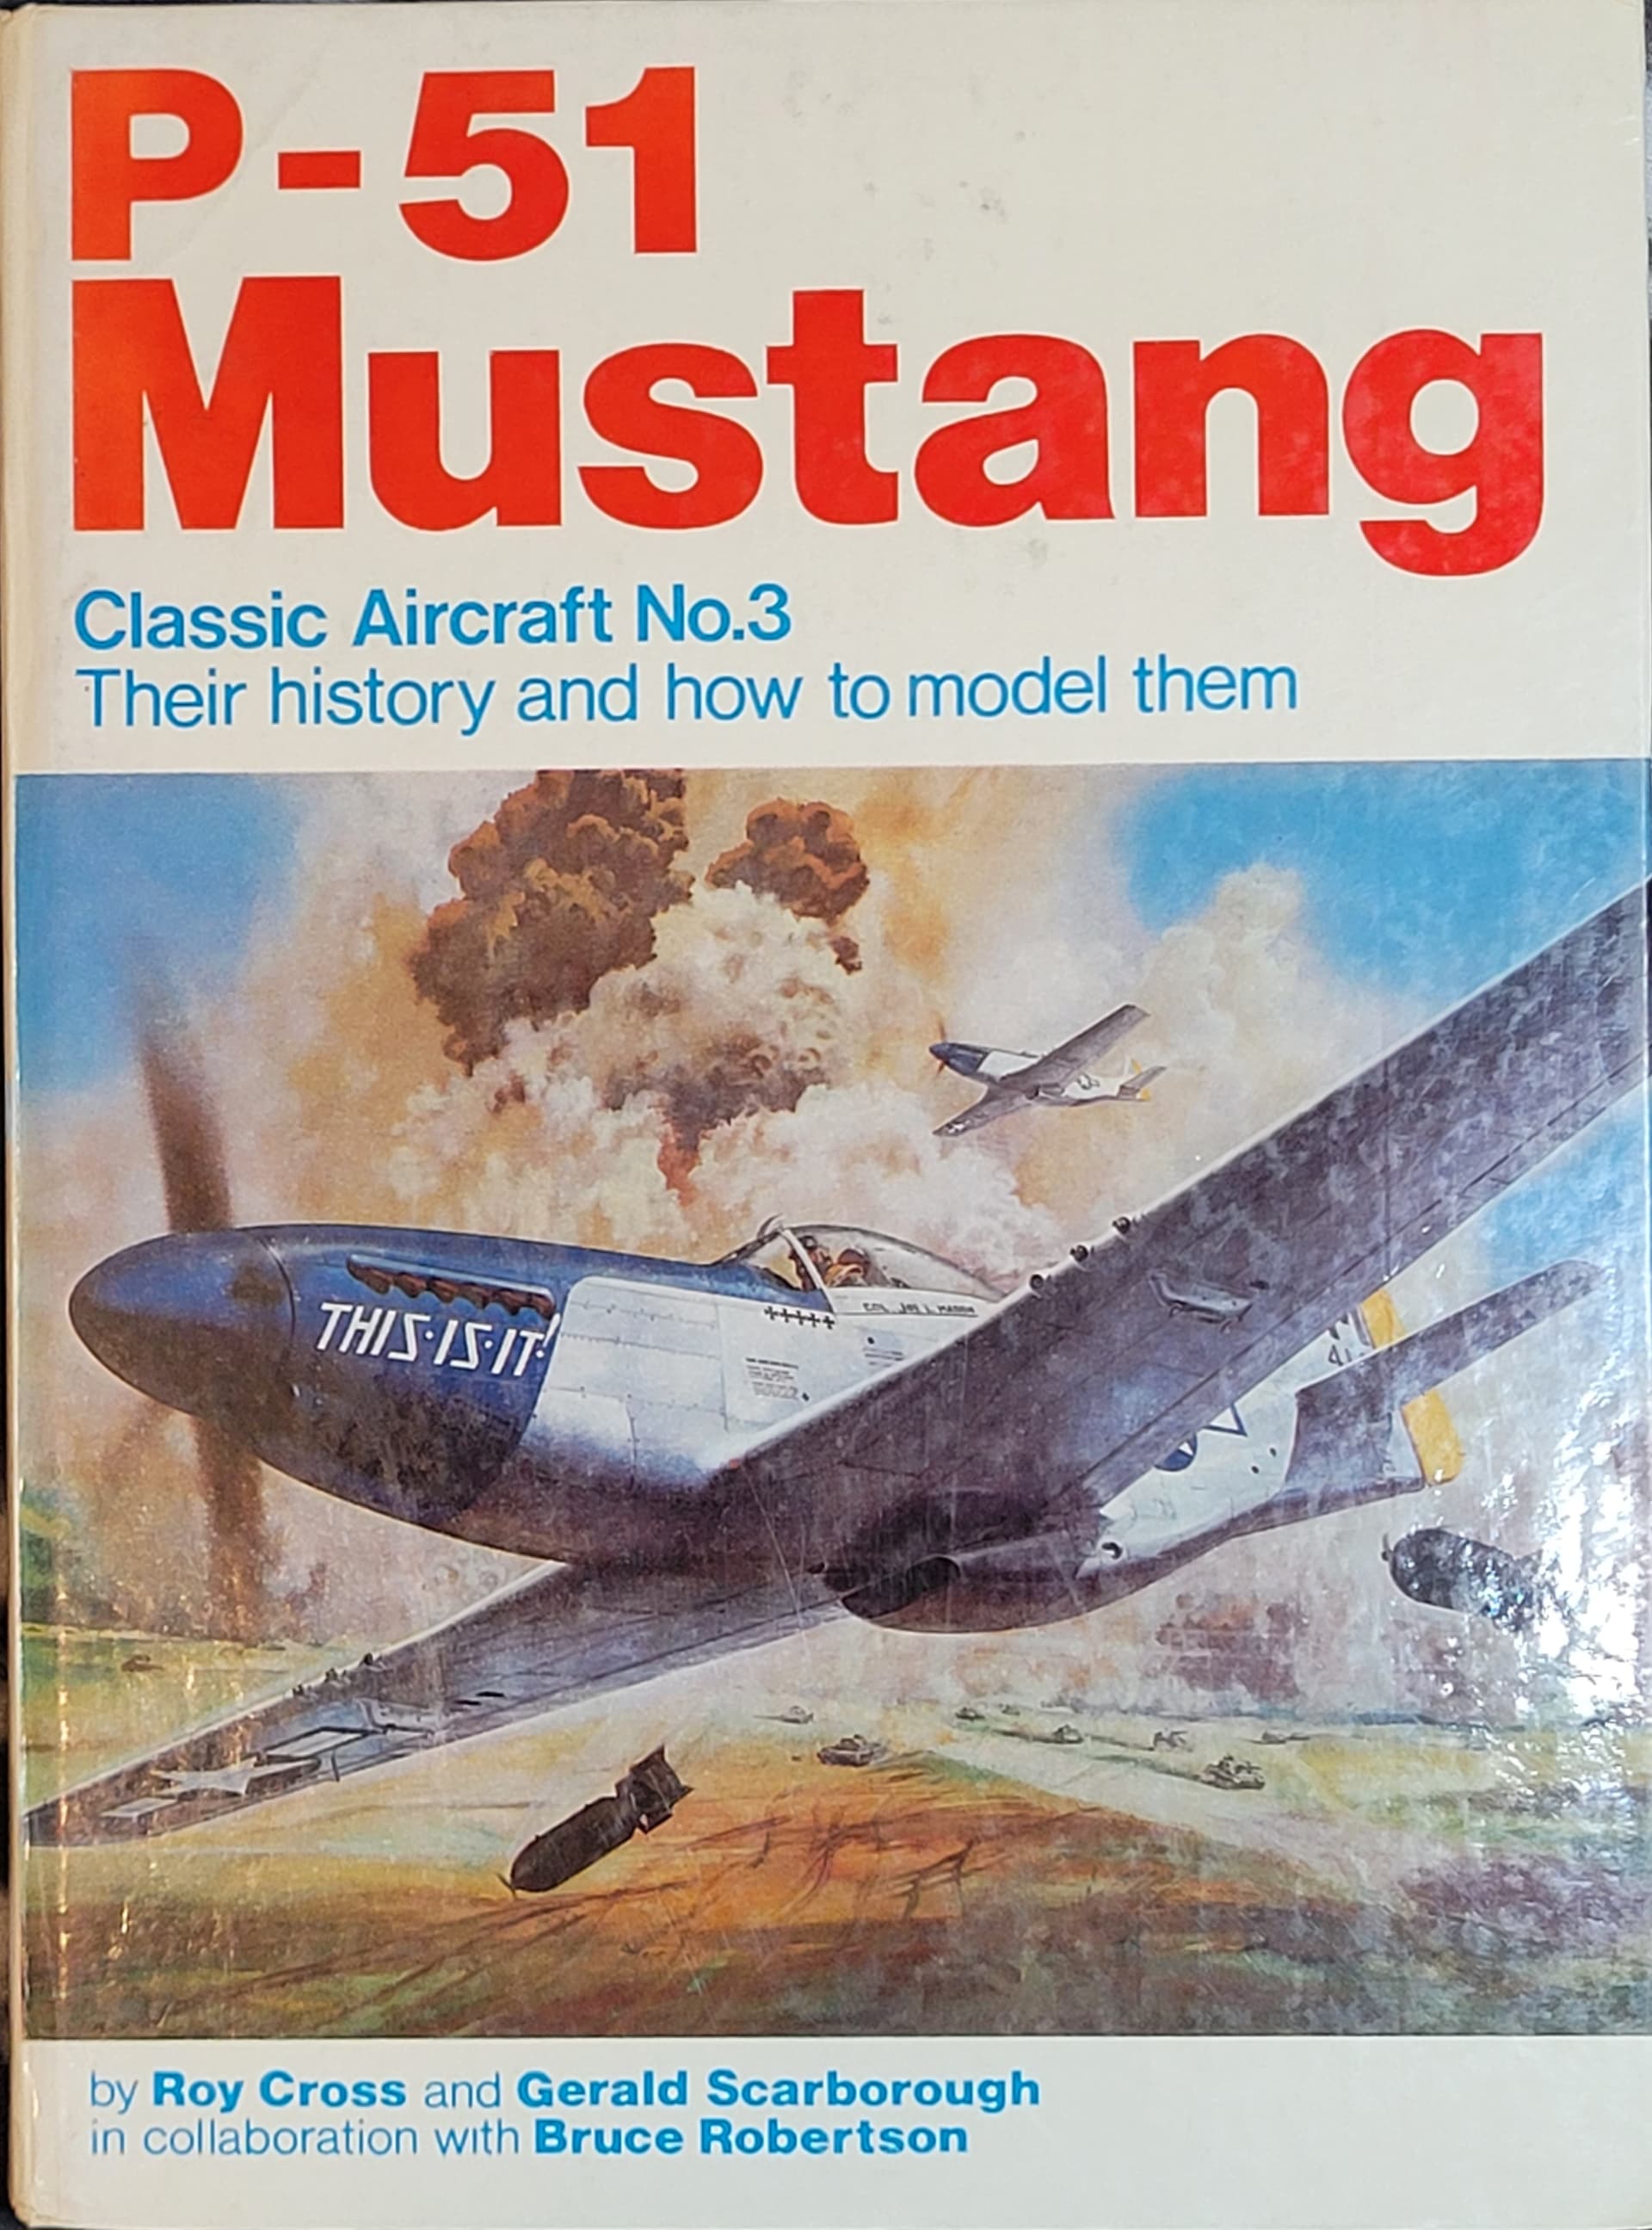
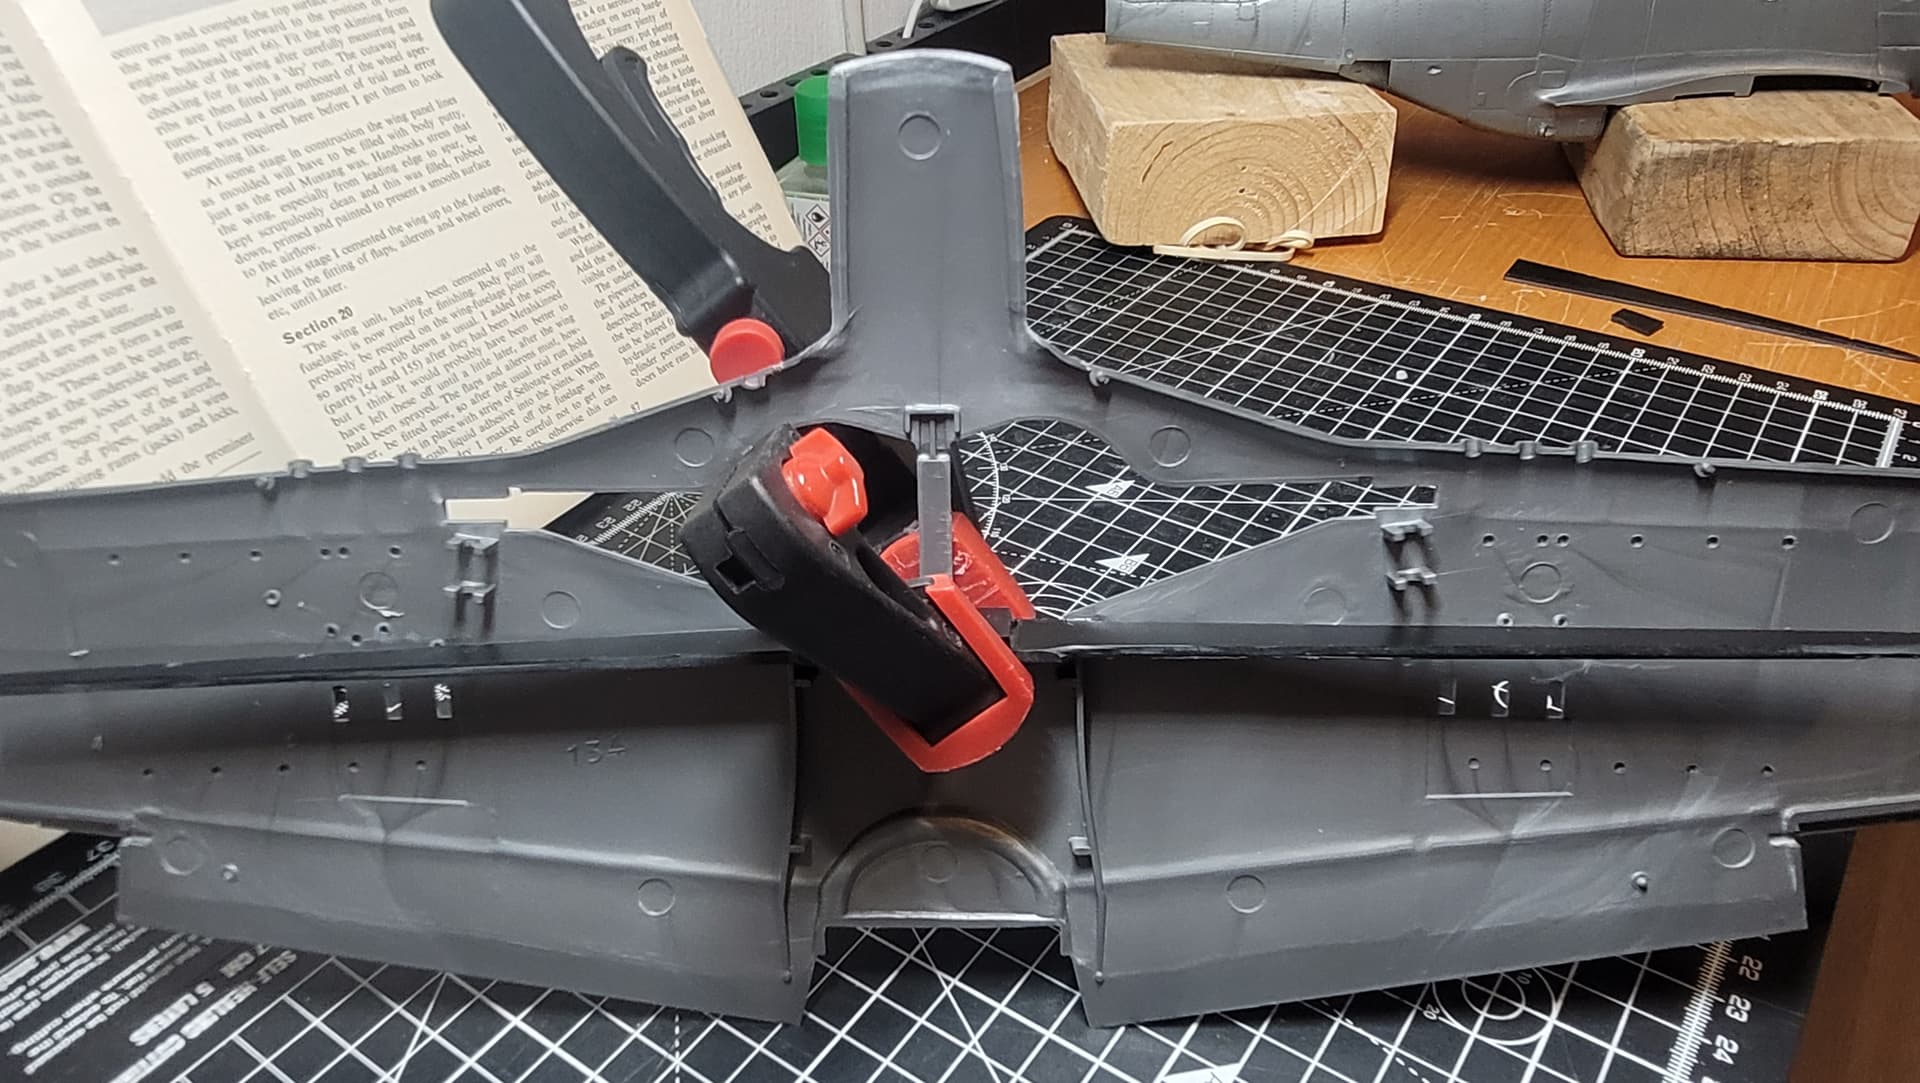
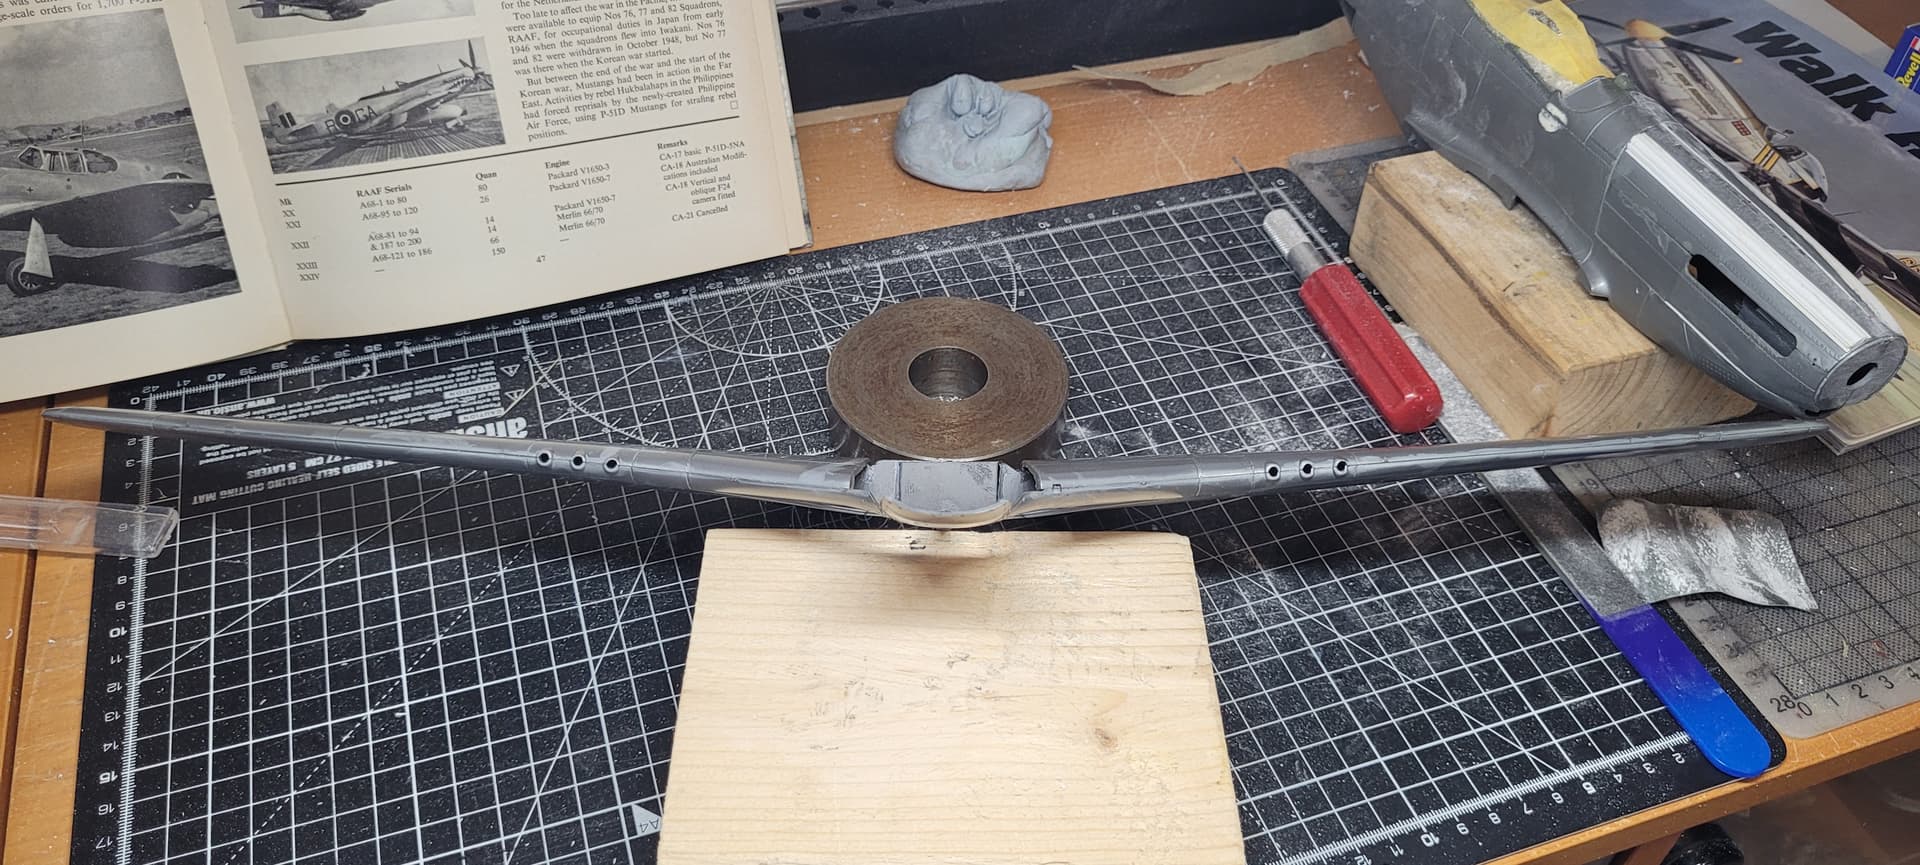
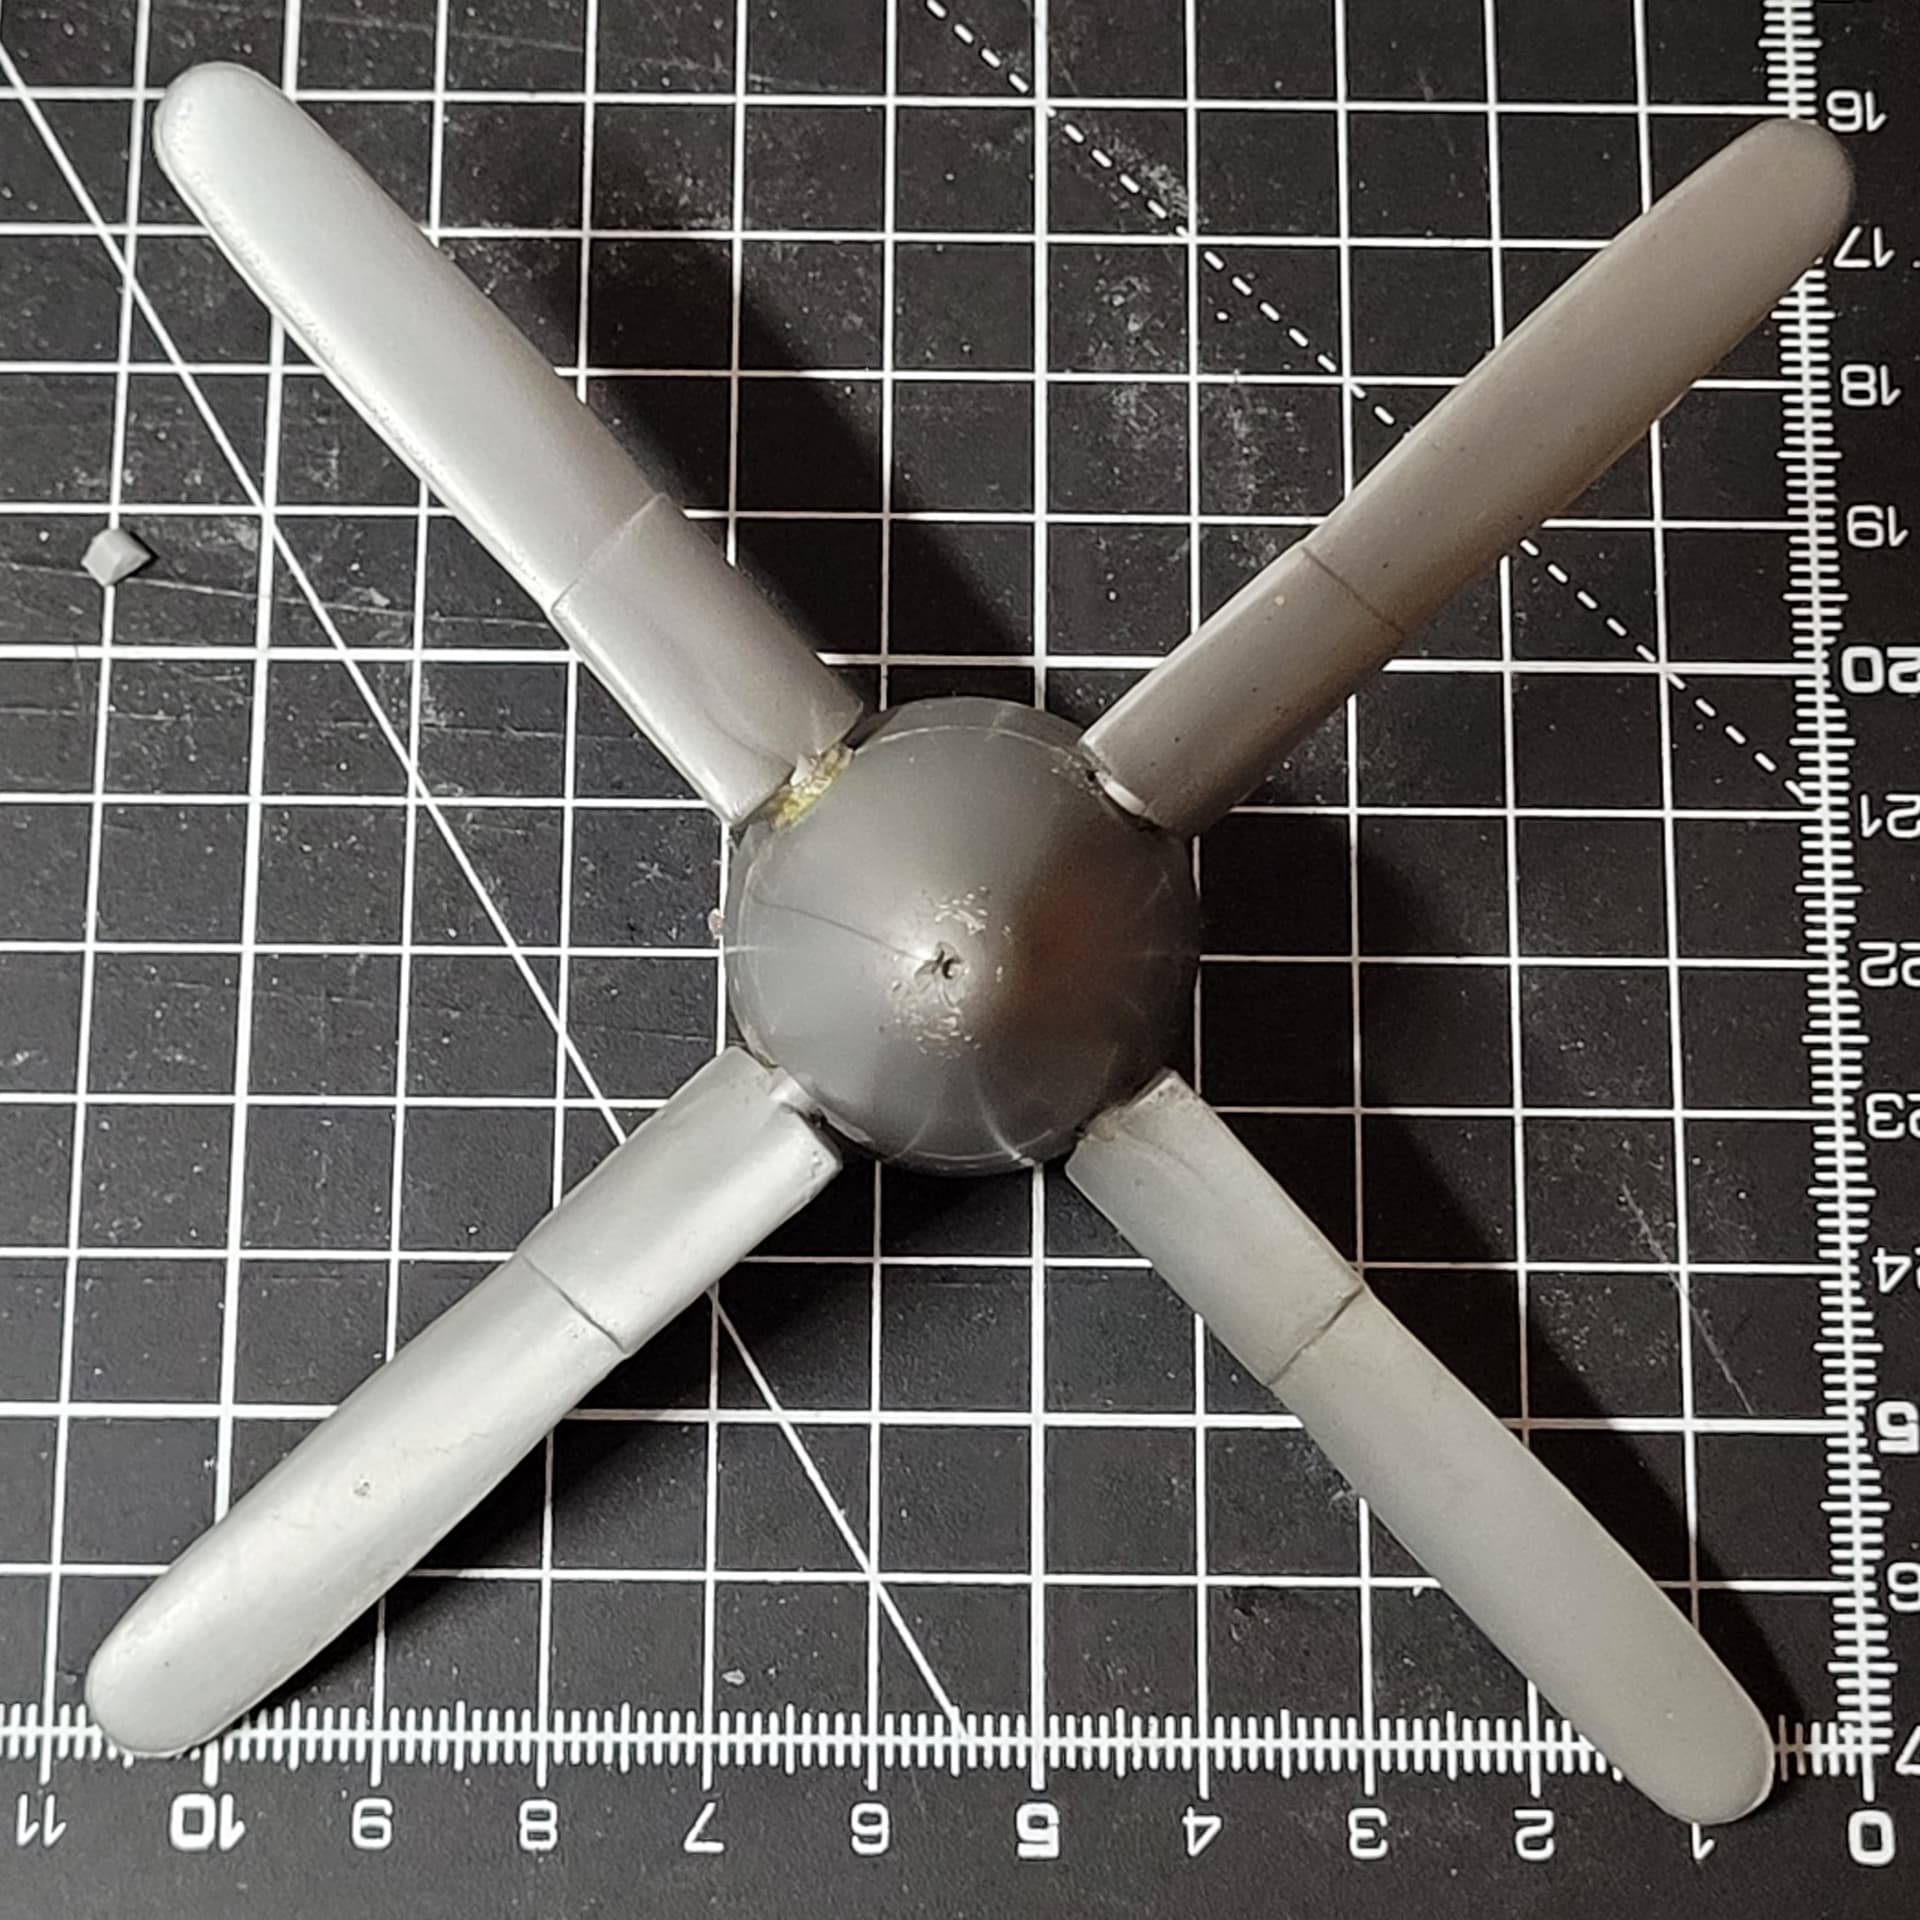
A brace was fabricated following the template from the Gerald Scarborough book, and cemented in between the wings to fix the dihedral angle.
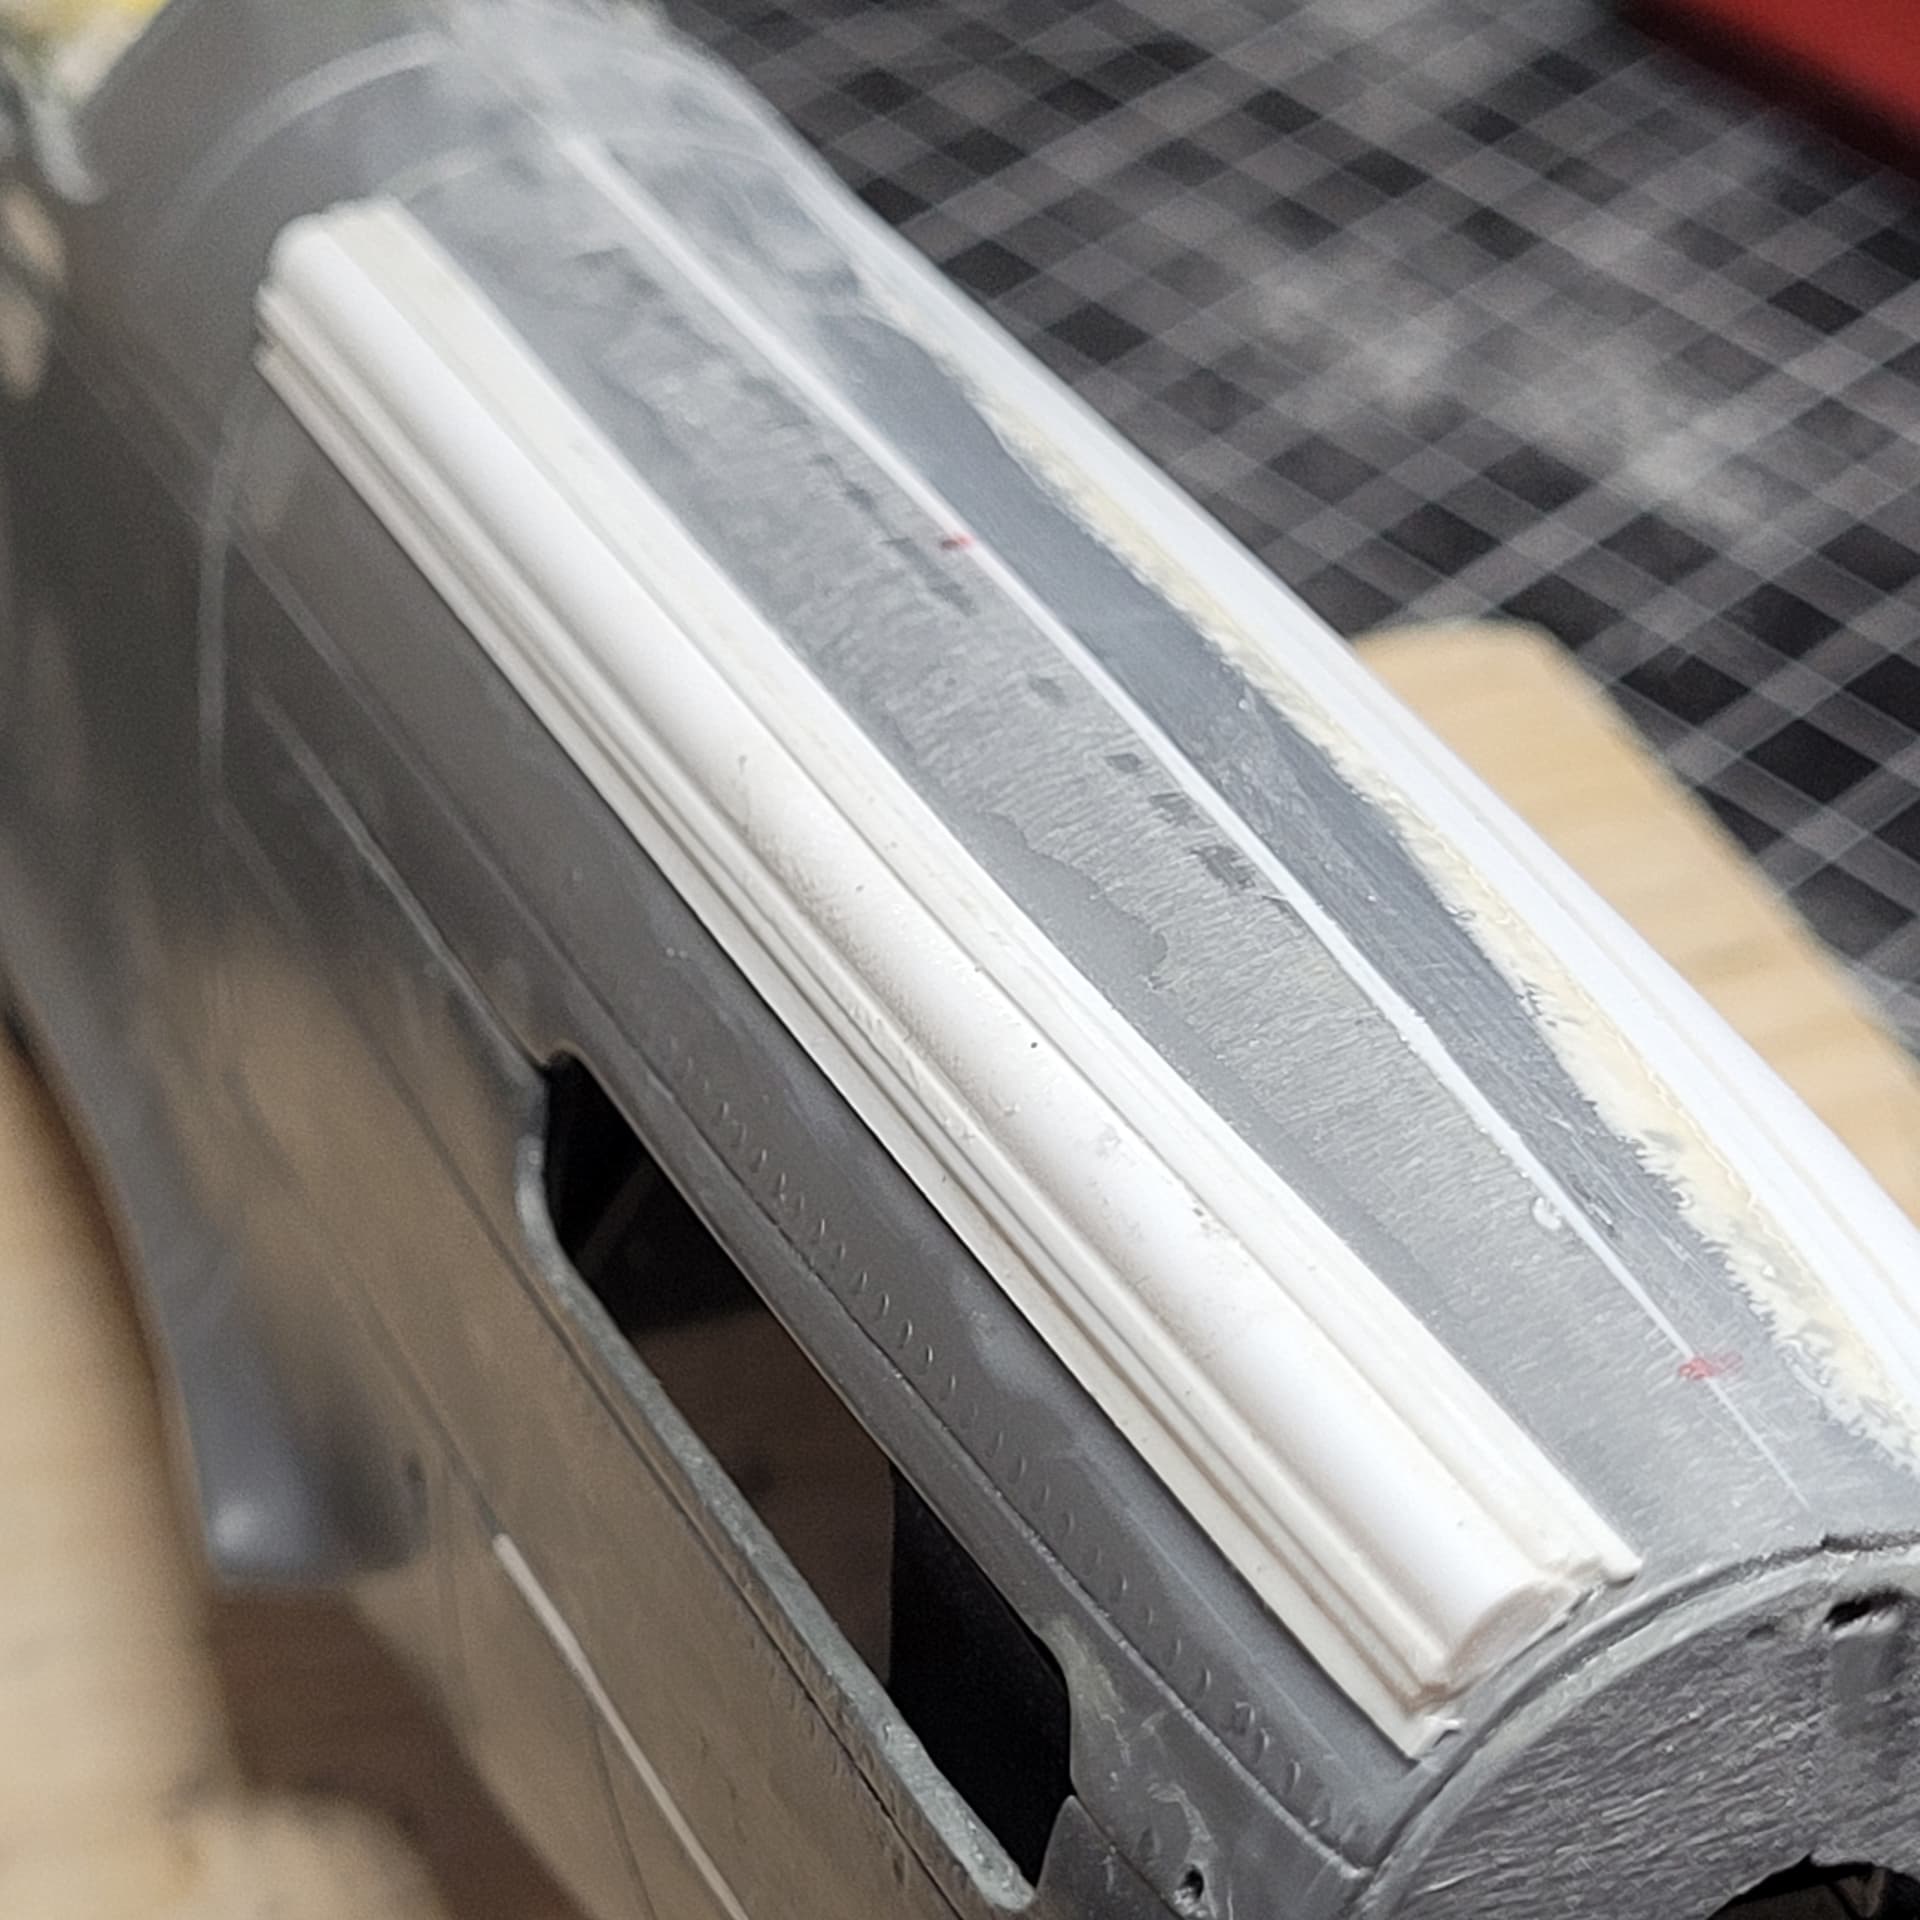
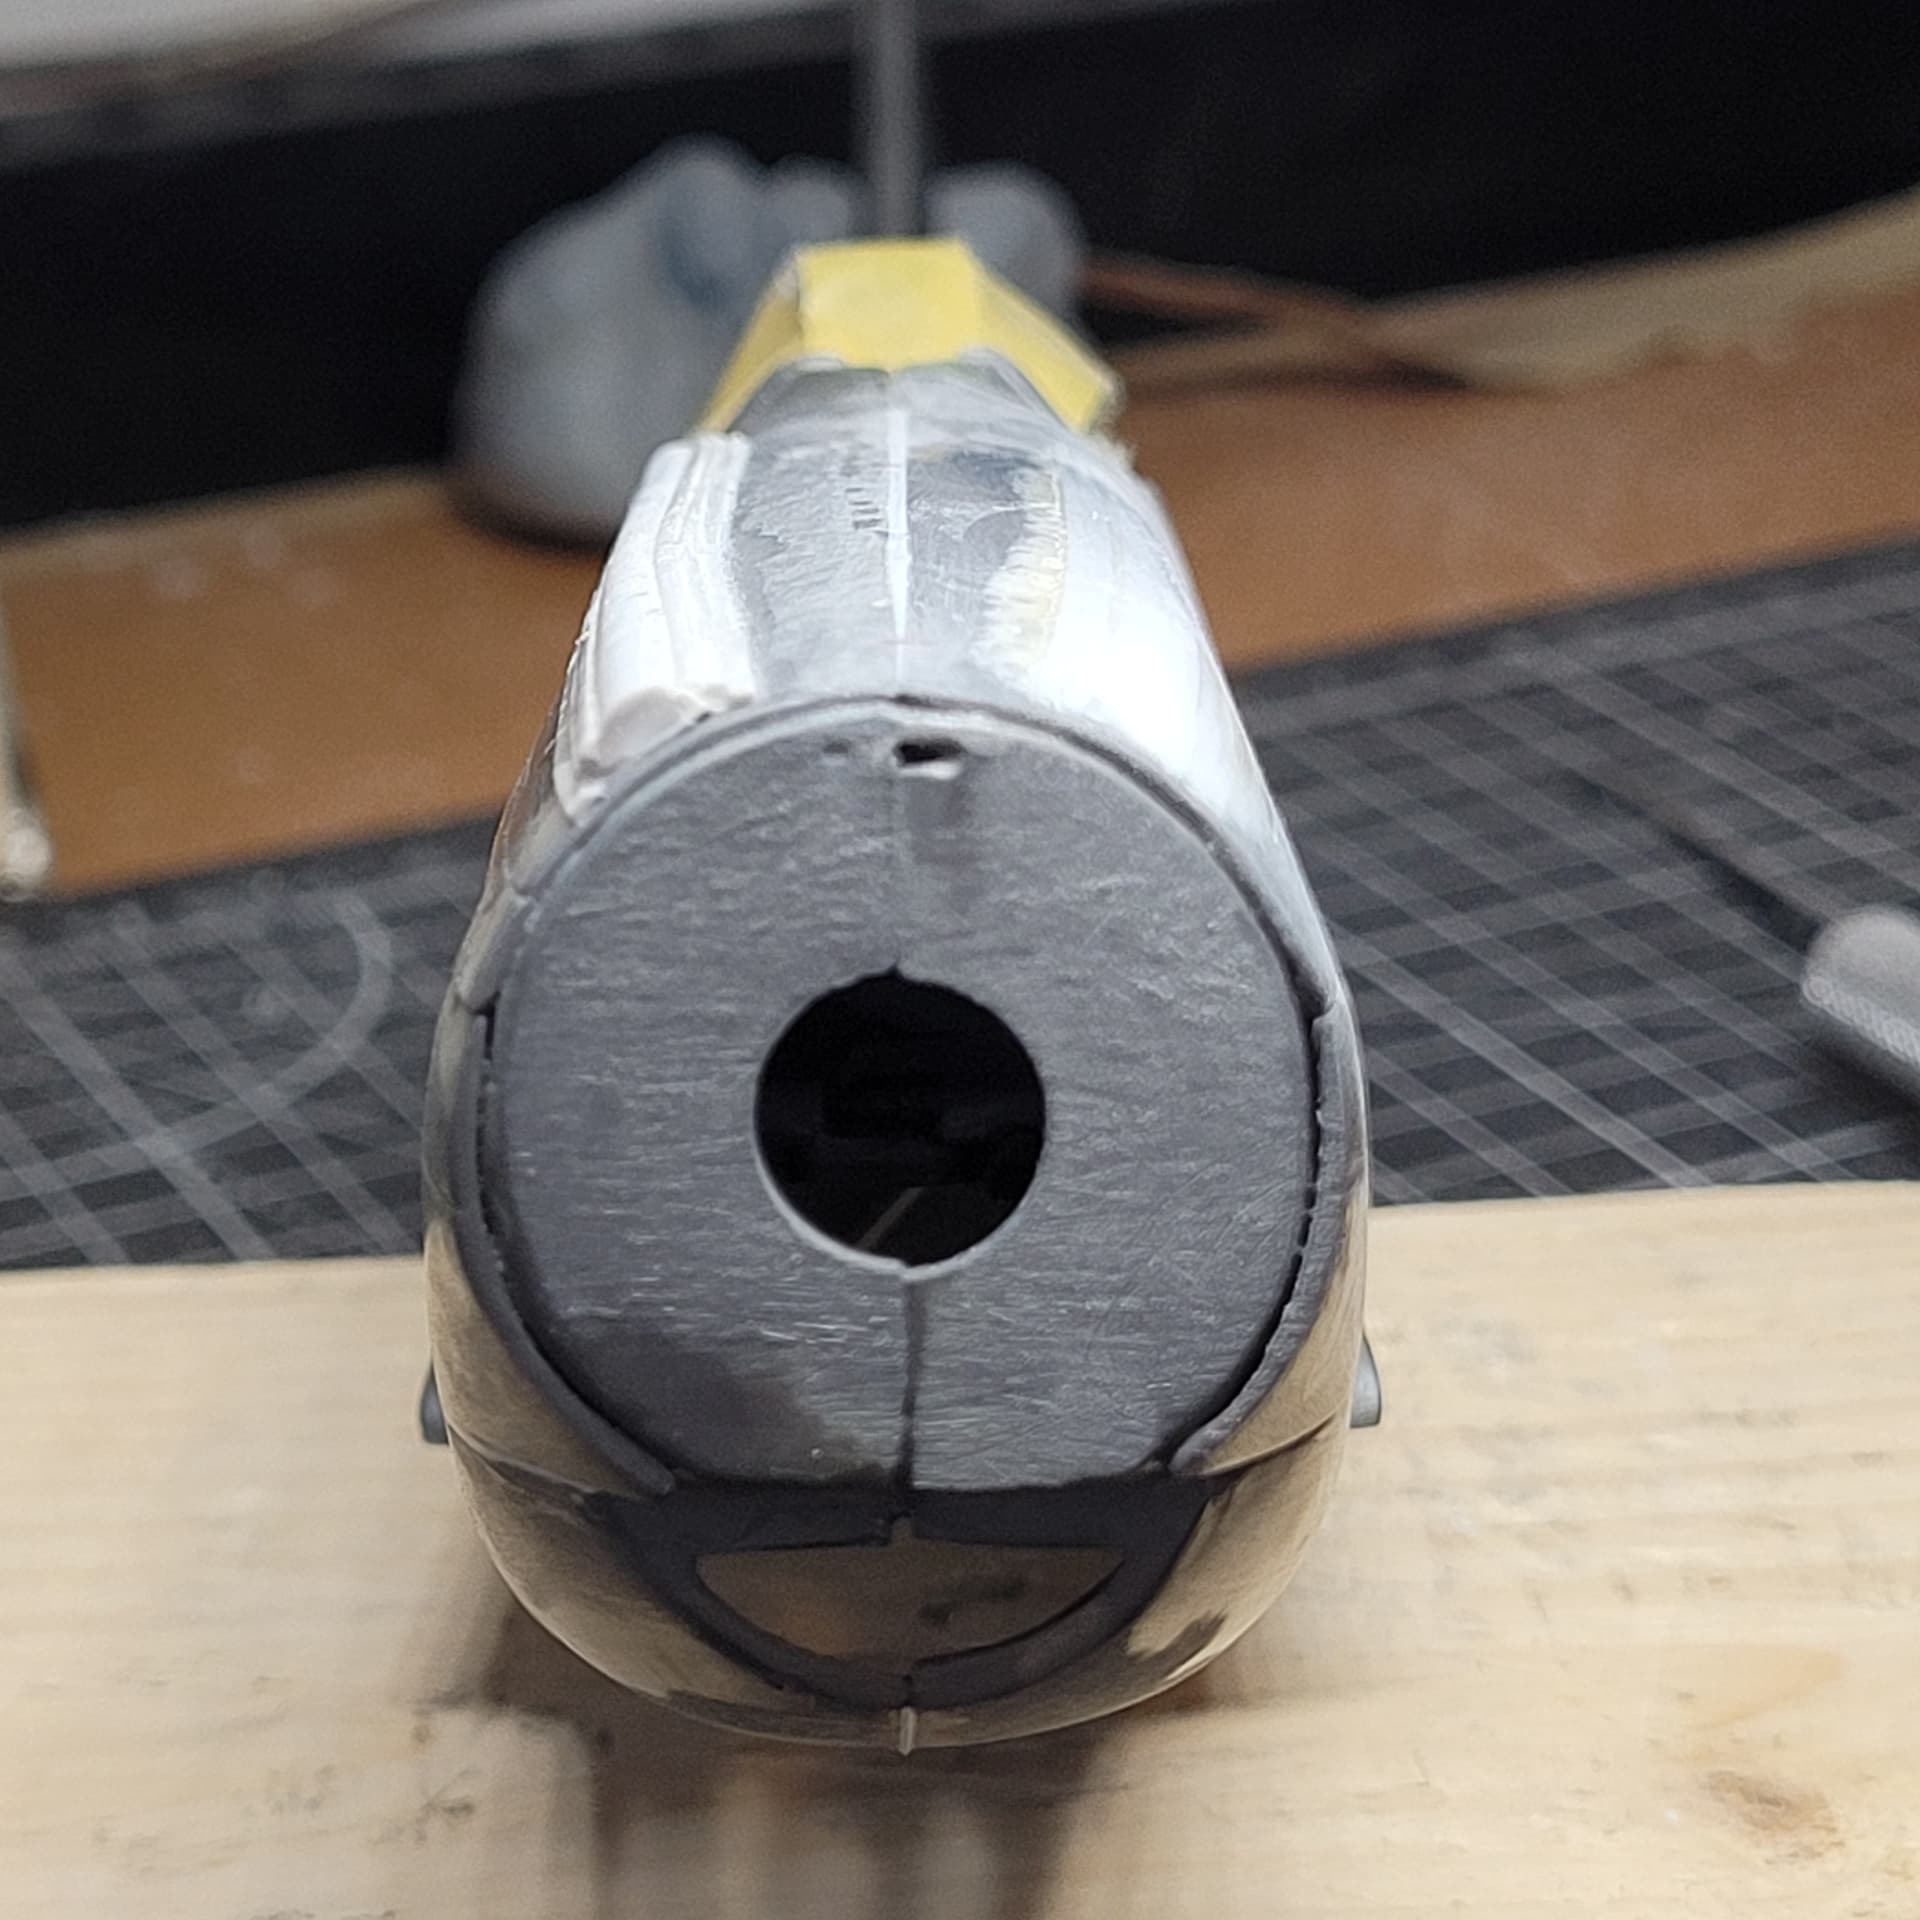
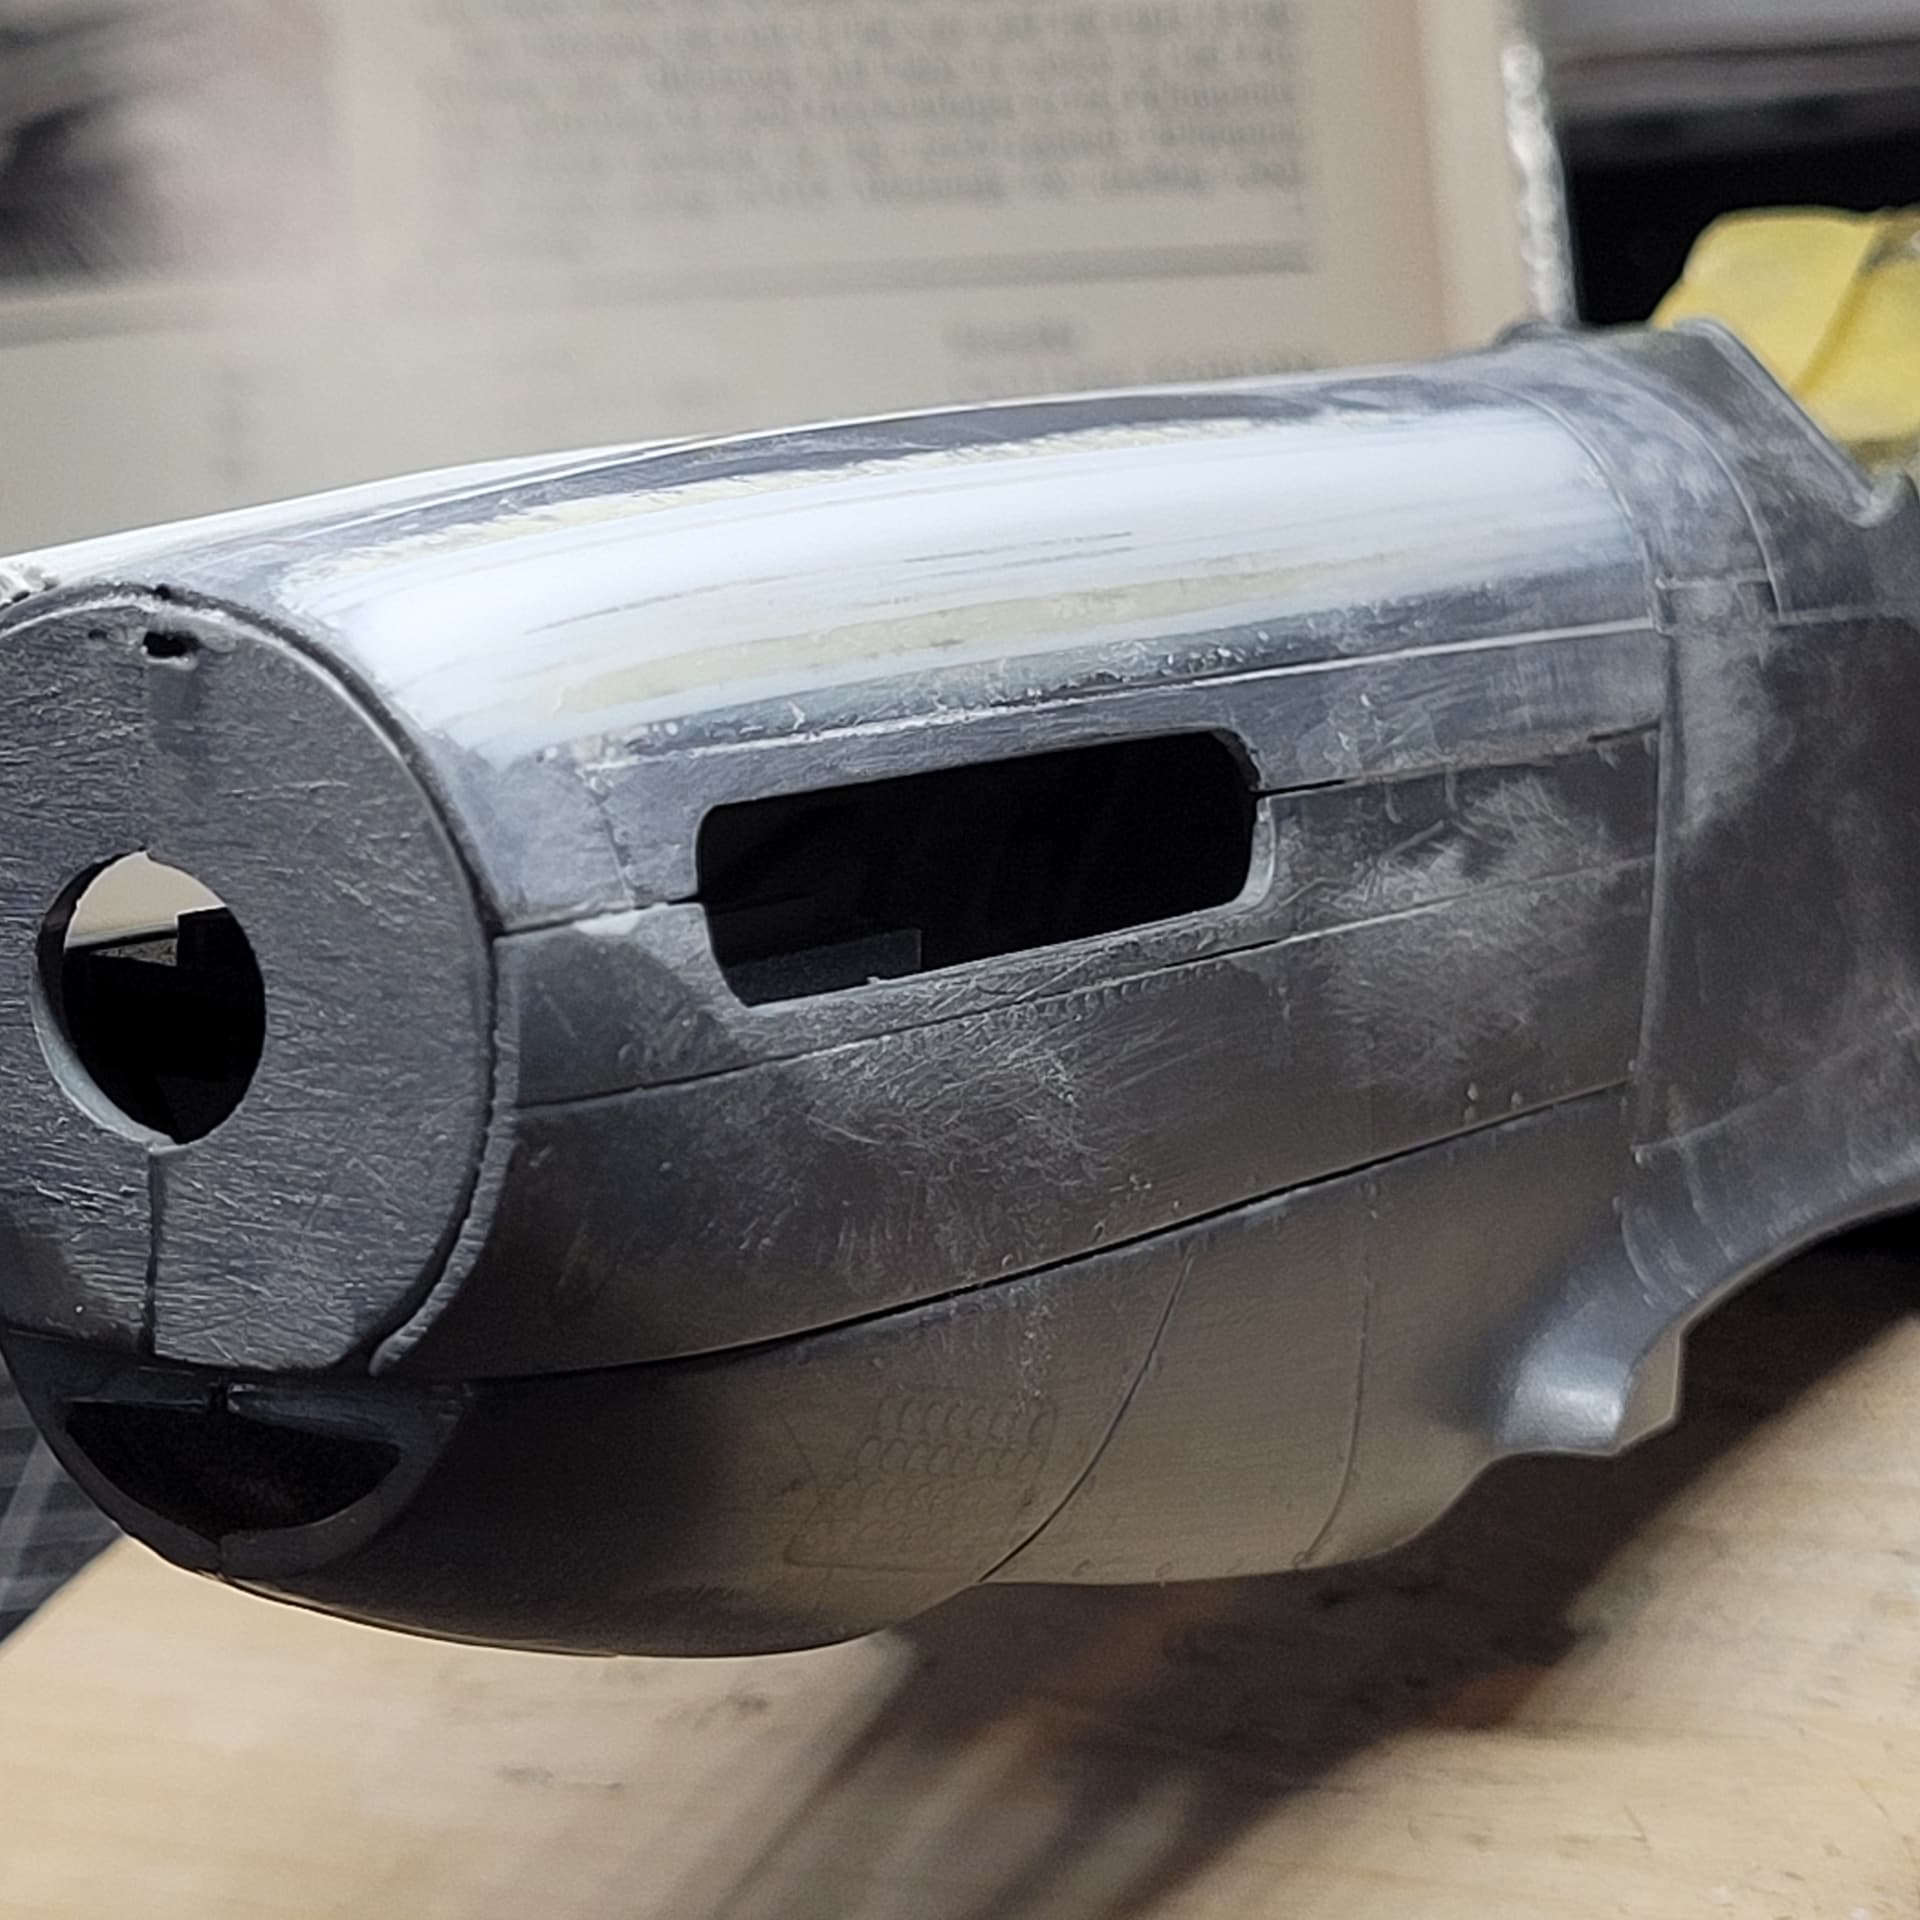
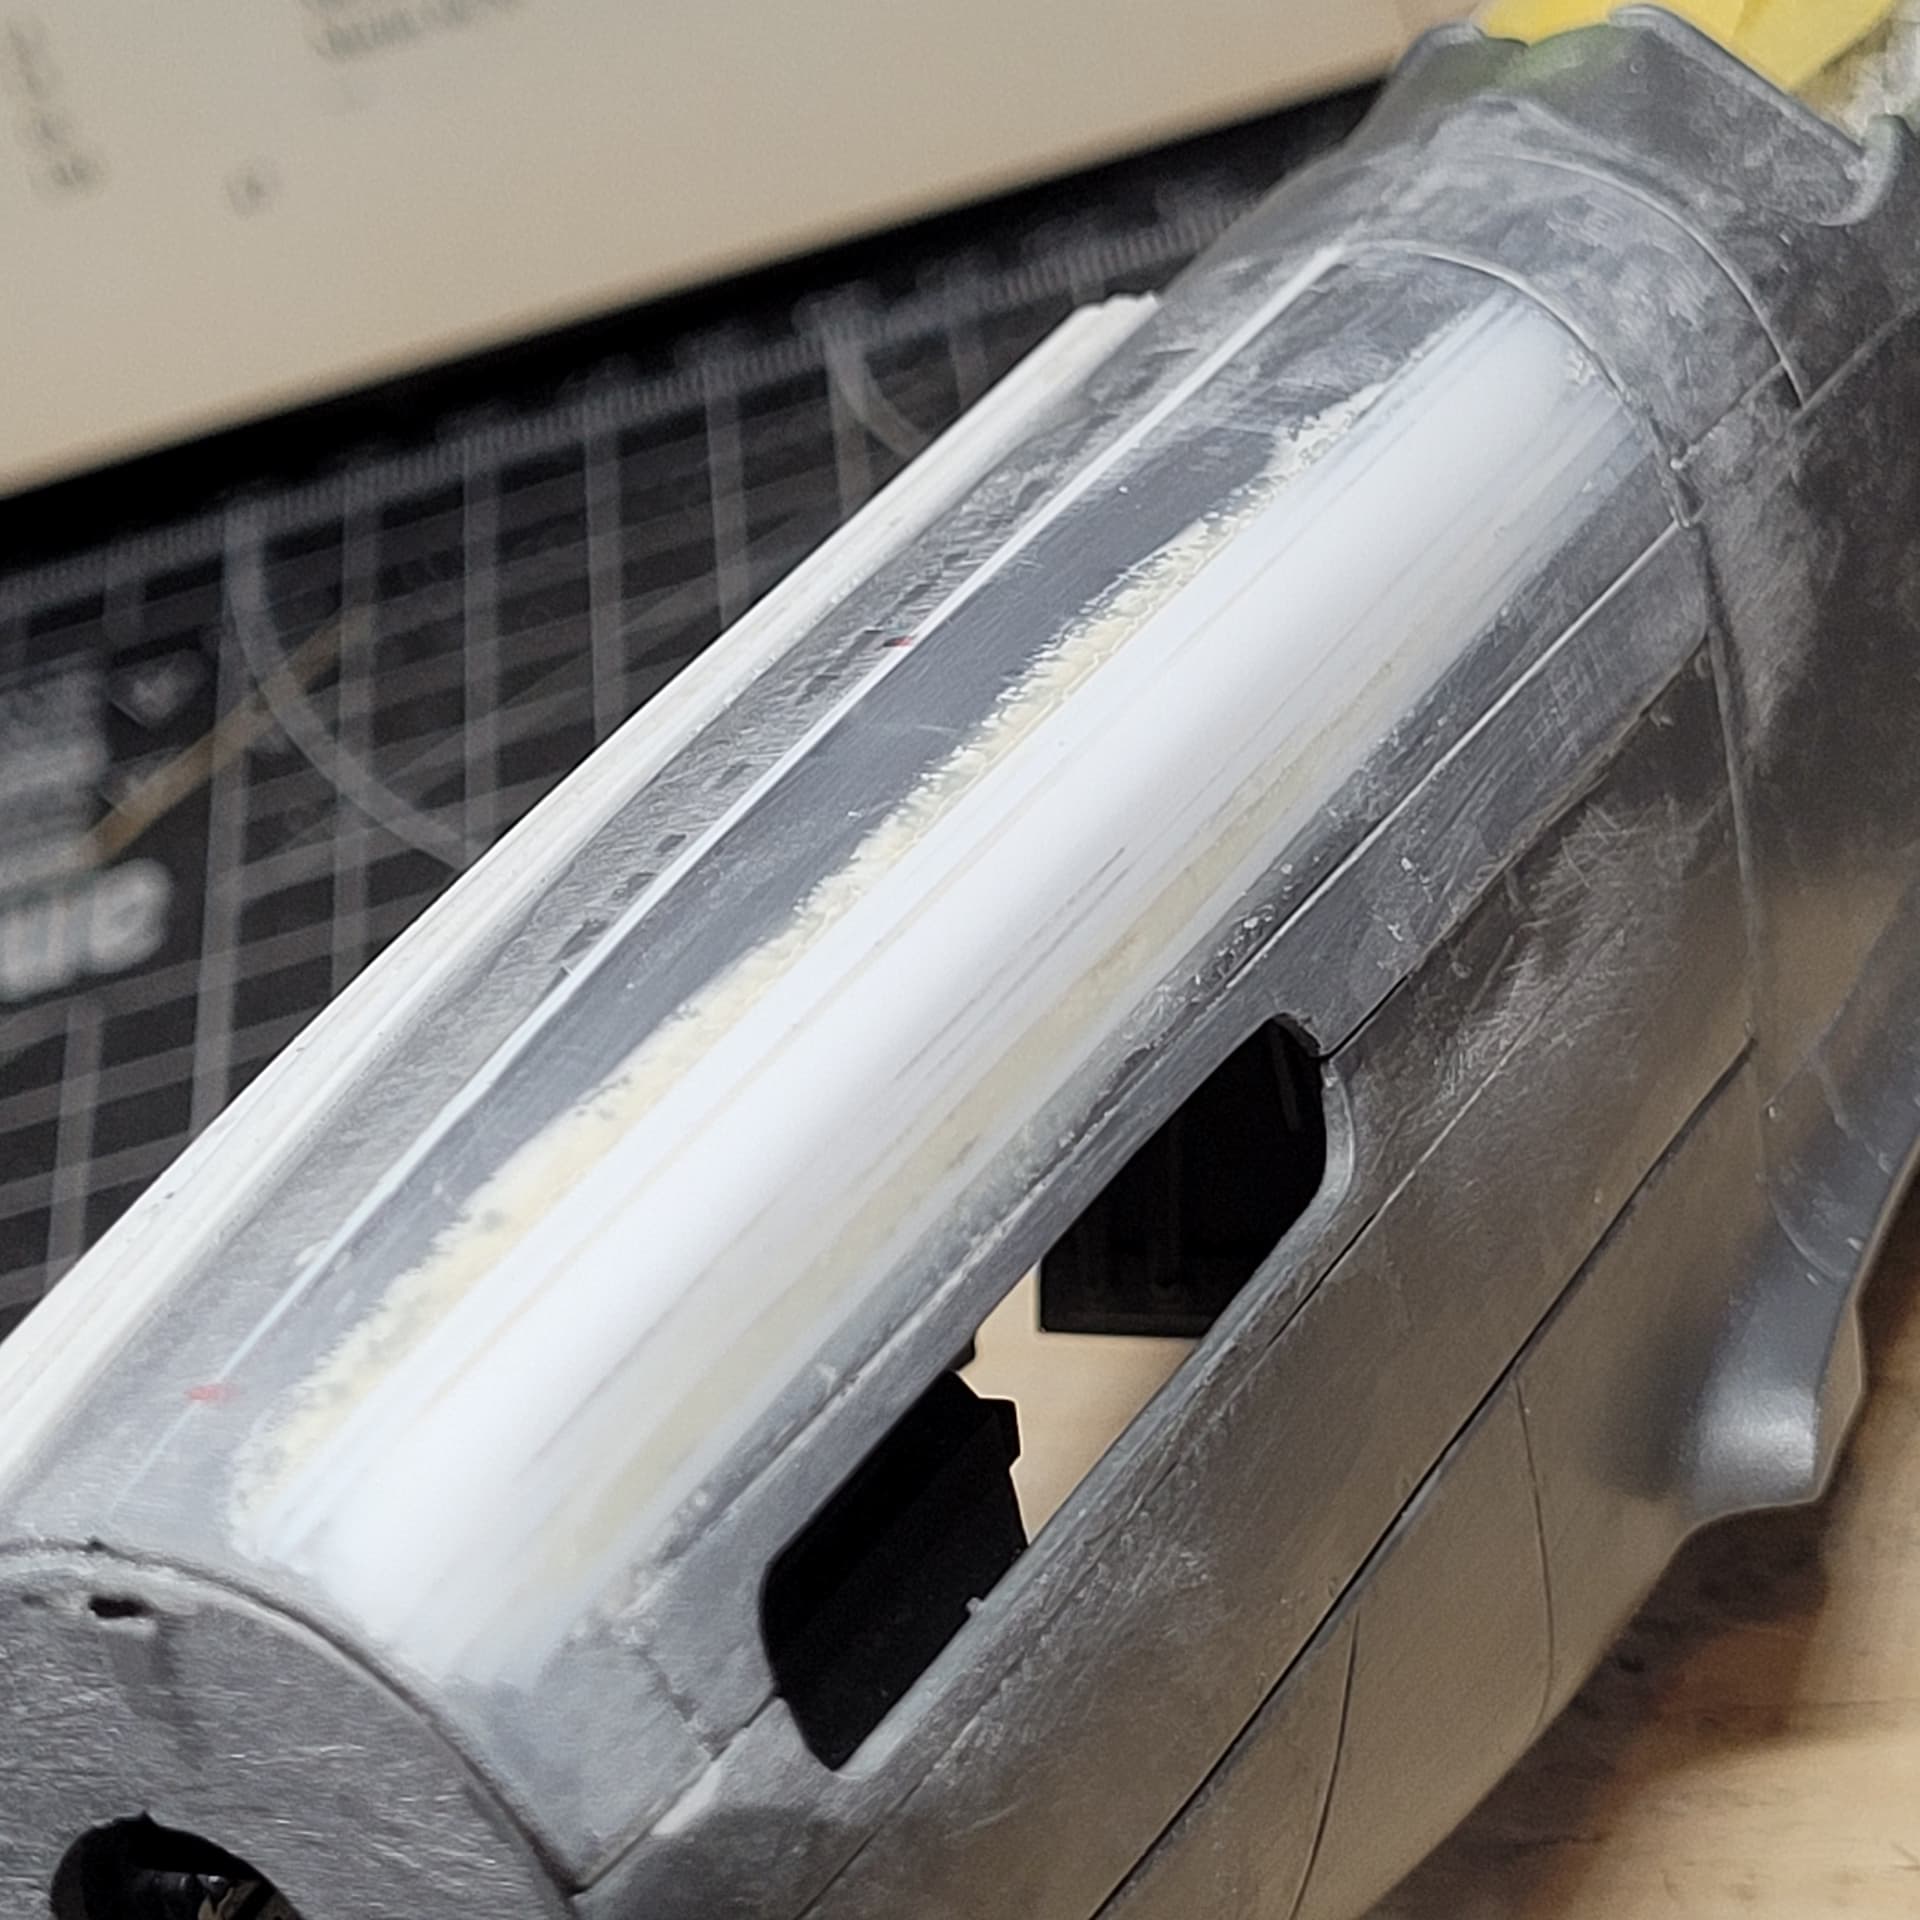
Currently working on increasing the bulge of the engine cowling.
And I managed to find a propeller on eBay. ![]()
6 Likes
Just ran through this thread Matthew. You’re doing an excellent job rescuing this poor old bird! Outstanding modeling skills and innovative techniques are turning this bin-worthy glue glob into a true showpiece. Congrats on finding a new prop! Looking forward to seeing more…
4 Likes