The rear angle profiles vary a tad, but the front 90° bends look perfect. ![]()
—mike ![]()
The rear angle profiles vary a tad, but the front 90° bends look perfect. ![]()
—mike ![]()
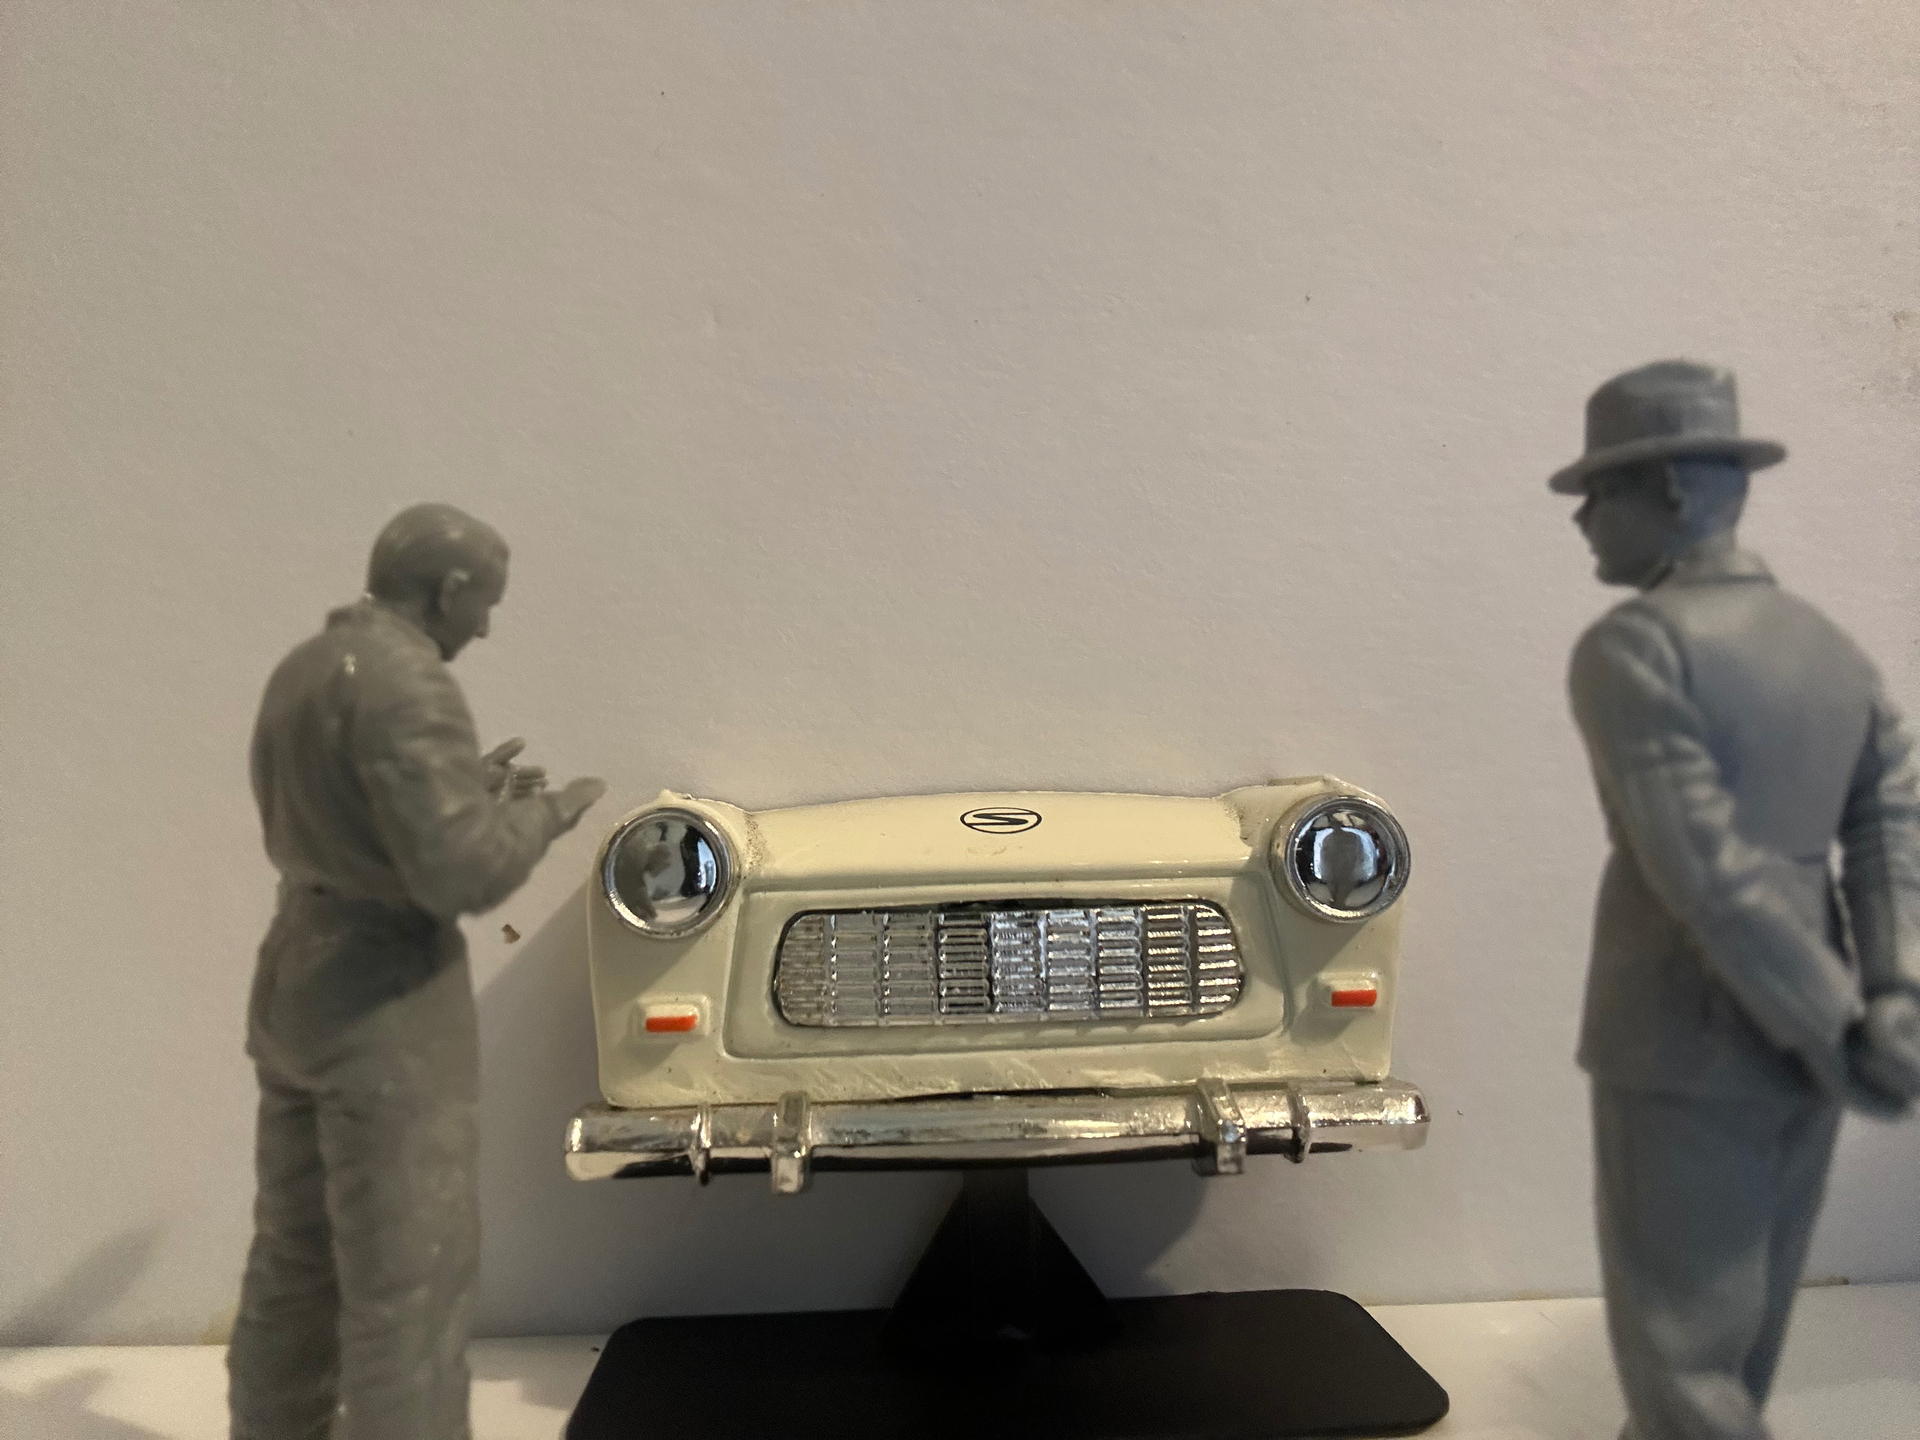
Ordinarily that would bother me, but they’ll be wrapped with sandbags (surgical tape for texture) and Chartpak tape for hundred mile an hour tape. They did this to hide the bumper numbers.
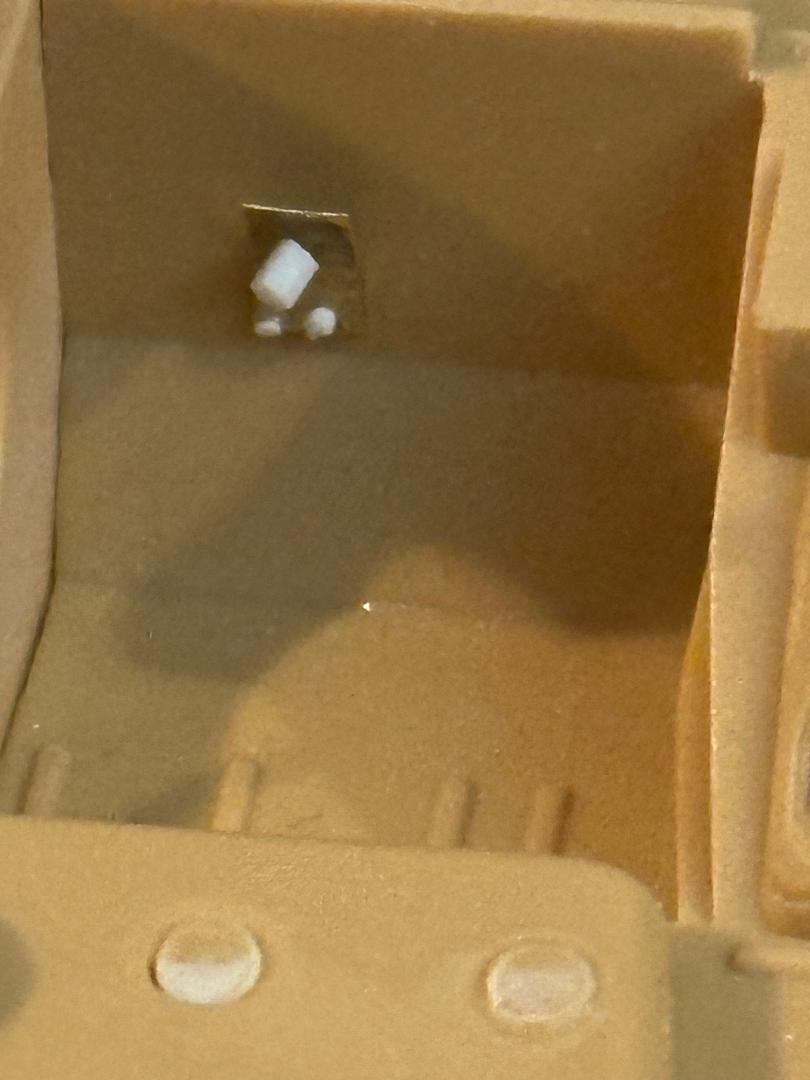
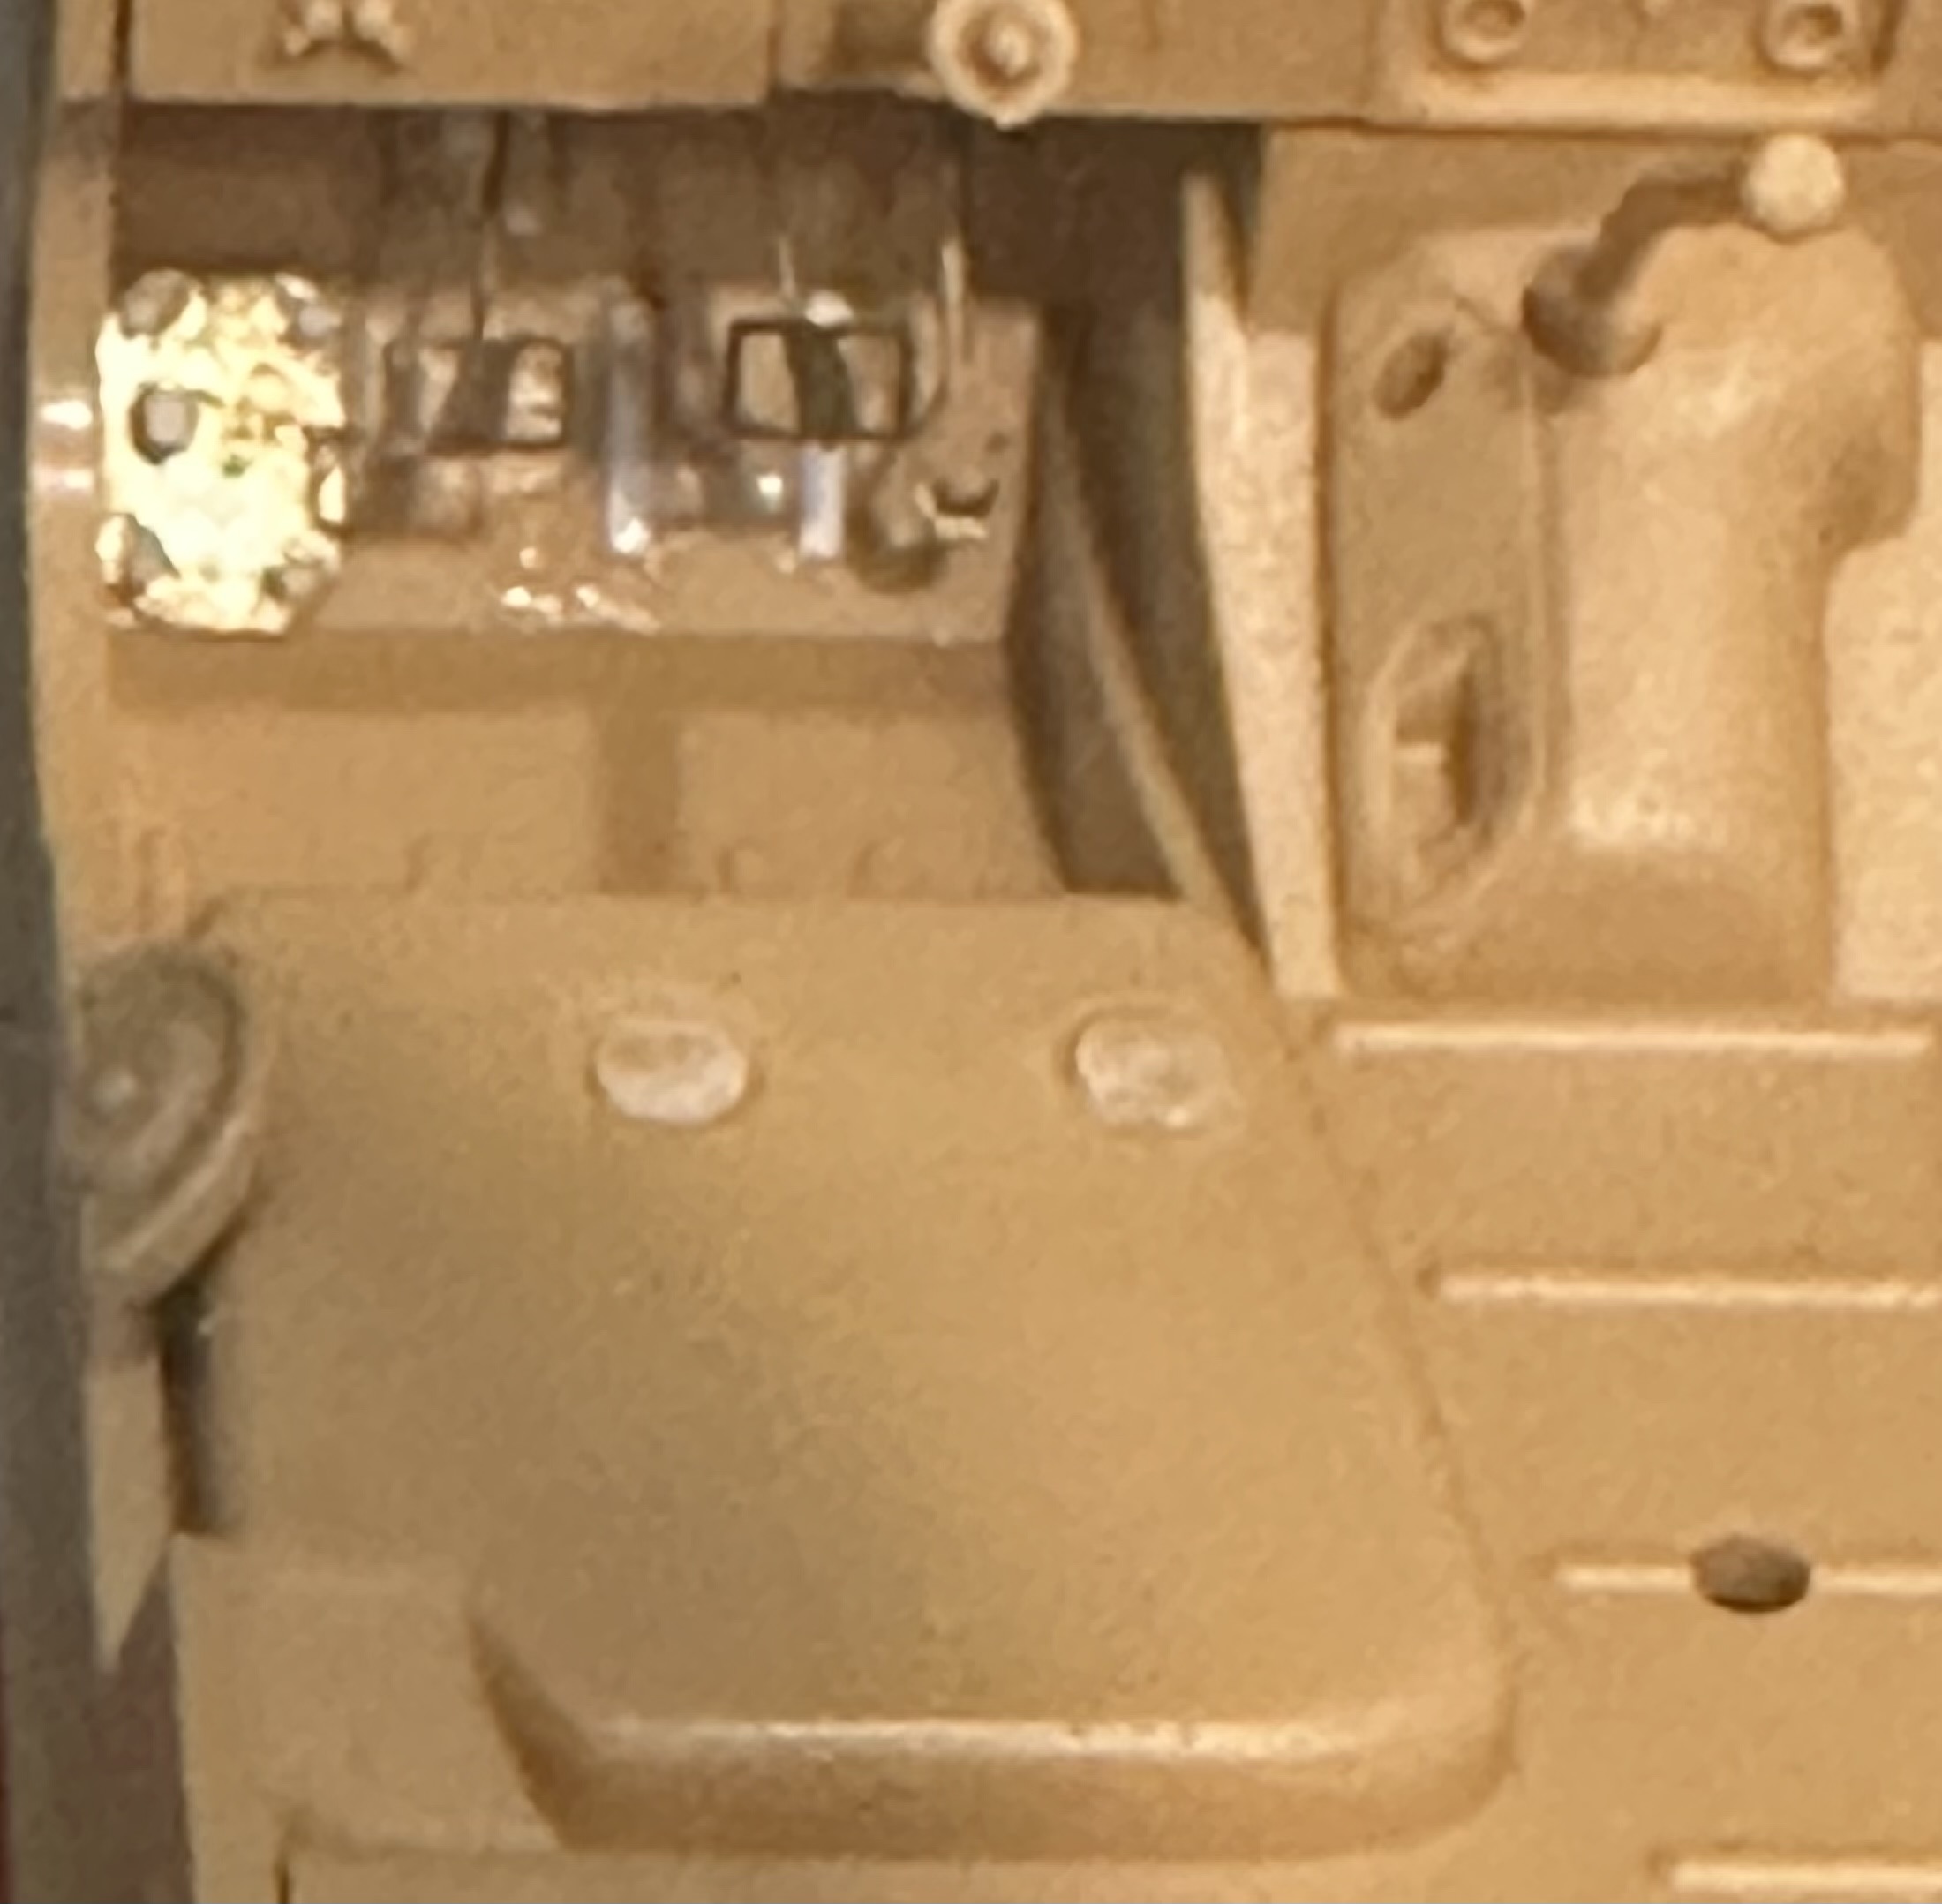
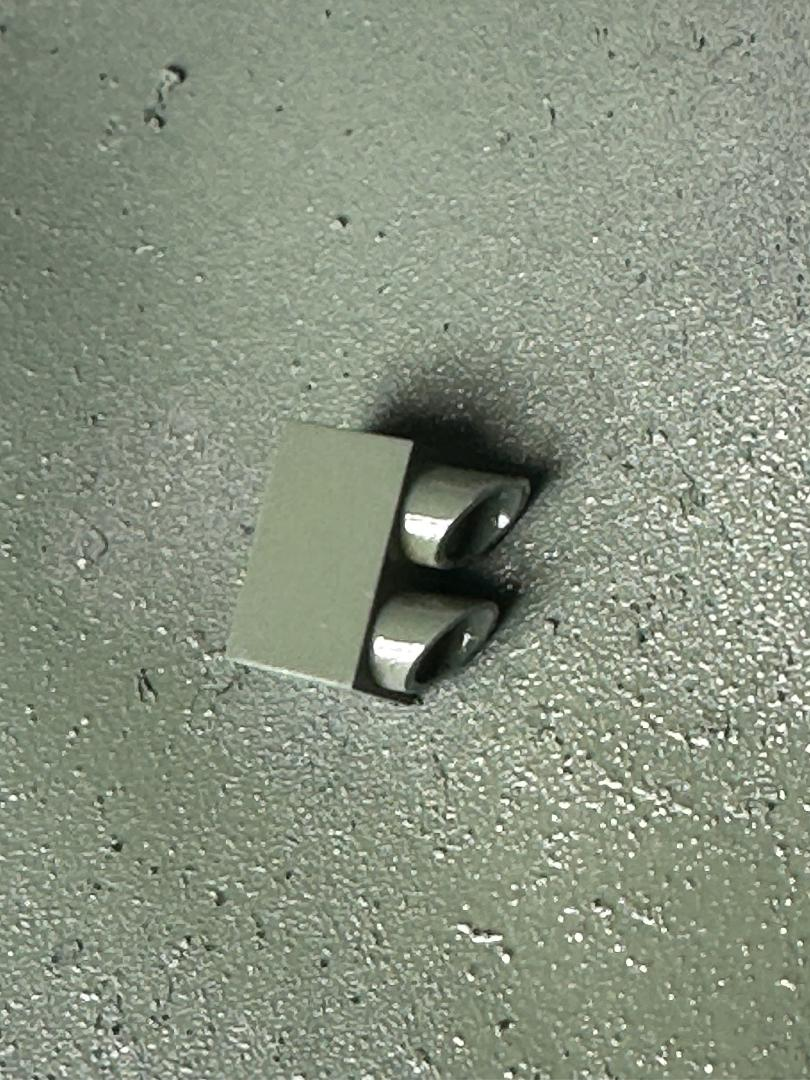
Saved again by the close up. My starter switch is canted. And the bolts aren’t symmetrical. Back to the drawing board.
I seem to have had better luck with the high beam switch. It’s off center, but for once, that’s actually how it’s supposed to be.
Using .5 mm hex rod is a tad tedious.
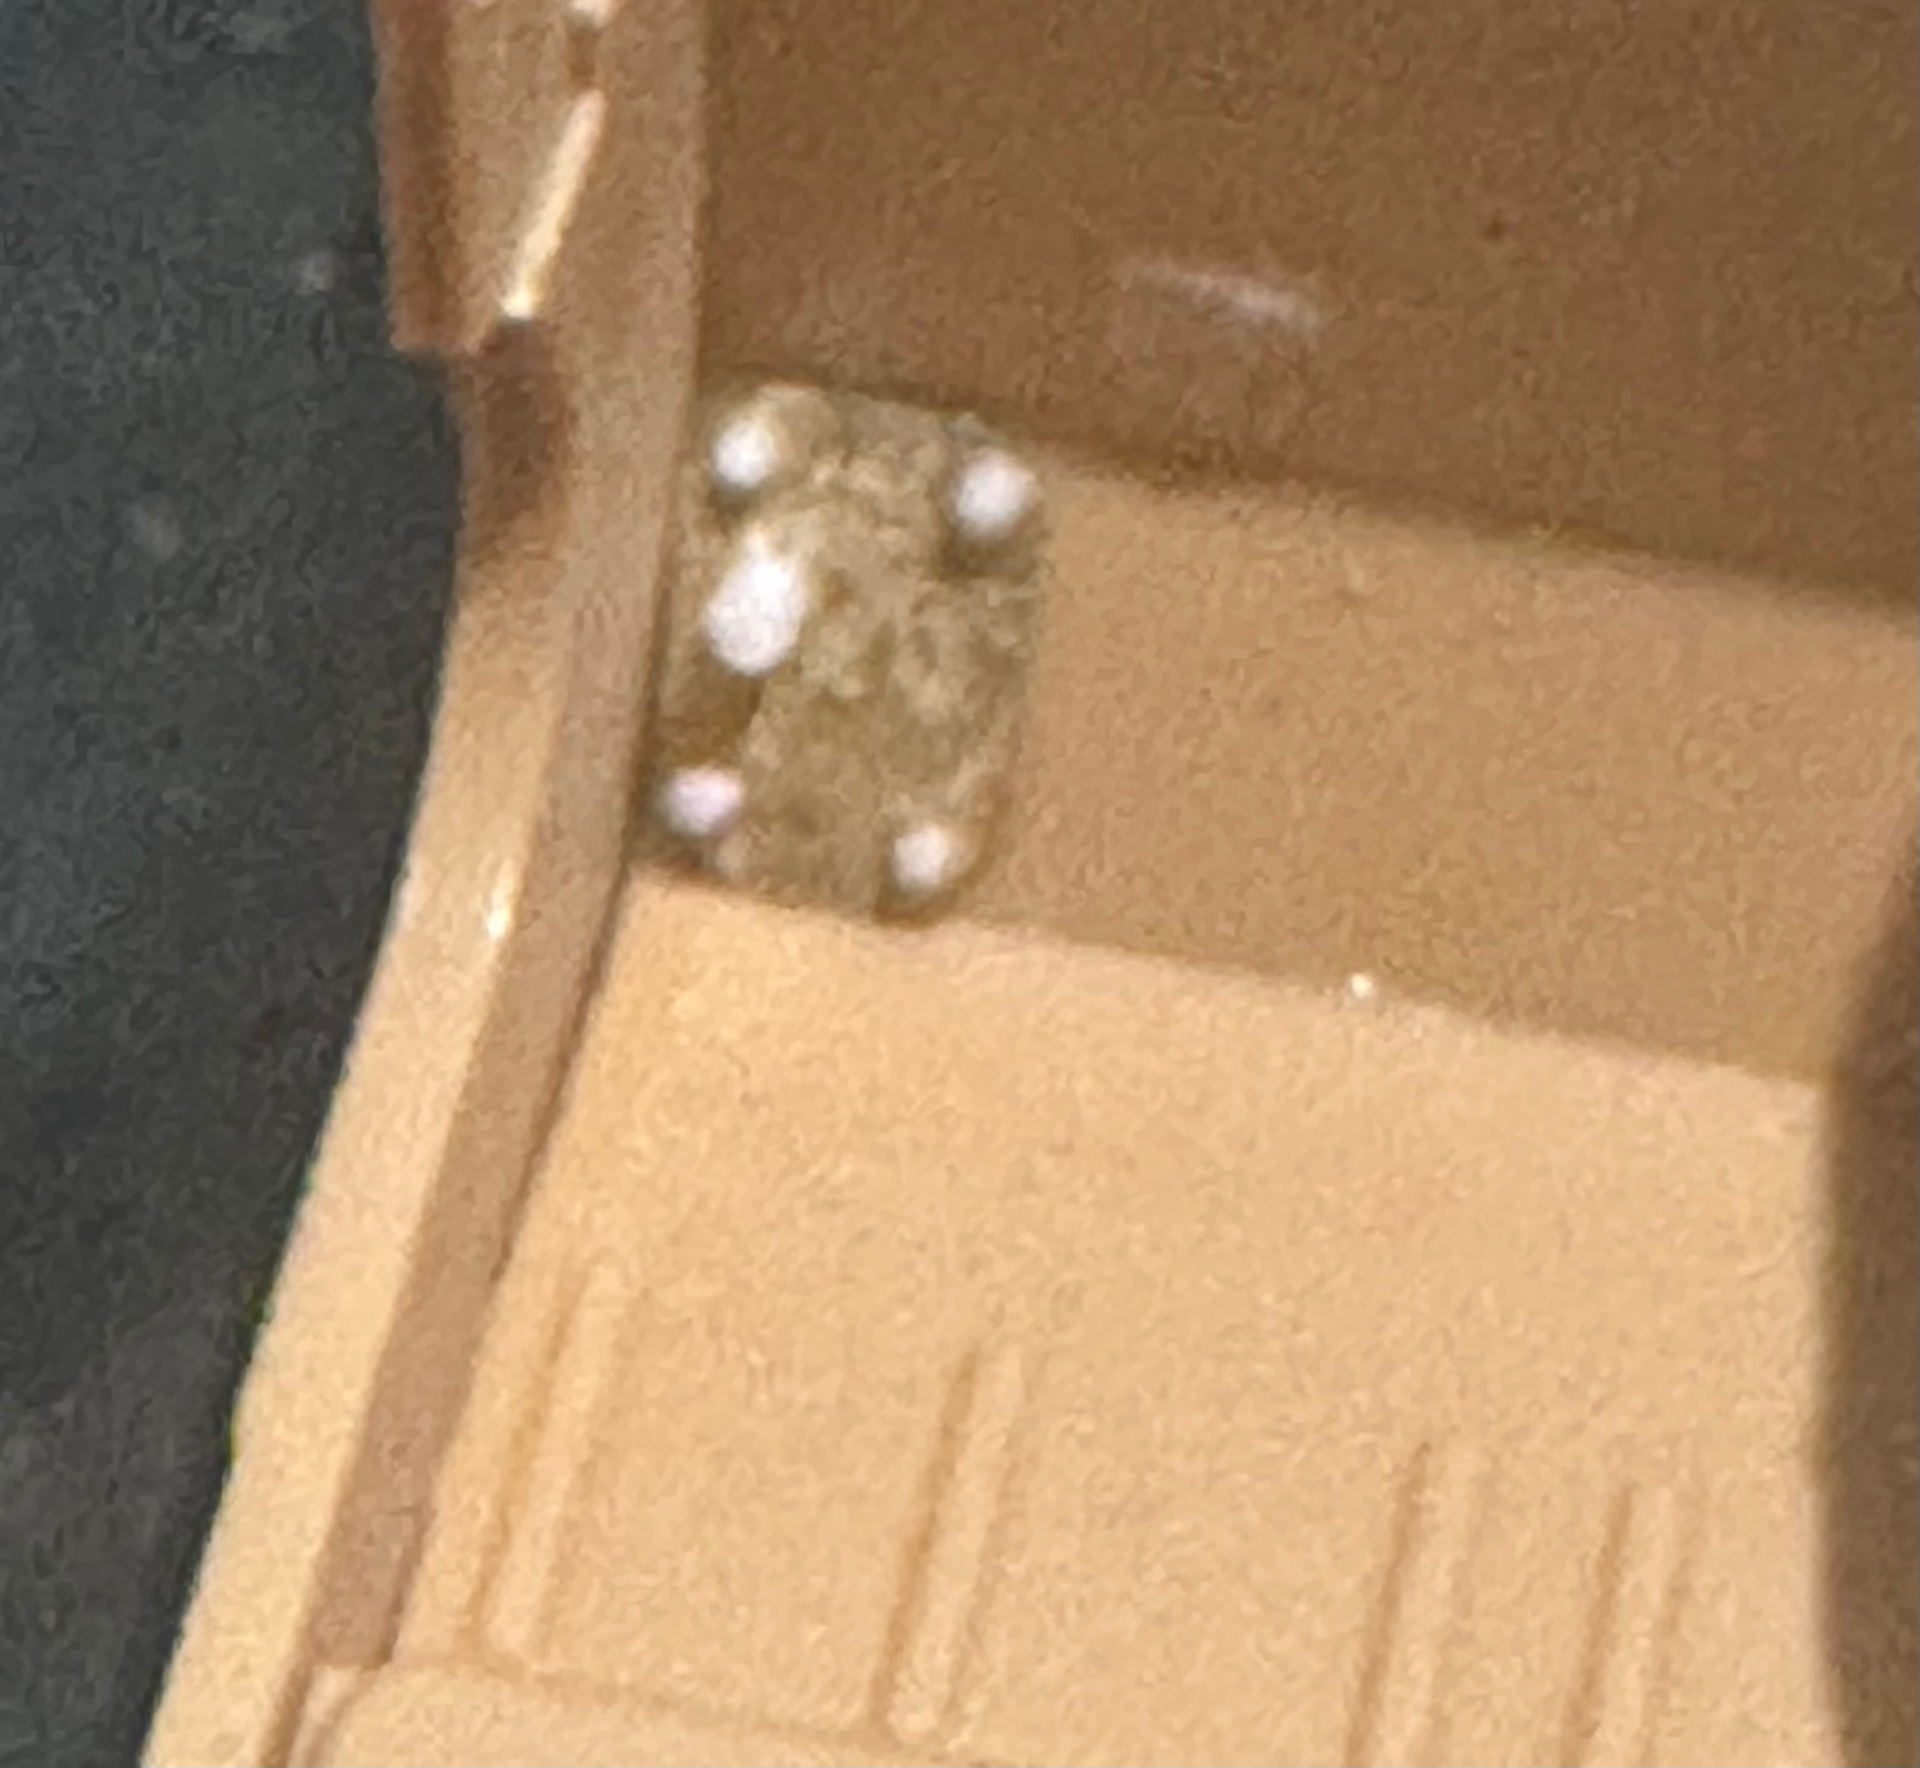
I just have to redo the starter switch now.
Finally. I had to work on other projects to keep my sanity.
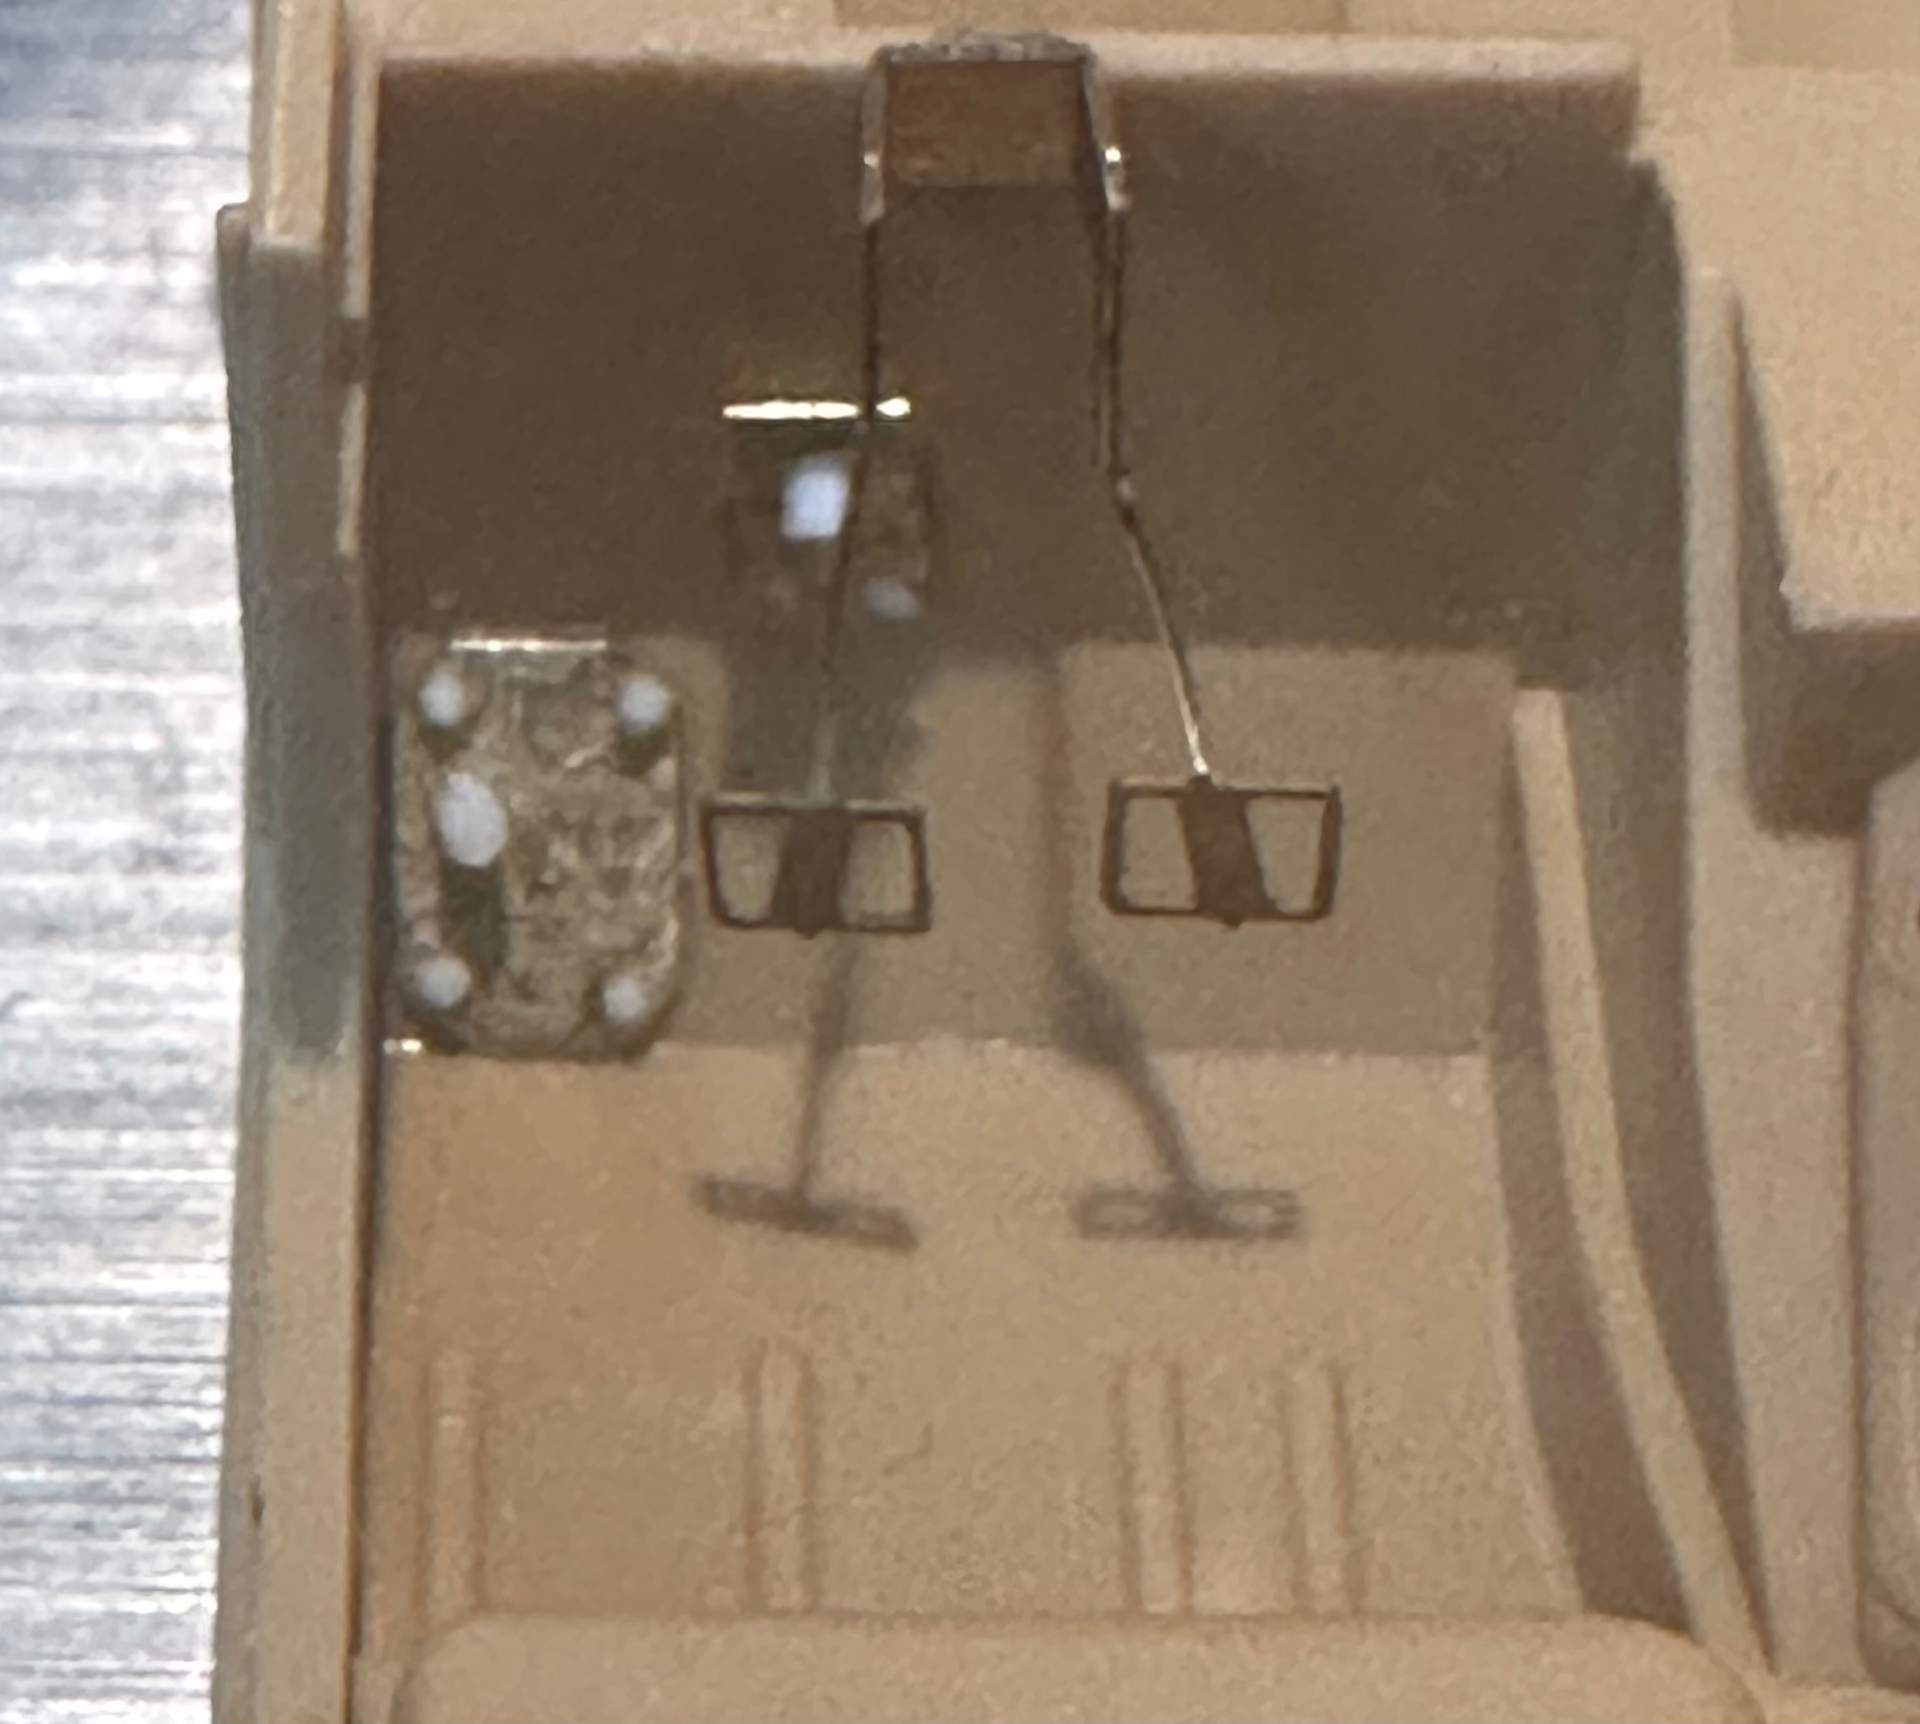
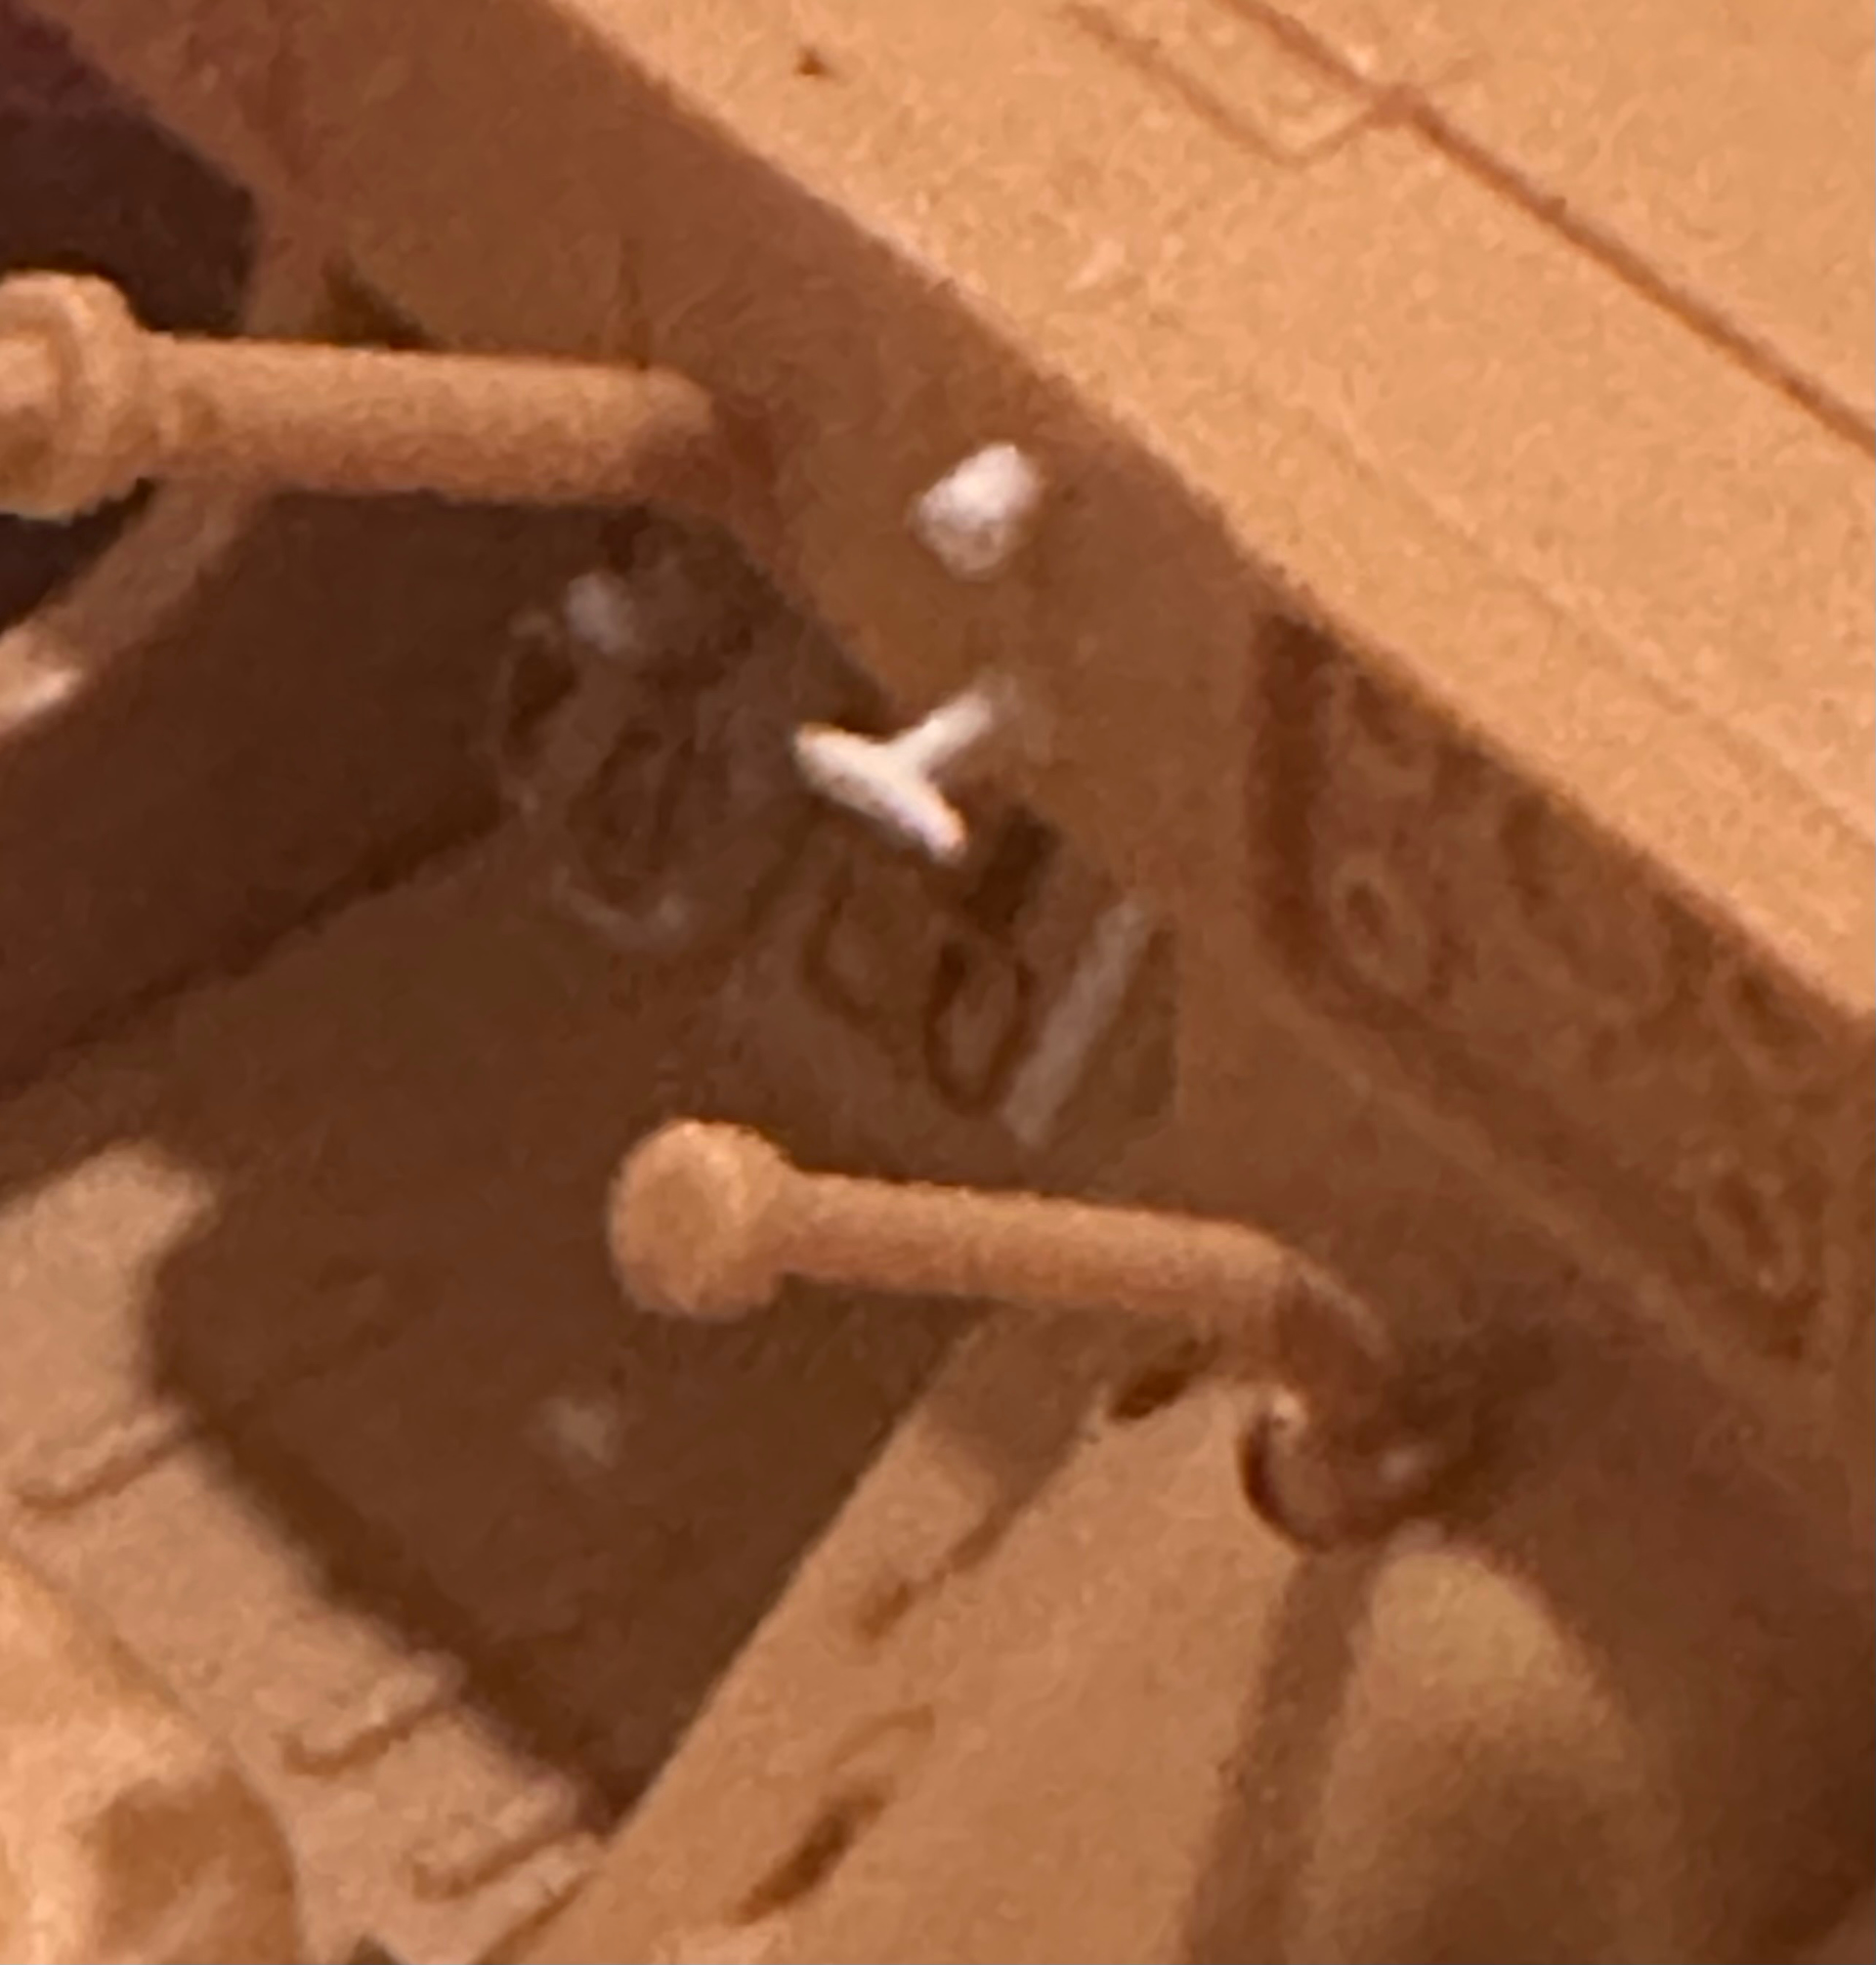
I added the Legend pedals after I installed my scratch built switches. You have to mount the pedal higher than how Legend shows you. My photo illustrates how it worked - you had to depress the clutch pedal in order to engage the starter switch underneath it. I may have to have the driver sitting with his legs outside of the vehicle, because I’m certain one or both of those pedals won’t survive the encounter with his feet.
The pedals do look very fragile. I know I would break them with my clumsy hands.
Indeed. The mating surface is the thickness of the brass by about one mm in length. As long as I don’t breath on it…
There is another very convincing way to do these from styrene, which I’ve also done - make a rectangular box with Evergreen channel, slice off very thin layers to give you the outline of the pedal. Then add a diagonal piece of .010 x .020 strip inside. I may show it done later on as I’ve only got one PE set left, and several of these left to build.
Speaking of .010 x .020 - I forgot to add the reinforcing ribs to the floor underneath the pedal. The kit has them on the passenger side, but not on the driver’s side. It would’ve been much easier if I had added them first before I added the pedals. Indeed I ended up breaking off the clutch pedal. But in the end it worked out because it had been just a few degrees crooked, so I was able to straighten it and deburr it a little better than I had previously.
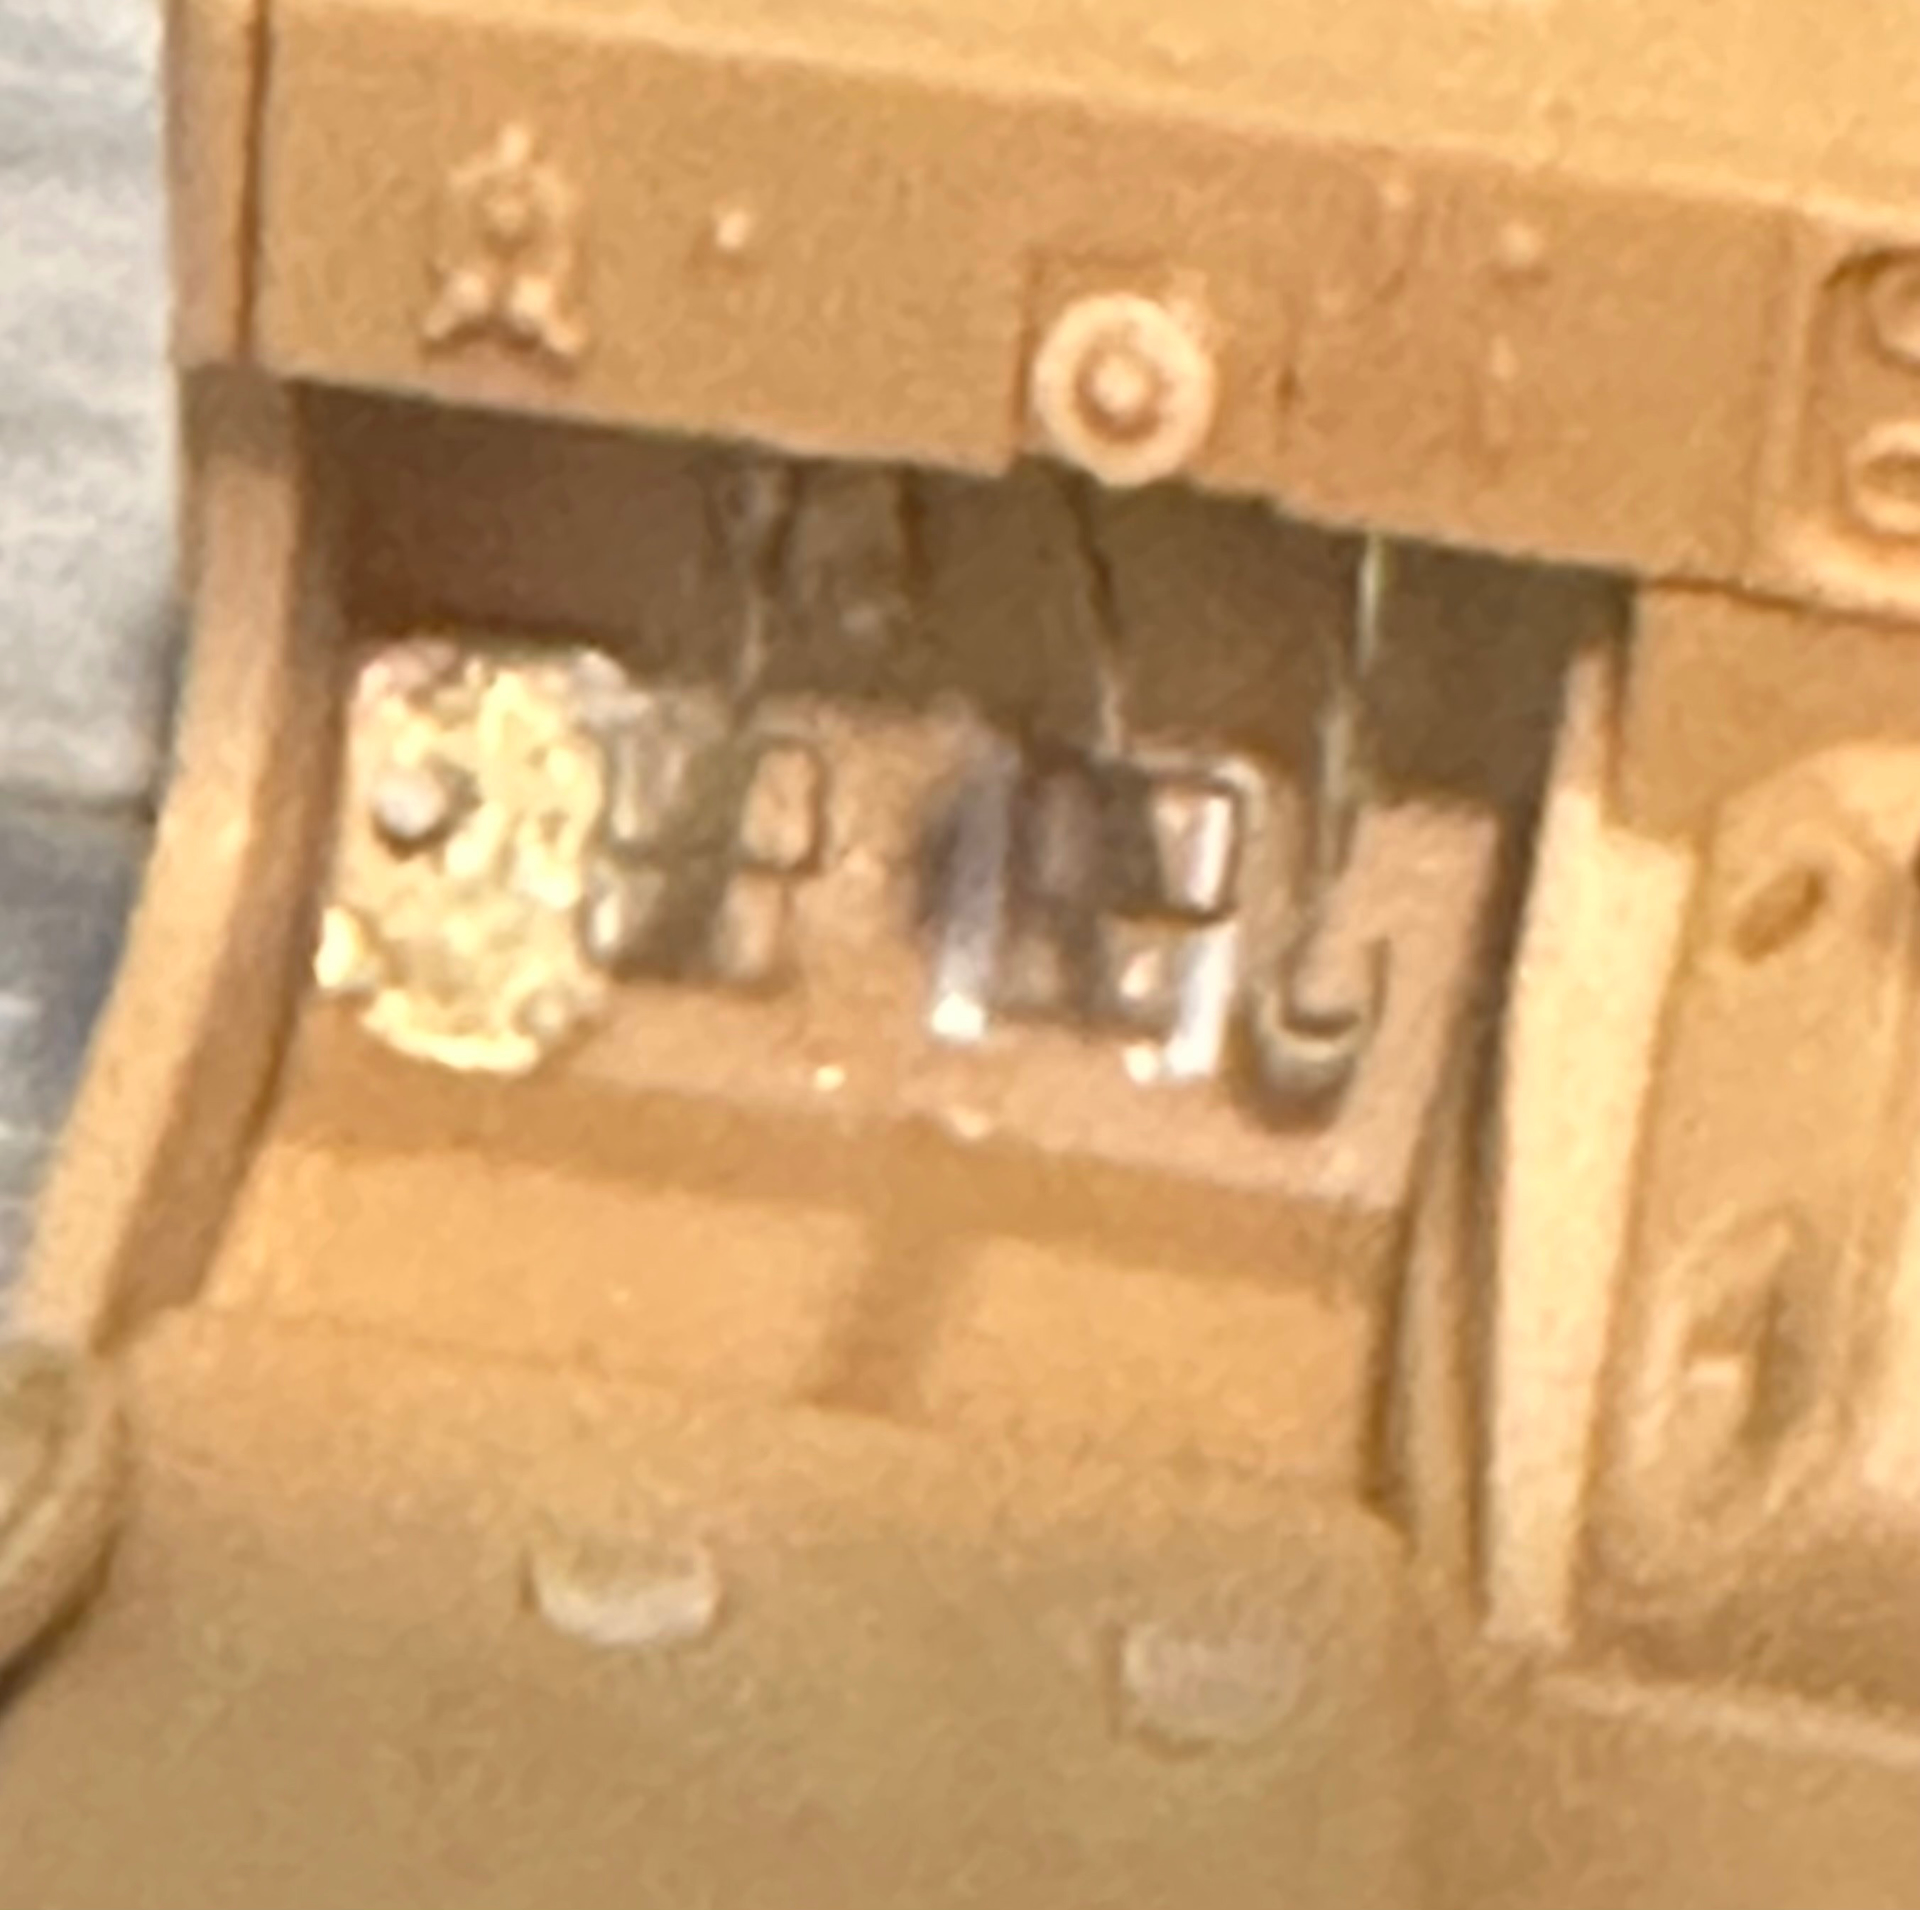
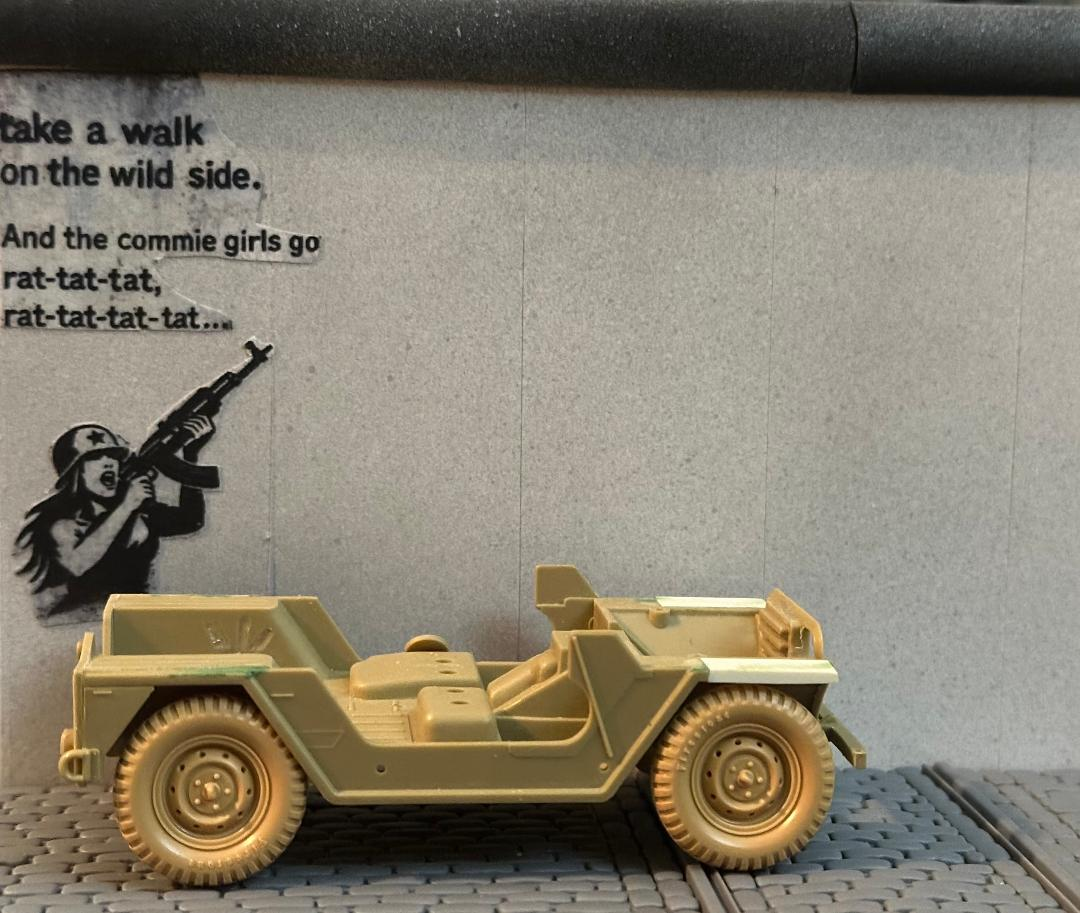
This is rapidly turning into a “Build a better MUTT” thread, which was not my intent. But once the wall is figured out, what else is left? The figures, of course, but they’re nearly done. So more on the gun truck. If you served on these and are familiar with them, you’ll notice a problem with the steering wheel. It’s noticeably too small. And that’s even before busting out the micrometer. The steering wheel mics out to just a tad over 14.5 inches. It should be 16 inches. Yes, you’ll notice. That’s damn near a 10% difference - like putting 1/32 items on a 1/35 vehicle. I’m guilty of that:
But this is a little different. My first thought was grab a Tamiya HMMWV wheel, but they’re the same size as the M151 steering wheel - and should be - the real thing is 14 inches OD. So I’ll need to comb through some kits. If I don’t find one, I’ll have to make one, since I’m bothered by it now…
If you can find one, a possible solution.
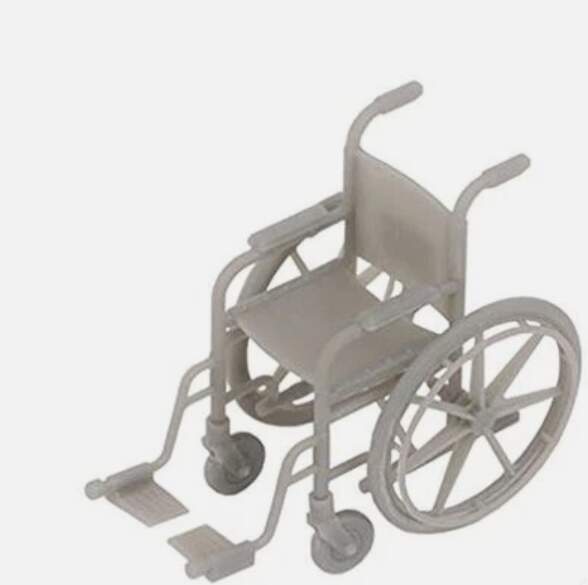
That’s funny. I was thinking of using that set for a scratch-built wheelchair. Then I had an epiphany:
By MJ Miniature. Waiting for it to arrive.
.
This is not the permanent Berlin Wall diorama I’m working on. It’s for my class on museum exhibits and is due in a few weeks. Learning from this so I can apply that knowledge to the “real” diorama.
It’s coming along. Based on my other grades, I think I need about a 75 on this to get an A for the semester.
The second attempt was much better.
I may have to do an East Berlin civilian diorama now just for kicks.
Wow that’s excellent Robert
Thank you. And its at 300%!