Yes, the mud is certainly a great option. What did you use to make it on you T-34/85 build? It sure looks great.
The seller has promised to send me the wrecked bits for the A1E1. It will be some weeks before they arrive and once here we will see what is what. If they take no measures to keep the new bits from battering each other, I may be no better off. I can certainly build what I have now but it will not be as nice as it should be.
Thanks, Paul. I used several layers of Vallejo thick and thin mud with washes at the end. Also put mud on a brush and blew it onto the model with my airbrush to get a splatter effect. I am sure MiG or AK interactive will work just as well.
Well at least it’s a good result from them! Too many other makers wouldn’t even acknowledge their culpability in the matter… Good luck with the replacements!
The replacement parts for the Vickers A1E1 arrived. There was again some damage but much less than the first batch. The big problem is that the parts are thick & heavy and in transit break loose from the “sprues” and batter each other or that the “sprues” themselves do the damage as they and the parts thrash back & forth.
The solution is that the parts need to be separated from the “sprues” at the factory and individually wrapped before shipment.
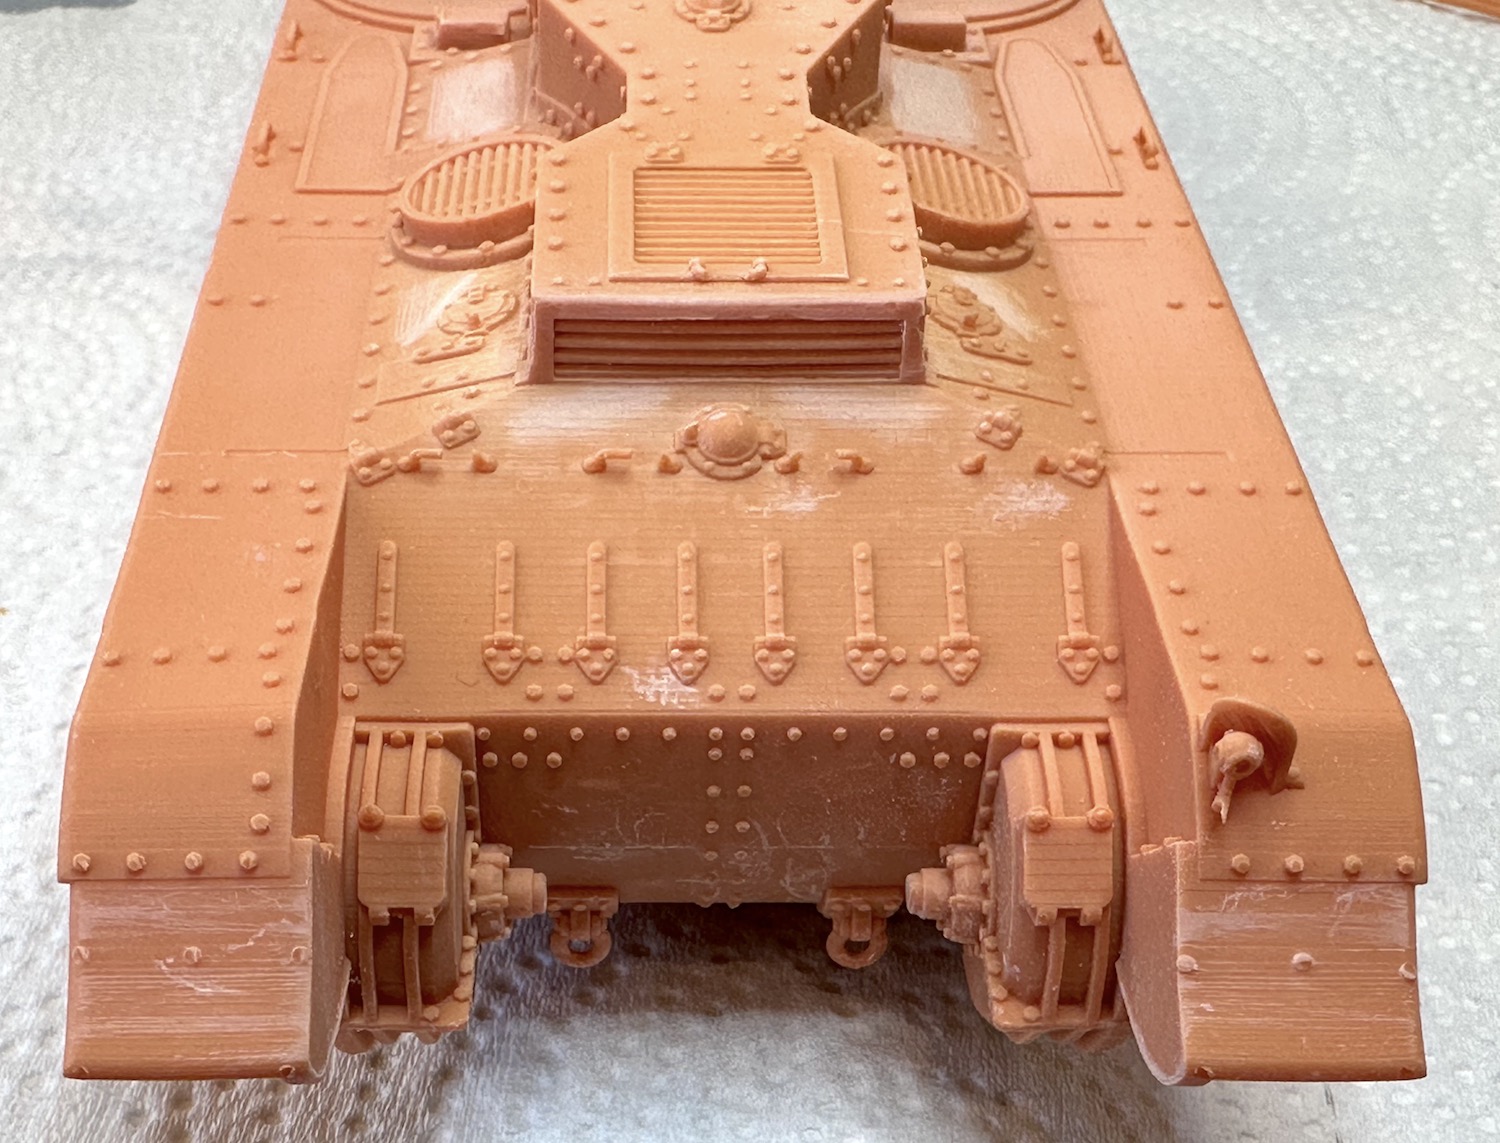
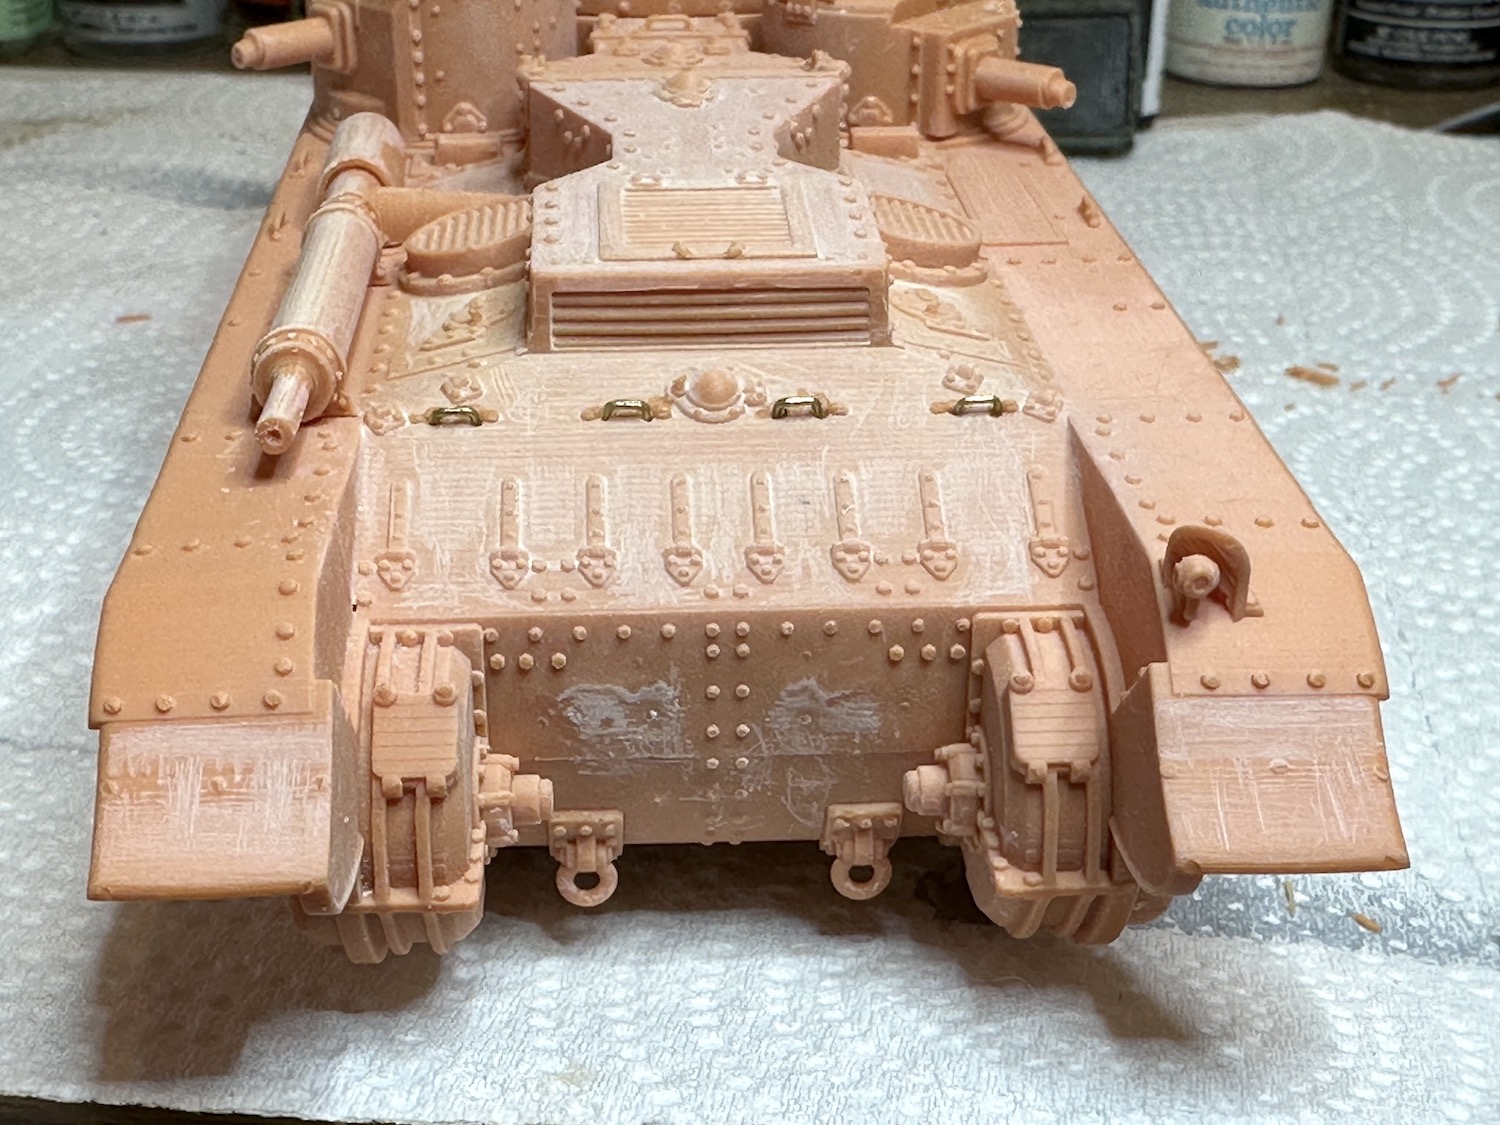
The new hull had all of the rear grab handles busted and one of the front step plates snapped off on the latest example. The grab handles should present no trouble, I can drill holes & make new ones out of wire. I found the step plate in the bag and can just glue it back on. The first hull was so battered that I had no idea there even were step plates on the model!
I’ve got a couple of kits in the works now but will be looking forward to an early start date.
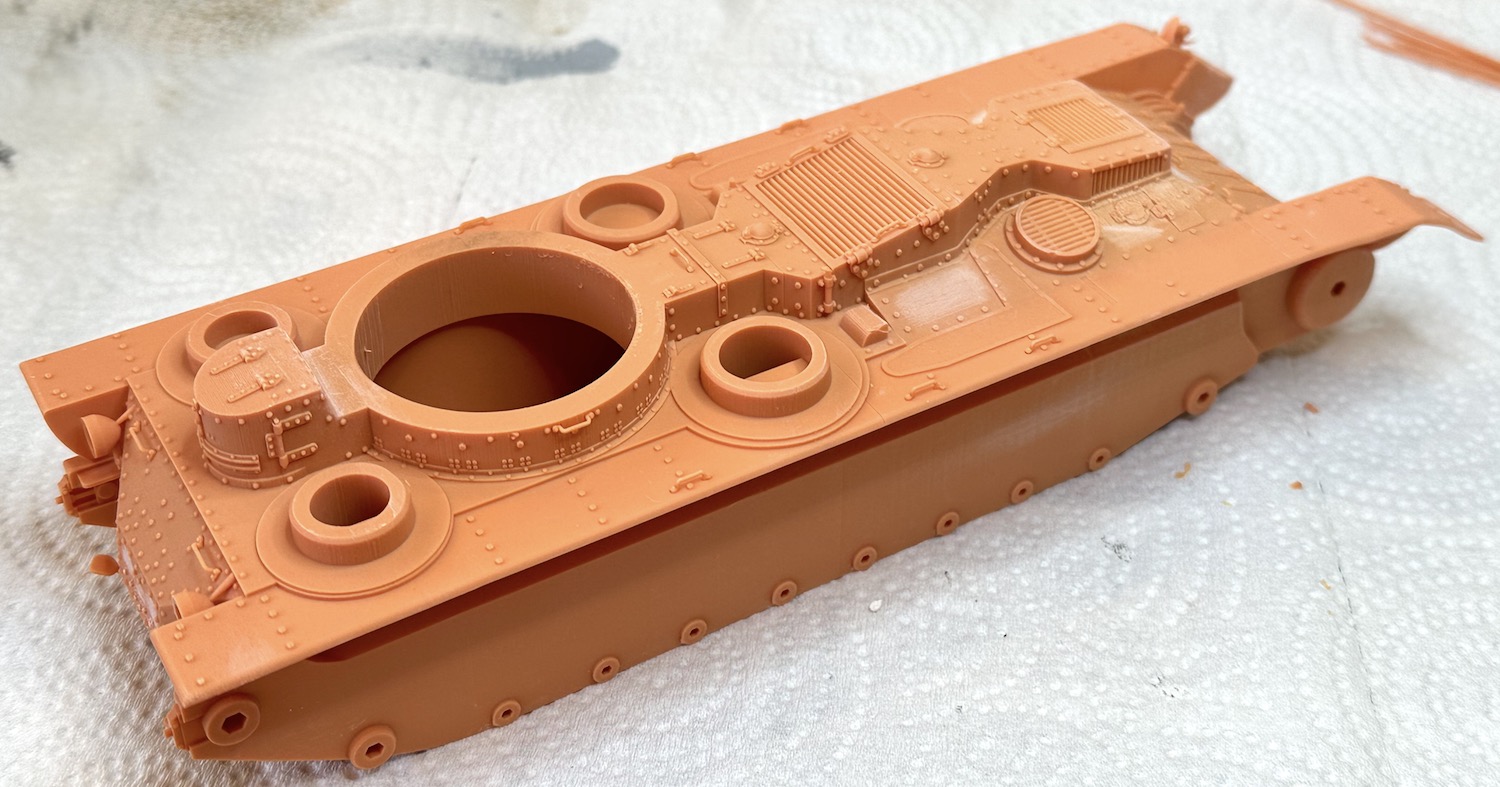
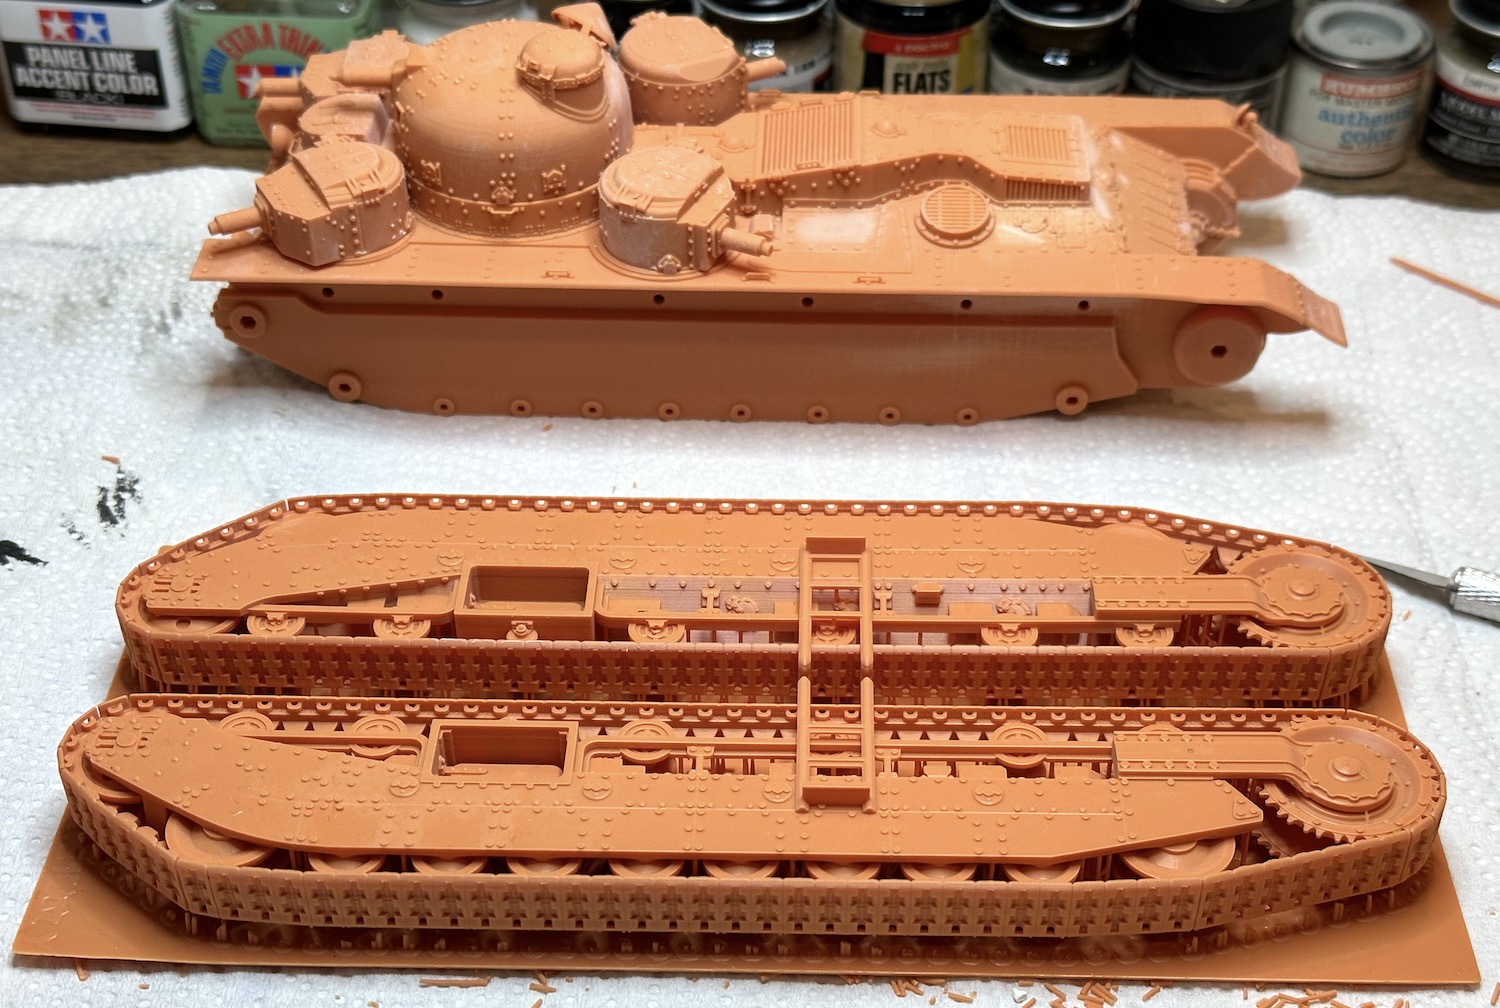
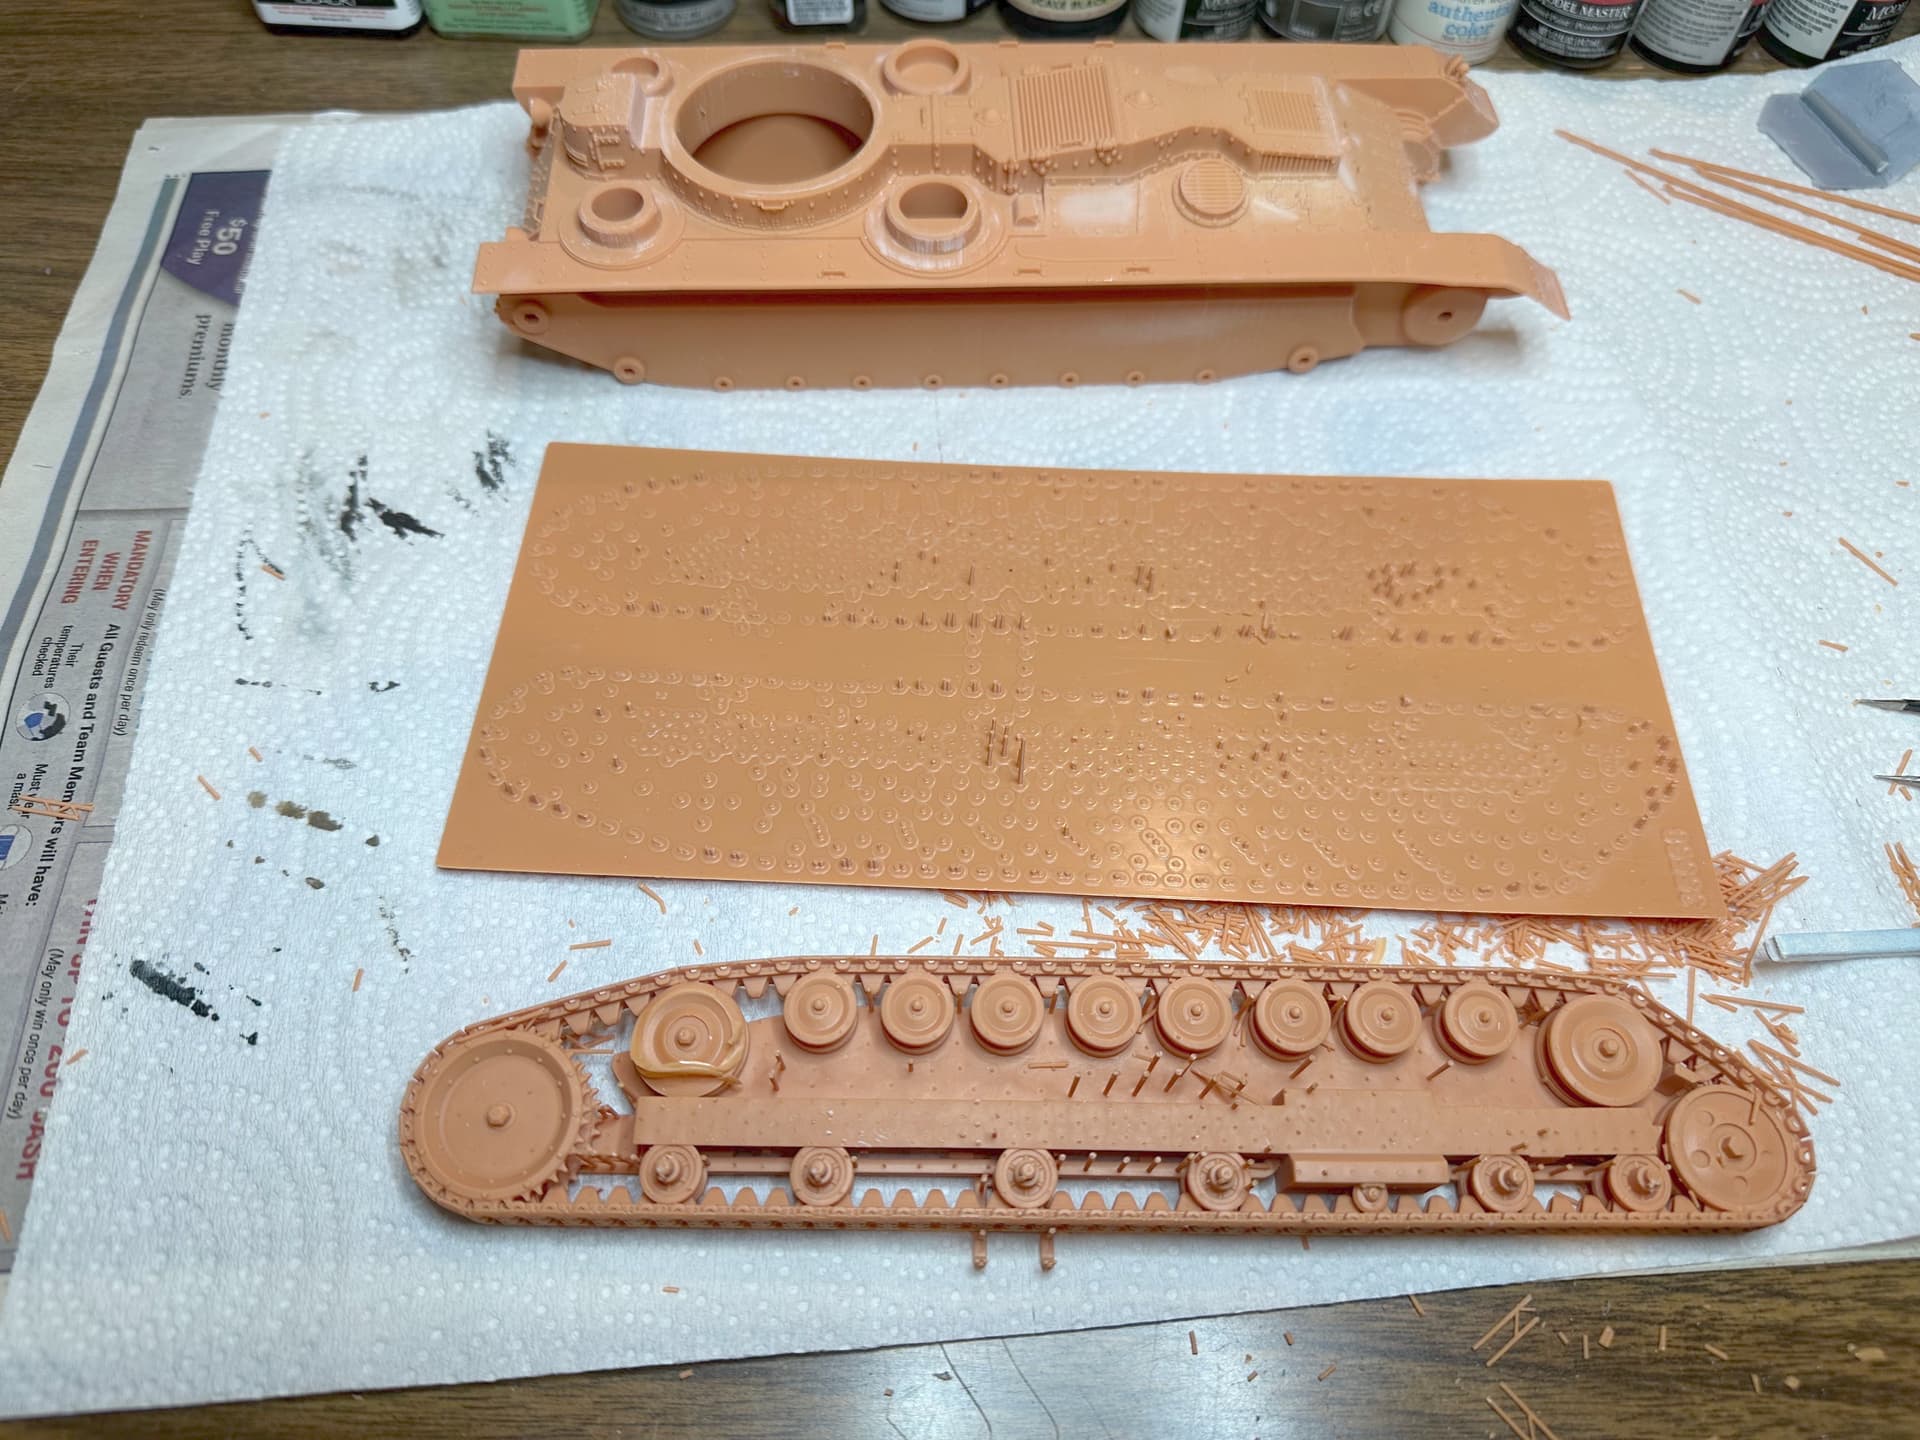
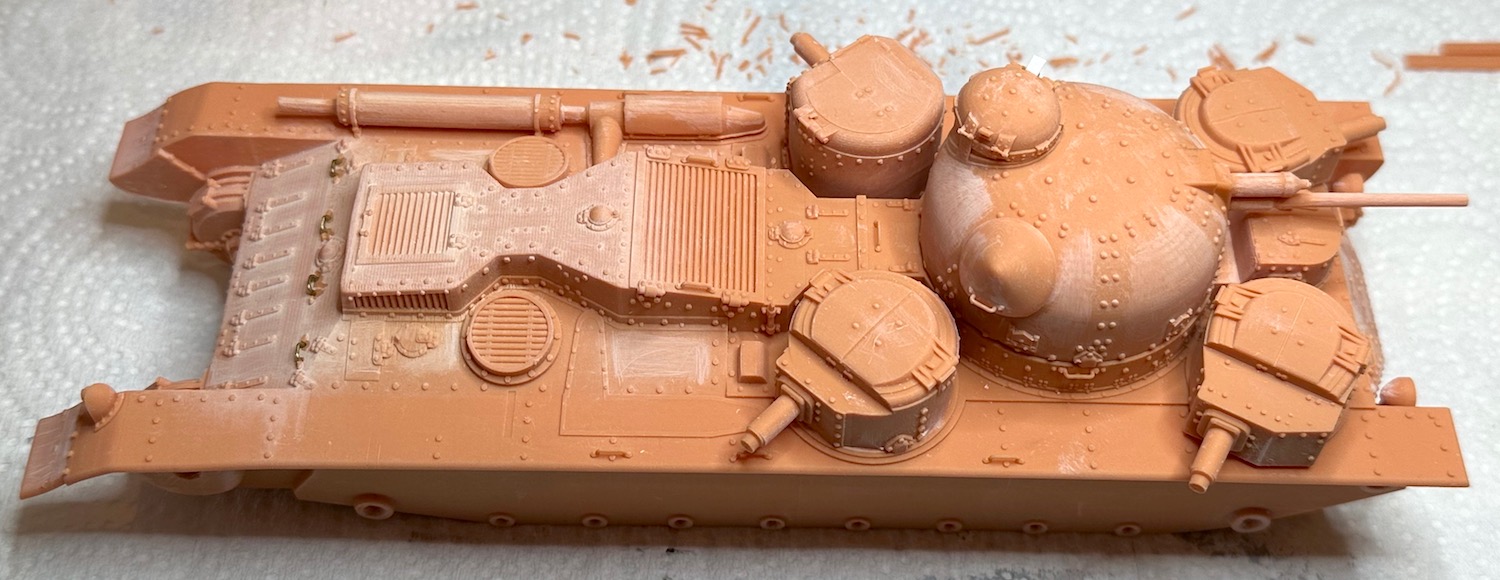
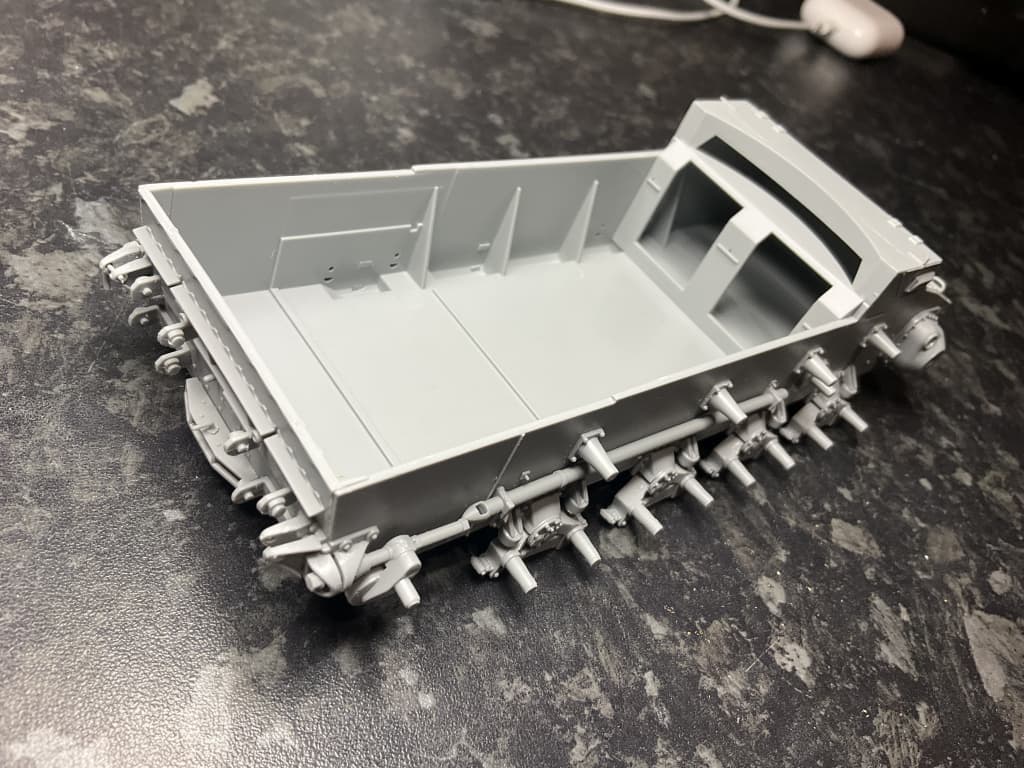
I got a start on the SSModels 3D printed Vickers A1E1 Independant Tank over the weekend. The castings are well detailed and outside of the fine detail pretty robust. The parts in the first kit I received must have received quite a battering!
The first thing was to reattach the step plate that was broken off in transit. Now it will not be lost unless it breaks again.
The major portion of the work in a kit like this is cleaning the moldings. This will consume many hours and the job was just started in this session. Even the smallest sanding twig that I have is way too big to get in many areas so the cleanup will never be perfect.
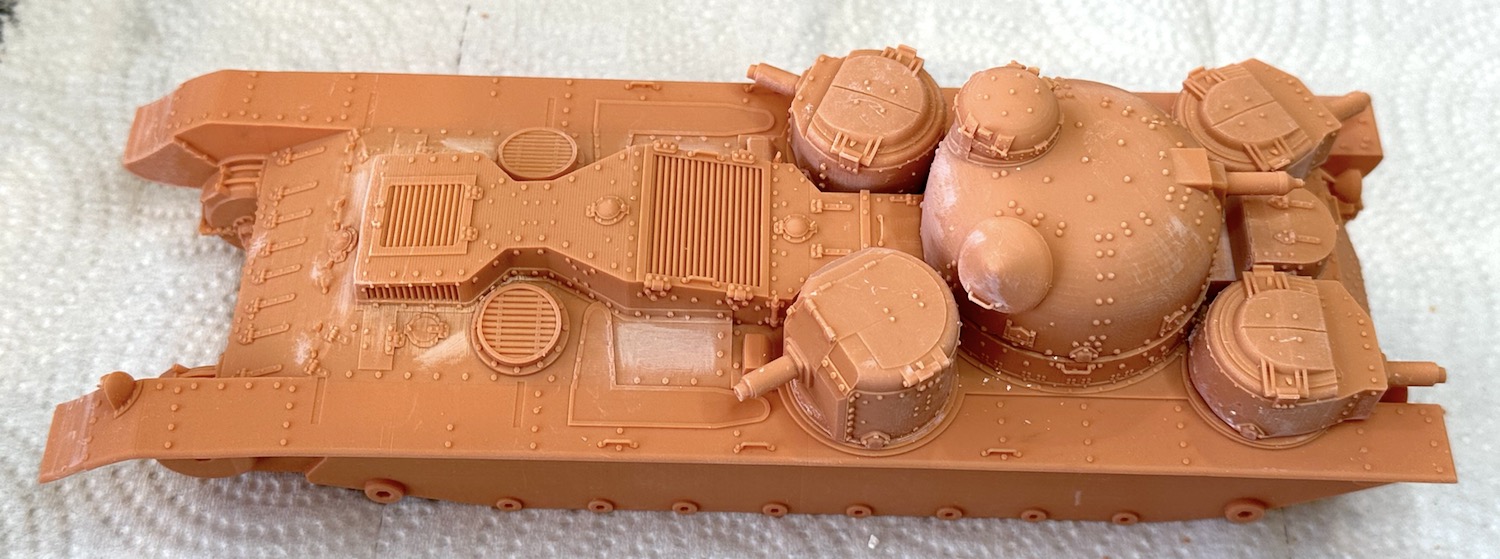
The small turrets have a little skirt molded on the bottom that arrived chipped. Looking at the online pictures of the only A1E1 ever built that is still preserved in a museum, these turrets have no skirt at all so I started removing it to match the pictures.
All four of the grab handles on the rear of the vehicle were broken off in transit. The molded detail included the mounts for these handles and my home made ones will not be as good but they should be sturdier.
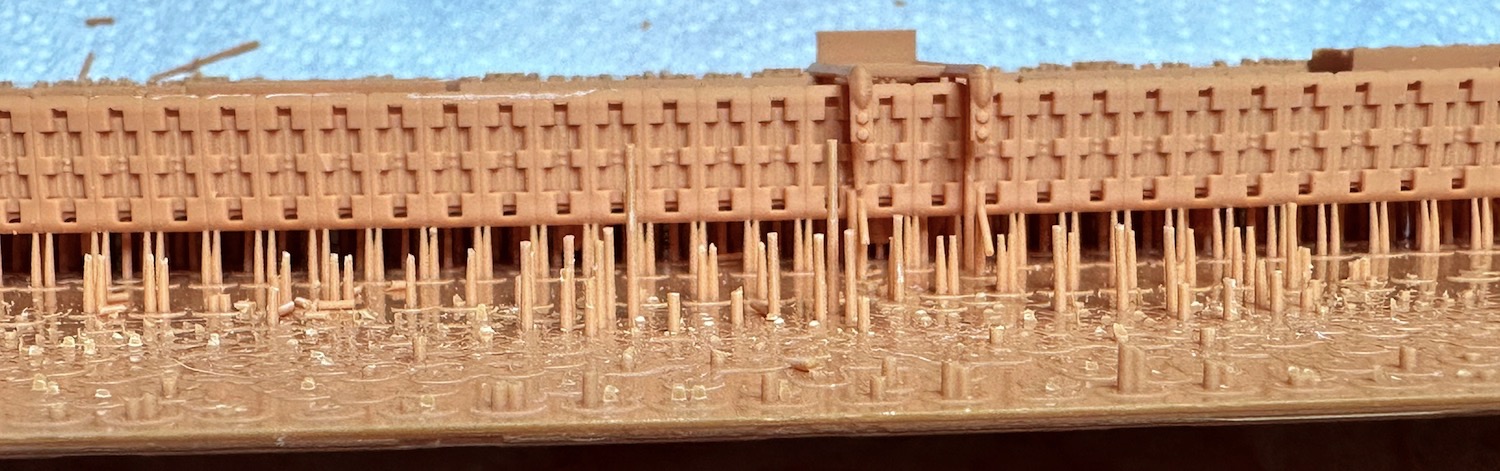
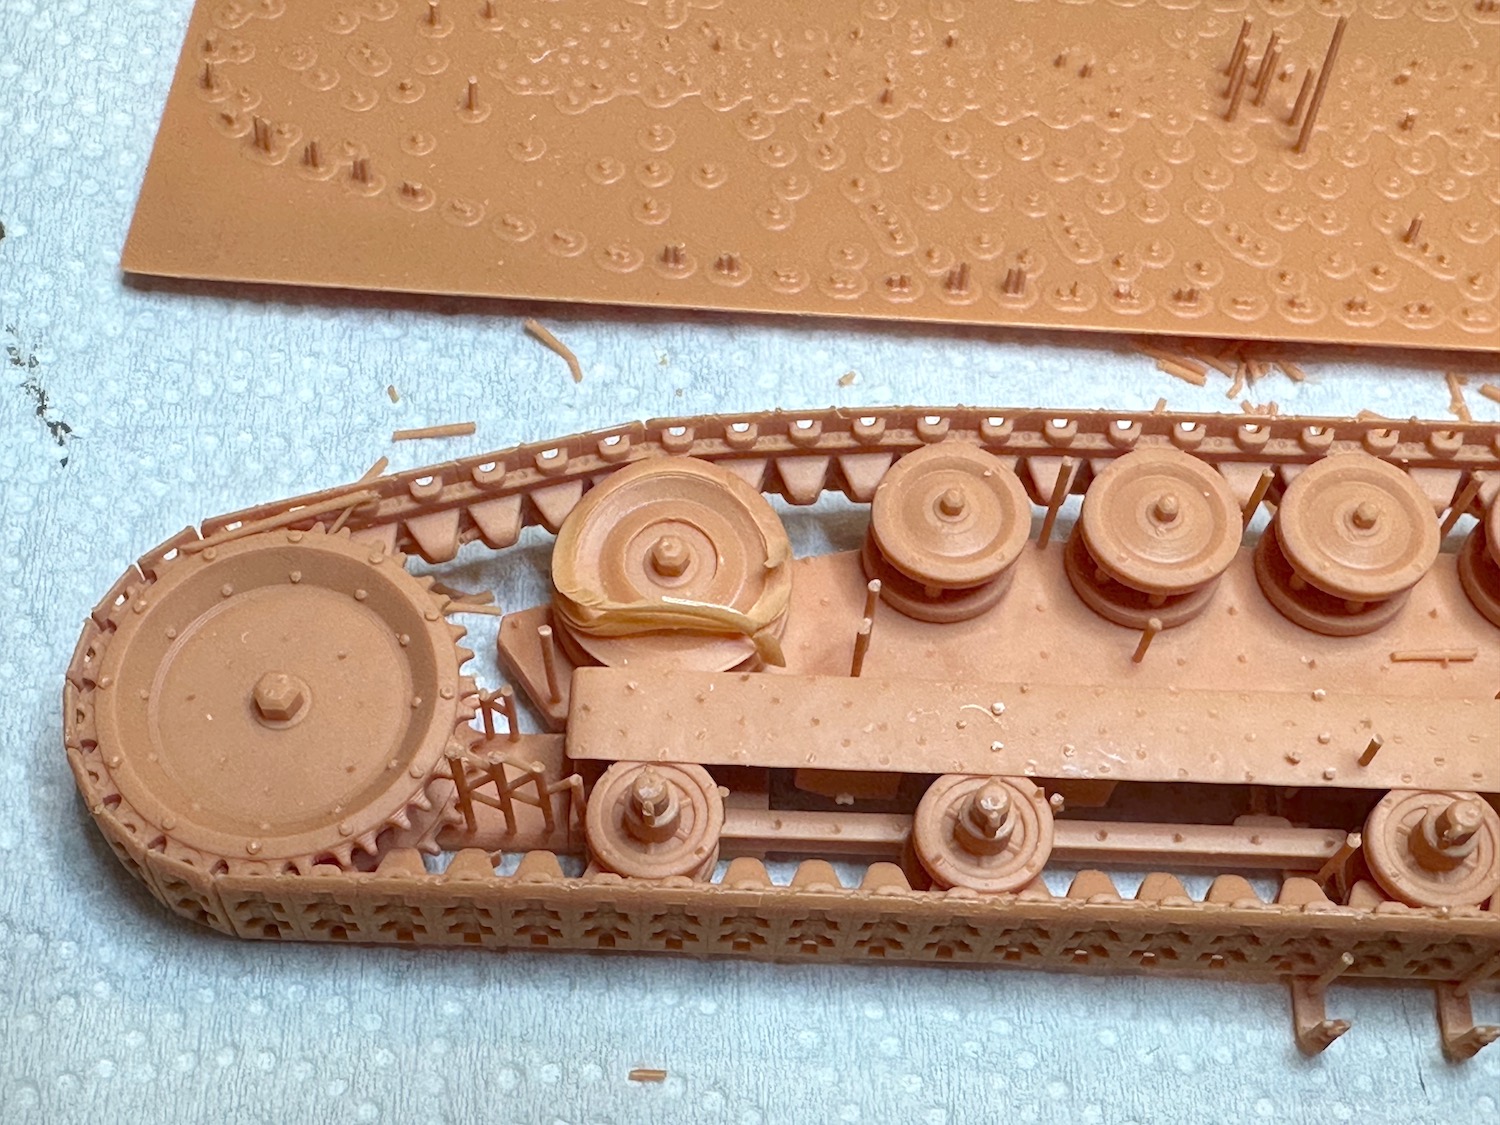
The tracks are molded in one piece close to each other making removing them from the 100s of tiny sprues a challenge. I started with a No. 11 Exacto and after I got off as many as I could reach then got out one of those hobby knives with the break away blades. After extending quite a number of them the tool would reach under the tracks and get the little sprues.
The track side came away and will need quite a bit of cleanup but all of a minor nature.
Overall, the kit is looking very good at this point.
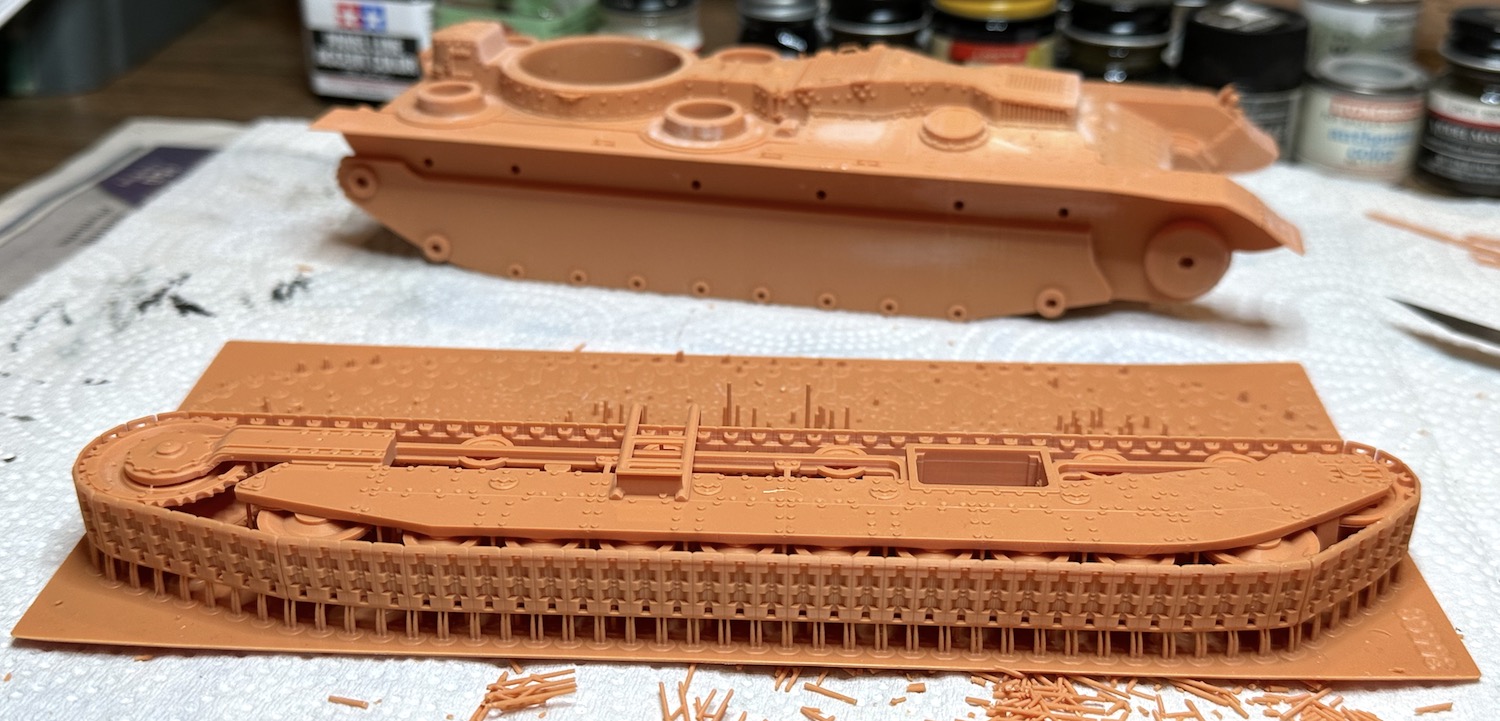
A bit more work done on the A1E1. The tracks are attached to the base with hundreds of little sprues. These are easily removed as they are brittle but they can be a challenge to get to.
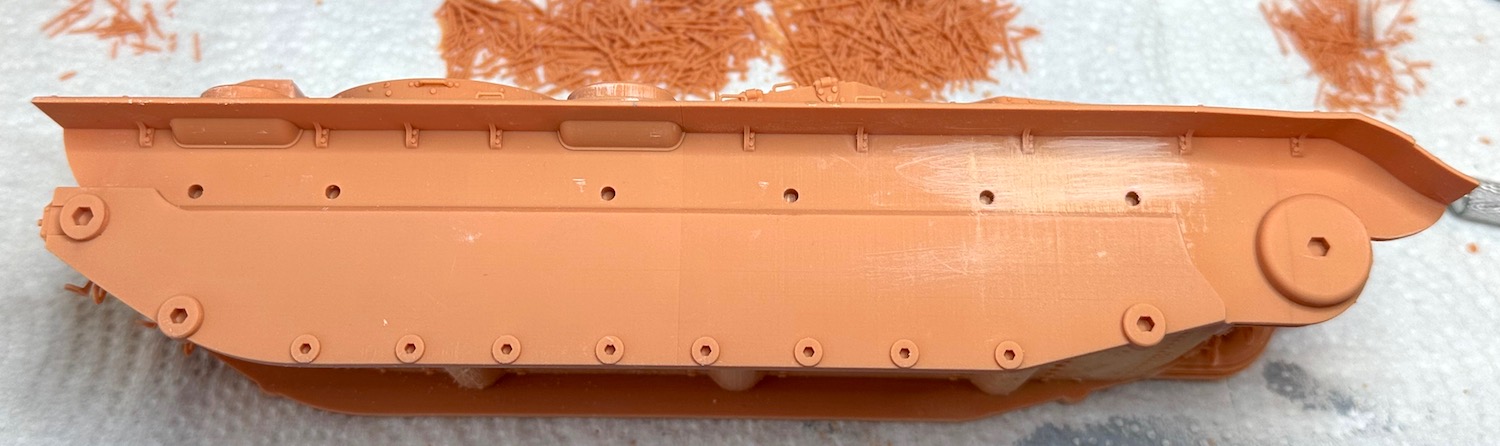
I have found a few “delaminations” in this kit, none of which should affect anything as they are in spots were they can’t be seen.
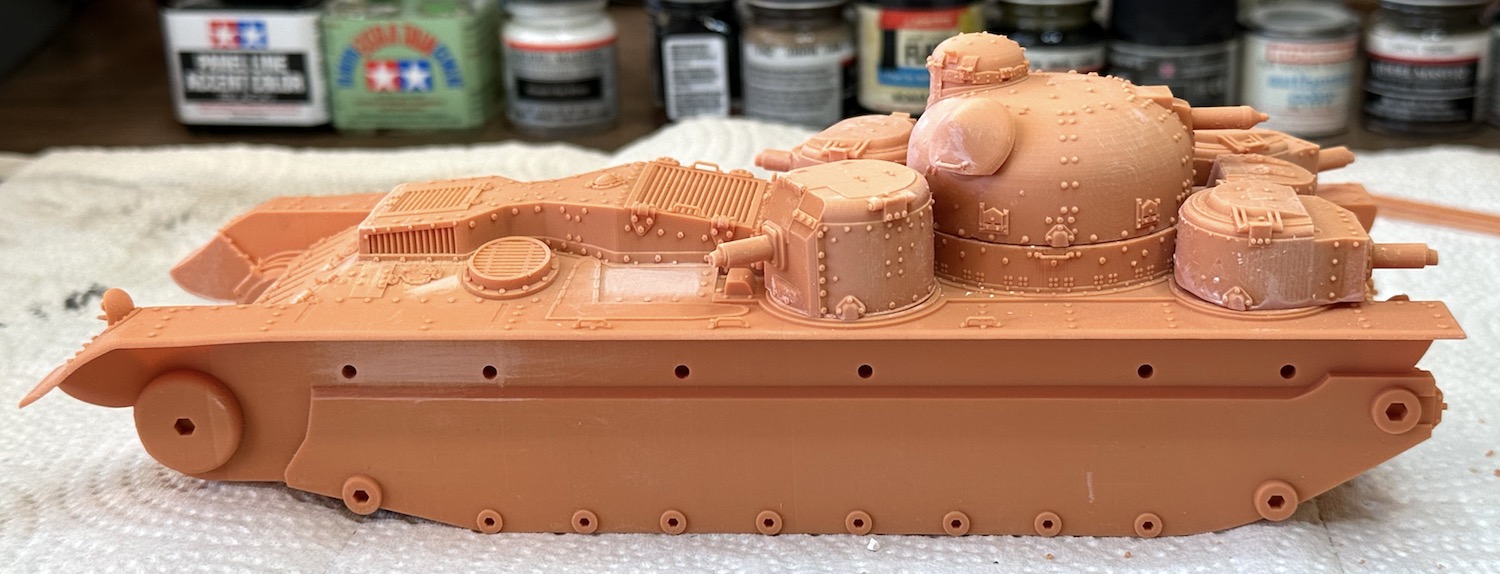
The tracks need a lot of fitting to get them to snuggle into the hull. I have got a basic fit on one side which will need refinement to be perfect.
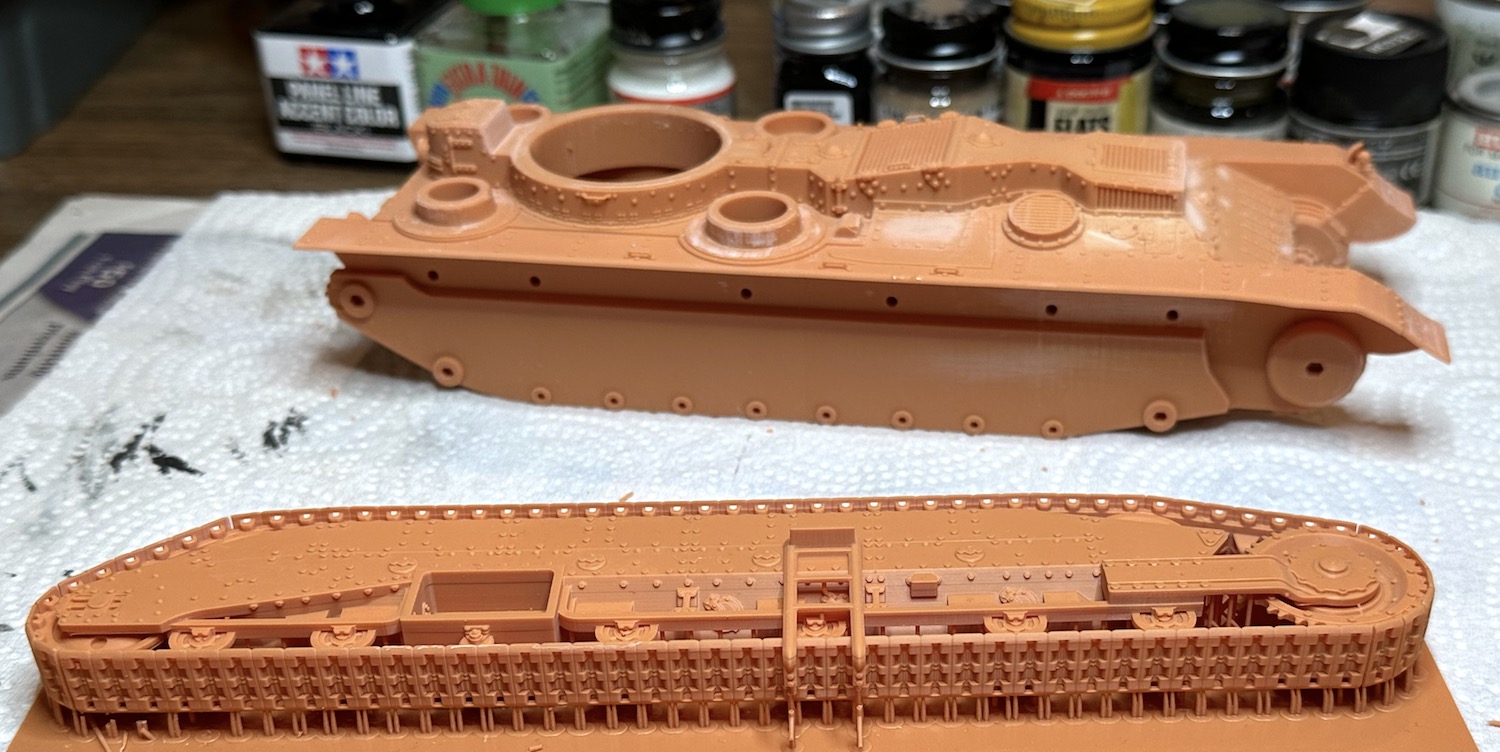
A bit more work done on the A1E1. Fitting the track/sides has taken some time. At first they refused to snuggle into position and both the holes in the hull and the pins on the wheels required adjusting. This was done in stages in hopes of removing the least amount of material possible. All told, there were about three hours used getting everything sweet.
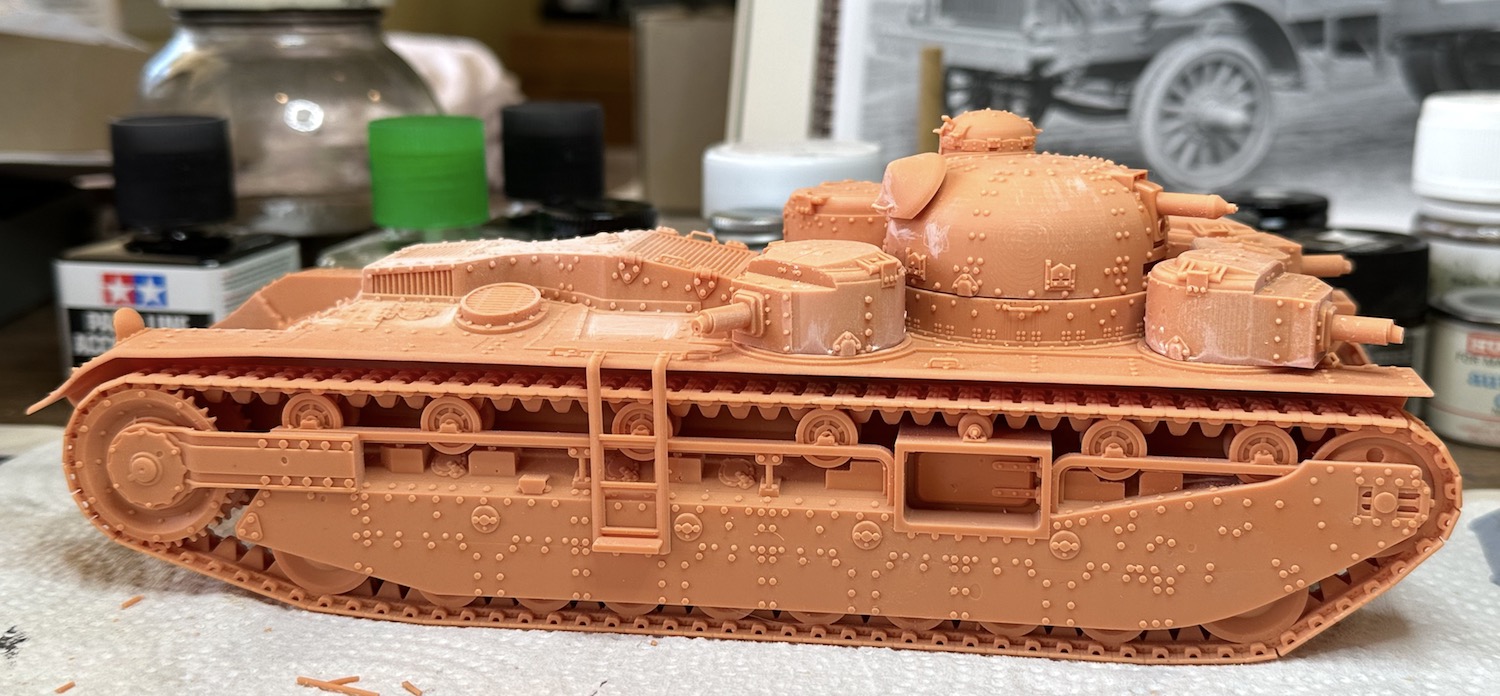
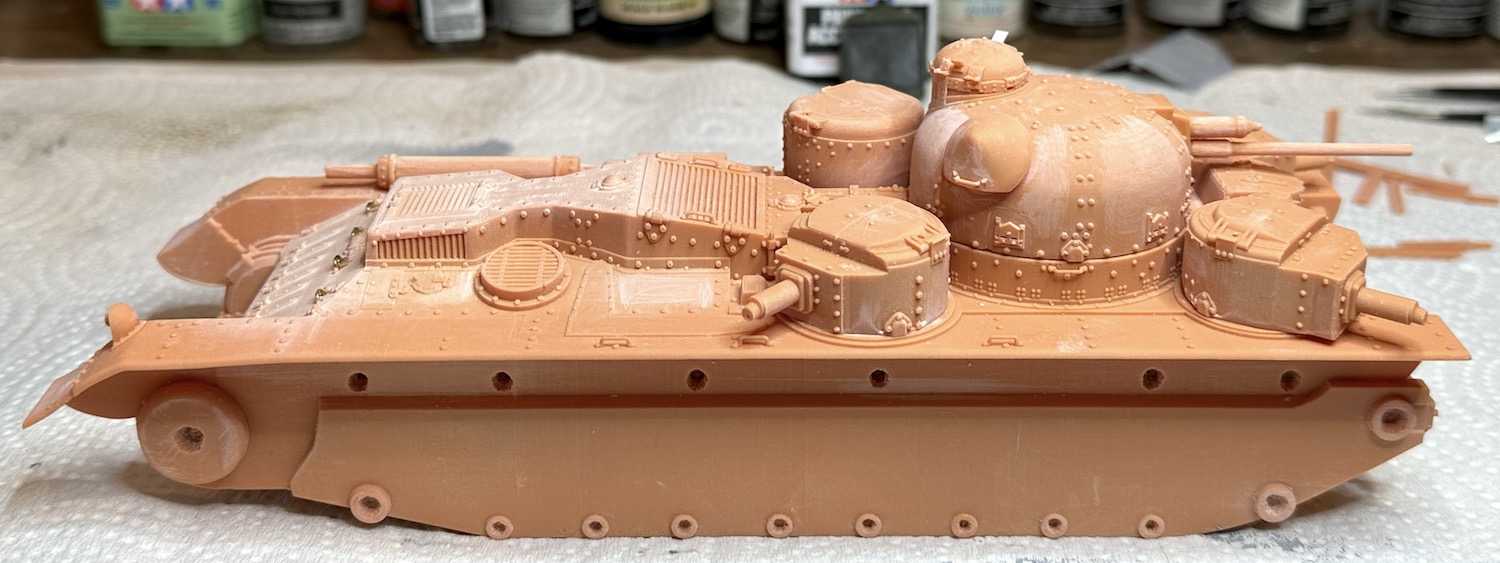
The last two pictures show a trial fit of some of the parts. It really looks good!
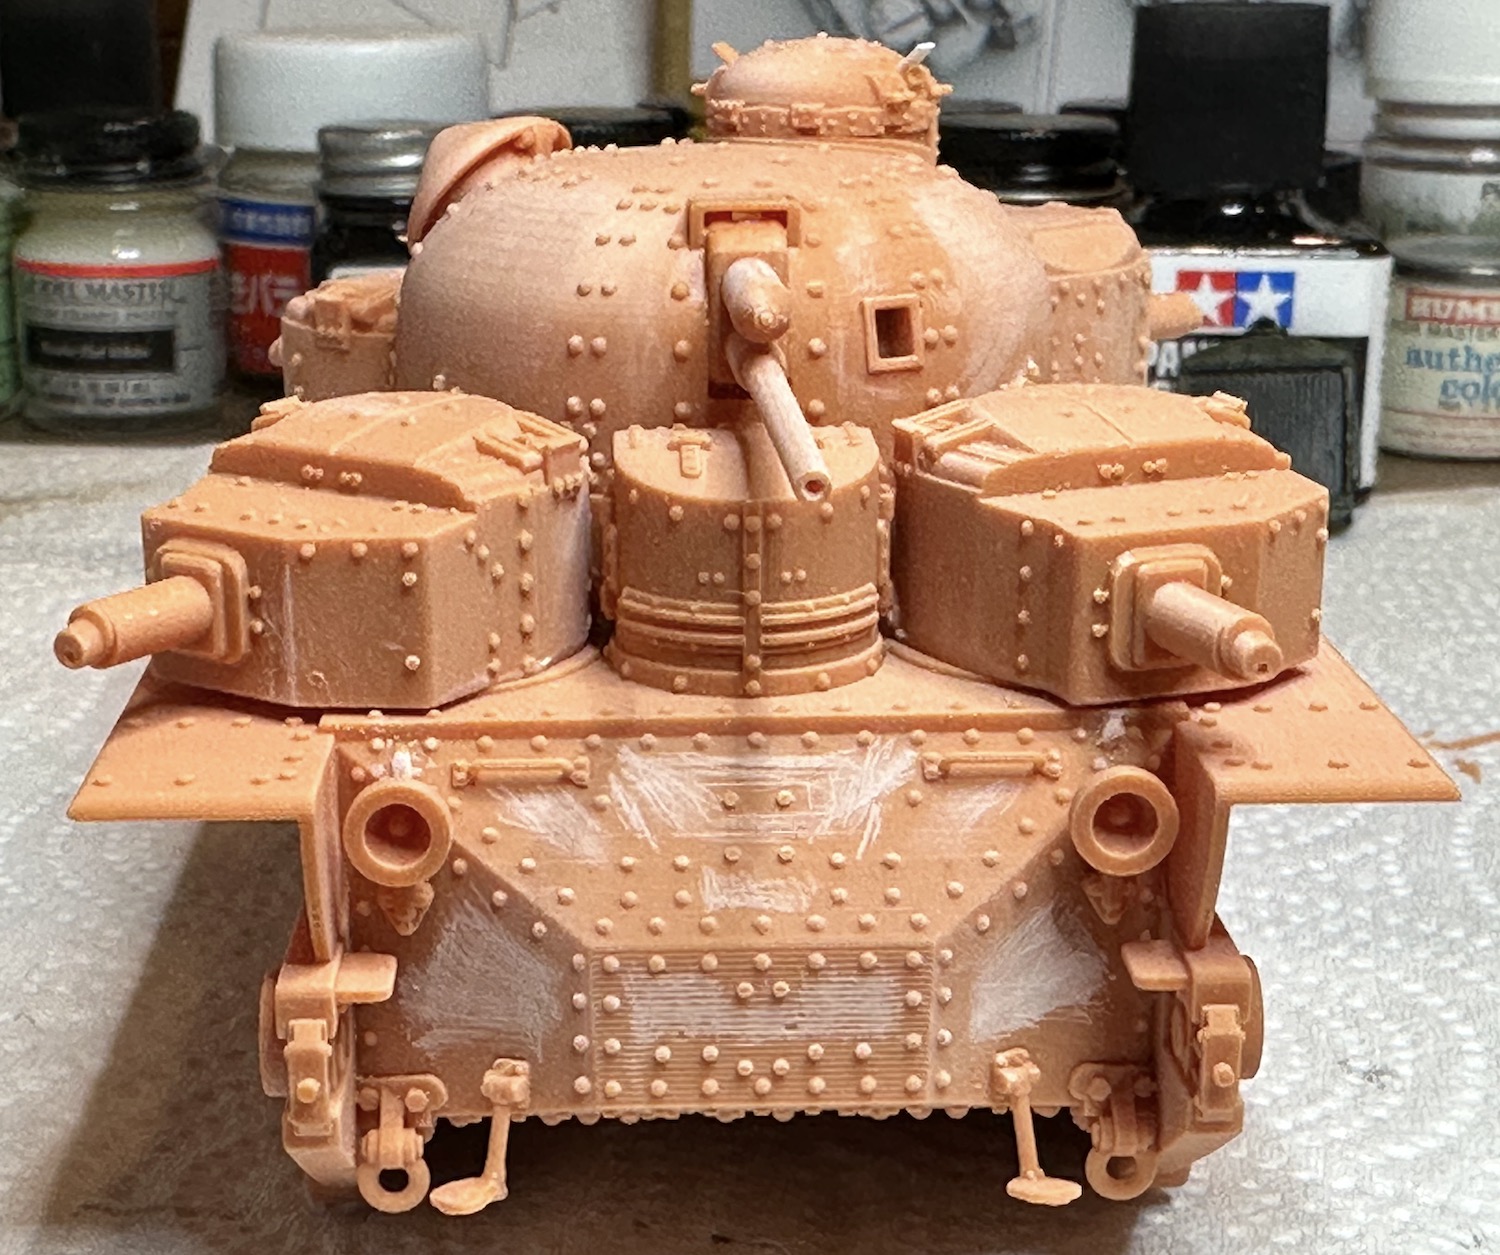
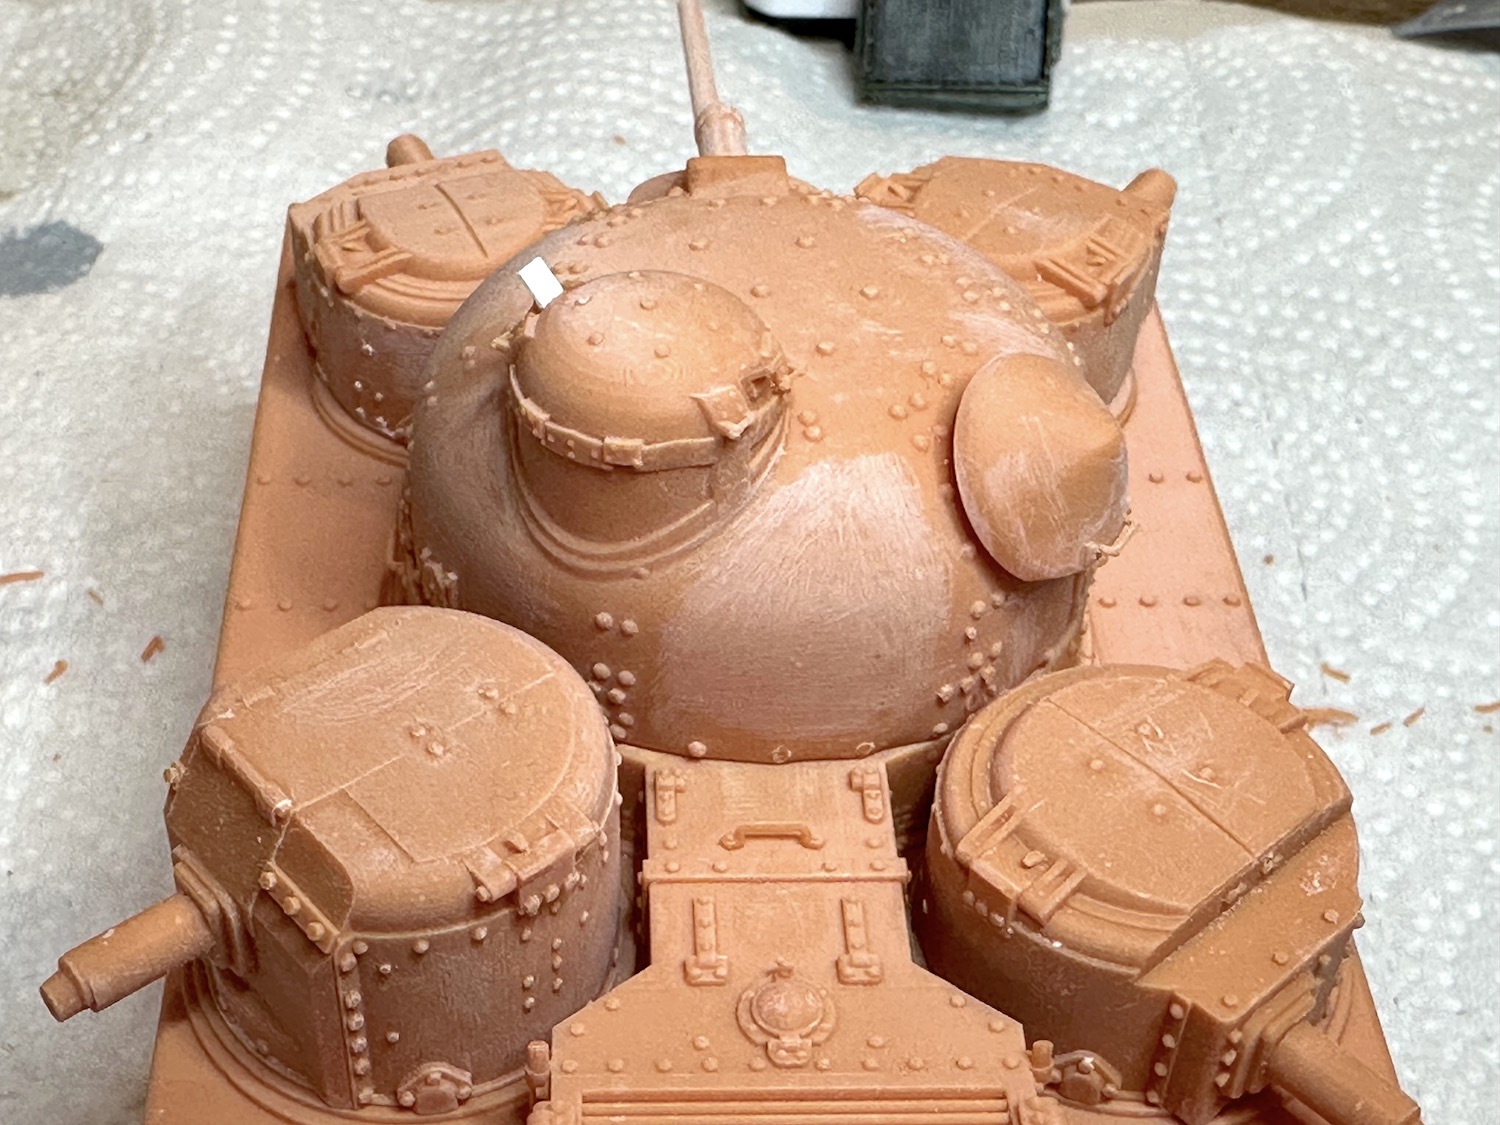
A bit more progress on the A1E1 in the last few days. The tracks fit pretty well so I started on other things like the turrets. They needed only minor cleanup. As you can see in the pictures, some of the rivet detail came damaged. You have to look for it to see it. There was a fandango on the top of the main turret that had broken off and the part was not in the bag. I made a new bit out of plastic card.
The grab handles on the rear were also damaged in transit so new ones were made of brass wire. I hope they will look OK under a coat of paint.
For whatever reason, SSModels didn’t bother to provide scale holes in the main gun or exhaust pipes. I carved out the main gun to look more like the 3 pounder (47mm) and started on the exhaust pipes. These were slow going so I started to drill them out. On one side I went a step too large on the bit and the flukes grabbed a chunk of the plastic and a chip flew out and was lost. I went back to twirling my No. 11 blade on the other side and the same thing happened, Drat! Both pipes are puttied up now and will need sanding. We’ll have to see if I can hog the pipes out somewhere near scale thickness without further damage.
Thanks guys, last night I did exactly as you suggested and cut off the exhaust pipe tips and added some new ones made of Evergreen plastic tubing. Next work session I’ll finish them up and shoot some pics.
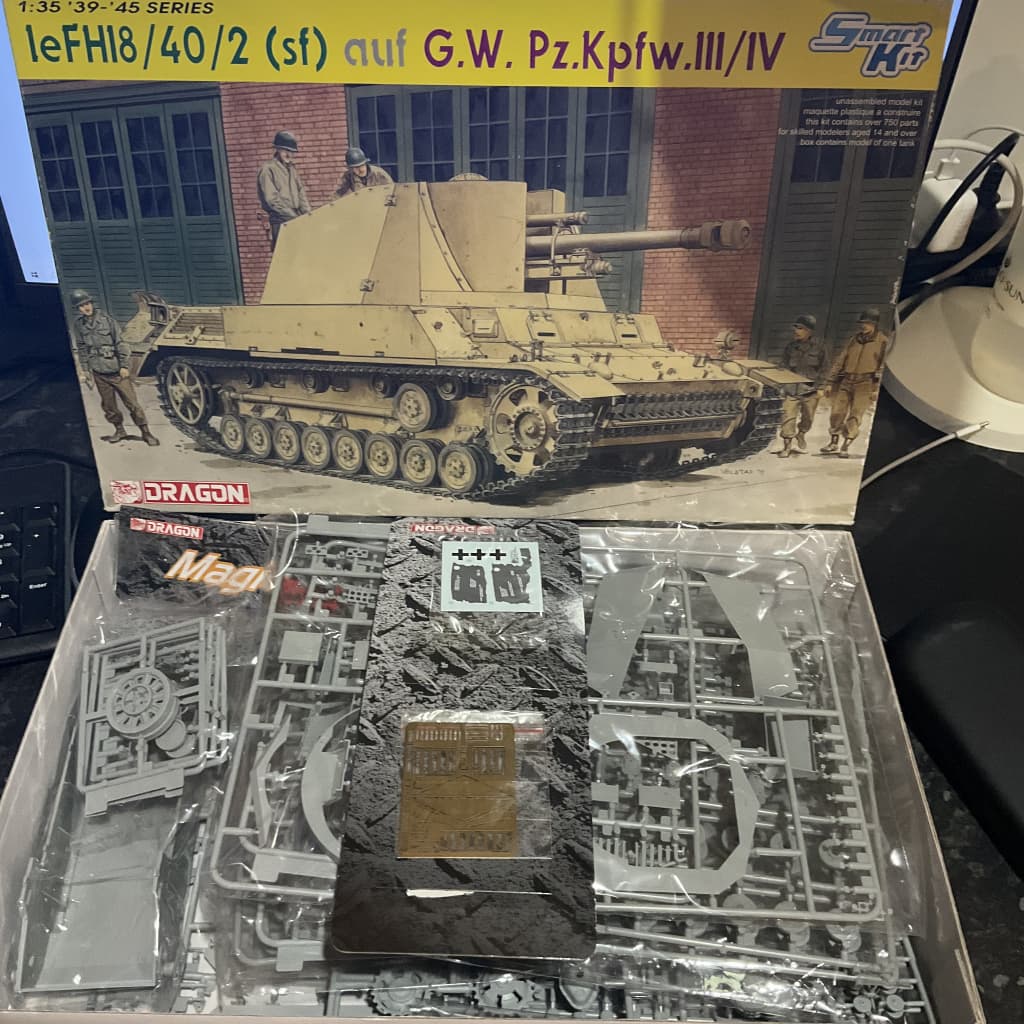
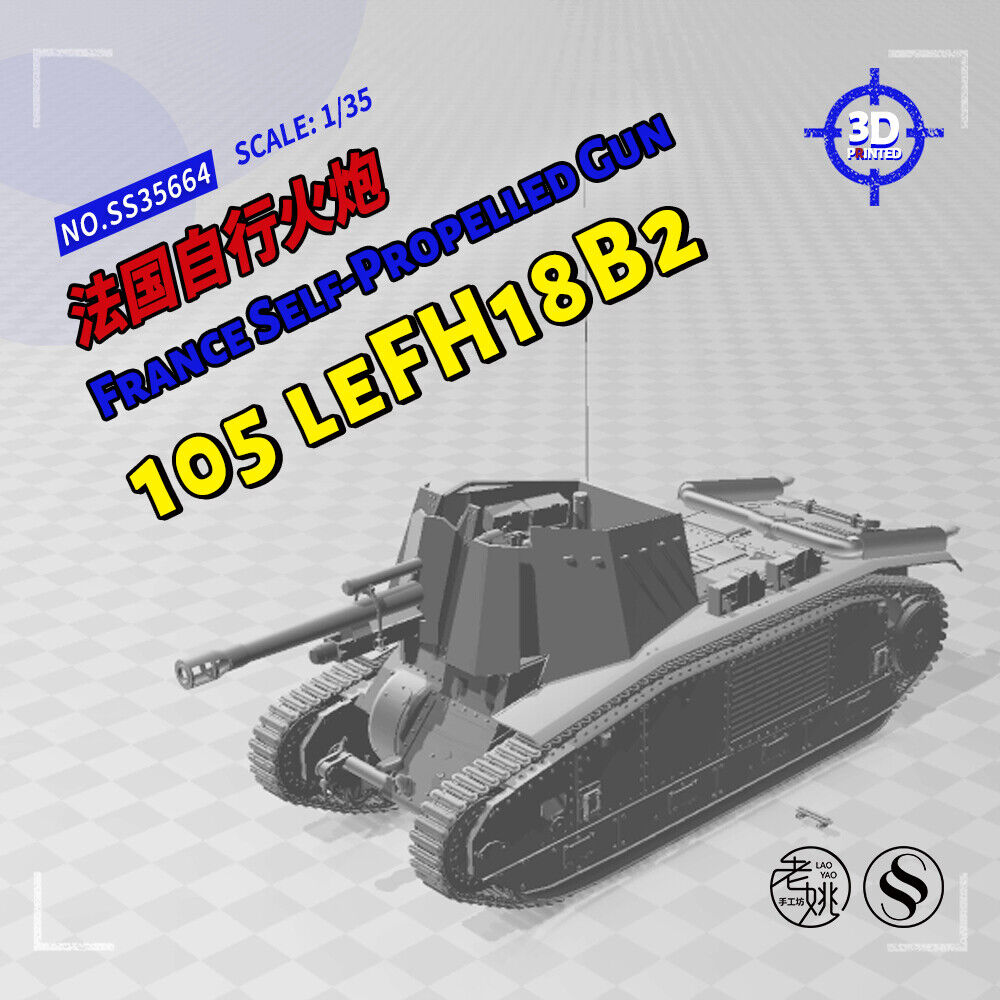
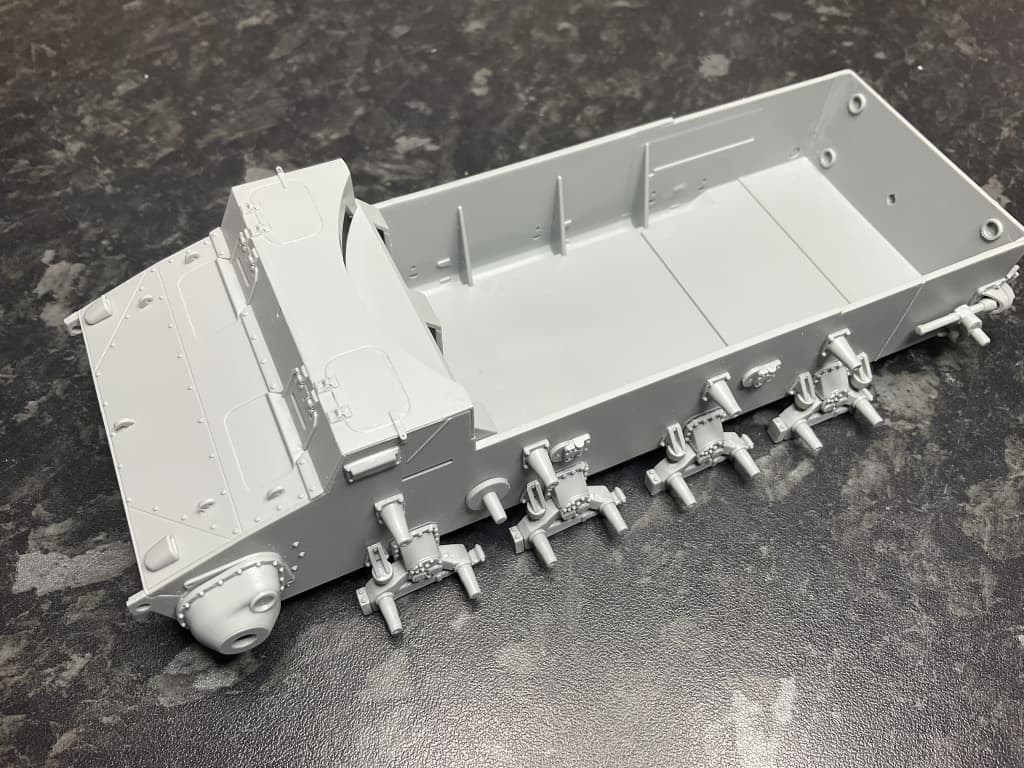
That’s interesting! I just bought another SSModels kit of a 105 leFH18 B2. It seems to have a similar superstructure to your model but is mounted on a captured French B2 chassis. This kit comes with no instructions as the builder is supposed to be able to figure things out on their own. I wonder if the Dragon instructions might have some useful clues?