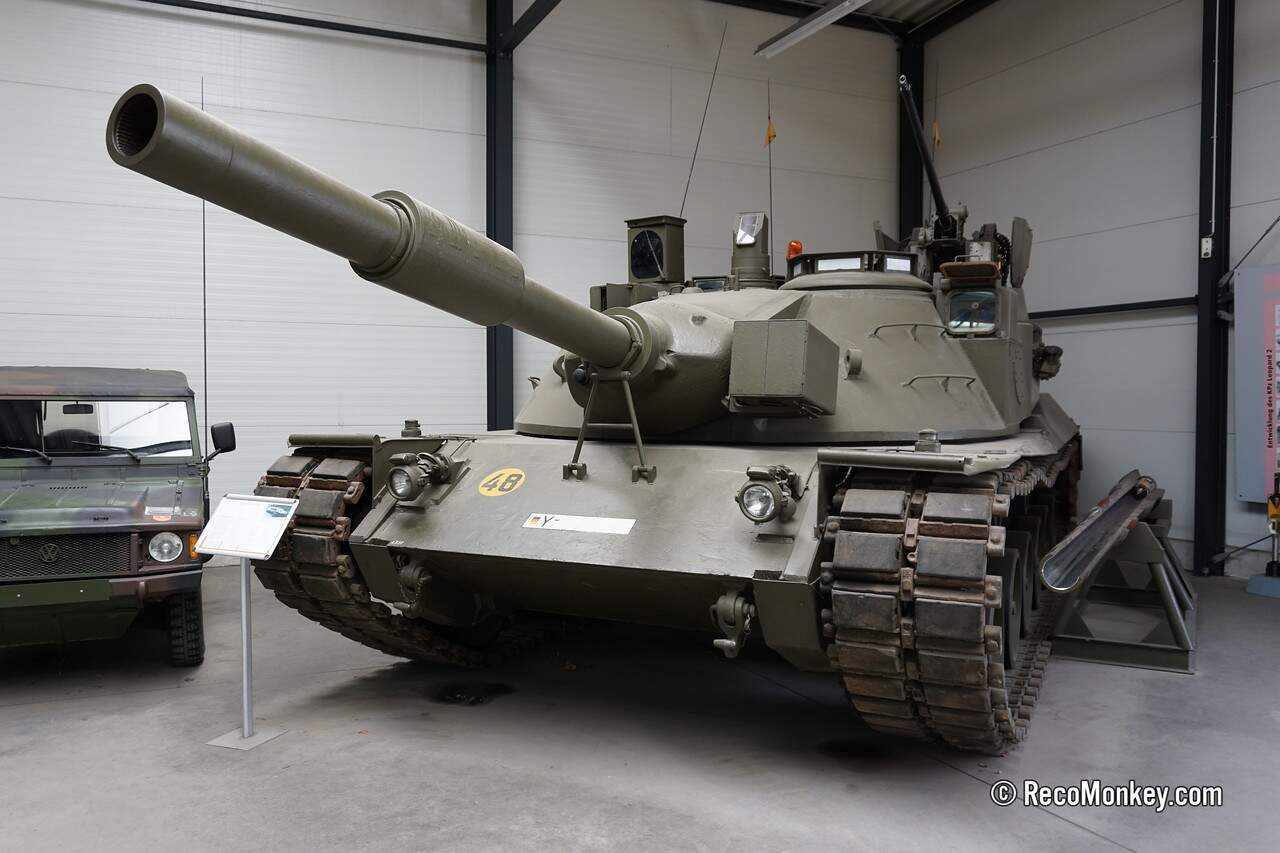
IIRC, Leopard 2 tracks fit the KPz 70 sprockets. Else American T156s certainly do, I know that from experience.
Mostly in omissions rather than actual errors, I think. It also rather depends on which exact (German) prototype you look at, as there were quite noticeable differences between them.
The best source I know for information on the KPz 70 is our old friend Spielberger, and his Waffensysteme Leopard 1 und Leopard 2[1] as well as his Der Kampfpanzer Leopard 2[2]:
Despite the title, both have a full chapter on the KPz 70, the former including a good deal of photos of tanks under construction and of major components before installation, as well as technical drawings.
That’s the worst part of the whole kit, and if you do want it open you have a lot of stuff to add to make it look even semi-believable. Photos online of the different museum tanks will help a lot.
Stuttgart: Motorbuch Verlag, 1995; ISBN 3-613-01655-9 ↩︎
Koblenz/Bonn: Wher & Wissen, 1981; ISBN 3-8033-0319-2 ↩︎
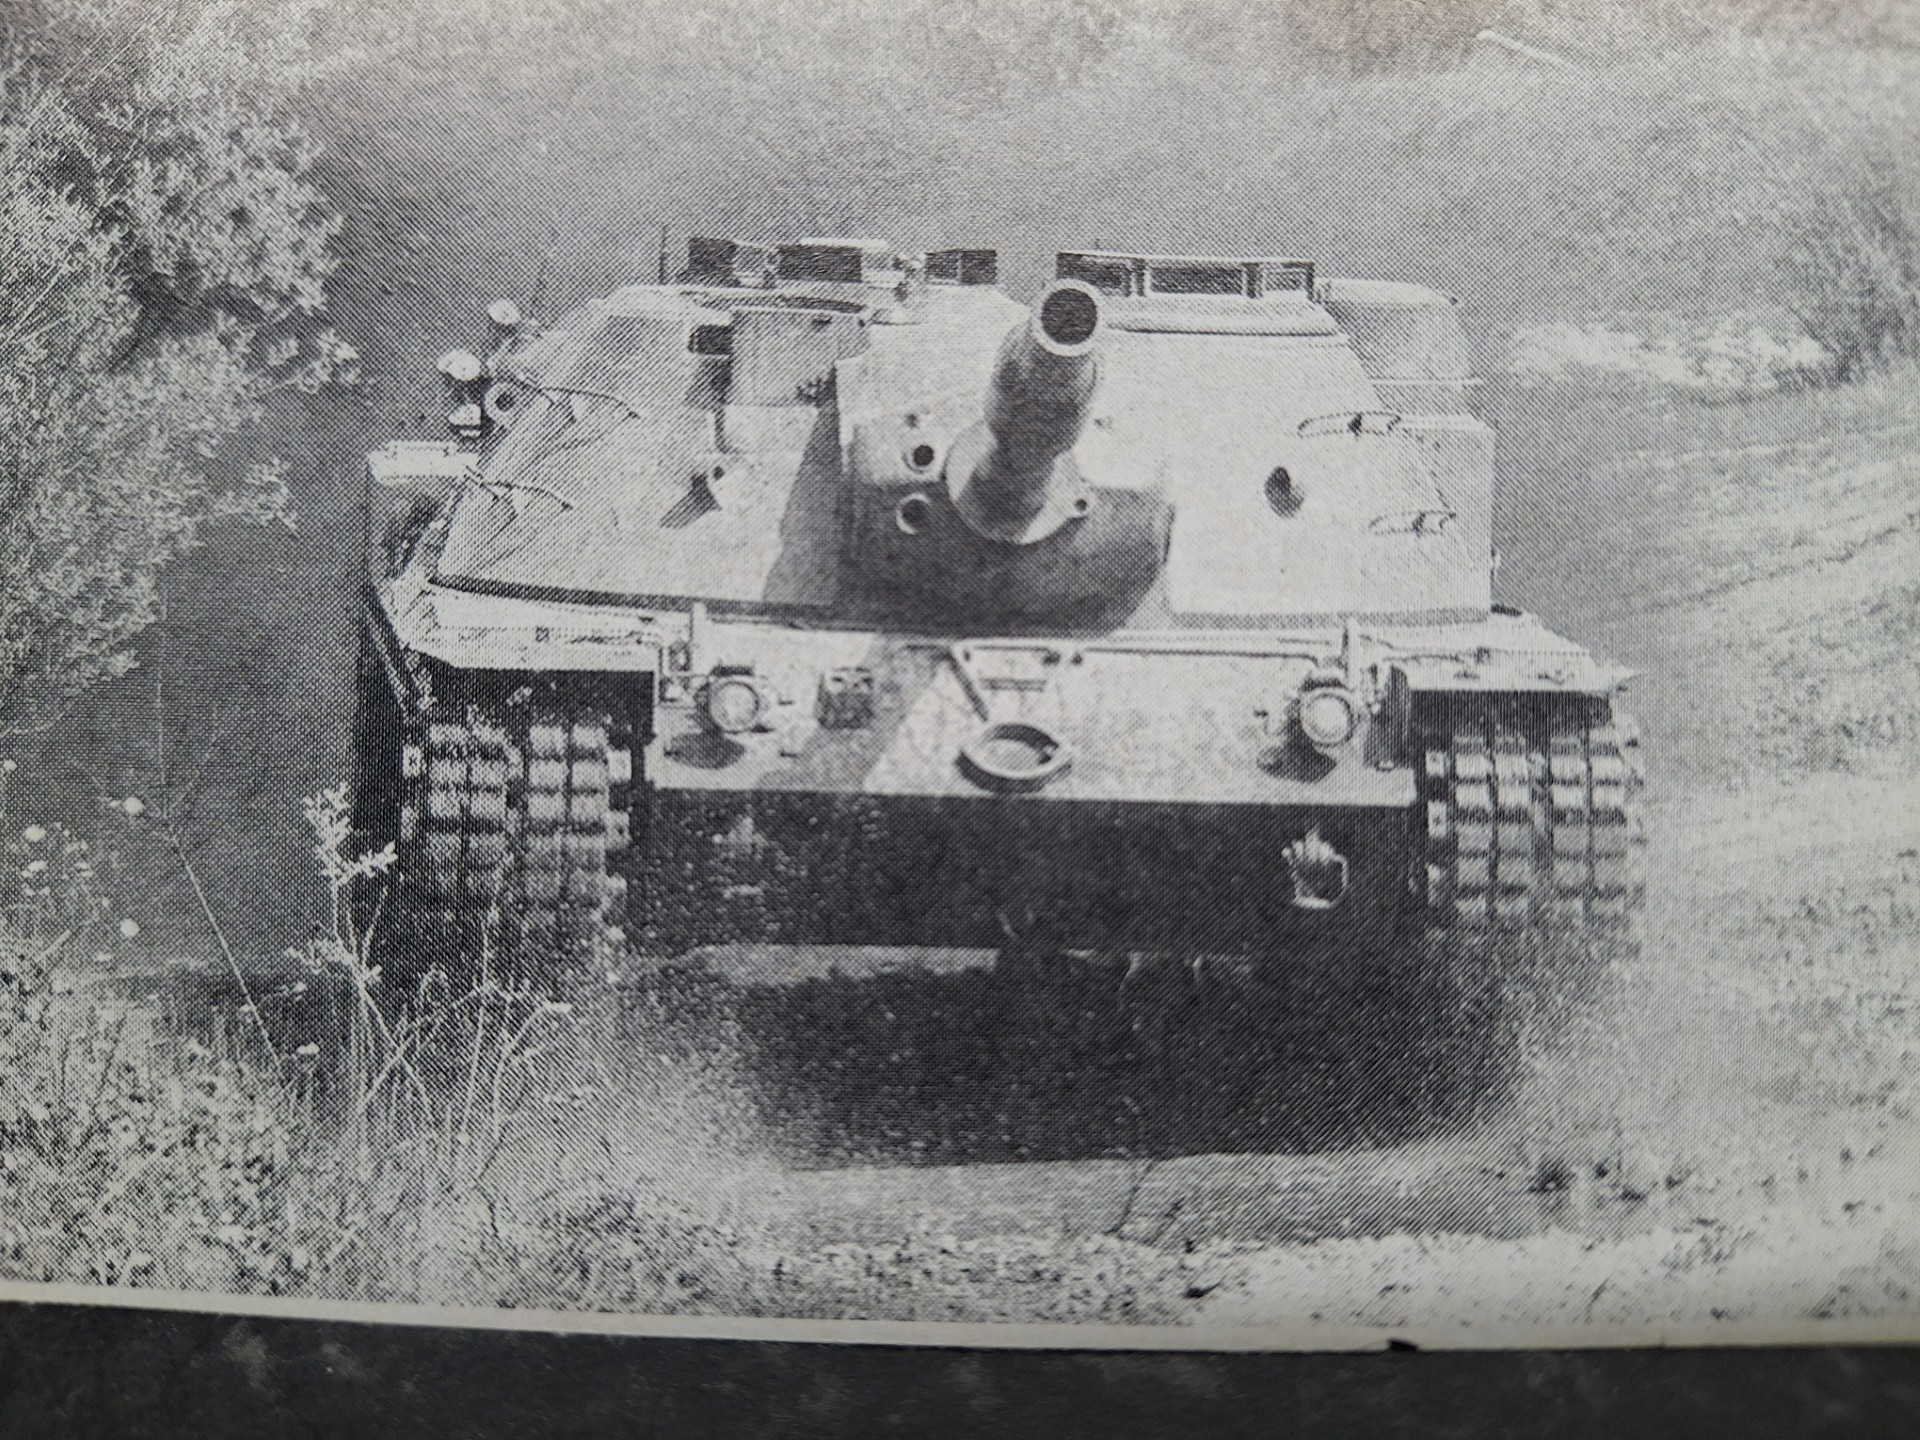
Tom, I think one of the German prototypes sported a track that looked a bit like the Brit Hush Puppy on their Cents, but I can’t now find that particular image.
Apart from that one, which may well have been a one-off, it looks to me as though both versions are the same:
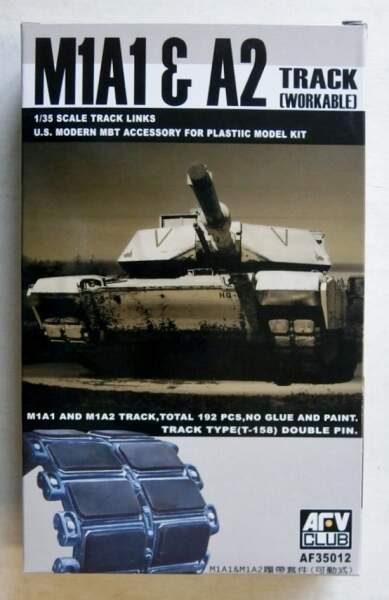
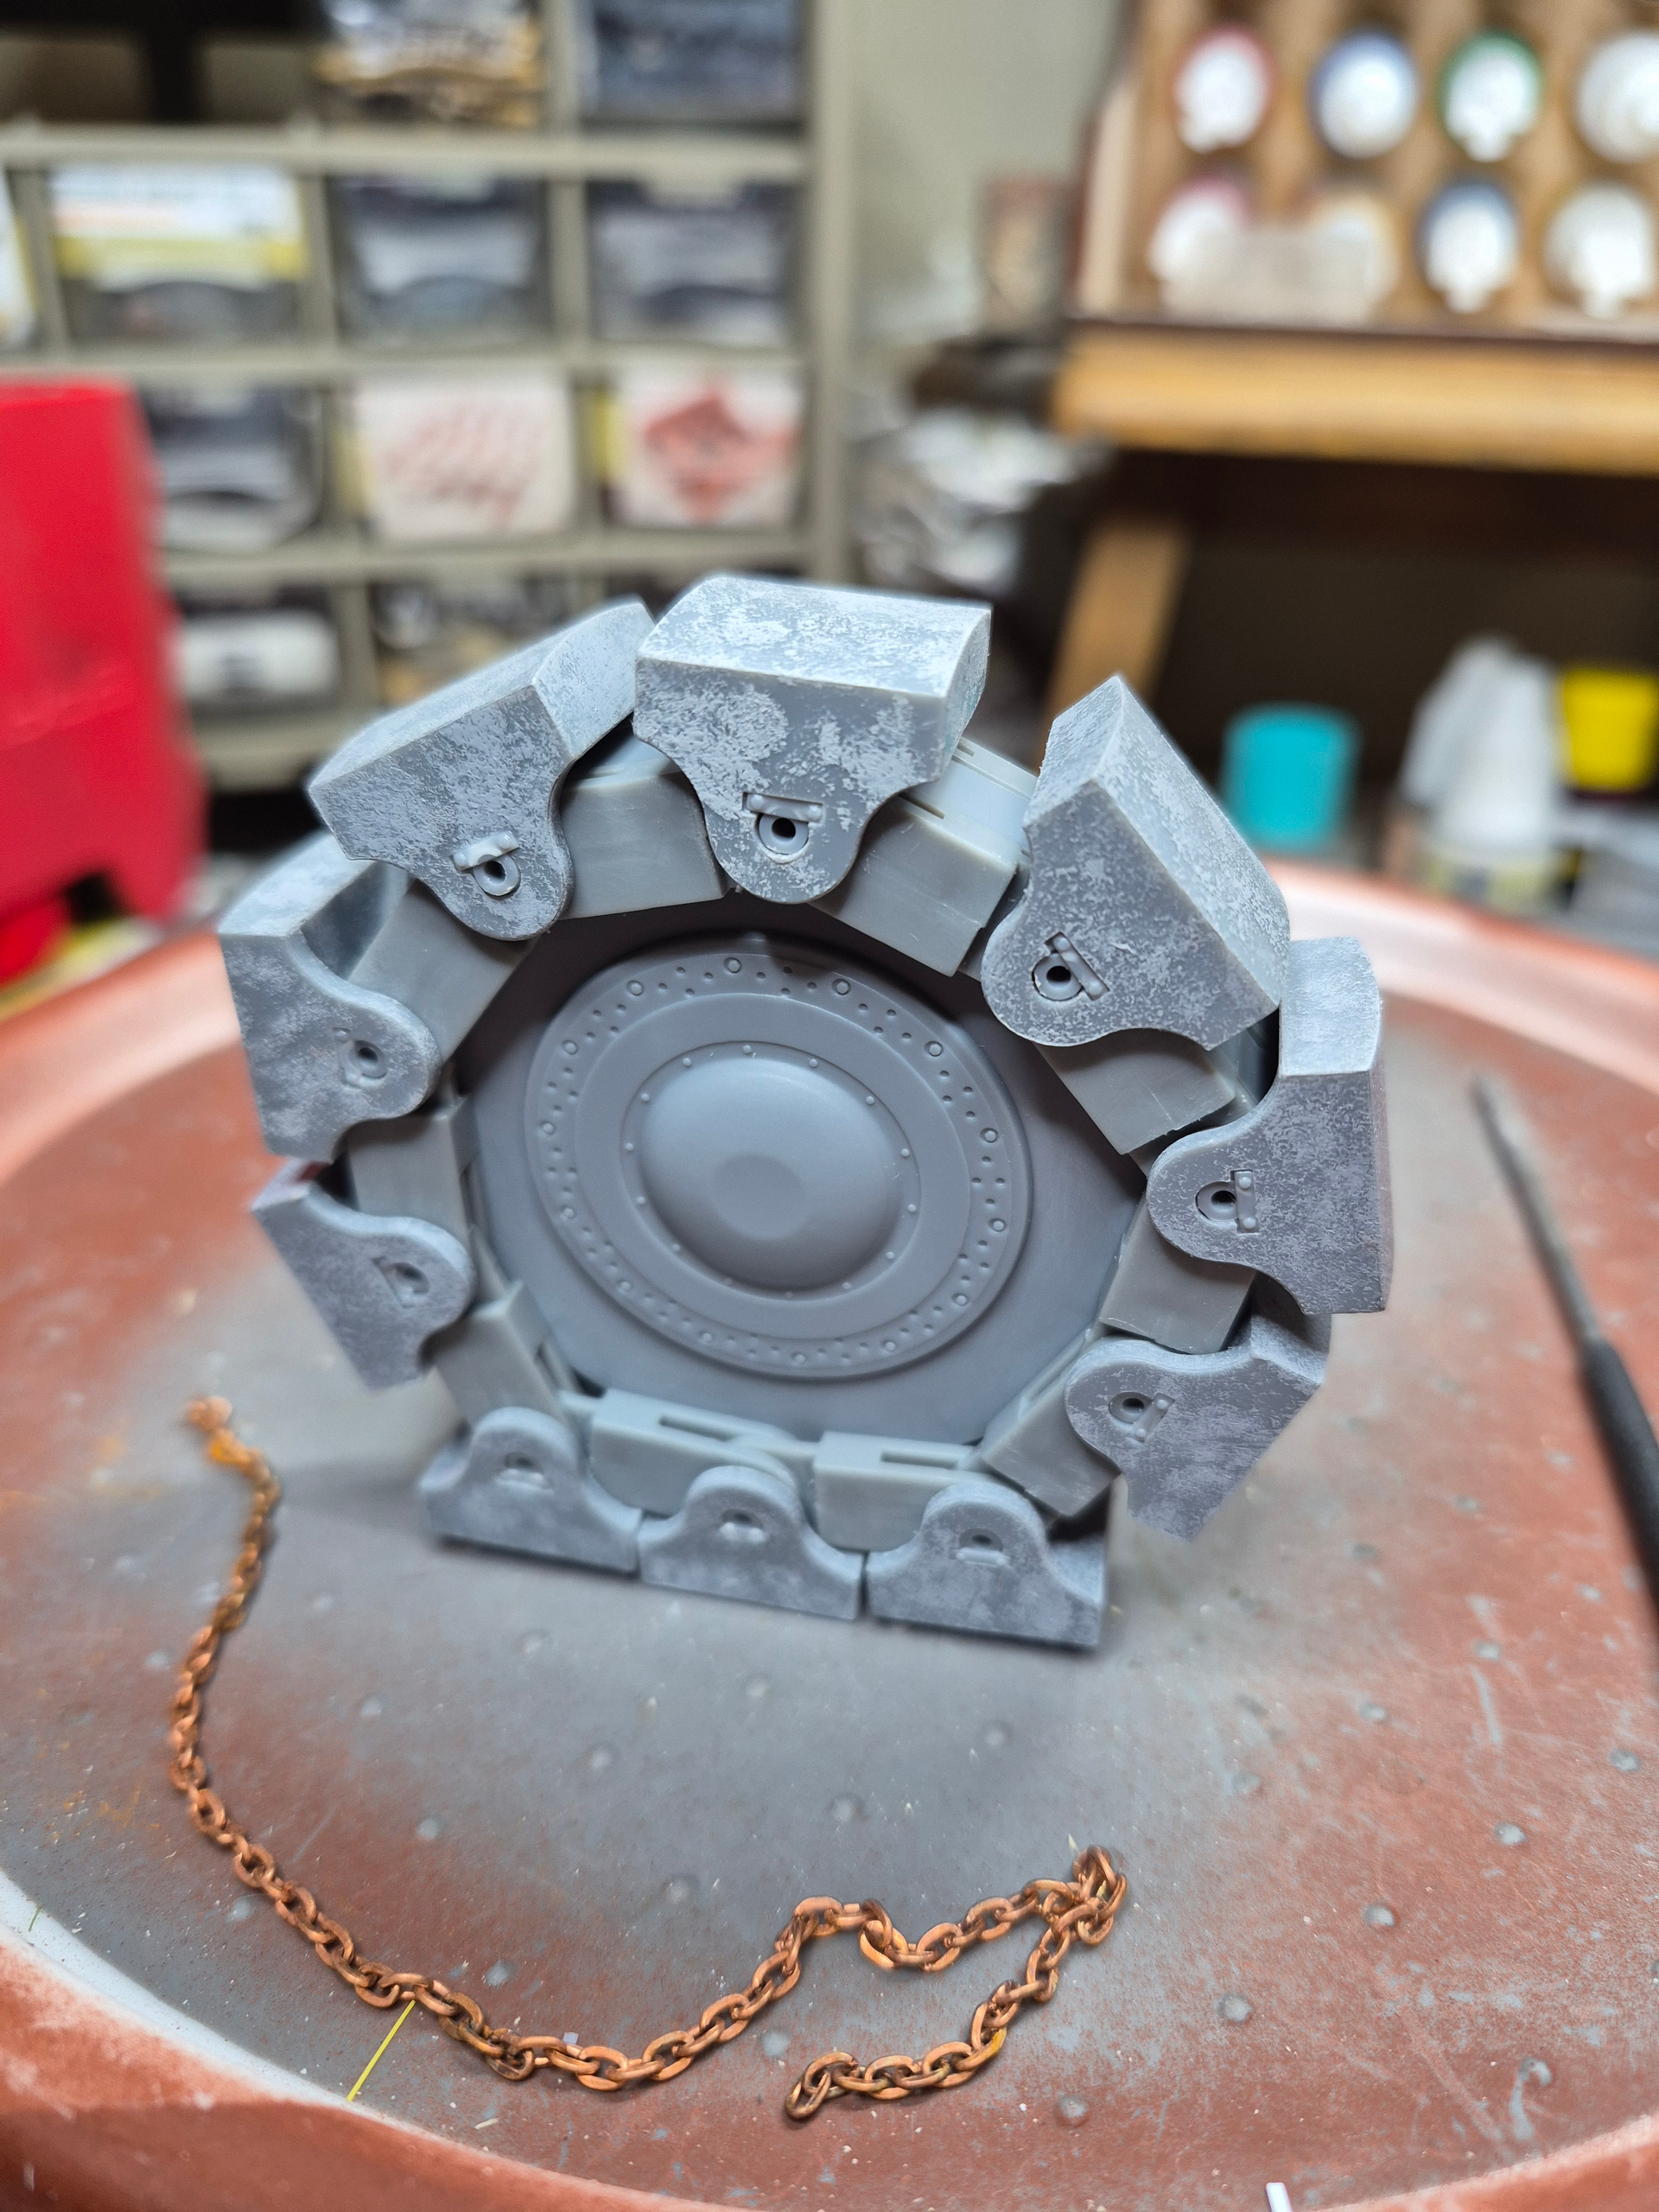
Fair enough! DS tracks can be glued with any styrene cement - I think I used Tamiya’s extra thin in the dark green cap. Use it sparingly! (A few dabs where the ends overlap, then gently clamp them for a while or overnight on a flat surface until they set.)
I would just use Leopard 2 tracks, they look close enough to KPz 70 tracks to me that nobody is likely to notice. But as you already have the correct type from Friul, that’s probably the better option.
With the tracks sorted, the biggest problem is the big empty space under the 20mm that lets you see directly into the turret! A ring of 0.020” Evergreen sheet wrapped around to make the pod wall is a great starting point! Do it BEFORE you glue the turret base on - ask me how I know! I’m looking forward to seeing what you bring to the table…
I recall (just) it came from a German magazine “Soldat u.Technik” which we used to receive in the Intelligence Branch HQ BAOR, back in, probably 1980; I snipped it out and kept it all those years, tucked in a book on NATO Armour. Jeez. Anyway, just for completeness’ sake.
One can also just discern the TV mounting on the glacis to the left of the gun barrel support
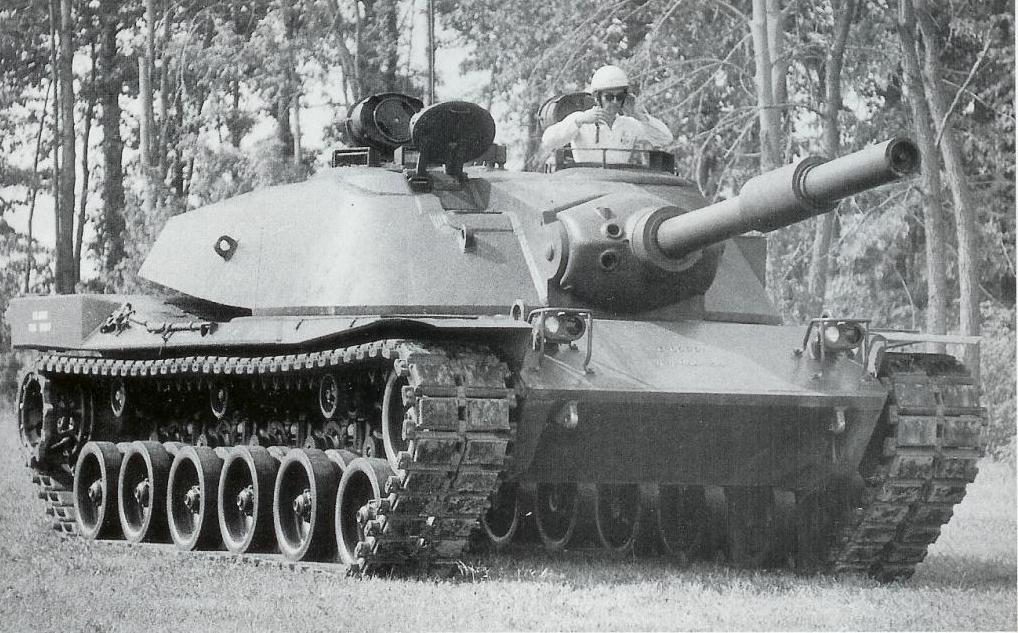
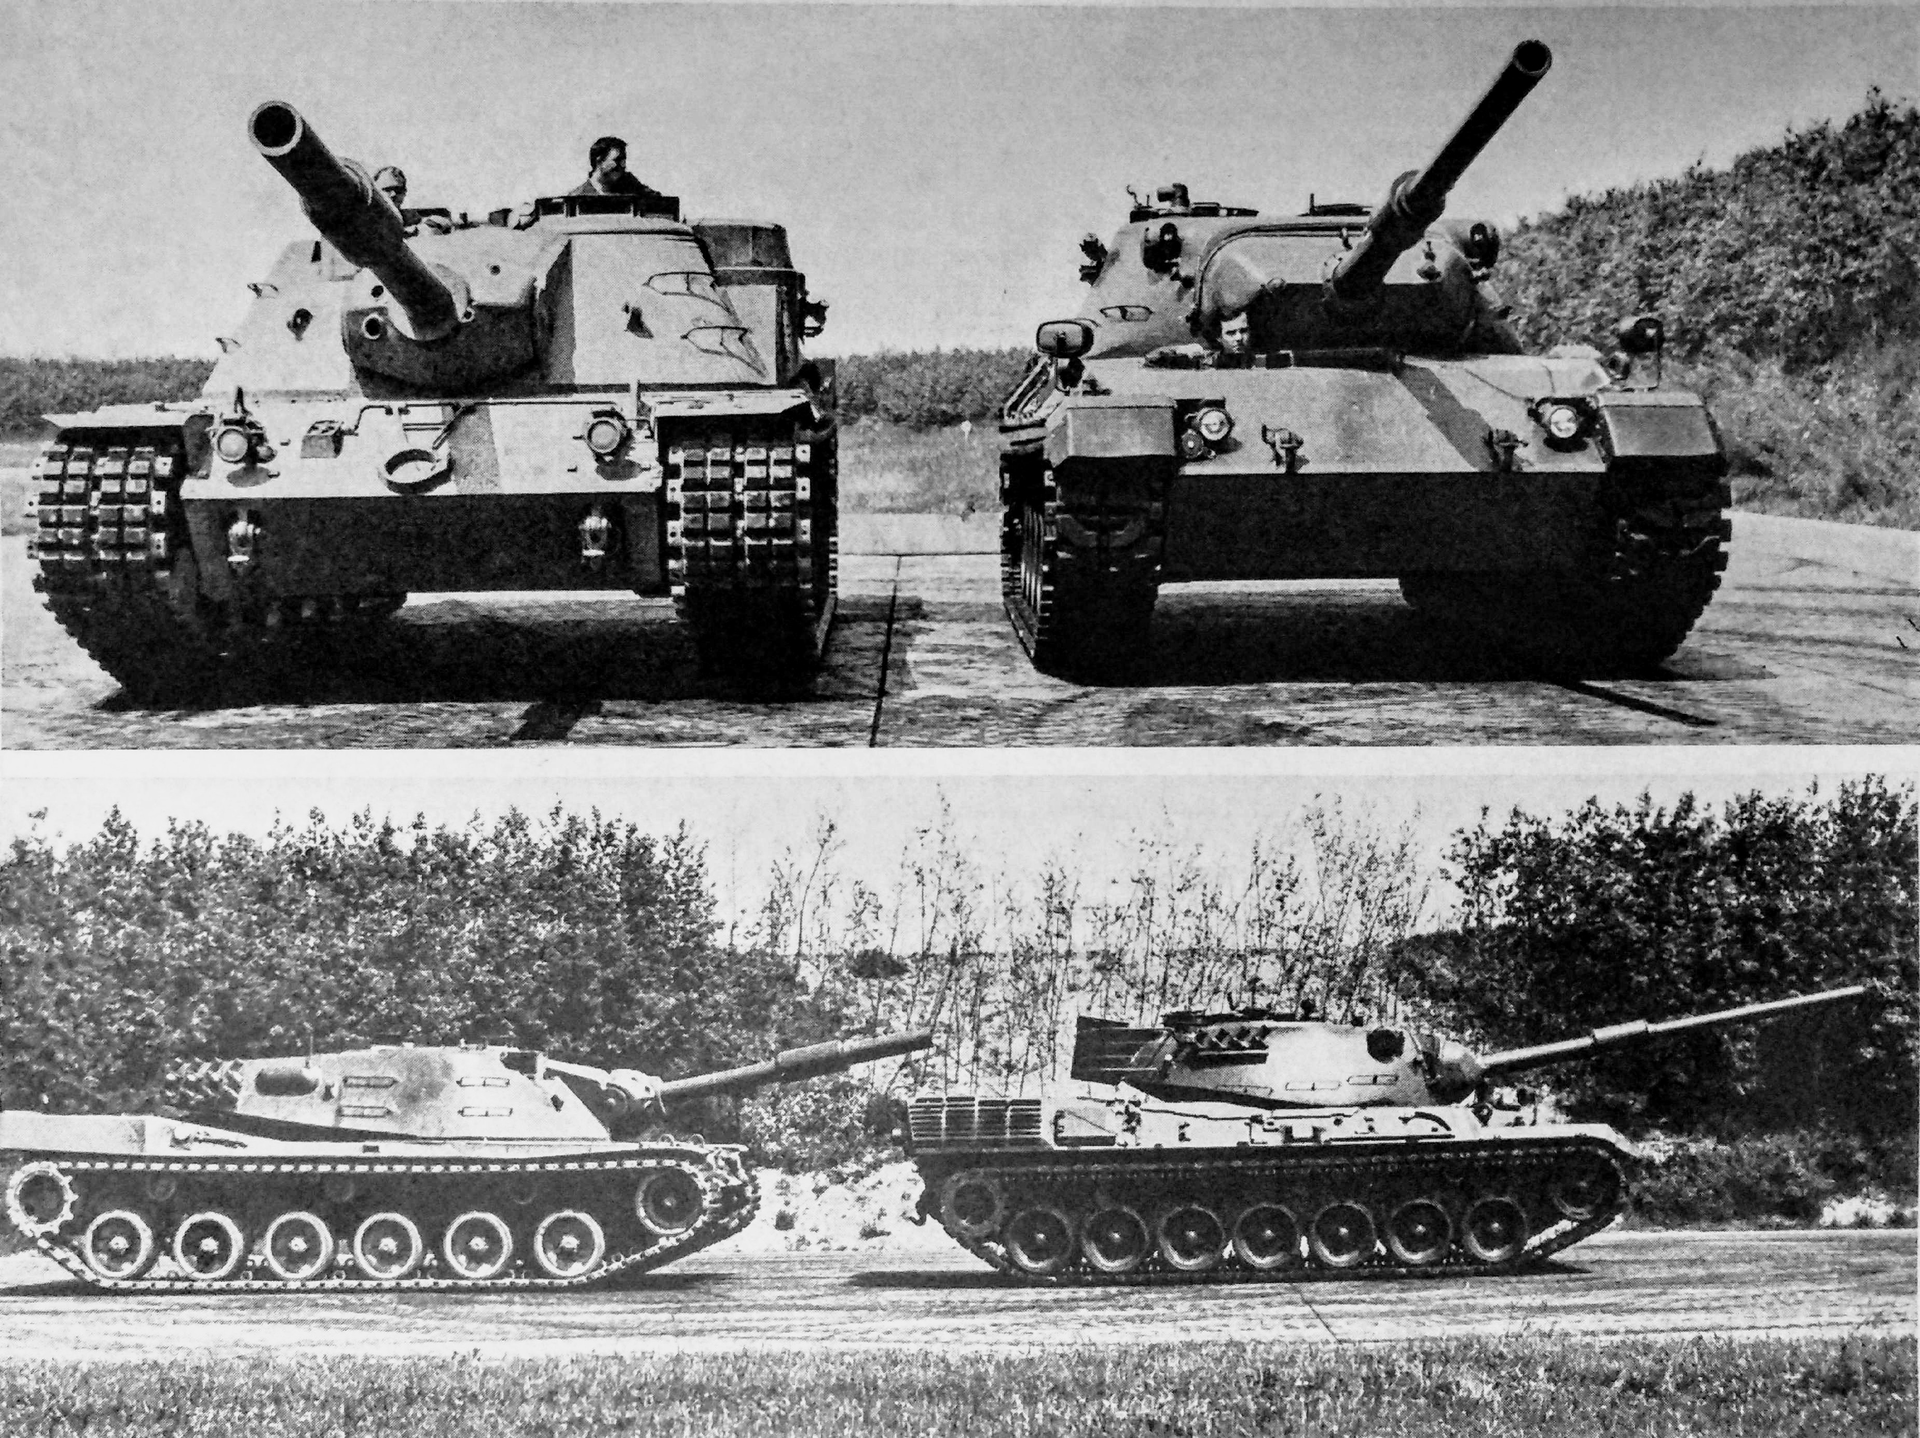
This is a first-generation German prototype: you can see the square sides to the engine deck, which housed the folded-down snorkels, and the stowage bins at the front corners, both of which make it an early tank, as well as German lights and smoke grenade launchers. I’m guessing it’s PT 1 or PT 2, because PT 3 already had sloping sides to the engine deck, though with a small grille in them.
Not sure what the deal is with those tracks, though. I suppose a trial with blocks intended to give better grip?
Yes - it is rather an interesting picture isn’t it? When I encountered it - and it is a really small picture only about 9cm x 6cm - I didn’t really know what it was; I should have kept the whole article of course, albeit in German - it may well have added something to the sum of knowledge these days - well, certainly mine I suspect, but I was what? 25 years old, and had really no option but to put the hobby on hold while I pursued my military career and travelled around the globe, but access to those periodicals, including ones from the Warsaw Pact countries all provided interesting modelling material.
The tracks are certainly noteworthy; I’m sure you appreciate my comparison with the similar type on Centurion.
I’m probably over-egging the pudding here but this video - quite well known I’m sure - is also not uninteresting I feel, not least for the laid back music(!)
The tracks are indeed reminiscent of Centurion rubber-blocked ones. I suspect they’re standard KPz 70 ones, but with a different type of block bolted on. The best part is that you can turn model tracks into these with nothing more than some careful, if tedious, work with a saw
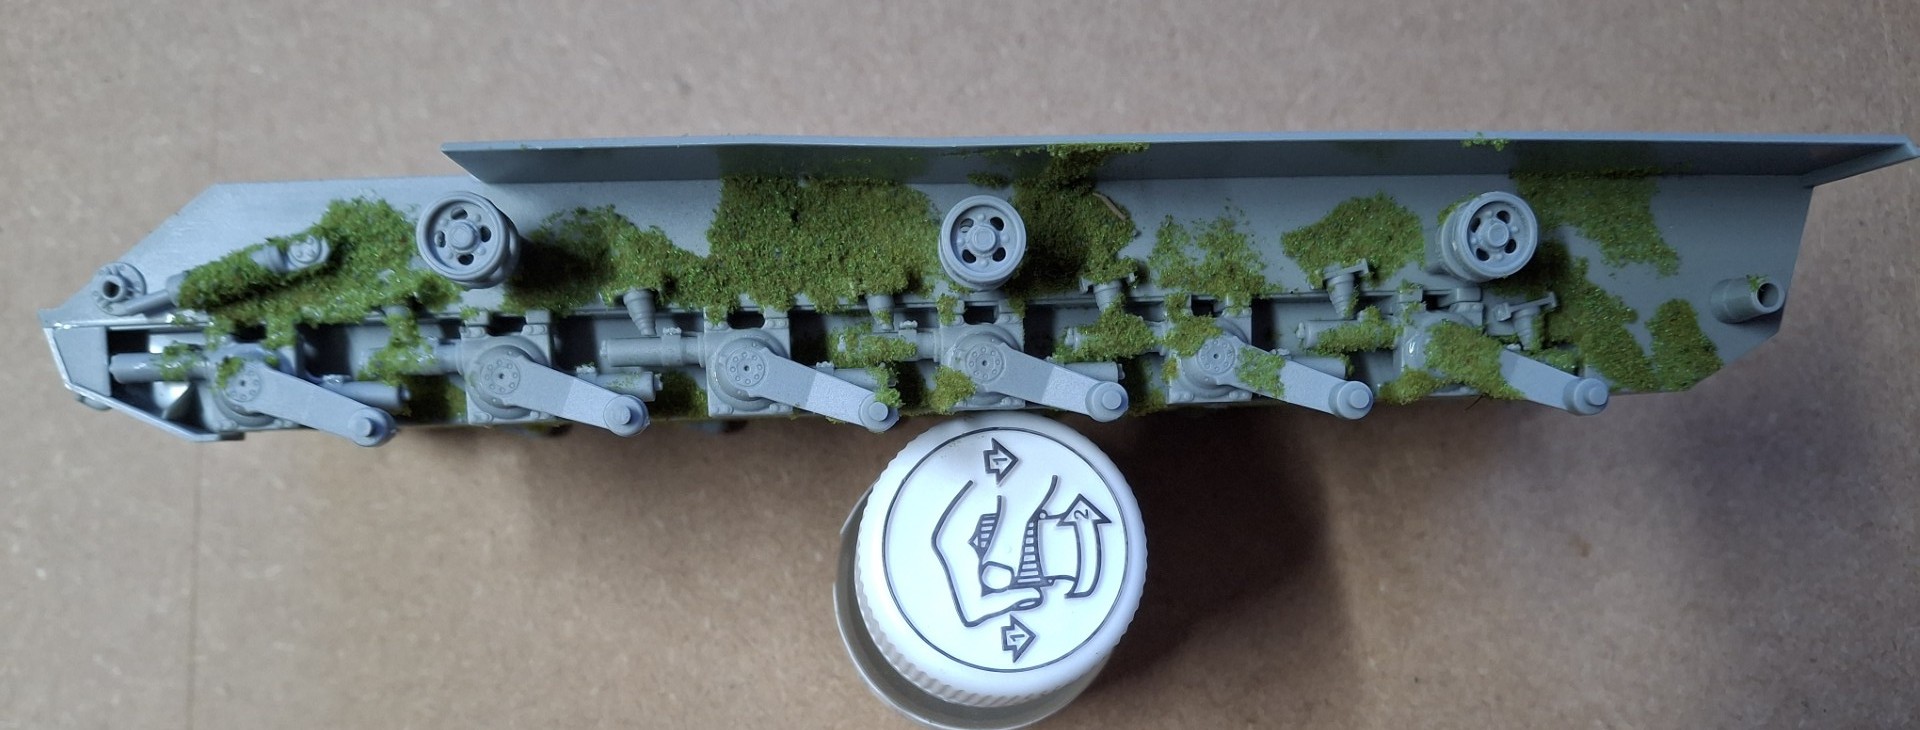
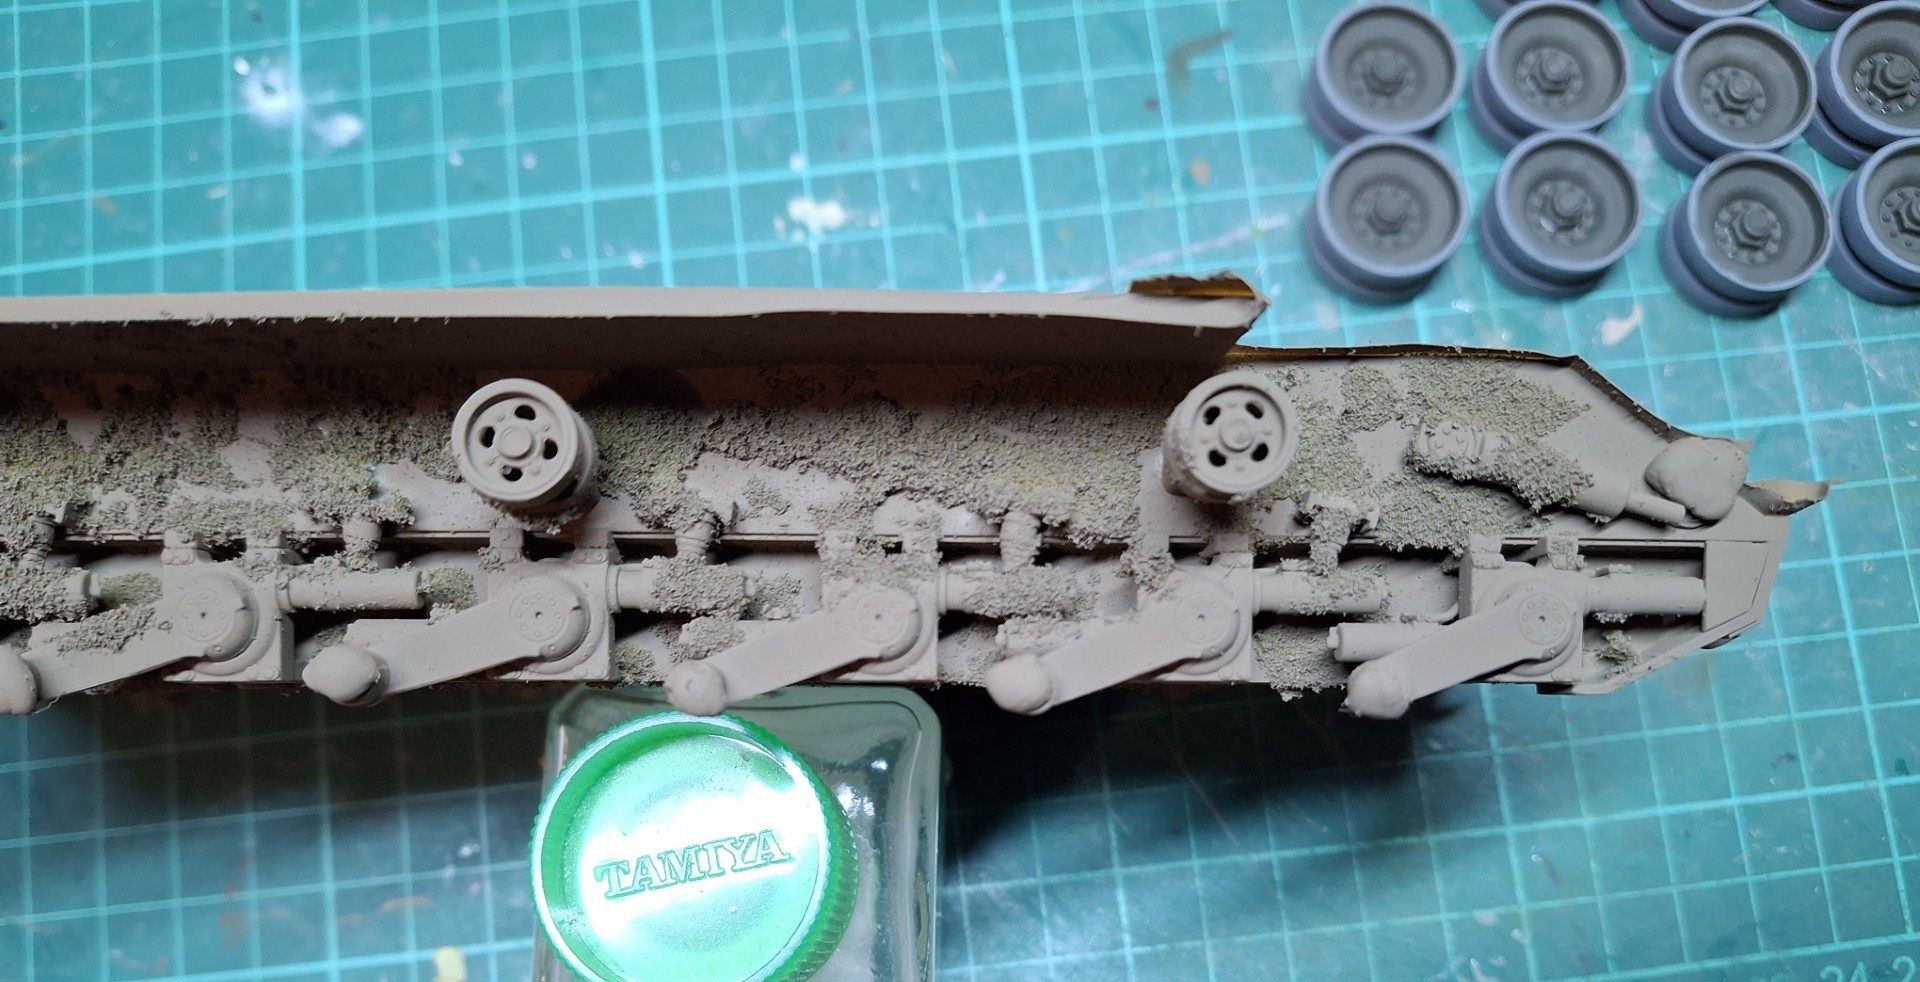
Not much to show for a couple of days’ work, but sprinting ahead by my standards; the suspension nicely clagged -up and just about ready for the installation of the roadwheels: