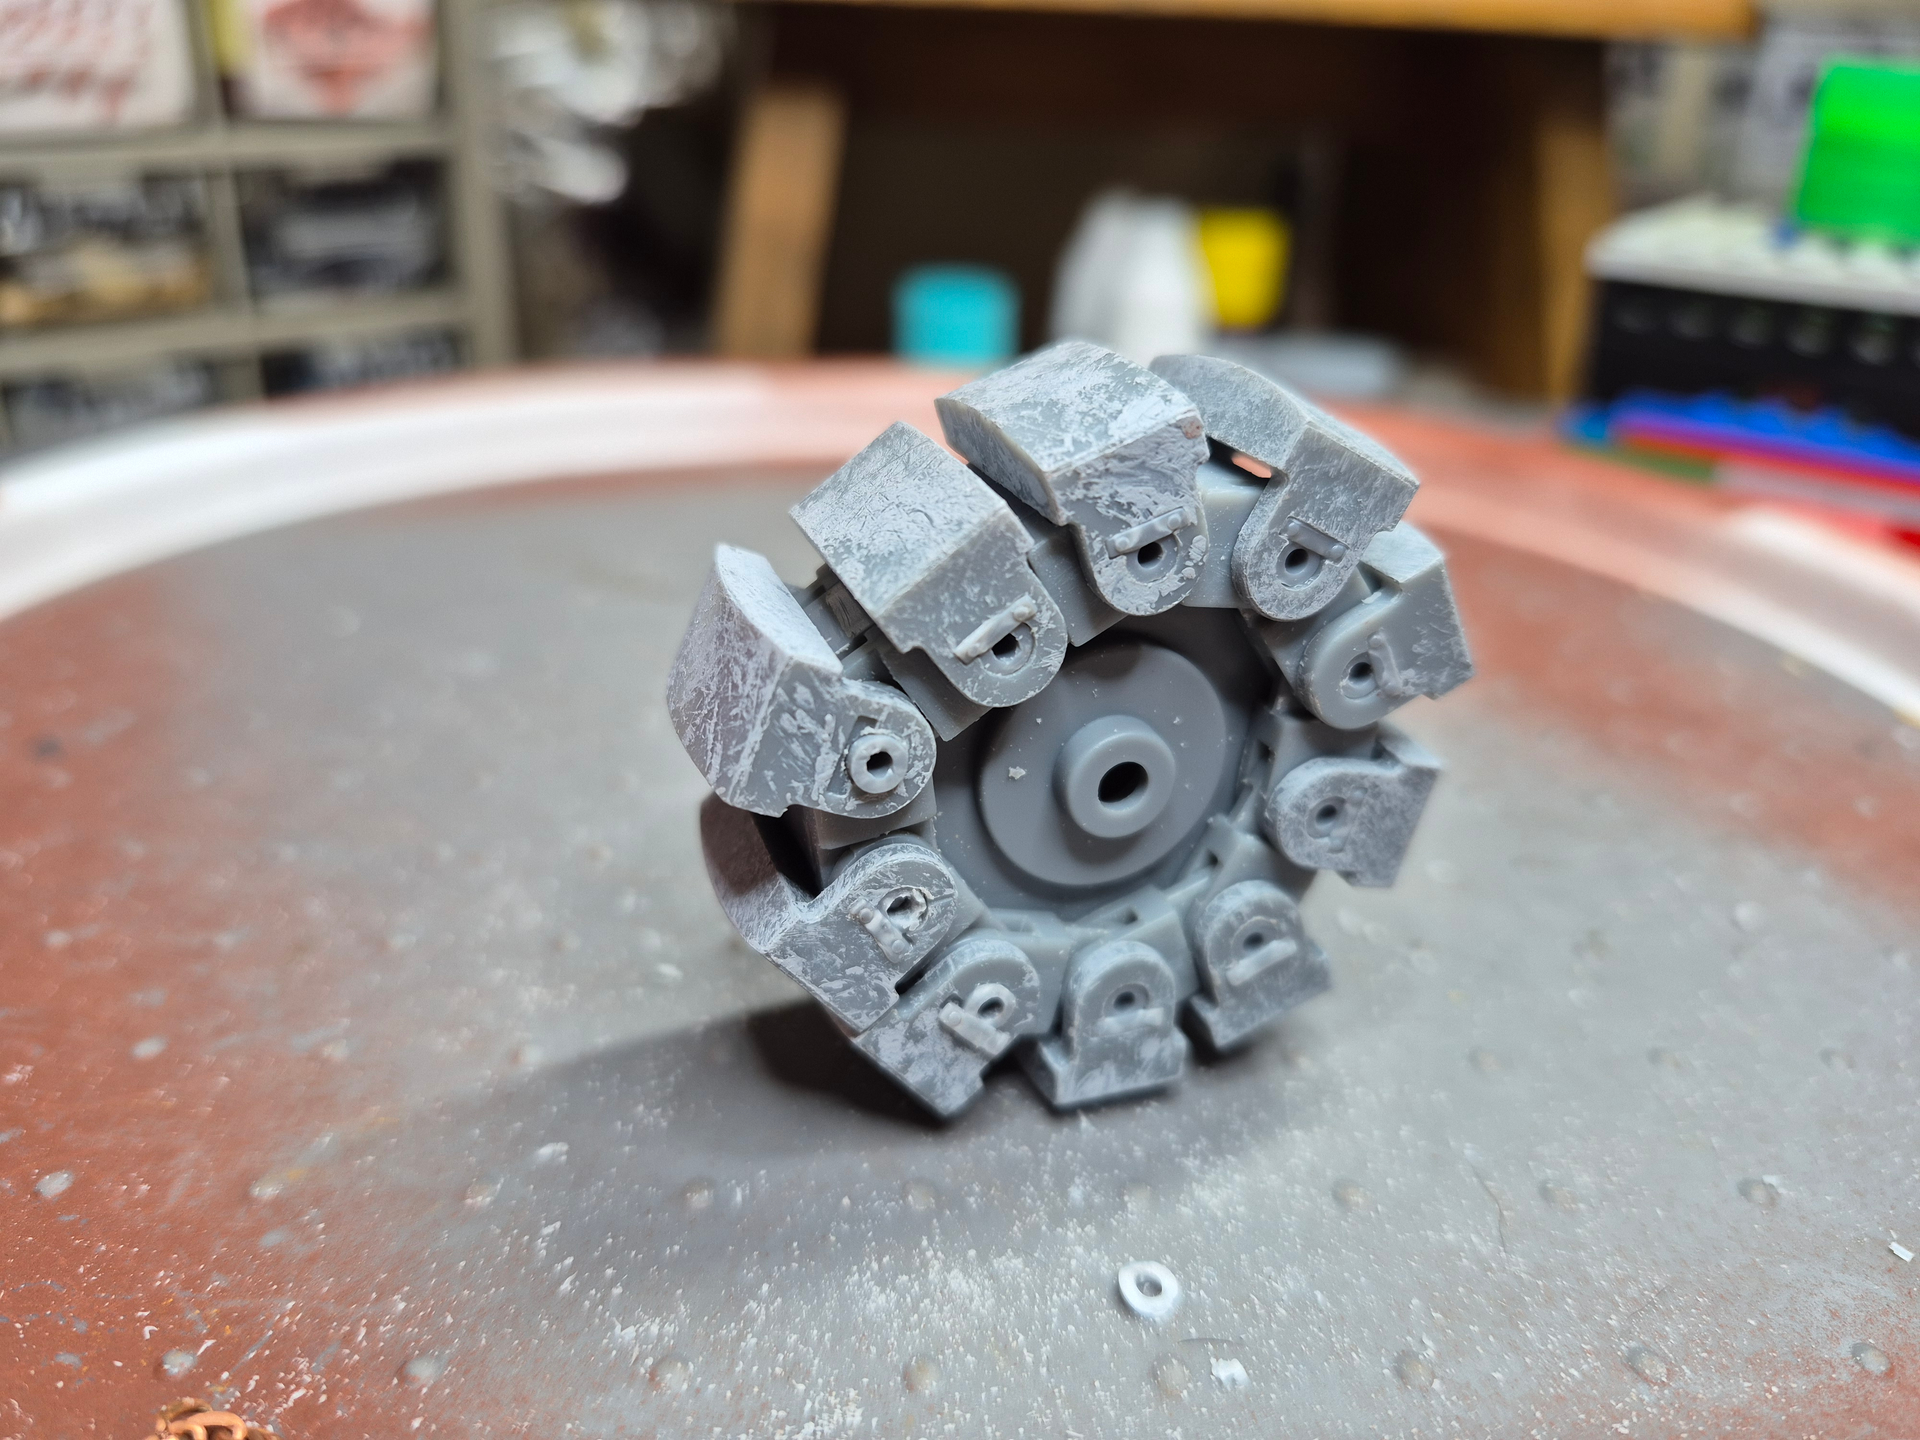
Other big wheel done.
2 Likes

It needs to be red and yellow and have a “Marx” sticker on it….
1 Like
I agree. You can sell the military anything during war.
1 Like
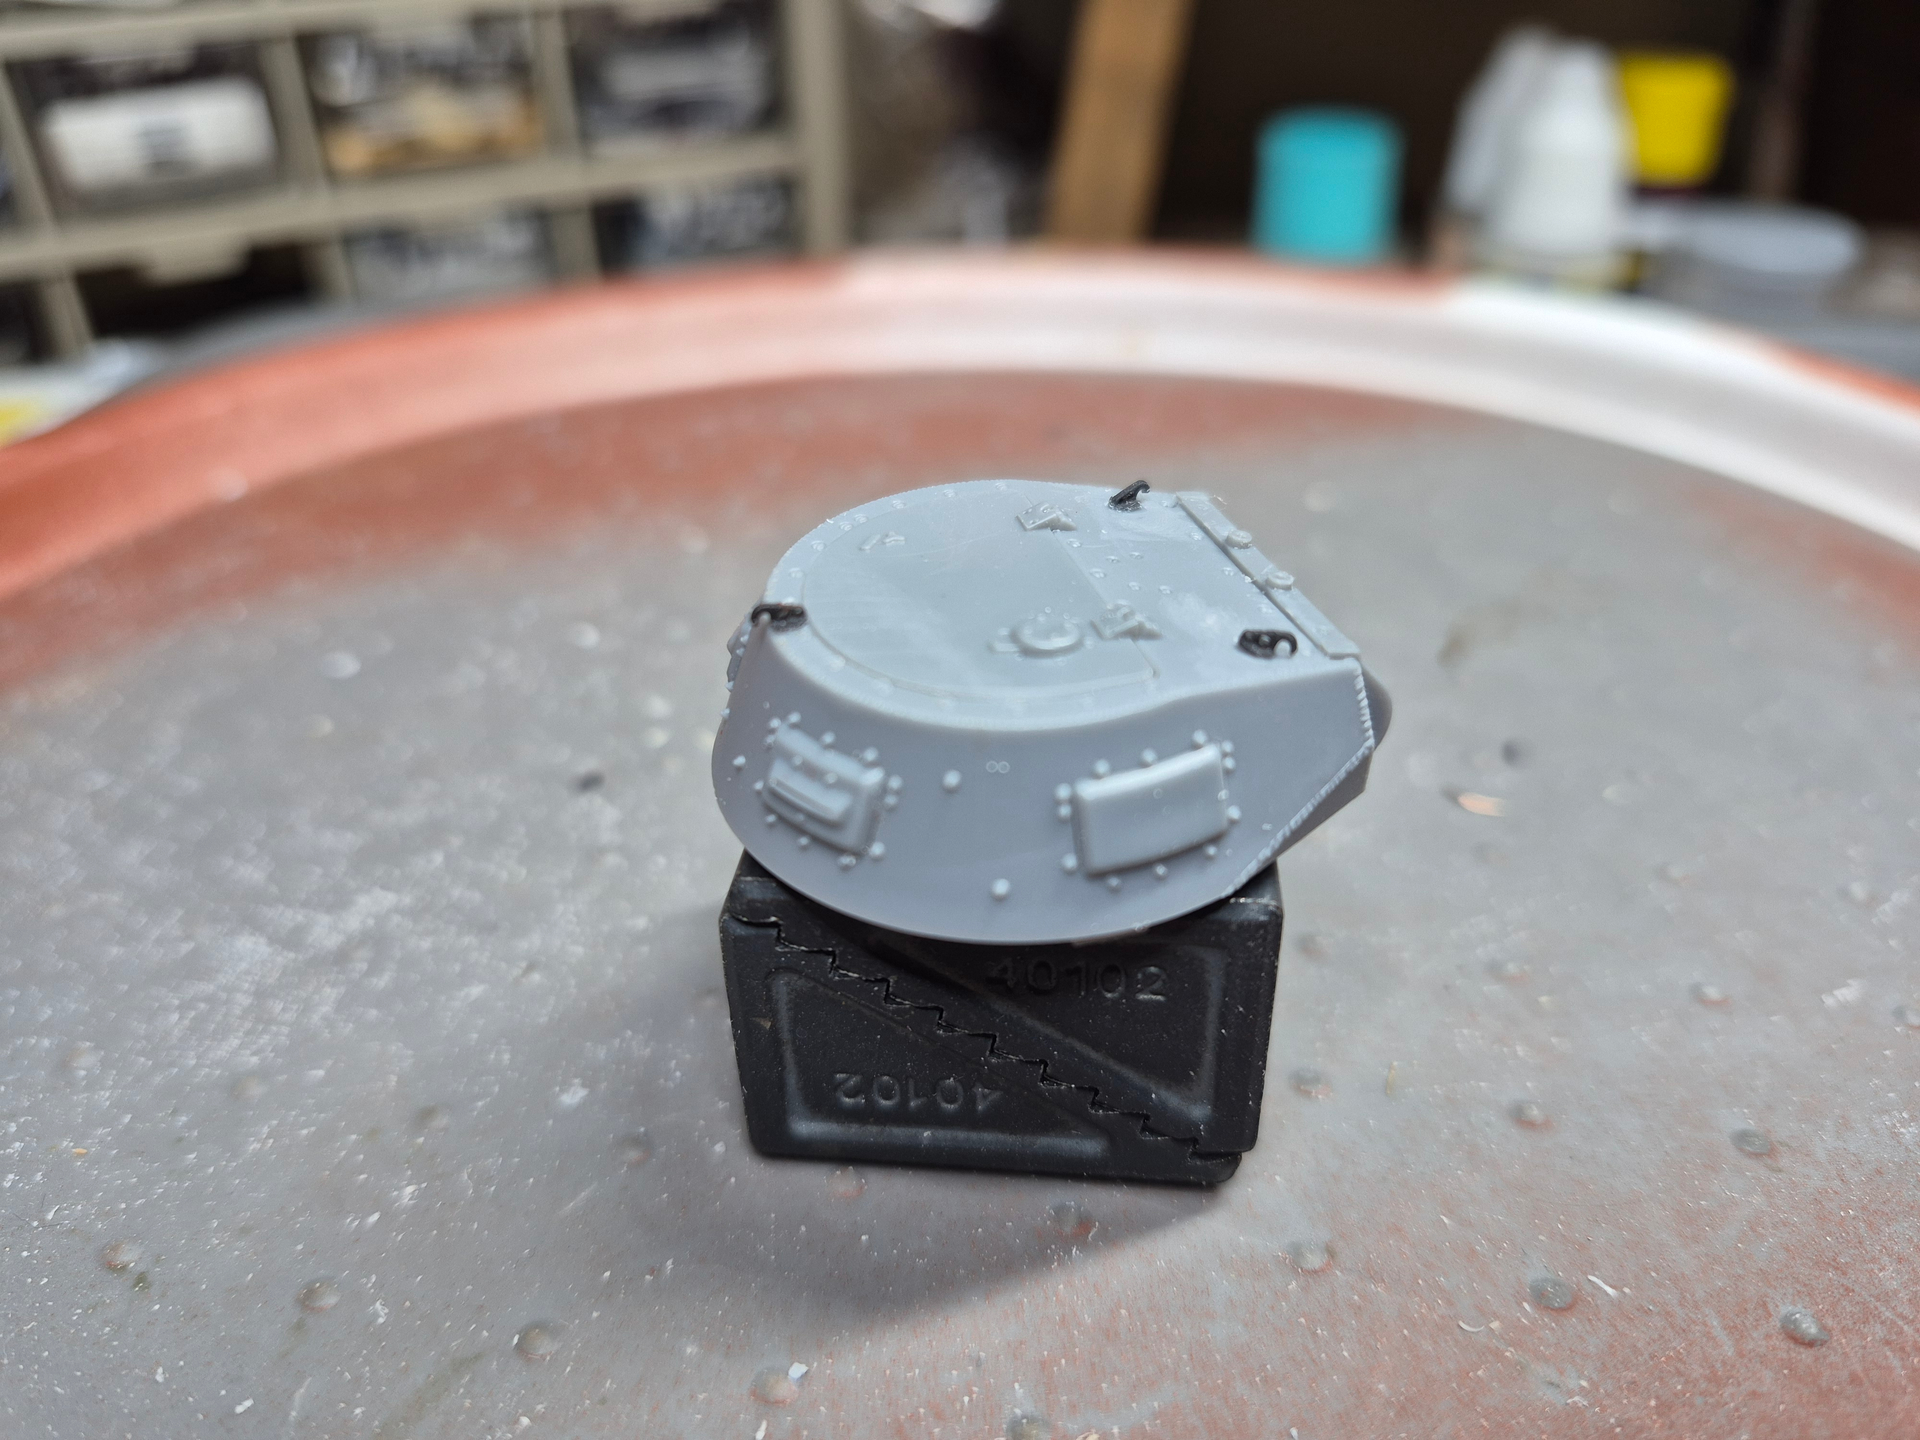
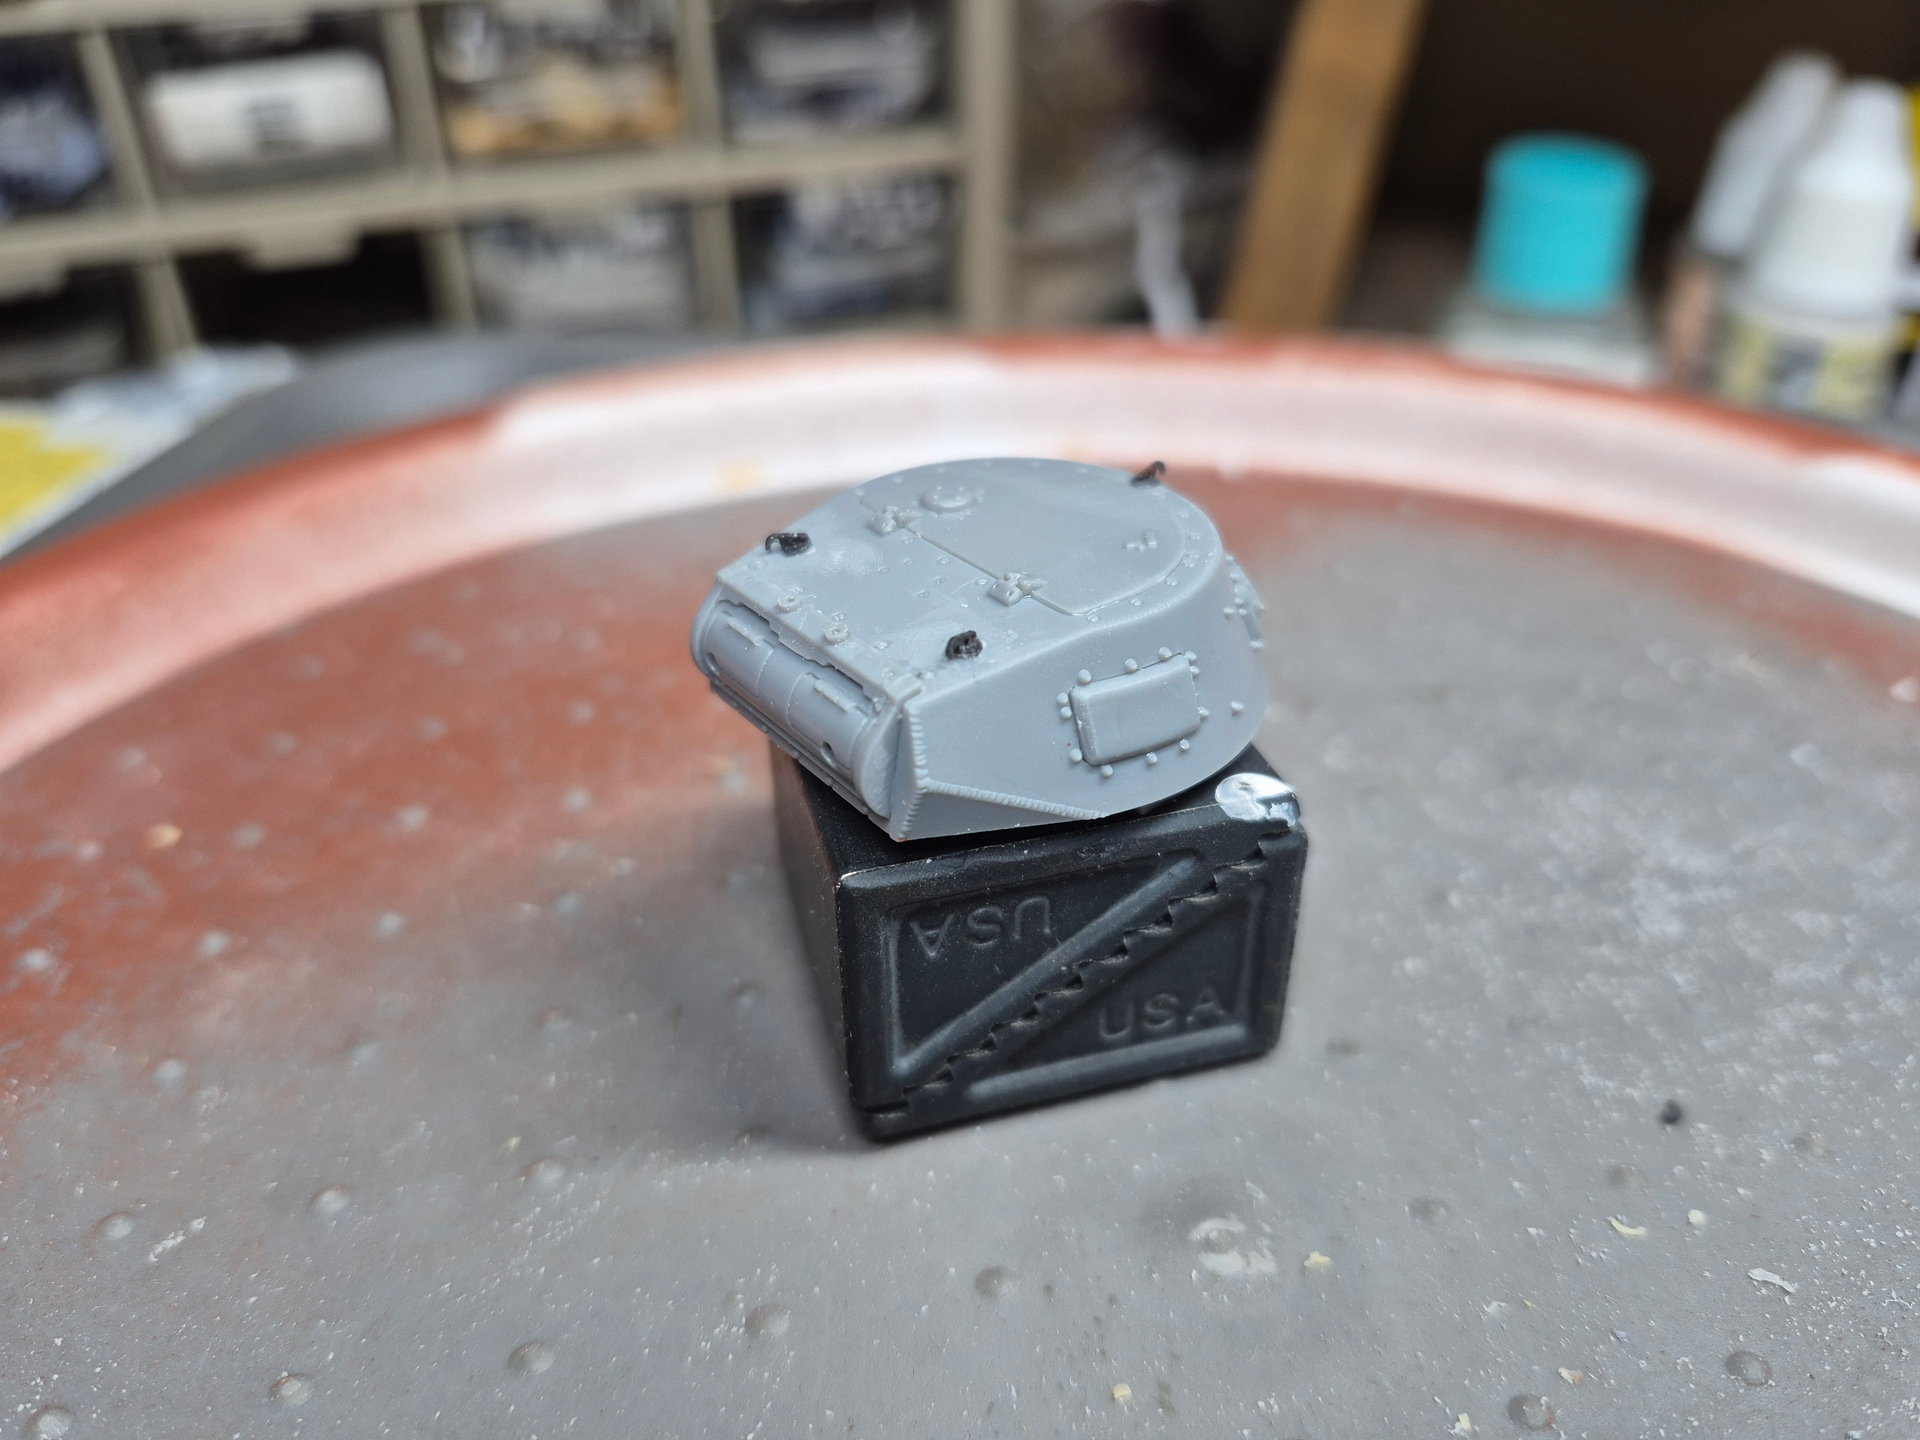
Turret done. I replaced the turret lifting hooks with 3D items.
From what I’ve read, if this went in service the turret was to be from a Pz II.
THE MGs are pathetic and I won’t use them.
I am done with the build.
2 Likes
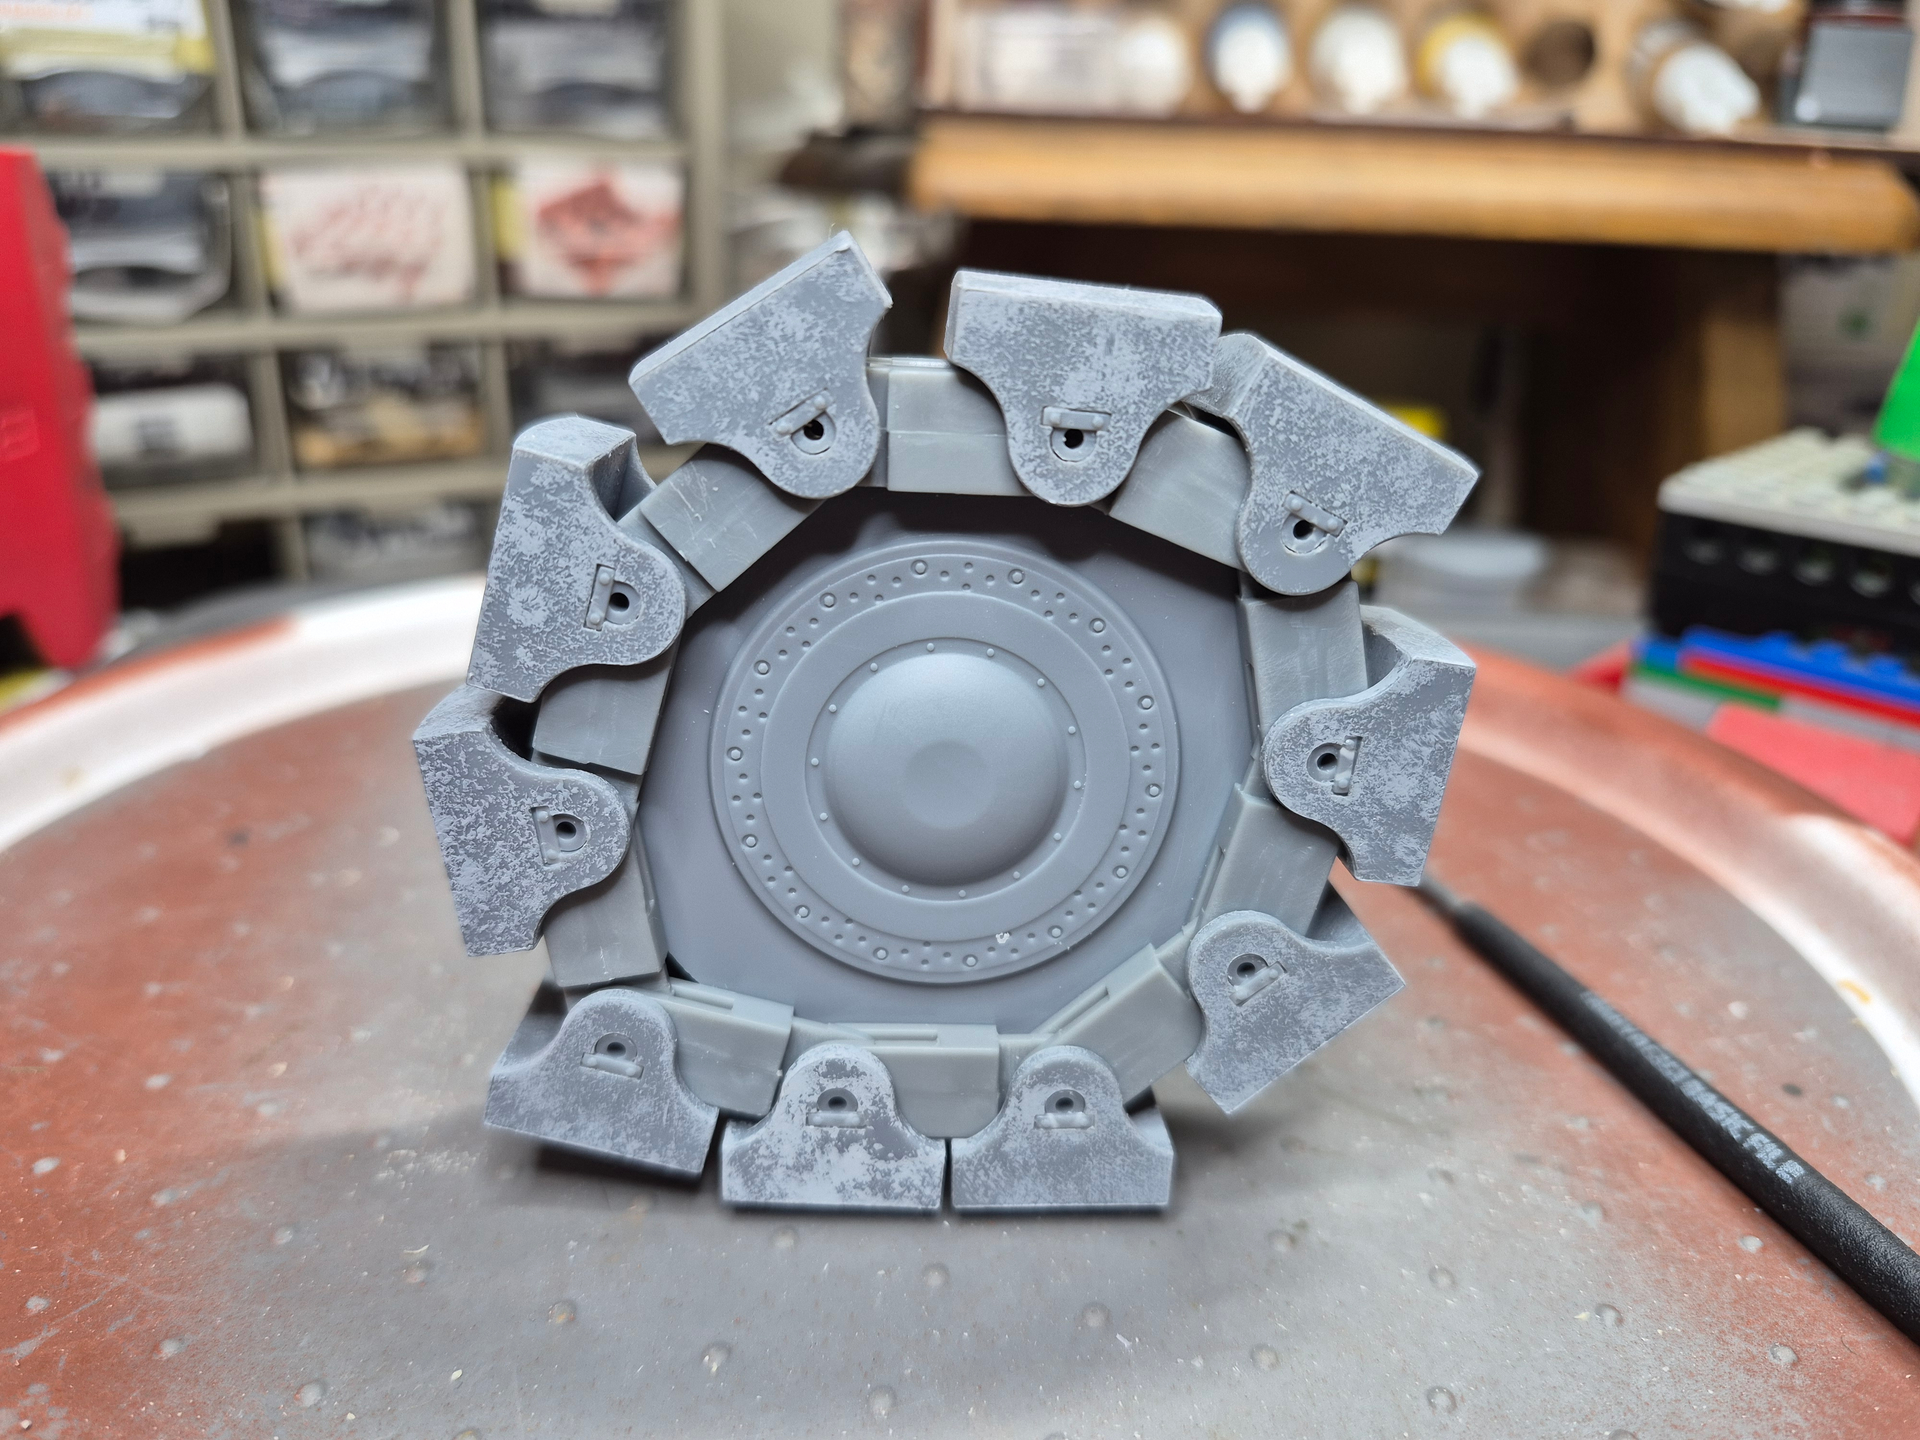
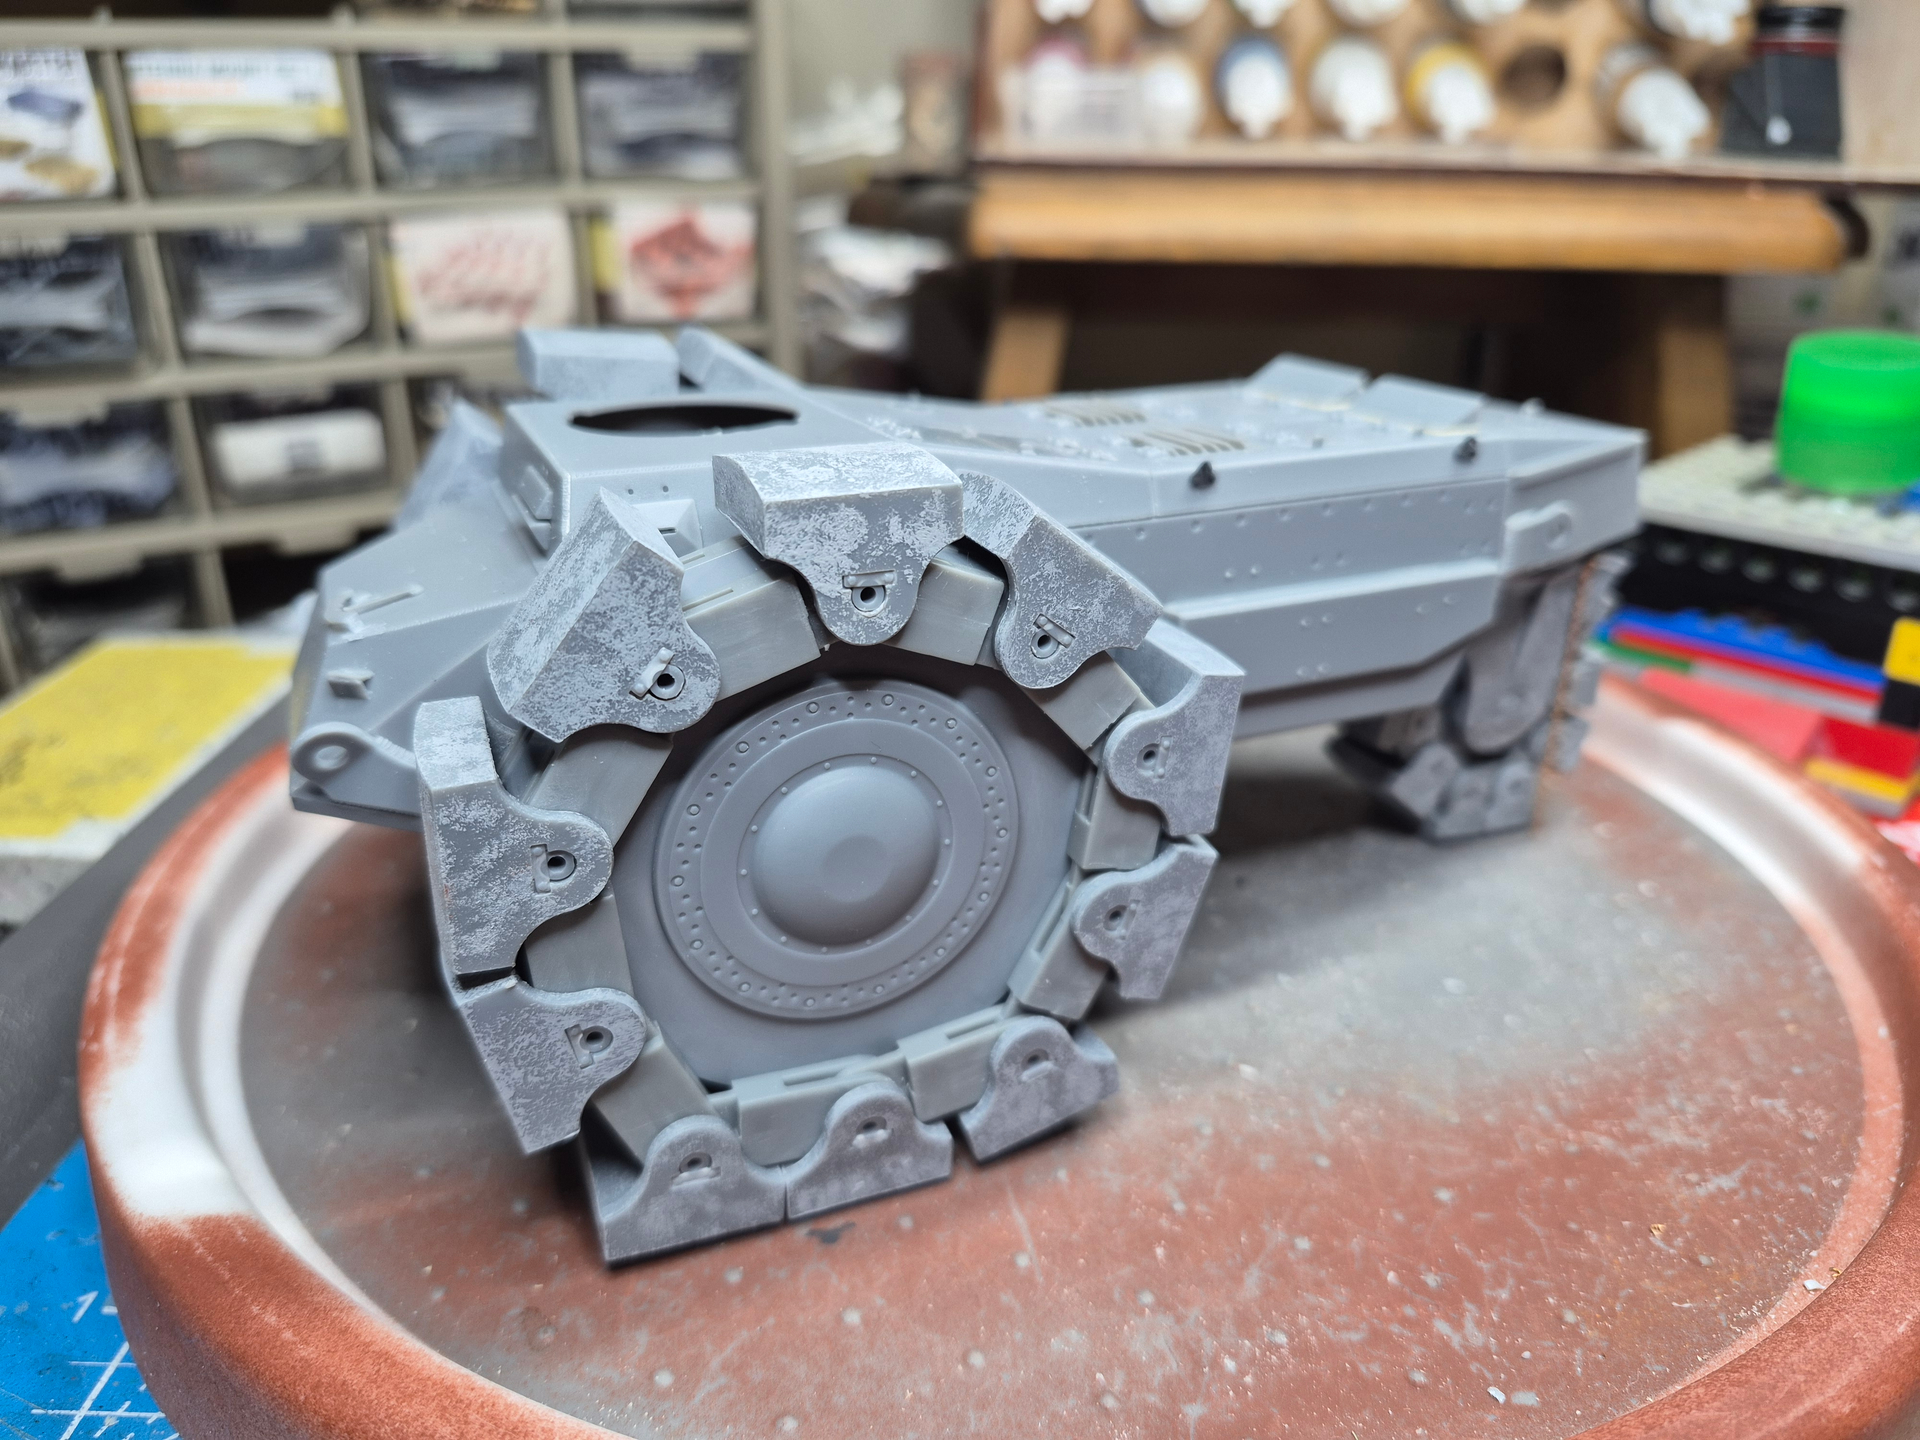
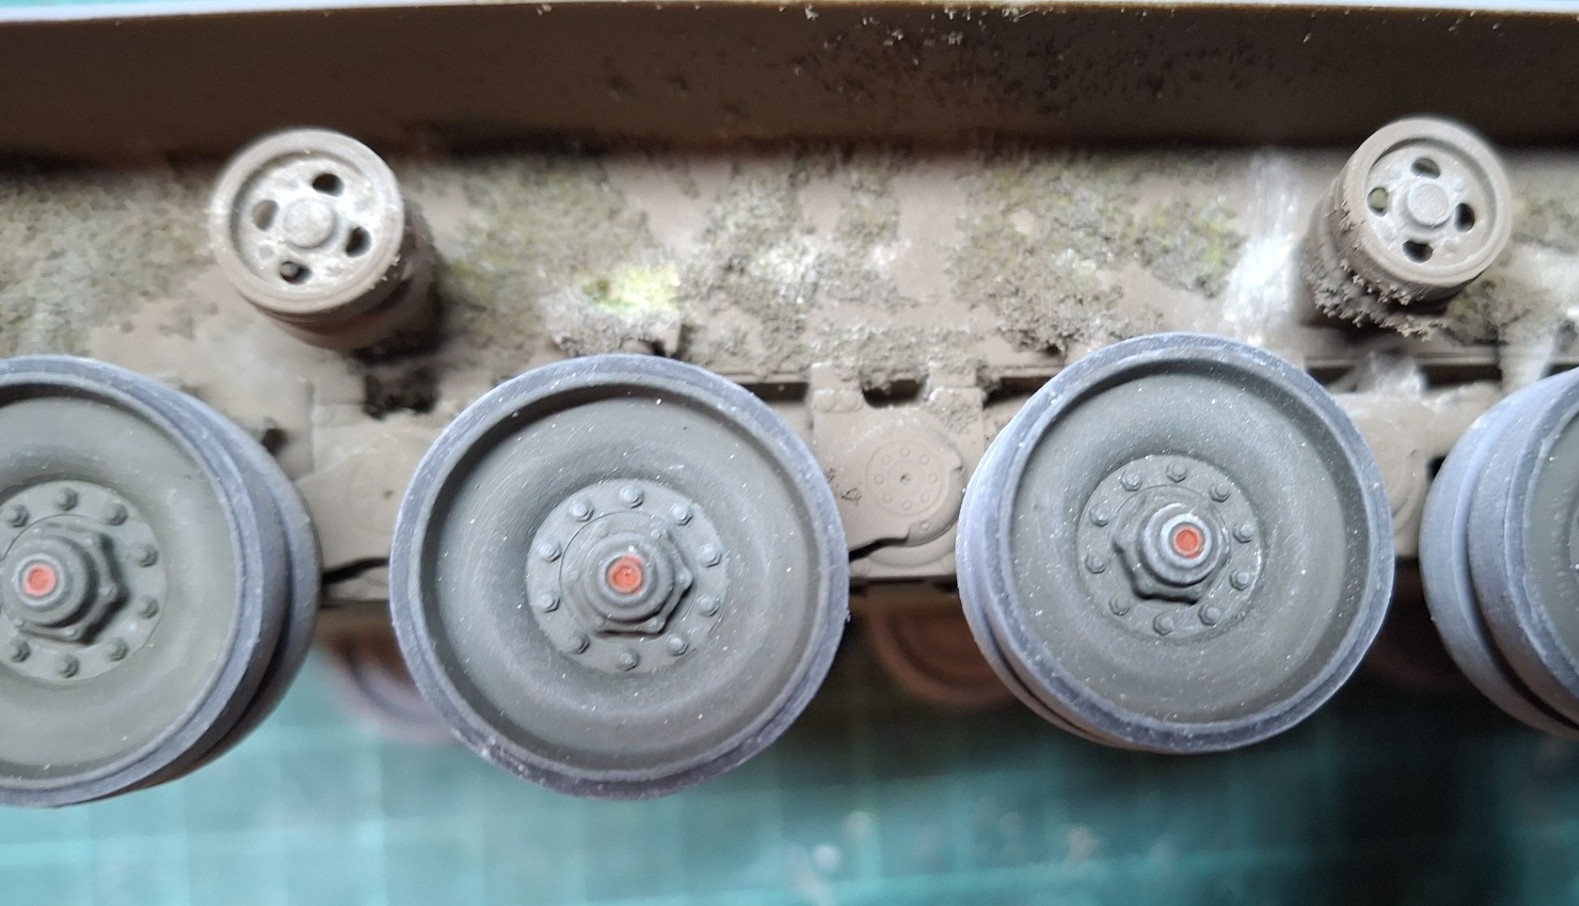
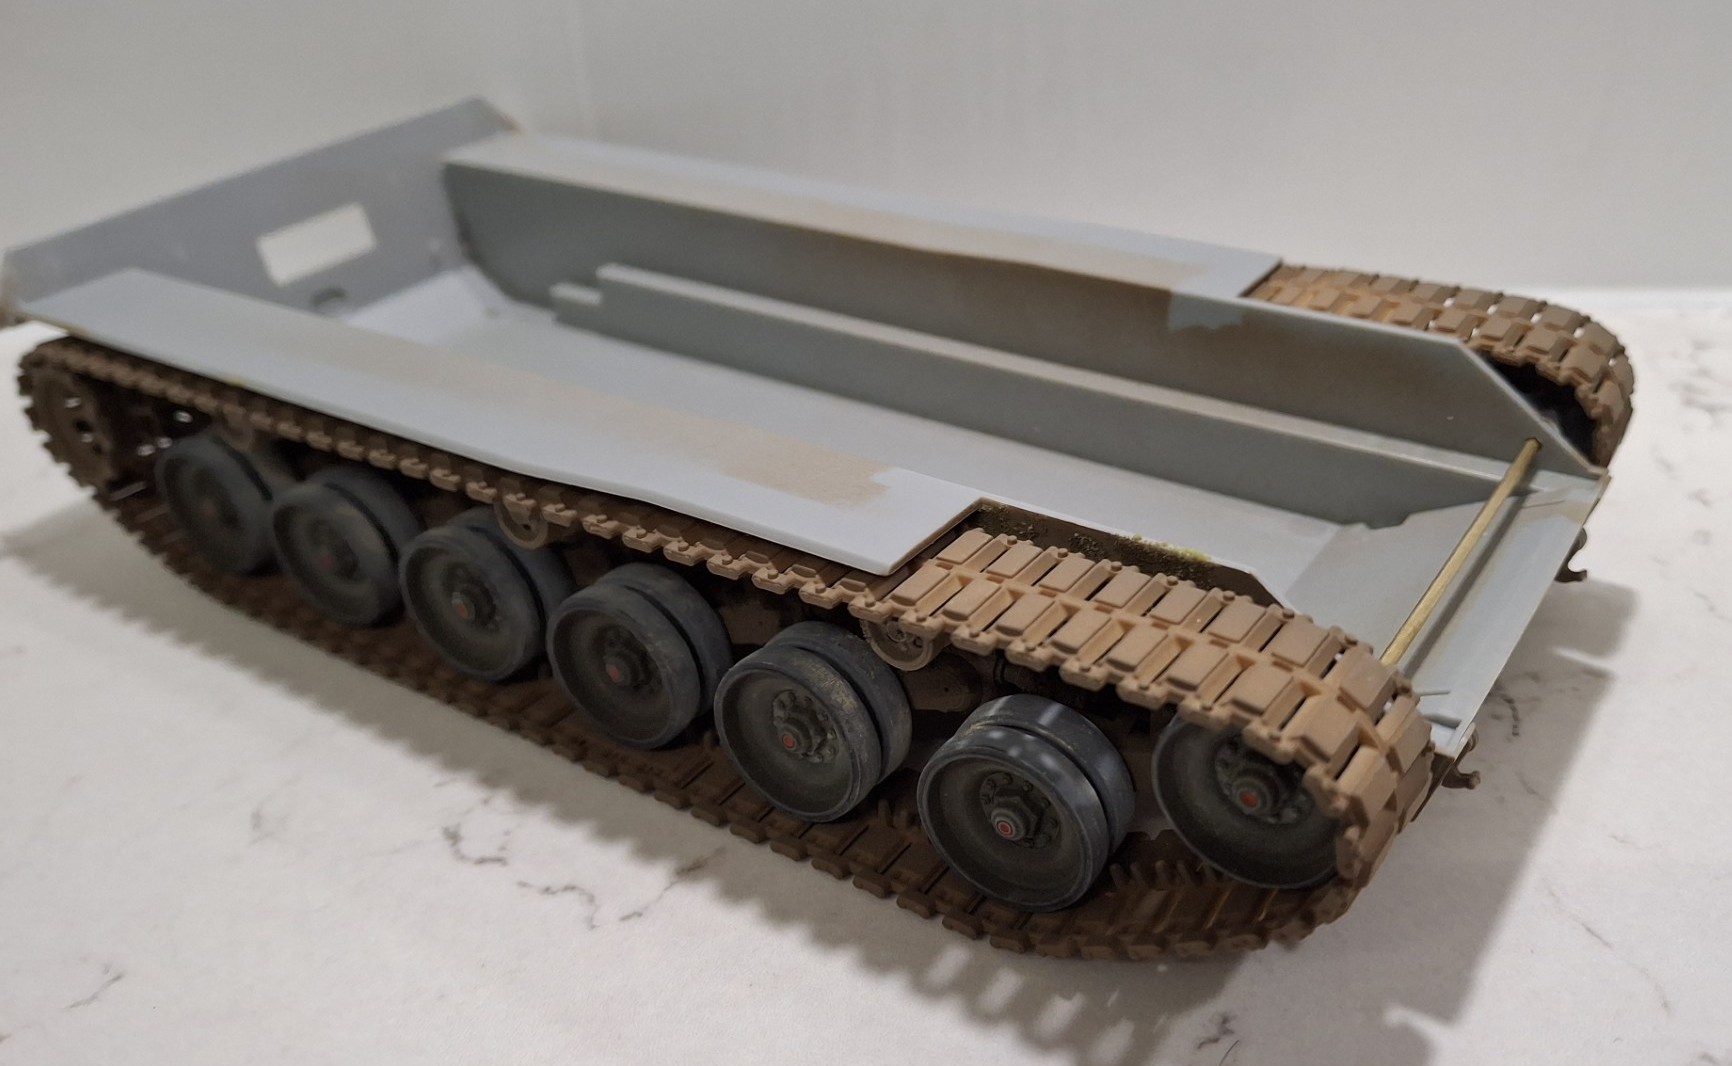
Roadwheels - the bane of my life; anyway, done:
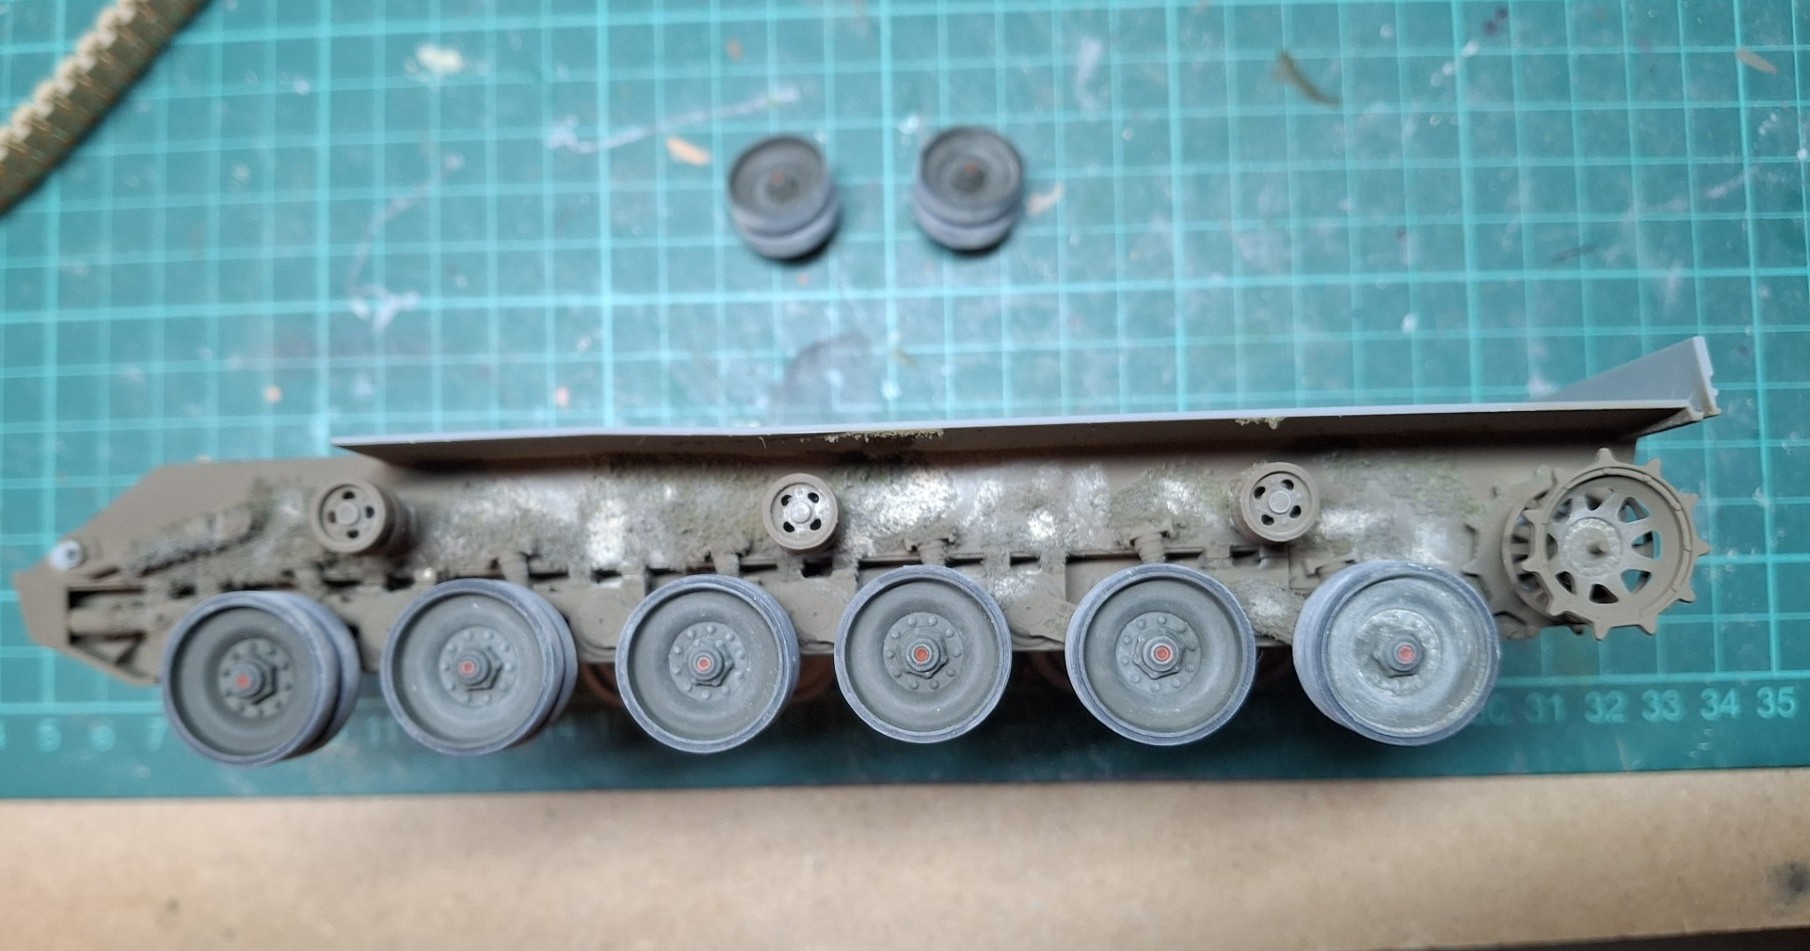
Next stop the tracks; I’ve left off the idlers just in case the Dragon tracks are a poor fit and I have to use separate tracklinks, which will mean I’ll need the idlers free so I can tighten them accordingly.
7 Likes
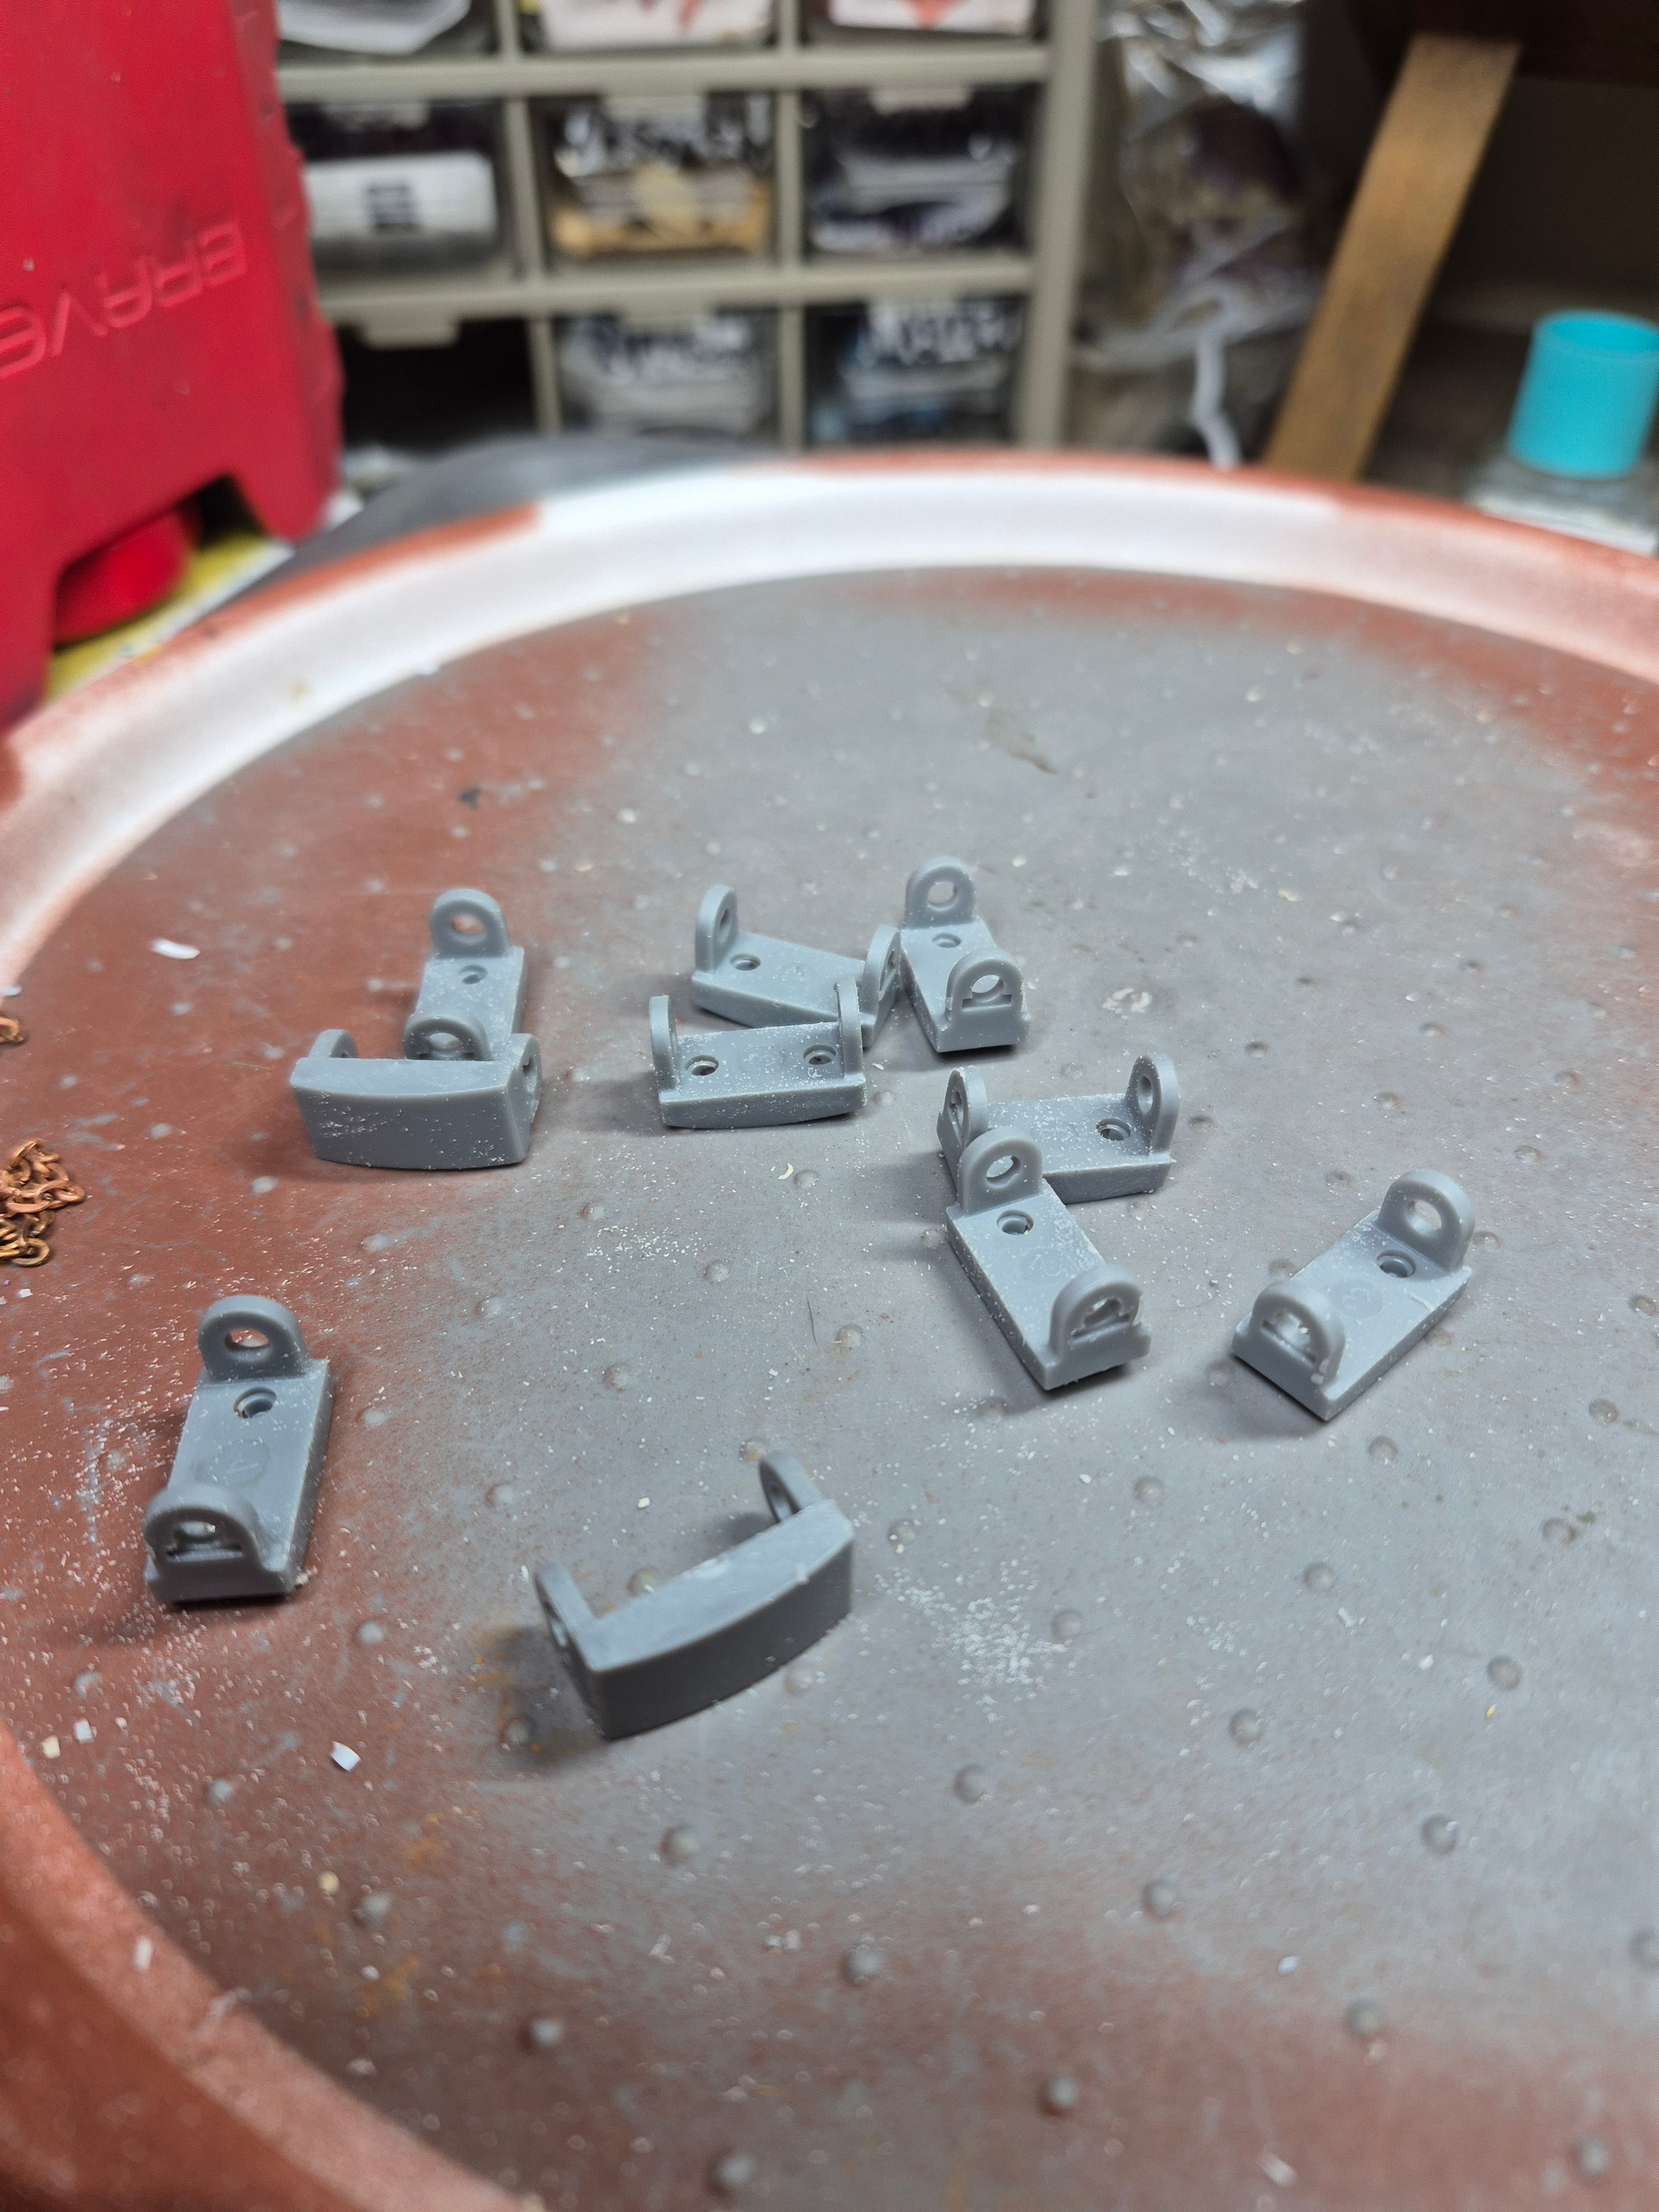
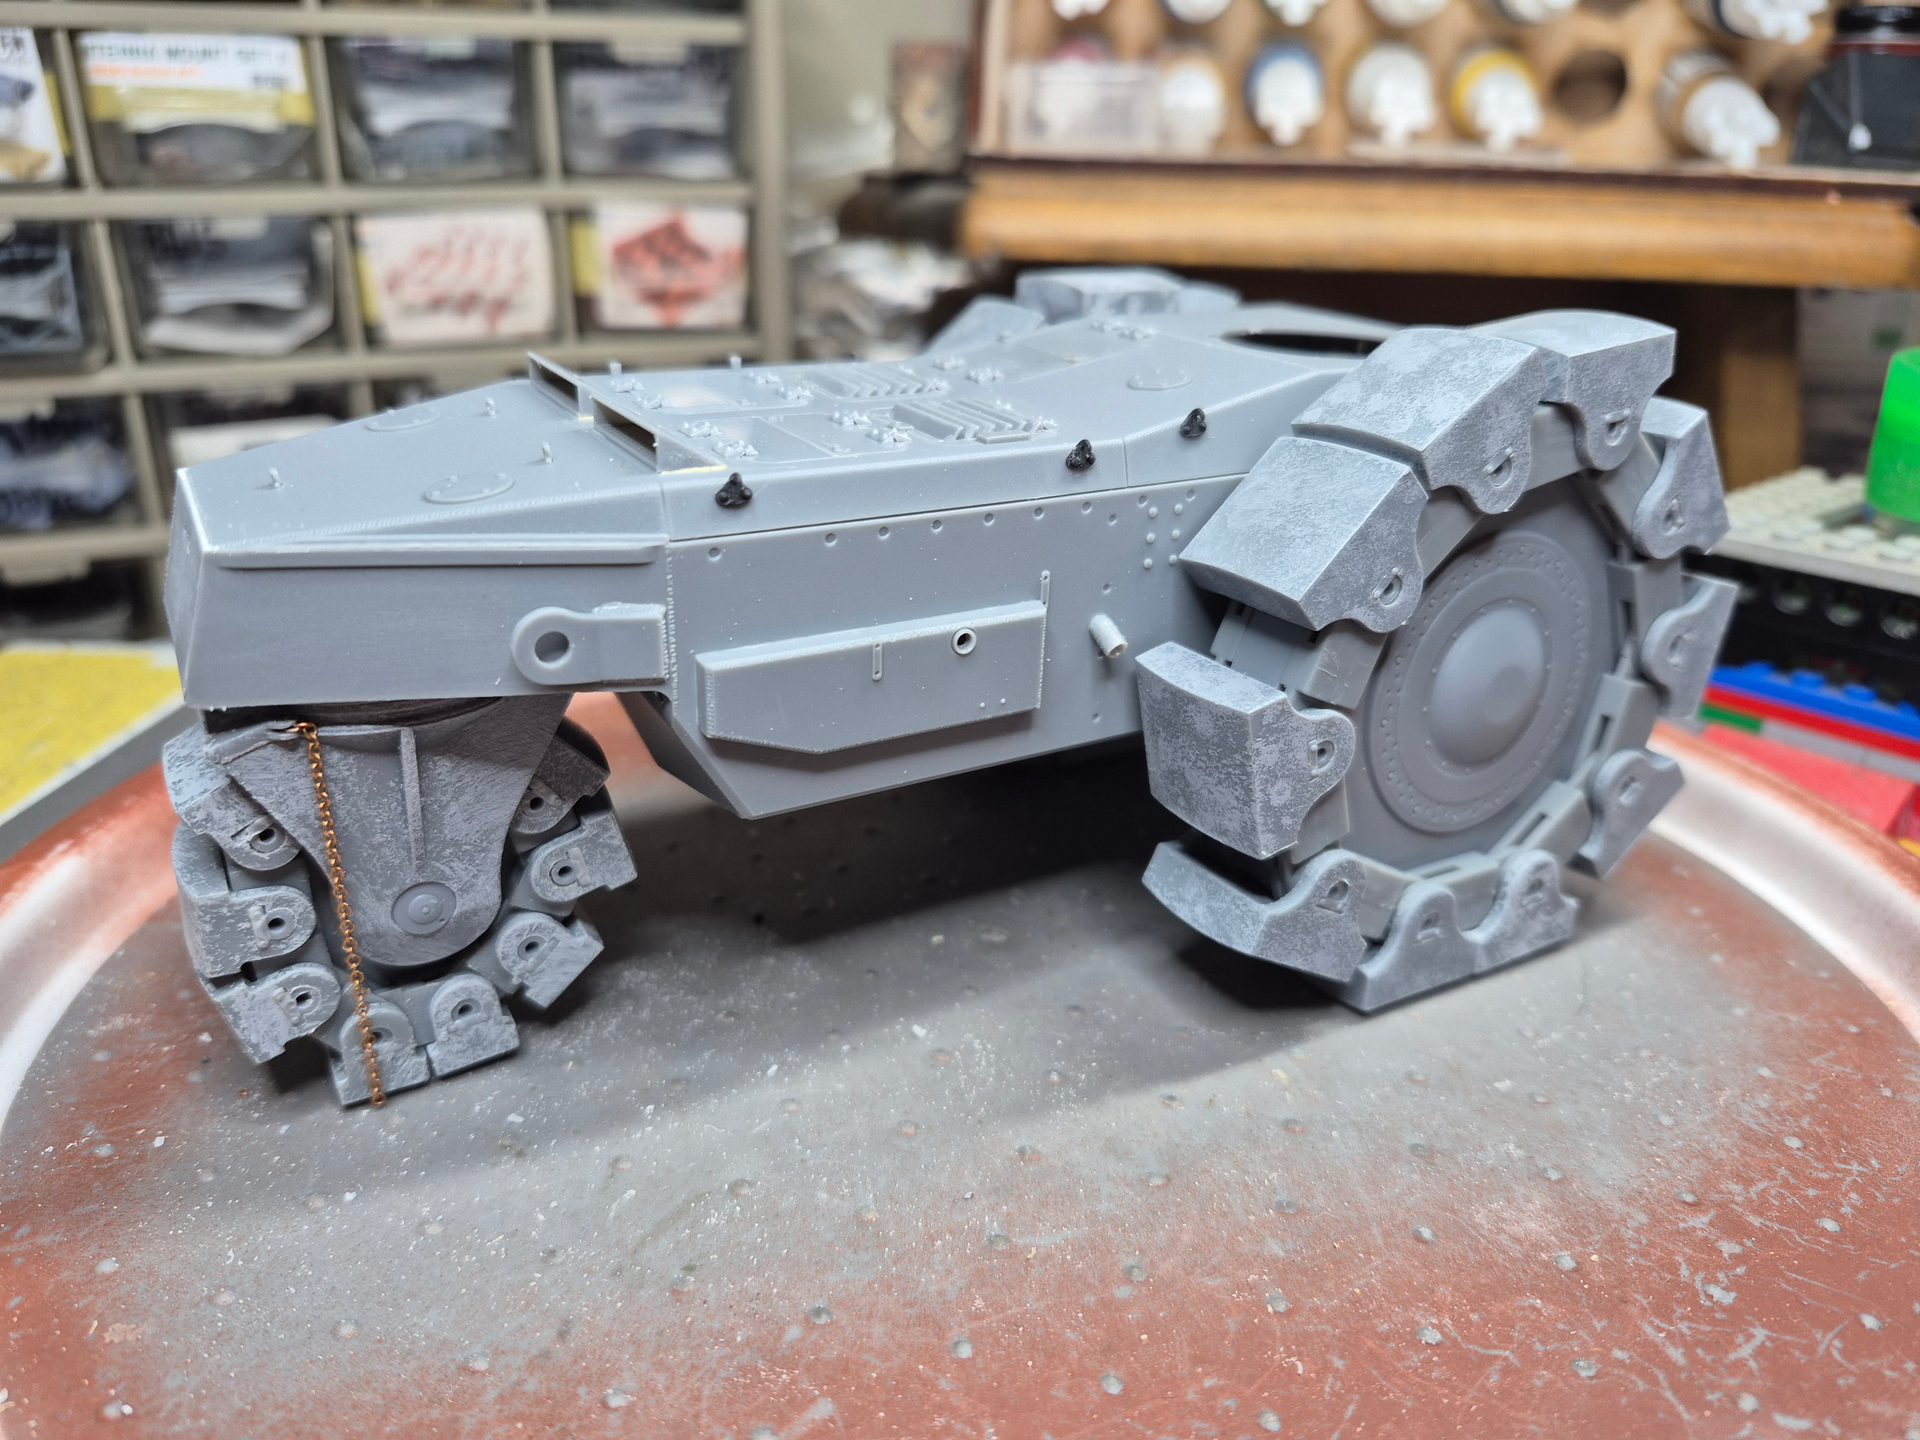
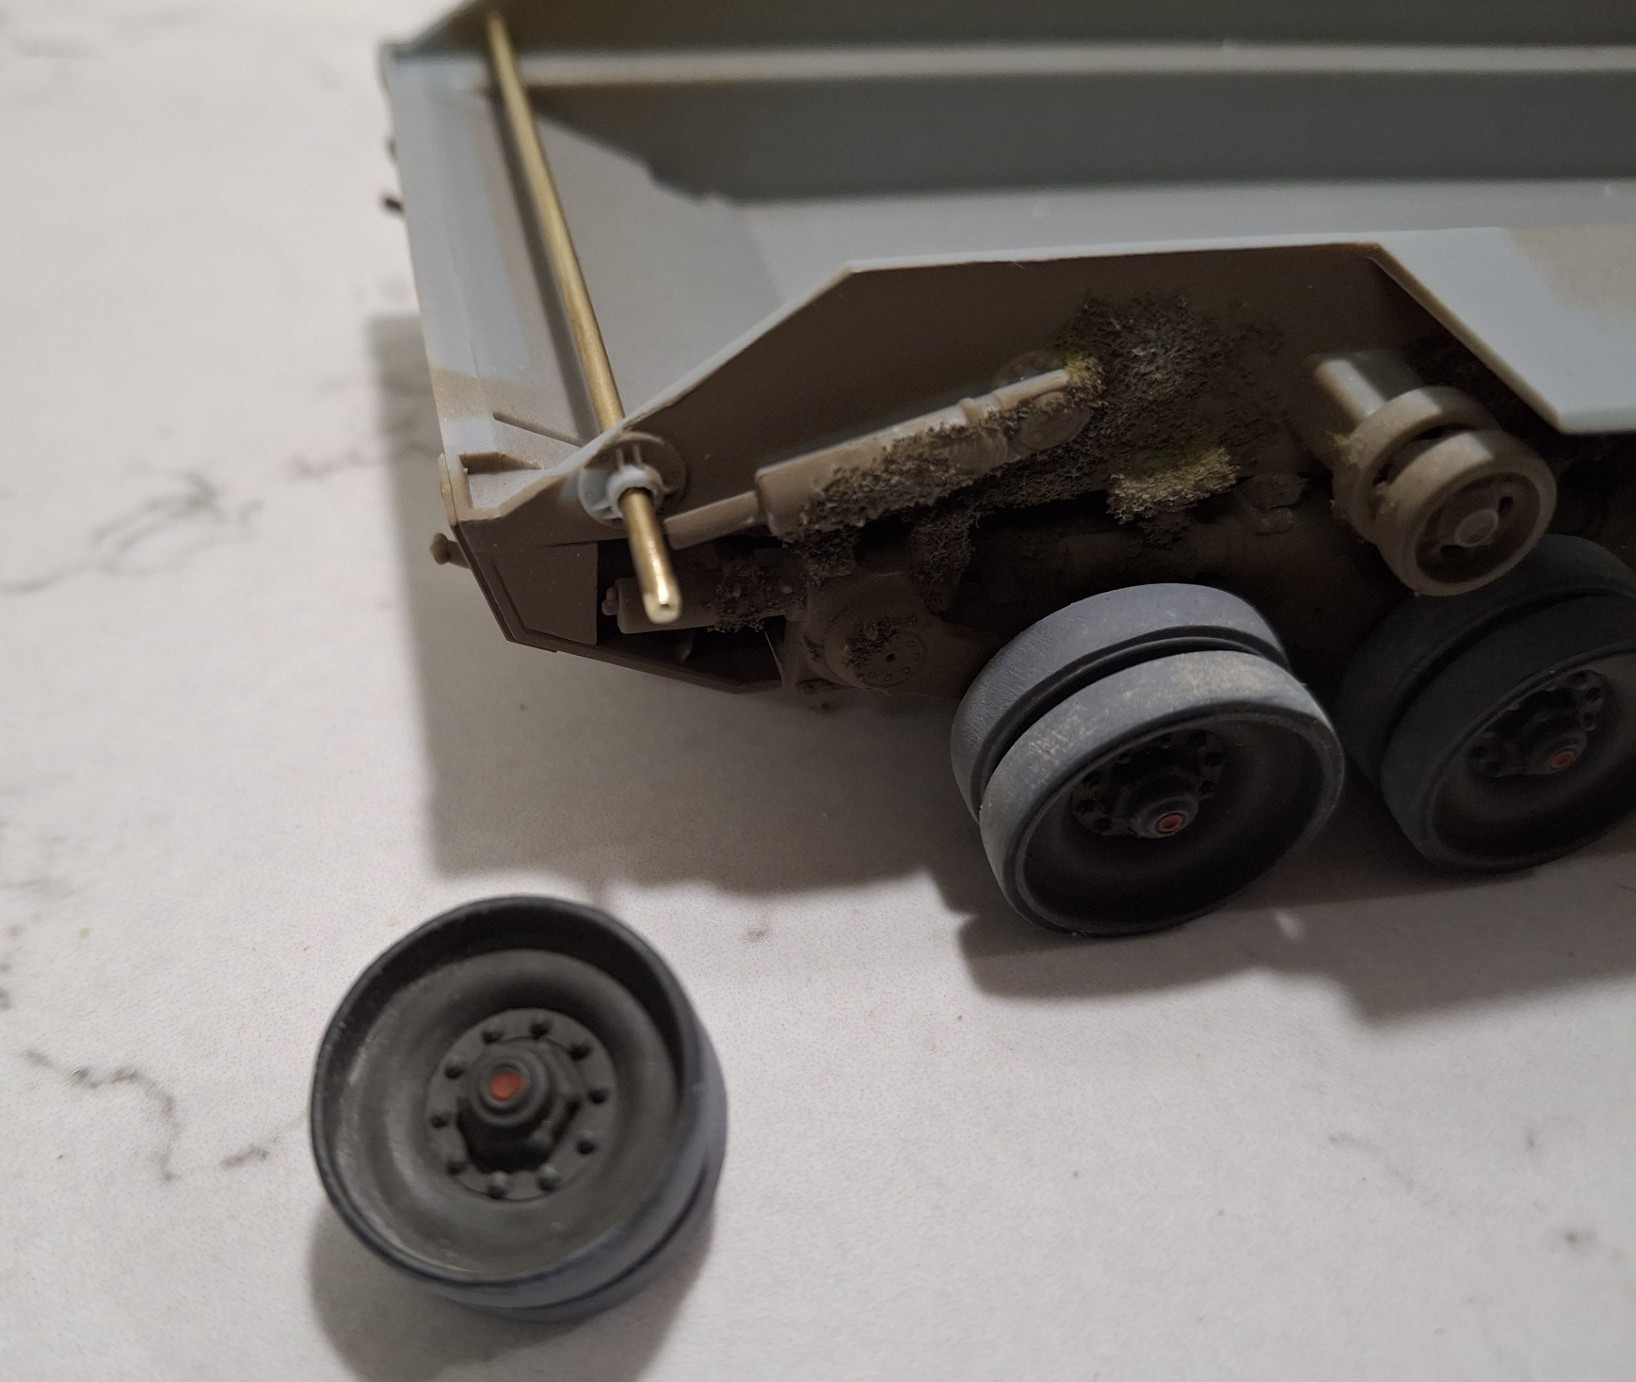
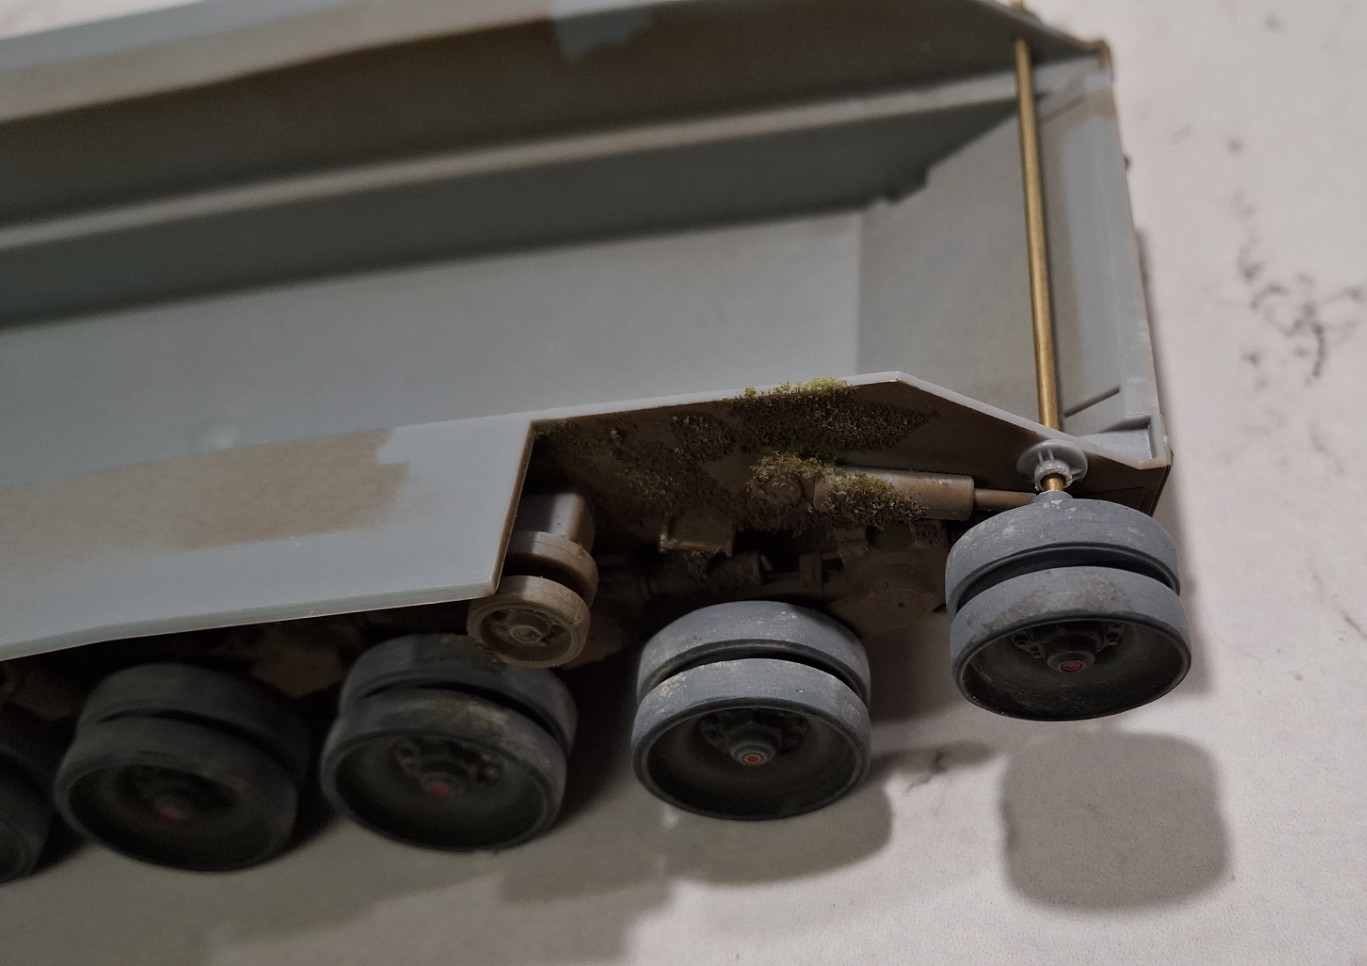
I encountered a problem when installing the track; the idlers are only secured in place by a small stub axle, which is keyed to the hull – so you just hope that the track has the right amount of tension. When I fitted the track – this is the Dragon rubber-band type – it bowed in as the joint wasn’t strong enough. Of course, with individual track links one doesn’t have this problem – although there is still the problem of adjusting track tension, but far easier to do with individual tracks.
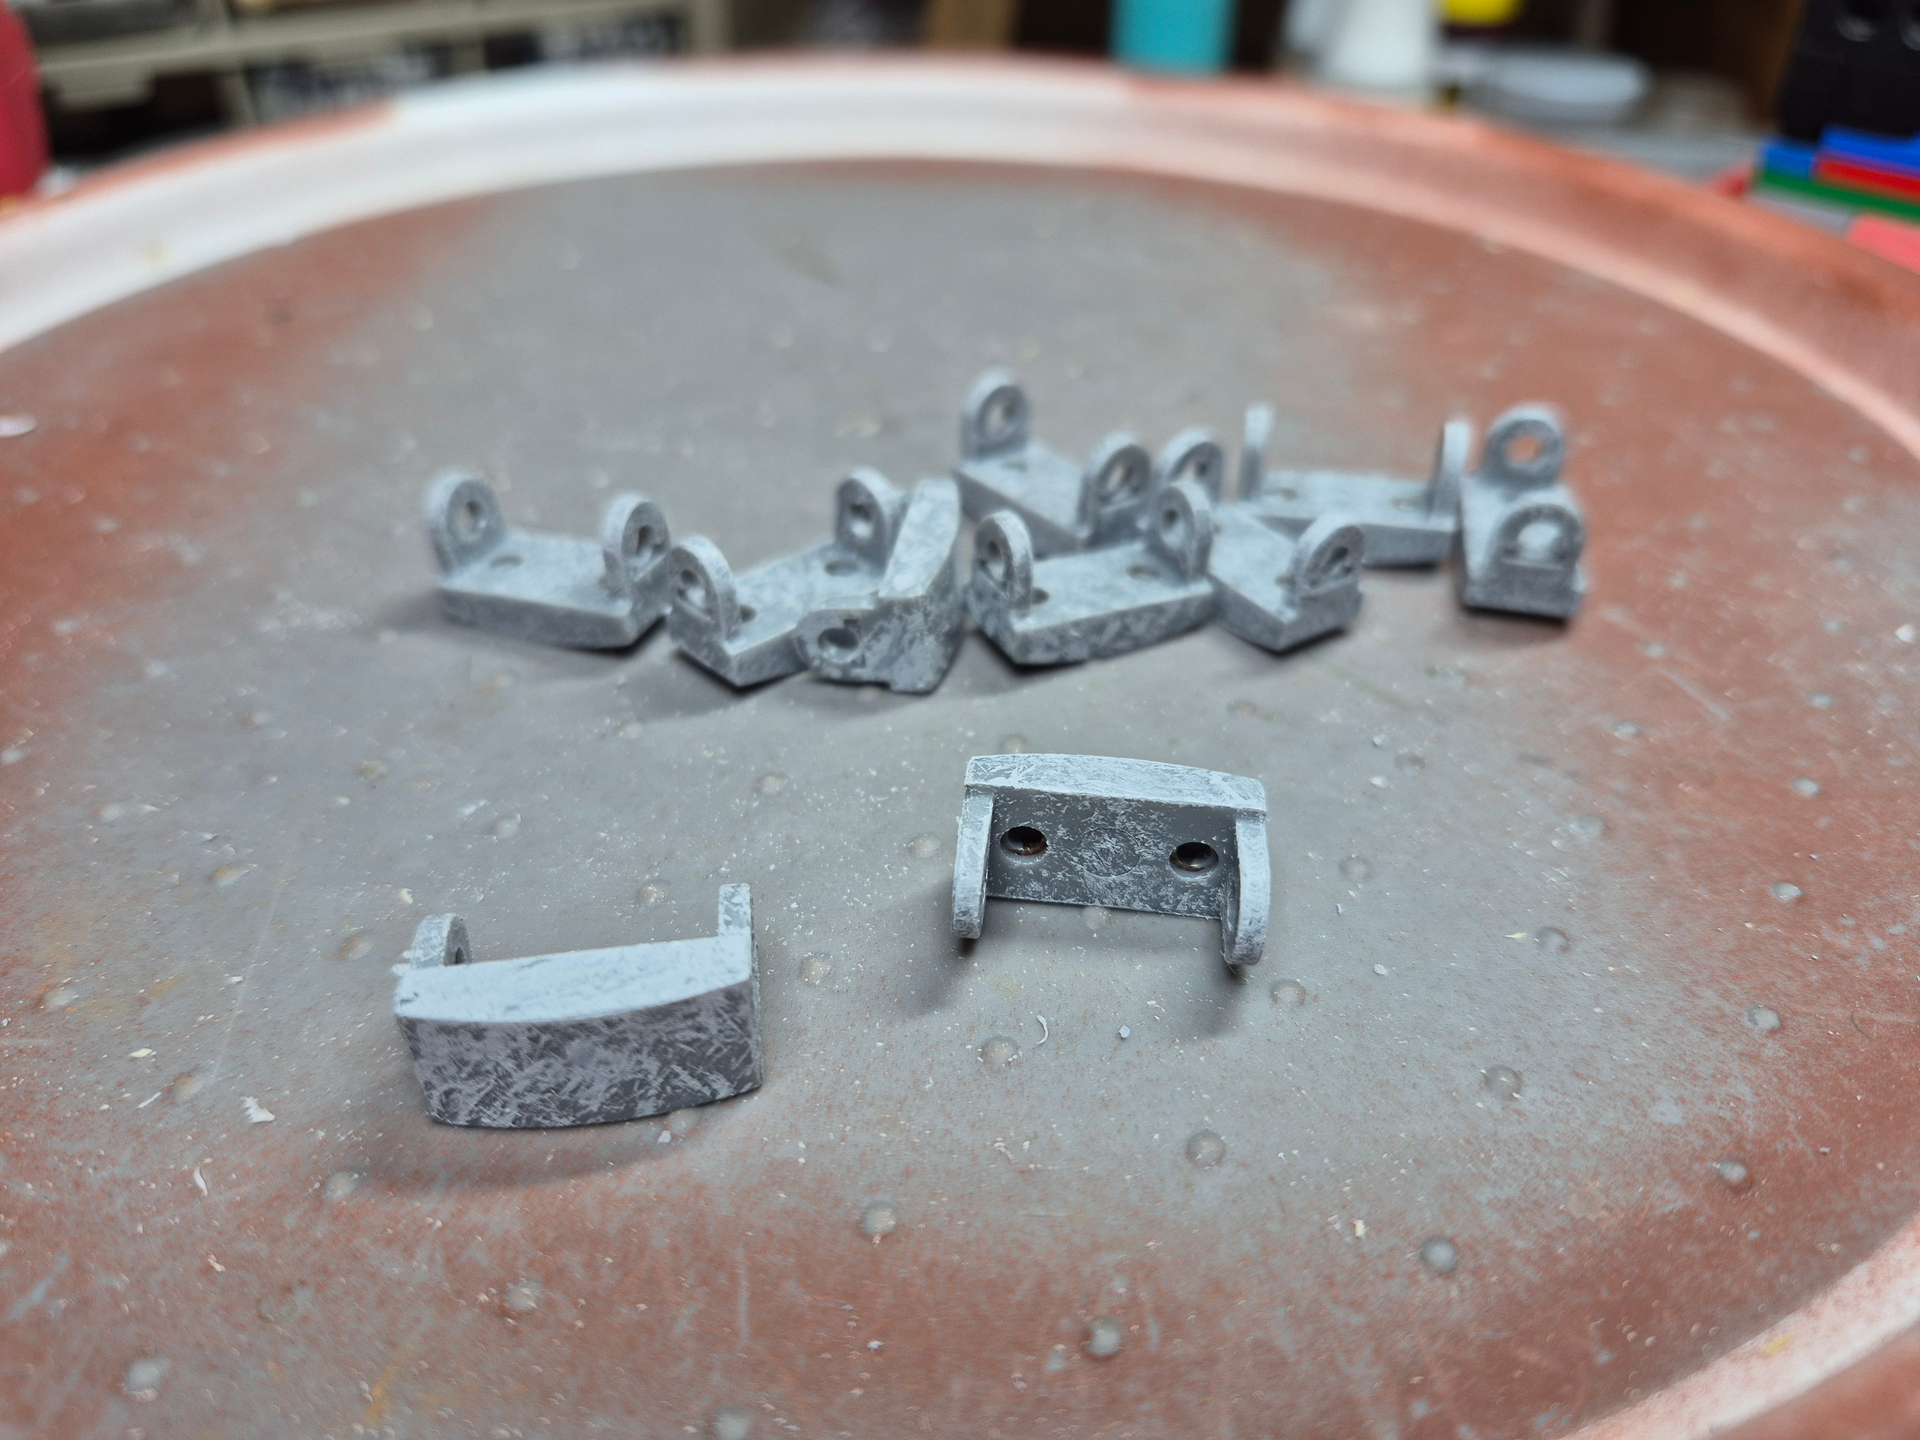
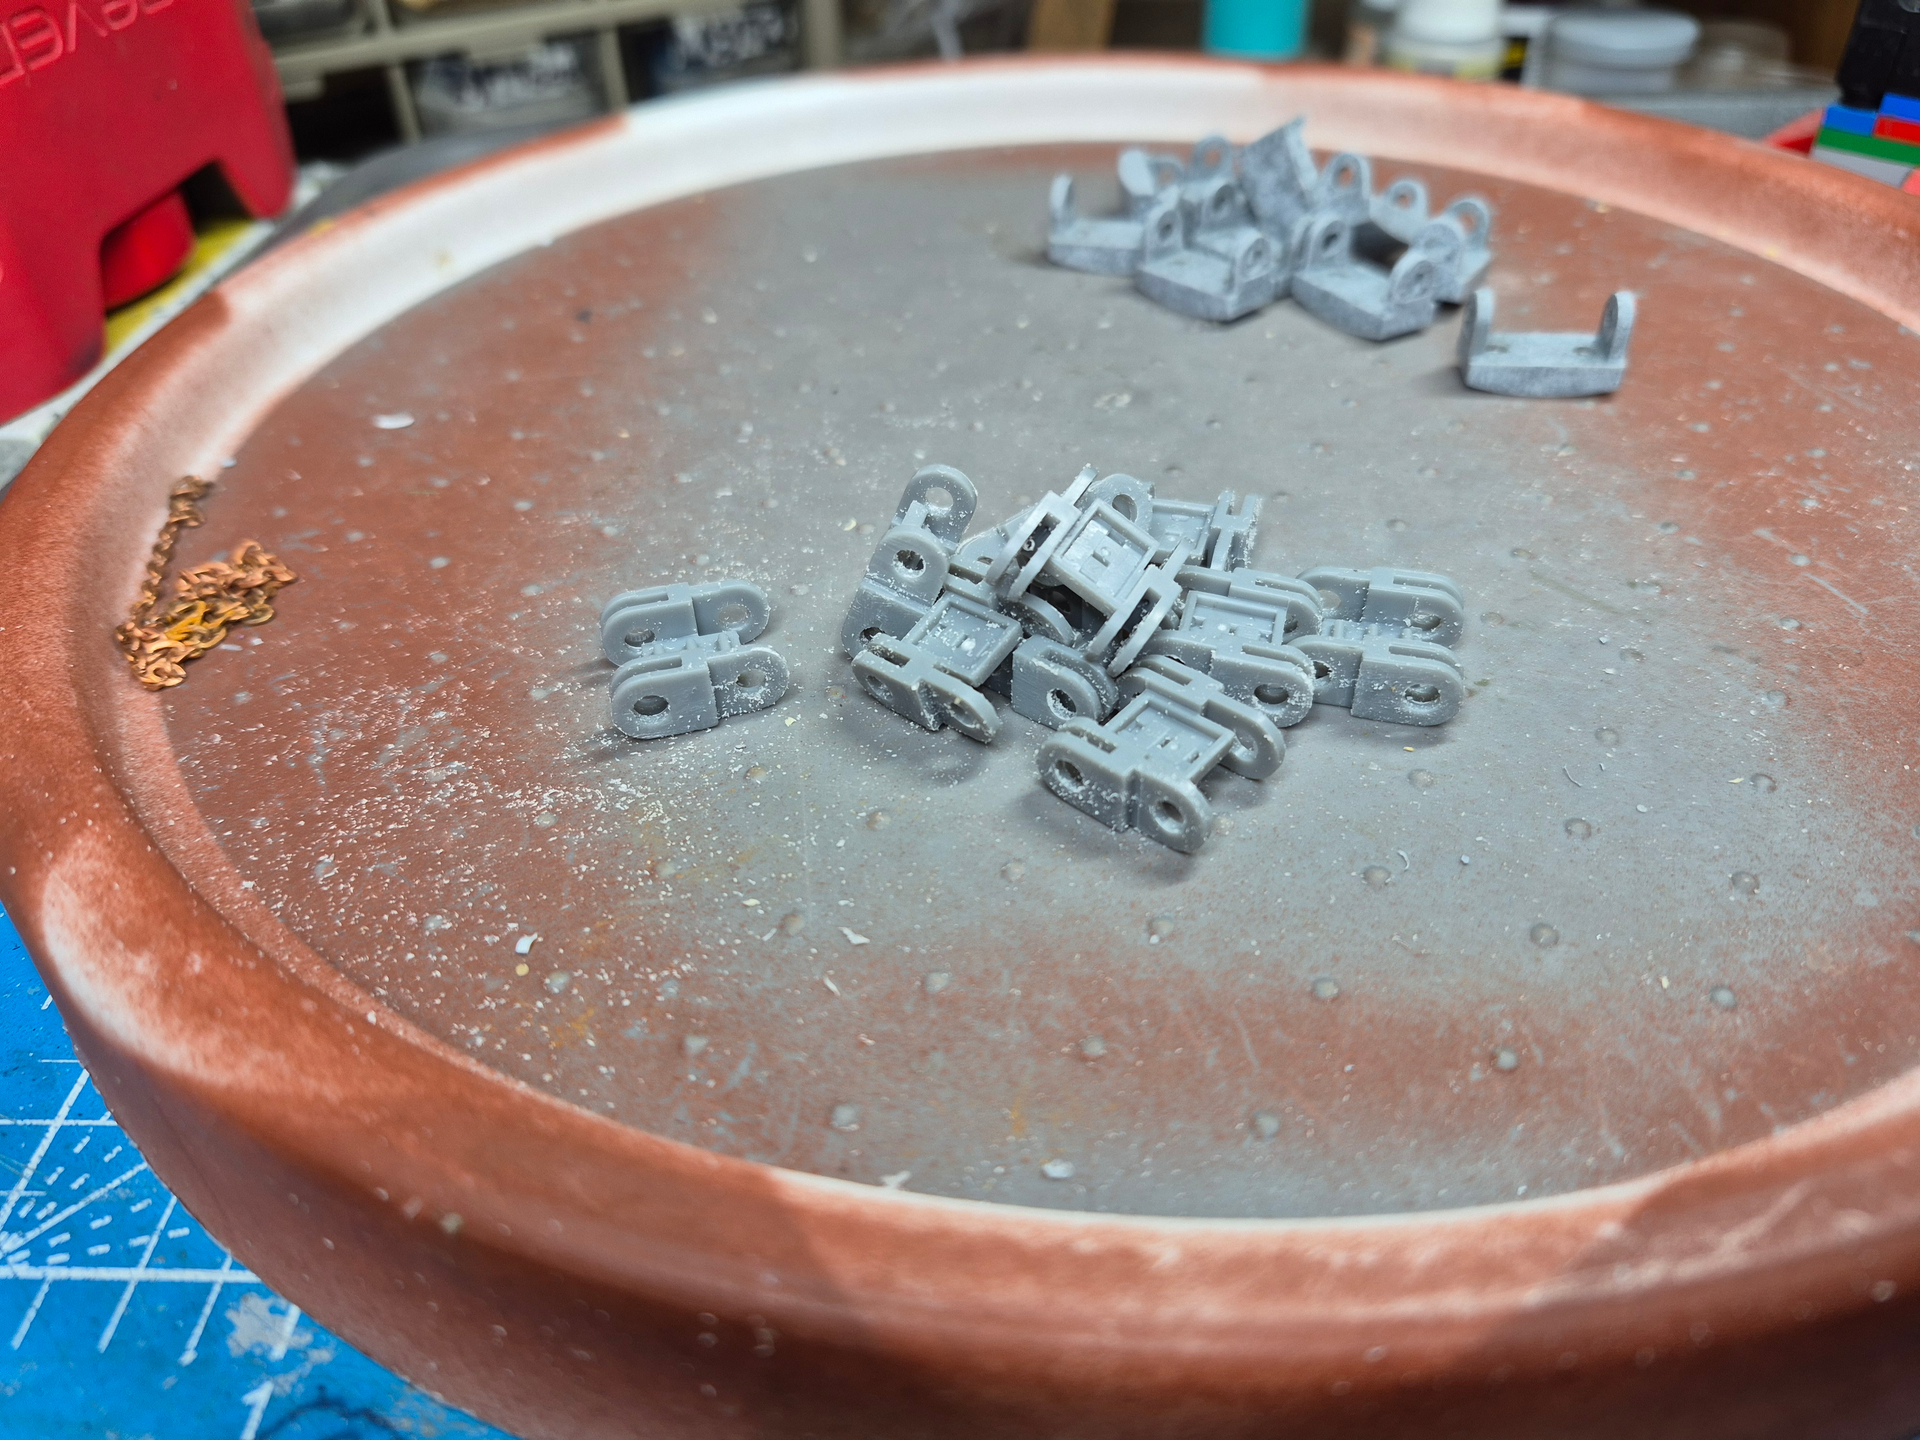
I have some tracks on order – in addition to the Friuls I have - just in case the Dragon track isn’t viable. The Friuls are really earmarked for one of my US versions, so I reverted to some old-school engineering, and drilled out the small stub axles, and their location lug on the hull; I then threaded through a length of brass rod. Hopefully this will give me the strength I require to secure the track. I will still have to rotate the stub axles to get the right tension once I’ve fitted the track, and then secure quickly with superglue, but this should work!

7 Likes
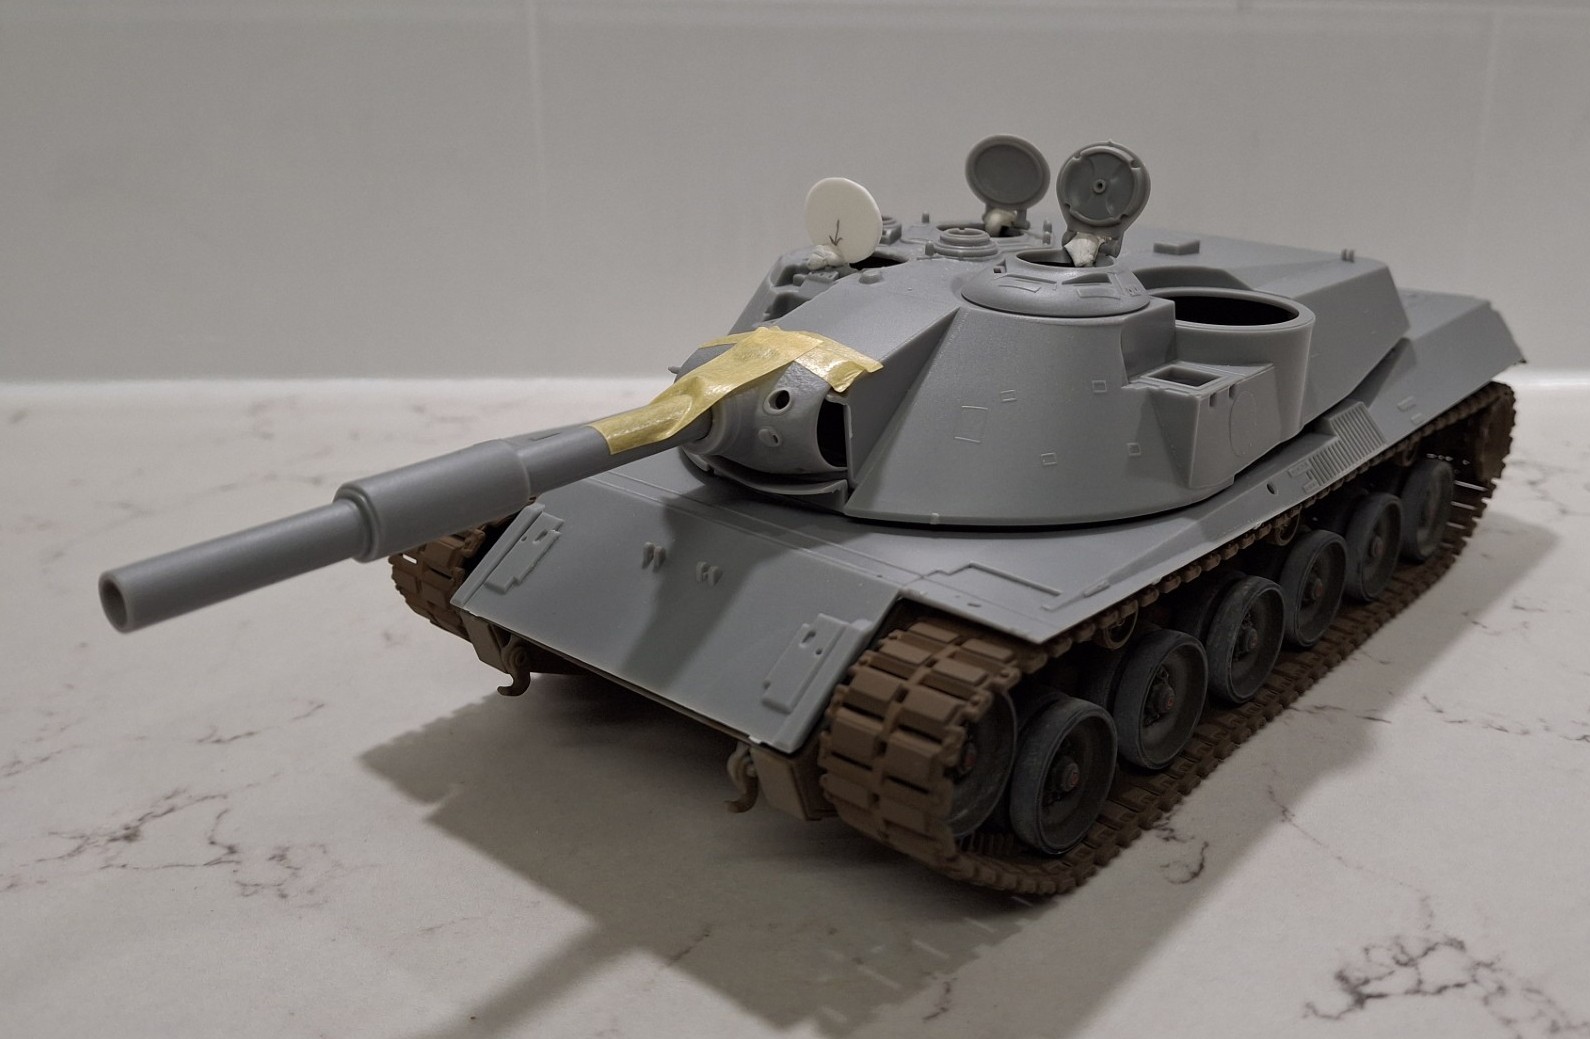
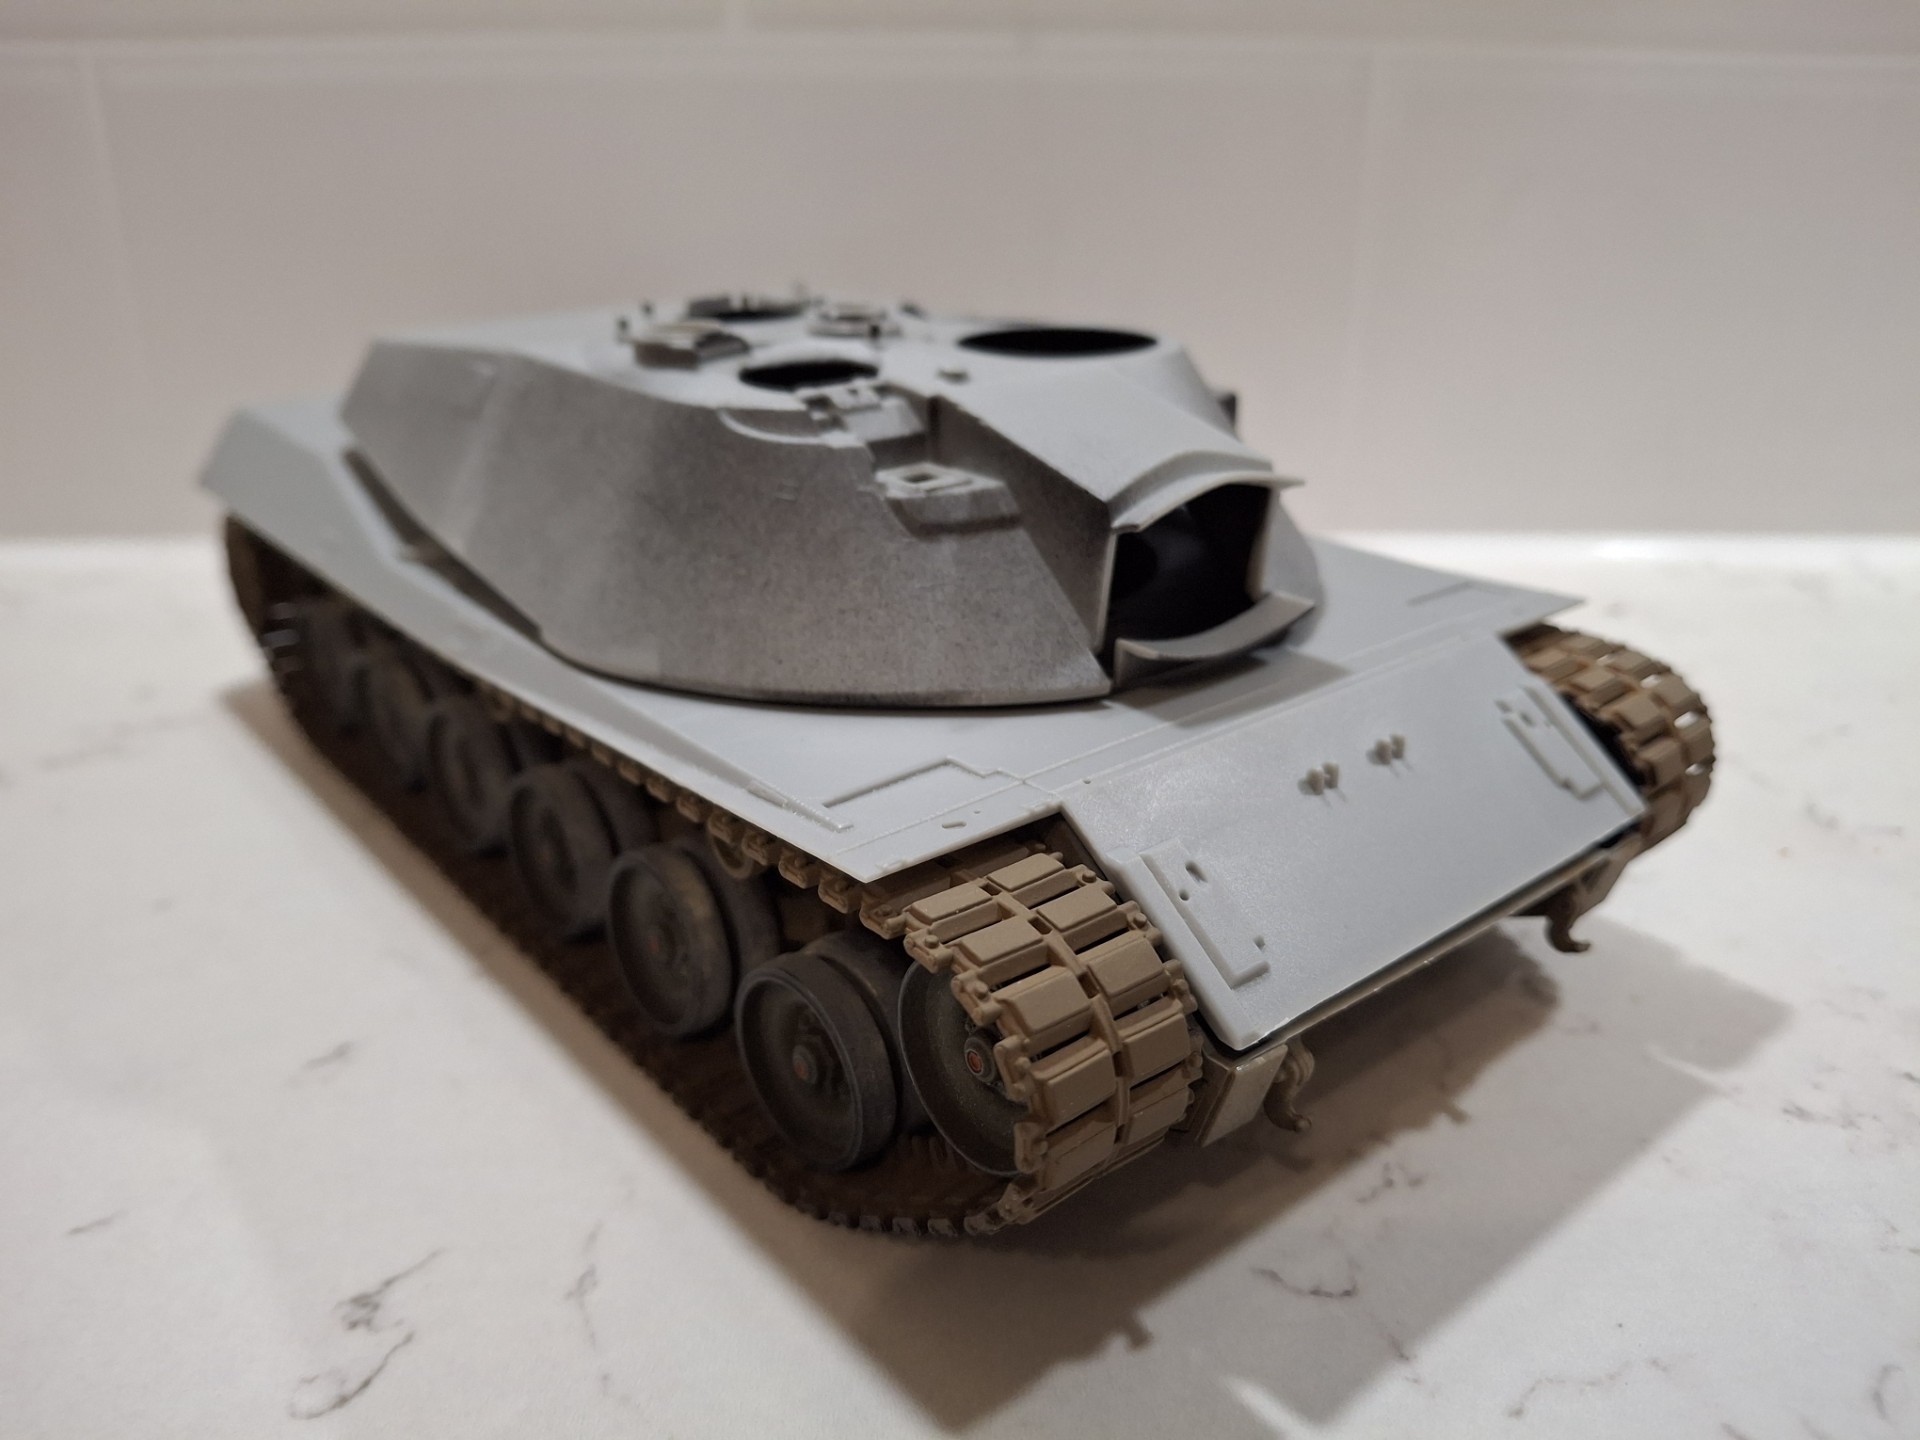
And result!
As long as the track stays glued together.
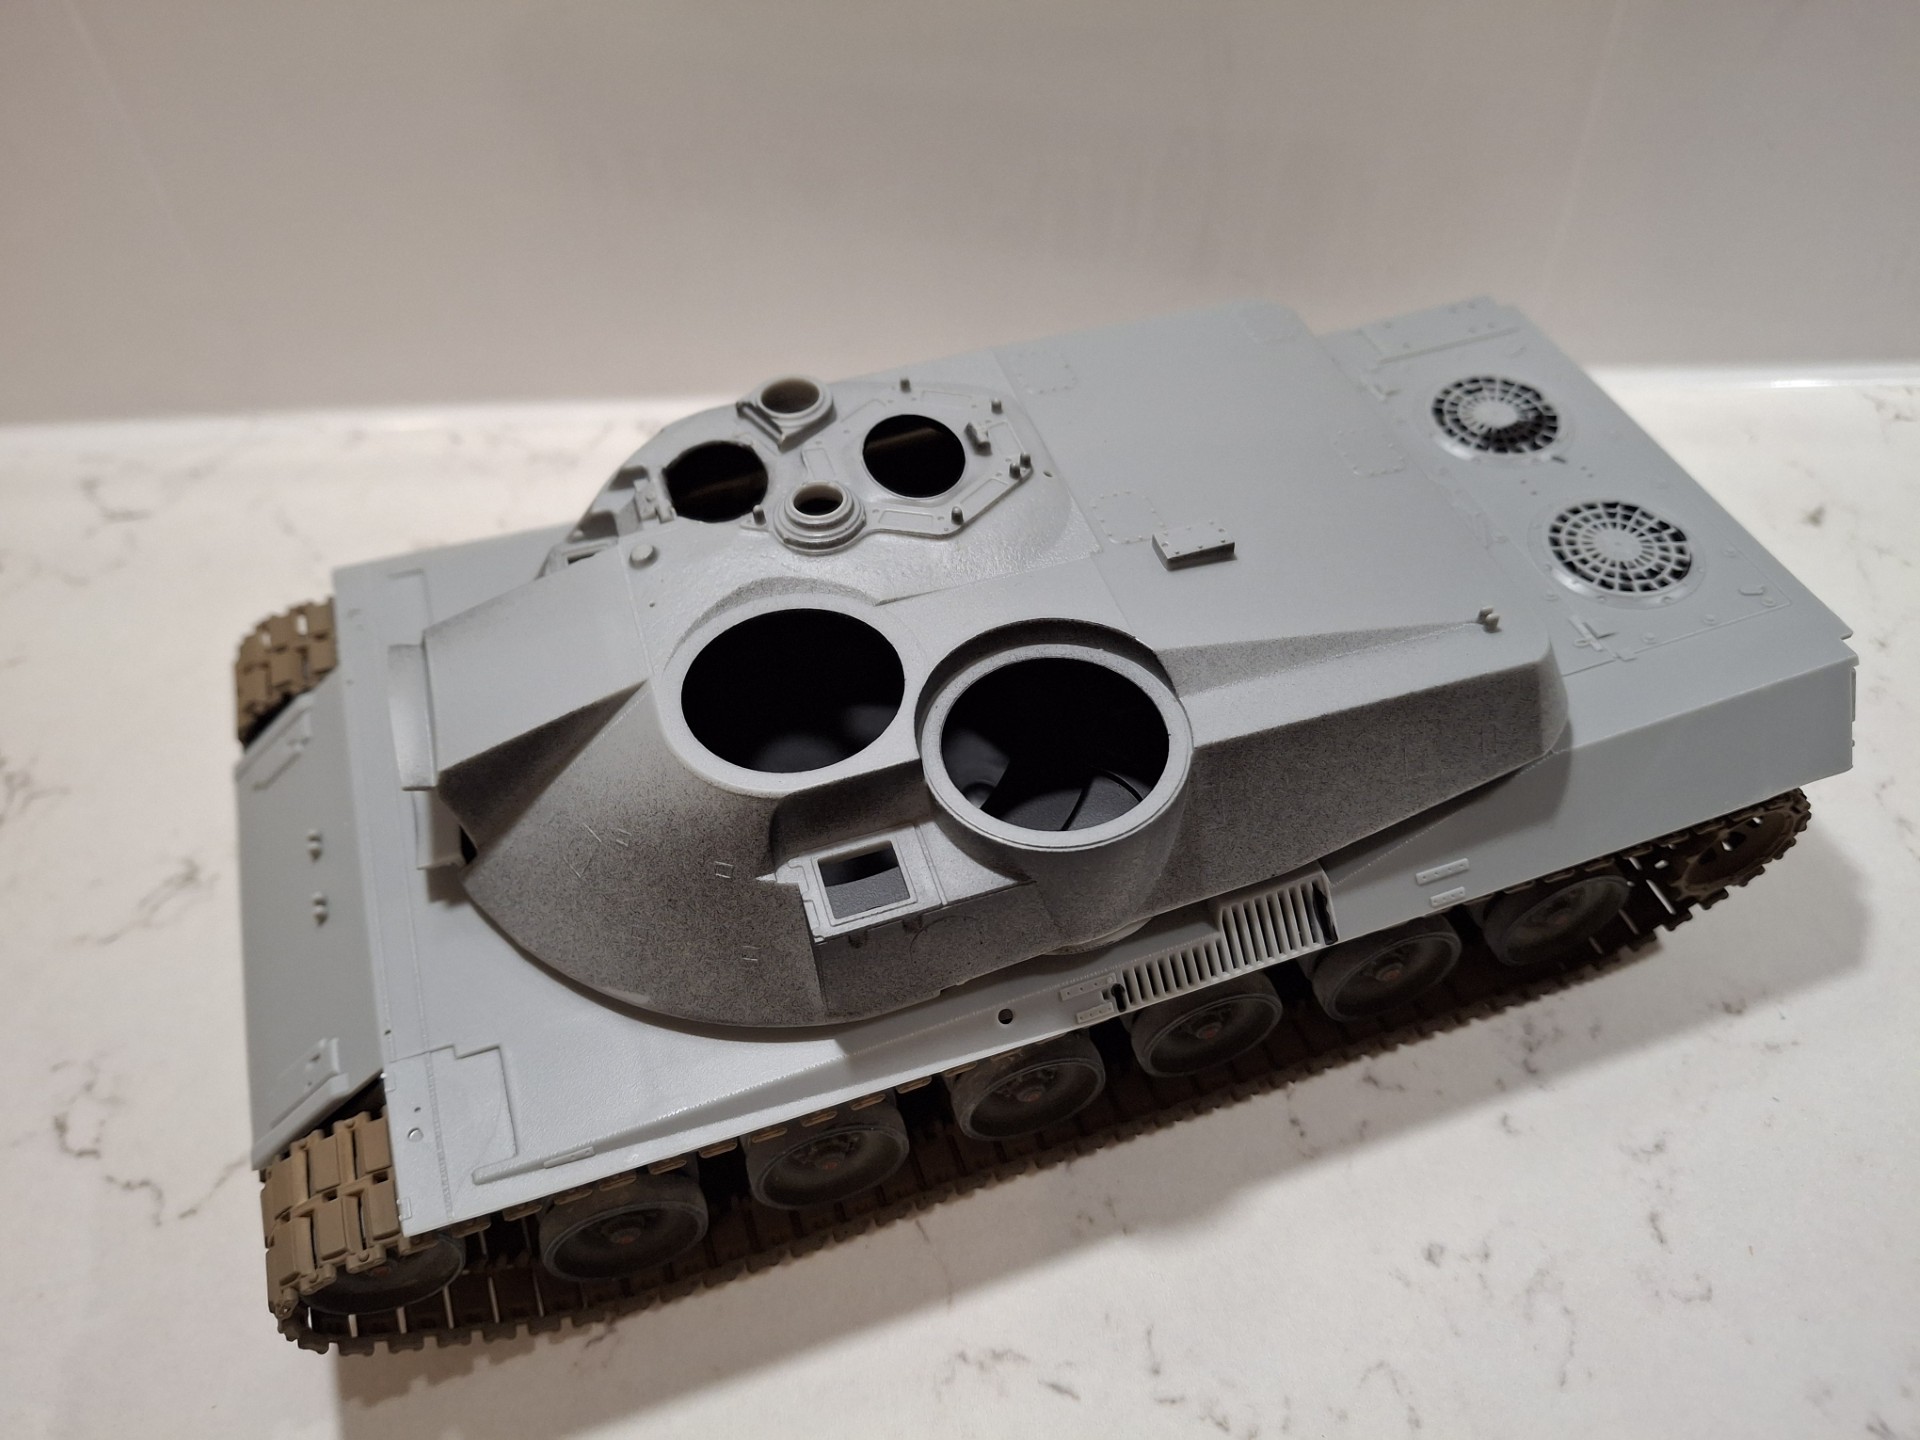
And the shape of things to come:
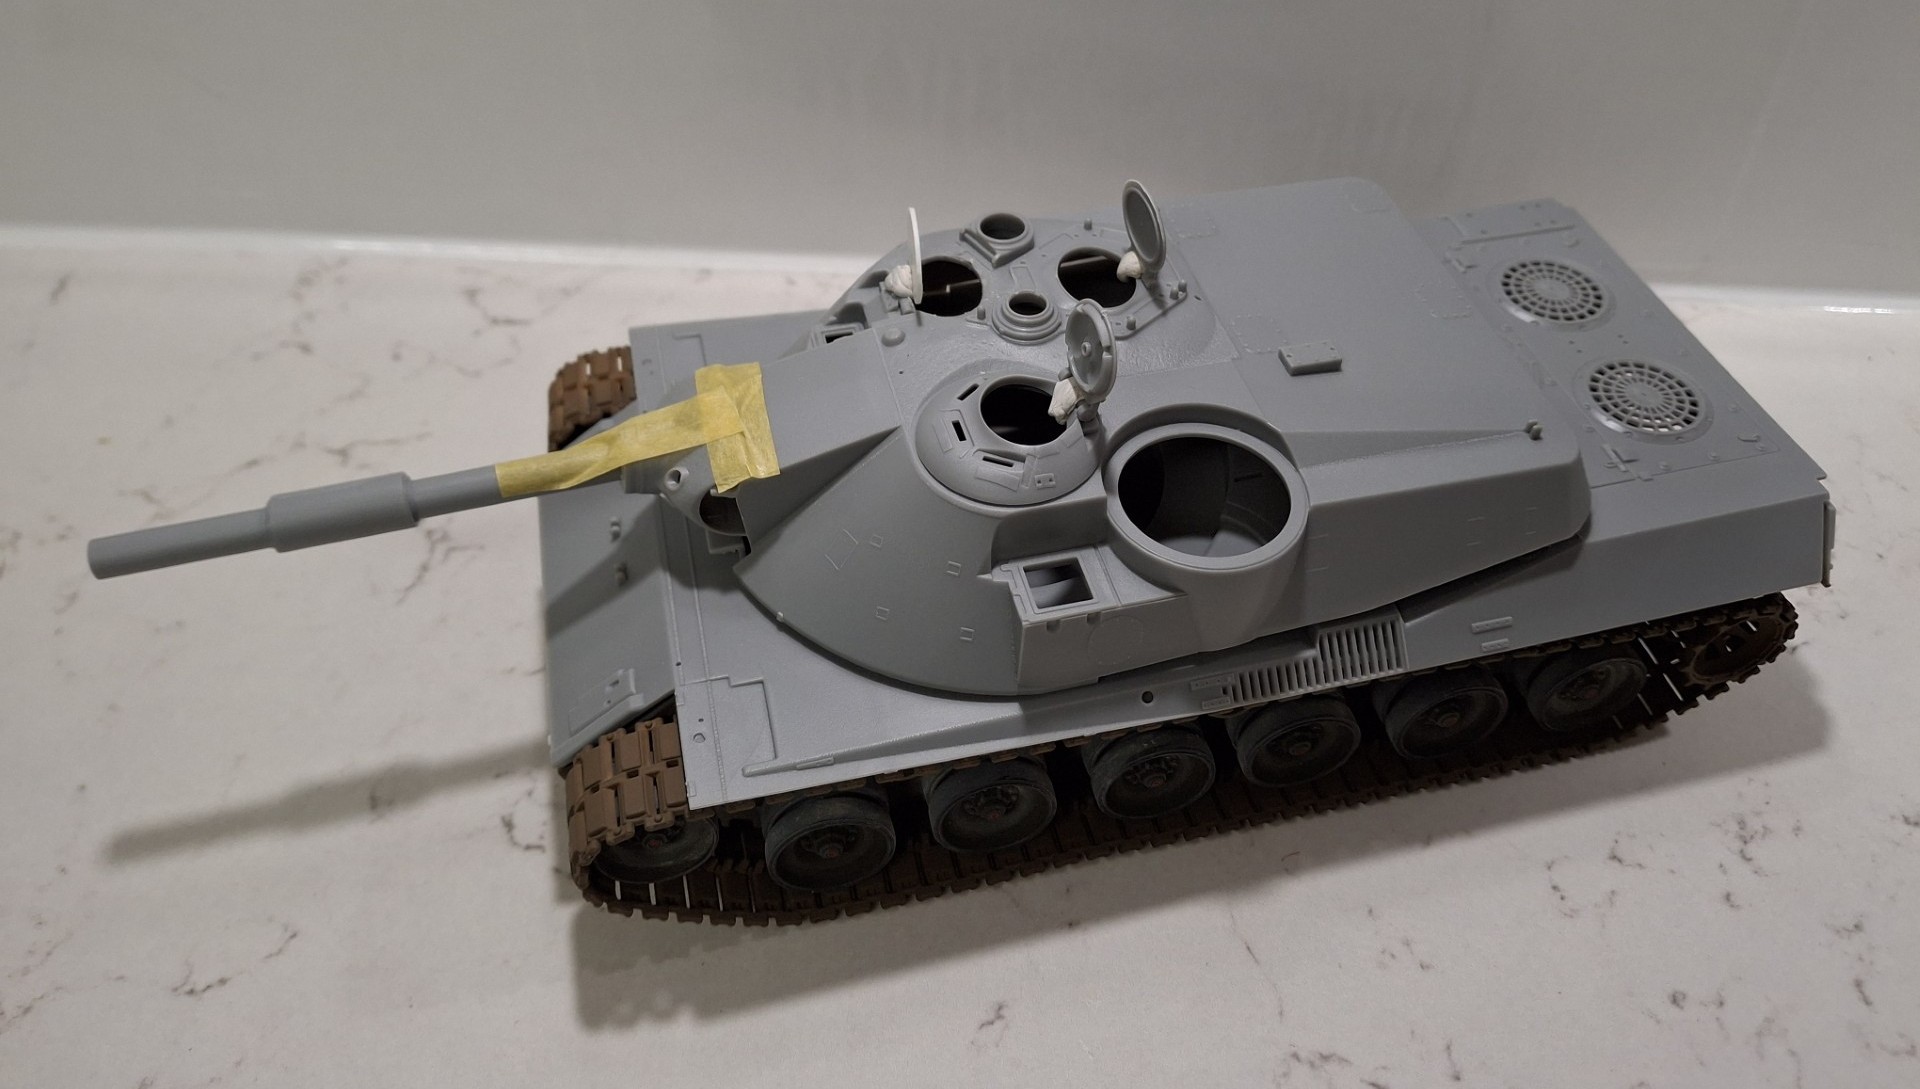
And “Yes” I know the mantlet is upside down but I just wanted to plan ahead. Always a presence I feel, if not handsome, at least it looks mean and business-like(!)
9 Likes
Good fix for those idlers! By the way, you have seen my build review on the old Armorama site? Armorama :: Dragon Models 1:35 Building the new KPz.70 Review
1 Like
I hadn’t Tom, but thanks; I’ve only glanced at it but it’s full of good stuff. Of course, as mine is practically a What-If I’ve a fair amount of latitude when it comes to perceived “accuracy” so I don’t need to pretend it’s an accurate model of one of the prototypes - luckily.
I have attempted to open up the Gunner’s hatch, with a not too good result, but it‘ll have to do. This means I have to manufacture a hatch but that should not be insurmountable. I note that Dragon moulds the hatches they do provide differently, whereas I think they would all have had the same fittings; anyway, another conundrum re this tank.
I will also utilise some of the Voyager etch set I have; I was going to use their barrel but think I’ll pass. As my model will be in a tactical setting, I will probably use the kit barrel as draped/fixed cam nets will be evident, or at least that’s the plan.
Anyway, thanks again; onward!
4 Likes
With all the hatches open I was considering adding details inside the turret in all 3 crew positions, but in the end, decided it was just too much work. I might try and do so with my Bundeswehr version in due course. To that end I’ve sprayed the interior black using a rattle can:

I’ve also blocked off the louvres at the rear and they too received a coat of black:
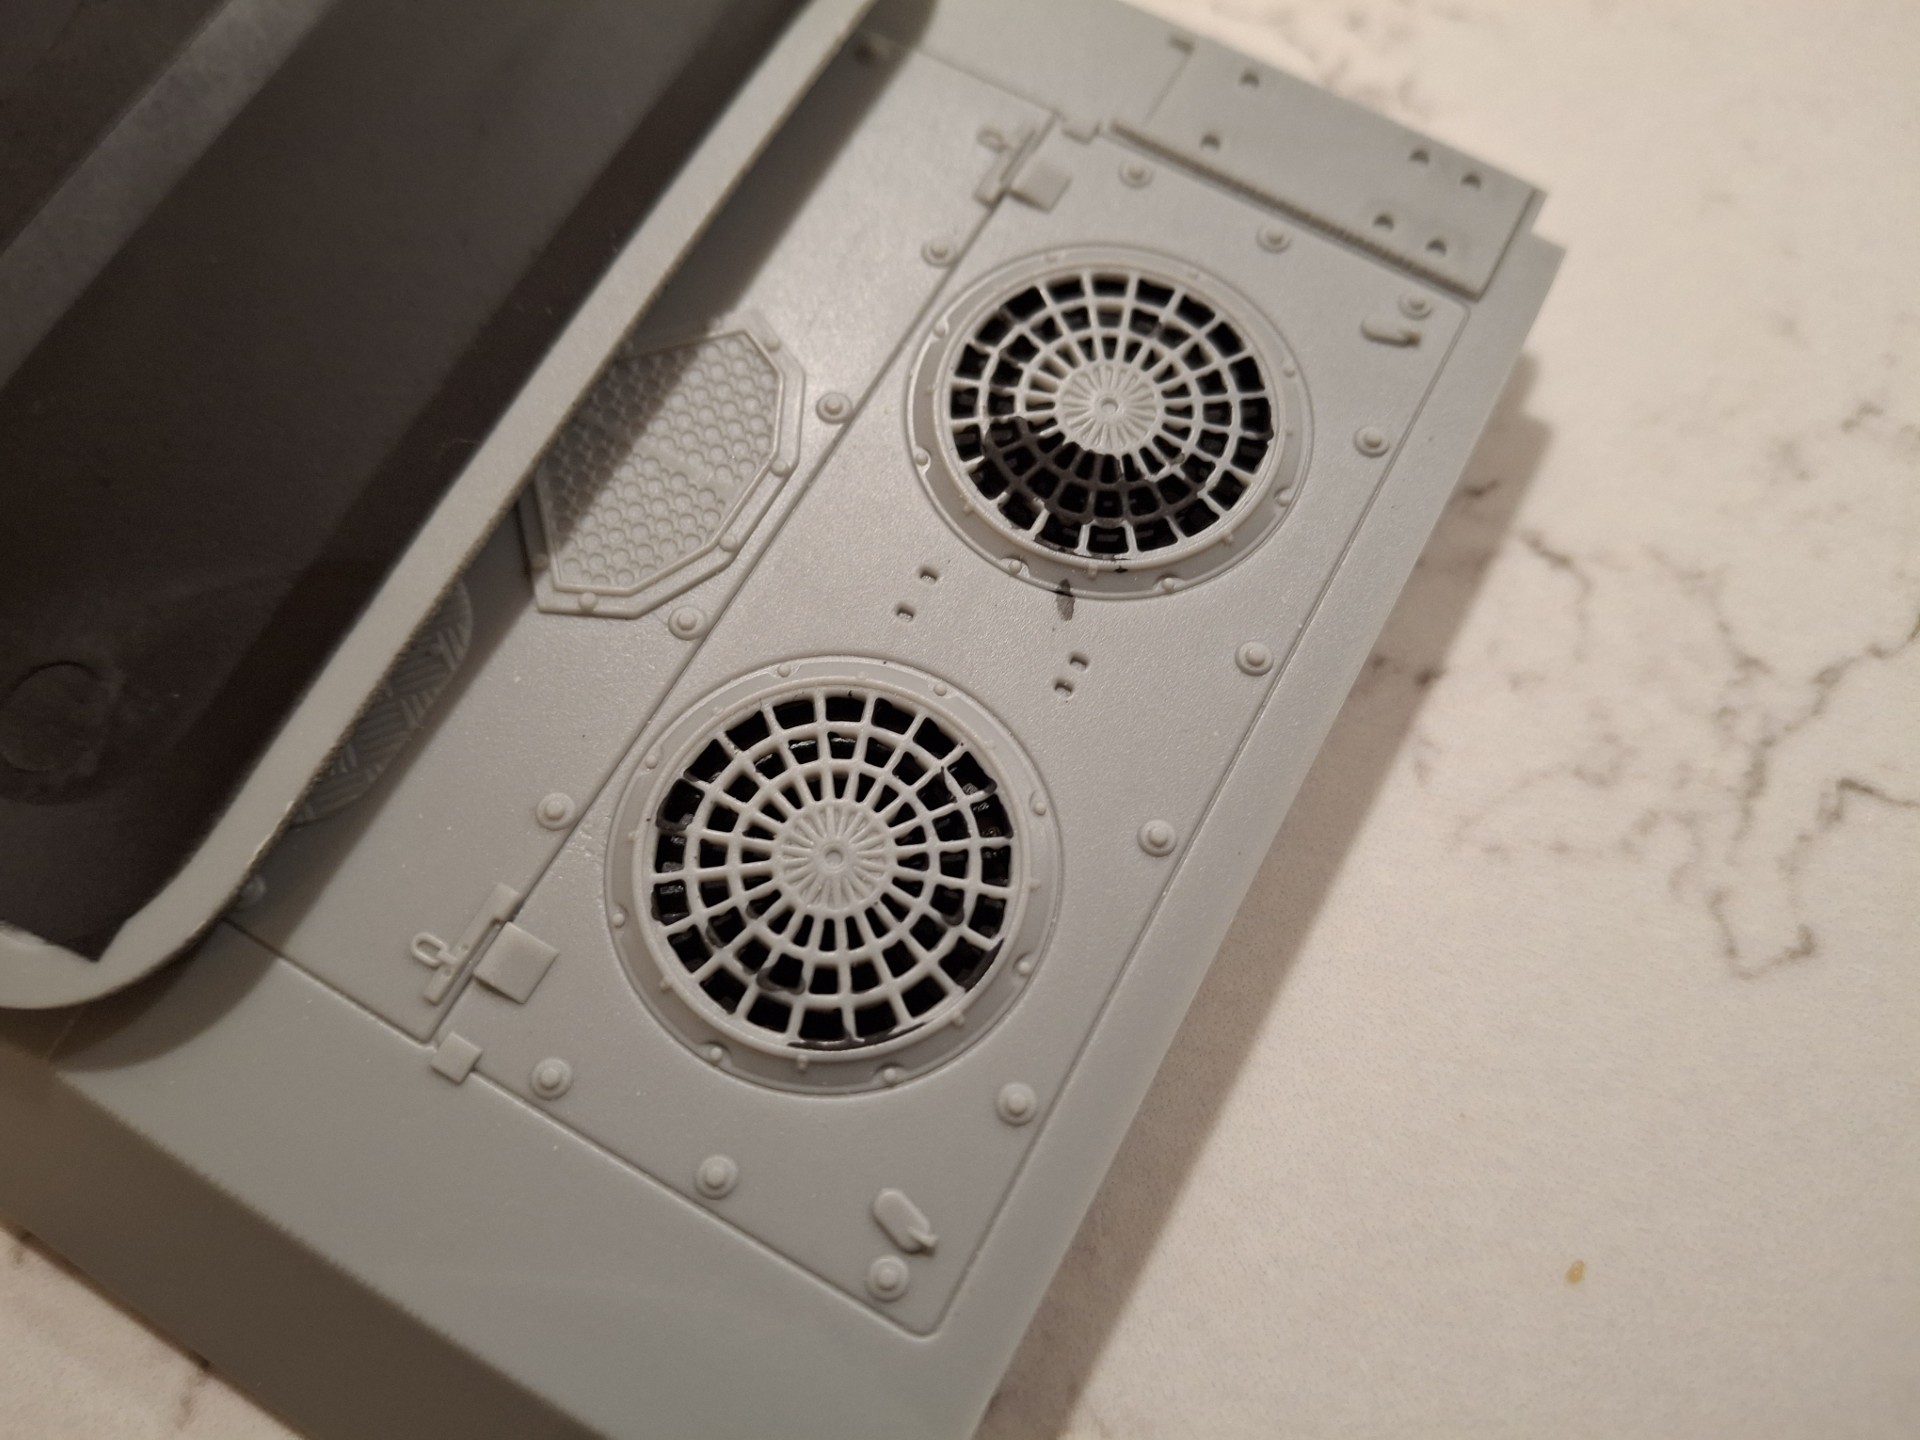
So, beginning to get there perhaps:
NBC filter grill also blanked-off and blackened.
(Parts just lodged in position for the pic)
8 Likes
For that, you “need” Hunnicutt’s Abrams ![]() It has plenty of photos of the crew positions and other interior bits.
It has plenty of photos of the crew positions and other interior bits.
1 Like

2 Likes
That’s dangerous - I have a wicked imagination! ![]()
3 Likes
Picture a dark gray rectangular box with stupid big wheels.
3 Likes