A bit more progress on the Object 490b.
This is a pretty straightforward kit, but I’ll do my best to make it harder to finish by making up some interior detail( I hope).
I’m not building it sequentially, just doing what fits with my concentration levels😀
Moulding / detail seems to be pretty good, dry fitted the bigger parts to make diving into the box easier.
2 Likes
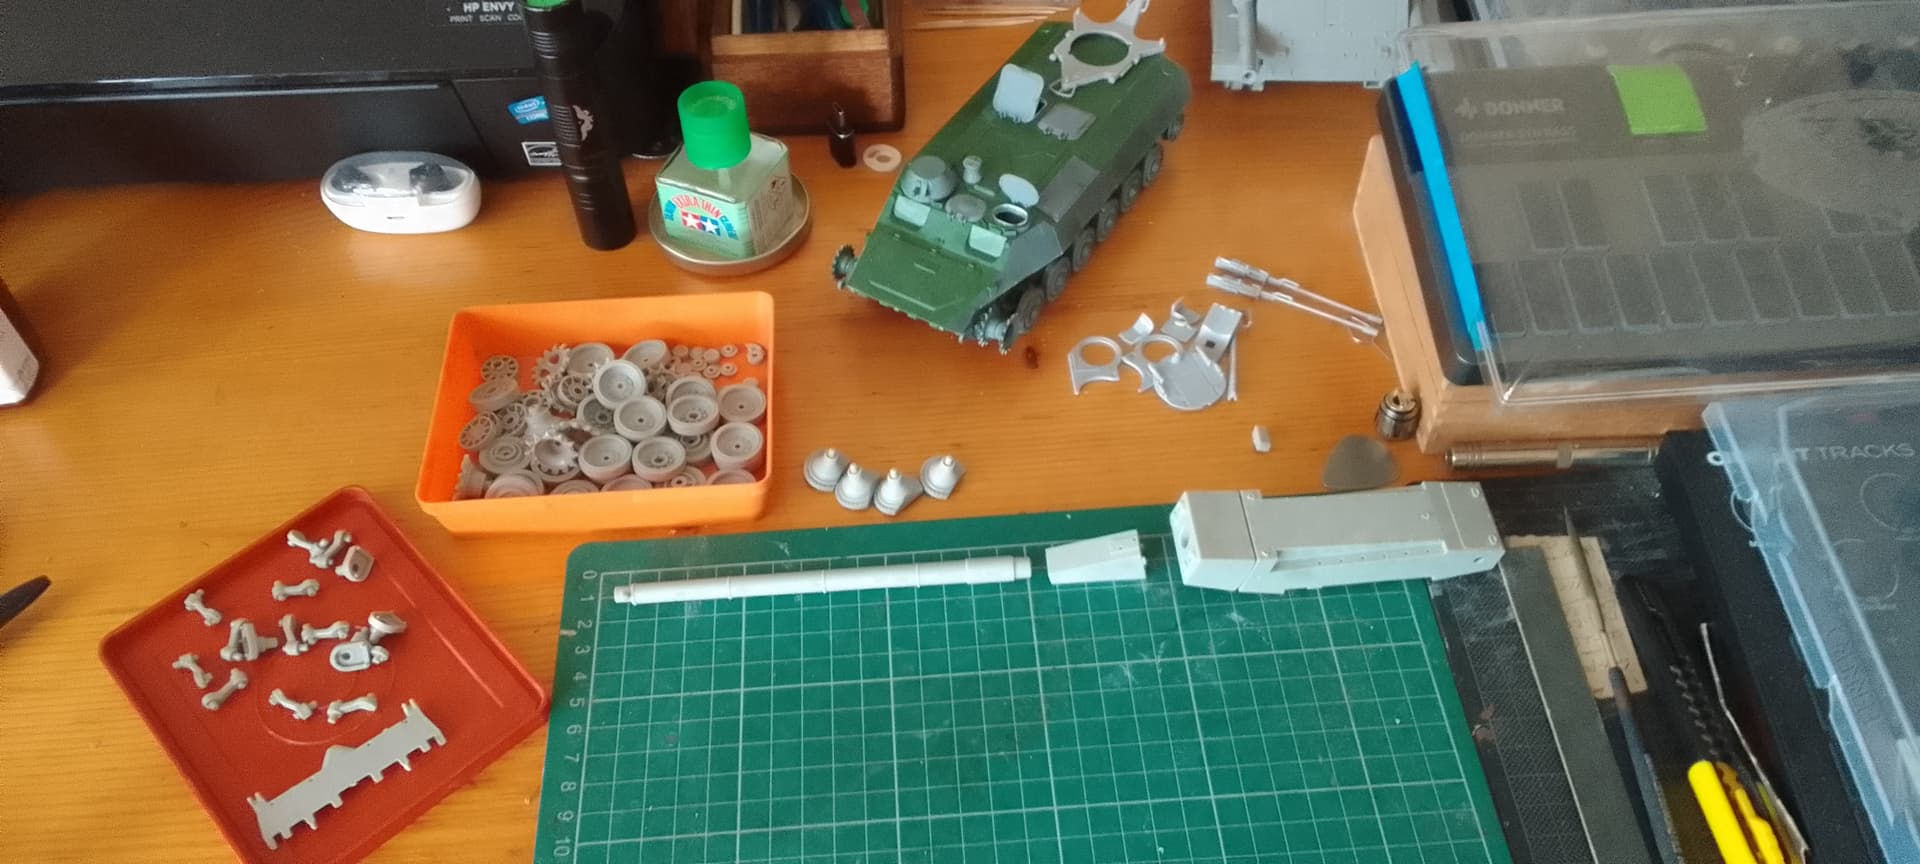
Note: the most important tool ( top centre ) a torch to find escaped parts.There is no carpet monster by my work area, just tongue and groove oak flooring,small parts often found in the grooves but sometimes make it all the way to the gap under the skirting boards.
2 Likes
Arr.. Dave you see that’s where you are wrong, you do still indeed have a carpet monster but where it can’t build its nest as you have no carpet it drags the parts under the skirting to collect later when you’ve gone to bed. At night if you listen very carefully you’ll hear it scuttling around collecting those parts it’s stored away to take to its nest in another room of the house. Ever found a part somewhere else in your home? That’s a part the carpet monster dropped while carrying it to its nest.
4 Likes

Trumpeter E-10
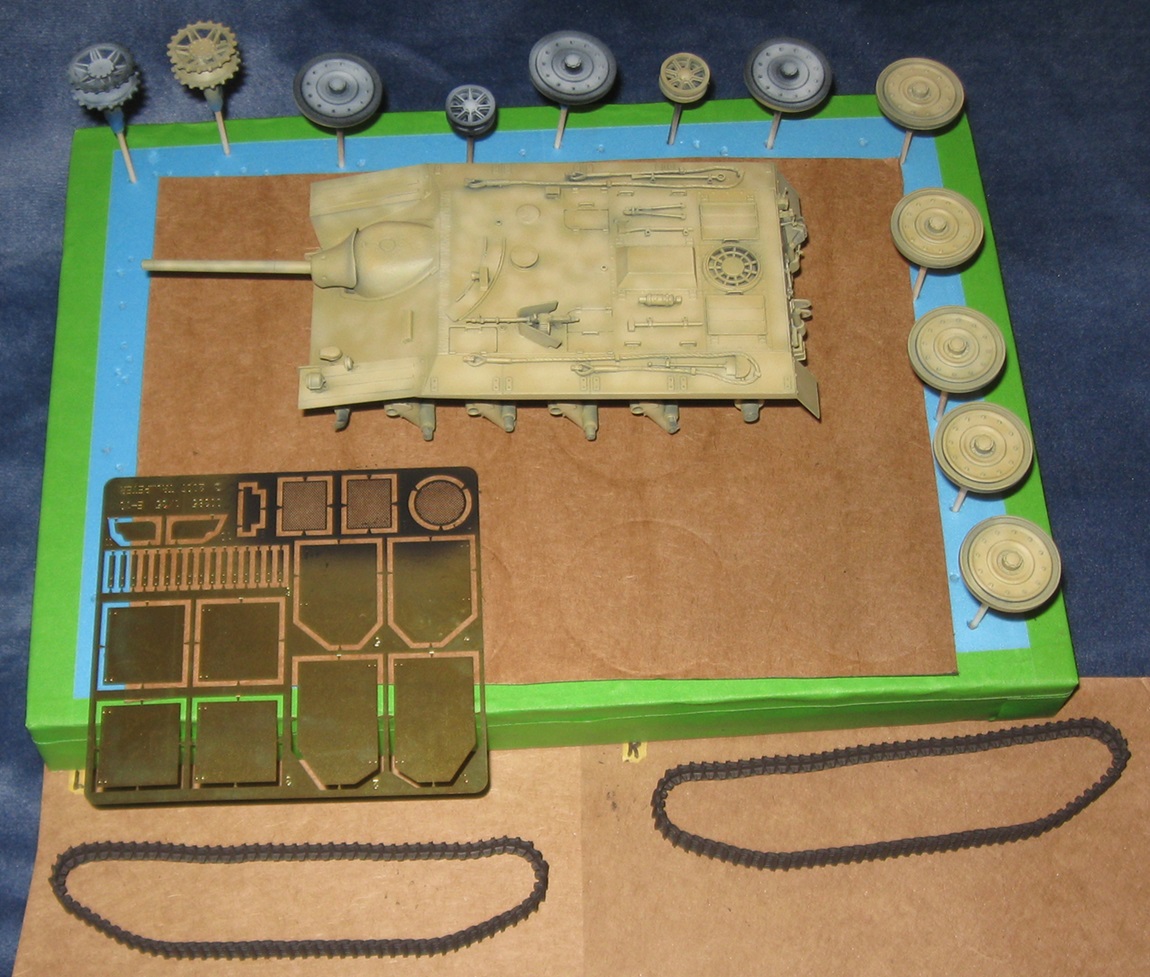
Yesterday, early in the morning, I gave this model another coat of primer such that my airbrush did not gum up every 120 seconds. The first coat of paint went down this morning using both pre and post shading. I am fairly happy with the tonal variations this method produces. (This is my third model using the technique.)
While spraying Panzer Yellow I realized the engine screens never made it onto the model. Whoops! As you can see, I primed the screens and will add them before the next round of painting.
For this model, I decided to experiment and let a fair bit of the black primer show through. Time will tell if that works out or not.
…
@barkingdigger I am definitely striving to be first. Most of my projects end up shelved because I dilly dally and lose focus. My goal for this project (and the Kugelblitz) is to work every single day until it is finished.
Using a mud product to fill the back ends of the axle tunnels is an excellent idea. It so happens I bought some Vallejo mud gunk a few months back but have yet to try it. Perhaps now is the time.
4 Likes
I used Vallejo’s European Thick Mud on a recent truck build and it was great. It remains glossy (like wet mud!) and clumps up nicely! If you need it dulled down a squirt of clear flat gets it done…
3 Likes

I love the leopard-print battlefield!
2 Likes
Oh no! ..and I spent hours painting a sheet to make it look like shell craters😀
2 Likes


Interesting camo - should look great with the usual pin washes!
1 Like
Looks good, reminds me of the interwar/ 1930’s scheme on the Vickers light tanks.
1 Like
Trumpeter E-10

Except for clear coats, all airbrush work is now done. My airbrush was not cooperating this morning but I persevered.
No decals on this one so I can jump ahead to detail painting.
…
@barkingdigger Thanks. I had not previously combined these three colors, nor had I done a pattern like this one. It kinda reminds me of a French tank where all the color patches are outlined with black.
@VultureDave Thanks. The camo definitely looks like something from the interwar period. I kinda want to try this again on another vehicle but with smaller blobs. Maybe try the black outline thing, too.
4 Likes
I am in for this campaign - maybe I will finally build that Maus I have been planning for the last 3 versions of this campaign ![]()
1 Like
Trumpeter E-10

Things got away from me for a few days but I am back at it. A bunch of the detail painting is now done. I also made some trays for storing tracks that have already proven very useful.
6 Likes
I like the camo colour choice - very much in the theme of the build.
2 Likes
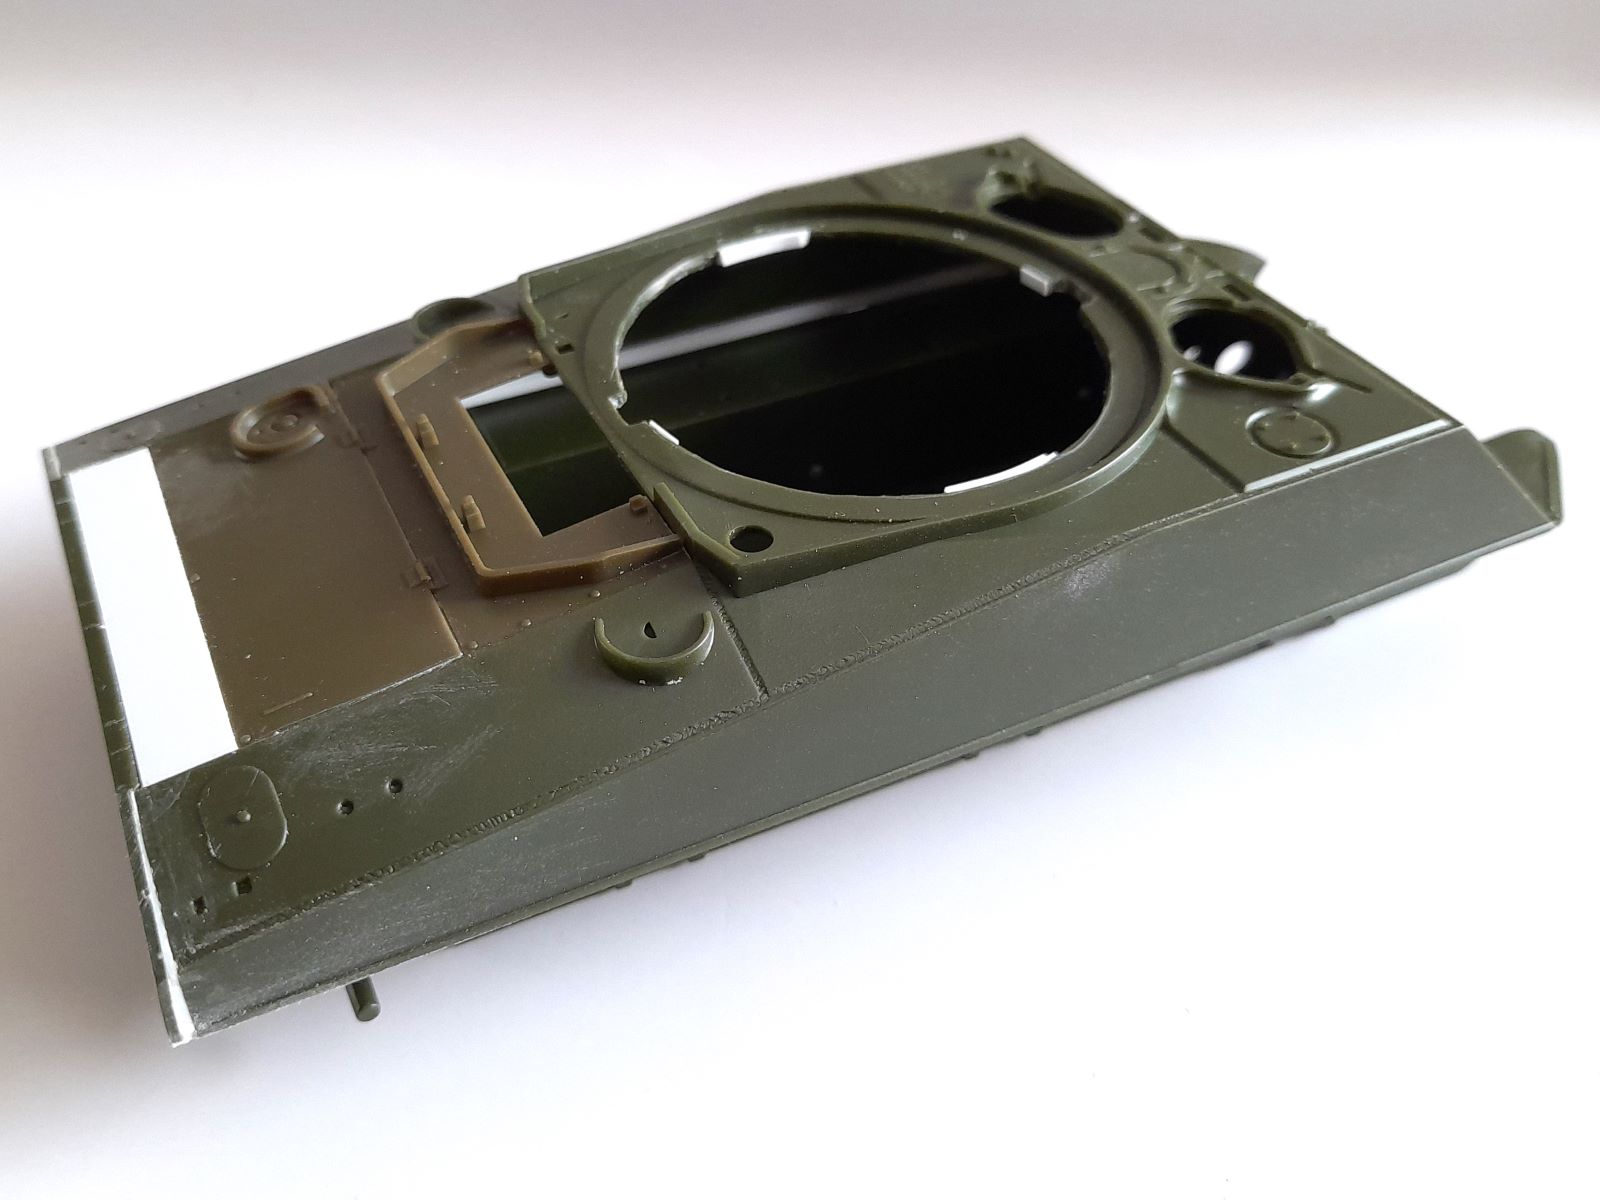
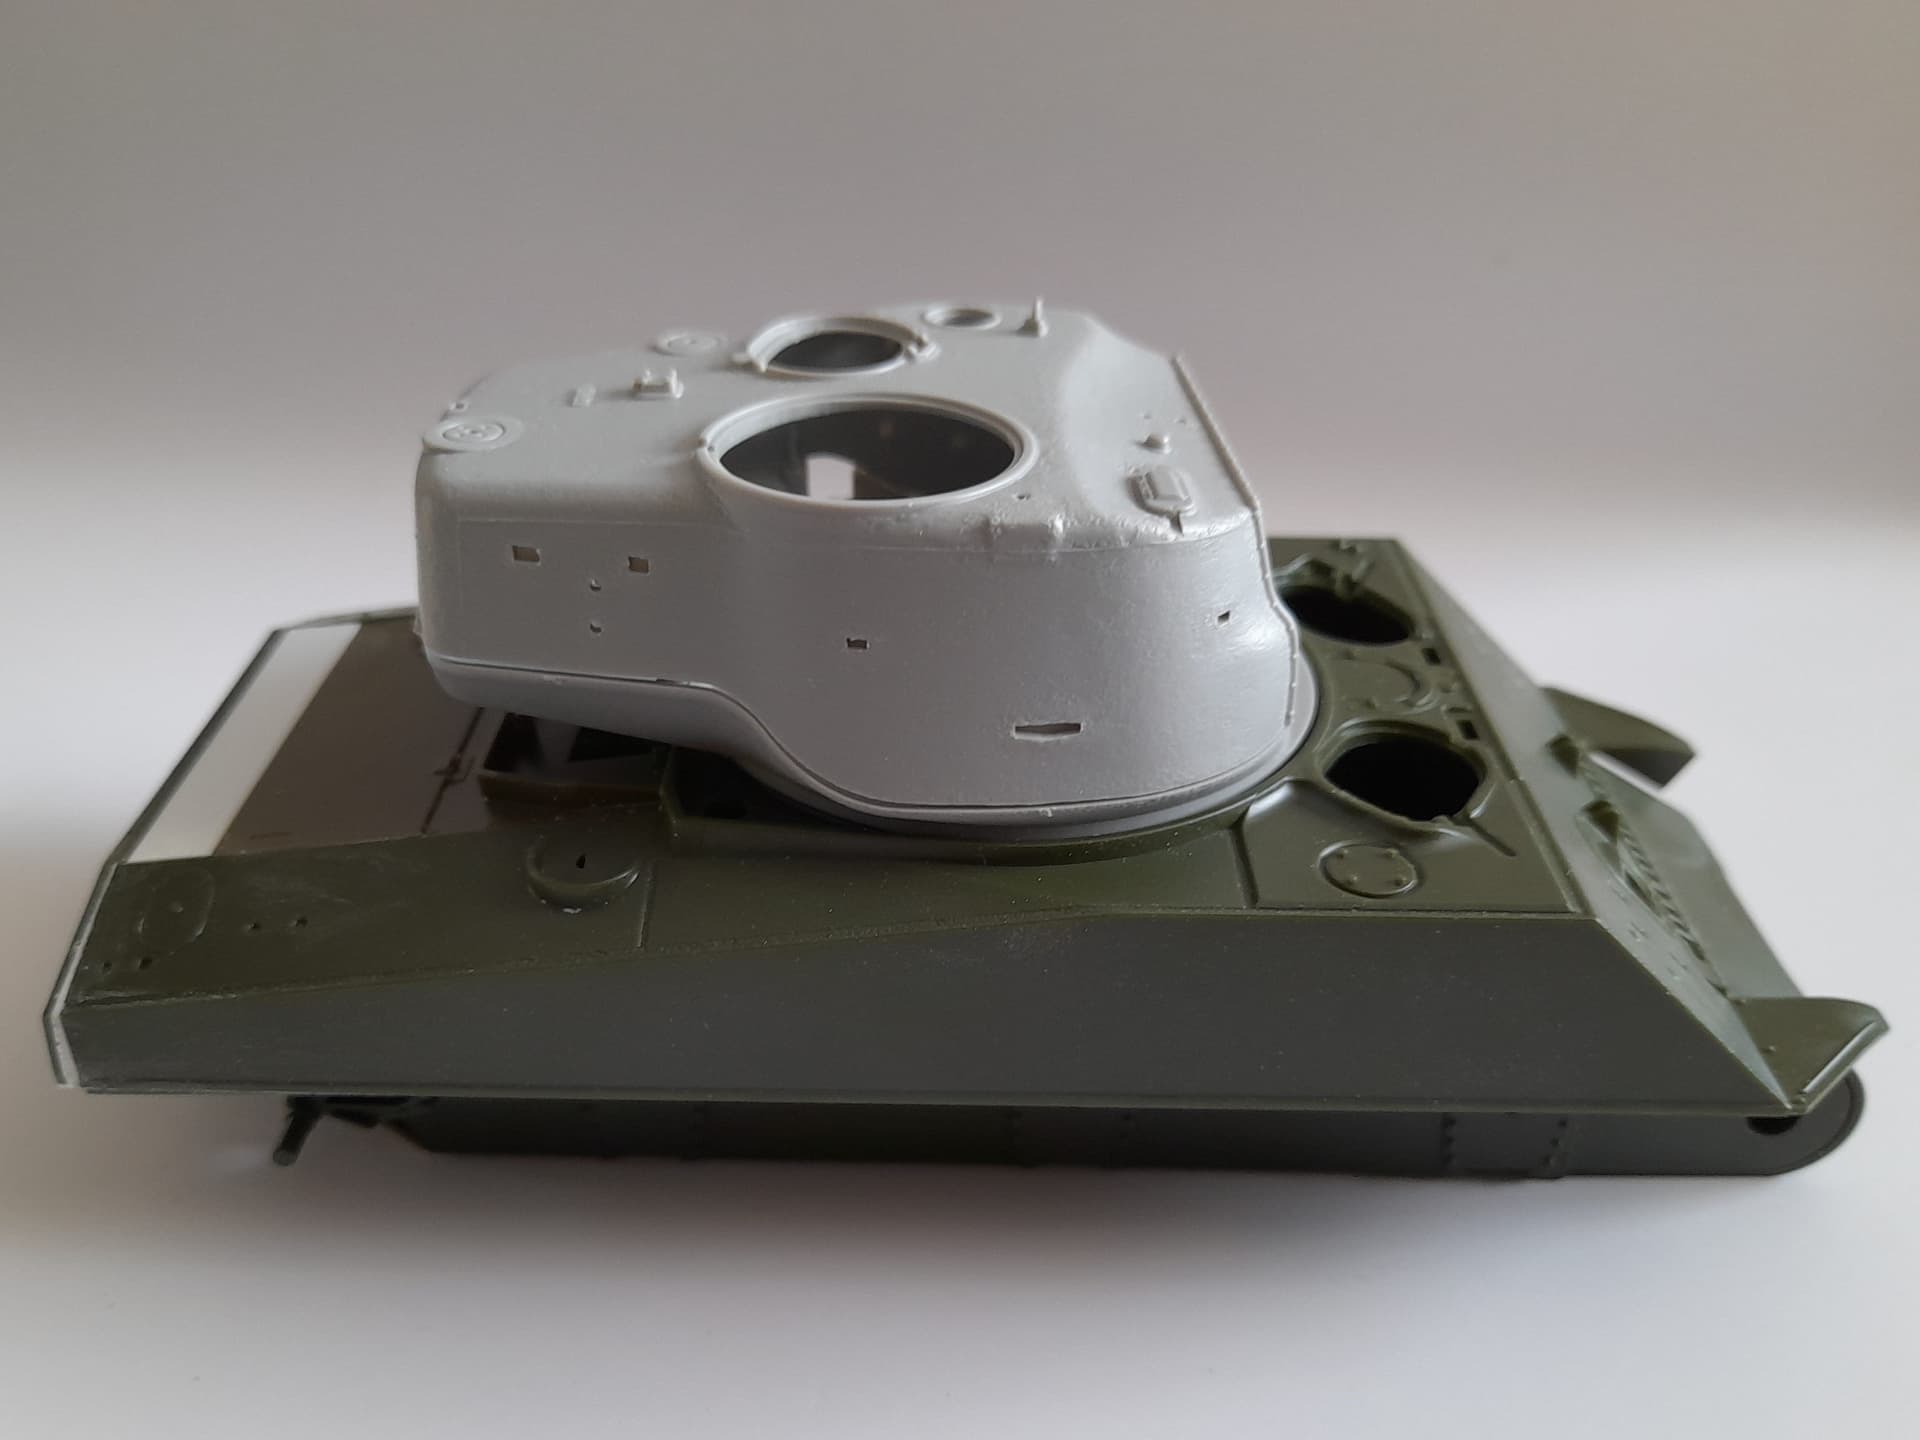
Well I changed my mind on my build - it was a “road to Damascus” moment as I stared at a box with the remnants of an Academy M4A2. I’ve been hankering to build the prototype M4 with Pershing turret as seen here:
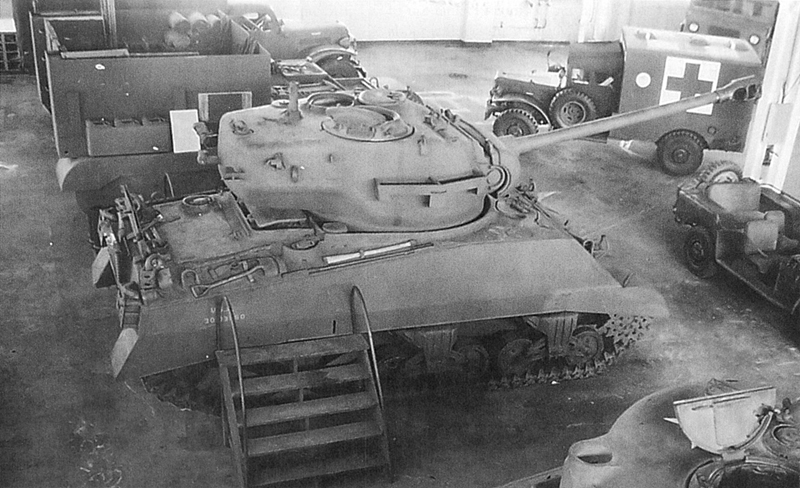
So… I spent a couple hours yesterday doing some surgery! The turret is from a HobbyBoss M26 kit (I am still pondering what to do with the leftover M26 hull) and as usual there will be lots of bits scrounged from my overflowing spares bin. The engine deck is an Asuka sprue, and I’m sure there will be some 3D-printed parts added at some point. But at least it begins!

10 Likes
Trumpeter E-10

Checking in to report I am slowly getting through painting which is not my forte. Many camouflage patches have ratty edges. A number of errors occurred while painting all the little details.
6 Likes
I’ve always wanted to do that Sherman but never taken the time . I do however have an idea for a Super Jumbo that I’m about to start piddling around with. In the meantime, I’m almost ready to start the Vickers Mk 7/2, or at least the hull so I can start doing rough drawings of the turret’s dimensions.
3 Likes