I am working on a complete and comprehensive guide covering this subject.
I plan to have it finished a few weeks after I put the final touches to my peace plan for the Middle East which will contain a complete redraw of borders in the area so that every ethnic group and nation get ALL their wishes satisfied. Total satisfaction guaranteed.
Just hang in there and I will get that Styrene Thinning Description (STD) to you A.S.A.P
Would it possibly be an option to make a new part from thin styrene sheet and transfer the details
from the Tamiya kit parts?
Instead of hours of work for a dubious result maybe spend half the time cutting out and sanding down the necessary details and then gluing them to new “sheet metal”?
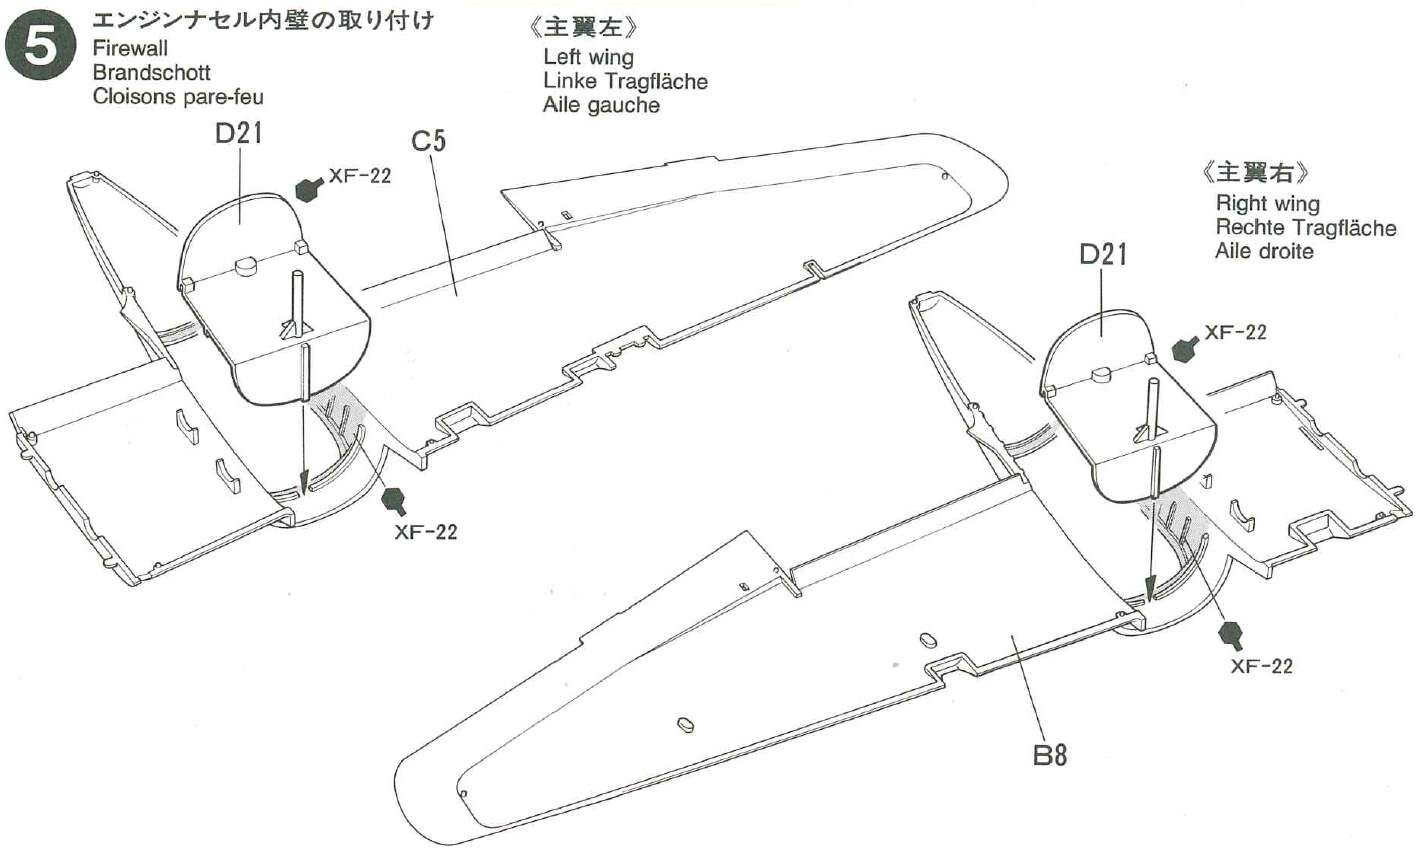
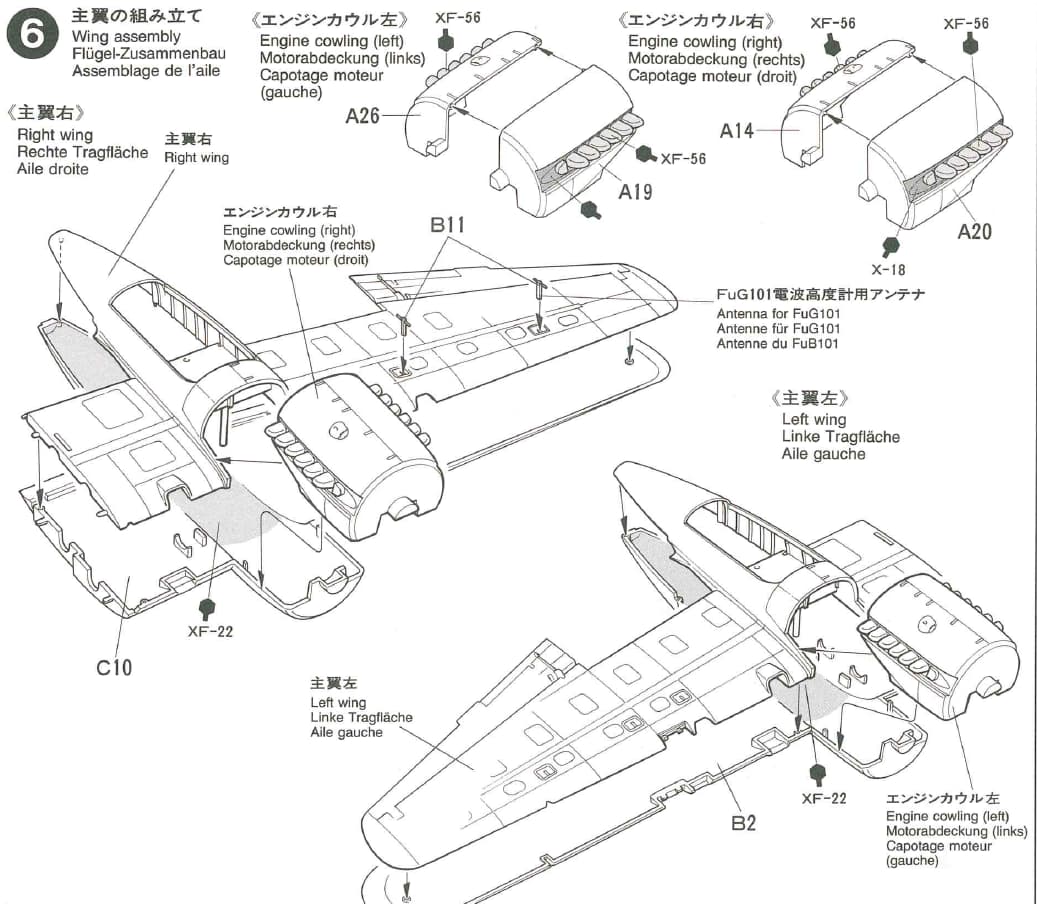
Which Tamiya parts are we talking about? Kit number and part number?
Easier to discuss if we can post images of the instructions or the actual parts.
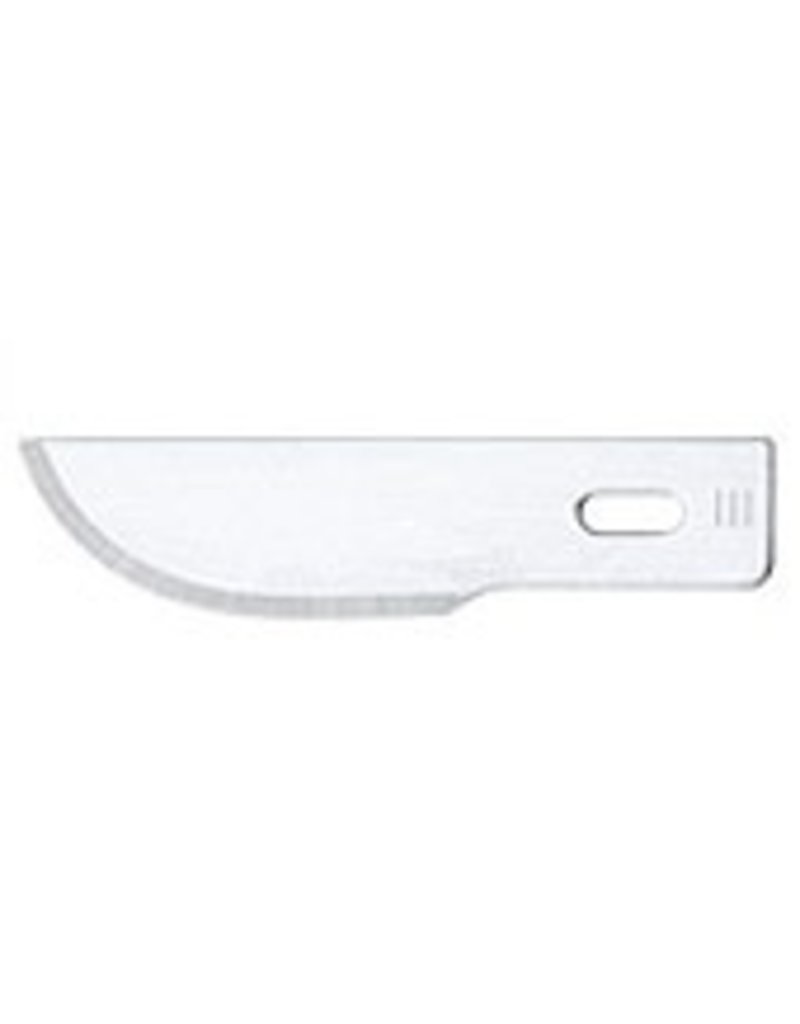
I mostly scrape with a blade - hand sanding with appropriate shape blocks as well . Coarse sandpaper works very rapidly but caution obviously must be used.
No magic here - just cautious time consuming labor .
What @RDT1953 Richard says.
Make or find an object to fit inside the engine cowling, wrap in sandpaper and start burning that elbow grease.
Power tools are NOT recommended, they are a sure path to disaster
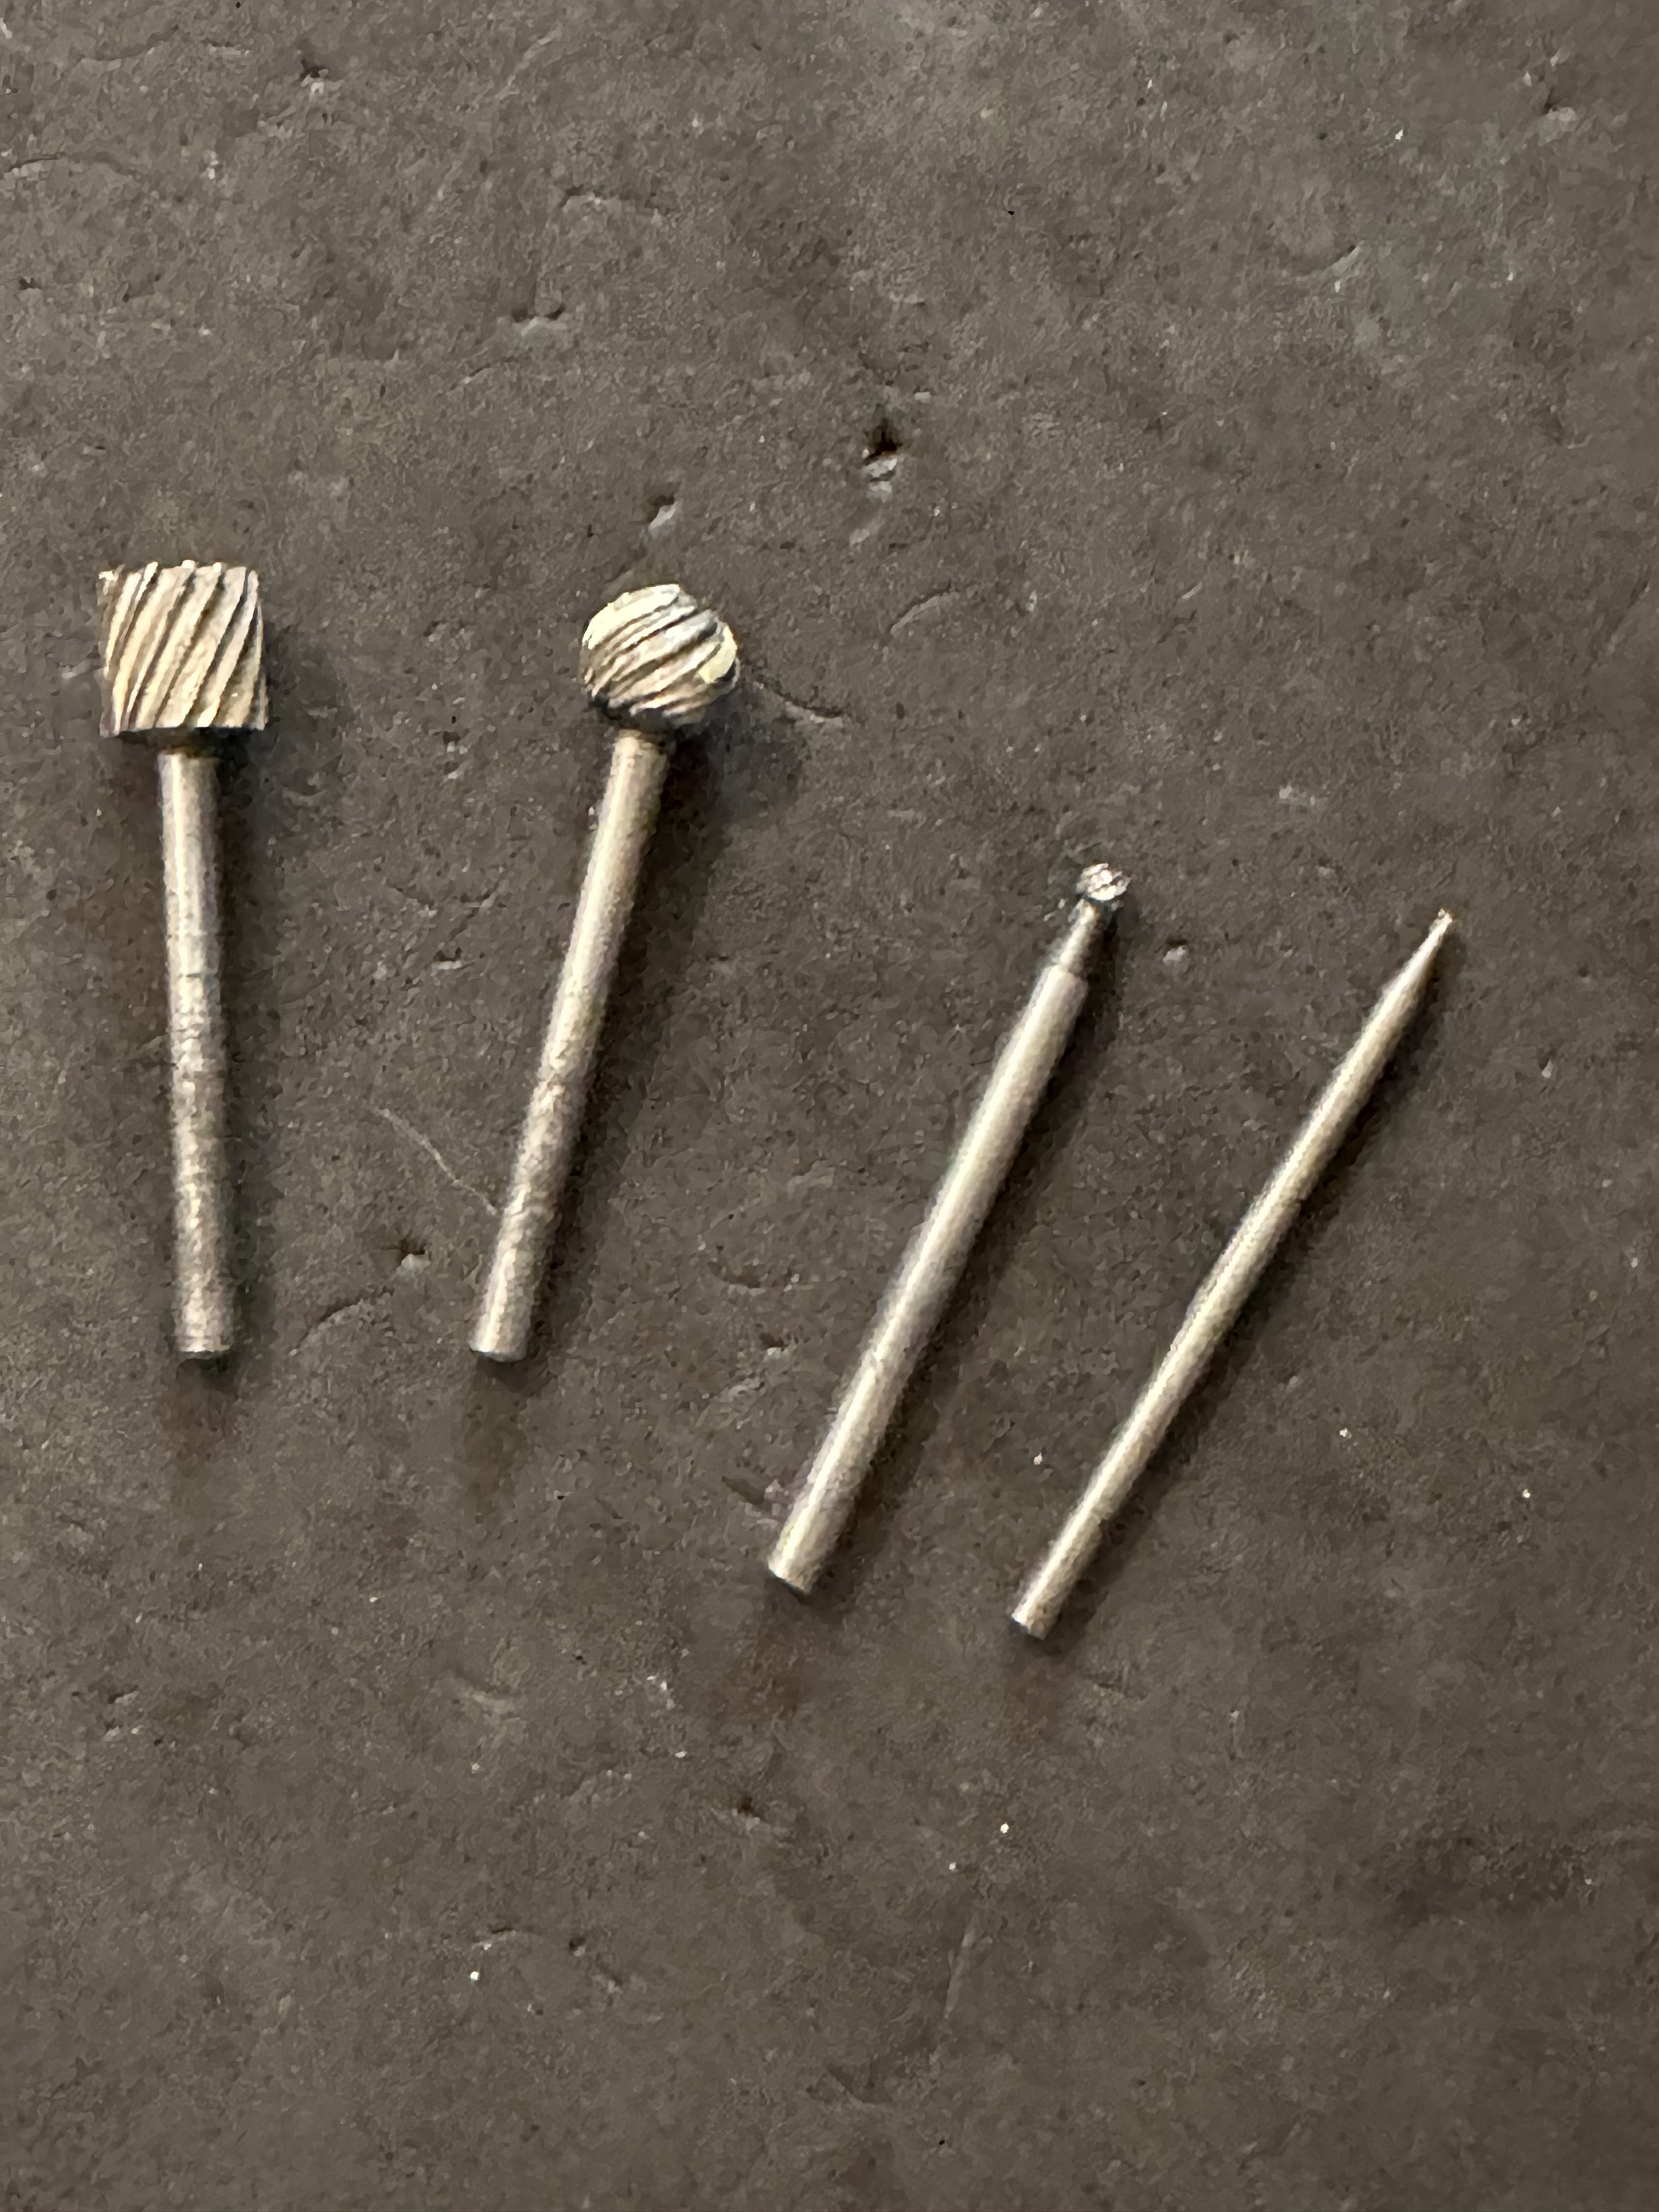
It depends. There are several steel cutters you can chuck into a Dremel which, on low speed, which work quite well. Remove the majority with the steel cutter, finish with paper and or metal files.
I have to agree with Robin - power tools are risky unless you are very experienced in their use . Wood and metal are one thing - plastic quite another. Even the slowest speeds can generate too much heat and deform the plastic - cutters can grab. If you must use power then abrasive drums are probably safer than cutters.
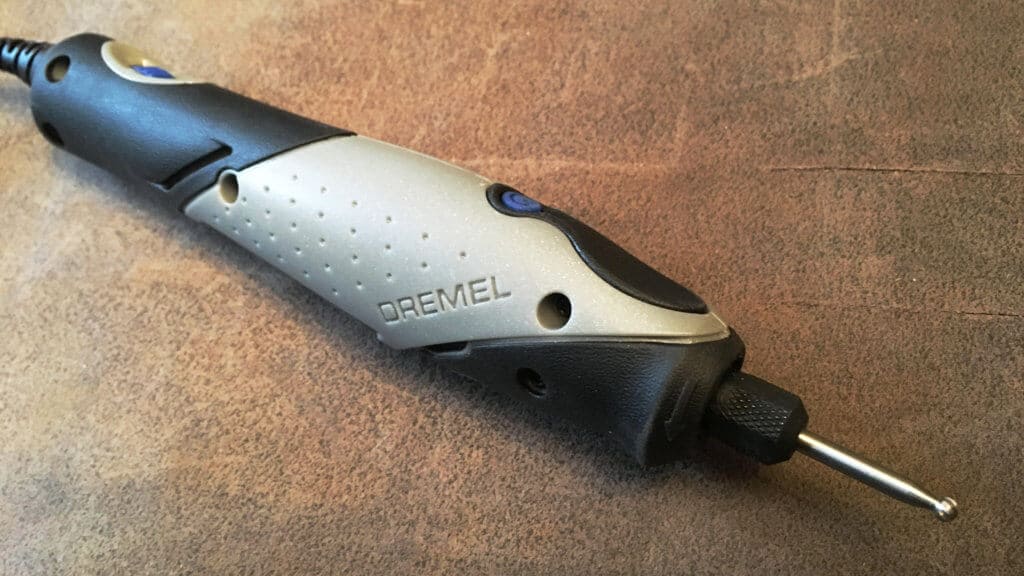
The Dremel Stylo is amazing for this. I find it to be very easy to control. You have compatibility with a wide array of standard Dremel bits, and it has a variable speed control which can go down as low as 5000 rpm (which sounds fast but it really isn’t).
I usually run it around 8000 rpm and rarely remove too much material. If this happens, a little putty can fix it no problem. I used to do all thinning by hand, also sharing the belief that power tools would be too heavy handed for the application. But not this one. Thinning parts is actually the only thing I use it for these days.
I have never experienced melting or deformation using this tool and the (HSS?) cutting tools, just lots of tiny plastic chips. I do the cutting in a ventilated paint booth to remove airborne bits and pieces and save my lungs.
Seconding the Dremel Stylo. This is what I use for my gross material removal and then finish up with sandpaper. That little 3/32" ball on low speed works great.
Seconding the seconding. I’ve used the Dremel Stylo before to cut gates off of large resin parts and to thin out plastic fenders before. Worked very well and is easy to control, more so at a mid-range RPM.
This is why those steel cutters work so well. They cut rather than grind.
I have indeed used sanding drums for wood on many occasions. The one time I used one on plastic I got melted plastic on the drum.
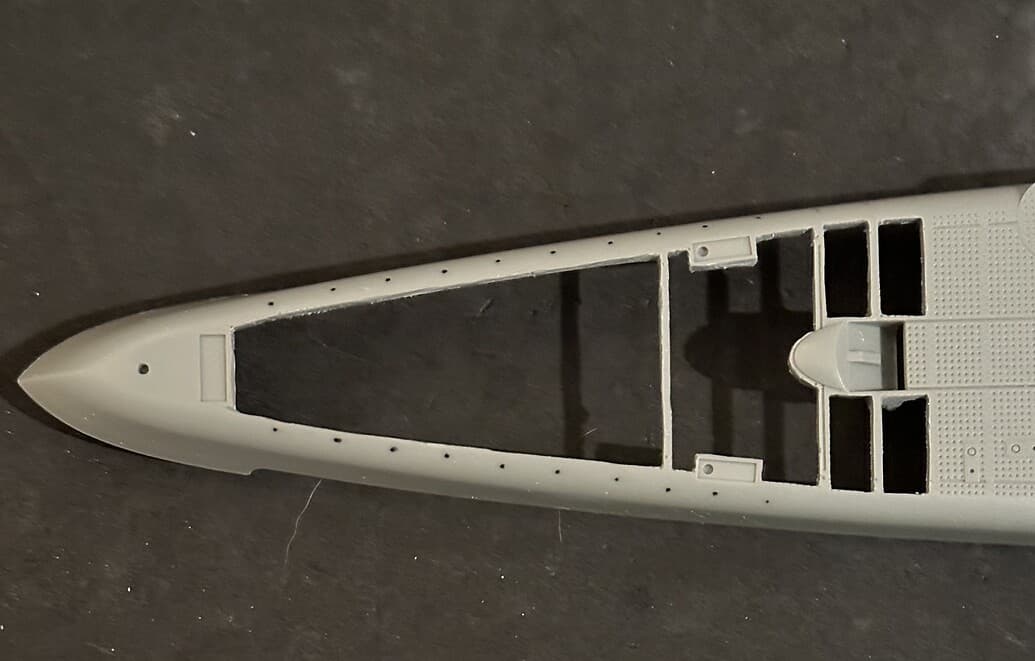
I’m using a barrel shaped steel cutter to remove most of this plastic. It’s even better than a saw because the saw can’t make the cuts meet the corners.It does quick work - then i finish with an X-Acto knife and a file.